Speedpro
-
Posts
842 -
Joined
-
Last visited
Content Type
Profiles
Forums
Events
Gallery
Everything posted by Speedpro
-
Your paint shop is doing a great job Bill! Nice save on the roof. I like the colors your using as they work so well together. Hope all goes well from here on.
-

Who doesn't love a mock-up? Let's see yours!
Speedpro replied to Belairconvertable's topic in WIP: Model Cars
Thanks Steve, Stretching the wheel openings is not one of the easiest things to do, but worth the effort. Not only does the tire fit better, It makes the car look longer than it really is. -
Who doesn't love a mock-up? Let's see yours!
Speedpro replied to Belairconvertable's topic in WIP: Model Cars
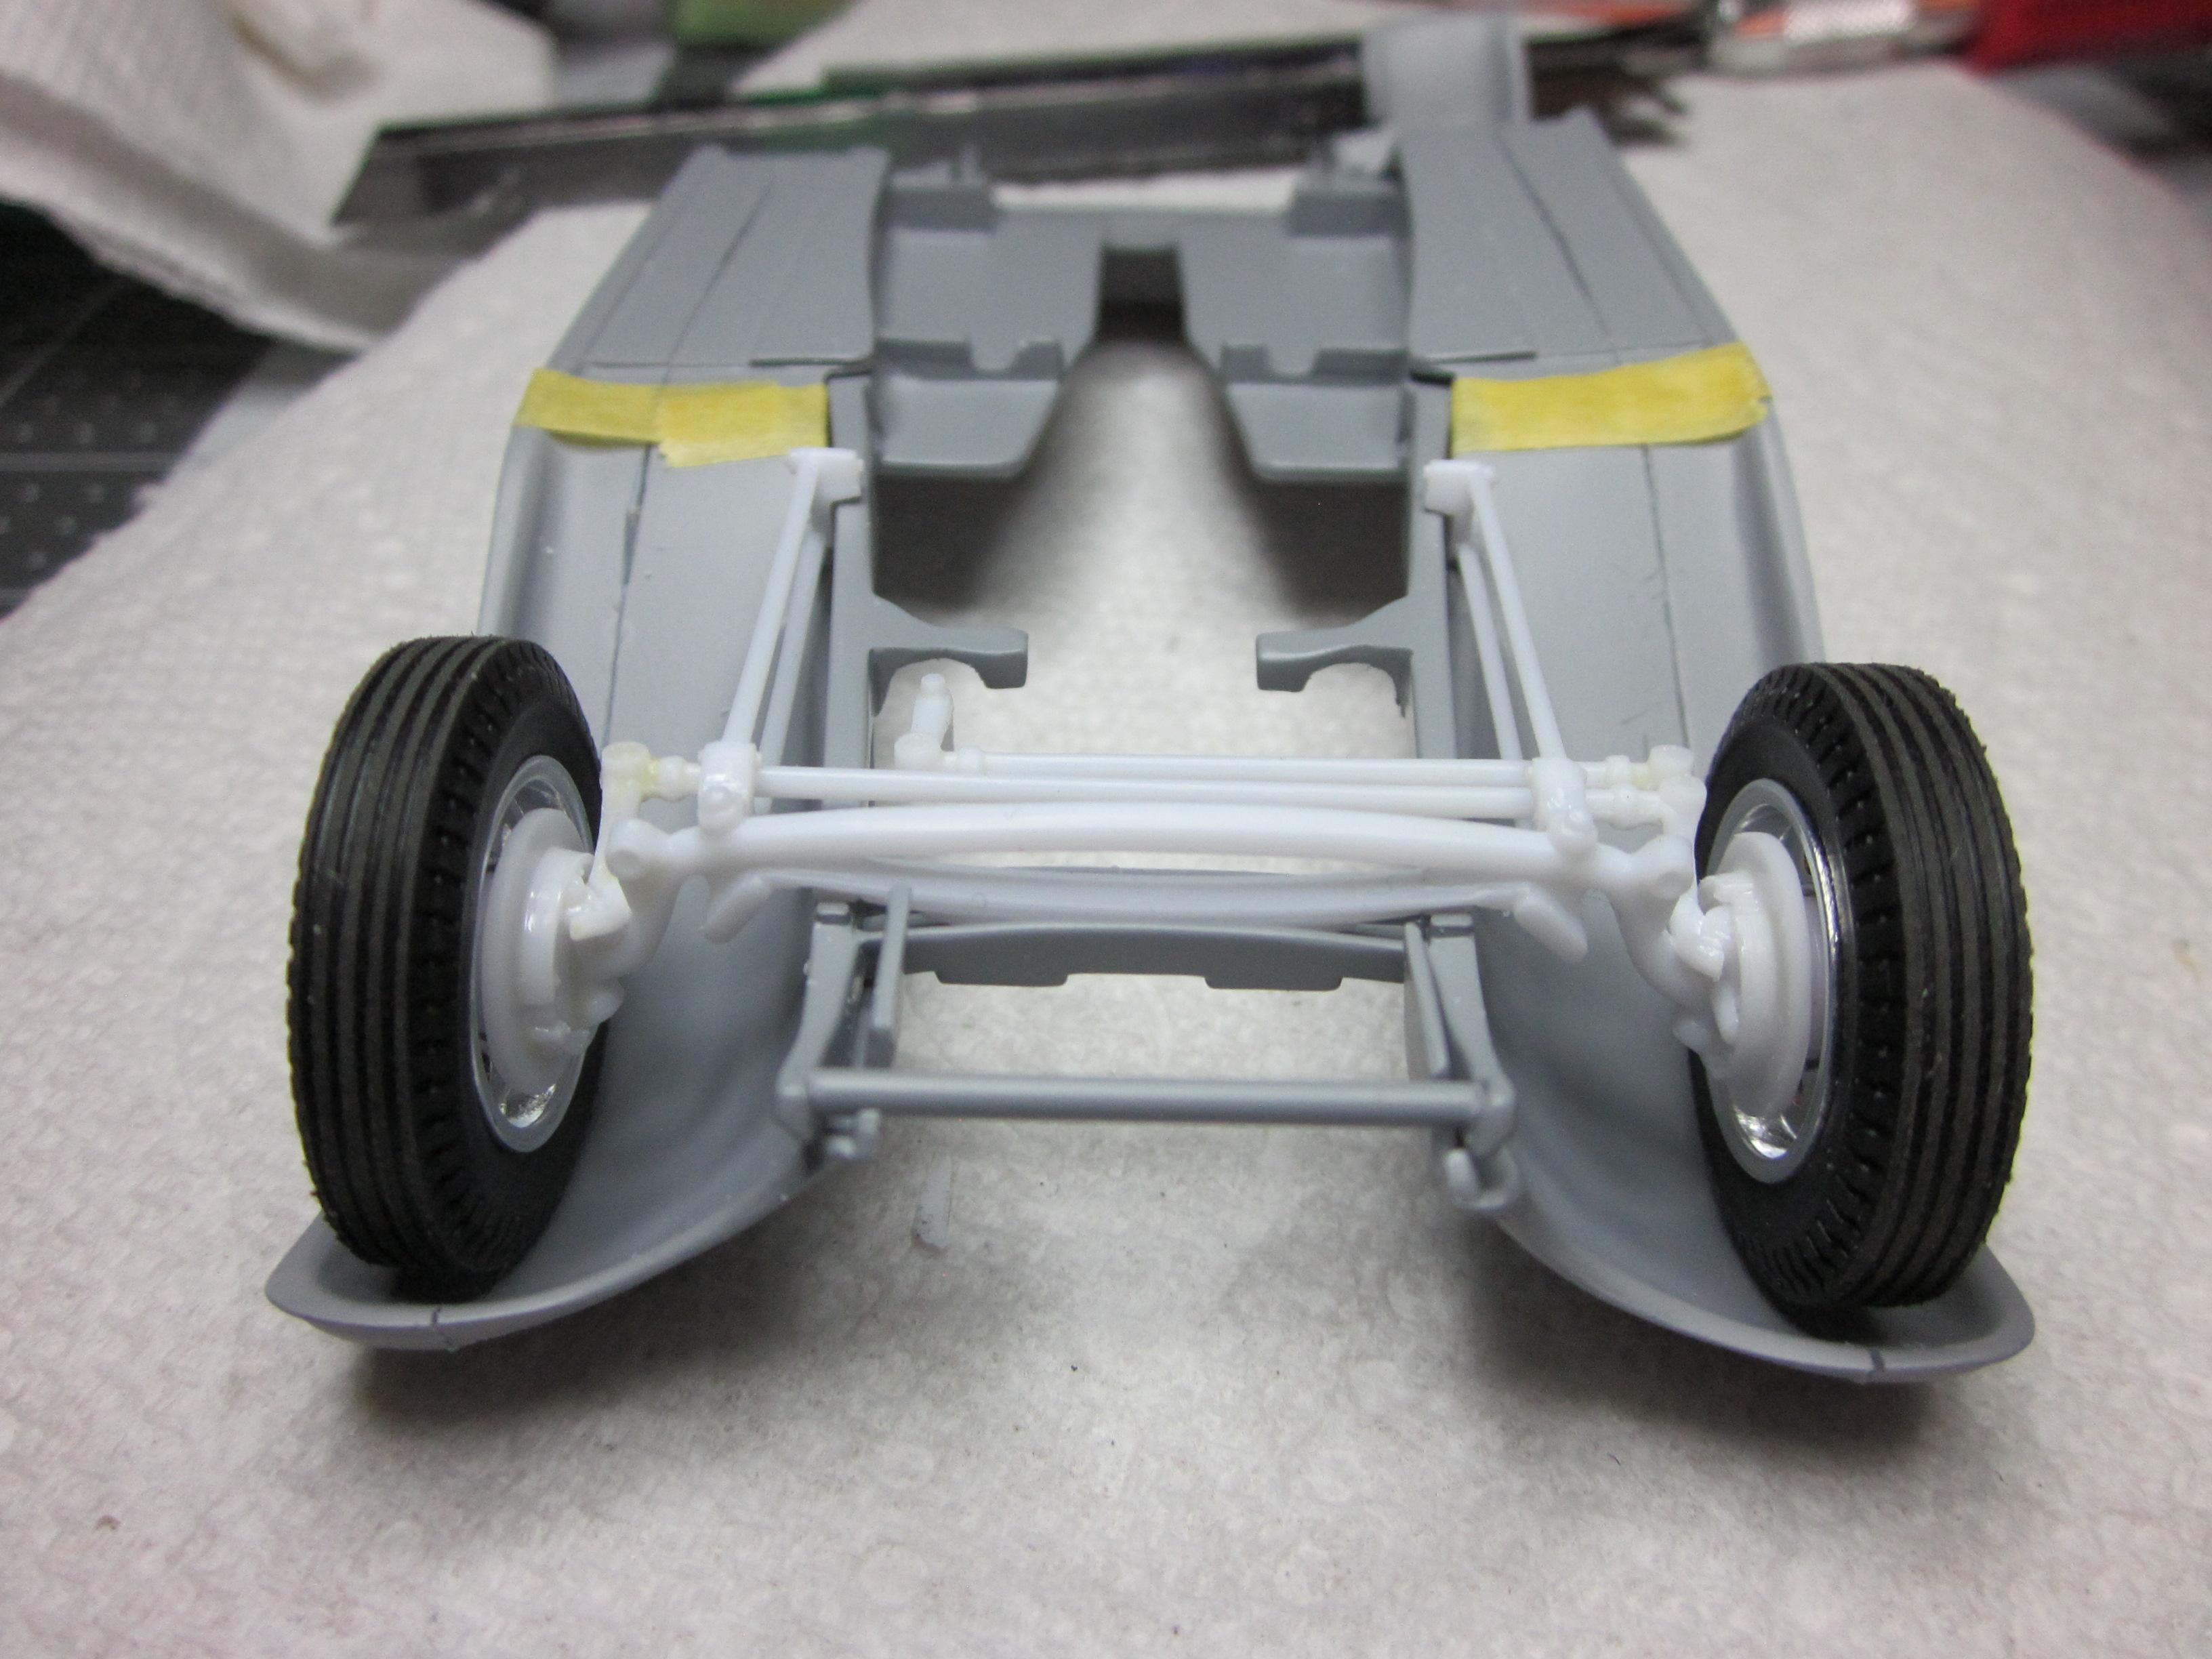
'66 Chevelle SS with '67 pro sreet chassis. Stretched the rear quarters for the firestone slicks. On going project.
-
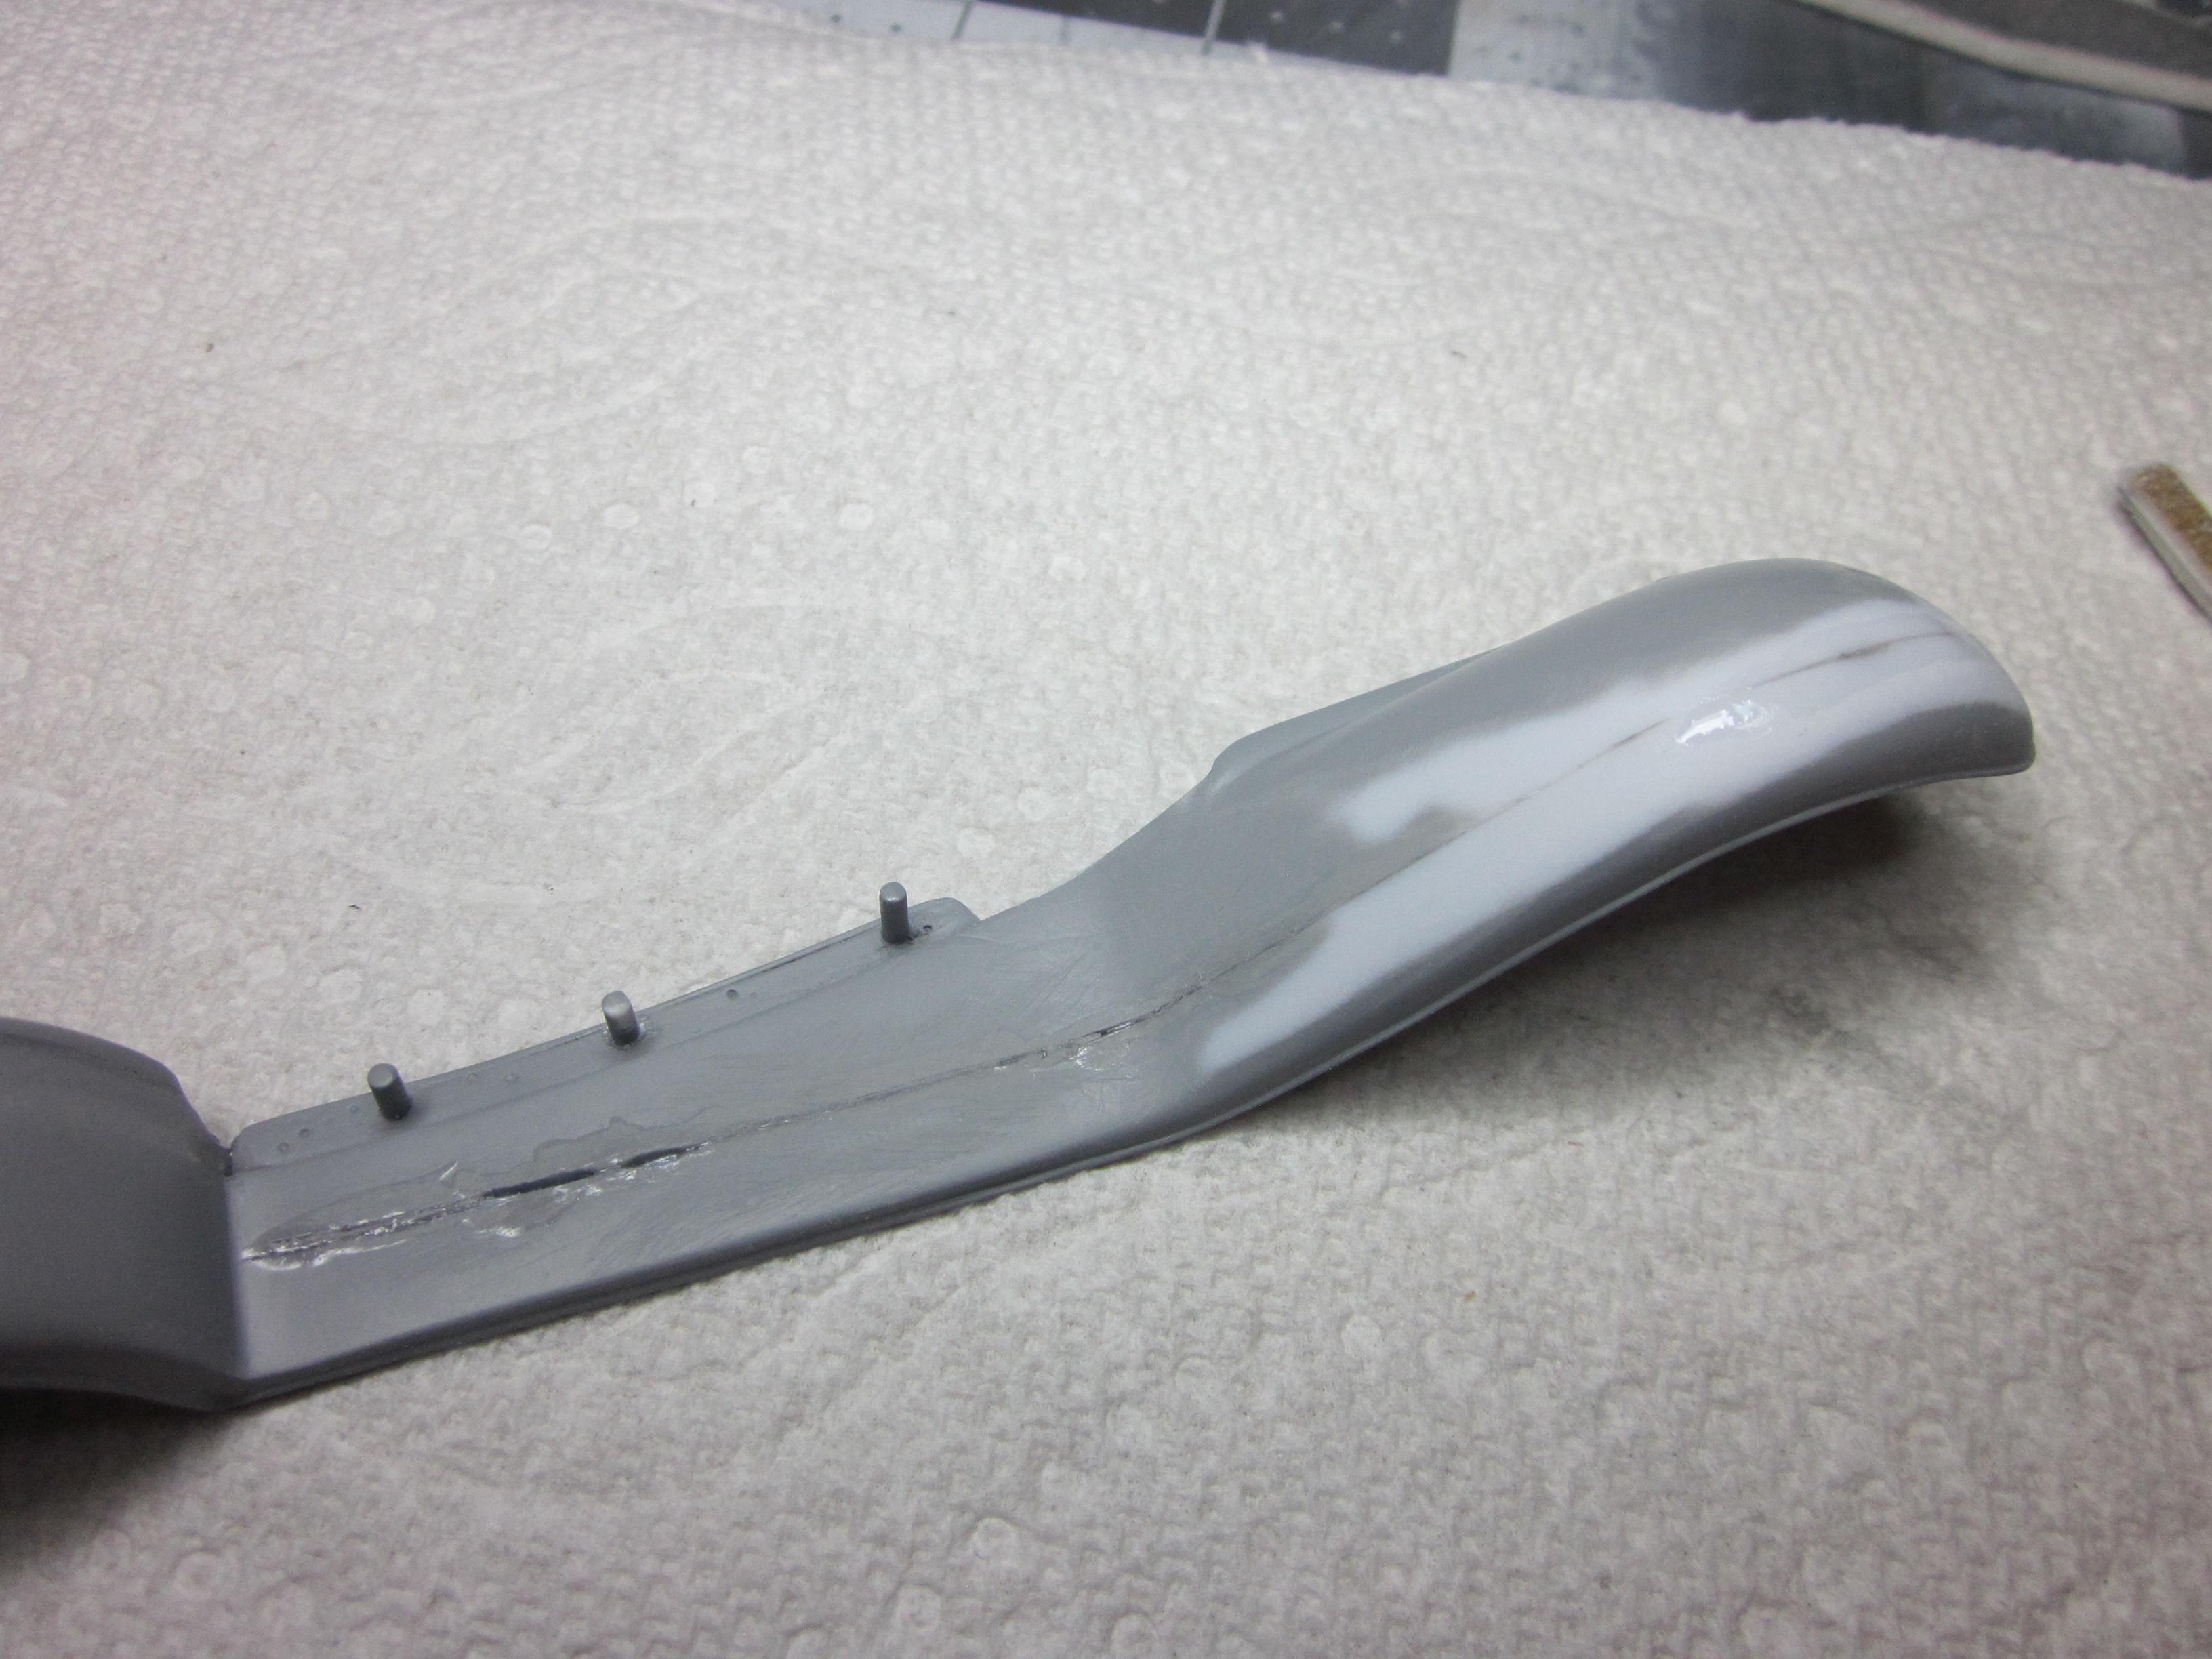
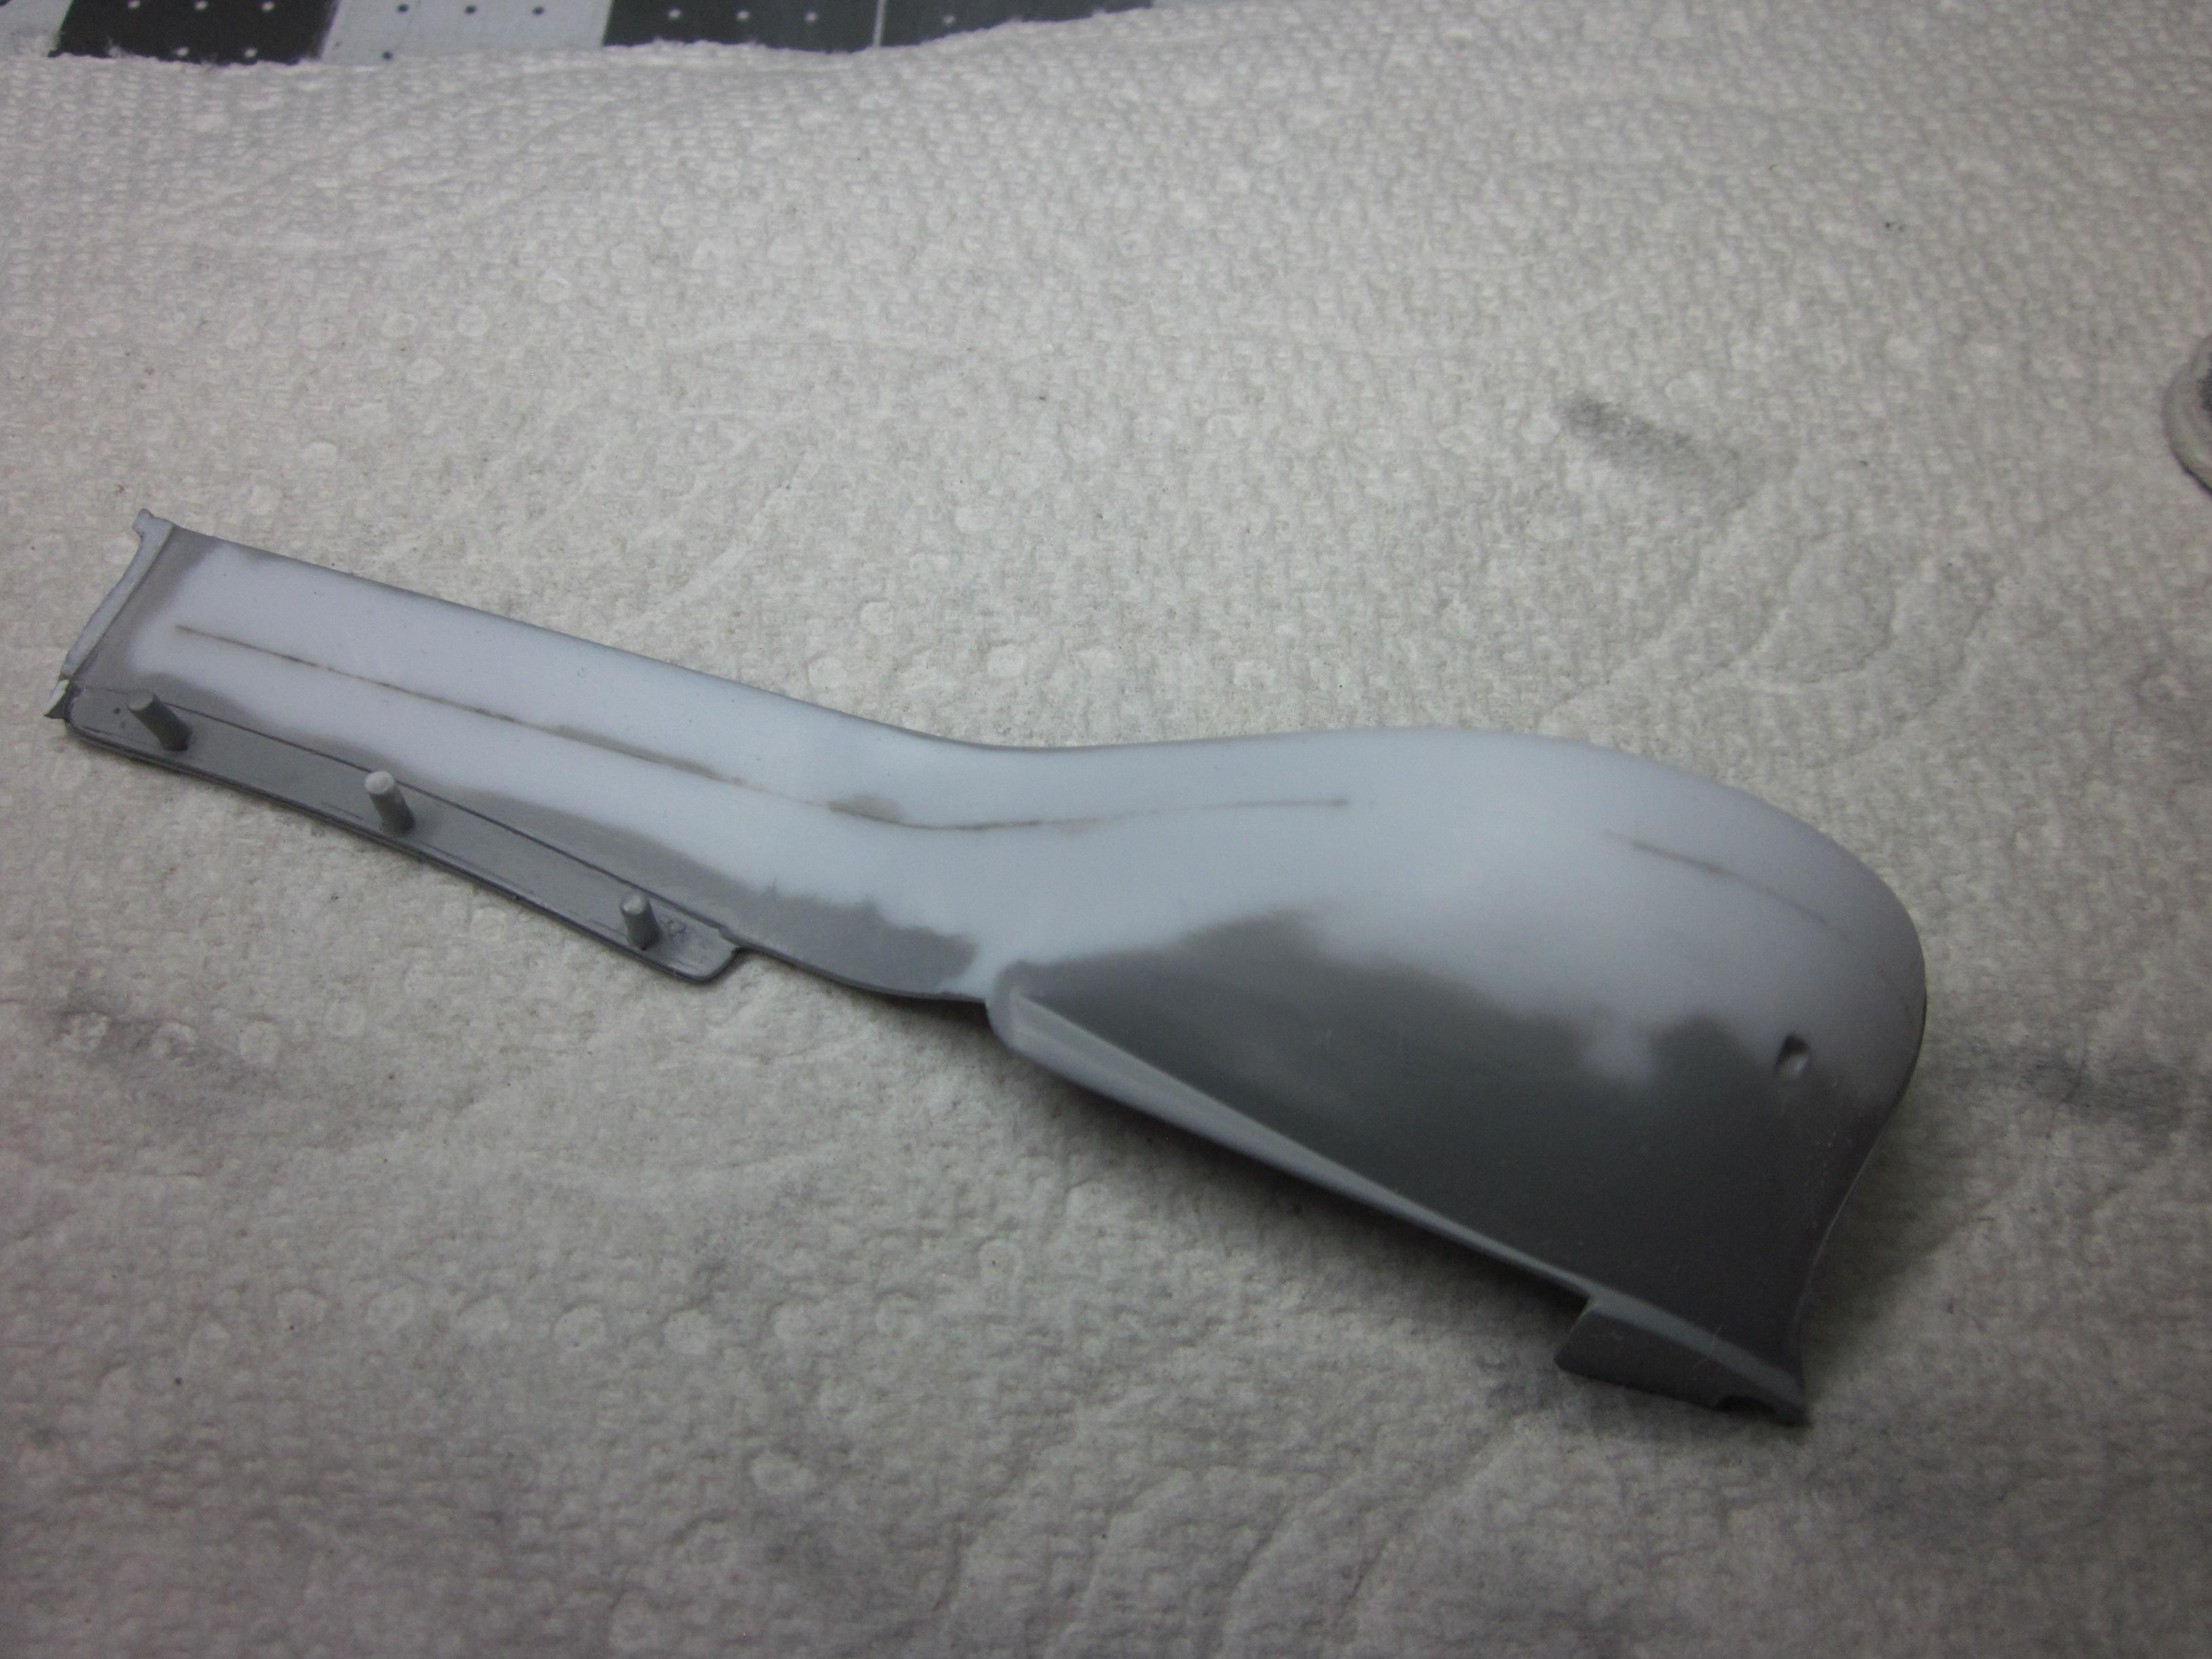
Thought I would show the results of taking a wedge cut out of the front fenders. Not sure if it was worth doing, but there is a small change. And I'm glad I'm not building new fenders. That's it for now.
-
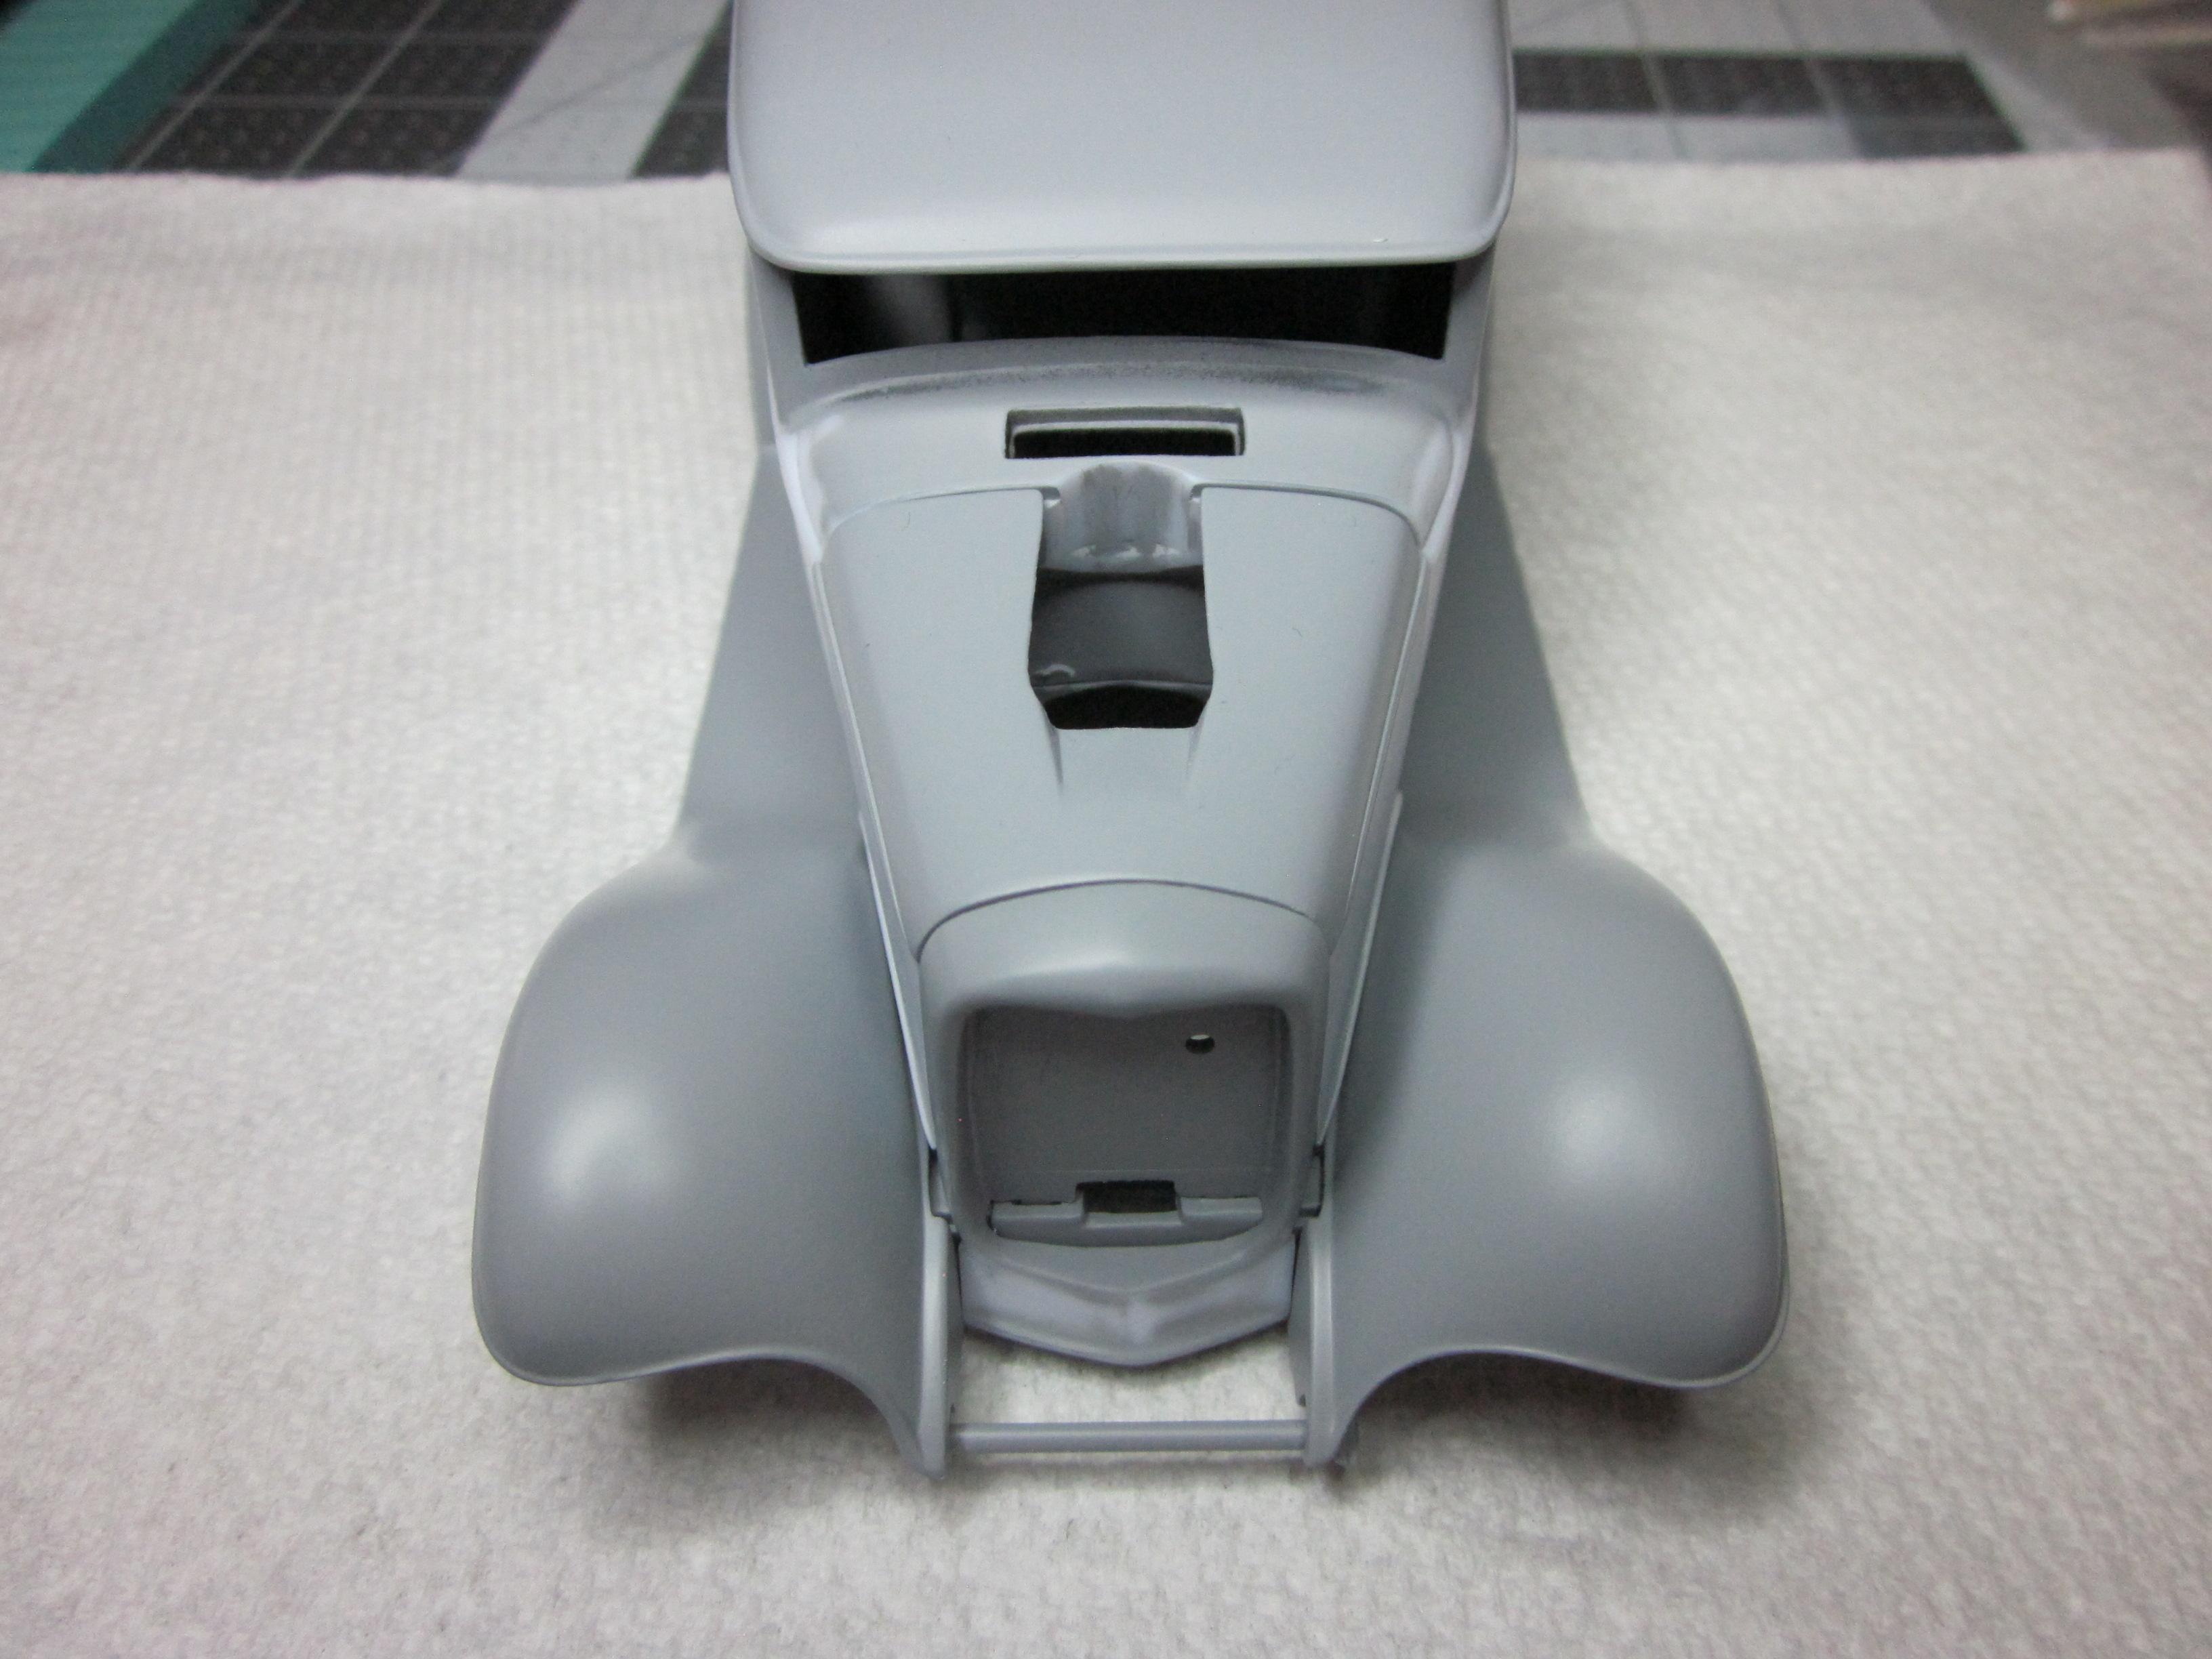
So I have yet another little mod that I want to do. As I was reviewing the pictures of the front of the car, I couldn't help but think that it just looks like it needs to loose some weight (make it look thinner). And also noticed how far the front tires are in under the fender. So what I am thinking is, why not remove a wedge cut from the center of the fenders right down through the running boards. Not a whole lot, maybe around .060 at the big end and going to the thickness of the blade at the end of the running boards. Both fenders have been taped off and are ready to see the blade. I'v got a lot of time in these fenders. I hope I don't mess this up, I don't want to build another set. When the parts are glued back together, only CA glue will be used to fill the gaps. You can see the gaps that are being filled. Not just the top side, but the bottom too. Glue, sand, glue, sand for a while. Still have to fix the left rear fender darn it. Things happen. More to come.................
-
Who doesn't love a mock-up? Let's see yours!
Speedpro replied to Belairconvertable's topic in WIP: Model Cars
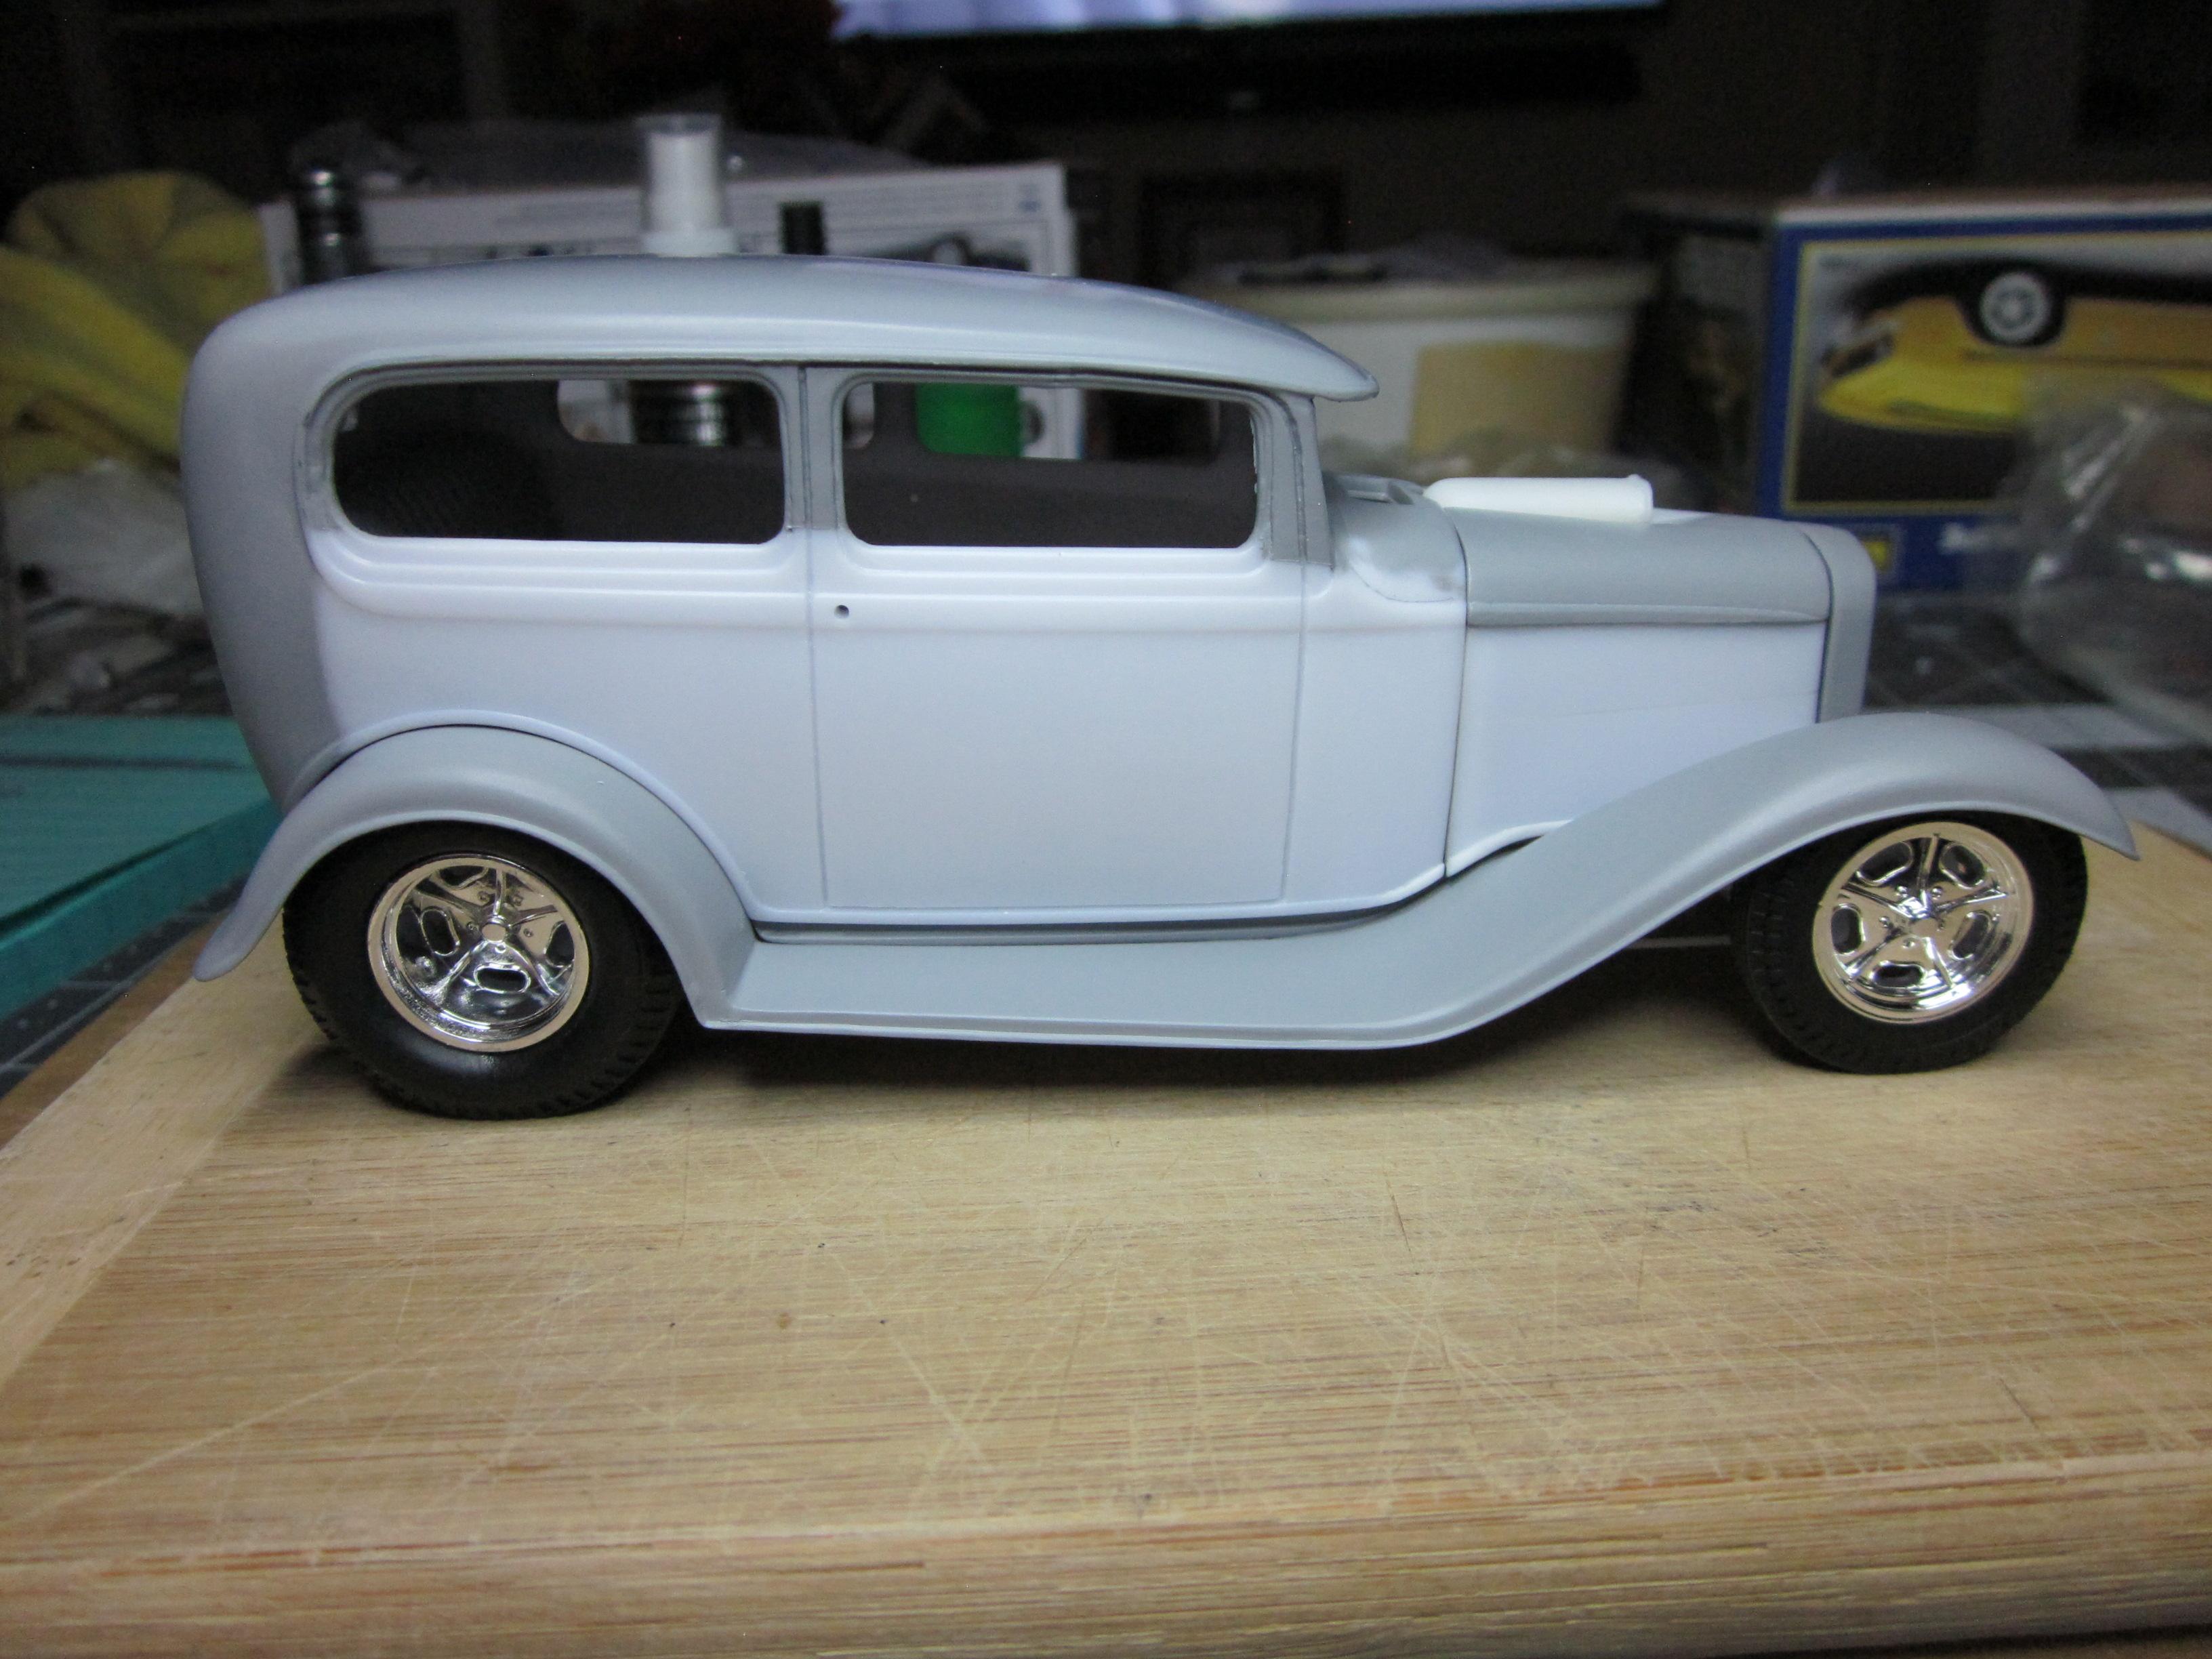
'32 Sedan getting primer.
-
Bill, I appreciate your comment. Alot of the mods that I do are what I call the 2-3 inch rule. Just change things enough to make a person look twice. I think it gives a little character to the build. And I want to say, your '32 is pretty impressive. Just the right amount of this and that. Well done sir.
-
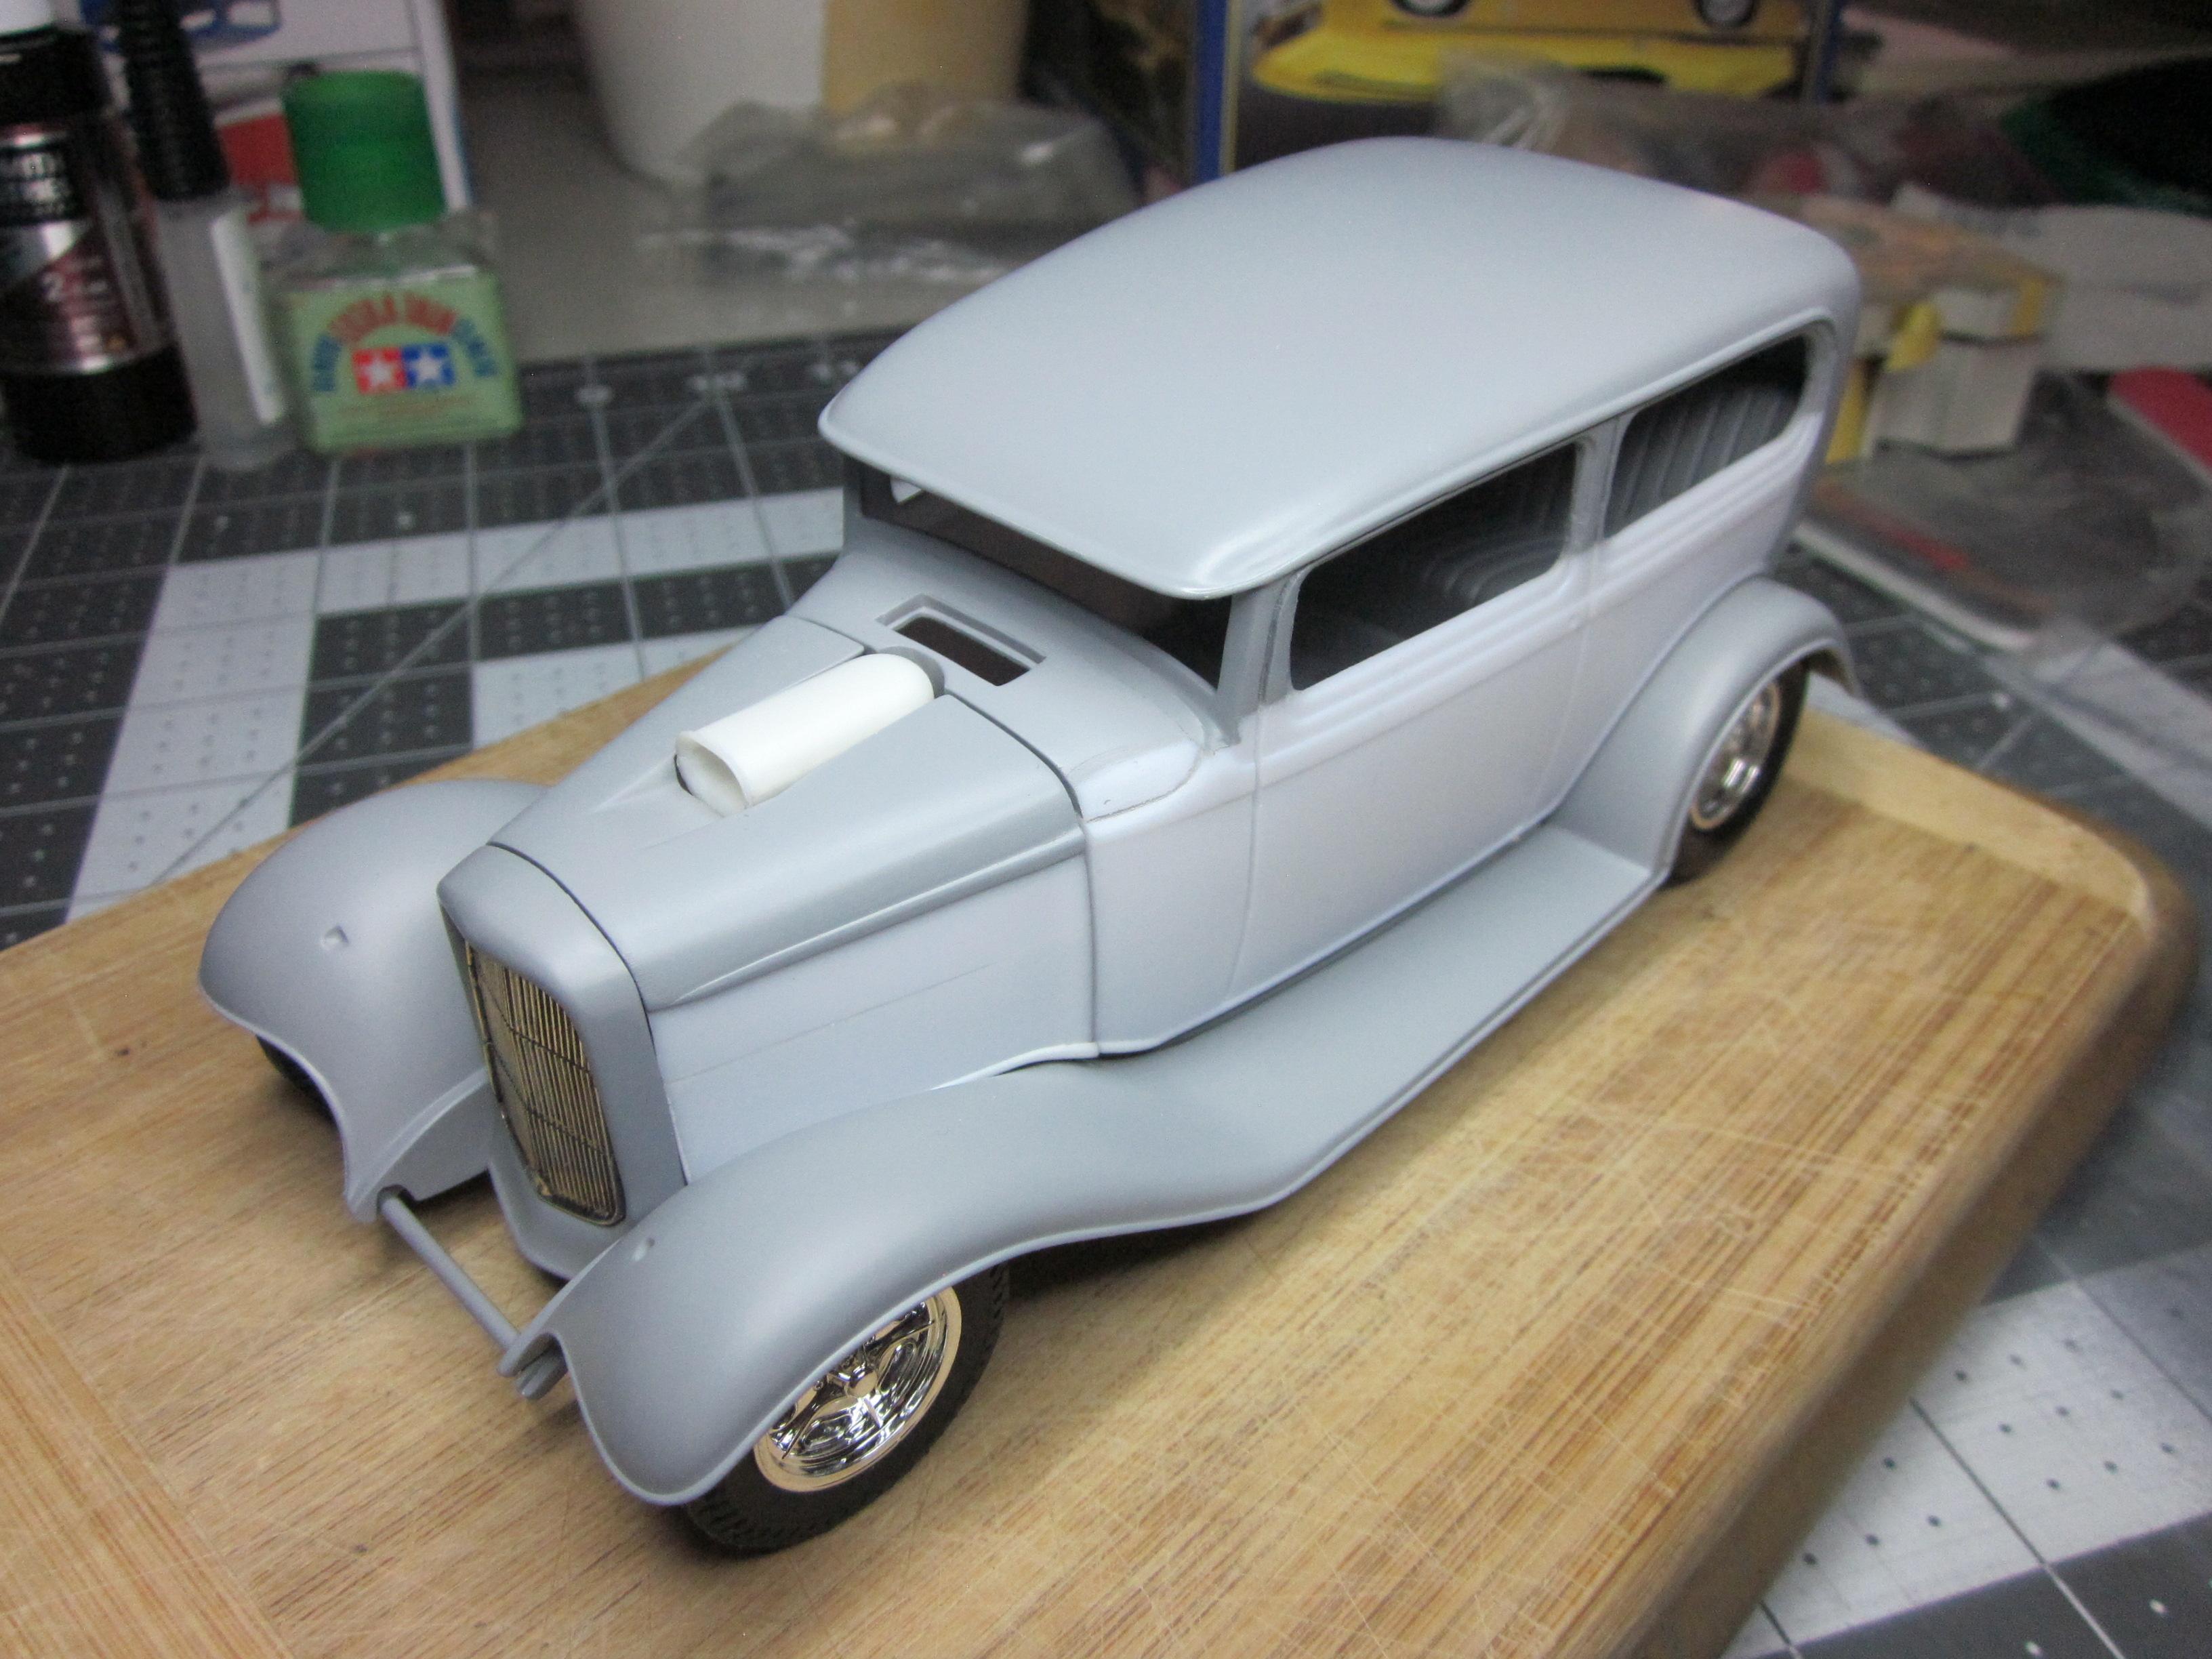
Awhile back I put my '32 on the back burner and spent some time building and working on a few other projects. A couple weeks back I pulled the '32 back out and have been working on getting it in primer. Alot of the small imperfections have been fin tuned but there is still more to do. Here is a few picks of it's progress. As you can see, things are getting close to paint. I am trying to build this thing more or less with the parts that are in the box at this point. Spent alot of time trying to figure out "What can I do" and just found it easier this way. Its a great kit, don't mess with it, just modify it! The blower and rear end extension are the only added parts so far. The engine is being built with the kit parts and will be using the blower from the nova gasser kit. The interior..................I don't know. Haven't got that far in my head. Thanks for looking and more to come...........
-
Thats a great looking interior. Nice color choice and I like the wood grain and bronz strip on the coach interior as it adds extra detail.
-
I have one out of the '60 chevy pickup you can have. PM me your address.
-
Good looking project. I like the color and it pops in the sunlight. Is that revell chrome spray your using?
-
Definitely worth going. I myself drove 3 days from Kalispell Montana.
-
Need one front tire for this Hasegawa kit.
-
Wow, That's pretty nice! Exceptional detailing in the engine bay. Great build!
-
Very Nice! The interior is really wild looking in those colors.
-
Headers and exhaust look like they are working out so far. Nice work Bill!
-
Really looking good Greg! Everything is coming together nicely!
-
Nice clean build!
-
What a great build from a master modeler! The details are flat out stunning. I'm blown away by this build in so many ways. Thanks for sharing!!
-
Something you don't see every day! Very nice clean build!
-
And the most beautiful Impala award goes to? I love this build. That color blows Madeira Maroon away. Outstanding paint and foil work. Great photography.
-
Very nice!
-
Instead of using wire or magnets, just take small strips of 0.030 sheet styrene, set the part in place and glue the strip to the outside of the body part that is being joined staying away from sharp radiuses and it's done. Finish glueing the part in place and sand the strips off. Seems like a lot of work using the wire method. If the part is cut correctly, you won't need any of this stuff anyway. Better results.
-
Decided to retire this build till a later time.
-
It’s looking good David. I like builds like this. You're doing a great job. I had the privilege to work on a RH drive version of this car. Yellow w/red interior. The shifter in this car is crazy, nicknamed "Idiosyncratic". Not something that just anyone can get into and drive. The Blue has my vote.