Speedpro
-
Posts
842 -
Joined
-
Last visited
Content Type
Profiles
Forums
Events
Gallery
Everything posted by Speedpro
-
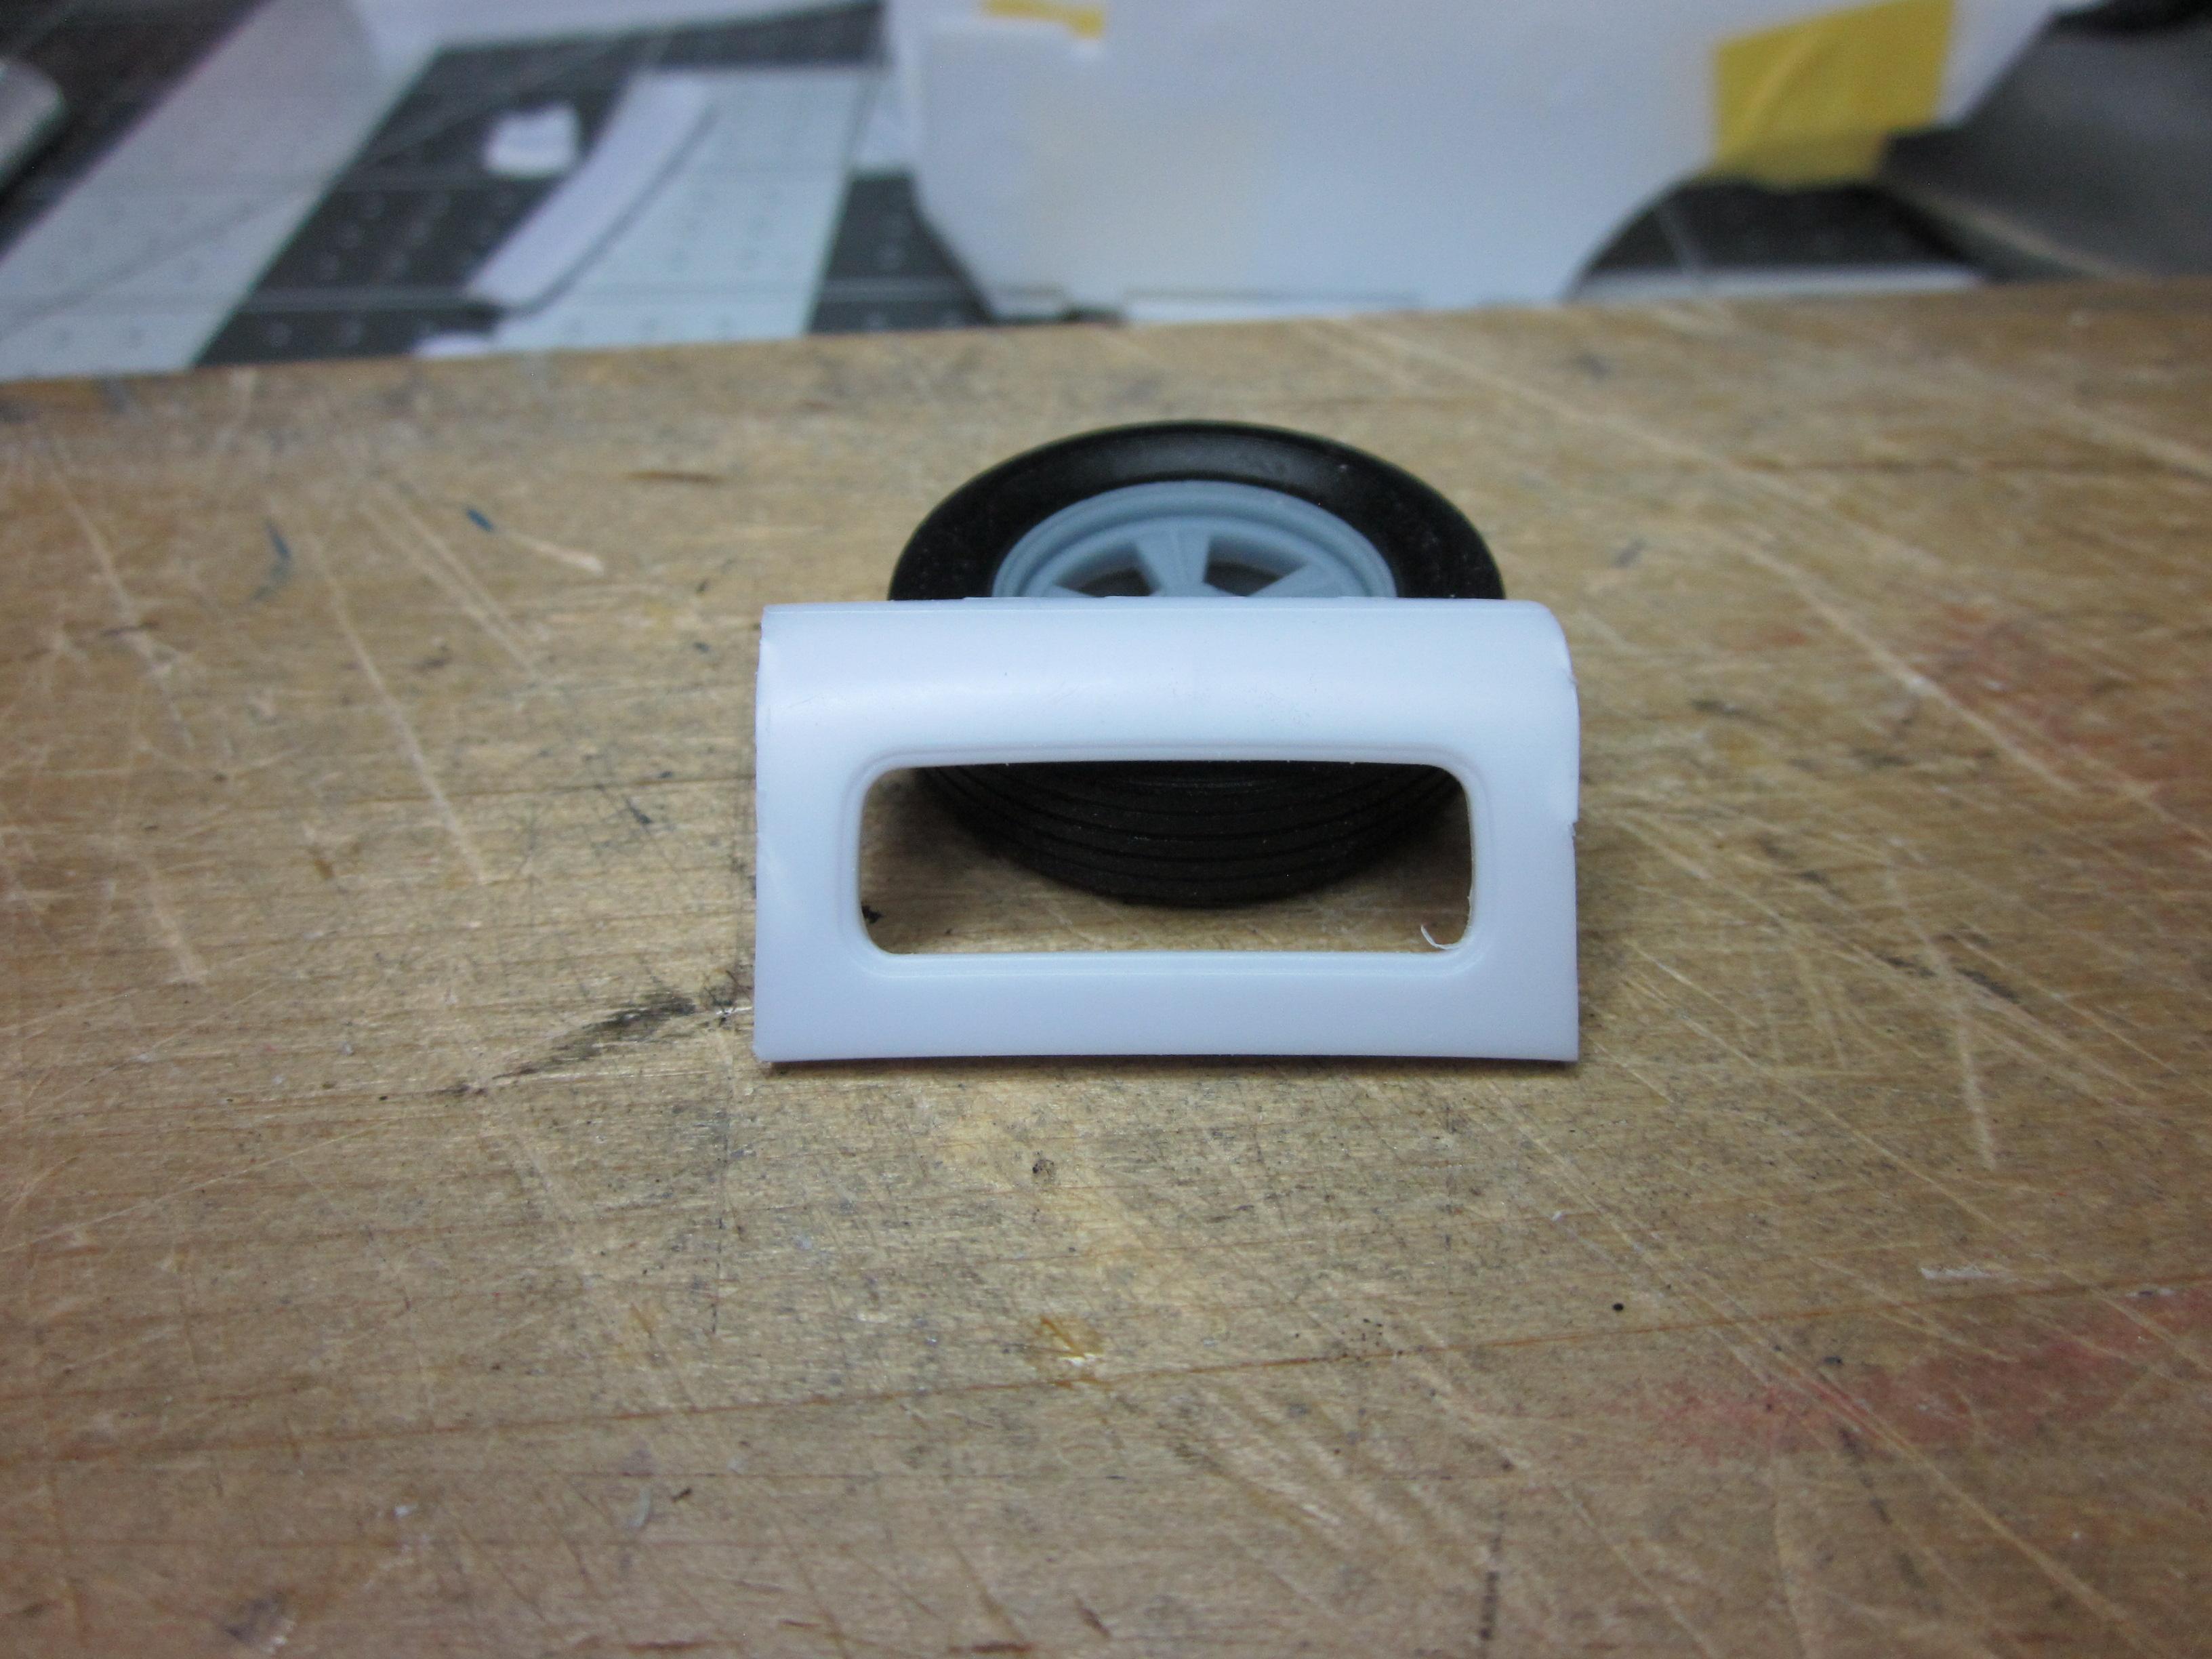
Quick update, I worked on the radiator shell and still have some more to do in that area. But at least I got it about where it needs to be. I think I found the tires that will be used. I am happy with the way the car will sit with them. The mockup tires just made the back sit up too high. I'll rework the suspension to keep this ride height as best I can. I did a little fender bobbing. Not sure if that was a good thing or not. But it is what it is! Till next time......................

-
I appreciate it, Steve!
-
Nice work so far! You have some great ideas. That exhaust is perfect. It's cool how mounting the mirrors to the door hinge gave the hinge some purpose opposed to just being there. Nice touch.
-
There is some really nice work happening here. It's fun to see everyone's ideas come to life. For me, I've made some progress. I have pretty much got the body the way I like it right now, so it's on to the fenders. Thought about this for a while as there are a couple different ways to approach this. After the channeling of the body the rear fenders no longer fit at this point of course. The first thing I wanted to do is rework the quarter panel to allow the fender to have room to sit higher in the body but didn't want to mess with that and what comes with it. Instead, the approach I chose to take is to cut the rear fenders off the running boards. At this point I just started rotating the fender and cutting off a little at a time where it mounts to the running board until it fit the quarter panel. I'm pleased with the results. And the fender and quarter panel fit perfect and have just a small area to clean up at the cut line. The wheels and tires are for mockup purposes only. And then there is this to work through.................................... Till next time........................................
-
Real nice work on that lower molding! Looks perfect!
-
Looking good @carnut, that custom piece for the taillight is definitely killer. You did good with the install! Nice project so far.
-
Thanks @Chris B, I appreciate your comment and following along with the build.
-
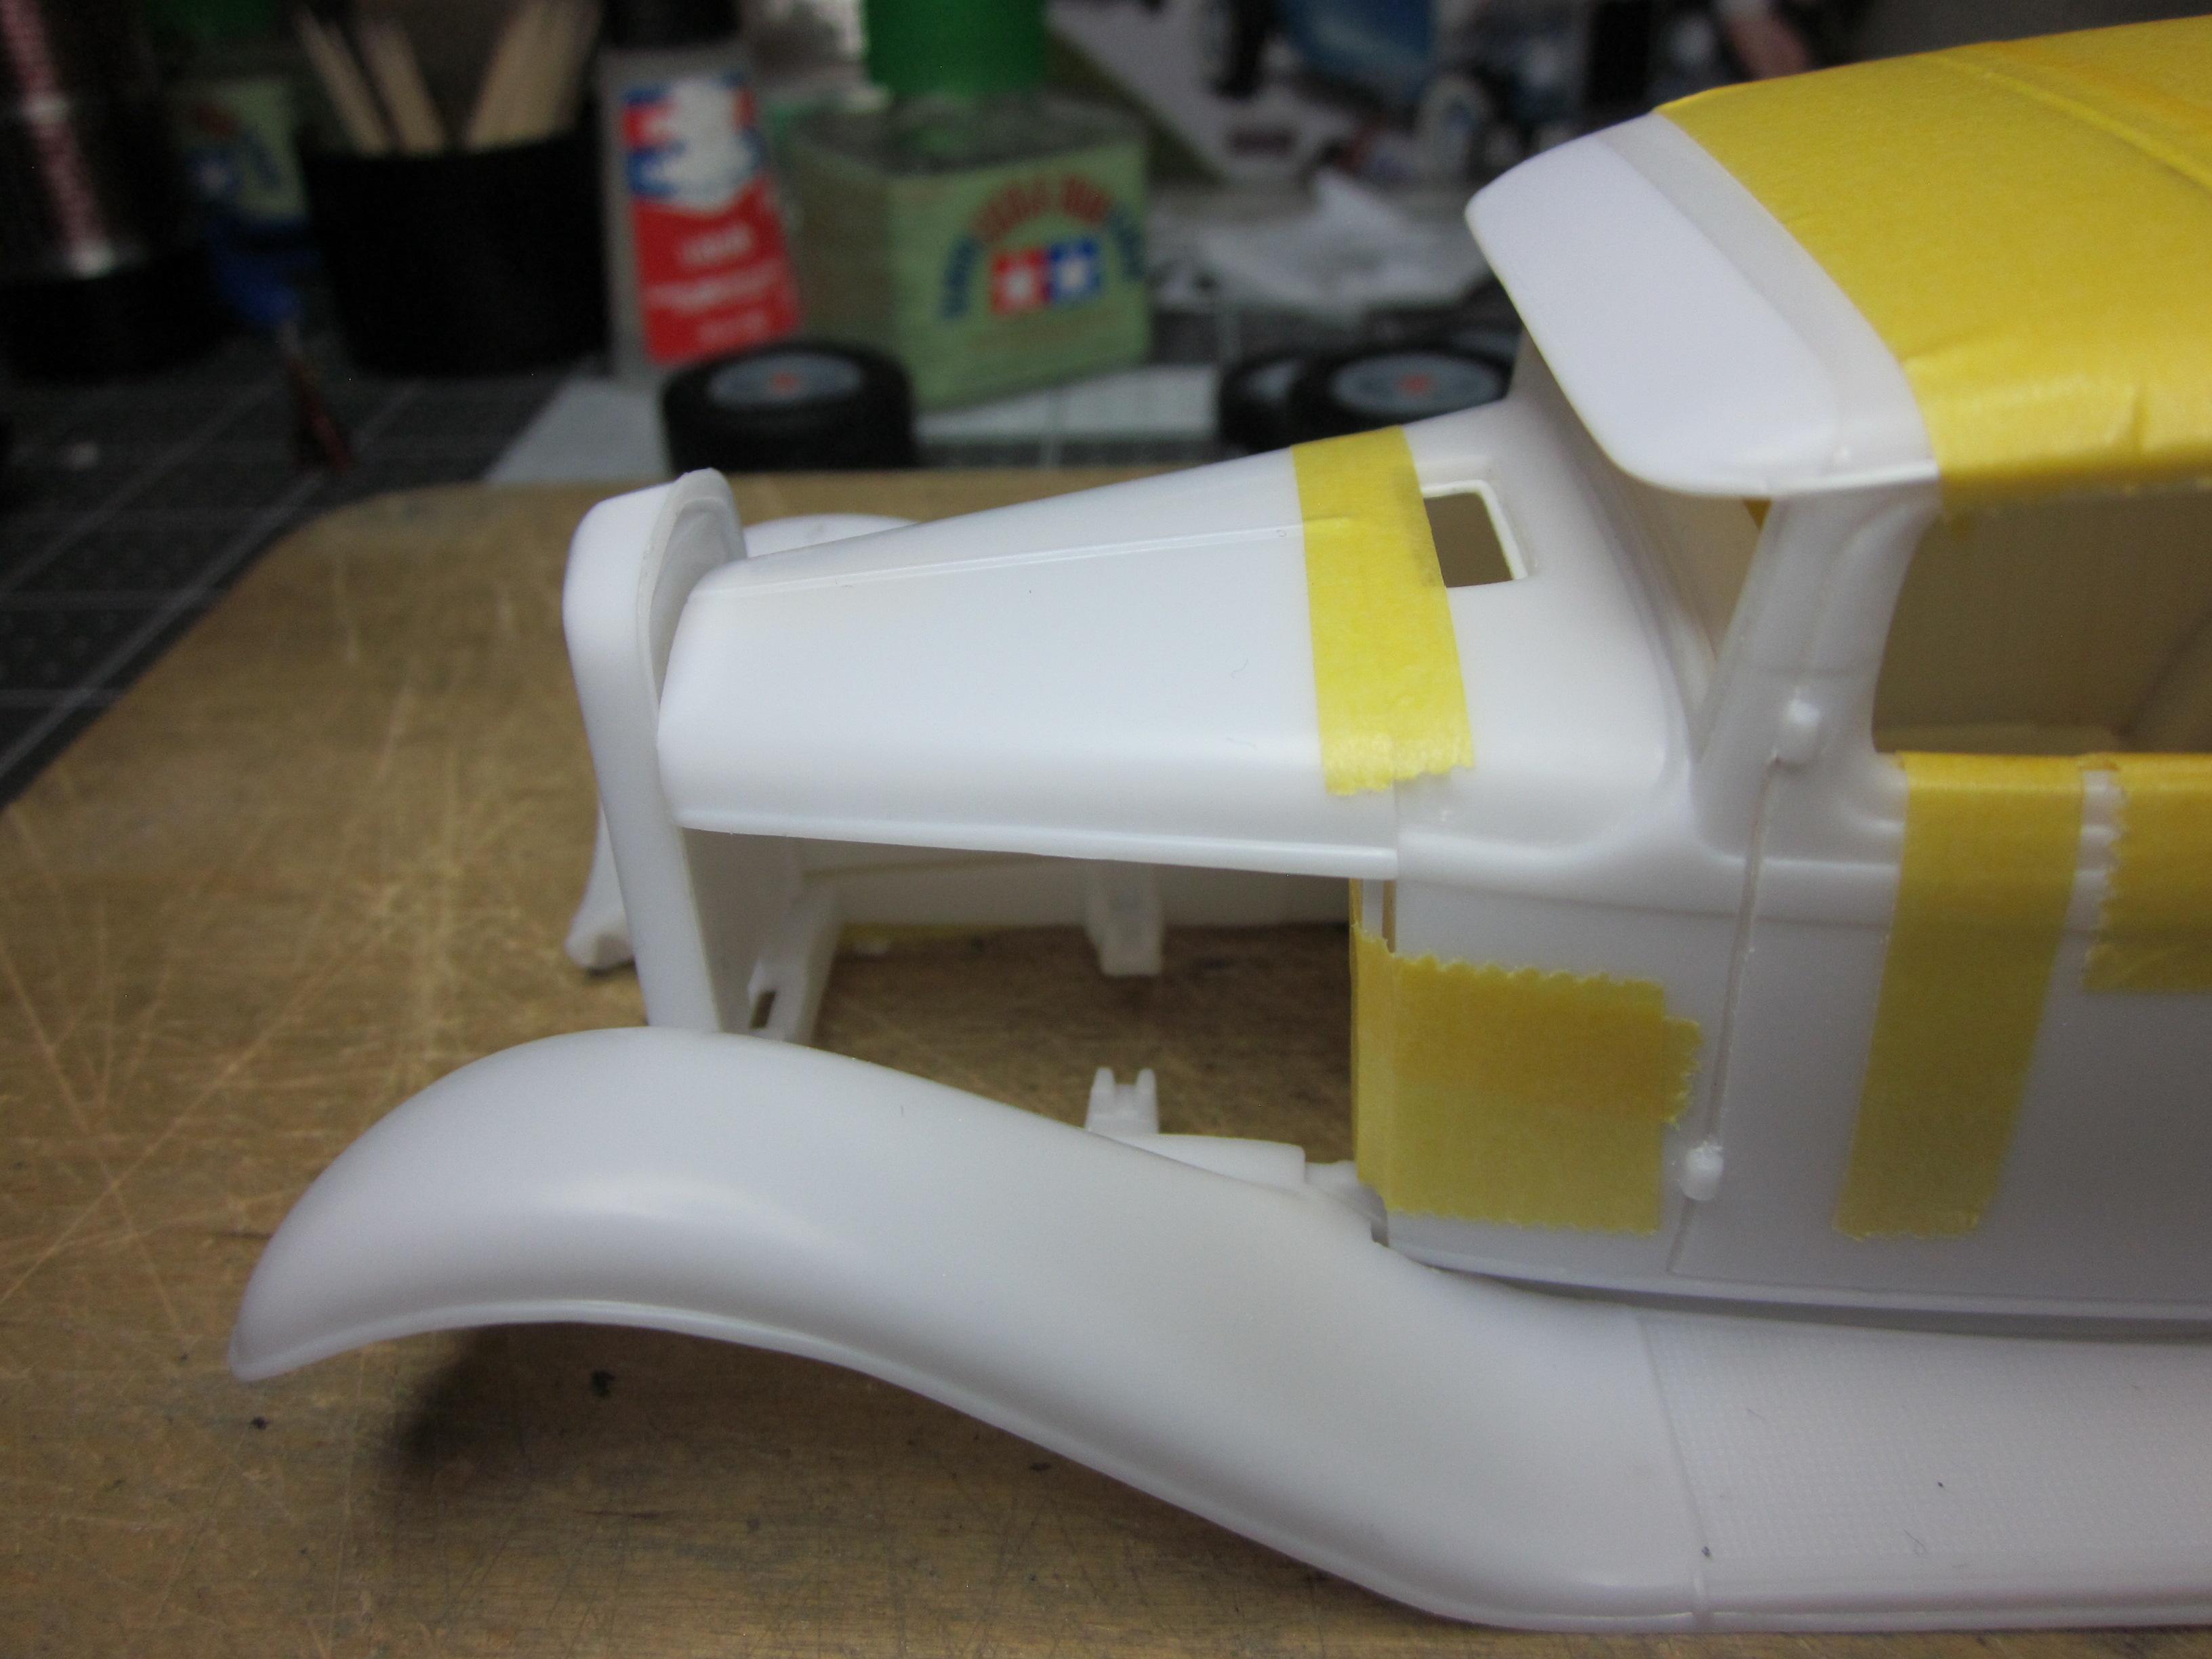
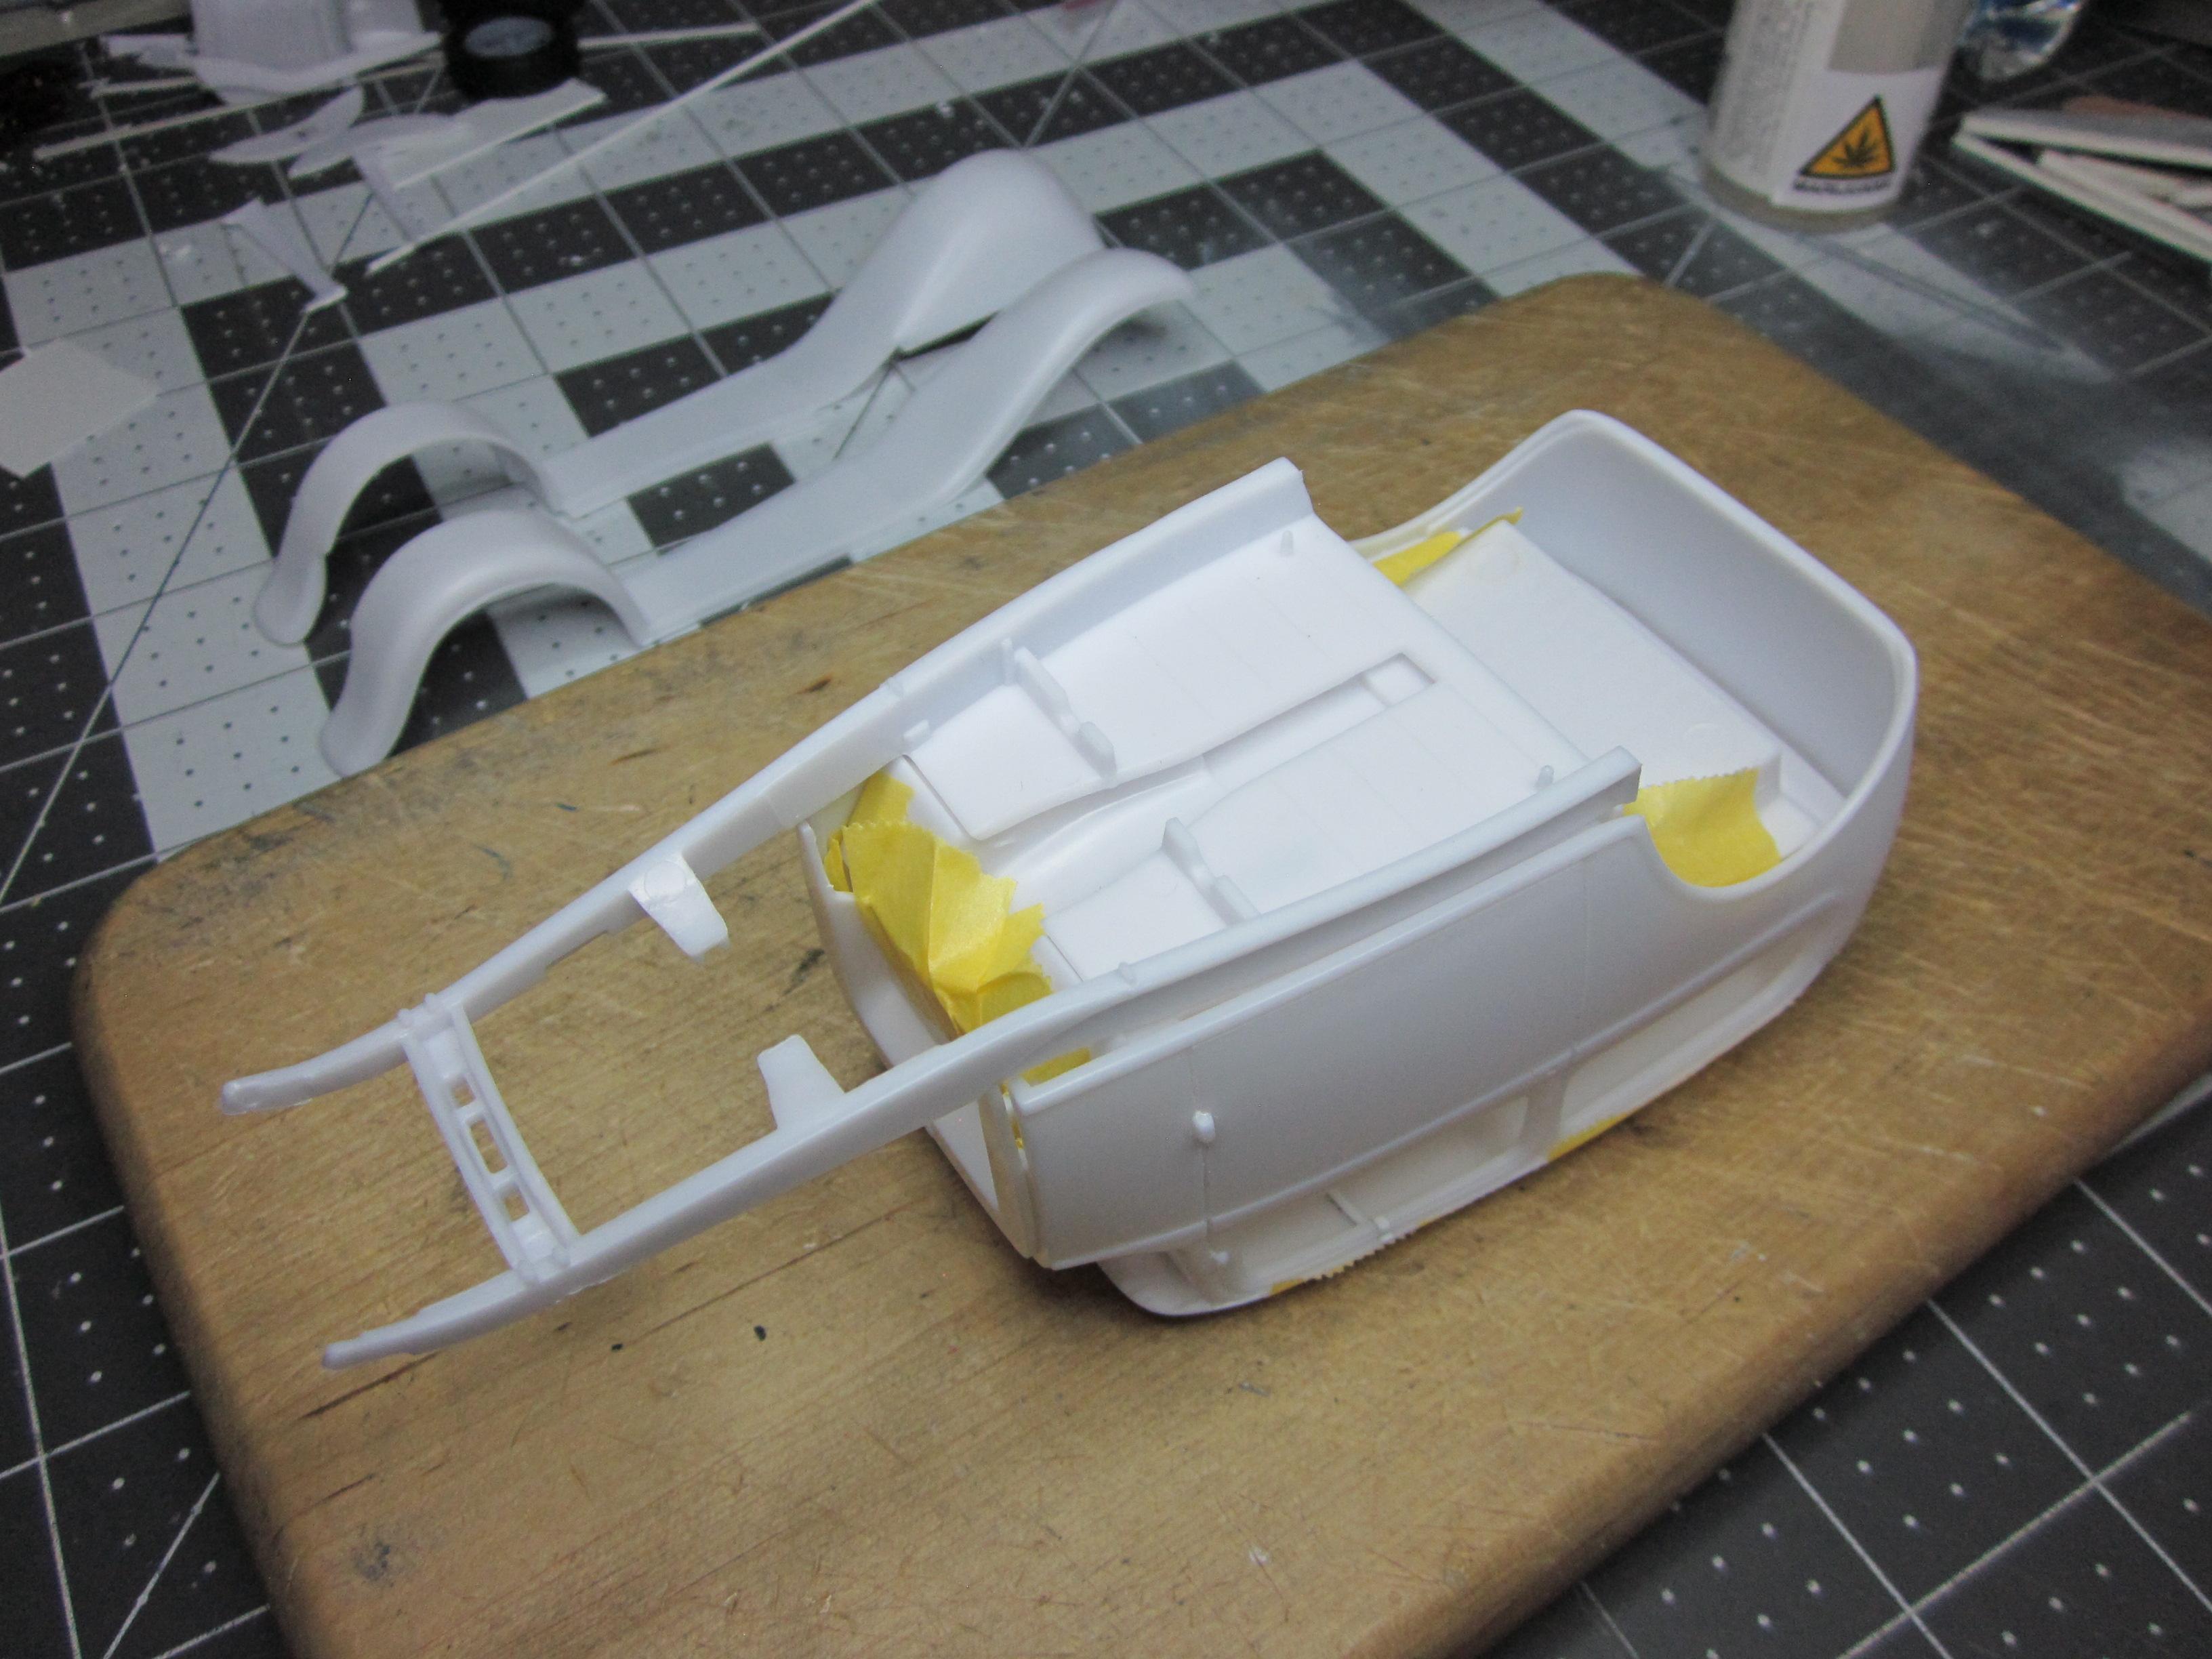
Had a left-over piece from the '30 top I salvaged the back window from. The visor. Was surprised how easily it was to make work. Almost like it was supposed to be there. Had to do a little filling, sanding and blending into the top. Overall, looks ok and was worth the effort. Also started some work on the frame. Decided to channel the body over the frame. What I did was thin down the frame, which in turn made the body look lower. Of course, this brings along a few more areas like the firewall, rear fenders and door panels that will need some work so everything plays nicely together. Didn't want to cover the whole frame from view, just about 3/4's of it. Till next time....................
-
Nice looking paint and the top turned out perfect!
-
I enjoy watching your builds, Dennis! Very thought out and well executed.
-

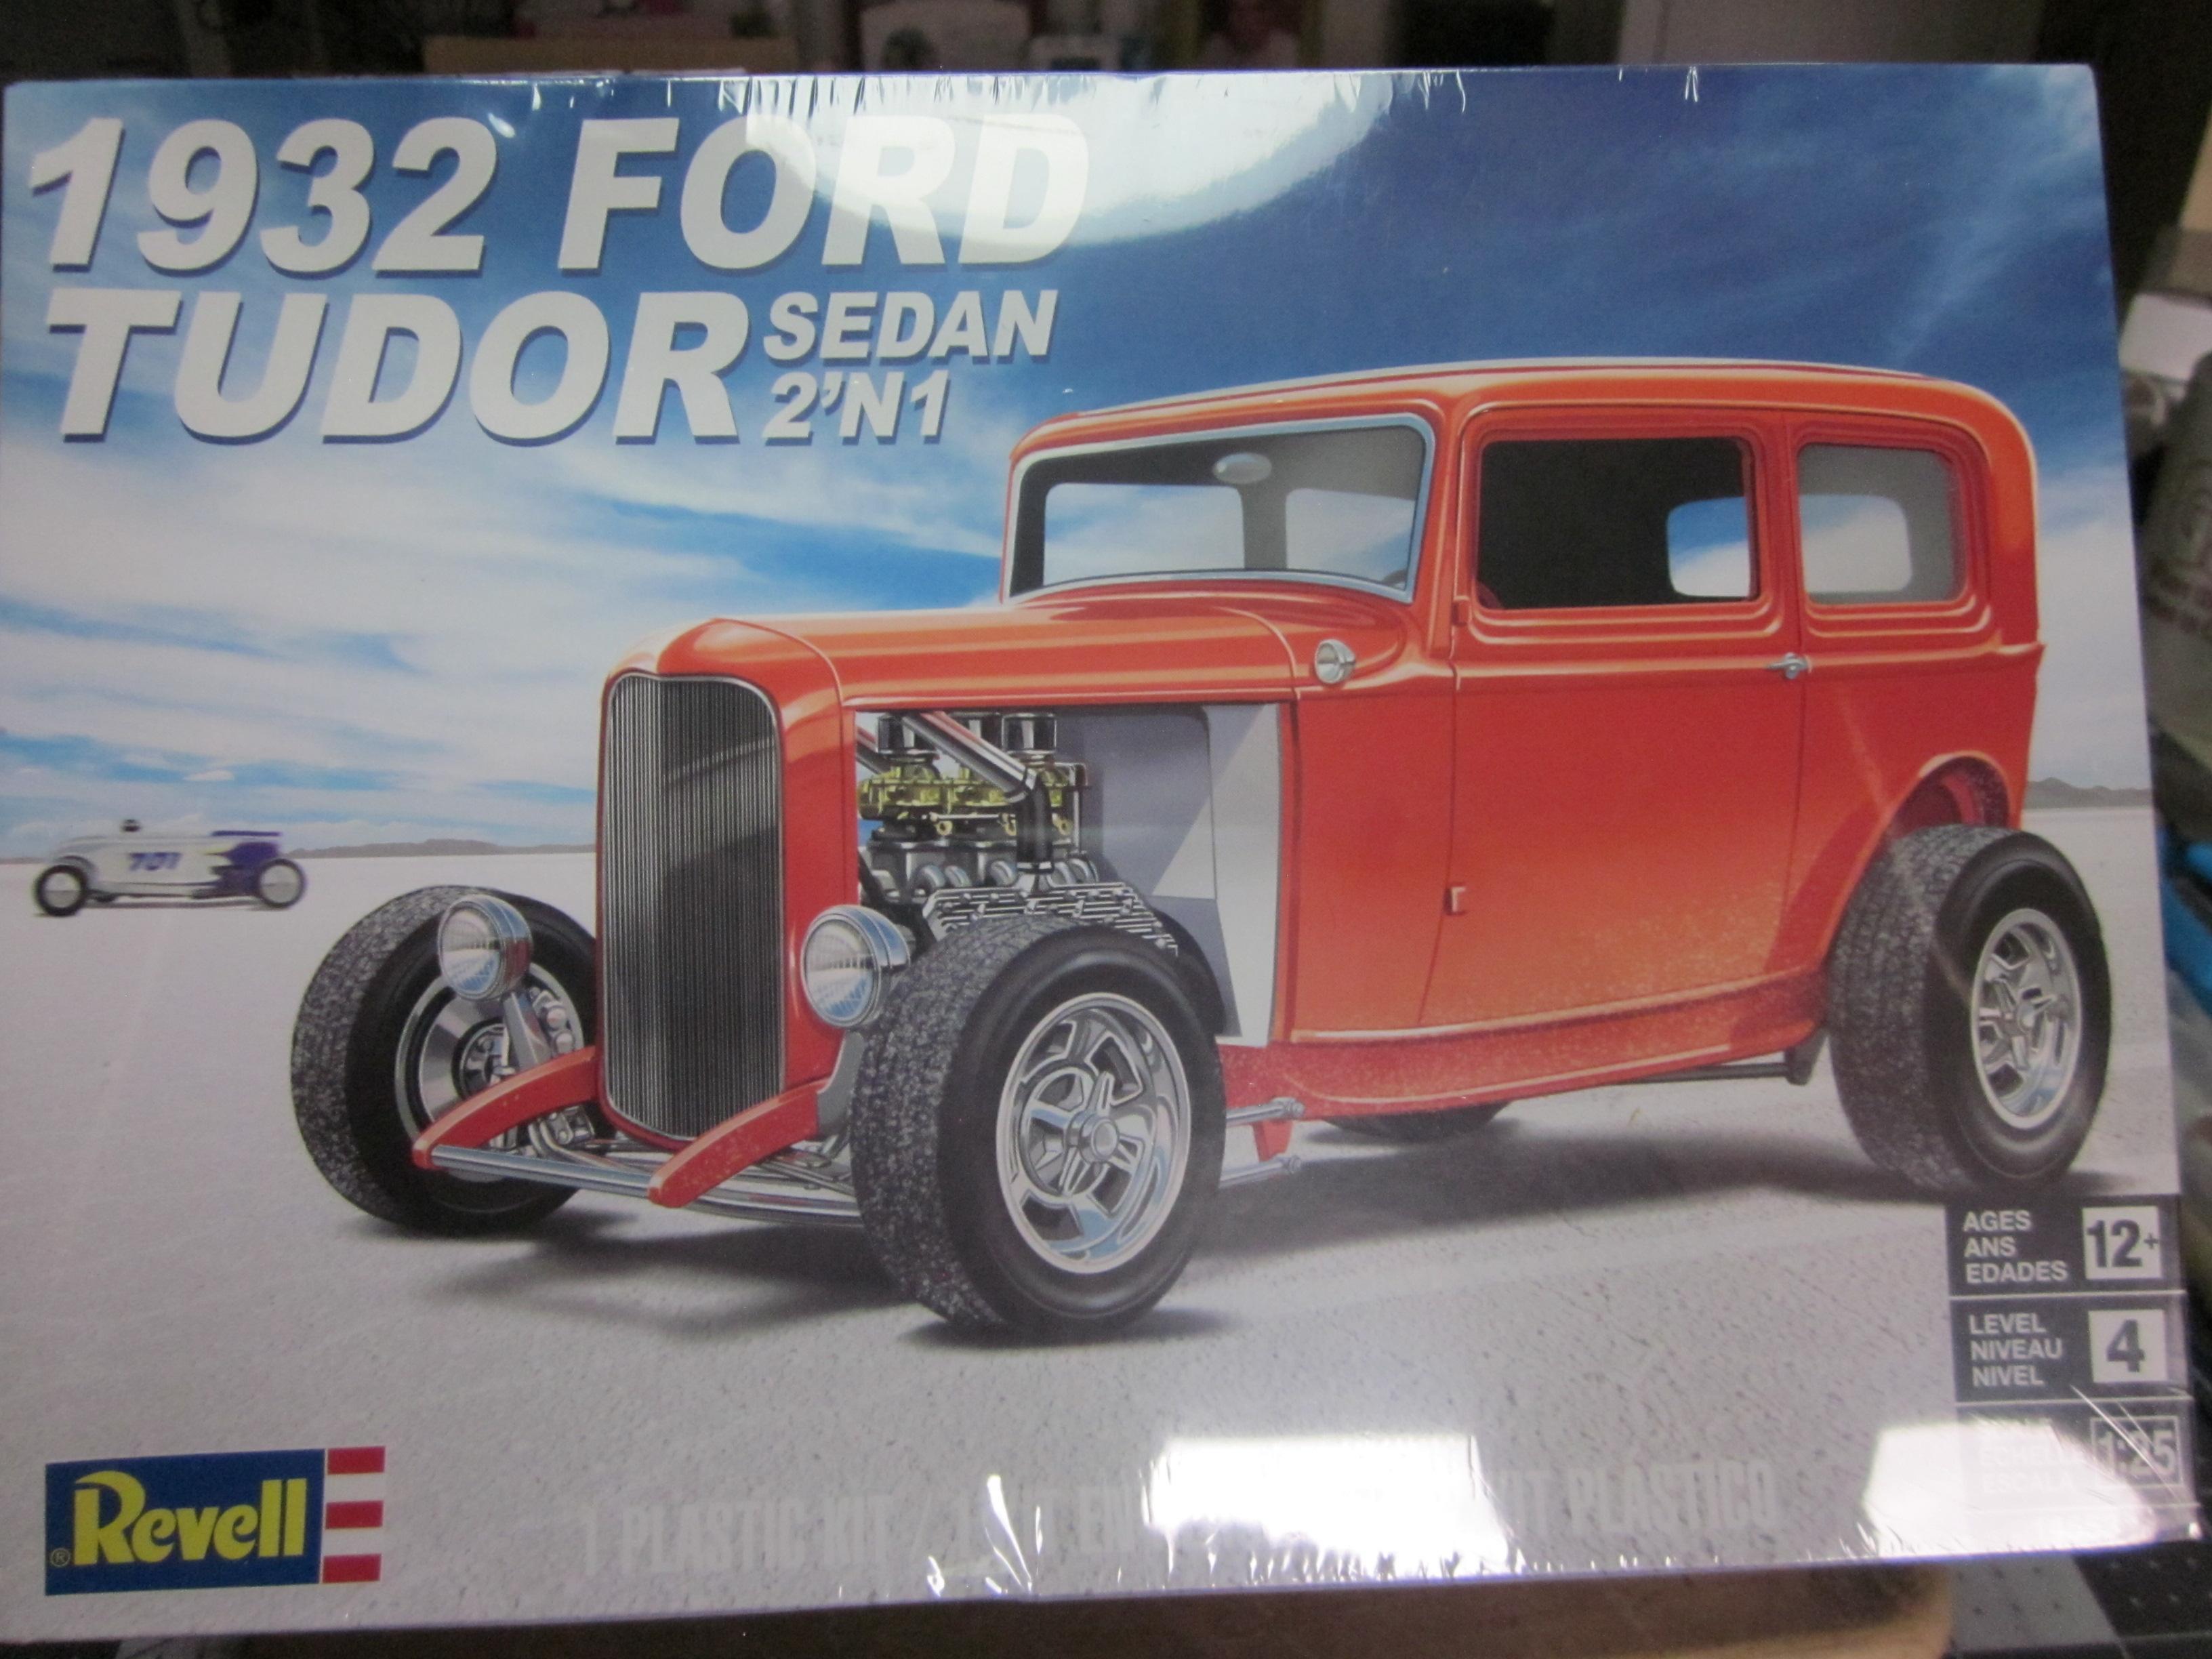
Chopped '32 Ford Tudor Sedan Highboy. The beginning!...
Speedpro replied to Tim W. SoCal's topic in WIP: Model Cars
Sounds like you have a great plan. I like that candy red. And that blown Ardun sounds tasty. -
Thats some nice crisp clean work. The paint must look really good in person. I have done brown paint, and it is really hard to look good in a photo. Very nice!
-
Nice work so far! Had a buddy who had one the same color. Went 130 plus a few times in it!
-
Nice start! I like the new firewall. I see you also removed the insert from the top.
-
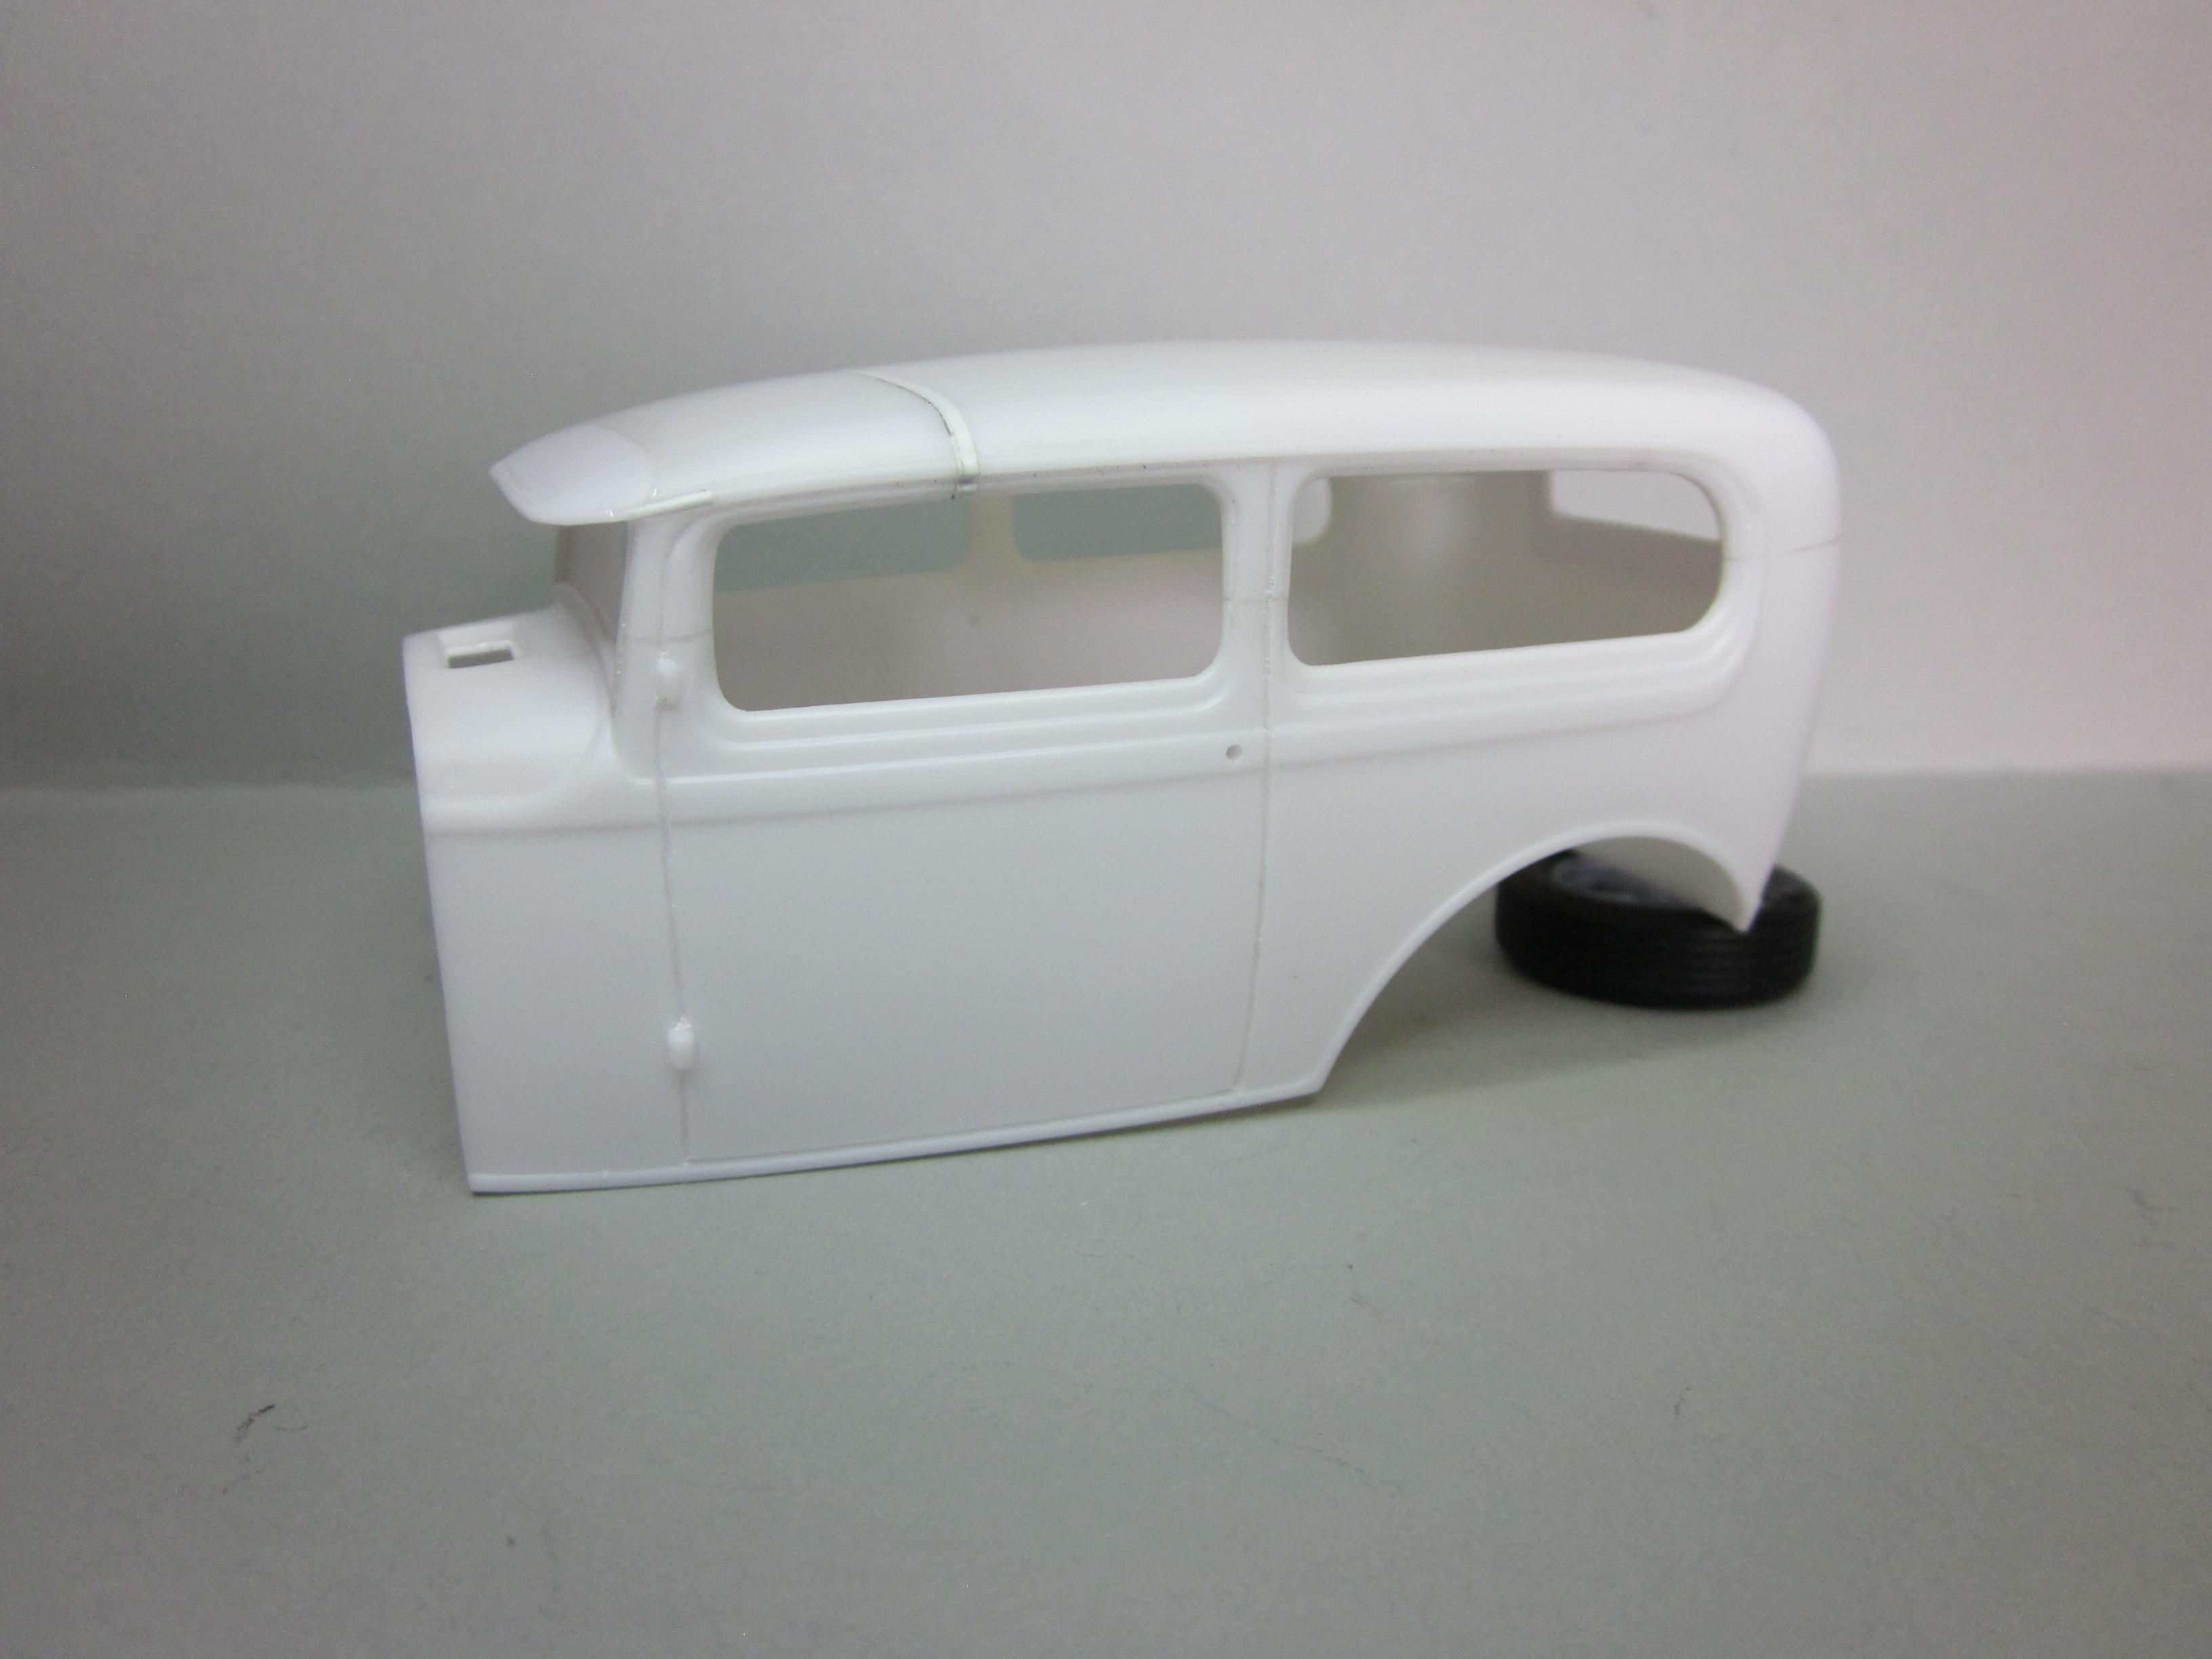
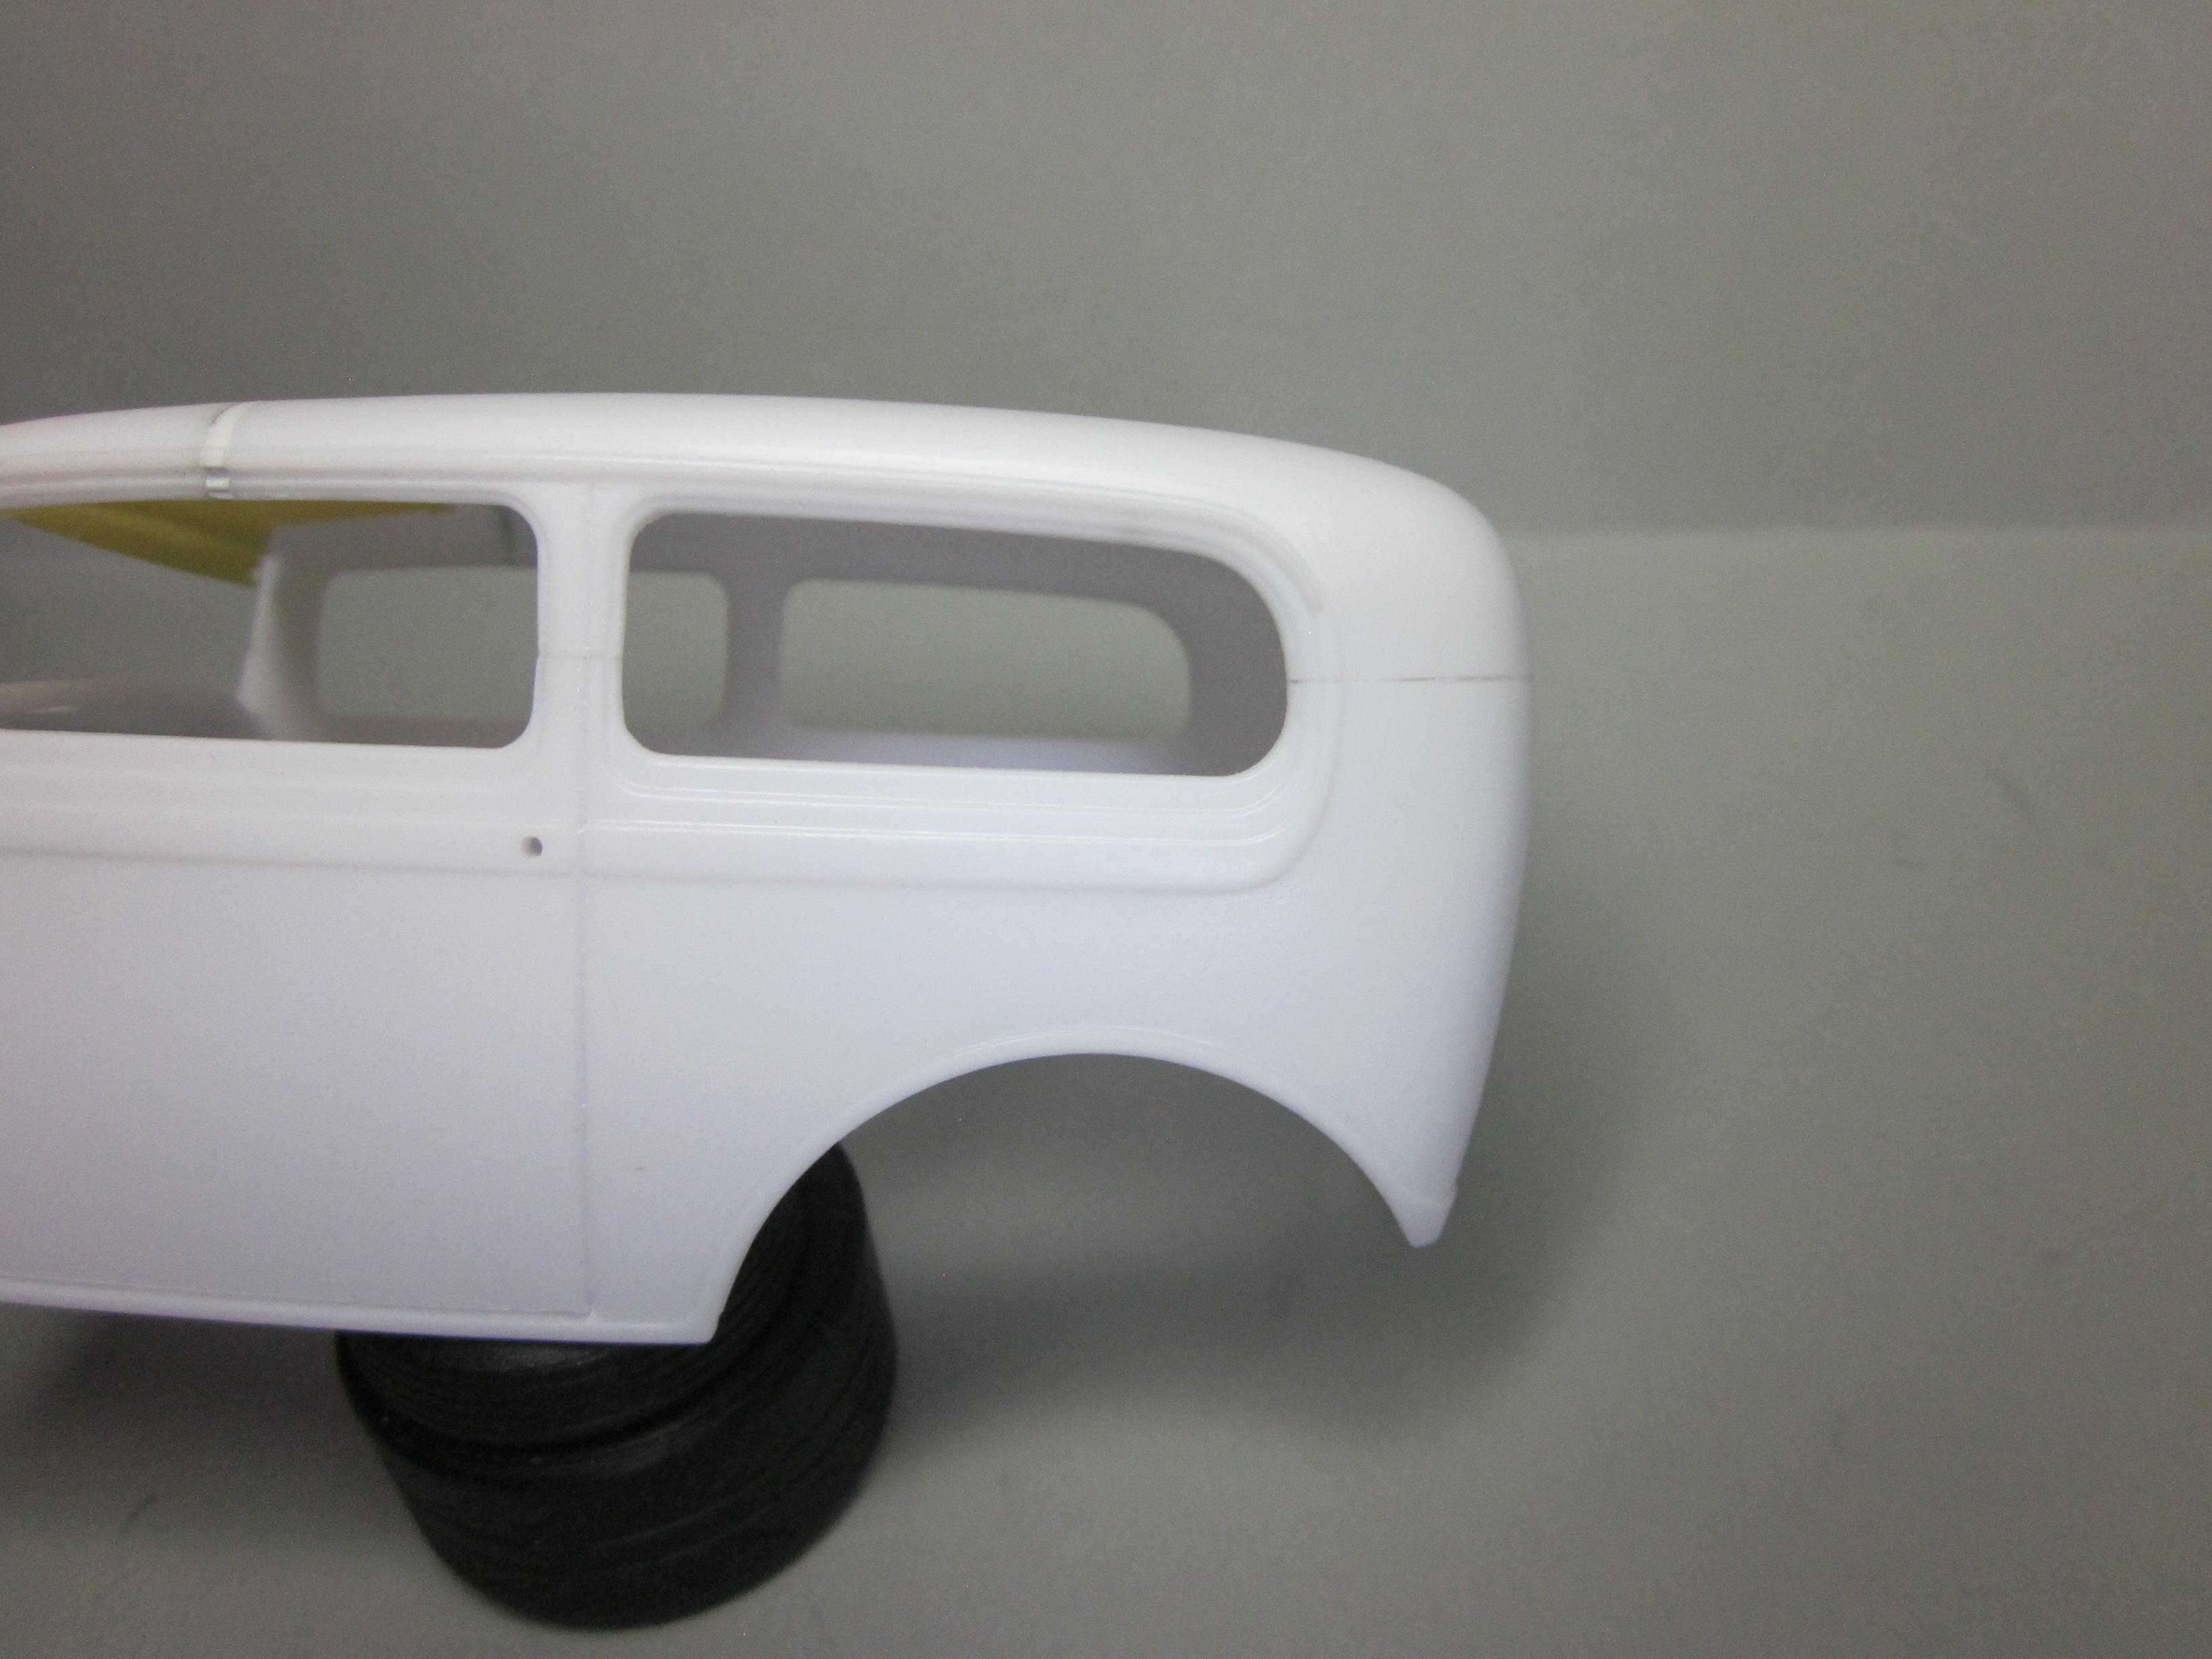
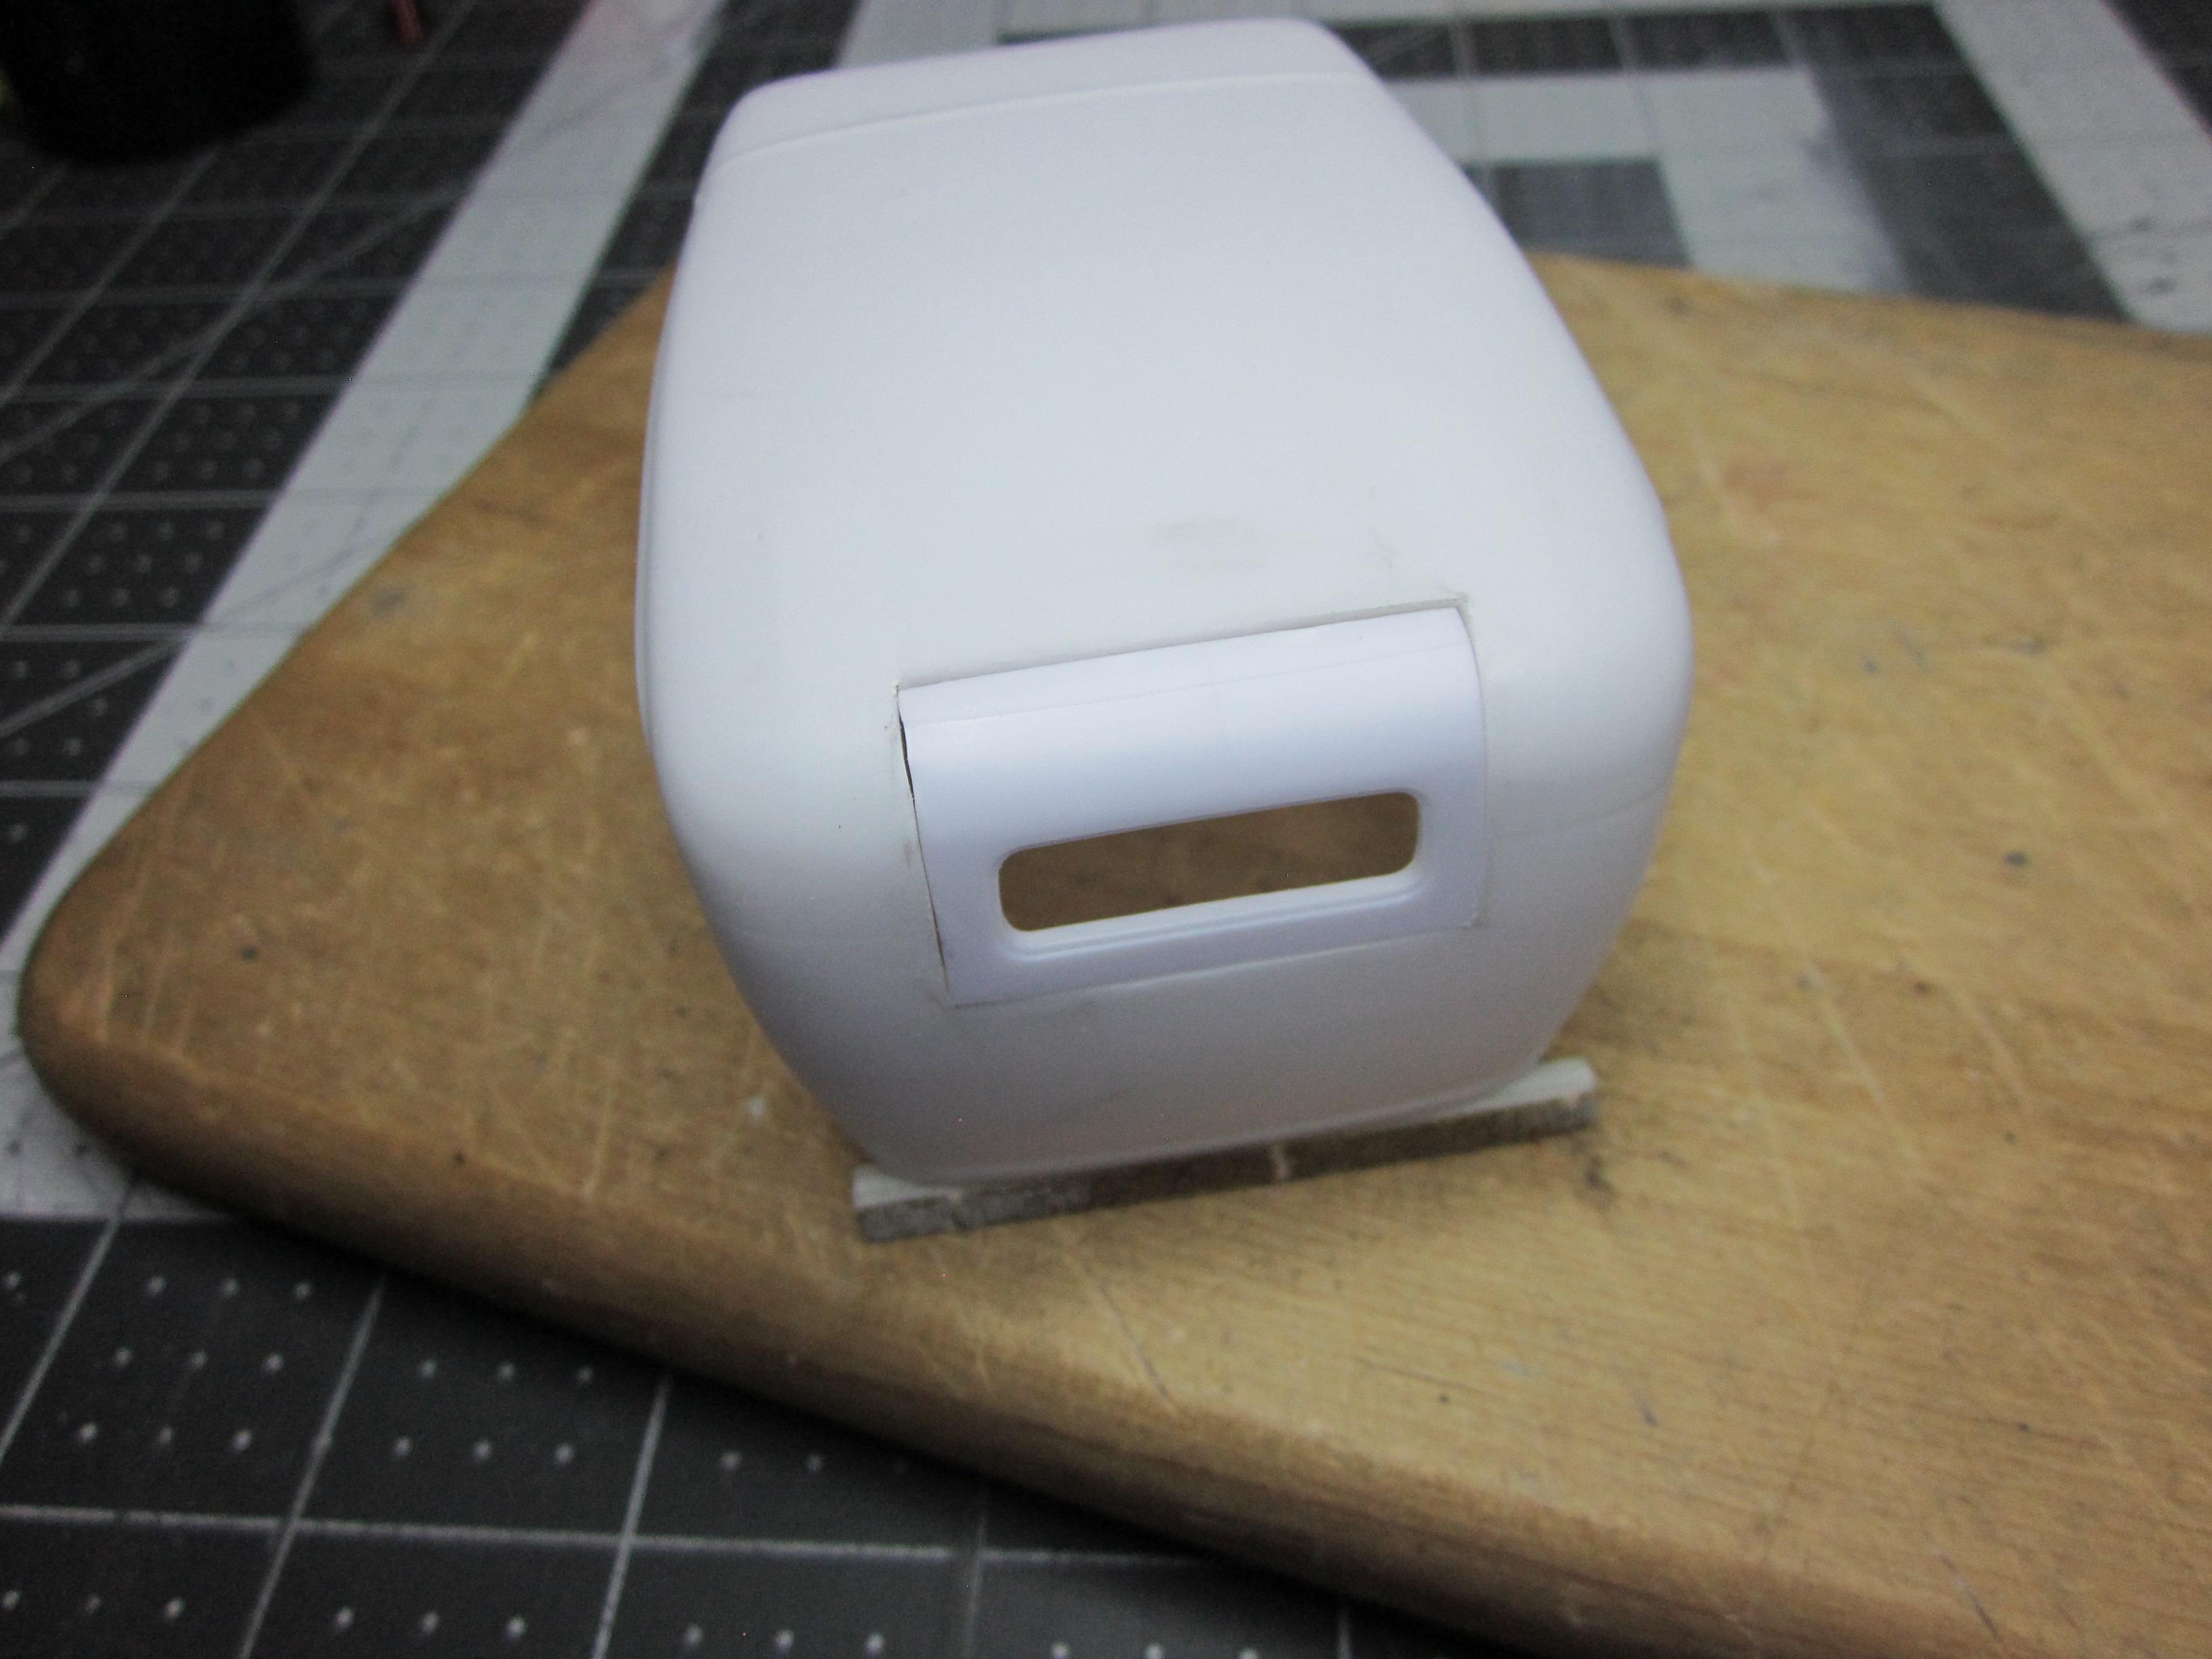
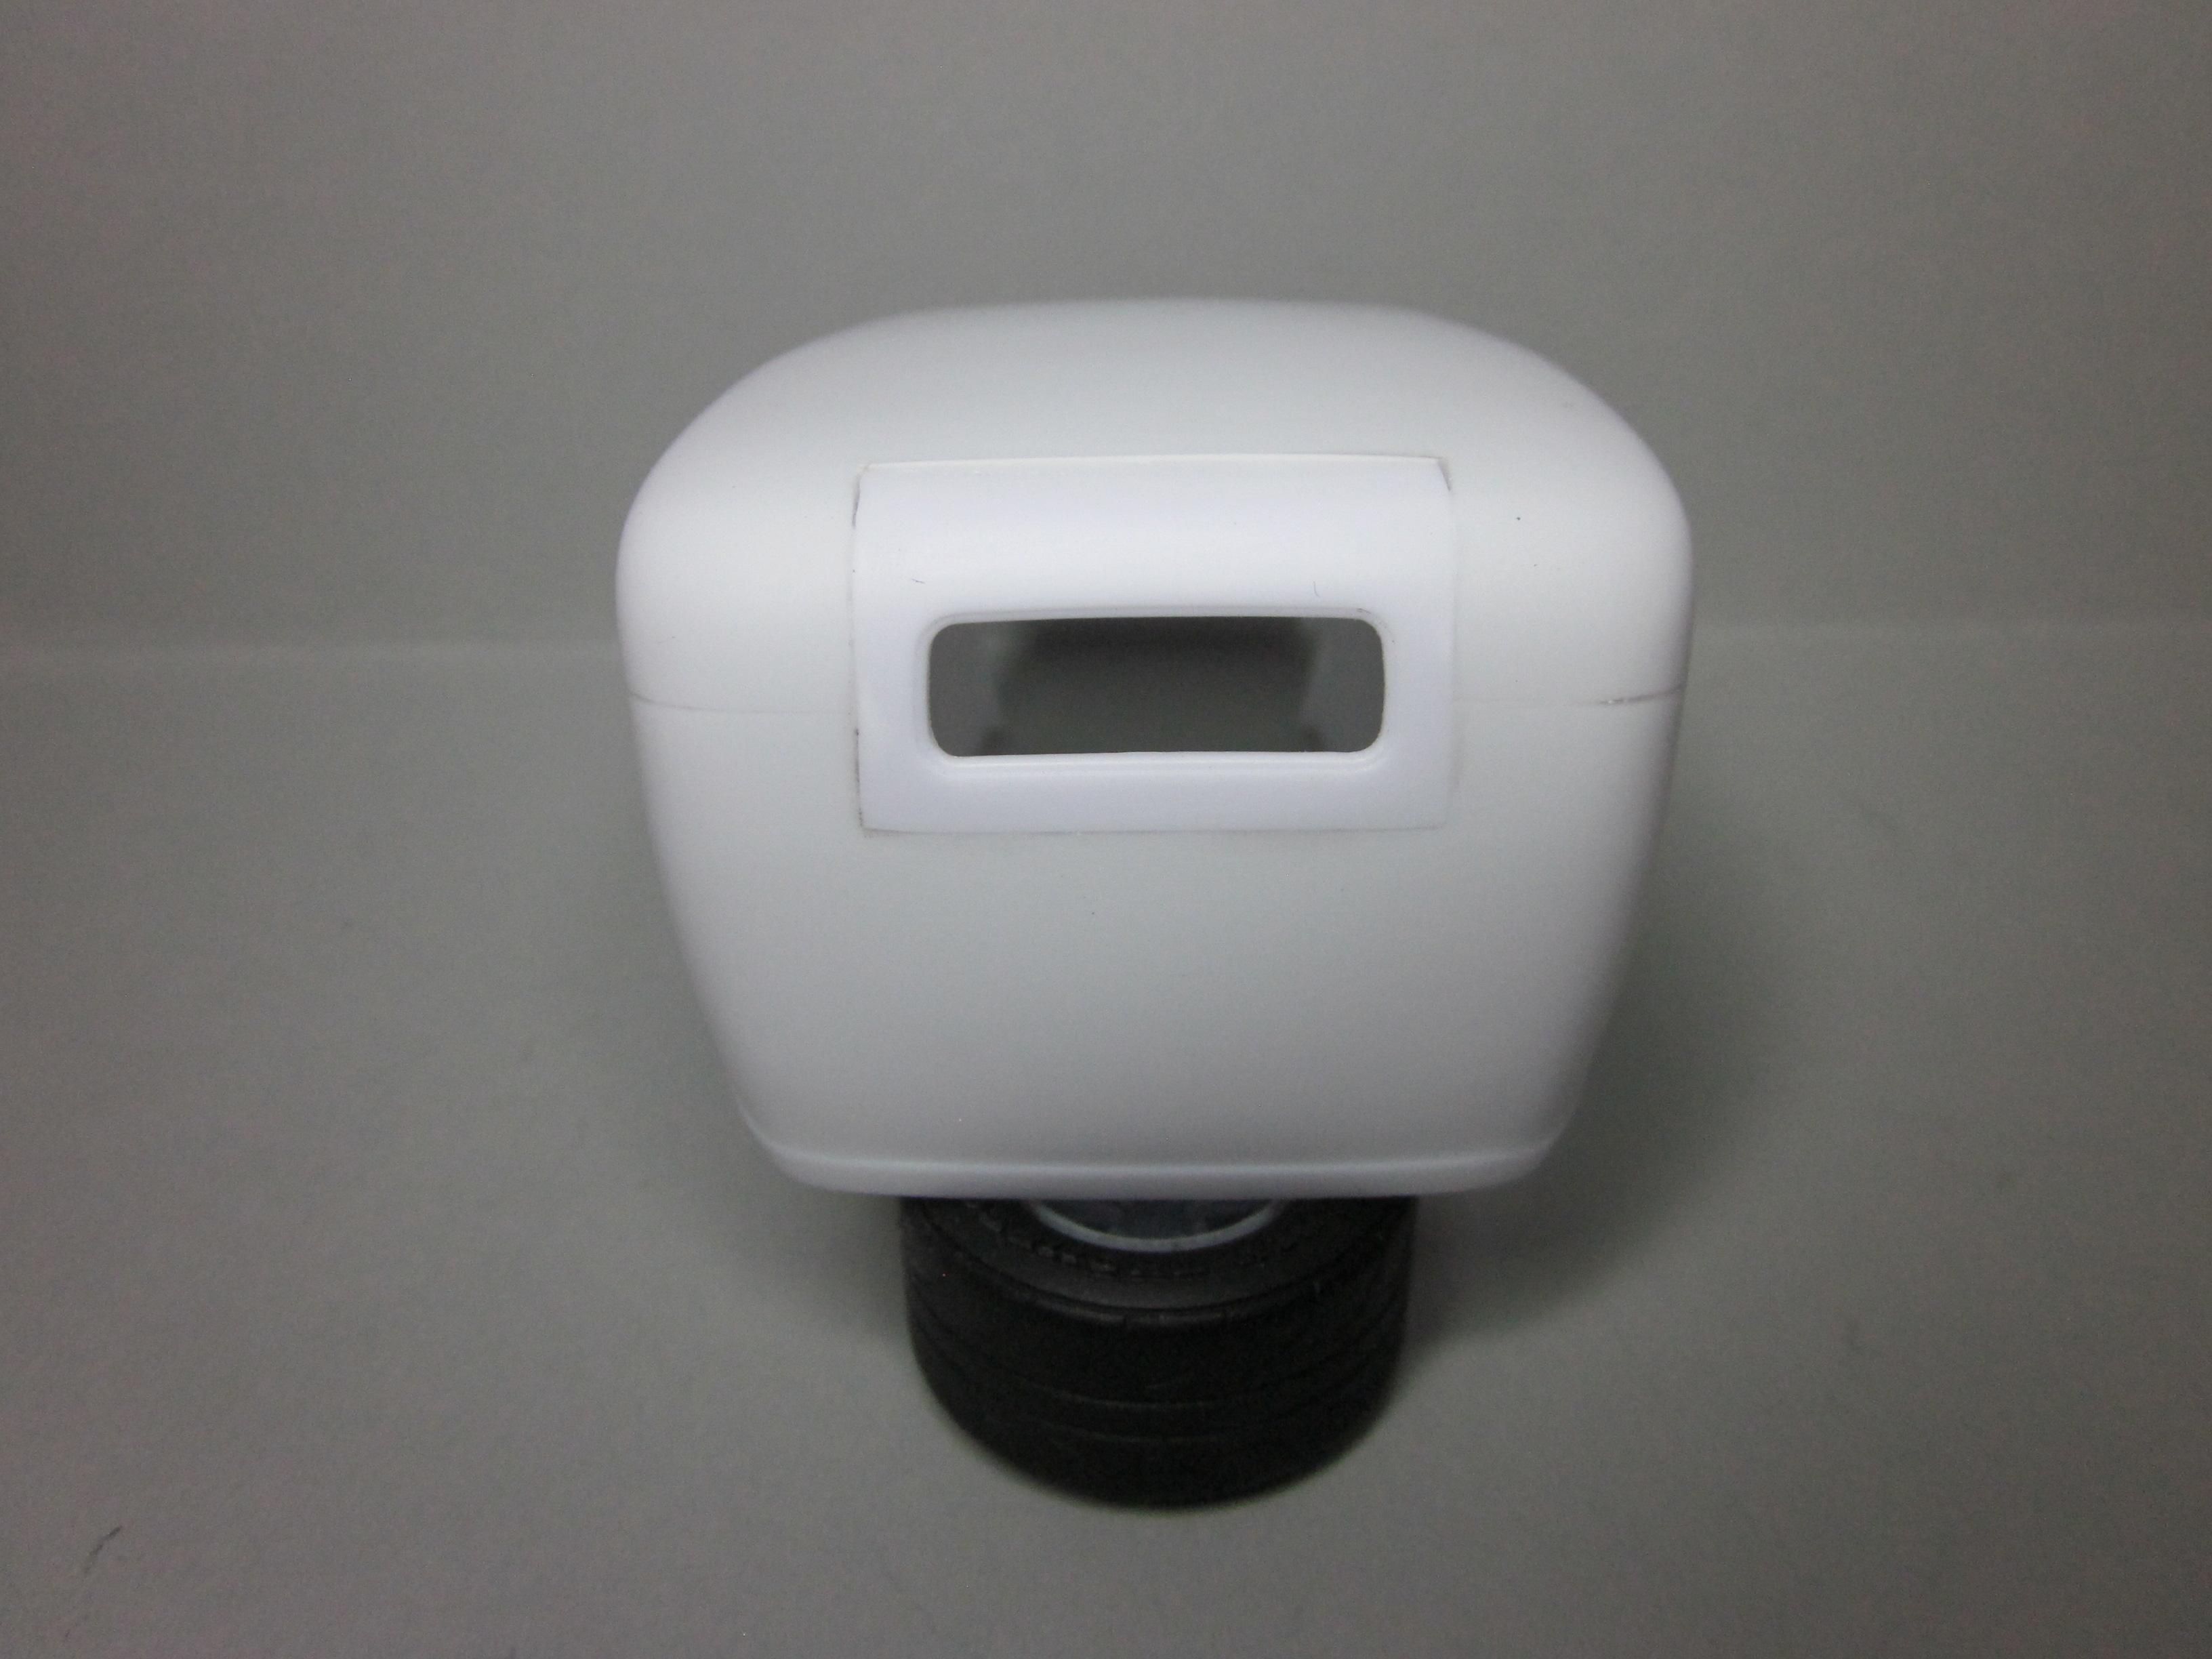
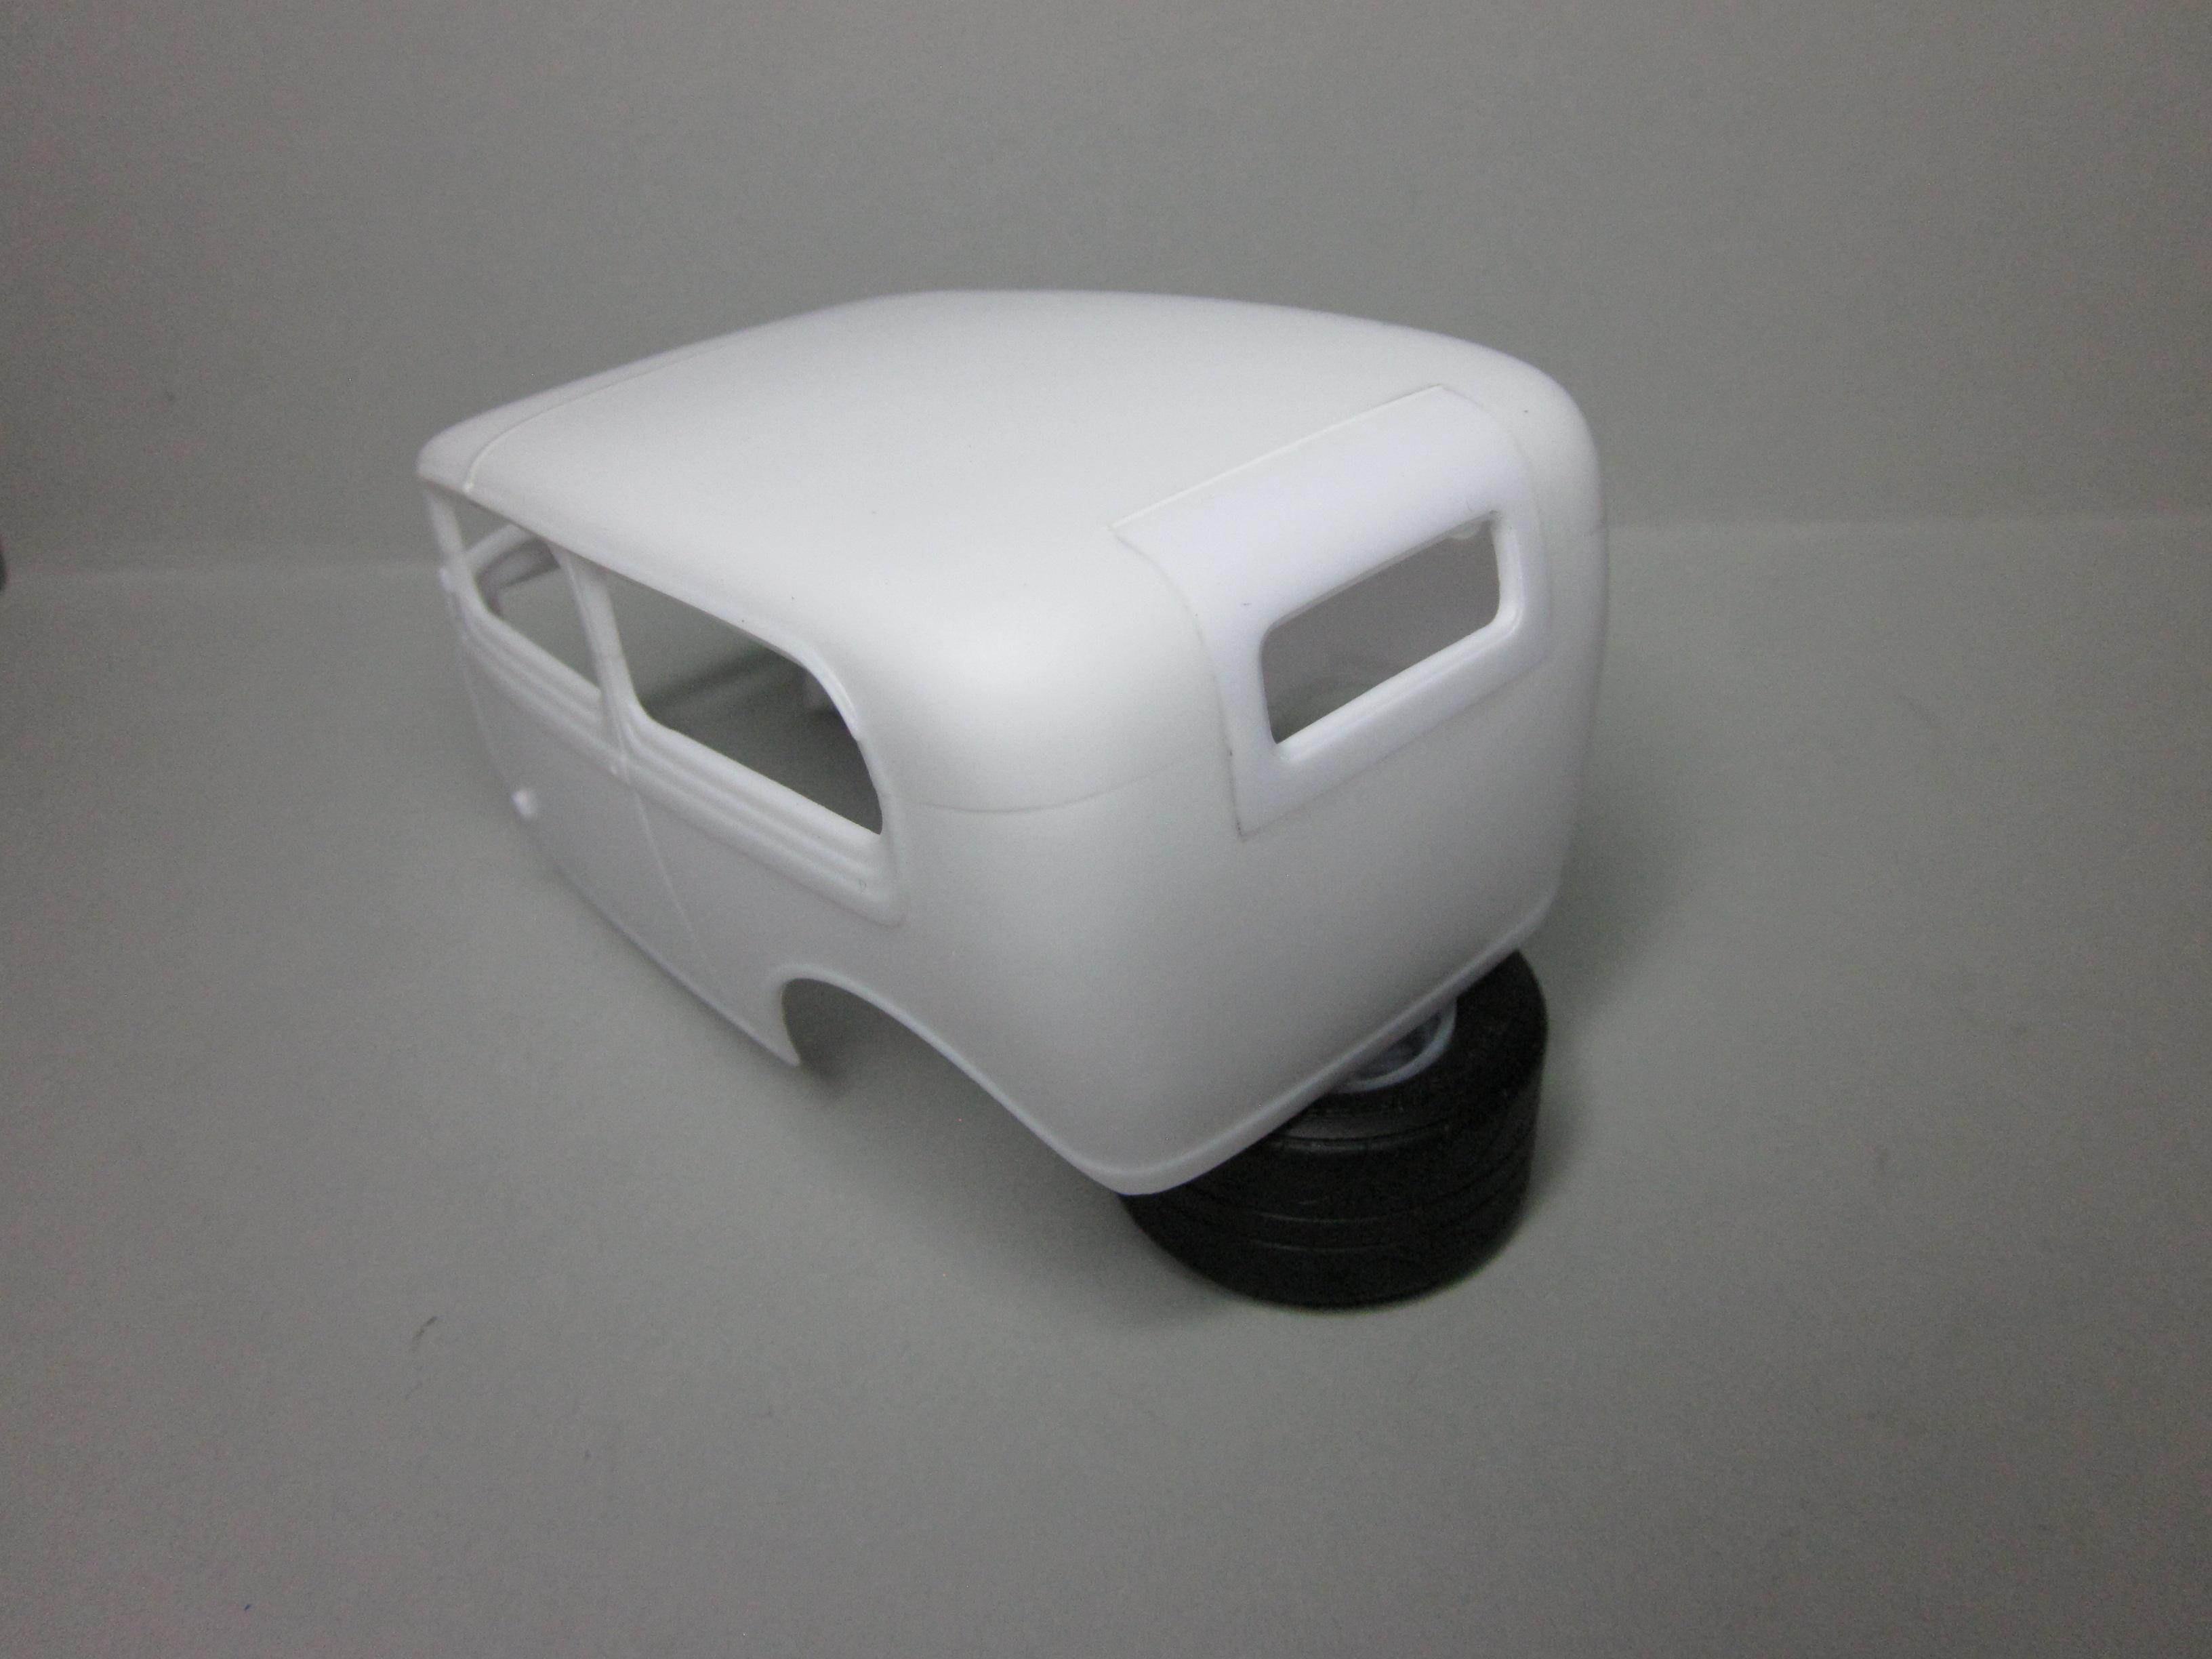
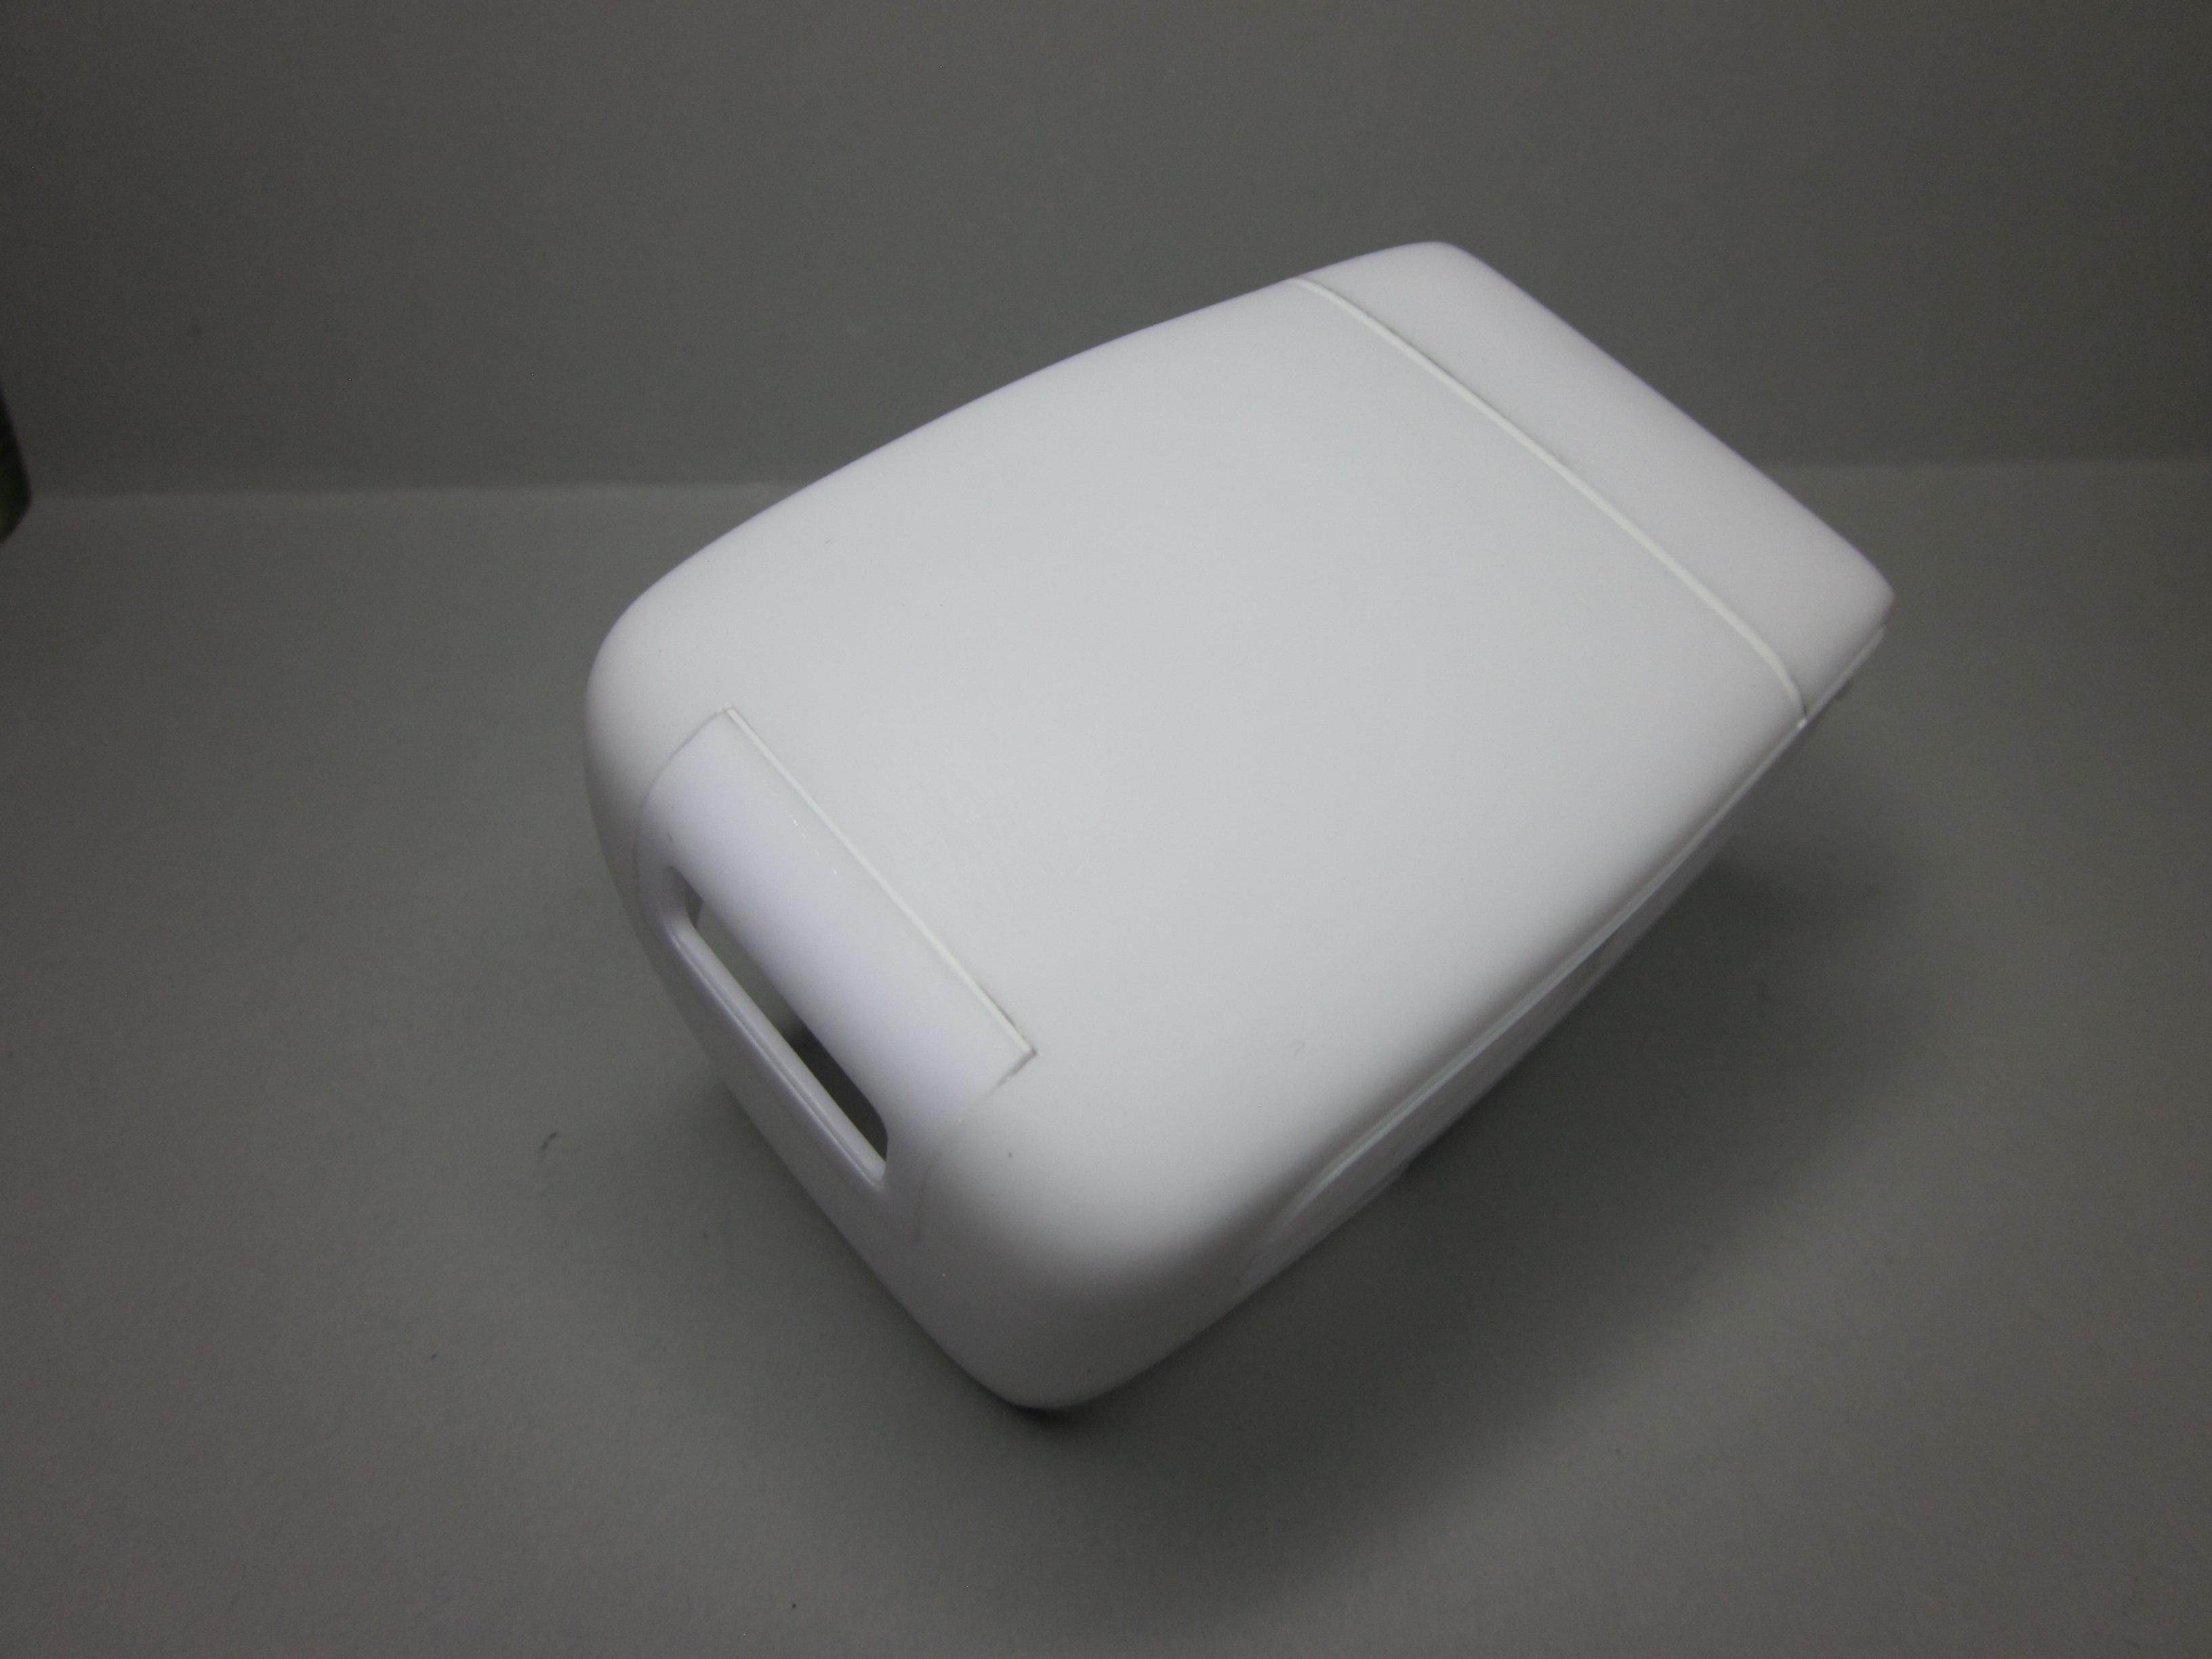
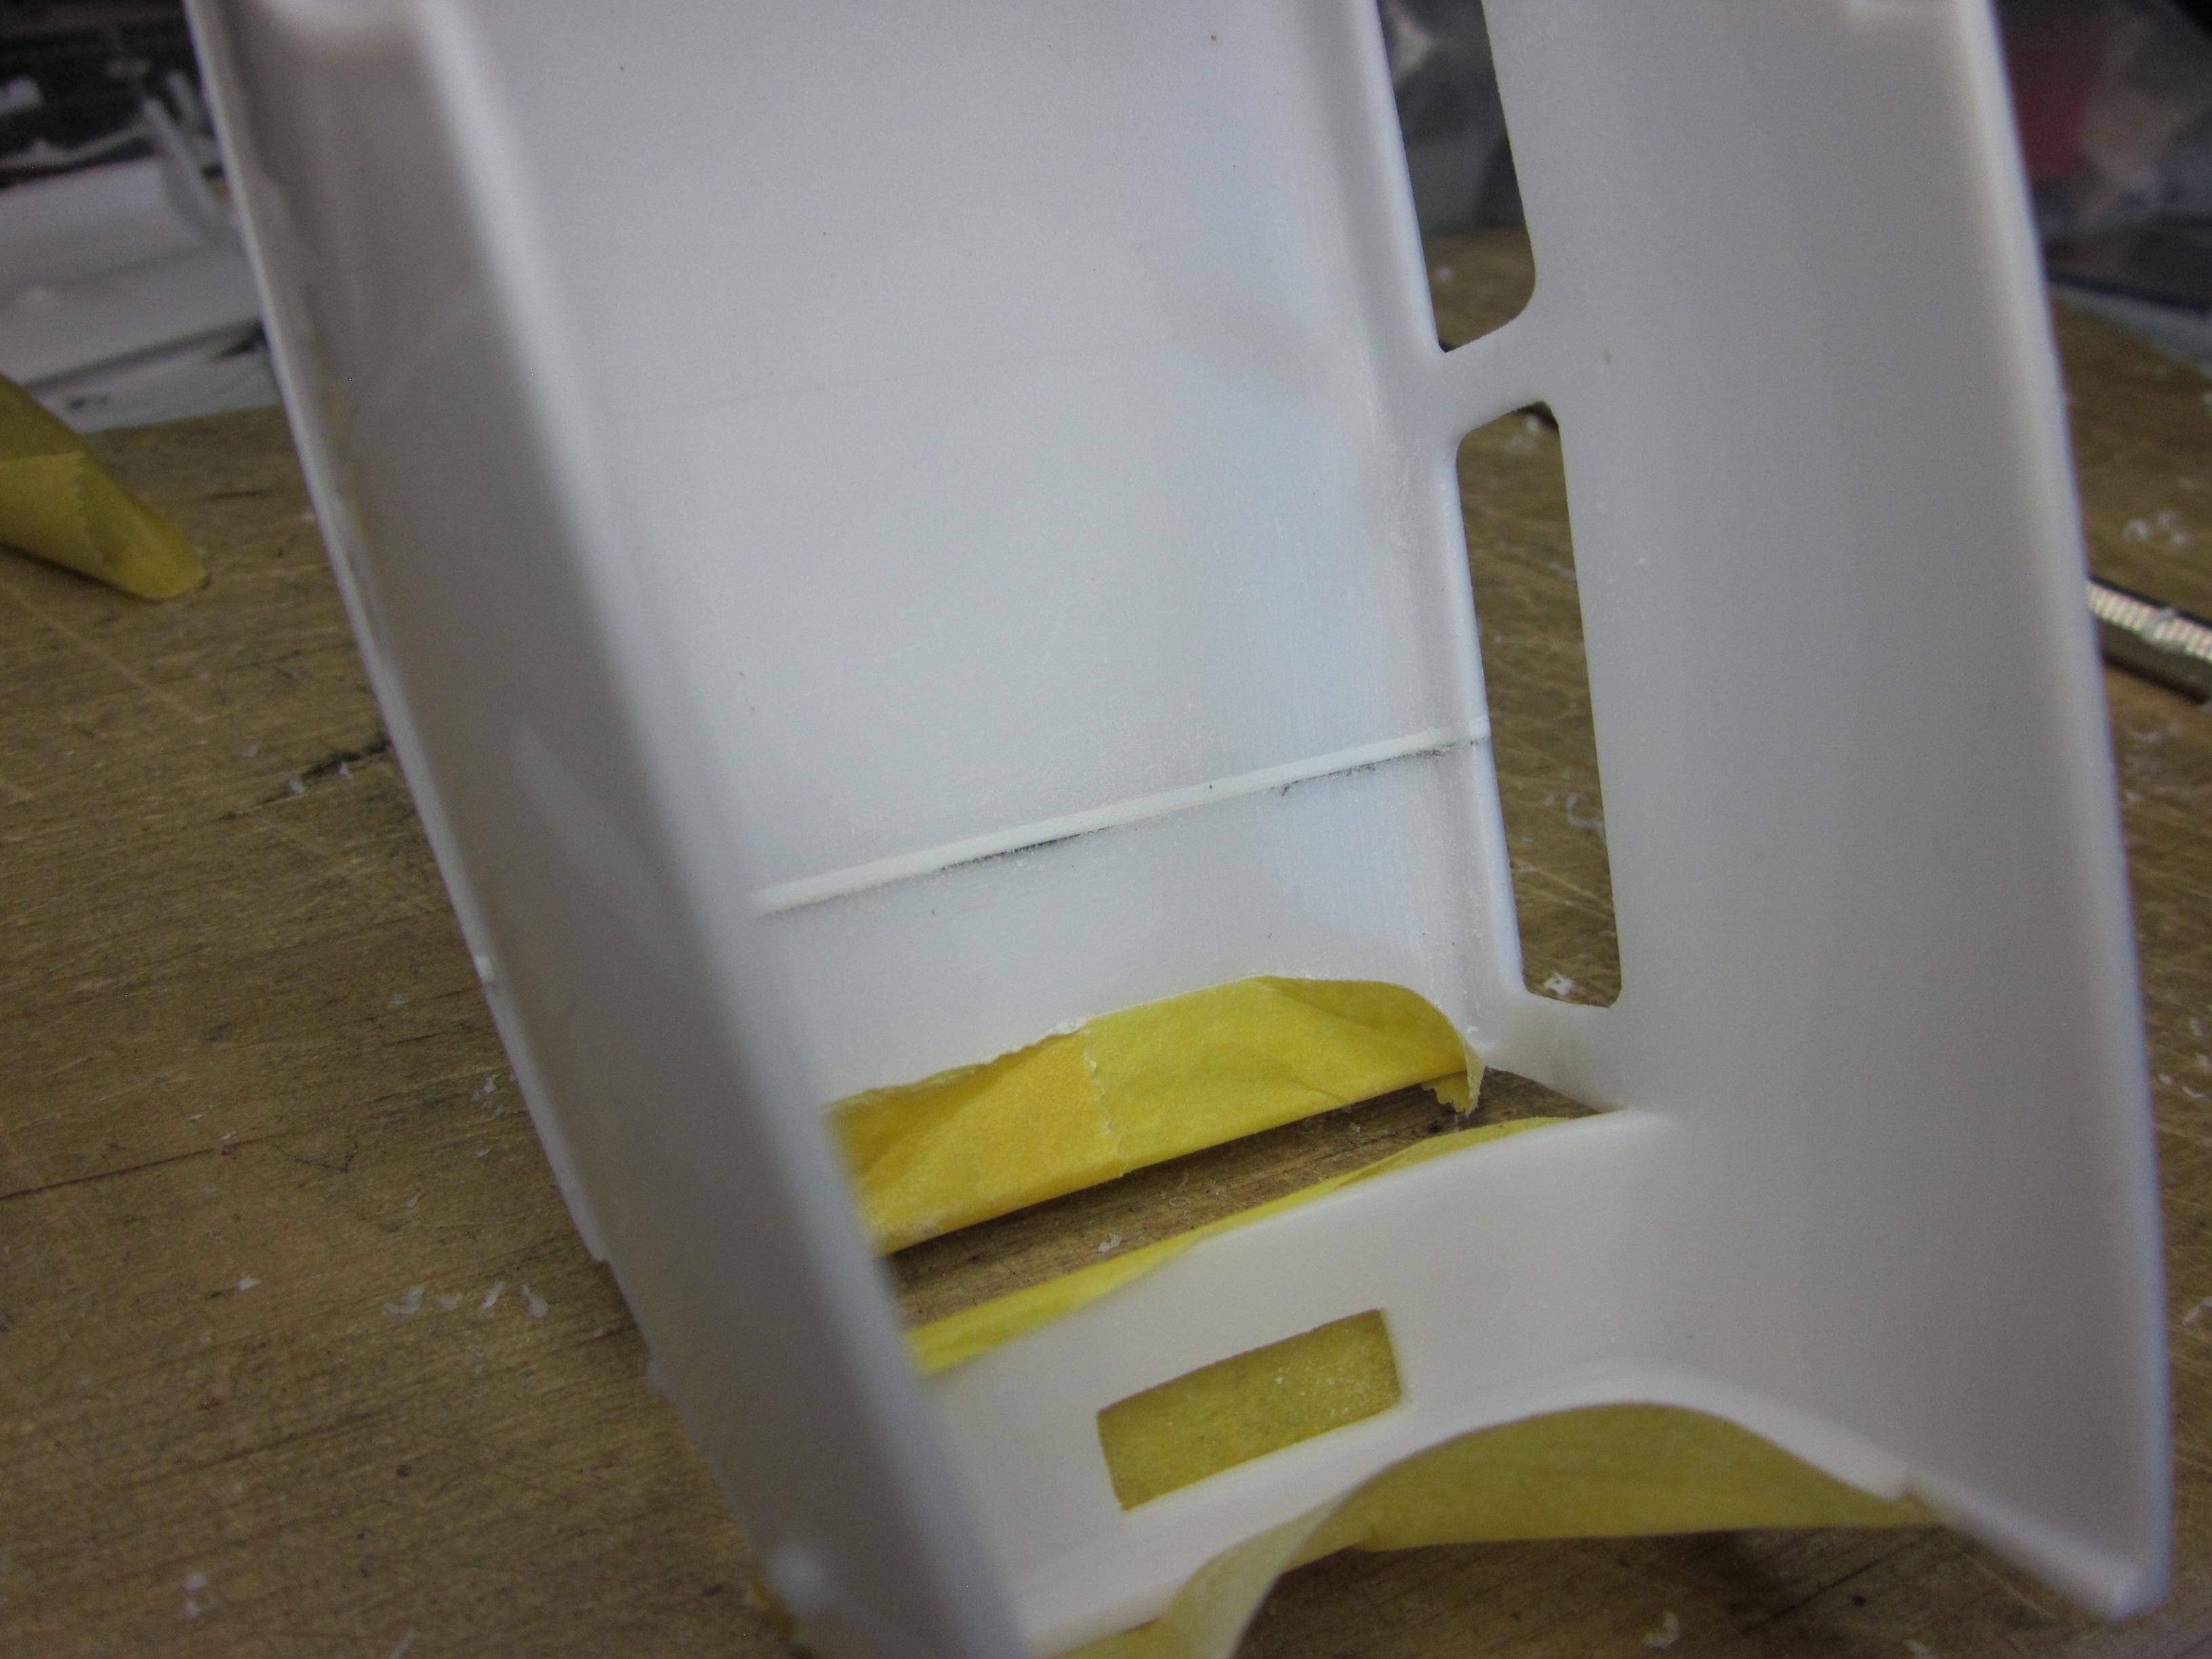
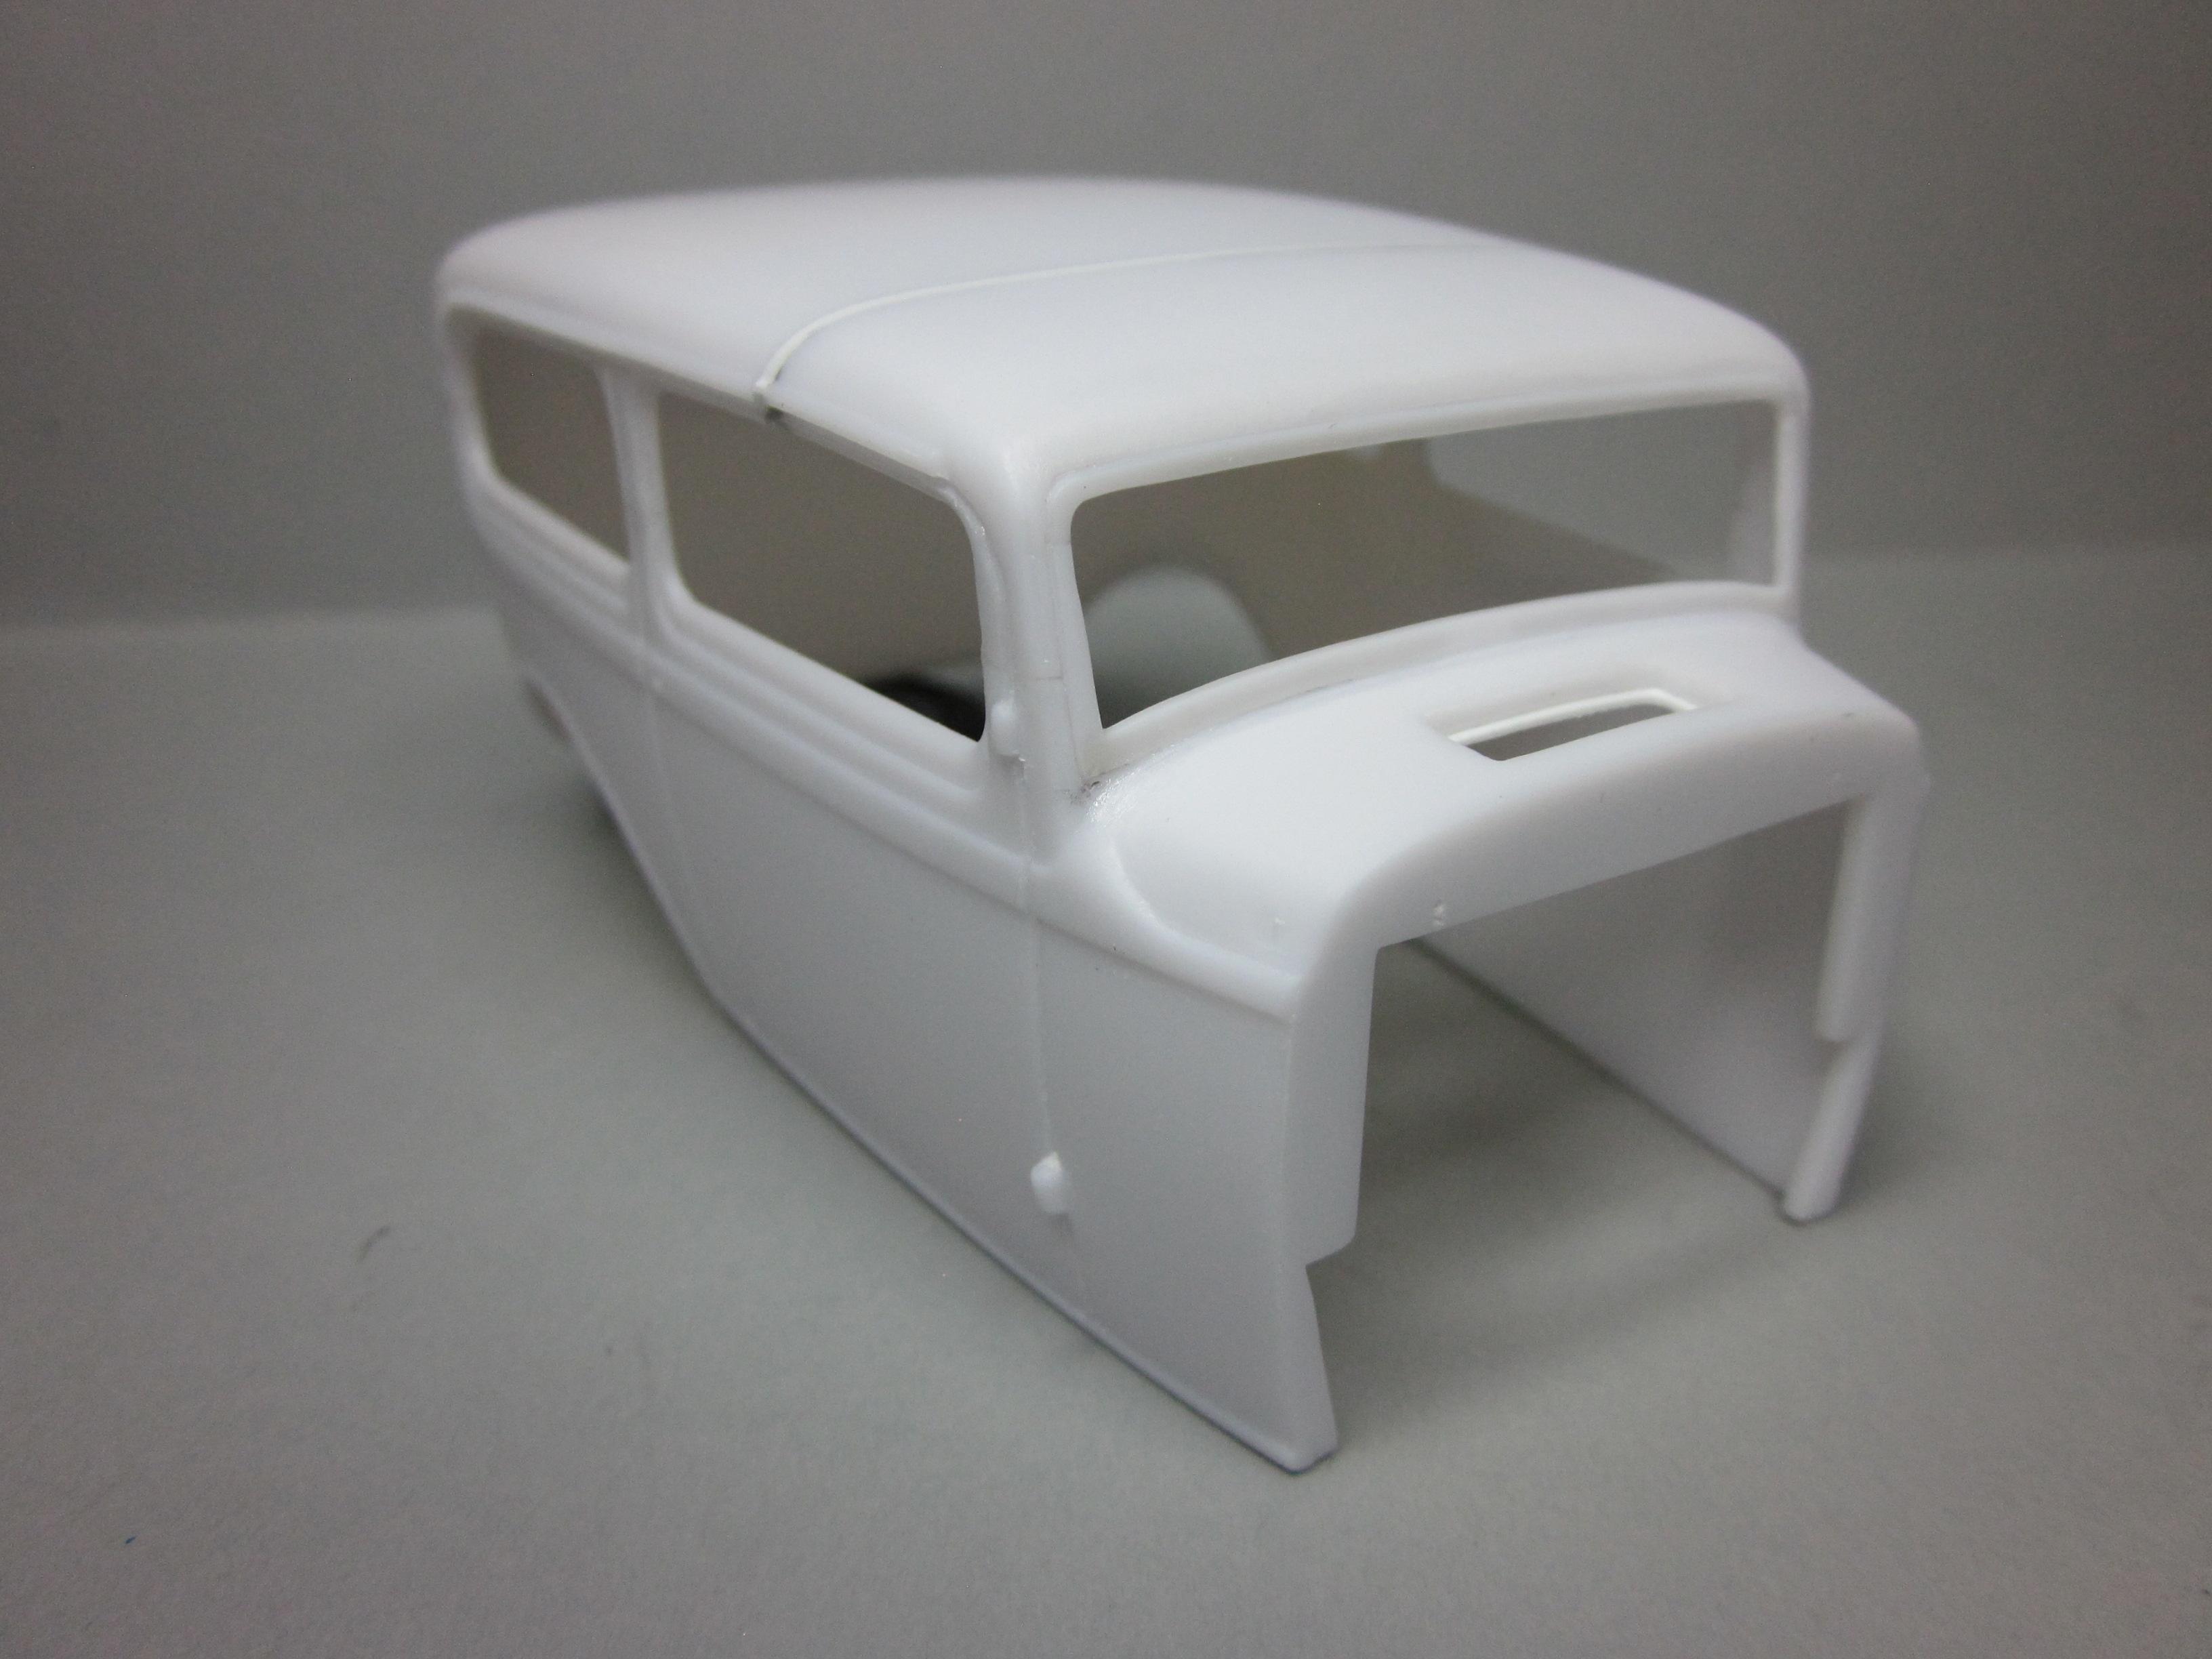
This next update for on my '32 some may like, and some may not. I decided to rid the belt line from the back of the body. I like doing stuff no one would expect. And this act of foolishness kind of works. But after removing the belt line, another alteration was going to be needed. The back window now being the only thing to look at across the back of the body, looked like it is frowning. These windows on the 1.1 cars were never like this. Yes, the window had a slight arch to it but nothing like this body has. Way too much arch at the bottom of the window. Really noticeable, especially after the belt line is gone. So, to remedy this problem for me, I decided to remove the back window and replace it with a rear window from a '30 ford model A. It doesn't have some of the exact features of the '32, but it does not have what I'm calling a sad or frowning look to it. And I think it will pretty good. I already have part of a '30 model A top to get the back window from that is left over from another project I have going. When the window was cut out, I made sure to get the radius (or curve) of the roof in the cut to make it easier to blend into the sedan top. The opening for the new piece was cut out by hand to keep the fit tight. Here you can see the amount of the radius of the roof that is in the cut of the new piece. In the above picture, you can see how much I missed by. All body work is done on this area and ready for the next step. Finishing how the belt line was going to end required some slow meticulous work with the old jeweler files. The results came out to about what I was hoping for. Overall, I am happy with what I did to the rear of the body. There could always be something else that comes along. Till next time........................
-
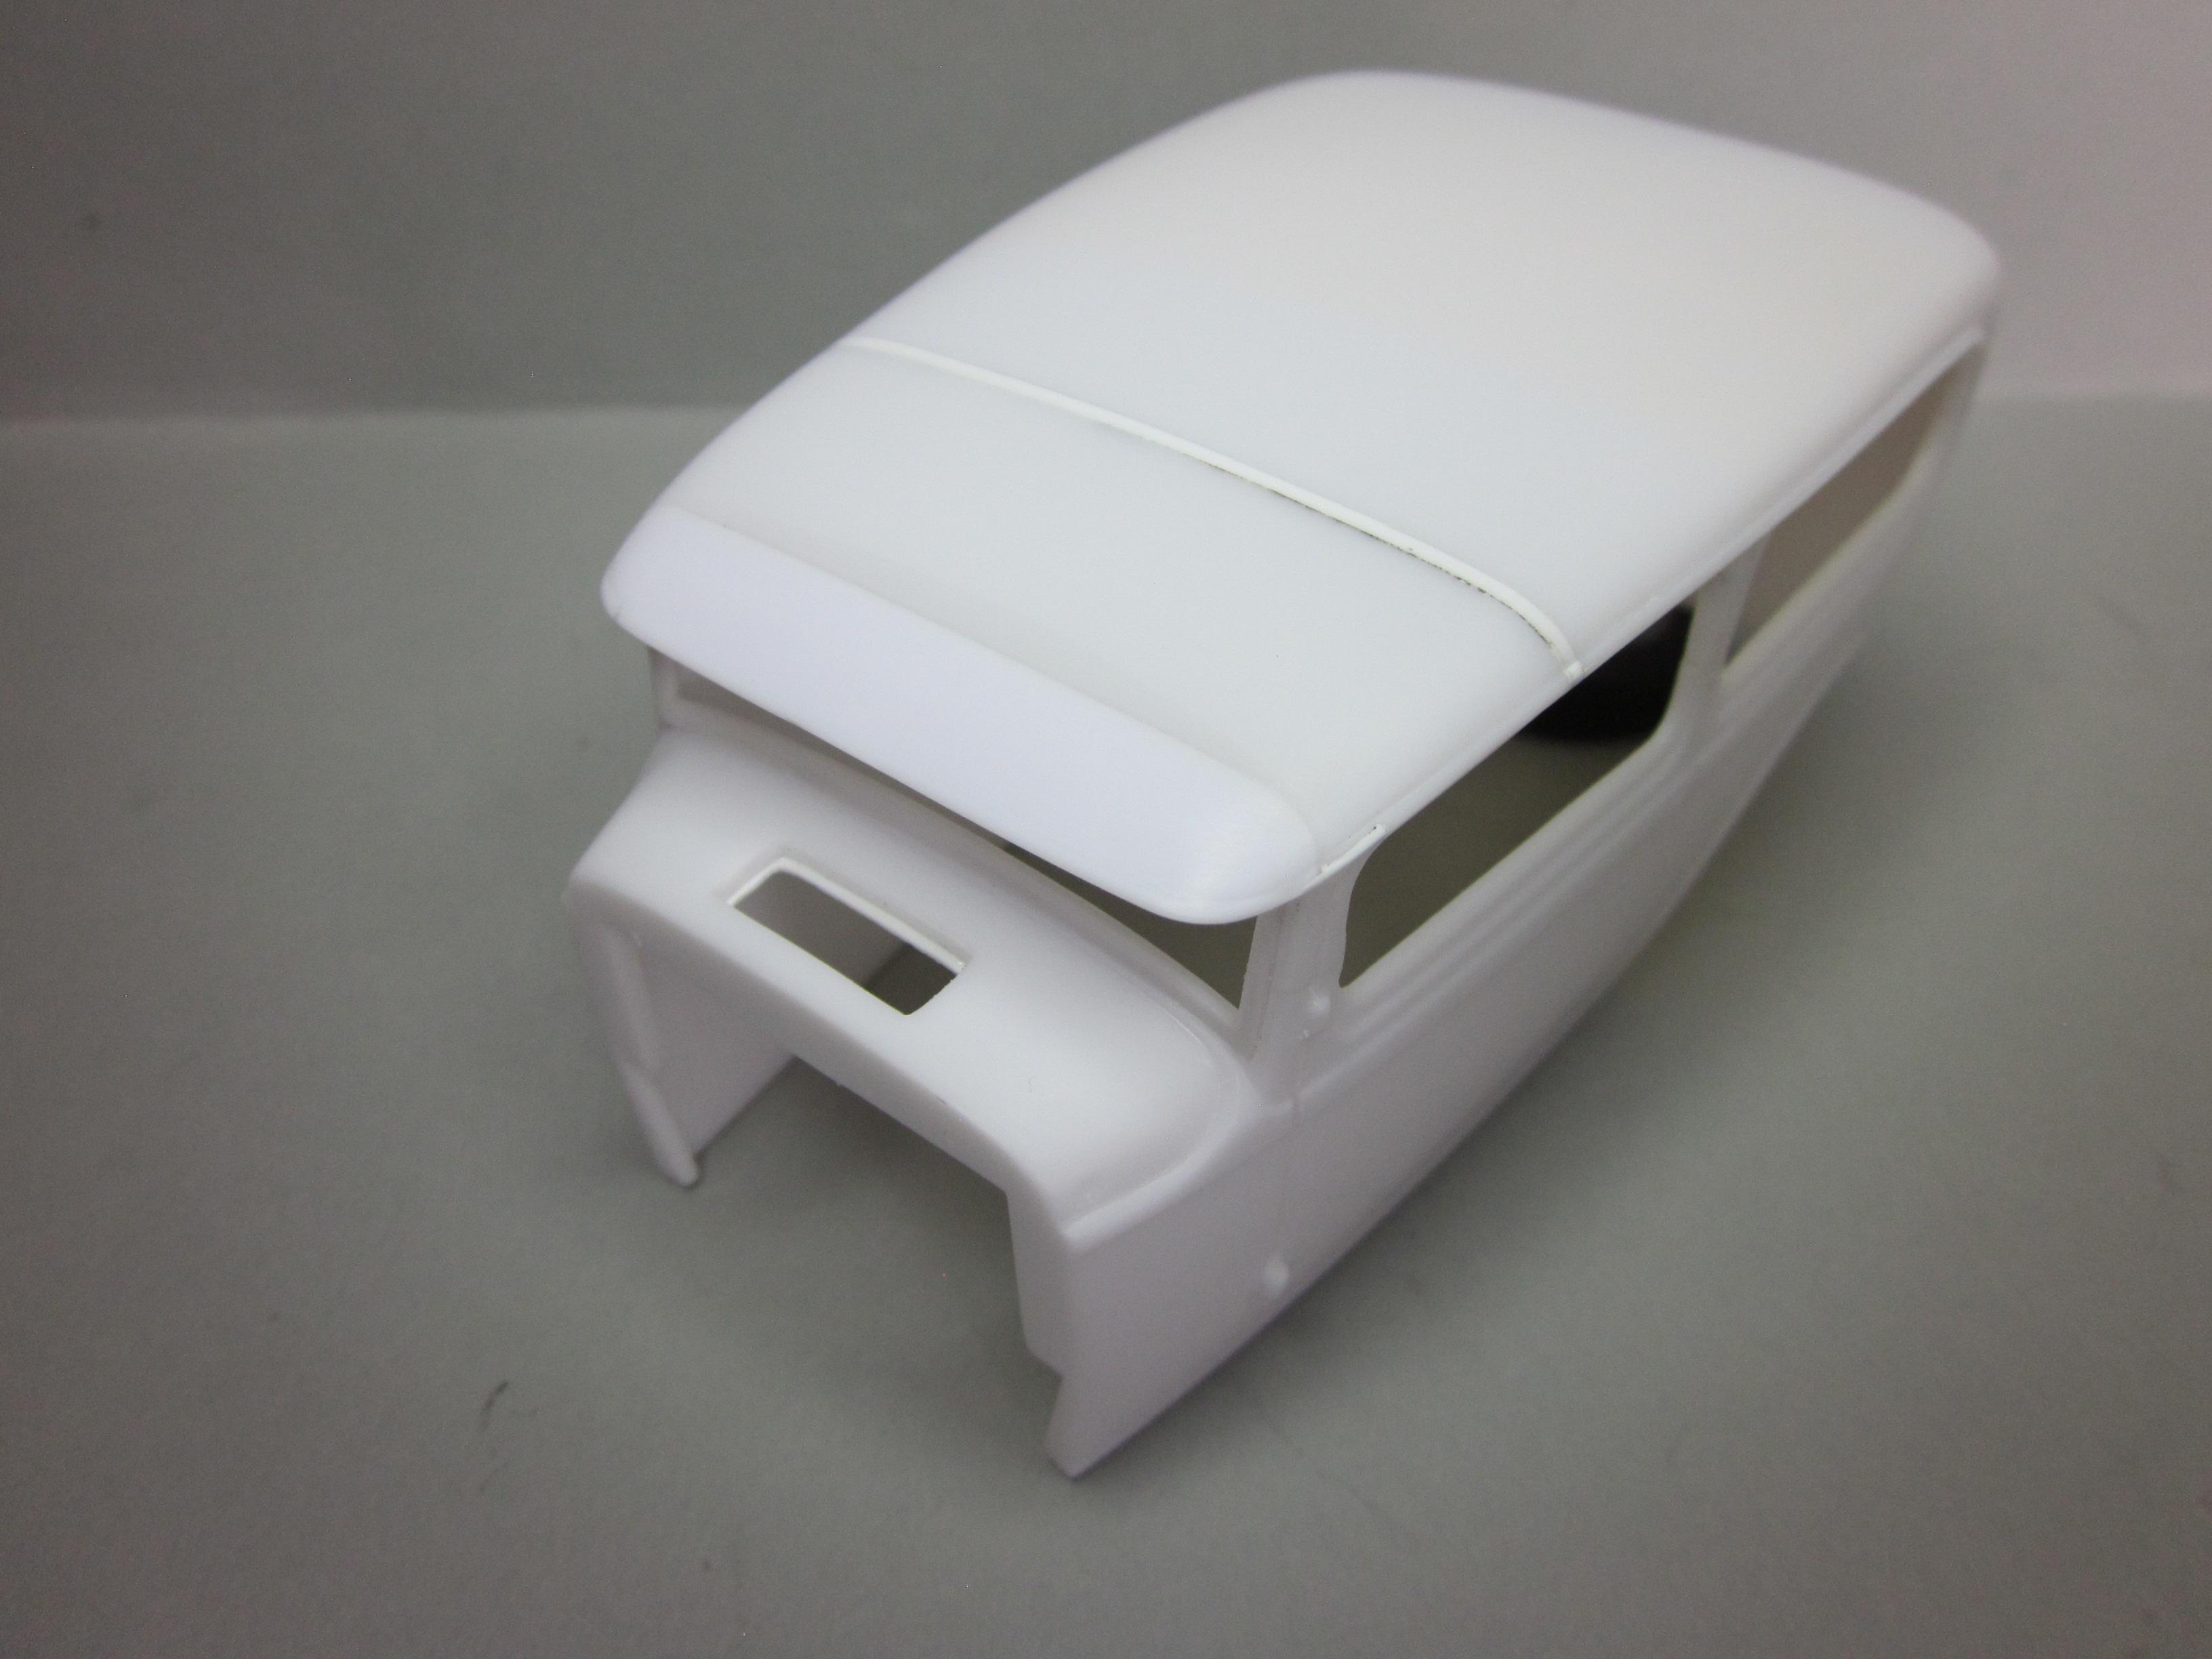
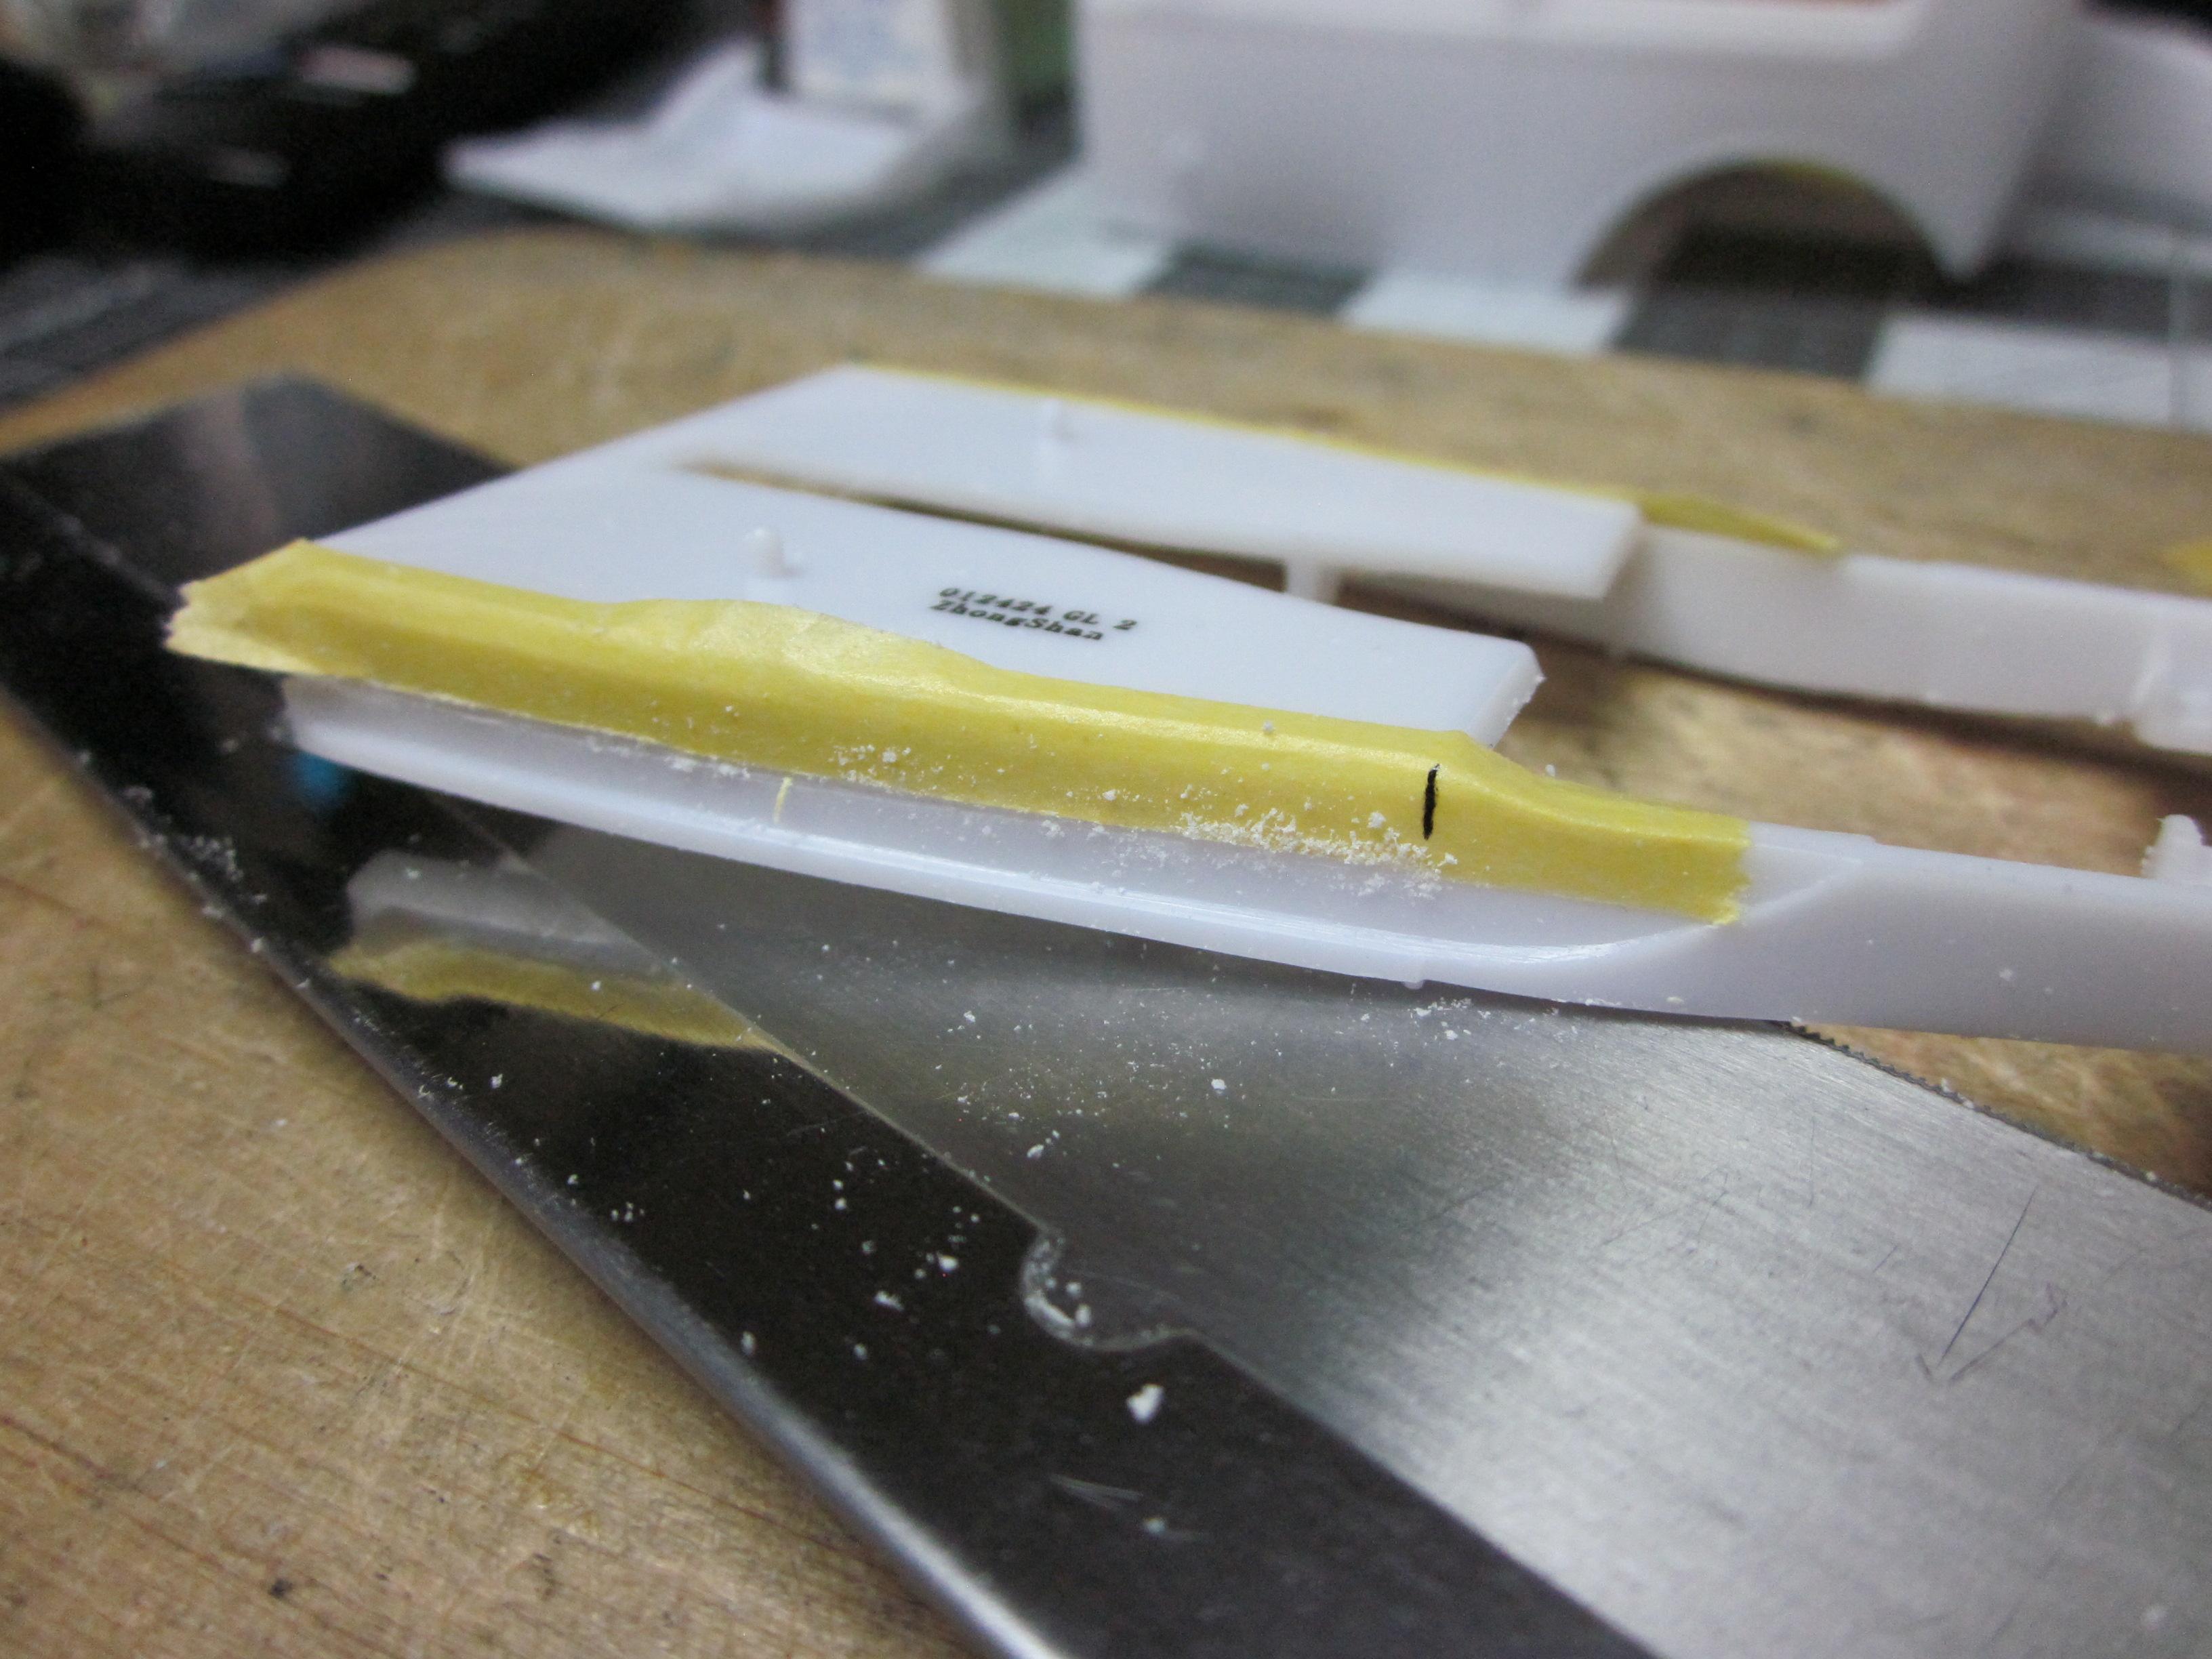
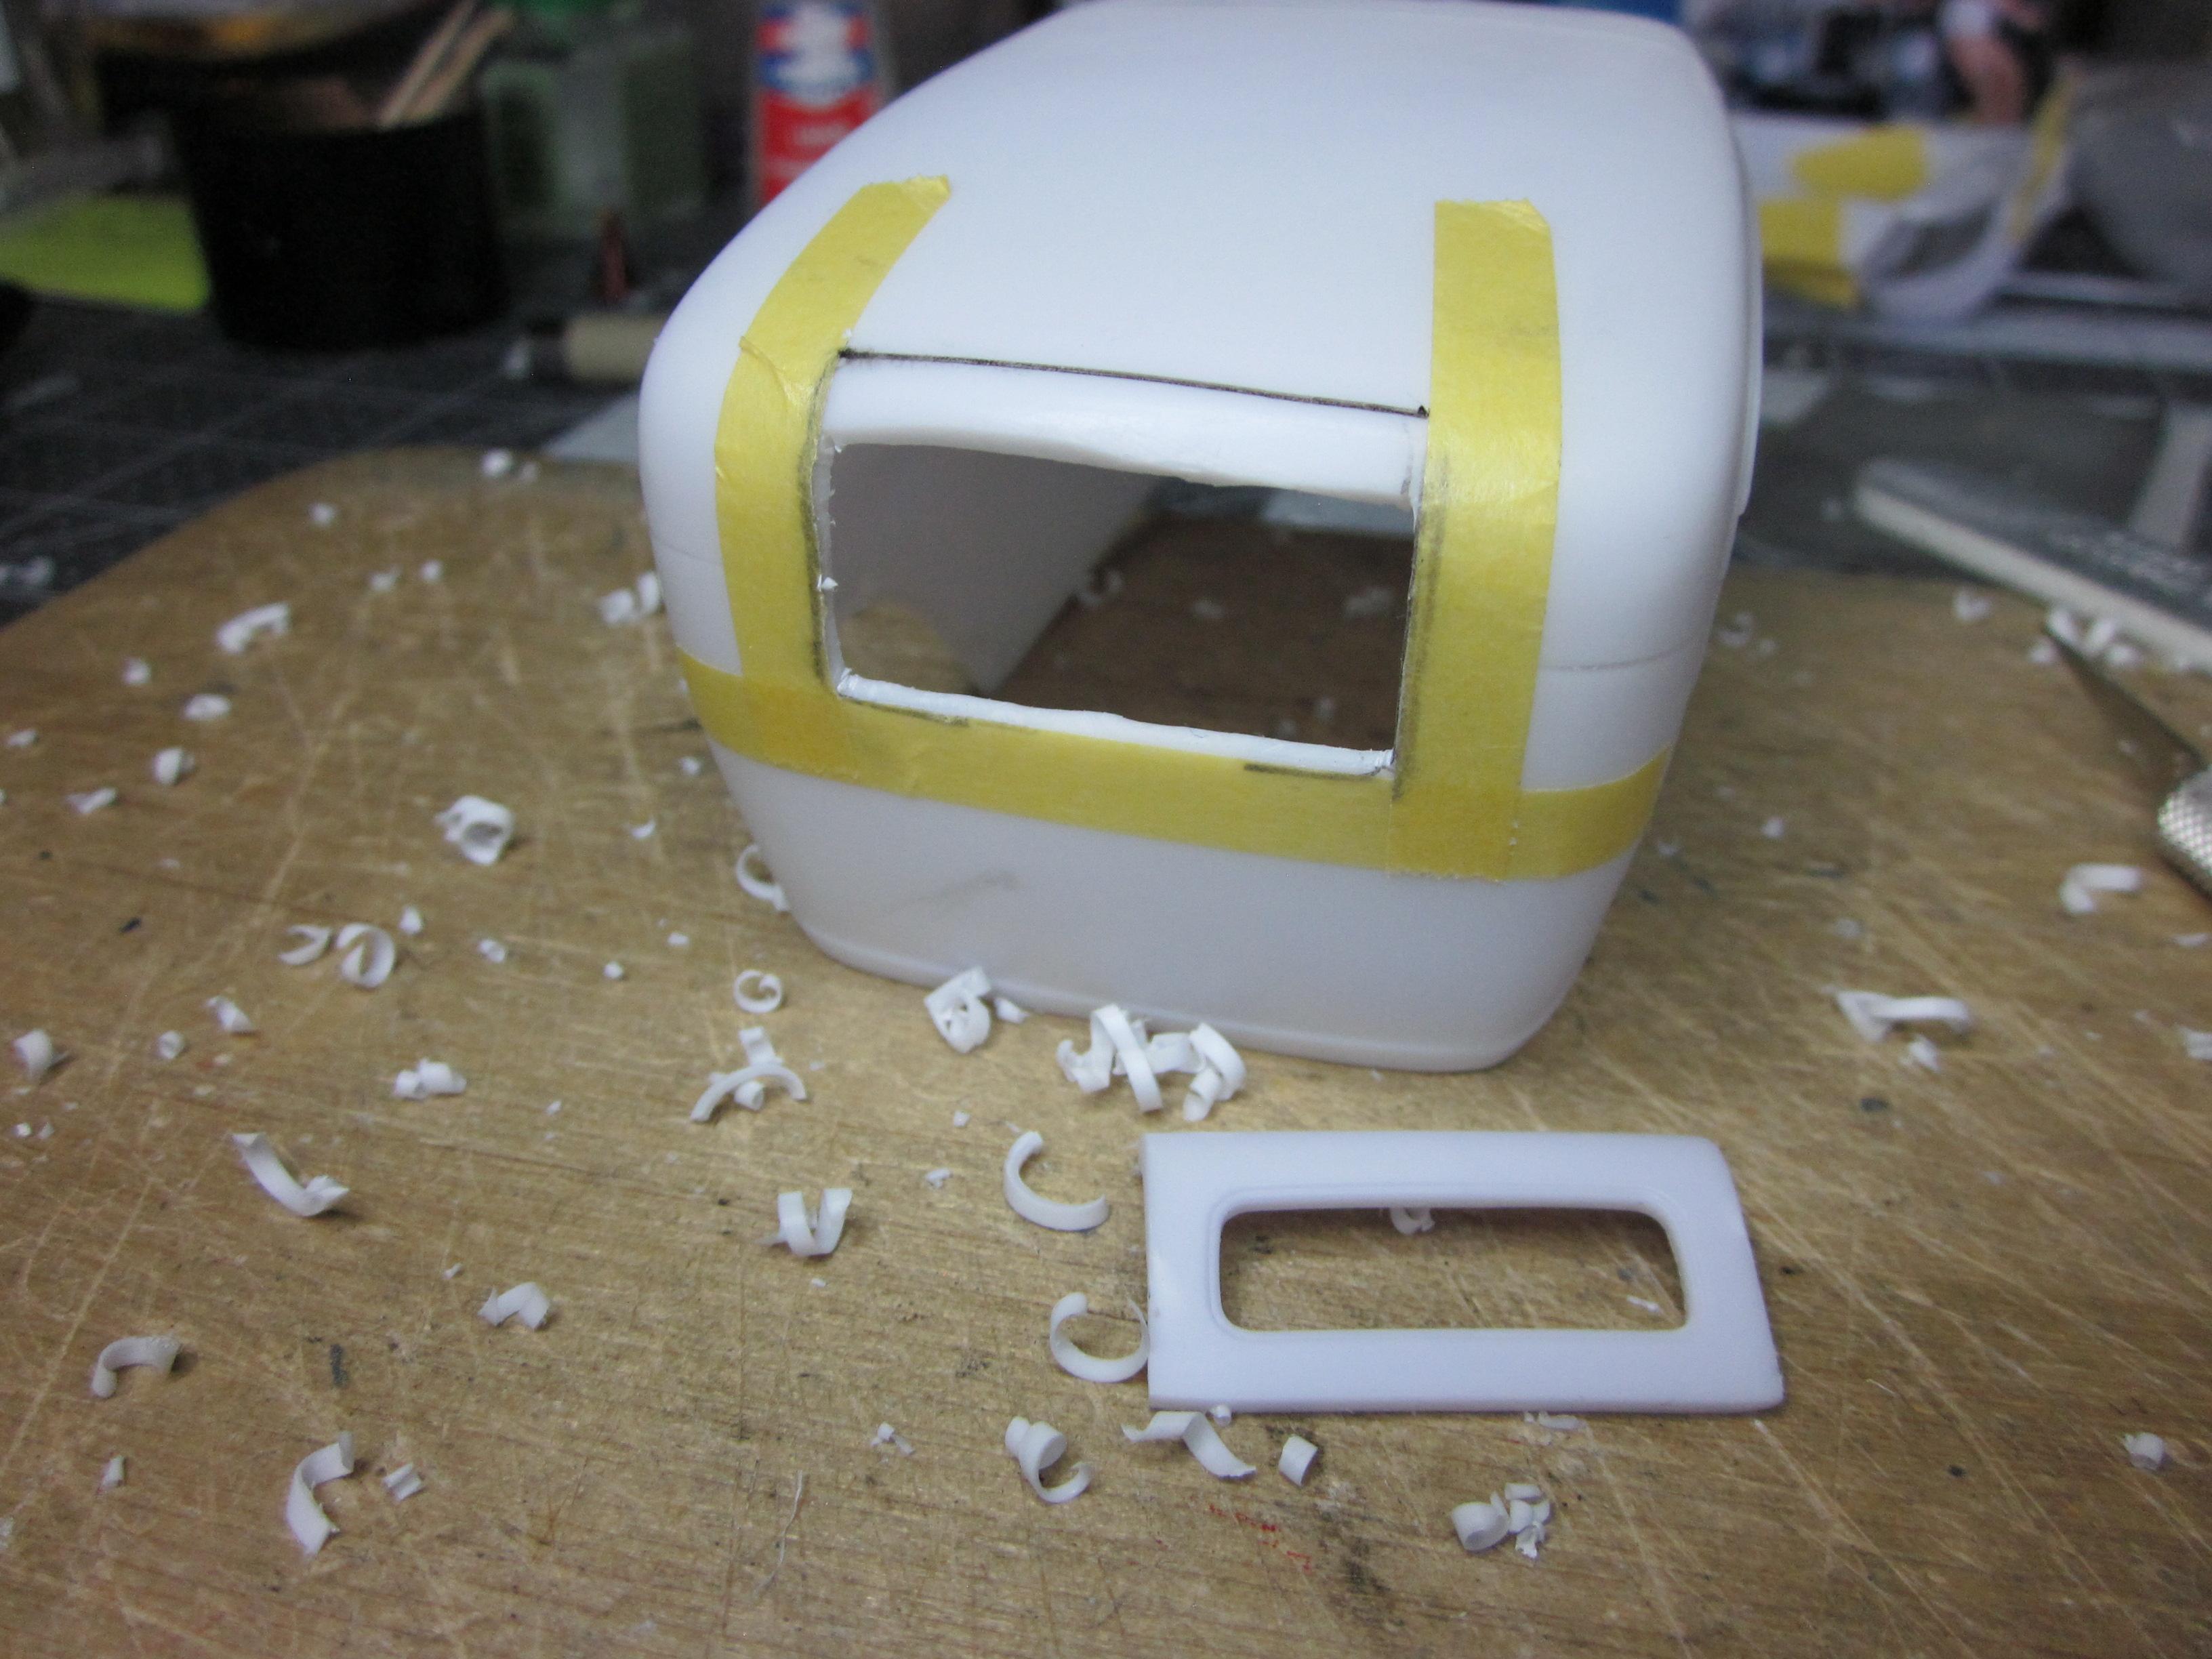
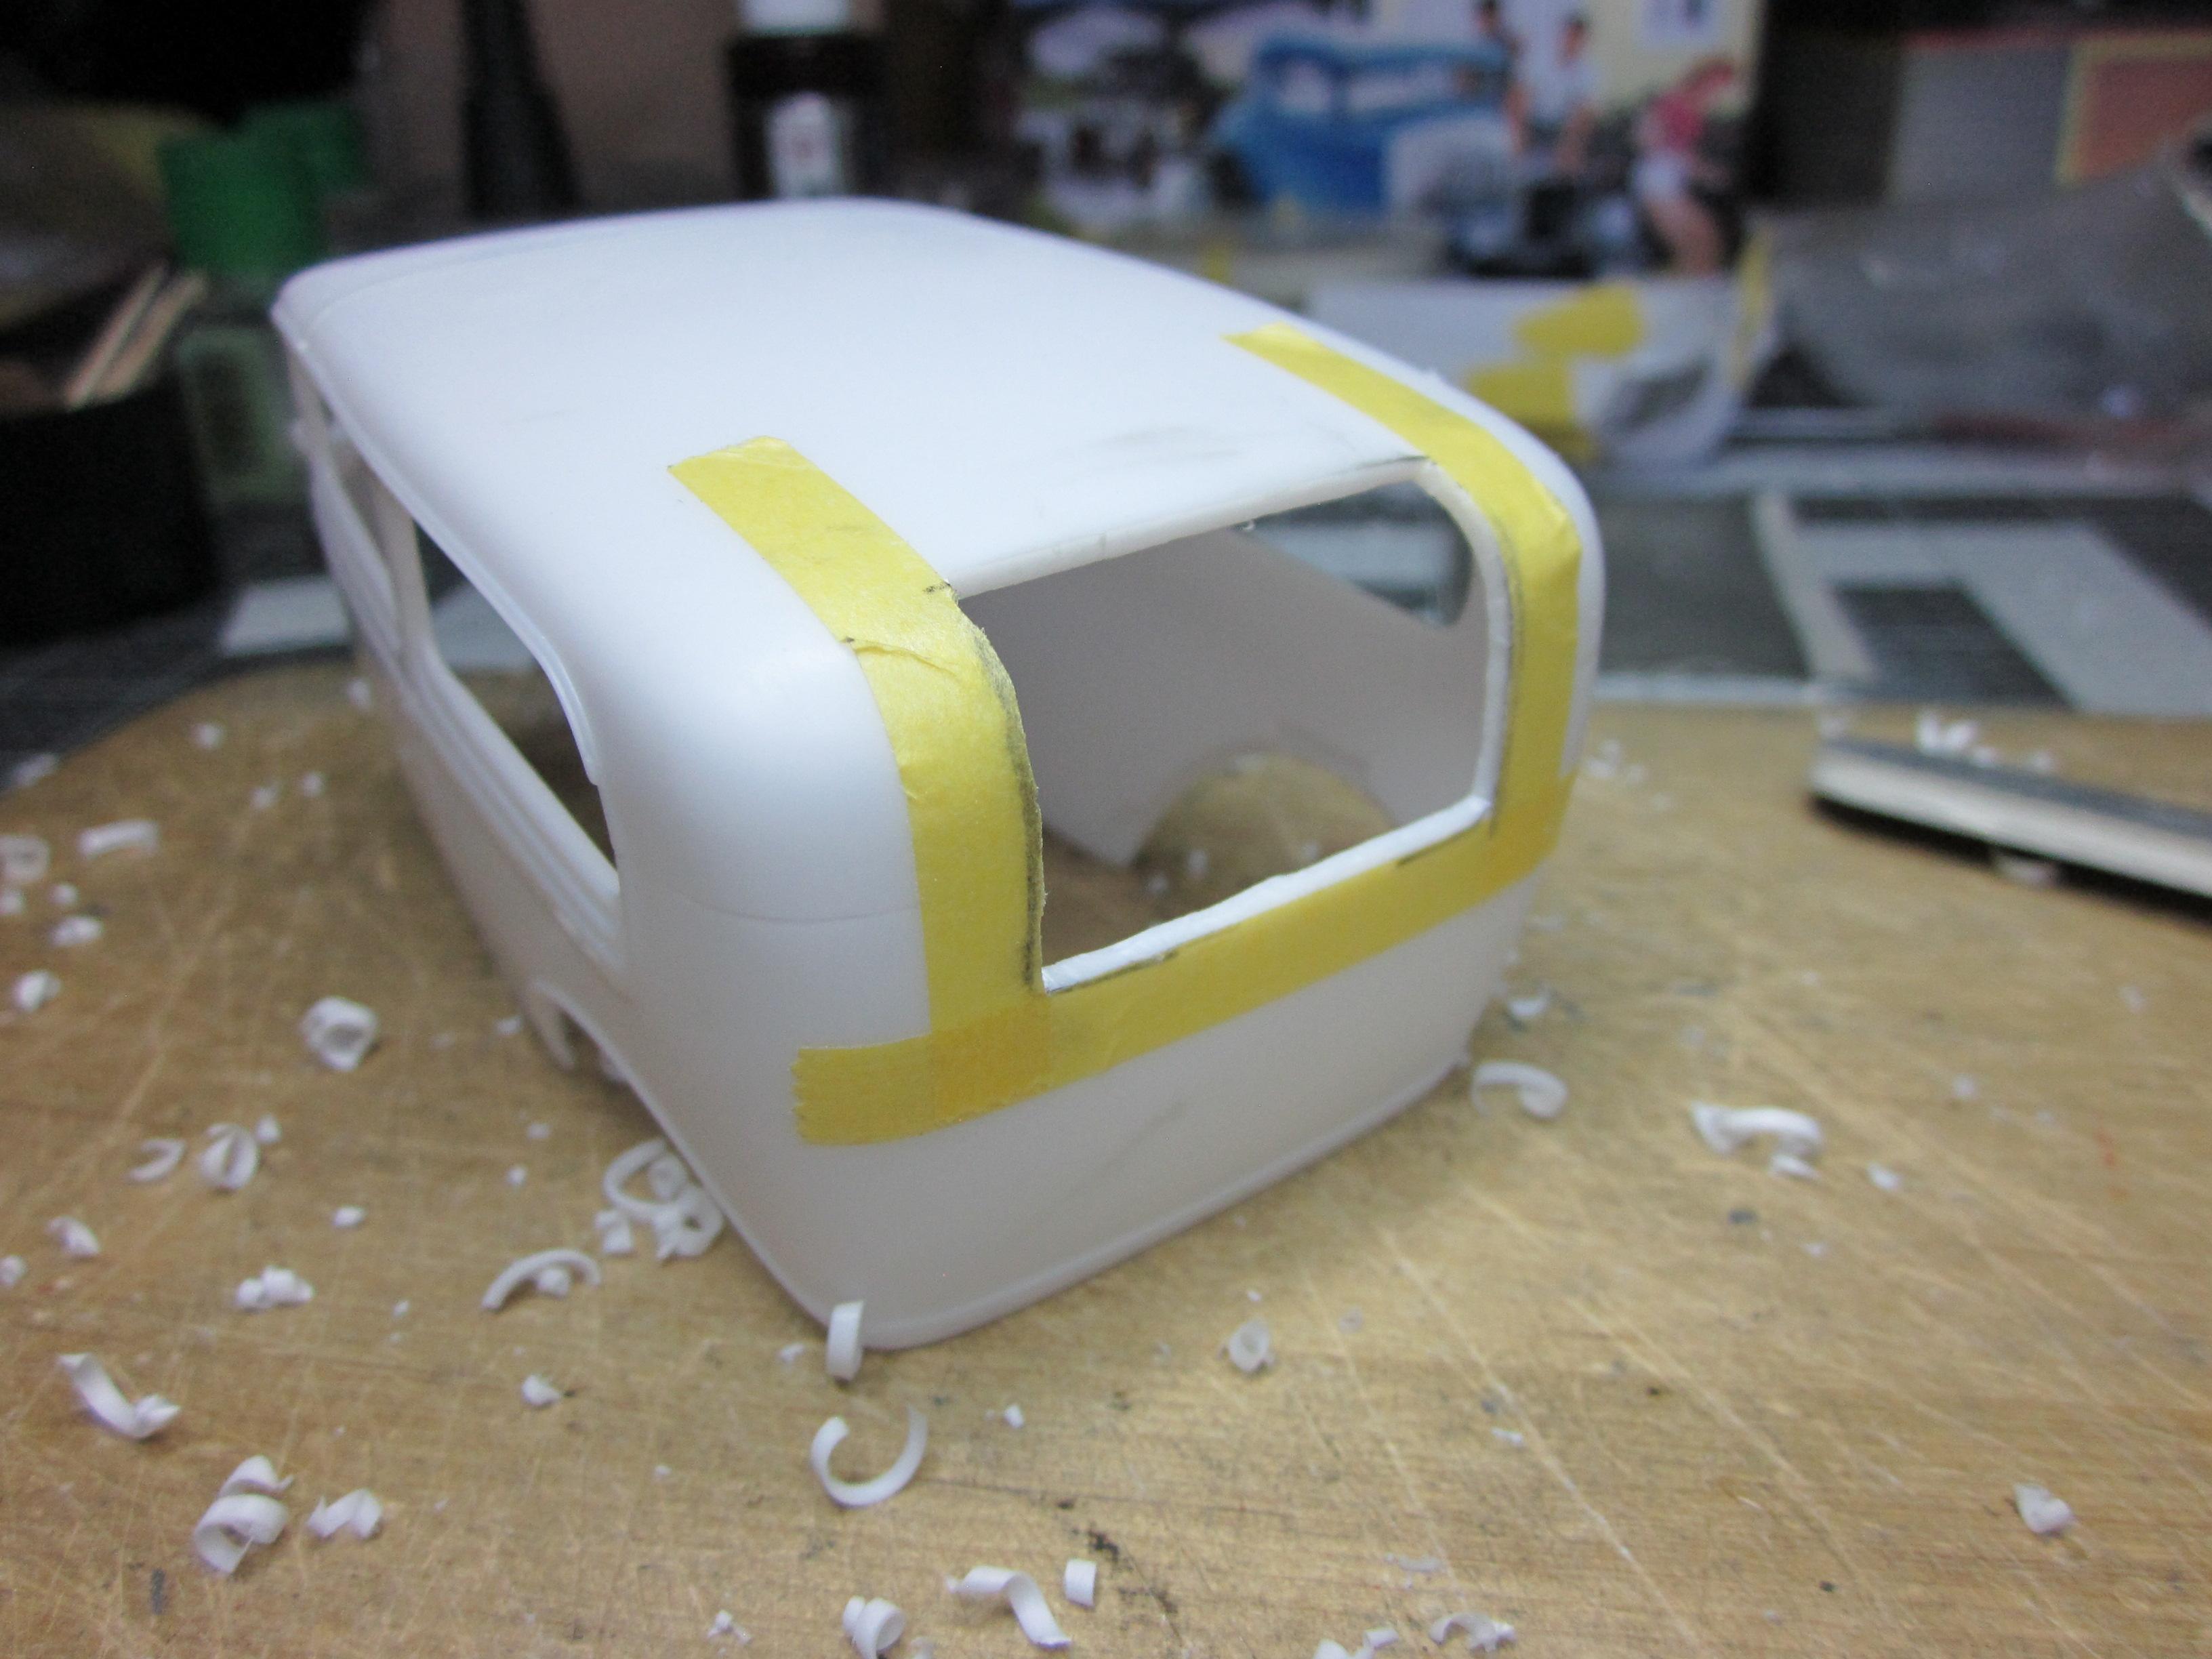
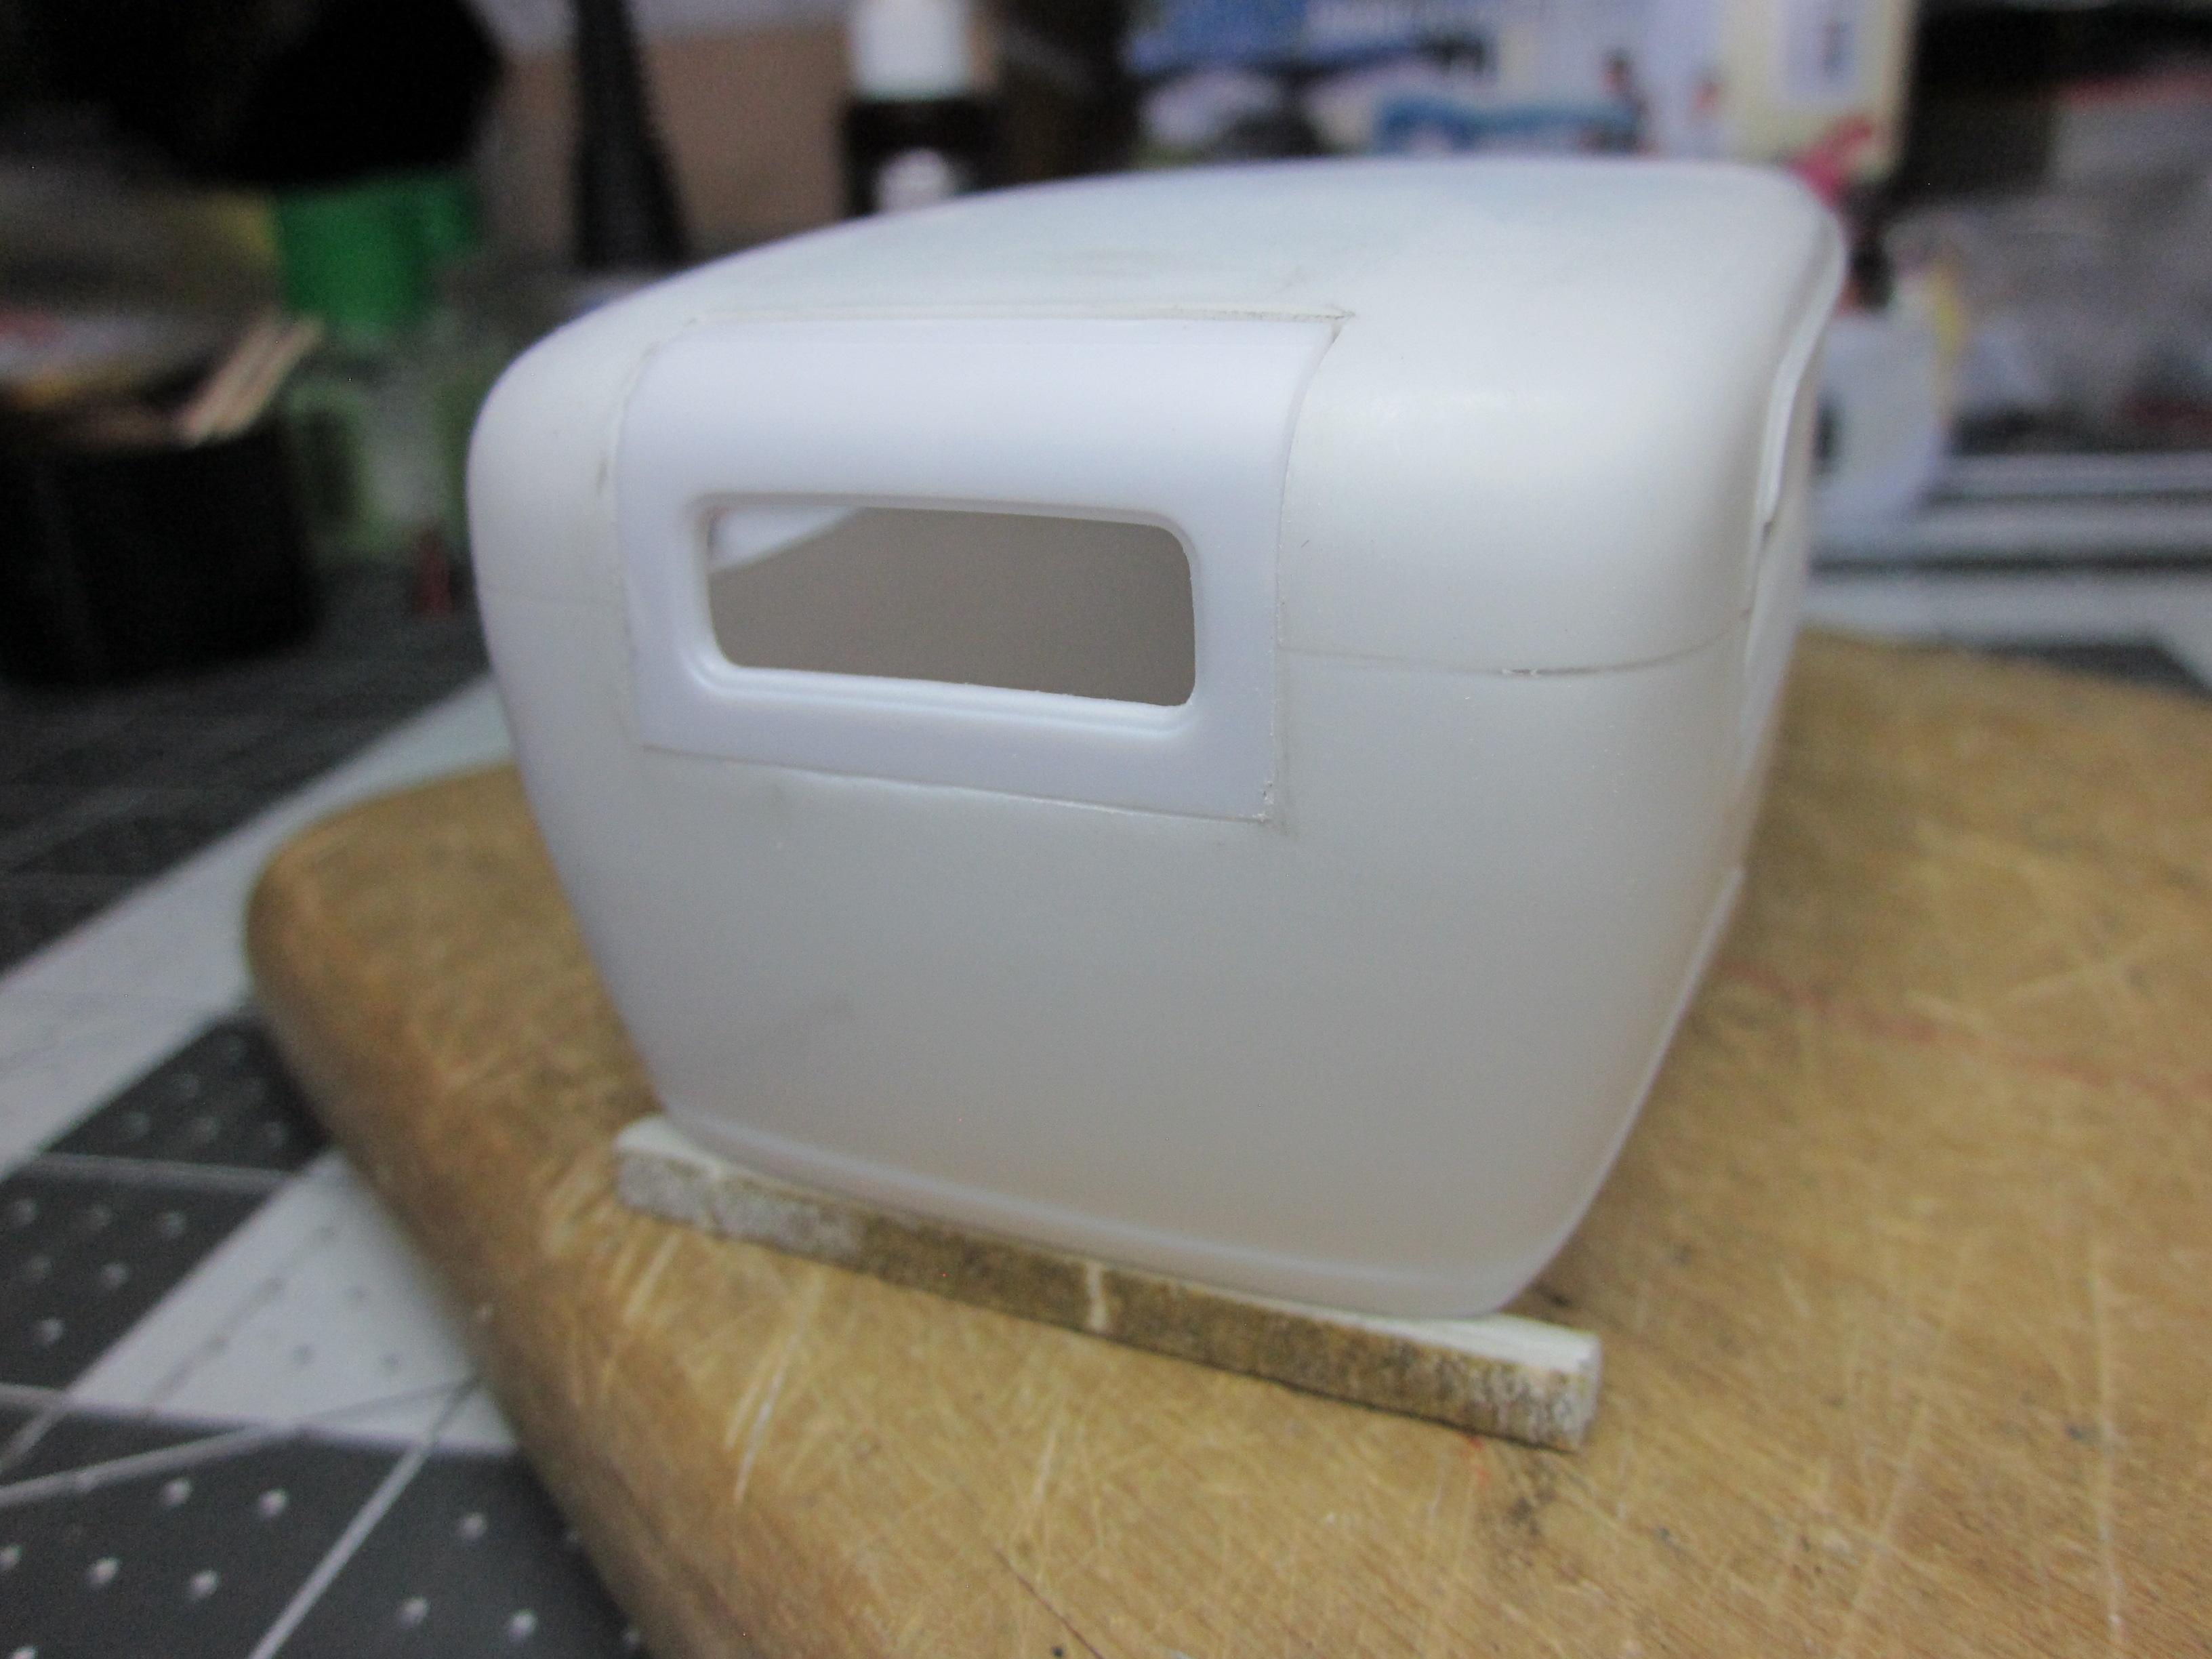
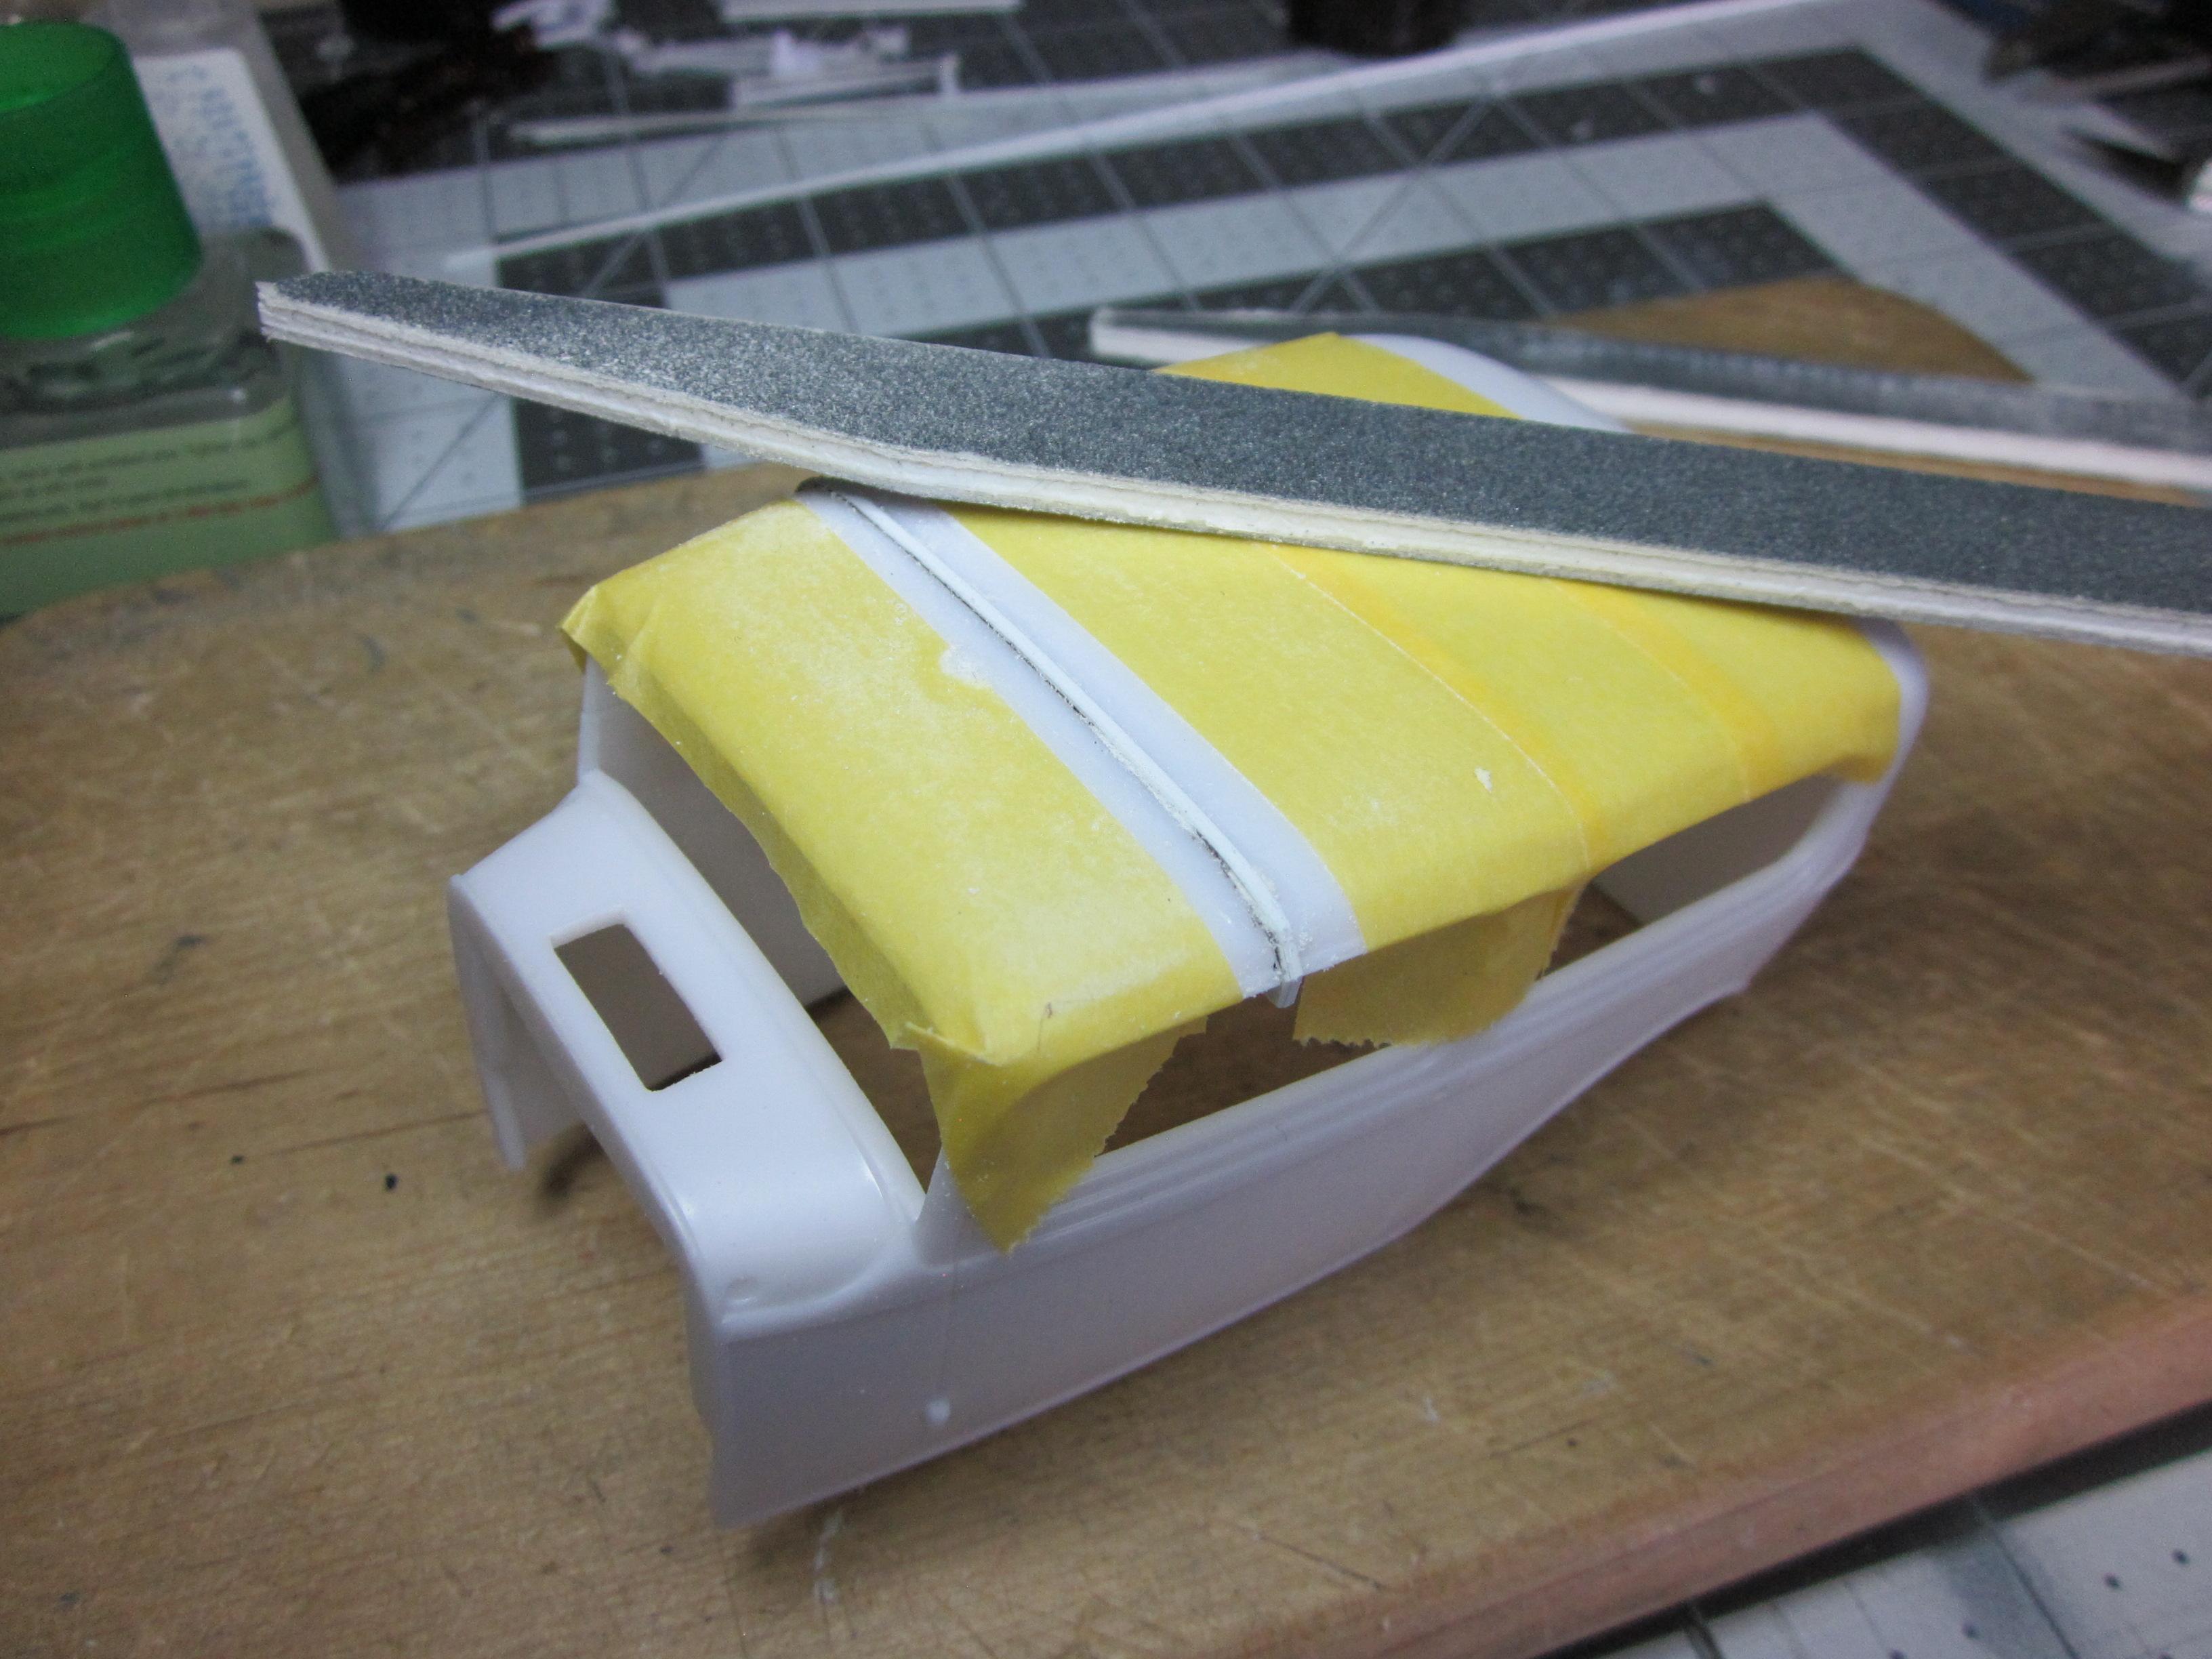
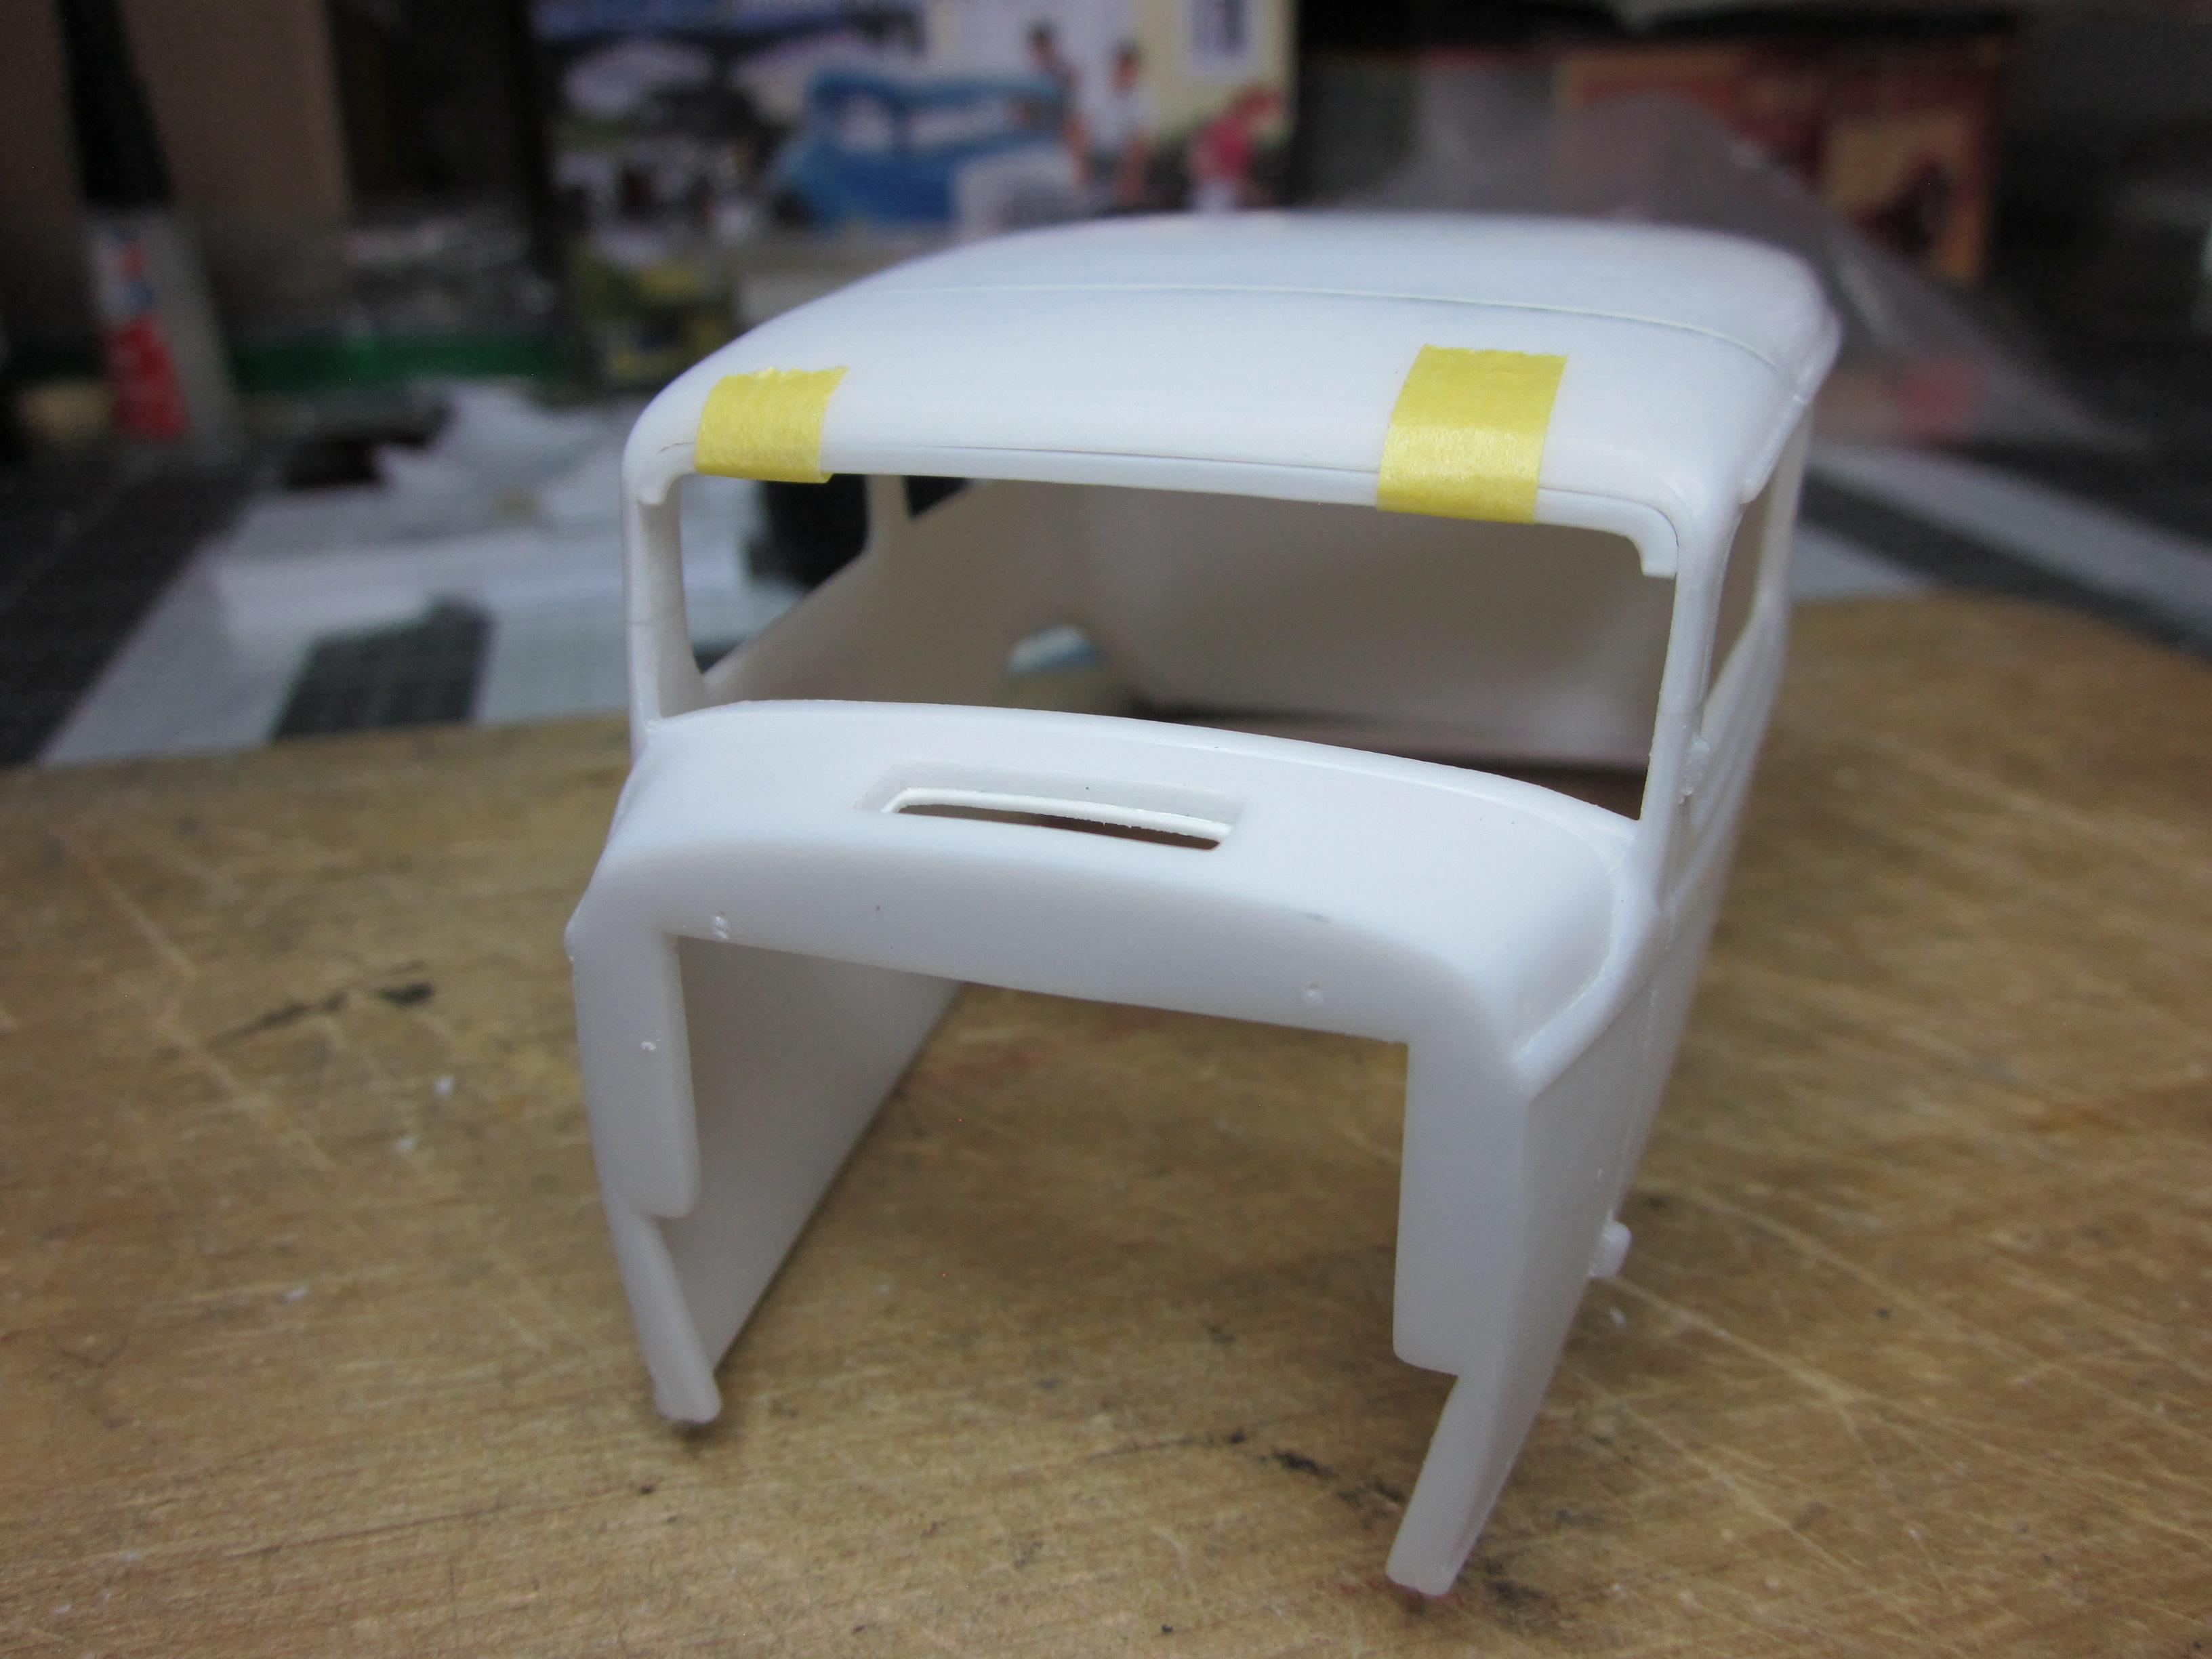
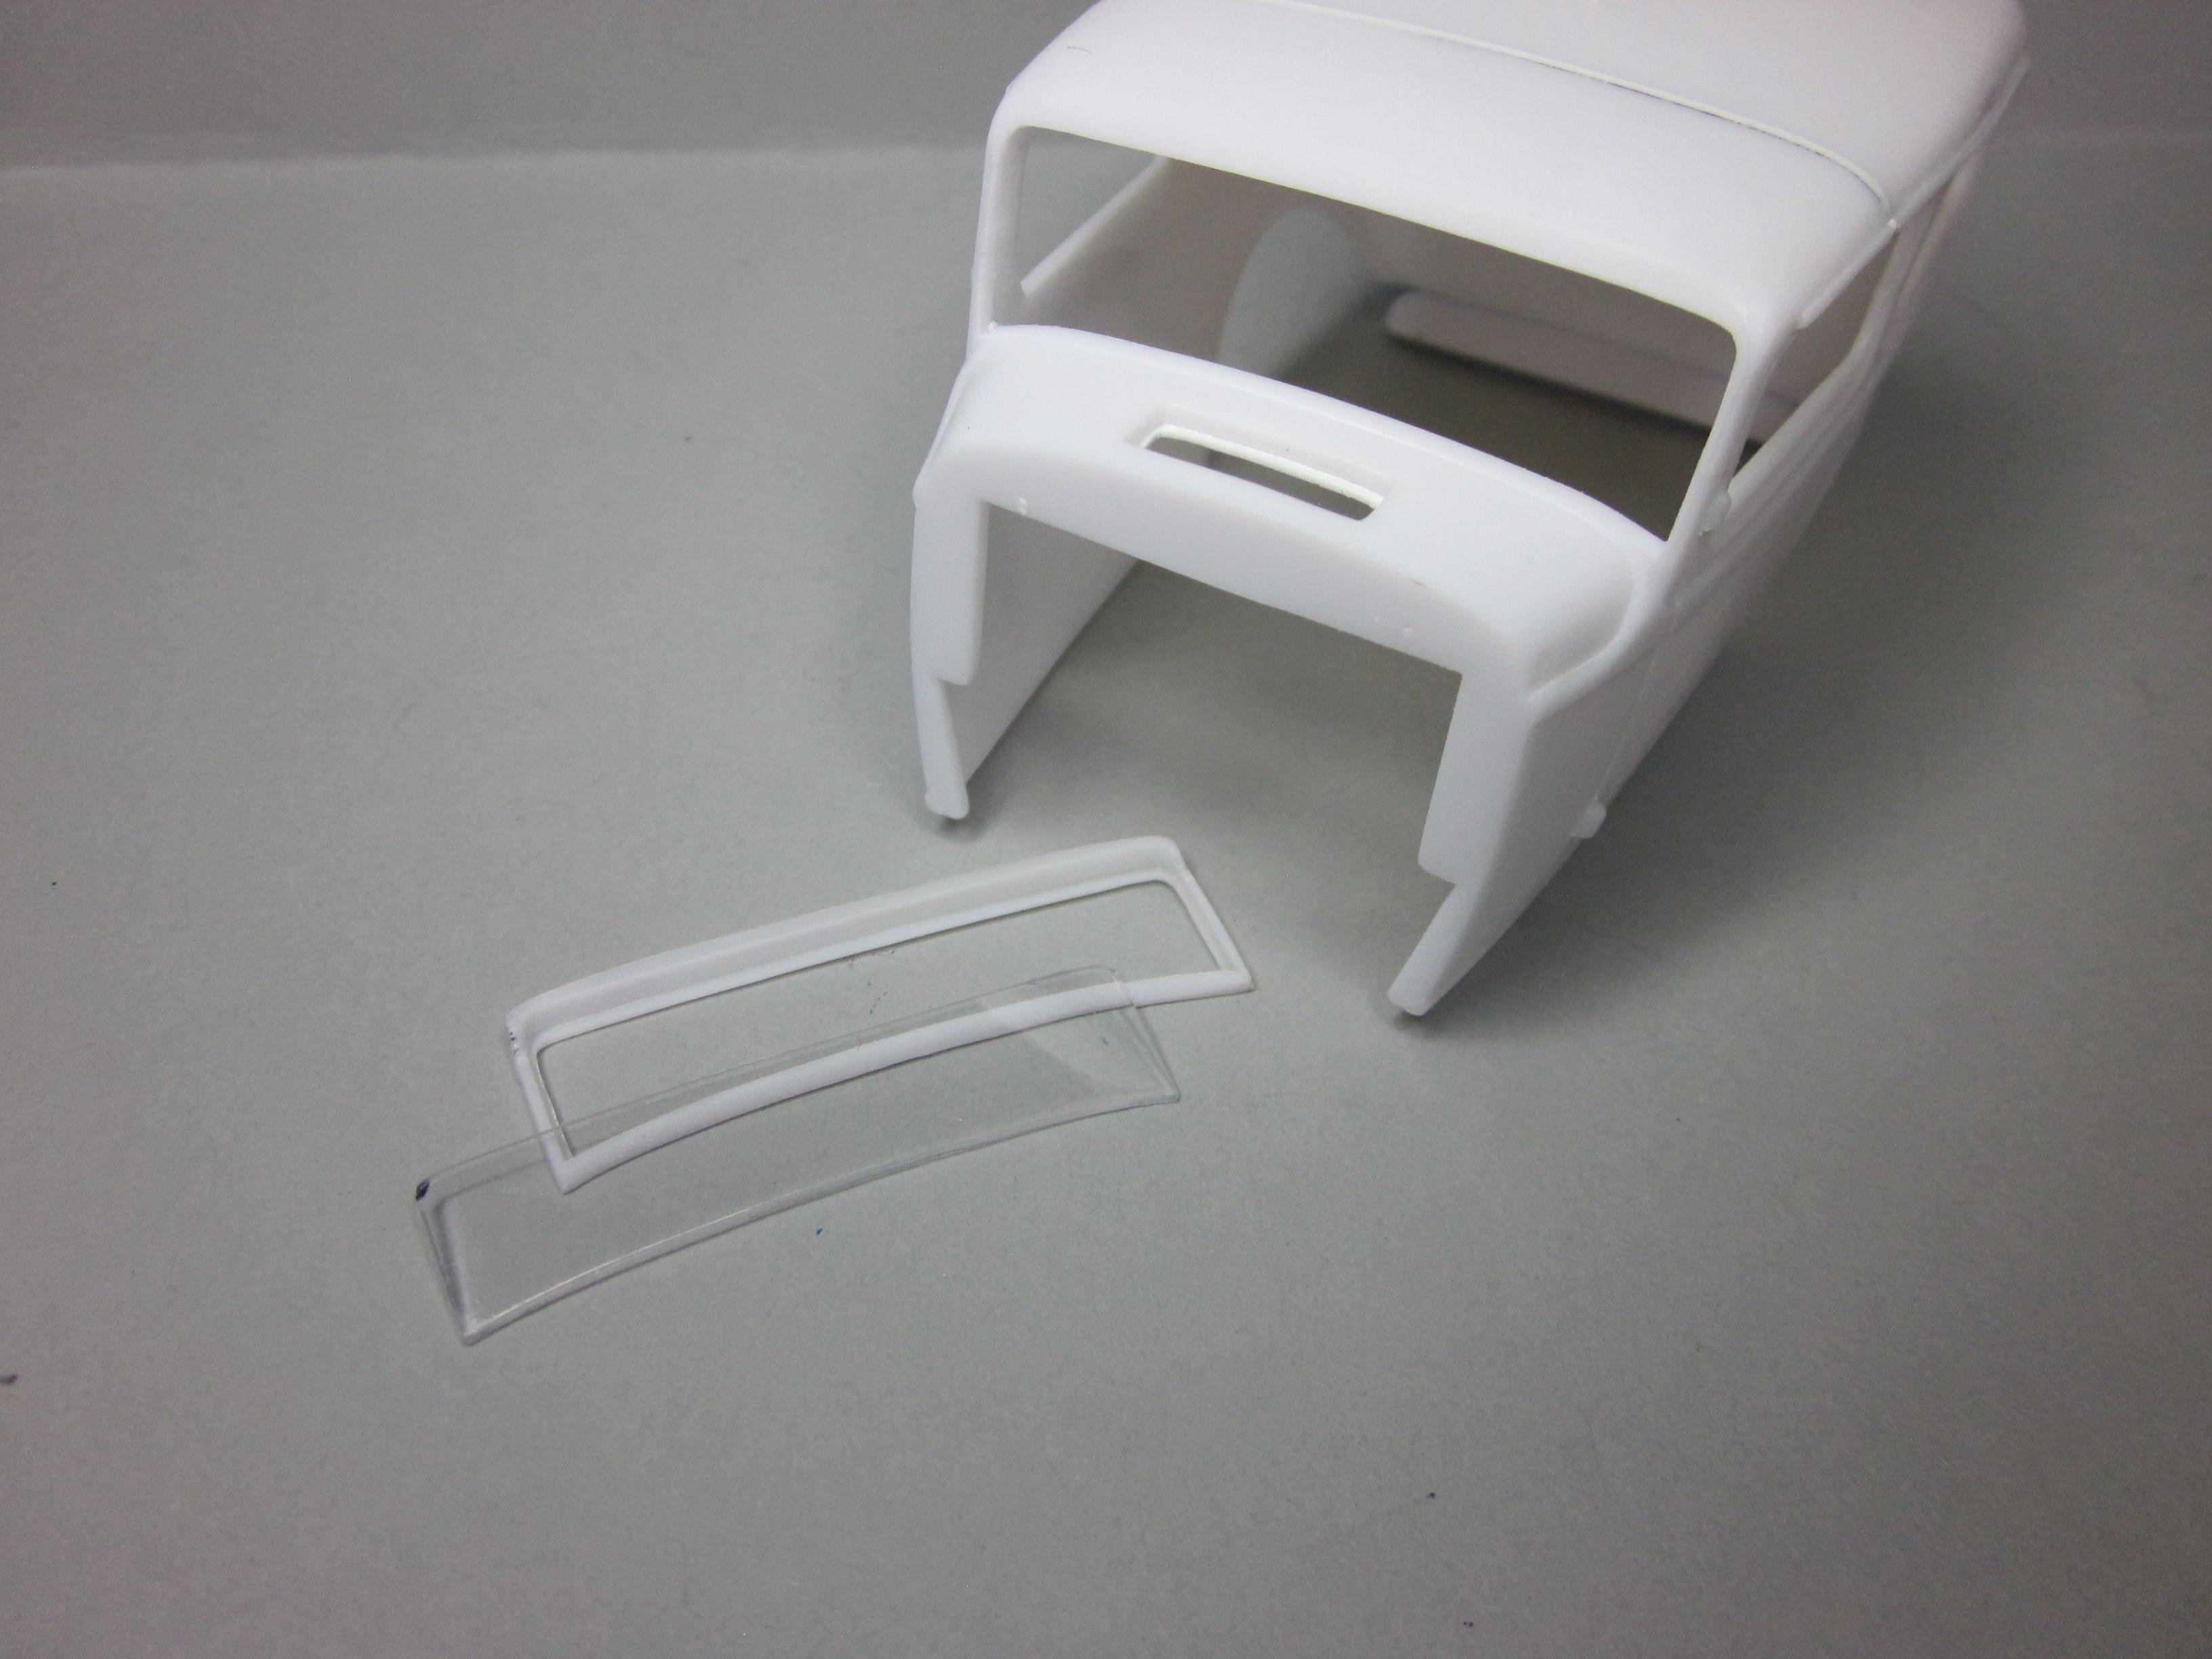
I have progress. Putting the top back together wasn't too bad. I had to make a filler piece using two different thickness of sheet plastic. Used the tamiya extra thin cement to weld it in place. Sanded it down using sanding sticks of different grades. The tough part was sanding and cleaning up the inside and around the drip rails. But it came out pretty good. Finished the A and B pillars also. Haven't put any primer on it yet, but I'm sure there is going to be some areas that will need to be worked on. The cowl was smoothed out taking the barb that runs around the outer edge off and filled the indentations for the lights that can be mounted there. Also did the window frame while I was in the area. I cut the top off the frame and taped it into place. Then the bottom piece was cut to fit, put in place and carefully glued so it could be taken back out. The frame was cleaned up and ready to be put in place. But before that could happen, the windshield was cut down to fit the frame as it is a lot easier to do now than with the frame in the body. And the frame was installed. Since I was making some changes, I'm thinking this will have to go.............Maybe.............. Thats it for now. More to come...................
- 719 replies
-
- 10
-

-
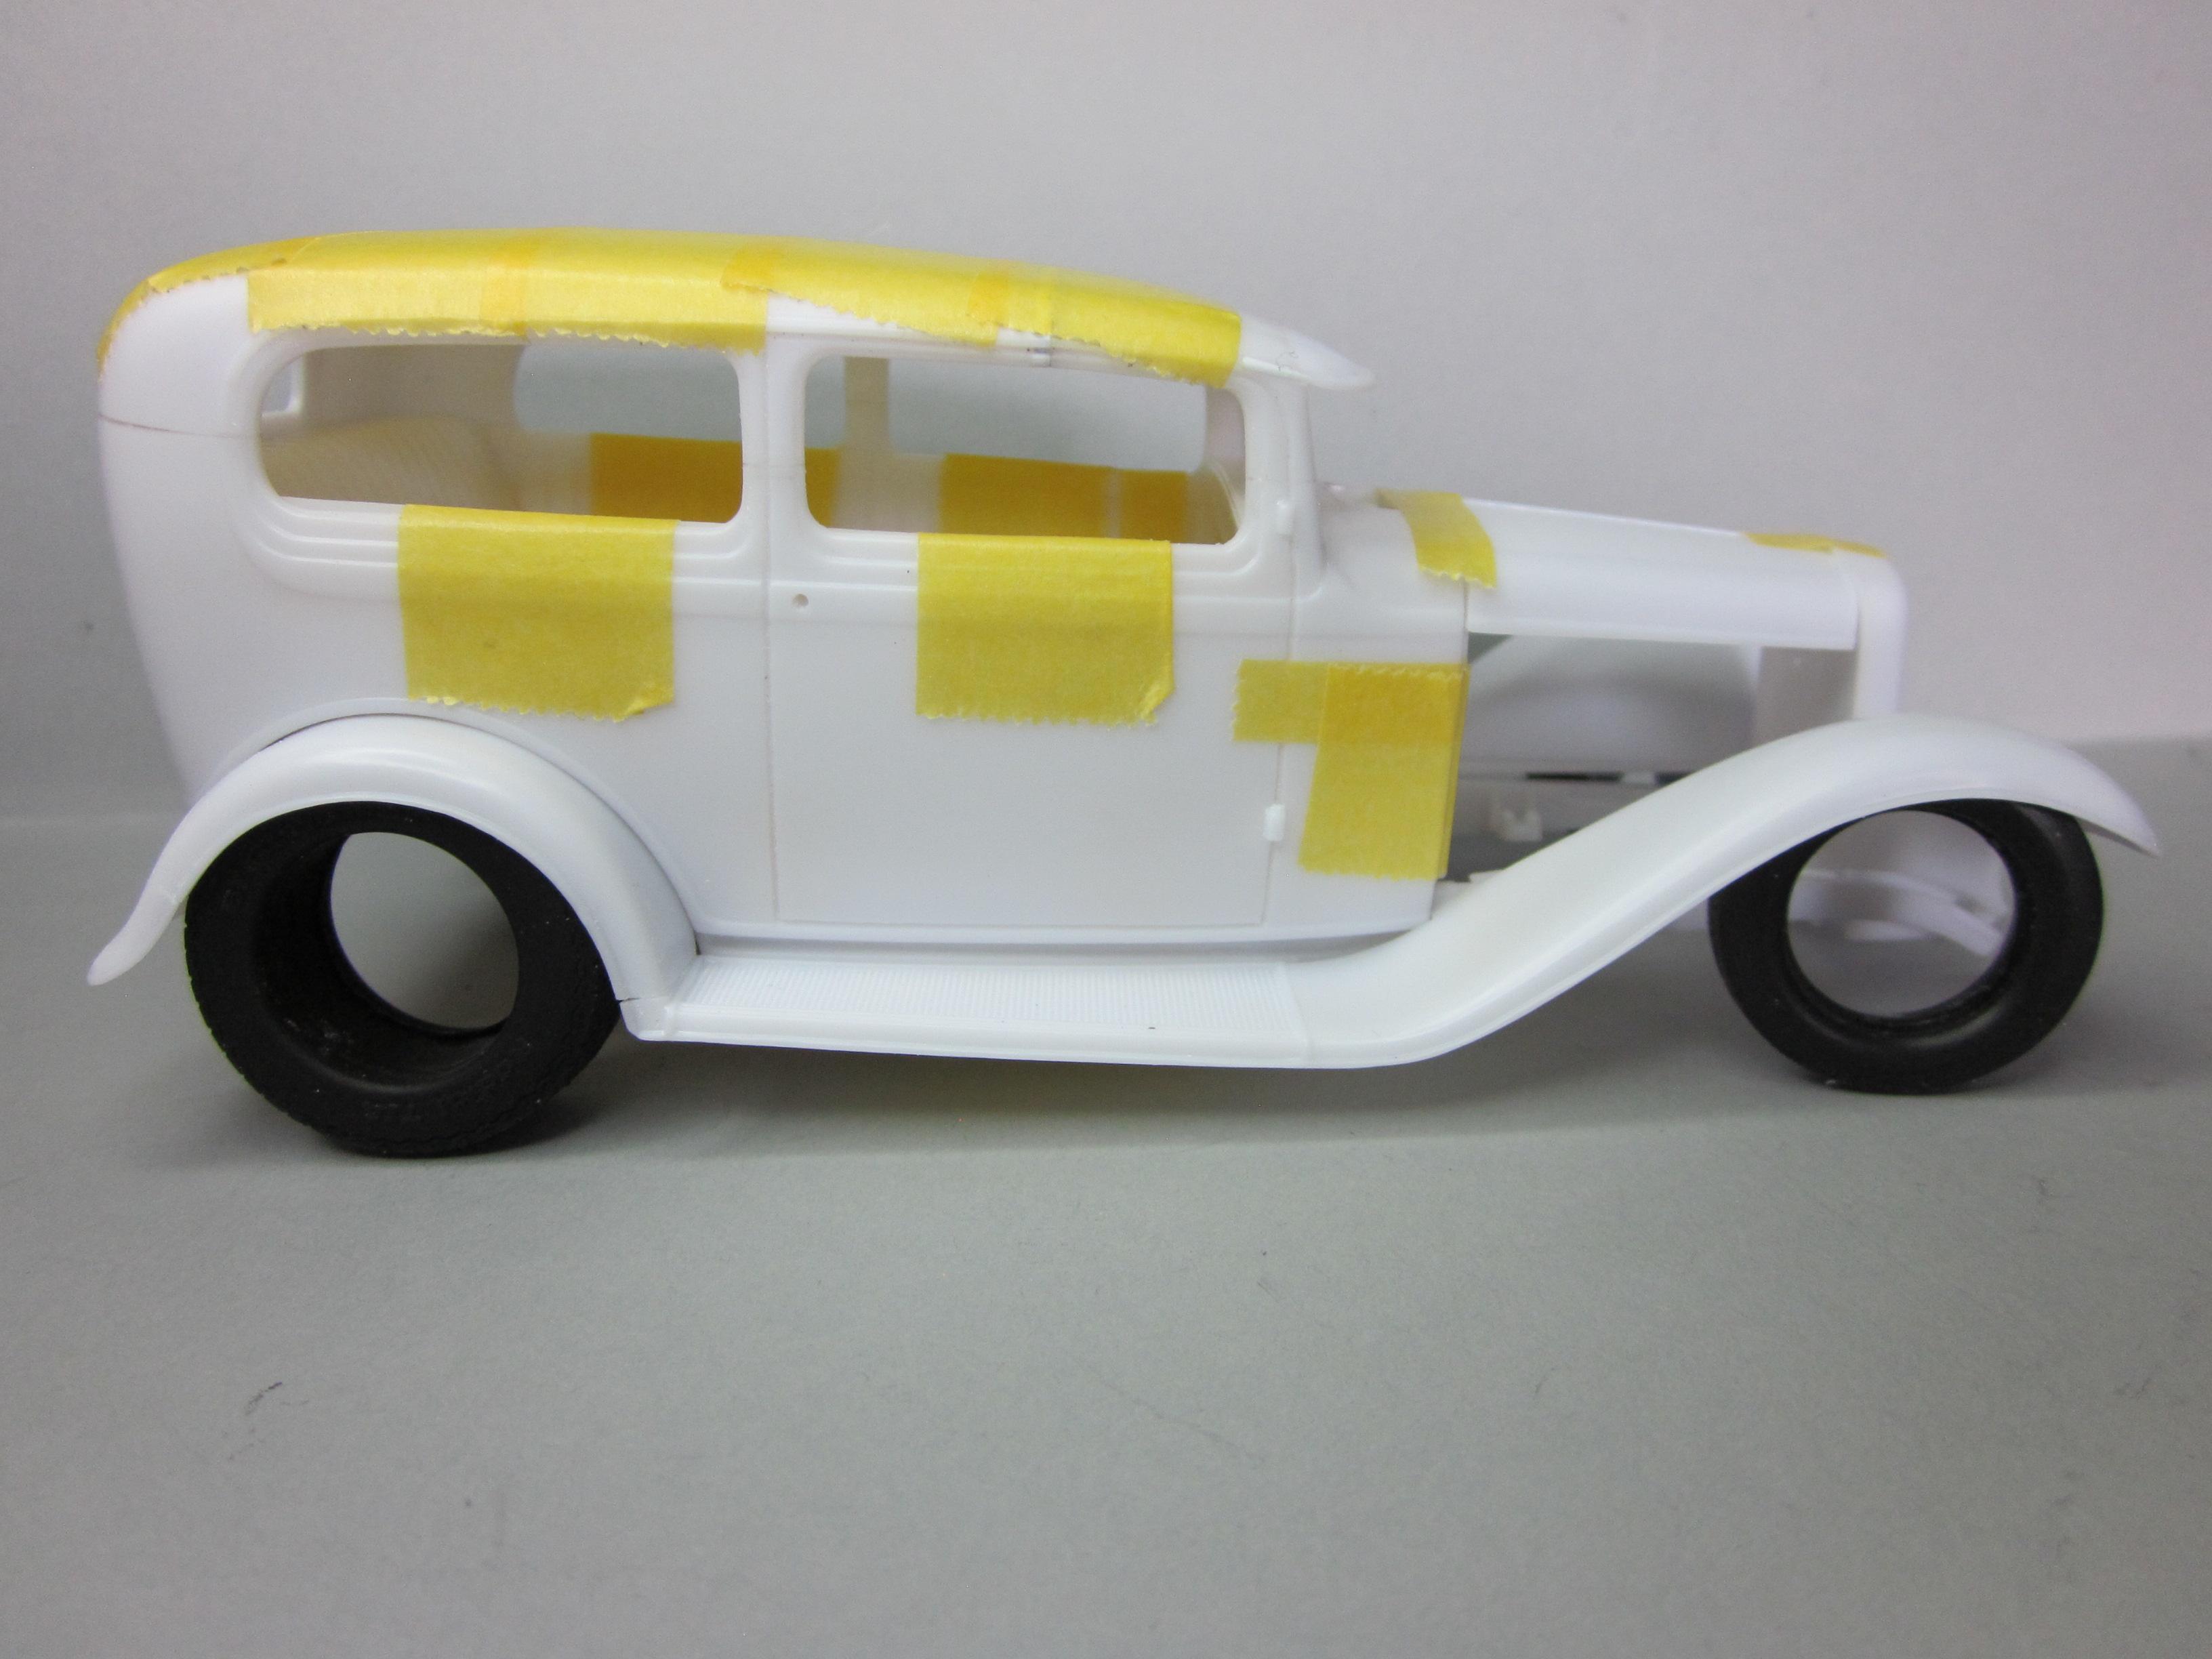
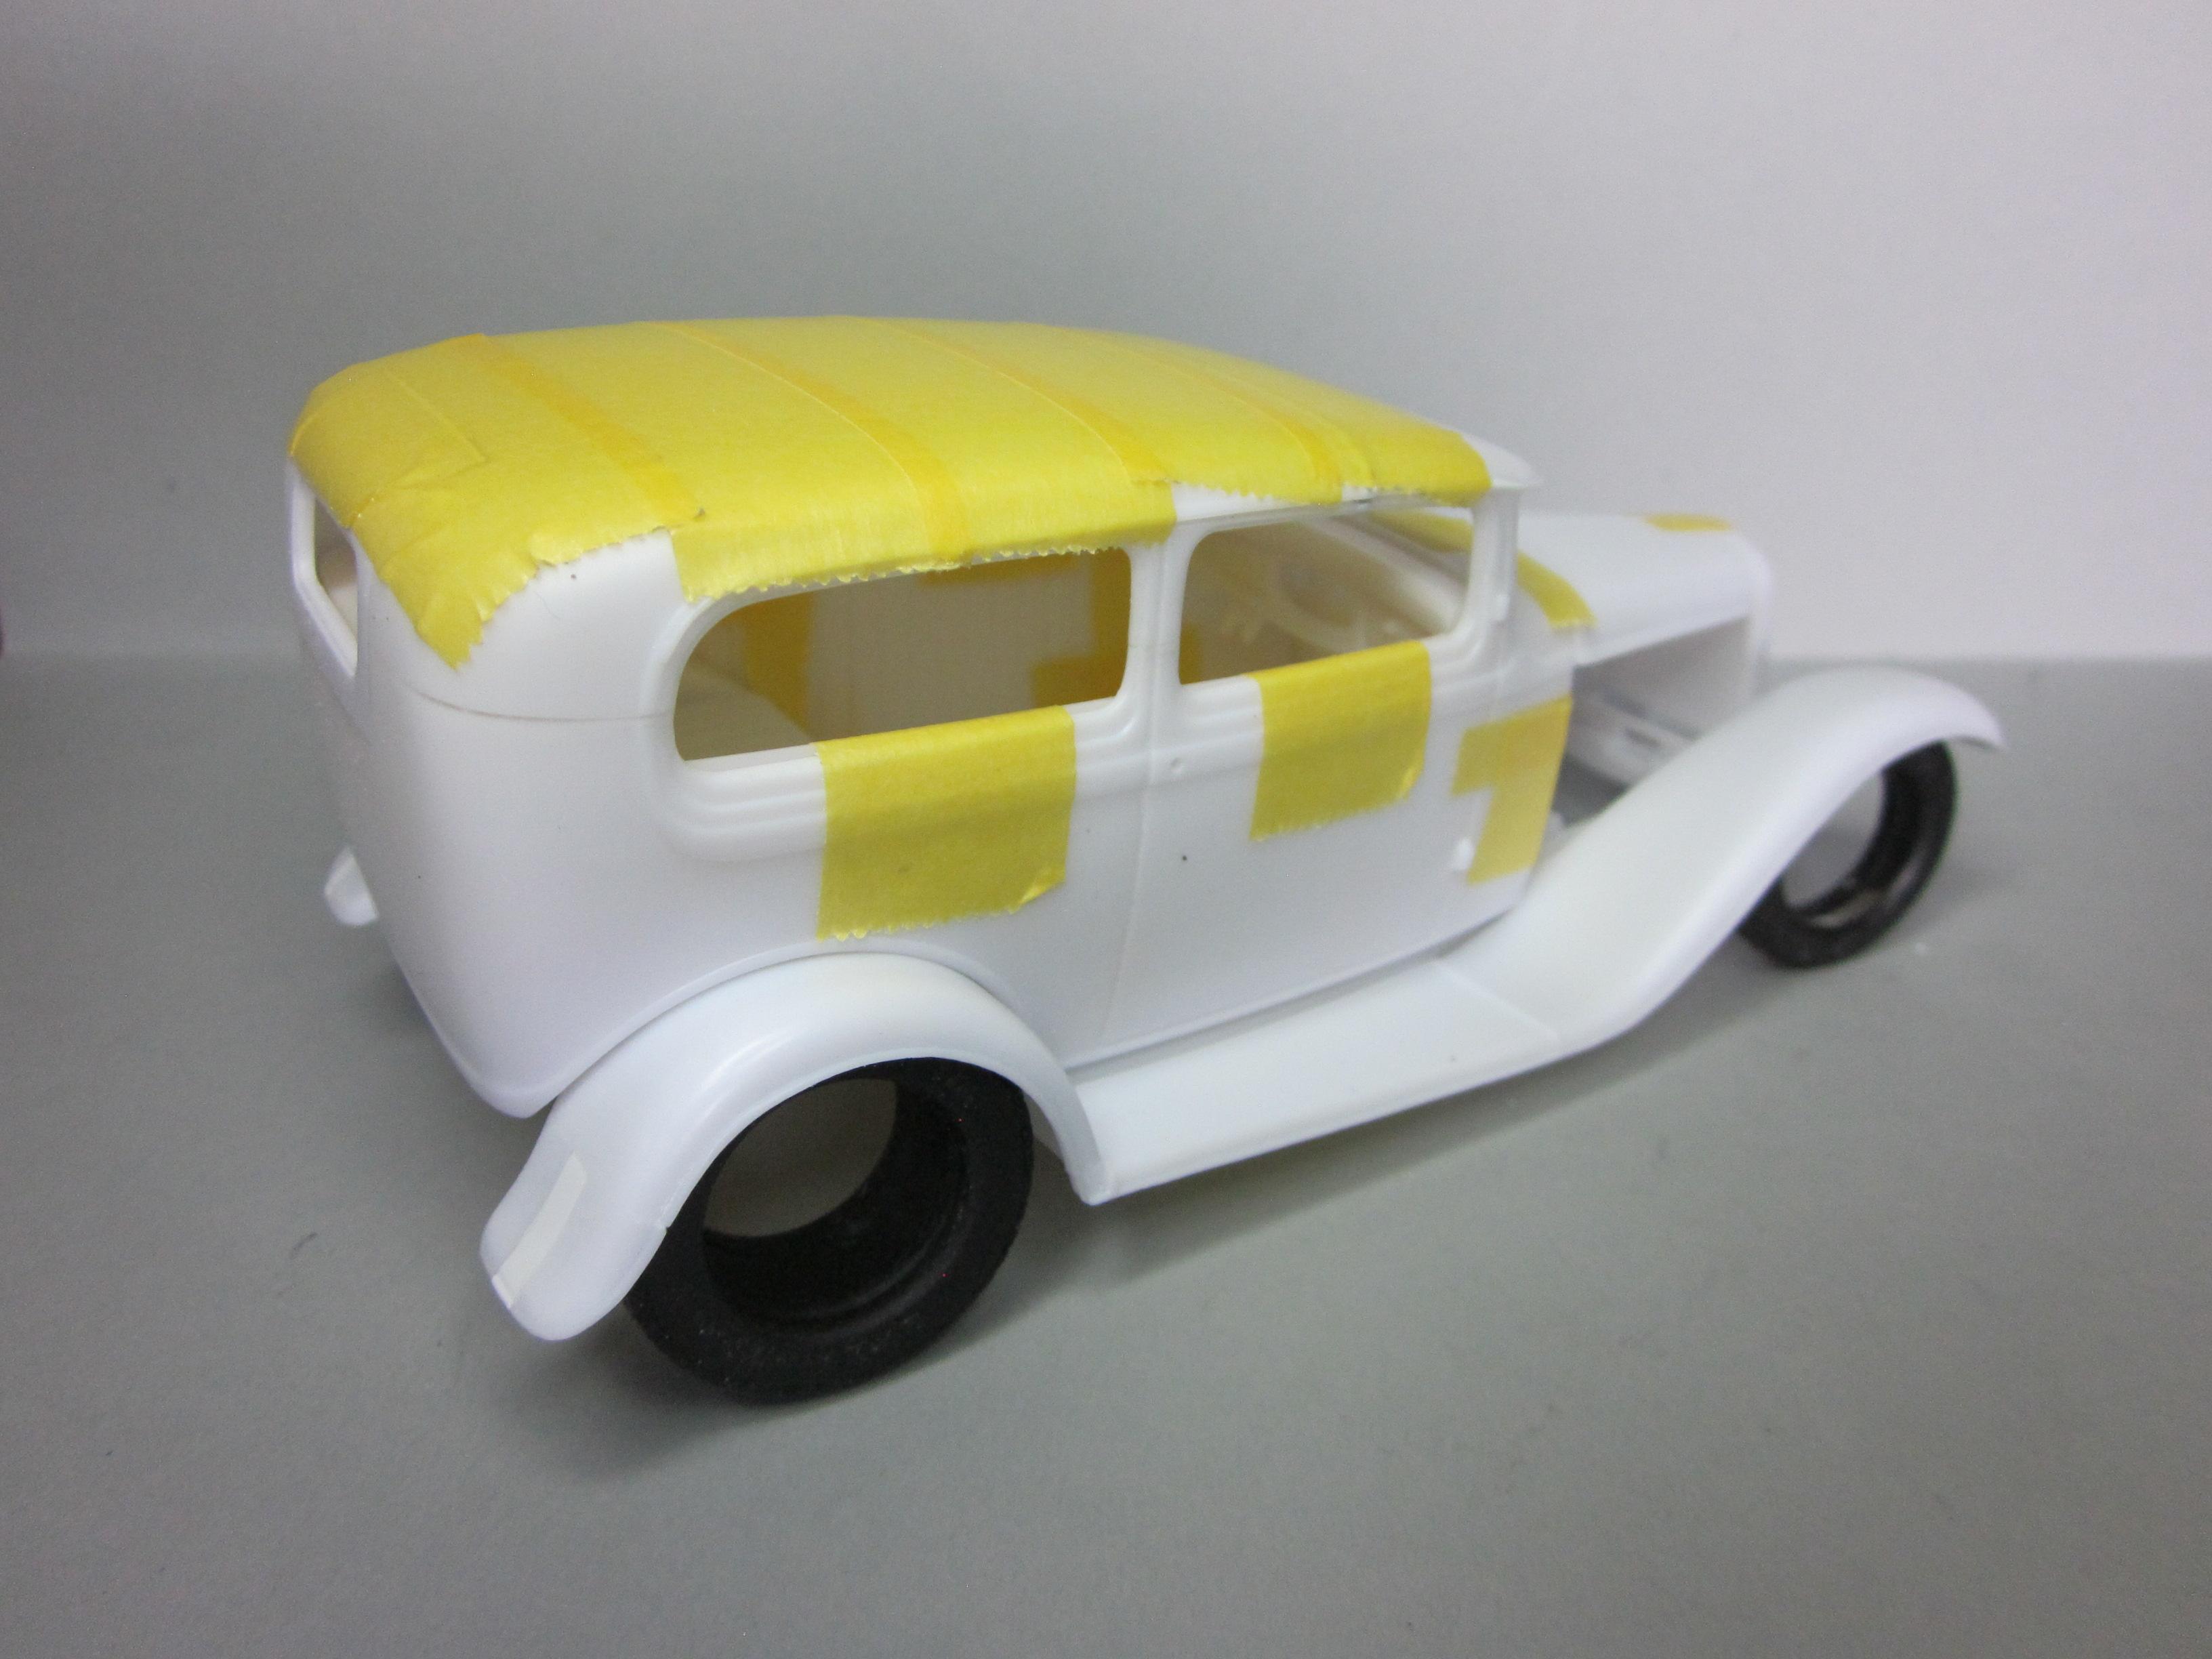
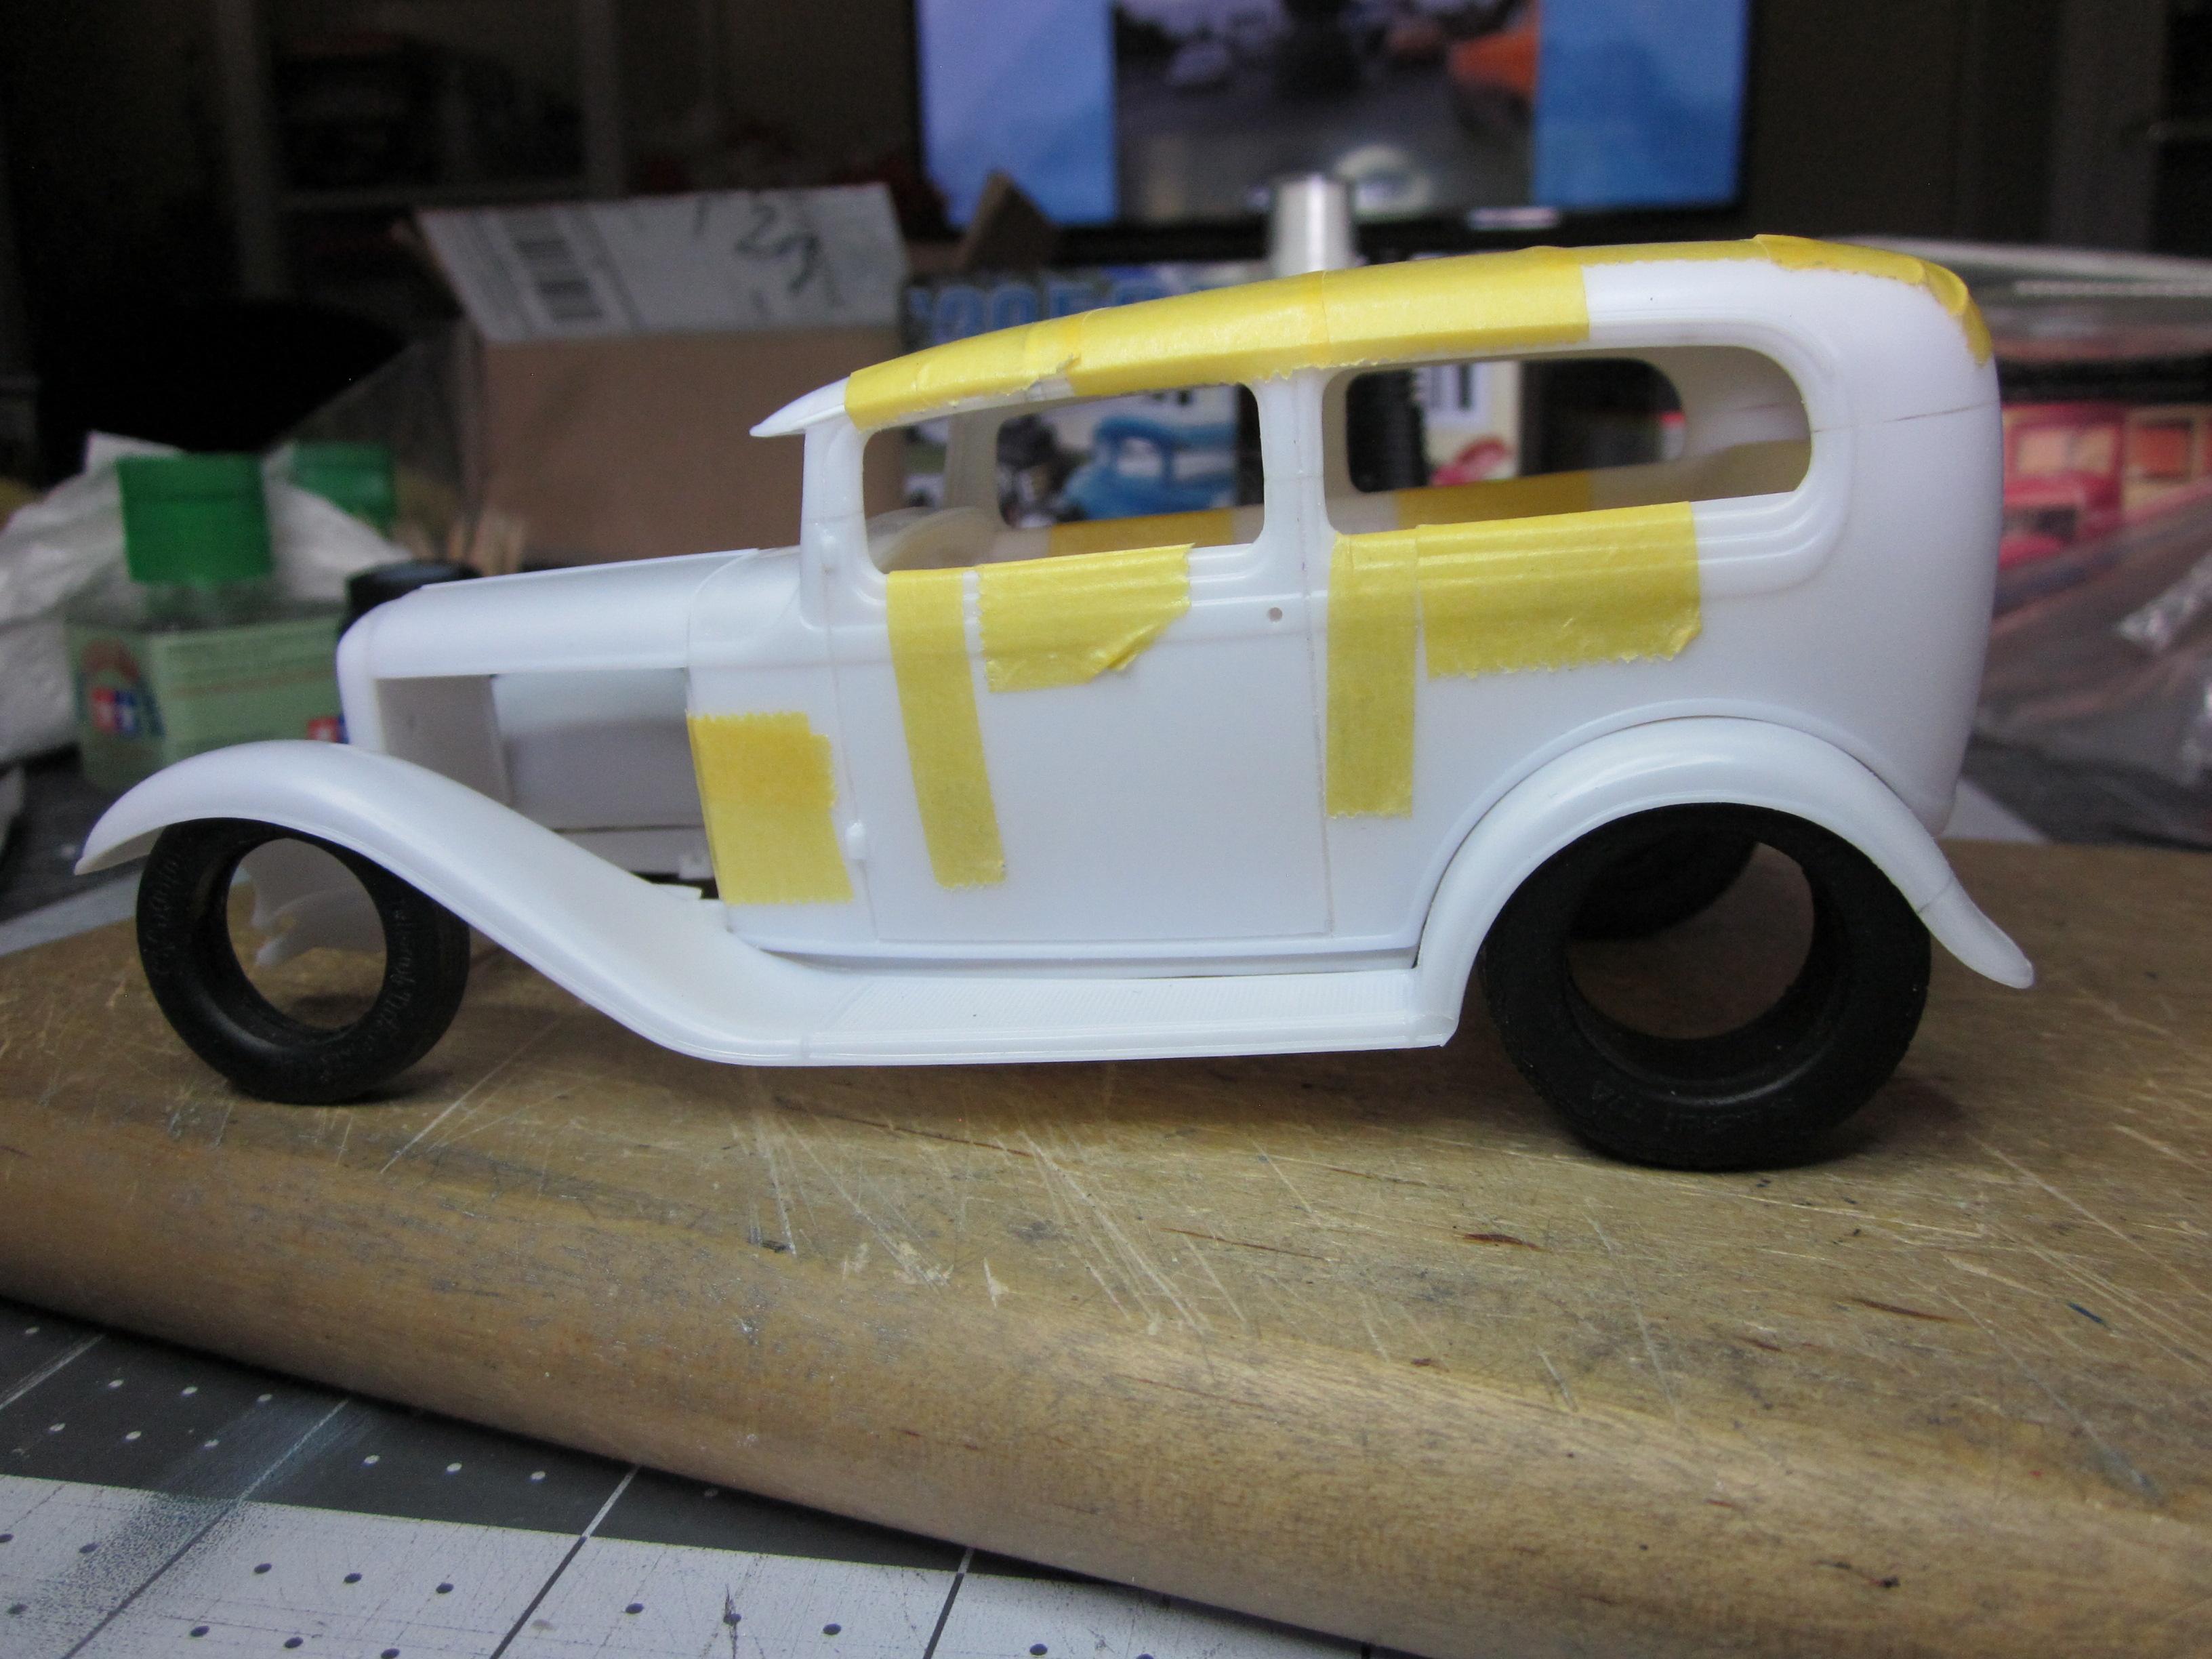
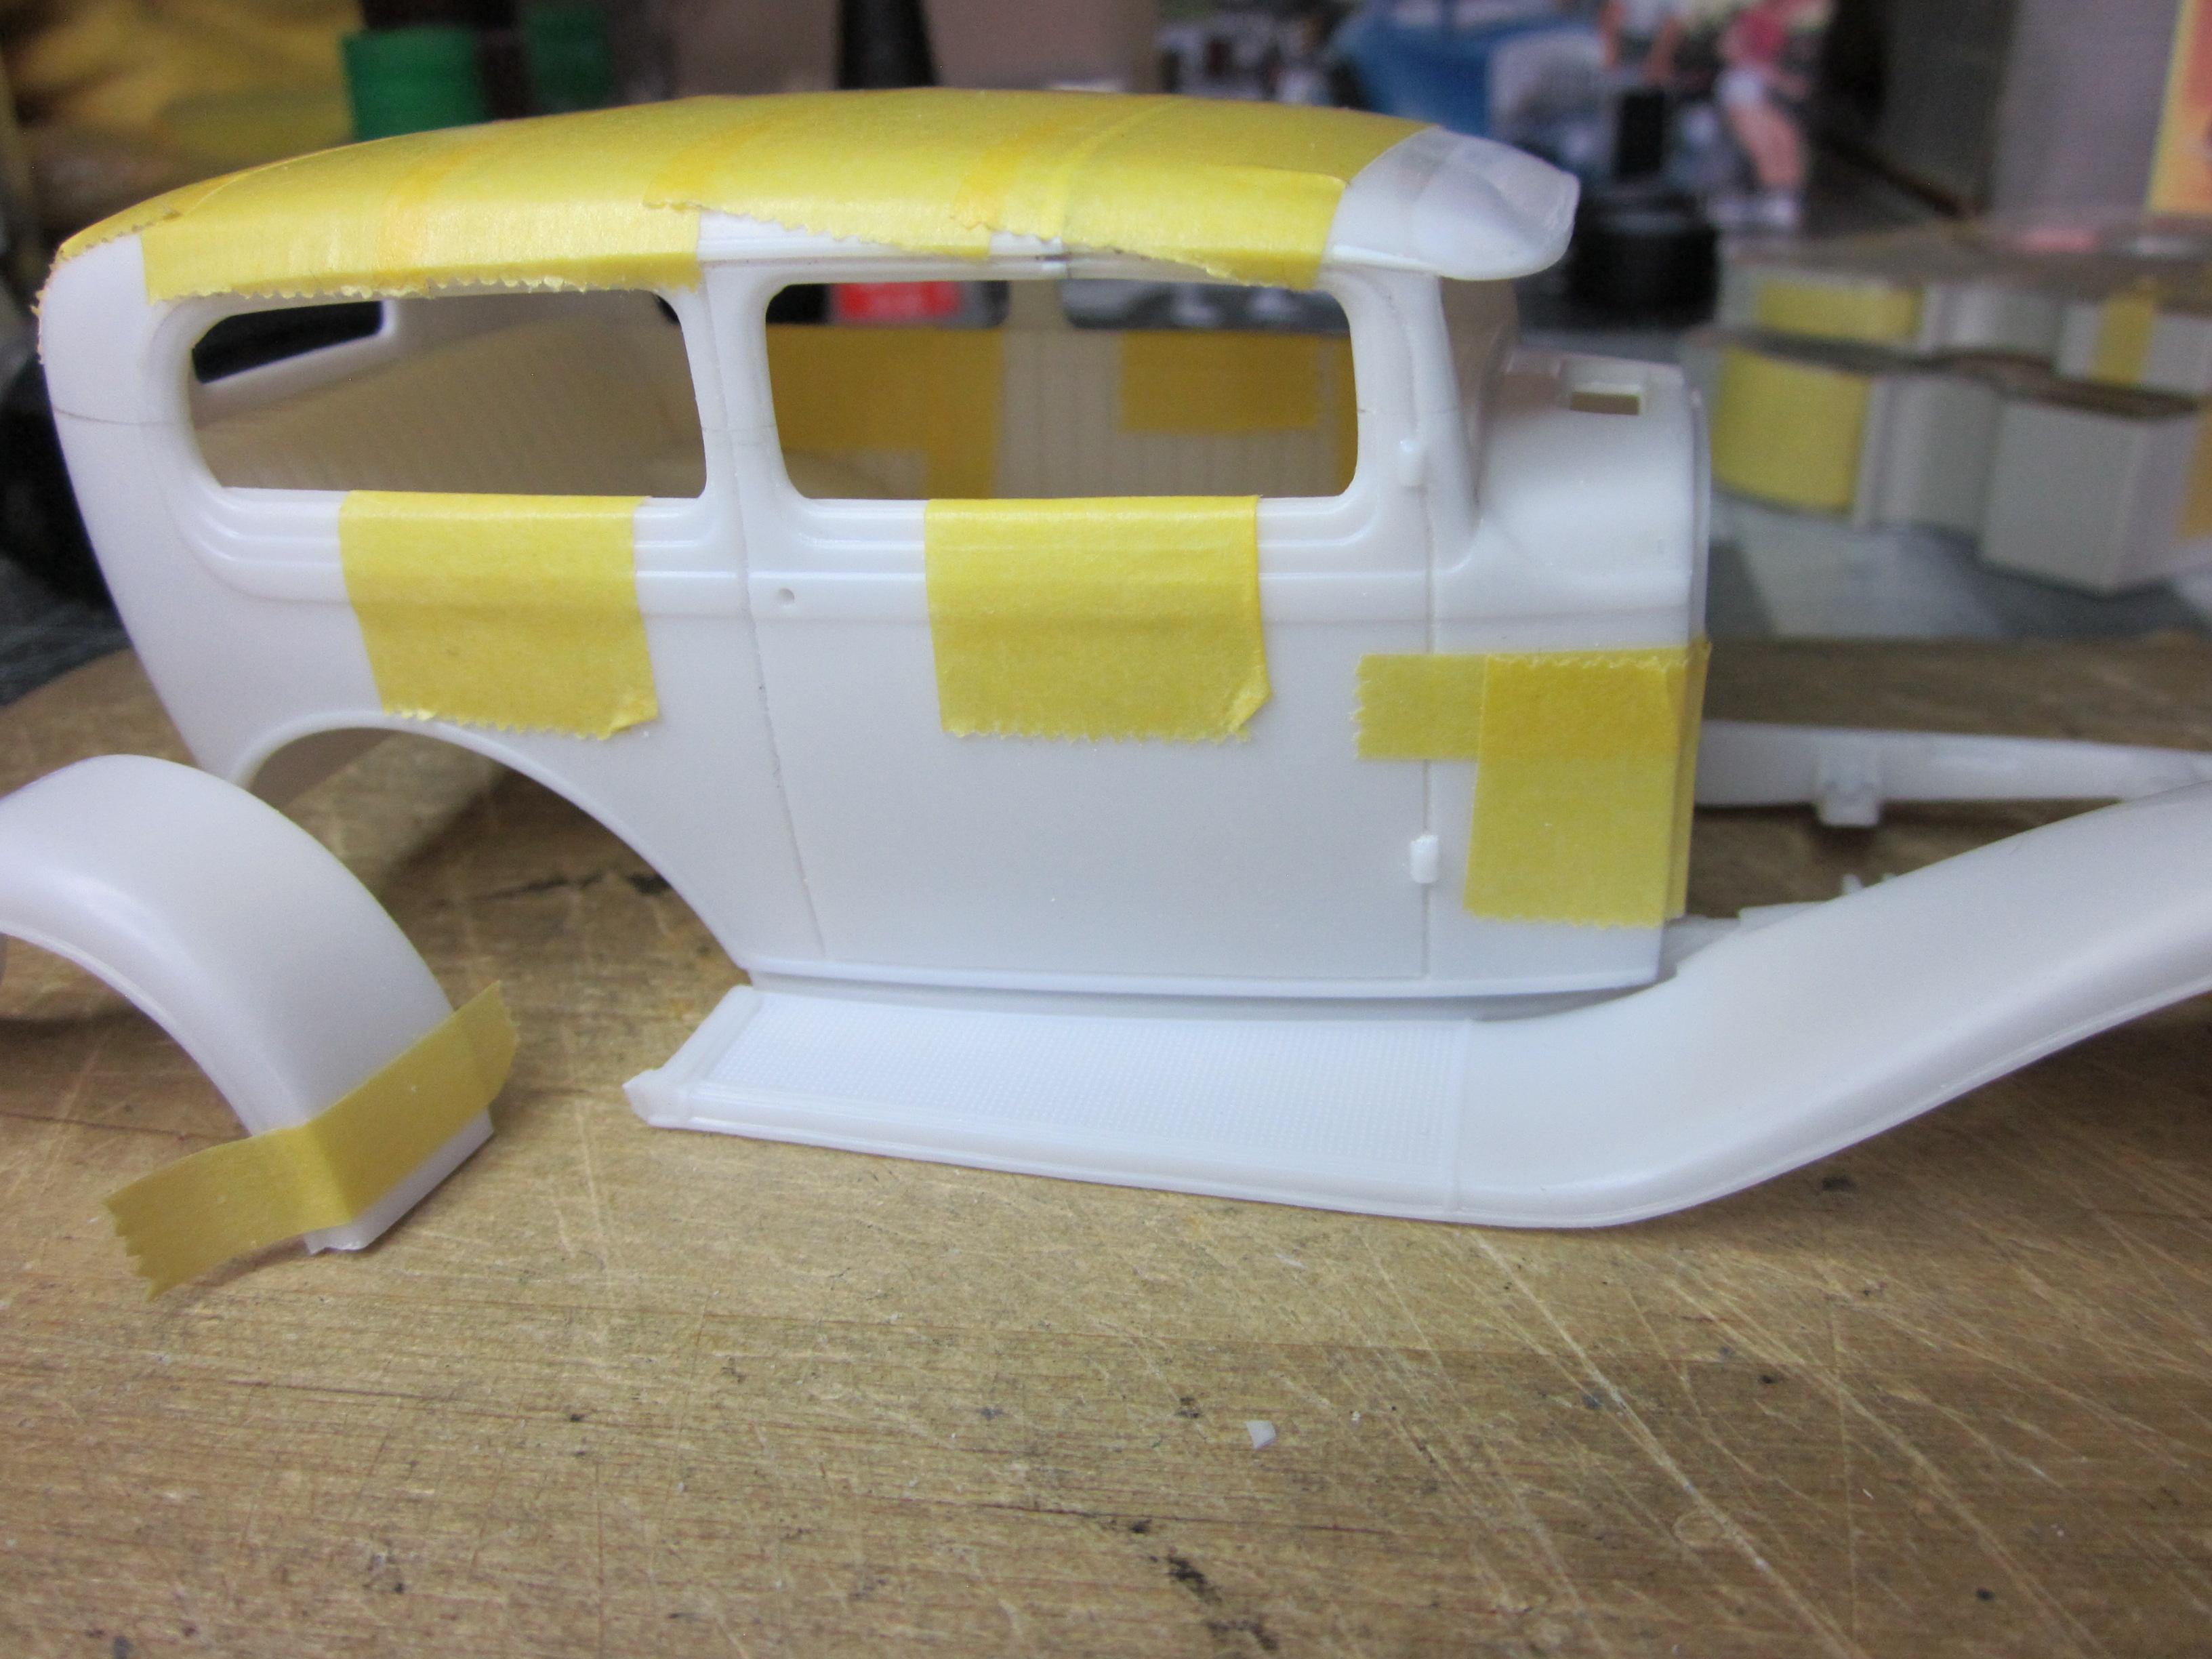
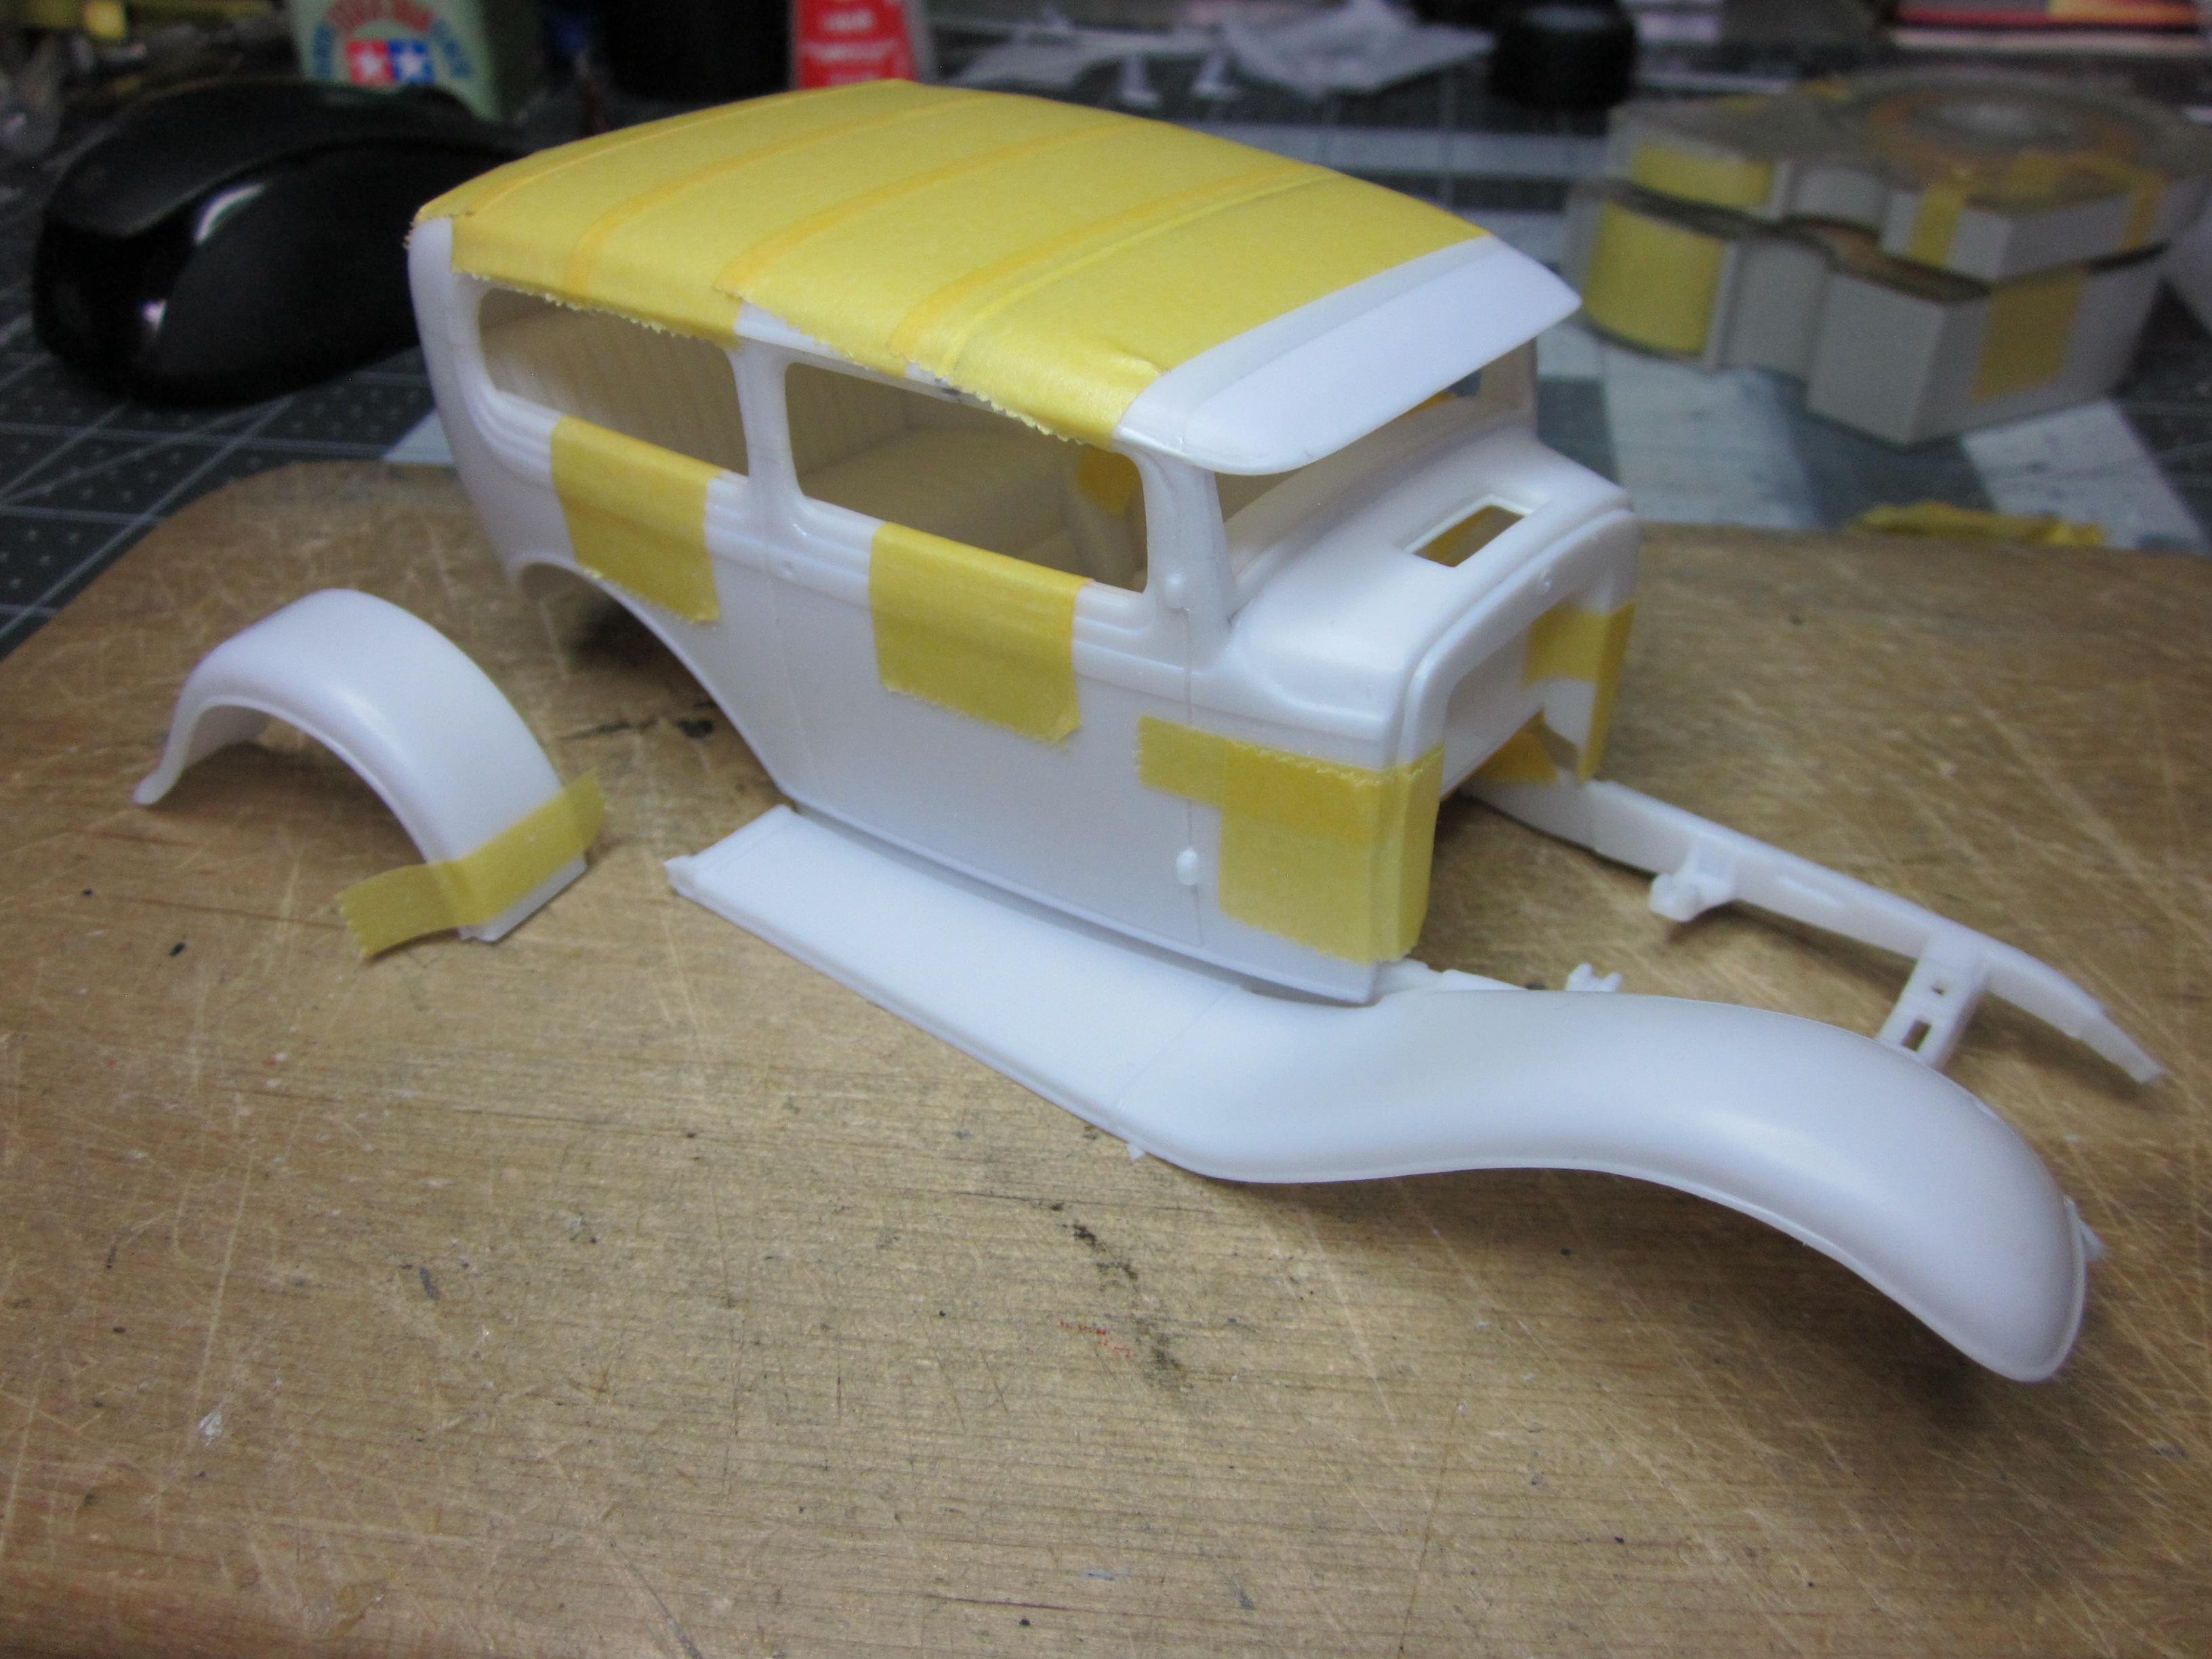
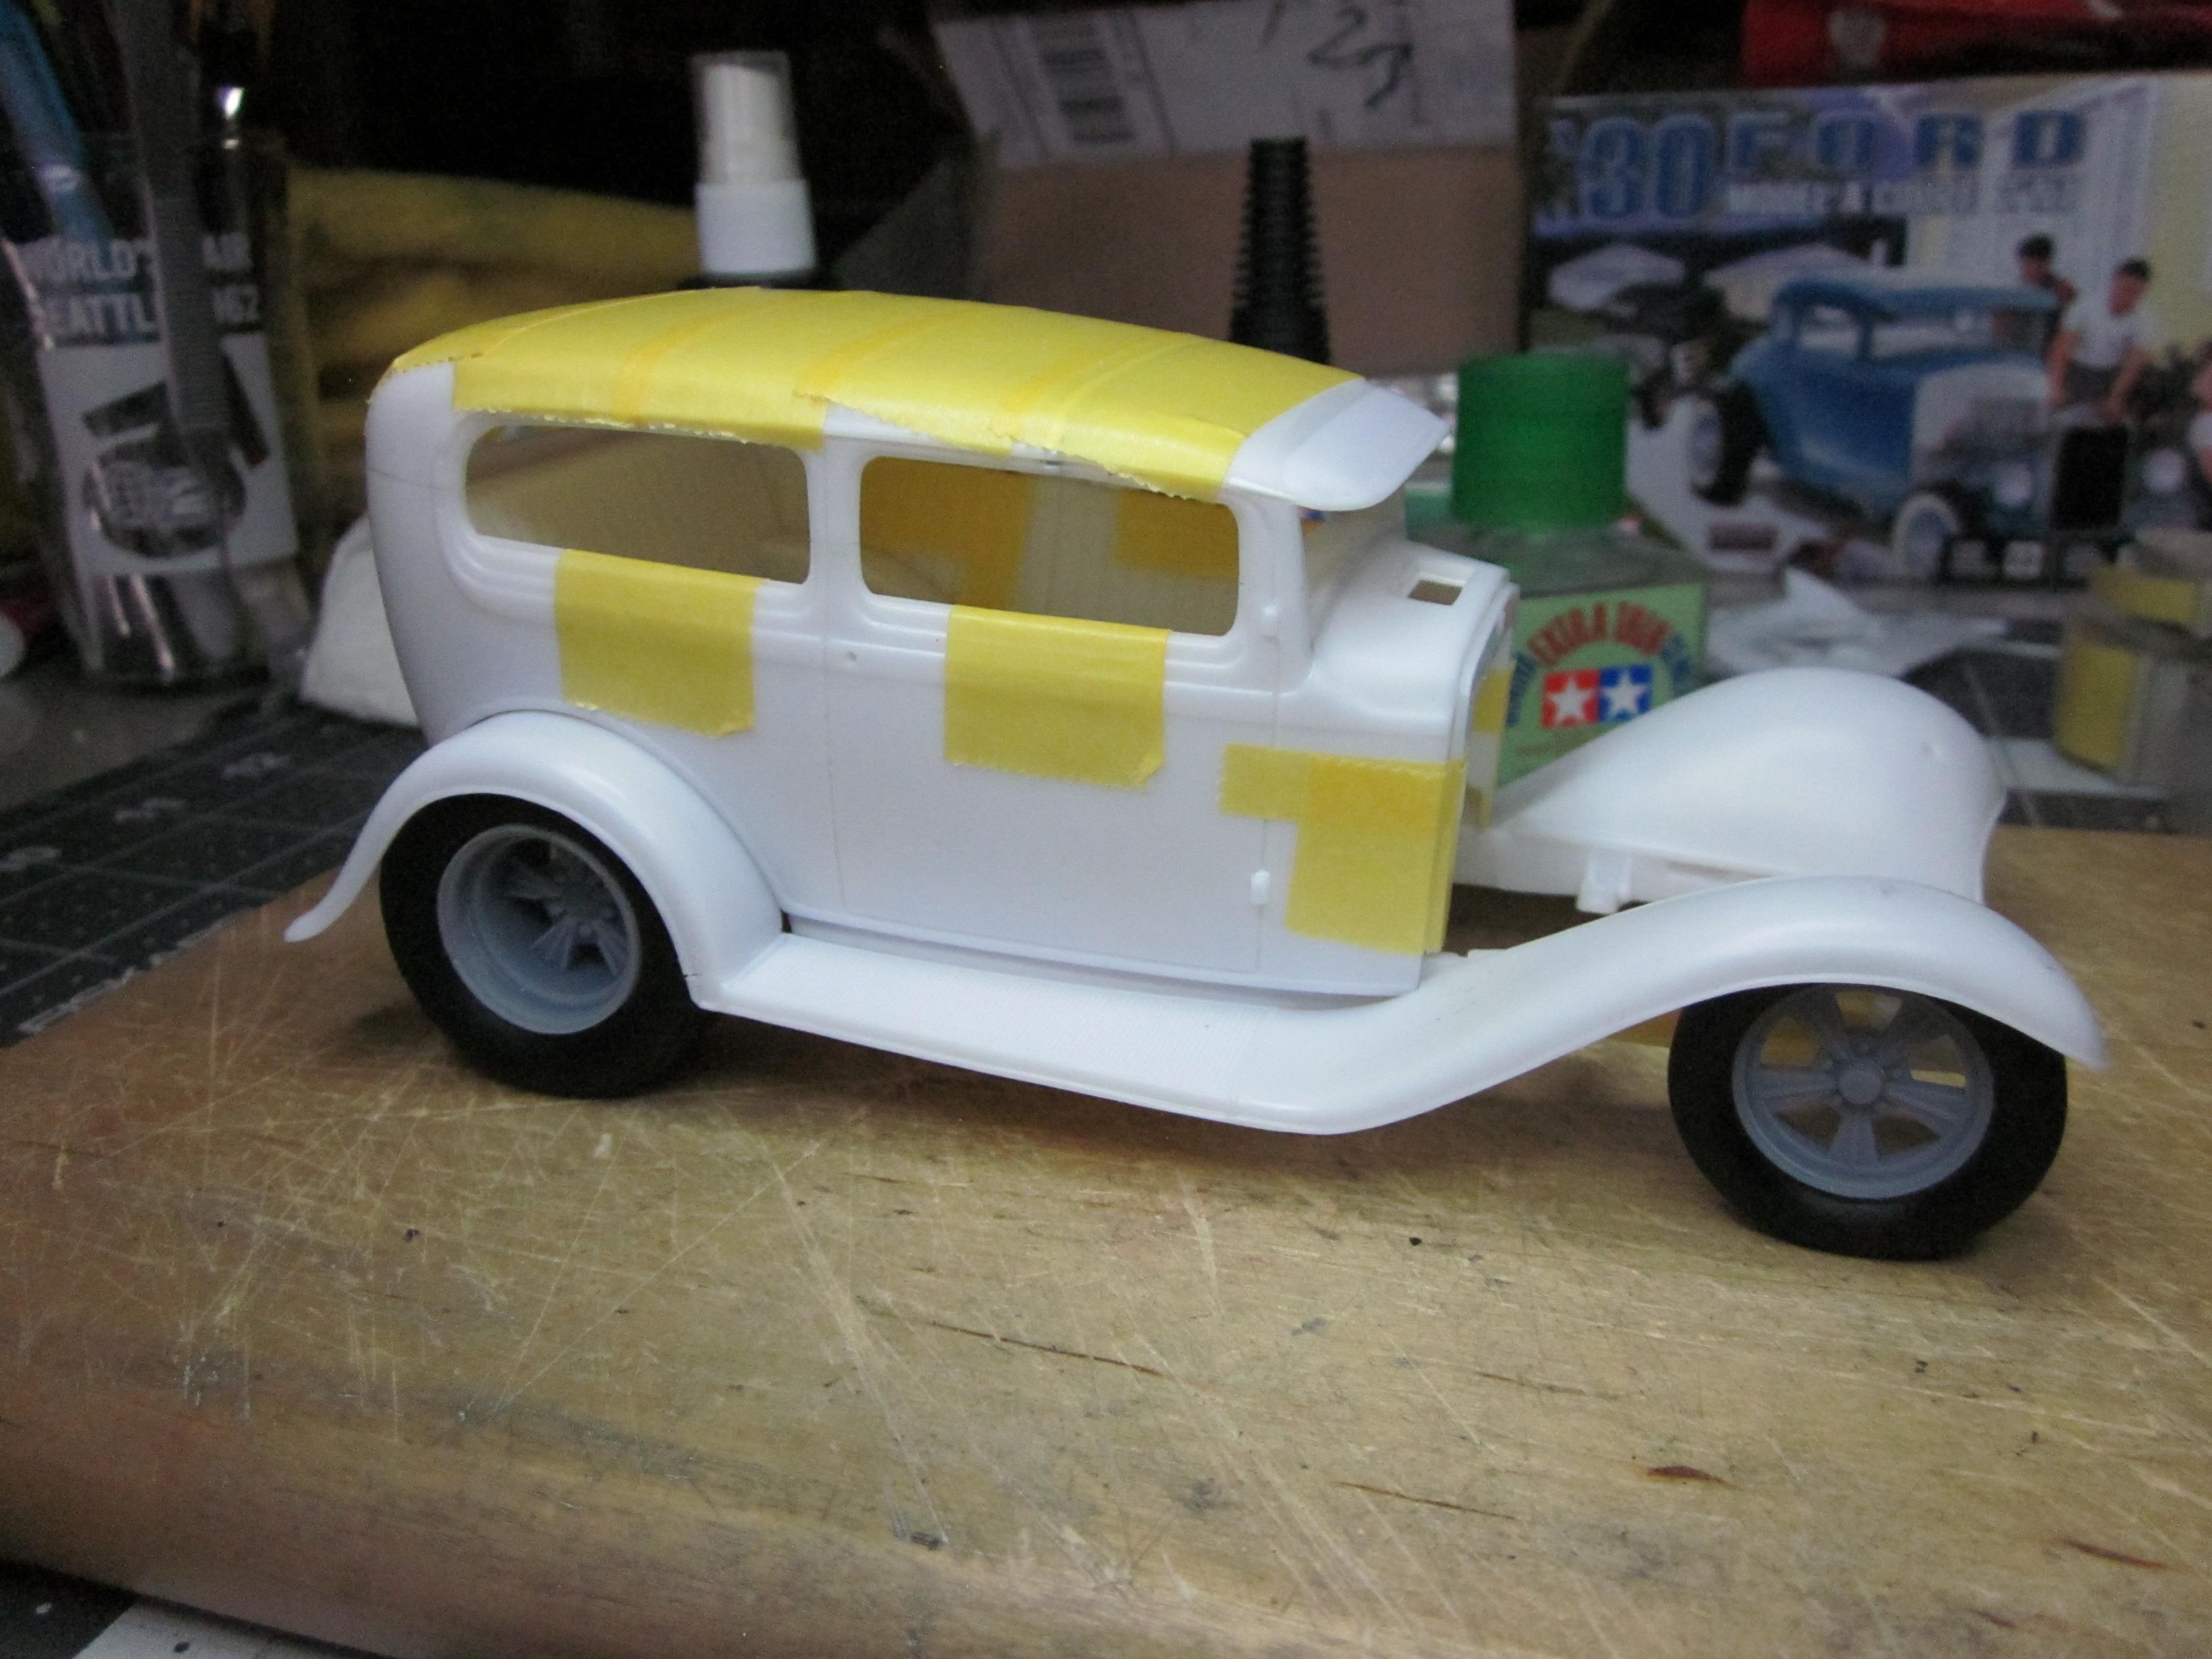
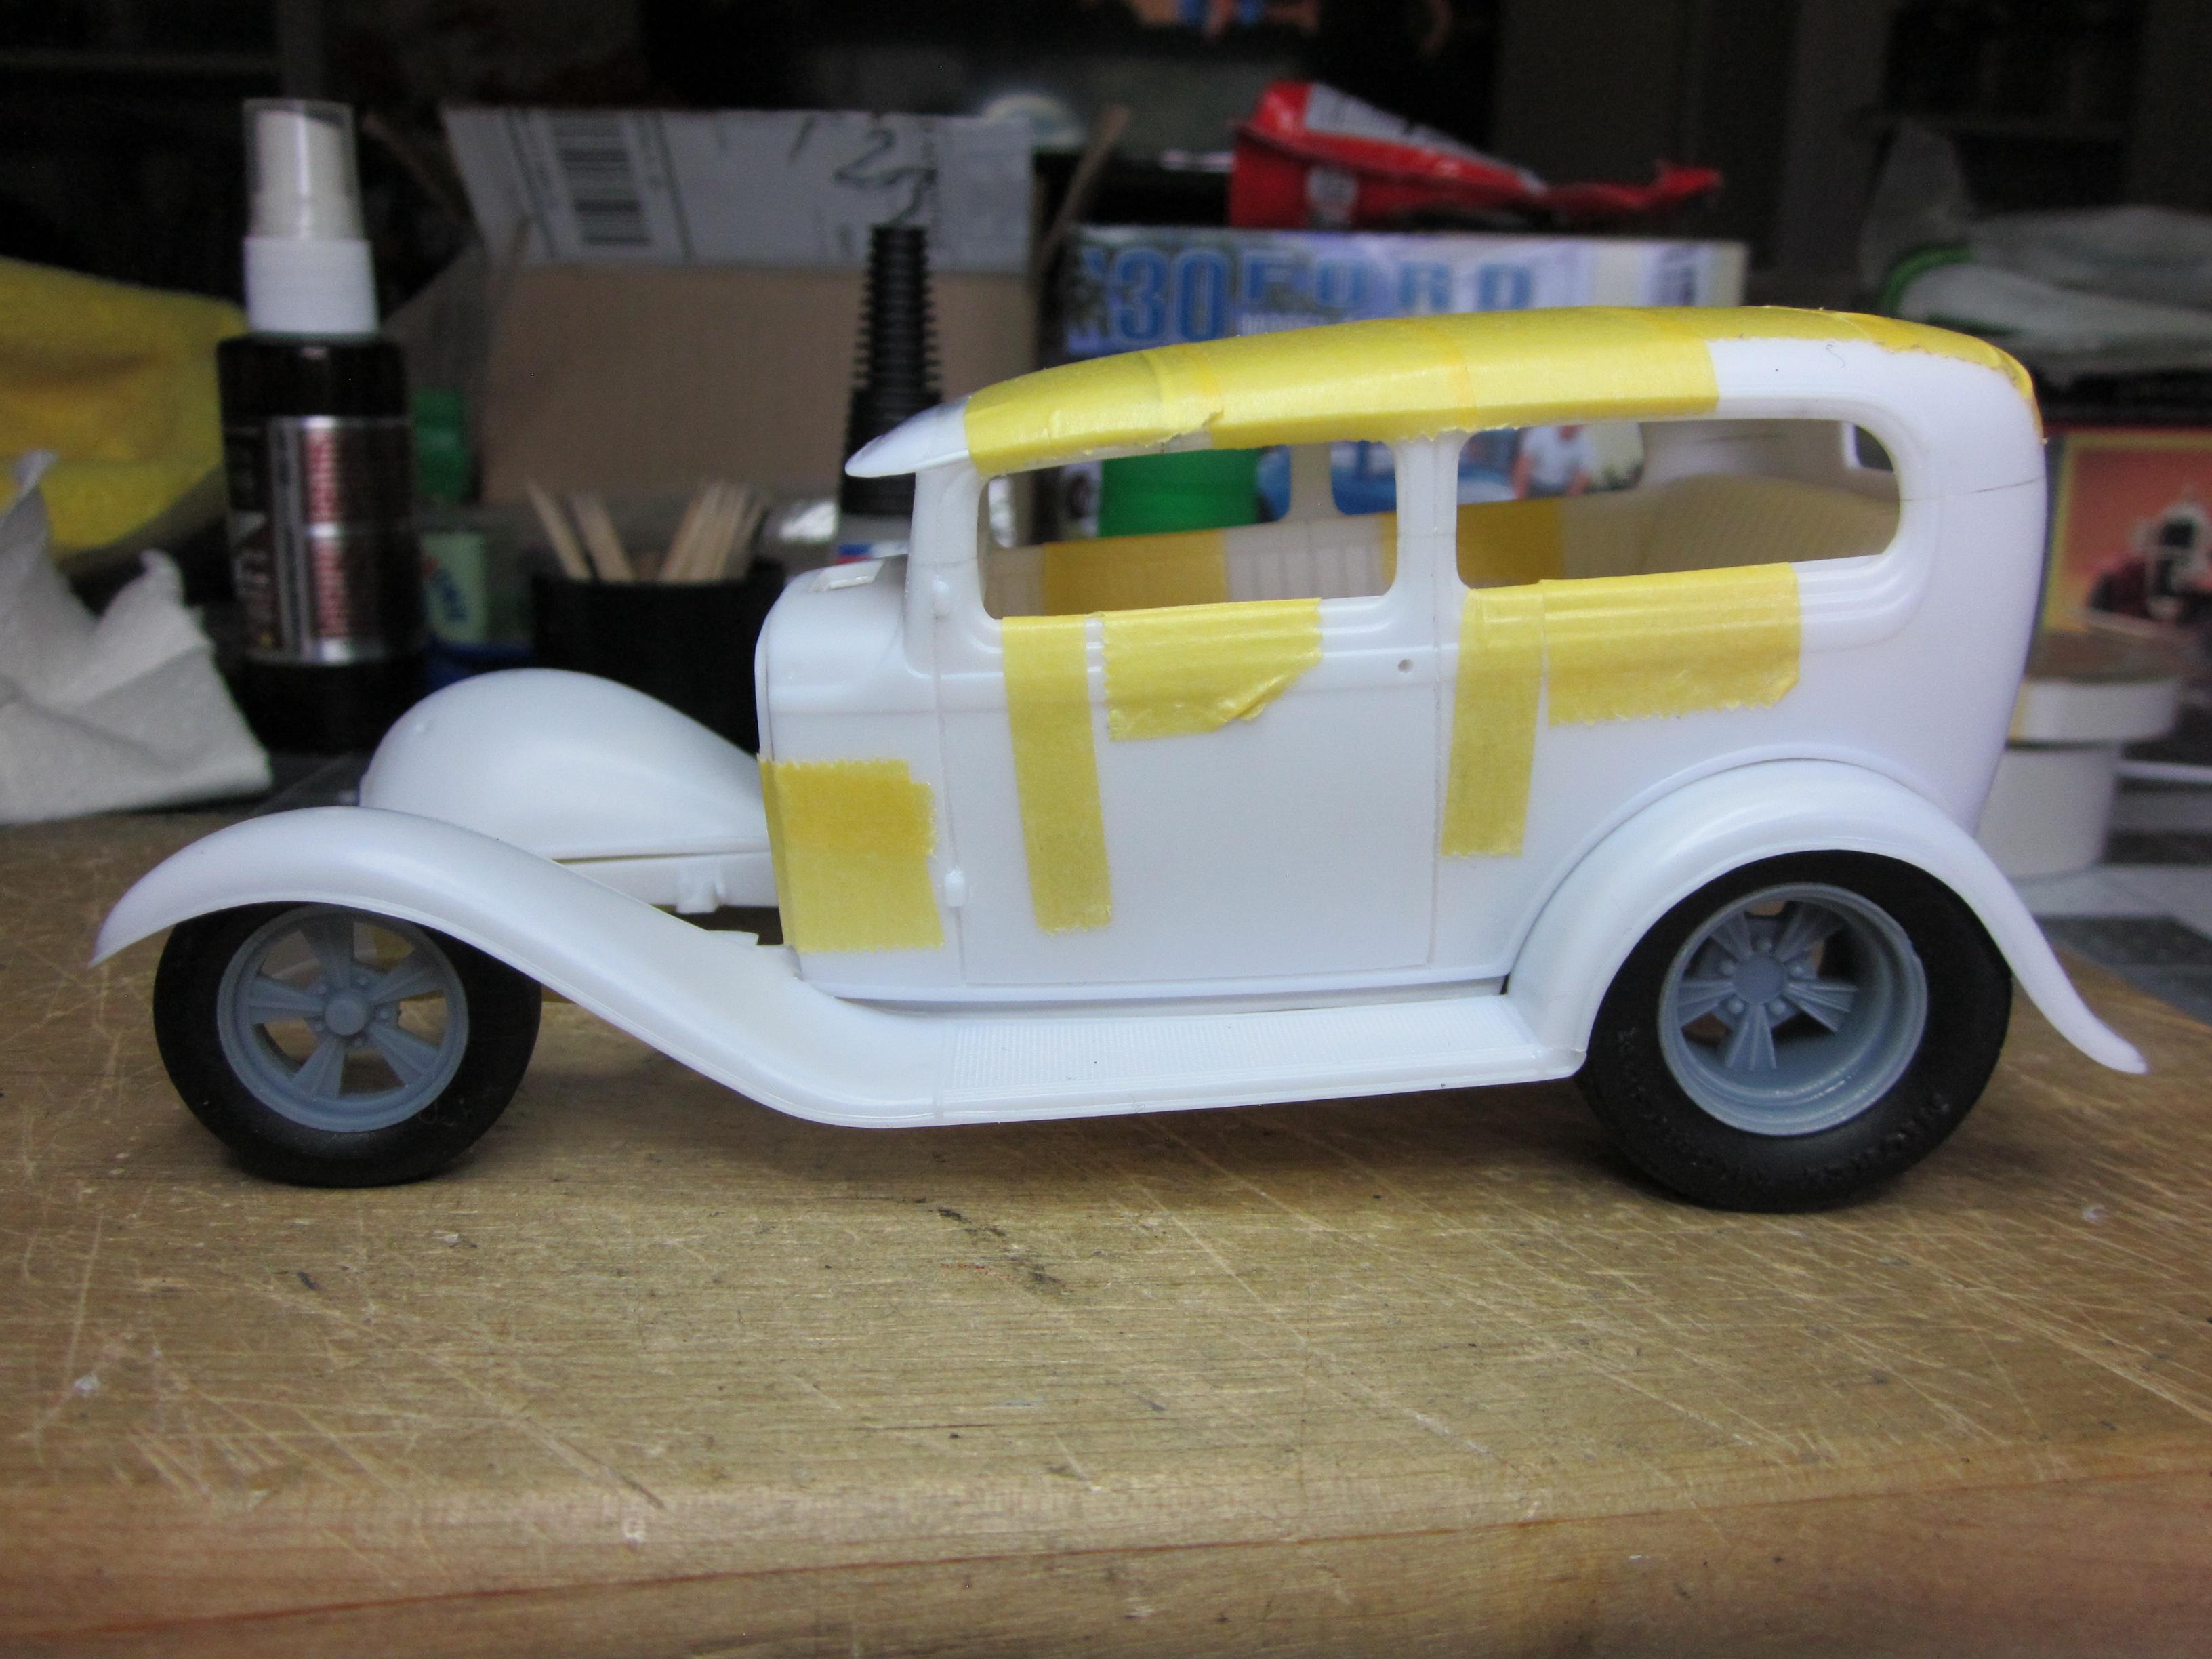
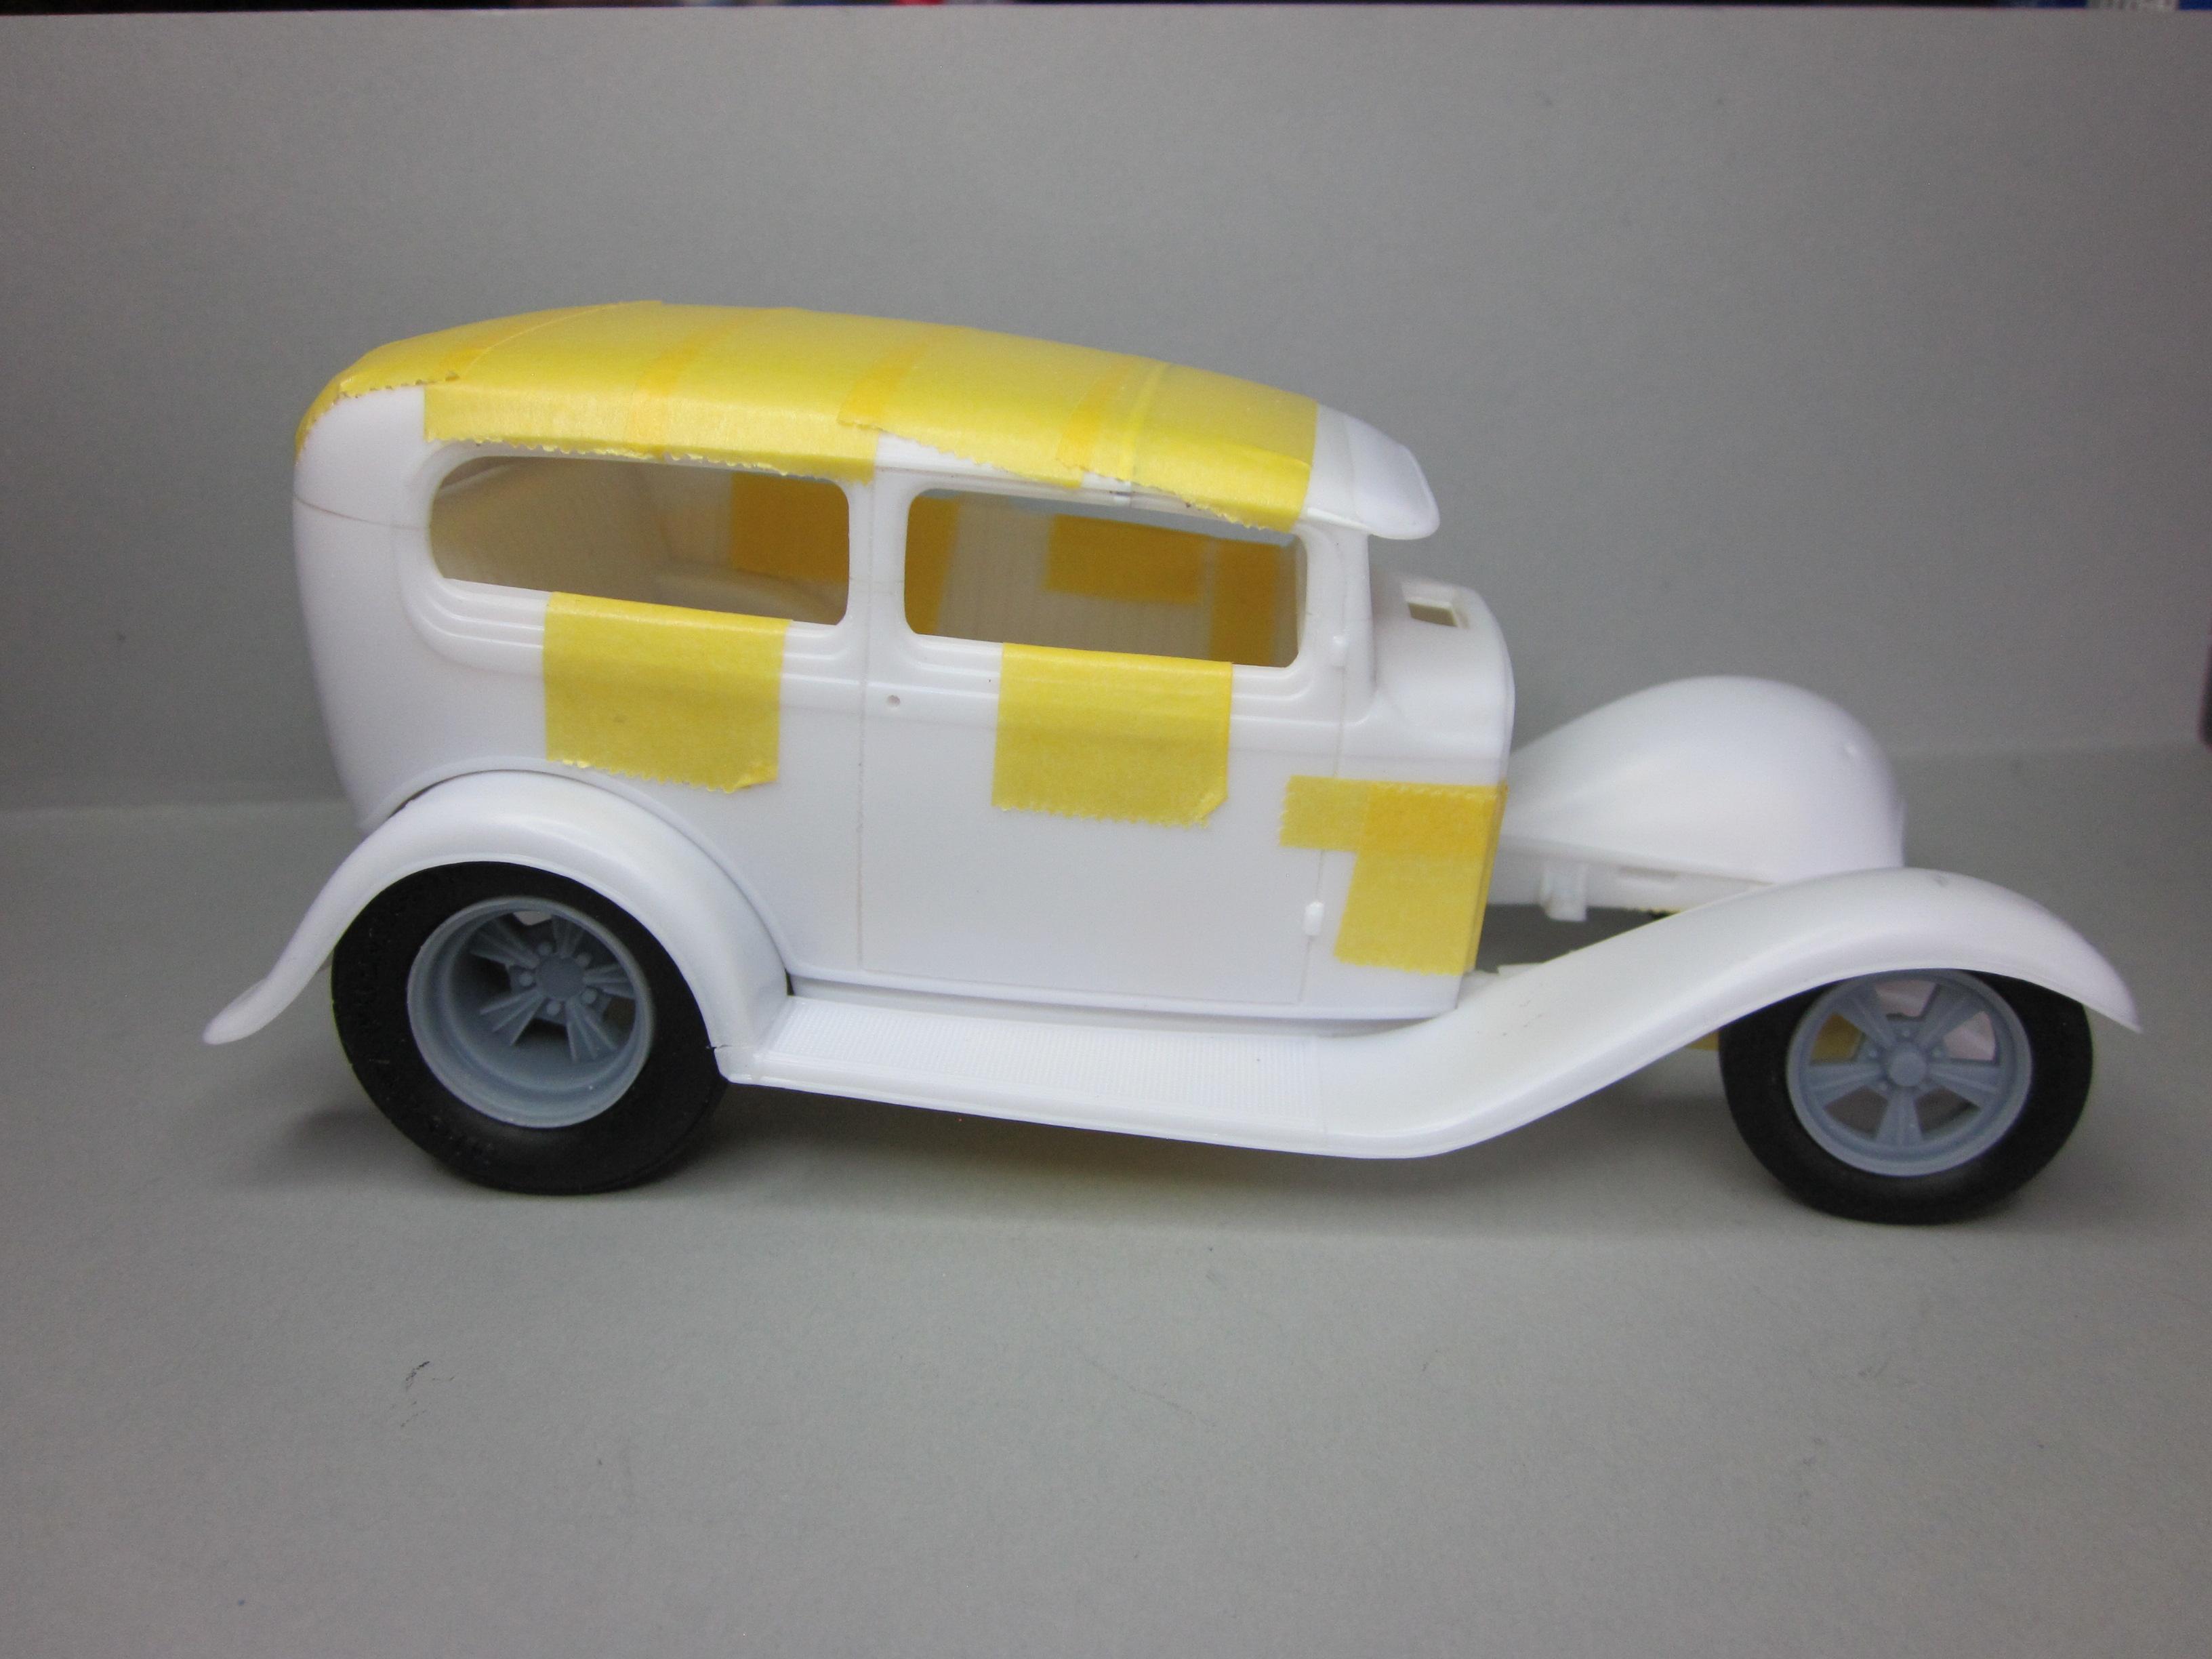
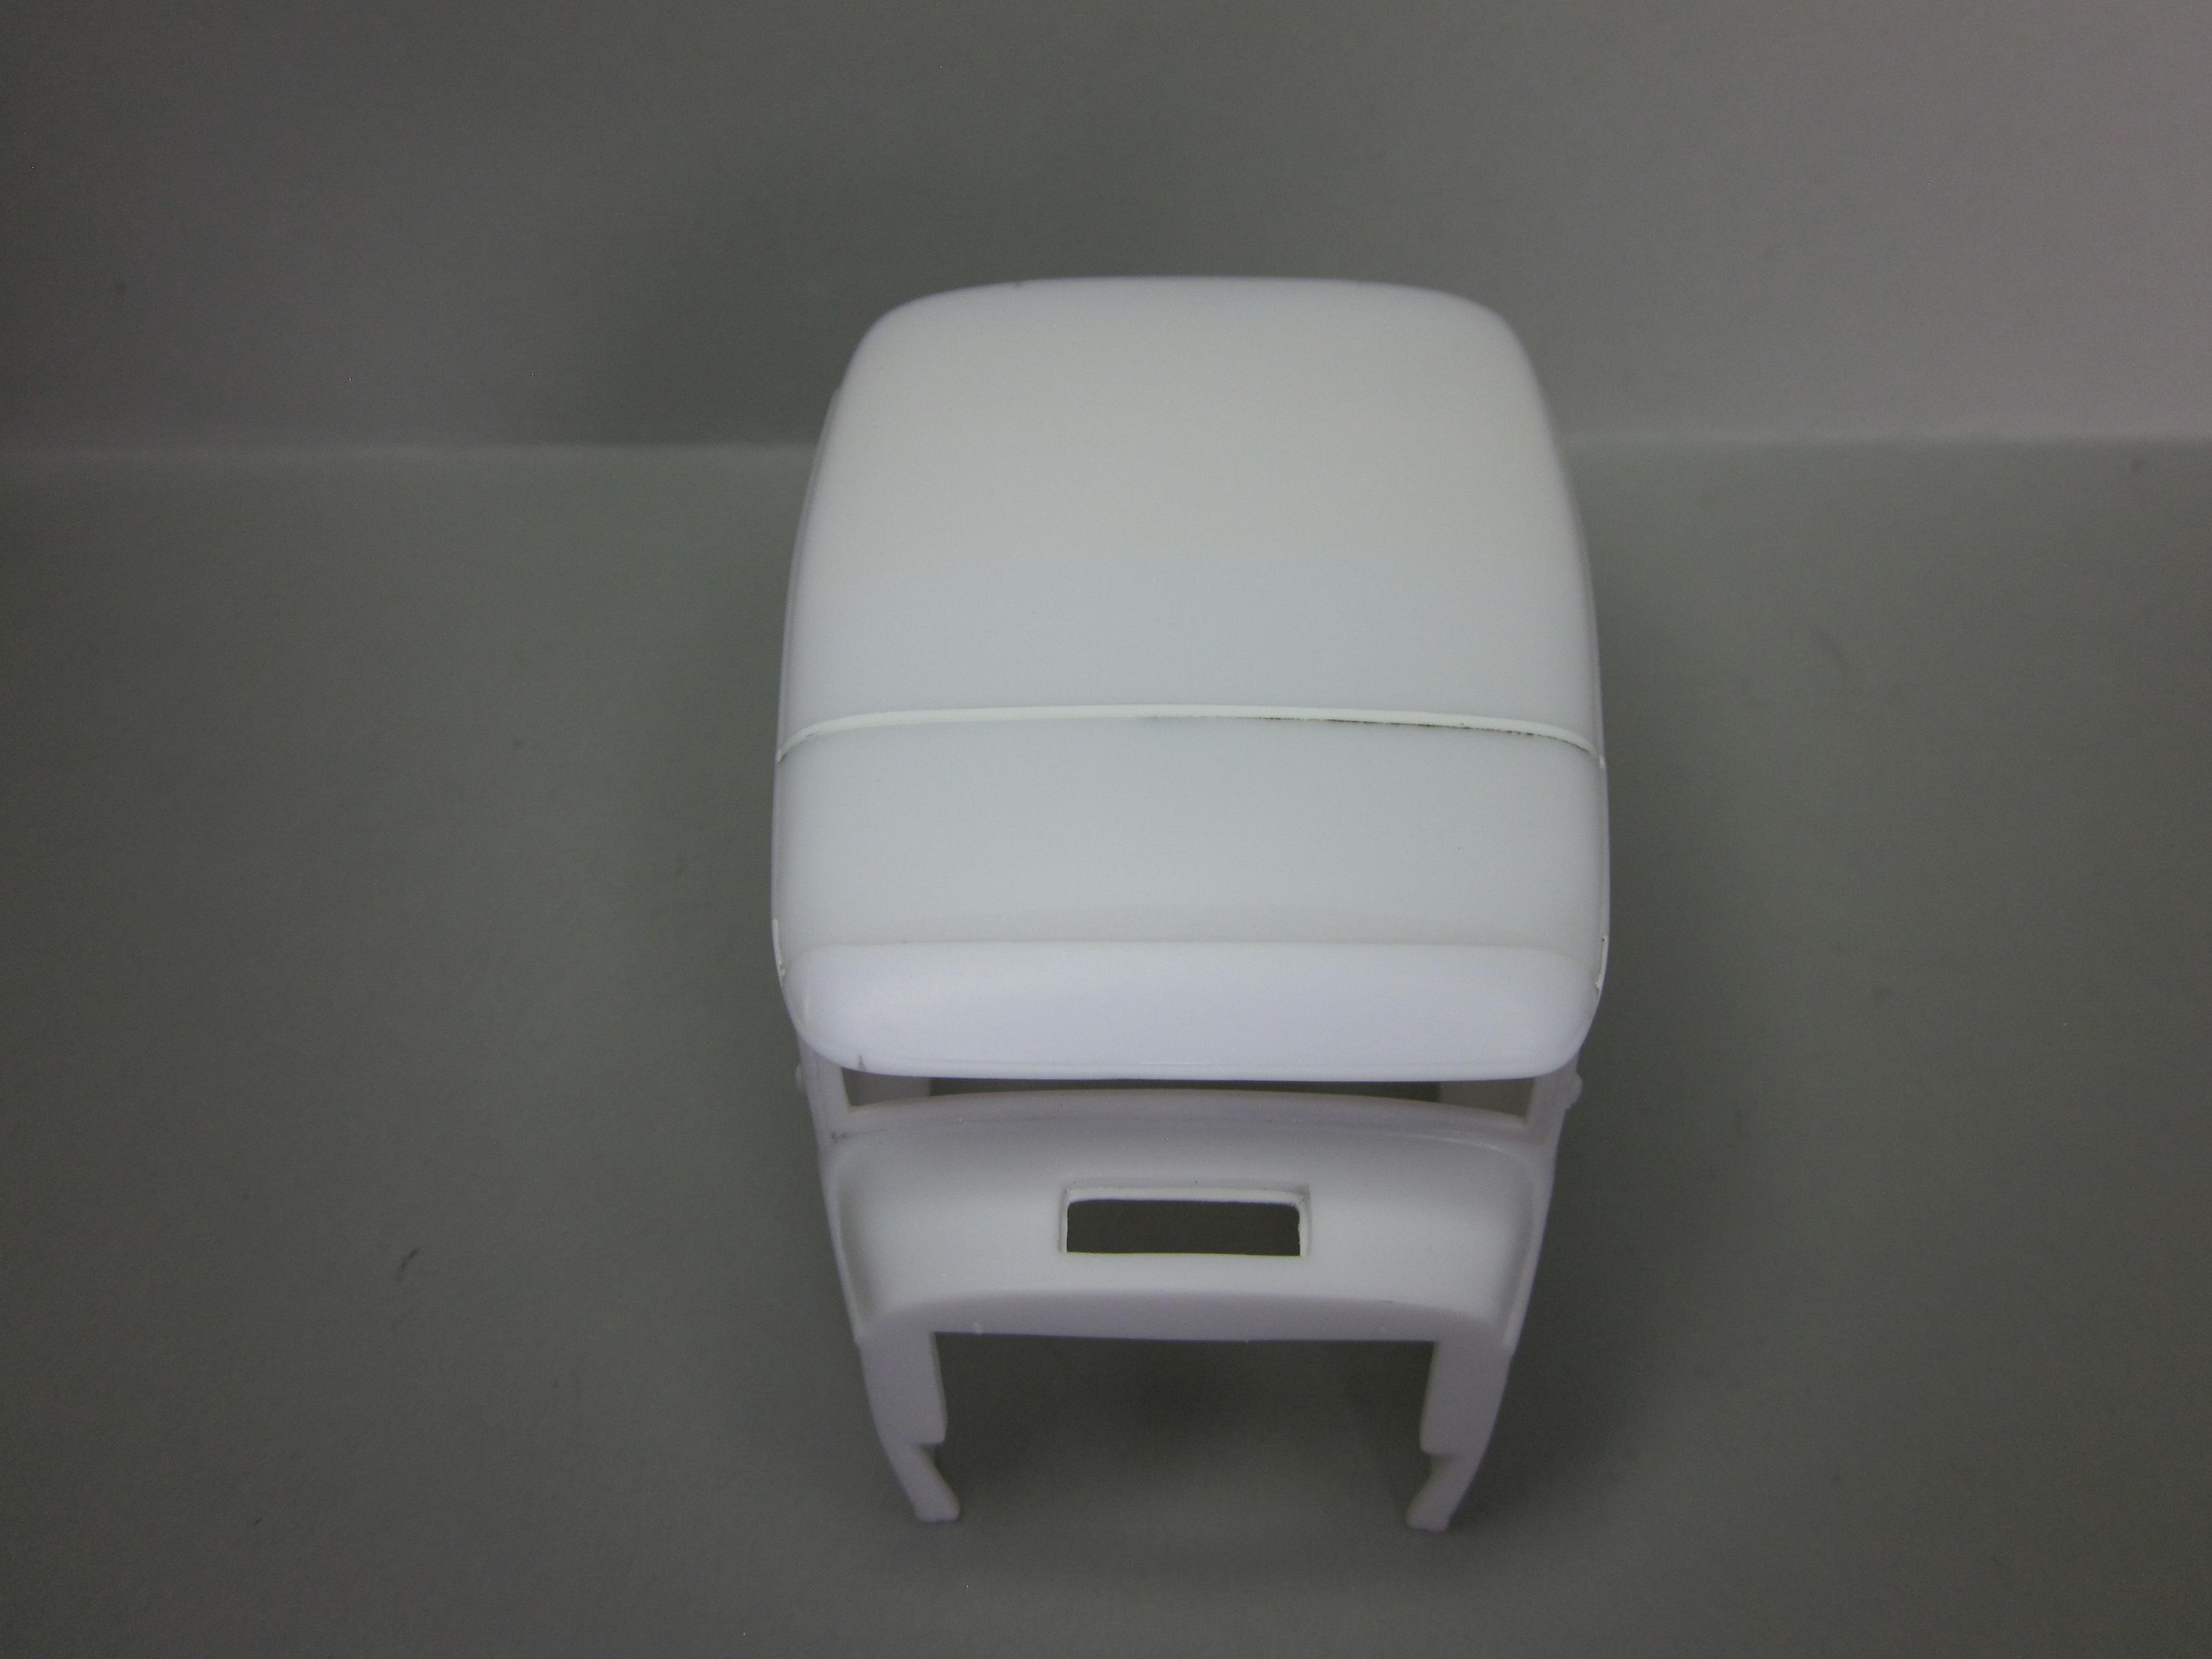
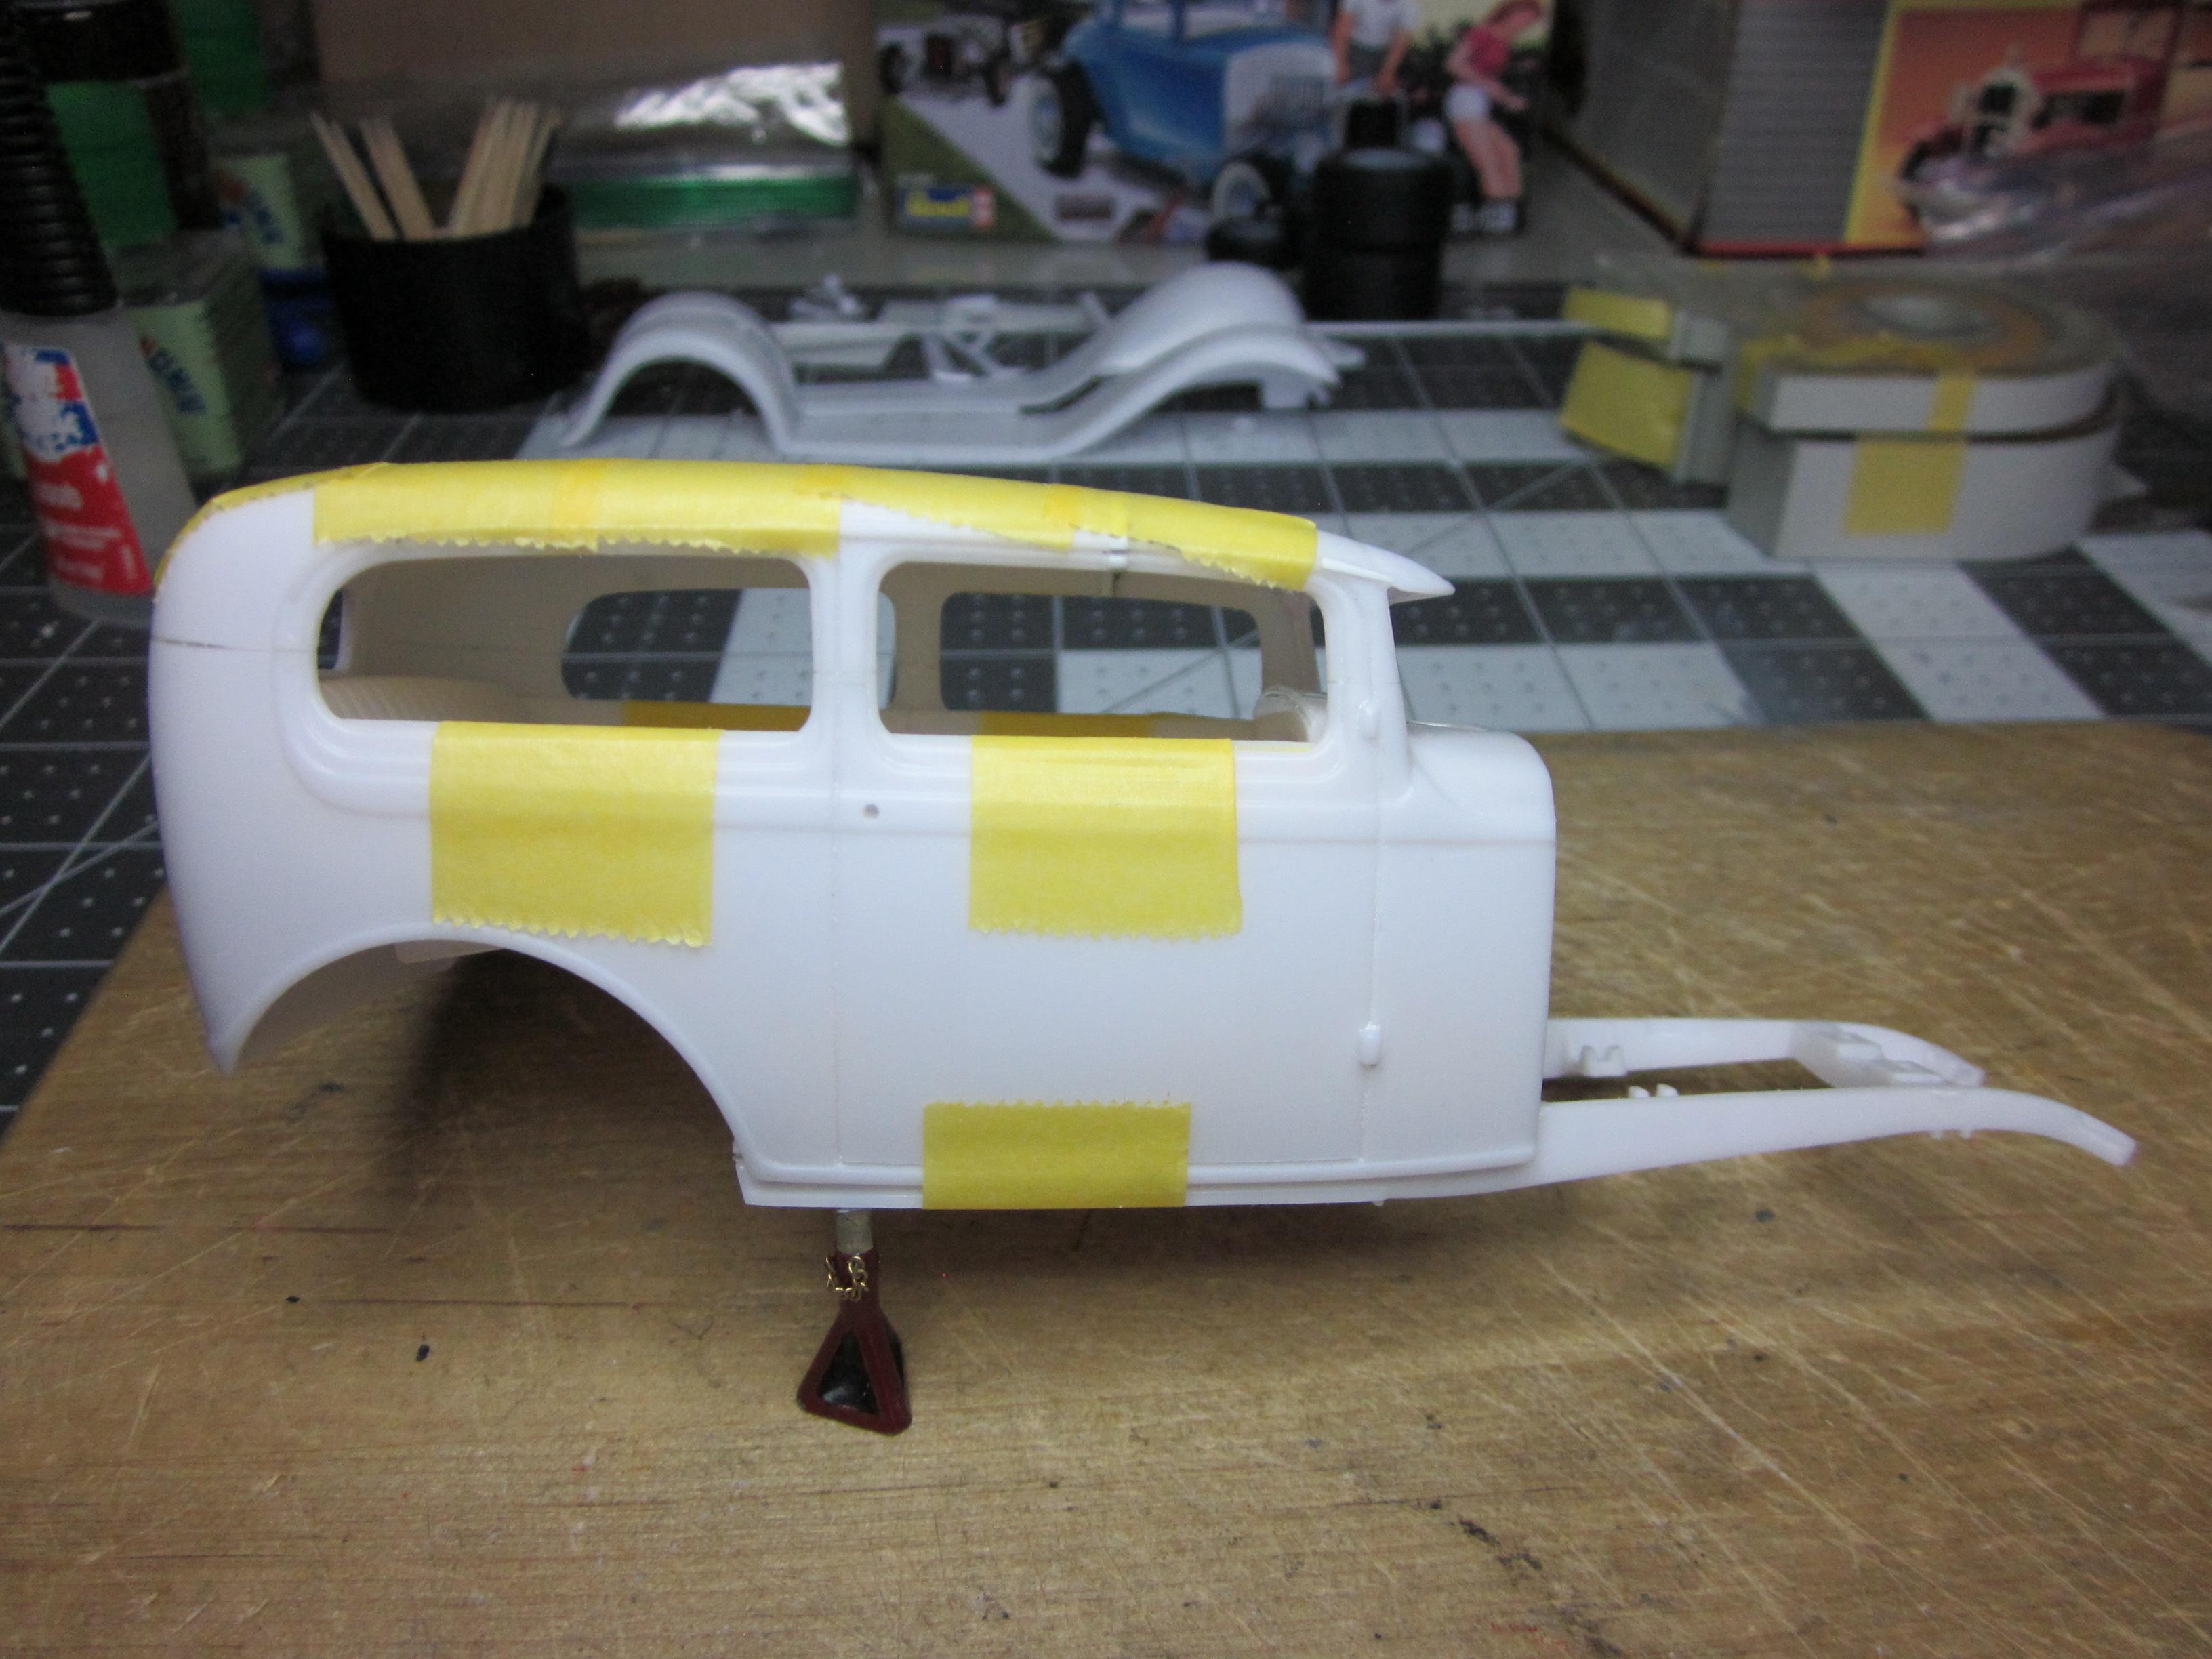
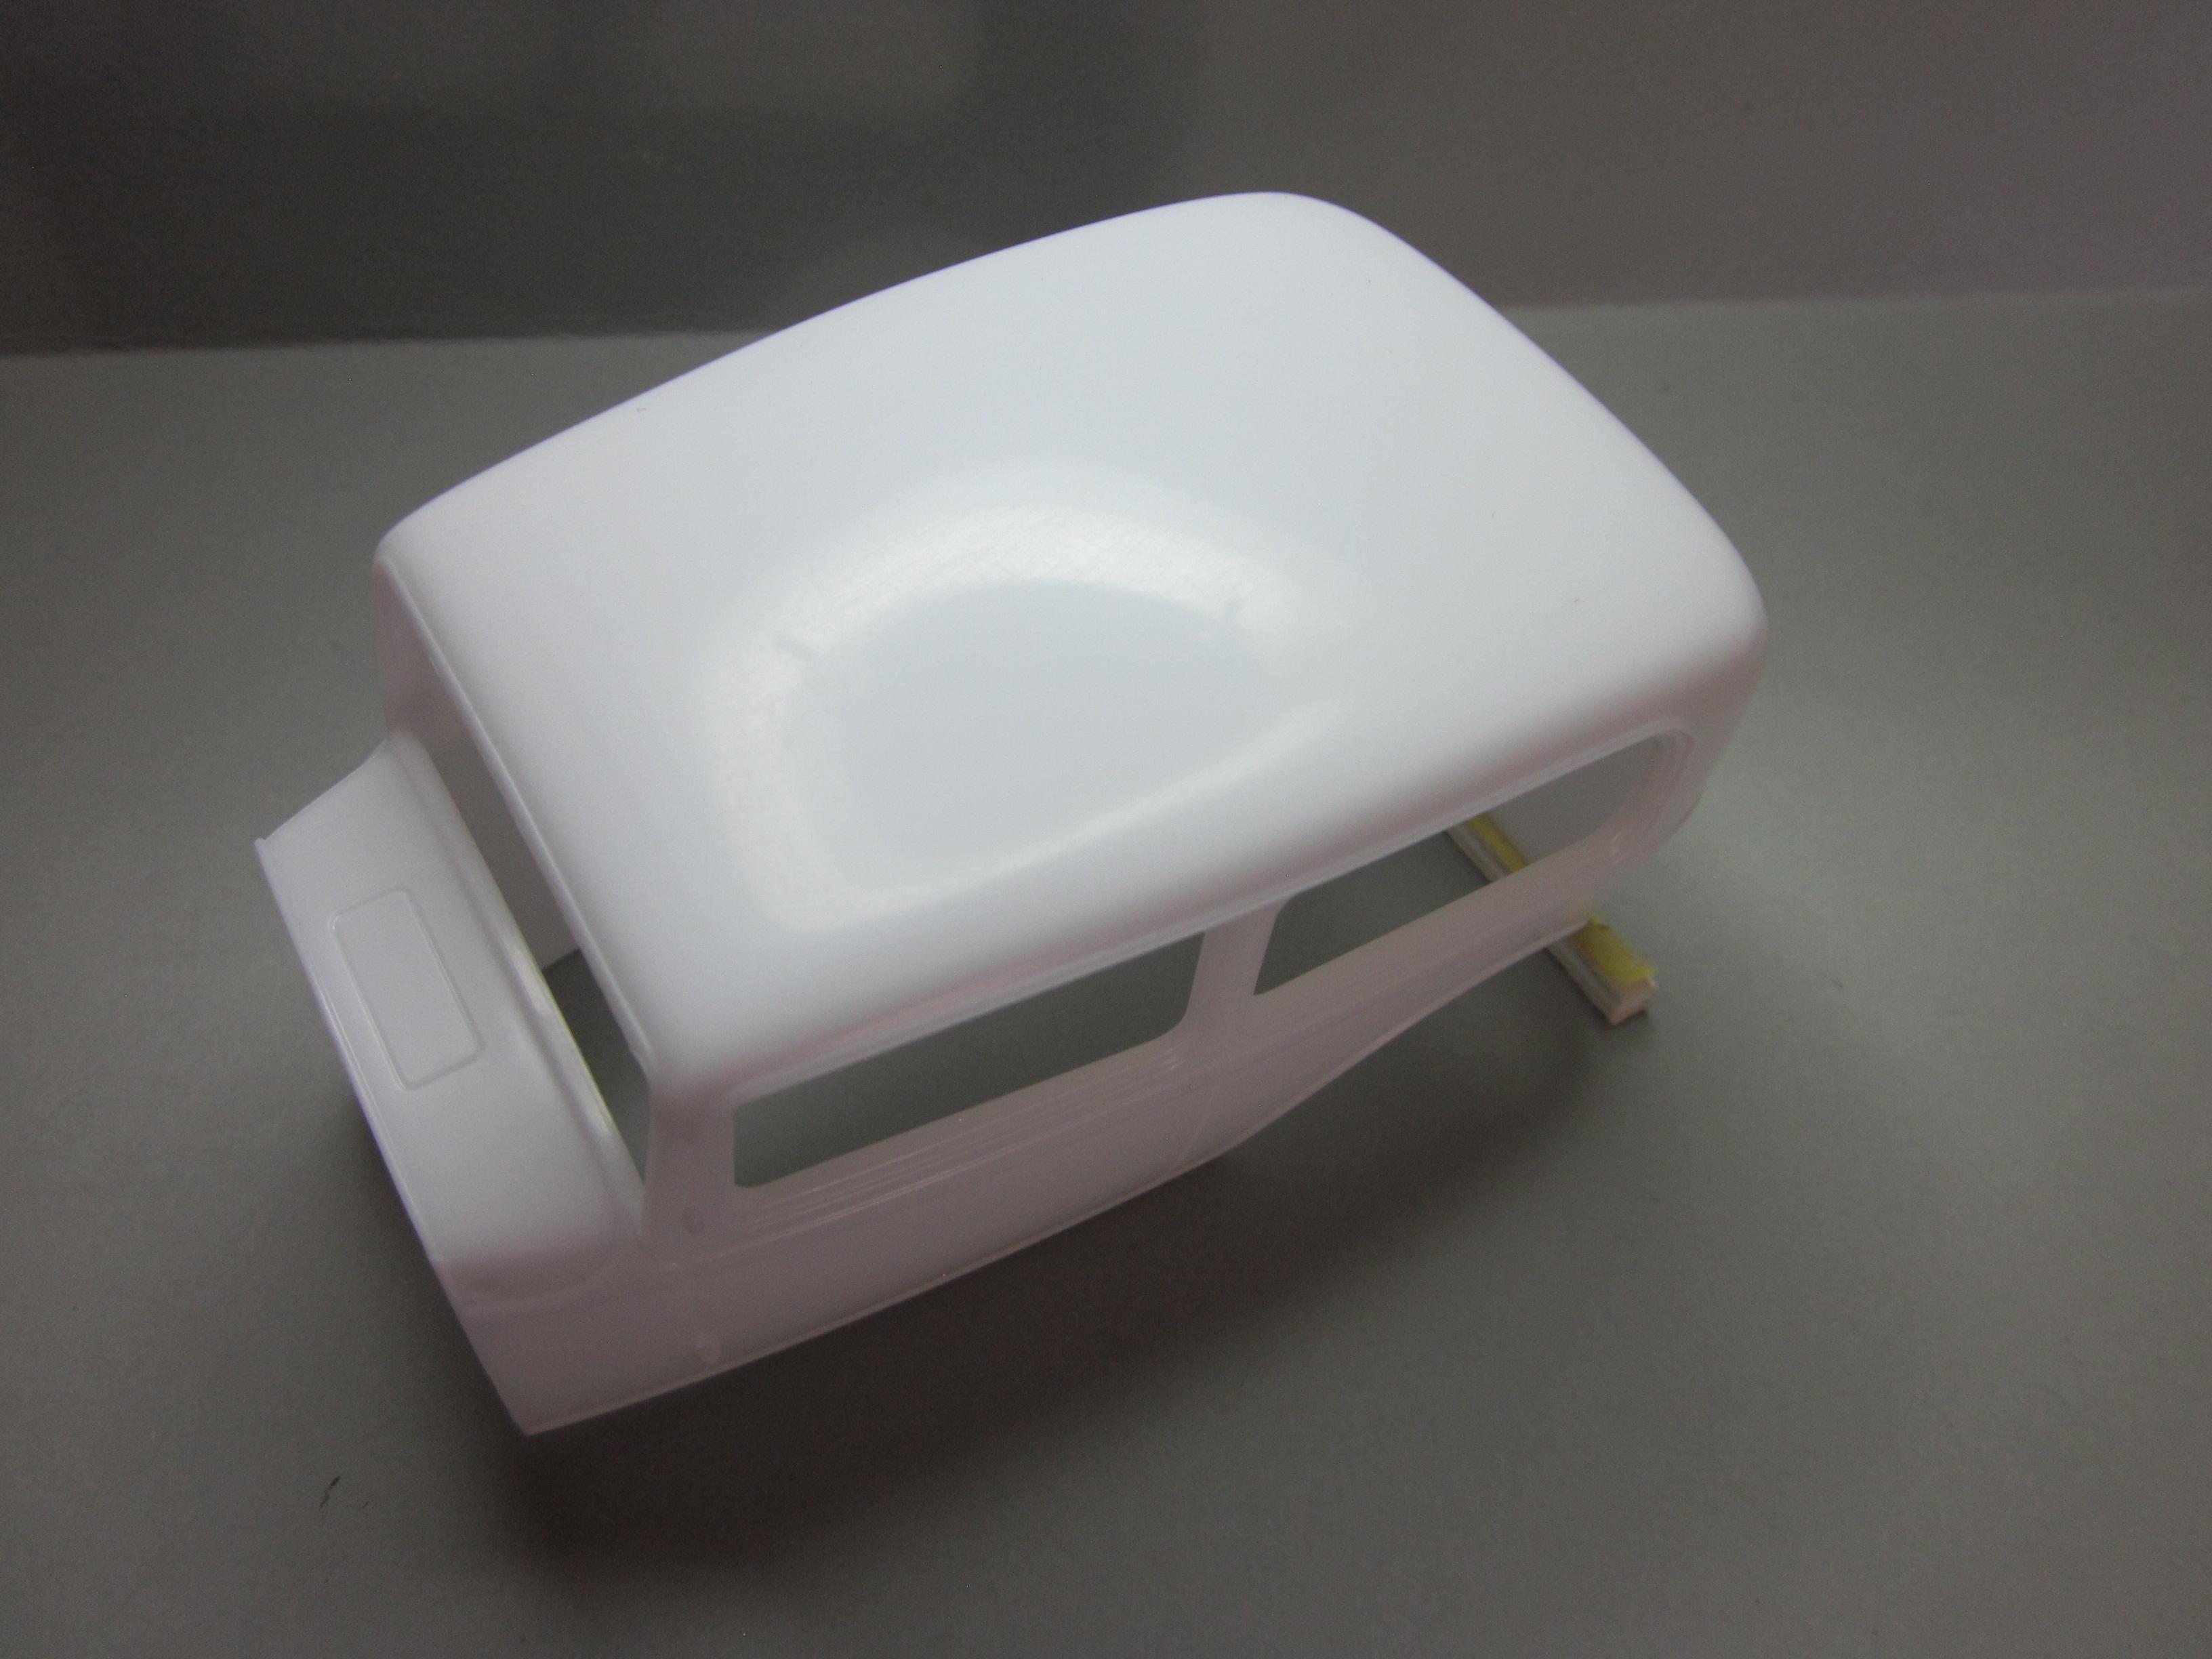
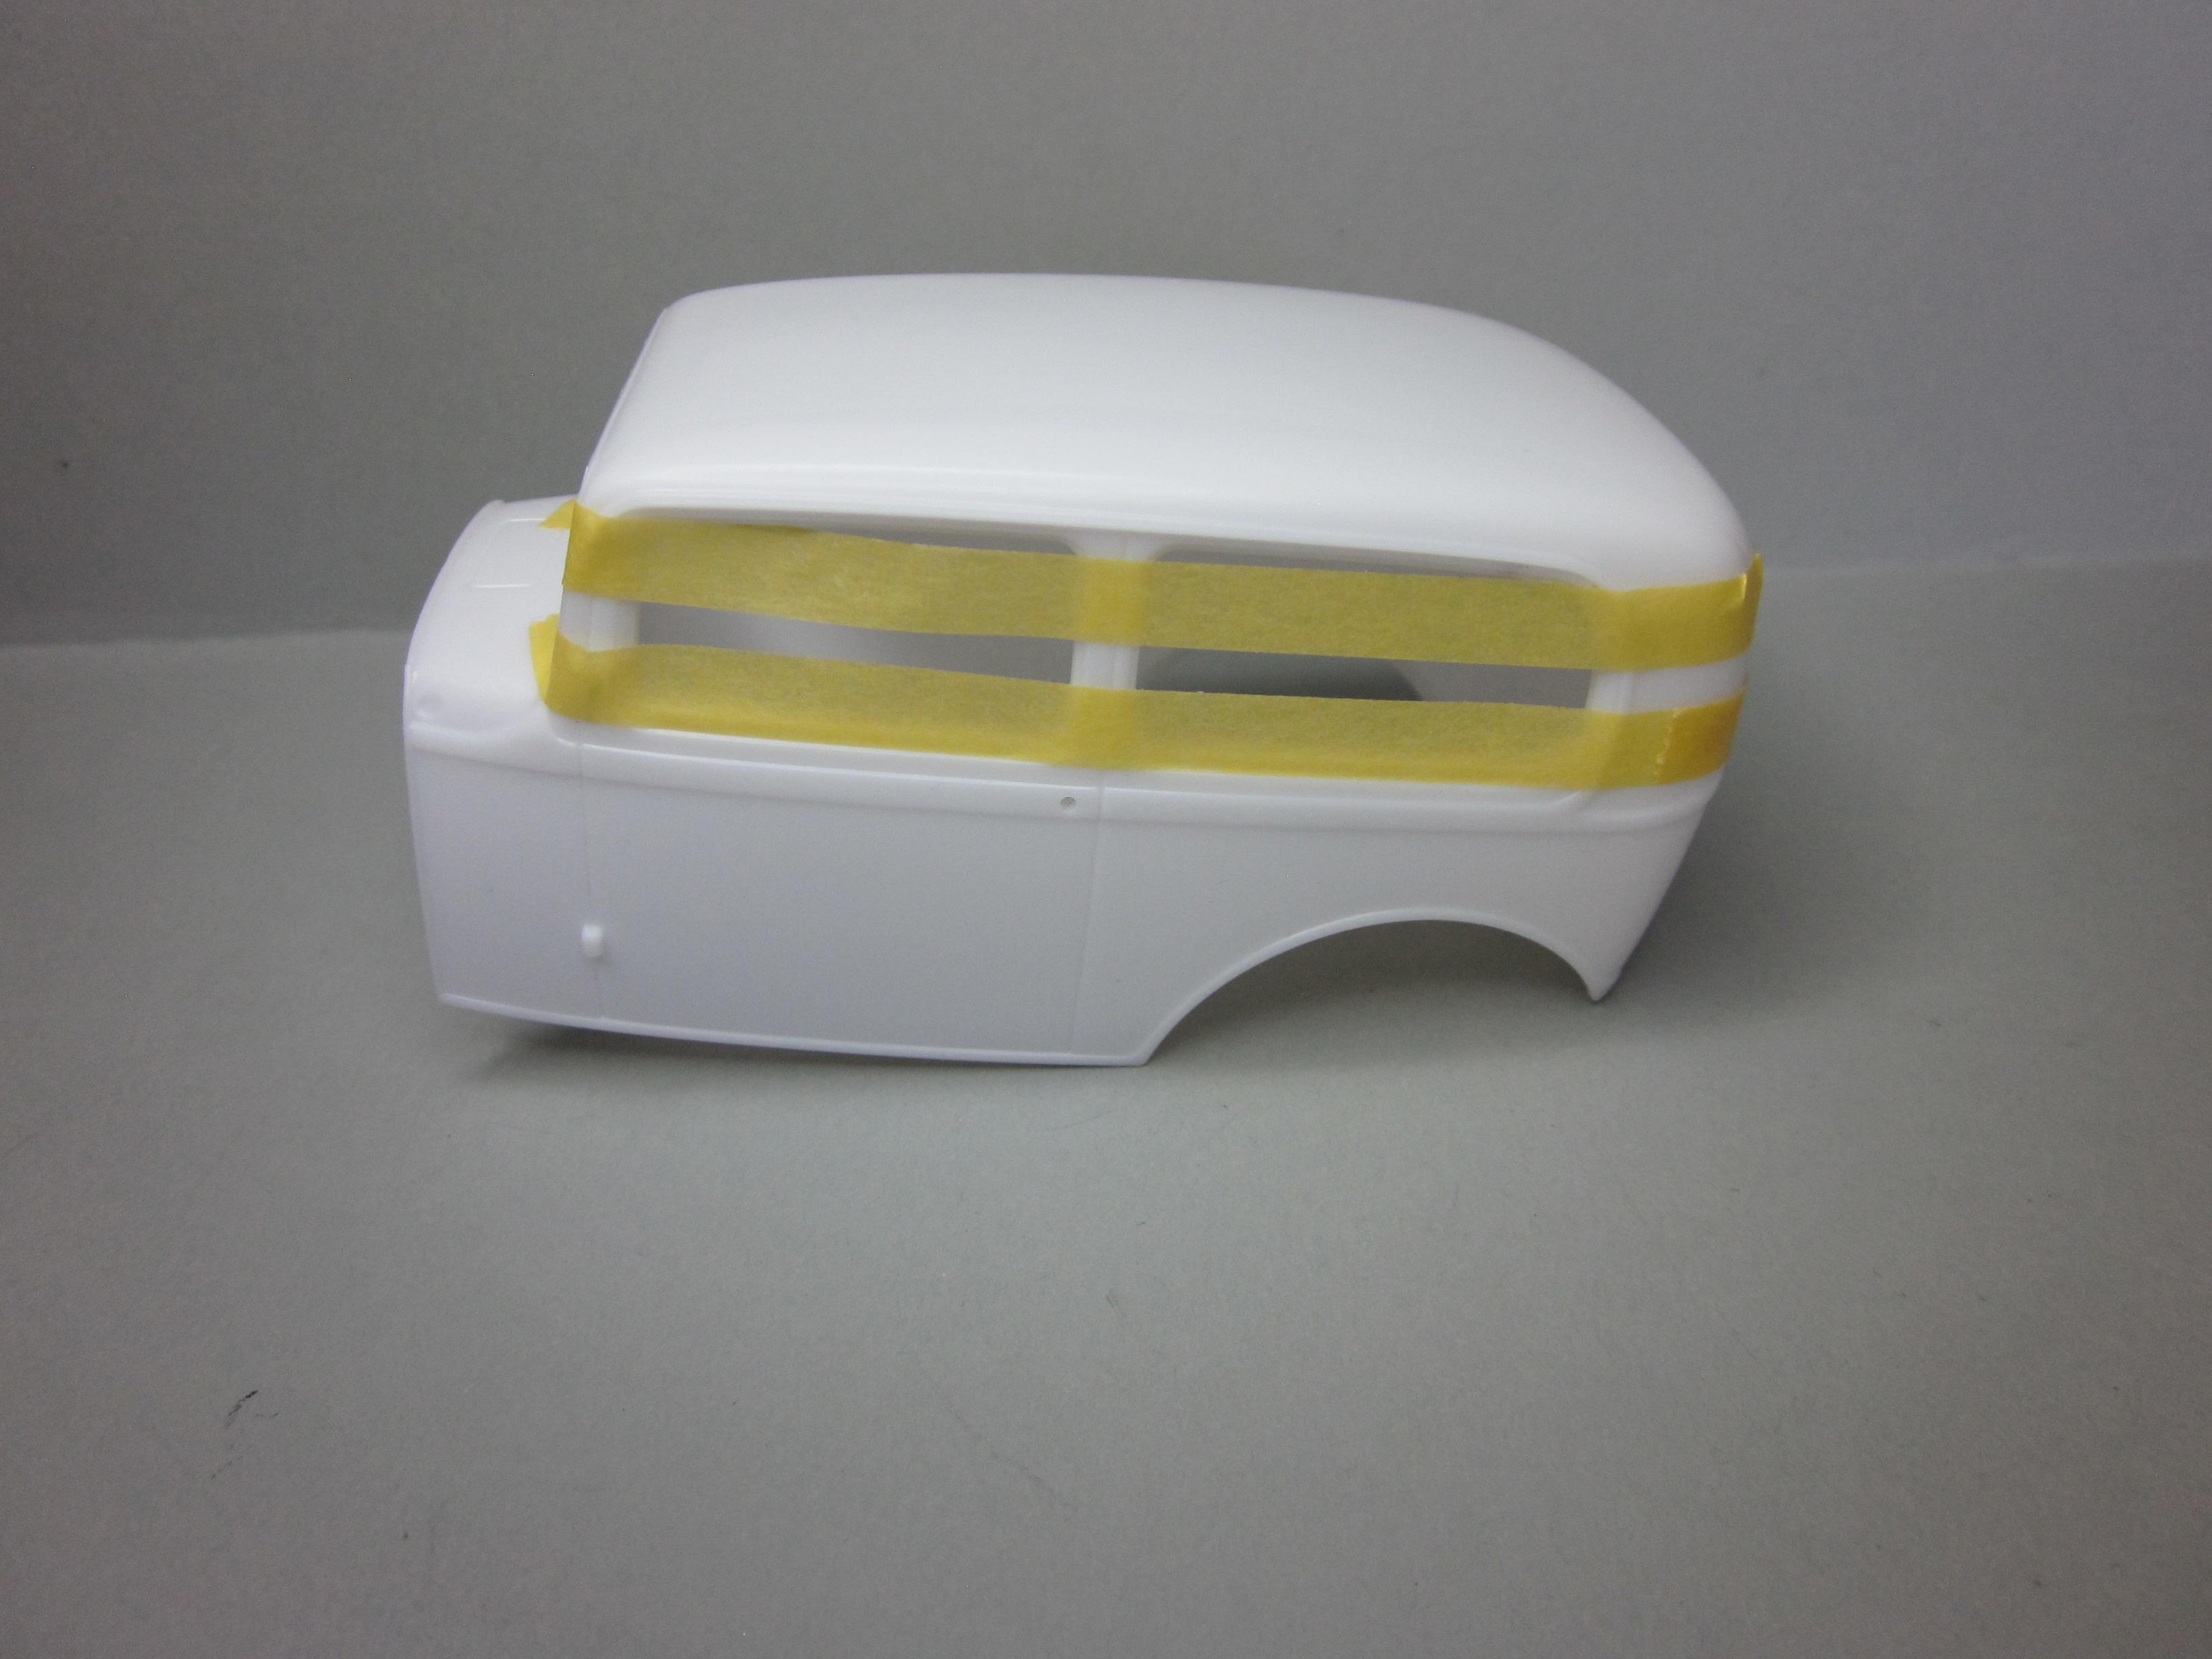
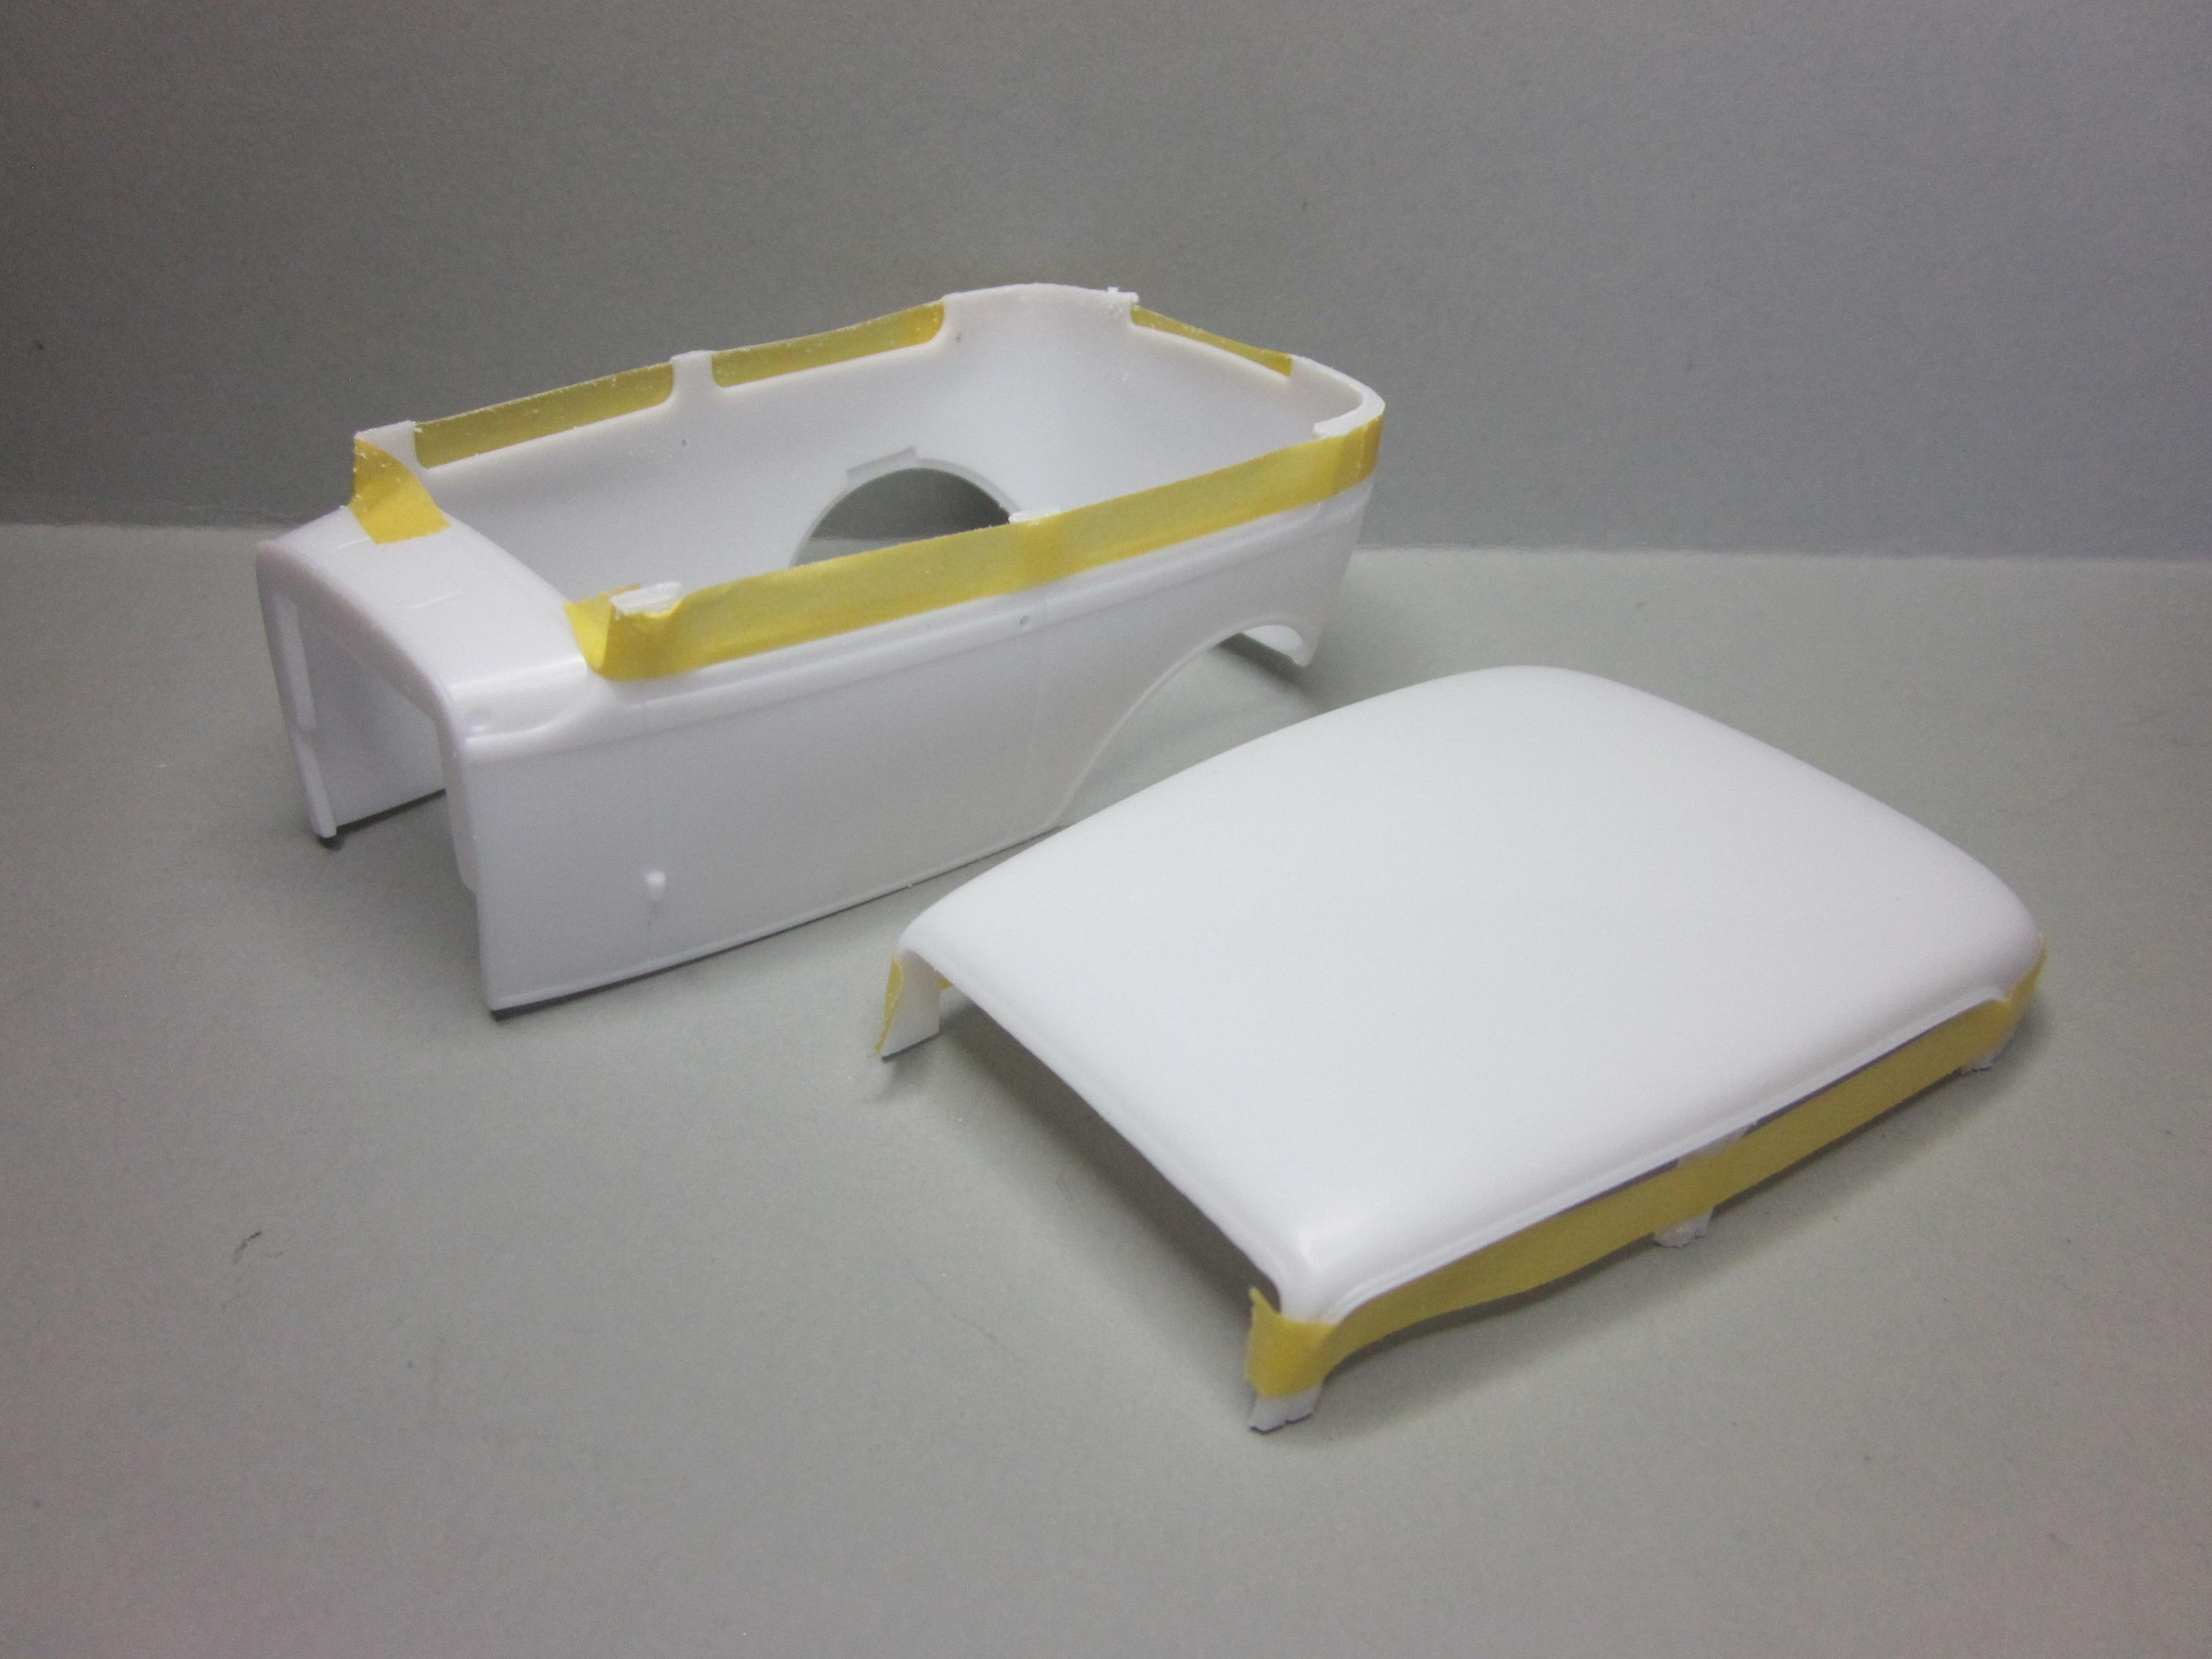
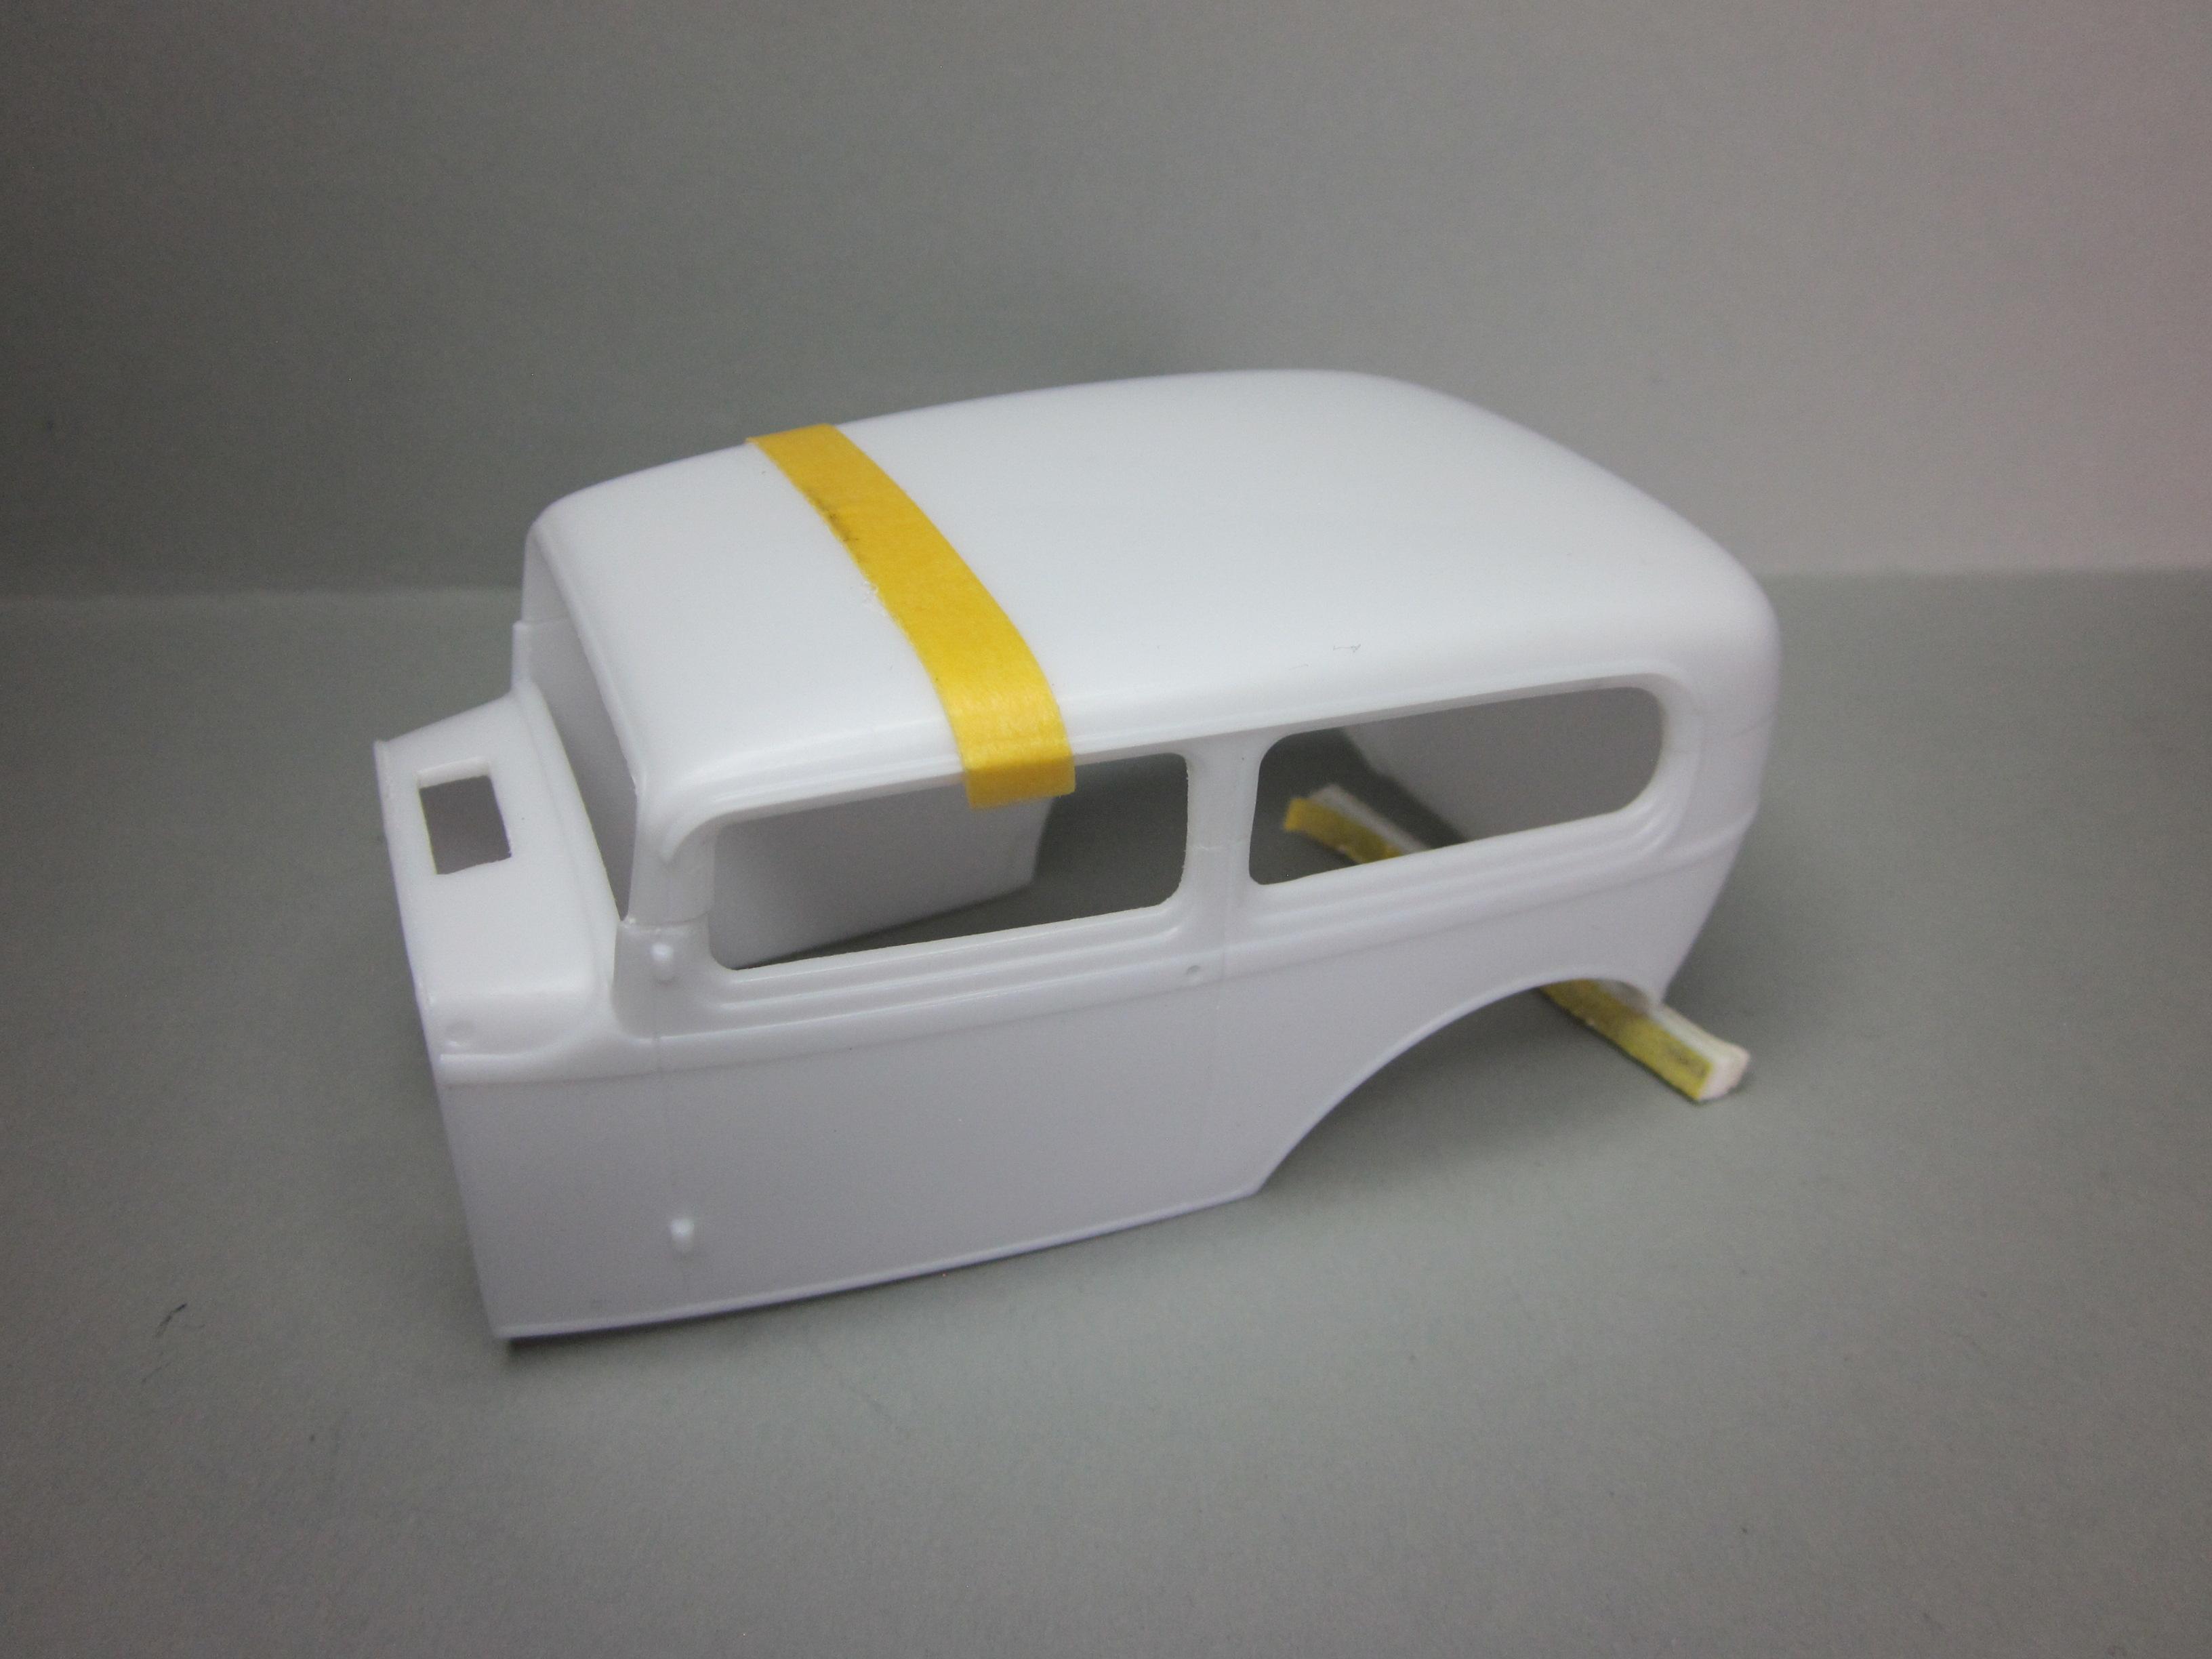
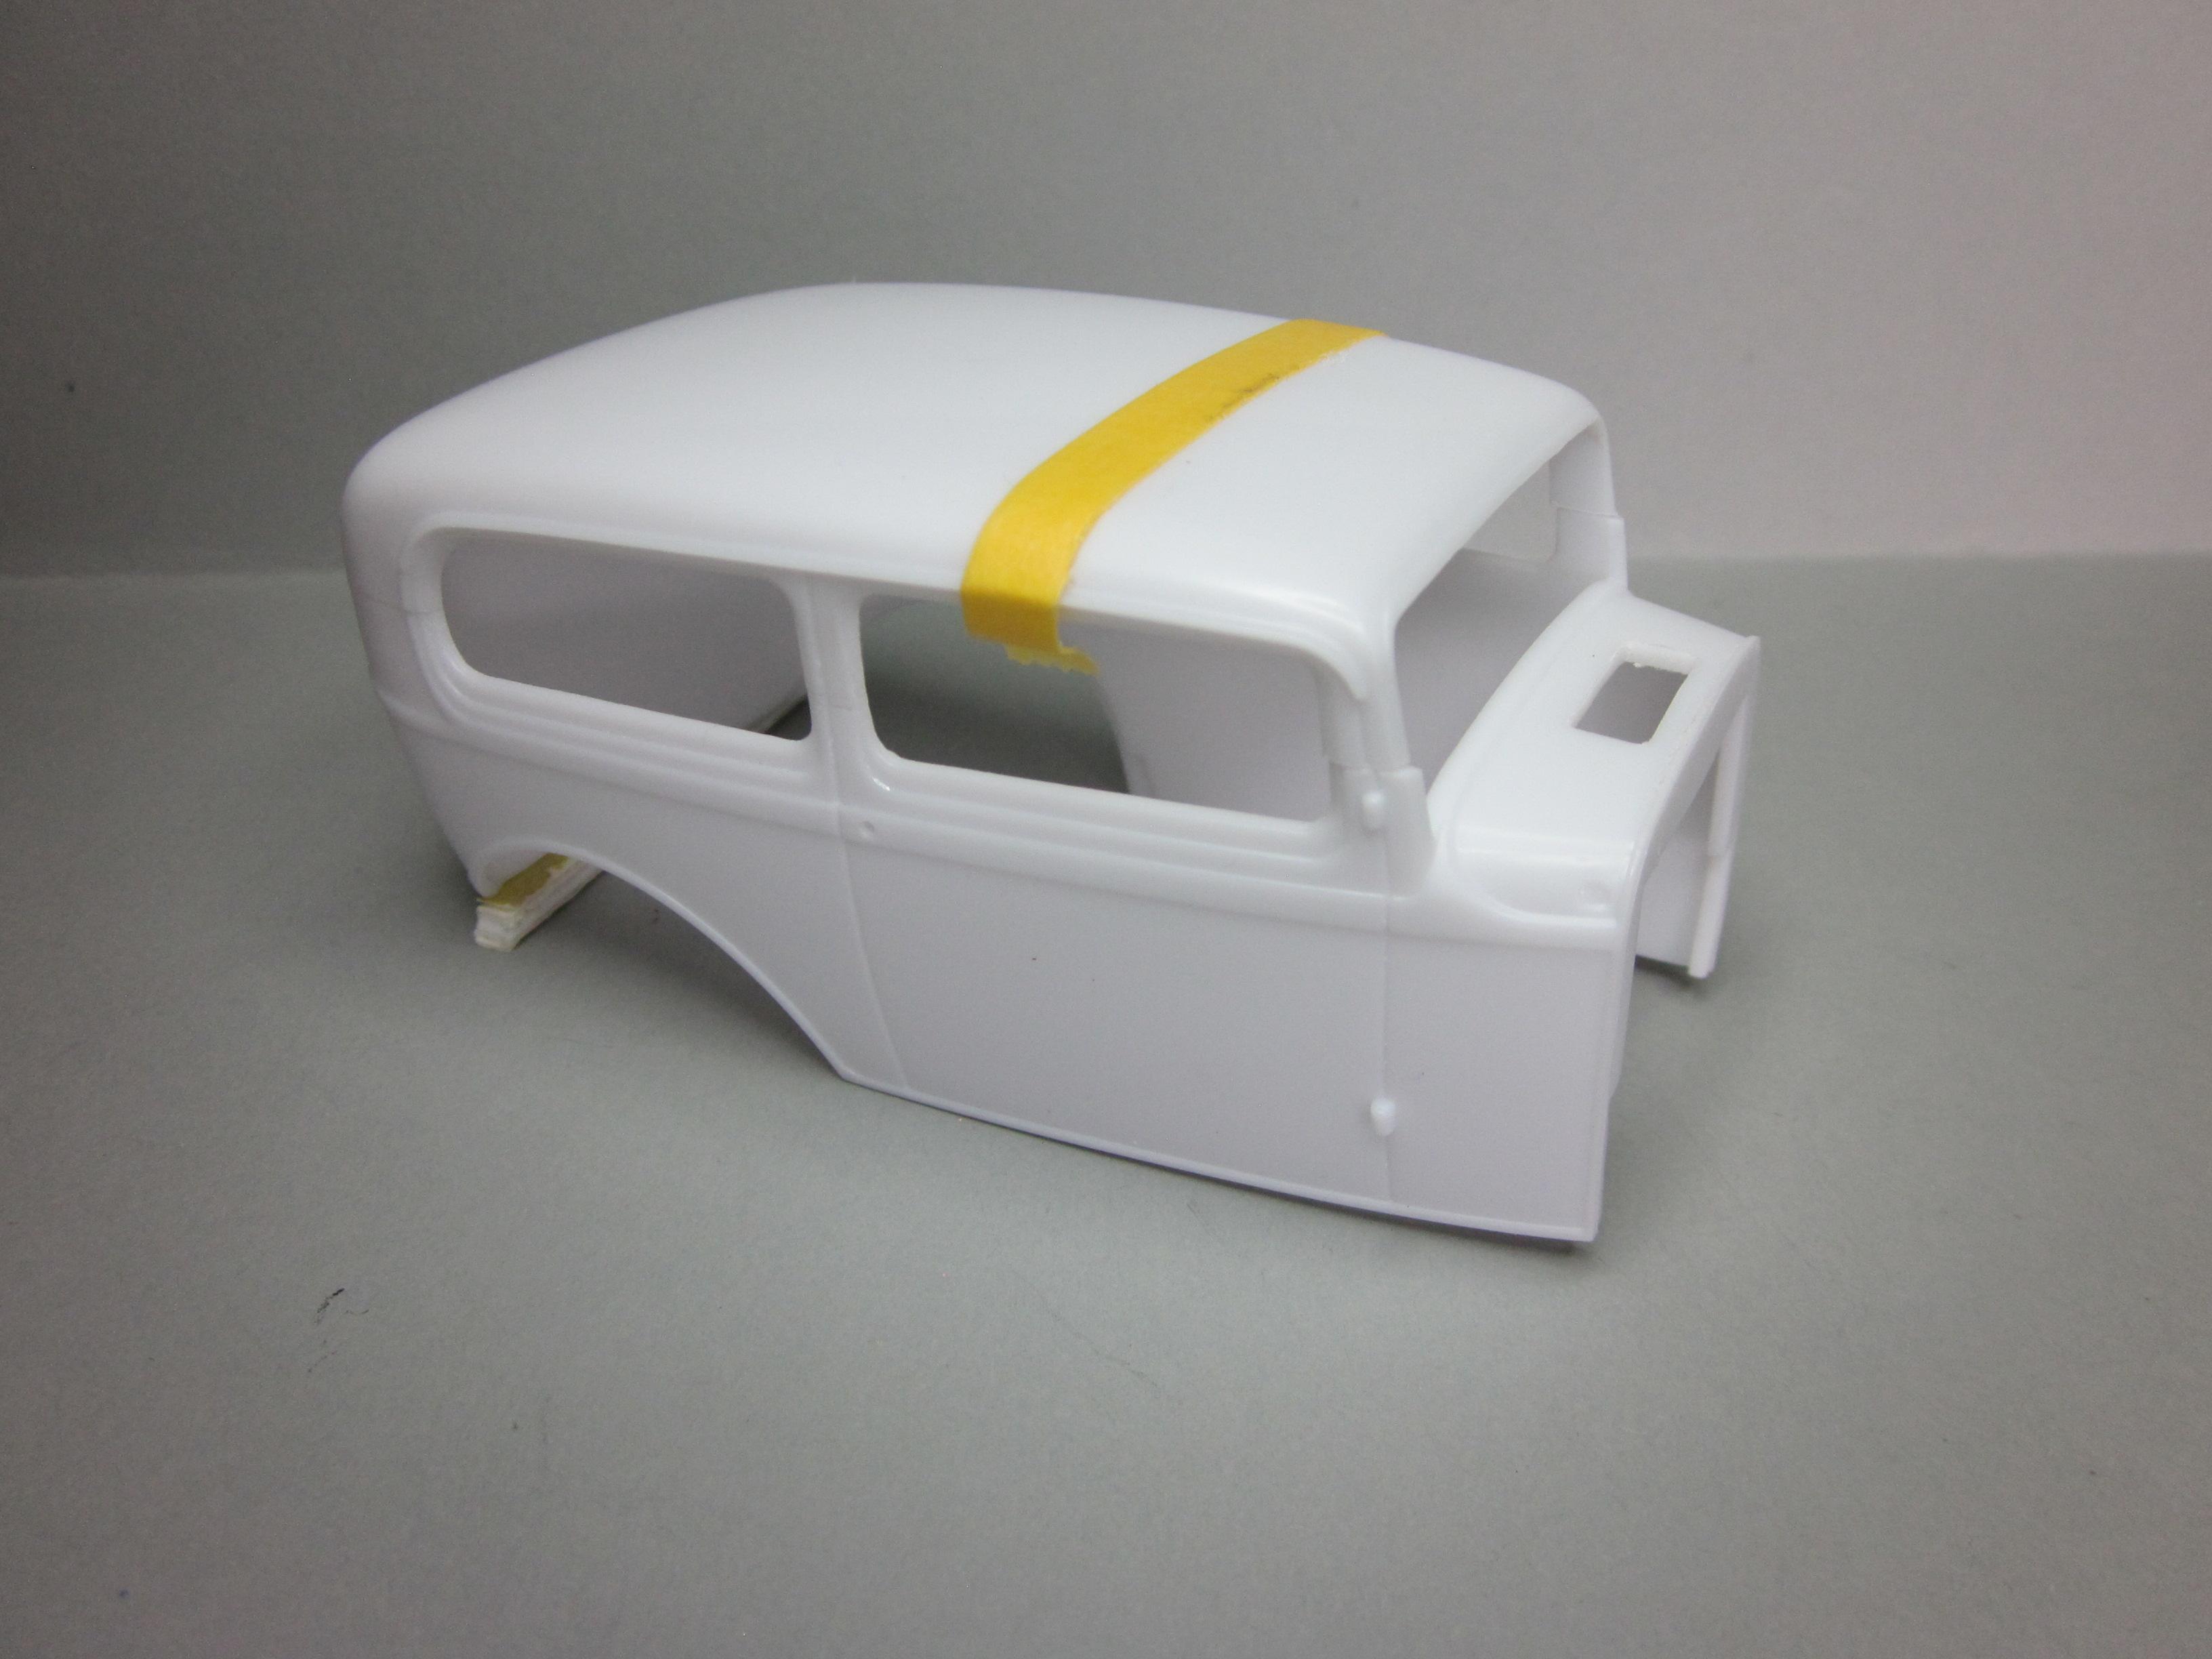
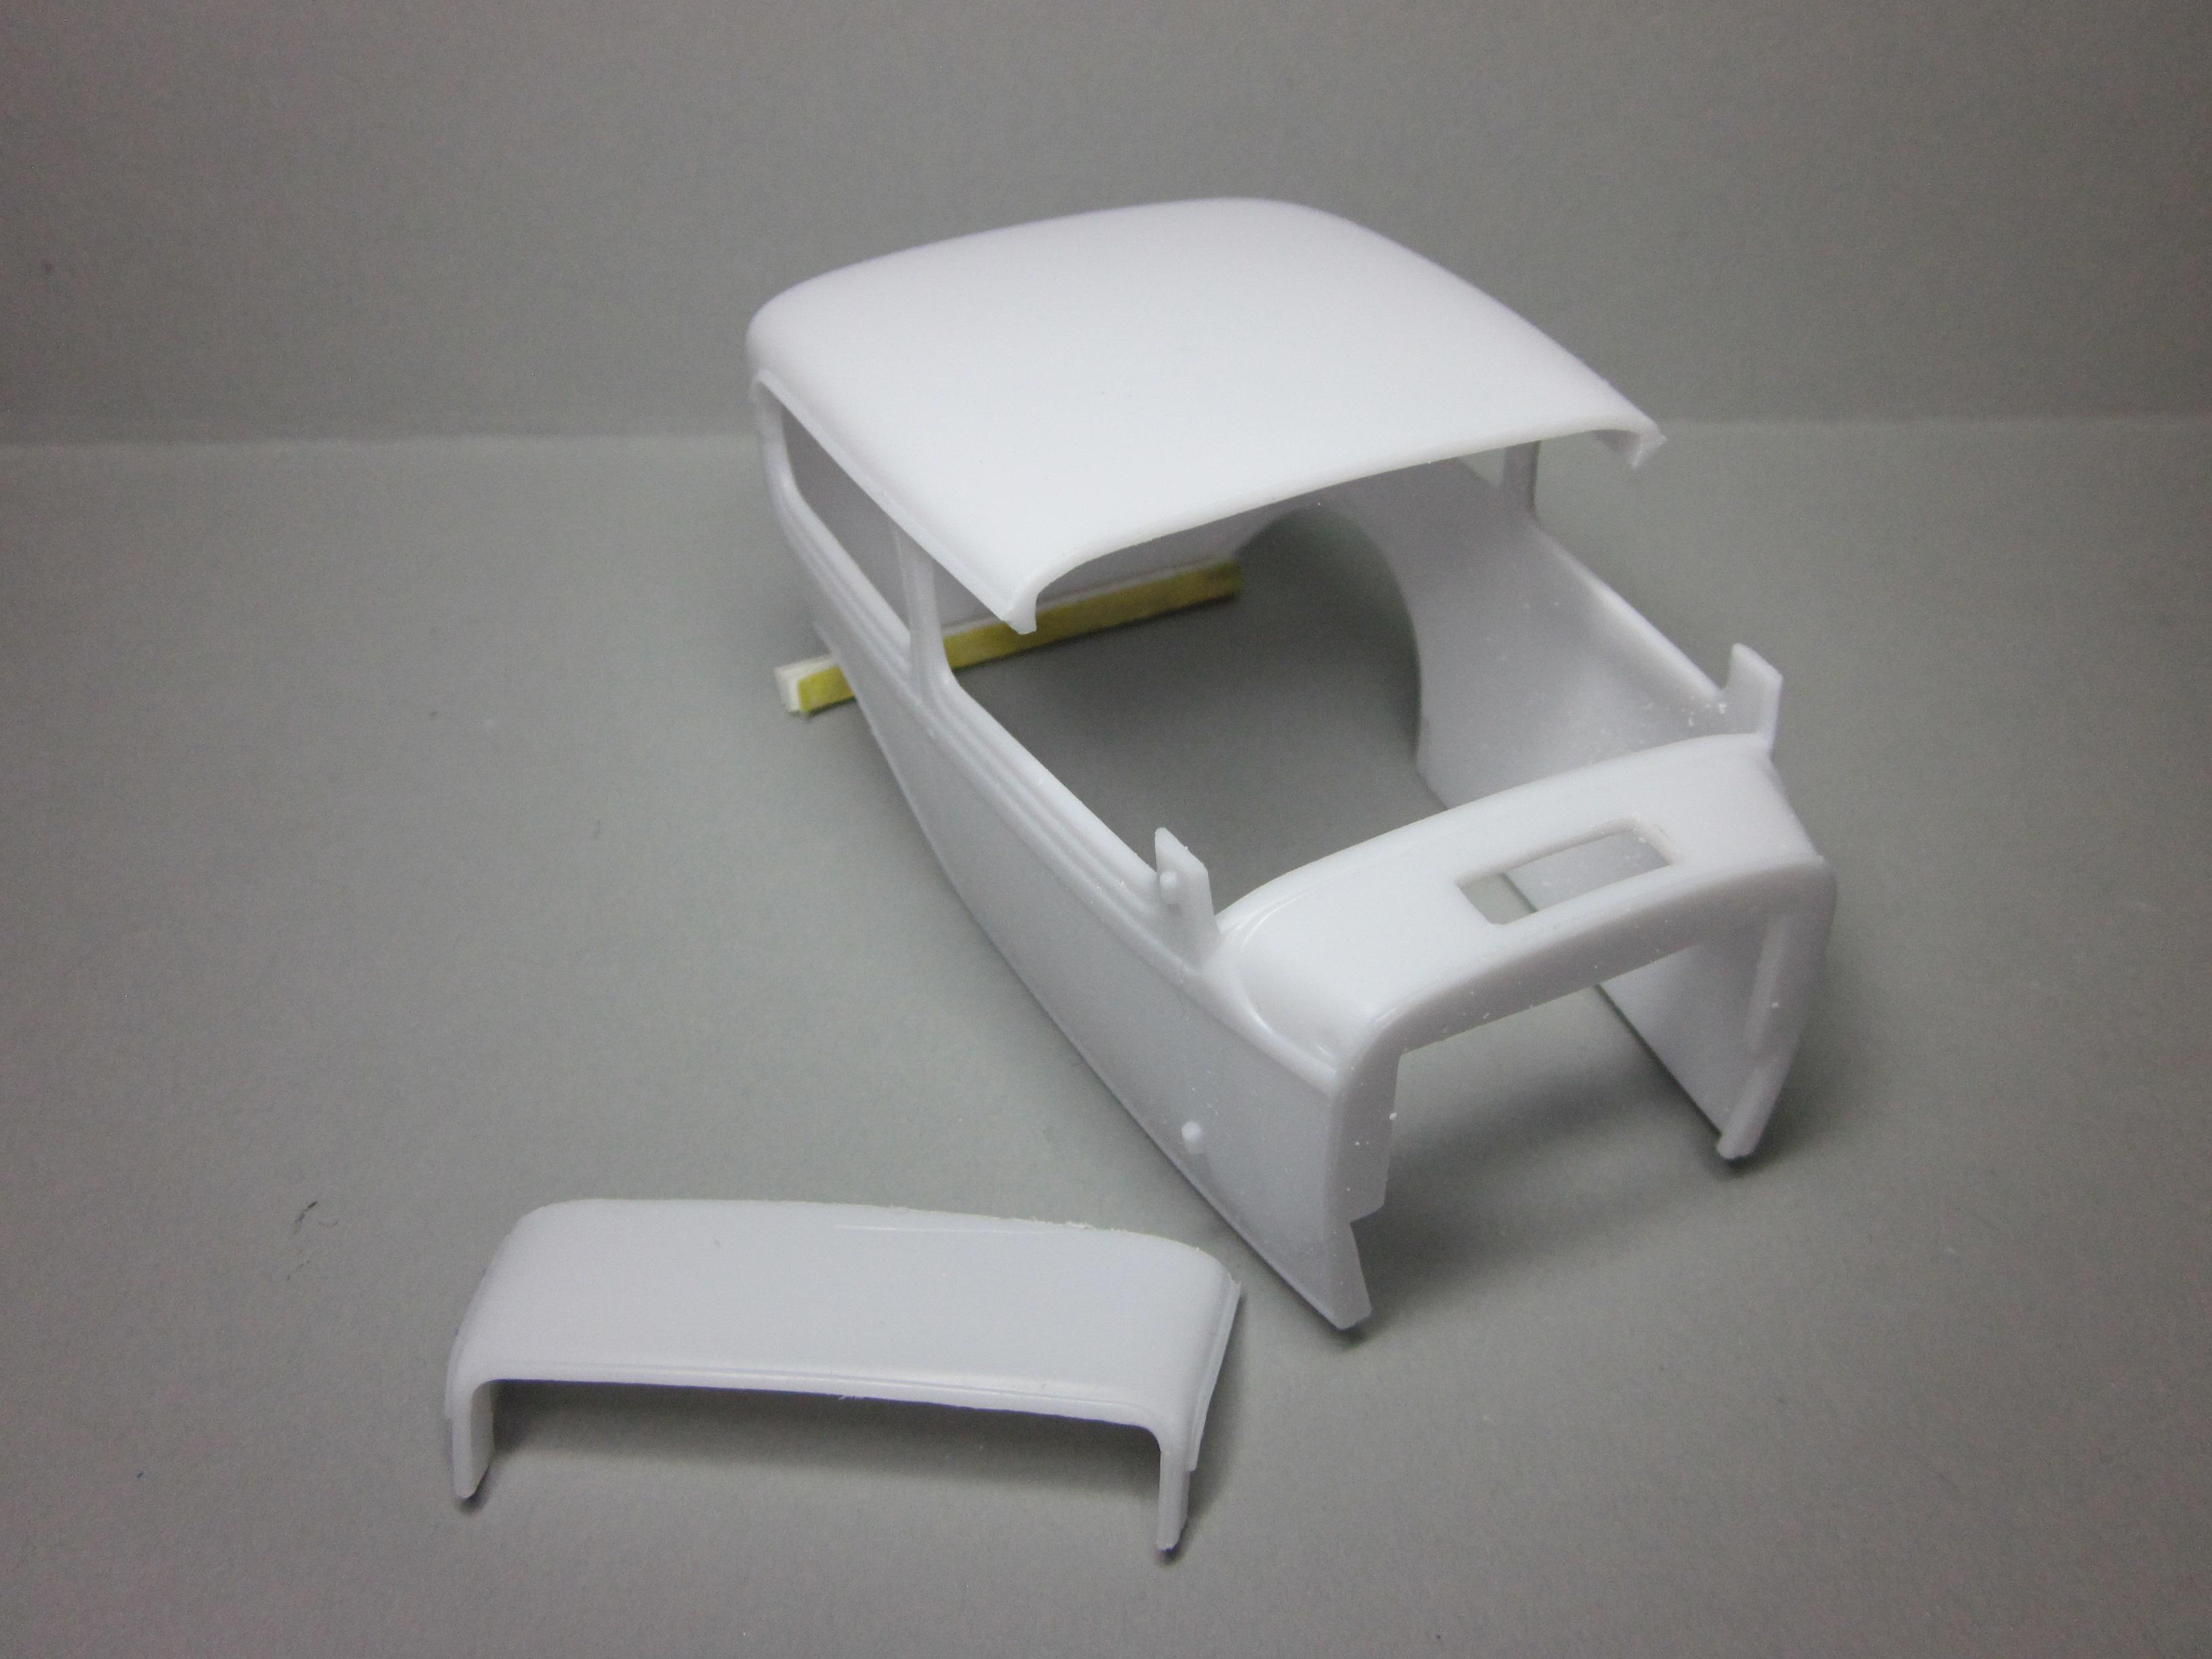
I'm off and running. I'm glad we have till Oct to finish our builds, because as of right now I have no solid plans. I'm going to take things one step at a time and see what happens. The first item on the list is to chop the top of course. Not too little and not too much. I just ball parked it with some tape and its ready for surgery. But first the top must be smoothed removing the insert. I sanded the top with a couple different sanding sticks and the polished it out to 12000. Now the top chop can proceed. The total chop will be around 3". Got all the cuts cleaned up and spent a few minutes looking at how much the top is coming down and does it need to be adjusted. I think it will stay where it's at. It was time to put the top back on. Since the pillars don't line up anymore at the front, it's going to take an adjustment to get it back together. I saw where @Rocking Rodney Rat and @bill-e-boy both modified the A pillar. I've chose to cut the top and add a filler as I would like to keep the original windshield angle. I figured I would start gluing the top back on starting at the rear and working my way forward. The back is completely glued and finished at this point. The B pillar is glued but still needs more work. I also cut the vent door out. It's time to cut the top now............... Thats it for now. I figure this should keep me occupied for a little bit.
- 719 replies
-
- 10
-
-
That is one beautiful cuda! Excellent everything!???
-
Cool! I remember seeing this car run back in the day. Nice build!
-
AMT 1970 1/2 Chevy Camaro Z28 1/25 Scale in Tamiya Titanium Gold.
Speedpro replied to Dragonhawk1066's topic in Model Cars
Very nice! That gold works perfect with the interior color. I like the engine details. Your effort shows. -
Sharp looking pony car. I really like the colors. Very clean build!
-
I would like to join in on this. Just picked up a new kit and will be starting it soon. No idea what I'll be doing with it yet.
-
My opinion doesn't matter so I'll just keep my thoughts to myself. Sorry for wasting your time!
-
@tim boyd, This is such a well-deserved and fitting tribute to a great inspiration to this hobby. Great article and the builds pictured show a little of what you instilled in us as model builders. Definitely your day! It was nice to have met you and shake your hand. Great moment for me. Congratulations and thank you for everything you've done for this hobby. Paul
-
Good looking Roadster! Got just the right mix of parts. This must have been a fun build.