Speedpro
-
Posts
842 -
Joined
-
Last visited
Content Type
Profiles
Forums
Events
Gallery
Everything posted by Speedpro
-
Cool funny car build! Paint turned out great.
-
Nice work! Love all the details!
-

Who doesn't love a mock-up? Let's see yours!
Speedpro replied to Belairconvertable's topic in WIP: Model Cars
My '30 Ford Model A coupe. Lots of 2" here, 2" there mods. How many can you find?
-
I built this Tamiya 1/20 Scale F1 Lotus Honda 99T in the'80s. Love putting these tamiya kits together. Can't remember the color name but I think it came from a hardware store. It lives in a box and every now and then I run across it. This is one of those times.
-
Great looking '32!
-
Very nice! Great color choices.
-
Very nice '58.
-
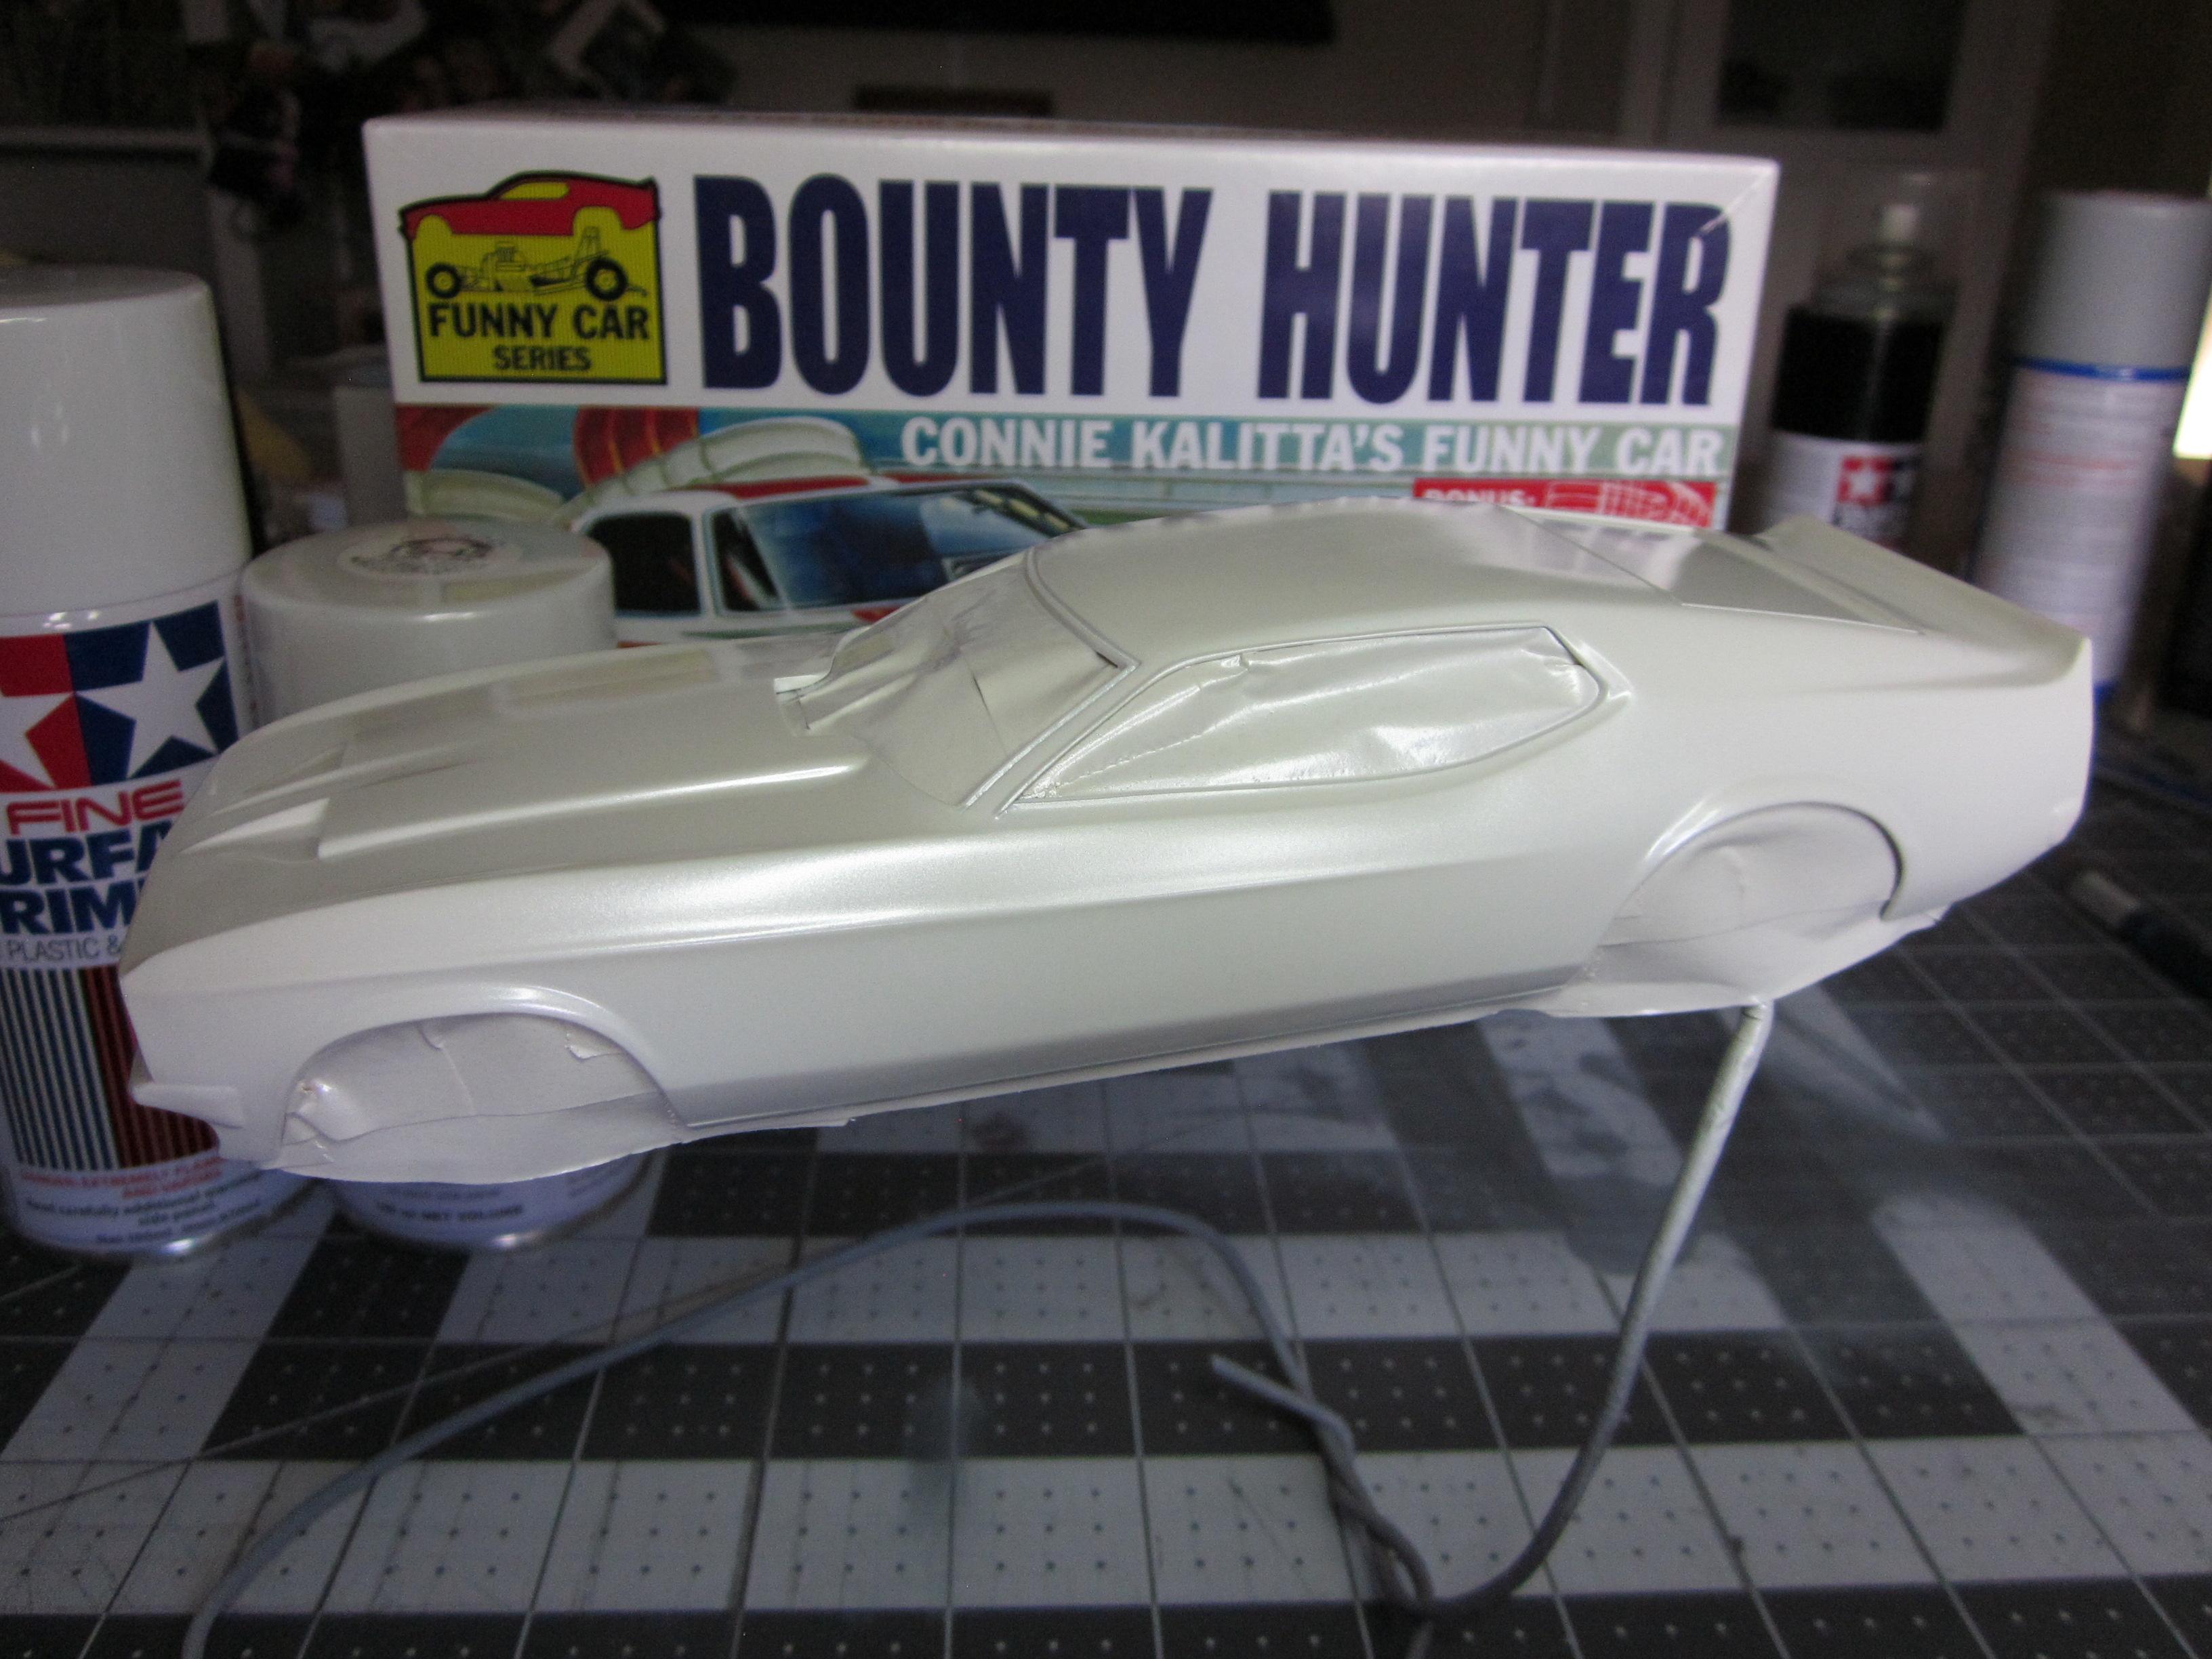
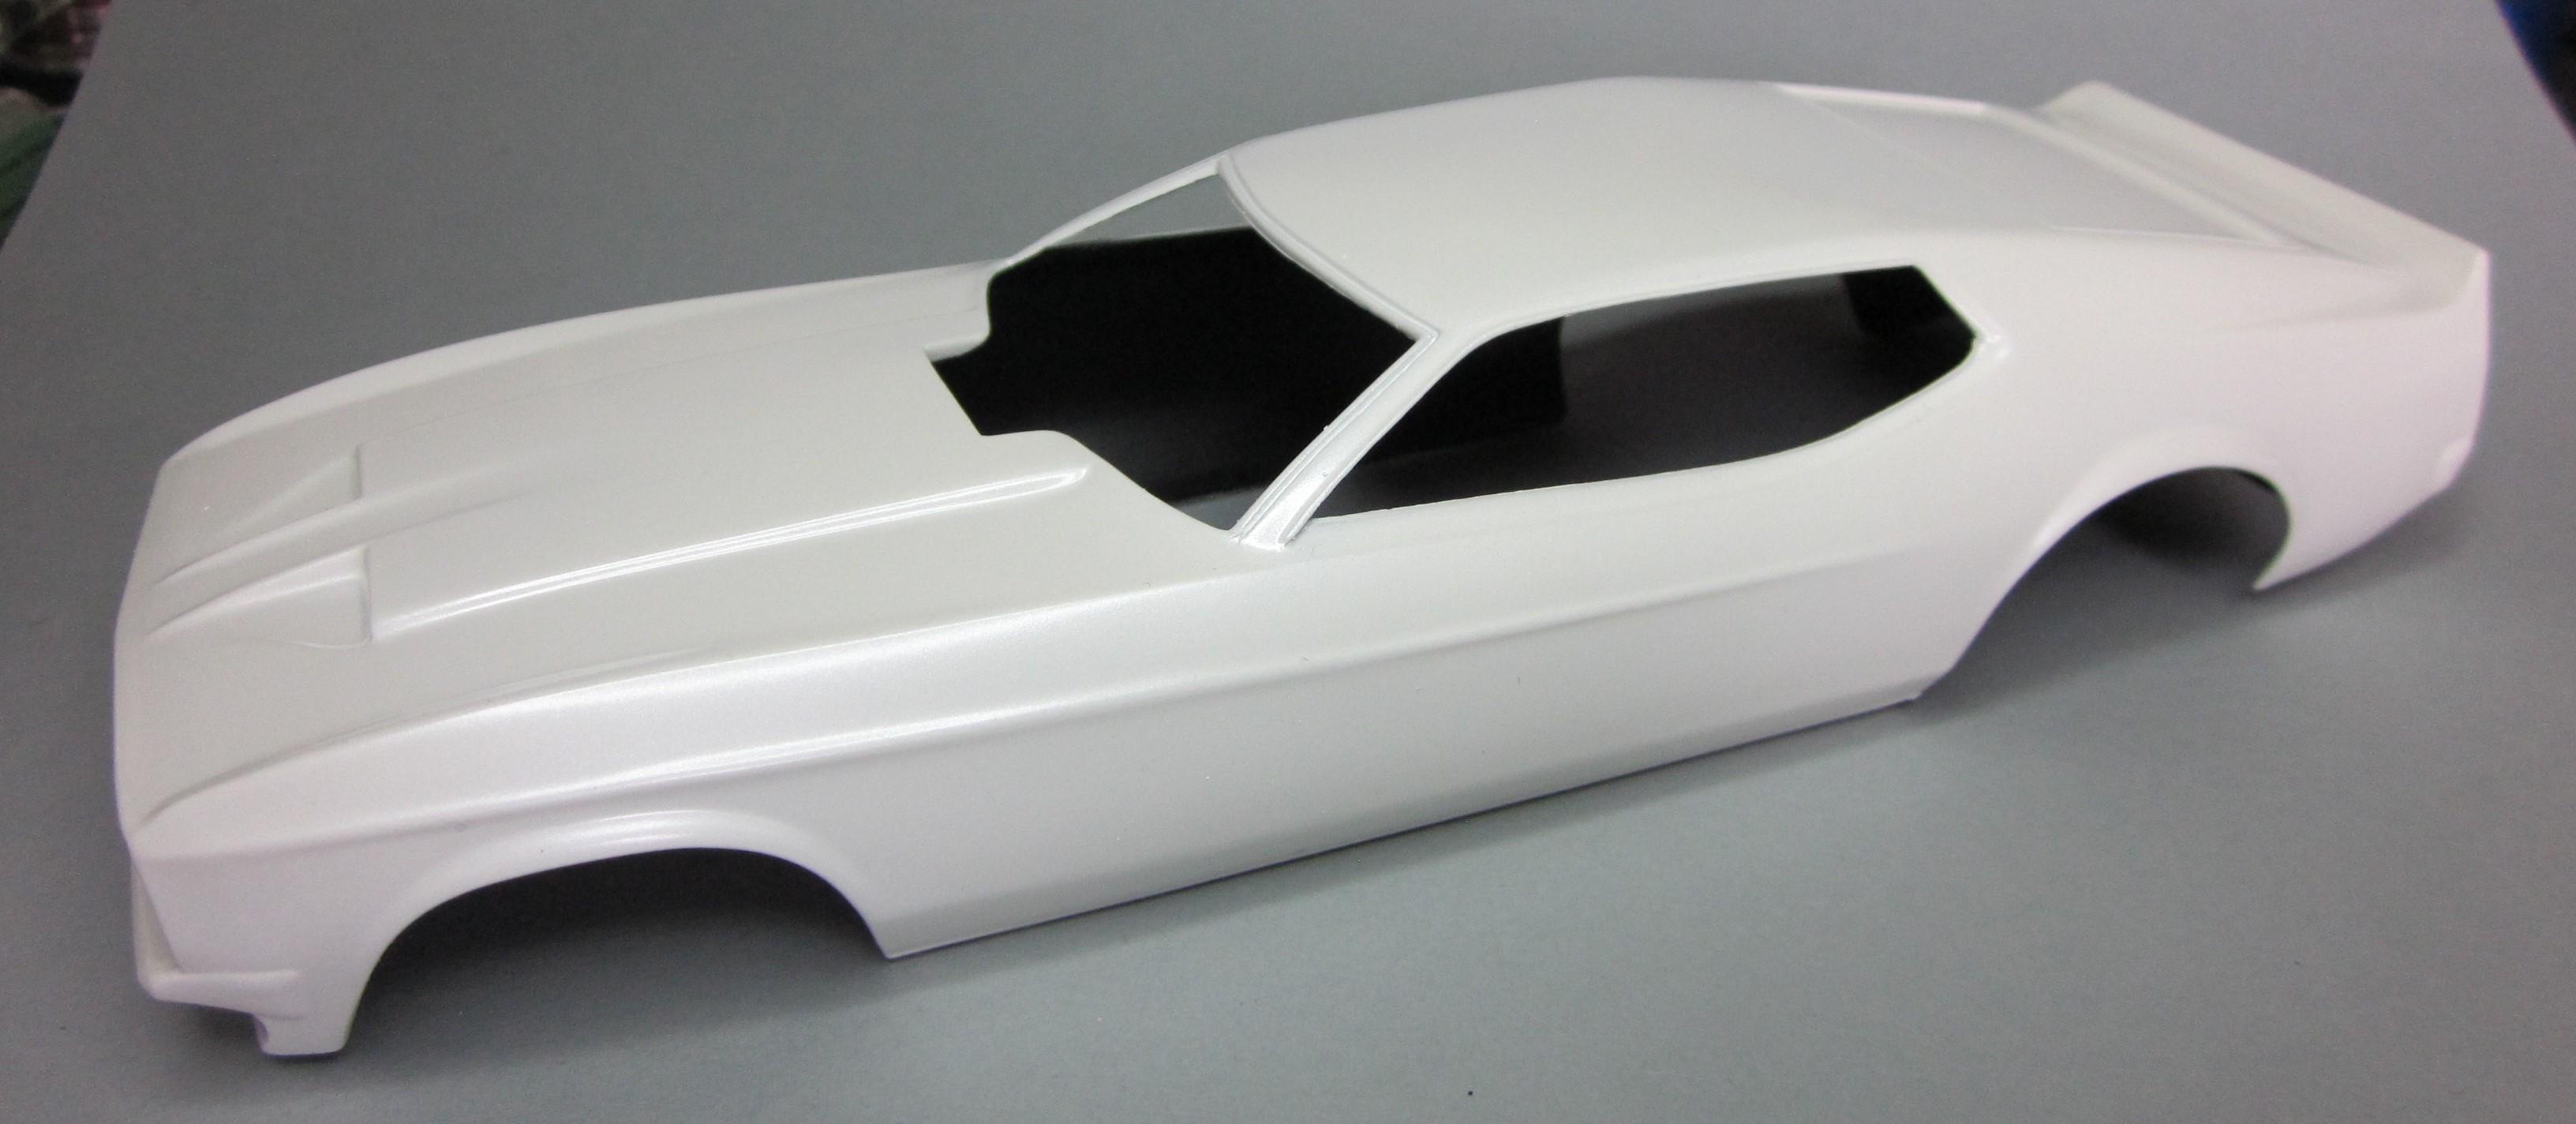
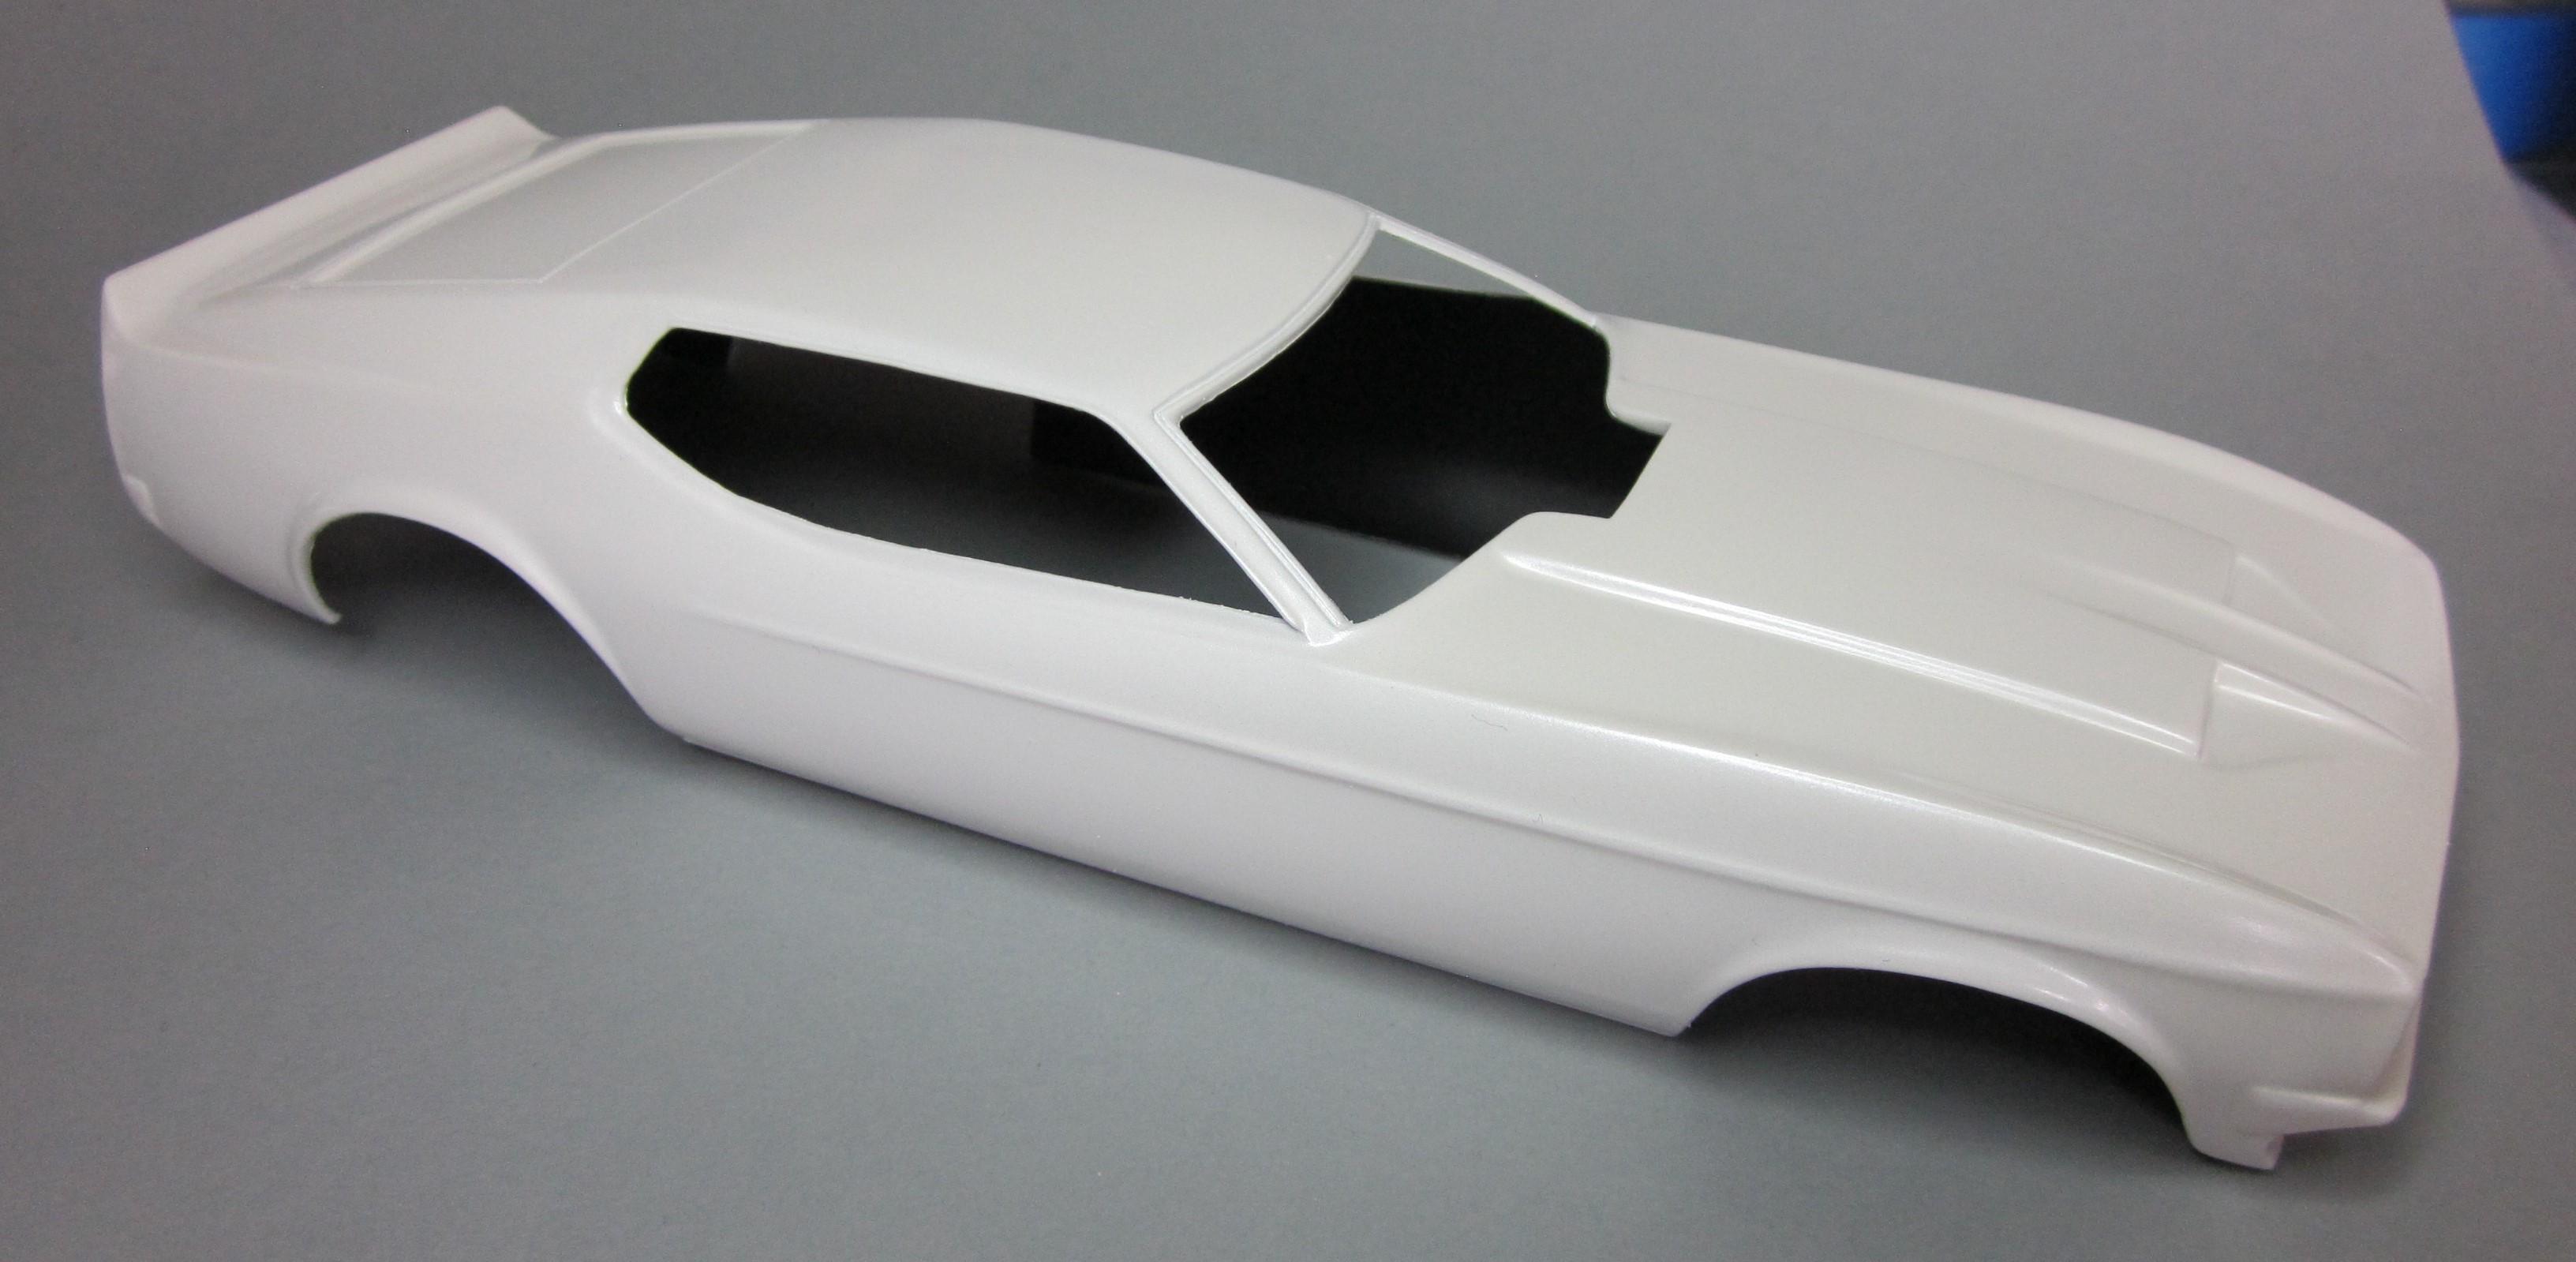
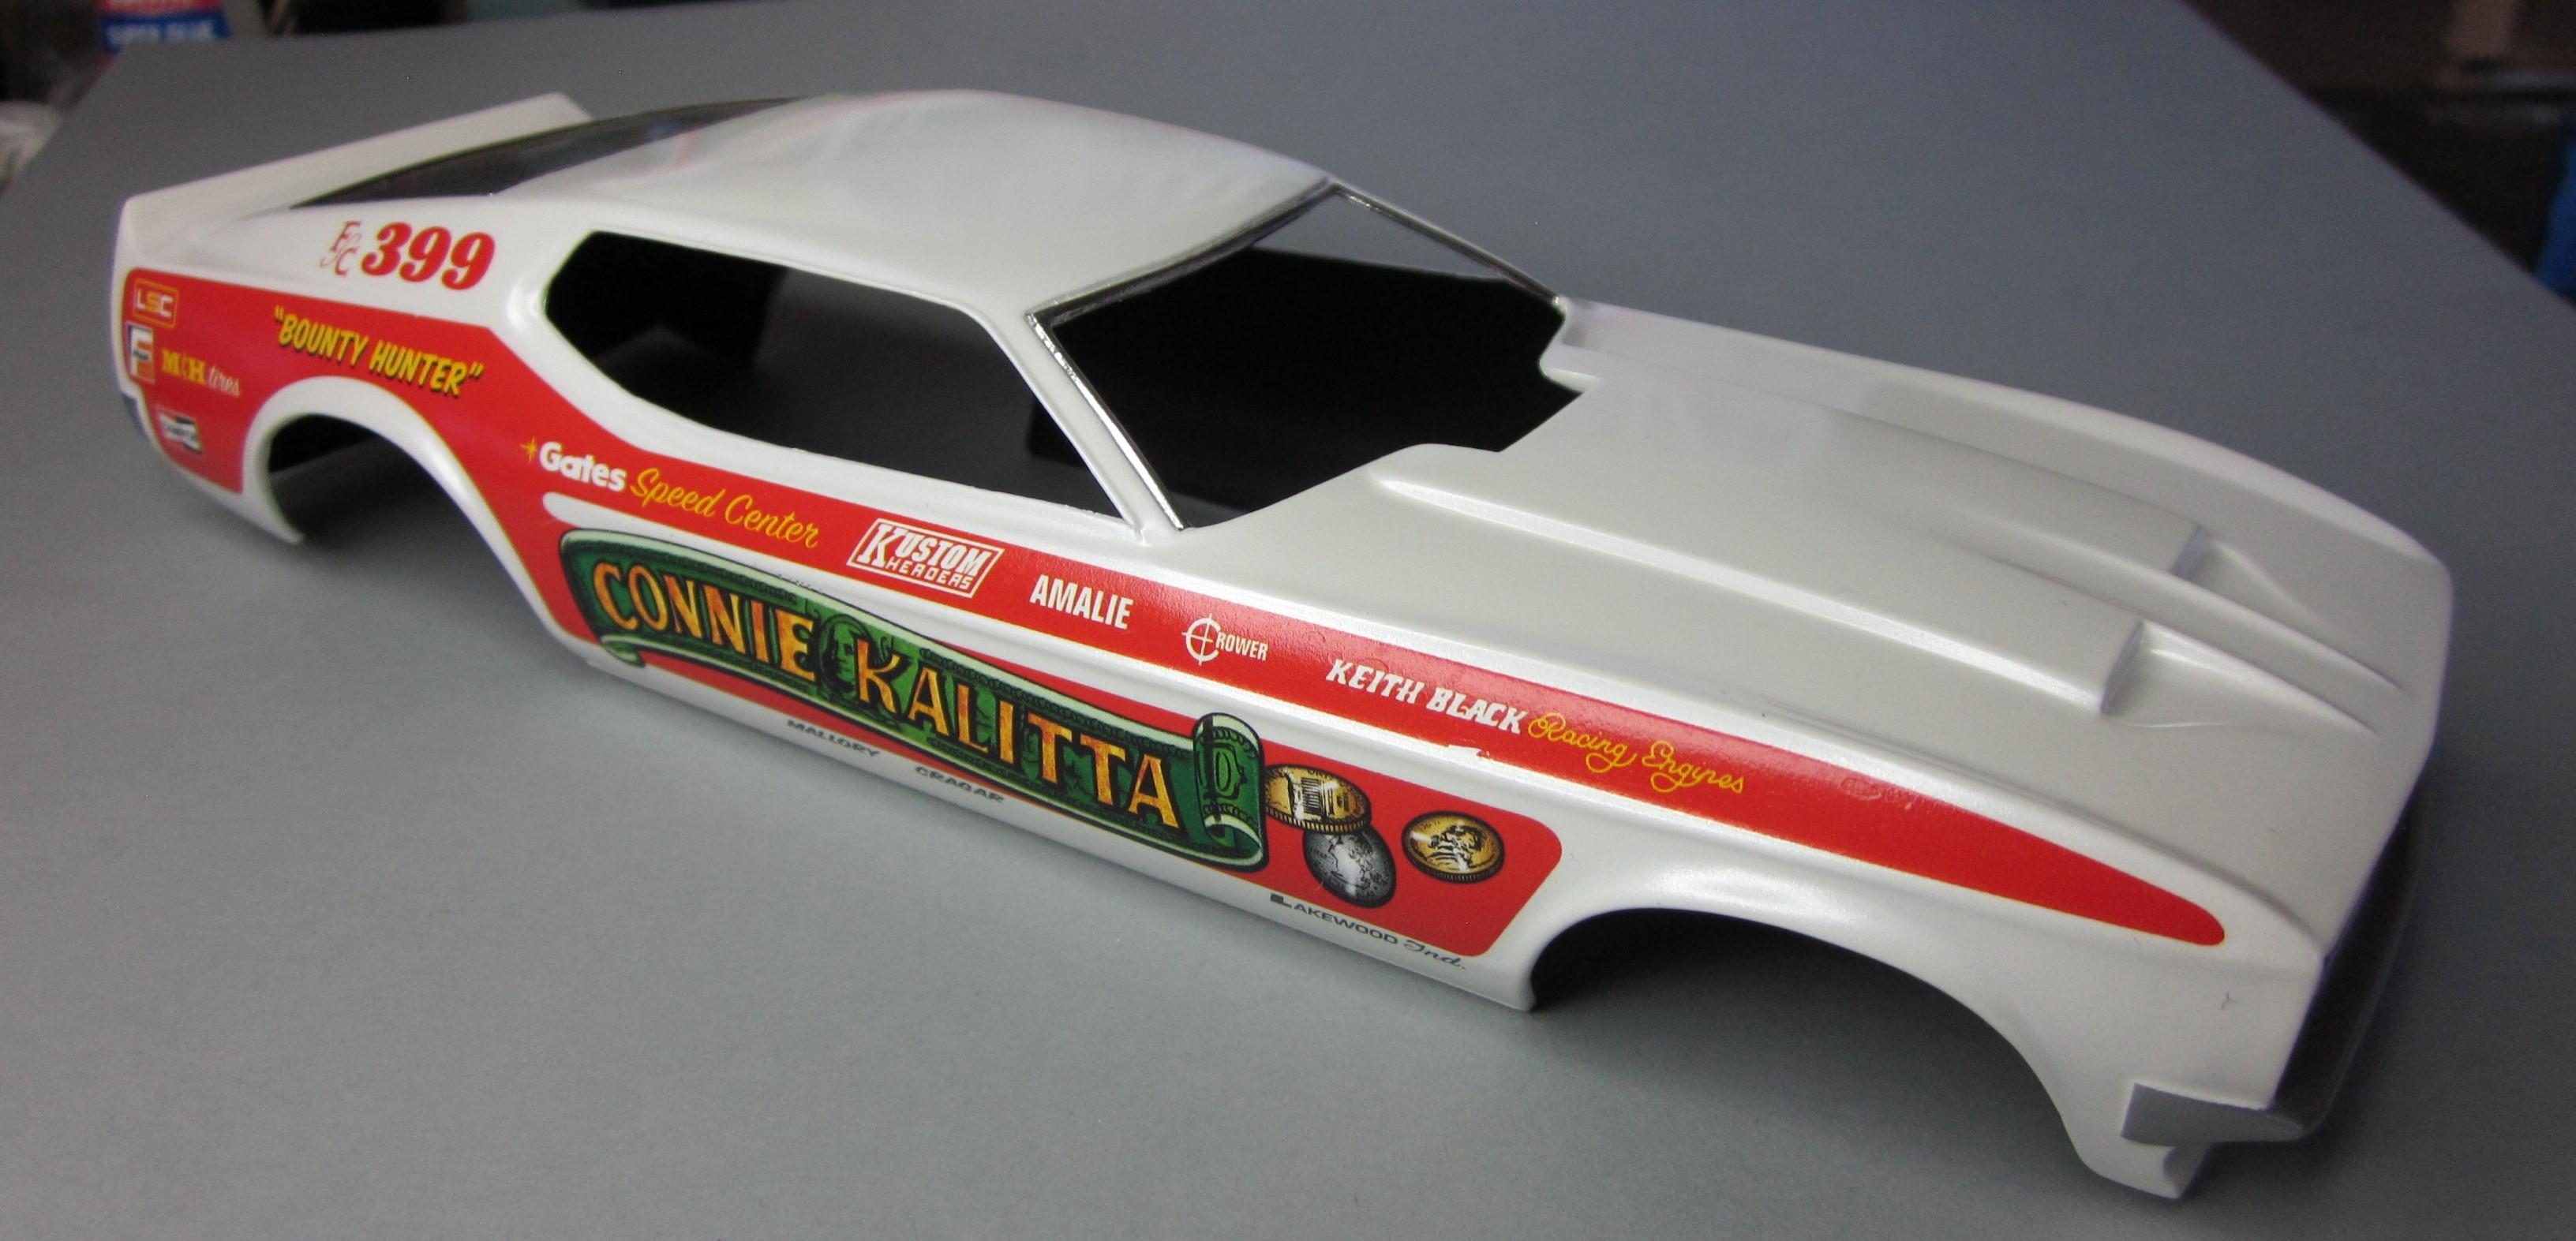
Painting with Tamiya Pearl White - TS 45
Speedpro replied to Bill Anderson's topic in Model Building Questions and Answers
I recently did a test to see if I could paint a body in one hour from start to finish using tamiya paints. The paint I chose to use was TS-45 Pearl White over tamiya white primer. As stated, all painting was done in a 1 hours' time giving 15 min between coats. Body was first cleaned up removing all parting lines and flaws. It was thoroughly washed with joy dishwash soap. First light coat of white primer was laid down Waited 15 min. Sprayed the next coat of primer with a good cover coat. Waited 15 min. Sprayed the first light coat of pearl white. Waited 15 min. Sprayed the second and last coat of pearl white. Let it sit overnight. You can handle it all you want at this point. The results of my test were very pleasing. Here are a couple pics of the outcome of my test. I could have put down the clear coats, but decals were in the future. Next time I will put down the clear and do the hole paint job in 1.5 hrs and see how it turns out. I waited 5 day's and put some decals down. No clear has been applied yet. As you can see, the paint job came out almost just as good as if I spent a week doing it waiting for paints to dry and sanding between coats of primer and color. I don't use spray cans much anymore as airbrushing is now my norm. This was just a test and your results may vary. As a side note, I feel tamiya spray paints are the best paints to use if you are using spray cans.
-
Great looking project! The engine looks really good!
-
Cool color! Looks great on your '30.
-
Very nice!
-
Seems to me that I'm doing something wrong because my builds never look anything like this!! Very nice build sir!
-
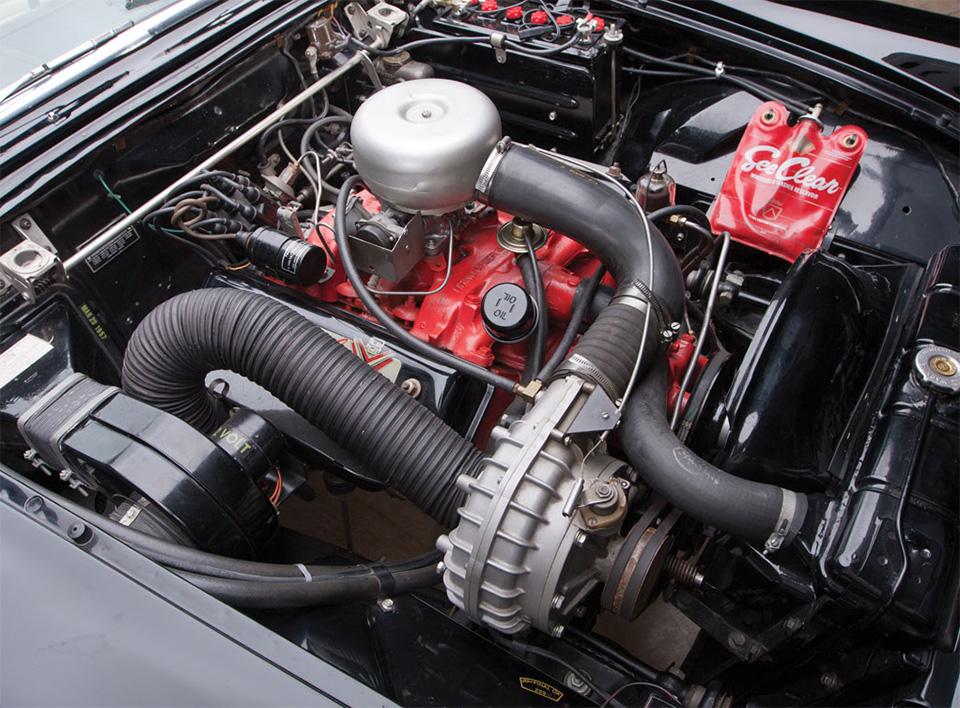
Any guesses what engine is in this car?
Speedpro replied to larman's topic in WIP: Drag Racing Models
If it was my guess, there would be a 312 with a factory supercharger under the hood. The hood scoop is there to make it look more racy. I don't think to many of these t-birds were getting cut up yet.
-
Very cool! Interesting door hinges. I love everything about this build Clifford. Very clean and well executed.
-
Turned out really nice Ken! The color is perfect and I like the stance.
-
Beautiful! I really like the interior detailing. Is that the rear spoiler that comes in the kit?
-
Nice '37. Look's good for her age.
-
1964, Brissette FED. 1:16, brass, scale build.
Speedpro replied to Mike Williams's topic in Drag Racing
Love it! You have some amazing skills. -
Very nice! Like the color and she sits just about right.
-
Great looking truck! I'd like to see how that would do on the drift track.
-
Nice build! I like your color choices.
-
Fascinating how we model these days. To think we can do this in our living room!
-
Usually when one spot like that shows up, it's most likely an area you touched with your finger that had some kind of contaminant on it. You can try sanding but be careful. You may end up with a bigger mess.
-
I use tamiya glues and have been lucky to never have knocked the bottle over. But my bottle of SOLVASET decal setting solution is a whole different story! Ended up putting that in a old spray paint cap.