Straightliner59
-
Posts
5,809 -
Joined
-
Last visited
Content Type
Profiles
Forums
Events
Gallery
Everything posted by Straightliner59
-

AWB '65 Chevy II--New Photos 07/26/20
Straightliner59 replied to Straightliner59's topic in Drag Racing
Thank you, JC and Larry! It's much appreciated! -
Stunningly beautiful! Excellent work!
-
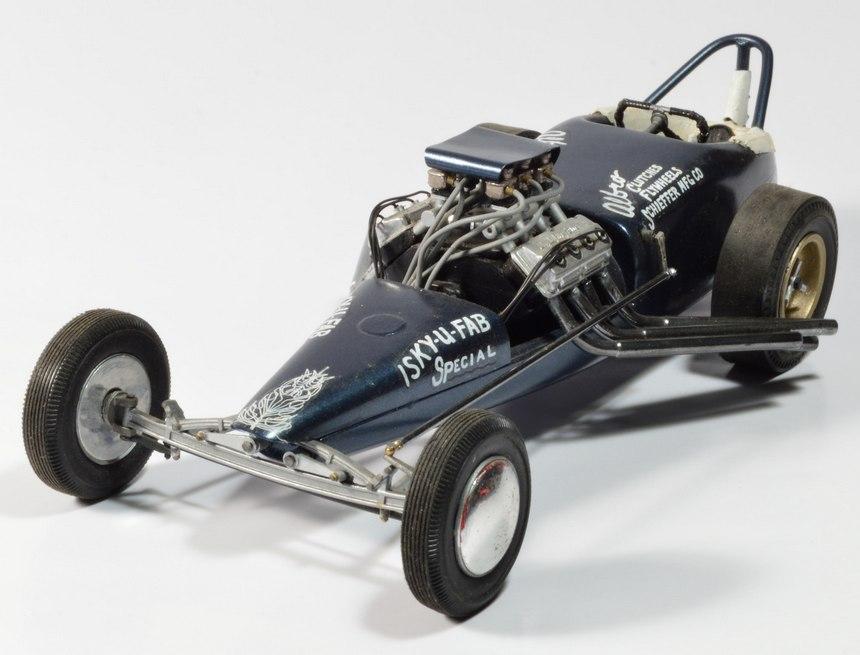
Built from an old Monogram Slingshot dragster I bought as a bag of glue-bombed, broken parts for a buck; I was happy to have it, because the reissue hadn't been done, yet. This is one of only two replicas I have ever built, the other being Dick Kraft's "The Bug". It had always been pretty apparent, to me, that this kit was a representation of the Cook and Bedwell dragster. The manifold is scratched from plastic stock. The headers are made from different diameters of tubing, and were "plated" the old-fashioned way. After shooting them with satin black Krylon, I rubbed graphite powder into them. The finish has held up, very well, and, looking at them closely, there is no discernible grain/flake to it. Jack Smith made the decals, for me. I have never been able to ascertain the color of the real car. The reproduction looks to be too light-colored, to me. I went with some Dupli-Color blue that looked close to one color photo I saw of the car, as it raced. It looked darker in most of the B&W images, as well, so, I went with that. Hope you enjoy! Questions, comments and critiques are always welcome! Thanks for looking!

-
'34 Ford Coupe A/A--New Photos 07/26/20
Straightliner59 replied to Straightliner59's topic in Drag Racing
Hahaha! Thanks, Bill. Much appreciated. Actually, I had to build them a tiny english wheel. That was the most difficult part of this project! Thanks, Larry and Mark. Marty, I would like to acquire the series that model came from. I have a "thing" for 1/32 scale kits. Glad you like it, sir! -
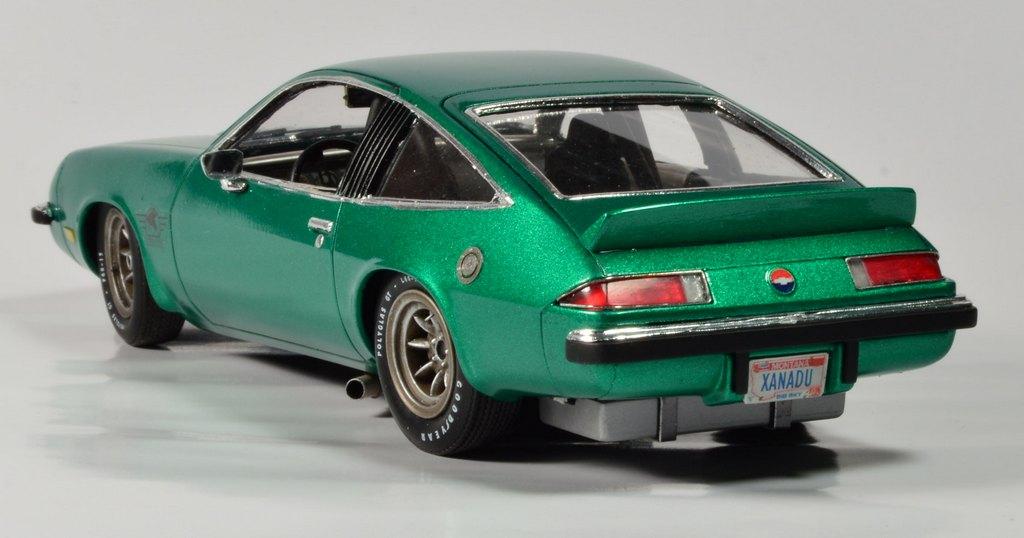
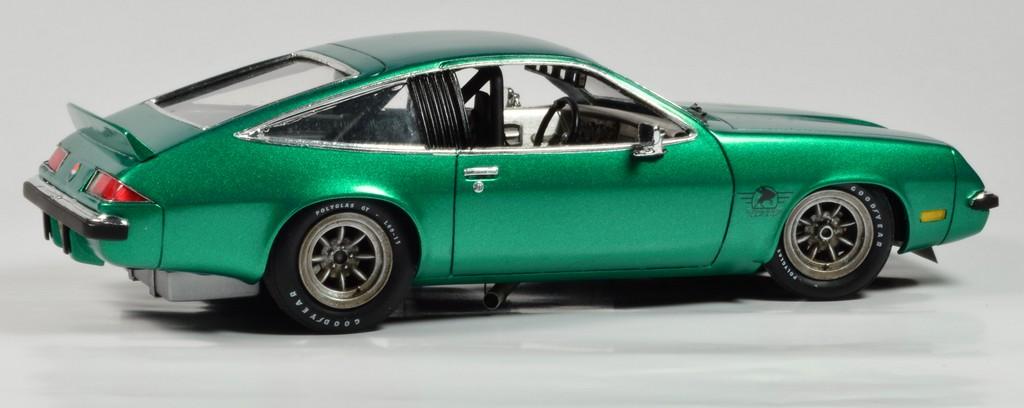
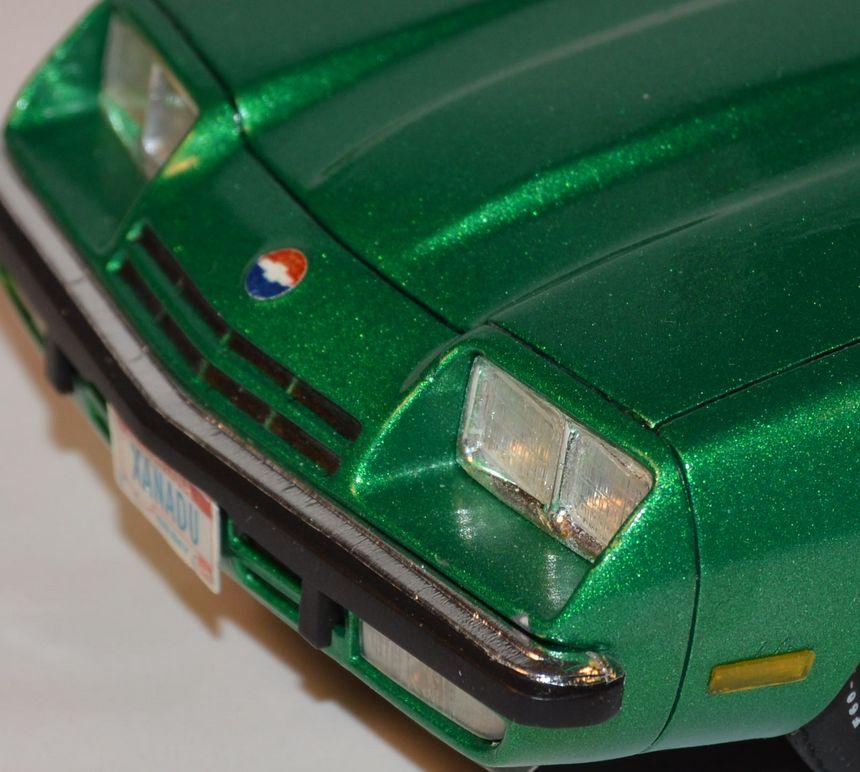
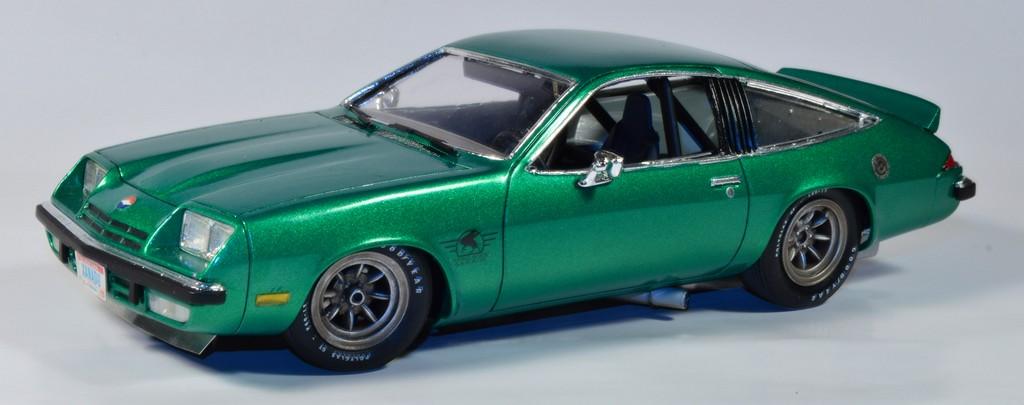
1975 Monza 2+2 T/A Influenced (New Photos)
Straightliner59 replied to Straightliner59's topic in Model Cars
Not very often! There don't seem to be very many H-bodies around, anymore. Thank you, Craig! -
AWB '65 Chevy II--New Photos 07/26/20
Straightliner59 replied to Straightliner59's topic in Drag Racing
Thanks, Ray. I appreciate that, very much! Thank you, Gareth. I thought that might be a nice touch,on a type of race car, in which, often, stuff (weight) was just discarded, as quickly as possible...why bother putting any back, right? ? Thanks to everyone for looking, and for taking the time to comment. I truly appreciate it! -
'34 Ford Coupe A/A--New Photos 07/26/20
Straightliner59 replied to Straightliner59's topic in Drag Racing
You should, Ray. It's the best '35 coupe body around, I think. Thank you, sir! -
'34 Ford Coupe A/A--New Photos 07/26/20
Straightliner59 replied to Straightliner59's topic in Drag Racing
Thanks, Guido! Thanks for looking, too. I appreciate that! -
Dennis, what a sweet little hot rod! Especially love the Riley! I never got the coupe, during its short existence. I don't recall if the next version planned. is to include it, but, I hope so! Very cool project!
-
Junior Fueler. New Photos 07/20/2020
Straightliner59 replied to Straightliner59's topic in Drag Racing
It seems to me that a series featuring actual, junior fuelers could be an attraction. Alcohol needs support, I would think. Thank you, Roger. -
'34 Ford Coupe A/A--New Photos 07/26/20
Straightliner59 replied to Straightliner59's topic in Drag Racing
Cool. Thanks, Roger -
AWB '65 Chevy II--New Photos 07/26/20
Straightliner59 replied to Straightliner59's topic in Drag Racing
Thank you, Snake. That's what I hope to do with my projects--capture something from an era! Thanks, Alan! That rag does look good, in these photos, I think. I'm happy that I finally figured out how to get decent photos, too. -
It has the look! Very cool!
-
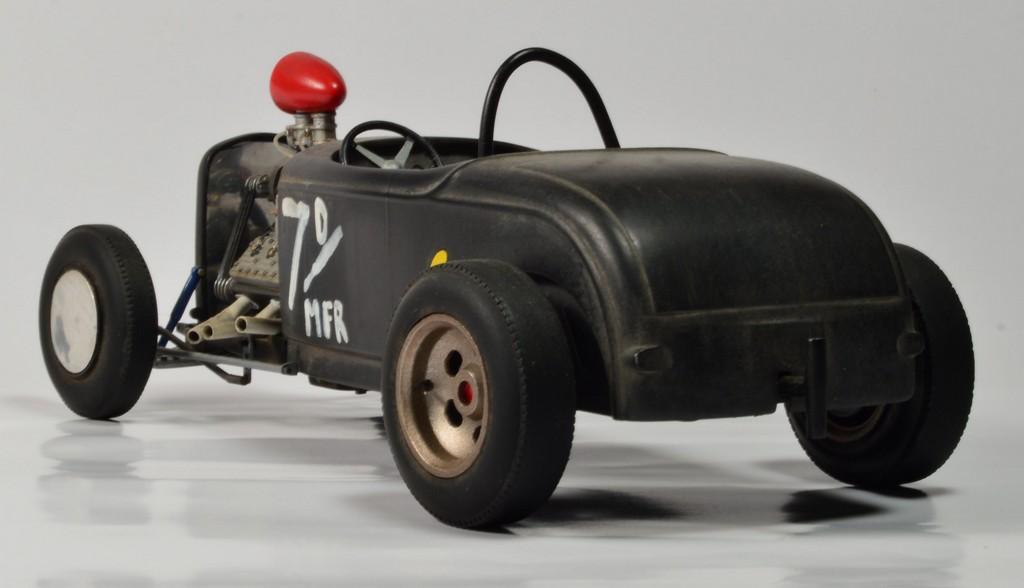
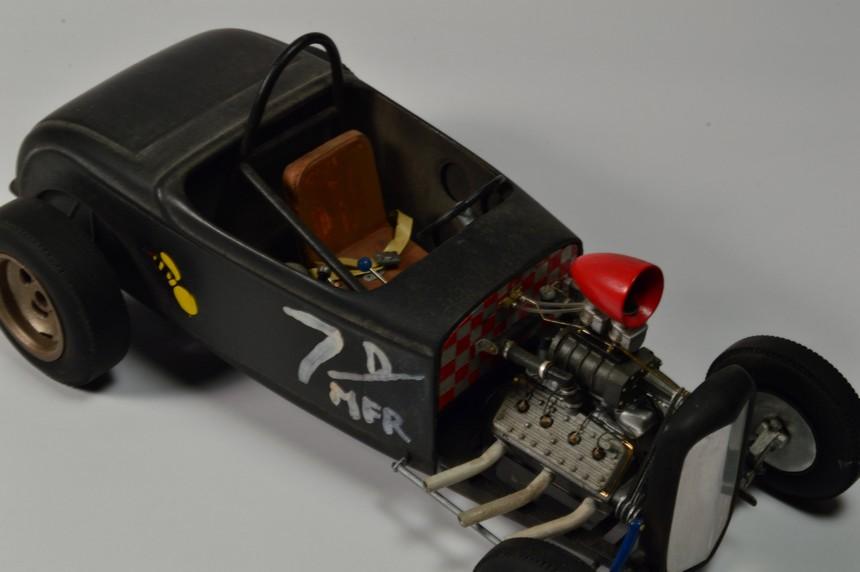
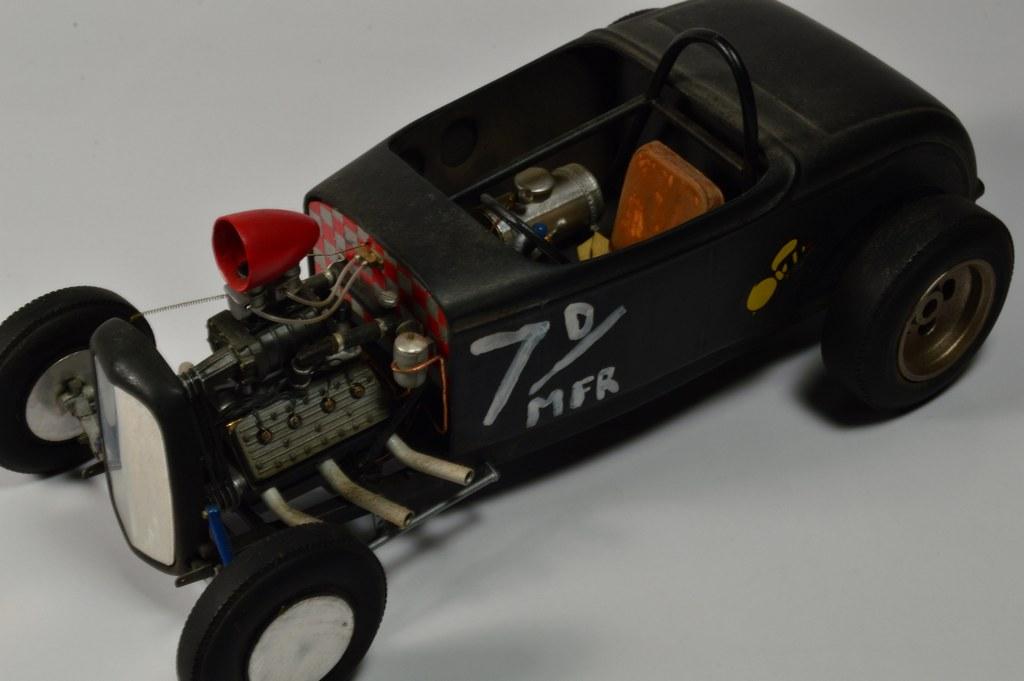
More new photos of older projects. Hope you guys are enjoying them. Thanks for looking!
-
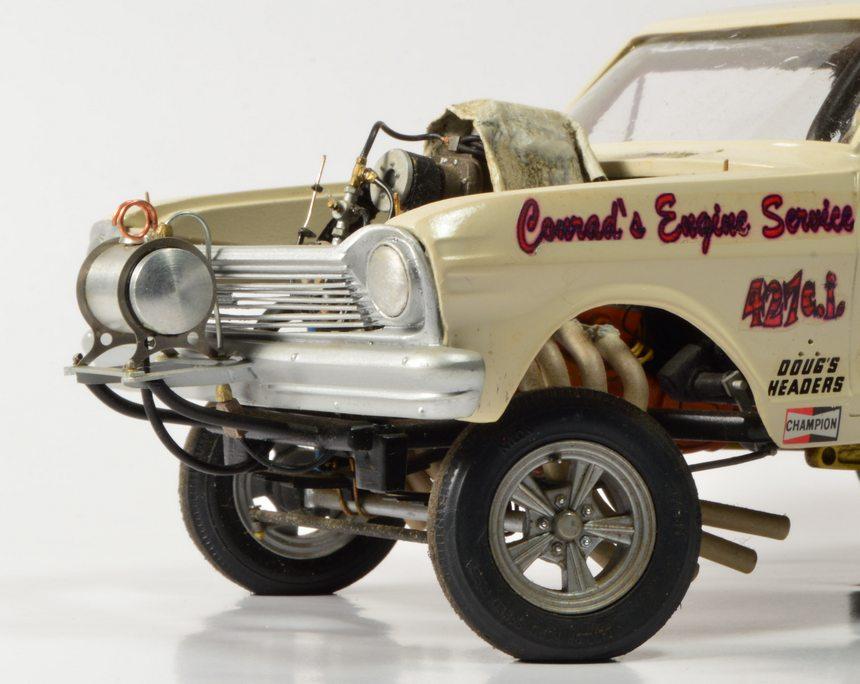
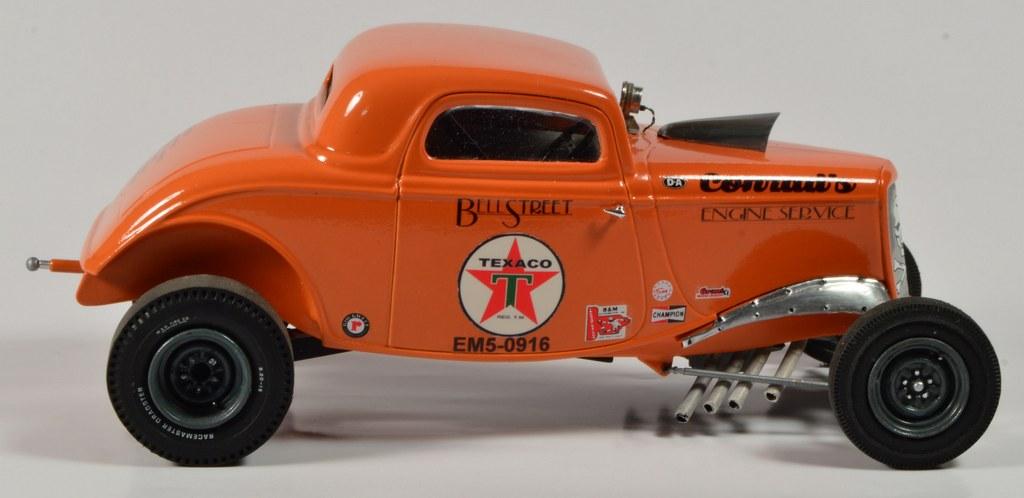
This is a Revell "Wheels Of Fire" snapper. Although it can't be seen, here, it has a scratchbuilt rollbar, aluminum door panels and dash. The hood scoop was hammered and formed and filed and sanded to shape from aluminum flashing. The splash pans are made of burnished Maid-O-Metal tooling aluminum sheet. Wheels are (I think) from a Thunderbolt. Front tires are AMT, the rears being from one of their parts packs. The front axle was moved forward about 3.5". Leaf springs are scratchbuilt, as are the headers. I made the decals in a graphics program, and printed them on an inkjet. It was actually something I didn't get too carried away with! Questions and comments are always welcome! Thanks for looking!
-
1975 Monza 2+2 T/A Influenced (New Photos)
Straightliner59 replied to Straightliner59's topic in Model Cars
Man, I do, too! I have quite a few around here. I have a couple of flat-nosed Vegas, and three or four slant-nosed ones, too. Still have a handful of unbuilt Monzas and promos. I have always loved them. Thanks, Carl! -
Looks nice. Those Revell snappers are beautiful! I've built a couple of their '34 Fords, and am using most of one of their '70 Chevelles to build a circa 1975 NHRA Modified Production class racer. And, you're right, those bodies are beautiful!
-
'32 Ford Modified Fuel Roadster New Photos 07/23/20
Straightliner59 replied to Straightliner59's topic in Drag Racing
Thank you, Bill. I love these old Monogram kits! Thanks, Guido, Carl, and Larry. I appreciate the kind words. Thanks for looking! -
AMT Pete 352 Day Cab
Straightliner59 replied to Straightliner59's topic in WIP: Model Trucks: Big Rigs and Heavy Equipment
Thanks, Brian and Carl! I've been working on the engine. There are so many sink marks in this thing, it's unreal! I also need to move the rear motor mounts, so that the engine sits slightly lower in the rear, to alleviate the angle on the driveshaft. Thanks for your comments, gentlemen! -
Tyres reacting with wheels
Straightliner59 replied to Rockford's topic in Model Building Questions and Answers
Bingo! The only way I know of, to assure things stay proper. -
1975 Monza 2+2 T/A Influenced (New Photos)
Straightliner59 replied to Straightliner59's topic in Model Cars
Thanks, JC! I am very happy with the new photos. Thanks, Lee. I used to drive through East Bethel, five nights a week! Thanks, Michelle. I appreciate it! -
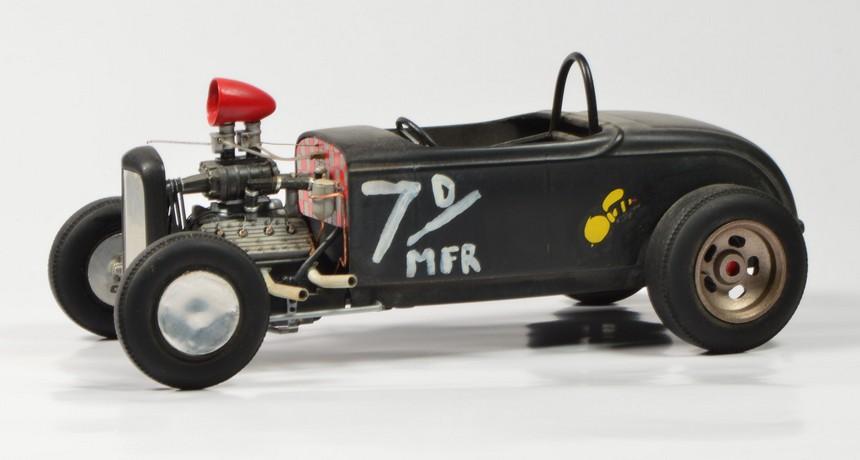
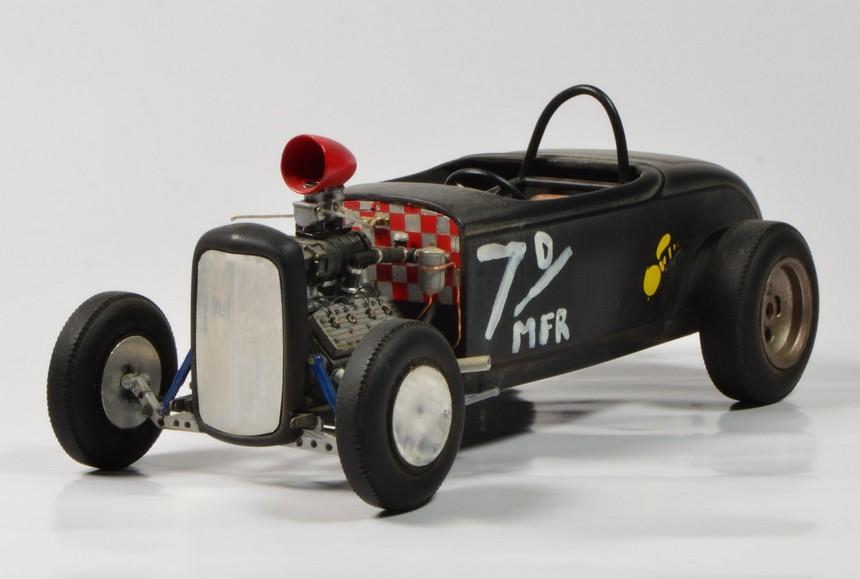
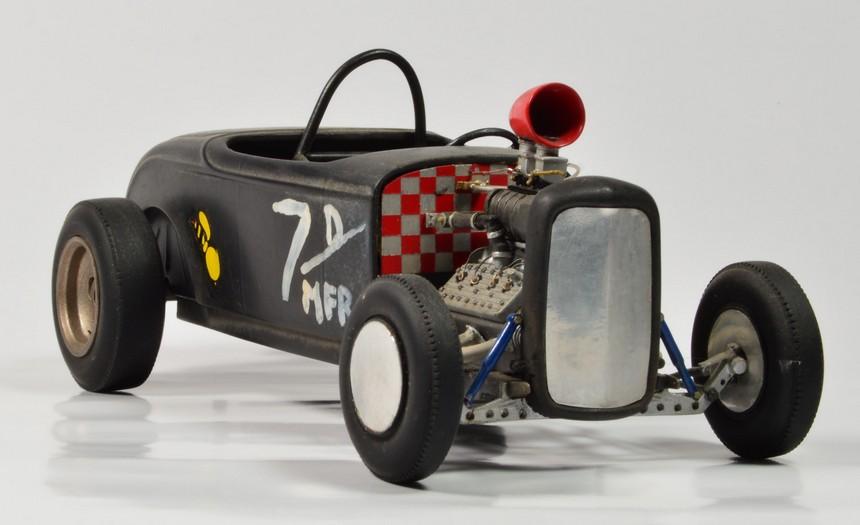
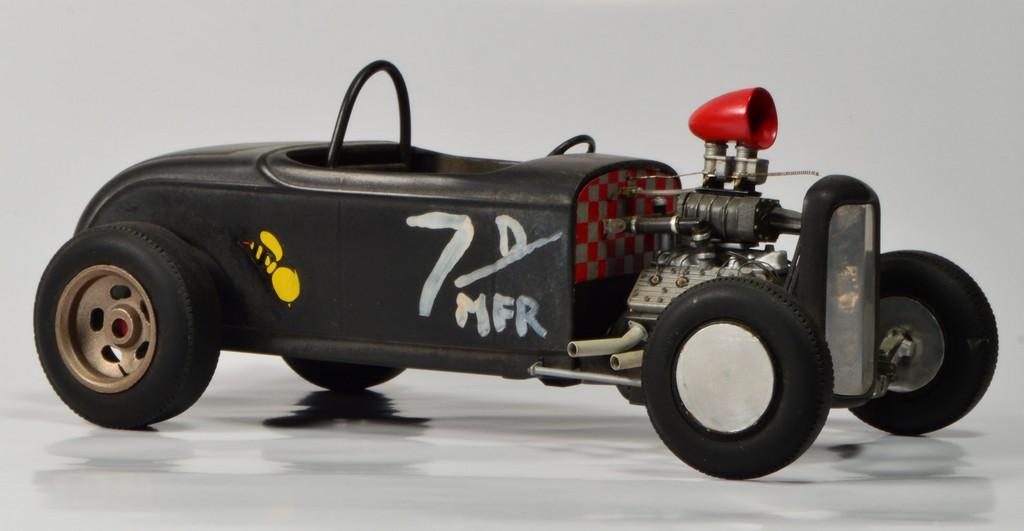
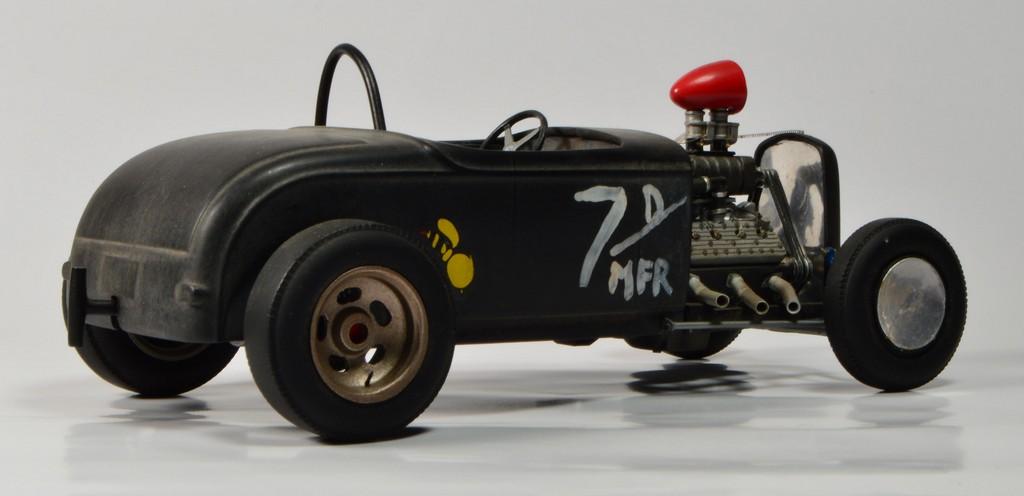
Another segment of "New Pics Of Old Builds". This time, a '32 Ford roadster, built from Monogram's ancient "Drag Strip Hot Rod" kit. This one was built from the Selected Subjects release. I made the firewall and interior door panels from aluminum sheet. The engine is basically a detailed version of the kit's engine. I used foil from a Rolo candy, to make the head gaskets. The scoop is a headlight bucket from a '39 Chevy. I scratchbuilt the headers and linkages. The drive belts are electrical tape, wrapped around pulleys made by layering alternating sized discs of plastic, punched from sheet. The fuel tank, and hand pump are scratched from various diameters of rod and tubing. I used aluminum duct tape to replicate the "plumbers' tape" that holds the tank down. The seat and rollbar are both scratched. Wheels and tires are from the kit, with aluminum discs, punched from thin sheet. Questions and comments are welcome! Thanks for looking!
-
1975 Monza 2+2 T/A Influenced (New Photos)
Straightliner59 replied to Straightliner59's topic in Model Cars
Thank you, Gareth! I think they're good-looking cars. Thanks, Nigel. I will be posting more of my old builds, as I photograph them. I hope you enjoy them, as well! -
I think that's right. Seems like '74-'75, to me?
-
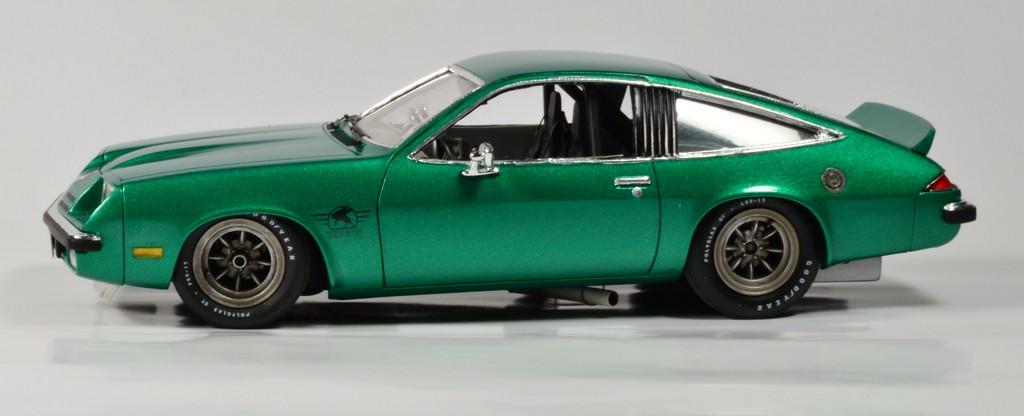
I finished this in December of 2018. I have recently discovered how to get decent photos of my models, and want to share some new photos of older builds. This was a promo model, that I built curbside. Tires are AMT Parts Pack Goodyears (absolutely beautiful!). Wheels are Minilites, purchased on Ebay. Paint is Testors' Extreme lacquer. Interior features aluminum door panels, scratchbuilt roll cage and belts made of soft metal foil. Harness hardware is leftover from photo-etched sets. I redid all the lights and side markers, to make them more realistic. Questions and comments welcome! I hope you guys don't mind my reposting of old builds. I wouldn't,except these photos are far superior to the old ones. Thanks for looking!