Straightliner59
-
Posts
5,795 -
Joined
-
Last visited
Content Type
Profiles
Forums
Events
Gallery
Everything posted by Straightliner59
-
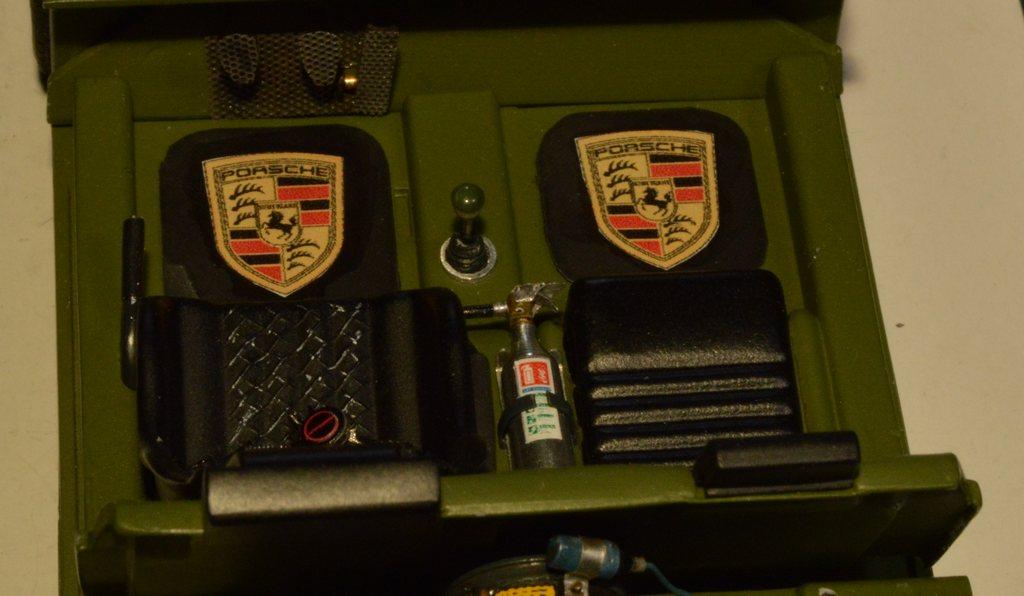
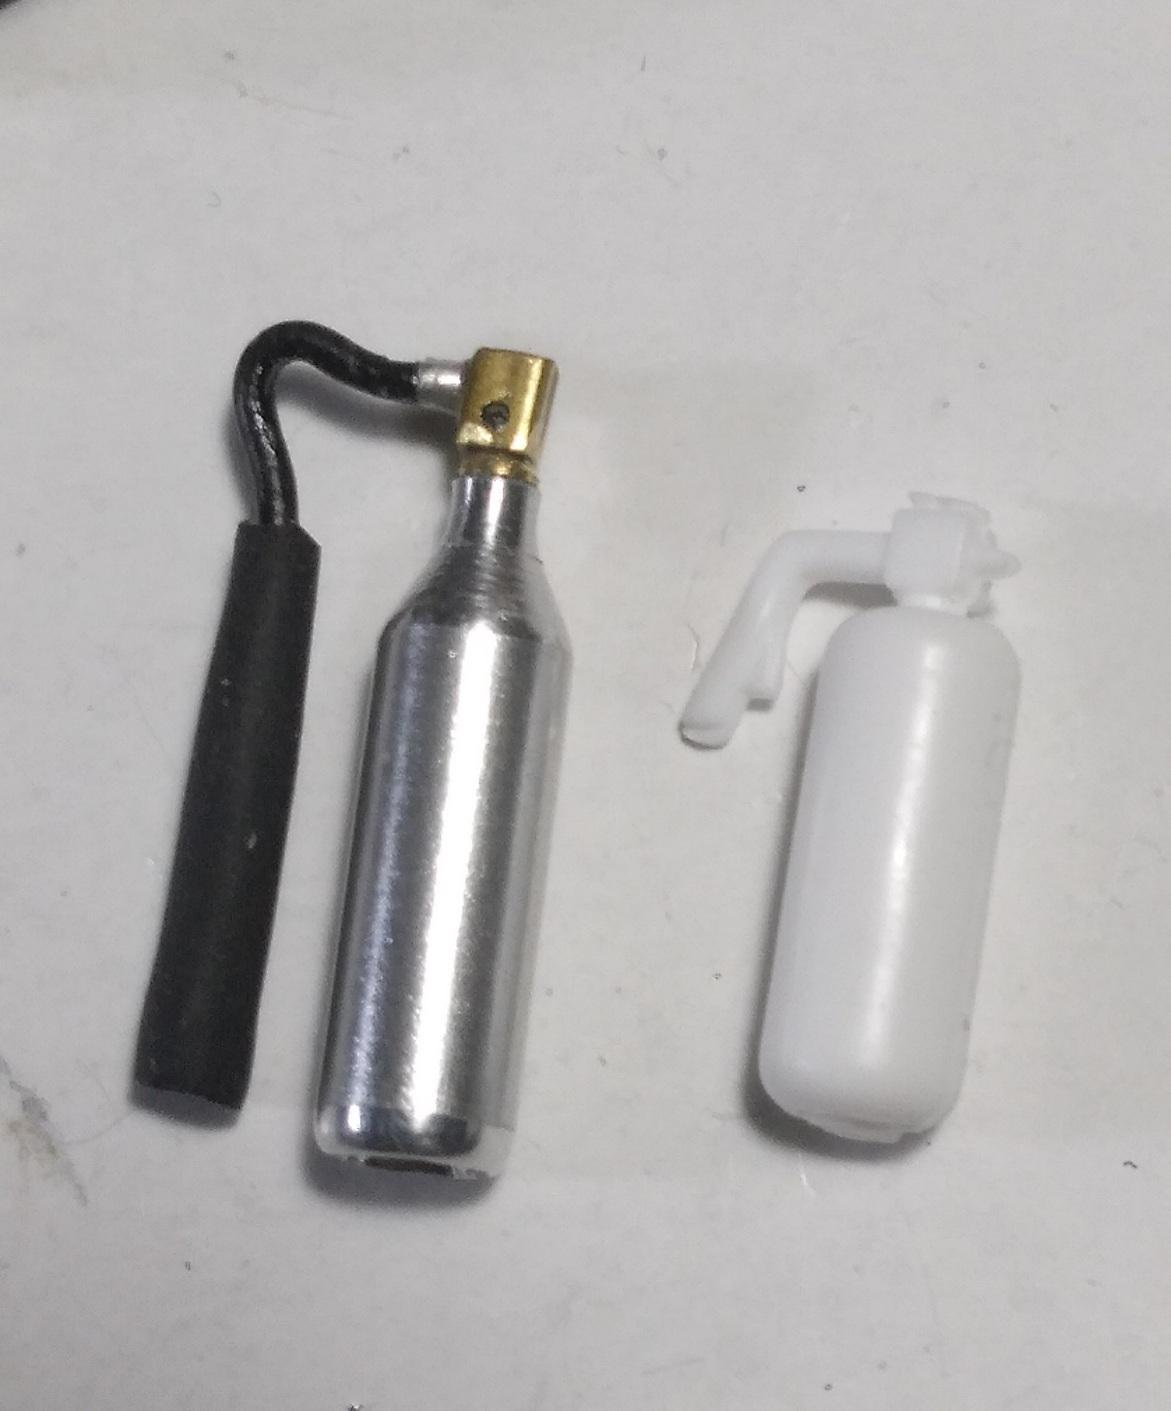
Thank you, Edgar! I finally got the extinguisher assembly done. Thanks for your kind comment!

-

Software to create decals
Straightliner59 replied to Mike 1017's topic in Model Building Questions and Answers
For a free Word compatible program, I use Open Office. It's a full office suite. I have access to MS Office, and use Open Office, instead. I have been using PhotoImpact Pro (unfortunately no longer available, except for used versions) for about 20 years, now. I really like it. I'm sure discs could be found on Ebay. -
ARII Chaparral 2C
Straightliner59 replied to Mark W's topic in Other Racing: Road Racing, Salt Flat Racers
It looks fantastic! I especially love this shot! Excellent work, Mark. -
ARII Chaparral 2C
Straightliner59 replied to Mark W's topic in WIP: Other Racing: Road Racing, Land Speed Racers
Very nice work, Mark! Chaparrals are always cool! -
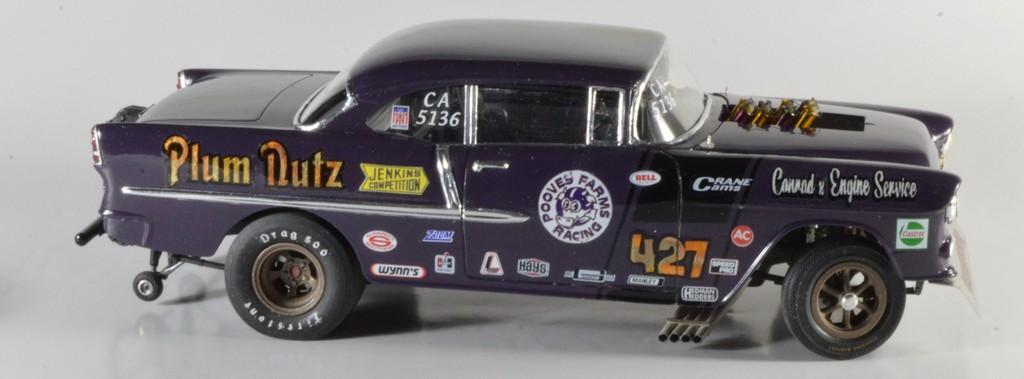
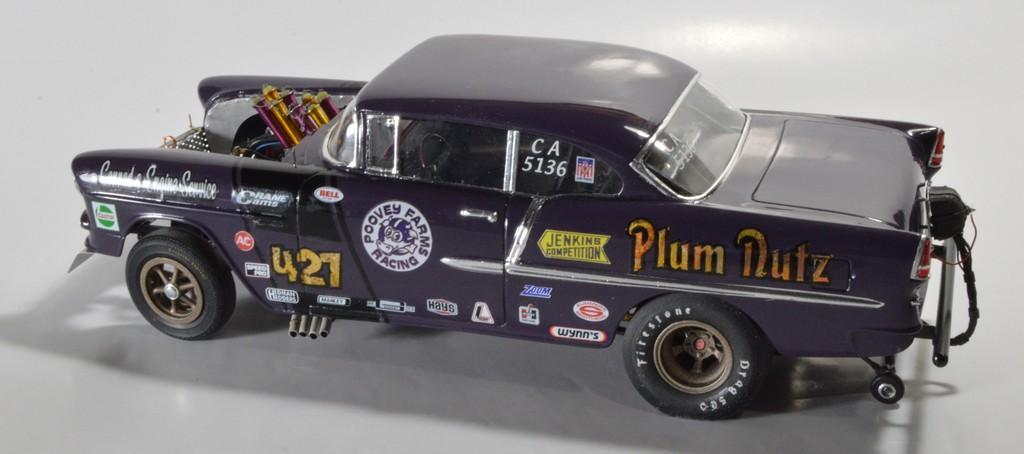
Thanks,Jon! It's coming along!
-
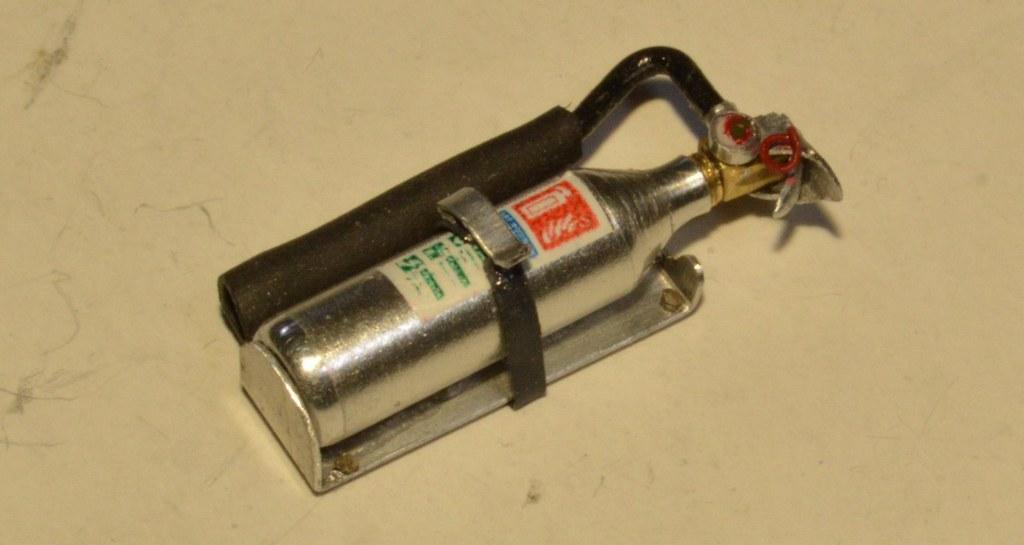
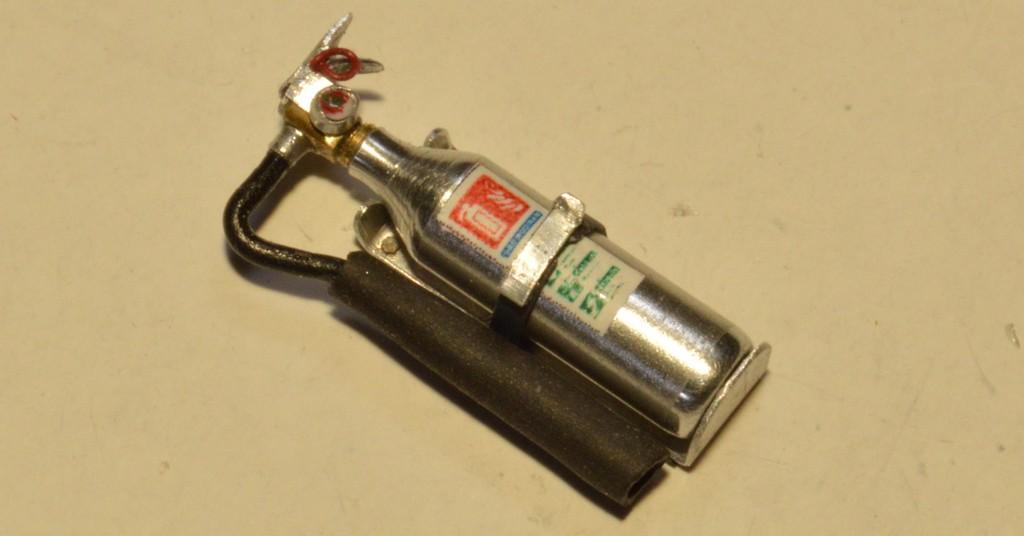
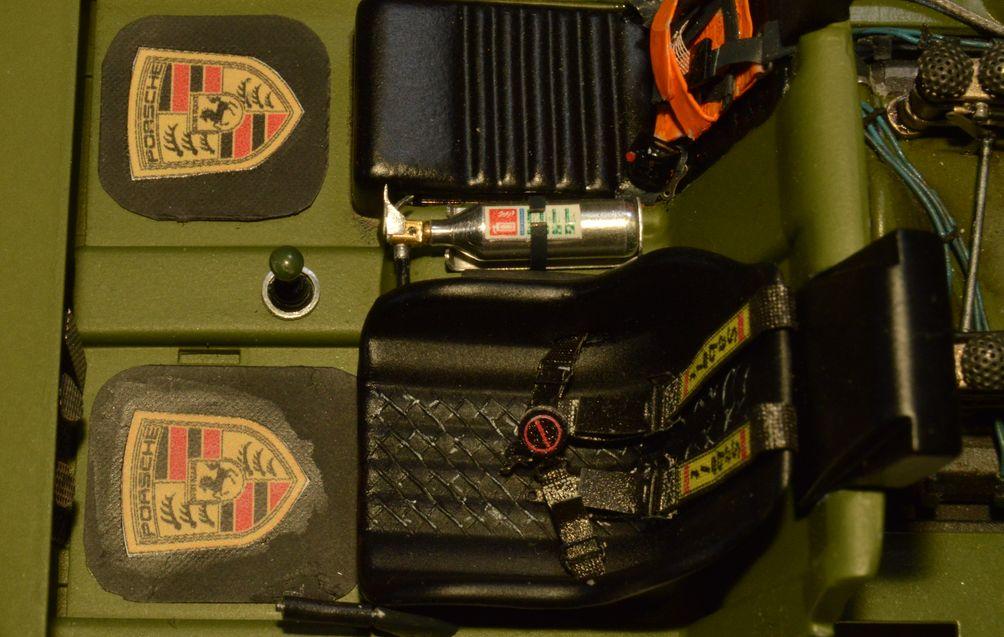
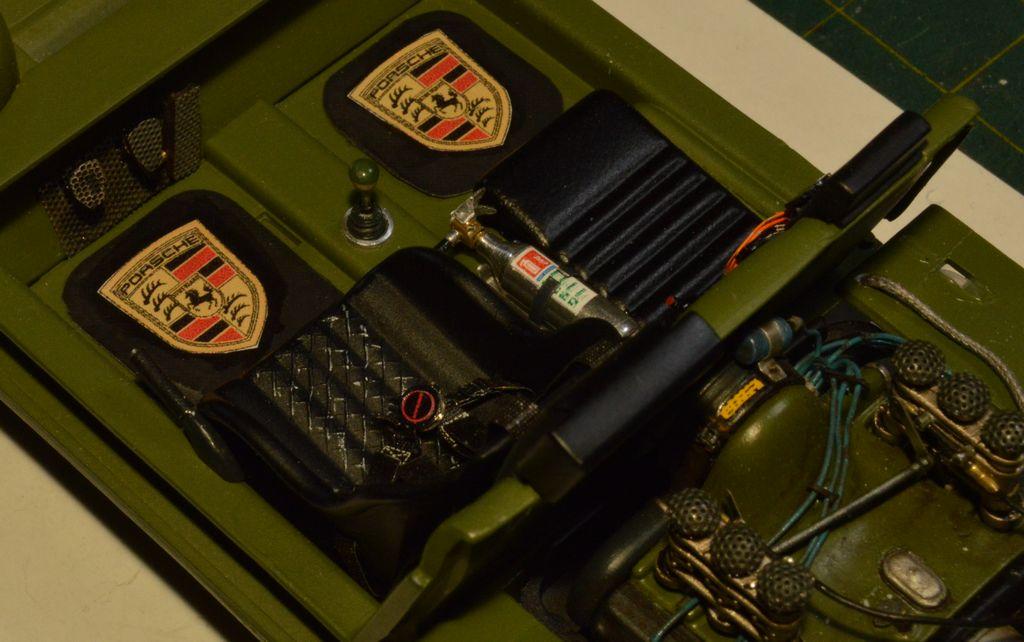
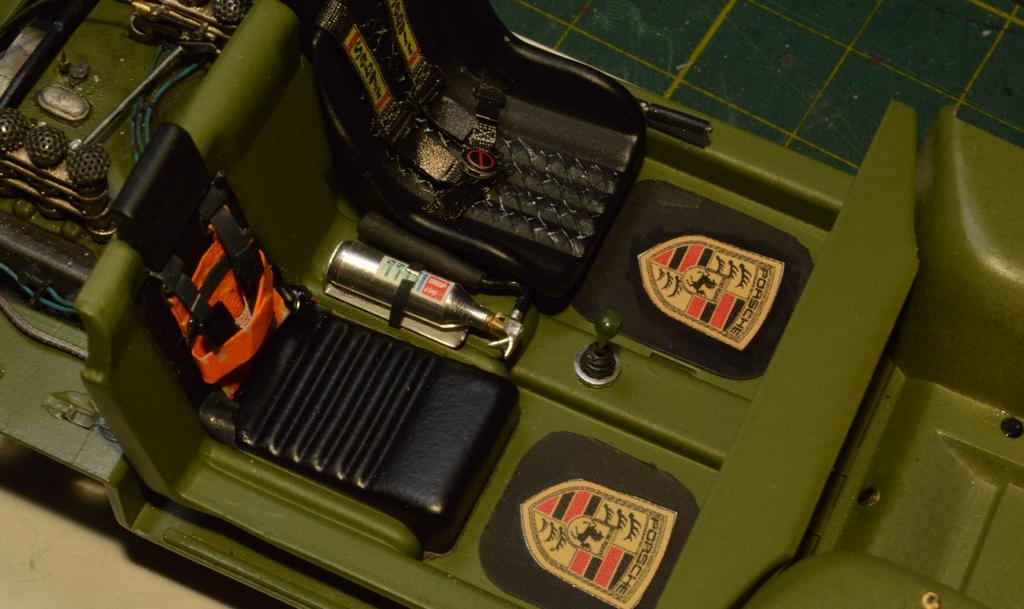
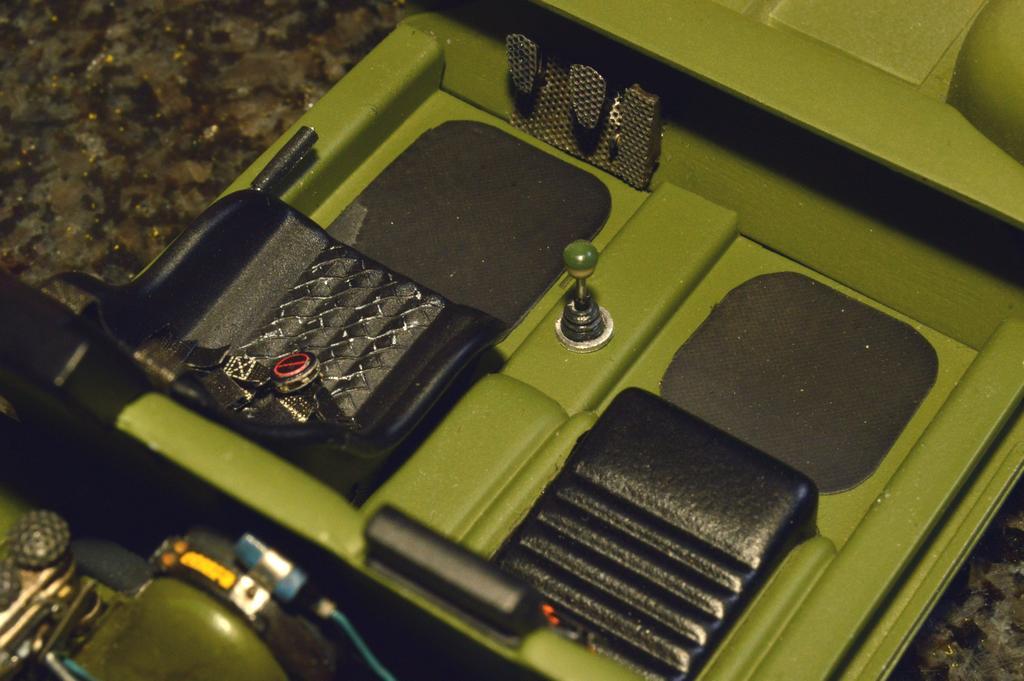
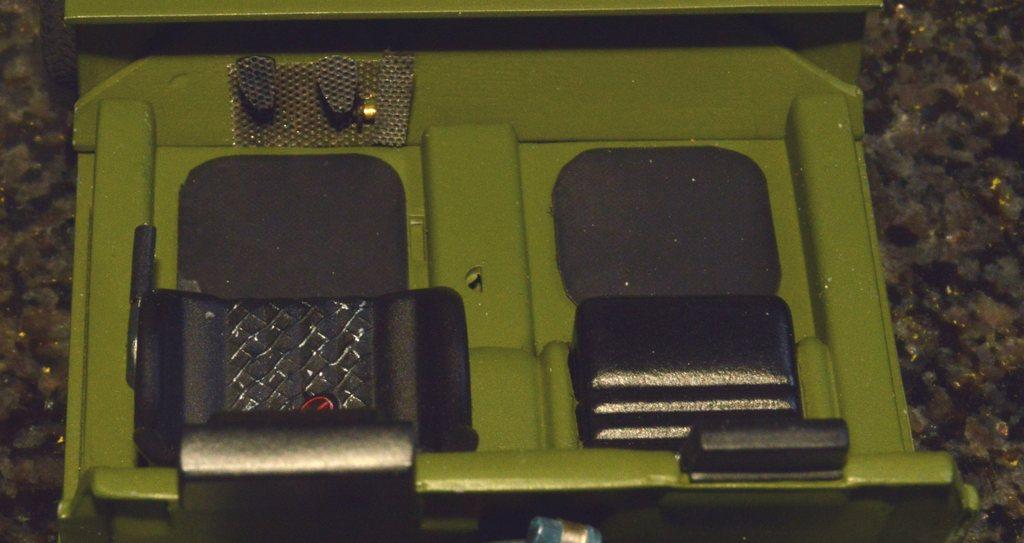
I made a mount for the fire bottle, from aluminum flashing. It's not cemented into the car, yet, as I still have some work to do to it, but, it fits! I printed the label for the bottle, and some for the floor mats. I really like the way those worked out. Thanks for looking!
-
That's really pretty! It sits perfectly. Nice work!
-
That will surely come in handy, at some point. Thanks, Greg!
-
I really enjoy that guy's channel! He's an excellent modeler. His techniques and his finish work are especially fine, I think.
-
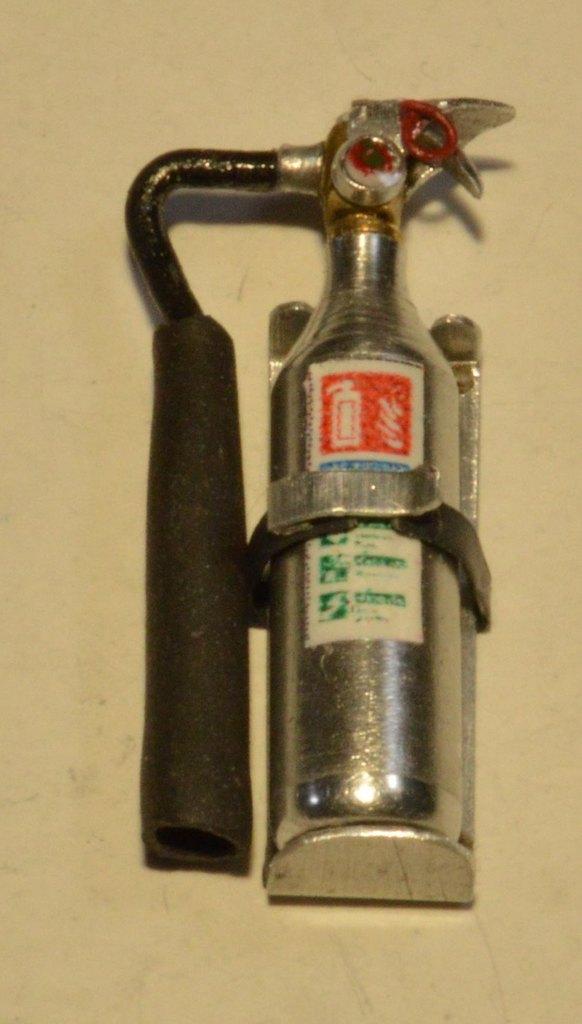
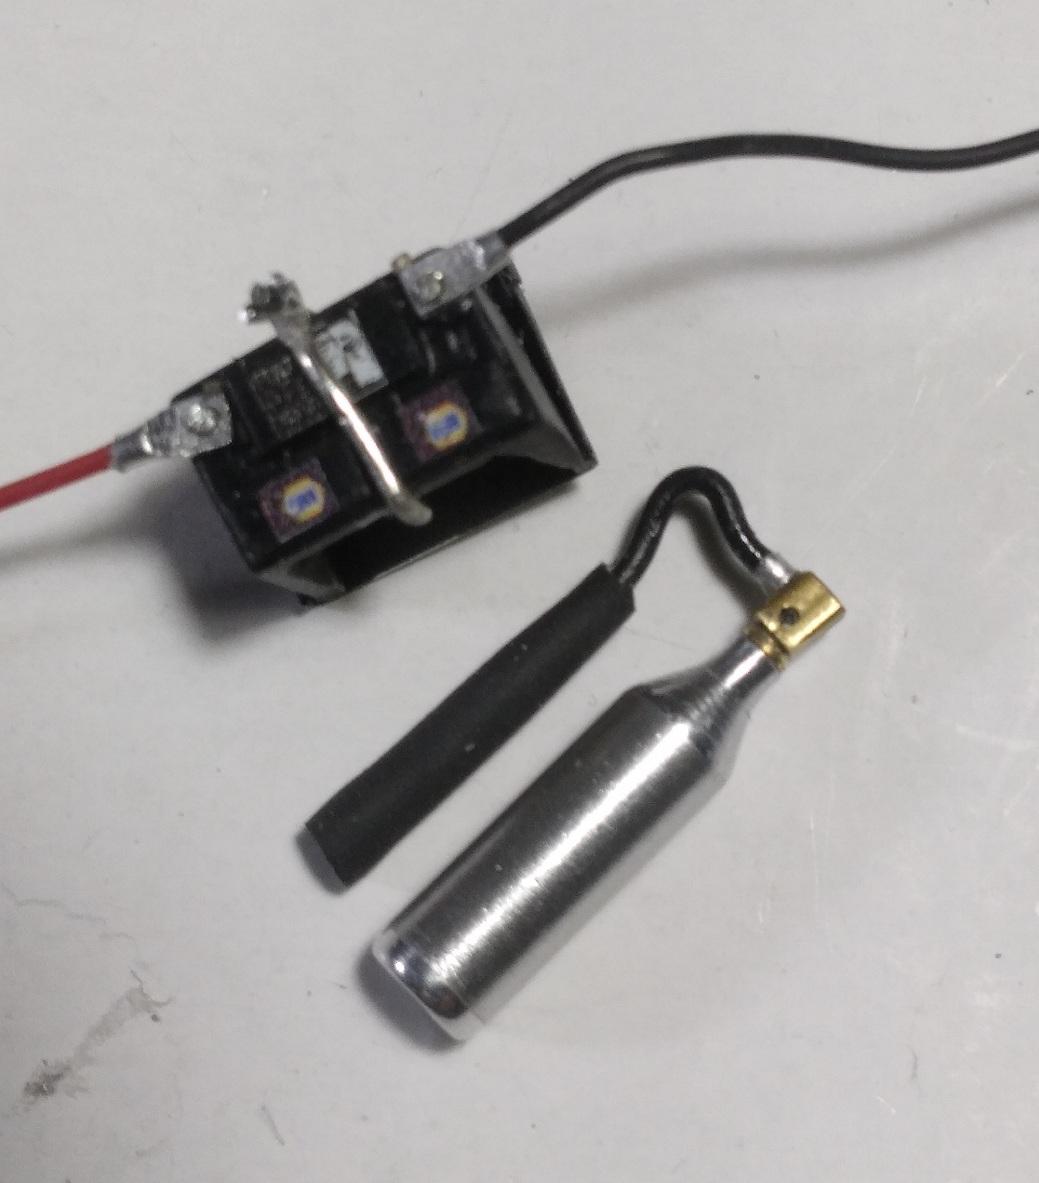
Thank you, Brian! I turned the fire bottle from a knitting needle I bought at the dollar store. I have found them to be a good, cheap source of machineable metal! I cut the pedals out with my photo-etch shears. Yeah! They were a bit of a pain to hold onto!🙂
-
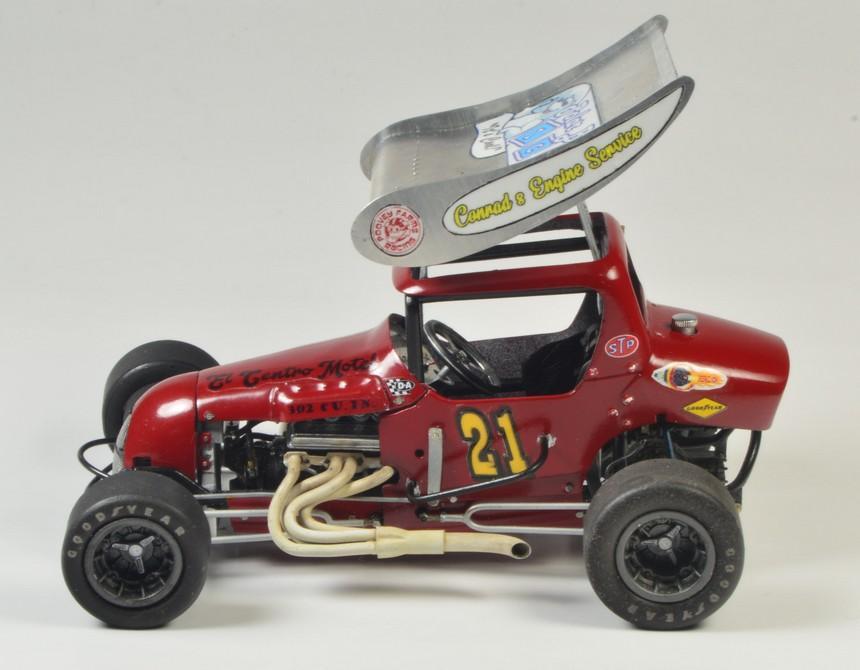
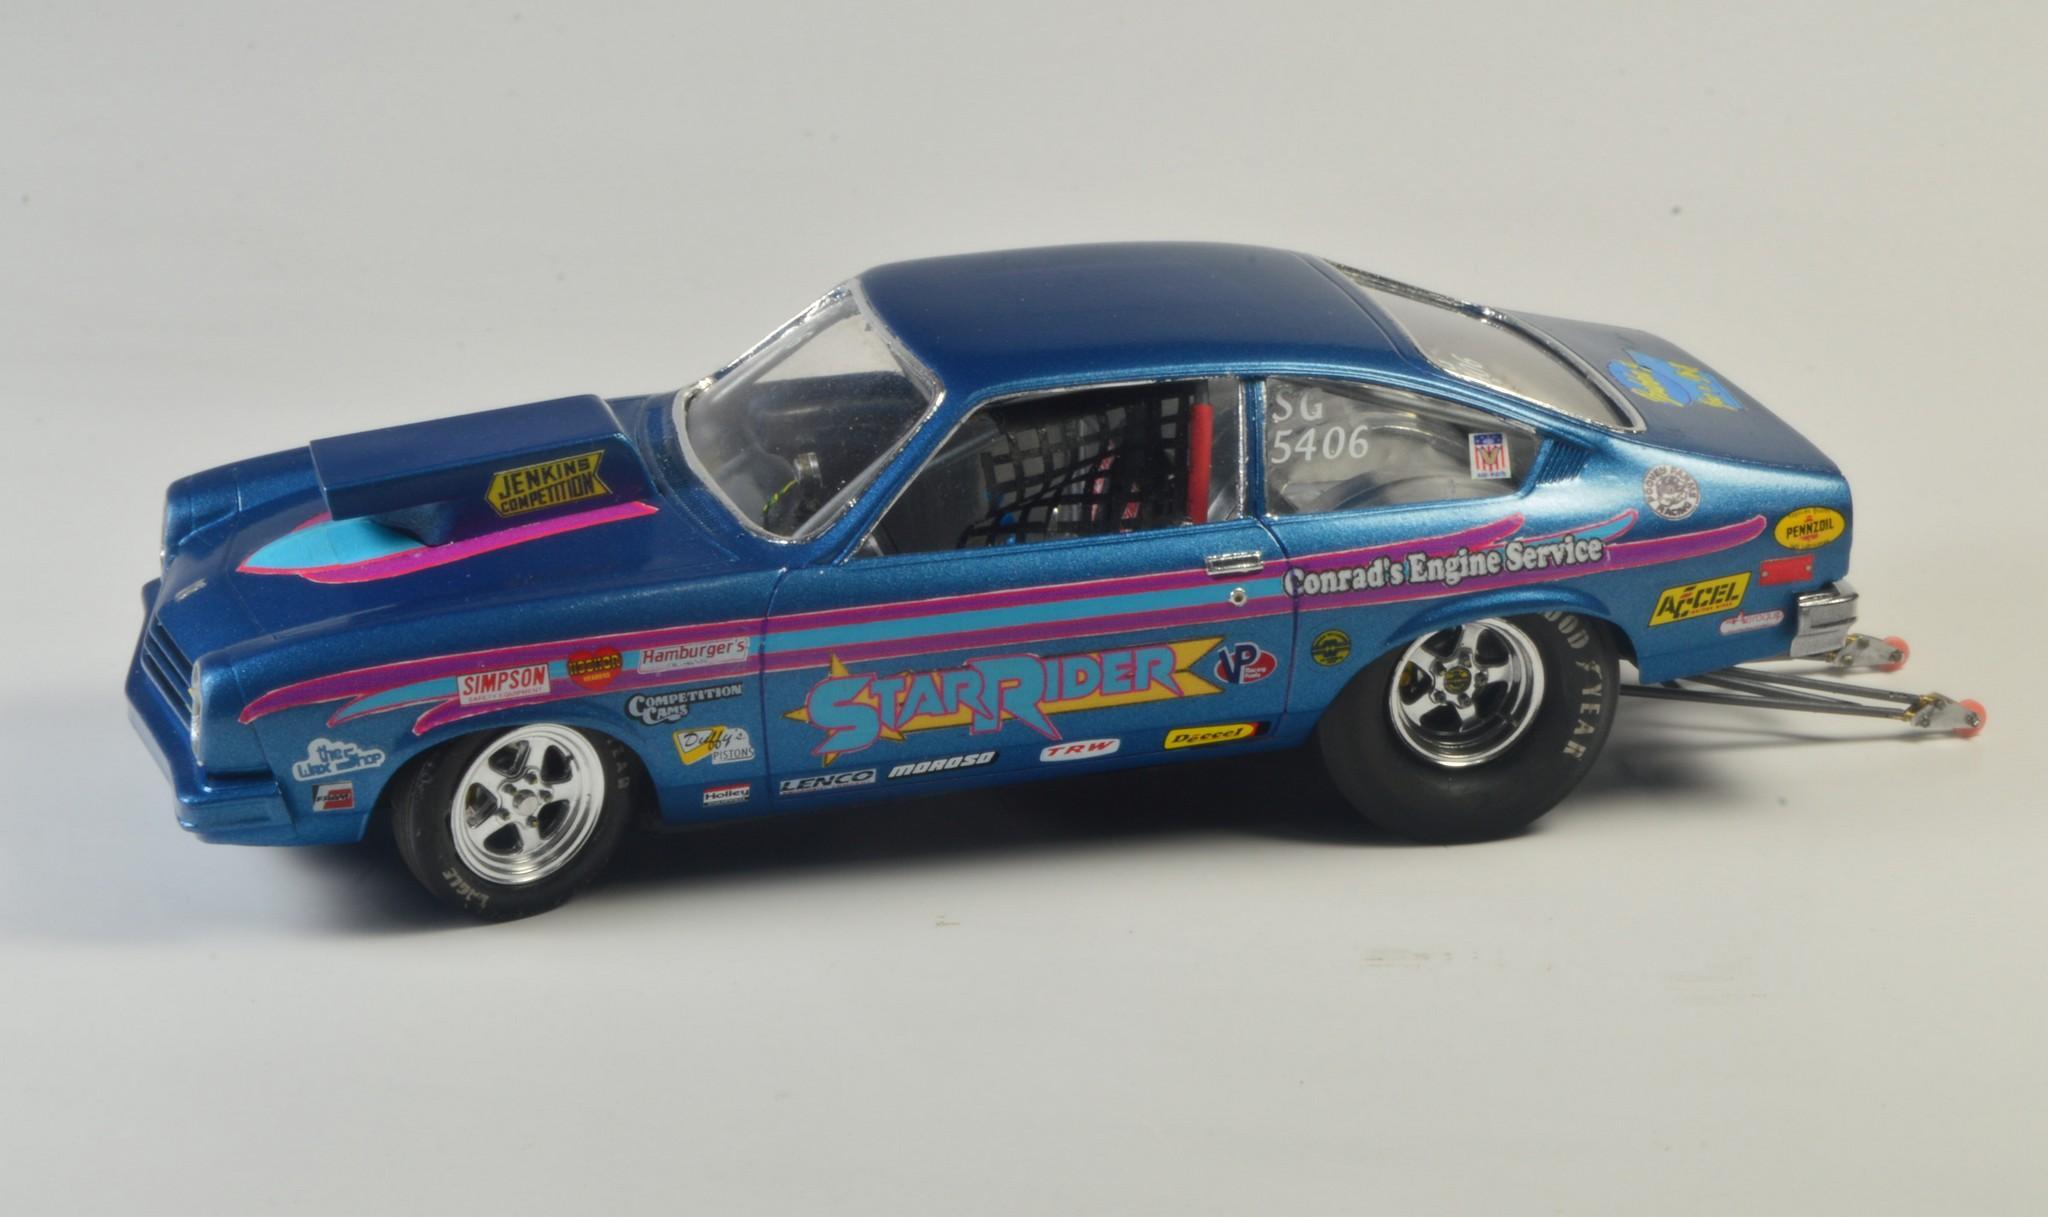
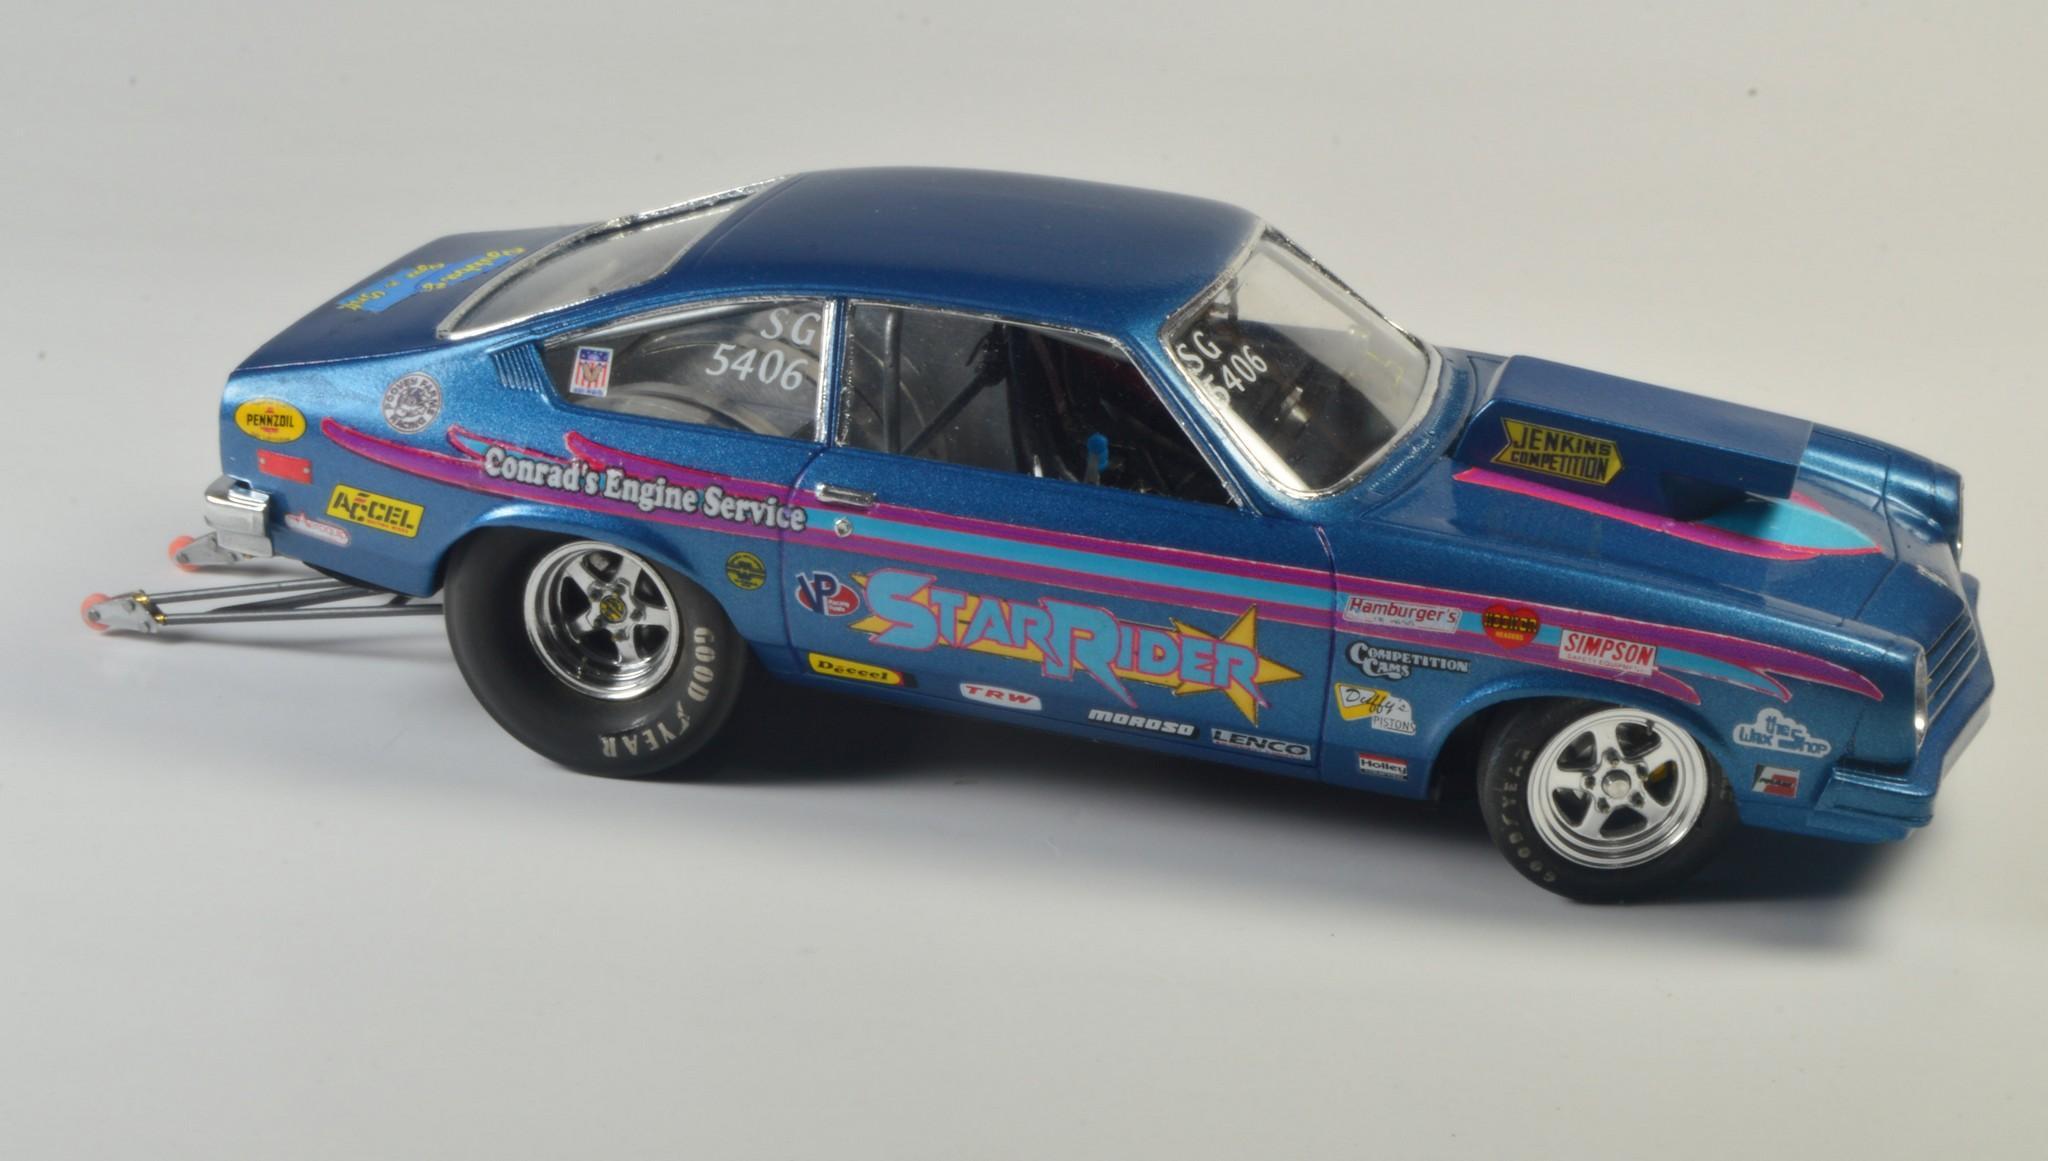
Thanks, man! Love me some H-bodies and Super Gassers from the '80s!
-
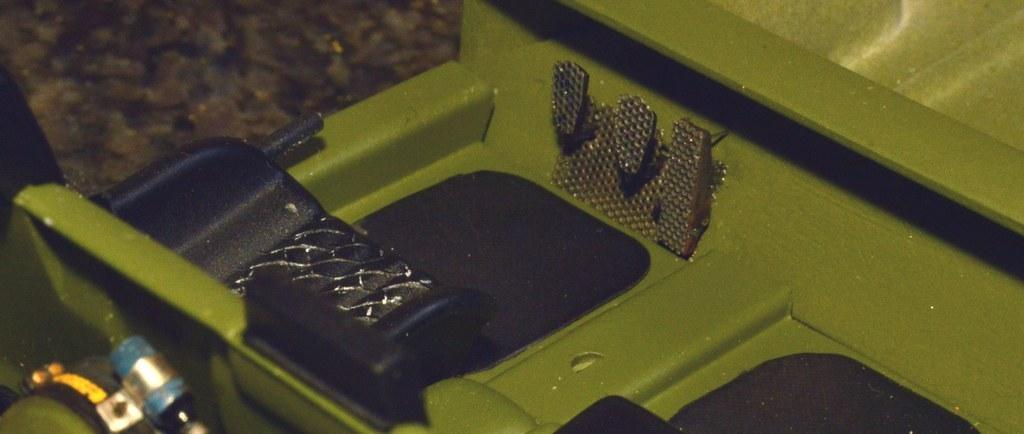
A couple of quick phone shots, as i was heading out the door. I still need to add the handles and gauge. I formed a short length heat-shrink tubing over a tapered object to make the nozzle. Thanks for looking!
-
I've had pretty good luck with both Koala and Blinggasm. I've made a lot of decals for my projects, the last few years.
-
Western Star 4900 FA plow truck
Straightliner59 replied to BK9300's topic in WIP: Model Trucks: Big Rigs and Heavy Equipment
As far as I am concerned, one can never have too many different shades and sheens of metallic finishes! A little difference can go a long way, in creating realism. I'm hoping to pick up some Fusionfirm chrome, in the next couple of months. -
Thanks for your comments, Zackary!
-
Thanks, Mark! I appreciate that.
-
Heavy truck wooden bed floors
Straightliner59 replied to stitchdup's topic in Model Building Questions and Answers
That's how virtually every lumber truck I ever drove was constructed, if it had a wooden bed. -
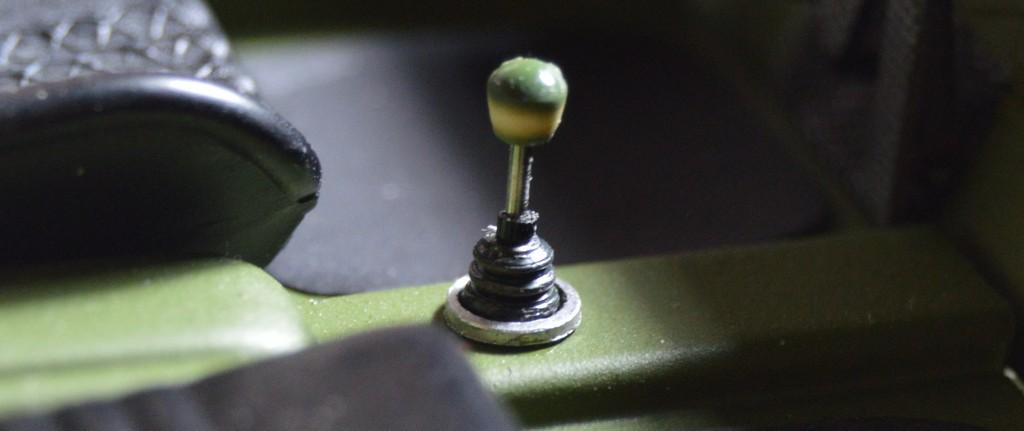
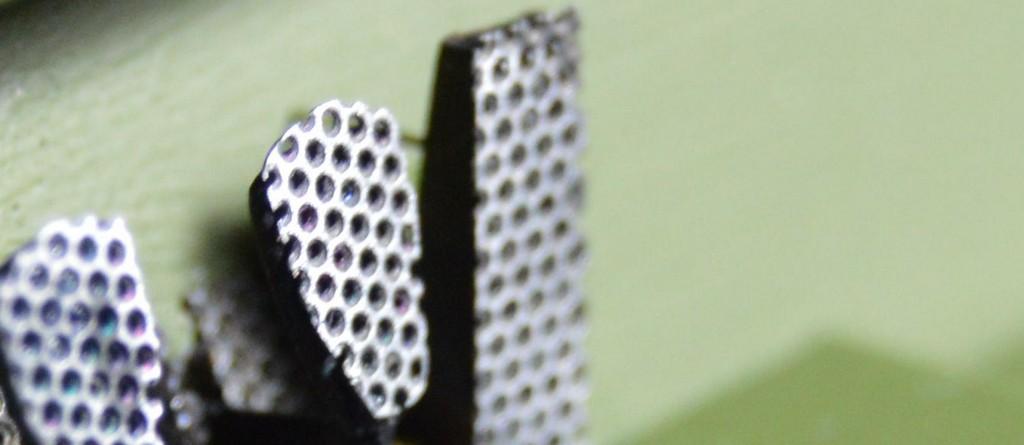
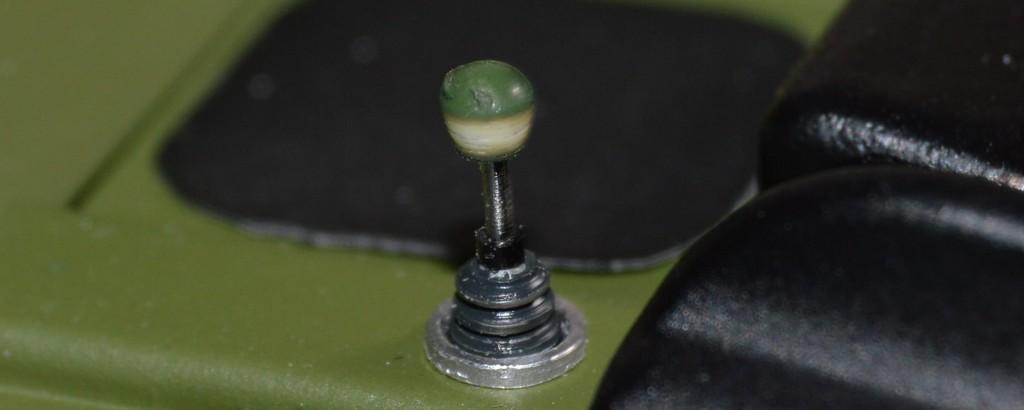
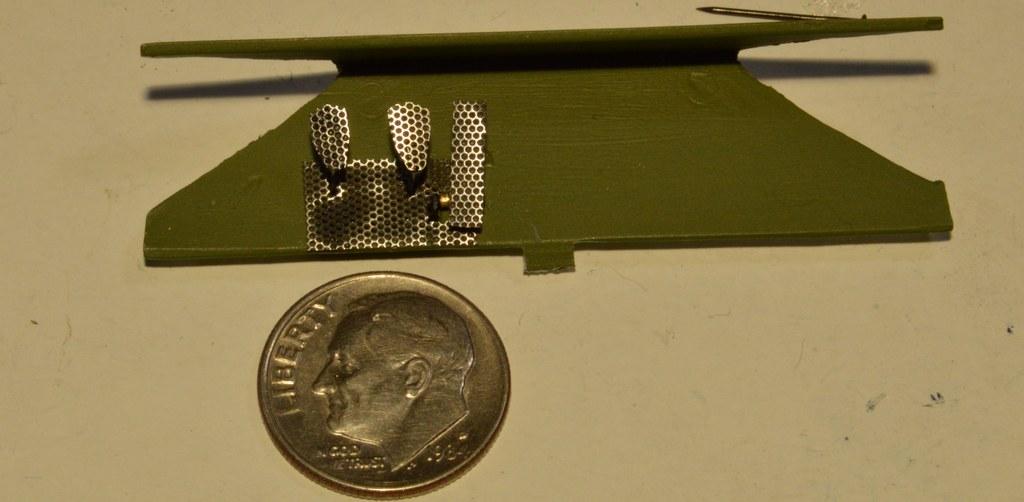
Today's project. I turned the boot on the lathe. The aluminum tube base was just cut, and cleaned up. I found the dark green-headed pin in my selection, and sanded it to shape on the lathe. Next up will be the fire bottle. I had never noticed that the screen had stepped holes, in it. This stuff's pretty cool.
-
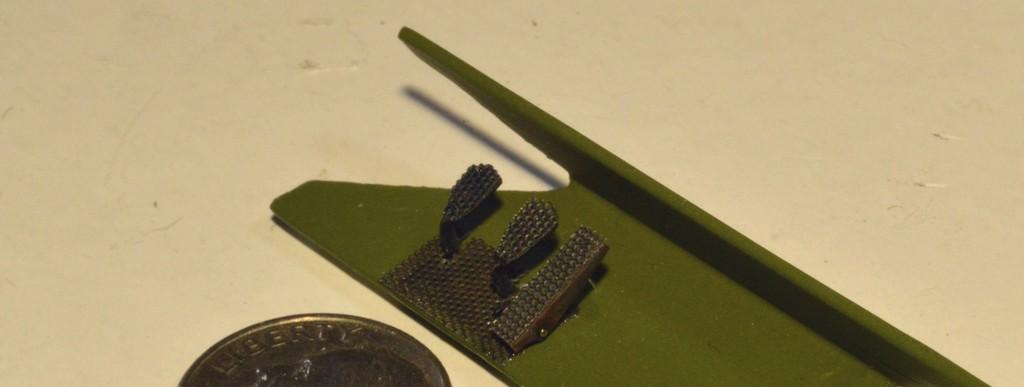
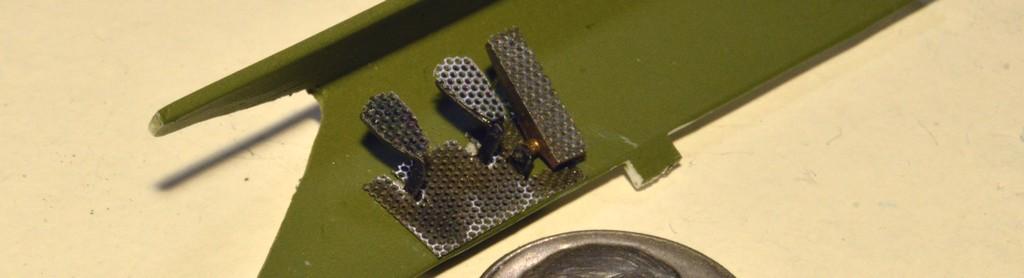
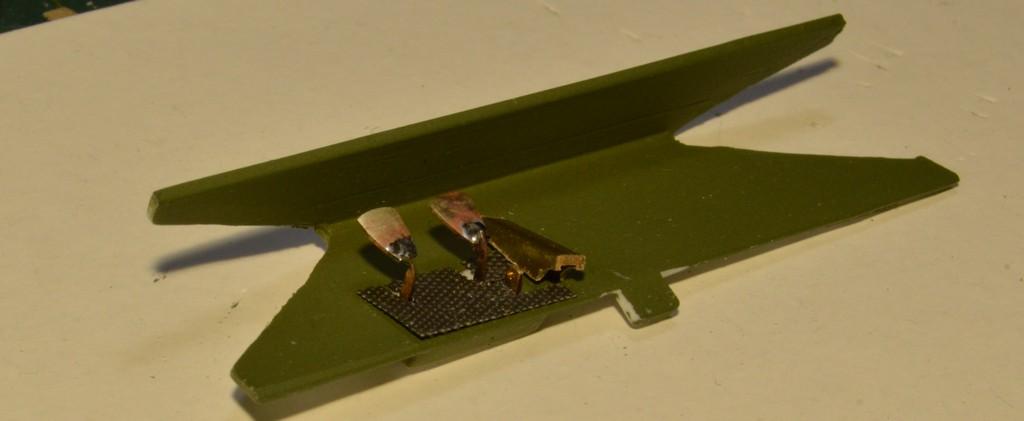
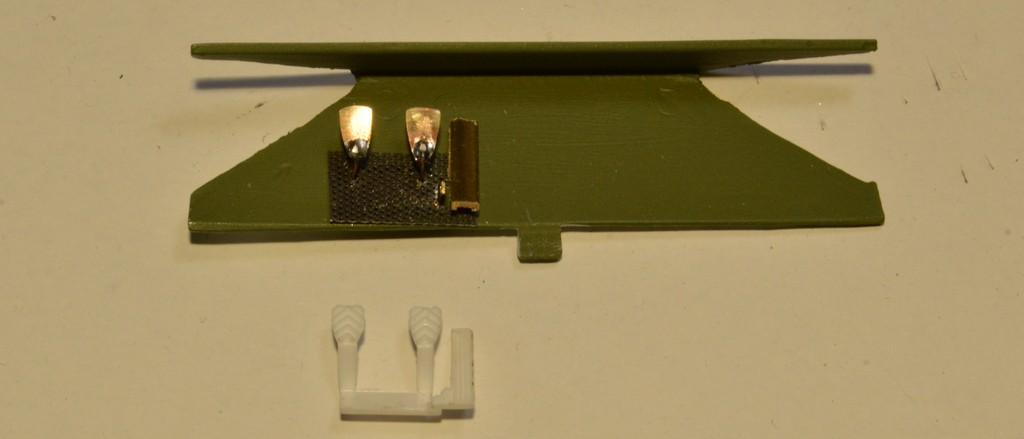
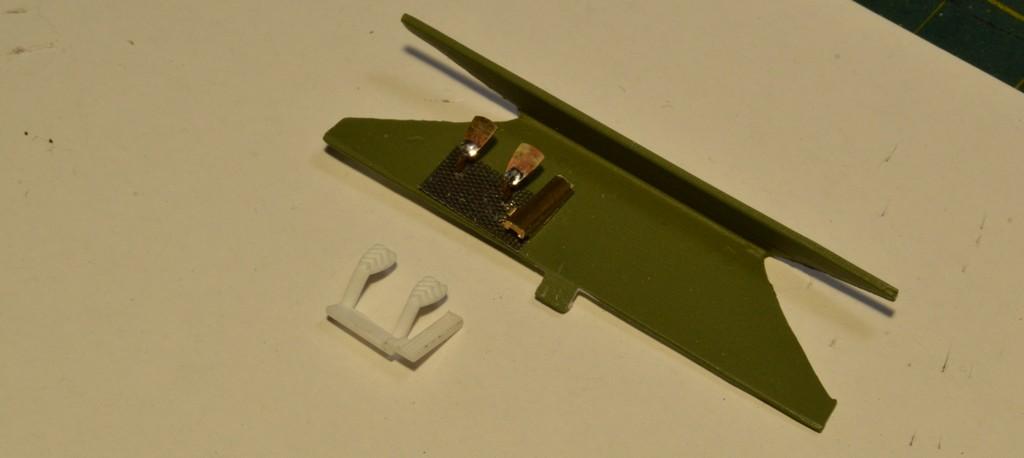
I decided to go with perforated pedals, by applying the automatic transmission filter mesh (henceforth to be called "transmesh", for all projects, because "automatic transmission filter mesh" is entirely too cumbersome!). I also just now noticed that sanding/polishing the mesh produces a different look, dependent on which side I do. It all looks a tad sharper than the kit's part, I think! Comments, questions and critiques are always welcomed. Thanks for looking!
-
That's how I've been doing that kind of stuff, for the last several years. It's made life much easier! I just bought an assorted box of hardnesses.
-
Yep. Whaddya gonna do?
-
Thanks, Mark! It's a tad further along, now. Looks like it's gonna work out, okay! Thanks, Andy.
-
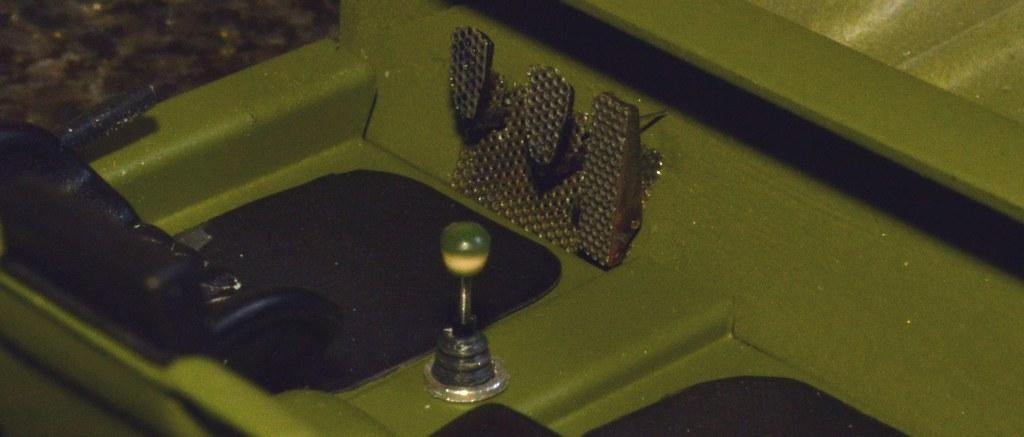
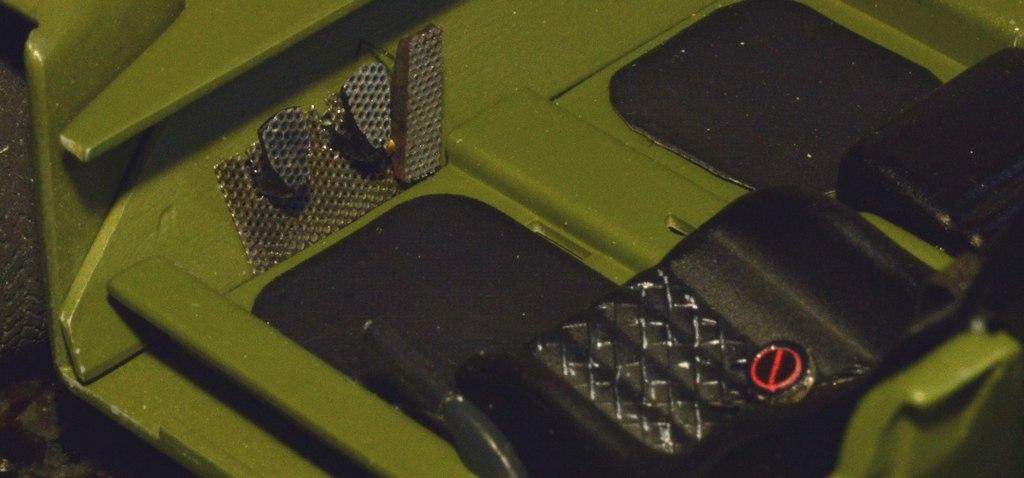
Pedal assembly coming along. I need to finish the throttle pedal/mount, then clean it all up. Thanks for looking!
-
Western Star 4900 FA plow truck
Straightliner59 replied to BK9300's topic in WIP: Model Trucks: Big Rigs and Heavy Equipment
There's just so much cool stuff to look at, here! I especially love the batteeries. Great modelling, sir! -
Western Star 4900 FA plow truck
Straightliner59 replied to BK9300's topic in WIP: Model Trucks: Big Rigs and Heavy Equipment
Excellent detail work, Brian! The tape wrap is very nice. I'll have to look into the Tamiya film.