Straightliner59
-
Posts
5,809 -
Joined
-
Last visited
Content Type
Profiles
Forums
Events
Gallery
Everything posted by Straightliner59
-
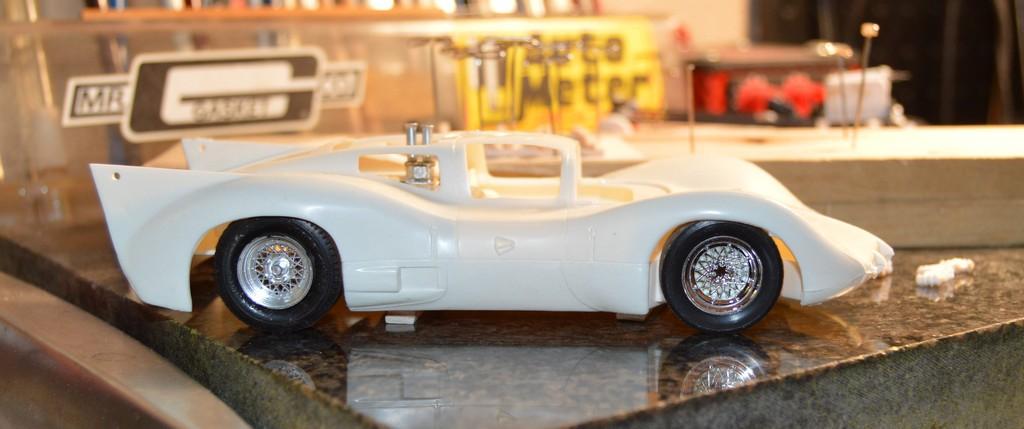
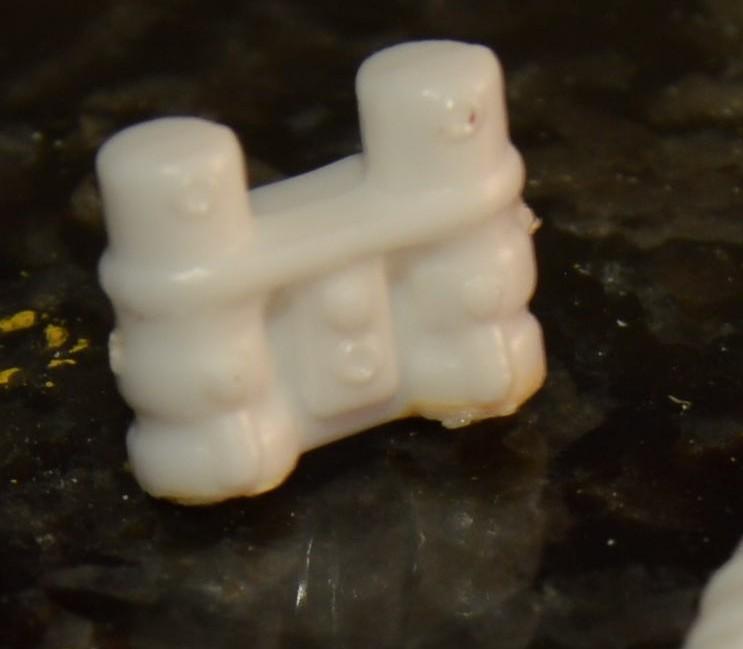
 Okay, it's old, and it's Monogram. That must mean that I have been wanting to build one! I found some old Cox magnesium Chaparral slot car wheels on Ebay, a while back. I found some tires in my parts boxes that fit them, and have roughly the correct profile. The wheels/tires pictured here are from my stash, and were only to assist in determining the stance. If anyone knows of a good source for those old Firestone tires, I am all ears! Otherwise, I will clean up the sidewalls, on these, and apply decals. I like poseable steering, on my models, and the way this kit was designed, there wasn't near enough room, for that to be a reality. They had "footwells" molded into the model that ate up the clearance that would allow the wheels to steer. I looked at how other Chaparral kits were designed, and started whacking out the offending plastic. I replace that with sheet plastic. I will make some very basic suspension arms and spindles for the front end. I also began installing interior "panels". I used a small block Chevy from the parts box. I found a set of downdraft Webers,--I believe from an old IMC kit. The manifold is an injector manifold from the parts stash. It will get fuel lines and plug wires. I'm off to start working on getting the upper body to fit over the interior, and fabricate and install further "paneling", to block off any readily-visible openings. As always, questions, comments and critiques are welcome! Thanks for looking!
-
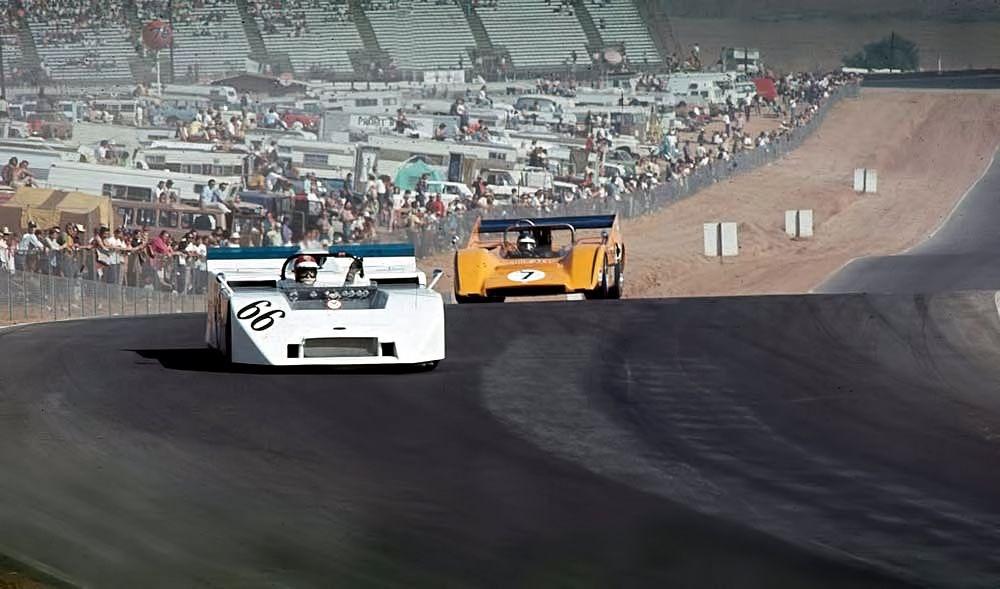
I'm sure everybody, but I, has seen this! I ran across it looking for stuff about Chaparrals, and found this trove of great stuff! https://slotracer.online/community/showthread.php?tid=147&pid=756#pid756 I also ran across this. What a classic shot of CanAm cars!
-
I love this project! I intend to purchase one of those crappy, old AMT kits, just based on this. Looks great, Geoff!
-
Baldwin Motion wheel suggestion
Straightliner59 replied to br67's topic in General Automotive Talk (Trucks and Cars)
Those Revell wheels are nice. I hadn't seen them, before. I never got around to one of those 'Vettes, but, I understand they are beautiful kits. -
Baldwin Motion wheel suggestion
Straightliner59 replied to br67's topic in General Automotive Talk (Trucks and Cars)
Those do look better. I stand corrected. Those wheels (Vectors) were in a lot of different kits, all around that same period. I have a set of Otaki Vectors that are very nice, but they are much deeper. -
Fujimi Enthusiast 1962-1965 Porsche 356C 2000GS Carrera2 Cabriolet
Straightliner59 replied to Cuba_13's topic in Model Cars
Beautiful work! -
Baldwin Motion wheel suggestion
Straightliner59 replied to br67's topic in General Automotive Talk (Trucks and Cars)
Oh! That's what they're from? They have a real Johan "feel" about them, but, I knew they weren't Johan. Sure enough! Here, they are.
-
Isky-U-Fab Special--New Photos 07/27/20
Straightliner59 replied to Straightliner59's topic in Drag Racing
I used individual letters from a Microscale model RR sheet. Yeah, that was fun! Ray's wheels are beautiful! -
Baldwin Motion wheel suggestion
Straightliner59 replied to br67's topic in General Automotive Talk (Trucks and Cars)
Read my response. I didn't say they were exact matches. I said they're the best I have. Every other set I have seen have even fewer spokes. It's nothing to sand down a hub, and add a spinner. But, whatever. Show me some better ones! -
72 Plymouth Roadrunner 426 HEMI 8 Pack
Straightliner59 replied to AmericanMuscleFan's topic in WIP: Drag Racing Models
Francis, your machining skills are a wonder, to see! I always appreciate your sharing of your work, my friend! -
Baldwin Motion wheel suggestion
Straightliner59 replied to br67's topic in General Automotive Talk (Trucks and Cars)
Yep, I think so! I just dug this set out, and was trying to remember which kit they came from--that's it! I found several variants, but this set is the best one I have.
-
Agreed. There is no sense in doing anything with this hobby that you don't want to!
-
Isky-U-Fab Special--New Photos 07/27/20
Straightliner59 replied to Straightliner59's topic in Drag Racing
Thank you, Mike! I only have four photos of The Bug, and they are from the late "other" magazine. Here they are, nonetheless! The model is in Don Garlits' museum, where it's been, since 1992. I have one of Ray's. It is gorgeous! I want to put it together, but, I am afraid that will lead me down a rabbit hole of detailing! It's too nice, not to!
-
Baldwin Motion wheel suggestion
Straightliner59 replied to br67's topic in General Automotive Talk (Trucks and Cars)
There was a time when they were in several kits. I believe they are American Vectors. -
That is true, to a point. I agree with Snake, though. There is no point to using it, now that there are superior products. I could see using it to mimic cloth-covered wiring.
-
I would agree. Back in the '70s, I didn't even like the way it looked, and quickly switched to fishing line, which was only an improvement if you made stiff looms, anchored to the block assembly, to keep them from looking like a cat, with its back arched!
-
1971 'Cuda Pro Stock--New Photos August 6
Straightliner59 replied to Straightliner59's topic in Drag Racing
Thanks, gentlemen! -
Unraveling The Snake Pit
Straightliner59 replied to Straightliner59's topic in WIP: Drag Racing Models
Just thought I would give this a bump. The link below the posted image will open a pdf of Jim Keeler's article from Car Model Magazine. It's excellent reference for fuel cars! -
AWB '65 Chevy II--New Photos 07/26/20
Straightliner59 replied to Straightliner59's topic in Drag Racing
Thanks, Tom! I appreciate your comments. If there's anything I may be able to help with, let me know! I am always happy to help, when I can. -
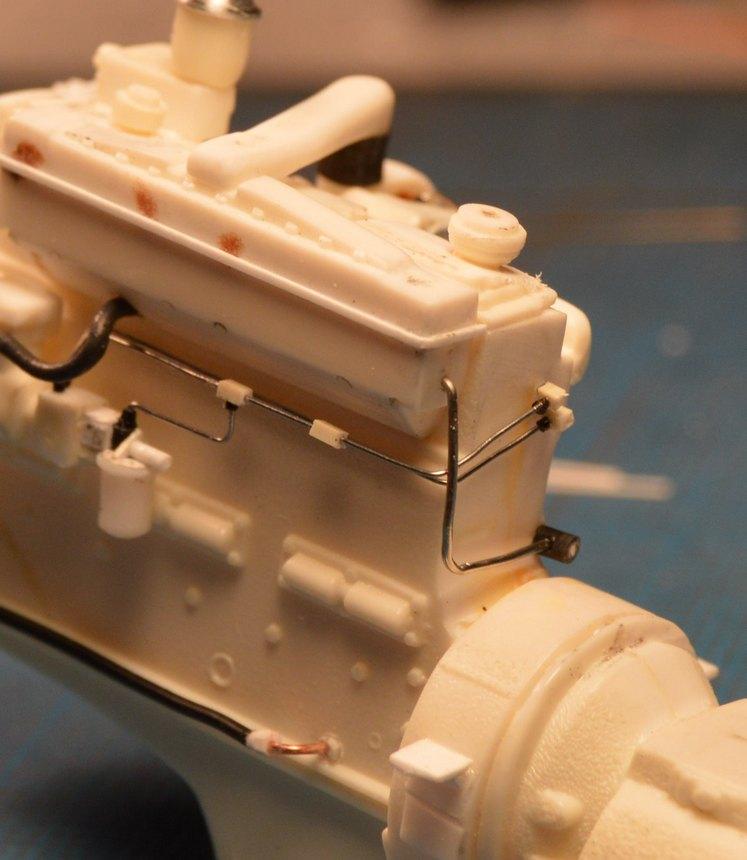
AMT Pete 352 Day Cab
Straightliner59 replied to Straightliner59's topic in WIP: Model Trucks: Big Rigs and Heavy Equipment
You are correct, Geoffrey, that pump is pretty obscured by the frame rail, but, it just looked like too big a hole, not to add it! Thank you for your kind words, sir! Thanks, Dan! Still hoping to get some paint on it, soon! Thanks, for looking, and for your comments, Francis. I think a lot of us are more detail-oriented than the manufacturers! ? You certainly fit that group, too. -
AWB '65 Chevy II--New Photos 07/26/20
Straightliner59 replied to Straightliner59's topic in Drag Racing
Thanks, Carl! Appreciate that! Thank you, Kurt! Thanks for your comments. They are appreciated! -
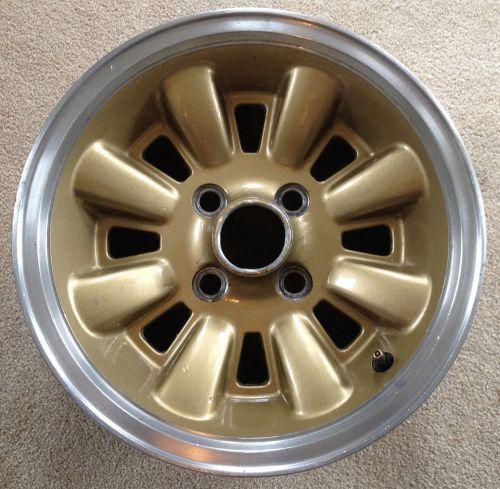
I'm not, nor, have I ever been a replica stock builder. However, one car I have always wanted to do, is a Cosworth Vega. I've always loved those little H-bodies, and that one has always appealed enough to me, to want to build one. I'm looking for ideas from other scratchbuilders as to how you would go about creating this wheel. Suggestions as to something to start with?
-
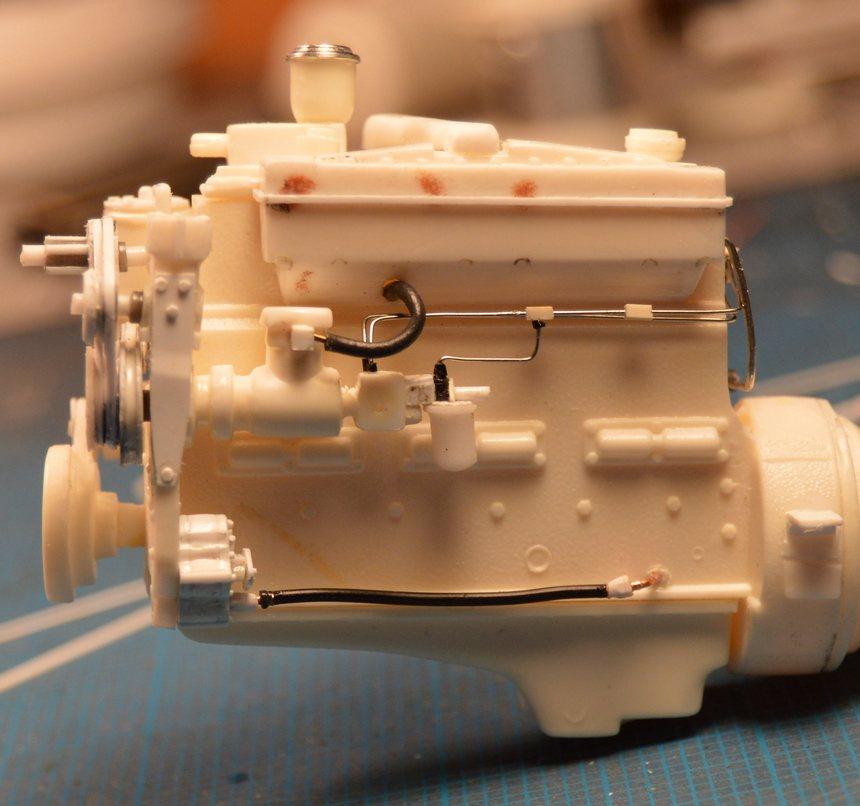
AMT Pete 352 Day Cab
Straightliner59 replied to Straightliner59's topic in WIP: Model Trucks: Big Rigs and Heavy Equipment
More engine work. Should be getting this thing close to paint. I had to build the oil pump for the lower end, because AMT decided that it wasn't necessary. Questions, critiques and comments always welcome! Thanks for looking!
-
Oh, man! I surely remember those days! Hahaha
-
Back in the late '80s, when Revell introduced the Tony Nancy triple kit, I was working in a hobby distributor. We had a retail store in a mall, as well. The 22 Jr. and 22 Jr. Roadster were both molded in silver, and people kept returning them to our store, and to other stores, that we supplied, as defective, thinking that there should be a set of red sprues, too. I was able to buy them as defective, for 20 cents on the dollar. I think i had four or five of them, at one time!