Straightliner59
-
Posts
5,809 -
Joined
-
Last visited
Content Type
Profiles
Forums
Events
Gallery
Everything posted by Straightliner59
-

"Bring Out Your Dead" Completion Build--ROUND 2 Is On!
Straightliner59 replied to Snake45's topic in WIP: Model Cars
Thank you, Jim! I liked that teal color a lot, too. If one of the tires hadn't eaten a wheel, I would have kept them. As it was, I didn't even know what the color was, other than that it was Krylon. I like the magnesium, too, though. -
I agree, Rich. I think most of my models were painted with Krylon. I've never had an issue, with it!
-
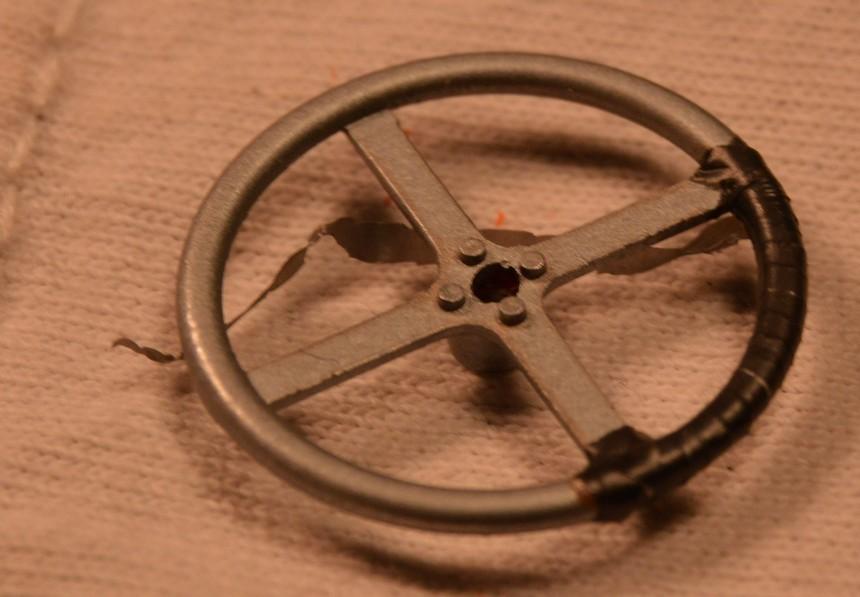
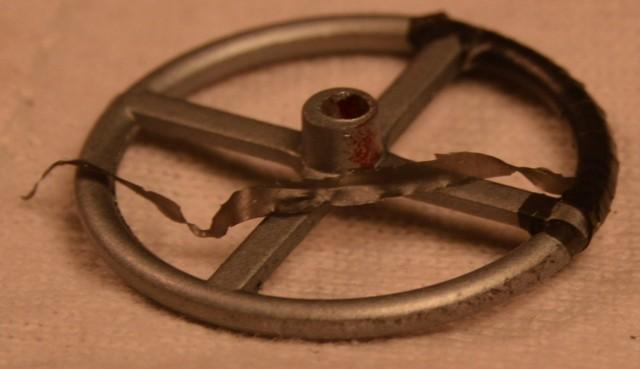
I wrapped the wheels with narrow strips cut from a black plastic garbage bag. They are attached with contact cement, dabbed after each few wraps.

-
"Bring Out Your Dead" Completion Build--ROUND 2 Is On!
Straightliner59 replied to Snake45's topic in WIP: Model Cars
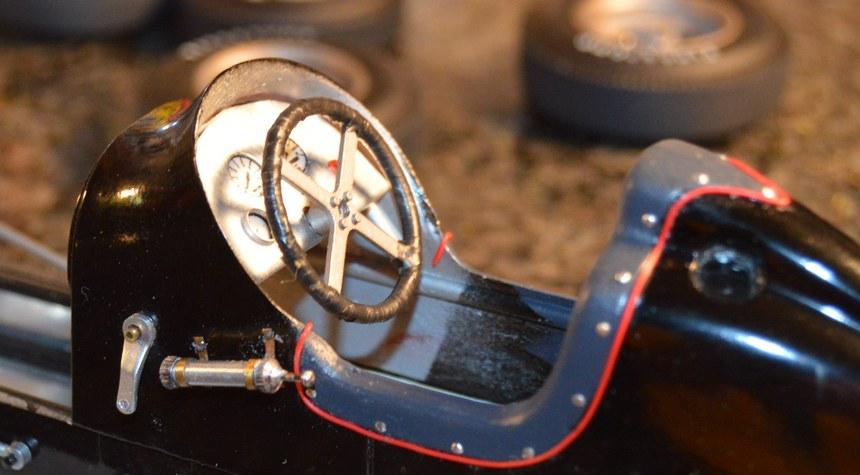
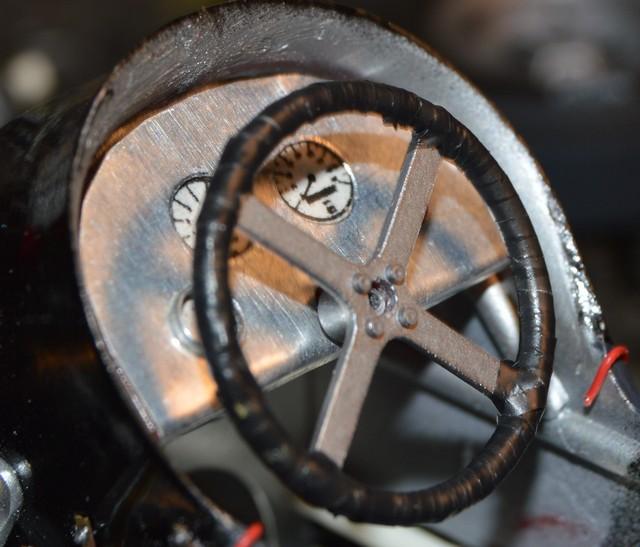
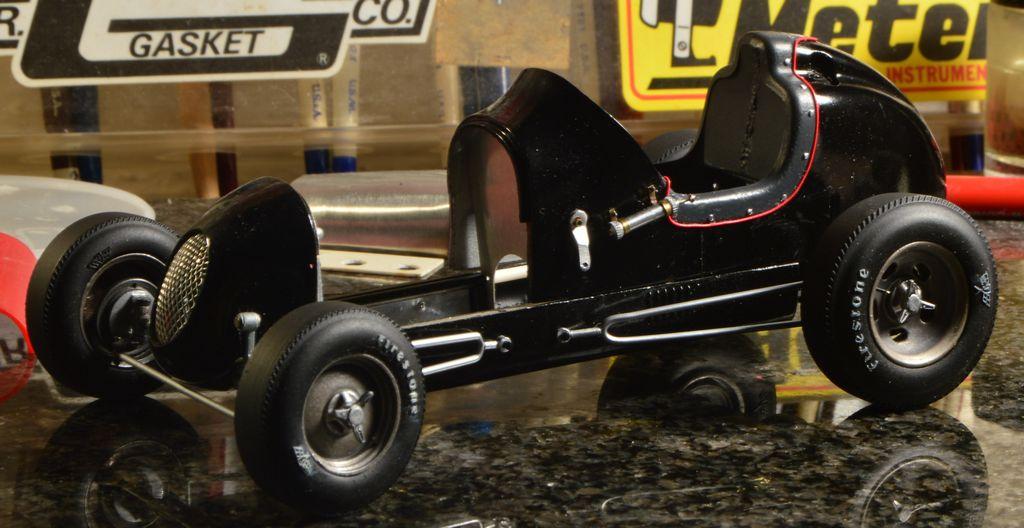
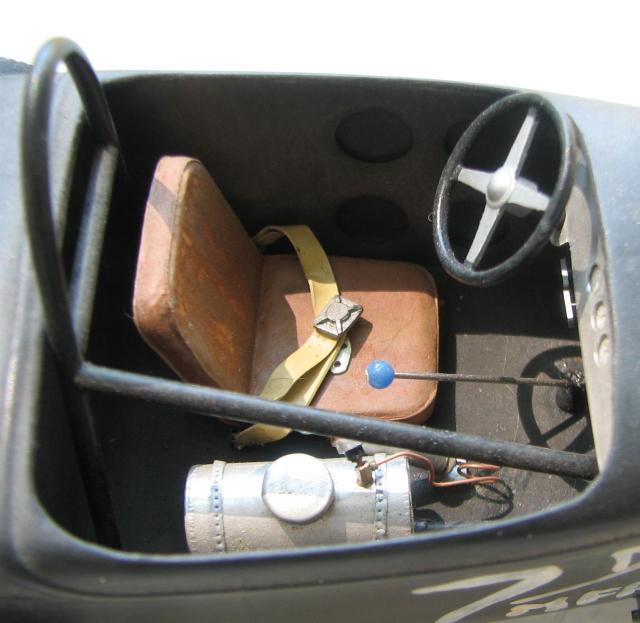
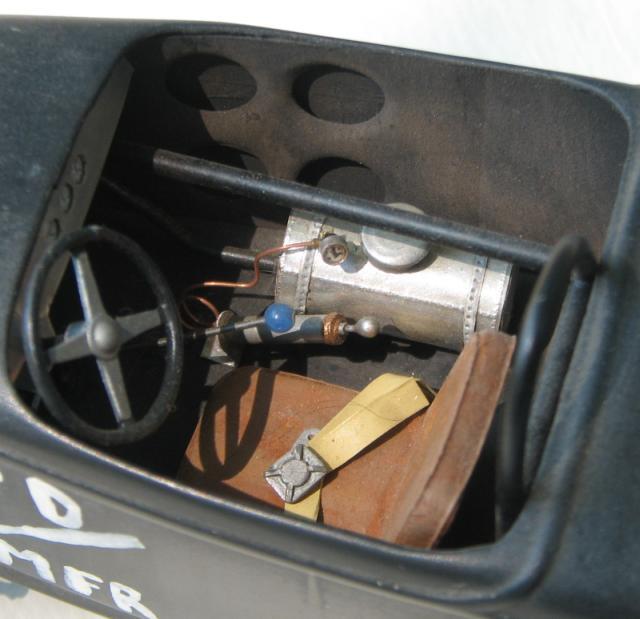
I've completed a ton of work on this thing! The steering box is installed, as well as the dash. Got snaps done, for the upholstery, and built and installed the hand pressure pump...
-
I mounted the hand pump. I need to make a fitting, to get the pressure hose inside the car, so it can run back to the fuel tank, along the floor, with the main fuel line. My next big hurdle will be getting the clutch/brake pedal assembly built. It's pretty similar to the one I just did for the Model A coupe, so, there won't be a ton of new research, to build it. I also made a punch from small tubing, and made tonneau snaps from aluminum duct tape, for the exterior part of the coaming/upholstery. As always, questions, comments and critiques are welcome. Thanks for looking!
-
I recall an old article in the other mag in which the builder of a Petty car used Candy red over fluorescent red, or orange (I don't recall which, now). It looked pretty good, as I recall. You might want to give those a try.
-
paint spray kits
Straightliner59 replied to glockexe's topic in Model Building Questions and Answers
I have always had good results using Krylon in spray cans. It goes on smoothly, dries quickly and evenly. I use their primer, beneath it. It's also inexpensive. -
MPC Impala wheels?
Straightliner59 replied to Rodent's topic in Model Building Questions and Answers
Perhaps to you, it is. For some of us, it's not pointless, at all. I guess all of us should just build, as you do. -
Got this built for the Indy car...
-
Need Suggestions For Gluing Piping
Straightliner59 replied to Straightliner59's topic in Model Building Questions and Answers
Thank you, Greg! Again, that brings up the issue of painting. Try as I might, I could not get the DM wire to stick. I ended up using some old MSC plug wire, which is too big, but...
-
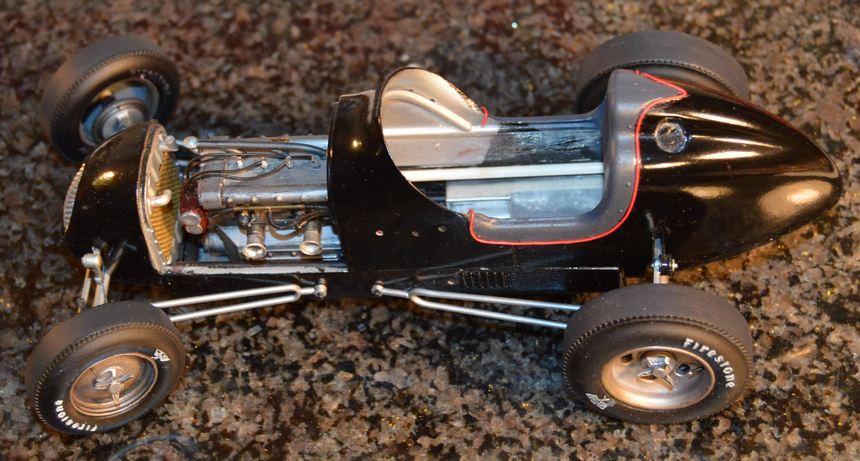
Suddenly, it's the Batmobile!
-
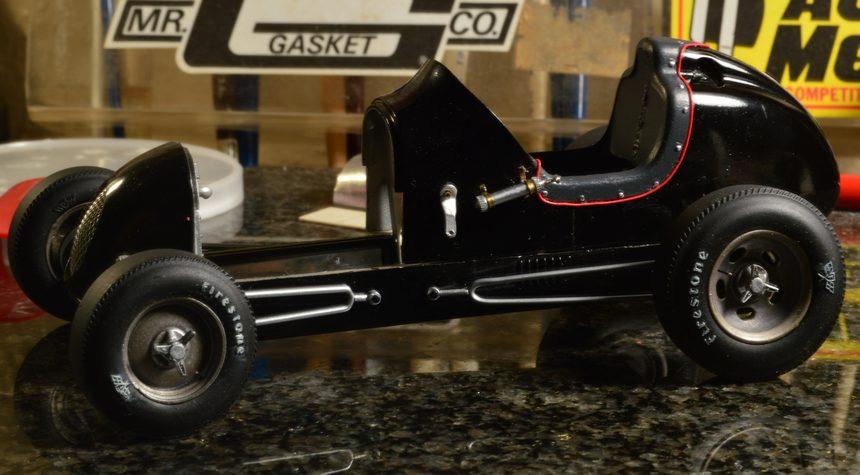
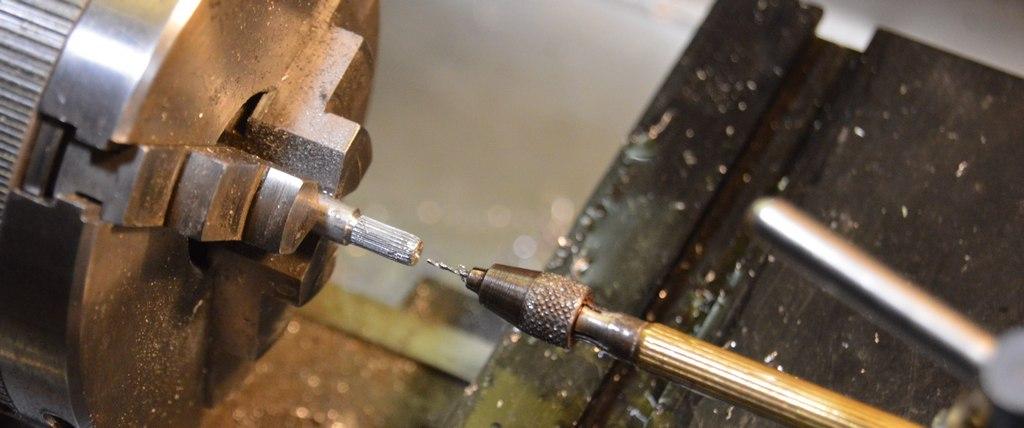
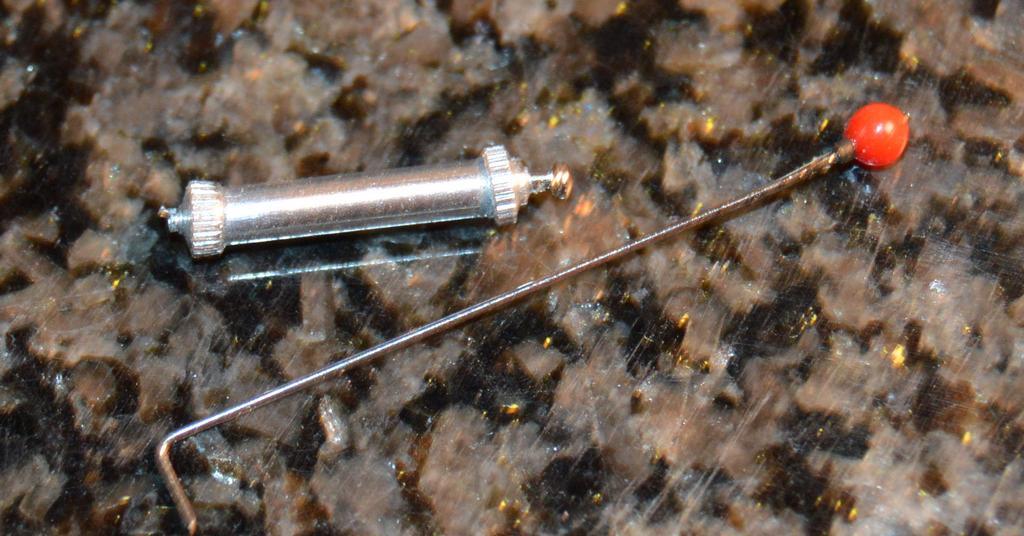
I tried out the straight knurls and made the caps for the hand pressure pump. I bought a set of 100 TPI straight knurls, to make blower drive pulleys. This is the first time I used them. I like the way the pump looks! I made the brake handle from a piece of stainless wire, and the head of a pin. Wire insulation serves as the back nut. As always, questions, comments and critiques are welcome! Thanks for looking!
-
I would guess they're Humbrol, based on the tins. Excellent paint, in my experience!
-
Need Suggestions For Gluing Piping
Straightliner59 replied to Straightliner59's topic in Model Building Questions and Answers
That looks very nice, Richard! I am sure I've used DM's detailing wire for piping, at least once, before, and maybe twice. It's much closer, in scale, than even smaller diameter plug wire material. I suppose it's not out of the realm of possibility that the insulation on the red is a different material, than the black.
-
Need Suggestions For Gluing Piping
Straightliner59 replied to Straightliner59's topic in Model Building Questions and Answers
David, thanks for your input! That's what I would use, if I was starting with bare plastic, for sure. I'm not sure of the viability of painting it either before or after installing it. That could prove tricky, either way. -
Need Suggestions For Gluing Piping
Straightliner59 replied to Straightliner59's topic in Model Building Questions and Answers
Excellent, Tom! I have some old MSC plug wire that just might do the trick. It's a bit larger in diameter, but, shouldn't be grossly out-of-proportion. It stays stuck in the distributors and plug boots, so, it should work, here! Thank you, kind sir! -
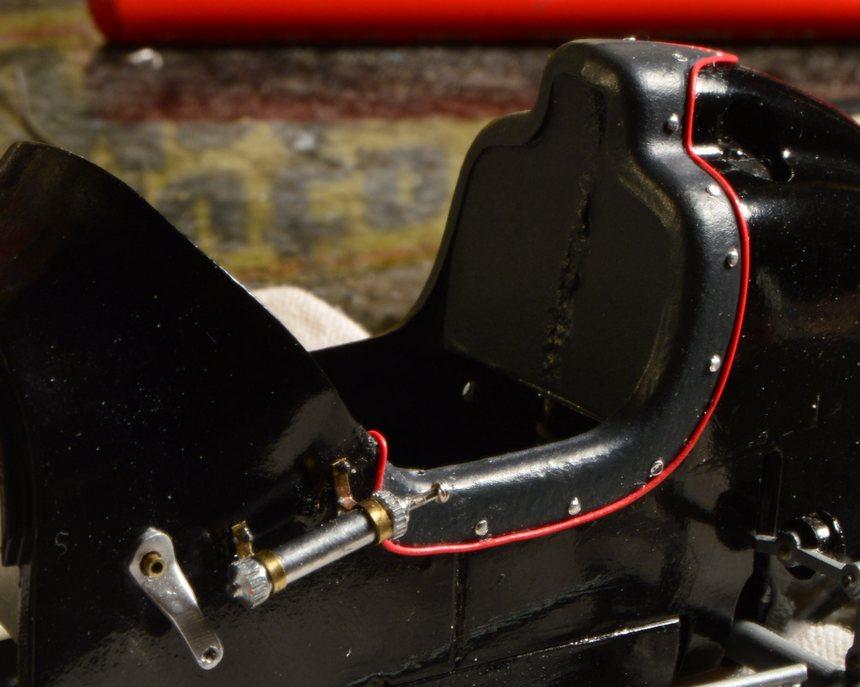
I am looking to use red Detail Master Detailing Wire for piping around the cockpit padding for my Indy car project. The wire's coating seems to be Teflon, as it doesn't seem to stick with super glue. I'm thinking something more flexible might be a better option. Has anyone else used DM's detailing wire for piping, and, if so, what did you adhere it with? I'm open to suggestions! Thanks!
-
Pactra namel continued.
Straightliner59 replied to Brudda's topic in General Automotive Talk (Trucks and Cars)
That's very cool! It's shaped like one of their Dope bottles, only smaller. -
I got an Incra Tiny T rule. I'd been considering one, for a while. I think it will be super-useful.
-
Thanks, Alan! Glad you like it! That hood should help, too, I agree! I have four more Monogram projects hanging around the bench, too. I derive a great deal of enjoyment, from them!
-
Thanks, Mike. It's been a fun project!
-
I got that from Don Fahrni. But, there was and is something in me that drives that, too. I just have more fun when I am trying new stuff!
-
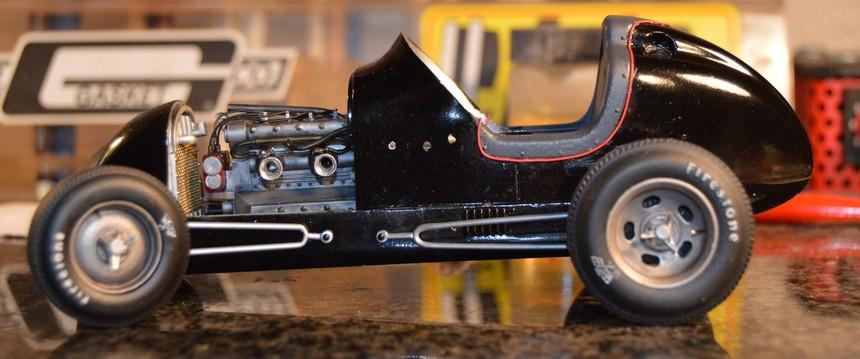
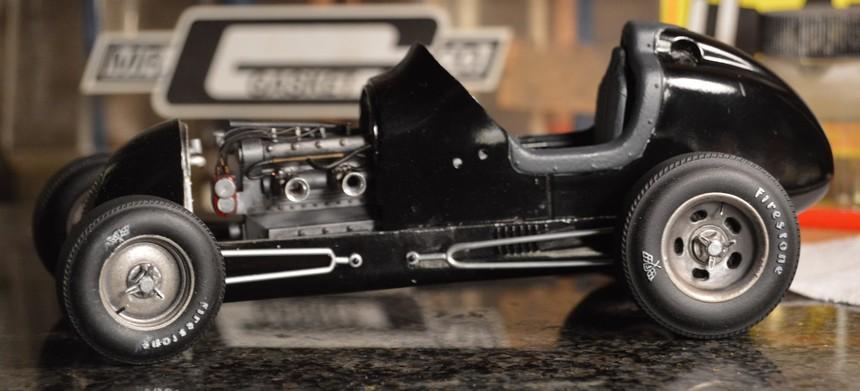
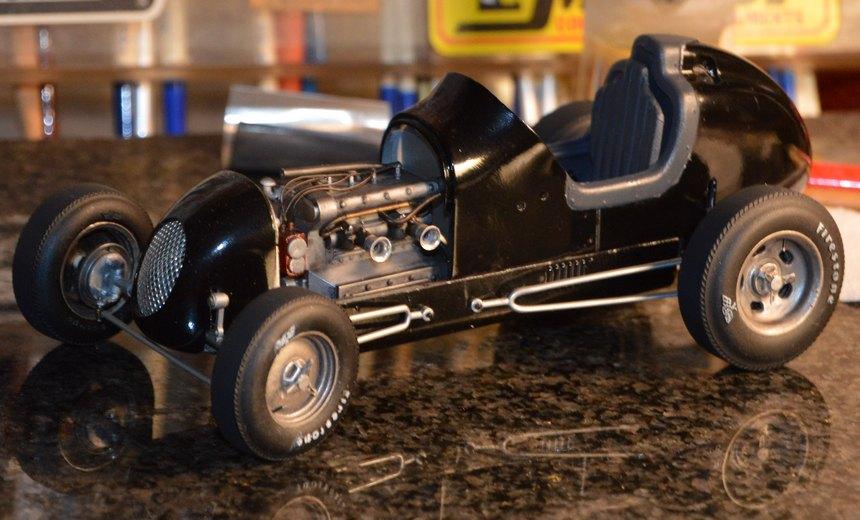
Alan, here it is, back on the wheels. I got them done, and wanted to see how they look. Better? ?
-
Thank you for your comments, and your kind words, Alan! I appreciate them. Ah! Well, we're in luck, as the photos from August 30 were taken while it was actually sitting on the wheels. The latest was just a "perspective" shot, in which the wheels were just placed at the ends of the axles, while the car was sitting on the deck! ? However, it's not as long and lean, as it should be, and the cowl's too short, thus the "(Sort Of)", in the heading. There was a time I couldn't have imagined saying this, but, these old, classic Monogram kits provide me with a different perspective on my building. To me, they have a sense of "folk art" about them, and I have come to accept their shortcomings, dress 'em up a little bit with items of visual interest, and throw 'em out on the dance floor! I don't expect to build replicas from them, although, I think my Cook and Bedwell dragster (Slingshot) comes fairly close. Thanks for looking! Thank you, Steve. I used a paint I found at Michael's for the base color (it's called Modern Metals Metallic Taupe--I know you're in the UK, so I wouldn't have a clue as to a substitute!), then shot them with matte clear (Testors' Dullcote). I followed that with a wash of India ink and water, and, finally, gave them a very light "coat" of Rub N Buff silver. The effect on the tires is very subtle, but it does create a visual difference! Thanks for your comments!
-
"Bring Out Your Dead" Completion Build--ROUND 2 Is On!
Straightliner59 replied to Snake45's topic in WIP: Model Cars
It's the molded on lettering that I dabbed with a small piece of rubber eraser, lightly coated with a mixture of oil paints. Any paint should work, of course!