Straightliner59
-
Posts
5,817 -
Joined
-
Last visited
Content Type
Profiles
Forums
Events
Gallery
Everything posted by Straightliner59
-
This is how figures should be painted! Beautiful work, Charles!
-
This thing is cool, for sure! always loved their cars. I'm going to guess this photo was taken at Wendover.
-
 I needed a pair of seat belts so I set up the remainder of my pack of Model Car Garage PE buckles. I hate the way people just use them flat and they look like wafers in the model. I couldn't agree with you, more! That makes me as nuts as photoetched spokes on dragster wheels! ? Sometimes, those radiator hoses can be a booger. Both of them were a pain, on my current project. It's looking good, Tom!
 -
1964 Pontiac GTO NHRA B stock competitor
Straightliner59 replied to MarkJ's topic in WIP: Drag Racing Models
Are you referring to Don Gay, Jr.? His crash was at Bandimere Speedway. I was there, that day. It was a horrible fire. He never raced after that. His grandmother put the kibosh on that. -
Fabulous work, Tim! Honestly, I do think you're nuts--but, not really much more than a lot of us! ?The engine stand looks fantastic, sir!
-
I accomplish this by laying my designs across the 8.5" width of the paper, and crowd everything to the top. Then, once it's printed, I just cut off that end of the sheet and save the rest for the next project. Repeat. I generally print test sheets on standard printer paper, to double-check the size of the graphics.
-
I have been using their Liquid Decal Film (my bottle is labelled "Superfilm") for decades. The stuff is invaluable! Brush it on, it levels out beautifully. It can save cracked decals. I use it on inkjet decals (I hit them with a couple of light coats of clear, first). I swear by the stuff. I know that Snake does, too. Speaking of Snake, does anybody know if he's okay? I haven't seen anything from him in a couple of weeks.
-
Thank you, kind sir!
-
I made most of the major decals, for all of these models on an inkjet. My first attempt was the fender markings on the Chevy II. I am not happy, with them. The door decals on that car were made three years ago, when I finished the car. I had learned enough, by then, to create much nicer markings. I draw mine using PhotoImpact Pro 13. I paid less than $100 for it. It does vectors, and pretty much anything PhotoShop will do. I've tried both Inkscape and Gimp. Both are excellent! I would use them, if I hadn't learned PhotoImpact, first. Once you've learned some stuff, you can make some very nice decals with an inkjet printer.

-
"correct" scale for new releases
Straightliner59 replied to Motor City's topic in General Automotive Talk (Trucks and Cars)
I could not have said it better! And, I mean all of it. -
Thank you, Brad. I'm not a very fast builder, but, I've been at it, a while! ?
-
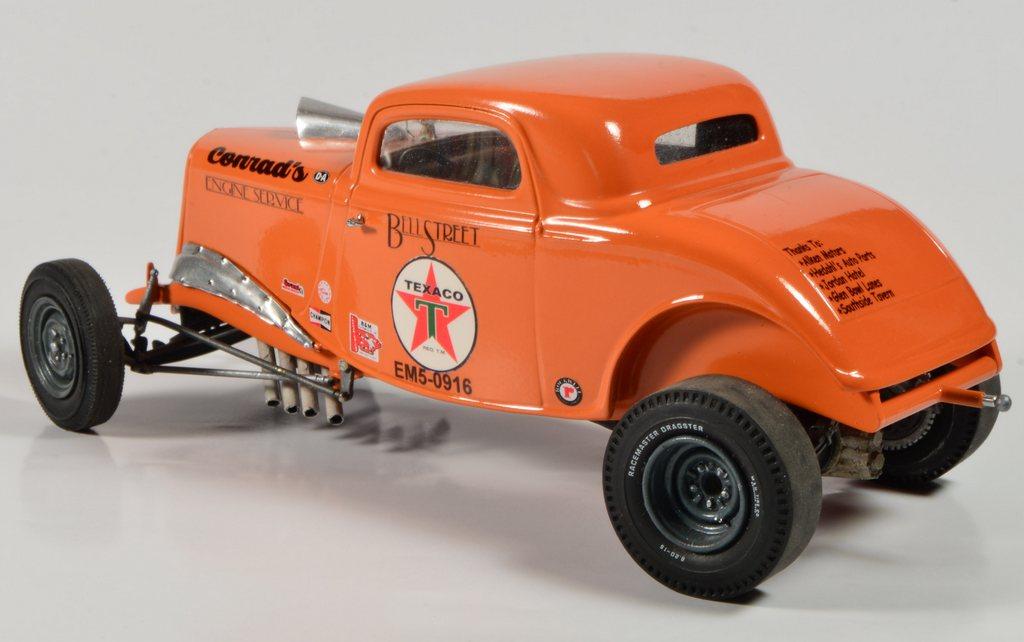
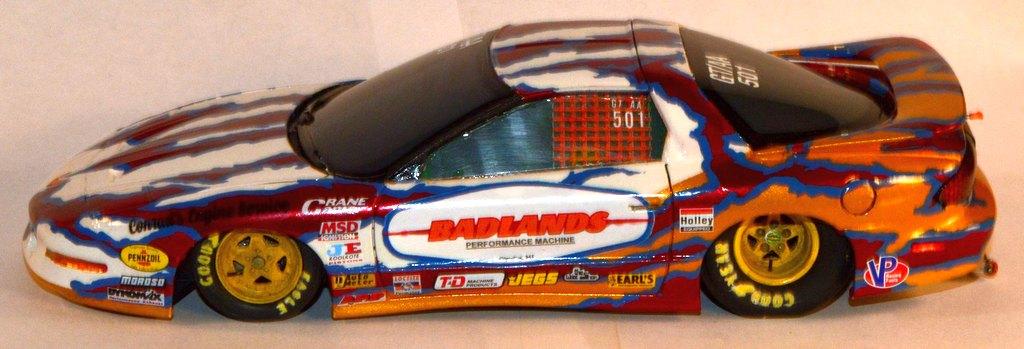
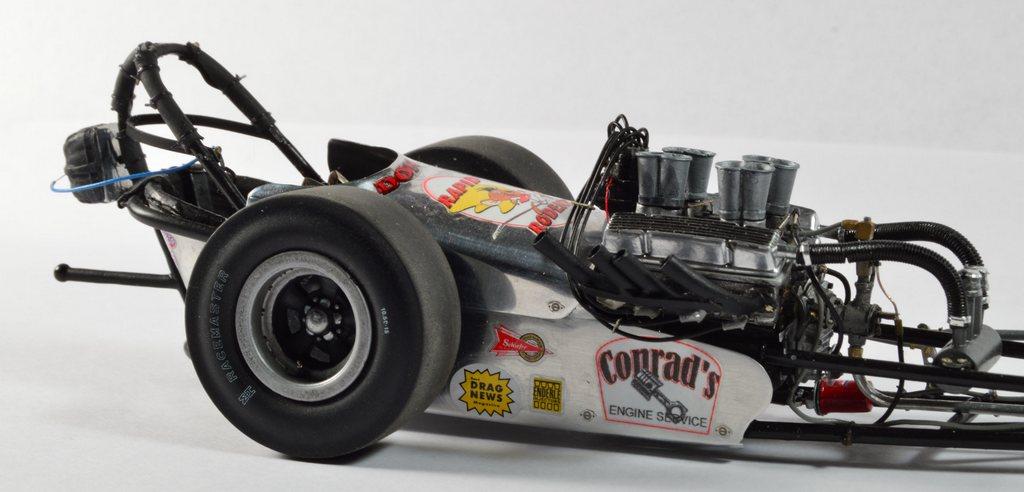
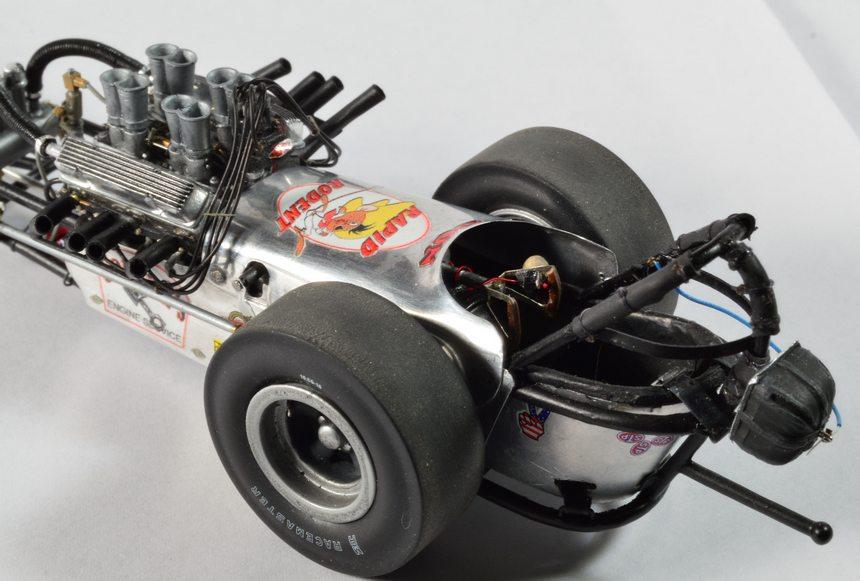
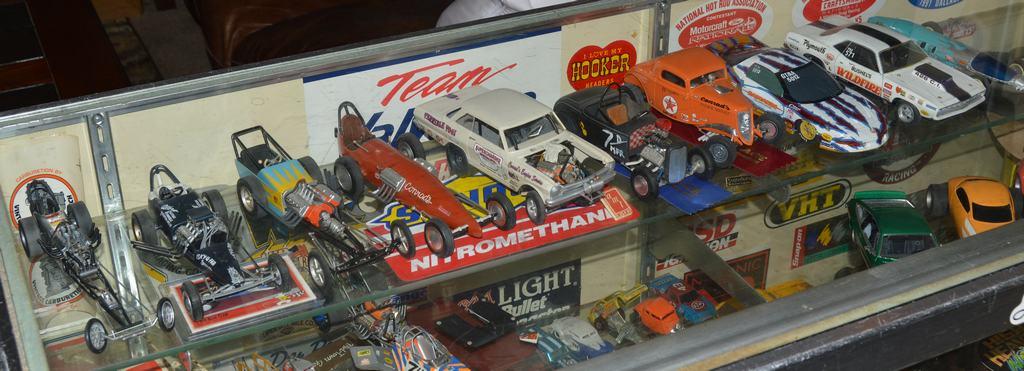
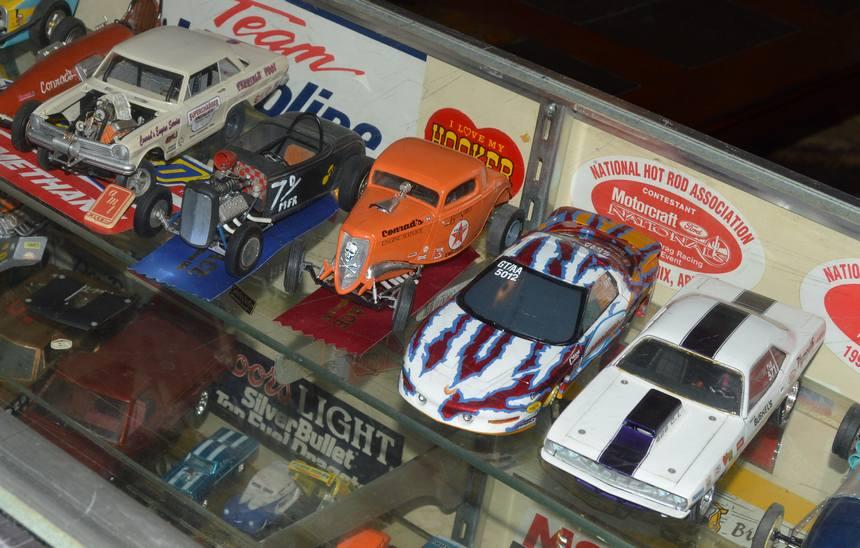
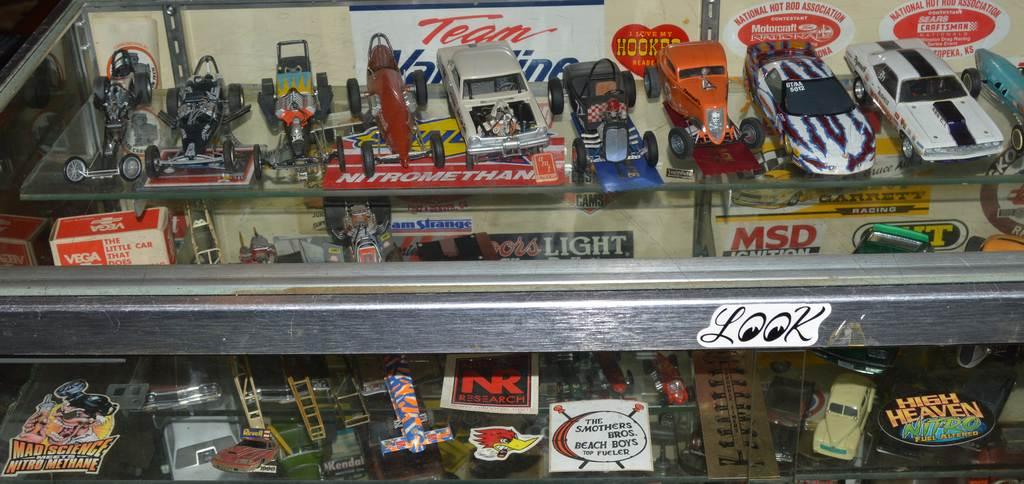
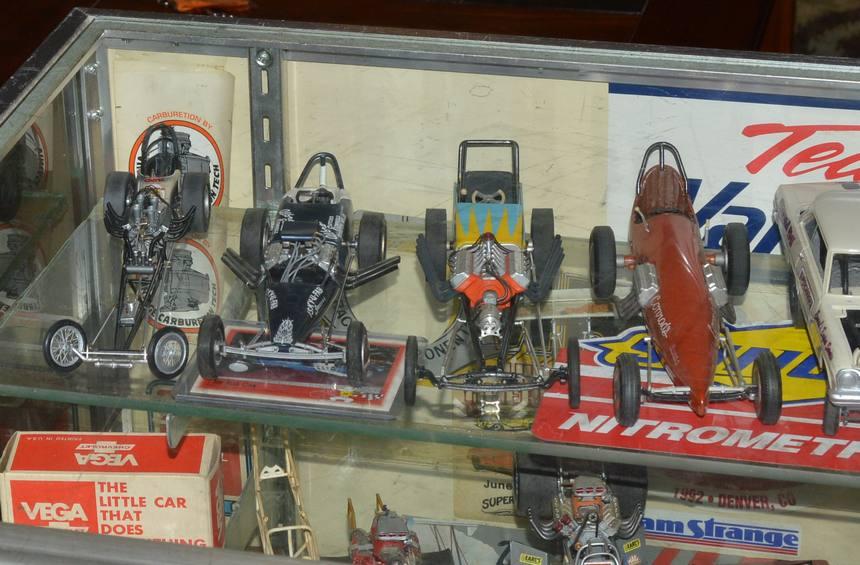
Here are all of mine, except not a very good photo of my Zubaz Top Fueler. It can kind of be seen, in a couple of these. I just rearranged my display case, this morning, coincidentally.
-
"correct" scale for new releases
Straightliner59 replied to Motor City's topic in General Automotive Talk (Trucks and Cars)
I was referring to the "box scale" comment. No quality control issue, at all. The models were made to fit certain, standard-sized boxes. -
"correct" scale for new releases
Straightliner59 replied to Motor City's topic in General Automotive Talk (Trucks and Cars)
Like a lot of those old Monogram kits that range from about 1/24 all the way to maybe 1/20? -
I just got rid of a bunch of old parts kits on Ebay. I did better with them, than I expected. I know a lot of folks don't like them, but, they make shipping pretty easy.
-
"correct" scale for new releases
Straightliner59 replied to Motor City's topic in General Automotive Talk (Trucks and Cars)
I would say that it's about the subject. If I like it, I'll buy it, regardless of the scale. I don't buy much stuff bigger than 1/24-1/25. The old Monogram kits, in spite of all their flaws, are truly among my favorites! I don't worry about how they're displayed, really, either. I like to put my latest stuff on the top shelf of the display case. -
Louvers. Possible solution?
Straightliner59 replied to Straightliner59's topic in Tips, Tricks, and Tutorials
Thank you, Tim. As you are aware, persistence is often the only thing that sees us through. I appreciate your comments, sir! -
Beautiful work! Nice conversion.
-
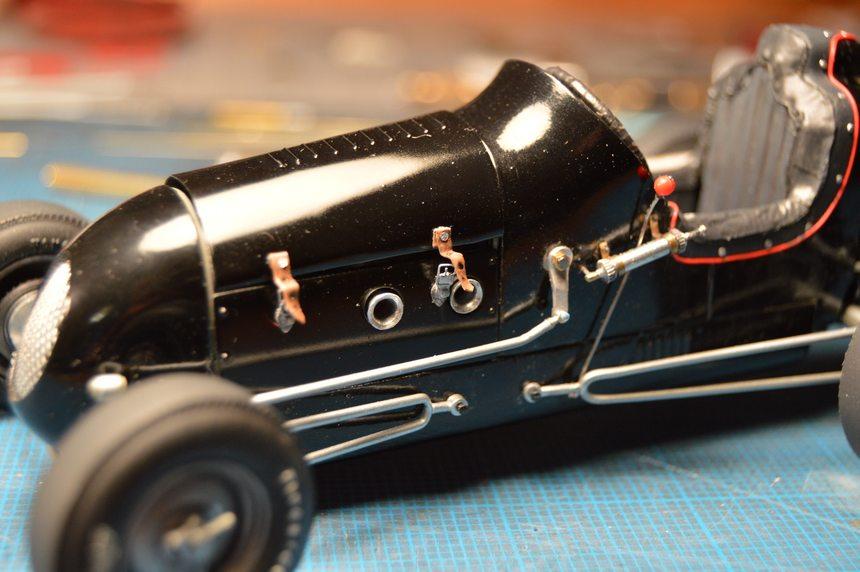
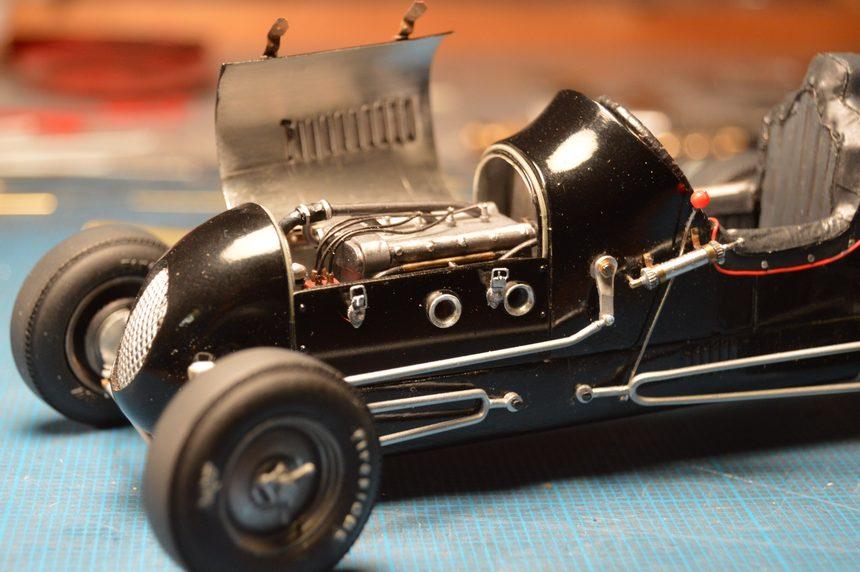
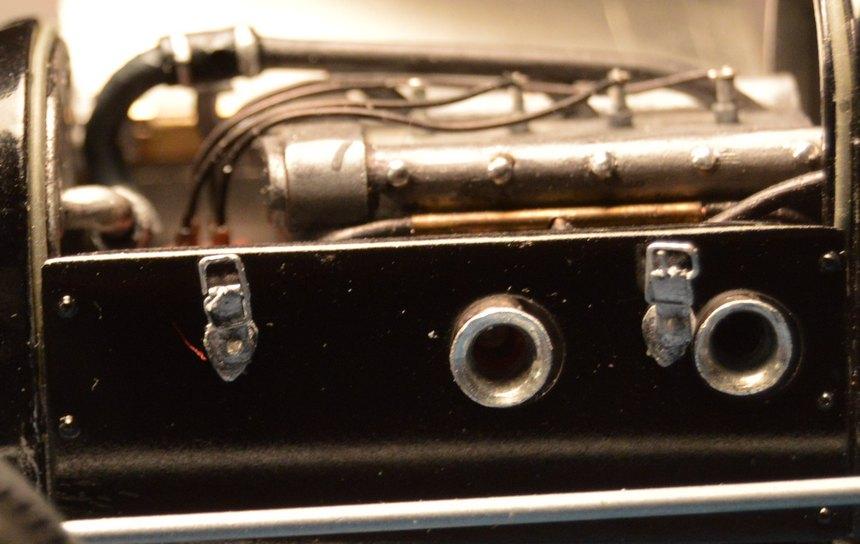
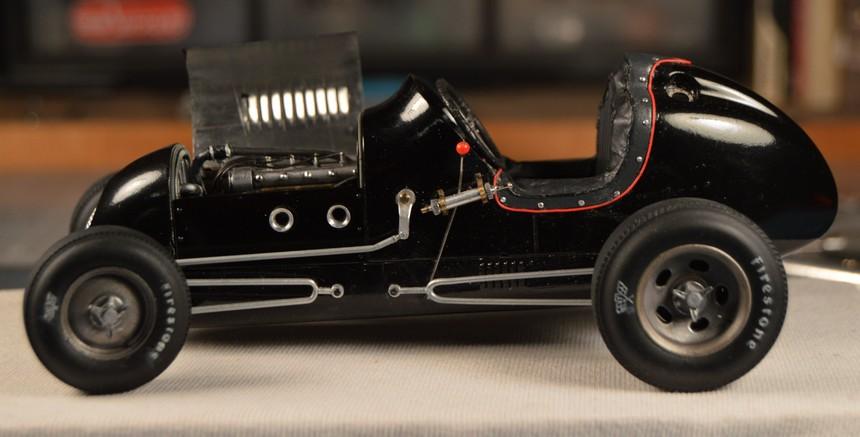
Thanks, Jimmy. I appreciate that, Art! I really am. It felt like a big step! This project gets ever closer to completion. I added the hood hold down straps and buckle assemblies. The straps are wine bottle foil. The hold-downs/buckles are brass. The buckle part, itself, is .005" brass wire. Five pieces per unit. I had to make concessions due to the fact that I am not yet ready to figure out a way to make it actually operate! Still, once it's got bit of a wash, and some highlights, it will look pretty decent! I will give the paint more time to off-gas before I finish tweaking the hood into shape. As always, questions, critiques and comments are welcome. Thanks for looking!
-
Jo-Han Maverick-Dyno Don's Ride
Straightliner59 replied to mustang1989's topic in WIP: Drag Racing Models
That is exactly why I use metal, wherever possible. ? I'm lazy, that way. As you said, it also has the advantage of looking itself! -
Another GT40 MKI on the table
Straightliner59 replied to vamach1's topic in WIP: Other Racing: Road Racing, Land Speed Racers
I sat in one of these, once. All I could think (besides "WOW!") was "What's with all the grommets in the seat?!" ? -
"Bring Out Your Dead" Completion Build--ROUND 2 Is On!
Straightliner59 replied to Snake45's topic in WIP: Model Cars
Thank you, John. It's getting closer!
-
Thank you, Steve. Little things like that will keep me looking at someone's model, just to see what else they've done! Thank you, Francis. I guess what I meant by the good luck comment, was that it went together without a hitch, and it worked like a charm, the first time--I didn't have to fiddle with it! I truly appreciate your comments! Thank you, kind sir!
-
64 Dodge D100 Pickup Pro Street
Straightliner59 replied to AmericanMuscleFan's topic in WIP: Drag Racing Models
Oh, man, Francis! You are killing it, my friend! Such fine work, sir. Carry on! -
The hood is in paint. I am amazed at the luck I had with the hinge. It works absolutely perfectly!