StevenGuthmiller
-
Posts
15,071 -
Joined
-
Last visited
Content Type
Profiles
Forums
Events
Gallery
Everything posted by StevenGuthmiller
-

Congrats Steve Guthmiller
StevenGuthmiller replied to Classicgas's topic in General Automotive Talk (Trucks and Cars)
I’m not sure about that. I’m assuming that once a photo is in the public domain and has not been copyrighted, it’s fair game. Although I was contacted and asked for permission to use images of my ‘68 Olds in an upcoming issue of MCM. Steve -
Congrats Steve Guthmiller
StevenGuthmiller replied to Classicgas's topic in General Automotive Talk (Trucks and Cars)
Yup. I’m okay with it. Steve -
Congrats Steve Guthmiller
StevenGuthmiller replied to Classicgas's topic in General Automotive Talk (Trucks and Cars)
Well, that would explain it. Steve -
Congrats Steve Guthmiller
StevenGuthmiller replied to Classicgas's topic in General Automotive Talk (Trucks and Cars)
There are elitists in every corner of society. Steve -
Congrats Steve Guthmiller
StevenGuthmiller replied to Classicgas's topic in General Automotive Talk (Trucks and Cars)
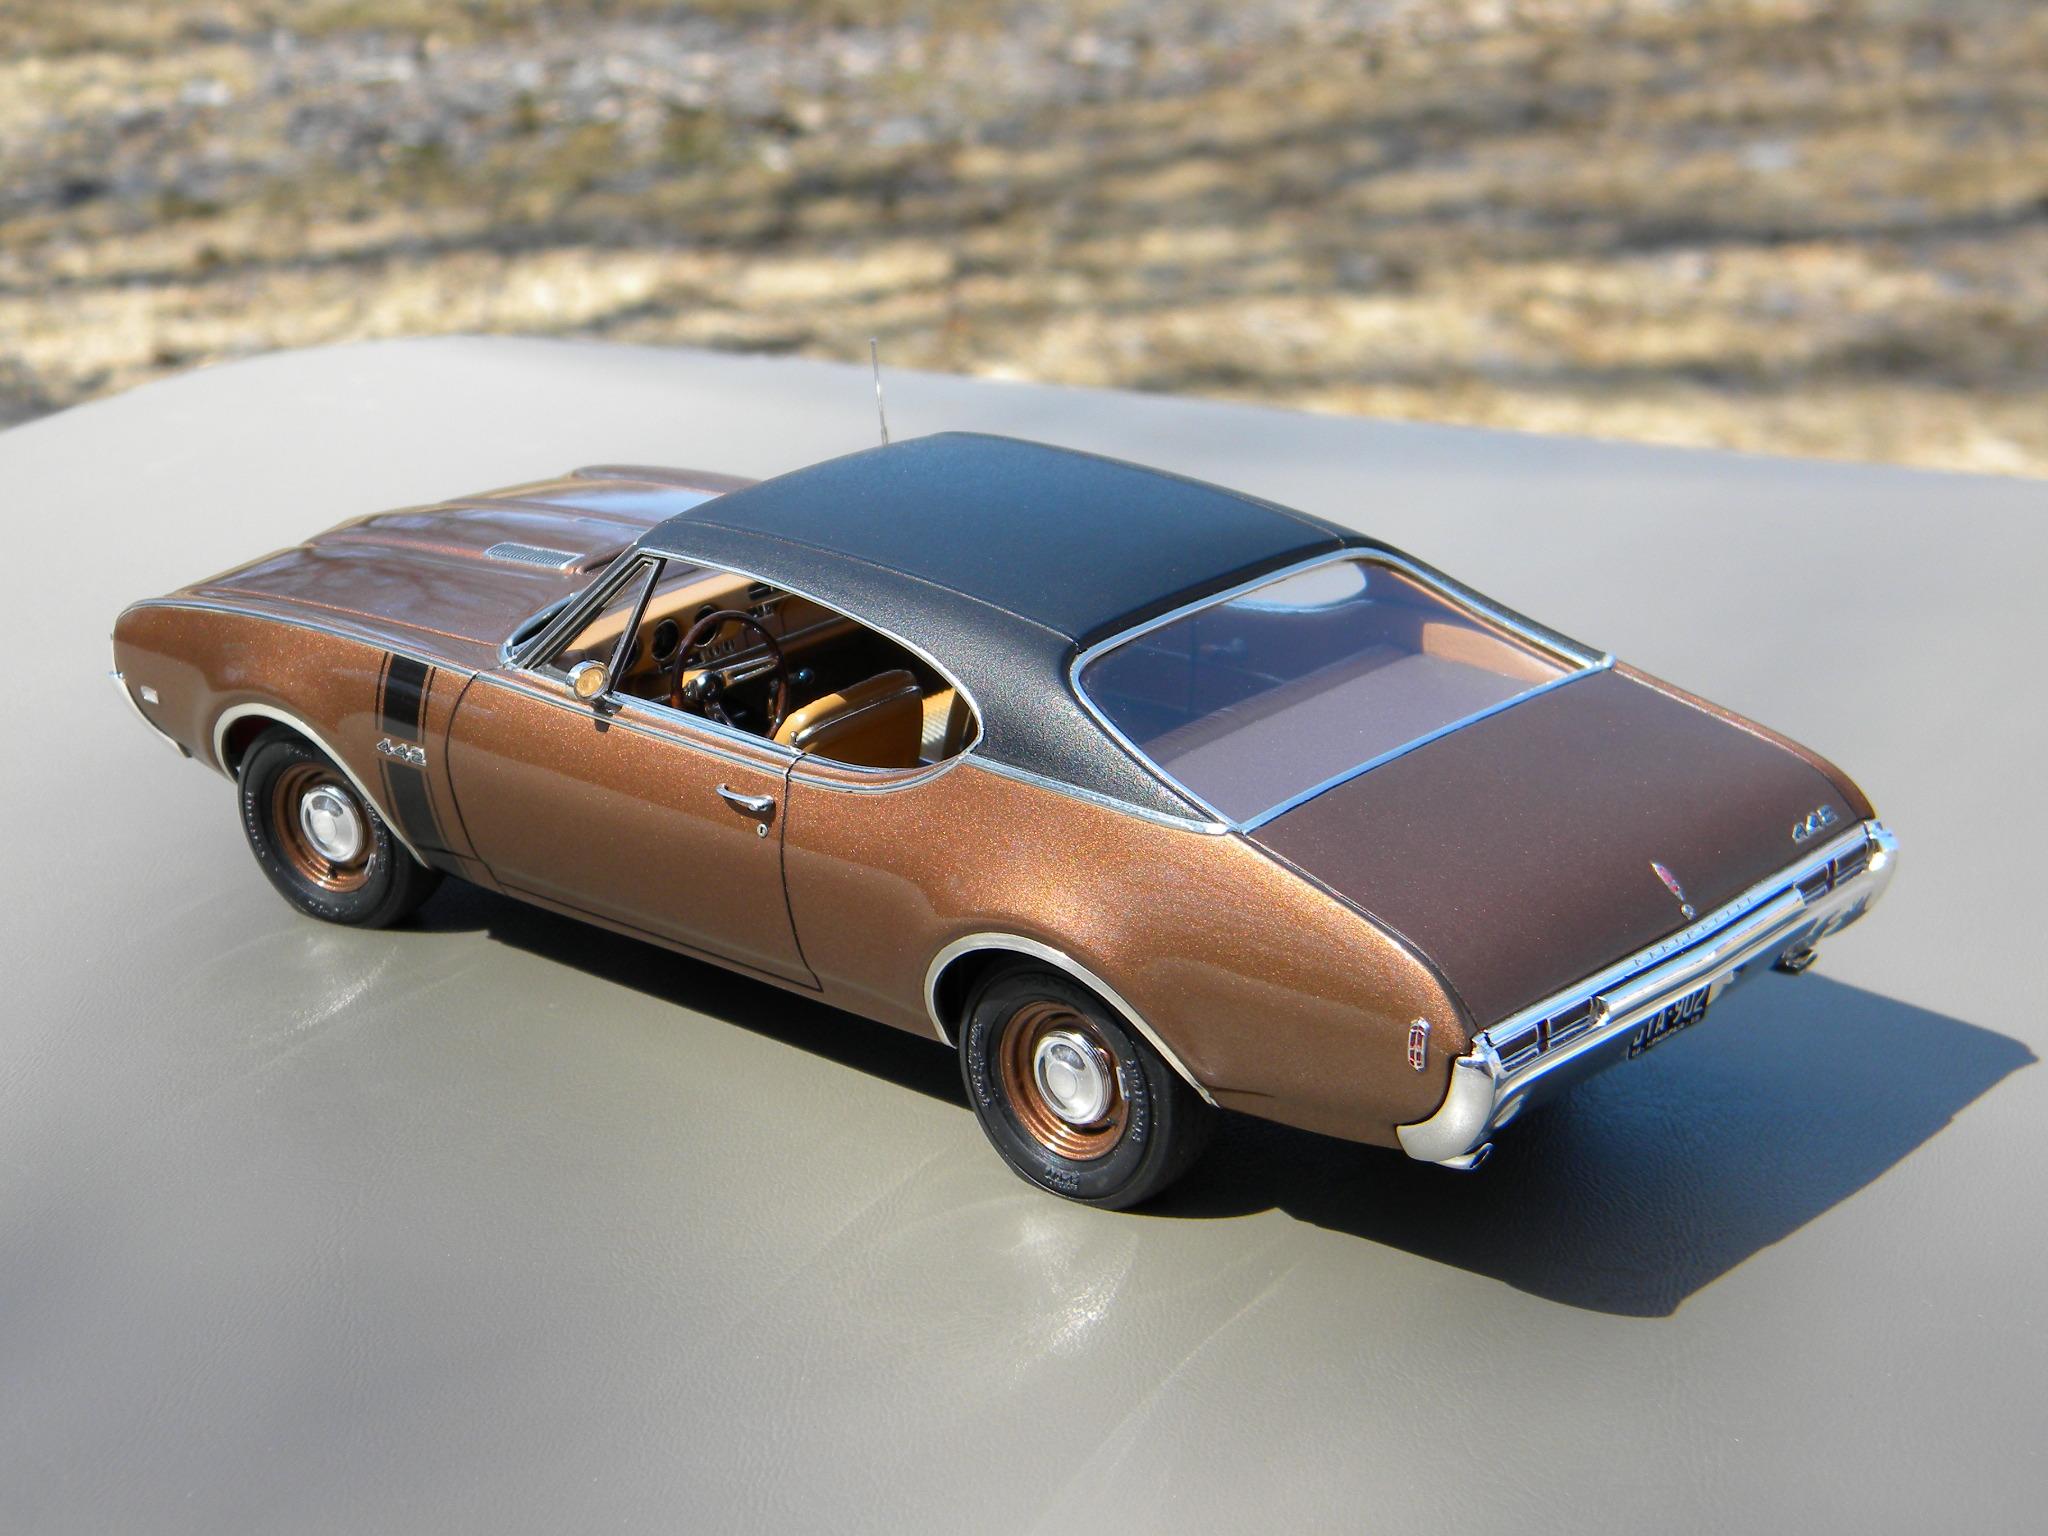
Hmmm, Now I have a general idea of where that might have come from. Those are photos that I took, and the write up sounds quite familiar. I believe that's very close to exactly what I had written as a description when I submitted this model on an online NNL show that I participated in last fall. So I'm guessing now that it might be someone involved with that particular NNL that submitted them. Doesn't bother me at all. I'm just happy to see them in print. By the way, the plain background on the top photo appears to have been altered a little. Here is the original photo. Steve
-
restorations
StevenGuthmiller replied to thomascoffey1959@gmail.com's topic in General Automotive Talk (Trucks and Cars)
I had a similar experience when I moved out of the house. My father decided to clean the basement one day, and everything that was left there was pitched. I don't miss 98% of what was there, but there were a couple of things that it pains me to think about today, such as a Johan '69 Roadrunner and an X-EL '58 Olds 98. Steve -
restorations
StevenGuthmiller replied to thomascoffey1959@gmail.com's topic in General Automotive Talk (Trucks and Cars)
Well, a lot depends on the scarcity of the parts. If you're throwing away an interior tub from an AMT '49 Ford, it's not a big infraction that I would lose any sleep over. Steve -
Let me guess. The prices of these are starting to come down a little? Steve
-
Baby steps. Working on trying yo get the plug boots on the valve covers a little bit better. Also removed and replaced the cover mounted looms. Steve
-
Congrats Steve Guthmiller
StevenGuthmiller replied to Classicgas's topic in General Automotive Talk (Trucks and Cars)
I'm just as much in the dark as you are on this. Photographs of this model are all over the place, so your guess is as good as mine as to who submitted them. I'm just hoping that when I get a copy of the magazine, I don't see someone else's name under the photos. Steve -
Congrats Steve Guthmiller
StevenGuthmiller replied to Classicgas's topic in General Automotive Talk (Trucks and Cars)
And I can't thank you and your colleagues enough for the recognition Danno! It's always such a great honor to have fellow hobbyists recognize and appreciate the effort that you have put into a project. I've already entered the fray with a couple of projects for the "dscV17" show, and I'm considering adding something to the "Curbside" category as I have a ton of curbside builds that I have completed over the years. I might just have to pick one out to enter. Steve -
Congrats Steve Guthmiller
StevenGuthmiller replied to Classicgas's topic in General Automotive Talk (Trucks and Cars)
Lots of kids build military and aviation models too. I suppose there are probably a lot of modelers from these genres that think that model car builders are just taking what's in the box and throwing it together. While this might be a pretty common practice in their world, I don't think that they realize how much customization, kit bashing and scratch building a good portion of us car modelers do. Maybe I'm wrong, but it seems like there's only so much room for those practices, outside of paint and decals when you're building a P-51 Mustang. In short, I think a lot of the military, aviation and nautical modelers are pretty ignorant of the variety of techniques and skills that are involved with what some of us do. Steve -
Congrats Steve Guthmiller
StevenGuthmiller replied to Classicgas's topic in General Automotive Talk (Trucks and Cars)
I didn't submit anything. Apparently someone else submitted the photos. Steve -
Congrats Steve Guthmiller
StevenGuthmiller replied to Classicgas's topic in General Automotive Talk (Trucks and Cars)
I couldn't say, but there's no indication that would happen. I don't subscribe to the magazine, so they don't know me from Adam. Steve -
Yes, I believe your ‘57 was mentioned in Geoff’s build thread. Steve
-
Congrats Steve Guthmiller
StevenGuthmiller replied to Classicgas's topic in General Automotive Talk (Trucks and Cars)
Thanks folks. I have to say that it's kind of cool seeing some of your projects in print, and something that I never would have expected, or even dreamed of, just a few years ago. And I need to thank those of you that have brought these developments to my attention. Without you I wouldn't have known about any of them. Steve -
You might want to talk to Geoff Brown (GeeBee) Apparently he's able to get BMF and he's in England. Steve
-
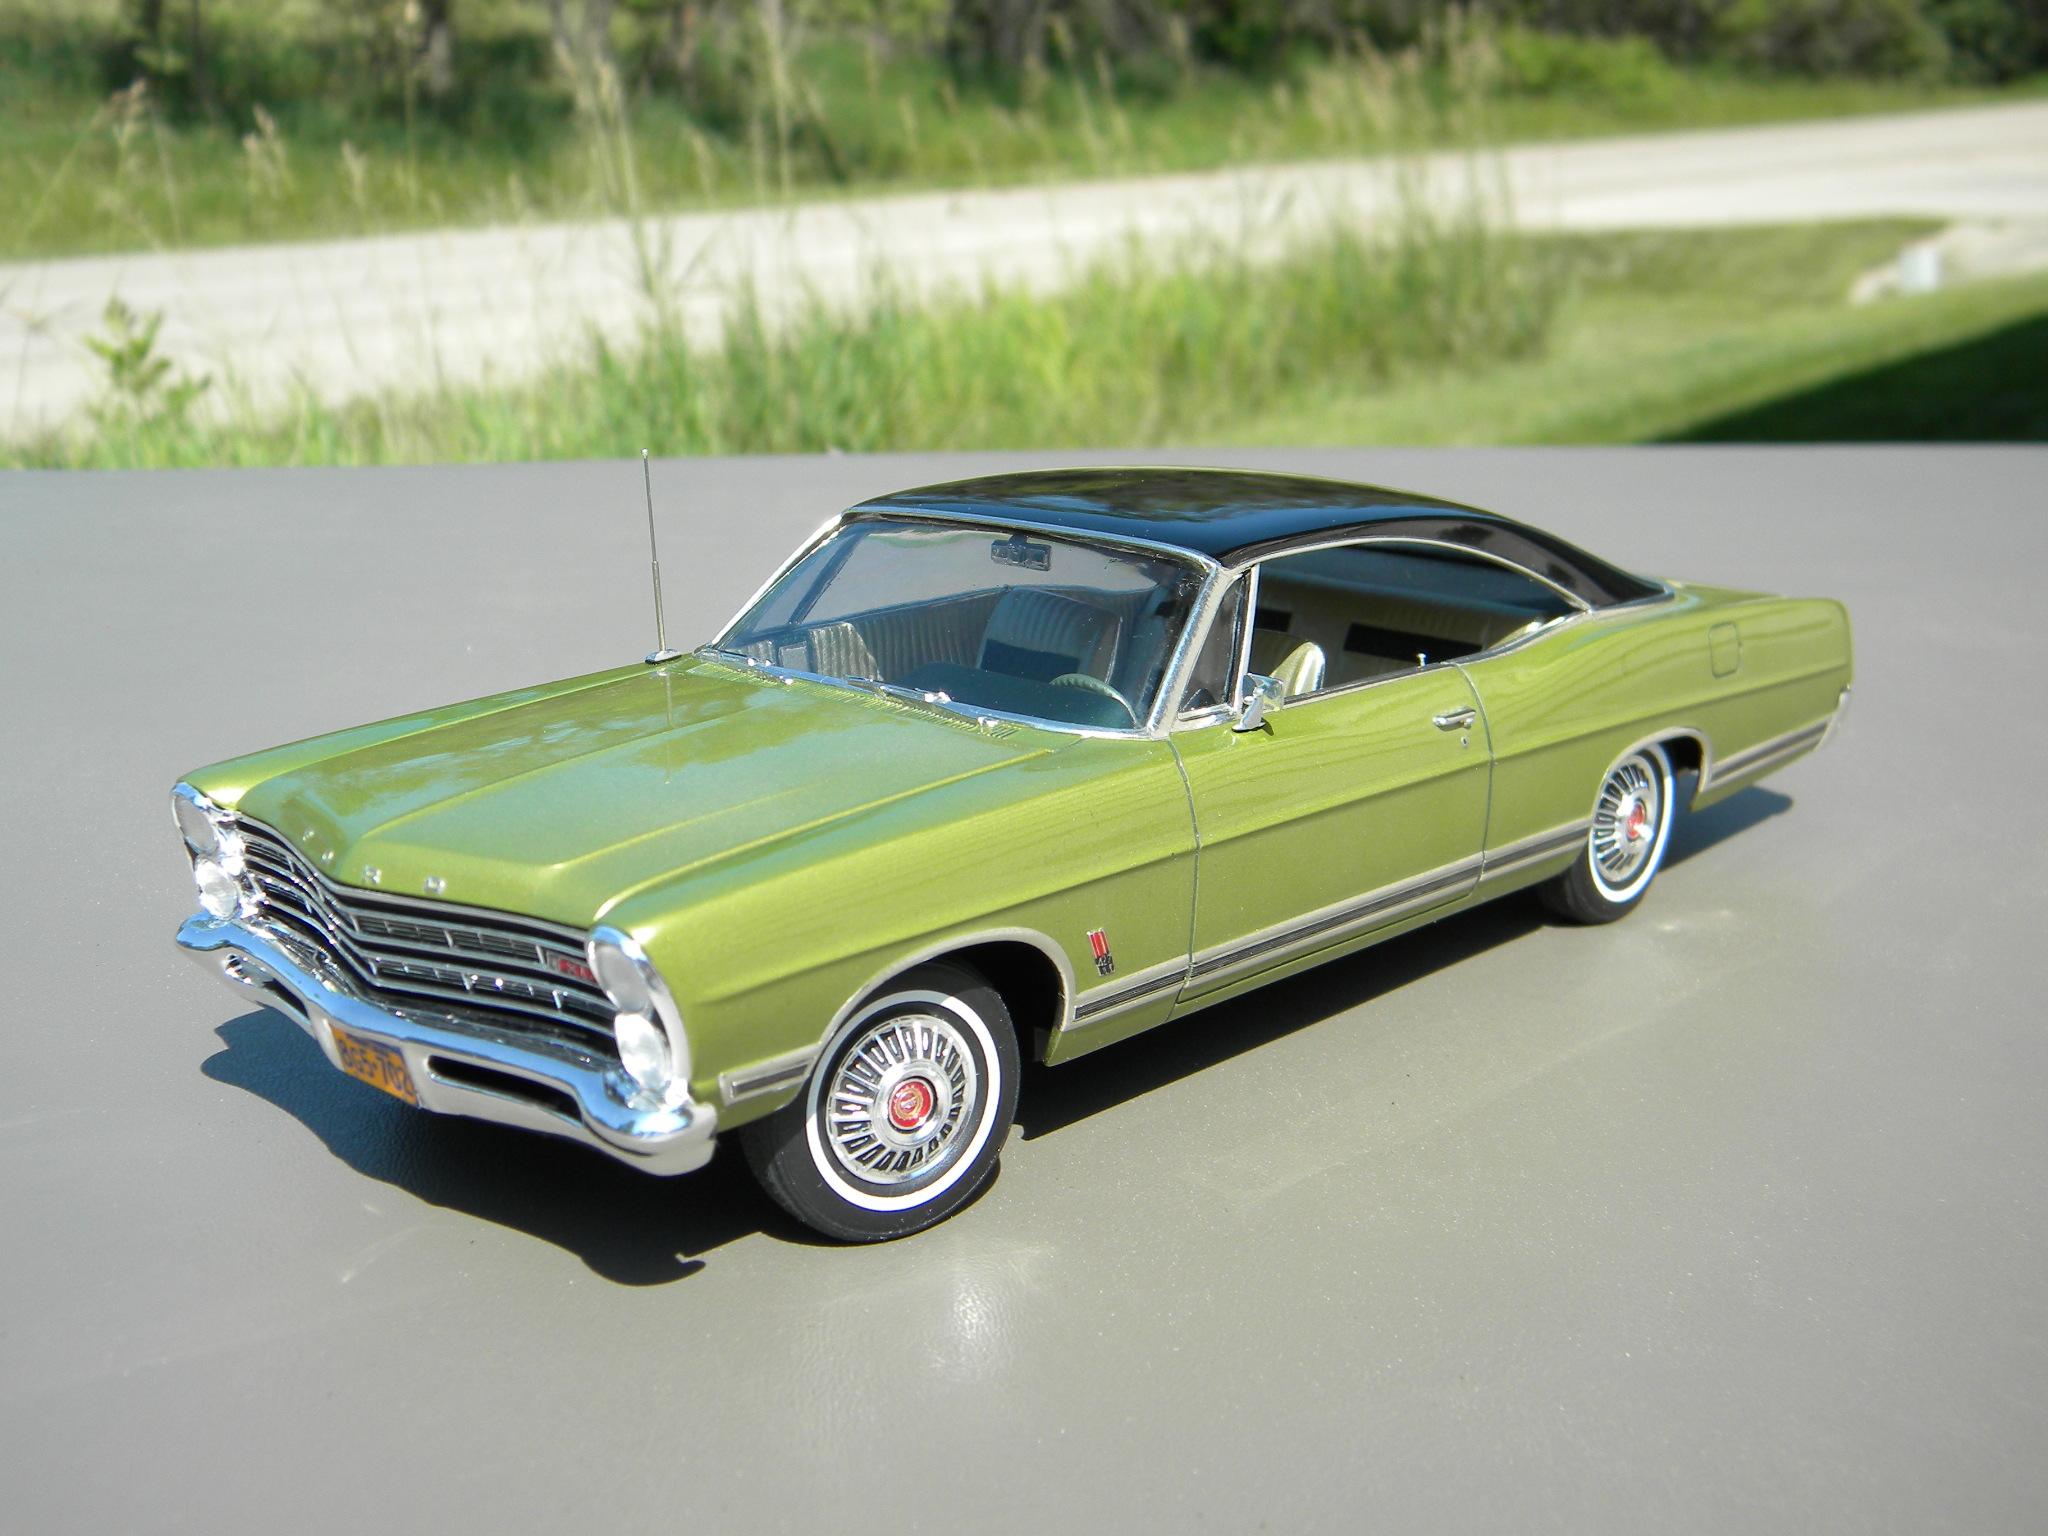
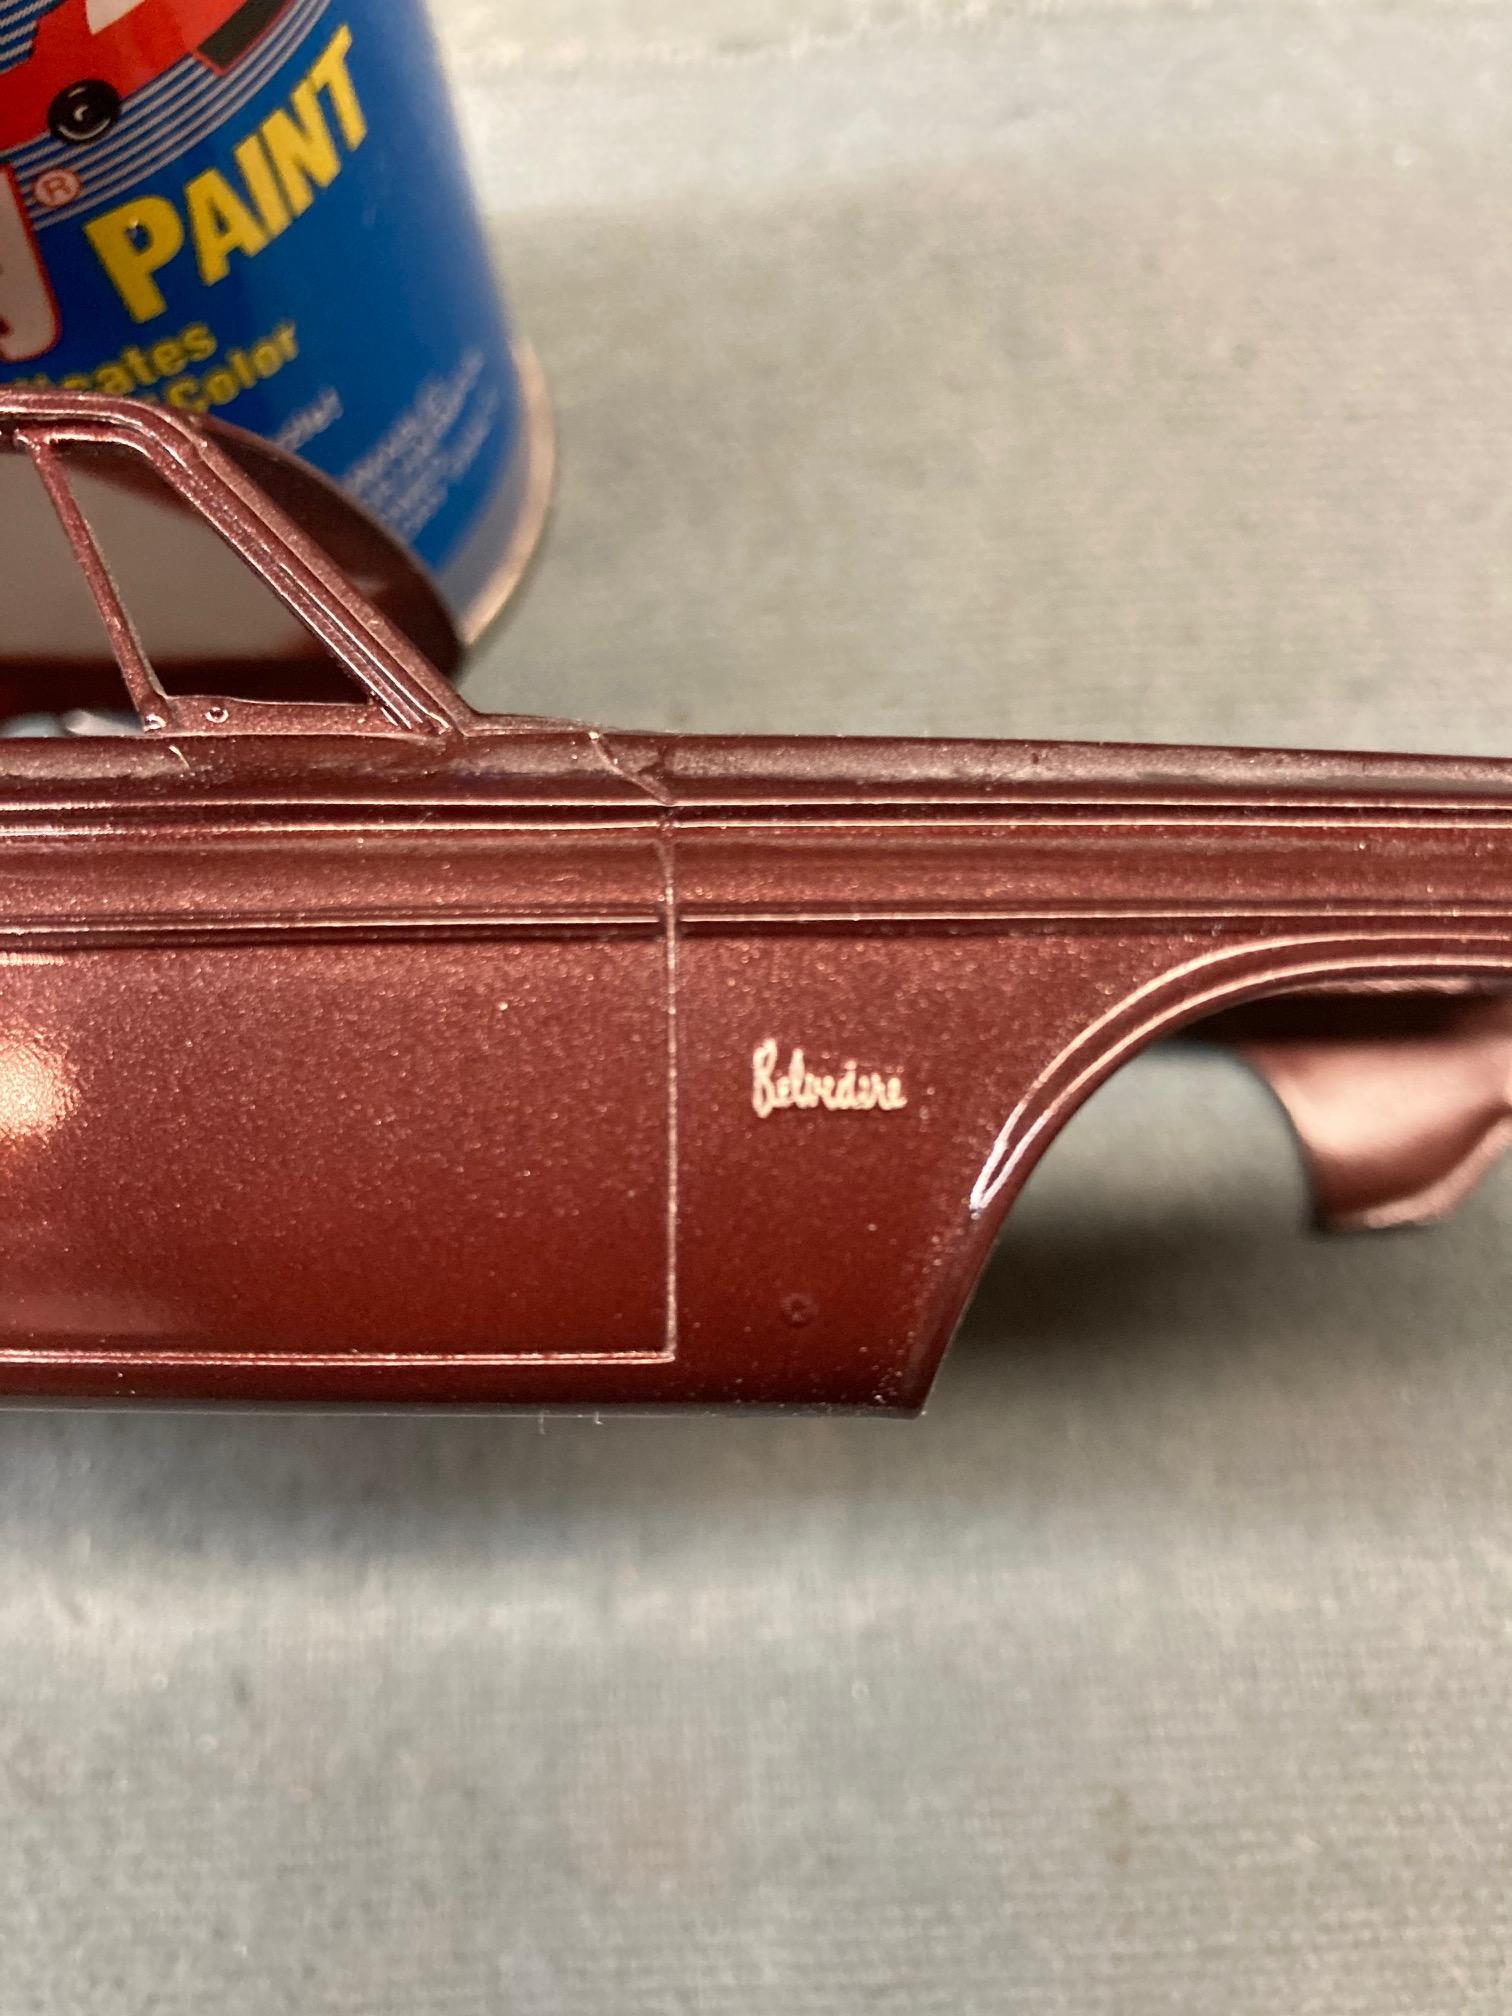
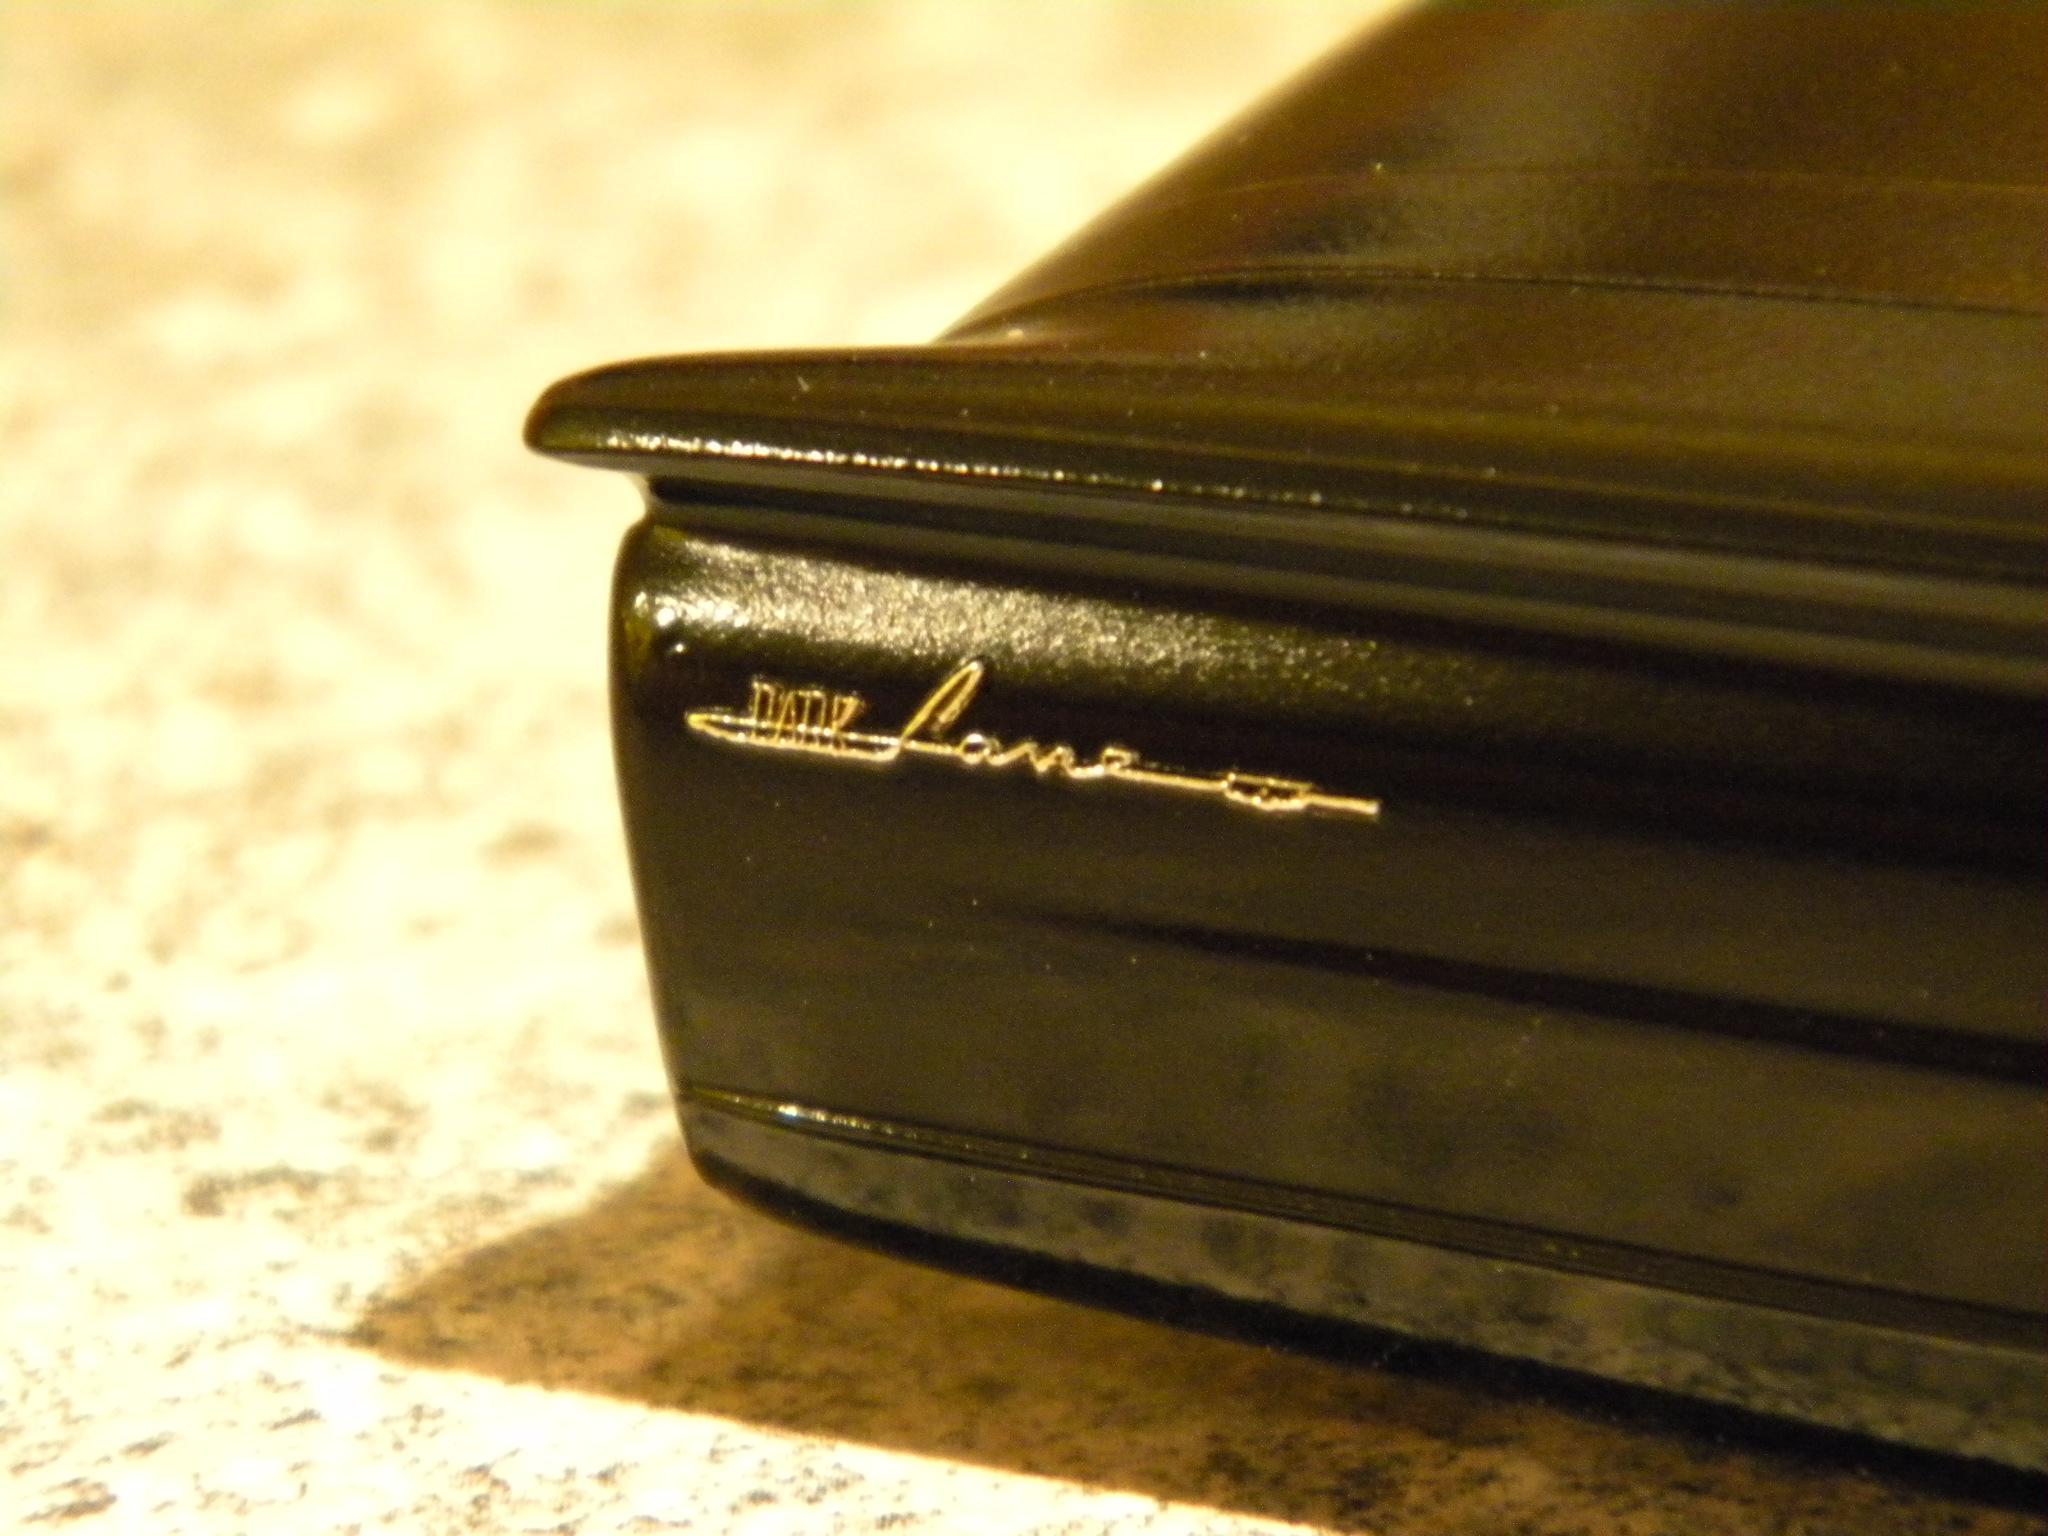
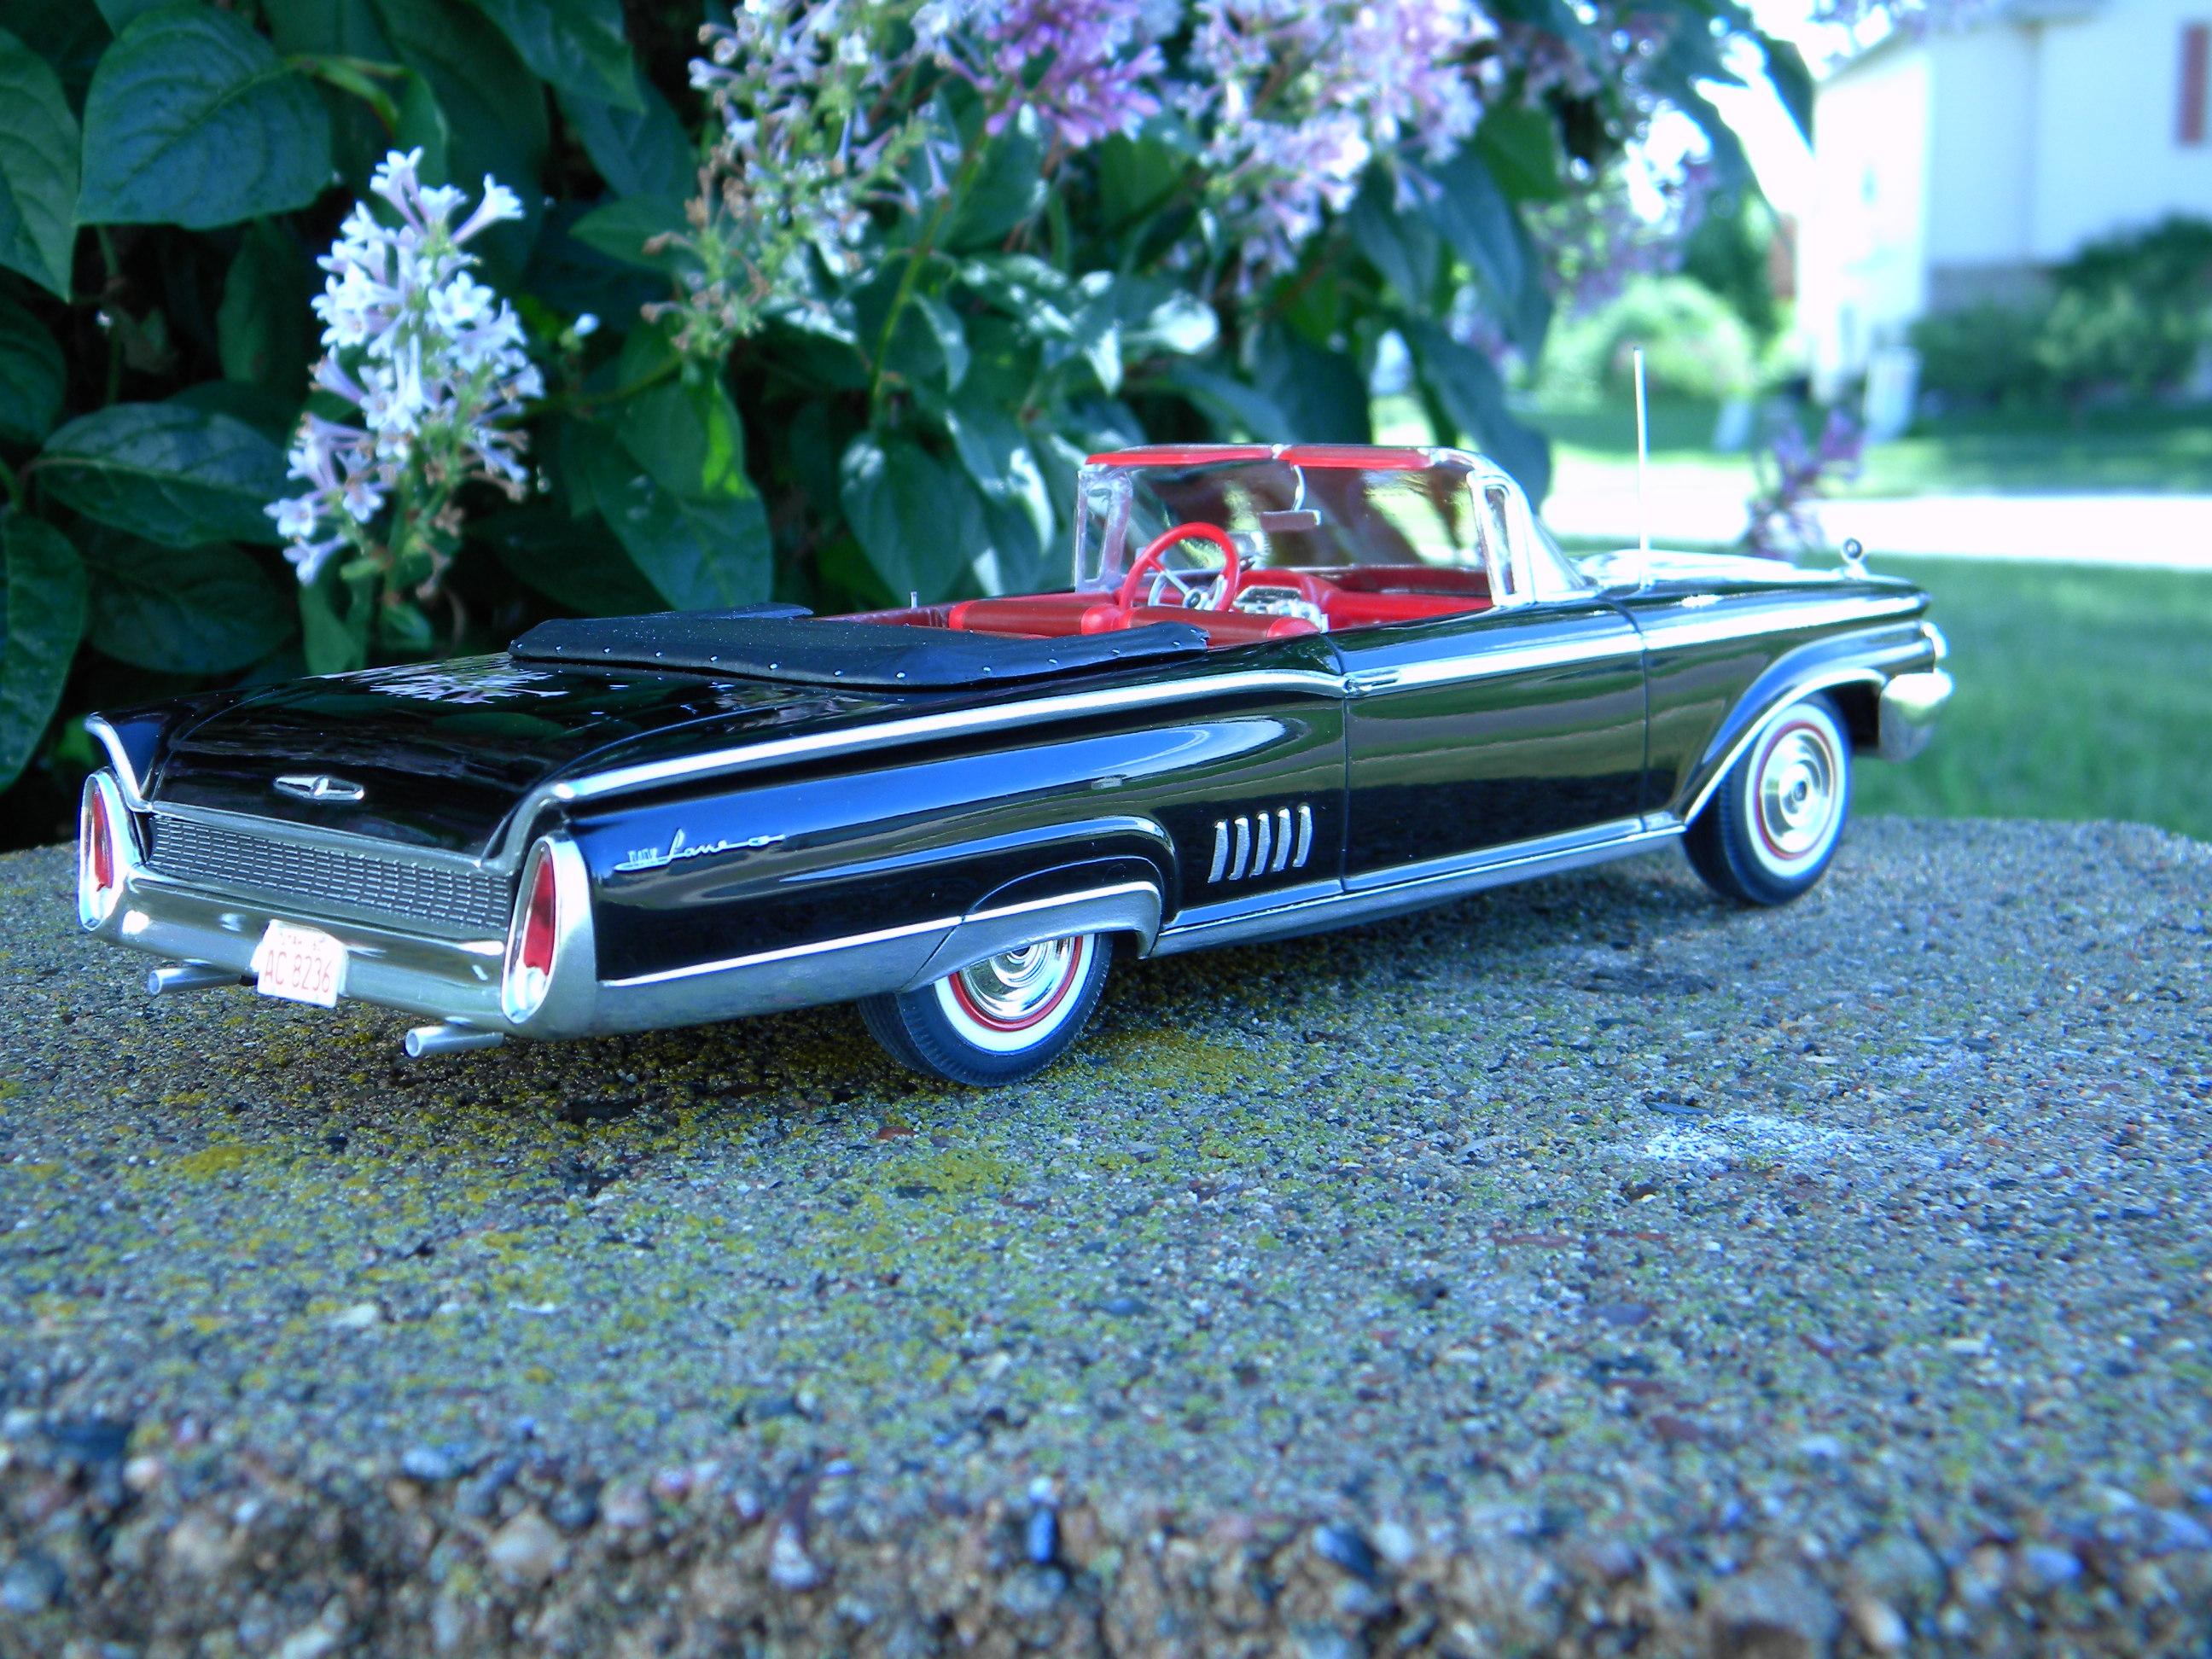
I agree. From the photo I'm seeing above, I think that your fear of ending up with a silver patch instead of a crisp script are more likely than not. Here is a photo of the same model that I painted some years ago using my version of this technique. One misconception that people sometimes have is that every technique works the same with other techniques regardless of the materials used, but that is absolutely not the case. Often a particular trick will not work well, if at all, depending on the materials or application of the technique. I don't want to tell you it won't work, and it may work well enough for you, but sometimes adjustments have to be made to get the best results that you possibly can. In this case, I think your foil is too thick and not adhering to the script as closely as it should, and depending on the paint that you are using, there's a fair possibility that you're not going to be happy with the end result. Another warning is that when sanding and polishing the paint from the script rather than using a solvent, you need to be extremely careful not to go too far. It's relatively easy to sand through the foil back down to the plastic. By the way, this technique is perfectly applicable to aerosol paints. This '60 Mercury was done exactly as I described using Duplicolor paints right out of the spray can. Steve
-
Congrats Steve Guthmiller
StevenGuthmiller replied to Classicgas's topic in General Automotive Talk (Trucks and Cars)
Thank you Lee. I have to be honest and say that it was a complete surprise to me that would have remained unknown to me if I had not been notified of the fact by Tim Boyd. I do not subscribe to the magazine and have not seen the photos, but I suppose that I should obtain a copy just for posterity. ? I suppose you could say it’s been a good month for me as not only did the Galaxie make the pages of FSM, but my ‘65 Fury made the cover of the latest MCM, and apparently my ‘68 Olds 442 will make an appearance in the next issue of MCM magazine as part of their NNL North coverage as well. I’m humbled and honored by all of this recent recognition! Steve -
Yup. Sometimes you need to work out the best practice for yourself depending on the products that you’re using. All that we can do is offer you our tried and true methods that have been formulated by us over many years and through many trials. Steve
-
That’s only true if you’re using thick paint and laying it on heavy. I use automotive lacquers and will consistently have 5 coats of primer and as many as 5 coats of color before any foil goes over the script whatsoever. If you take a look at my most recent ‘64 Pontiac Grand Prix build, you won’t find a finer script anywhere than the “Grand Prix” scripts on the front quarter panels, yet they were done exactly as I described. I have to say that problems with detail hide can be avoided completely with good paint products and application techniques. Steve
-
My advice would be to use BMF. And in any case, it will be much easier to apply the foil right before your final color coat. It’s a lot easier to remove one coat of paint from the foiled script than multiple coats. Steve
-
If I had to pick just one, It would no doubt be my rarest and most valuable kit, as well as one of my favorite models in my collection. Steve
-
Thanks much Tim. I suppose that I’ll have to pick up a copy of this one as well. ? Steve
-
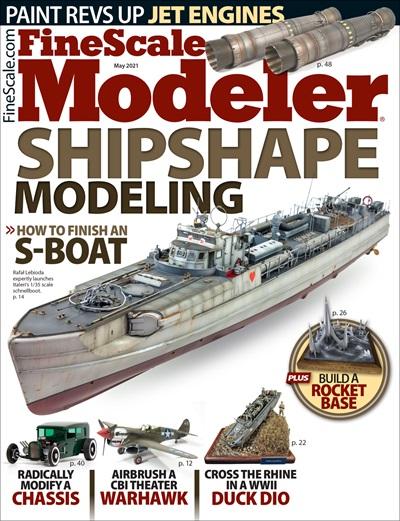
By the way Tim, is this the issue?