StevenGuthmiller
-
Posts
15,086 -
Joined
-
Last visited
Content Type
Profiles
Forums
Events
Gallery
Everything posted by StevenGuthmiller
-

Photobucket
StevenGuthmiller replied to Scalper's topic in General Automotive Talk (Trucks and Cars)
I got you Bill. Just wanted to voice my opinion on the subject. The practices of a particular business interest me almost as much as the product does. If the "reprehensible" acts outweigh the usefulness of the product, I'm out. In this circumstance, it was a no-brainer for me. And to compound the situation, now they have the gall to send constant emails to all of the "non-paying" potential customers that THEY alienated and now want them to come back to them? That would be funny if it wasn't so ridiculous! Steve -
A special section where people can go and pet virtual puppies and color "Rainbow Pony" pictures if they are offended might be helpful. Steve

-
Photobucket
StevenGuthmiller replied to Scalper's topic in General Automotive Talk (Trucks and Cars)
It was unforgivable because it was an act of bad faith to begin with, regardless of whether I was affected or not. I have all of my photos on my hard drive so it didn't affect me in the least. I could care less what they do with my photos that they still have. When a company.....any company, starts disregarding and gouging patrons, whether they were paid customers to that point or not, it shows me that they have zero respect for anyone. Respect is a two way street, and Photobucket has shown no regard for anyone except themselves with this stunt. No disrespect Bill, because I love you like a brother, but I think your opinion of them might be different if they hit you up for their $400.00 annual premium tomorrow. Steve -
If they really want some true encouragement, asking respondents to offer tips and techniques on how to improve their builds will go a heck of a lot further than a "nice job" comment. A "nice job" along with a "maybe try a wash on the grille next time" is a lot more useful in this regard. But as we know in our PC world, that's not acceptable without permission......from someone. Steve
-
Yeah, that sounds a lot like "affirmative action" for modelers. No thank you! Steve
-
Well get with it folks!! Membership is free!!! Steve
-
Photobucket
StevenGuthmiller replied to Scalper's topic in General Automotive Talk (Trucks and Cars)
The way that Photobucket handled this was unforgivable under any circumstance. I wouldn't go back to them now if they paid me $2.99 a month! It's the principle. I get the fact that they might want to "clear out the deadbeats", but a normal operation that might seek to gain some paying customers instead of alienating everyone might want to offer a reasonable deal instead of threatening to hold their photos hostage unless they are paid an exorbitant ransom! I have no issue with paying for a service, and I do with Fotki. But after the stunt that Photobucket pulled, they're dead to me under any and all circumstances. They get no second chances with me. There are plenty of fish in the sea, as they say. Steve -
I see that Photobucket is back to their extortion tactics again. I've been getting tons of emails from them lately. I haven't even acknowledged their existence for the past couple of years. They can eat my shorts and die!! Steve
-
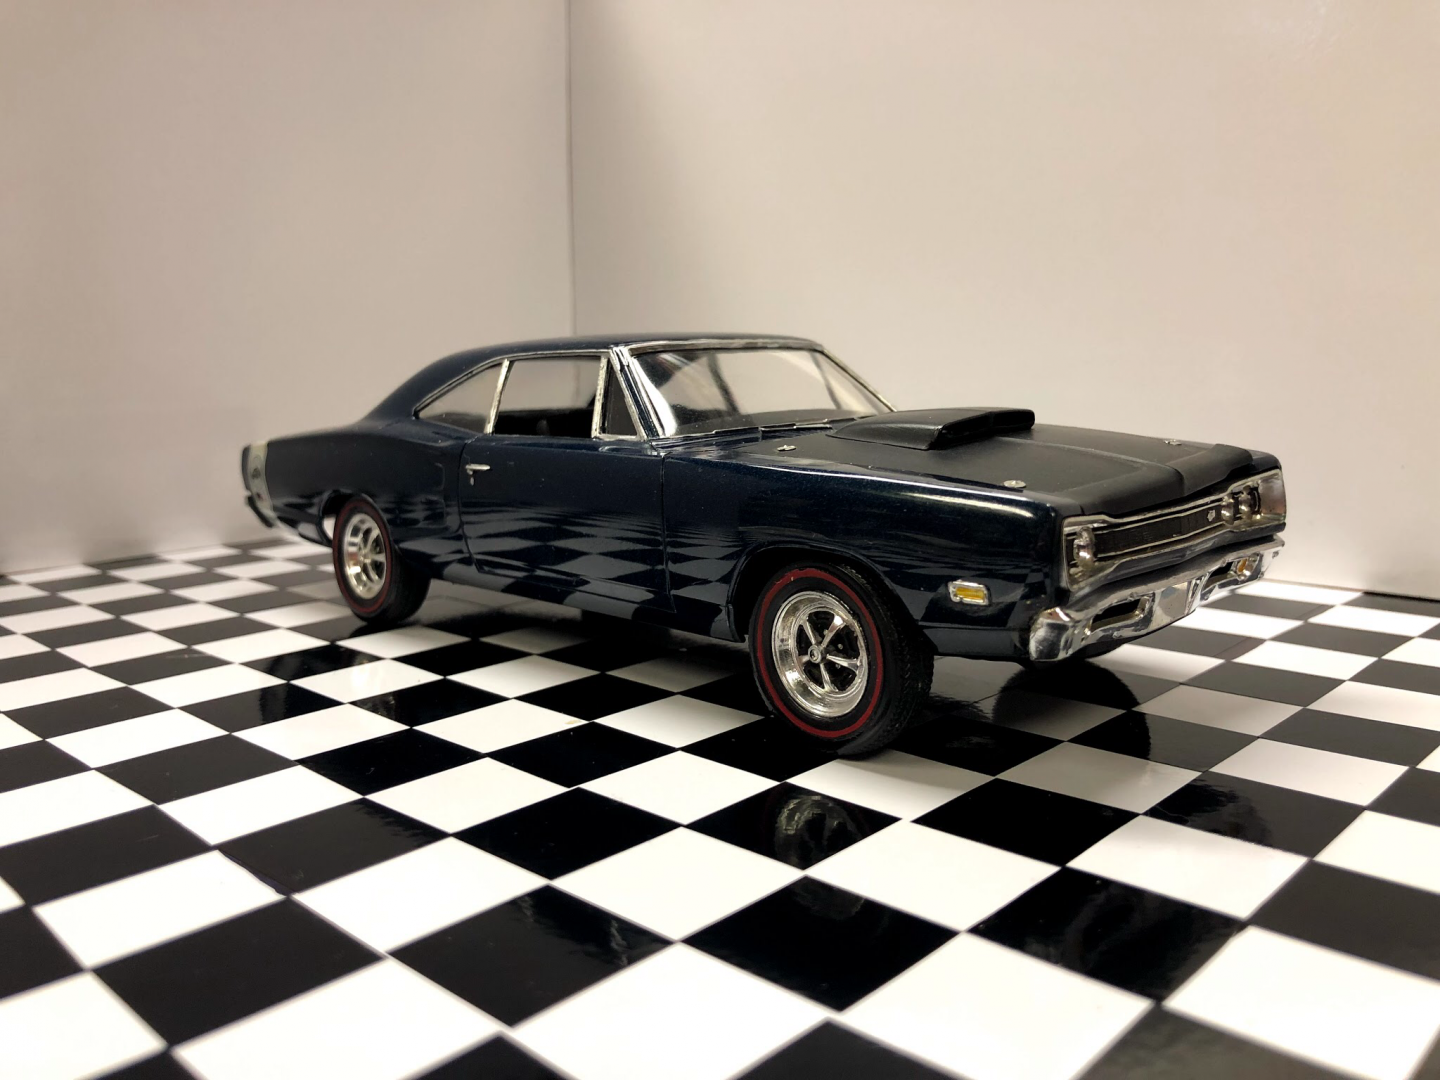
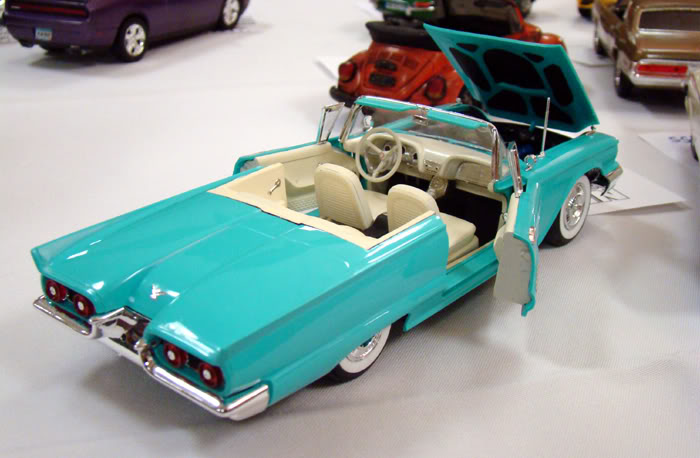
Sorry Lee. Don't get excited. I just typed the wrong name in my response. I was thinking of someone else at the time. No disrespect intended. By the way, the T-bird is not mine. The '61 Fury is mine, so I guess we're even. And on the color note, I think that we can all agree that there are a ton of models built all of the time with incorrect colors. Steve
-
'65 Fury. Back on the Bench.
StevenGuthmiller replied to StevenGuthmiller's topic in WIP: Model Cars
Thank you Bob!! You don't know how much I appreciate the help with the gauge faces! It made a huge difference! Would you like to try your hand at an air cleaner decal for a 1968 Olds 442 W-30? That will be my next project and there doesn't seem to be one in existence. Name your price! Steve -
They are definitely way over due!! Steve
-
I wondered how this was done. I was prompted to try the dye method several years ago, but clear coat was never mentioned. As you can imagine, I had no luck!! Steve
-
Do you know if this is the type of casting that Fireball does? I really appreciate your work on trying to work something out to bring us some mirrors, which I would be more than interested in. I'm only curious. It's obvious that Joseph could cast nearly anything successfully after getting a look at the detail on his carburetors! Steve
-
Absolutely do not let anything stop you from showing your work here Mike! If you are truly interested in improving your skills, ask for any tips or suggestions on things that you can do to improve on future builds and you'll get suggestions for techniques that you never knew existed! Think of the board as a "modeling class room" and you will learn things that you never knew possible. I surely have. Occasionally, I will have someone thank me for suggesting a tip or technique. I can tell you right now that not a single one of those techniques was invented by me. Every one is a direct copy or variation on a technique that someone else had already tried or perfected. Steve
-
Well thank you Ray. I appreciate the tribute. But personally, I can see nothing about the T-Bird that tells me that it could not just as easily be a very nice aqua paint job. Steve
-
It has gotten too the point where I will try to refrain from posting any kind of comments at all on the large majority of "Under Glass" threads. Unless it is someone that I know, or have interacted with in the past, or if they have expressed genuine interest in the contribution of ideas, it has just become a mine field. Generally, I will offer any help that I can with correcting any glaring problems with a particular build, or at least offer some help for the next one if I have anything to offer. But in today's world, if you don't have express permission to critique, or have a friendly relationship with a particular individual that you are offering advice to, you're much better off just saying nothing. Personally, I have always invited all contributions of ideas on my build threads and accept all critiques of my finished builds. I will learn nothing if I cannot accept examination of my work. To all posters on the board, if you are interested in an actual assessment of your work, please ask for feedback. If not, chances are high that you will not hear from many of us. In my opinion, if you are just here for the pats on the back, you will get little value out of a forum such as this. I cannot tell you how much I have learned, and how much my building has improved since joining this board, and a lot of it was from people "piping up" when they see something that could be improved. I say , "bring it on!" Steve
-
'65 Fury. Back on the Bench.
StevenGuthmiller replied to StevenGuthmiller's topic in WIP: Model Cars
Thanks so much everybody! Haven't done any work on the Fury for the past few days. My only daughter was married this weekend, so as you can imagine, that has taken up all of my time for the past few days! The fuel filters were scratch built using nothing more than short pieces of styrene rod. The main body of the filter is a piece of 2mm rod cut into about 3mm lengths, drilled out from end to end large enough to accept the fuel line and then eased, or rounded on the ends by sanding a little. The ring, or seam around the middle was made with a larger diameter rod, drilled out large enough for the body of the filter to slip through it, glued in place and then sanded down to the right size. Pretty simple construction, but pretty small and a little difficult to handle. Steve -
Nobody that I know of. I have been hoping that possibly a really great resin caster like Joseph Osborn. (Fireball Modelworks) will at some point start offering a few nice mirrors. Until then, I have been resorting to trying to make my own. Steve
-
The bottom edge is visible in these close up photos on a white background, but you will never notice it with the naked eye once installed with an interior behind it. Steve
-
How high will it go?
StevenGuthmiller replied to Brutalform's topic in General Automotive Talk (Trucks and Cars)
Absolutely! We all have our own attitudes and techniques. Whether they are building techniques, or bidding techniques, they are all avenues towards the same goals Steve -
How high will it go?
StevenGuthmiller replied to Brutalform's topic in General Automotive Talk (Trucks and Cars)
That's all moot if you are disciplined enough to throw out the absolute maximum amount that you are willing to pay and just plan on paying that amount if you win. If you win and your max bid has been reached, then you've won. If you get it for less than your max bid......bonus. If someone else wants to play those games, I invite them to. It matters little to me one way or the other. They are model cars. They're really not all that important in the end. There are always going to be those people sitting in the shadows waiting to snipe you in the last second, and there are always going to be those who "talk themselves into" upping the price. I just elevate myself above all of that drama, place a bid, and let the chips fall where they may. Try it sometime. It does wonders for keeping down the blood pressure. I suspect that there are different personalities at play here. I have no interest in gaining any kind of advantage. It's not a game to me. I'm just looking to acquire the items that I want for the amount that I feel that the item is worth. Steve -
How high will it go?
StevenGuthmiller replied to Brutalform's topic in General Automotive Talk (Trucks and Cars)
I add the sellers shipping fee in as part of the bid that I offer. What difference does that make? Your max bid is your max bid. It makes absolutely no difference at what point you offer it. If I come across an auction on day one that is starting at $9.99 and I am willing to pay $150.00, that's my bid. Yeah I know, people will "fish", looking for the high bid to go a couple of dollars over the maximum bid, but I really don't care what everyone else does after I place my bid. If someone wins it for $150.01, that's 1 cent more than I am willing to pay anyway, so they can have it. It's worth my peace of mind just to bid whenever I run across an item that I'm interested in, and leave it at that. Granted, there is the possibility that I may have been able to get the item cheaper if I had waited until late in the auction, but this is also the most likely way to get drawn into bidding more than you originally intended. Steve -
I don't agree. I don't believe that without being told, you would have ever been able to tell that at least these models were not painted, at least from the photos. It's easy to say that in hindsight, but without being supplied that information beforehand, I don't think that you would have been able to make that determination. I consider myself to have a pretty good eye for this sort of thing, and I would have never known without being told. Steve
-
How high will it go?
StevenGuthmiller replied to Brutalform's topic in General Automotive Talk (Trucks and Cars)
That is probably the best strategy for anybody who is on any sort of budget and doesn't want to get into one of those "bidding wars" that some people fret about. As I've stated before in other threads, you can only become involved in "bidding wars" if you are a willing participant. This is the way that I always operate when bidding on ebay. Decide on the highest price that I'm willing to pay, place that bid and walk away. Simple as that. Steve -
Help with ID'ing a hood
StevenGuthmiller replied to Lordmodelbuilder's topic in Model Building Questions and Answers
Most likely AMT 1961, possibly '62 Ford. Could be '61-'62 Mercury too. Steve