StevenGuthmiller
-
Posts
14,980 -
Joined
-
Last visited
Content Type
Profiles
Forums
Events
Gallery
Everything posted by StevenGuthmiller
-
 Looks like an easy one to strip. I don't see any primer inside of the body, or anywhere for that matter, which leads me to believe that it's enamel. An over night soak in Super Clean should have it looking like brand new plastic in a heart beat. Steve
 -
'65 Fury. Back on the Bench.
StevenGuthmiller replied to StevenGuthmiller's topic in WIP: Model Cars
On to a little bit of interior work. Started to add some carpet. So far just the seat backs and door panels. Hopefully I can finish up the console and floor later this evening. Steve -
'65 Fury. Back on the Bench.
StevenGuthmiller replied to StevenGuthmiller's topic in WIP: Model Cars
The brackets are finished and in place along with the rear suspension. The shocks will require a little adjustment before installation. The scratch made exhaust is interfering with their alignment just a slight bit. Steve -
How to fix clear coat issue
StevenGuthmiller replied to DDD's topic in Model Building Questions and Answers
Entirely possible Snake. I don't use any sand paper for polishing, so I never really thought about it. Steve -
Very nice Bill!! I won't ask what you paid for it, but my guess is that it was still not what would be considered cheap. Looks like it is in very nice shape! Great to see that it included the up top! Steve
-
How to fix clear coat issue
StevenGuthmiller replied to DDD's topic in Model Building Questions and Answers
I think you're right Doug. 1000 grit is pretty course for polishing. The coarsest grit in the Micro Mesh polishing kit is 1500 and I never use them. As a matter of fact, I rarely start with anything coarser than the 3200 grit. The coarser the grit you start with, the more scratches you will need to remove as you progress to finer grits You will get a finer finish doing it as you suggest. Start with 3200 if necessary. The finer that you can get away with the better. Then work your way down through 3600, 4000, 6000, 8000 and 12000. This will give you a very nice finely polished surface. Follow up with Novus polish and you're golden! Be very careful on high points and body creases to avoid polishing through the color. Yes, you can polish in the same direction with each grit. I do it all of the time. By the way, looks as if you sprayed on the clear in too heavy of a coat. That would explain the bubbles in the clear coat where the paint pooled. Steve -
Most beautiful planes of all time...
StevenGuthmiller replied to Matt Bacon's topic in The Off-Topic Lounge
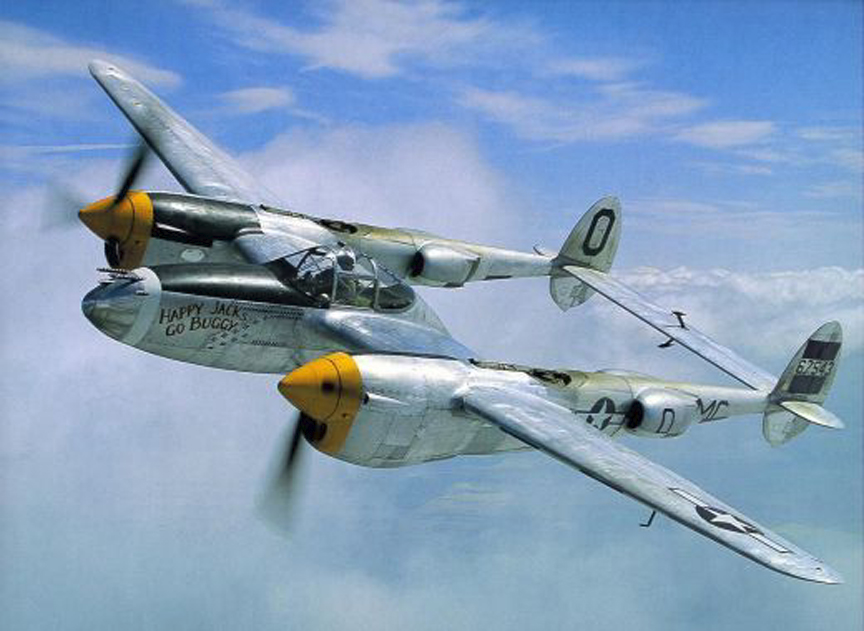
A few of my favorite planes from WWII. Steve
-
'65 Fury. Back on the Bench.
StevenGuthmiller replied to StevenGuthmiller's topic in WIP: Model Cars
Thanks Ray! The trick is to drill the holes before cutting the parts to shape. I took a strip of plastic, drilled the holes in one piece about the distance apart that I wanted, and then laid the next strip next to it to mark the holes for the next strip, and so on. After all of the holes were satisfactorily drilled, I cut the pieces to size. I rarely get out my ruler for parts like this. It's all kind of "free hand", by eye. Steve -
'65 Fury. Back on the Bench.
StevenGuthmiller replied to StevenGuthmiller's topic in WIP: Model Cars
Yes, I am still working on this project. It just seems that every time I have a few minutes that I could be spending at the bench, the lawn needs mowing again!! But I have continued to sporadically work on the foil on the body and have started some assembly of the chassis. After playing around with the chassis a bit and checking the stance, I decided that the rear of the car needed to be raised slightly. I suppose I could have taken the easy route and glued some blocks between the rear springs and the frame, but why do in a few minutes what you can spend an hour on! Making some rear shackles seemed like more fun! I'll pin them to the rear springs after a little more refining and some paint. Steve -
Nice find Mike! The '60 Plymouth Fury is not an easy one to find anymore! I think you're correct in thinking that they are both built kits. Steve
-
Patriotic Paint Jobs
StevenGuthmiller replied to OldNYJim's topic in General Automotive Talk (Trucks and Cars)
I remember when my uncle purchased one of the "Spirit of America" Bicentennial edition Chevy Novas brand new! 1974 or '75 I believe it was? Steve -
Most beautiful cars of all time
StevenGuthmiller replied to El Roberto's topic in General Automotive Talk (Trucks and Cars)
As they say, beauty is in the eye of the beholder. I personally think that the Lamborghini Countach is one of the ugliest Italian sports cars ever built. I suppose for the time it was a sleek design, but to me it has always looked like a bunch of milk cartons stapled together. Steve -
Sizing Images for Decals
StevenGuthmiller replied to StevenGuthmiller's topic in Model Building Questions and Answers
Just thought that this might be a good place to post a photo of how the photo reductions that Bob sent me worked out. I'm happy with them! Steve -
What Did You Have for Dinner?
StevenGuthmiller replied to StevenGuthmiller's topic in The Off-Topic Lounge
For me it was beer brats, potato salad, macaroni salad, watermelon, bacon jalapeno poppers, and pumpkin bars with cream cheese icing for desert. All washed down with a few cans of Hamm's beer! Steve -
How Do You Maneuver The Board??
StevenGuthmiller replied to Tom Geiger's topic in How To Use This Board
Makes perfect sense to me. There are specific sections for a reason. Steve -
Alsa Easy Chrome
StevenGuthmiller replied to SfanGoch's topic in Model Building Questions and Answers
I agree. There's no comparison to the real deal.......so far! Steve -
Yup, I understand that. Many times when a auction has ended or is taken down for whatever reason, the original link will take you to an entirely different auction within the general scope of the original one. But that said, I have seen mistakes like this one where the seller will later correct the mistake and put the corrected auction up at a later time. Steve
-
How Do You Maneuver The Board??
StevenGuthmiller replied to Tom Geiger's topic in How To Use This Board
I skip a whole bunch of topics! I'm not interested in everything, and I only have so much time to spend on the forum, so when I log on, I quickly check the Off Topic Lounge, Car Kit News and Reviews, Car Aftermarket/Resin, Trading Post, Wanted, Under Glass, On the Workbench, Model Building Questions and Answers and General sections. On very rare occasions, I'll visit an odd section, but for the most part, if there hasn't been a new post in the sections that I frequent since the last time I visited, I'll skip it........which is part of the reason why I spend almost no time at all on the SA forum! Steve -
The link you provided now takes you to a mint, in box Johan '60 Desoto kit. I've seen this happen before. It's probably nothing more than a case of the seller mixing up some of his items that he has up for sale. Steve
-
What Did You Have for Dinner?
StevenGuthmiller replied to StevenGuthmiller's topic in The Off-Topic Lounge
I could be wrong, but my understanding is that a "true" original Italian pizza should be a thin crust with olive oil, crushed fresh Marzano tomatoes, buffalo mozzarella and fresh basil. Just about every American pizza has way too much cheese and far too many toppings. Steve -
What Did You Have for Dinner?
StevenGuthmiller replied to StevenGuthmiller's topic in The Off-Topic Lounge
You got gypped Joe! Somebody ate half of your sausage! Steve -
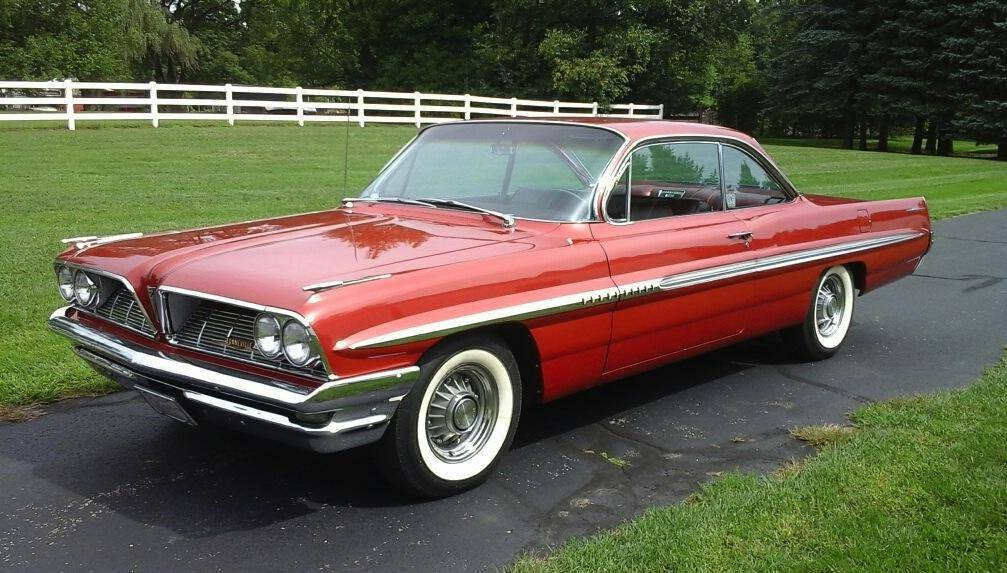
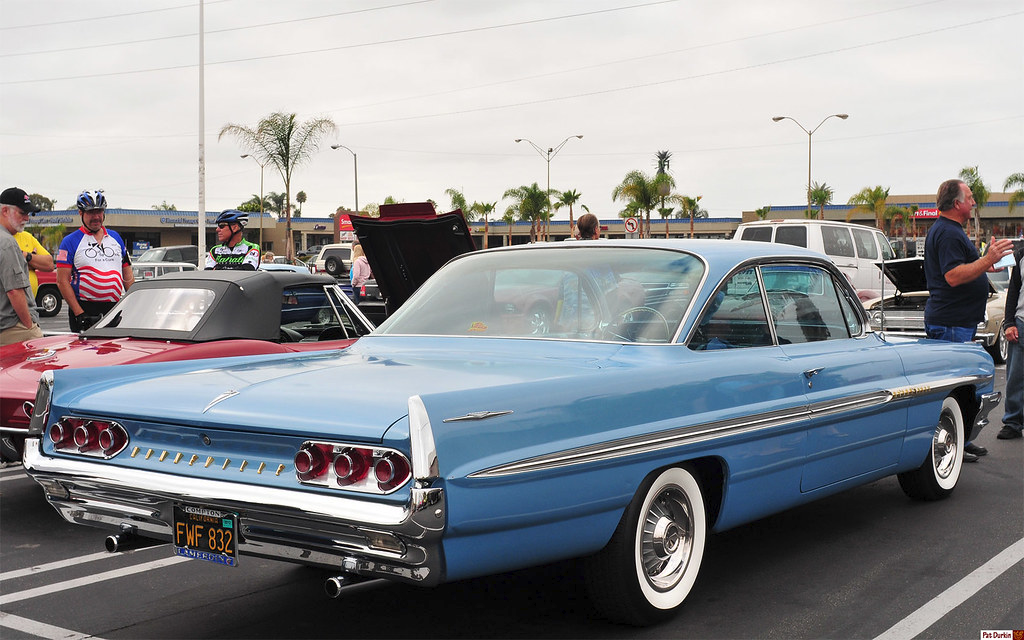
Most beautiful cars of all time
StevenGuthmiller replied to El Roberto's topic in General Automotive Talk (Trucks and Cars)
One of the prettiest cars produced in 1961! But I personally prefer the Bonneville. Steve
-
Small flexible tubing?
StevenGuthmiller replied to TonyK's topic in Model Building Questions and Answers
Craft stores like Hobby Lobby carry a soft flexible "tubing" for jewelry making. It's not actually tubing, as it's not hollow, but the stuff I have is very flexible, black and about the right size for heater hose. I bought a roll of it some time back but never really used any of it because I prefer coated wire which allows for easier routing because it will retain the shape that you bend it to. I think it's called "jewelry cord". Can't find it now. I guess I might have either thrown it out, or moved it someplace. Just look in the jewelry department of your local craft store. Steve -
Chevy Sierra Gold
StevenGuthmiller replied to berr13's topic in Model Building Questions and Answers
Makes sense, but then he wouldn't be able to add any other colors to change the hue. Steve -
Don't get me wrong, I love green! But colors are trendy, and right now it's day-glo green on everything. Just like other trendy colors over the decades, these bright greens will eventually be old news. There are a ton of beautiful greens that will never go out of style. Steve