StevenGuthmiller
-
Posts
15,086 -
Joined
-
Last visited
Content Type
Profiles
Forums
Events
Gallery
Everything posted by StevenGuthmiller
-
 Super Clean is one of the best paint and chrome removers on the market. It's easy to work with and generally yields great results. That said, nothing is perfect for every circumstance, but there's really no better place to start. Don't get conned into Purple Power or Simple Green as a substitute. Anybody who has used them objectively will tell you that they are inferior products to Super Clean. Steve
 -
Try some alcohol on the primer. Steve
-
Iconic cars not kitted
StevenGuthmiller replied to Greg Myers's topic in General Automotive Talk (Trucks and Cars)
My wife had a gold "Le Car" back in college. What a pile!!!! My first motorcycle had a bigger engine than the Renault. The spare tire took up twice as much room under the hood as the engine! I had a good high school friend that bought a brand new Renault in the mid 80s. I forget the model, but he bought it because it was what he could afford at the time. He soon found out that any price was too much!! Let's just say that automobiles are not the strong suit of the French! They should probably stick with cheese! Steve -
Max 2K Clearcoat Gone Wrong
StevenGuthmiller replied to 69NovaYenko's topic in Model Building Questions and Answers
Use a different clear coat. I have always had pretty good luck with Duplicolor clear top coat in a rattle can. I haven't tried it yet over Scale Finishes paint, but will be soon. Of course, you can't use Duplicolor clear lacquer over enamel, so unless you're using an automotive type lacquer color coat, the Duplicolor will not work. I'm pretty certain that it won't work over decals either. You would have to apply your decals after clear coating. Steve -
Matte and Satin Black
StevenGuthmiller replied to porschercr's topic in Model Building Questions and Answers
I bought a can of this Rustoleum "High Performance Enamel" flat black a few months ago to paint some fireplace parts. Naturally I had to try out the leftovers on some kit stuff and I was pretty impressed. It laid down nice and smooth and even. Works pretty nice! Steve -
I agree Bill. My paint jobs consist of Multiple coats of primer, paint and clear coat, (as many as 15 coats in all) and while I suppose it would speed up the process to dry each coat in a dehydrator, I always have plenty of other things to do during the course of a build. While a coat of primer or color dries for a couple of hours, or over night, I can be working on chassis, engine or interior assemblies. There's never a shortage of things to work on, and I'm never in a hurry. Besides that, my shop is too small already. Another piece of equipment to trip over is not appealing to me at this point. Steve
-
'65 Fury. Back on the Bench.
StevenGuthmiller replied to StevenGuthmiller's topic in WIP: Model Cars
All that I can do Tom, is tell you what works for me. As you know, there are as many different painting techniques as there are modelers. Steve -
You're right Bill, I should have been more specific in my statement about enamels by stating that I was referring to good old fashioned Testors gloss enamel spray paint. The flat enamels, of course, dry much faster. I can't really attest to how fast the bottled gloss enamels dry because I use very few of them, and when I do, it's usually from an airbrush thinned with lacquer thinner. I guess I've just never felt the need to have to rush things along with a dehydrator. I've never been in that much of a hurry and mother nature does just fine by me. Who knows, maybe some day I will change my mind. Steve
-
Nice looking build Bill! You're right about the top seams. A little too thick. But it can be a little hard to gauge how thick they should be. It could just be me, but the seams appear to be a bit to far "inboard" as well. It appears that they should be out towards the drip rail a little farther. But I suppose it could be an illusion caused by the thickness. Steve
-
'65 Fury. Back on the Bench.
StevenGuthmiller replied to StevenGuthmiller's topic in WIP: Model Cars
Thanks Bruce. I agree. With the hundreds of paint disasters that seem to pop up on forums like this on a regular basis, I think if you have found a system that works for you, stick with it! Hopping around between different brands and products seems to inevitably turn to disaster. Trying out the Scale Finishes paint is as big of a step as I'm going to take. To be honest, if it doesn't work well with the other products that I am currently using, I'll ditch it and go back to MCW. I'm not going to start experimenting with entirely new painting systems now that I have one that works! Steve -
1/25 AMT '63 Chevrolet Impala SS Hardtop
StevenGuthmiller replied to Casey's topic in Car Kit News & Reviews
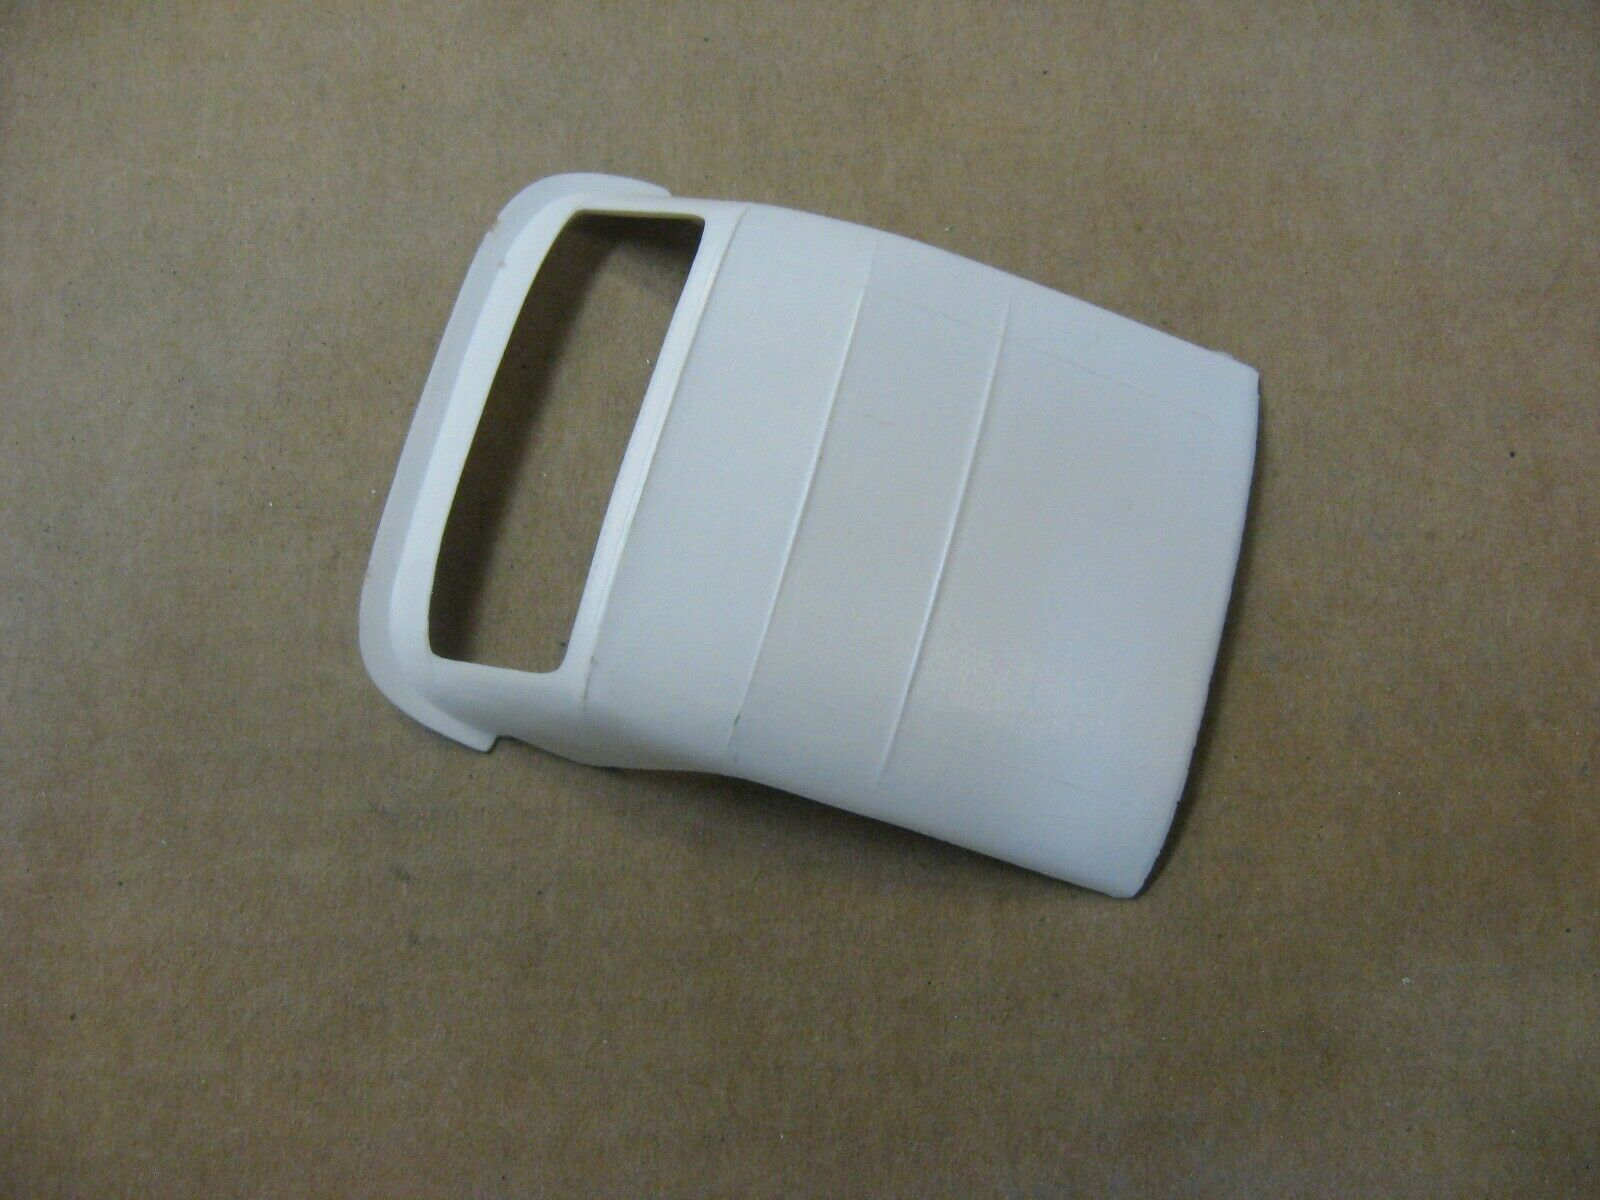
Check ebay right now. Someone is auctioning an original issue AMT 1964 Chevy convertible top boot and an up top. Steve
-
24 hours for enamel is a pipe dream! Maybe to the touch, but not cured. I stopped using enamels years ago because I got tired of waiting 3 months for it to totally cure. Even lacquers require more time than this to cure to the point of being ready for polishing and such. I don't use a dehydrator....don't need one. If you're using lacquer, just be a tiny bit patient and give it a couple of days after the final coat to cure. If you're using enamel, switch to lacquer! Steve
-
Iconic cars not kitted
StevenGuthmiller replied to Greg Myers's topic in General Automotive Talk (Trucks and Cars)
I understand. I only posted these pics of examples of what I consider to be "truly iconic" cars. Steve -
1/25 AMT '63 Chevrolet Impala SS Hardtop
StevenGuthmiller replied to Casey's topic in Car Kit News & Reviews
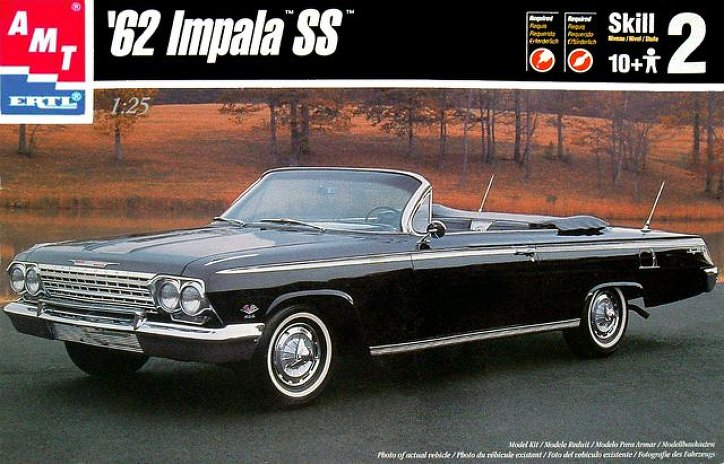
Probably the AMT '62 Impala convertible? Steve
-
'65 Fury. Back on the Bench.
StevenGuthmiller replied to StevenGuthmiller's topic in WIP: Model Cars
I've been using Duplicolor "Perfect Match" protective clear coat for years over Duplicolor and MCW paints with very few issues. I have had a couple of issues with the clear staying tacky for a long time, but never enough to ruin a paint job. It seems that you may have gotten a bad can. Whenever I have had a drying issue with the Duplicolor clear, I got another can and the problem went away. Just a bad batch, which can happen with any product. Steve -
When to remove masking tape?
StevenGuthmiller replied to Ahajmano's topic in Tips, Tricks, and Tutorials
Tamiya tape!! And if you're worried about it happening again, you can lightly run a #11 X-acto blade along the edge of the tape before removing it. But, I've never had this problem using Tamiya tape. Steve -
'65 Fury. Back on the Bench.
StevenGuthmiller replied to StevenGuthmiller's topic in WIP: Model Cars
Finally ready for paint! Sorry to bore you all for the past month with all of the little, (and big) modifications, but I decided that this kit deserves a little elevation......and I just needed to see if I could do it. Surprisingly, I actually had a lot of fun doing these mods! From here on it will hopefully get a little more exciting. Steve -
'65 Fury. Back on the Bench.
StevenGuthmiller replied to StevenGuthmiller's topic in WIP: Model Cars
I just checked the Scale Finishes website Steve. (From the questions and answers section) Q: "What kind of clear can I use with your colors?" A: "My colors are professional grade, solvent based automotive paints, and can be top coated with just about anything." This gives me the confidence that the Duplicolor clear that I love will be compatible. I'll still test, but I'm pretty confident that it will work. Steve -
'65 Fury. Back on the Bench.
StevenGuthmiller replied to StevenGuthmiller's topic in WIP: Model Cars
Thanks Steve. I'll take that under advisement. I sure hope it works. I bought 7 bottles of paint from Scale Finishes, but I have no interest in starting a whole new paint regime. It took me long enough to get this one right! Steve -
1/25 AMT '63 Chevrolet Impala SS Hardtop
StevenGuthmiller replied to Casey's topic in Car Kit News & Reviews
AMT and Johan did a very nice job on all of their annual kits! Steve -
When to remove masking tape?
StevenGuthmiller replied to Ahajmano's topic in Tips, Tricks, and Tutorials
As soon as possible. As soon as the paint is dry enough to safely handle, (usually less than 15 or 20 minutes if you're using lacquer) I remove the tape. It can get very difficult to remove cleanly and without damage as it gets dryer. But be very careful removing it while the paint is still somewhat soft. Steve -
I like the concept of these models, but they're very finicky, and they've been re-popped for so long that the newer issues are absolutely loaded with flash. Steve
-
'65 Fury. Back on the Bench.
StevenGuthmiller replied to StevenGuthmiller's topic in WIP: Model Cars
Sounds like exactly the same stuff as MCW, so I should be good to go. I use the basecoat and Duplicolor clear. Just needed to be sure that it was compatible. Steve -
What Did You Have for Dinner?
StevenGuthmiller replied to StevenGuthmiller's topic in The Off-Topic Lounge
Easy oven meal tonight. Oven BBQ chicken and pork with a baked potato. Steve -
Alsa Easy Chrome
StevenGuthmiller replied to SfanGoch's topic in Model Building Questions and Answers
Just a photo would do Joe. I can gain a lot of useful information from just a good photo. Steve