StevenGuthmiller
-
Posts
15,071 -
Joined
-
Last visited
Content Type
Profiles
Forums
Events
Gallery
Everything posted by StevenGuthmiller
-

Morgan Automotive Detail?
StevenGuthmiller replied to Sidney Schwartz's topic in Model Building Questions and Answers
Whoa!! That makes too much sense!! Steve -
Sources for clear 1/25 headlight lenses?
StevenGuthmiller replied to Monty's topic in Model Building Questions and Answers
I used a 2 part, 5 minute epoxy to make lenses for this ‘62 around 8 years ago. No real sign of any yellowing yet. Not to say that it won’t happen, but it obviously doesn’t happen quickly by any stretch. I use JB Weld “Clear Weld” as a rule, but there’s a possibility that these might have been done with “Laser Bond” UV setting glue. I don’t remember which. Steve
-
Rust-oleum paint
StevenGuthmiller replied to TracerB's topic in Model Building Questions and Answers
I’m of the impression that Rustoleum spray cans were apparently designed for “one shot” use. Spray your lawn chair, and then throw the can out. ? Steve -
Sure, but the problem started with the original color coat. Spray paint over a booger, and you’ve got a painted booger. ? Steve
-
Looks pretty good to me. If it were mine, it would get a couple more coats of clear, and then polished. Steve
-
Morgan Automotive Detail?
StevenGuthmiller replied to Sidney Schwartz's topic in Model Building Questions and Answers
Well, there’s an easy remedy. If you don’t approve of the way that someone does business, take your business elsewhere. The tried and true concept of capitalism. I avoid Walmart at all cost. Nothing political. I just don’t like the way that they do business. Done! Steve -
Rust-oleum paint
StevenGuthmiller replied to TracerB's topic in Model Building Questions and Answers
Yes, I know how to clean a spray can nozzle. They plug up on me in spite of it. Steve -
Rust-oleum paint
StevenGuthmiller replied to TracerB's topic in Model Building Questions and Answers
It’s easier just not to use them. Steve -
Monogram ‘59 Caddy
StevenGuthmiller replied to NOBLNG's topic in Model Building Questions and Answers
The 4 banger in my Honda S-2000 has 40 more horses.? Steve -
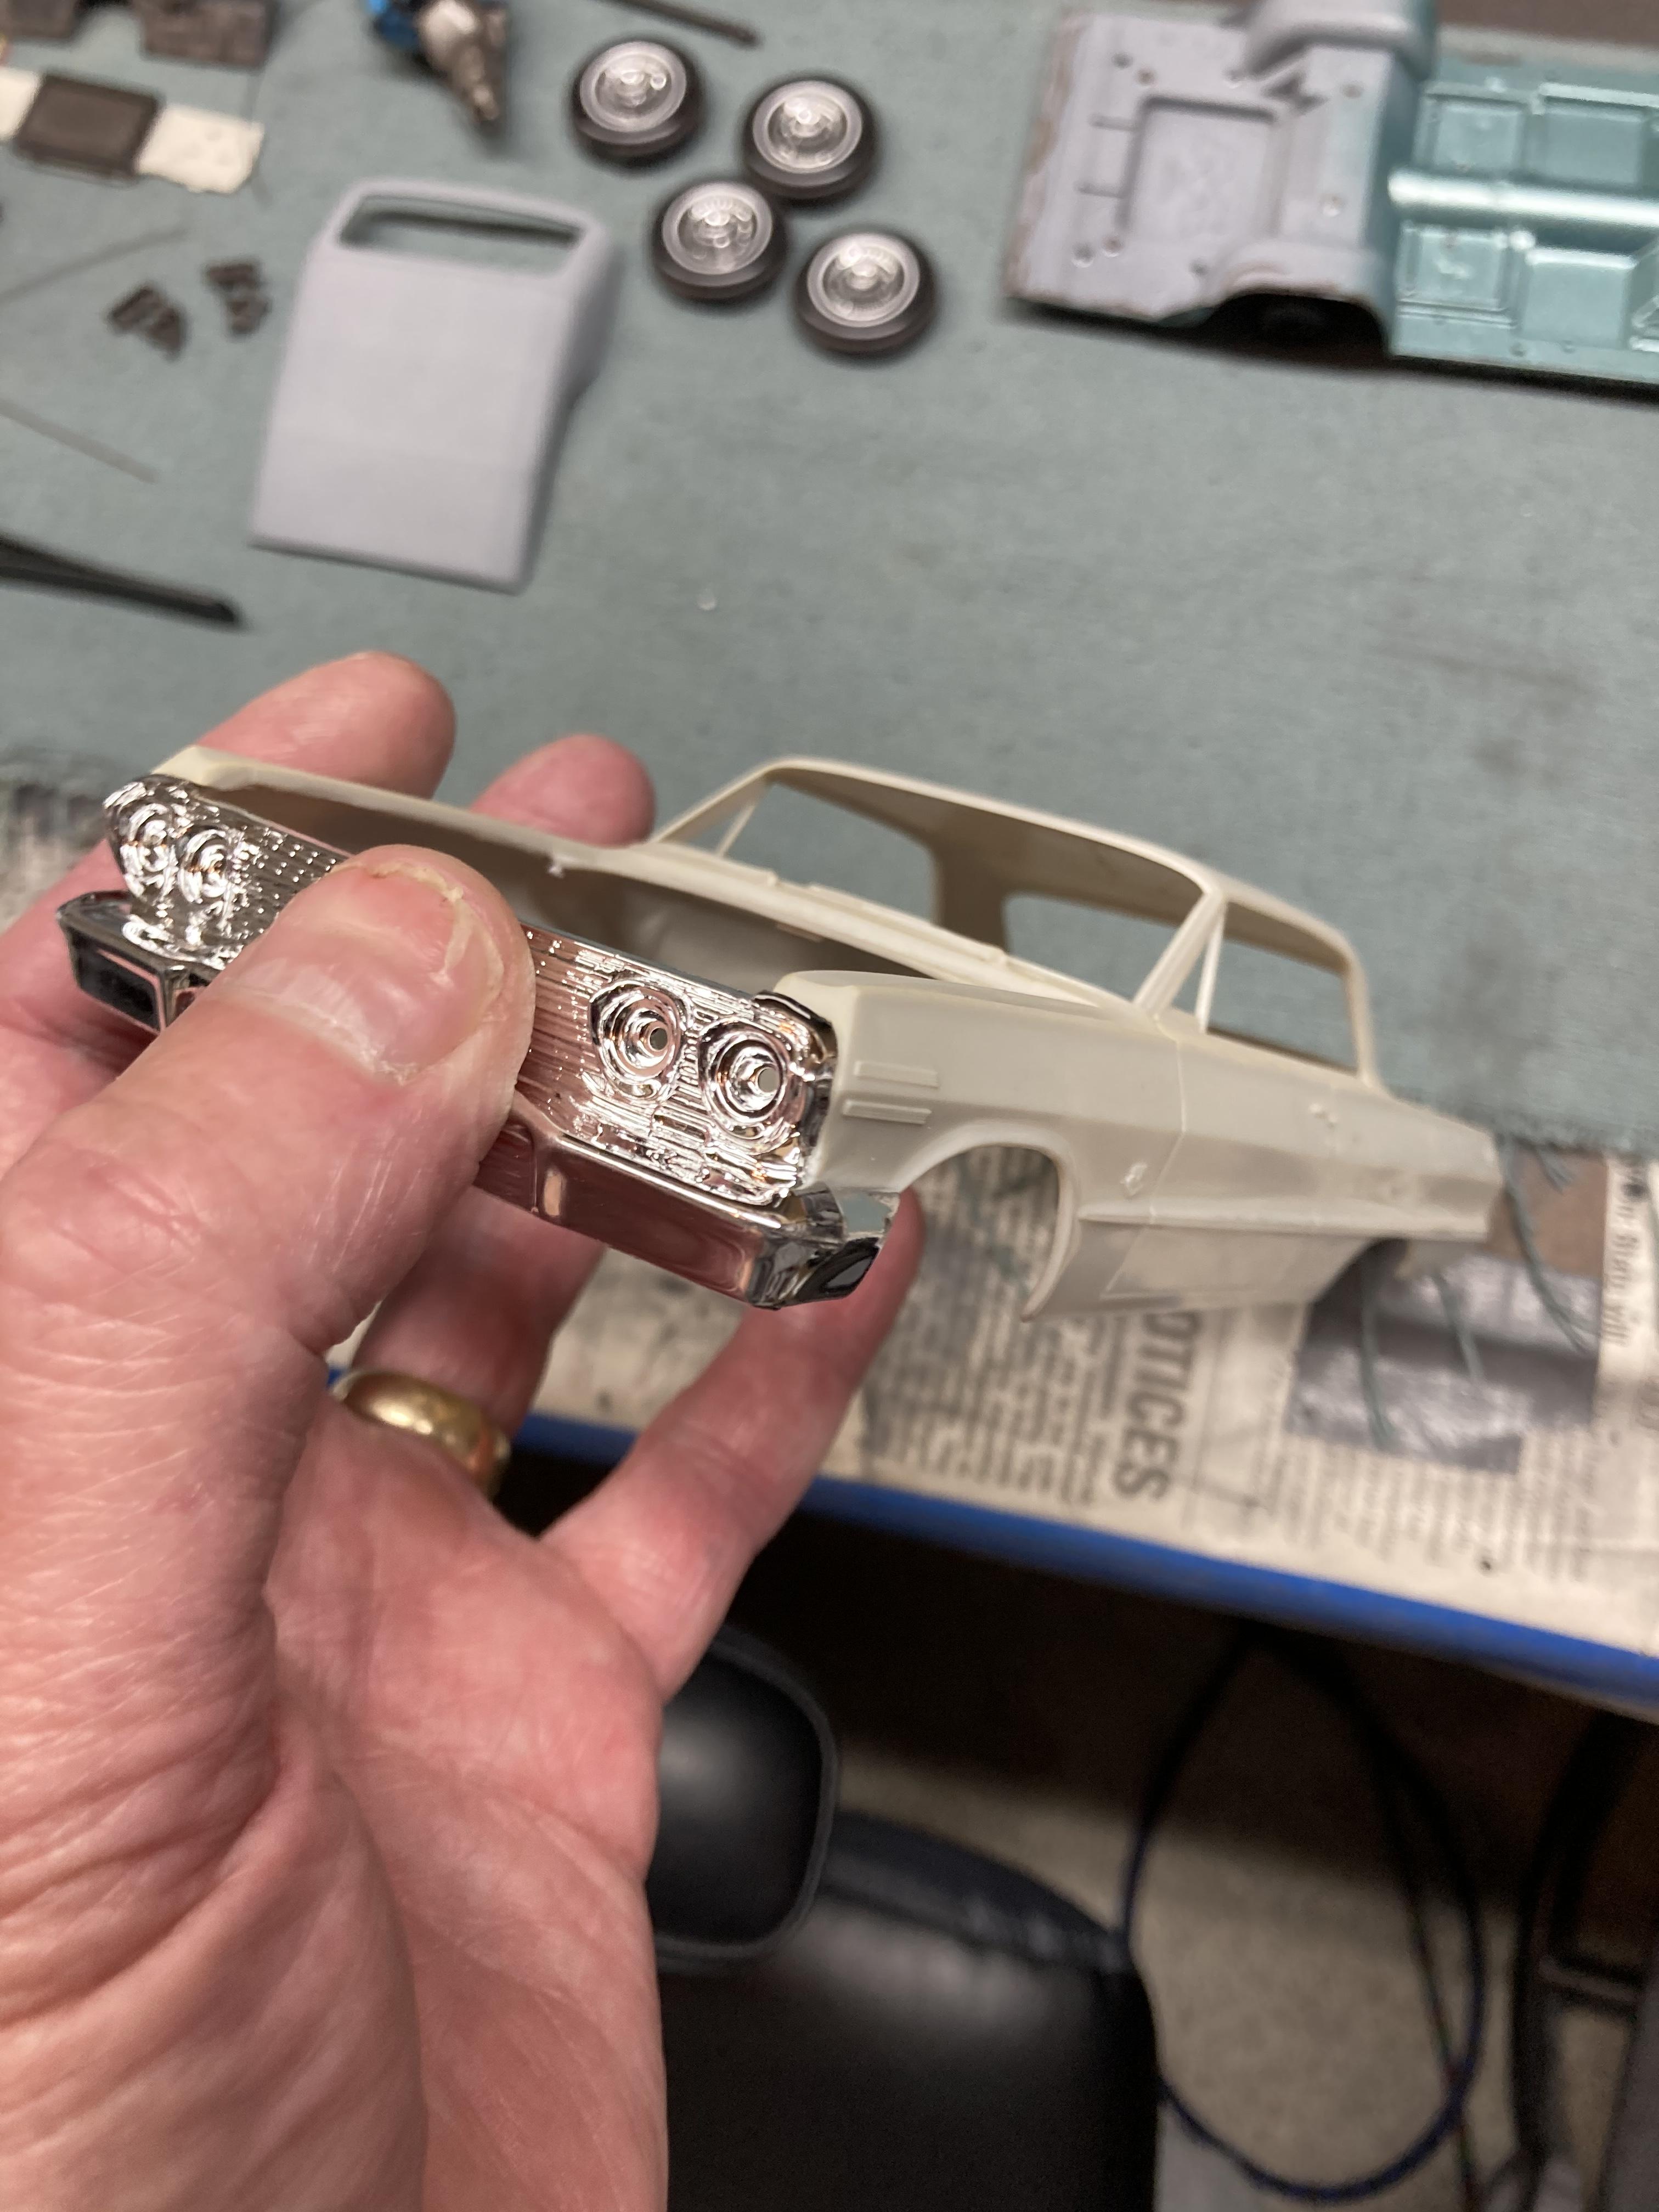
Now I’m starting to think that I should build one of these AMT ‘63 Impalas. Decided to pull out the boxes, and all of the discussed issues in this thread would be easily addressed with some kit bashing. Easy operation to drill out the tail lights and replace with the lenses from the Revell ‘63. The Revell interior is very nice compared to the AMTs, and the chassis from either the Revell ‘63 or ‘64 drops right in. Hell, even the Revell grille fits the AMT! ? Steve
-
That’s the ONLY thing that I would do with the Revell ‘63. (Cannibalize) From the first time I saw the body, I knew something was wrong. Steve
-
Monogram ‘59 Caddy
StevenGuthmiller replied to NOBLNG's topic in Model Building Questions and Answers
Yes, everything’s a sports car these days. Can’t think of a single car today that doesn’t have a console. Bench seats are pretty much a thing of the past, except for some pickups. Steve -
Morgan Automotive Detail?
StevenGuthmiller replied to Sidney Schwartz's topic in Model Building Questions and Answers
Sure, but dealing with someone whom the vast majority of people on this forum consider a reputable and reliable provider, and some random seller on eBay are two different things. ebay can often be a risk because you’re not really sure who you’re dealing with, but when I order something from Kris, or Joseph @ Fireball Modelworks, or MCW, I know that I’m going to get my order sooner or later. I’m also intelligent enough to know that these are side jobs for these guys, they’re human, have lives and problems, and will do the best that they can for me. If that means a month or six weeks, so be it. When I used to send parts out for plating to Chrome Tech years ago, average turn around was 6 weeks, sometimes 2 months. In the age of instant gratification, if we just learn to relax a little and let things play out......well, as Jagger said, “you can’t always get what you want. But if you try sometime, you just might find, you’ll get what you need”. Steve -
Monogram ‘59 Caddy
StevenGuthmiller replied to NOBLNG's topic in Model Building Questions and Answers
I doubt that there was any console available. After all, it’s a Caddy, not a vette. ? Steve -
Yeah, those tail lights certainly wouldn’t slow me down any. Steve
-
It’s my opinion that the Revell kit’s body is out of whack anyway. The AMT body looks more accurate to me. If I felt the need to build a ‘63, I’d use the AMT body, interior from the Revell, (if possible.....I have one) and most likely the rest of the guts from the Revell ‘64. Should make a very nice model. Steve
-
Side-mirror glass template help
StevenGuthmiller replied to atomicholiday's topic in Model Building Questions and Answers
Just lay it facedown on a piece of very thin sheet plastic, (white or clear) and trace around it. Cut out to shape as close to the line as you can, and then slowly and carefully begin sanding around the edges until it fits fairly tight. Stick on a piece of chrome Mylar tape and trim around it tight to the shape you cut, and then glue them in place. Steve -
Morgan Automotive Detail?
StevenGuthmiller replied to Sidney Schwartz's topic in Model Building Questions and Answers
This kind of stuff really irritates me. People get this impression that these small parts providers are Walmart and they moan and whine when their parts don’t arrive yesterday. And then they moan some more when they don’t get immediate reactions from them when they bombard them with emails. Personally, these would be the people that I would be shrugging off if I were offering a cottage service. They’re the ones that are likely to be a thorn in your back side every time they order anyway, so you’re better off without their business, especially when you’re a top notch, established provider and you’ve got plenty of loyal customers and too many orders to fill anyway. Their loss, and good riddance to ‘em. Steve -
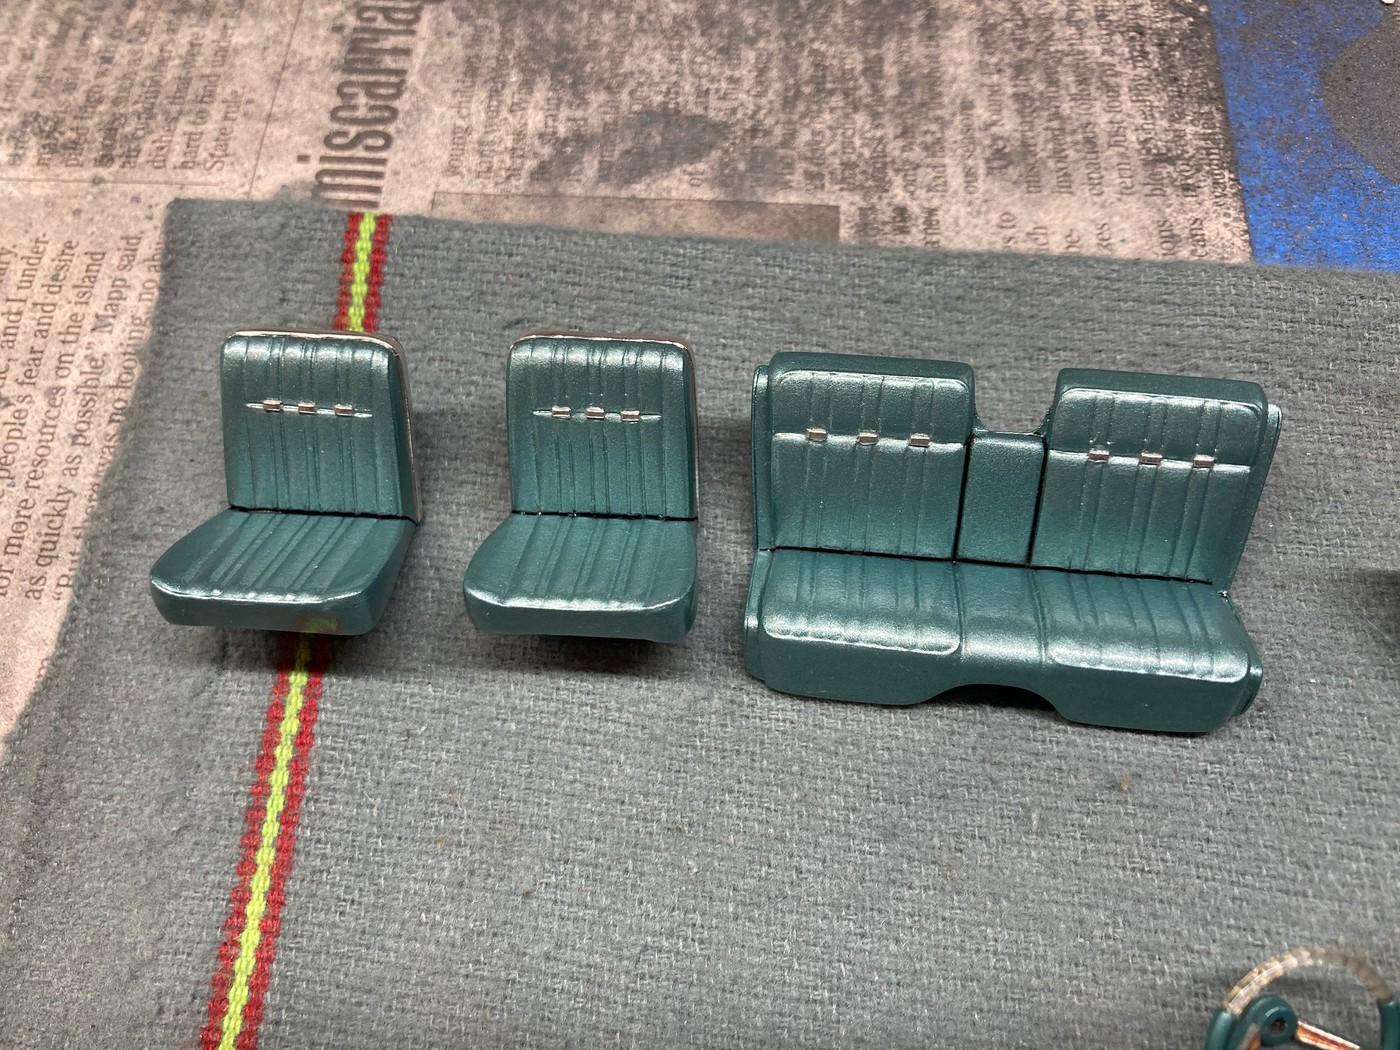
Monogram ‘59 Caddy
StevenGuthmiller replied to NOBLNG's topic in Model Building Questions and Answers
Yes. Both seats are in the convertible kit. Steve -
I used a custom mix of MCW enamel thinned with lacquer thinner for my interior parts. Worked well. Steve
-
I’m starting to think you’re possibly having compatibility problems between your paint and primer or something. If you truly gave it a “wet” coat, there’s no way it should be grainy. My thought is that you got started on the wrong foot right out of the gate by using Mr. Hobby primer under automotive lacquer. Could be a big part of the problem. Steve
-
Monogram ‘59 Caddy
StevenGuthmiller replied to NOBLNG's topic in Model Building Questions and Answers
Not the best pictures, but looks right to me. '59 Eldorado Biarritz. Steve -
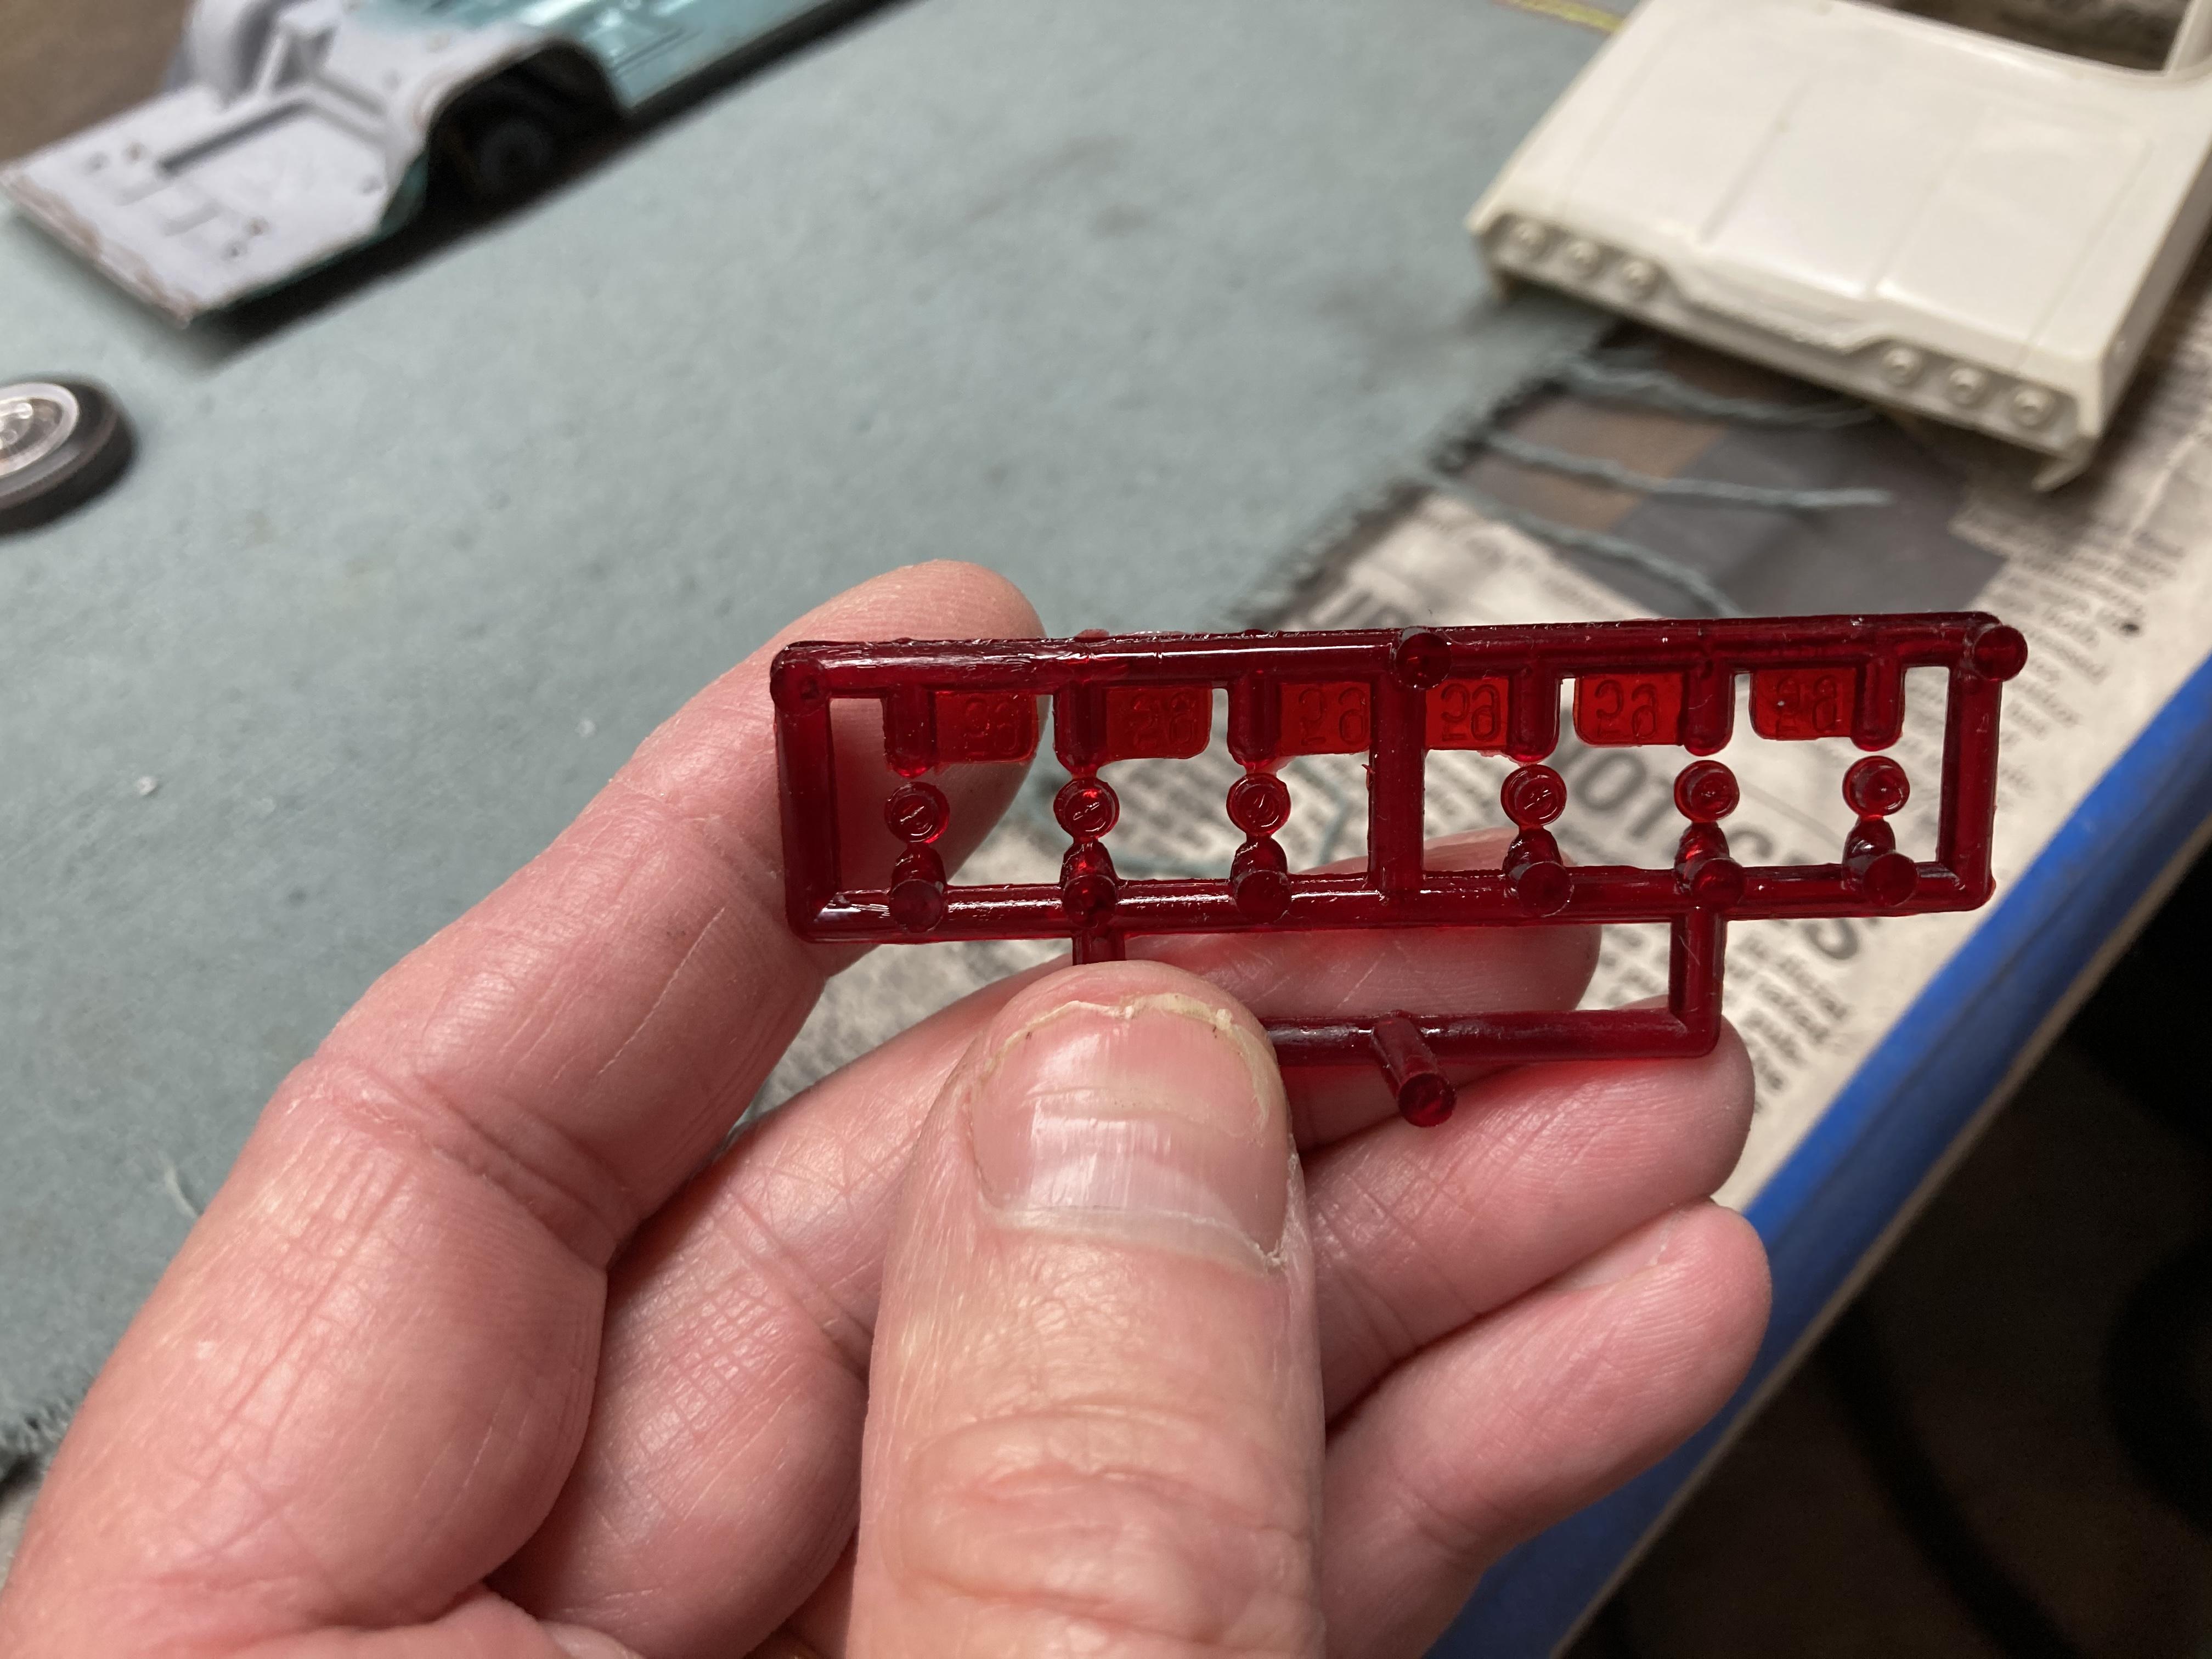
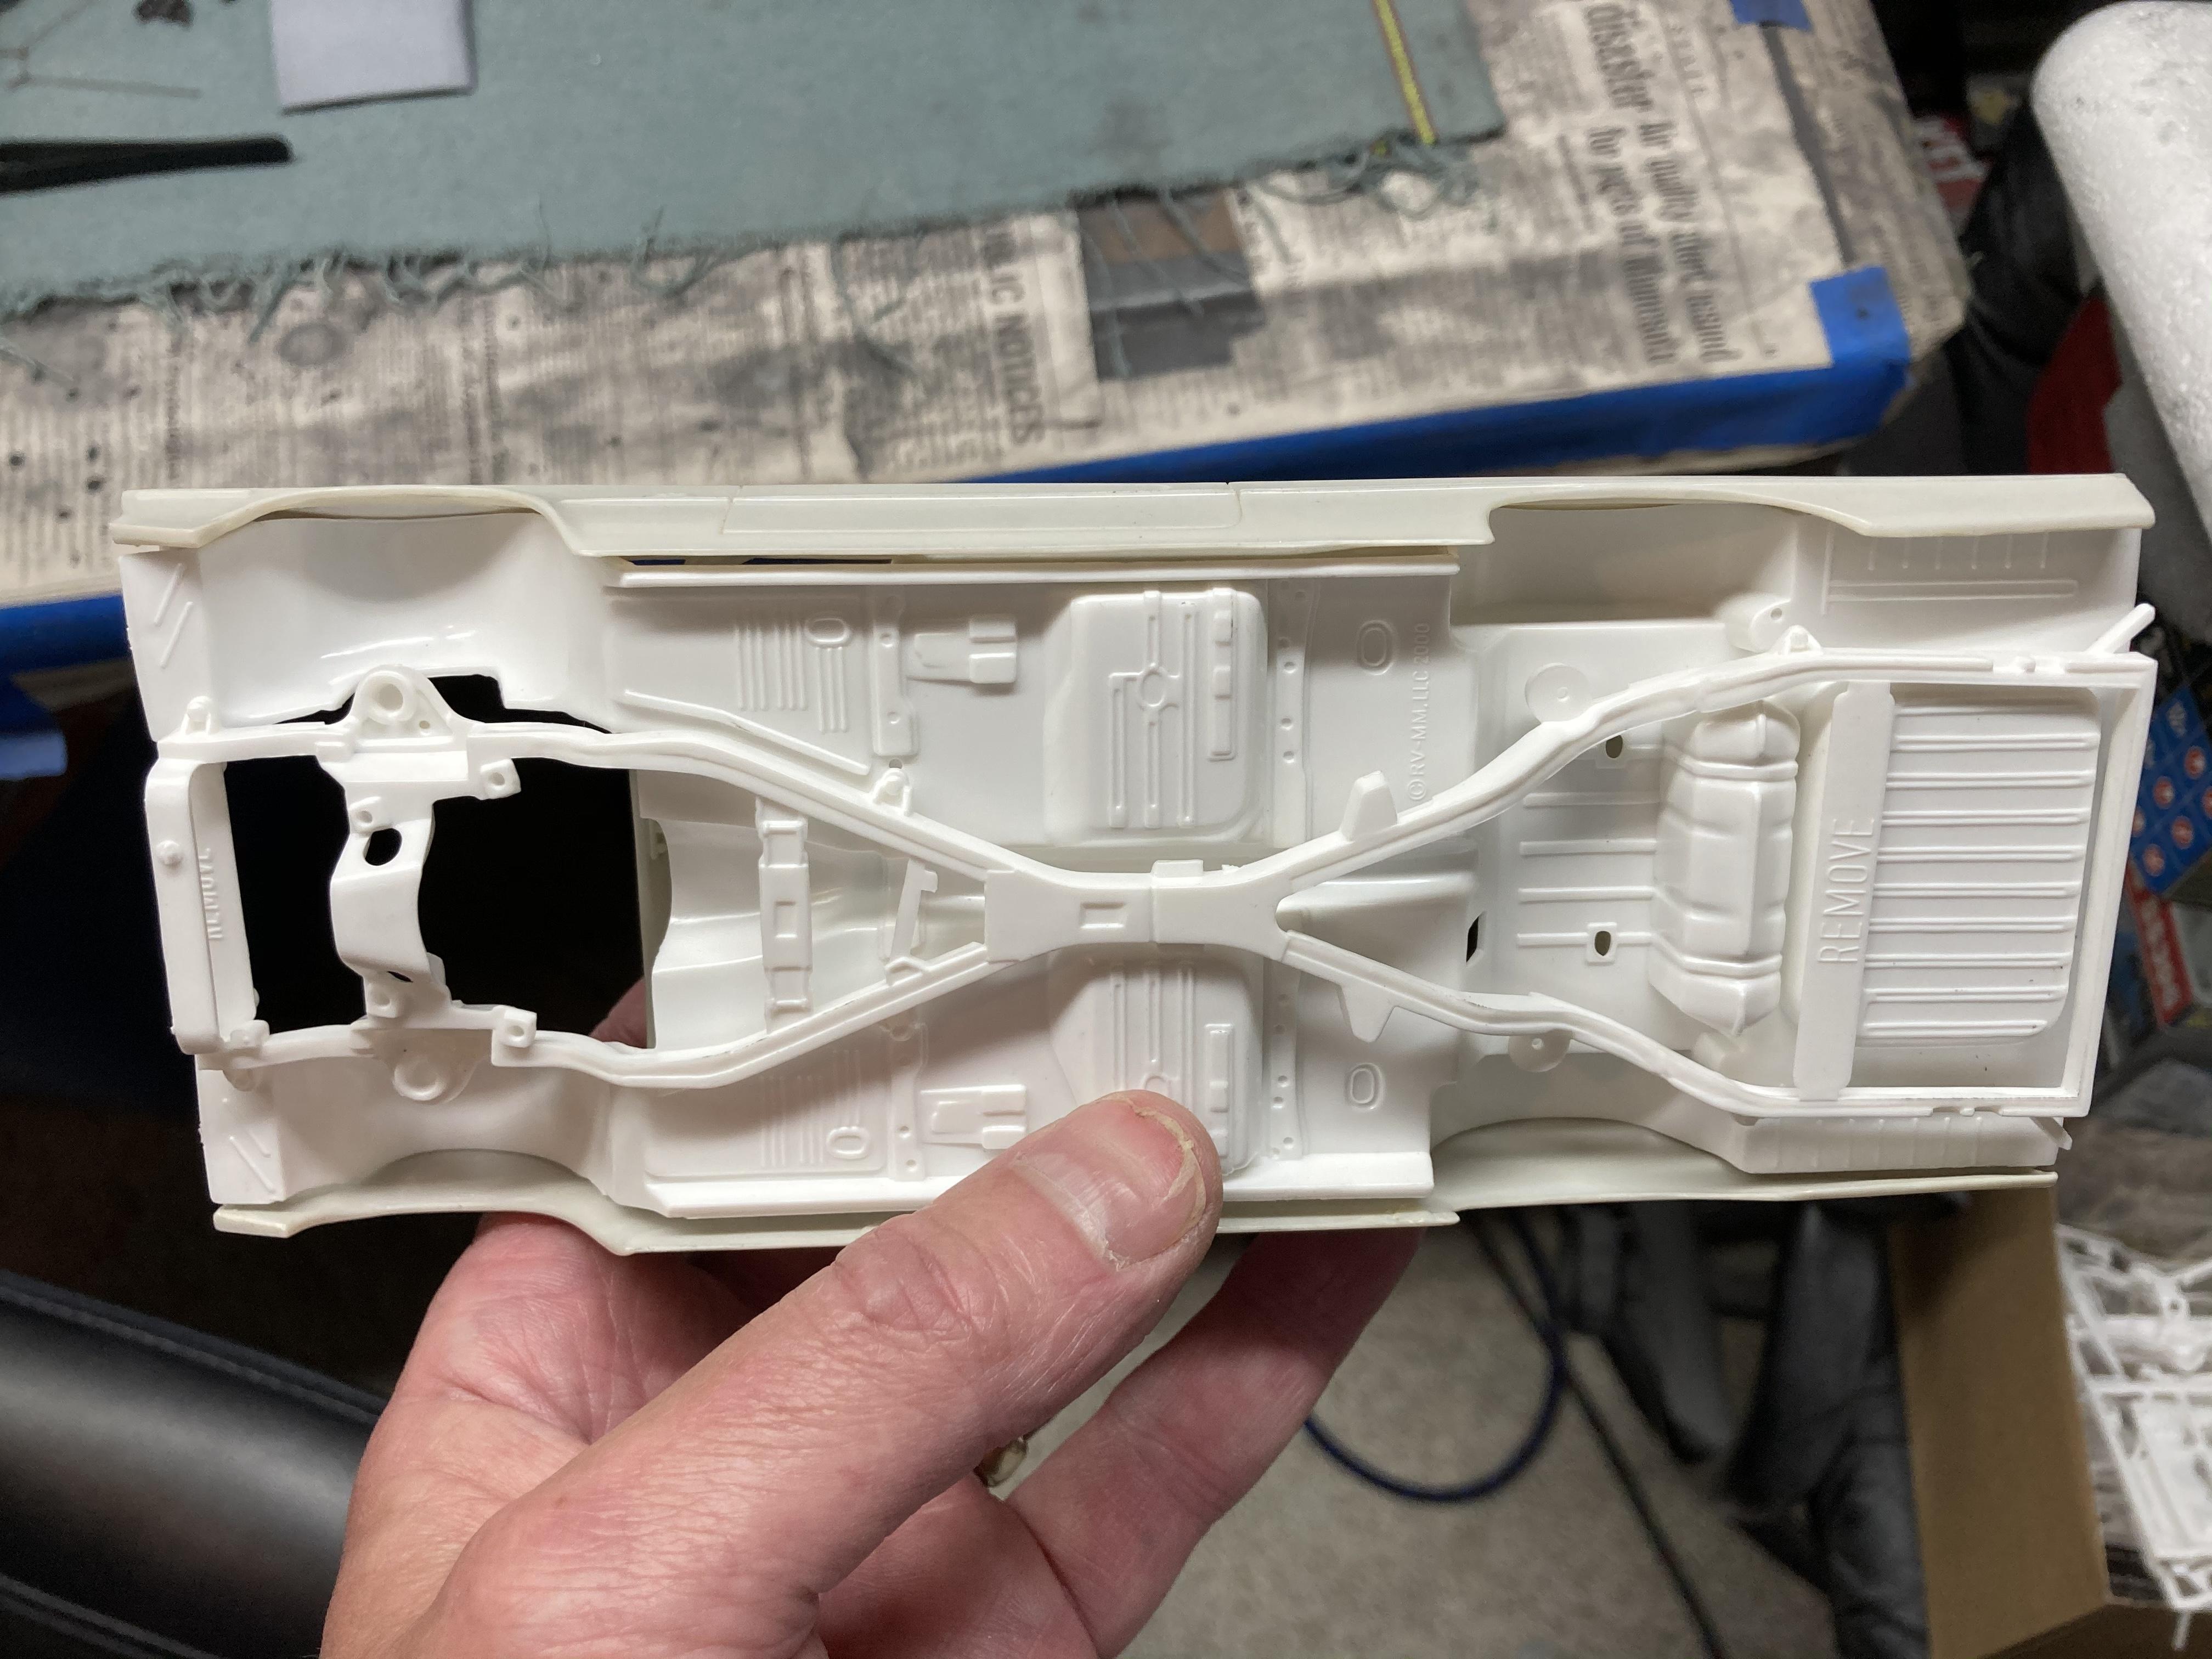
Just ideas. The tail lights and the lack of a firewall seem to be the biggest sticking points for most people with this kit, but they’re both pretty easy to remedy with a little kit bashing. The tail light lenses could be drilled out pretty easily, and I have to believe that between the AMT ‘62 and ‘64, and the Revell ‘62, ‘63, ‘64 and ‘65 Impalas, one of them should work for replacement lenses. Likewise, a firewall, and/or chassis from almost any one of them would probably work as well. I could only wish for this many parts options with most of the old annuals that I like to update. Steve
-
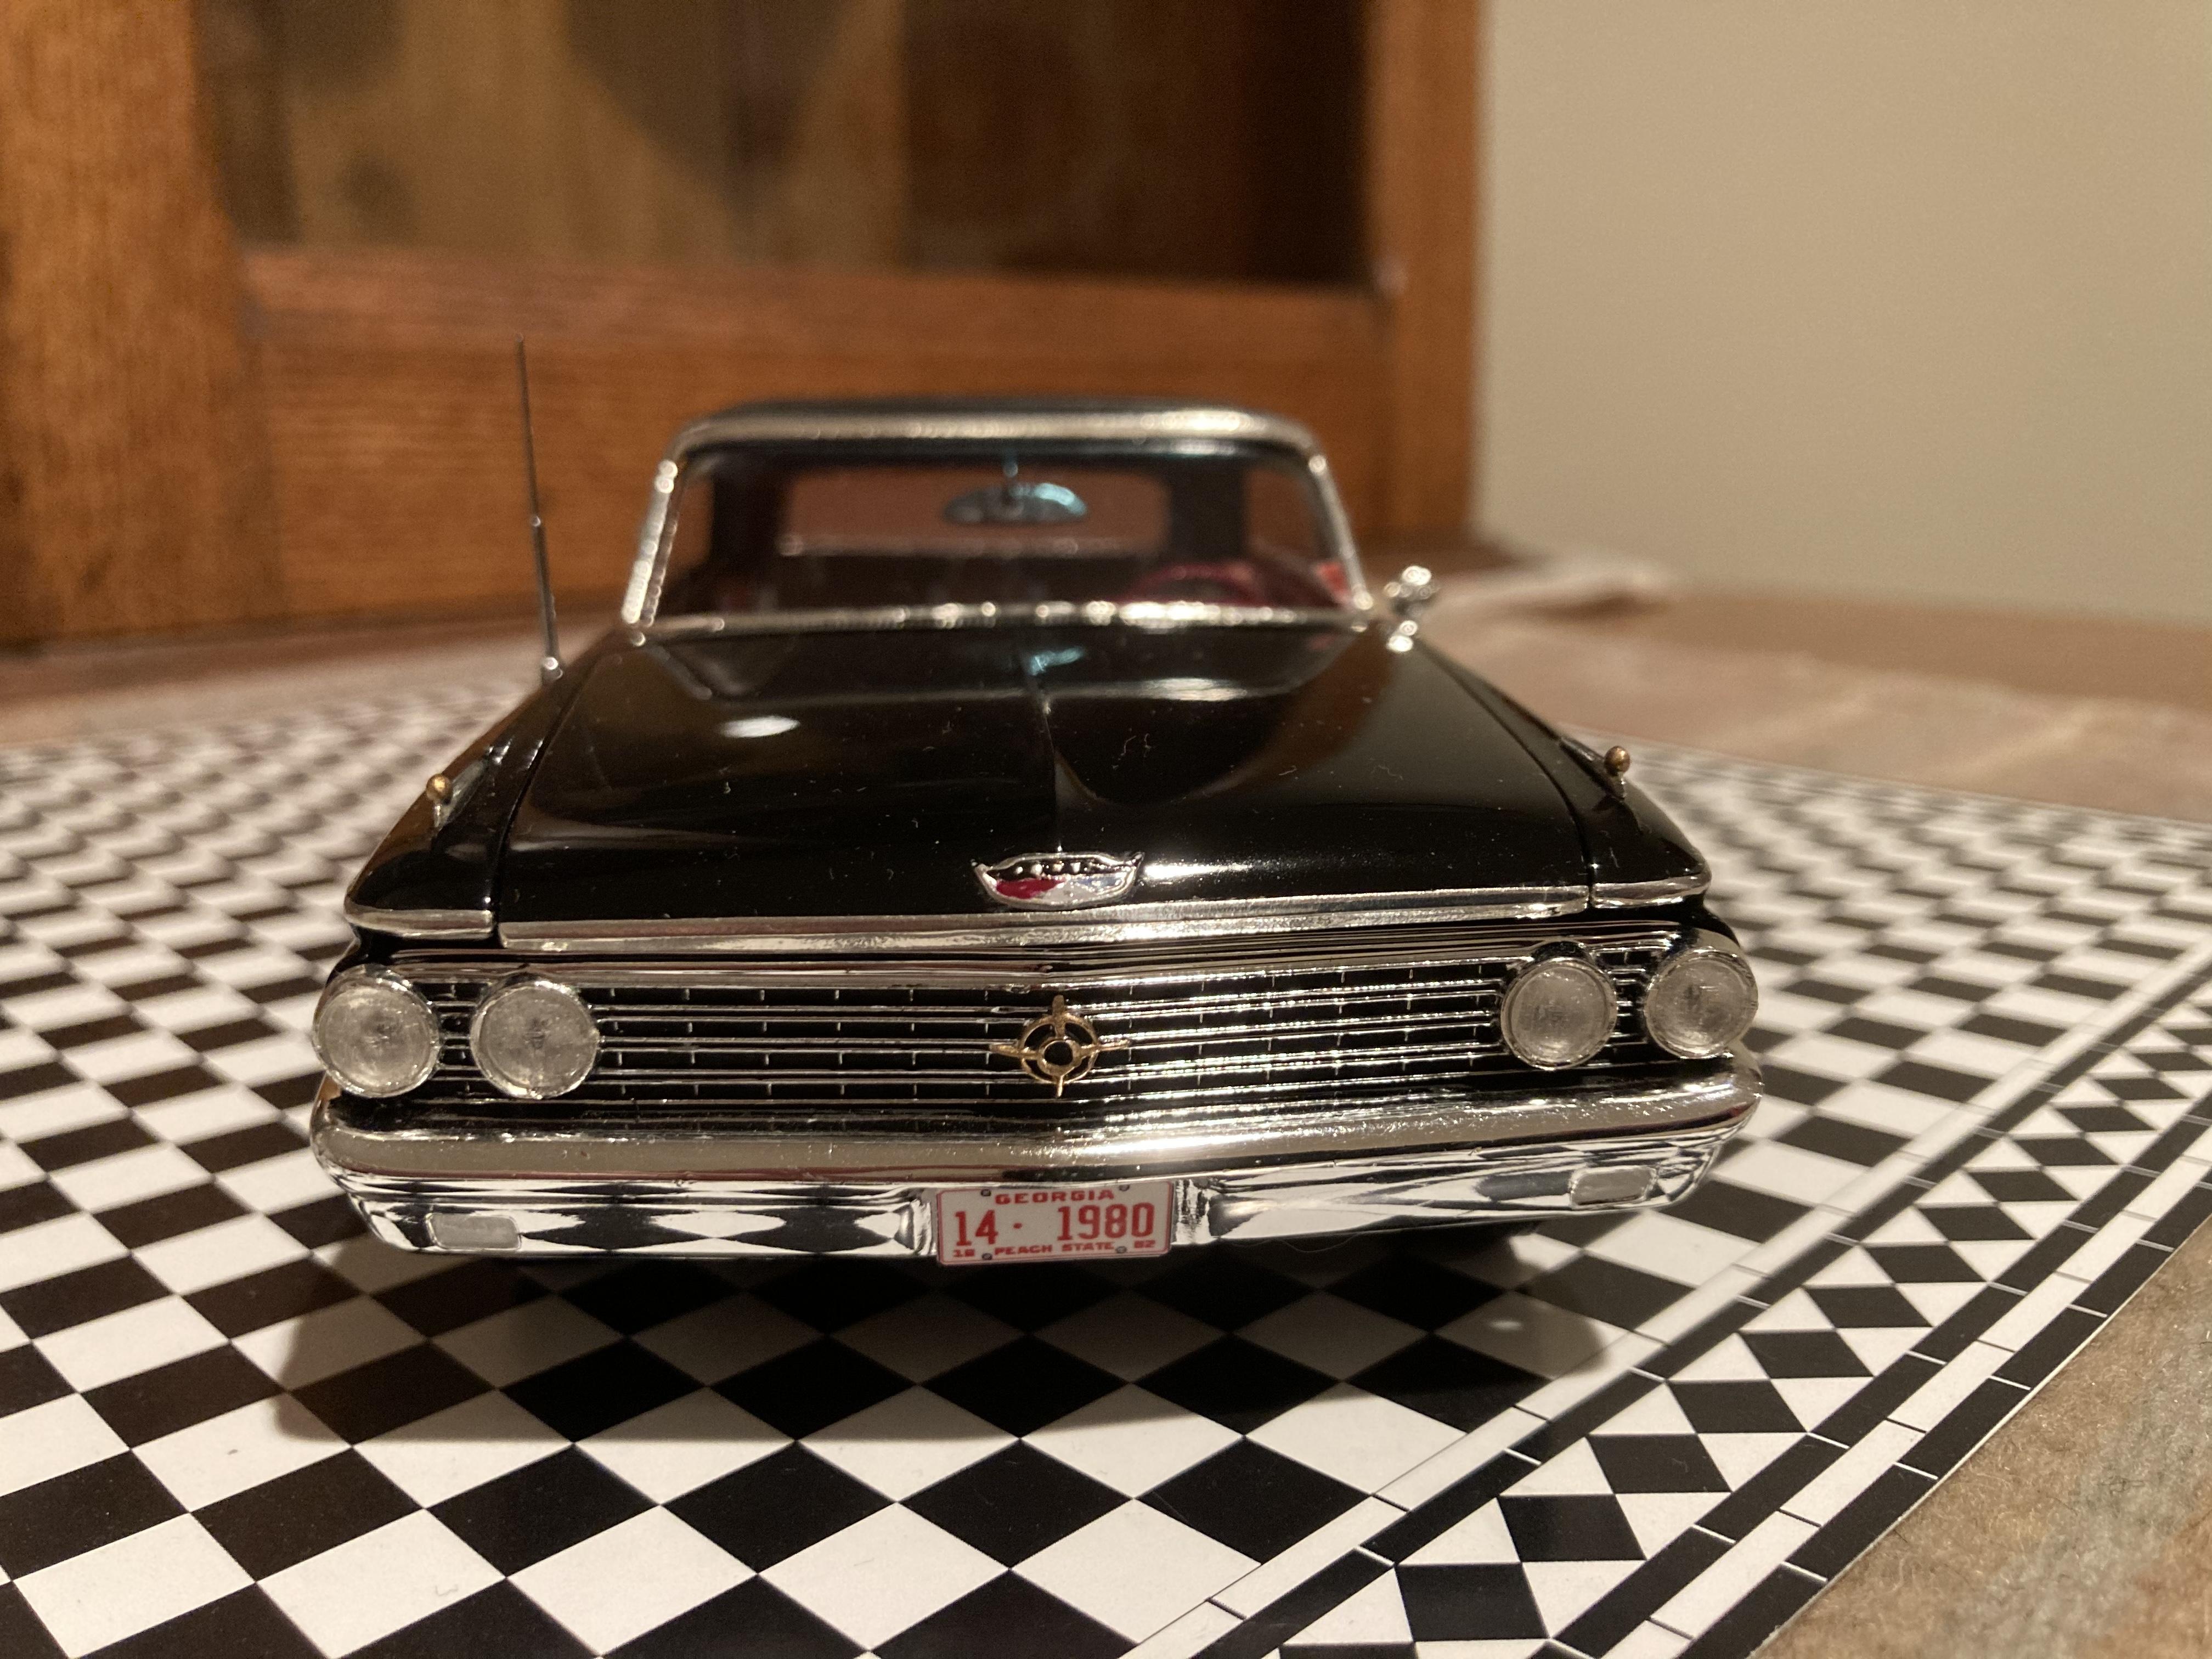
Anybody here have the original......or one of the many re-issues? I’ve had several of these kits since the late 70s and I’ve never had one with clear red tail lights, so the absence of them is not exactly a new phenomenon. Steve
-
I just have to wonder sometimes, either how young some of the posters are online these days, or what rock they’ve been living under. AMT produced one 1963 Chevy Impala kit......back in 1963! To expect anything other than what was offered back then, or what’s been re-popped a thousand times since then, is a little naive. It is what it is, and it’s probably never gonna change. Steve