RancheroSteve
-
Posts
1,707 -
Joined
-
Last visited
Content Type
Profiles
Forums
Events
Gallery
Everything posted by RancheroSteve
-
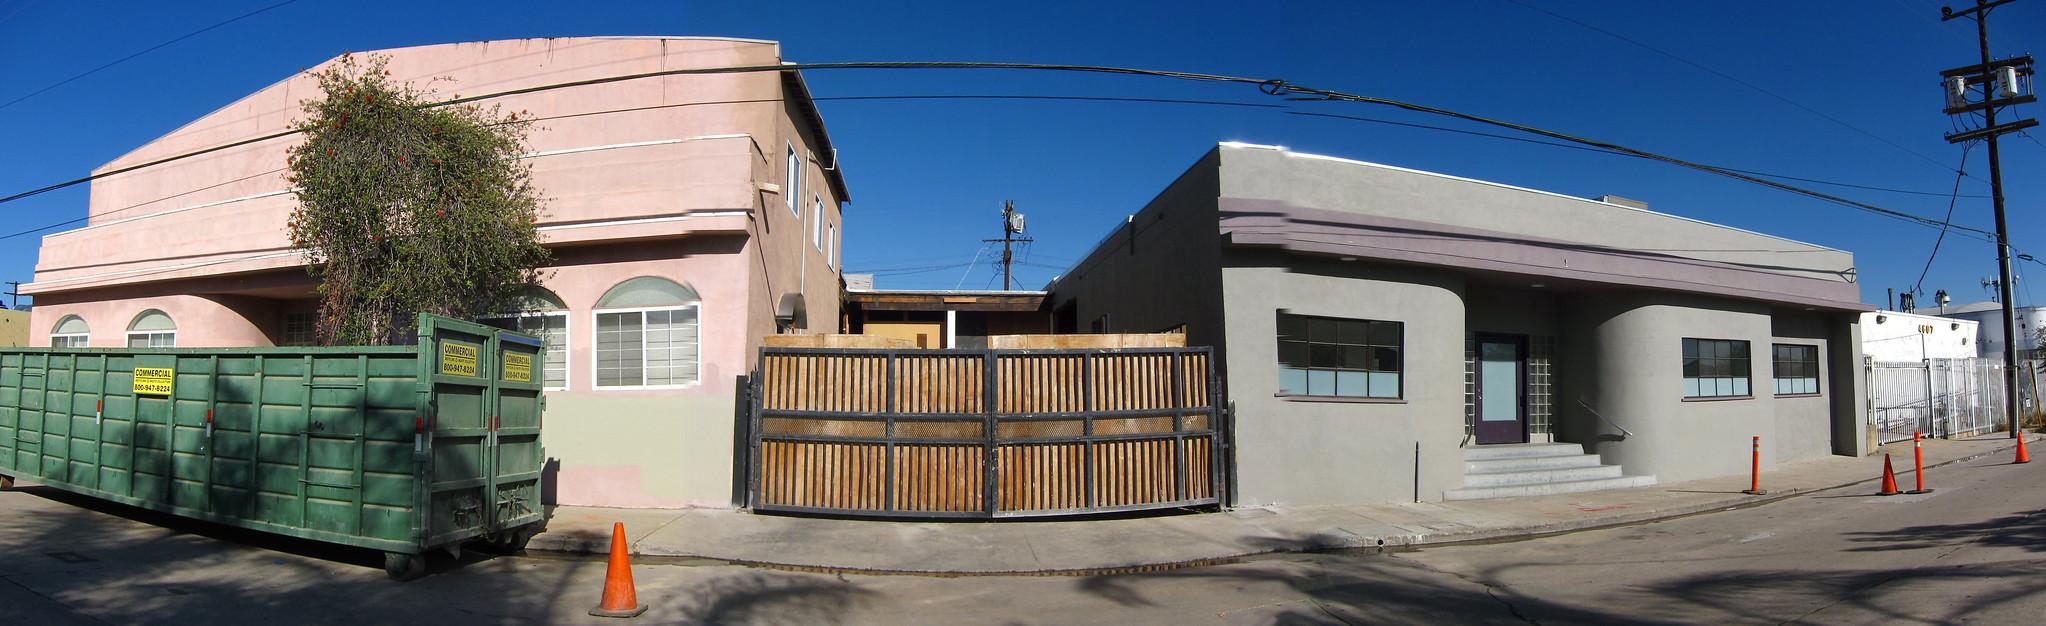
Here's shot of the buildings where most of those Kurtis Midgets were built; just a couple of miles down the road from where I live. The building on the right is a little more original, obviously.

-
They're still available from Hart's Parts: https://hartspartsresin.com/product/ultra-rare-426-max-wedge-headers/ I just ordered and received a set a month or so back. Good, fast service.
-
Check your messages, Tracy.
-
 That kit has be re-popped numerous times and should be readily available. With a few modifications it can be built as the 1955 Indy 500 winning Zink Special Kurtis-Kraft.
 -
AMT XR-6 engine question
RancheroSteve replied to mrindy77's topic in Model Building Questions and Answers
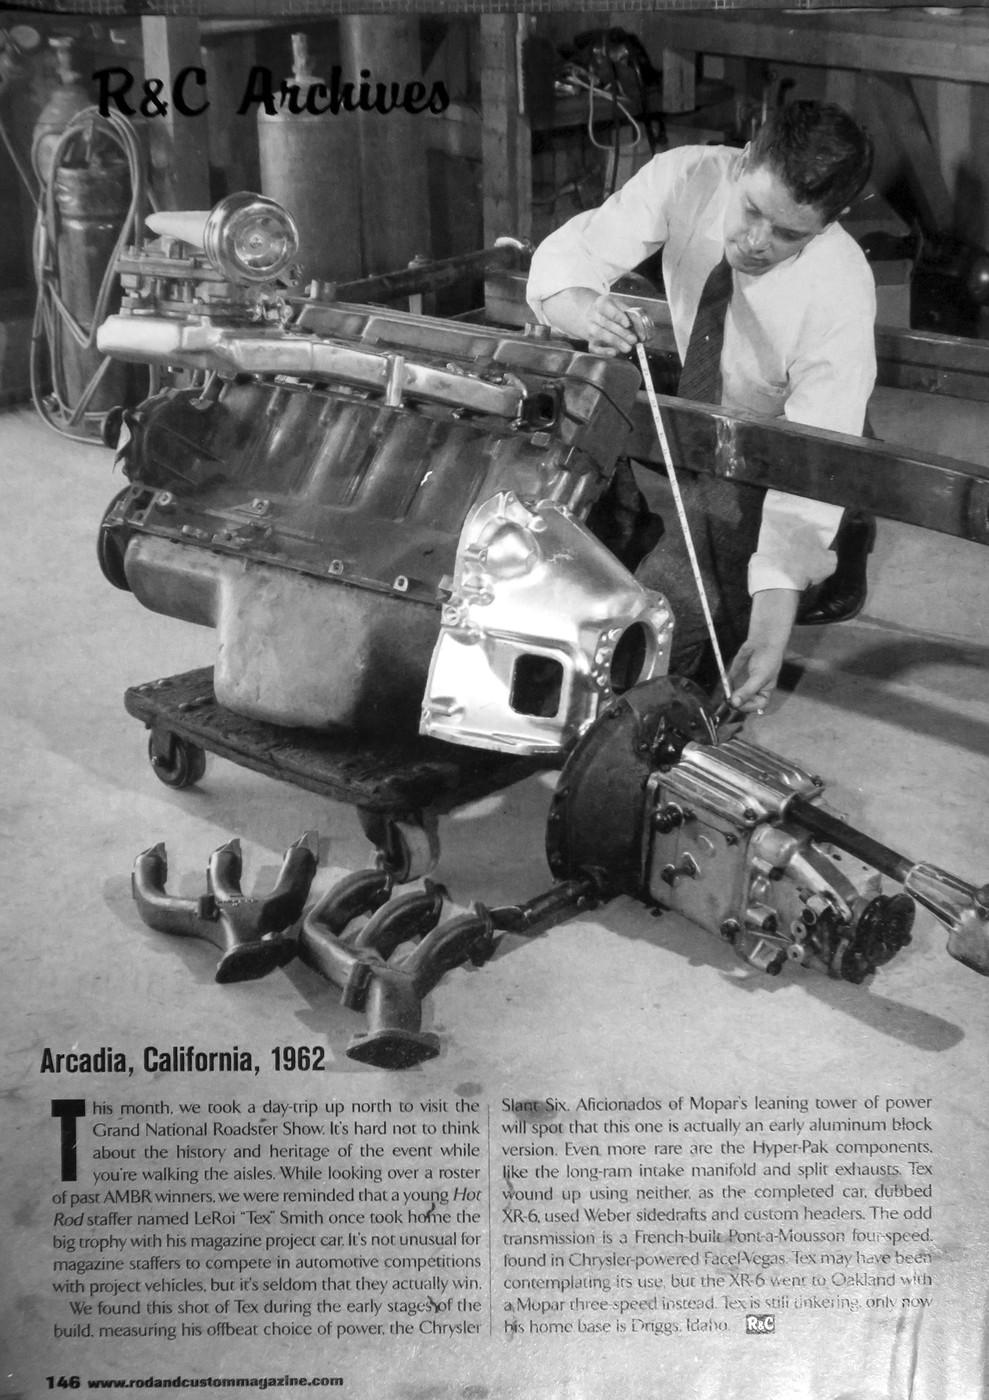
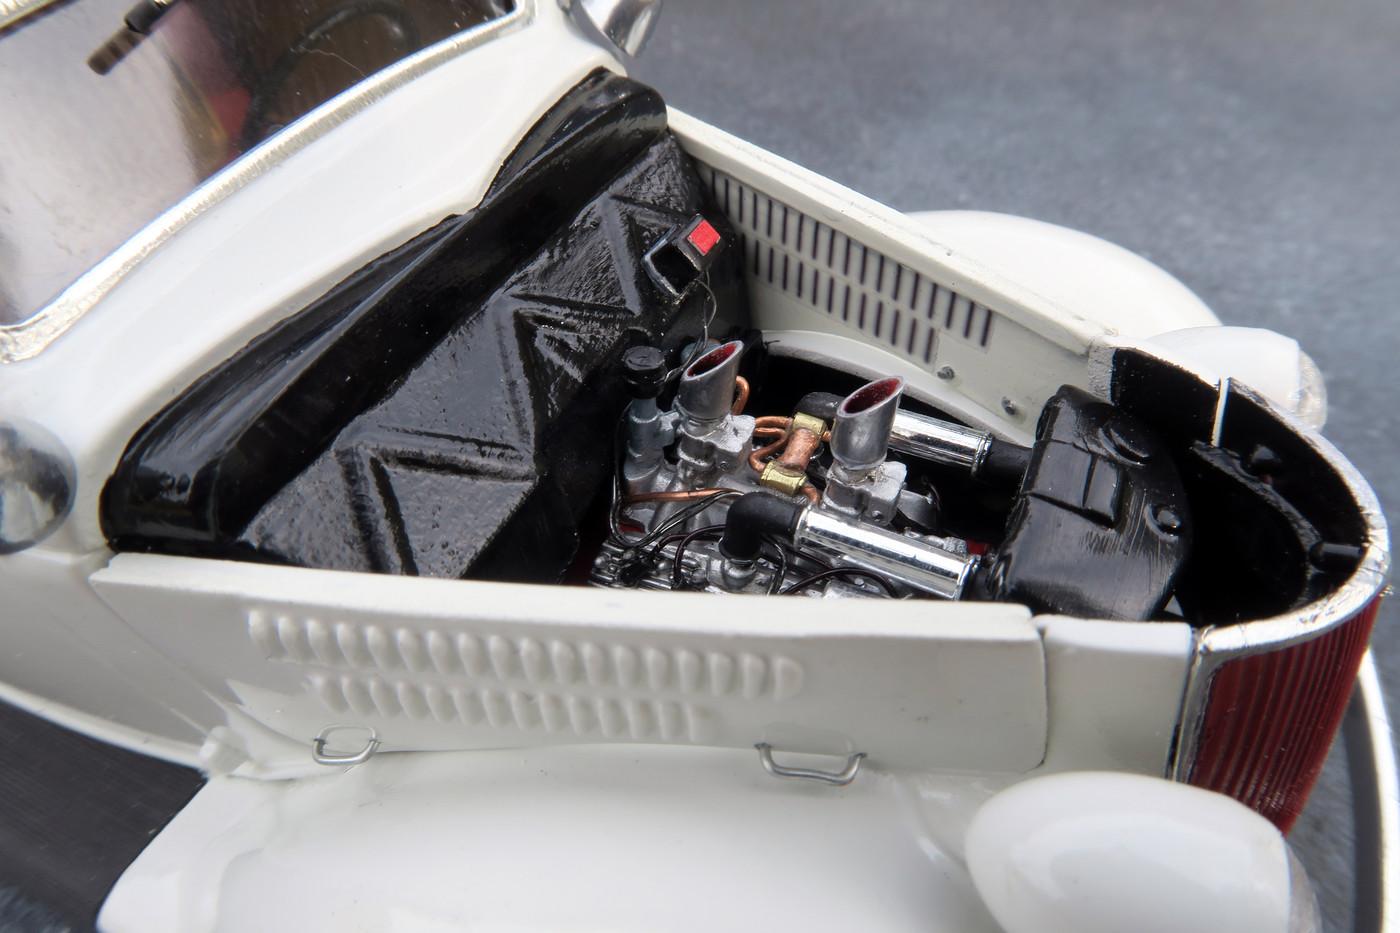
Greg, I did a bunch of research when I was building my XR-6, but I don't think I've ever seen those black and white shots before. Interesting to see that they were fooling around with different induction options. For anyone who's interested, I discovered that the master cylinder is from a 1960 Chevy pickup.
-
Tamiya, Fujimi, and Hasegawa have all done mechanics, drivers, and various figure sets over the years.
-
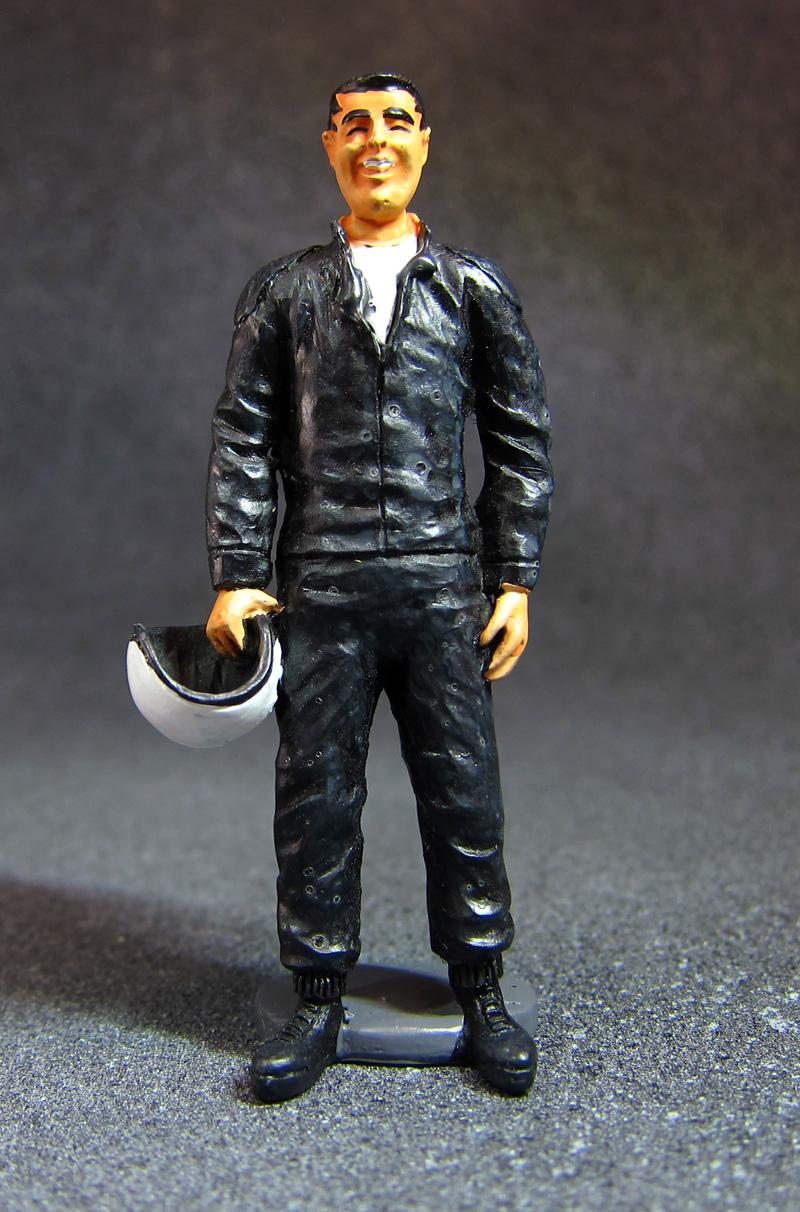
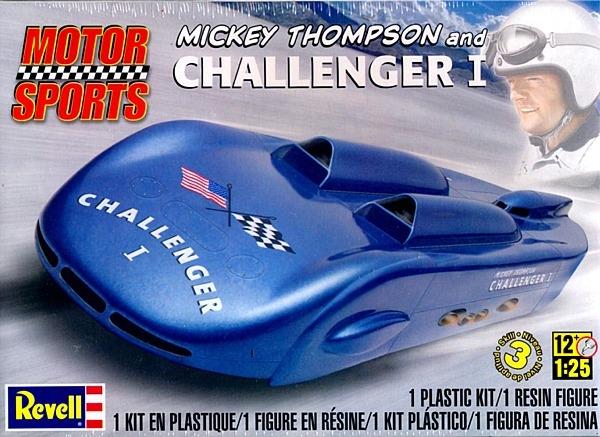
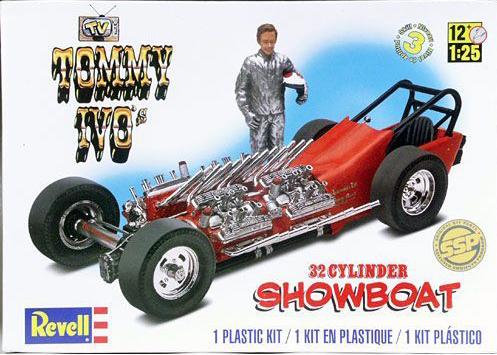
My Mickey Thompson for your Tommy Ivo
RancheroSteve replied to RancheroSteve's topic in Trading Post
PM sent. -
Sounds like one of those baseball cards trades we'd make as kids I've got the Mickey Thompson figure that comes with the Challenger kit: I'd like to trade it for the Tommy Ivo figure that comes with the Showboat kit.
-
I have something similar, but not exactly the same. What Cobra are you doing? I may have something else for you.
-
61 Comechero
RancheroSteve replied to falcon wagon's topic in Model Trucks: Pickups, Vans, SUVs, Light Commercial
Awesome! I may have to try this myself - I already have all the needed bits. -
I have a set you can have. PM me your address and I'll put them in the mail.
-
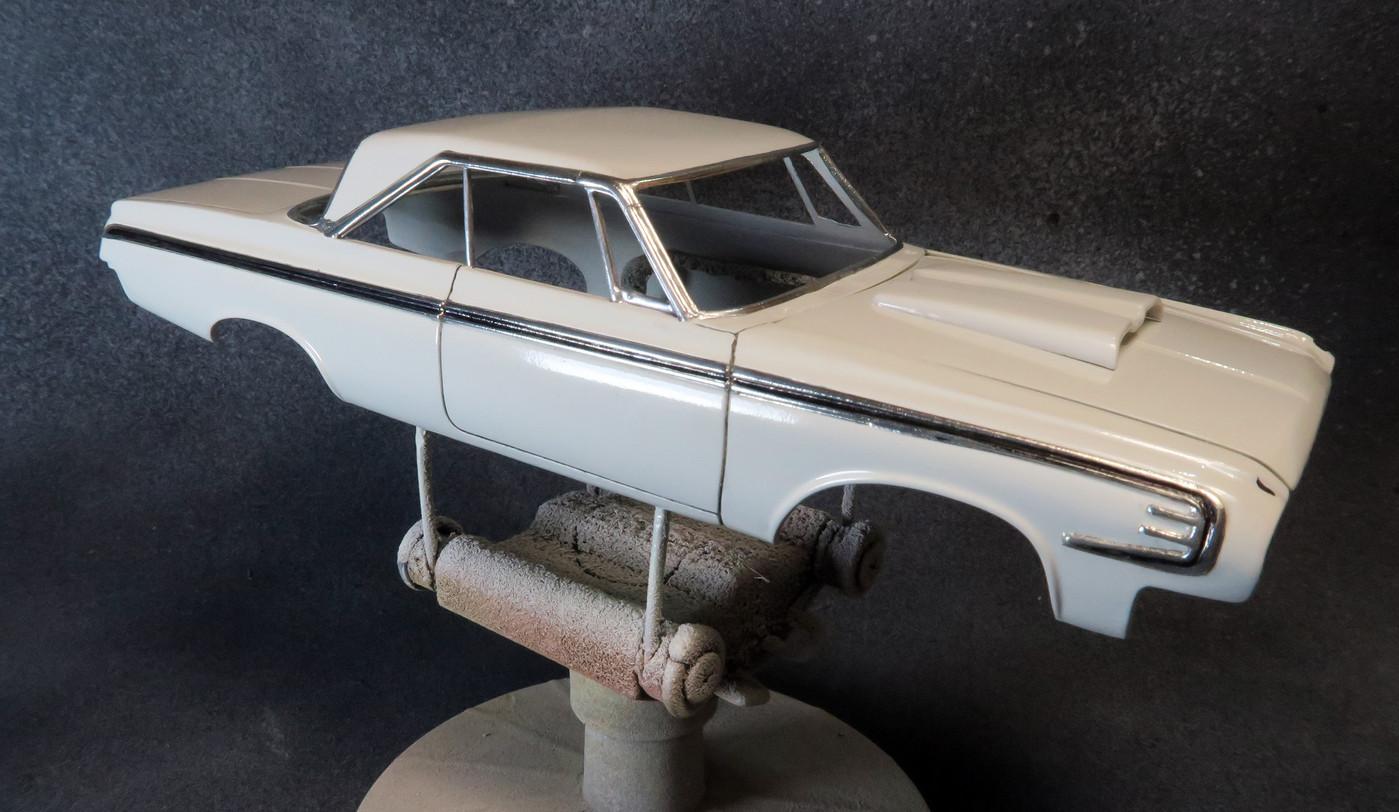
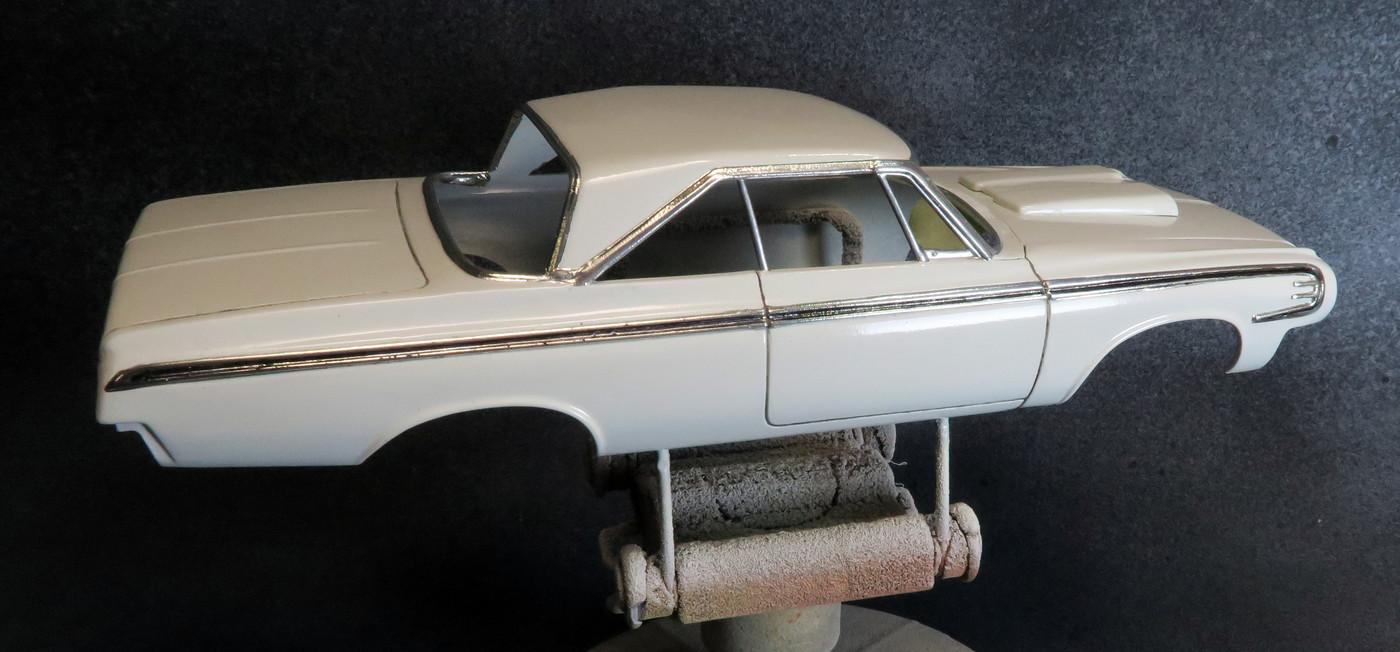
"The Dodge Boys" 1964 Polara
RancheroSteve replied to RancheroSteve's topic in WIP: Drag Racing Models
Trim is foiled:
-
427 Cobra original fan type
RancheroSteve replied to jacko's topic in Model Building Questions and Answers
This claims to be correct: https://prdcrrct.com/product/pusher-fan/?srsltid=AfmBOoqGtYVuxlRAY91-Z8rEWscwt-wR4vUQ8Ftq36859pIjUpAkE92W&v=0b3b97fa6688 Like it says, the earlier cars had only a single fan, then they used two fans. -
Recommendations For Iphone Photography?
RancheroSteve replied to oldcarfan's topic in Tips, Tricks, and Tutorials
Just my personal preference maybe, but I prefer to use a wide angle - I think it better simulates the way cars are photographed in static situations and how the eye sees them. Appears more realistic to my eye, which I think is what we're all aiming for. Just be careful you don't get your shadow in the photo! -
Recommendations For Iphone Photography?
RancheroSteve replied to oldcarfan's topic in Tips, Tricks, and Tutorials
I use a variety of digital cameras for my model photography, but at this point the iPhone cameras have gotten so good that unless you're taking photos for publication, there isn't a whole lot of difference. Probably the most important consideration is lighting and there are several threads on the forum here that deal with that. It looks like the iPhone 11 has a macro mode that allows you to get as close as 2cm - should work for most models. -
Good question, but it's been a long time since I built this and I can't recall. I may have gotten the presumably correct color from MCW. Reds especially seem to photograph differently depending on conditions and cameras. When all else fails, I say mix something that looks right to your eye.
-
The Dominator Jiggler Kent Fuller Dragster
RancheroSteve replied to Silvercreeker's topic in Drag Racing
Simply outstanding! -
That was actually my first thought! I already have the decals and the HUG (Model King issue). One of the things that's been holding me back from building it was the body not being the right year.
-
I believe the metal rod is molded into the wing to try to keep it from warping, with a thin resin casting can be prone to. It may also provide a solid round leading edge to the wing.
-
And it's done! Work in progress thread here: Thanks for looking - questions, comments, etc, welcome.
-
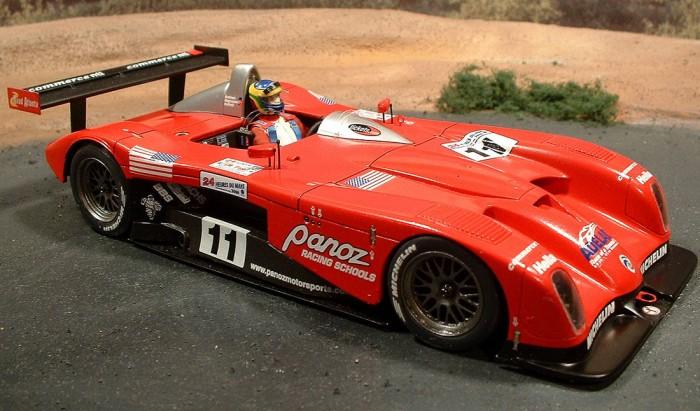
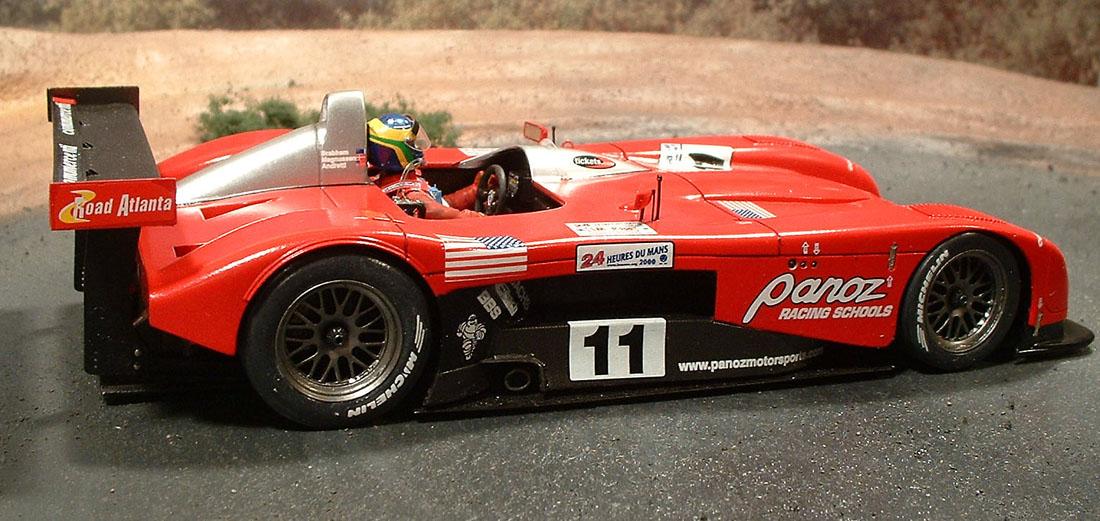
I would advise making some high resolution scans of those decals if you can. Worst come to worst, you could print them out on decal paper. I've only built one LeMans Minatures kit - a Panoz LMP1 - but it went together quite well, no drama.
-
Hard to tell what's real and what's just bad Photoshopping here.
-
1937 DeSoto bumpers?
RancheroSteve replied to mr moto's topic in Model Building Questions and Answers
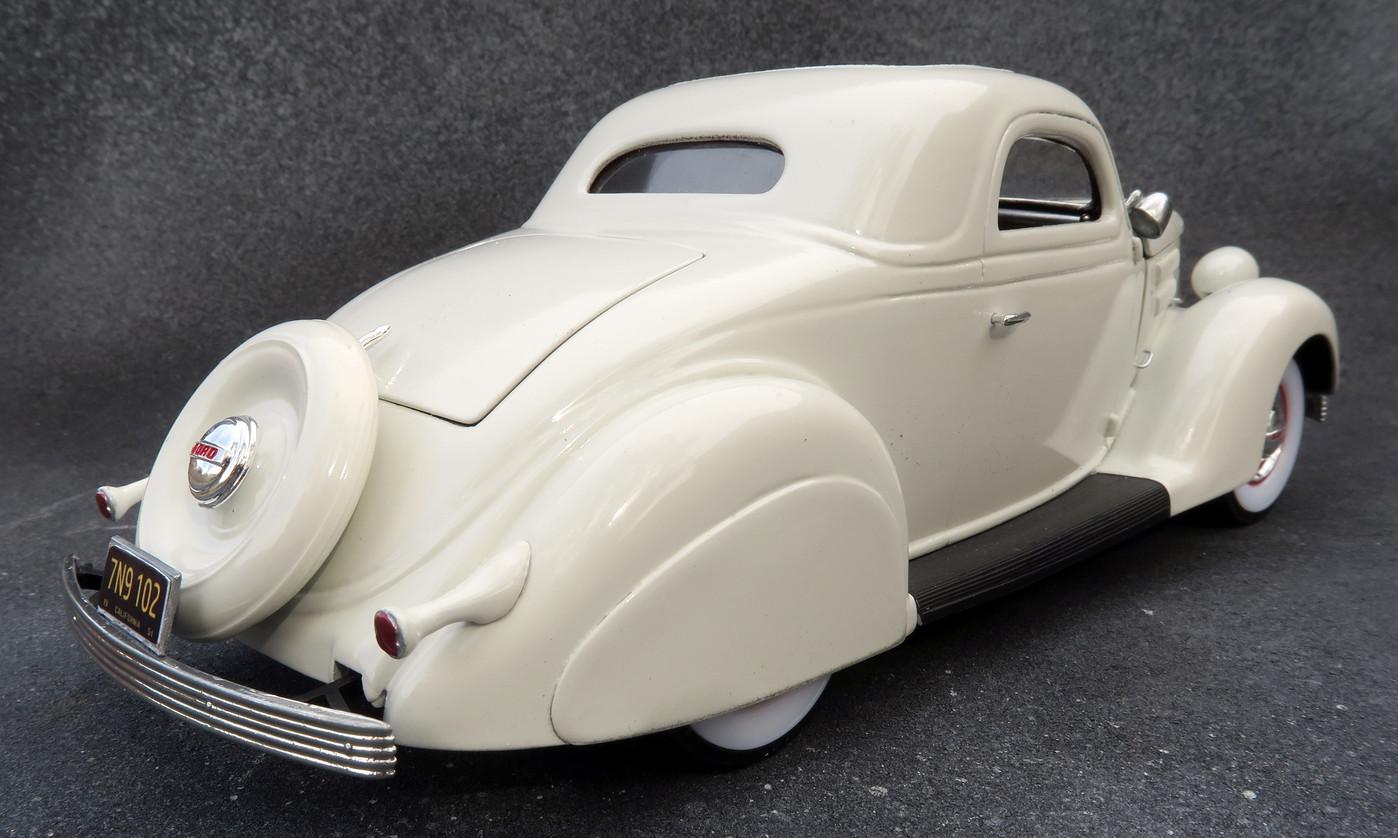
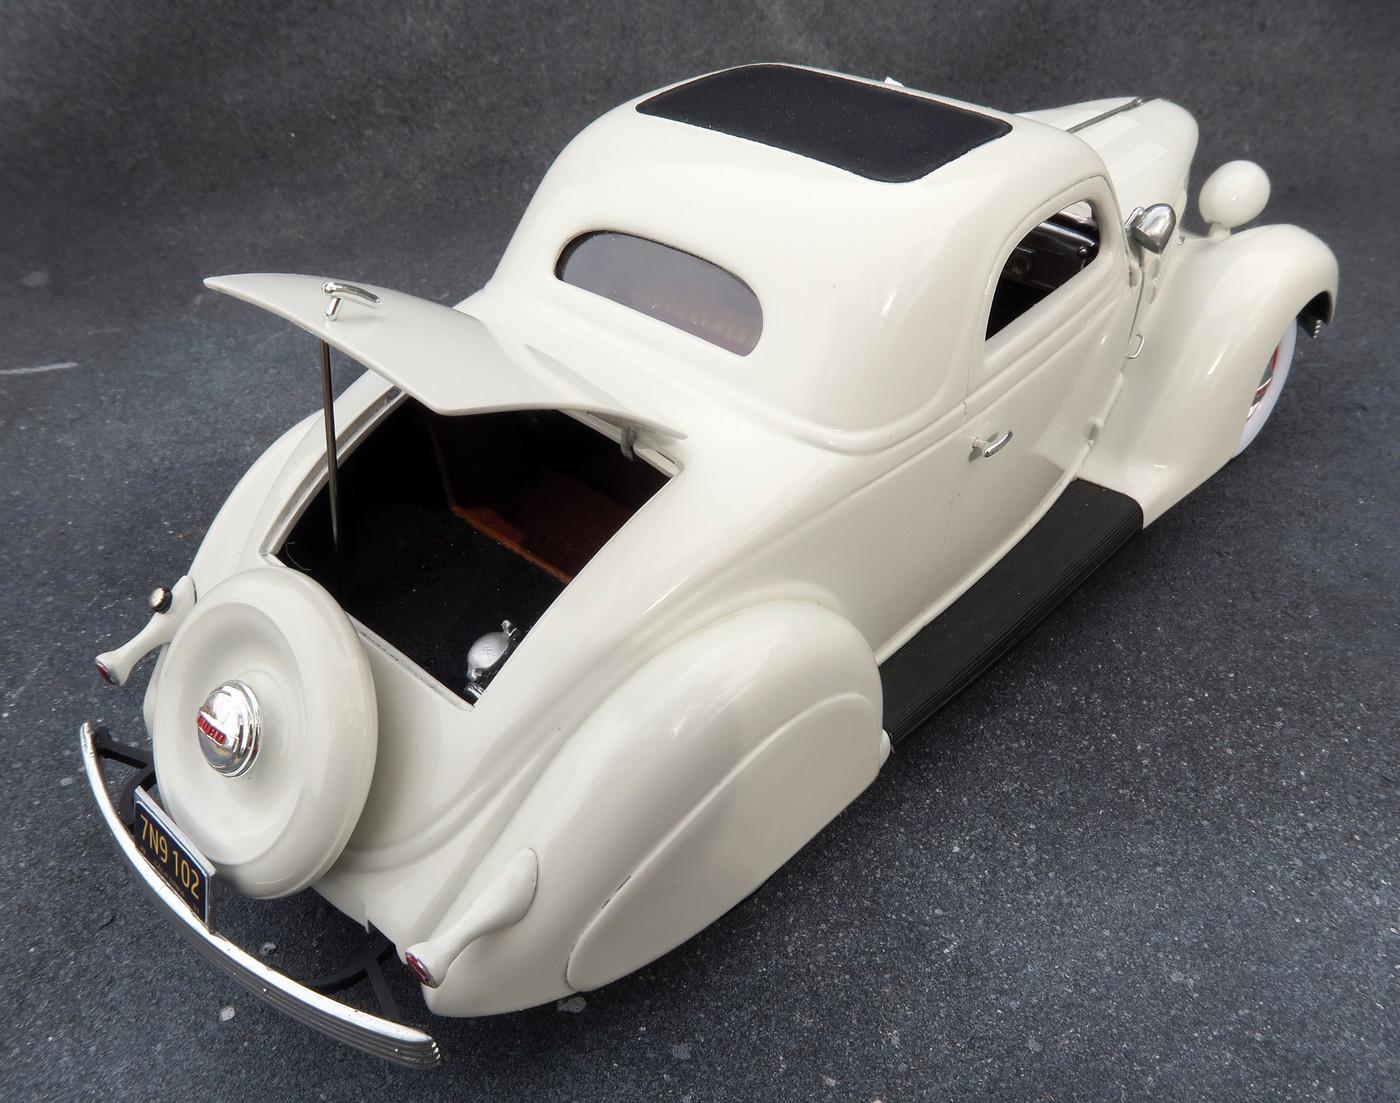
Well okay, so now I have ordered a partial AMT '40 Delivery for the more correct bumpers. Thanks for pointing me in the right direction. I'm almost surprised someone in the aftermarket hasn't cast these. -
1937 DeSoto bumpers?
RancheroSteve replied to mr moto's topic in Model Building Questions and Answers
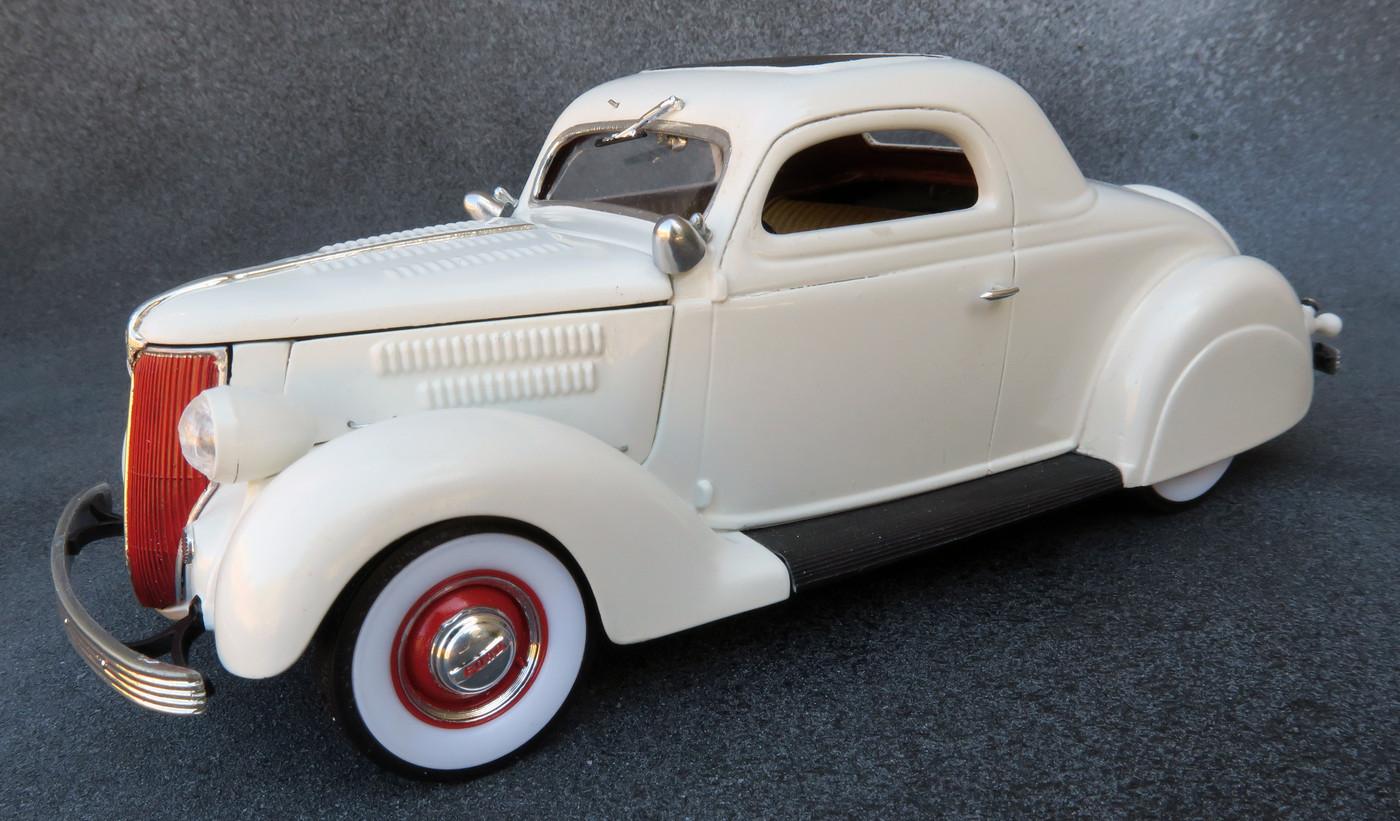
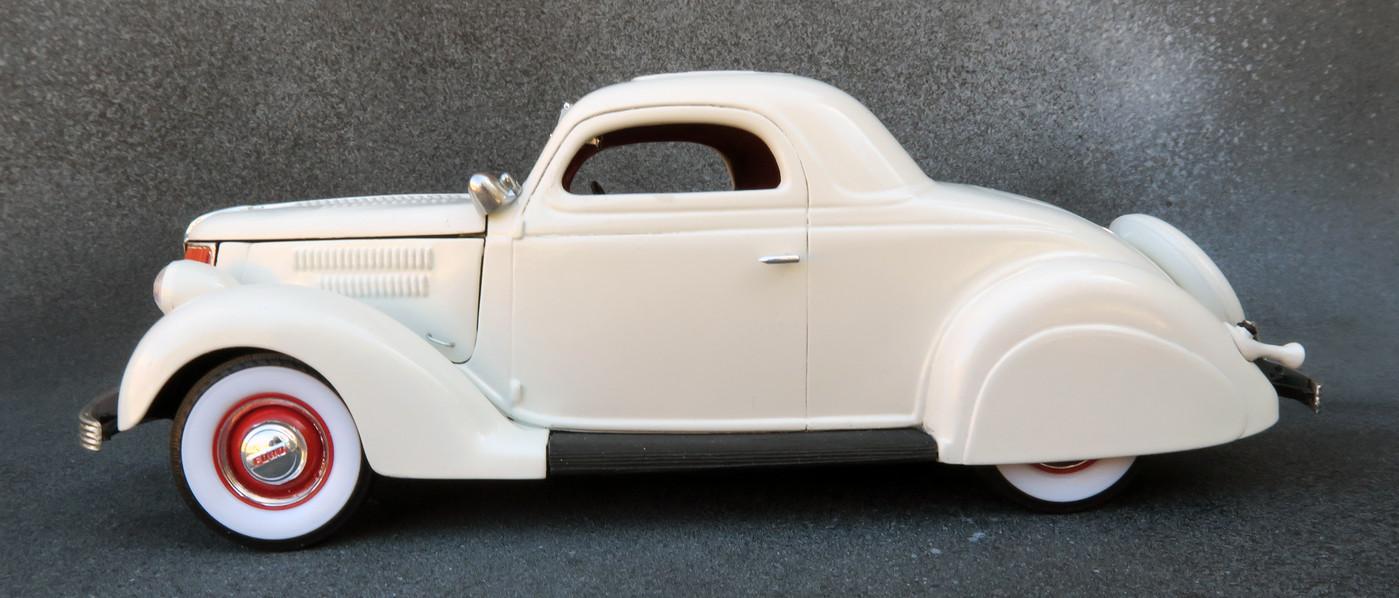
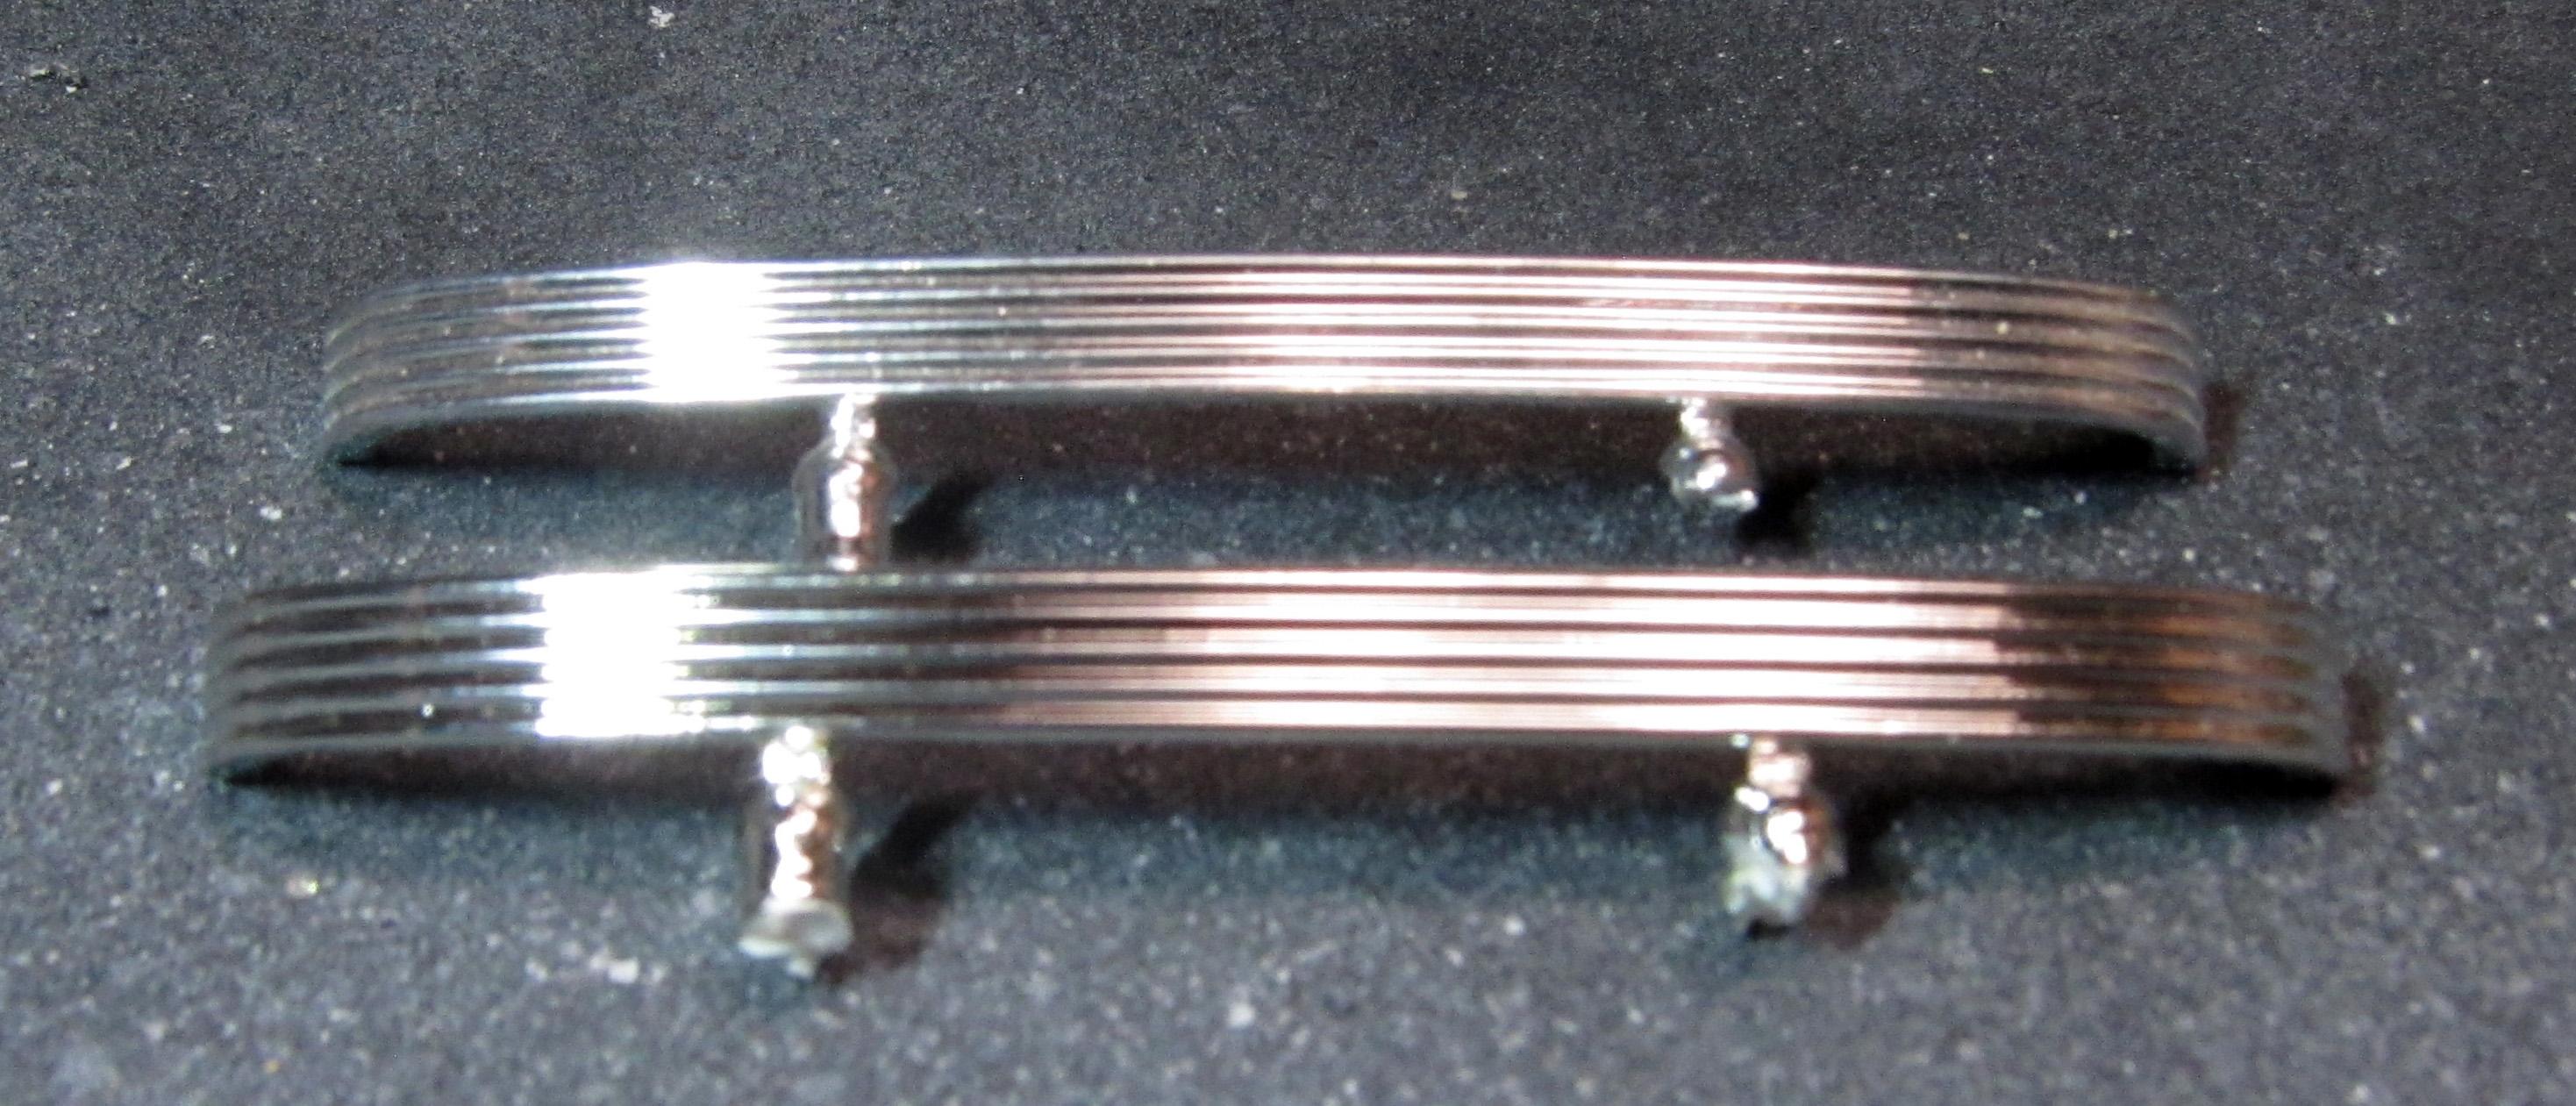
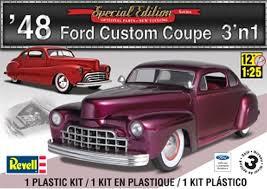
Mark - thanks, I suspect you are correct on this. These are the bumpers I was planning to use on my Pierson Brothers '36 Ford - they look pretty close to what's on the real car (I thought): I think they're the ones that came in the '49 Merc kit, but now I'm wondering. Oh well . . . FWIW, the Revell '48 Ford custom also has something similar, but they have fewer ribs.