RancheroSteve
-
Posts
1,708 -
Joined
-
Last visited
Content Type
Profiles
Forums
Events
Gallery
Everything posted by RancheroSteve
-
Group 5 Special Production Cars
RancheroSteve replied to Pierre Rivard's topic in Model Building Questions and Answers
Yes, I'd say it is a rather good kit. Slightly unconventional in some areas, but good overall fit. No rear suspension detail, but good engine, front suspension, and interior detail with potential to add more detail as the builder desires. If I build another one, I'd be inclined to separate the front framework from the body. I seem to recall an article in MRRN a few years back where someone was using one of these to build a full detail Capri. -
Group 5 Special Production Cars
RancheroSteve replied to Pierre Rivard's topic in Model Building Questions and Answers
Great thread. Just wanted to note that there are two (decal variant) versions of the Monogram Mustang - the Motorsport one you depicted and the Miller version. A good opportunity to show off the one I built last year, I guess: -
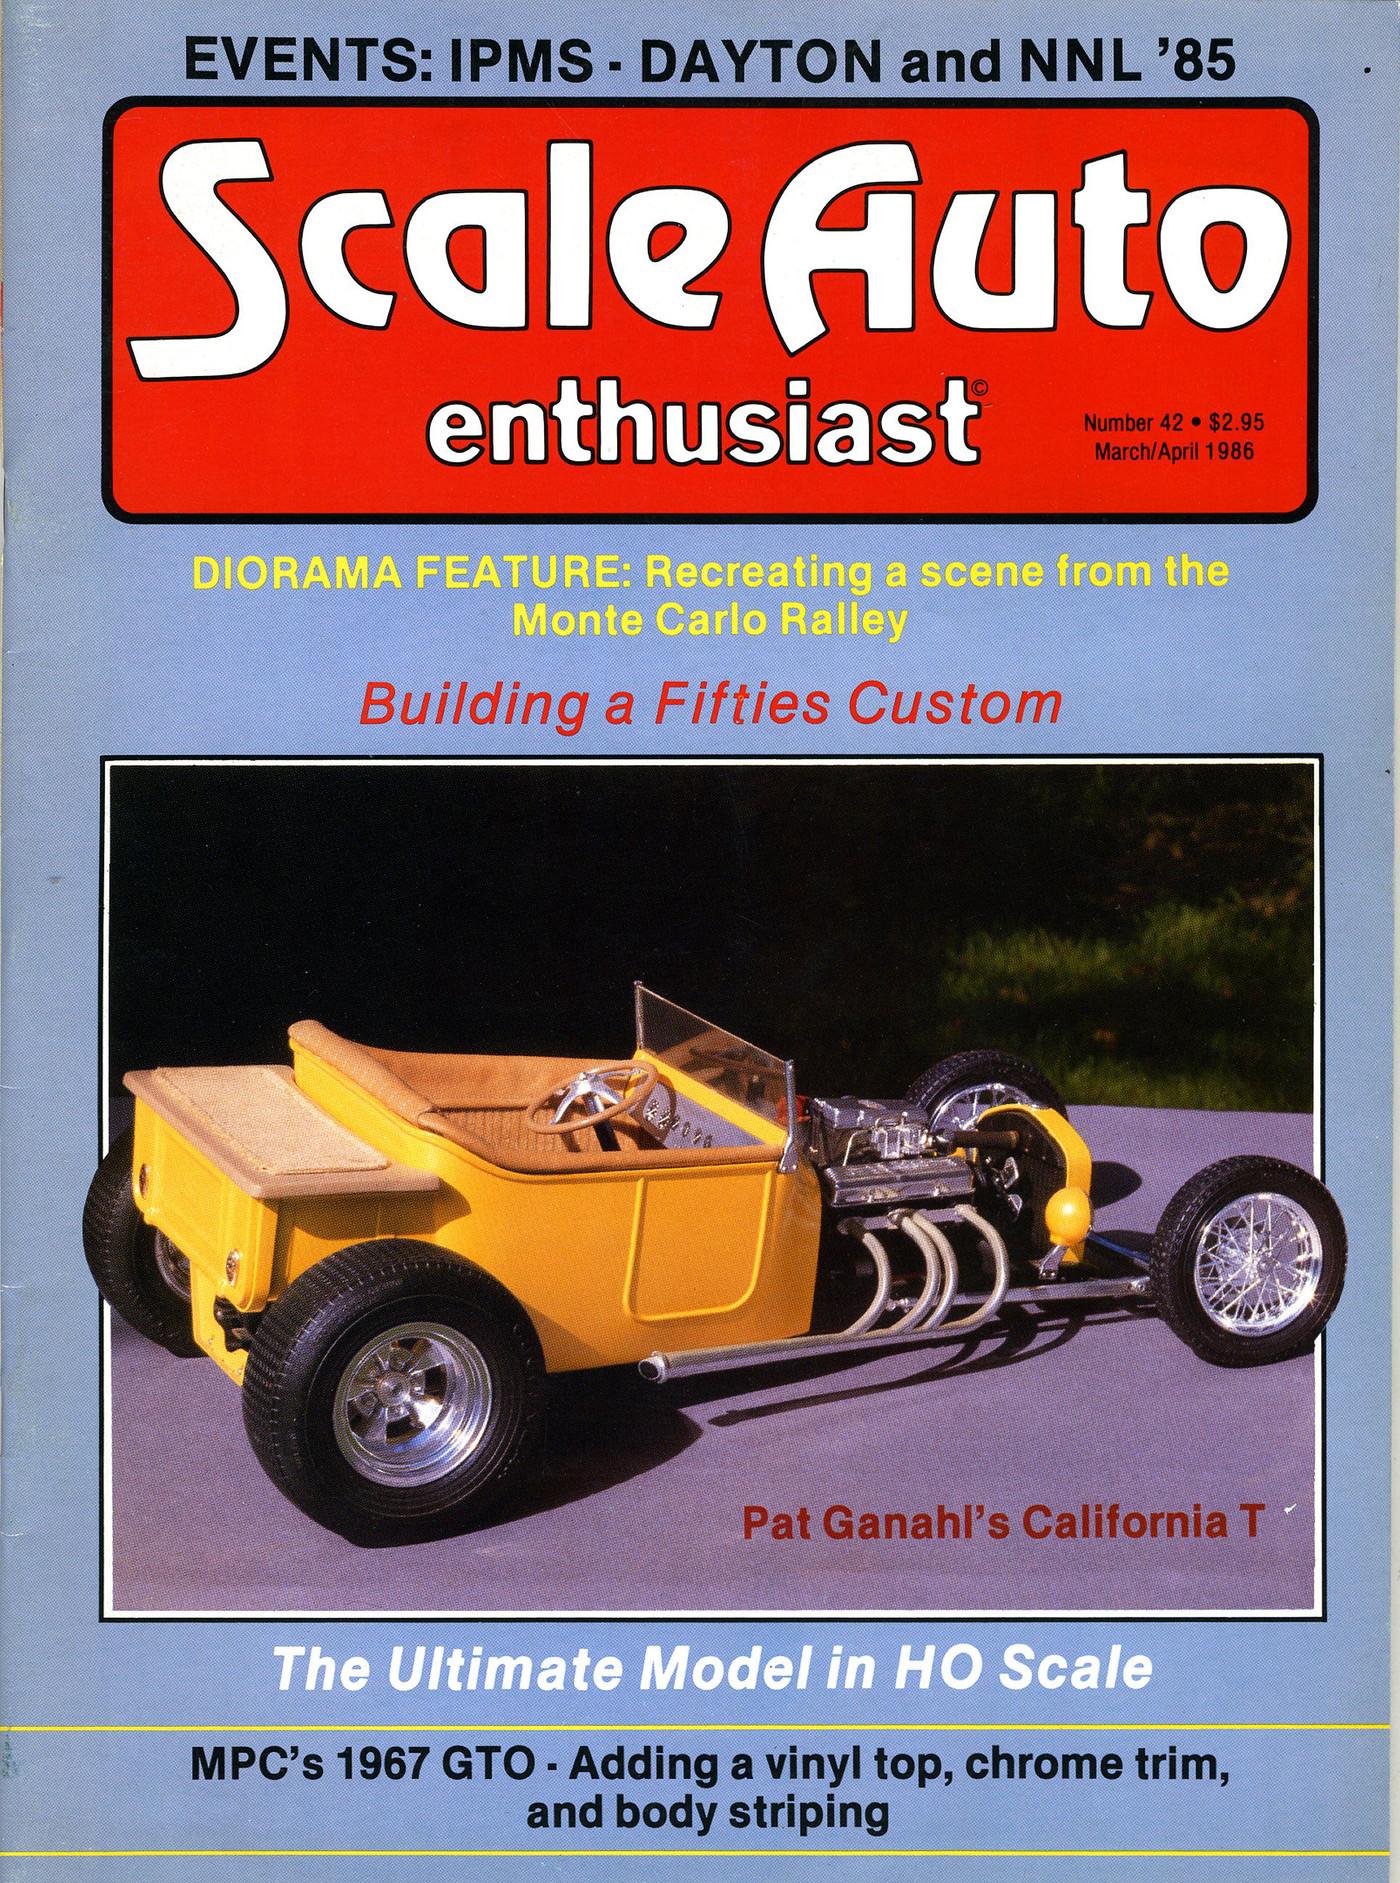
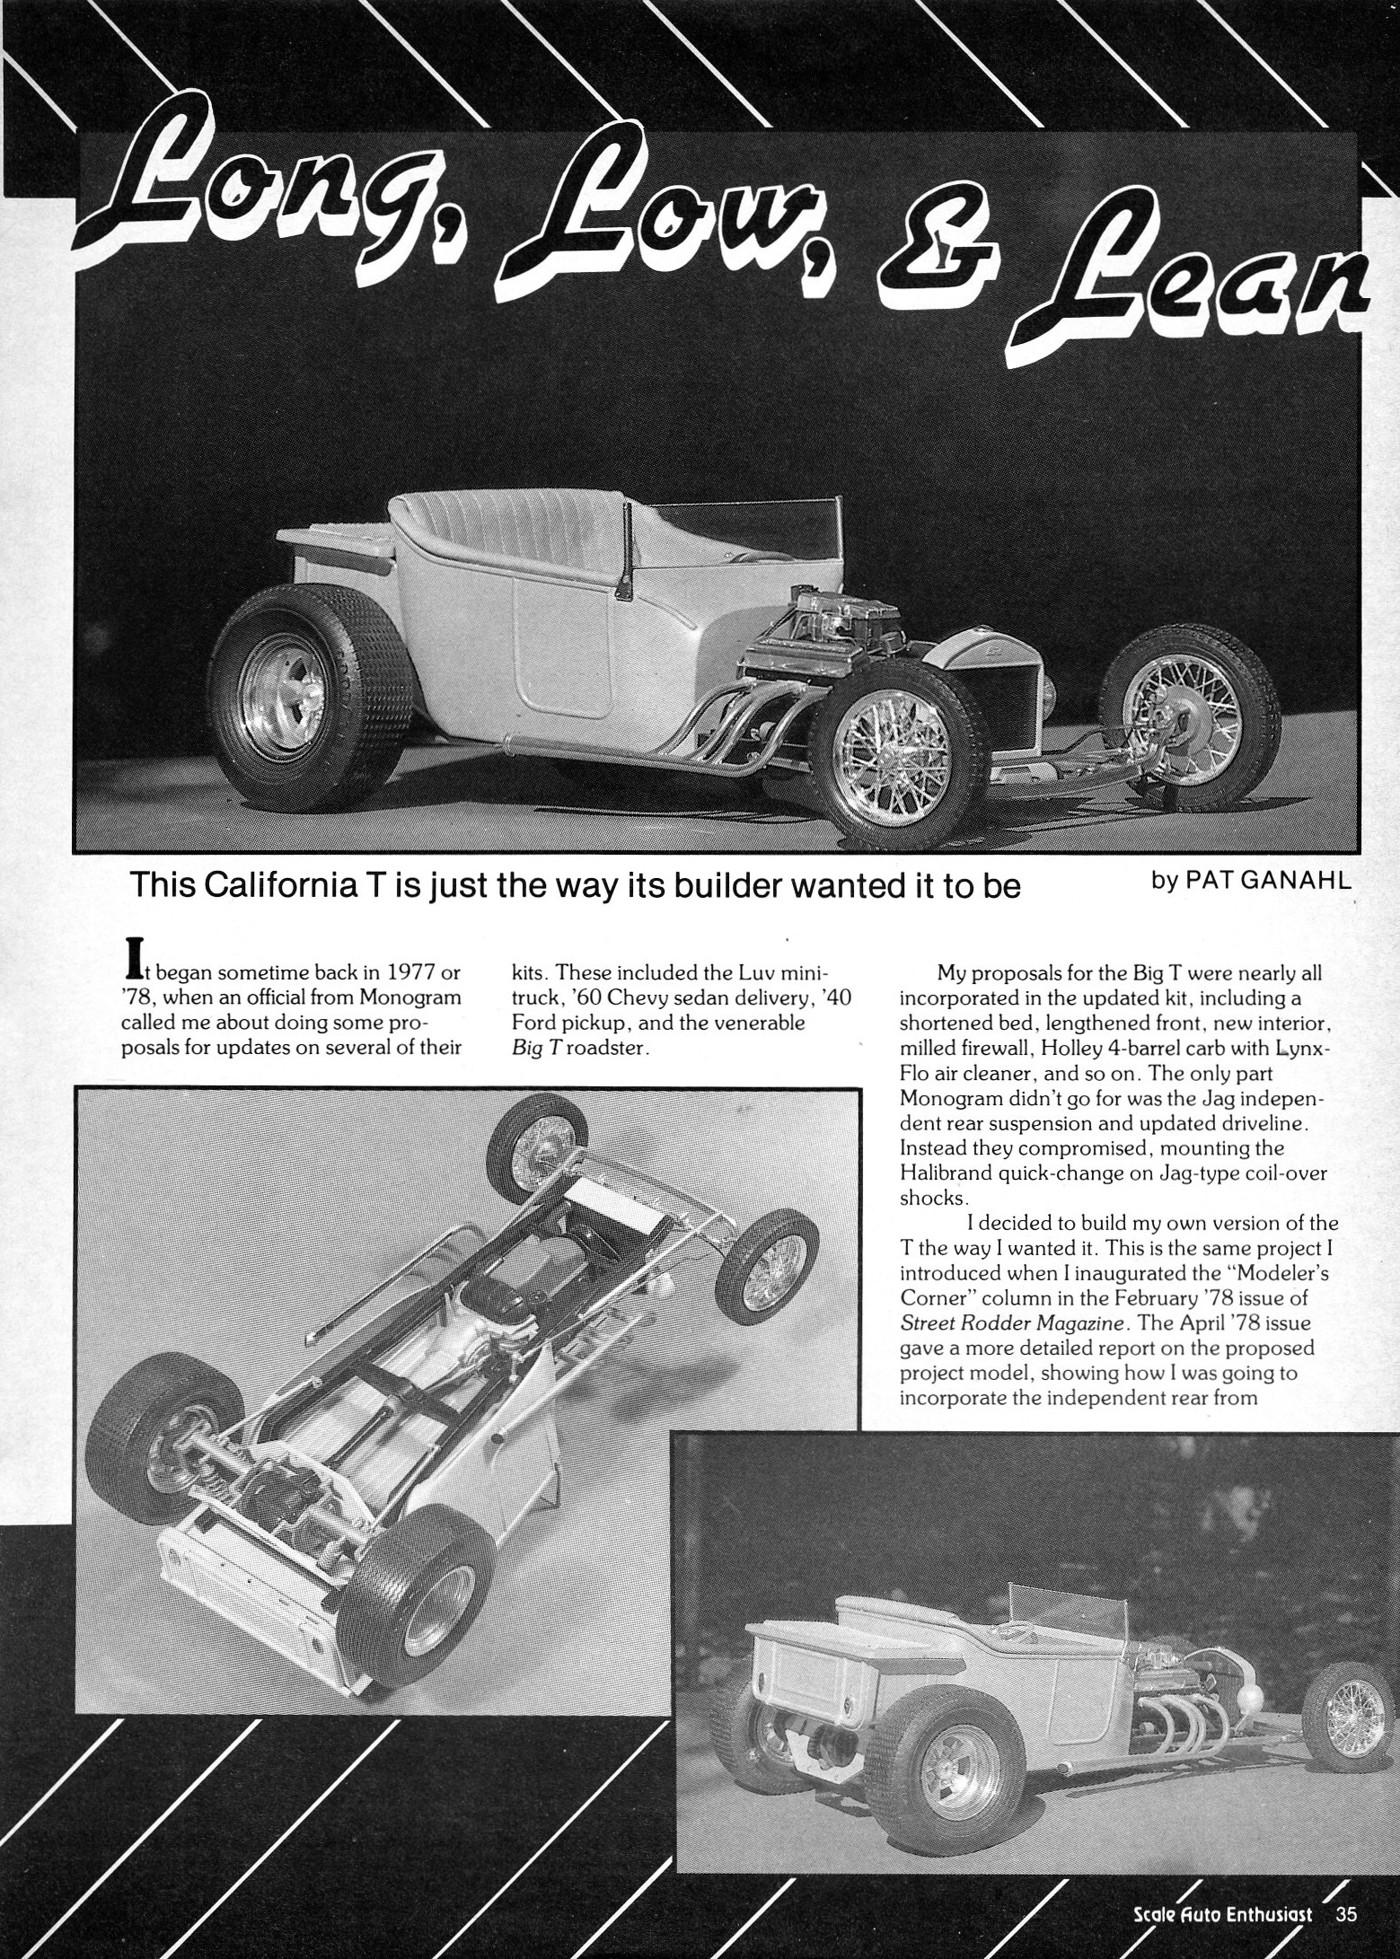
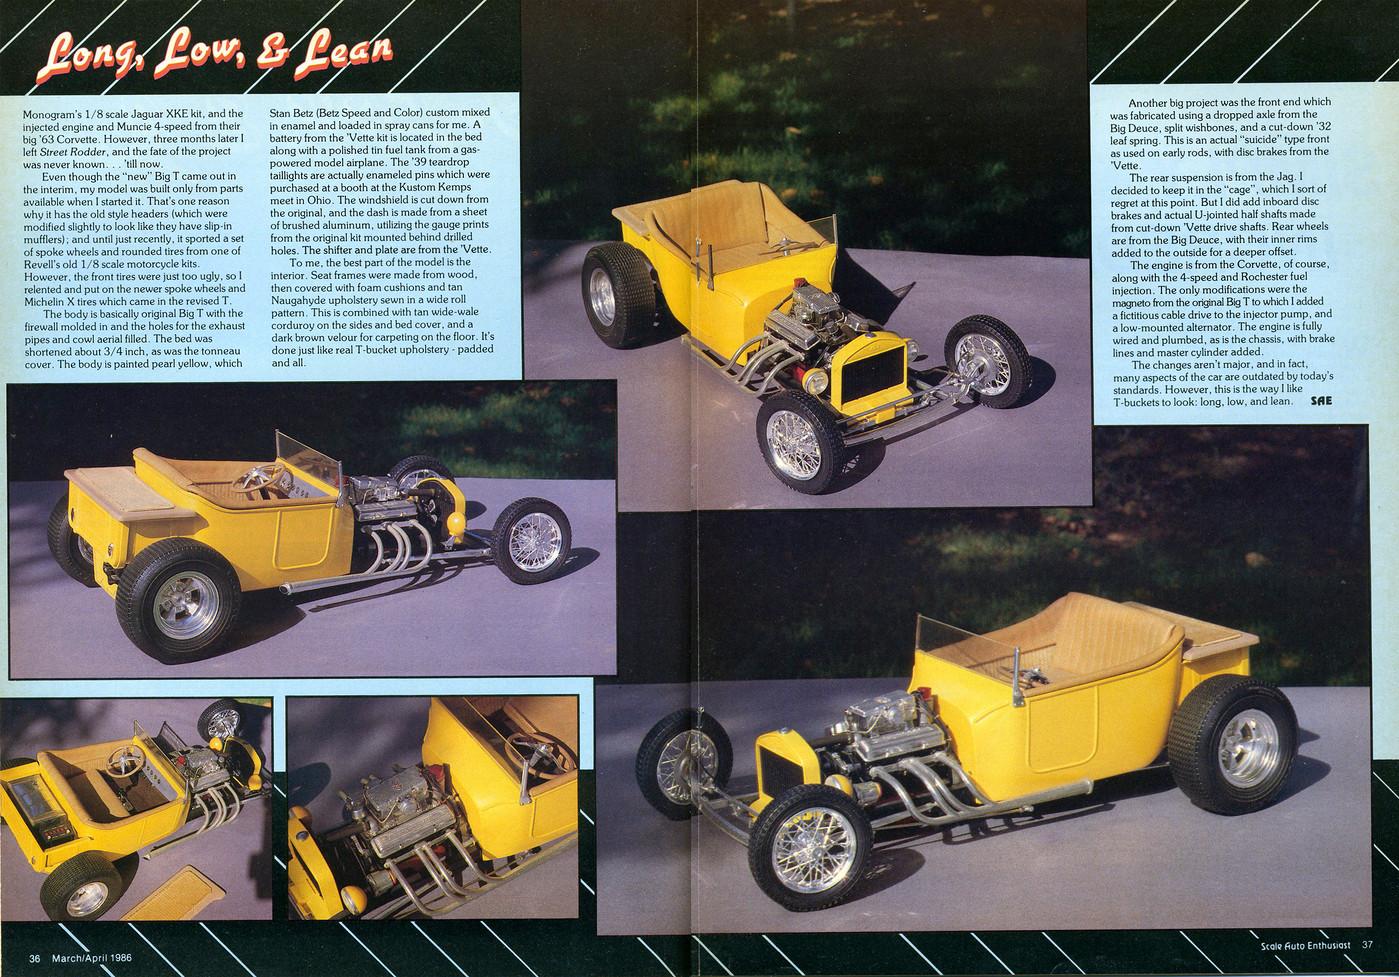
Just last week I was going through some of my old SAE magazines - looking for another unrelated article - and I came across this:

-
Thank you, Jimmy! The Mondello Fiat is somewhere down the road once I work up the courage.
-
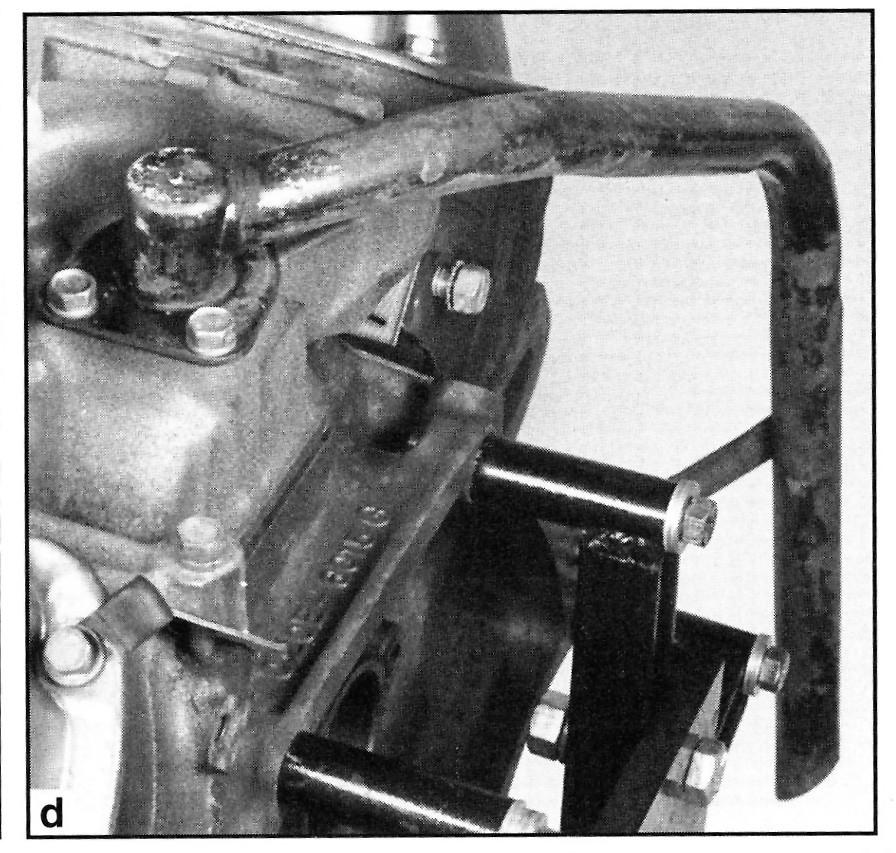
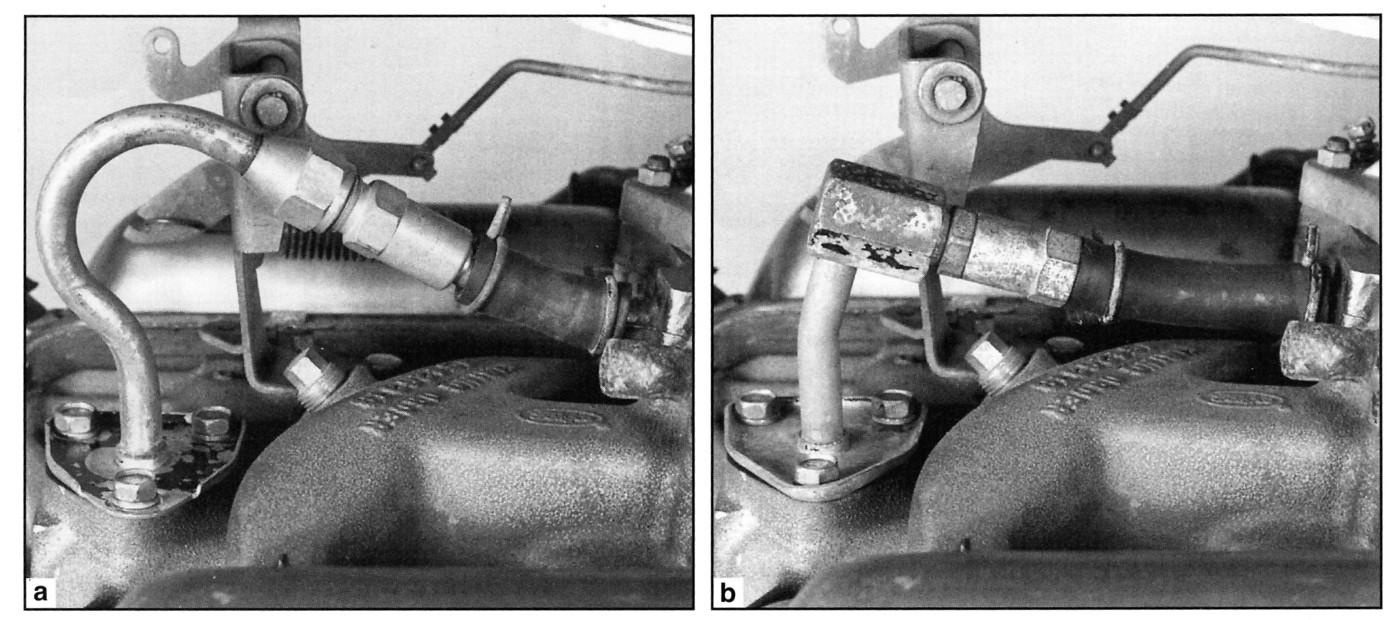
Just to detail this out a tiny bit more - here are a few shots from the Bob Mannel book. This one shows the non-emission road draft tube (the blow-by is just dumped out into the atmosphere): And two styles of the early PCV setup at the back of the intake manifold (connected to the carb spacer):
-
The generator and bracket are some of the few accurate parts in that kit, IMHO.
-
Yes, generally true - by 1965 all SBFs had the valve cover mounted PCV and oil filler, as well as the alternator and six bolt bellhousing, in addition a whole bunch of other small changes. I realize this is "angels dancing on the head of a pin" type stuff (especially in 1/25 scale) but kinda fascinating otherwise.
-
Things were pretty mixed up in 1964, according to Bob Mannel's book "Mustang & Ford Small Block V8 1962-1969": In 1964, "Ford decided to use road draft tubes where still allowed". In 1962-63 the PCV valves were in the intake manifold as you said, but in 1964 they had moved the PCV valve and oil filler to the valve covers (as we're more used to seeing). So I take from all this that if you see a '64 car with the oil fill in front that it's most likely a non-PCV model.
-
If you want to get crazy detailed/correct about this, you'll also notice that this car also has a separate oil fill tube and no PCV valve, which marks it as "non-emission reduction" model.
-
But then again, I was making minimum wage at the time, which was $2.00 per hour. I didn't have a car, but I was able to afford my own modest apartment.
-
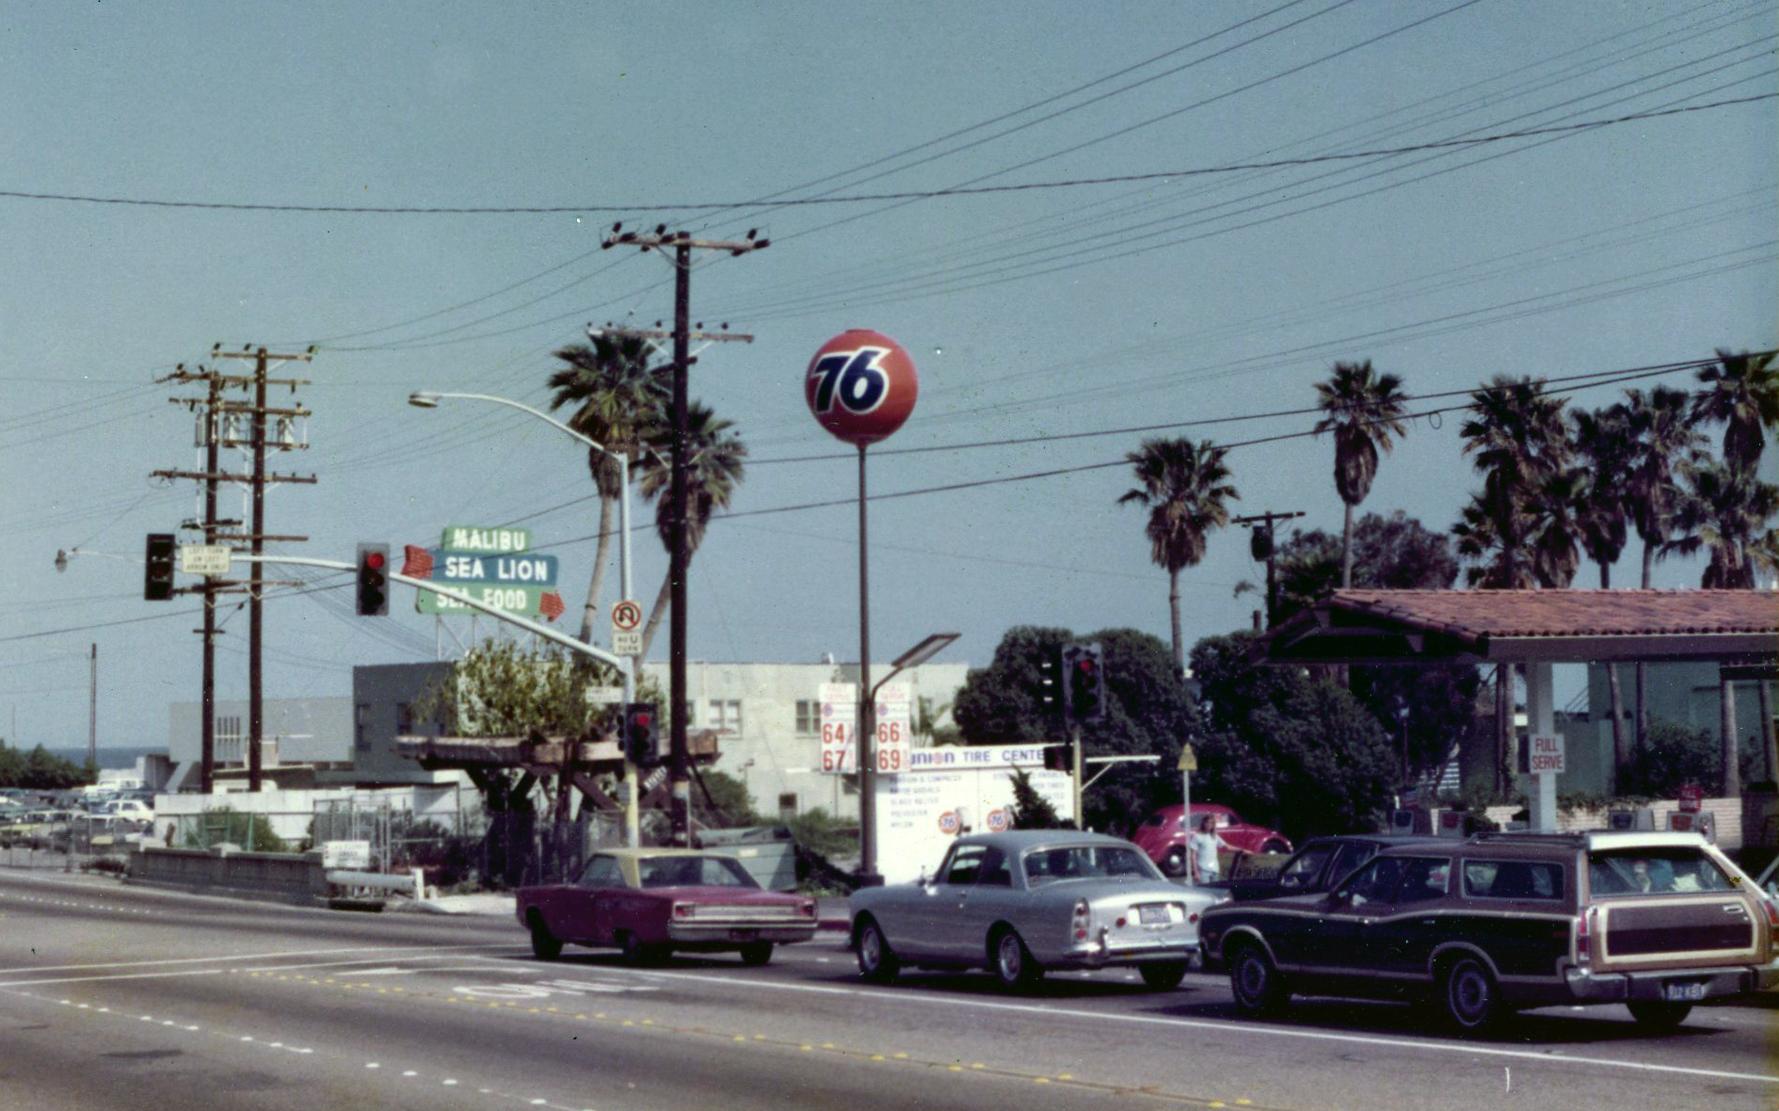
Probably not one of the cheaper stations around either, given its location. I can't say that I remember when full serve went (gradually) away, because I always self-served.
-
Thanks, Bill! Why am I not surprised that you were the guy that figured it out?
-
Not the Plymouth, the Ford, or the VW, but the silver car in the middle?
-
Spray booth recommendations??
RancheroSteve replied to 2zwudz's topic in Model Building Questions and Answers
Anybody out there tried a washable/reusable filter in their booth? I've got a Pace booth that takes 12x24 filters. -
Thanks - and I hope I'm not being too self-promoting here, but did you see the "Under Glass" version:
-
I may have been the guy who posted that model? In any case, I've been greatly impressed with Scott's customer service (as well as his parts) over the years - he usually keeps his website up to date as far as what's in stock, but I'm sure things can slip through. I've occasionally had to wait for items to get back in stock, but he has emailed me when I let him know that I was interested in buying an item.
-
Has this car ever been in kit form?
RancheroSteve replied to TarheelRick's topic in Model Building Questions and Answers
In addition to the plastic kits mentioned above, there have been several resin kits in various scales over the years, and some ambitious folks have used slot car bodies as a basis. -
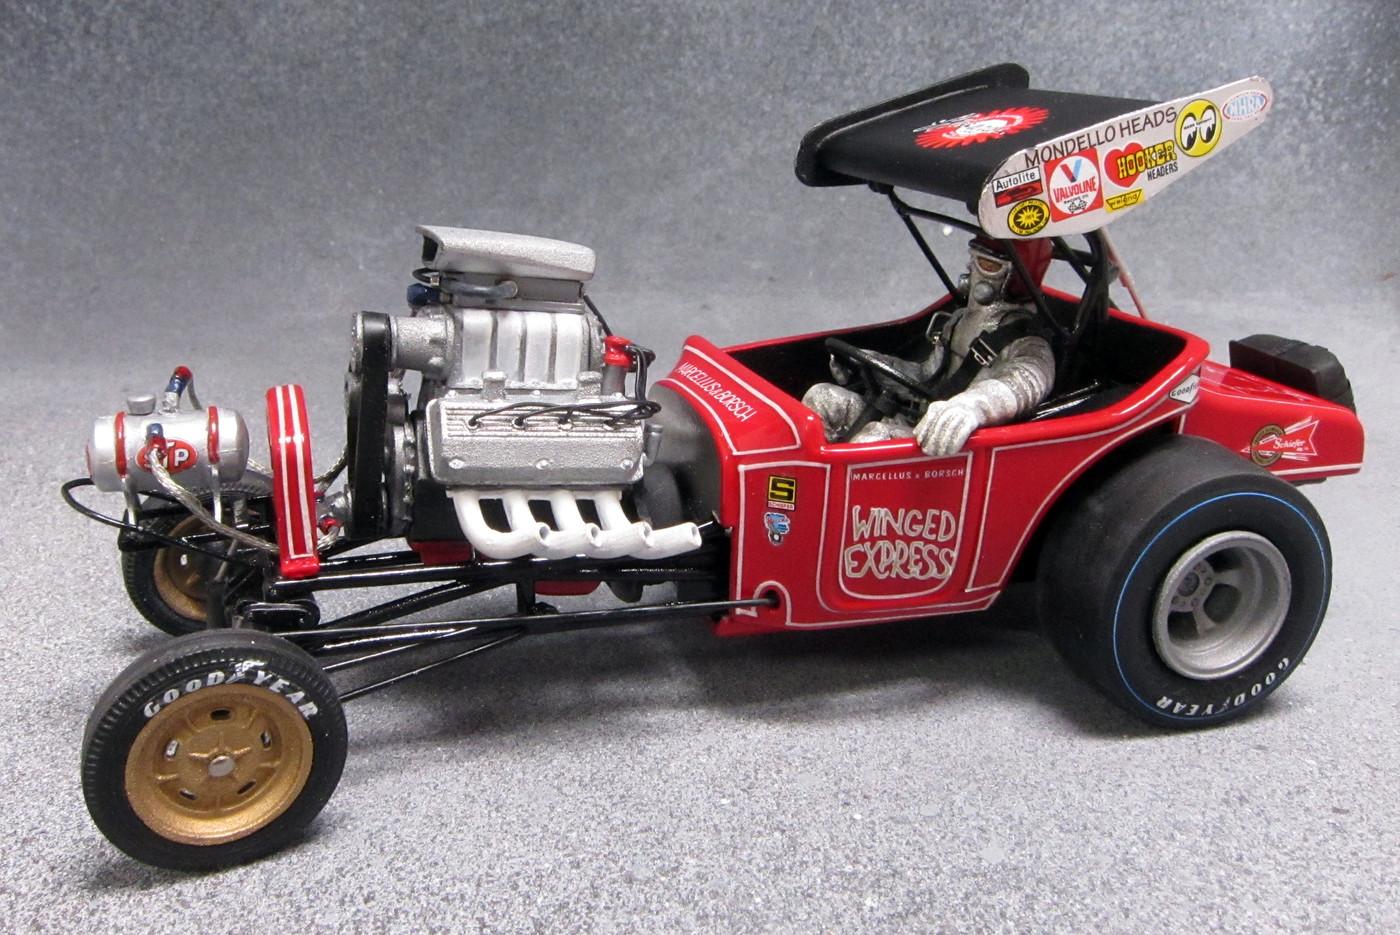
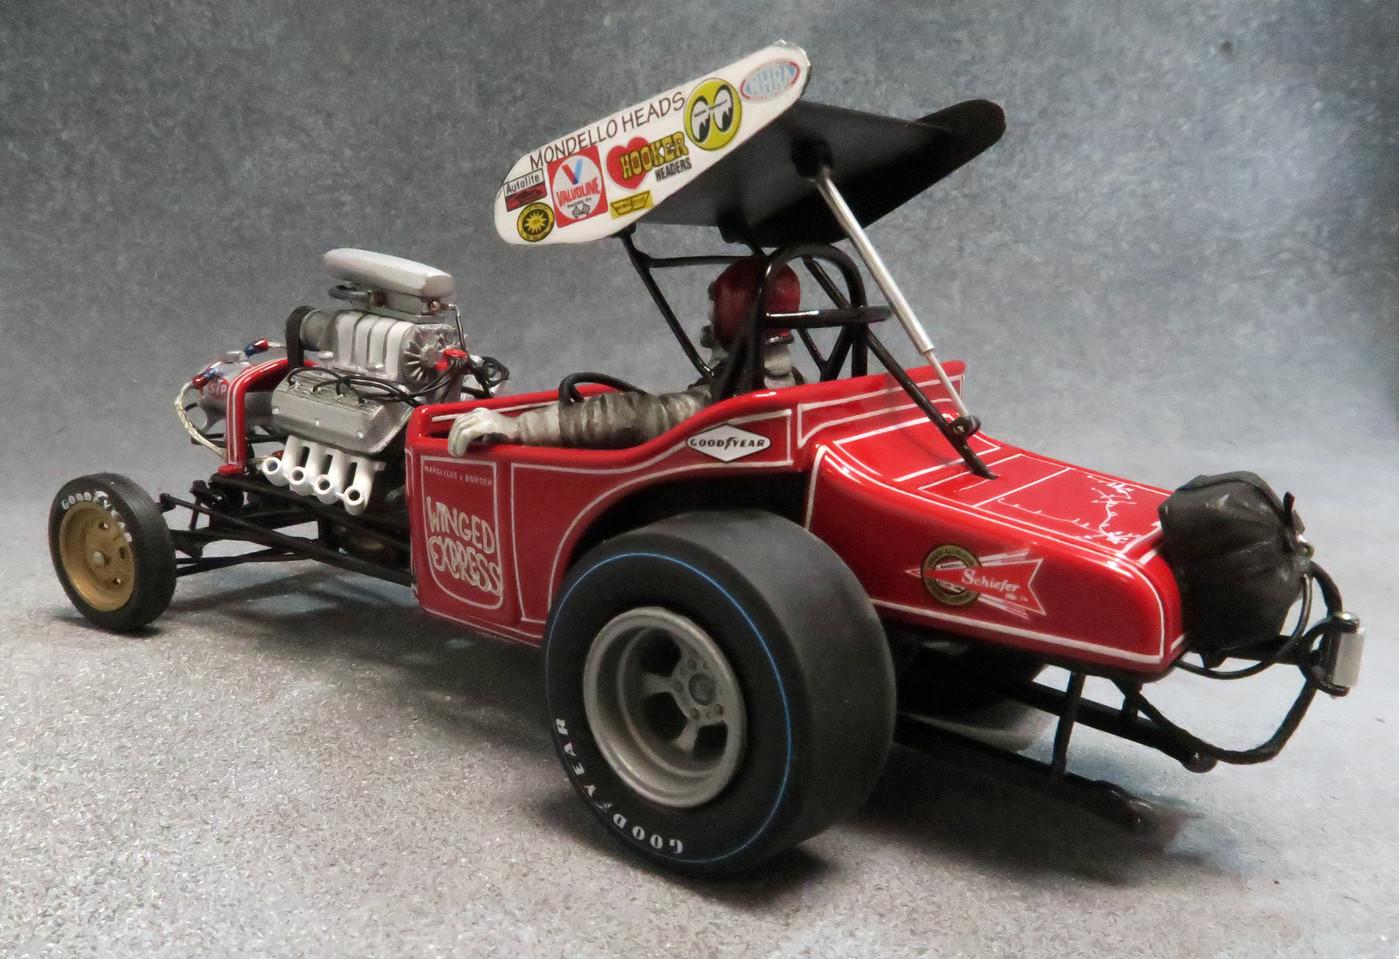
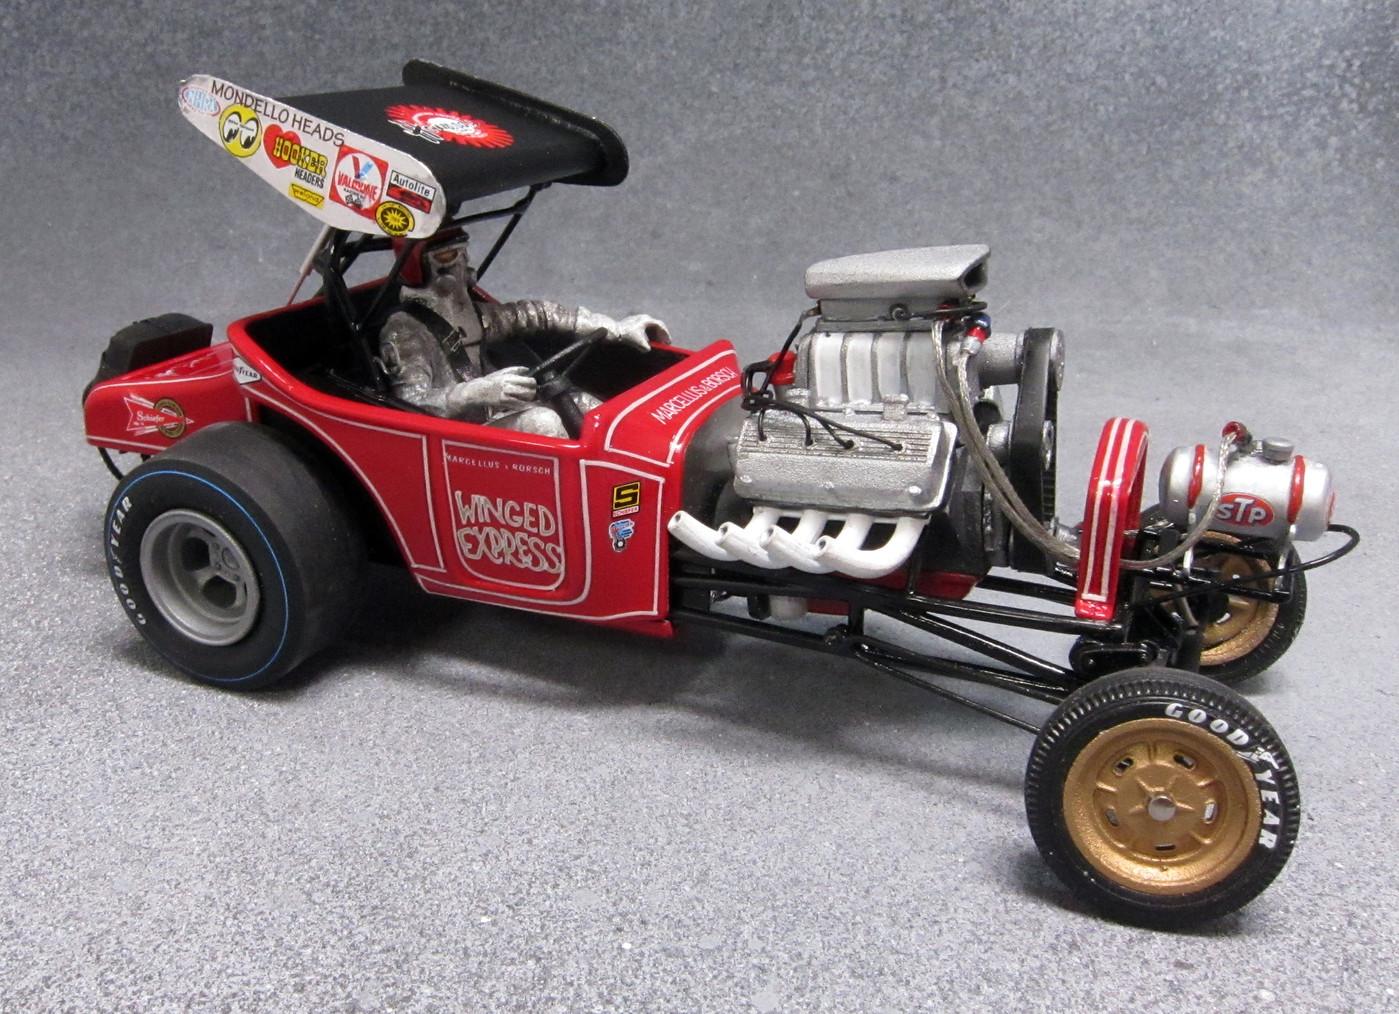
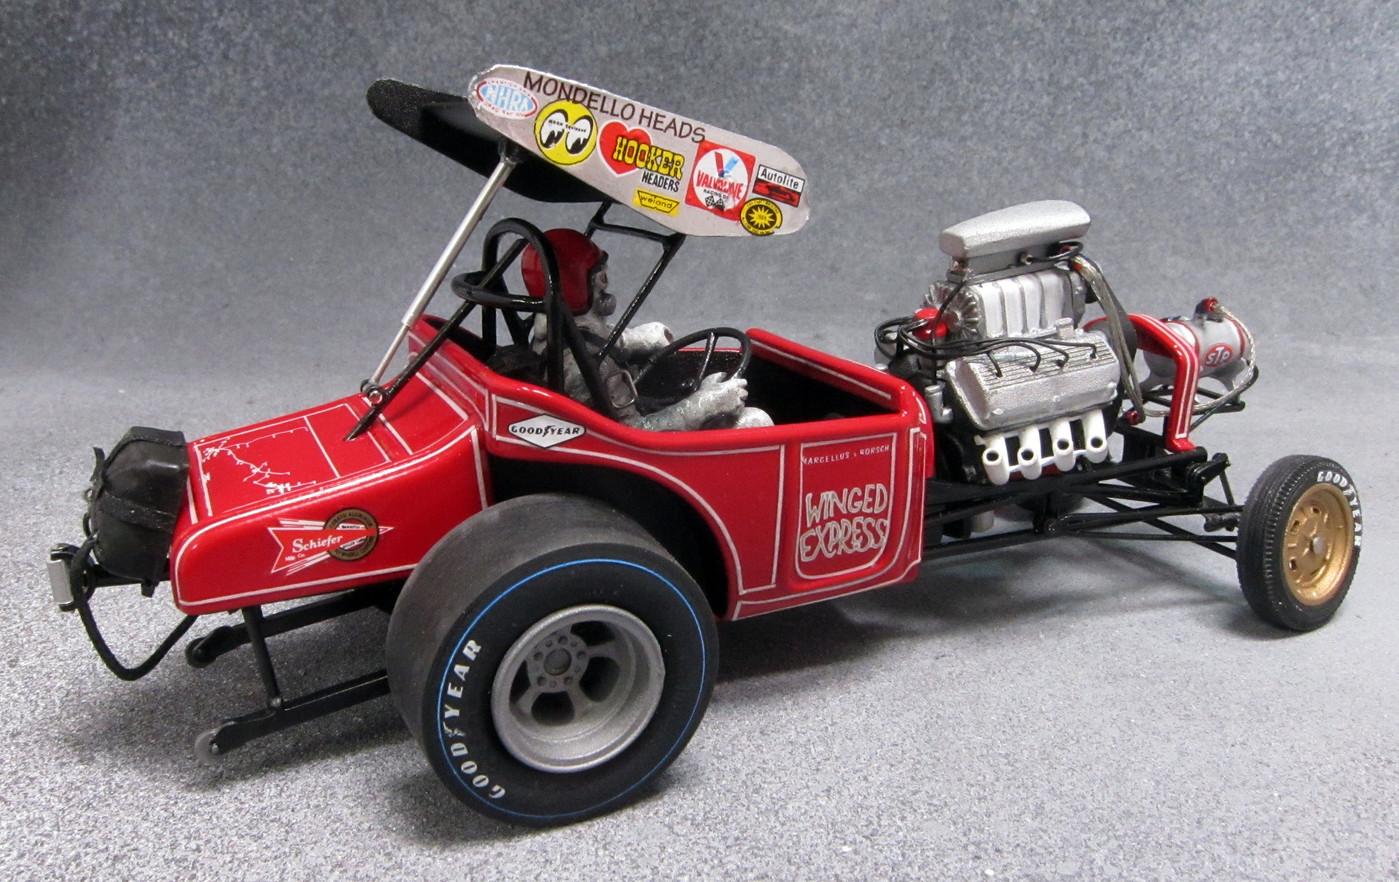
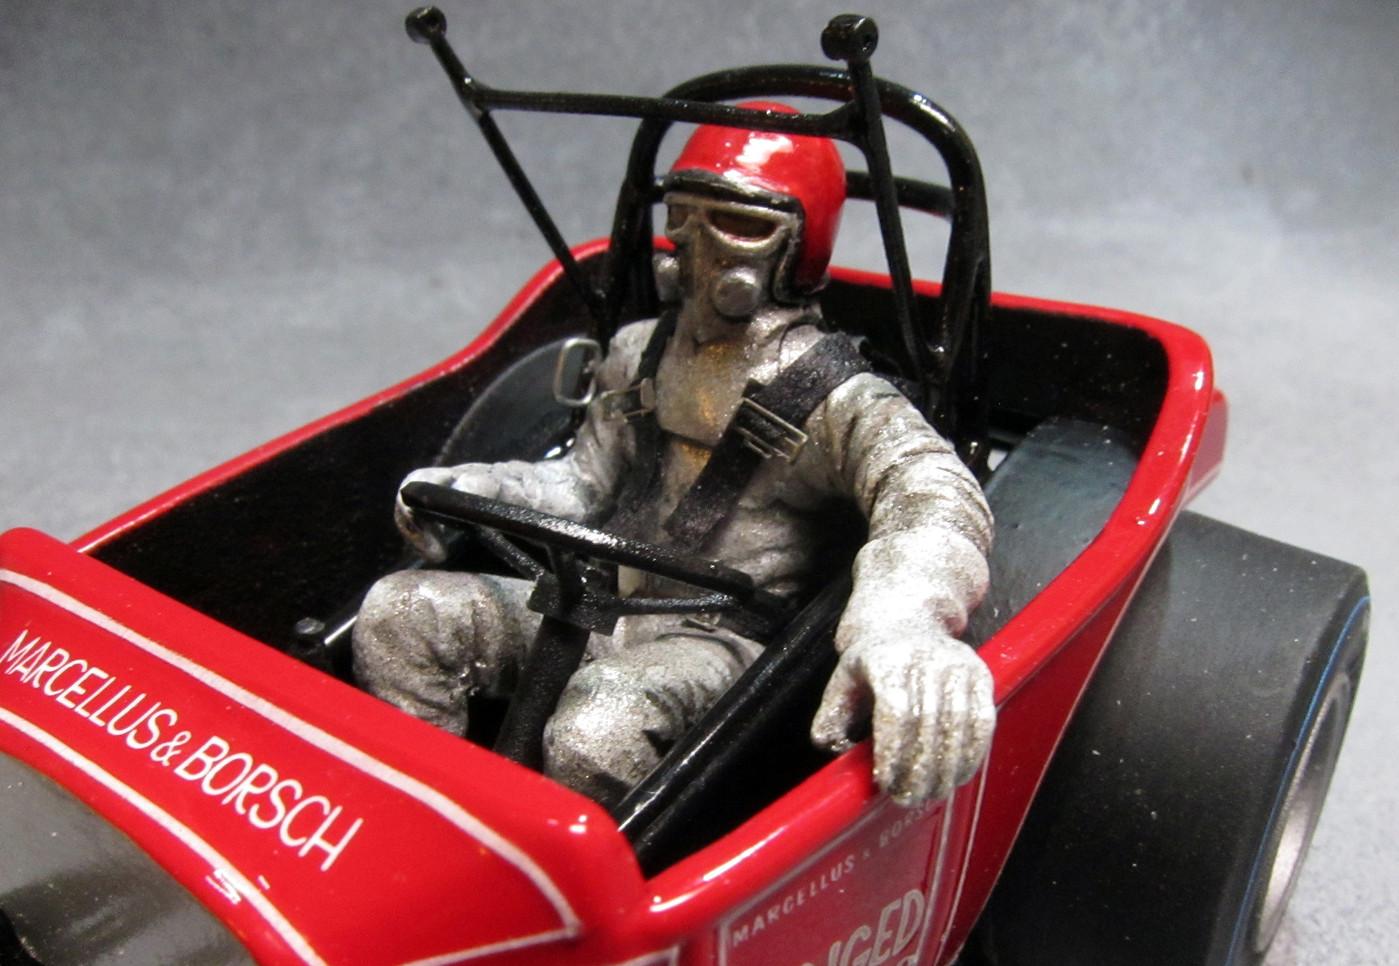
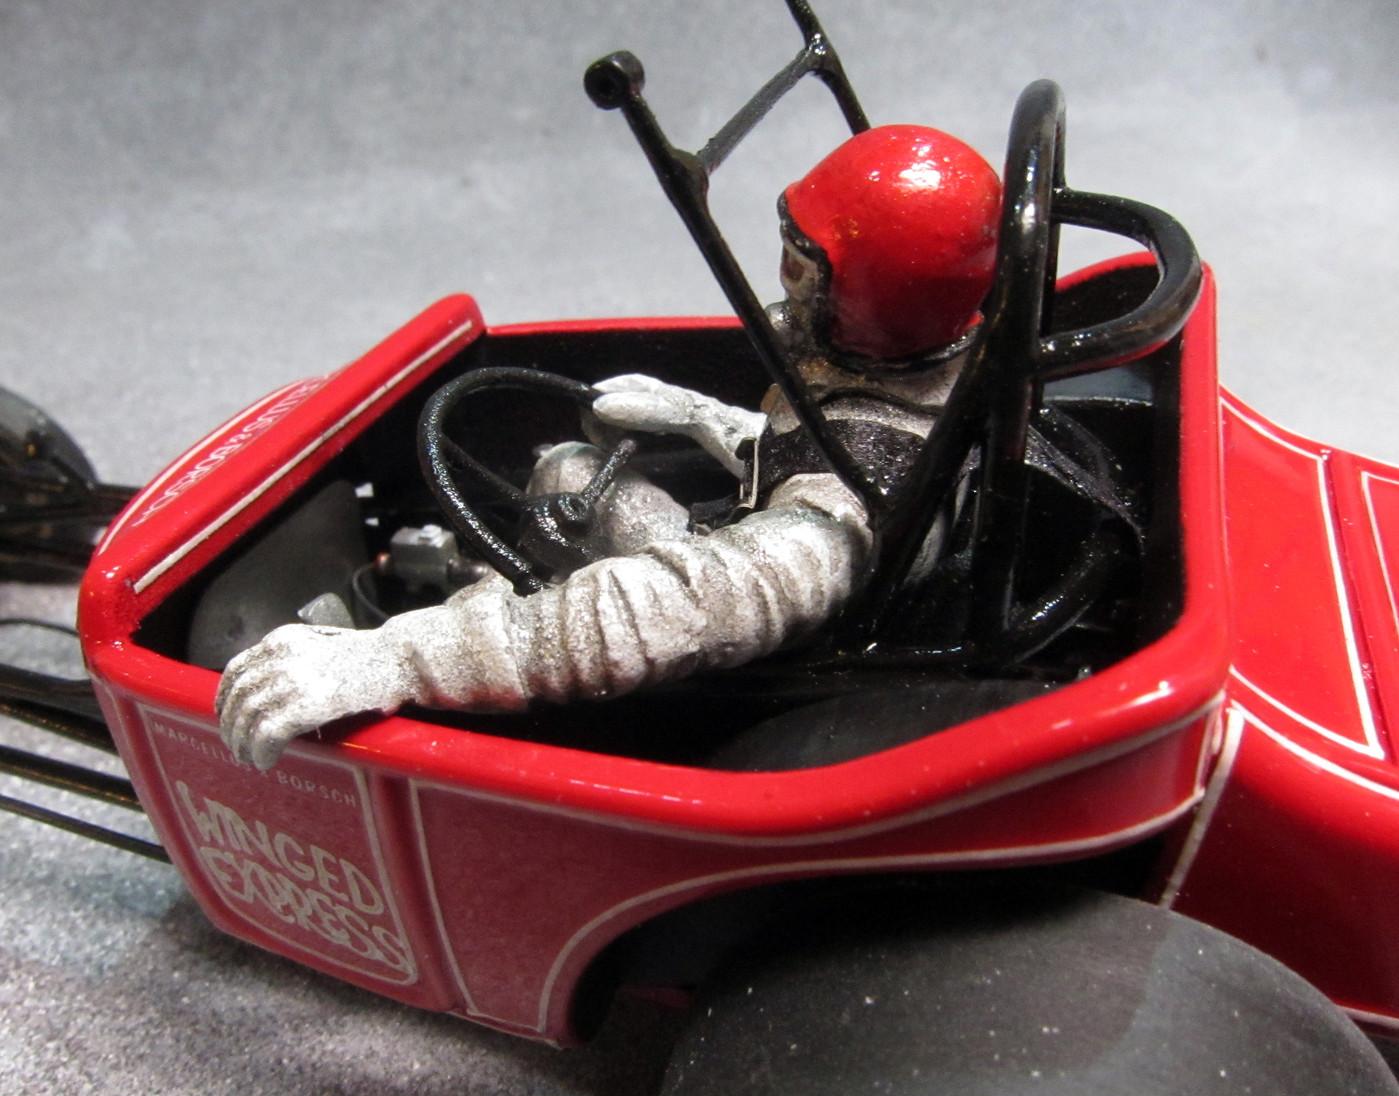
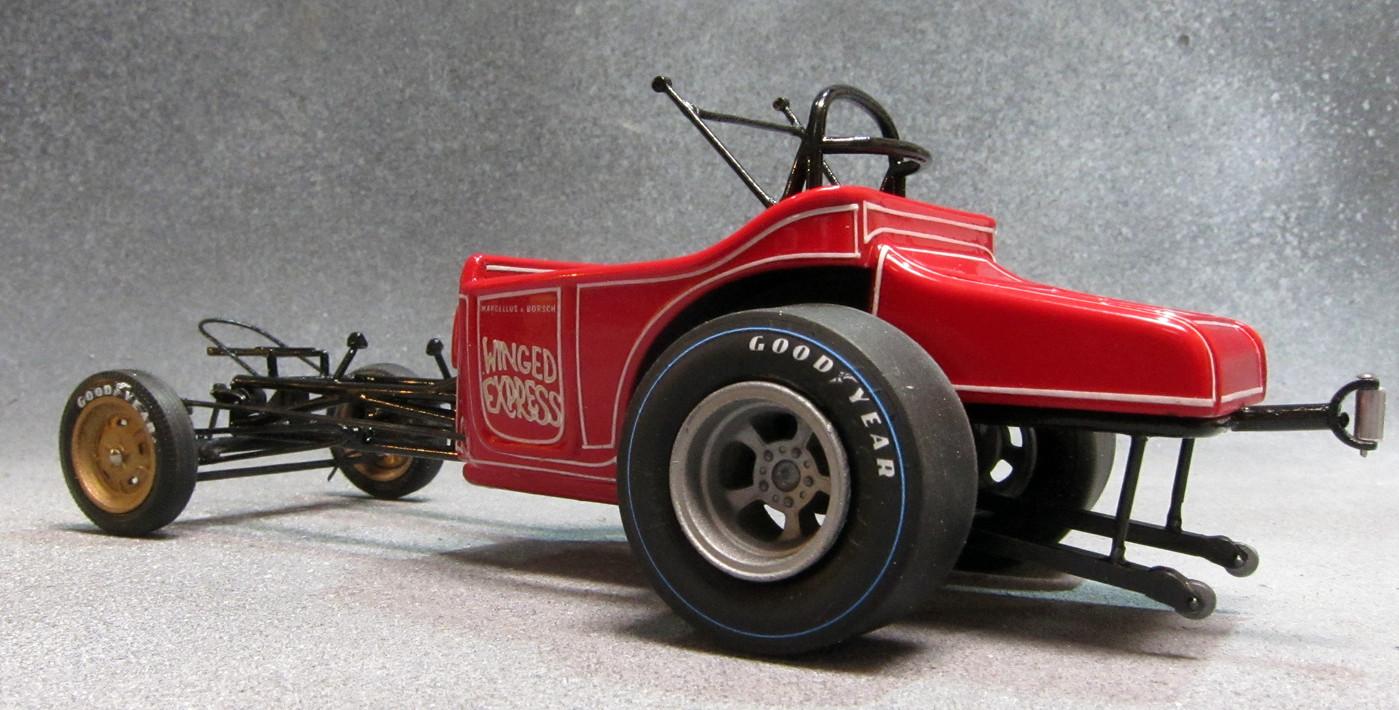
Just finished this one up - Wild Willie Borsch in the iconic Marcellus & Borsch "Winged Express" fuel altered . Started with the MPC kit, but backdated it to more closely represent the earlier version of the car. Reference is bountiful on this car, but it went through many changes during its existence - in fact, no two photos show it exactly the same, so my model doesn't represent any specific iteration, but rather a conglomeration of how the car might have appeared, if you get my drift. Driver figure, rear tires, and several engine parts came from Speed City Resin. Slixx decals. Lots of various items from the parts box and a few scratchbuilt pieces. Build thread here for more detail: Comments & questions welcome - thanks for looking!
- 20 replies
-
- 16
-

-
What did you see on the road today?
RancheroSteve replied to Harry P.'s topic in General Automotive Talk (Trucks and Cars)
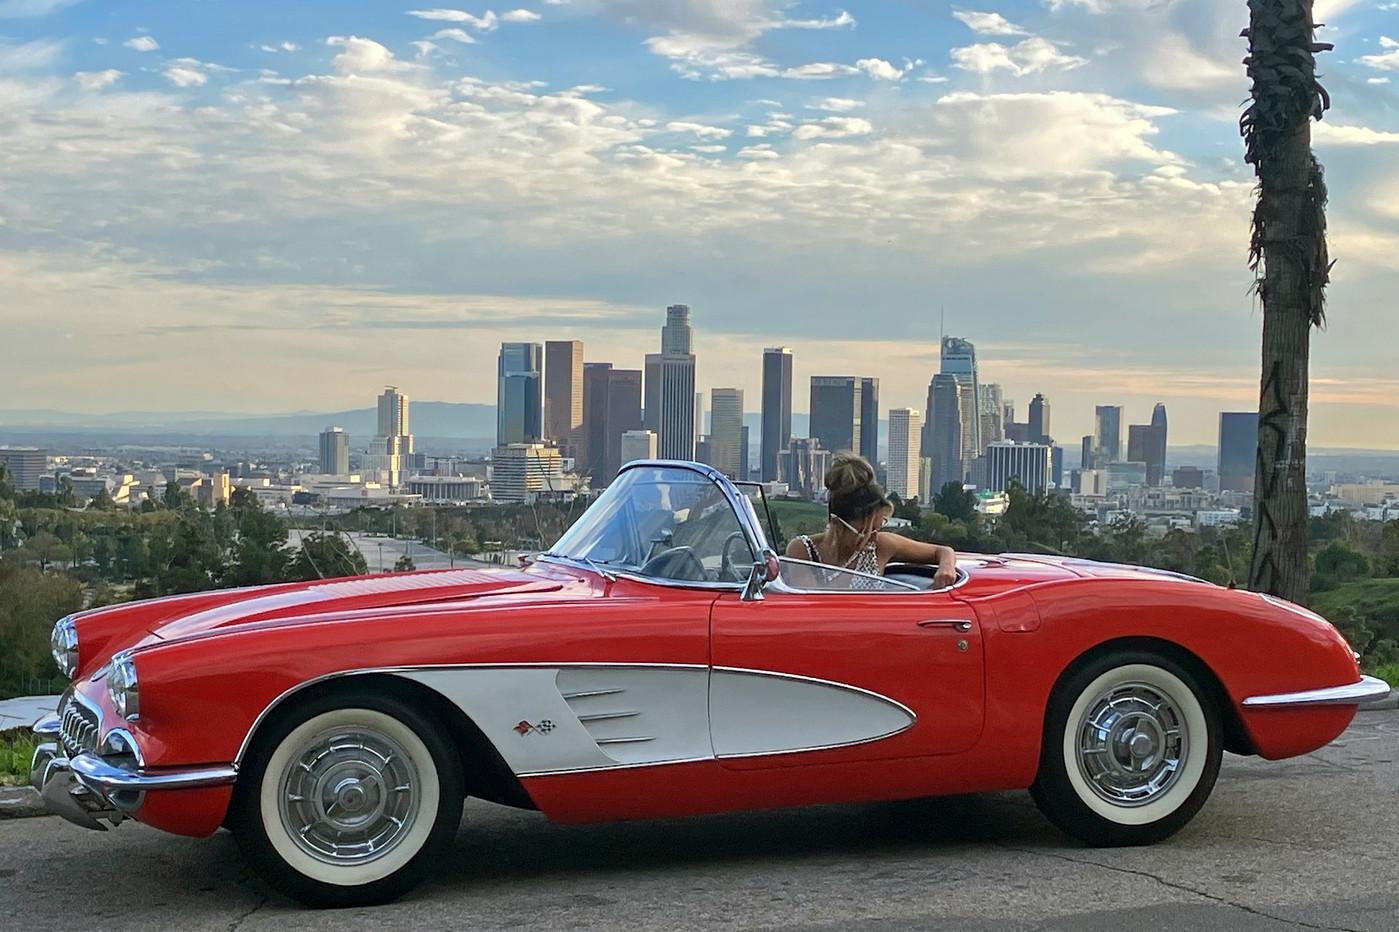
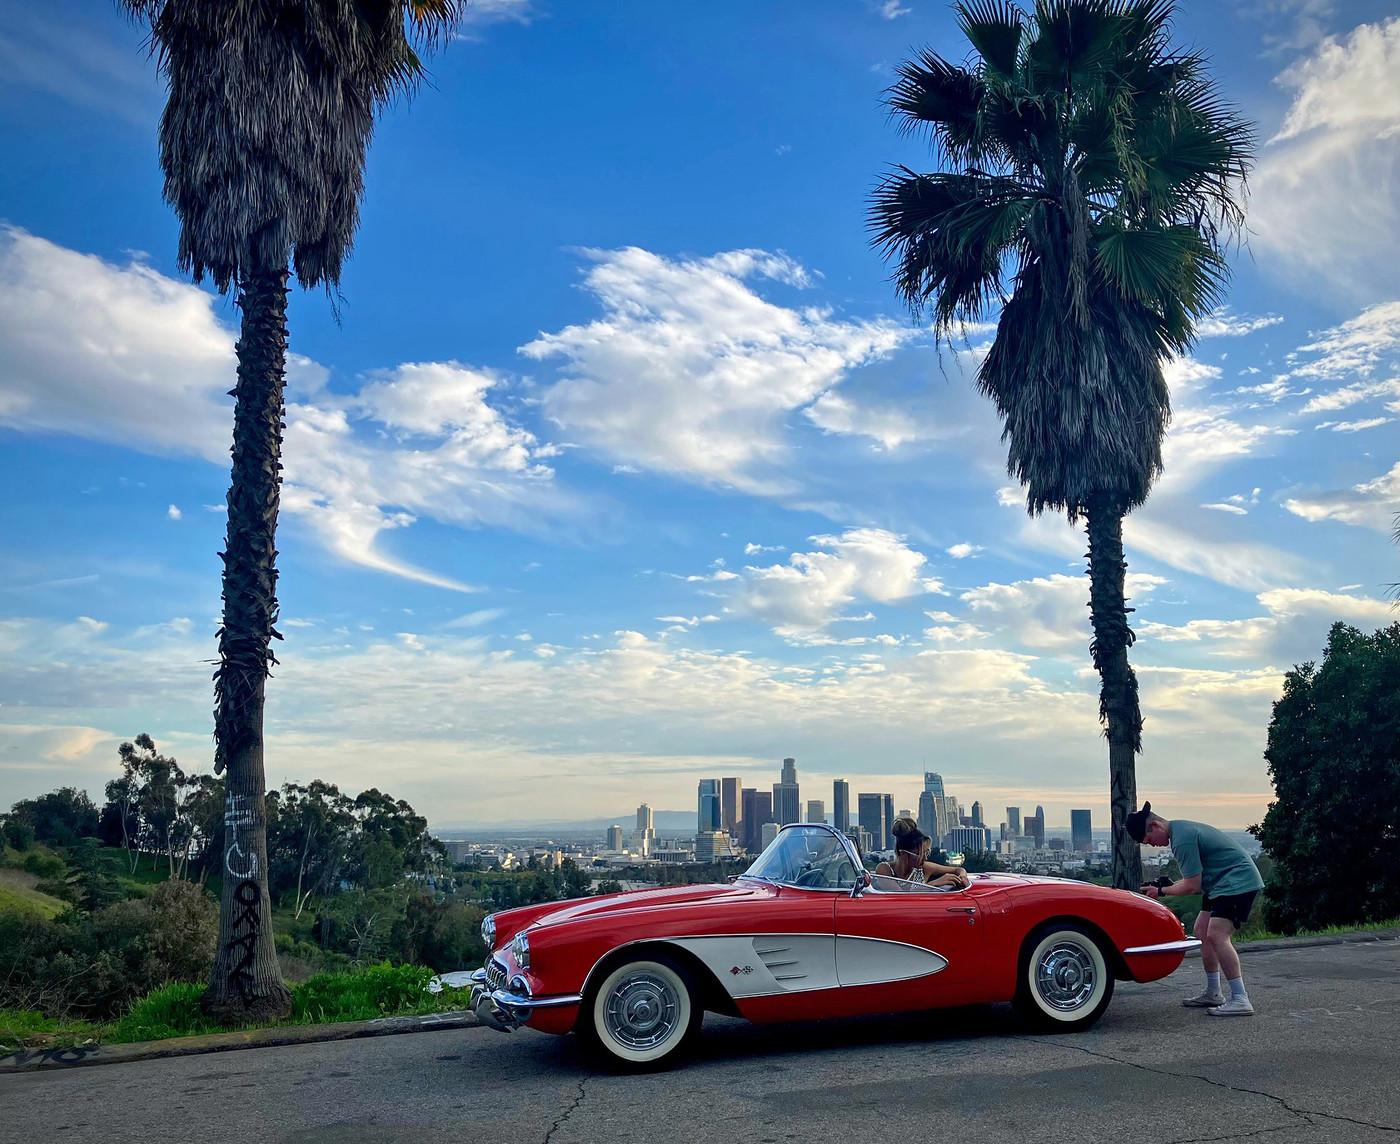
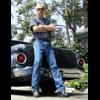
Came upon this while out riding a few days ago: Photo shoot, of course - just another February day in Los Angeles.
-
Sorry, I don't have one for you, but Replicas & Miniatures makes a very nice resin version - probably even a little more accurate than the Vickie piece, in case that's important to you.
-
It took some doing, but Willie is now on board: The end is in sight . . .
-
The body is on and it's up on its wheels. Gettin' closer . . .
-
Are you looking for a complete one? I have one that has some parts robbed out of it if that could work for you. Shoot me a PM if you want to work something out.
-
Uh no - both charts state all blocks were black up until the '66 model year.
-
Valve covers and air cleaner red? Block should be black. https://www.galaxieclub.com/Colors.html and https://www.falconparts.com/blog/ford-falcon-technical/ford-falcon-engine-colors/