James2
-
Posts
4,285 -
Joined
-
Last visited
Content Type
Profiles
Forums
Events
Gallery
Everything posted by James2
-

Back and still plasticated!
James2 replied to The Plasticated Guy's topic in Welcome! Introduce Yourself
Good to have you again. I had troubles as well until I used a different email address, went right through then. I think the update should have been described as change. -
Liking the mockup, looks very good.
-
Very nice racer. Lots of little detail touches and cleanly built, paint and decals look great, well done.
-
This may prove to be more challenging than expected, but I am committed to the Pontiac power plant.

-
Thanks Carl, the rear axle is assembled. Still waiting on the wheel set to arrive before proceeding to far.
-
Absolute beautifully built Pie Wagon. Great detail, cleanly put together, well done.
-
Placed an order today......
-
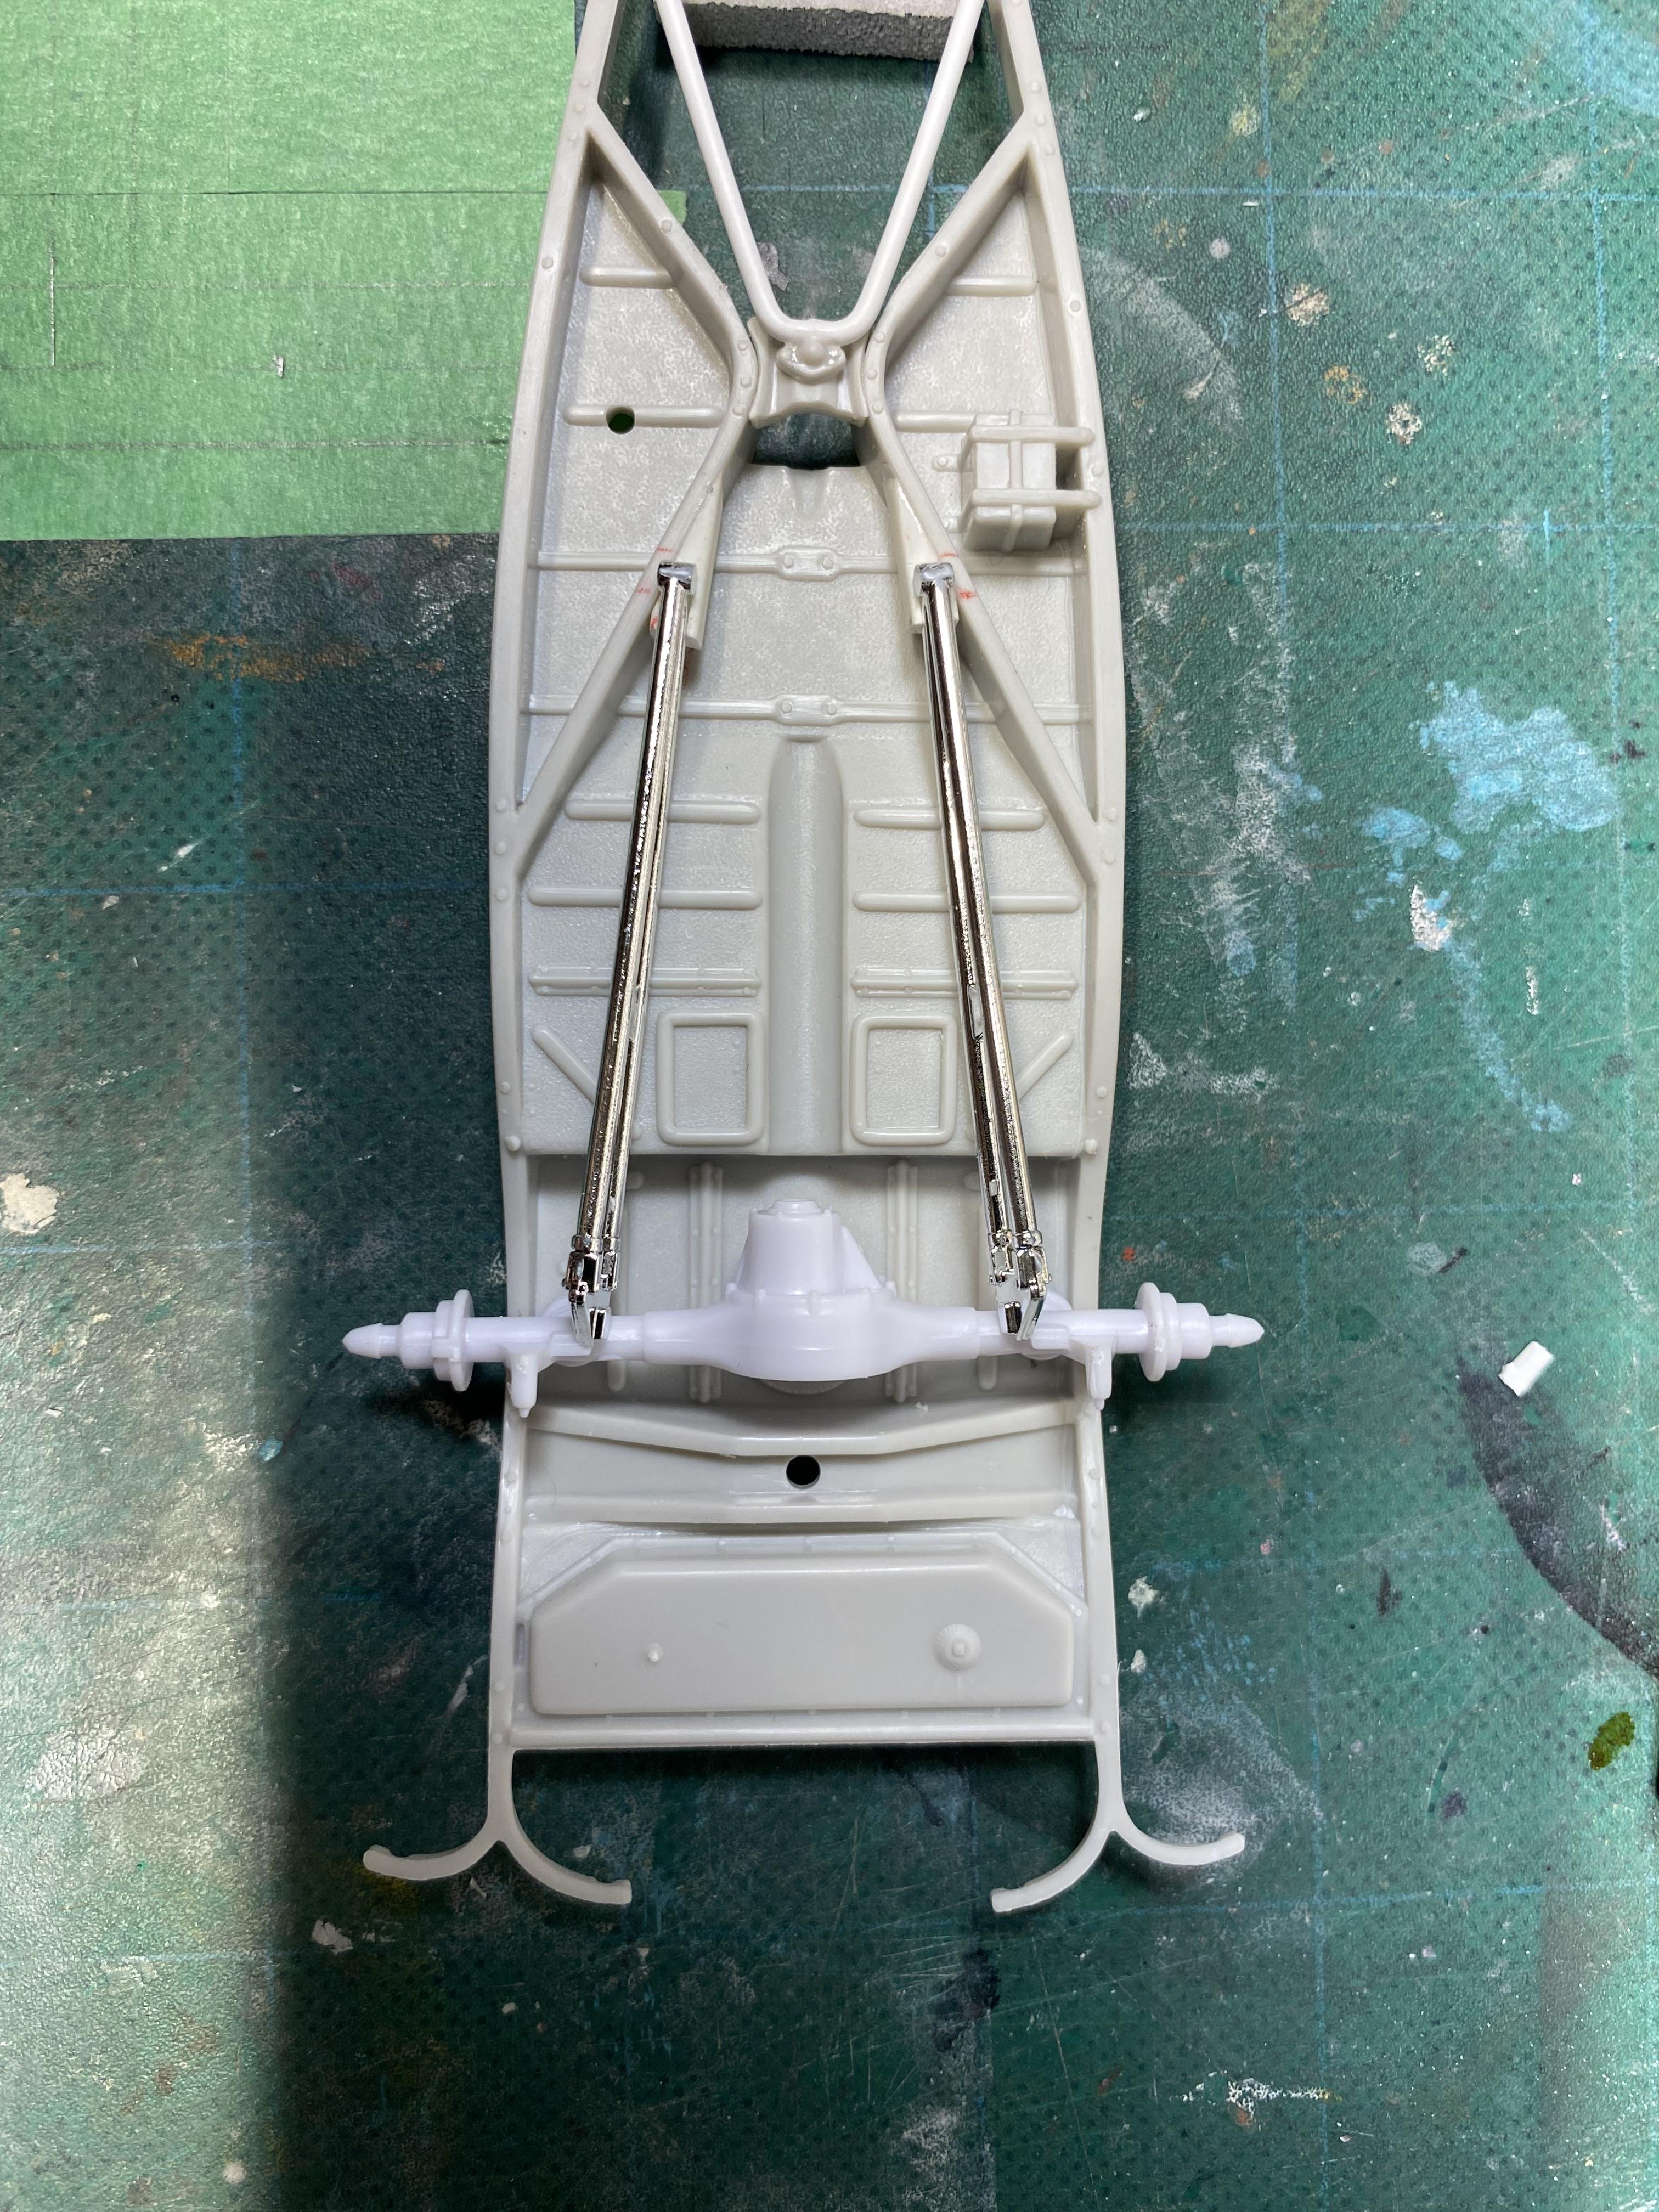
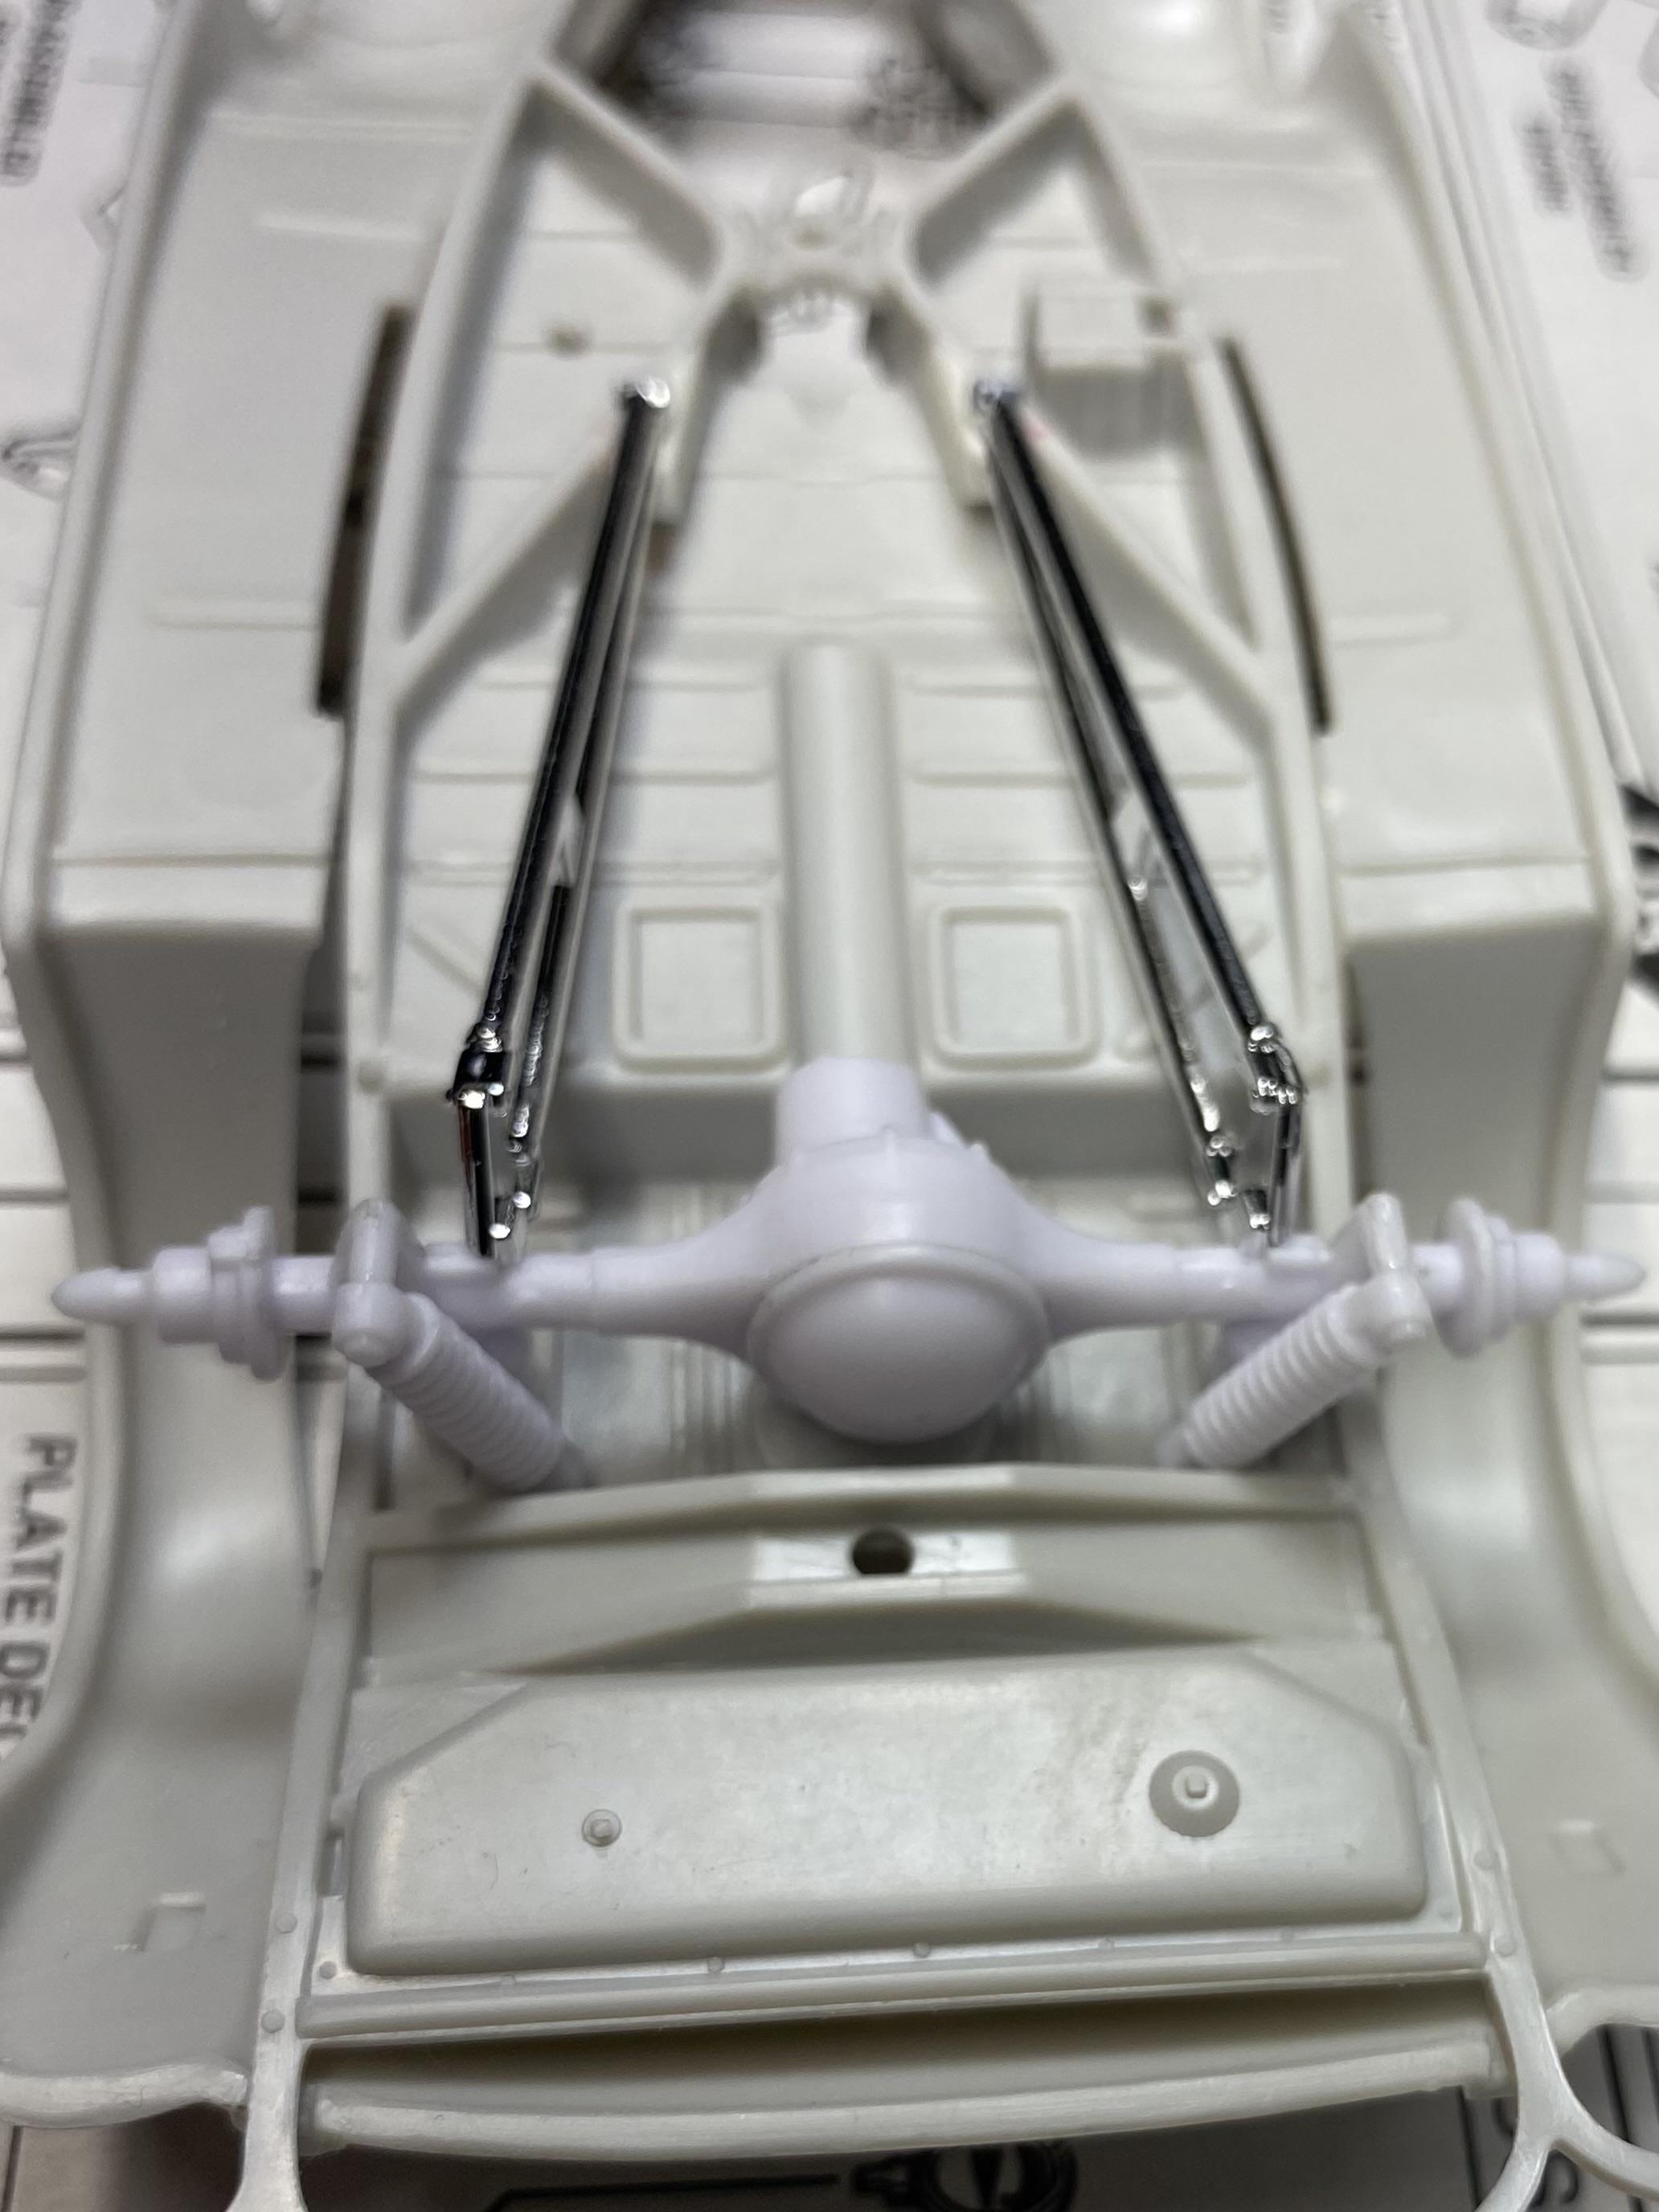
Still waiting on the wheels to arrive so for now I finished the wish bone by cutting to length, drilling the center and adding styrene rod.
-
Well I’m just glad to be looking over your shoulder to see the process.
-
Separated the steering link for a better look.
-
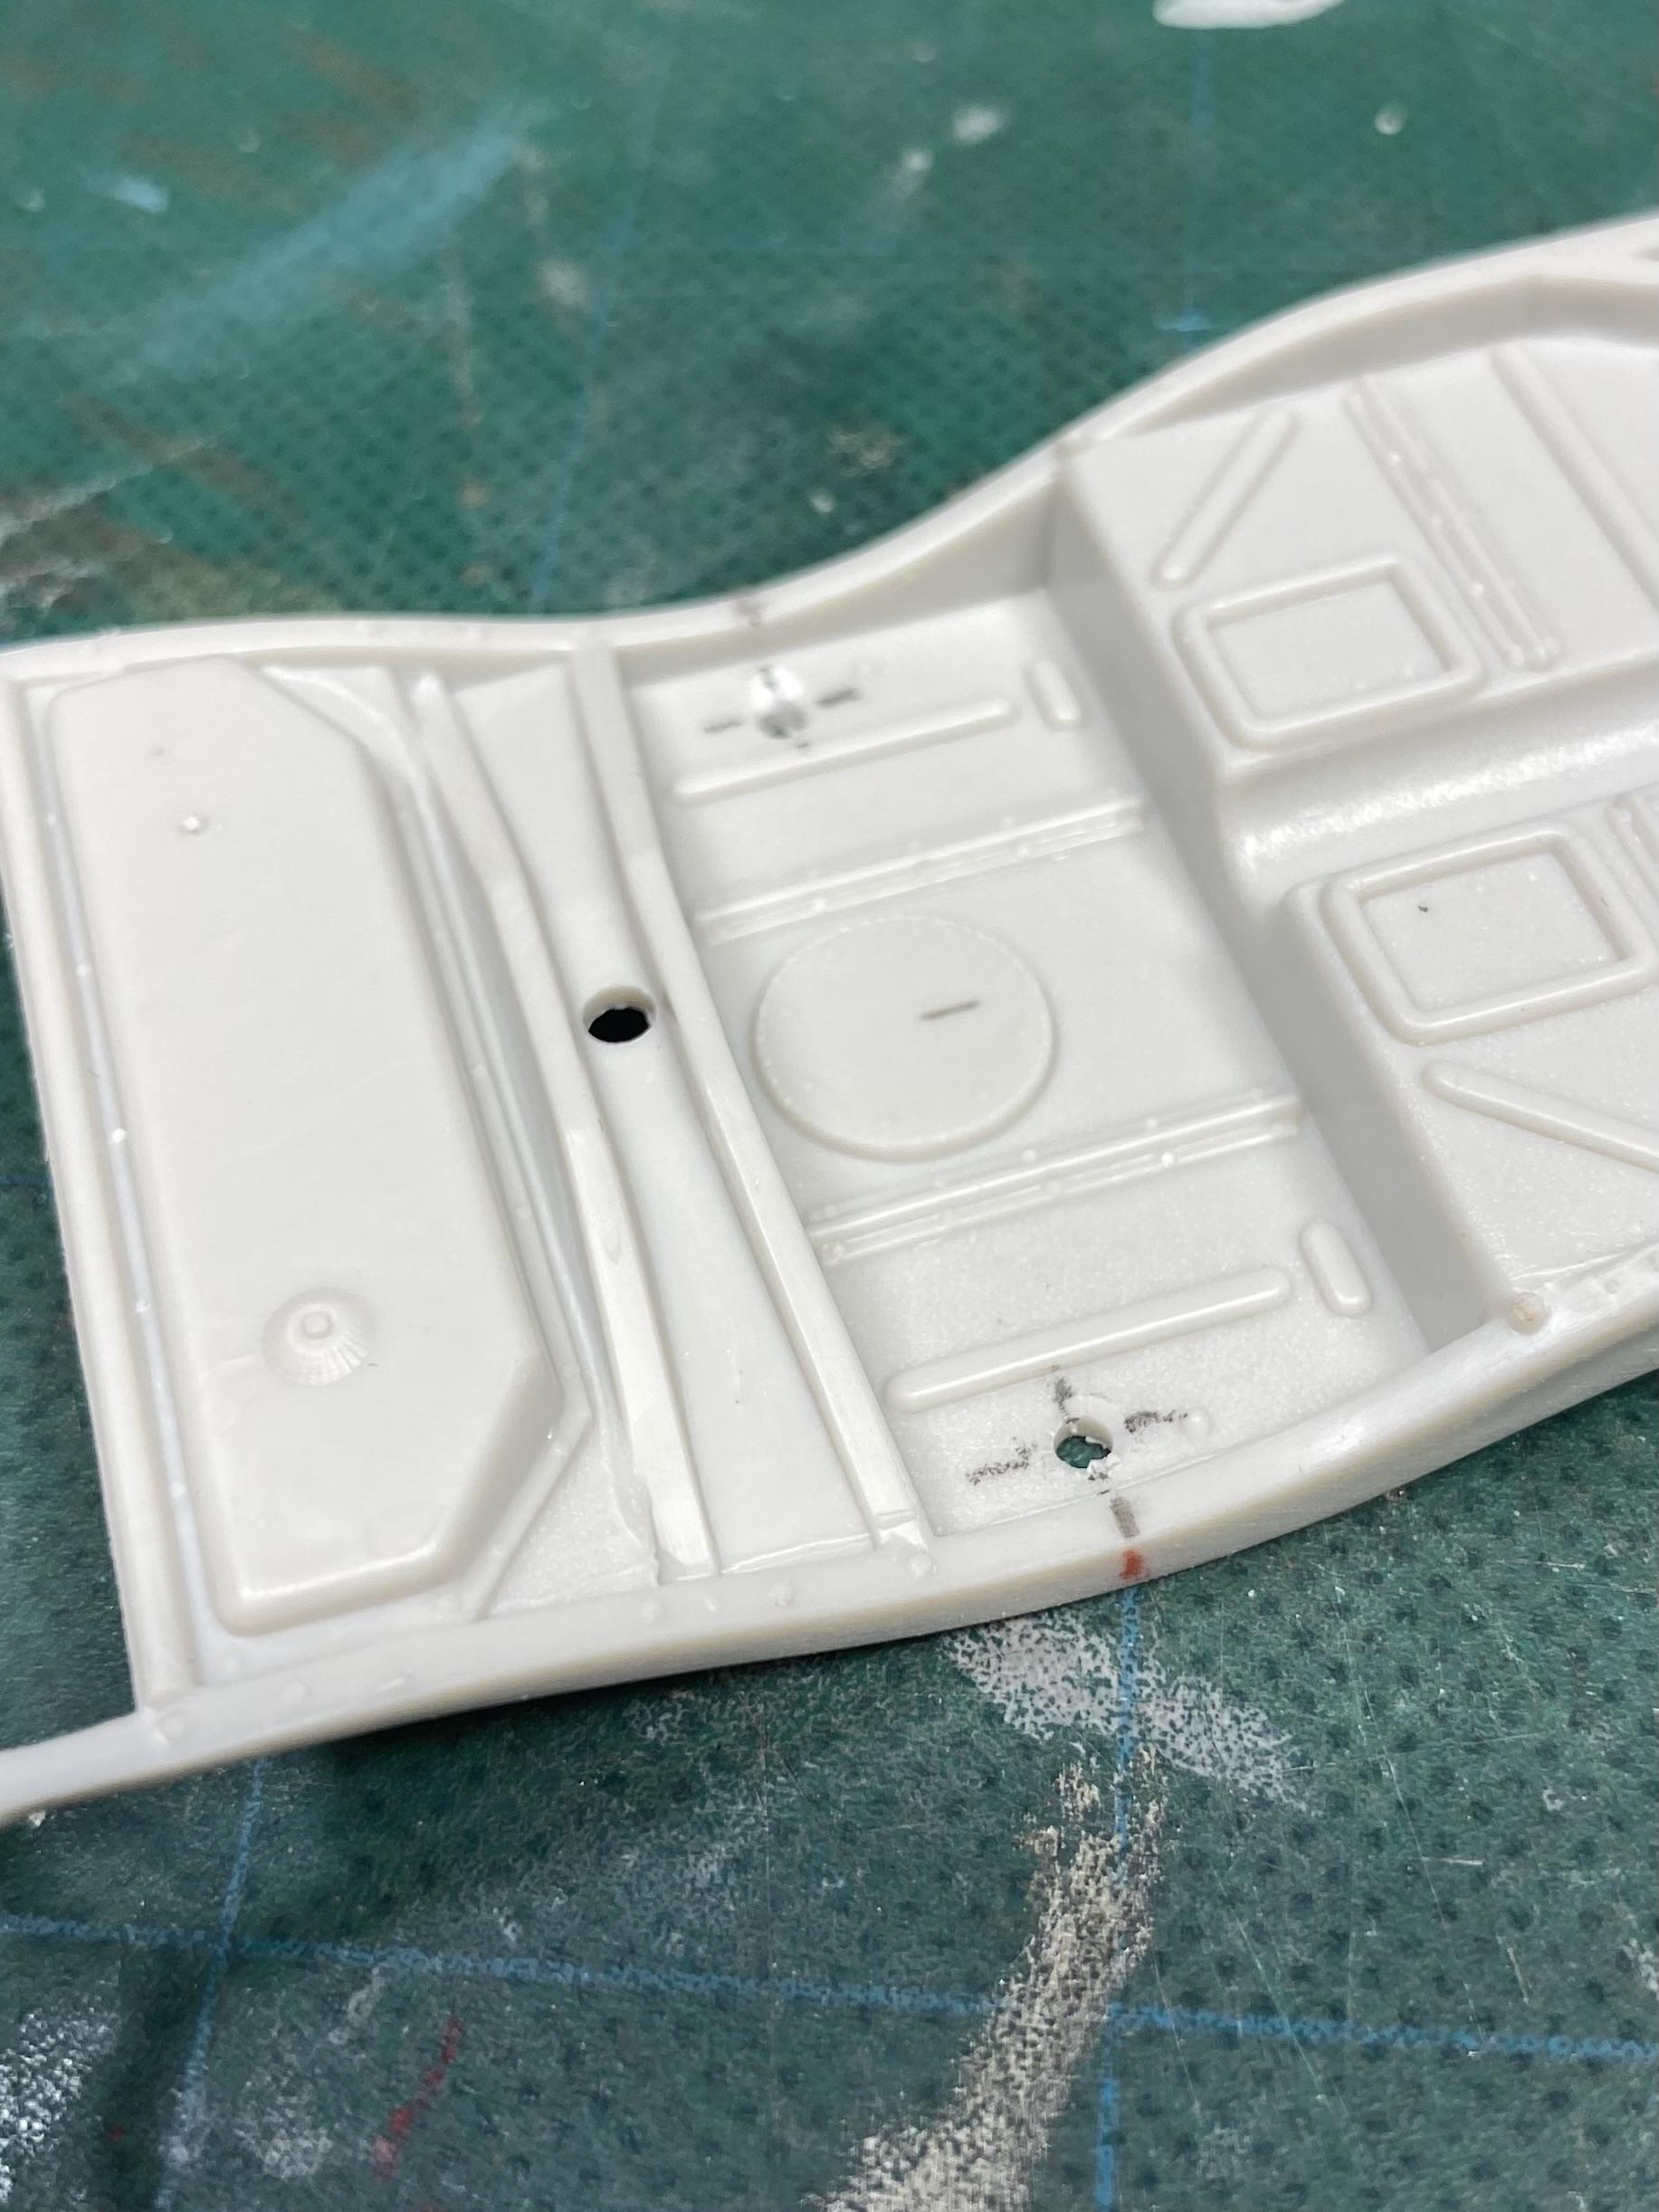
Since the Sedan is off the bench I have begun the next project. This one has been brewing for a while after I ordered some (soon to arrive) wheel combos and a fine Drag City chopped 5 window. I’m starting with the AMT 34 kit but will mix in plenty of other parts for what should be a fun study. First I started cleaning up the frame and assembled the rear axle. I only used this to center the new rear end. From the Revell Roadster kit. Measured and drilled.Moving to the front I’ll remove material until the axle sets right for a better stance. Drag City Castings is one if not the best resin available. And this 5 window is no exception. It fits the frame perfectly and with some minor sanding to the kit parts the body should be silky smooth. Hoping the wheels show up this week, but here’s a hint of the engine I’d like to use.
- 46 replies
-
- 11
-

-
Calling it done, build in the WIP section.
-
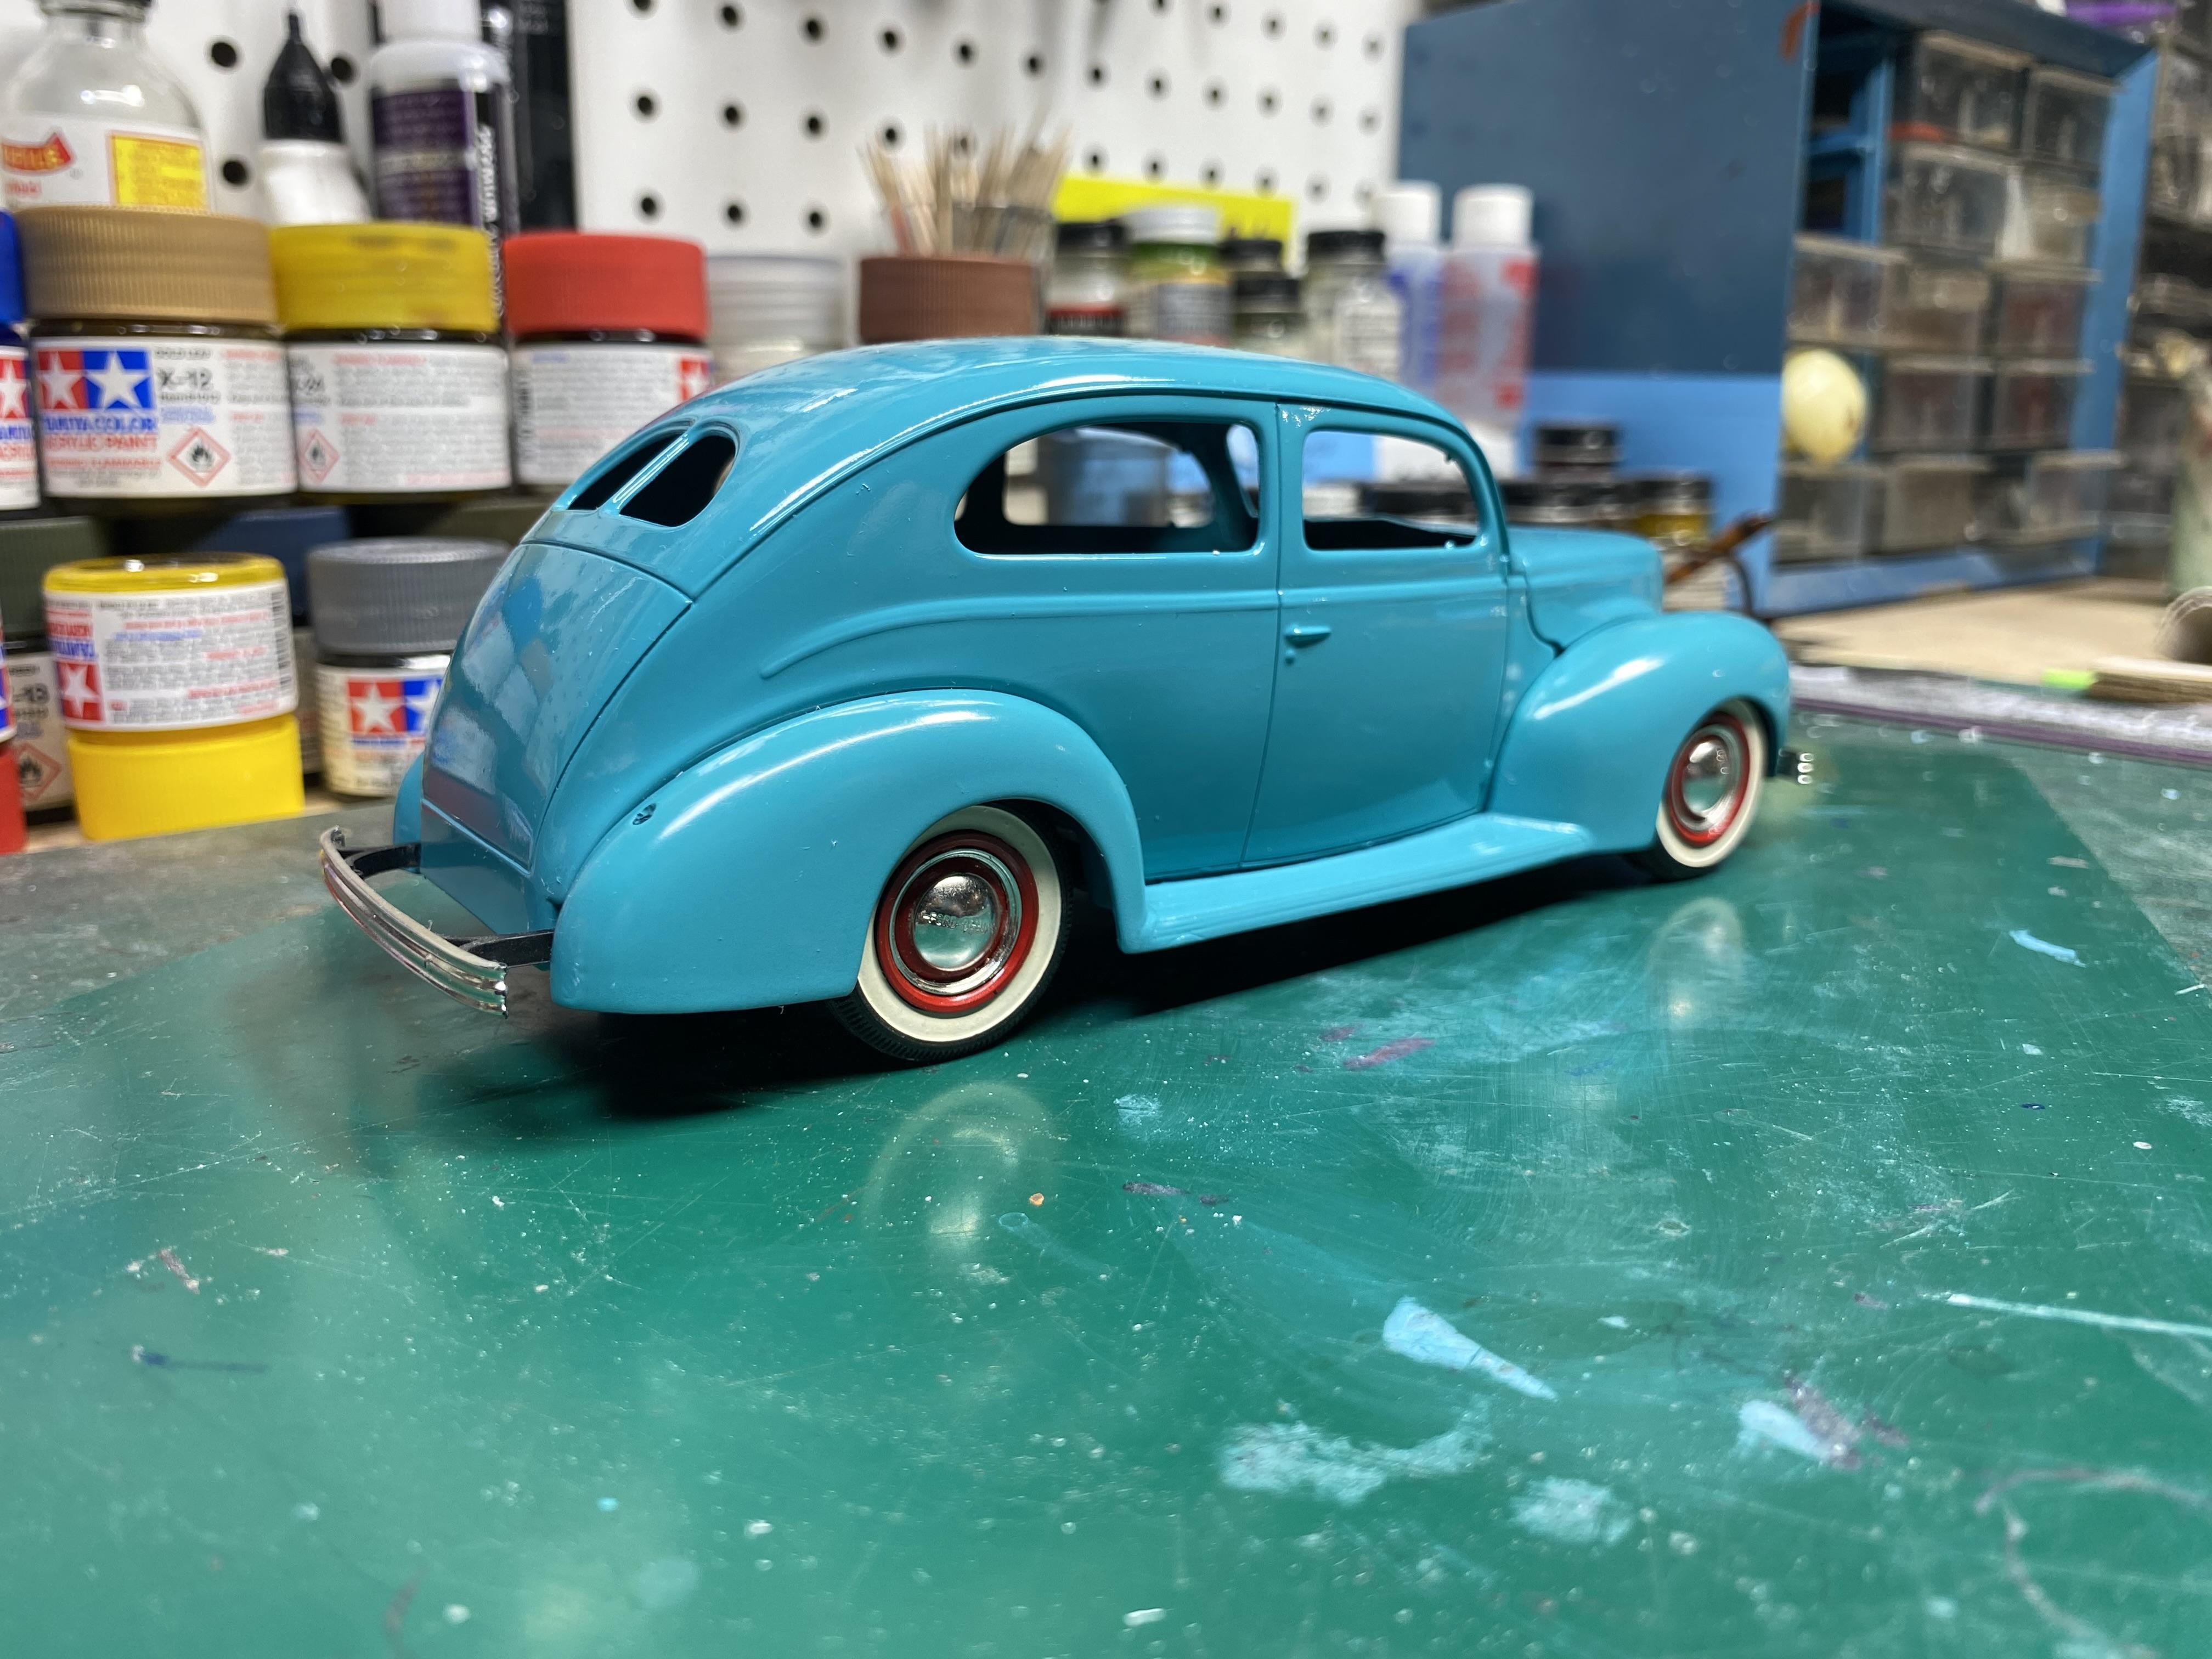
Well, I'm calling this one done. As mentioned, it was a swap meet find I intended to chop but decided to repaint instead. Nice little shelf model, posted in under glass.
-
Your effort shows, But I thought Duct tape fixed everything!
-
Alfa Romeo 158/59
James2 replied to Chris Smith's topic in WIP: Other Racing: Road Racing, Land Speed Racers
Quite impressive Chris, your intention to detail, obvious knowledge of the subject and technic show in every part. Could you post a pic of the 1:1? -
Update: As the fenders were not damaged by my carelessness, I had just enough decanted color to paint the body with a bit for touch up if needed. I hope to buff at some point before reassembling.
-
That is a lot of creativity....
-
Like the fact that you skiny'd yours's up. I always thought the proportions were all wrong on these HH's.
-
THANKS.... I assume in the kit, I did not build this, just repaired.
-
Following….
-
After the 40 Sedan fail I needed a quick win. I bought this on eBay for $25, the front wheels needed to be replaced, a few minor fixes and some cleaning. I think it will make a nice addition to the stable. It really was built nicely.
-
It’s out of stock, everywhere. It is what it is though, thanks.
-
I do warm them, it’s just one of those things. I have it stripped and primed again. I’m thinking of two toning it, we will see.
-
Looks like I will have enough to repaint the main body. Just have to let it gas out and wait for a good day to use the airbrush.