1hobby1
-
Posts
714 -
Joined
-
Last visited
Content Type
Profiles
Forums
Events
Gallery
Everything posted by 1hobby1
-
Happy New Year all! It has been a while since I have been on here but it is great to be back! I plan to do much more modeling in 2021. I started off with a purchase of the Paasche Millennium Series dual action air brush. I have a Paasche Model H and love it but wanted to also have a dual action available. Has anyone used or currently use this air brush? Thanks in advanced!
-
I have used the Tamiya stand for a couple years now and do not regret purchasing it one bit.
-
Love the color - great build!
-
Insane! Came out great.
-
Thank you very much everyone!
-
This is the way it sat out of the box.
-
No sir!
-
Hi there - they were great for the most part... some were tough due to the areas they are required... I just tried not to make them too soft.
-
Thank you guys!
-
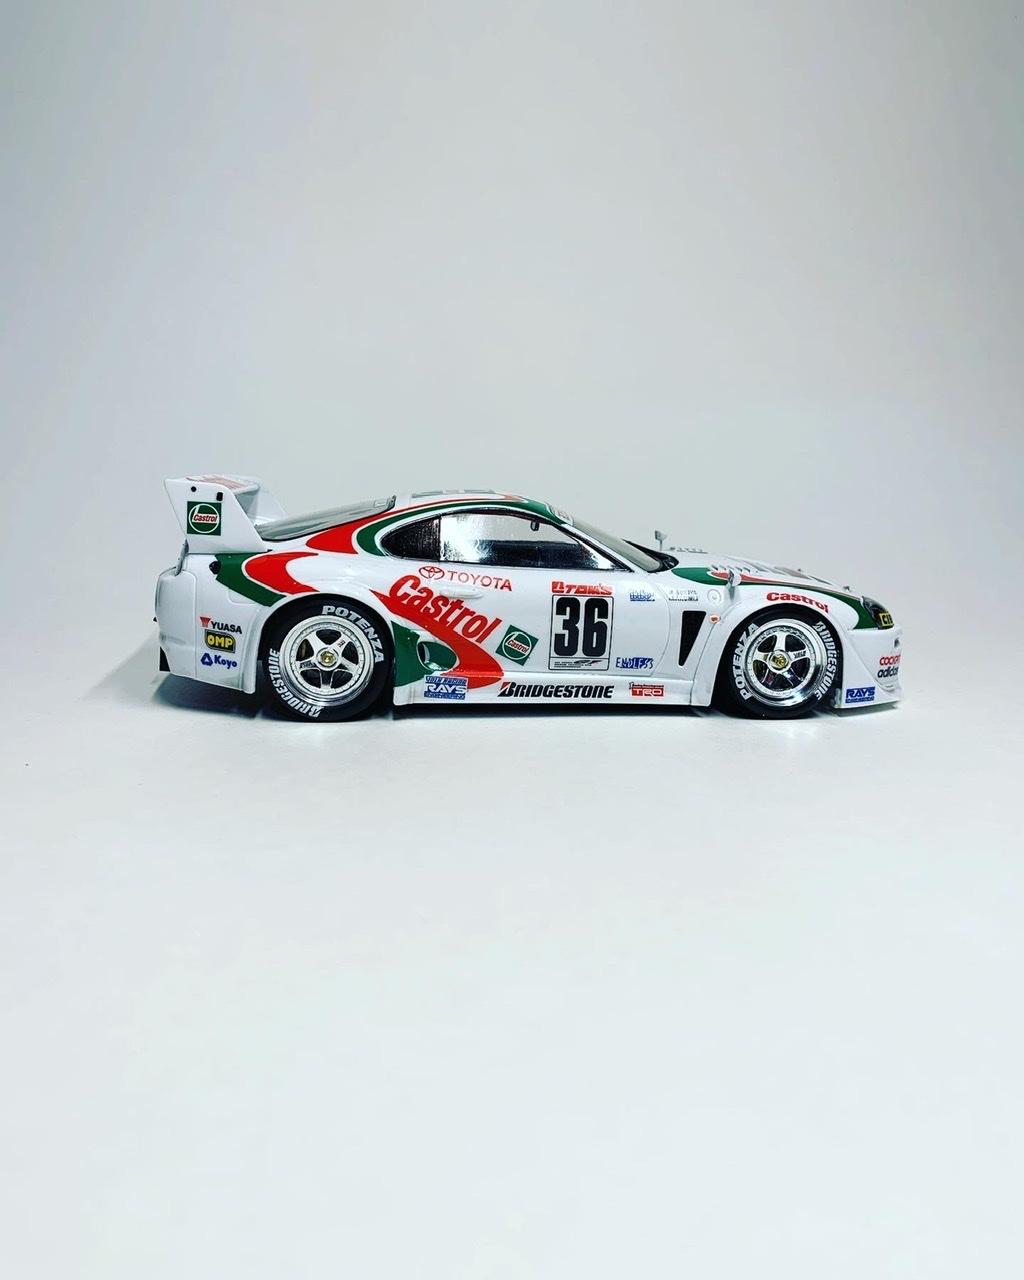
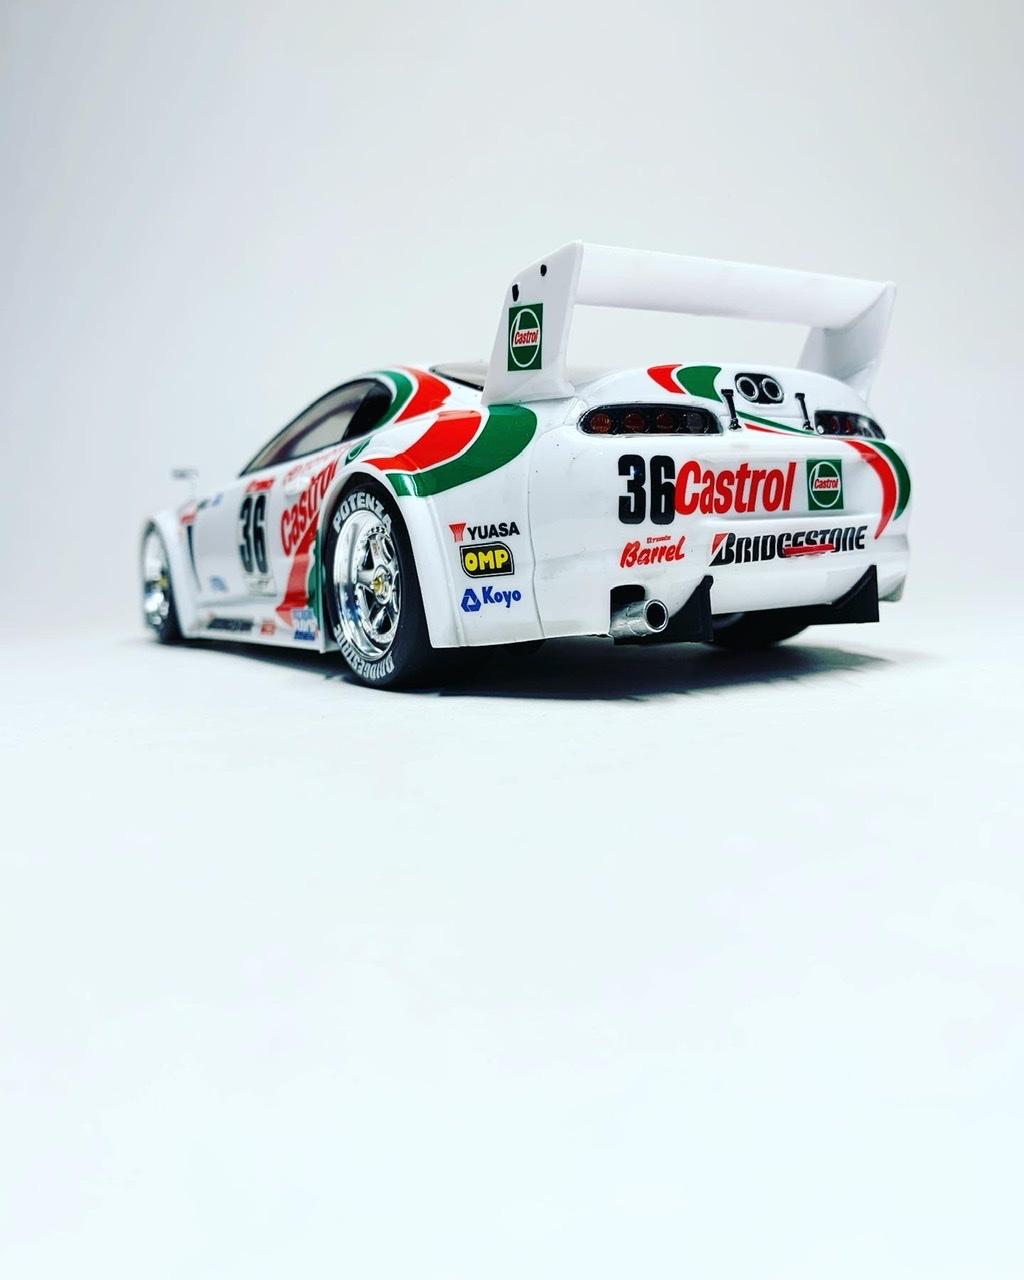
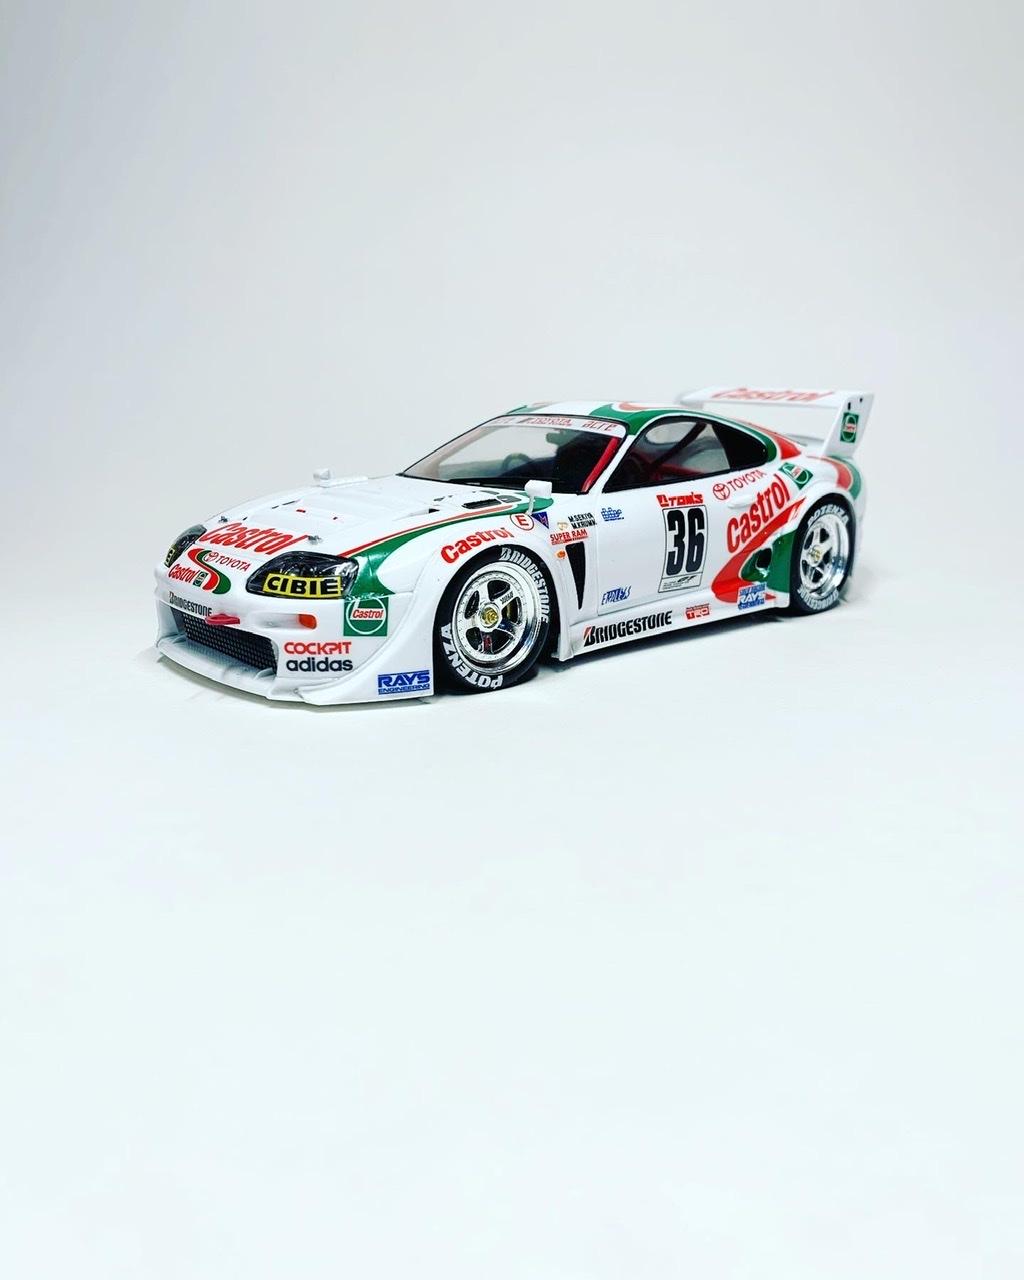
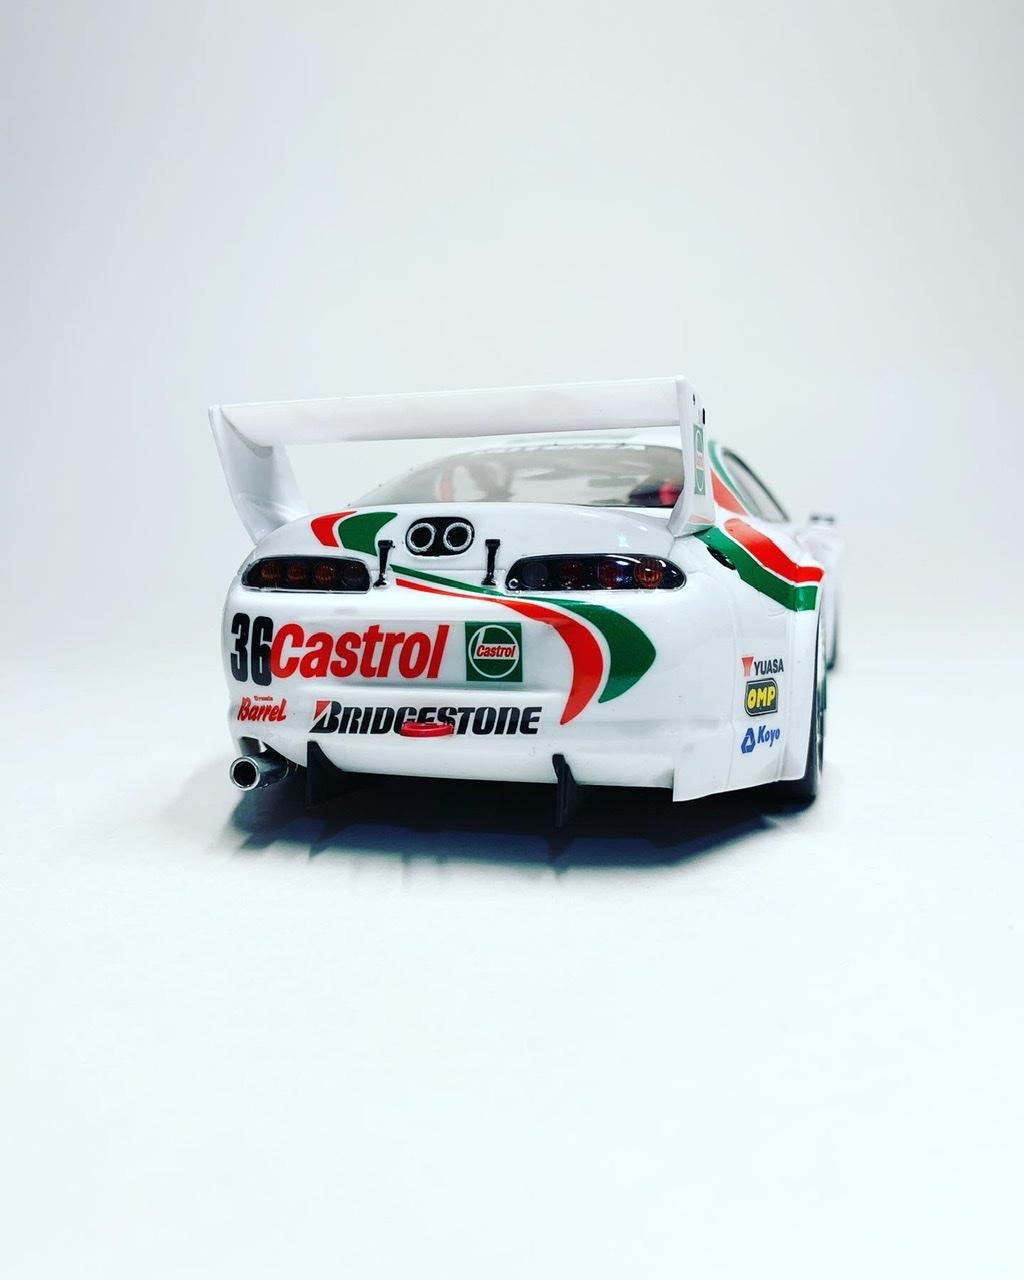
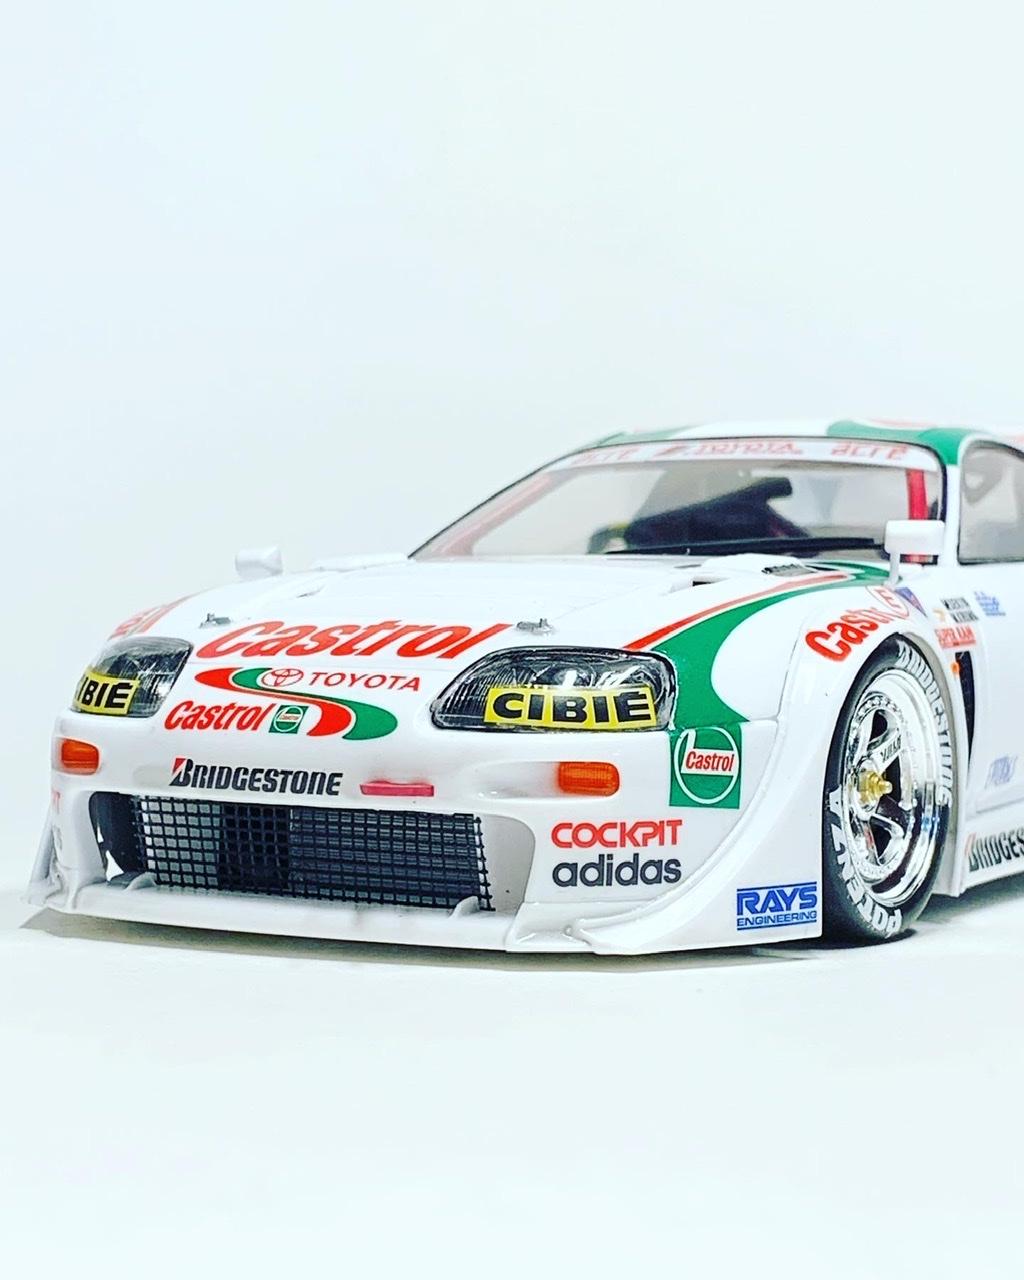
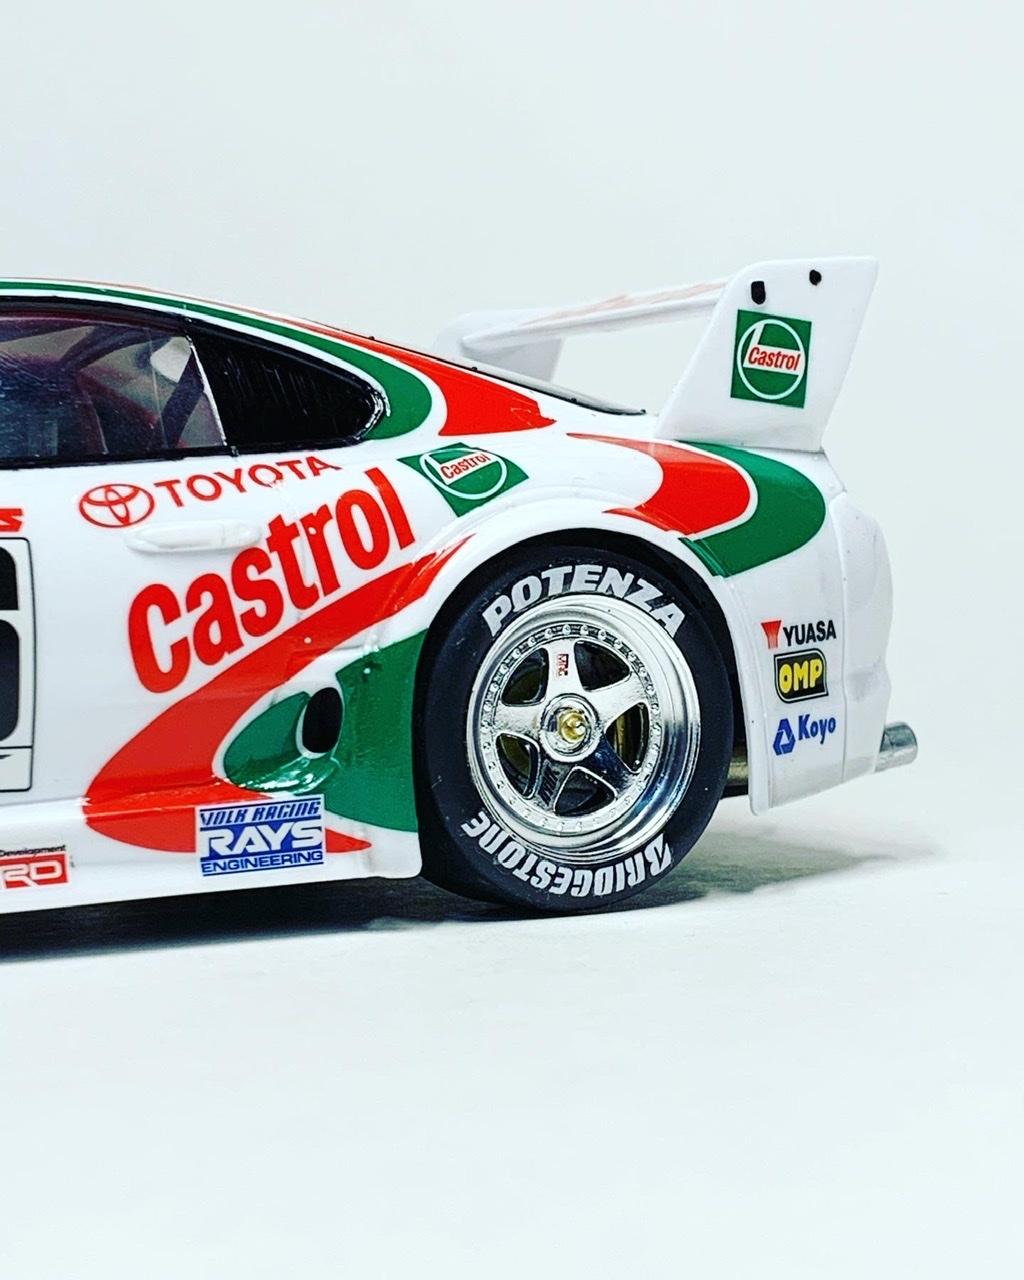
Hey Guys - just finished this one up a couple weeks ago. Fun kit to build and my first true racecar build.

-
Great builds!
-

Monogram Buick Grand National
1hobby1 replied to 1hobby1's topic in Model Building Questions and Answers
Ahhhh! Not all hero’s wear capes... thank you very much!
-
Hey Guys! I Just got this kit and will be making it as a gift for someone. I was wondering if anyone has built it before and if so, if your rear bumper just did not fit at all?! The instructions are clearly not of any help. Any tricks on how to get this to fit? Am I doing something wrong? Thanks!
-
Love it!
-
Nicely done!
-
Very sharp
-
They’re different to build that’s for sure!
-
Do it!
-
Epic !!!
-
Yes one of the most difficult parts were the mudguards.
-
Thanks everyone!
-
Looks awesome!
-
-
mold lines are virtually non existent as well...as and flashing is so minimal that the decals will completely cover it in the areas it has it. I think I might try it unless someone has epically failed at this! Haha
-
I see where you are coming from but with so many decals on the body, I was figuring it might work. I definitely see your point. I wonder if anyone has done this on this kit.