taaron76
-
Posts
806 -
Joined
-
Last visited
Content Type
Profiles
Forums
Events
Gallery
Everything posted by taaron76
-

1/12 `67 Corvette L-88 - Barrett Jackson`s $3.5 million car
taaron76 replied to Hawk312's topic in Model Cars
Amazing work, David! -
1956 Chrysler Finished - Class of '56 - Graduate #8
taaron76 replied to Ramfins59's topic in Model Cars
Very nice, Rich. Great work! Tim -
Great work! Amazing detail!!!
-
Sweet!
-
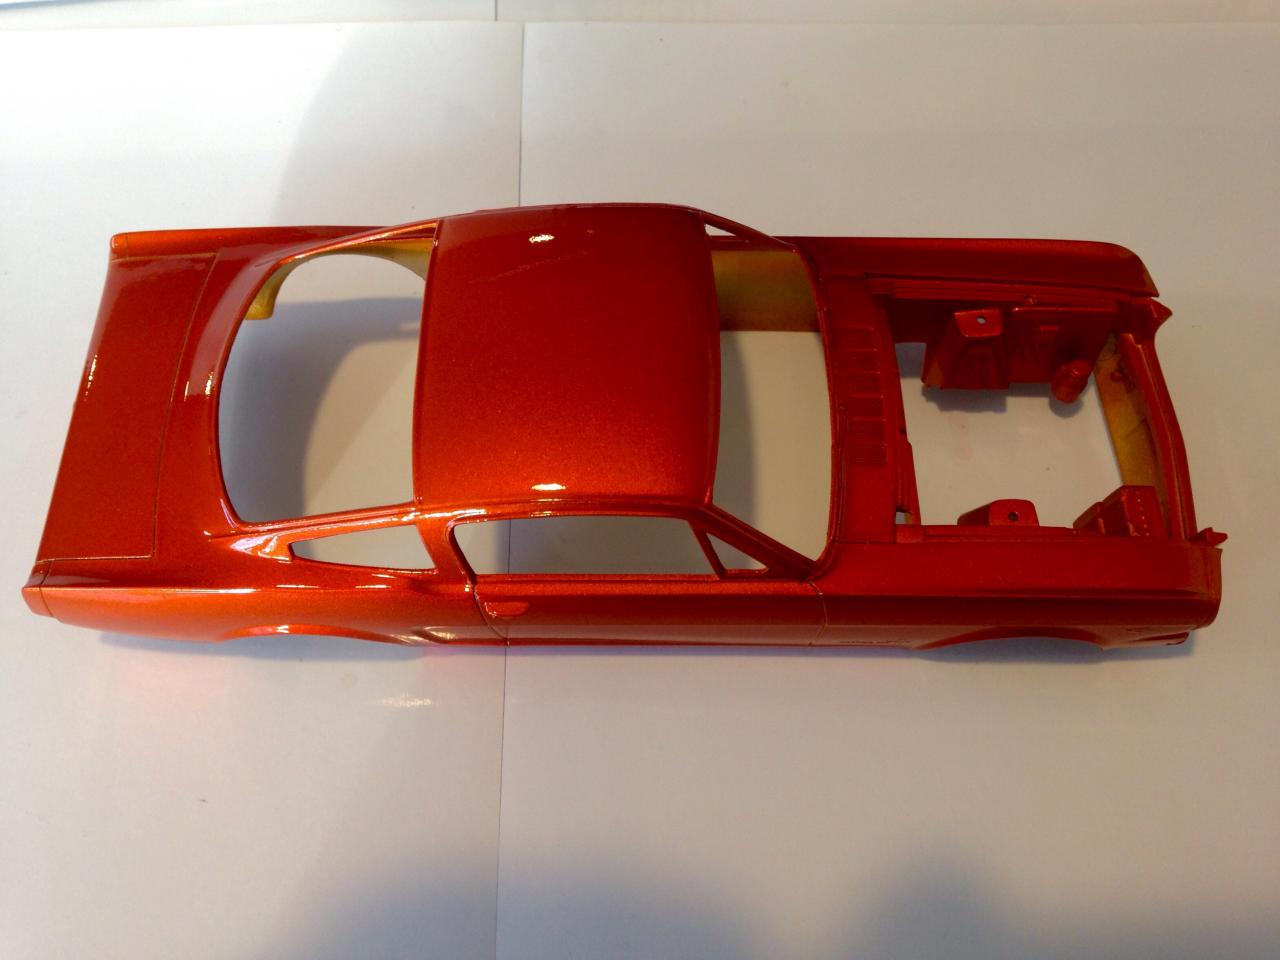
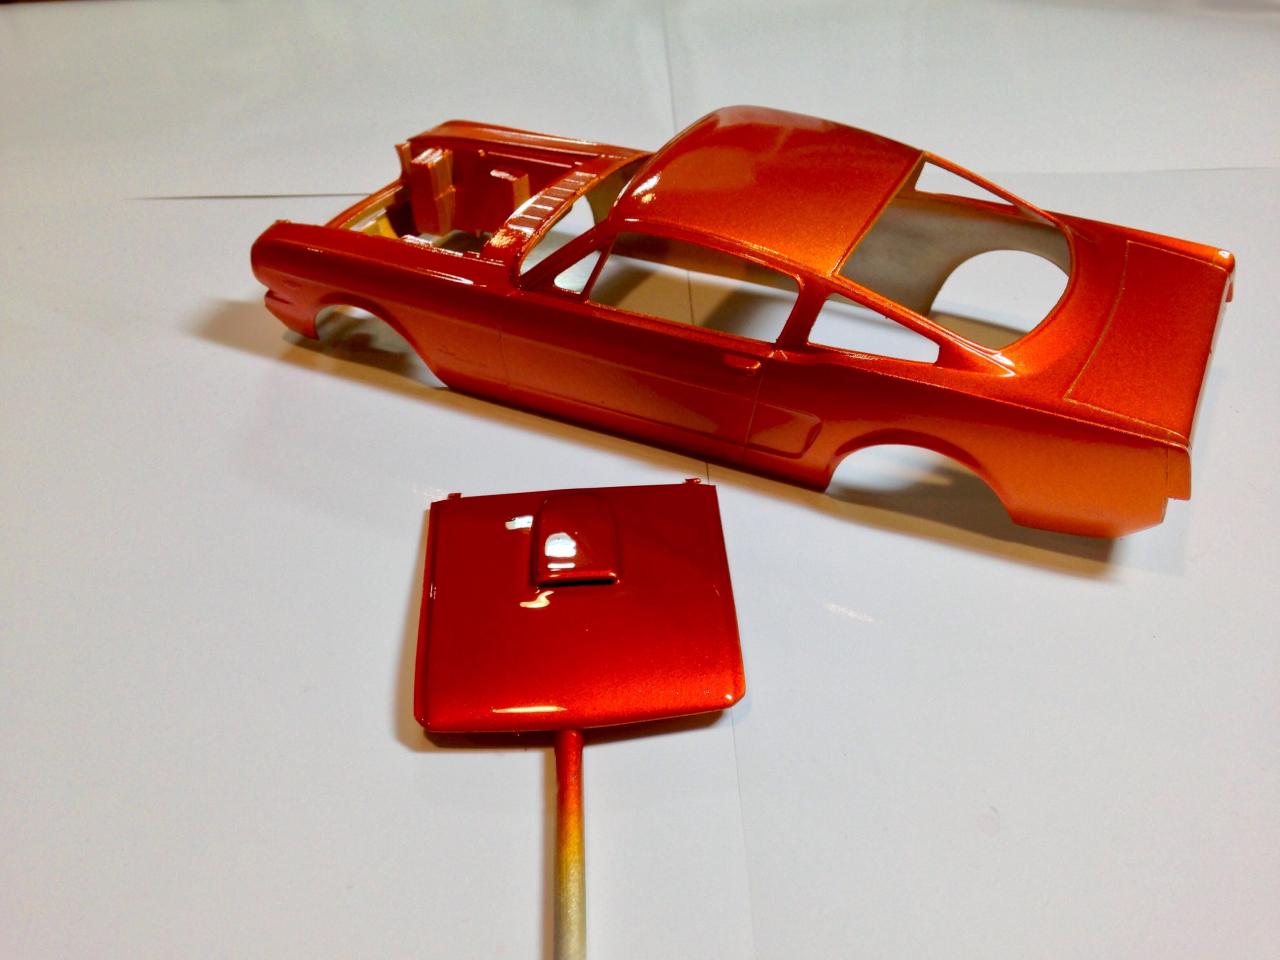
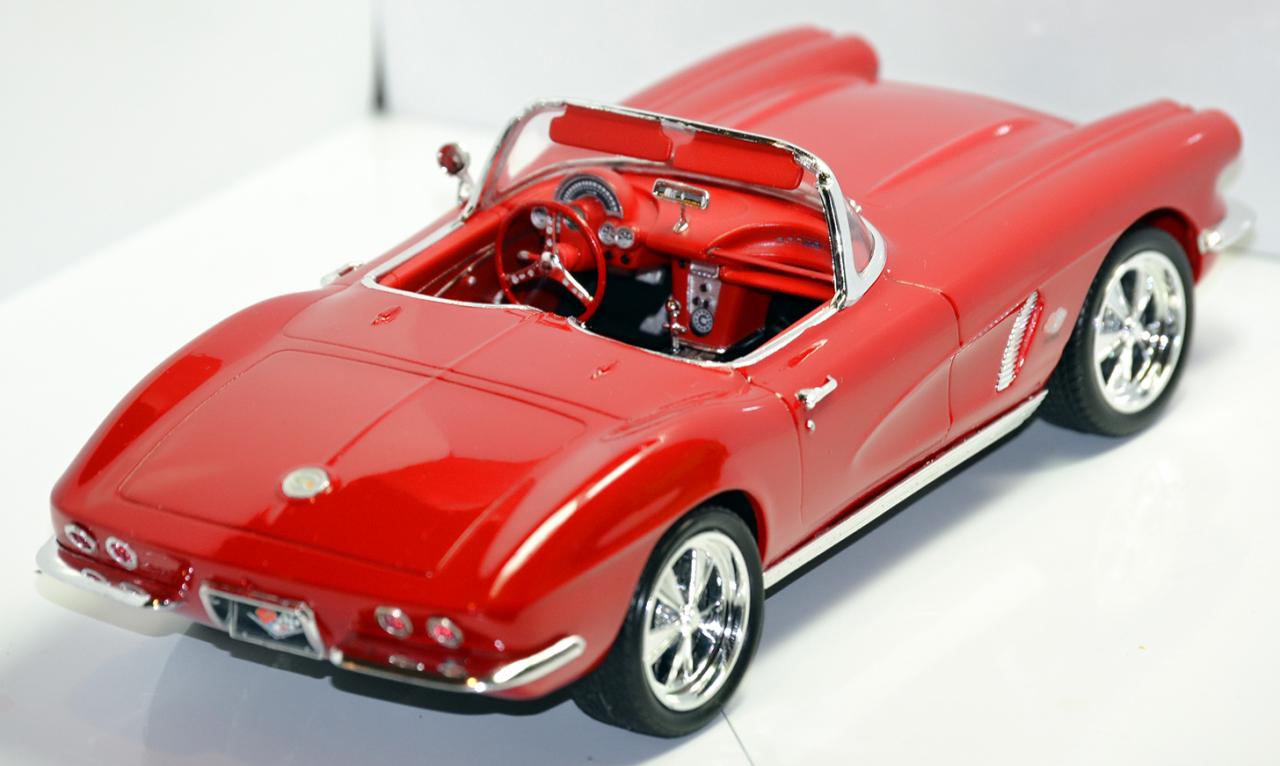
Thanks! It's a lighter orange in the light, but then darkens up when there is none. I can't wait to polish it out.

-
This is what I like it to look like about 30 minutes after the last coat. Tim
-
Monogram 1970 Challenger T/A Rebuild-Under Glass 03-13
taaron76 replied to mustang1989's topic in WIP: Model Cars
Overachiever! lol Great stuff, Joe!!! Tim -
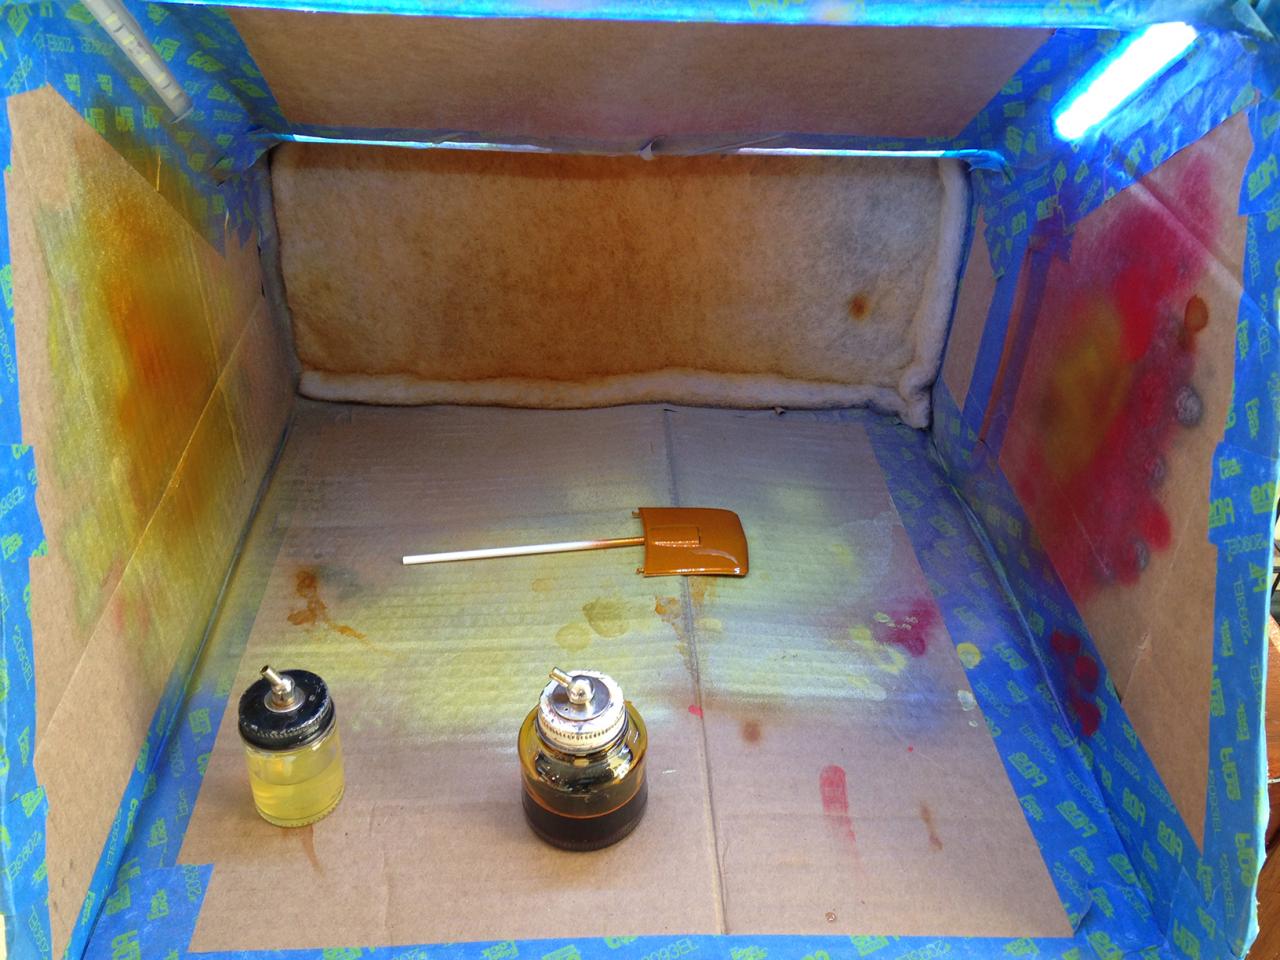
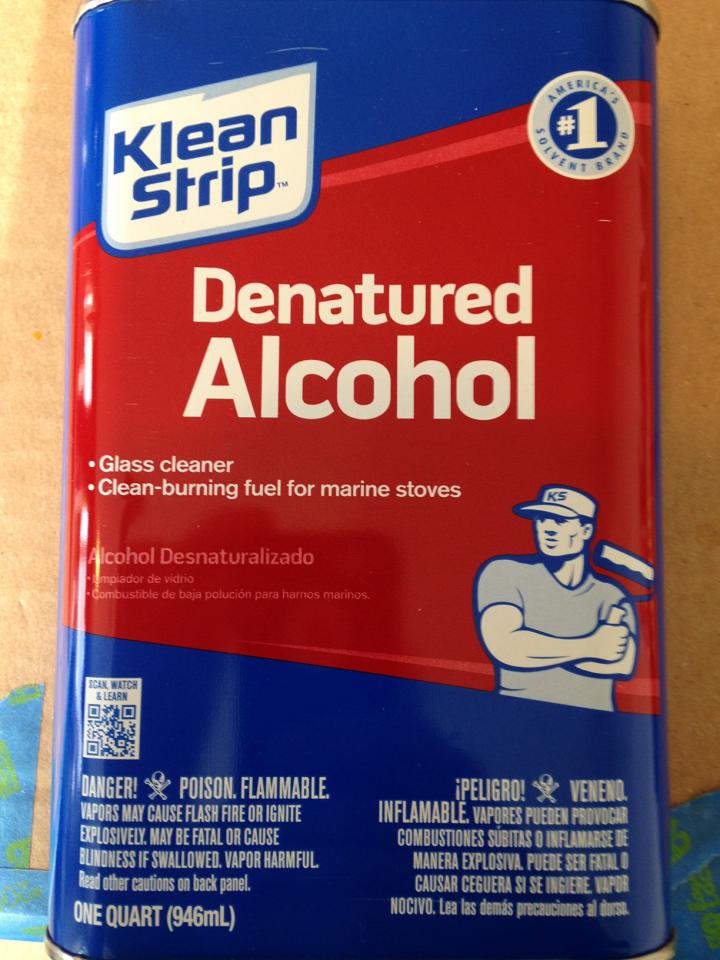
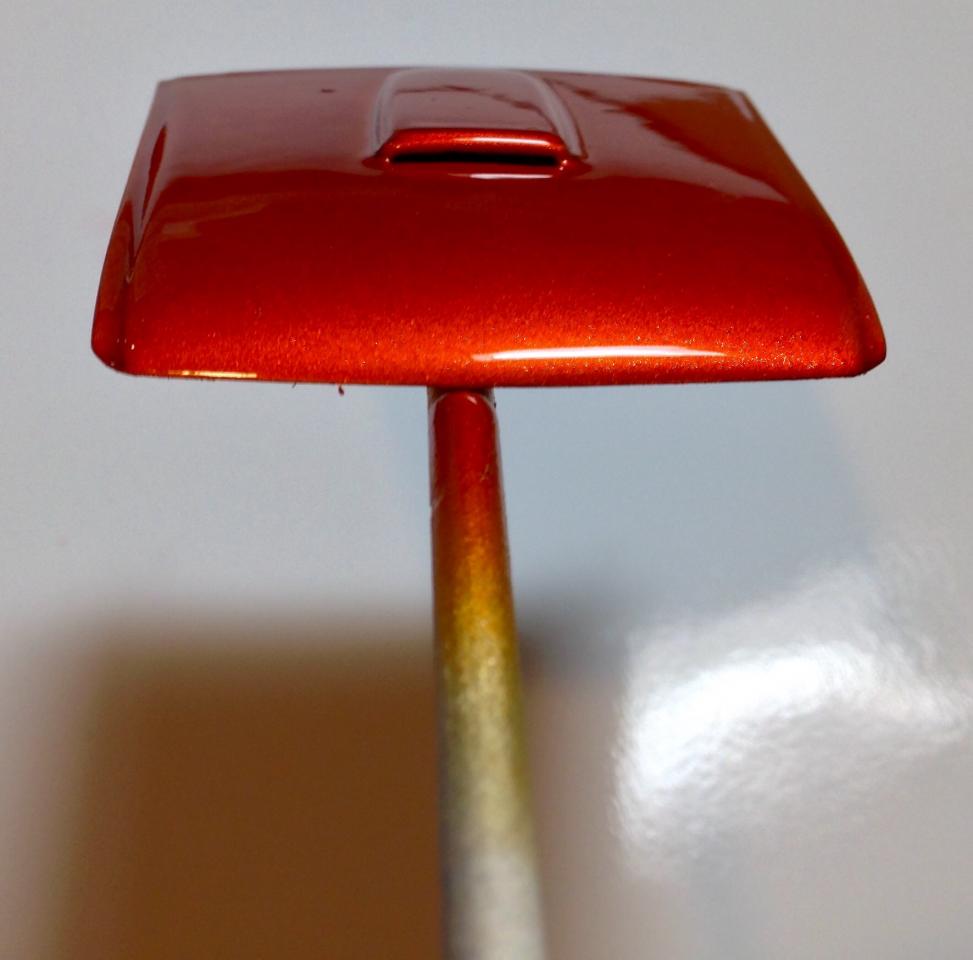
Here is my technique with pics included just to let you know that it doesn't cost millions of dollars to spray a glossy paint job on hobby car. I used a couple of different Bagder airbrushes. One single action and one dual. No rhyme or reason for using one over the other, other than paint control with the dual action badger. I'm using a compressor that I've had for over 20 years that my Mom bought me when I was a kid. I am getting ready to buy a really nice one, but it can be done with a cheap one. I have no idea what PSI I'm paint at, but the manual said this compressor was good to about 40, so probably somewhere in-between 25-35. One of the reasons I can't wait to purchase my new one next month is better flow, and regulated. I only use Tamiya acrylics when I paint, its just easier for cleanup and I feel really comfortable after using them over the last 5 builds. I just started using Tamiya lacquer primer and I love it. If the primer goes on super smooth, I generally won't sand it, just scuff it real quick. I thin the 23ml size bottles with 7-8ml of denatured alcohol and the 10ml bottle with 3-3.5ml of denatured alcohol. That will vary depending on what sheen you are using, too. I actually used closer to 9ml of denatured alcohol on the Gold Leaf because it was coming out very blotchy. I added another ml of denatured alcohol and it was perfect. Again, trial and error. I also use a spray booth since I paint inside. Nothing crazy about my technique other than I try to make sure each coat of my gloss coat is glossy and not a lot, if any, orange peel. I probably put 3-4 good coats of gloss over the base coat since that is all I've ever needed in order to achieve that smooth-wet look before sending it to the food dehydrator to cure for a day or two, or even just overnight. After about 7-10 days, I will start to wet sand and polish. This is one of the most crucial steps, but to be honest, wet sanding and polishing has never taken me more than an hour, tops. I know people spend hours and hours wet sanding and polishing, but maybe mine takes less time since it is very smooth and wet looking once it's dry? Not sure, but what works for one person, might not work for another. I just use microfine wet/dry sand paper and that seems to do the trick for taking out any imperfections, dust, or orange peel. I'd be happy to answer any questions if it helps anyone get over the fear of painting with acrylics or an airbrush. There are a ton of excellent painters on this site that come away with amazing finishes as well. I did a lot of reading prior to diving in with acrylics. Hope this helps... Tim
-
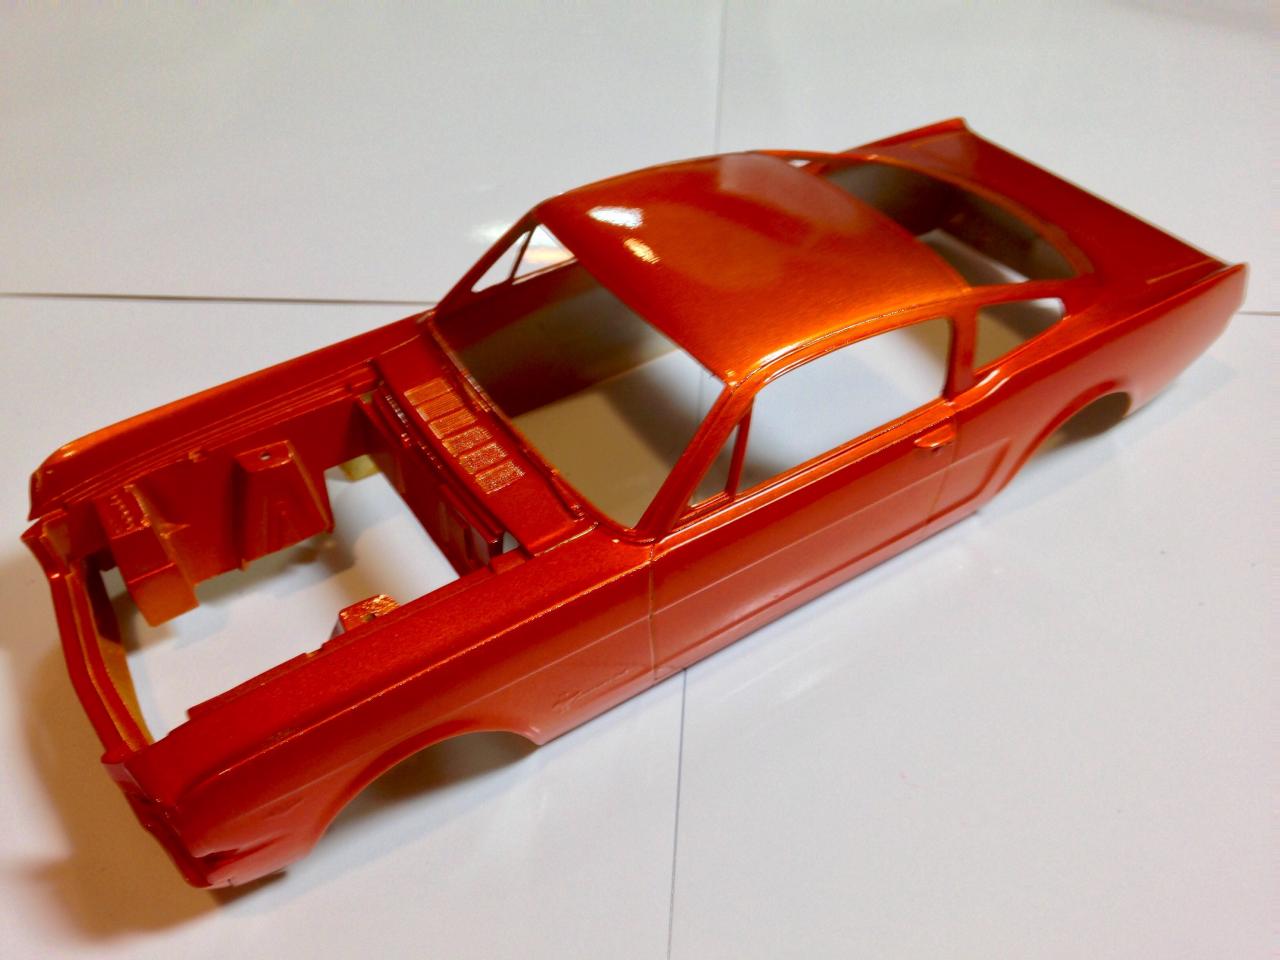
I wish I had some sort of secret, but not really. I'll post my paint techniques up in a little bit. I decided to give it a few more coats of clear orange before I clear it. I wanted it a tad darker since it lightens up during the day. Tim
-
Thanks, guys! Painting the outside has always been fun to me. I like shiny! Lol
-
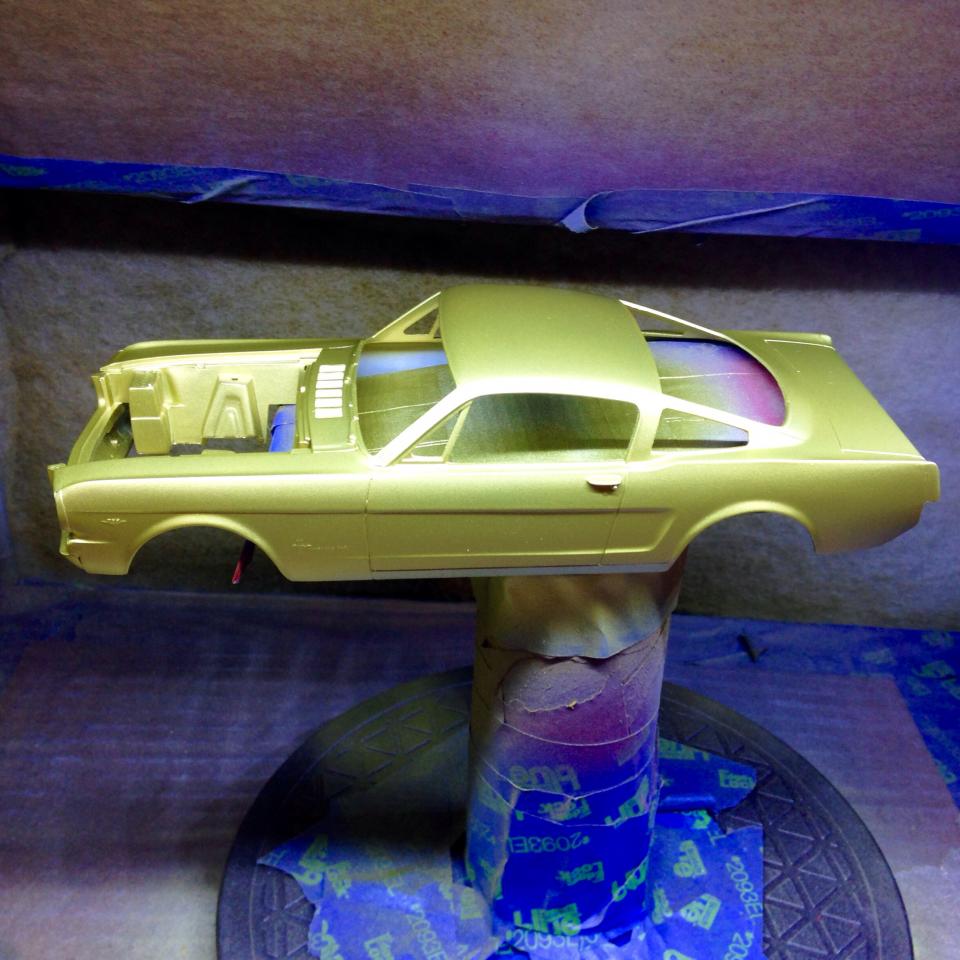
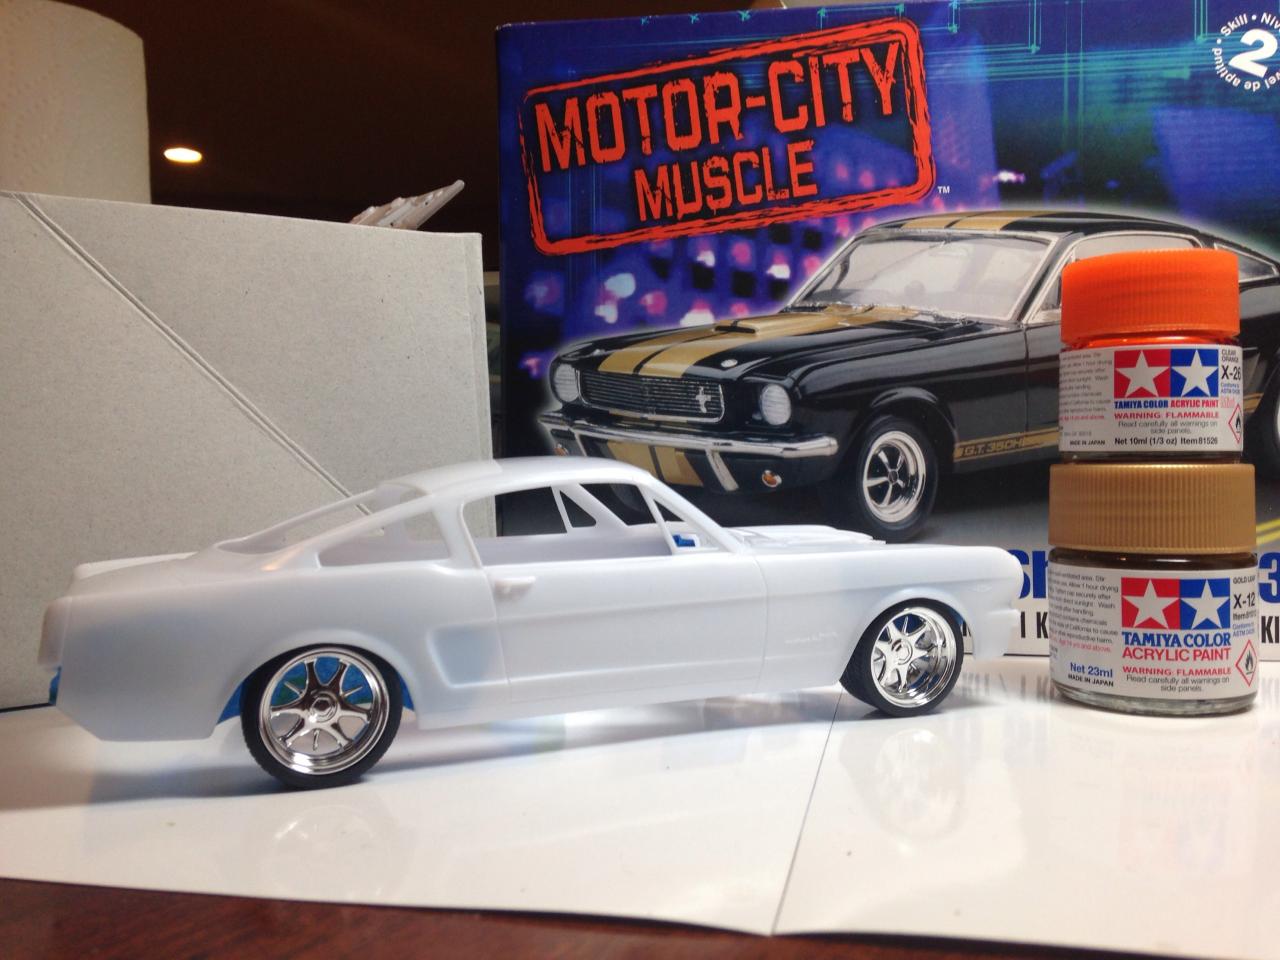
I was able to get it primed and base coat gold leaf, followed by some clear orange. I still have to shoot clear over the top, then I'll wetsand and buff. Color came out great! Tim
-
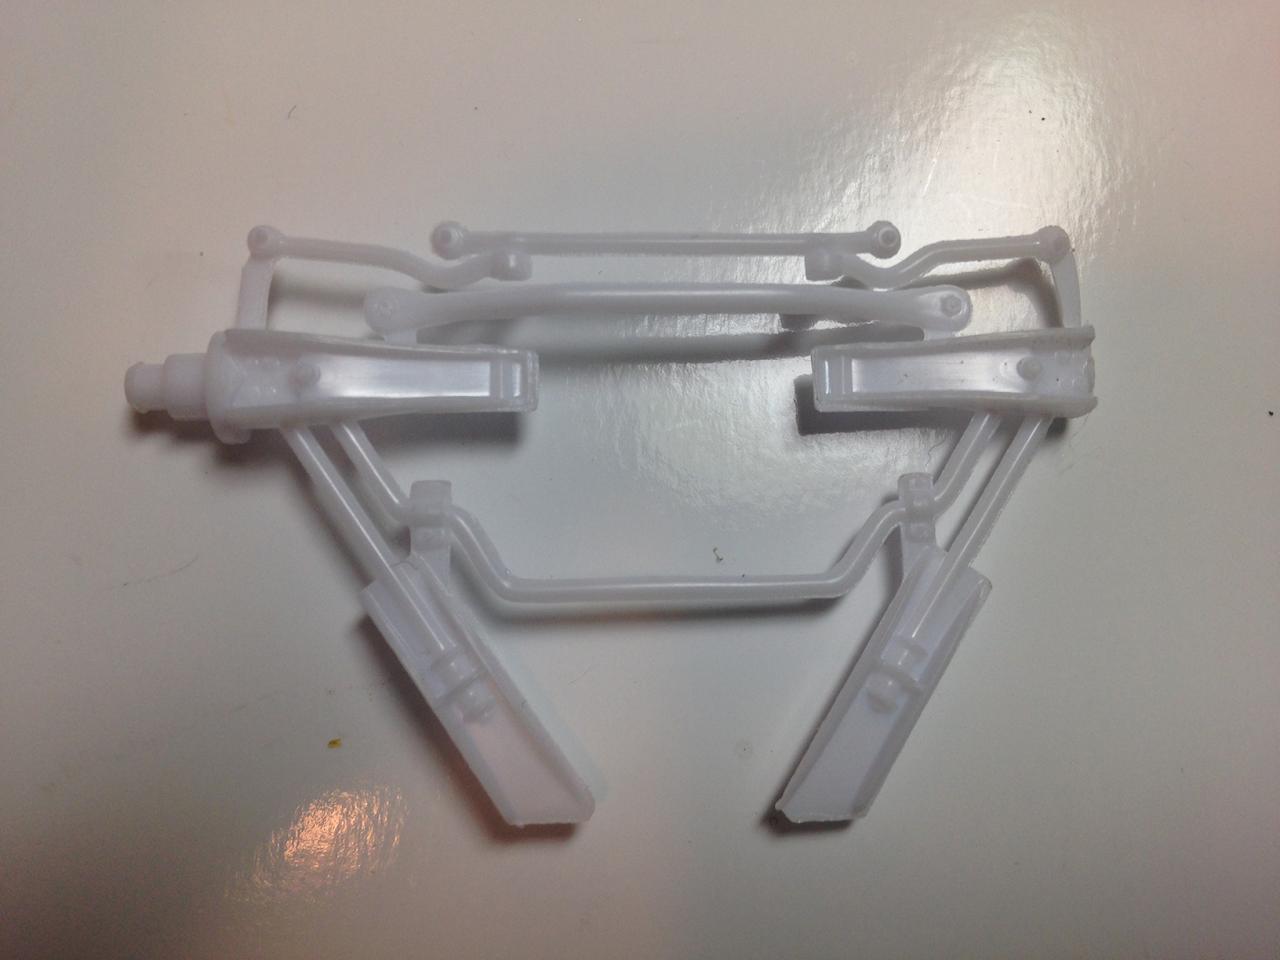
I made all of the suspension modifications today, but had to get creative in order to lower it since a few pieces are molded together. More to come later with more explanation of what I did. Tim
-
That will look great! I haven't seen any painted with gold and clear orange, so I figured I'd give it a shot to be different. All of the older Mustangs sit too high to me... Tim
-
Ok, just checking. A fellow modeler should have everything at his disposal. lol Tim
-
The hobby store I go to in the suburbs of D.C. carries the big and small jars of it. I'll send you one if needed? Tim
-
What color? That's amazing! Tim
-
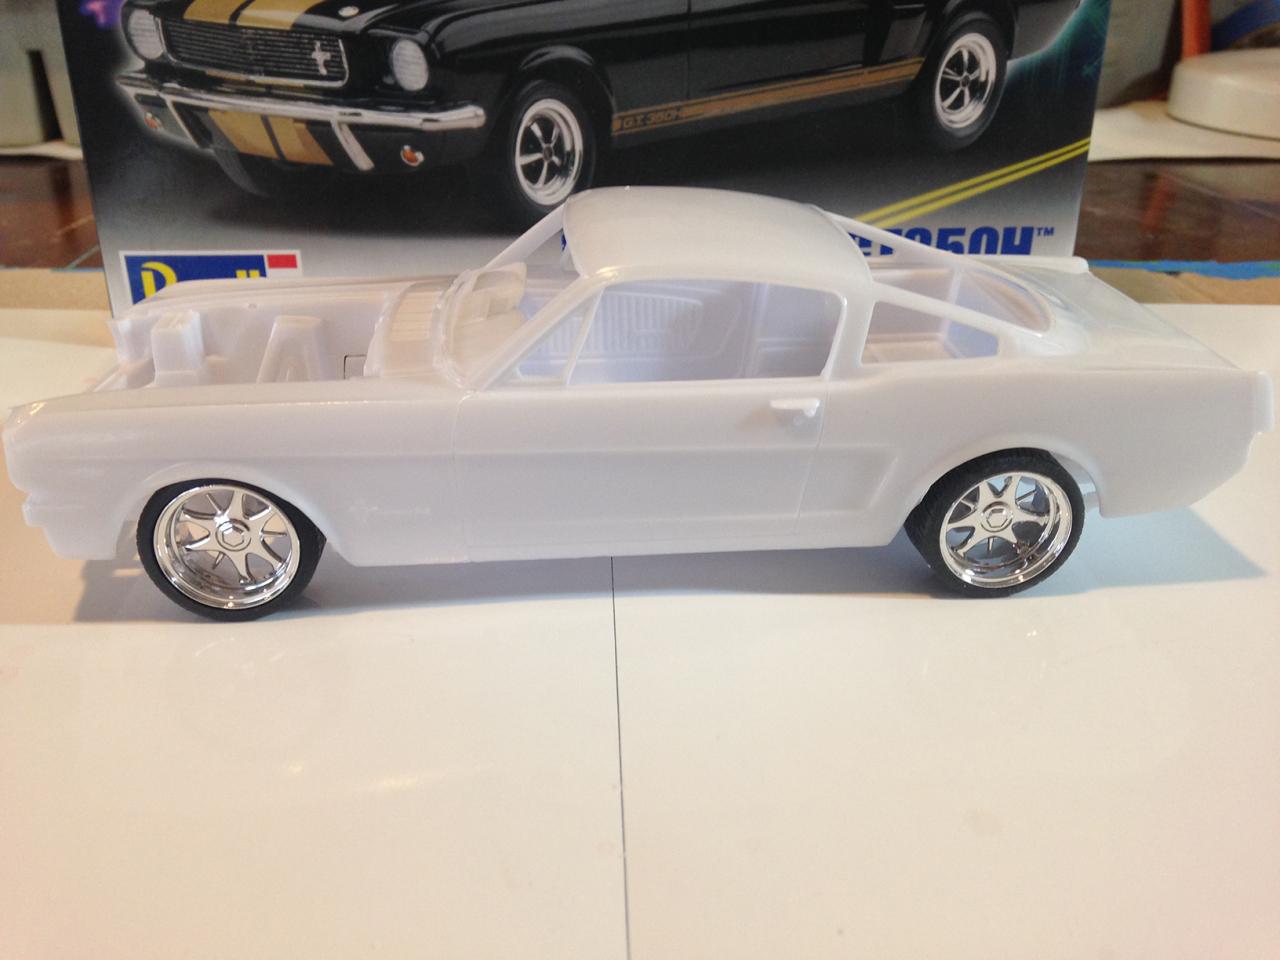
Ready to get started on this one. Wheels and paint are picked out, just gotta start modifying the chassis to fit the wheels. Hopefully I'll have the body painted this weekend to give it a few weeks of drying time while the rest is built. Tim
-
Super nice and super clean! Tim
-
Monogram 1970 Challenger T/A Rebuild-Under Glass 03-13
taaron76 replied to mustang1989's topic in WIP: Model Cars
You are nut, Joe! But, there is some great detail in this build and I can't wait to see it. Have you figured out a way to make the horn operational? Tim -
Hi Scott, This was the newer Revell 2 'n 1 kit. It's a very good kit and I didn't have any major issue. Tim
-
Very nice, Rich! Tim
-
Nice work! Looking forward to seeing it "Under Glass".
-
Thanks guys! Tim
-
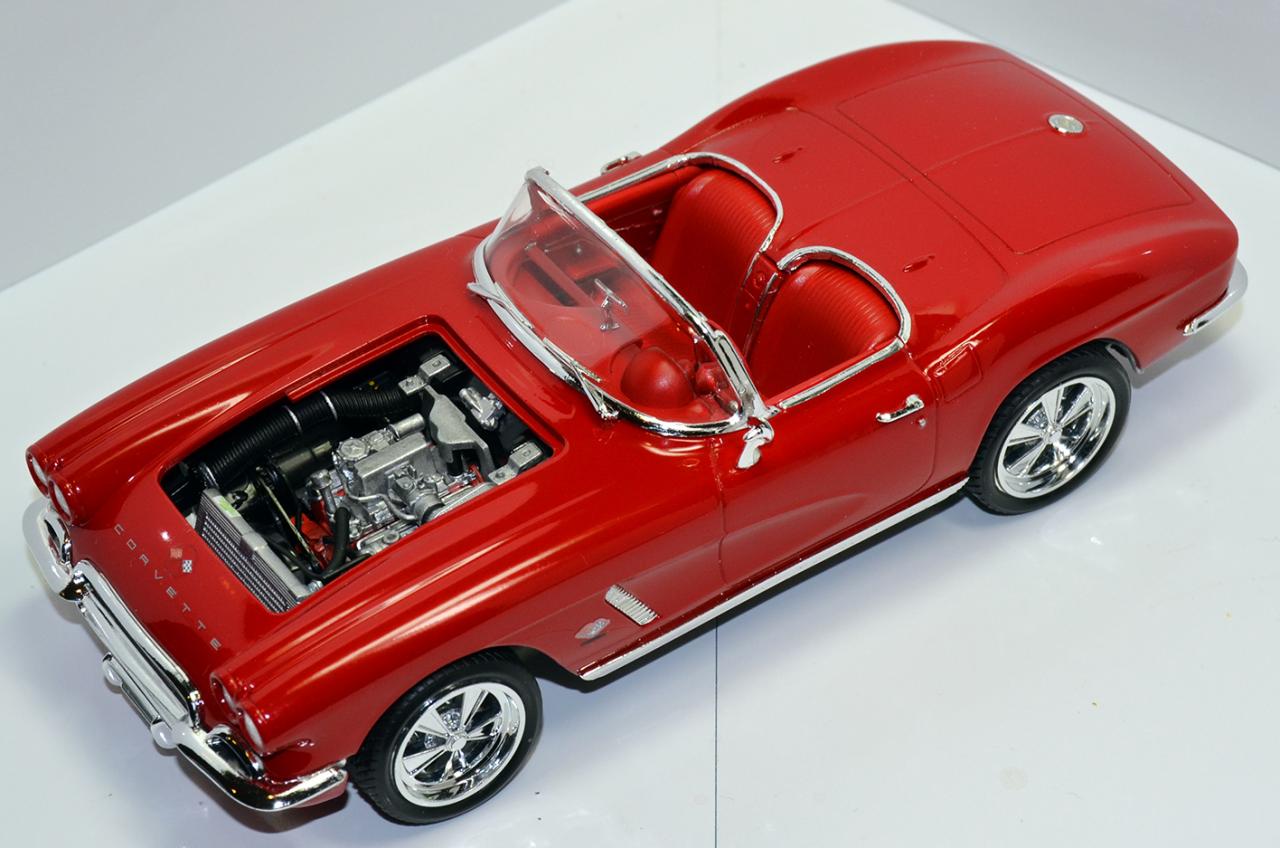
That's a wrap. Tim
-
Under Glass now... Tim