atomicholiday
-
Posts
2,281 -
Joined
-
Last visited
Content Type
Profiles
Forums
Events
Gallery
Everything posted by atomicholiday
-
Distributor is done now. I’m rapidly approaching the point where I need warm weather so I can paint. Might be a while though. Last night was -6F?

-
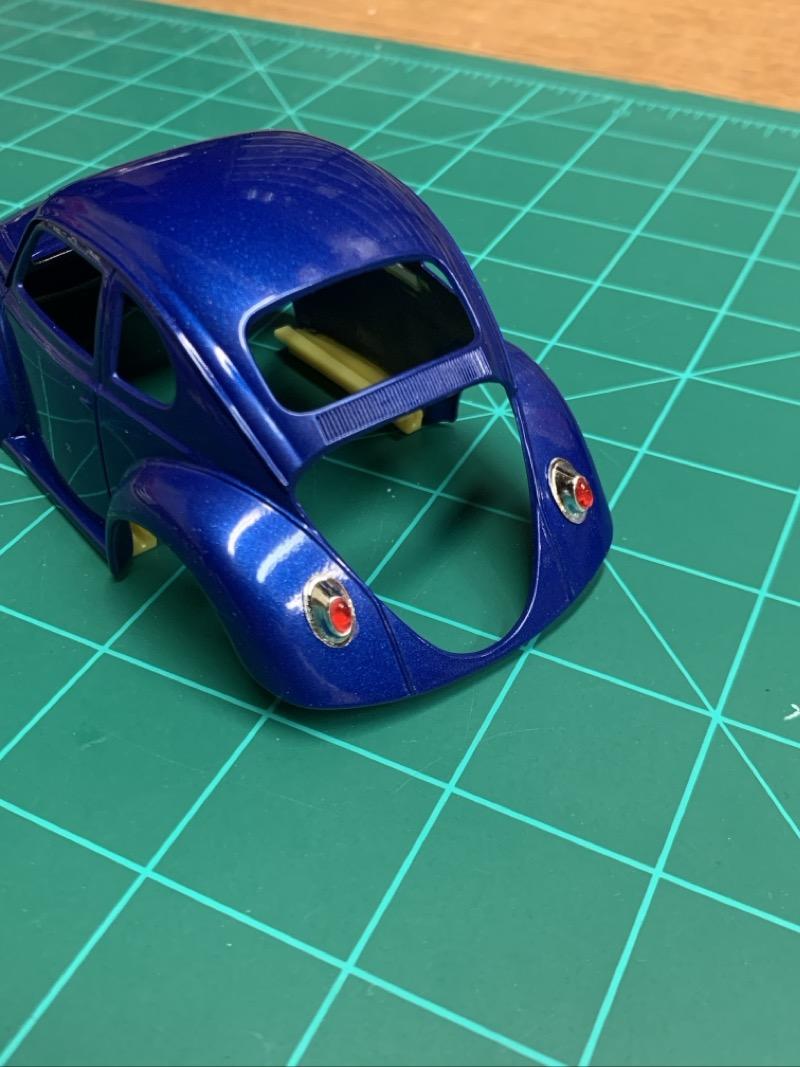
Thanks fellas! I had today off work so I put in a little more bench time. Got taillights on it.
-
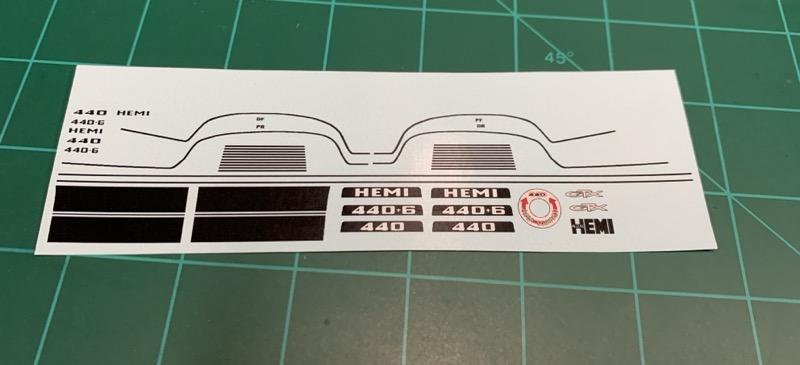
Just got these in the mail from Keith Marks and I gotta say, they look awesome!
-
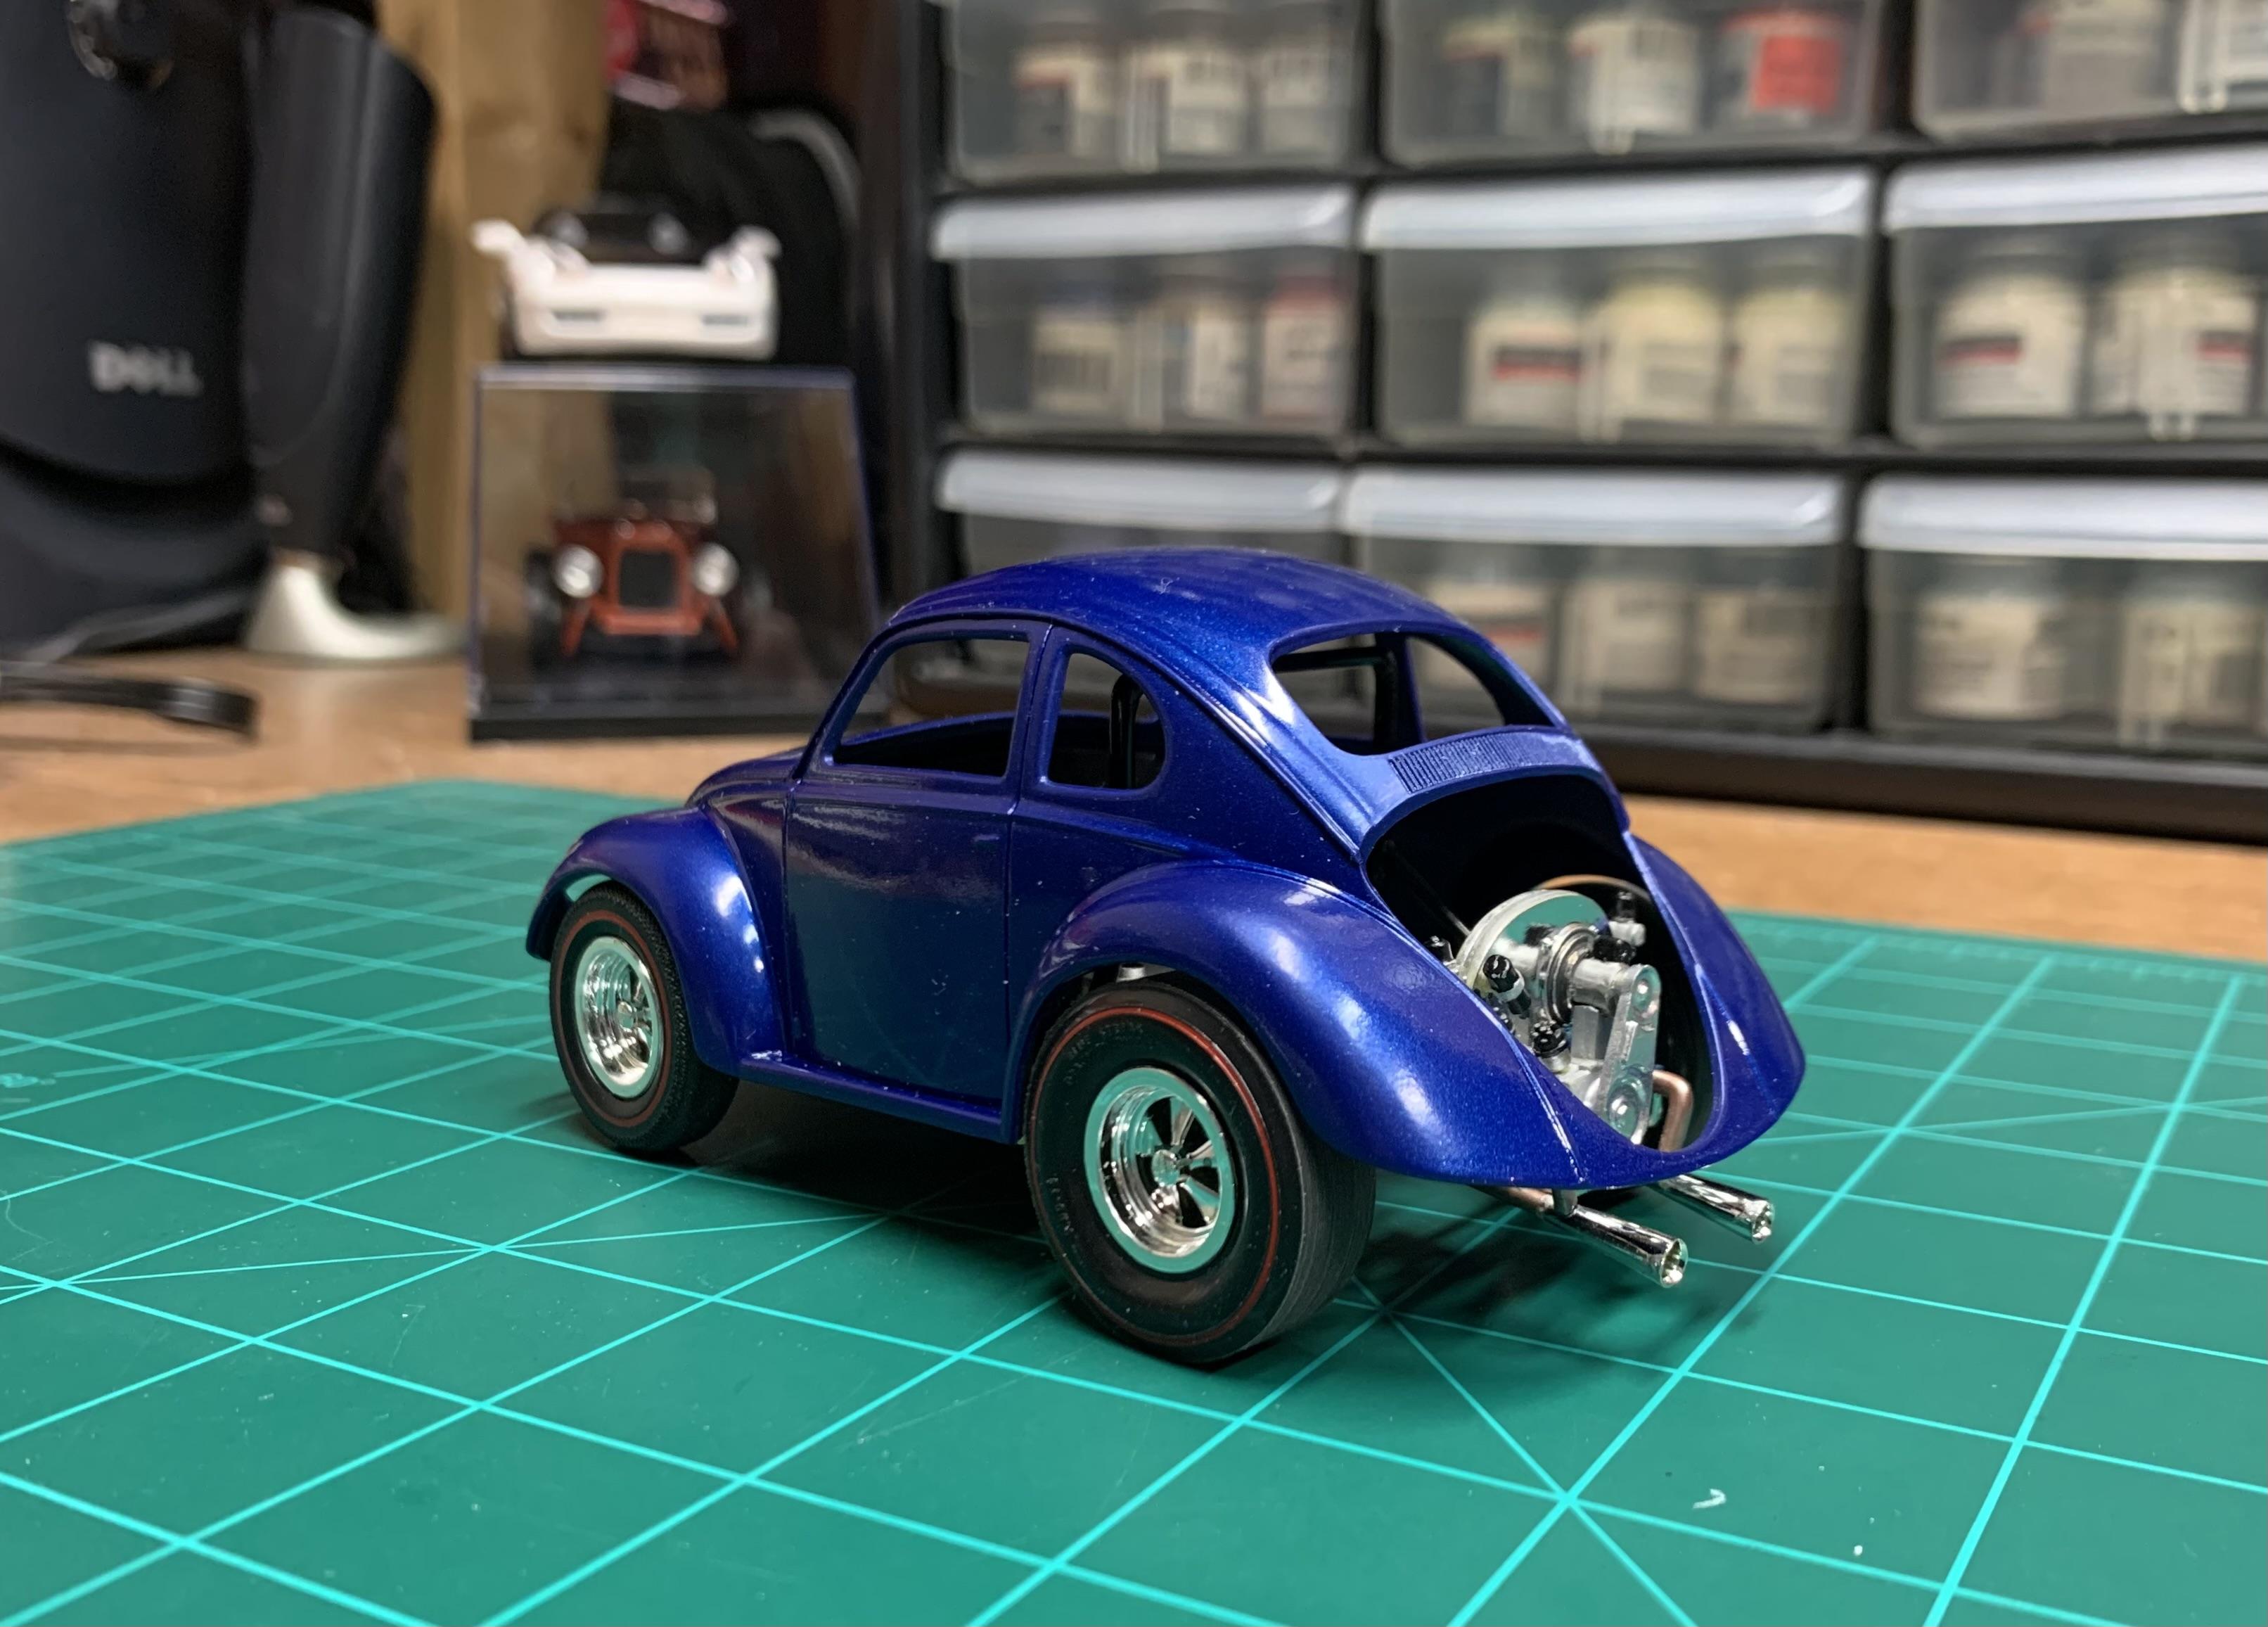
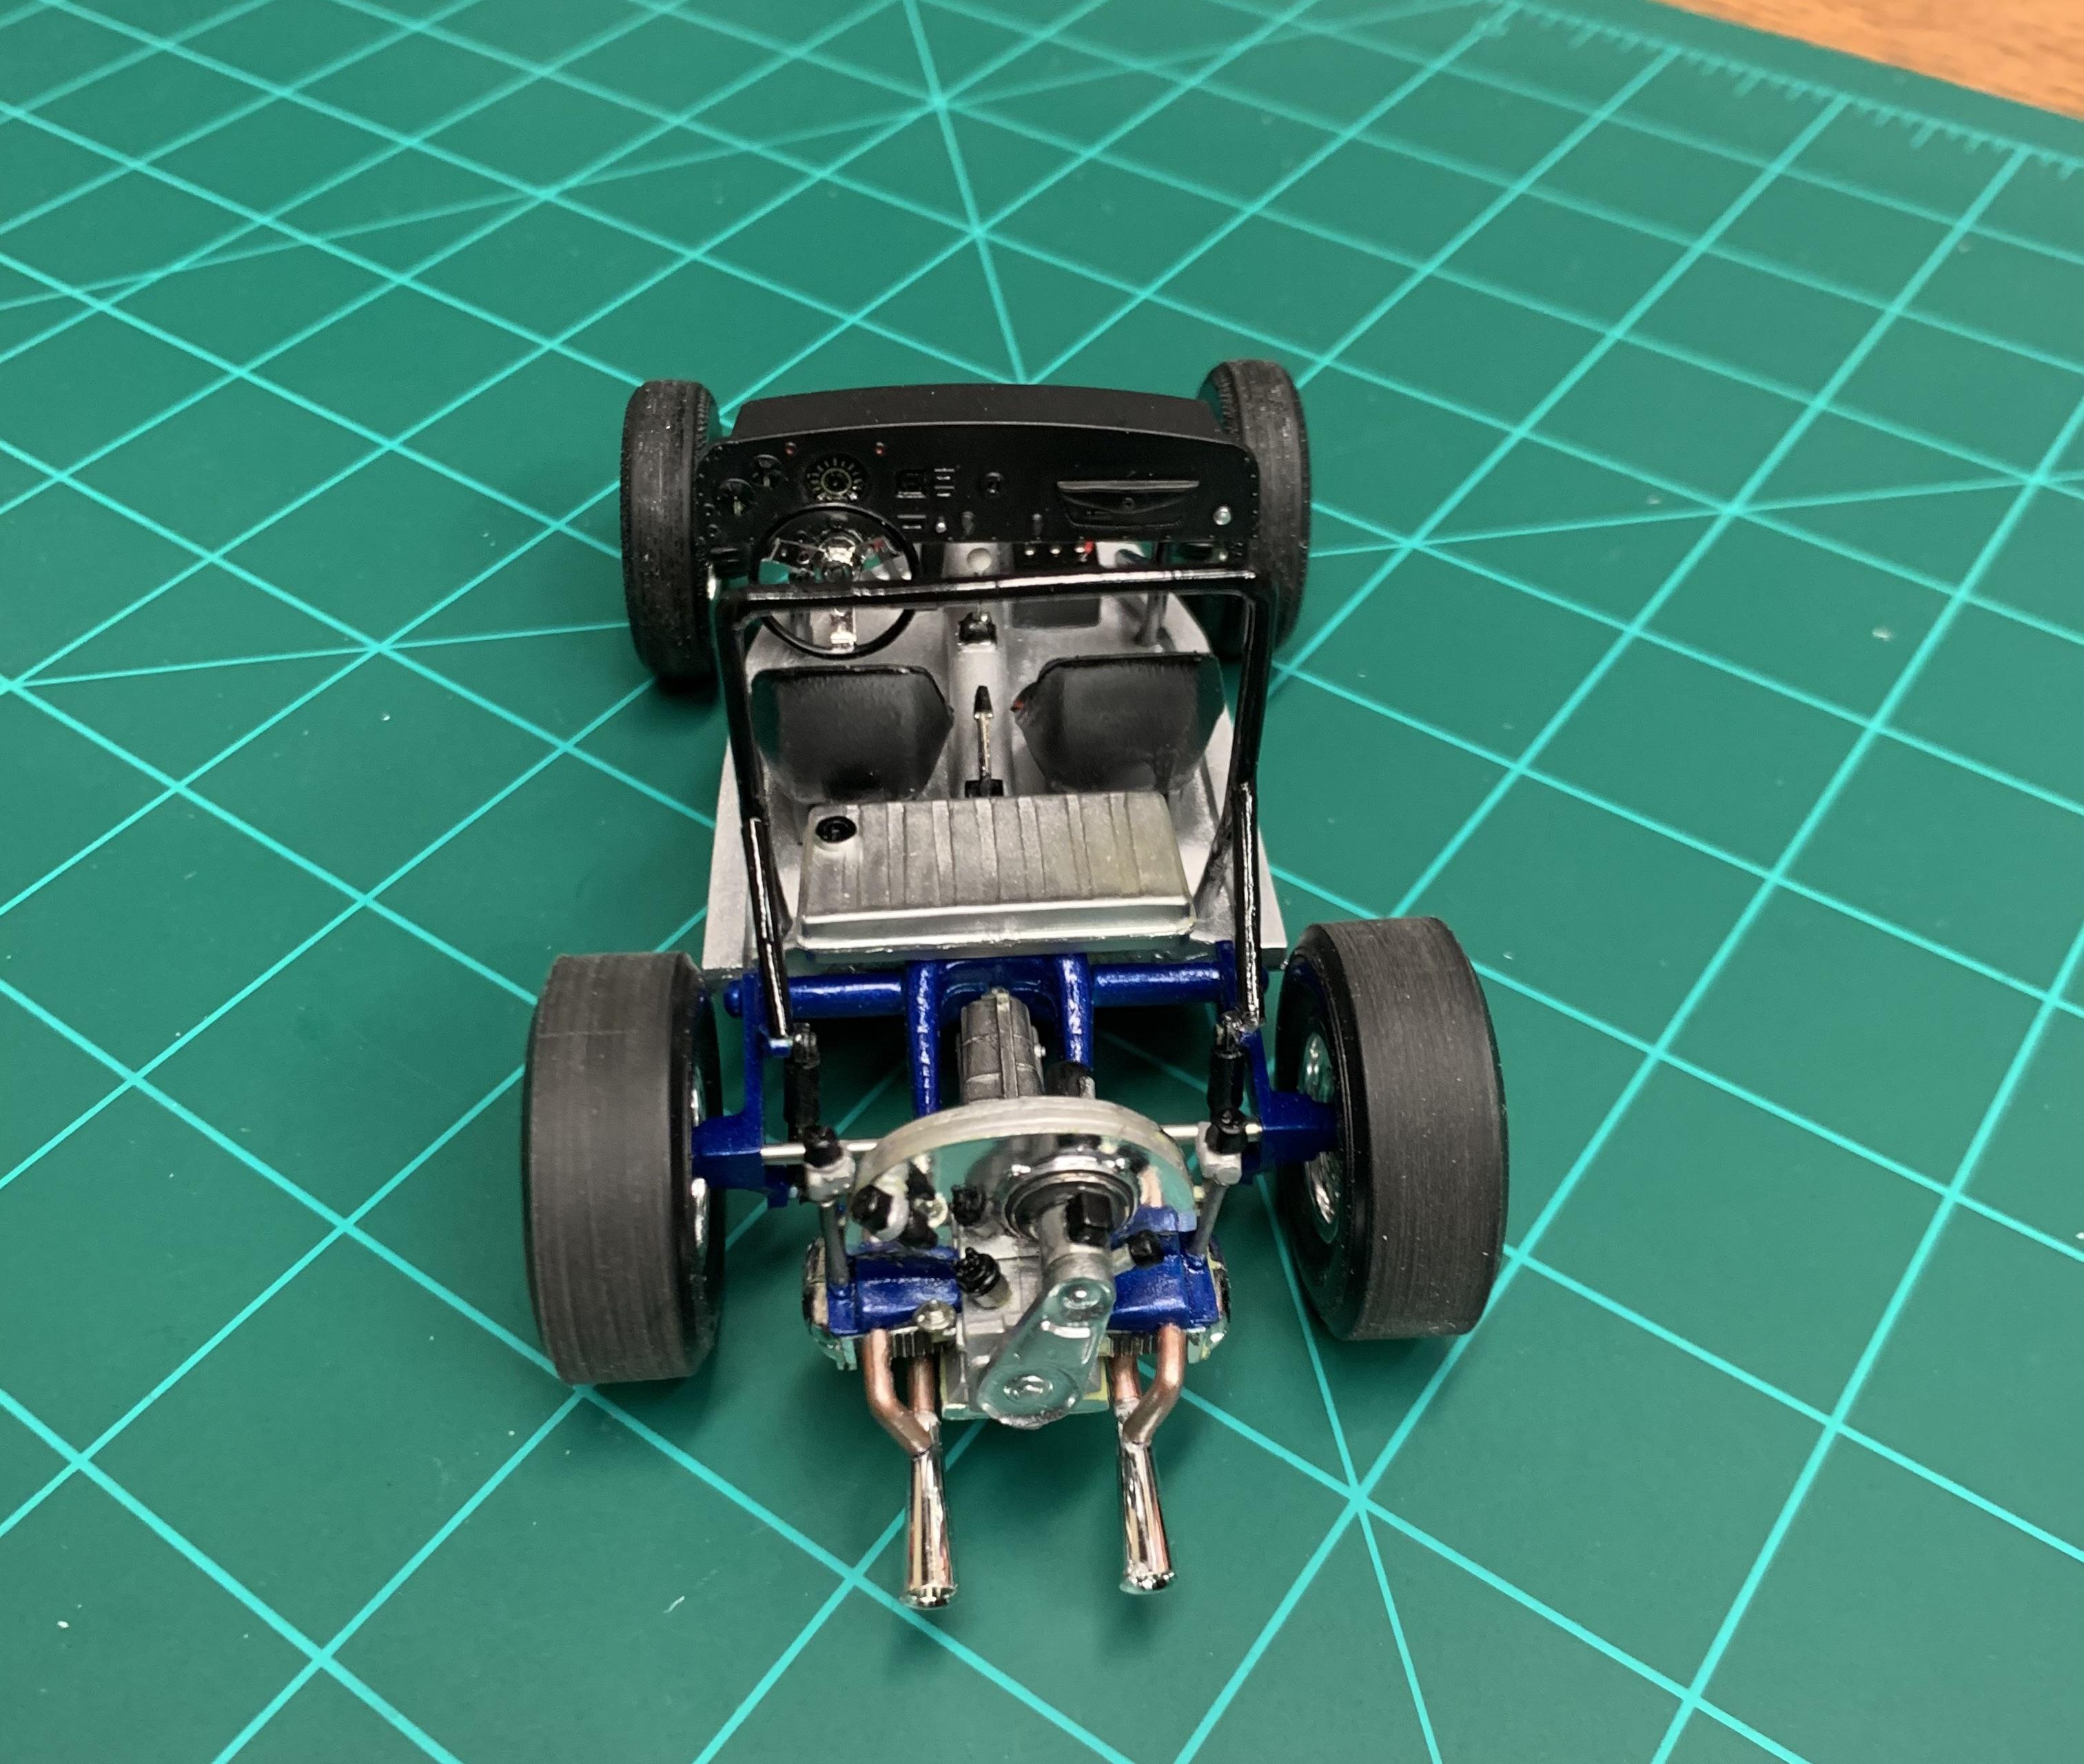
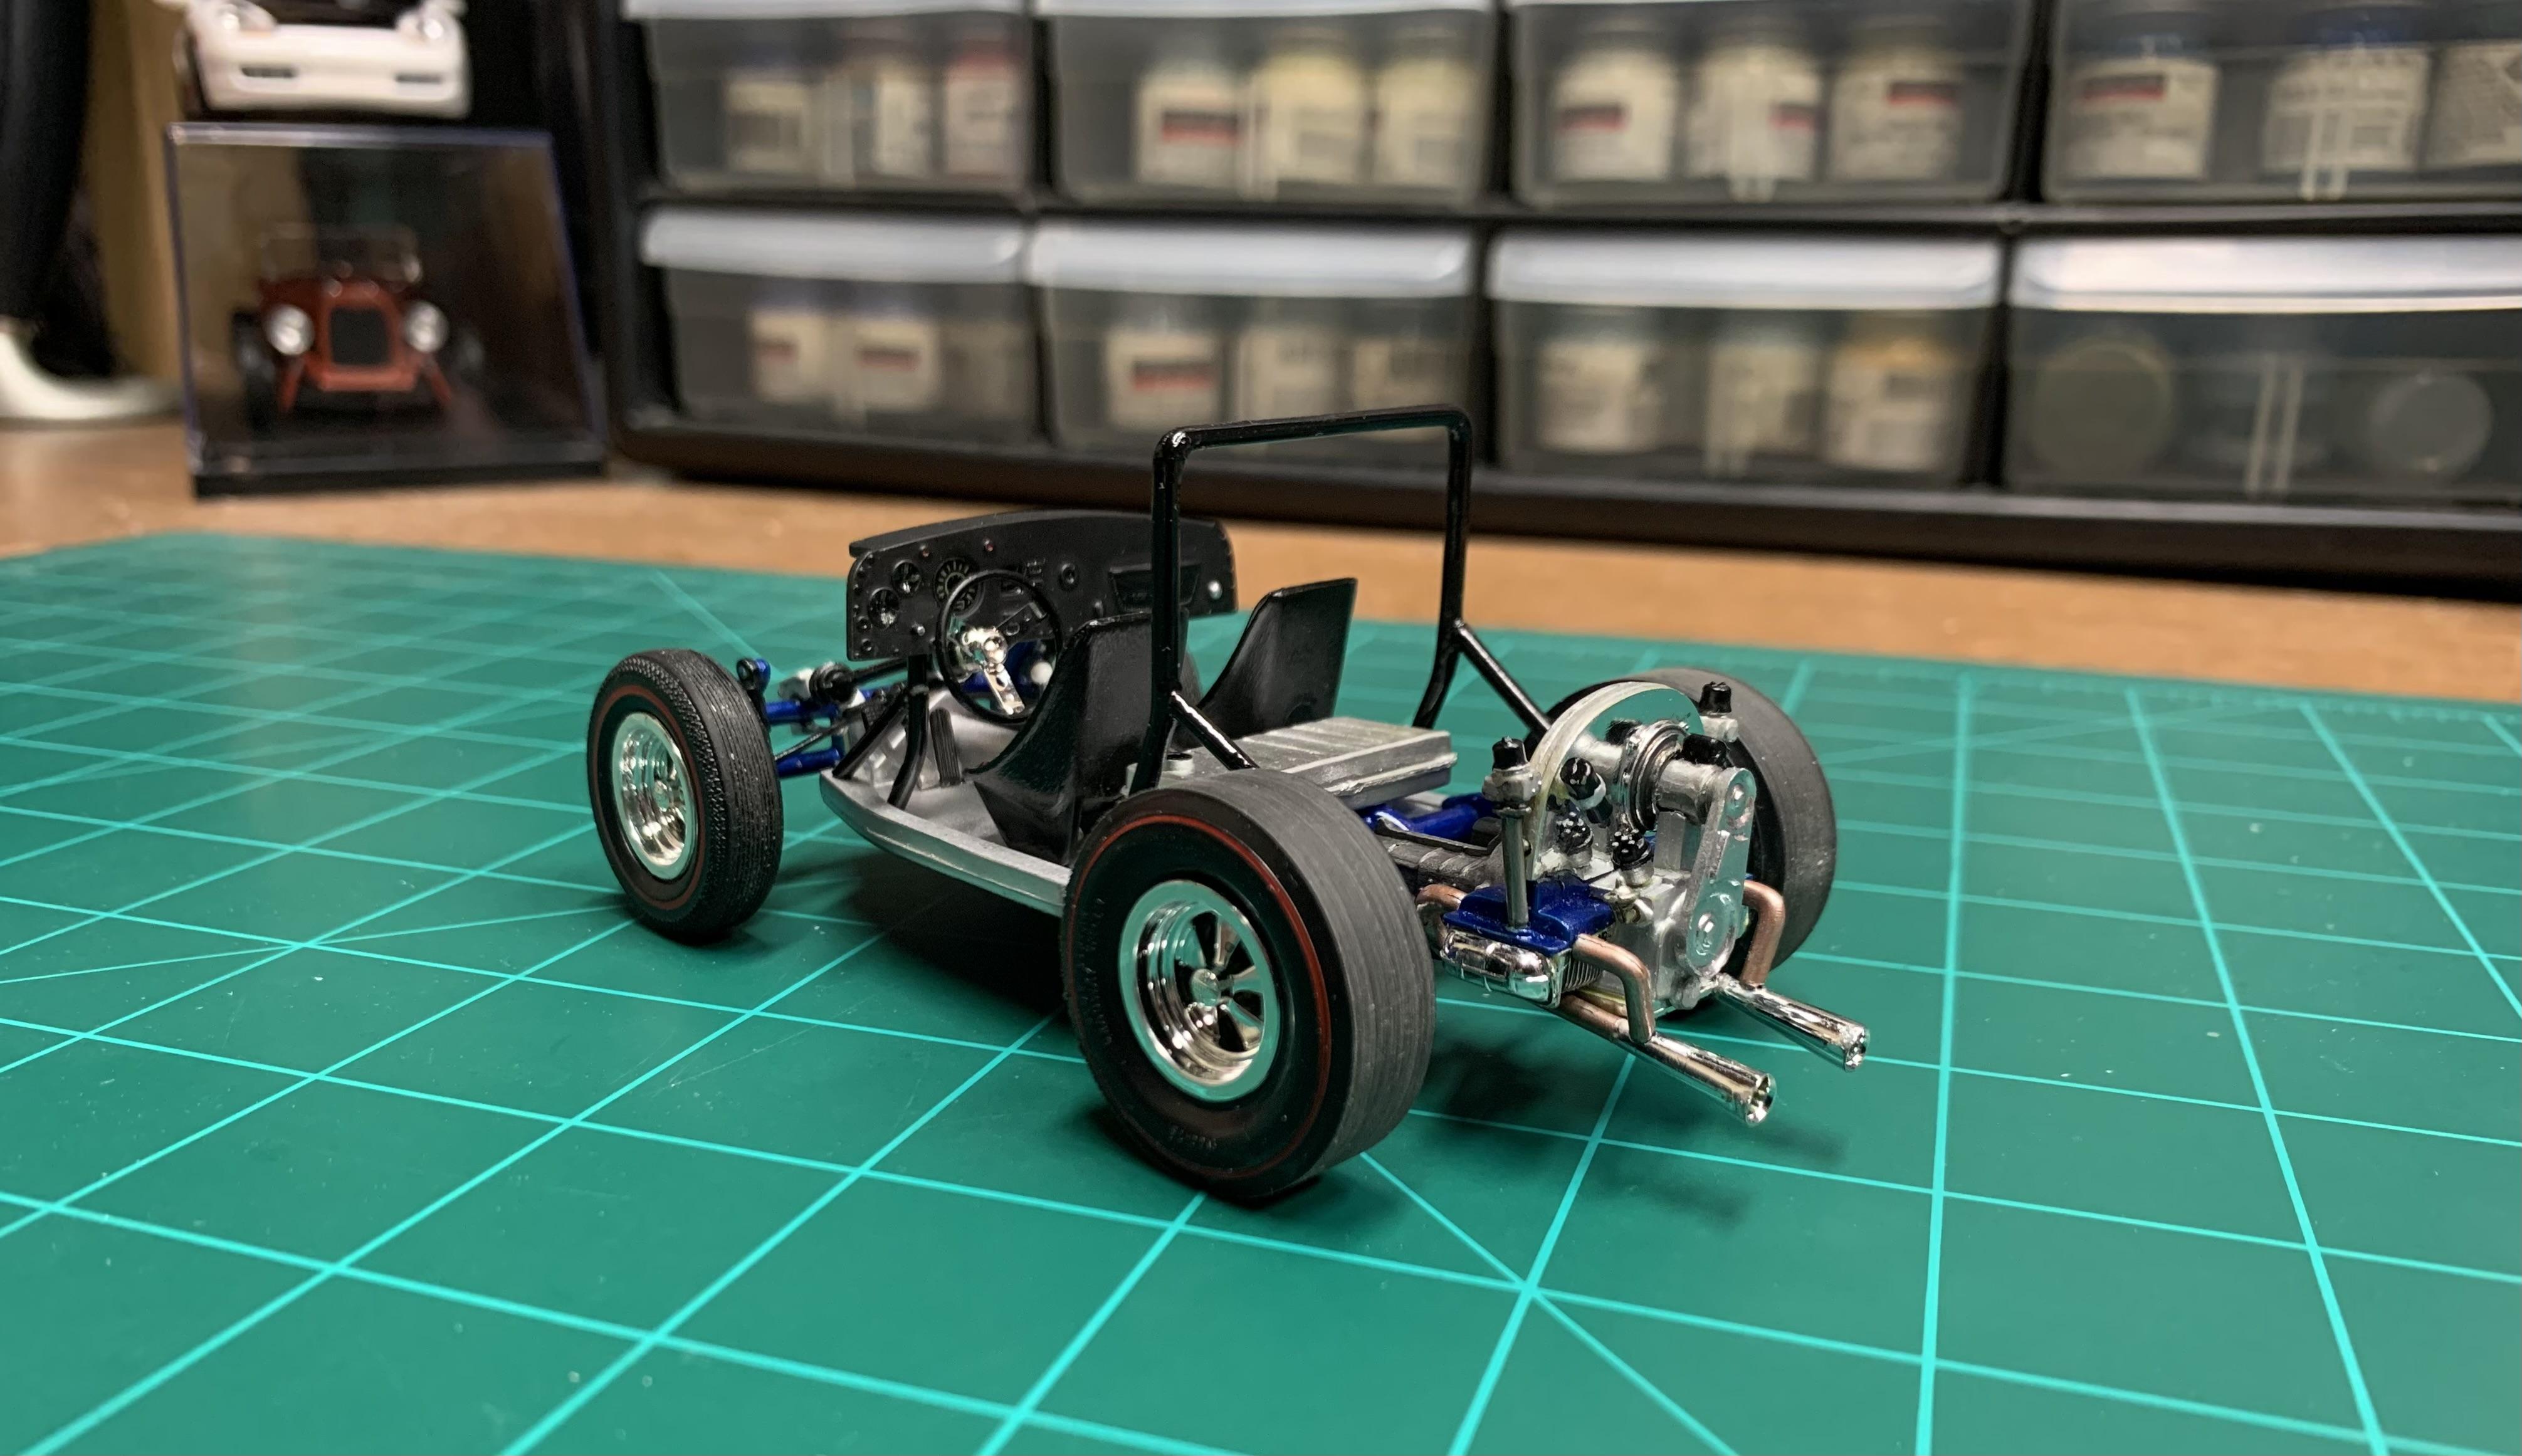
Thanks very much Carl! I appreciate your encouragement. Today’s update: chassis, interior, and engine are done! Still a handful of things left to do to the body, but we’re getting closer now. And one more quick mockup with the body for kicks.
-
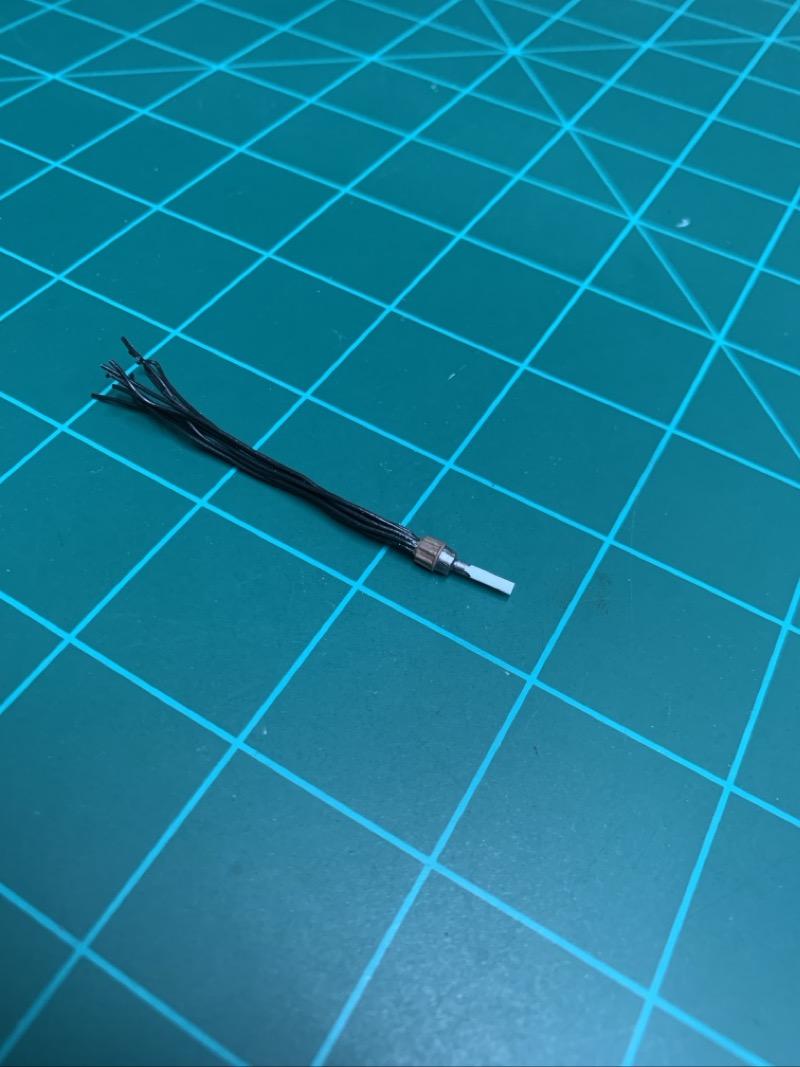
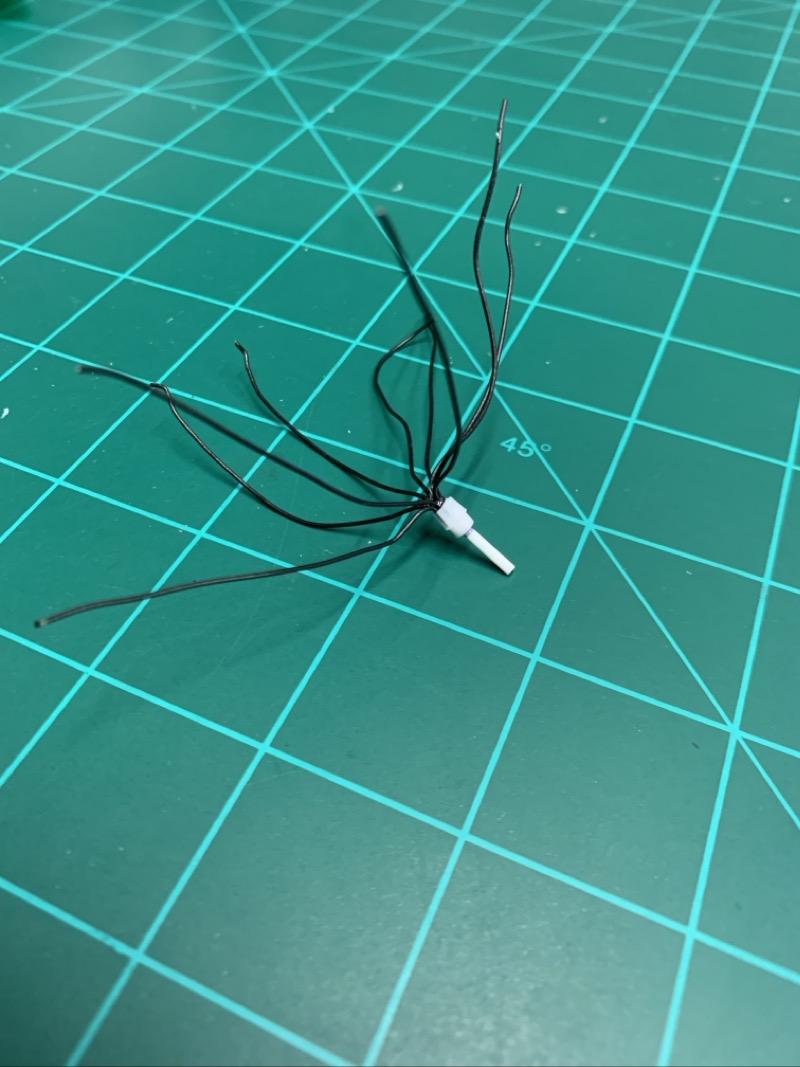
I’ve decided to try doing spark plug wires for this build. To that end, the kit distributor was reworked. First, a .06” hole was drilled through the entire part. Then a piece of styrene rod of the same size was glued into place halfway in. This was done to give it a more secure mounting area in the engine, which will be drilled to match. Next, the hole for the wires was opened up to .085”. Finally the wires were glued in. I know many people use CA, but to give me more working time, I used two part epoxy. This is the second time I’ve done this, and for some reason, I really struggle to get the wires into the hole. I see why people go with pre-wired distributors. I ended up putting six wires in at the start, and then pushing the remaining wires in one at a time. Hence the epoxy. Here’s the result before paint.
-
2024 Cannonball Run Restomods Build Thread
atomicholiday replied to White Rabbit's topic in Community Builds
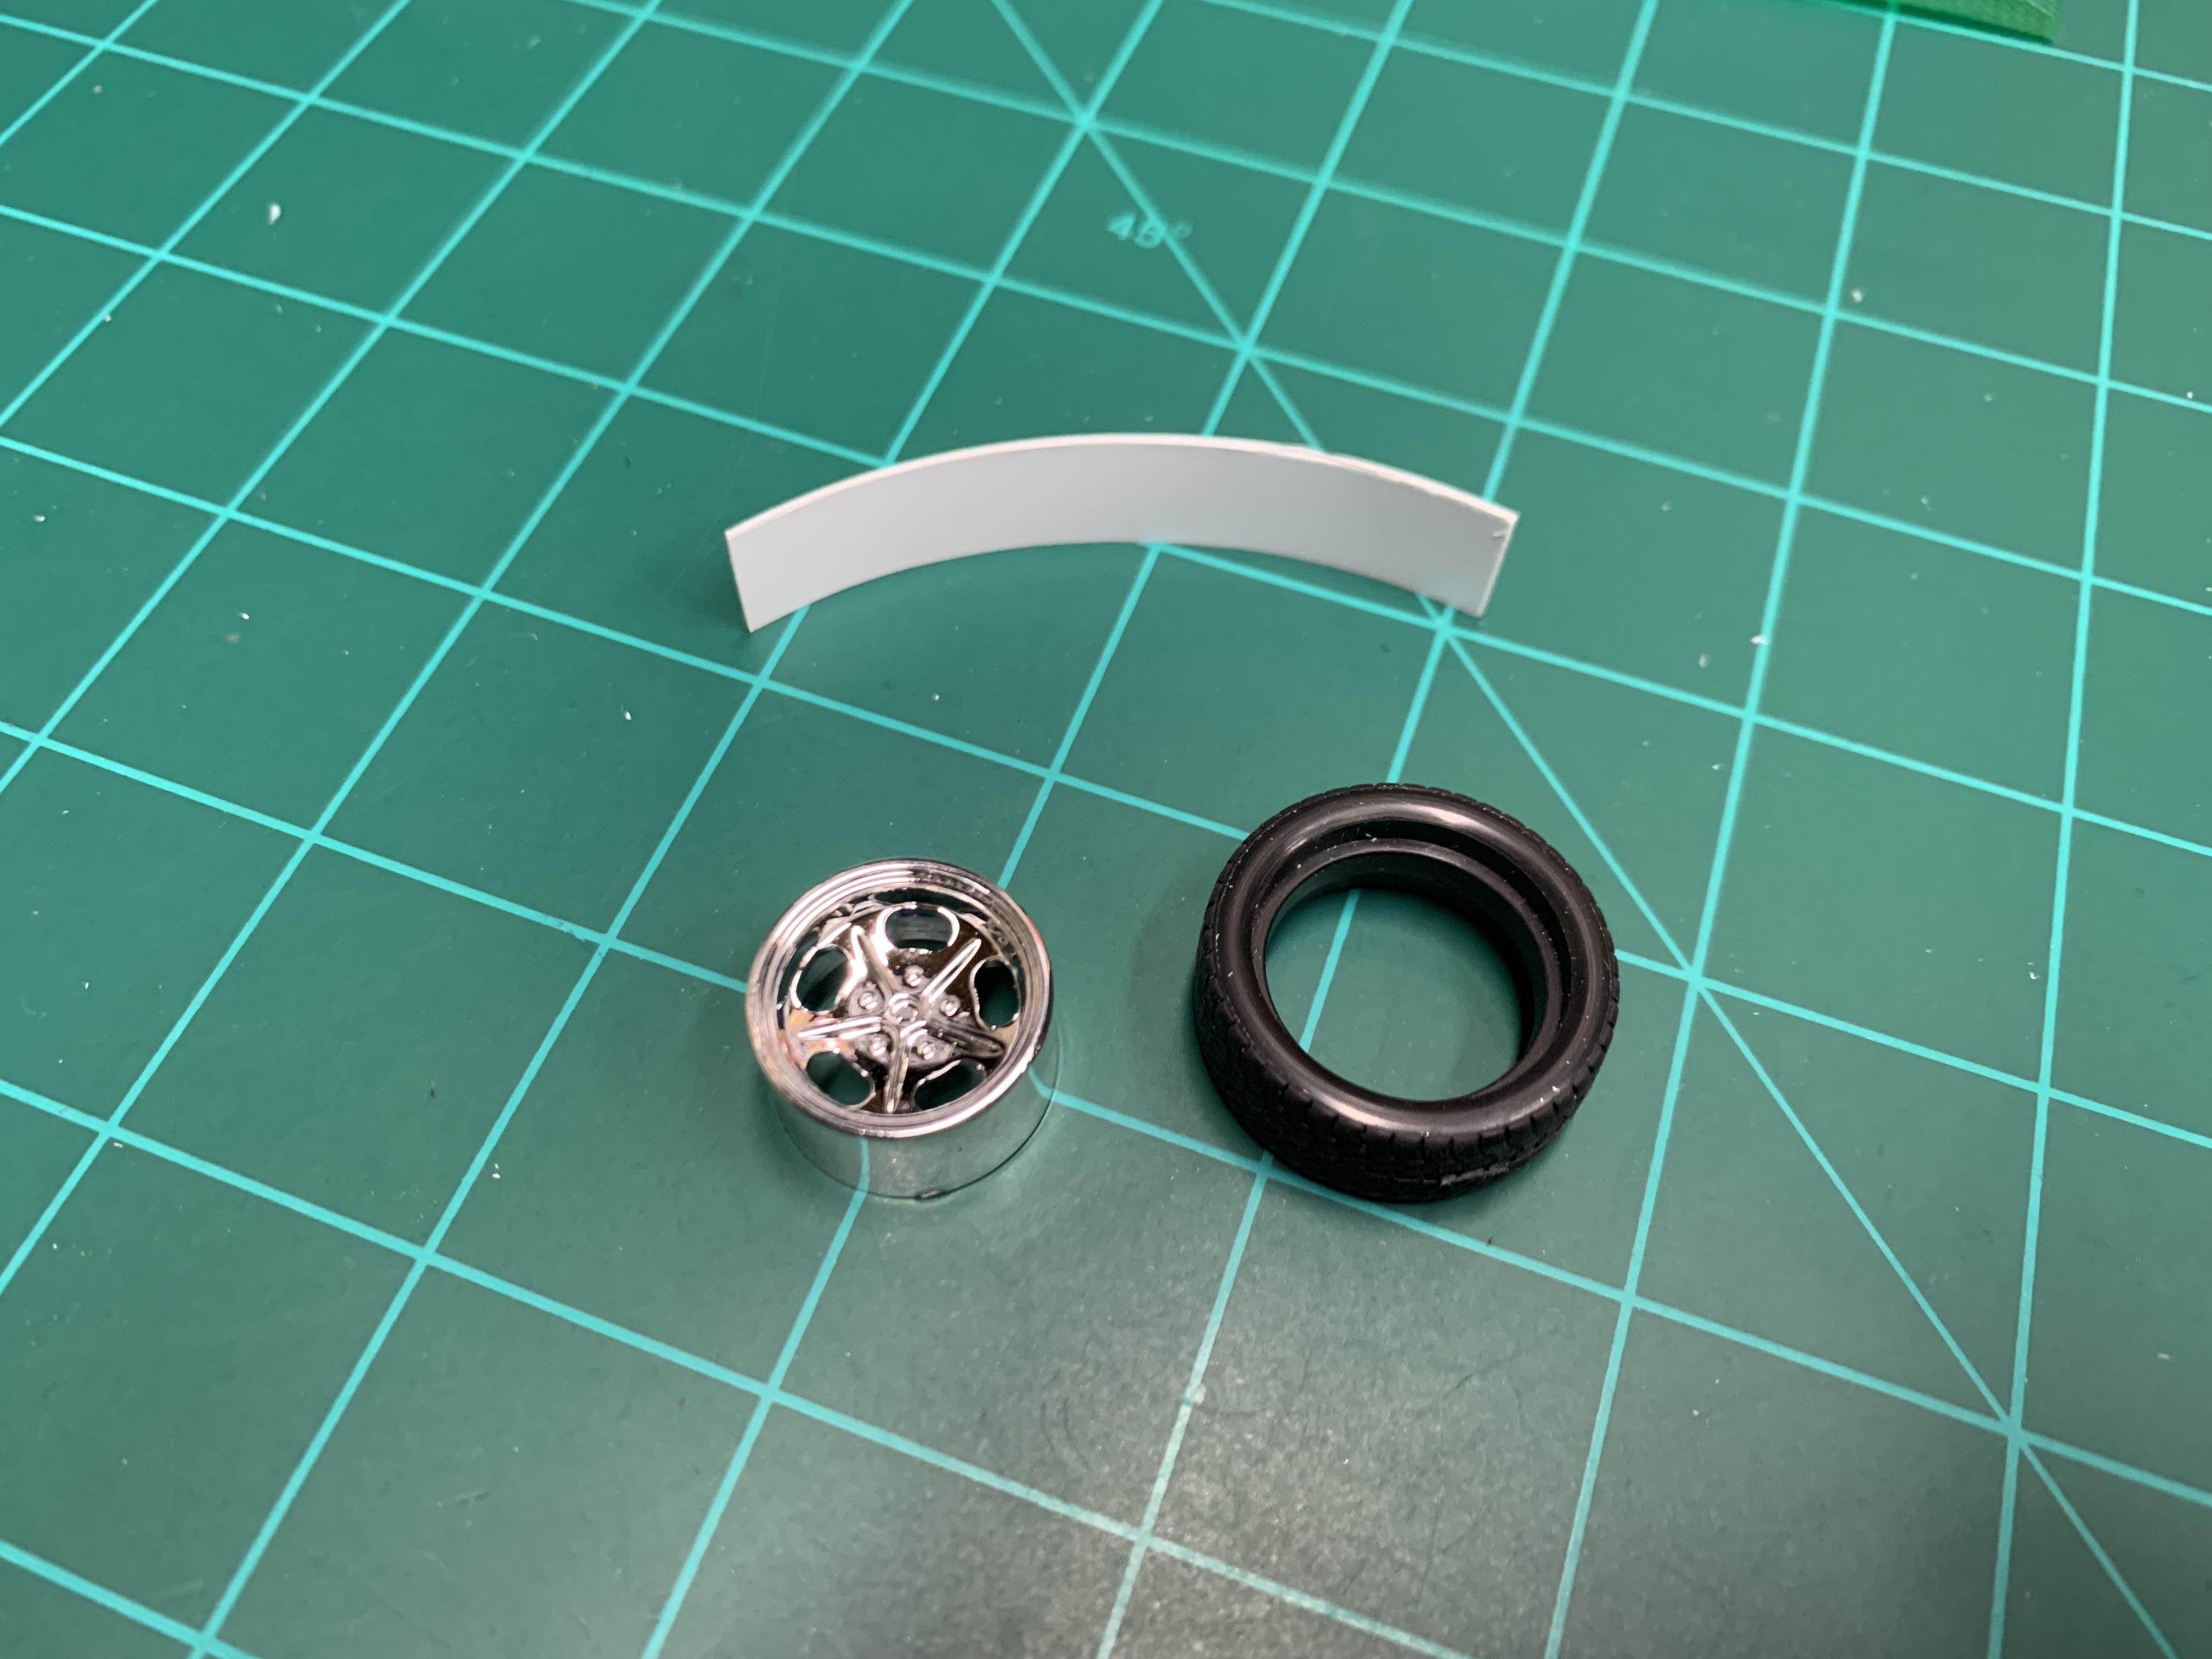
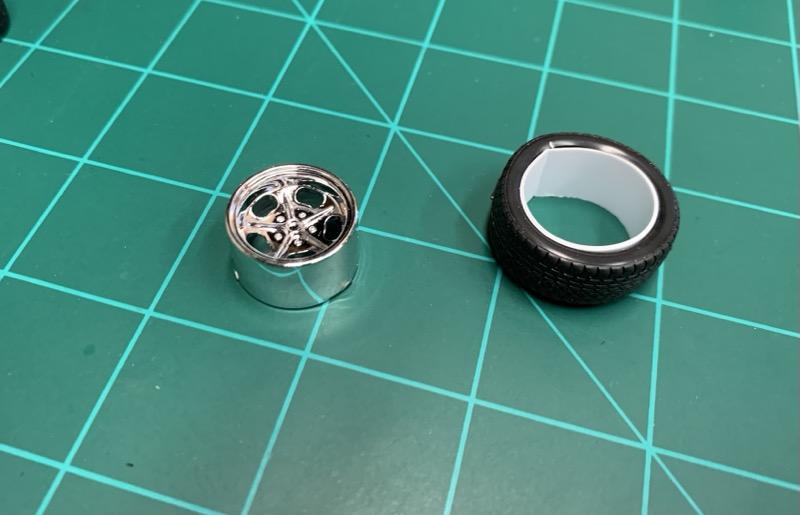
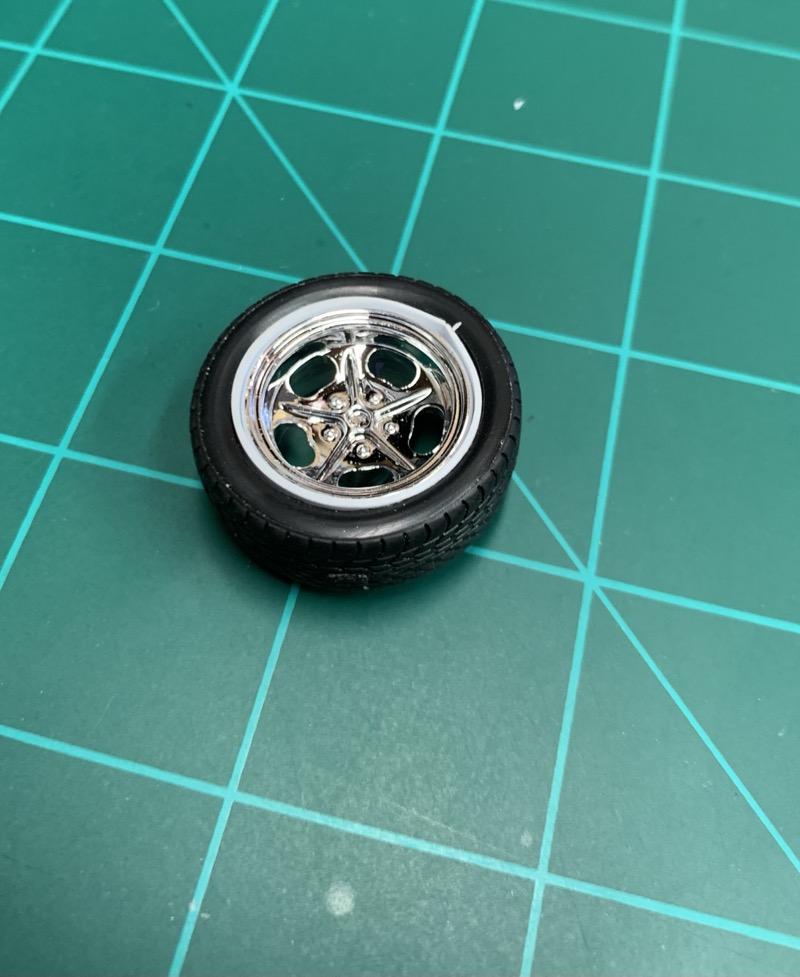
Working on the rear wheels today. The rims are too small for the tires, so I’m going to attempt to make sleeves using .02” stock. Here it is prior to any gluing or filling. Still a ways to go, but you get the idea.
-
2024 Cannonball Run Restomods Build Thread
atomicholiday replied to White Rabbit's topic in Community Builds
That’s just amazing. I mean it would make it great model all by itself! Incredible detail. -
Don’t sweat it my friend. I’ve been slacking’ on the build too!?. It’s still on my radar, but my GB’s have taken the front seat lately.
-
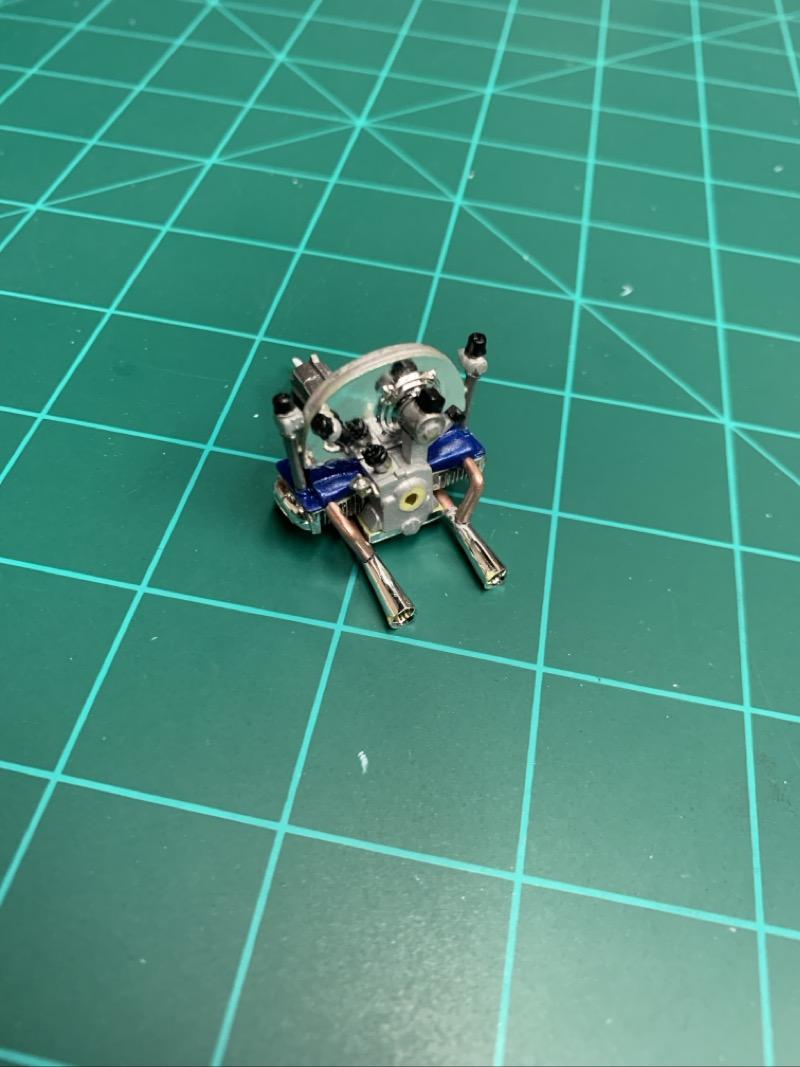
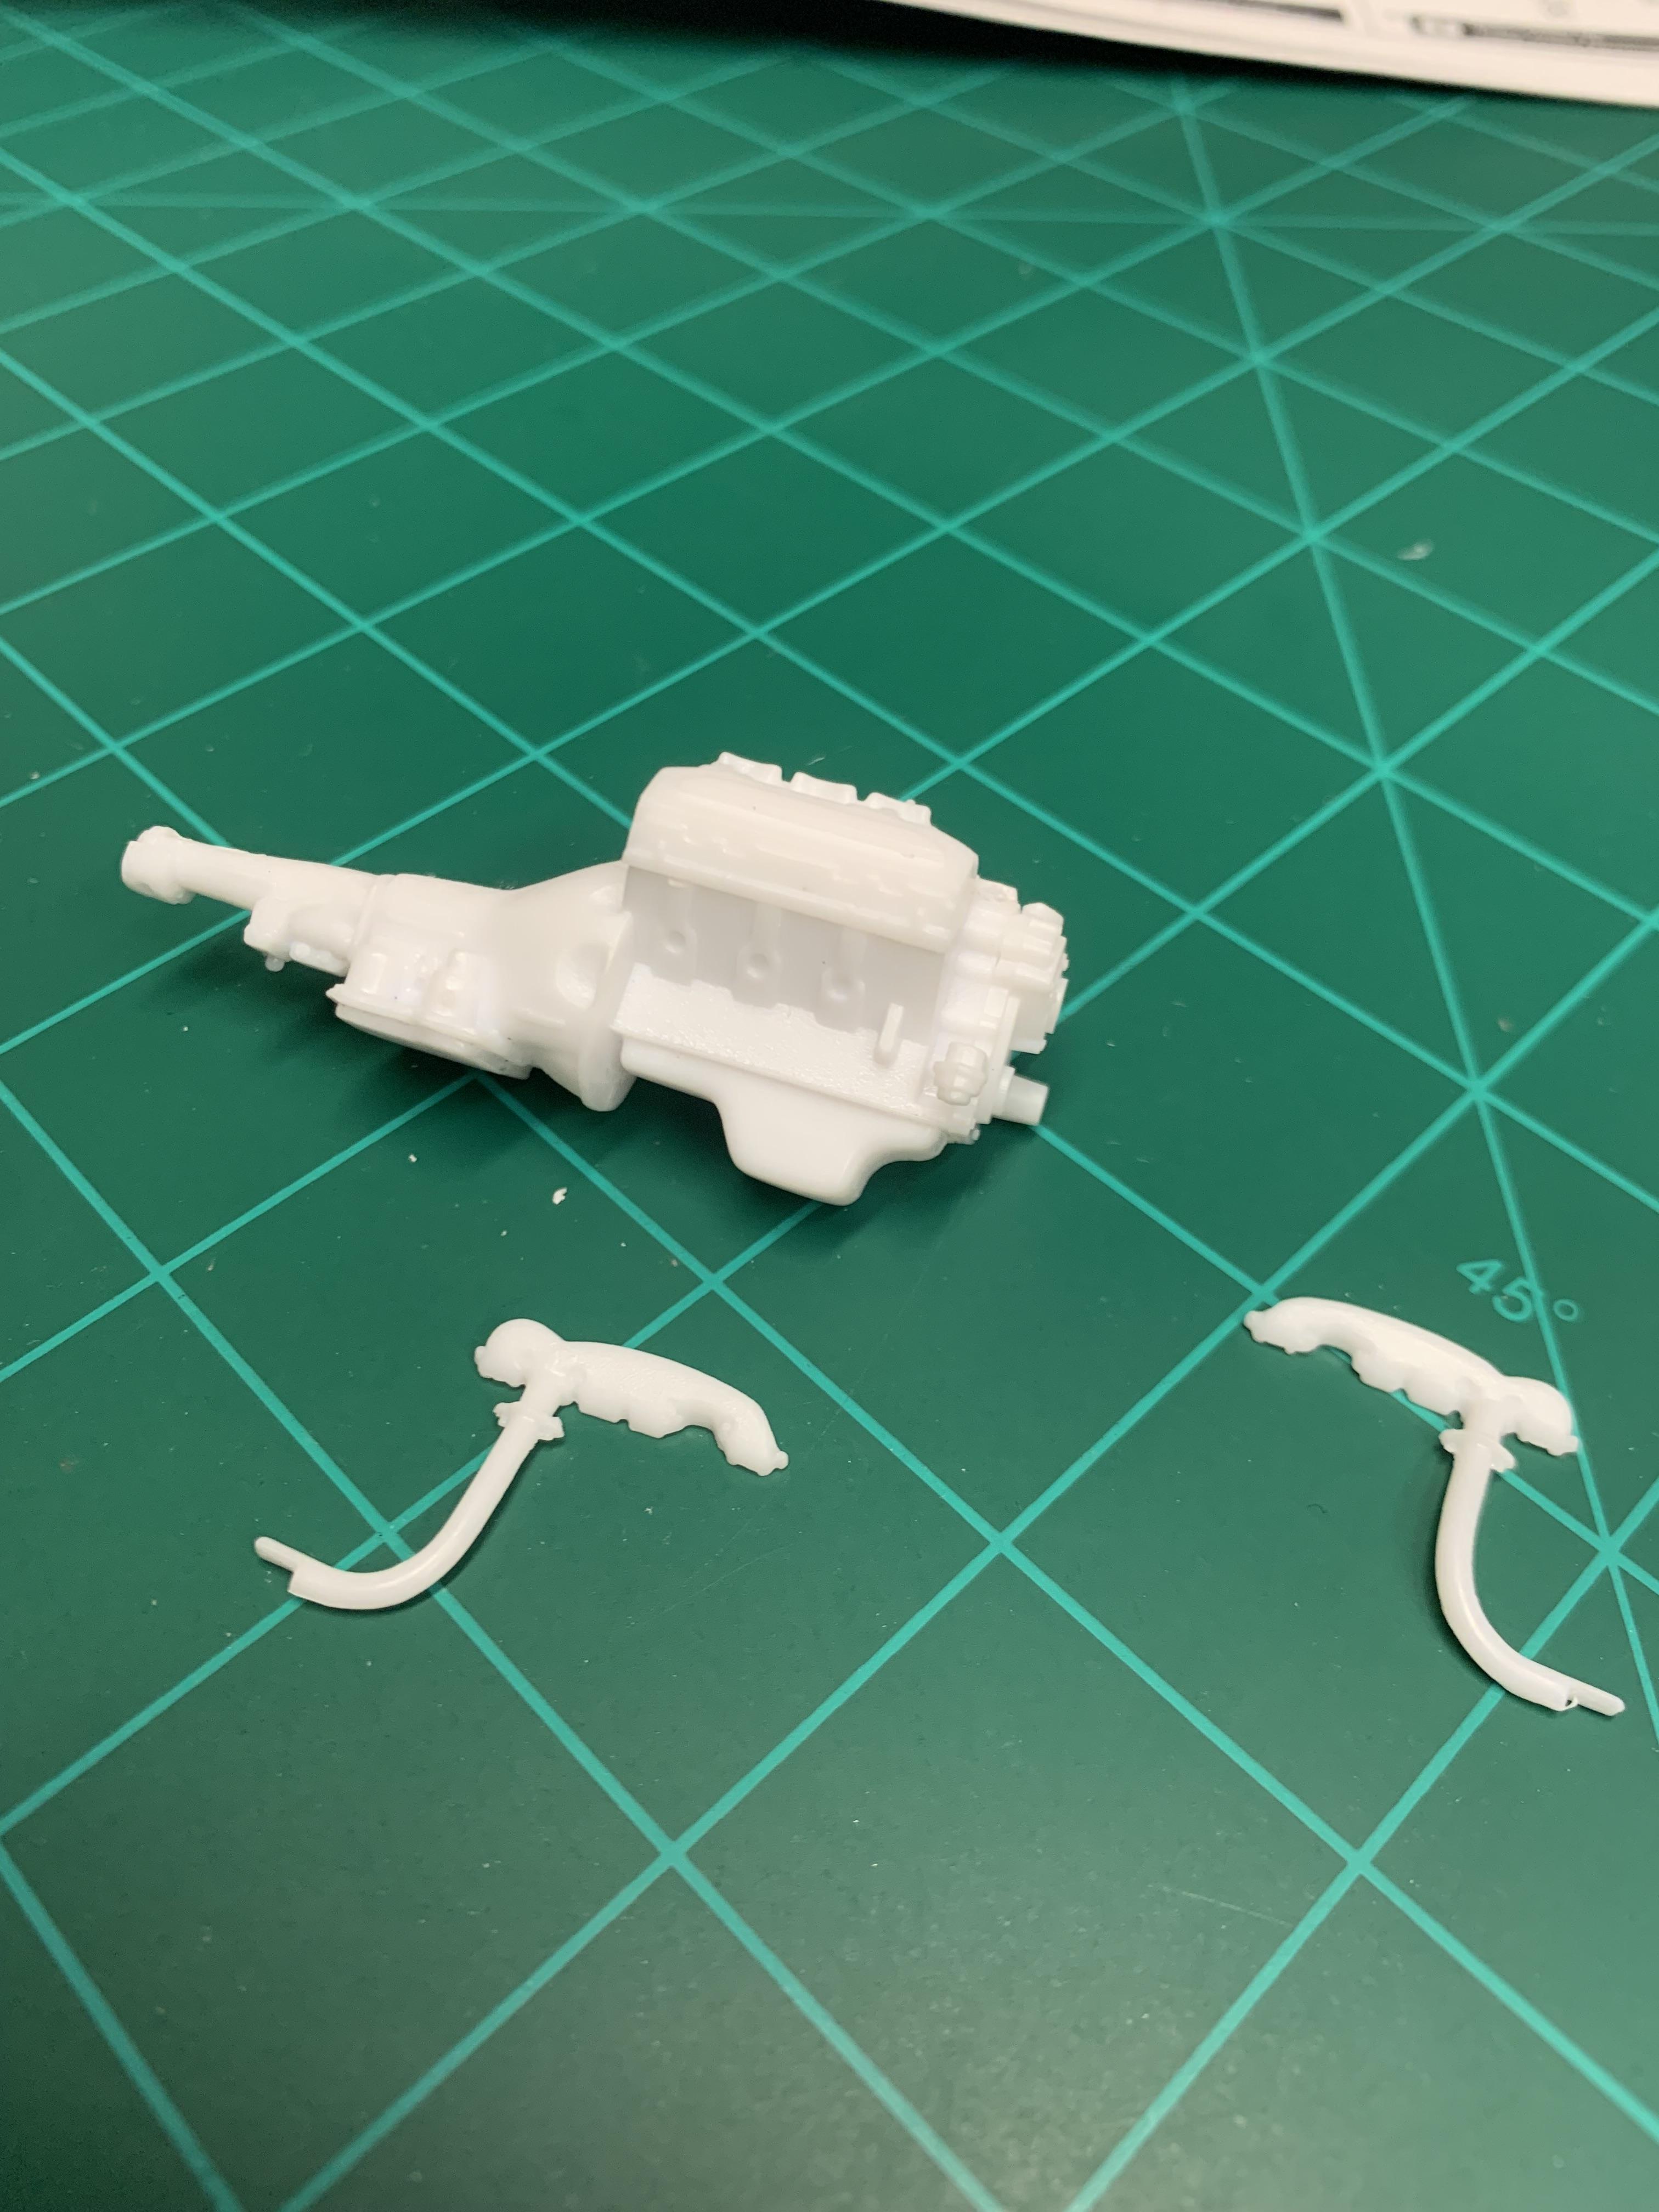
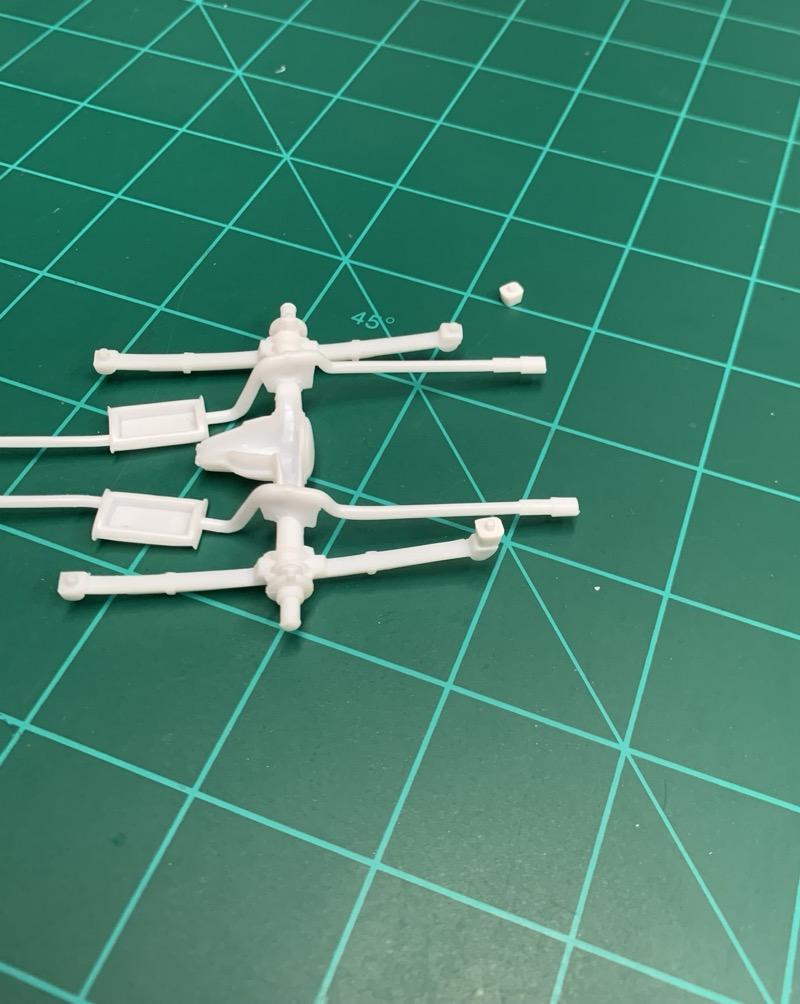
Between taking a break while my daughter was home for the holidays and starting two new group builds at the first of the year, this little bug kinda got put aside for a while. But I got back on it today and finished the exhaust system. I wanted to do something a little different than what the directions said, so the kit piping was cut down and repositioned to get the look I was after. All parts were drilled and pinned to help keep them together better and aid in assembly so it wasn’t as fiddly. I still need to touch up the paint in spots but they the engine will be ready for installation.
-
Hey guys, I’m working on my ‘71 GTX engine and planning on running spark plug wires. This is for the 440 six pack engine. Looking online, I’m seeing some pictures that show plugs above the exhaust manifolds, and others that show plugs below. For what it’s worth, I’m not sure if the exhausts manifolds in the kit are correct or not. I see two different types online. Anybody know for sure where the plugs should be drilled? There’s not much room either way, but I’ll make it work.
-
2024 Cannonball Run Restomods Build Thread
atomicholiday replied to White Rabbit's topic in Community Builds
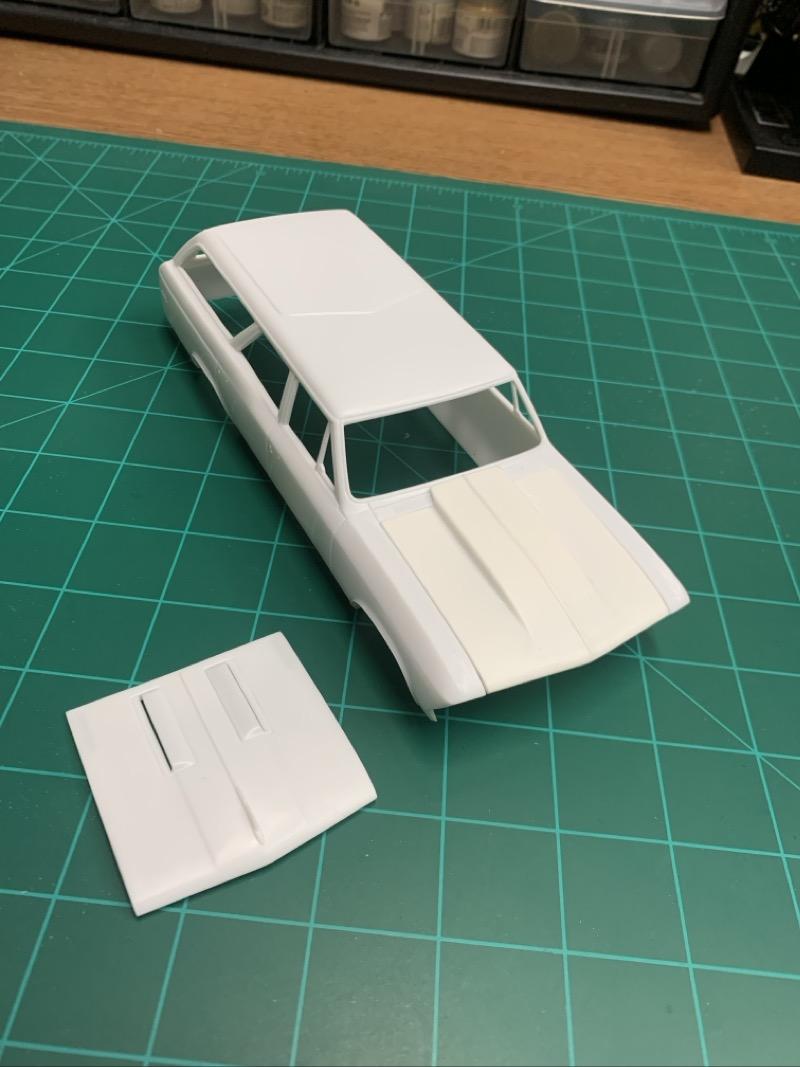
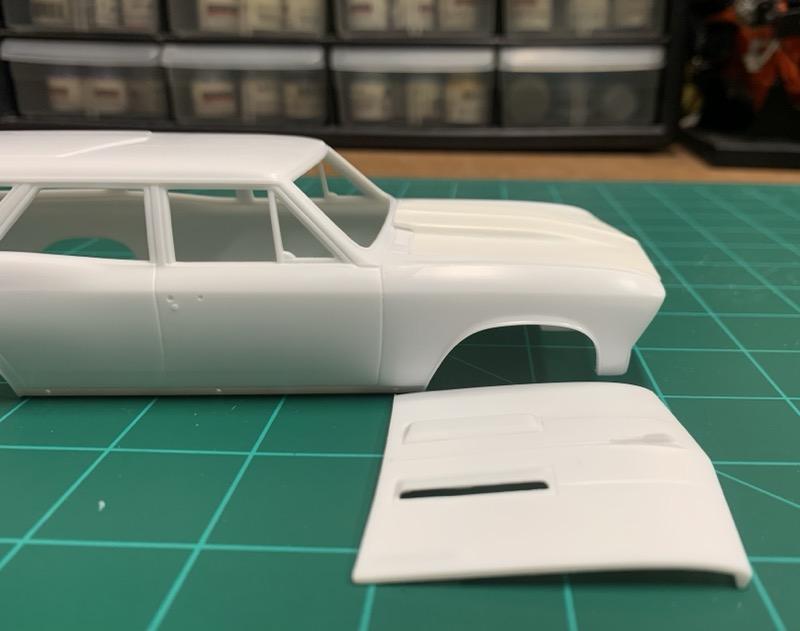
Working on the resin hood now to see if I can get it to fit properly. It was WAY too thick to use as is. A course sanding stick was used to thin the whole thing down to the same thickness as the kit hood. It’s definitely better now, but it still needs a little more work in a few areas. For instance, the raised section will need more sanded if I want wiper blades. Might need those since we’re going cross country!
-
2024 Cannonball Run Restomods Build Thread
atomicholiday replied to White Rabbit's topic in Community Builds
That's what I must have been thinking of. Wow, hellcat you say. Gonna be a beast! -
2024 Cannonball Run Restomods Build Thread
atomicholiday replied to White Rabbit's topic in Community Builds
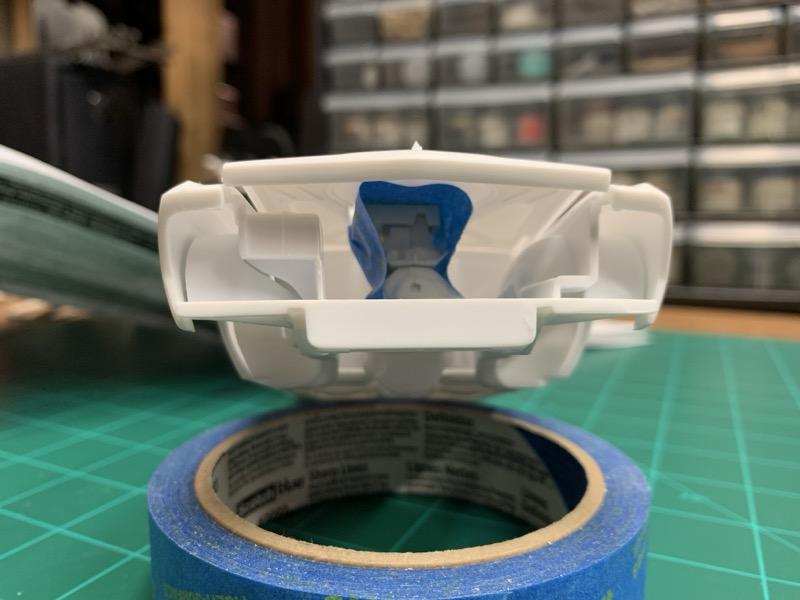
No, there isn't actually any extra clearance. The material is just thicker in the center. And the whole hood is too thick already. It'll need to be thinned down just to fit level after paint. No huge deal. I just wanted something different from the kit part. I still have an idea or two I can try. Lesson learned. At least it wasn't too expensive. -
2024 Cannonball Run Restomods Build Thread
atomicholiday replied to White Rabbit's topic in Community Builds
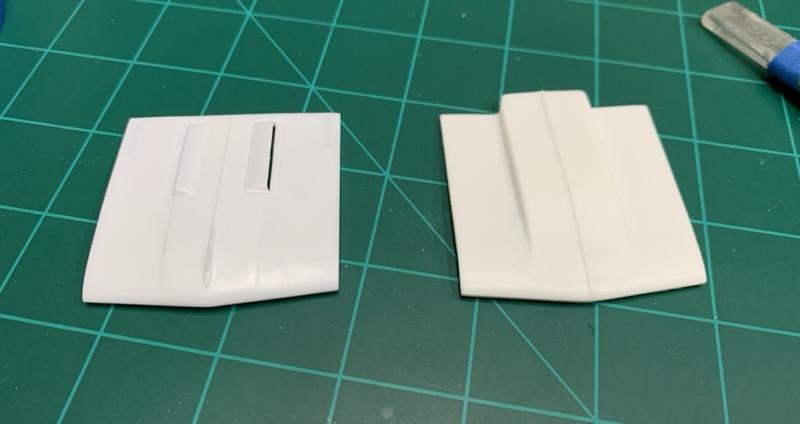
Just playing around and mocking some things up with this build this evening. Looks like I’m going to be cutting the intake manifold down a bit. Also, the resin hood I ordered is here now. I know nothing about resin, so I won’t condemn it. But I was hoping it would be a little nicer than it is. Looks better in the picture than it really is. Not sure if I want to use it or not. I think I’m going to clean it up and paint both hoods and use the one I like best. Resin hood is on the right.
-
2024 Cannonball Run Restomods Build Thread
atomicholiday replied to White Rabbit's topic in Community Builds
Just ignore me. I don’t know why, but I thought you were building a ‘71, not a ‘74. Carry on!? -
2024 Cannonball Run Restomods Build Thread
atomicholiday replied to White Rabbit's topic in Community Builds
I'm working on the GTX for another GB, and botched the paint job. A couple people here and elsewhere talked me into adding a vinyl roof, so I'll be watching closely. It's looking great so far. I'm pretty sure it was an option for the GTX, but I'm not sure which style. Near as I can tell, there may have been three options, possibly depending on the model? The canopy roof stops at the rear edge of the side windows (basically 2/3 of the roof). Not sure of the names, but the next one covers the entire roof. Lastly is the one that it looks like you may be working on, with body colored edges. I think they're called halo type. I've been trying to figure out which was available for what model, but so far no luck. I'm leaning towards the full top for my GTX. -
2024 Cannonball Run Restomods Build Thread
atomicholiday replied to White Rabbit's topic in Community Builds
All the rabbit talk gives me an idea for another group build. Cars named after animals. -
2024 Cannonball Run Restomods Build Thread
atomicholiday replied to White Rabbit's topic in Community Builds
Nothing says 'hi performance' like a bunny hood ornament! -
North of Fort Wayne Indiana.
-
Yup. I built the street version when I was a kid. Not bad as I recall.
- 39,121 replies
-
- 1
-

-
- johan
- glue bombs
- (and 1 more)
-
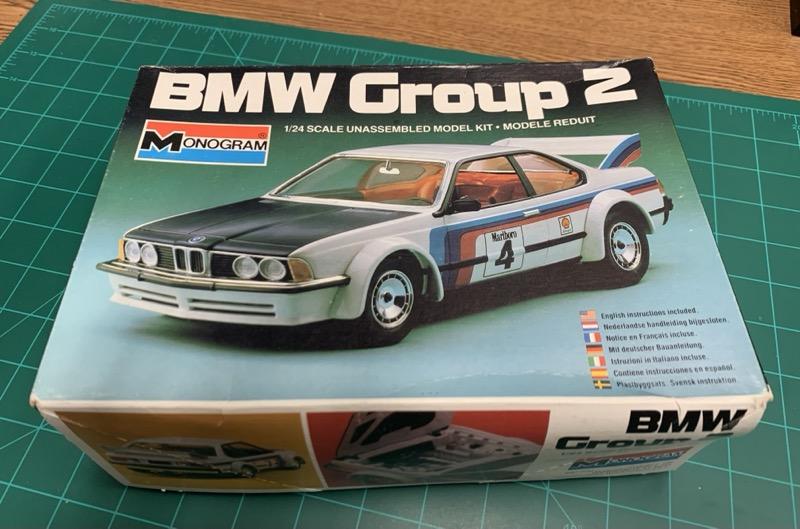
This bucket list kit arrived today. Sealed bag inside, and the decals look like they were printed yesterday.?
- 39,121 replies
-
- 5
-
-
- johan
- glue bombs
- (and 1 more)
-
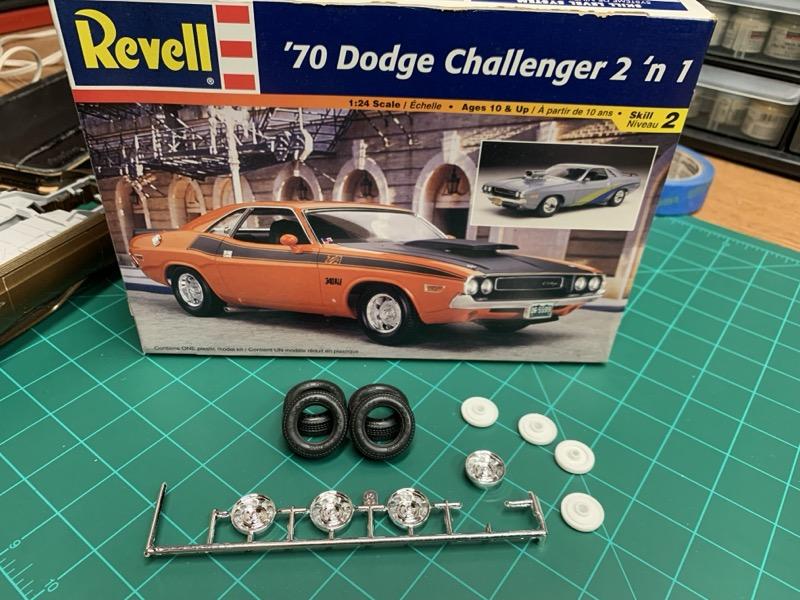
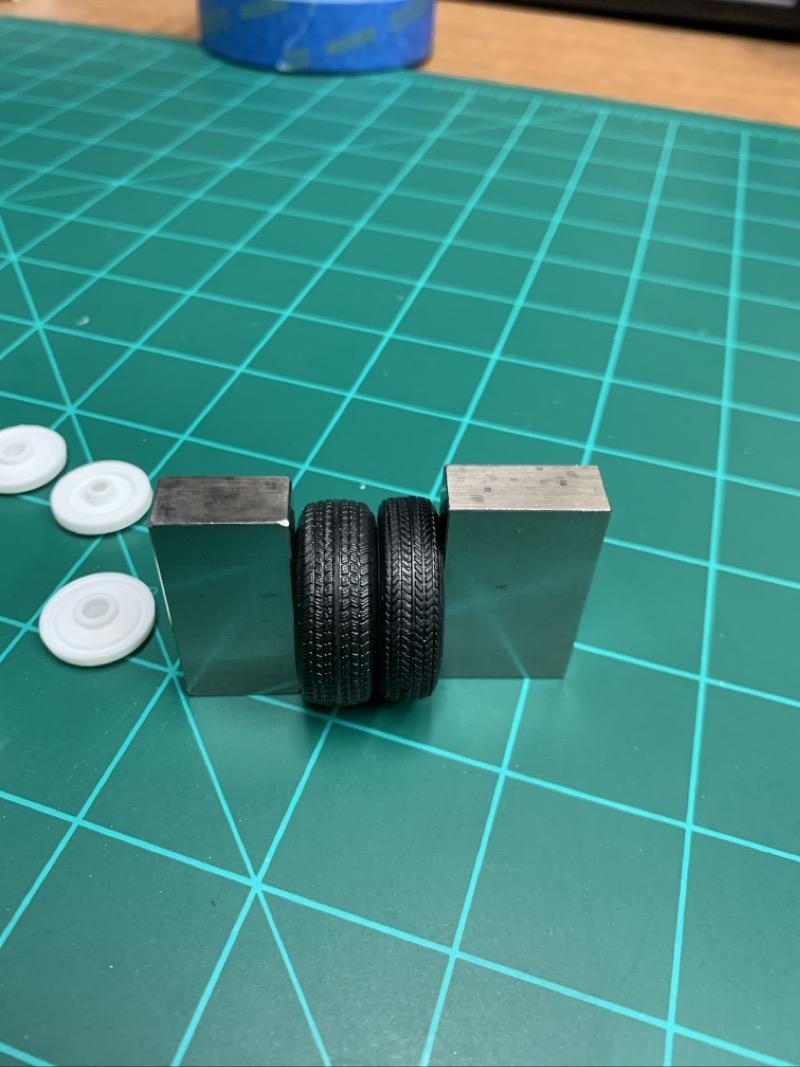
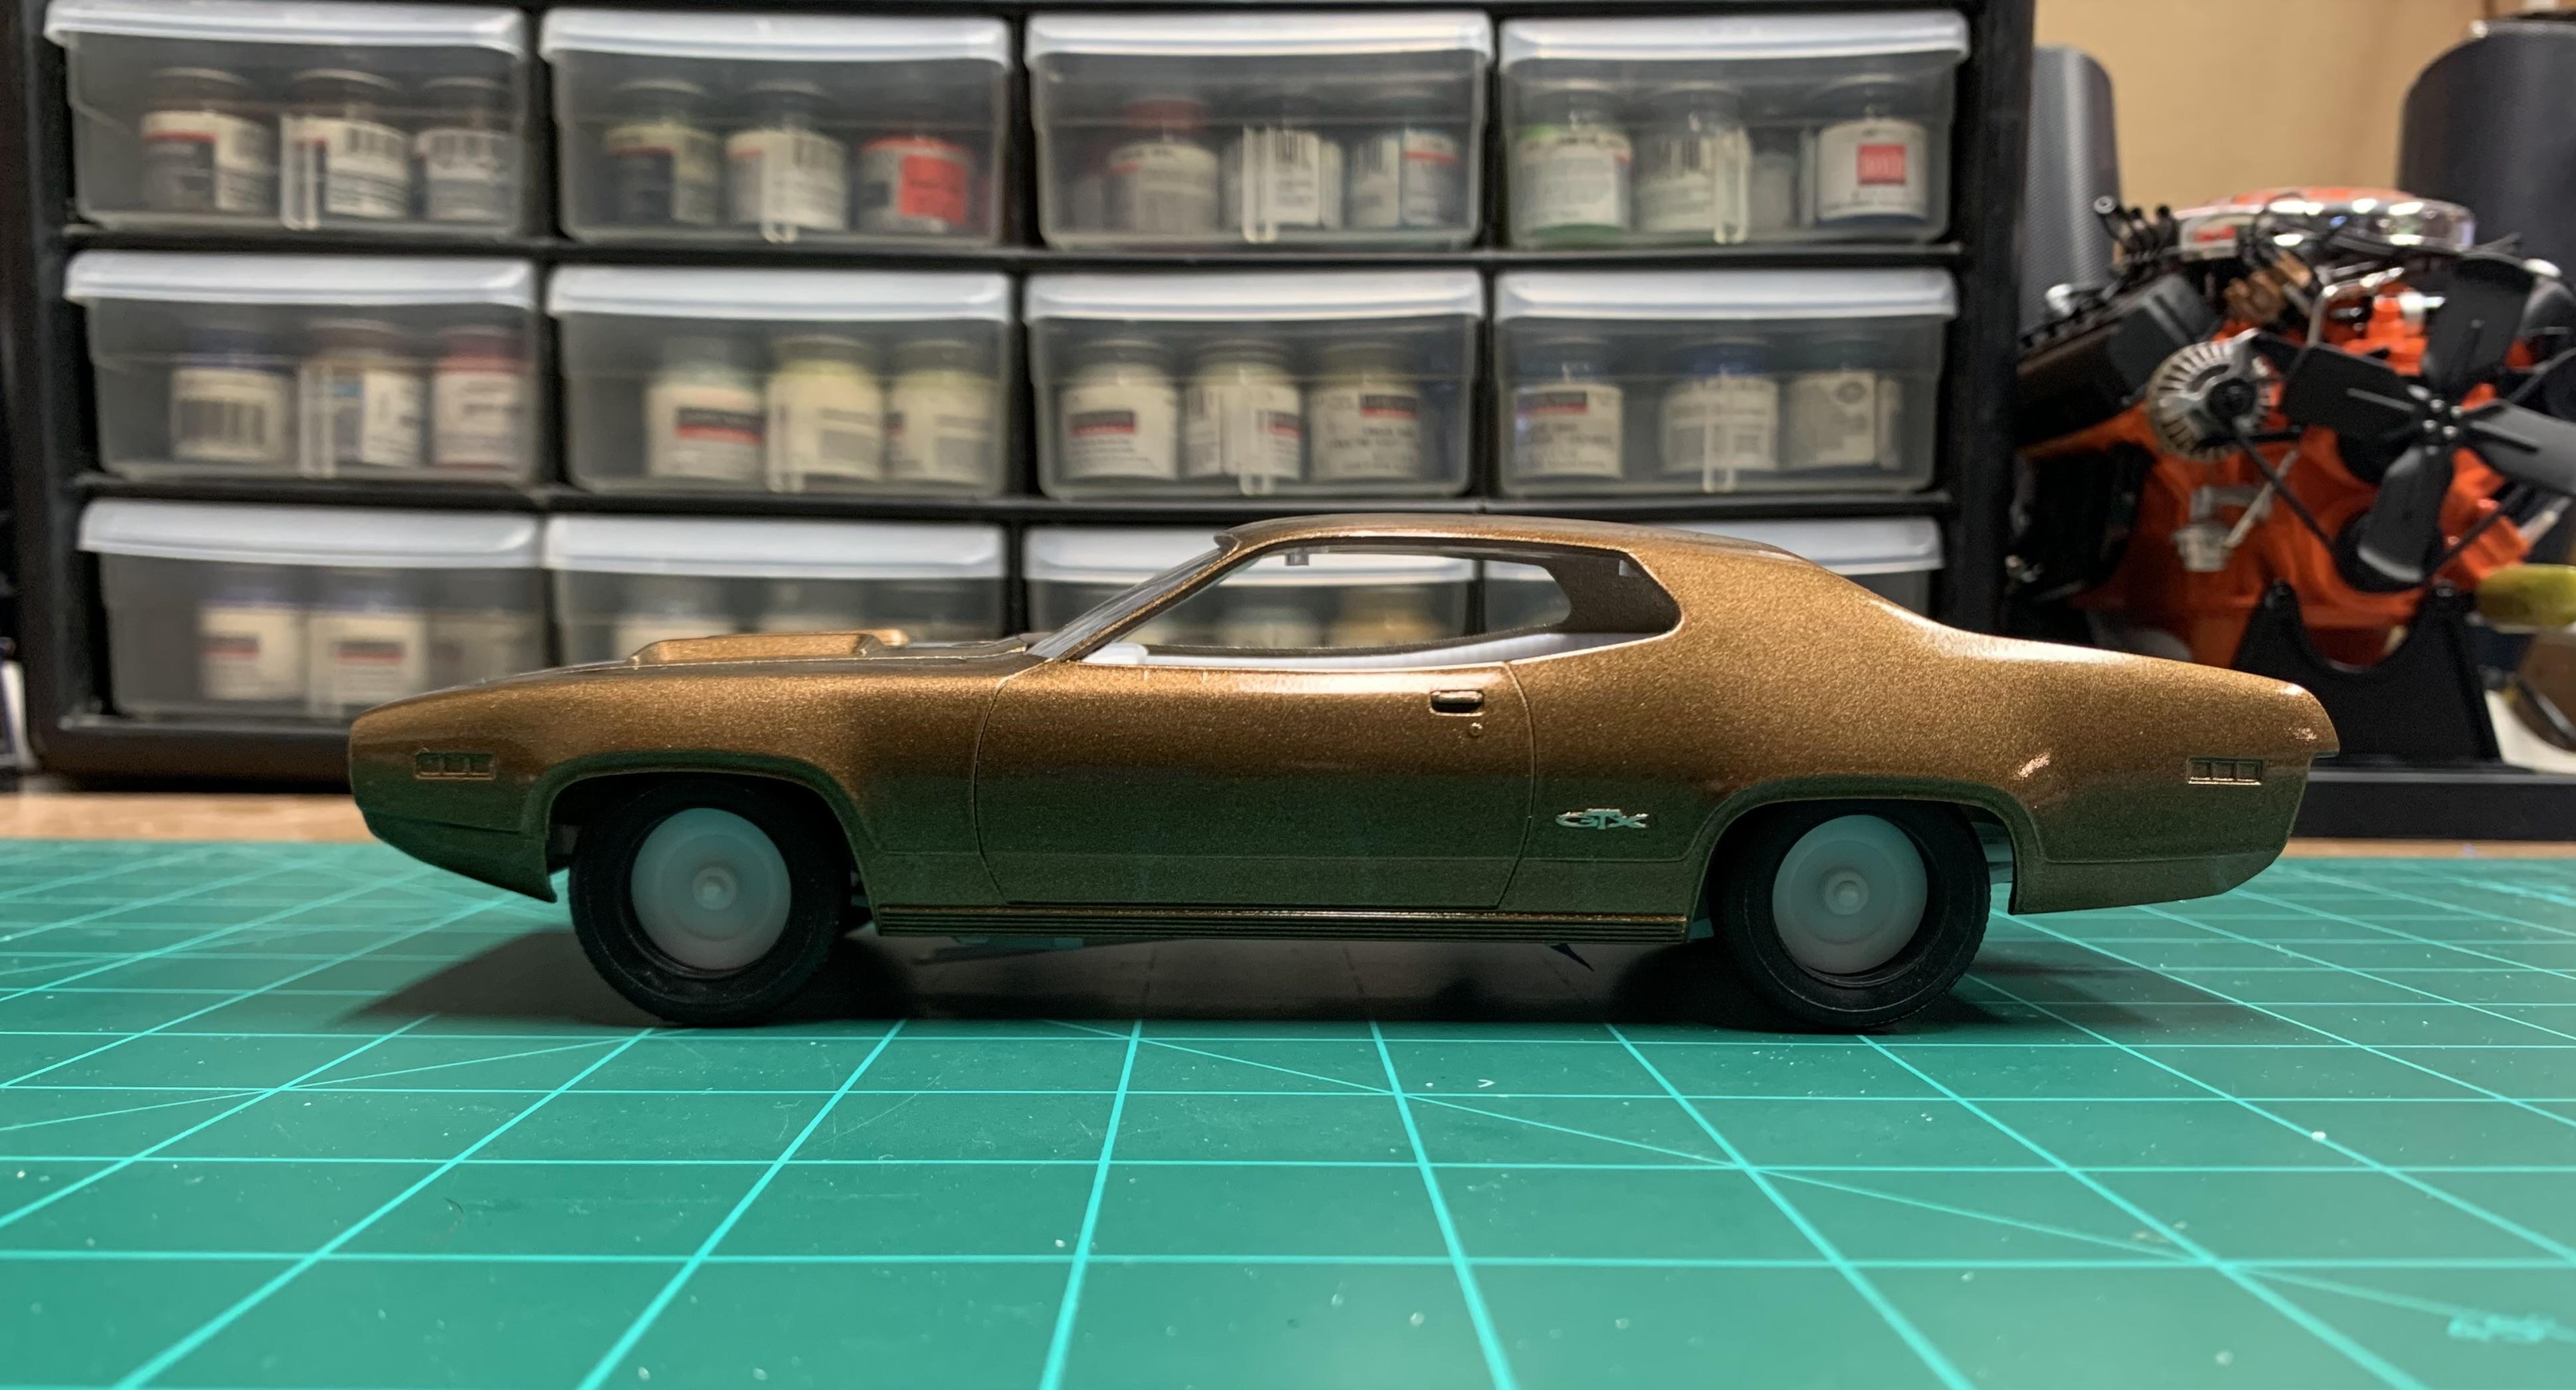
Fixing the ride height and depth of wheels in the wells turned out to be way easier than expected. First issue to tackle was finding tires that looked right to me. Digging through spare parts, I came across a set of old Monogram GoodYear GT Radials that looked perfect. Only problem is the kit supplied rims and wheel backs were too large. Fortunately the Revellogram ‘70 Challenger kit has the tires I wanted and the correct rallye wheels. And to top it off, they mount exactly the same way as the GTX kit wheels. Here’s the Good Year on the left next to the GTX kit tire. The Good Years are meatier and just wide enough to look more like factory. Problem solved. Next, rear suspension lift blocks were sourced from the Revell ‘68 Firebird kit. Only two will be used, one for each side at the rear. Here’s the mockup with Good Years and lifted rear suspension. About the tires. I know recent issues have the logos removed. I might dig through the stash and find a set. Then I’d add white letter decals.
-
2024 Cannonball Run Restomods Build Thread
atomicholiday replied to White Rabbit's topic in Community Builds
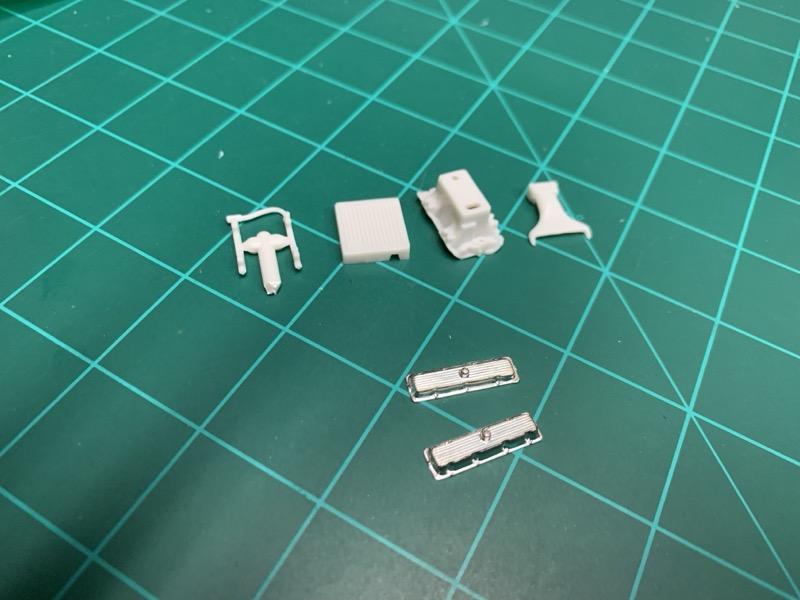
Raided the AMT ‘70 Chevelle kit I was fortunate enough to have in the stash and swiped the EFI setup and valve covers for my wagon. That should make for a more reliable road beast. The resin hood should be here tomorrow too. @Fat Brian Thanks for the heads up on these parts.
-
2024 Cannonball Run Restomods Build Thread
atomicholiday replied to White Rabbit's topic in Community Builds
Maybe the Harley is a support vehicle! -
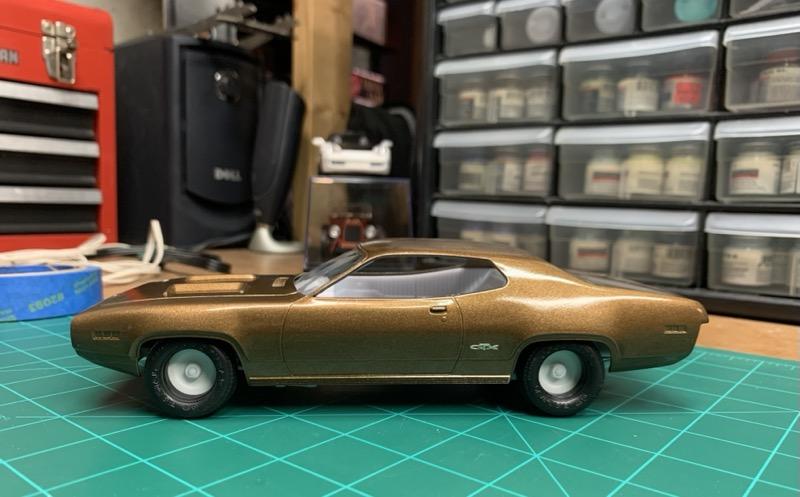
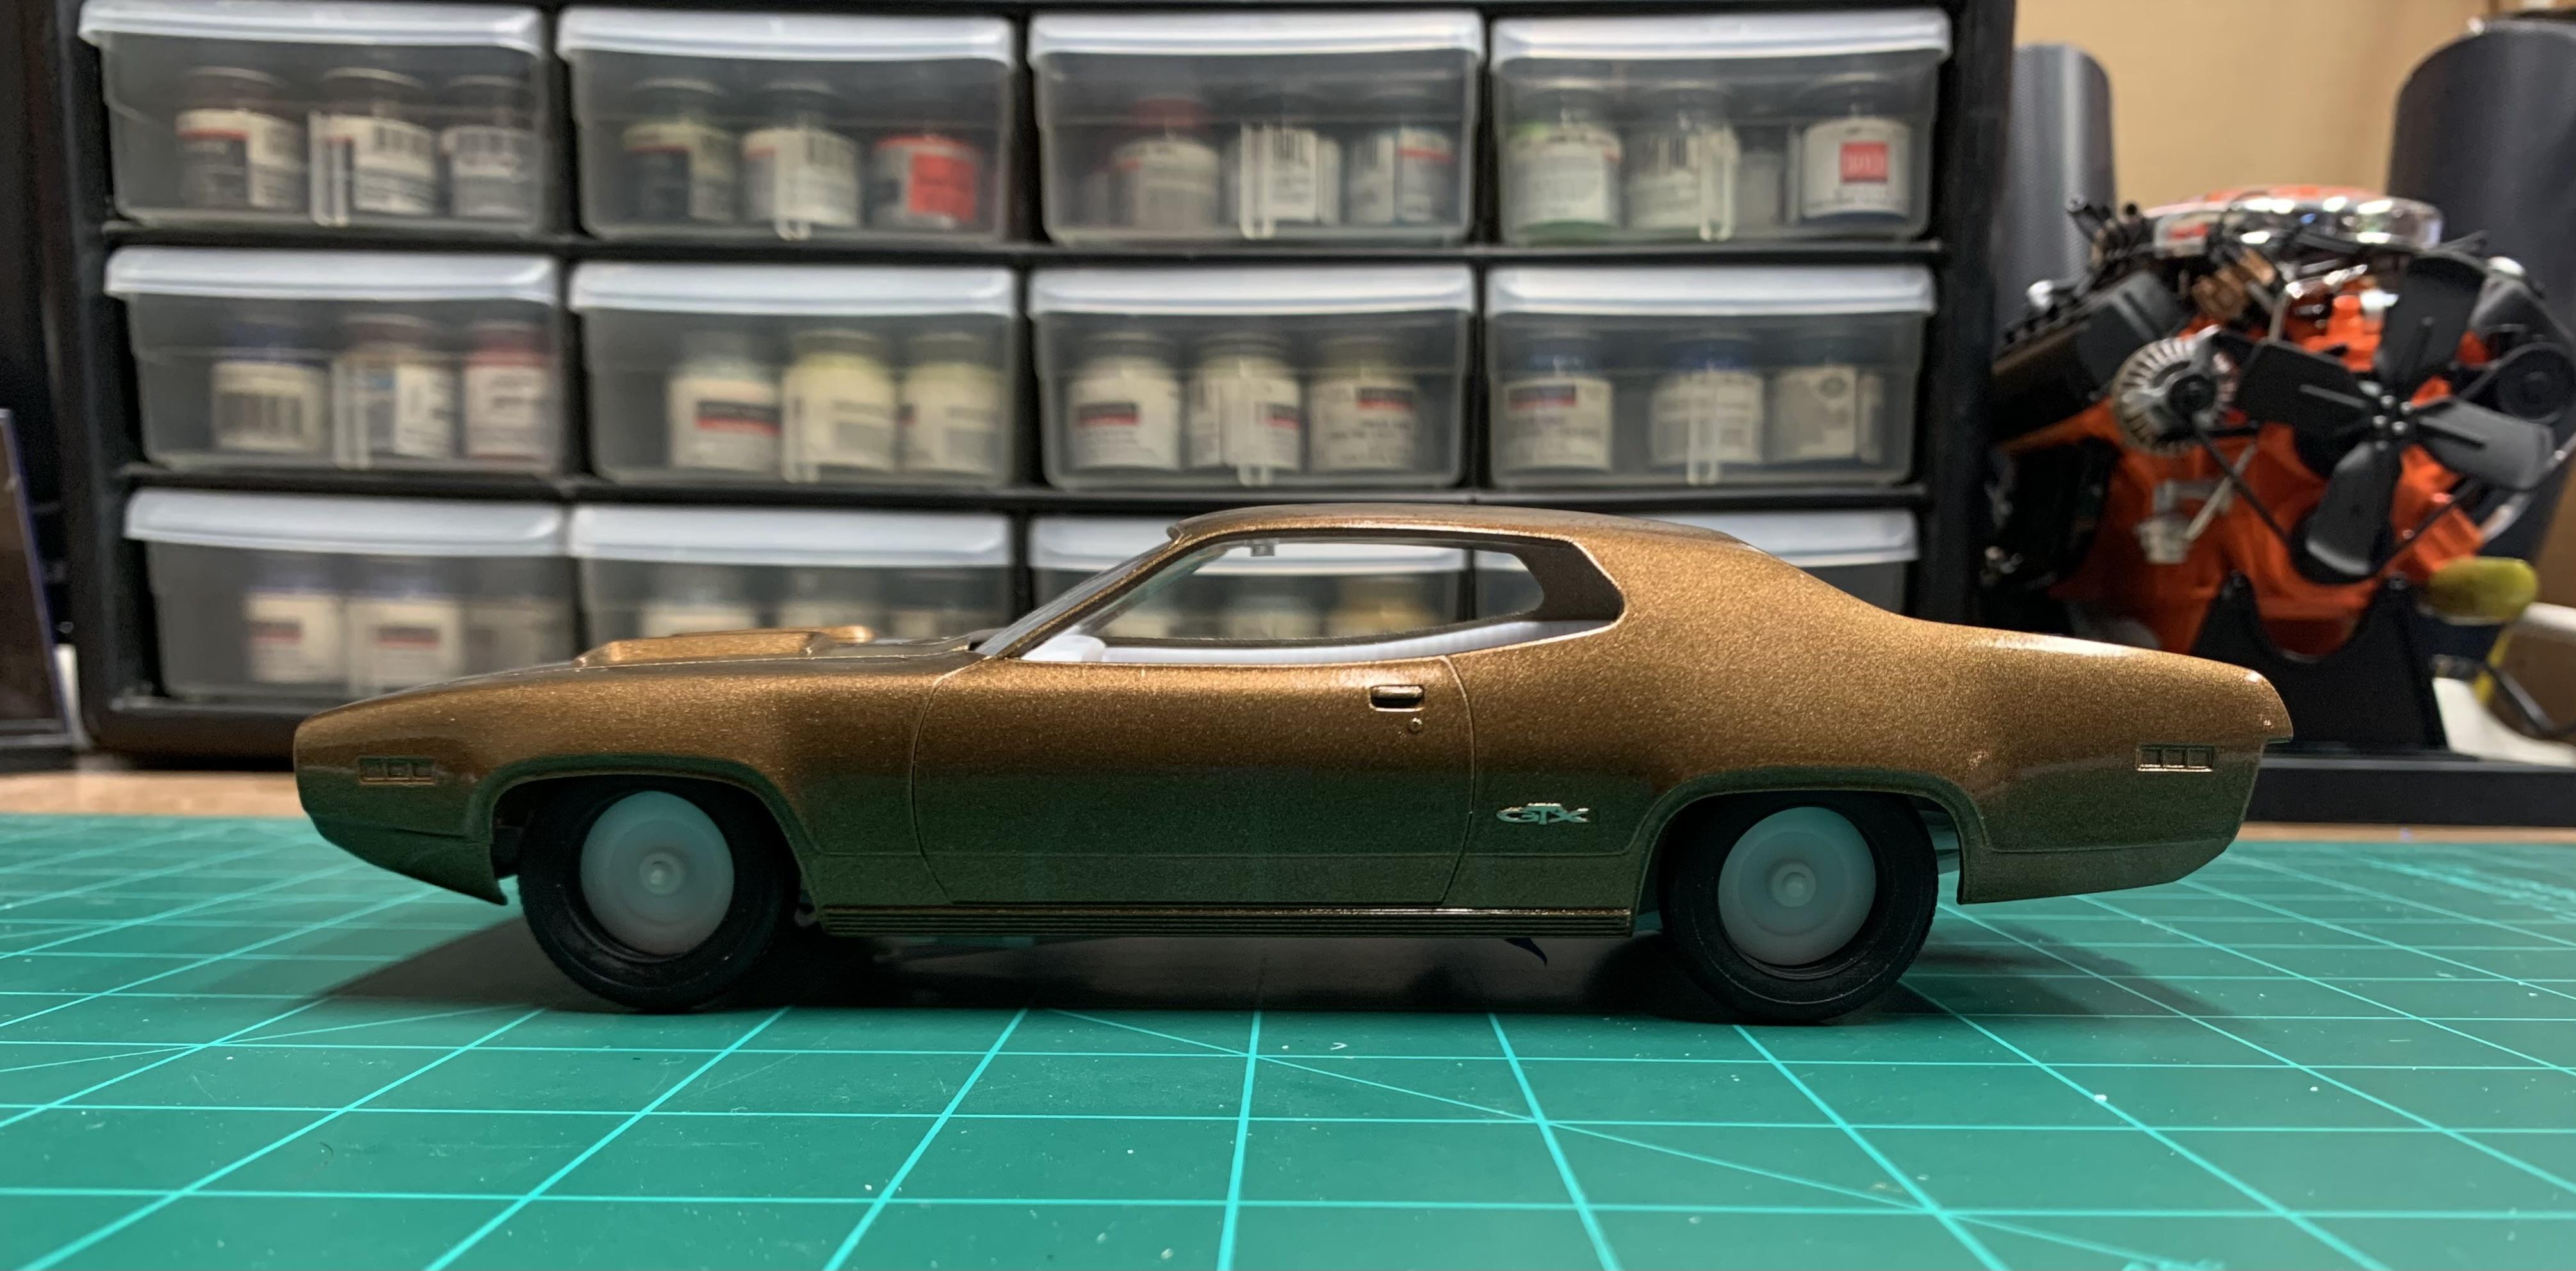
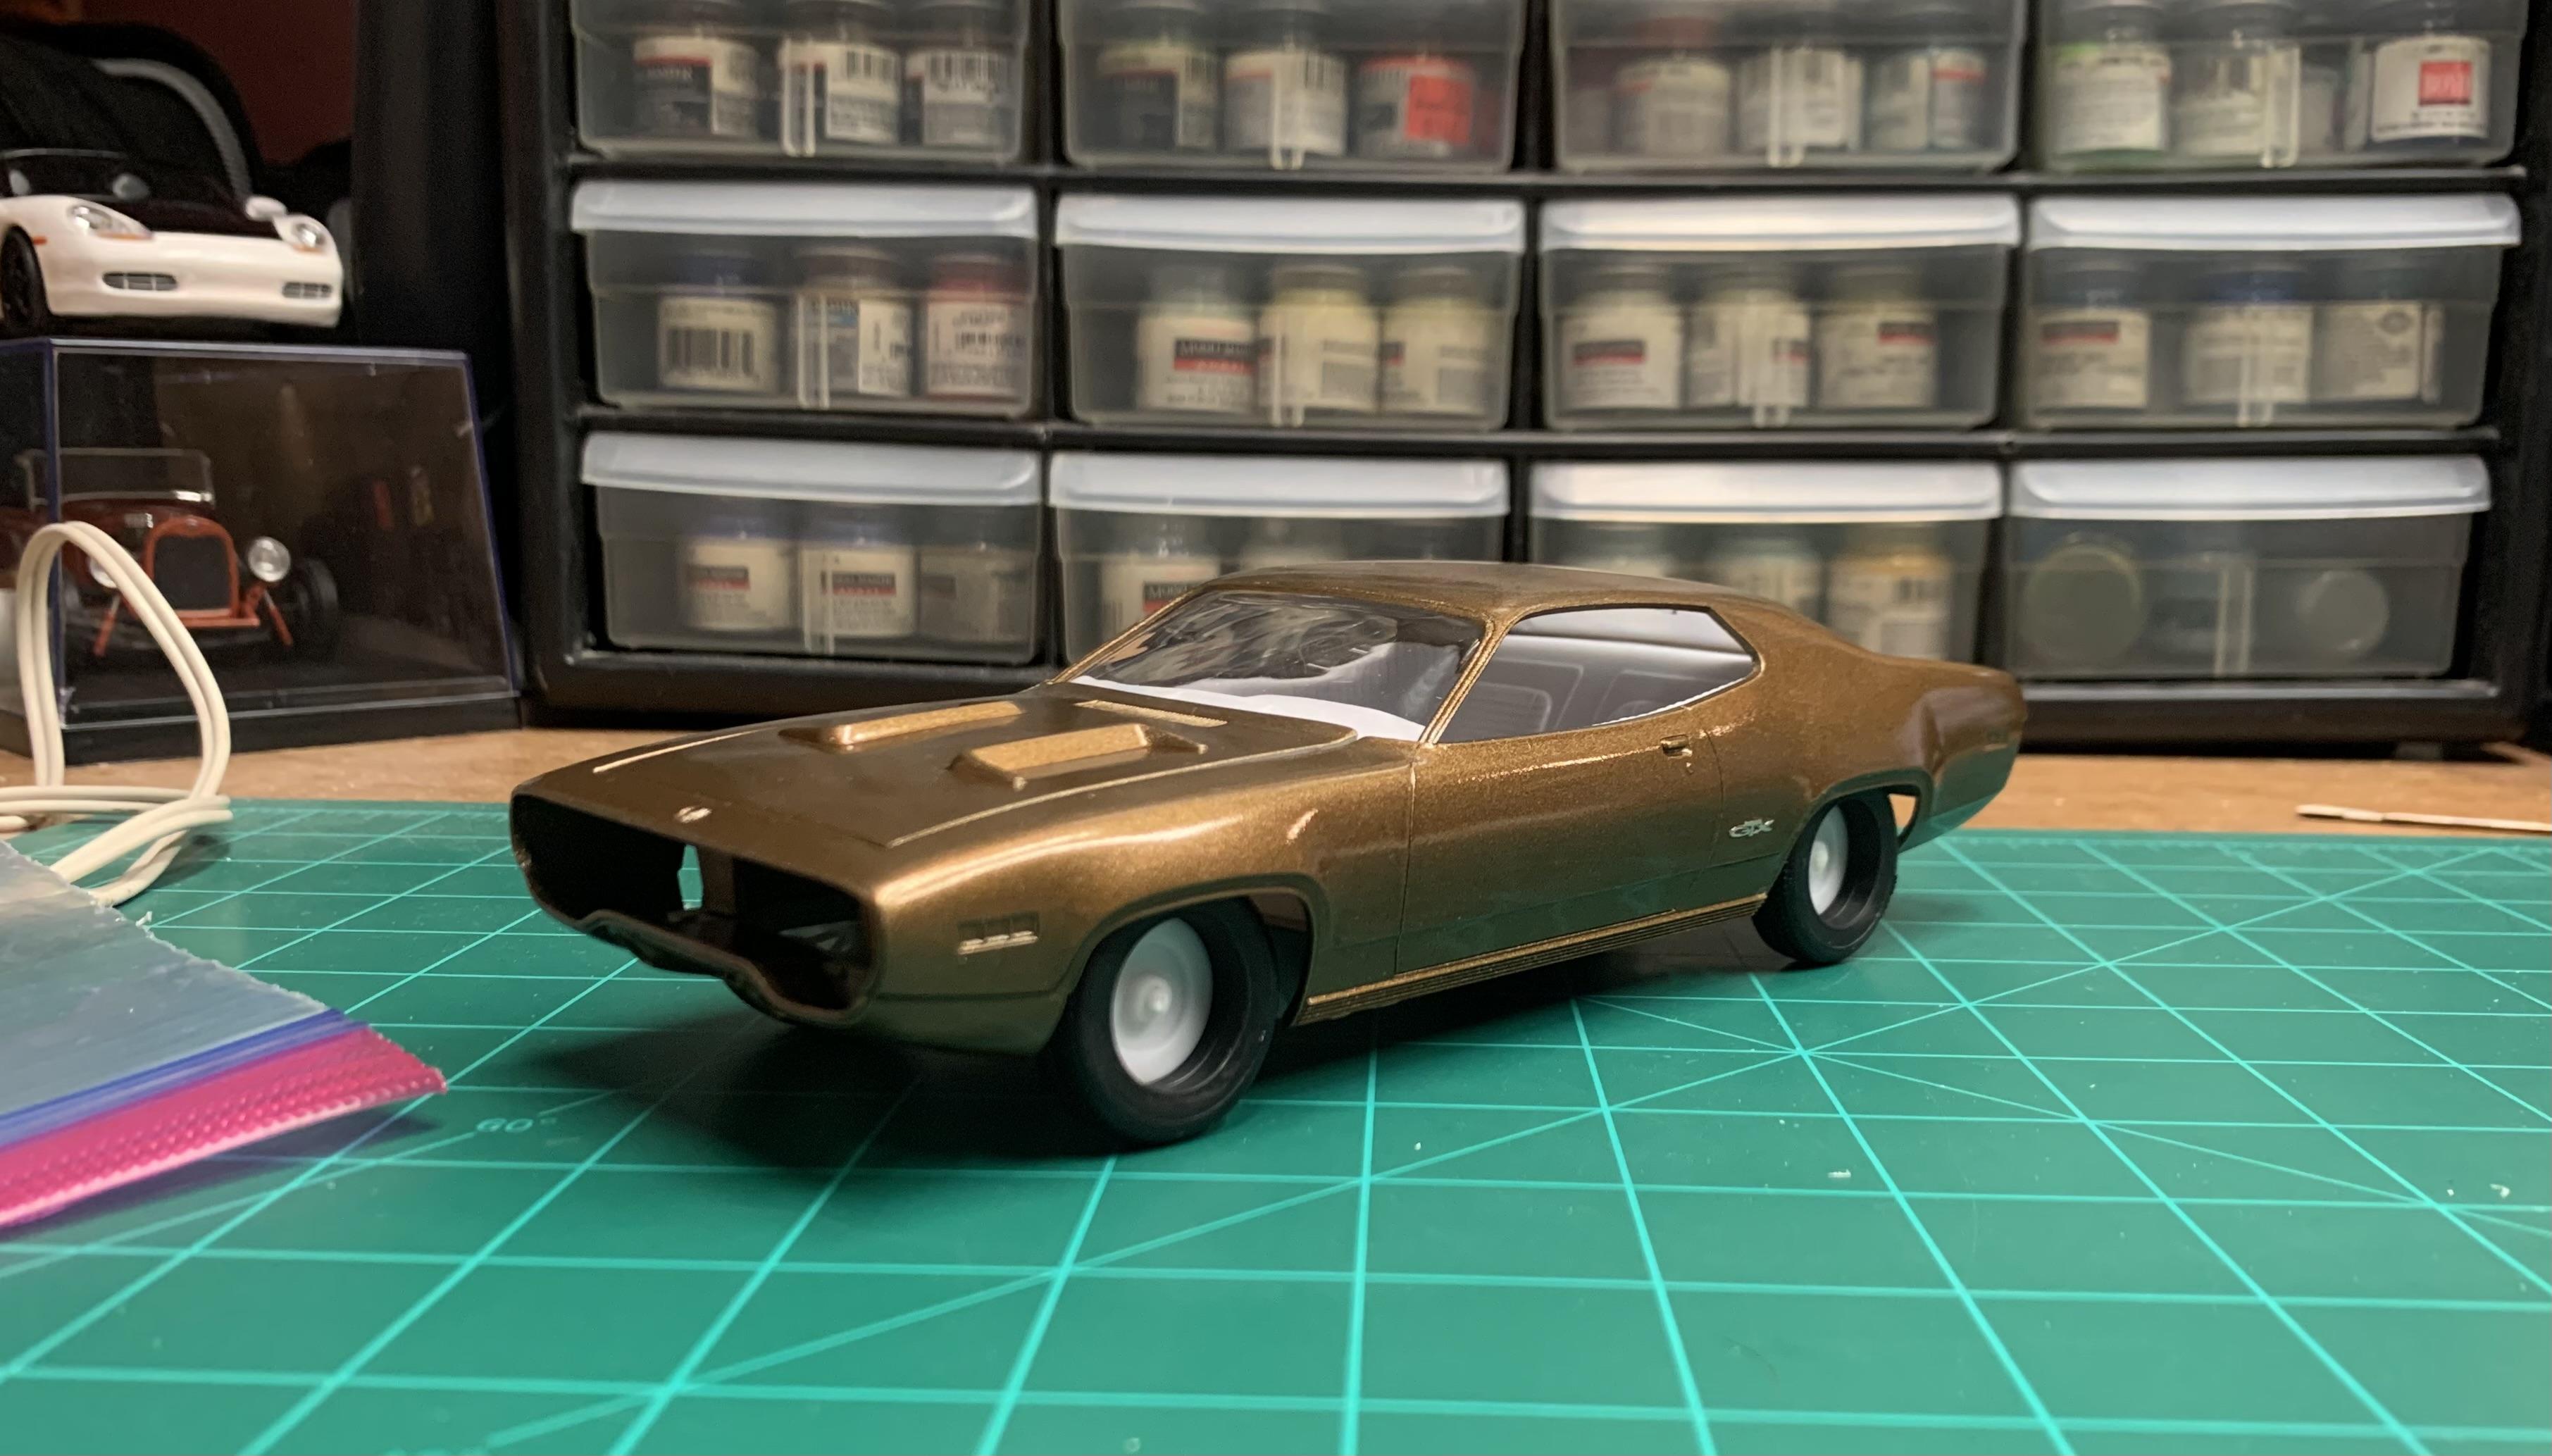
Some quick mock ups before it gets stripped. Actually, as I’m thinking of it, I’ll probably fix the ride height before removing paint. This kit comes with two front suspension setups, one being lowered. My first mockup is with the “stock” ride height. Definitely has that tail dragger look. Too much so, actually. So the lowered setup was swapped in. Something still looked off. Comparing to pictures online, I think what really needs to happen is to use the stock front end, and raising the rear until it’s level. One other thing I want to address: the tires are set to far back into the wheel wells compared to the 1:1. Here’s the stock front end- …and here is the lowered setup. Notice how far back the tires set back into the wheel wells. Then compare the 1:1 pic posted earlier. I’m also considering swapping to a slightly meatier tire. Nothing crazy though. It should still look stock.