atomicholiday
-
Posts
2,281 -
Joined
-
Last visited
Content Type
Profiles
Forums
Events
Gallery
Everything posted by atomicholiday
-
2024 Cannonball Run Restomods Build Thread
atomicholiday replied to White Rabbit's topic in Community Builds
Could be. I don't know what the science is behind the effect, but if it didn't work the way it does, I'd probably have to quit the hobby. -
Anyone here have a lathe that you’re using for model building? I’ve been thinking of looking into something small and reasonably priced. Thoughts? Opinions? Recommendations?
-
My wife is glad that I have a hobby and that it’s one that keeps me home. She also enjoys looking at my stash and all the cool box art. She’s not as happy about my spending. My fault. I’ve gotten a little crazy with kit purchases over the past year or so. She won’t stop me, but I can tell when she’s mad about it.
-
The reason I will build a specific kit varies all over the place. Subject matter is important, but not the only reason for me. Lately it’s been more about skill building than anything else. I might pick a kit because there’s a feature I want to learn how to handle. I also get bored building the same genre, so one build might be a muscle car. The next might be an exotic, then maybe an F1 car, then an airplane, then another muscle car, etc. Sometimes I’ll build one because it was a gift and I want to show appreciation. Sometimes it will be for nostalgia sake. And sometimes a kit will just grab my attention for no particular reason. I can never really tell, so I just go with it. Of course, I’m talking like I actually finish projects. Bigger problem for me is attention span. Too damn many squirrels…
-
2024 Cannonball Run Restomods Build Thread
atomicholiday replied to White Rabbit's topic in Community Builds
I went through the same thing about a year ago. Picked up some 3x readers and my detail work is the best it's ever been. Total game changer. Those readers are hands down my most important modelling tool. I'll let you in on another advantage of the glasses. I don't know if this happens with everyone, or if I'm just imagining it. I have hand tremors REALLY bad. It was very difficult just typing this. For some reason, the readers "trick" my brain and the shakes are far less when wearing them. No idea why. I still shake when I have them on, but it scales the shaking WAY down. Even if my eyes were great, I could never do the detail work that I can without the glasses. My builds would just be a big sloppy mess. (ok, sloppier?) -
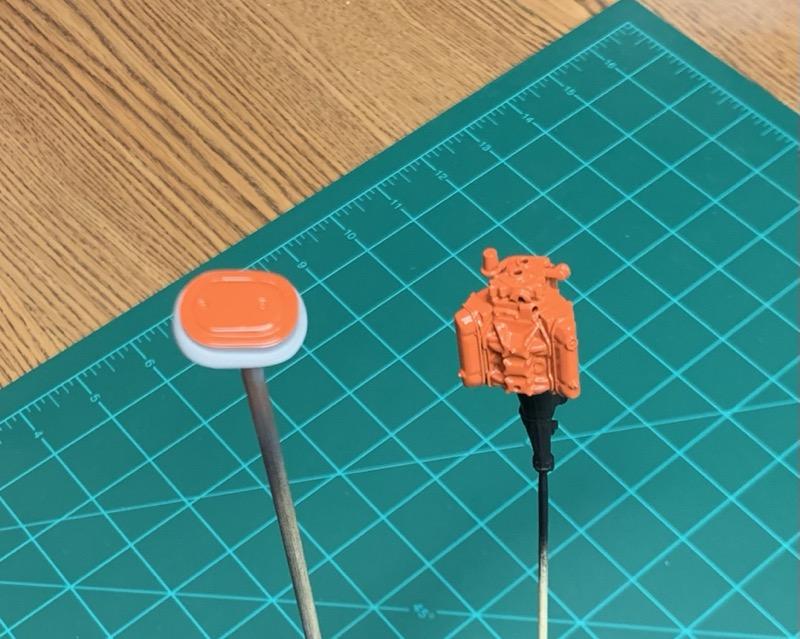
Was a little warmer today (49 F), so I took advantage and got some paint on the engine. I’m trying something I picked up from another member, and went with black primer to try to get some added depth. It's hard to see in this pic, but I think it worked out ok. The air cleaner was done in lighter primer in an attempt at making the orange pop a little more than the block. The transmission and other details will be painted after this cures.

-
2024 Cannonball Run Restomods Build Thread
atomicholiday replied to White Rabbit's topic in Community Builds
Yeah, that engine looks great. Nice work! -
Thank you all for your generous compliments! I appreciate you all! It was a fun build, but I'm glad to be done with it. I'm ready for the next challenge! ('71 GTX, I'm looking at you)
-
Every time I see this build, I’m in awe of that paint job. Great job Joe! You nailed it.?
-
Thanks a lot bud. I’m pleased with the results, but I’m also glad to have this build behind me. On to bigger and better!
-
Stunning. Absolutely gorgeous. Your photography is really good too.
-
This one is under glass! Thanks for following along. Finished build can be found here:
-
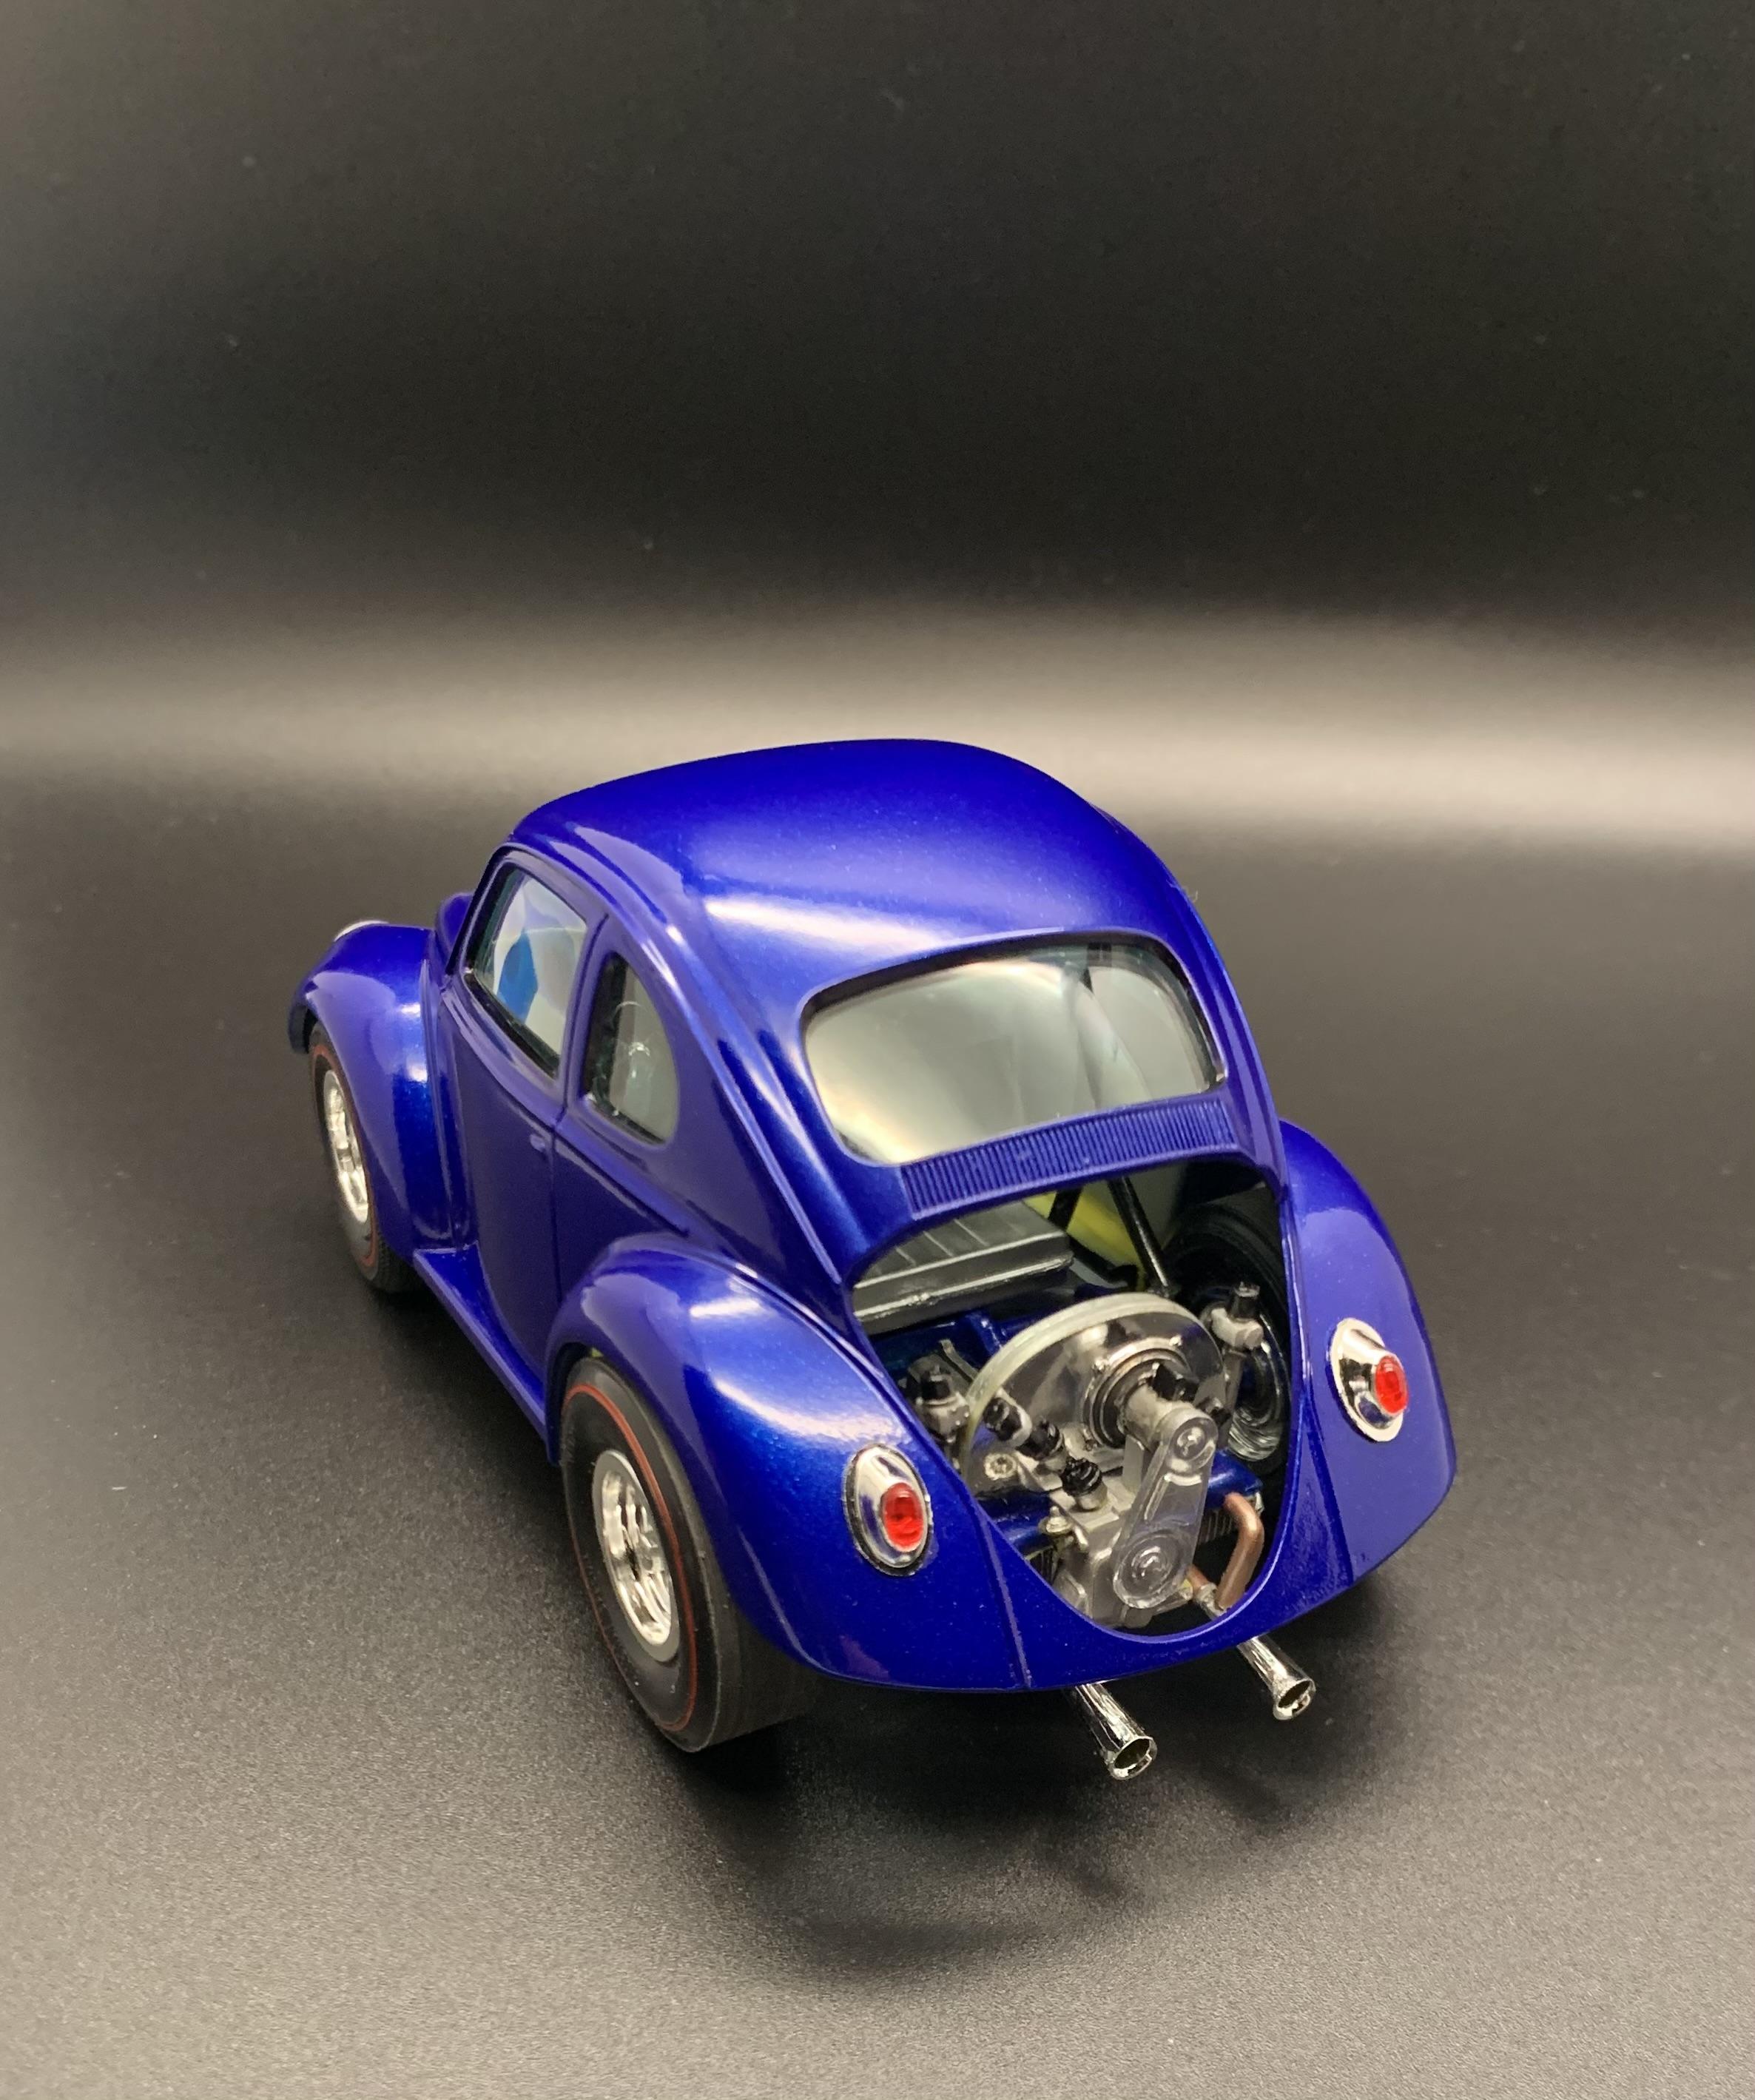
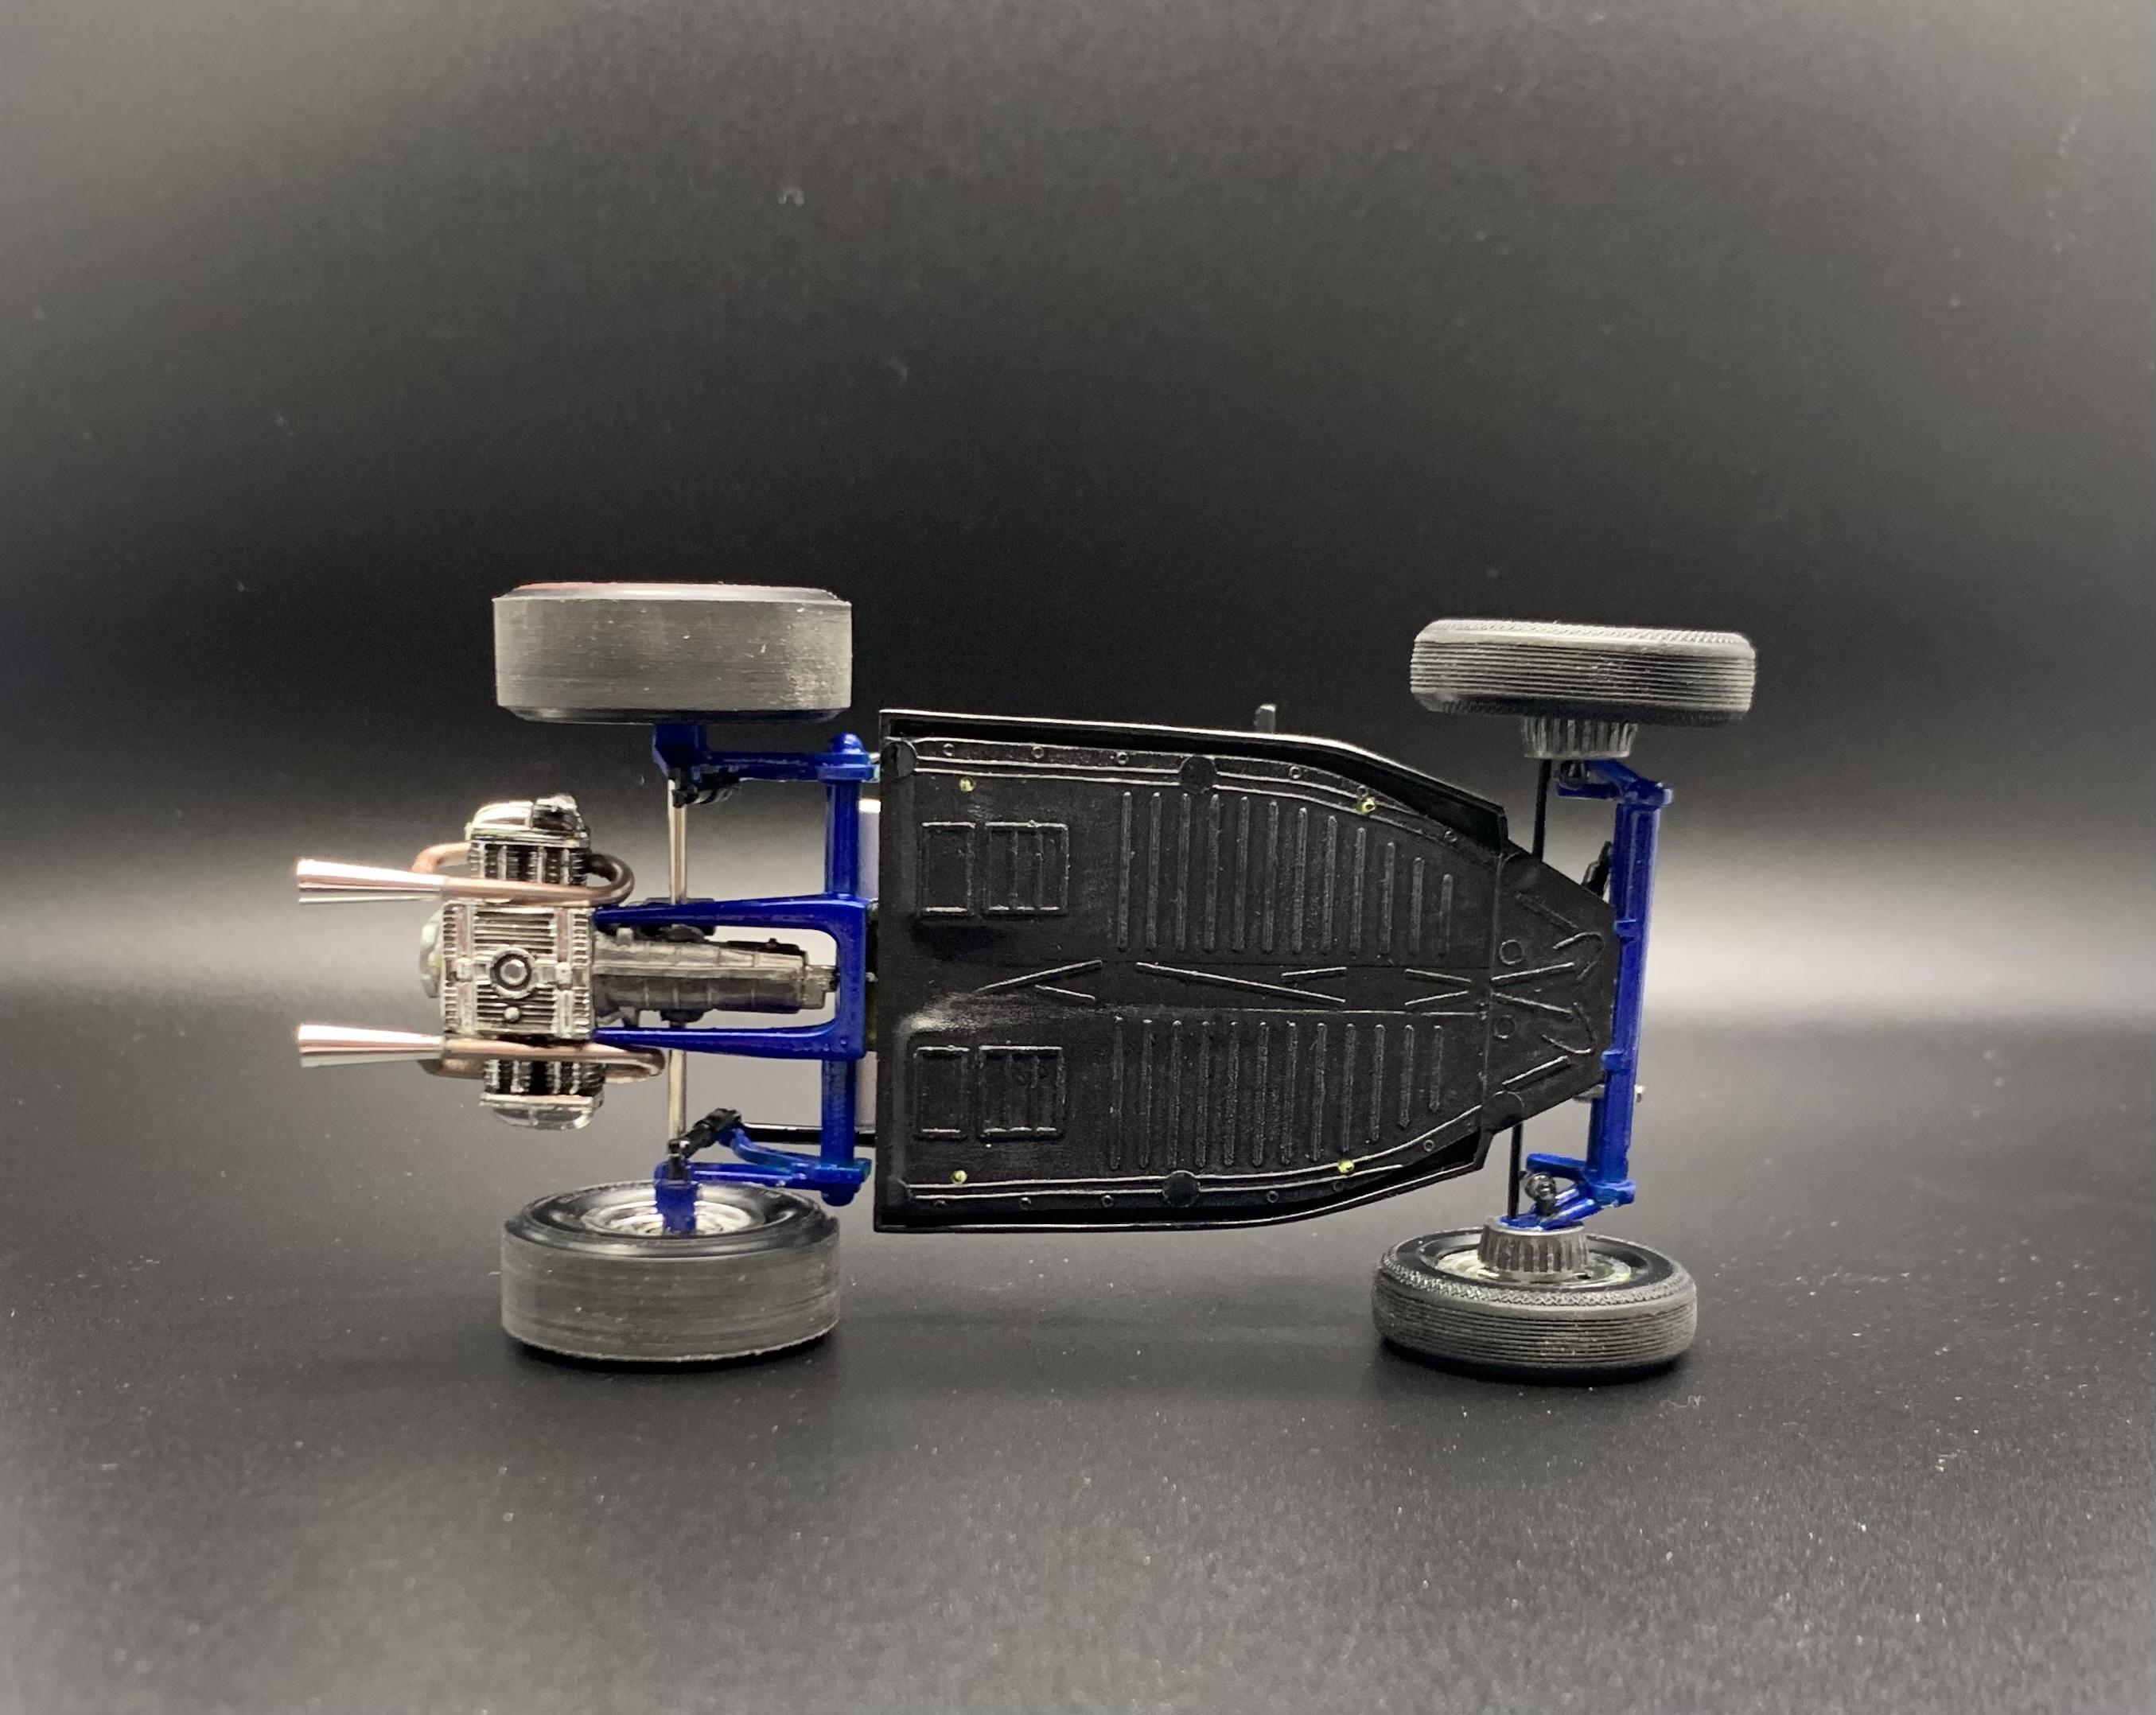
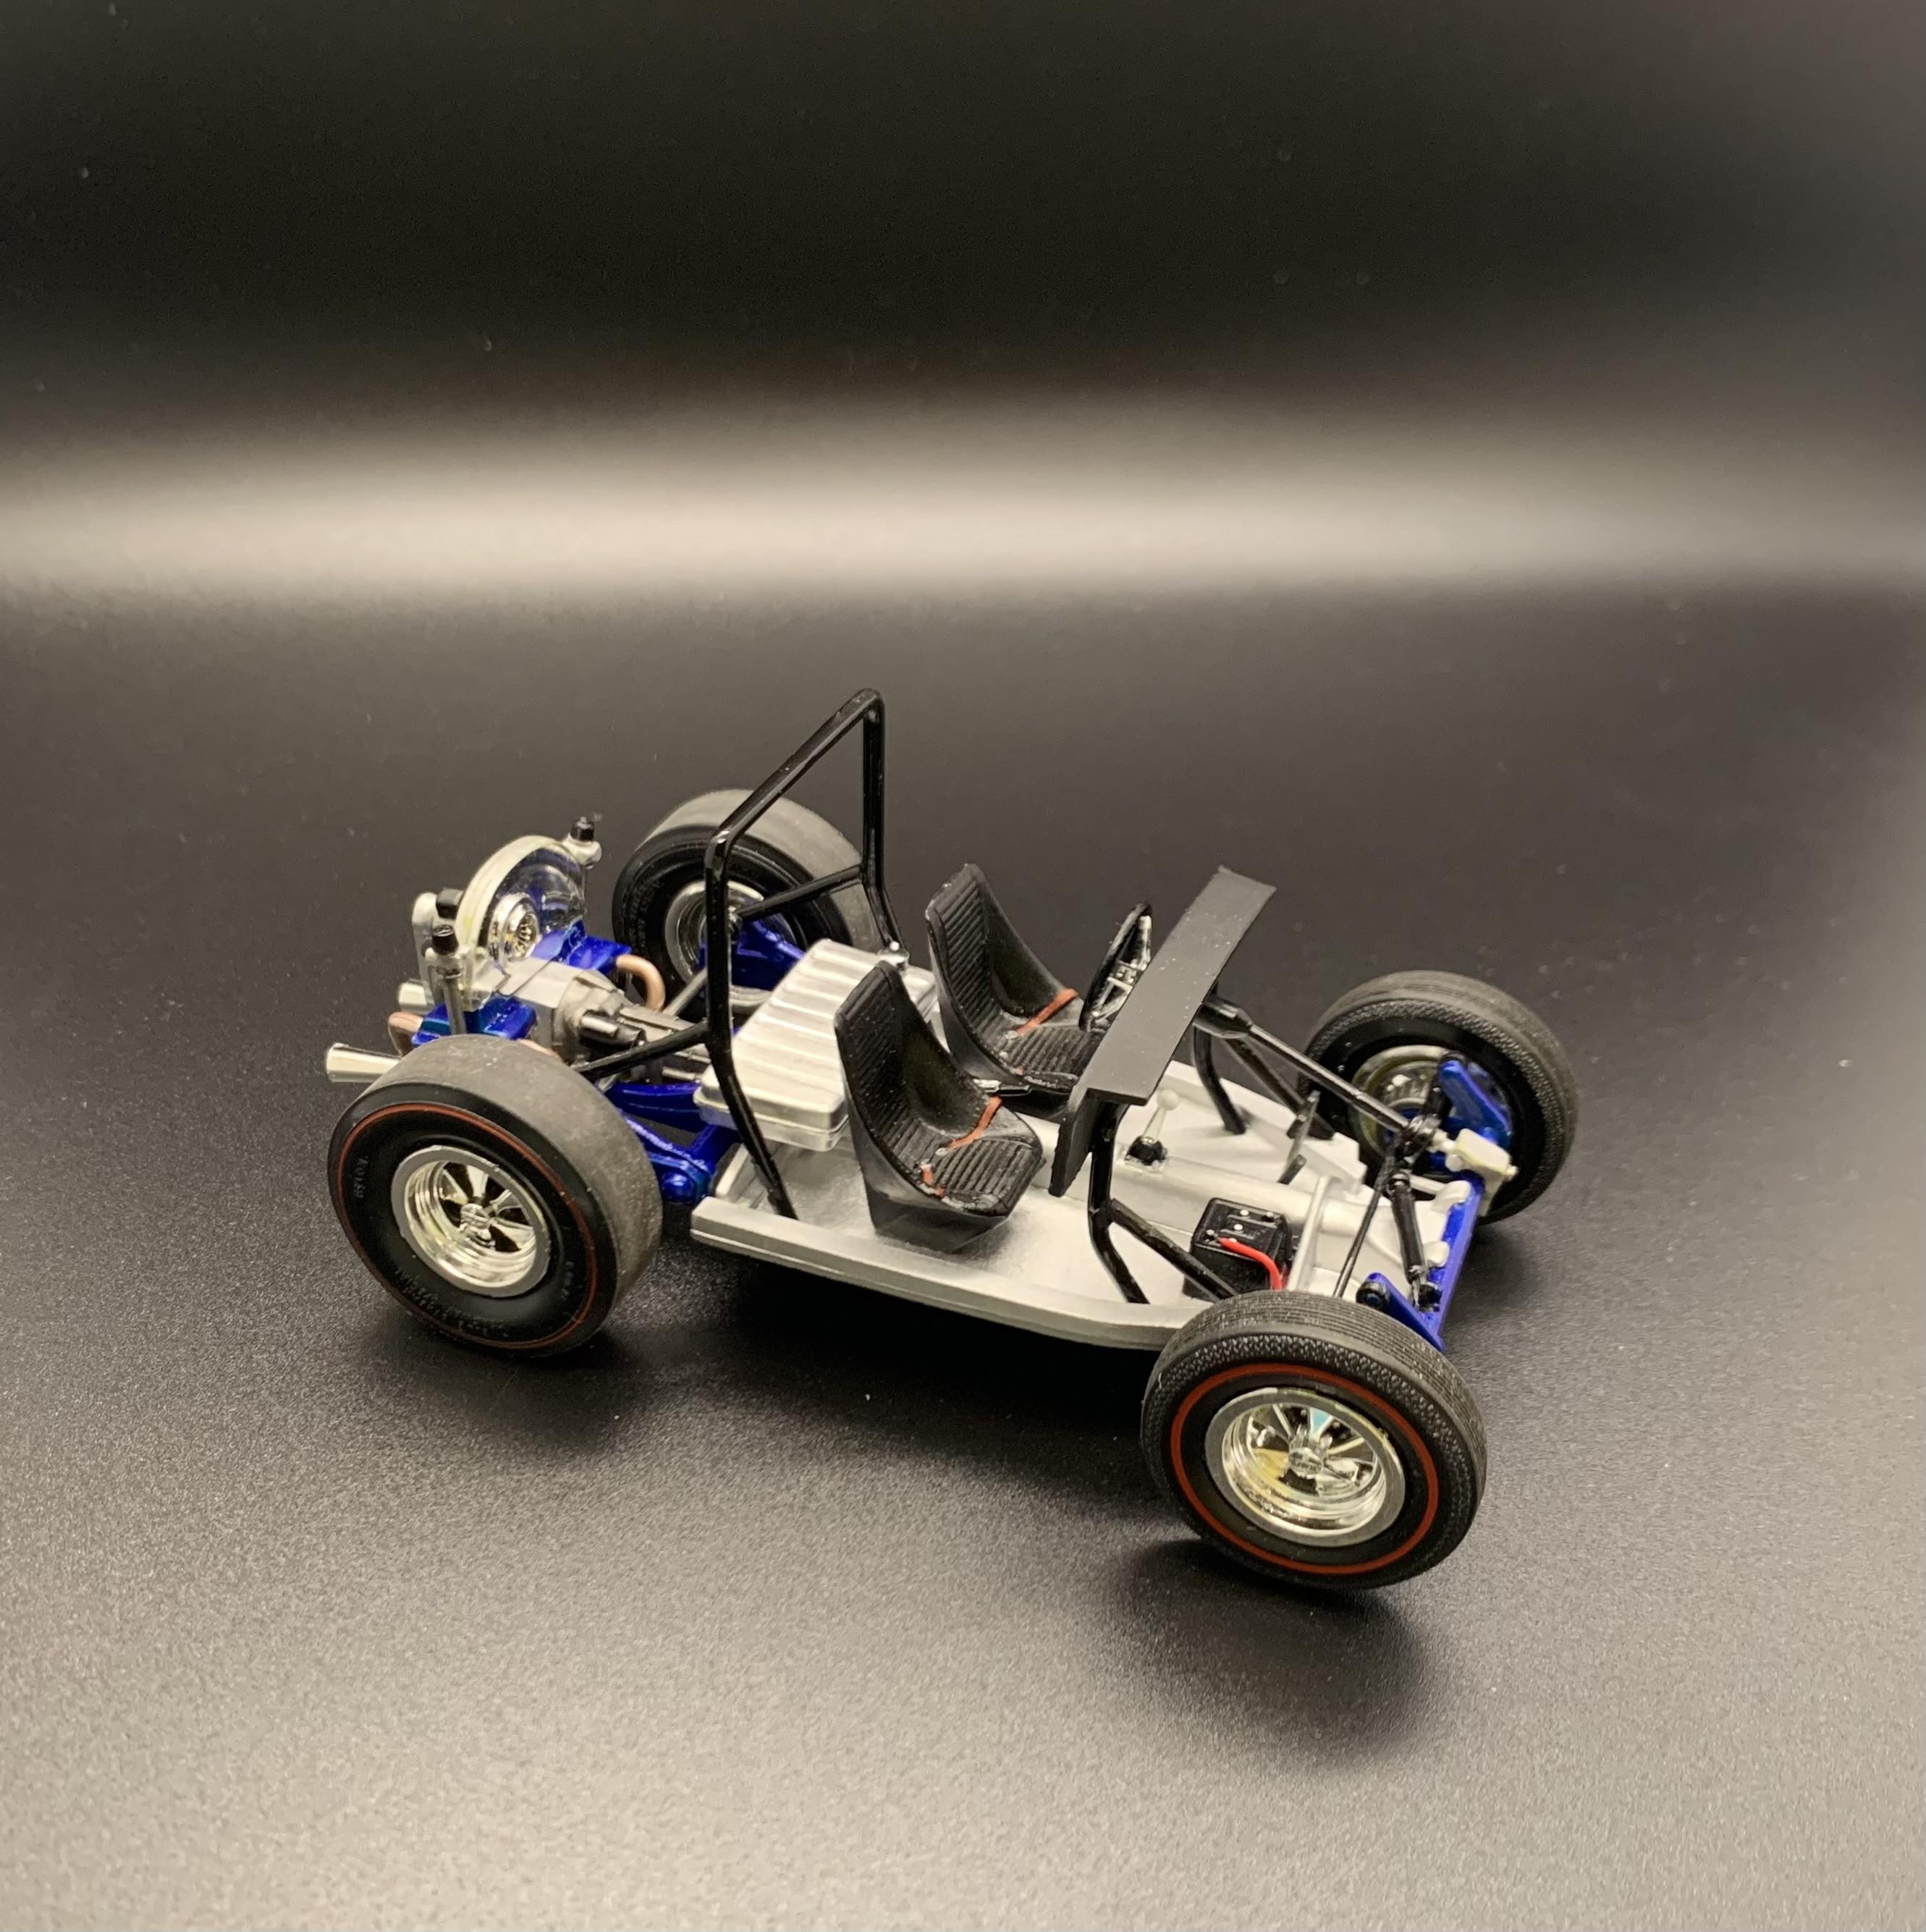
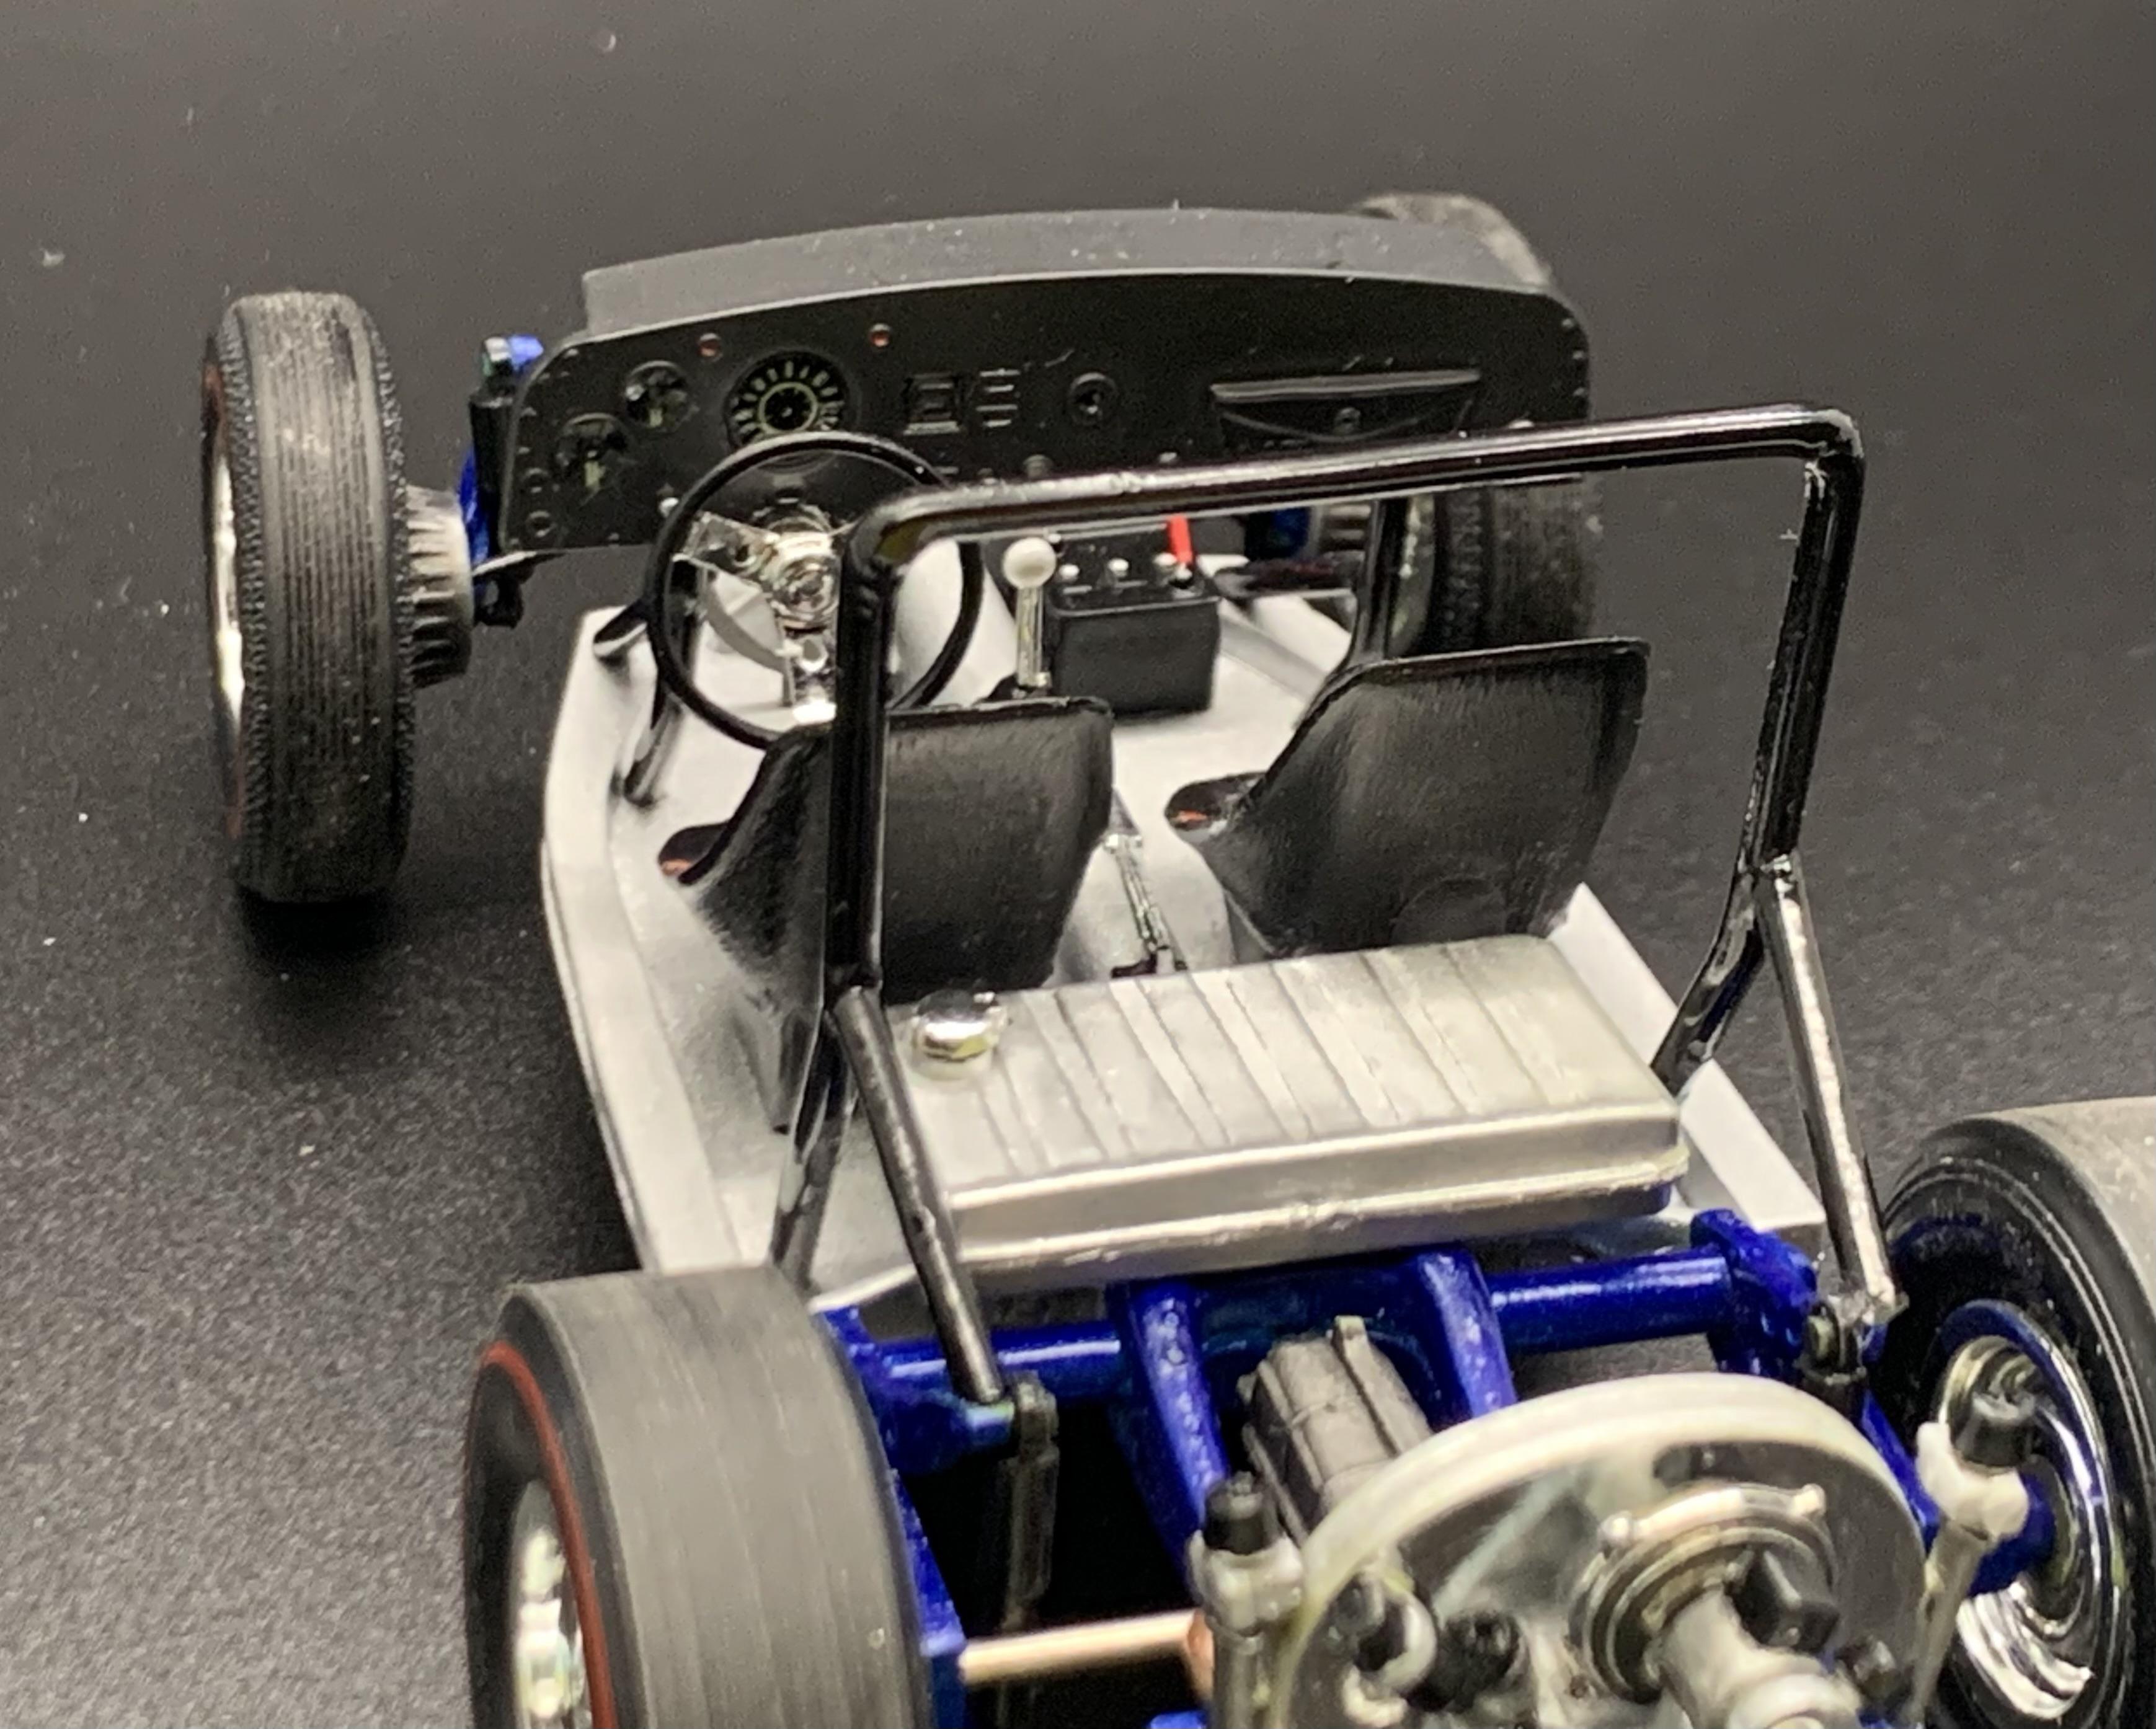
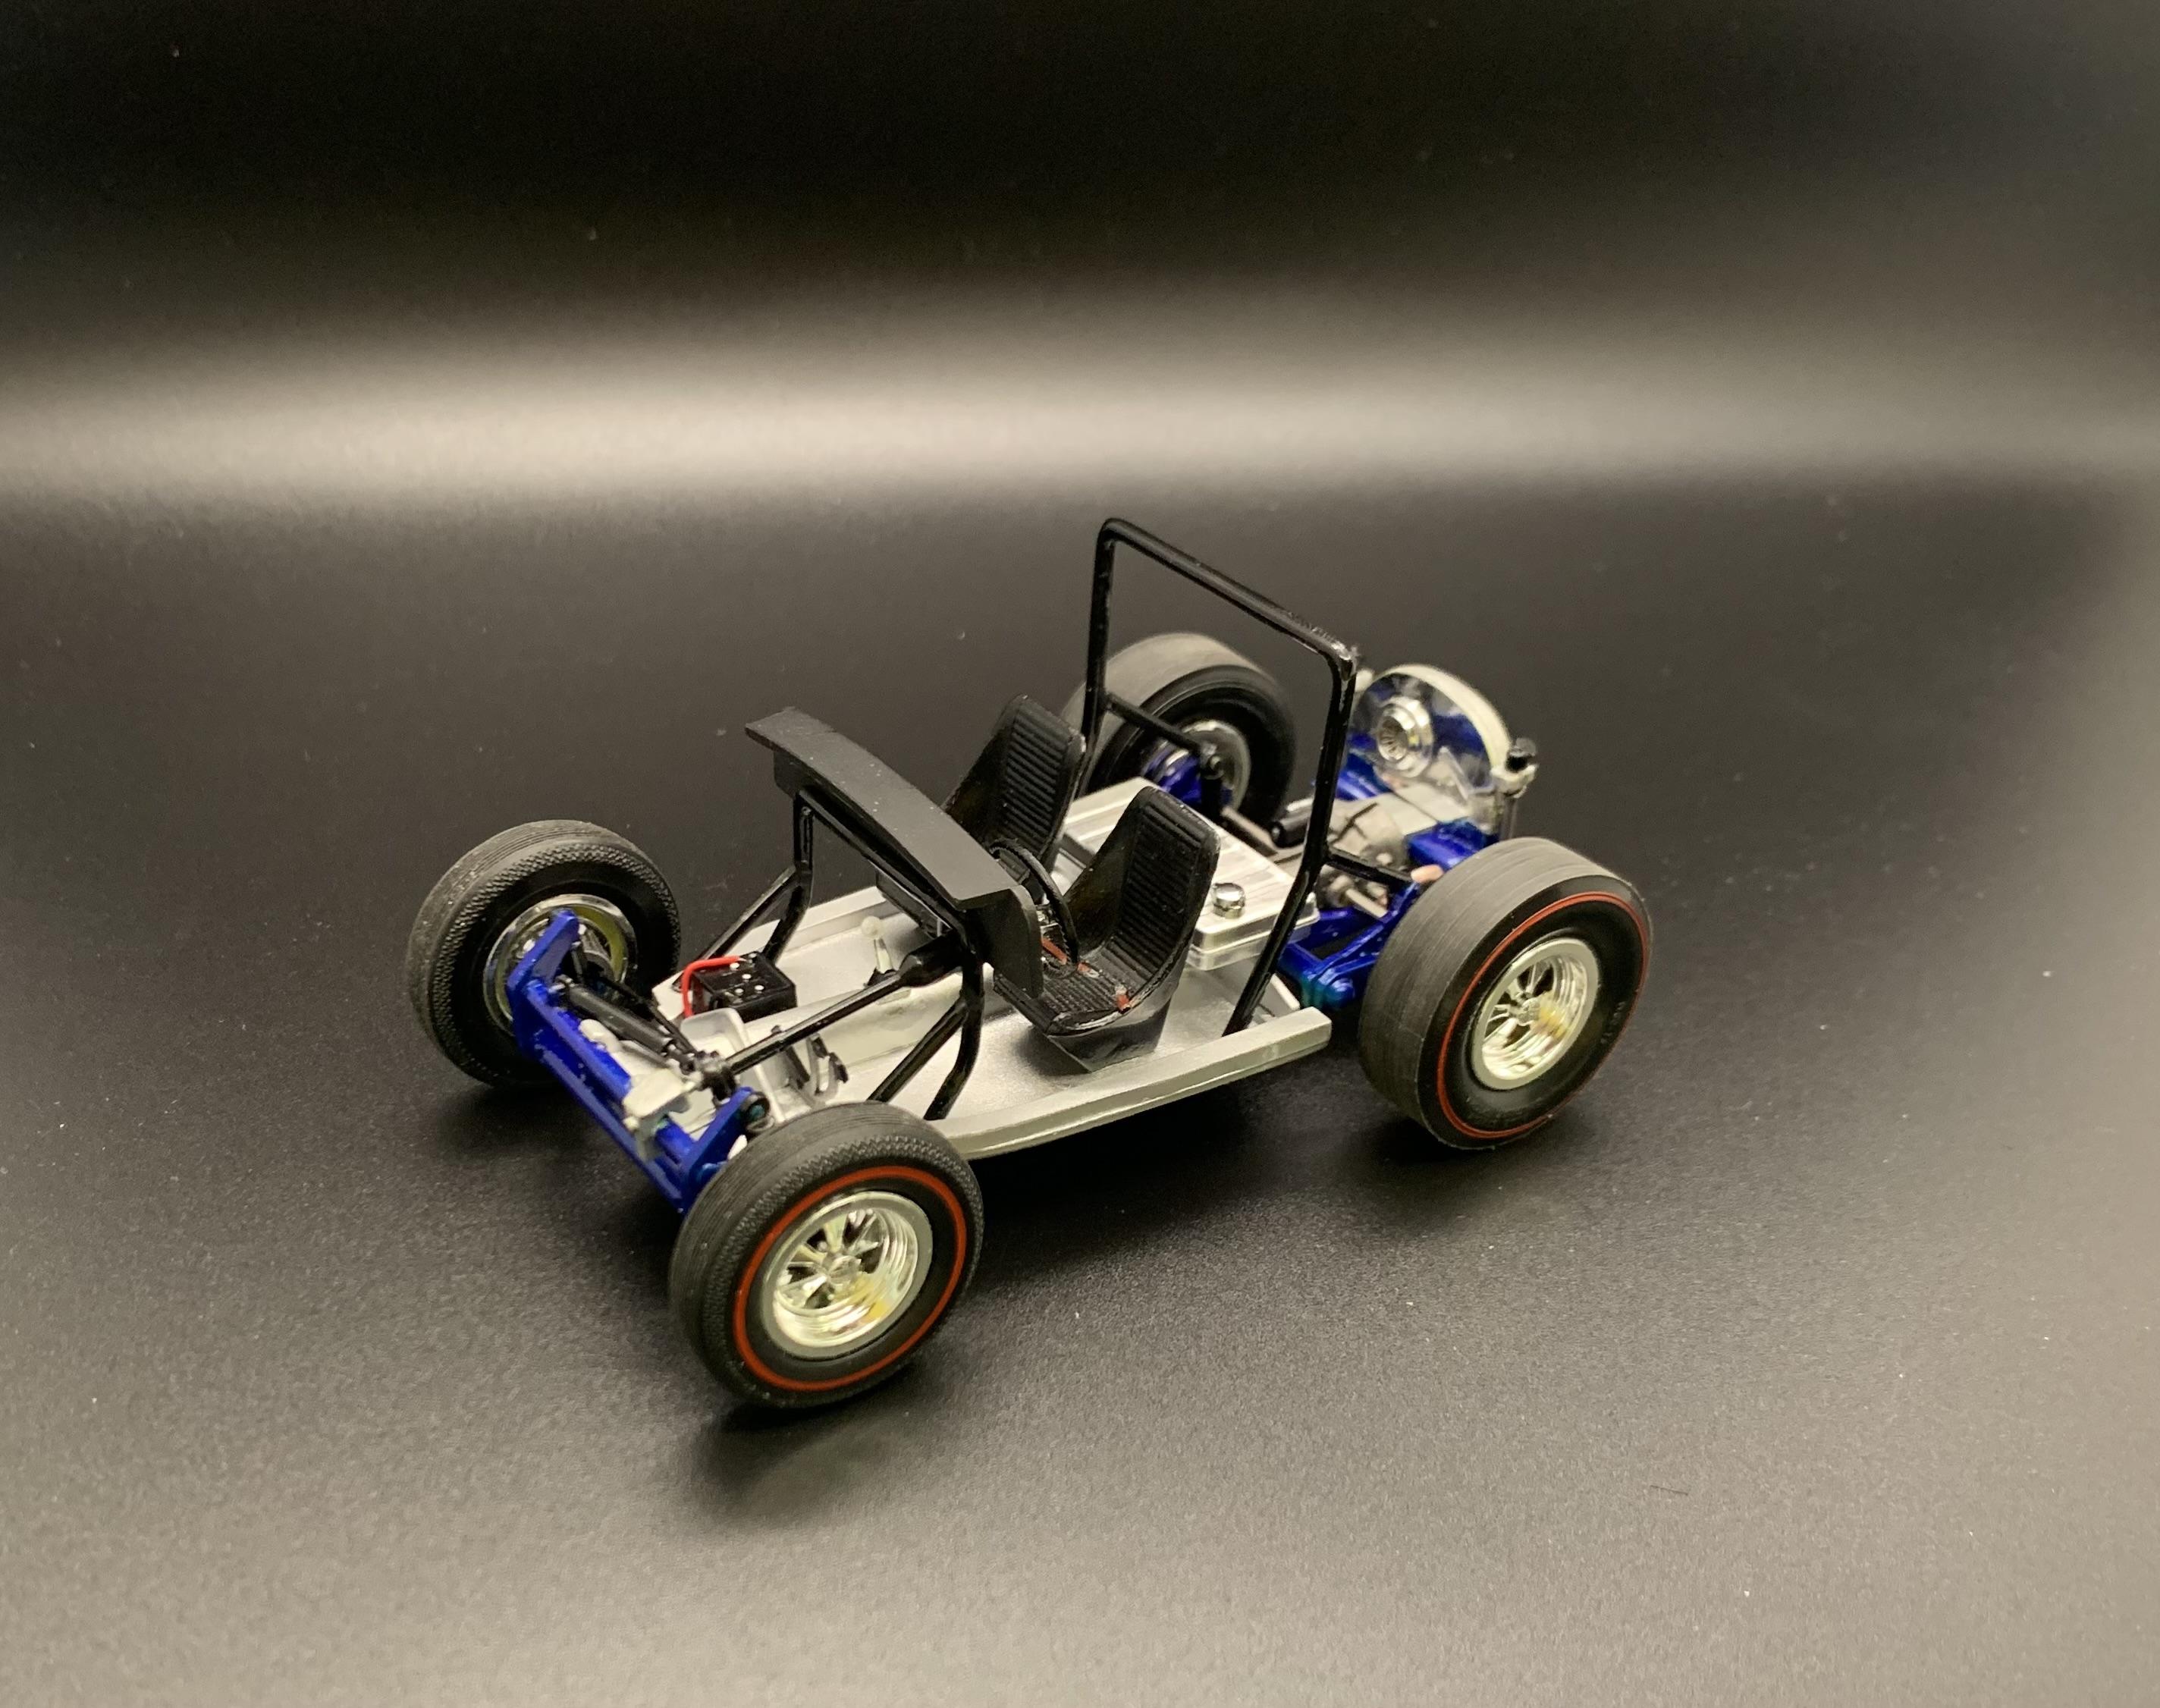
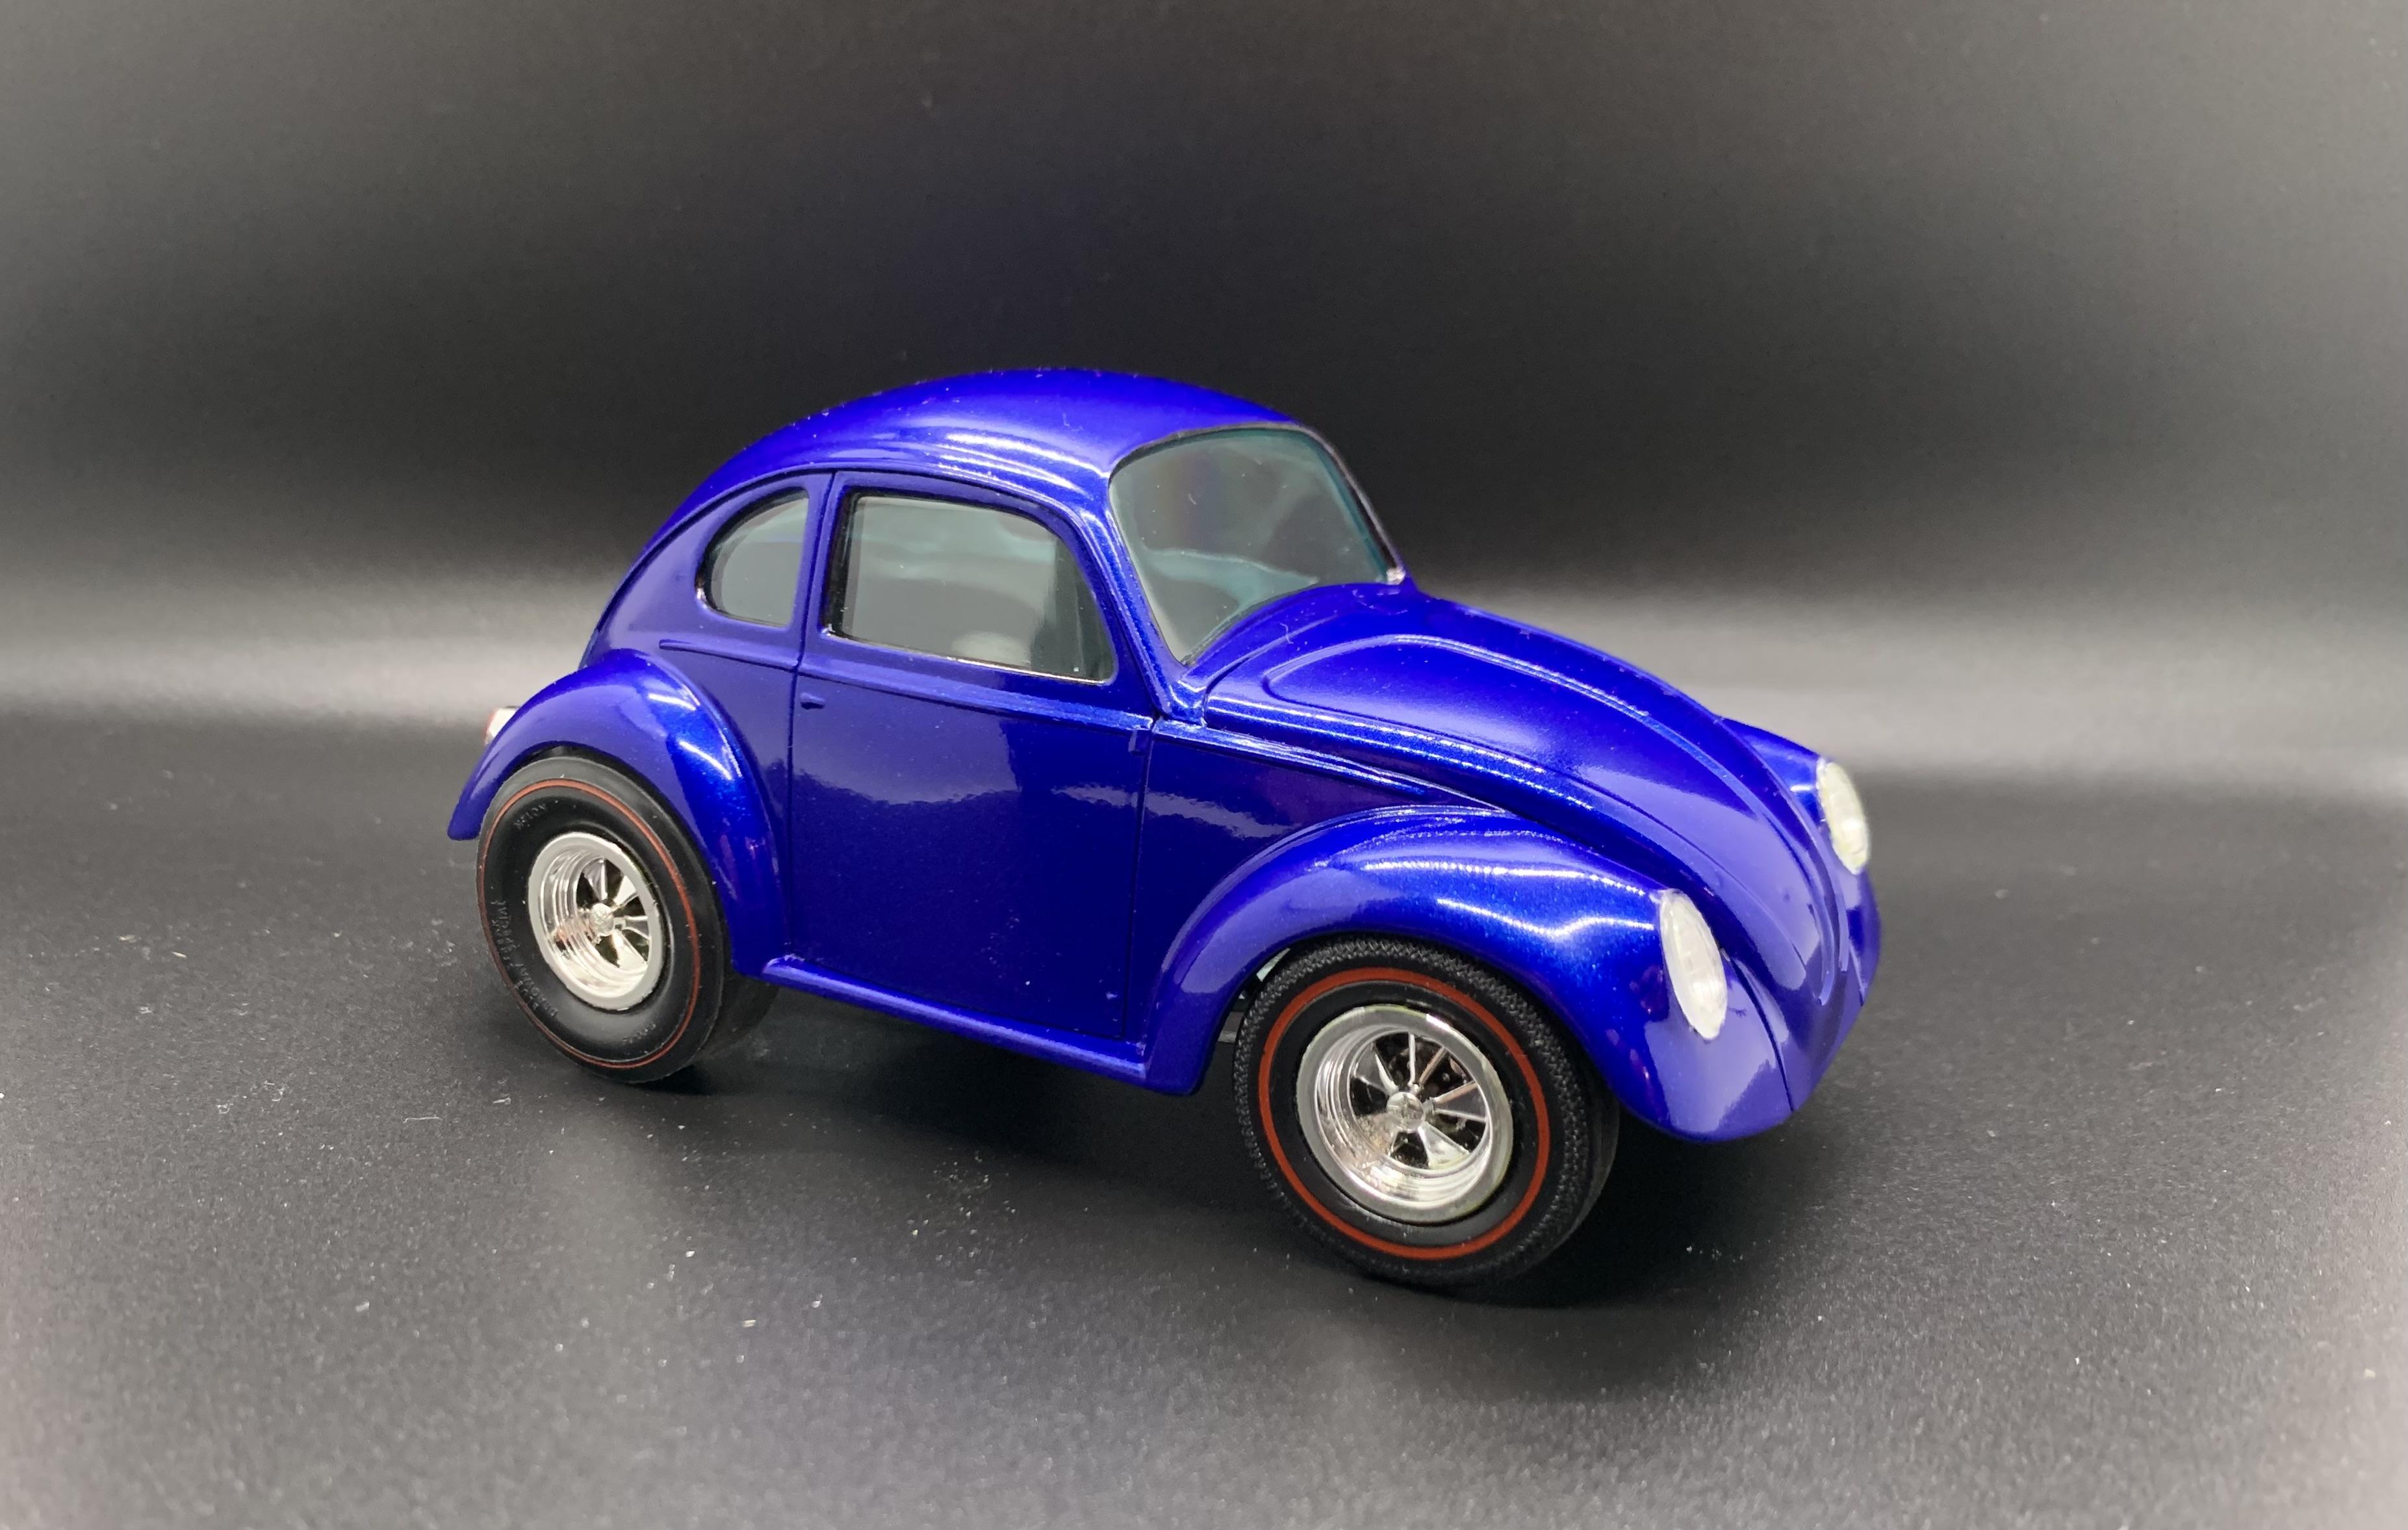
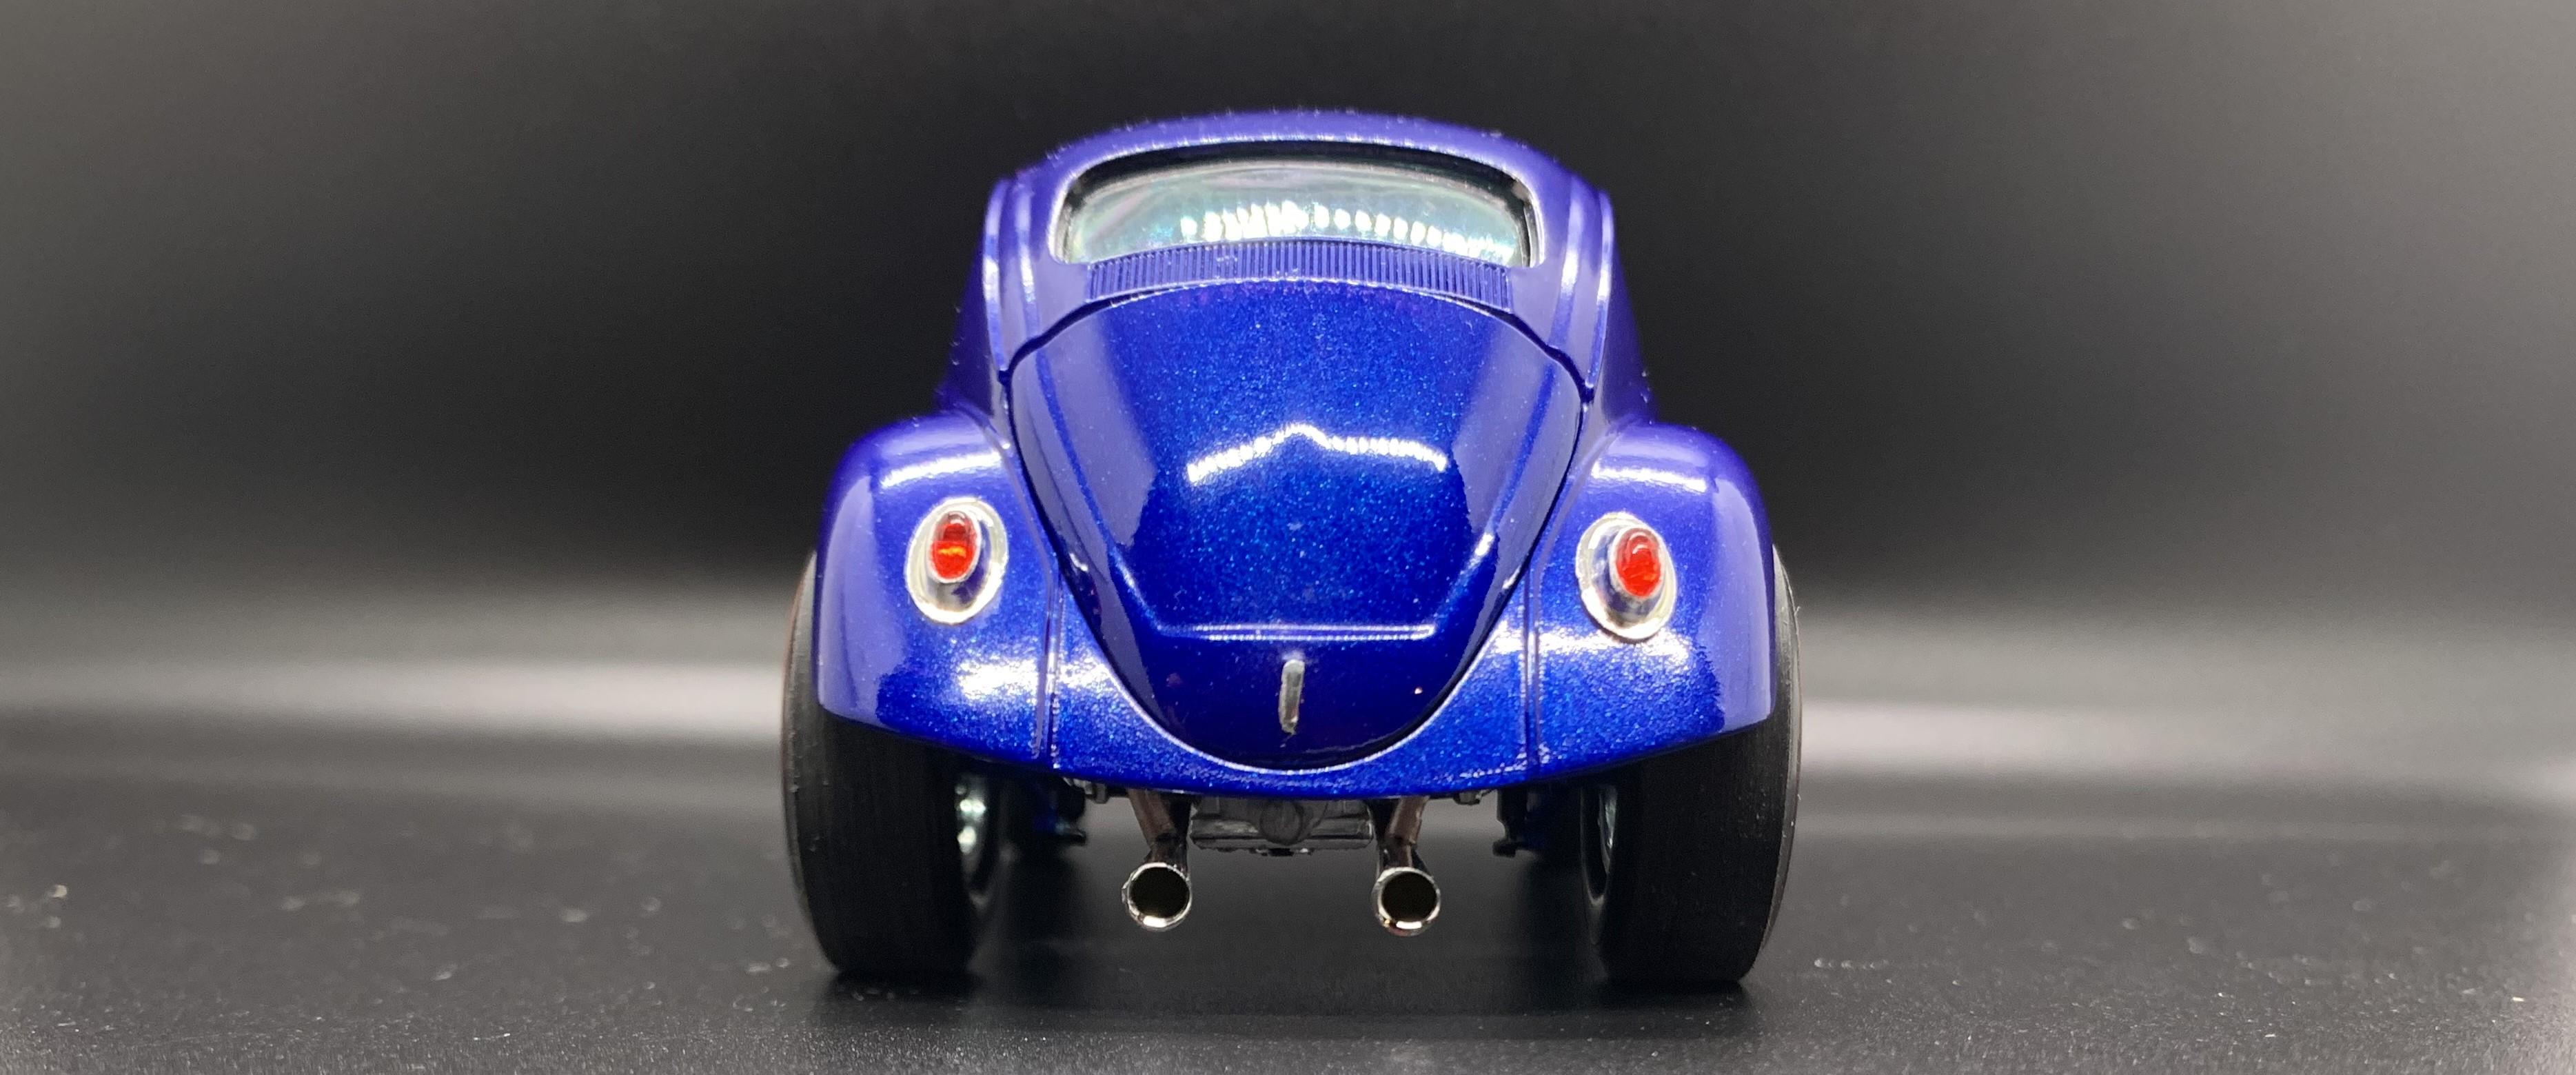
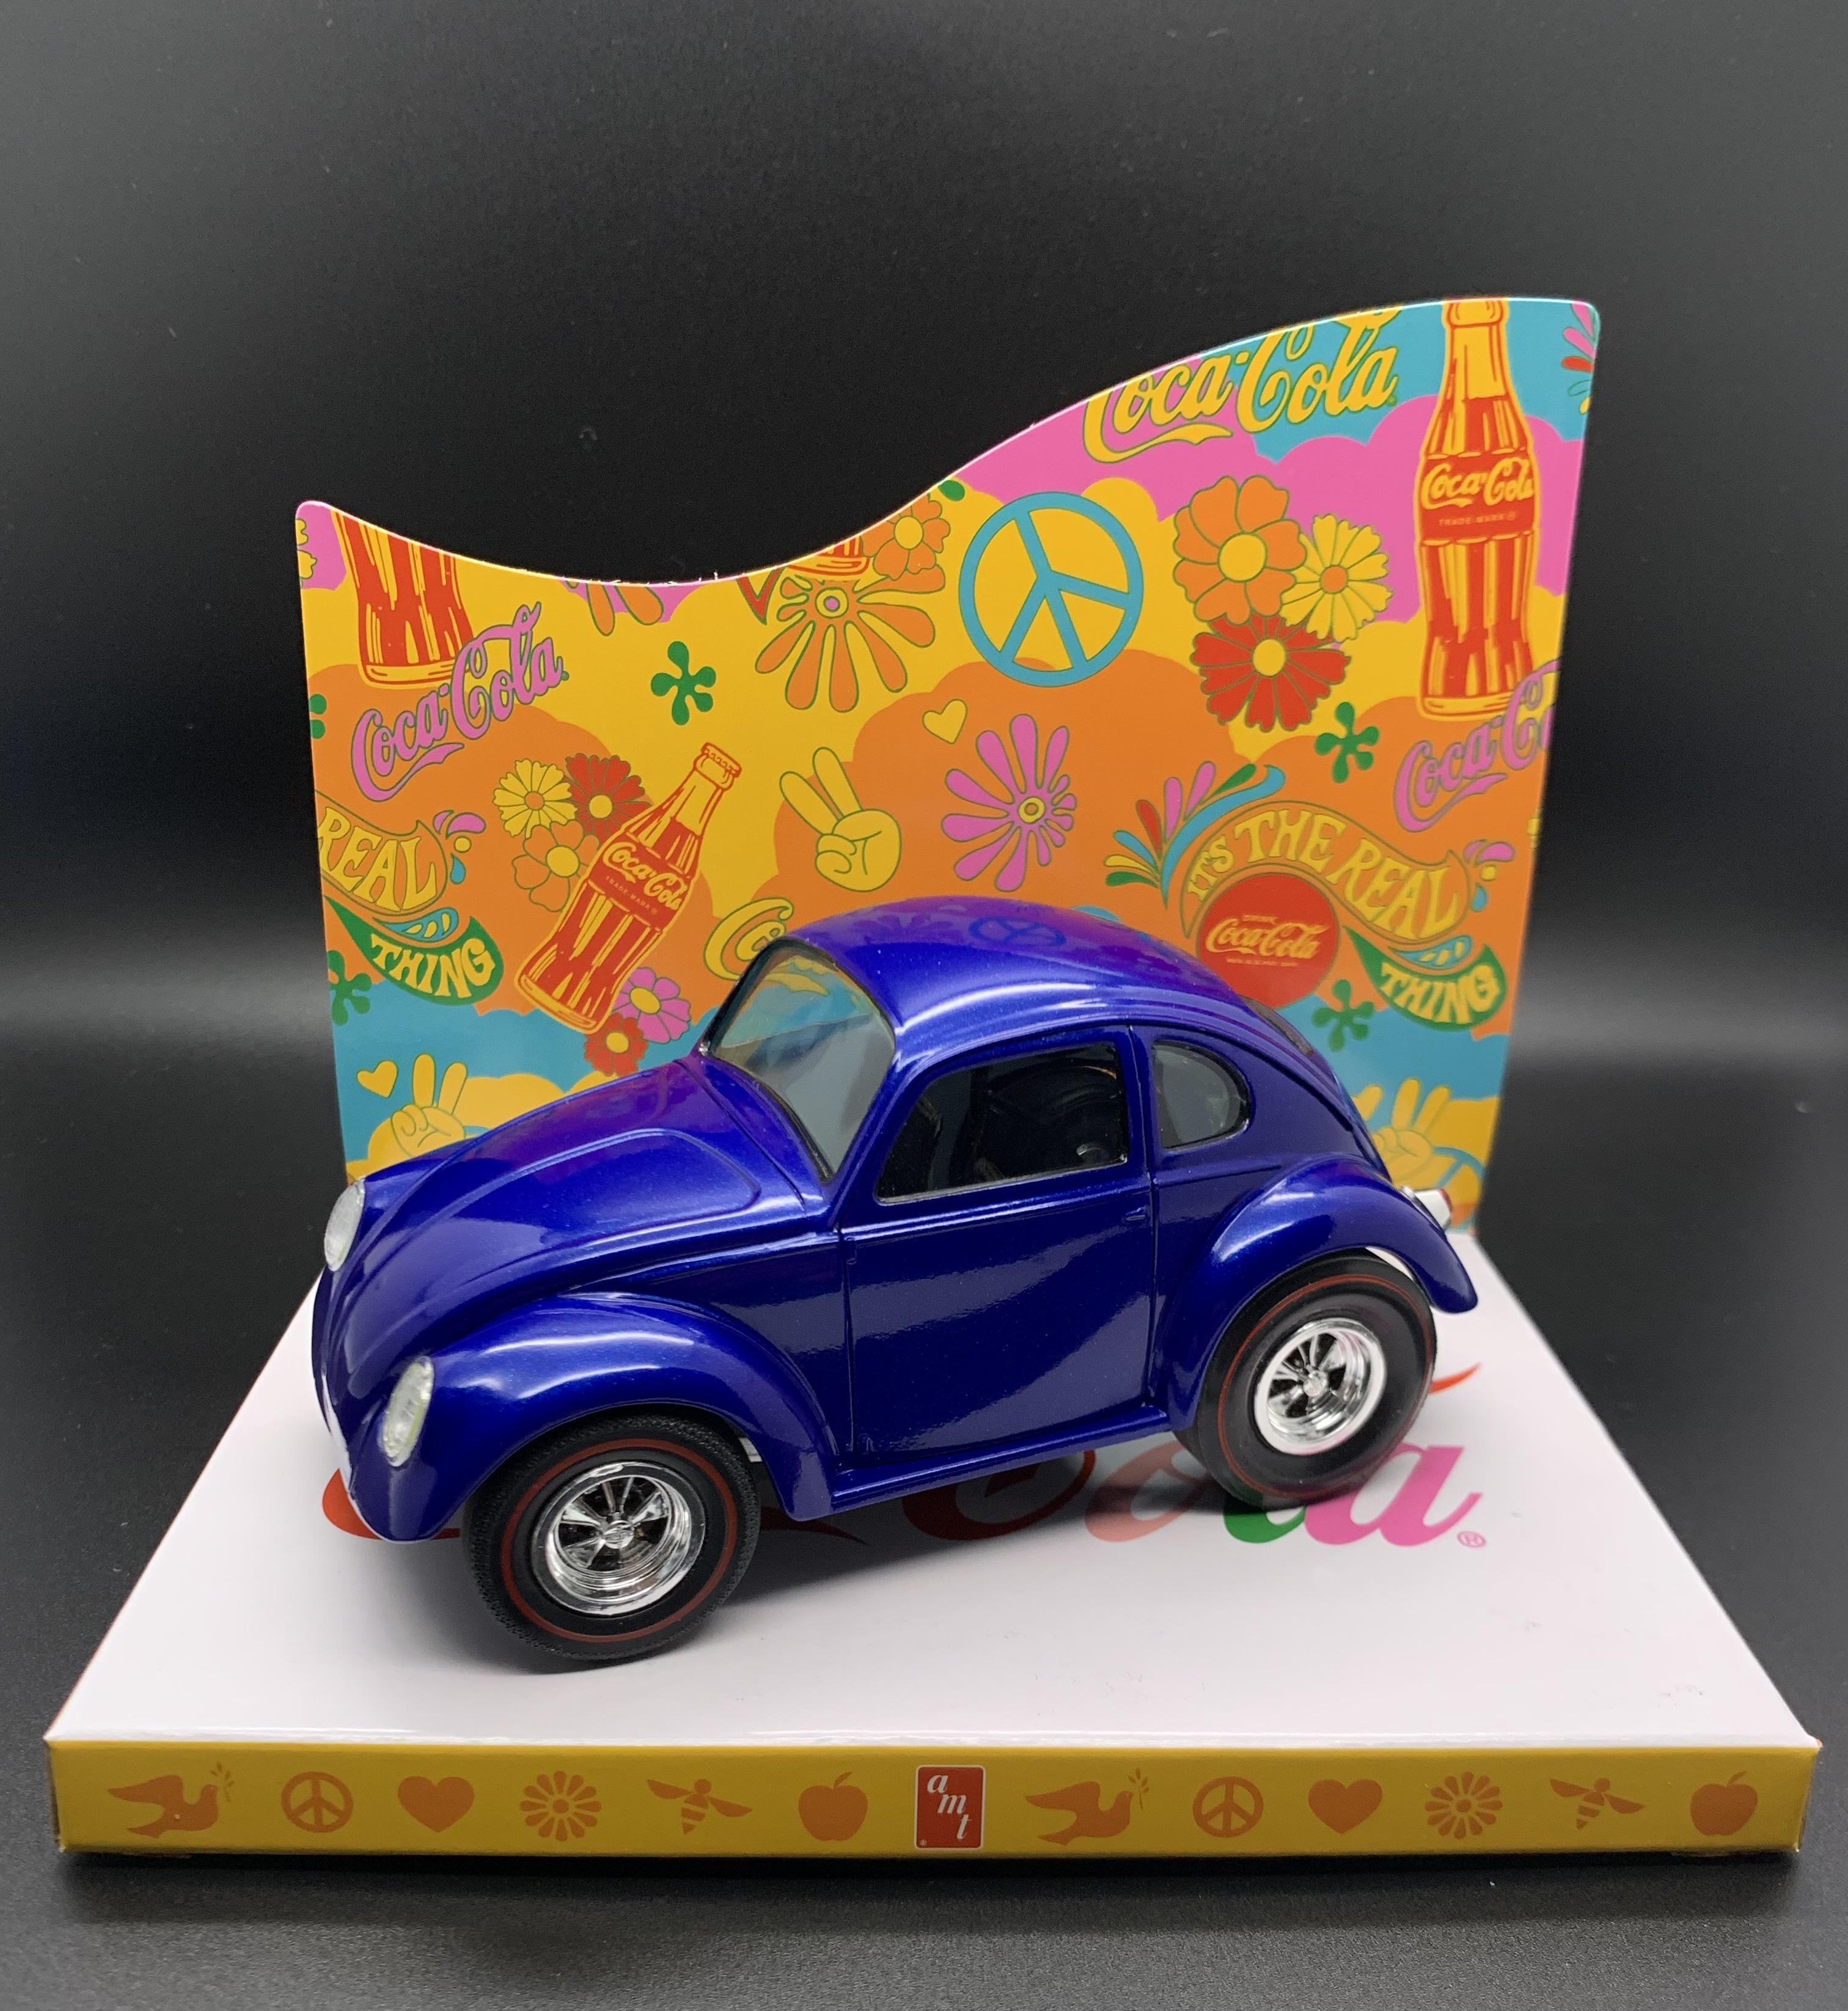
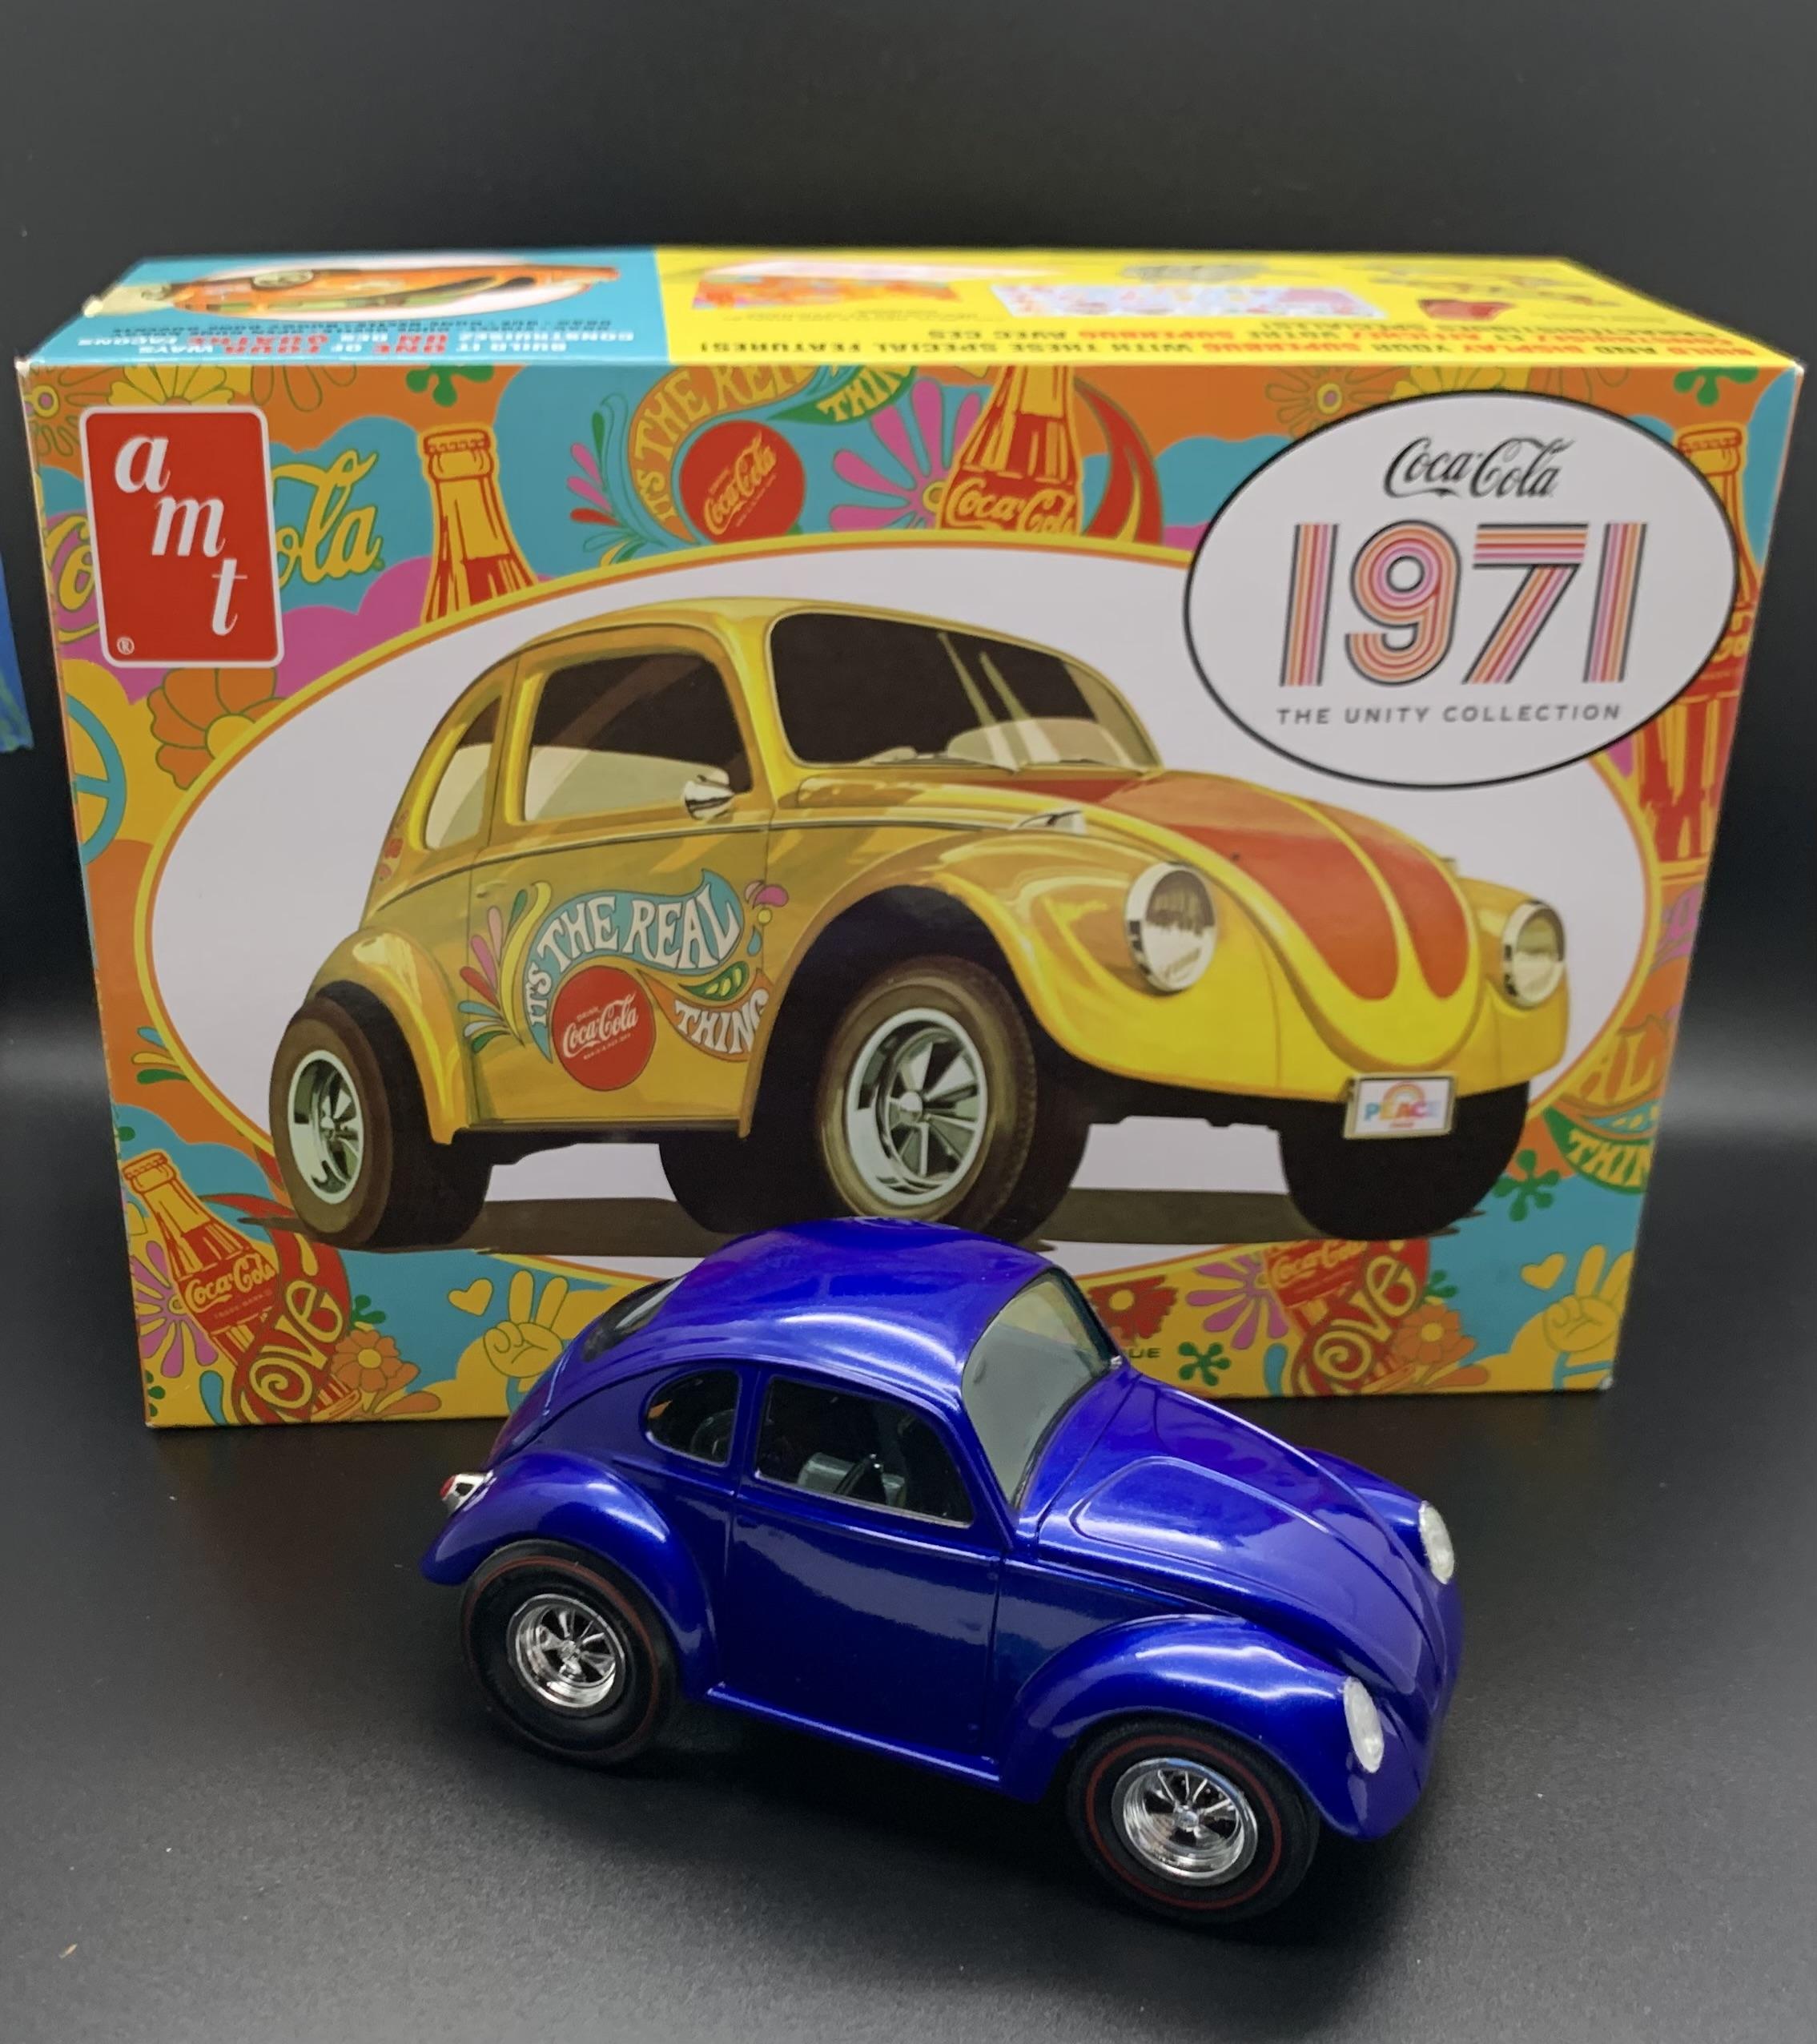
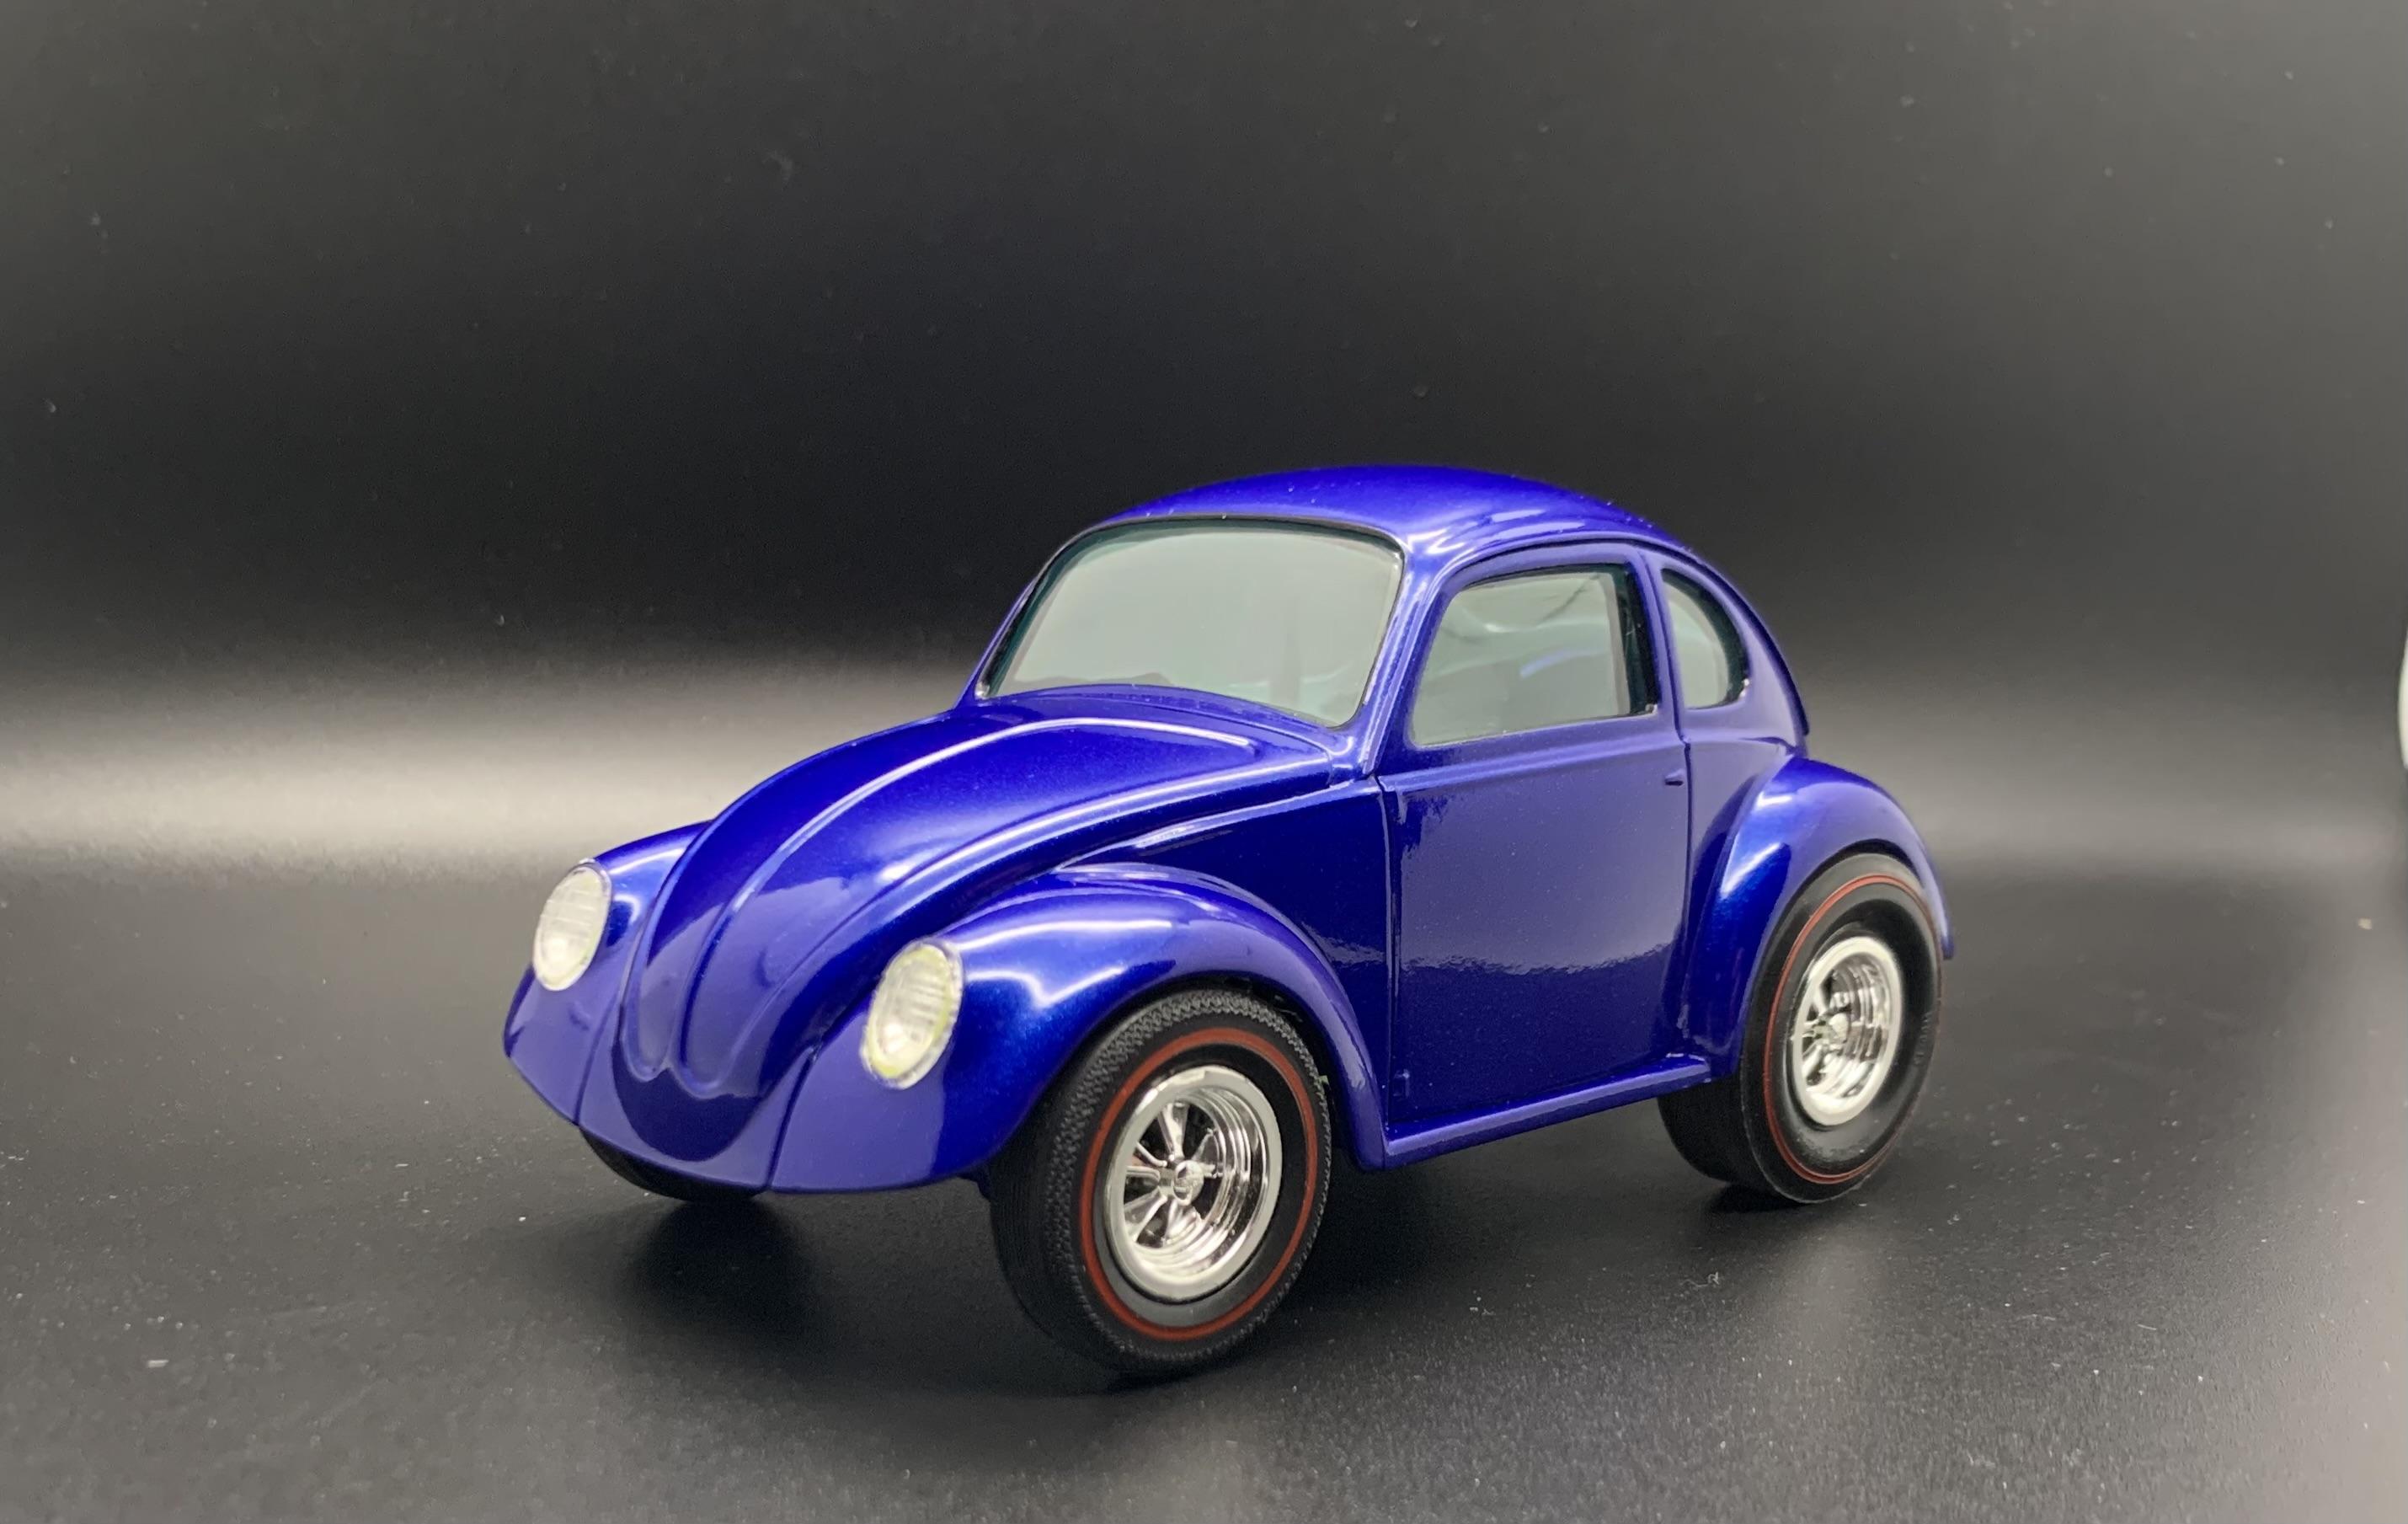
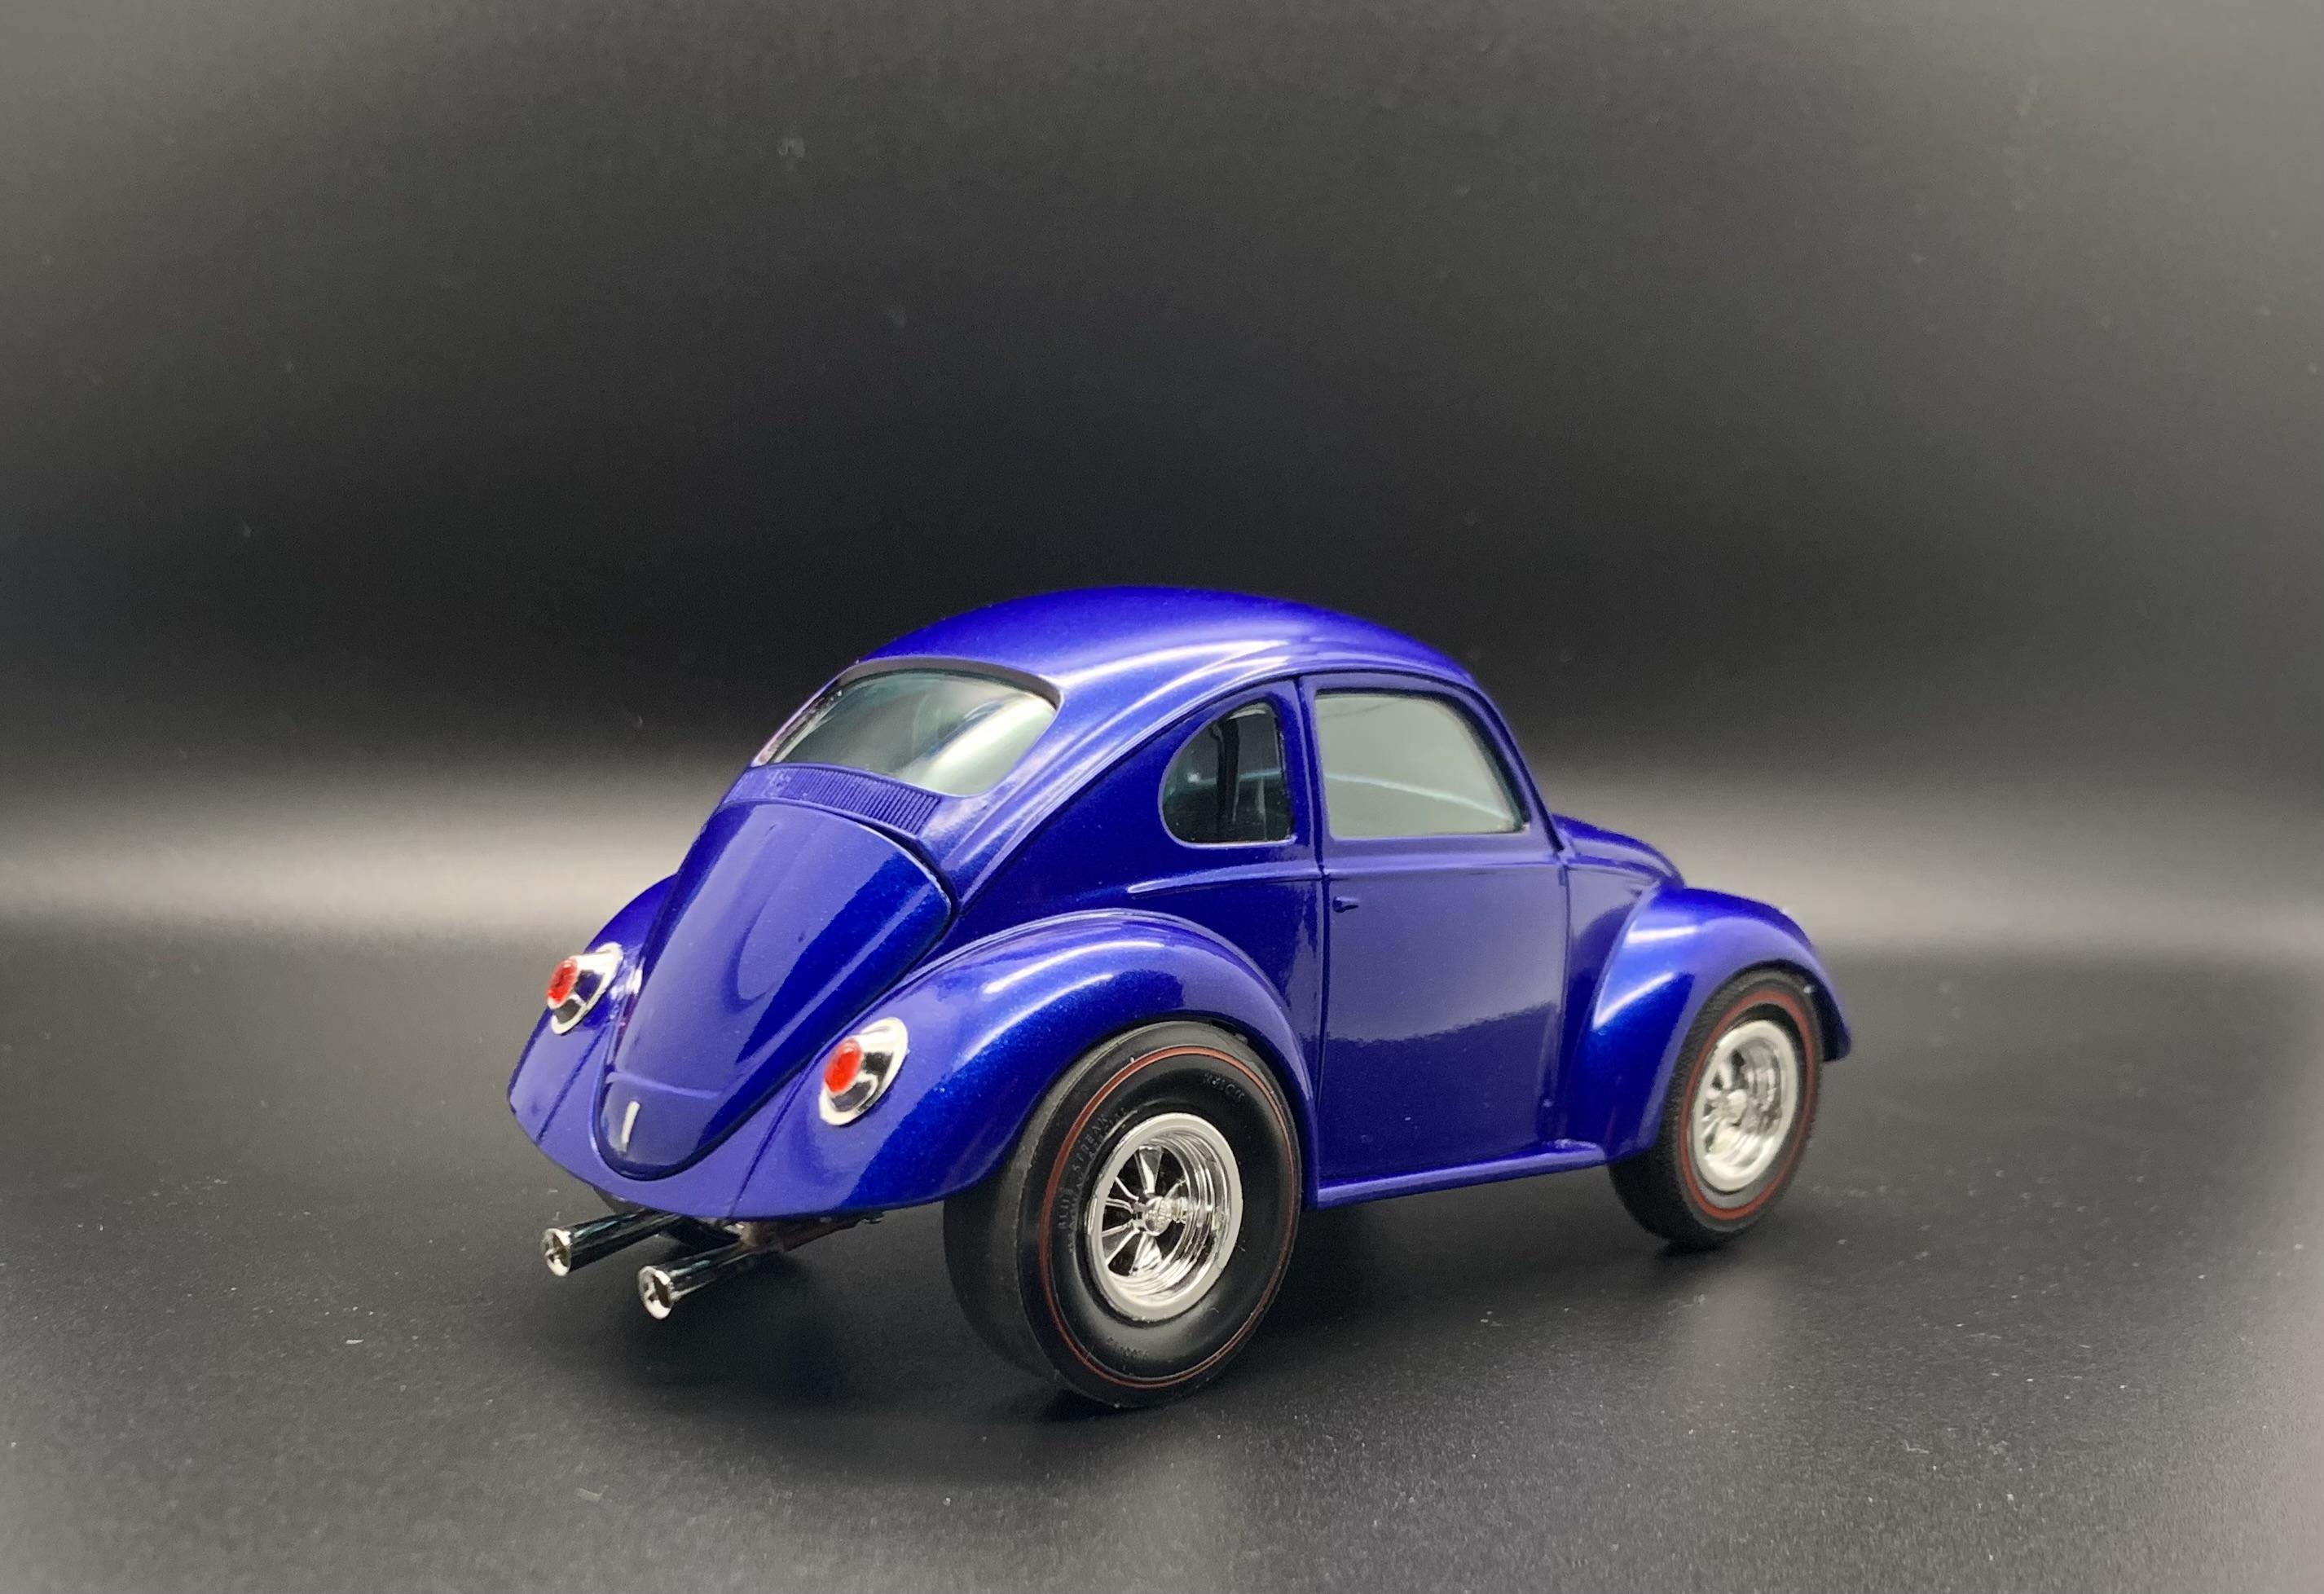
I finished this one a little over a week ago, but I was waiting for my new light box to arrive. Then I picked up a wicked head cold, so it had to wait another week to be revealed. This is the AMT 1971 Superbug Gasser, from the Coca-Cola Unity Collection. I picked this kit up for $5, thinking it would be cool to have a Beetle in the stash. I didn't realize it was the short-body version, so upon opening the box and seeing the body, my first thought was "this will never get built". But as luck would have it, last summer was spent learning to paint. For a fiver, I figured it would be a practice body, and that would be the end of it. As I was really just using it for practice, it got painted and stripped something like 3-4 times before getting it right. But the final paint job turned out to be one of my better attempts. This inspired me to continue on and finish the little bug. Speaking of paint, the color is Testors Extreme Lacquer Star Spangled Blue, straight from the can, followed up with clear lacquer (I forget the brand). The idea for the build was to create a tribute to one of my favorite old red-line Hot Wheels cars. Most of the kit was built straight from the box, but a few modifications were made for various reasons. The hydraulic steering damper was reworked, because the original part feels like it's not even from the same kit. Doesn't even come close to fitting properly. Battery cables were added just for fun and because I'd never done it before. Also, the exhaust was completely reworked. The kit supplies two exhaust options, neither one of which did much for me. Finally, if built straight out of the box, the engine cover won't close. Instructions even tell you to glue it open. I couldn't live with that, so the engine was moved inward and modified. For those that are interested in the build, the WIP can be found here: Without further ado, here's my take on the AMT '71 Superbug Gasser. As always, questions, comment, and constructive criticism are always welcome. Thanks for looking!
-
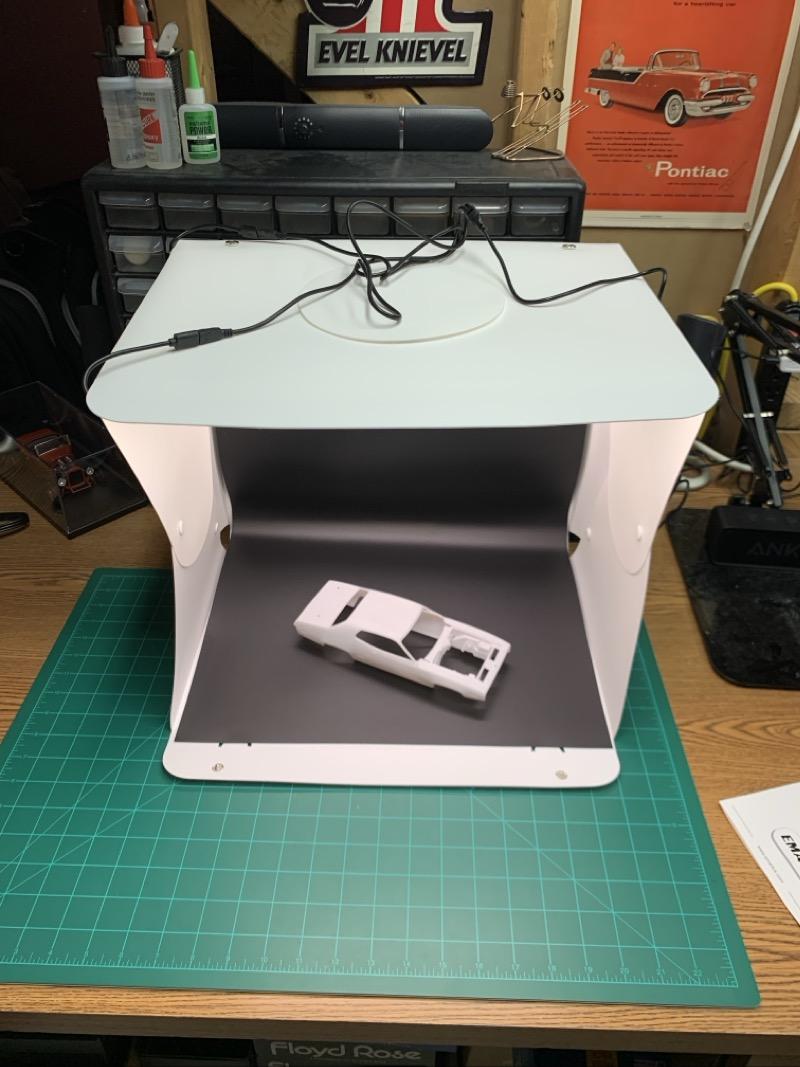
I got this a few days ago but just unpacked it now. Been fighting a wicked cold all week and really just couldn’t make myself care until today. In an effort to get better pictures of my builds, I picked up this light box. Comes with four different colored backgrounds, and a small tripod. I have some experimenting to do to see what works, but should be fun and get the job done.
- 39,121 replies
-
- 5
-

-
- johan
- glue bombs
- (and 1 more)
-
Too many?
atomicholiday replied to TopherMcGinnis's topic in General Automotive Talk (Trucks and Cars)
I’ve been forwarding some of these to my wife. I’m sure she appreciates it!? -
There’s another kit I never knew existed! Man you guys find some of the coolest stuff.?
- 39,121 replies
-
- 1
-
-
- johan
- glue bombs
- (and 1 more)
-
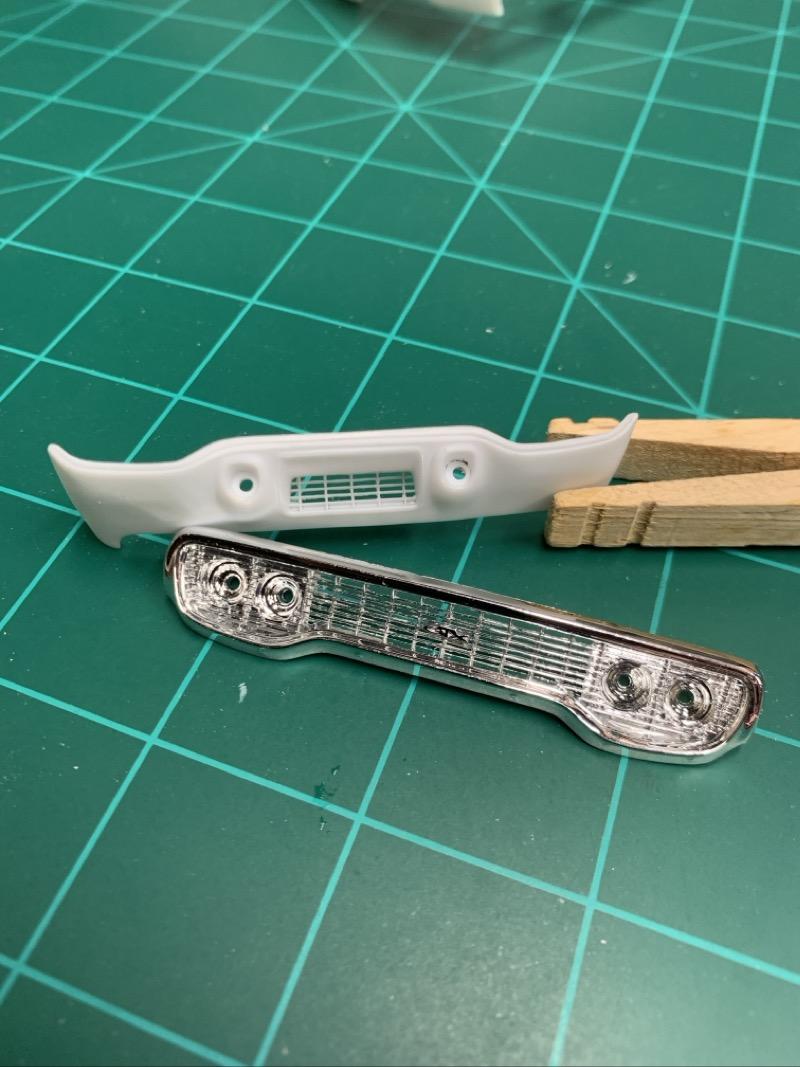
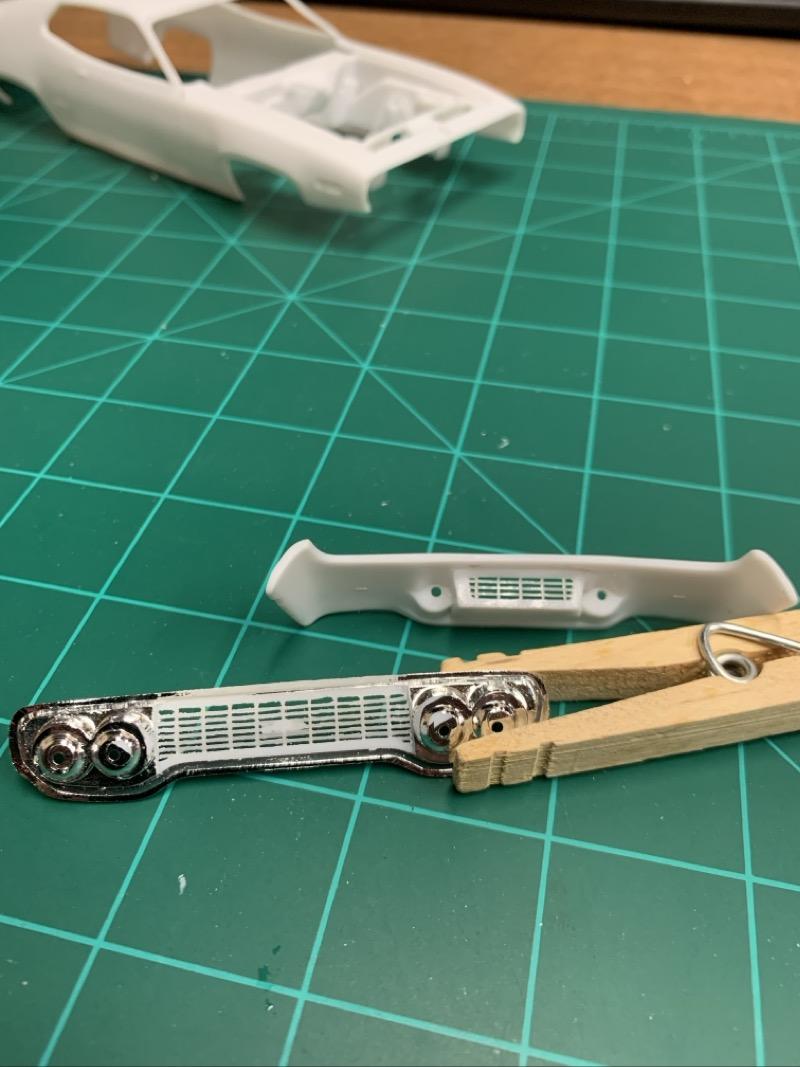
I decided to try opening up the grills. Never done it before, so why not. I started out with a scrap grill just to see how it would go (not good). My test part started falling apart and splitting. But it was a valuable learning experience. So feeling super confident (cough cough), I started on the lower valance. It was a much simpler piece than my test part, and it went well. So with that experience under my belt, it was time to tackle the main grill. Not an easy job, and my nerves are shot, but I think it turned out pretty decent. Now I need a break…?
-
Hmmmm, ‘79 Firebird Widebody ZL1 anybody?!
atomicholiday replied to Joe Handley's topic in WIP: Model Cars
This is really looking cool. I picked this one up too and was just drawing a blank on what to do with it. Good to see you’ve figured it out and are bringing it to life.? -
Just got a small order from MCV products. Pretty nice stuff! And shipping was very reasonable. I’d definitely order from him again. https://mcvproducts.net/
-
Just like most of you guys, I fall into both categories. Also like many of you, I stand “0” chance of ever getting them all done. But it’s going to be fun trying! I will confess, on VERY rare occasions, I’ve bought kits I knew I’d never crack the seal on. But it’s such a small percentage of my collection that it doesn’t even really count. Probably less than 1/2 a percent. Like anything else, there are degrees here.
-
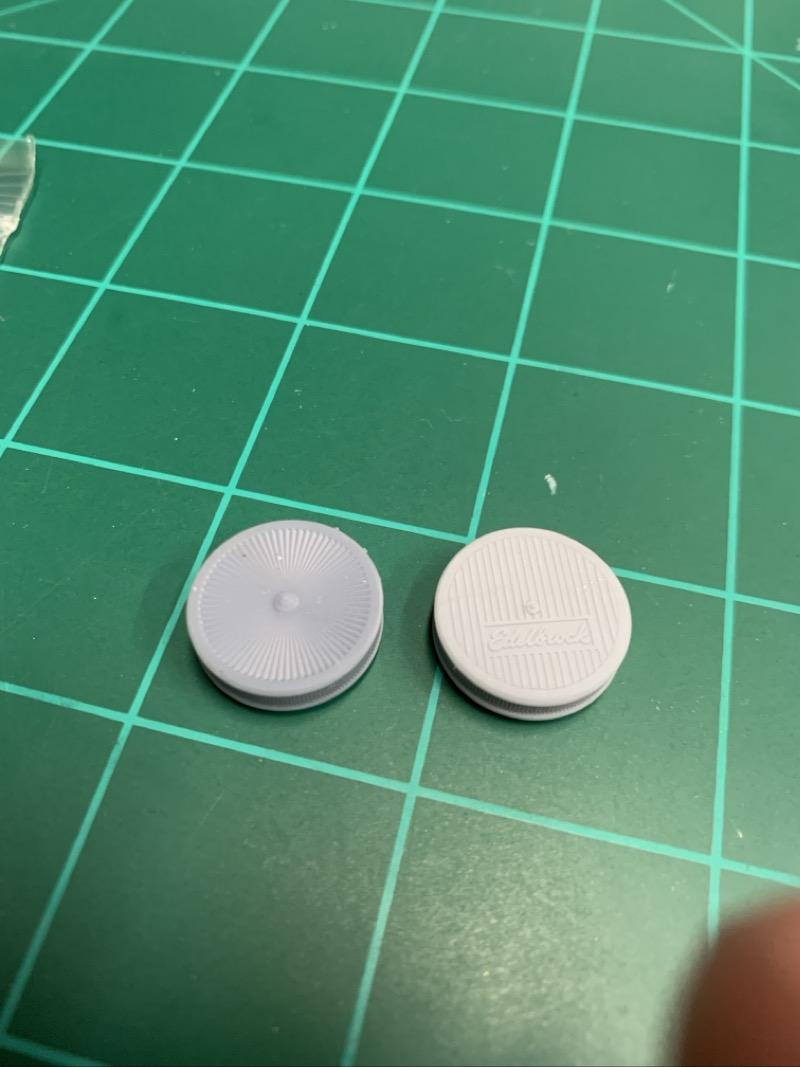
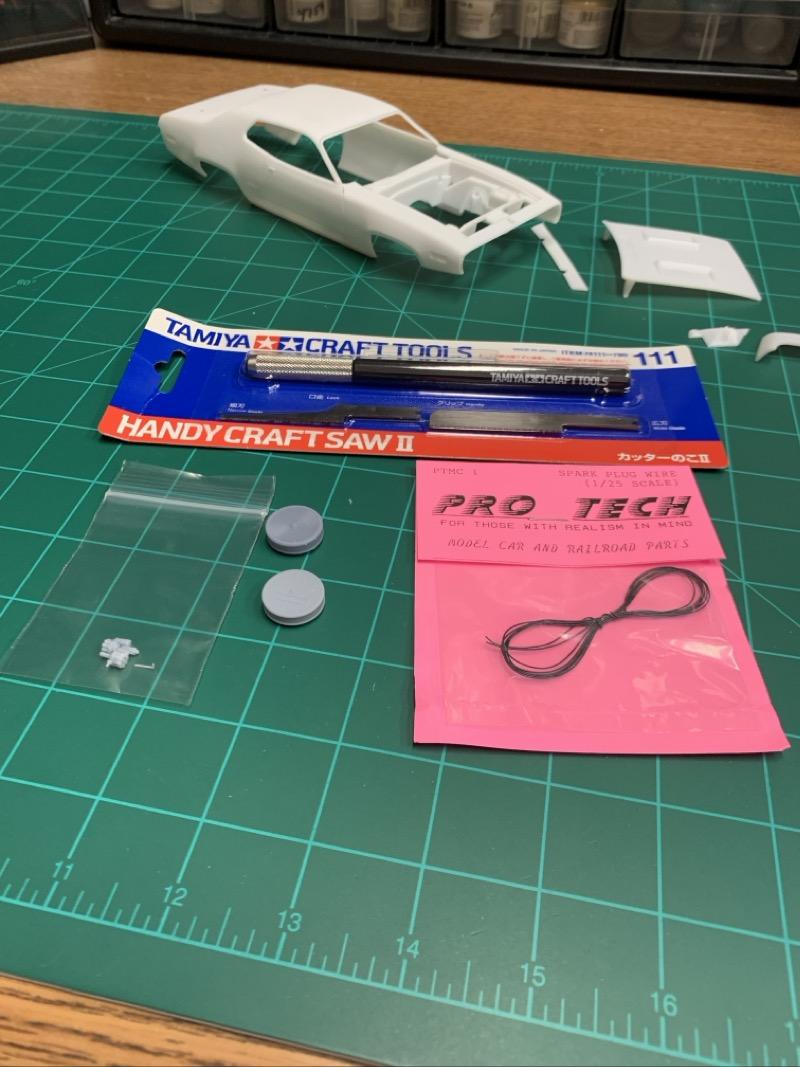
Mail call today. I was curious about the 3D printed parts from MCV Products (Mathew, from Model Car Videos), so I picked up a couple of small items. The two air cleaners and distributors are from his shop. The saw was an eBay purchase. I’ve been needing something like this for a while now.
- 39,121 replies
-
- 3
-
-
- johan
- glue bombs
- (and 1 more)
-
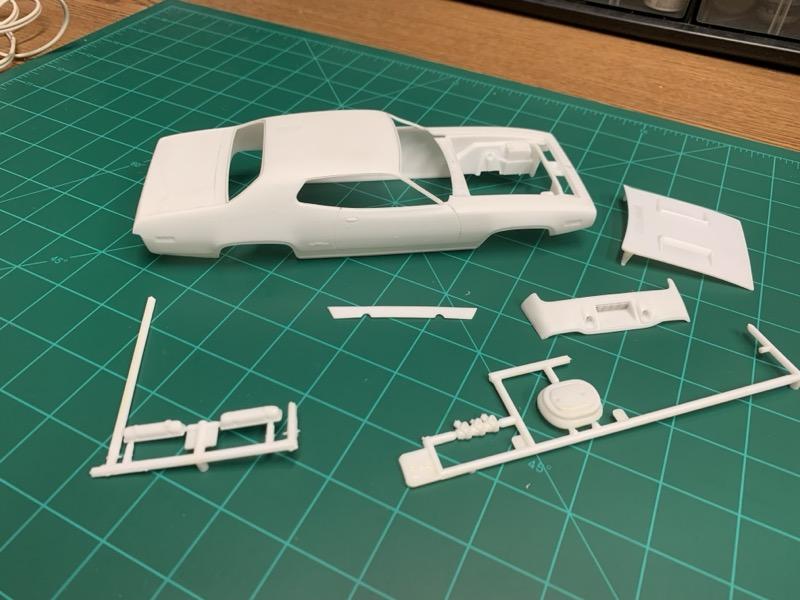
I know a lot of people swear by aftermarket distributors. I haven’t tried one yet and I’m sure they’re great. But if I can save a few bucks and get results I’m happy with, why not? And so far I don’t mind putting in the time to do it. Worst case scenario, I screw the part up, and then I’ll try an AM part.? Quick update for this build. I got all the paint stripped finally. Had to do it in two stages. First, a good soaking in 90% iso alcohol to get the lacquer off. But that won’t touch the primer. Originally I’d stop there, but since this kit is getting a vinyl top, I wanted to take it down to bare plastic. So after the lacquer was removed, it got a bath in the purple pond for a while. That will take primer off with no problem. So now we’re back to where it all began, in bare plastic.
-
Too many?
atomicholiday replied to TopherMcGinnis's topic in General Automotive Talk (Trucks and Cars)
That's really cool. Are the kits in the ceiling still accessible? I have an unfinished basement and this might be just the ticket to reclaim some floor space. -
Too many?
atomicholiday replied to TopherMcGinnis's topic in General Automotive Talk (Trucks and Cars)
How many kits do I need? I don’t know. How many are there??? The only real problem I have with having a lot of kits is that they can be distracting. It can contribute to not finishing builds, because I always want to start the next one before I’m done with the last. Squirrel syndrome. -
AK Interactive photo etch saws
atomicholiday replied to porschercr's topic in Model Building Questions and Answers
This is timely. I almost bought one of the AK saws today. I opted for Tamiya instead based on reviews.