aurfalien
-
Posts
3,119 -
Joined
-
Last visited
Content Type
Profiles
Forums
Events
Gallery
Everything posted by aurfalien
-

Serious air brushing issues...
aurfalien replied to aurfalien's topic in Model Building Questions and Answers
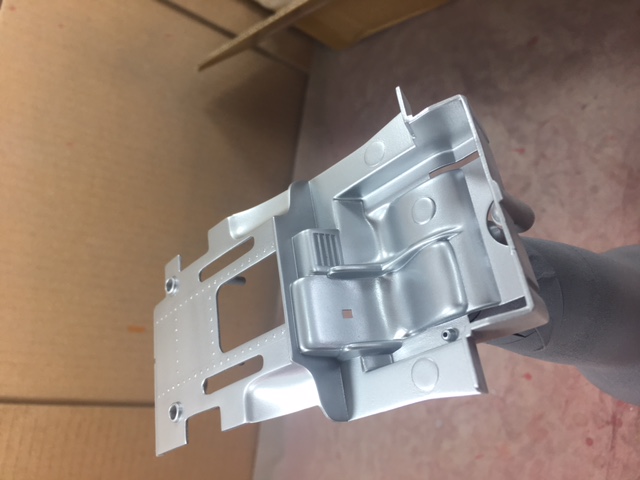
Success!... for me anyways. Finally something that doesn't look like a$$. A few things I did differently; 1) The primer coat was very smooth. Previous coats, while feeling smooth, were porous under my magnified visor tool. Also I used Duplicolor filler and NOT Duplicolor sealer this time. I thought one can sand any paint but there sealer is not really sandable as it looks kinda funny when sanded. Sort of orange peeled. 2) Used 20PSI and 1/3 thinner, 2/3 Alclad Aluminum ALC-101. 3) Followed brush strokes and distance exactly as shown in the Alclad how-to video. That guy is cool!
-
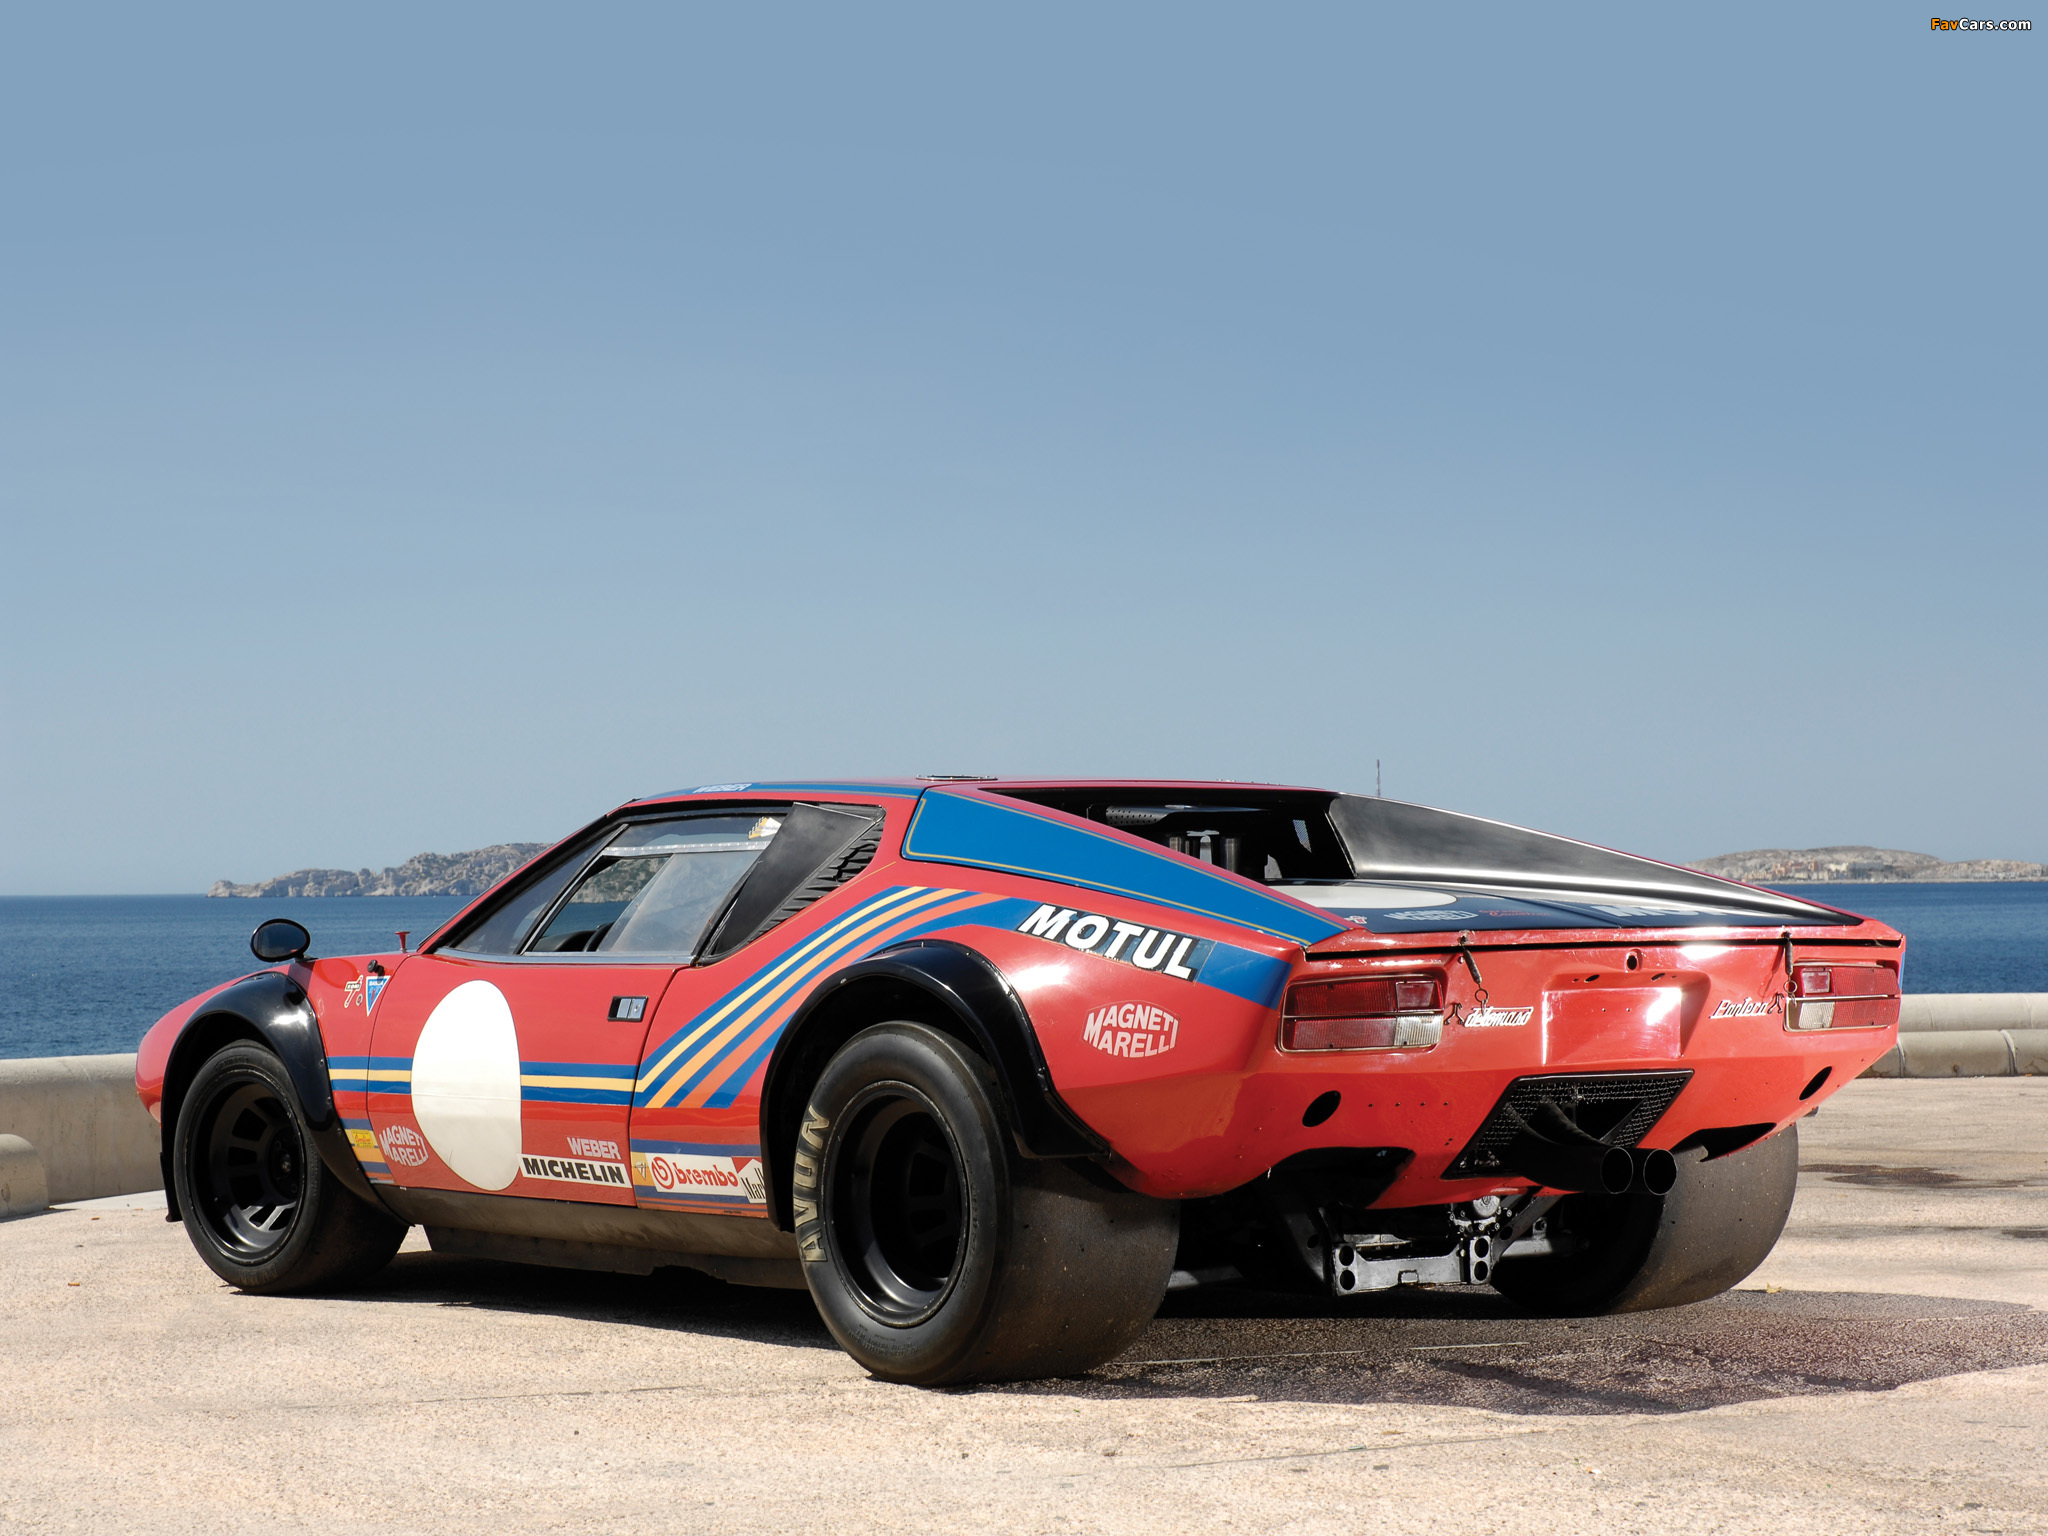
Who makes the best DeTomaso Panteta
aurfalien replied to Steamboat's topic in Model Building Questions and Answers
-
3D scanning and printing in lieu of casting
aurfalien replied to landman's topic in Model Building Questions and Answers
Hi, Not to seem like I know anything as me commenting on Monsignors Aces reply is like a donkey replying to a thoroughbred, but I totally agree with him. In addition you will 99% have to clean up the scan in software which can be tricky even if you know 3D modeling warez, ie Maya, Cinema4D etc... My client scanned in a simple sneaker (not so simple after all) and at the end it was determined to be cheaper and faster in terms of man hours to start from scratch and model it in 3D. I was speaking to these ppl last year as they seemed able to scan something I would simply give to Shapeways for a test print; http://www.mimic3d.com I'd call em first and explain your goals as they may have 3D clean up down pat so cost could be minimal. Then there is 3D printing which is another YOOOOGE area of fromagé. I've a buddy who prints full size elaborate helmets and costume bits for crazy Halloween parties and that takes practise and knowledge. So in the end, does technology make things easier? Well sure until things go wrong or rather, not 100% right. I mean can you debug your email problems, look at message headers and understand SMTP, routing and RBLs, etc...? -
Who makes the best DeTomaso Panteta
aurfalien replied to Steamboat's topic in Model Building Questions and Answers
Hi, Well the newest tool is Fujimi. I'd get the Wolf version. -
Serious air brushing issues...
aurfalien replied to aurfalien's topic in Model Building Questions and Answers
Hi, Well I'm at a loss. I was doing my spray in light coats as per Alclads video tutorial, 15PSI, ~4 away. But then I ran out of paint, so I filled the cup and began to spray when it spattered so hard and orange peeled again. Prior to this it was actually coming out well. And my AB was actually clogged fairly well. The part has such intricate detail that wet sanding is not a a good idea so I've stripped and primed again. It's 80+ and very dry here in SoCal so I'll mix some Mr. Leveler as it ain't coolin down any time soon. To be continued tomorrow. Whats the detriment in using a higher PSI? PS I think the reason for my woes is low humidity+high temps. When I sprayed the tub which tuned out great, it was a lot cooler. -
Hi, Any word from him? Seems odd as last year I bought some fromagé and he was spot on and quick with replies and shipping. You simply cannot beat his line up of paints and quality but if you can't get word for product from him, then its not worth it. Have you called him? Perhaps your emails are going into his junk filter for some reason. Junk filters are very touchy.
-
Serious air brushing issues...
aurfalien replied to aurfalien's topic in Model Building Questions and Answers
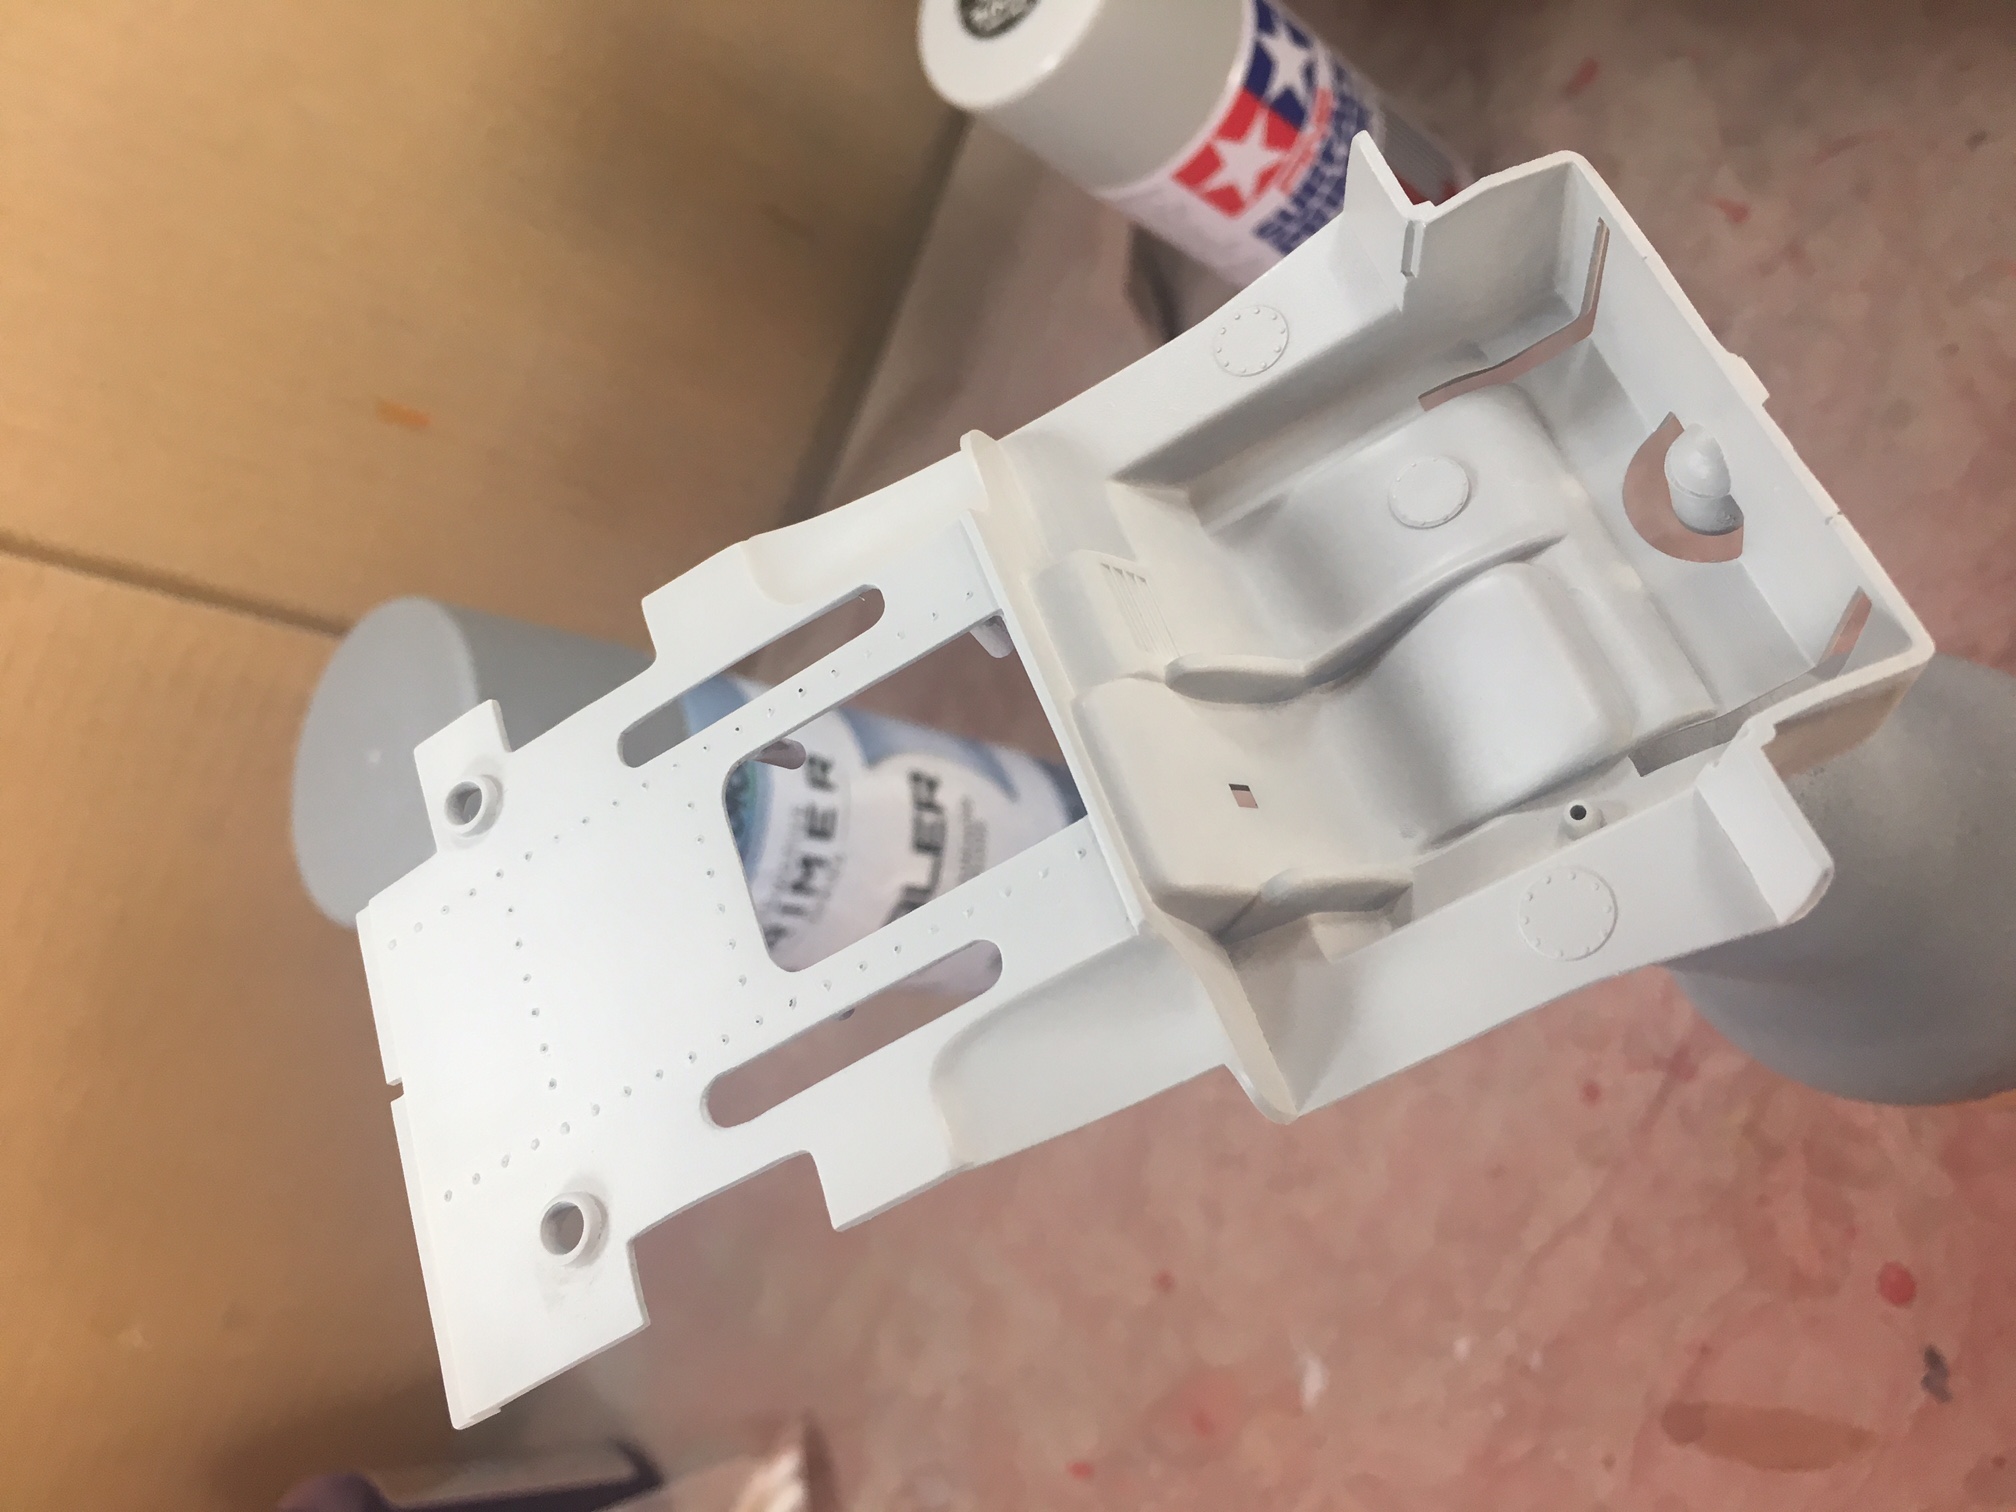
Hi, First many thank for the replies. It's stripped and this time I used Tamiya Fine Surface Primer were as before it ws Duplicolor Primer/Sealer. It's very very smooth or at least feels that way. Figured I'd try something different to avoid the definition of insanity. Although Duplicolor was used on my tub which turned out great. Waiting an hour before applying Alclad II ACL-101.
-
Hi, What Monsignor Kron said x2. I would have loved to watch this build real time.
-
... any sort of help is appreciated. I've been using Alclad and have stripped out by chassis about 3 times so far. It's turned out orange peeled every time. I've tried PSI from 15 to 25, thinned, un-thinned, 3" to 6" away, nothing makes a difference. I start light coats and it seems grainy or orange pealed almost right away. I'm still waiting for Don Yosts DVD but honestly don't feel it will help much. I'm using a .4mm needle and have .15mm and .6mm on hand. I sprayed my tub and it looks great but I don't recall how I got it to look that way. Air brushing alone is causing me serious contemplation to quite. I've spent a lot of time and money and honestly don't know how to solve this. Has any one experienced this and how did you get past it?
-
IndyCals, safe to buy?
aurfalien replied to aurfalien's topic in Car Aftermarket / Resin / 3D Printed
Hi, Man, his decals are awesome. Durable, pliable and aurf proof. I've had to stretch em a bit, pick em up off the carpet etc... They still hold true and work very well. Love em!!! -
Hi, Would some one mind posting close up shots of the tires and wheels? The box art seems misleading as the tires seem much fatter then they really are.
-
Hi, Man this looks clean! Worthy of being in a BMW show room in plain site. In fact I think it would be lucrative for all the A+ model builders to solicit this sort of business.
-
Hi, Looks great to me, thank you!
-
Hi and many thanks for the extremely generous replies, I'm very appreciative. However I don't look at the model as giving me a hard time but rather as me giving the model a hard time Hi there. It's actually Vallejo Liquid Gold. Except my new pot was sorta bad, Vallejo was kind enough to offer a replacement but I never got it. So instead I mixed in Tamiya lacquer thinner and air brushed it on. It's meant to only be applicable via paint brush but I think one can air brush anything if it's thin enough and still has acceptable pigment.
-
Hi and thank you both very much for such generous posts. Makes me feel better about my efforts. The decals were old and should have not been used. I used MicroSol on one which got eaten on the hood. I gently dry sanded it off but it left some ghosting were I placed it's replacement. I was afraid to use decal solution on the remaining decals but feel it would have helped reduced there edges from being visible. So next time with regards to decals; if in doubt, throw out.
-
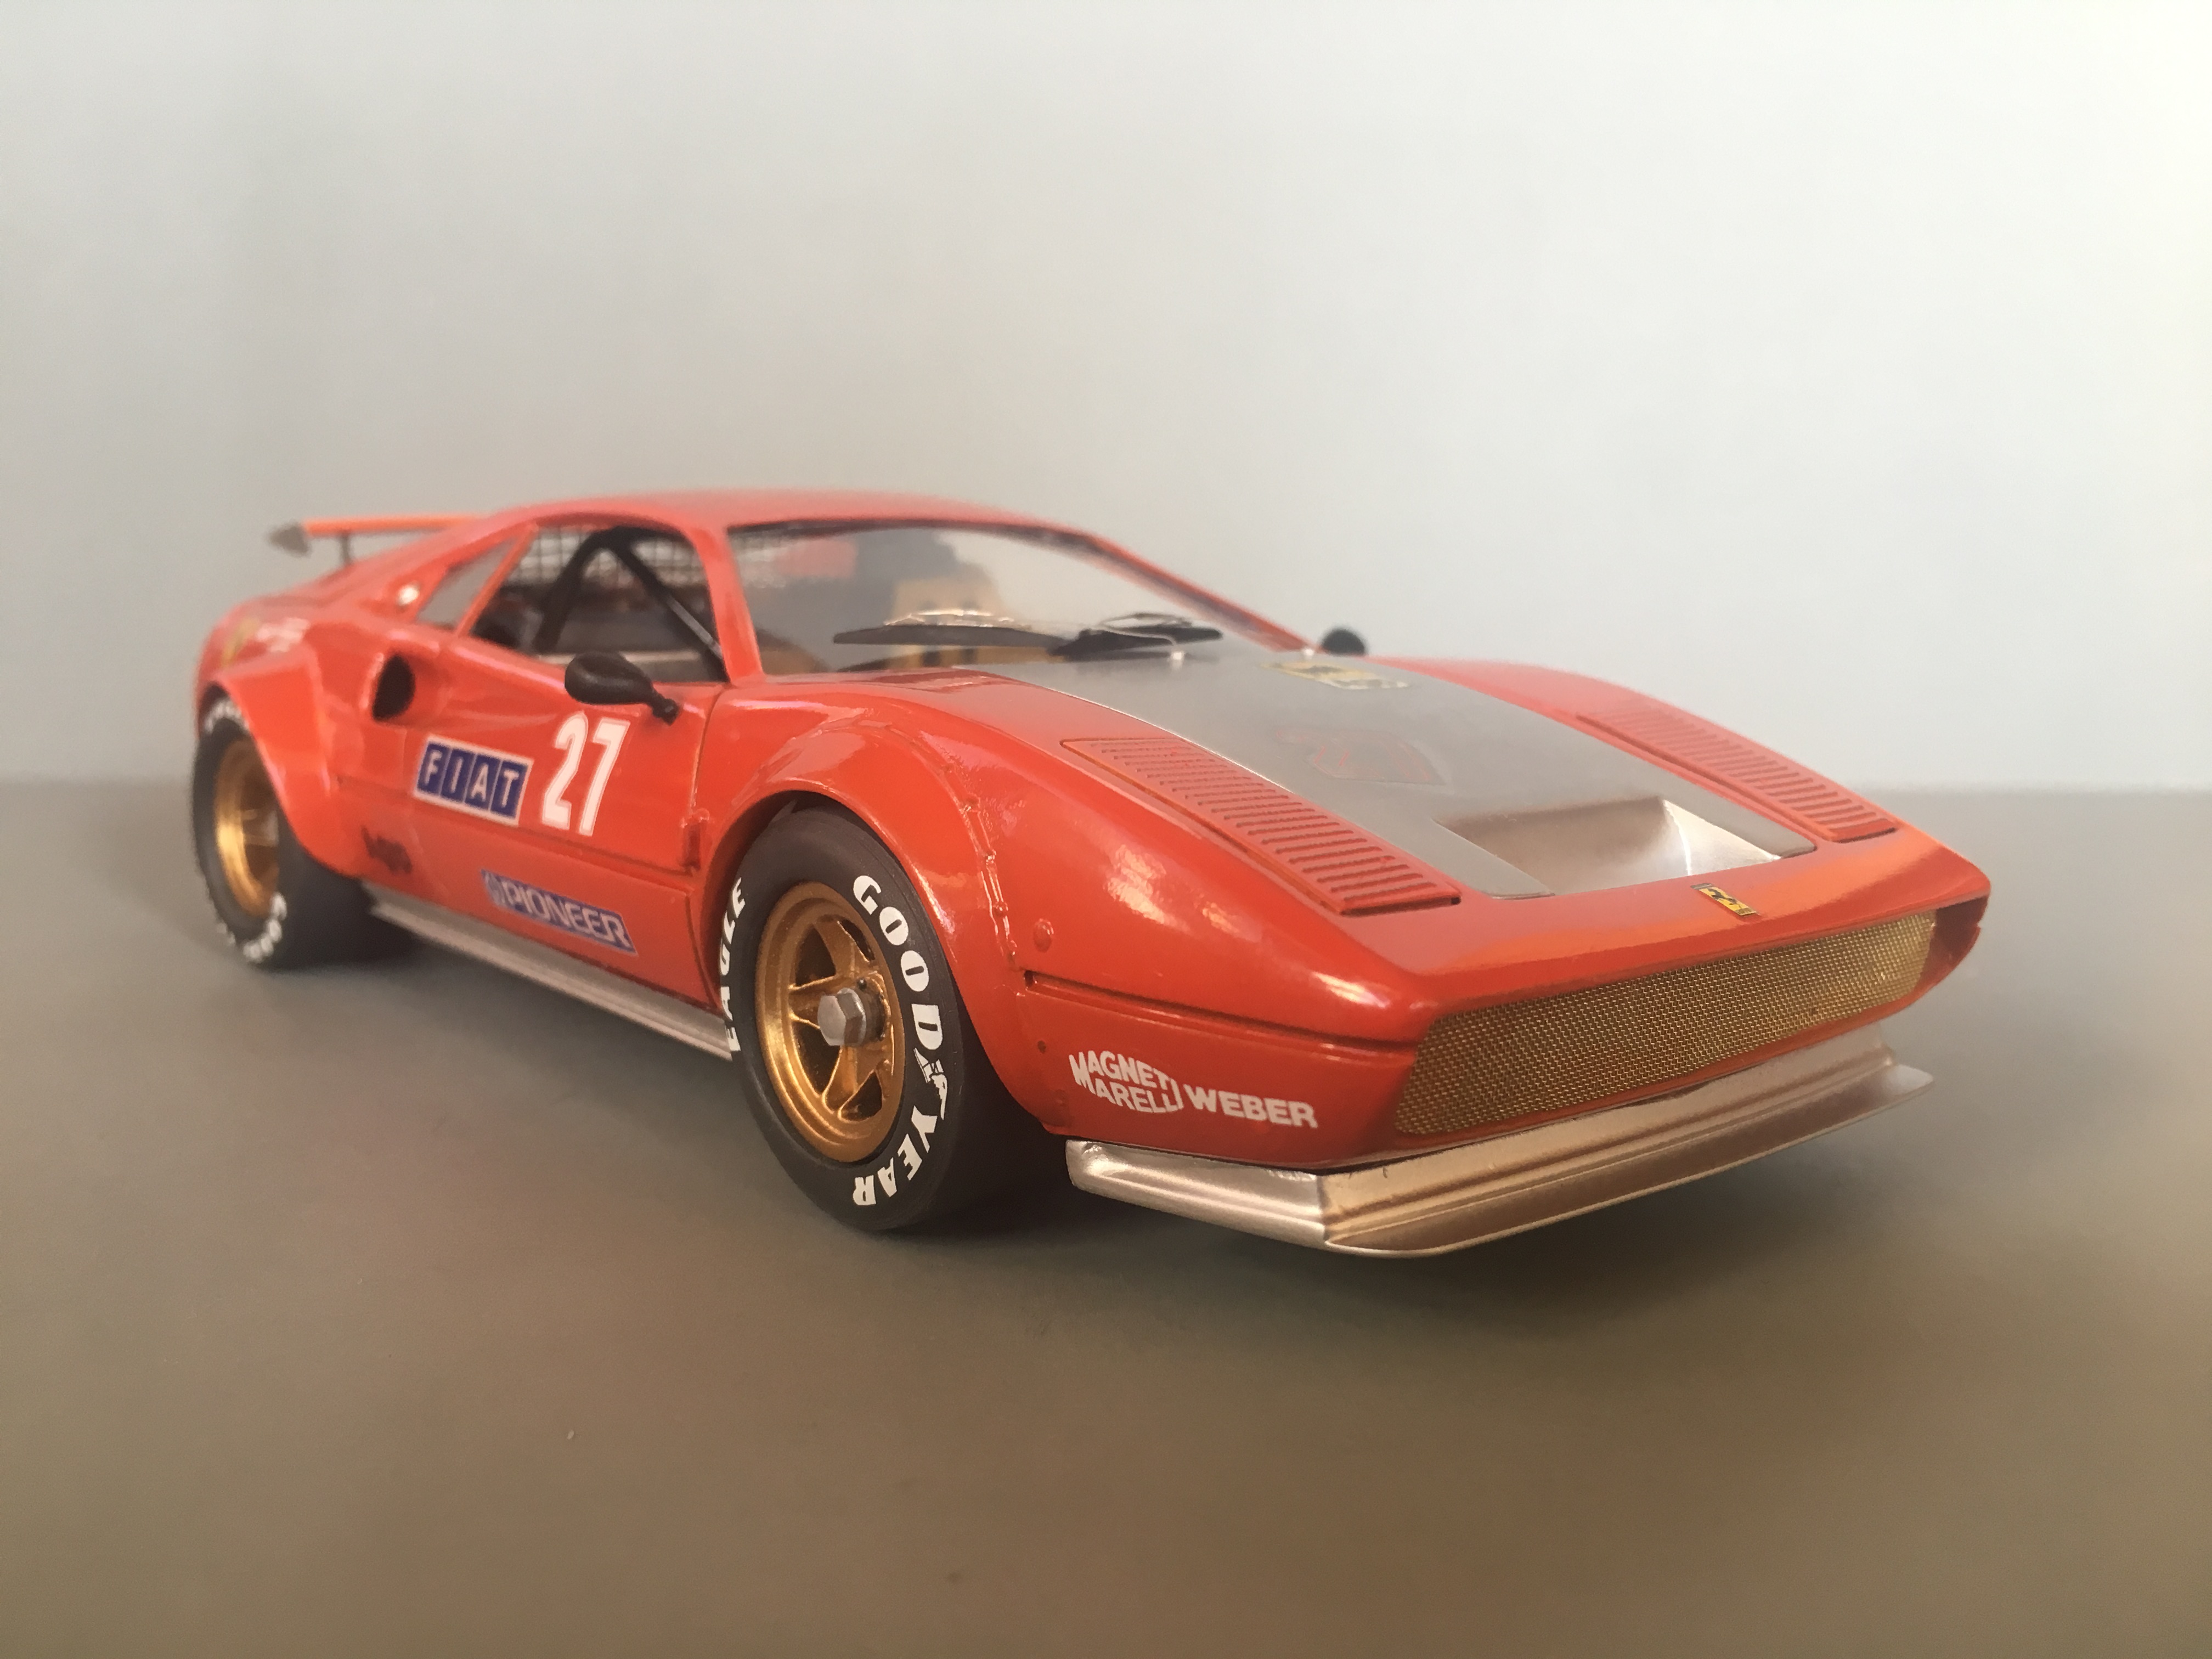
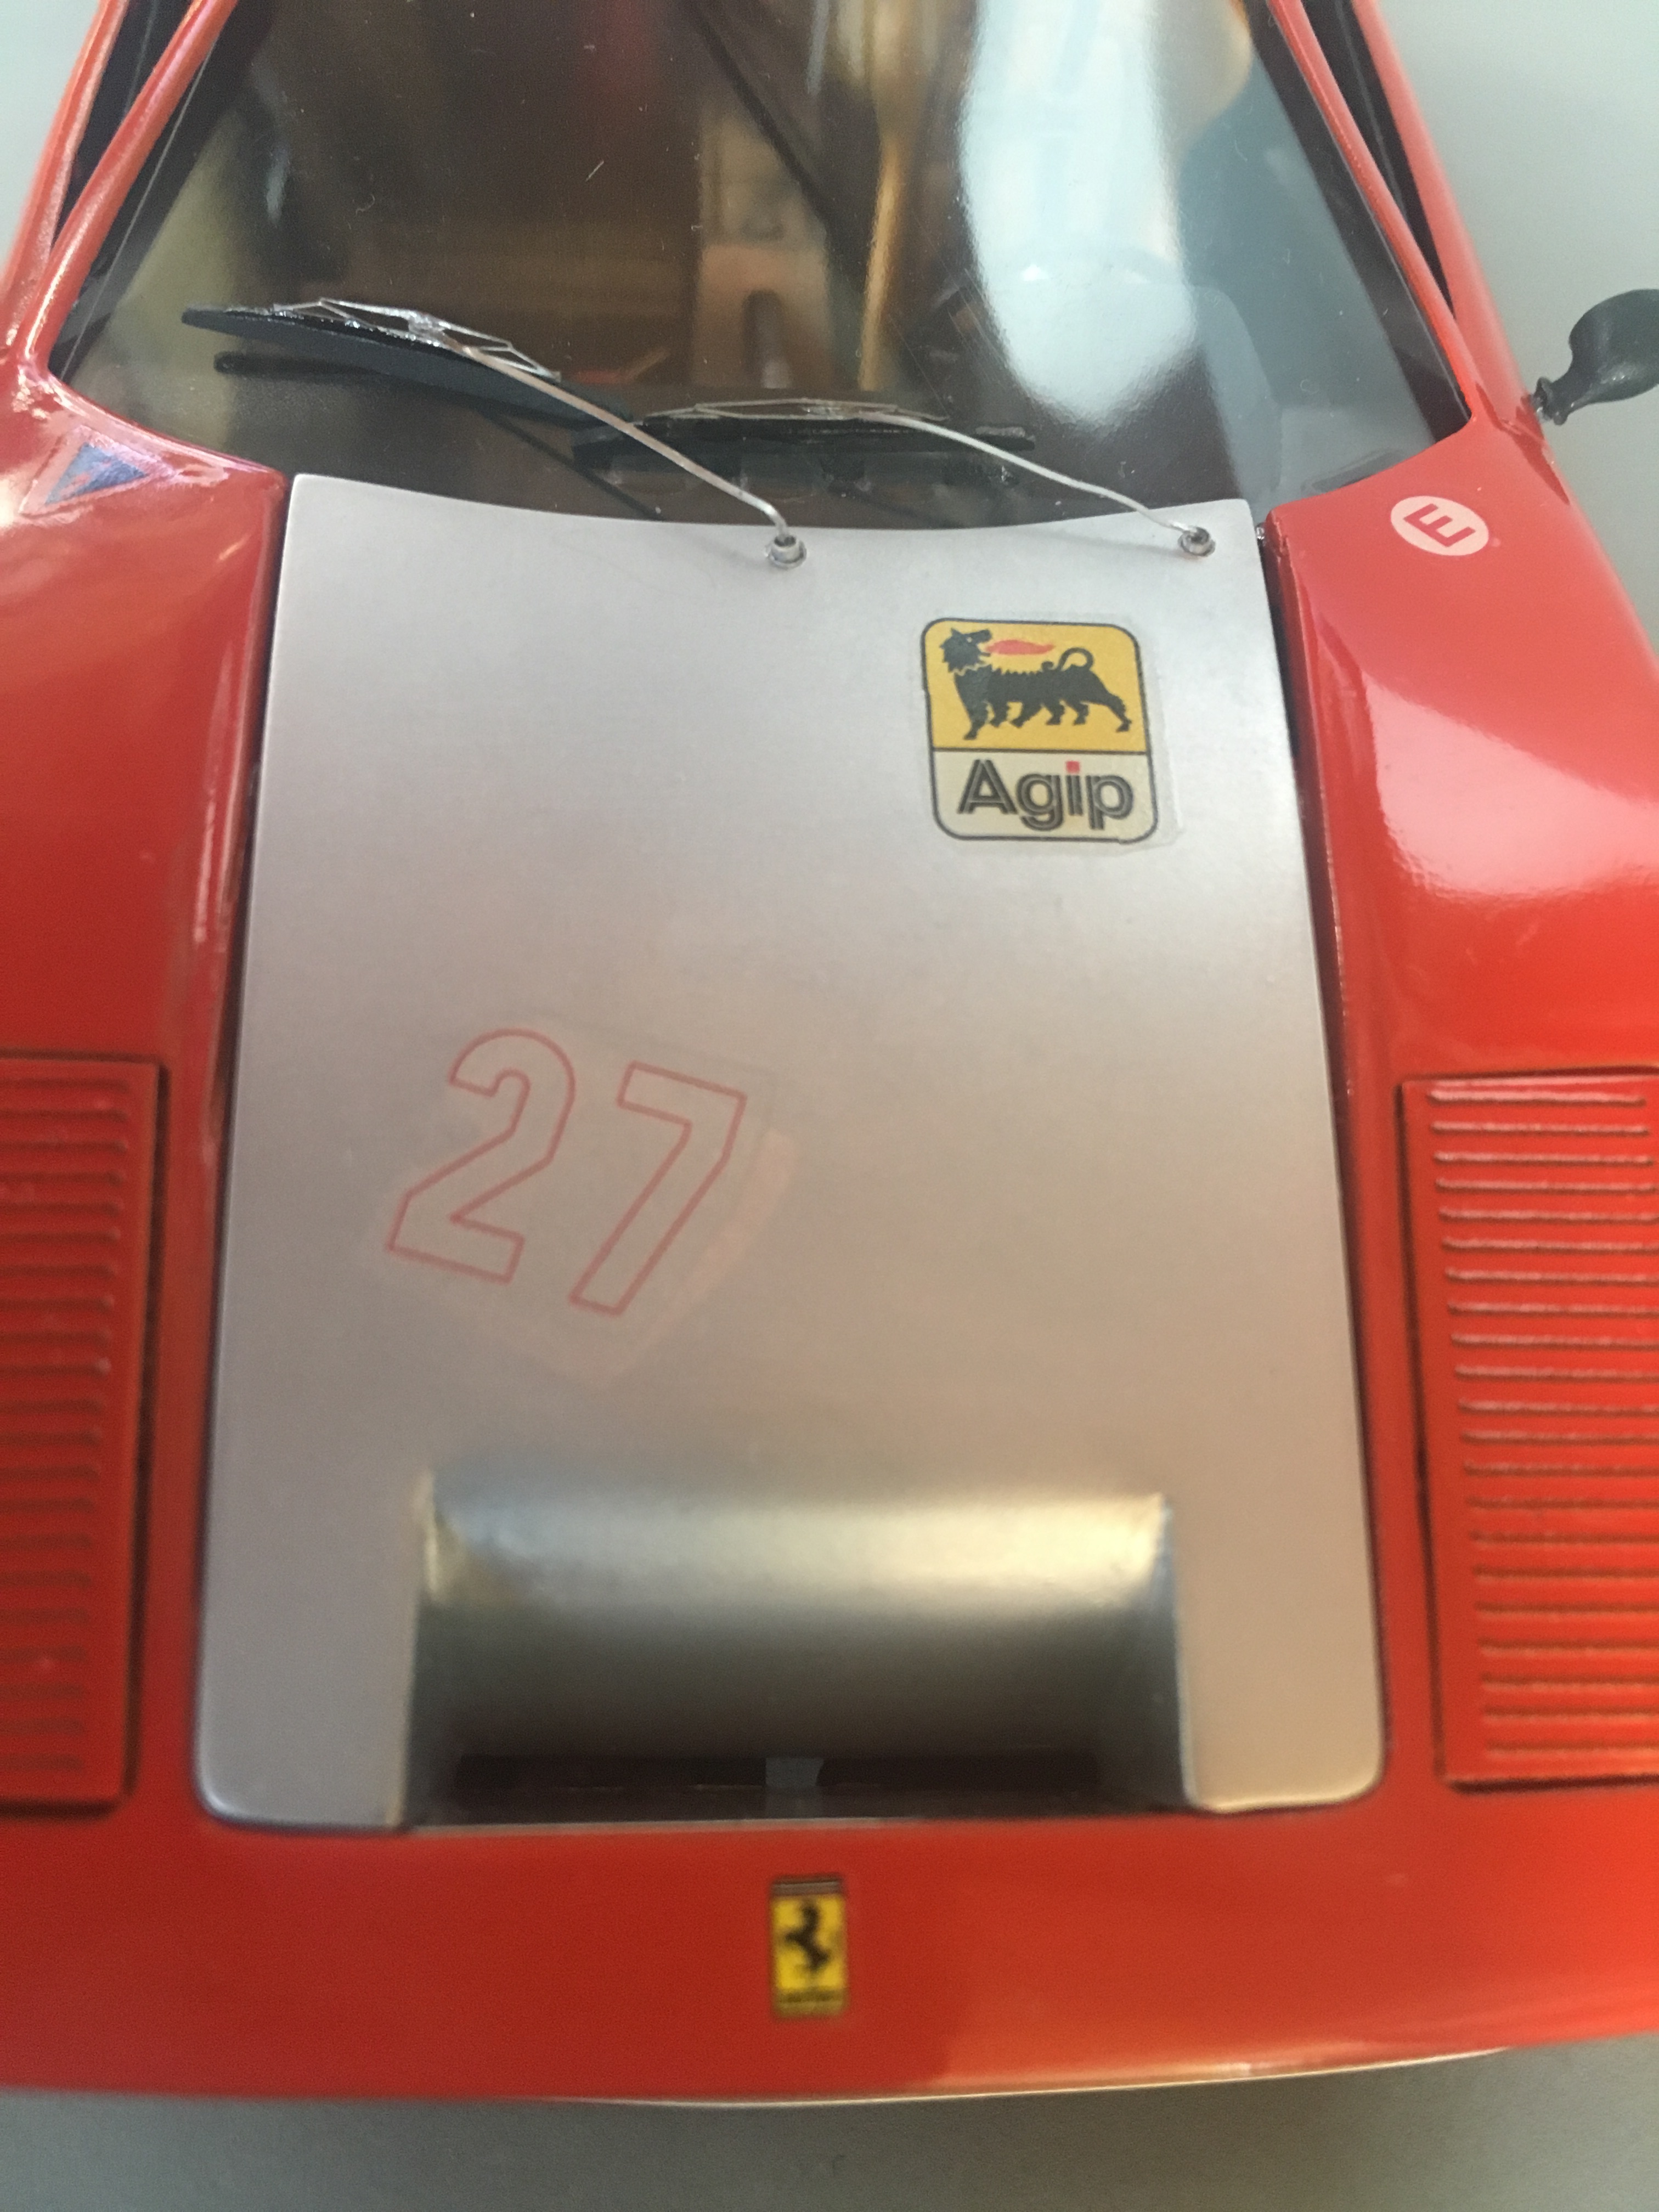
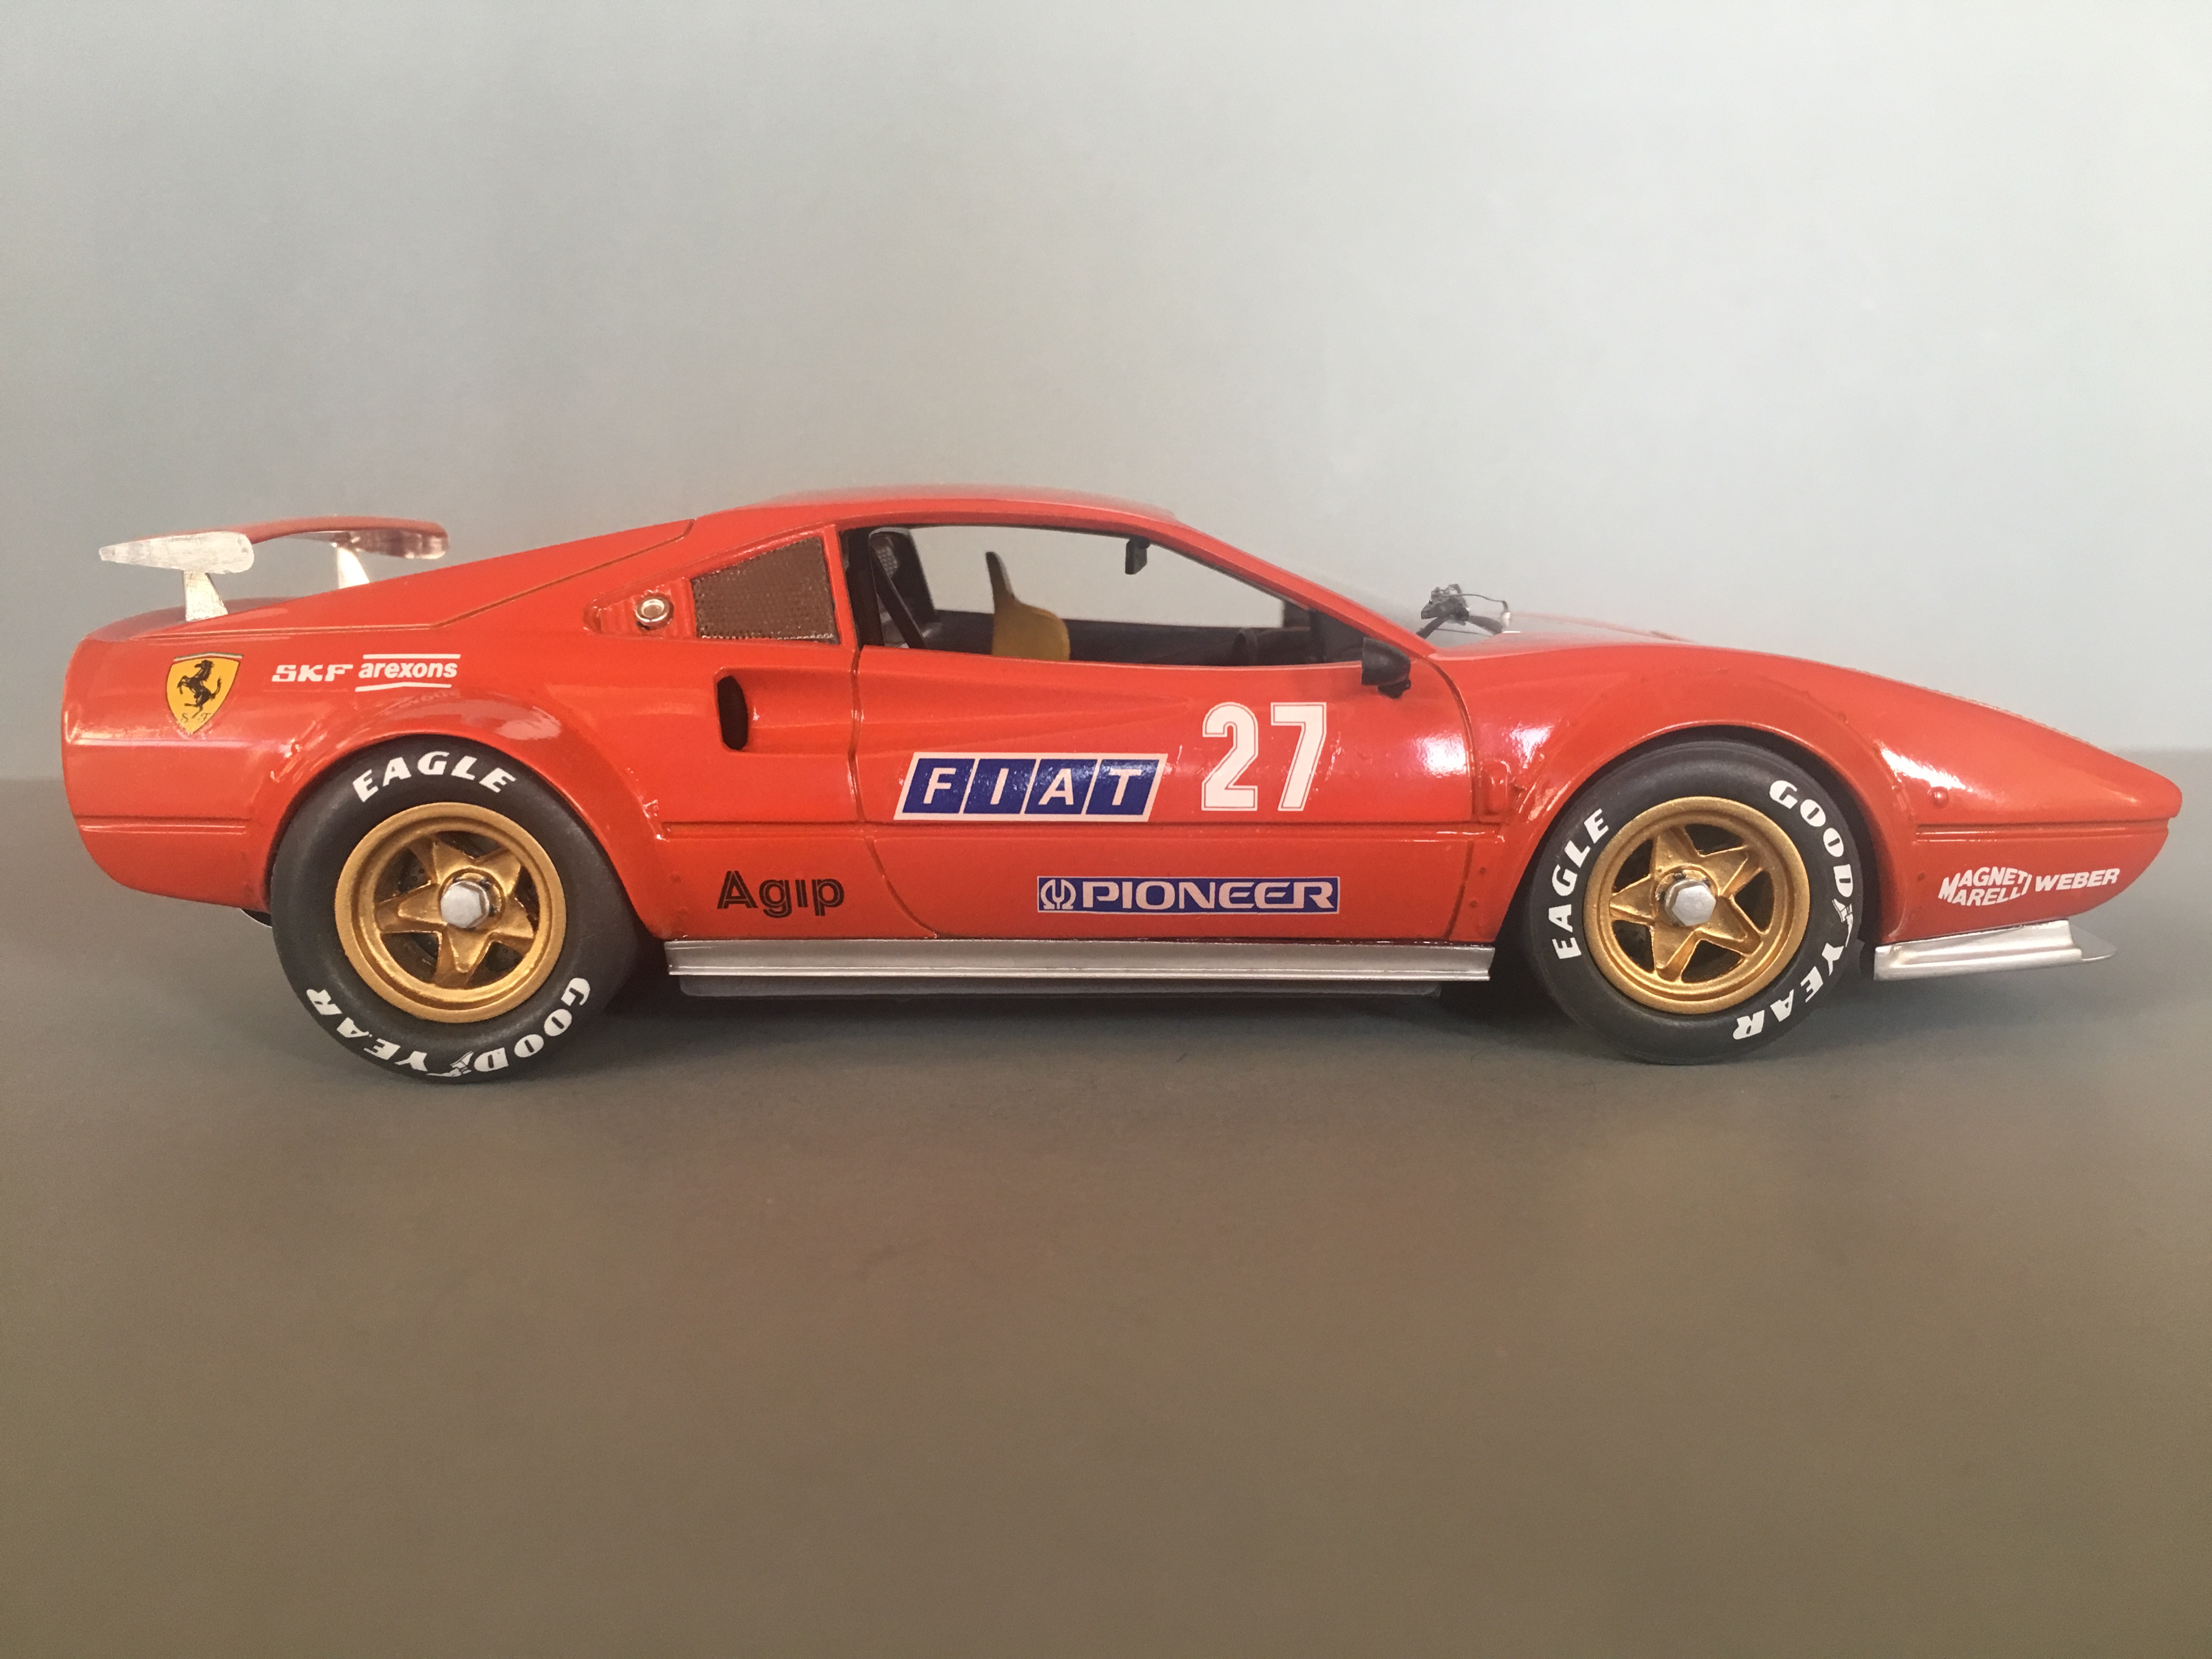
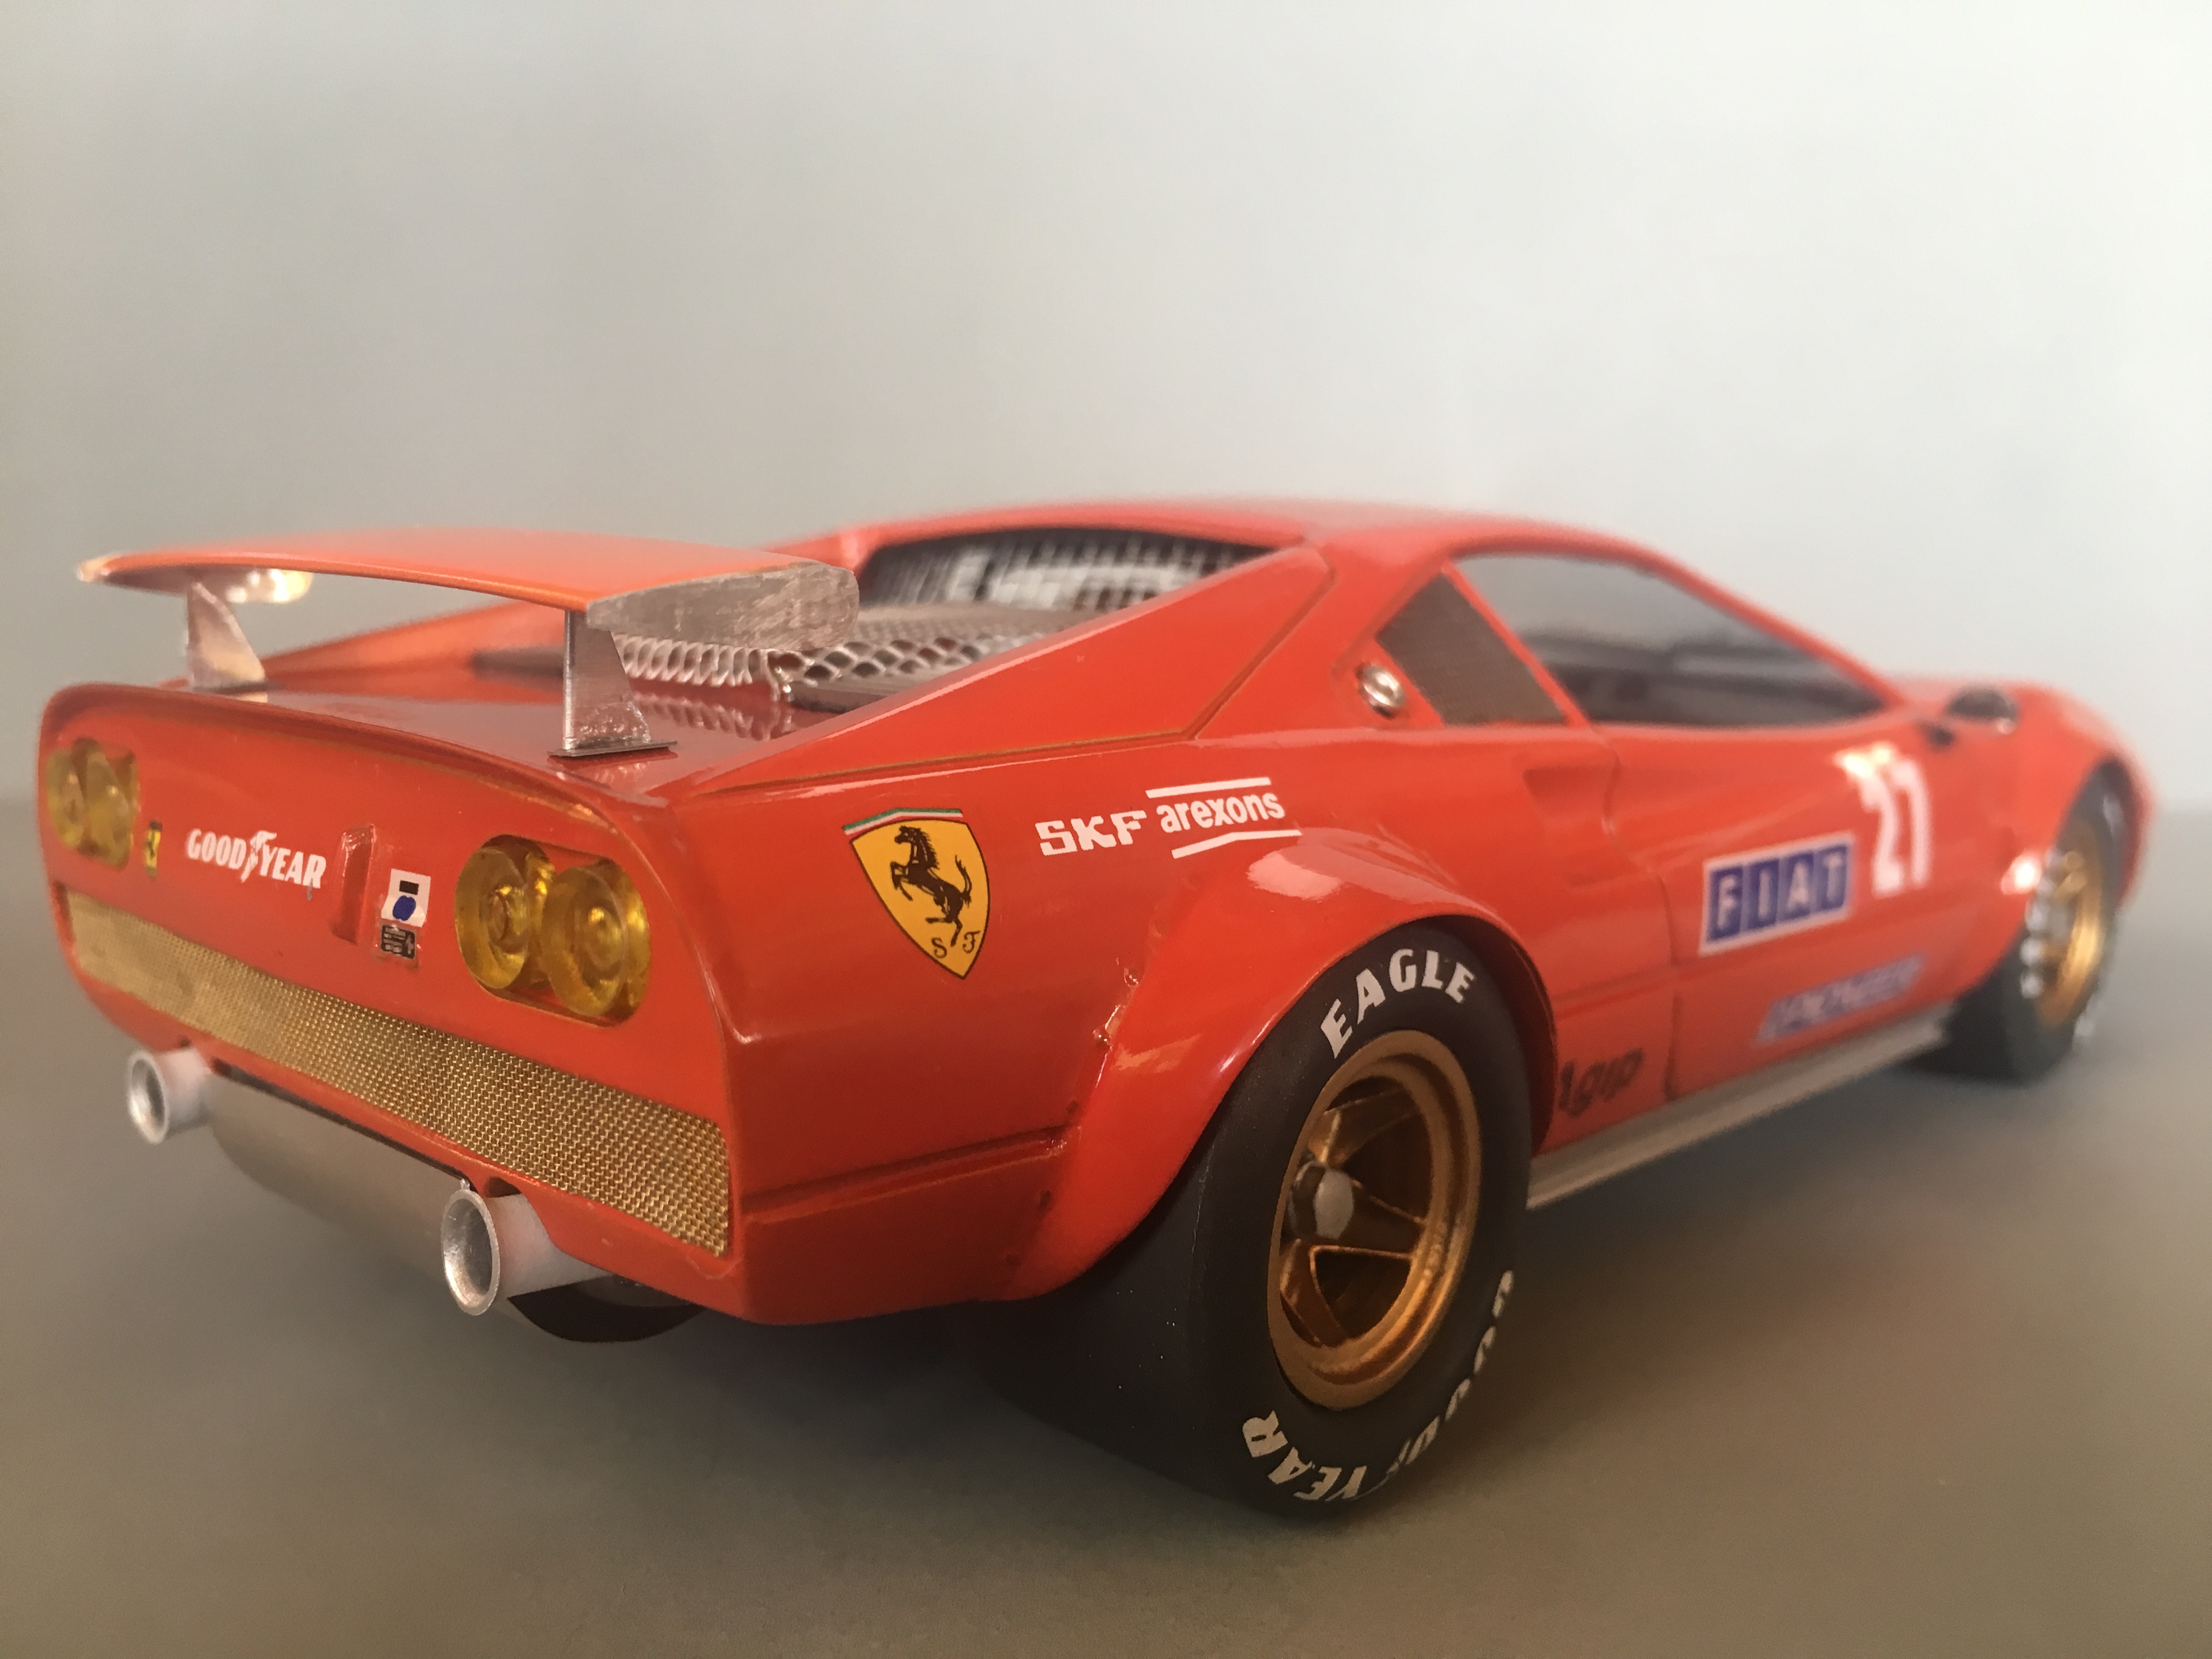
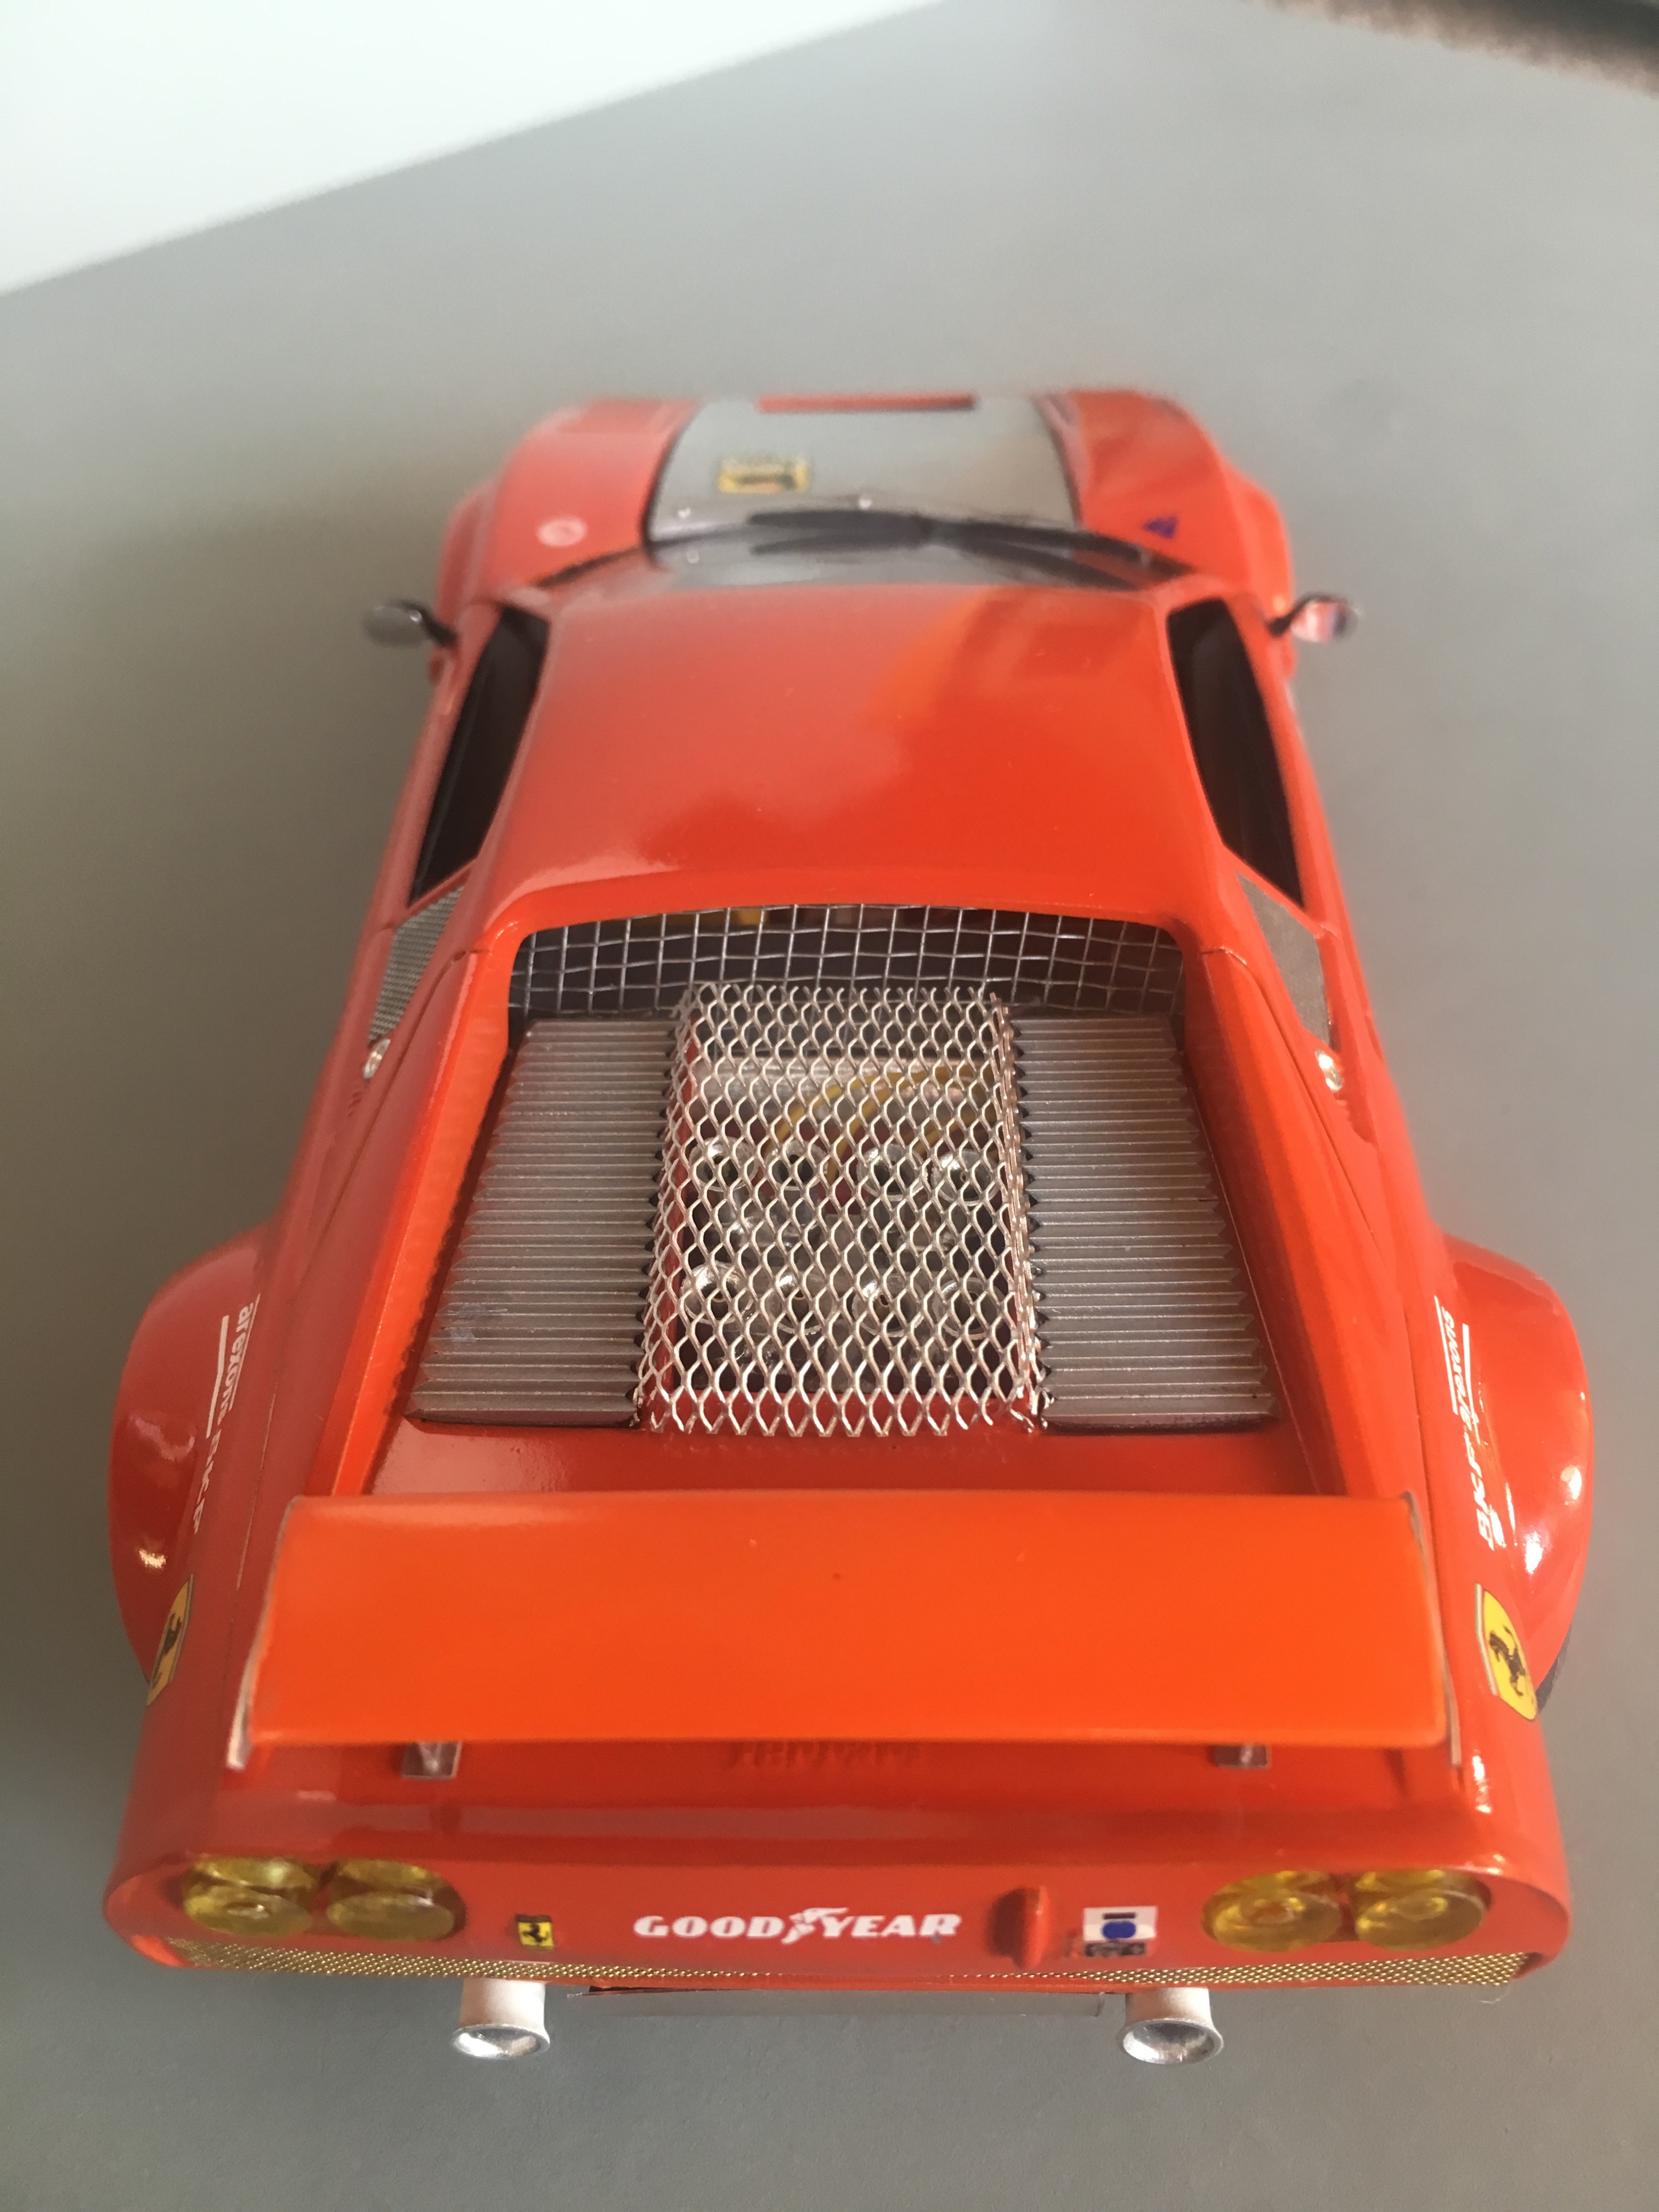
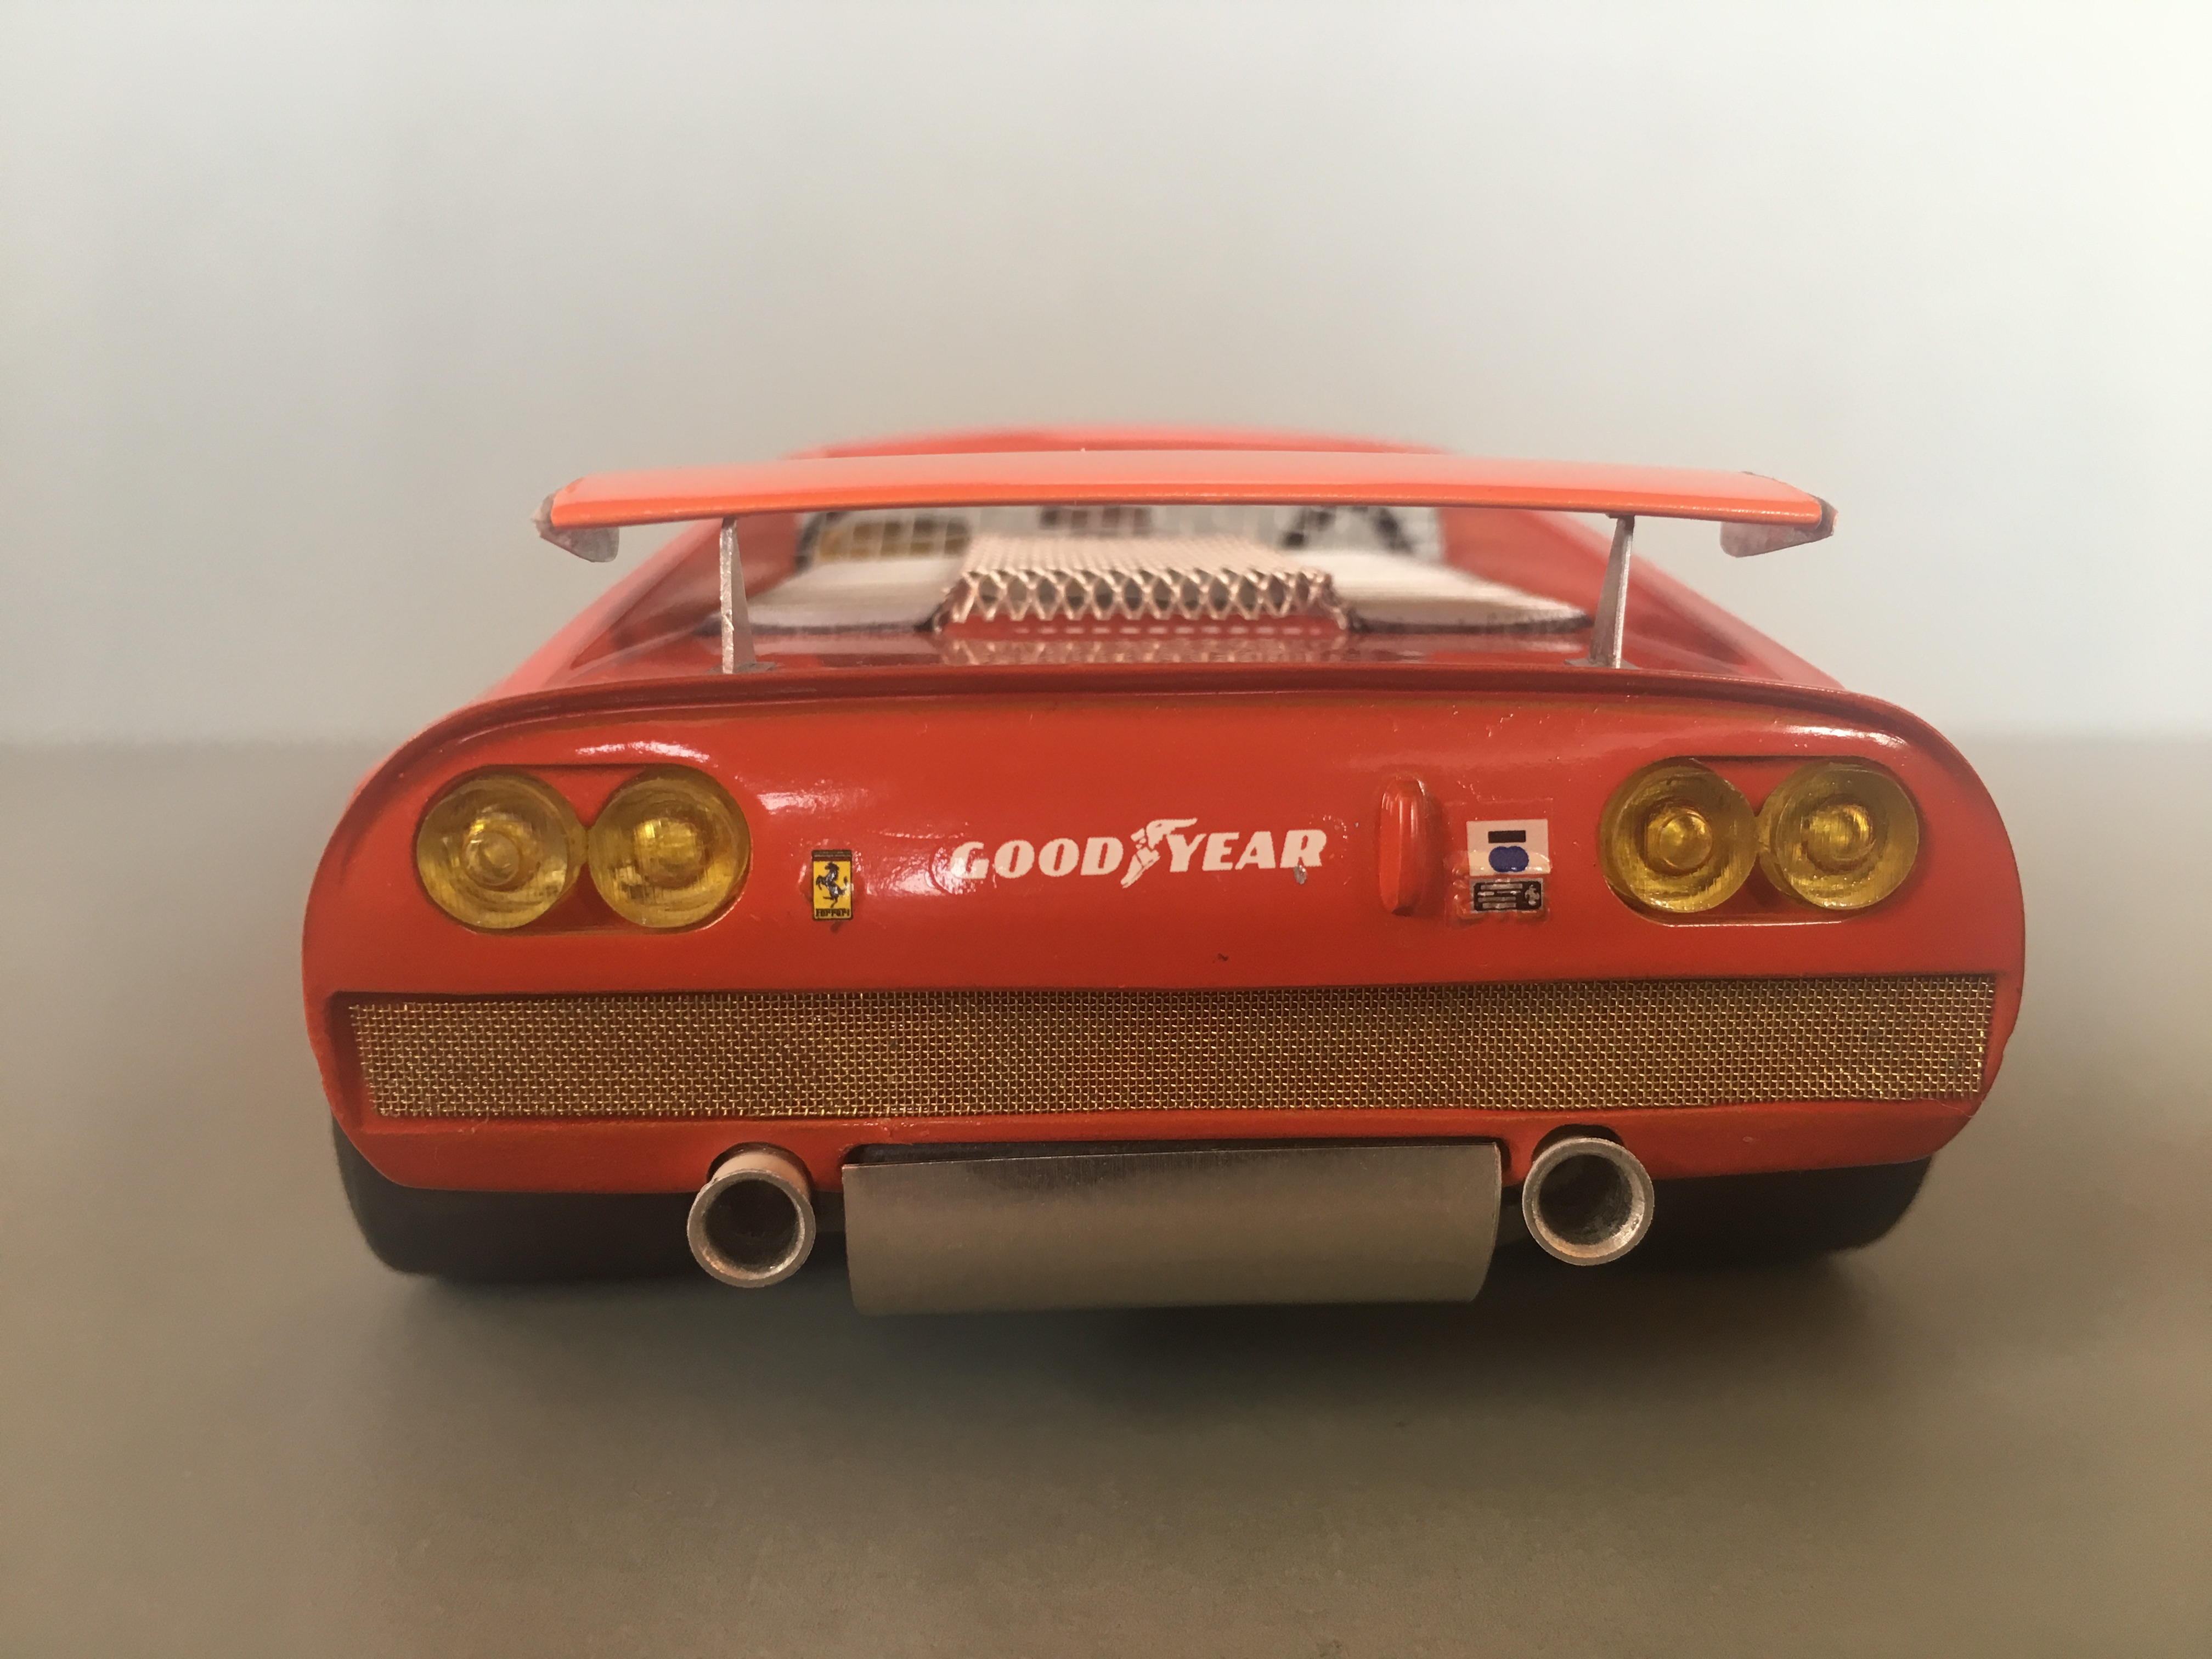
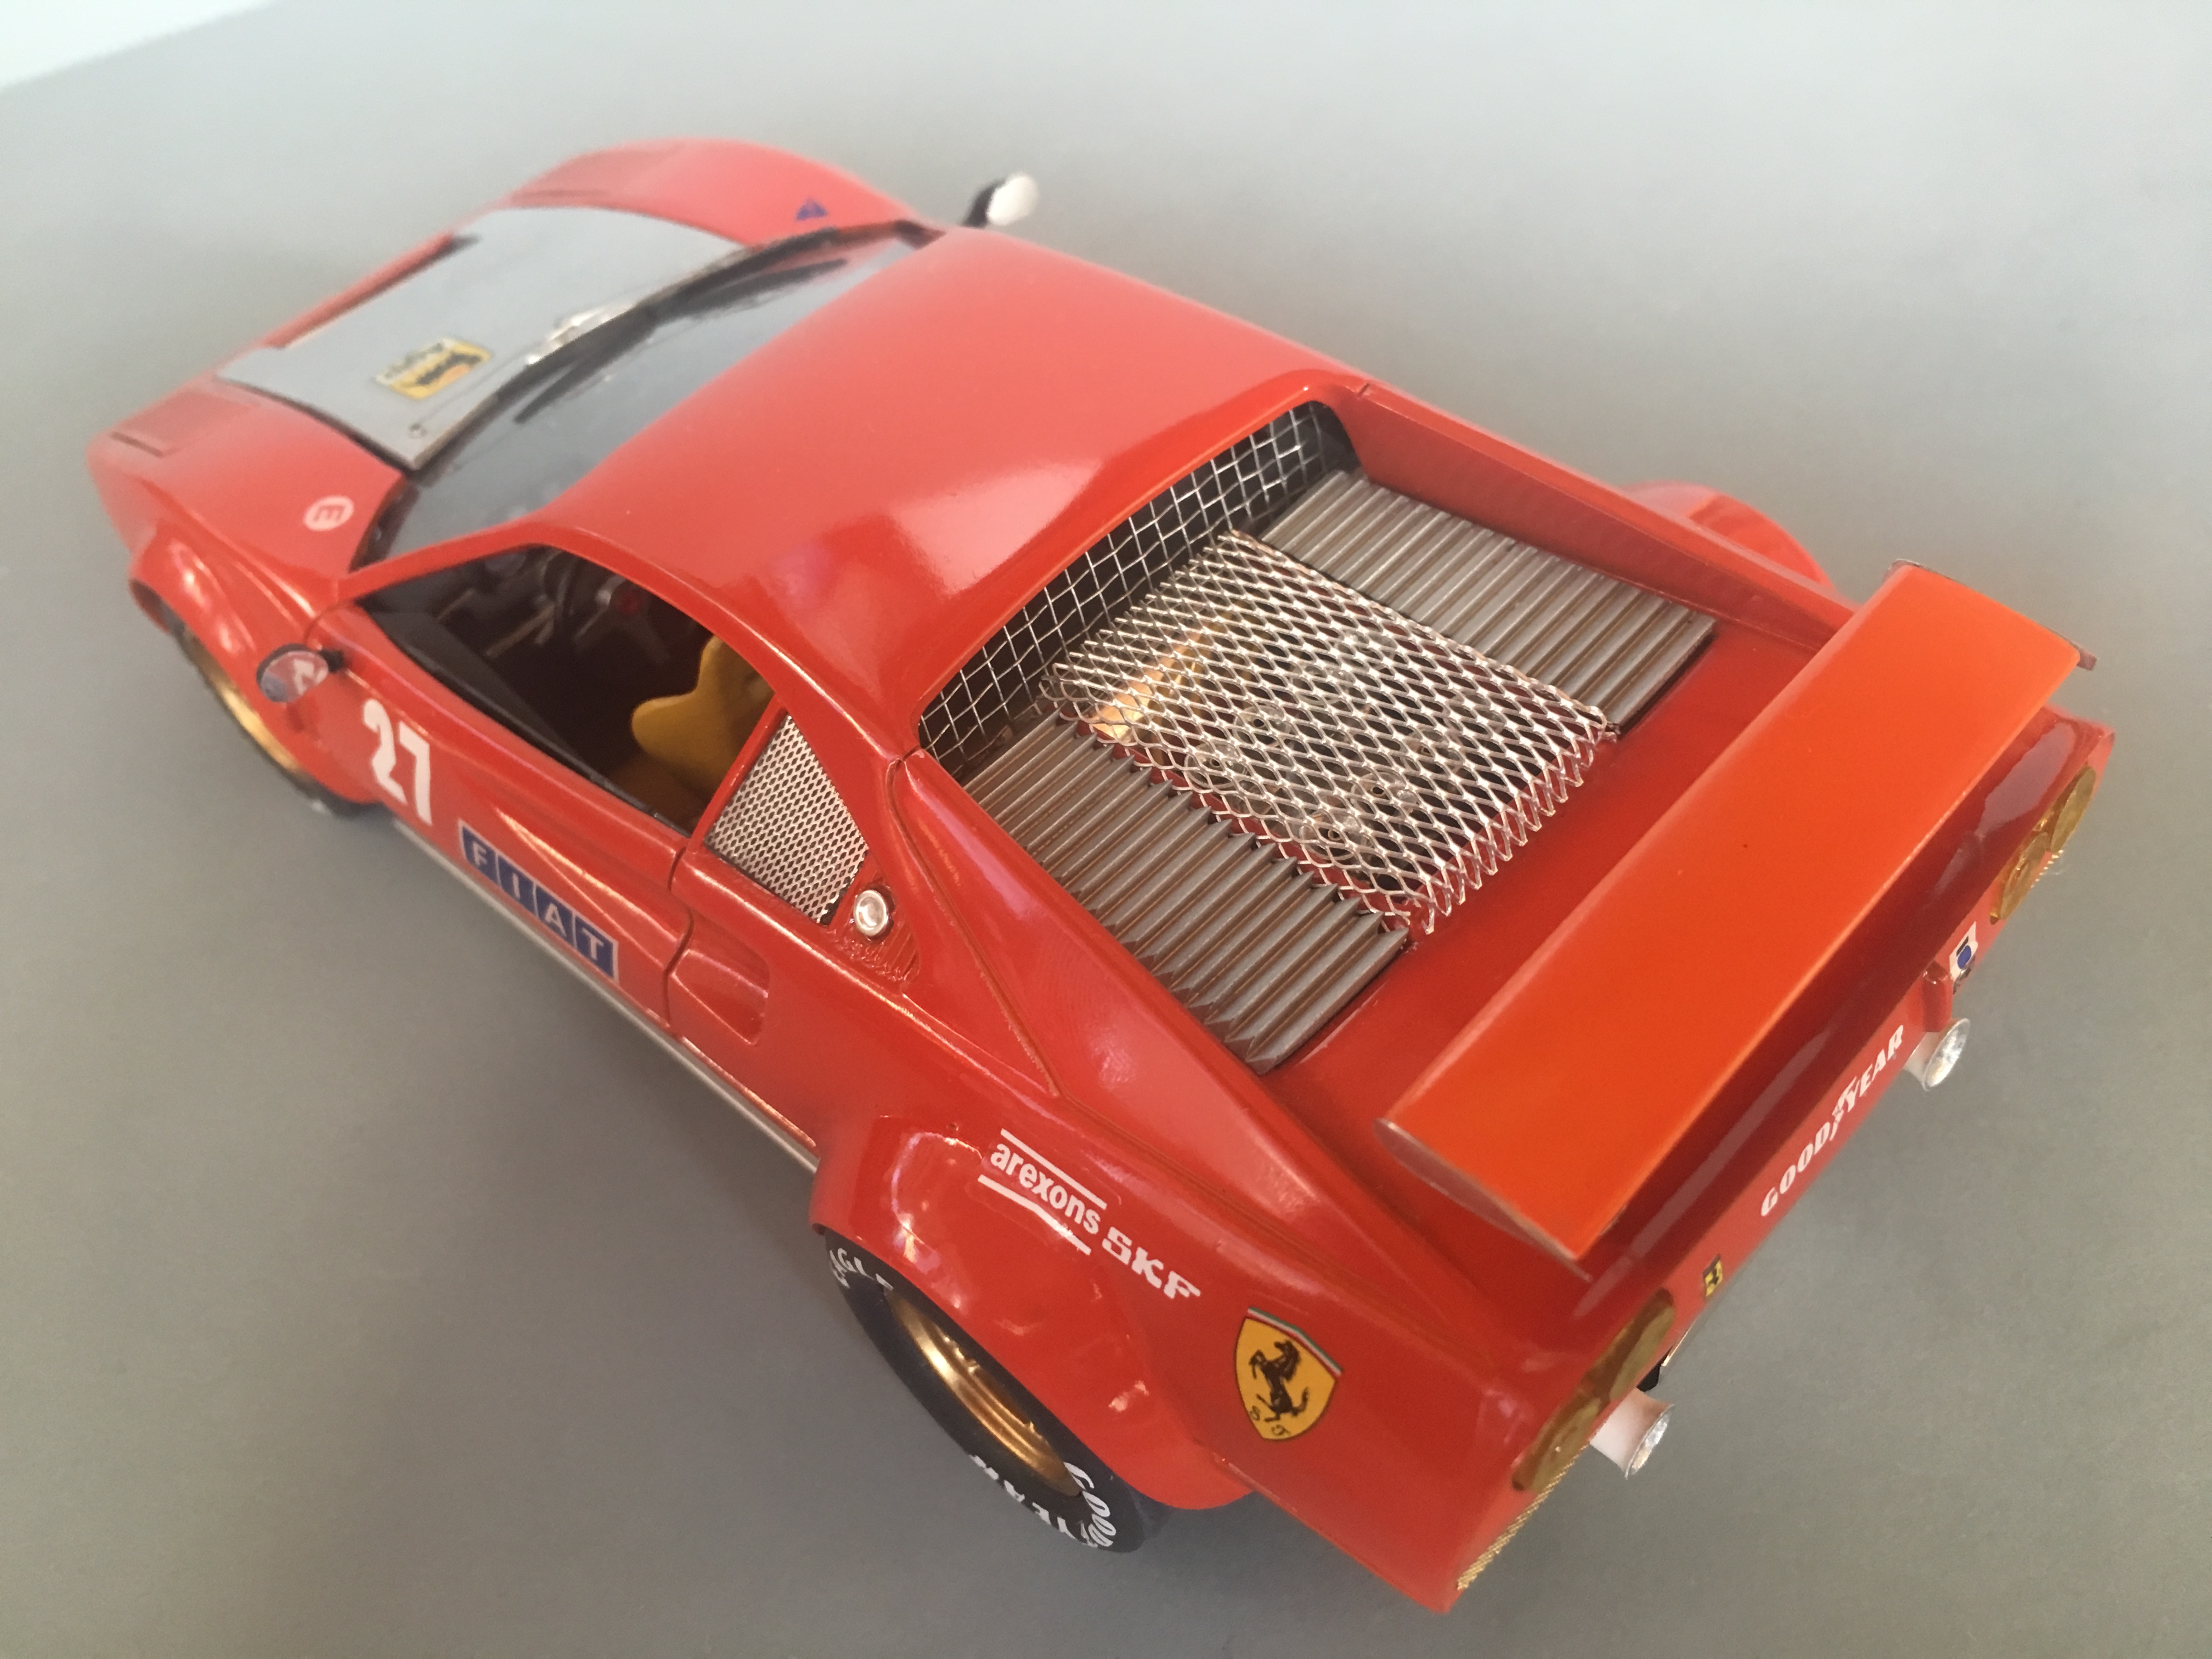
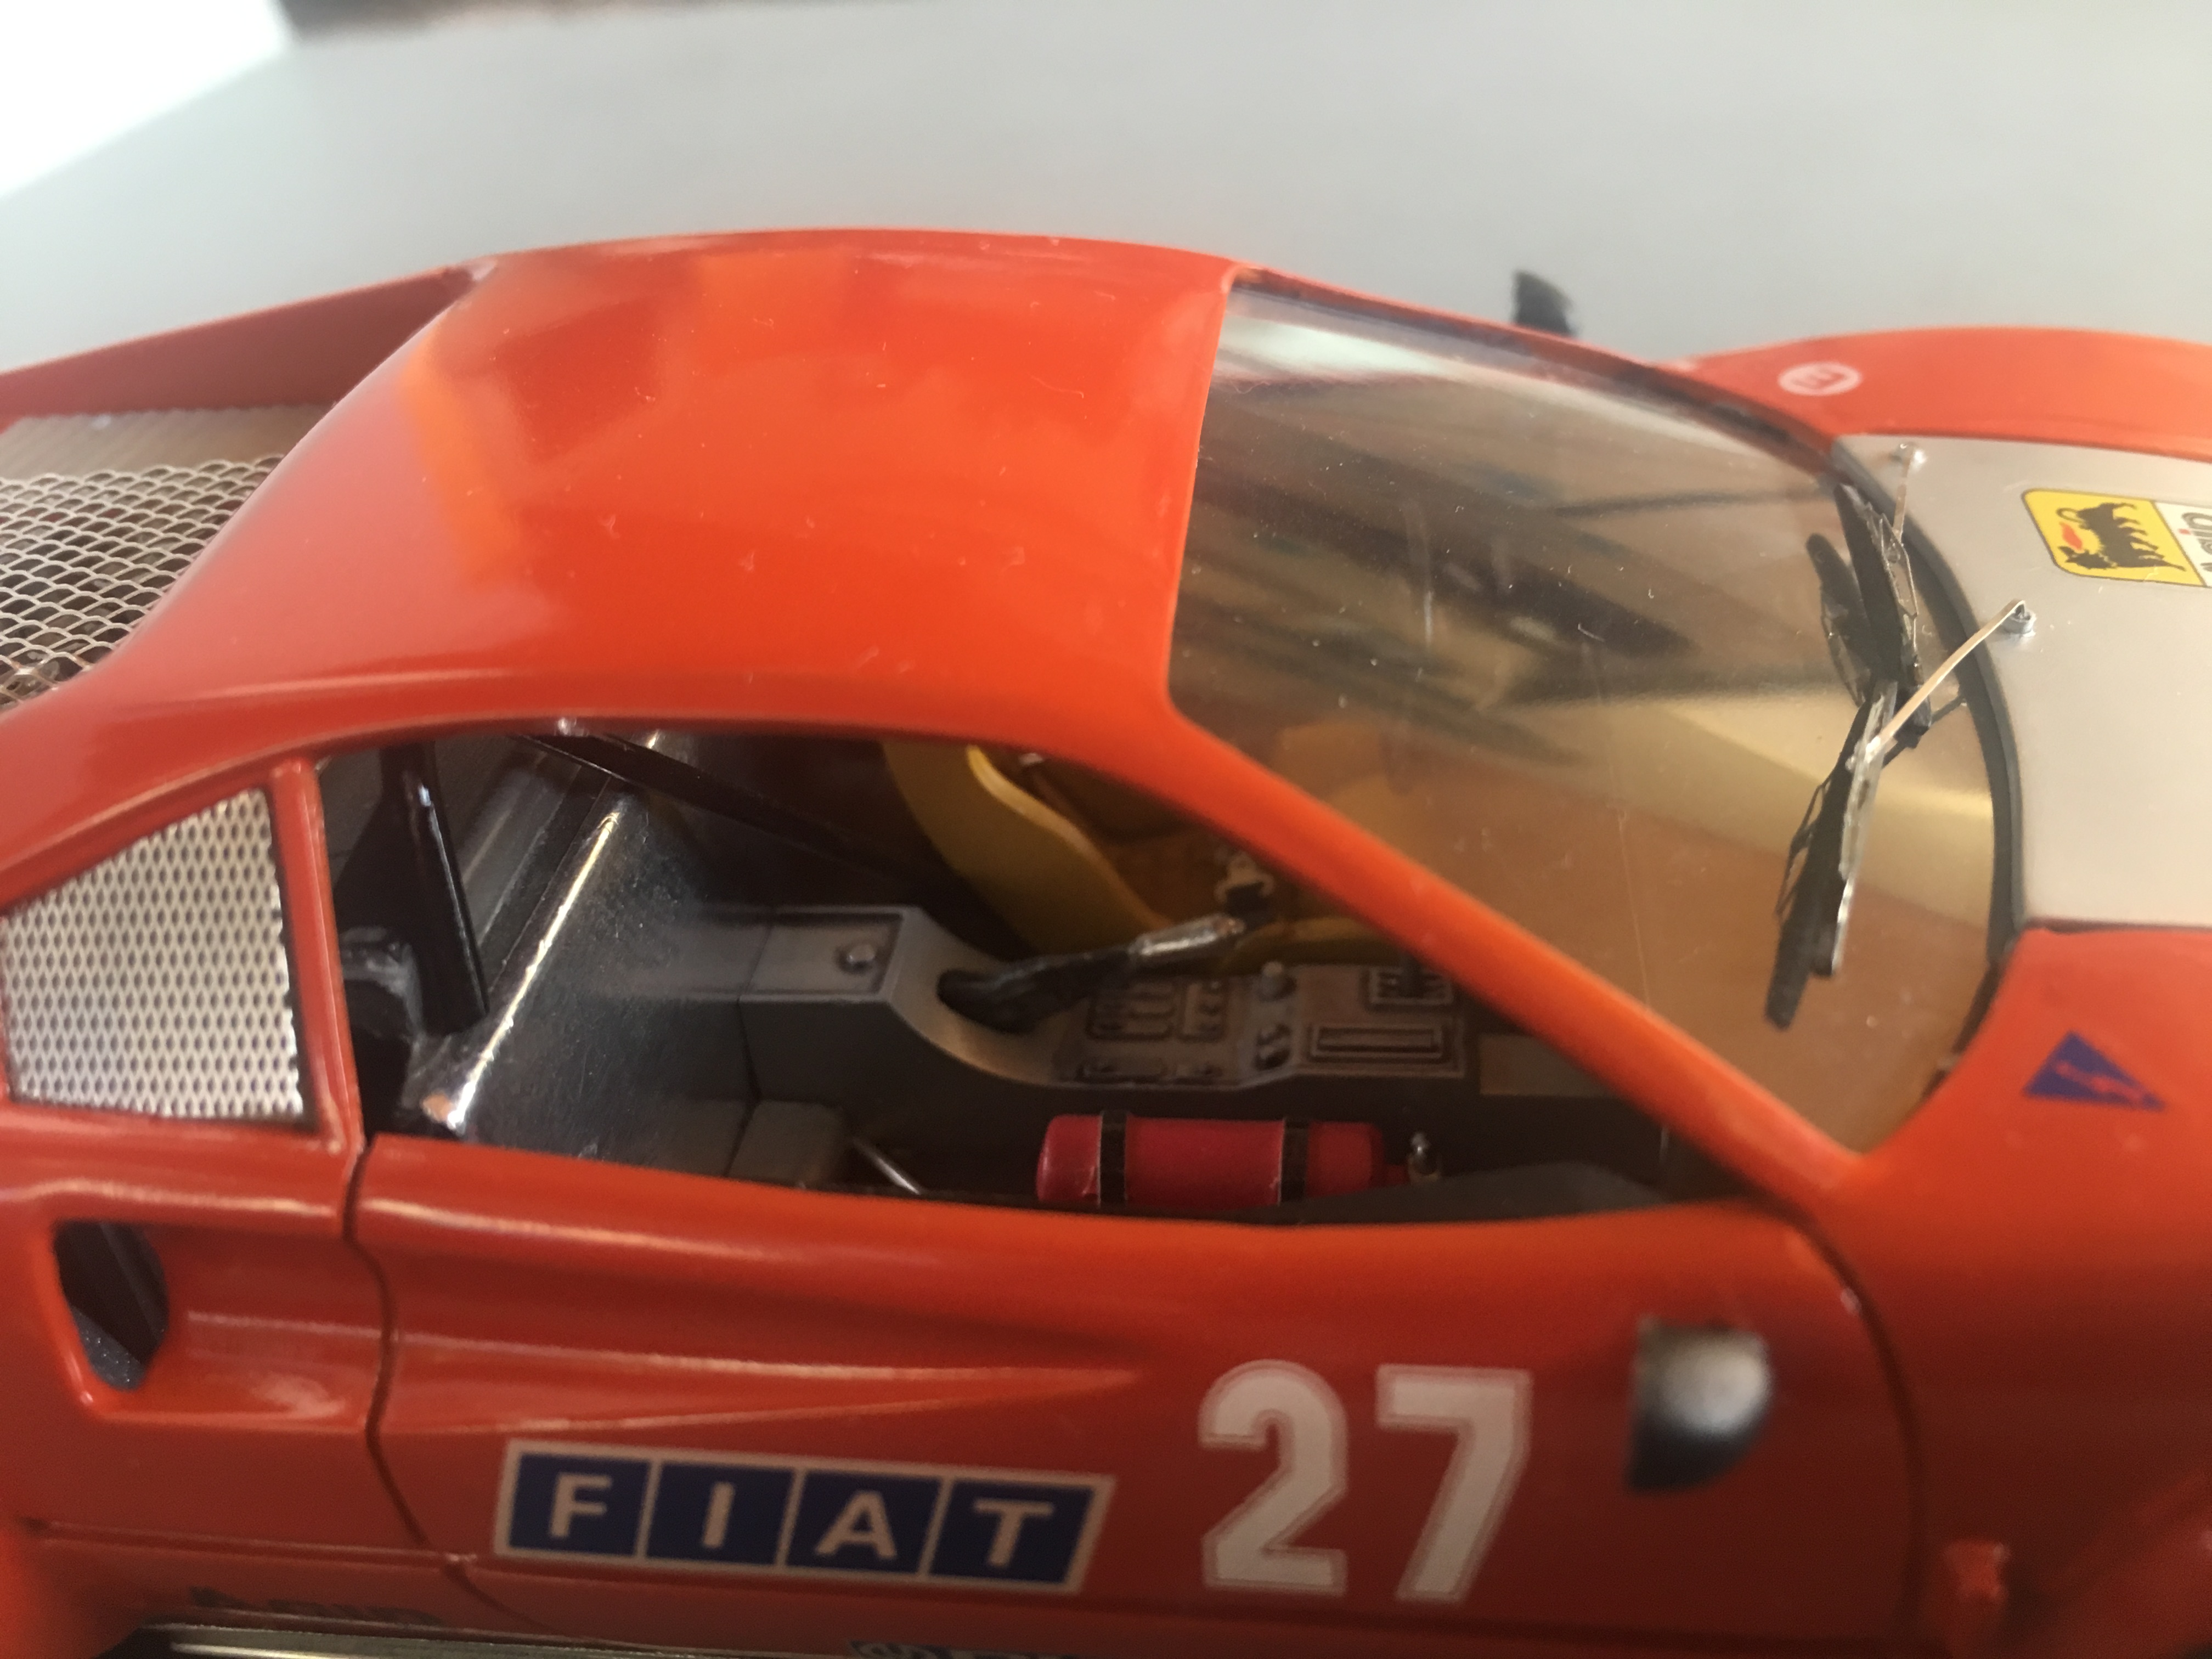
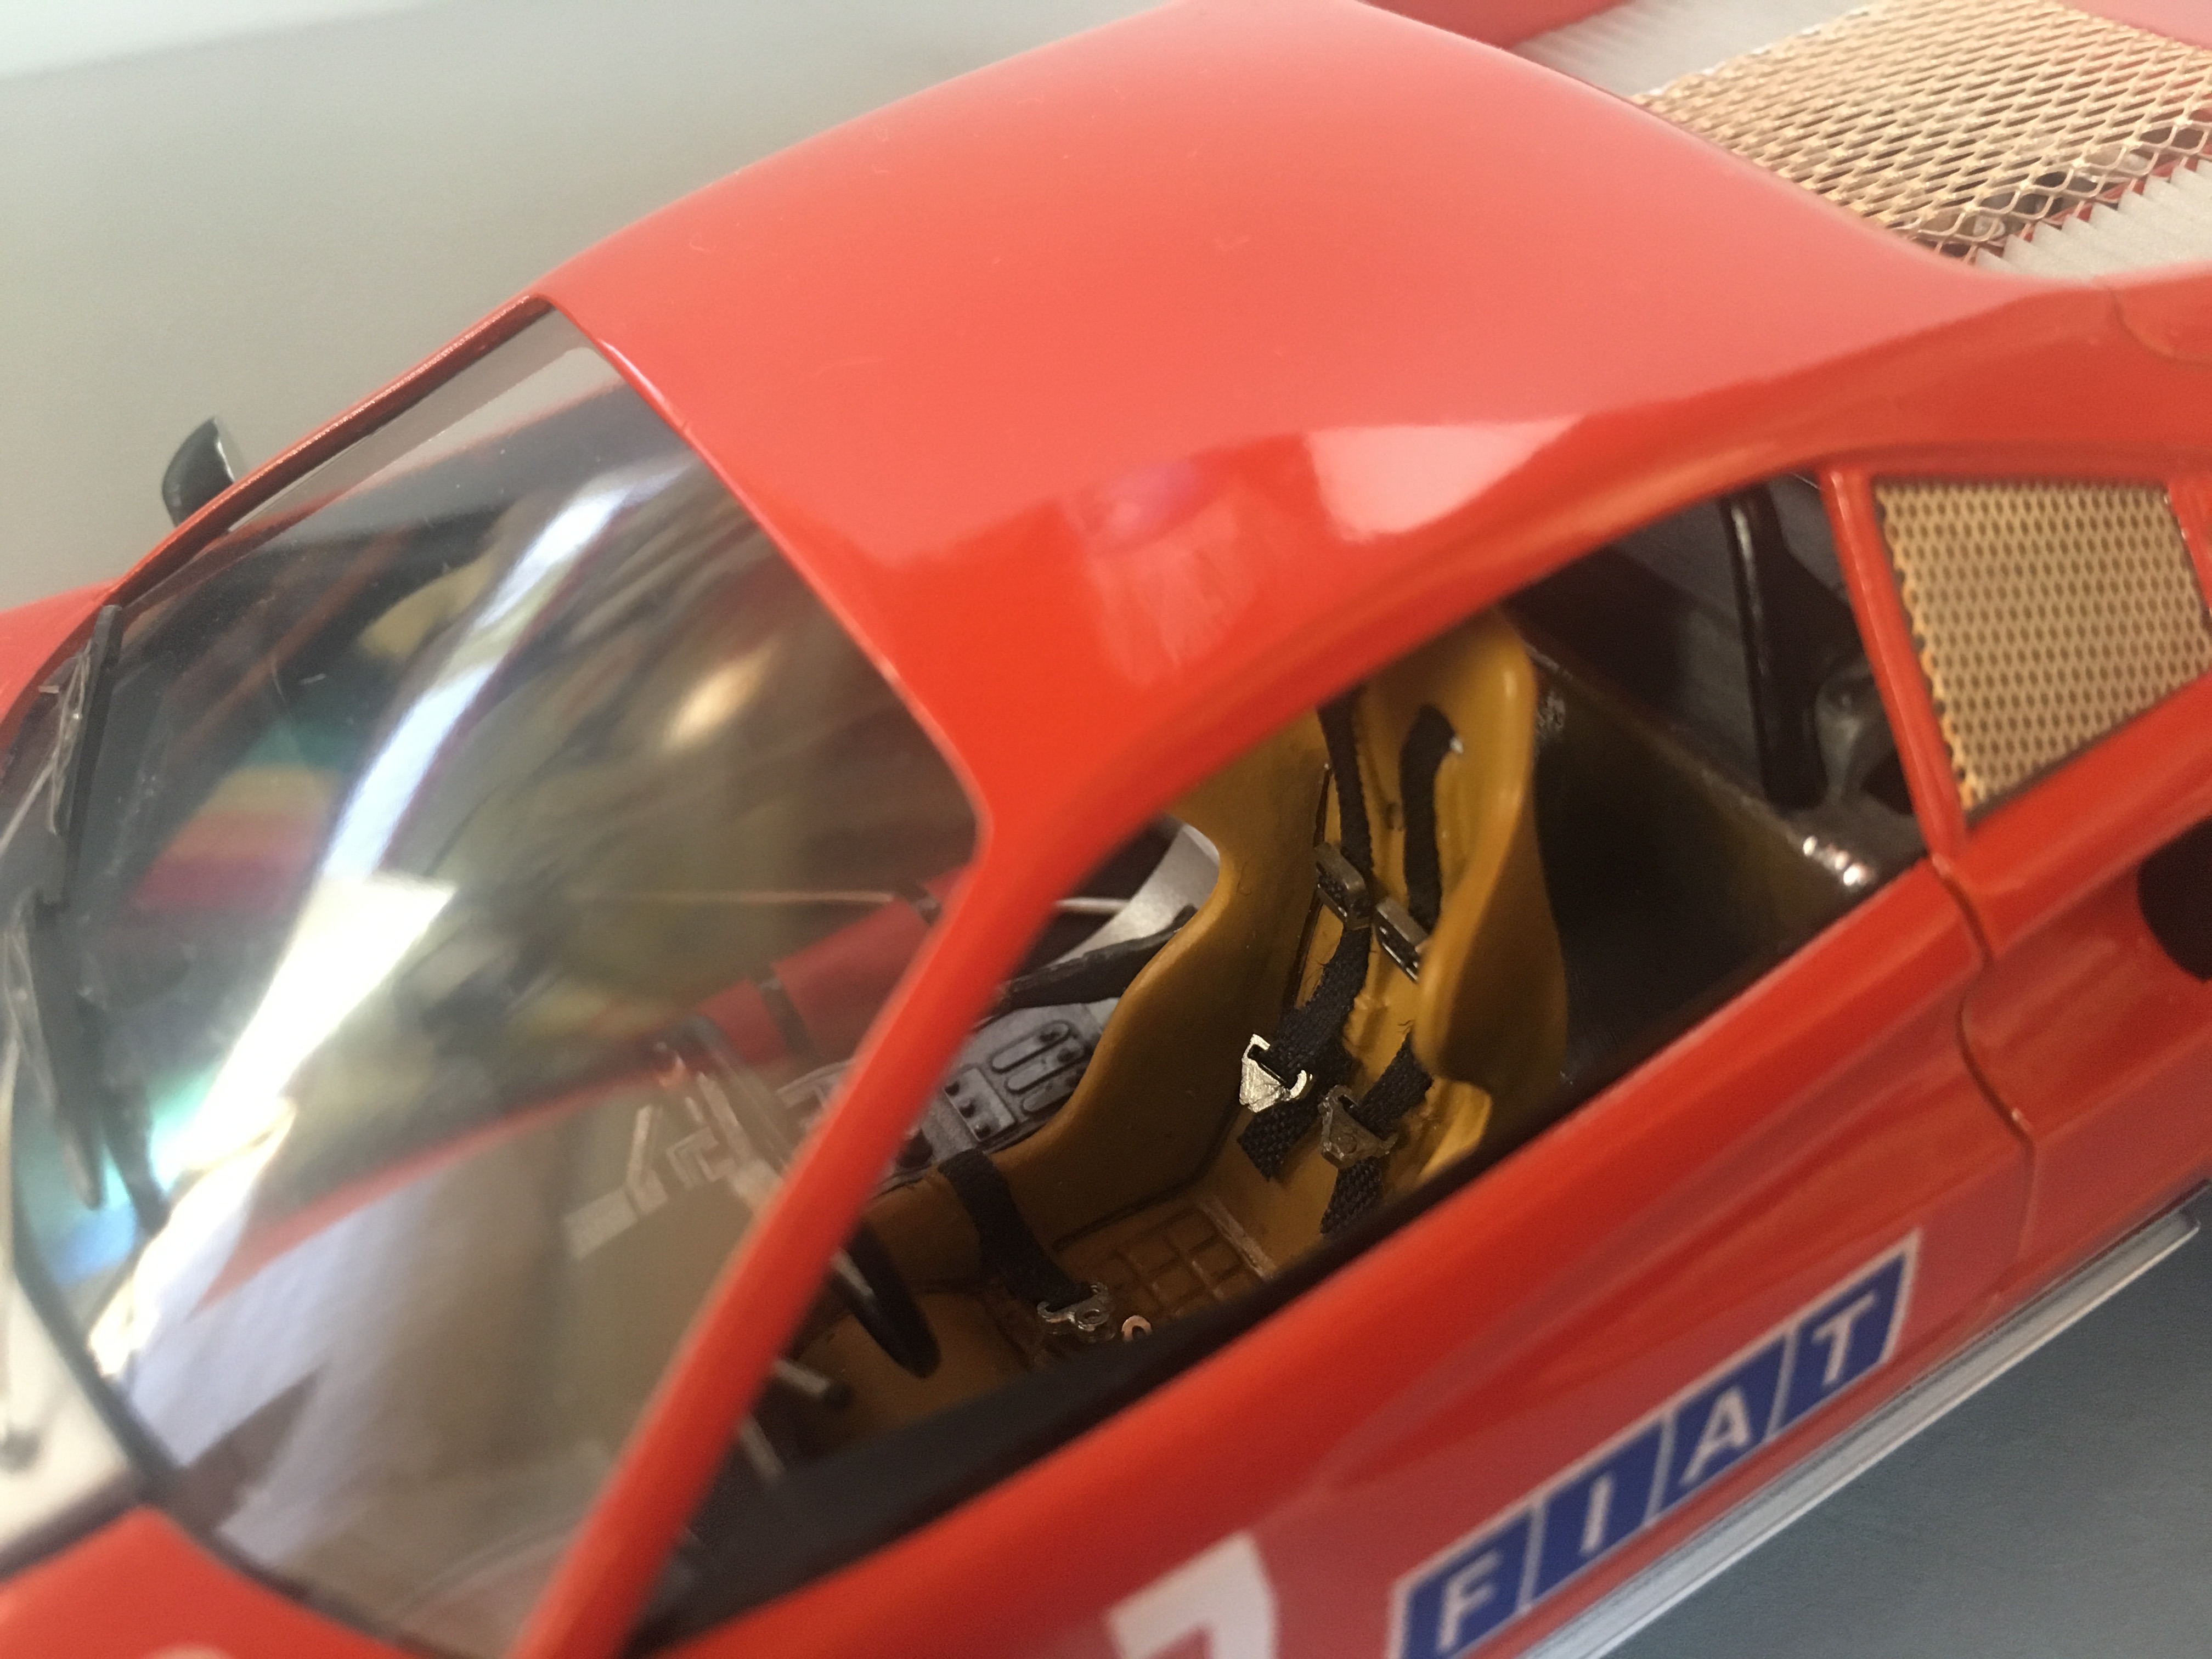
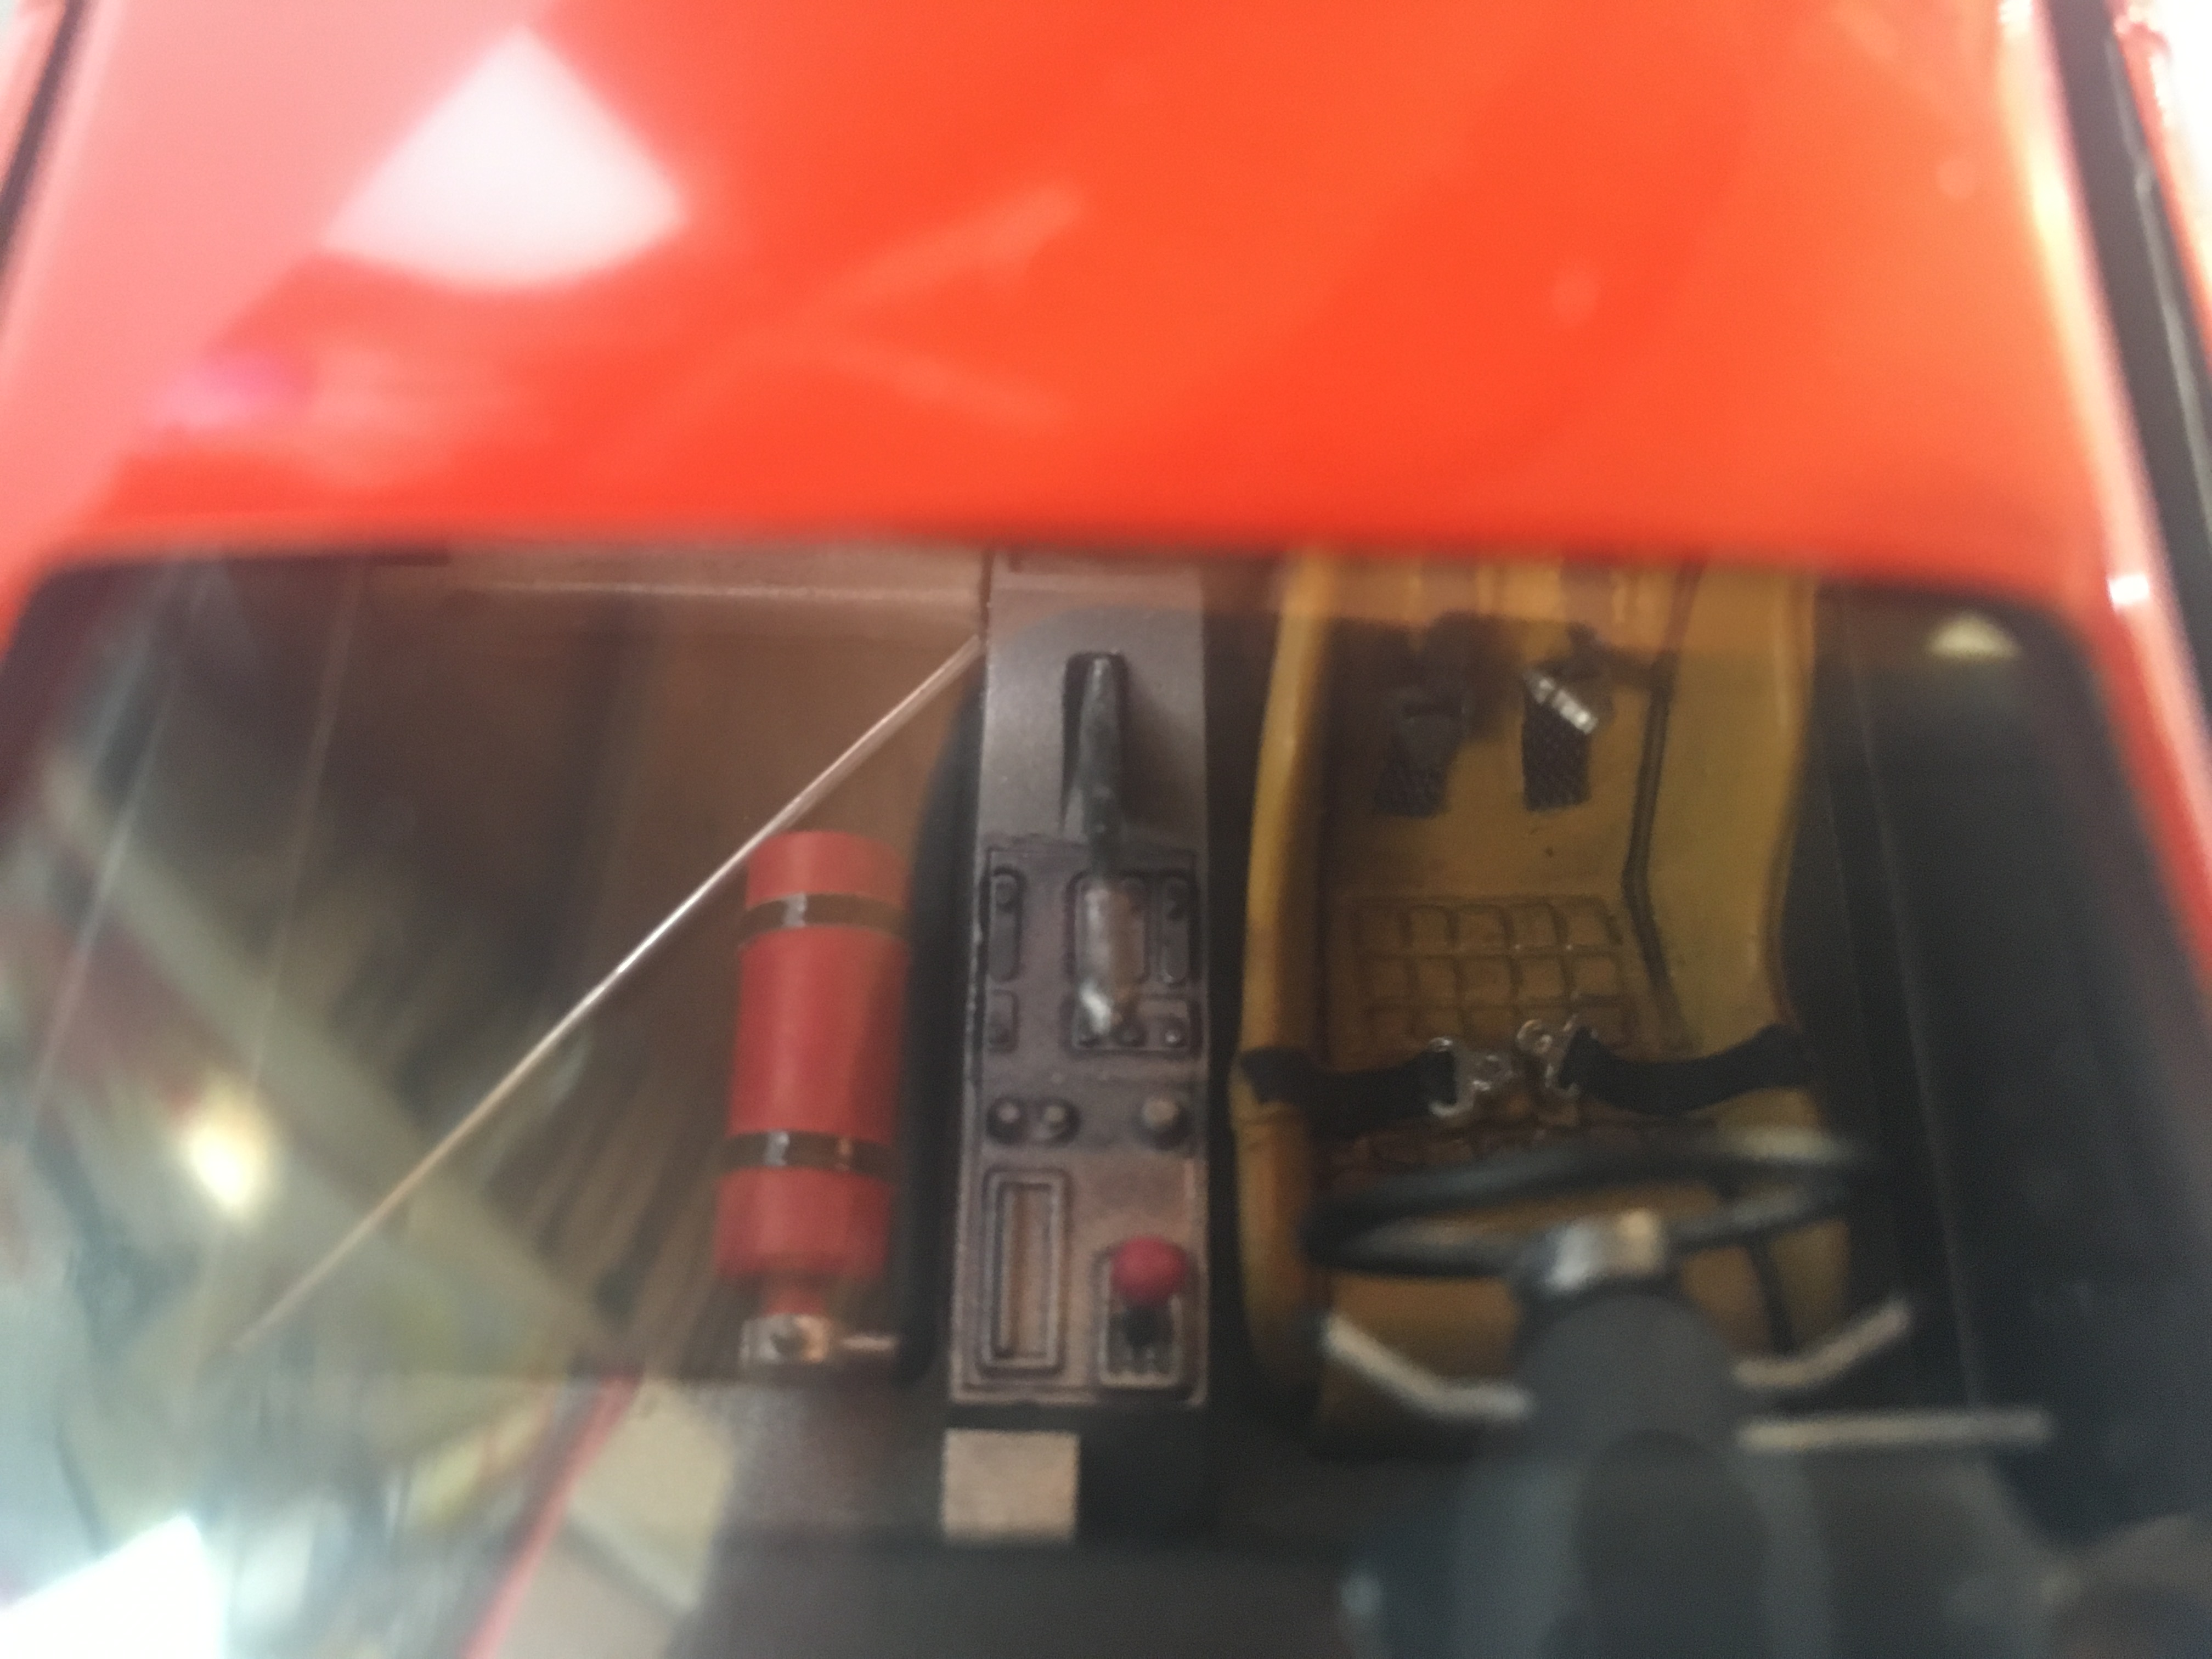
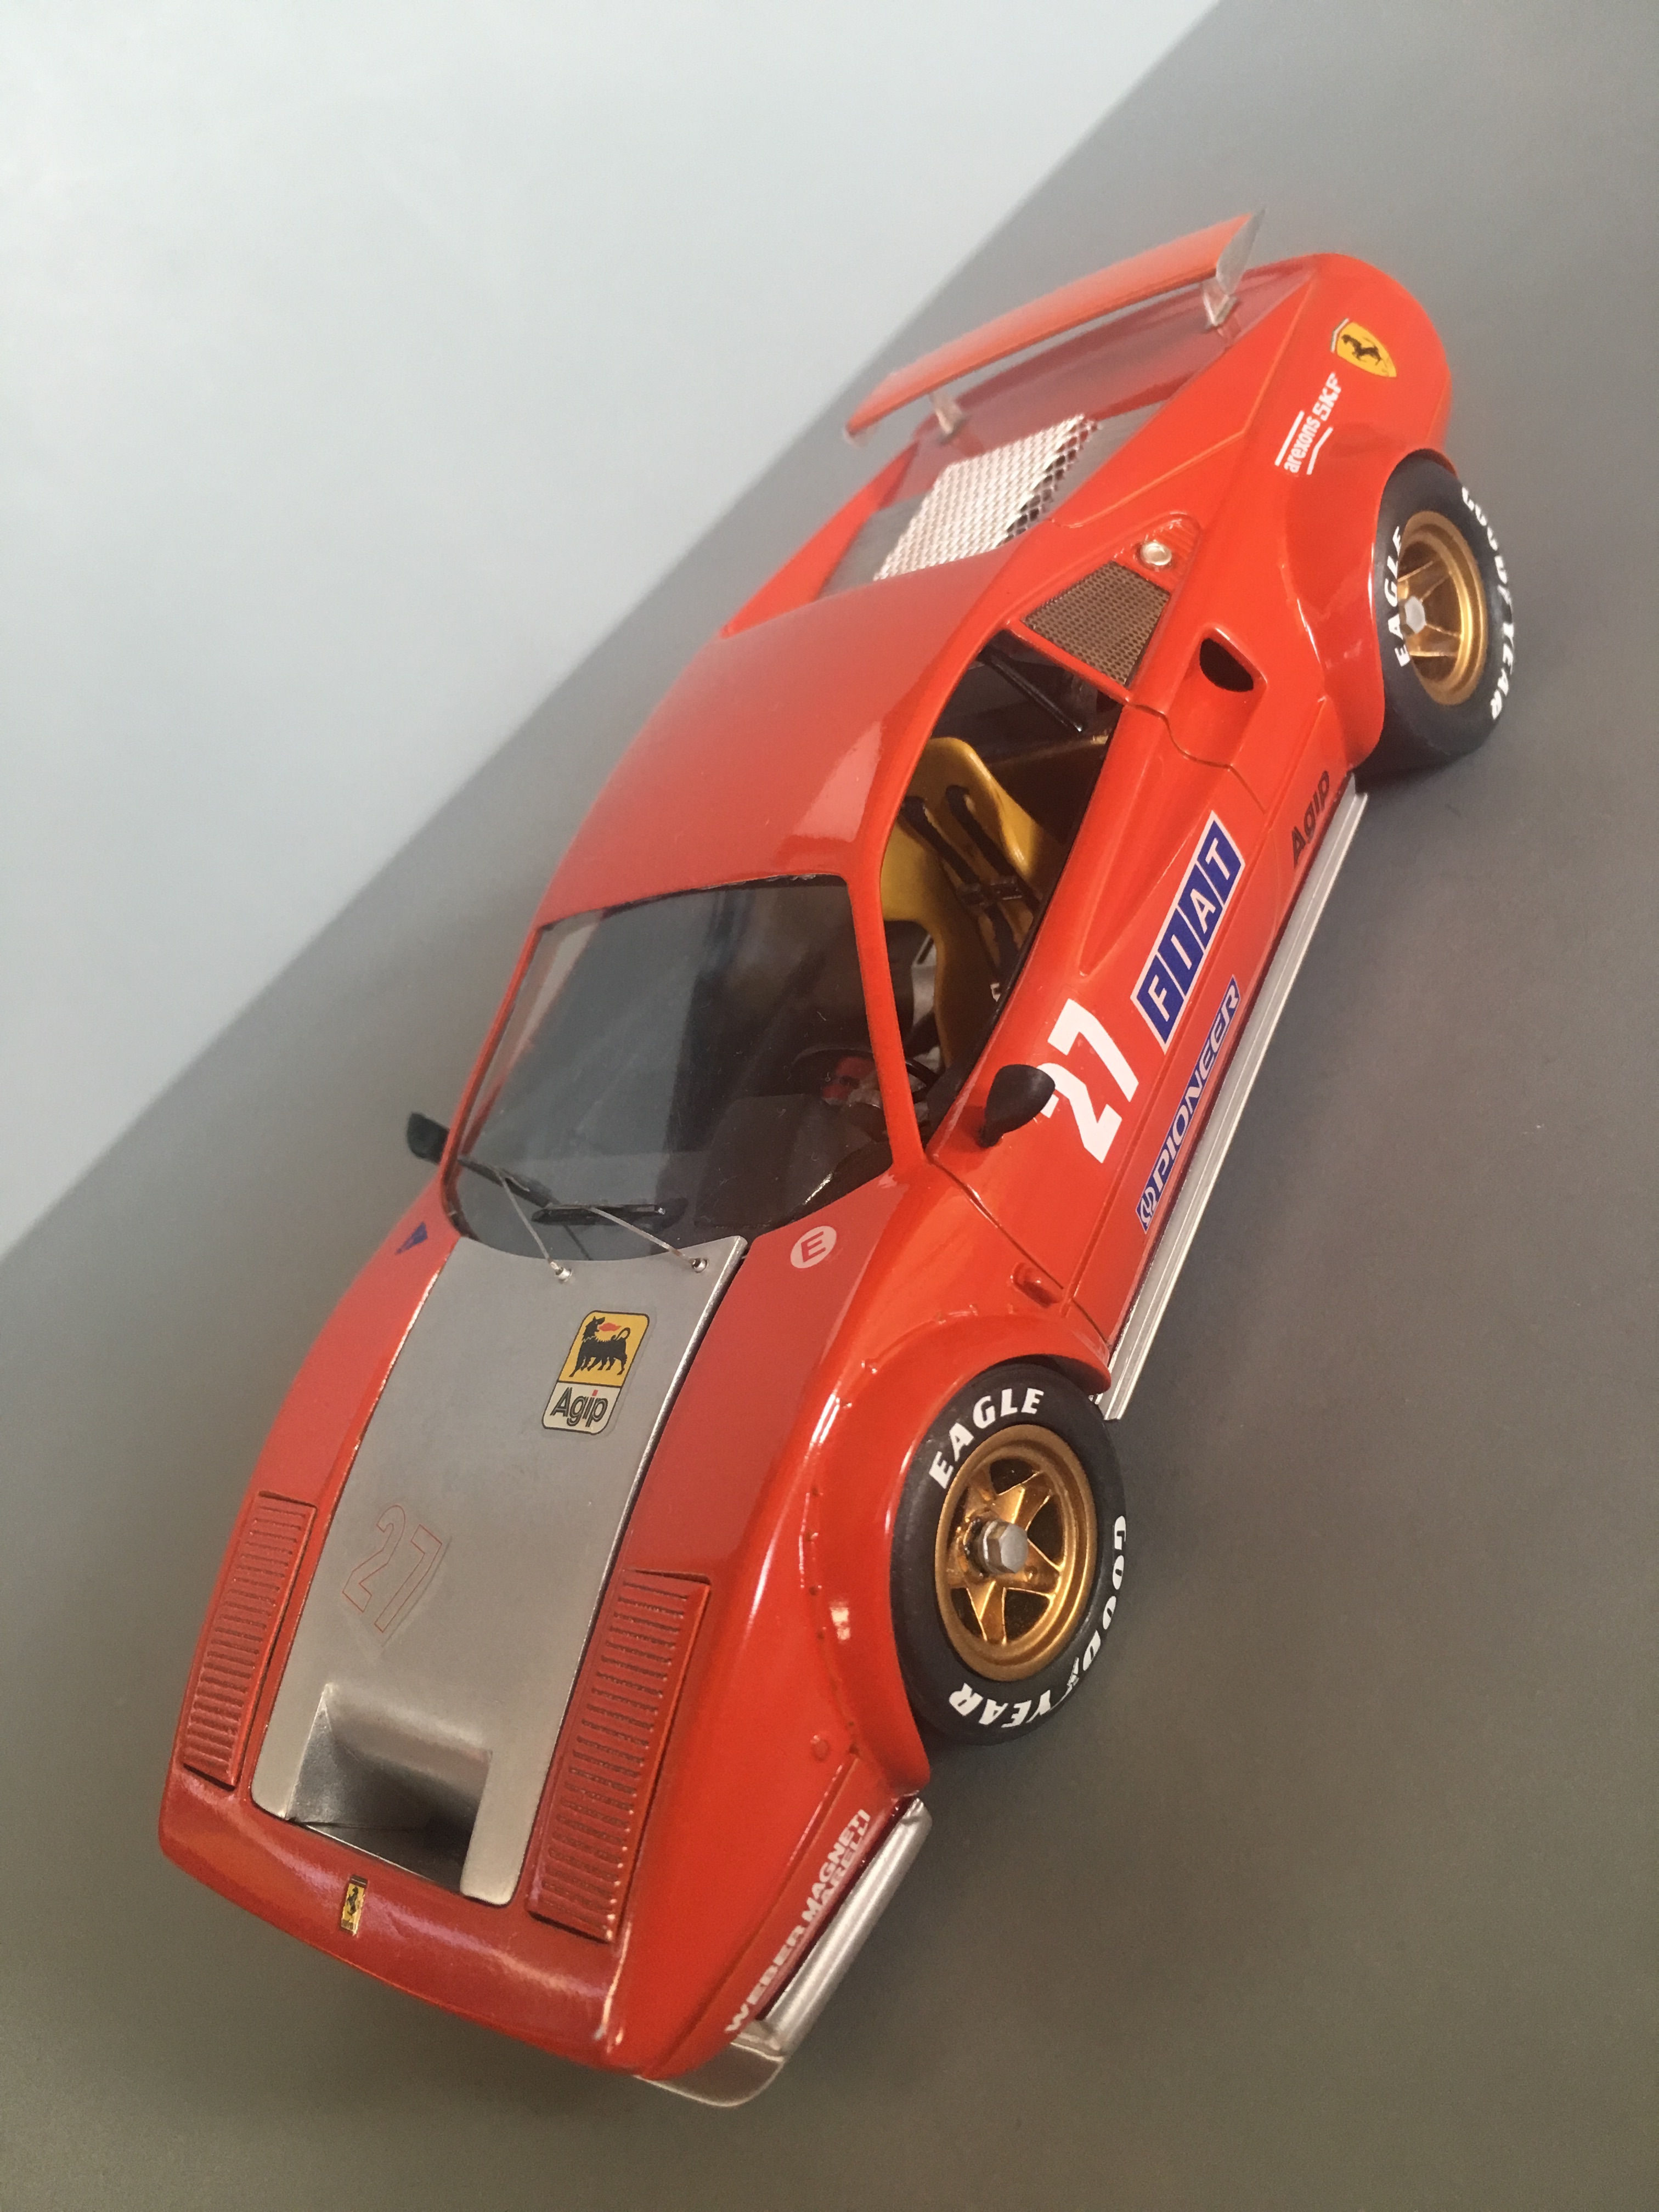
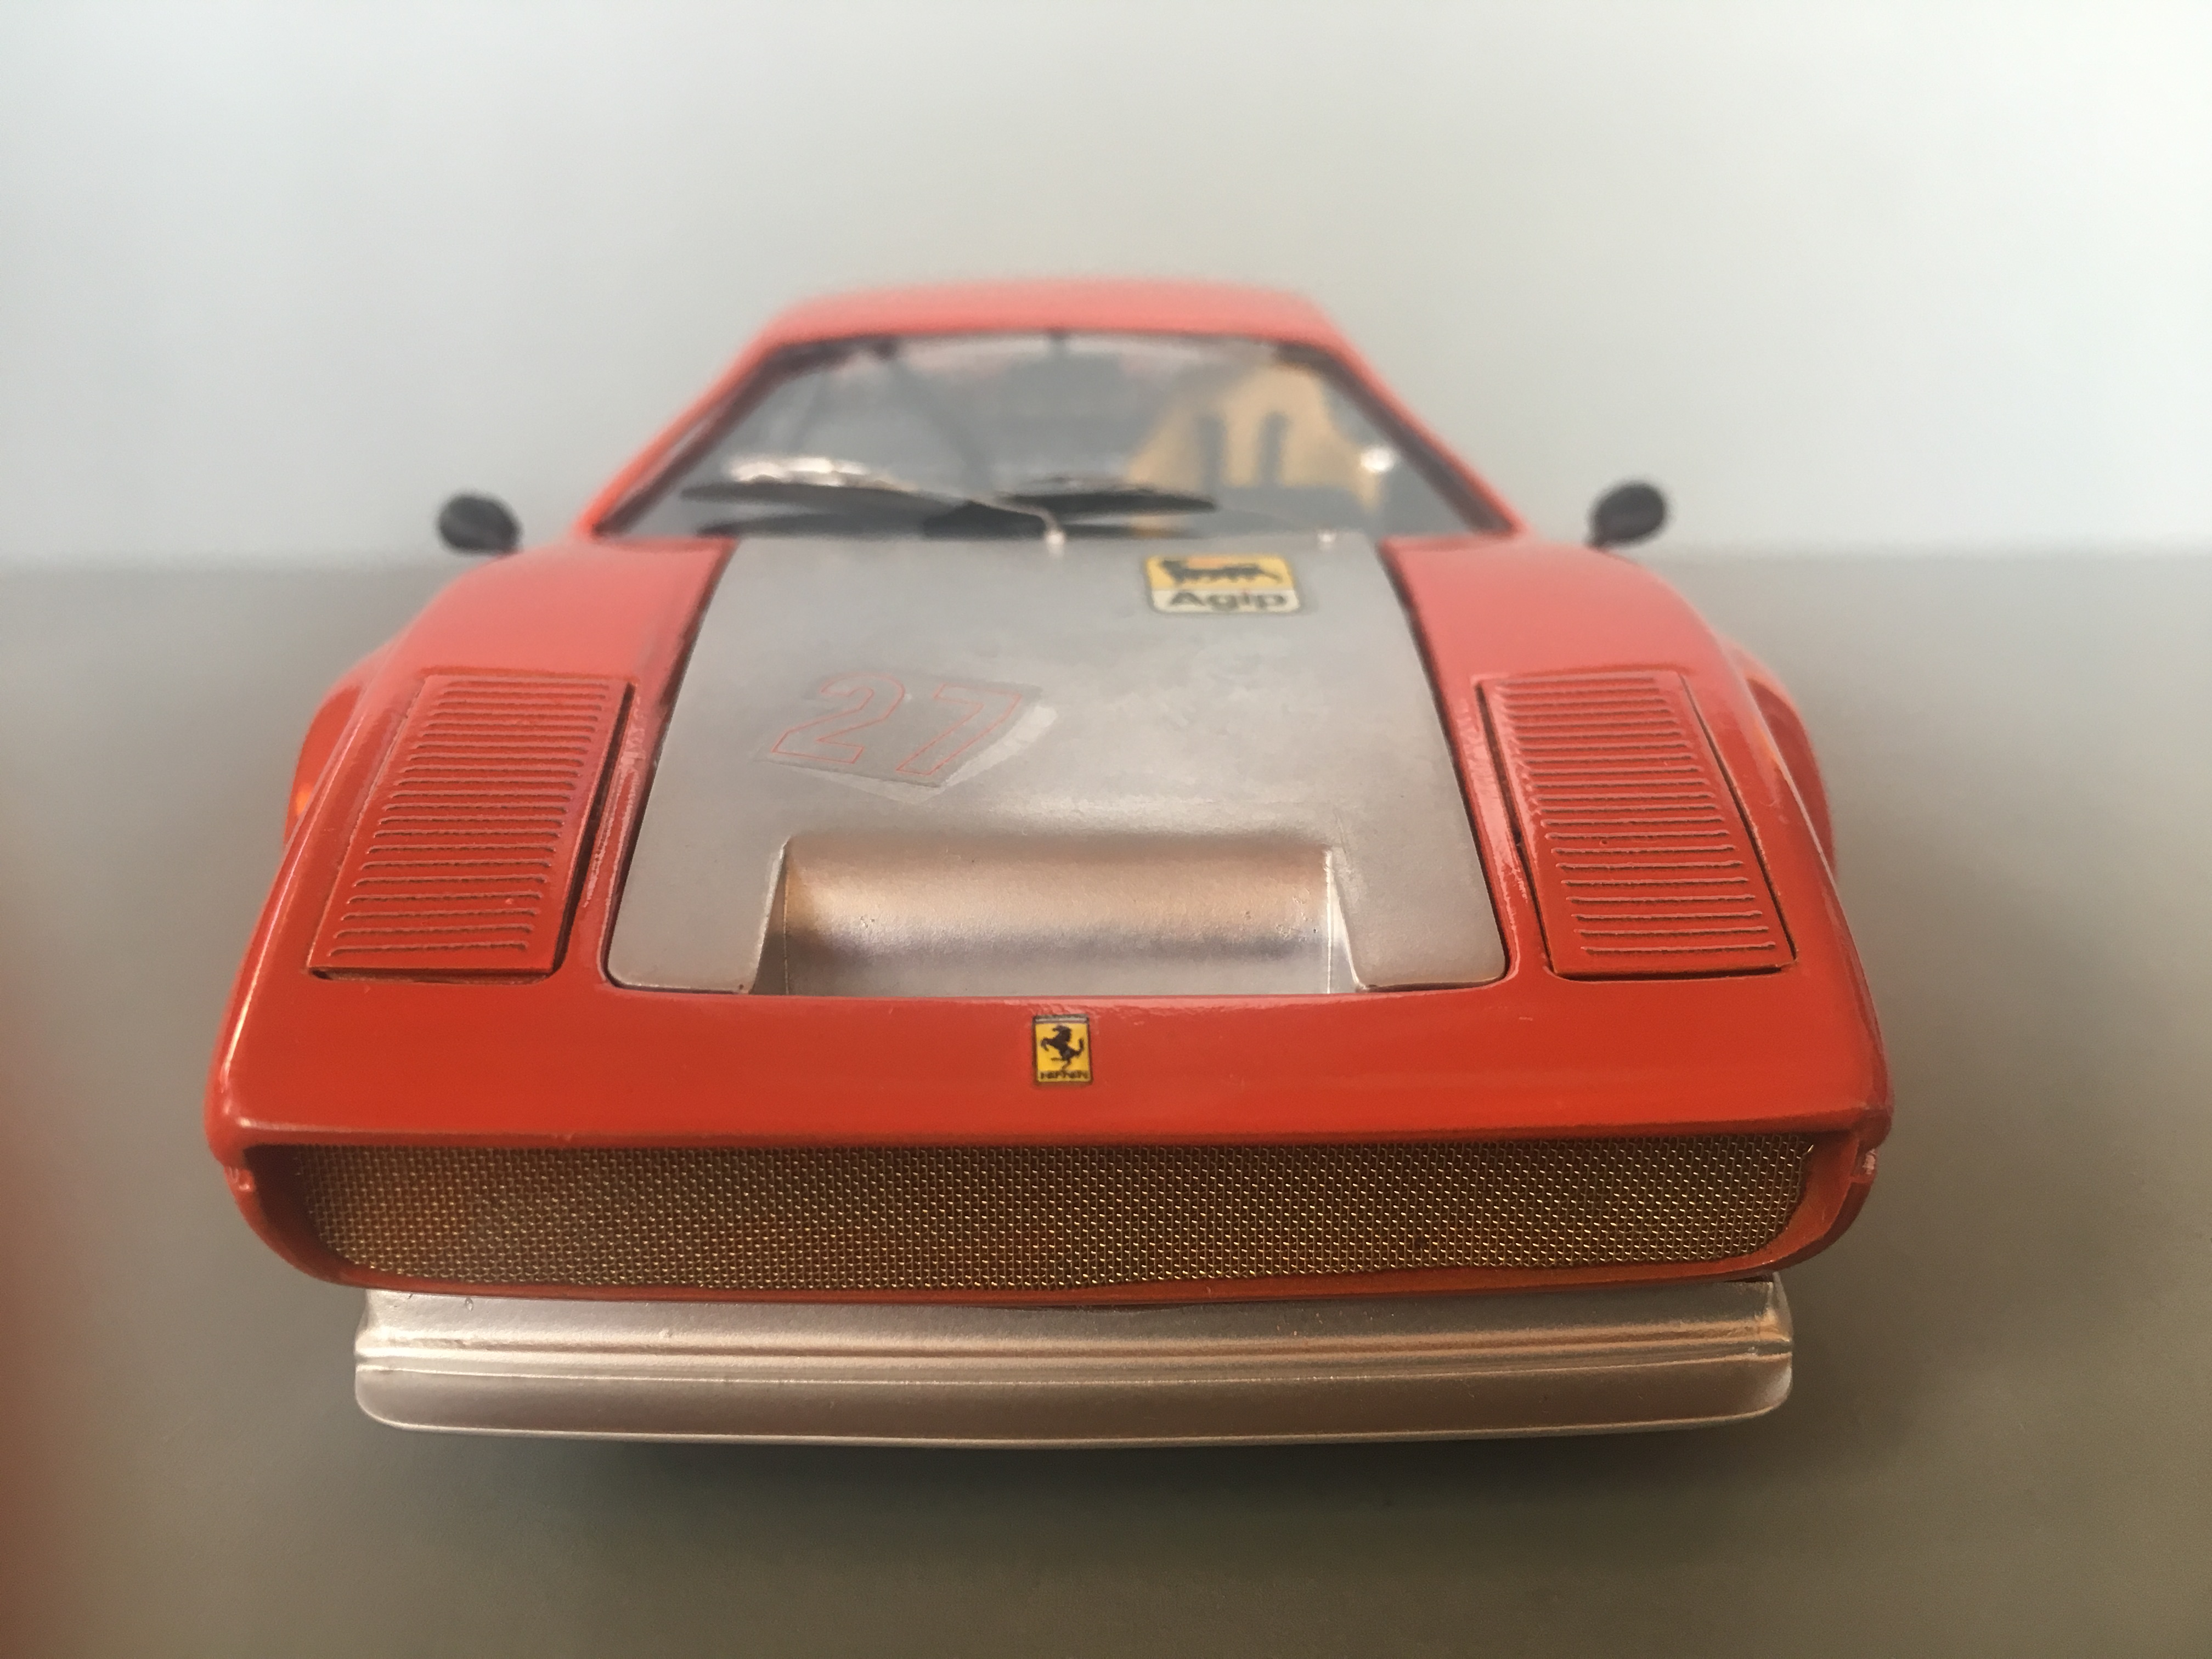
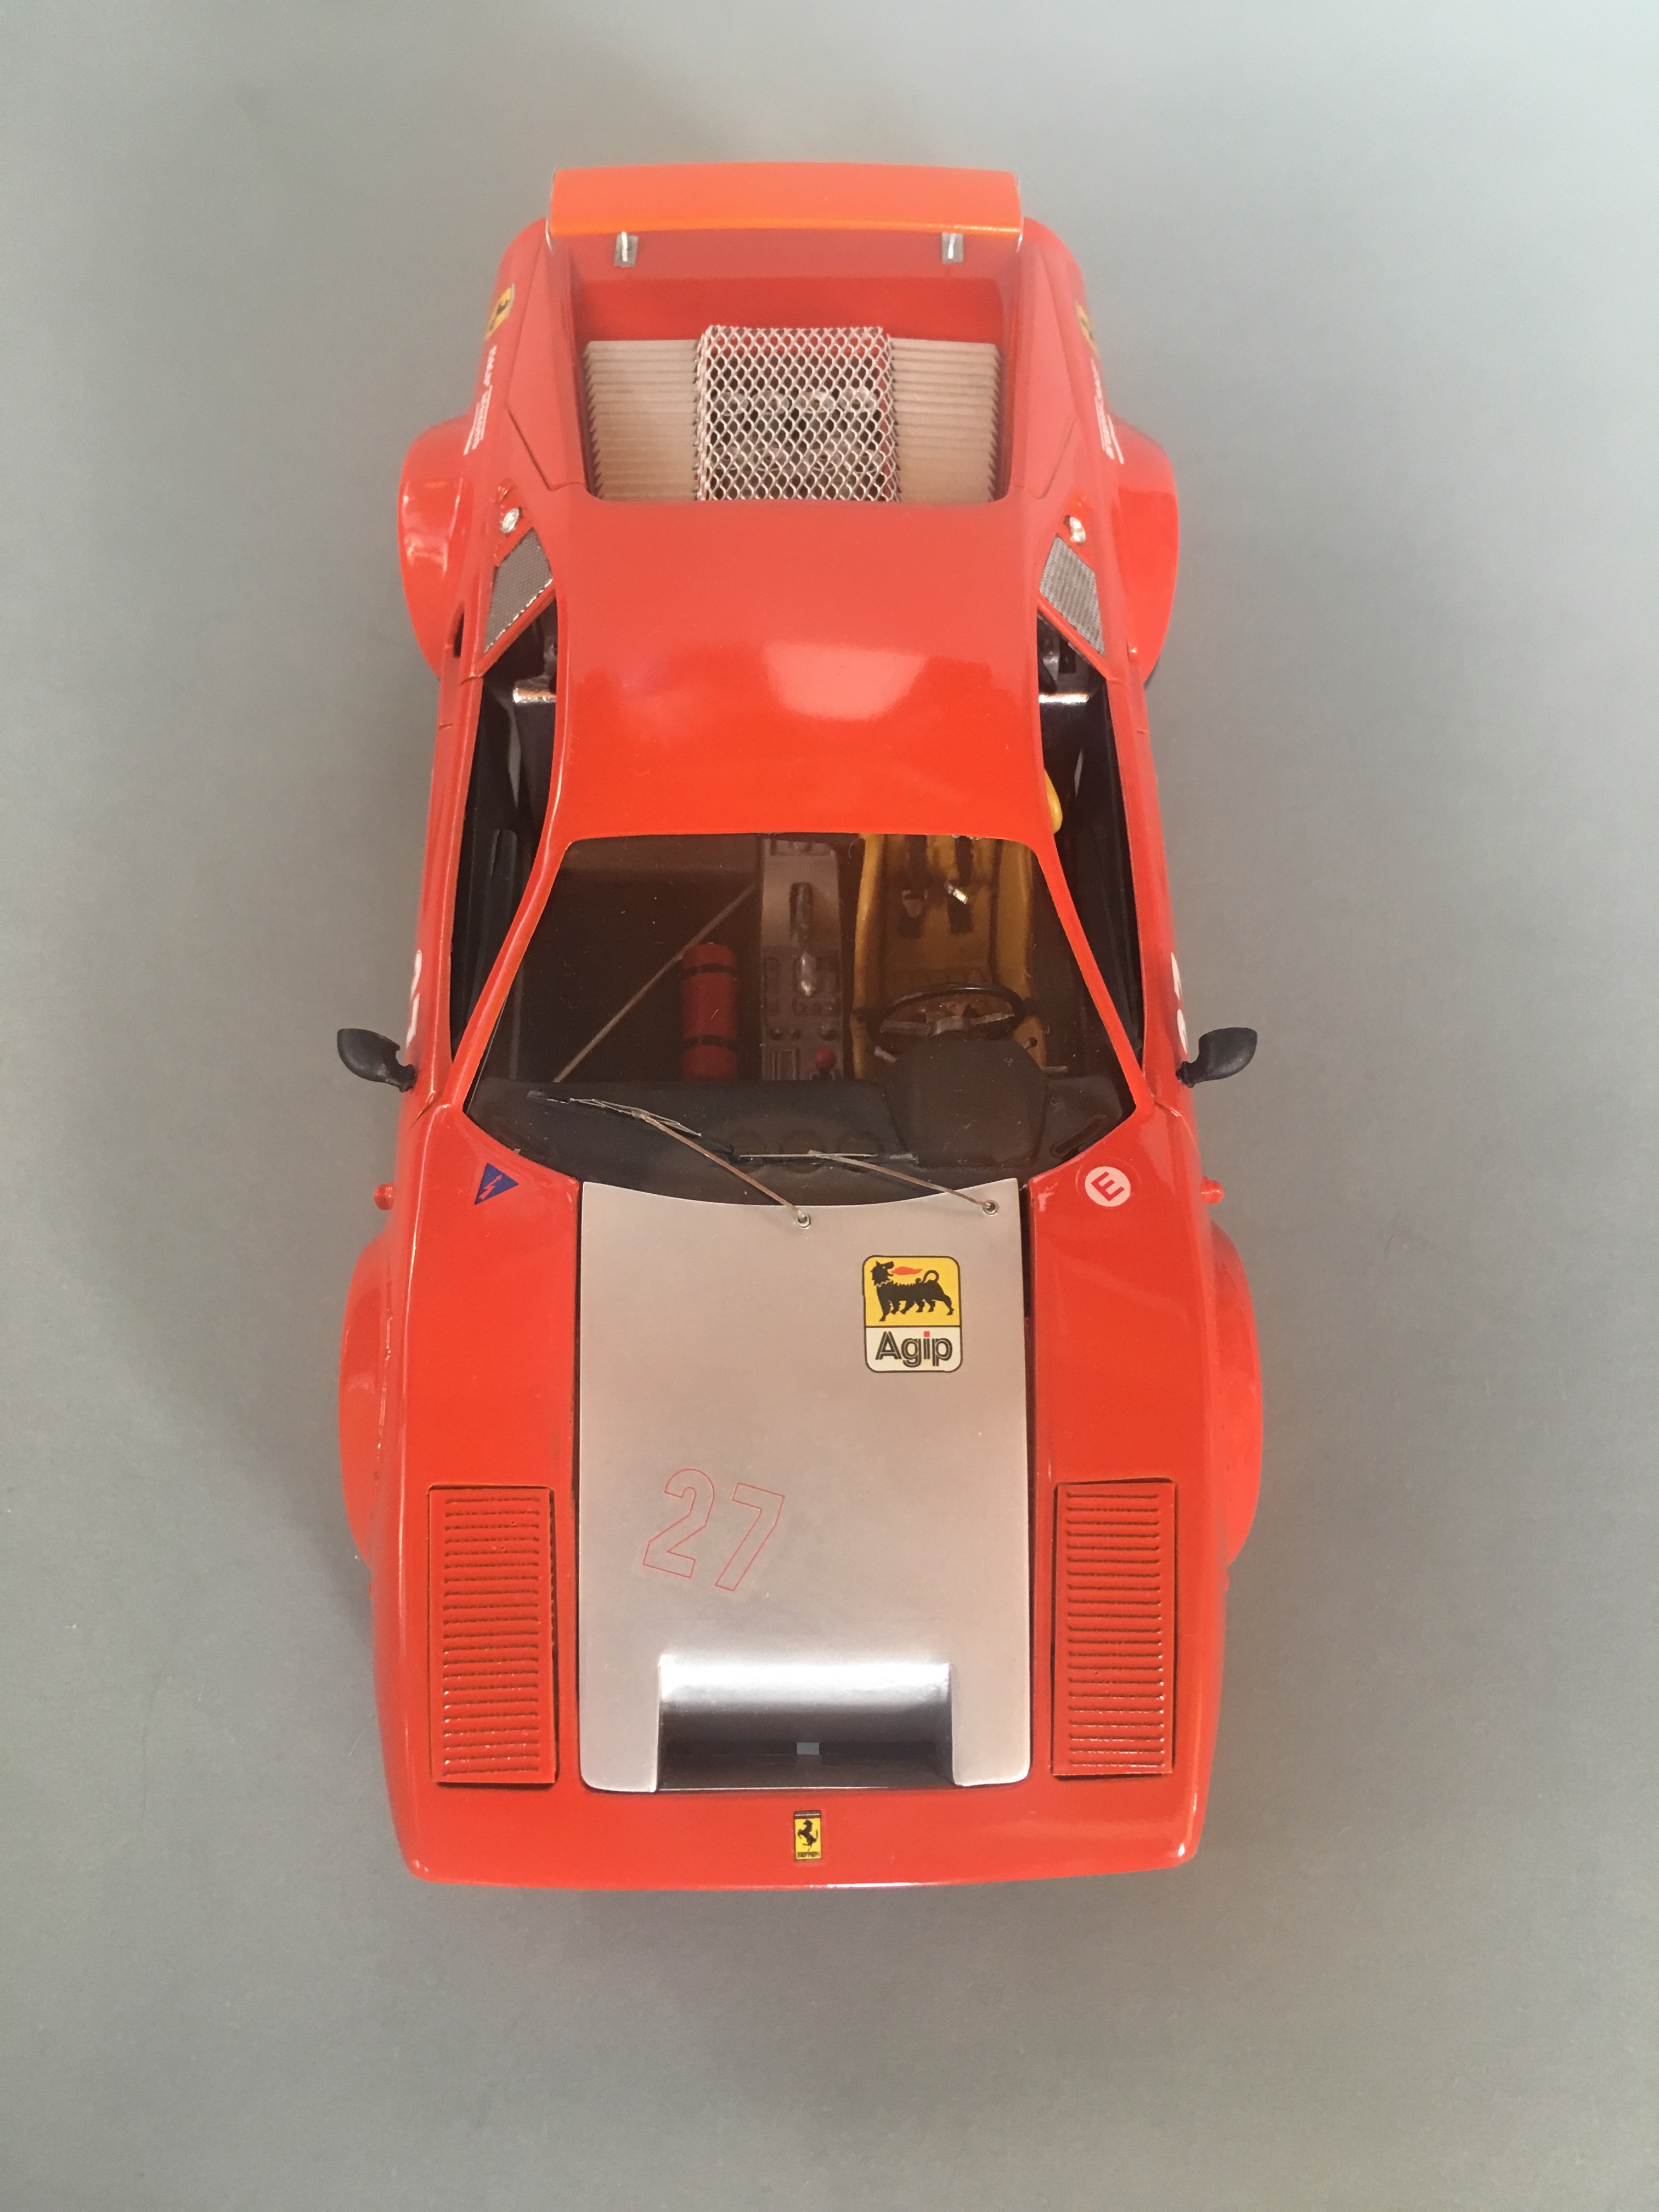
Hi, Well it's done. The paint issues were enough to make me quit. However as I got past those, and mind you I was test fitting the hood throughout the entire process, some how towards the end my Tamiya paint stand warped the body a bit so I've a rather uneven and unsightly gap on either side of the hood. This alone made me want to discard the model, but I kept on. Being the 2nd time that this has happened, I'm starting to question how I use this famed paint stand. I think it can be dangerous, hoping for some wisdom from you all. Some things I did; Scratch built the wing from some left over styrene, PE and aluminum shim. Scratch built the engine top. Used various brass screen and aluminum mesh from Michaels. Wheels/tires from the awesome HRM via Randy Ditton. Cut off and reattached the side skirts and front air dam for painting. Cut out the hood to make a scoop and for painting. Cut open the rear engine hatch. Flared exhaust tips from some aluminum stock. Curved some aluminum sheet stock in between exhaust. Enlarged rear fenders. Made windshield and wipers. Decals from a junker Ferrari F1 kit that I had bleached in the sun. At any rate I'm very happy it's done but not very happy with the outcome. I sorta suck at scale modeling but am enjoying it enough to keep on.
-
Hi, This is friggen HAWT!!!! Any under the bonnet shots by chance?
-
Hi, Thank you sir! Yes, it's a wire mesh I bought at the hardware store. Thanks for noticing as I had to hold the bend for my 5 minute epoxy, more like 7 , to take hold.
-
Martin Truex- NASCAR Champion
aurfalien replied to mikemodeler's topic in General Automotive Talk (Trucks and Cars)
Hi, I wonder when Revell will release there Camry Nascar kit. -
Hi, Wow, now this is looking Richter scale!
-
Hi and thank you sir! Unsure why I am disappointed. I'll decal tonight and pics tomorrow.
-
Hi, Wow, impressive work. I really really like it so far!!!
-
'71 Cuda Late Model
aurfalien replied to afx's topic in WIP: Other Racing: Road Racing, Land Speed Racers
Hi, Man I love your style and work flow of building. And I love this subject matter. Too bad they are so darn expensive as I would love to have either the MPC Barracuda, Mustang or Camaro Super Stocker kits. They all look like loads of fun. -
Hi, Thanks for the tips, I need em! Unsure if I should do a clear on it. I've got this Gunze gloss clear lacquer and it's very shiny. Then there is Future which won't harm decals but I heard it yellows over time.
-
Hi, Oooooh nice, thank you! I actually have some Micromesh and will use there 6000 on this bad boy, its for my Chappy.