bh1701
-
Posts
389 -
Joined
-
Last visited
Content Type
Profiles
Forums
Events
Gallery
Everything posted by bh1701
-
Great model! I enjoyed the video and got some good ideas to use. Bart
-
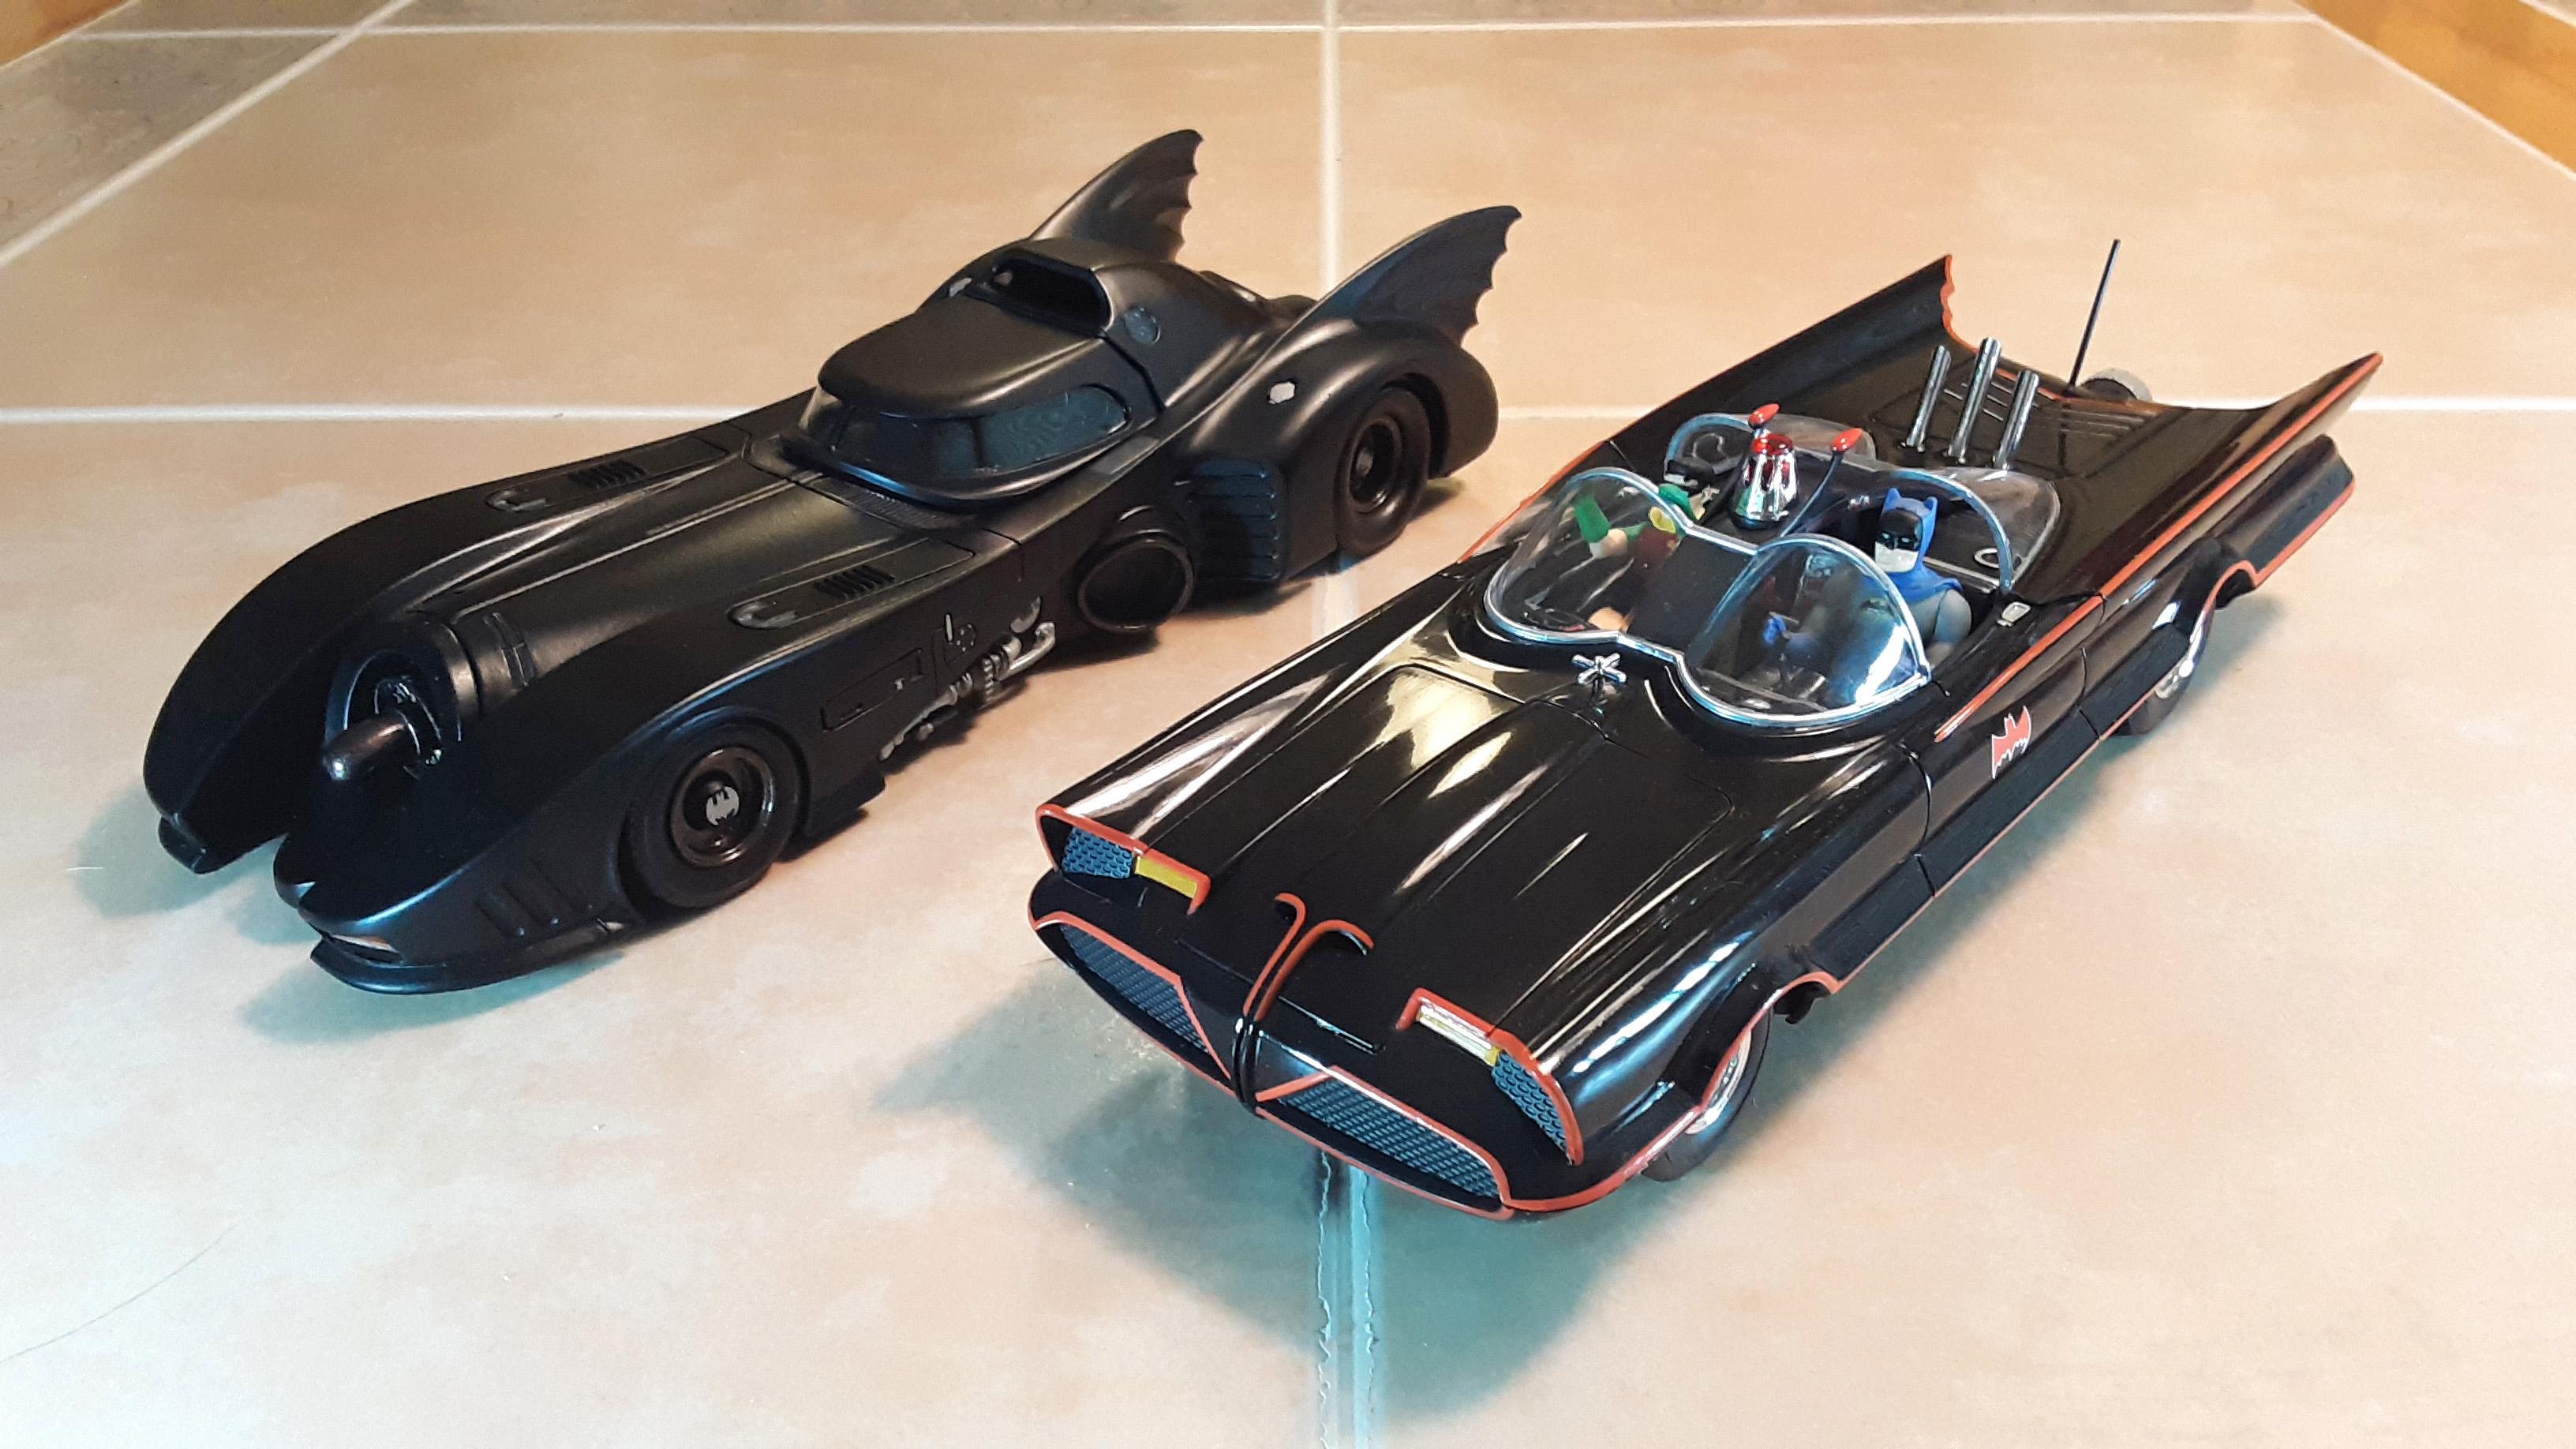
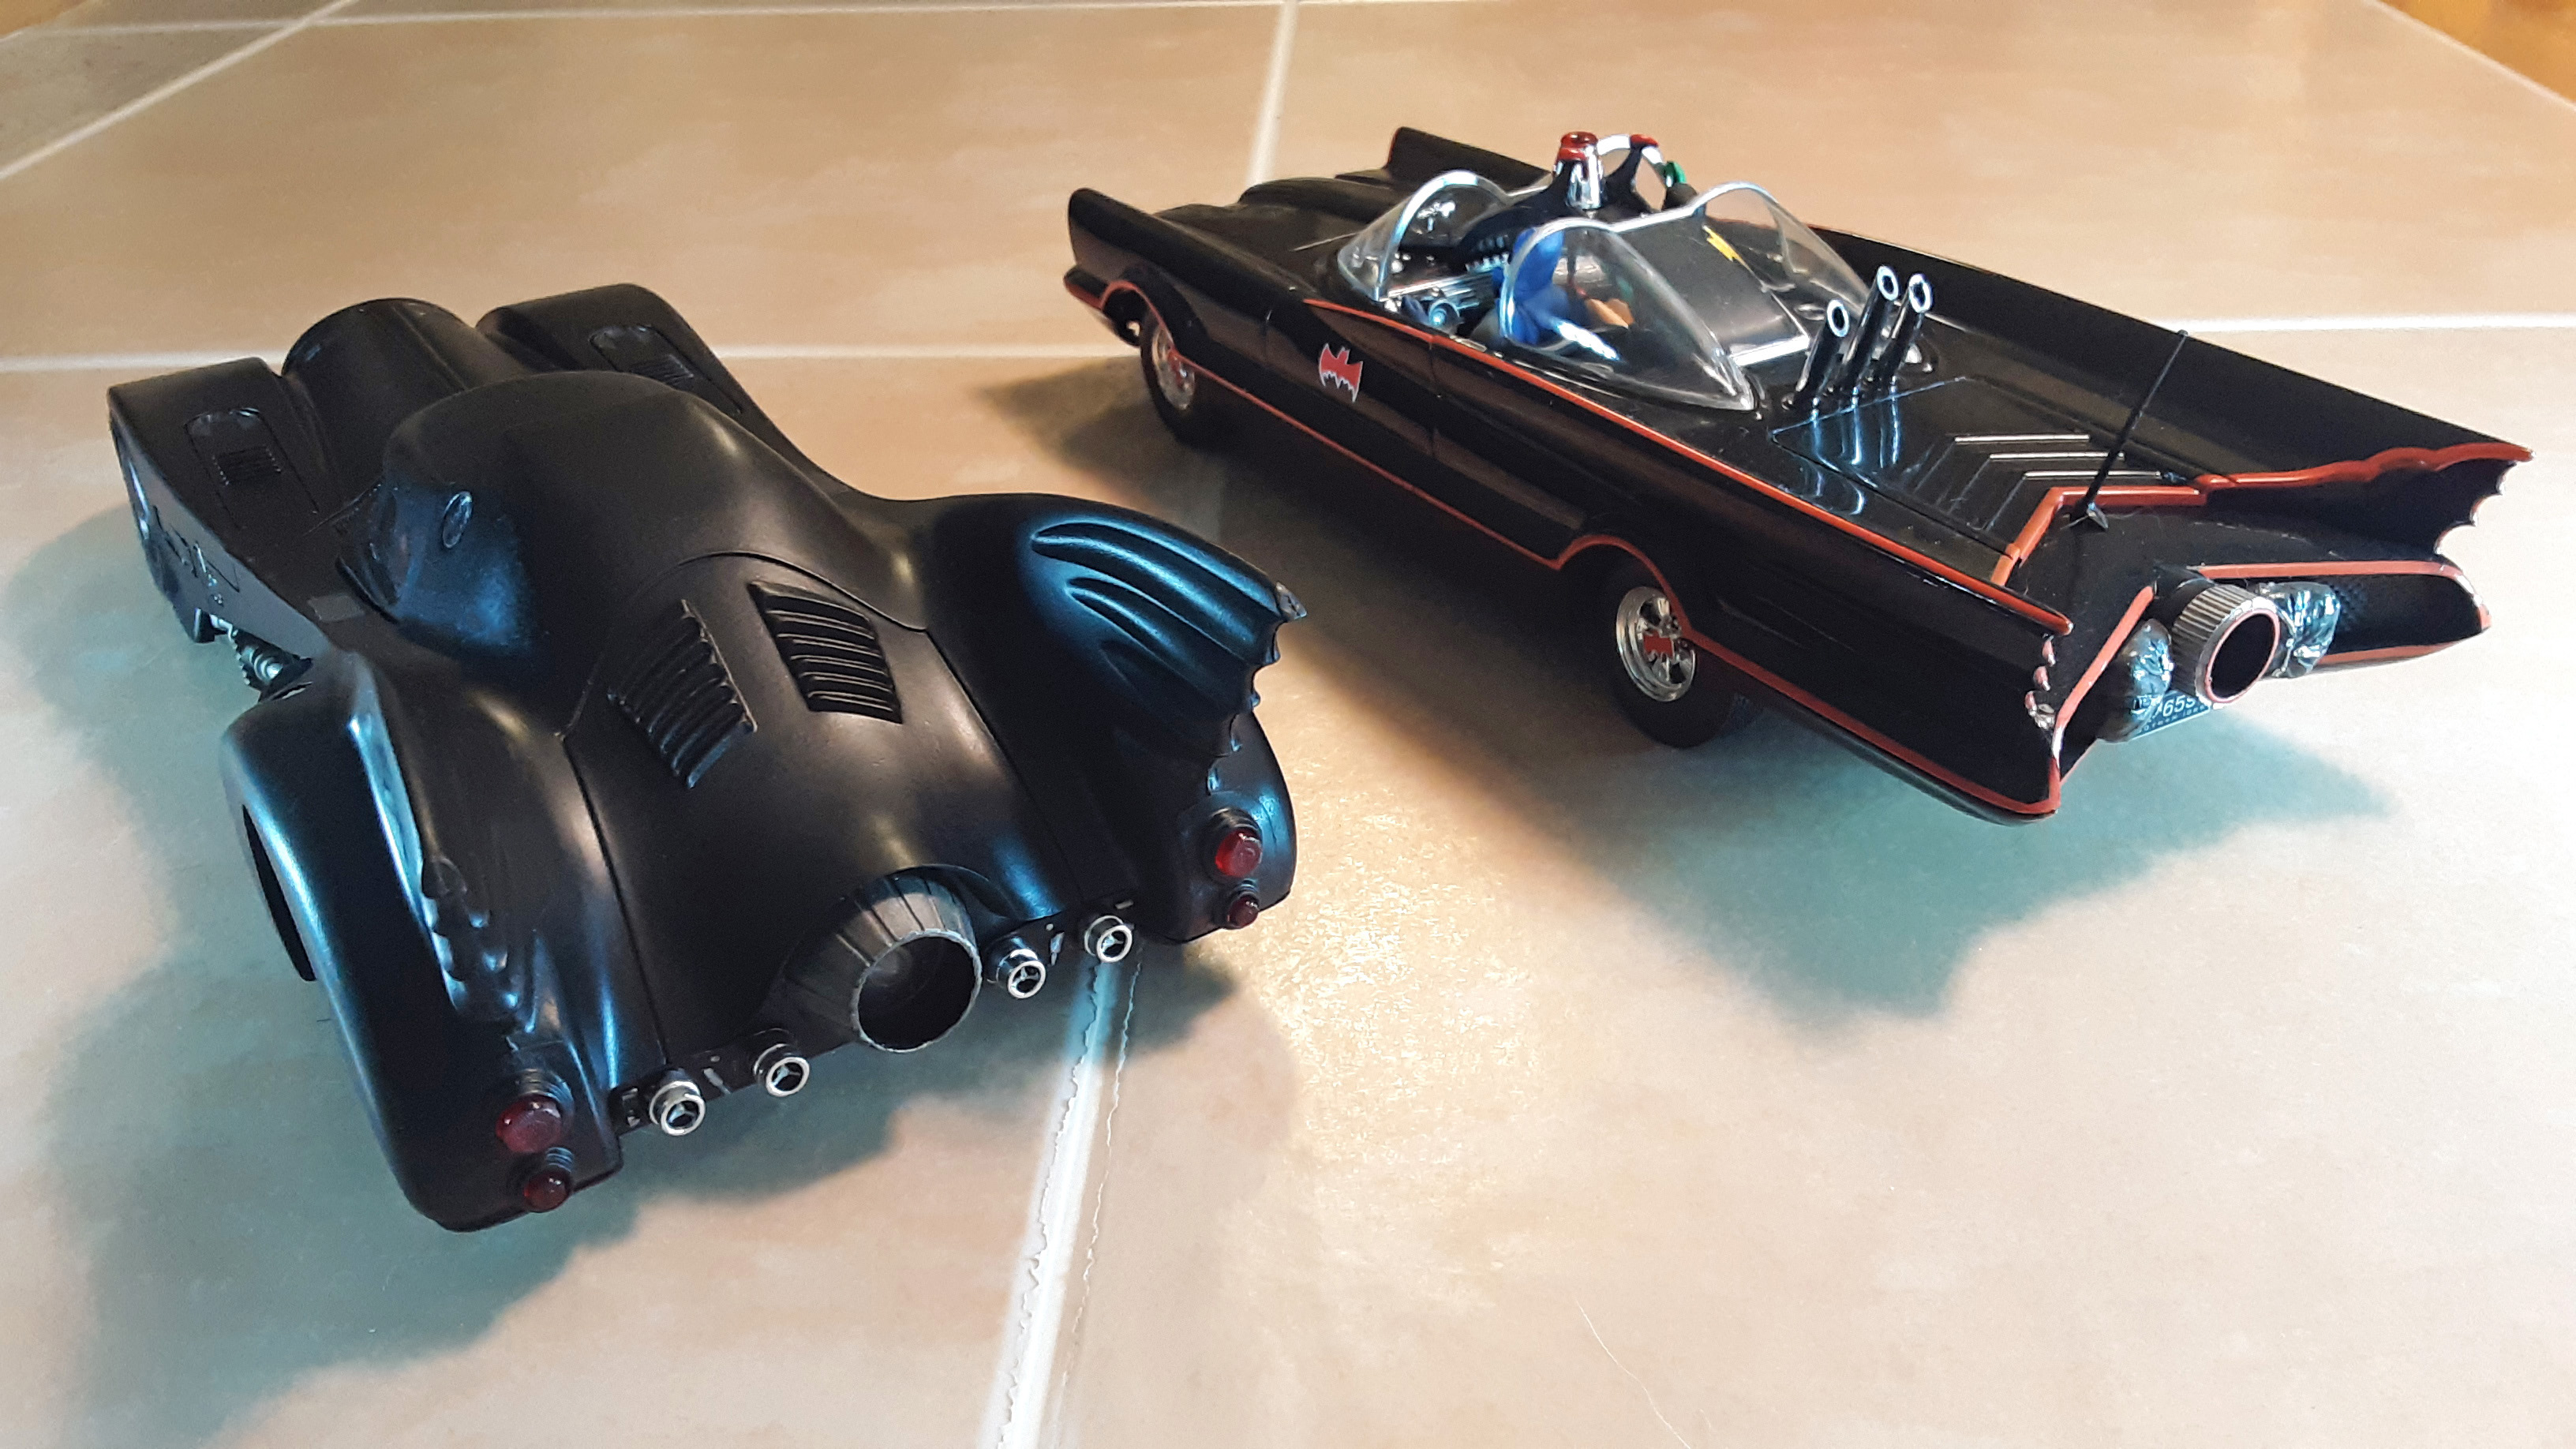
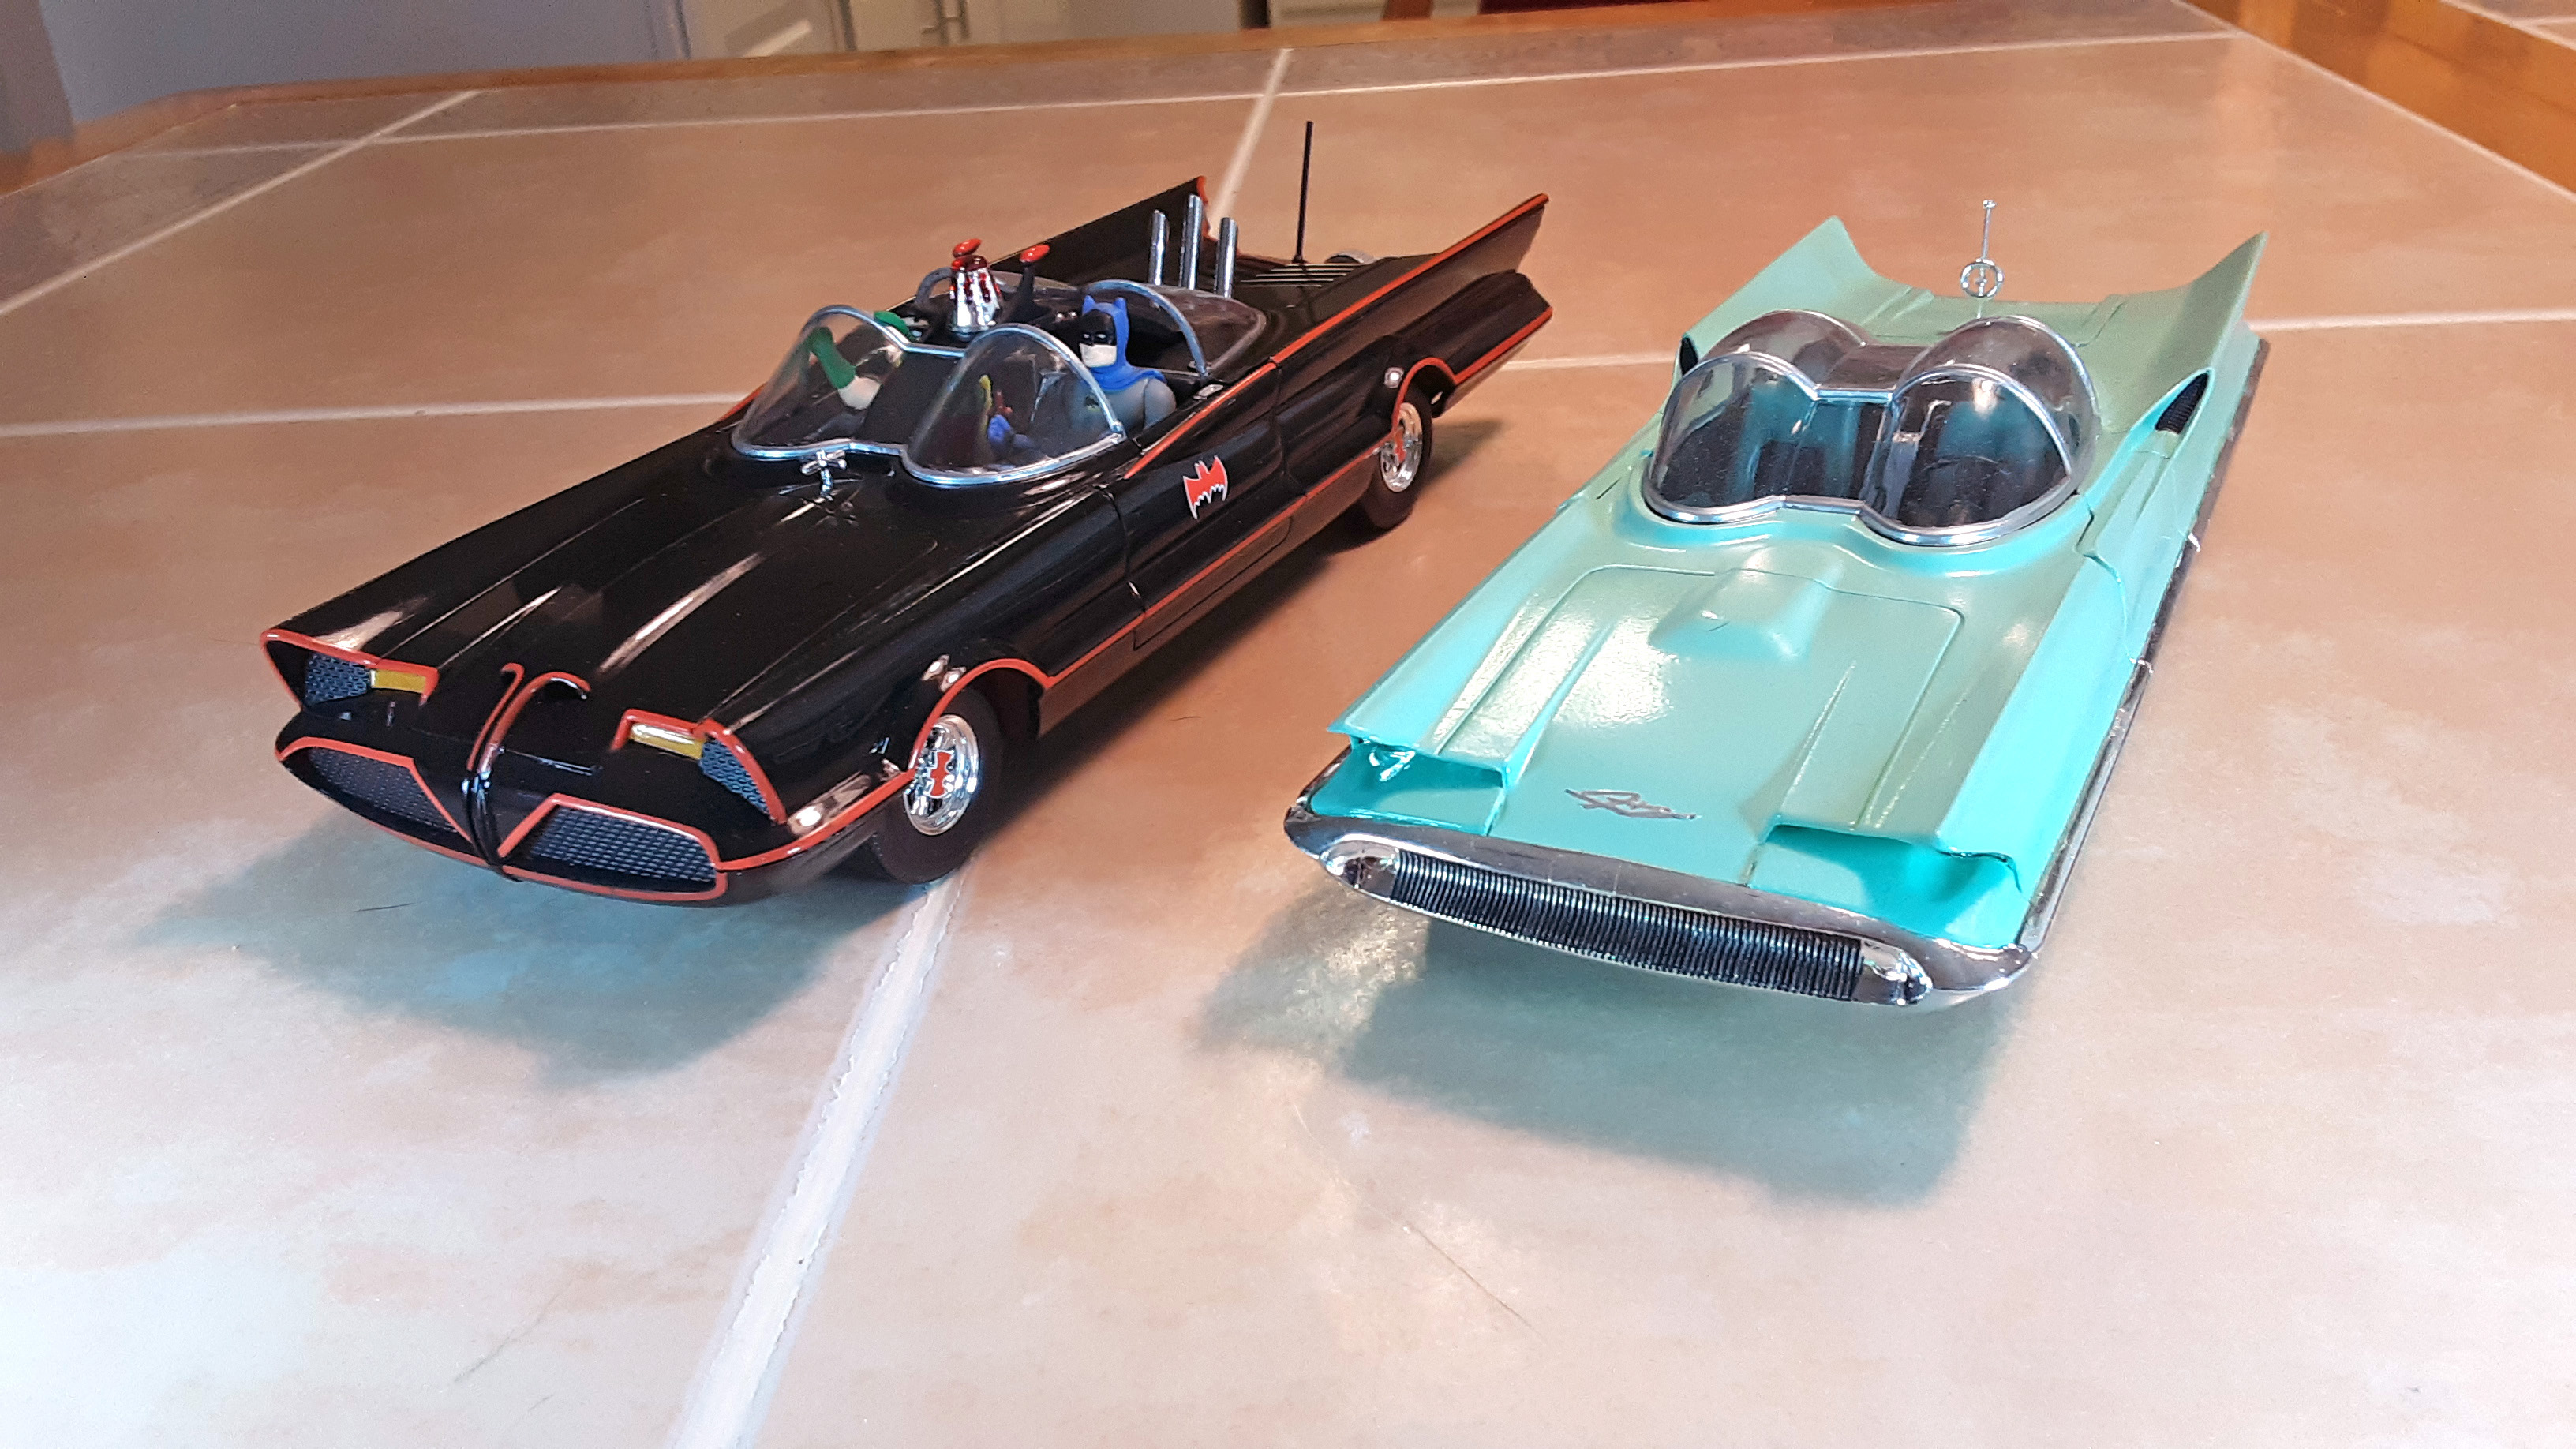
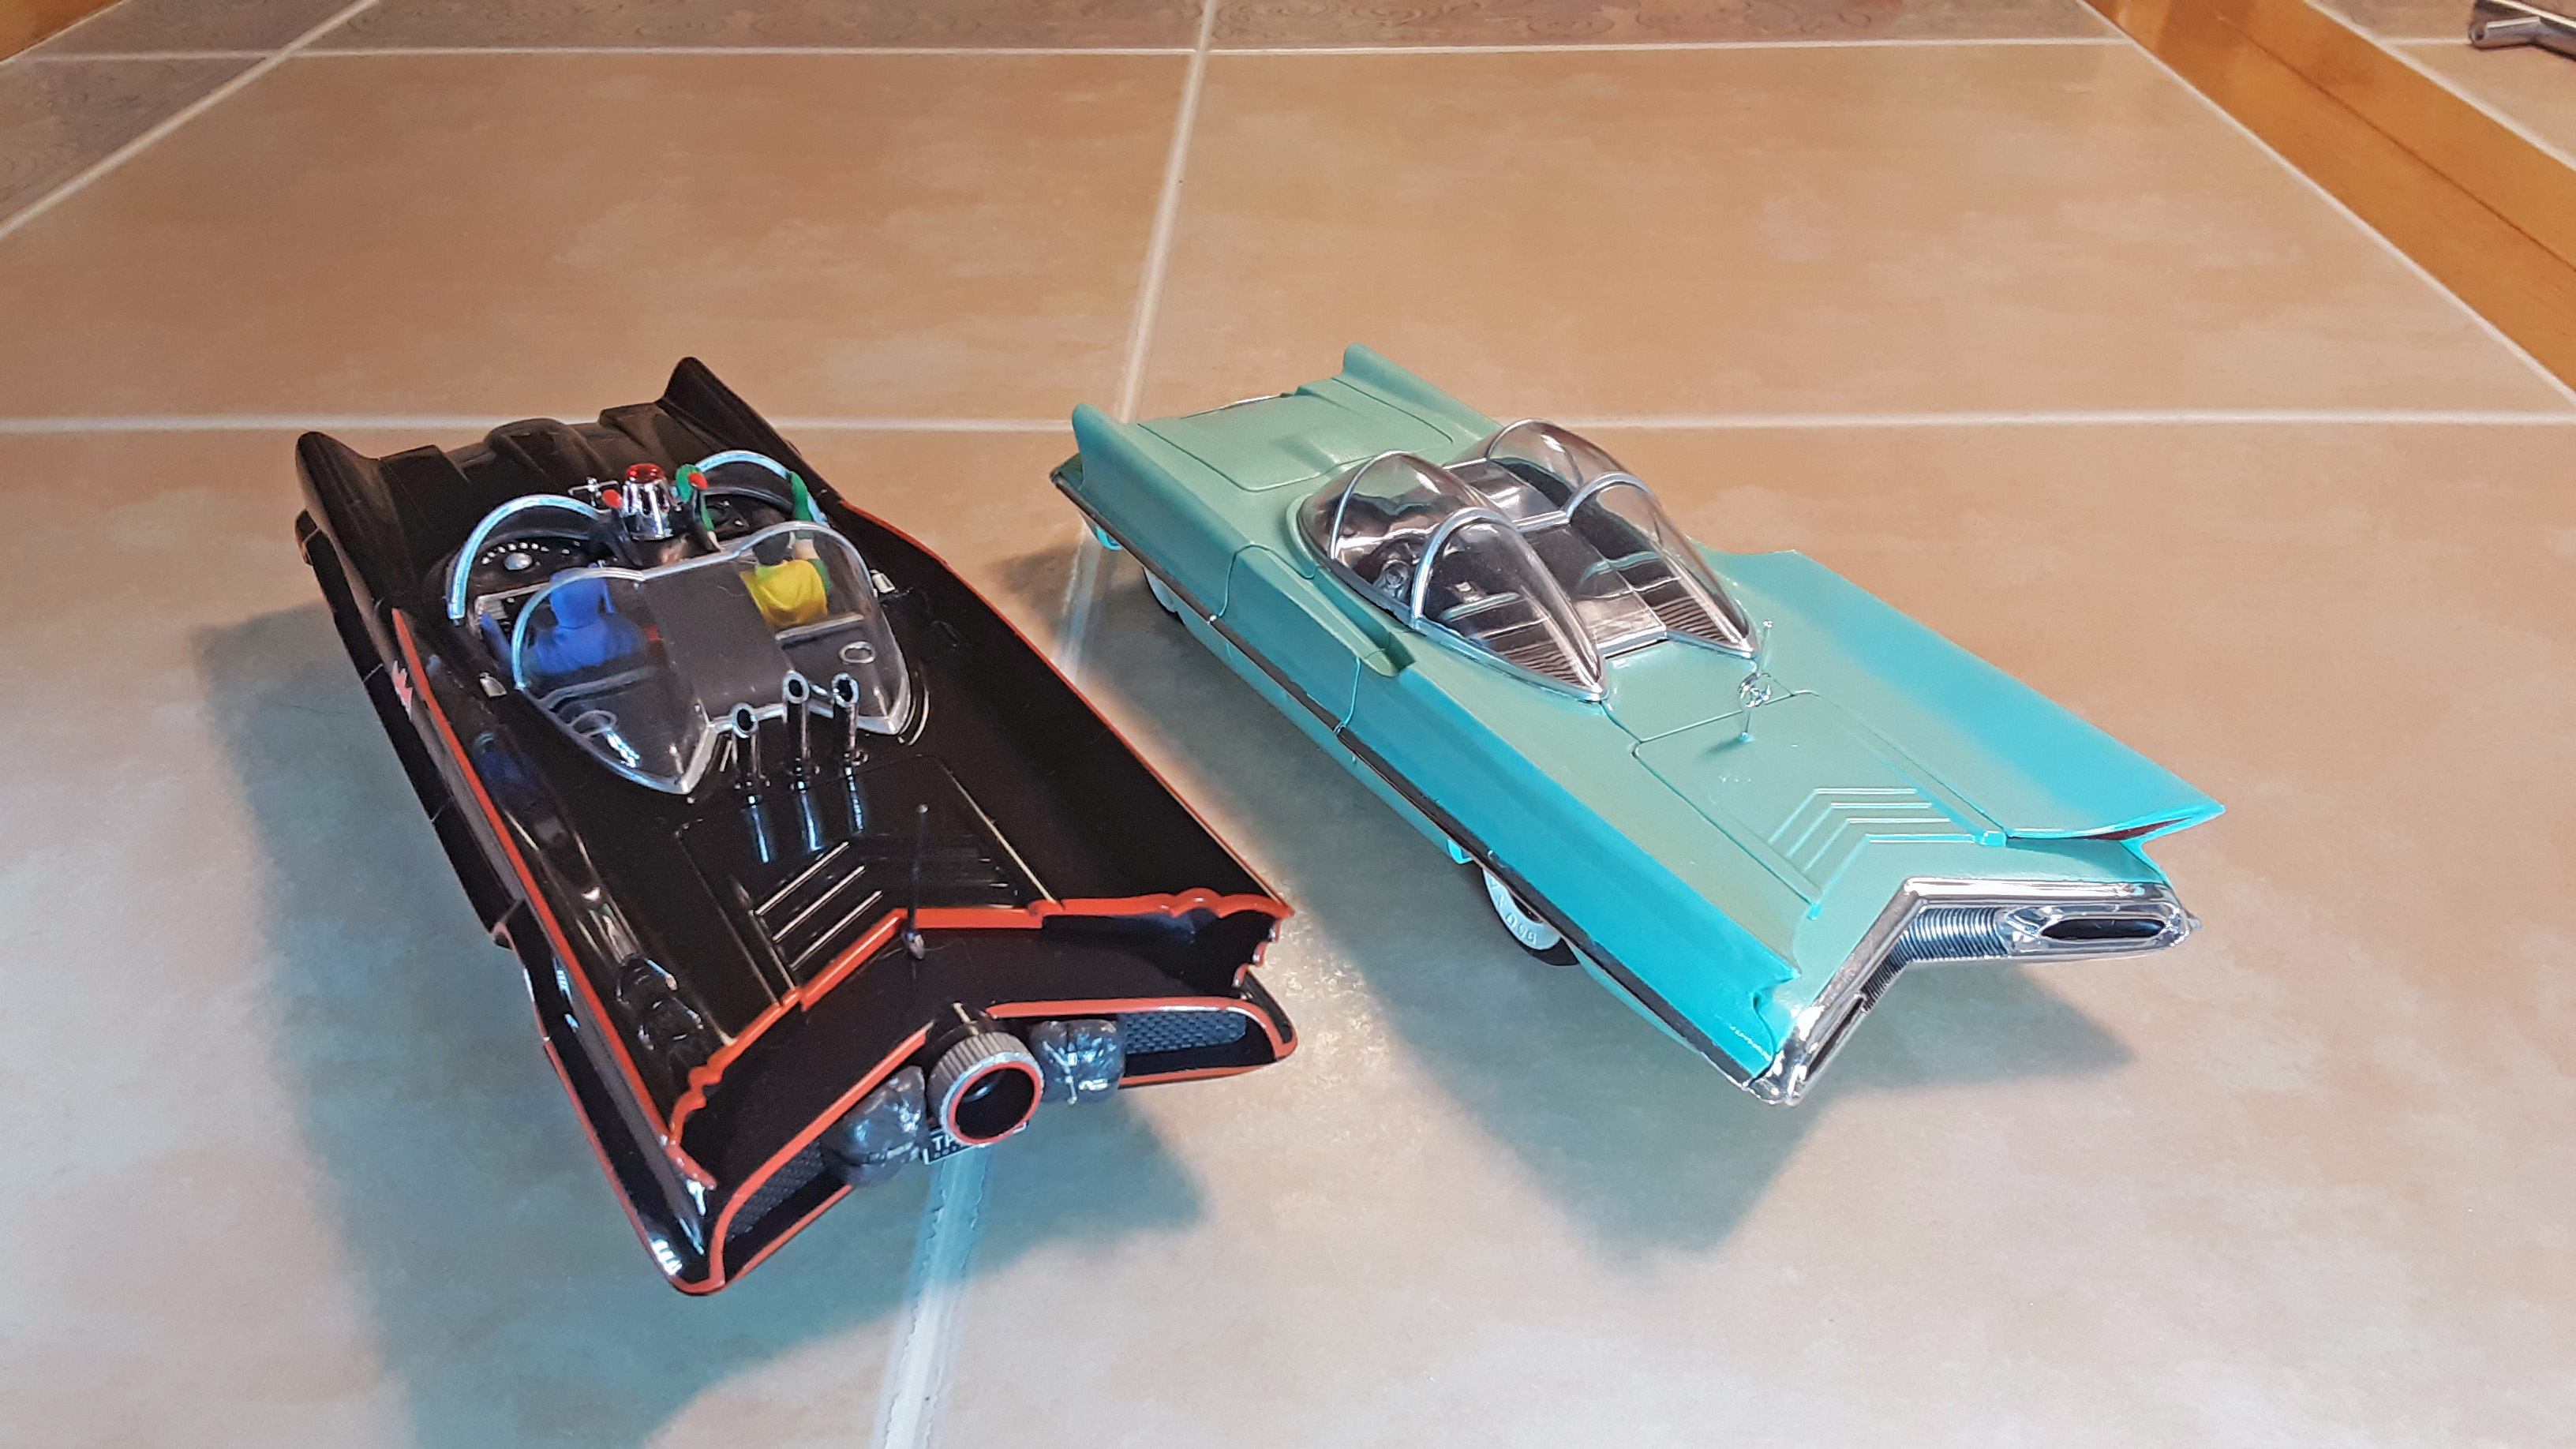
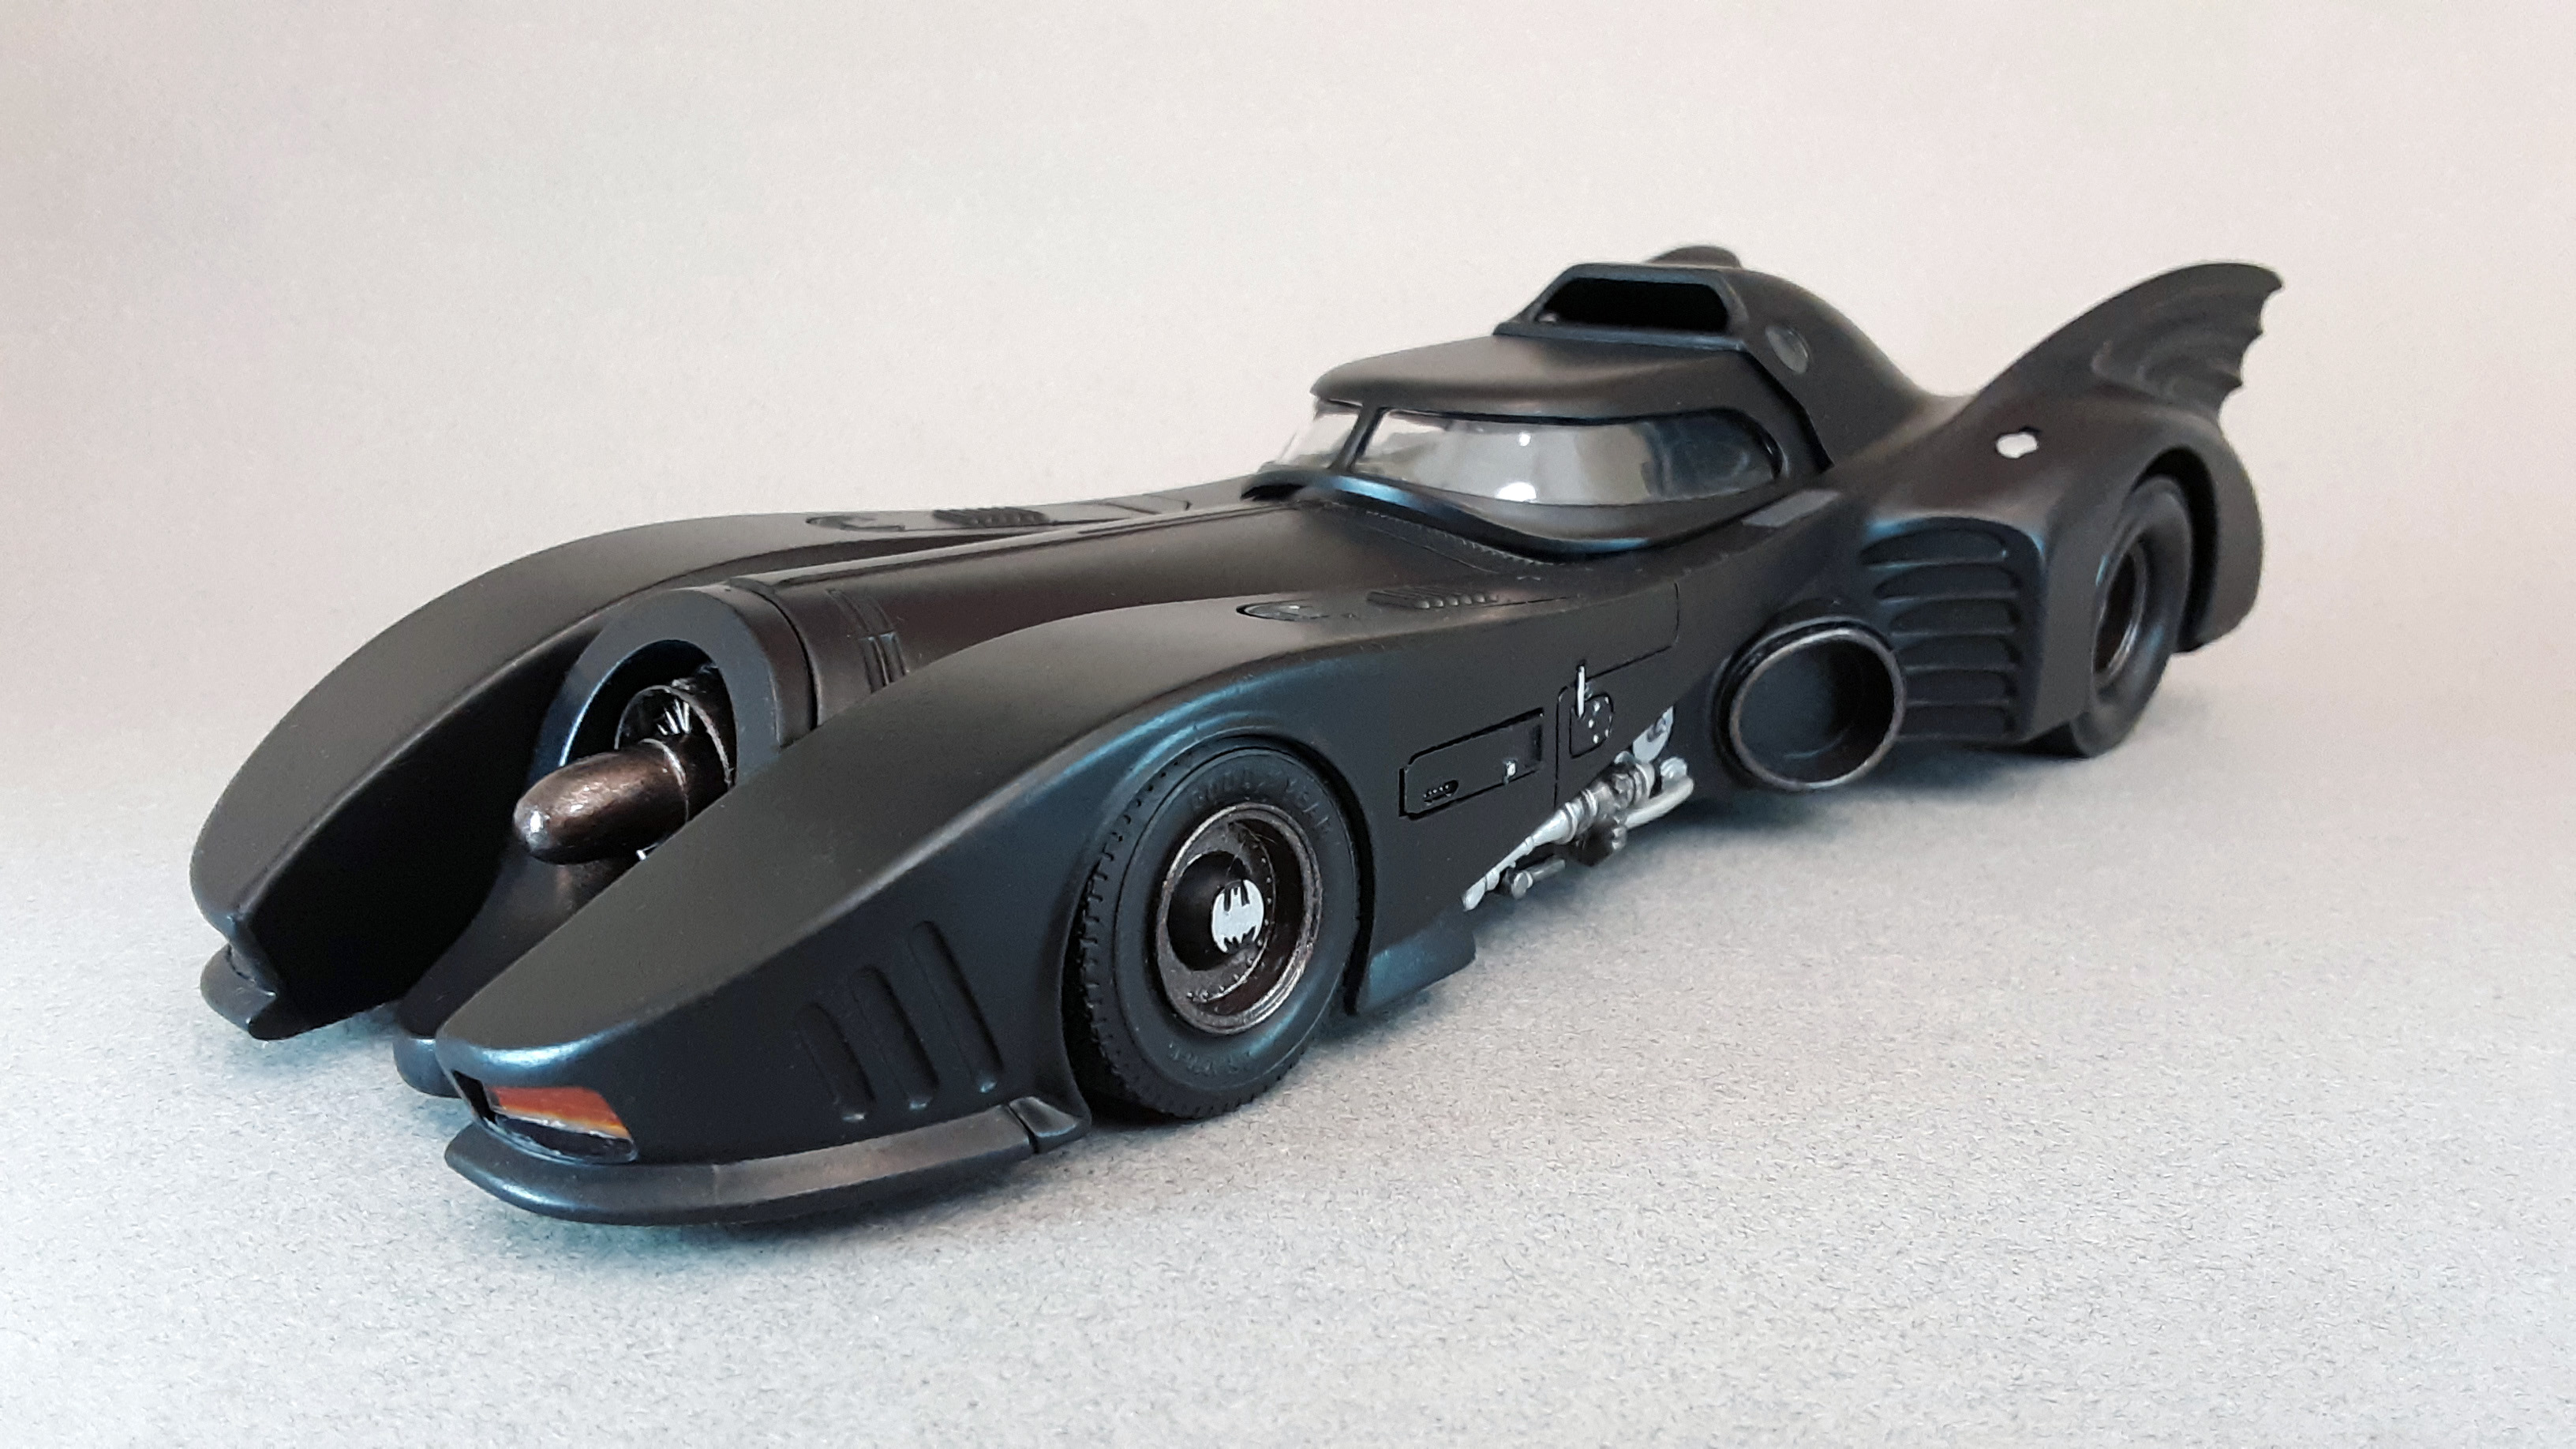
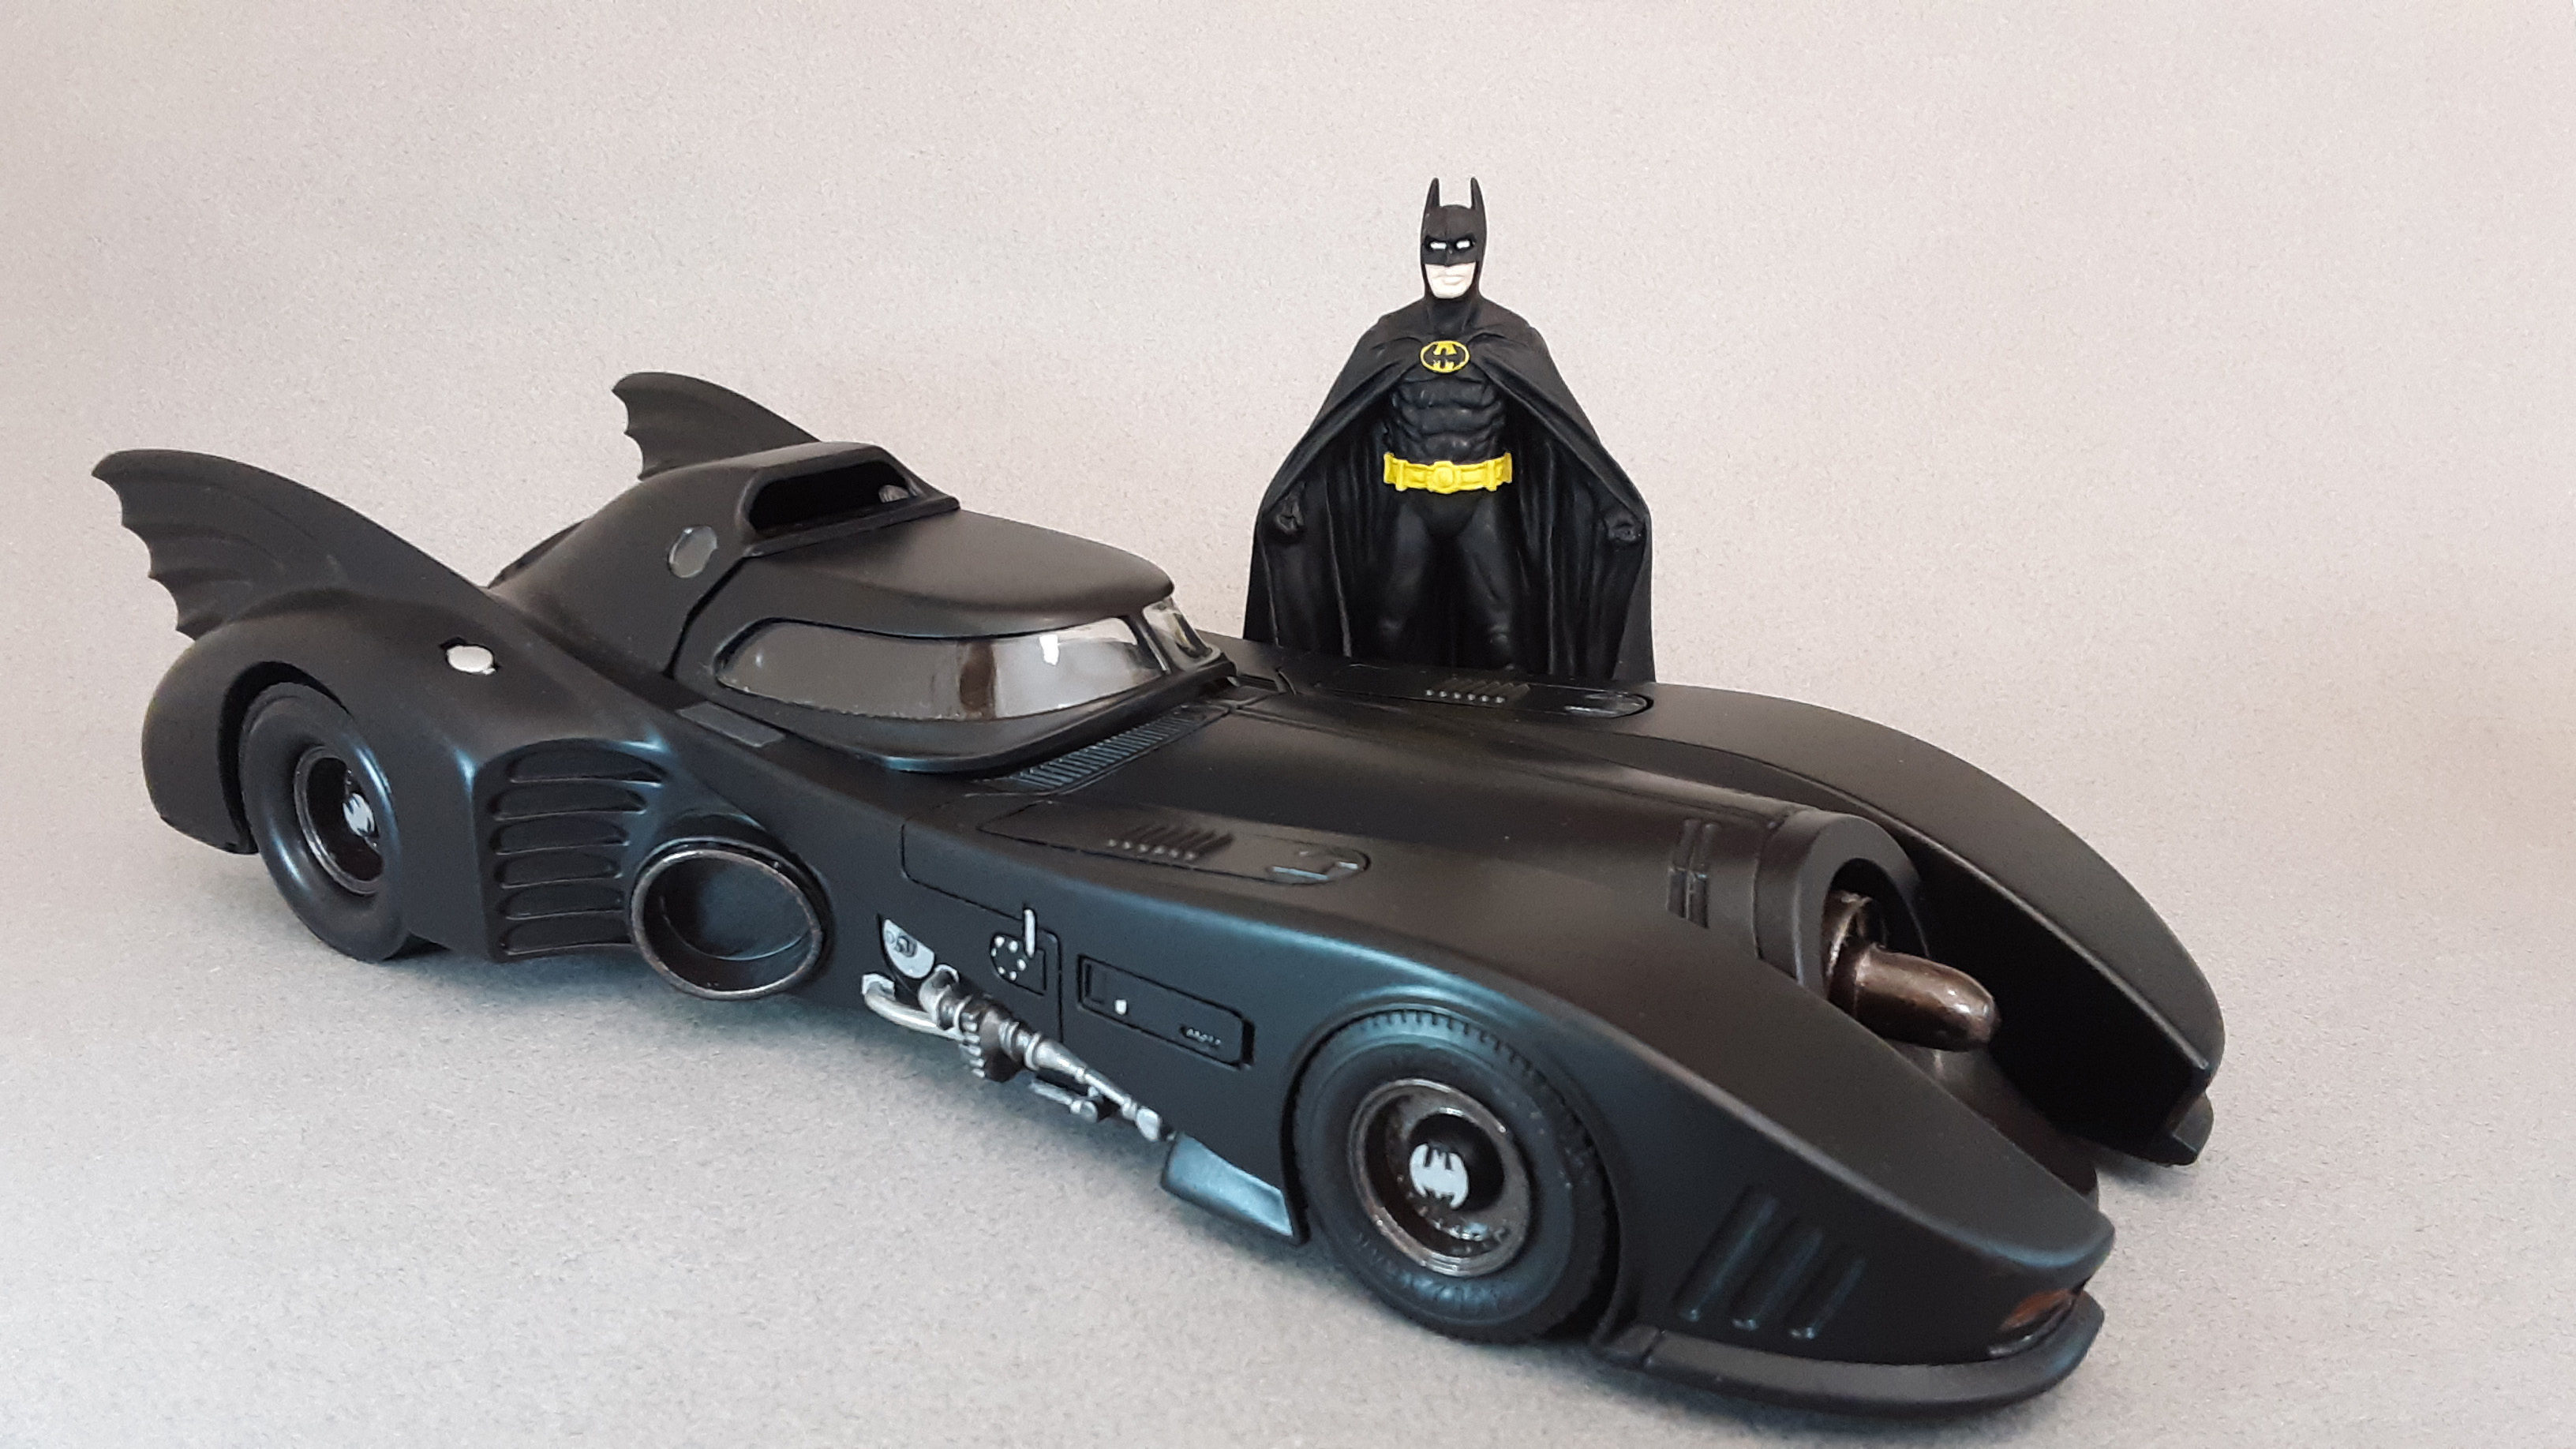
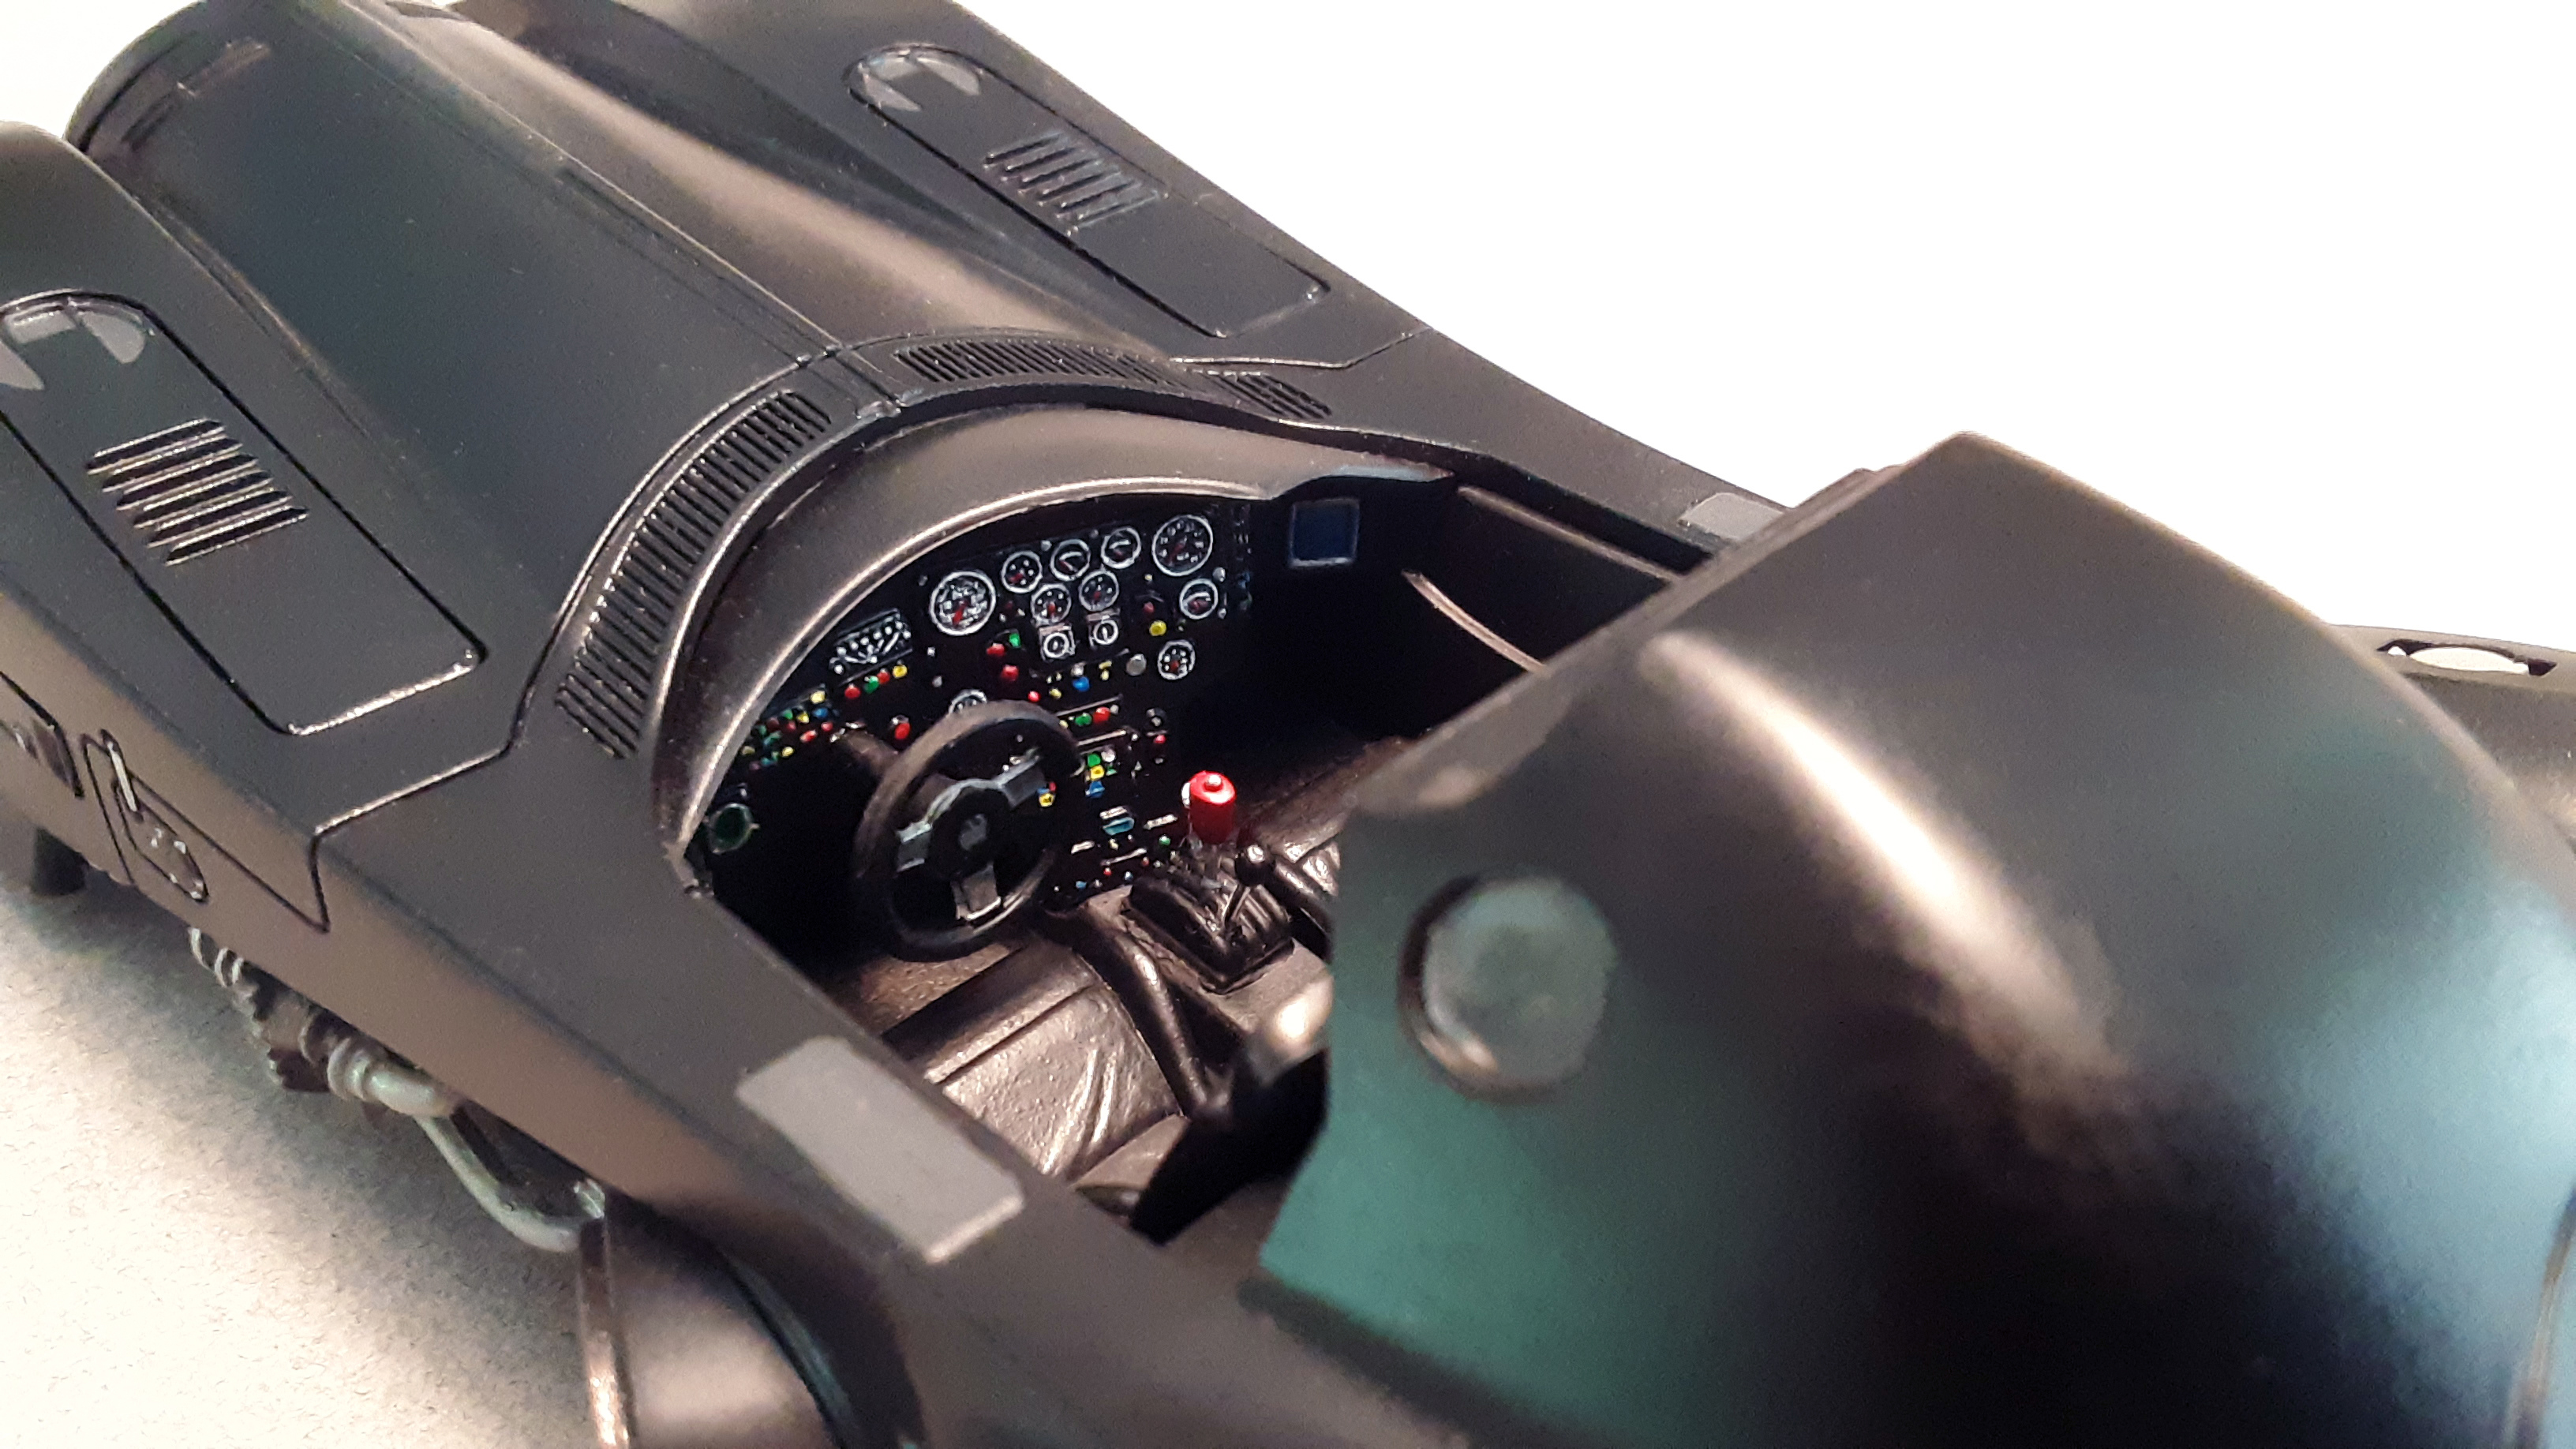
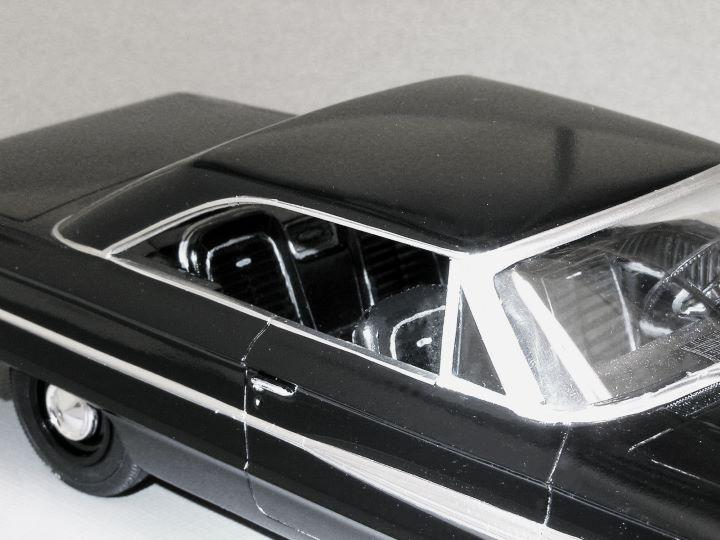
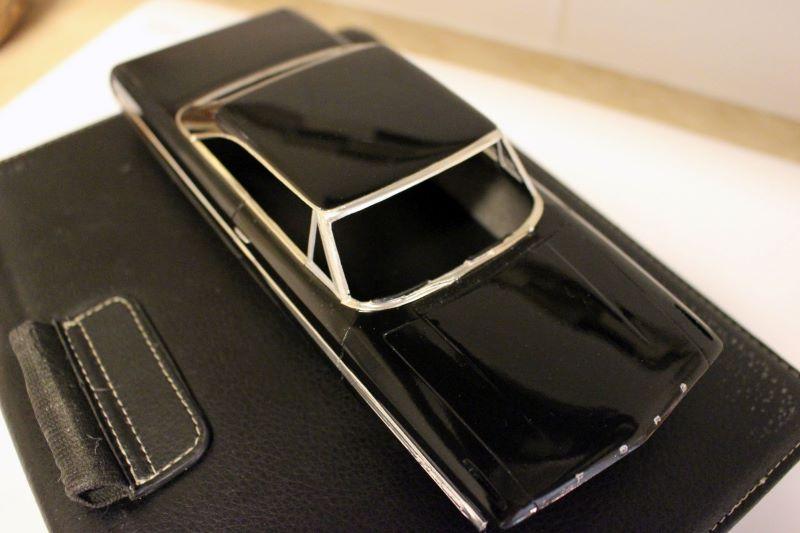
I finished this kit of the Batmobile from the 1989 Batman movie with Michael Keaton. Also included are some photos of the 1966 Batmobile from the TV series with Adam West, as well as the 1955 Lincoln Futura concept car that George Barris used for the base of the Batmobile. Thanks for looking! Bart

-
USS ENTERPRISE NCC-1701
bh1701 replied to michelle's topic in All The Rest: Motorcycles, Aviation, Military, Sci-Fi, Figures
Excellent work with this kit - and all of the decals! I have also built this kit and it is a good model. Not a lot of painting needed, but a ton of decals. With patience and a lot of decal setting solution, it turns out looking great! I have also built the USS Discovery - it is also a nice kit with a LOT of decals! Bart -
Thanks, guys! I've already got the Revell kit on its way, so I'll continue down that avenue. If either of these had come up when I was doing my searches, they both would have been good candidates for me to consider using. Making the convertible top for my model shouldn't be that bad. It's always good to have a challenge and to get the satisfaction of achievement when you finally overcome that challenge! Bart
-
Thanks, Mike. That sounds like a good approach. For the metal frame pieces, I am guessing that some pieces of strip styrene could be used to make those? I will be seeing the actual car in a week or two and will be able to study what the folded-down top actually looks like in person. That may help me figure out the best approach for me. Bart
-
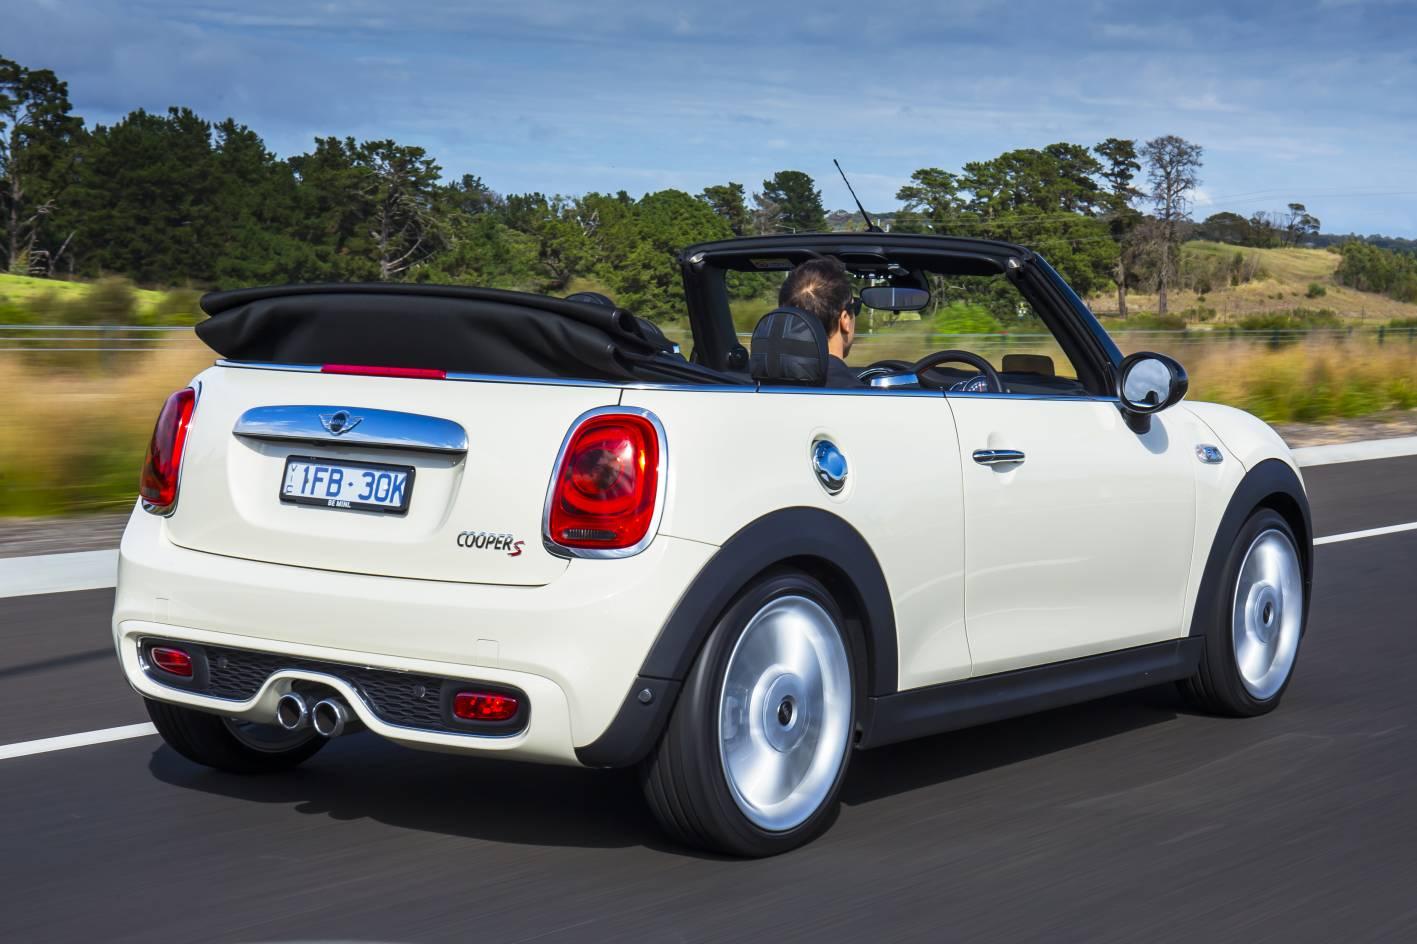
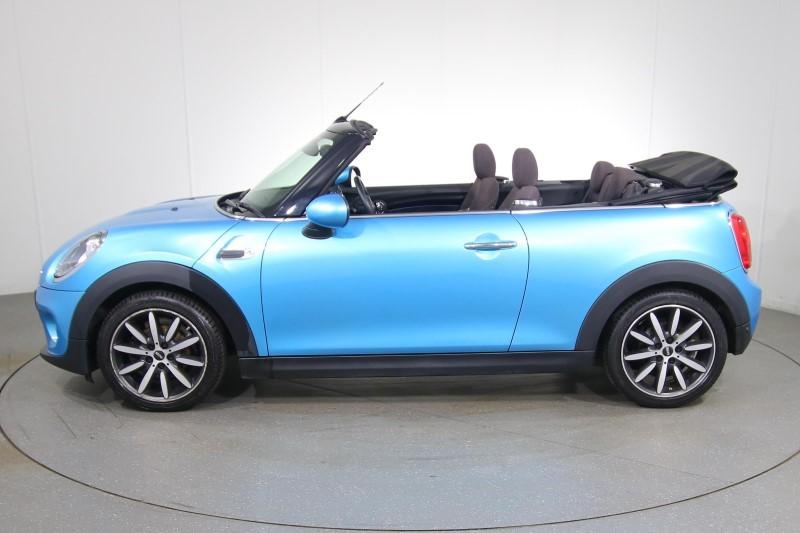
I will be making a model of a friend's Mini Cooper convertible. I am starting with the Revell 1/24 Mini Cooper kit. I'll need to make the convertible top (in its folded down form). Any ideas on how I might be able to approach this? Thanks, Bart
-
I agree with the others - this is one of your best builds yet. Congrats! Bart
-
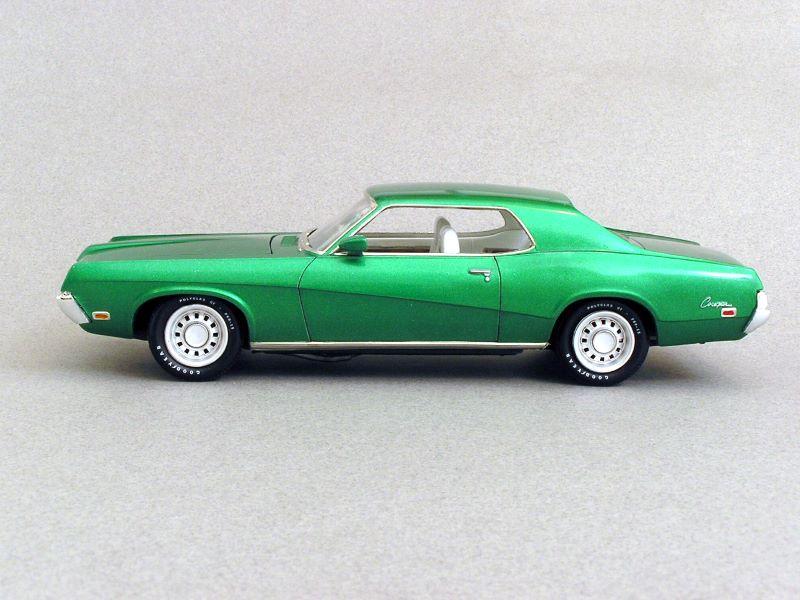
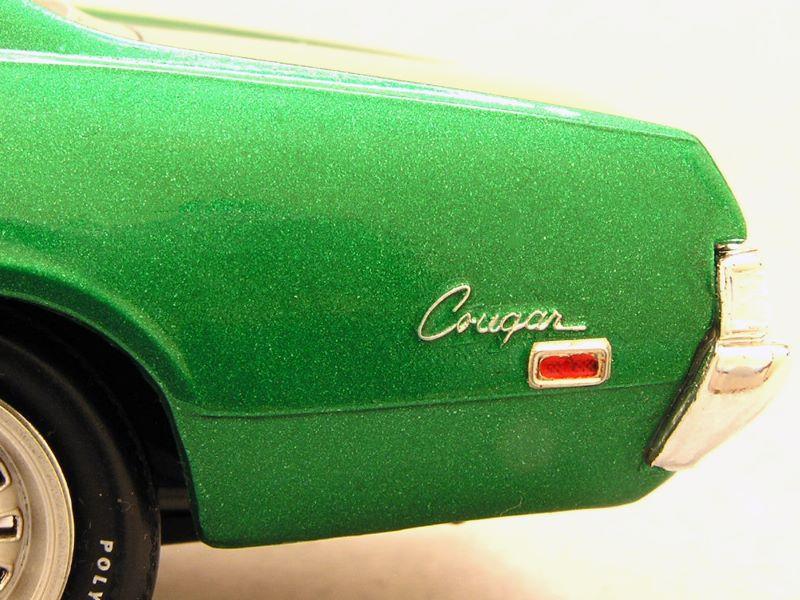
John (... and others !), Thanks for the kind comments! There are a number of posts in this site that describe methods used by folks for "painting over foil" for the badges and script. I searched the site using search terms like "foiling script" (matching all words in the phrase) and found lots of ideas. I suggest you take a look for those. On the first model I foiled, I applied the foil before my final color coat went on. The car was painted using Tamiya's medium metallic blue. I found that the edges of the silver foil on the body still showed through the blue paint a bit, so the area around the borders of the badges and script all had this "halo" of a lighter blue than the rest of the body. I also used Tamiya modeling swabs and toothpicks to remove the paint; both had some lacquer thinner on them to help remove the paint. I was happy with the results, but thought I could do better. The Cougar is the second one that I foiled the scripts on. My technique changed a bit this time. I put the foil on before I put the last coat of primer on. The last coat of primer covered the foil completely with no foil showing through the primer. I then put my initial coats of green on, and removed the paint from the foil at this point. Once I had my final color coats on, I removed the paint from the foil again. Why did I do it twice? Because I was worried that if I waited until the end, there might be too many layers of paint and primer to be easily removed. I first used a craft stick (like a popsicle stick, only wider) to remove the paint. I did not put any thinner on it and carefully ran the edge (near the rounded bottom end of the stick) back and forth over the script. Tamiya paint seems to be pretty thin, so this worked to get the majority of the paint off. I then used toothpicks and swabs to clean up any rough spots. Finally, I used just a smidgen of thinner on these tools to further clean things up. Different brands of paint might be thicker and may require some thinner earlier on in the process. The best advice I can give is to read different posts about how people do it and find one that works for you. A lot of patience and a magnifying lamp are also essential! Thanks, and good luck! Bart
-
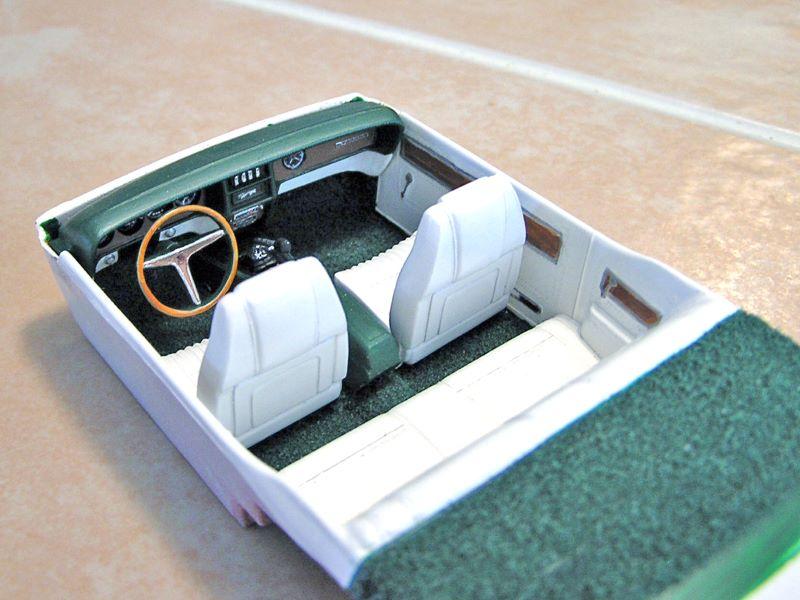
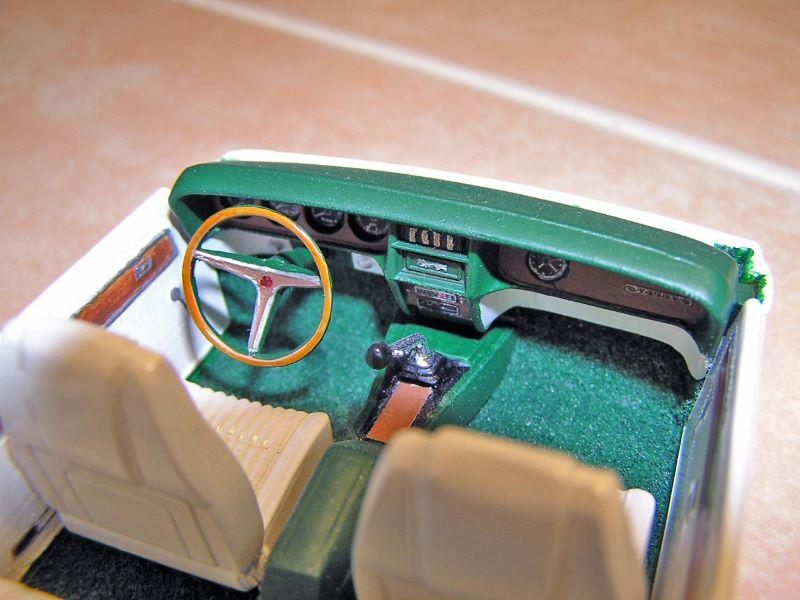
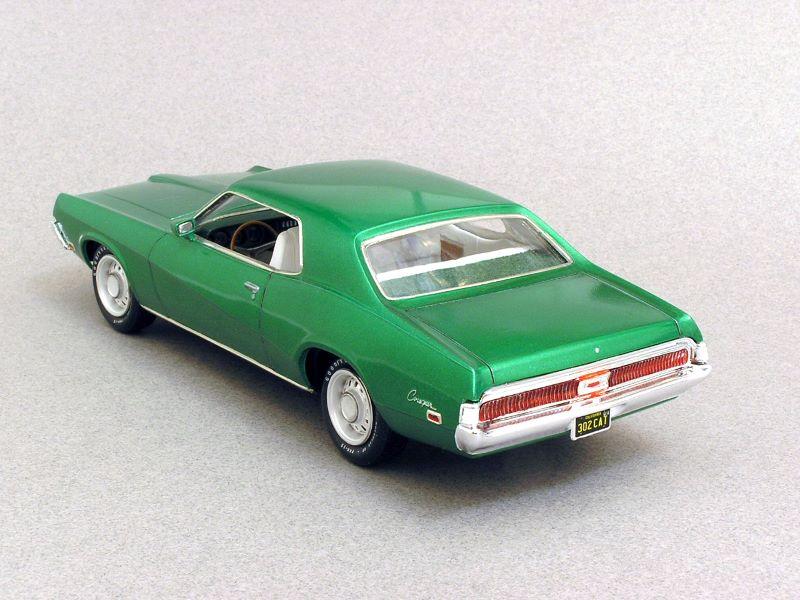
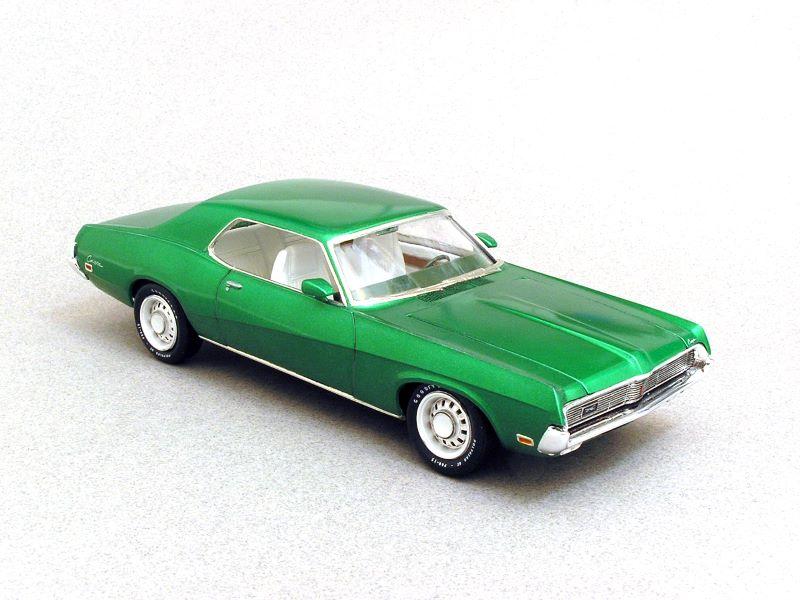
Some photos of my latest completion. An AMT 1969 Mercury Cougar. The color is Tamiya TS-20 Metallic Green. I think that this color is quite appropriate for a post being created on St. Patrick's Day! The kit is the Cougar Eliminator, but I filled the spoiler holes on the trunk, removed the hood pins, and omitted the front air dam to make this a standard Cougar. I added a console to the interior (from a 1970 Mustang). I did not have dark green embossing powder for the carpets, so I used some modeling railroading grass instead. Overall, a pretty nice kit. There were some issues getting the hood to lay flat, and to get both the front and rear bumpers to fit. Some careful sanding and filing helped to eliminate (or minimize) these issues. This is the 2nd kit that I have done the scripts using the "paint over bare metal foil" process. I am quite happy with the results. It's takes a delicate touch and lots of patience to get the paint off cleanly, but it does look good! Thanks for looking, Bart
-
Great looking build! I am especially impressed with the wood on the side. How was that done? Thanks, Bart
-
Even though the AMT kit had its issues, you did an excellent job on this! The color on the exterior looks correct to me. What paint did you use for the outside? I have the new Polar Lights kit to build some day - but probably won't get to it for a while. I hope somebody has produced an interior detail kit for it by then! Bart
-
I saved about 25-30 of cars I built when I was younger with the hopes of restoring them like I did with this kit. But, I threw out probably about 60 to 70 other kits that had no special memories for me at that time or had too many missing pieces. In retrospect, there were a lot of models I wished I had kept - Mustangs, Camaros, Vettes, Thunderbirds and such. ?
-
Looks great!
-
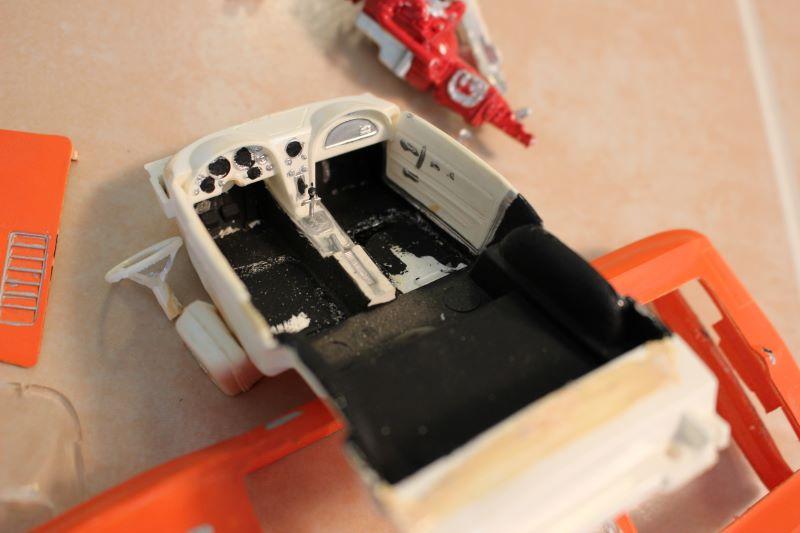
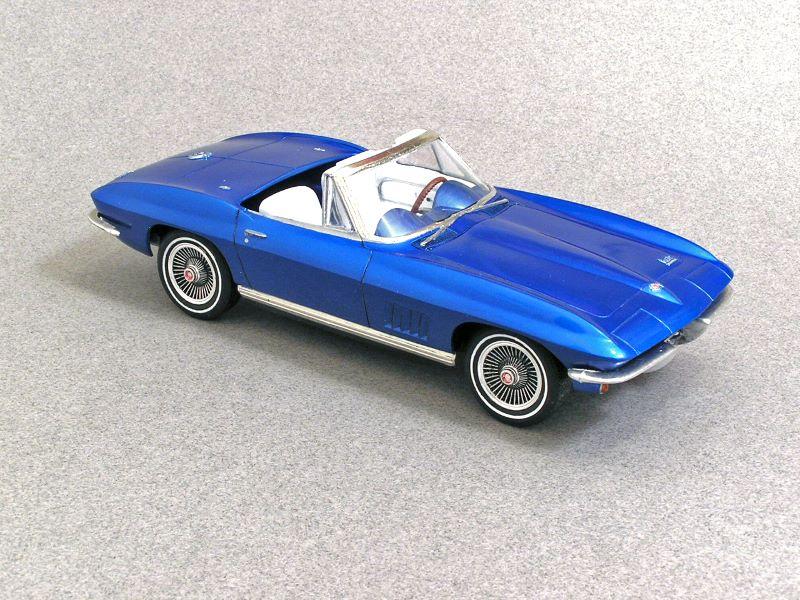
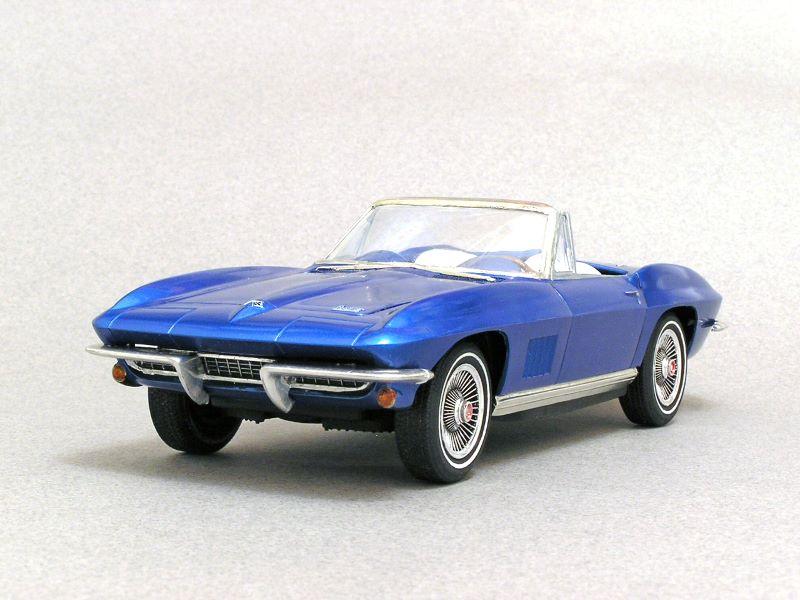
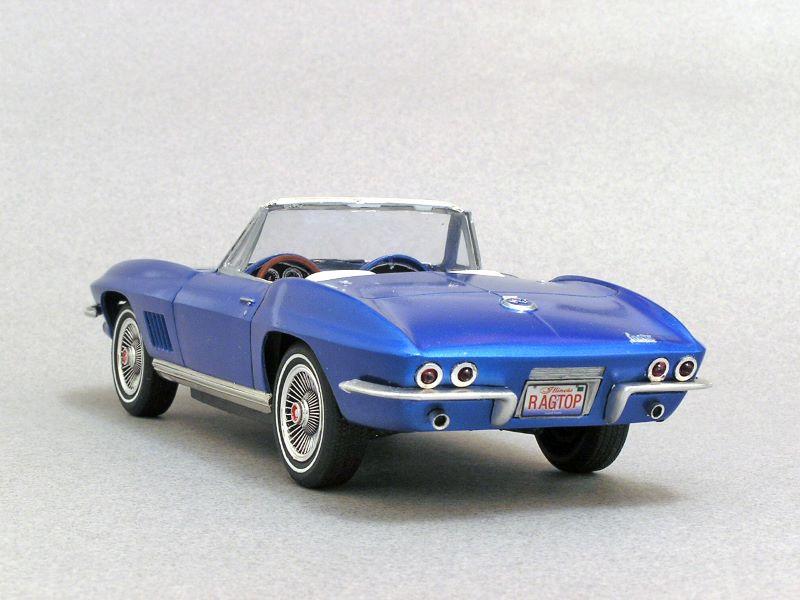
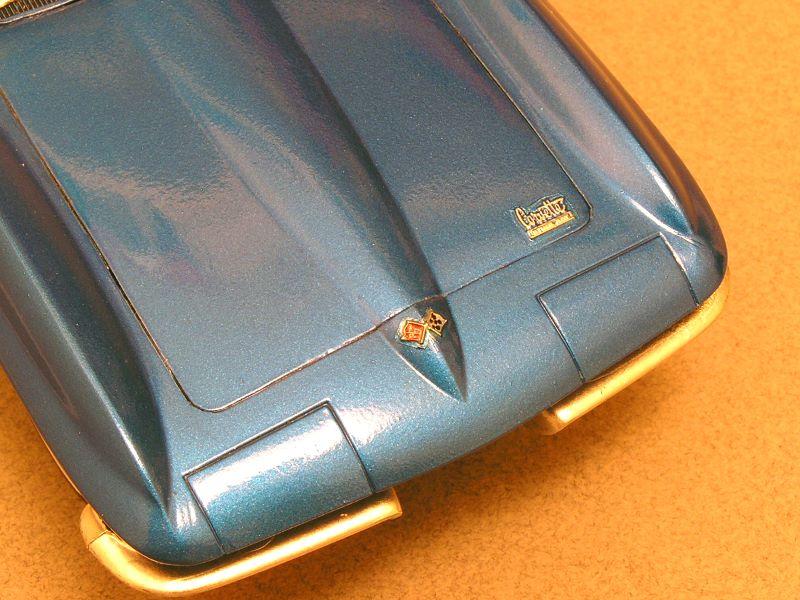
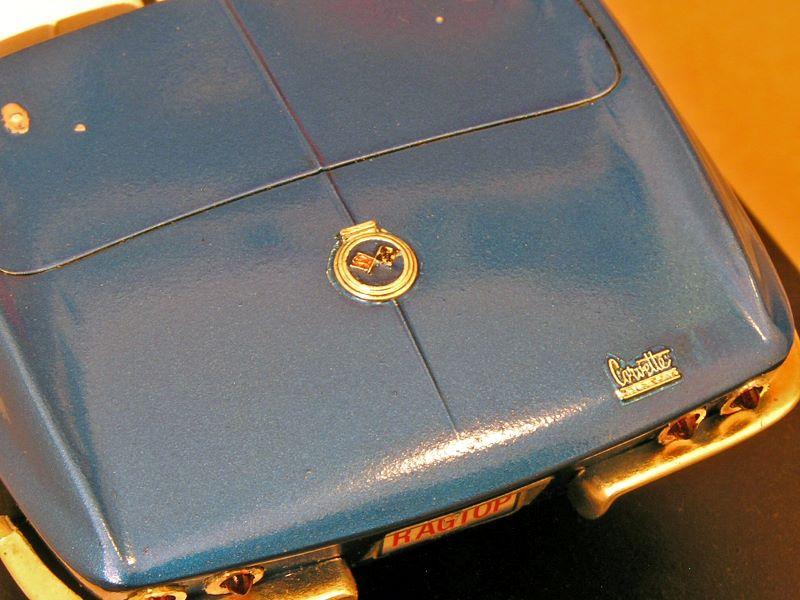
I have completed a restoration of my AMT 1967 Corvette that I originally built back in 1967. When originally built, it was bright orange with orange/yellow tie-dye fabric crudely glued to the seats. As you can see from the original interior photo, my teenage skills for detailing were seriously lacking! I disassembled the kit, stripped the paint and salvaged as much as I could. The original hood I used was not prototypical for a 67, and the seats could not be rescued once the tie-dye fabric was removed. Thanks to several members of the forum (Muncie and Snake45), I was able to secure new seats, a new hood, and new tires and wheels. I painted the whitewalls on the tires using a white gel pen. The gauges are from Best Model Car Parts. The exterior color is Tamiya TS-54 Light Metallic Blue. This was also my first try at foiling scripts/emblems/gas cap. Not perfect, but I was satisfied with my first attempt. I applied the foil prior to the last color coat. In retrospect, I think with my next attempt, I will apply the foil before the final primer coat(s). After the first few color coats, I may do a preliminary removal of the paint to expose the foil (before too many coats of paint are put over the foil). Then, after the final color coats, I'll remove the paint again. I think one of the issues I had with this kit was that the foil was so much brighter than the body color. I don't think there would be any way that the blue over the edges of the foil would ever have matched the rest of the car. The blue on the rest of the car got deeper with every coat, and the silver under the paint was never going to catch up to match! I need to try to trim the foil a bit closer to the script next time, also. I was worried about trimming too close and not having enough foil laying down on the body portions of the car. Thanks for looking! Bart
-
Gareth, I found this kit on Ebay. It was around $35 US Dollars, plus some shipping charges and taxes. Bart
-
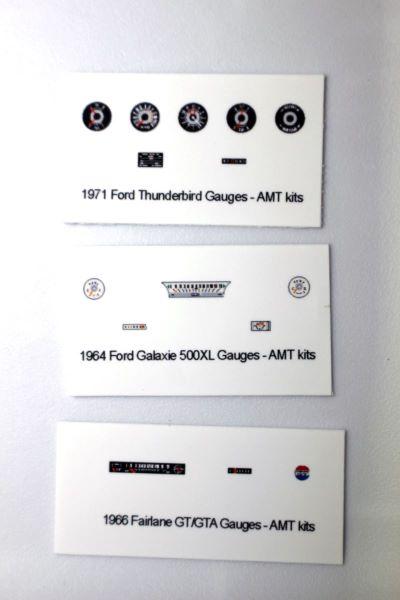
I have a few questions about doing dashboard gauges and other dashboard details. I have a number of the gauges that BestModelCarParts makes for a number of kits in my stash of unbuilt kits. Wondering how you would install these gauges - specifically on a 67 Corvette dash that I have just ordered the gauges for. 1) Would you just cut the gauges out and glue them over the existing gauges? If so, - what glue would you use? - how would you cut the circular gauges out? 2) Or, would you use drills and files to remove the gauges and other details from the dash and secure the gauges from behind? (which would eliminate the concern with cutting out a round gauge from the sheet) Would appreciate your thoughts and any other advice you might have for me. Thanks, Bart
-
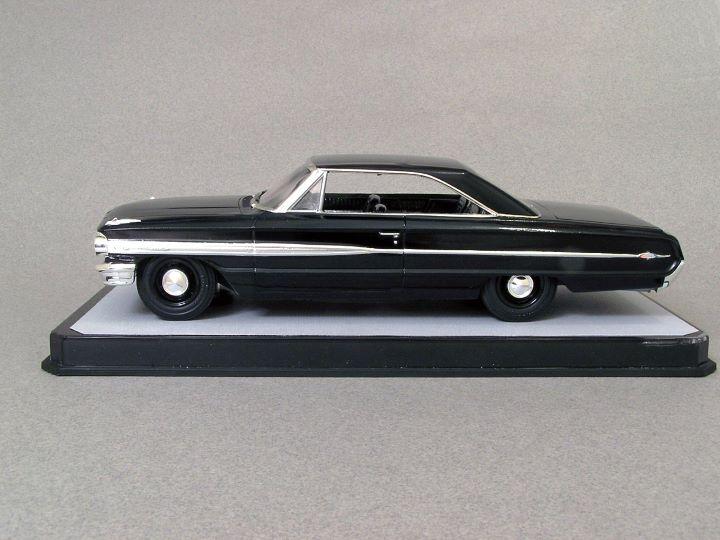
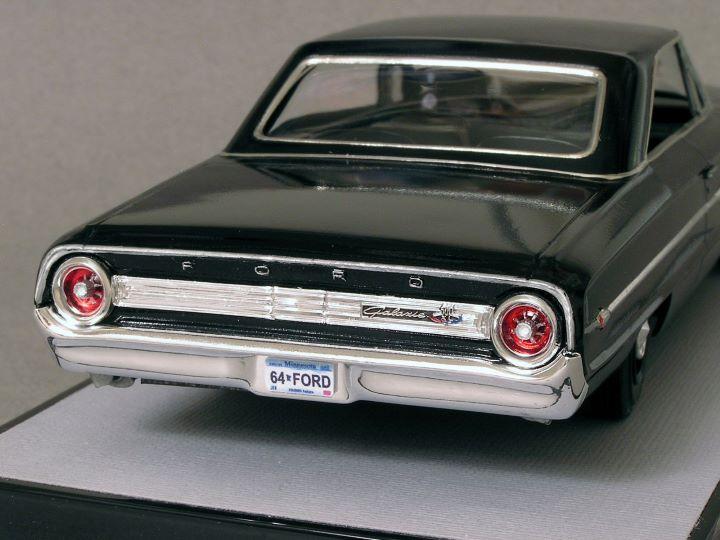
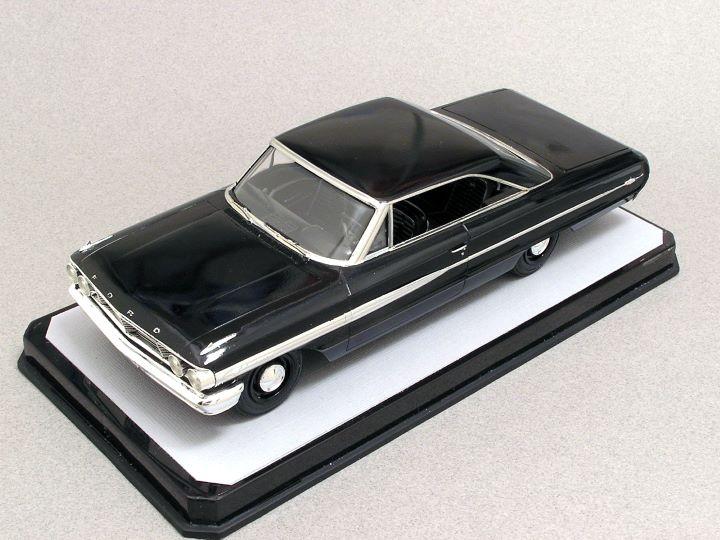
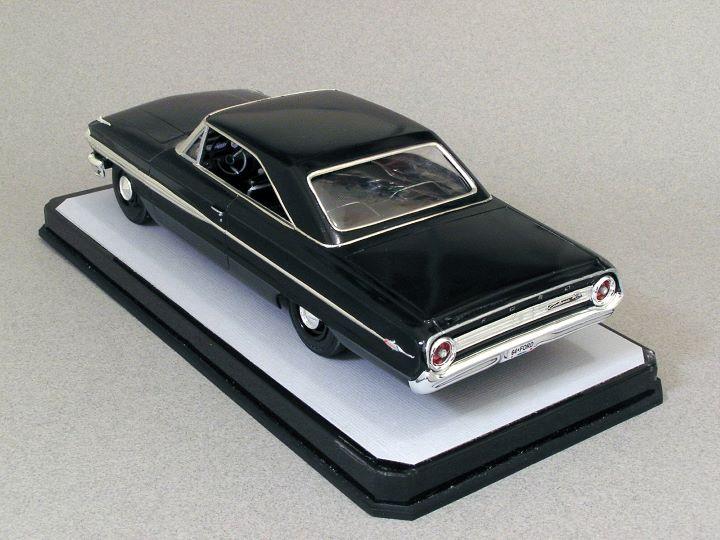
Here is a 64 Ford Galaxie 500XL (AMT Blueprinter kit) that I just completed. This was built for and given to my neighbor; this was one of his first cars that he remembers quite fondly. Exterior paint is Tamiya TS-14 Black, I used Vallejo Black wash on the front grill and the on the Galaxie emblem on the rear of the car; I have just started using this product and am very pleased with the results! Bare Metal foil was done for the window trim and the "spear" on the side of the car. The "FORD" script on the hood and rear are hand painted. All chrome detail in the interior was also hand painted. I stole the wheels and hubcaps from a 60 Ford Starliner kit to match his car. (looks like the Starliner will be getting some new wheels when I build it). Thanks for looking, Bart
-
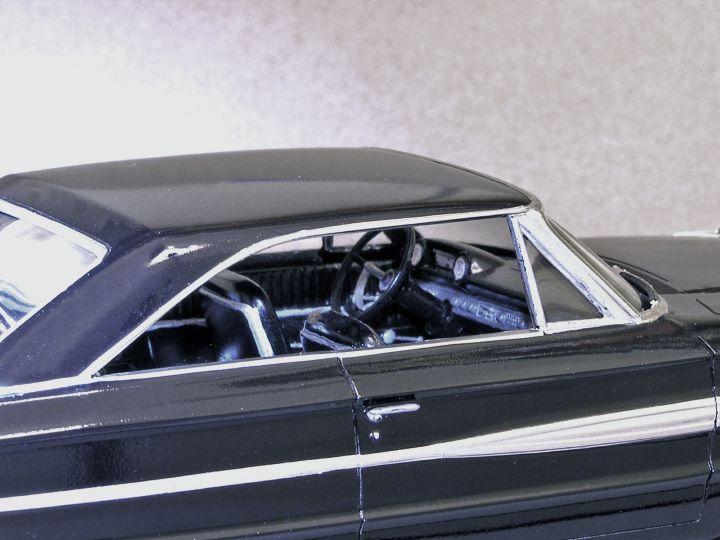
Here's a sample of my foiling - using the tips and suggestions mentioned here. I think it looks pretty good! I appreciate the advice! I used a much lighter touch with the blade - and only experienced one or two places where I cut down through the paint. These were all around the rear window, especially at or near the rounded corners. A little hard to keep the blade pretty flat when you have to round a corner. I touched up these spots with some black and a very fine paint brush. But, much better results than I was getting before. The vent windows, letters on the hood and truck were hand painted. Thanks, Bart
-
I will be using Tamiya's TS-54 Light Blue Metallic on an upcoming kit. I usually use Tamiya's white or gray primer on my kits. Is this what I should use, or is there something different I should do with a metallic paint? Thanks, Bart
-
Thanks for everyone's ideas. I'll be heading out today to get some of the Tamiya Cotton Swabs that were suggested, and I will continue to work on applying as little pressure as needed from the blade! Bart
-
I have been using Bare Metal foil on my last 2 models. I have noticed an issue and wonder if anyone can help me figure out what I am doing wrong. Both kits were done with Tamiya spray paints ( a couple of coats of gray primer, a mist coat of body color and then 3 wet coats of body color, and 3 wet coats of clear). I did polish the kits before foiling. I am using a new #11 blade with each kit. The foil is applied, pushed down using my fingertip, and the edges are burnished using a toothpick prior to trimming, I have noticed that when I pull the excess foil off that sometimes there will be spots where I can see a fine line next to the trim where the original white body color (or maybe the primer) is showing. My thoughts are that I am burnishing too strongly, using too much pressure when cutting (although I feel like I am just dragging the blade lightly along the edges), or that Tamiya paint is just really thin (I like Tamiya for the range of colors and the smooth finish you can achieve, but have always felt that it can be easily chipped). Suggestions? Also wondering if there is a better clear coat (spray can variety) to use over Tamiya spray paint that creates a thicker and harder clear shell over the body color? Appreciate your help! Bart
-
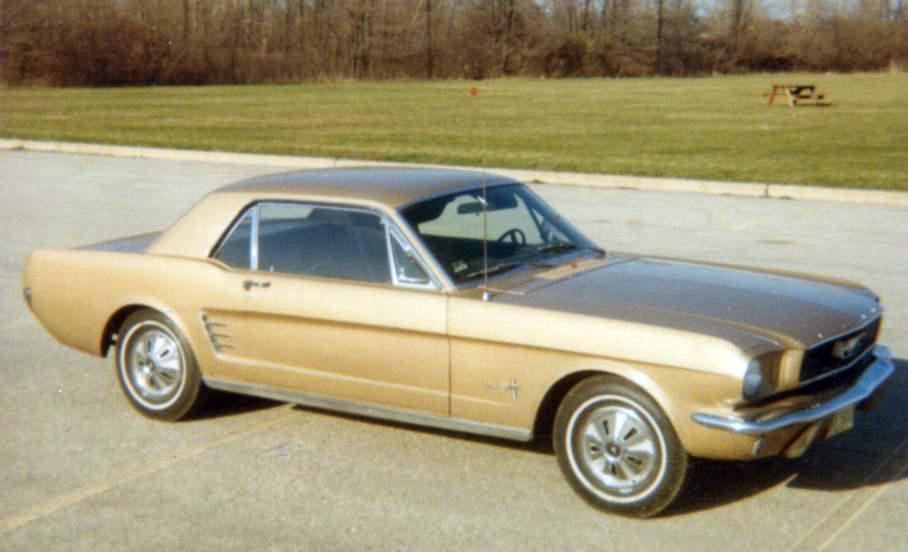
Looks great! My first car was a 66 Mustang in Prairie Bronze - so this brings back lots of memories! Bart
-
An amazing restoration! Great work! Bart
-
Thanks. And yes, I did get the flux capacitor to work. ? If I made any mistakes while building, I just fired it up and went back a few minutes in time to stop myself! ? The flux capacitor, dashboard gauges, and the device that's used to set the destination time were all images I found on/printed from the internet. Cutting the tiny little circular gauges out of the printout was quite a challenge. Bart
-
Thanks, Glenn. I saw the BTTF DeLorean pics you posted recently. Your version looks great, too! The Polar Lights kit featured (in their words) "a new authentic looking brushed metal look that captures the brushed stainless steel of the real car". The finish looked very nice, but it was not a smooth surface and I noticed it collected dust and lint pretty easily. I sprayed some semi-gloss clear over the body after all the wires were painted. That gave me a much smoother surface and eliminated it grabbing any pieces of dust or lint that were anywhere near it! Bart