bh1701
-
Posts
390 -
Joined
-
Last visited
Content Type
Profiles
Forums
Events
Gallery
Everything posted by bh1701
-
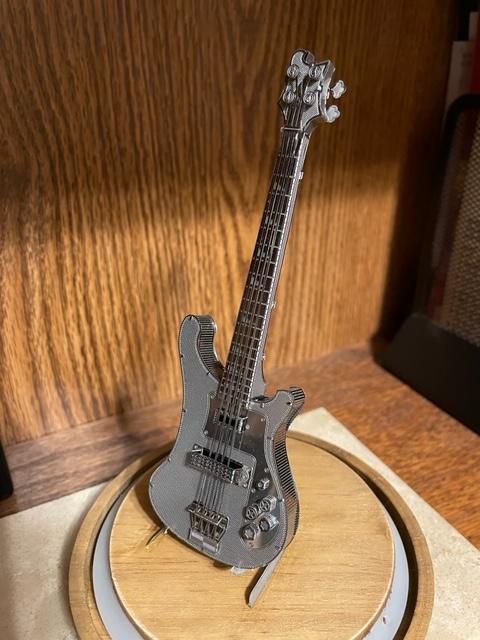
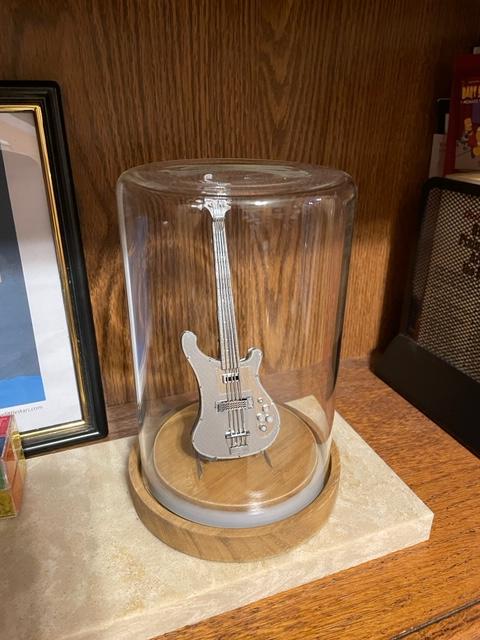
The guitar was my first Metal Earth kit. Yes, it was fun (in a way). I loved trying to form all of the little knobs on it! Bart
-
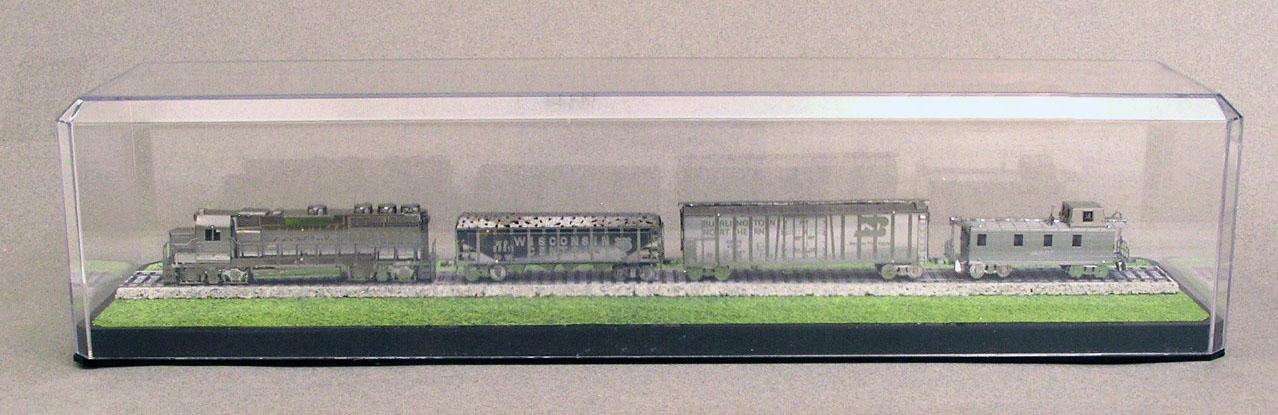
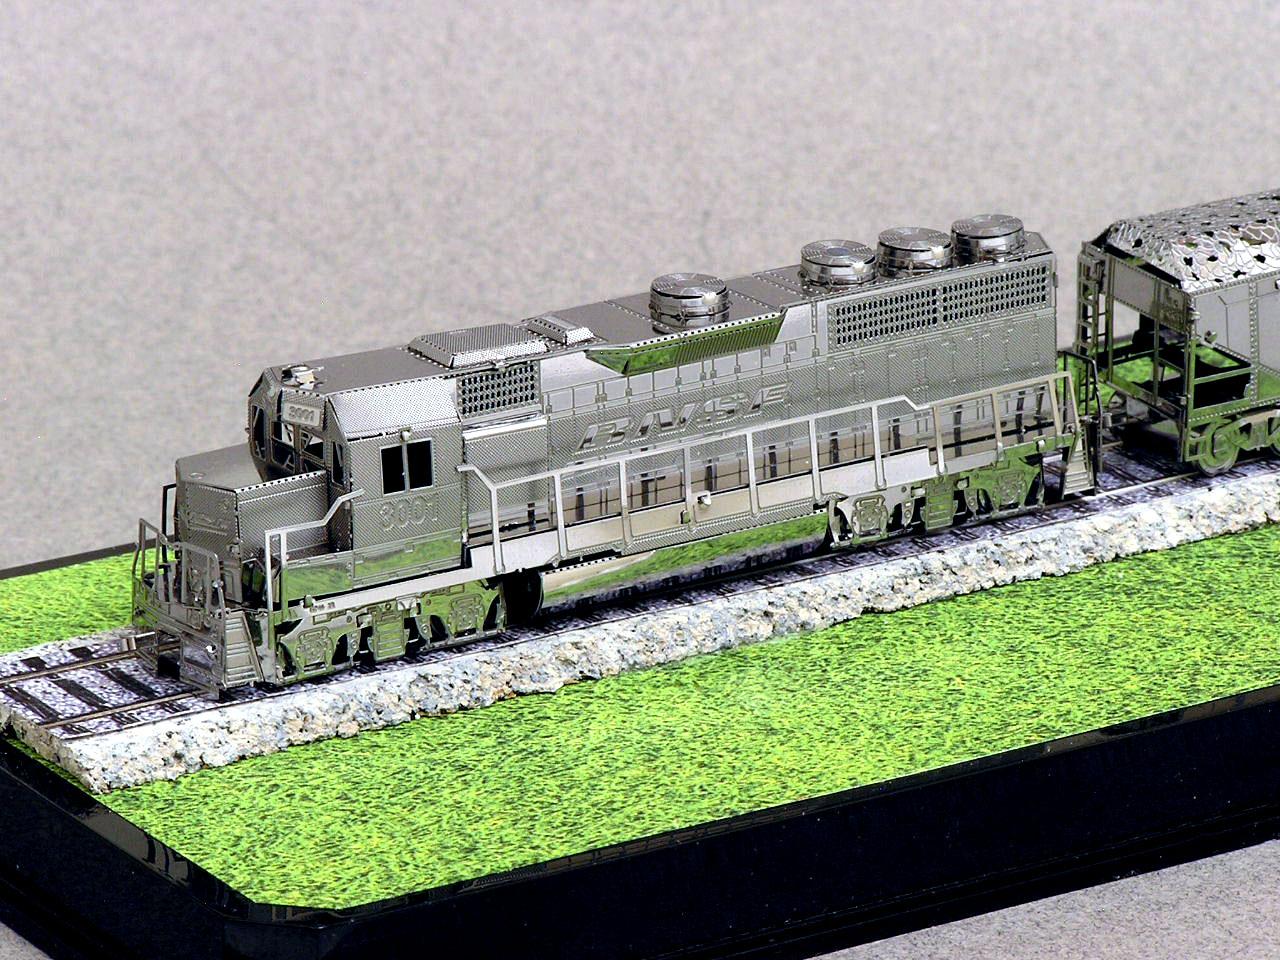
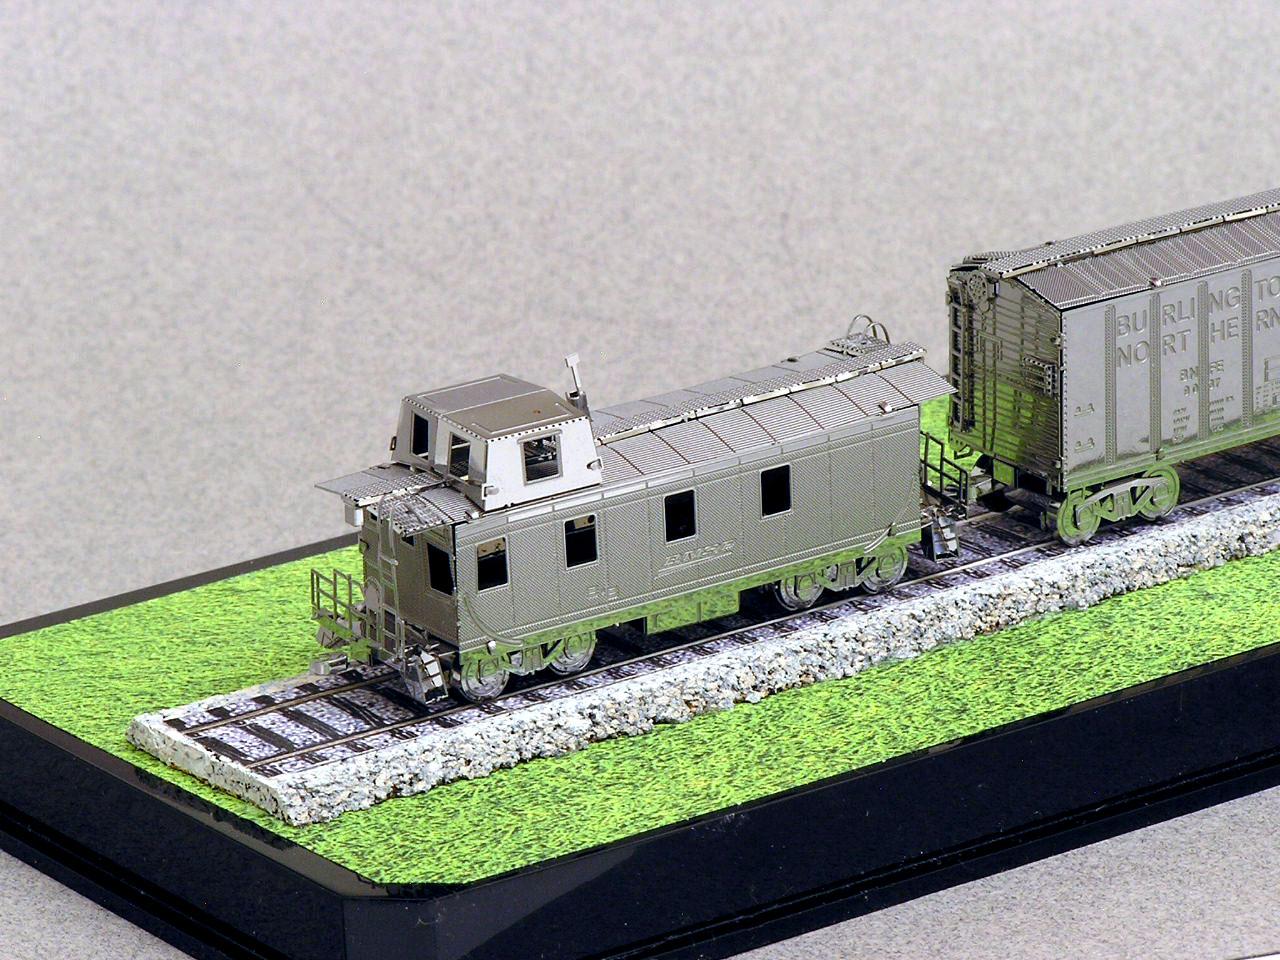
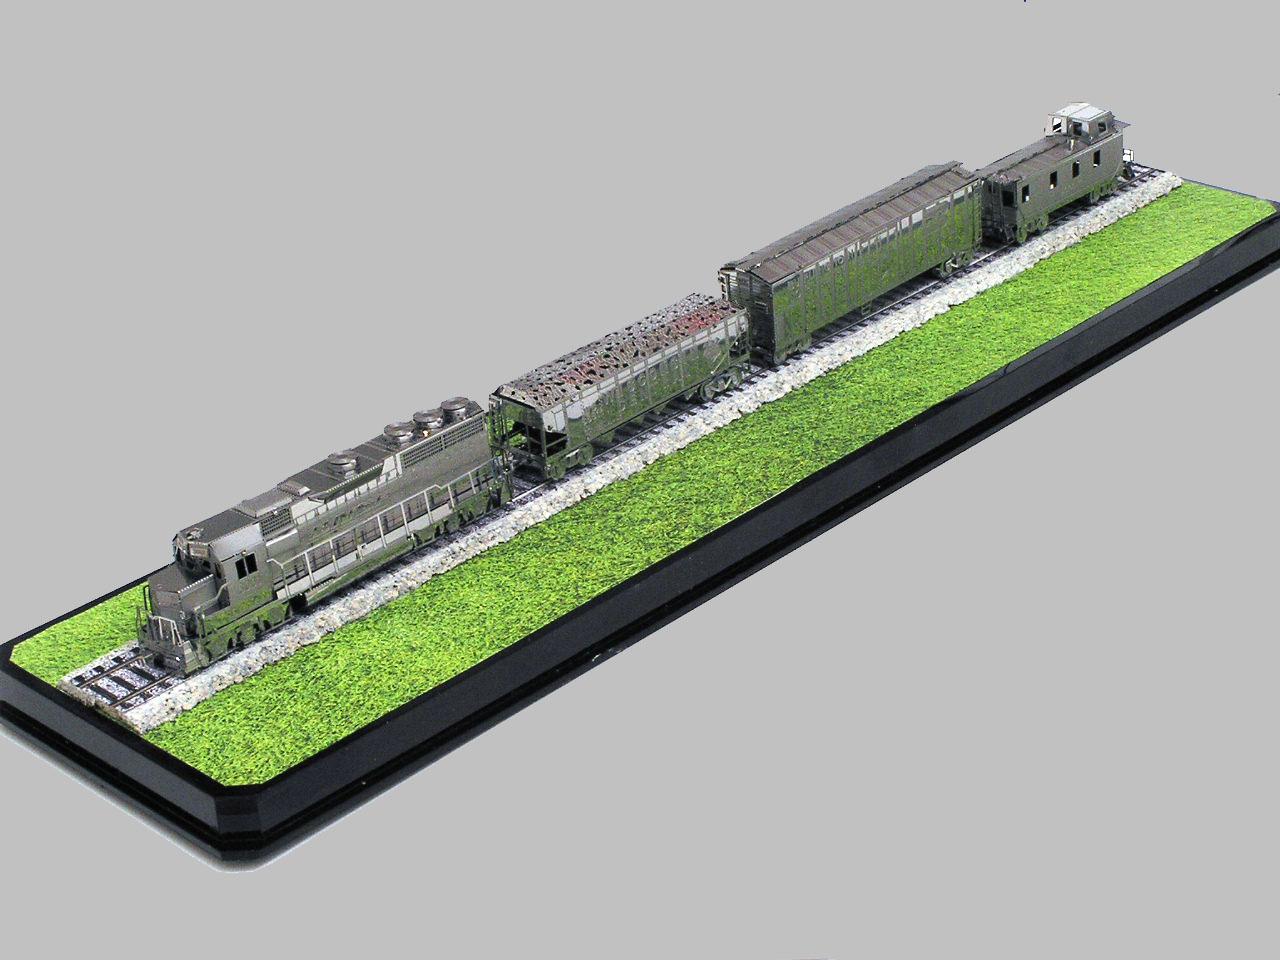
The kit only has the locomotive and the rolling stock. Since it is so close to N Gauge in size, I used a piece of N Gauge cork roadbed and painted it light gray to represent some ballast. The track is actually a photo of some Kato N Gauge Unitrack I had laying around; I did stretch the image slightly in order to widen the distance between the rails to match the wheels on the train (either in Photoshop or Powerpoint - but I can't remember which one). The grass is an internet image I found and printed. The case is from Hobby Lobby (SKU: 242917) and was reasonably priced at around $12. If you use that case, you 'll be able to fit the whole train - except for one of the freight cars. Thanks, Bart
-
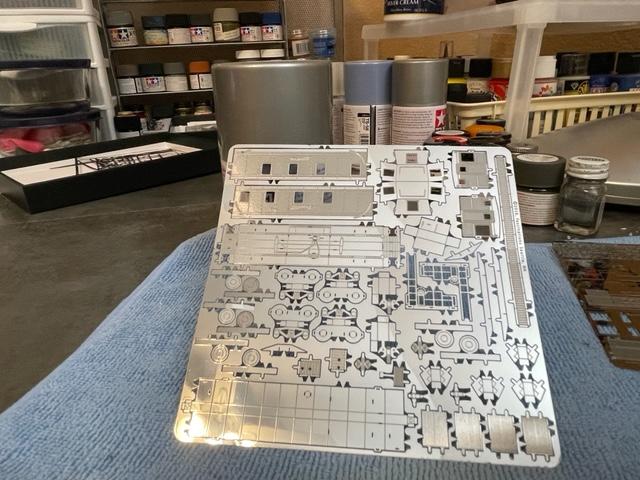
Here are some of my tips: I found a number of videos on YouTube that were either directly related to the kit I was building or just general tips on building any Metal Earth kit. You'd probably want to search on something like "building a Metal Earth kit" to find some of these. These gave me a lot of good tips and let me see the building processes used by different people. Important tools: Some kind of shear/cutter designed for metal to cut the parts off the sheets. (I used the Xuron cutter that I use to cut model railroad track). Flat blade tweezer (to bend or twist the tabs that hold everything together, and to bend parts along a defined straight lines on the part - such as the caboose cupola. You can see the cupola before it has been formed in the top right corner of the photo of the parts sheet) To form curved/rounded pieces (like the axles on the train or the round fan housings on top of the diesel) - I used the ends of paint brushes or the end of my needle files to gently work the part into the desired shape. Basically, anything you find around the house that is round and the right diameter could be used. A needle nose pliers (I used the tip of this to bend over some of the tabs that would be folded over flat. Also used it to form some of the rounded parts) Read the instructions carefully. They will indicate where the "engraved" side should be facing for the parts. They will also indicate whether the tabs are twisted or folded (I sometimes folded the tabs rather than twisting them when it seemed to make more sense to me). The instructions are a cross between Lego instructions and IKEA instructions - lots of pictures and very few words! Don't try to rush your work! Good luck! Bart
-
That came out very well. The Metal Earth kits can be an enjoyable change of pace from building plastic models. Bart
-
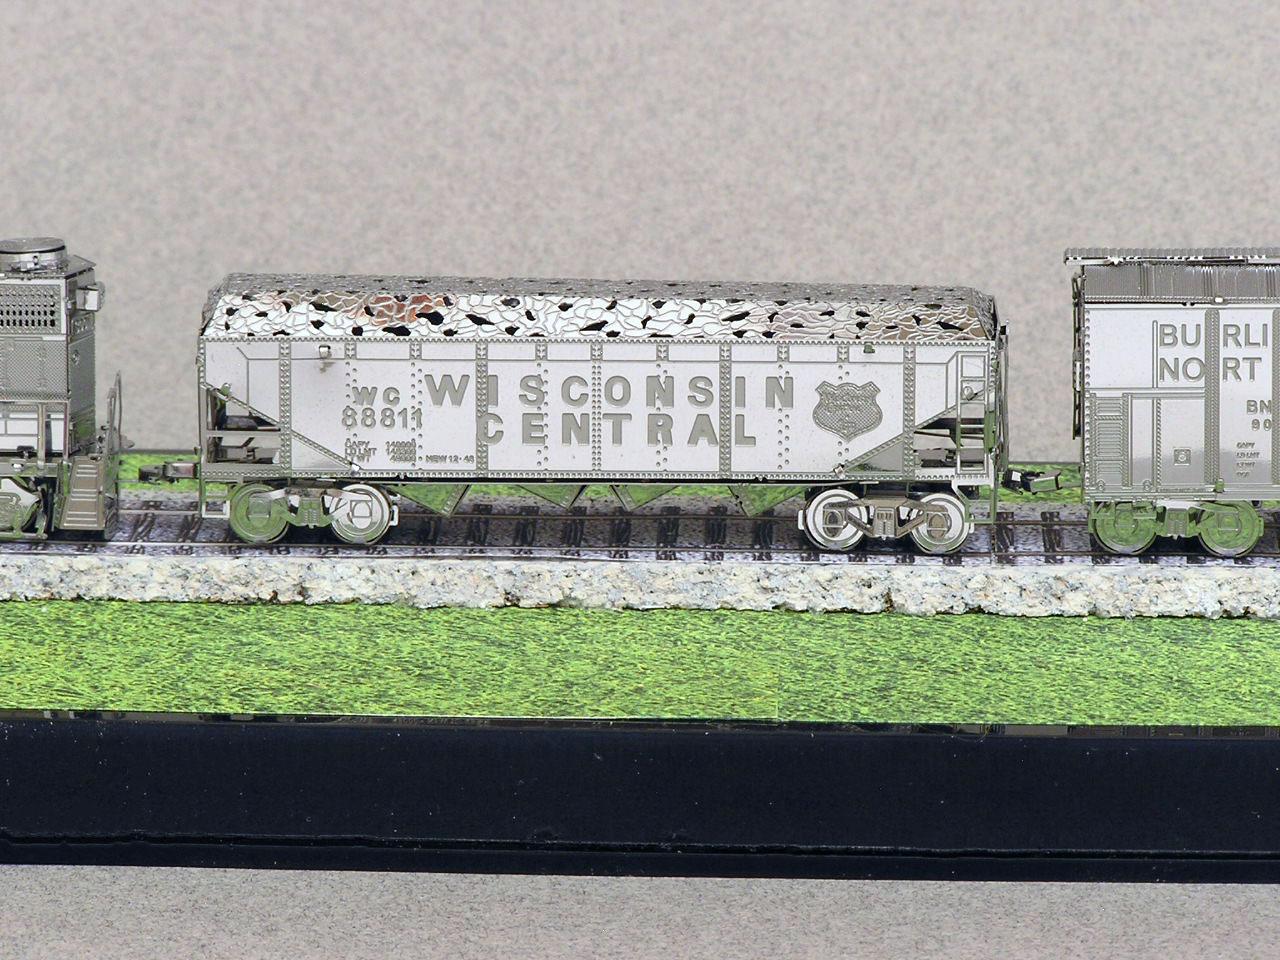
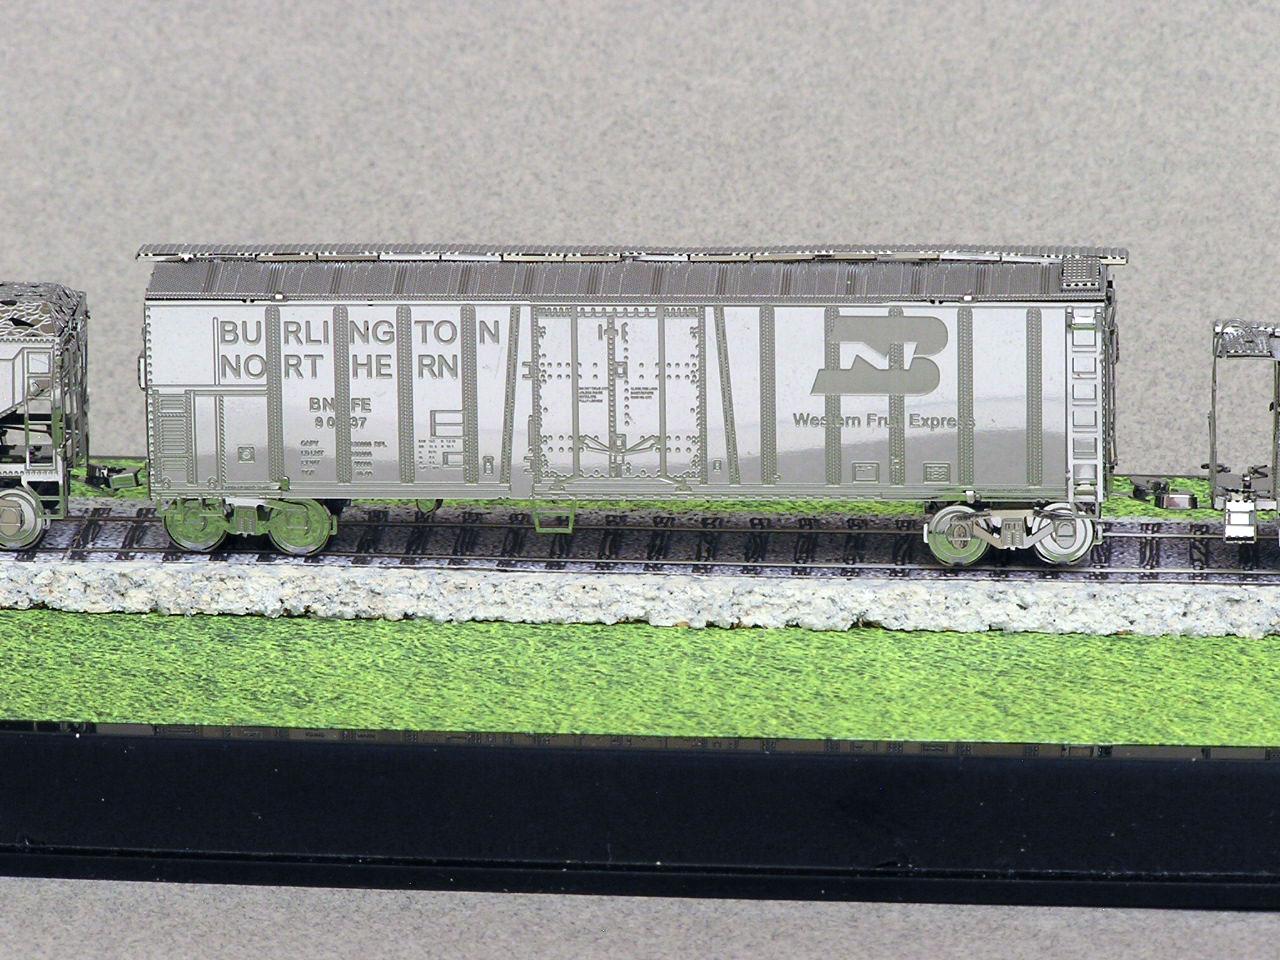
Here is a Metal Earth train that I built and presented to a friend who had worked at the BNSF railway. I did not include the gondola car that came with the kit, since I couldn't find an affordable display case that was wide enough to let me include it. The locomotive and cars are very close to N Gauge in size. The kit was interesting and challenging to build, but my skills improved with each car that I built. The locomotive was the last component that I tackled. Clear caulk was used to attach the loco and cars to the display. I think it came out pretty well, and my friend was glad to receive it. Here is one other Metal Earth kit that I built for a friend (but have not presented it to him yet). He was my car pool partner for a few years and is an accomplished guitarist. The display case is an inverted kitchen counter container used for flour, sugar, etc. Clear caulk was used again to secure everything in the display. Thanks for looking, Bart

-
Tamiya TS65 Pearl Clear questions
bh1701 replied to bh1701's topic in Model Building Questions and Answers
Thanks to everyone who responded! As most people indicated, it's hard to capture the effect accurately in photos. I picked up a can of Pearl Clear yesterday and will be doing some spoon tests to see what it looks like in real life! Bart -
I am building a kit and will be using Tamiya's TS3 Dark Yellow as the body color. I was wondering what the difference is between Tamiya's TS13 Clear and TS65 Pearl Clear? What would the Pearl Clear look like over the body color? I've painted cars with Tamiya's Pearl Blue and Pearl Green before - and to my eyes, they have a slightly metallic feel to them. Would the Pearl Clear provide some of this slight metallic feel to it? It's may be hard to describe in words what the Pearl Clear would look like, but I'd appreciate everyone's opinions. A real bonus would be if someone had some photos that show models with Pearl Clear over Dark Yellow! Thanks, Bart
-
Very nice work! Looks really good! Bart
-
It looks really great! I built this kit way back in 1981 when it first came out. It still looks good, although over the years after being moved to a number of new homes a few of the small parts have popped off. I still have them resting on the track under the locomotive. I downloaded the instruction sheet and have plans to figure out where these little parts belong so I can reattach them. Bart
-
That's a nice looking model. Good job! Bart
-
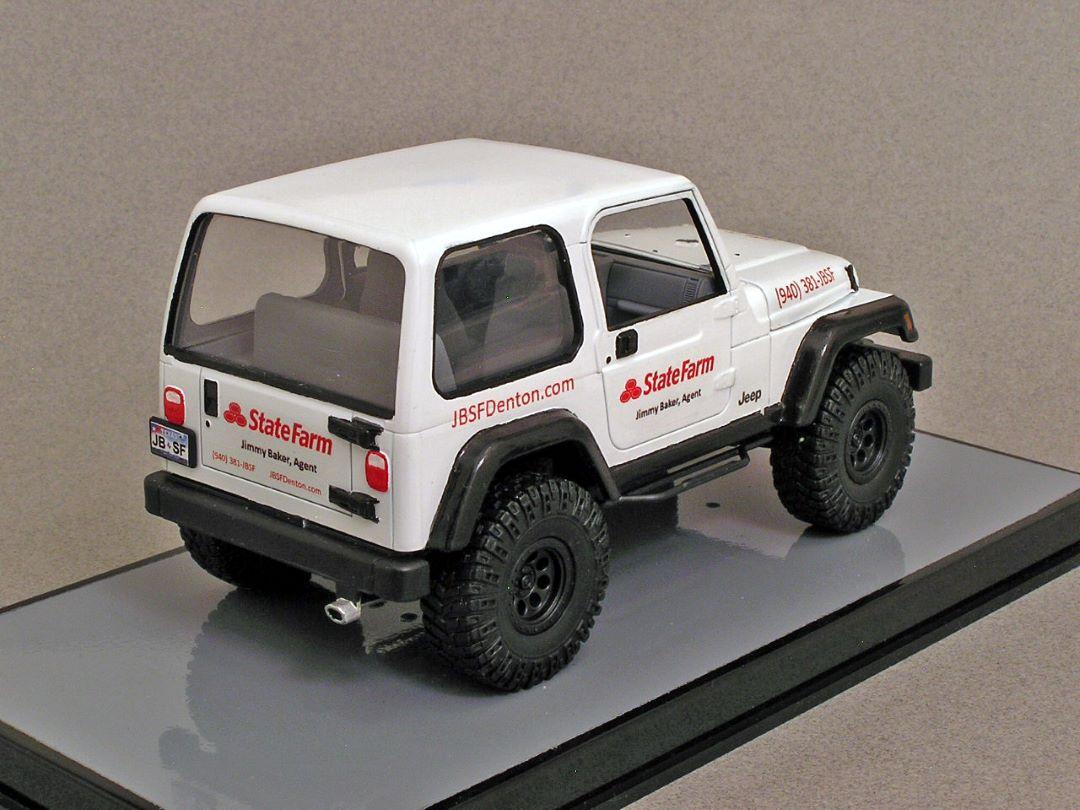
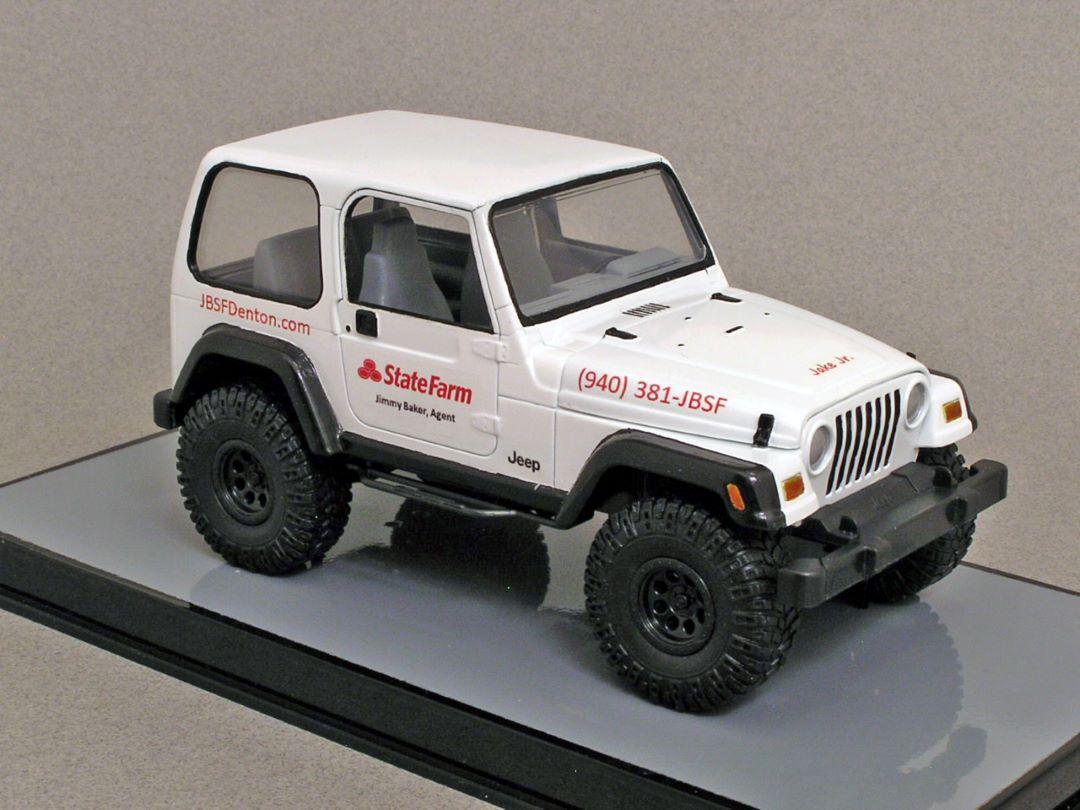
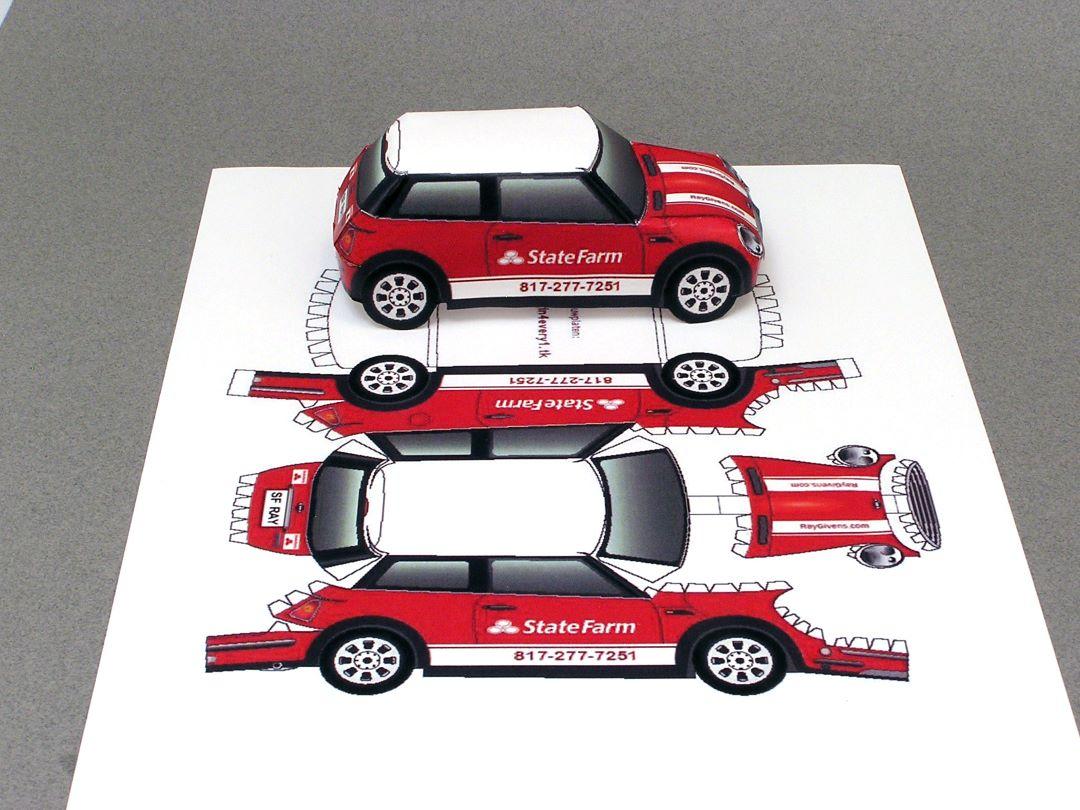
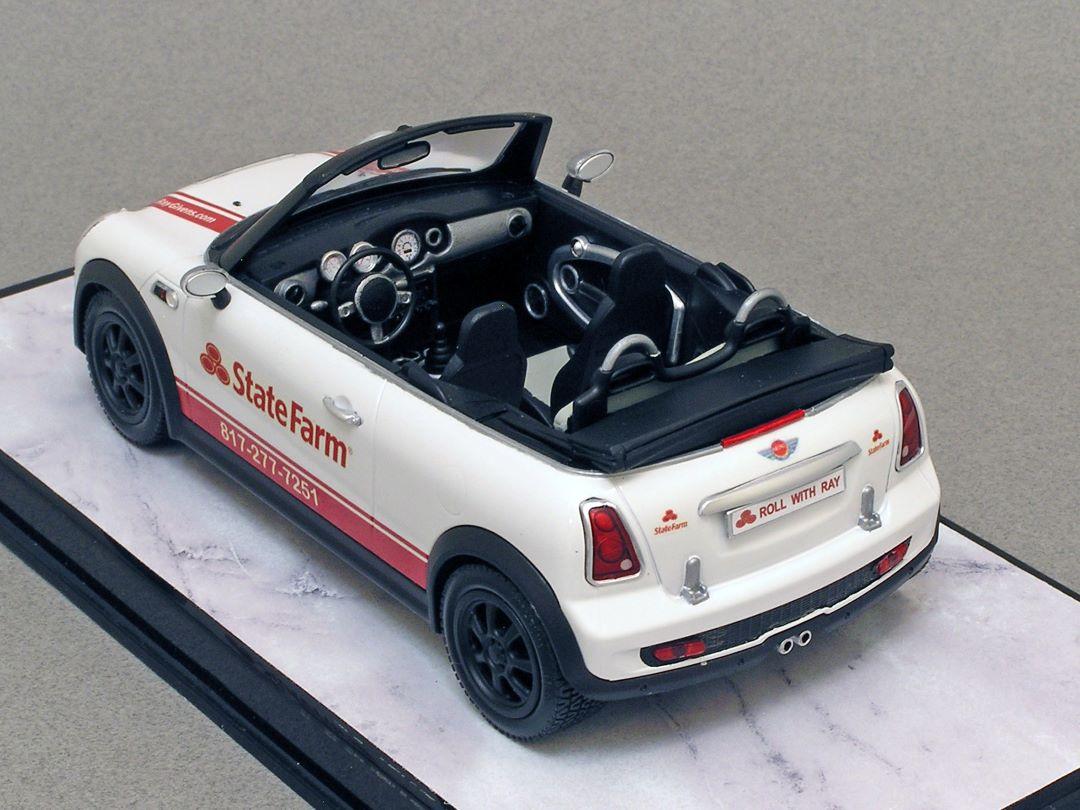
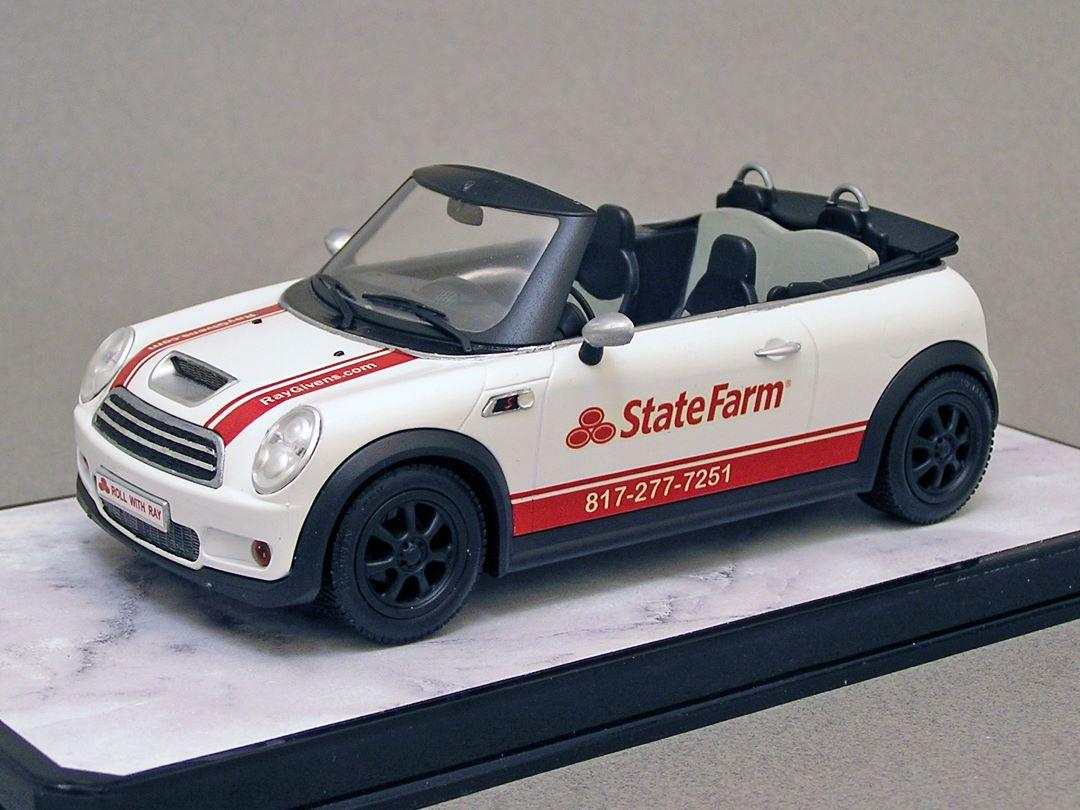
I worked in the corporate offices of State Farm for several years before retirement. Two of the guys that were on my team went off to start their own State Farm agencies. One of them is still an active agent, and the other has since gone back to the corporate offices. These are models I made of their agency vehicles for them. The Jeep is not an exact match to the real car; I was unable to find a model of his Cherokee (which was named "Jake"), so I built the smaller Revell Wrangler Rubicon kit and named it "Jake Jr." I also tweaked a paper model of a Mini Cooper to add State Fame markings and also made that for my friend. Boy, paper models can be a challenge to make! Thanks for looking! Bart
-
Looks great!
-
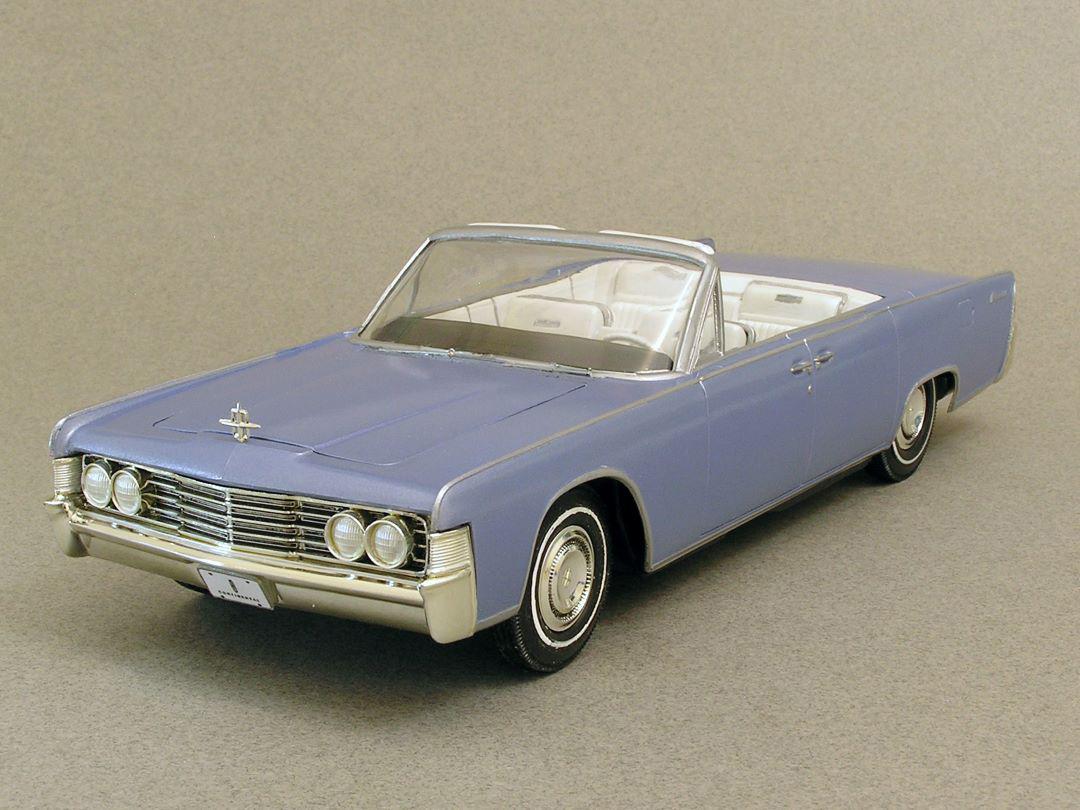
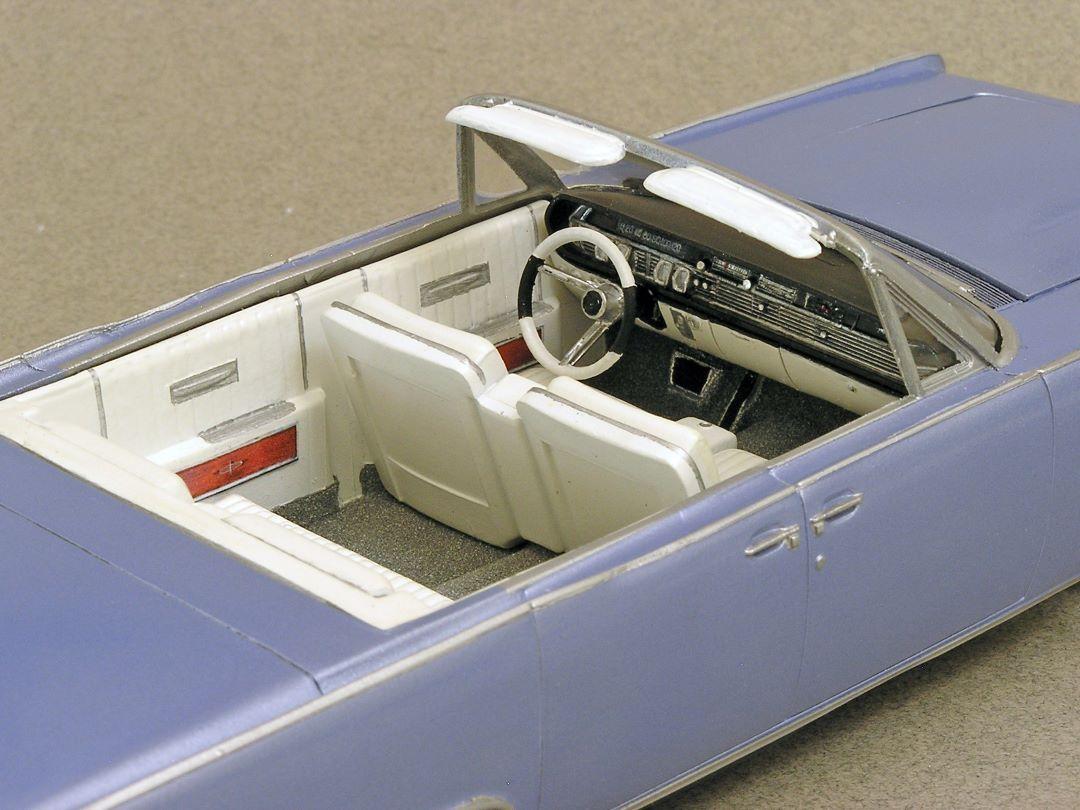
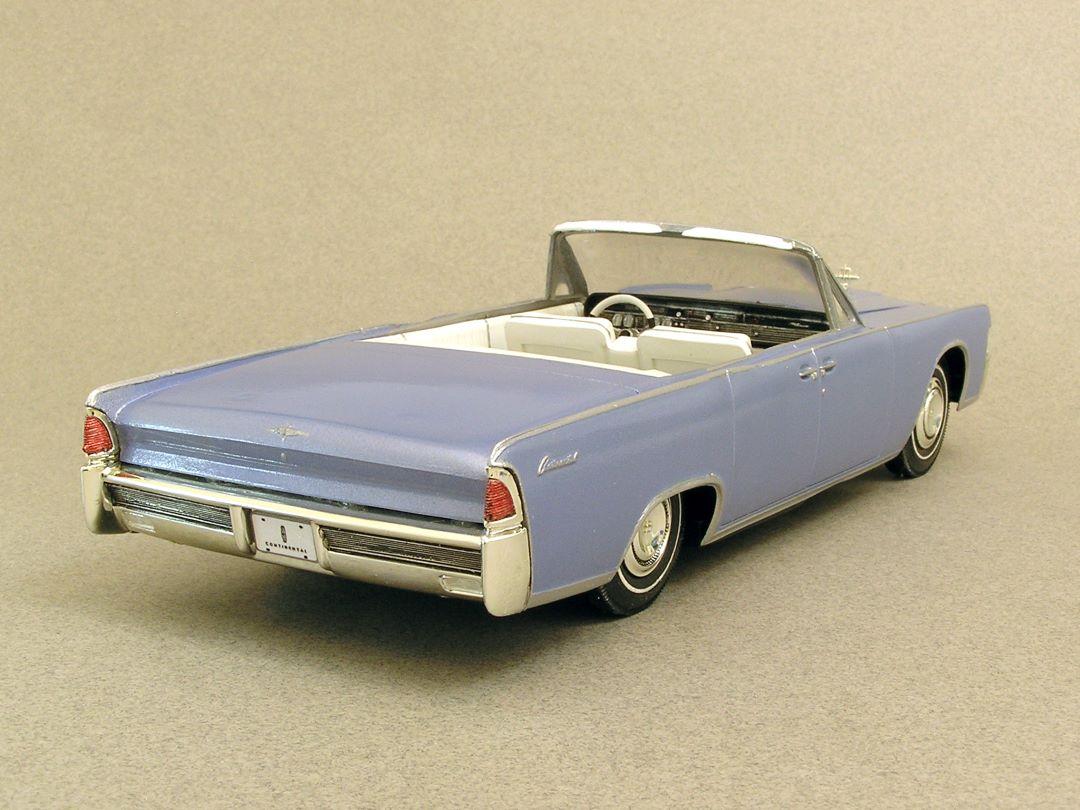
Here is my latest completion - an AMT 1/25th scale Lincoln Continental convertible. All of the chrome trim is painted. Once I thought I had finally started to get the hang of Bare Metal foiling, I ran out of the "good" Bare Metal foil and only had their lesser quality product to work with. Disappointed with it, so I ended up painting all of the silver trim. Once I learn how to use my airbrush, I will probably start masking the whole car and spraying on one of the good, shiny chrome finishes that are available. Thanks for looking! Bart
-
Your models are always amazing. Well deserved recognition! Bart
-
This looks great! What color primer did you use under the Metallic Brown? I have a Chrysler Turbine car to build some day and had been thinking of using the Metallic Brown. Based on your pictures, it sure seems like it would work for the Turbine Car, too! Thanks, Bart
-
Question on display cases
bh1701 replied to bob terry's topic in Model Building Questions and Answers
This is from Ikea. I think it was around $200. Has the option to add LED lights to the top of the case. This is what it originally looked like; I later had a couple of extra glass shelves made to display more models. Bart
-
Outstanding work!
-
Thanks everyone! I went to Hobby Lobby to get some Clear Satin Acrylic spray today. I'll do some tests on scrap plastic parts before spraying the actual model interior. Starting with a few light coats as suggested before applying a heavier coat. I do not need to worry about primer with this one; the acrylic paint was painted directly onto the plastic. Bart
-
I painted the interior of a model using some of the inexpensive Hobby Lobby acrylic craft paints (Apple Barrel, Ceramcoat, etc.) I'd like to spray some semi-gloss or flat clear over the paint to help protect it. I do not have an airbrush, so I was wondering if there were any brands of aerosol spray paints that would work on the acrylic? Thanks, Bart
-
Sink hole refuses to go away!
bh1701 replied to bh1701's topic in Model Building Questions and Answers
Thanks - I had a feeling that the Tamiya paint might be having some effect on the putty and other things I had used. The Bondo I used was the glazing one-part stuff. What would you use to make a "block sander"? I think someone had mentioned a Pink Pearl eraser (the rectangular kind) to secure some sandpaper to. Are there other suggestions for making a block sander? There are so many different styles of CA/superglue. What type of superglue would you use? Thanks, Bart -
Sink hole refuses to go away!
bh1701 replied to bh1701's topic in Model Building Questions and Answers
Tom, I applied the putty over the sink hole and extended it out at least 1/2" on all sides of the hole. When I sanded, I did not use anything like a block to "flat sand" the area. I used a piece of sandpaper that was wider than the puttied area. I did not bend or fold the sandpaper. I wet sanded and used a fairly gentle touch as I sanded the area. Thanks, Bart -
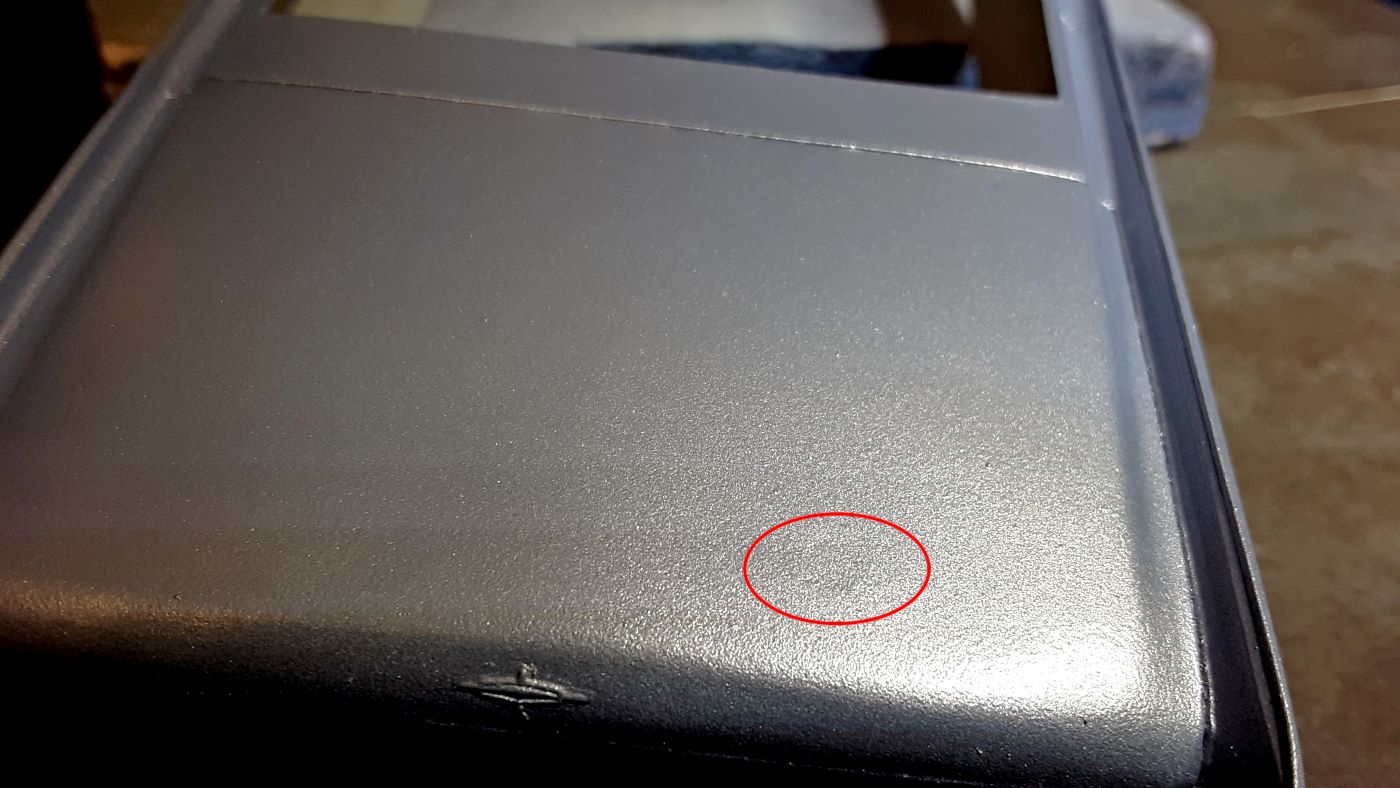
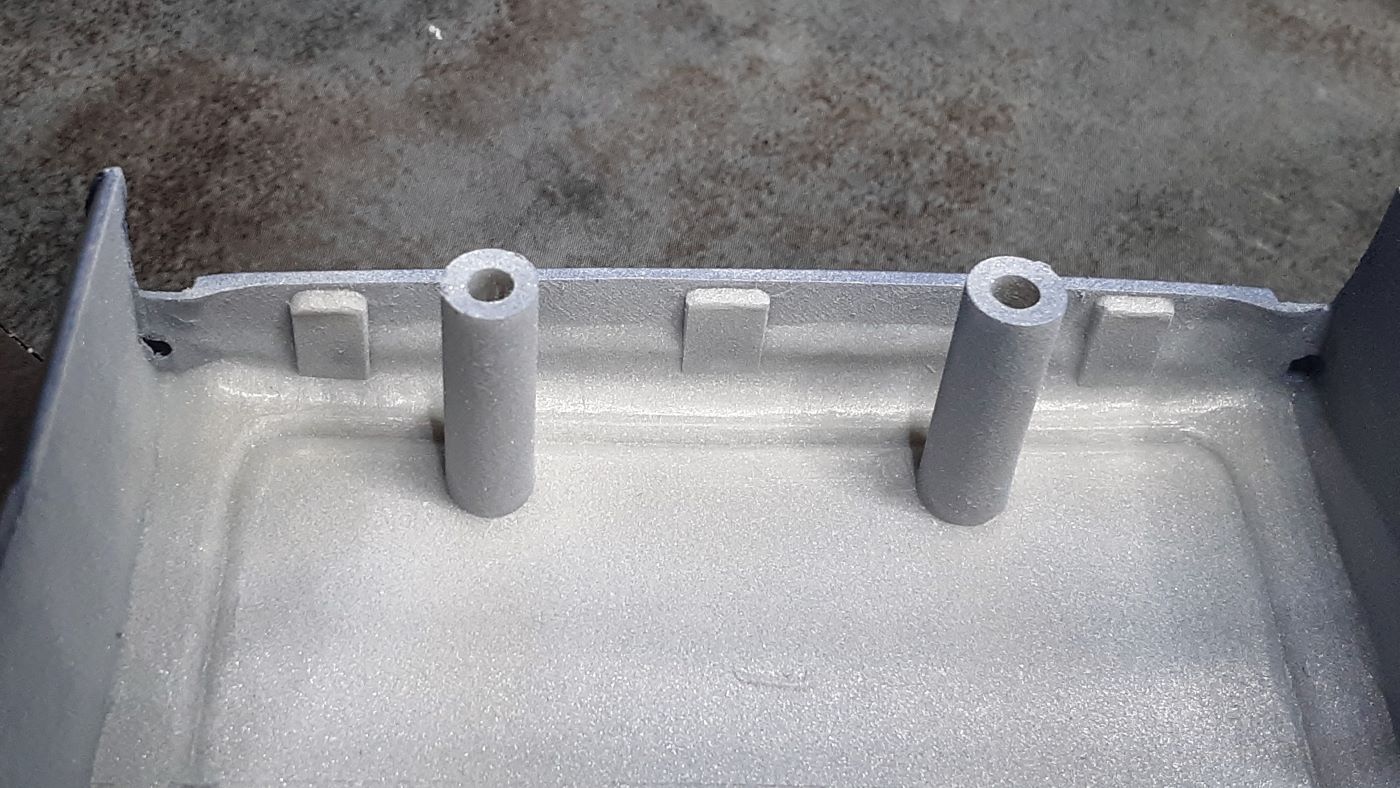
I have been trying for over a week to remove 2 "sink holes" on the trunk of a 65 Continental model. These were sink holes that were over the posts that the chassis pins fit into. I primed the model the other day and I thought I had finally gotten rid of these sink holes. I could not see any evidence of them under magnification. But, after applying the first color coats to the model, one of the sink holes is detectible again. The photo I included shows it within in the red circle; it doesn't look that bad in the photo, but in real life it is very noticeable(at least to me). I used many different techniques. I started by drilling a hole in the trunk over each sink hole and applied Tamiya white putty into the hole. After this first application dried, I applied one or two more coats of putty to ensure that the hole was filled with enough putty to be higher than the surrounding trunk area. After sanding, the sink hole depressions were still very apparent. After that, other methods were to use Bondo , later some Bondic, and even some more putty. After sanding down each time (using sandpaper grits ranging from 600 to 2000 grit), I could still see sink holes. Finally, I drilled holes again and inserted plastic rod into the holes. I left the rod protruding a bit higher than the surrounding trunk area. I did not have a drill bit that was exactly the same size as the rod, so I used a smaller bit and slowly enlarged the hole so the rod would fit. I used Plastruct Plastic Weld cement (liberally applied to the rod and to the trunk area around it). My assumption was that the rod and trunk surface would "melt" together to form a seamless patch that could be sanded down. I did end up with small pinhole gaps in several spots at the places where the rod and trunk met, so I used Super Glue to fill these gaps. After sanding, most of the gaps were gone. I used more Super Glue and sanded, but still could see small pinholes in one or two spots. More super glue, sanding, and eventually some more putty. All looked good now. after the primer was done..at least until the color coats went on and one sink hole became apparent again. As an FYI - I use Tamiya TS paints (primer, color coats) - in case that has any impact. I think I have finally admitted defeat and will just live with the one sink hole on this kit. But, for the future, what am I doing wrong or what is a better method to use? Thanks, Bart The sink hole is in the circled area. Kind of hard to see in the photo; but, in real life to the naked eye, it is quite noticeable.
-
Looks great! A very clean build. The ELDORADO on the sides are especially well done! Bart
-
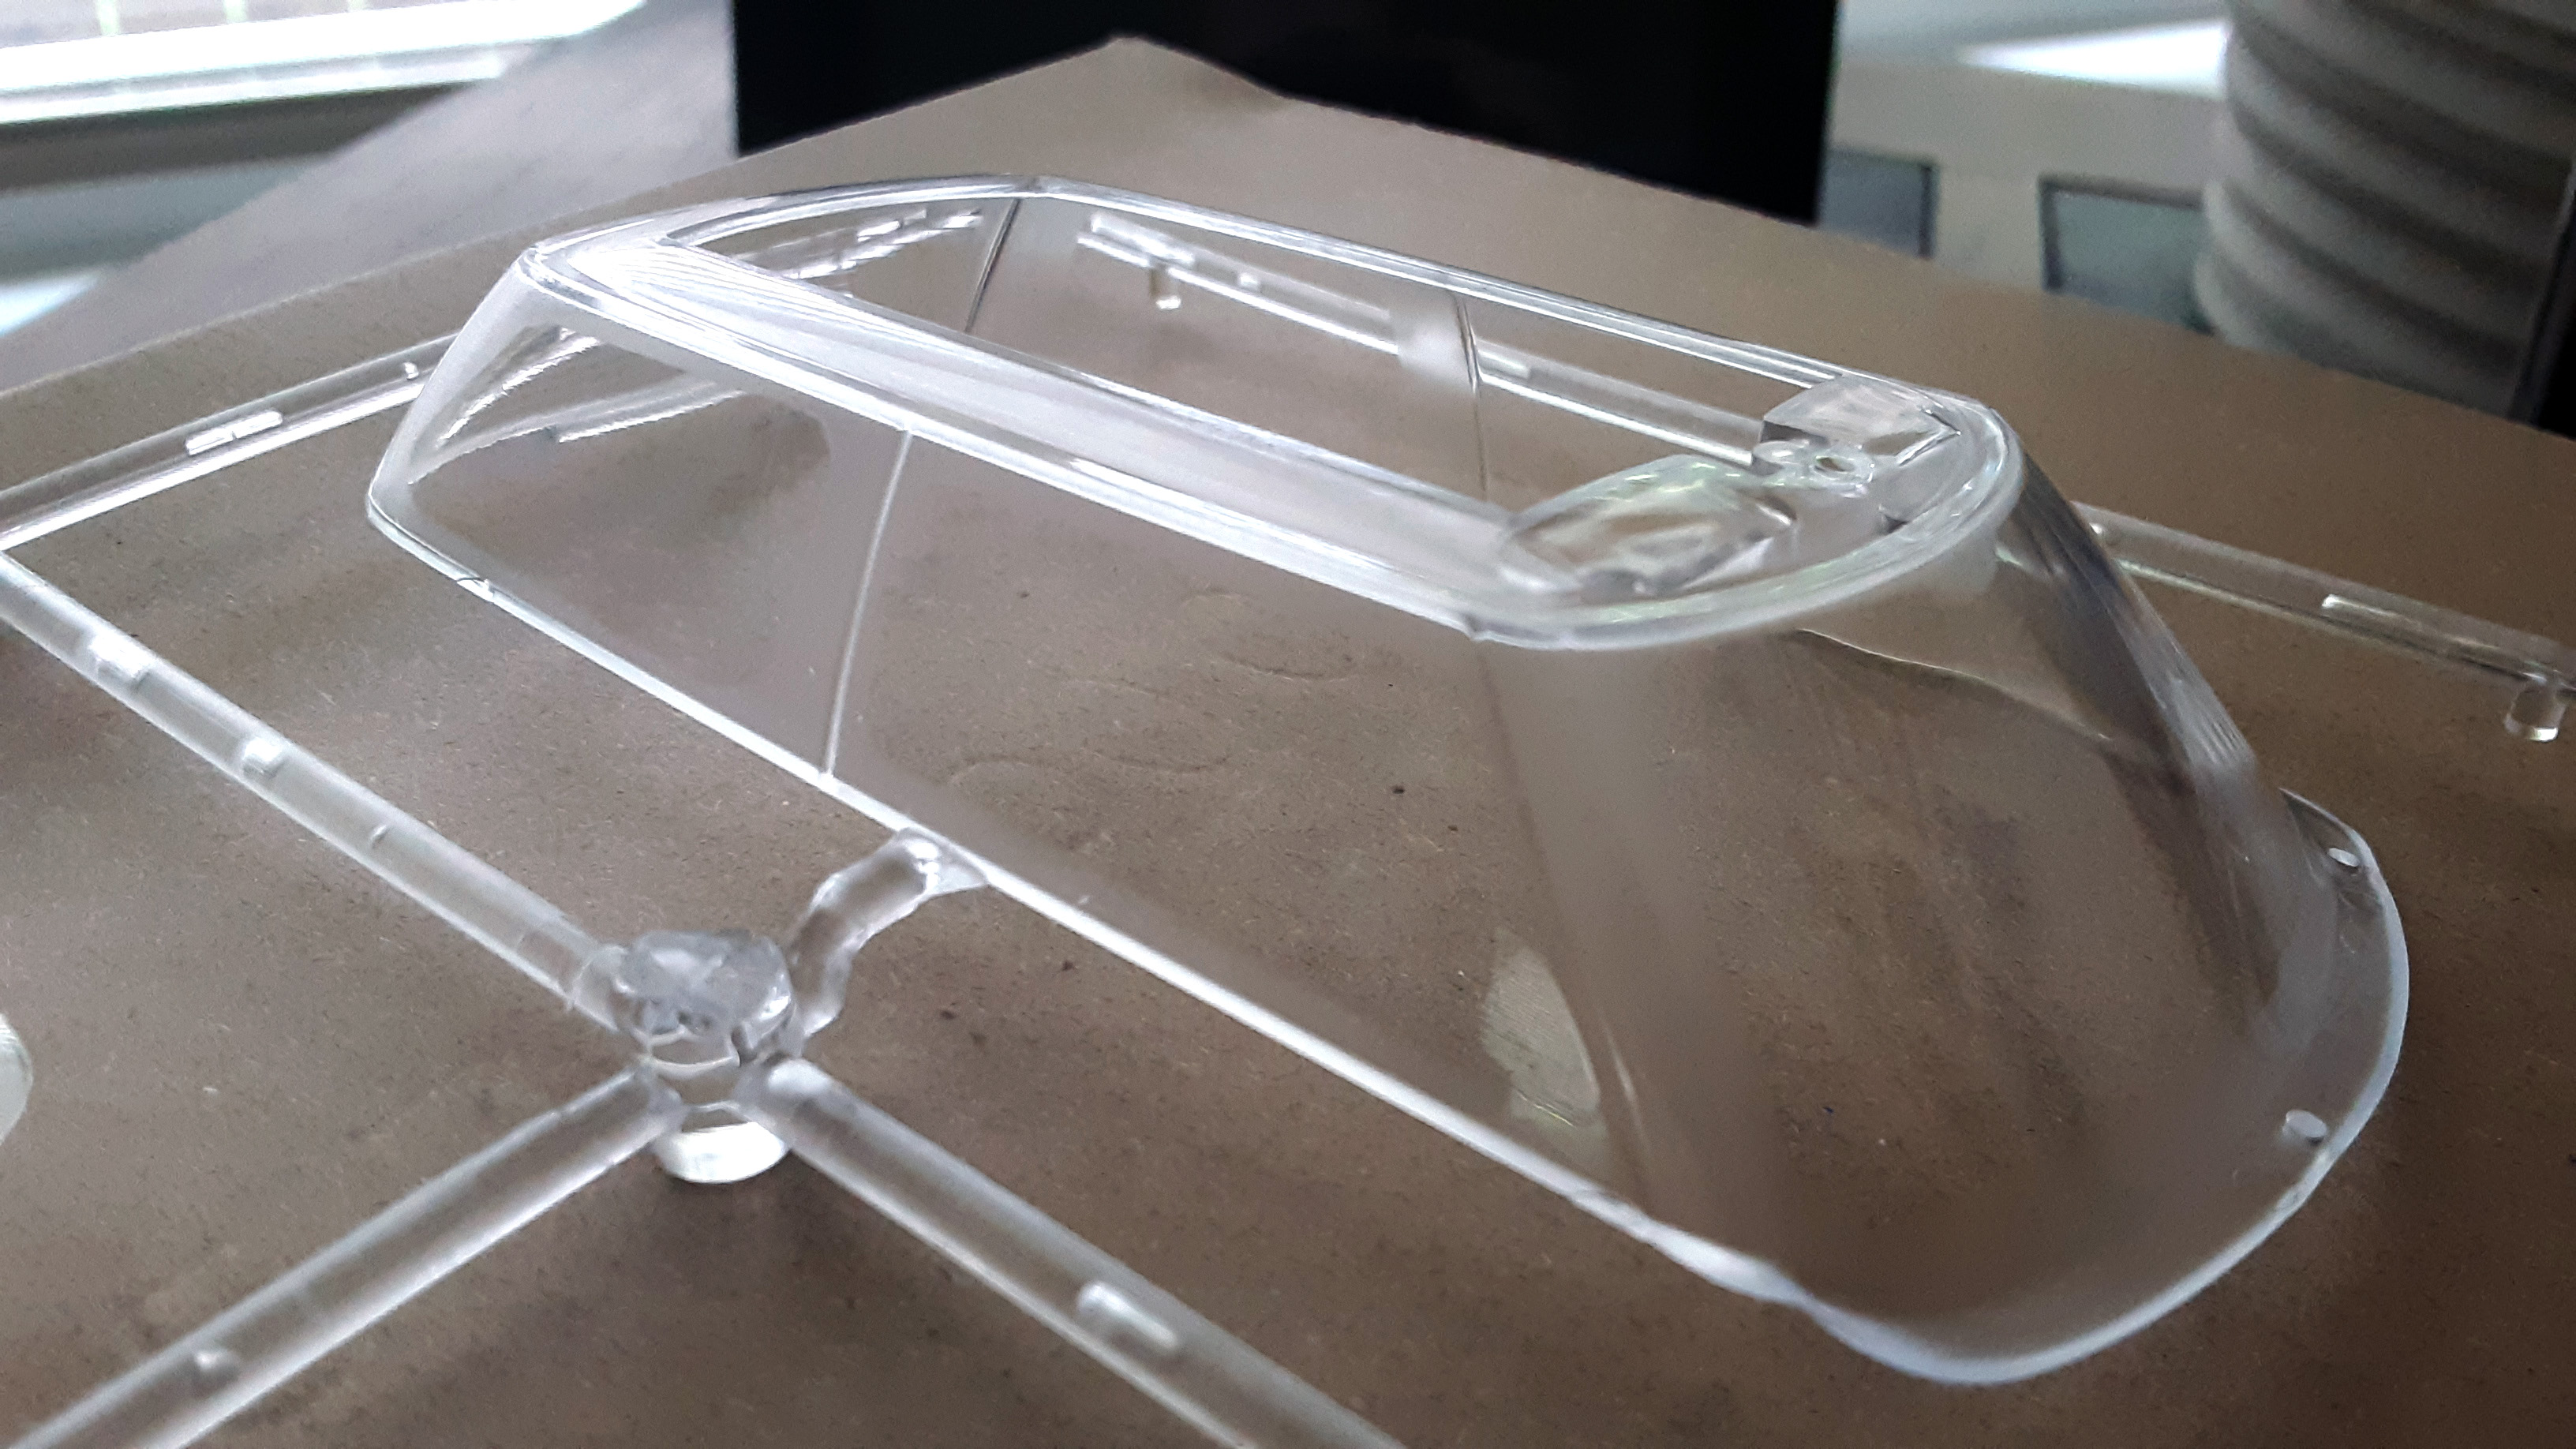
I have this window insert from a Mini Cooper model kit. I am going to modify this kit (which is the hardtop version) into a convertible. I will need to remove everything except for the front windshield and the portion with the sun visors. As I seem to remember, cutting clear plastic can be a little tricky. If I am not mistaken, clear plastic seems to be a little more brittle and can be prone to cracking when you try to cut it. Any suggestions on the best way to do this would be appreciated! Thanks, Bart
-
Those are all very sharp! Great work! Bart