bh1701
-
Posts
390 -
Joined
-
Last visited
Content Type
Profiles
Forums
Events
Gallery
Everything posted by bh1701
-
That's absolutely amazing! Wish I had some of your skills. Adding LED lighting on my Galileo 7 shuttlecraft was pushing my skills to the limit for me! Bart
-
I use an old Tic-Tac container for my used #11 blades. Pop the lid, drop the blade in, and close it. Works well! I like everyone else's ideas, too! Bart
-
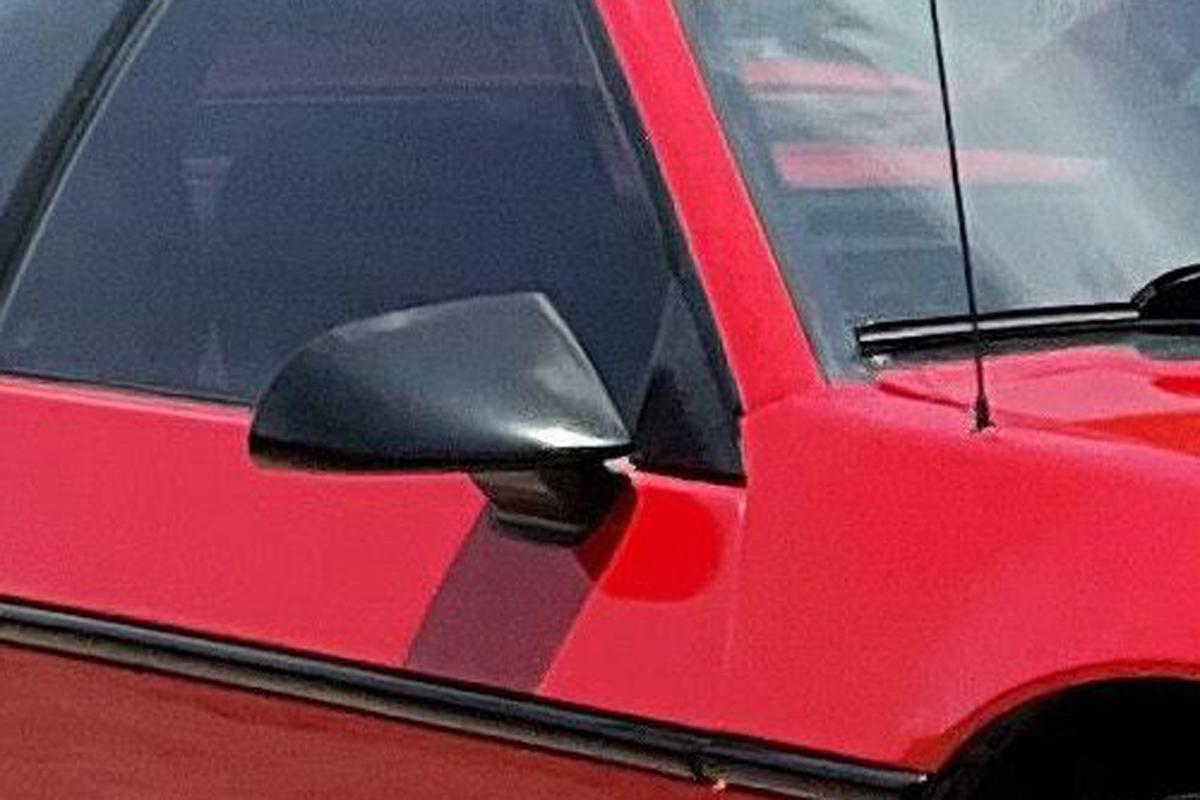
Wondering if anyone has the side mirrors from any of the MPC Fiero kits? At a minimum, I need the side mirror for the driver's door. If someone had both the driver and passenger mirrors, that would be even better! I even settle for a pair of mirrors that bear some resemblance to what was on the Fiero. Thanks, Bart

-
Absolutely amazing - an incredible model! Bart
-
Thanks for the suggestion, Alan! The body and windows are shiny and smooth to the touch, so I do not think it was caused by being around a heavy smoker. Wondering if you know of a technique to remove tobacco stains. I might want to try that, even though I don't think that it the issue with may windows. Bart
-
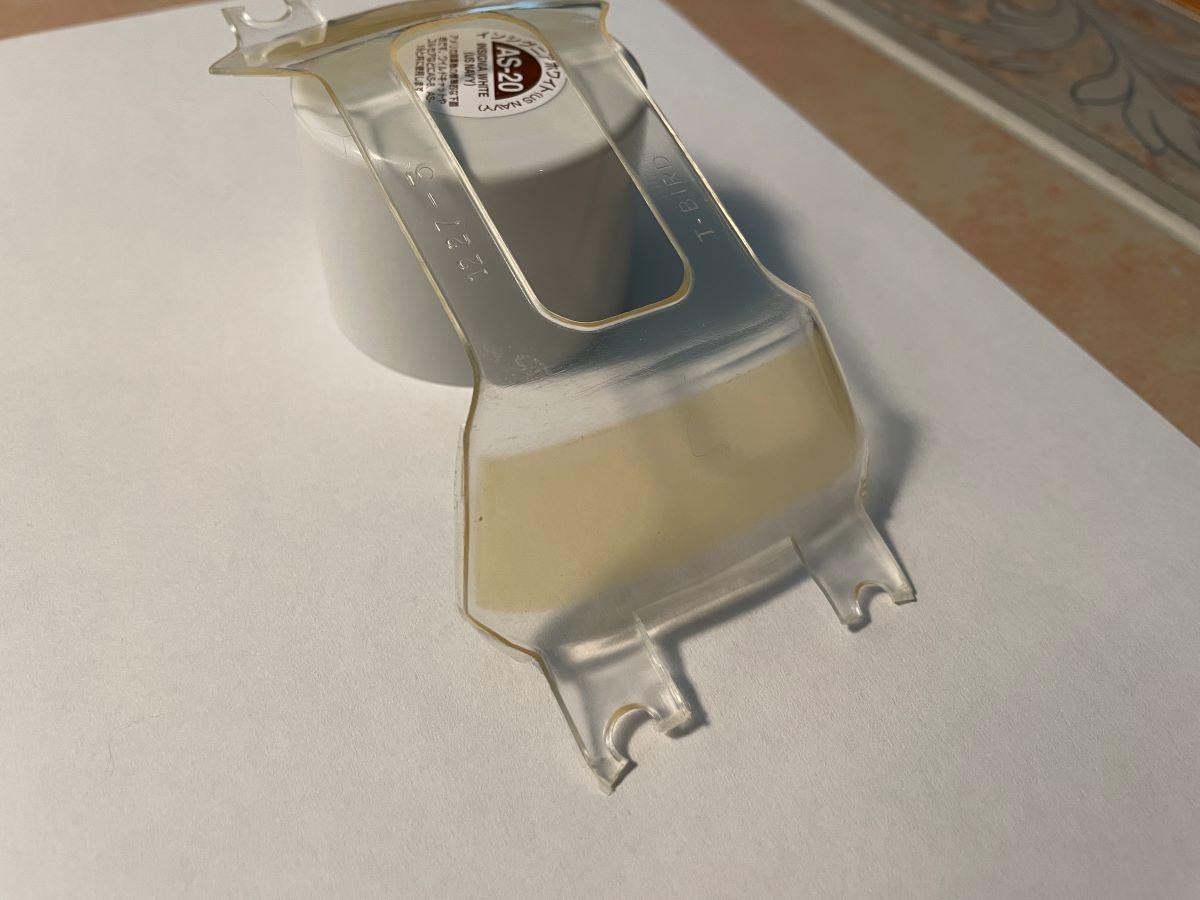
I am looking the windows for a 1967 through 1969 AMT 1/25th scale T-Bird. I bought a promo model of it through an online auction, but the windows have a very noticeable yellow tint to them. This is also true of the body that has gone from a whitish color to a very yellow now. I am assuming that this is a result of exposure to light or less than desirable storage for 50+ years. I am trying the retrobright technique to remove the yellowing on the windows. First attempt was with 3% hydrogen peroxide and 7 hours of sunlight - some improvement, but not enough. Will do this again to see if it just needs more time. Finally, if needed, I'd try a stronger solution solution like 30-40% from a beauty supply store. Figured I ask to see if anyone had a set of good, clear windows - which would save me from the retrobright process (which might not even help!). Thanks, Bart
-
Thanks for the ideas, Steve! The model has never been disassembled - I can tell that because the posts that hold the interior to the body are still "melted" down against the interior tub. So, I don't think clear would have been sprayed on the glass. Plus, the glass and body are absolutely smooth and slick to the touch. The funny car would be a good source for the glass, but buying the whole kit for one item isn't cost effective for me to do. I'll wait to see what ideas others might have, and will report back on my results! Bart
-
Gary, Thanks for the idea. A couple of questions for you: Do you let it submerge it and let it sit in the peroxide for a while, or do you just brush it/rub it onto the surface. How long do you let it come into contact with the peroxide? What could be used to seal it? Bart
-
Thanks, Pete! I will be disassembling it next week and was planning to check the strips that go from the front to the back to see if they had the same issue. It will be interesting to see what I find, and whether scraping it has any effect! Bart
-
I wanted to add some clarification to my post. When I said that the window has a yellowish tint to it, I did not mean to suggest that something had been applied to the window to create this effect. It appears to me that the clear plastic has been taken on a yellowish color. Not sure if this would be due to age - like how old decal sheets can turn yellow. I have never seen this before. I have other model kits that are years older than this one, and none of them exhibit this condition. Thanks, Bart
-
Bill, Yes, I will be taking it apart to paint the exterior and interior. My favorite paint remover is Easy Off Oven Cleaner (NOT the Low Fumes version since I don't think that works as well ). Do you think that would work, or do you have other suggestions for a cleaner/stripper to use? I think it would also probably be wise to test whatever cleaner/stripper I plan to use on a spare windshield first to be sure there is no adverse reaction. Bart
-
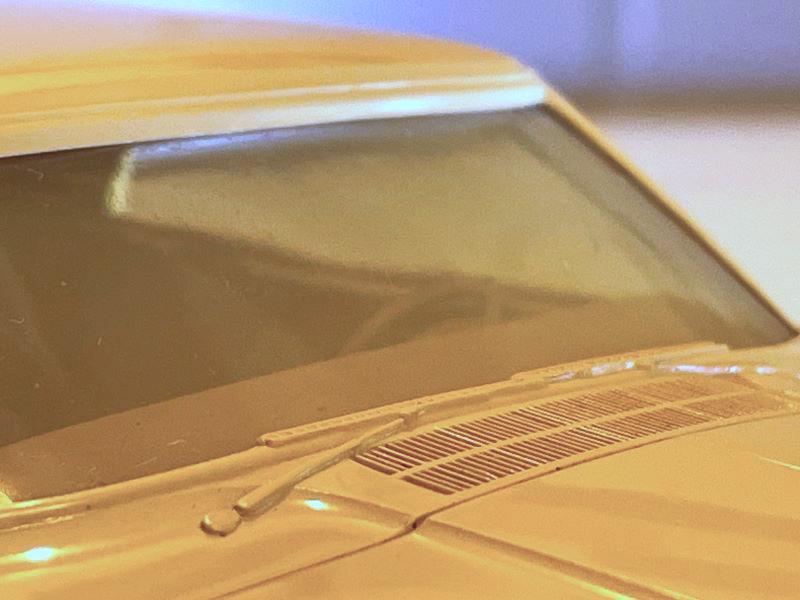
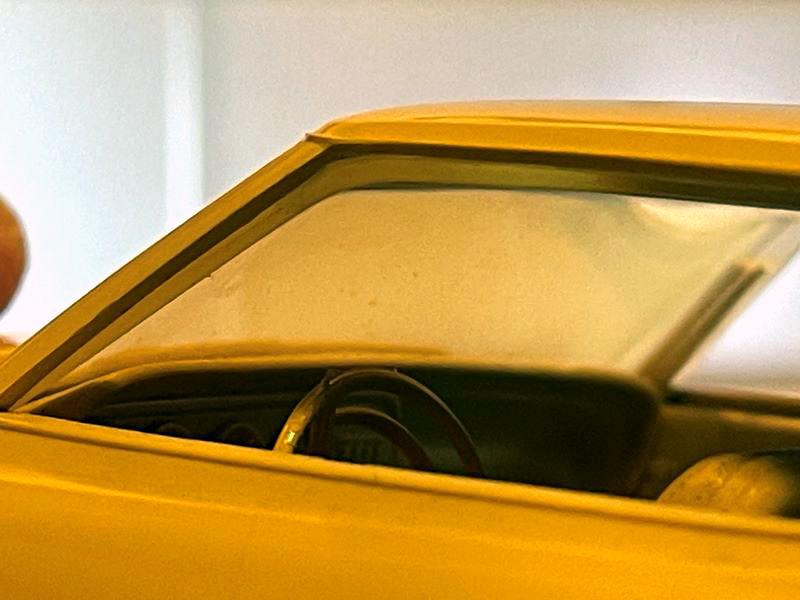
I bought a 67 Thunderbird promo in an online auction the other day. I received it today and noticed that the windows are not clear. Instead, they appear to have a yellowish tint to them. Not sure if this is just due to age ( it is almost 60 years old!) or how it was stored over the years. Also thought it could have been in the home of a smoker and that it was a tobacco film (although I get no odor of smoke from it), but the rest of the car shows no similar symptoms. I tried using a plastic cleaner on it, but that didn't help. Wondering if anyone has any ideas if this can be fixed? I will be painting the model in a champagne gold, so the yellowish/gold tint on the windows may not look that bad! Thanks, Bart
-
Monogram's 1955 Lincoln Futura Concept Car: WIP
bh1701 replied to David G.'s topic in WIP: Model Cars
David, That color looks great! Bart -
I have some stainless steel chain (actually an inexpensive necklace from Hobby Lobby) that I am using with a modeling project. Any suggestions on how to blacken it? I've got less than 3 feet of chain to blacken, so I need something that won't break the bank! Thanks, Bart
-
Very nicely done. The Teal color looks really sharp!
-
Monogram's 1955 Lincoln Futura Concept Car: WIP
bh1701 replied to David G.'s topic in WIP: Model Cars
David, This popped up in my Facebook feed today. Thought I'd send it along. This is more than likely a replica Futura and not the original. I think the color you had on the dashboard in this thread should work just fine on your model. Bart
-
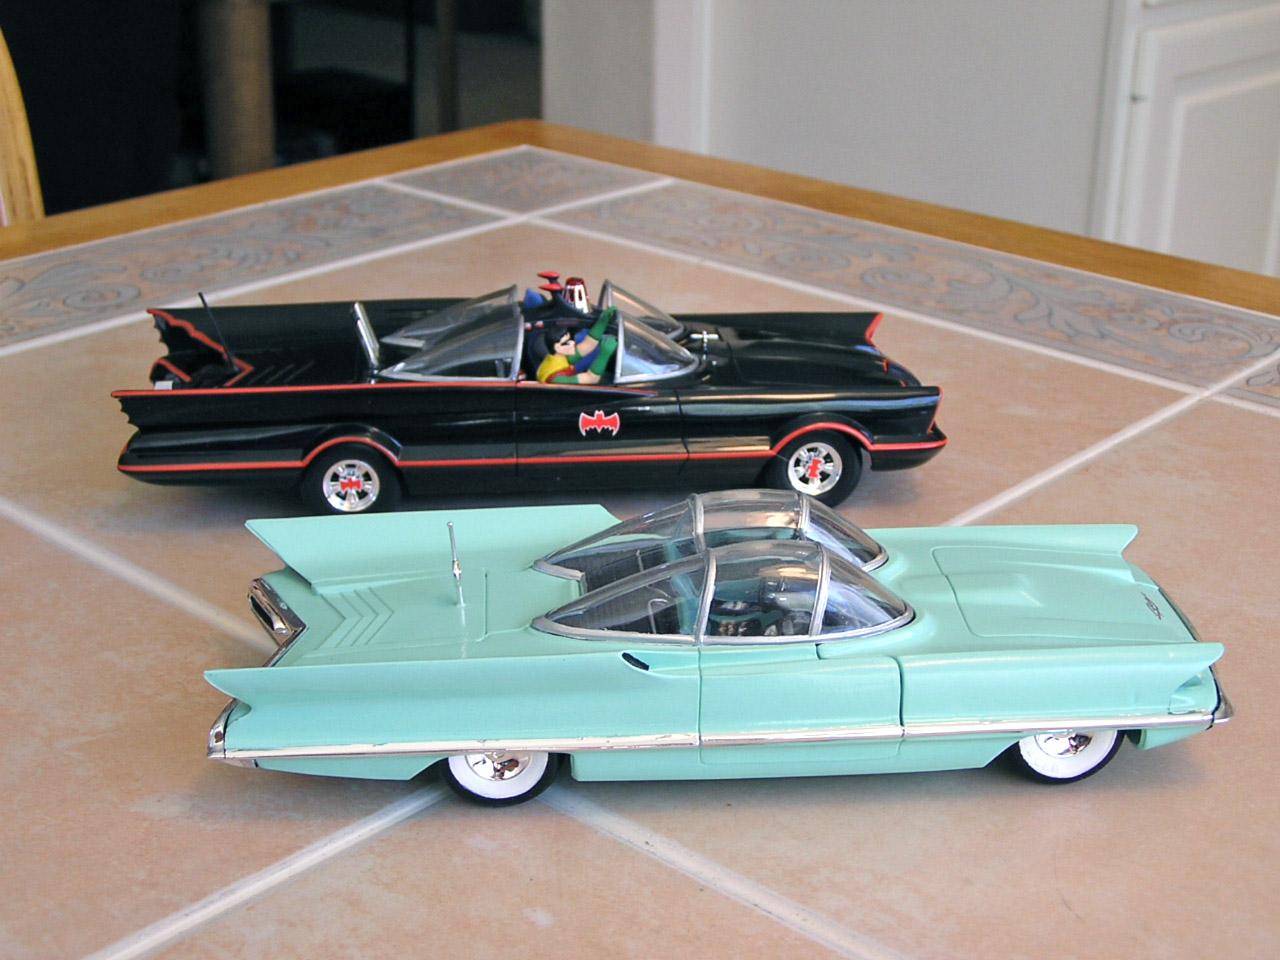
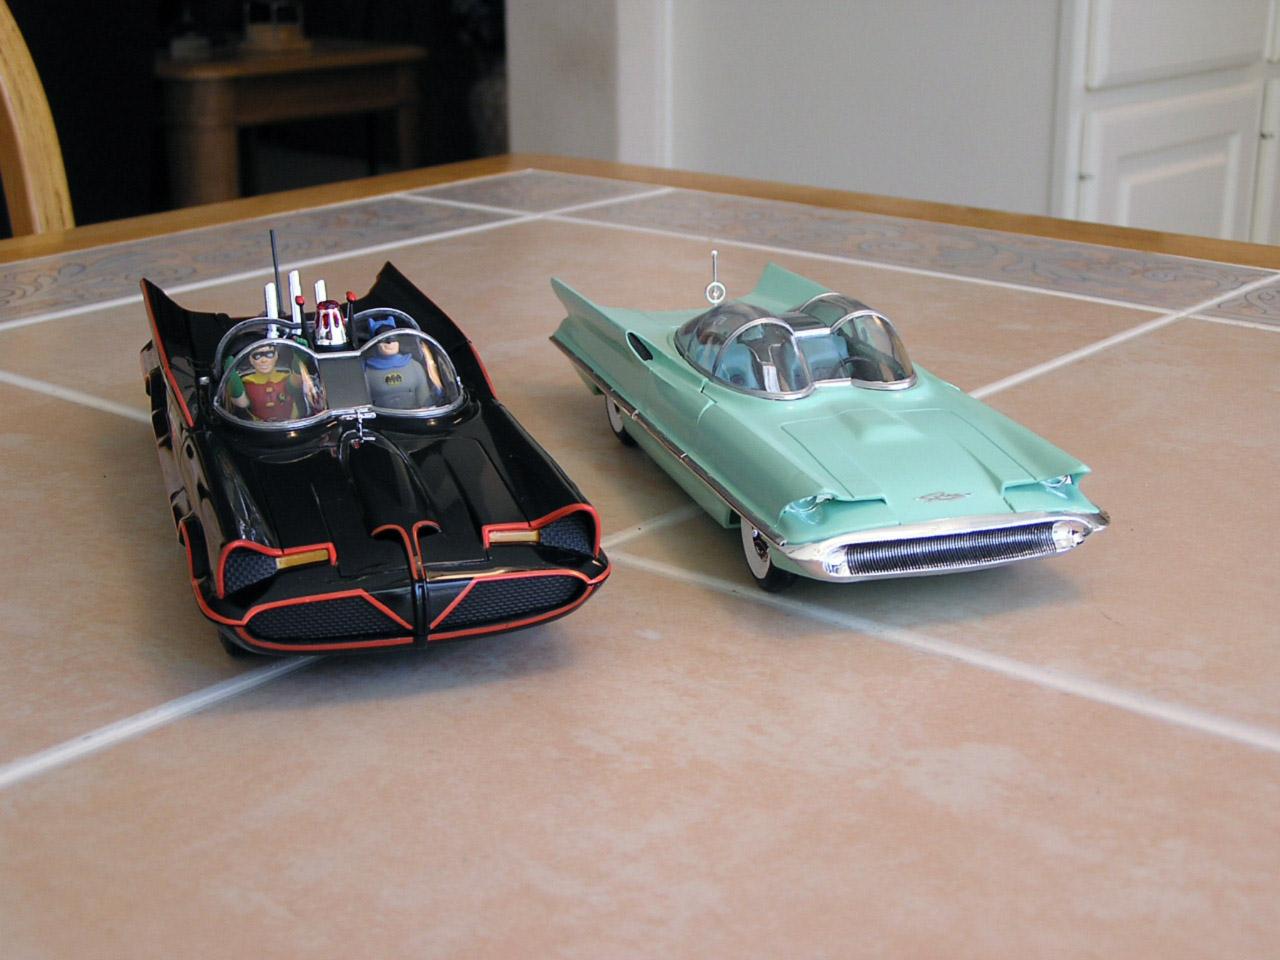
Monogram's 1955 Lincoln Futura Concept Car: WIP
bh1701 replied to David G.'s topic in WIP: Model Cars
Dave, Here are a few photos of one I built many years ago. I used a Testor's color that was available at that time that I thought looked like the color on the box; I think it might have been Turquoise. I built it straight out of the box without doing any of the extra work you are doing on yours. I will be following this thread to see how yours turns out! Bart
-
Looks great!
-
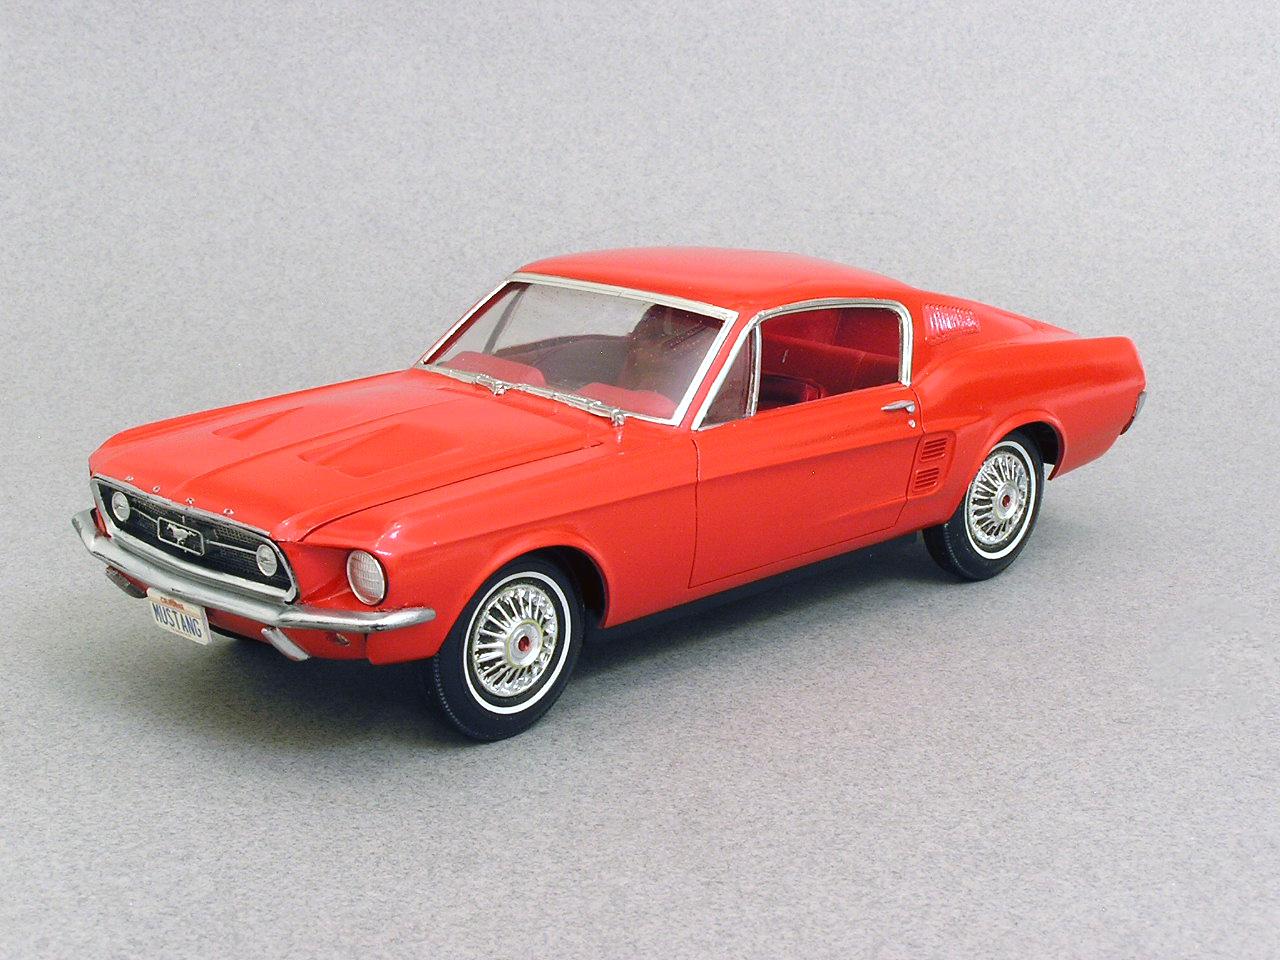
Here is my latest completion/restoration. - a 1967 Ford Mustang fastback that I got back in 1967 as a pre-assembled model that was molded in yellow plastic. Some pictures of it in its original yellow are included. I removed the decals and stripped the black paint from the interior. The rear panel between the lights had a ribbed panel that was part of an Exterior Decor group, but the ribs were not accurate for the fastback. You'll see on one of the yellow pictures that the ribs dip down in the middle; this would be accurate for the hardtop and convertible as they followed the lines of the trunk lid. The ribs on the fastback should go straight across without any dip. It took a bit of work, but I managed to remove the ribs. The panel under the front bumper does not fit that well; that was true on the original model so I did not try to improve on the way that it fit. I repainted and detailed the interior, and used Tamiya's Bright Red for the exterior color. Thanks for looking! Bart The restored/renovated model (in red) What it originally looked like when I got it in 1967
- 18 replies
-
- 15
-

-
Custom Local police Department Decals
bh1701 replied to jjsipes's topic in Model Building Questions and Answers
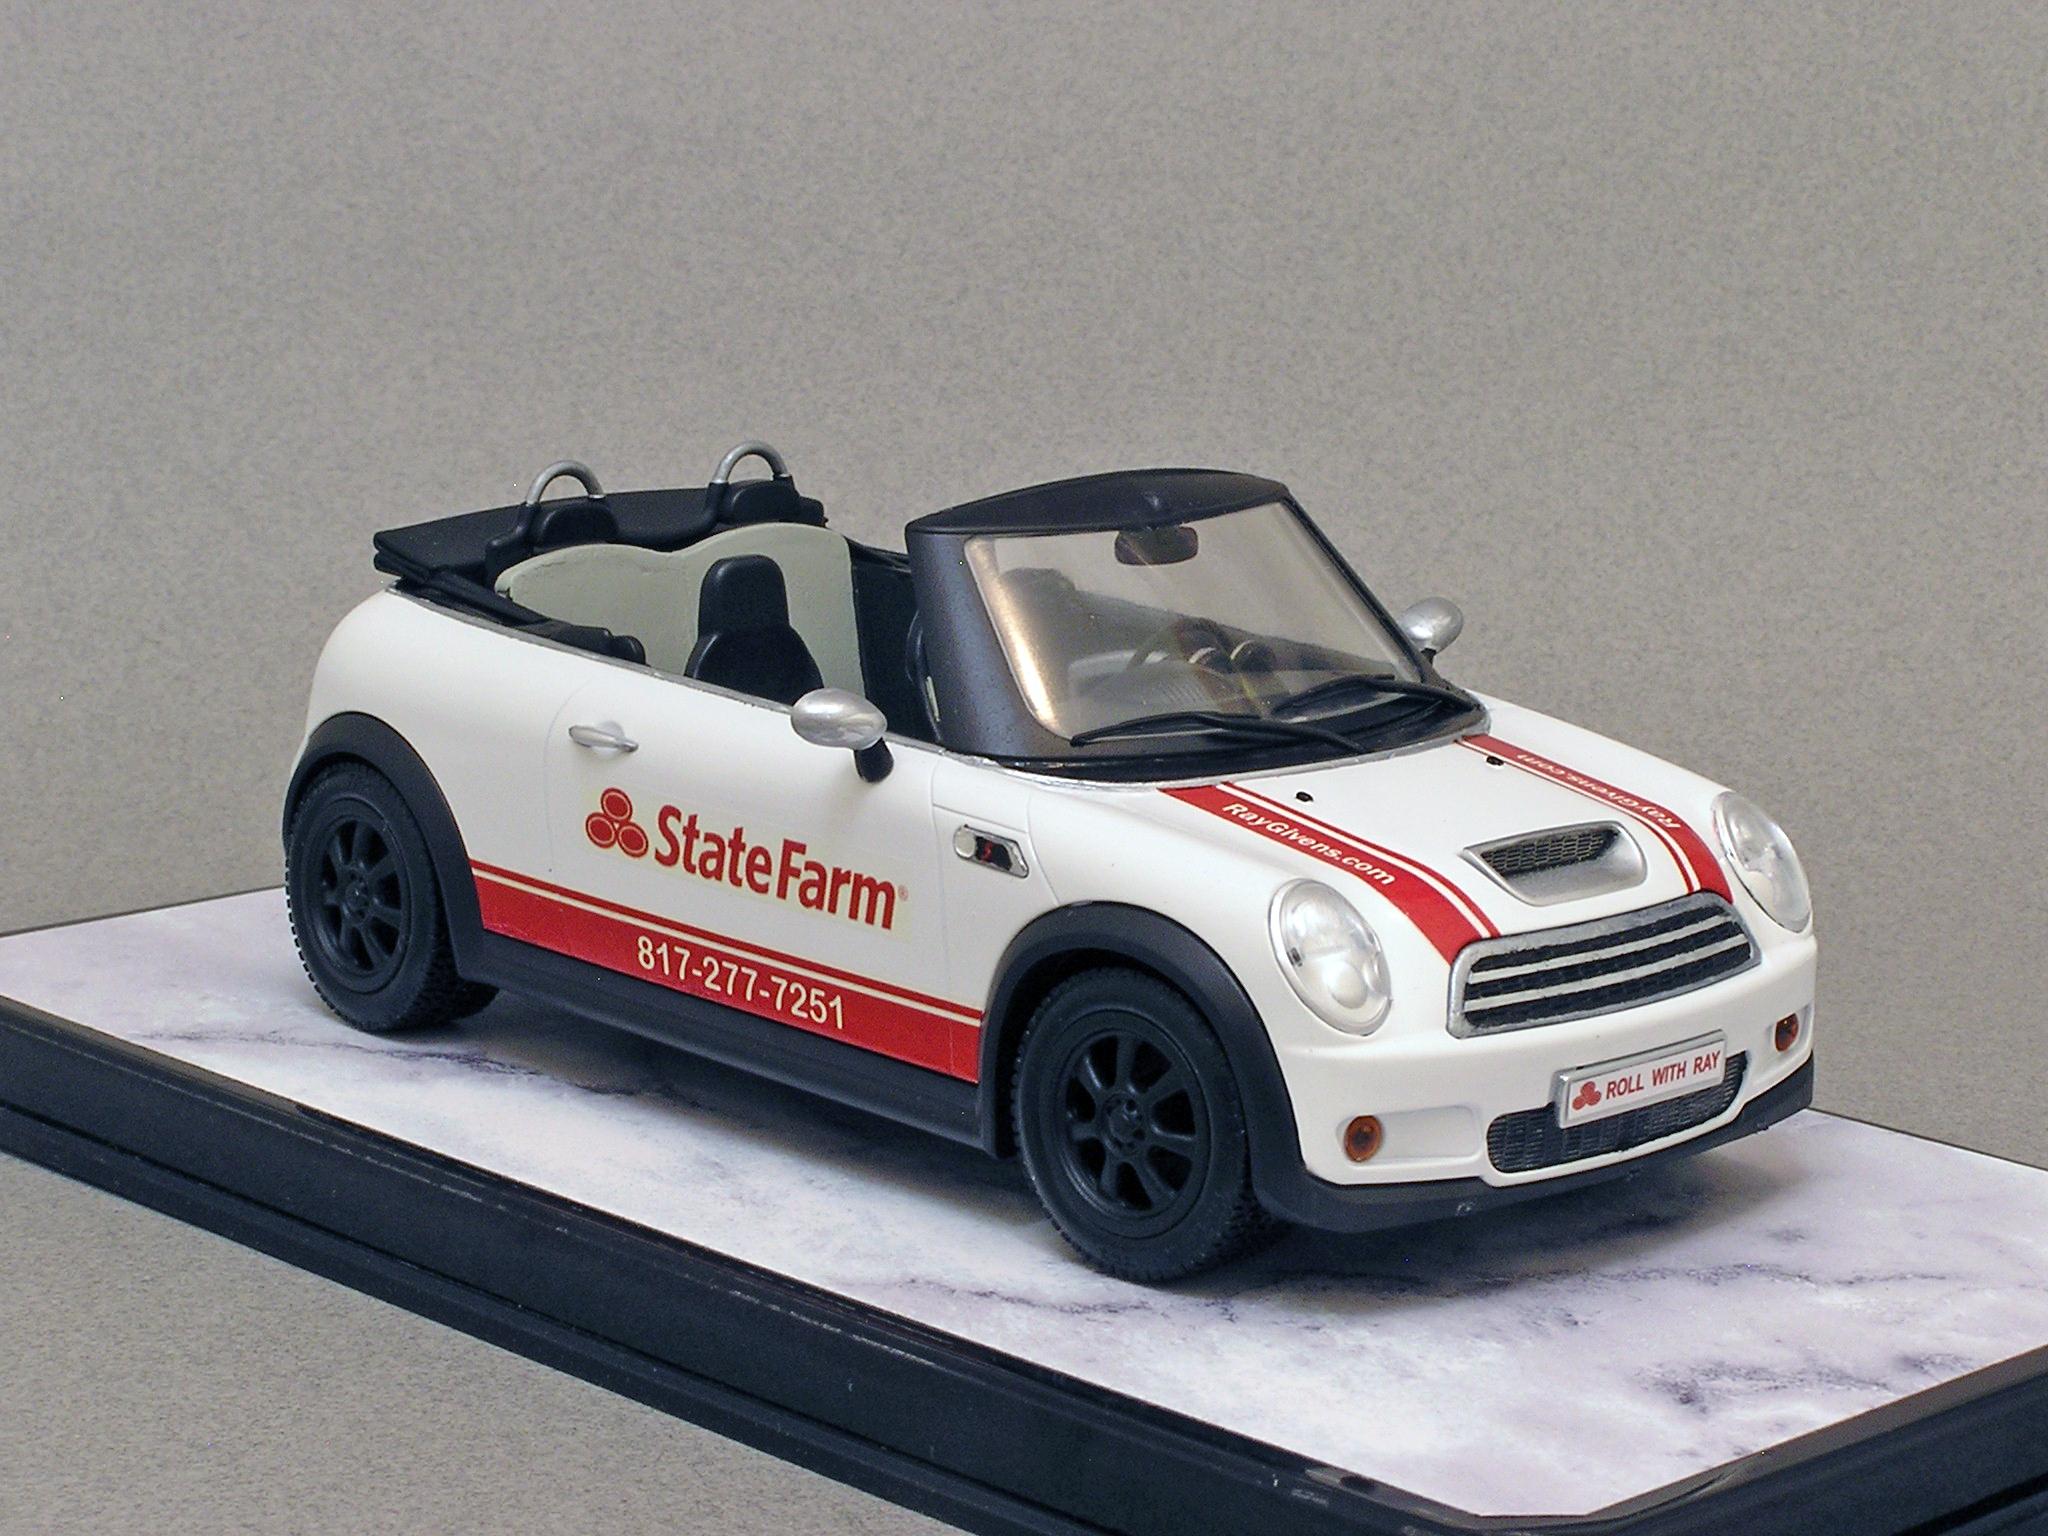
You might want to consider creating these yourself and printing them on decal paper on a LaserJet printer. If you don't have one, any office supply store or FedEx Office can print them for you. I have done a number of decals for kits and they have worked out well. Since the police cars are white, that also works in your favor since most printers cannot print the color white. Any areas on the decals that would need to be white will be clear and will show the white body color through them. Get photos that are straight on of the sides, front and back of the car to avoid any skewing of the markings. The highest quality photos will also help. Size them to the correct size for the model. Use a photo editor to size them and to remove any areas that don't need to print. Also, fill your 8 x 11 decal sheet with as many decals as you can. It doesn't hurt to have multiples of each decal in case you run into any issues when applying them. It doesn't cost any more to fill the entire sheet with decals! Here is a car I printed decals for so you have an idea of what can be done. The phone numbers and website info that appears as white is actually clear on the decals and the white body color is being seen. Feel free to ask any questions you might have! Bart
-
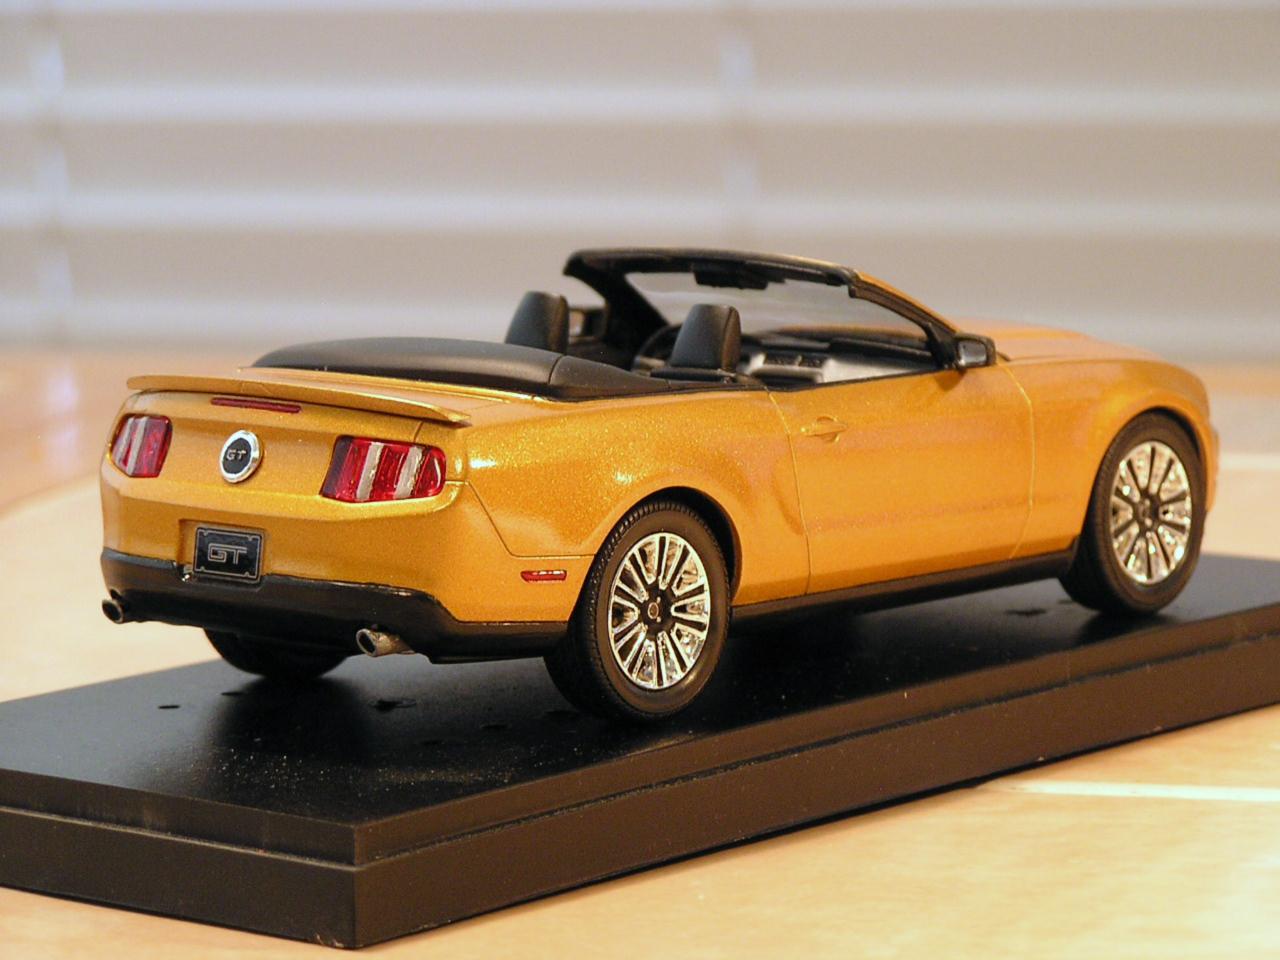
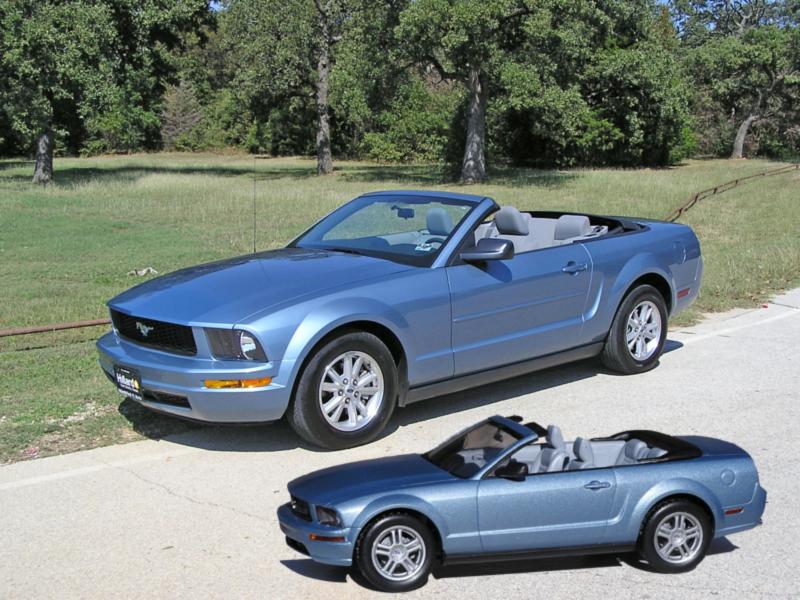
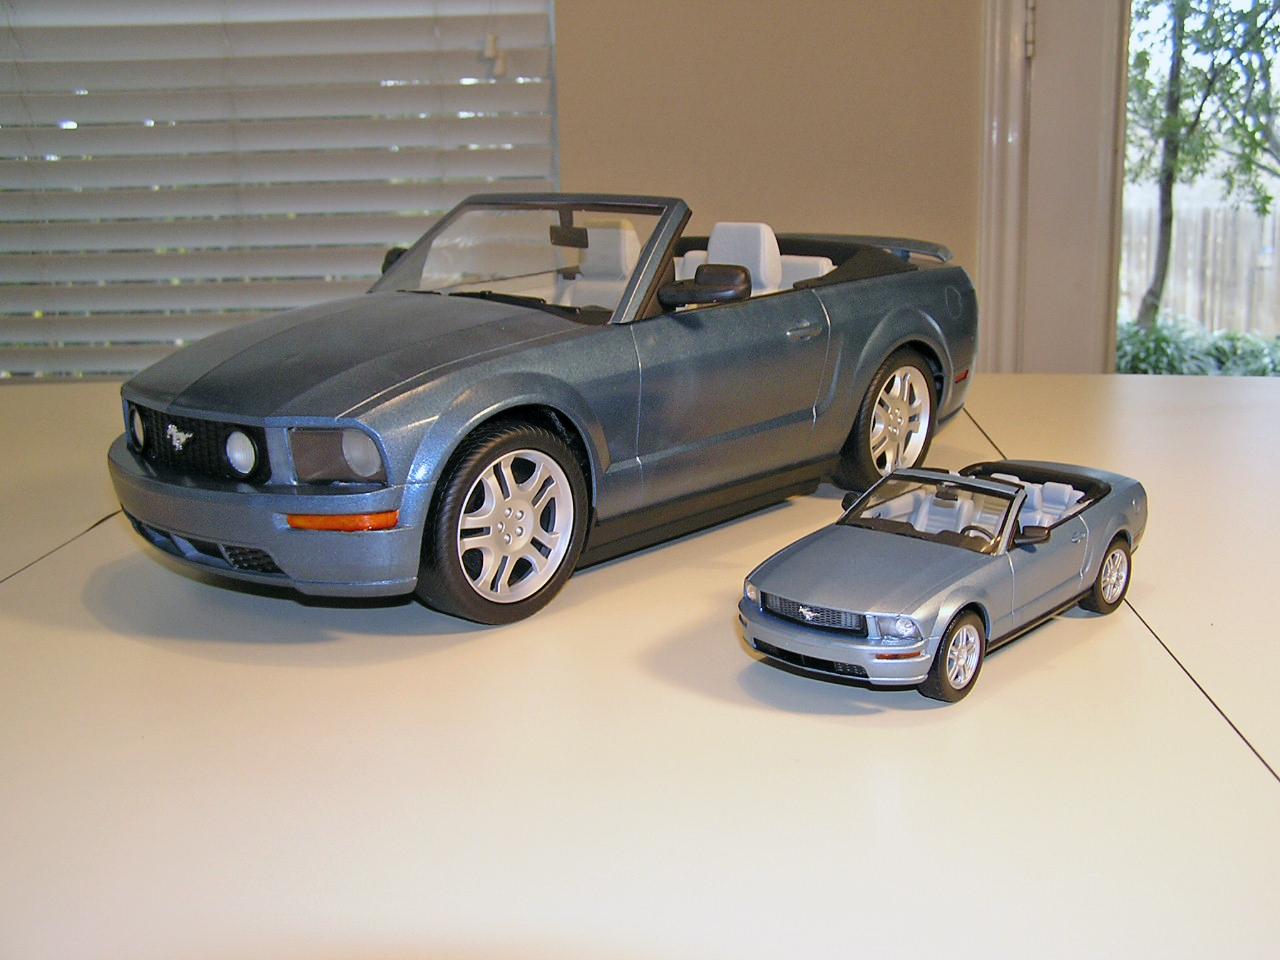
Here are some of my Mustangs! I have owned 5 Mustangs during the years. Started with a 66 Hardtop, and currently have a 2007 convertible. Thanks, Bart
-
Looks great!
-
Thanks! My magnifier light helps a lot, too. Glad that my hands are still steady, too! Bart
-
Yes, all of the cars in the group photo were all 3-D prints, and were all painted by me. Bart
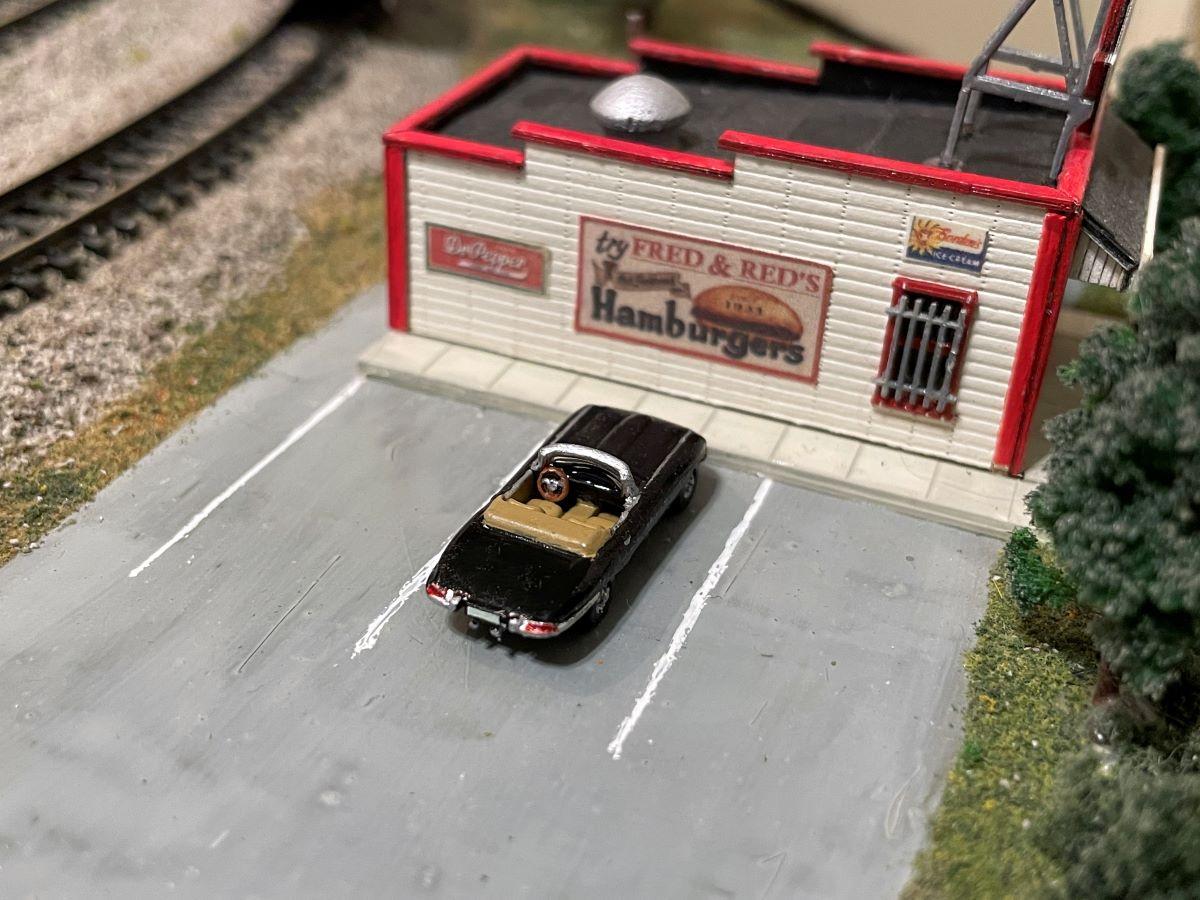
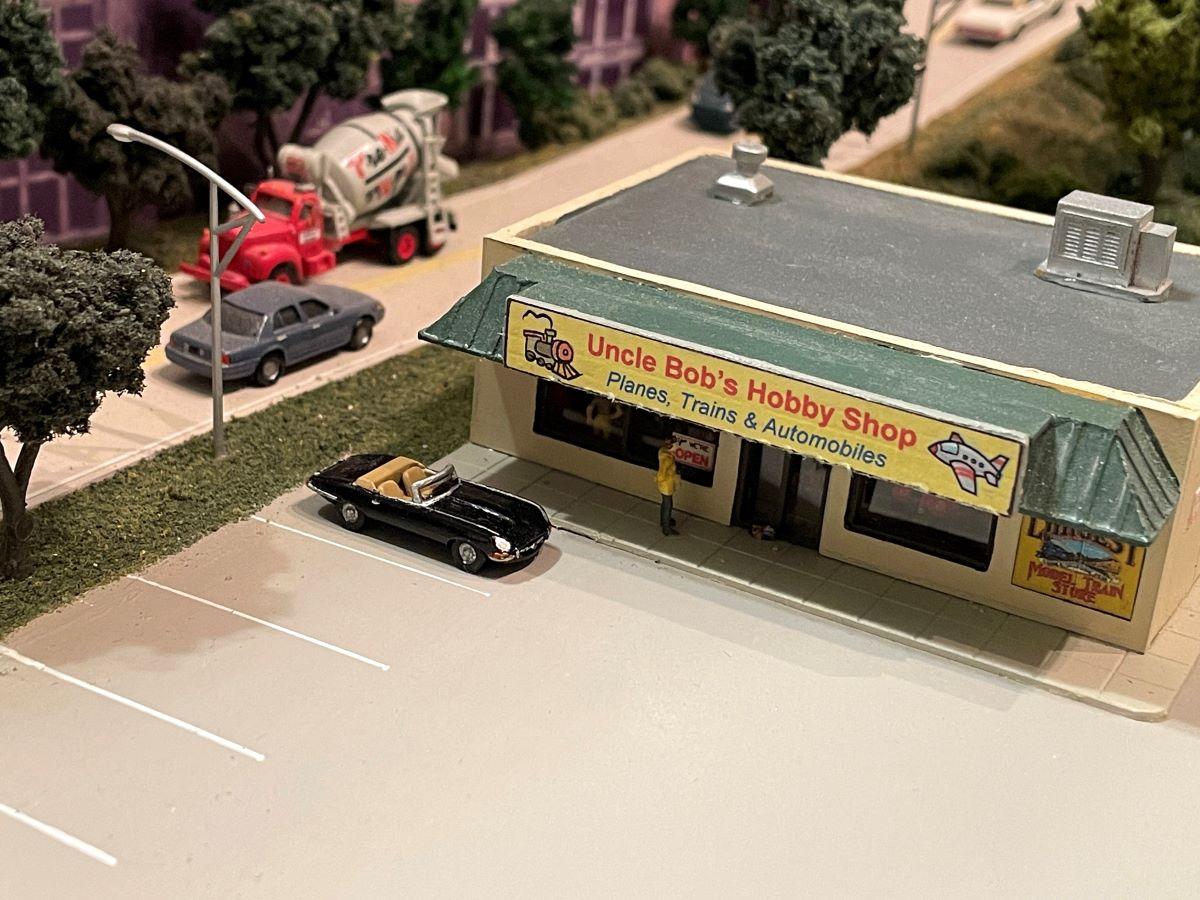
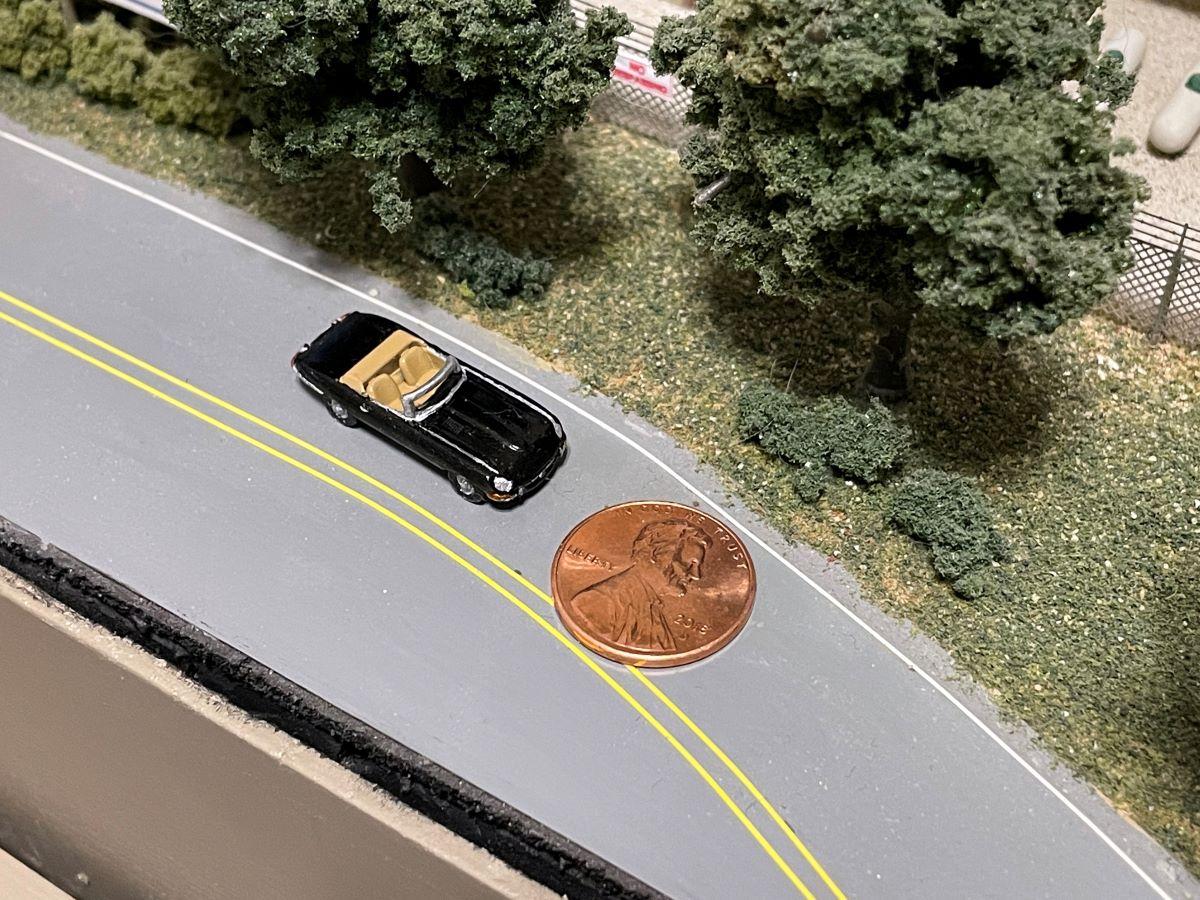
-
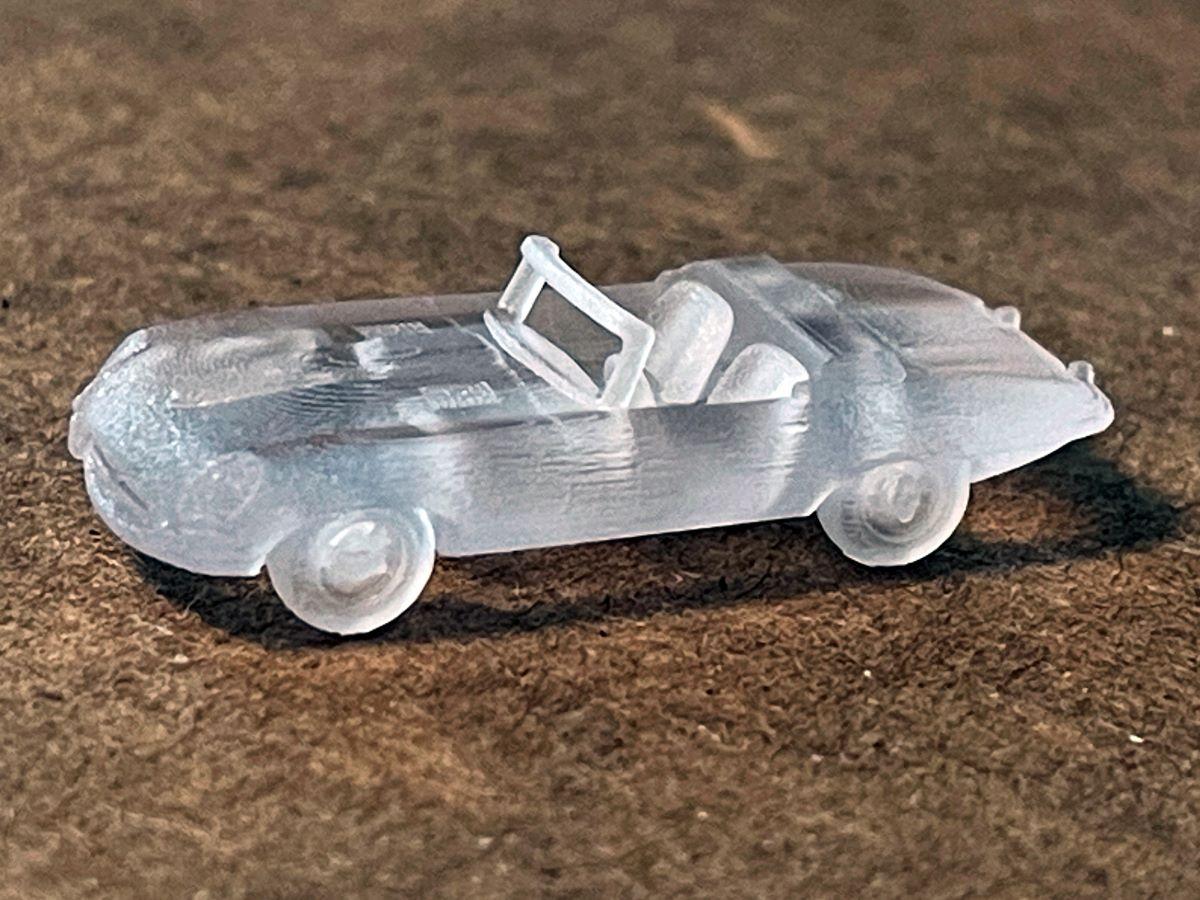
Here is my latest completion - a 3-D printed N Scale (1/160) Jaguar XKE. This replicates a car owned by my brother Bob - who is also into RC airplanes and plastic model building. You'll see that he has his own Hobby Shop on my layout. Painting the details on a black vehicle was a little challenging. I usually use the shadows from the raised details to know where they are - but on a black car, the shadows are non-existent! I also included photos of the actual 1:1 scale car, and a shot with other 3-D printed cars on my layout. Thanks for looking! Bart