bh1701
-
Posts
389 -
Joined
-
Last visited
Content Type
Profiles
Forums
Events
Gallery
Everything posted by bh1701
-
Has anyone airbrushed FolkArt Metallic paints?
bh1701 replied to Monty's topic in Model Building Questions and Answers
Monty, Here is the recipe one of the members gave me for a homemade thinner for craft paints. Please note that his last sentence mentions that DecoArt paints don't do well with this recipe.: 60% bottled or filtered or distilled water. 40% 91 IPA For every 3 oz of this blend put 4-6 drops of Liquitex retarder. (The Liquitex retarder is their Slow Dry Retarder Fluid, not their retarder medium. The medium is not for airbrushing. I bought this retarder from an online store since neither Michael's or Hobby Lobby carry it.) For every 3oz of that blend put in a trace amount of Dawn dish washing liquid ( Just a trace amount, not even a drop from the bottle. Use the pointy end of a wooden barbecue skewer and just get a film on the end and mix that in), this breaks surface tension in the paint mix. This blend Works in most acrylic paints but DecoArt doesn't like the alcohol. And many craft paints come closer to spraying like solvent paints with this blend. I have not used this formula yet, but plan on trying it with the next kit I use craft paint on. Thanks, Bart -
Has anyone airbrushed FolkArt Metallic paints?
bh1701 replied to Monty's topic in Model Building Questions and Answers
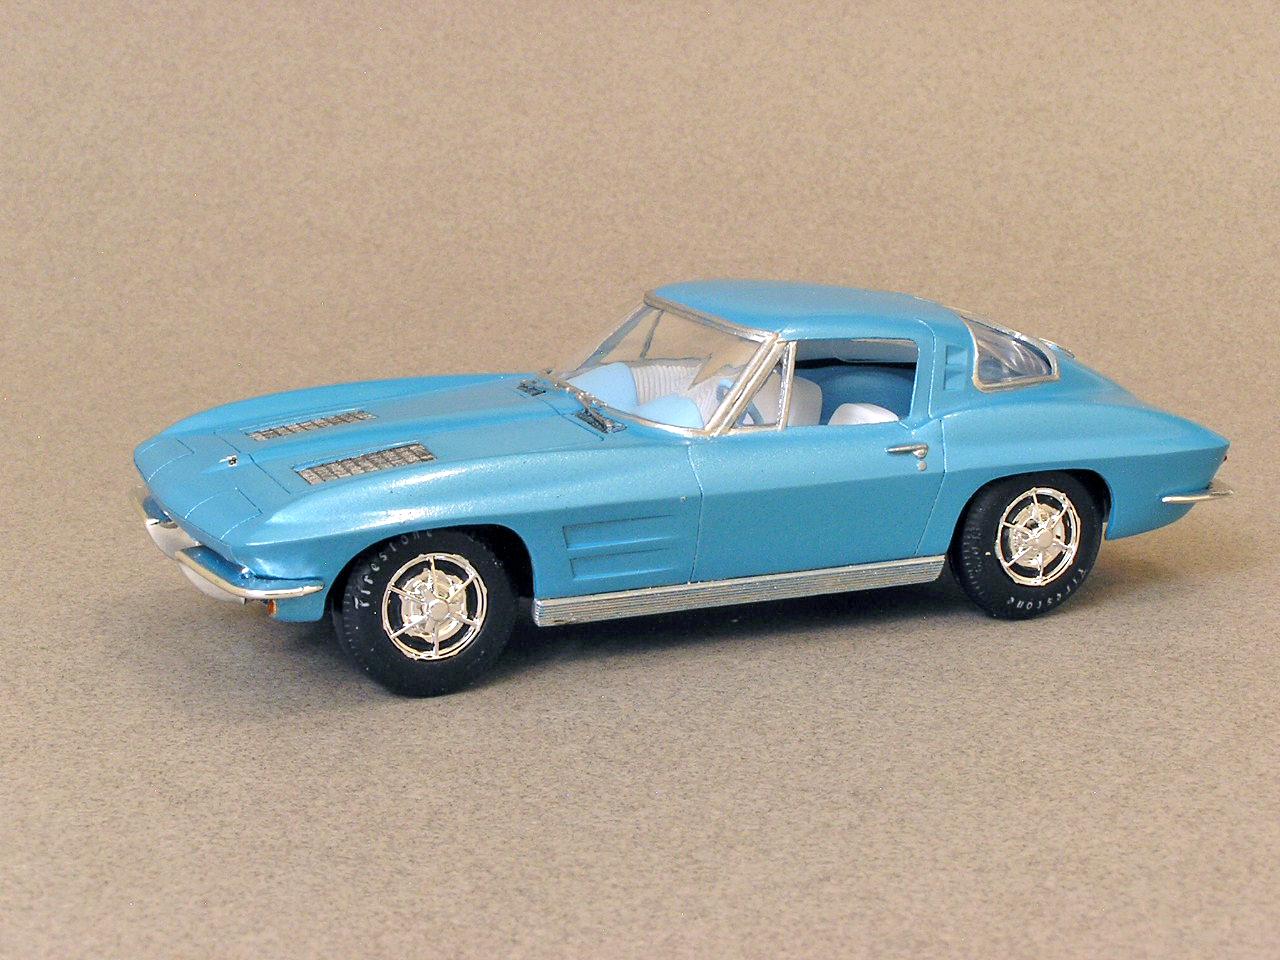
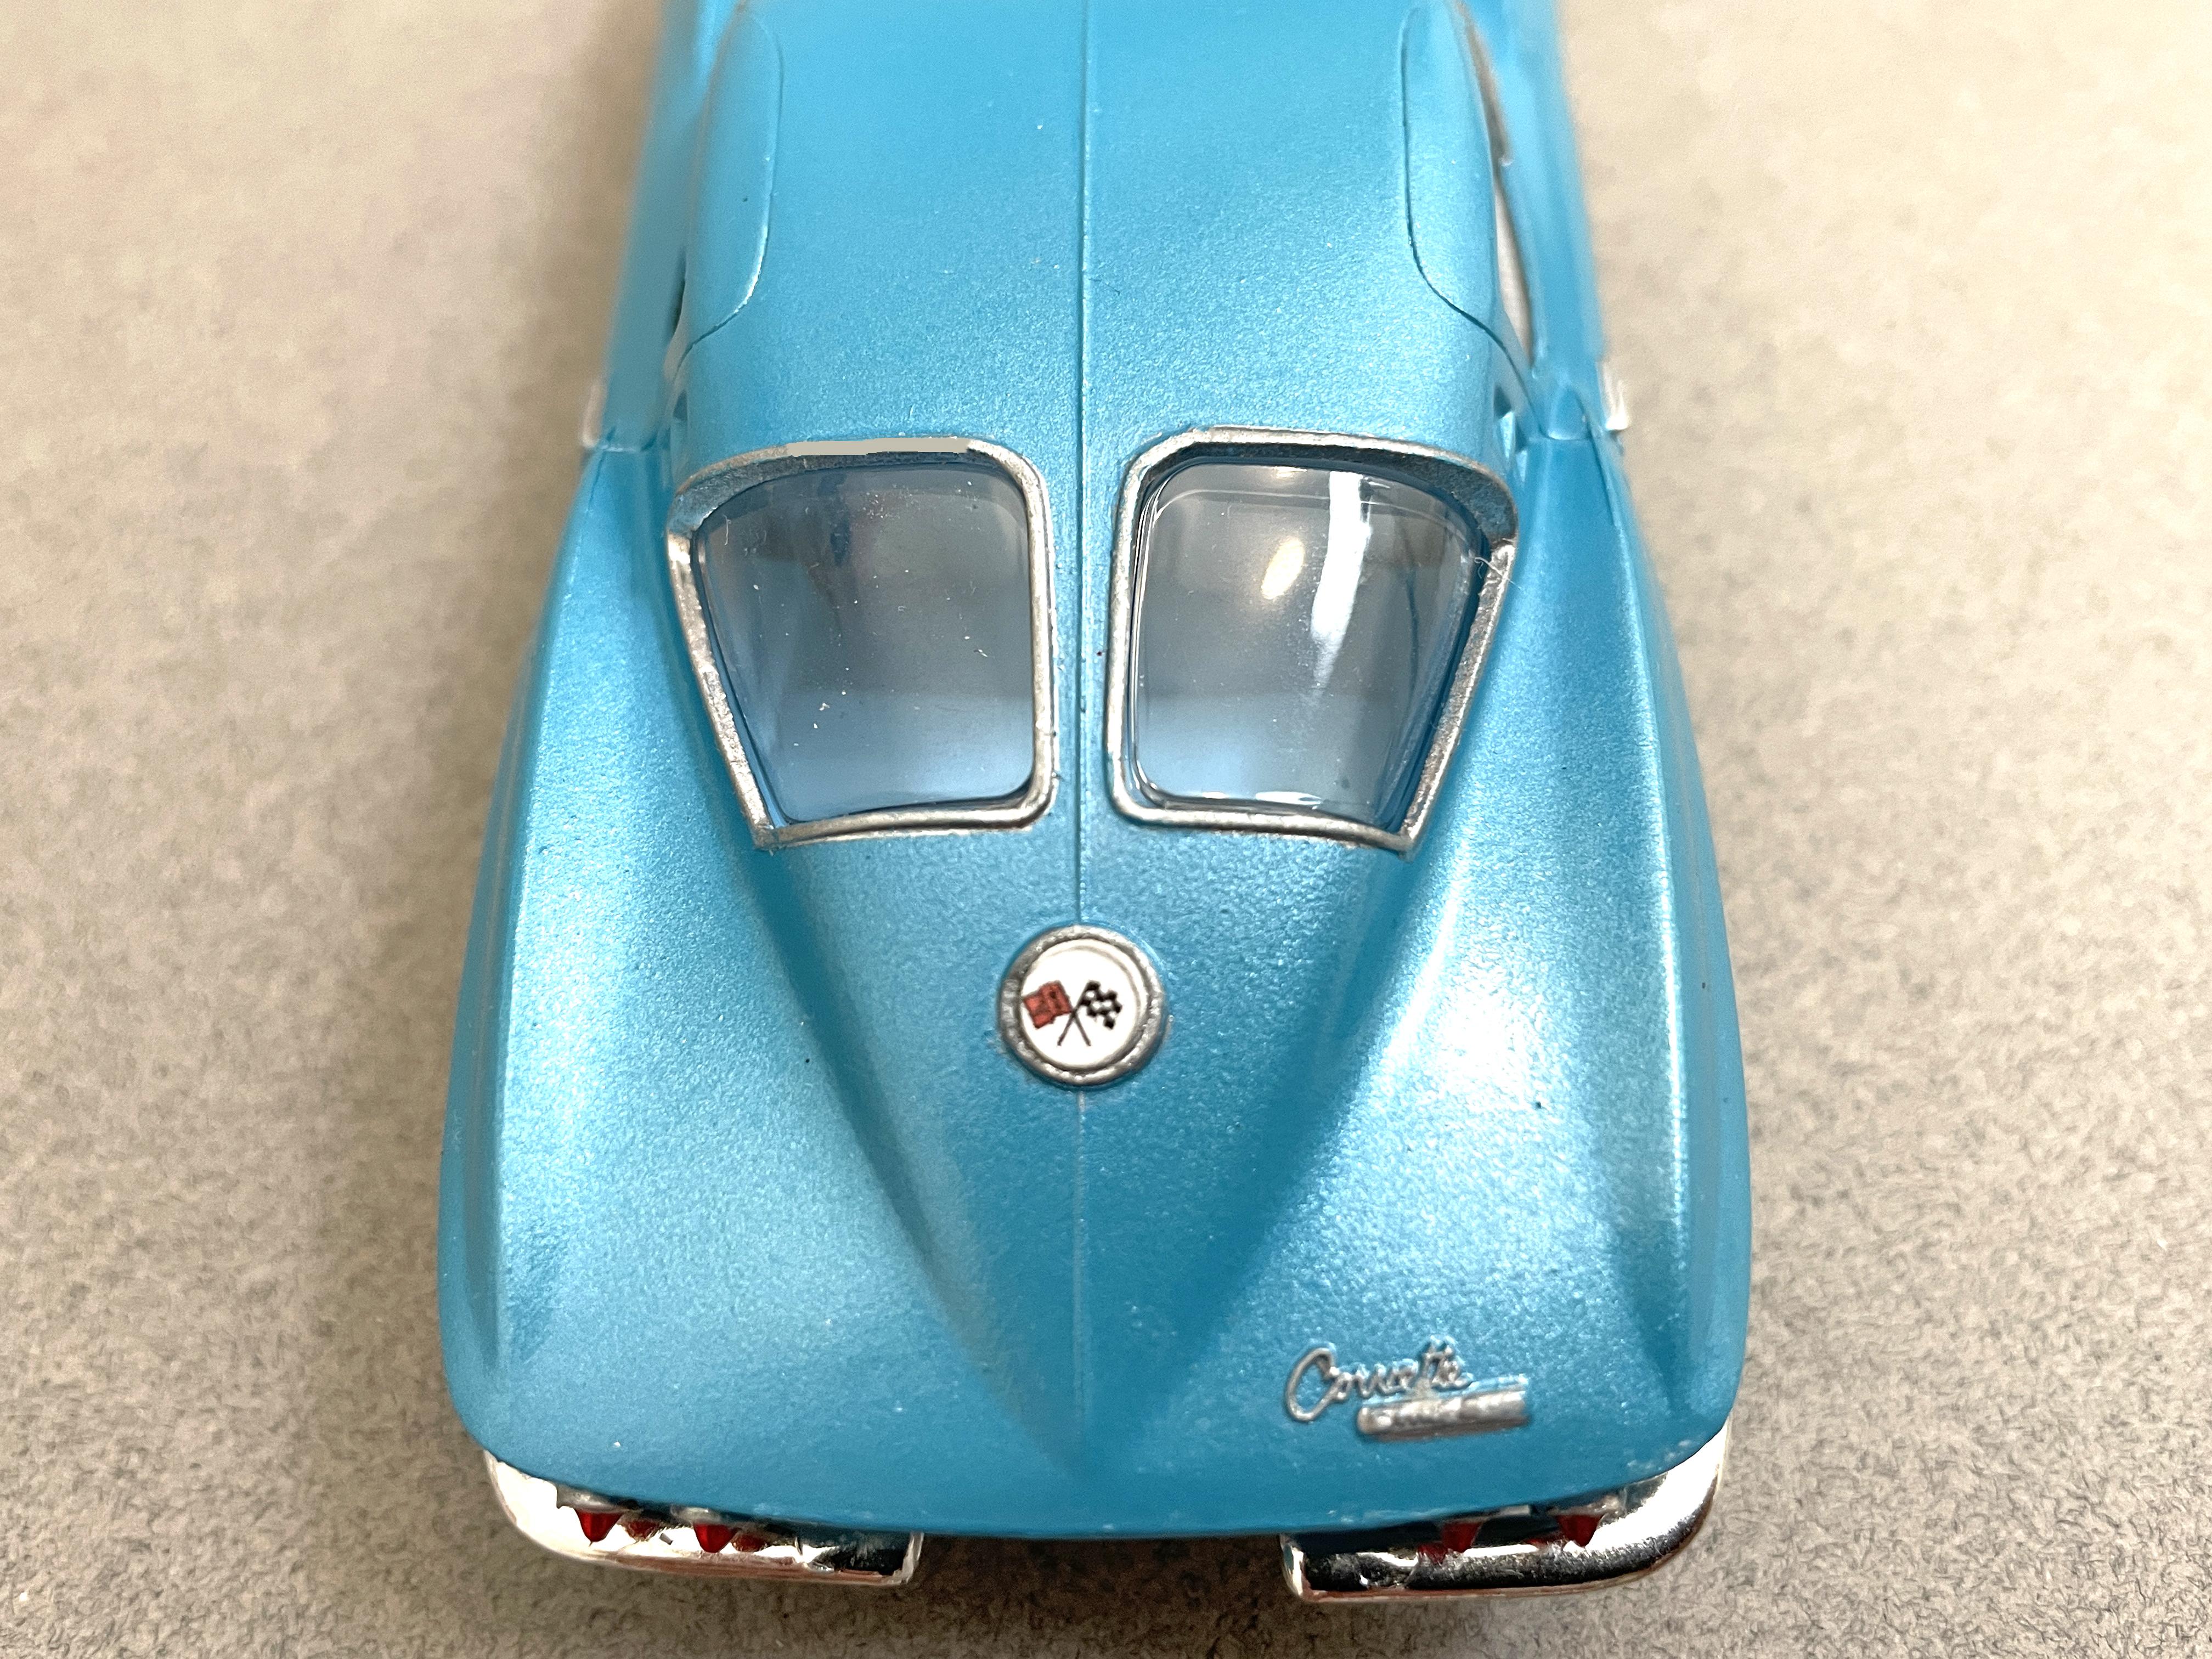
Monty, Here are some photos of an AMT 1/32 scale Corvette I built recently. This was the first model that I airbrushed with craft paints. The body was sprayed with Folk Art Metallic Turquoise Shimmer paint. It is not the smoothest finish, but that is all on me, not the paint. I used Window Cleaner as my thinner, and have had suggestions from others to use a custom-mixed thinner that allows the paint to flow better to achieve a smoother finish. I also rec'd advice to do a mist coat, flash it dry, do a medium coat, flash it dry, and then a final heavier coat. I expect that the results on the next model I use craft paint on will be much better. Thought you'd appreciate some pictures of a "just OK" application of metallic craft paint. Thanks, Bart
-
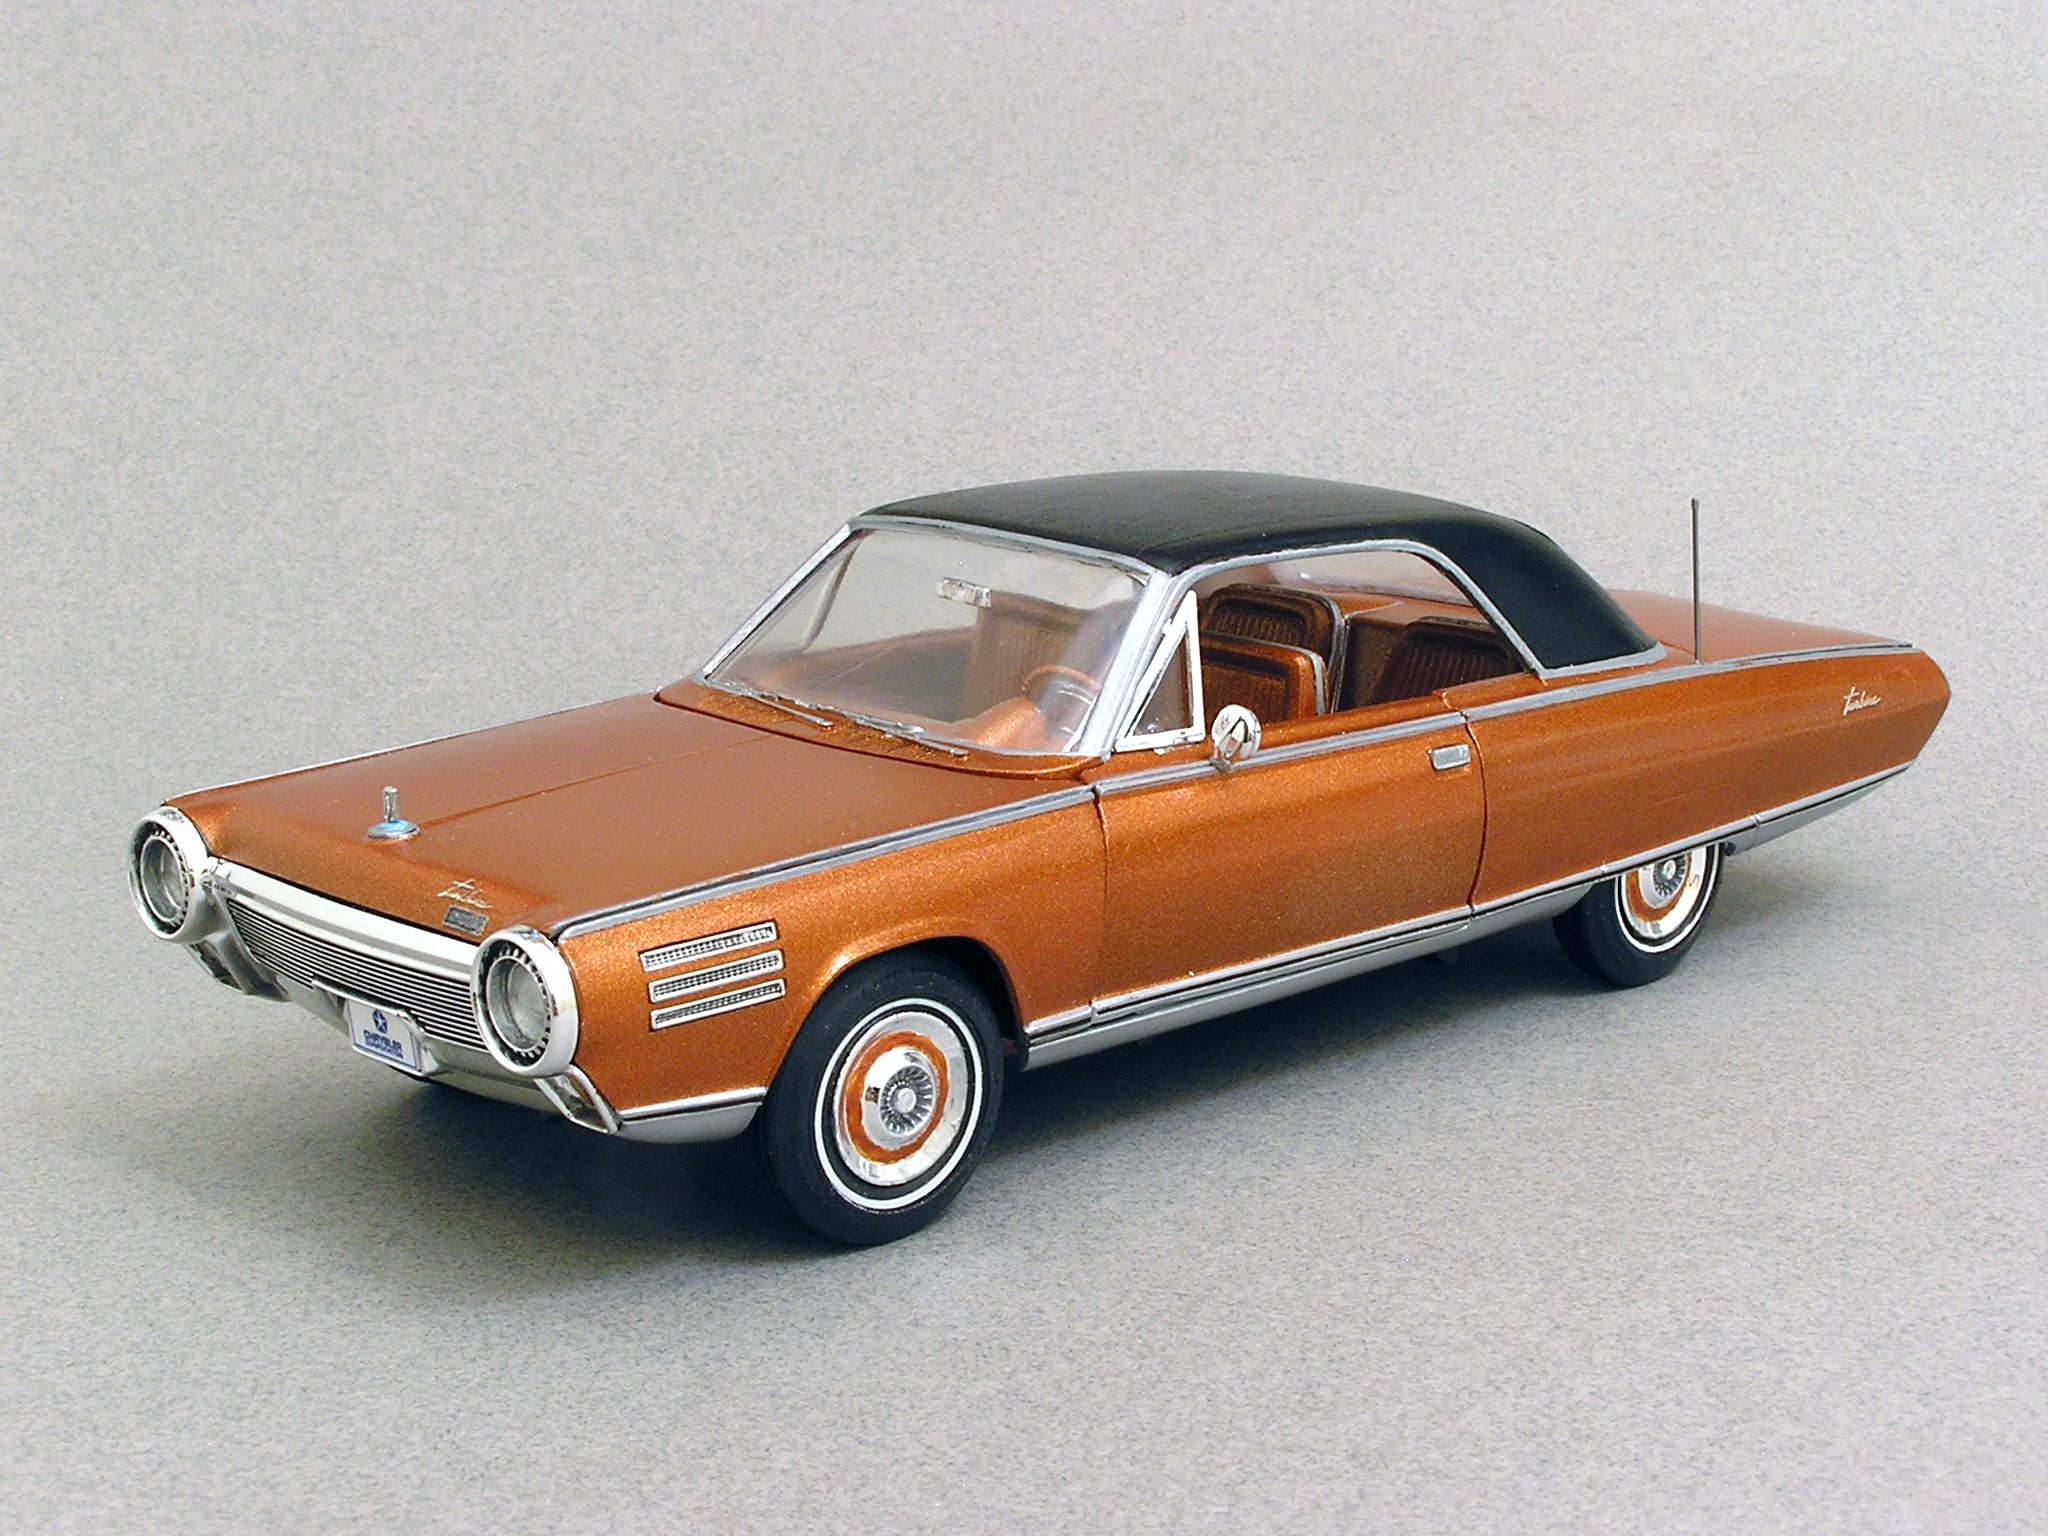
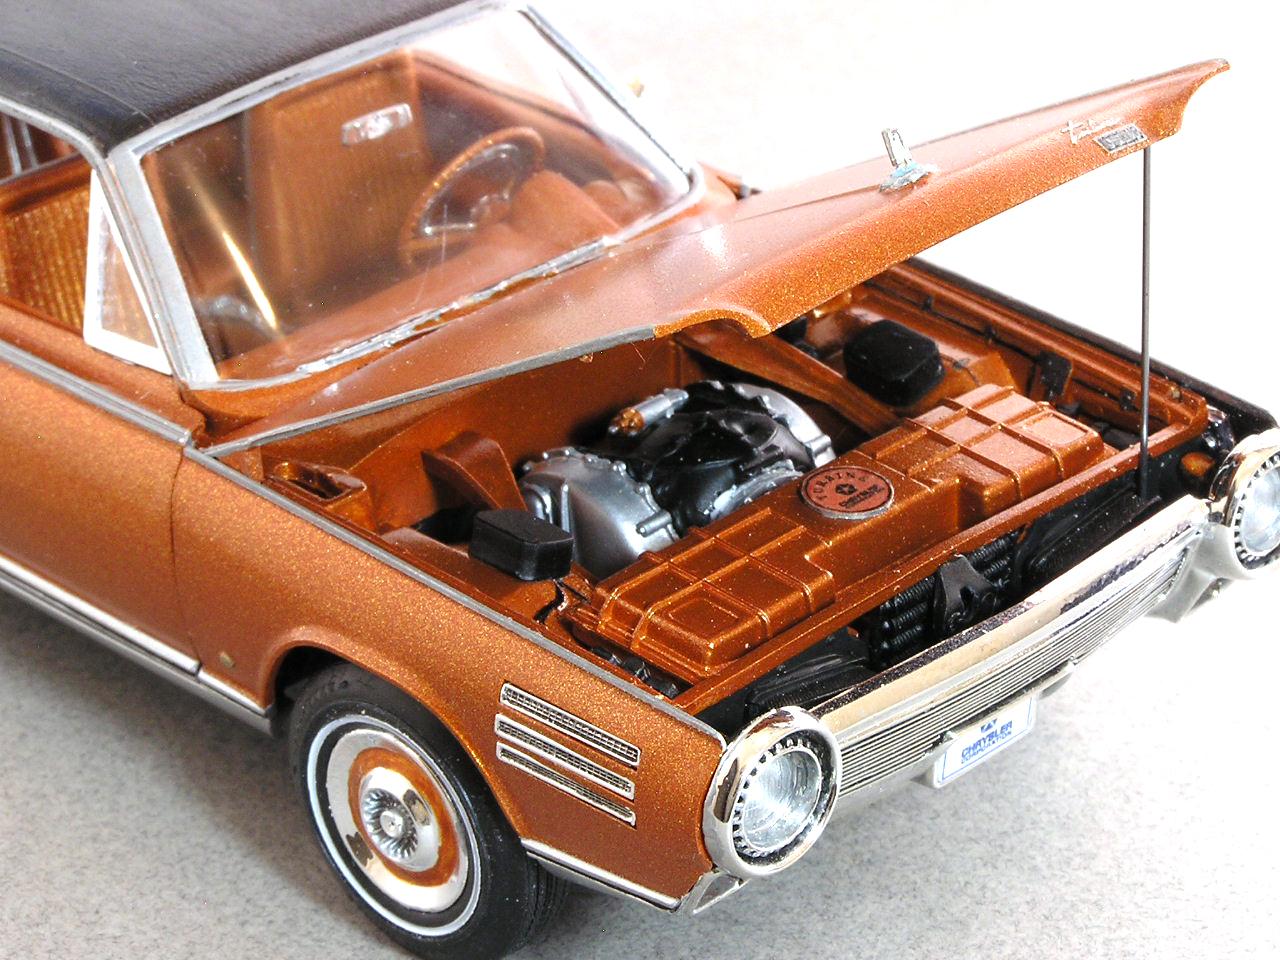
Here is one of my Jo-Han kits - the Chrysler Turbine Car. Bart
-
Great looking model! The paint looks really good! Bart
-
Very interesting subject and a very well done model! Bart
-
Thanks - I bought some today, but it was the Medium. I will return it and look for a source for the Liquid Retarder! Bart
-
Thanks for your advice, Dave! I'll follow your suggestions and will keep working at this. Bart
-
What are your suggestions on how to apply and flash each coat? Bart
-
I usually use Tamiya sprays and get very good results from them. The craft paints offer many colors not available in Tamiya sprays. How far away should I be when airbrushing craft paints? Bart
-
What thinners would you recommend? Bart
-
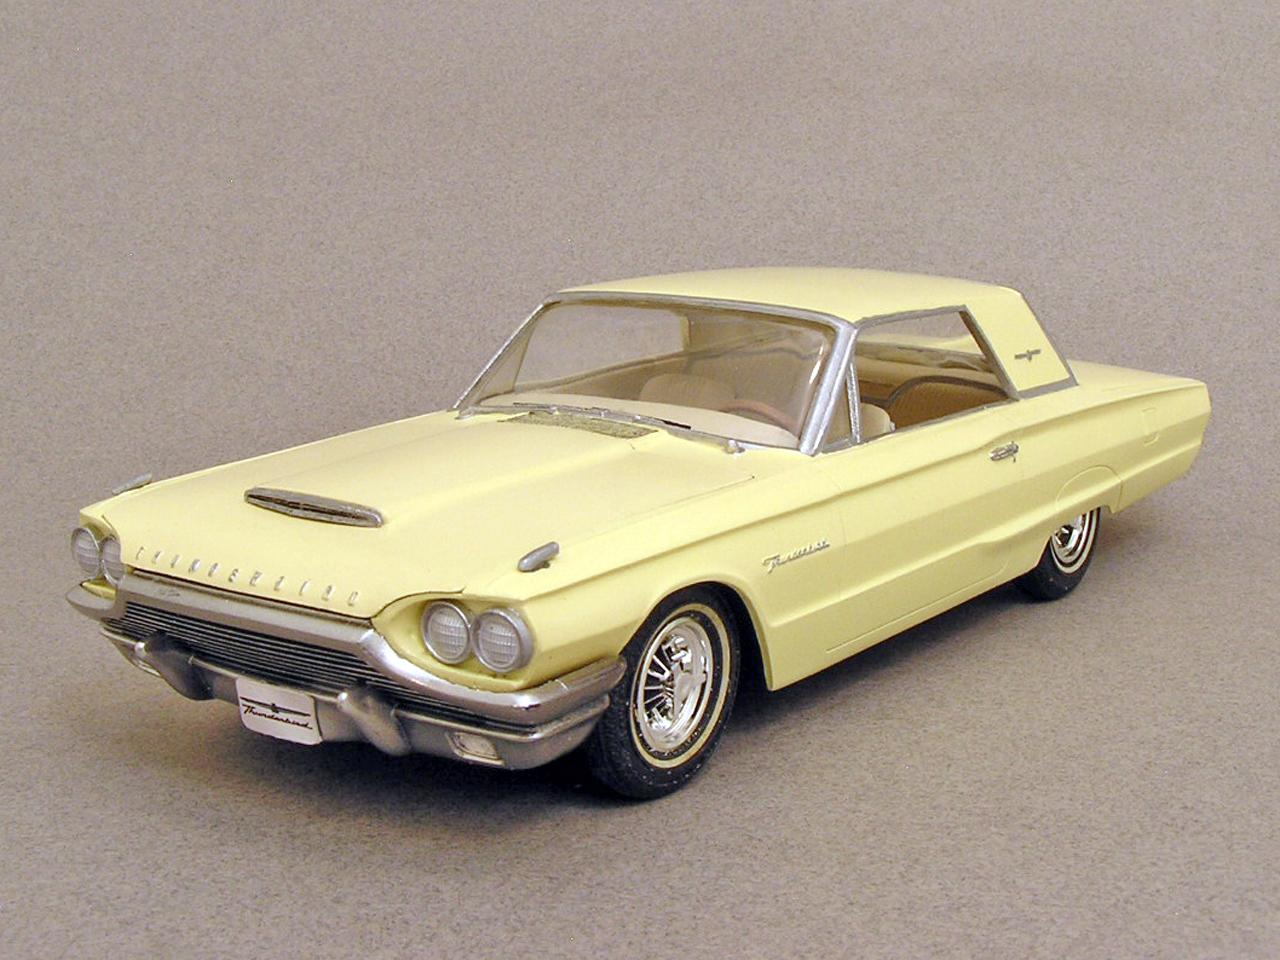
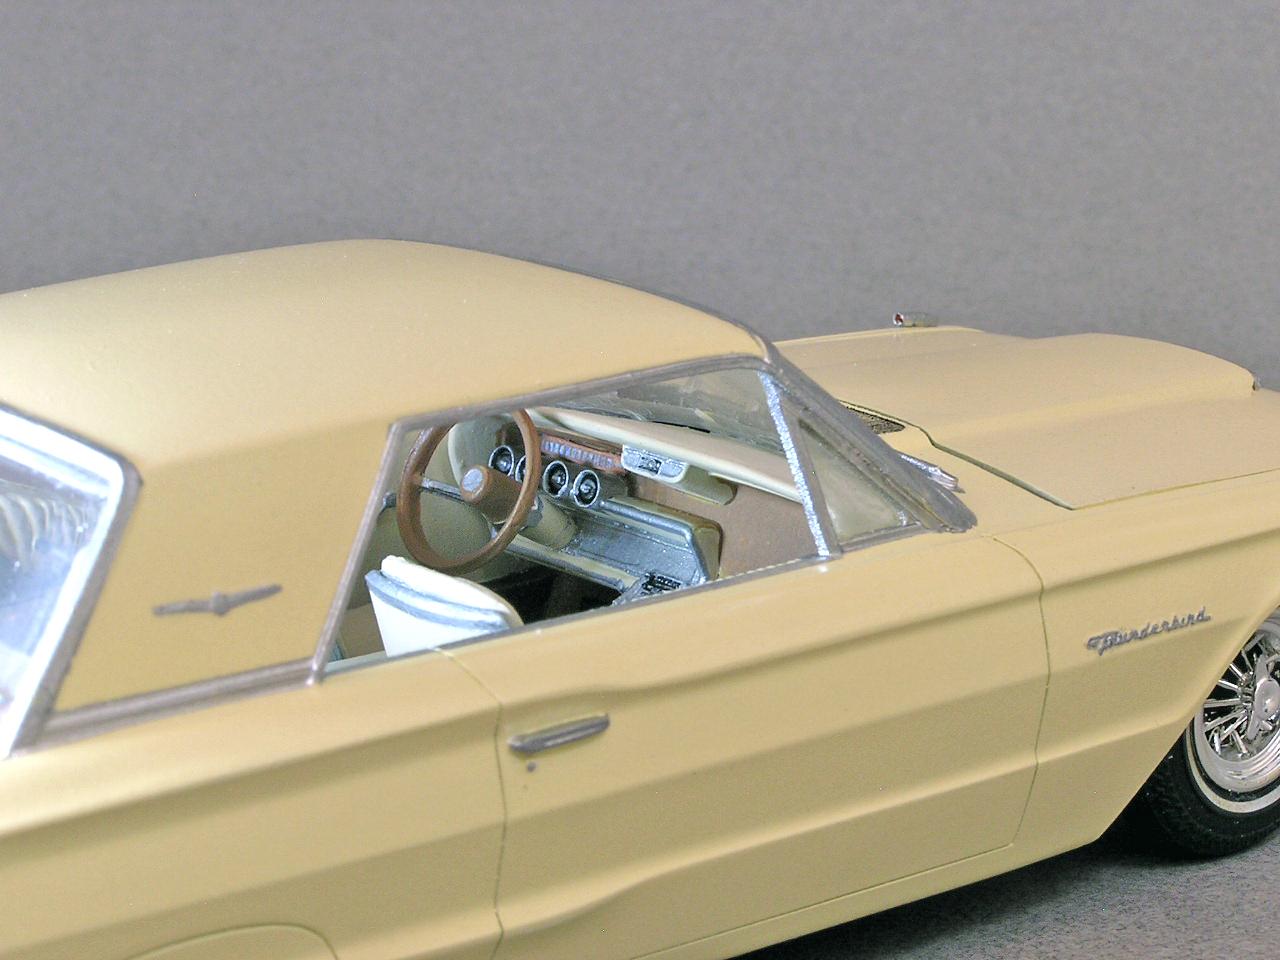
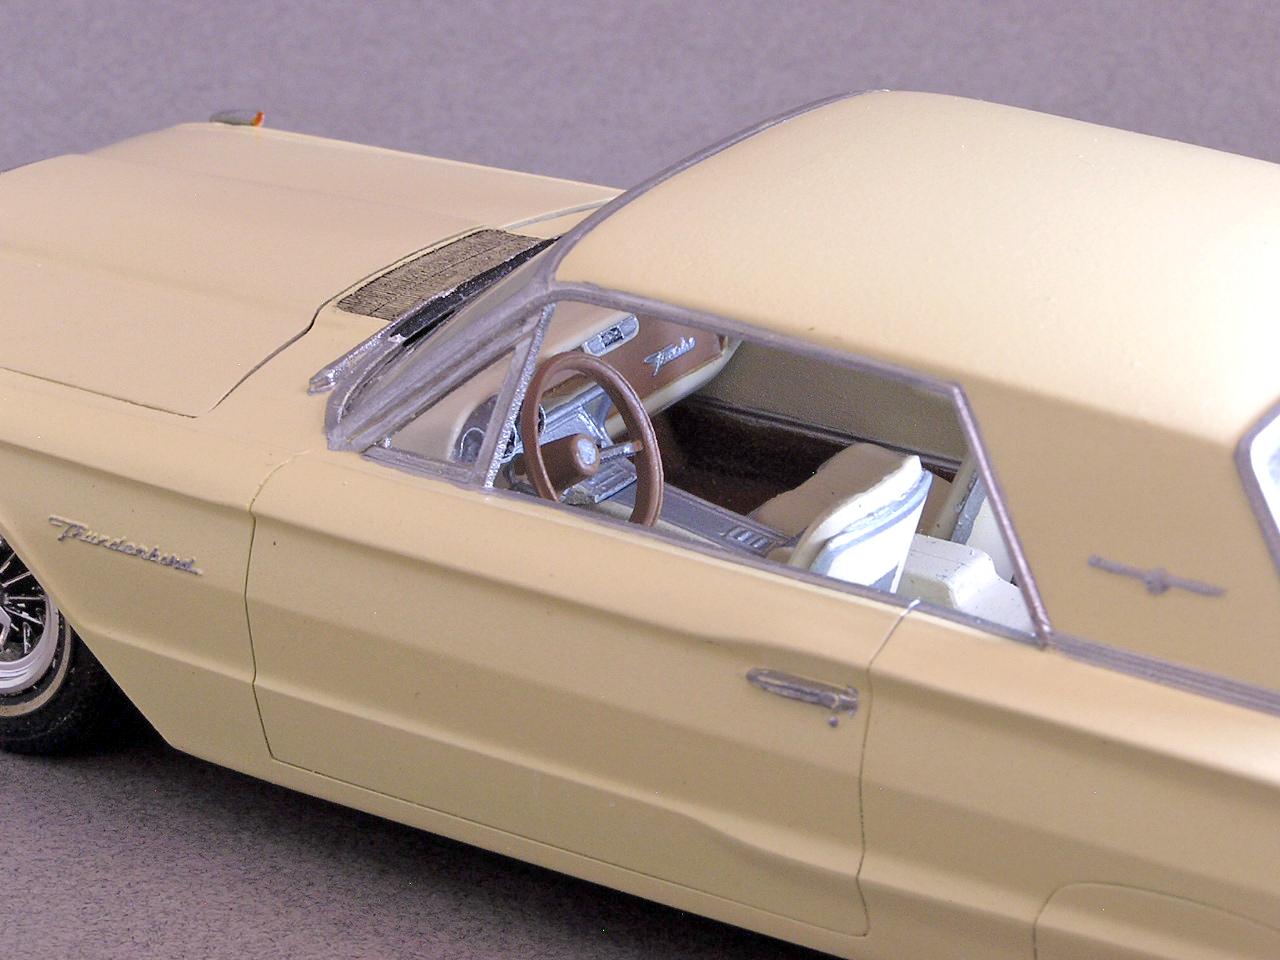
I airbrushed 2 kits recently using craft store paints and was pretty satisfied with the results. The wide variety of colors in these paints is amazing, and lets you come up with some colors that Tamiya spray cans (which I usually use) don't offer. Plus the price can't be beat! The one thing I had trouble with was getting a really smooth, gloss coat on the models. I included some photos of each kit that shows the finish I did get. From a distance, they look great; but closer up, maybe not as much The 1/25 scale T-Bird was done using DecoArt Americana Buttermilk, and the 1/32 scale Corvette used Folk Art Metallic Turquoise Shimmer. Both were thinned using window cleaner. DecoArt was thinned with a ratio of 1 part paint to 1 part thinner. The Folk Art was a thicker paint and was thinned at 1 part paint and 2 parts thinner. Air pressure was around 25 psi. Both bodies were primed with Tamiya primer. I did do some extremely light sanding of the bodies using 8000 and 12000 sanding pads. I applied Tamiya Gloss Clear from an aerosol can after sanding. I know that craft paints tend to be matte finishes which may result in some of "texture" on the bodies (although the metallic paint seemed to have a bit more gloss to start with.) Any suggestions or tips would be welcomed. Thanks, Bart
-
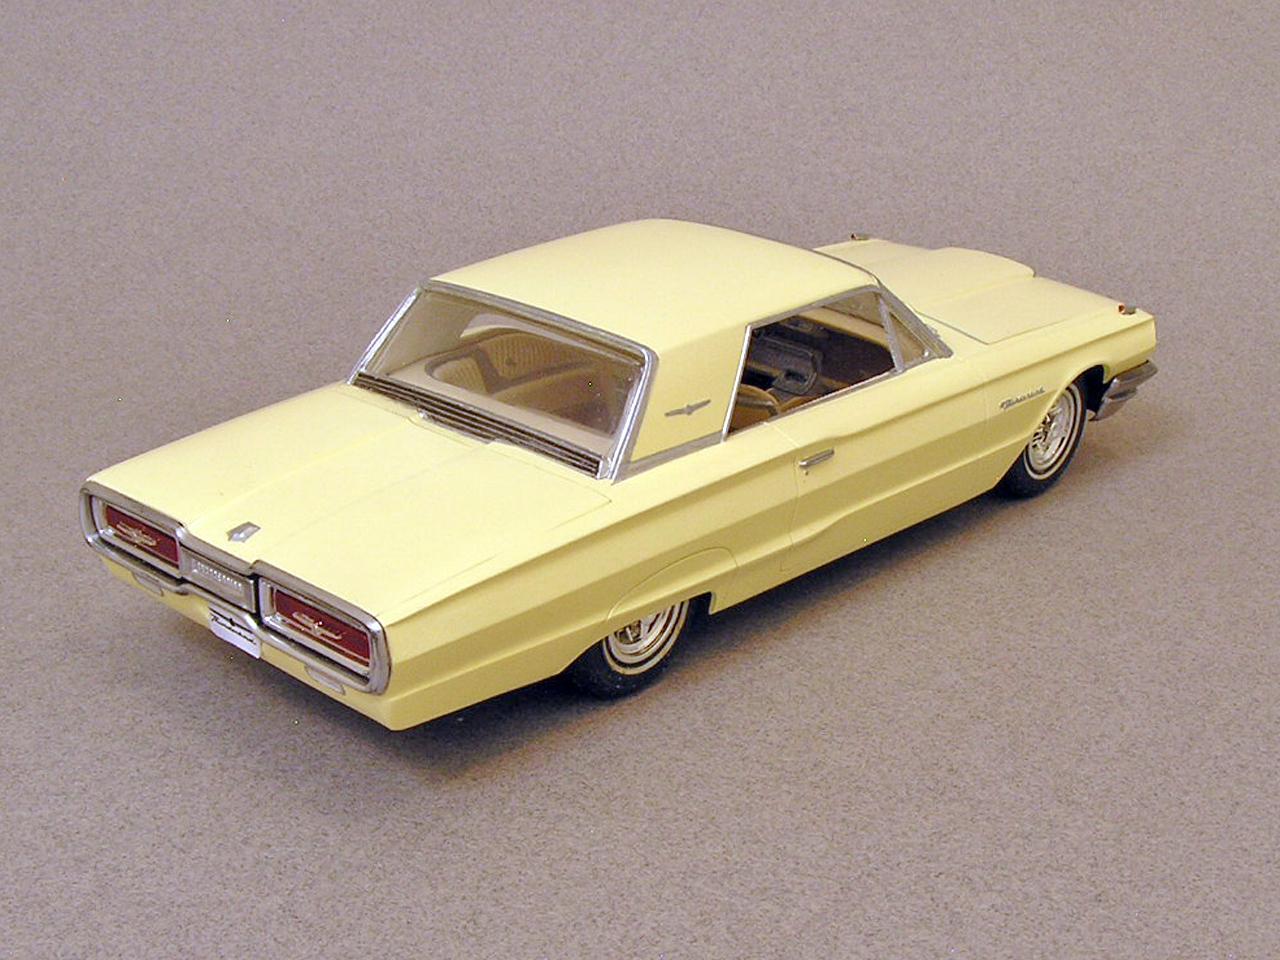
Here is my latest completion - a restoration of a 1964 AMT 1/25th scale Ford Thunderbird that I originally built in 1964 when I was a young kid. I included a few shots of it before restoration to show the terrible brush painted black body and the poorly done chrome trim (not my best work!). I stripped the paint and started over again airbrushing the body with DecoArt Buttermilk craft store paint and airbrushing the interior with Folk Art Linen craft store paint. Some darker browns were used on the dash and floors - along with some brown embossing powder on the carpeted areas. This is one of the first kits that I have airbrushed craft paints on and I was pretty pleased with the results. The wheels were in pretty bad shape, so I used some wire wheels from a 1965 Continental kit. I did not have the turn indicators that are mounted on the top front corners of the body, so I crafted some using bits of plastic rod and plastic strips. The chrome on both bumpers was in rough shape, so I stripped them and redid them with AK Interactive Chrome. All chrome trim is hand painted - that includes the Thunderbird script on the hood and body sides. Definitely an improvement over what it previously looked like. Thanks for looking! Bart
-
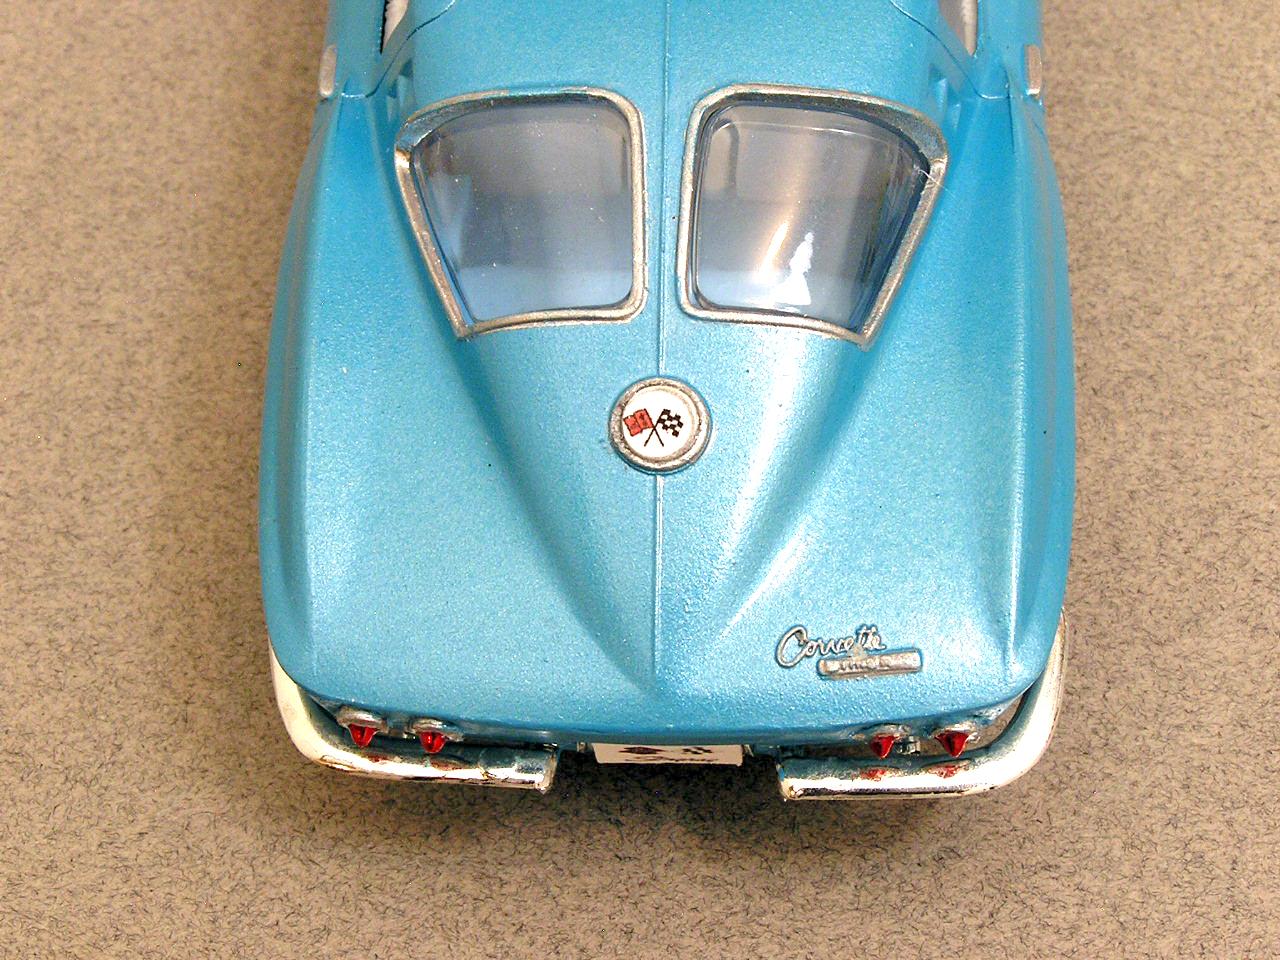
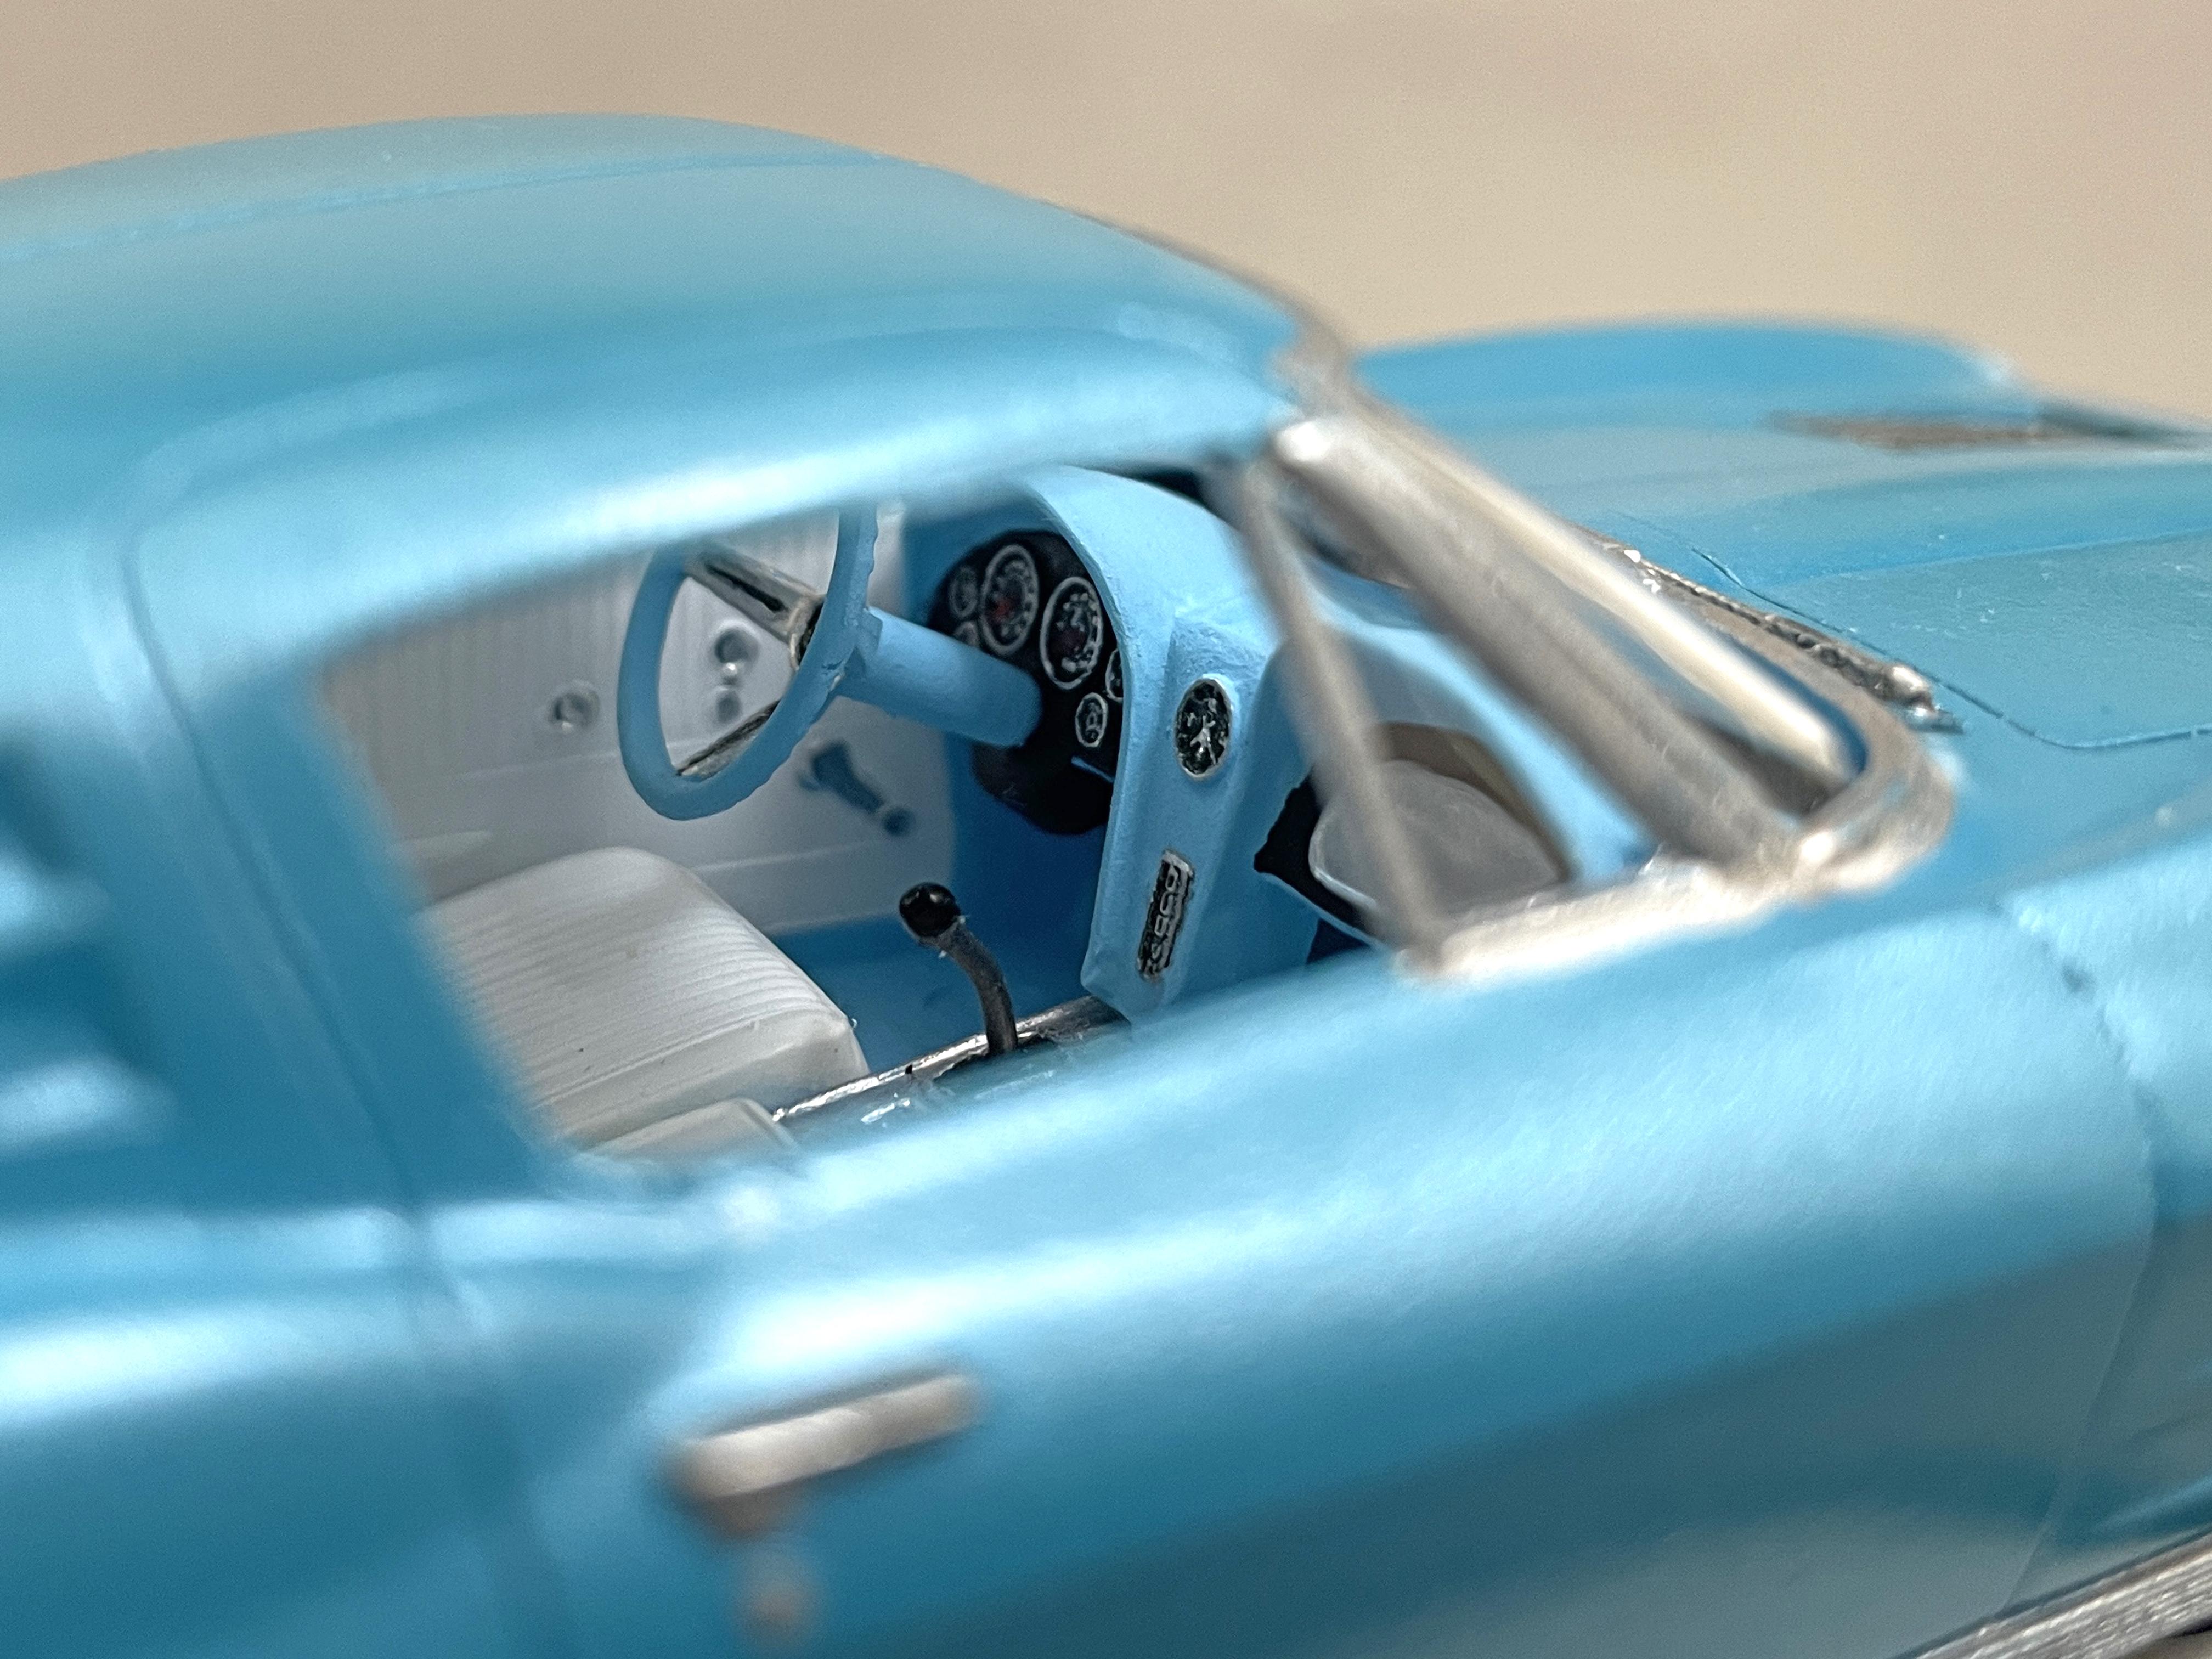
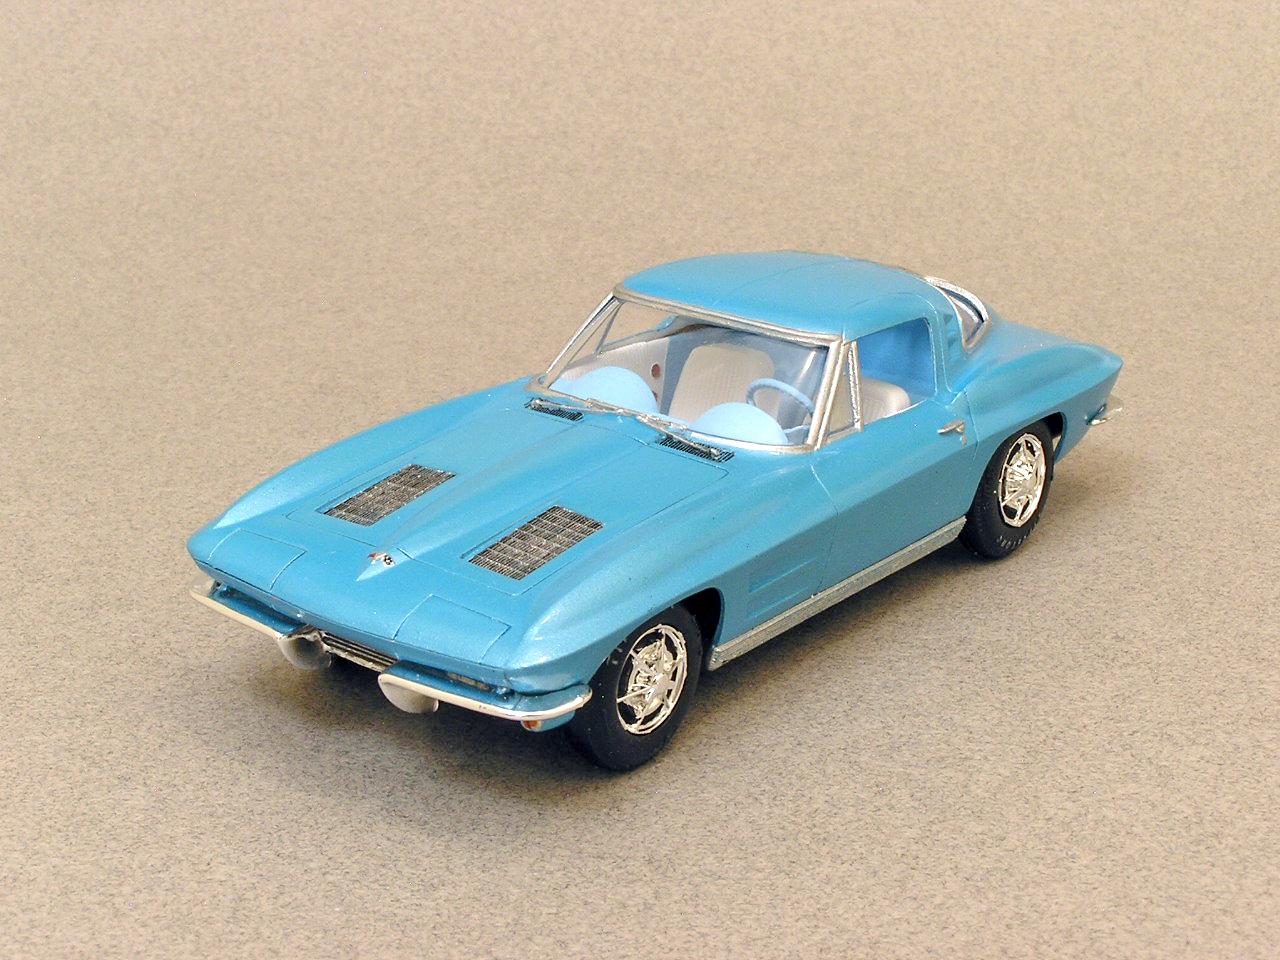
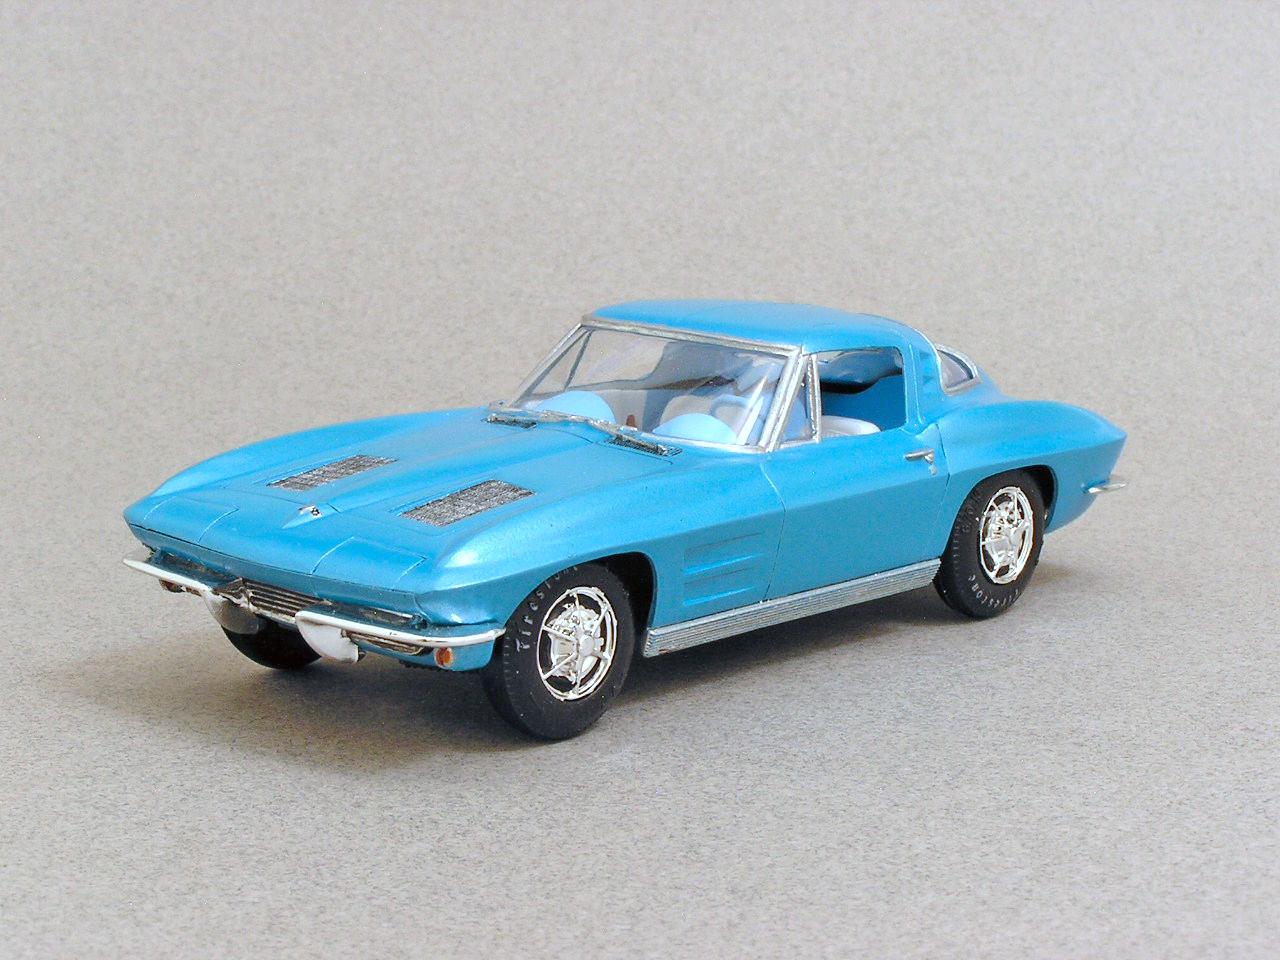
Here is a 63 Corvette I just completed. It's the AMT 1/32nd scale kit, and the detail on these small kits is amazing considering they are only 5-6" in length. It's also one of the first cars I airbrushed with craft paints. The body was sprayed with Folk Art Metallic Turquoise Shimmer paint. DecoArt Turquoise was brush painted in the interior. All chrome trim is hand painted. I printed the Corvette flags to use behind the rear window. I included some photos of this car with 2 other AMT 1/32 scale kits I have built - a 1960 Thunderbird and a 1965 Mustang 2+2 Fastback. The Vette required a bit more work than the other kits. The front body section below the hood and the rear body section below the rear deck were molded as part of the chassis. I ended up cutting the front panel from the chassis so it was easier to get a tighter fit with the rest of the body. Wish I also had done the rear panel the same way! There were large gaps on the sides, between the lights, and along the top seam. It was already glued together, so I carefully applied some putty to seal up as many gaps as I safely could. Then I hand brushed some metallic turquoise on after the putty was very carefully sanded down. I think it came out pretty good considering the kit was already glued together! I did notice that there a few spots on the window trim where the paint had been rubbed off - those areas have now been repaired. The photos are invaluable for showing you things like this that you wouldn't notice with your eyes! Thanks for looking! Bart
-
Very nice work on this one. The color looks great! Bart
-
That looks really nice - especially with the diorama you made to display it! Bart
-
What clear can I use over Craft Paint?
bh1701 replied to bh1701's topic in Model Building Questions and Answers
Thanks, Dave! Both models had a primer applied before the craft paints were sprayed on. For the Tamiya X-22 paint, what do you use to thin it, and what's the ratio of clear to the thinner? Does the X=22 produce a good, glossy finish? Bart -
What clear can I use over Craft Paint?
bh1701 posted a topic in Model Building Questions and Answers
I airbrushed my first 2 cars using Craft Paint (DecoArt Americana). What can I use for clear over these paints? I would prefer to use a rattle can clear. My usual clear is Tamiya's Clear aerosol spray. Can that be used, or will it negatively affect the acrylic paint? Can I spray several very thin coats of Tamiya before I put down a heavier coat? Appreciate your ideas and suggestions. Thanks, Bart
-
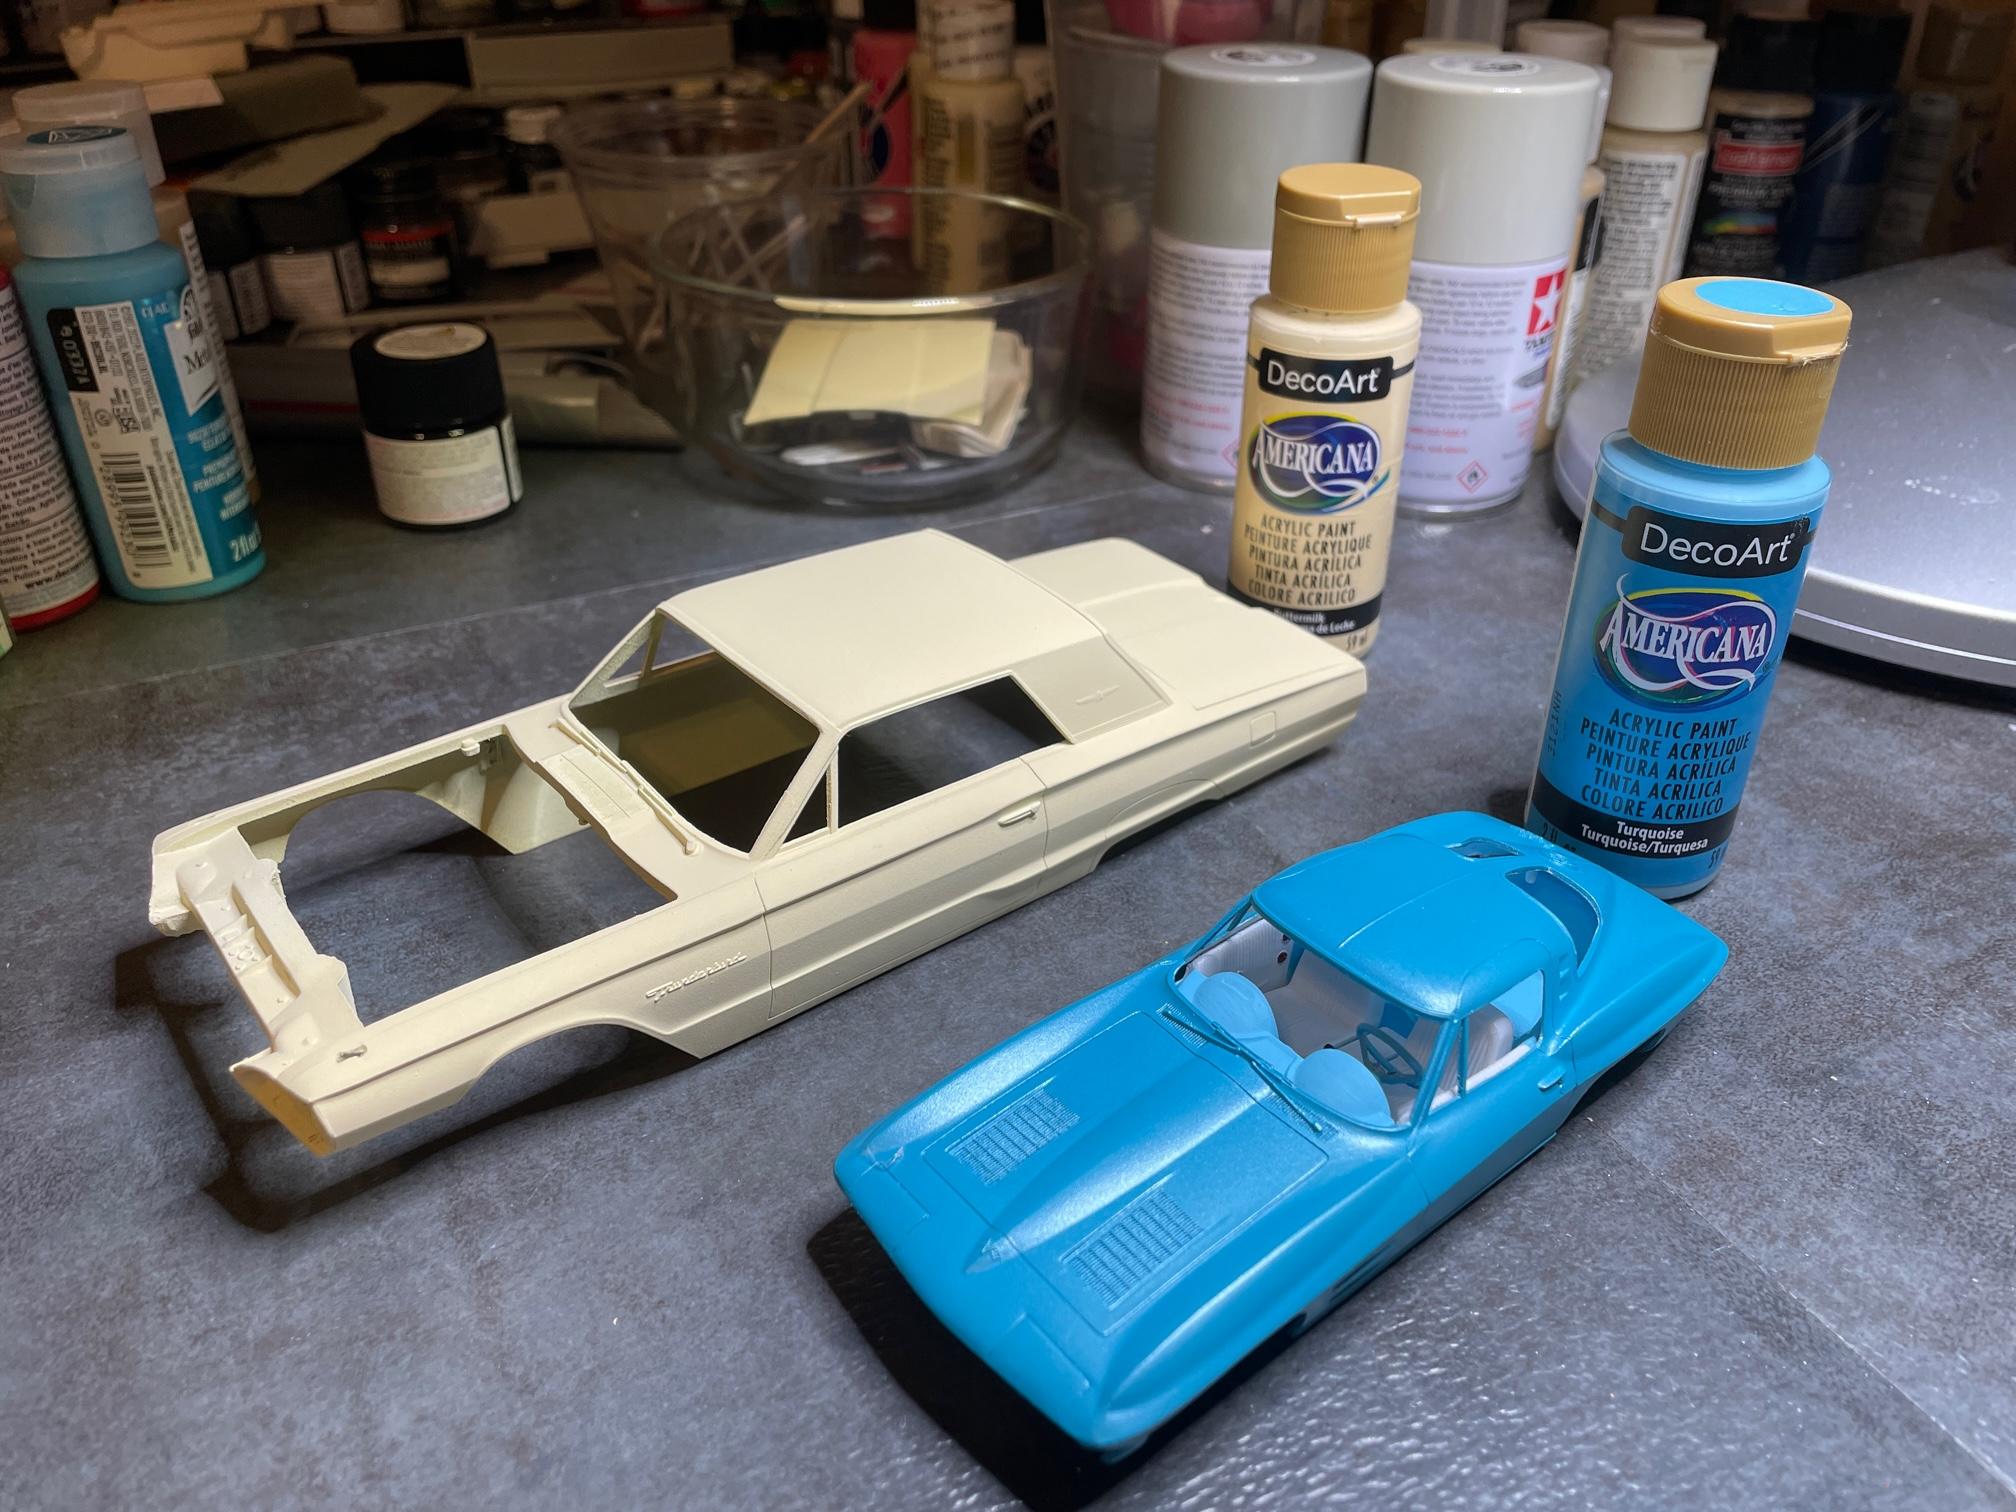
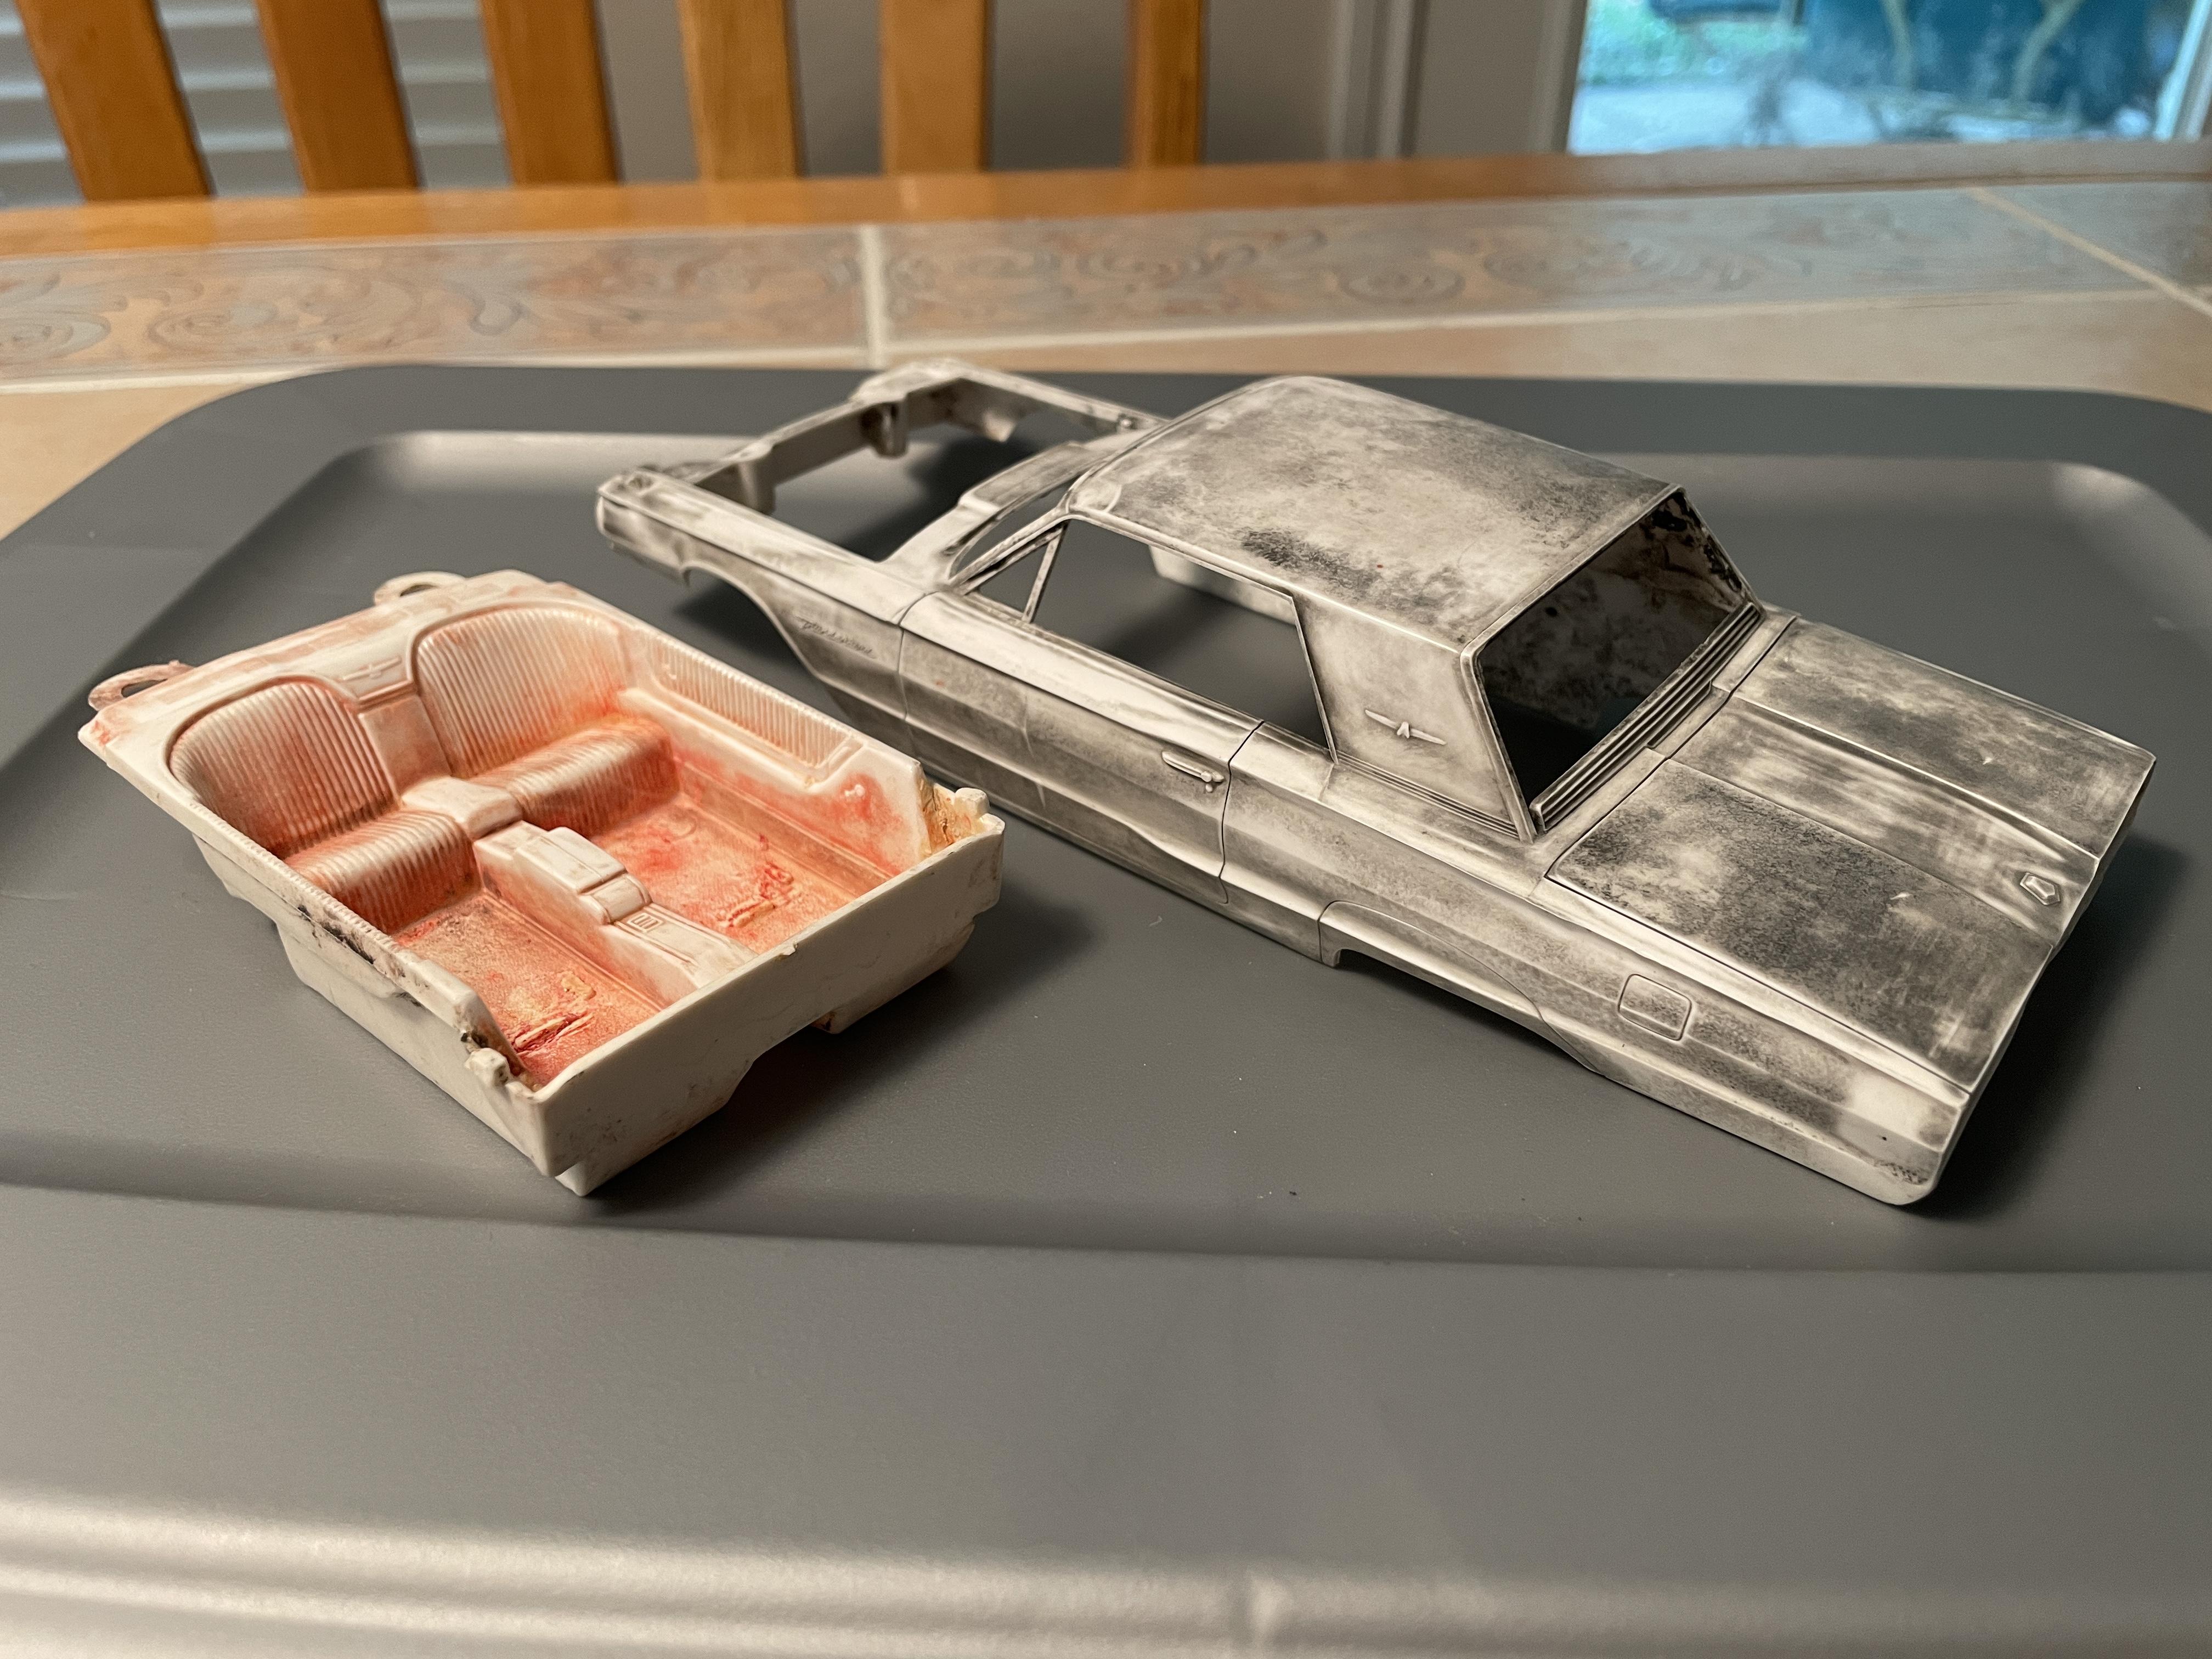
I am restoring one of the kits I made in 1964. It was brush painted with Testor's black enamel. The interior was brush painted with Testor's red enamel. I have always found these to be 2 of the most difficult paints to remove. I use Easy Off Oven Cleaner (the one with the really noxious fumes) and have had good results with other colors, but black and red have always seemed to be hard to remove. I am wondering if anyone has other good solutions for dealing with these two colors? I have soaked the parts for 12-24 hours in Oven Cleaner twice, and have done lots of scrubbing with a toothbrush. I haven't gotten it down to shiny white plastic like I usually can. Despite the remnants of the colors, the parts appear to be pretty clean and smooth now, but I am reluctant to apply primer just yet in case the surfaces are rougher than they look. Here is a picture of what some of the parts look like now. Thanks, Bart
-
AMT 1969 Ford Torino Cobra Fastback 1/25 Scale.
bh1701 replied to Dragonhawk1066's topic in Model Cars
Very nice! -
Looks very good! Bart
-
I have built this kit and can attest that it is not the easiest build. Requires a lot of patience. Your rendition of it is superb! Bart
-
Very nice. Love the diorama display, too!
-
I am going to try to master airbrushing again. Will be using a Paasche single action H-3AS this time. I have a double action airbrush, but unfortunately never seemed to figure it out. ? I specifically want to use acrylic paints - Tamiya, Mr. Color, and craft store paints (Apple Barrel. Ceramcoat, etc.). Here are some questions: 1) For each type of paint mentioned above, what can/should be used to thin the paint? 2) What's a good paint to thinner ratio to start with for each of the paints mentioned above. 3) What's a good compressor setting to start with for each of the paints mentioned above. I appreciate everyone's advice on this! Wish me luck - I will get the hang of this someday! Thanks, Bart
-
I agree - if it's got wire axles, it will roll. Anything with axle pins is usually glued for my kits. They all sit on a shelf, so none of them really need to be able to roll. Bart
-
An awful lot of good detail on a 1/32nd scale model. Great work!