restoman
-
Posts
1,129 -
Joined
-
Last visited
Content Type
Profiles
Forums
Events
Gallery
Everything posted by restoman
-
Looks nice! I've got this kit, it's on the someday list... Before I jump into it, what's so tough about it?
-
How Do You Store Your Tools?...?...?...?
restoman replied to MAN-CAVE's topic in Tips, Tricks, and Tutorials
Looking at some of these pictures makes me realize that I'm a pig... I do most of my building on a piece of 3/4" plywood laid across my lap, with my folding table/storage bench to my left. Pretty serious back/leg issues keeps me in a wheelchair most of the time so sitting at a stool or regular chair is out. Had to improvise... Knives and scribes - anything with an edge - I keep in an old yogurt container, and the files and tweezers, etc stay in their respective pouches in a foil oven pan. Paints and brushes stay out of the way in a plywood toolbox tray I built years ago, on the table. Kits, parts boxes, junkyard, etc all sits piled beside the table. Crowded and always messy, my biggest problem is keeping the cats off of the table at night. -
Very Nice!!!
-
Super nice. I restored a 1:1 '60 El Camino for a local guy about 12 years ago... loved them ever since. His was Tasco Turquoise with a matching interior.
-
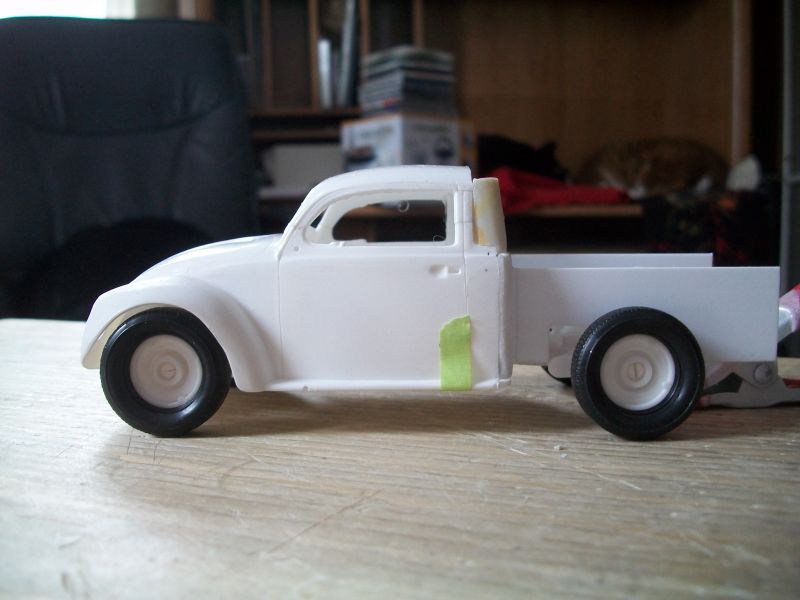
... and then there were two. Rear fenders, that is.

-
The back of a cab would definitely be less work, and I thought I had one I could use.... but it was nowhere to be found. This is such a crappy kit to begin with, I figured if it didn't work out it was no big loss. Getting it for nearly nothing was a bonus too. Thanks for the kind words. Mike
-
Scratchbuilt 1957 Chevrolet Front Bumper
restoman replied to Lovefordgalaxie's topic in WIP: Model Cars
Super nice job! -
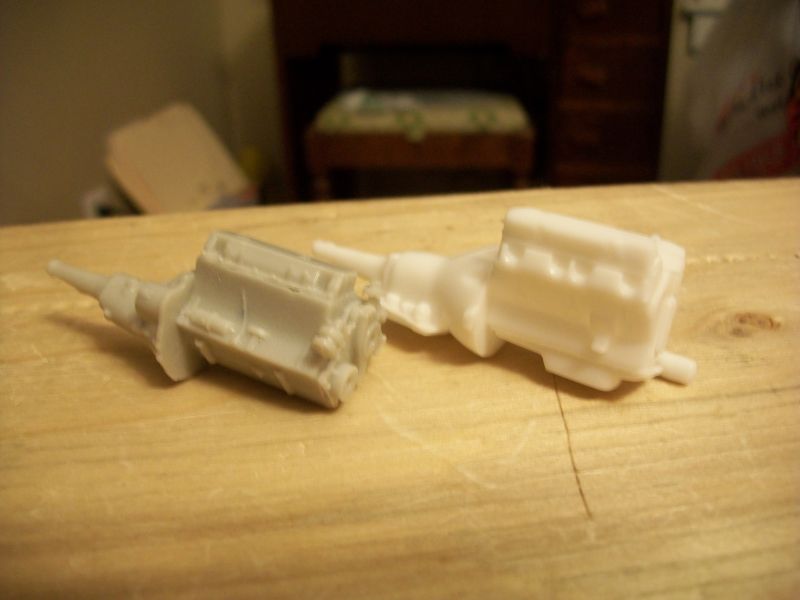
The starter on that engine is on the wrong side for a big block Mopar...
-
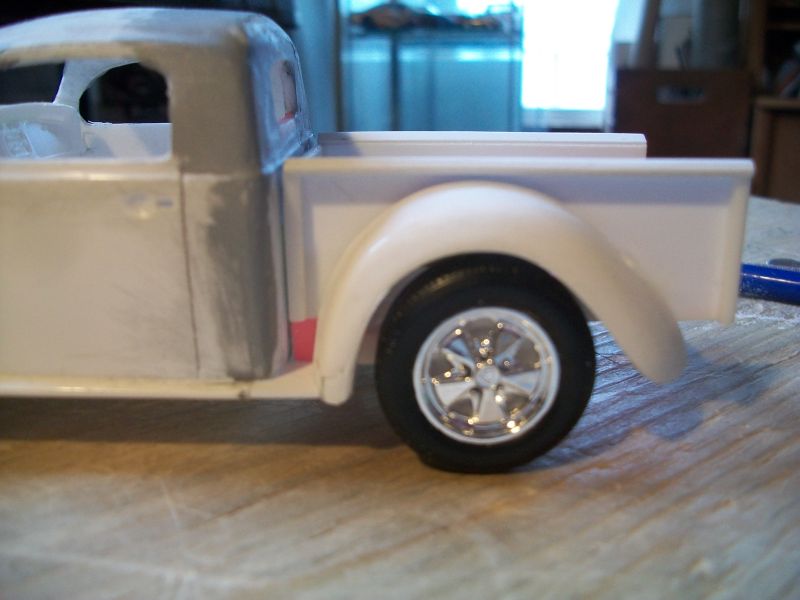
Narrowed the front and rear wheel track a bit, to tuck the tires in a little. Roughed out the rear fender, pinned it so it can come off and on (doing a lot of that on this build...), extended the box side down to the running board, filled in the running board. The trick is to get the running board tight to the fender, as they are not connected. Fab'd a tailgate... drilling it for hinge pins will be fun! I Posed it next to an older build of the same kit to get an idea of how it would look next to a stock car. I like it!
-
Very nice! My favourite year for the B body. Orange, big block with air grabber, manual steering and brakes, ... makes me wish I had one!
-
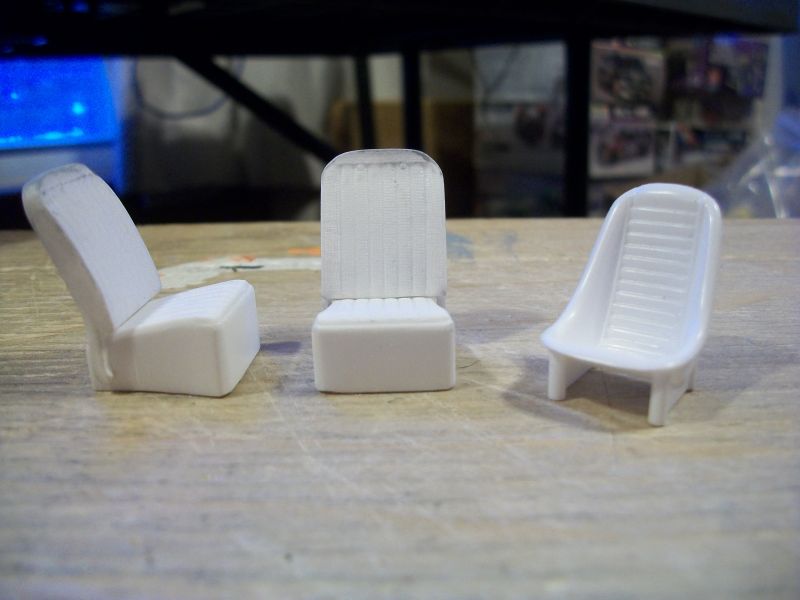
Thought about that... a bench would look good in there. I didn't have anything I was willing to cut up and the kit seats seemed to be the easiest route. I got lazy...
-
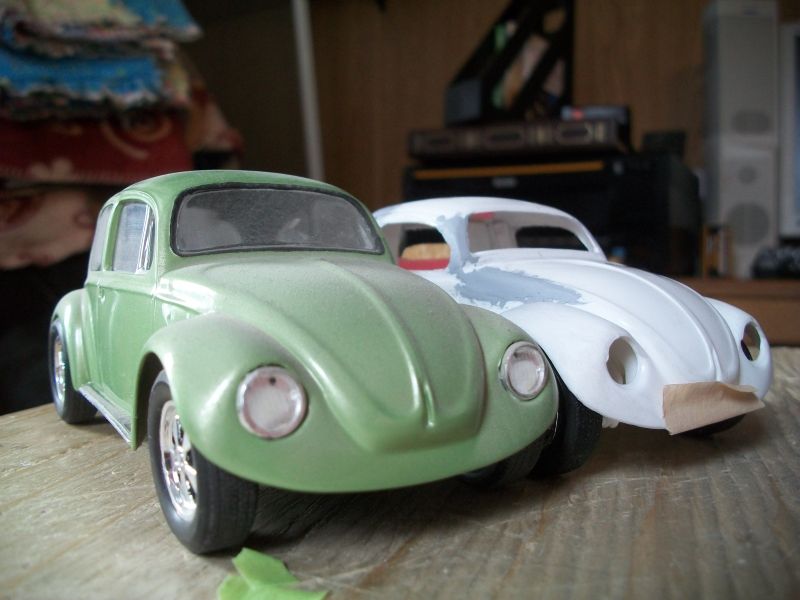
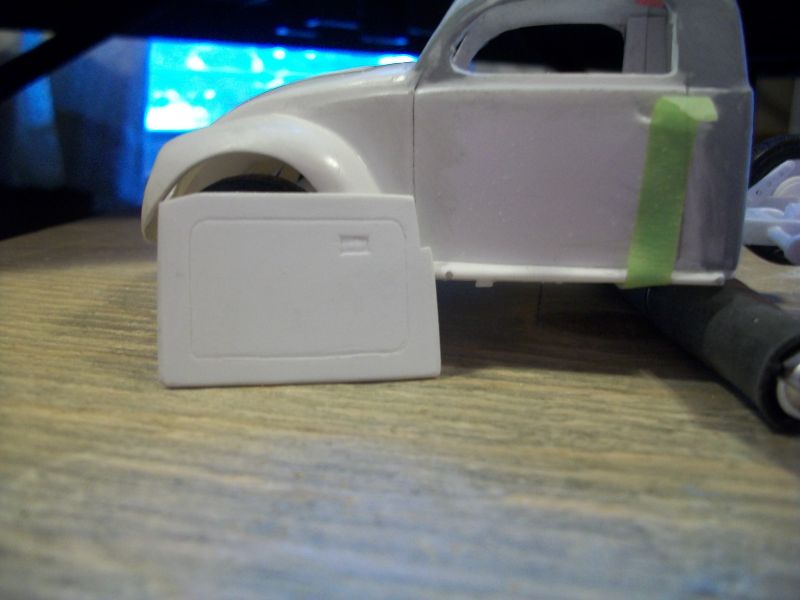
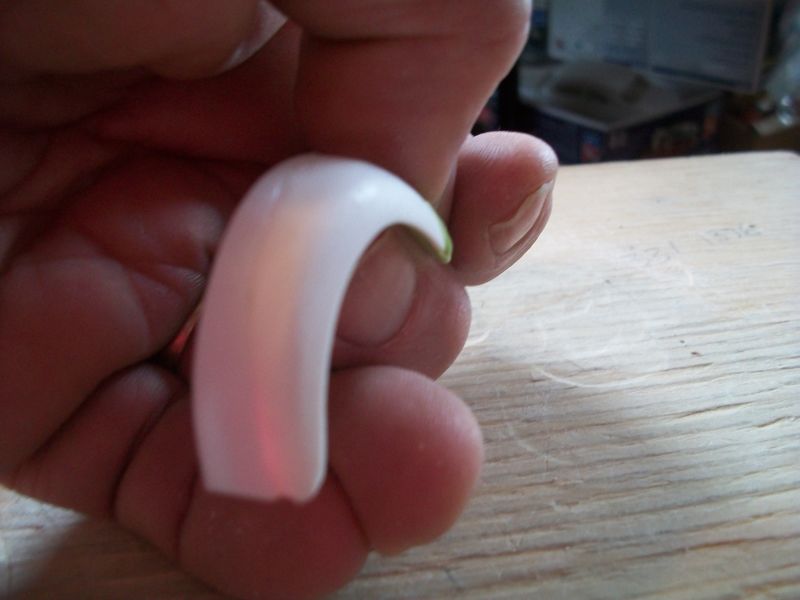
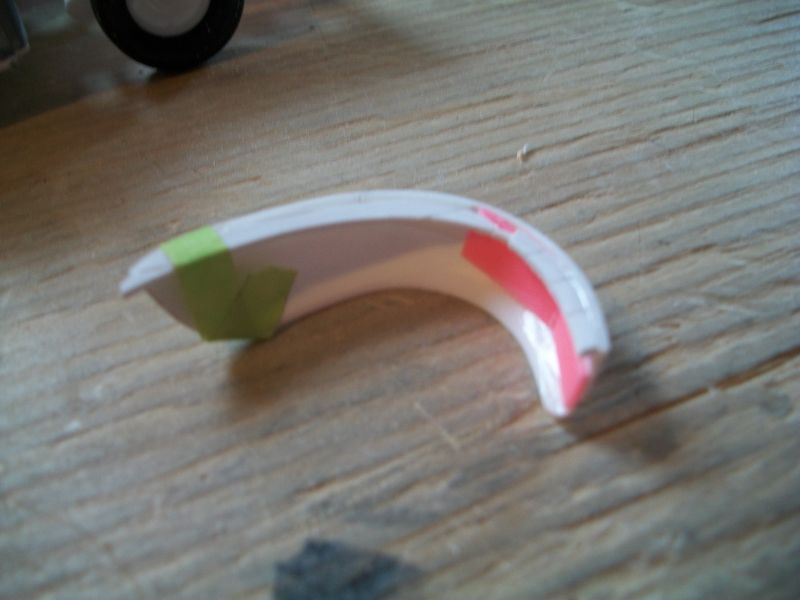
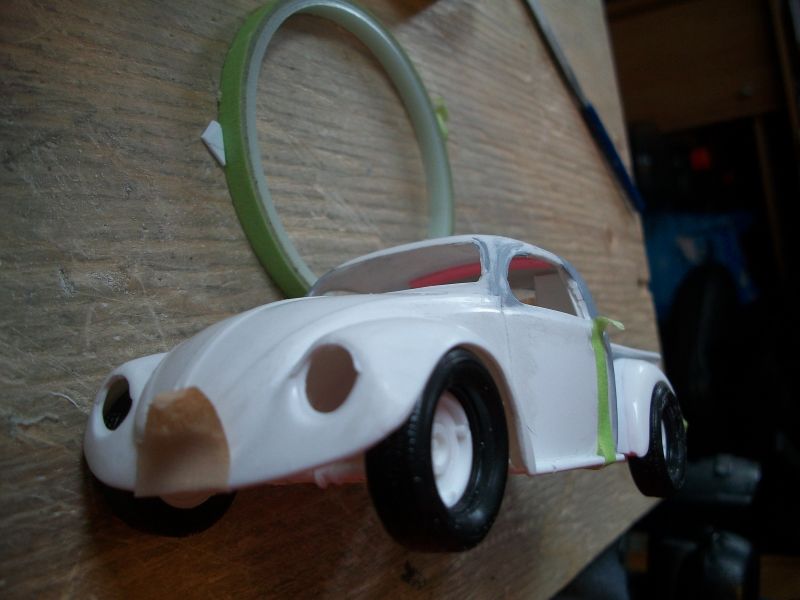
Lots of tiddly-assed stuff... The engine detail is pretty chintzy. Added some plastic to the fan shroud and cut an opening for the fan - it'll be visible now that the back half of the Bug body is gone. Also made an oil cooler and added some front head pipes for the exhaust - some trimming yet to do on the pipes, they look a little too fat. I had to mock up most of the engine to fit the box and mounts in... Decided to use the stock seats instead of those goofy bucket things. Lowered the seat cushion and chopped the high seat back to better fit under the chopped roof. First attempt at a door panel... my eyes aren't near as good as they used to be... Re-did the box mounts, much better this go round... Added a chunk of plastic to the rear fender and put in a flange for mounting. I think I'll have to add some pins so it goes on where it's supposed to go. Mocked up and looks half decent. Not wild about the tire width. I don't have anything narrower so i'll have to modify the inner rims to bring the tires inboard front and rear.
-
Modified the 440 engine mounts to get the oil pan off of the K member.
-
It has the correct number of pedals now...
-
Alclad's website shows Alclad to be available here in town at D&B's shop. No excuse to not try it now...
-
I haven't yet tried Alclad... but I'm a hop, skip and a jump away from Michigan. Plan is to head over to Port Huron soon and see what's available.
-
I'm a real-life body man and love the Evercoat 446 two part putty. I find the Tamiya putty kind of gummy and not the easiest to sand or feather edge.
-
Way over here in Sarnia. We've got a small hobby shop - D&B's - decent selection but a little pricey. He's a Mopar guy too!
-
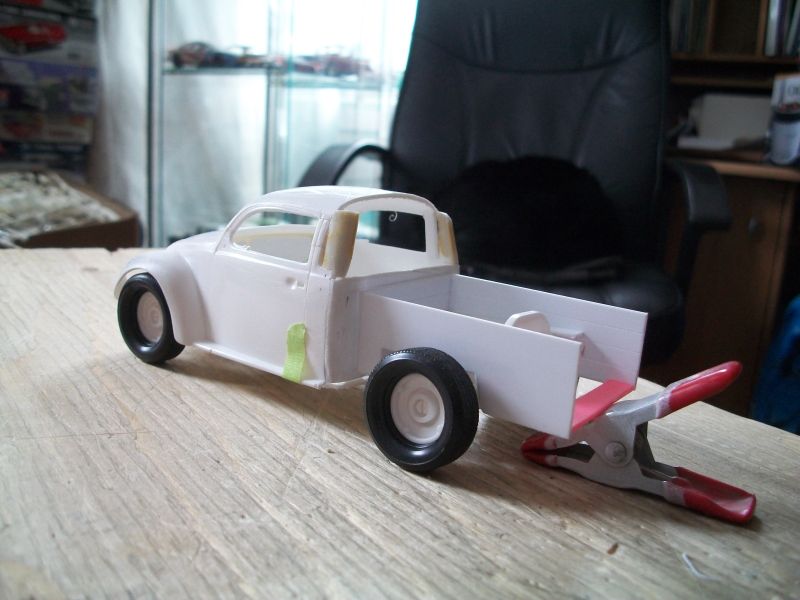
Got the cab roughed in - tricky, finding pieces with the right curves... decided to eliminate the rain gutter completely. I kinda like the rounded-over look. Got the box dry fitted and the mounts in place. That took some fiddling around... now to get the fenders widened and finish off the running boards. Still thinking about the tailgate... Thoughts? Comments?
-
Back at it this morning... Took 6mm out for the chop, not too radical but I like it. Works out to a scale of roughly 2.5 inches. A lot tougher to do the upper cab corners. I thought i had an old truck cab but it's nowhere to be found so I'm piecing it together a bit at a time. Going to take some file and filler work... I'm undecided yet whether or not I'll run a drip rail around the back of the cab or stop it at the door edges and slope the rear roof right into the back panel... depends on what I can come up with out of the parts box. The box is coming along nicely, pretty happy with it so far.
-
Right on. This one isn't going to have a Hemi, so quad lamps it is! Thanks!
-
Nice!
-
Thanks for the info, didn't know that.
-
UPDATED 6/12 - 1968 Hemi Dart - Body Mounted, Almost Done
restoman replied to Quick GMC's topic in WIP: Model Cars
Those parts look awesome! Nice job! -
One of my "If-I-win-the-lottery-I'm-going-to-build-one-of-these" cars. Black, red interior, single four barrel 440, four speed, Tor-Q-Thrust wheels... The car is set up for an auto so that's gotta go. The supplied 383 is an auto and has the starter on the wrong side, so modifying it is out. I've got a 426 Max Wedge out of a '49 Merc kit, but it too has the starter on the wrong side, and I don't plan on using the dual four set-up on that the Max Wedge has. Found a 440 Six Pak engine in my parts box, with a four speed. The single four intake from the 383 fits, as does the much better timing cover/water pump set-up. The 440 is a drop in, same length and height as the 383. The 426 is shorter. The 440 looks to actually be a big block Chev engine with Mopar heads and intake but it should work just fine. The Max Wedge exhaust manifolds will look right at home on the 440. , The kit comes with a quad headlamp Polara grill, the 330 model has single lamps, but what the hey... it should look fine. Sorry for the crappy pics. My camera didn't seem to want to cooperate tonight.