restoman
-
Posts
1,129 -
Joined
-
Last visited
Content Type
Profiles
Forums
Events
Gallery
Everything posted by restoman
-
Rear engine. I made the fan shroud and the dual carb intakes. Carbs and air cleaners are from the parts bin.

-
Tom, that's kinda what i was thinking, or maybe since I've epoxied the brackets to the body, popping the bumper off the brackets and just completely re-doing it. This was my first try with Alclad and I think I can do better. In the spring, when my "booth" warms up.
-
The wheels came in the kit. Porsche wheels, I believe...
-
Thanks for the compliments folks. The VR is now appearing in the Under Glass section...
-
Done. I'm pretty happy with how it turned out. The kit I started with was a real turd. I ended up wearing some of the Alclad off the front bumper fitting it for the last time, but other than in the pics, it's not really noticeable. Comments welcome.
-
Yup, my mistake. Top Banana it is. What an awesome name for a colour! Y4 is a gold colour... don't know what I was thinking of.
-
A 340 Demon in GY4... what's not to love? Very nice!
-
Getting close...
-
Back at it ....
-
Remington Thunderbird
restoman replied to Stroker Ace's topic in WIP: Stock Cars (NASCAR, Super Stock, Late Model, etc.)
Nice. Rick Mast was one of those under-the-radar drivers you never heard too much about. I just bought a built version of this for $5... not nearly as nice as this one, though. It's complete and will likely get a re-do at some point. -
That's basically what I did, only I used one of those cheapie aluminum trays from the dollar store instead of foil.
-
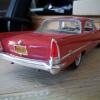
It's looking like winter might get here early, so I got some paint on this. Just in case I run out of things to do... Chevy engine enamel red and white Beauti-Tone rust paint.
-
Thanks for the compliments. I'm pretty happy with how it turned out, though I did lay the clear on a bit heavy. Should have stopped at one coat, instead of two. Polished it today and back into the box it goes... so many others ahead of it, it might be a while before finish it.
-
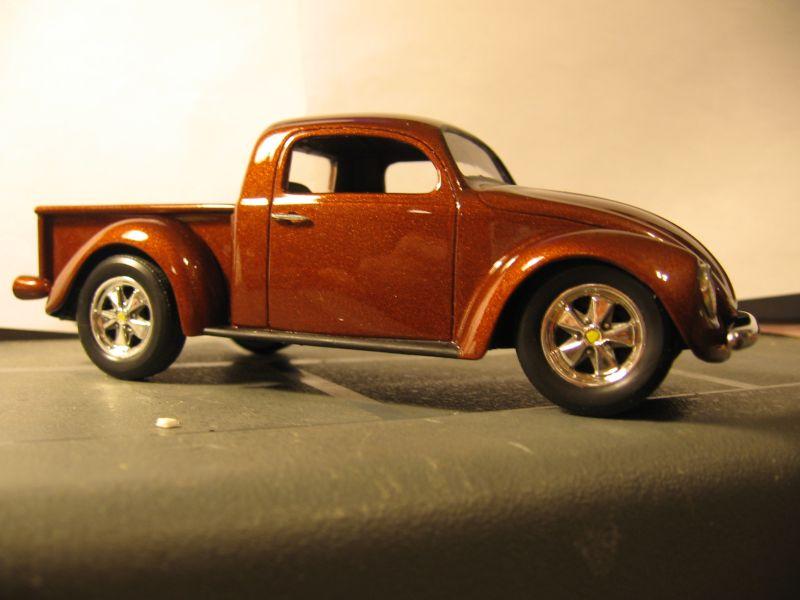
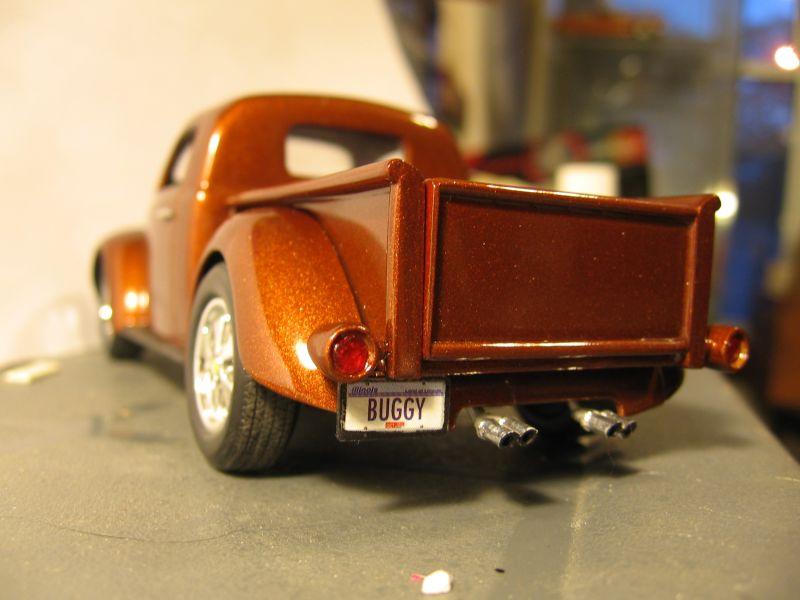
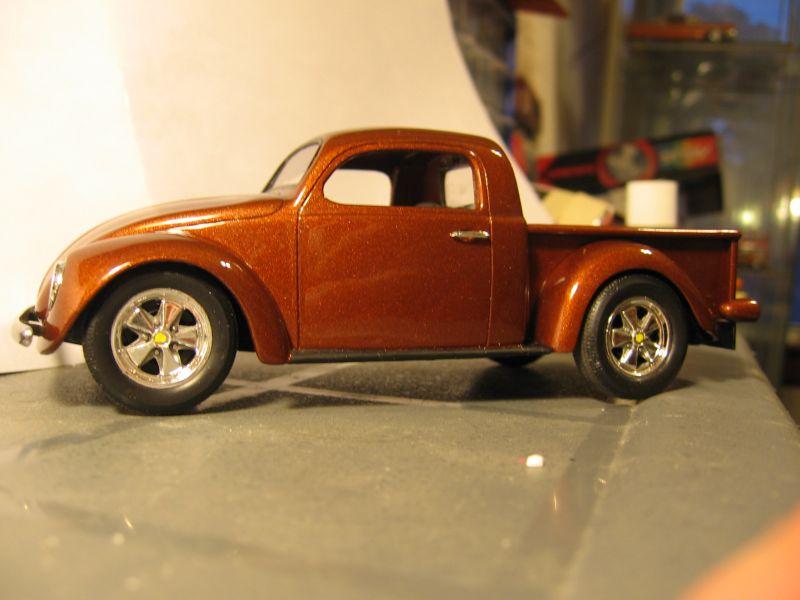
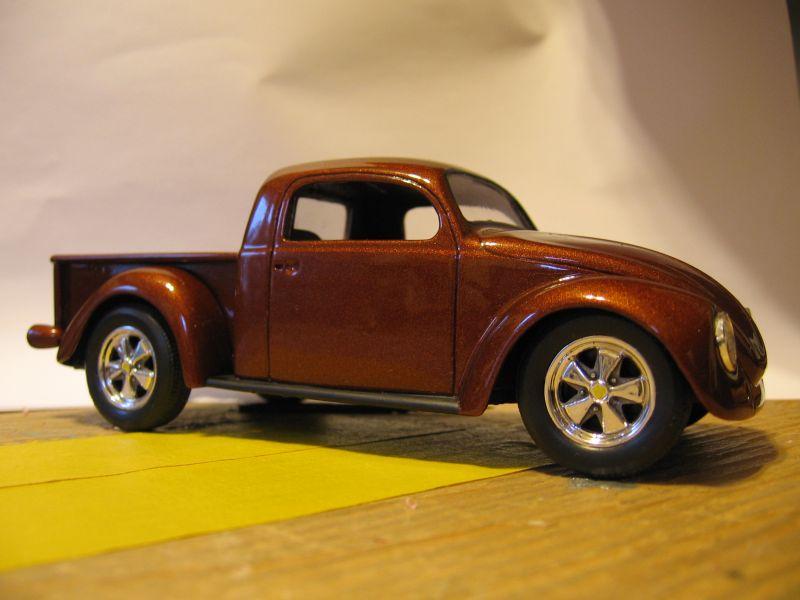
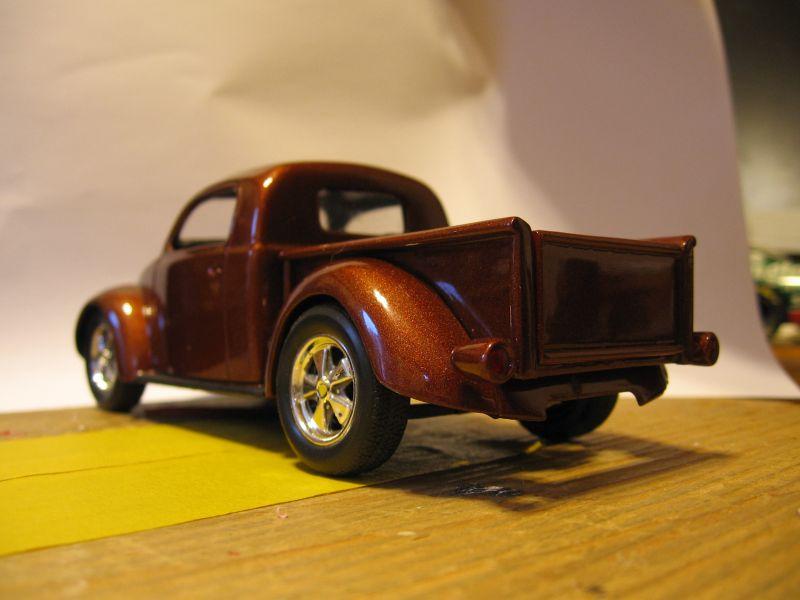
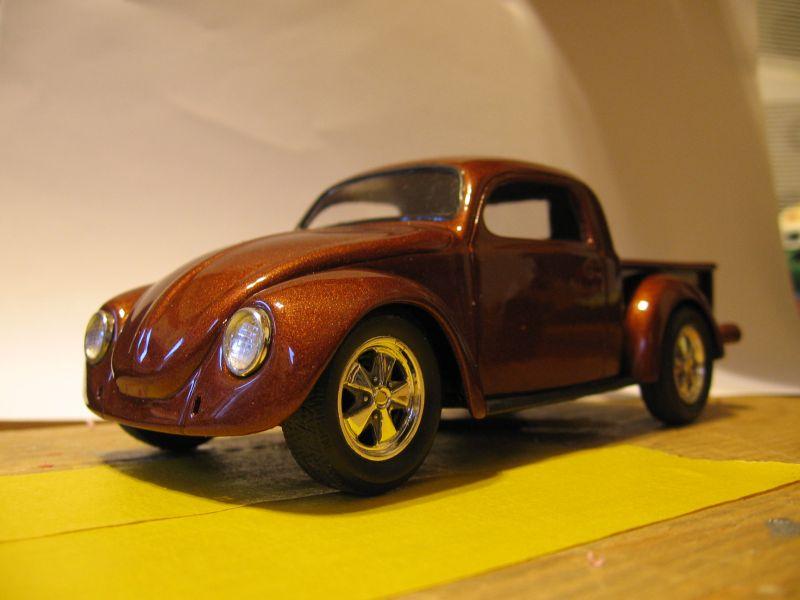
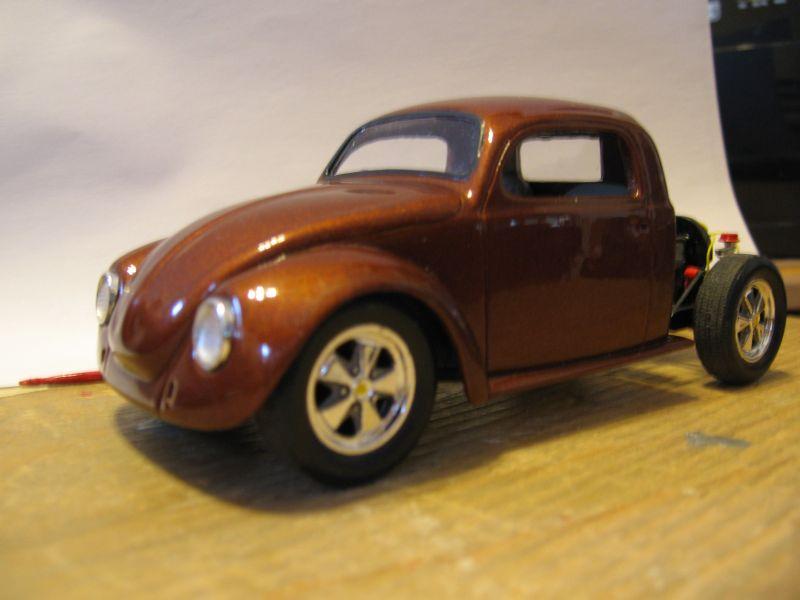
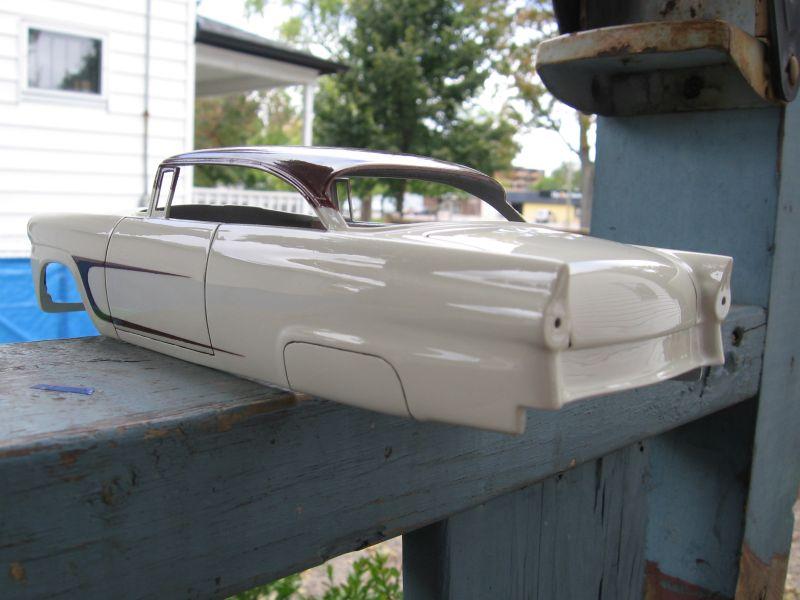
Summer's coming to an end and since my "paint booth" is in my un-heated garage, I've gotten all my spray projects done and ready for building. This is the last of them. Fresh off the stand, still needs polishing. The main body is Chrysler Cool Vanila, left over from my bodyshop. Top and scallops is Model Master Burgundy, though it looks more brown than burgundy... but I like it. Cleared with Pro Spray automotive 4:1, thinned out way more than recommended. This is the first time doing any custom painting on this scale. Spent decades doing it in real life scale. I was waiting for Tamiya 2mm tape for the scallops bit it started getting colder and I opted for 1/8" 3M Fine Line. It works fantastic on full scale work, very tricky to get tight curves on a 1/25 scale... I ended up slicing it down the middle and then using it. Still wanted to buckle on the inside curve but I made it work.
-
Very nice. Love the paint work!
-
Revell 1957 Cadillac Eldorado Brougham - New Update Pics
restoman replied to RandyB.'s topic in WIP: Model Cars
I just bought this kit at an auction for $16. Watching this build closely... -
Model Master has a Manganese that is close to Root Beer. I was going to use it on a '71 Charger R/T, but went with a nail polish colour instead.
-
Underbird-more pics
restoman replied to Hubert Rollins's topic in WIP: Stock Cars (NASCAR, Super Stock, Late Model, etc.)
-
Very nice! I was a big Sr. fan but watching that 7 crew get it done was something else. I wonder what Nascar would be like if Alan had lived longer?
-
Very, very nice!
-
Chris, it's actually enamel rust paint. I used it on my Montana van rockers to cover the stone guard and was impressed with the shine and how it laid down.
-
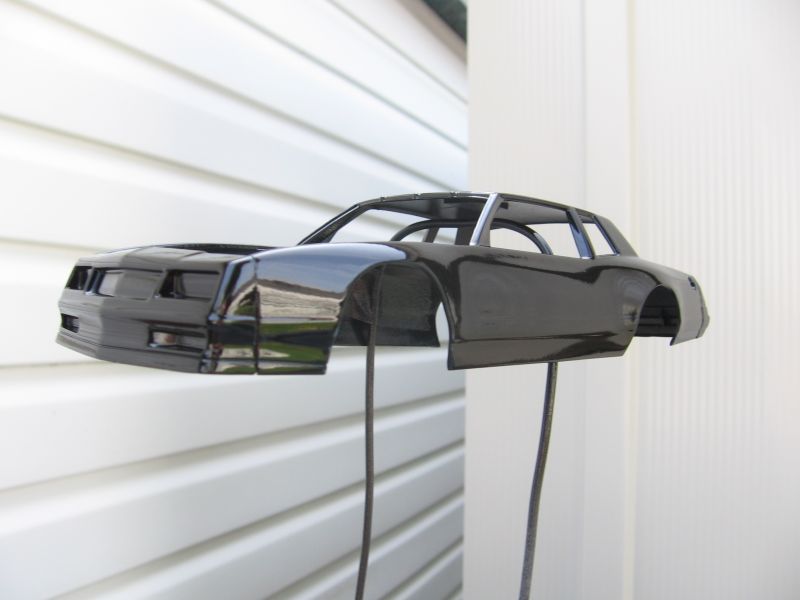
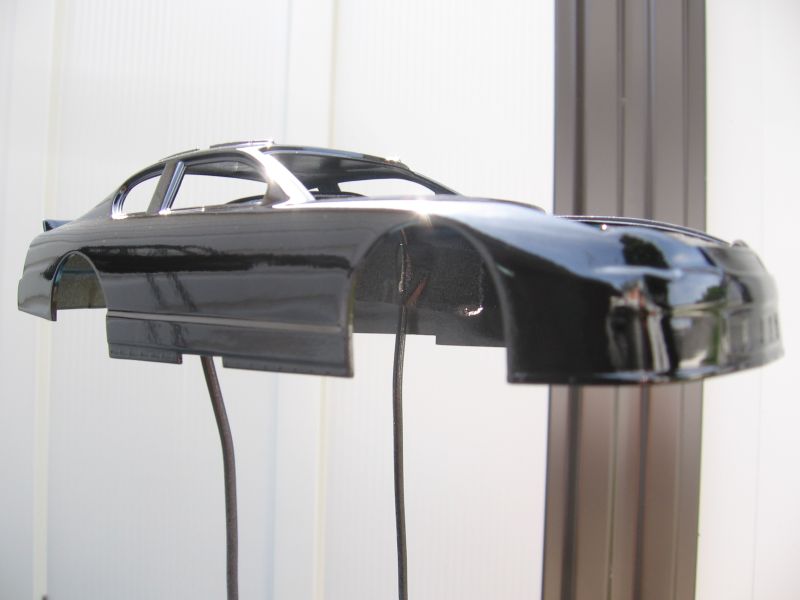
Earnhardt's '87 Monte Carlo and his 2000 Monte Carlo. Filled in the door seams on the '87. I experimented a little with the paint. Usually I'd do something like this in automotive basecoat, but I had some dirt cheap Beauti-Tone spray bombs from Home Hardware that I bought last summer for $2 a can. I figured if I'm going to put silver and red on the bottoms, then decal and clear the cars, trying something different would be a no-risk thing... The spray bombs worked great.
-
Mask it as well as you can - overspray will go where you didn't think possible. Don't cheap out on tape. Use the best you can get. I like 3M Fineline for the paint edge, but there are likely others just as good if not better. #1 Rule... if it ain't sanded, don't paint it. Masking tape will easily peel off paint that is sitting on un-sanded parts. Try to keep you coats as thin as possible to avoid build-up on the tape edge. Lighter colours first. Put the first colour on before you mask off for the second colour, letting the overspray go where the second colour will go. When that first colour is dry, then mask and sand for the second colour. Keeps that paint edge from becoming a big ridge. Lots of other things. I'm sure other will chime in.
-
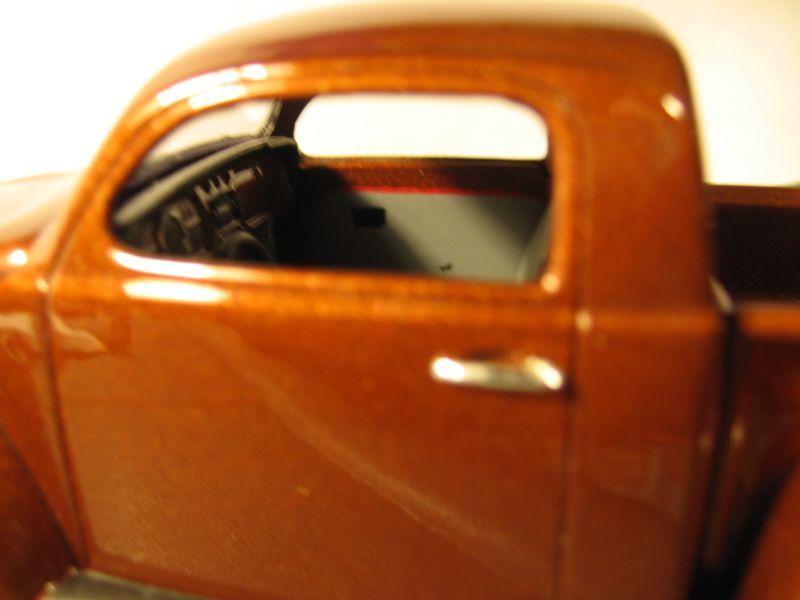
Very nice, Bill! I changed direction a little - now has a black interior. Making up some seat belts for it today, then the interior can go together. Waiting a week or so before polishing it out... U-Tech cures fairly slow.
-
Love it!