Can-Con
-
Posts
6,640 -
Joined
-
Last visited
Content Type
Profiles
Forums
Events
Gallery
Everything posted by Can-Con
-
 If you're like'n that David ,,, "hold me beer" ? I ain't done yet ?
 -
Custom grille, front bumper and hood inserts. Large wheels and tires. Lowered rear springs and front steering uprights, [IIRC]. Fuel injection and split header with dual exhaust. Here's a link to the instruction sheet on the Drastic Plastic Fotki site so you can compare,, https://public.fotki.com/drasticplasticsmcc/mkiba-build-under-c/amt-instructions/automotive-cars--pi/chevrolet/1951-1960/amt-60-chevy-street-machi/
-
As long as you're happy with it James, that all that matters.?
-
45$ is the going price for current AMT/MPC kits at my LHS. Granted, that Canadian dollars but I see most current kits are hovering just above $30 USD in most on-line sources. The days of getting kits for 20 bucks are over. ?
-
If you mean you can't touch the Revell stuff, sorry but that's total BS. You just need to wait longer then normal for it to completely dry. Also you can give it a coat of Future after a week if you are really impatient. I sprayed this rad back in February and gave it a coat of Future a few days later. I've been handling it the same as any other part I would be using on a complicated build, meaning a lot of test fitting and it still looks the same as it did when I coated it. I also have some stuff laying around I had attached wheels to when I sprayed them last year with no clear on them of any kind and I can not rub the Revell spray off it or dull it by touching or rubbing it with my fingers.

-
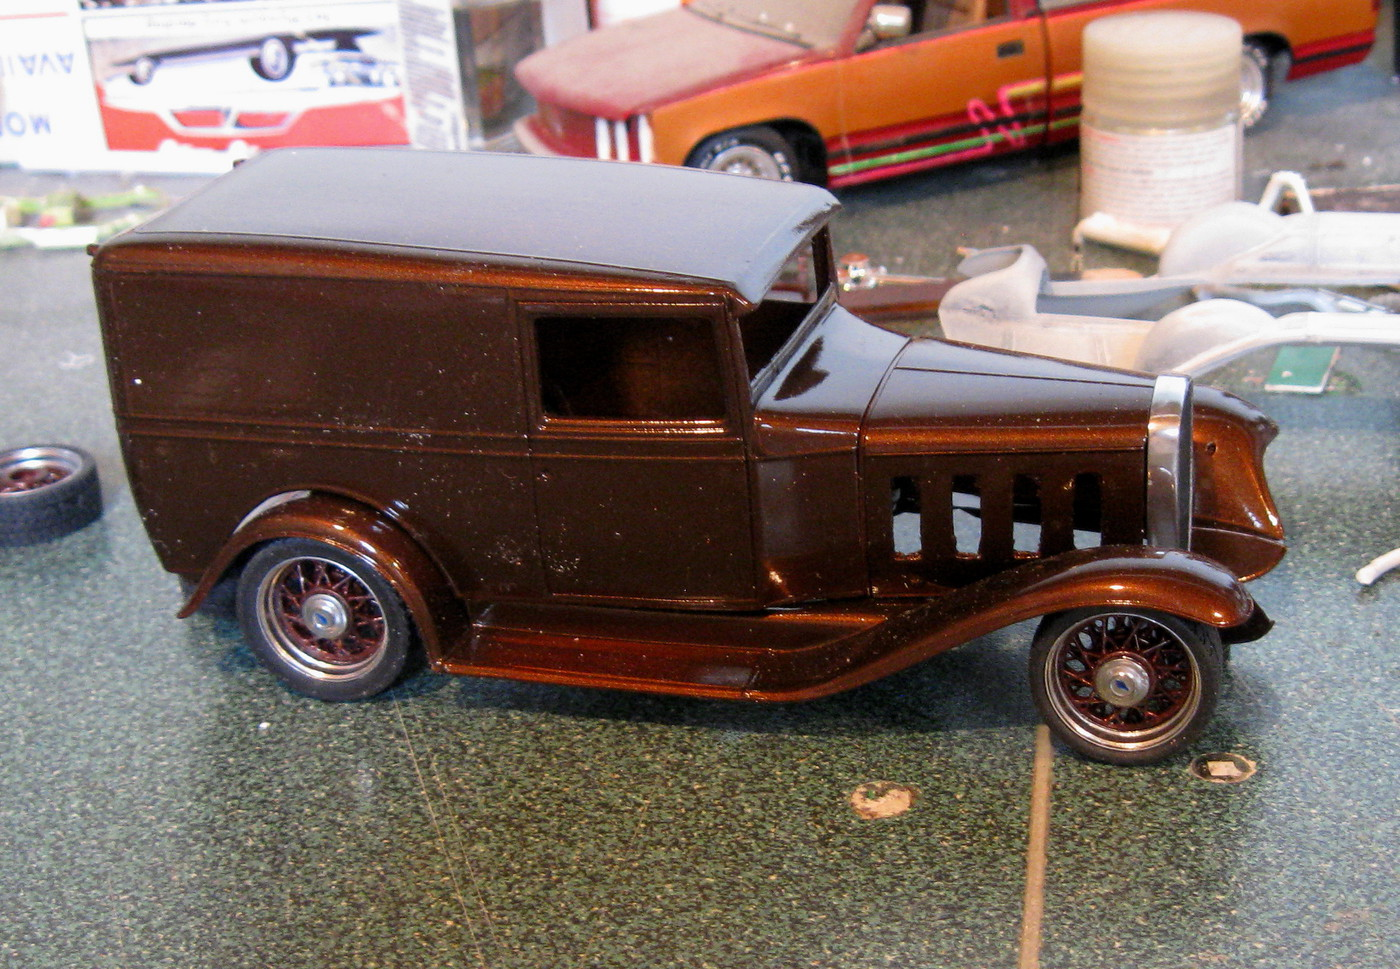
Pretty well ready for some clear coat but I do have a couple little decals to apply first.
-
Been busy with work but I've has a few minutes here and there to work on this. Pretty well ready for some clear coat but I do have a couple little decals to apply first.
-
Have you seen this video, Mike?
-
I'd just tape them off one at a time and airbrush it. Super easy, all strait lines.
-
The body isn't exactly stock anyway. The rear wheel openings are radiused. Would make a nice street machine though.
-
Sounds good. I have been working a bit on the side for the last couple weeks so the model building has kinda slowed down but I've actually just spent a good 20 minutes on my truck. ?
-
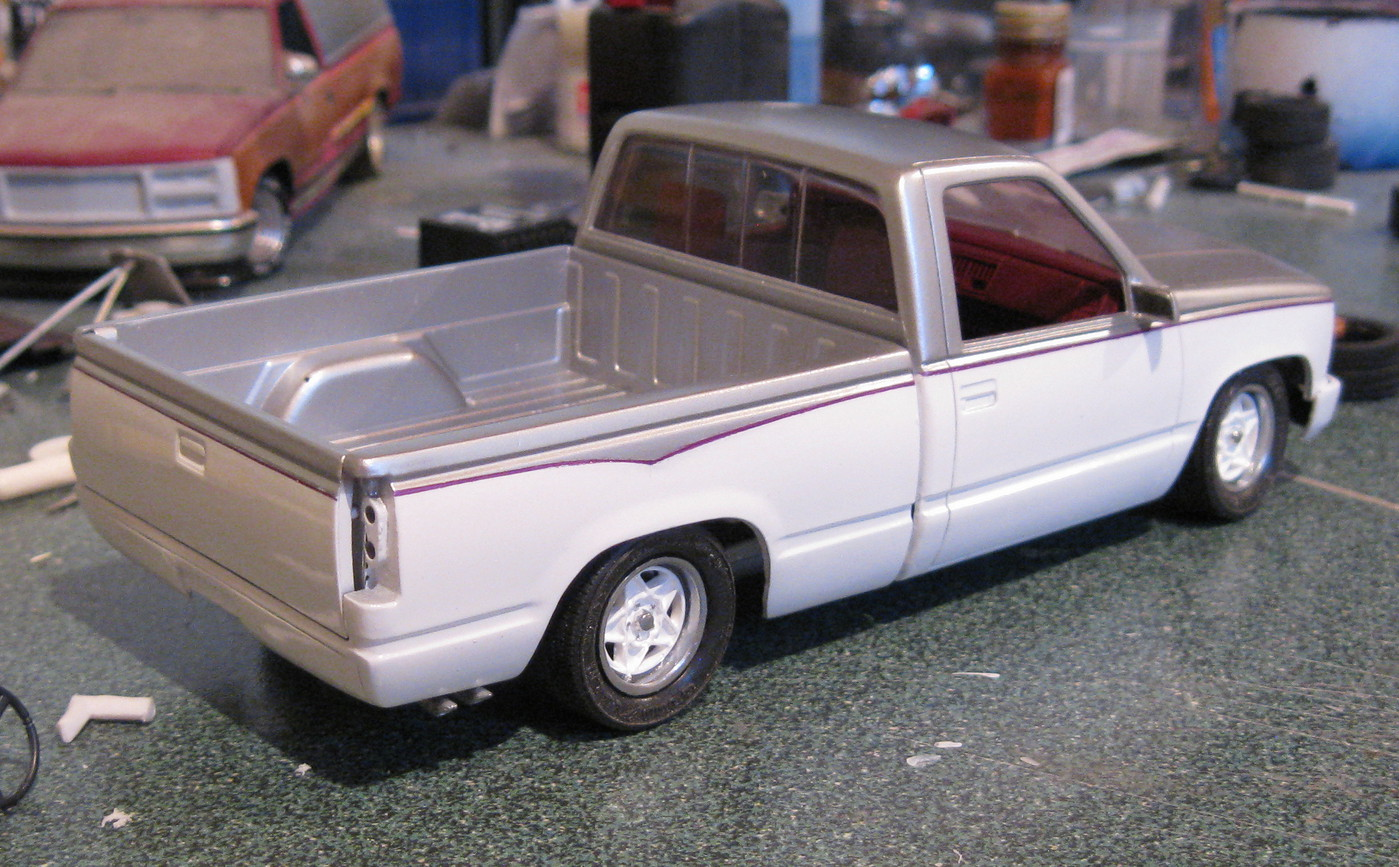
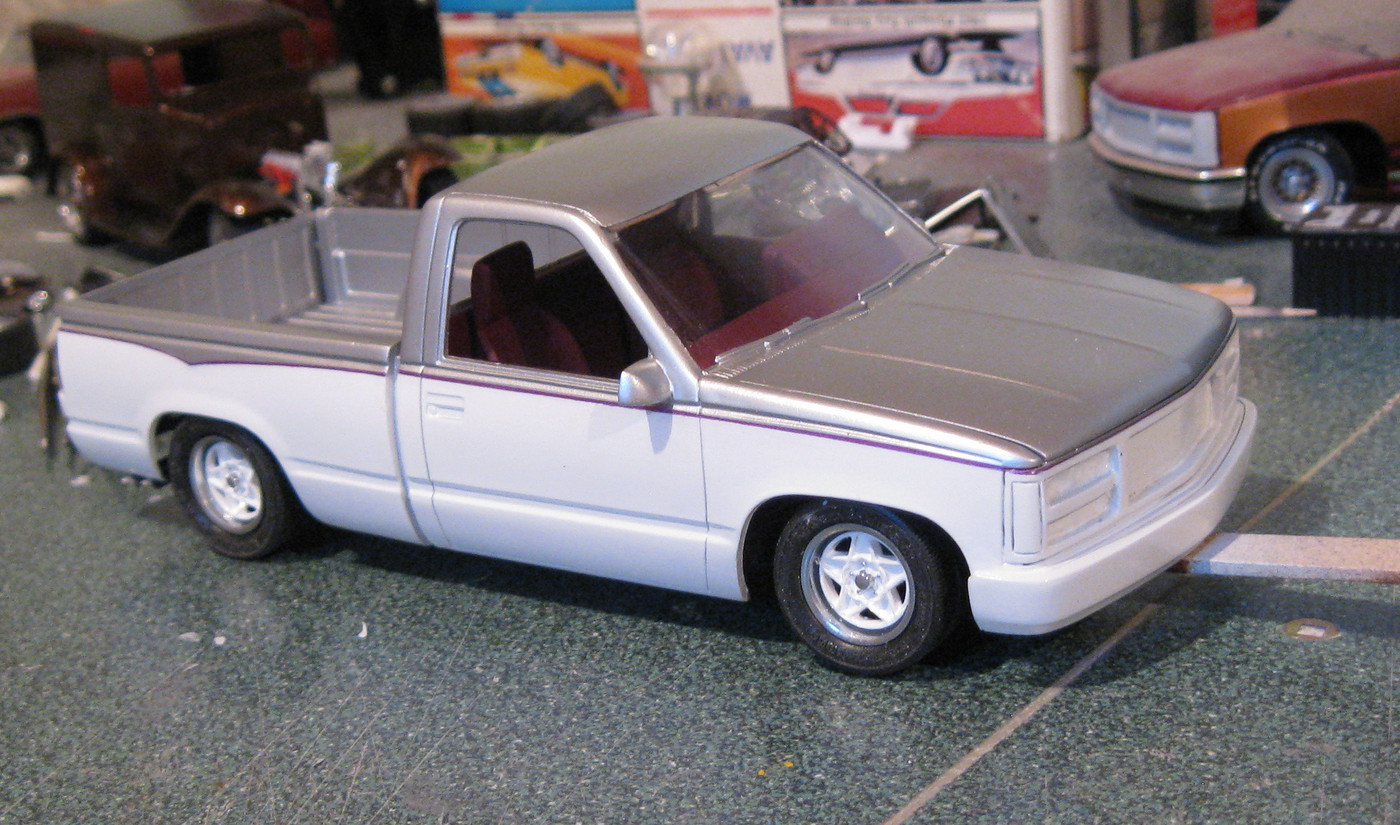
What's your paint on the body, Keith? I like that a lot.
-
What clear over tire lettering decals
Can-Con replied to Steve H's topic in Model Building Questions and Answers
Looks great to me, Steve. I'd be very happy with those. -
Bronco II Kit - does such a thing exist?
Can-Con replied to Jonathan's topic in Model Building Questions and Answers
Cults 3D has a body file. I haven't seen an actual print so ??
-
Ok, I see now. Had to look it up to find the difference, they look almost identical to me.
- 39,081 replies
-
- 2
-

-
- johan
- glue bombs
- (and 1 more)
-
Like this Nigel? They are out there but don't seem to come cheap.
- 39,081 replies
-
- 1
-
-
- johan
- glue bombs
- (and 1 more)
-
What clear over tire lettering decals
Can-Con replied to Steve H's topic in Model Building Questions and Answers
I'm pretty sure based on my experience that as long as you keep away from oil based enamel you should be OK. I've used water based acrylic and flat spray lacquer on vinyl tires with no problems. BUT as always, TEST FIRST ! -
Yes, they do look very close though, don't they? When I first got my licence, my uncle Guy has an old '68 BelAir 4 door sedan that he let me borrow.
-
The only body parts that are directly shared between the '67 and '68 Impalas are the roof and door skins. Every other panel, hood, trunk lid, front fenders and rear 1/4 panels are unique between the cars and do not interchange,
-
Indeed. ?
-
Tim, this is the same boat and trailer that was included with the Model King set with the '70 Bonneville, isn't it? Pretty cool stuff.
-
Um, I think you mean, "just east of Maine", Ken ? ?
-
Just reissues of the MPC kits from the early '80s. , , They had the molds, might as well run them and generate some profit.
-
digg'n the USS Cerritos. Might have to get one of those. ?
-
Looks really good. I had an '82 S/E about 25 years ago and have an '85 T/A in my garage right now. ,, I think the Van Halen "1984" cassette is in the car but it may be with the rest of my cassettes in the model room right now. ?