

Dann Tier
-
Posts
8,151 -
Joined
-
Last visited
Content Type
Profiles
Forums
Events
Gallery
Everything posted by Dann Tier
-
FANTASTIC!!!!!!
-
Outstanding restoration job, Bud!!!!
-
I should be back to this one momentarily.
-
This build will be so worth the time it takes!!!!
-
Thanks alot, Bud!...When 3D printing stops adding extra work for me, then i will try it, but i do like the technology of it! -especially Erichs work with it!!!
-
Lol!....it took me a loooong time to collect them all, and now, i'm almost done putting together a box with a Ton of clear bits -windows, headlamps, turnsignals, brake lights, fog lights, sun roofs, covertible tops, clear belly plates: smoked, clear, translucent kolors....muscle....hotrod....exotic, and other. If you are interrested. By the way, this build is looking SICK!!!!
-
Update #2! -Photo 1; I wanted a smoothed out front fascia, so i filled in the turnsignals, and mouth. I turned the fog lights into brake ducts. -Photo 2; I opened the fender vents....gotta love PE saws!! -Photo 3; I replaced the scalloped side vent with the "Shark Fin"...only mine is a functional vent -not a chip guard.

-
Thanks, Bud!
-
WOW!!....NICE job, Bud!!!.....can i copy you if i decide to put an engine in mine later?
-
Thanks, Bud!....there will be another update later today!
-
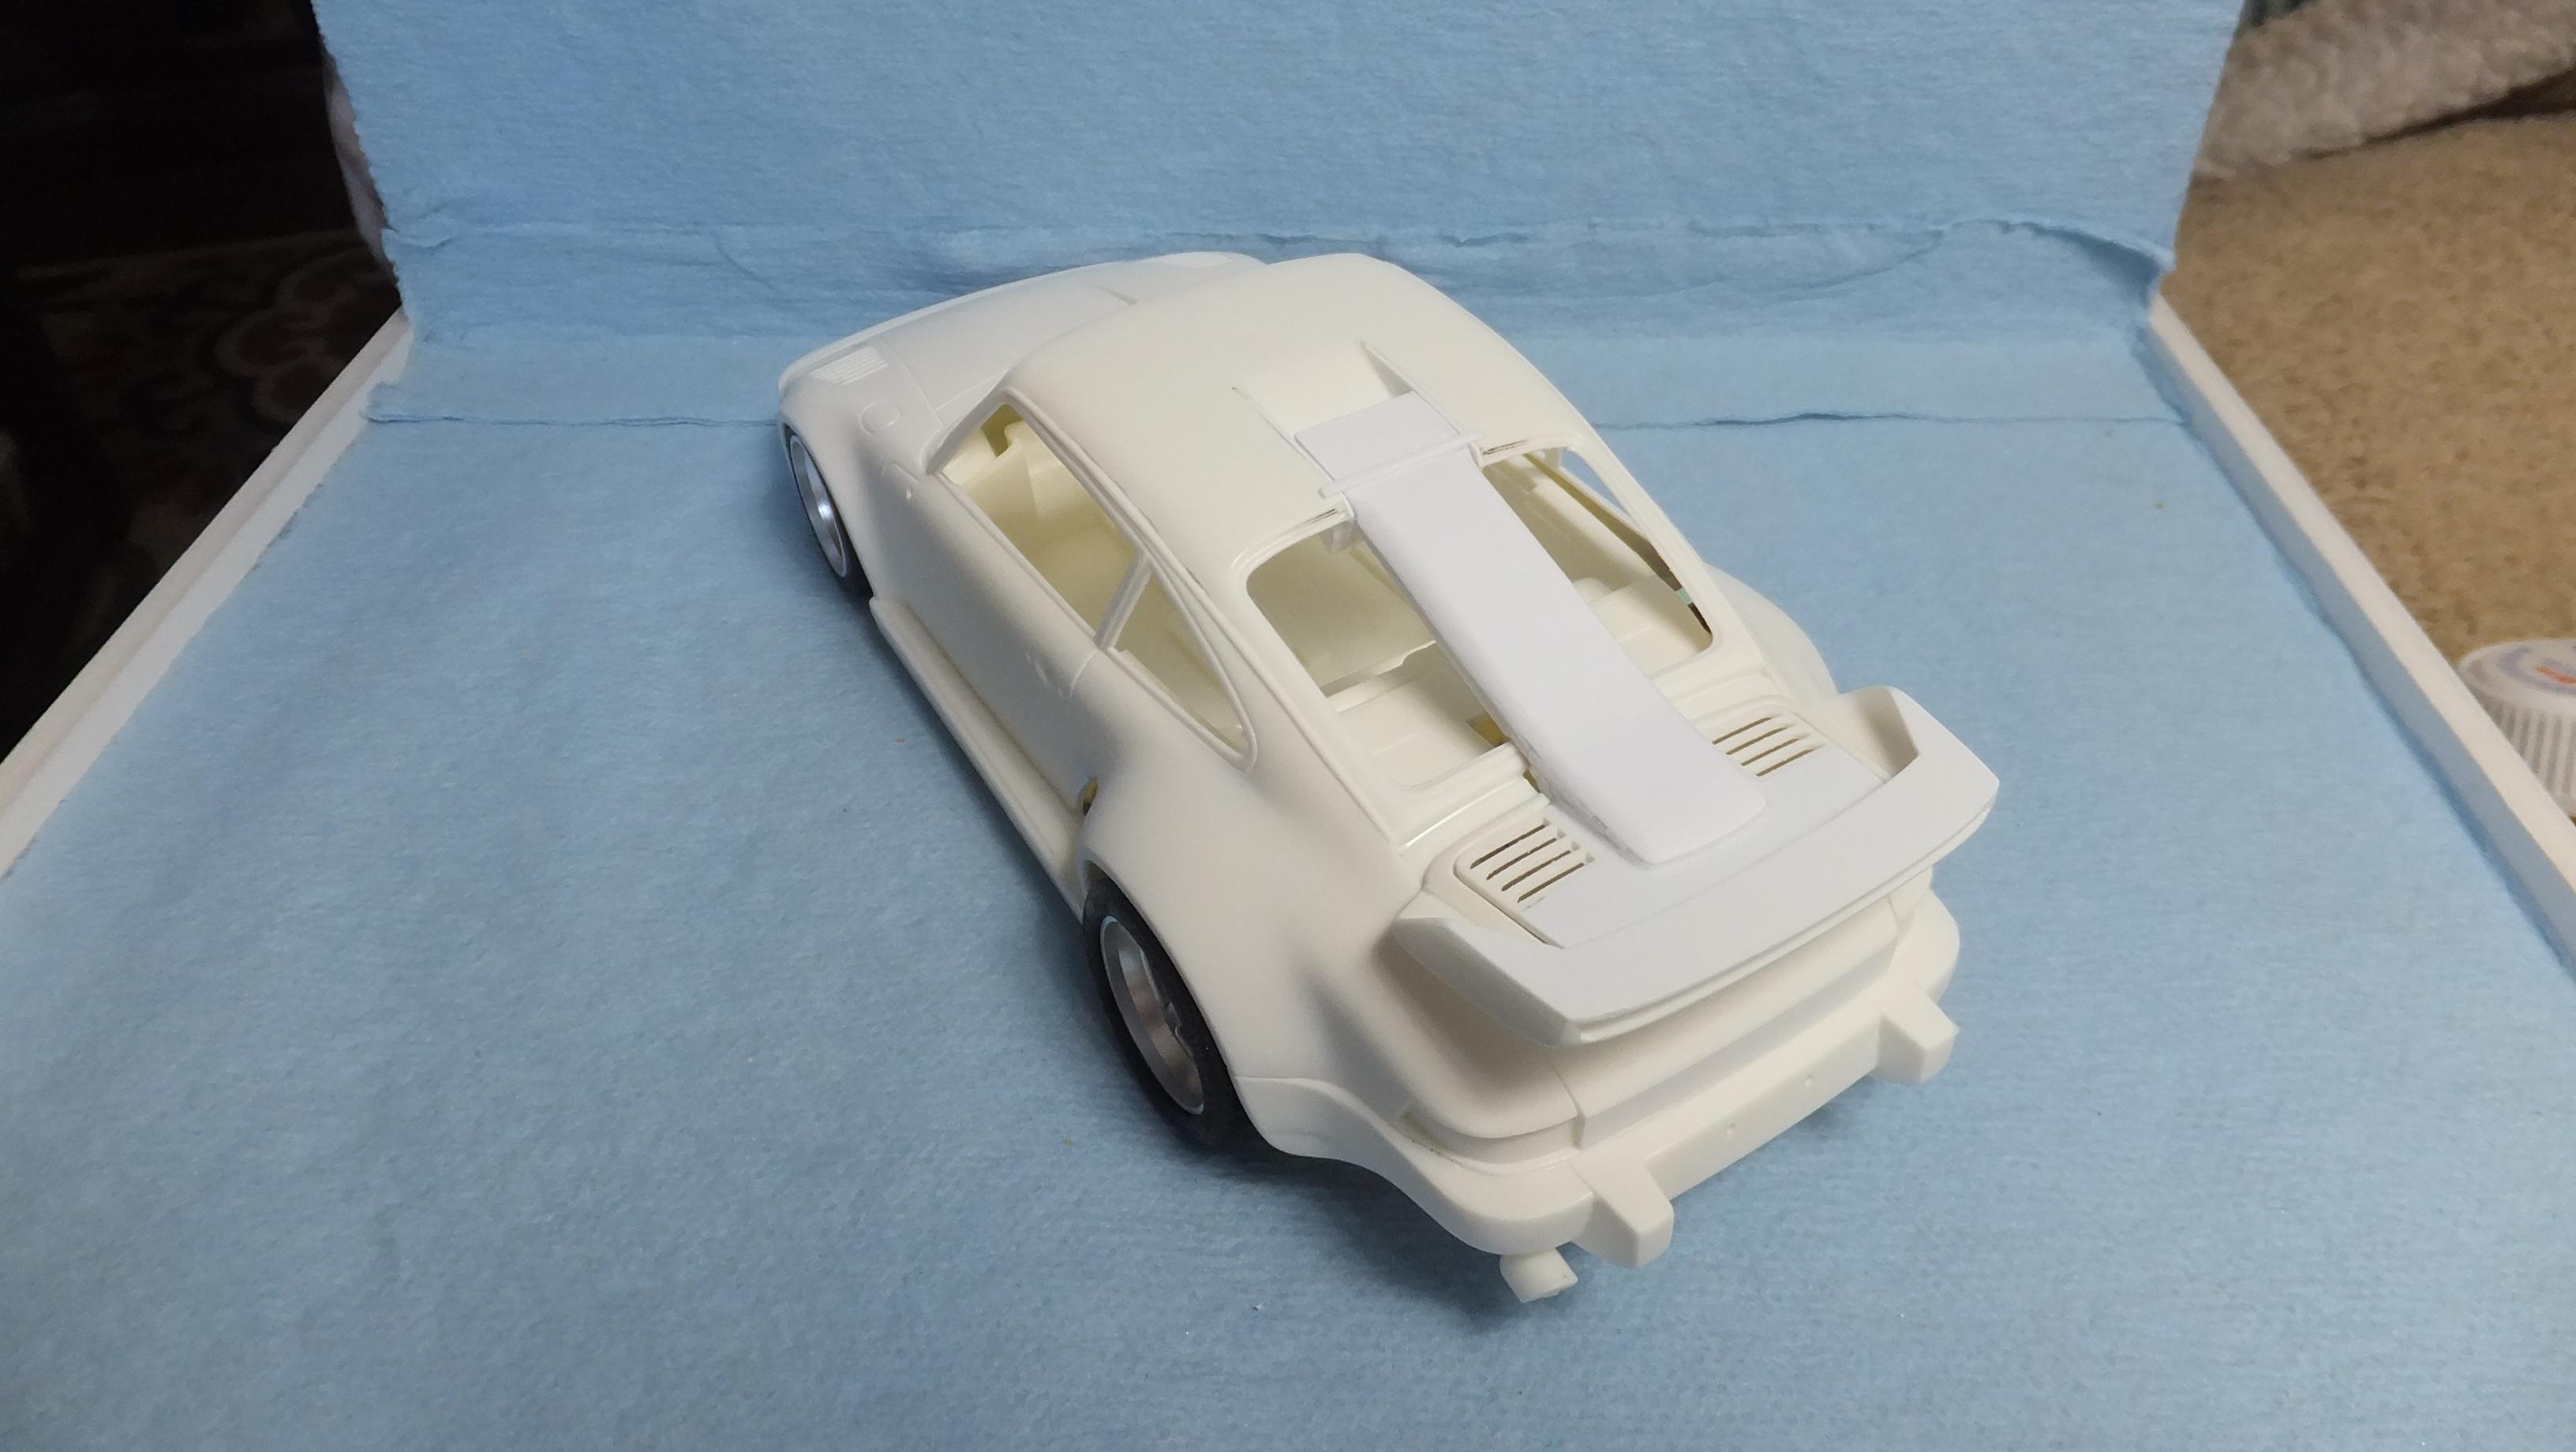
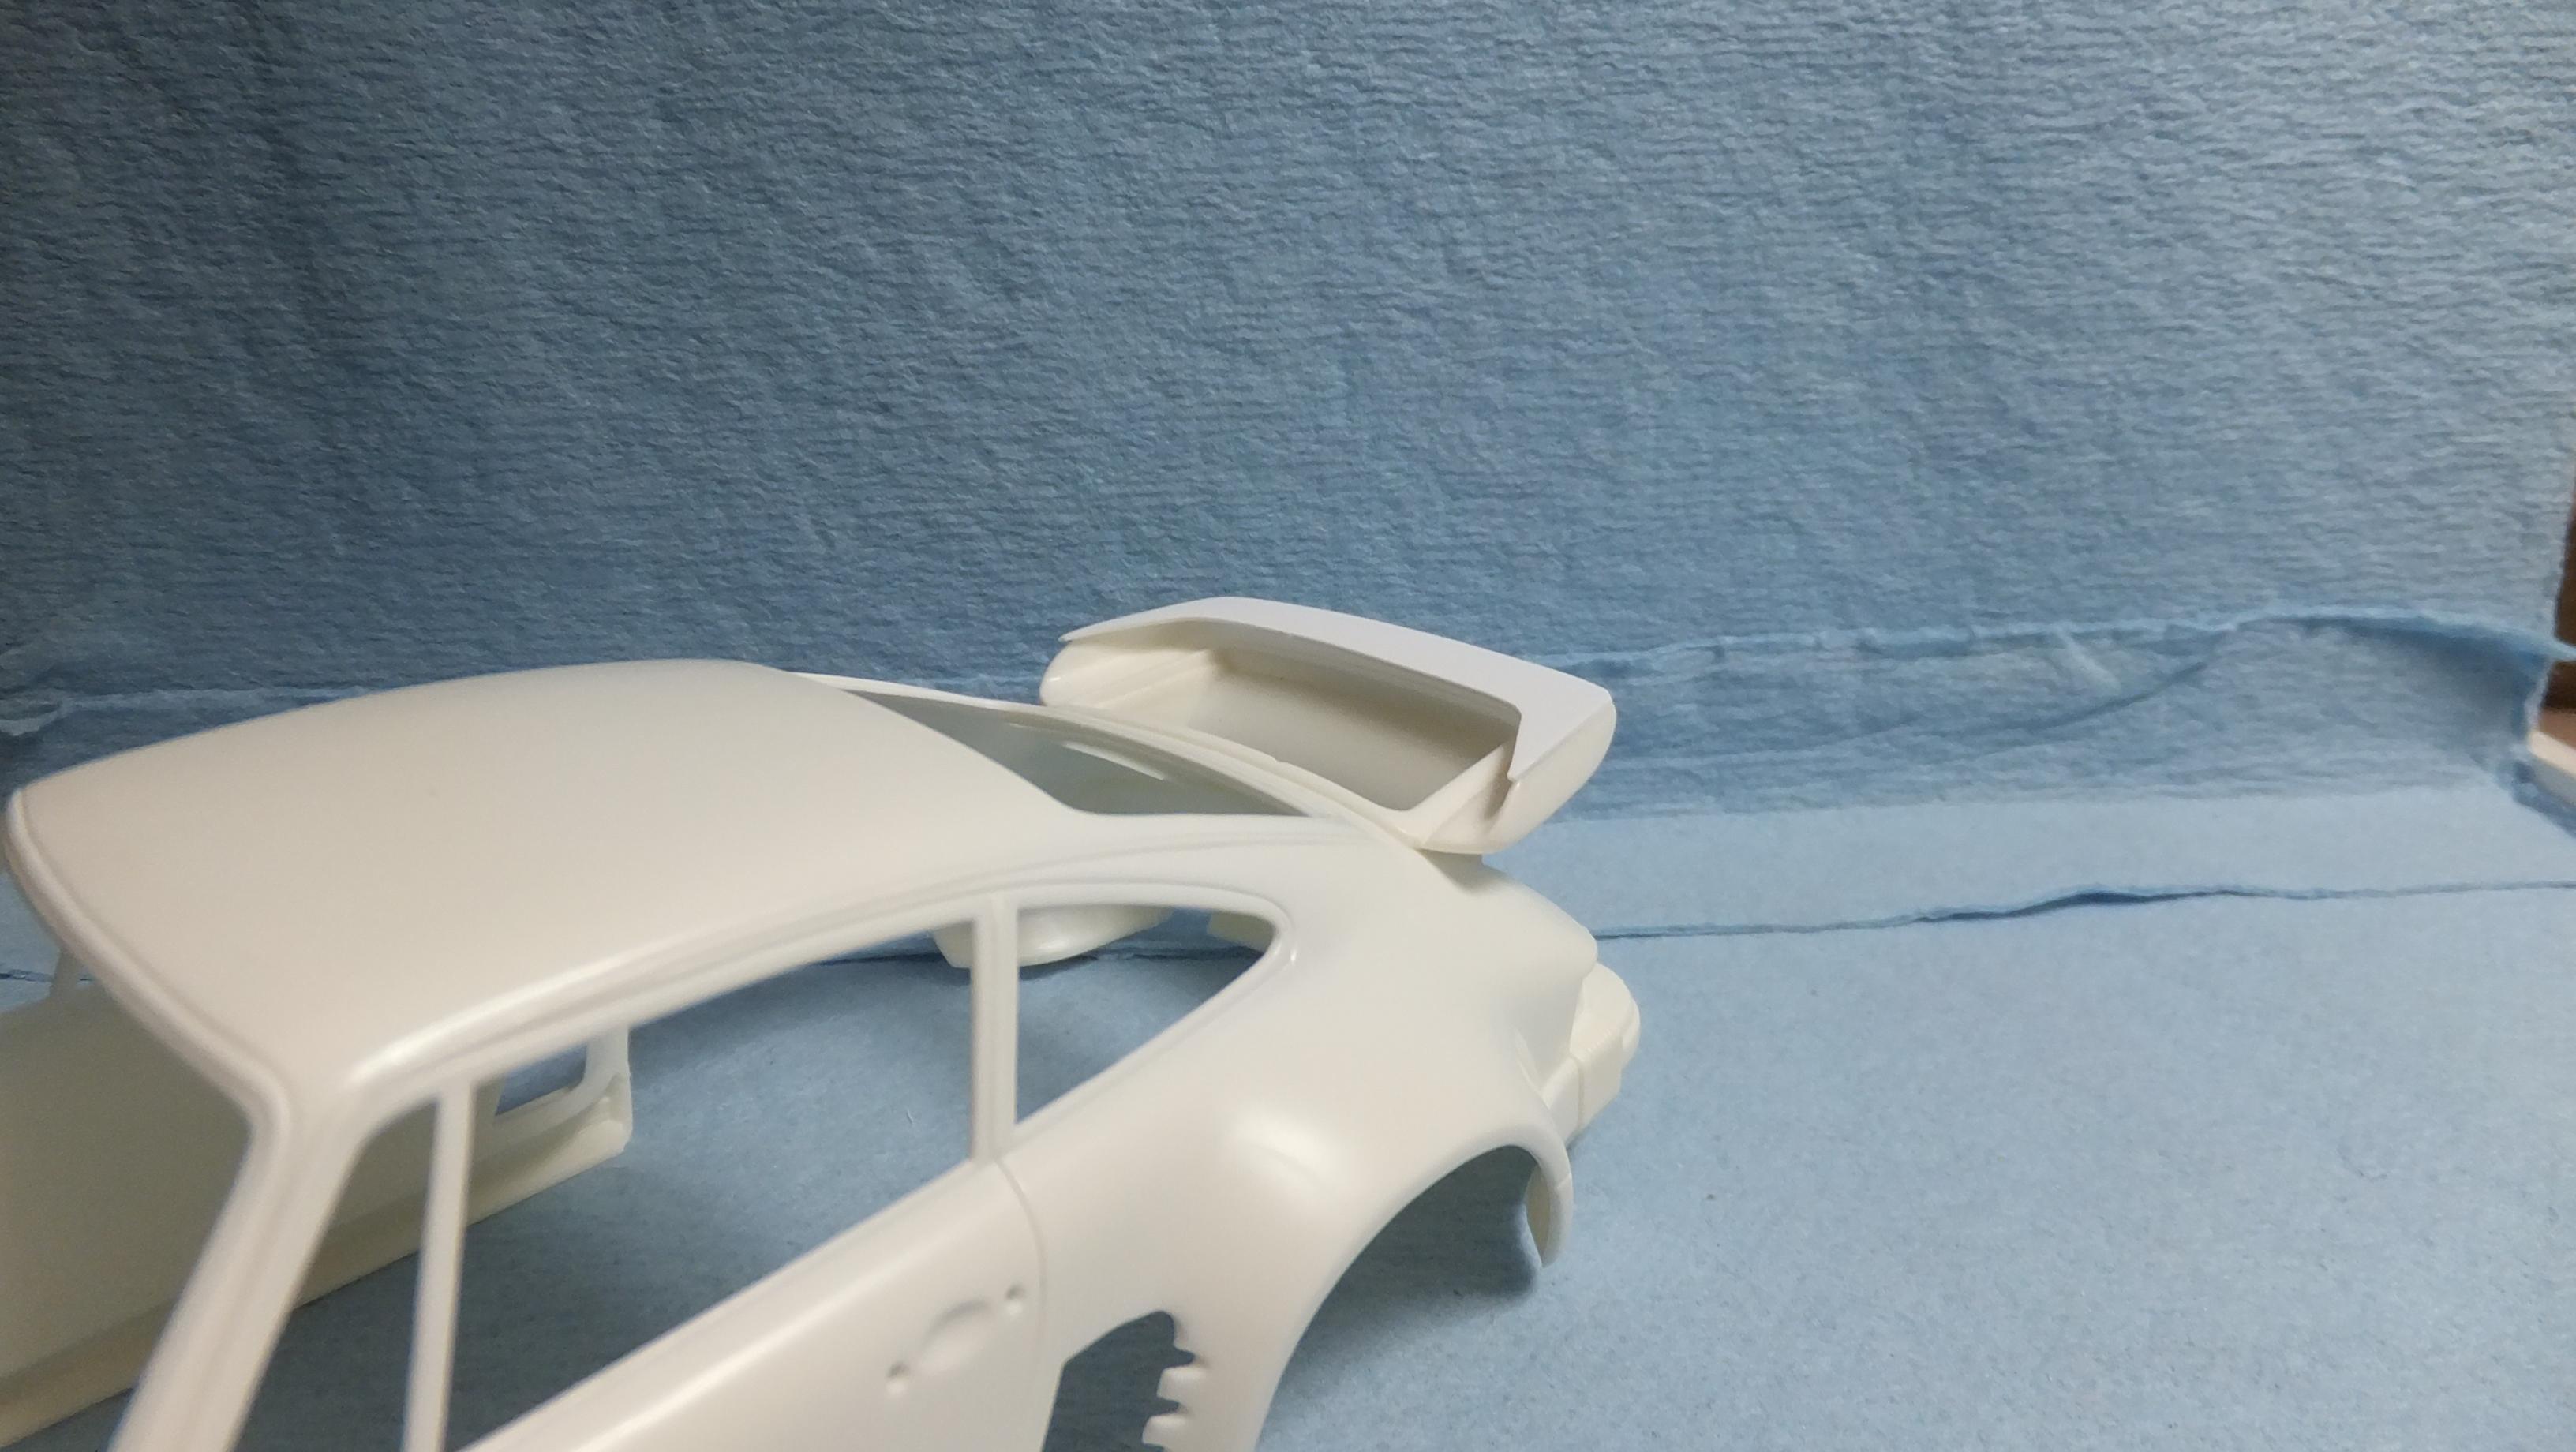
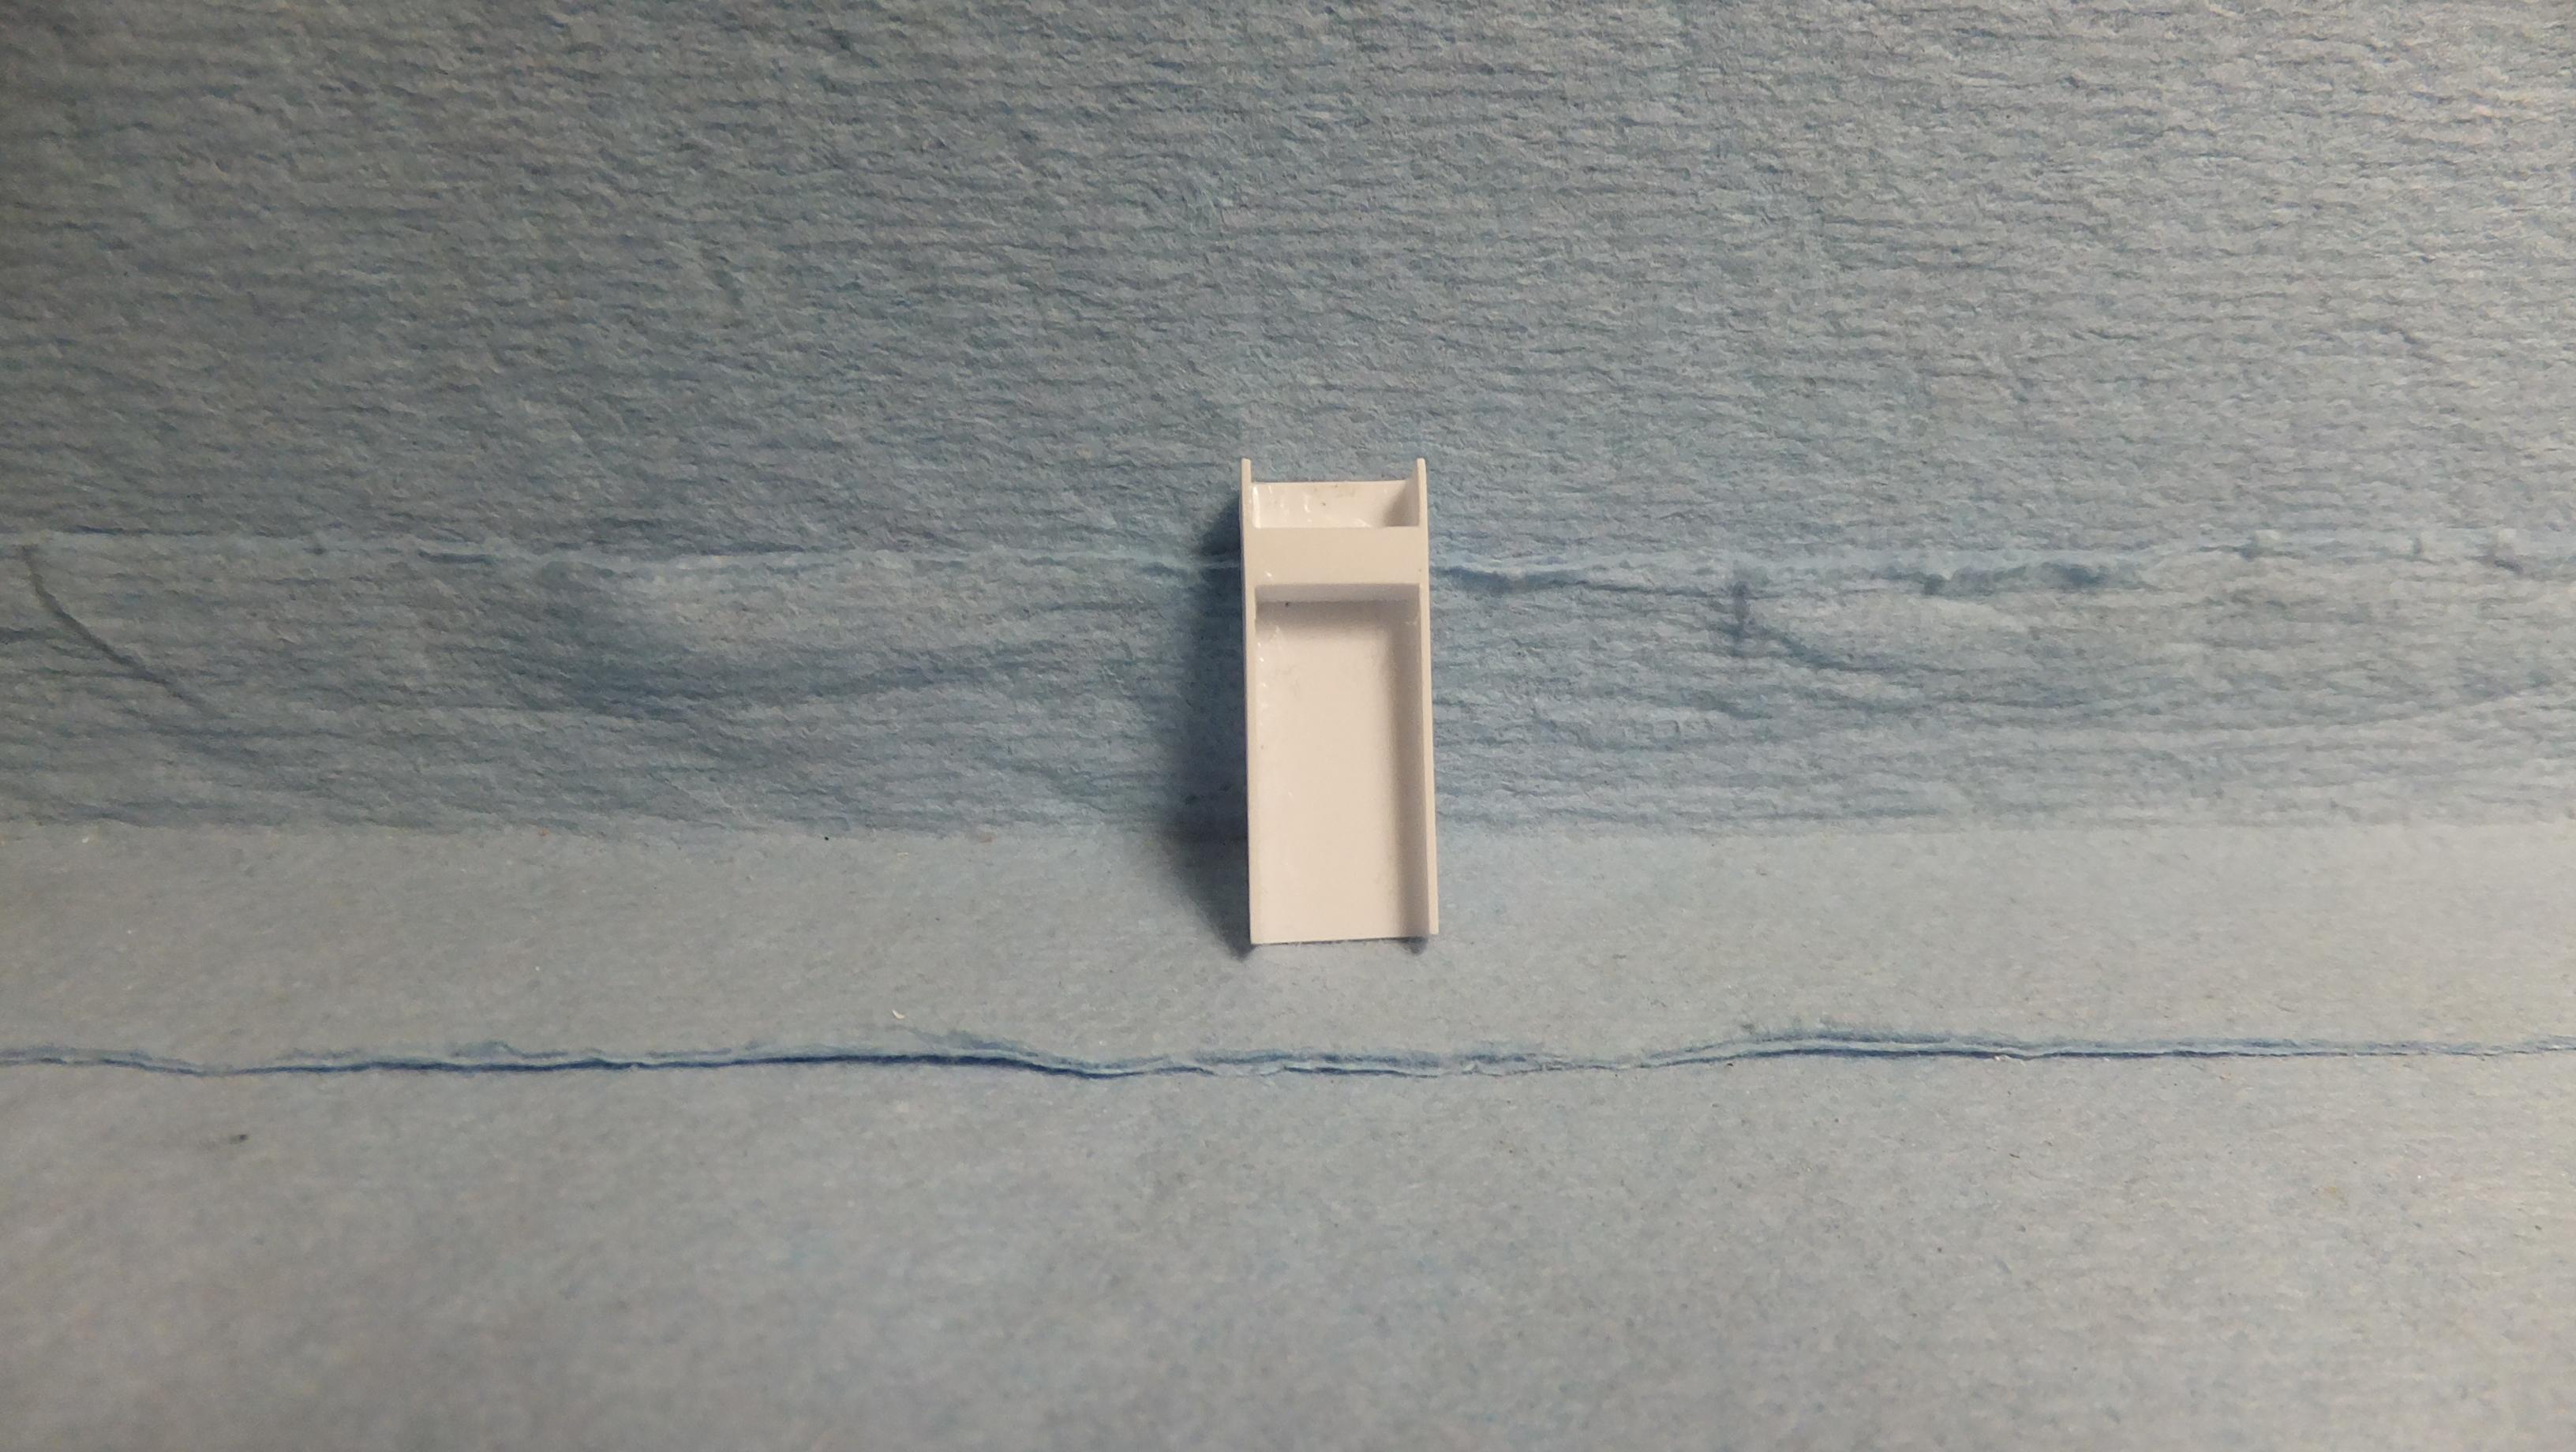
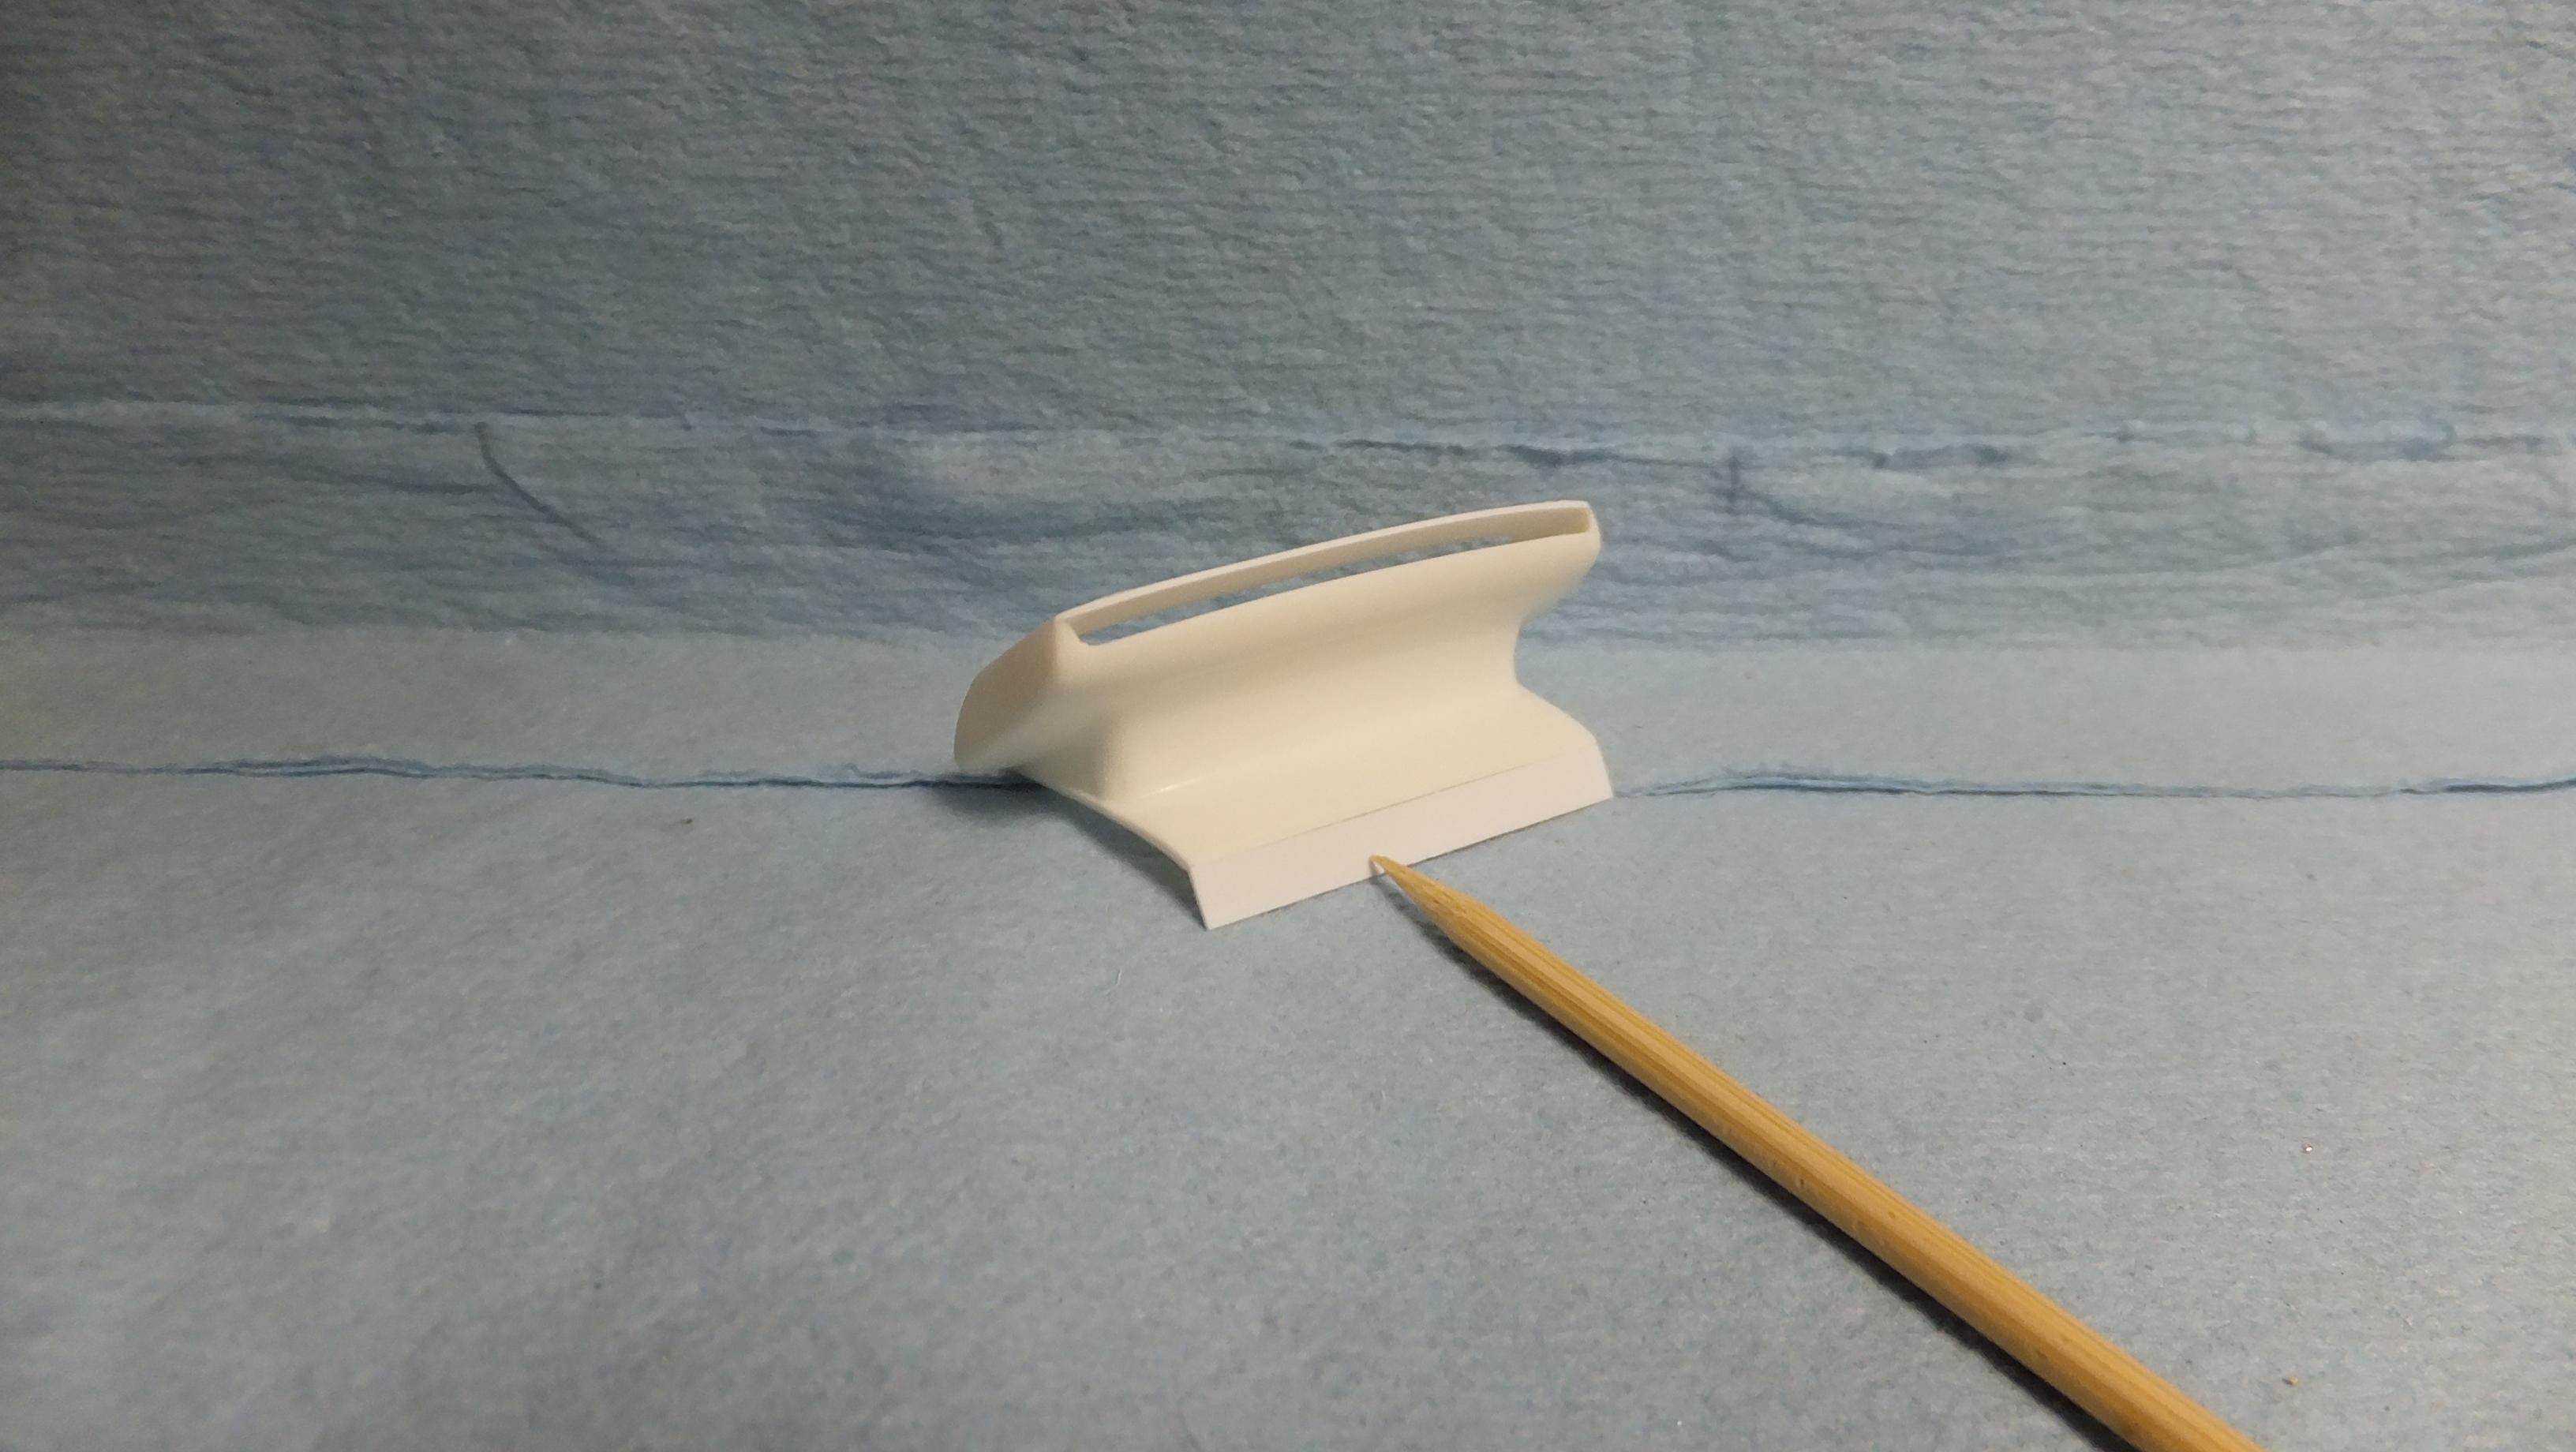
Heres another update, everyone...its getting close! -Photo 1; I removed the rear lip, and added a thin -slightly arched crossmember. -Photo 2; Here is the rough look of it from above. -Photo 3; I decided to cut through three sides of the headlamp covers, and only score the leading one, so that i could simply push them down to the depth i like, then cap the sides from the back side of the body. -Photo 4; I needed to notch these areas out for clearance. -Photo 5; Cant wait to put the LED lights in! -Photo 6; Four things are displayed here...I started making a roof vent that will be very low profile. I ditched the stock hood vent, and started to make my own from styrene. To upgrade a bit more, i removed the side window vent pillars -mimicking the newer Porsches. The last thing i did here was to glue in filler styrene so that i can reshape the side vents later. -Photo 7&8; Time to cut that roof for the cool air engine duct -idid this the same way i tackled the headlamps. -Photo 9; This area needed to be notched out a bit. -Photo 10; This is the start of the interior side of the vent. -Photo 11&12; This is the body side of the vent. I added a thin strip of styrene to help keep the vent where it will be blended into the roof while i work on it. It will be sanded away later. As you can see, i blended in corner pieces of the stock vent, which balance out the front fender slots nicely. -Photo 13; Forgot to show you that i had to cut out this area, and lower the crossmember for clearance. -Photo 14; It fits great, but now i need to add a funnel-neck to it in order to meet the roof cut out. -Photo 15; Taping the interior vent to the body vent, helped me with where to notch out the parcel tray. I put the body over the chassis/interior tub, then traced around the vent. Always cut slightly inside your lines incase you have to tweak things a bit. -Photo 16; Like some of the early Duck-tail cars, i wanted to separate the tailights with bodywork.
-
Thats pretty cool!, where did you source it?
-
Its crazy, but i had no idea of this kit until a couple weeks ago....i wonder how rare it is?...it sure has eluded me all these years.
-
Thanks, Bud!!
-
Thanks, Mike!, that GT2 kit is one of the funnest, fuss-free builds!!
-
Thanks alot, Bud!, i have some decent updates to post now.
-
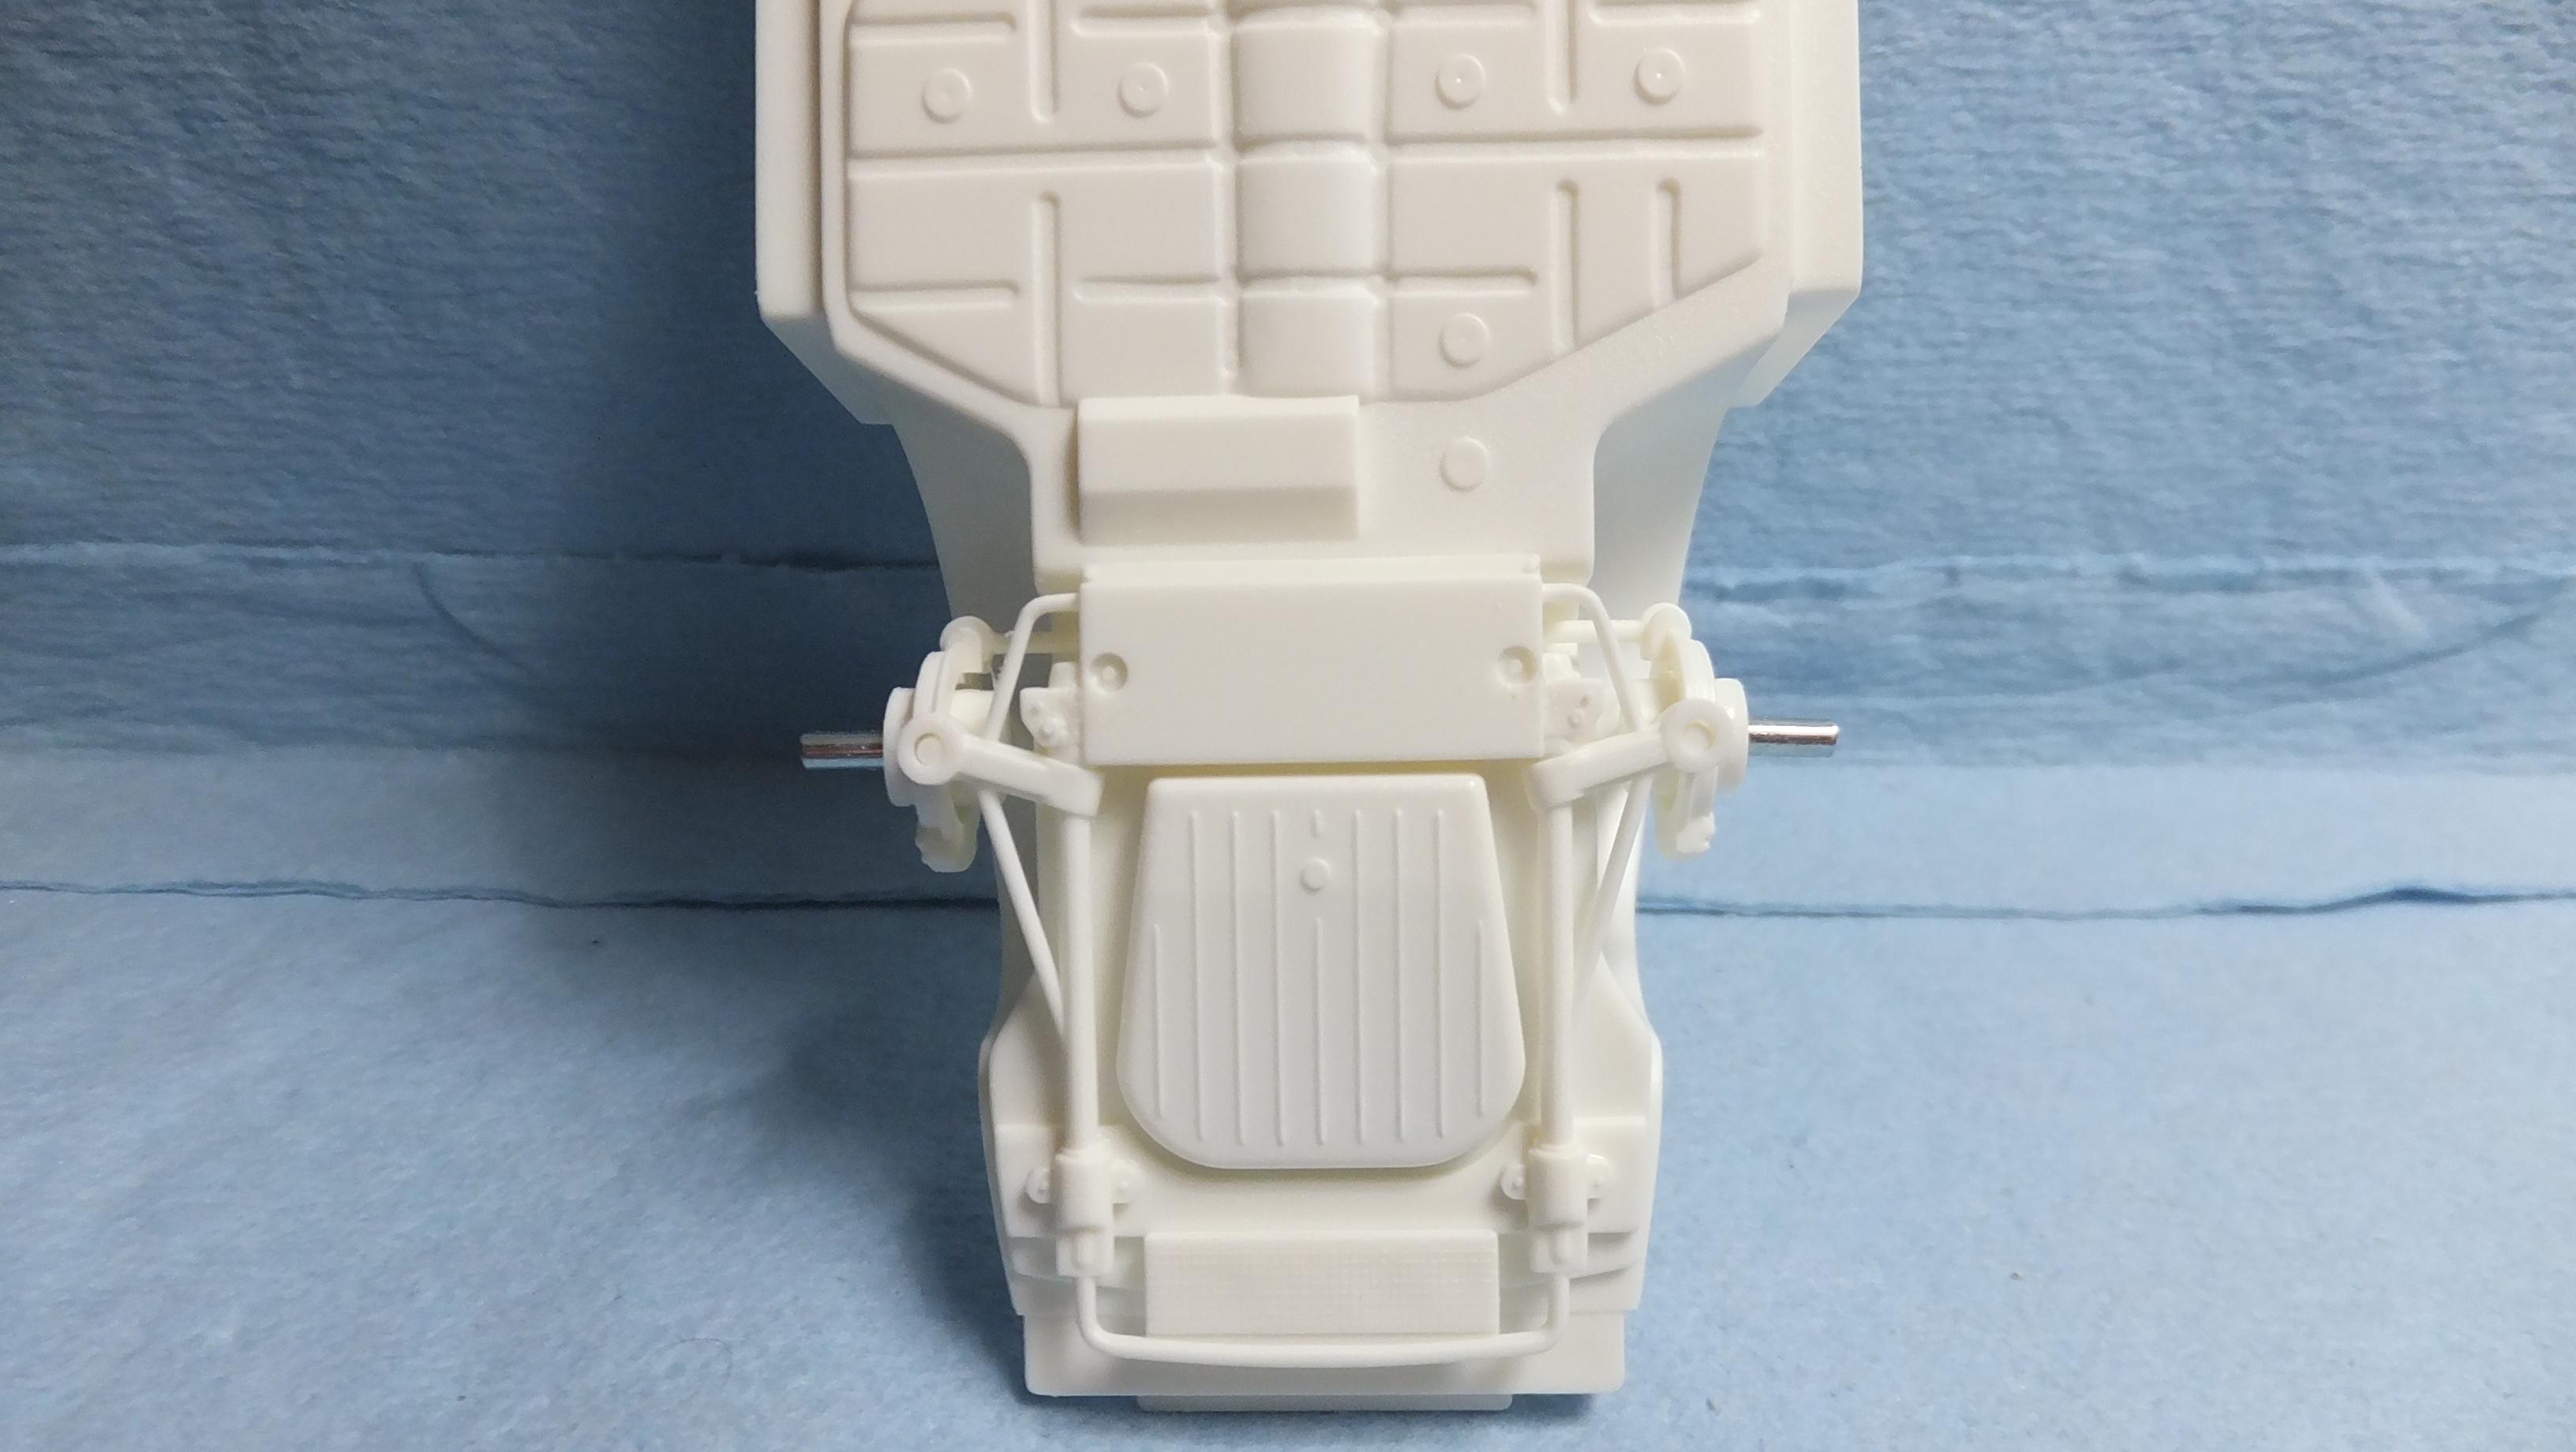
Let the craziness begin!! -Photo 1; Since its a curbside, if i cant see it when its on a table...i wont waste my time, money, or supplies on it, so i have this all together ready for paint -notice the upgraded exhaust tips. -Photo 2; Fujimi must have reused a narrow-body chassis for this WIDE body car!...the wheels/tyres are waaay too far into the fenders, but no worries, i'll fix it with the fatter tyres! -Photo 3; Since you can easily see through the hood vent, i needed to put something engine like in there, so i made a pedistal for a Tamiya 911GT2 intercooler to sit on. -Photo 4; I attached another lift-block with a quick locater tab, and... -Photo 5; ...it works great! -Photo 6; An easy to take off body is one nice thing, but this is annoying! the contact is so weak, that you could say there is none -its as loose as throwing a hotdog down a hallway! Again, no worries...i added some styrene strip to the rear contact to make it stronger, and stop it where it needs to be. -Photo 7; Here you can see the much improved contact. -Photo 8; The intercooler fits the space perfectly, and adds some nice visual interest.
-
LOL!....you're lucky to have that kit....yours is the first time i've even seen it as a plastic kit!
-
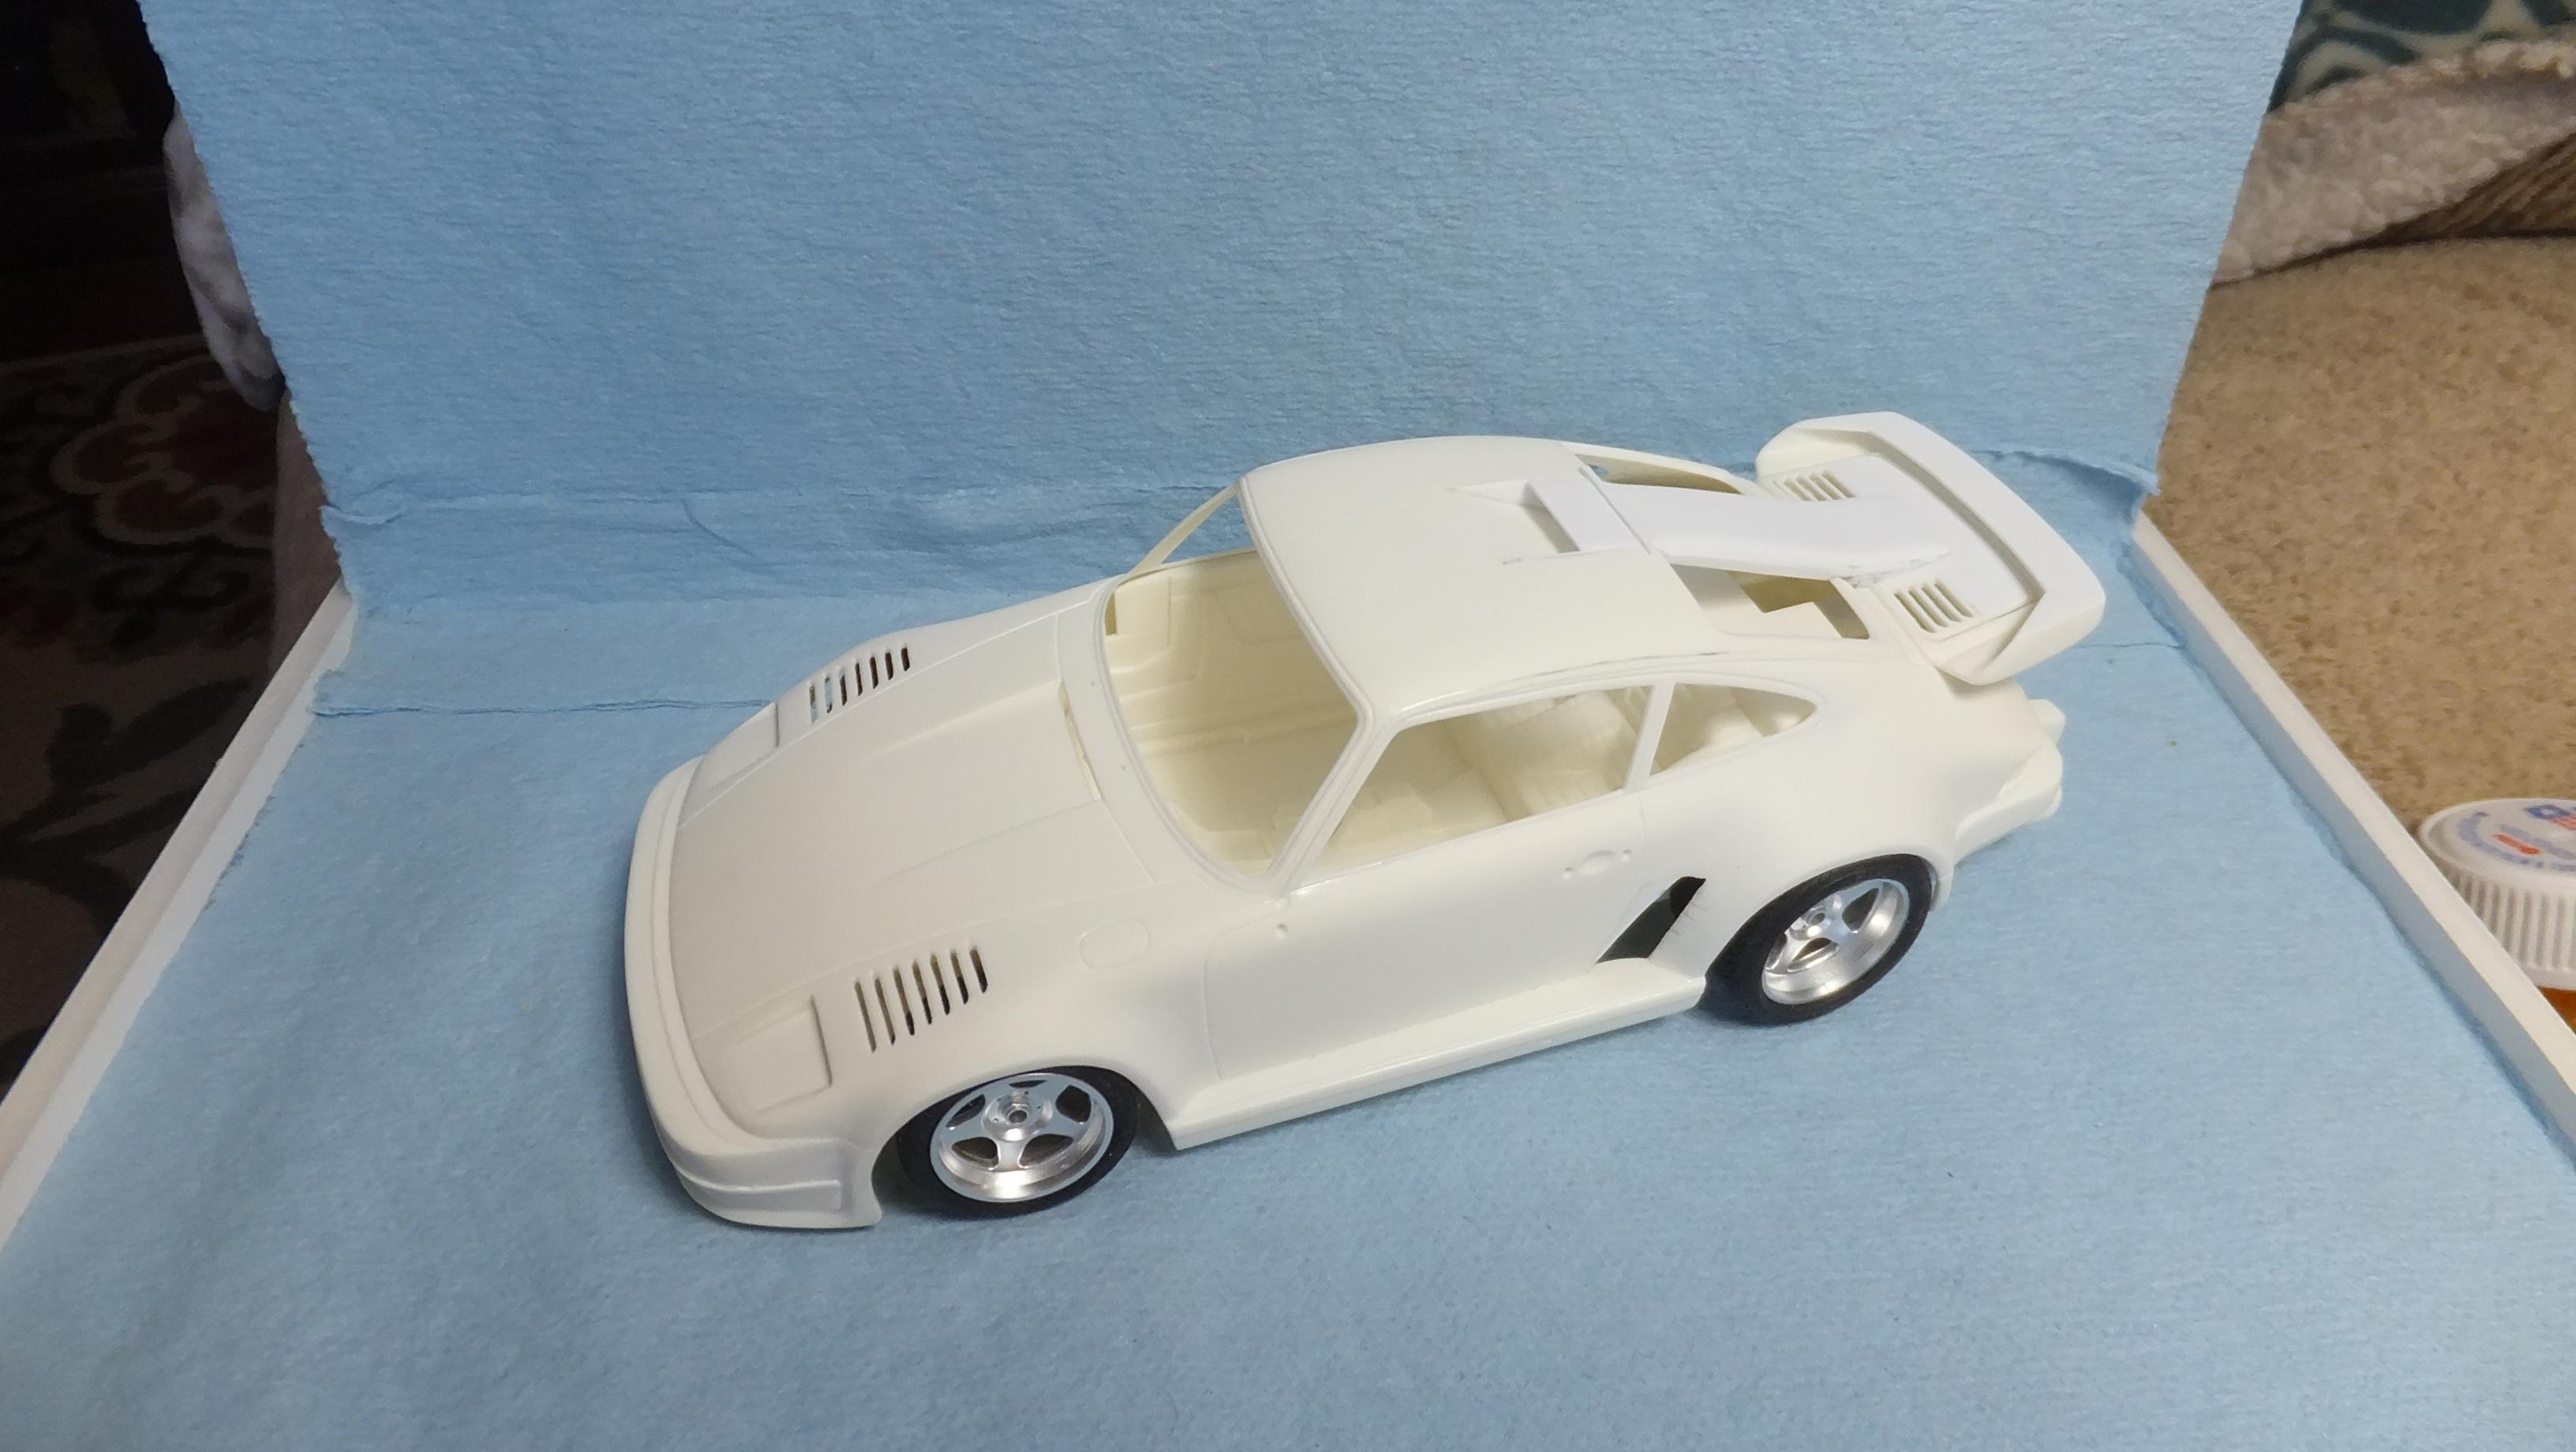
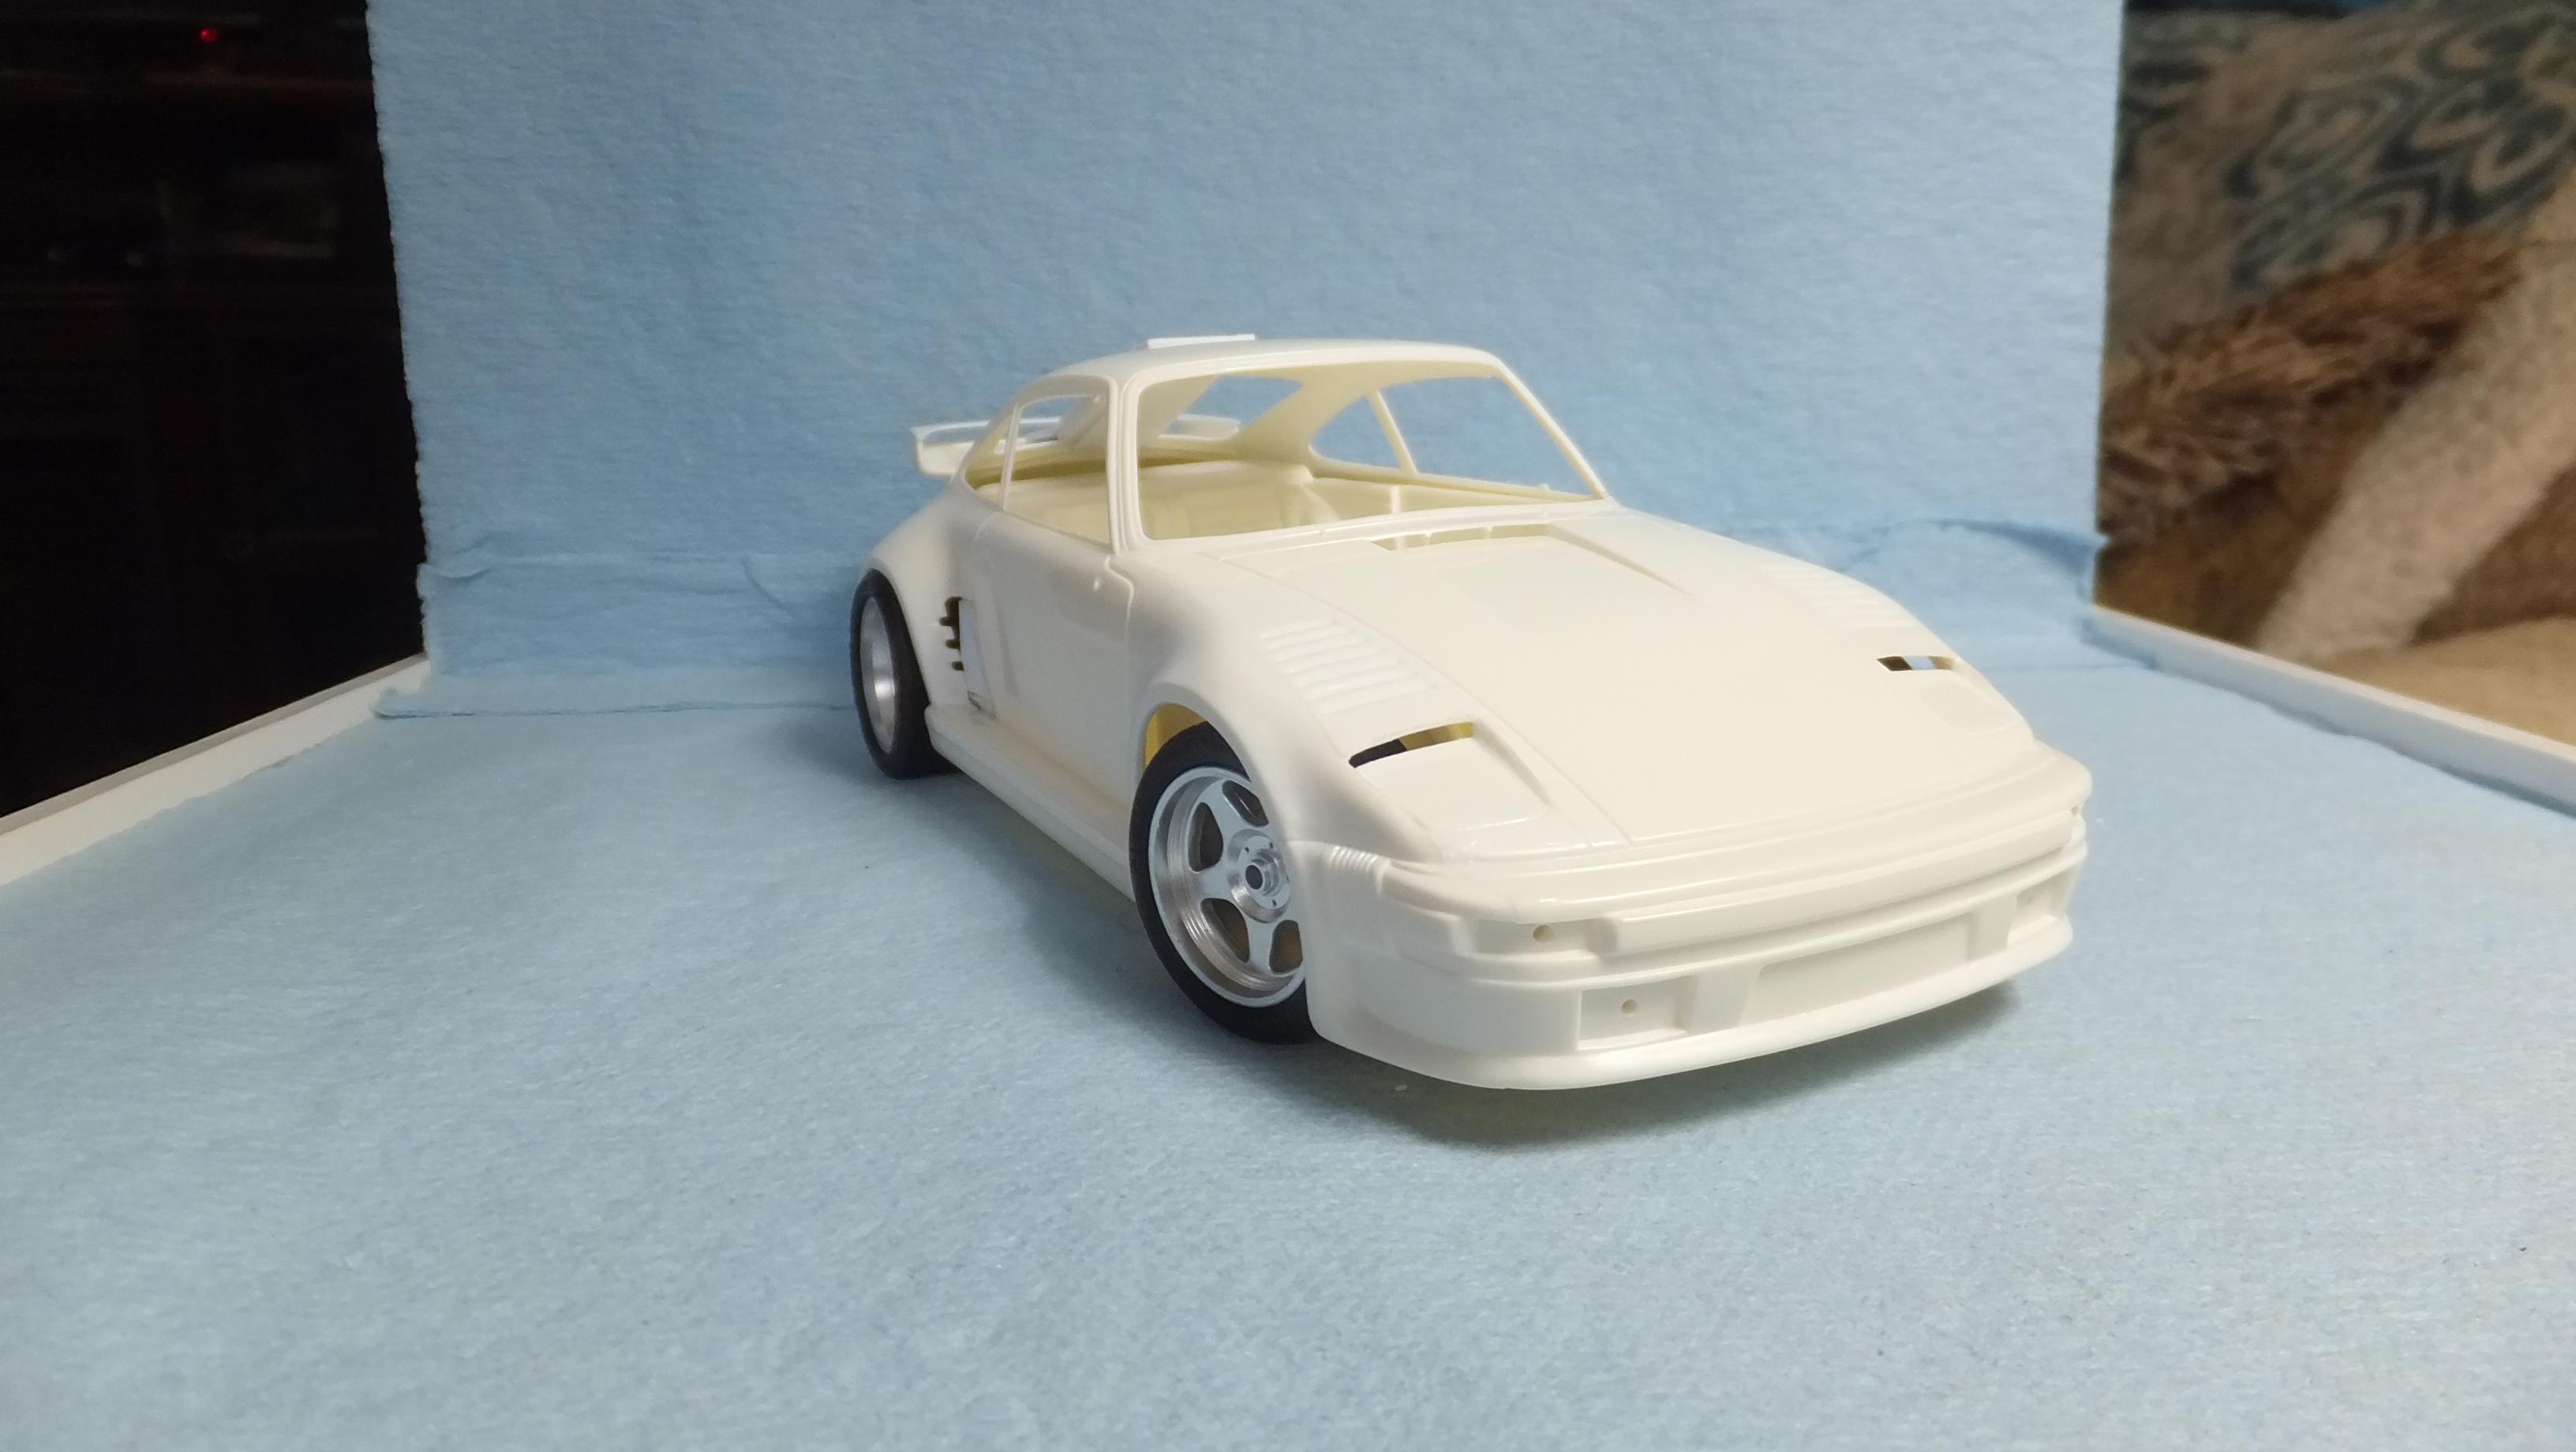
This is build #24. I didnt plan on adding another project, but a good friend of mine from England gave me this kit. No matter how many projects you have, its good form to build this kind of gift as soon as you can, to show appreciation, and to get it done before either one of you snuffs it. I got this kit at the right time...i've been feeling like doing something inspired by Singer, and Gambella...an upgraded, special car. Whilst i like the Avelanche Porsche(Gambella), i find it to have too many bodywork things going on for my taste, and it looks heavy. Singer does Porsches right!, and thats the style i like, but with a balanced splash of Gambella. Cant remember where, but i saw an earlier 80's 911 that was a twin turbo, 850+ HP beast, and thats another bit i want for mine! This is being built as the curbside kit that it is, BUT thanks to how it has a removable body like all other Fujimis, i can add a fully detailed EM chassis, and engine at any time. I dont wanna change the main design of what i already consider as a perfect design, i just wanna add a bit of "special" to it. Kinda like if you saw it in a dark room as a silhouette, you could tell immediately what is was, then -Suprise! when the lights are turned on! -Photo 1; The kit. -Photo 2; I didnt want to have pop-up headlamps this time, but i didnt want Ferrari F40 style either, so thats when i decided to split the difference, and have them be thin slits with LED's. -Photo 3; Whilst the scalloped side vents do work with the design, i've never liked them on cars -i DO like the wheels!! -Photo 4; I'm gonna be utilizing the look of the tailights a bit. -Photo 5; I love the simplicity of Singers, but with the tasteful splash of upgrading!
-
LOL... i bet as long as you klean up afterwards she would be cool with it!...In a way, you have finished the model, since you started it from design to tangible reality...Its gonna be BEAUTIFUL as long as you can effectively sand away all the layer marks. So many 3D parts i've seen dont get finished properly, and i ask myself; "whats the point of all that realistic detail, if you can still see all the Unrealistic layers?" I guess what i'm saying is the obvious -you made this FANTASTIC...one of a kind car/model, please take your time to sand it, and turn it into a Complete Masterpiece -it will be BRILLIANT!!!! Ich lieben Duetschland!!
-
Thanks, Bud!....i'm up to 24 now...LOL
-
LOL....he's thinking; "What the heck did you do to that Roller?"
-
WOW!!!!!, there isnt a word for how impressed i am!!!!.....you should be so proud!!!.......lots of very fragile bits!.....you have ALOT of sanding ahead of you, but this is gonna be epic!!!! SEHR WUNDERBAR!!!!!!!!!!!!!!!!!!!
-
I loved the show, but the first movie is my favorite!
-
LOL...sounds like a good idea, Bud!!!


.jpg.8b4fe5781ce3a62a7401ab02ddafcf3f.jpg)


