Dann Tier
-
Posts
8,151 -
Joined
-
Last visited
Content Type
Profiles
Forums
Events
Gallery
Everything posted by Dann Tier
-
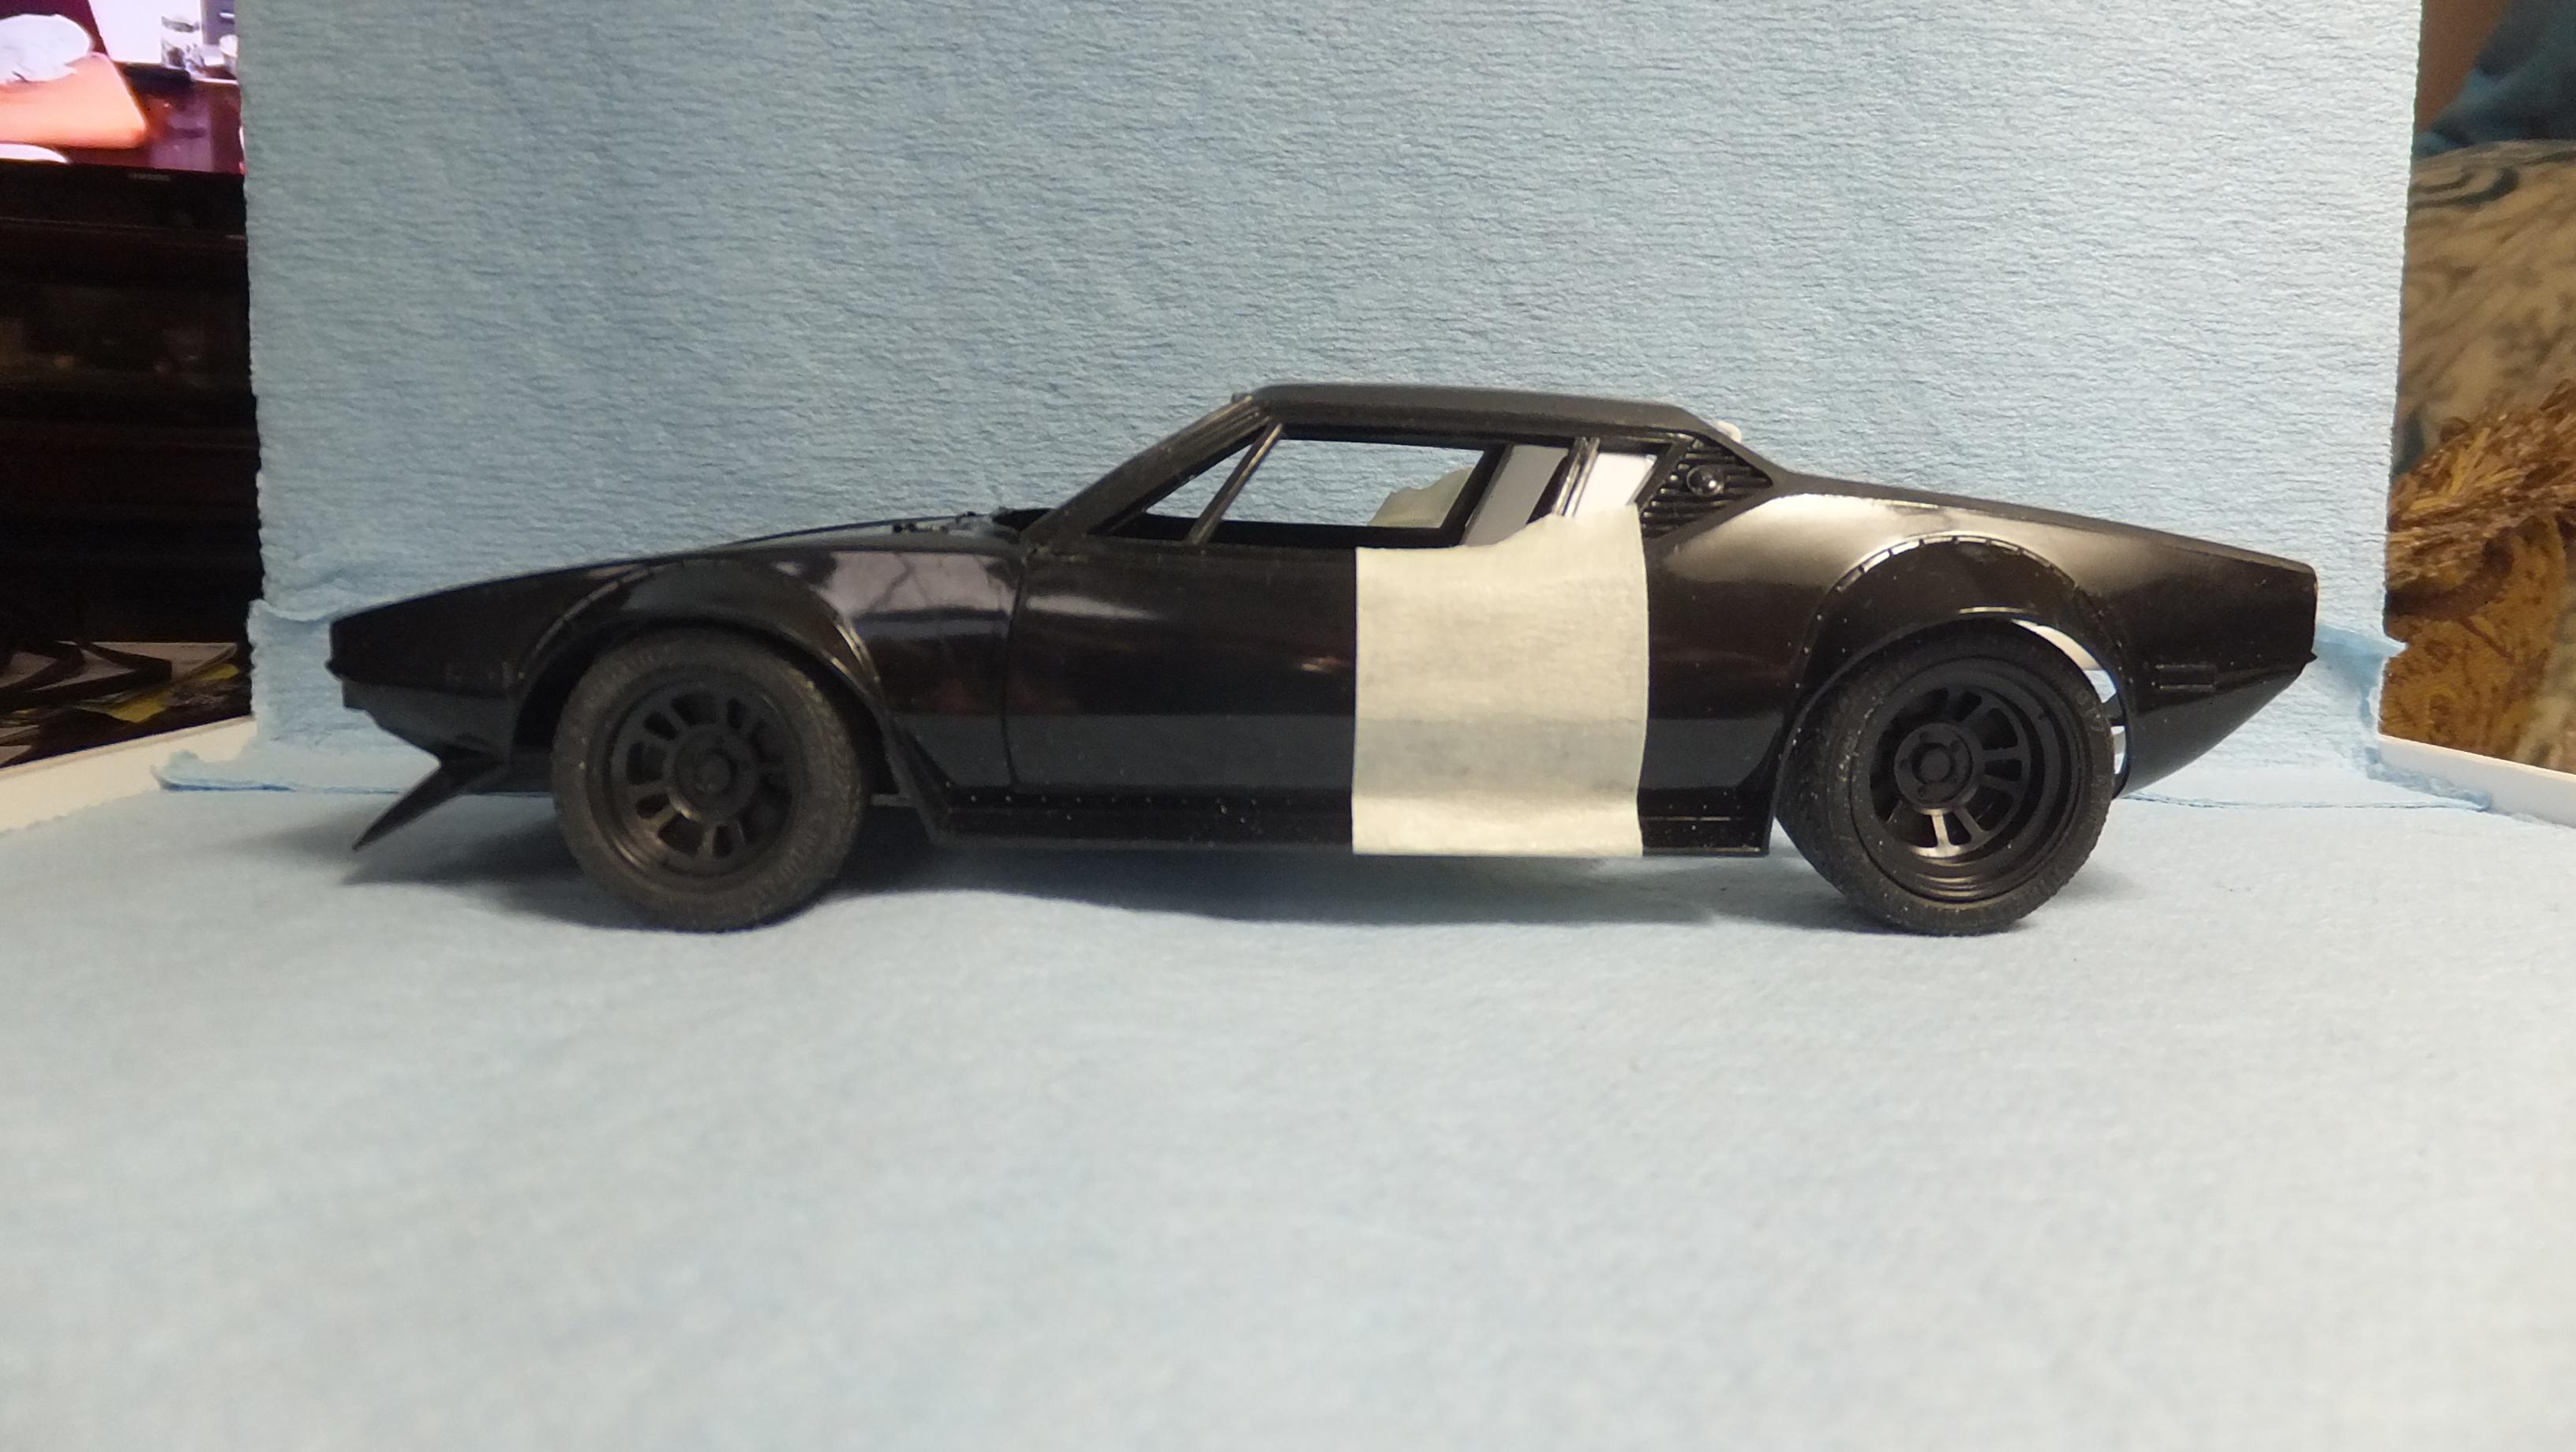
Found some inspirational photos for this Pantera; -Photo 1; I'm thinking about a vent window, and rear side glass delete like this version. I will also do the sail panel vents like this one. -Photo 2; The bonnet will be done like this, and there will be elements of the front fascia also. -Photo 3; I may add a rocker vent for the rear breaks...we'll see. -Photo 4-6; This is a real car called the Panther. Its a Pantera tribute car thats built on a Lamborghini Hurrican. This is THE BEST design of a Pantera that i've seen. -Photo 7; Here is the front end that i was gonna do until i saw the Panther. I will blend the both versions together in some way. The big problem i have with these front fascias/chin spoiler, is that they look like a HORRIBLE over-bite when compared to how high Panteras are between the tyres... -Photo 8; This is all i see when i see front ends like this -NOT on this Pantera.

-
Thanks, Bud!, i sure will!!
-
I got hit with a TON of outdoor stuff to do too...hope you can get back to the bench soon!!.....looking forward to your work!...thanks for following along, bud!
-
I am still thinking about it, but its pretty darn close to a real stock height....i will consider it still.
-
Thanks, Bud!
-
LOL....you're a funny guy, Ray...
-
Thanks, Bud!, it sure will!...the original didnt have power breaks.
-
Much appreciated, Bud!
-
Thanks, Bud!
-
You are welcome, Russell!, thanks for following!!....share yours here to if you want!
-
Here is my next step...the breaking system...master cylinder, break booster, and proportionating valves -next step; paint, and installation!
-
Thanks, Bud!, have you been working on yours at all?
-
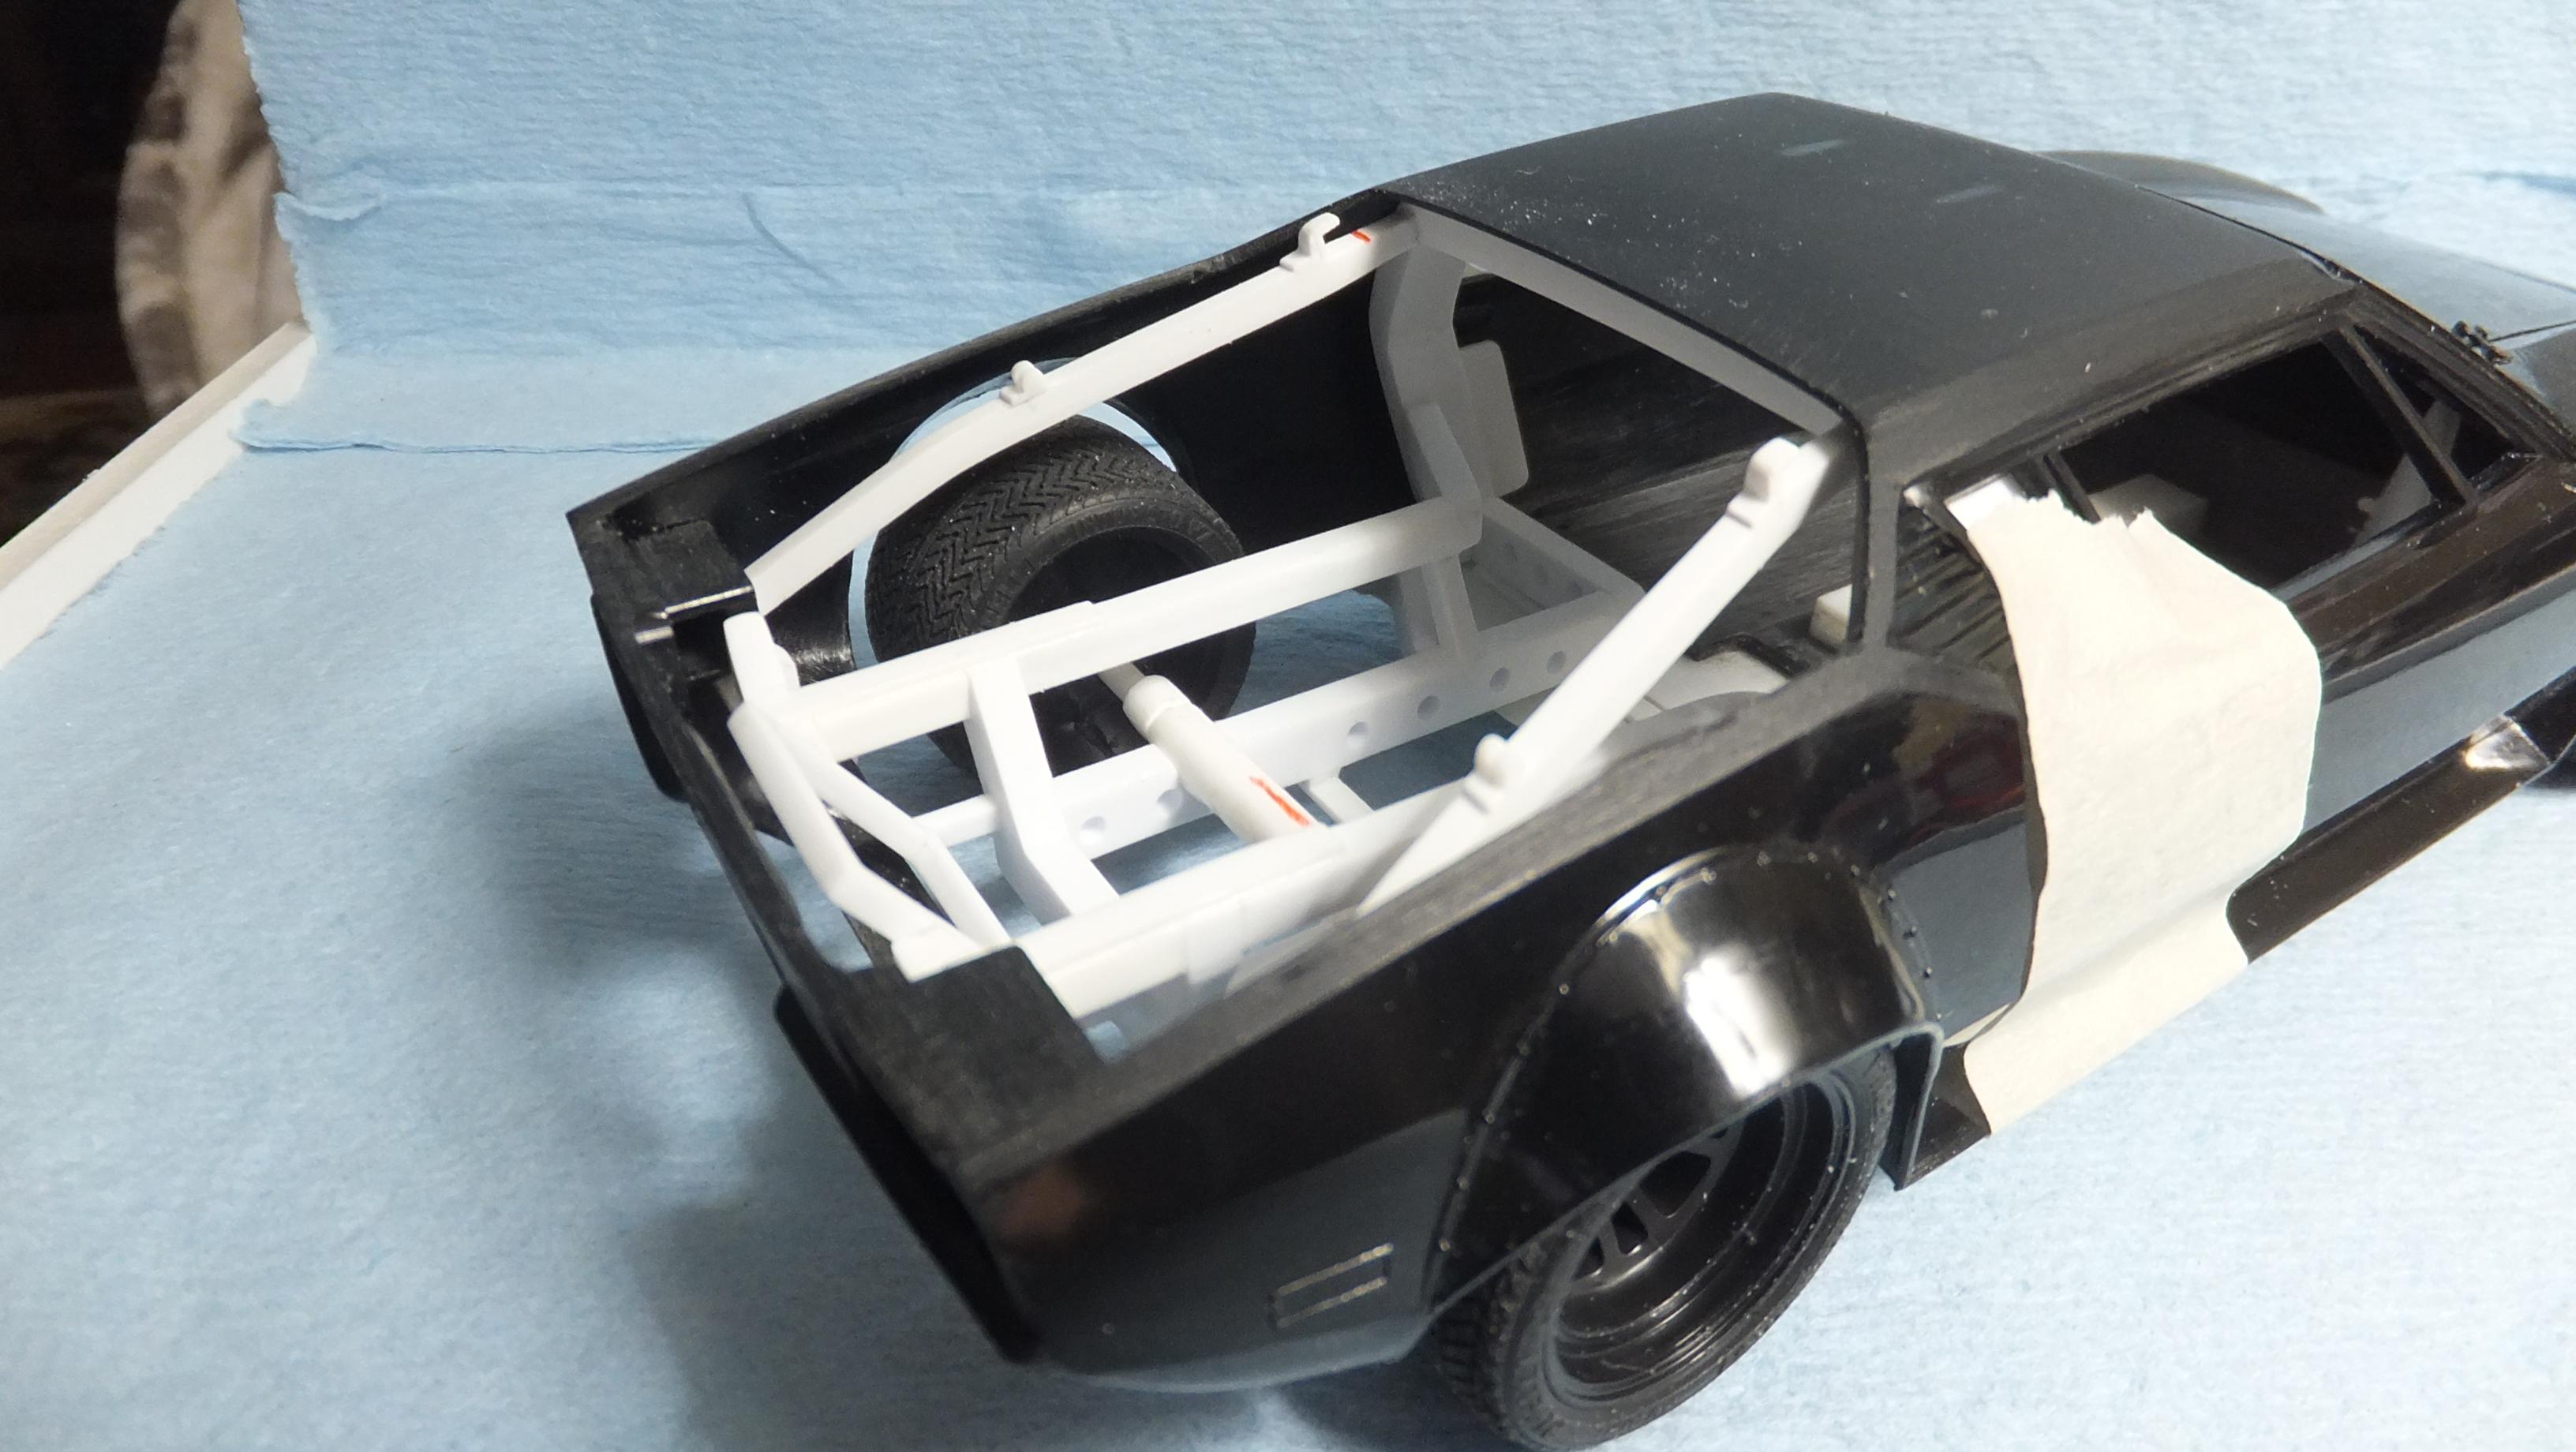
Hey, everyone!...got a bit of an update here. I decided to switch back over to suspension work. I decided to start with the ride height. -Photo 1; First i need to establish the exact location of the rear wheels. I did this by making a temporary axle. -Photo 2; For the tyre to fender clearance i need, i had to lower the axle into the frame. Now it will be waaay easier to make the control arms, and wheel hubs. Once i've finished all that, i can remove the axle, and make an arch bracket to strengthen the notched-out frame, and allow for the drive shafts. -Photo 3; Perfect clearance that still allows for some inner wheel wells. -Photo 4; The front suspension is stock kit height, which is okay with me, BUT i dont like how much rocker clearance there is, so i will be adding to them to slightly lower them.
-
Thanks, Bud!....it took me a while to settle on them. There are so many good styles out there.
-
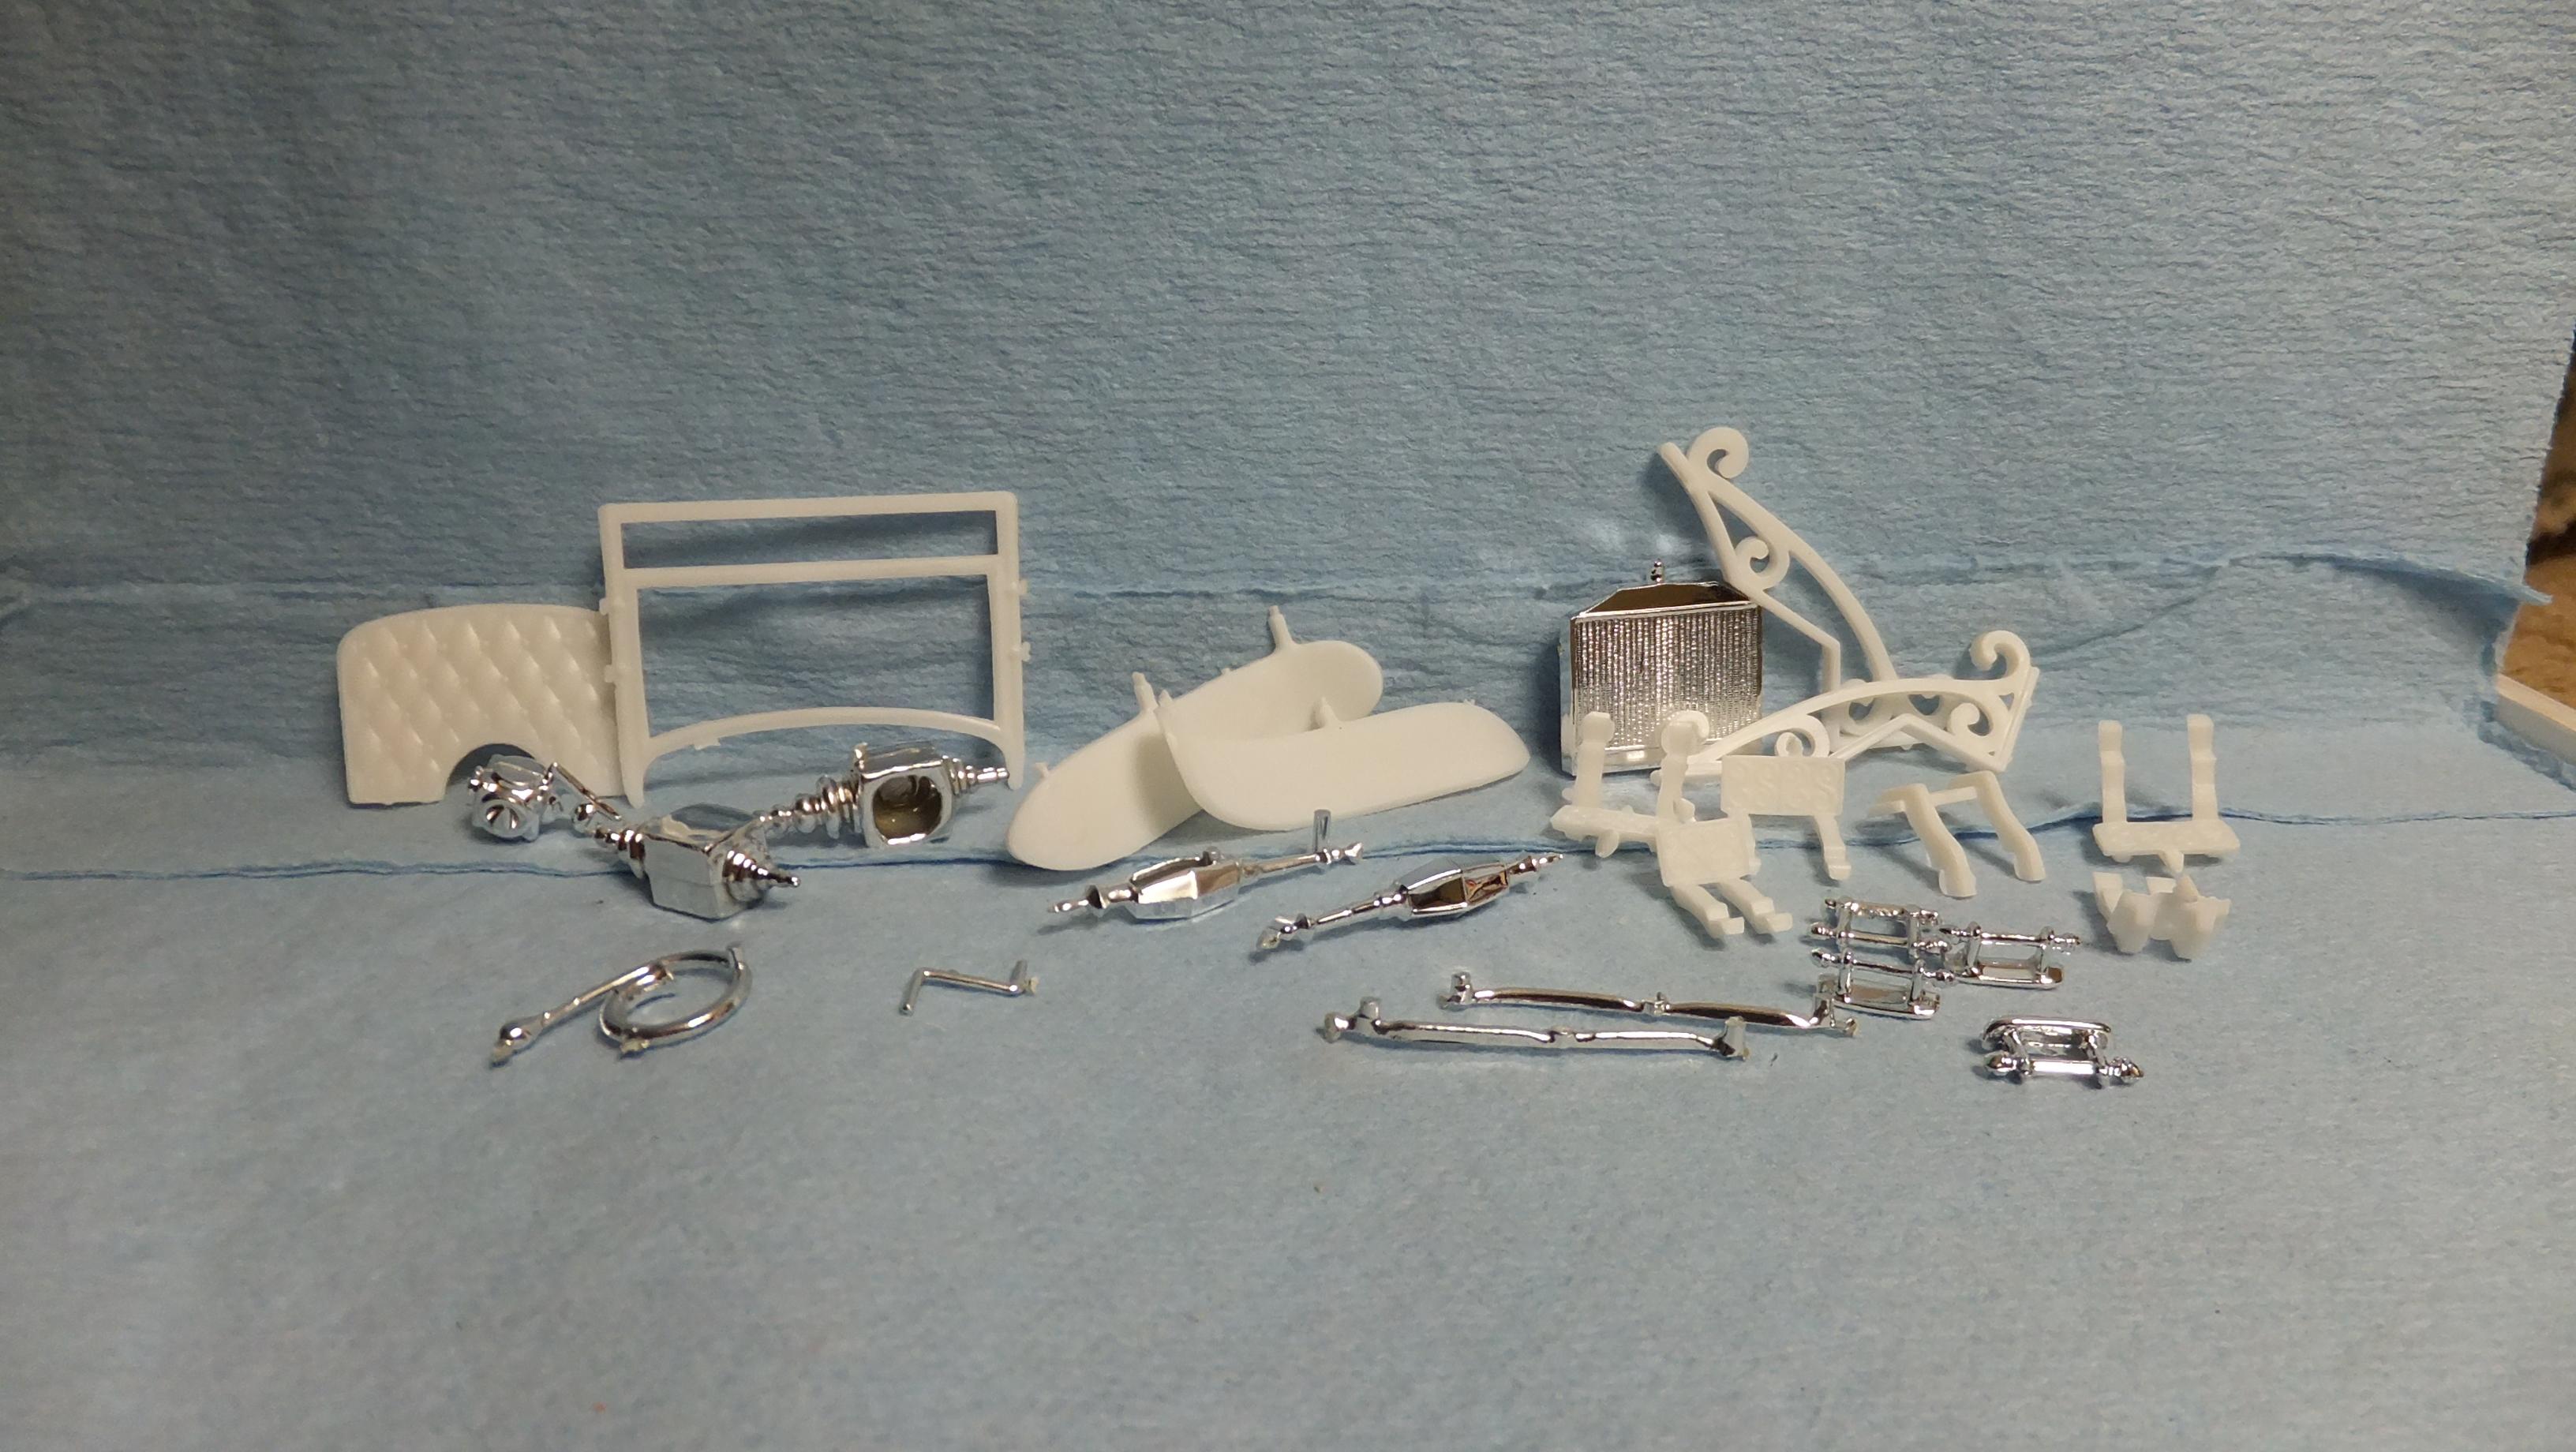
Now its time to show you what we have to work with on the Koach! -Photo 1; This kit has ALOT of great textures, and details! -Photo 2; For me, this is the problem area -the chassis/suspension.....this is gonna take alot of work. -Photo 3; Again...loads of great textures, and details!, BUT the dash is really weak in this area. To be honost, if i had an extra front seat, i would use it in the Drag-U-La. -Photo 4; I've got alot of cool plans for these bits! -Photo 5; The glass seems to be decently in scale. -Photo 6; Here are the wheels, and tyres that i plan on using... -Photo 7; Theres alot of really nicely done decals!!
-
Thanks!, i wanted a bit more "Muscled-up" look this time 'round.
-
Thanks!, i wanted a bit more "Muscled-up" look this time 'round.
-
Thanks, Bud!, glad to have you along!!
-
Brilliant work from the Metal Master!!!!....VERY cool following along!
-
Much appreciated, Bud!
-
Freaking COOL!!!!!
-
 Agreed!!!!!
 -
Sorry to hear about the shelf disaster....looks like you have it all under control now -i'm glad you arent giving up!
-
Looking good, Bud!!!.....clever using PE scrap!!!
-
COOL!!!, i remember this kit being pretty fun, other than the hood not fitting, and the plastic? rear axle.....looking forward to more of this one!!!!


.jpg.b6ebb9ce9a653623b2b400ed63a37ea6.jpg)