Anglia105E
-
Posts
3,487 -
Joined
-
Last visited
Content Type
Profiles
Forums
Events
Gallery
Everything posted by Anglia105E
-
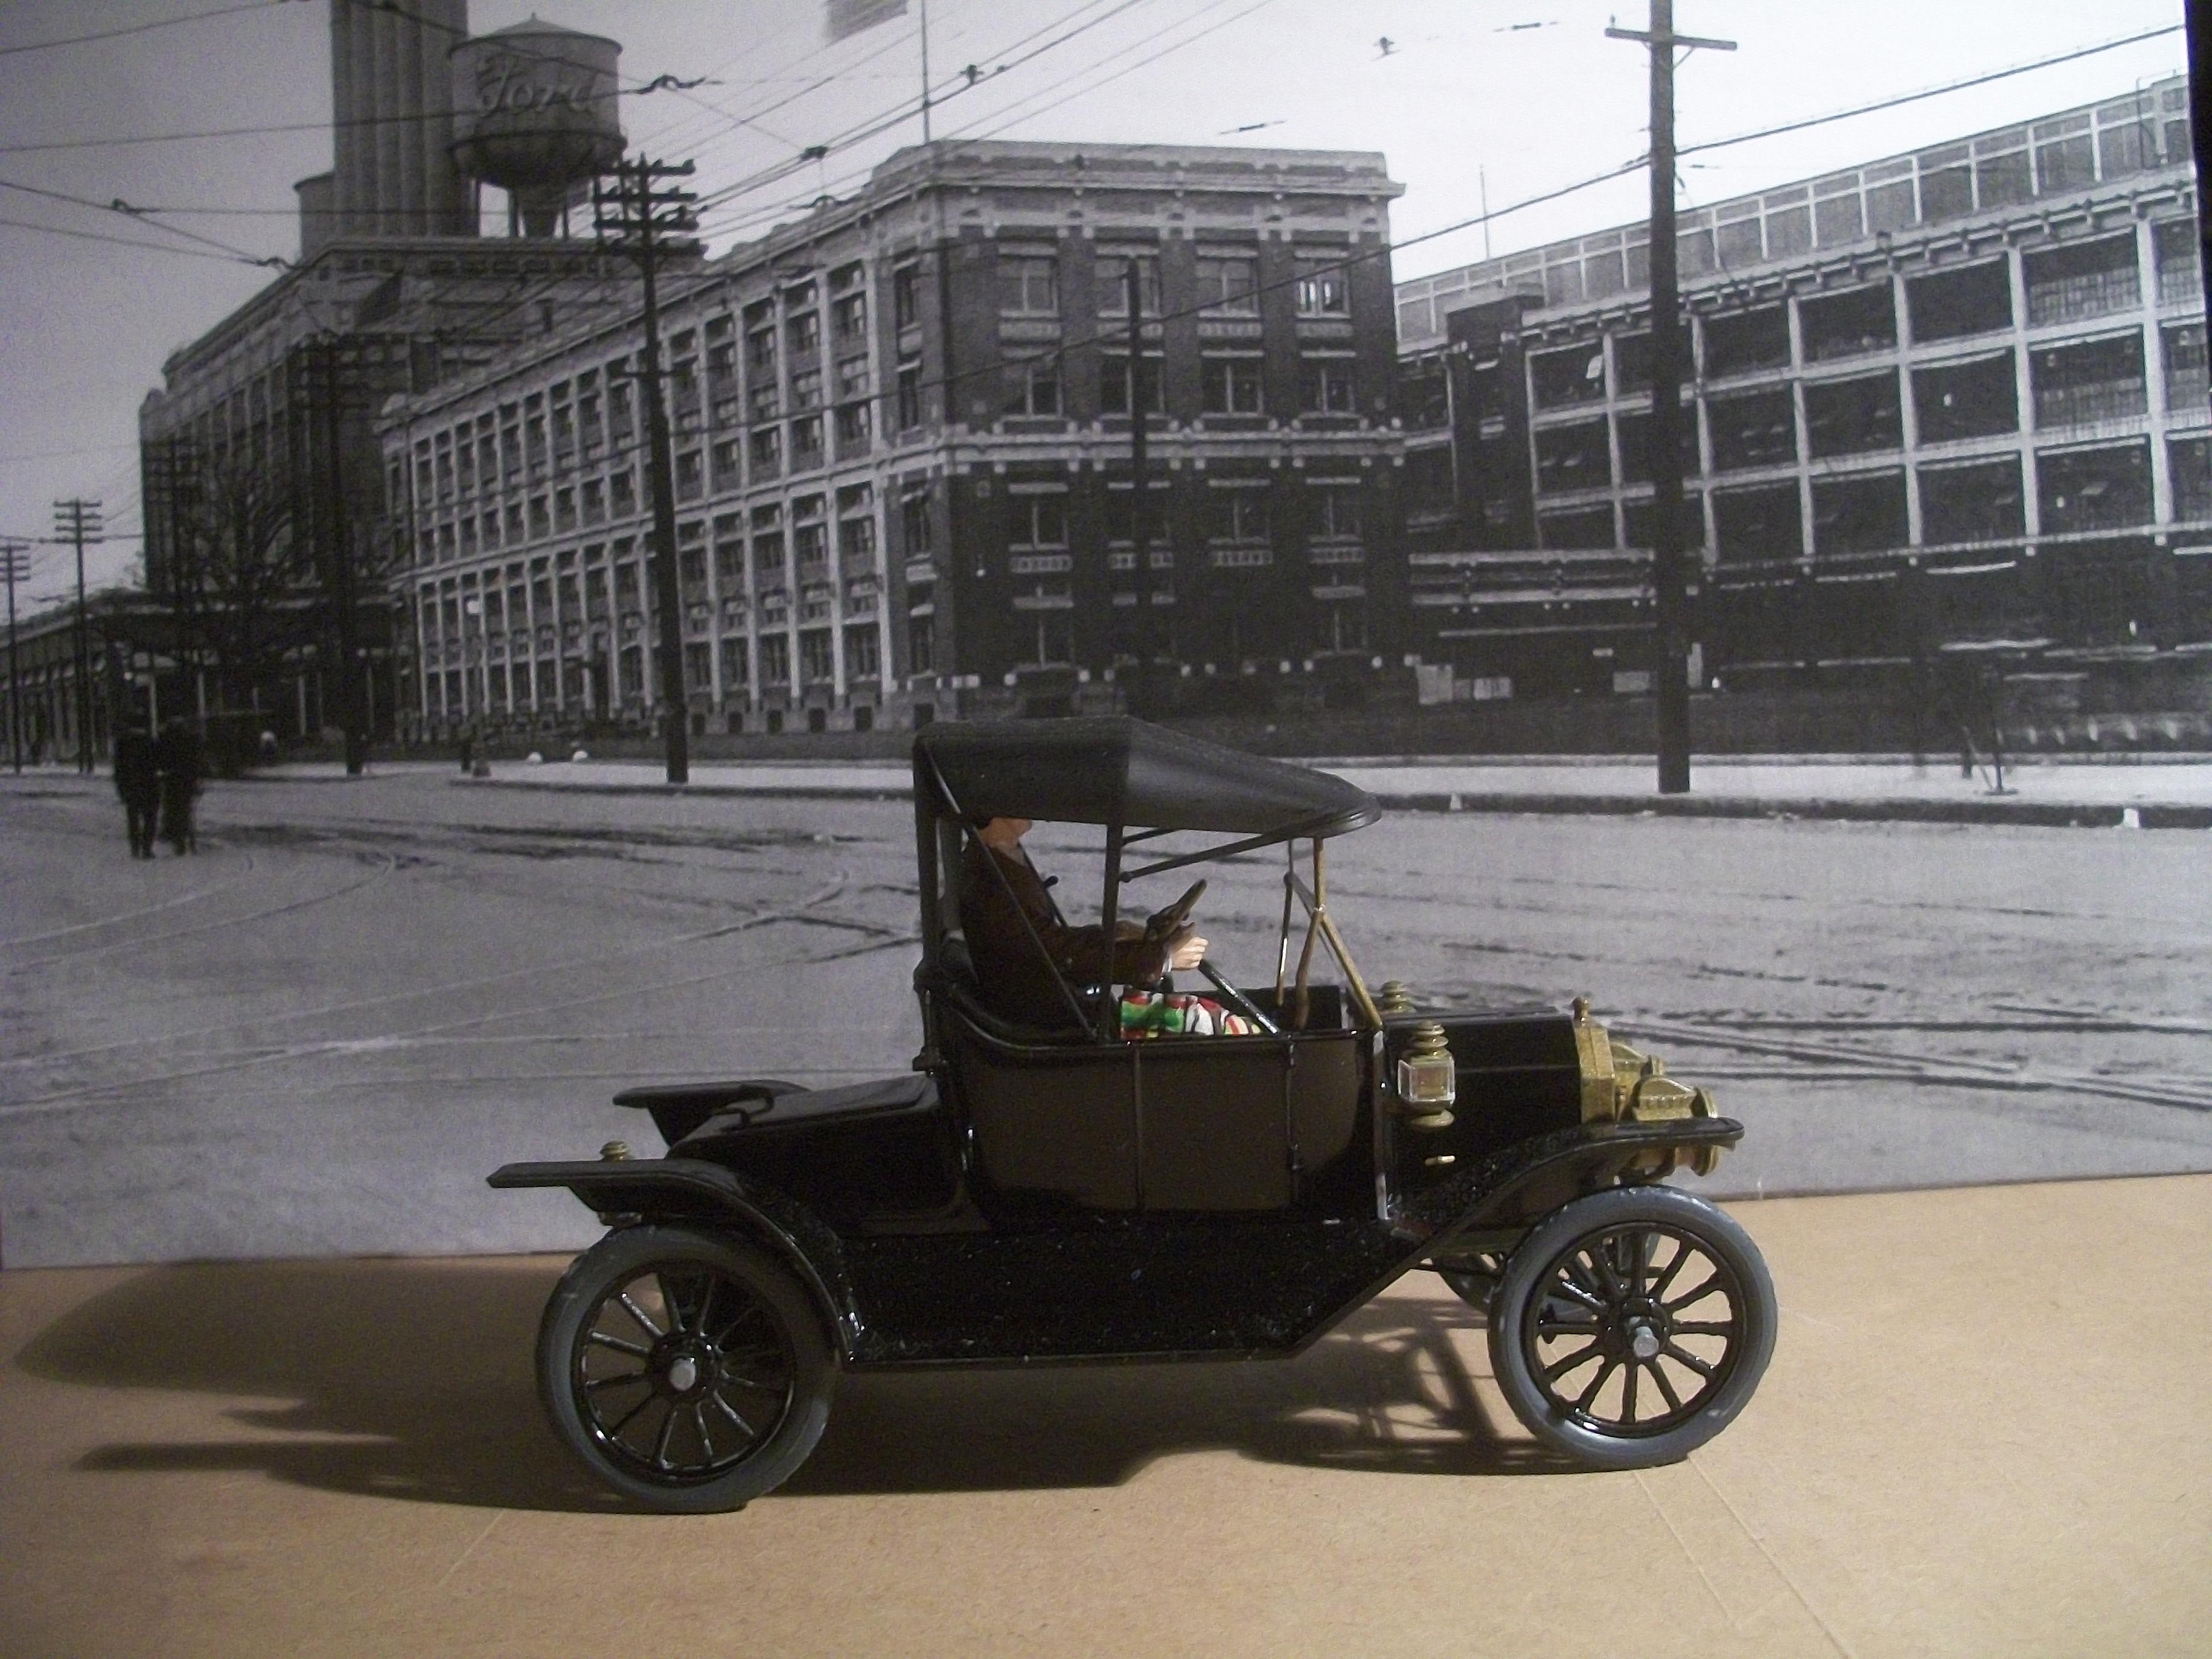
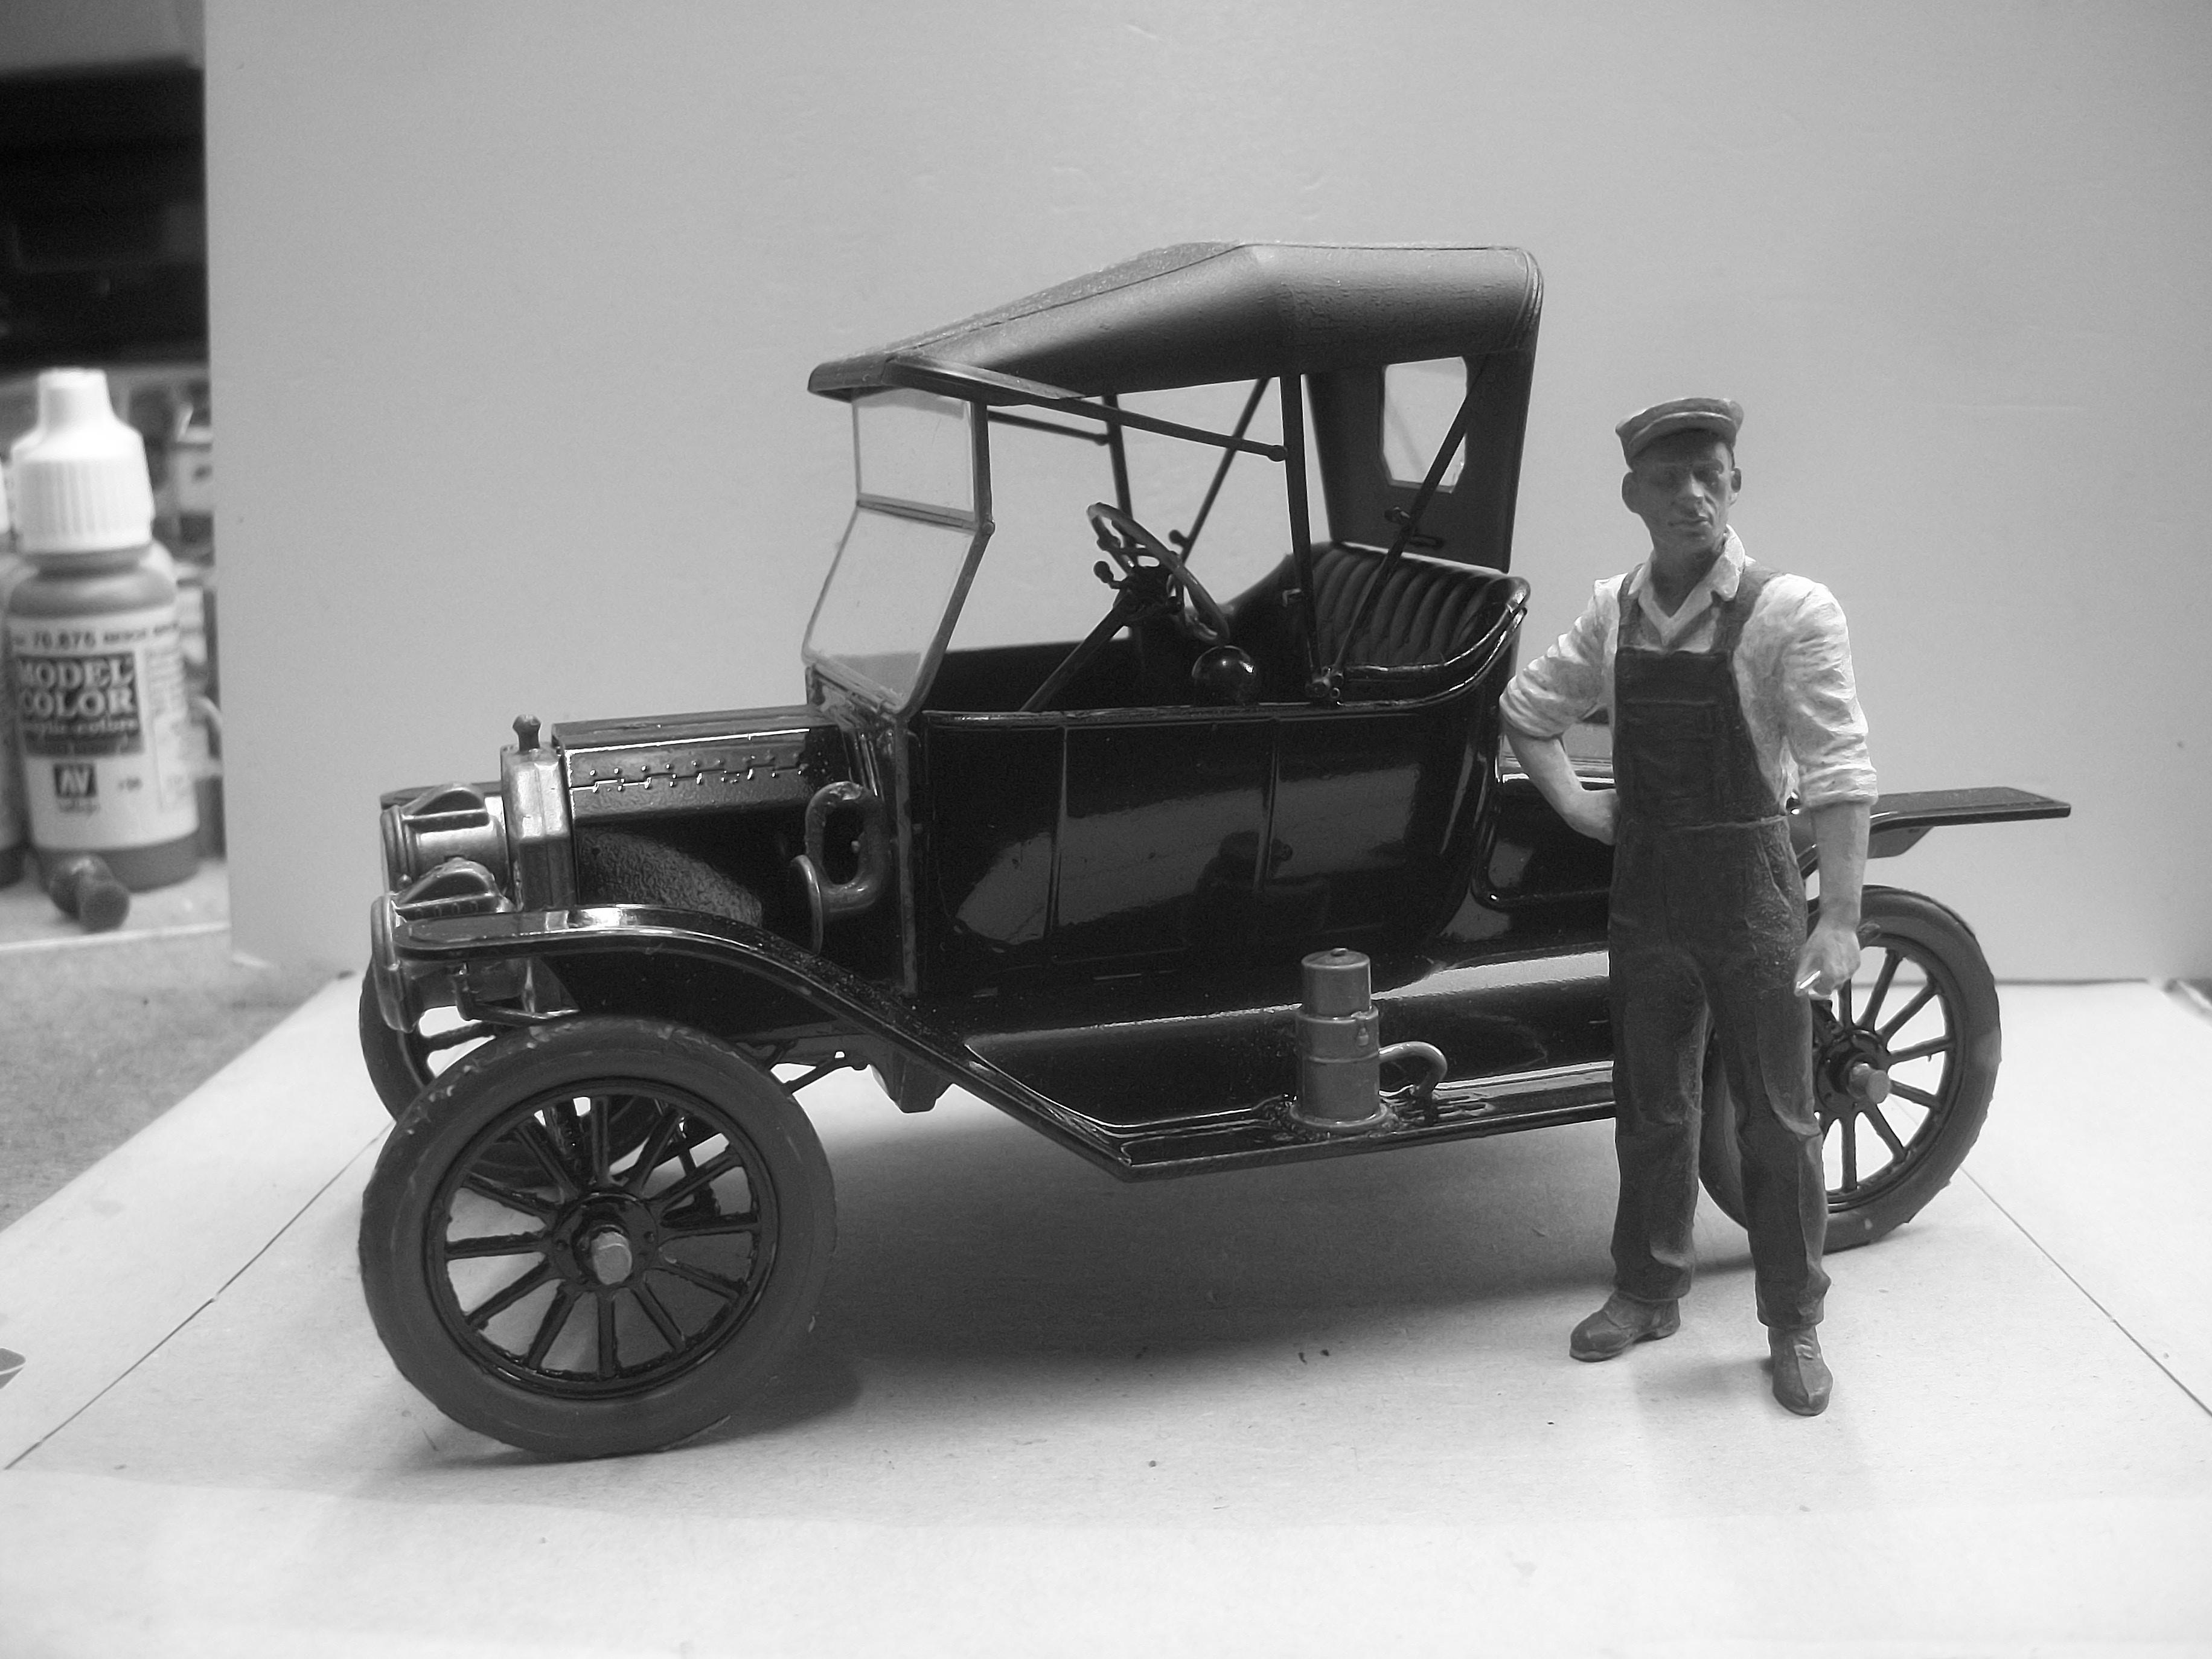
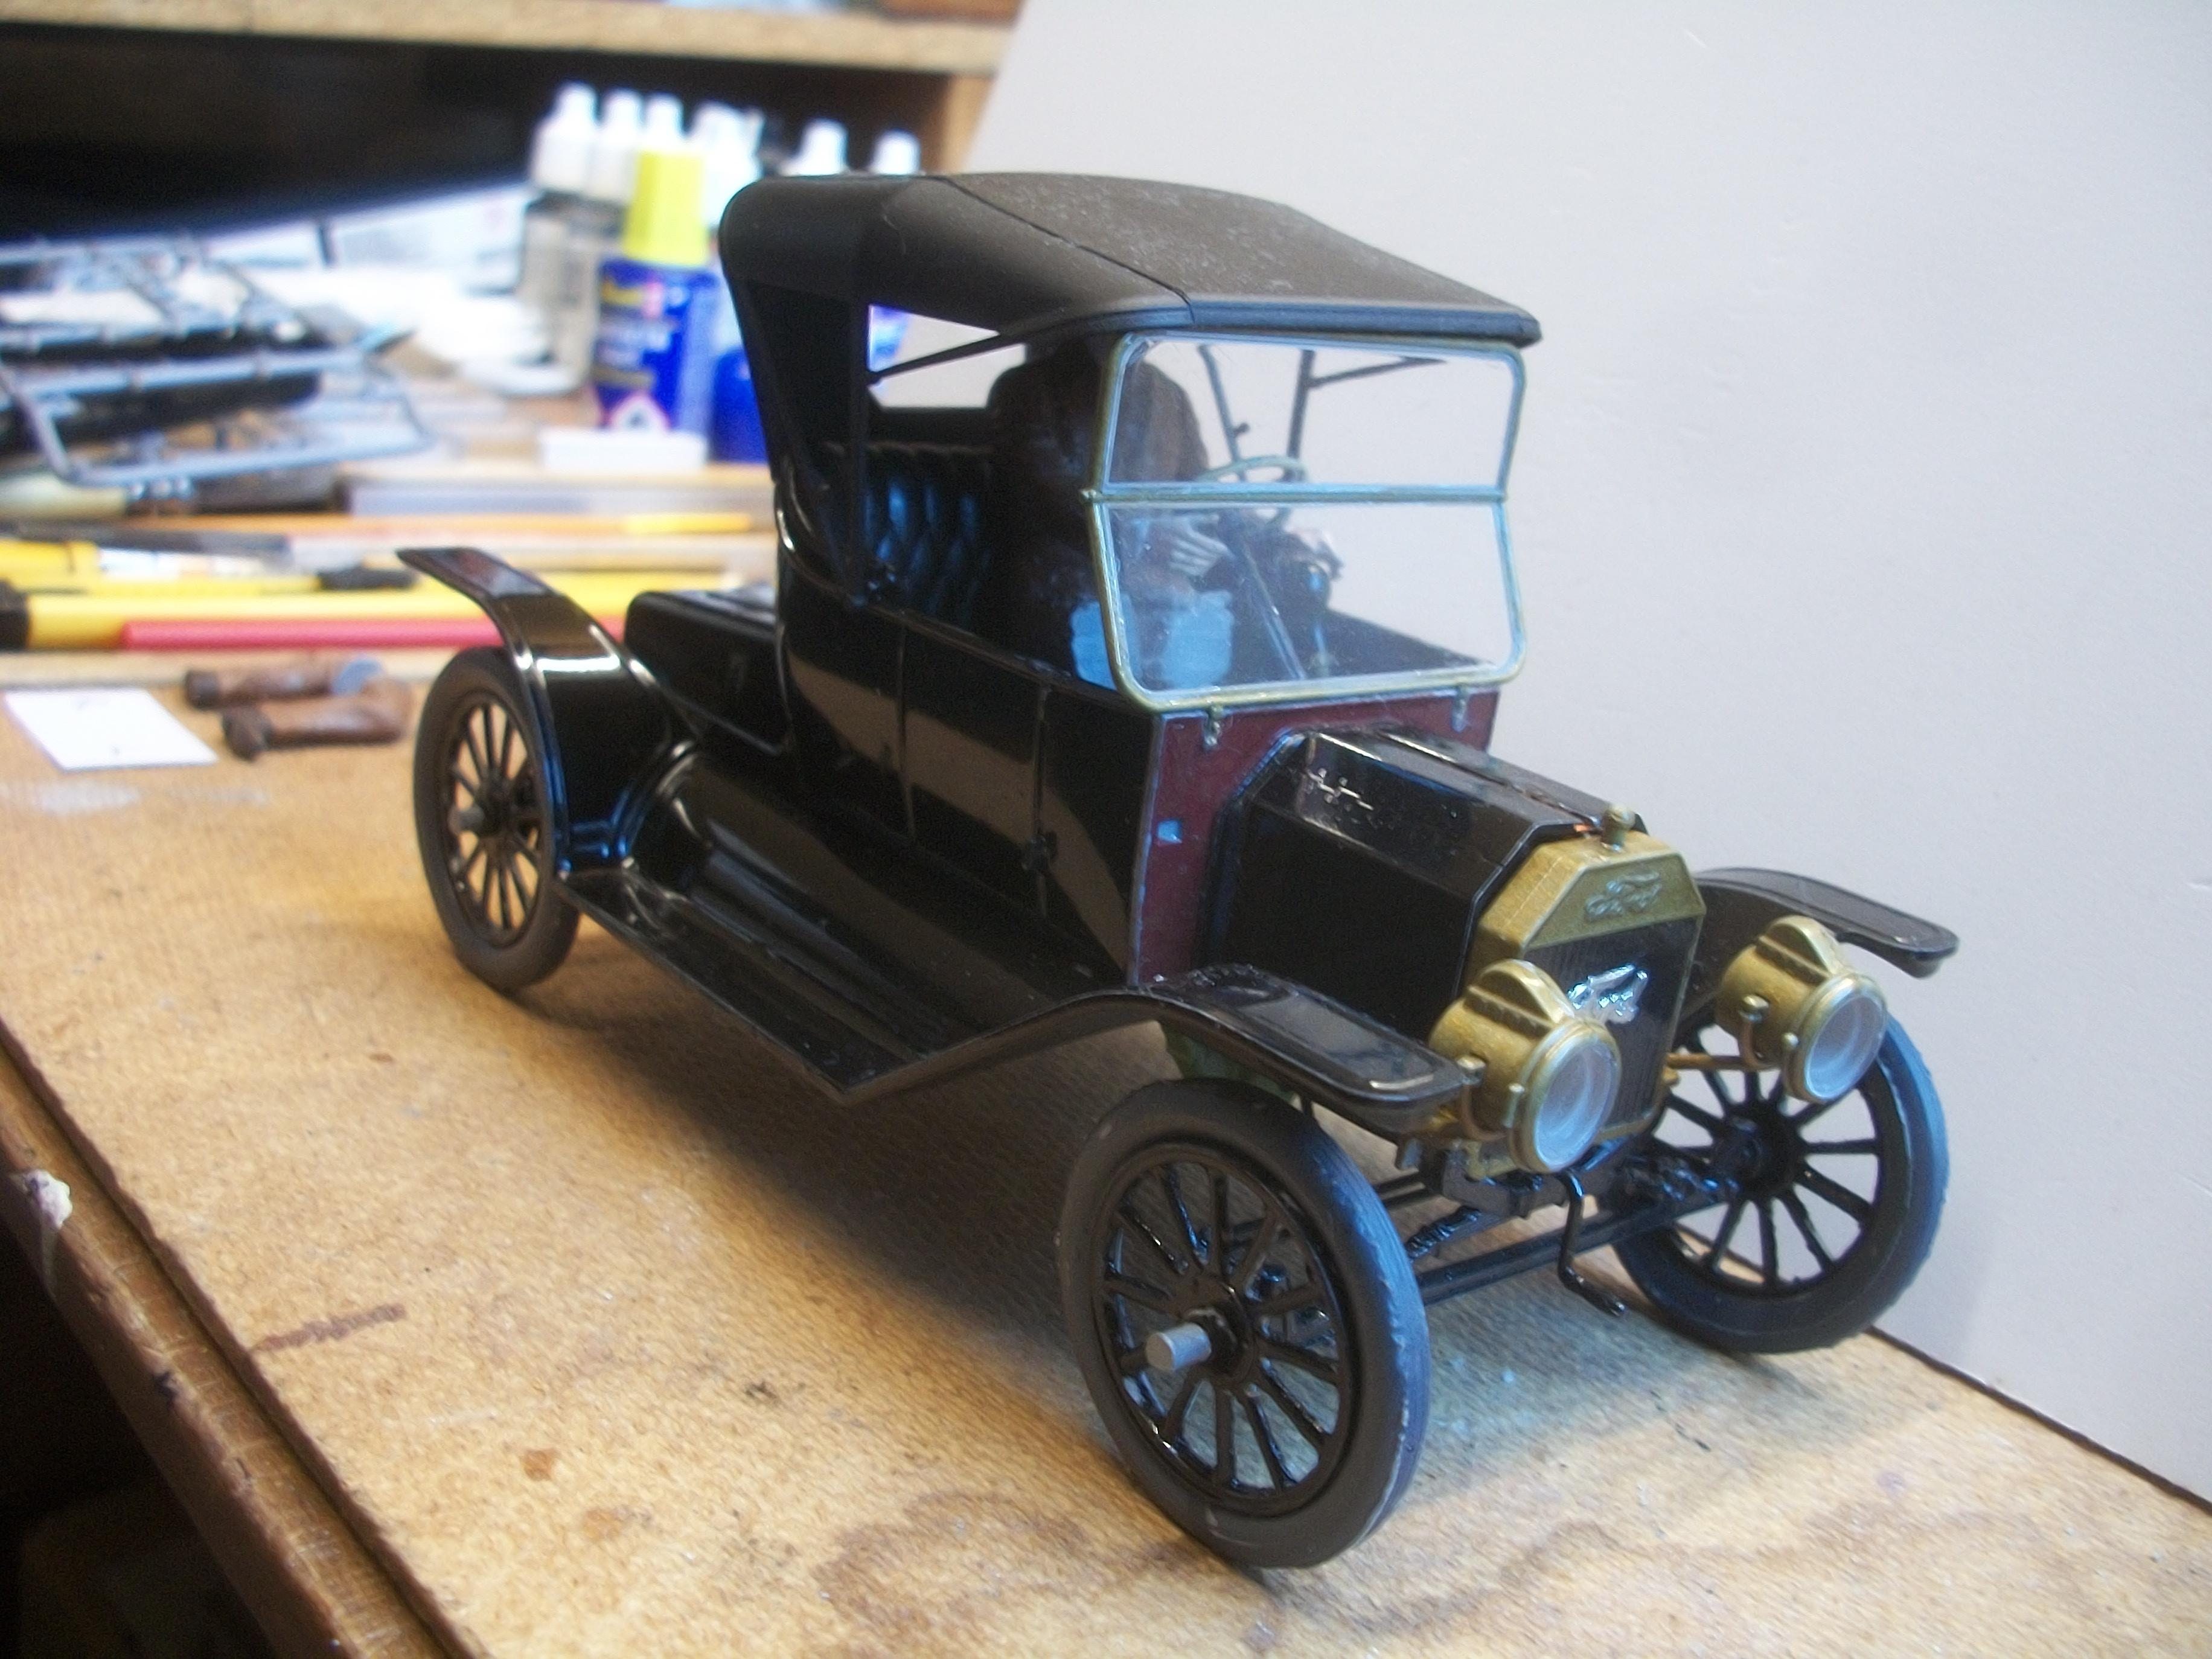
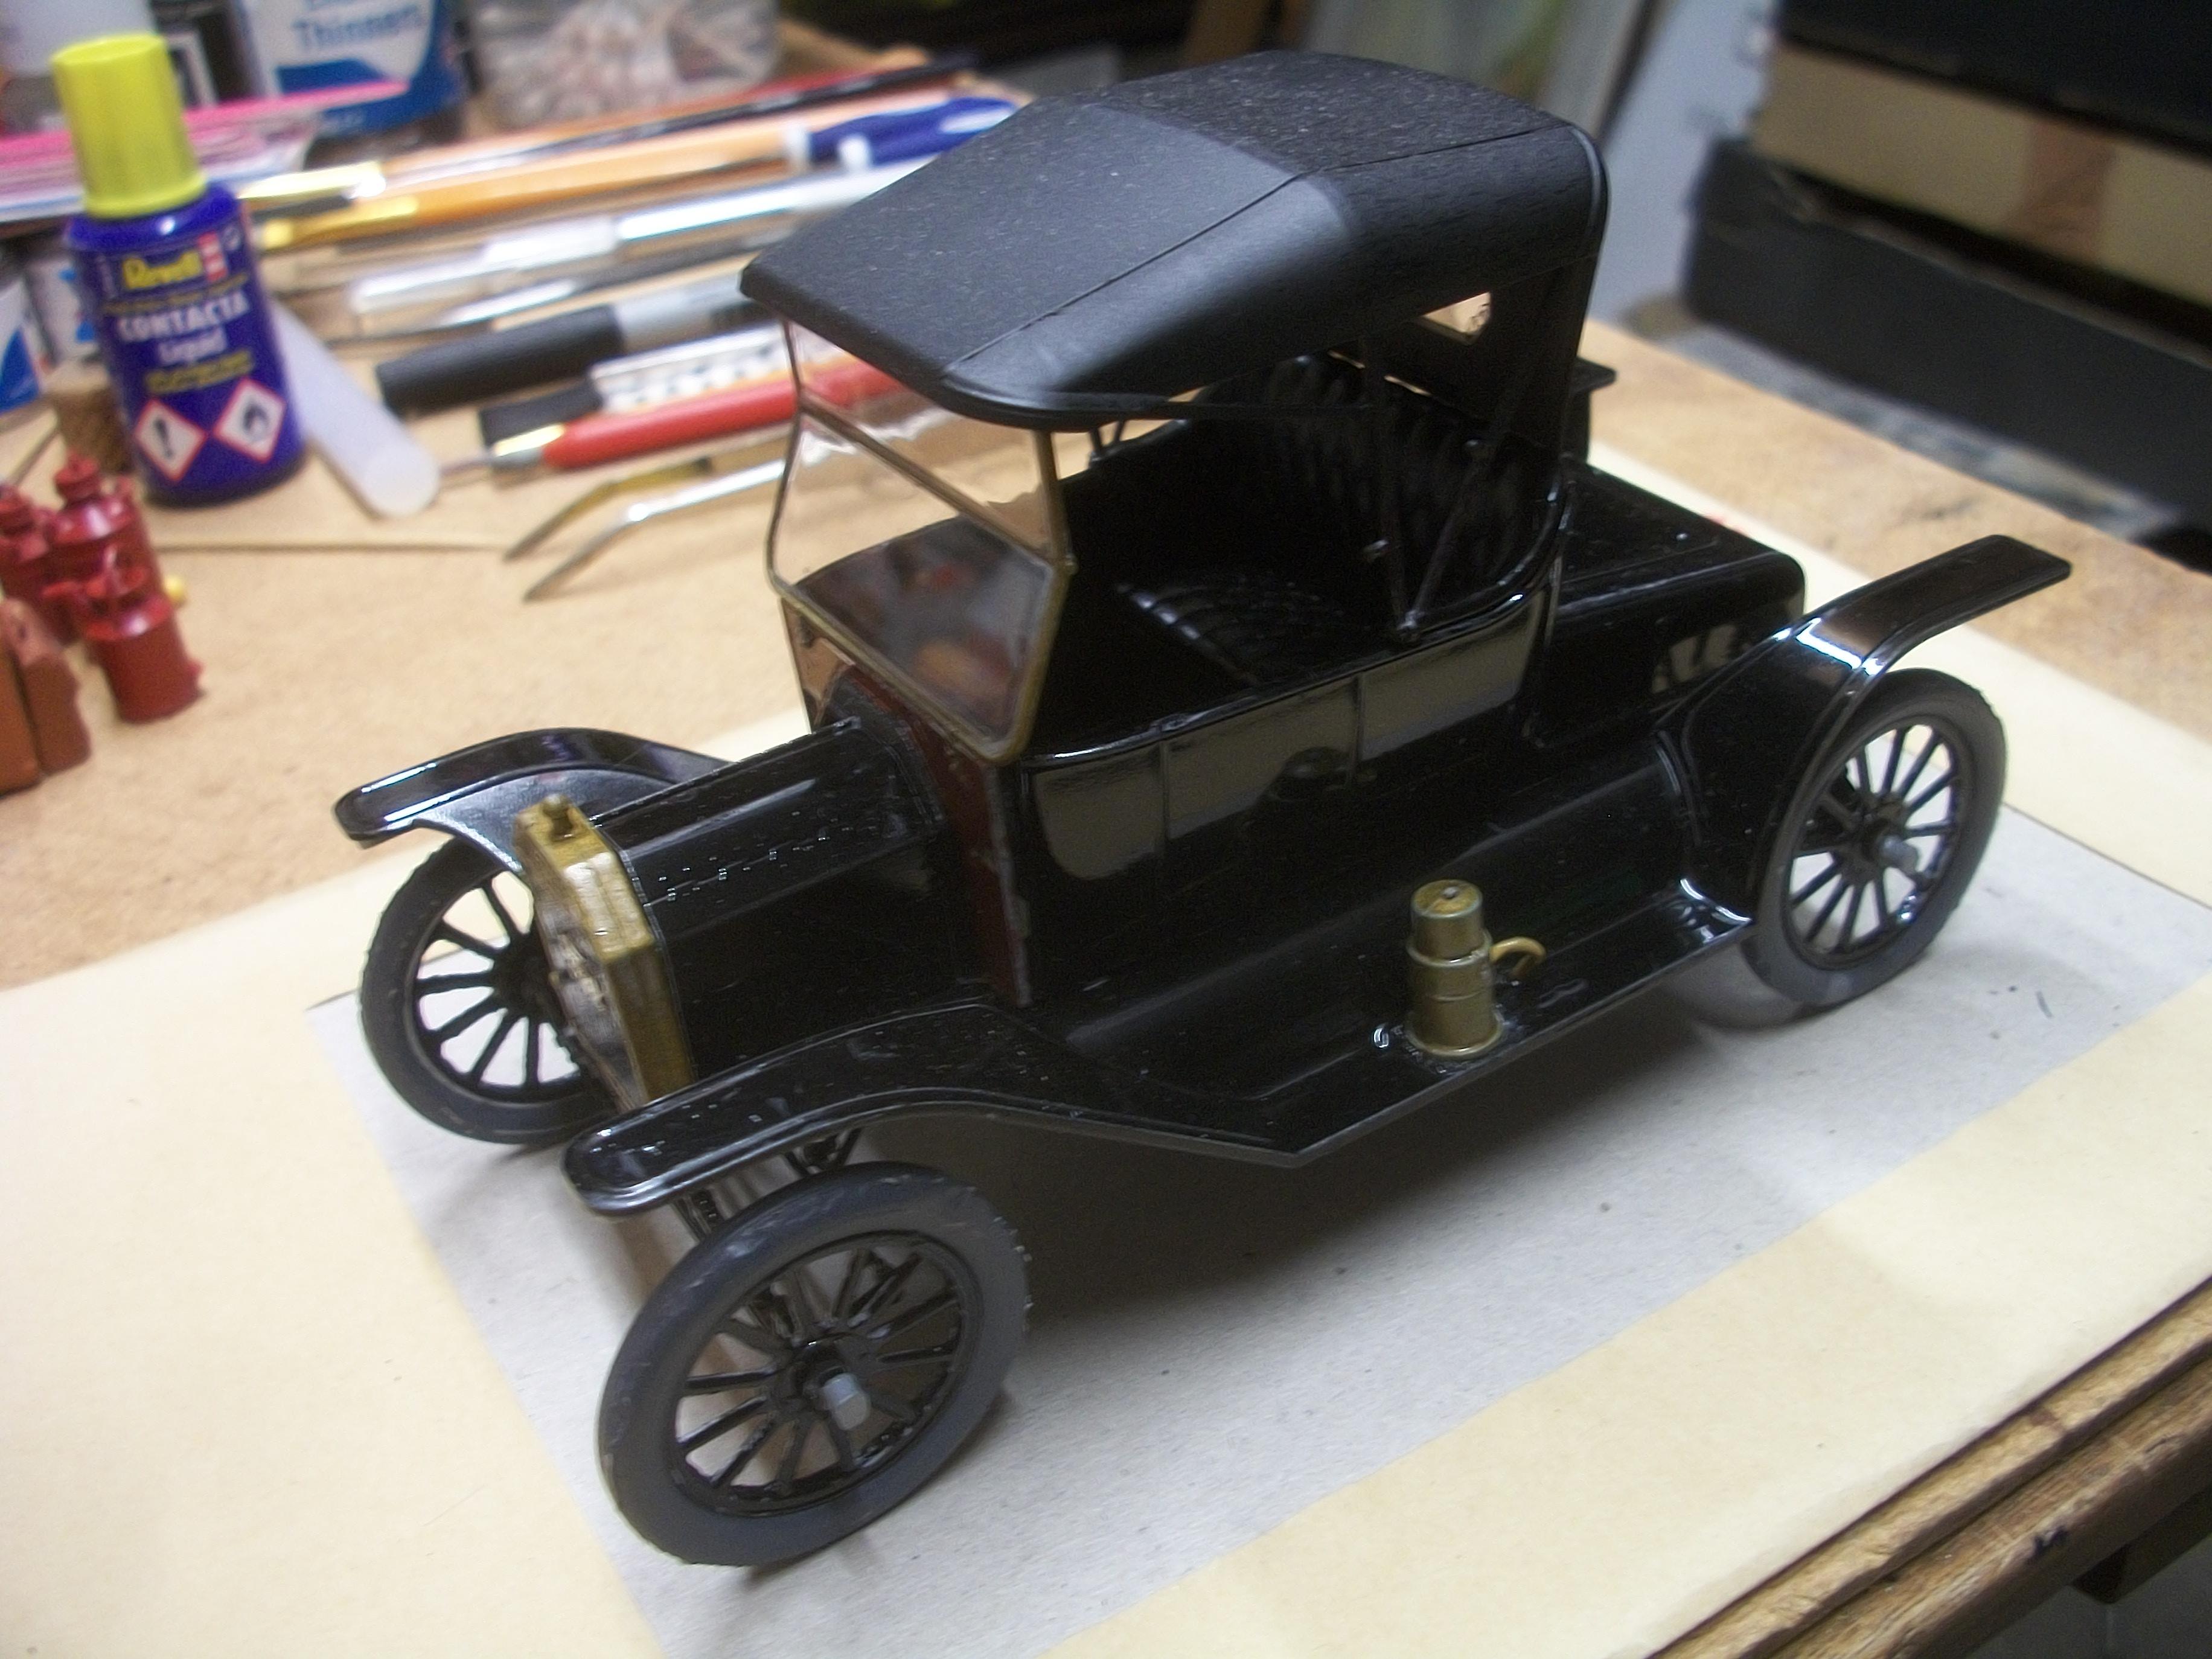
Having fitted the two trunk lid handles in place, I then fitted the two brass windshield hinge bars, also the two brackets at the rear of the canvas top and finally the four hood panel handles . . . These handles for the hood are not shown in the ICM instruction sheet as being fitted, and there are no indentations or holes in the hood panels. Once I had created two indentations on each side, using a metal scriber, the four brass handles were super glued in place . . . This Model T Ford is now completed, apart from three spark plug leads that need fitting in the engine bay, and also the rubber tyres need to be glued to the wheel rims using PVA glue . . . Meanwhile, the A3 size print of the Highland Park Plant in Michigan was carefully mounted onto a sheet of Foamex board, with PVA glue used. Some of the following photos show the Model T standing in front of the Highland Park background image . . . Several of these show the car in colour, with the MDF workbench surface in colour, and the background is in black & white. Some of the photos are in black & white, and these show the surface colour of the workbench to be very close to the actual road colour in the photographic image . . . I played around with the light source, so as to simulate the shadows and highlights with those in the background photo. There will be figures added to this composition at a later stage . . . David

-
Thanks Greg . . . I did make sure that the driver was given some anesthetic during the process of sawing off his legs !!! David
-
Thank you David G. and I continue to learn new stuff, which led me to Lord of the Rings, and this quote . . . The name is in fact related to Aragorn's other name in Bree, 'Strider' (and was said to be one of many insulting names that Bill Ferny had heard for Strider). Shank in this sense means 'leg', so 'Longshanks' means simply 'long-legs', and relates to his considerable height and the long length of his stride. David W.
-
Thanks for the info Len regarding Edward I, and I just assumed that Longshanks must have been an American guy ! You could certainly use gold Sharpie between the chrome trim pieces on your '57 Ford wagon, as long as the Sharpie has a finer tip. My Sharpies I think are one mm . . . Very often, the Sharpie can do a better job than the paint brush. David W.
-
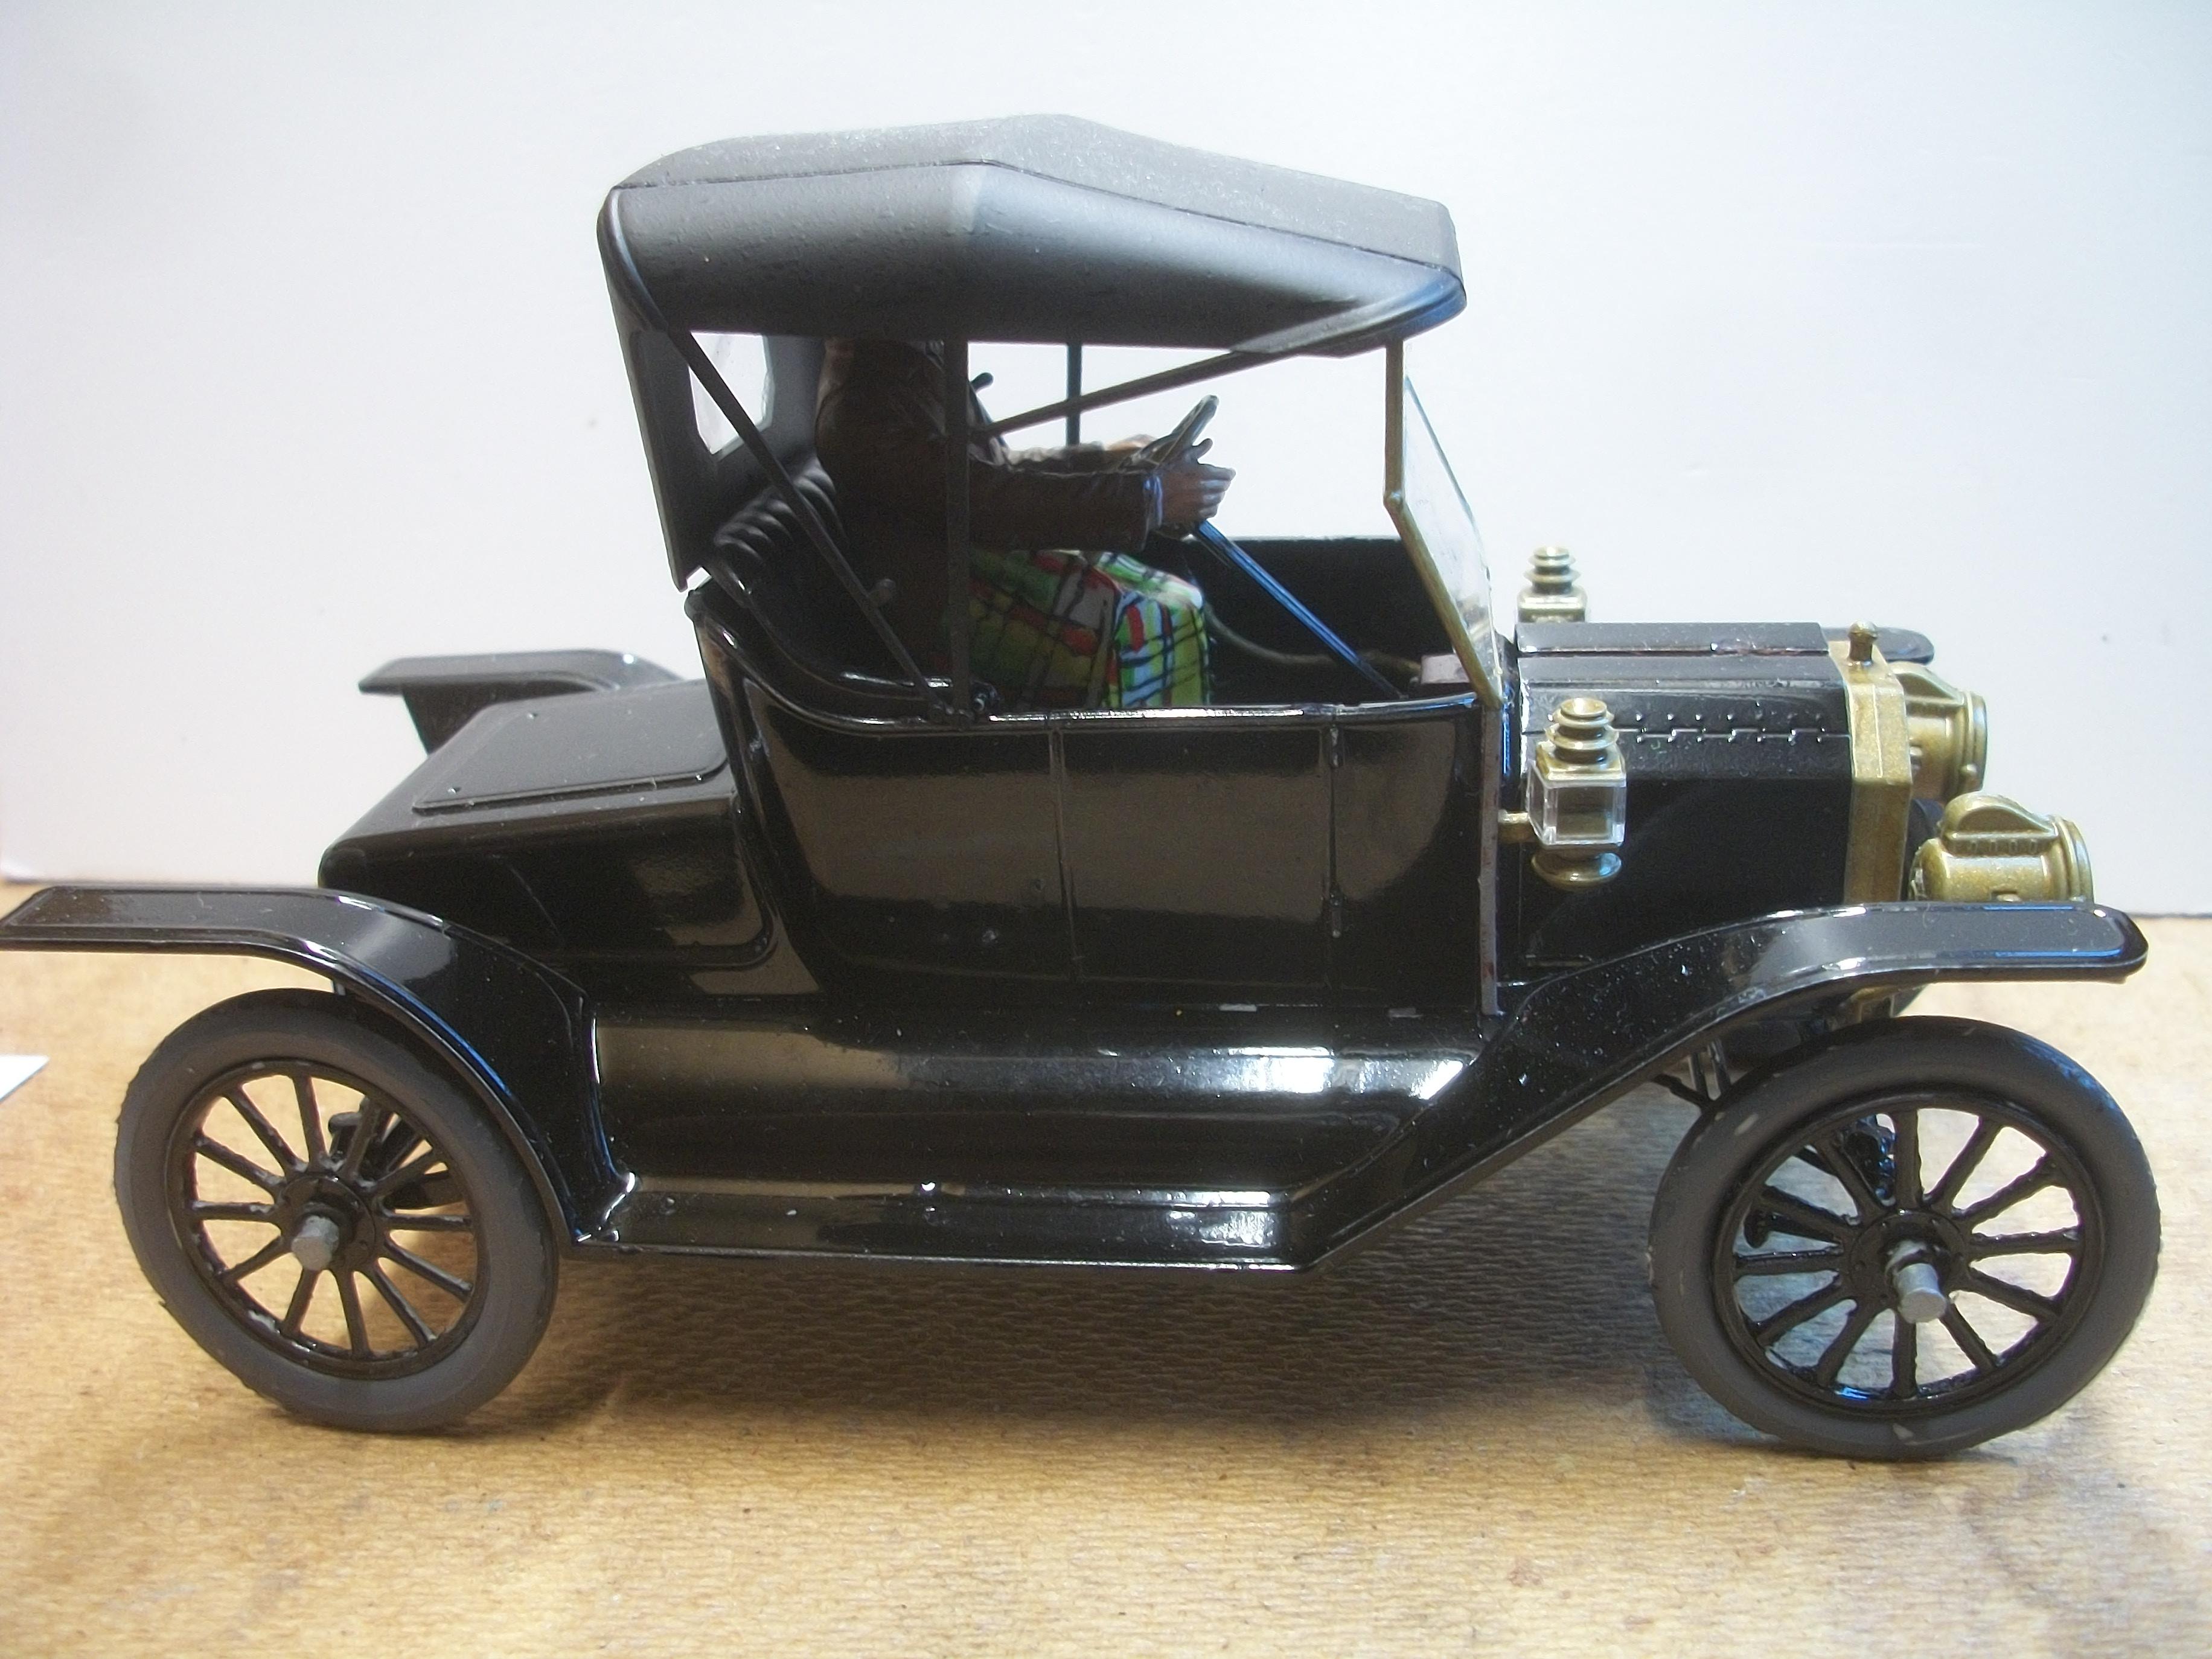
Sharpies are an excellent product for model builders, and I am using a gold Sharpie for some of the smaller ' brass ' parts in this build. The gold colour is identical to the Humbrol brass enamel finish as it happens . . . No, the driver does not yet have a name, but at some point he shall be named ! ( I am not familiar with Ol' Longshanks . . . who was he ? ) . . . I agree that the driver figure was most probably intended for the Touring version of the Model T specifically, and with the Touring version being longer than the Roadster version, maybe the inside of the driver's compartment is different in some way? Certainly it was odd that the right leg was almost fitting well, and yet the left leg was substantially too long . . . This build could well be completed within the next few days, and there are only three pairs of tiny parts remaining on the sprues. The upper body was glued into place onto the lower body this morning, as I confirmed that the figure and seat fit correctly over the gas tank and under the tartan travel rug. David W.
-
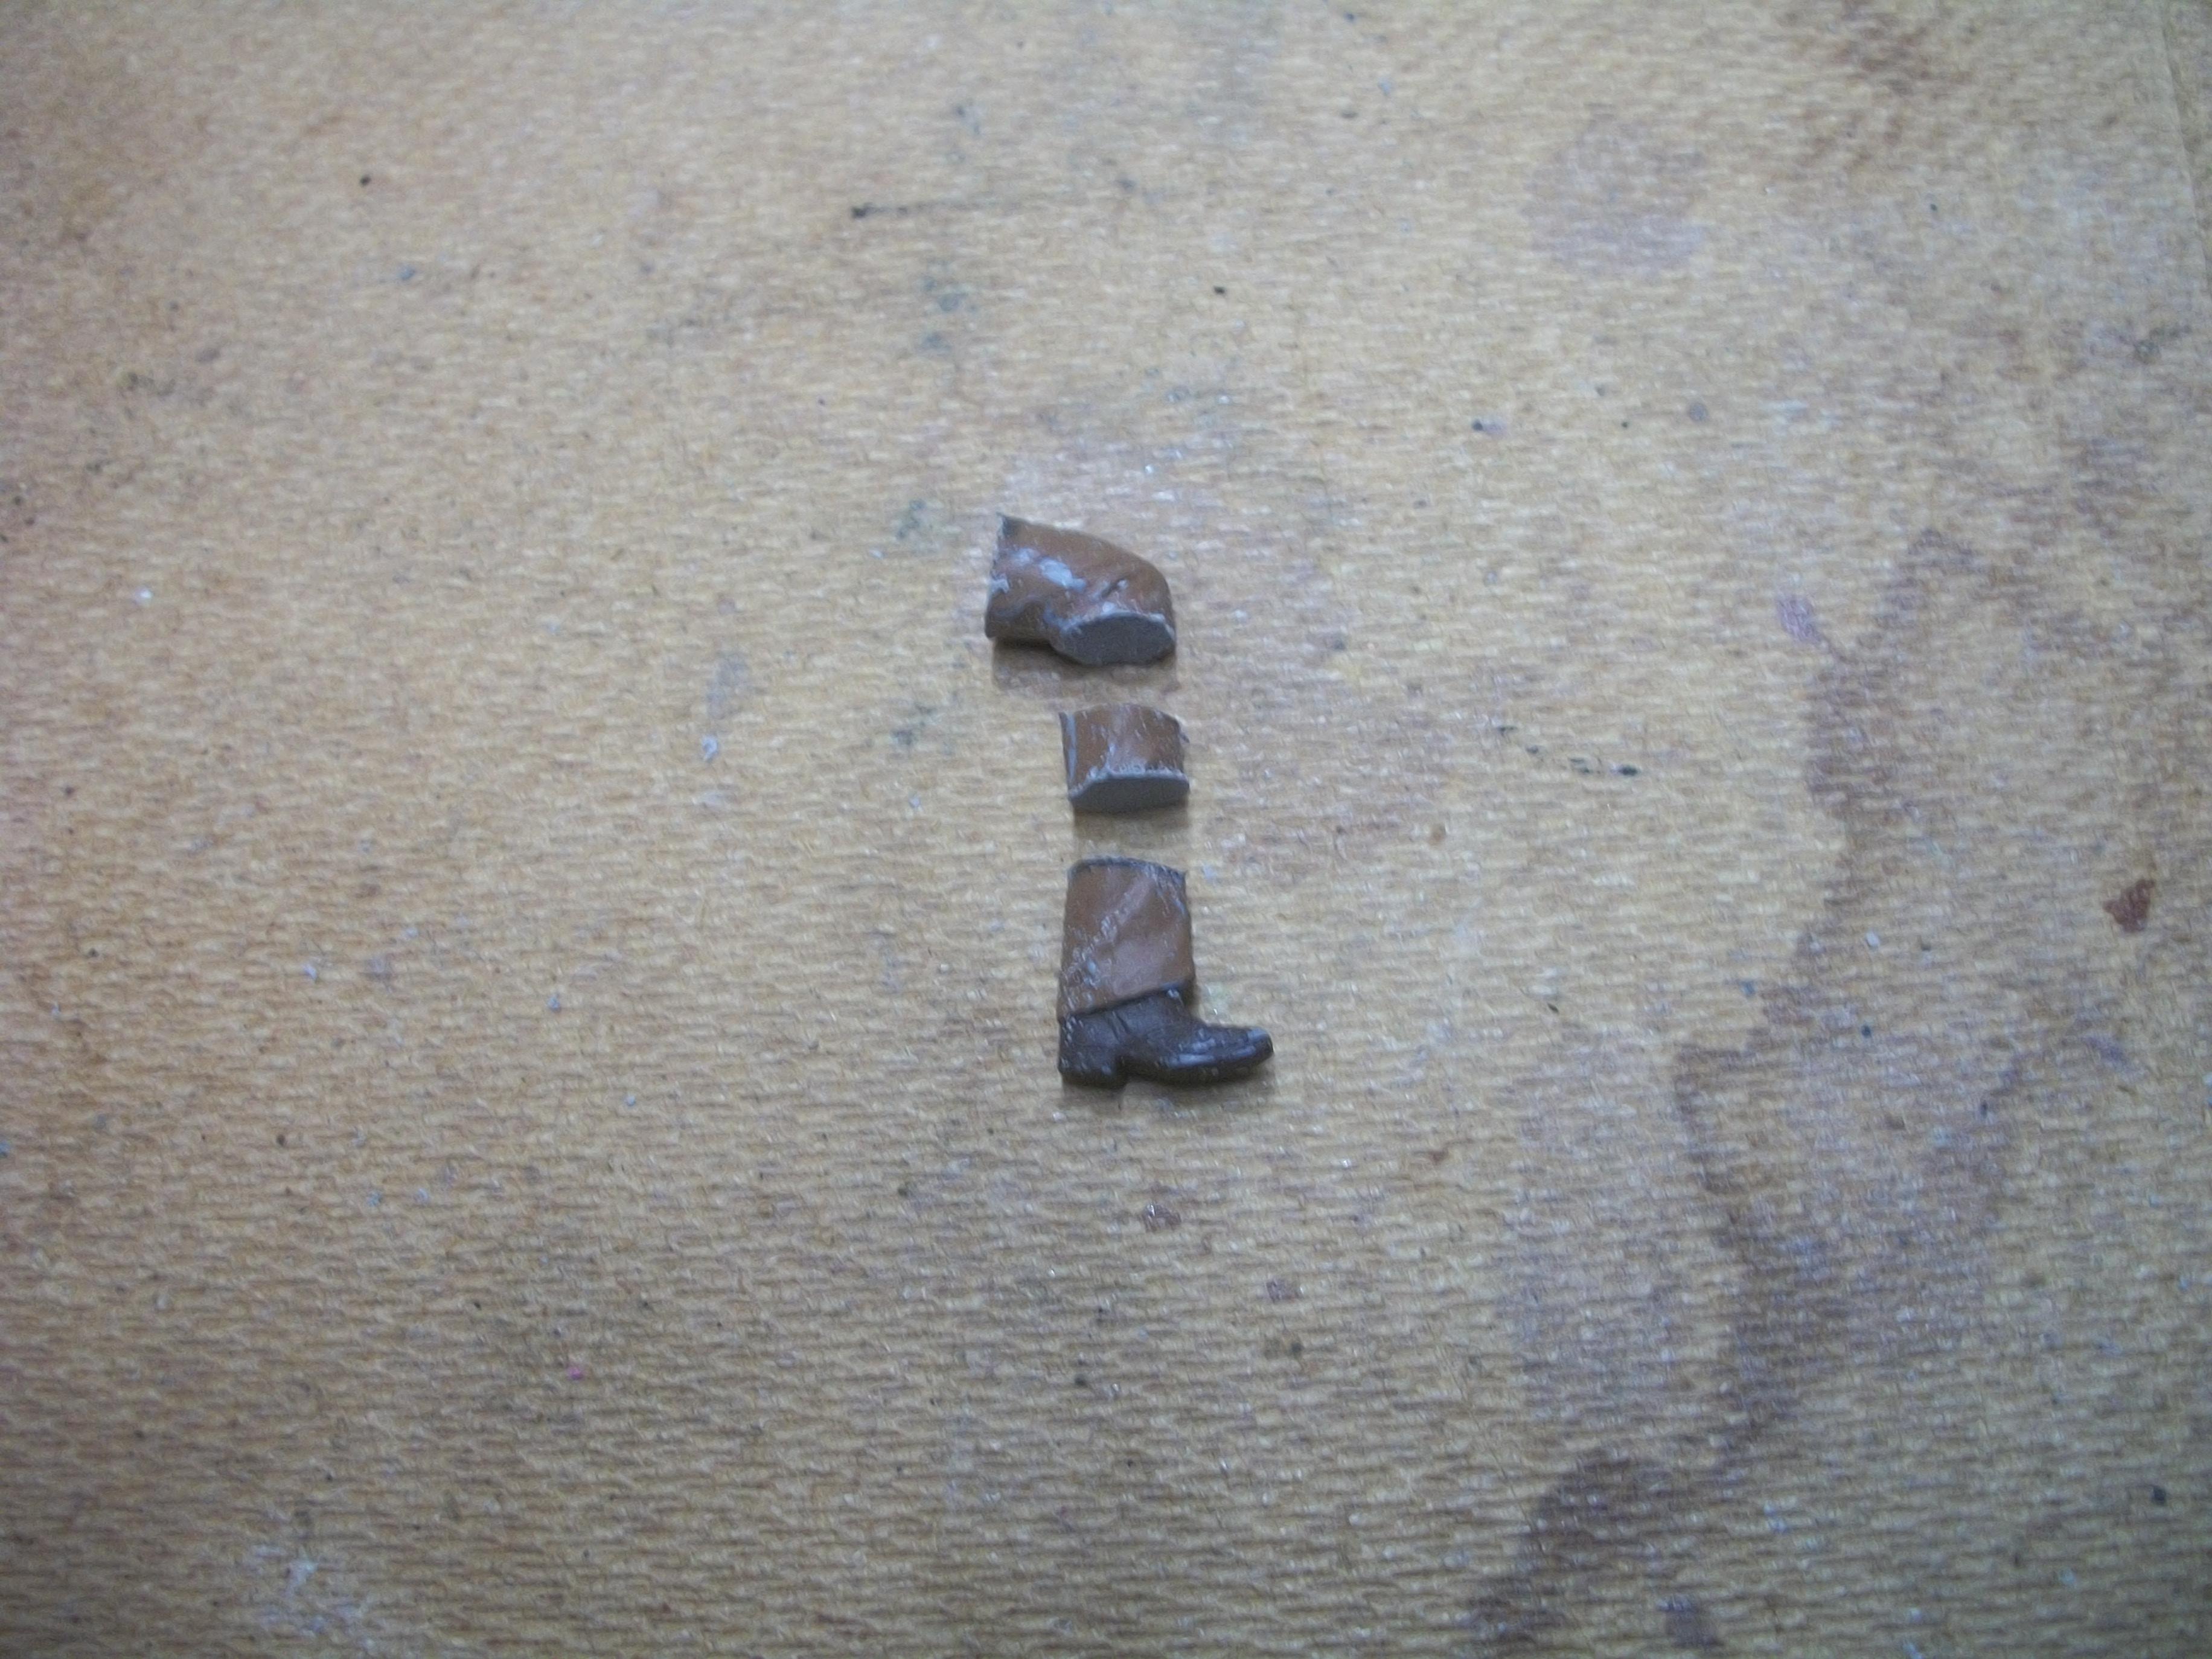
I carefully removed the clear lens from the rear lantern (carriage lamp), and managed to avoid breaking the lamp bracket. Decided to use red and blue Sharpies rather than paint to colour the lens from the inside . . . This was red facing to the rear of the car, and blue to the side, according to the ICM instruction sheet. The lens was clipped back into position, and the lamp looks good. As regards the driver figure, the right leg was mounted on the floor, using super glue on the heel and toe of the shoe, and this was just to the right of the foot pedal . . . Then the left leg of the figure was sawn off immediately below the knee, and a further 5 mm of material was removed from the lower leg area. The two sections of the leg were super glued together, which was followed by mounting the foot to the left of the foot pedals . . . Both legs were mounted in this way, and the knees were both at the same height. It was necessary to insert a small block of balsa wood underneath the heel of the driver's shoe in order to obtain the correct height of the knee . . . Leaving the legs to set overnight, the travel rug would be added the next day . . . David
-
Yes I think the travel rug / lap blanket idea is working thanks David, and the right leg of the figure is not giving me too much trouble . . . The left leg however, is proving to be rather tricky, but getting there slowly ! David W.
-
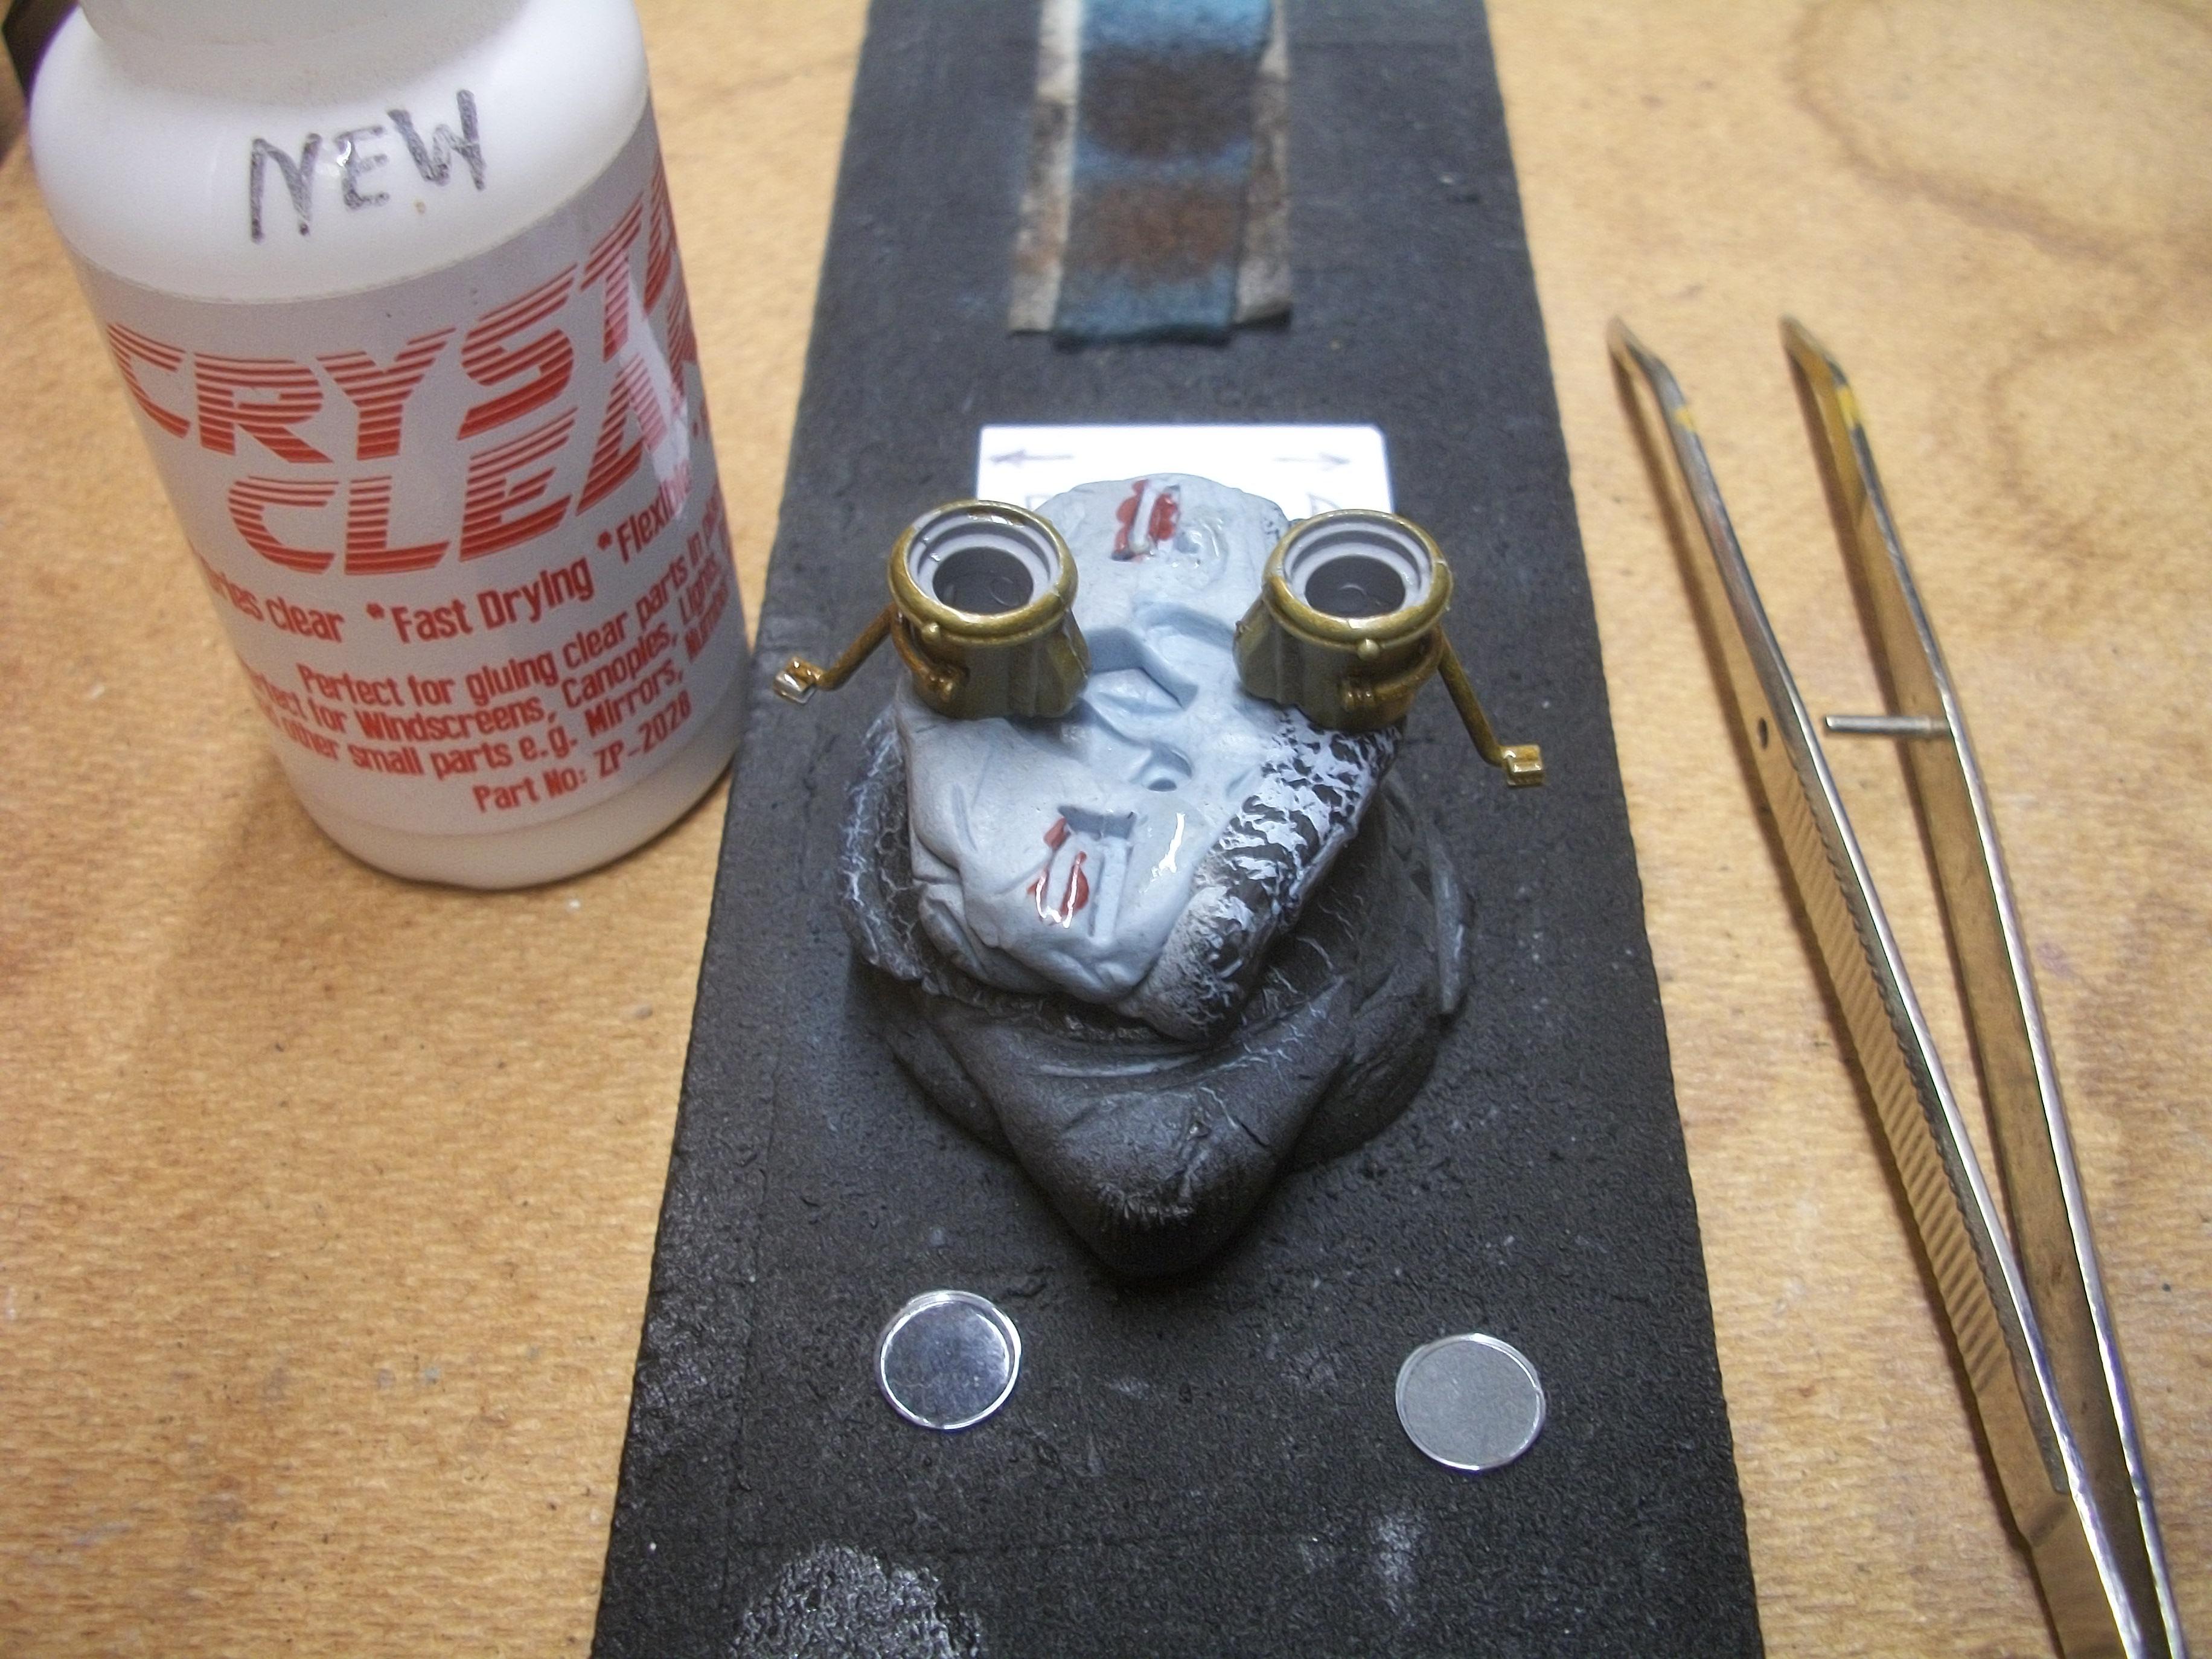
The two headlamps were carefully super glued in place, and these were difficult to keep in position while the glue took hold. Next up were two sidelamp lanterns, which also required super glue as the styrene glue wasn't holding . . . Then a third lantern was mounted on the rear of the upper body. Fortunately, the three clear lenses were clipped into the lamp casings and not glued in place. This was fortunate because I realised that I had forgotten to paint the inside of the rear lens in red ! Moving on to the driver figure . . . The legs have been sawn off at the lower edge of the jacket. and I have fabricated a travel rug by using a small piece of white masking tape, which was coated with PVA glue overnight. Following this, the tartan pattern was created using Sharpies rather than paint. Once wrapped around the lower torso of the figure, I was able to see how the two sawn off lower legs and feet needed to be mounted on the floor, either side of the foot pedals . . . The absence of plastic material between the legs and the body of the figure will not be visible when covered by the travel rug. At this stage I put together a mock up of progress so far . . . The main components of the model seem to fit together quite nicely, including the canvas top. I am probably around one week away from completing this Model T Ford . . . David
-
Charles . . . I am always impressed and inspired by how much you can get into such a small space for your dioramas, in terms of content and composition. The vehicle, the figures and the building all fit nicely onto a relatively small baseboard . . . I continue to learn from your ideas . . . I am not usually a fan of military scenes, but this one caught my eye, so well done ! David
-
Ah, so wives do have their uses Carl . . . ( only joking of course . . . mine is away on holiday at the moment ! ) David
-
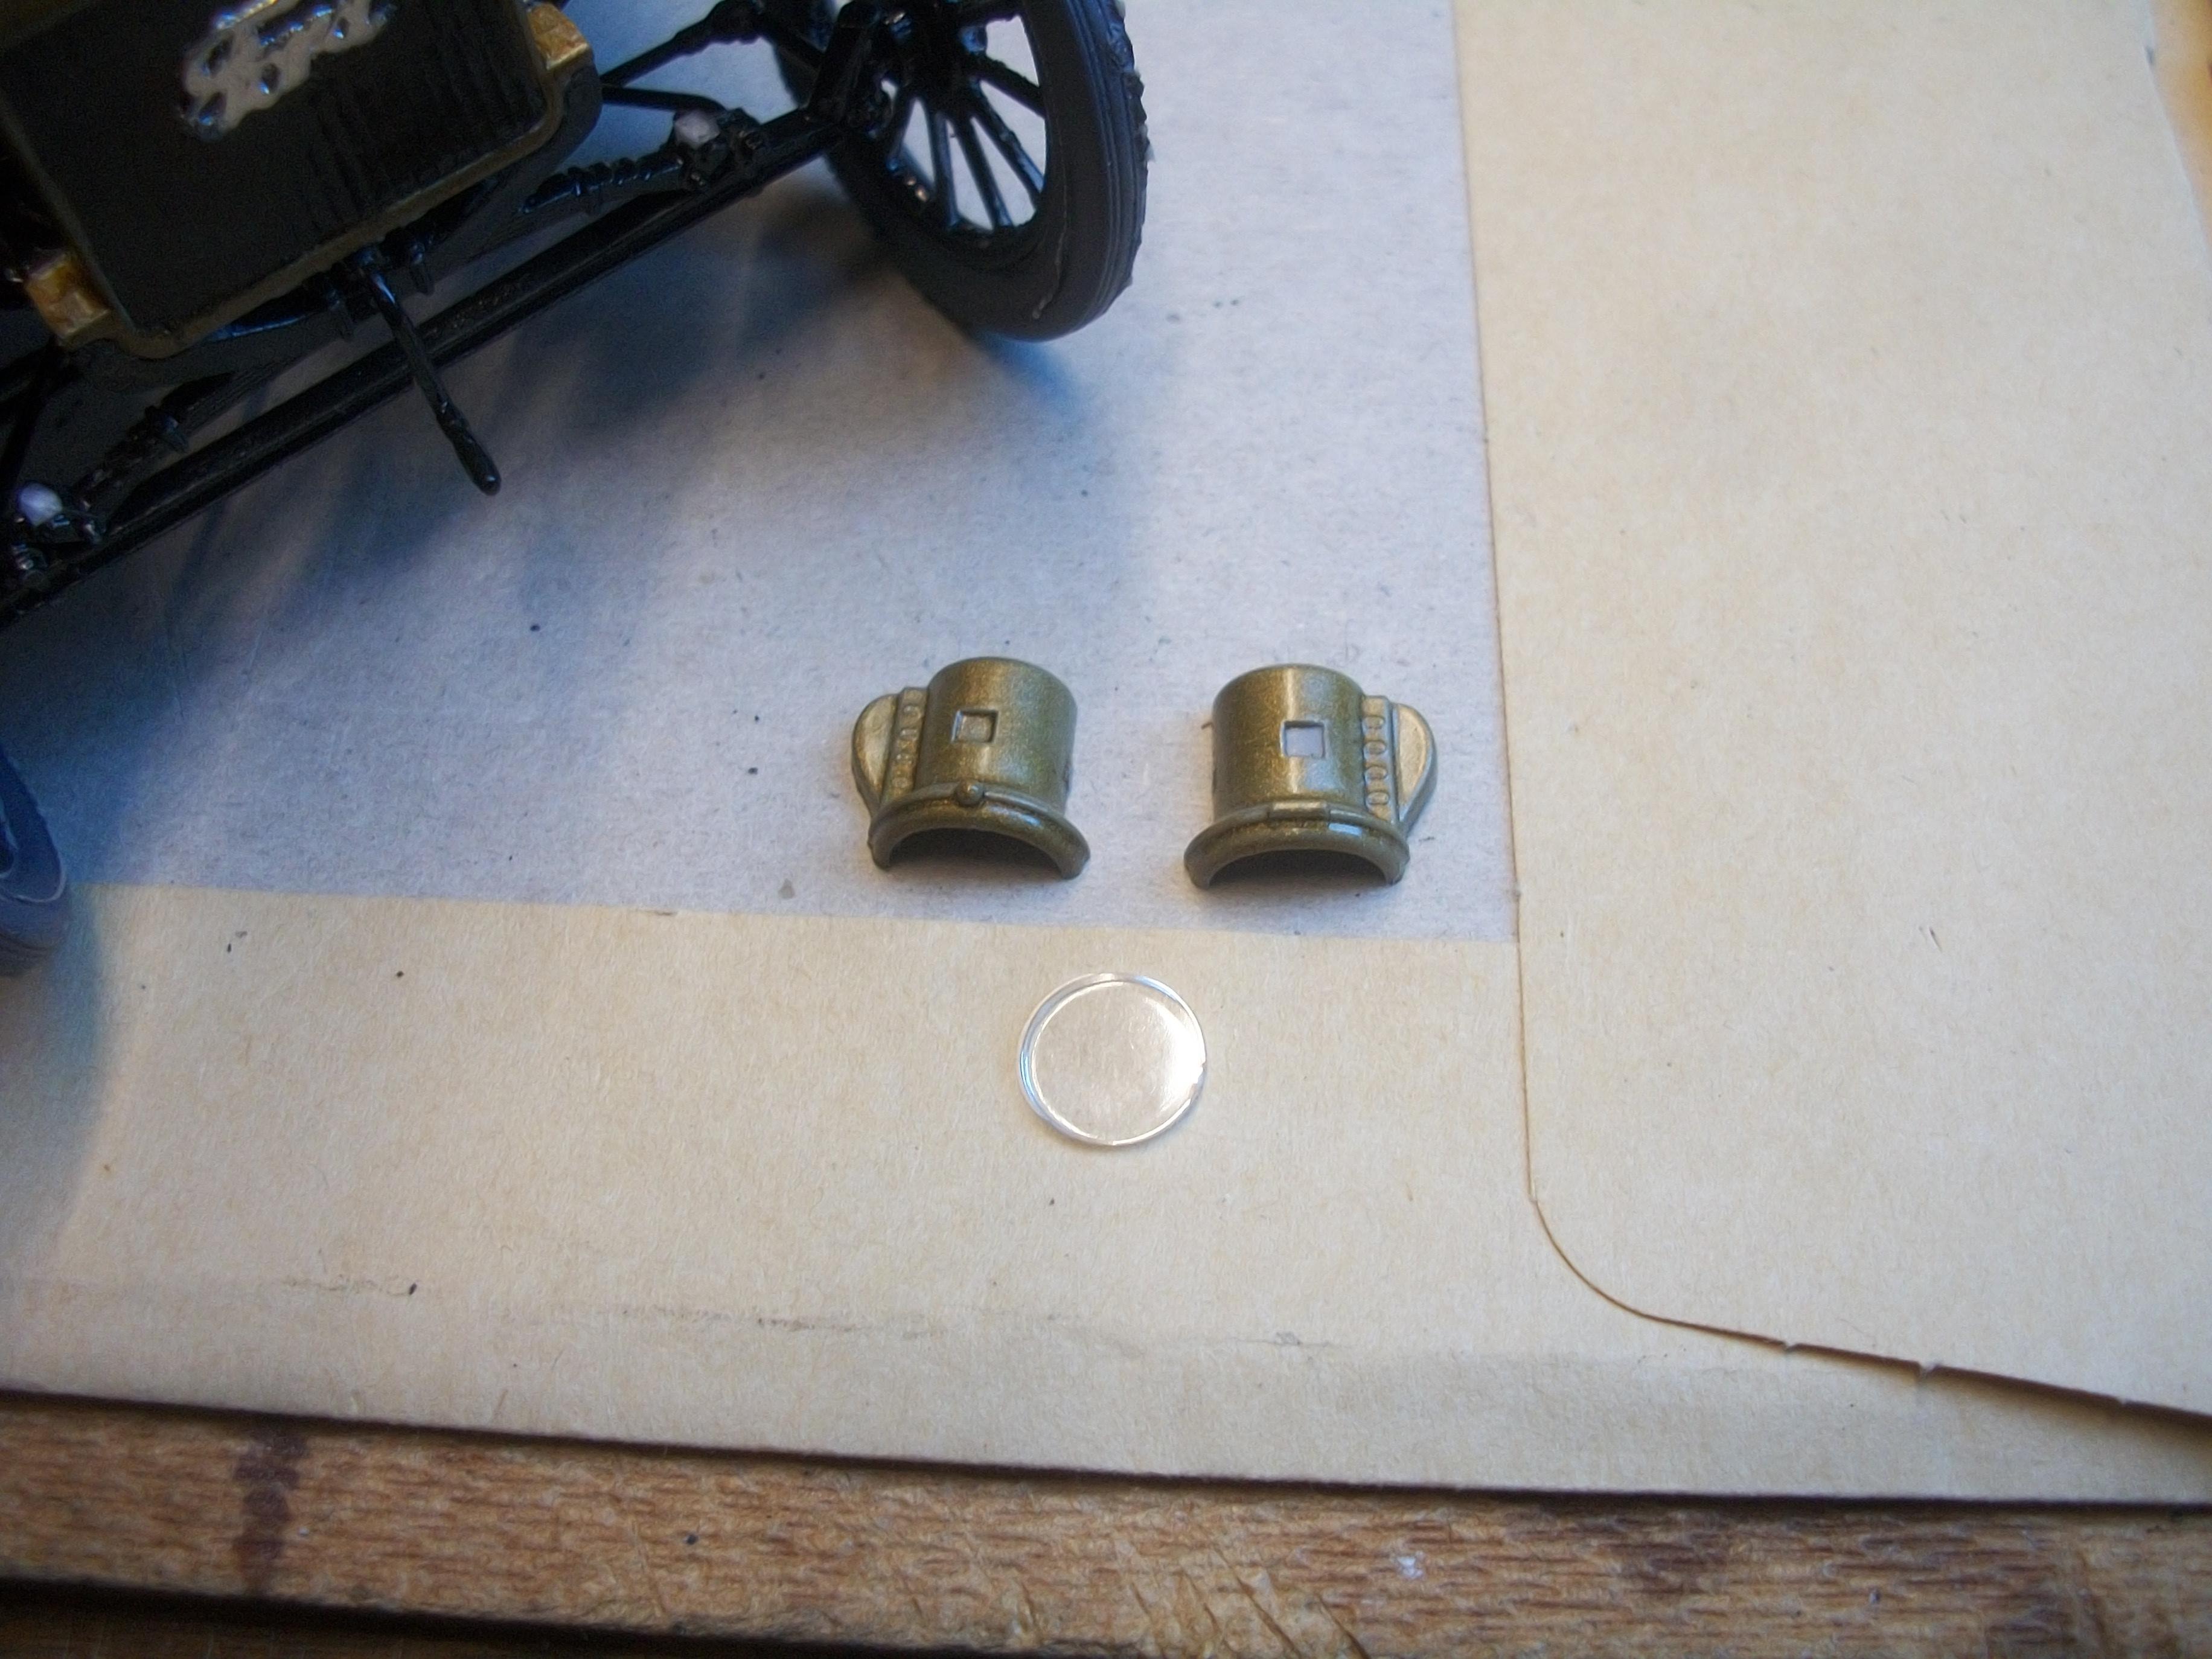
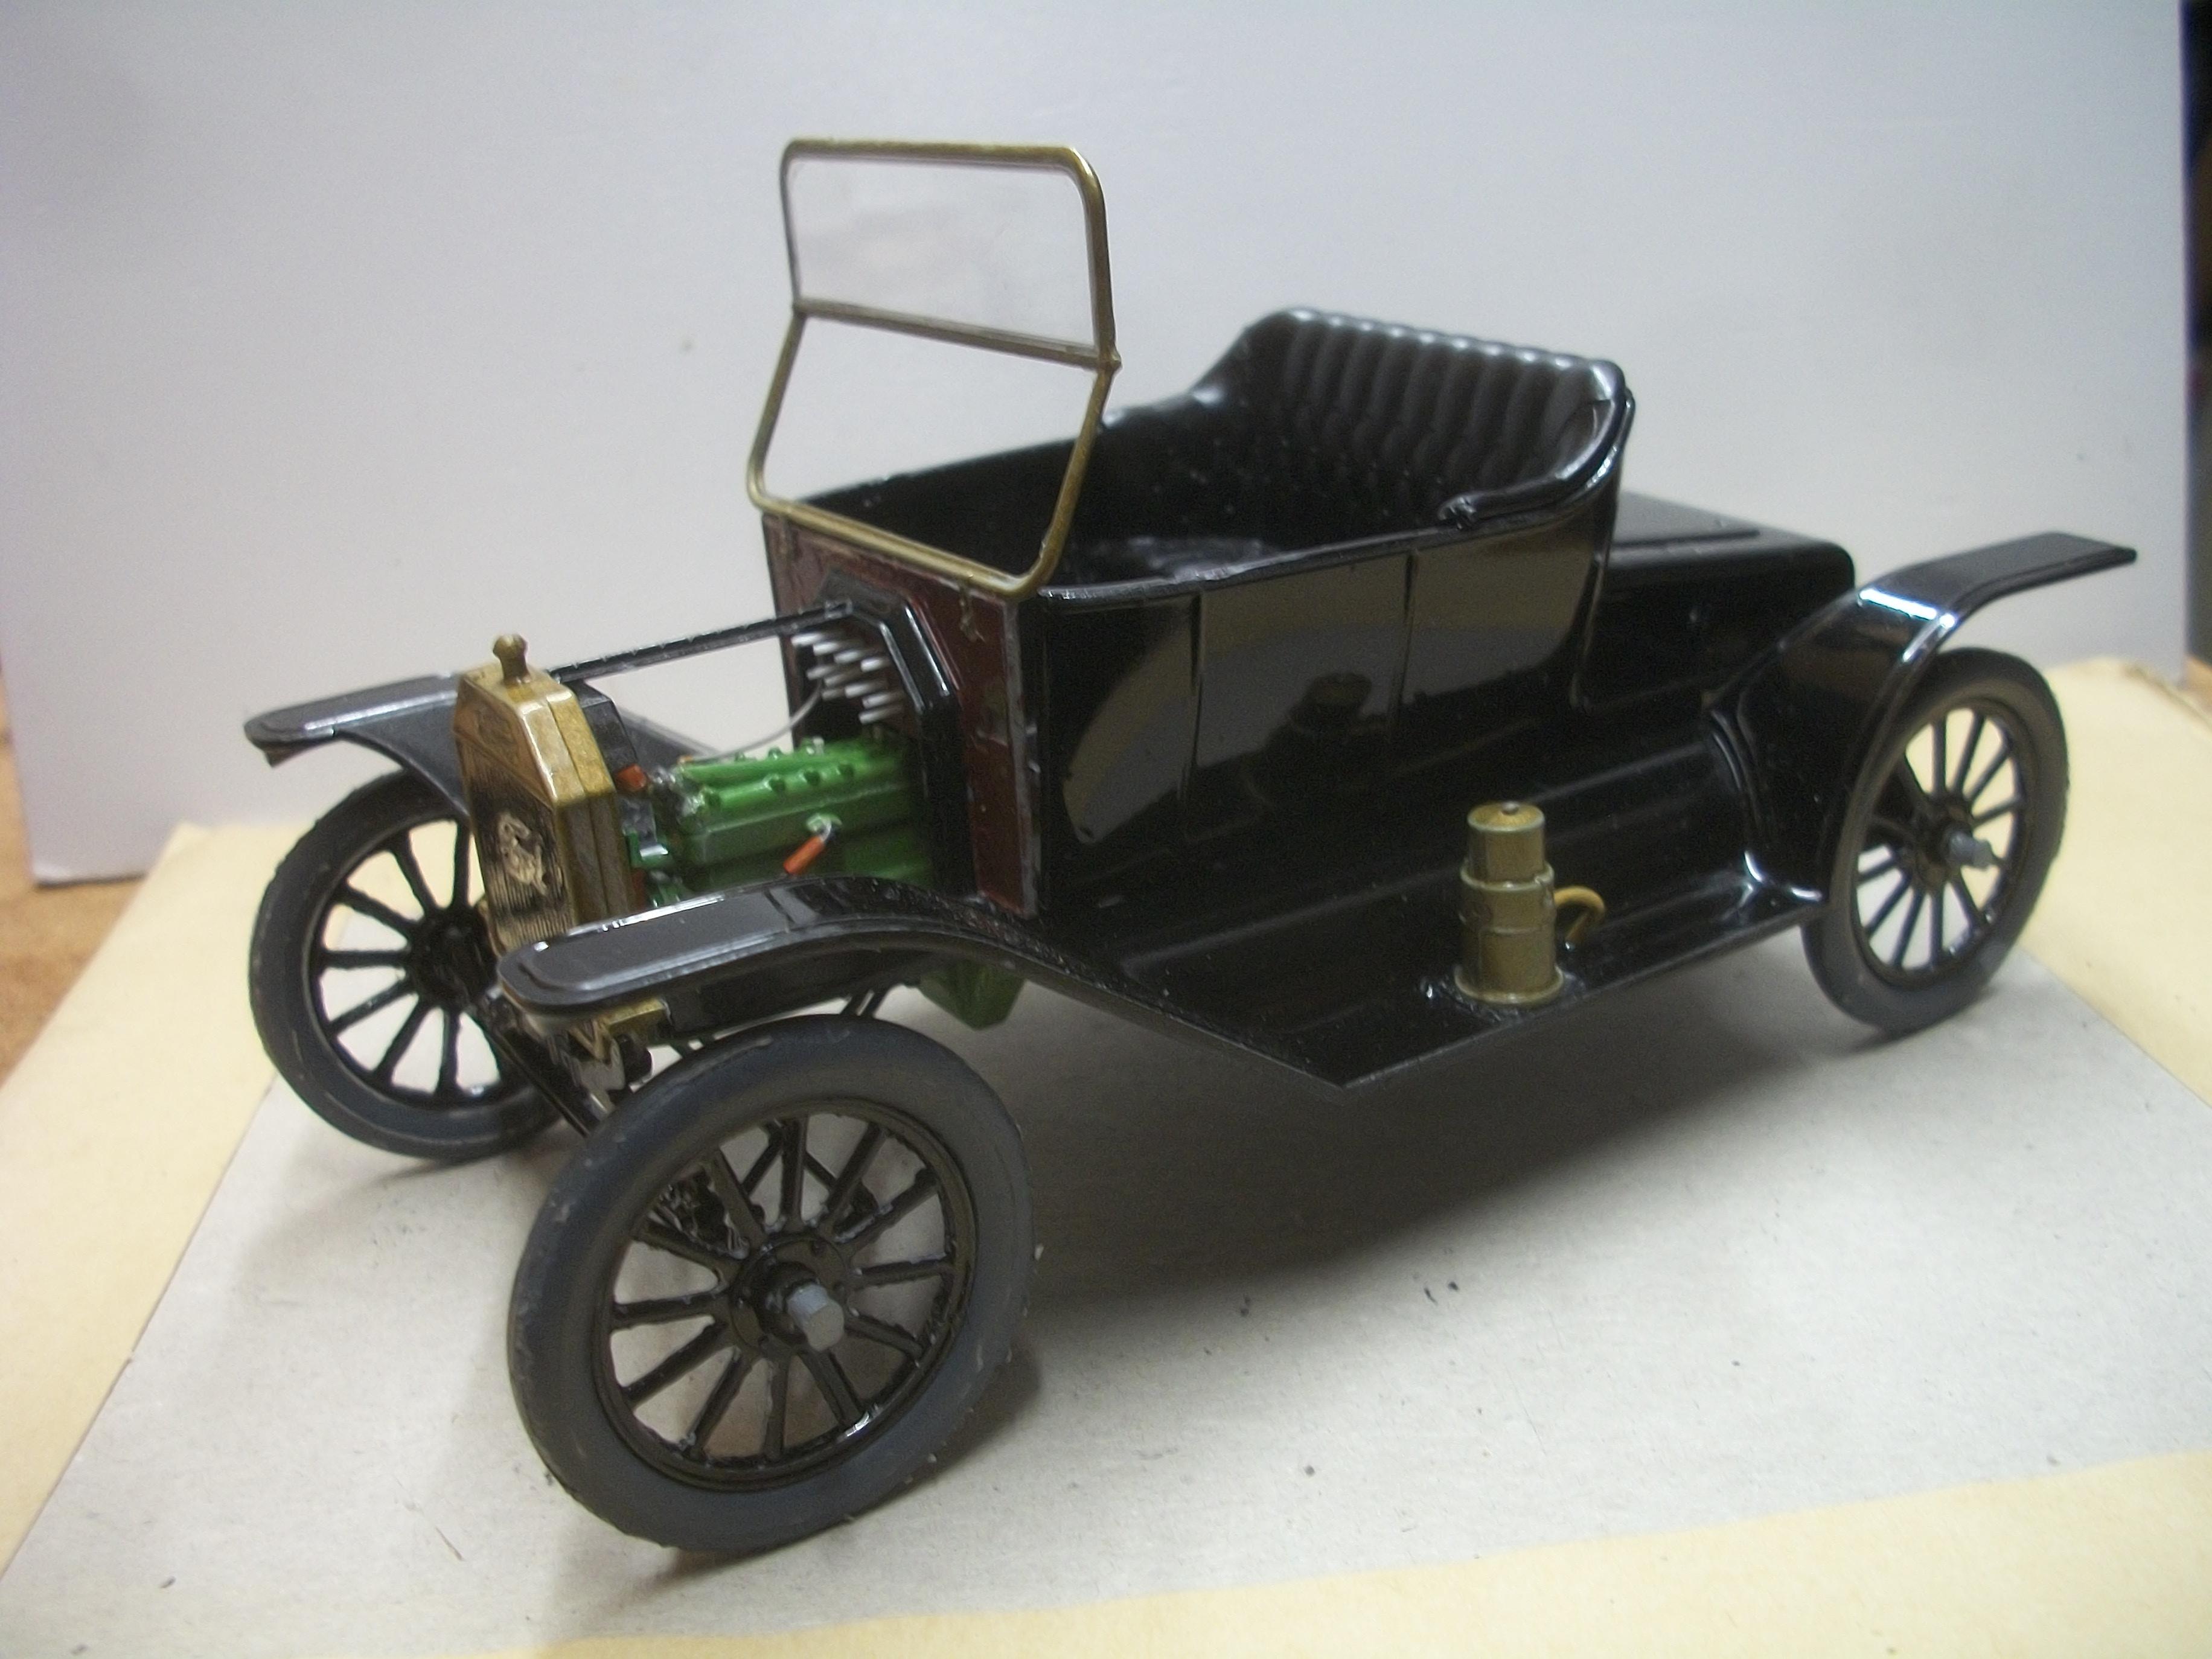
There are the two headlamp casings in brass on this Model T, and each of the casings has two halves. The two halves are glued together, with the clear lens added afterwards. A mounting bracket is also painted in brass, and I found that the arms of the bracket grip the casing so precisely that no glue was needed. The brass paint is drying overnight, and the assembled glued parts are being allowed to set. Tomorrow I should be able to glue the headlamp mounting brackets to the front of the chassis . . . As well as the two headlamps, there are three lanterns, and two of these are front side lamps, while the third lantern is a rear lamp. The crank handle has been attached to the front of the car, immediately below the radiator shell . . . David
-
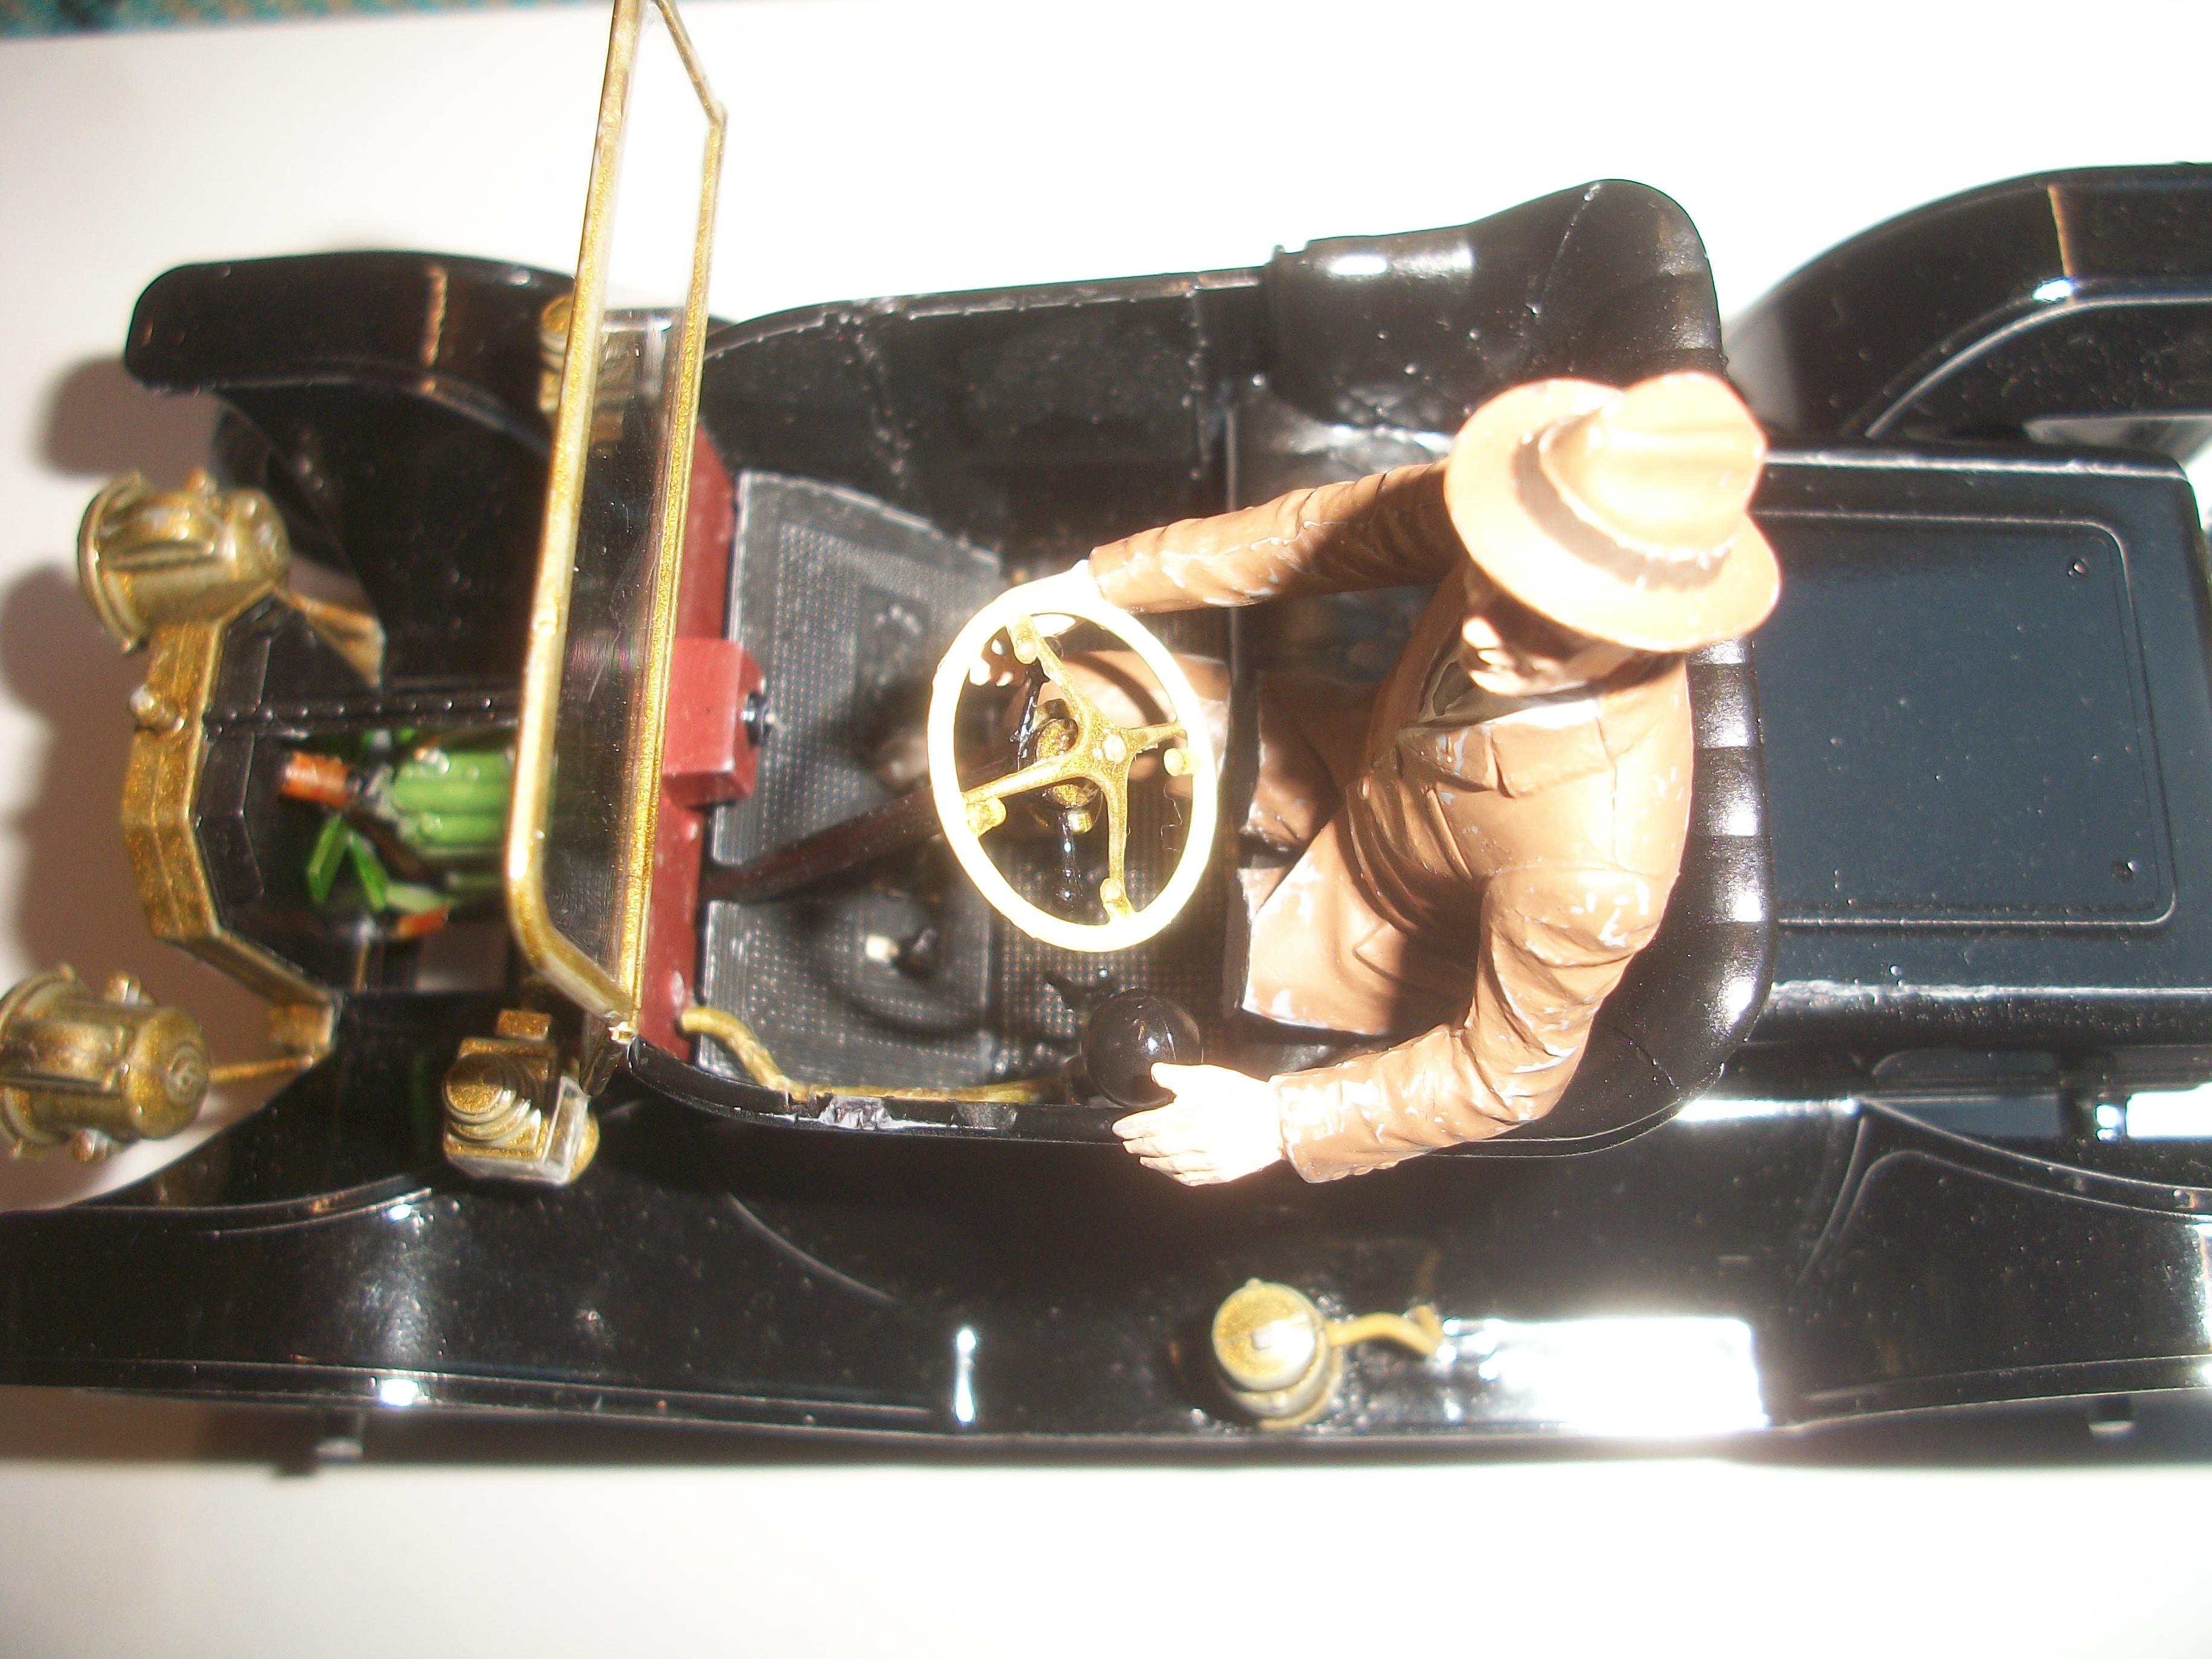
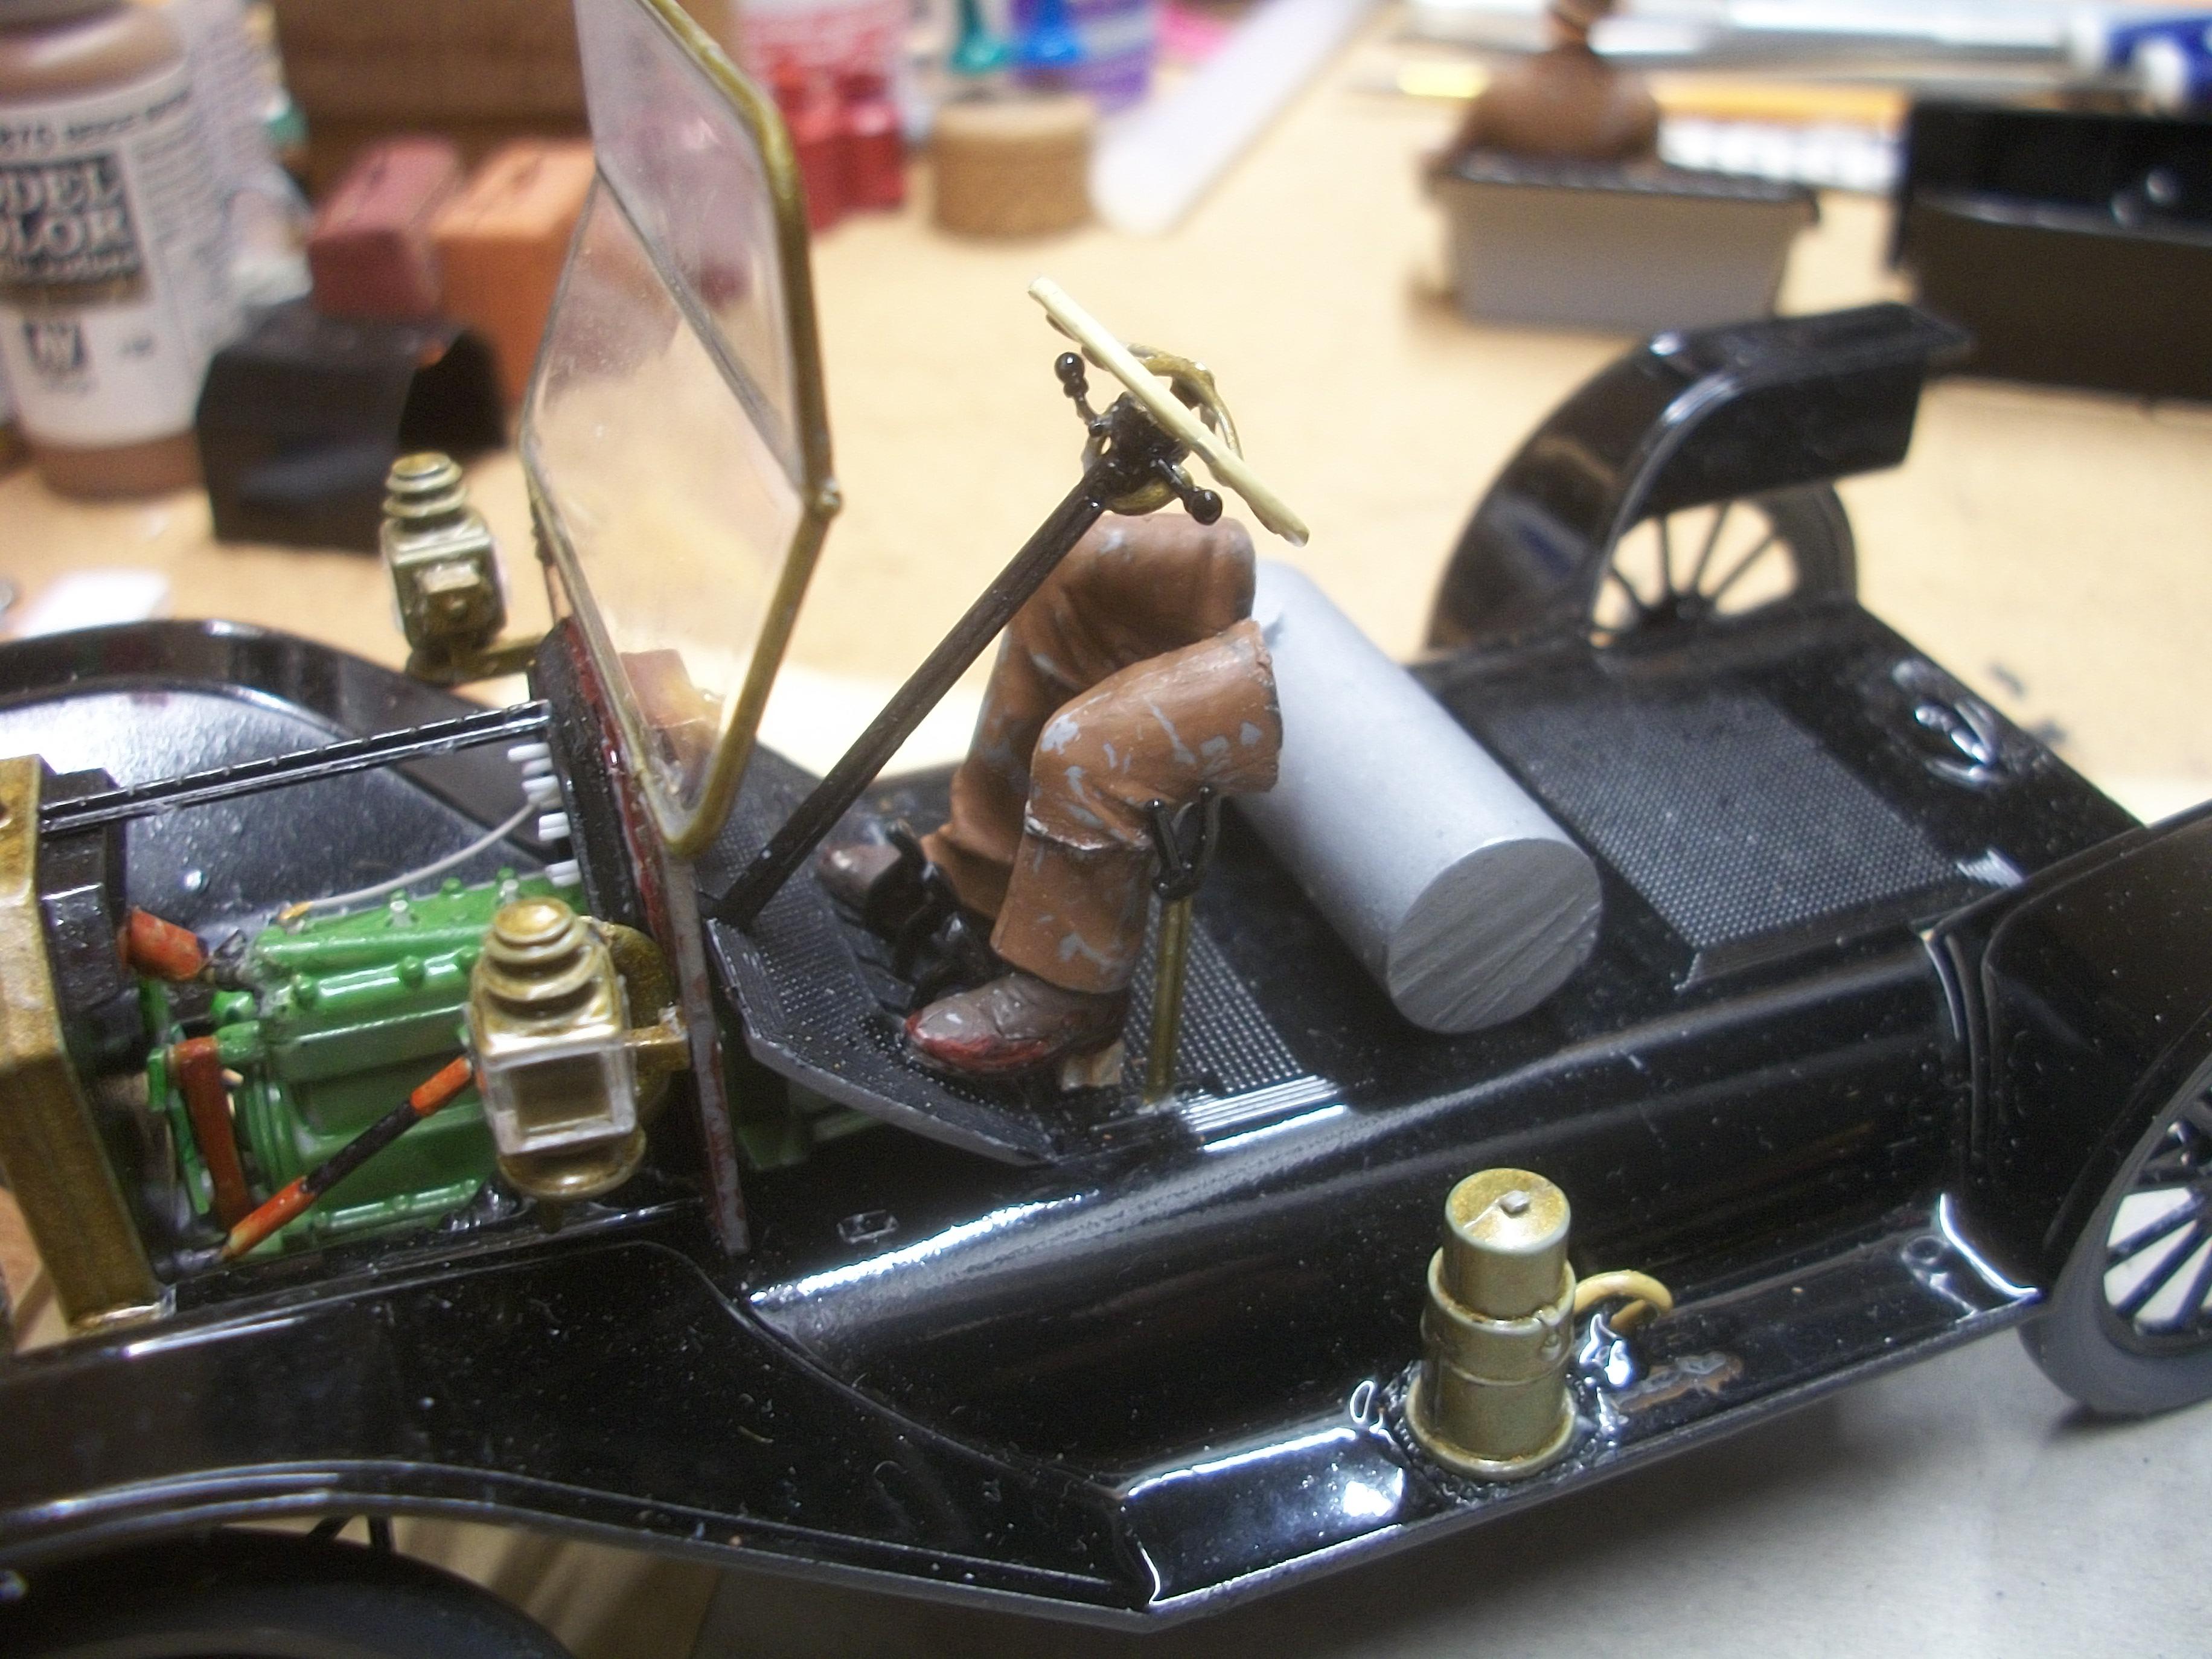
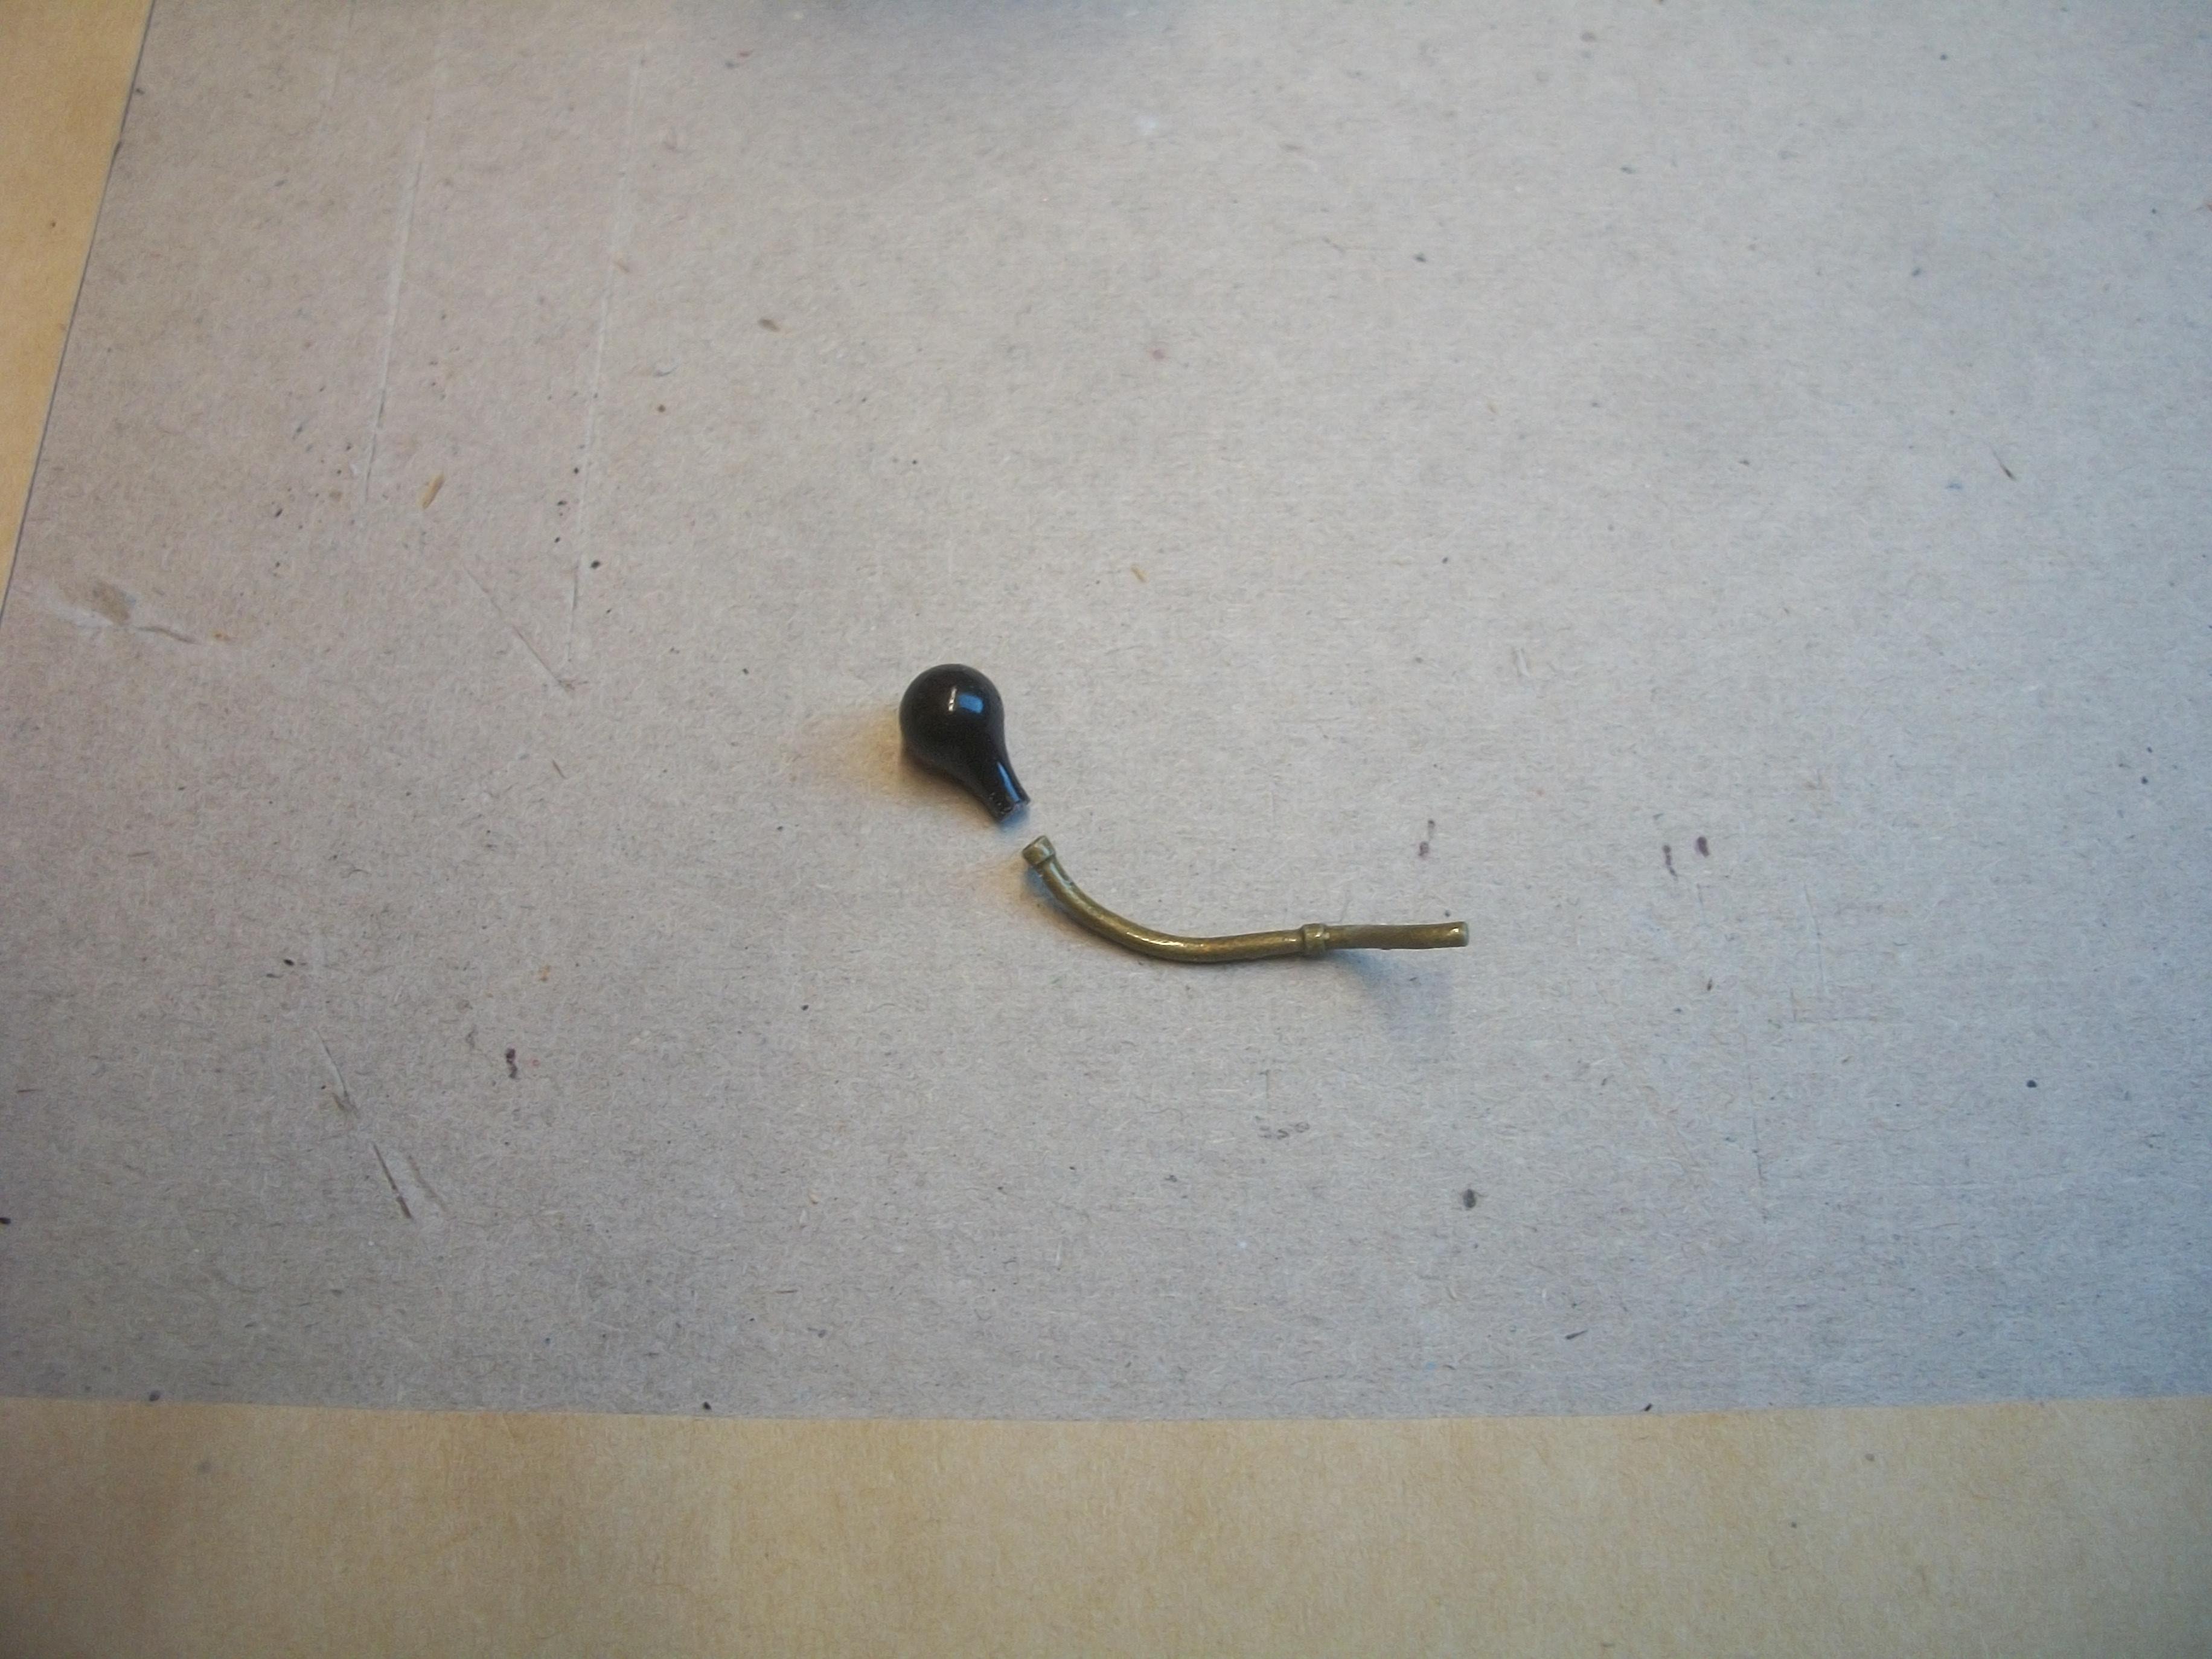
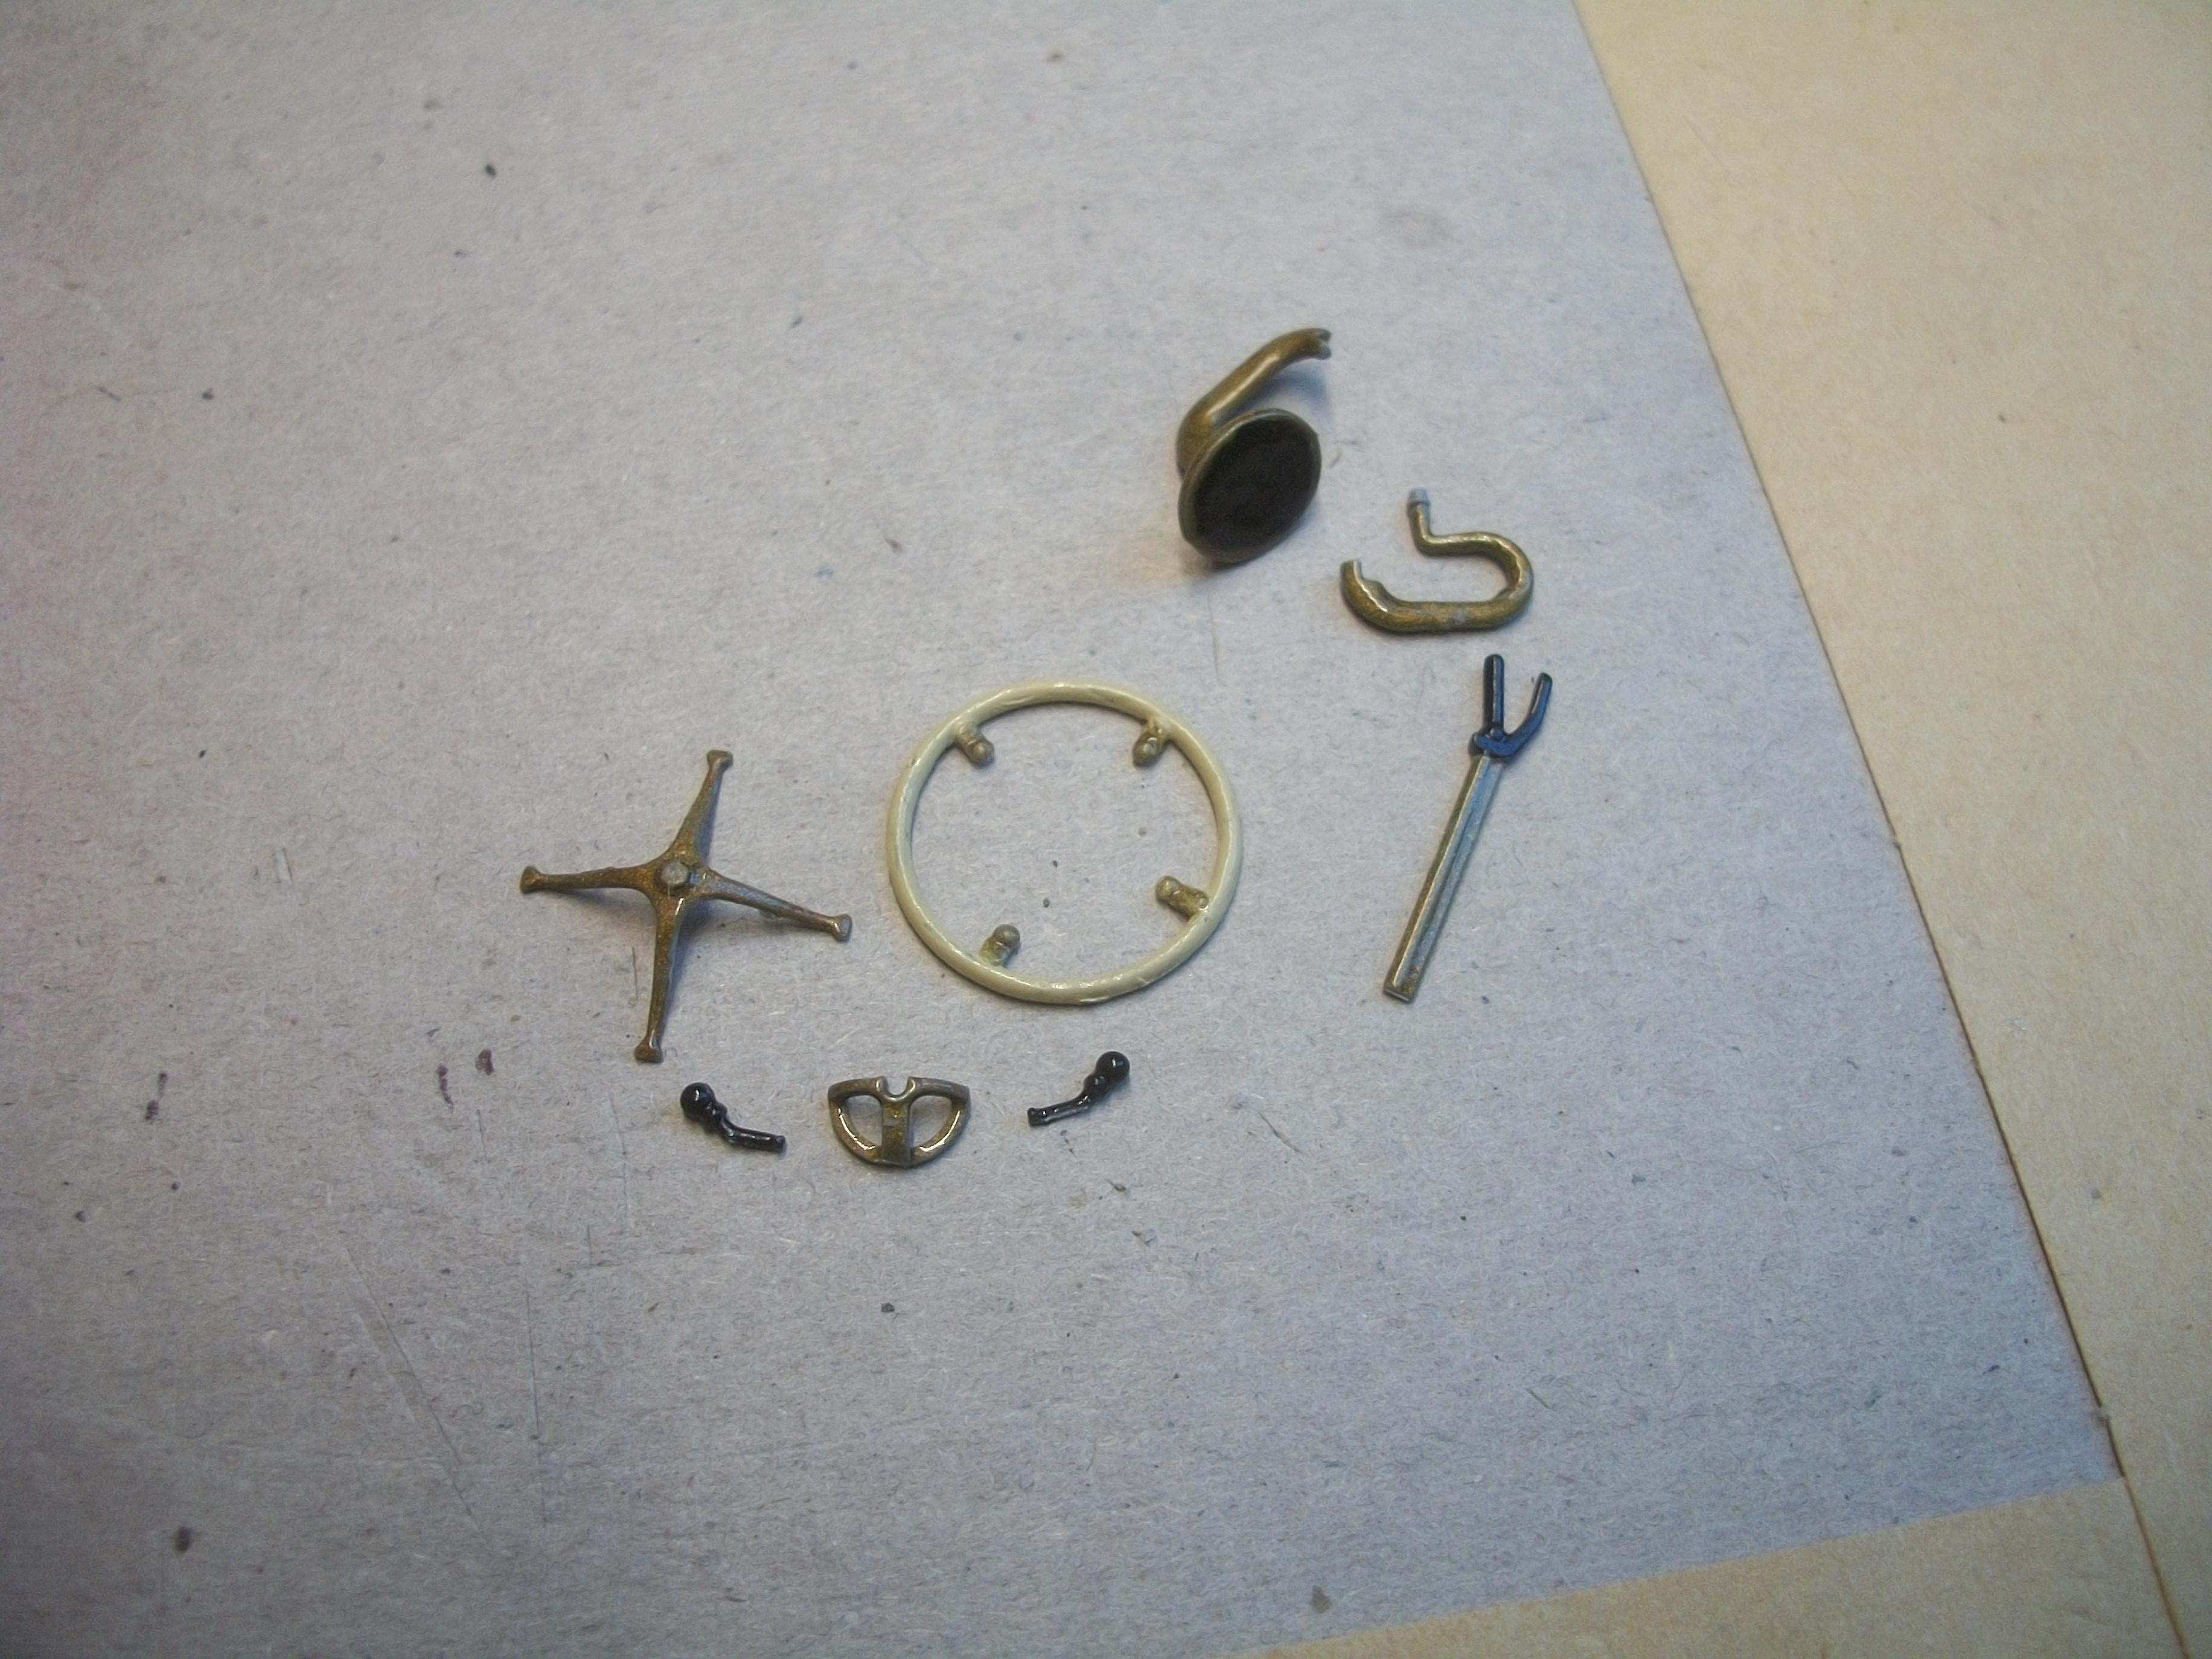
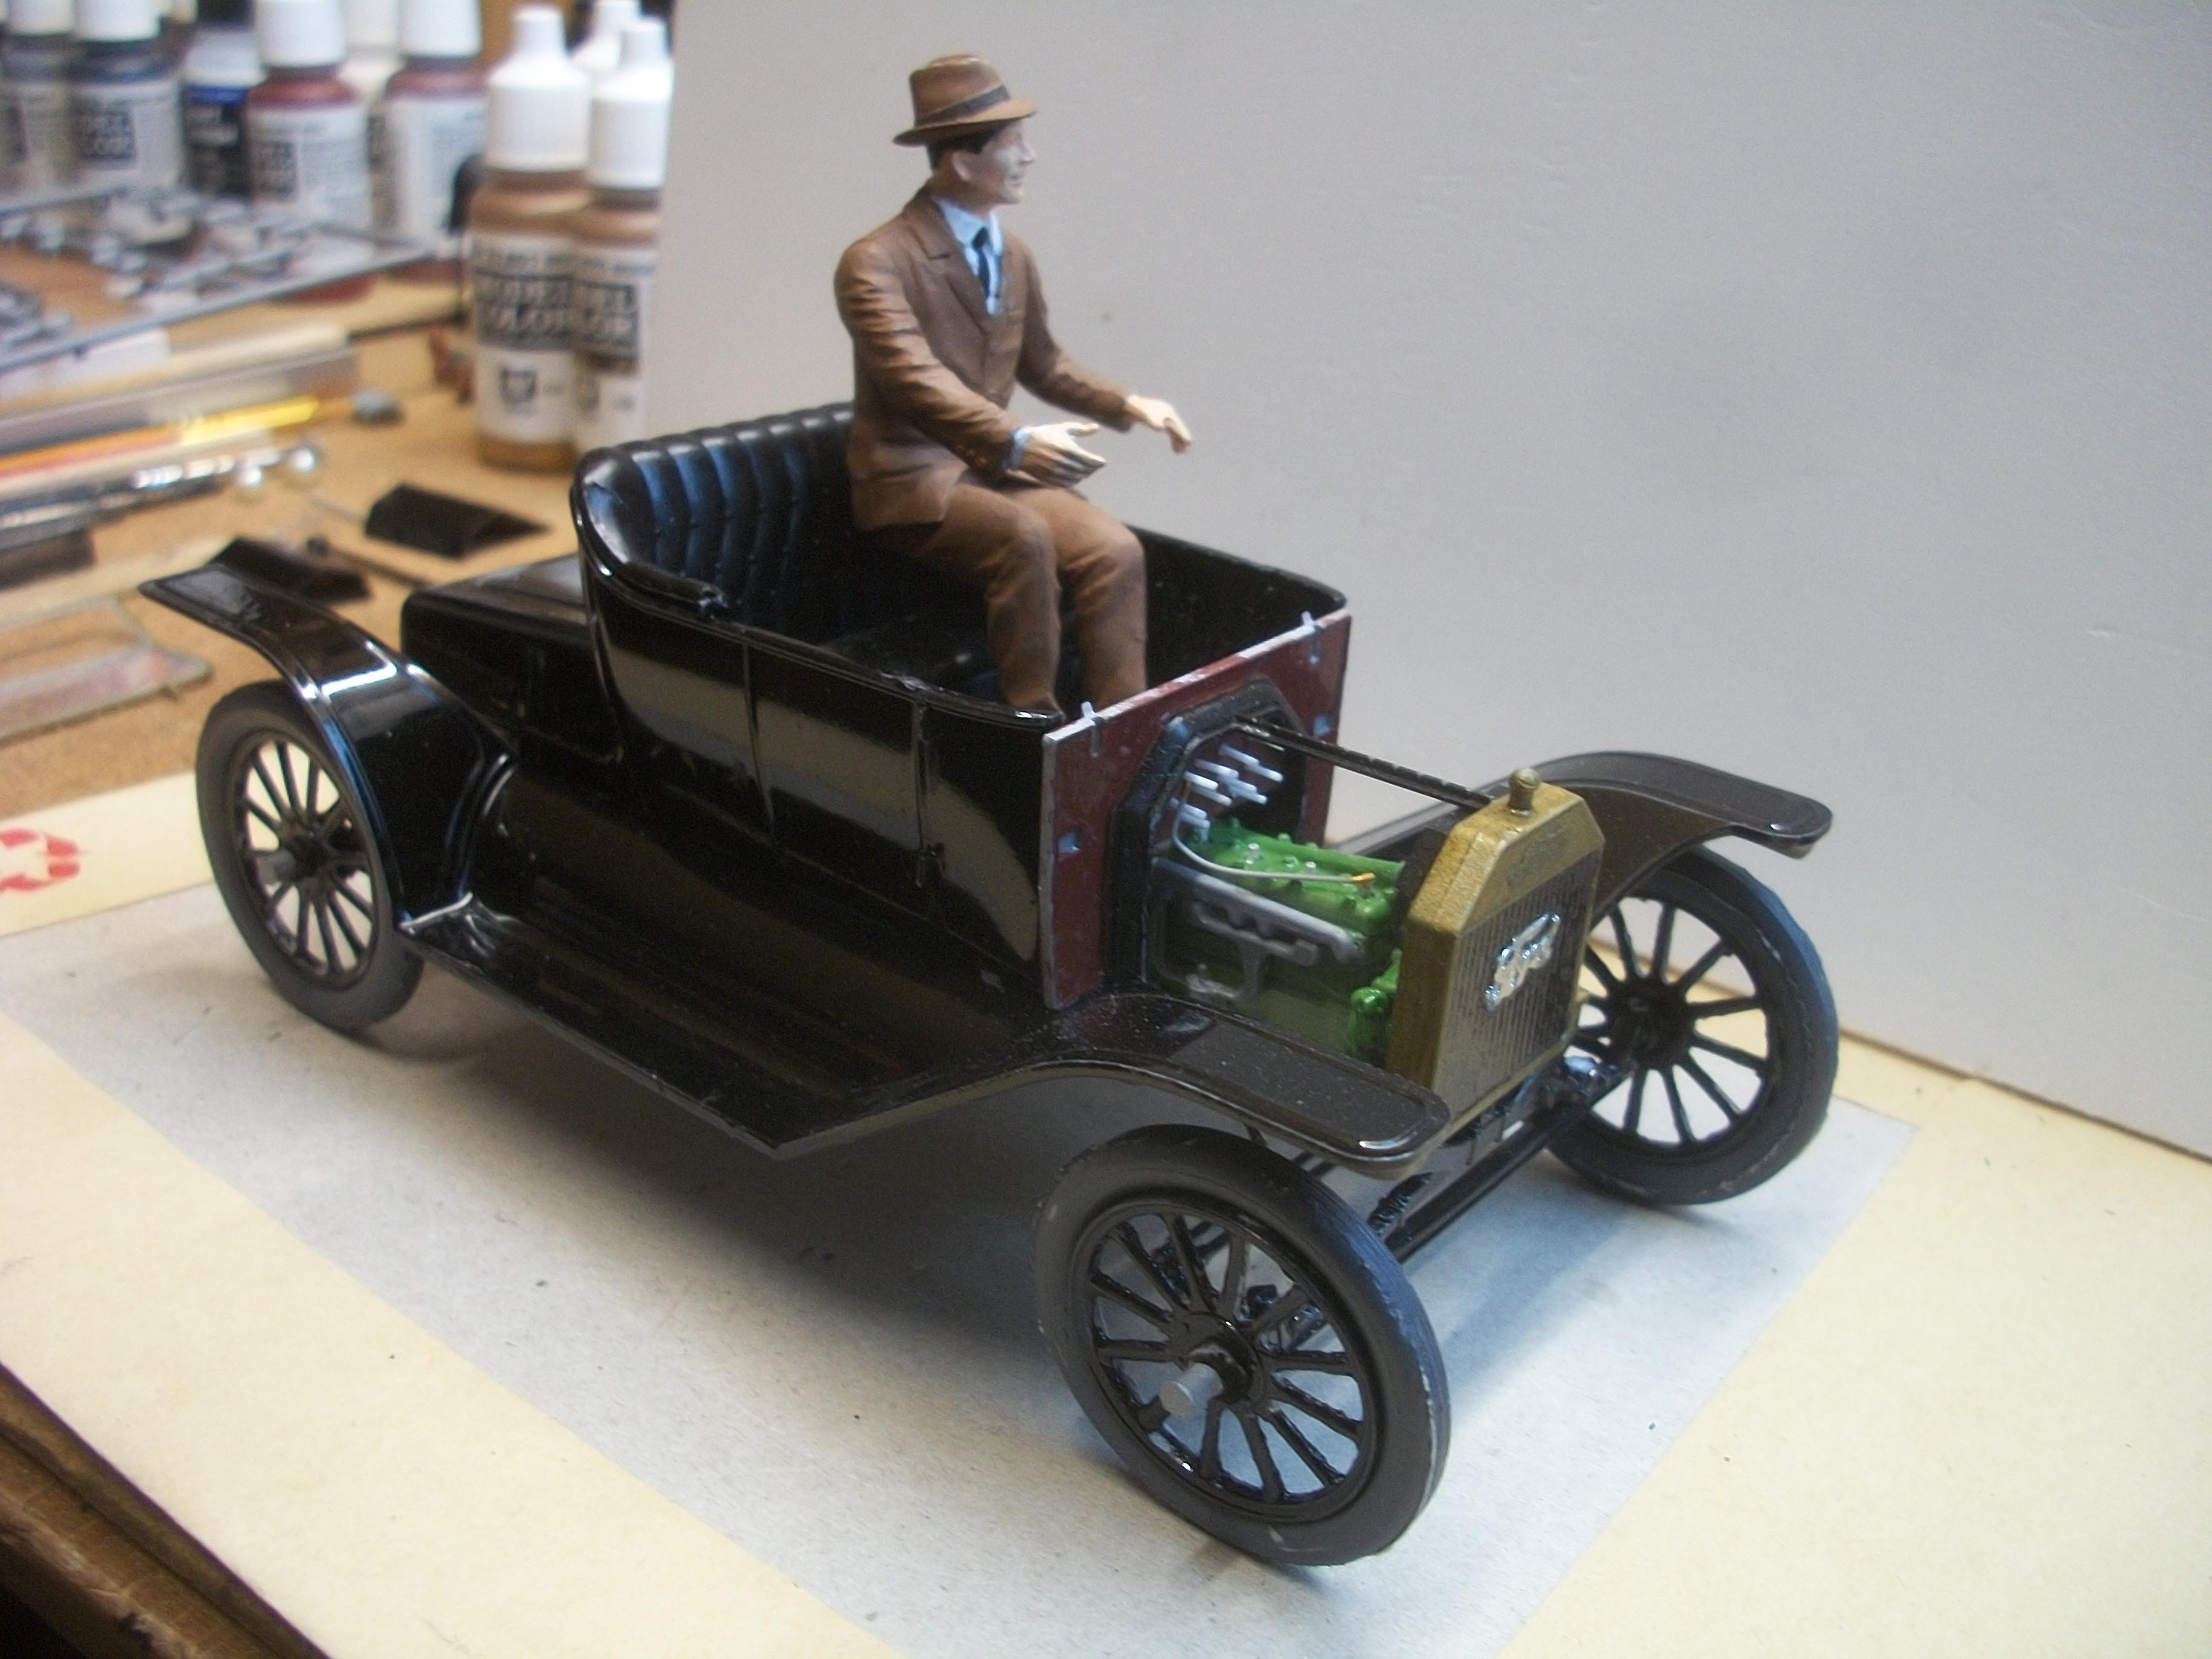
The past couple of days have been all about very small parts that are fiddly and tricky to assemble . . . These include the horn, which has three parts, also the brass piping for the horn and the rubber bulb that goes on top of the pipe. Also, there is the steering column, comprising the column itself, plus the top bracket for the two tiny levers, one being the throttle lever and the other is the spark advance retard lever. Then there is the steering wheel, with the centre spokes . . . Finally I got these parts all painted, assembled and fitted to the car. The upper body won't be glued to the lower body and rolling chassis until the driver figure has been sorted out, as I need to have access to the seat base and the floor . . . I am no nearer to solving the figure issue, and at one point I was leaning towards David G.'s brilliant suggestion to cut the driver's legs off and cover his lower body with a lap blanket, which I would call a travel rug . . . If possible, I would like to have the driver's feet near to the foot pedals. Here are a few more photos of the current work in progress . . . David
-
Thanks Trevor, and good to hear that you are enjoying my build . . . You will not be disappointed if you do purchase one of these excellent kits, and I have been most impressed with each ICM kit that I have had the pleasure to build so far . . . Compared with top quality kits by Tamiya, Moebius, Gunze Sangyo, Italeri, Emhar and Revell, these ICM kits are right up there with the best . . . David
-
Thanks a lot Csaba . . . I think you are correct in saying that some of the material needs to be removed, to simulate the weight of the driver sitting on the seat cushion . . . Also, the legs will have to be shortened, as they are already too long, even before any cutting. My feeling is that the figure is probably out of scale, but this would be most unusual for a company like ICM, who nearly always get things absolutely 100% right . . . David
-
Yes David, there will be a kind of diorama setting for the photography and the videos later, which will feature a background A3 print in B&W of the Highland Park Plant and also a Franklin Mint diecast 1927 Rolls-Royce Phantom I ( Fred Astaire ) . . . The Model T Ford will be rolling, hopefully ( fishing line ). David W.
-
Cheers, Brian . . . Fingers crossed ! David
-
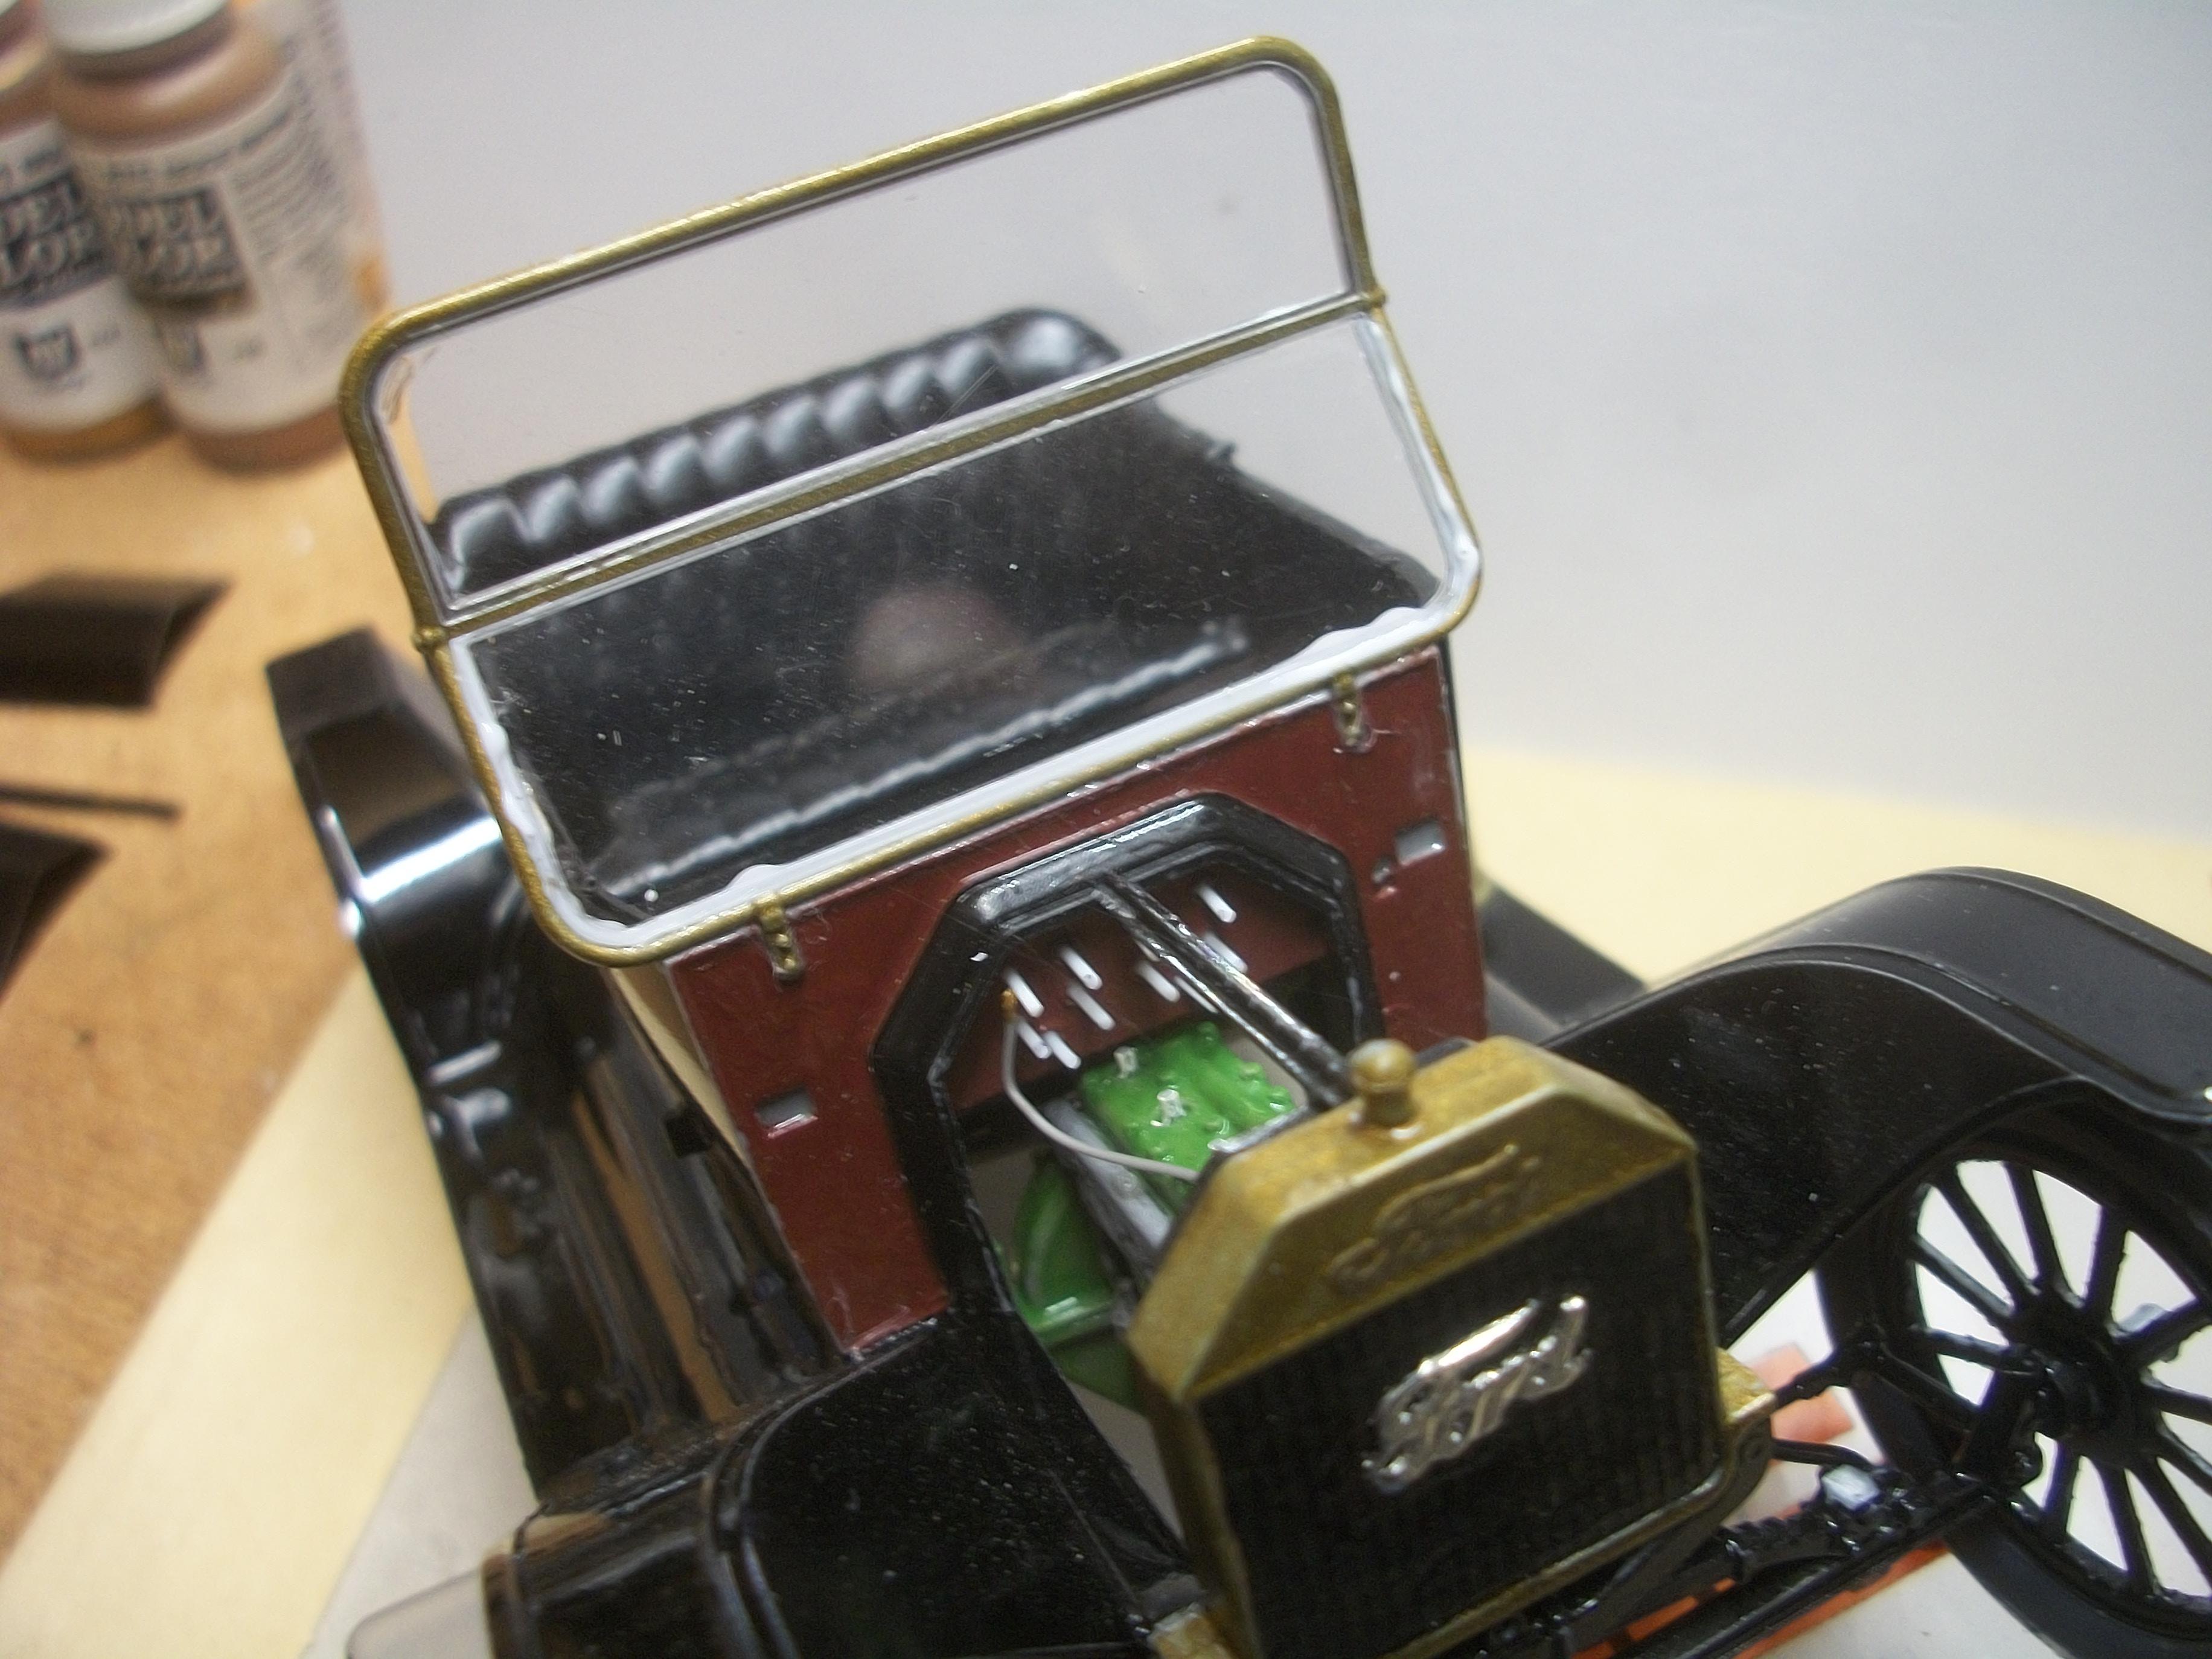
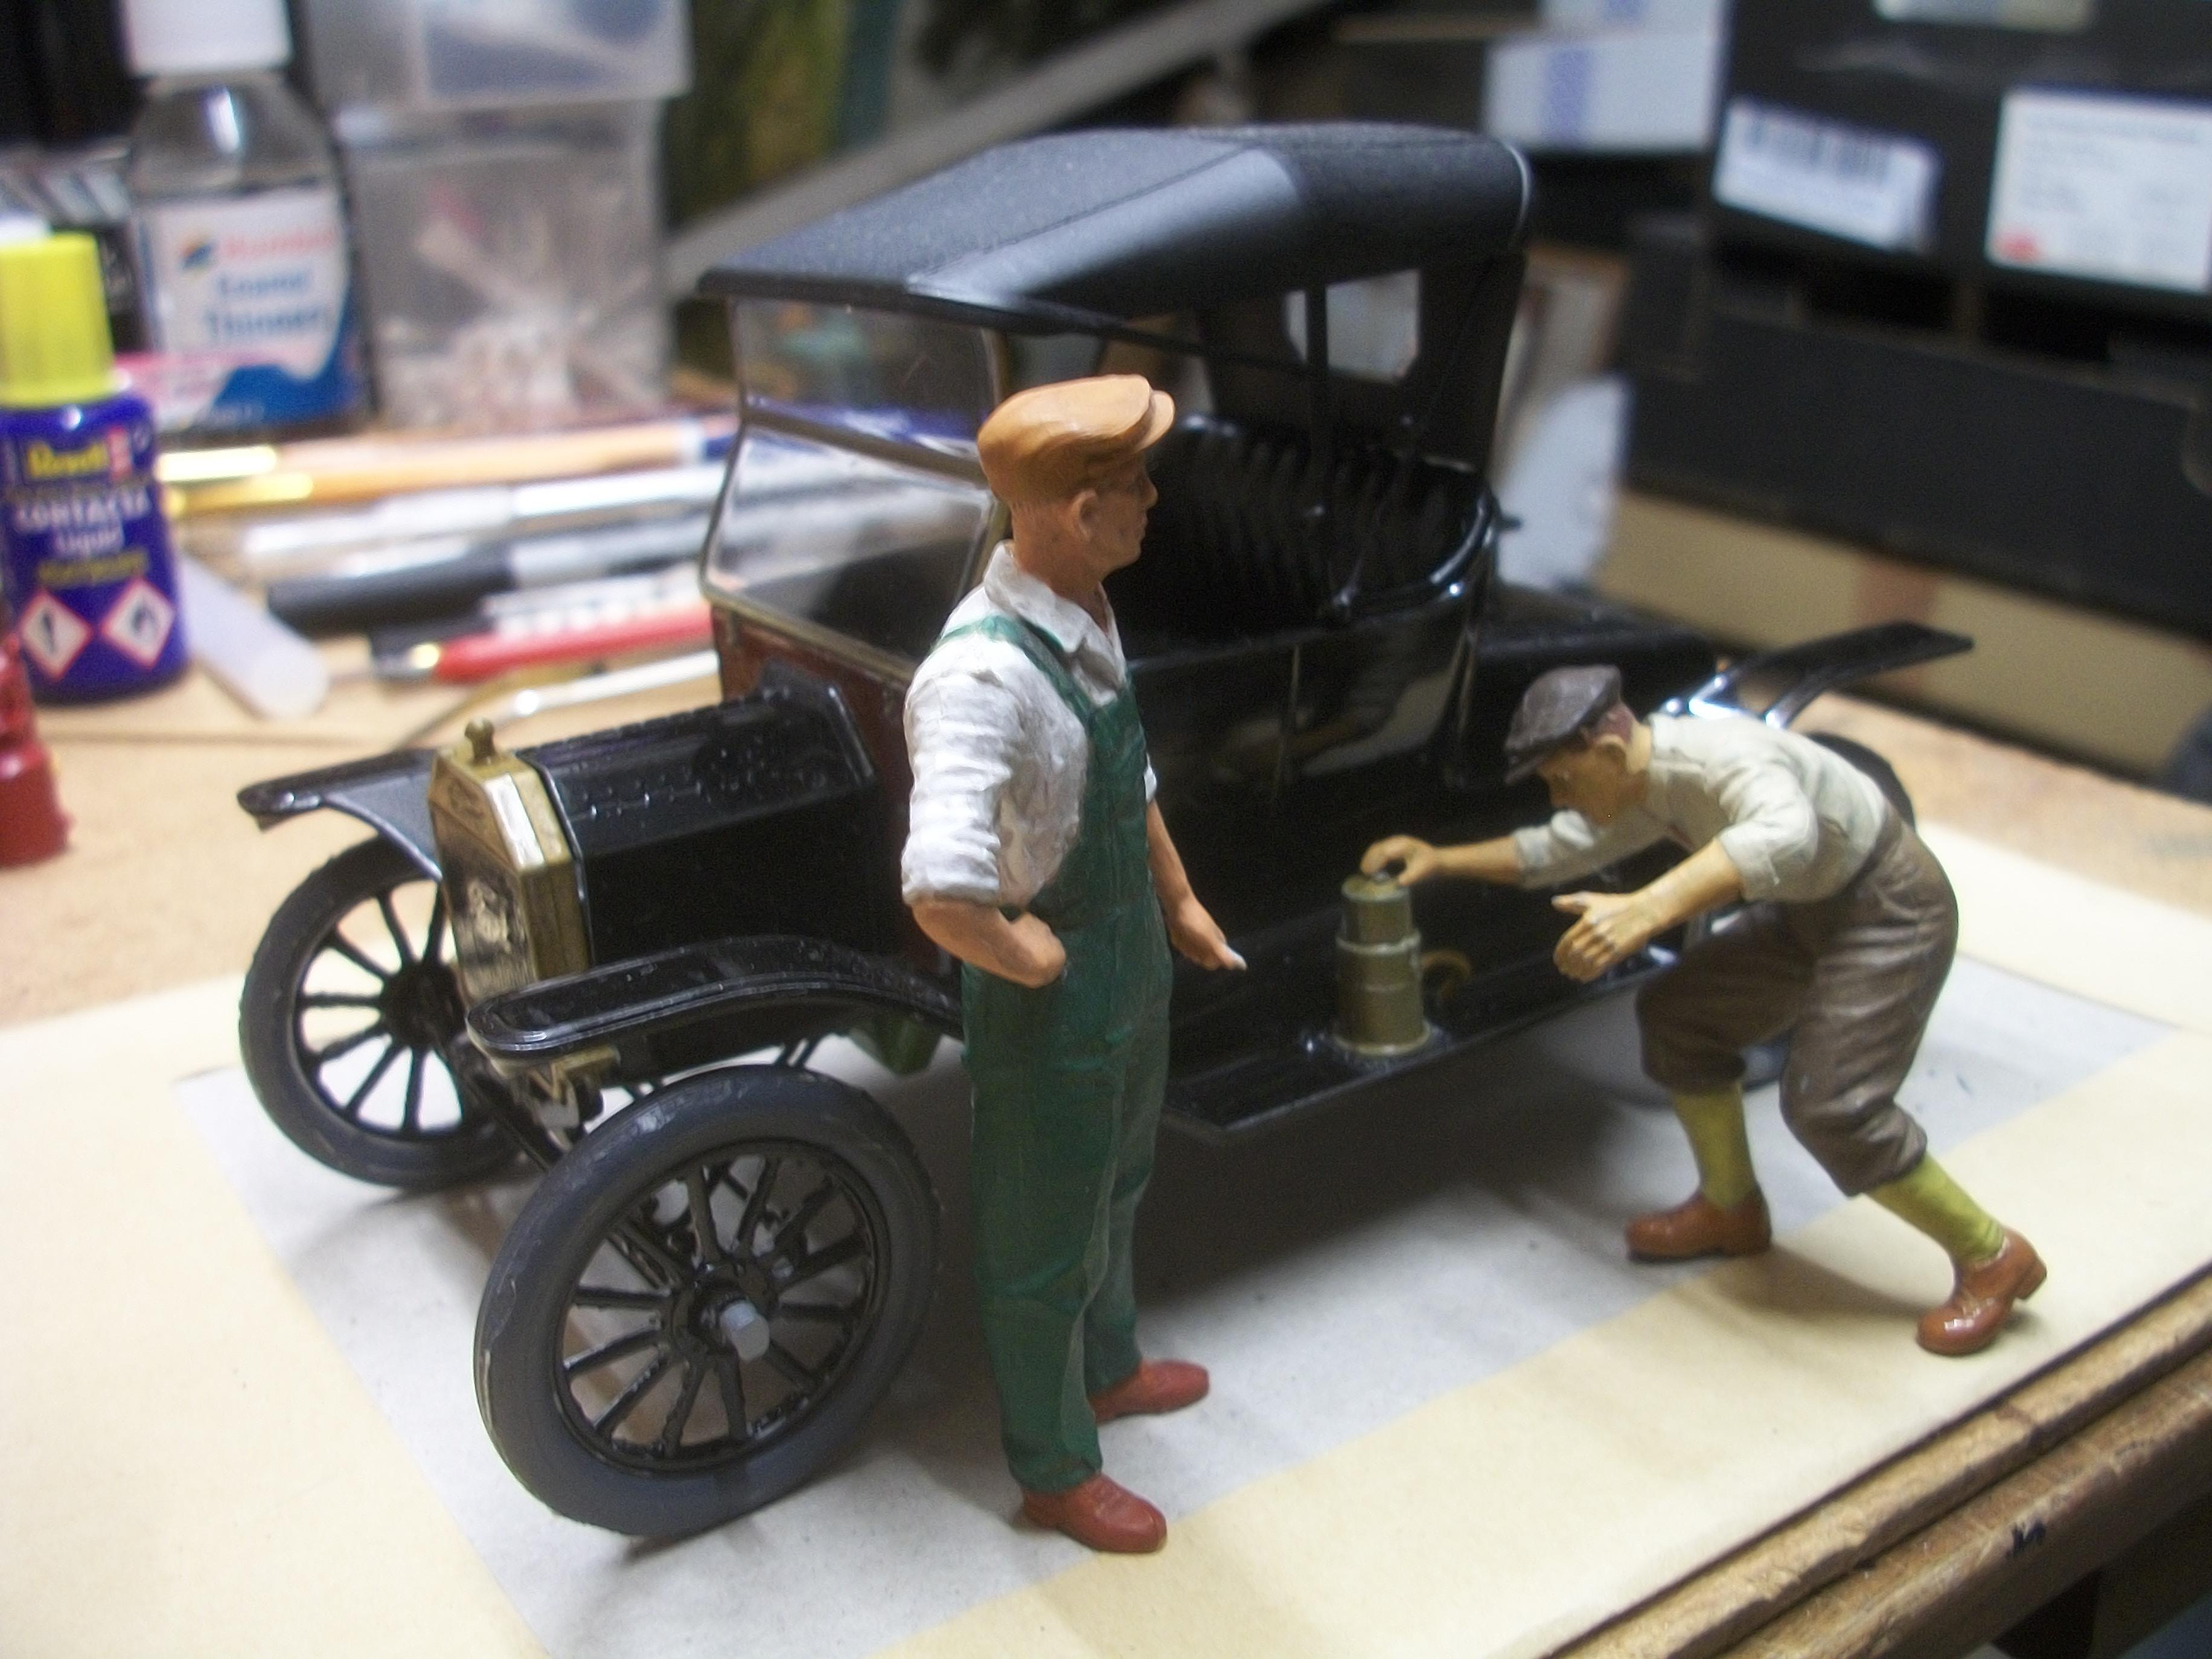
The windshield frame has been glued to the top edge of the firewall, but in doing so, the lower glass pane became unglued . . . Having refitted the lower screen, using Crystal Clear glue the assembly was put to one side to set overnight. With the windshield in place, this looks more like a car now . . . Then I test fitted the canvas top and frame, which has enhanced the look of the car even further. One of the engineers is checking the carbide generator, while a second engineer is supervising . . . I need to give the driver figure some thought, and along with some helpful suggestions by fellow MCM members I should be able to come up with some sort of idea . . . One involves using a hair dryer to heat up the area of the figure that I want to bend, and another idea involves cutting away part of the lower section of the figure. Maybe if I sleep on it, and take a fresh look tomorrow . . . David
-
All of your interior work has come together nicely David, and those door cards will be fine once you have trimmed them a little . . . This Aoshima Taxi Cab has all the makings of an excellent build . . . Good job on the exterior paintwork. We are mastering the black finish steadily. David W.
-
Certainly I will have a look at that possibility, Brian . . . I am open to any helpful suggestions regarding this problem. Almost anything is worth a try at this stage ! This driver is going to have some manipulation ( gently ) . . . David
-
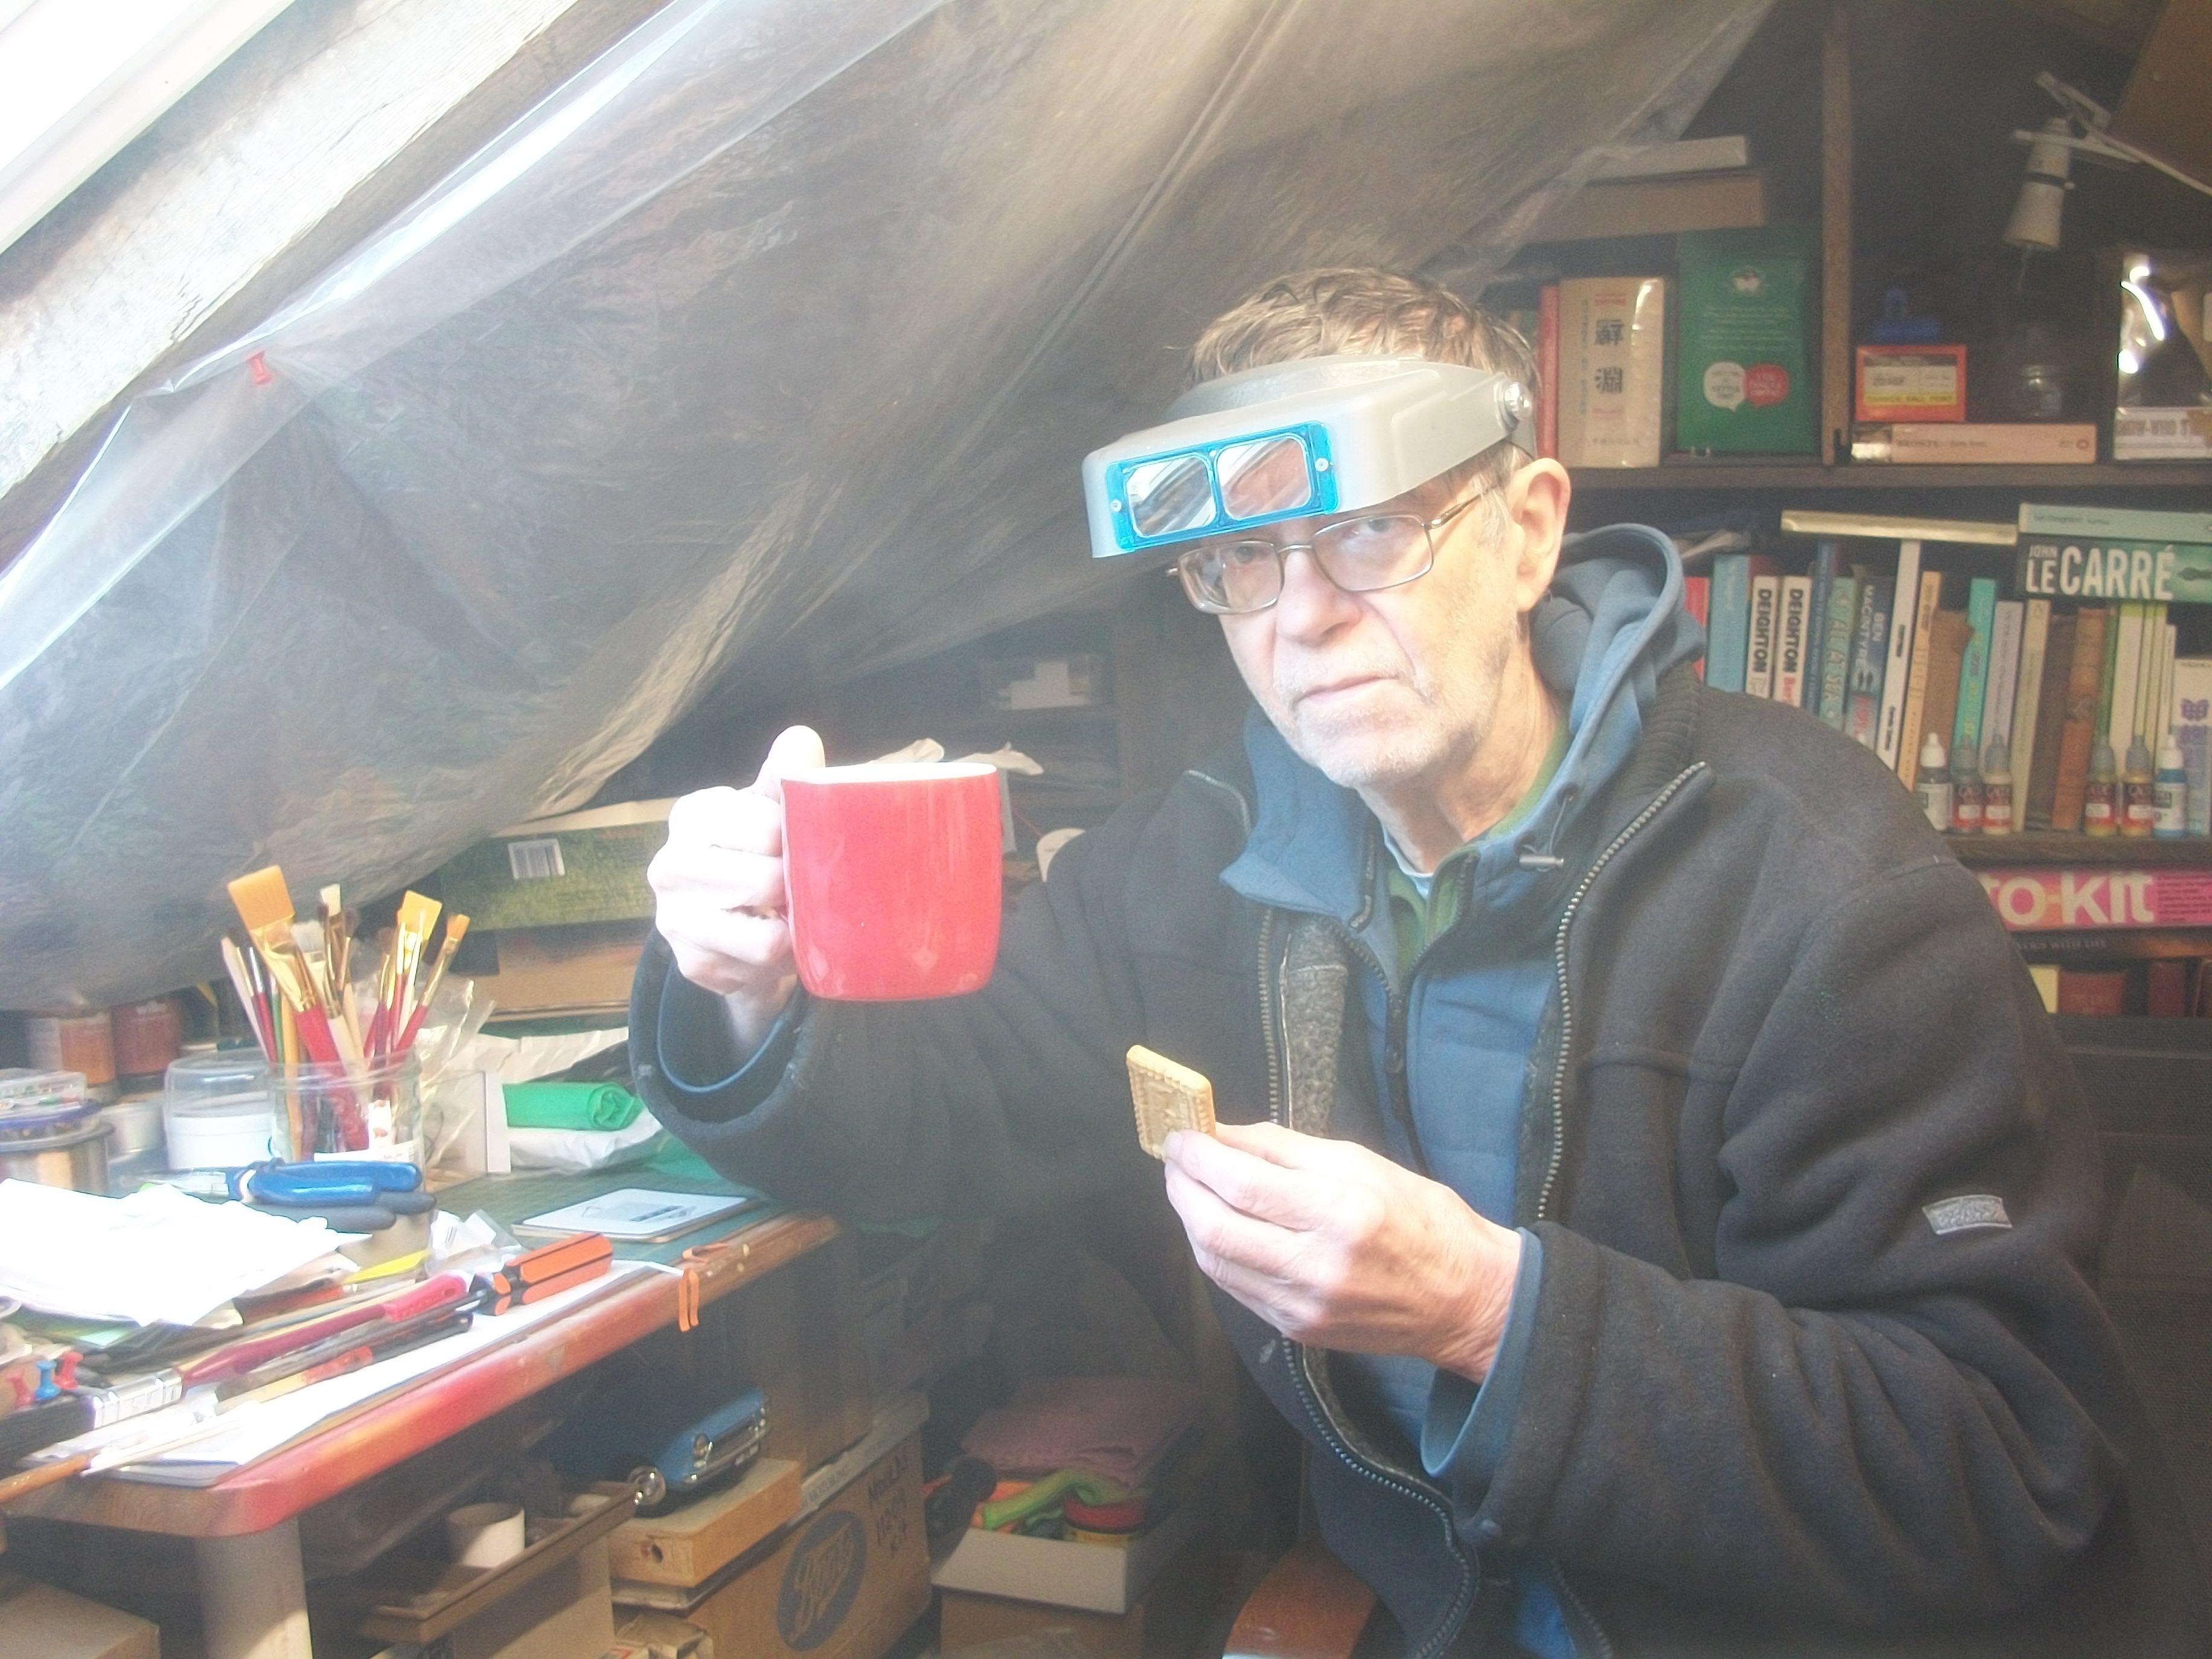
I don't usually post a photo of myself working inside the loft, but here is one that shows me having a coffee and a biscuit, while the outside temperatures are sub-zero . . . The foot pedals board is glued in place, and the upper body sides at the front edges are not the best fit just yet . . . Now then gents . . . A major issue has surfaced, which has caught me out. The driver figure was purchased as one of two American Motorists by ICM in 1:24 scale . . . These figures are intended for the Touring version of the Model T Ford, but quite reasonably I thought, these should fit the Roadster version also . . . The driver figure does not fit into the driving seat of the car, and he appears too large. This is not just a small discrepancy, as the driver is 10 mm higher than the seat base and his left hand that should rest on the body side top edge, is also 10 mm too high. With his feet on the floor of the driver's compartment, there is no way that I can shorten the figure or modify the car . . . As you can observe from the following series of photos, the box art shows the position of the driver, and how this relates to the position of the driver figure in the model car . . . I have made a point of checking the precise dimensions of the real Model T Ford, and they confirm that the Touring version has the same dimensions as the Roadster version, for width, height and length, apart from the Touring version being one foot longer overall . . . I cannot understand why the driver figure by ICM does not even come close to fitting into the driver's seating position, and I am disappointed. David
-
The mildly irritating aspect of it was that my first attempt at the gas tank turned out really well, and then I realised I hadn't checked the height of the tank correctly . . . My carelessness ! Floating pedals . . . Now there's a thing . . . David
-
Funny thing is David, the glue stick idea for the fuel tank came to me immediately following the failure of the solder container material . . . It always surprises me when ICM get something wrong, and usually such a basic error, when 99% of their instructions are spot on. Usually it is something so minor, such as the kit parts numbering, or perhaps left or right shown the wrong way round, but nothing to worry about unduly . . . David W.
-
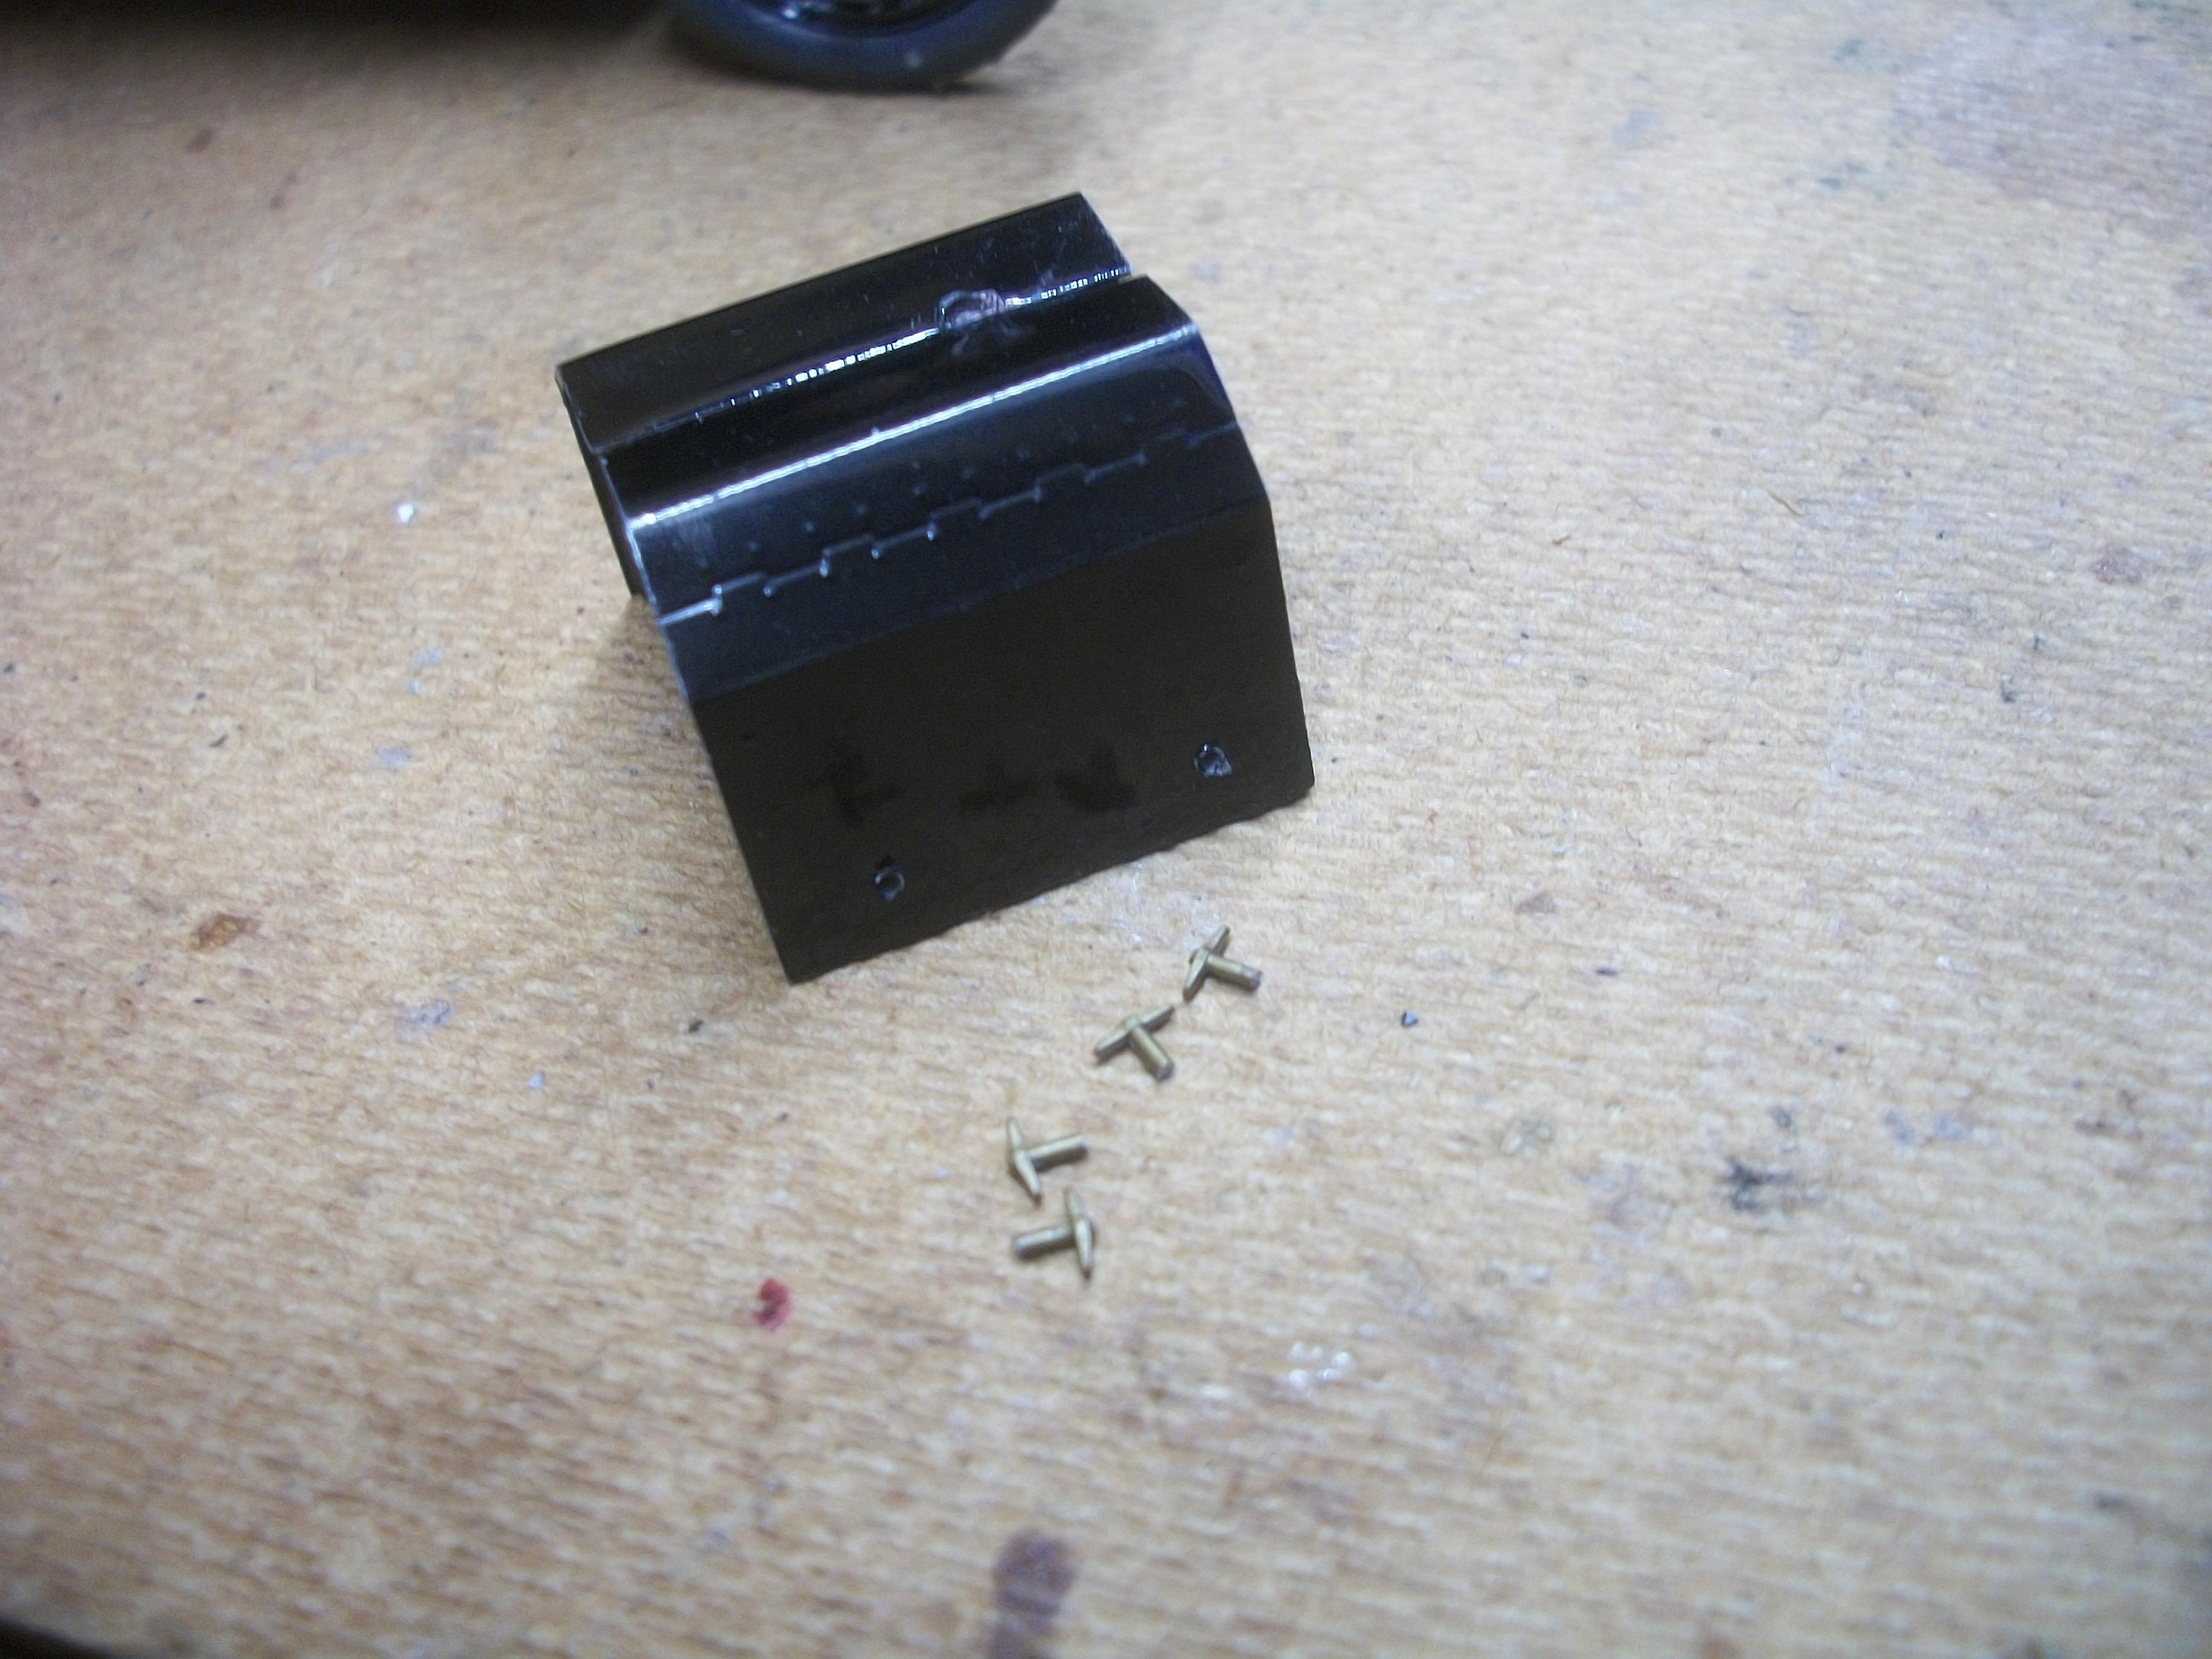
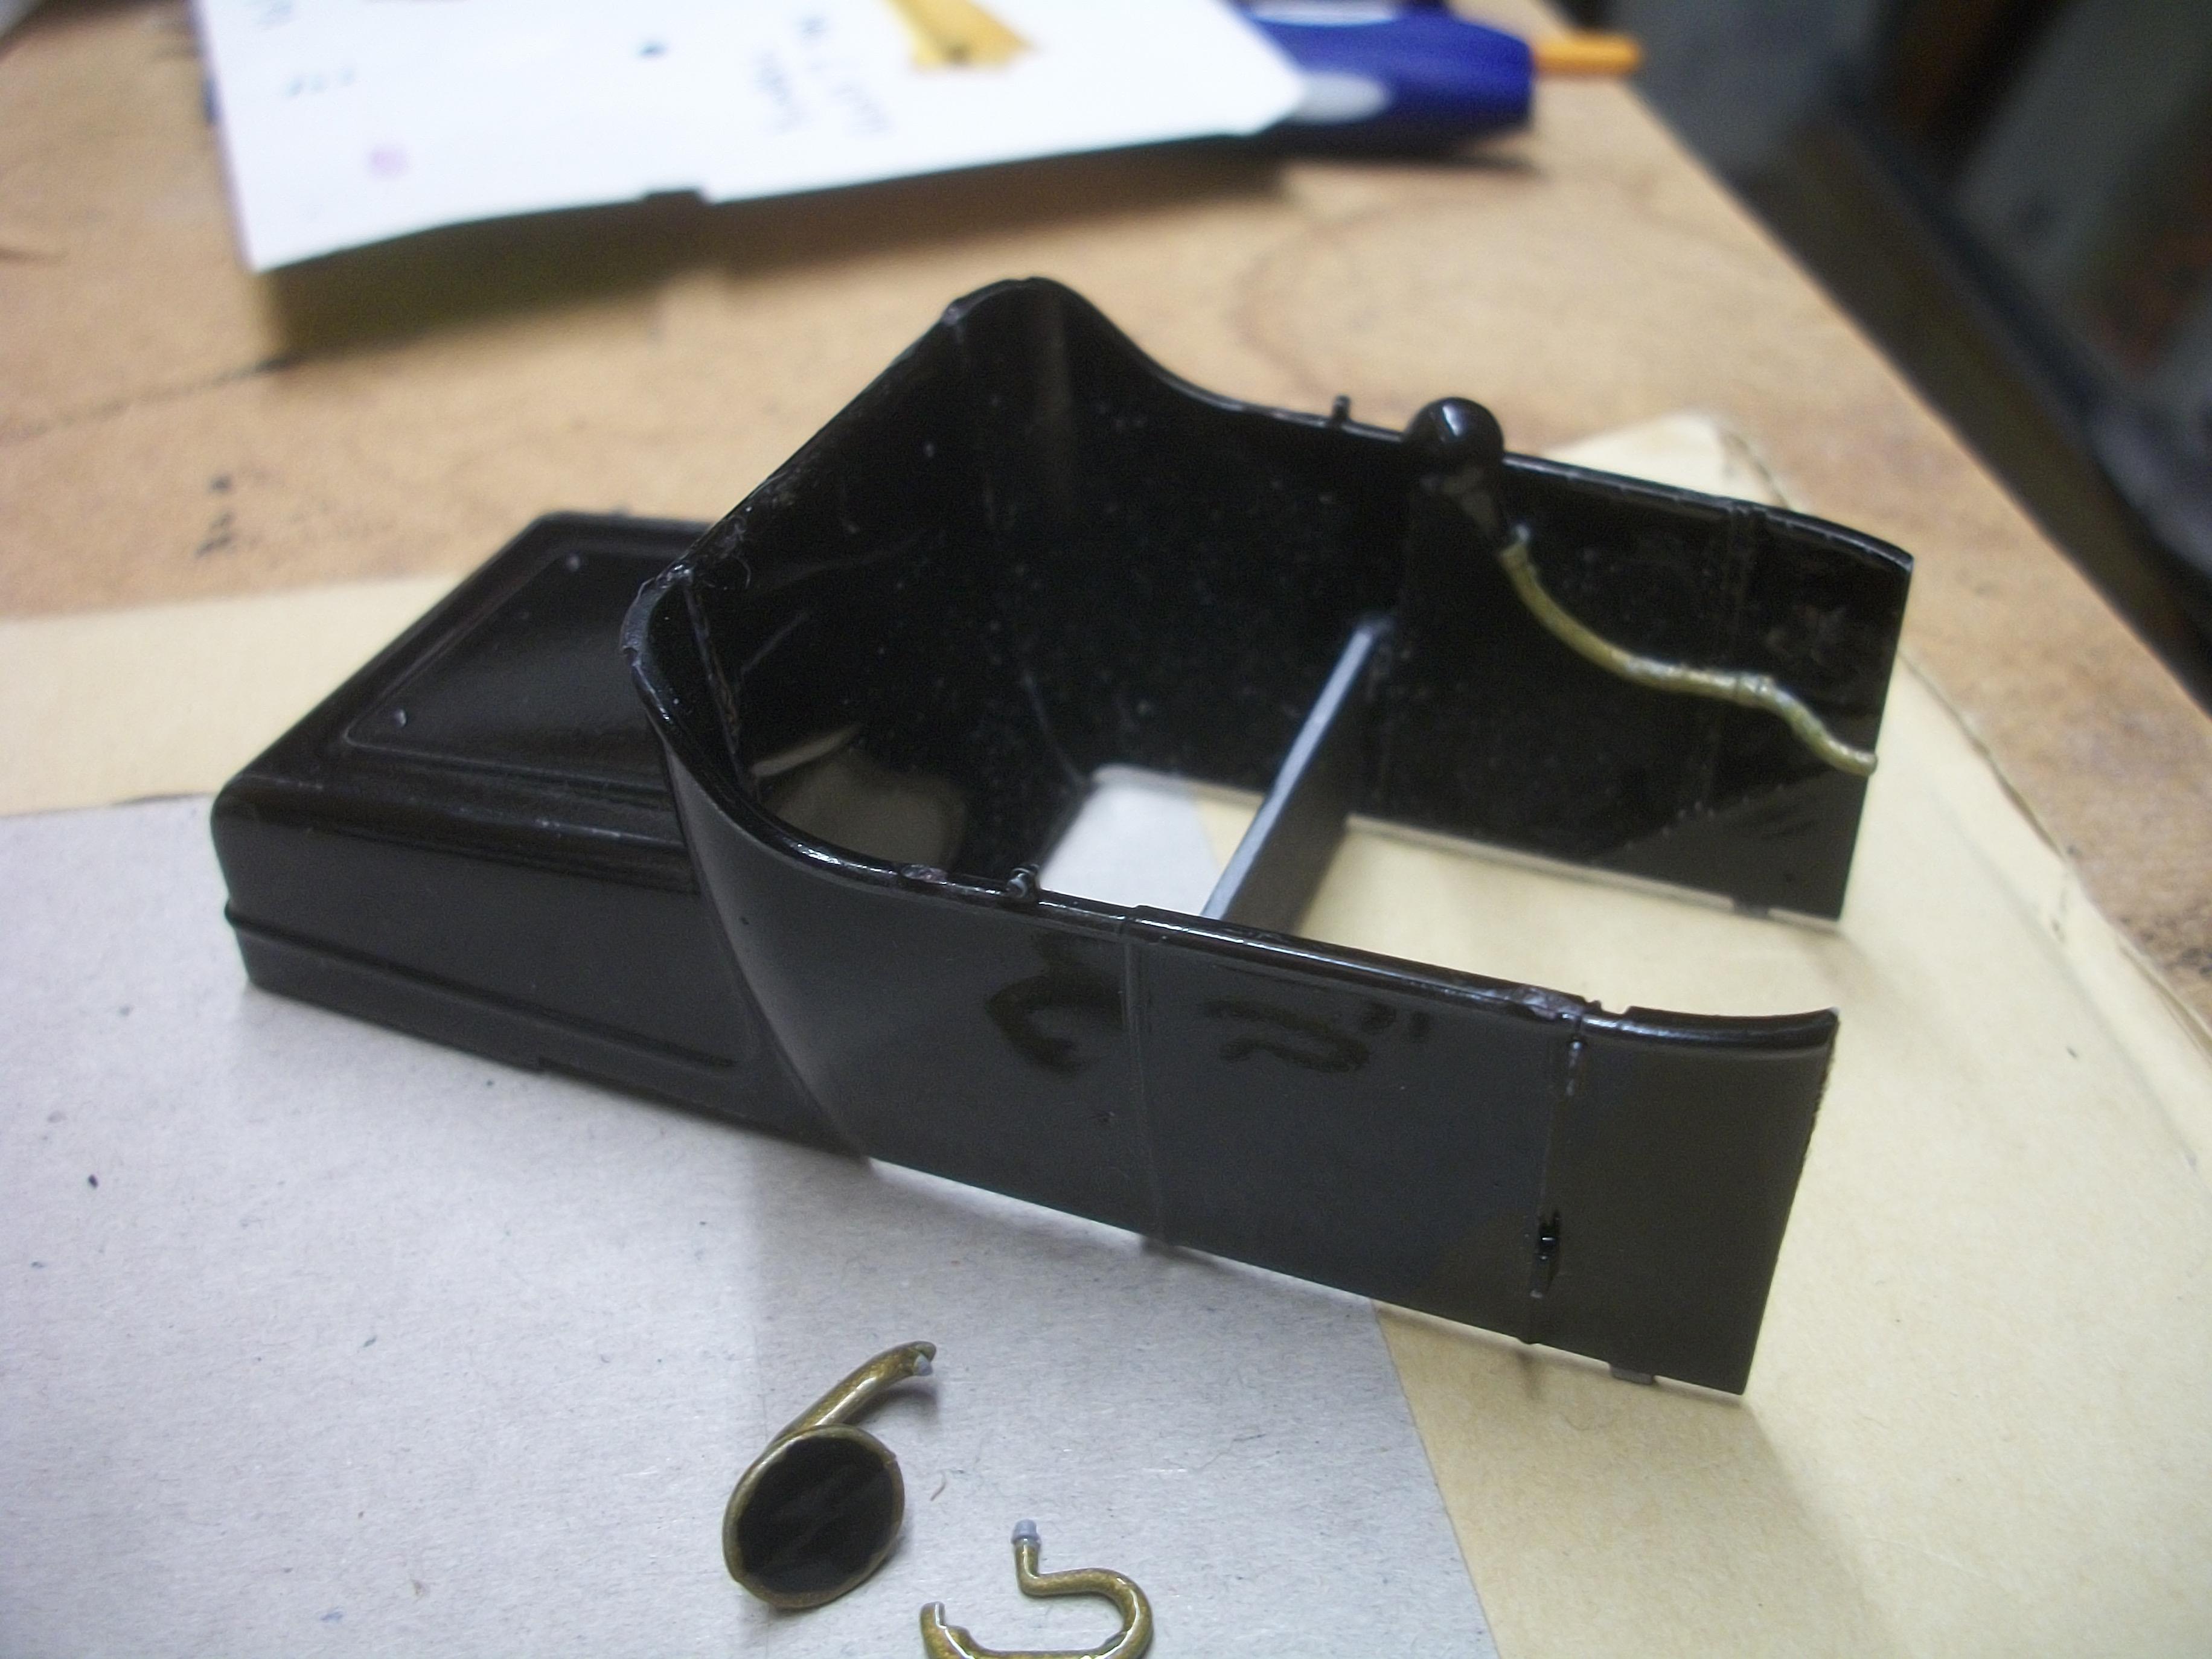
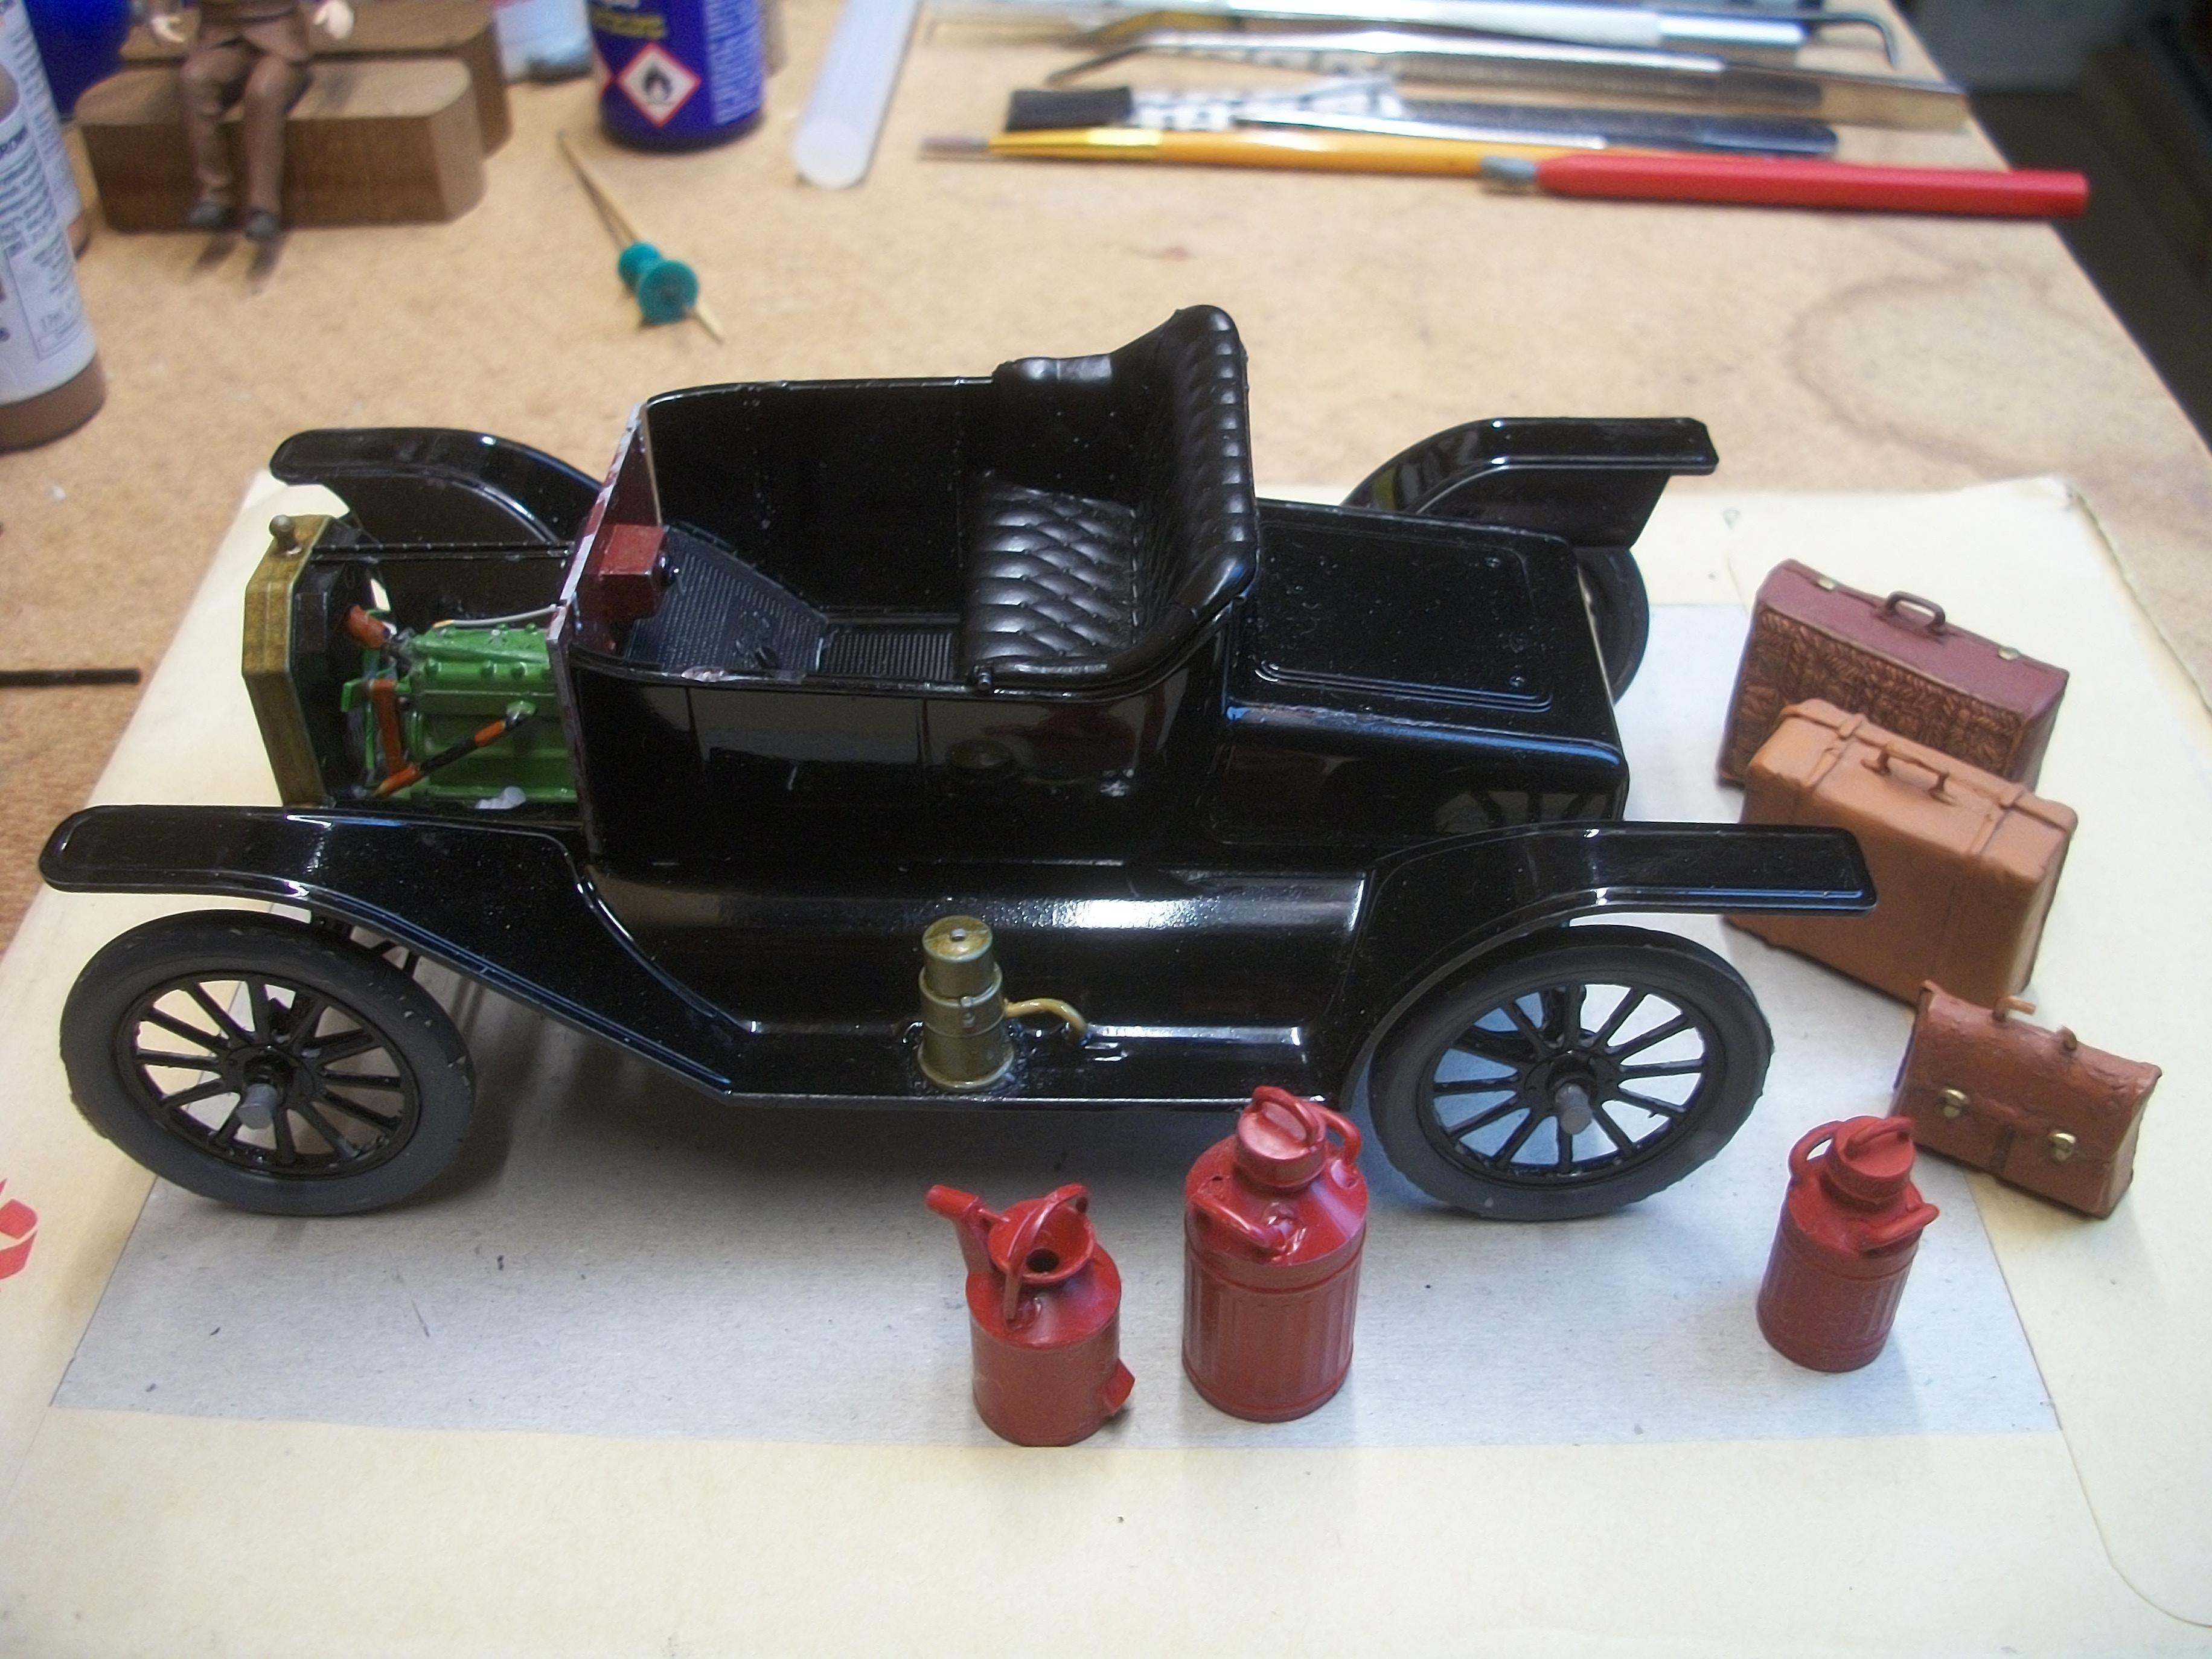
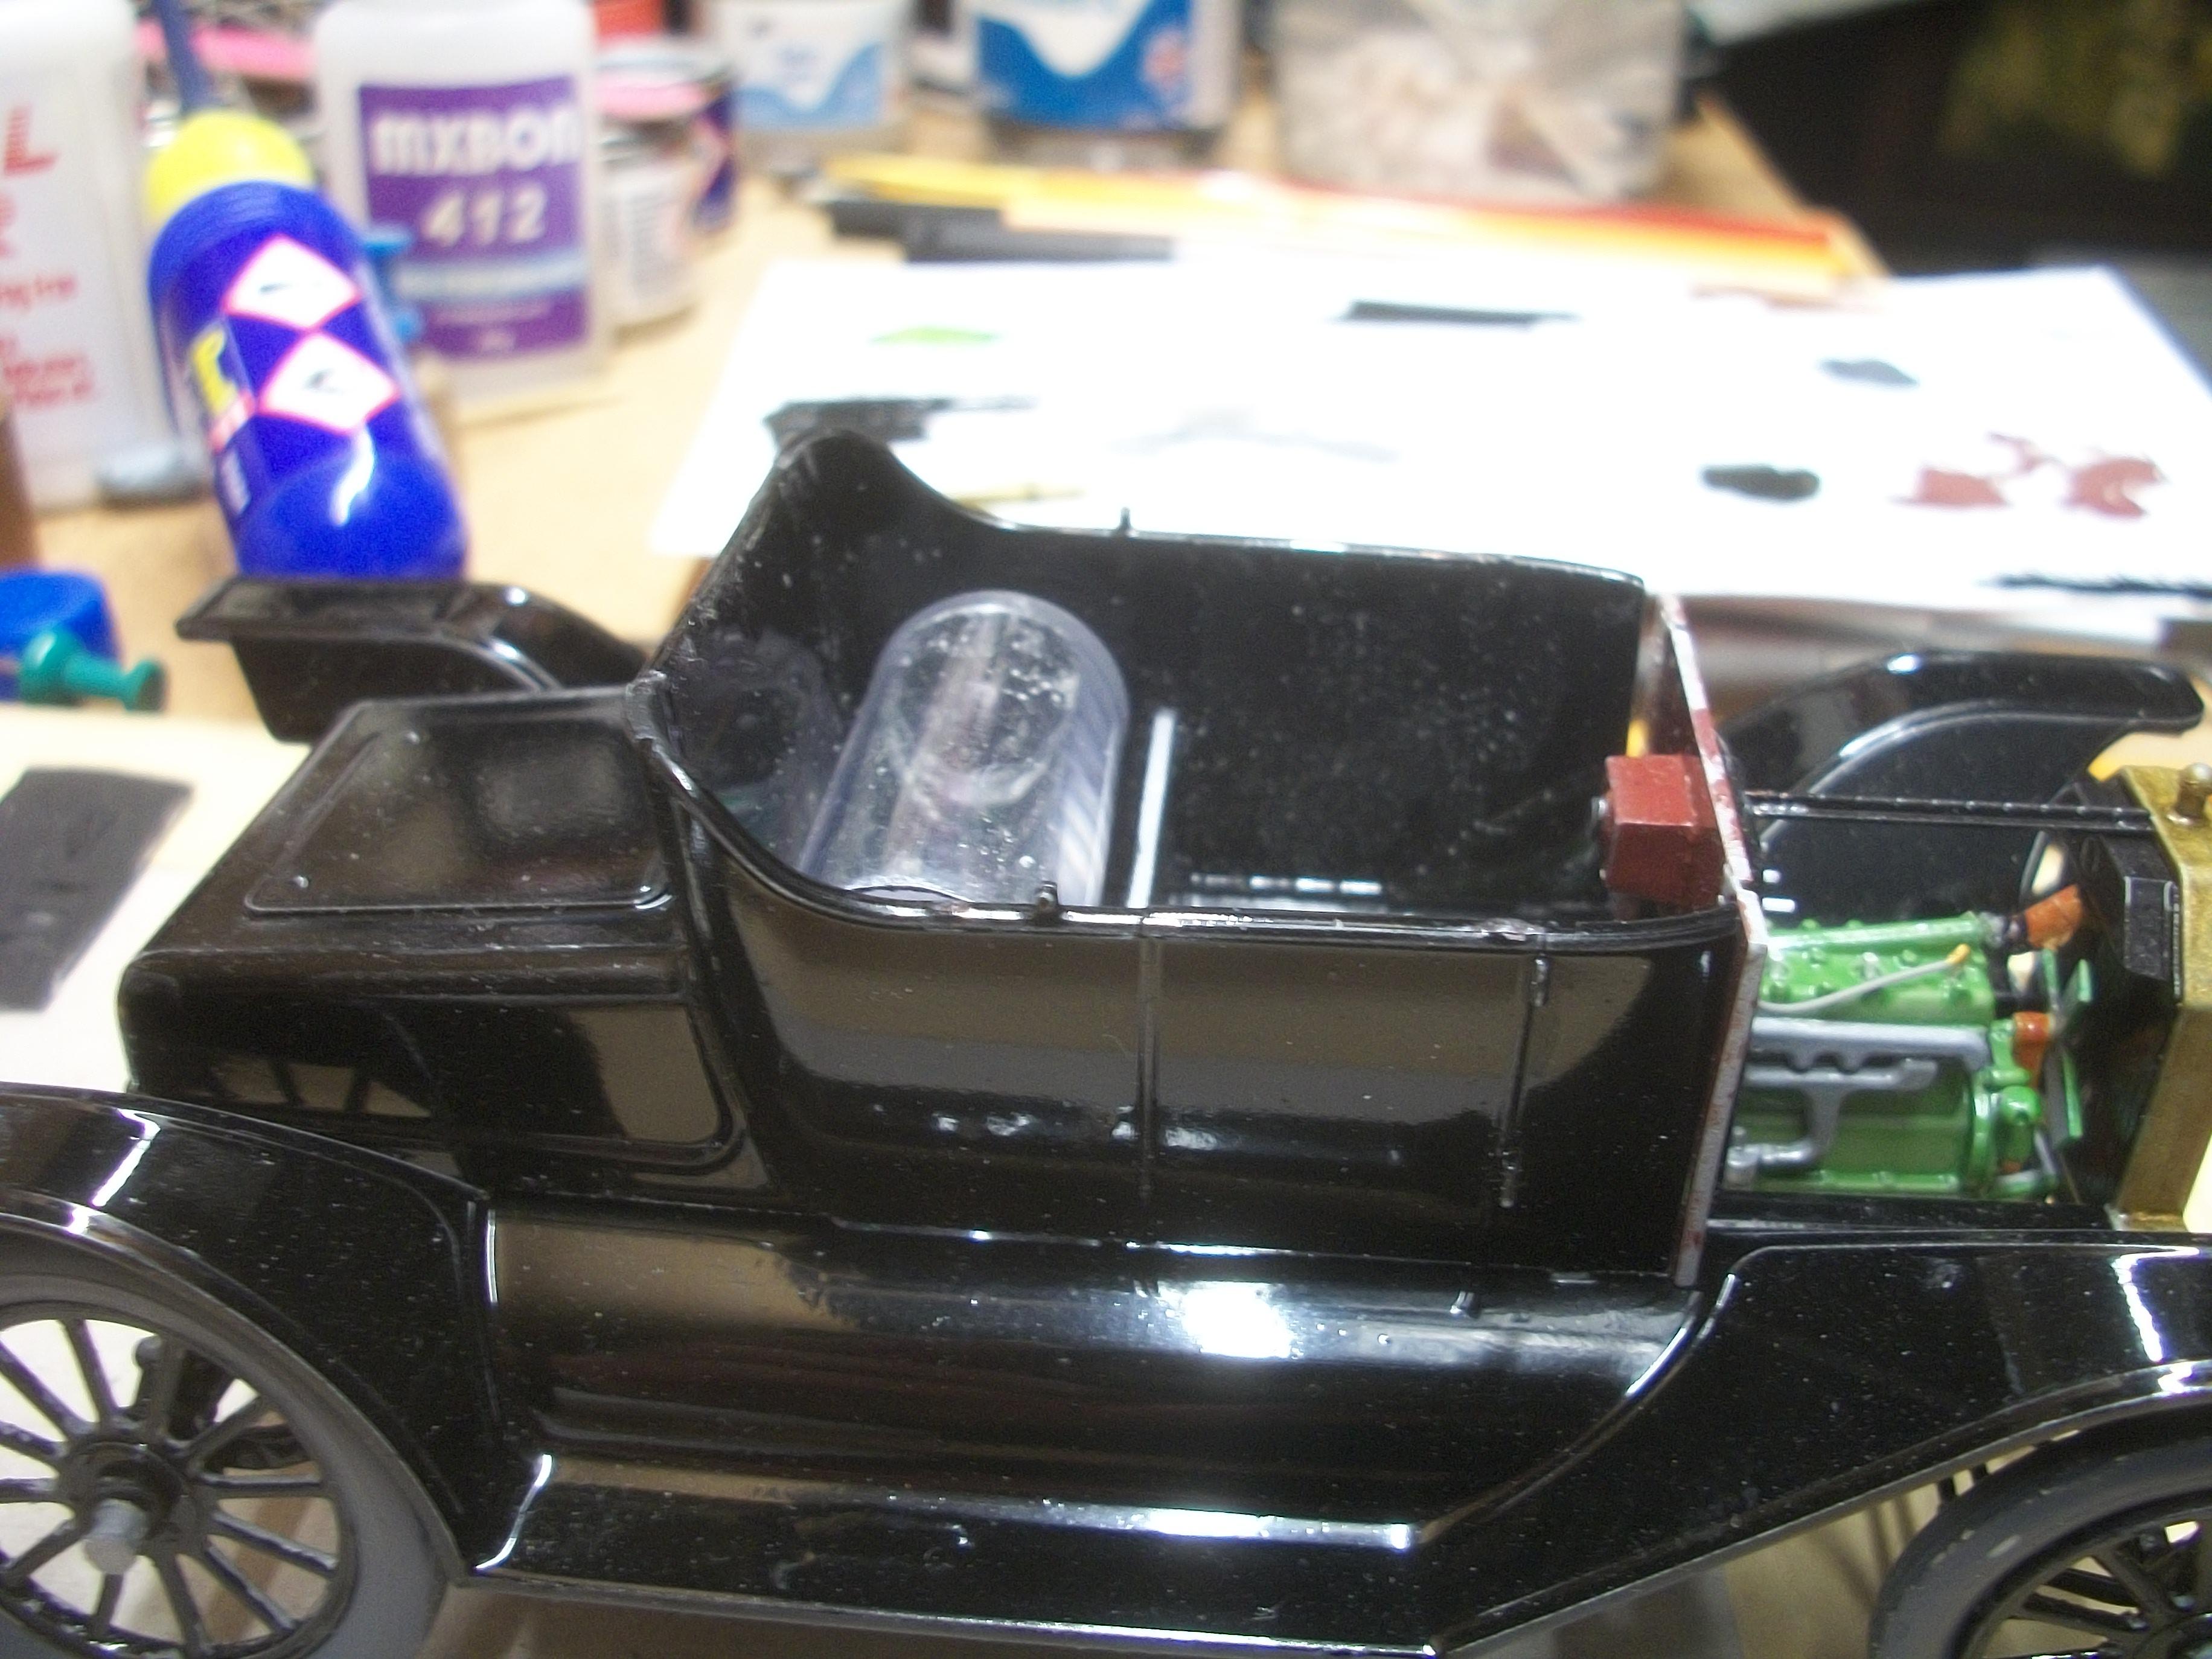
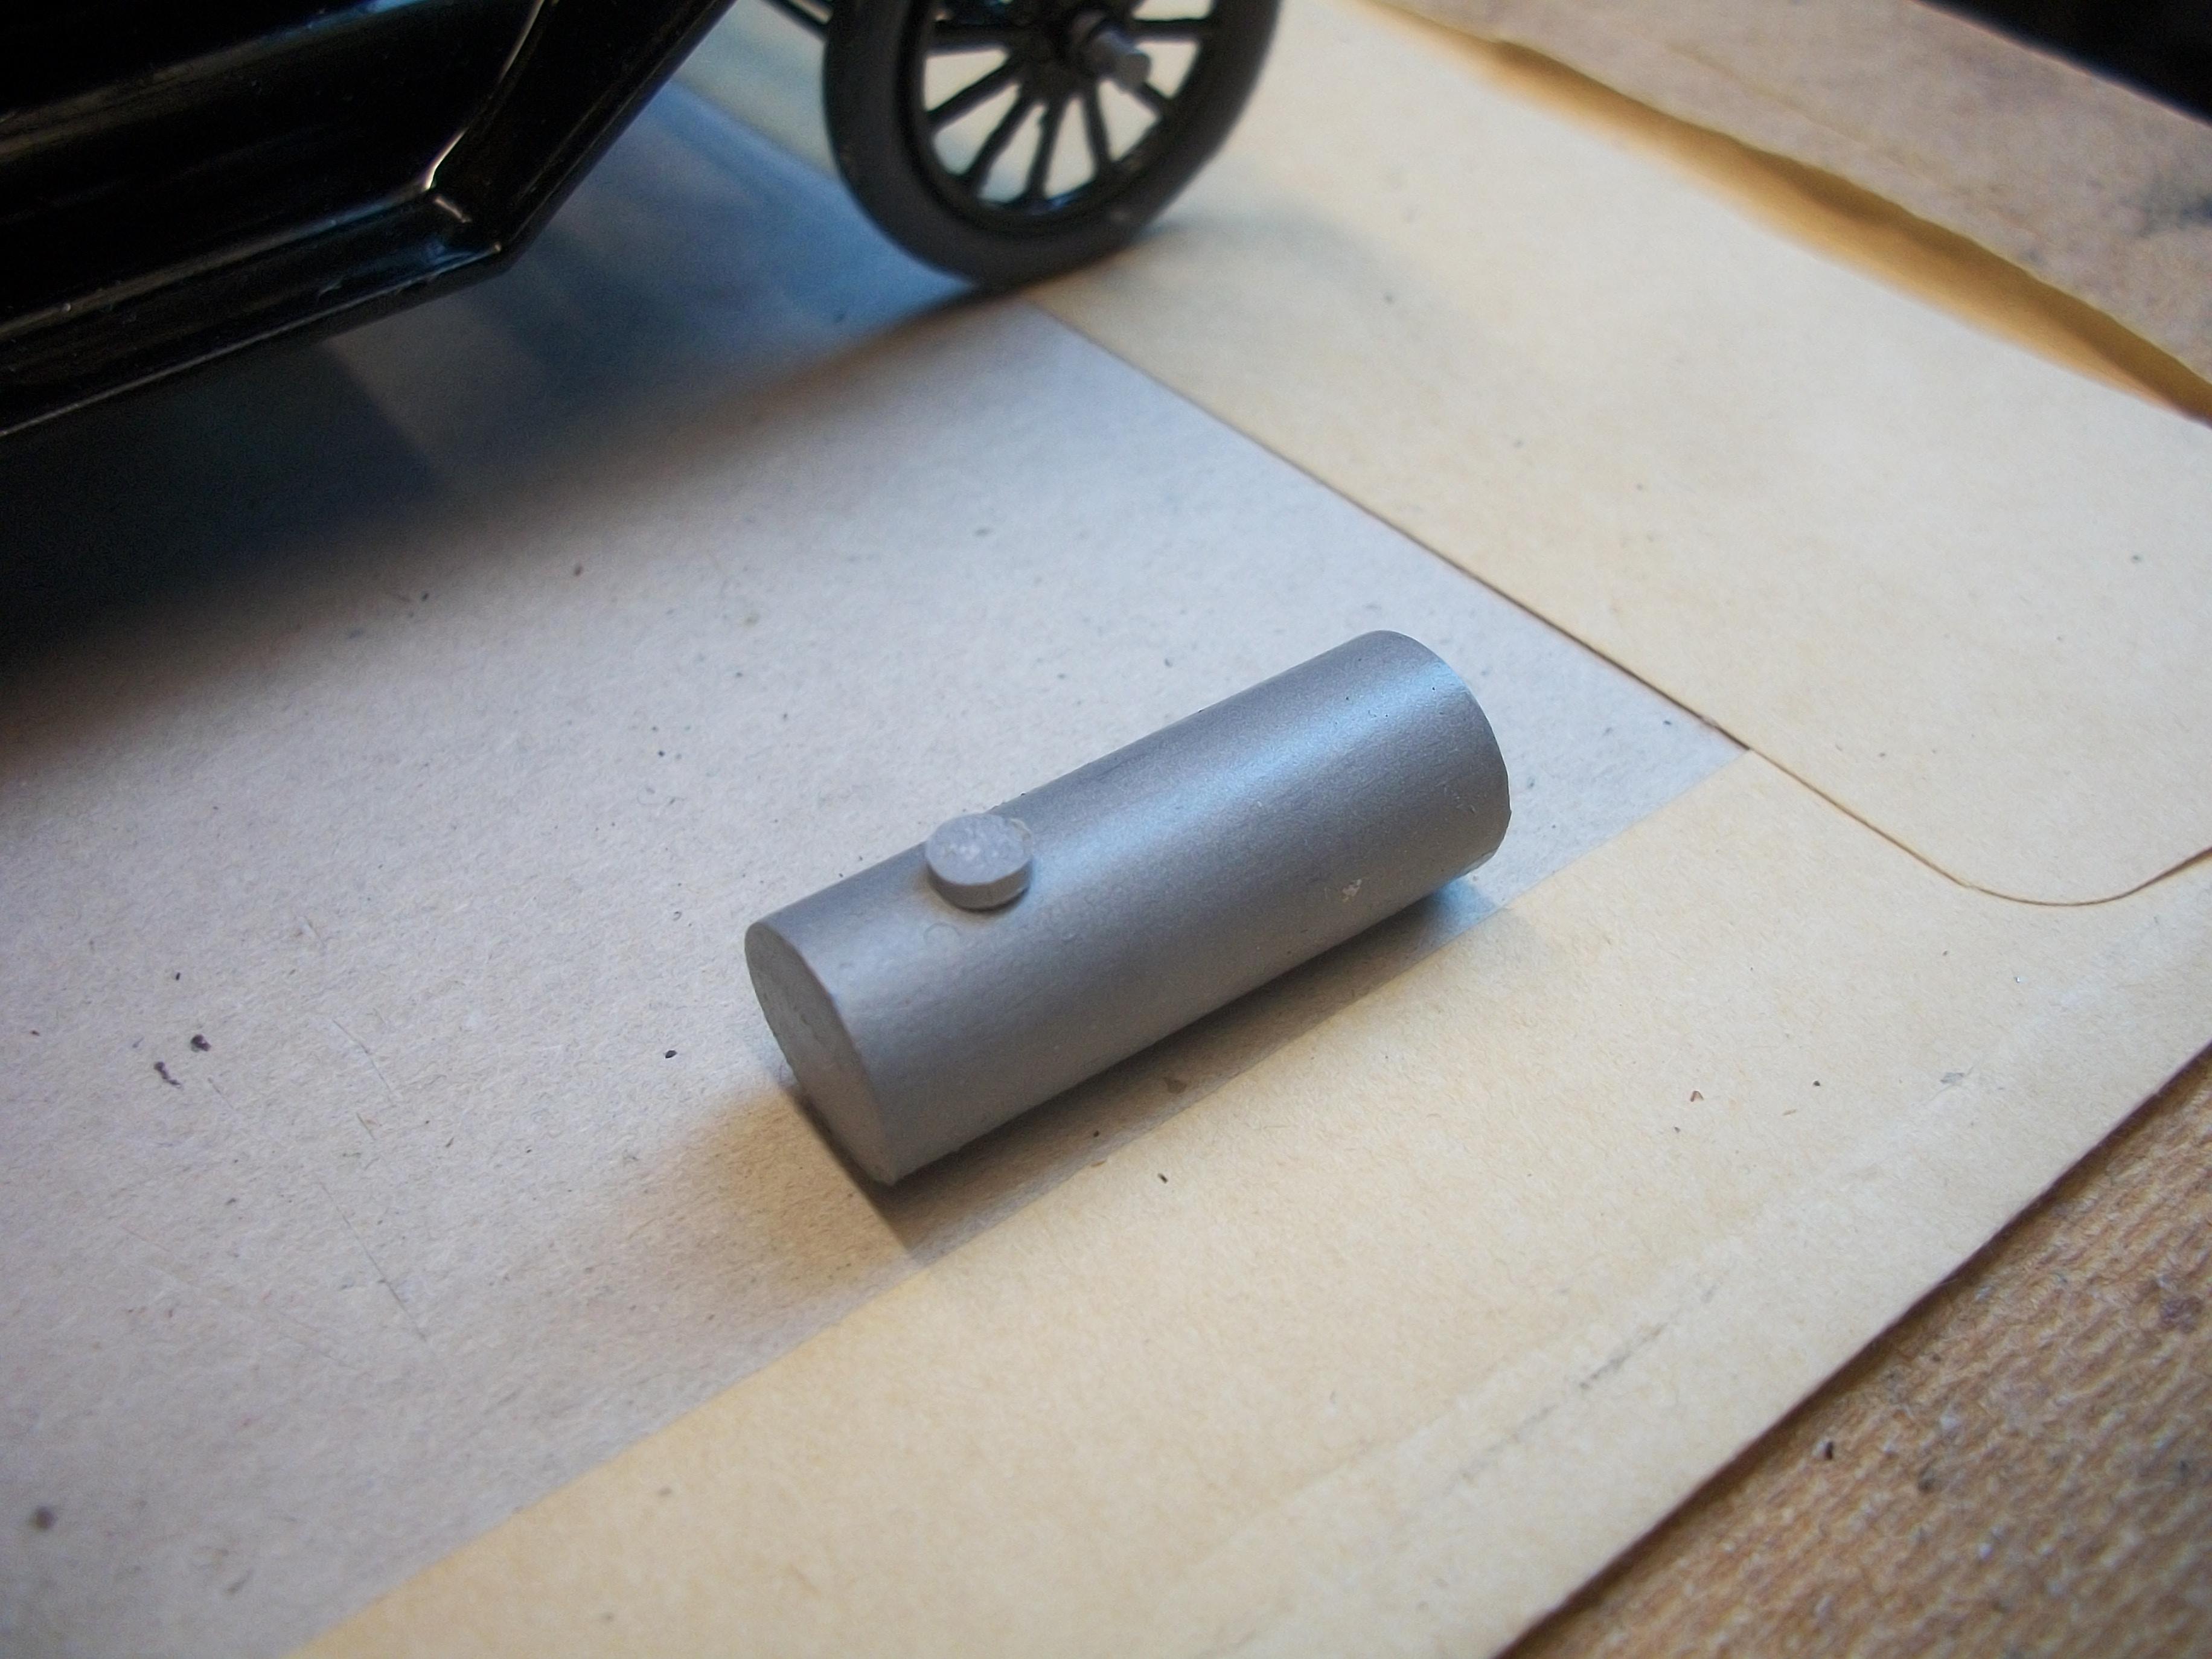
There has been a slight change of plan with the gas tank idea . . . I did go to all the trouble of scratch building the tank from a 35 mm length of solder container, which came out very nicely, only to find that the tank was too large for the car. The height of the tank was such that the seat could not fit onto the seat support panel . . . So, I got my thinking cap on, and came up with a better idea . . . Using a glue stick from my hot glue gun, I cut a 30 mm length of glue stick and painted this with Humbrol Aluminium enamel. Then I cut off a thin layer from one end of a piece of styrene sprue to make the filler cap for the gas tank. The result is far better, and most importantly, the seat rests on the seat support and above the tank as it should. I am happy with the gas tank and it looks right. Moving on to the three foot pedals, these have been mounted successfully . . . A piece of thin balsa wood was super glued in place on the back surface of the three slots, and the stalks of the three pedals were then super glued into recessed indentations on the balsa wood. I had seen a YouTube video where the model builder explained how the ICM instructions tell you to put the pedal stalks through the three slots and glue them to . . . what? Actually, there is nothing to glue the parts to at all, just empty space . . . My balsa wood idea seems to have worked well. David
-
Very interesting build Ken . . . These ICM kits are really good in my opinion, as indeed are the Miniart kits, also from Ukraine . . . David
-
You and I seem to have a similar approach when it comes to scratch building ideas . . . See my next post for details of a slight change of plan . . . David W.