Anglia105E
-
Posts
3,487 -
Joined
-
Last visited
Content Type
Profiles
Forums
Events
Gallery
Everything posted by Anglia105E
-
Speaking as someone who is not able to solder successfully, I have found other uses for the solder product ! David W.
-

Monogram's 1955 Lincoln Futura Concept Car: WIP
Anglia105E replied to David G.'s topic in WIP: Model Cars
Good result on this build of yours David G., and I see some interesting comments regarding the figures . . . Those model cars of mine that do have a figure with them, I do find that it adds to the realism of the car, in much the same way that photographing the model car within a diorama setting provides a more realistic feel than say a glass display cabinet might do. Having said that, I do understand why some model builders have zero interest in adding figures, and why they might not see the point of it . . . David W. -
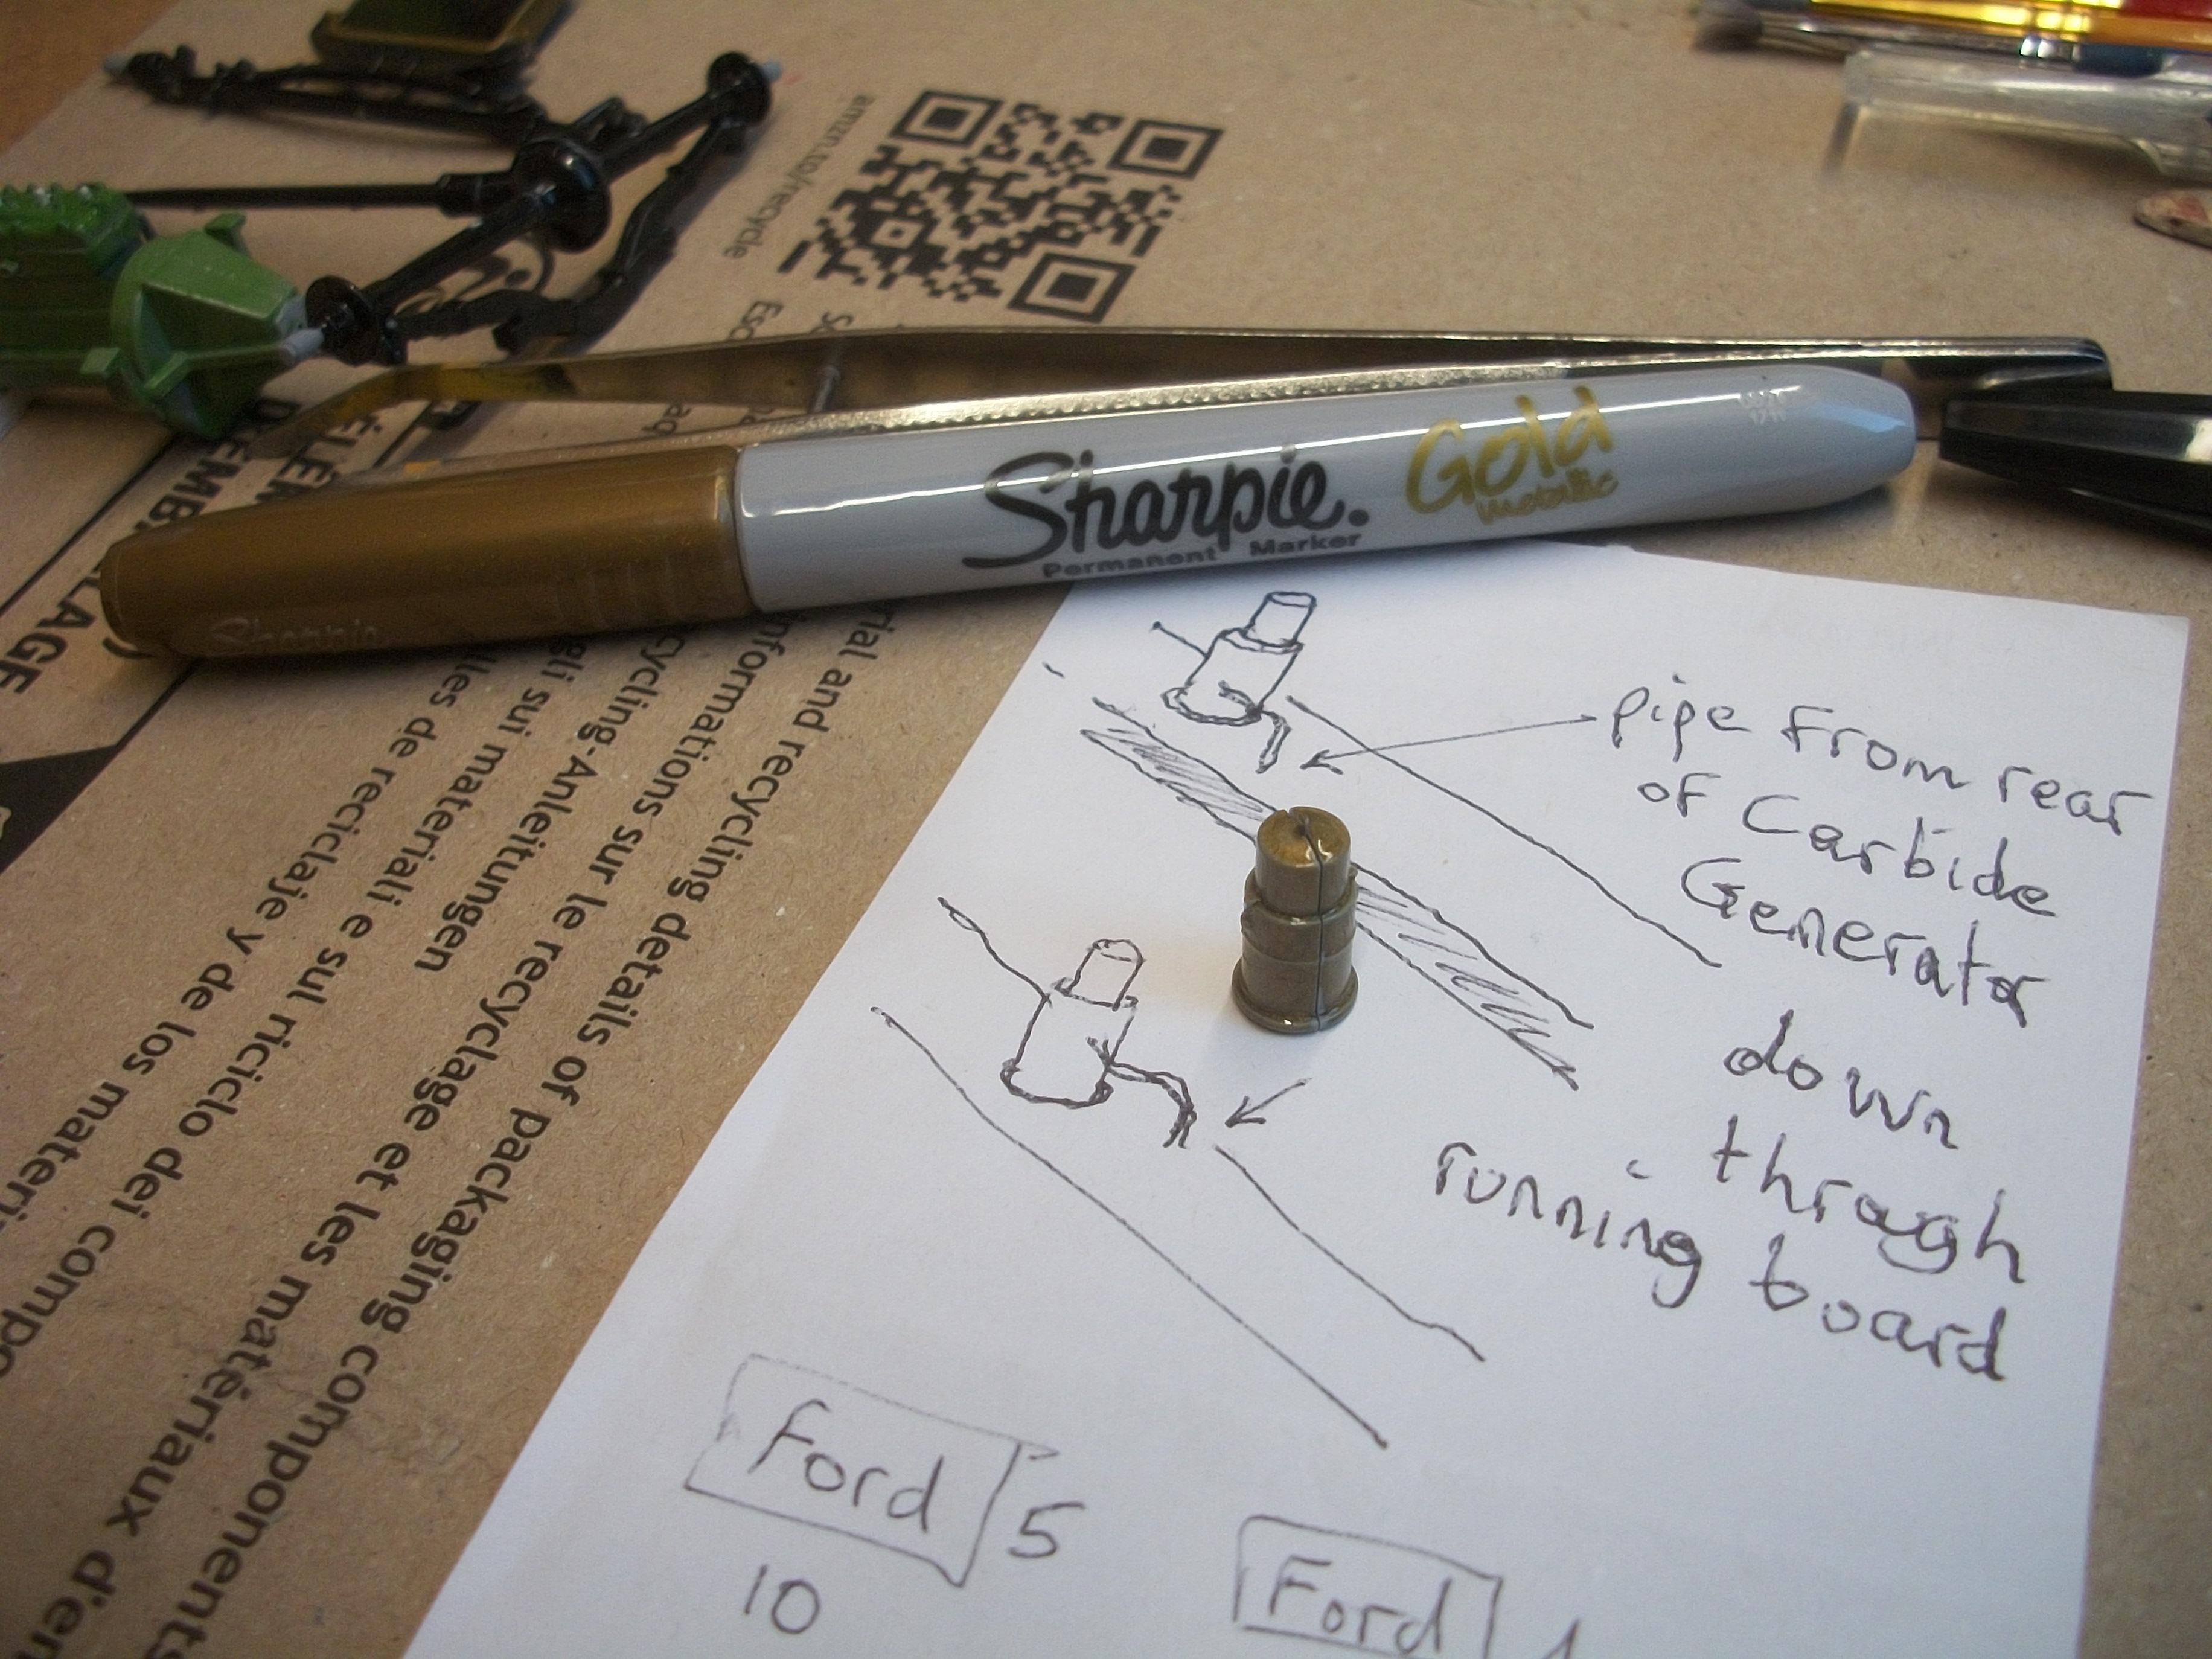
Moving ahead with this Model T Ford build in small steps . . . Today was a Sunday, and the clocks have gone back one hour for the Winter, so I had one hour extra sleep . . . After drilling a small hole in the side of the carbide generator, and a corresponding hole in the driver's side running board, I thought that I was going to use a short length of plastic pipe to connect between the two. However, the plastic pipe would not bend to a nice curve as I wanted it to, so instead I have used some 1 mm solder . . . This does the job much better. I shall paint the pipe a light brown colour. David

-
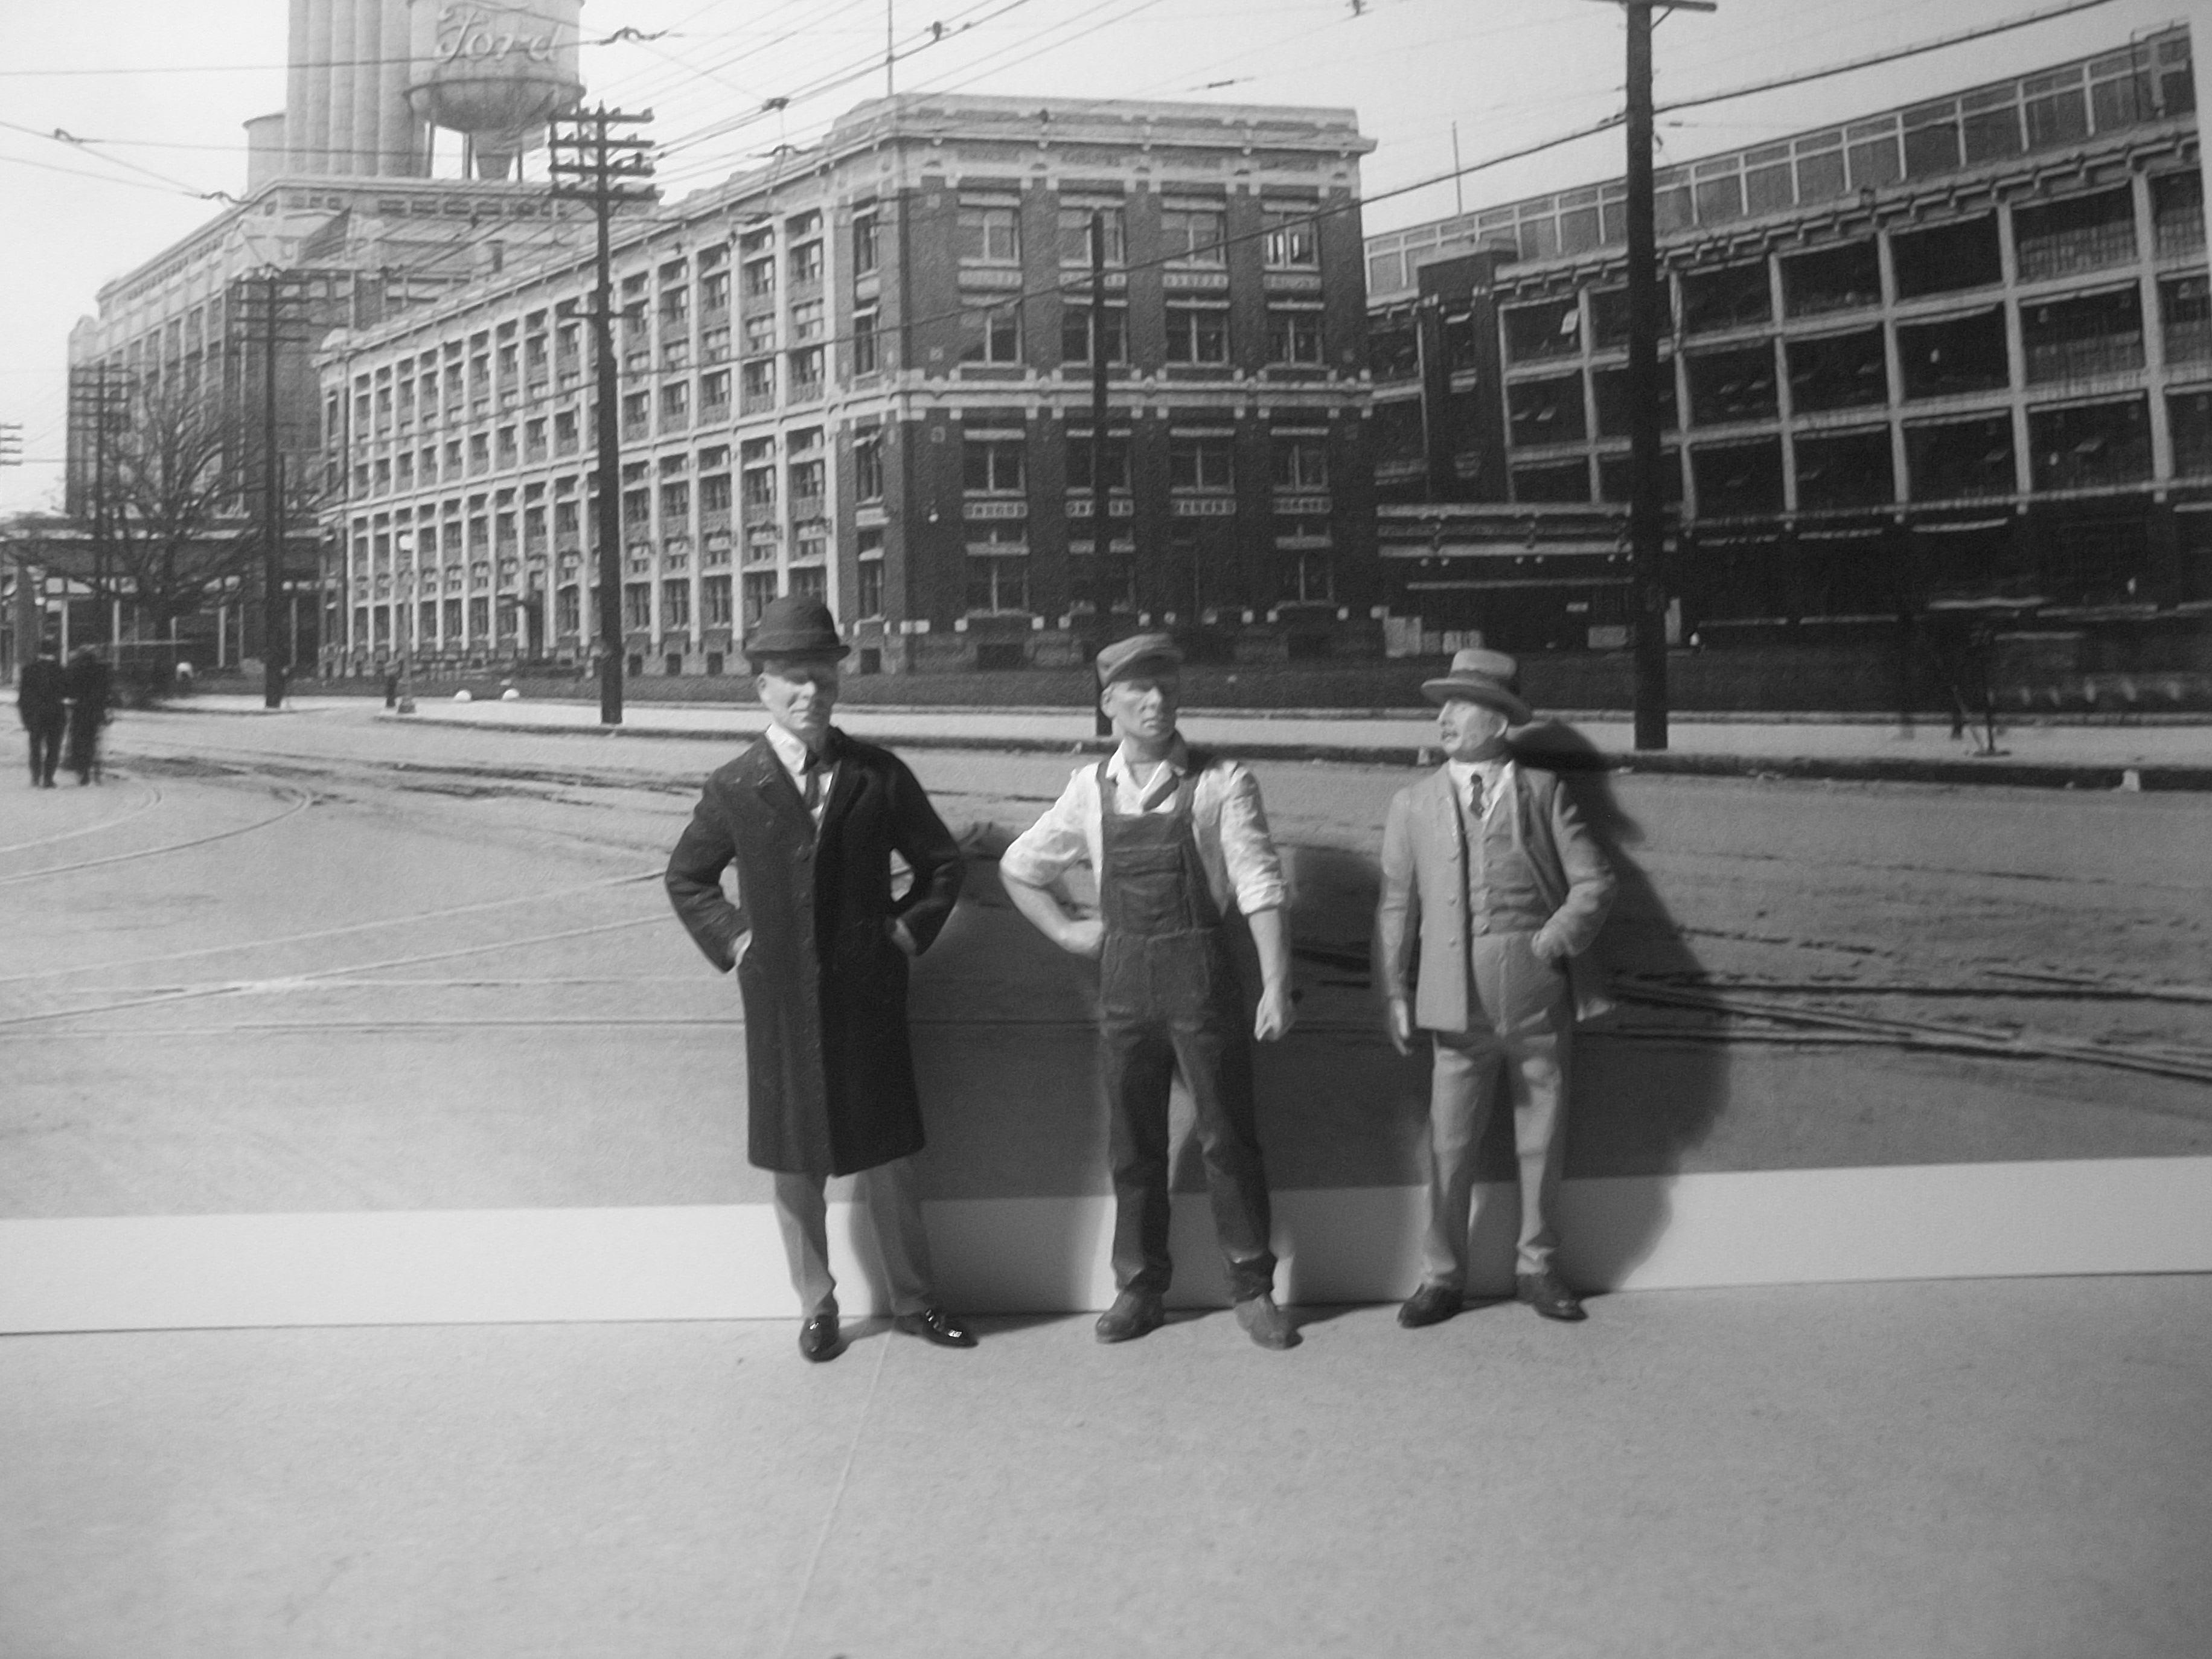
This would have been your view of the road ahead . . .
-
Kind words indeed Len . . . The process is a bit slow and and also a bit messy, but generally speaking I am happy with the finish. You can't rush a Model T. David
-
Many thanks Carl . . . and glad you like the paint ! Black is difficult to apply well, and even more difficult to photograph properly . . . David
-
Monogram's 1955 Lincoln Futura Concept Car: WIP
Anglia105E replied to David G.'s topic in WIP: Model Cars
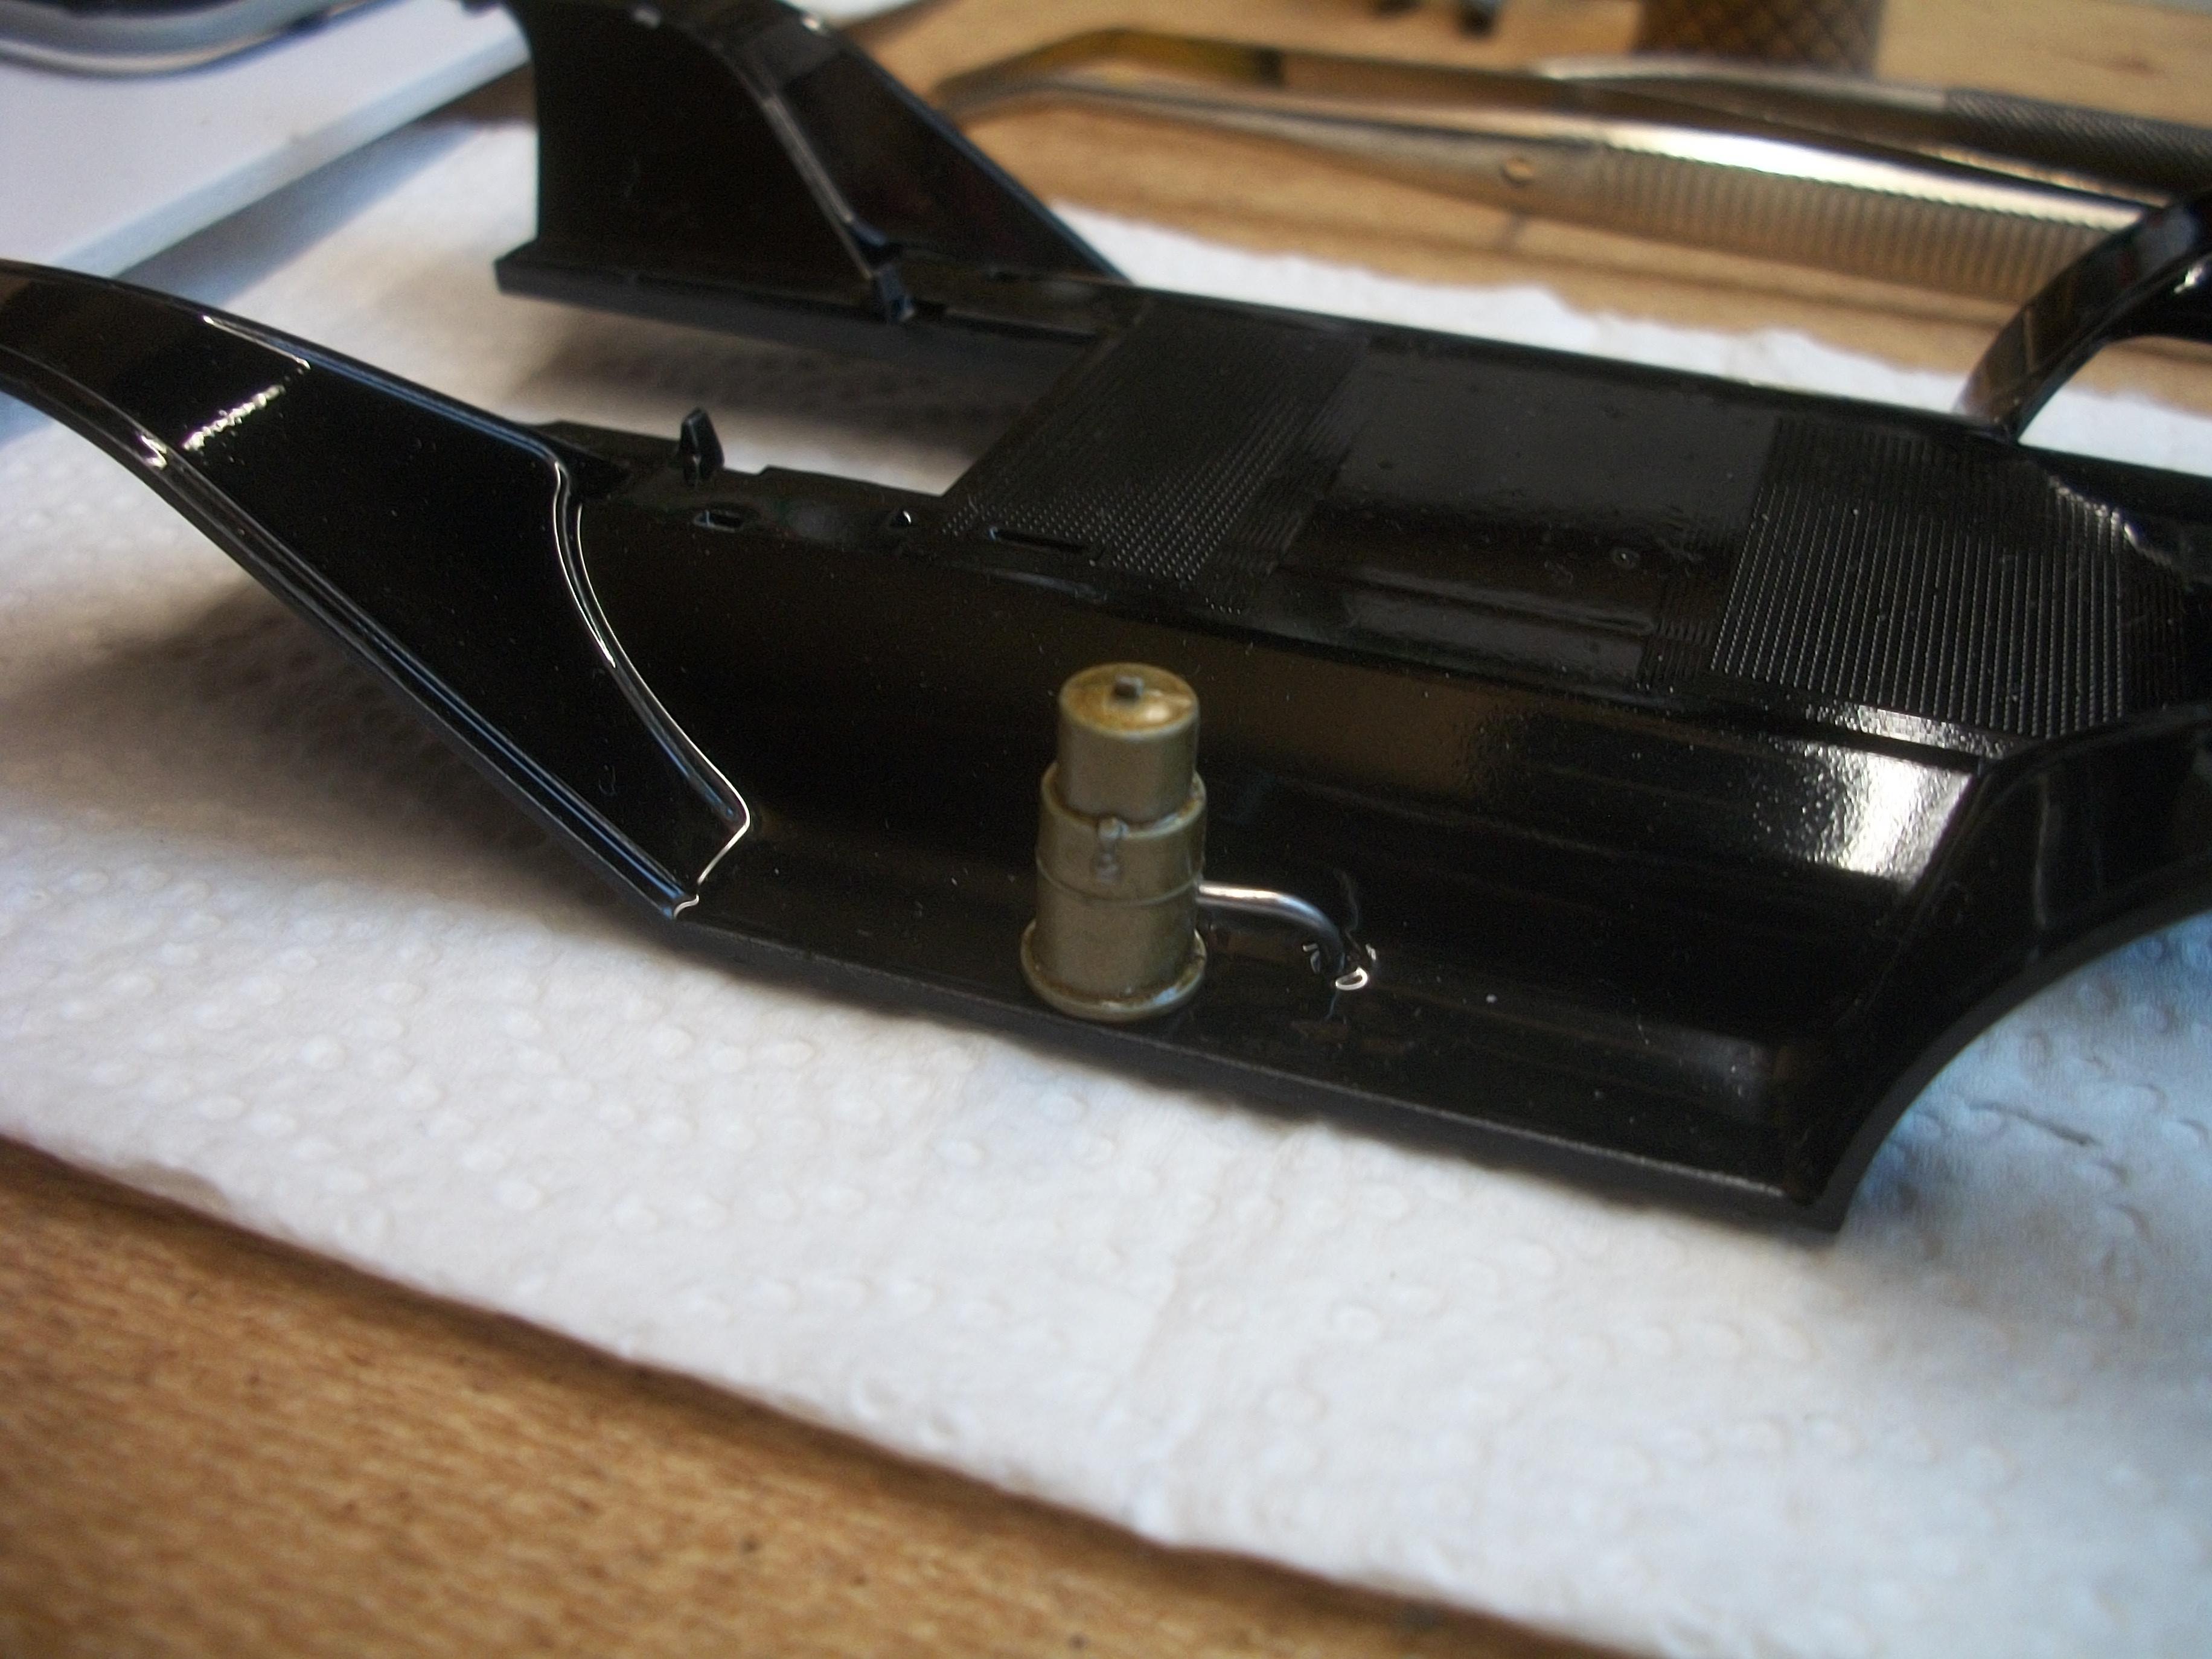
Your rear bumper looks fine David . . . Interesting that you should have to admit to further impatience, because I too am guilty of repeated impatience syndrome, let's call it ' R I S ' . While test fitting the carbide generator to the Model T Ford and due to premature handling, I noticed my thumb print in the black painted surface of the running board . . . Ooops ! David W. -
Many thanks Trevor . . . Yes, I really enjoy building these ICM kits, and I am sure that you would too. There is the Roadster version of the Model T, also the Tourer version, the Speedster, the Commercial Roadster that has the third seat at the back, the Delivery wagon, the Fire Truck and the Ambulance. I am hoping that with all the various different shades and textures of black, the body paint finish should appear to be period correct . . . ICM produce some really nice figures to compliment their car kits, and I am hoping that the driver figure from the Tourer will fit into my Roadster model once he's painted. The Revell version of this ICM roadster is slightly different, because the kit contains a decal sheet and the instruction sheet is in colour. David
-
Certainly it was a matter of taking a chance, and the end result relied upon the consistency of the paint, which was a brand that I have never purchased previously, also the decision to place the body parts horizontally, the unknown self levelling properties of this paint, plus the lengthy waiting for 6 days drying time. The jet black paint was applied over a coat of Tamiya Fine Surface Primer Light Grey, which I considered to be important, rather than applying the black paint over bare plastic . . . I think the bare plastic would have caused the paint to run off more. I can tell you the most amusing aspect of all this . . . Somehow I have achieved a high gloss black finish on a Model T Ford that I was not able to achieve on all those Rolls-Royce Silver Cloud model cars over a 7 year period of trying !!! How ridiculous is that ? David W.
-
Cheers Bill, and thank you very much ! David
-
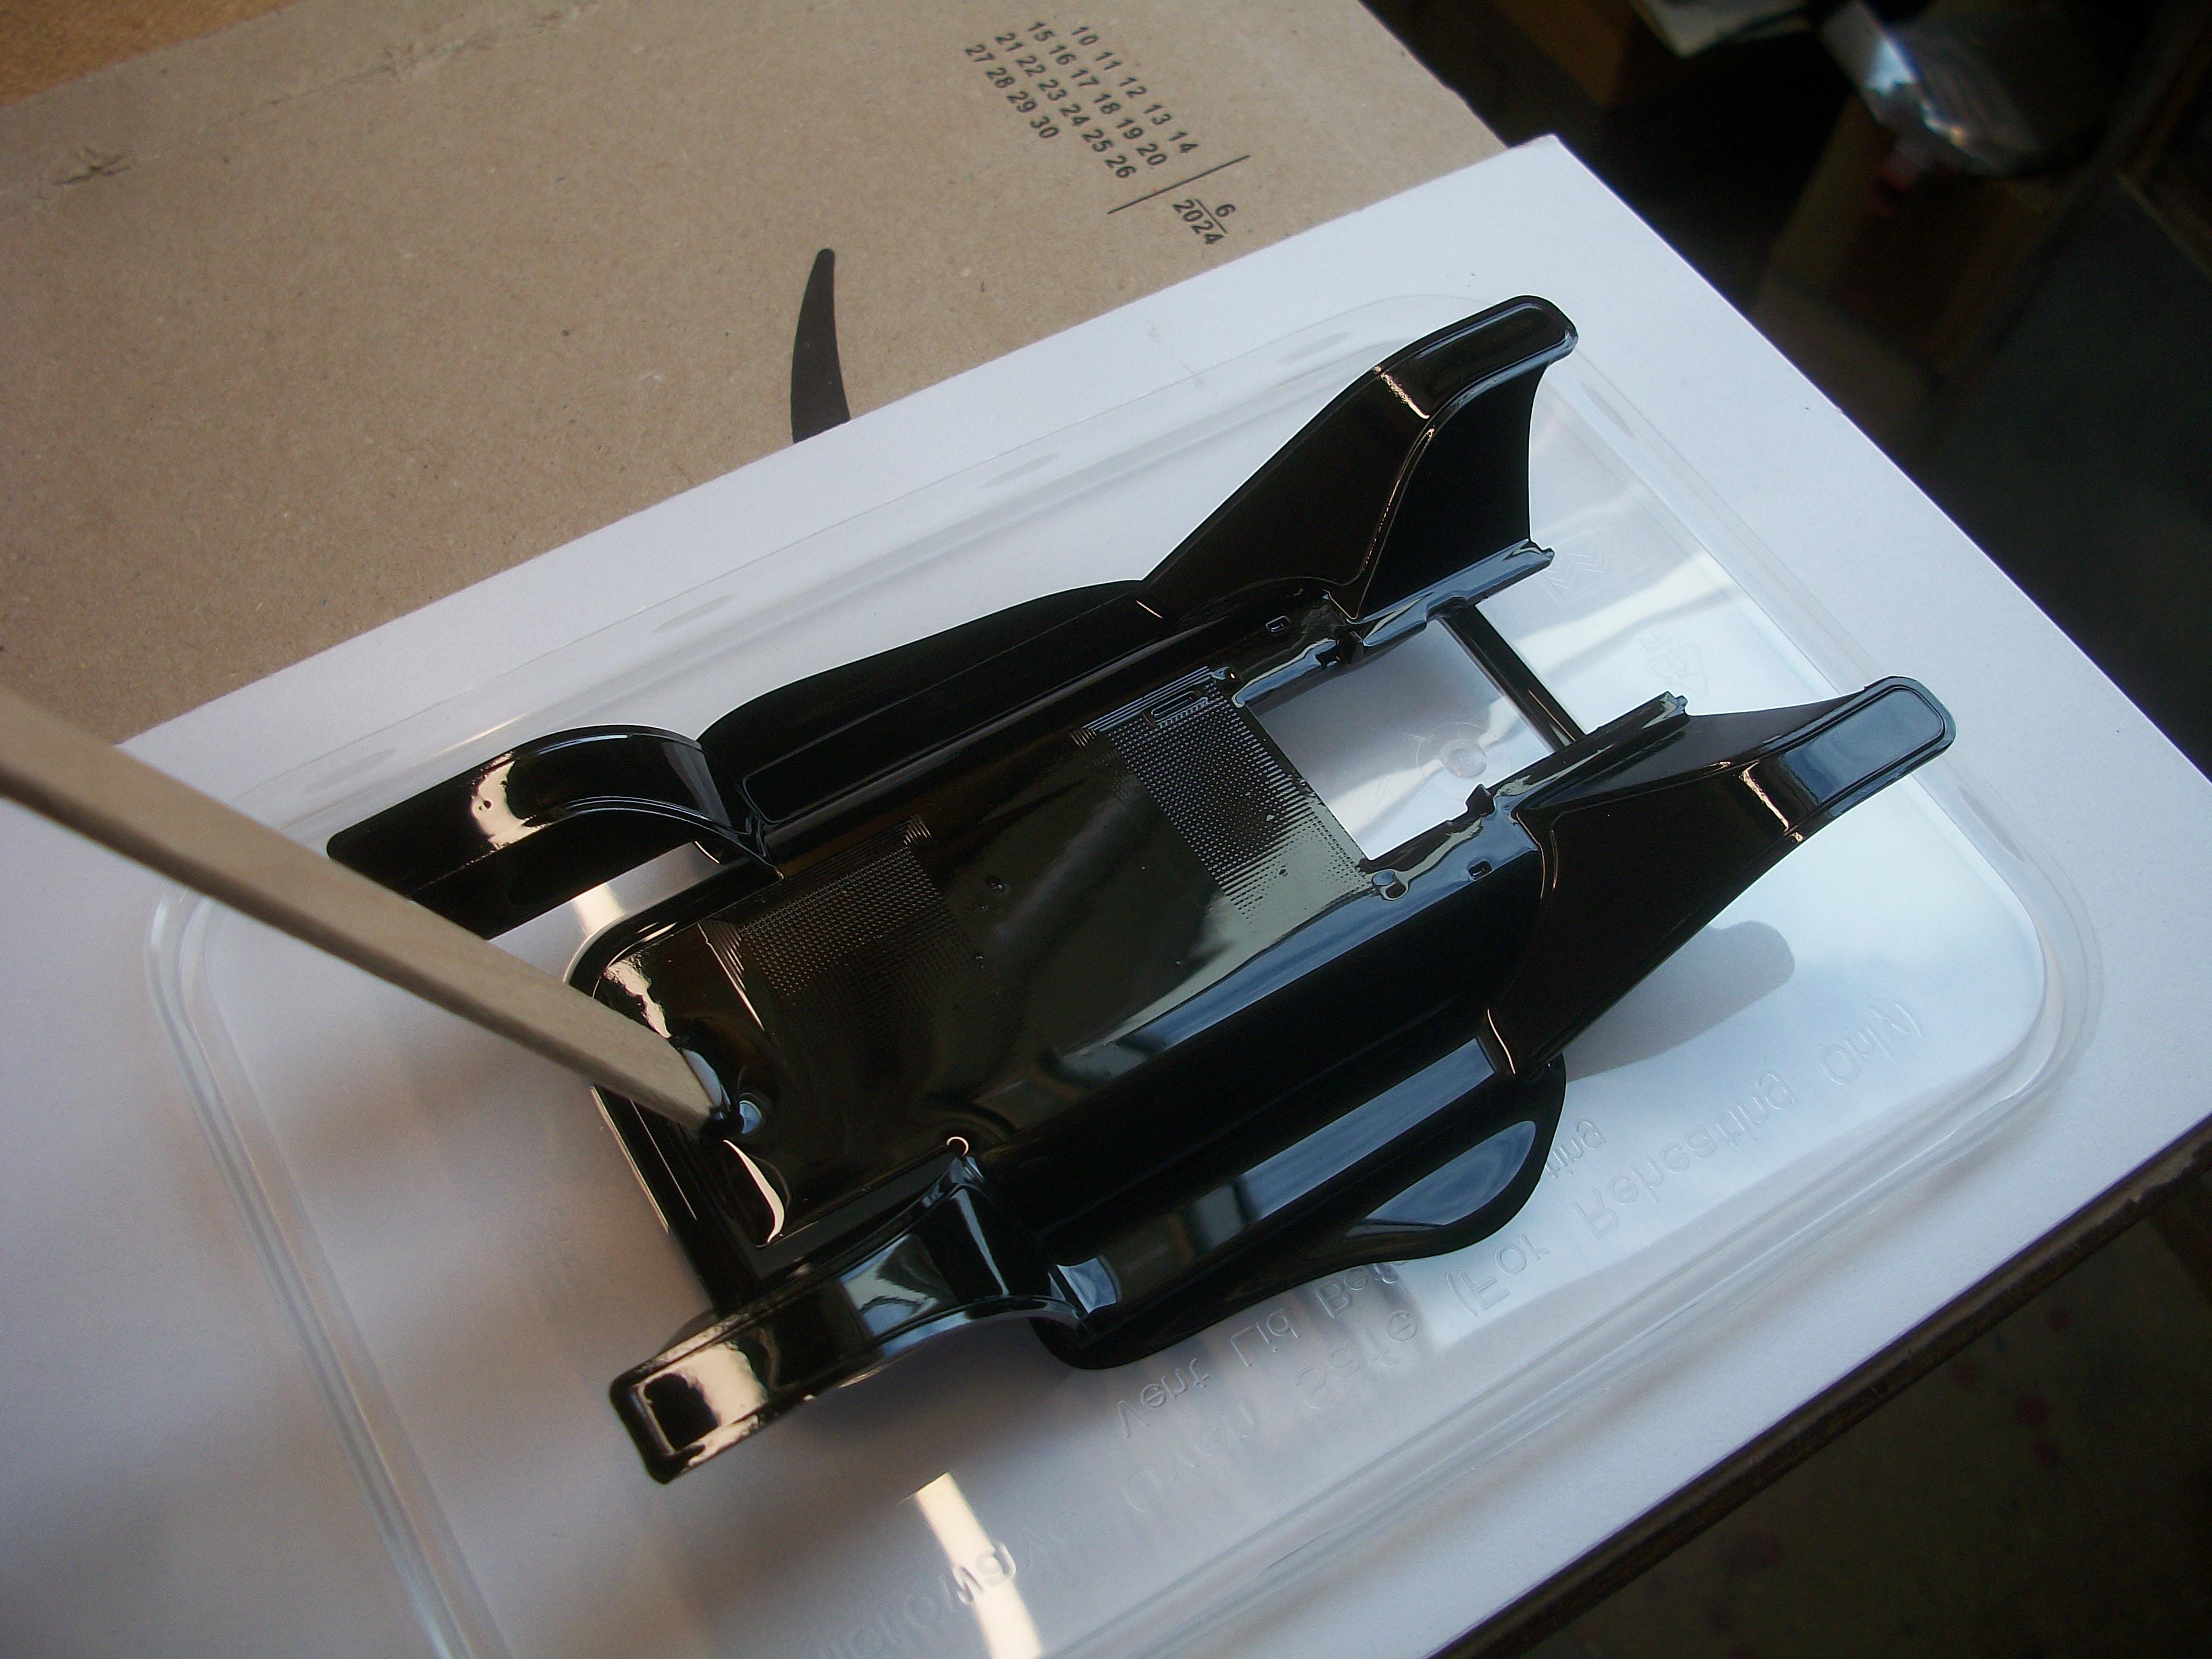
Yes, I did read a lengthy article on some website that detailed the entire process at the factory . . . I must admit, that I wasn't at all confident that I could simulate this process in 1:24 scale. Having decided to give it a go, I was pleasantly surprised . . . The Jet Black paint did take 6 days to dry, and I was tempted to use the heat from a hair dryer to speed up the drying process. I was reluctant to do that, and I do think it was better to just leave the parts to dry naturally. Here is the result . . . David
-
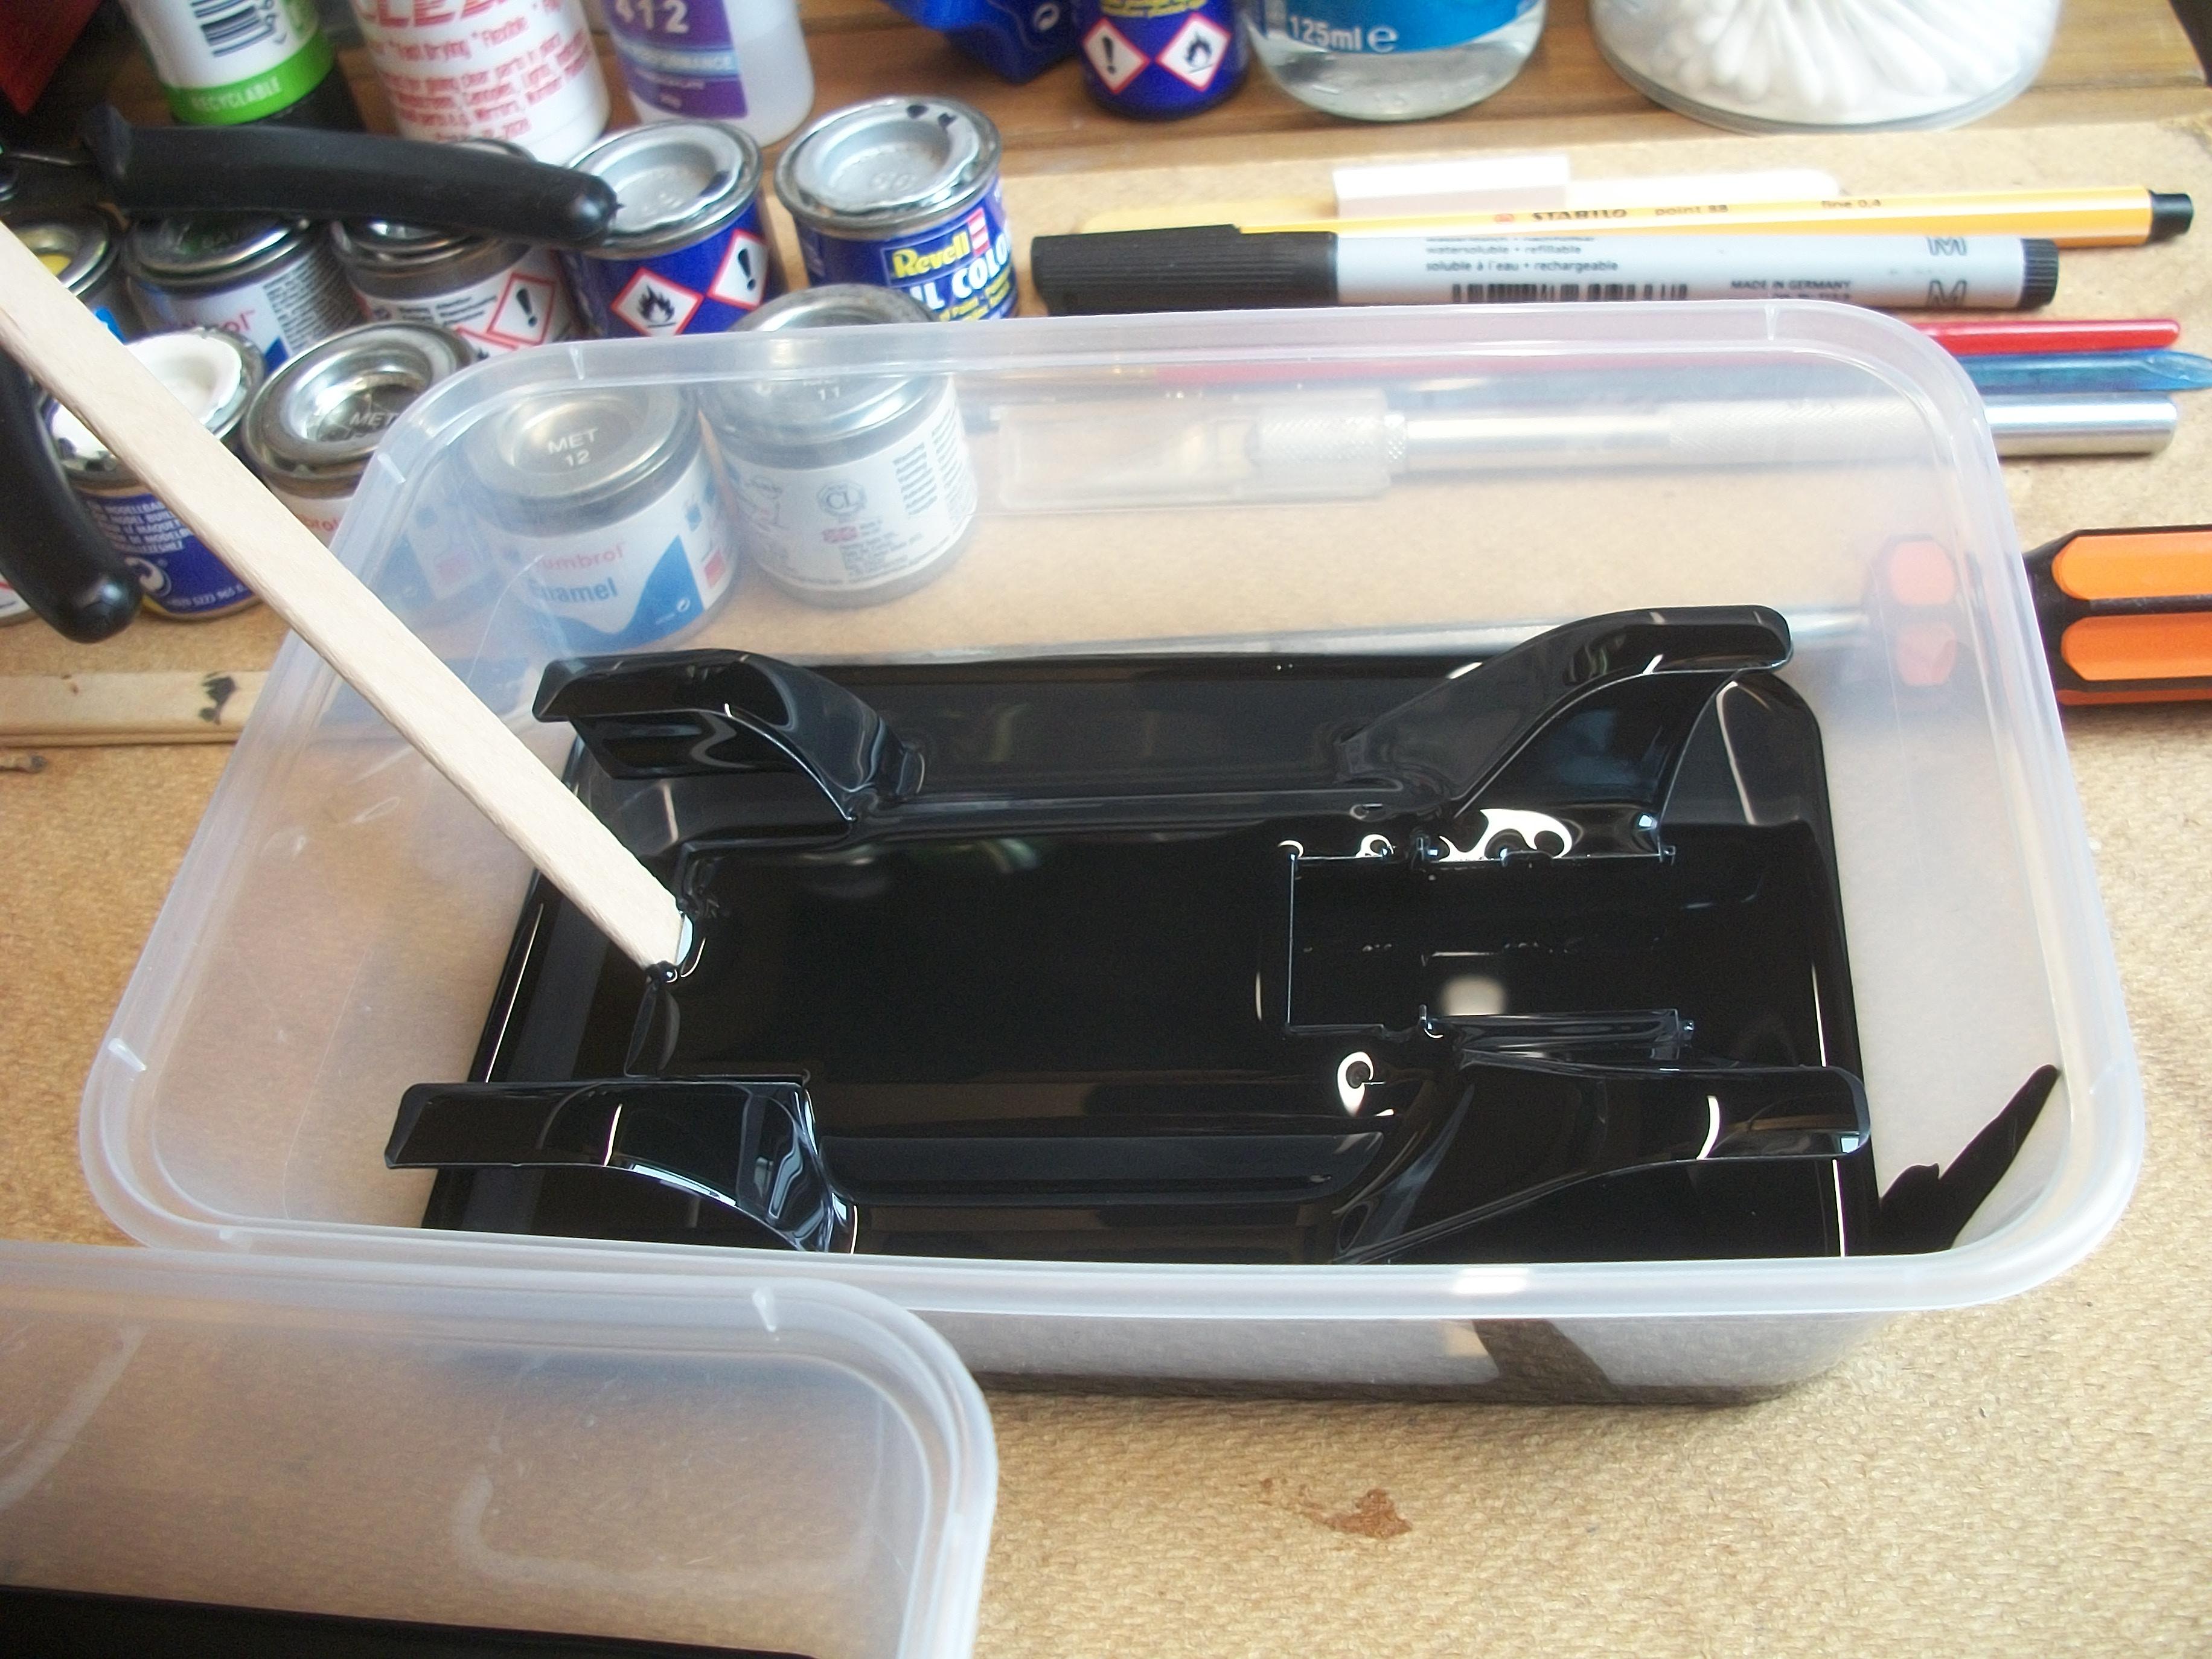
Thanks Brian . . . I wasn't able to hold the camera at the same time that I was pouring the paint from the plastic measuring jug, but the following four photos were taken immediately after the paint was applied . . . I am pretty sure that in the Henry Ford factory back in 1913 the body panels would have been hanging vertically, whereas my scale model panels are placed horizontally inside the four plastic containers. For both arrangements the excess paint flows over the edges of the body panels, and drips down below. David
-
I am really pleased to hear that Len . . . Now I can feel a whole lot better about my ' scale ' flow painting, so thank you . . . David
-
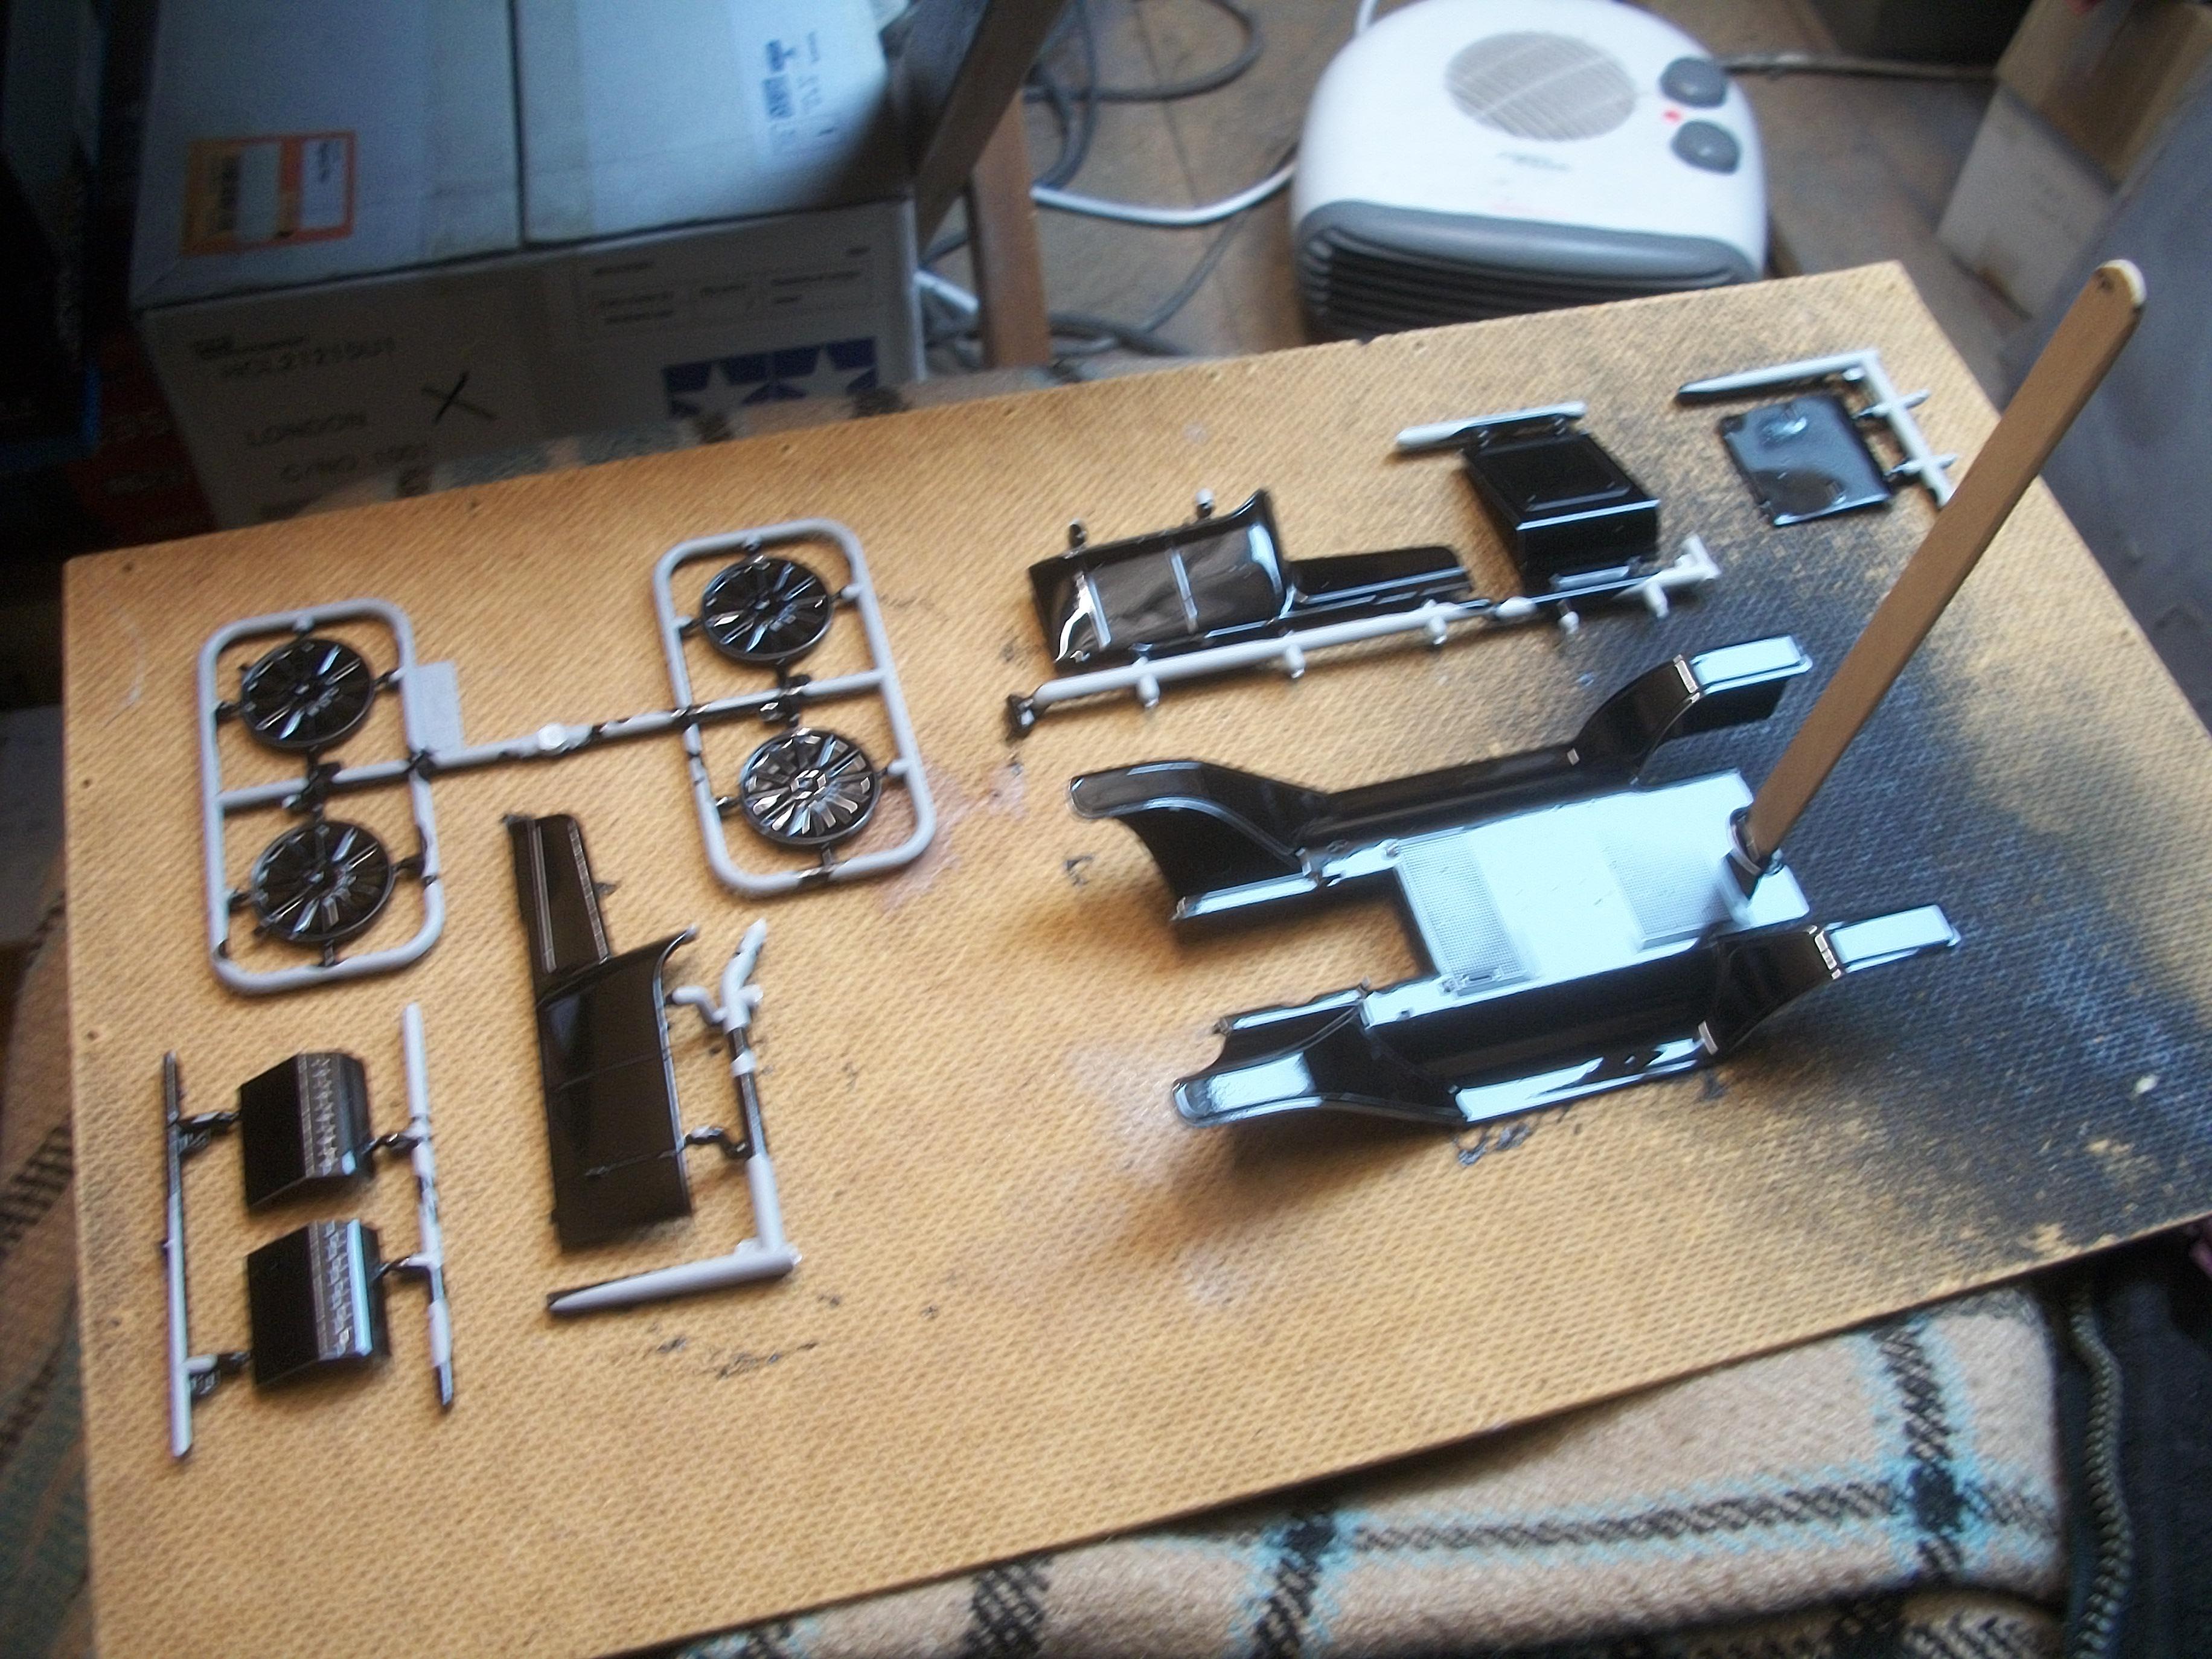
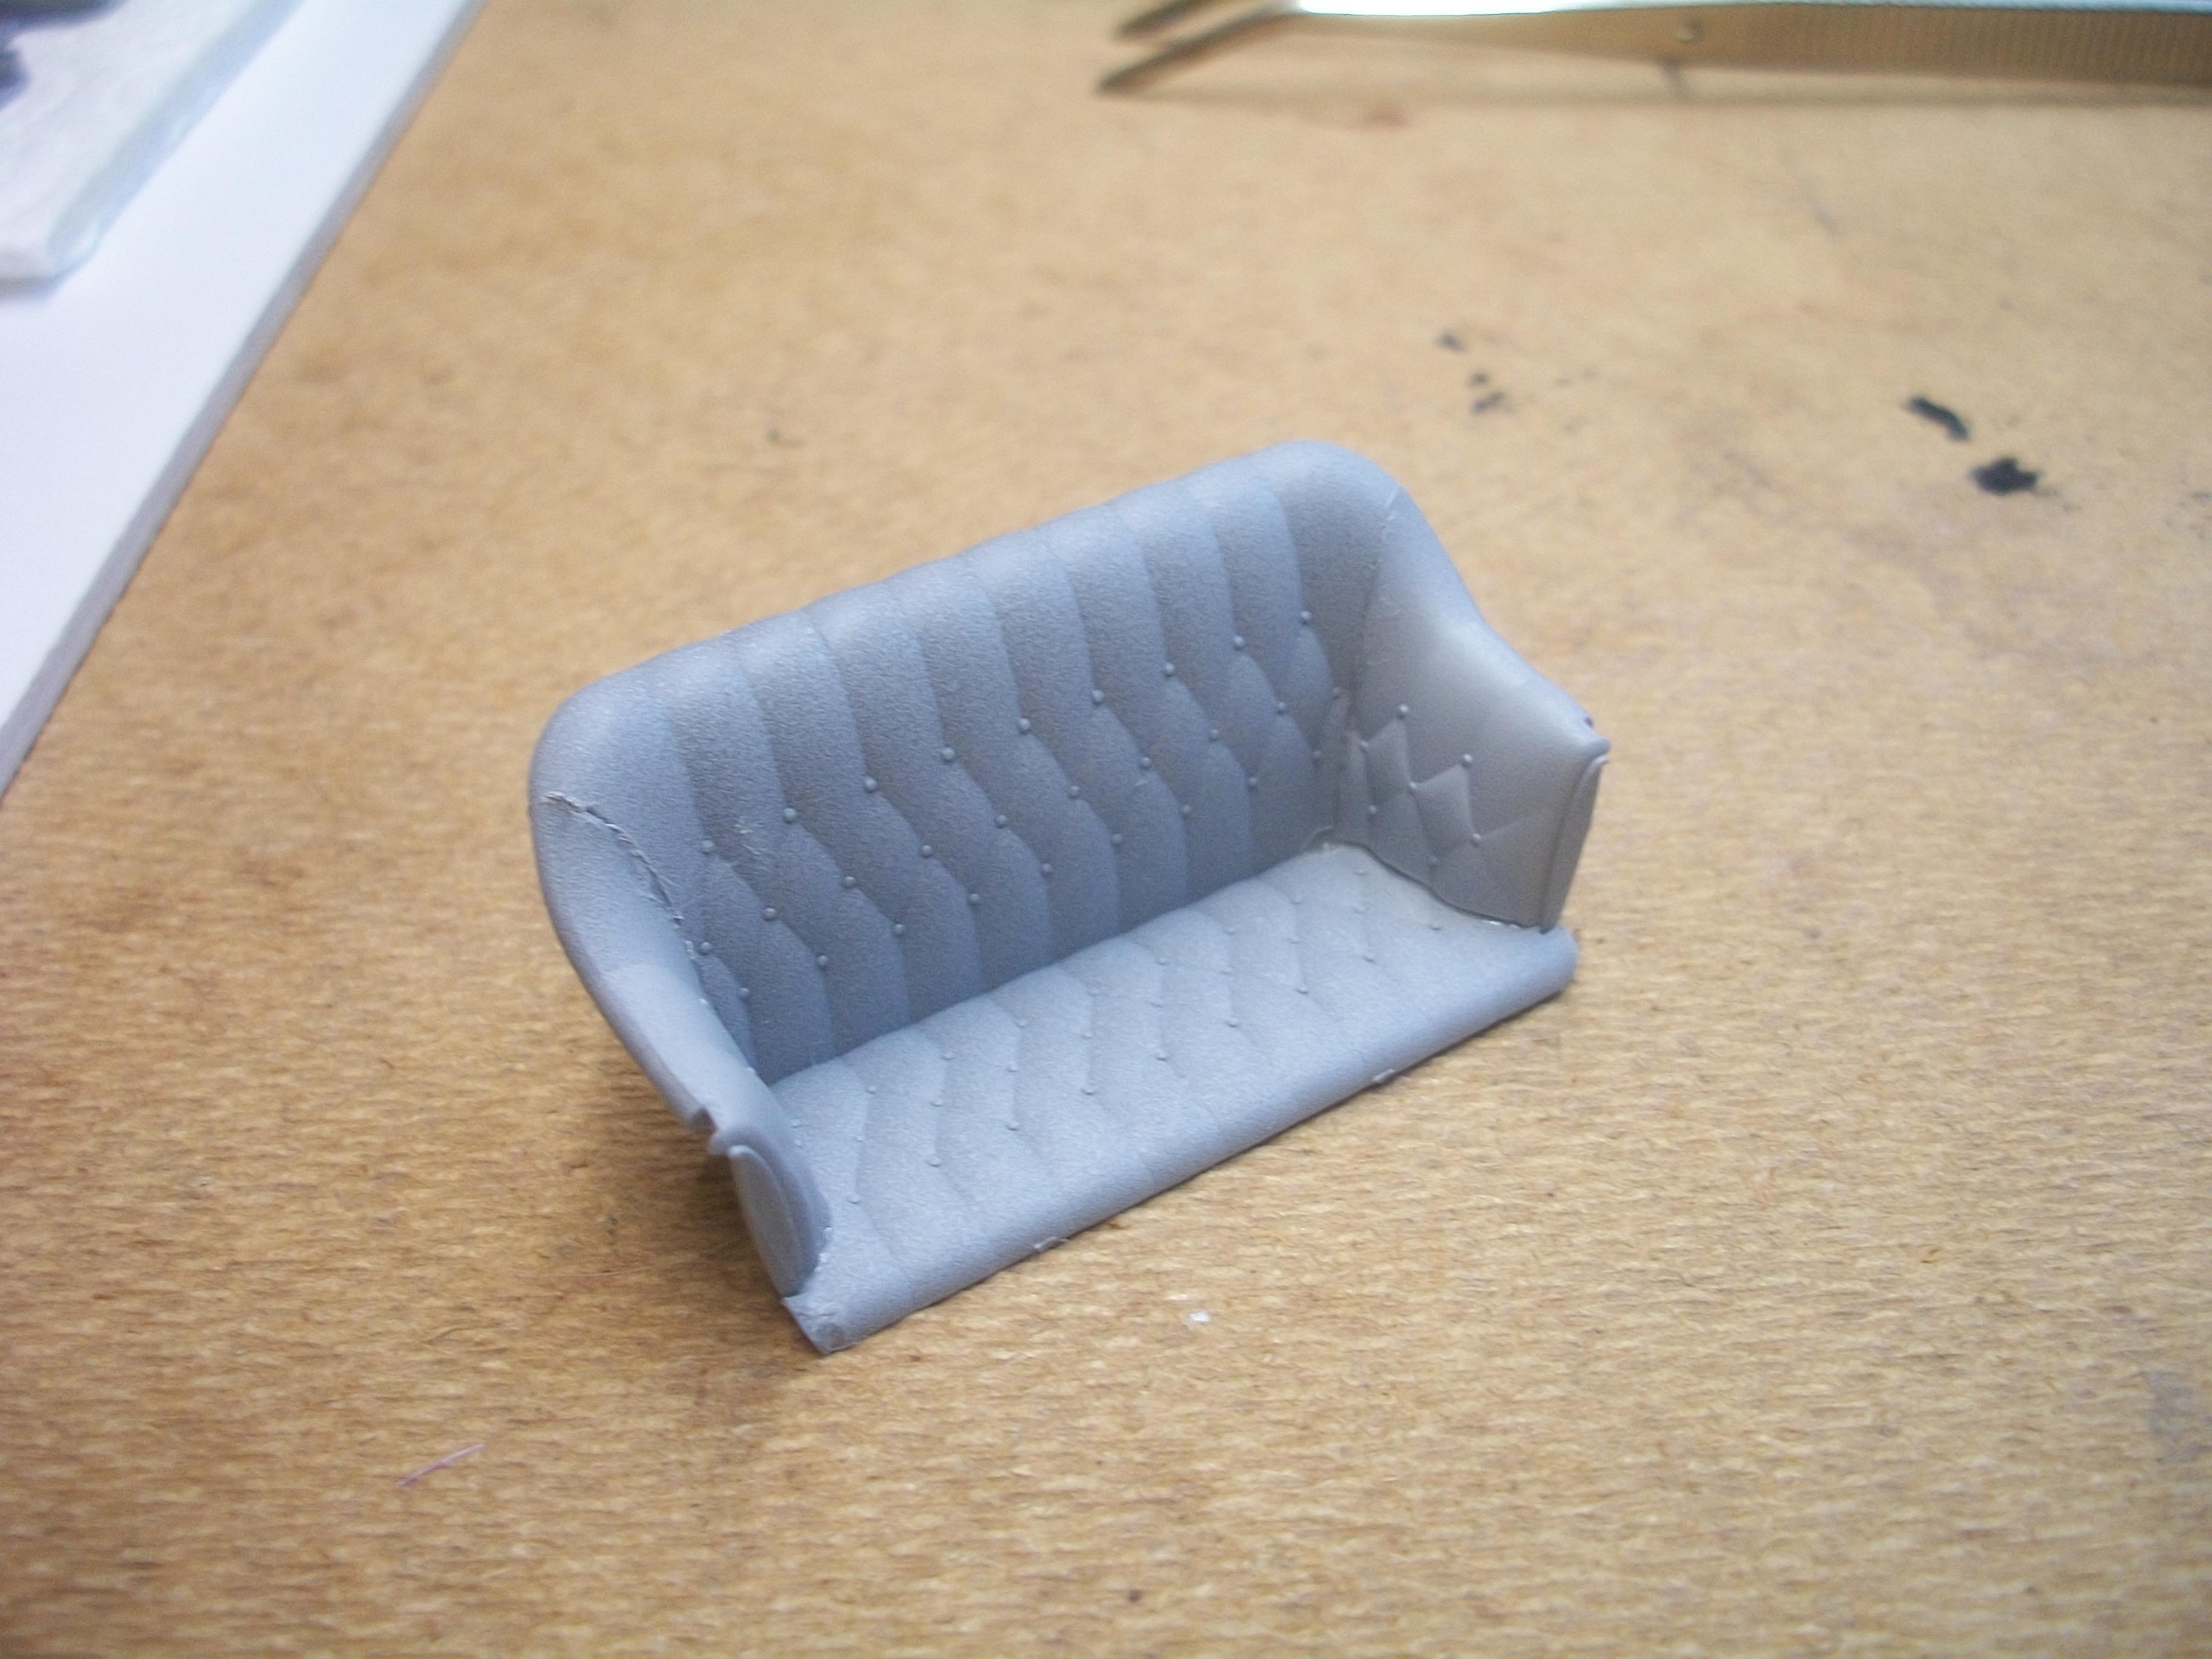
Cheers David G., . . . The precise fit of these parts by ICM is excellent, and quite often you don't even need to apply glue to hold them together, but of course I do use glue . . . Last night I applied Humbrol Matt Black 33 enamel paint to the seat, and as usual the finish is not ' Matt ' at all. So far this past year, I have not achieved a matt finish with this tin of paint . . . No problem in this case, because the satin black finish is exactly what I needed for the leather look of the seating. Previously, with the Rolls-Royce Phantom III, it was necessary to apply Humbrol Satin Cote over the colour for the seats, but for this Model T this will not be necessary . . . David W.
-
Thank you Len . . . A misnomer indeed. Maybe if I had applied this paint with a brush, and as a thin coat, then ' Quick Drying would be more accurate . . . As things are, the painted parts can now be handled after 6 days drying time. The finish is actually very good, although not strictly speaking scale thickness. David
-
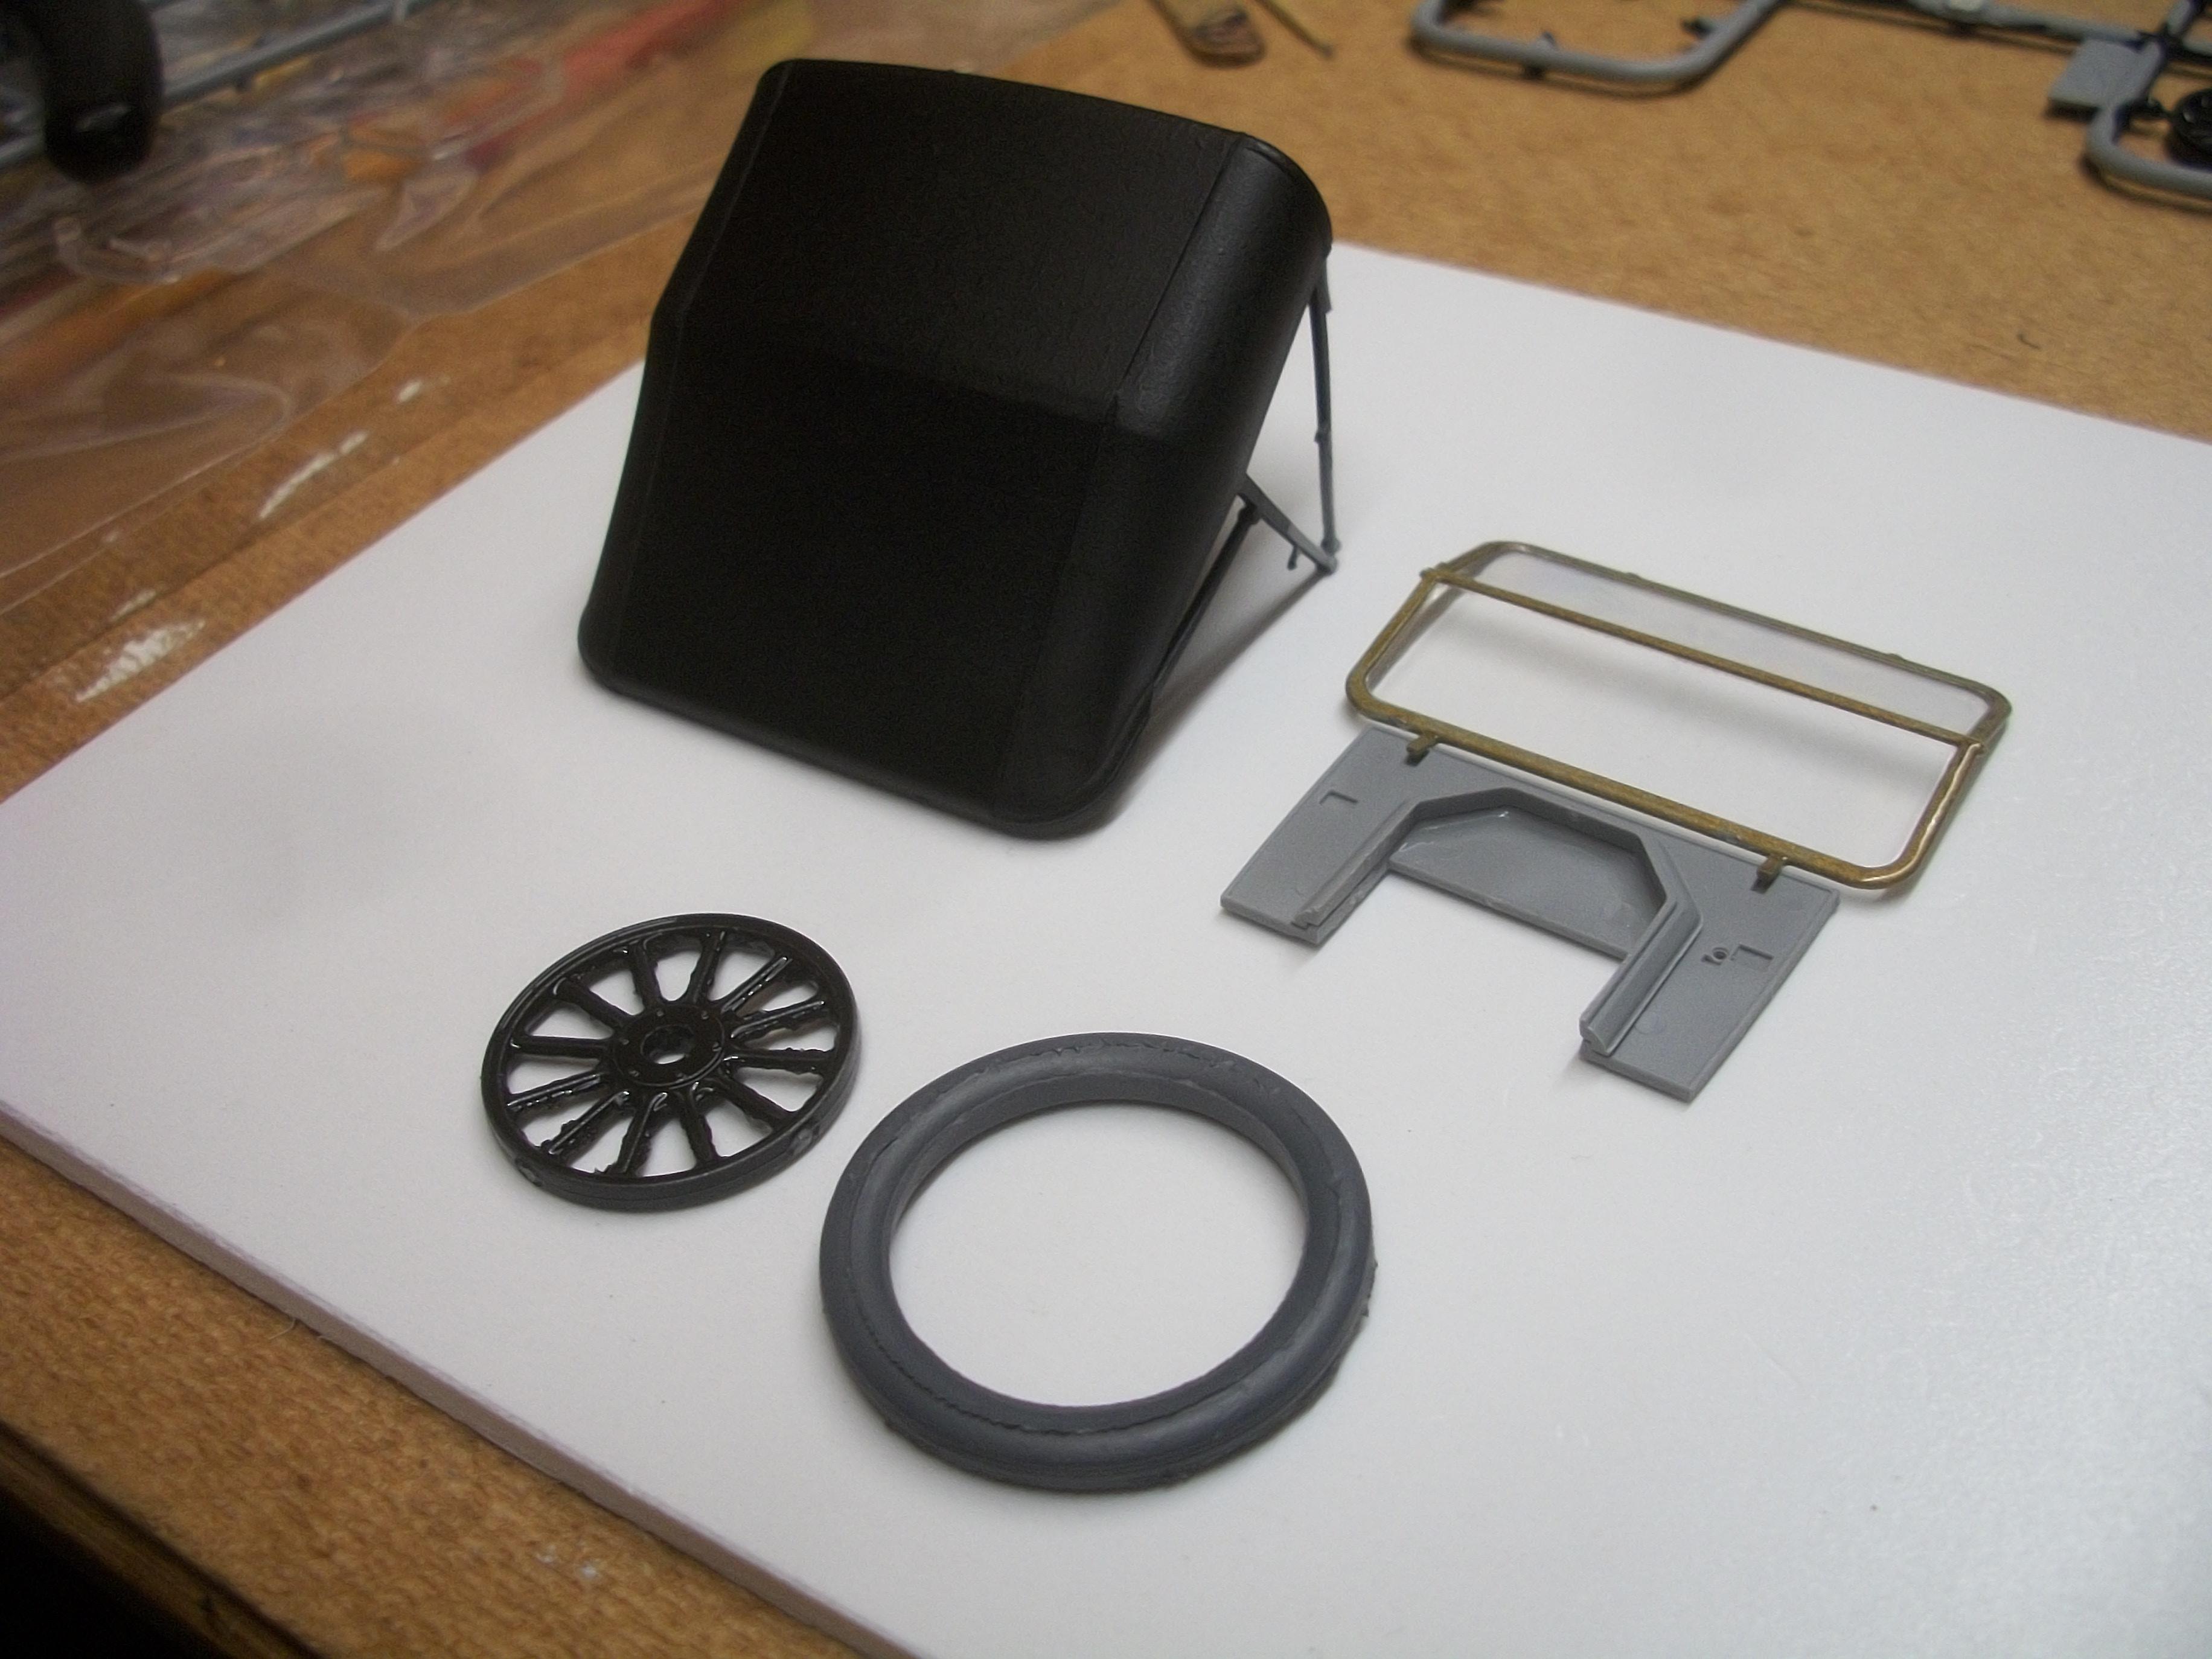
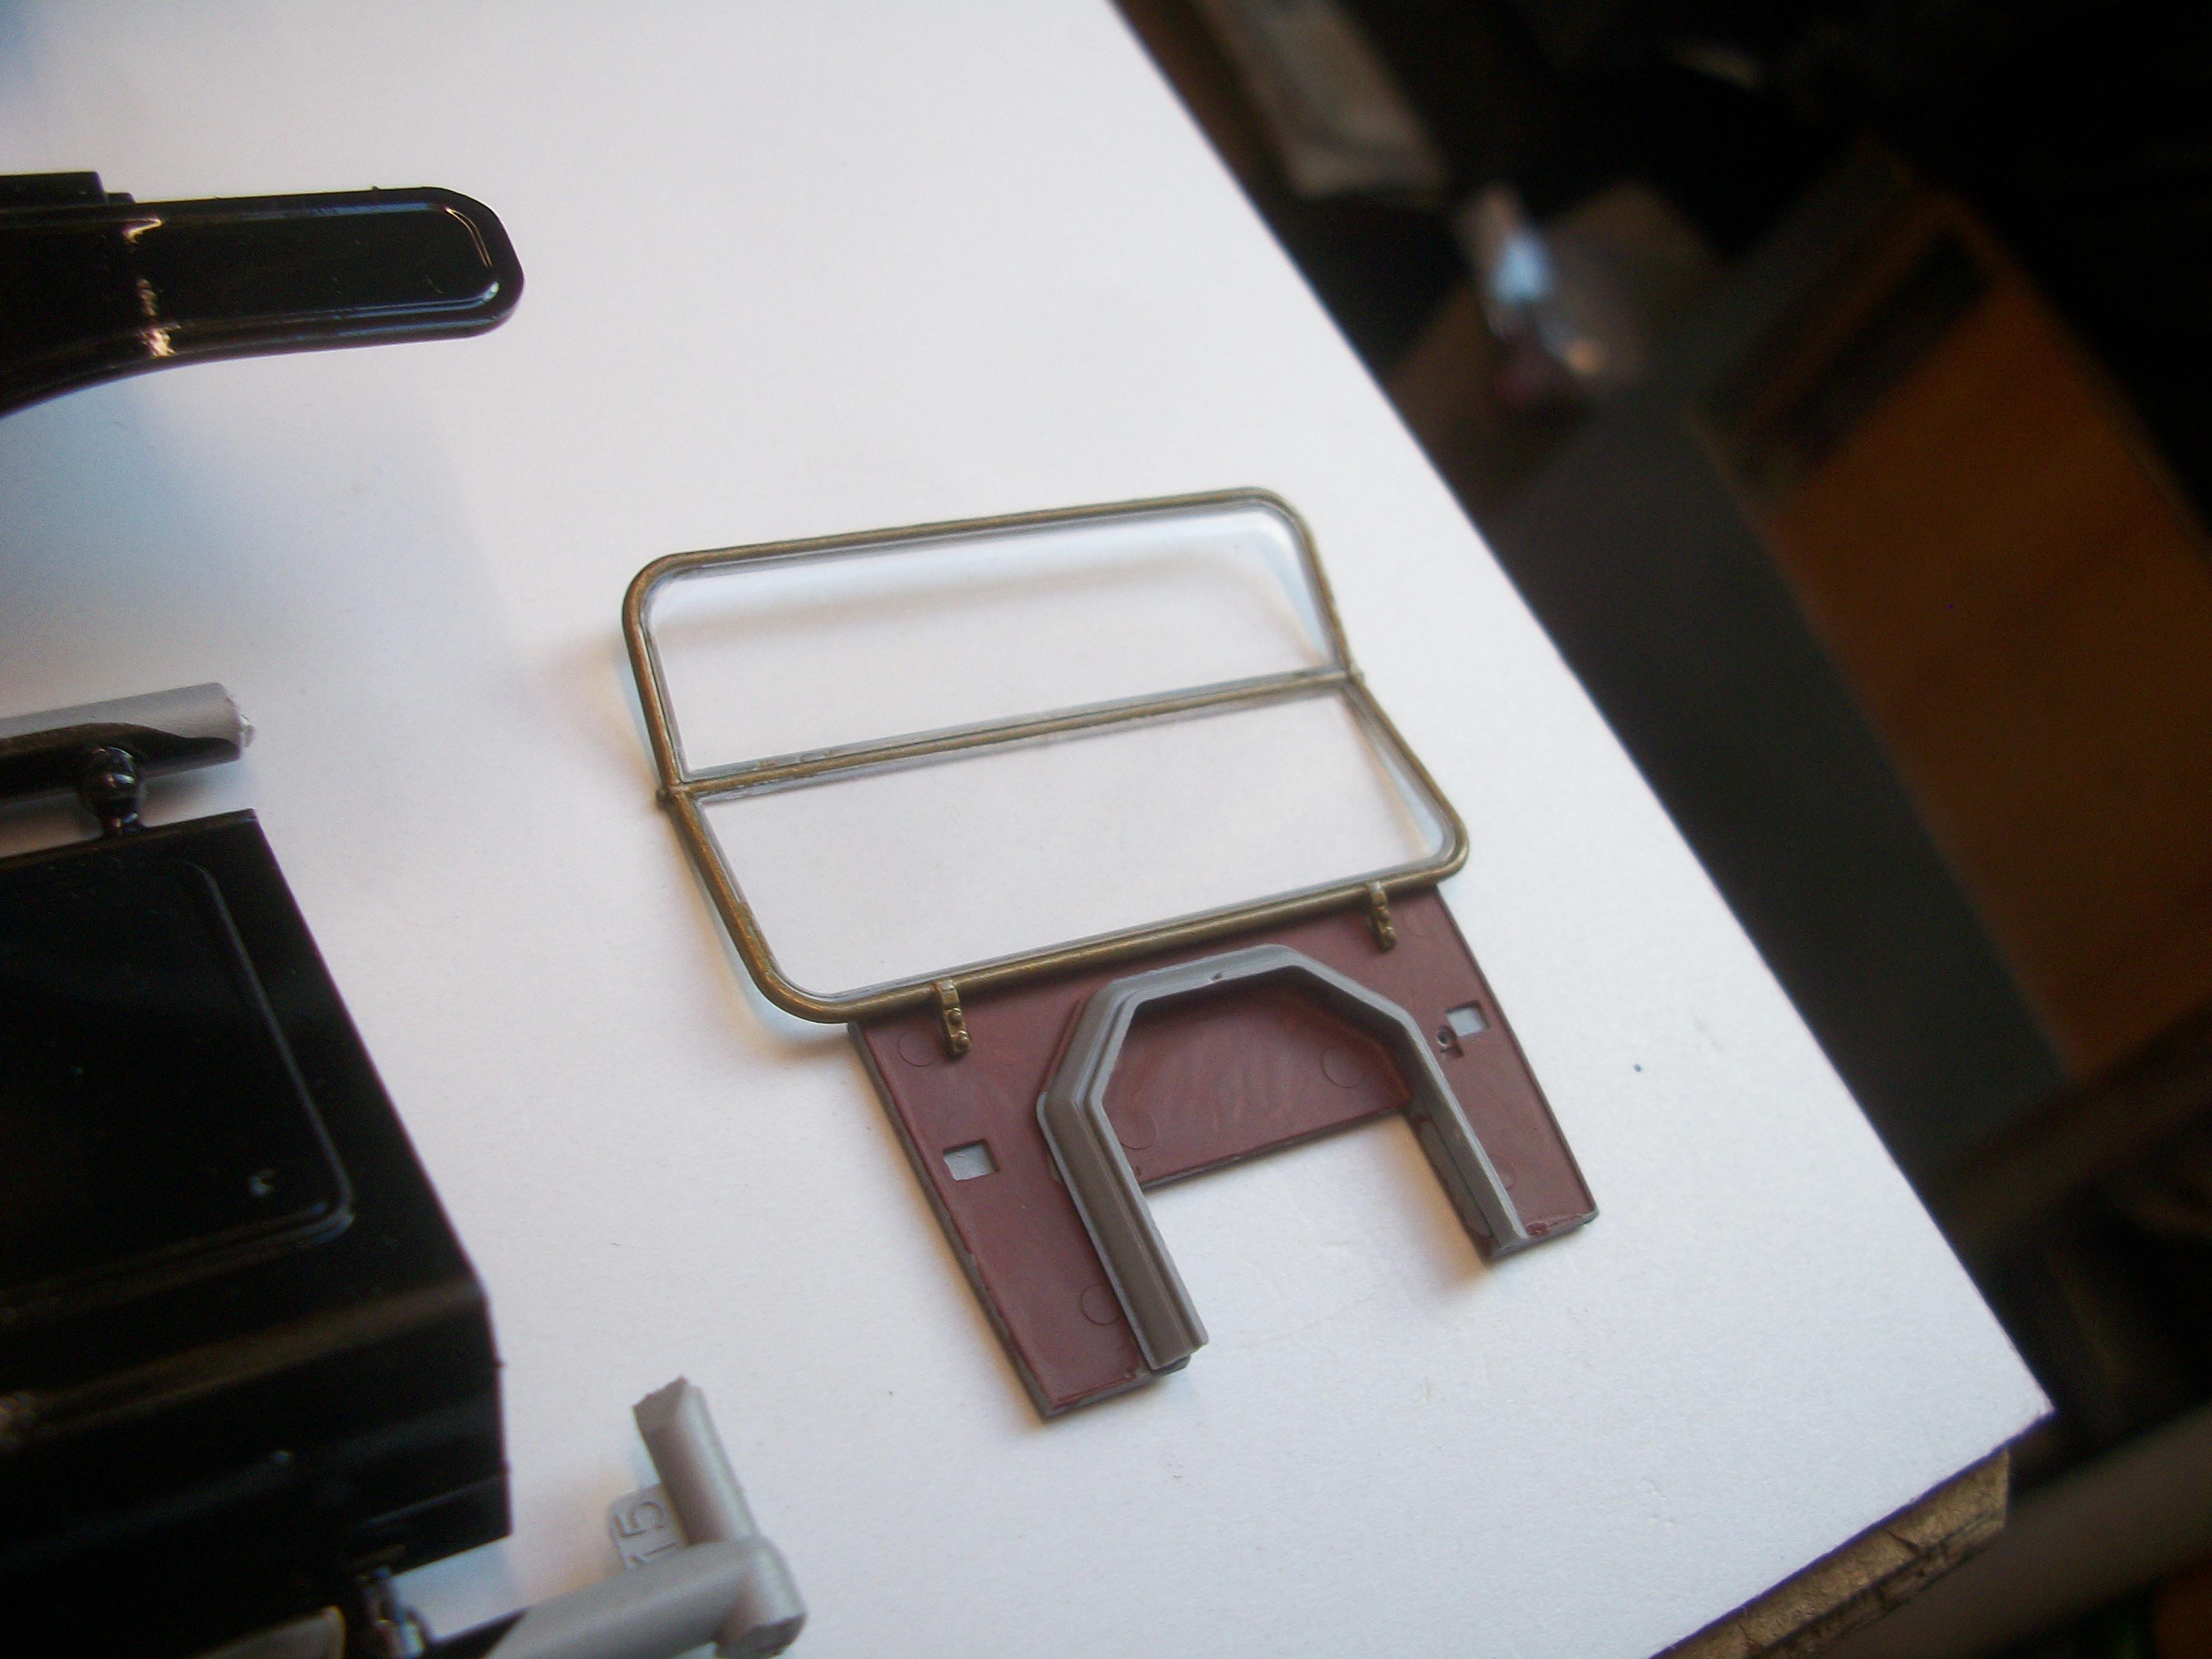
The replication of the Ford flow painting process in 1:24 scale seems to have turned out much better than I dared to have expected . . . However, the body parts and wheels have now been drying for 5 days, and the Jet Black paint is not quite fully dry yet. The paint is only very slightly tacky, so I reckon the parts can probably be handled after around 7 days drying . . . The temperature in my loft workspace has been averaging between 16°C and 20°C during the drying period, and while I was not able to touch those painted surfaces, there were plenty of other assembly tasks that I could deal with . . . The canvas top has been sprayed with a black paint that is intended for full size car bumpers and plastic trim, the seat has been painted matt black enamel, two of the four wheels have been tidied up, and tyres have been fitted to the two wheels. The rear window glass has been glued into place at the rear of the canvas top. The firewall is assembled and partly painted Burnt Red acrylic, and this will have further painting to simulate cherry wood. With the windshield still on the sprue, I have glued the window glass in place . . . This evening I assembled one of the two American Motorists figures by ICM, which is the gentleman driver for this Model T Ford. Progress is generally pretty good on a daily basis, and I am enjoying this build immensely . . . David
-
I agree with you Zack about Mchook and his Model T . . . and thanks for looking at my scale model build of a Model T topic ! David W.
-
That is a really nice looking Model T Ford that you have there Mark . . . Your photo is much appreciated as further reference for my scale model project, so thank you for that . . . Yes, the ICM kits from Ukraine are all impressive for their quality and accuracy. The Miniart kits are also excellent, and they are from Ukraine too . . . If you get chance to build one of these kits you will not be disappointed. ICM produce the Tourer, the Speedster, Fire Truck, Ambulance, Roadster, Light Delivery Car and Commercial Roadster versions of the Model T . . . https://icm.com.ua/catalog/?type=technique David
-
Monogram's 1955 Lincoln Futura Concept Car: WIP
Anglia105E replied to David G.'s topic in WIP: Model Cars
Very impressive gold paint for the script at the front of the hood David G., . . . Mr Color used to be a Gunze Sangyo product I believe? This build of yours is turning out really nicely, and you must be well pleased with the result . . . Not an easy subject by any means ! David W. -
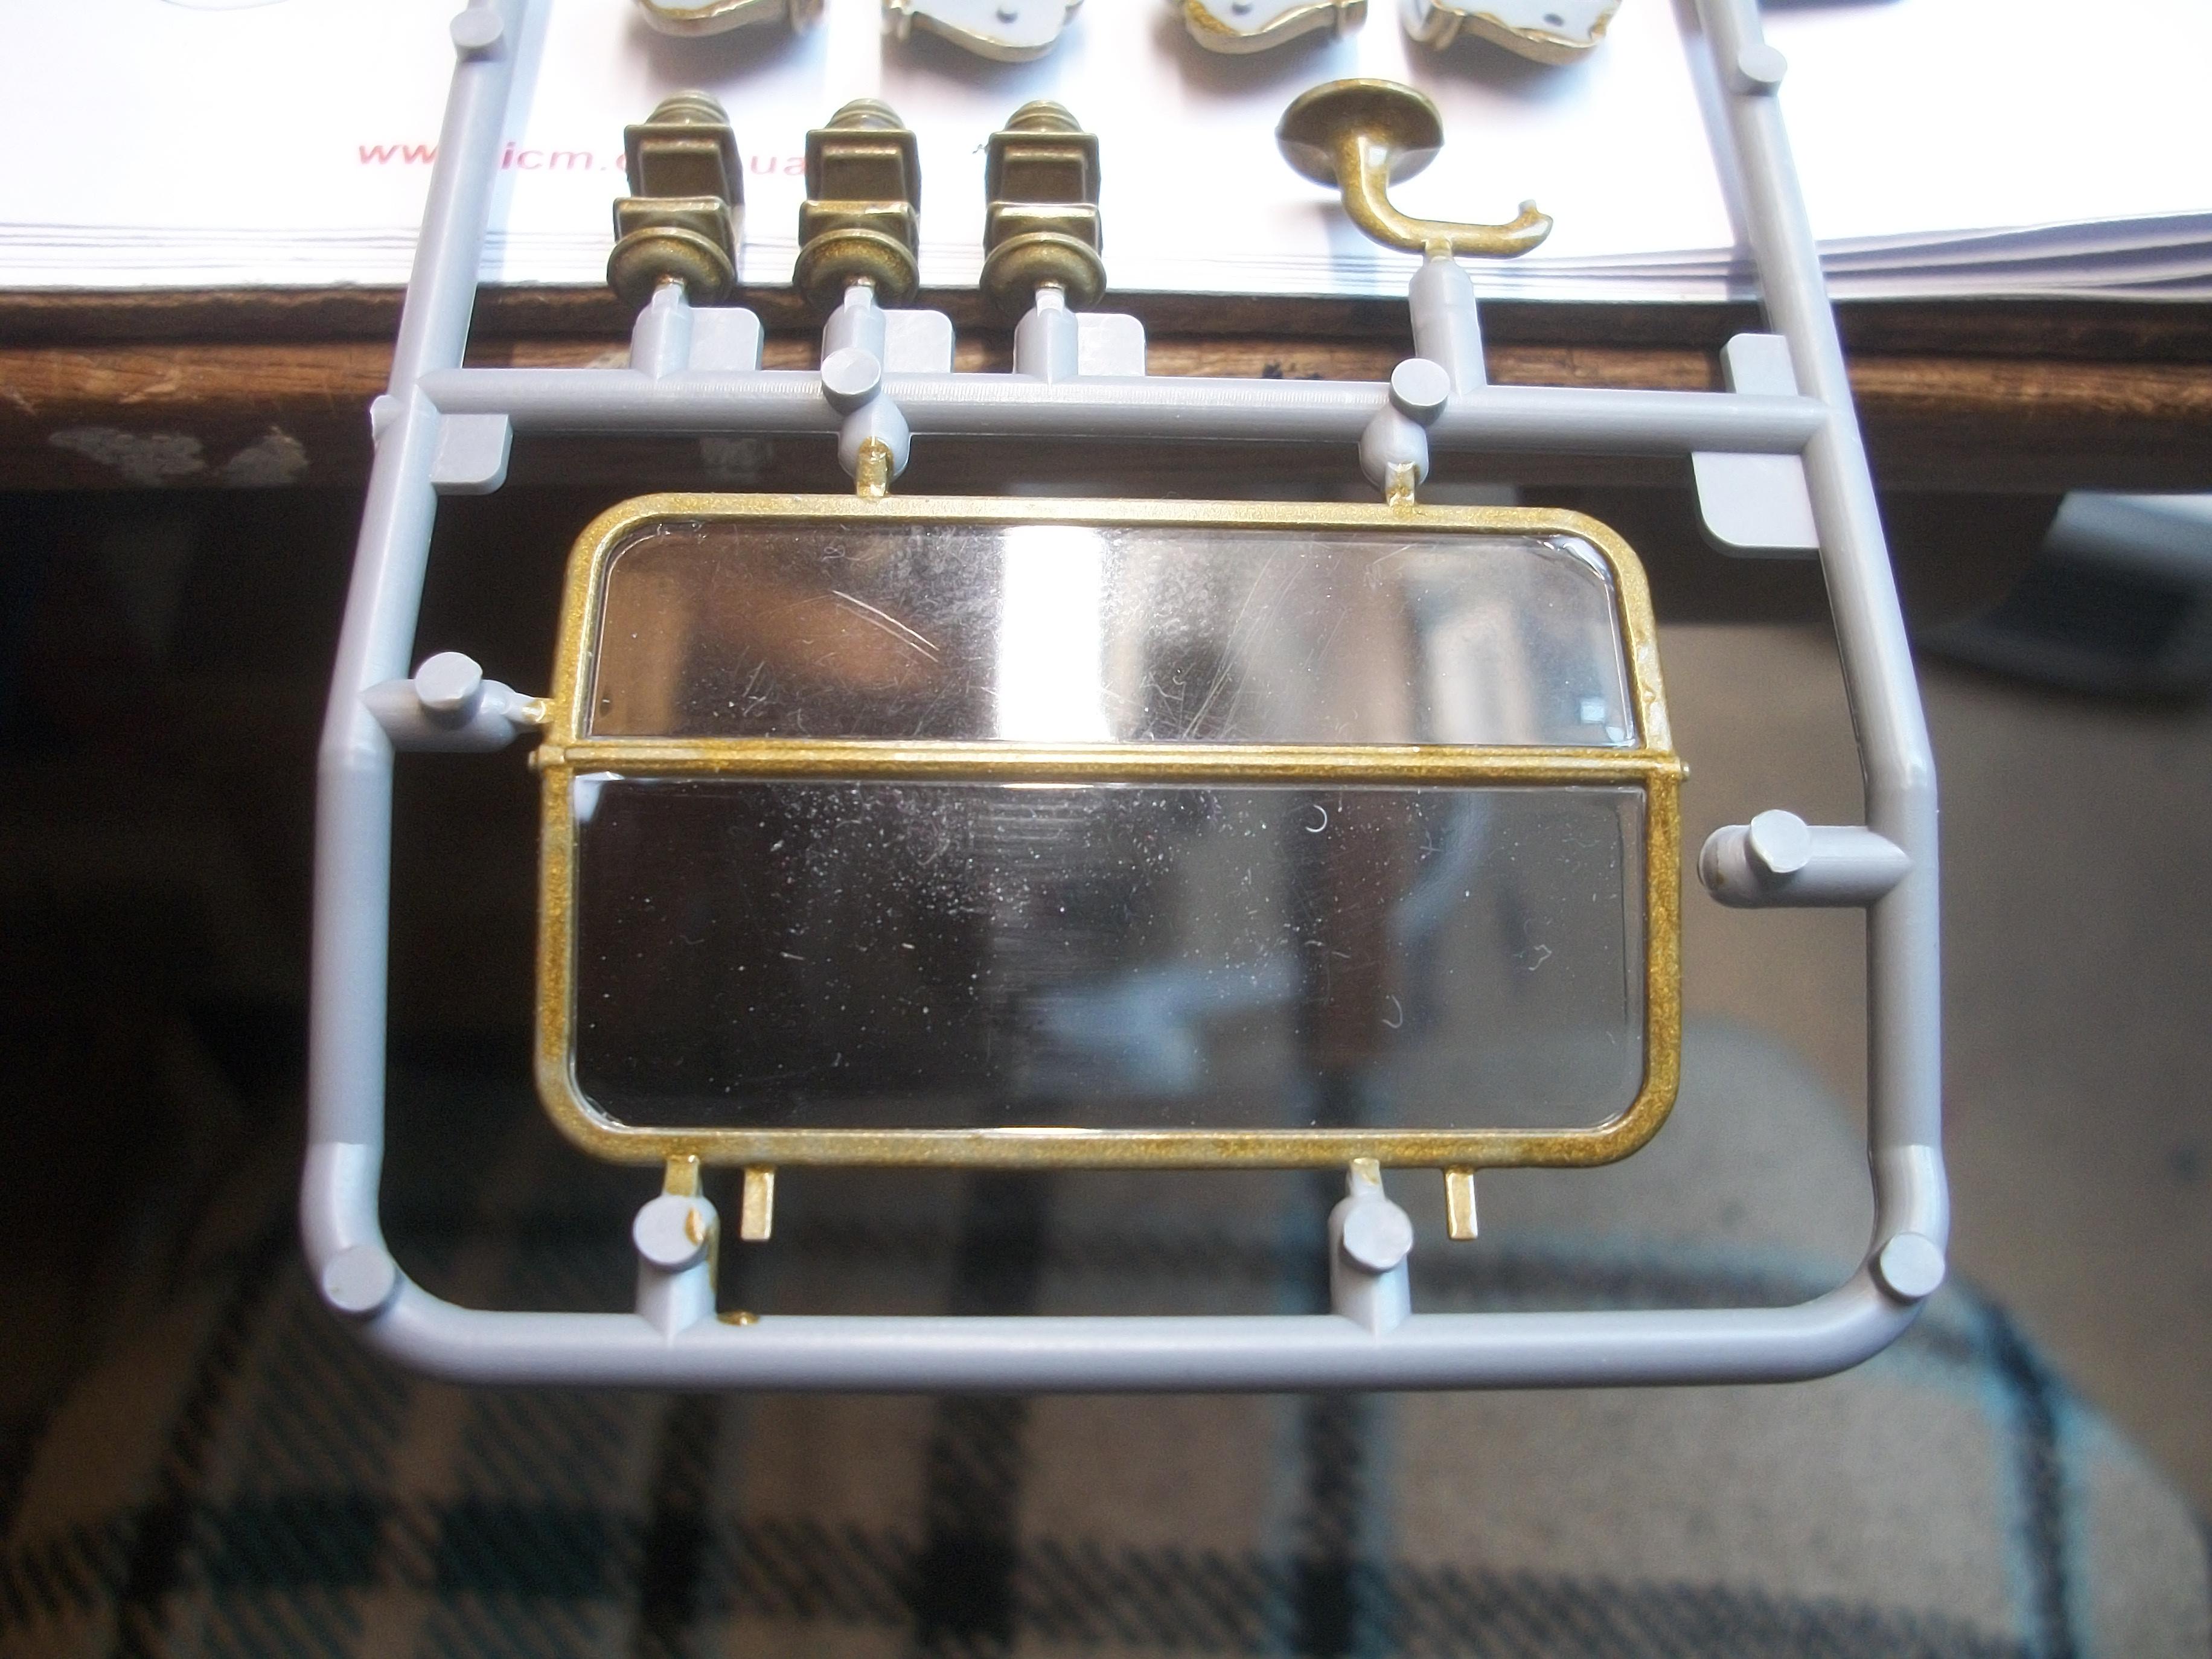
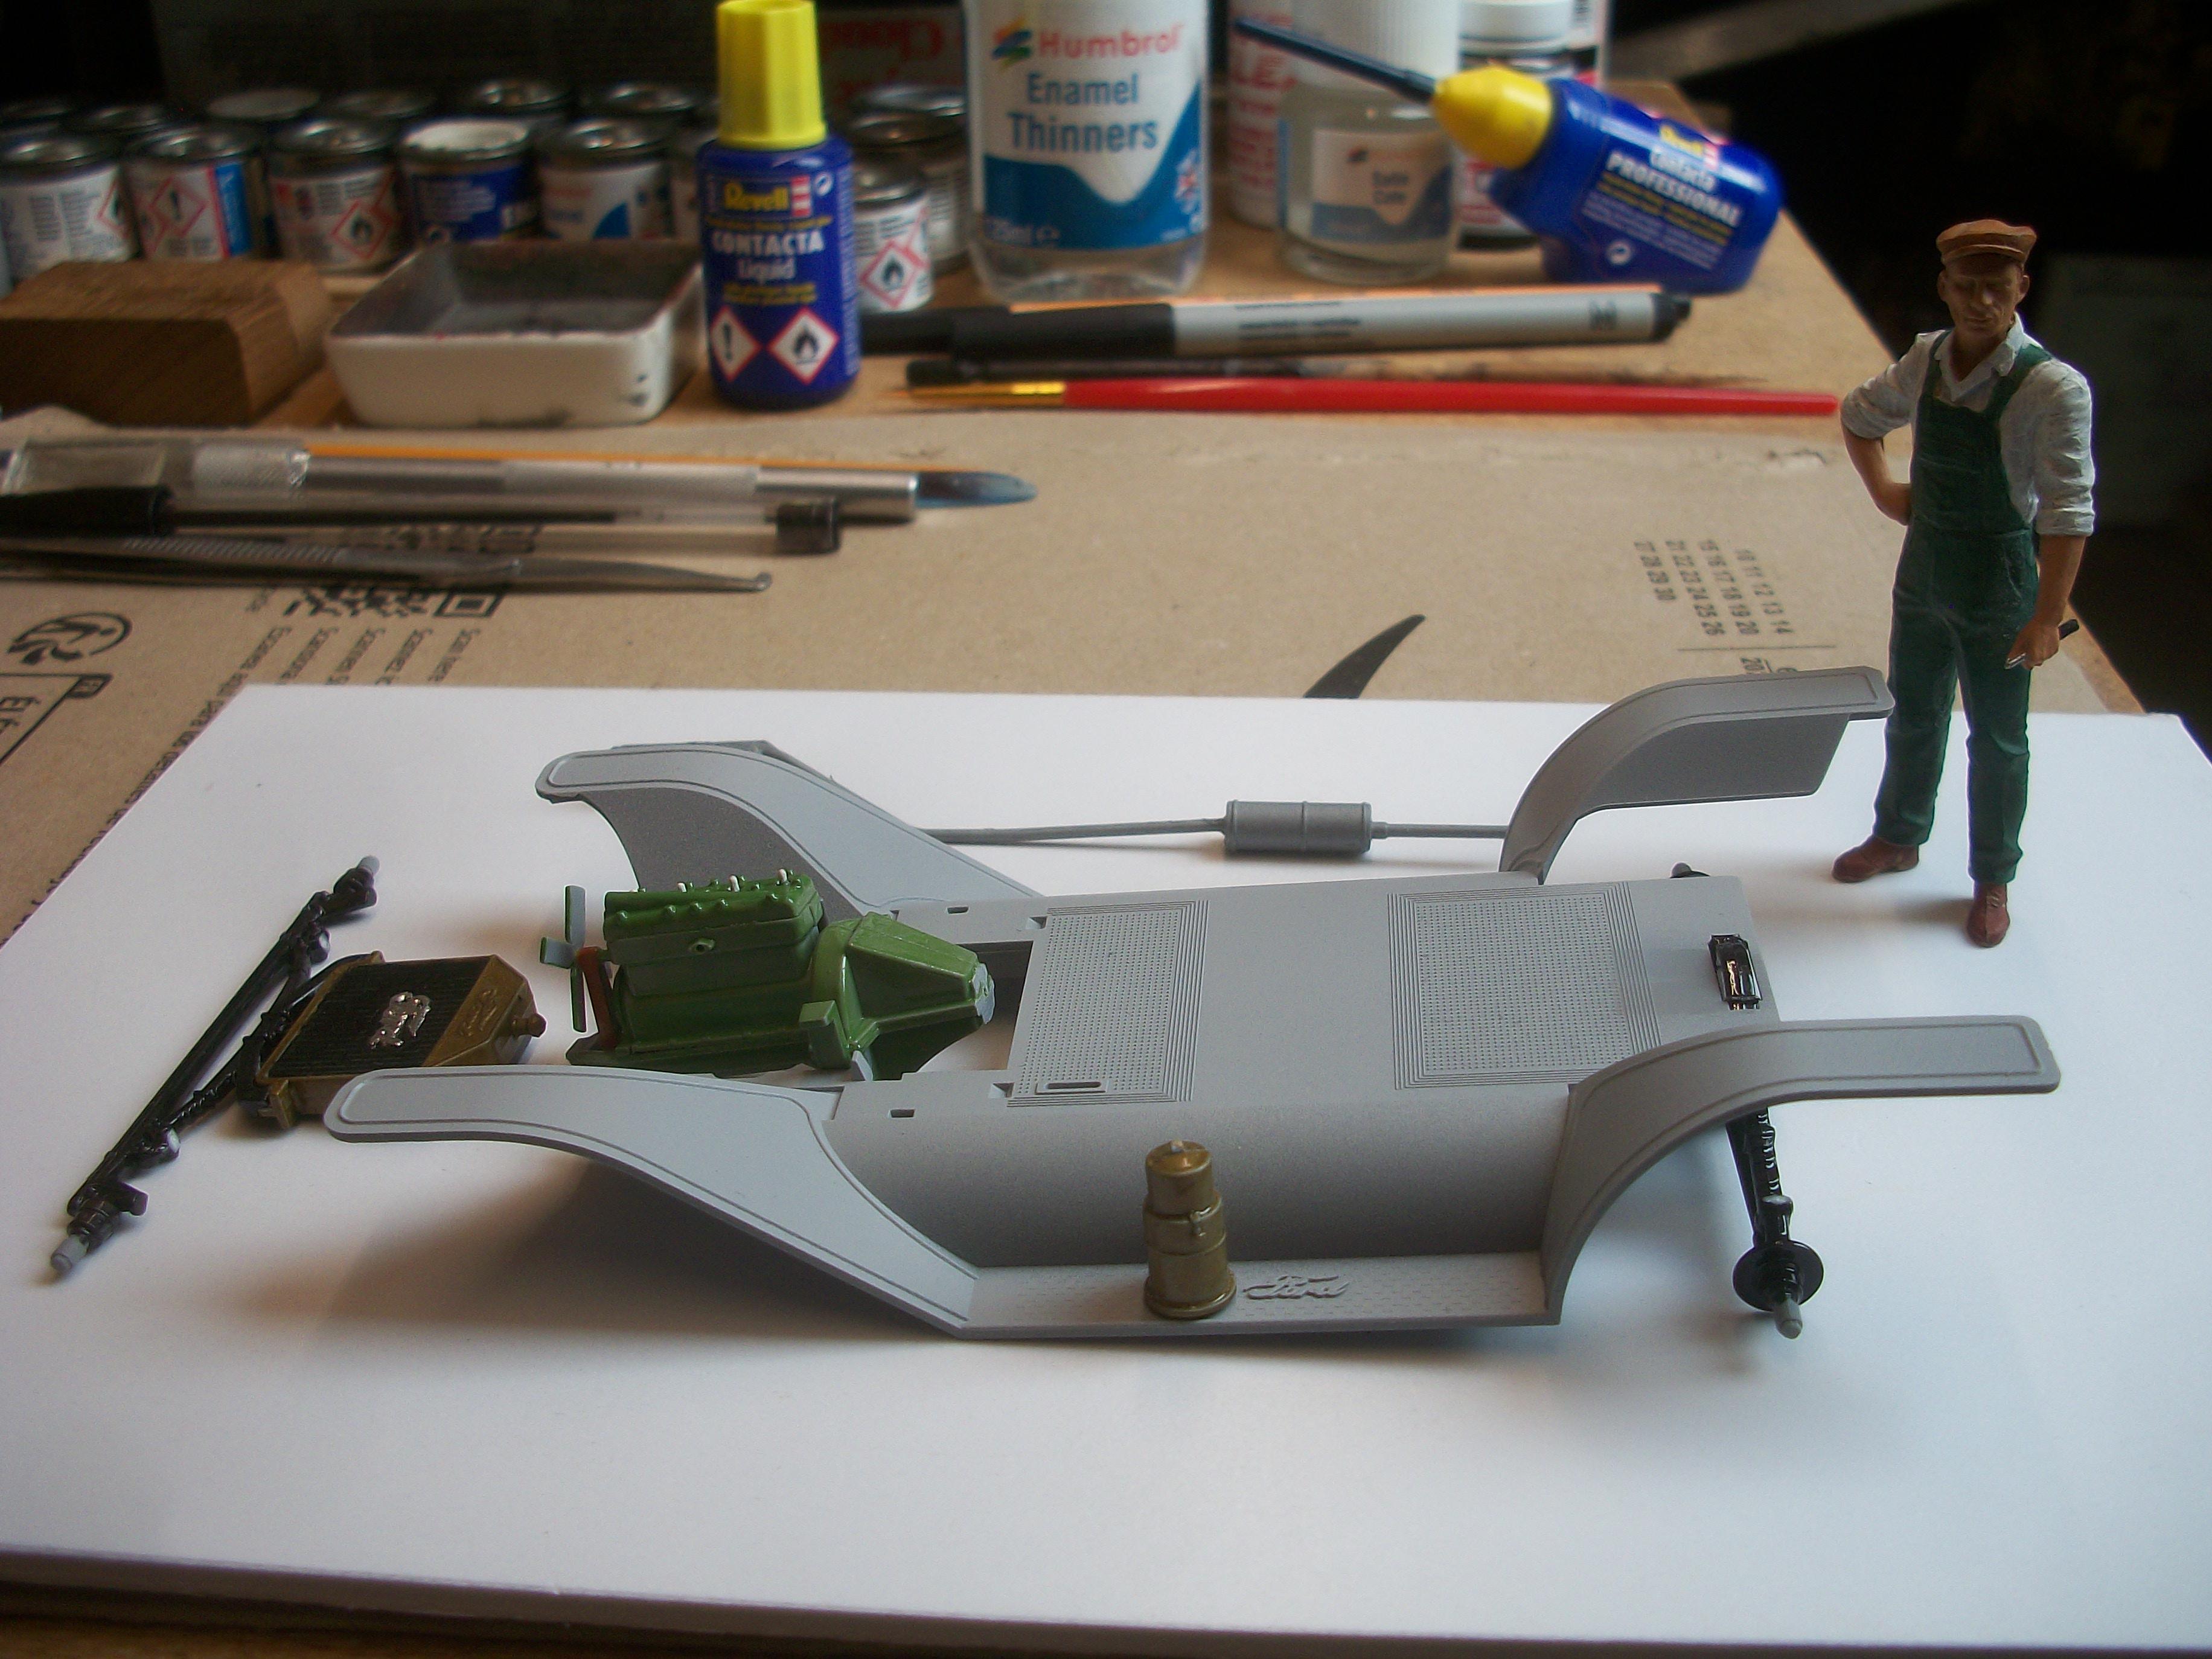
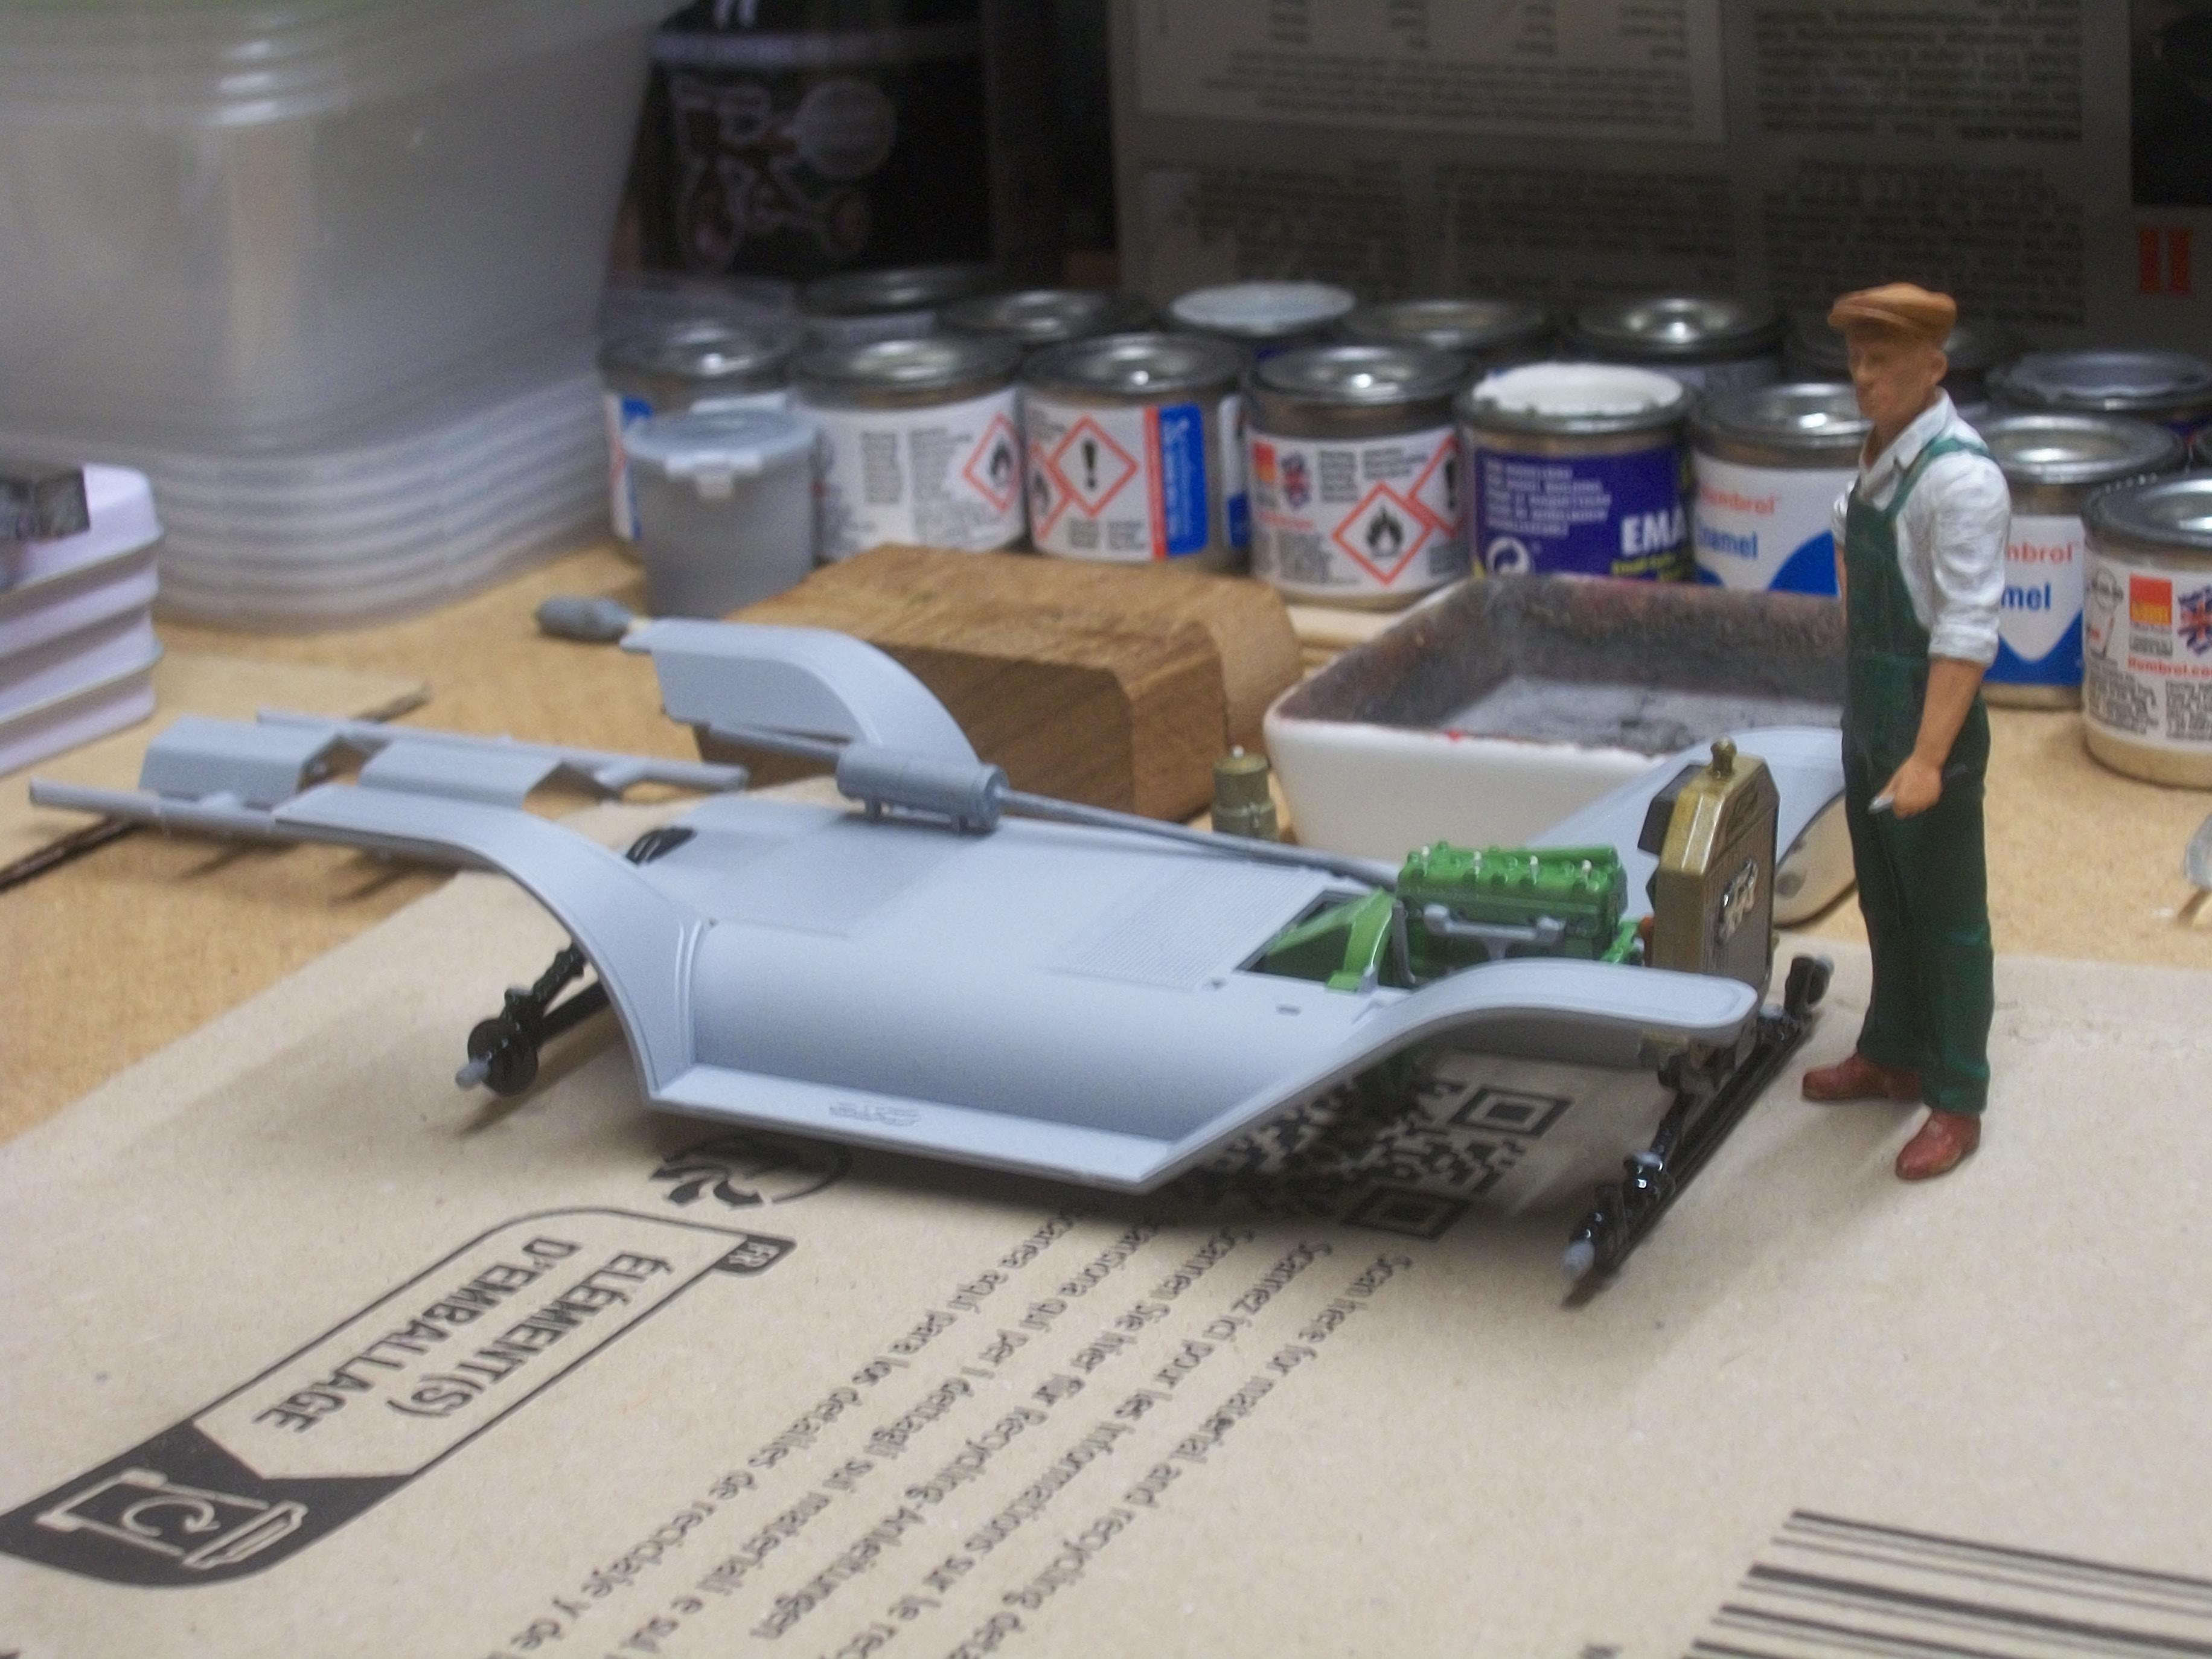
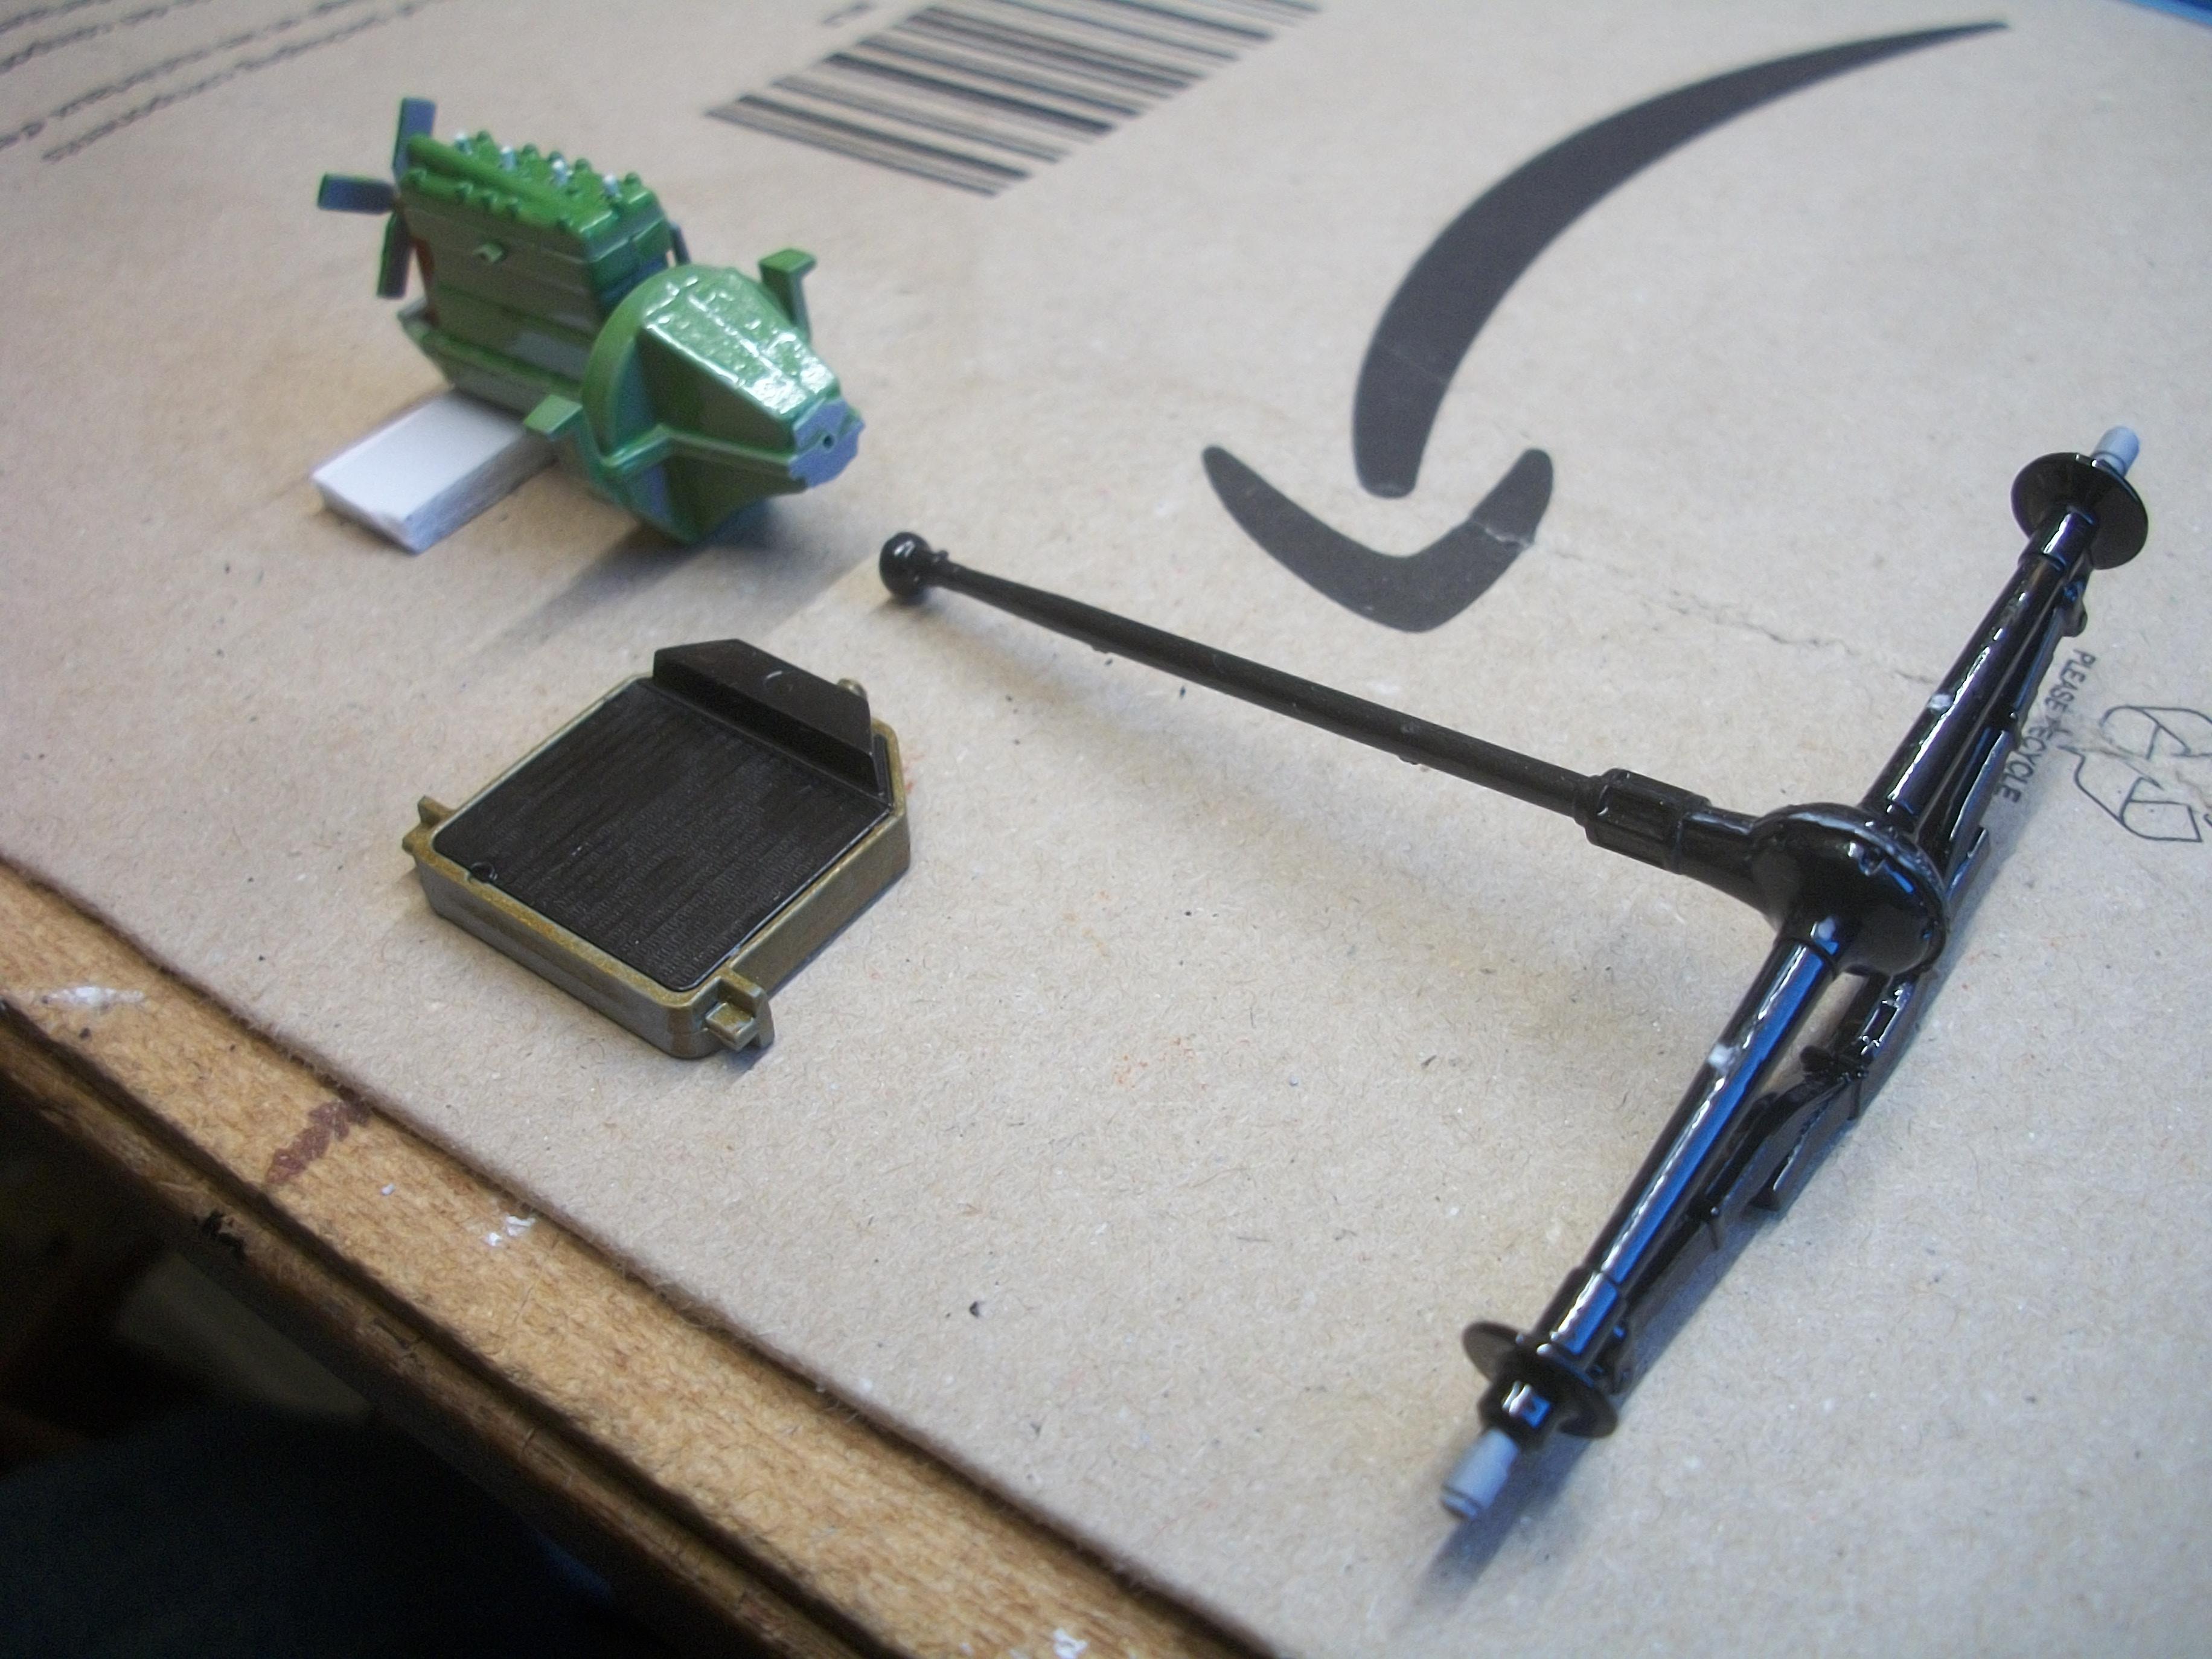
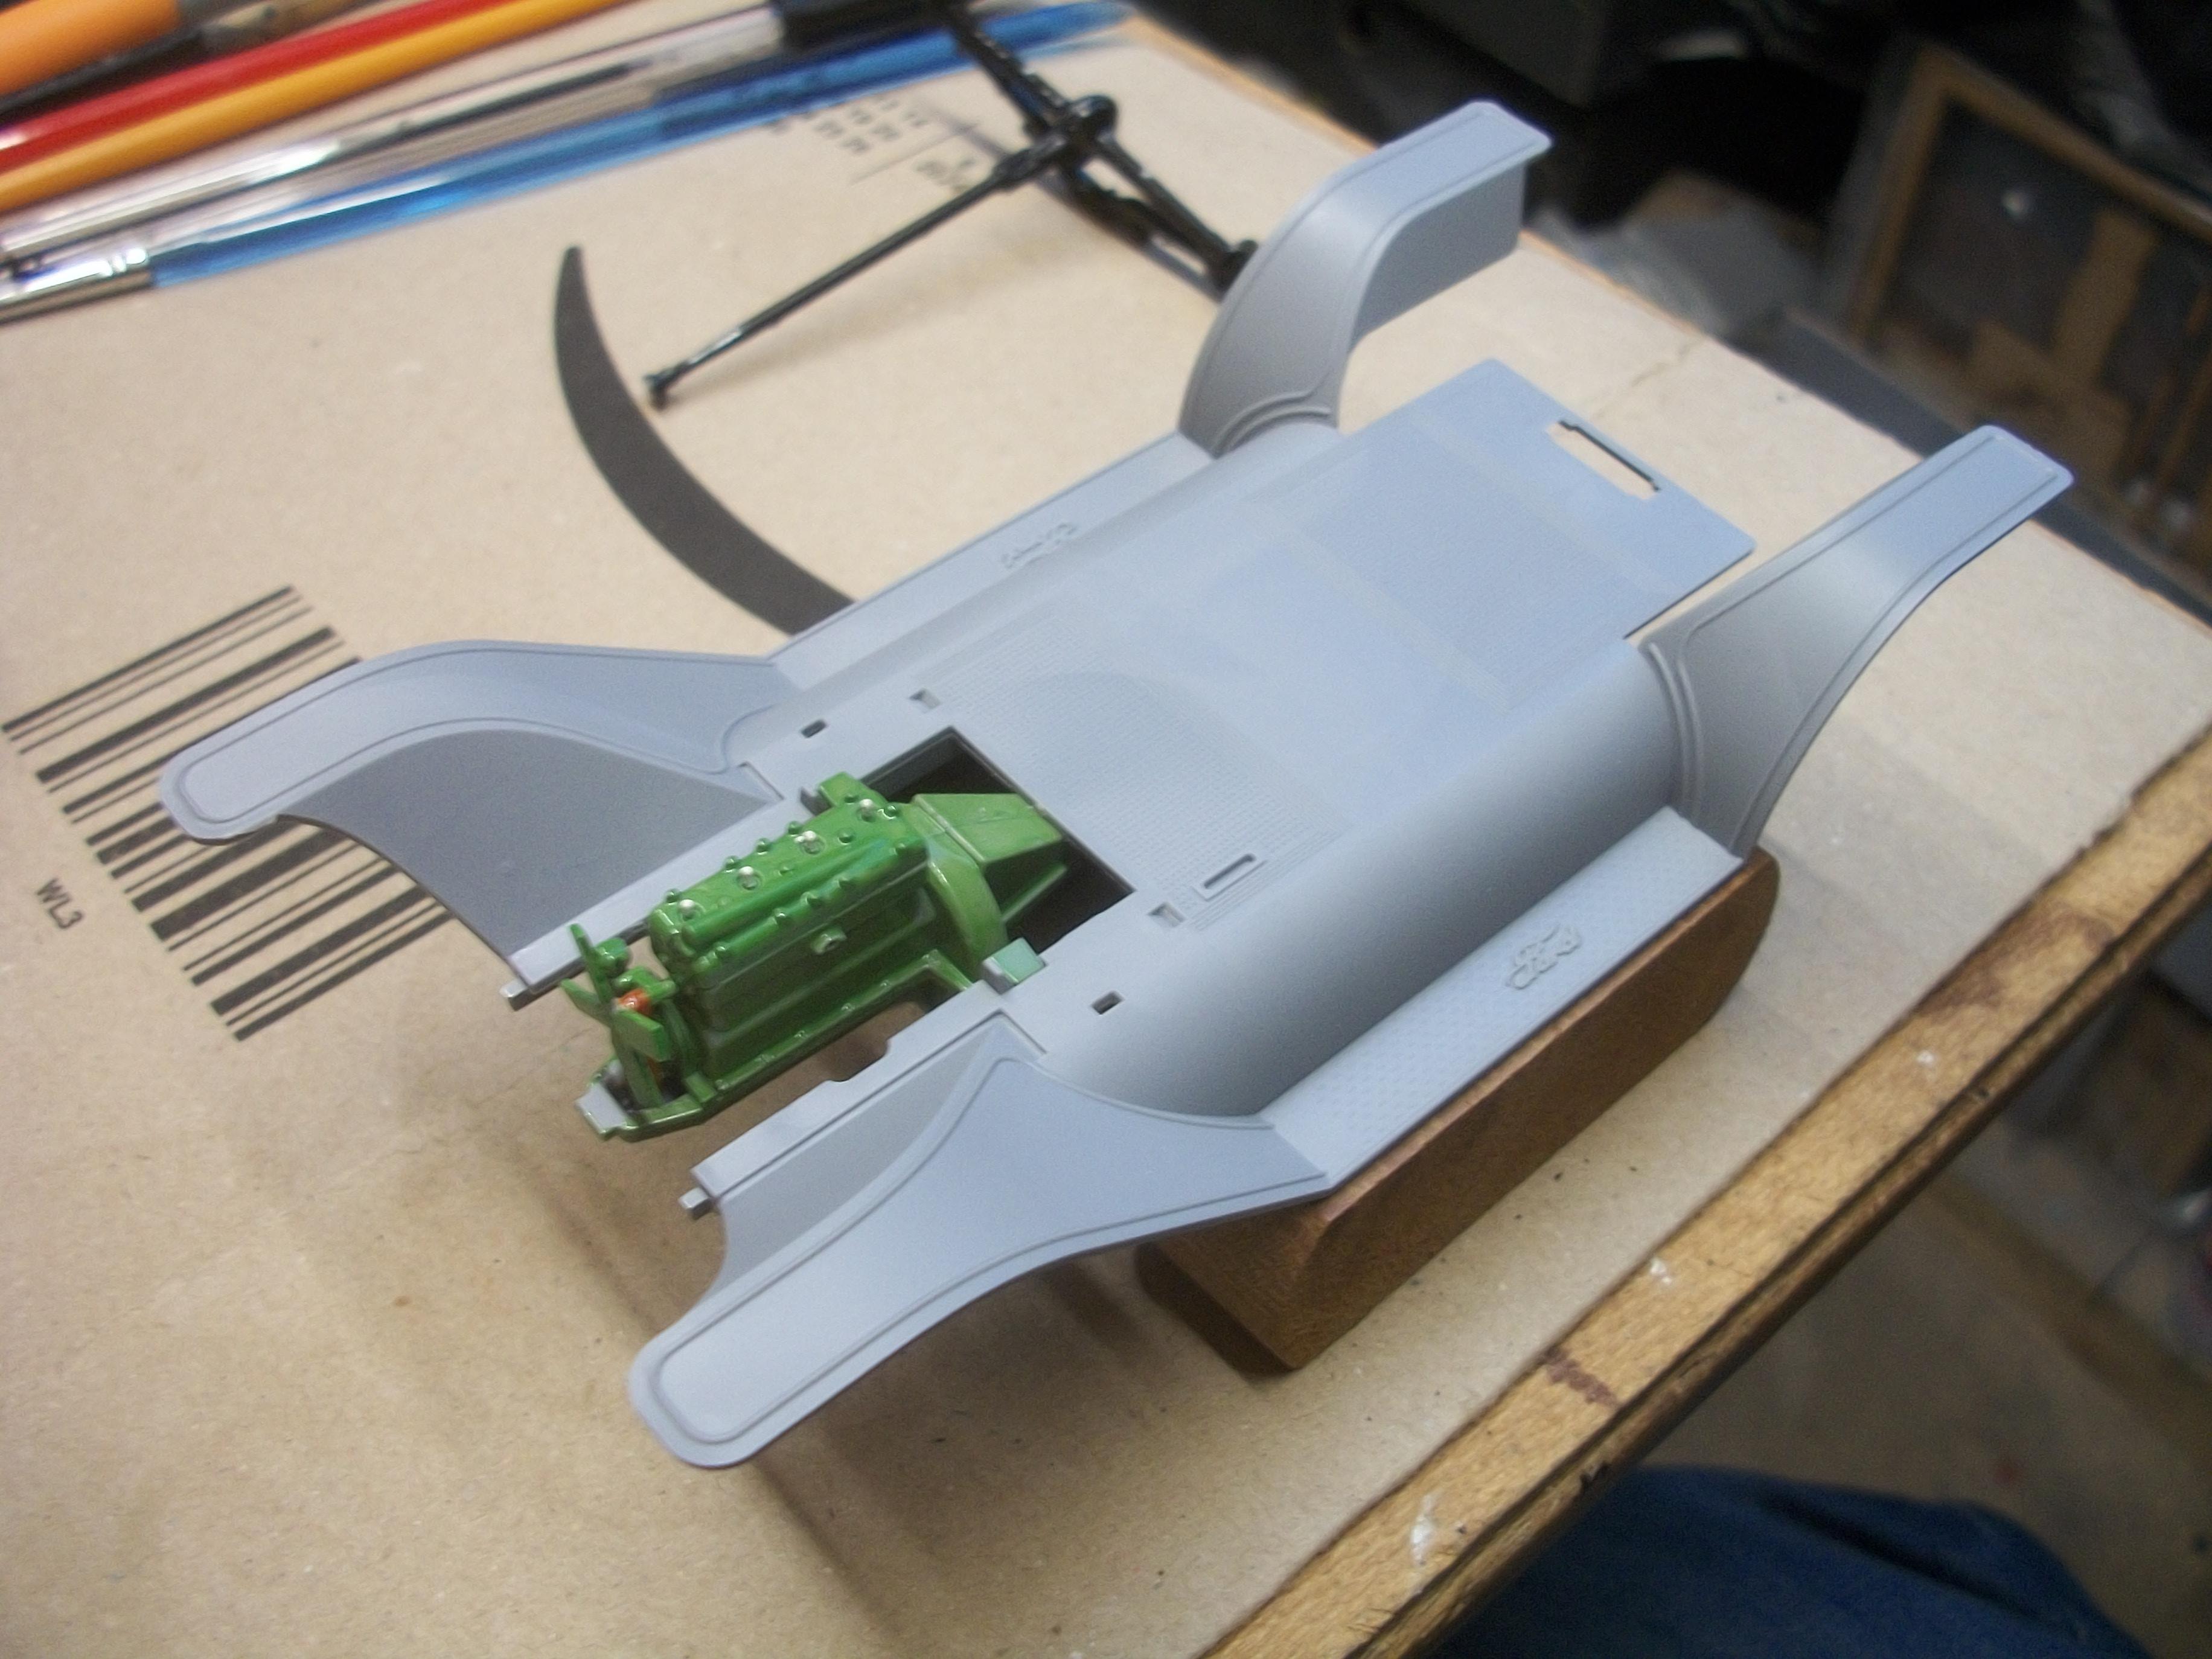
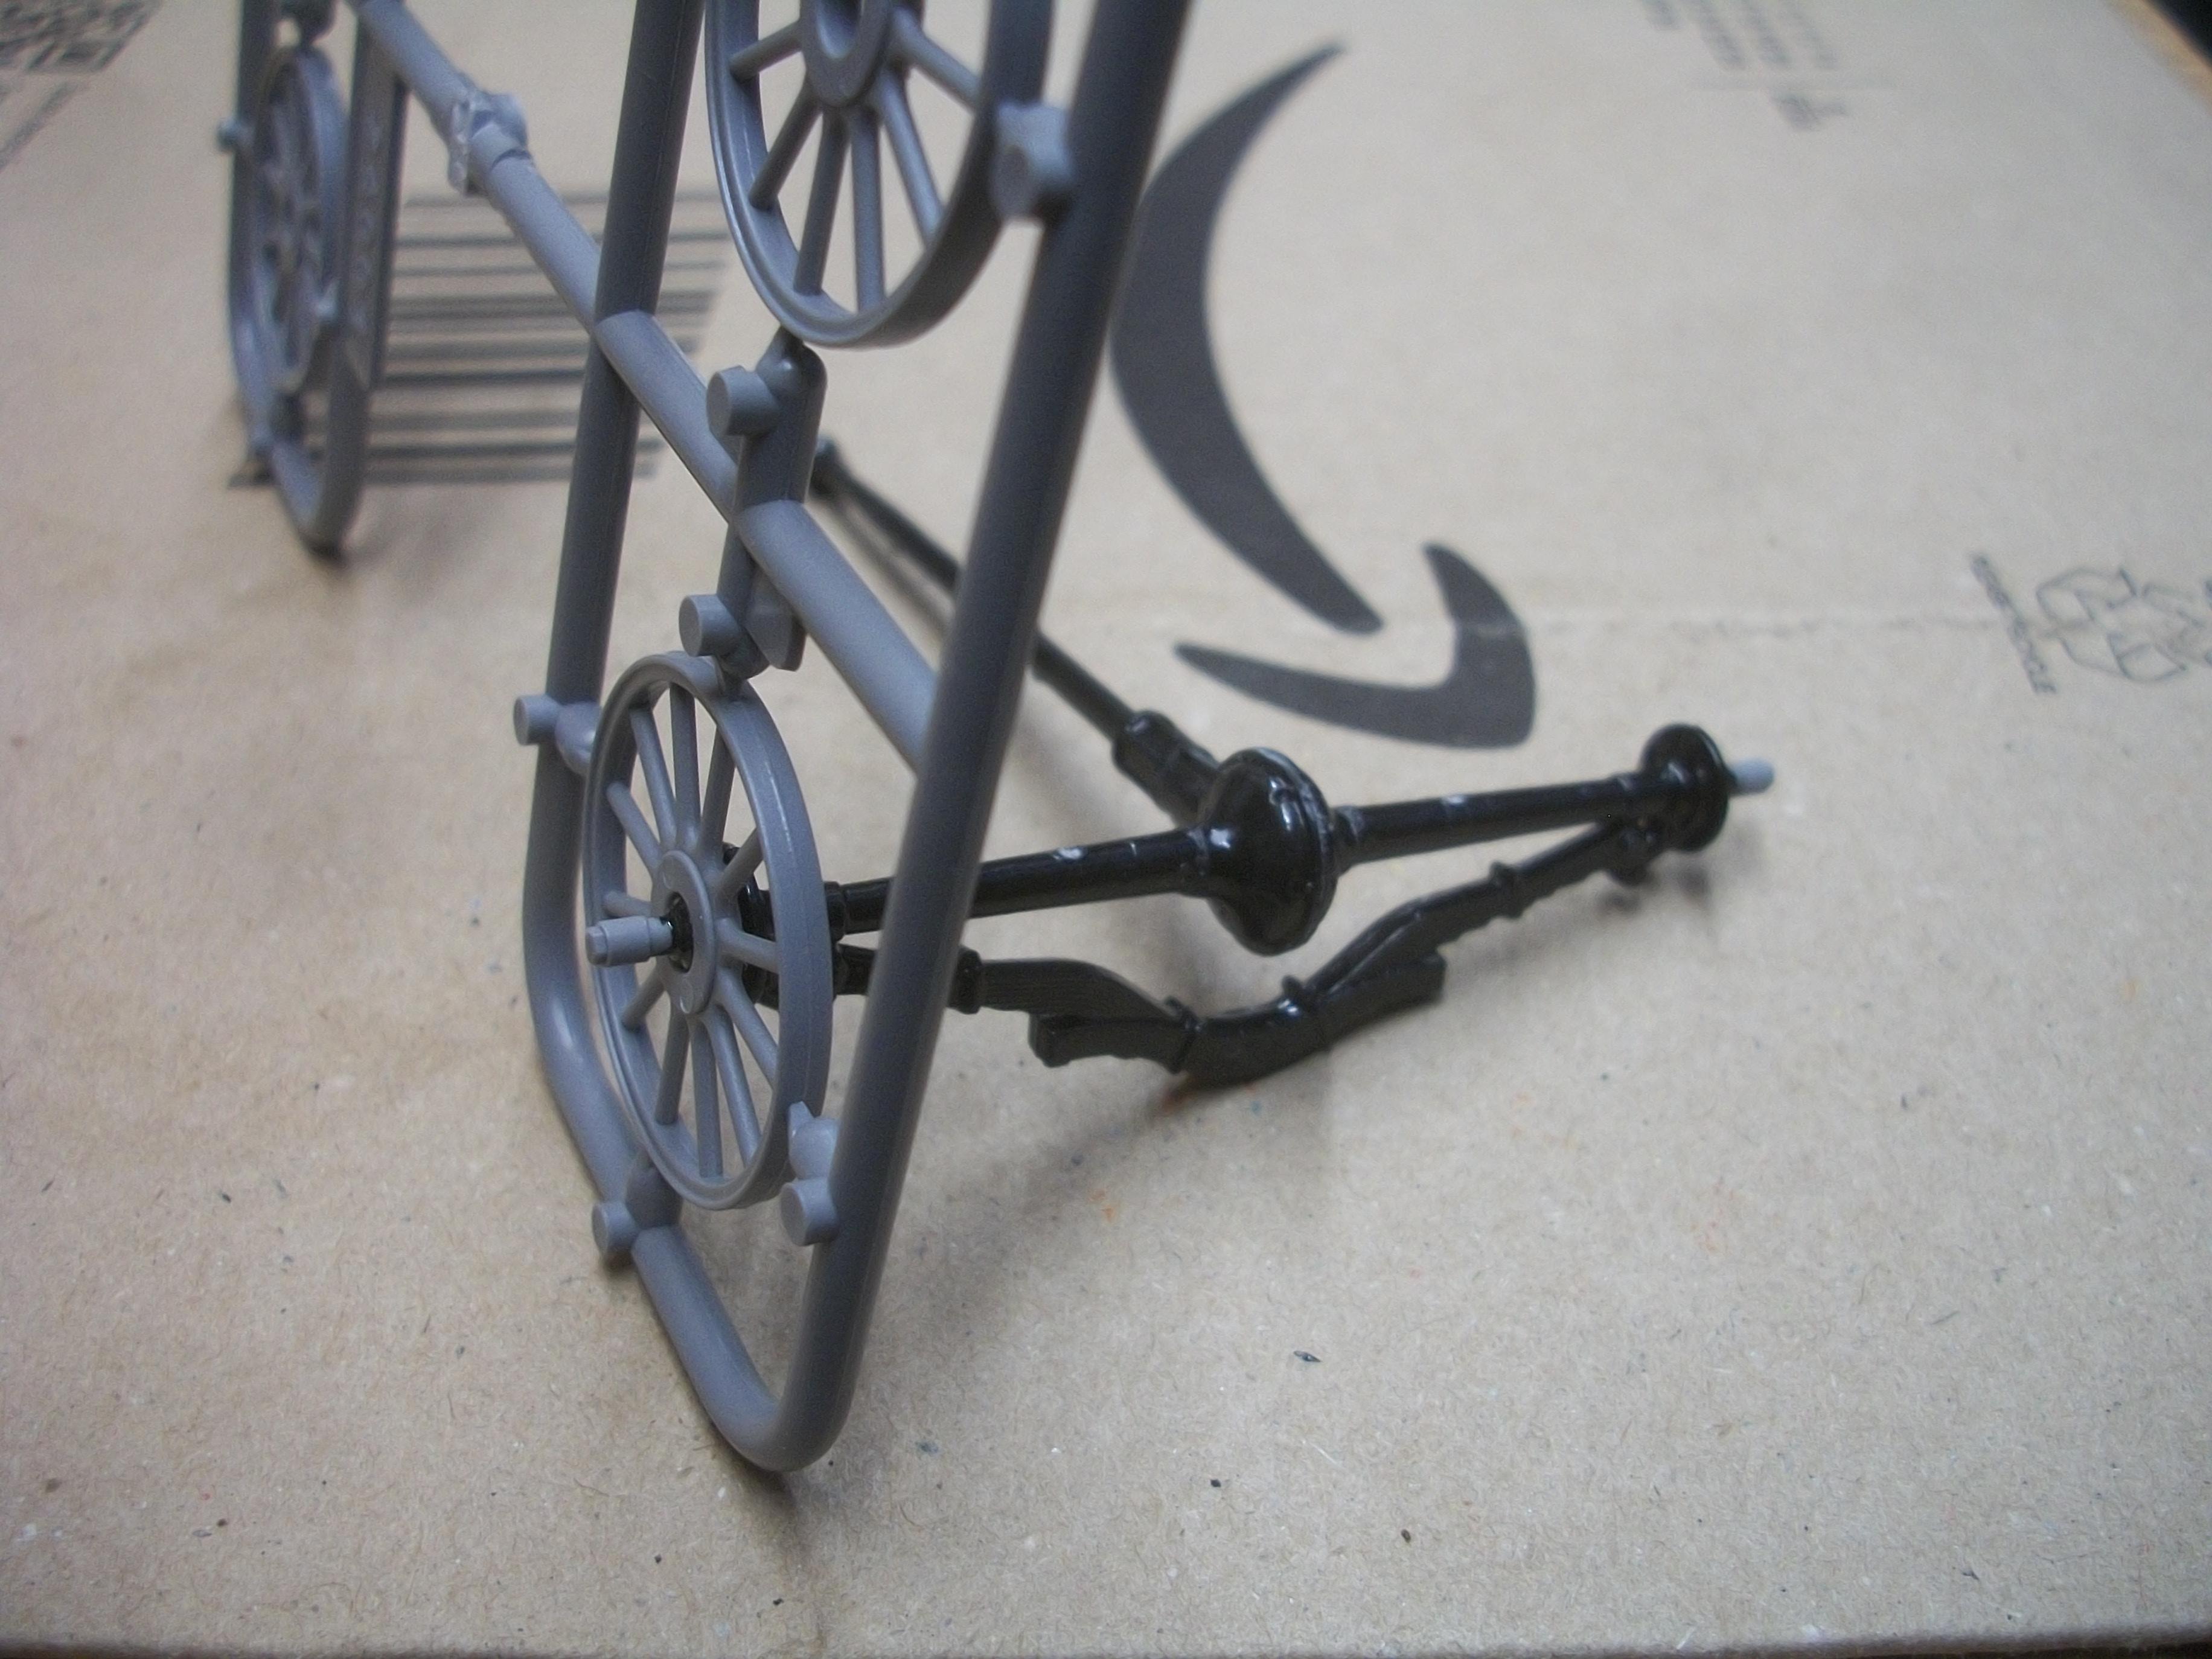
Cleaned up both halves of the carbide generator and glued the parts together. This will have a pipe coming out at the back, which will then go down through a hole drilled in the running board on the driver's side . . . The carbide generator, as you probably know already, supplies acetylene gas to the headlamps, using a process where water is dripped from the top section of the generator onto carbide rocks inside the bottom section, producing the gas. Test fitted the front and rear axles to the floor / chassis / fenders part and examined the fitting of the exhaust system for later. Almost ready to experiment with the ' flow painting ' technique, which is something that I have never tried previously . . . The plan is to empty the 300 ml can of Paint Factory Gloss Jet Black paint into a plastic measuring jug, and then to pour the paint slowly all over the surfaces of the body parts, which will be arranged inside rectangular plastic containers. The excess paint will drip into the containers as the paint is self levelling (hopefully) . . . The body parts have all been given a coat of Tamiya Fine Surface Primer Light Grey, and allowed to dry overnight. This will be my attempt to replicate the flow painting process, as used by the Ford factory back then in 1913 . . . The only difference will be that I shall leave the paint to dry over a 24 hour period, as opposed to being oven dried . . . The plastic parts might not survive a trip to the oven ! David
-
Monogram's 1955 Lincoln Futura Concept Car: WIP
Anglia105E replied to David G.'s topic in WIP: Model Cars
Some really nice work going on here David G., . . . Someone mentioned your tendency to pick simple kits and then make them complicated, but I would agree with your philosophy actually . . . Take for example, the 1:24 Minicraft kit of the 1962 Rolls-Royce Silver Cloud II, which only has between 26 and 30 parts inside the box. Both you and I have enjoyed endless hours of model building satisfaction while going to extreme lengths to ' complicate ' that very simple kit . . . David W. -
Yes Kurt, I can see there is a certain amount of skill involved to drive a Model T Ford properly, and safely . . . Not for the faint hearted. Sort of like an auto transmission and a tractor . . . with a twist ! David
-
Many thanks Len, and the best is yet to come! David
-
Thank you Topher, and I am beginning to understand how small this one is . . . ! David
-
This 1:24 scale kit from ICM is recognised as a particularly high quality model of a truly iconic American motor car. The history of Henry Ford's Model T is well known by most automobile enthusiasts, and of course scale model car builders . . . During the period between 1908 and 1927 just over 15,000,000 of these cars were manufactured, and remarkably huge numbers of them have survived to this day, many of which are displayed in museums and even more are driven on the roads all over the World . . . I became fascinated by the mechanical engineering details for the Model T Ford, and also how the original design idea was put together in those early years. This 1913 example is from the ' brass ' era and it has a two seater roadster body, a four cylinder flathead engine developing 22.5 horsepower, also a planetary transmission with two forward gears and a reverse gear. There was an ignition system that utilised a magneto between the engine and the transmission and four trembler coils that were housed in wooden boxes under the dashboard inside the driver's compartment . . . The road wheels were of wooden construction and the paint finish was mostly flowed onto the car's body panels, rather than being applied by brush. Henry Ford managed to create a motor vehicle that was cheap to produce and easy to maintain for the owner drivers of the day. This was before the days of paved roads, so the Model T was able to negotiate the dirt tracks, much like an agricultural tractor would have done . . . I have started the build one week ago, so it is early days yet . . . Having spent the previous six months building the 1:16 scale Rolls-Royce Phantom III, this 1:24 scale car has fewer parts, and they are significantly smaller parts as you would expect. Already, I have various sets of ICM figures that are intended to compliment the Model T, such as the Henry Ford set of three figures, the two Gaseline Loaders, the three American Lady Mechanics and the two American Motorists from the 1910's period. Later, once this model car build has been completed, I shall create a small diorama around the car to provide a platform for my usual photo and video ventures . . . Here are a few photos to show the early stages of this new project as it materialises and I do hope that you fellow model builders will find the build interesting. David


.png.4d60fc49285839868696bdcc5f7b1264.png)