Anglia105E
-
Posts
3,486 -
Joined
-
Last visited
Content Type
Profiles
Forums
Events
Gallery
Everything posted by Anglia105E
-

Rolls-Royce No Chemicals, No Paint, No Harmful Glues
Anglia105E replied to Anglia105E's topic in WIP: Model Cars
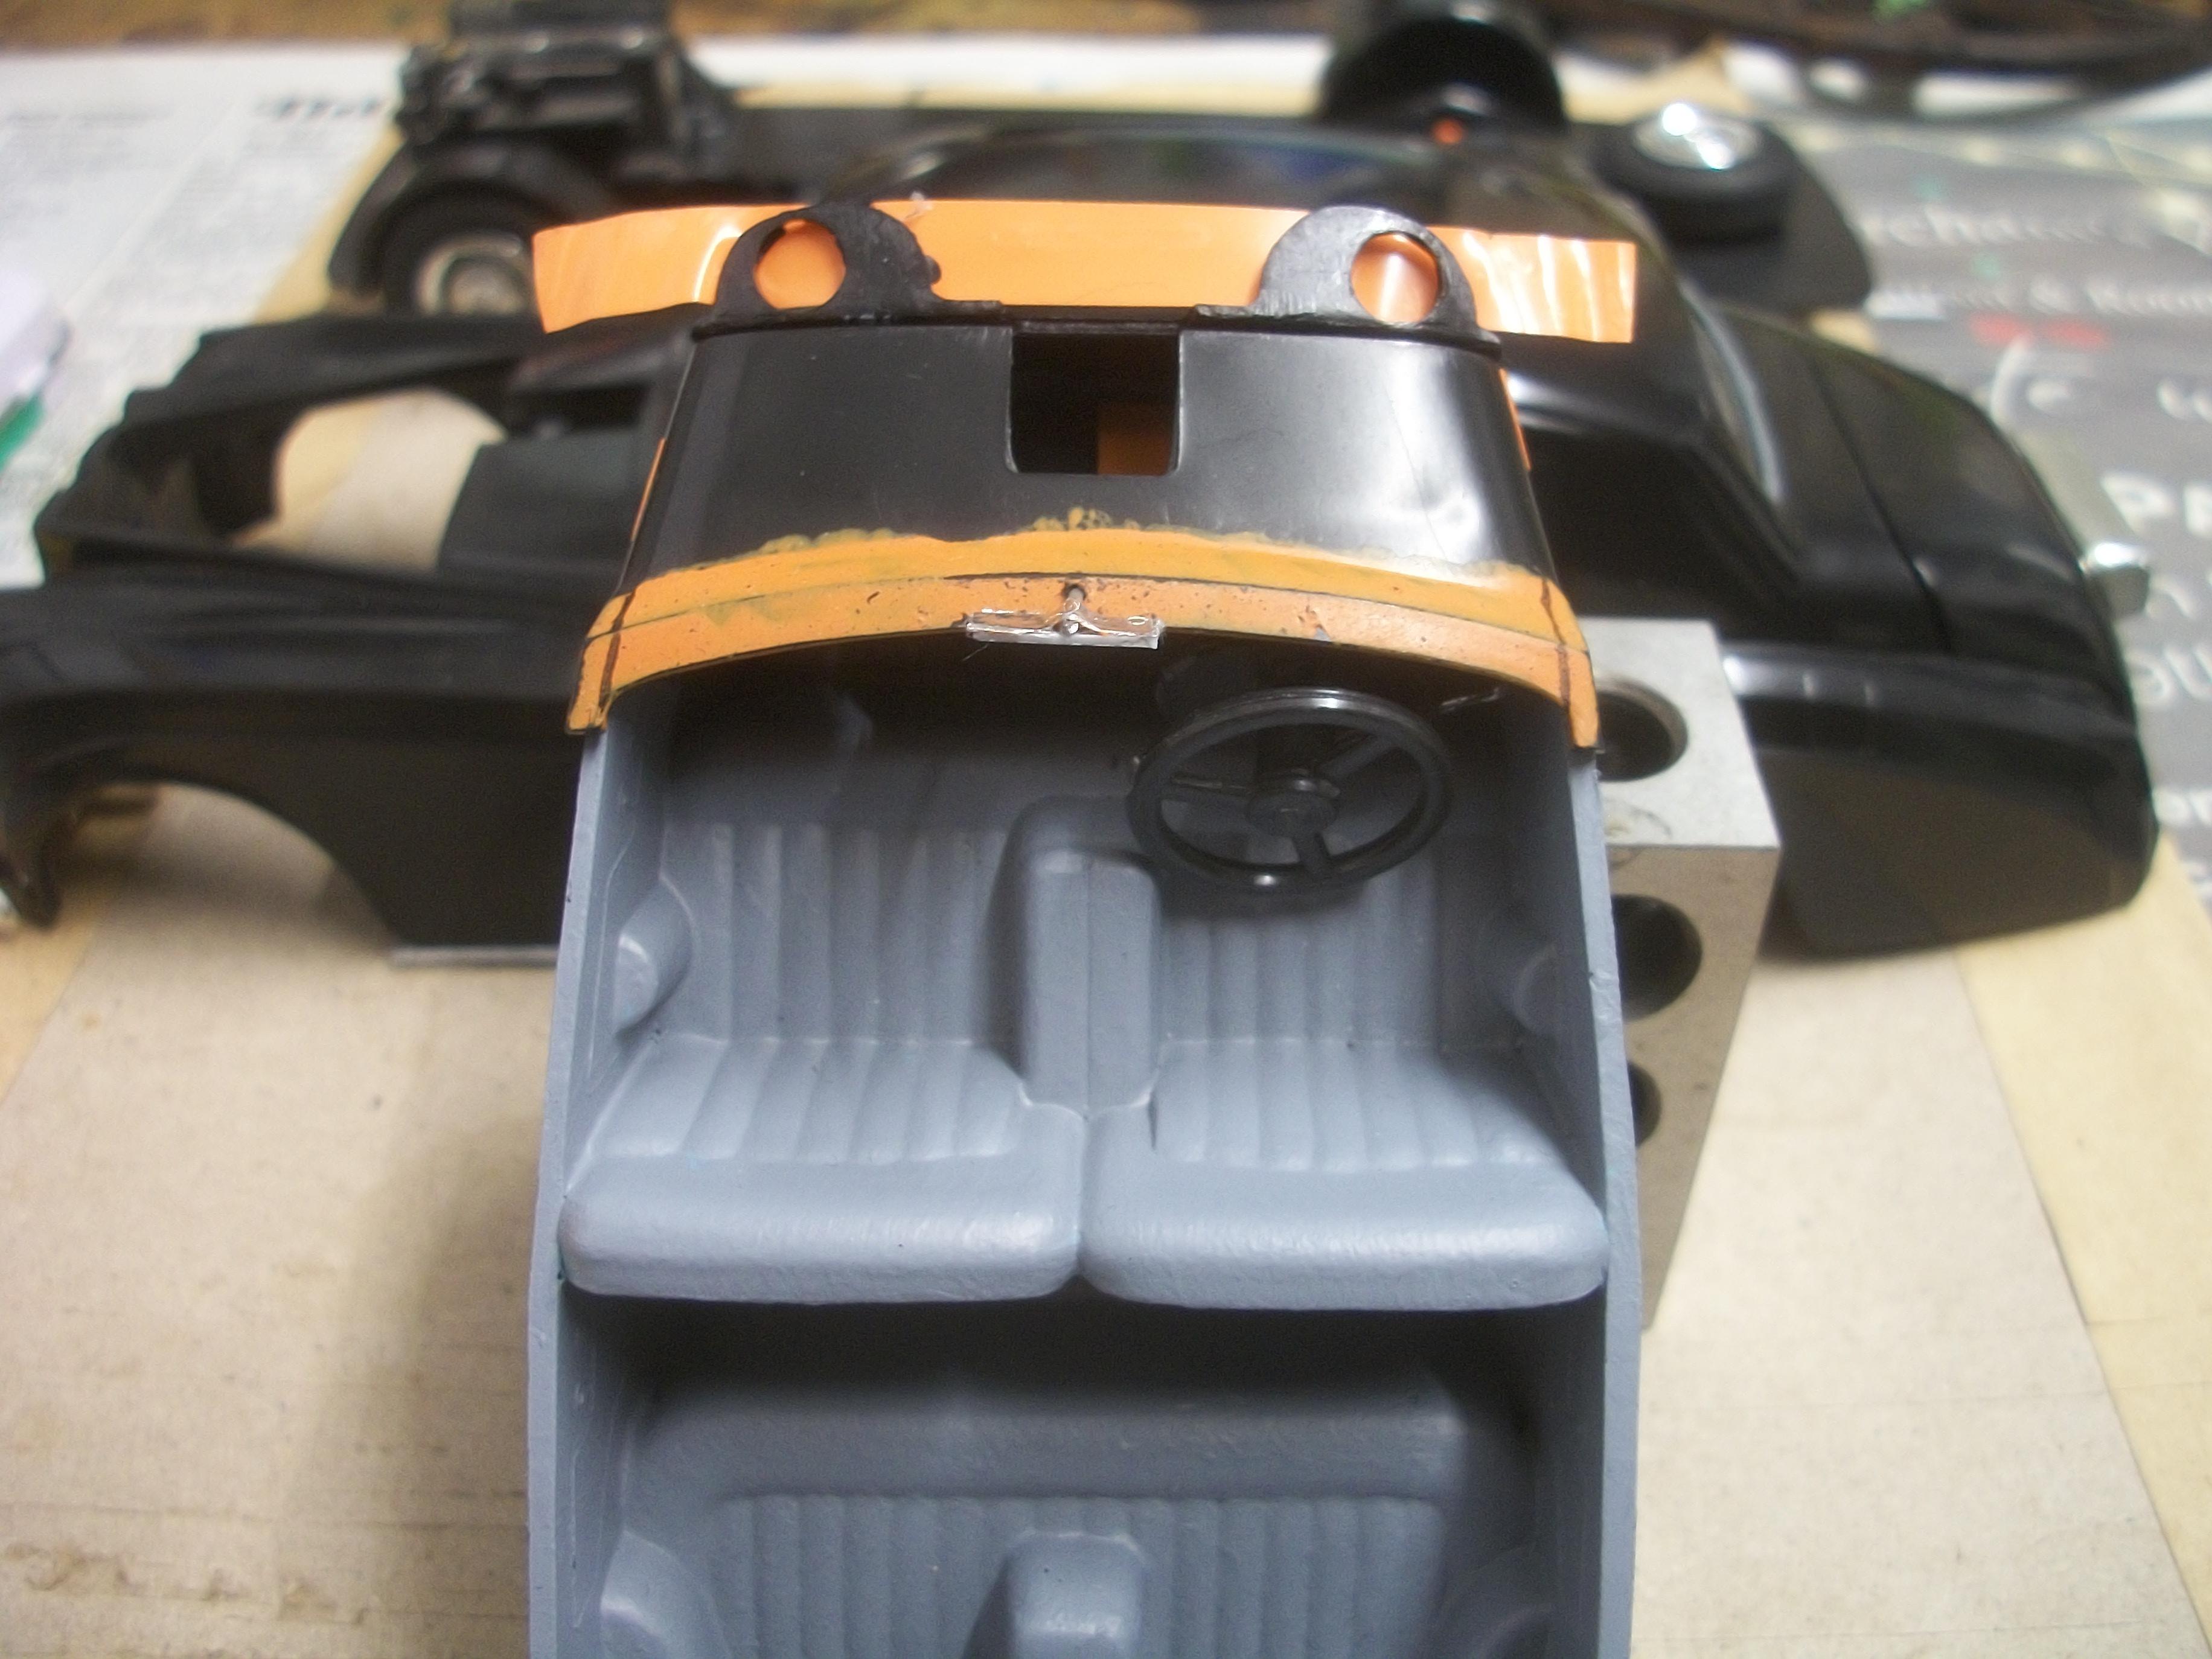
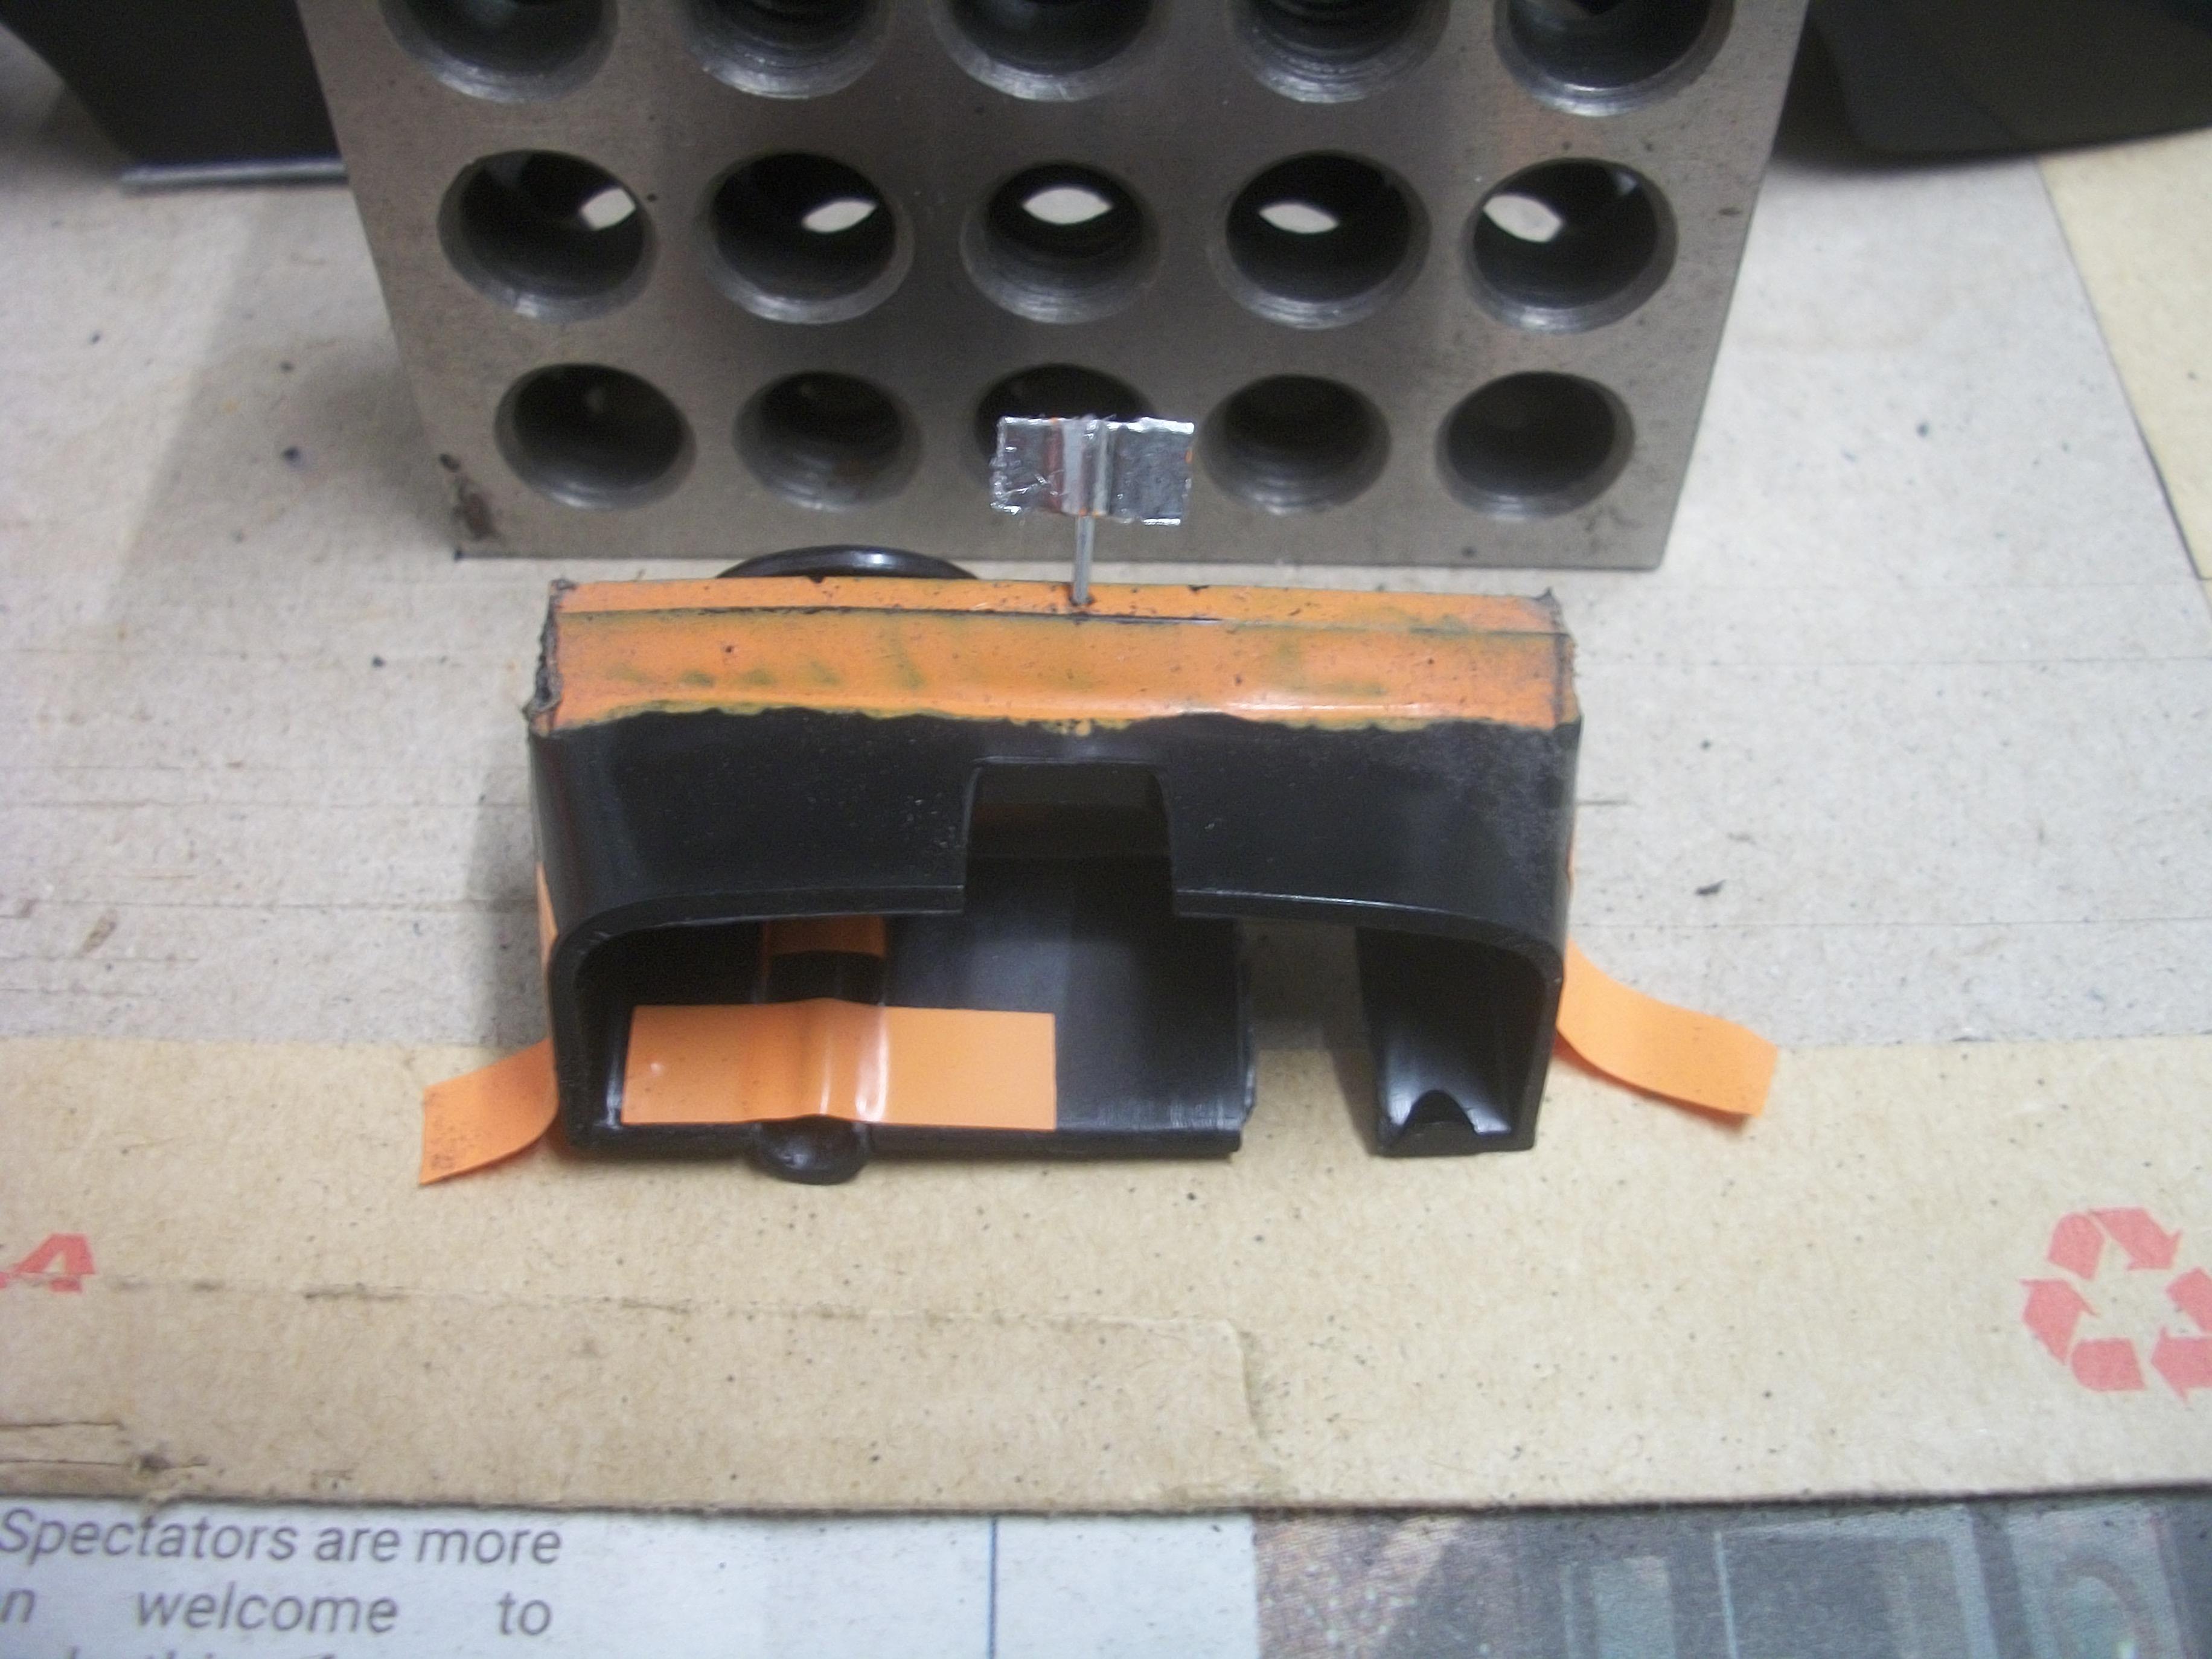
Today I had an idea, which I hope will work. Placing a small piece of orange tape over the RR logo on a second radiator shell, I have cut out the rectangle precisely. The radiator shell for the actual model has no RR logo. Then I removed the tape from the second part and placed this onto the actual part. Liquid Chrome has been applied to the base of the mascot and also to the open area of the orange tape. This will be allowed 24 hours to dry fully. When the tape is removed later I hope to see a raised area of rectangular chrome. David
-
Rolls-Royce No Chemicals, No Paint, No Harmful Glues
Anglia105E replied to Anglia105E's topic in WIP: Model Cars
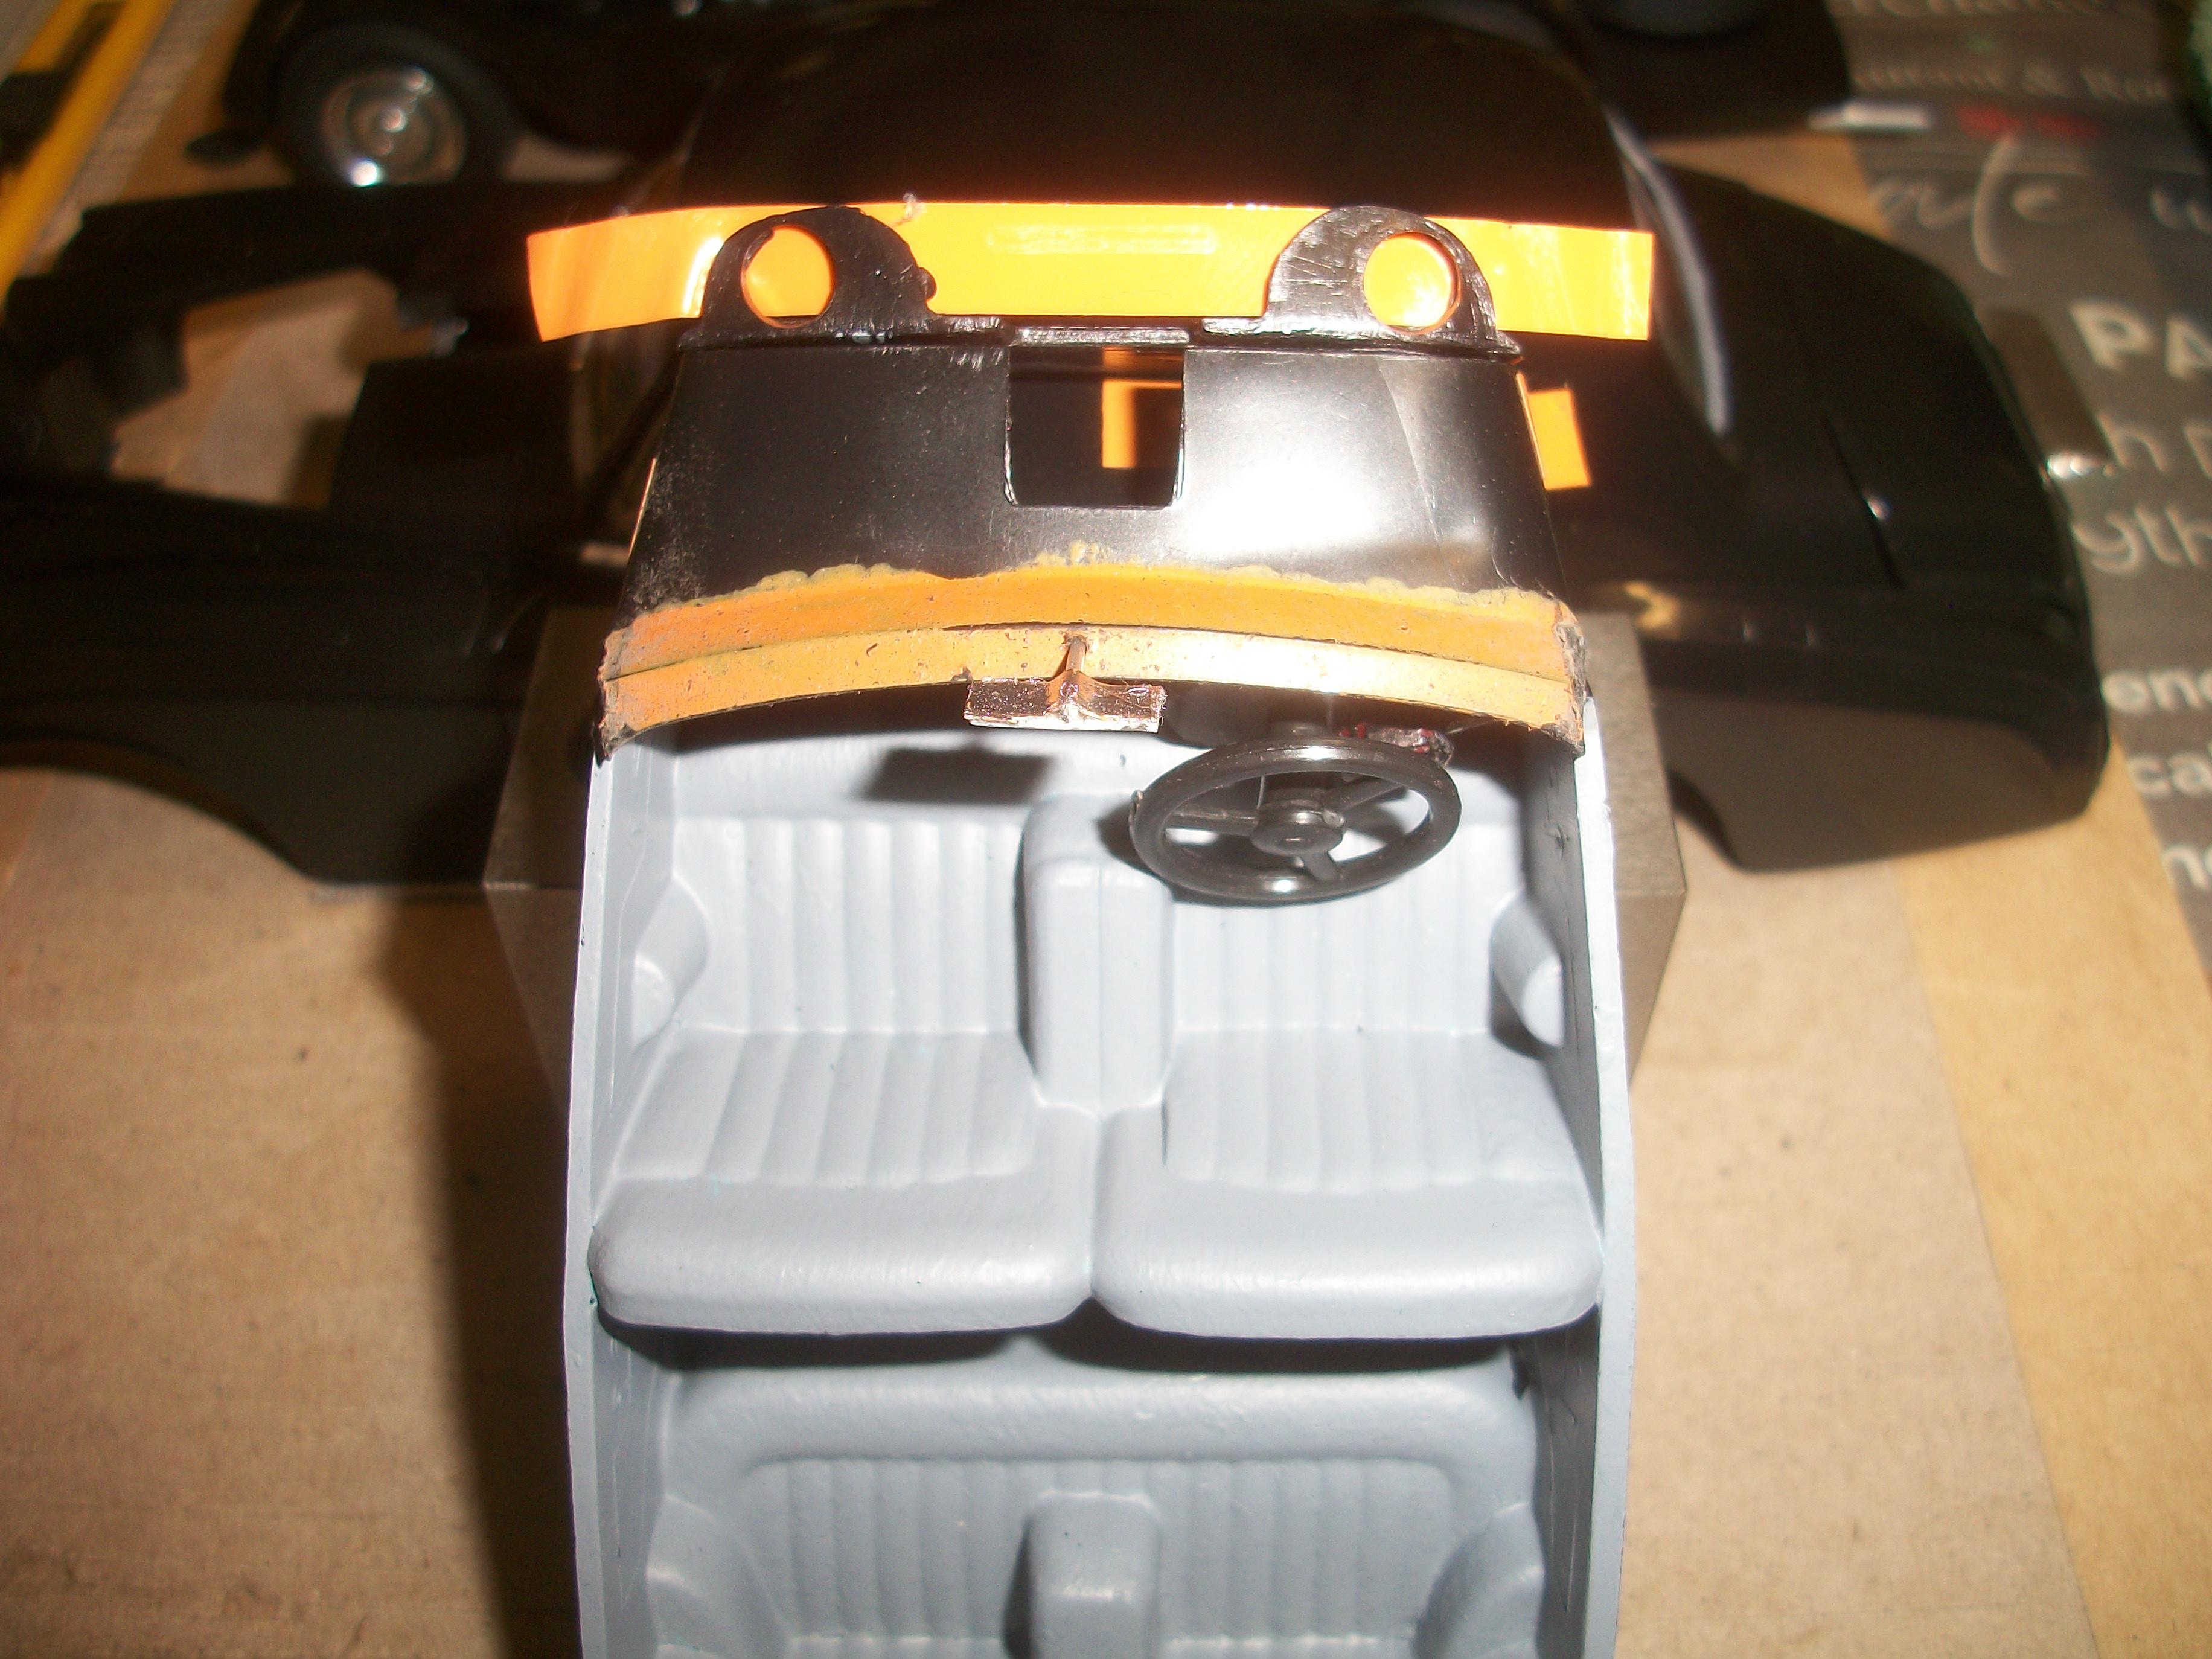
Turning my attention to the radiator grill shell, I found the courage to mount the Spirit of Ecstasy. First a hole was drilled in the centre of the shell and then a tiny piece of cotton bud stalk was super glued in place. The base of the original part had broken off, so I super glued the grille mascot onto the fabricated base part. Here are two photos of the grille shell. David
-
Rolls-Royce No Chemicals, No Paint, No Harmful Glues
Anglia105E replied to Anglia105E's topic in WIP: Model Cars
Thanks David G., Also thanks for your patience while I deal with the technical issues. David W. -
Rolls-Royce No Chemicals, No Paint, No Harmful Glues
Anglia105E replied to Anglia105E's topic in WIP: Model Cars
Thanks Mark and I shall struggle on regardless ! David W. -
Rolls-Royce No Chemicals, No Paint, No Harmful Glues
Anglia105E replied to Anglia105E's topic in WIP: Model Cars
Just to let fellow members know that on Monday evening 20th October my laptop computer died. This means I am not able to get stuff done on a daily basis as I usually would. For the time being I am trying to manage with my mobile phone and my old iPad, neither of which I like using. Thanks, David Watson -
Rolls-Royce No Chemicals, No Paint, No Harmful Glues
Anglia105E replied to Anglia105E's topic in WIP: Model Cars
That is correct Mark , yes . . . -
Rolls-Royce No Chemicals, No Paint, No Harmful Glues
Anglia105E replied to Anglia105E's topic in WIP: Model Cars
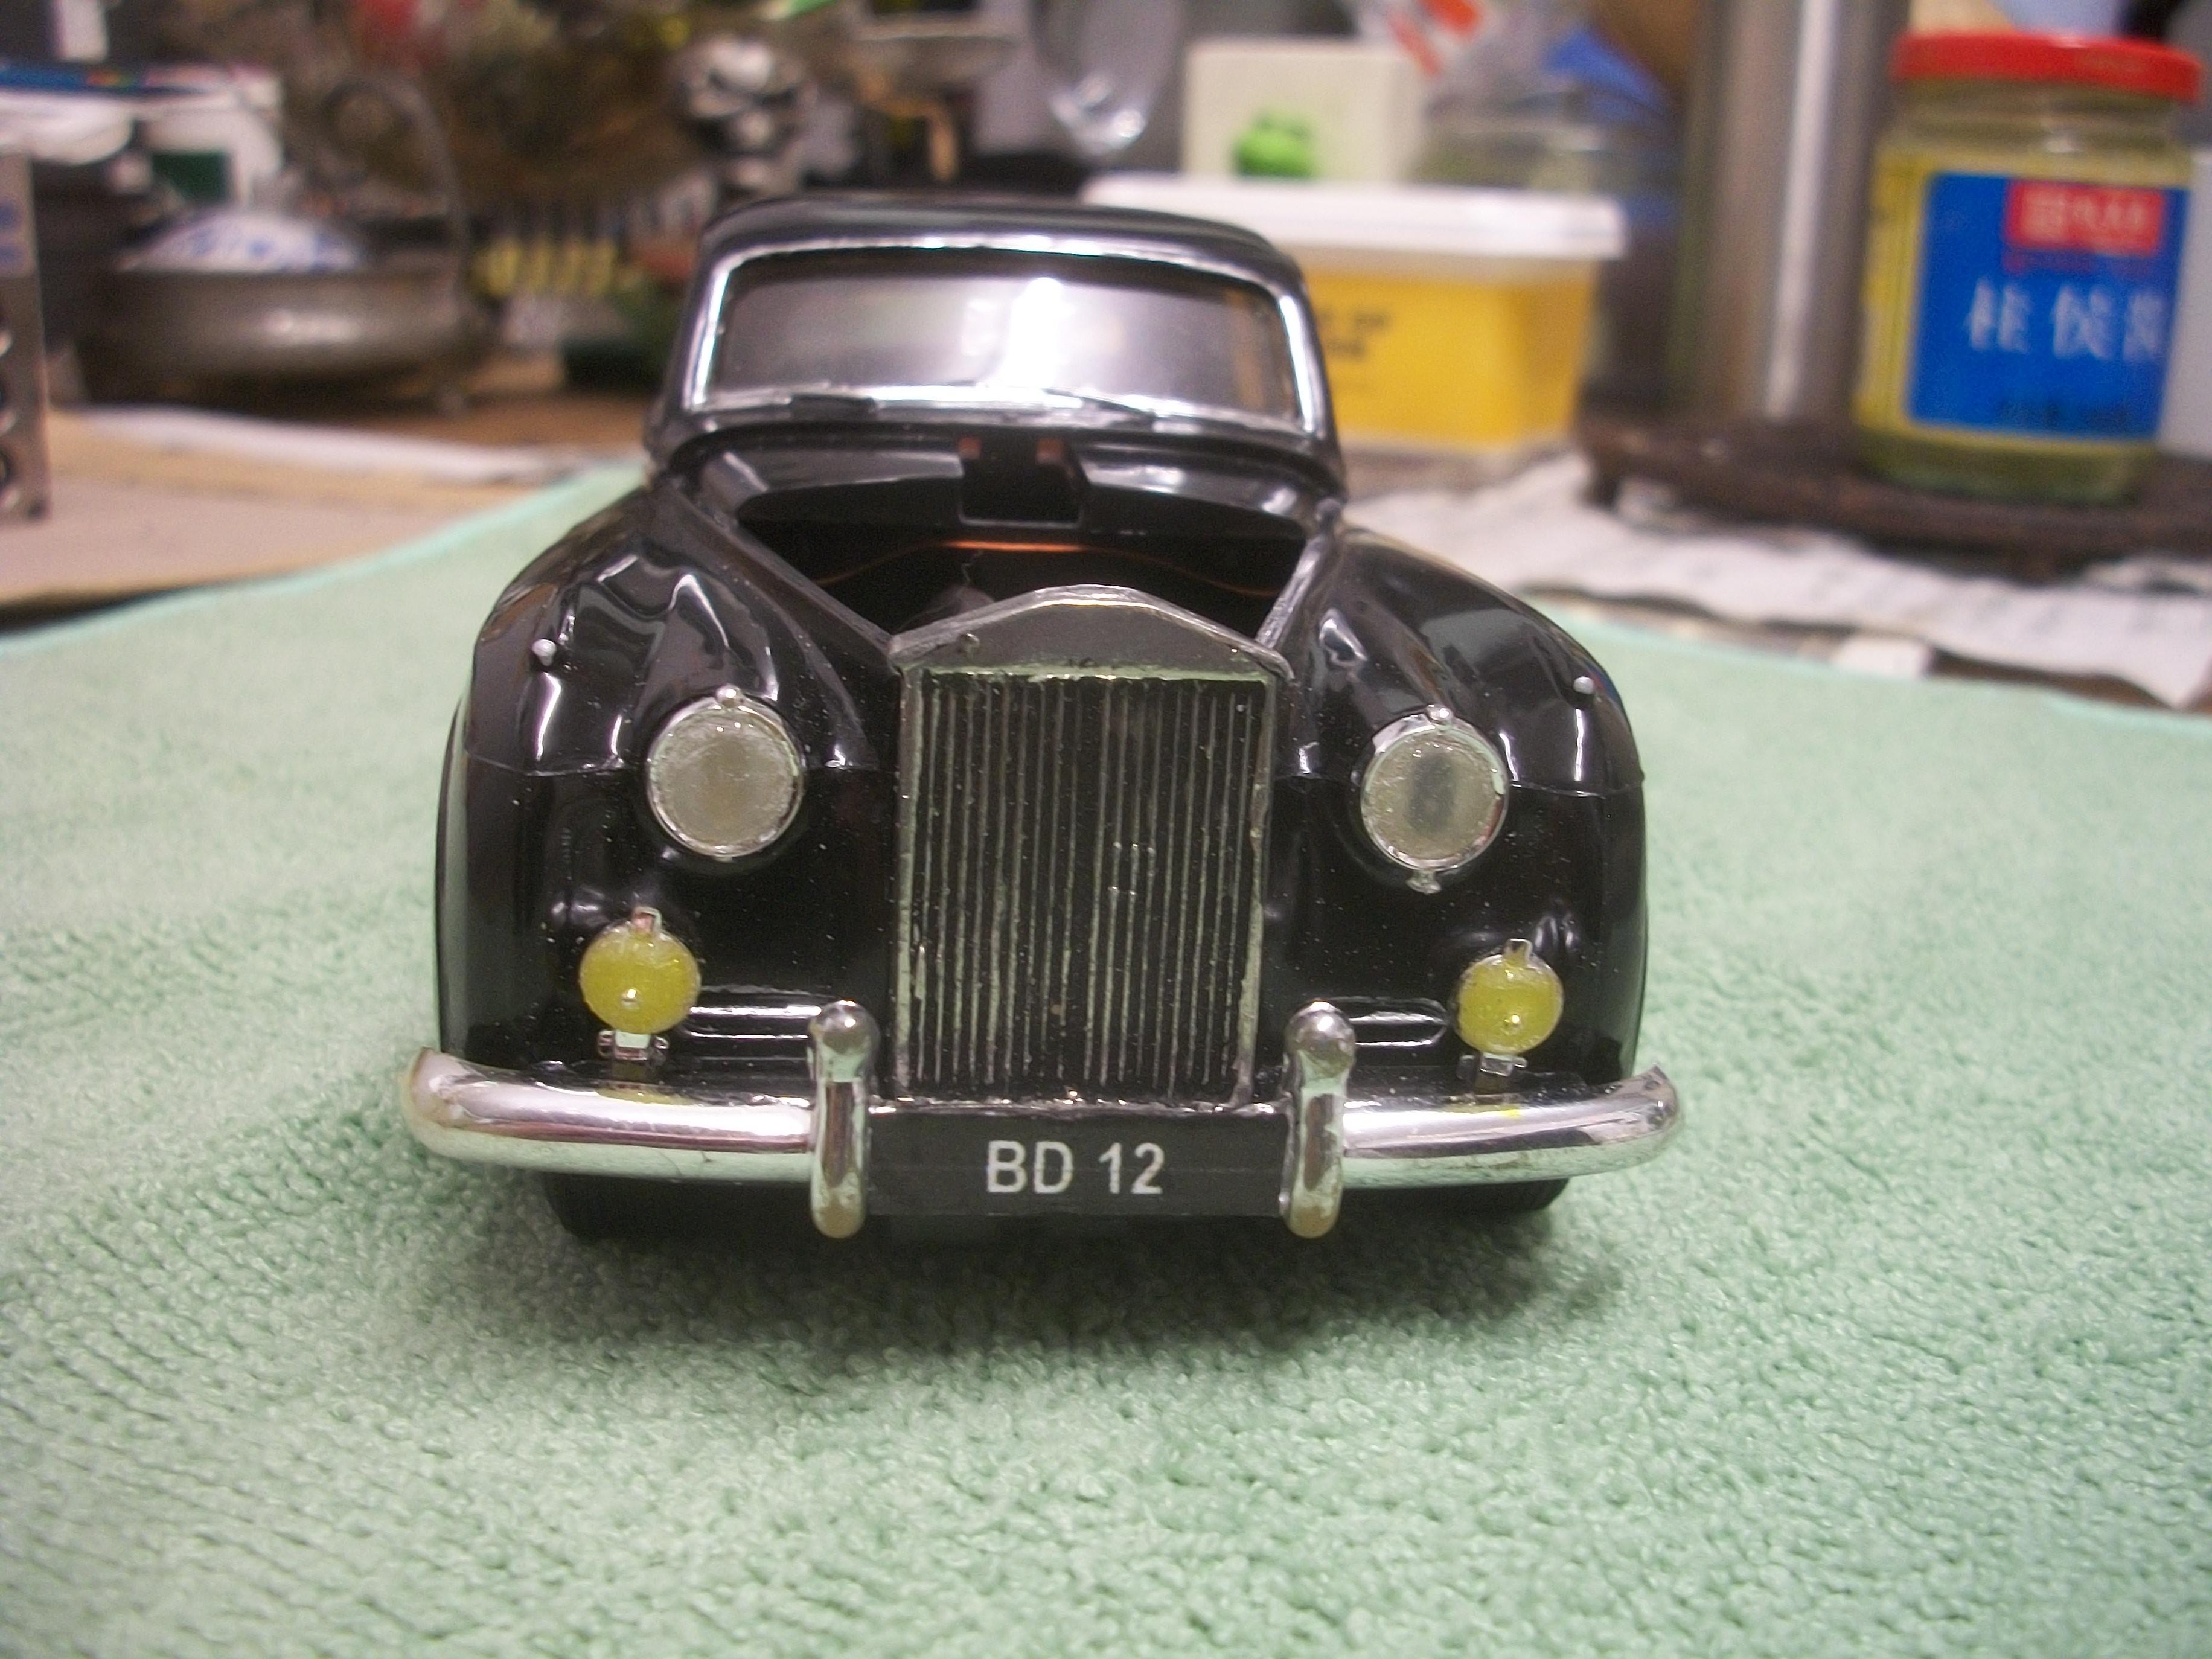
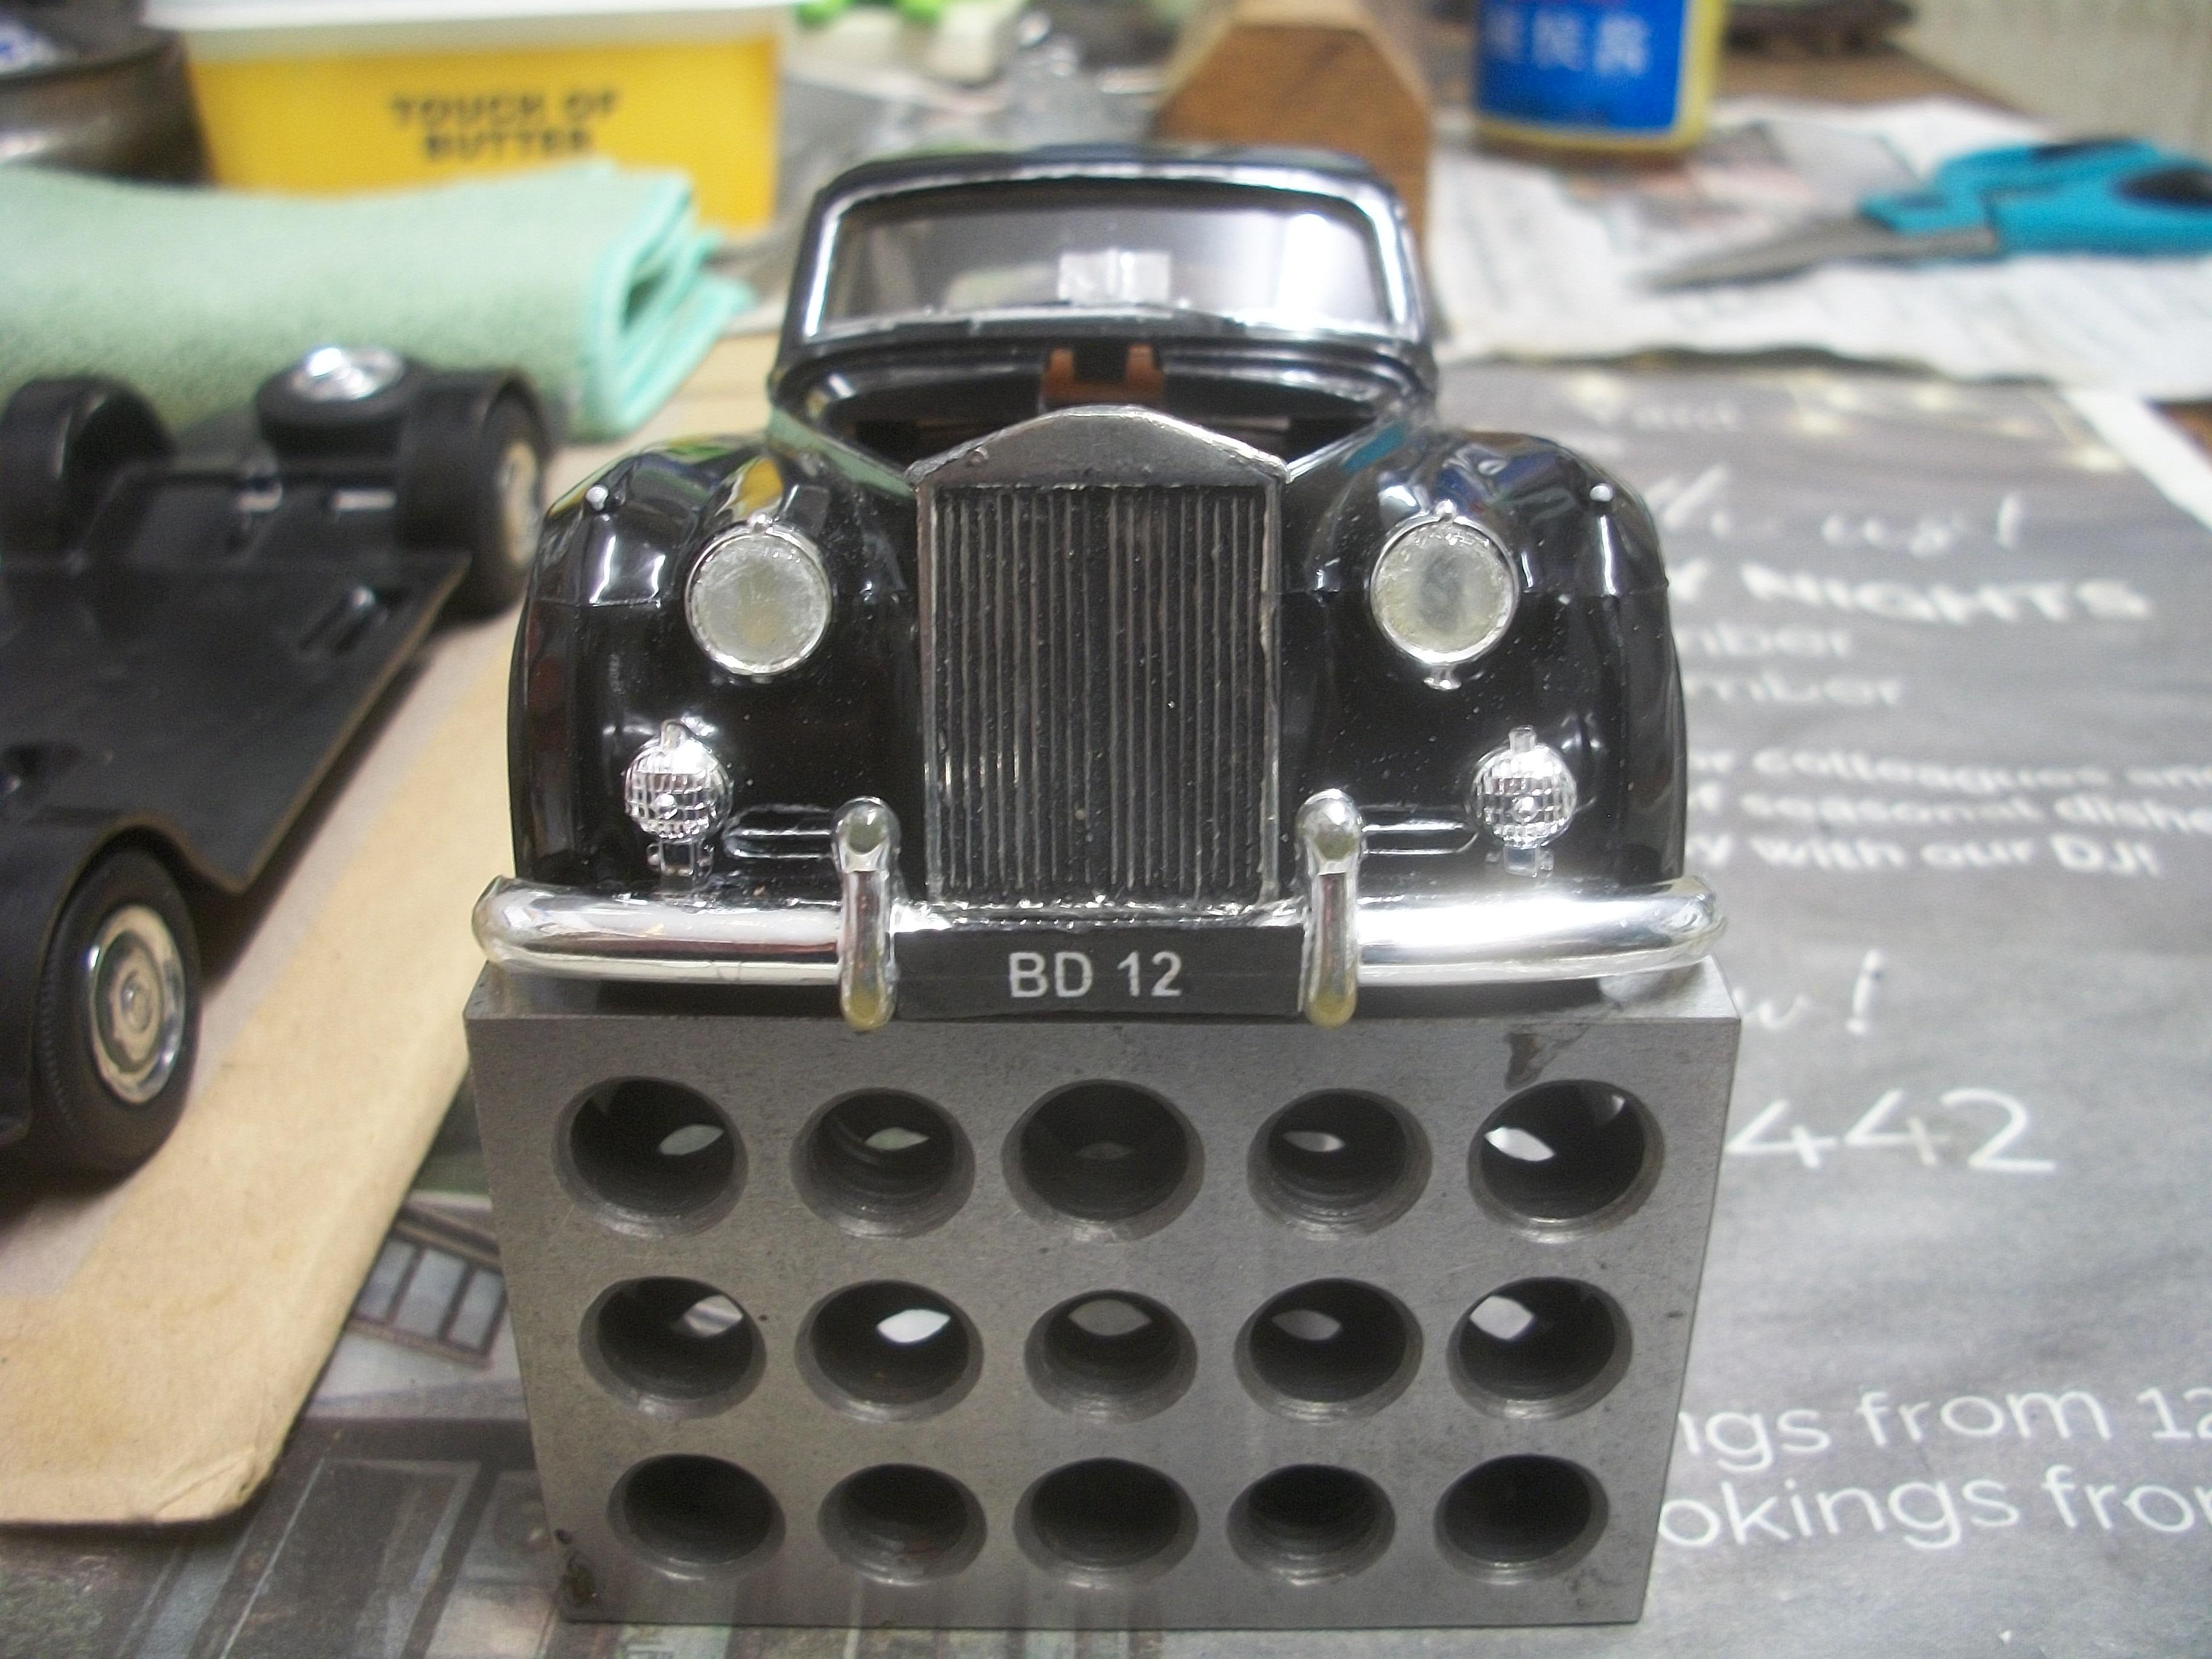
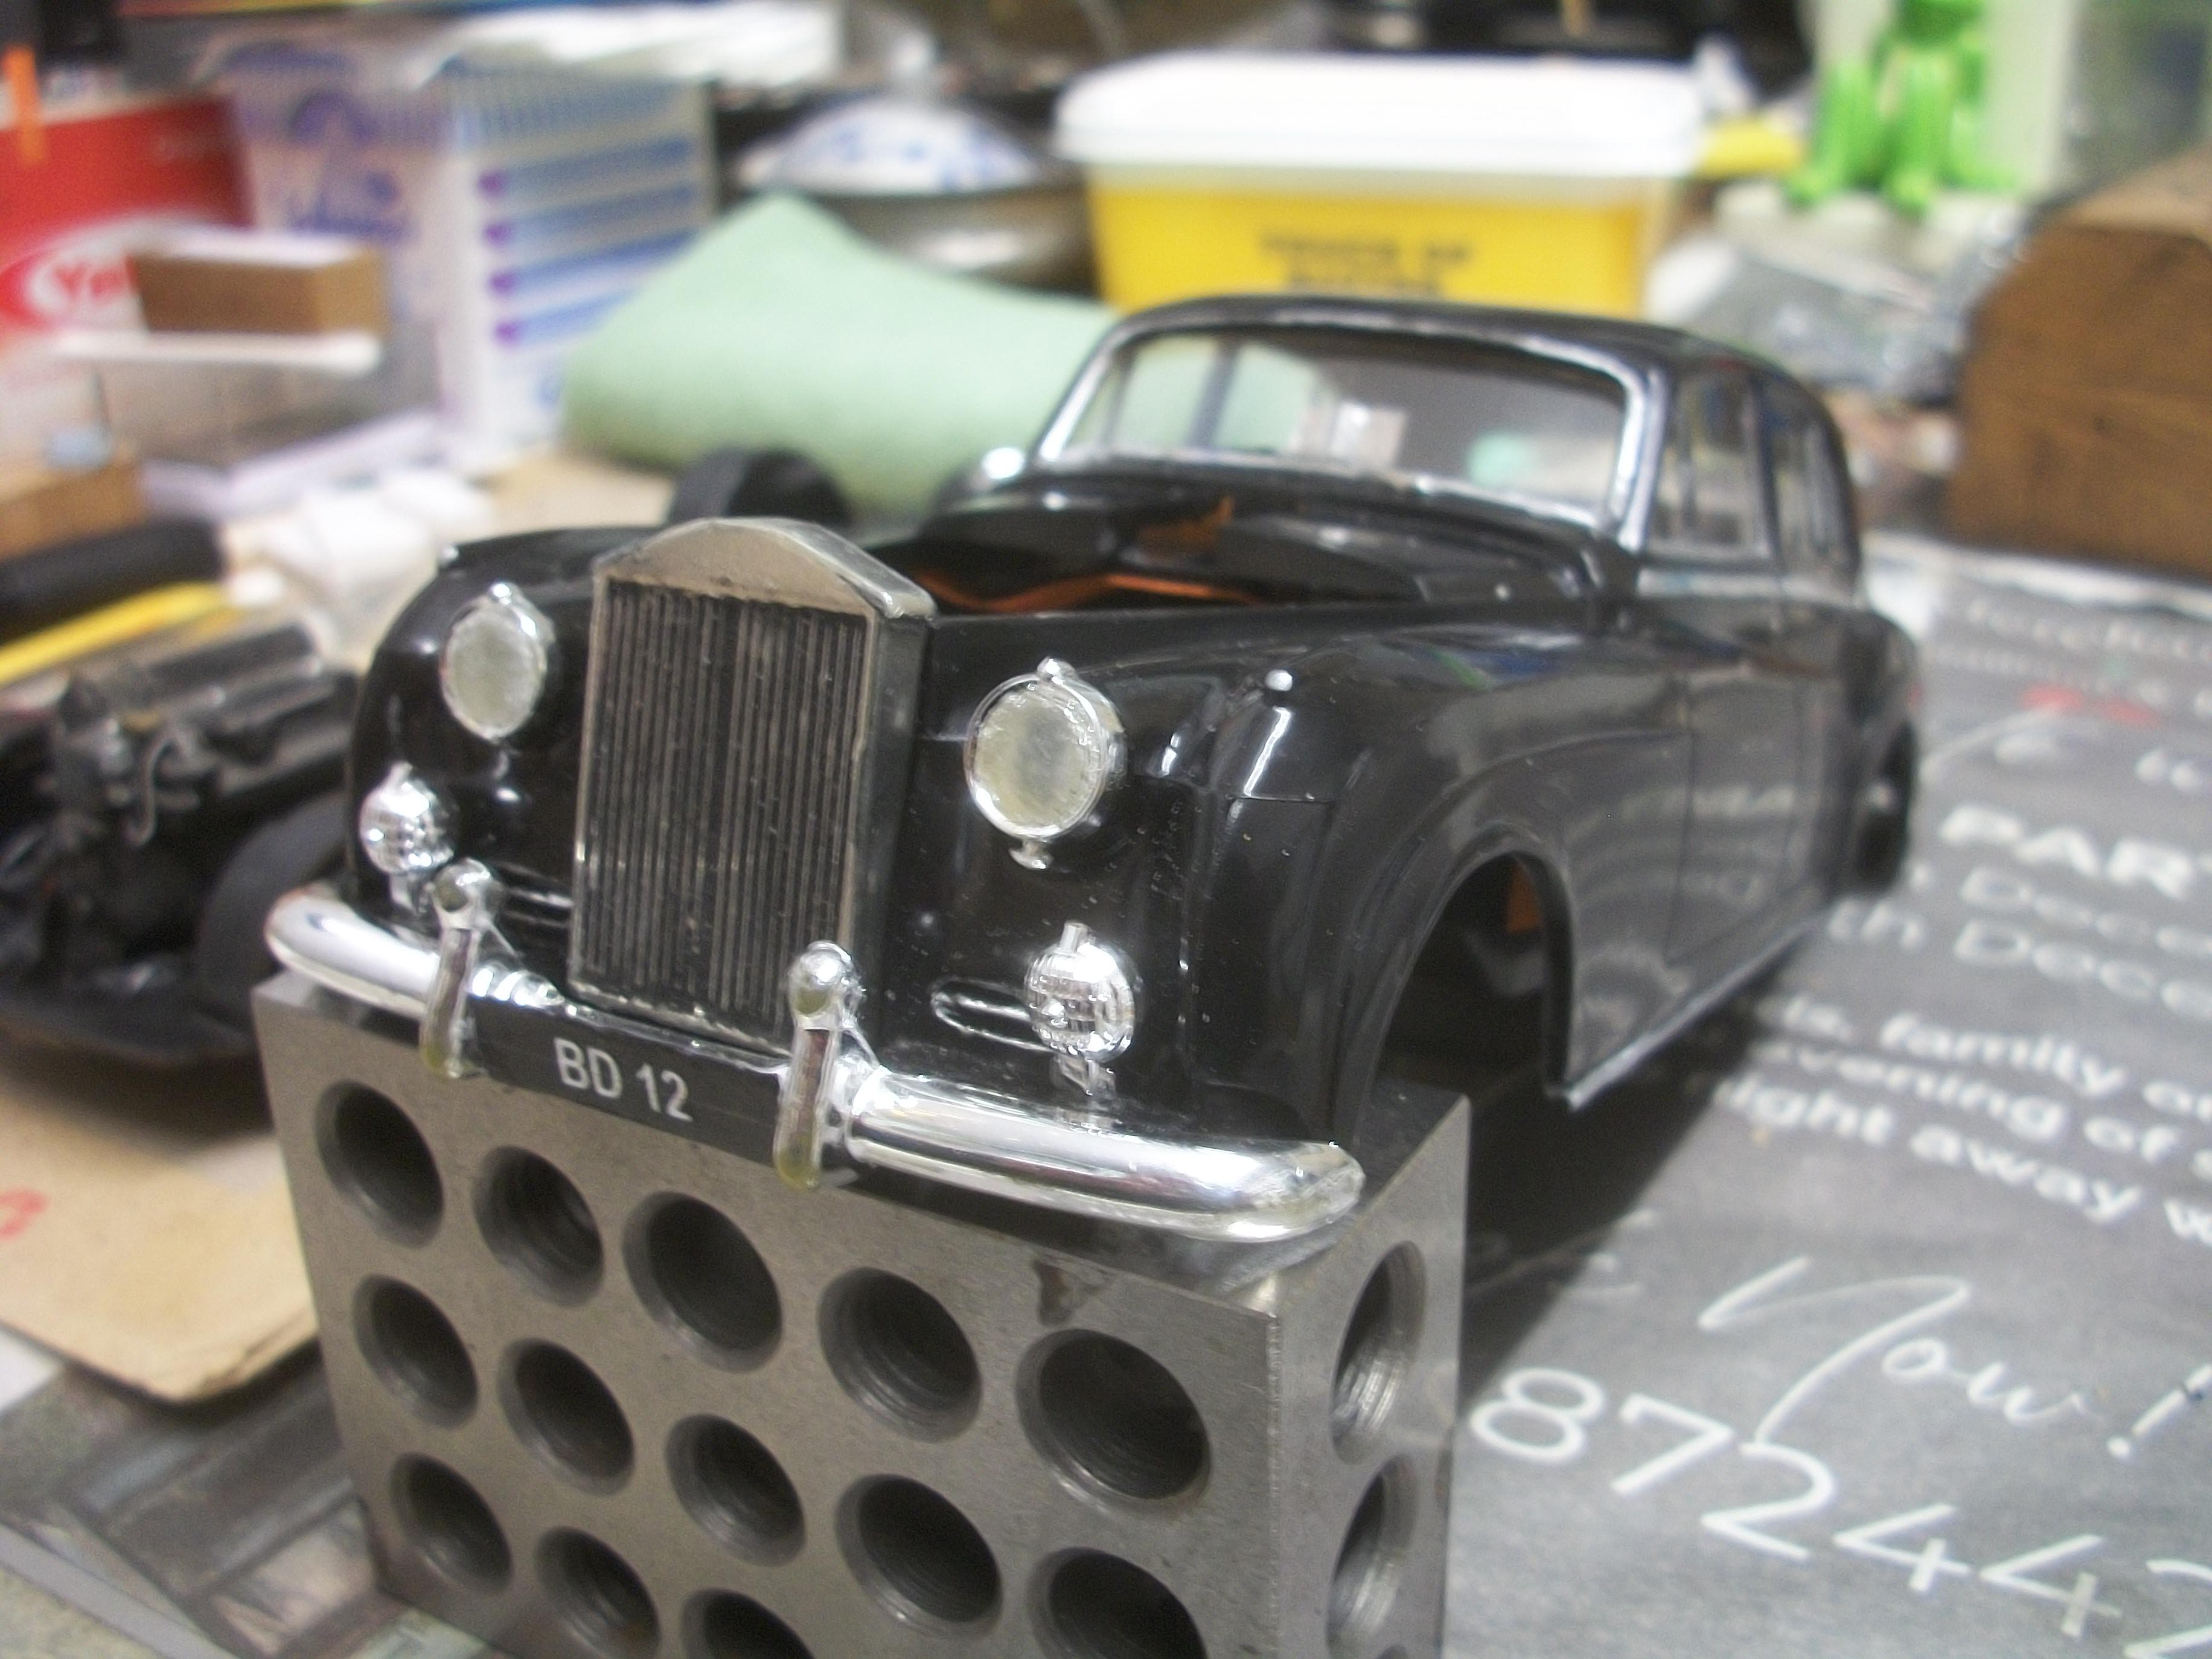
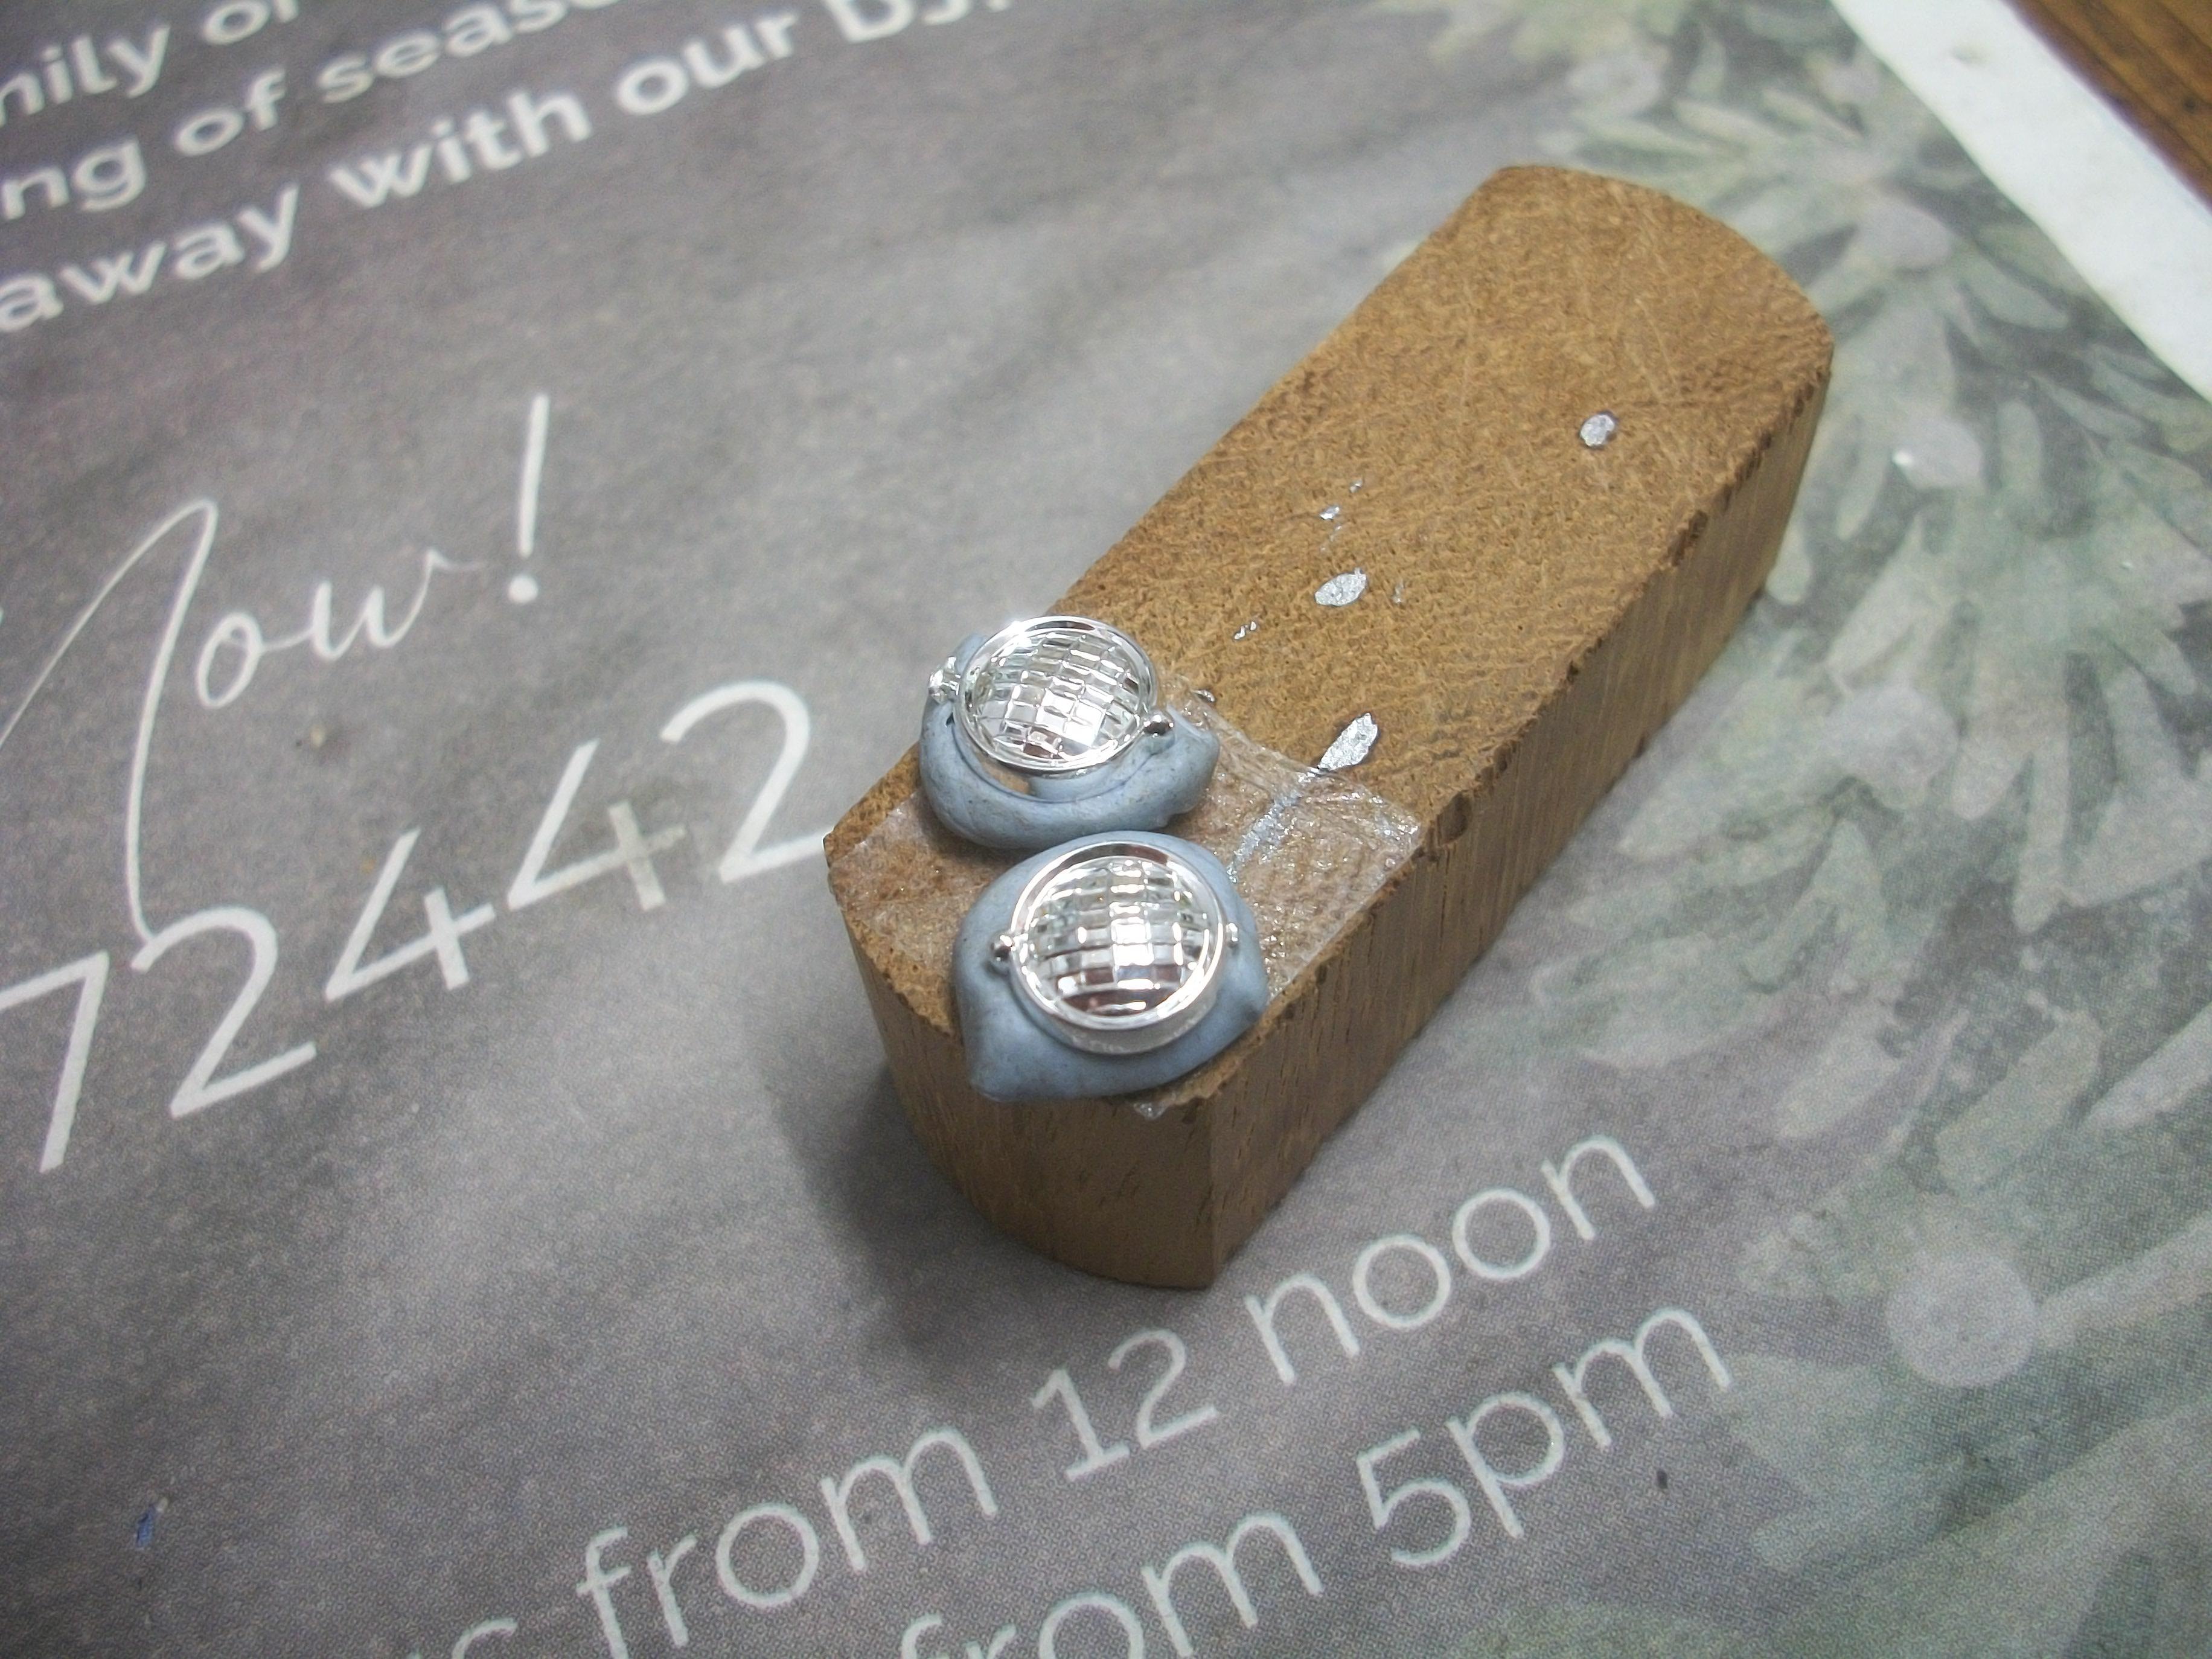
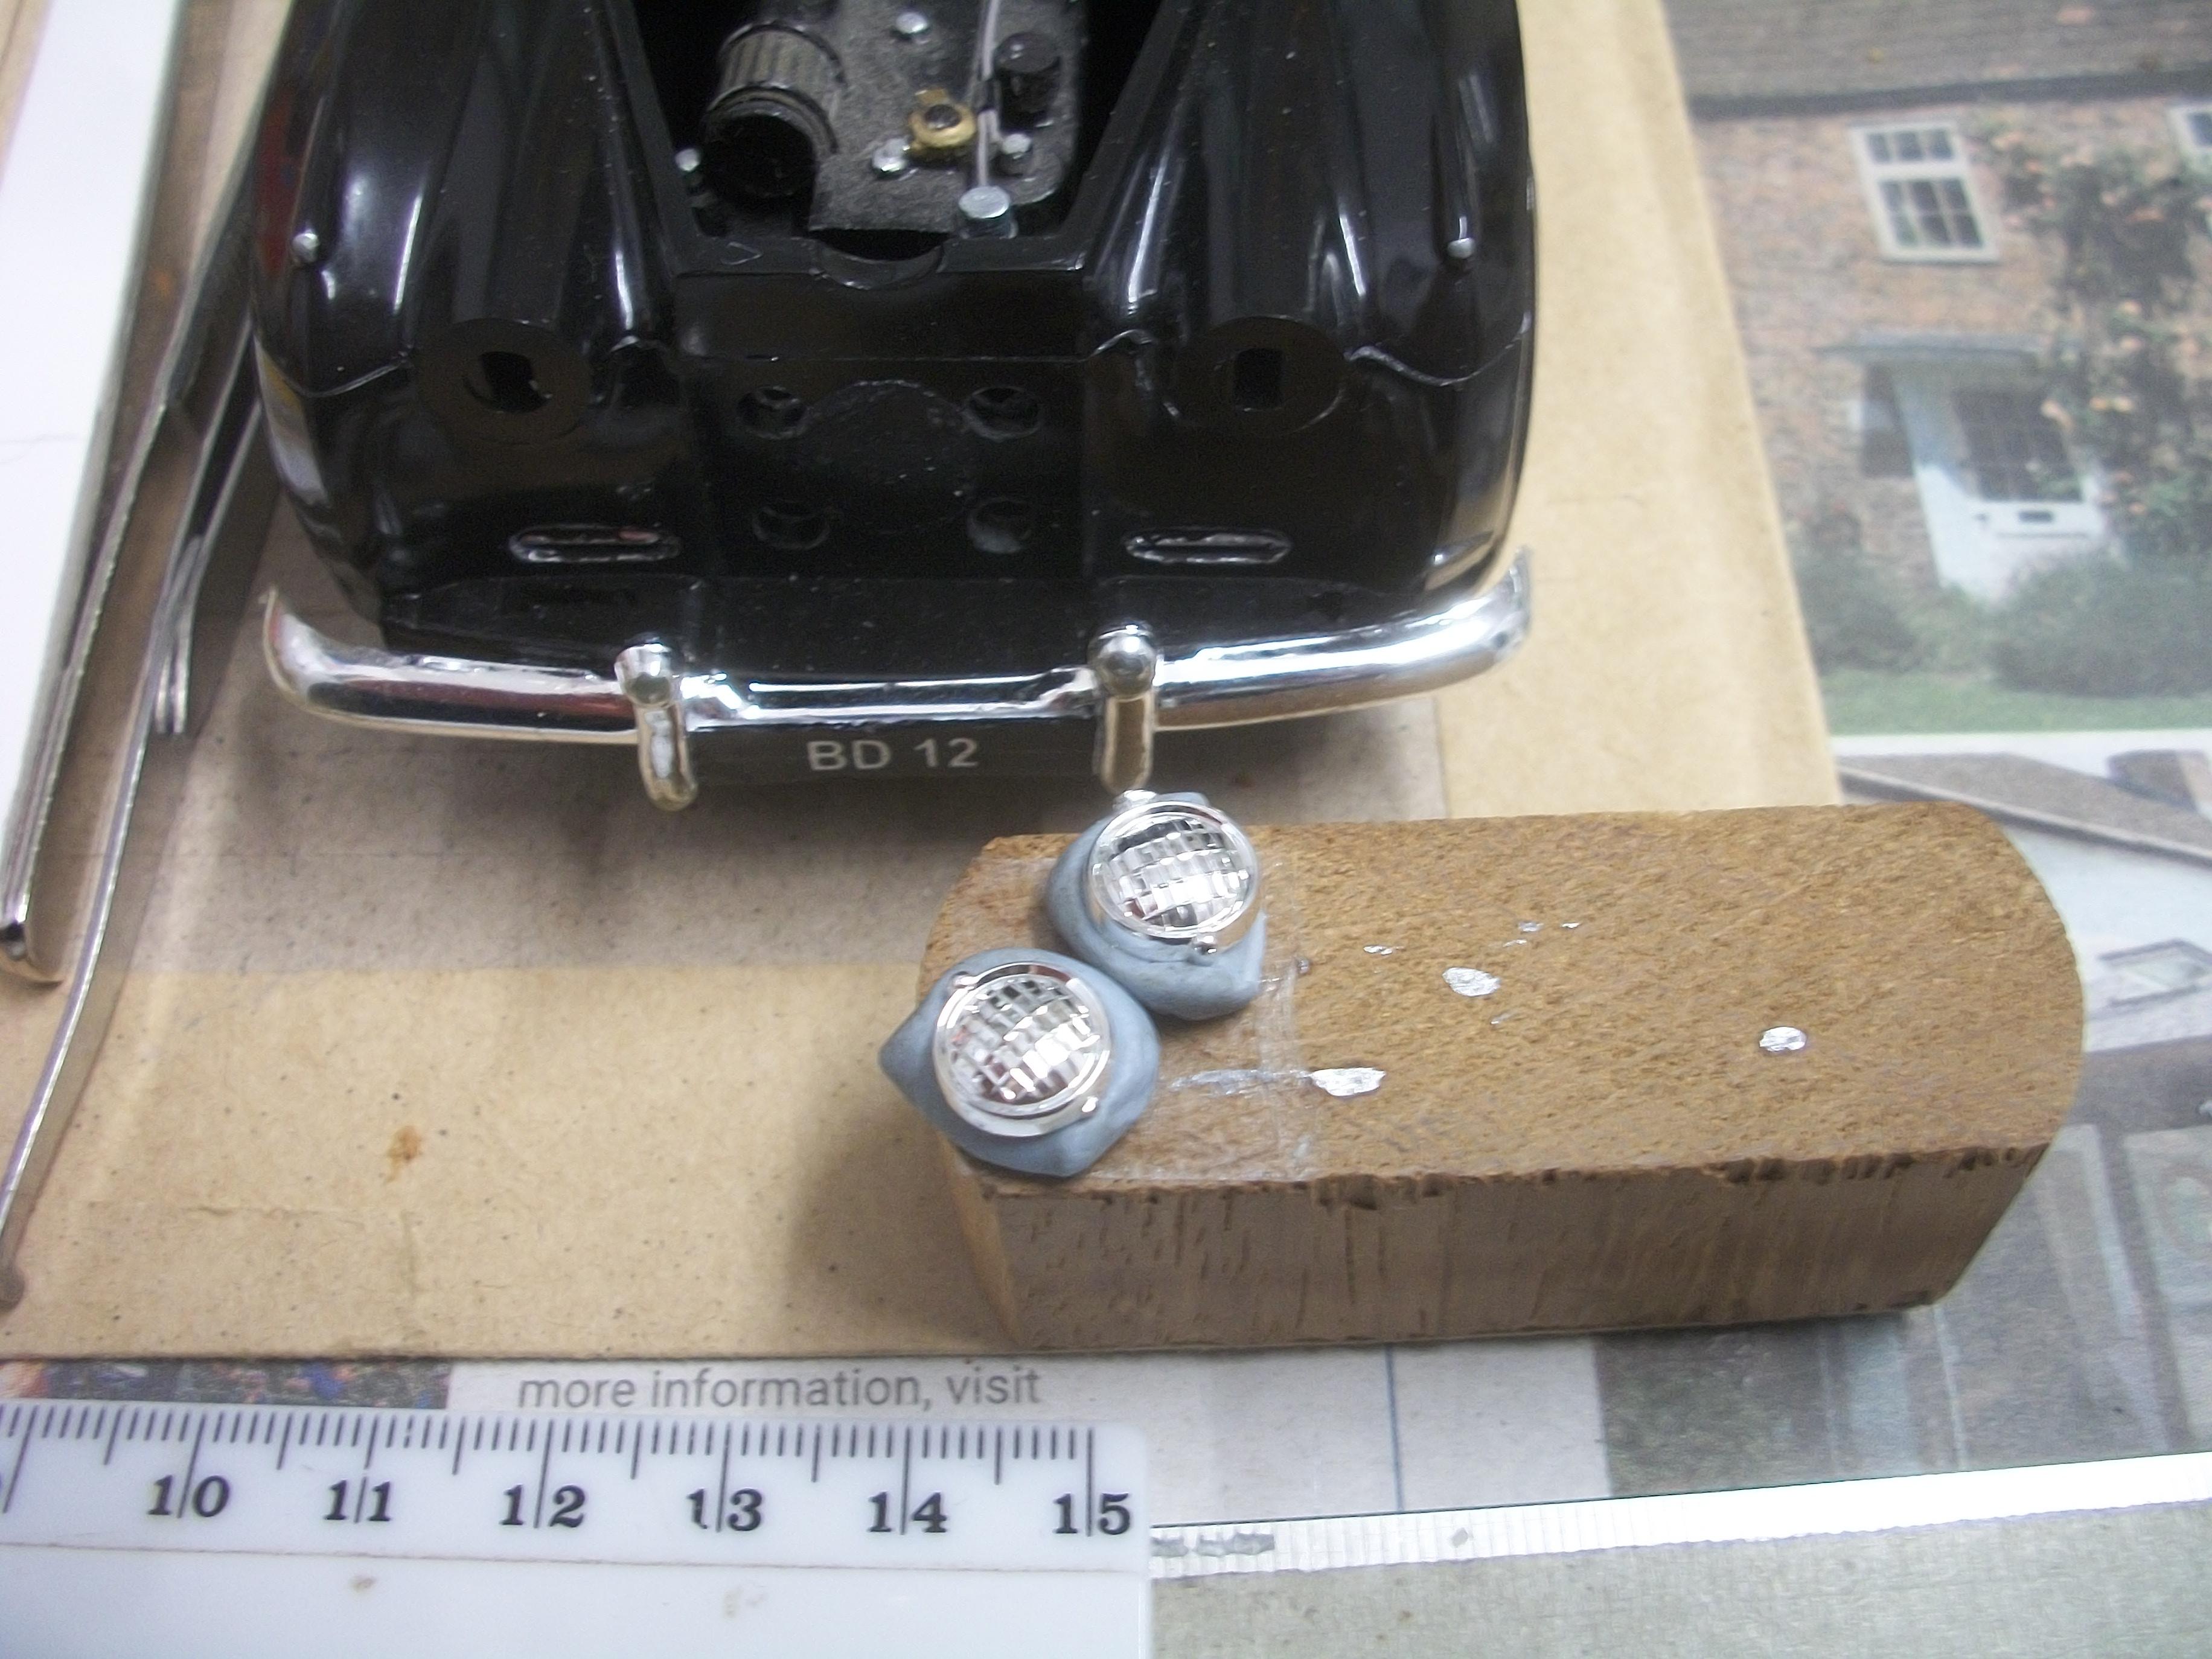
Thanks John . . . I am quite pleased with both the headlamps and the fog lamps. The front of the car is slowly taking shape. David -
Rolls-Royce No Chemicals, No Paint, No Harmful Glues
Anglia105E replied to Anglia105E's topic in WIP: Model Cars
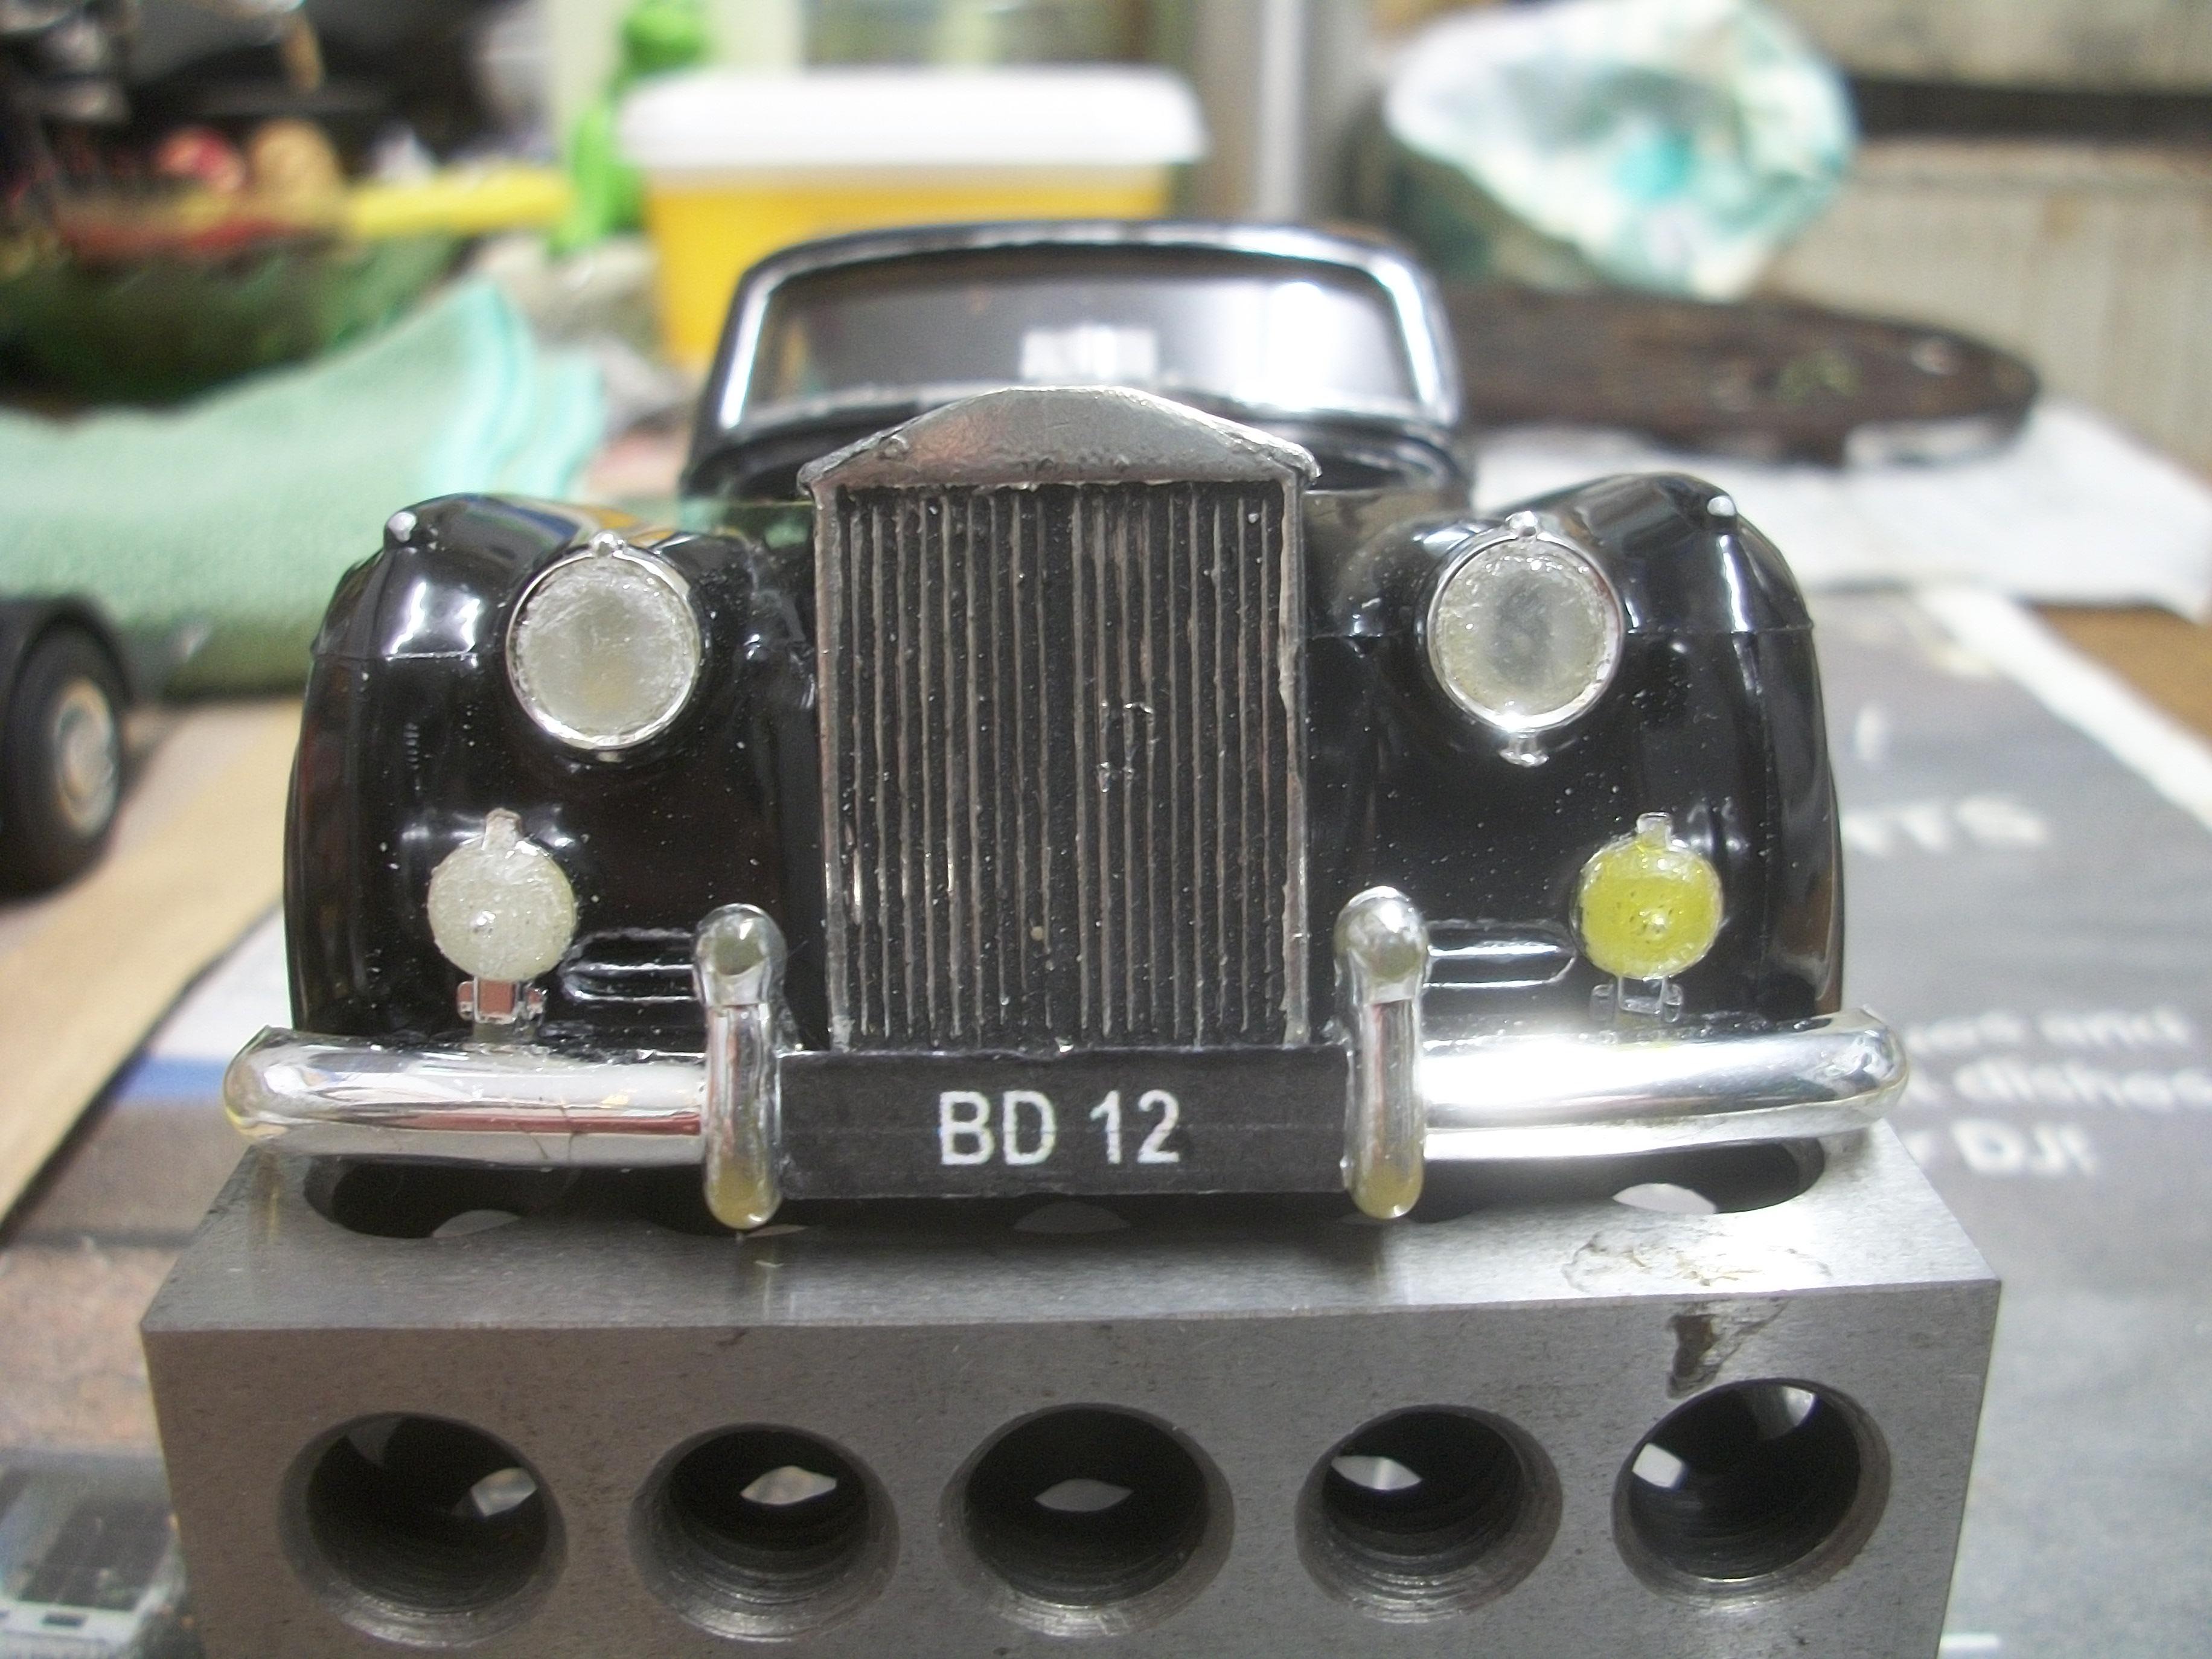
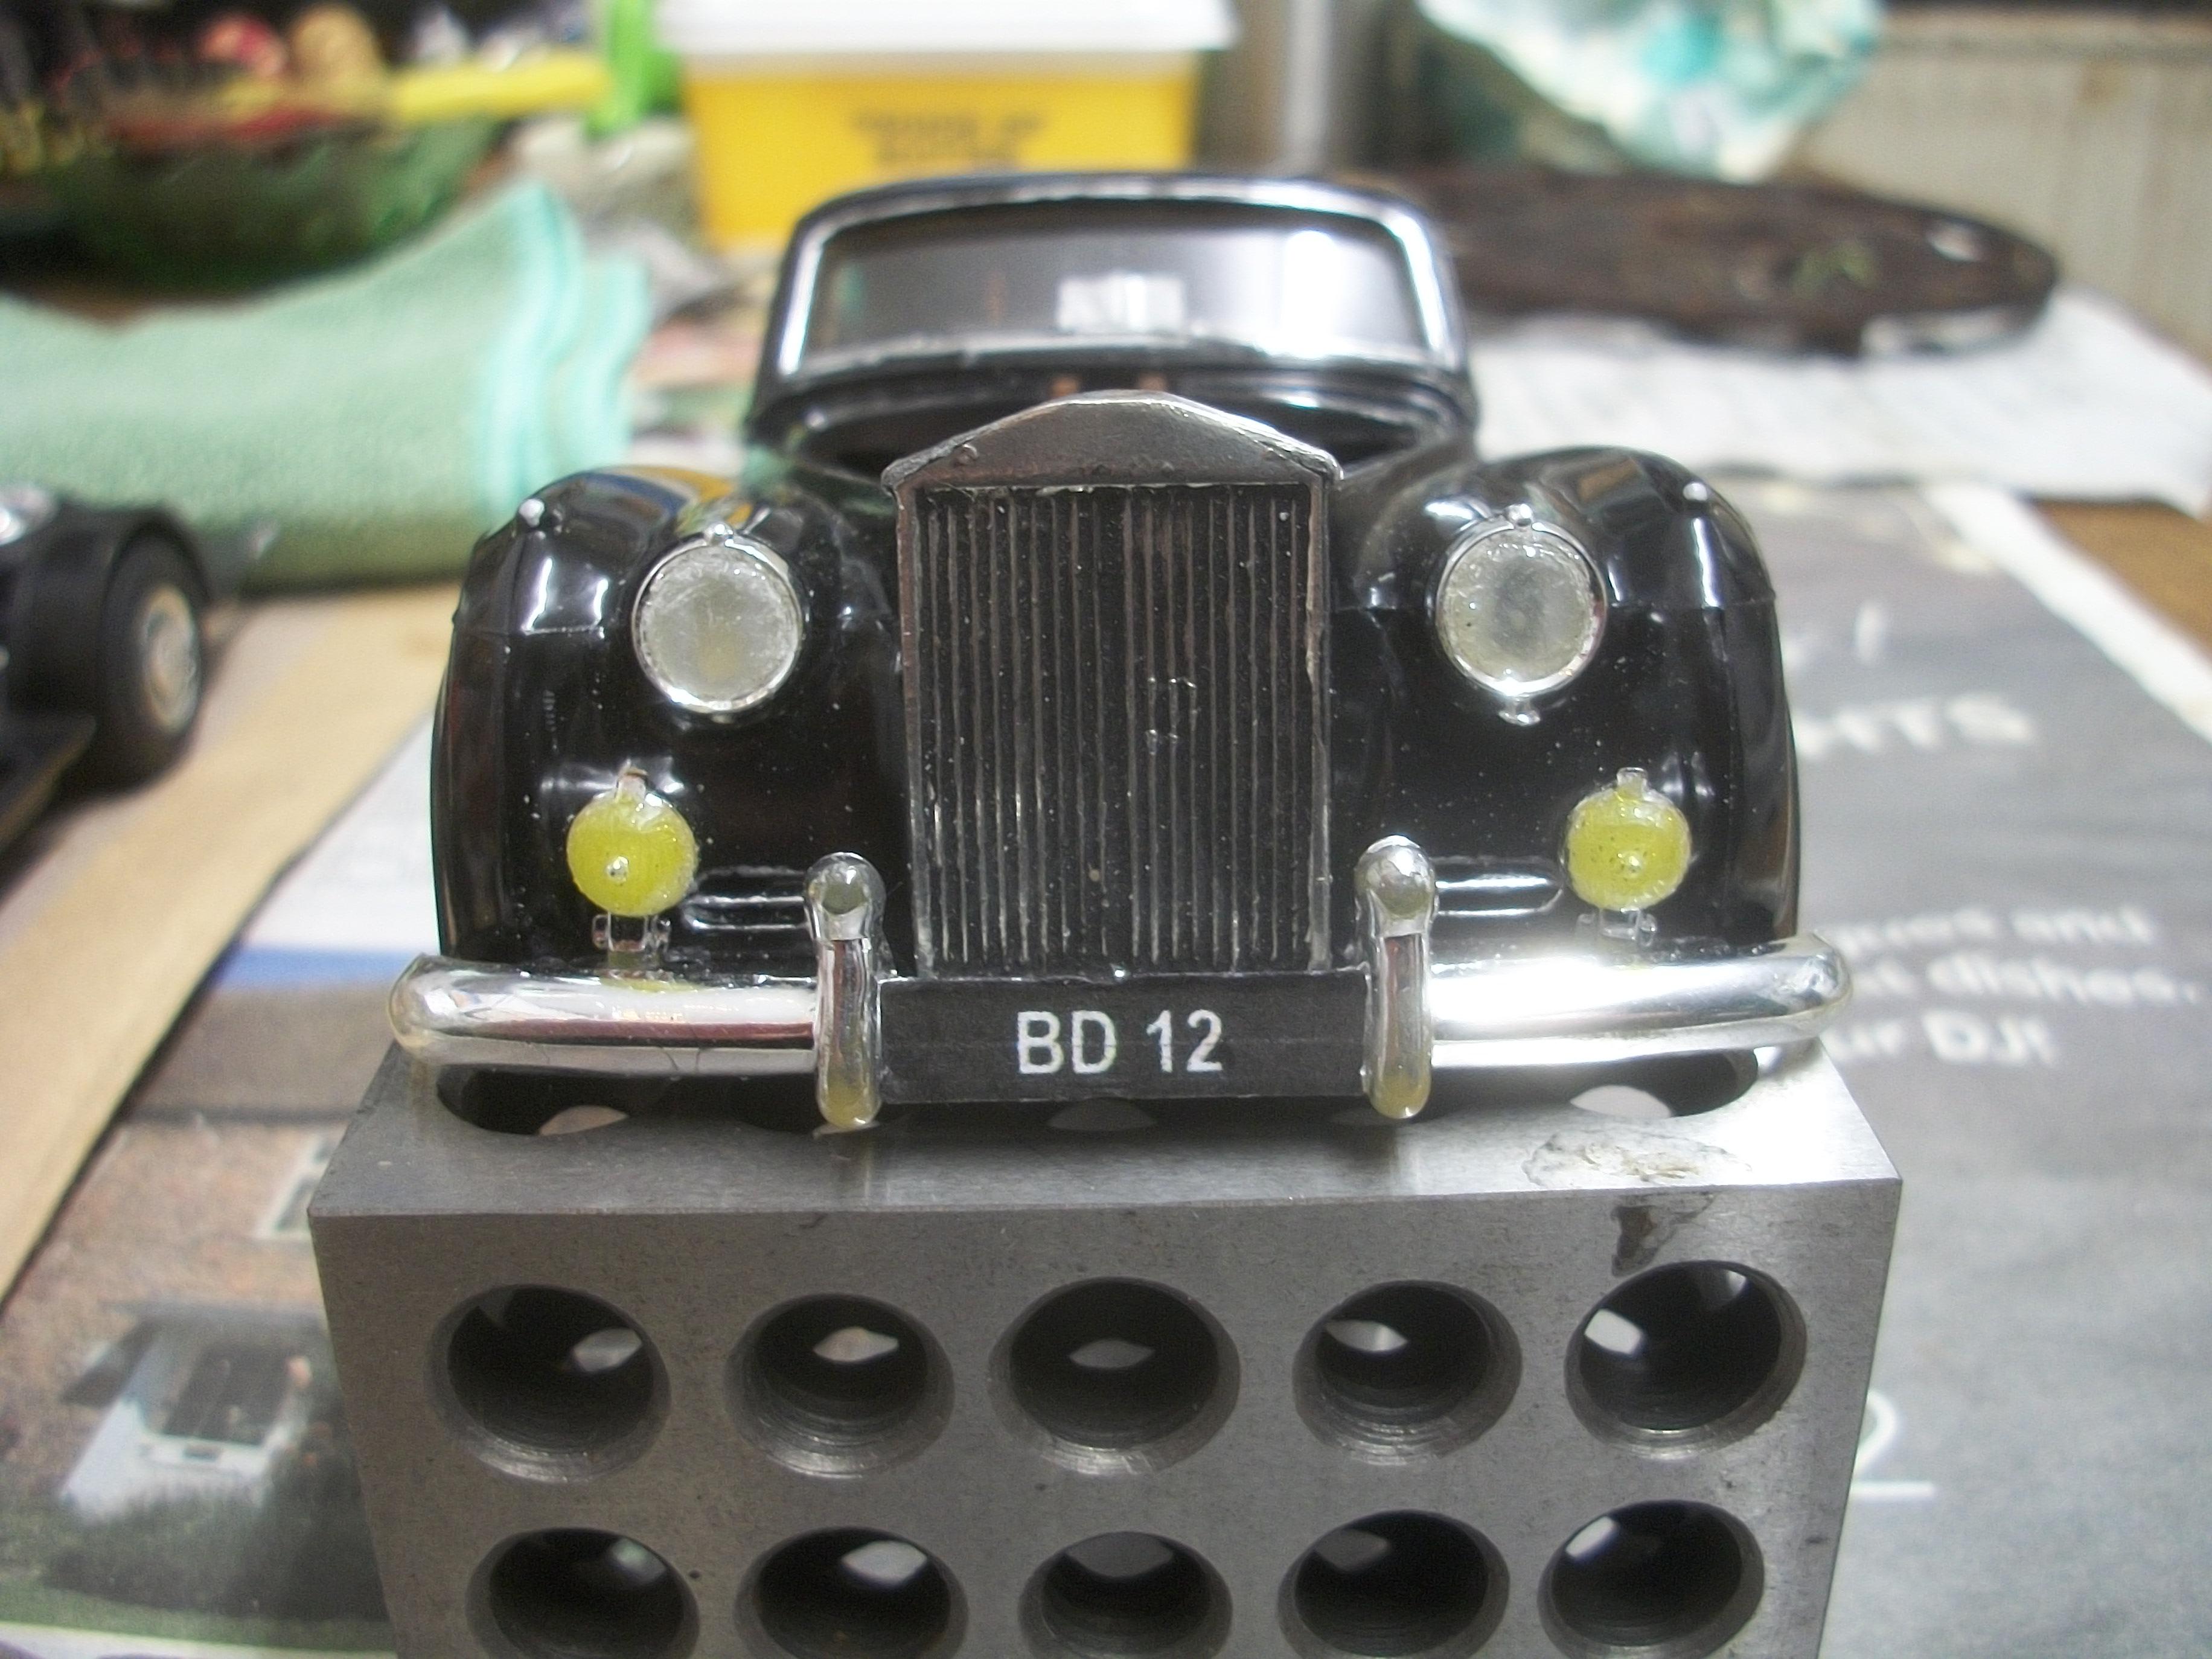
Today I managed to remove the chrome from the fog lamp lenses, this time using the tip of a sharp knife rather than the mini grinder. This is partly due to the small size of these lamps and also because there is a tiny dot of chrome that needs to be visible in the very centre of each lens. Once mounted onto the body, I coated the lenses with yellow Sharpie, which is precisely the correct shade of yellow as it happens. I forgot to mention previously that these fog lamps were set up to flash as direction indicators when the Silver Cloud was turning right or left. David
-
Rolls-Royce No Chemicals, No Paint, No Harmful Glues
Anglia105E replied to Anglia105E's topic in WIP: Model Cars
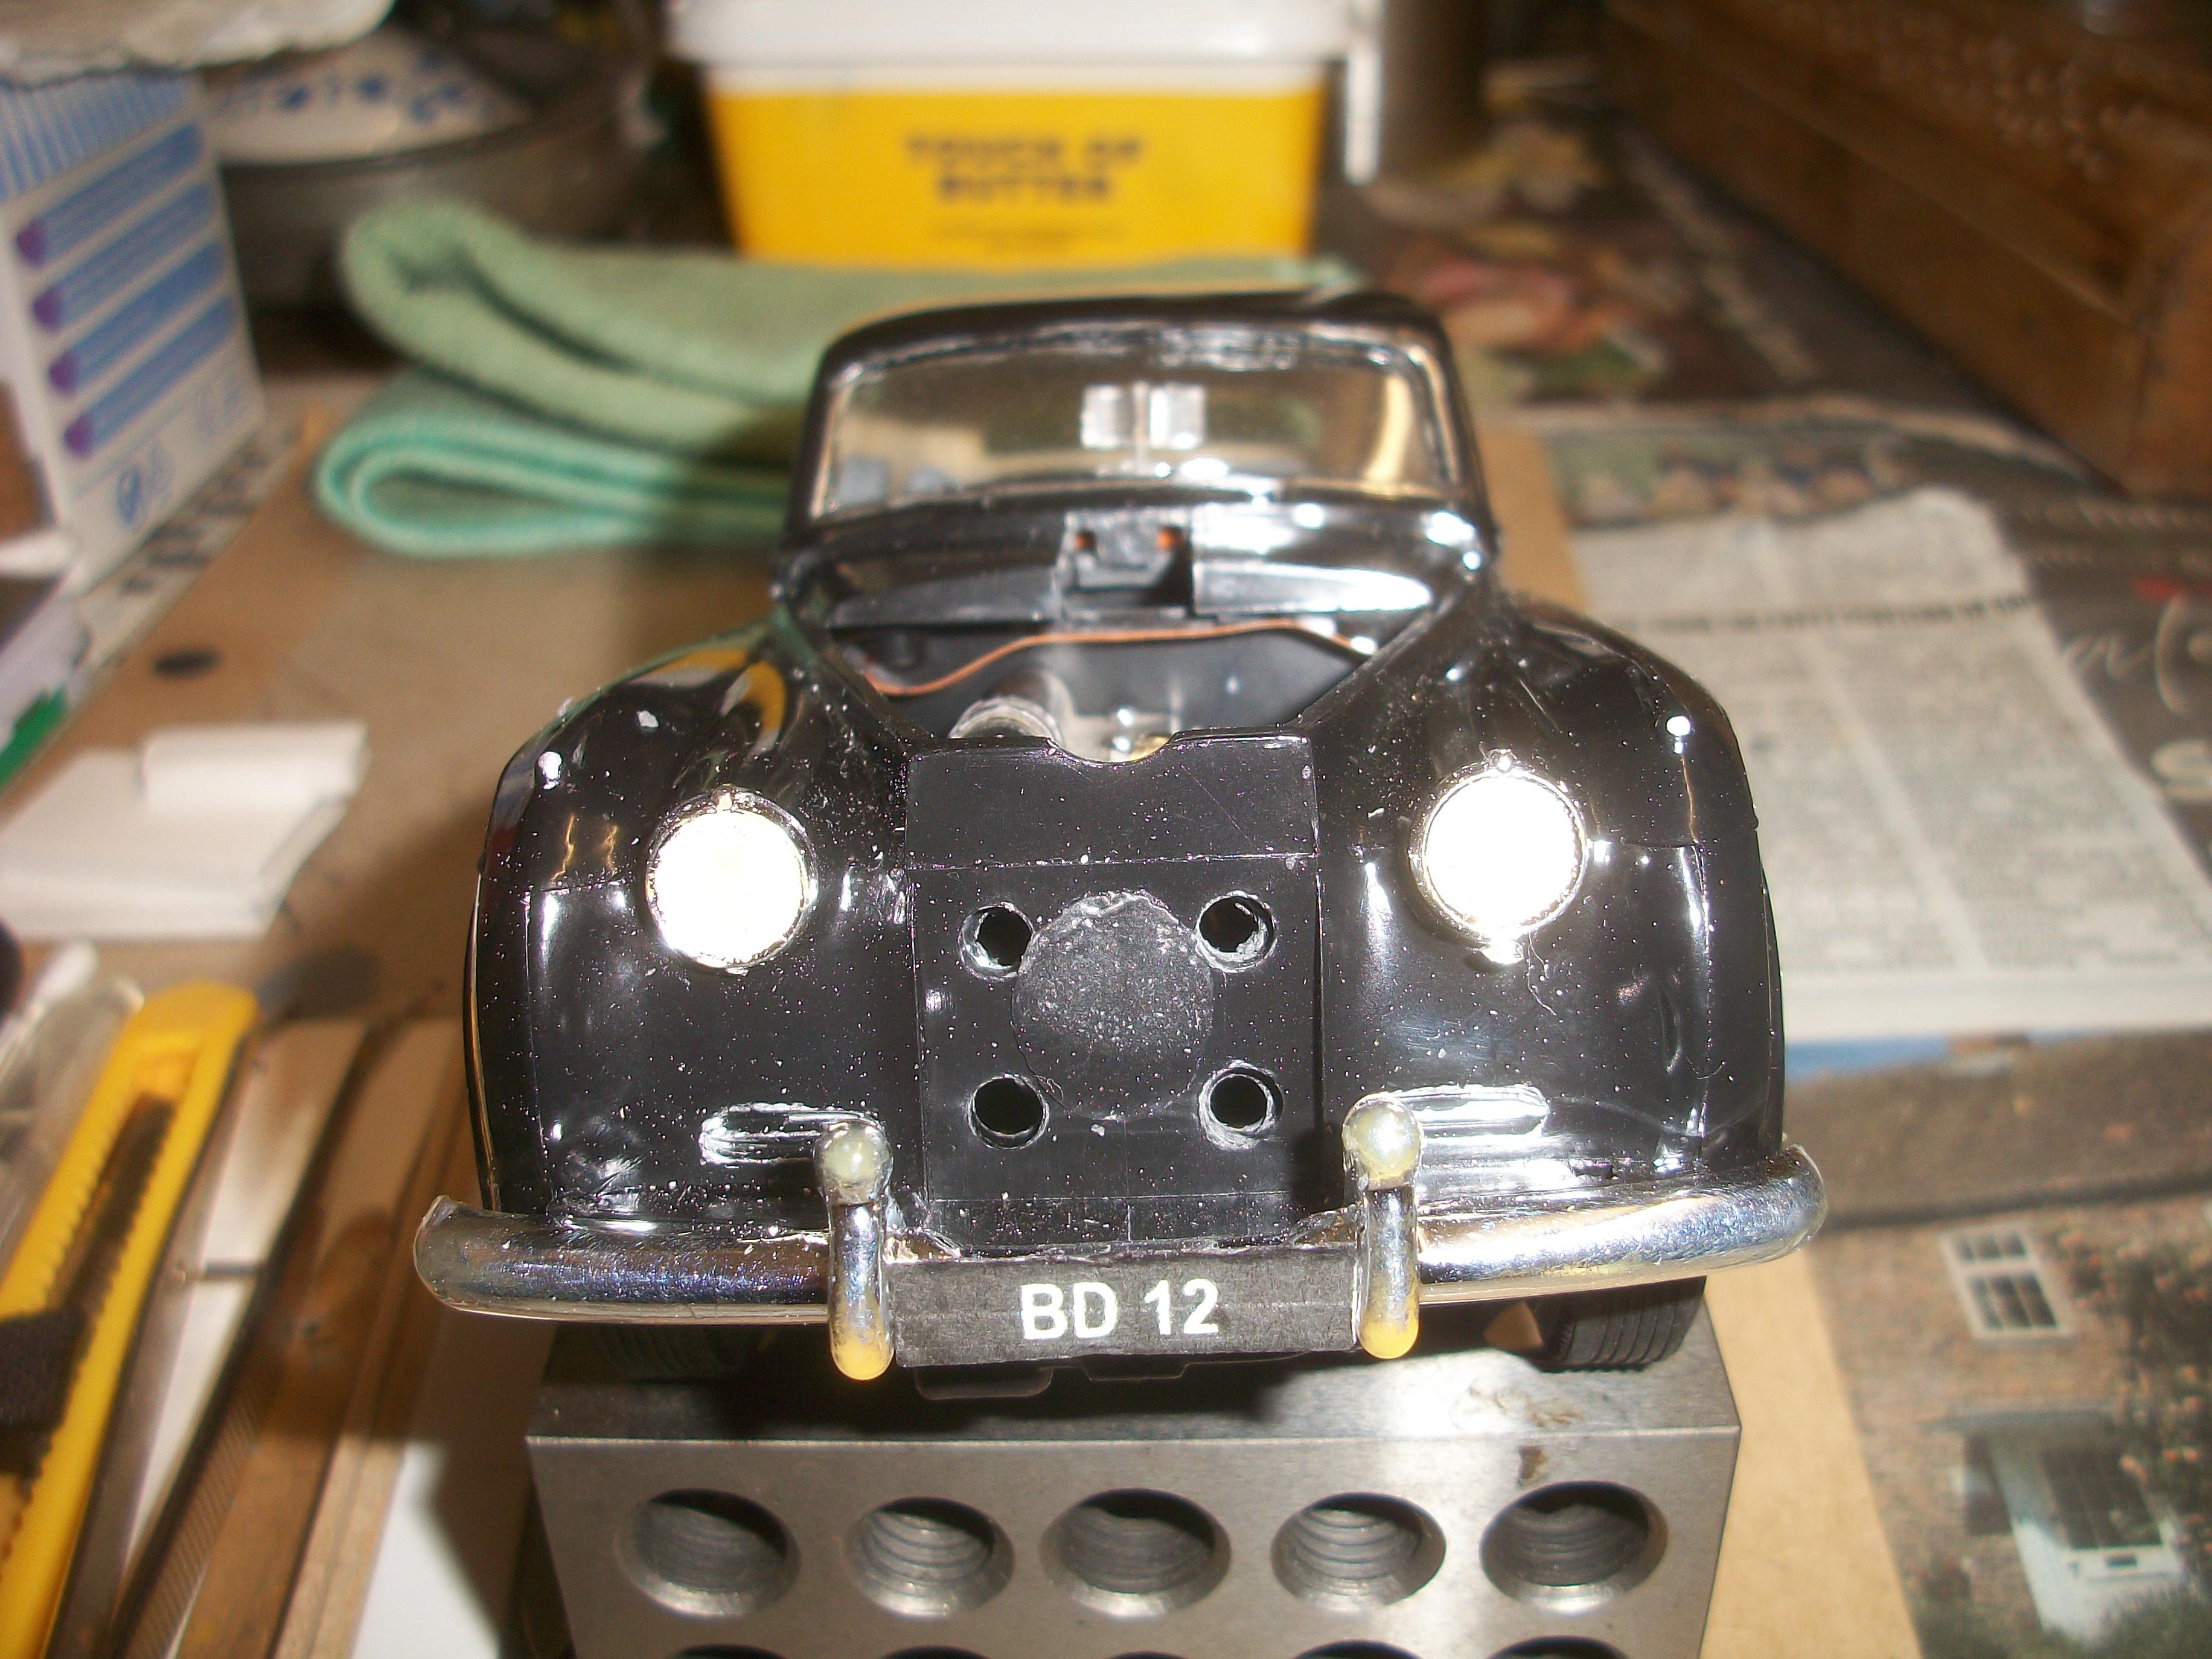
The flying lady radiator ornament is included in the kit, but the part is way too large and totally out of scale. I have a few resin cast Spirit of Ecstasy mascots that were kindly produced for me by a late model builder friend of mine. One of these true to scale parts will be mounted on the radiator grille, but only after I have decided which radiator grille is the best one . . . Several of them have poor chrome work and one or two have deep dimples in them. I need to select one that will look the best. David -
Rolls-Royce No Chemicals, No Paint, No Harmful Glues
Anglia105E replied to Anglia105E's topic in WIP: Model Cars
Last night I prepared the two front fog lamps . . . The two square mounting holes needed enlarging slightly, so that the two lamps could be inserted tightly. Later, the chrome will be removed from the fog lamp lenses and then yellow Sharpie will be applied . . . Some of the real cars had yellow lenses, while others had clear lenses with yellow bulbs inside the fog lamps. David
-
Rolls Royce Silver Cloud II Drophead Coupe
Anglia105E replied to Perspect Scale Modelworks's topic in WIP: Model Cars
Hi J. Gibbs . . . Yes, if you need an engine later then I can let you have one. This inline 6 cylinder engine is for the cars built between 1955 and 1959, which is the Silver Cloud I . . . The cars built between 1960 and 1962 had the V8 engine, which is the Silver Cloud II and then between 1962 and 1966 was the Silver Cloud III that also had the V8 engine, and double twin headlamps. I have previously tried cutting up the interior seating tub from this kit, when I was attempting to build a hybrid model car that was partly a diecast Franklin Mint model, and partly the plastic model . . . That build never did get finished. The Franklin Mint diecast version is very good actually, as it represents a 1955 Silver Cloud I with a nicely detailed inline 6 cylinder engine. That diecast engine is much better than my 3D printed engine, I must admit. If you get time to search the MCM Forum there was a W.I.P. topic way back that shows my attempted hybrid build, part diecast and part plastic. David W. -
Rolls Royce Silver Cloud II Drophead Coupe
Anglia105E replied to Perspect Scale Modelworks's topic in WIP: Model Cars
Sorry, my mistake . . . I meant to type " J. Gibbs " and not " Gene " . . . David -
Rolls-Royce No Chemicals, No Paint, No Harmful Glues
Anglia105E replied to Anglia105E's topic in WIP: Model Cars
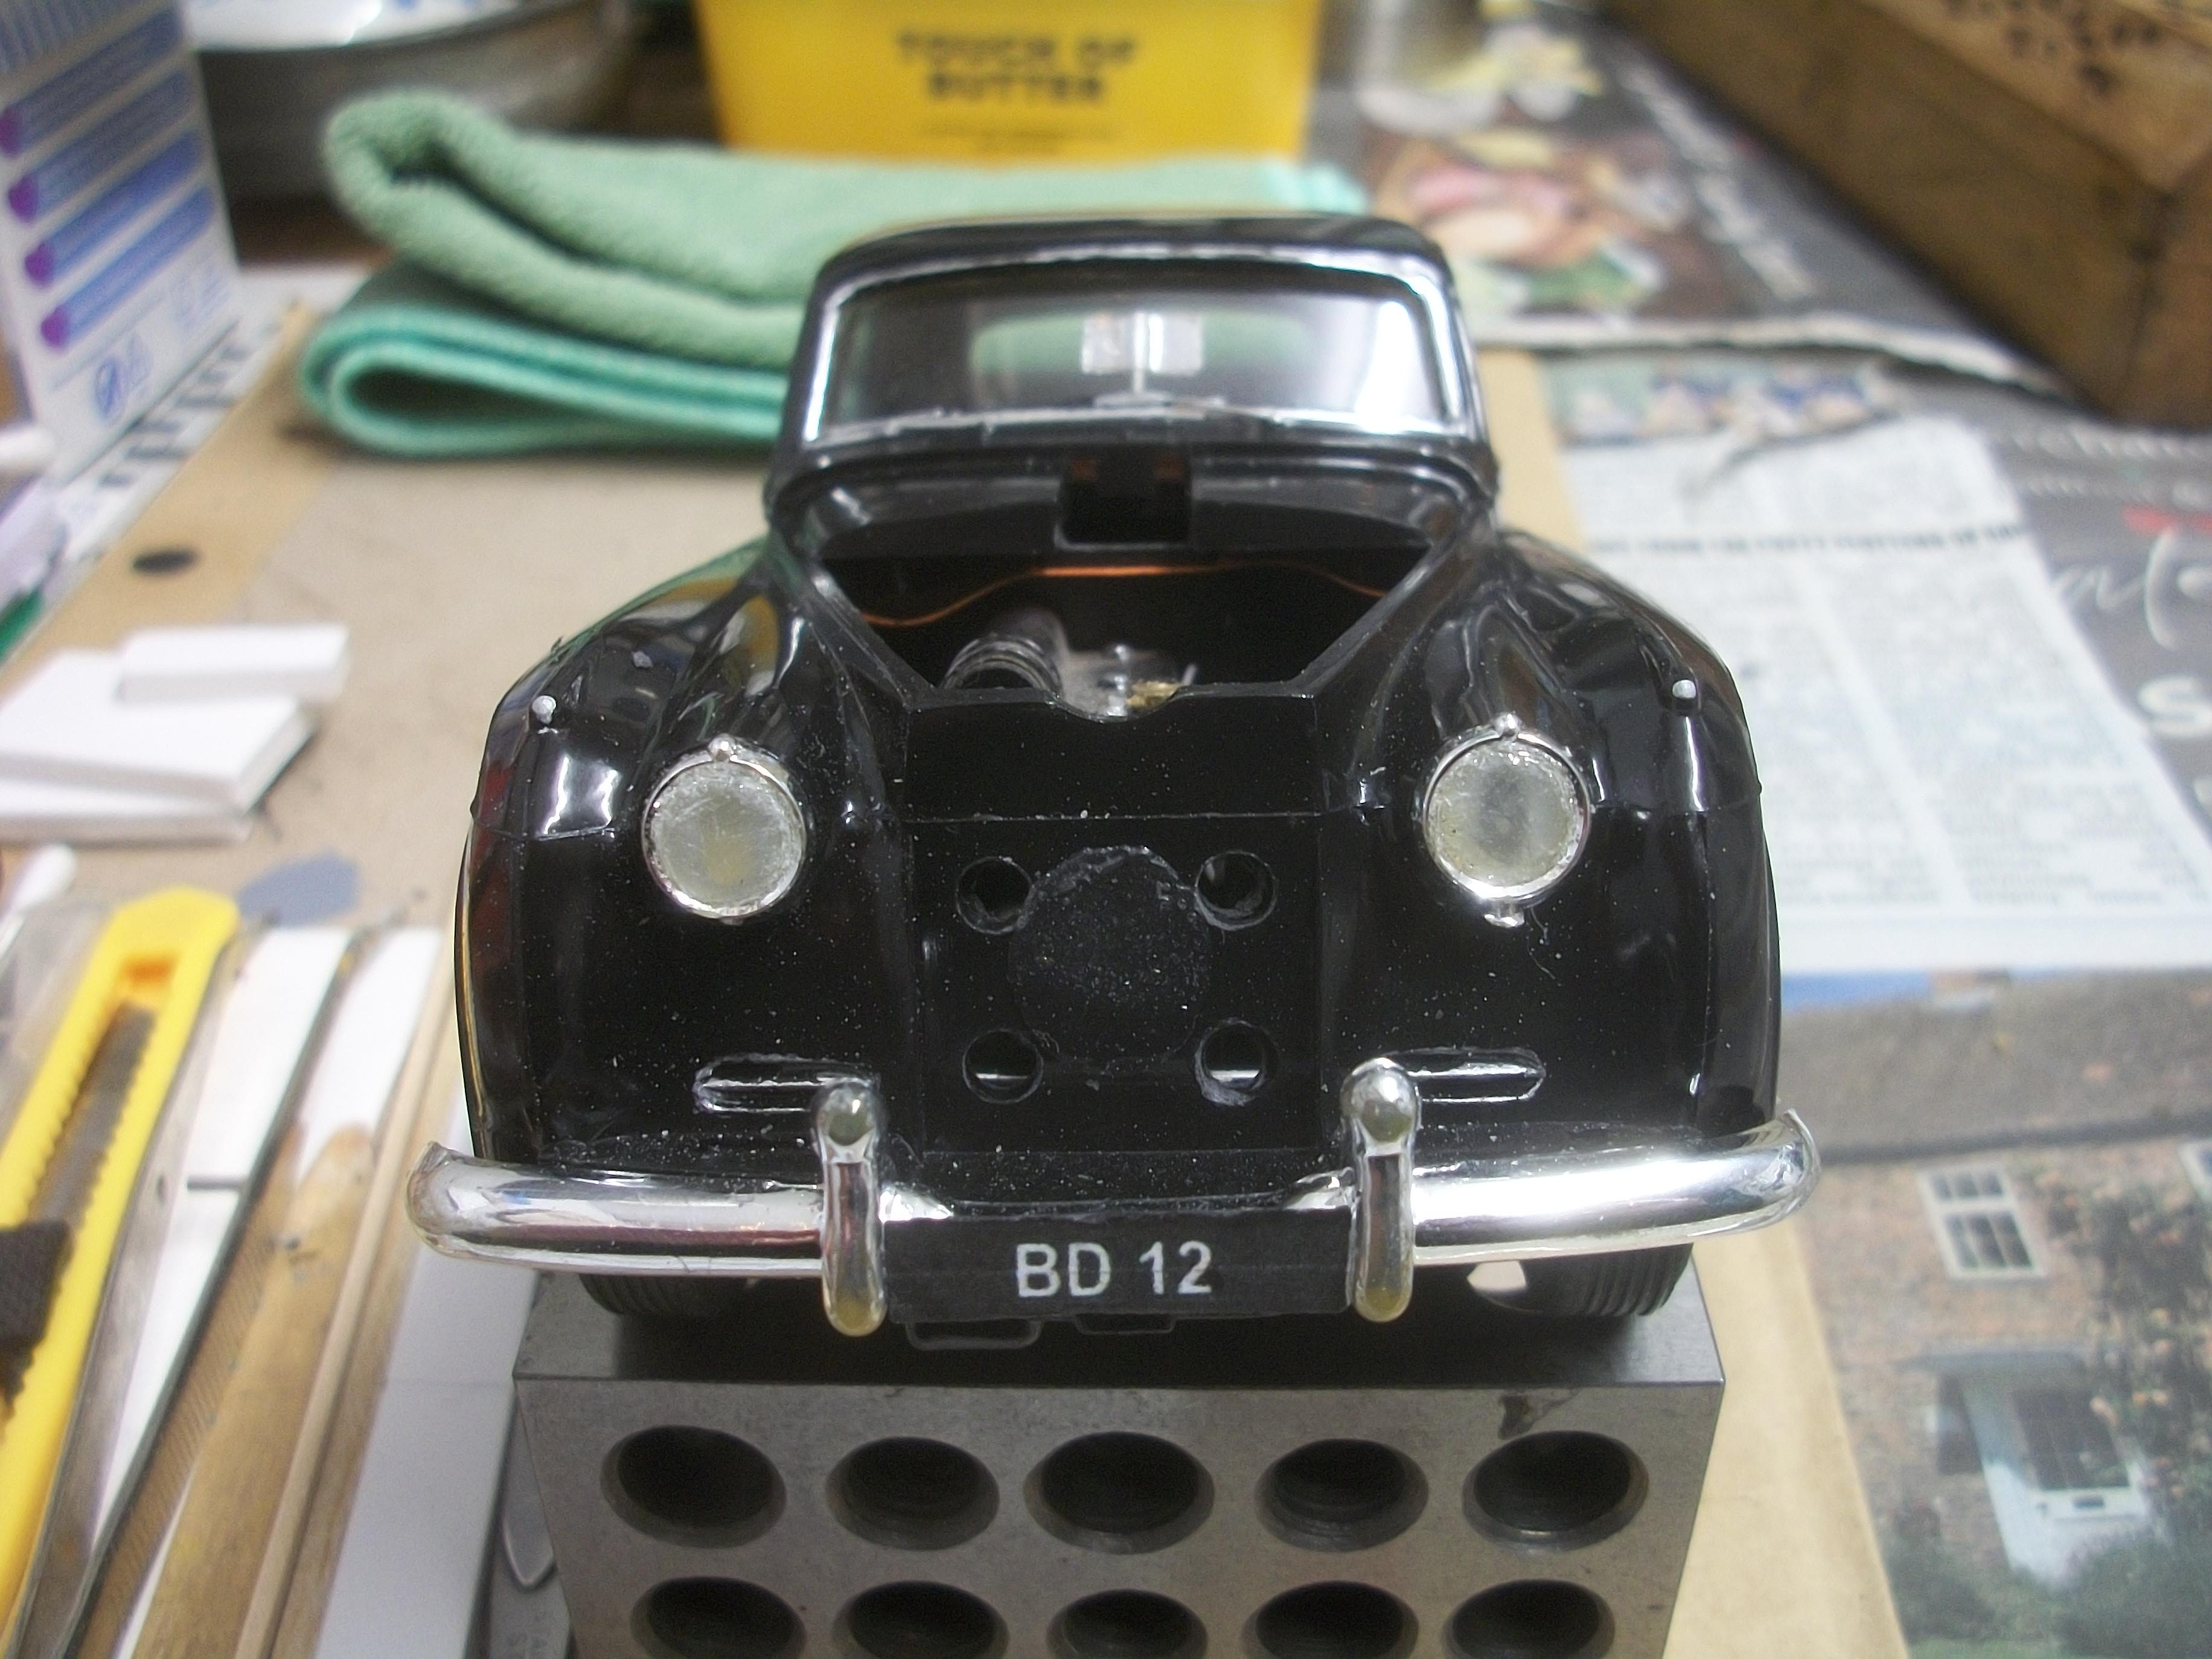
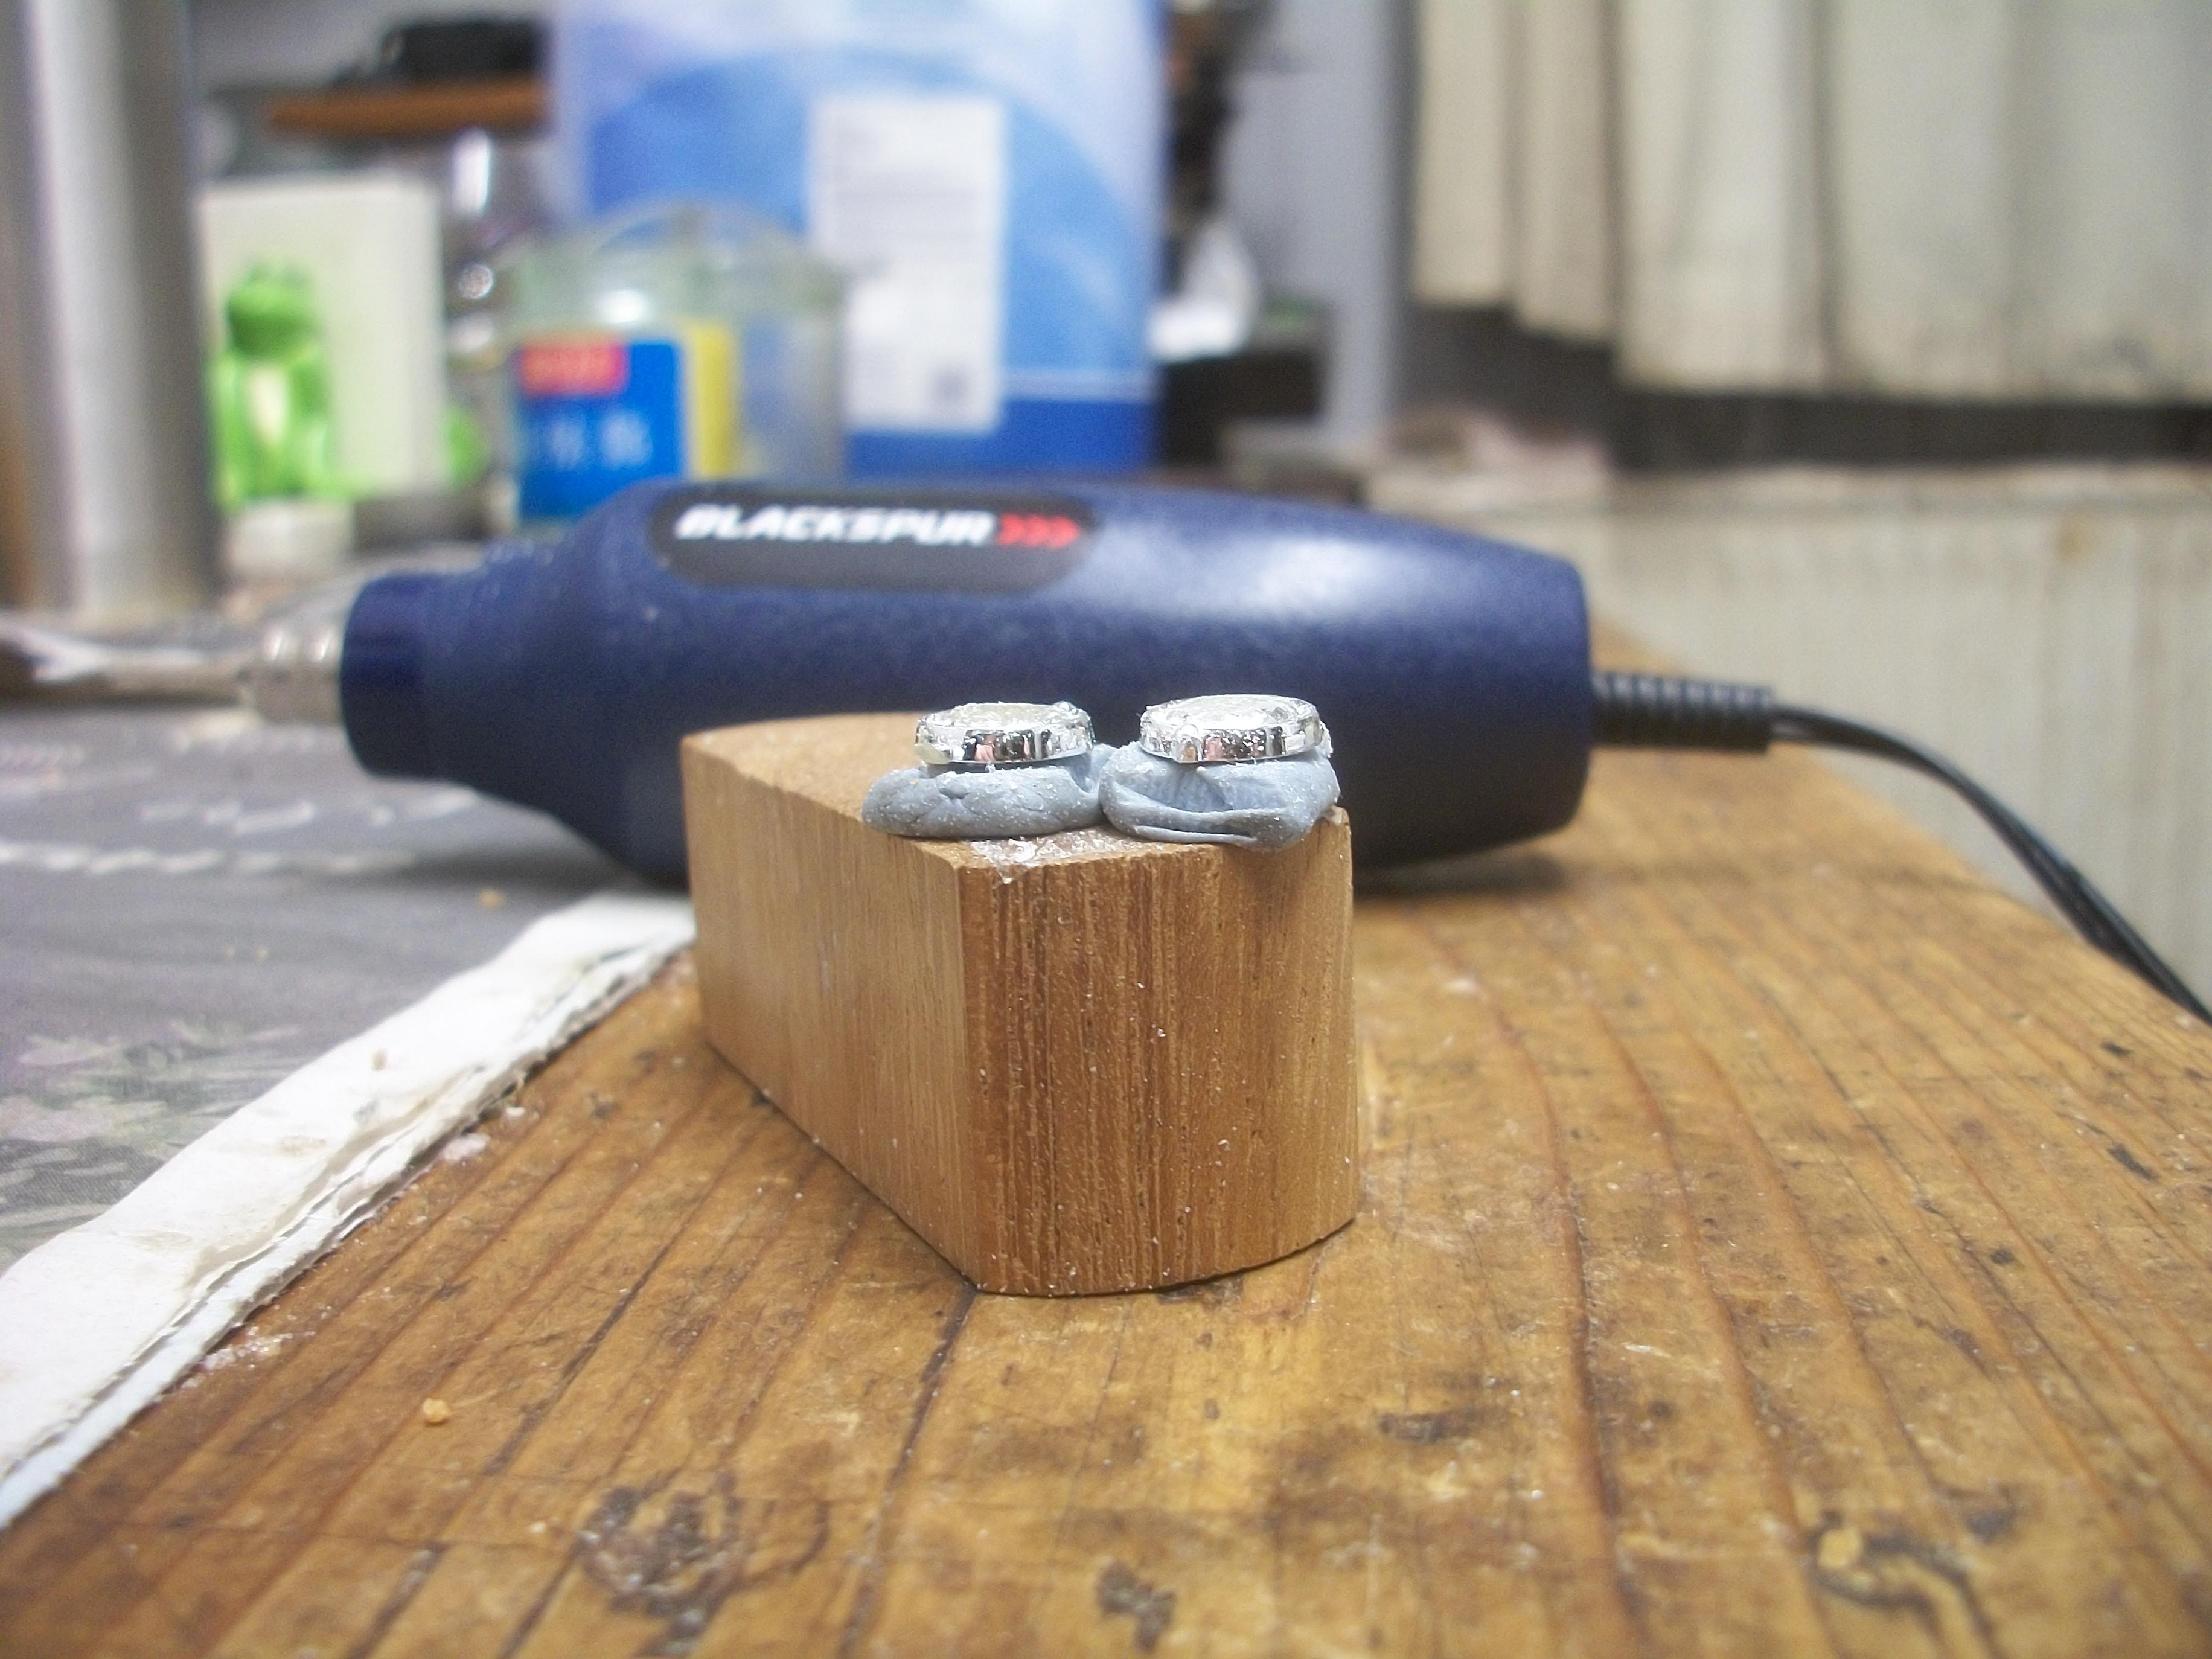
The kit supplied headlamps for this car have convex lenses, but I tend to prefer the flat lenses, much like you would find on the earlier cars such as the Silver Wraith and the Phantom I, II and III . . . To this end, I have used the mini grinder to remove excess material from the outer lens. Previous builds featured matt white painted headlamp lenses, but now that I have removed the chrome this has revealed clear plastic underneath. I won't be painting these lenses as they look good as they are. The following photos show the lenses before I tidy up the bits of chrome at the outer edges . . . David
-
Rolls Royce Silver Cloud II Drophead Coupe
Anglia105E replied to Perspect Scale Modelworks's topic in WIP: Model Cars
This is an interesting project of yours Gene . . . I have built around ten of these Silver Clouds, but never have I chopped the roof off any of them ! Mine are all standard steel saloon body hard tops. These were built from Minicraft, Revell and Entex kits . . . I am looking forward to seeing your drophead version of the Rolls-Royce Silver Cloud II . . . Good luck ! David W. -
I see what you are up against Mark, and that is something that would worry me . . . When you have the glossy clear finish, which is what you do want, but the grainy finish underneath is what you don't want, what on earth do you do to fix it ? Somebody might suggest sanding it all down and starting again, but I could not face that option, and I would guess you don't wish to go down that route. You did mention using fine grades of wet & dry paper . . . maybe that could work ? David
-
Rolls-Royce No Chemicals, No Paint, No Harmful Glues
Anglia105E replied to Anglia105E's topic in WIP: Model Cars
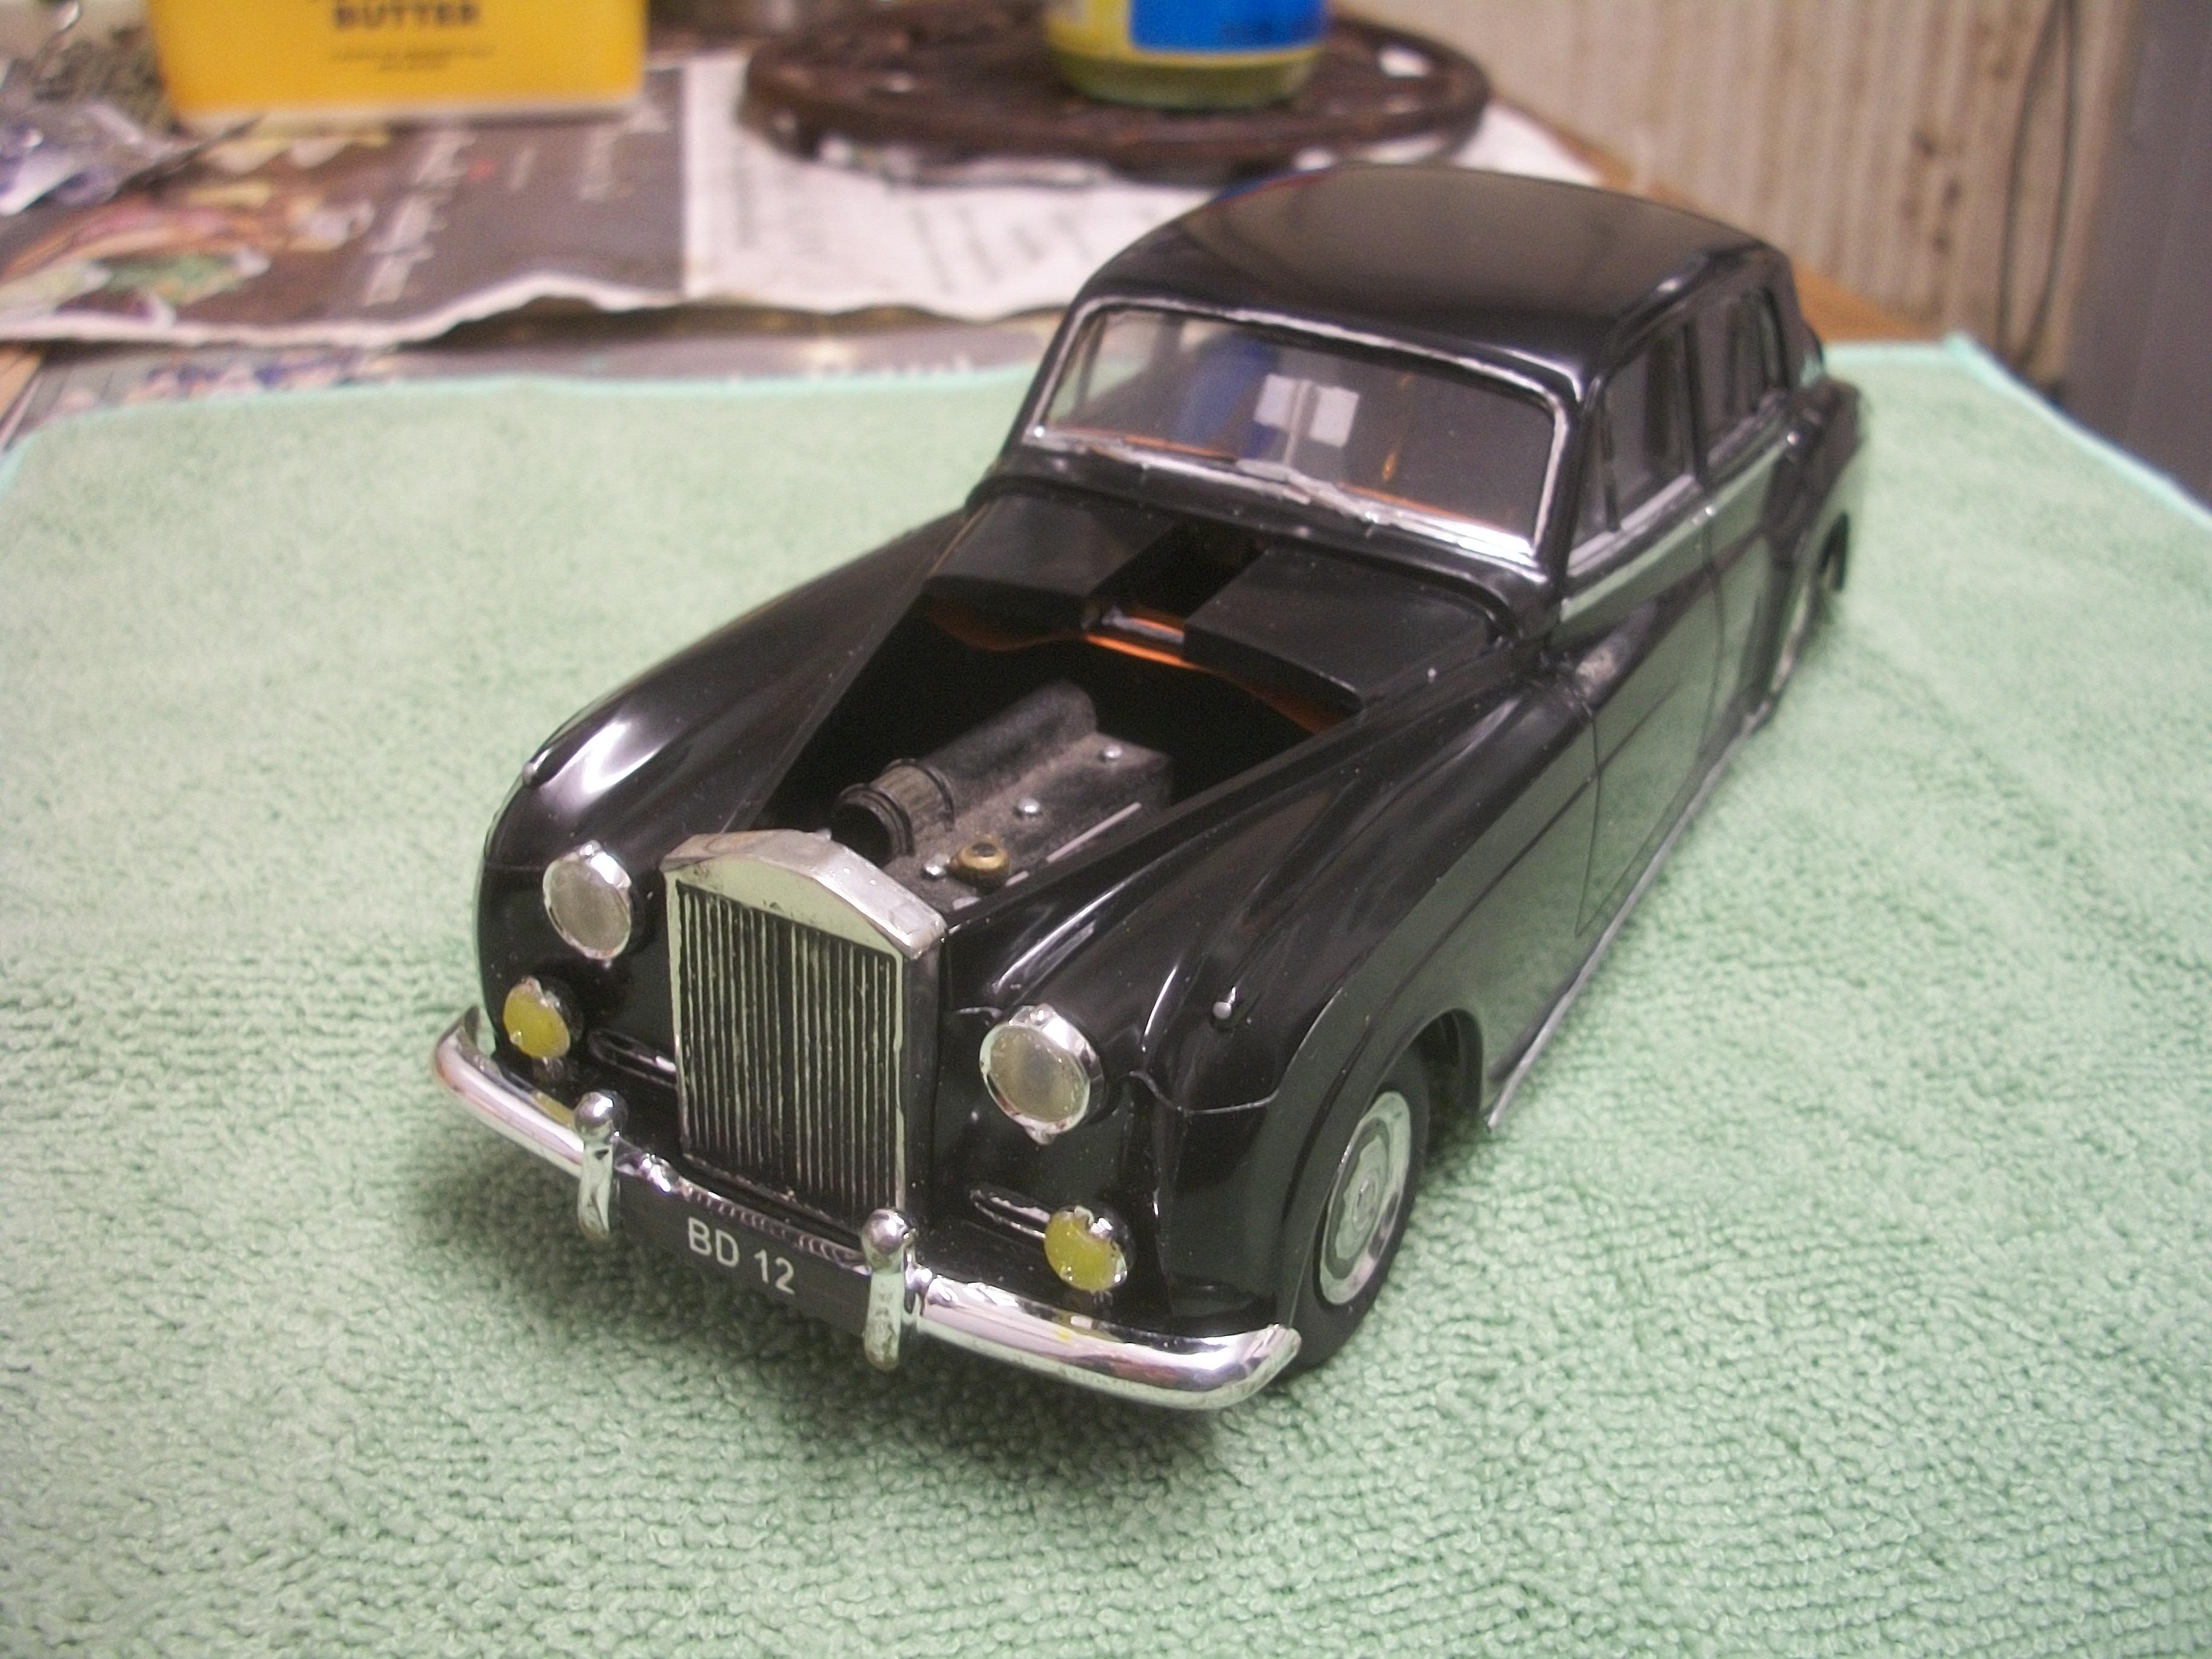
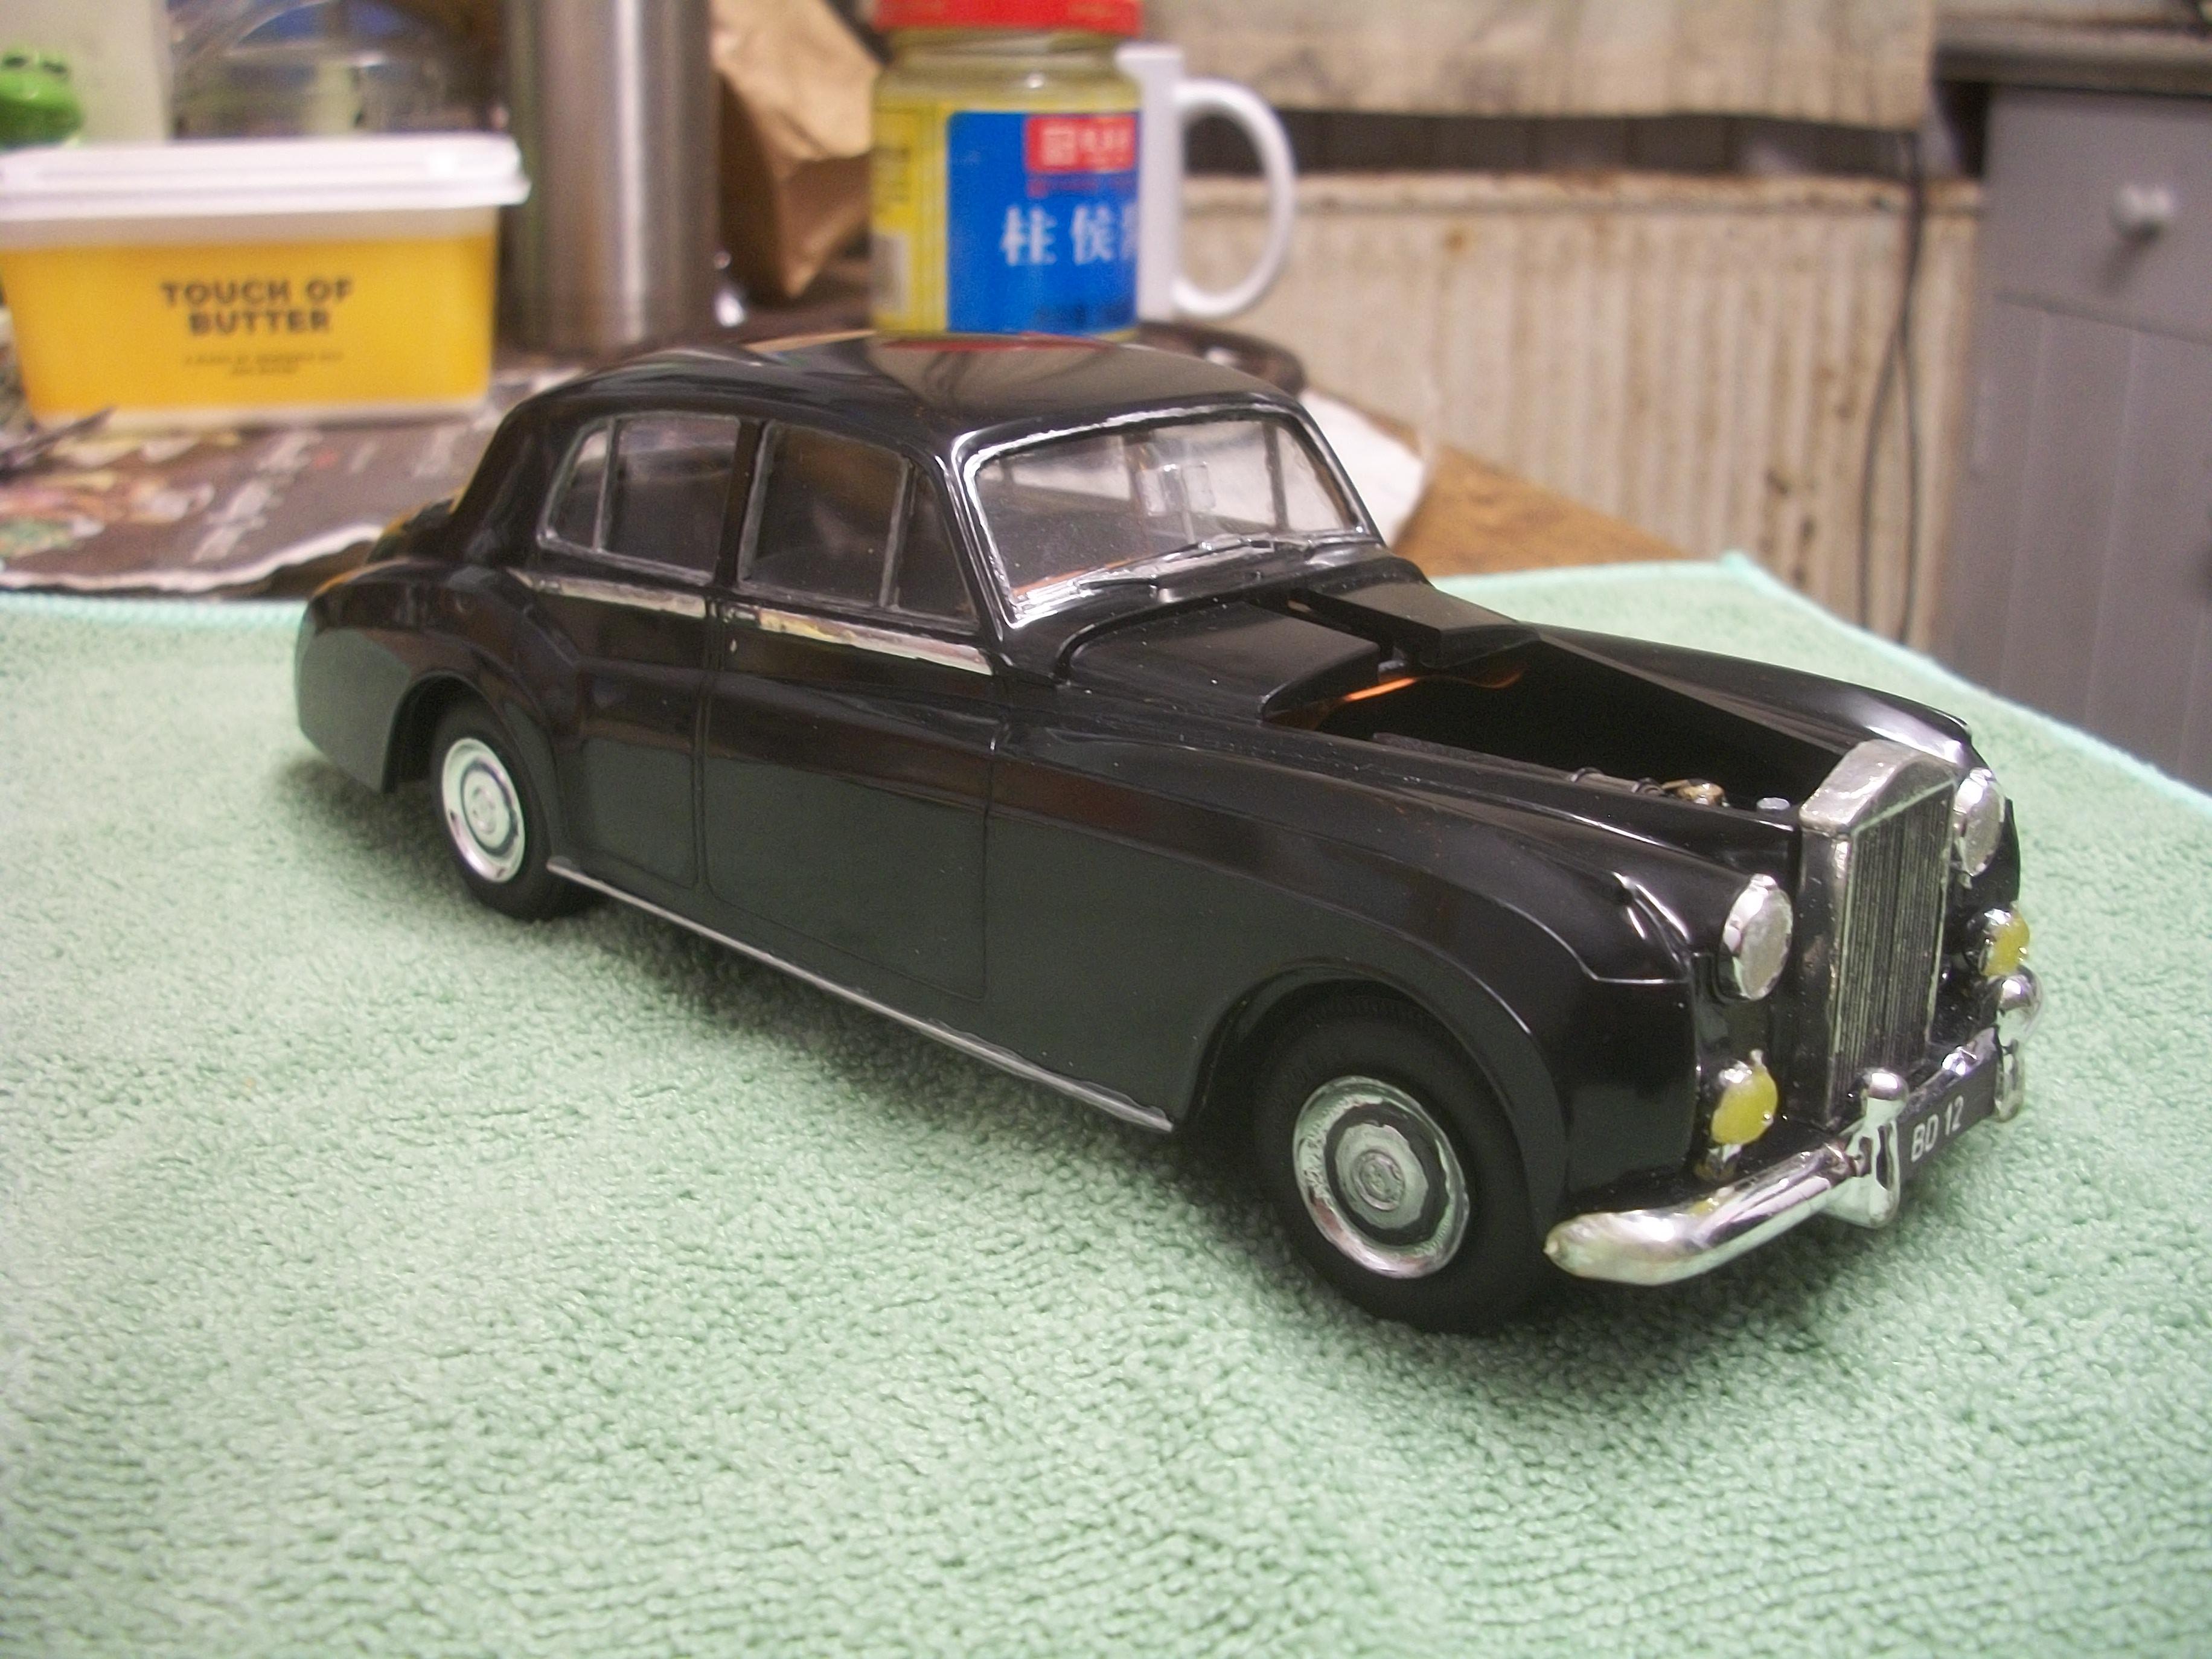
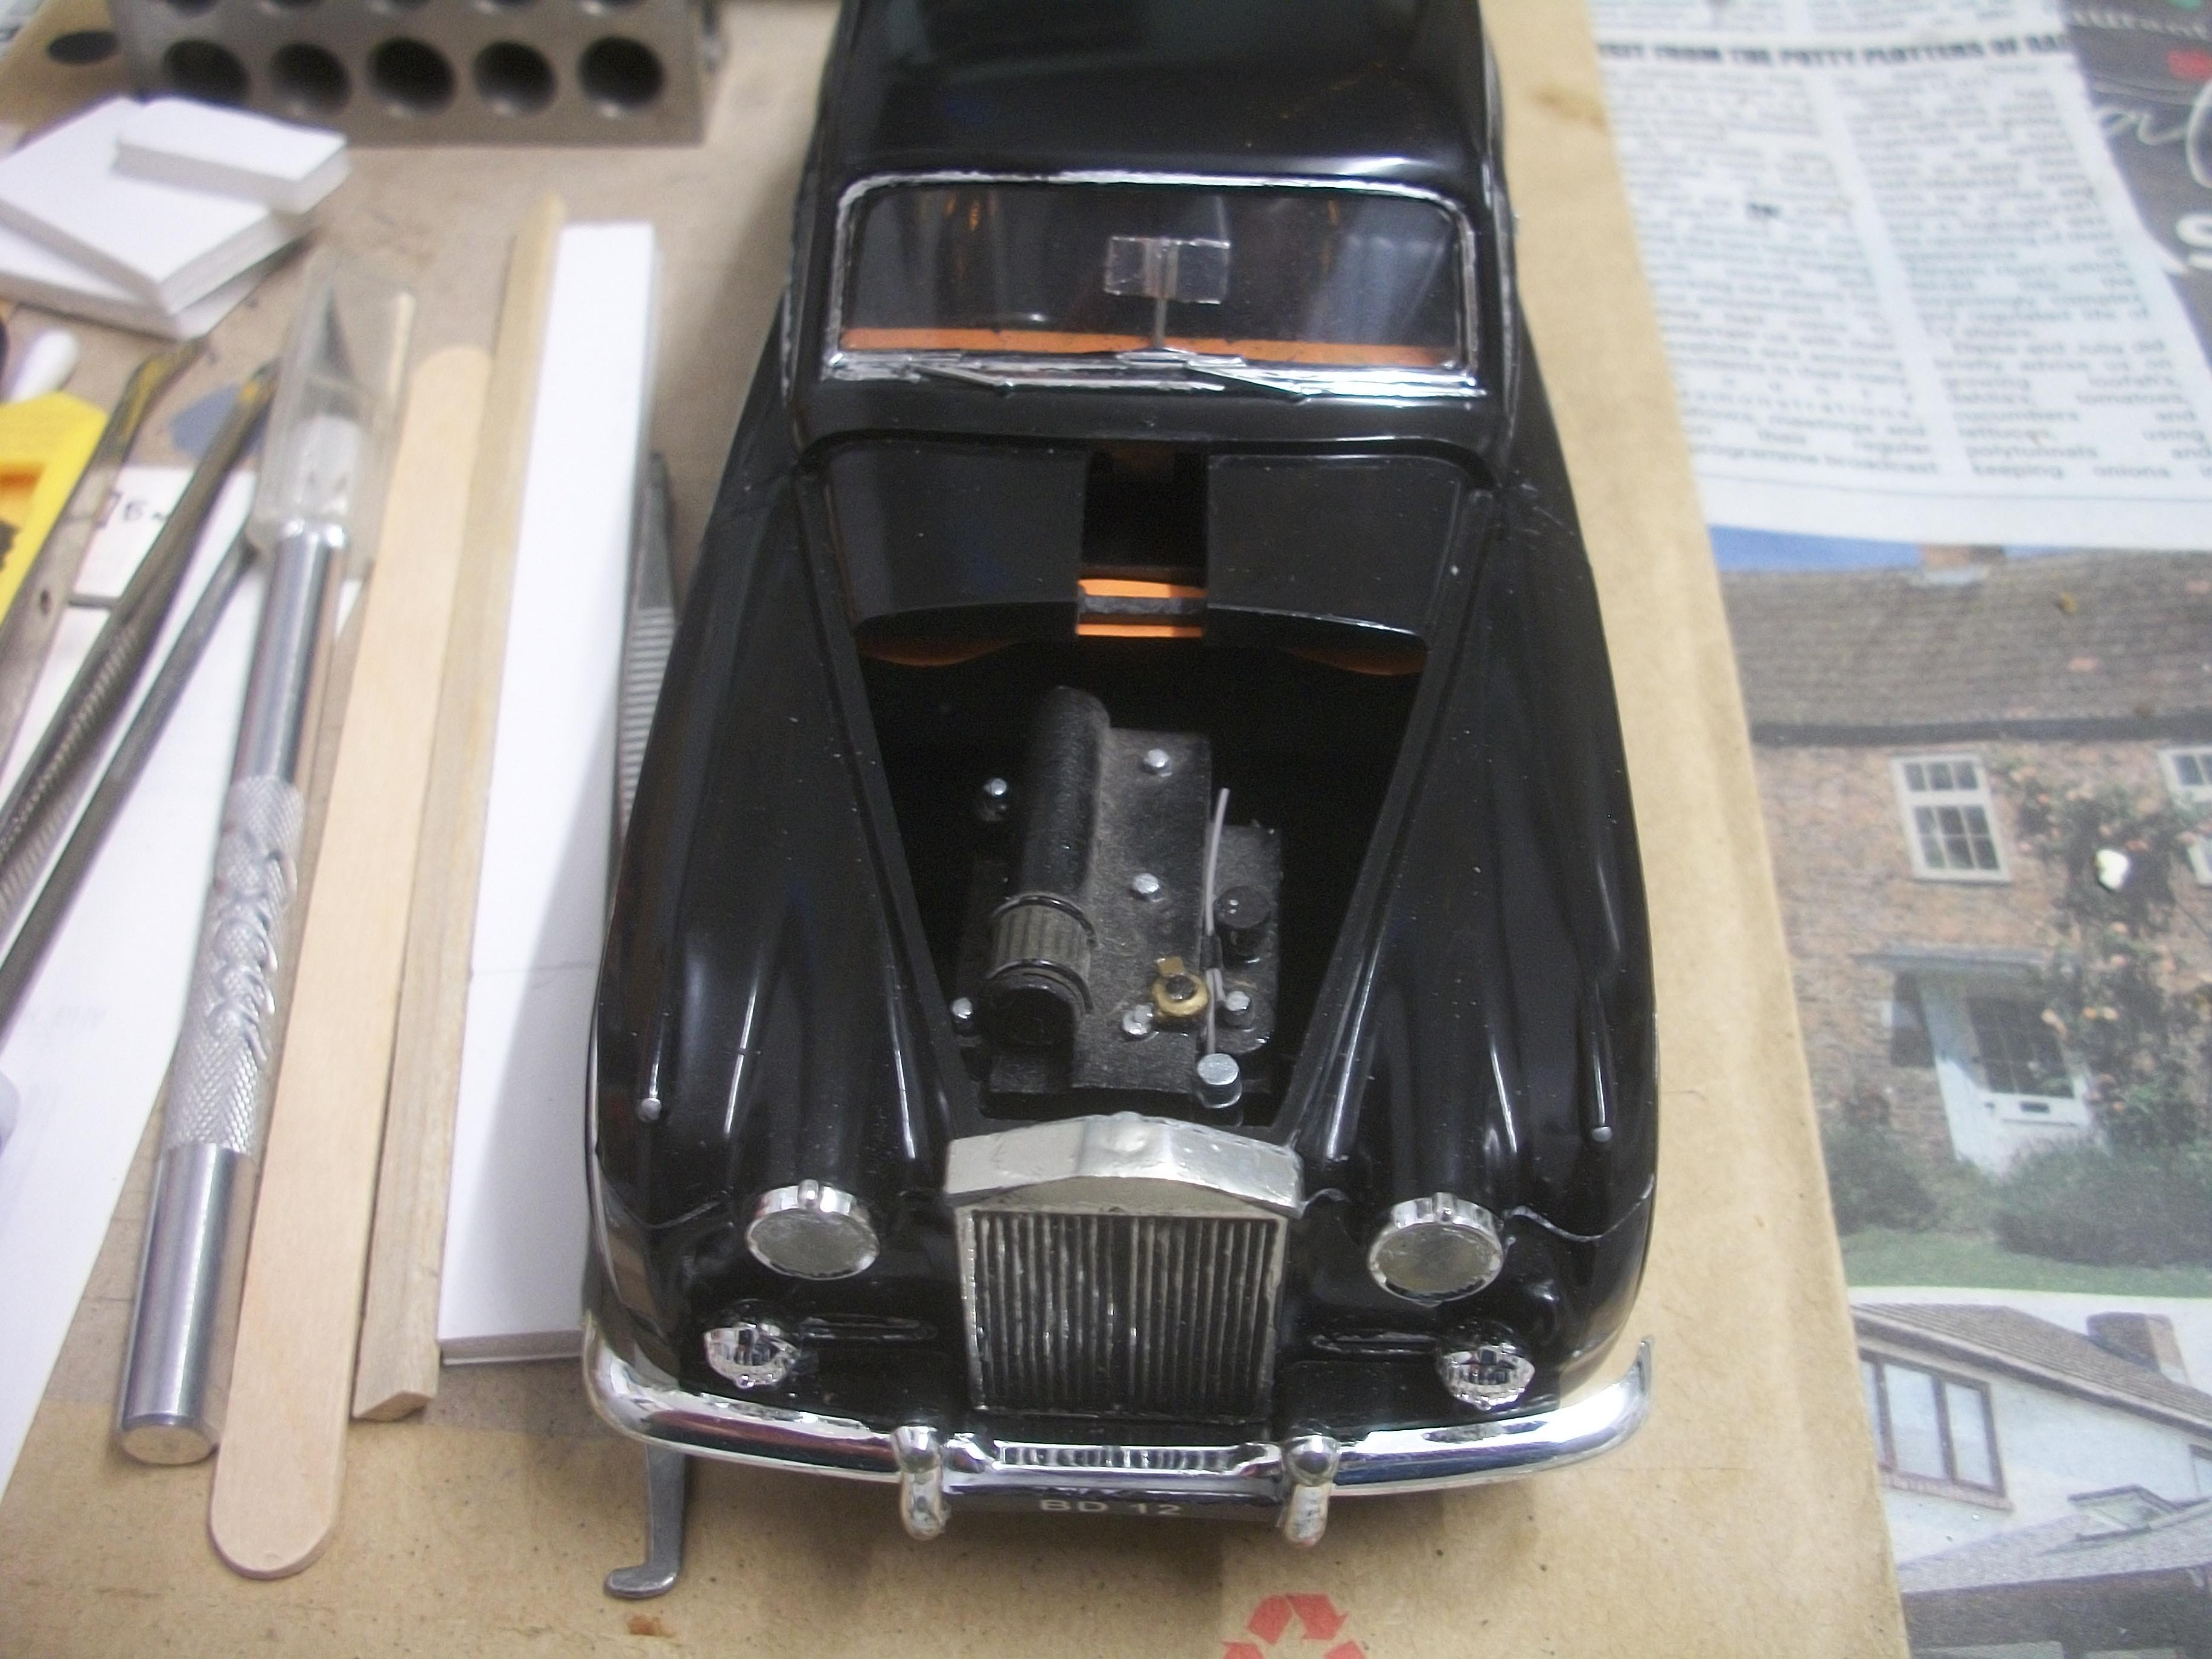
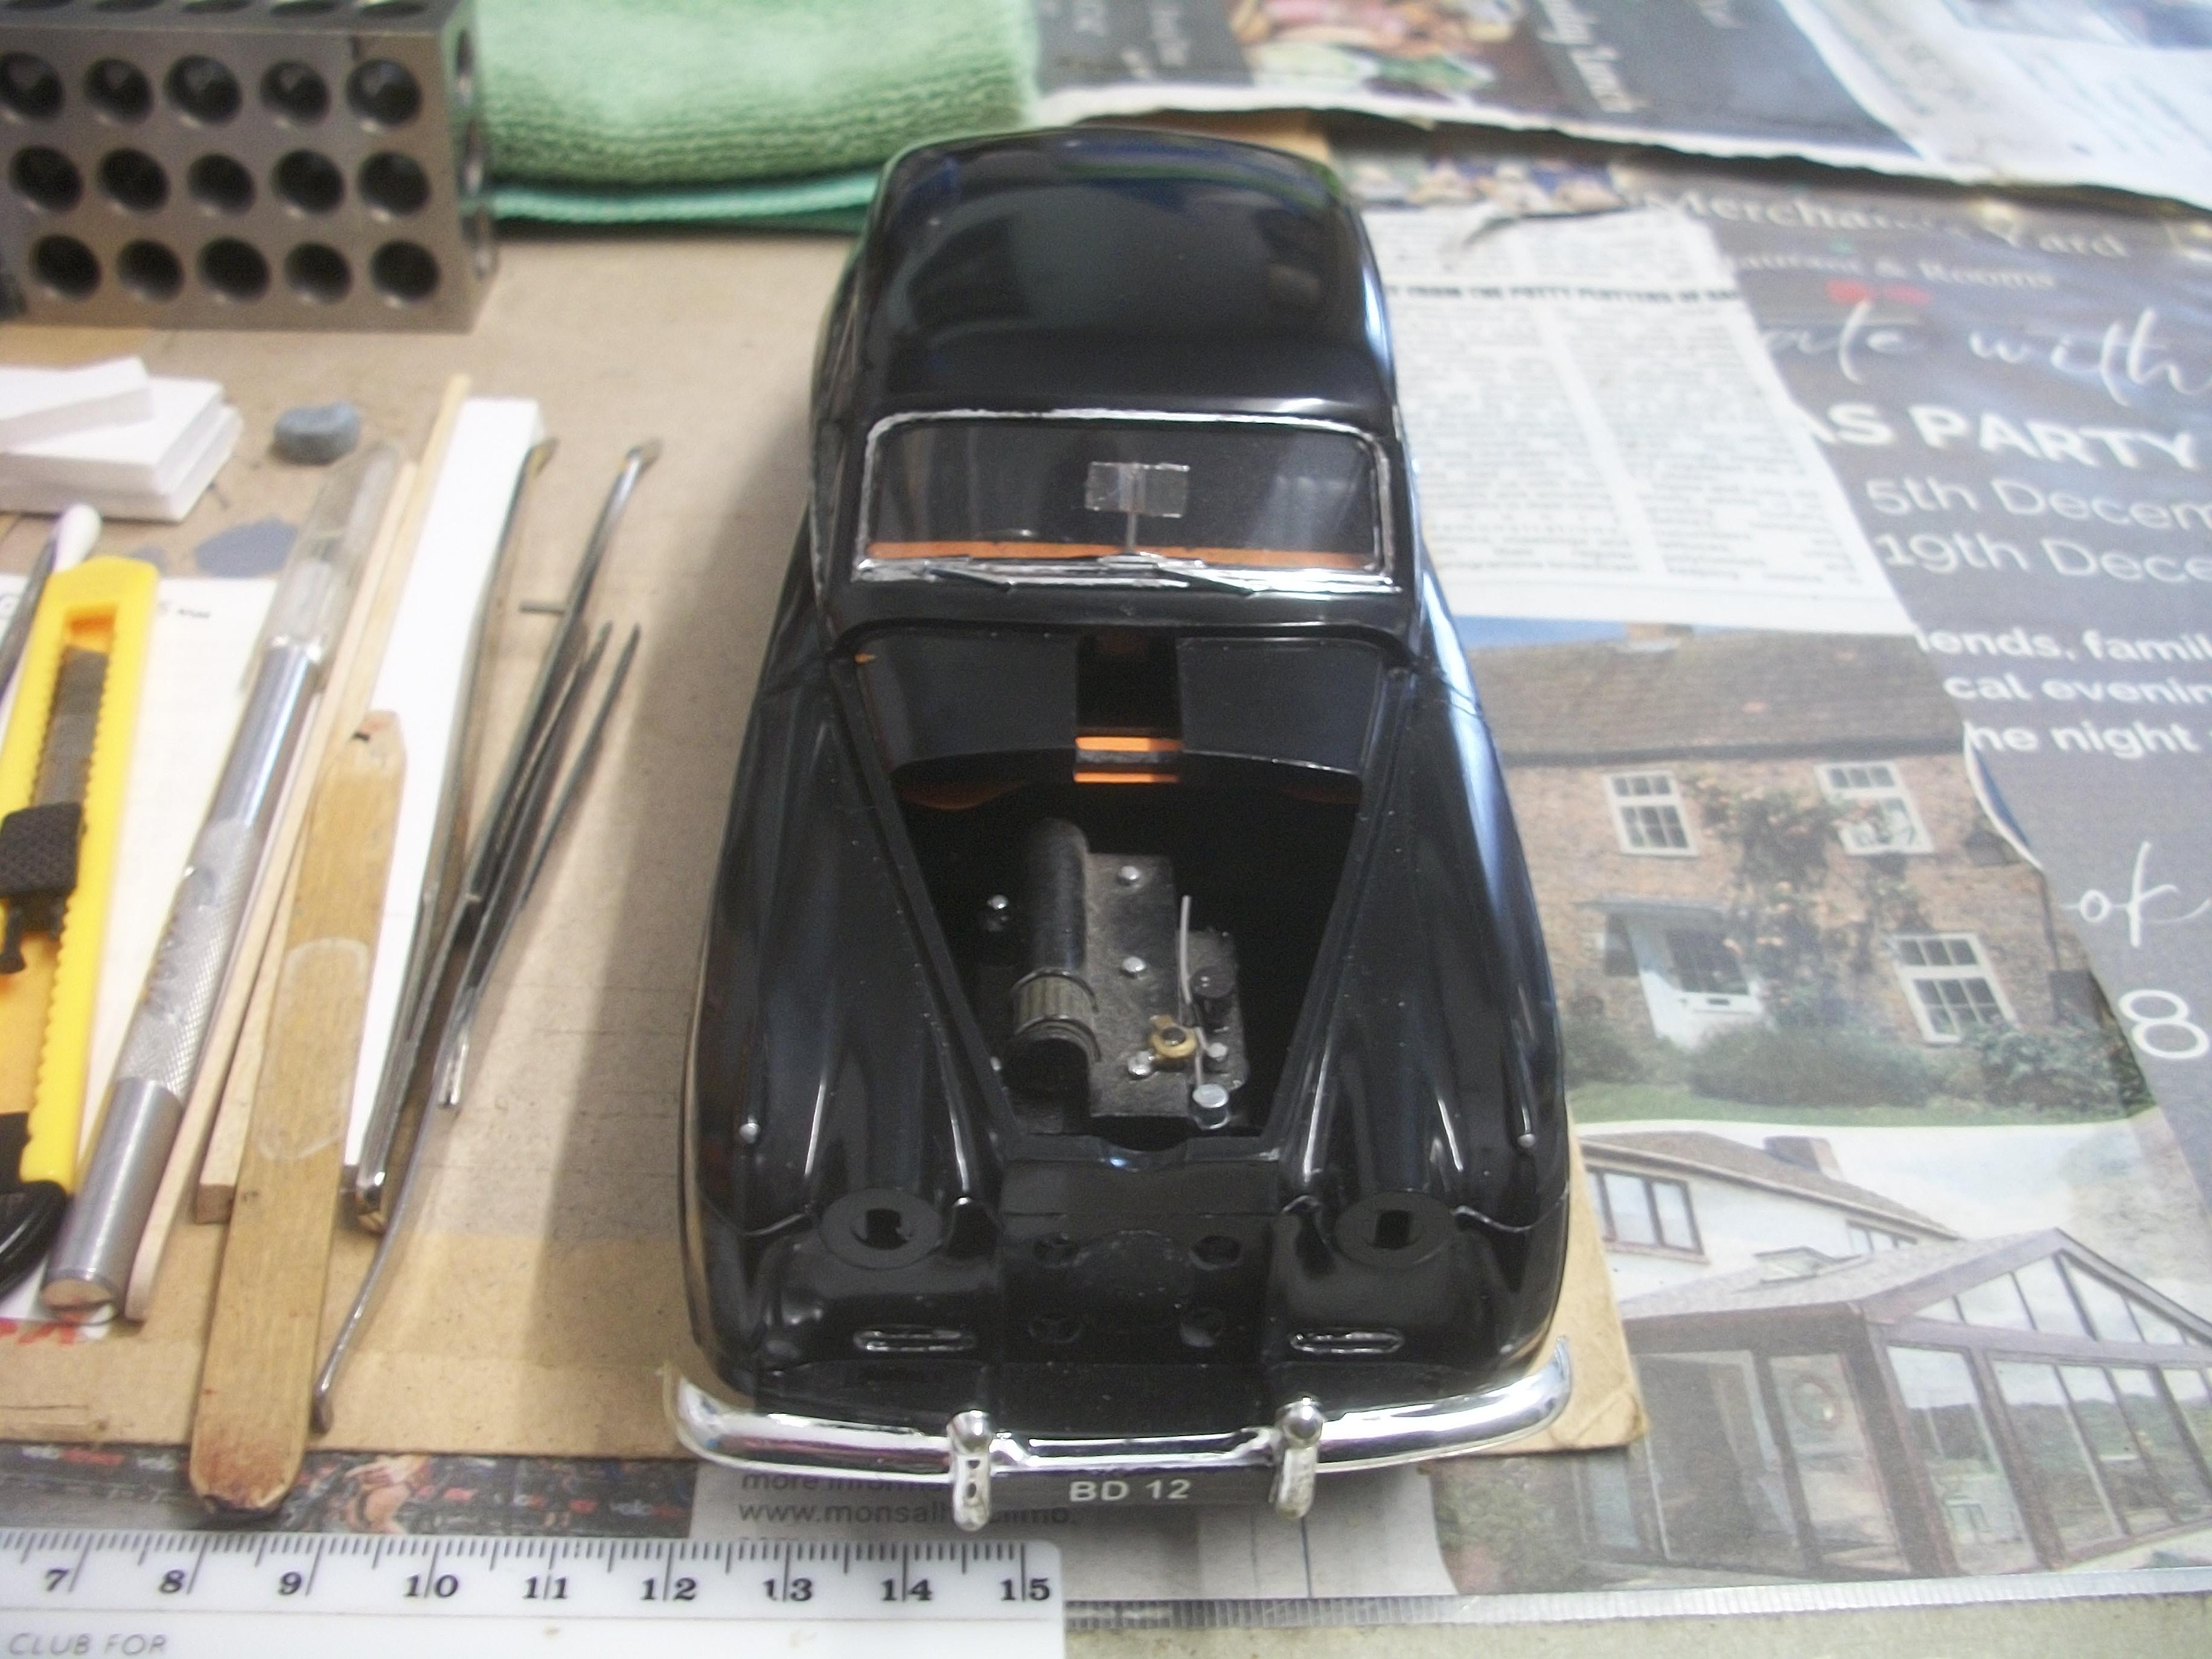
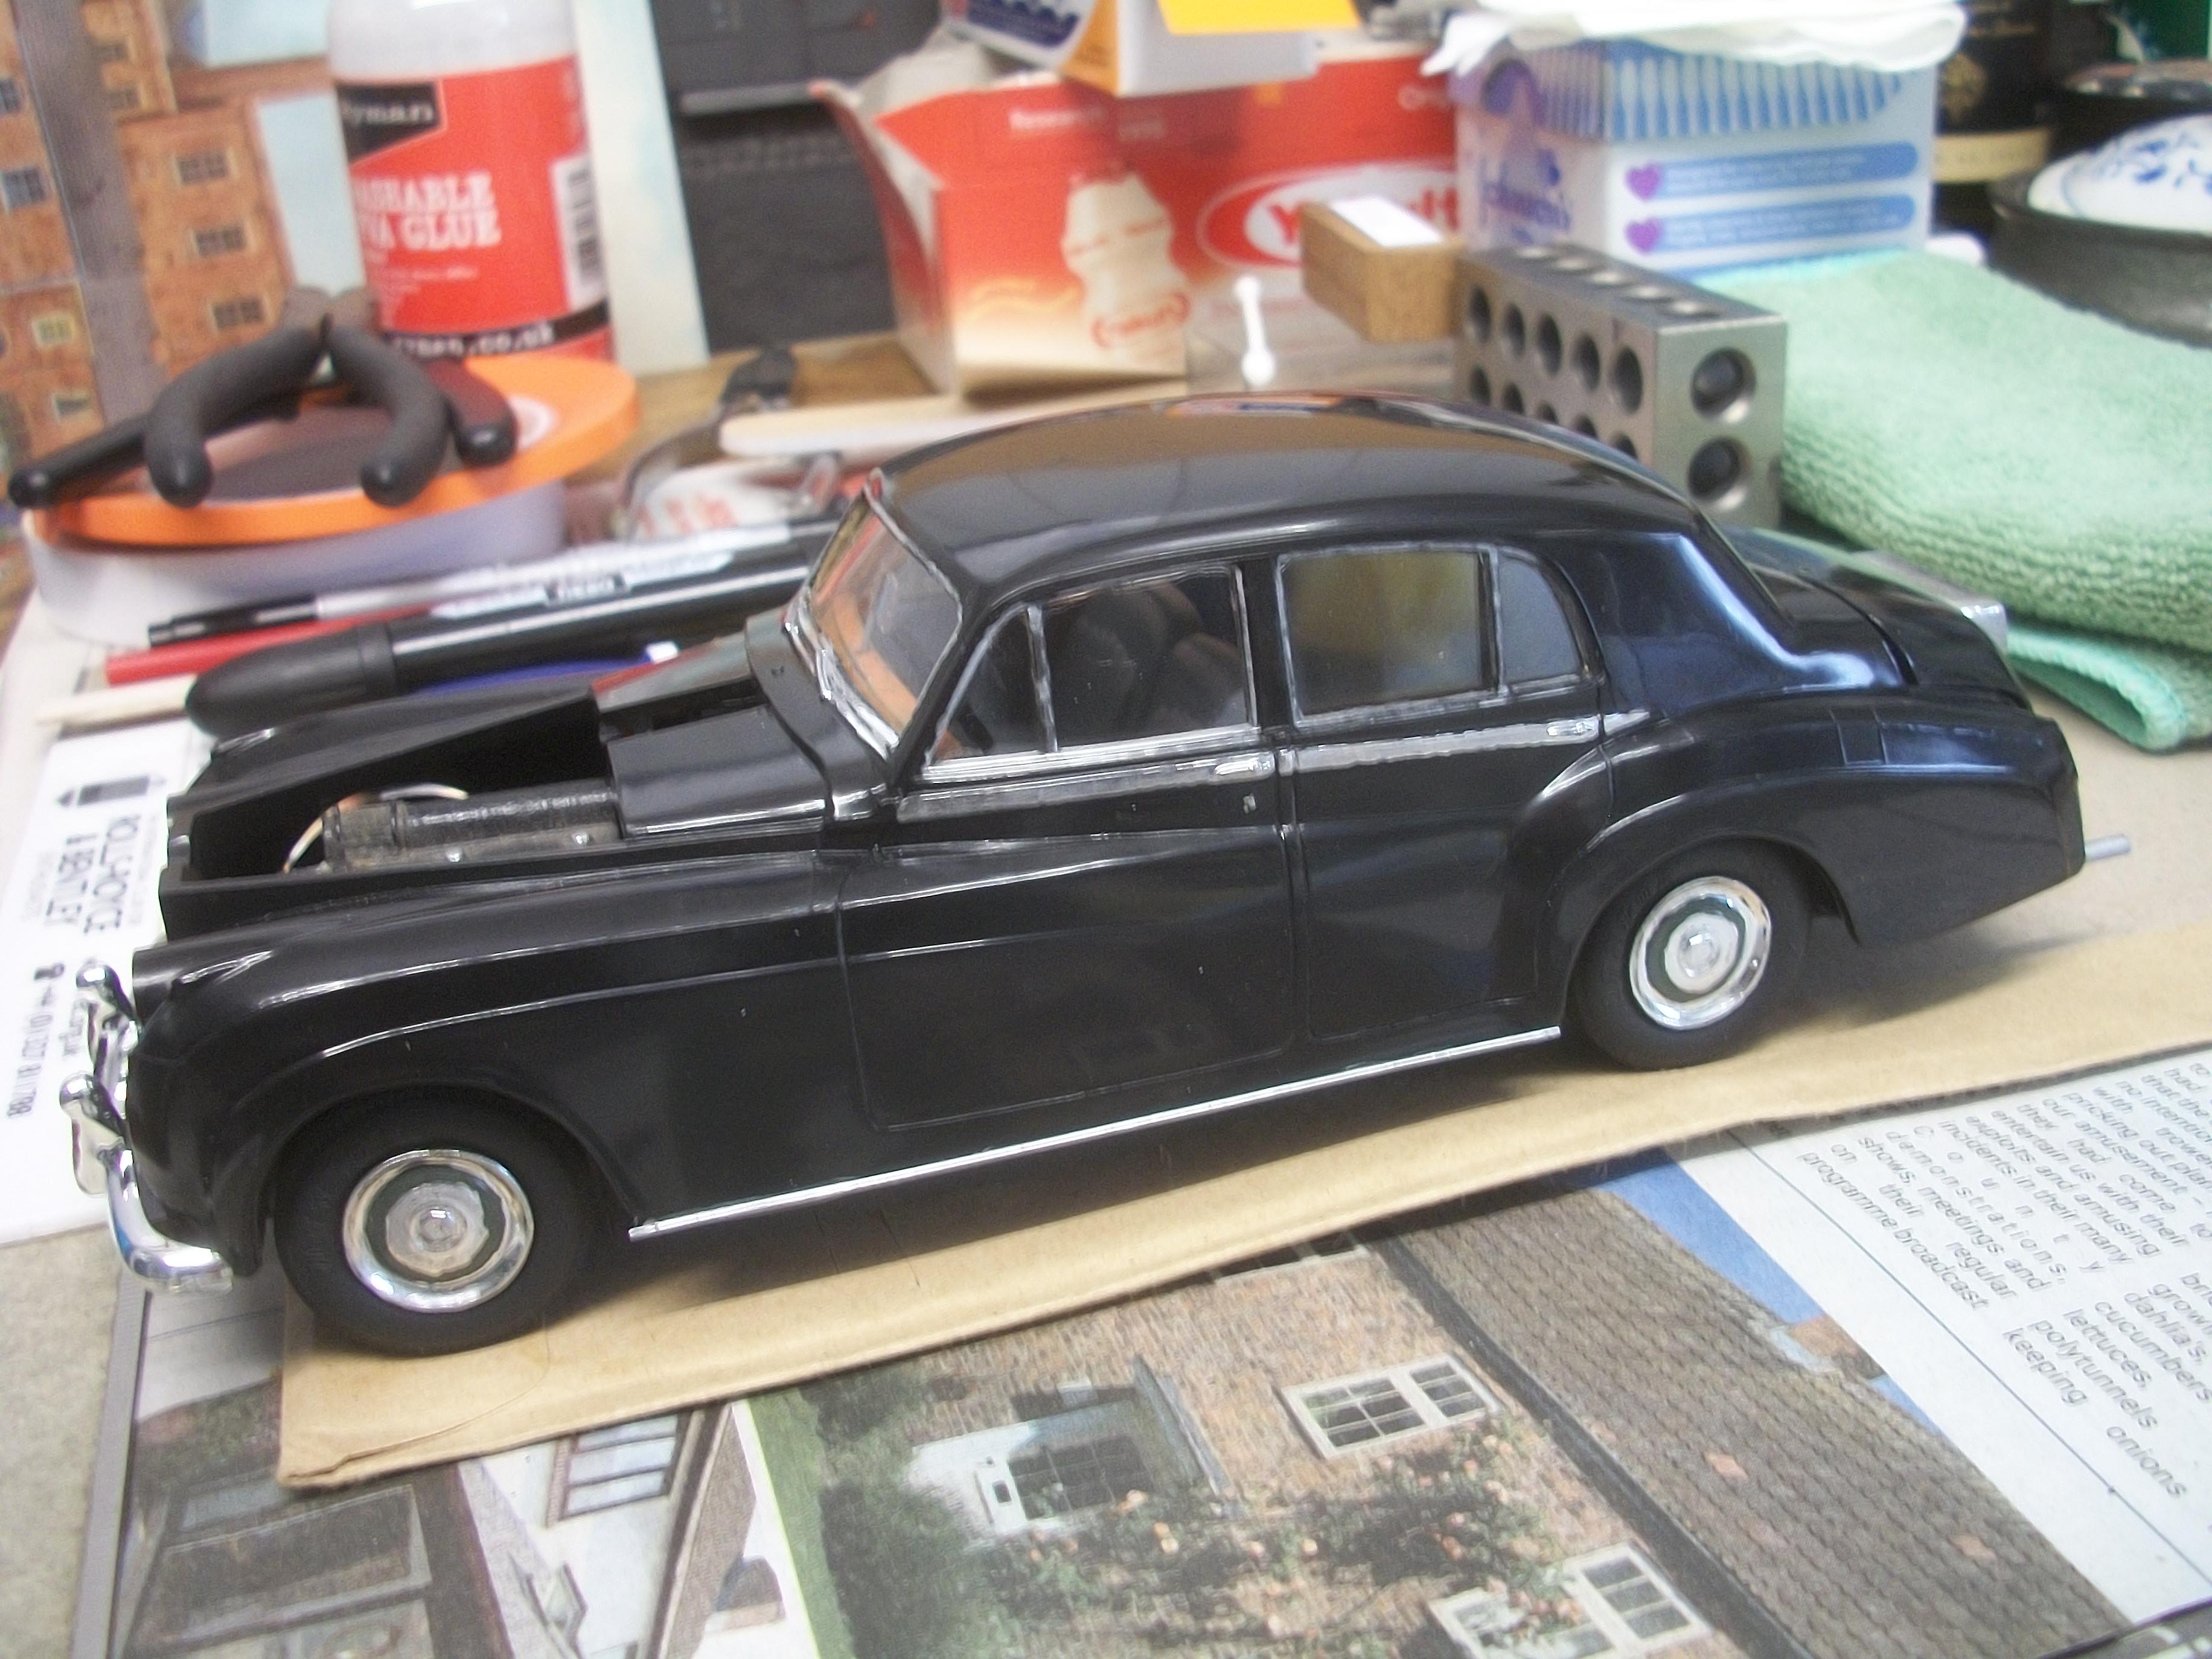
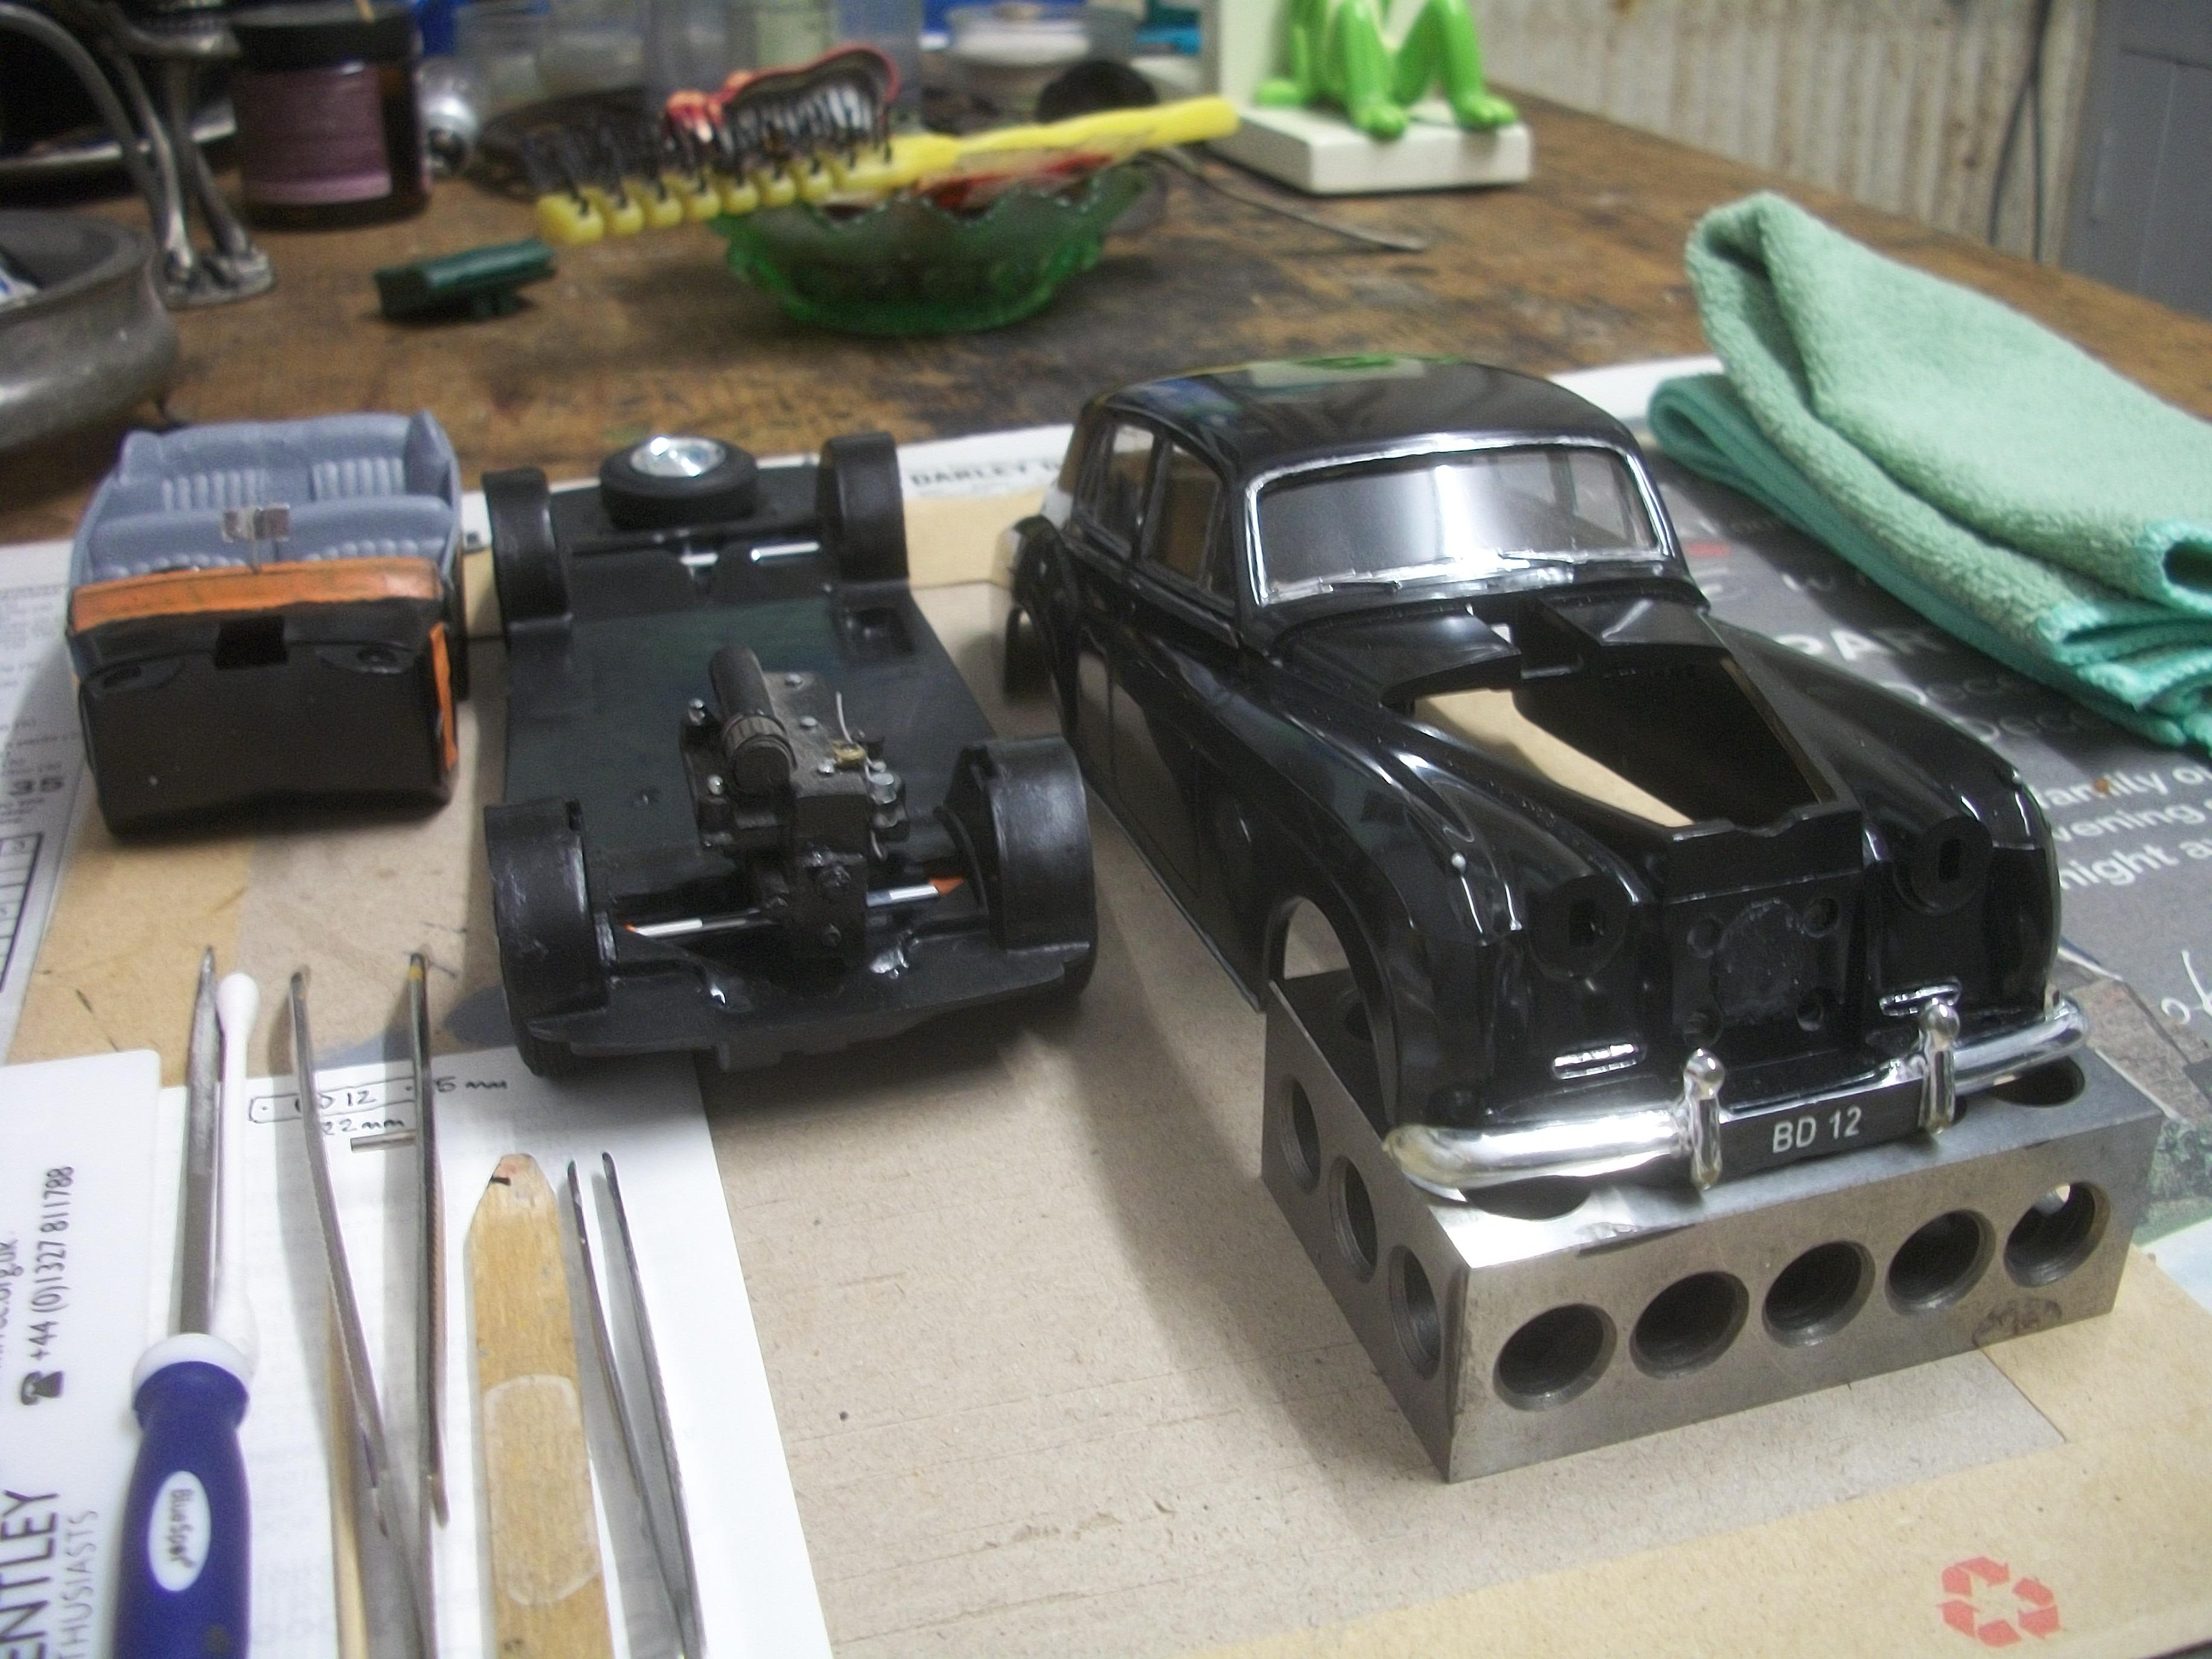
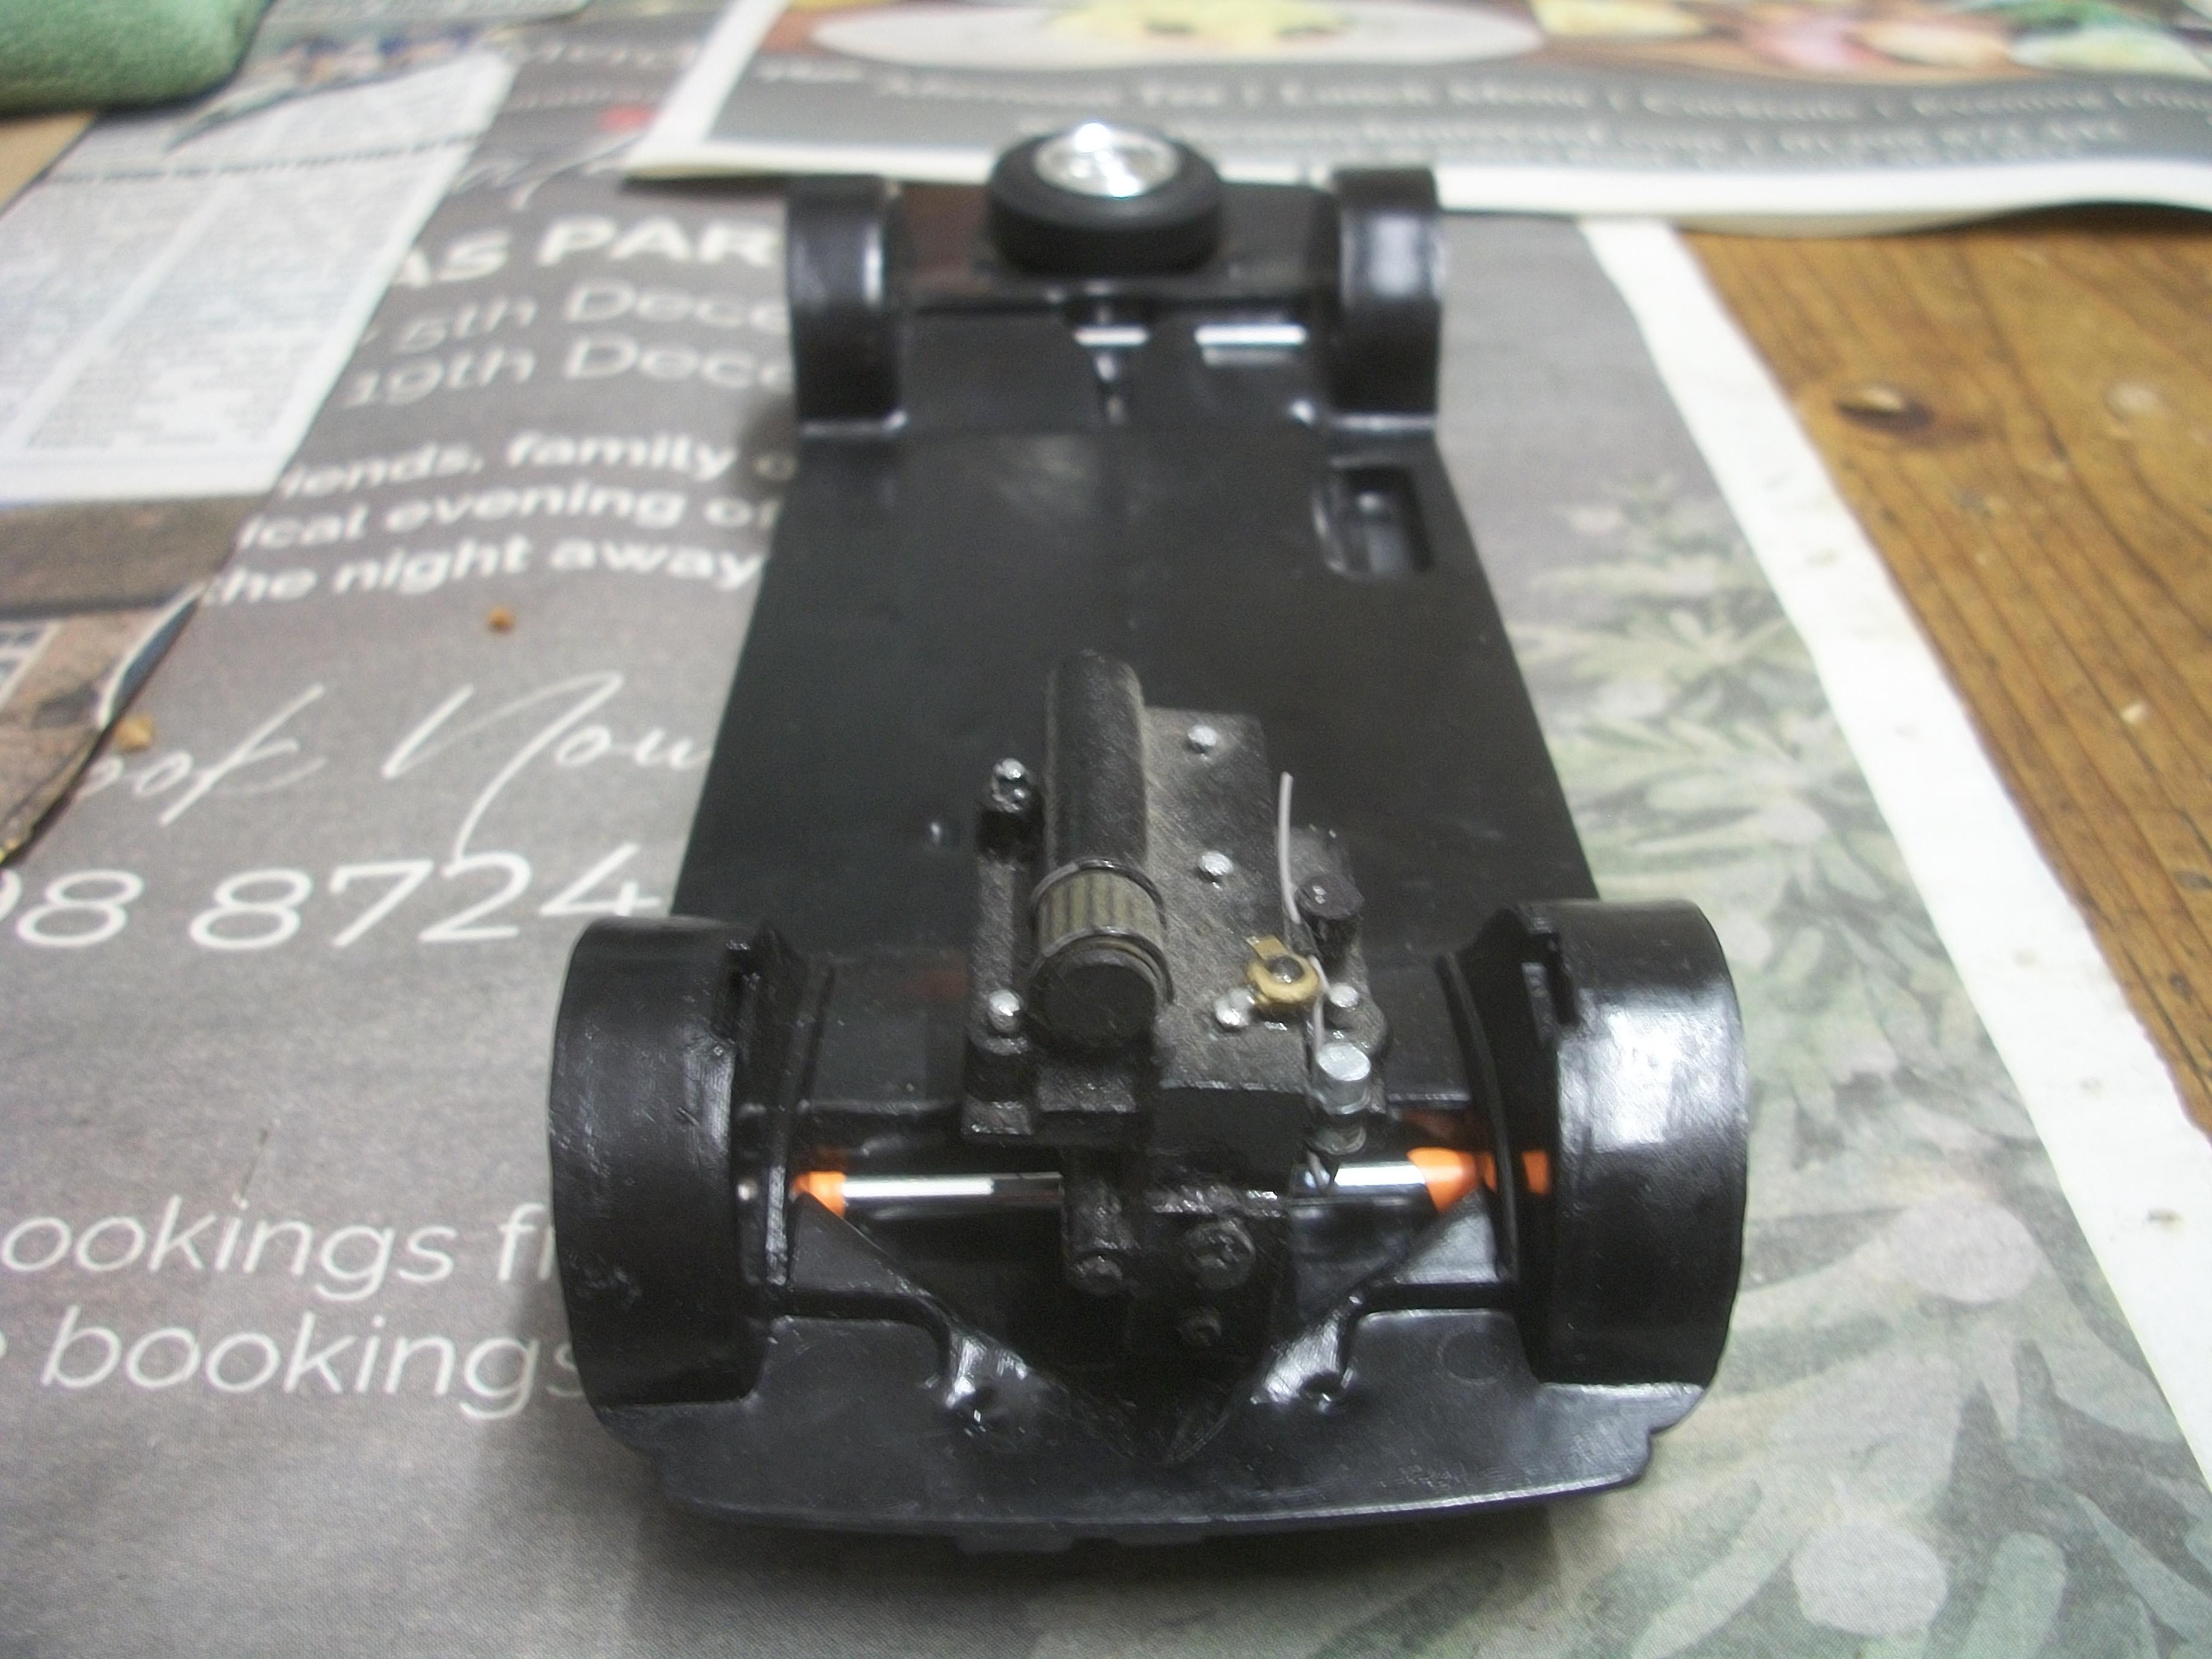
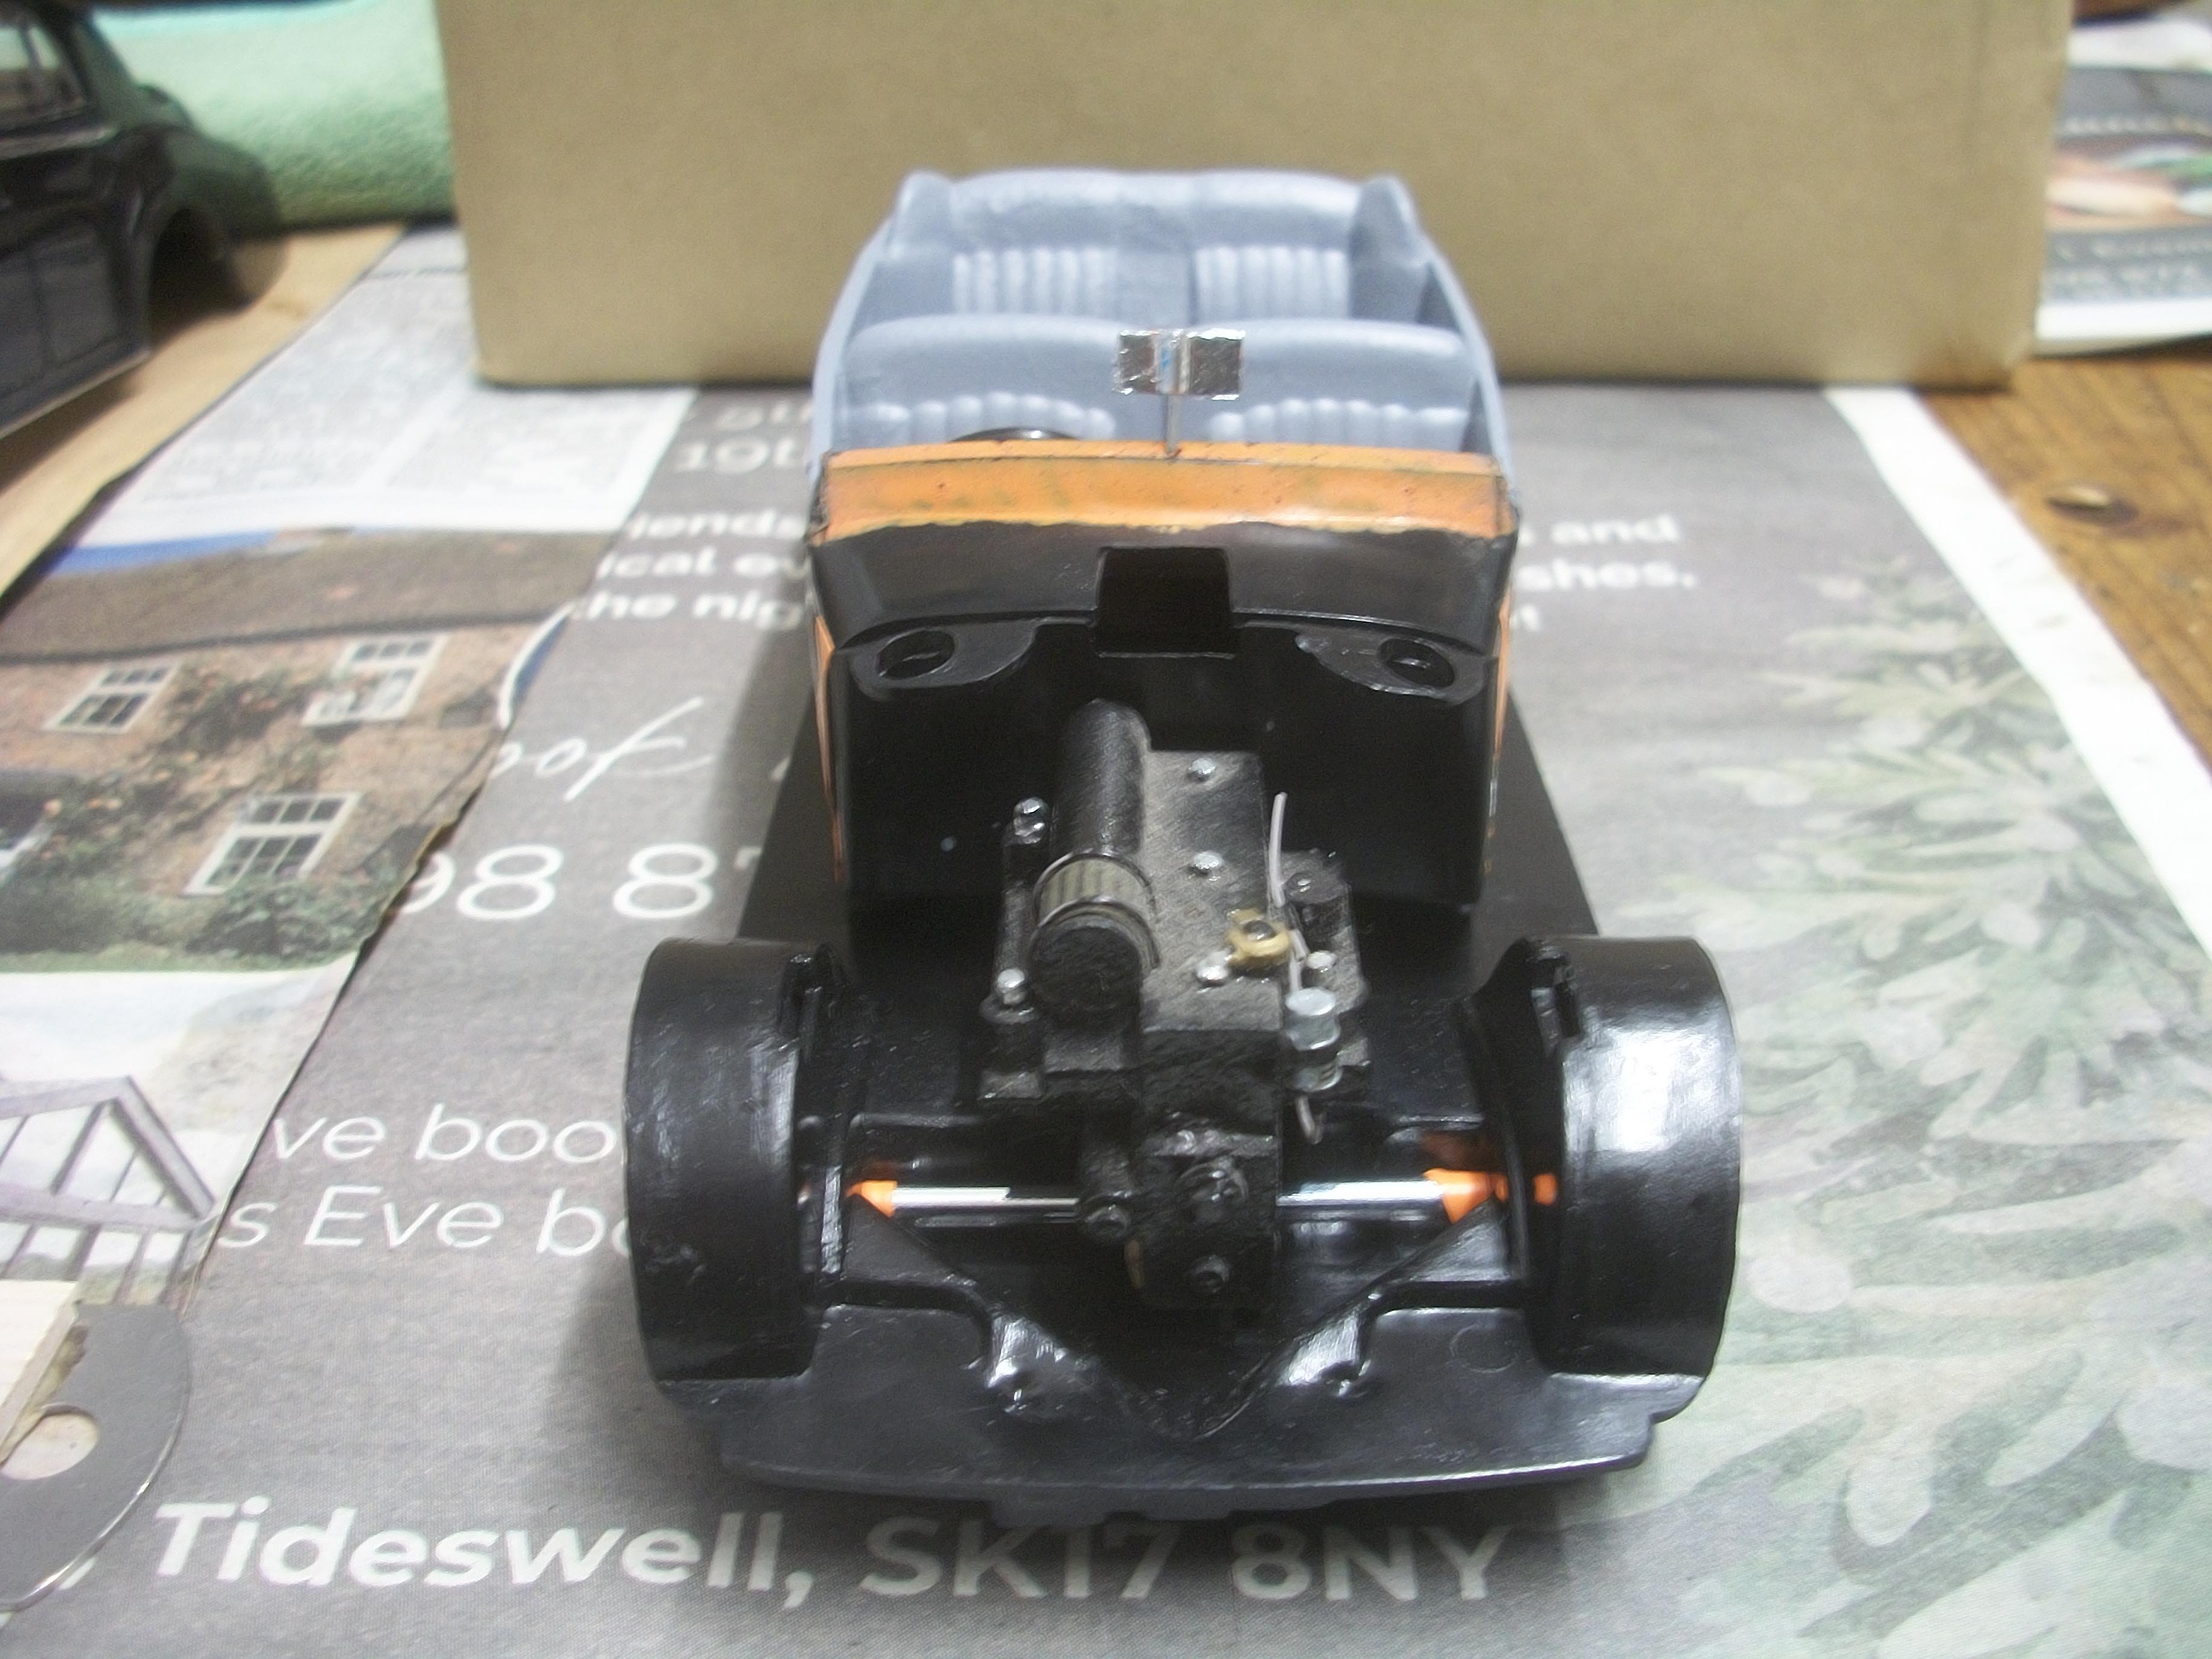
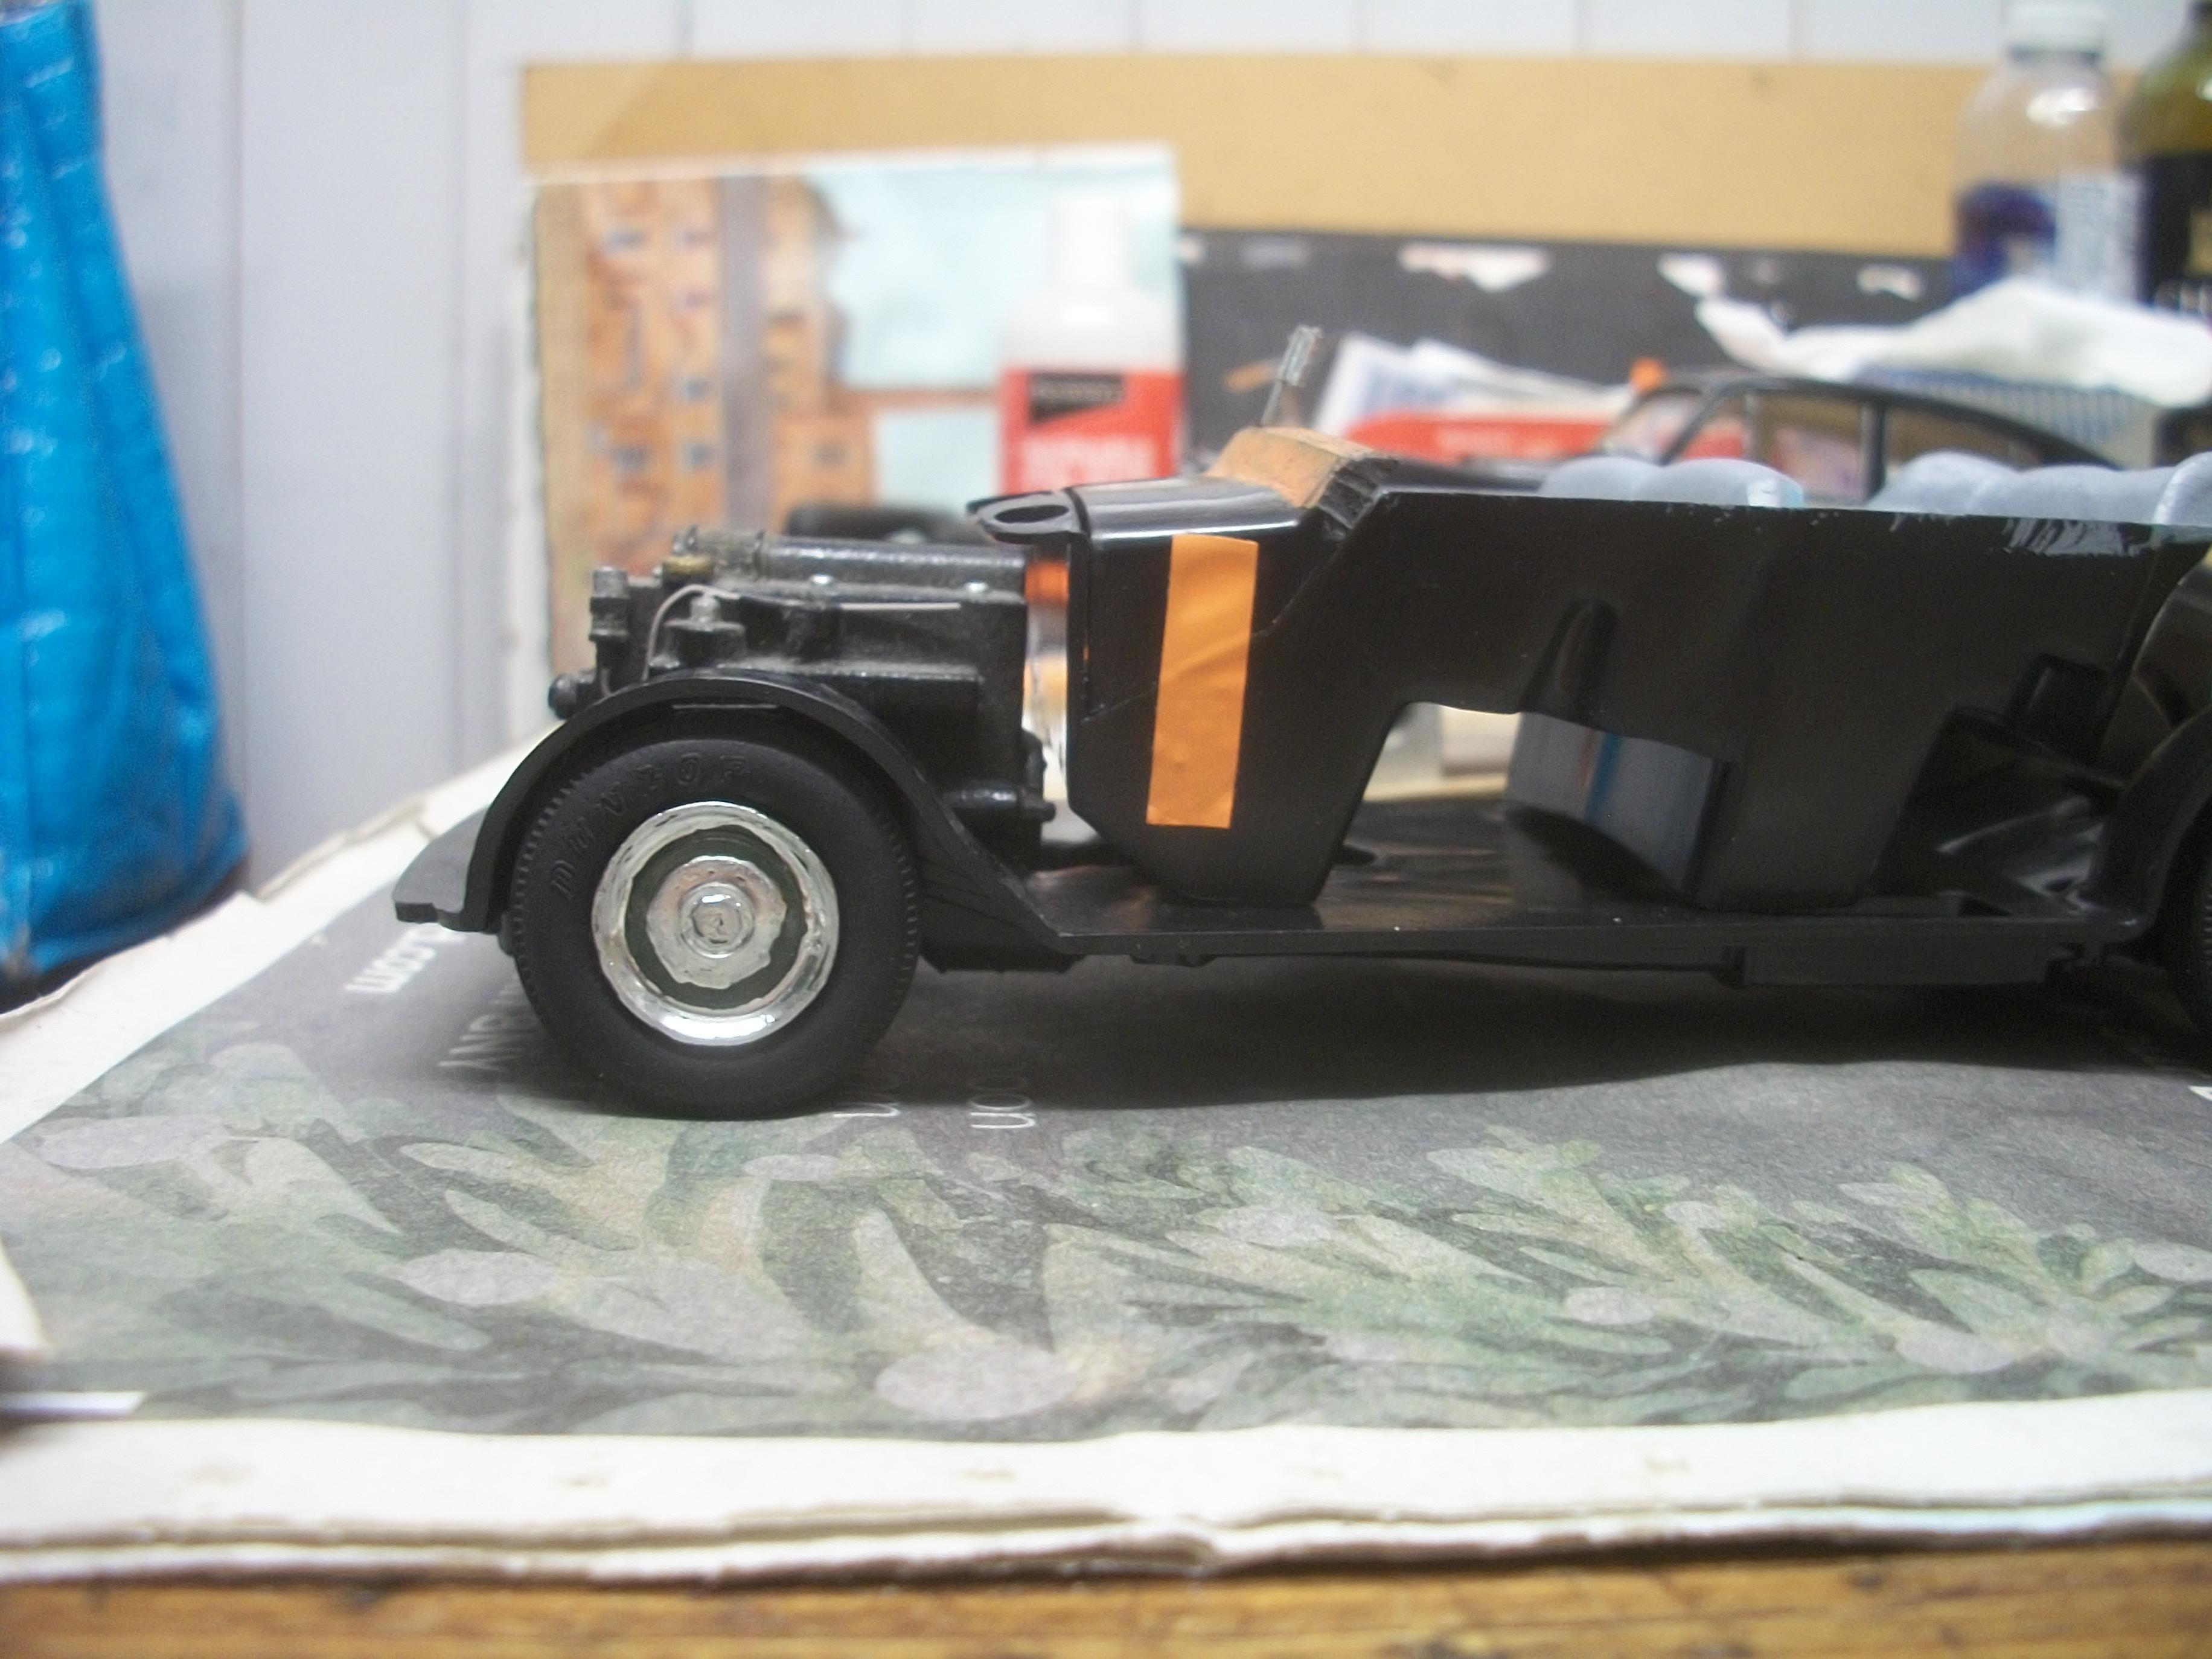
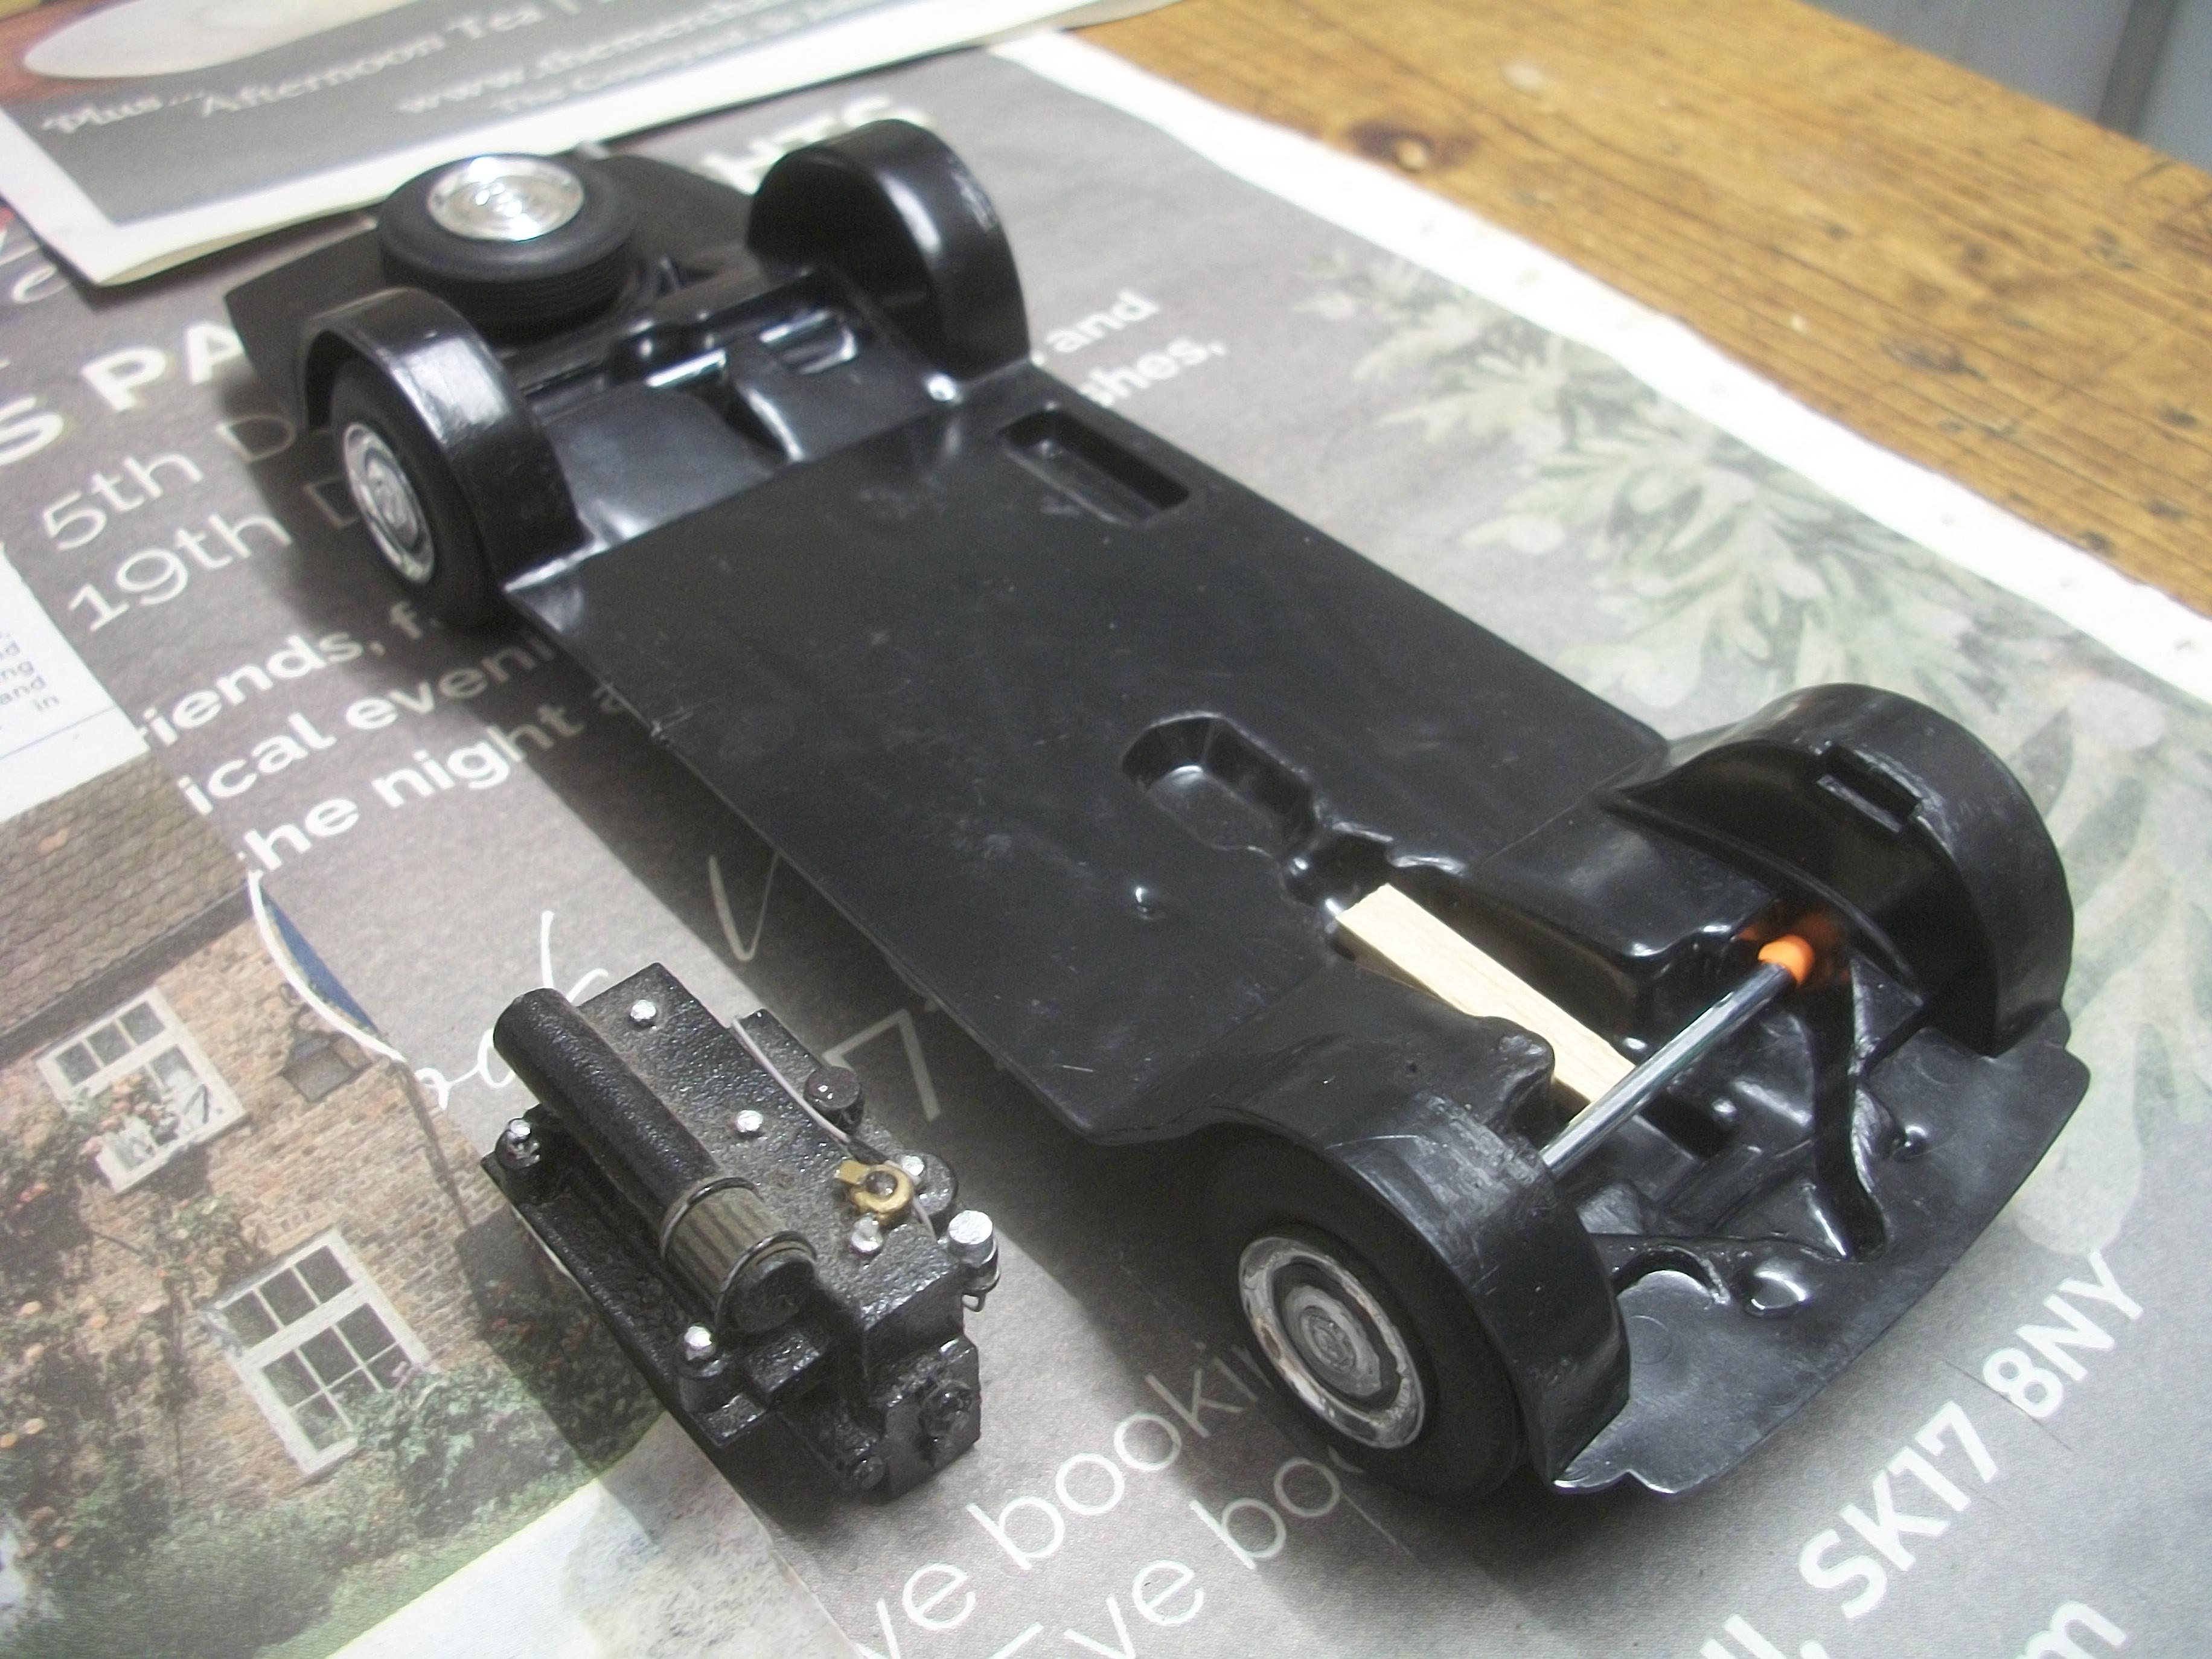
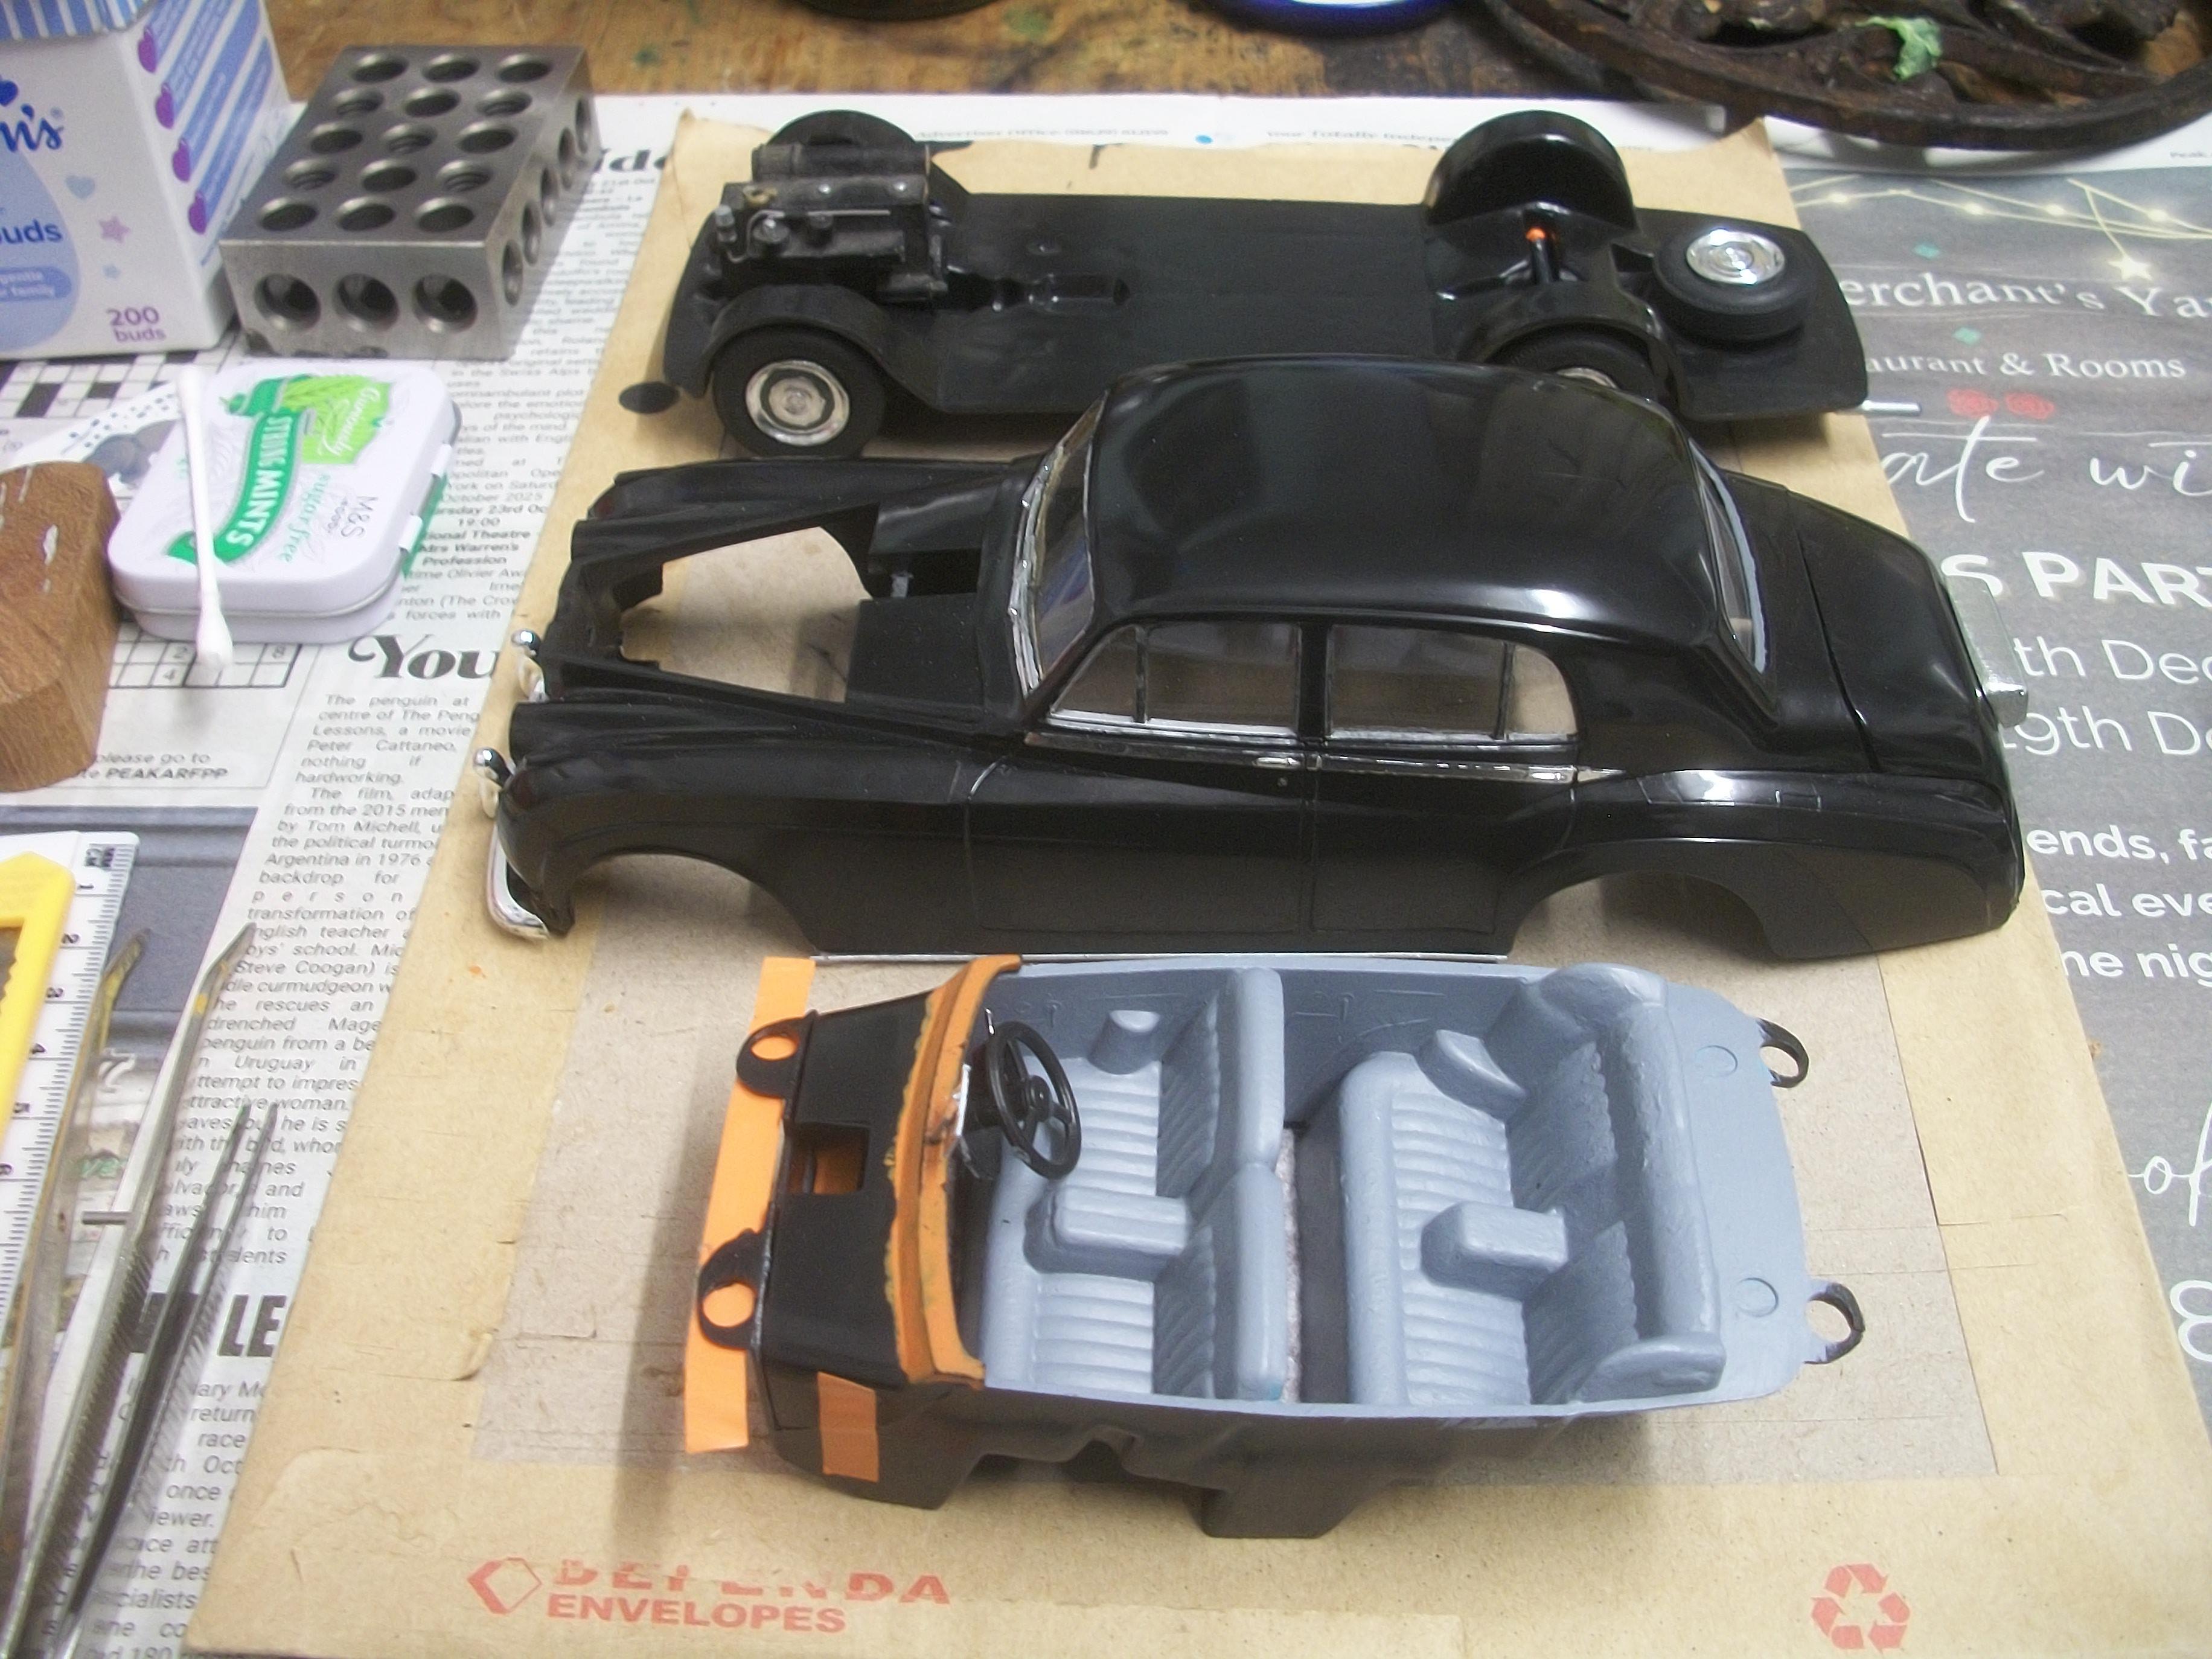
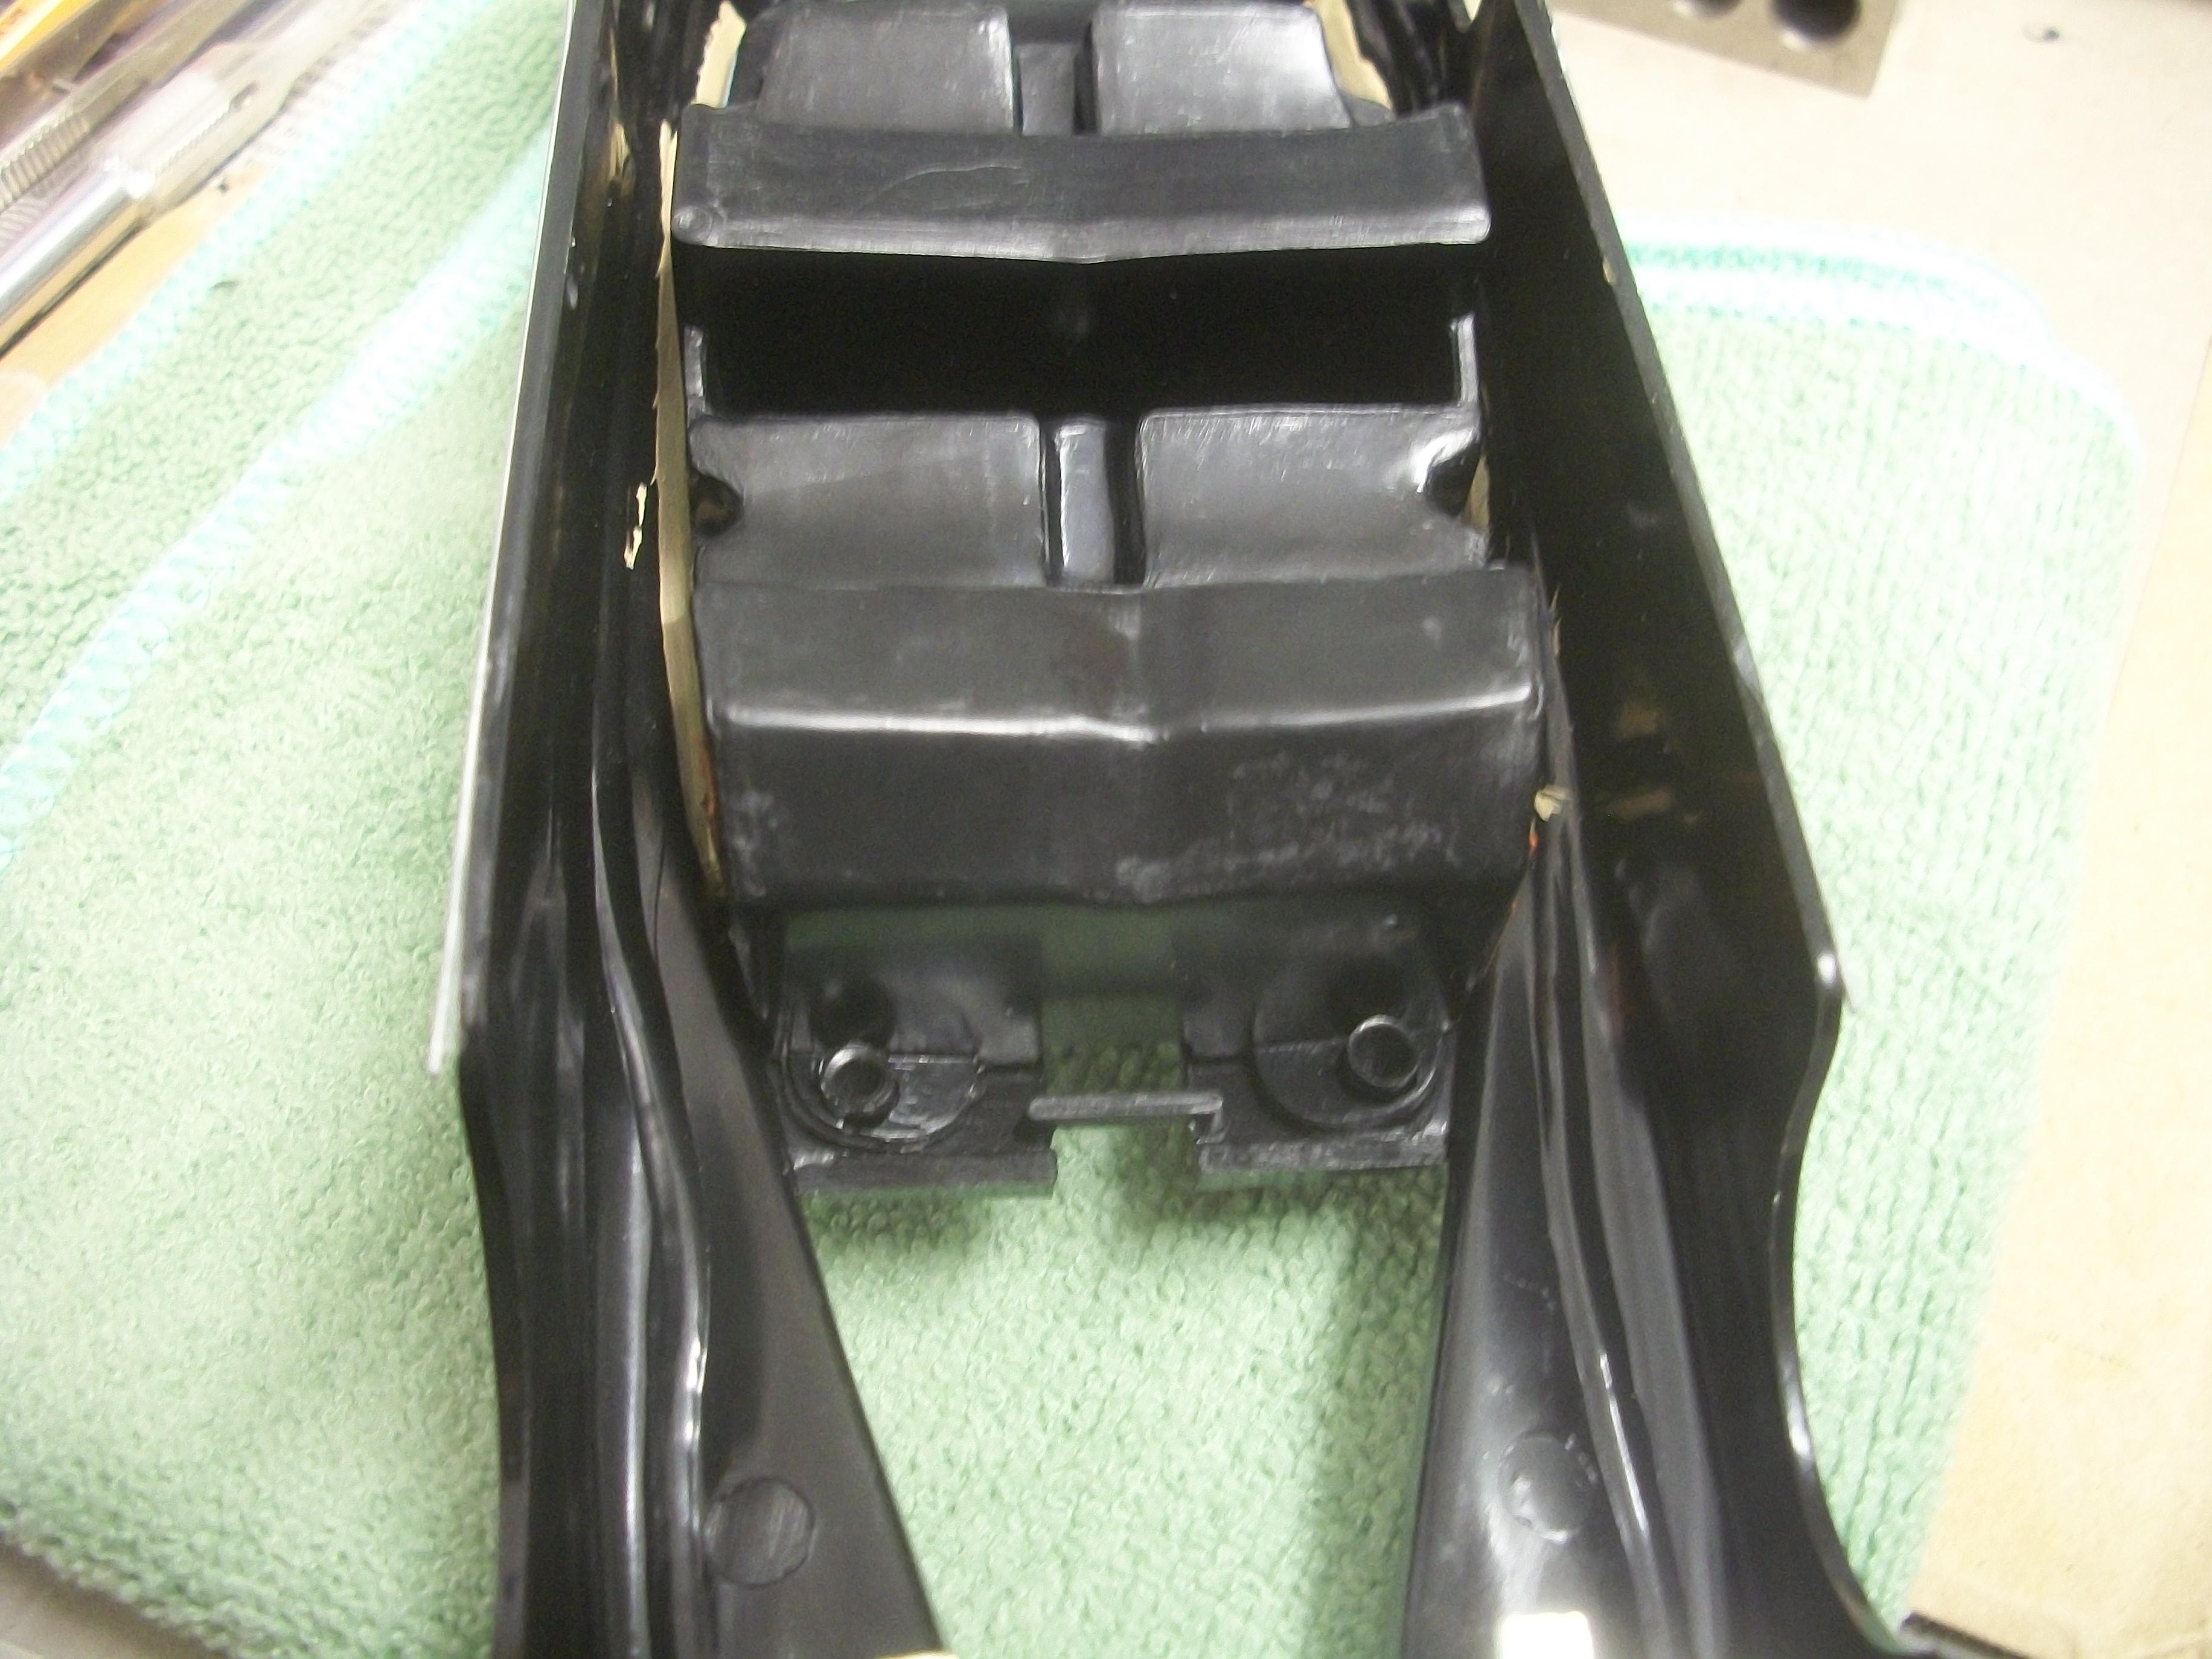
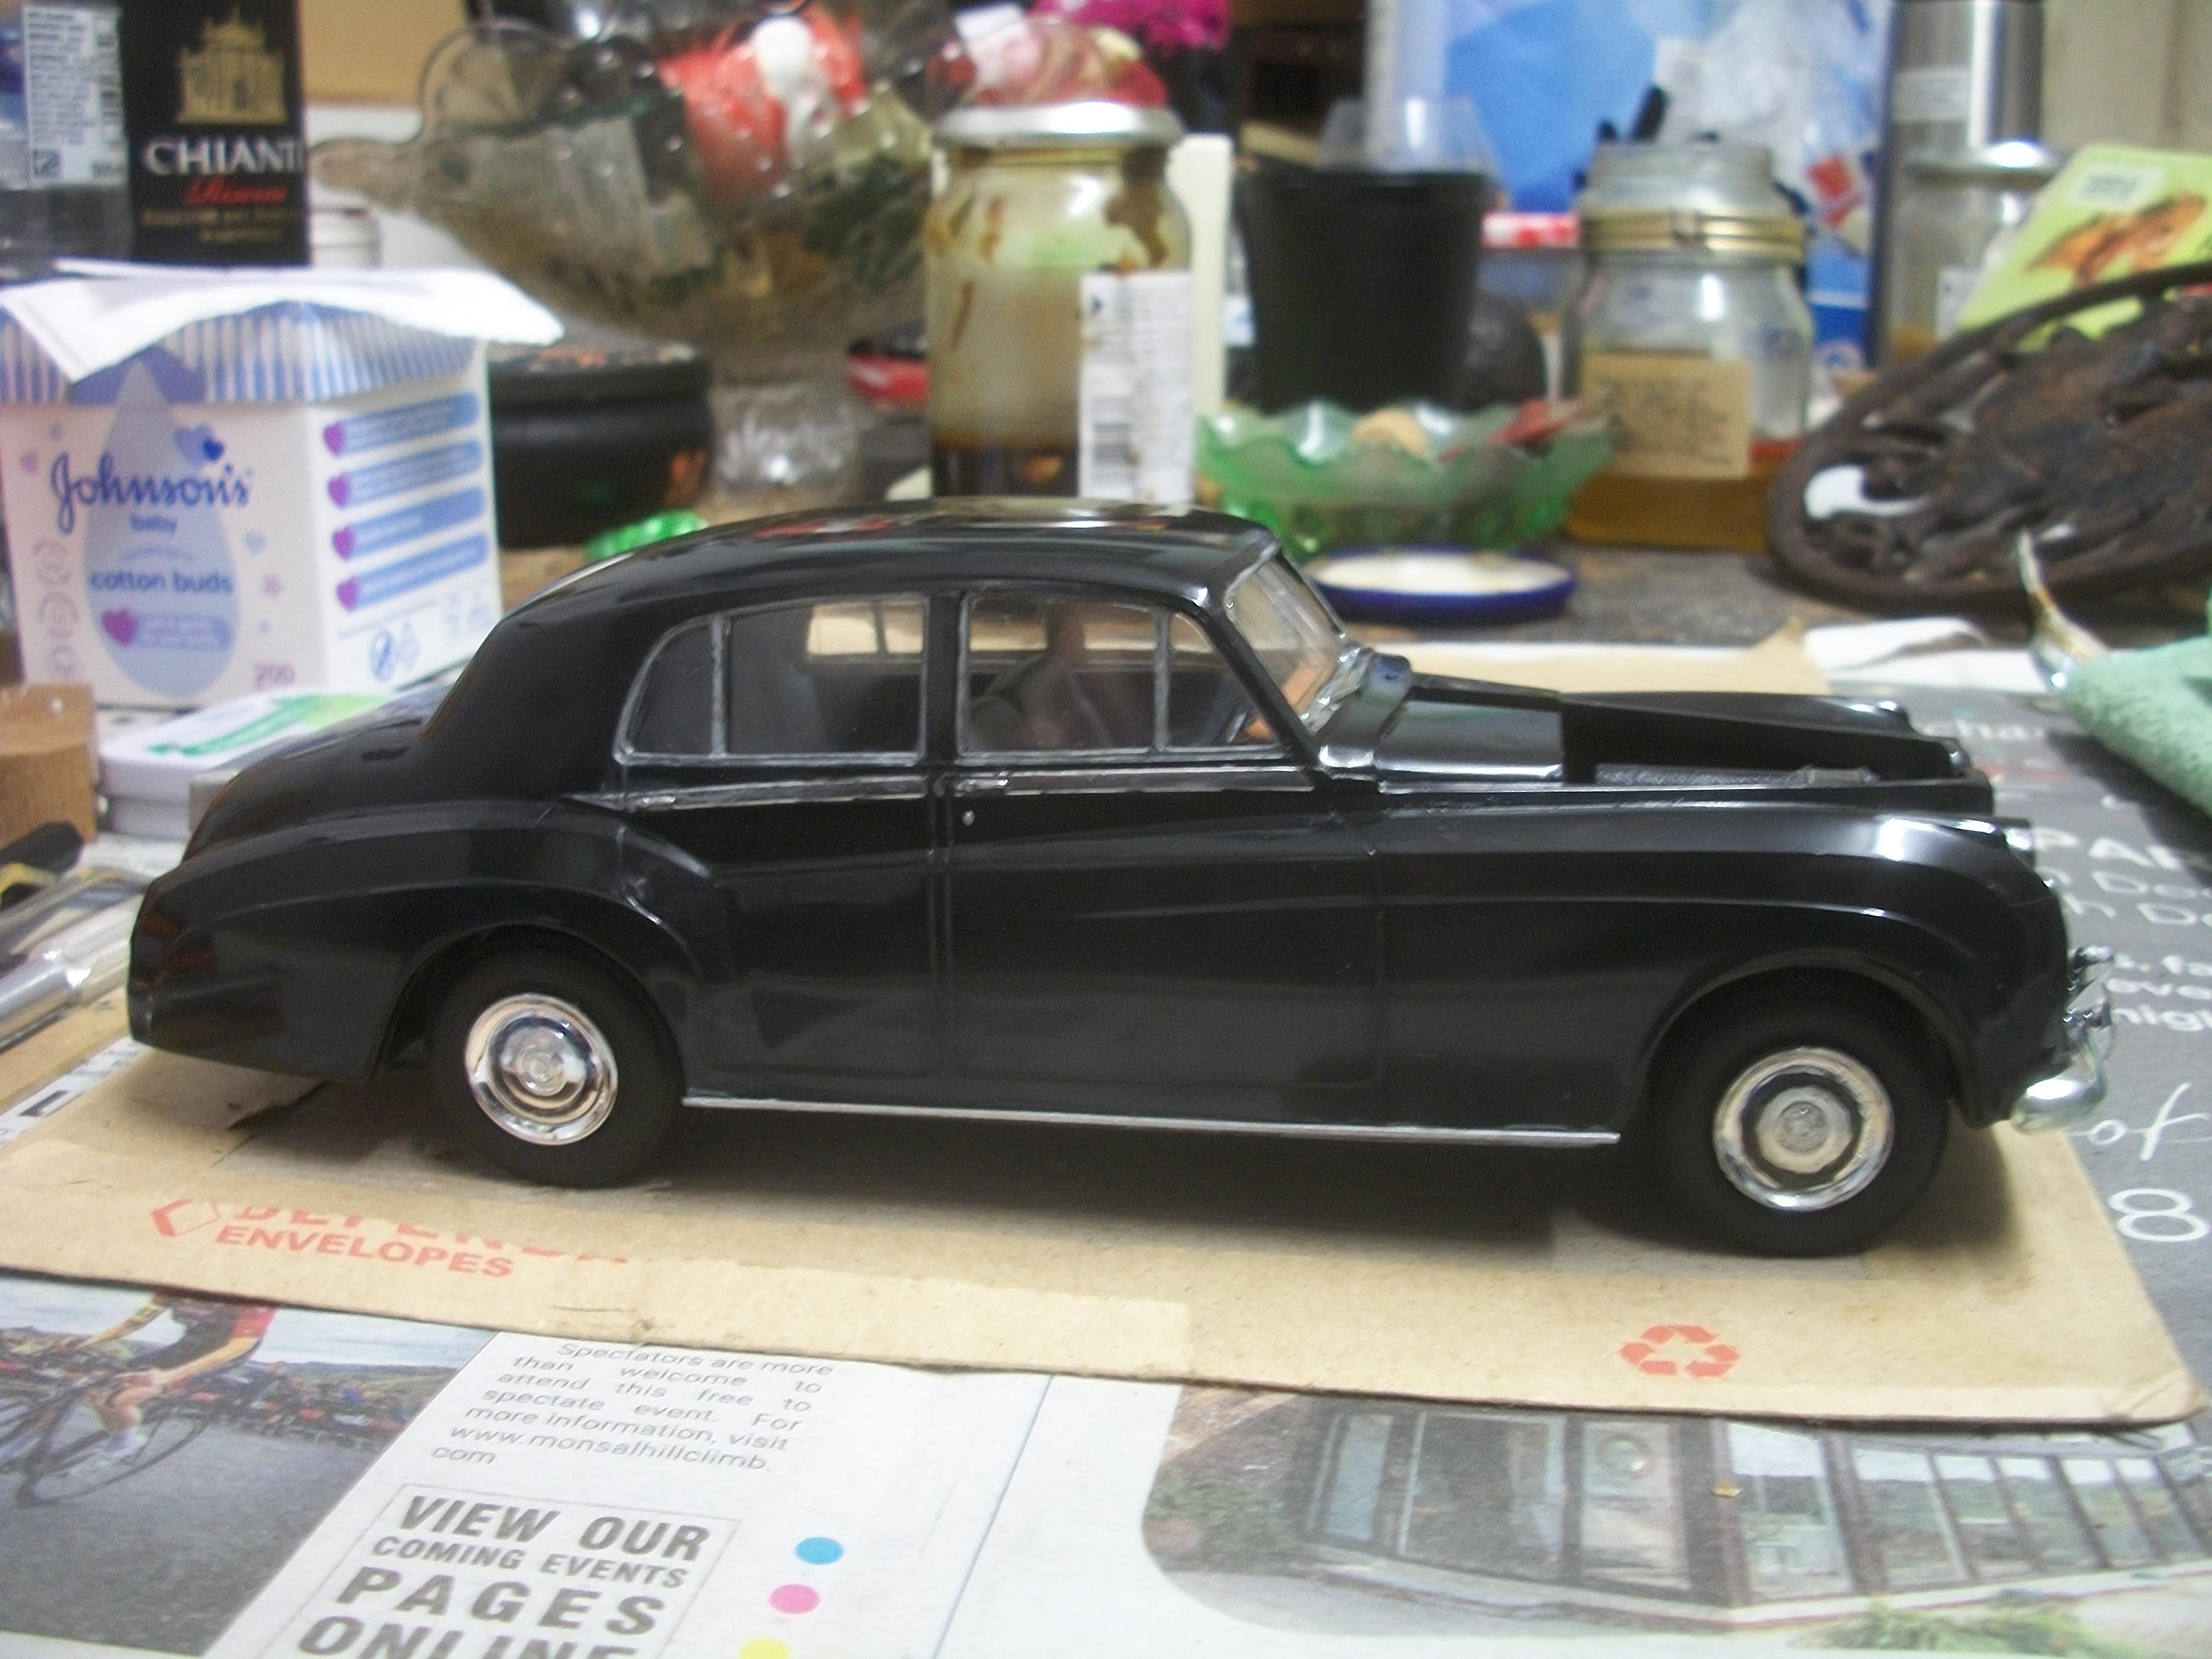
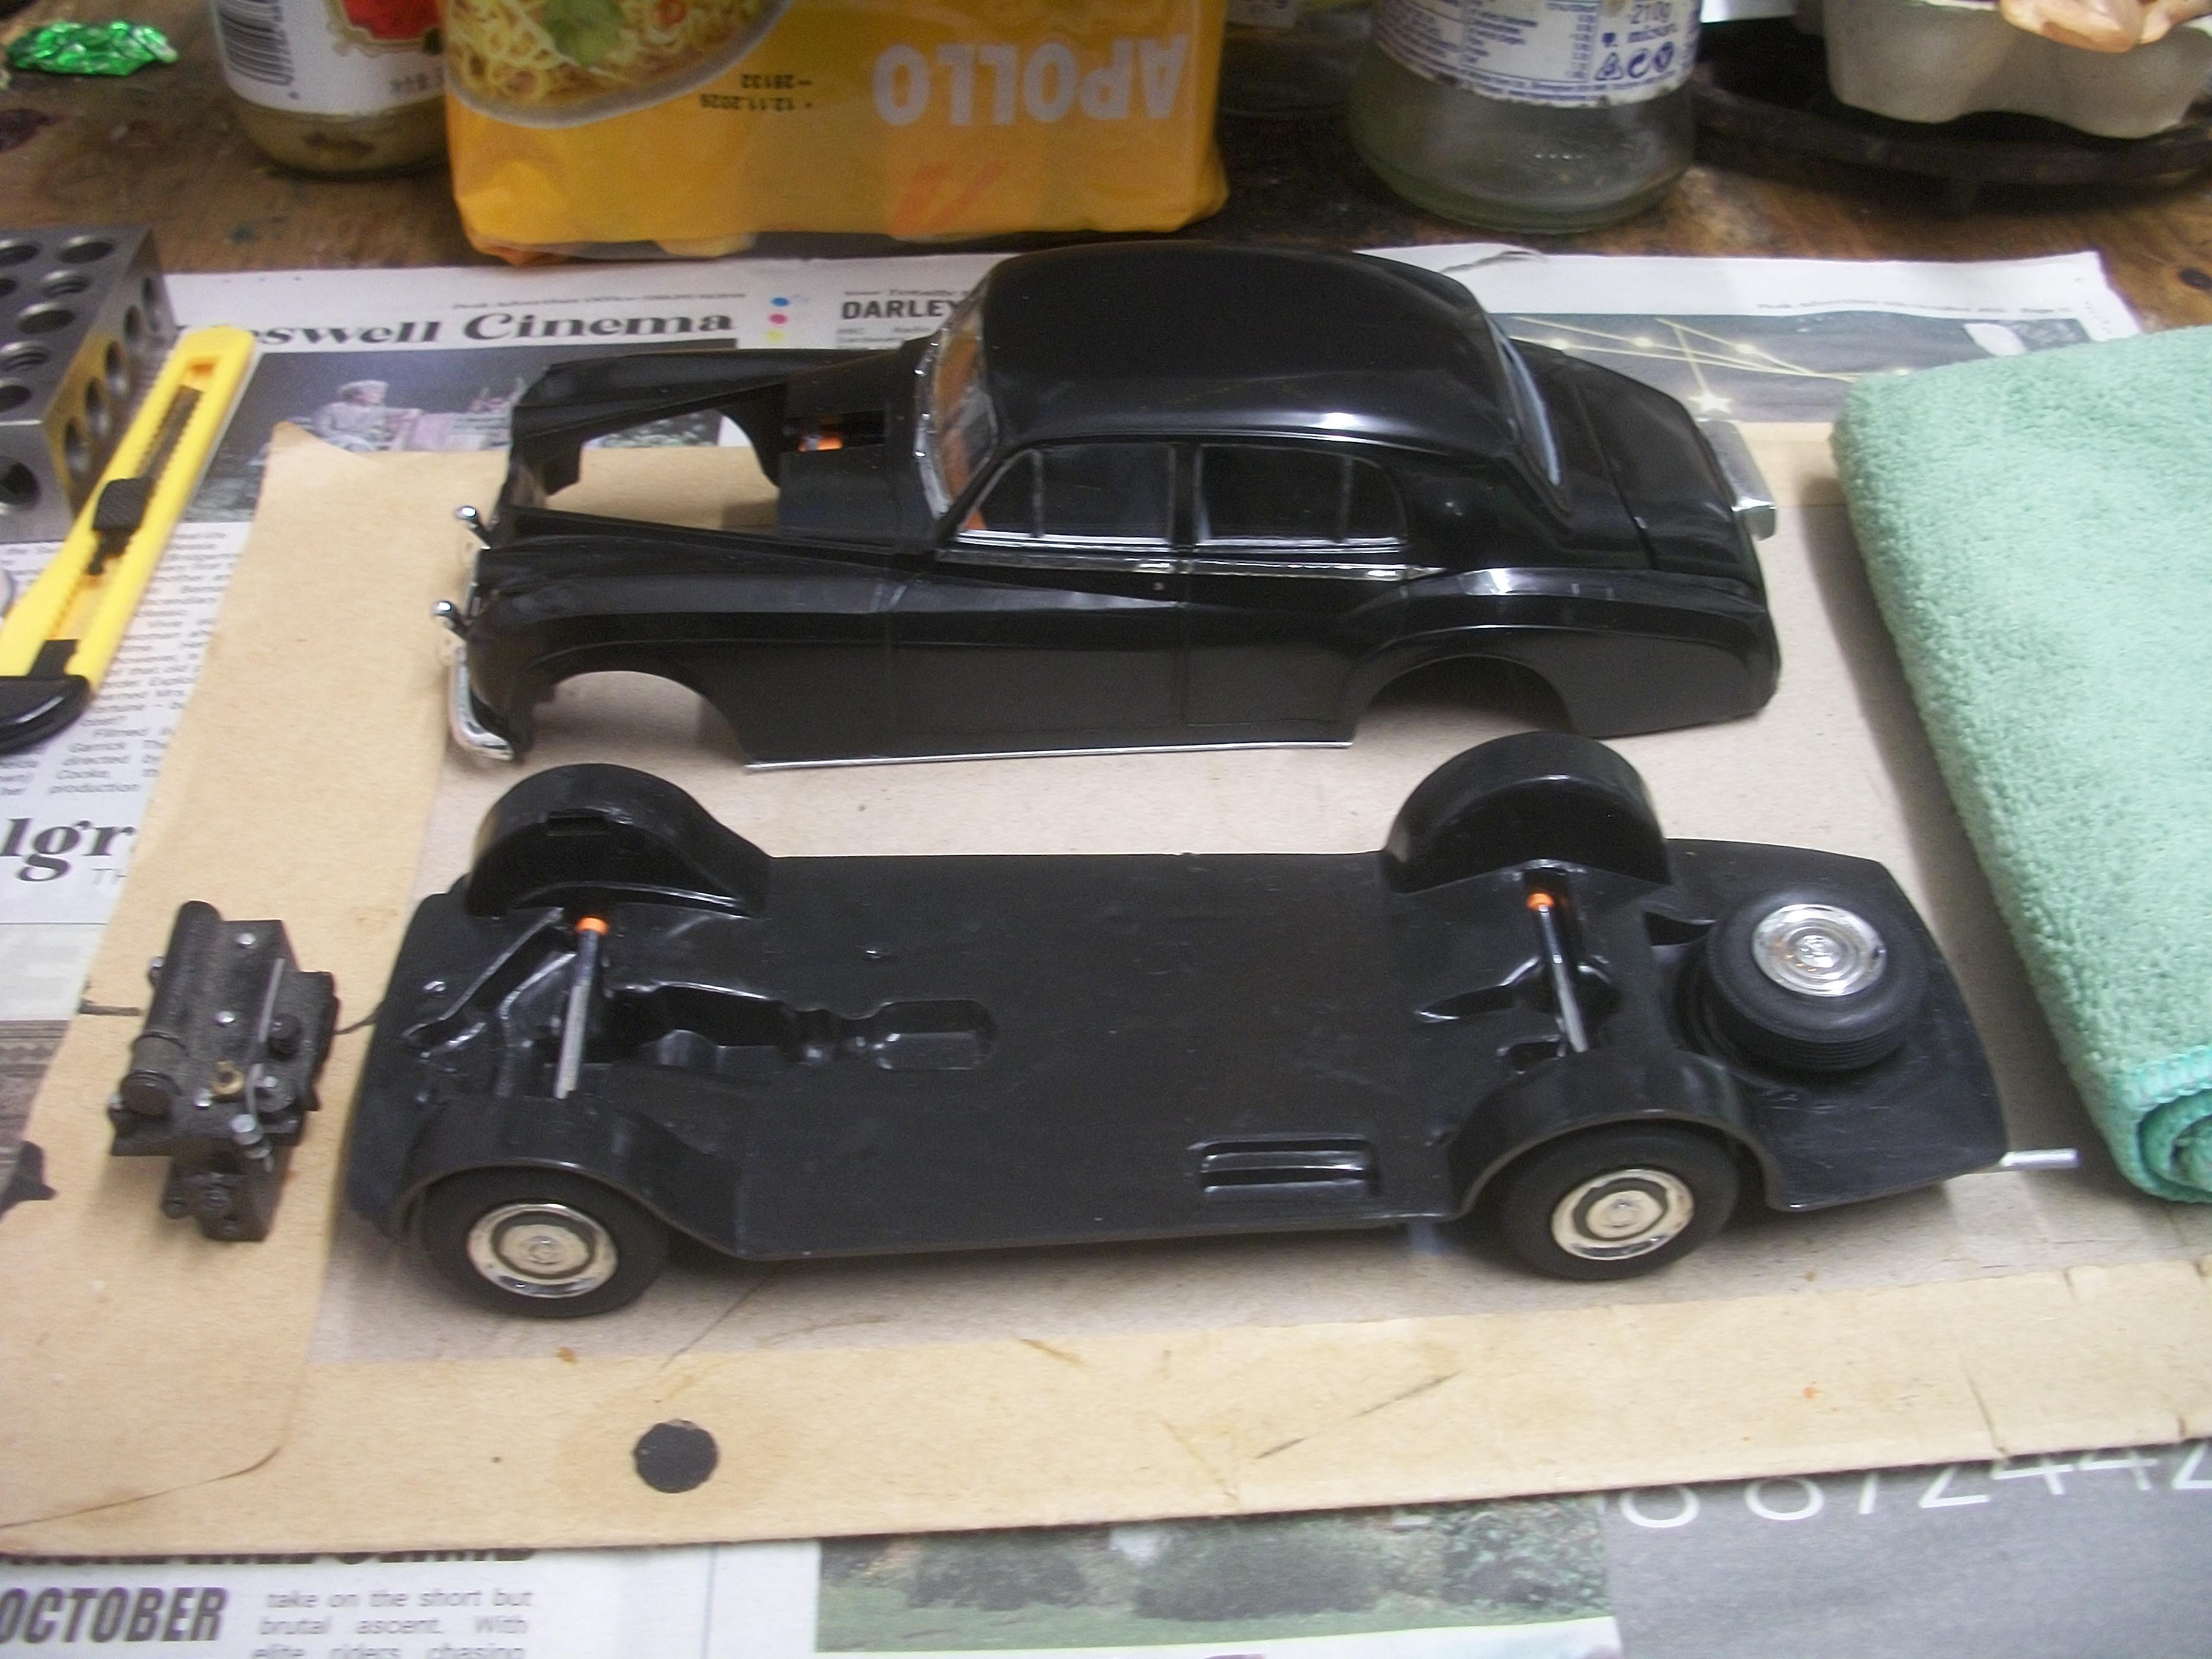
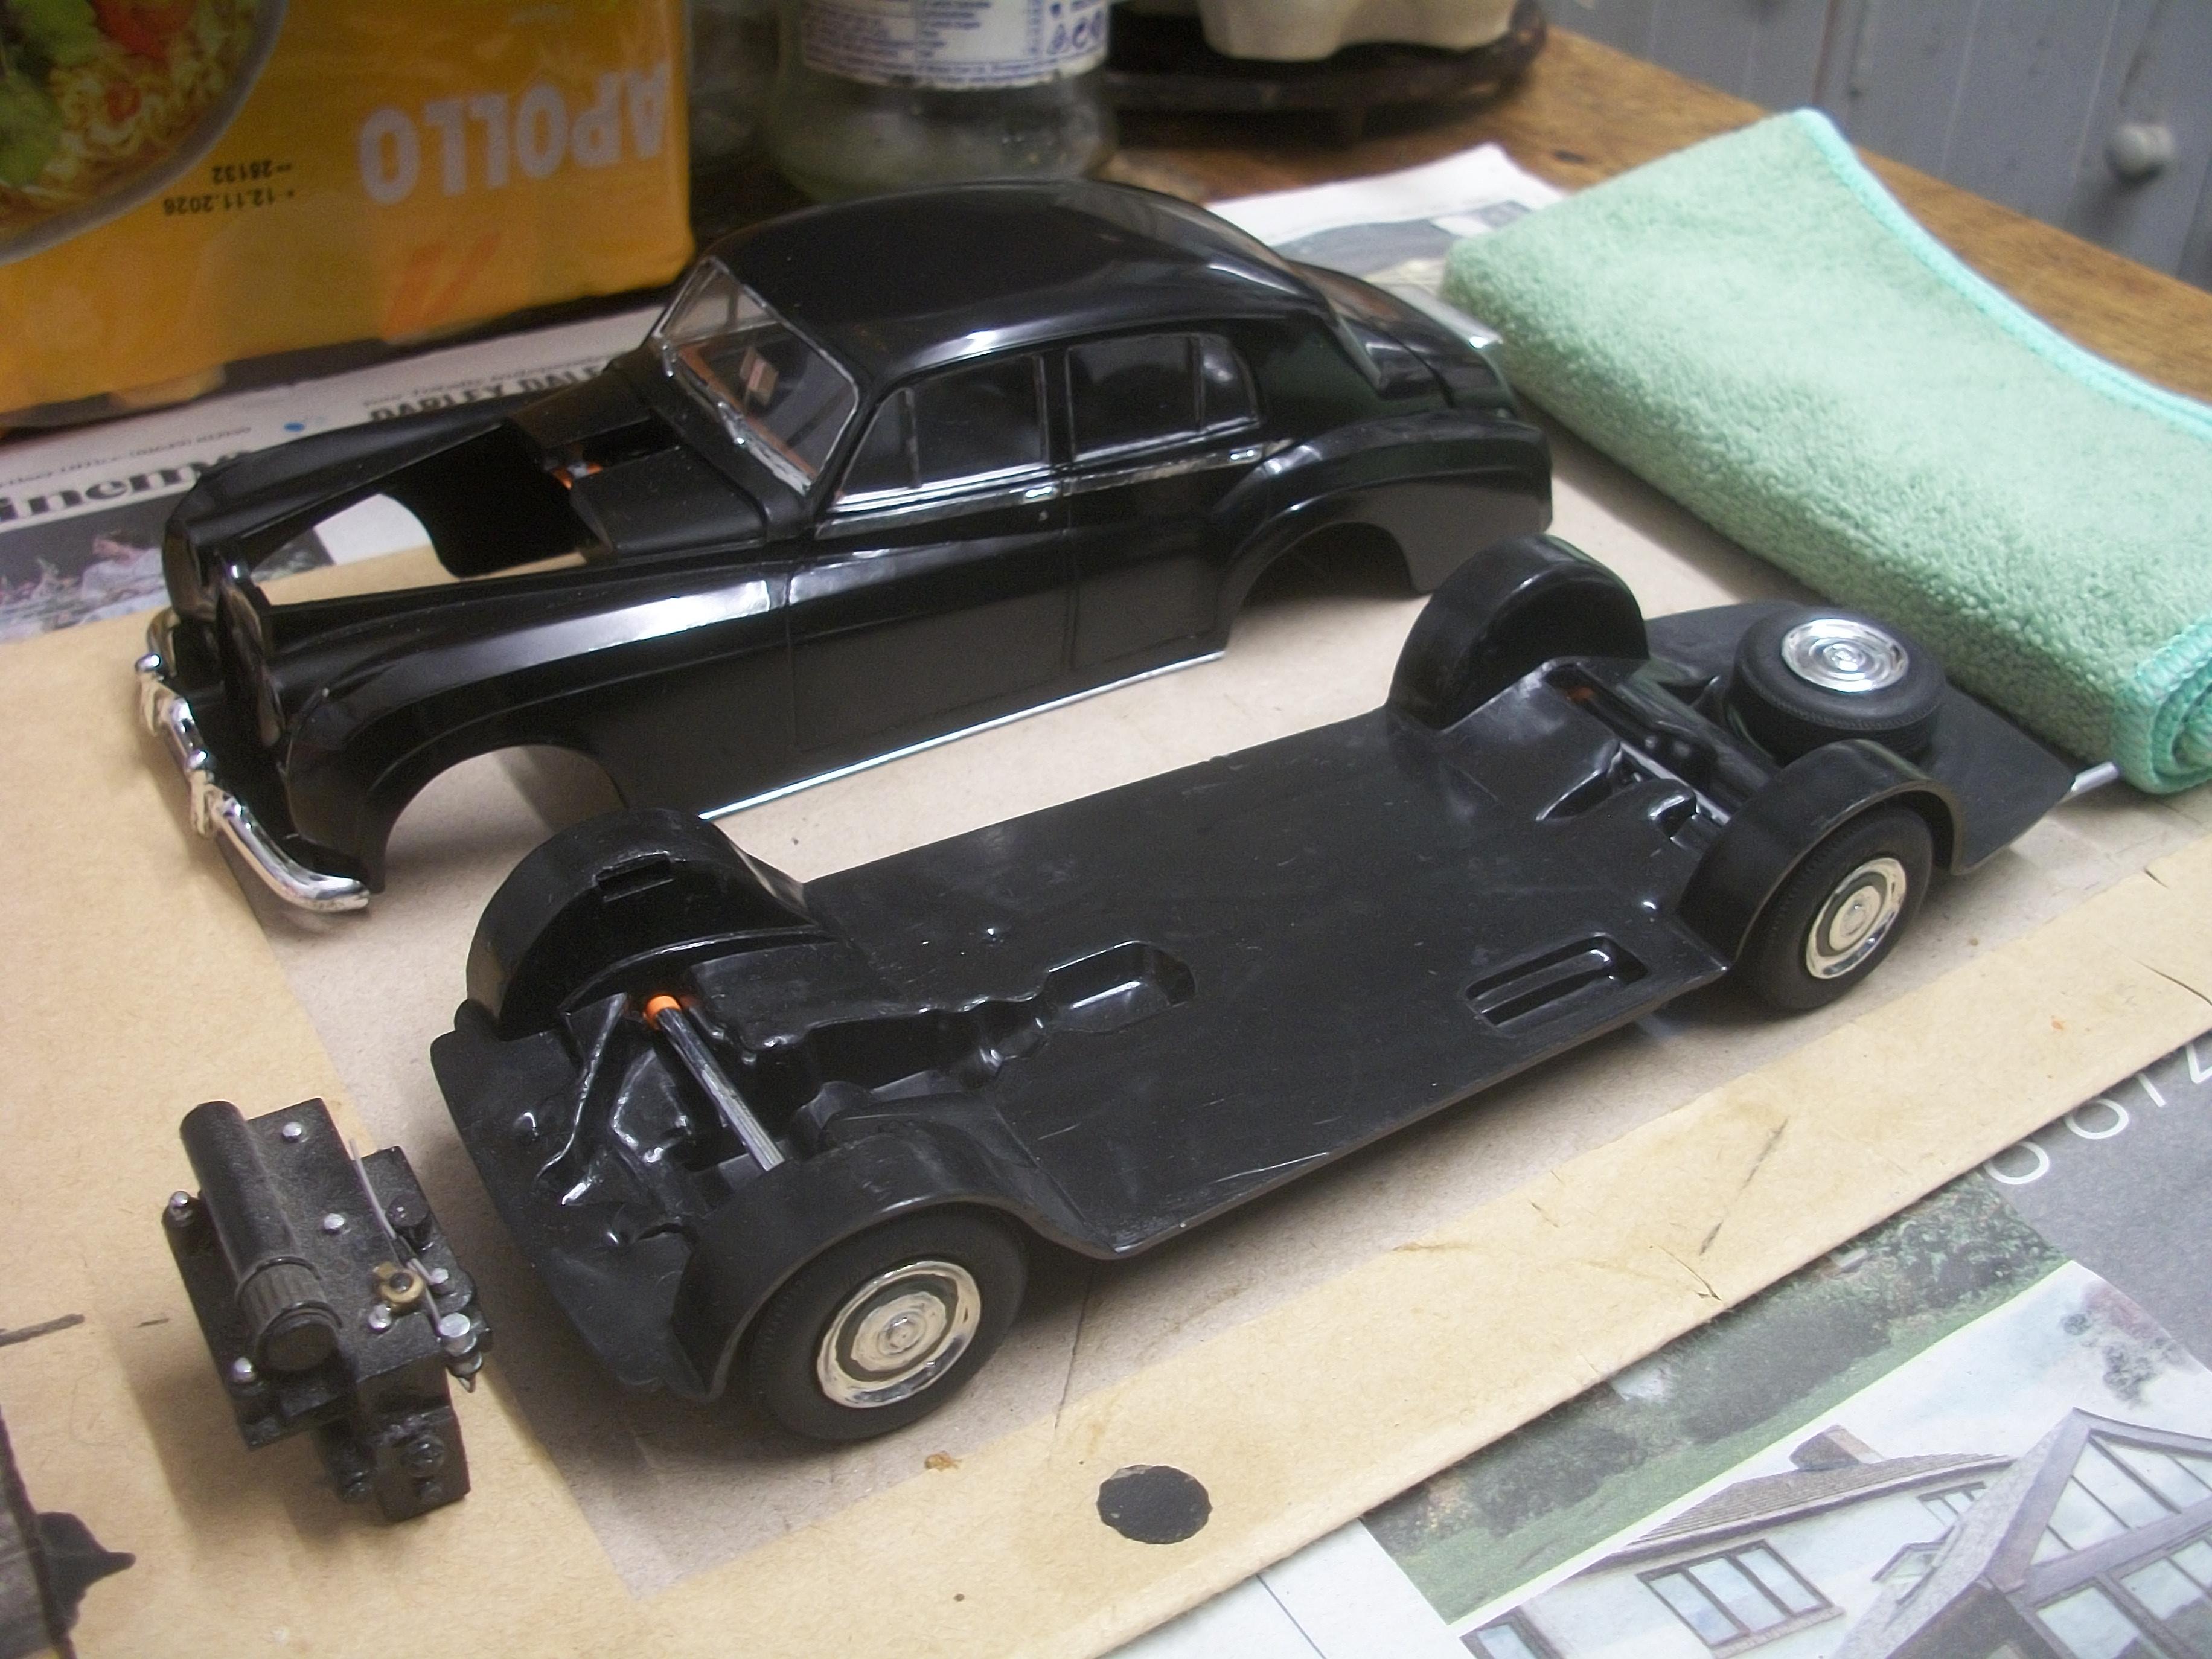
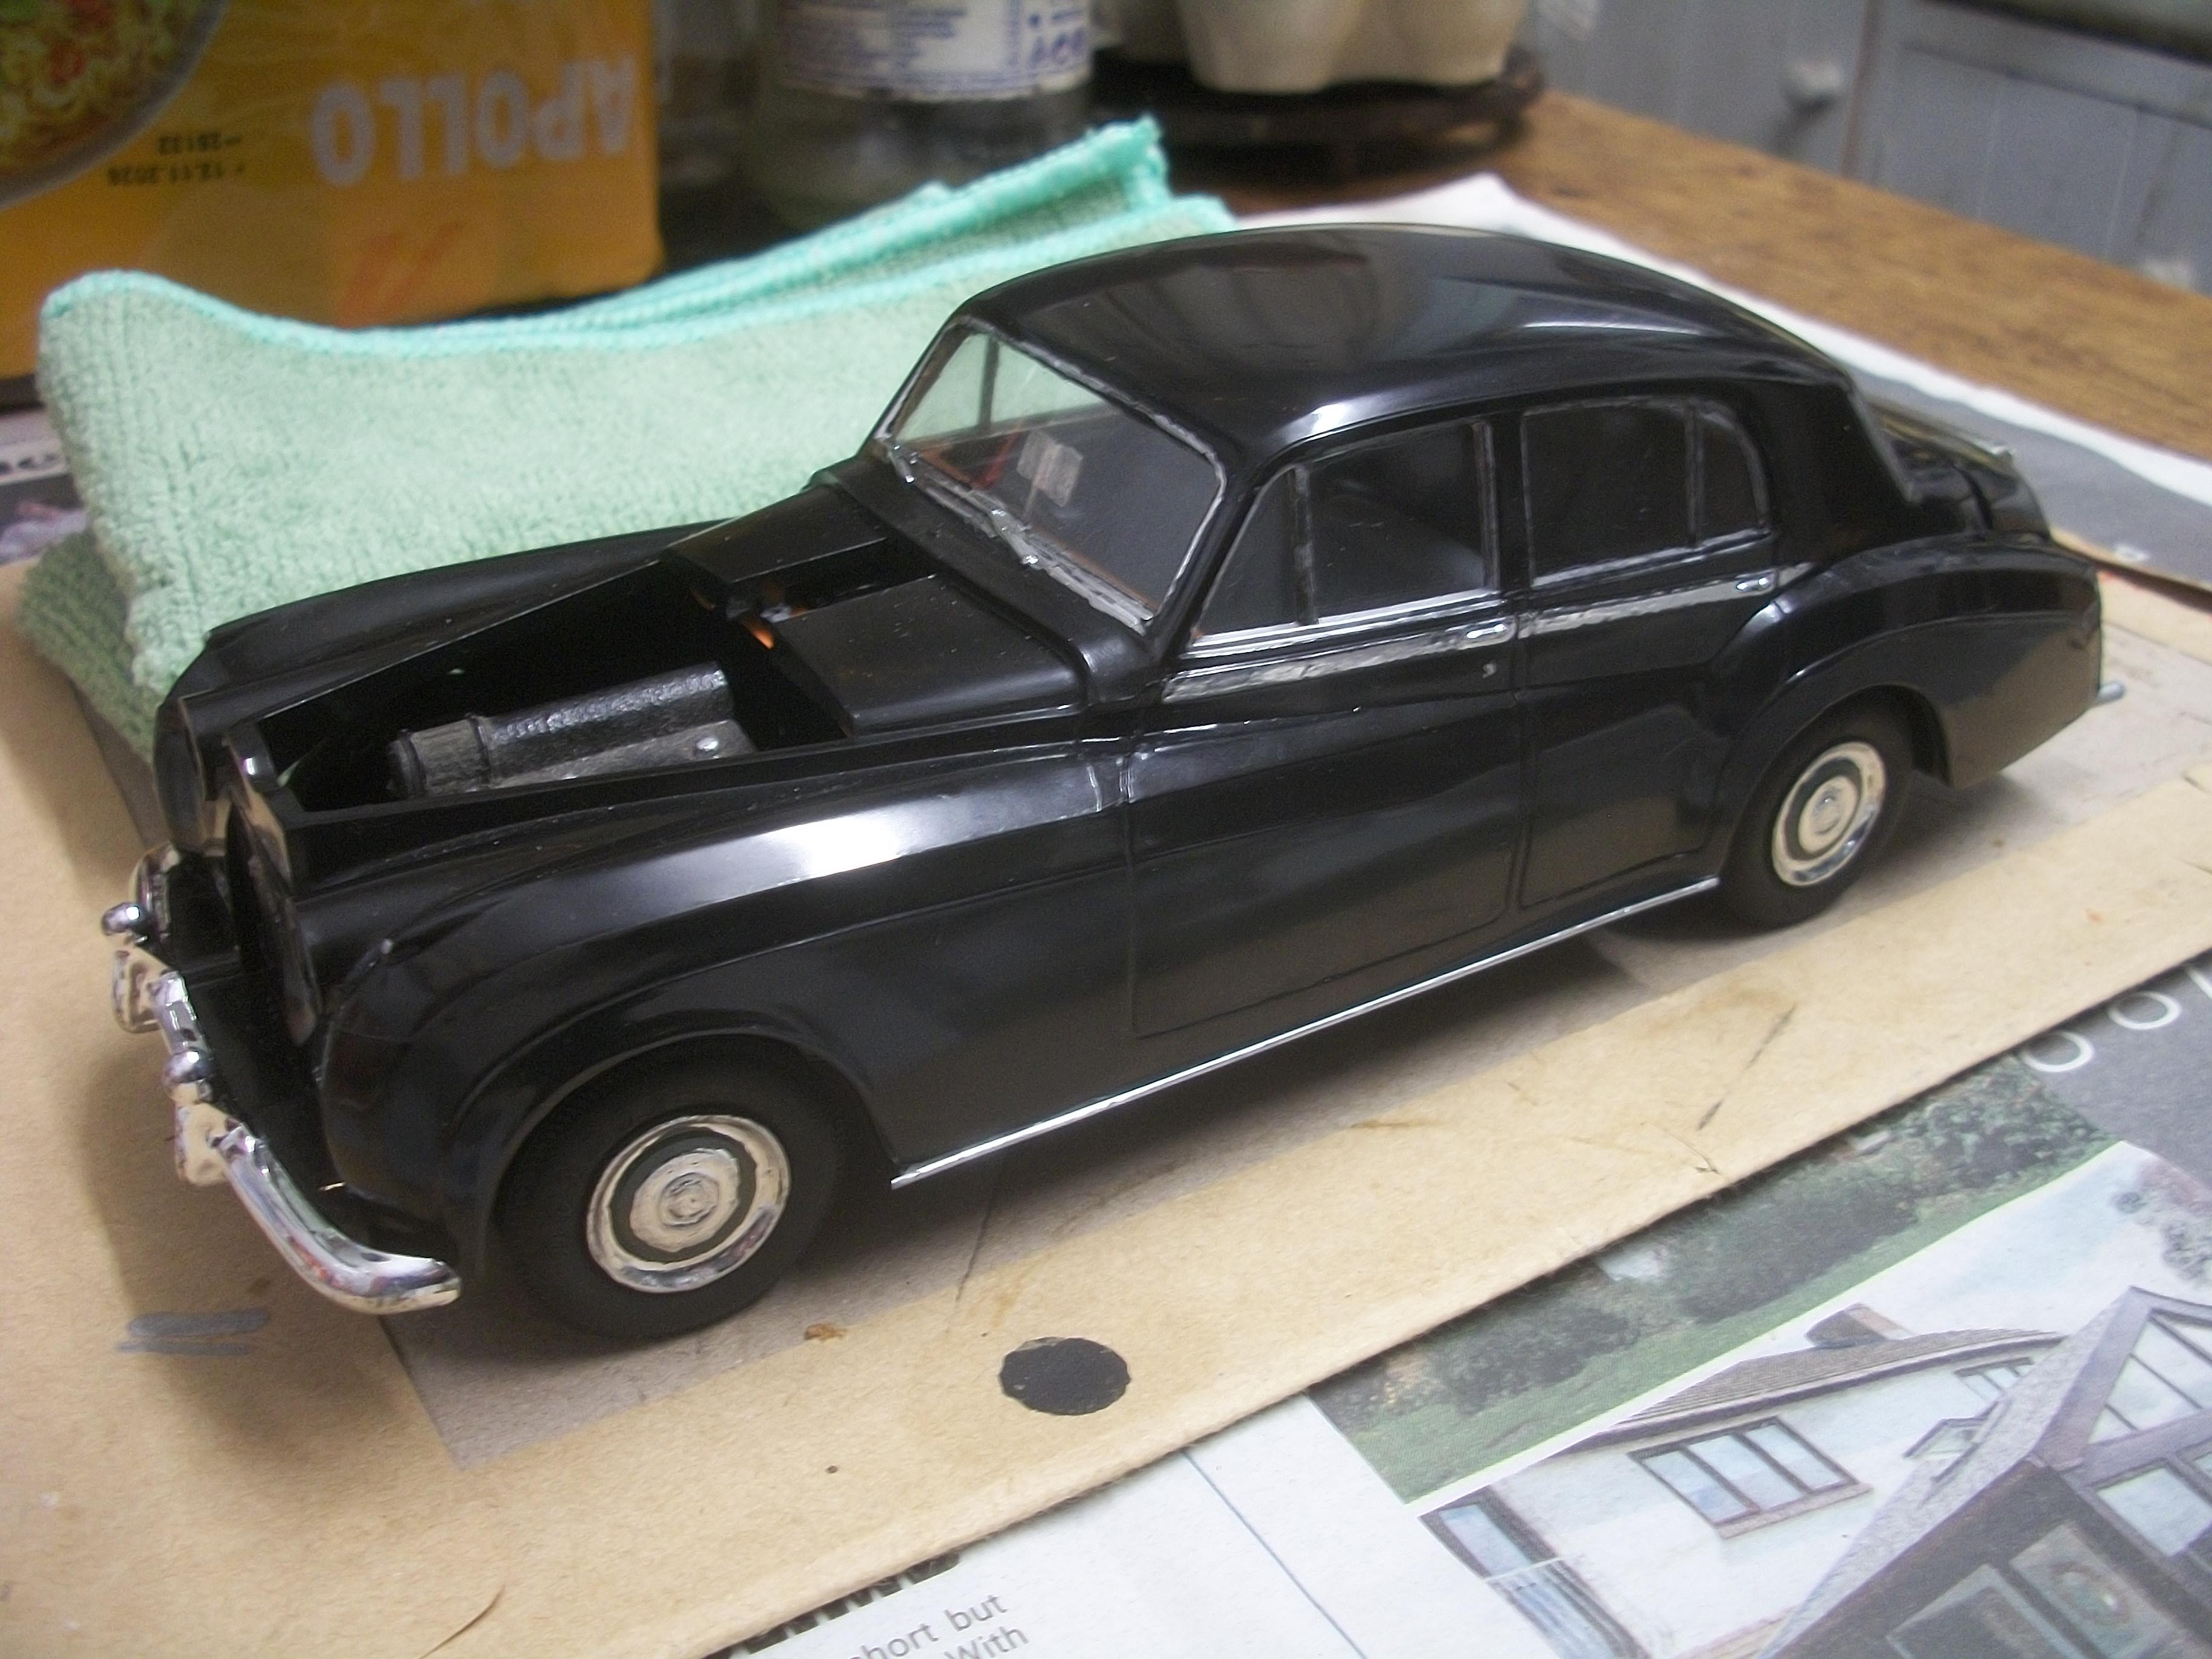
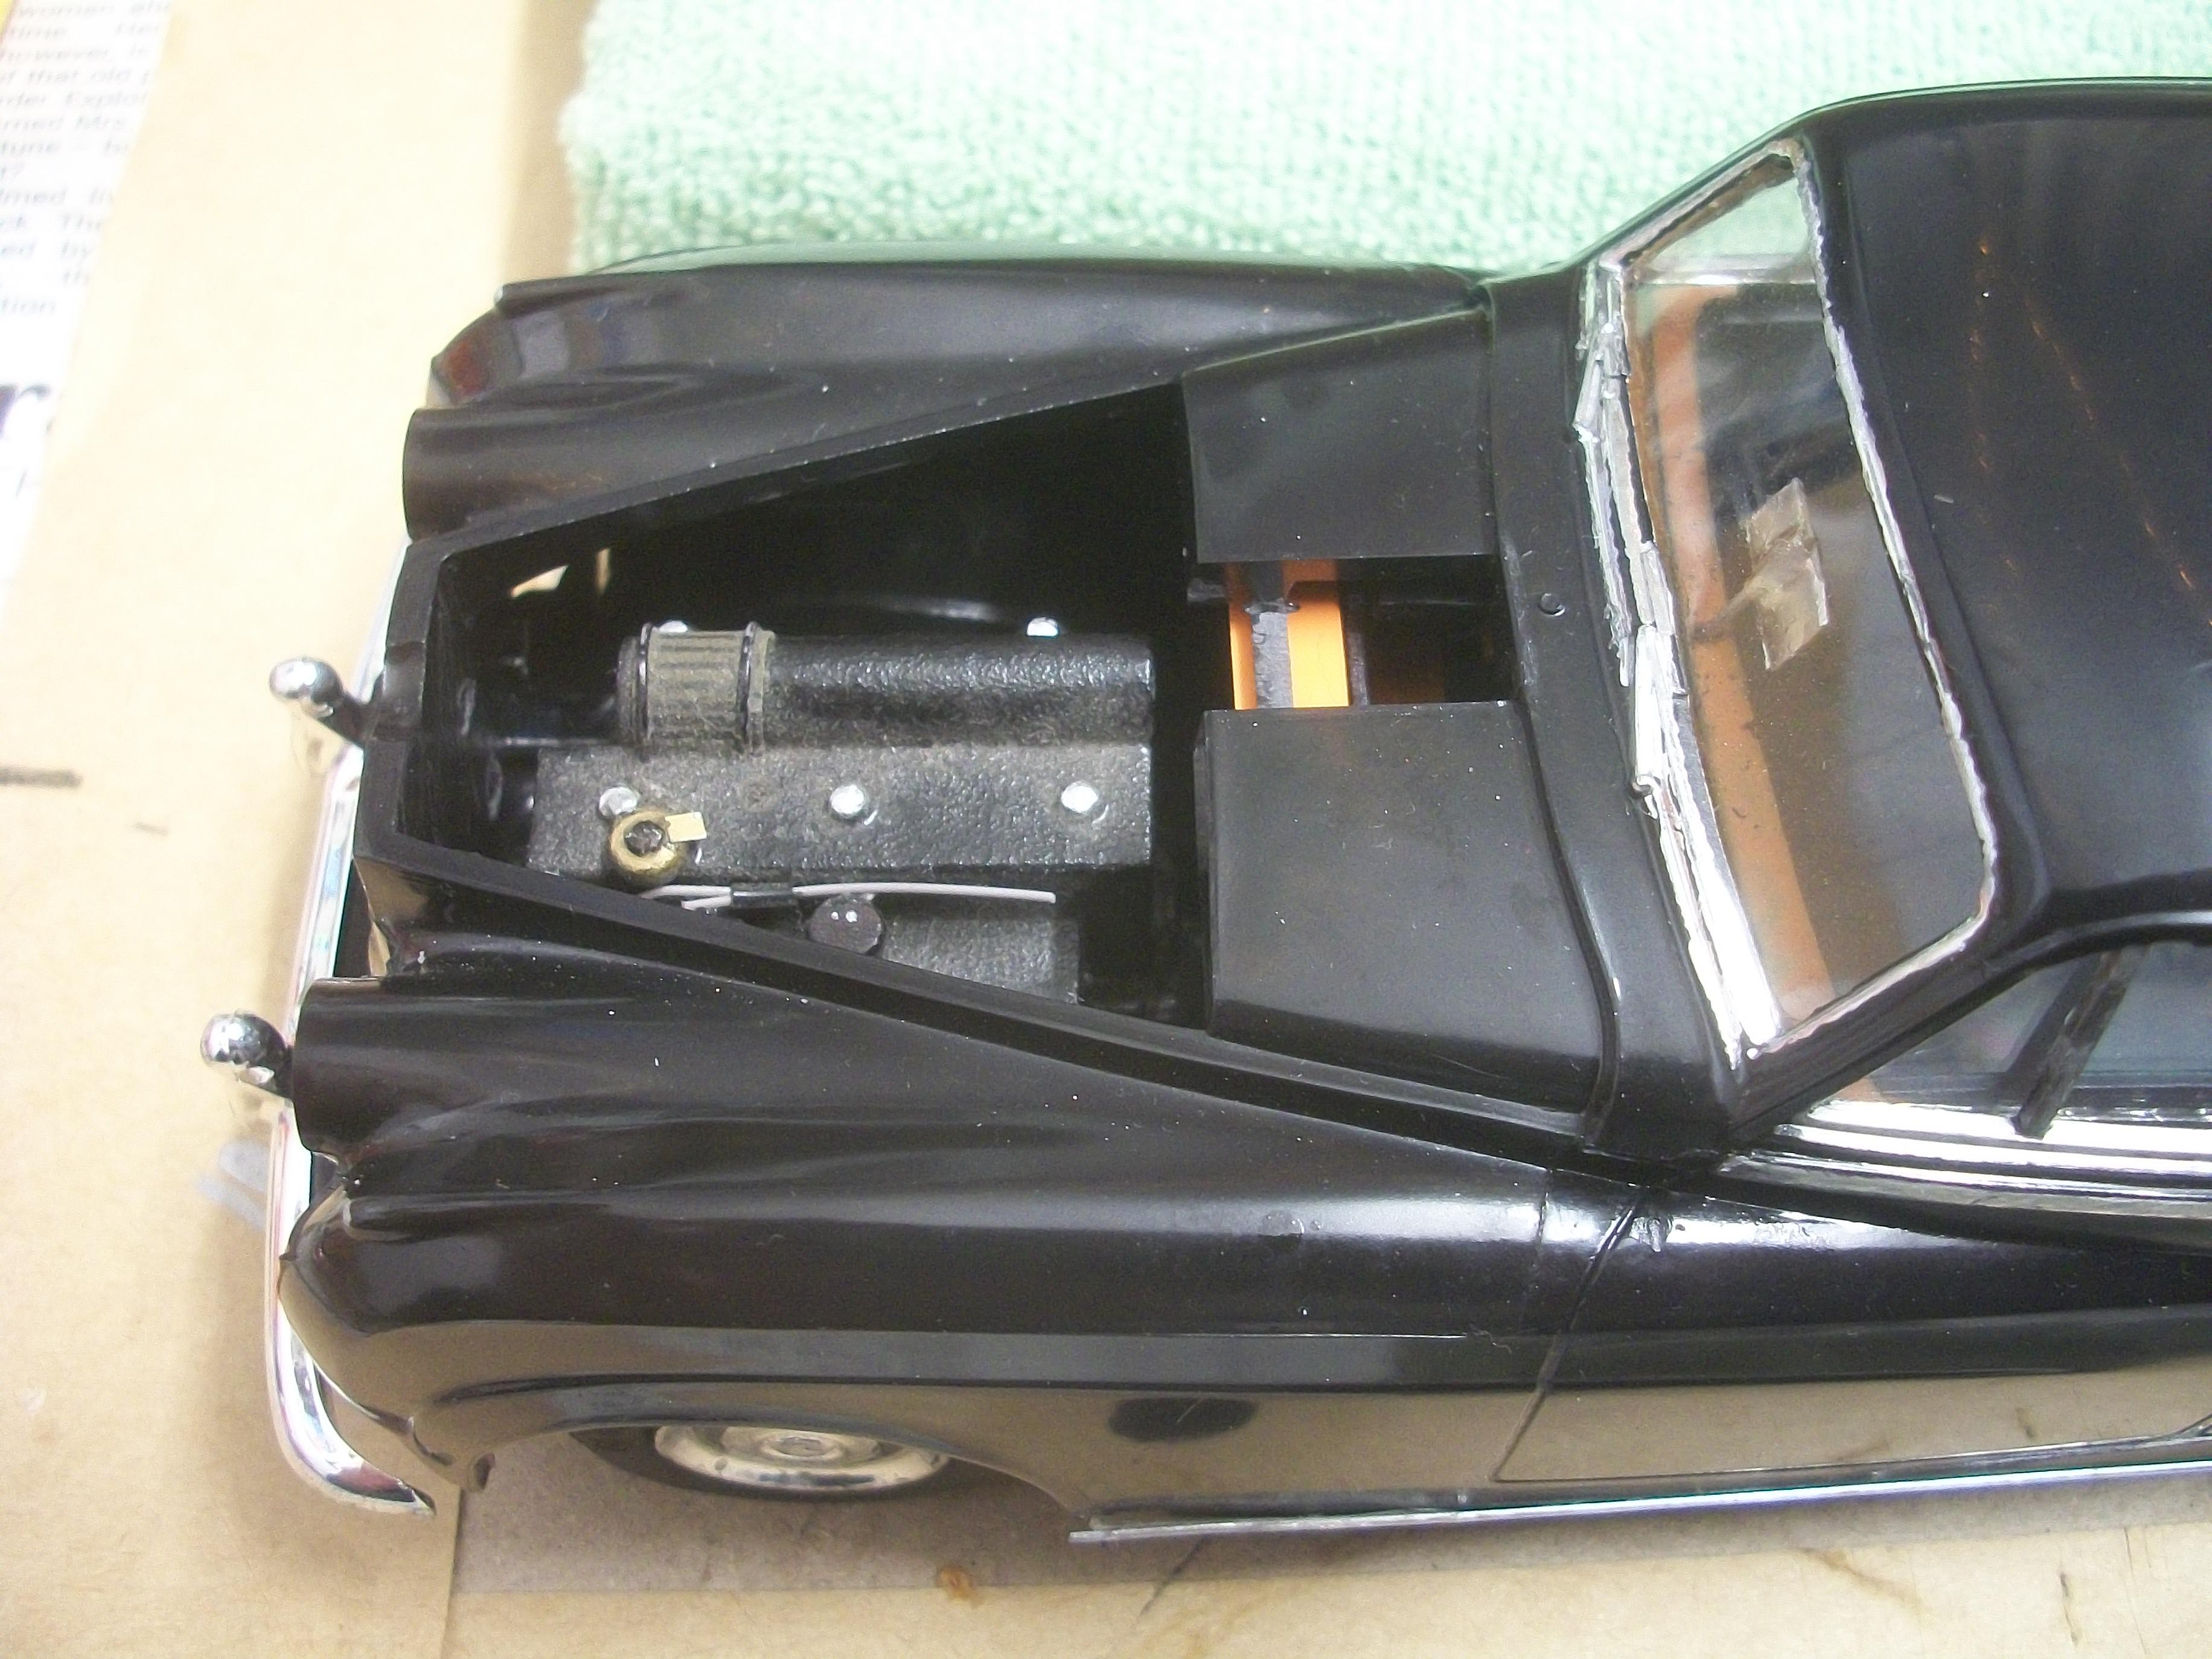
Here are three photos of the recent work . . . This is body on rolling chassis, with interior tub dry fitted, and the engine is test fitted only at this stage. David
-
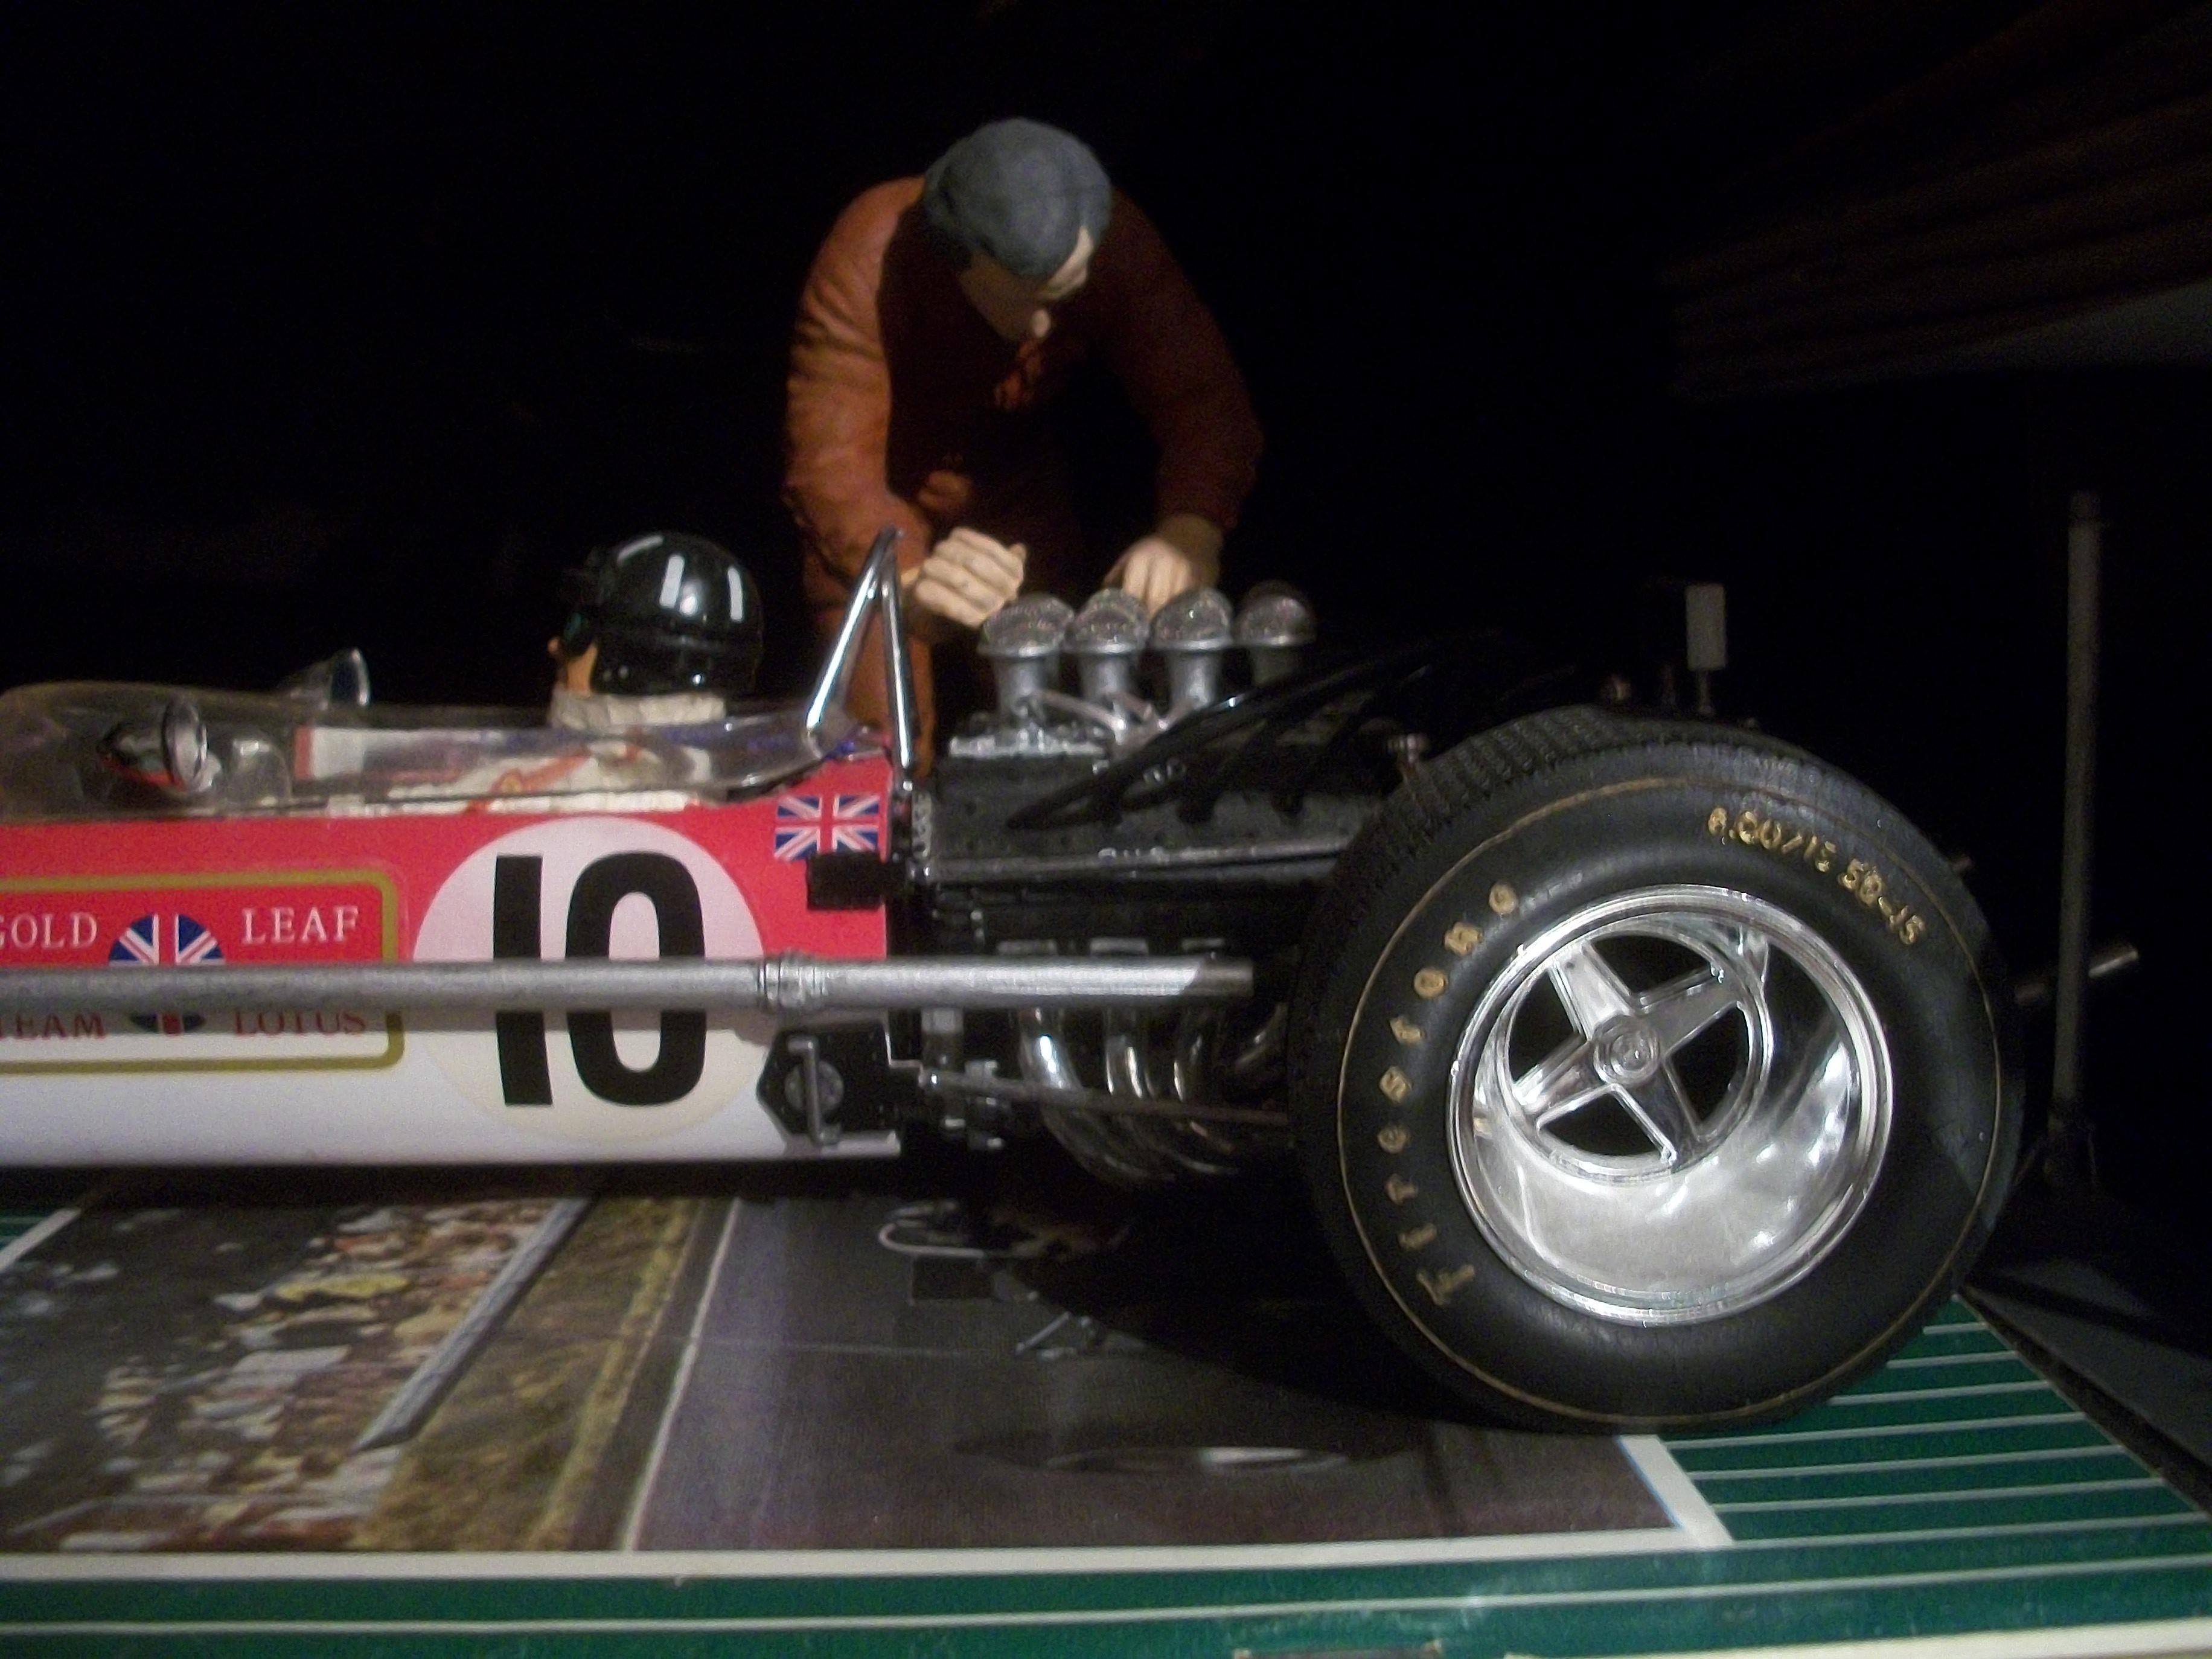
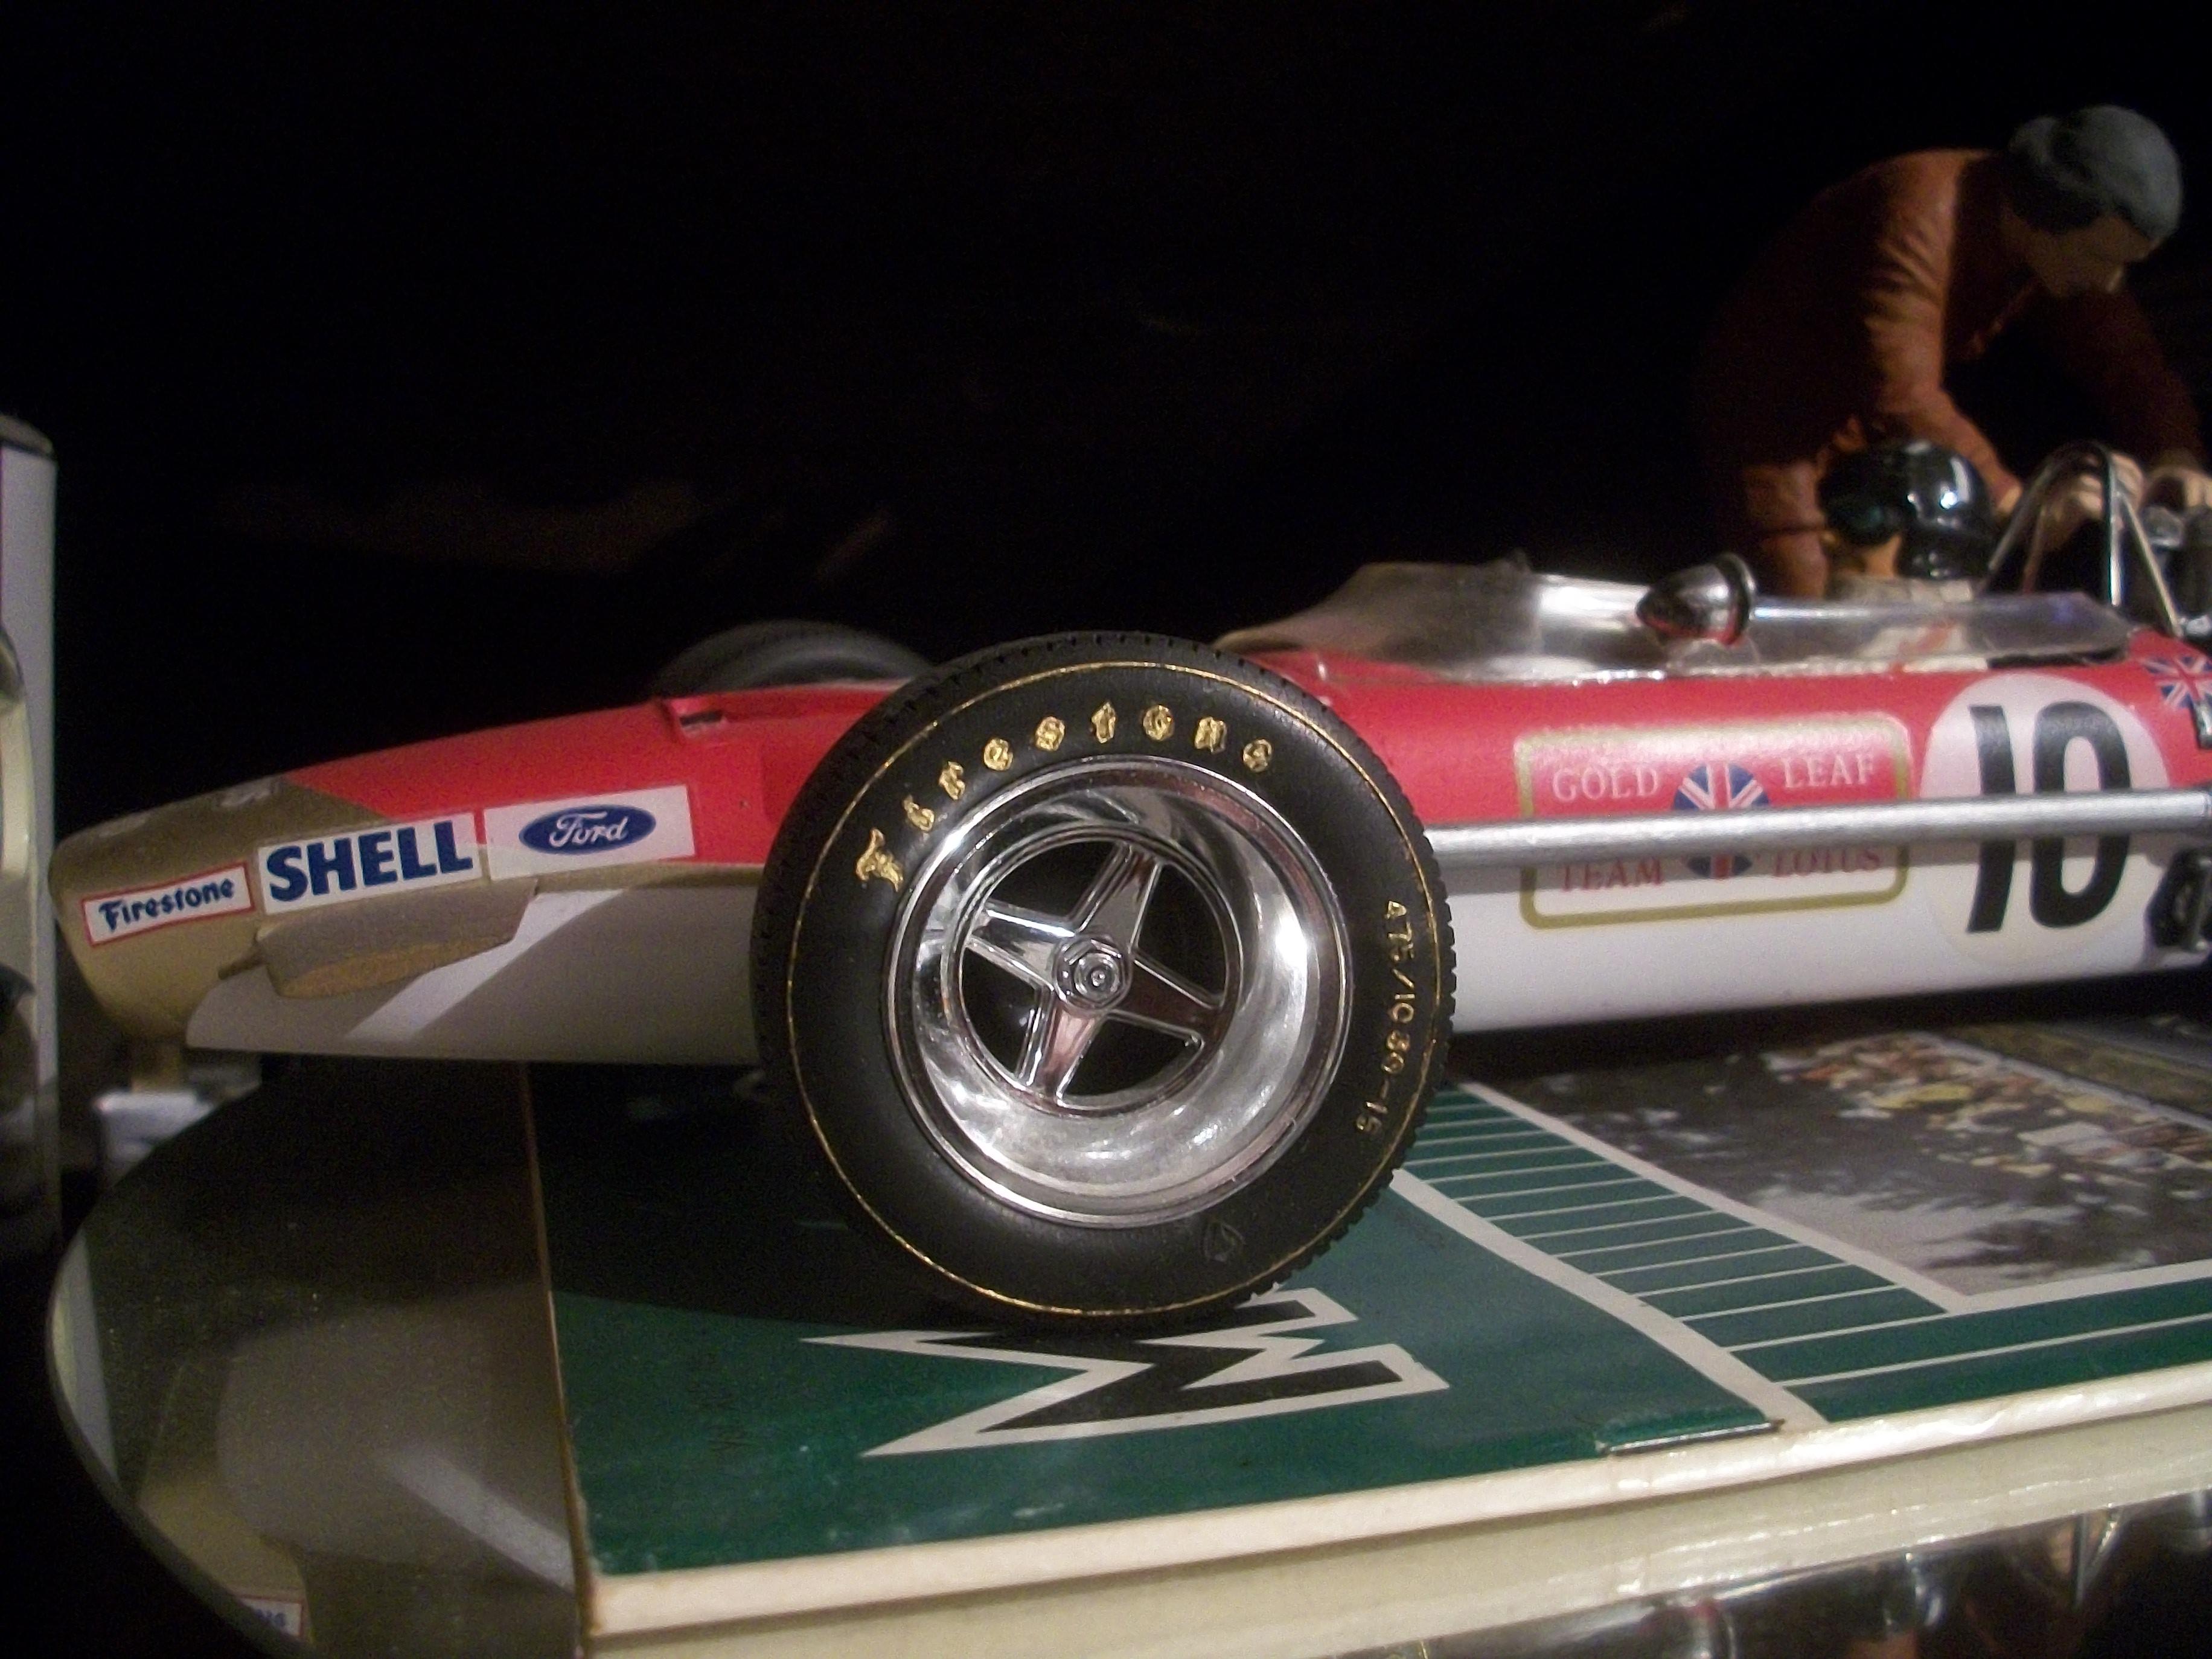
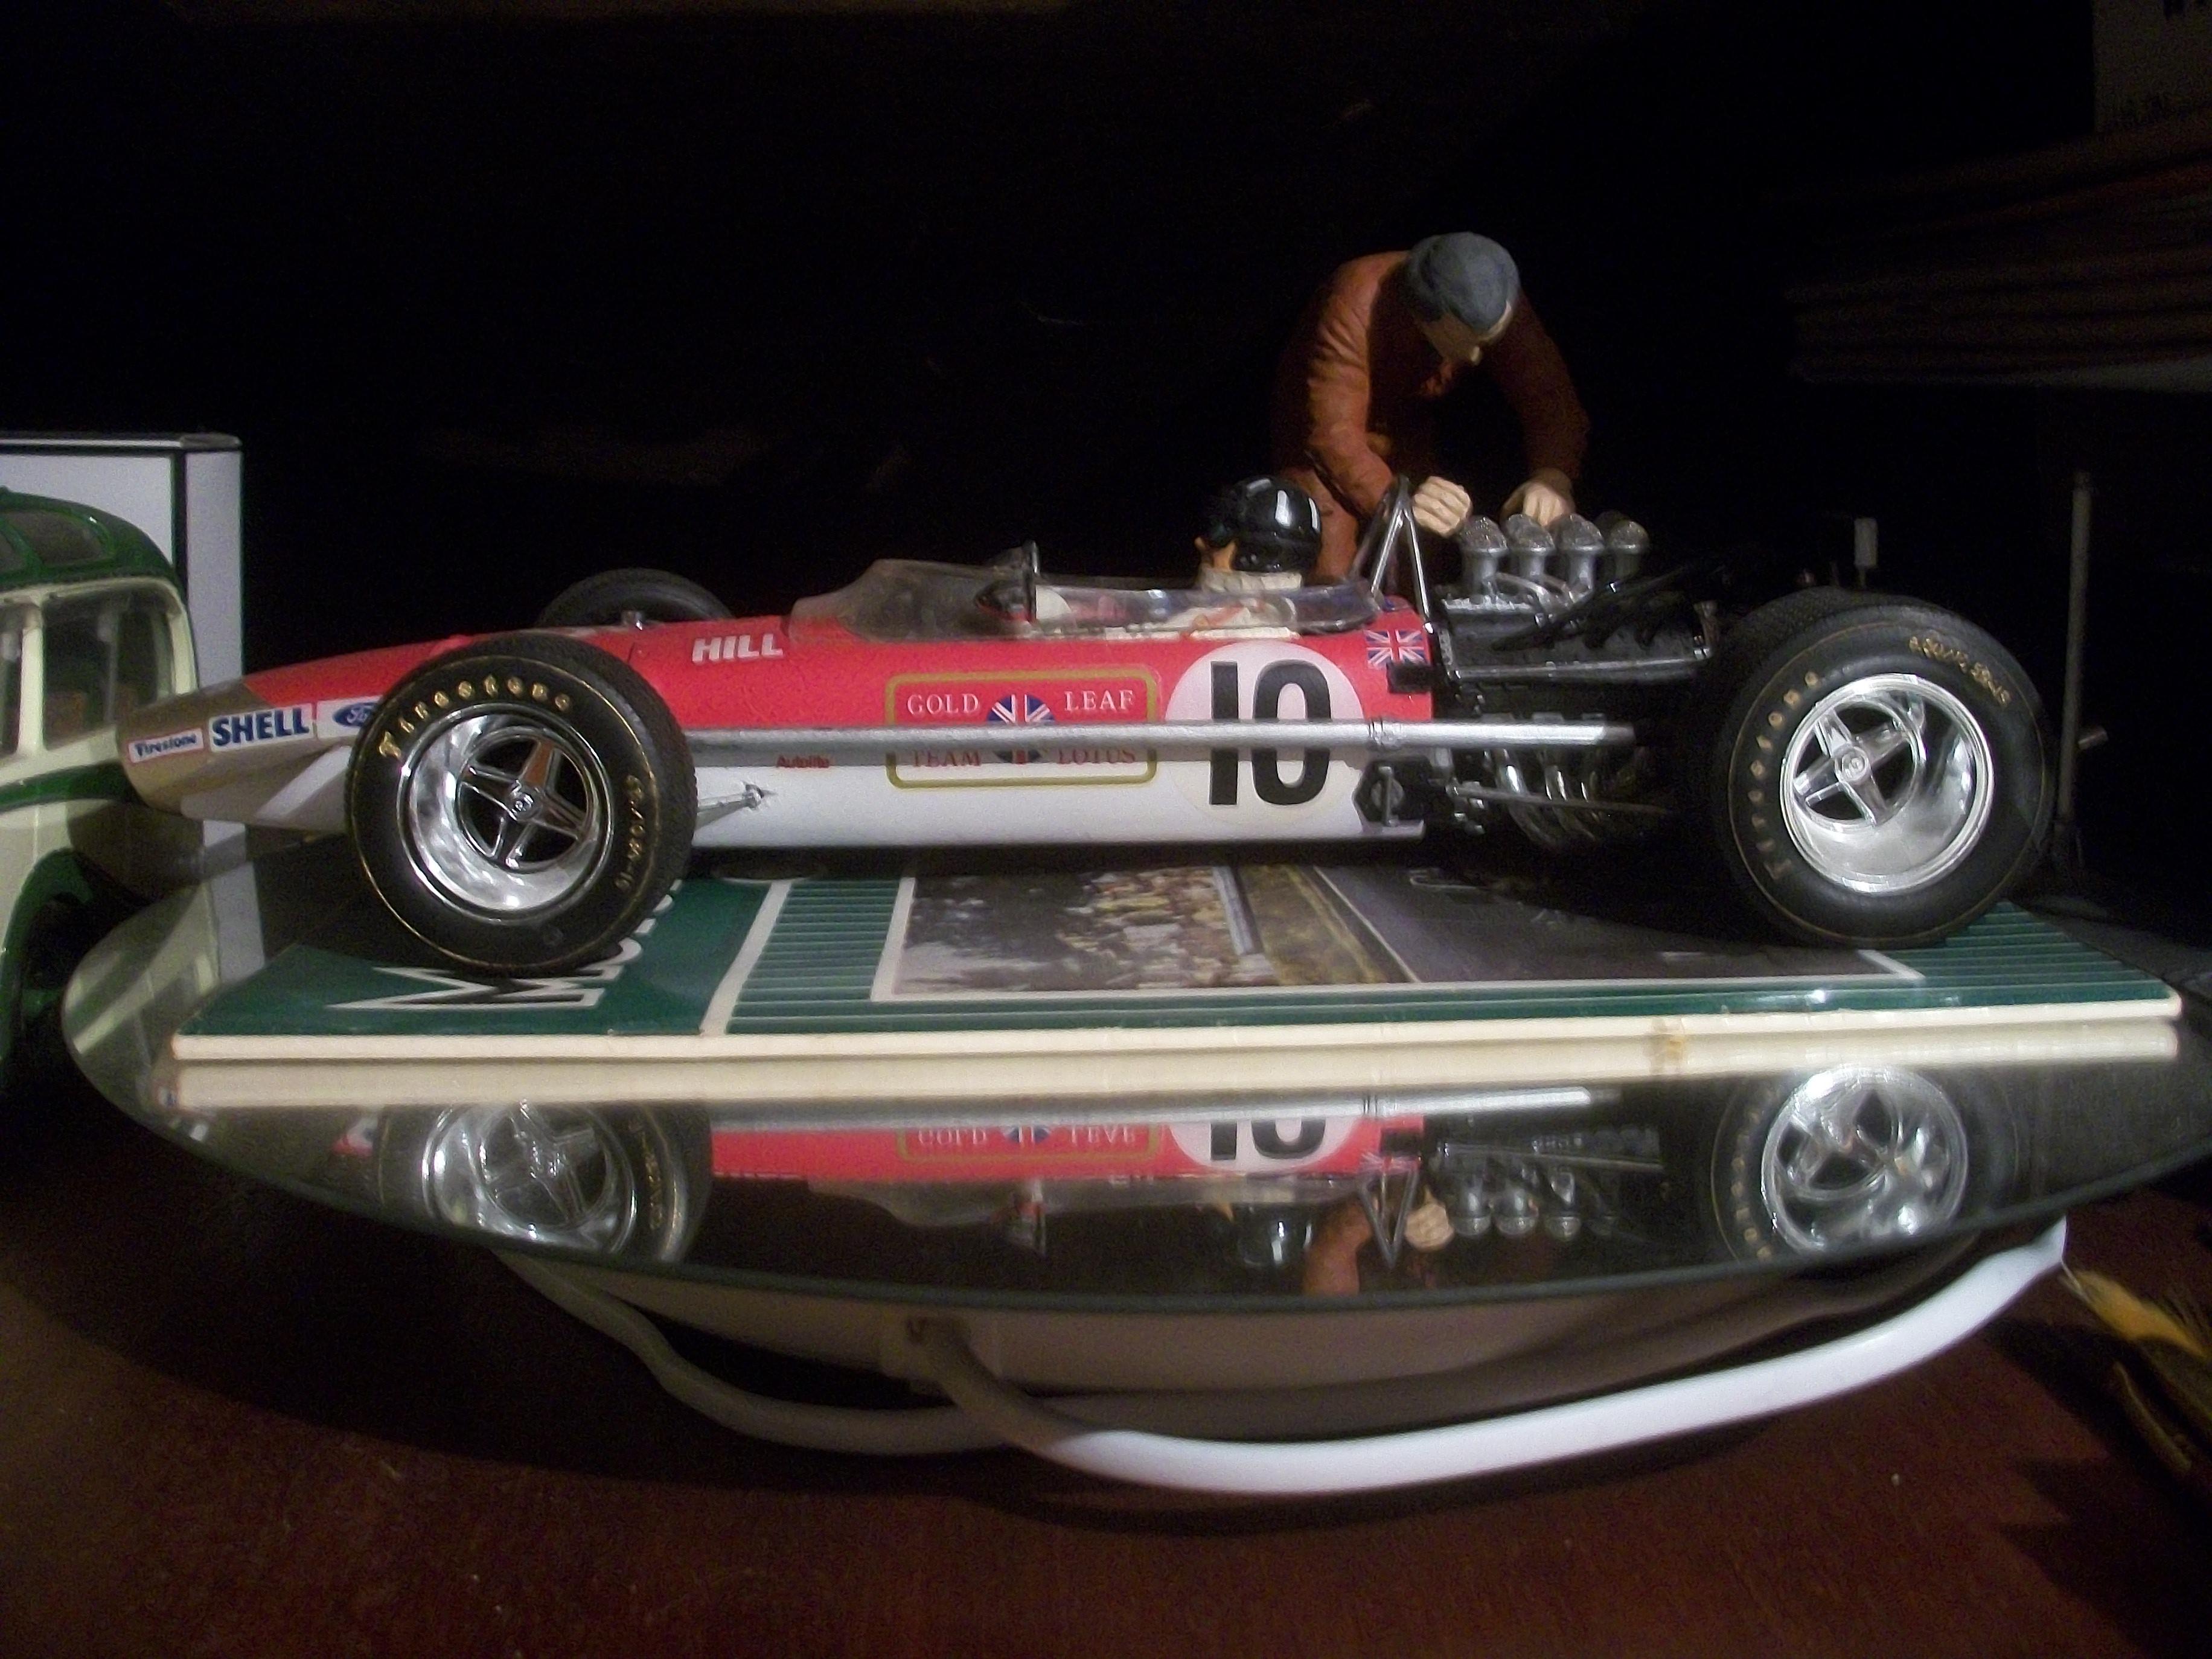
I remember putting the gold stripes and gold lettering on the Firestone tyres for my build of the 1:12 scale Tamiya Lotus 49B, which was the 1968 Graham Hill car. This was done with the fine tip of a cocktail stick (toothpick) and gold paint if I remember correctly . . . Here are three photos of the Firestone's . . . Good luck with those decals. 1:24 scale is way more difficult than 1:12 scale of course . . . David
-
The blue and gold colour combination looks good outdoors in natural daylight, and the seating position for the driver is well protected. David
-
Rolls-Royce No Chemicals, No Paint, No Harmful Glues
Anglia105E replied to Anglia105E's topic in WIP: Model Cars
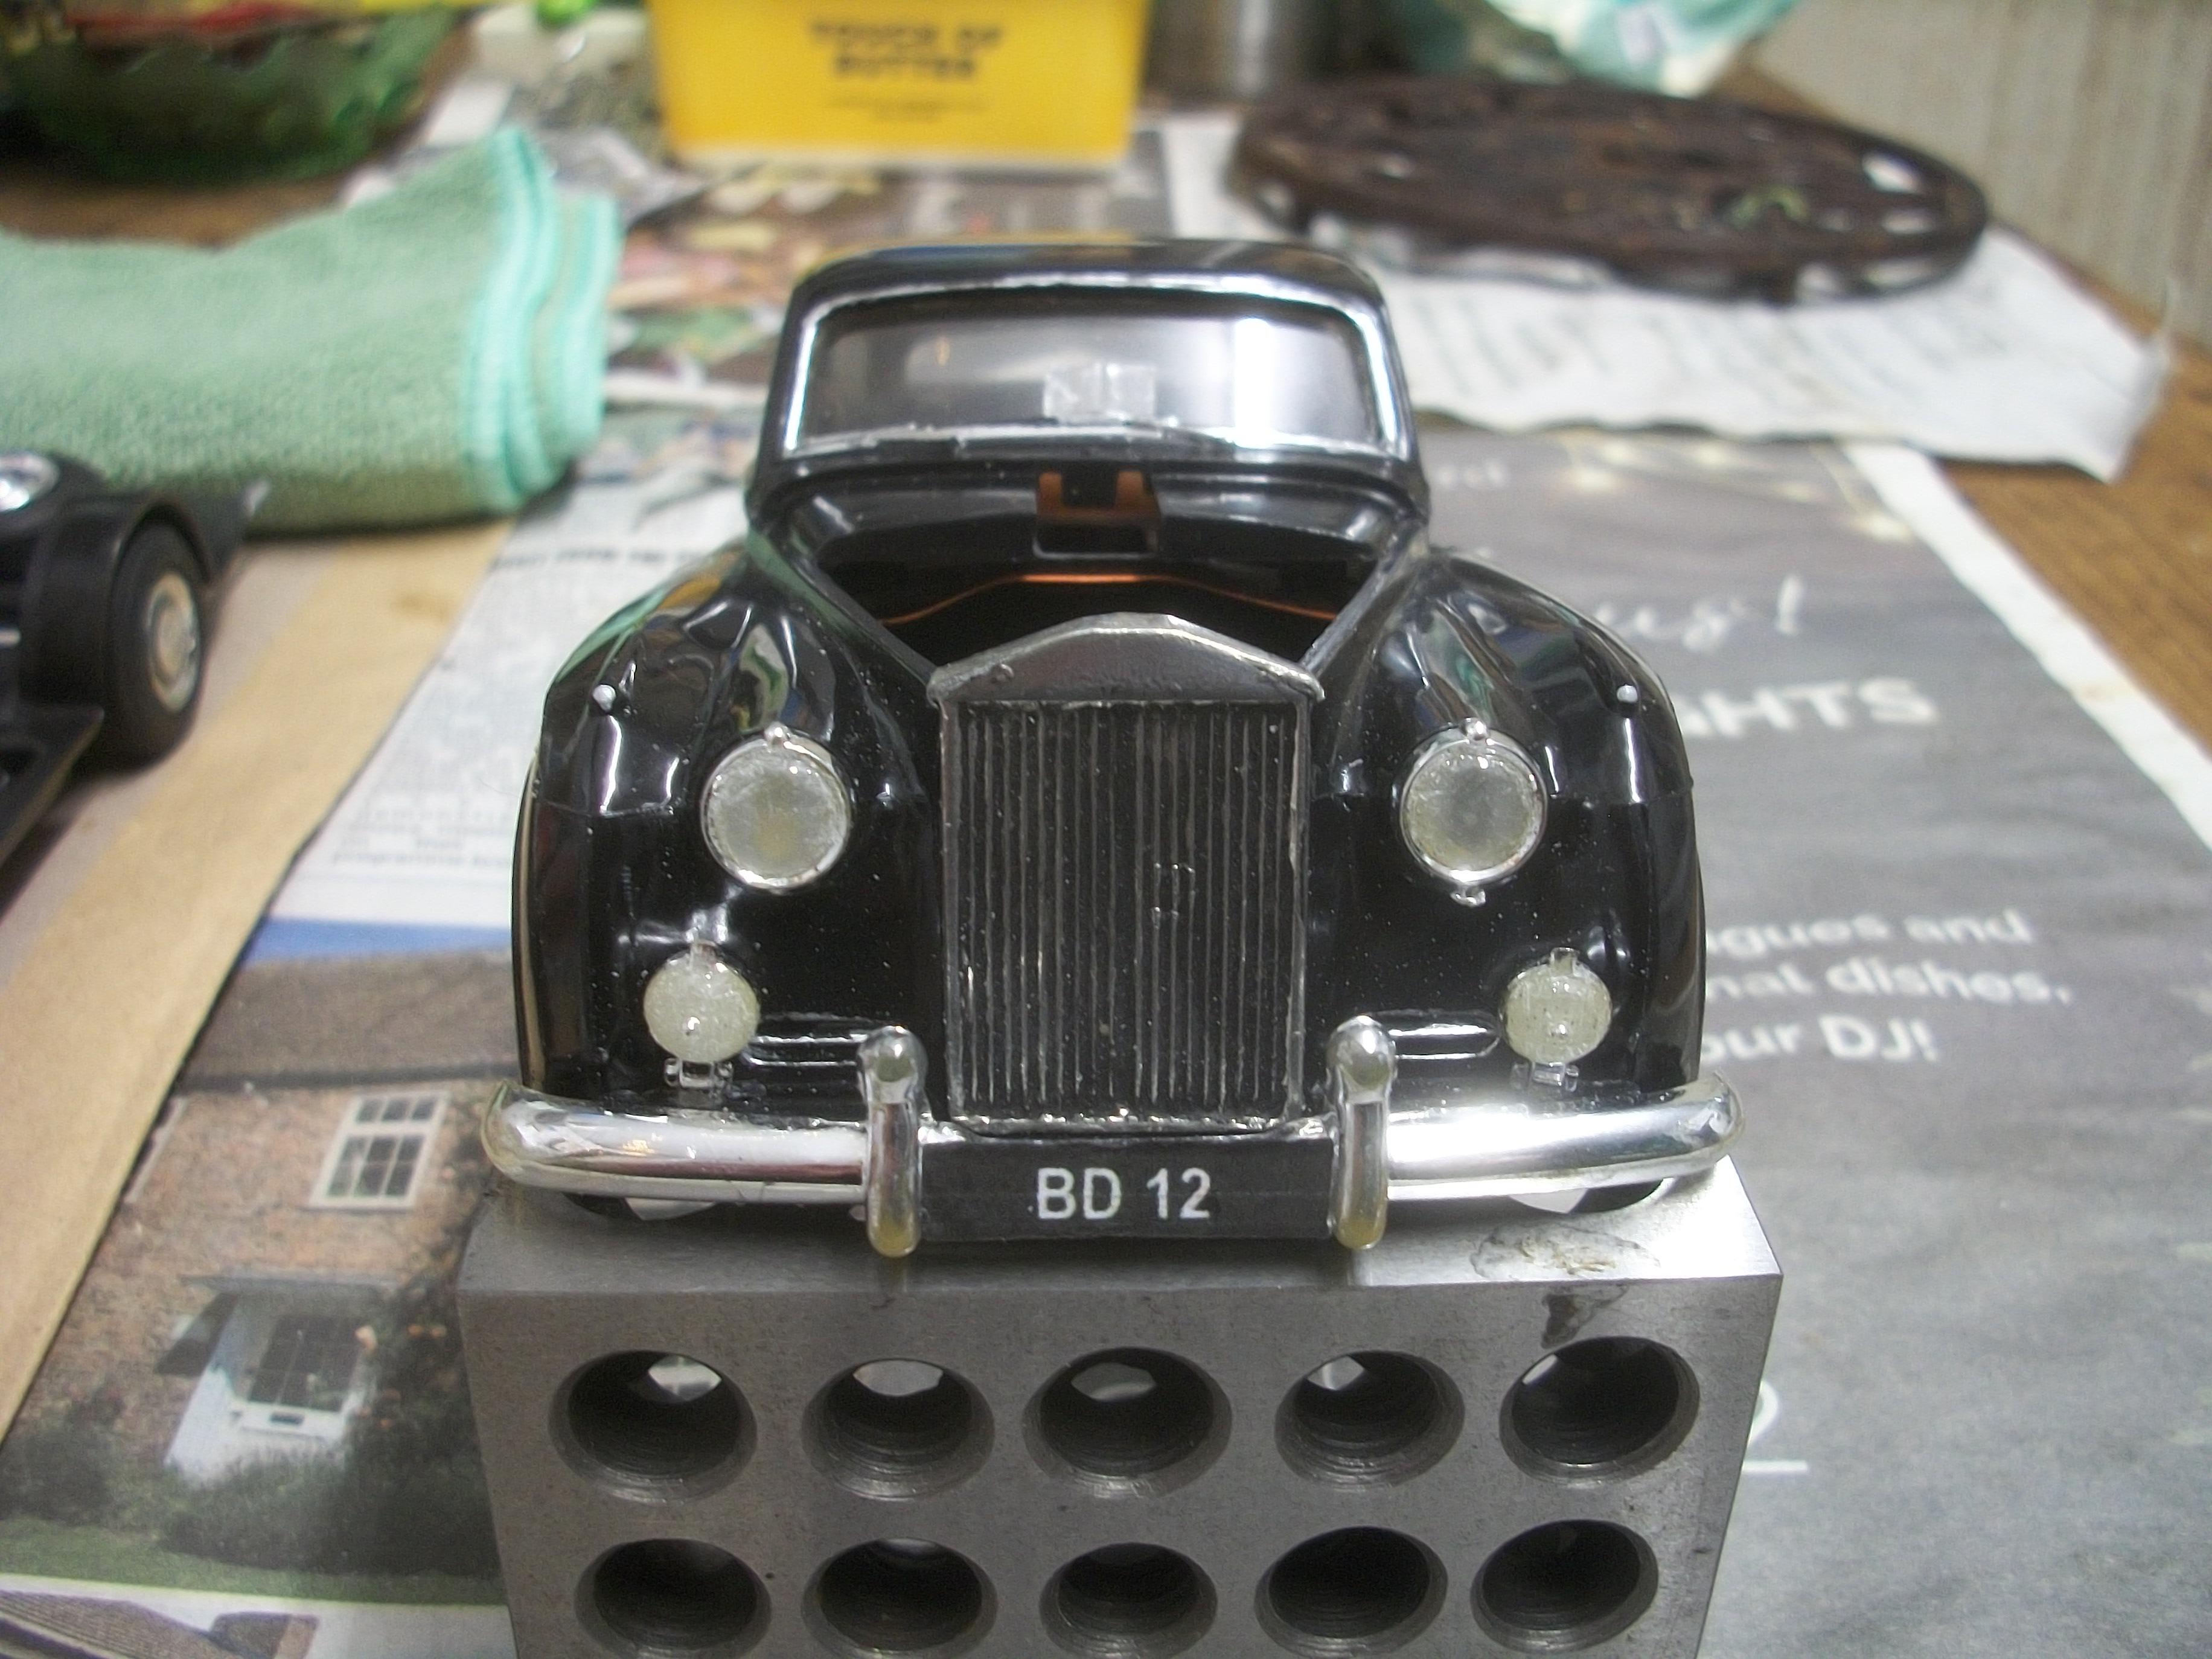
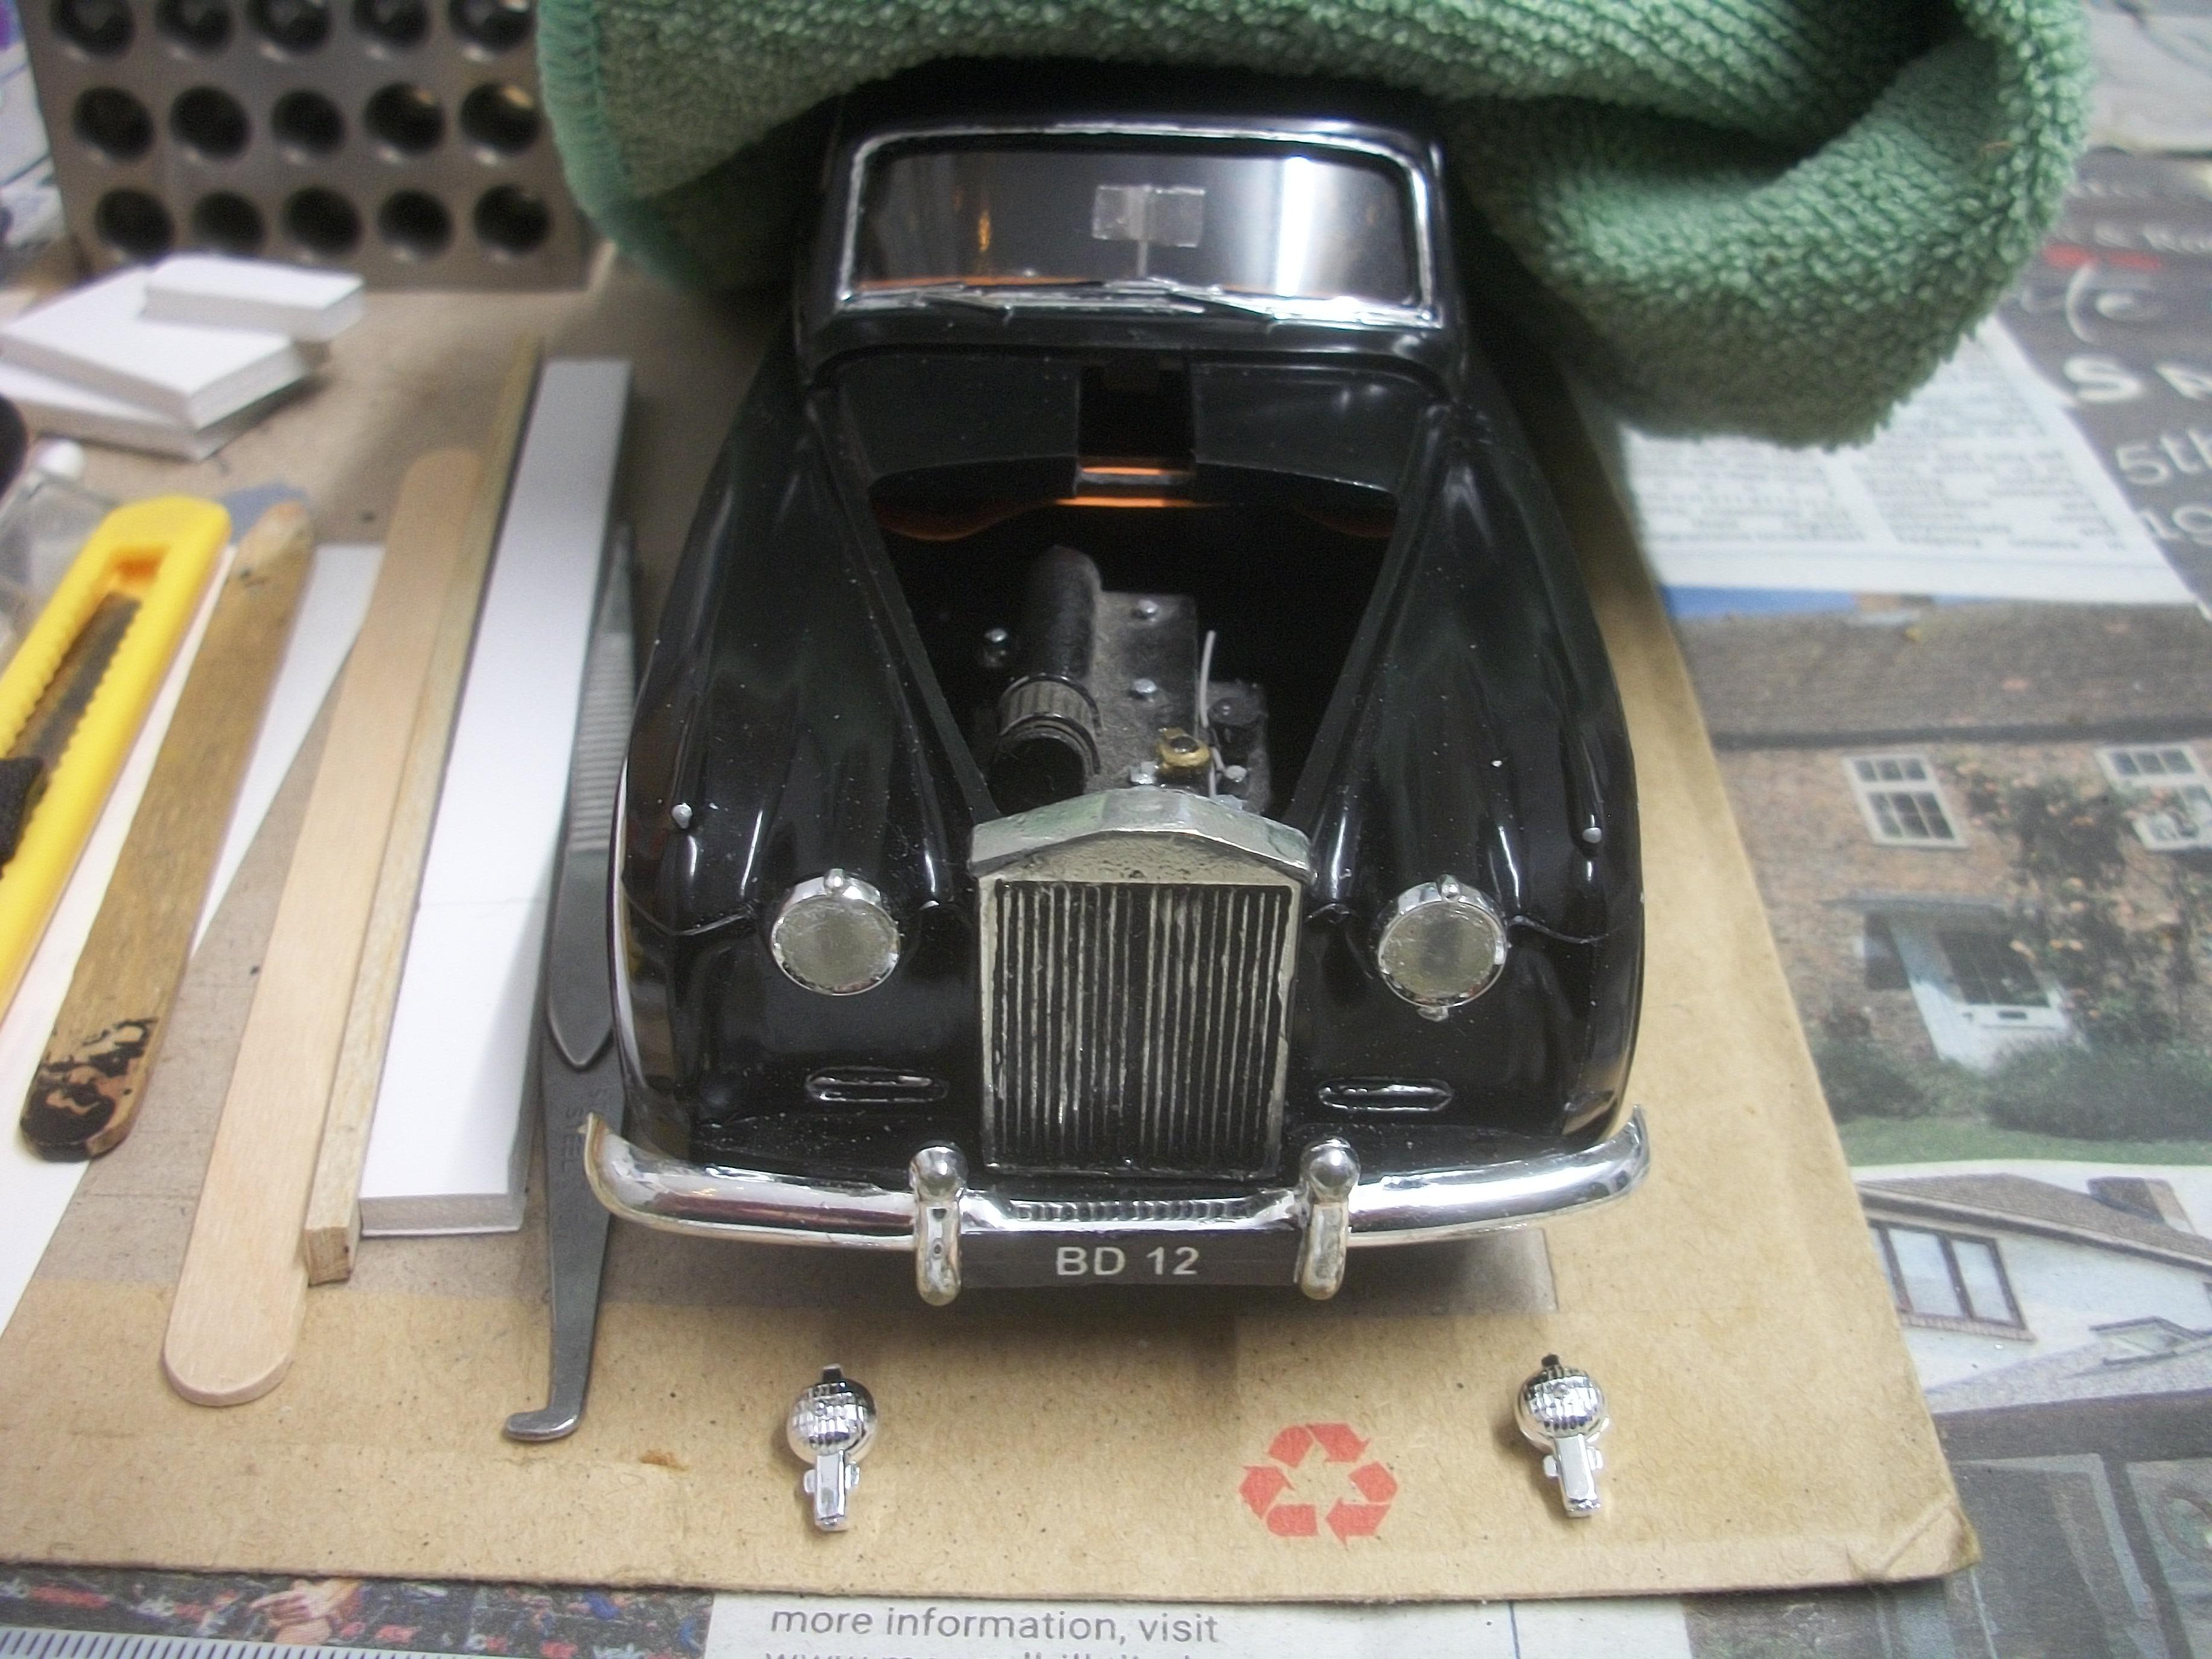
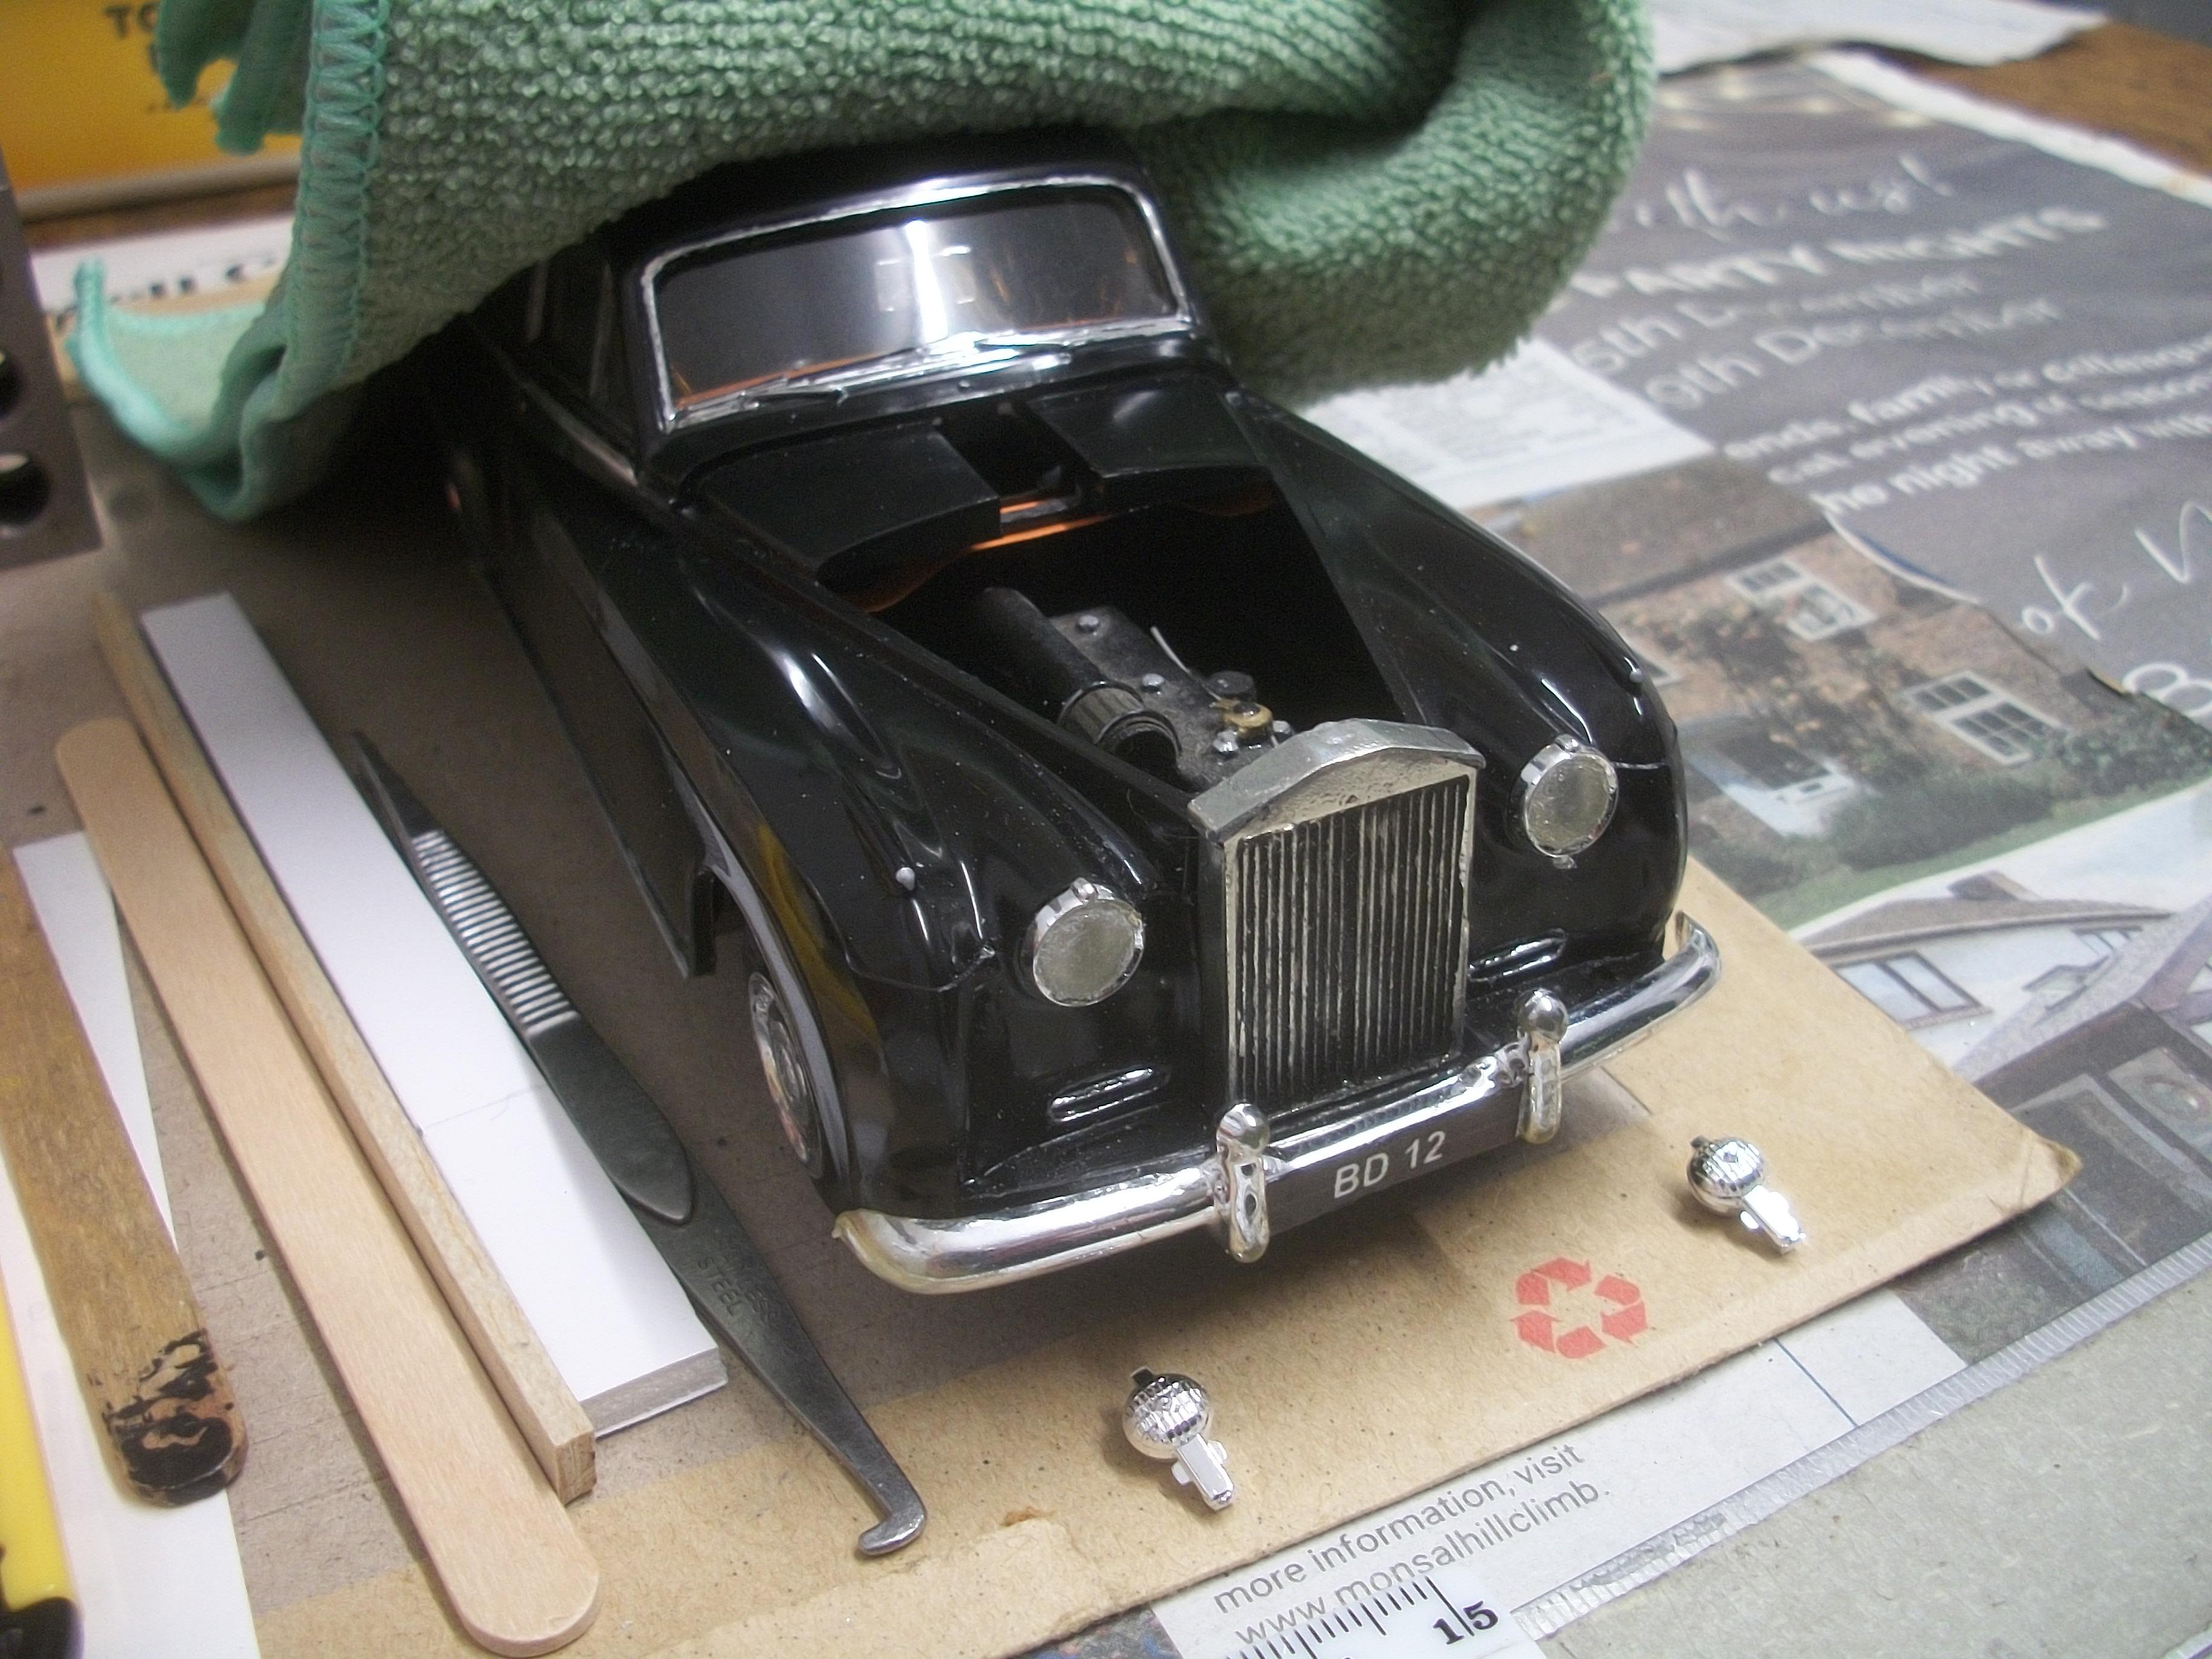
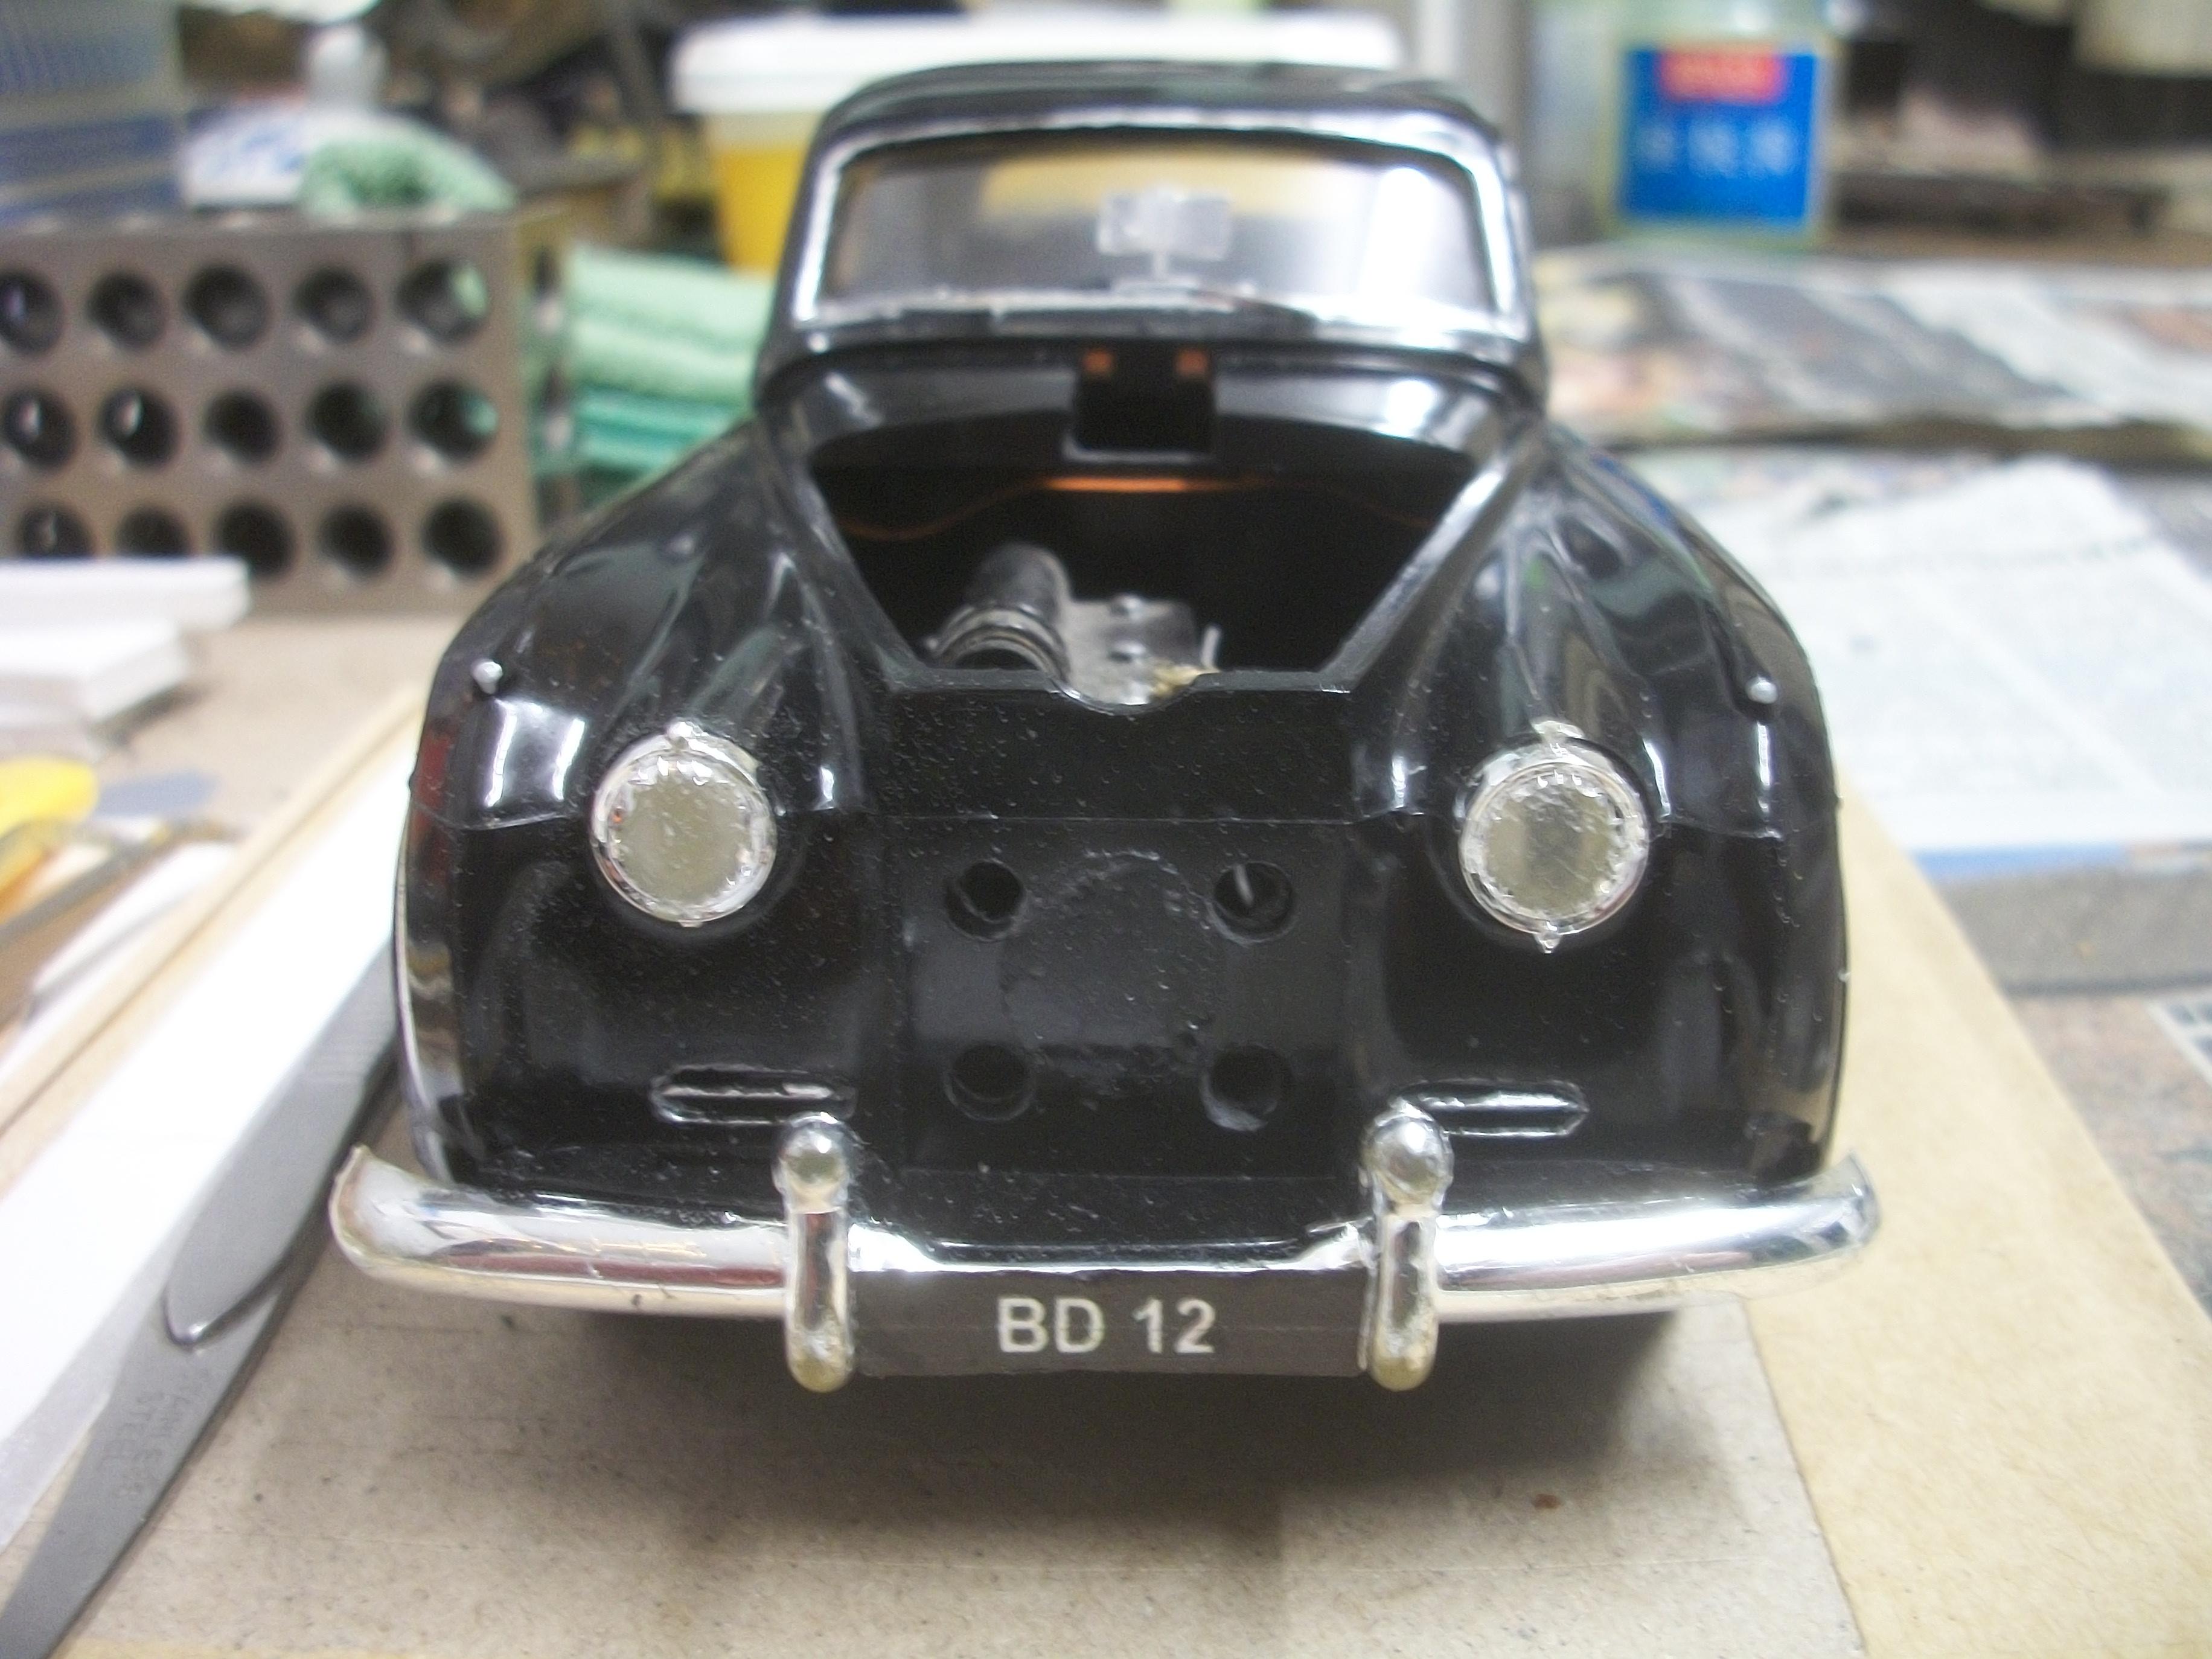
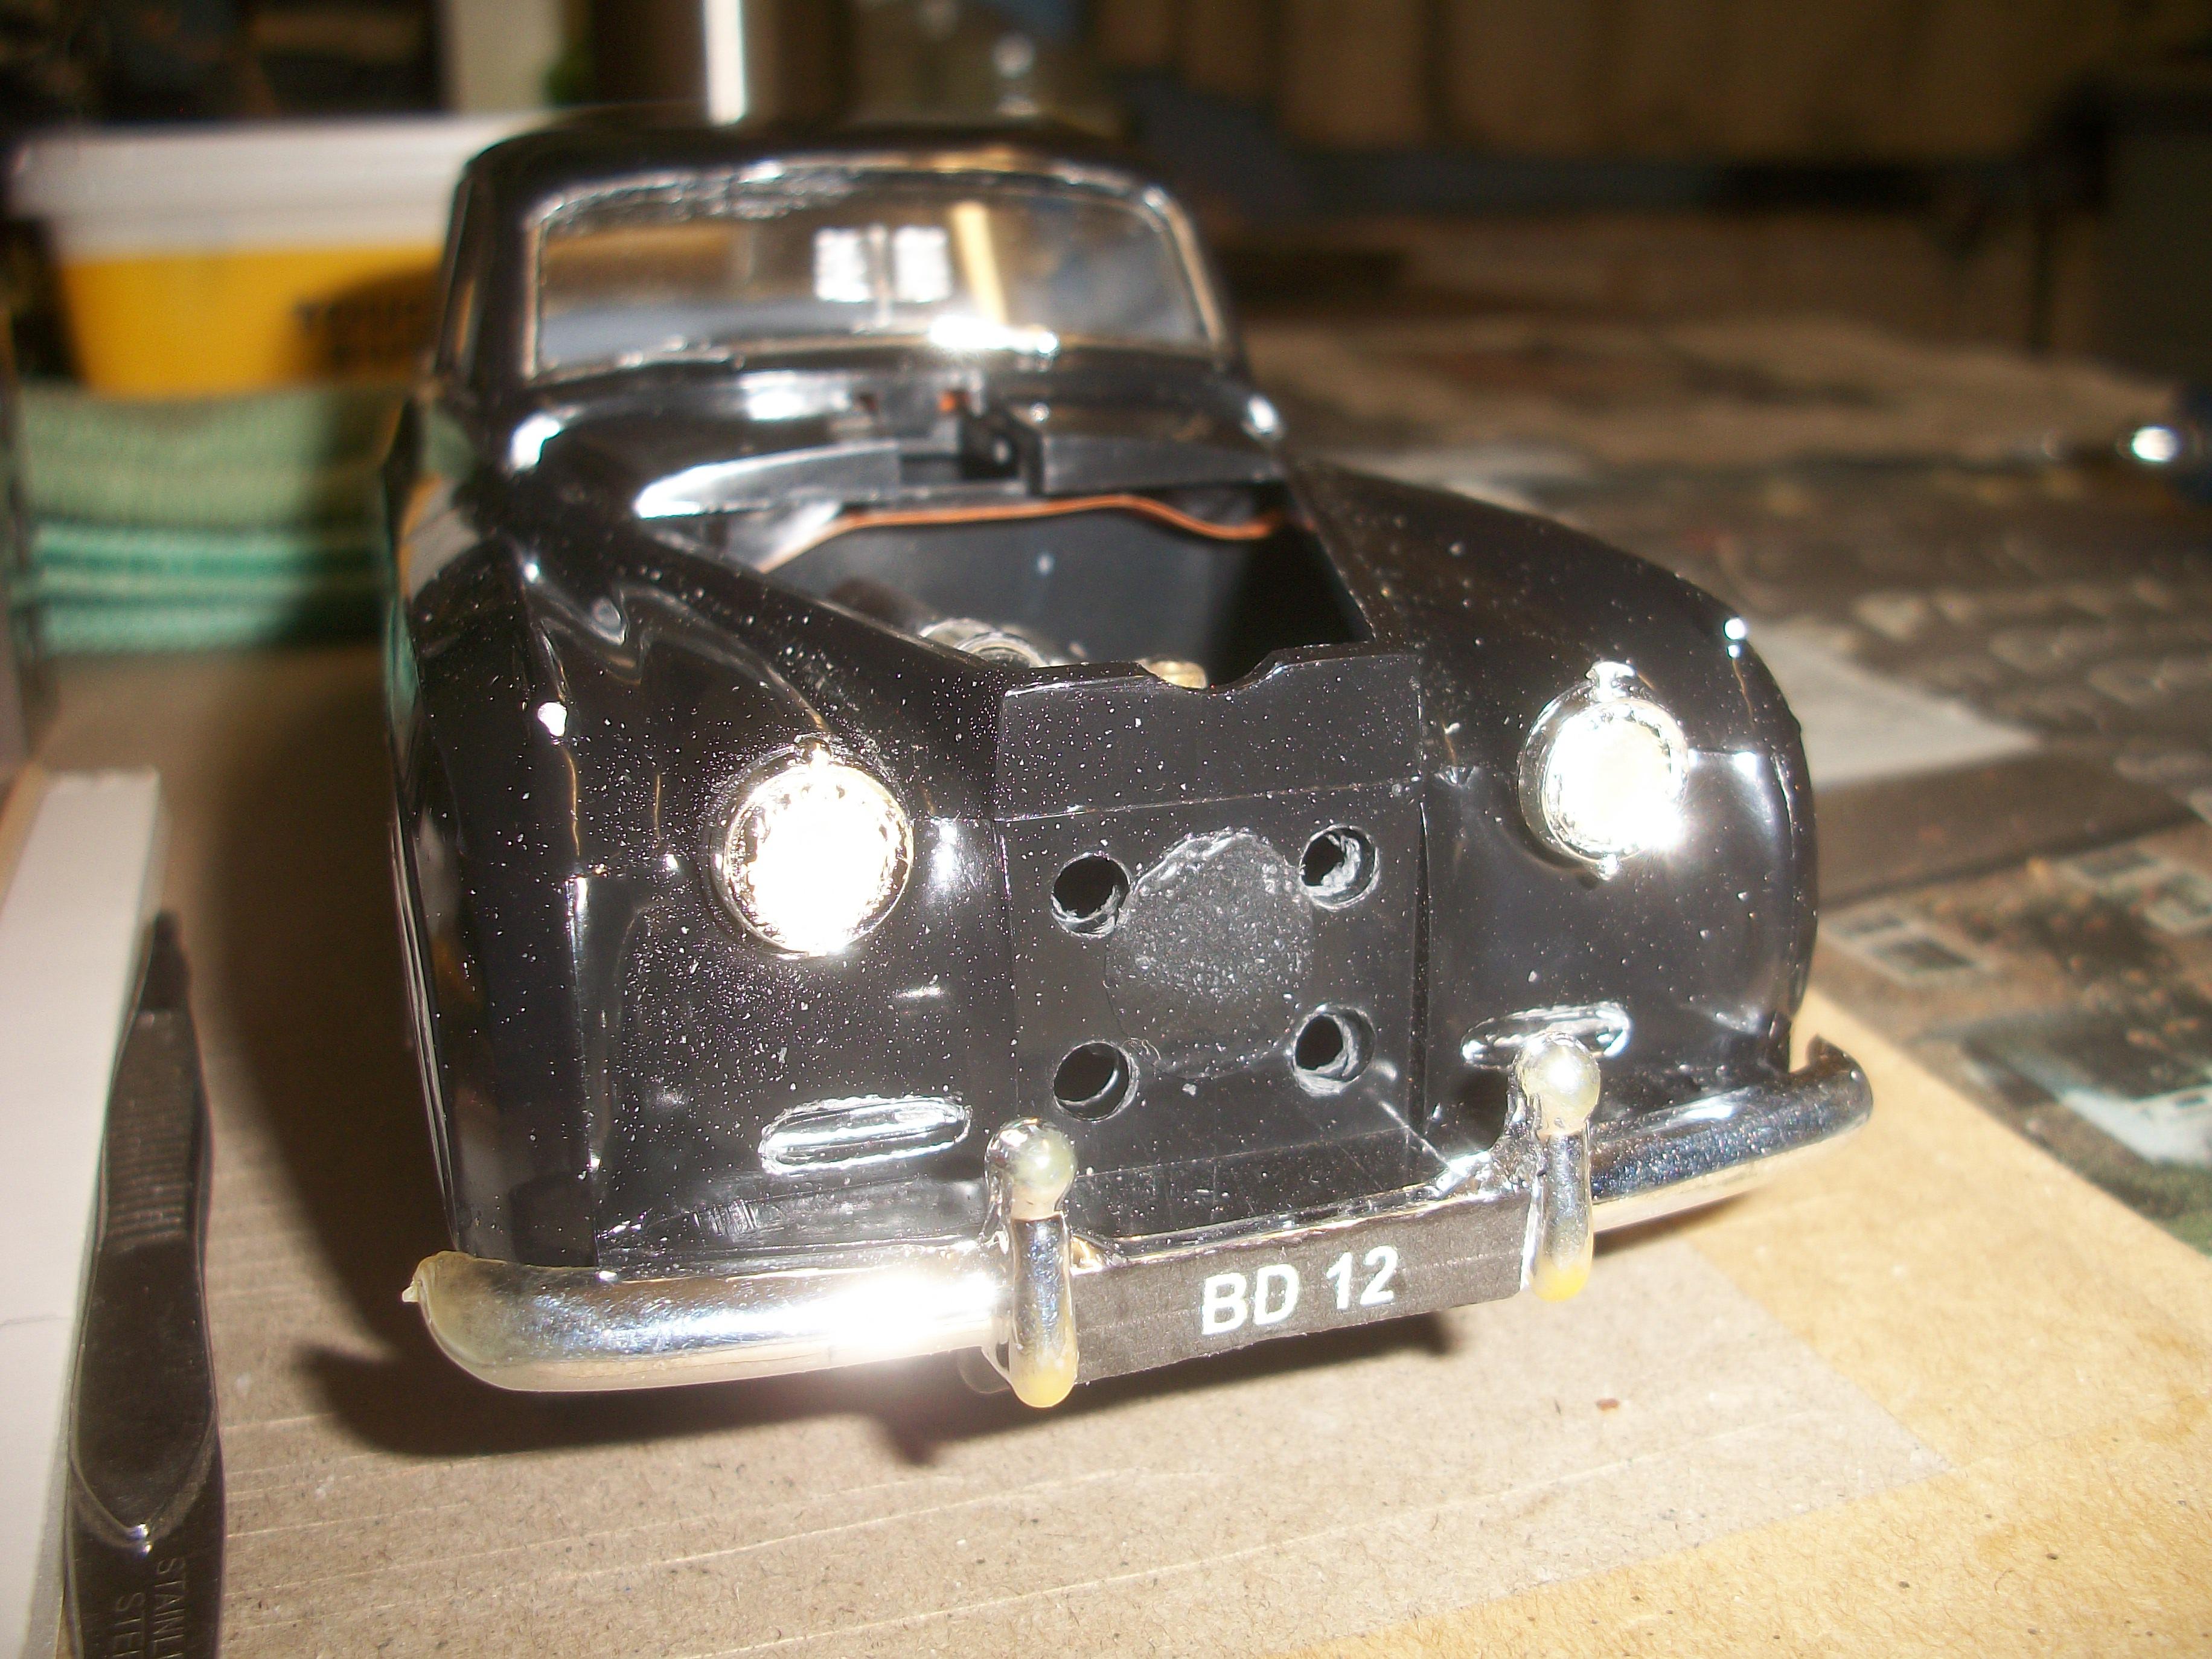
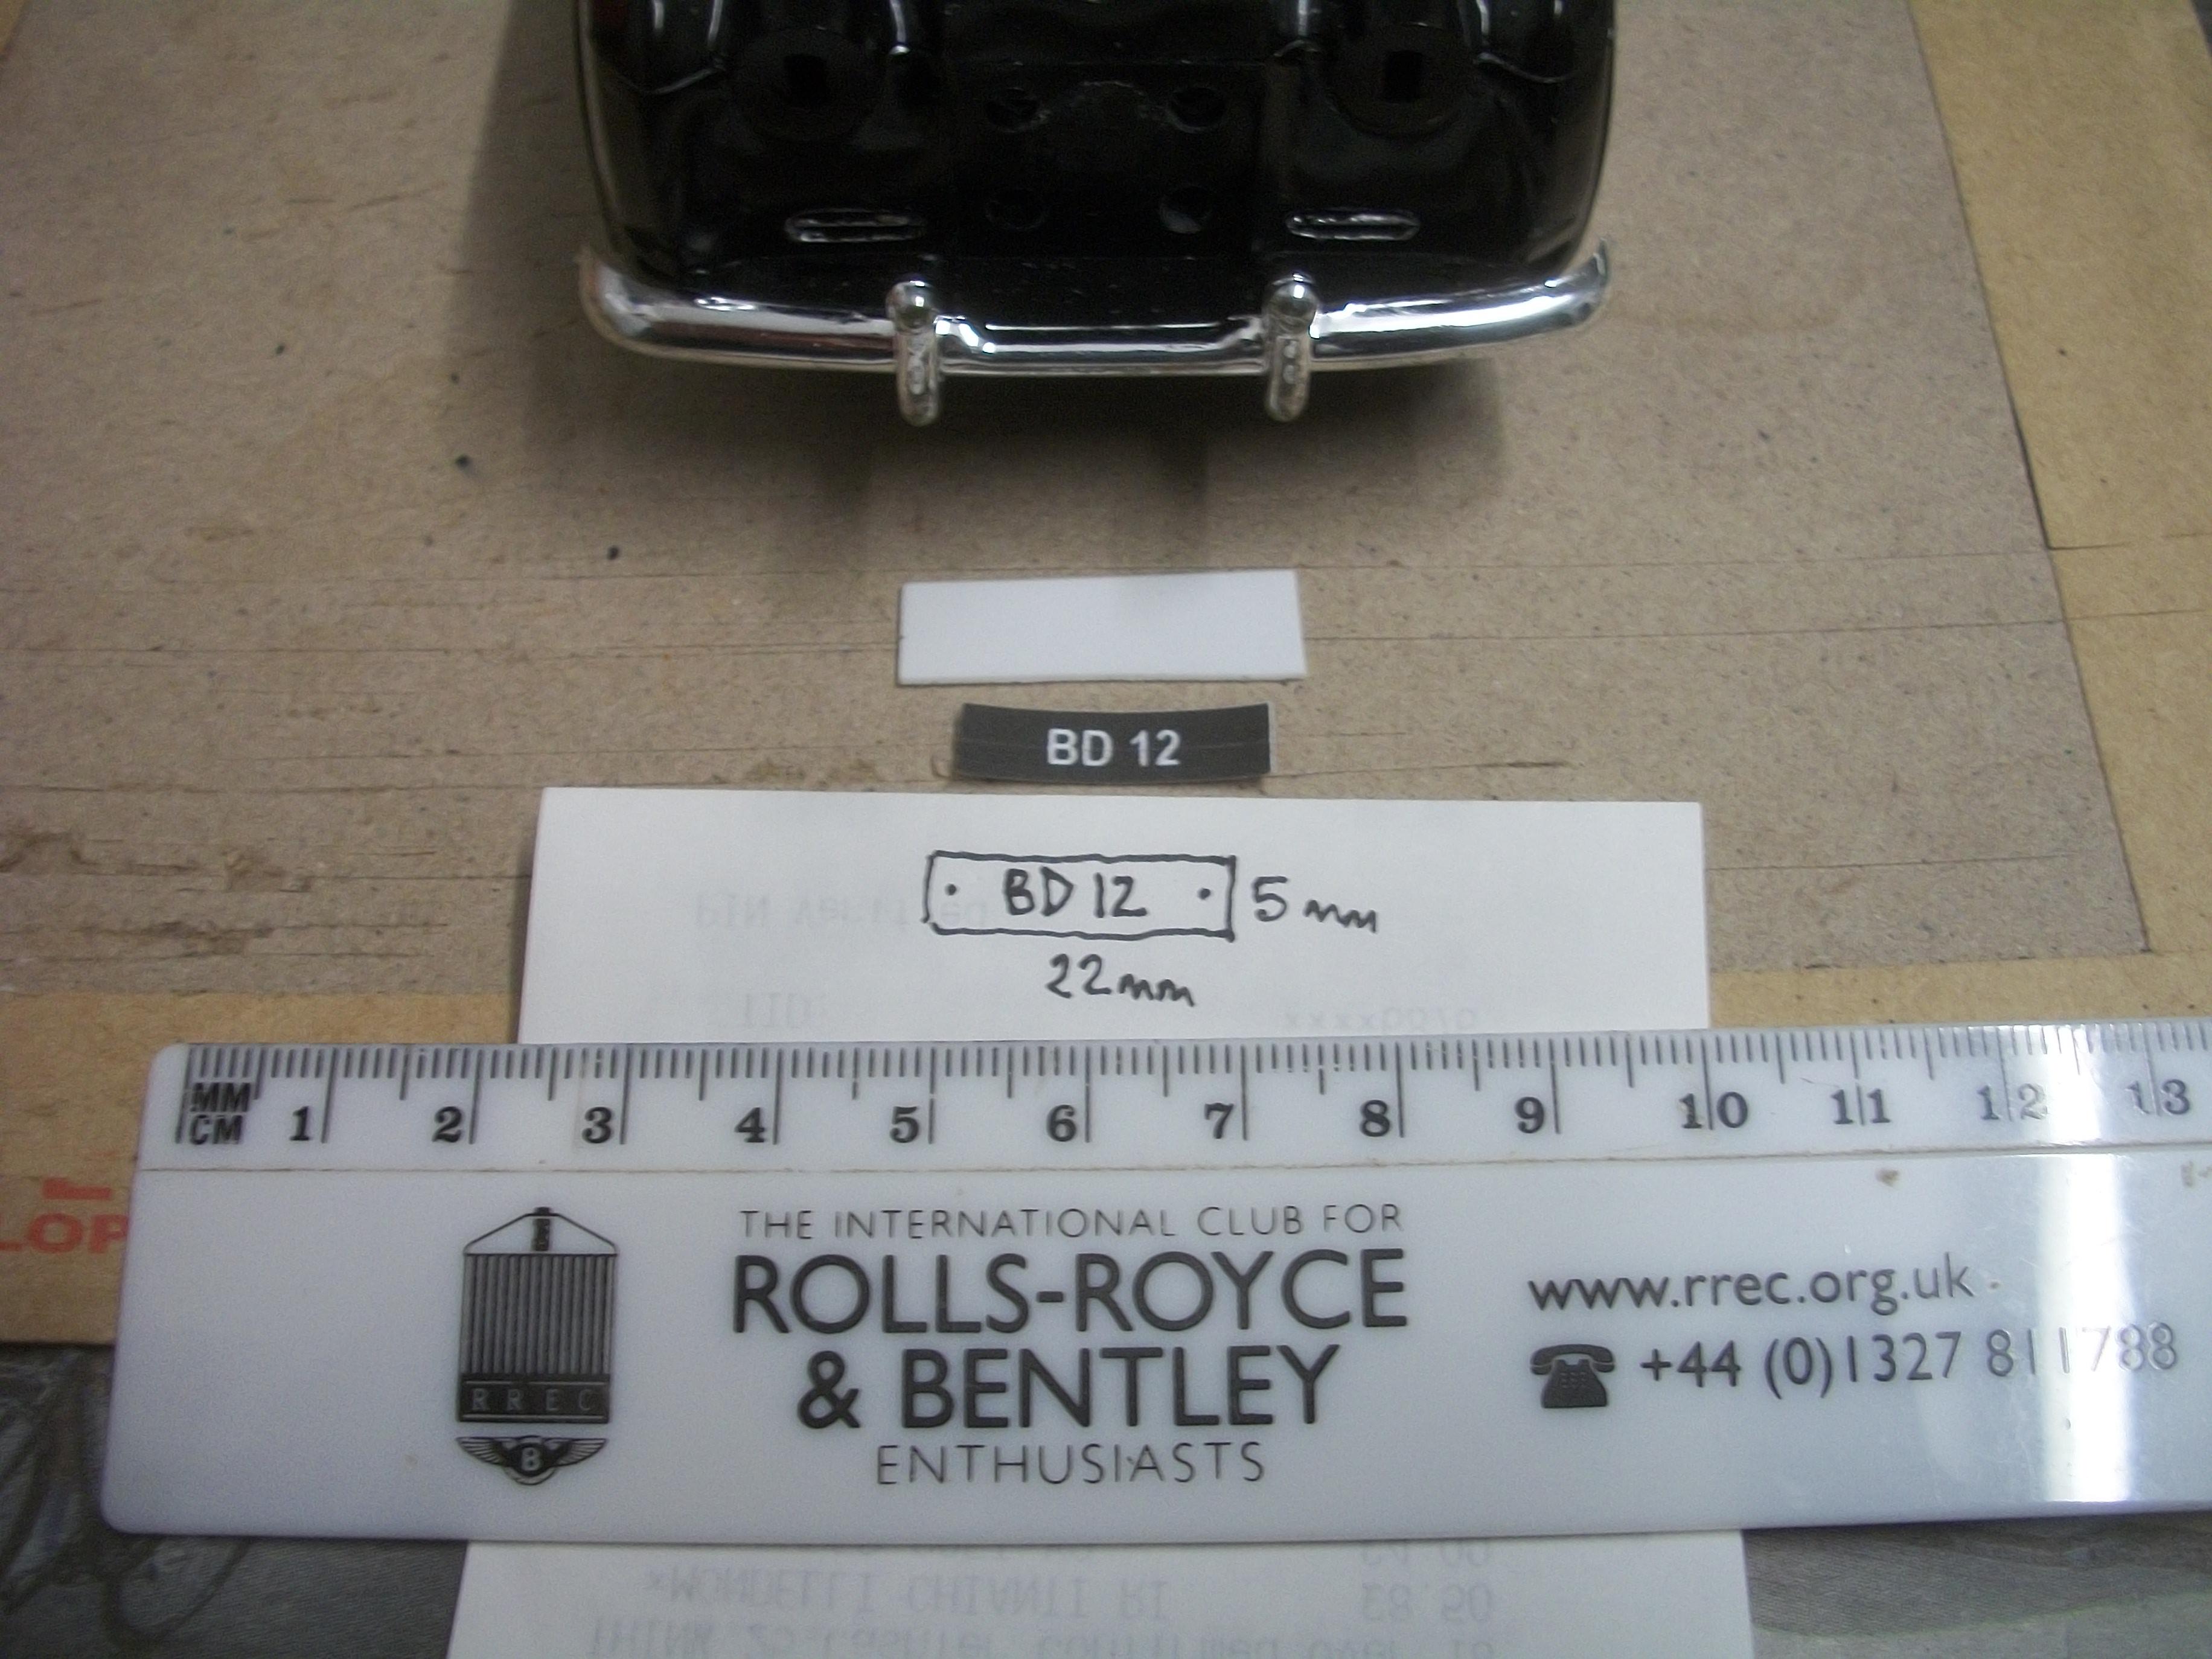
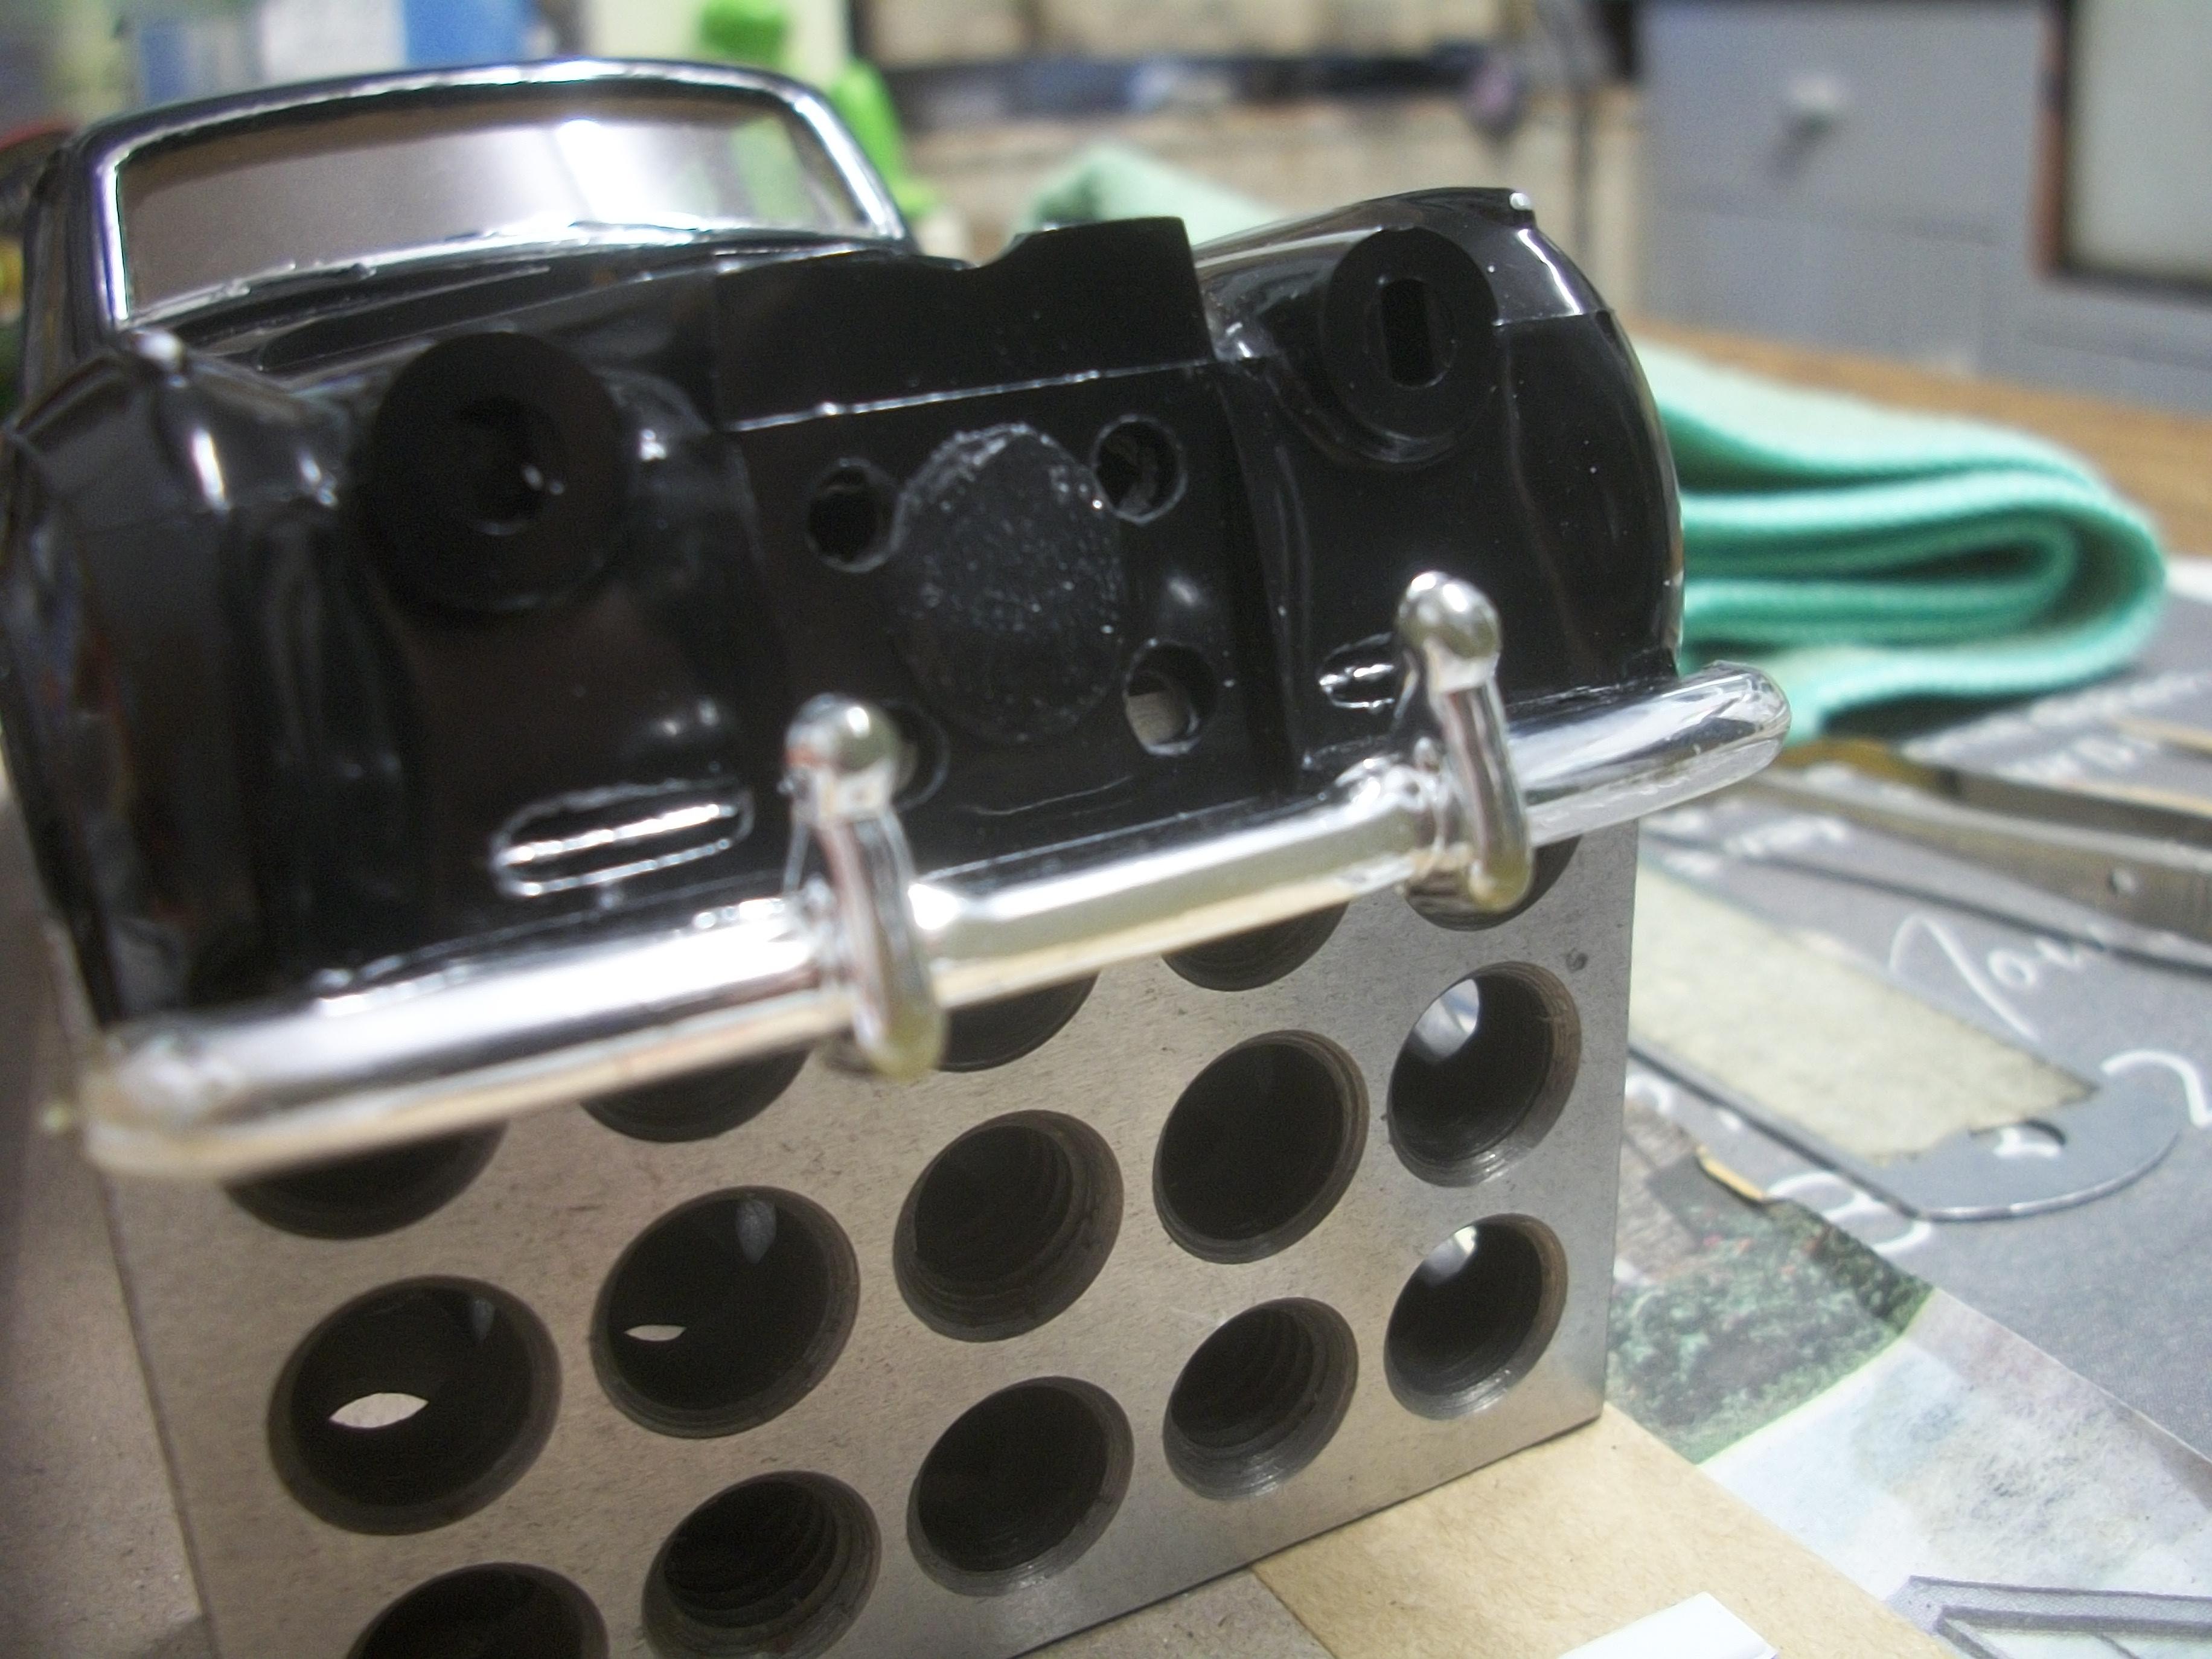
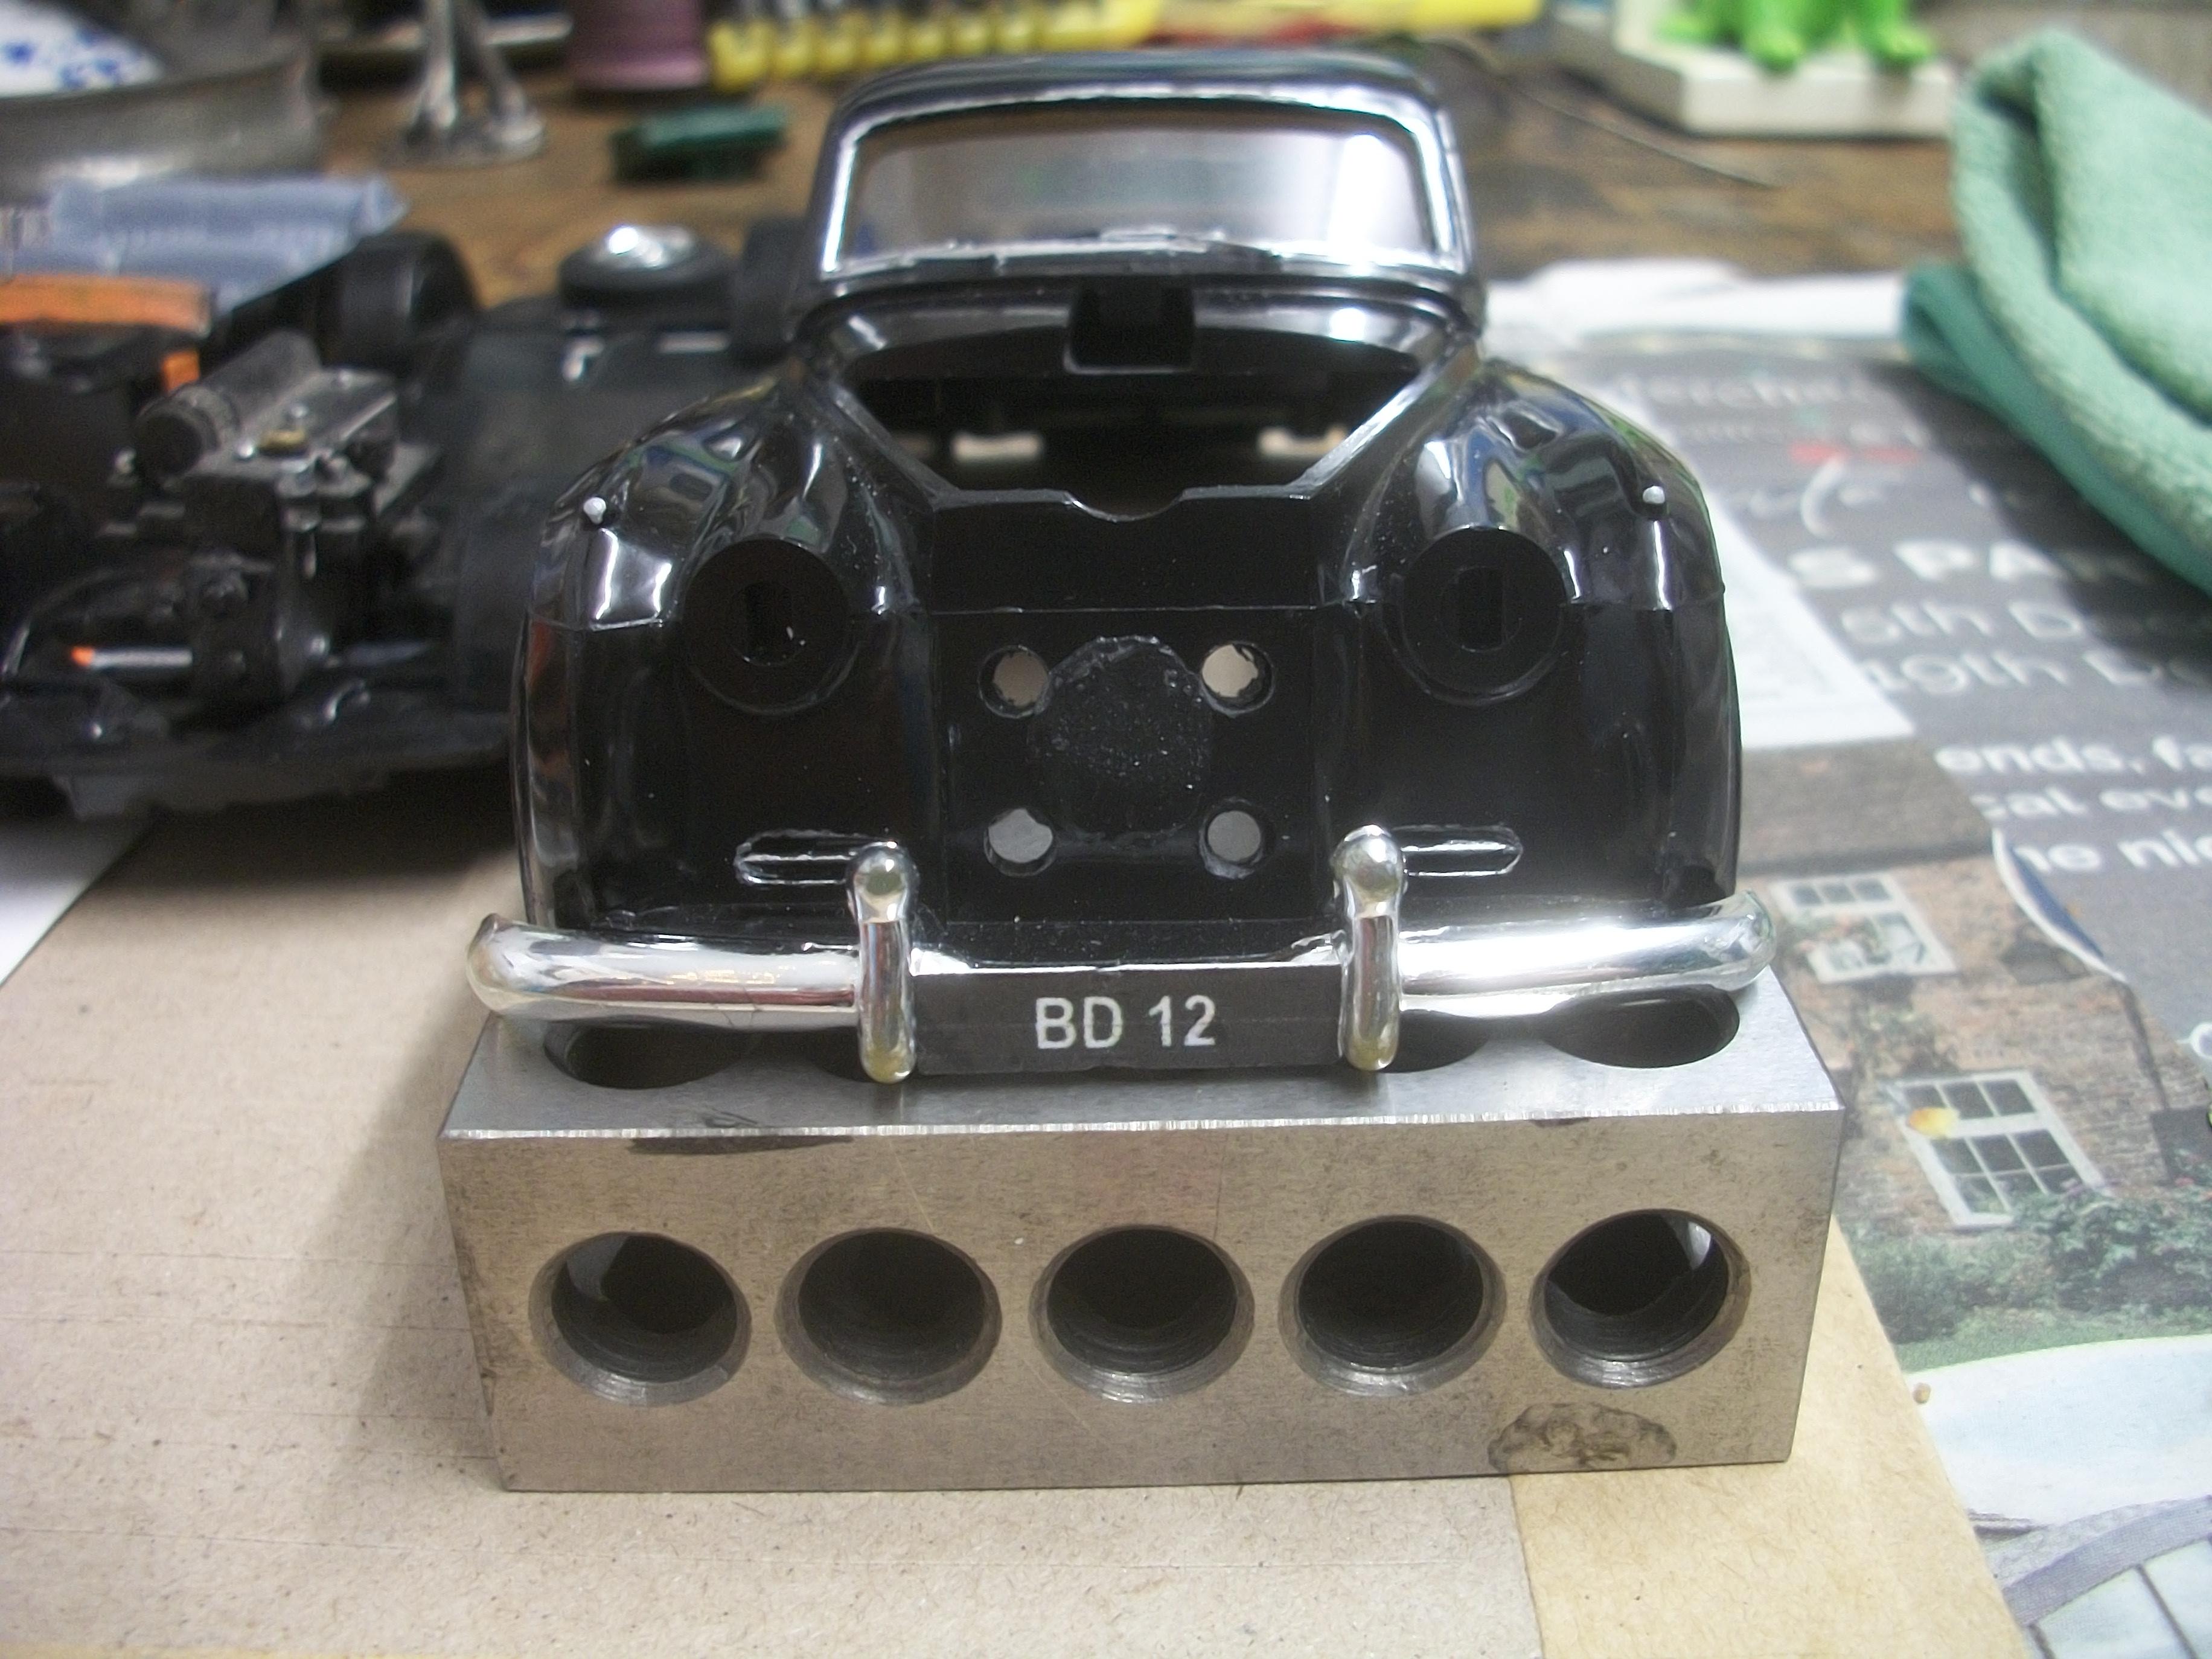
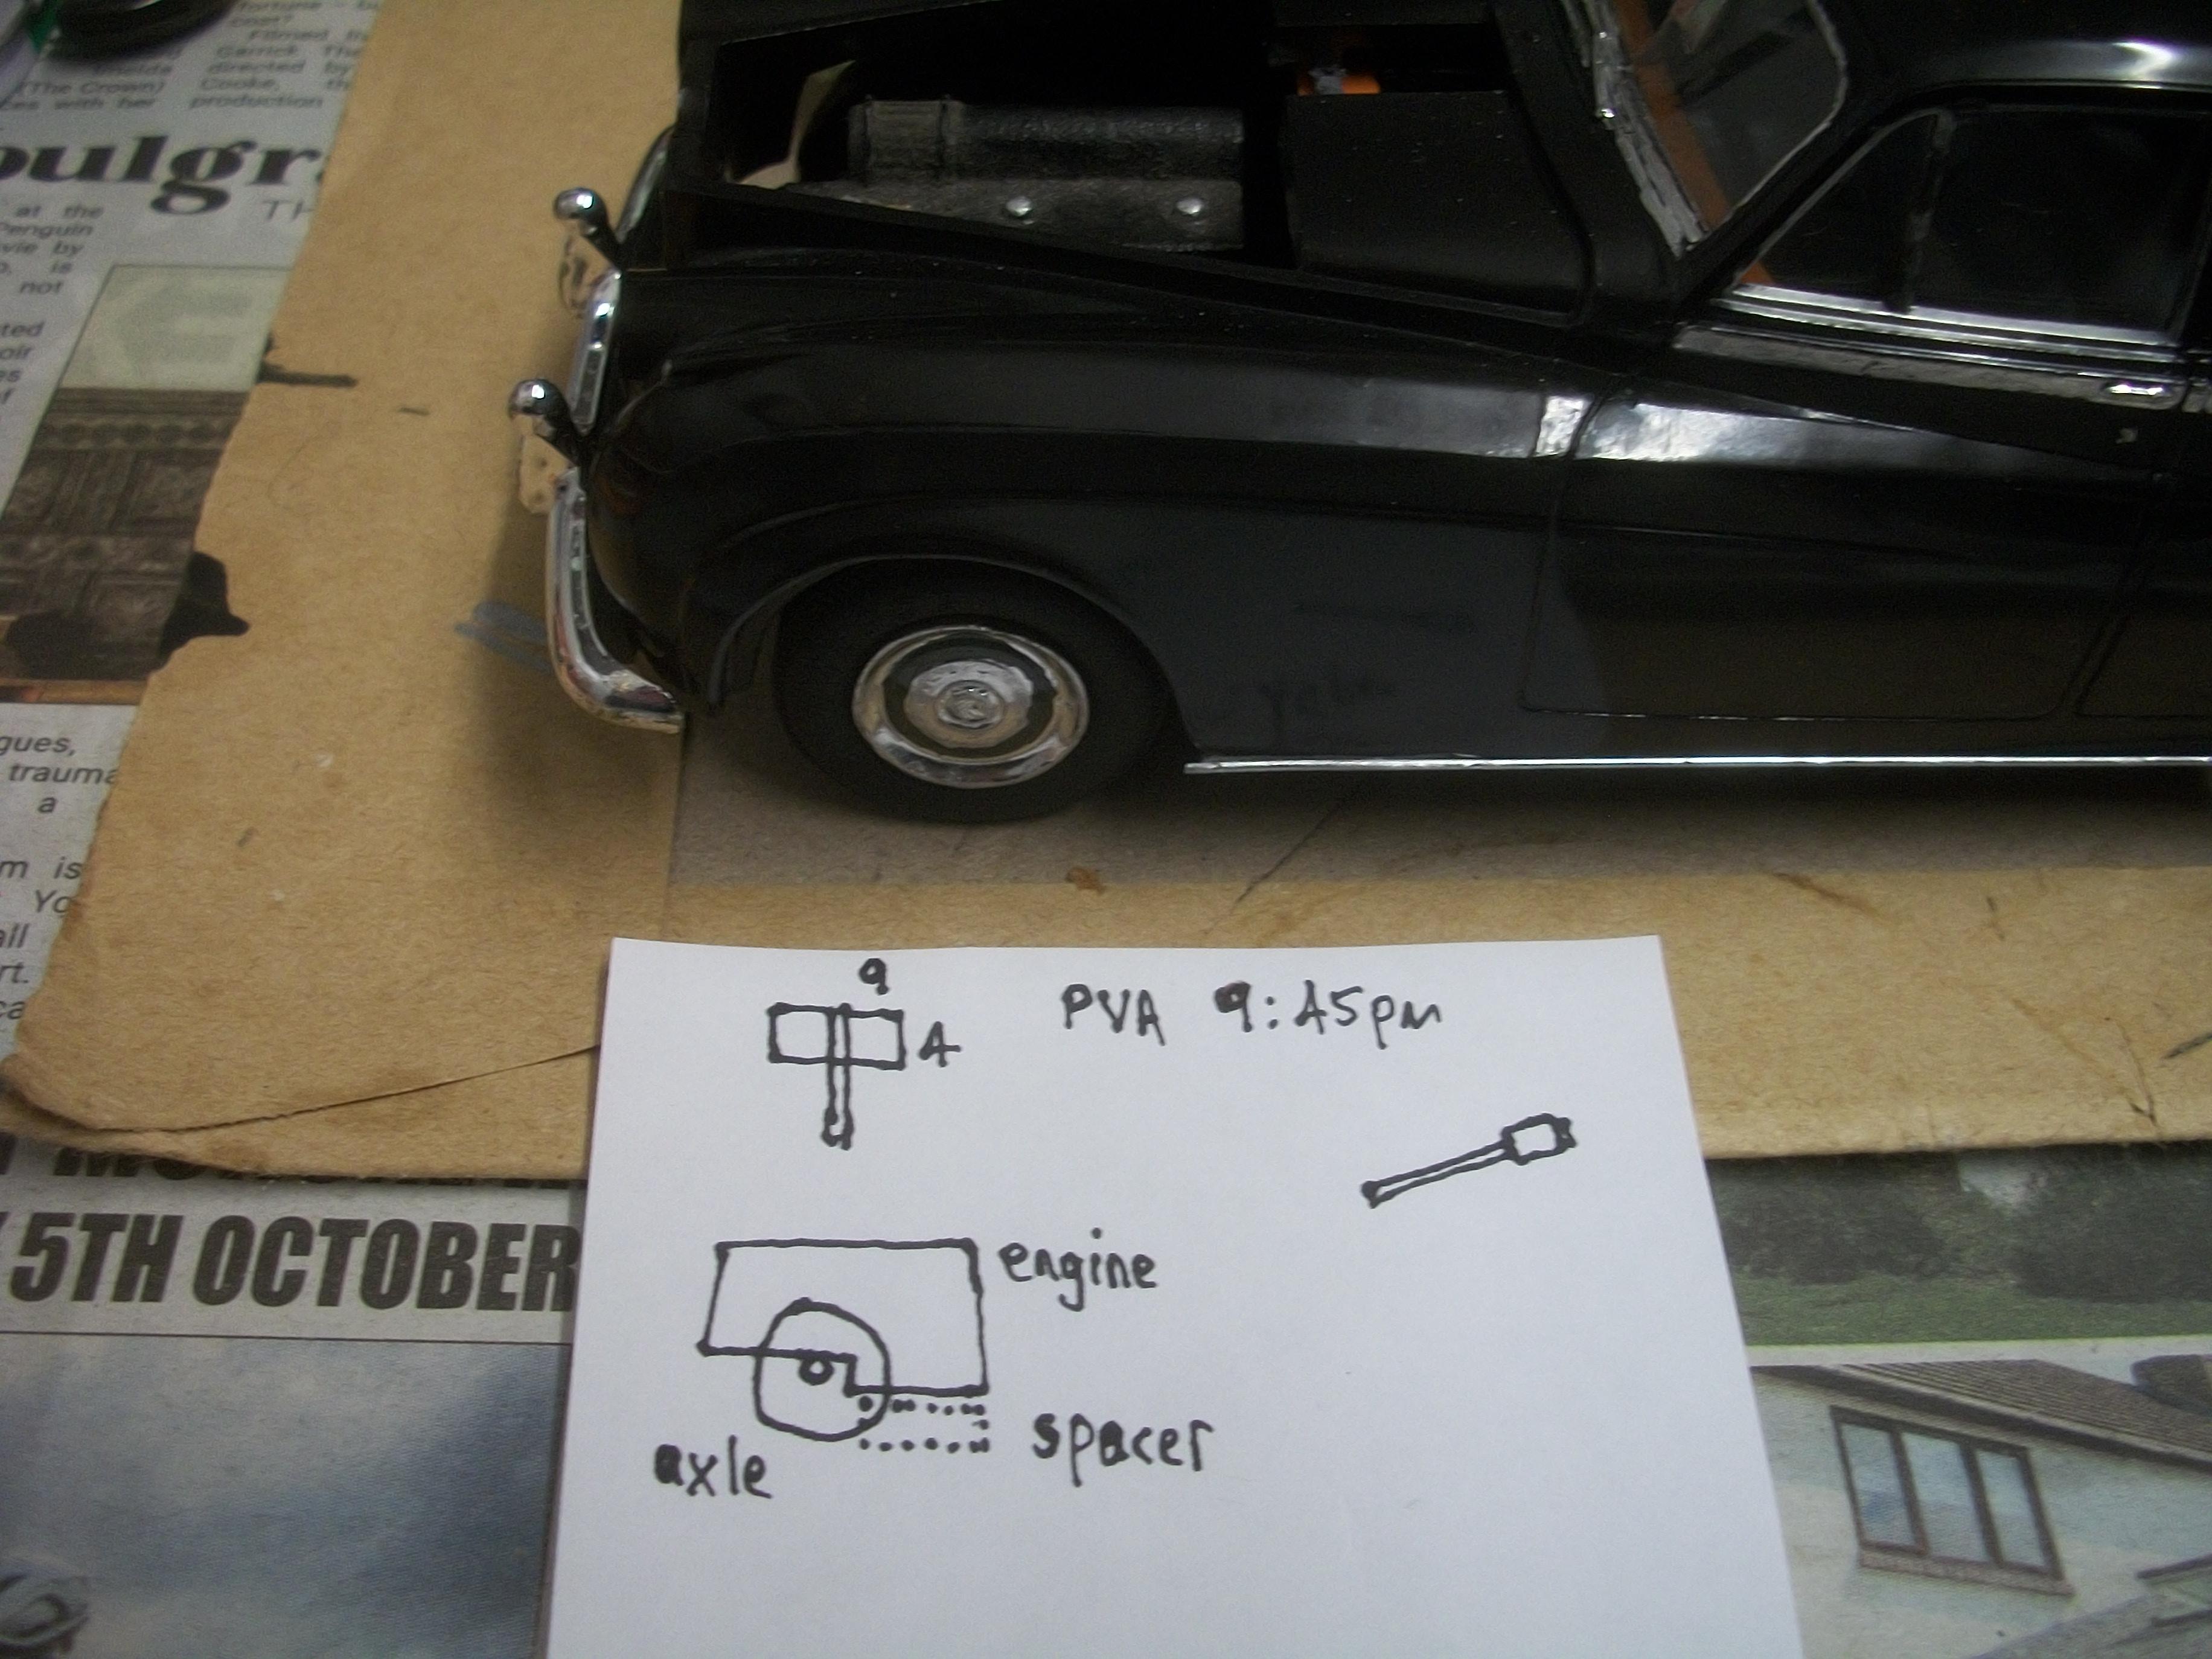
This evening, the front registration number plate ' BD 12 ' was PVA glued to a piece of styrene sheet that was measured and cut to 22 mm x 5 mm. The number plate is now mounted onto the front bumper, in between the two overriders . . . Also measured and cut to size was a length of balsa wood, to form the spacer piece that goes under the rear sump of the engine. A smaller piece of balsa was placed under the back end of the main piece, and both were glued onto the chassis with PVA. Both the number plate and engine block spacers are being allowed to set overnight. David
-
Rolls-Royce No Chemicals, No Paint, No Harmful Glues
Anglia105E replied to Anglia105E's topic in WIP: Model Cars
Thanks Mark . . . I just remembered, that the rear number plate plinth is held in place with a Bostik Glue Dot temporarily, so needs to be glued onto the boot lid. David -
Rolls-Royce No Chemicals, No Paint, No Harmful Glues
Anglia105E replied to Anglia105E's topic in WIP: Model Cars
Well Mark . . . This may surprise you, but I am nowhere near close to the end ! Today I am fitting the front registration number plate, then I can foresee a lengthy list of further work to be done yet . . . The list will include engine detailing, engine fitting, front headlamps and fog lamps, radiator grille and Spirit of Ecstasy mascot, rear lamp clusters, rear number plate and reversing lamp, folding picnic tables for the backs of the front seats, rear vanity mirrors for the interior, radio aerial for the roof, hinged opening bonnet panels, four road wheels need detail painting and also fitting properly ( taped in place at the moment ) . . . There might even be a few more bits that I haven't thought of. David -
Rolls-Royce No Chemicals, No Paint, No Harmful Glues
Anglia105E replied to Anglia105E's topic in WIP: Model Cars
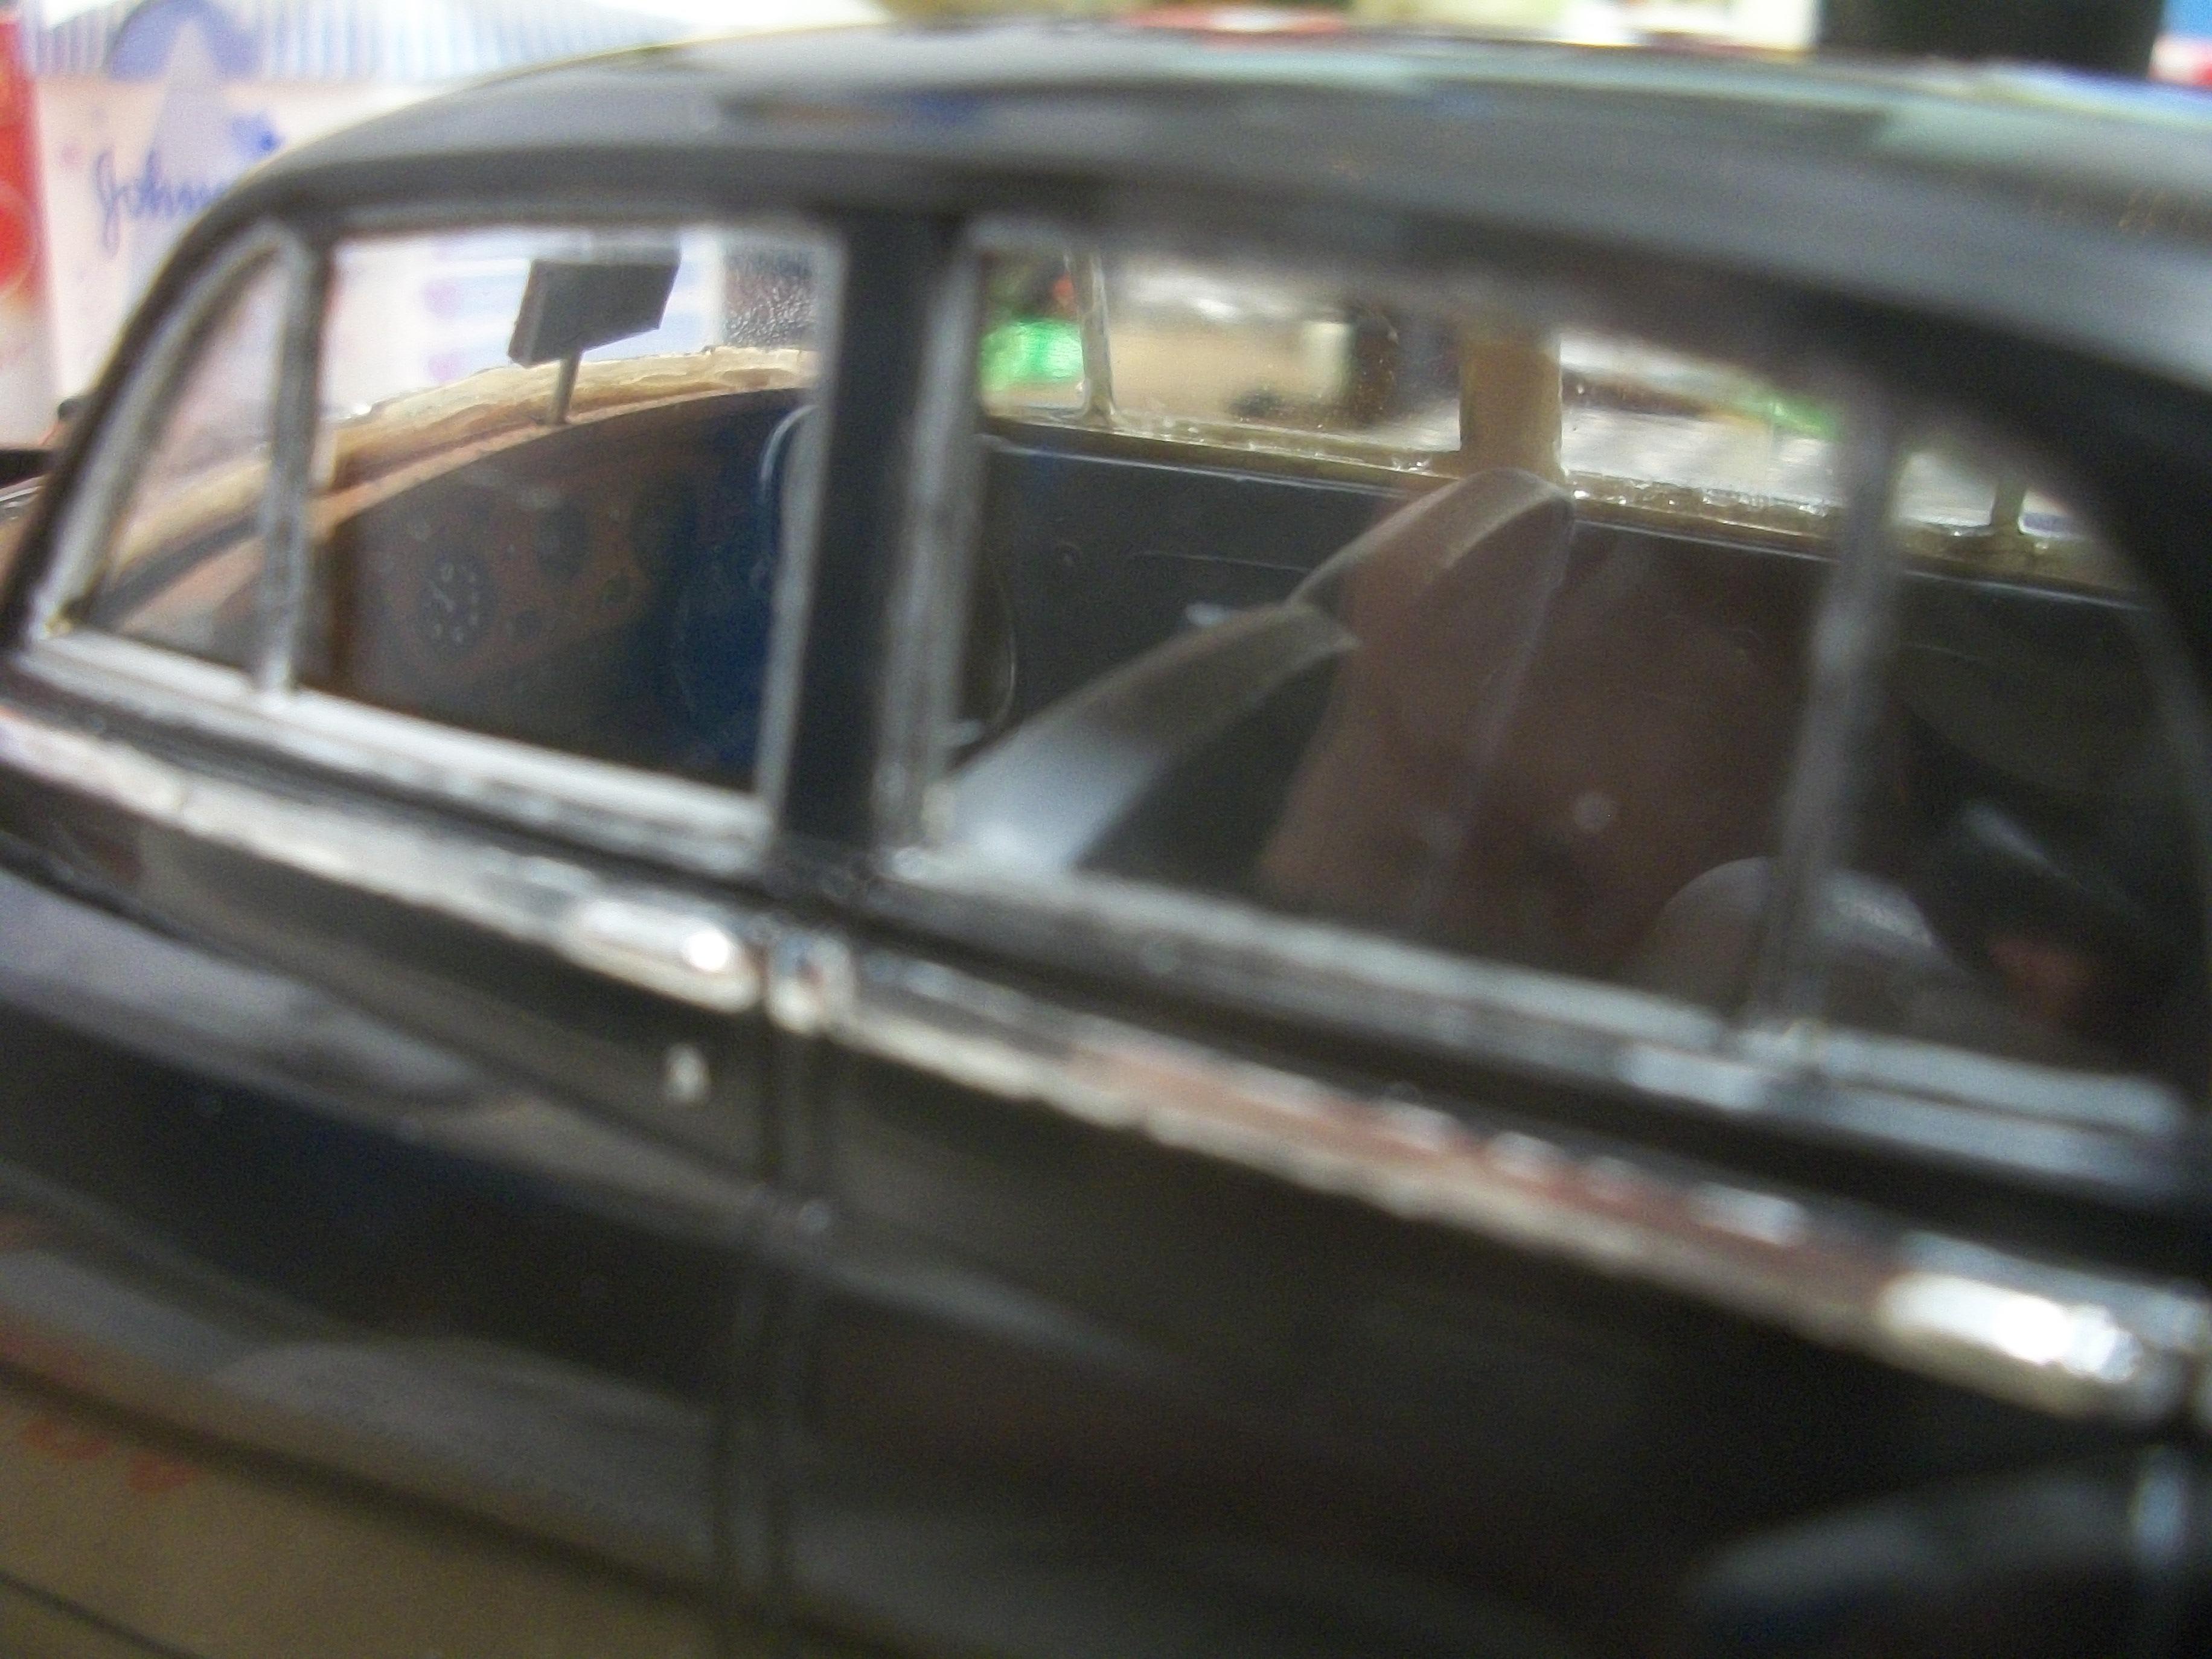
Thanks John . . . Having carried out the dashboard grinding process with previous Silver Cloud builds, I was reasonably confident to grind away the excess plastic. Once you know how the body and the interior tub fit together it is clear where the problem lies. The thickness of the side glass doesn't help. David -
Excellent work on the chrome moldings Mark, and also the gold roof. You must be really pleased with that shade of blue, which looks perfect to me. You are well organised with your paint reference details and I know how important that is from dealing with Rolls-Royce paint codes. This Daytona 500 race car is going to be a stunner . . . David W.
-
Rolls-Royce No Chemicals, No Paint, No Harmful Glues
Anglia105E replied to Anglia105E's topic in WIP: Model Cars
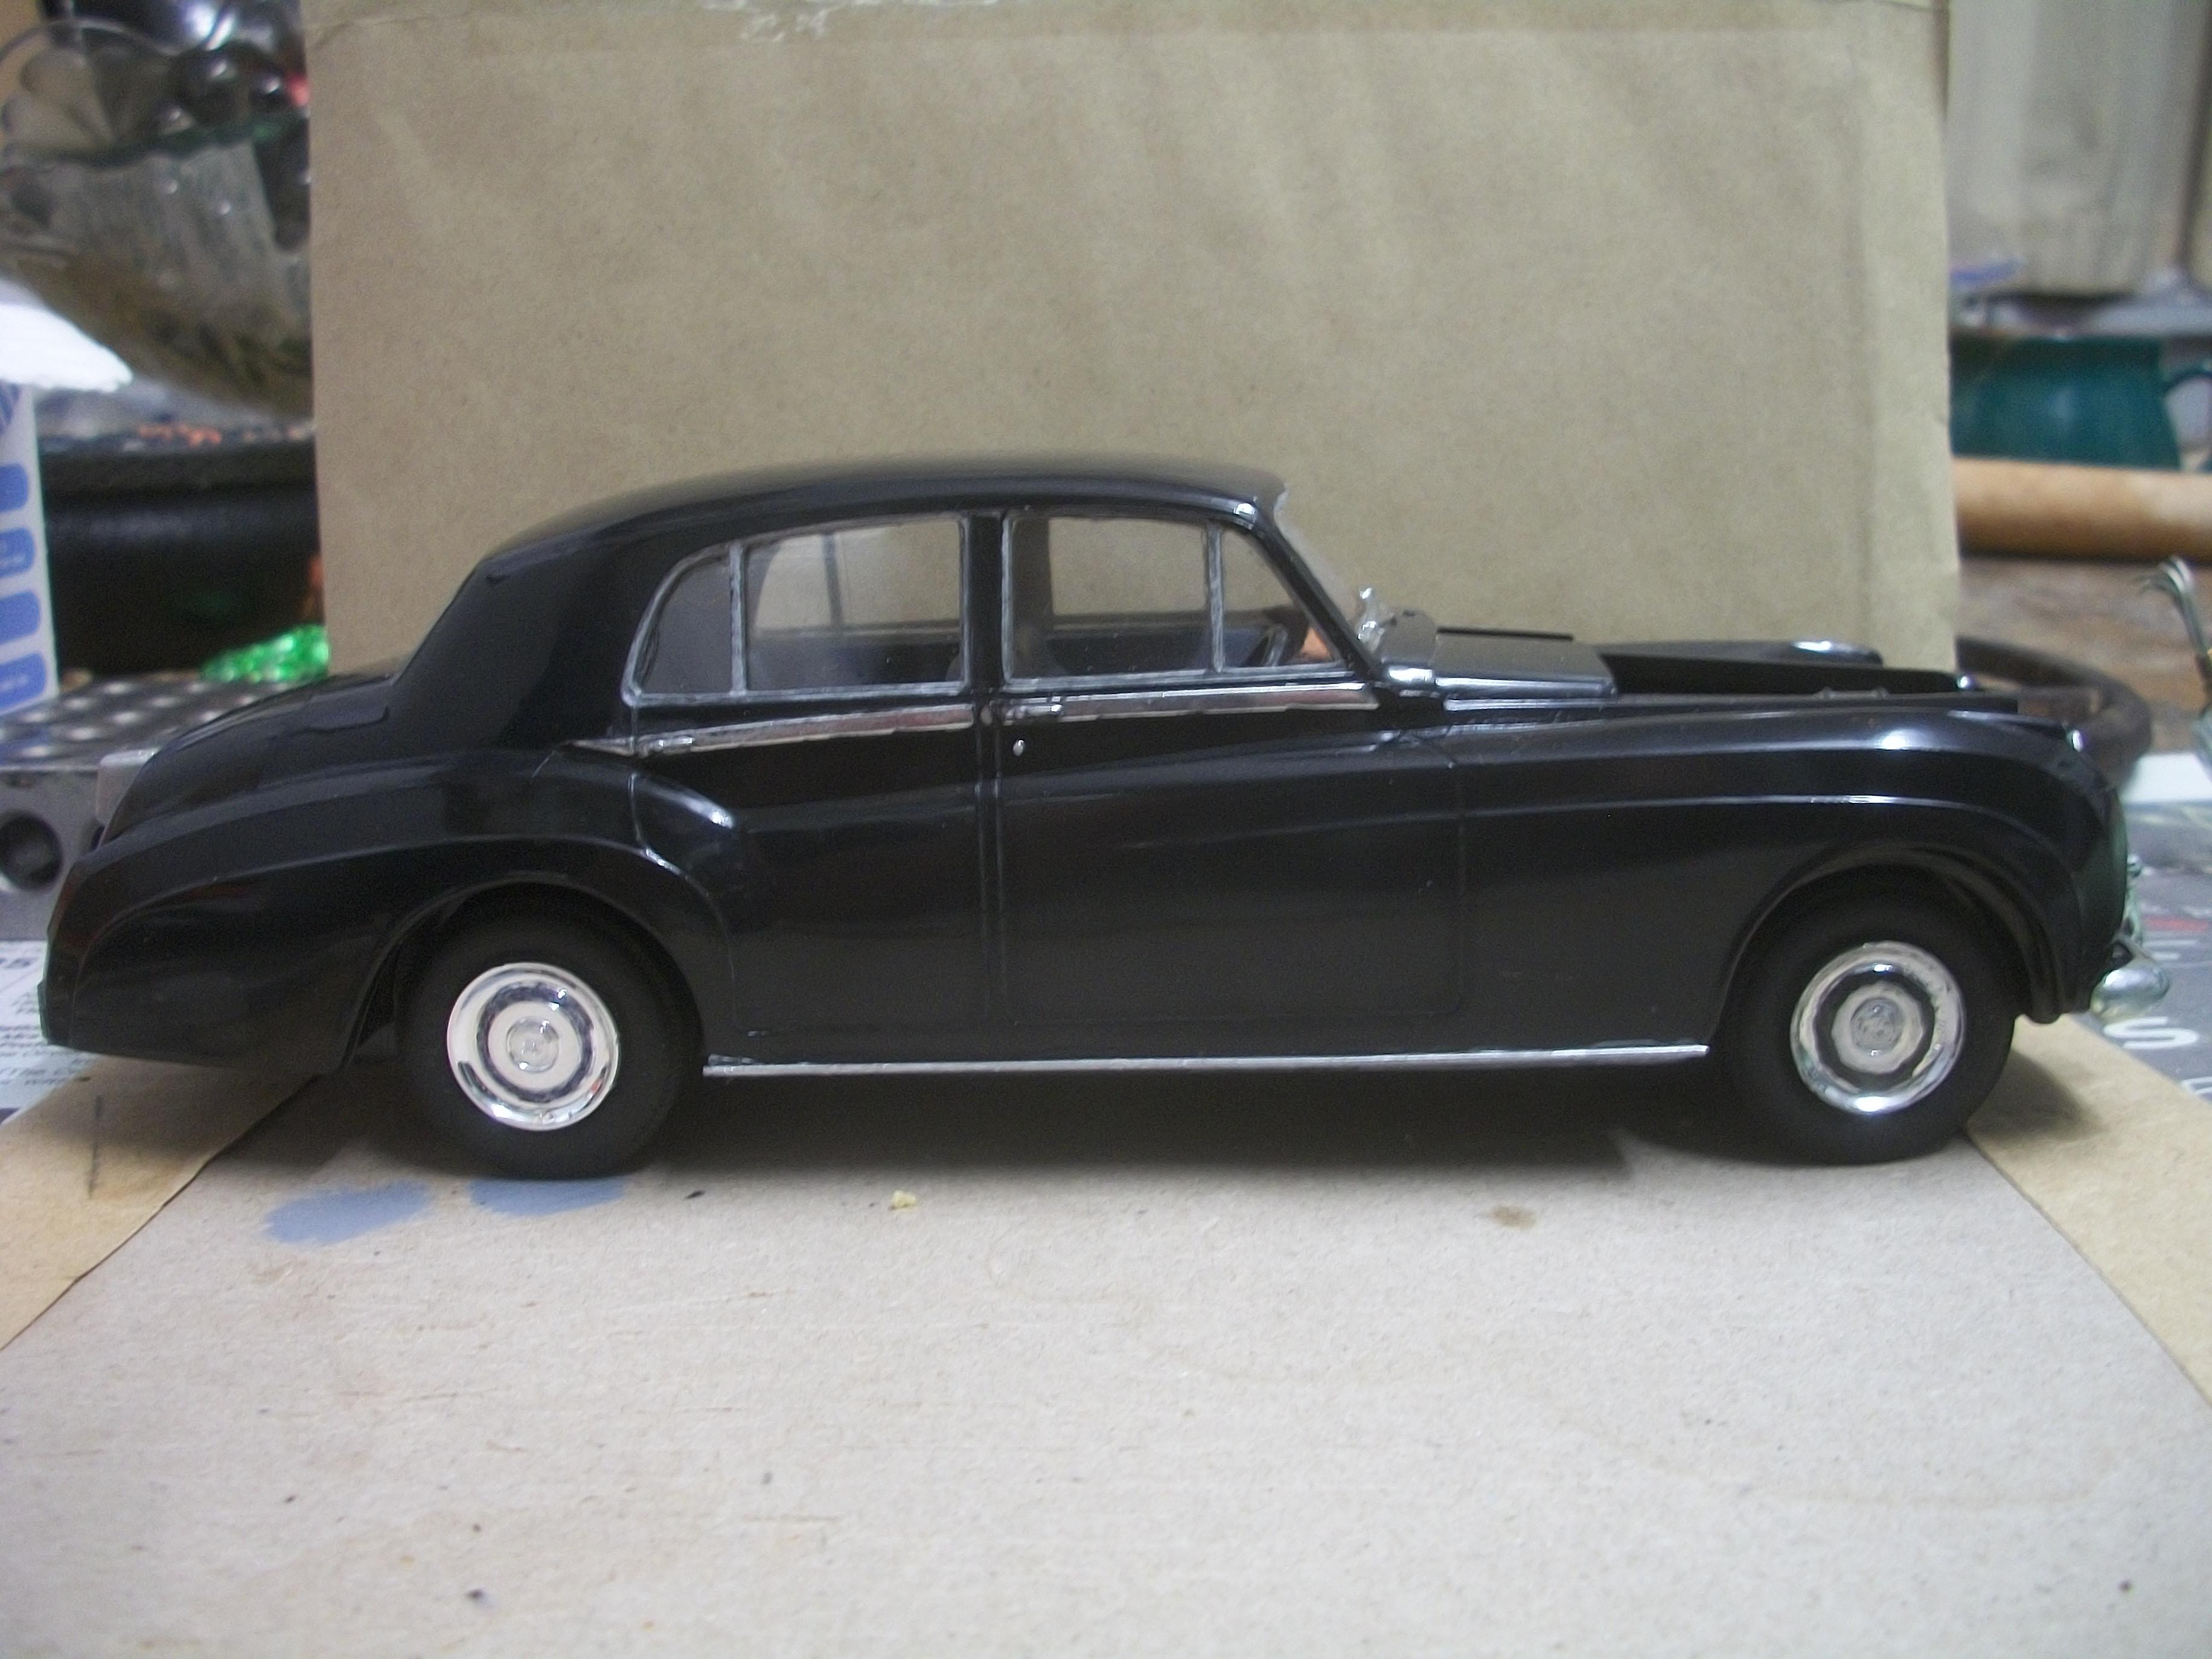
Using the Blackspur mini grinder I removed sufficient material from both ends of the dashboard part so that the interior tub could seat fully. The front eye brackets now fit all the way down onto the mounting pins. Now the body lines up properly with the interior tub and chassis, the overall stance of this car is much improved . . . David
-
Rolls-Royce No Chemicals, No Paint, No Harmful Glues
Anglia105E replied to Anglia105E's topic in WIP: Model Cars
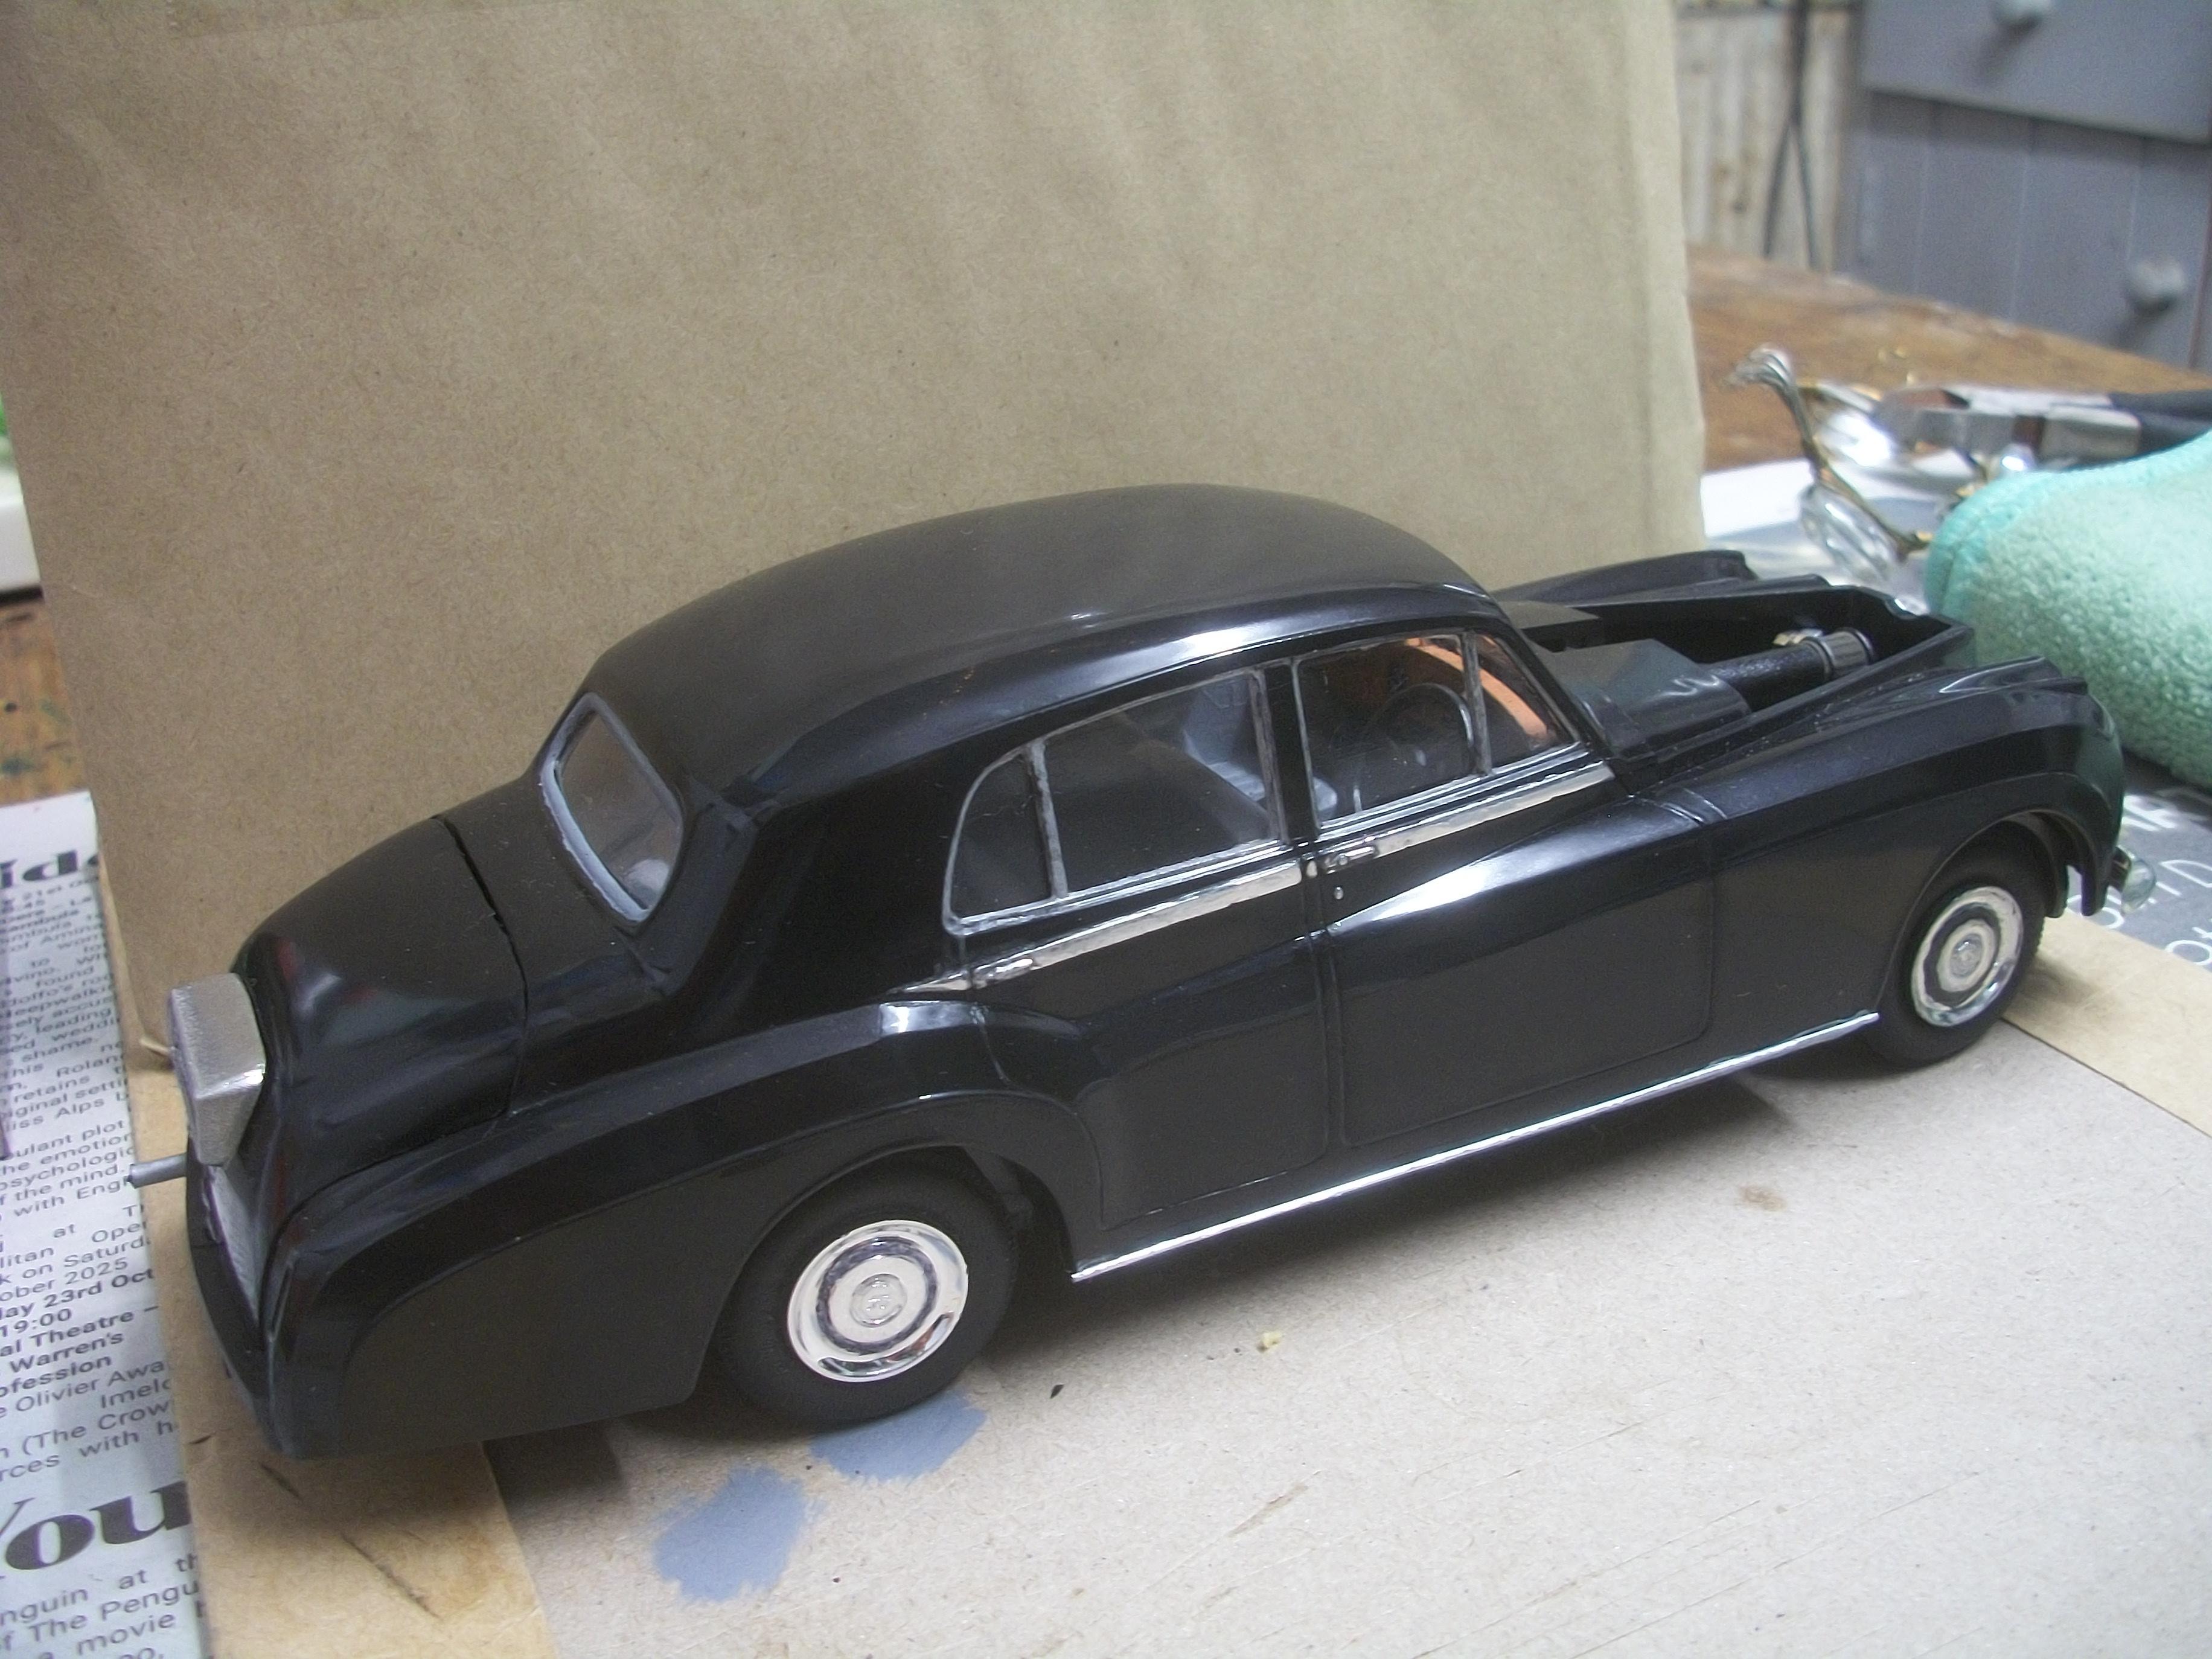
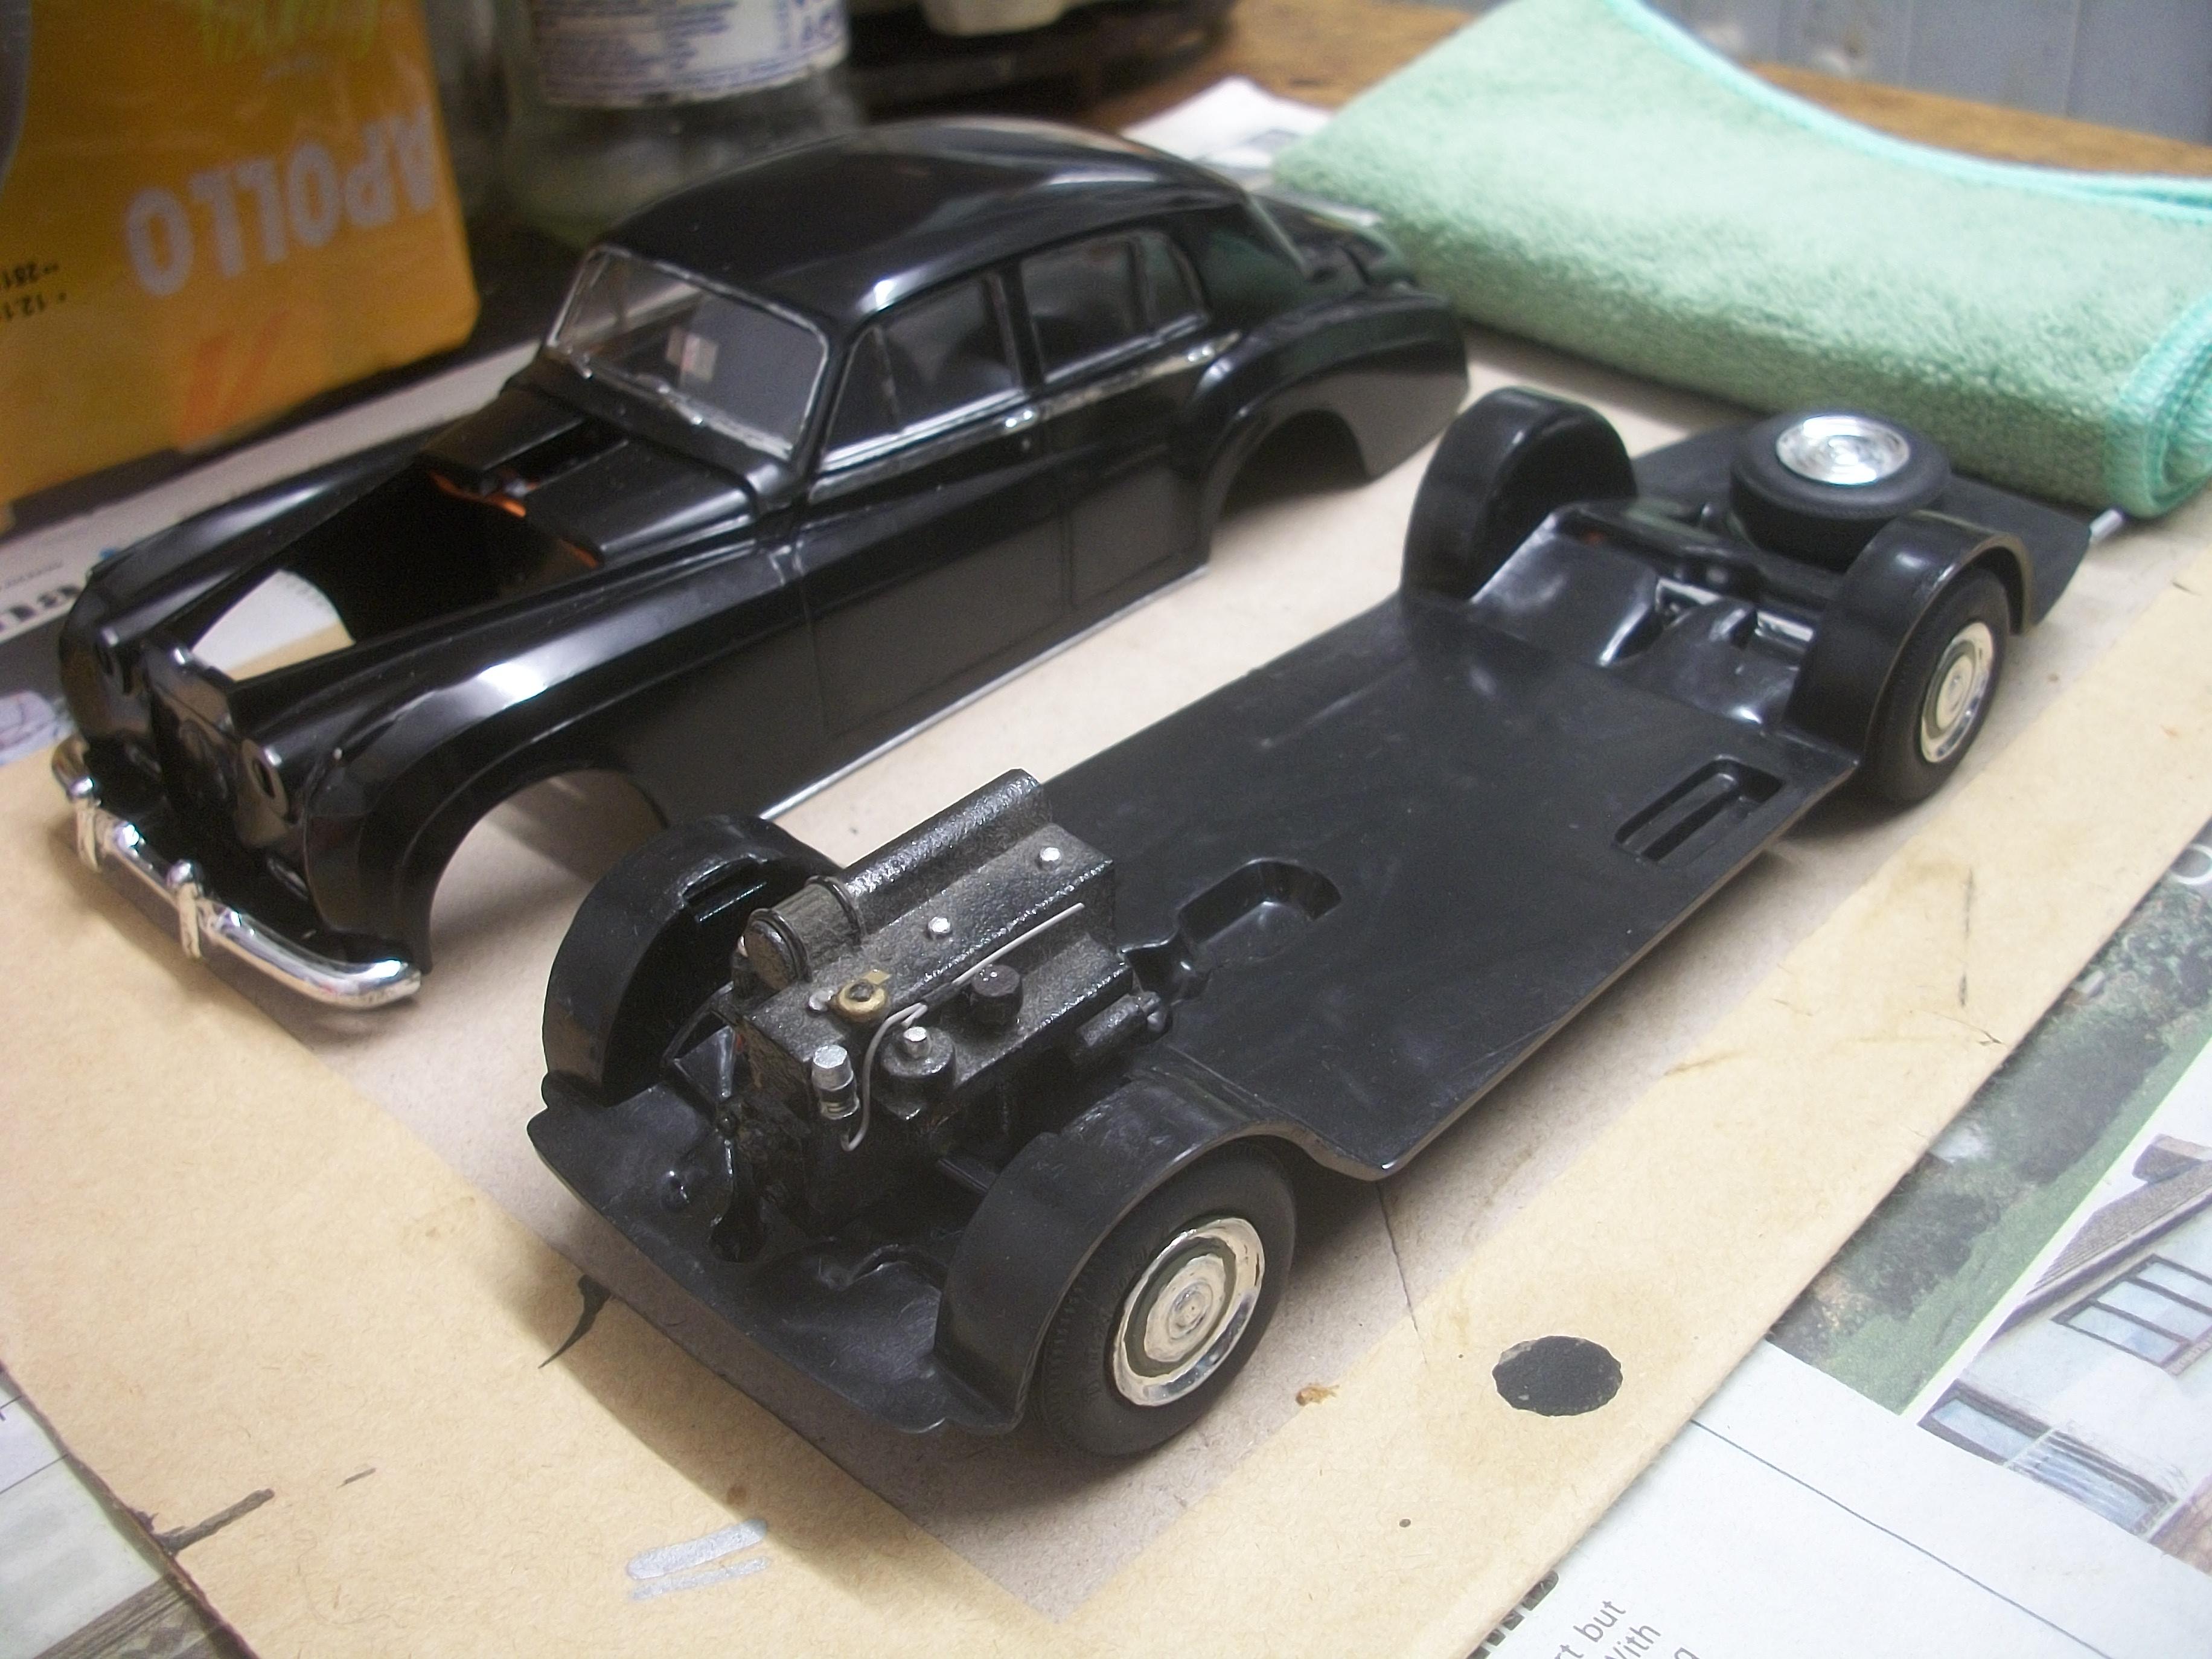
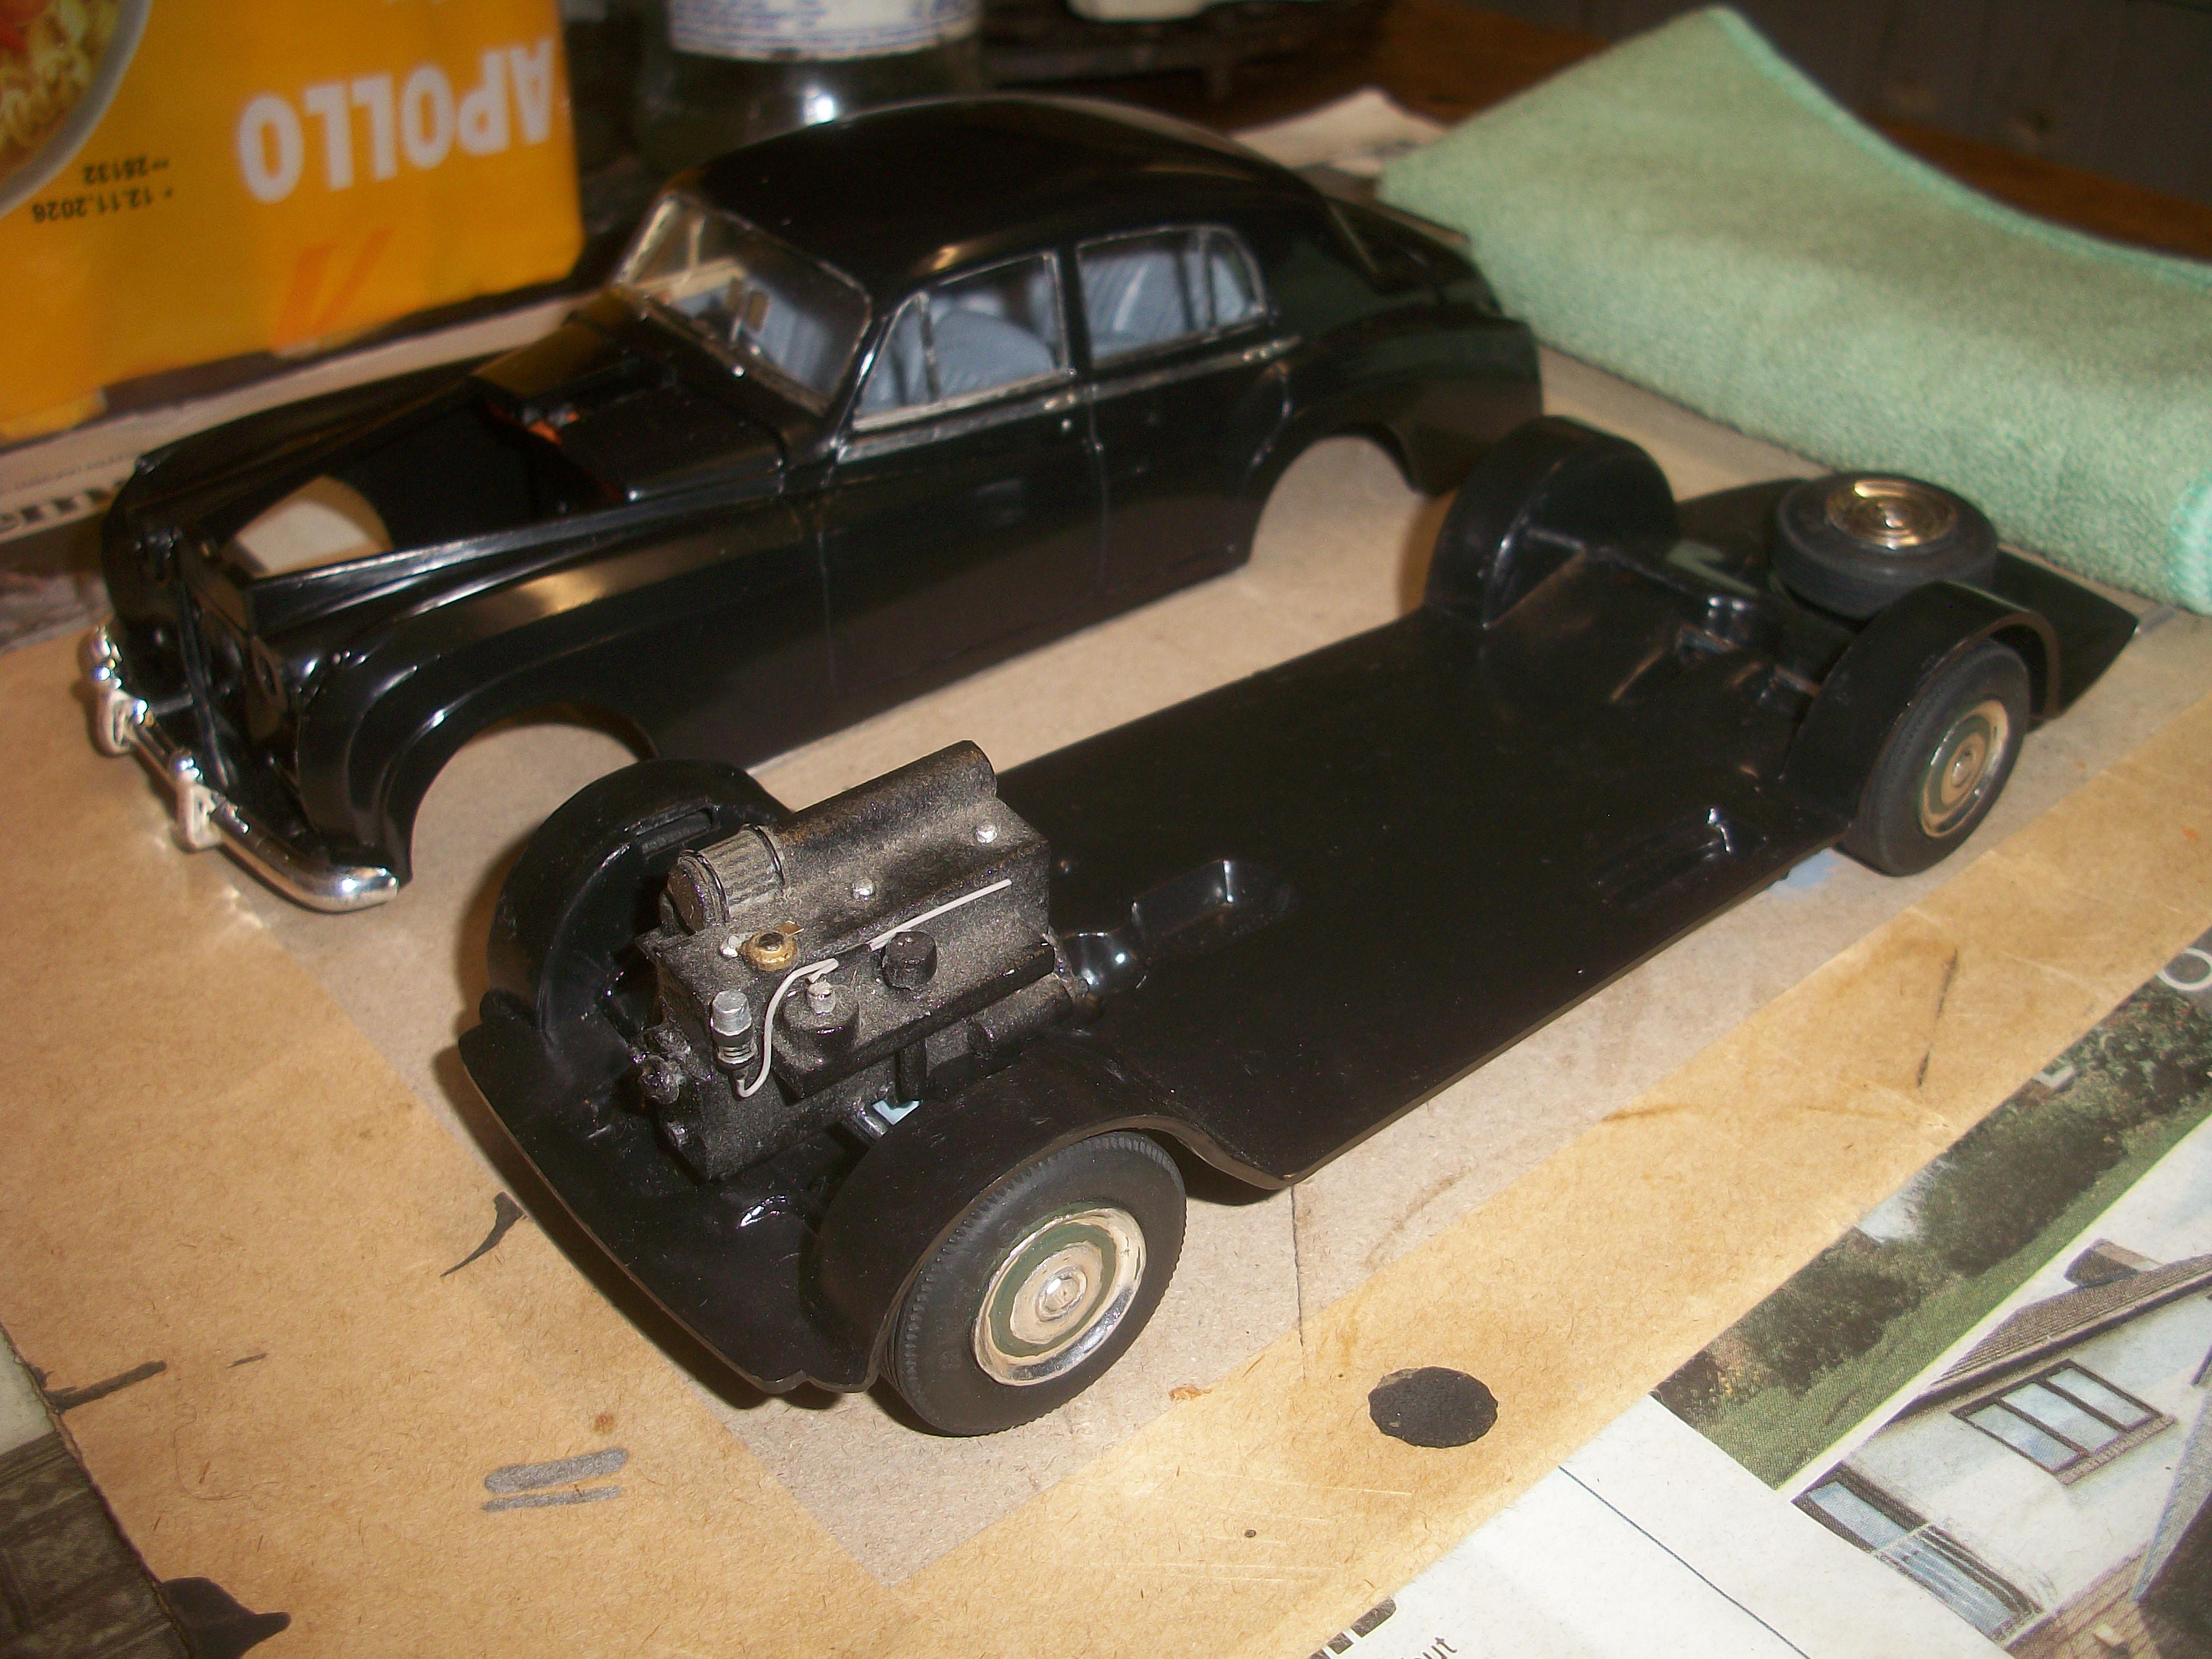
Bringing together the body, the chassis and the engine, I positioned the engine using a piece of Blu Tack to support the underside. This will need a spacer later to fit under where the sump is behind the front axle . . . There is more detailing to be done on the engine itself at some point. David