Anglia105E
-
Posts
3,487 -
Joined
-
Last visited
Content Type
Profiles
Forums
Events
Gallery
Everything posted by Anglia105E
-

Rolls-Royce No Chemicals, No Paint, No Harmful Glues
Anglia105E replied to Anglia105E's topic in WIP: Model Cars
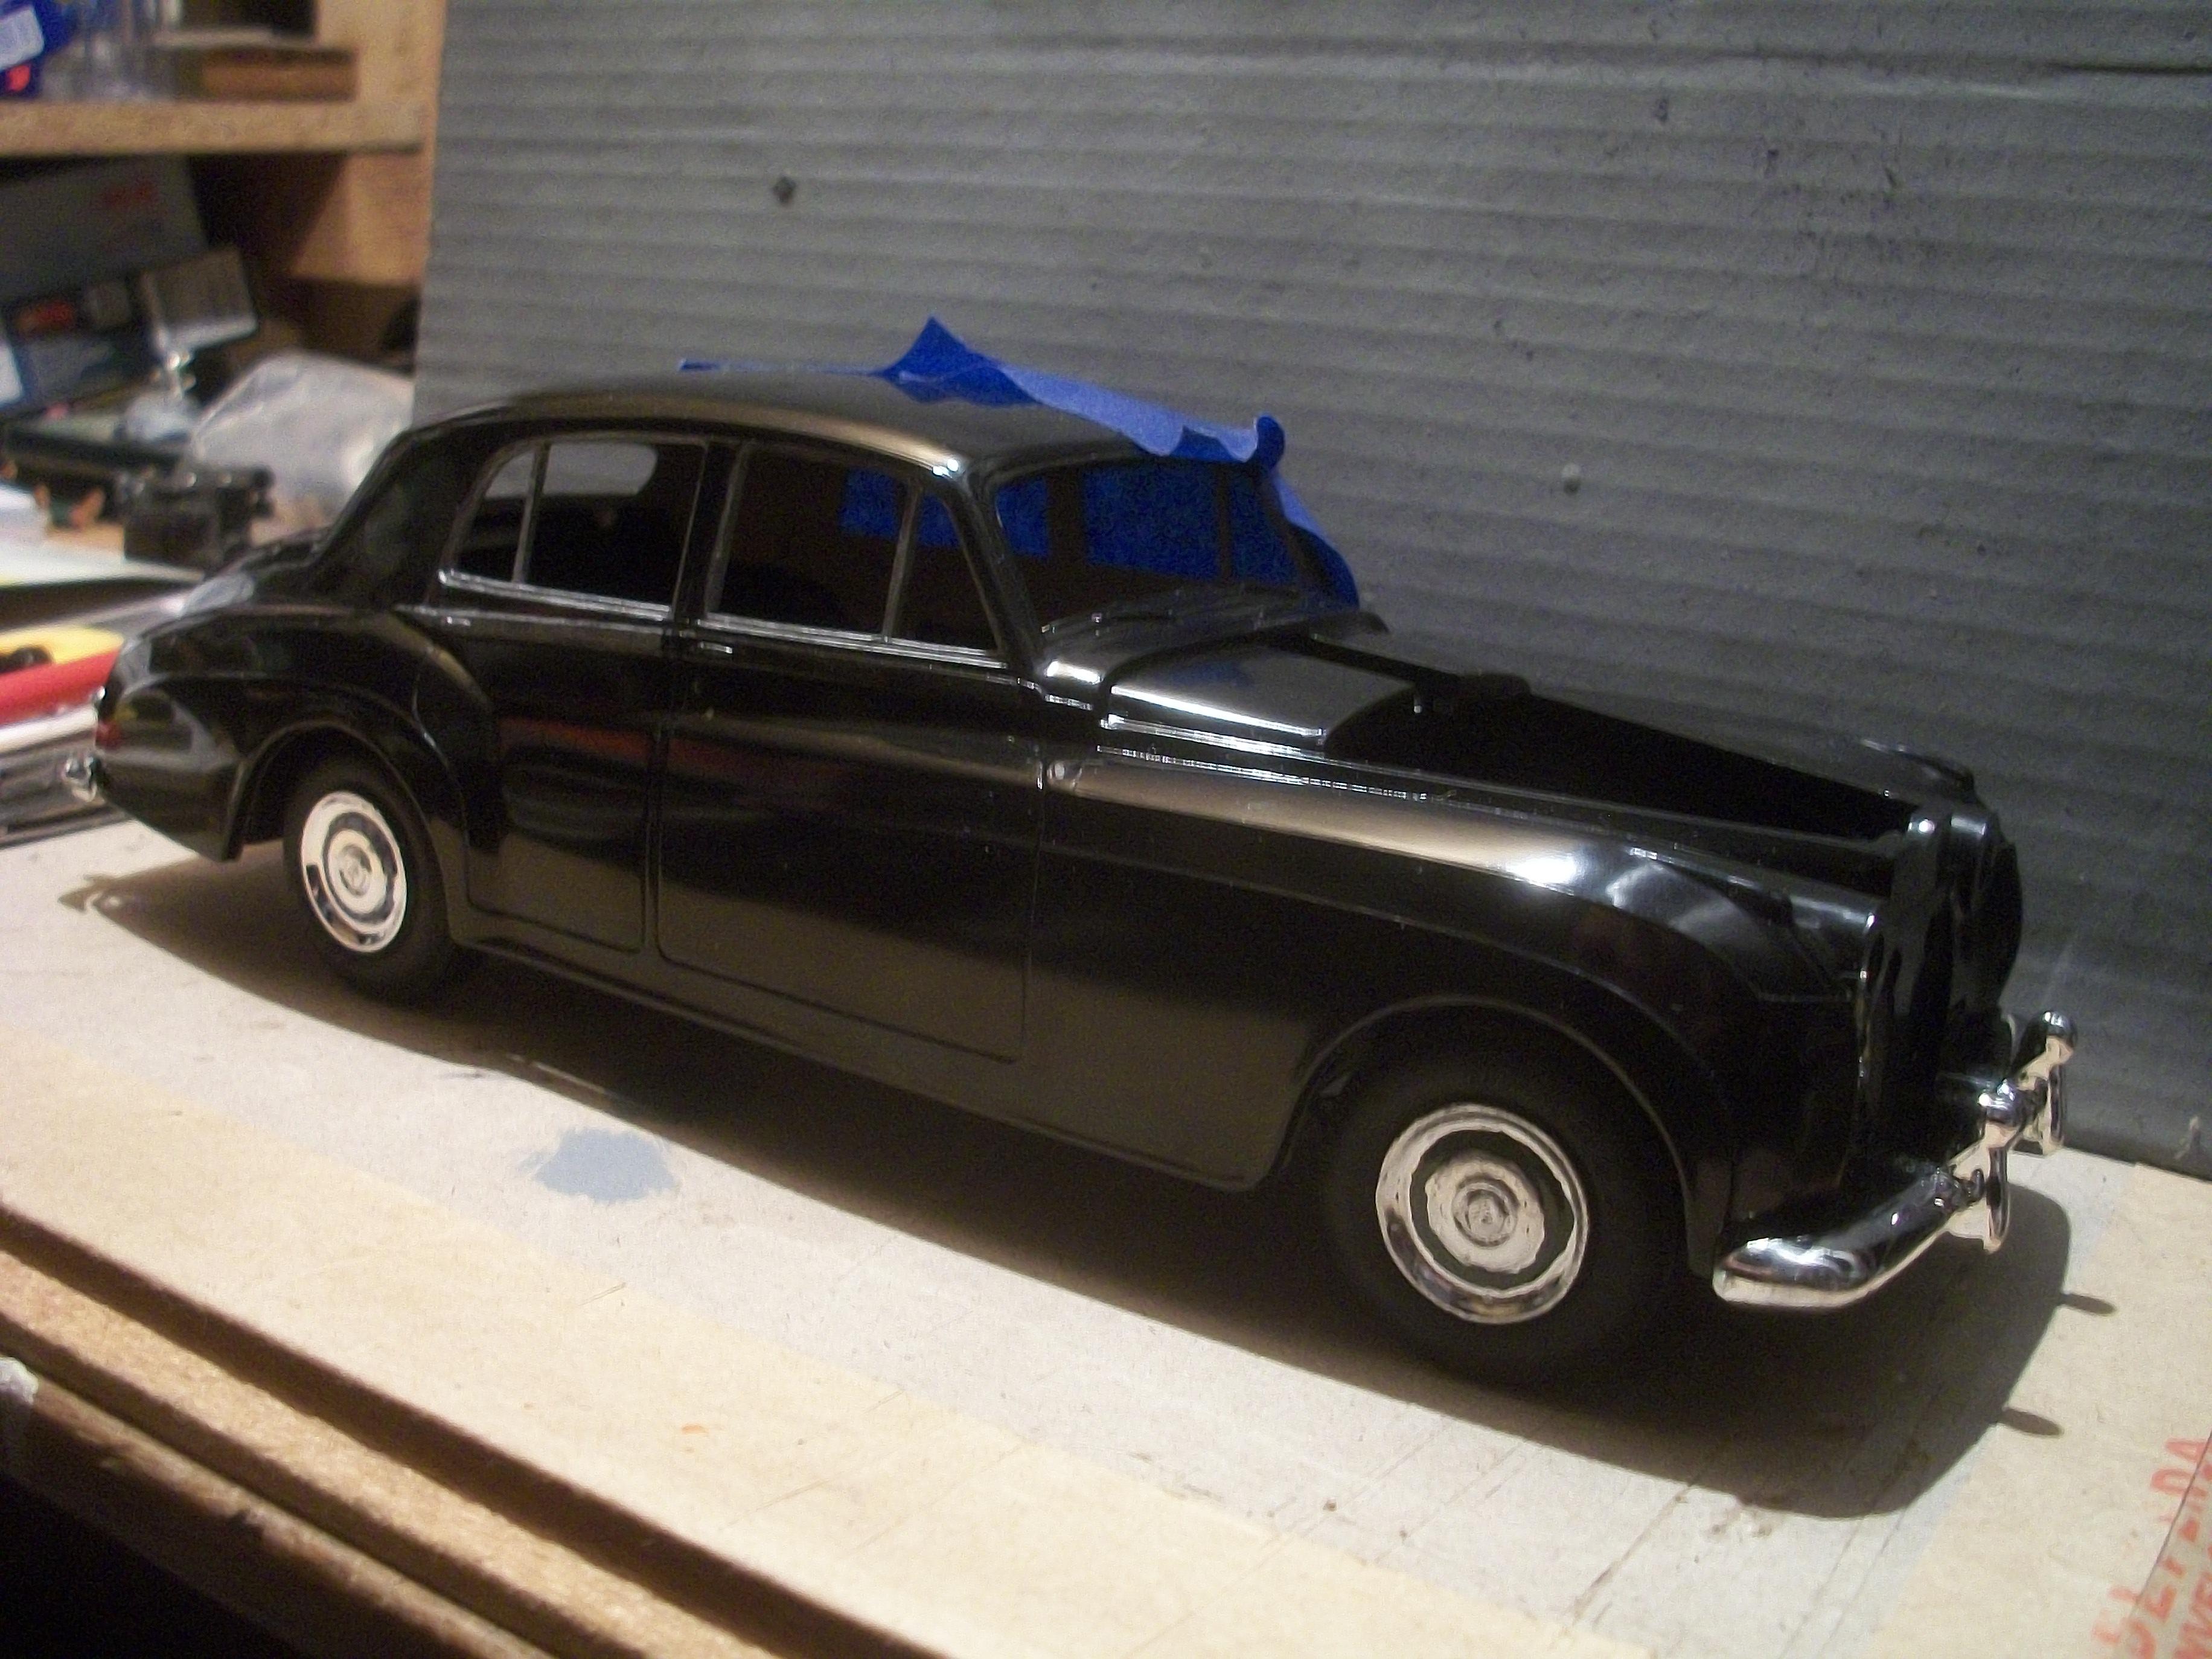
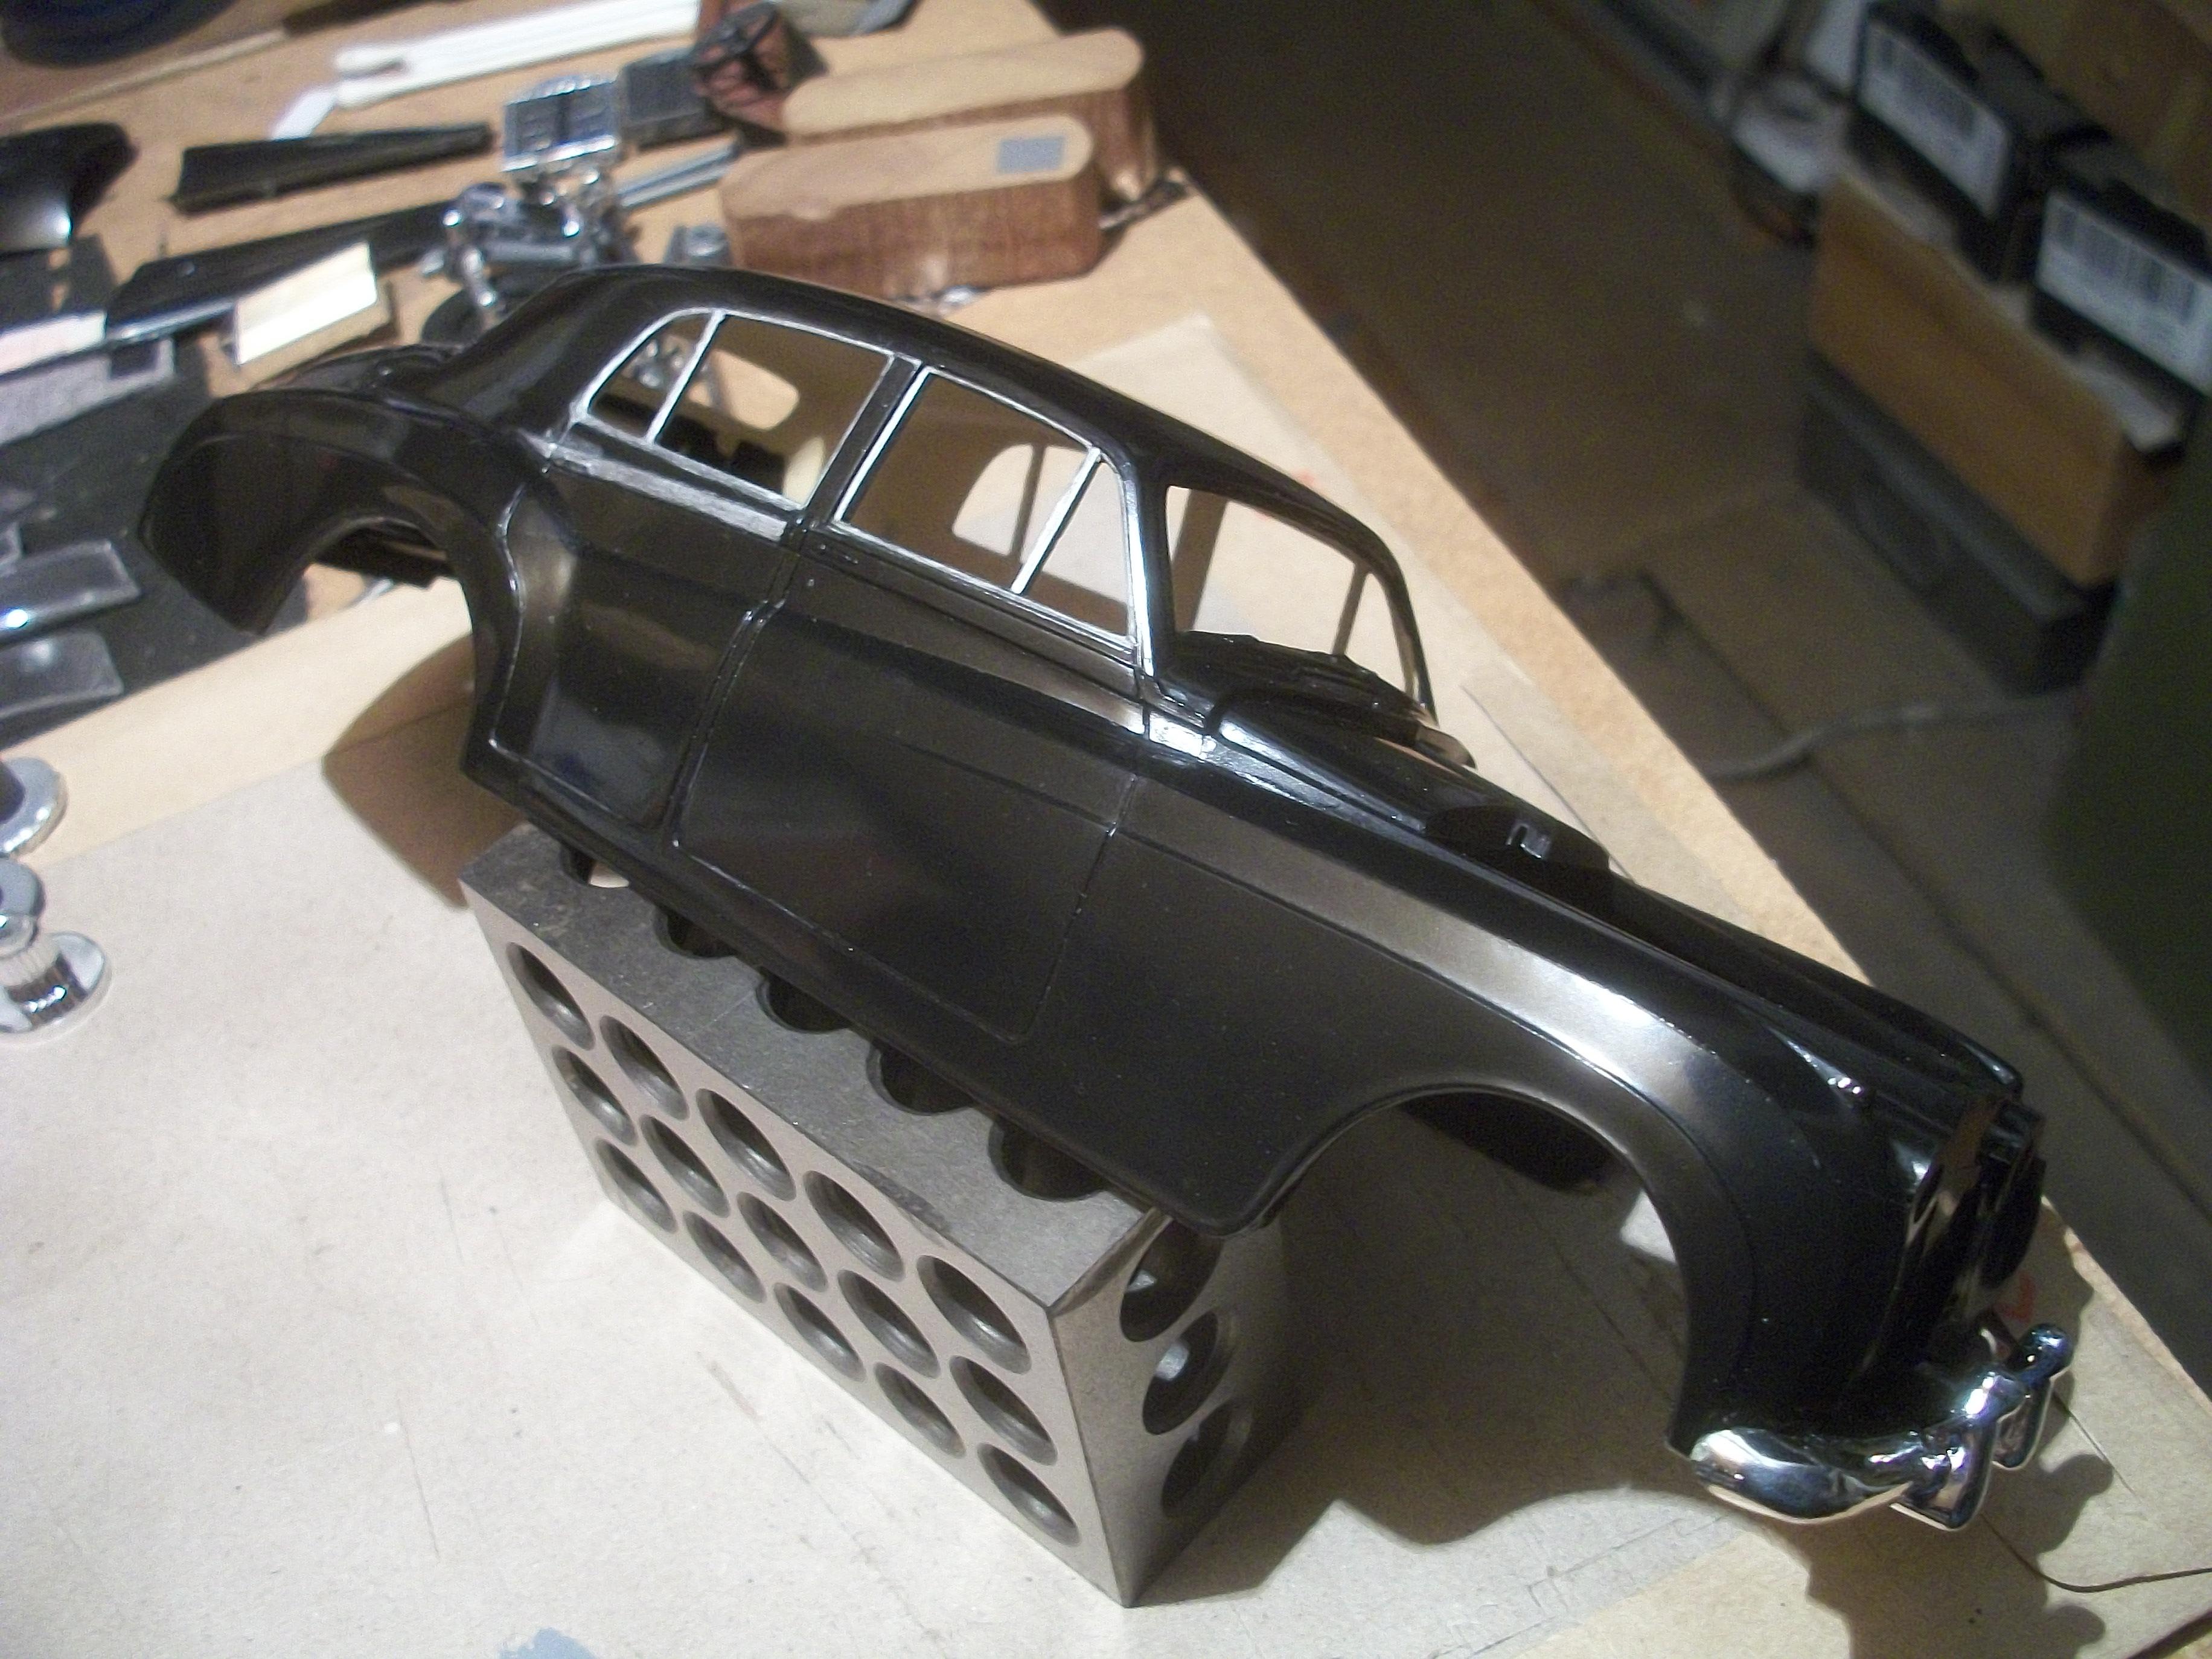
Both of the sill mouldings have been re-chromed and these are being allowed to dry overnight, before removing the blue masking tape . . . I would like to get the window glass in place pretty soon, so the body needs to be polished completely prior to fitting the windows. David
-
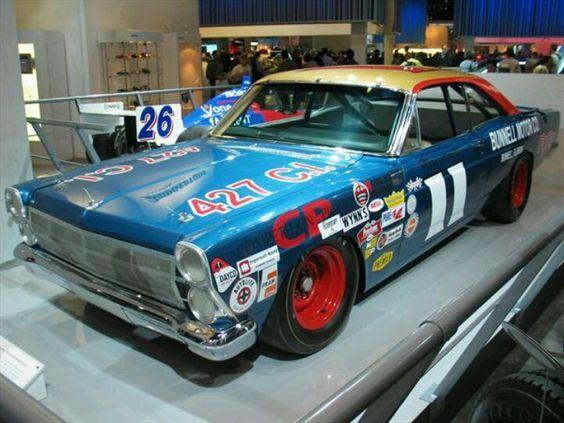
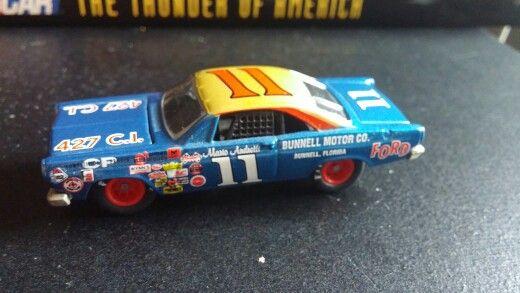
Really nice smooth finish on that gold roof Mark . . . I can see why you like that particular colour too. Here are a couple of photos of the Ford Fairlane . . . David
-
Rolls-Royce No Chemicals, No Paint, No Harmful Glues
Anglia105E replied to Anglia105E's topic in WIP: Model Cars
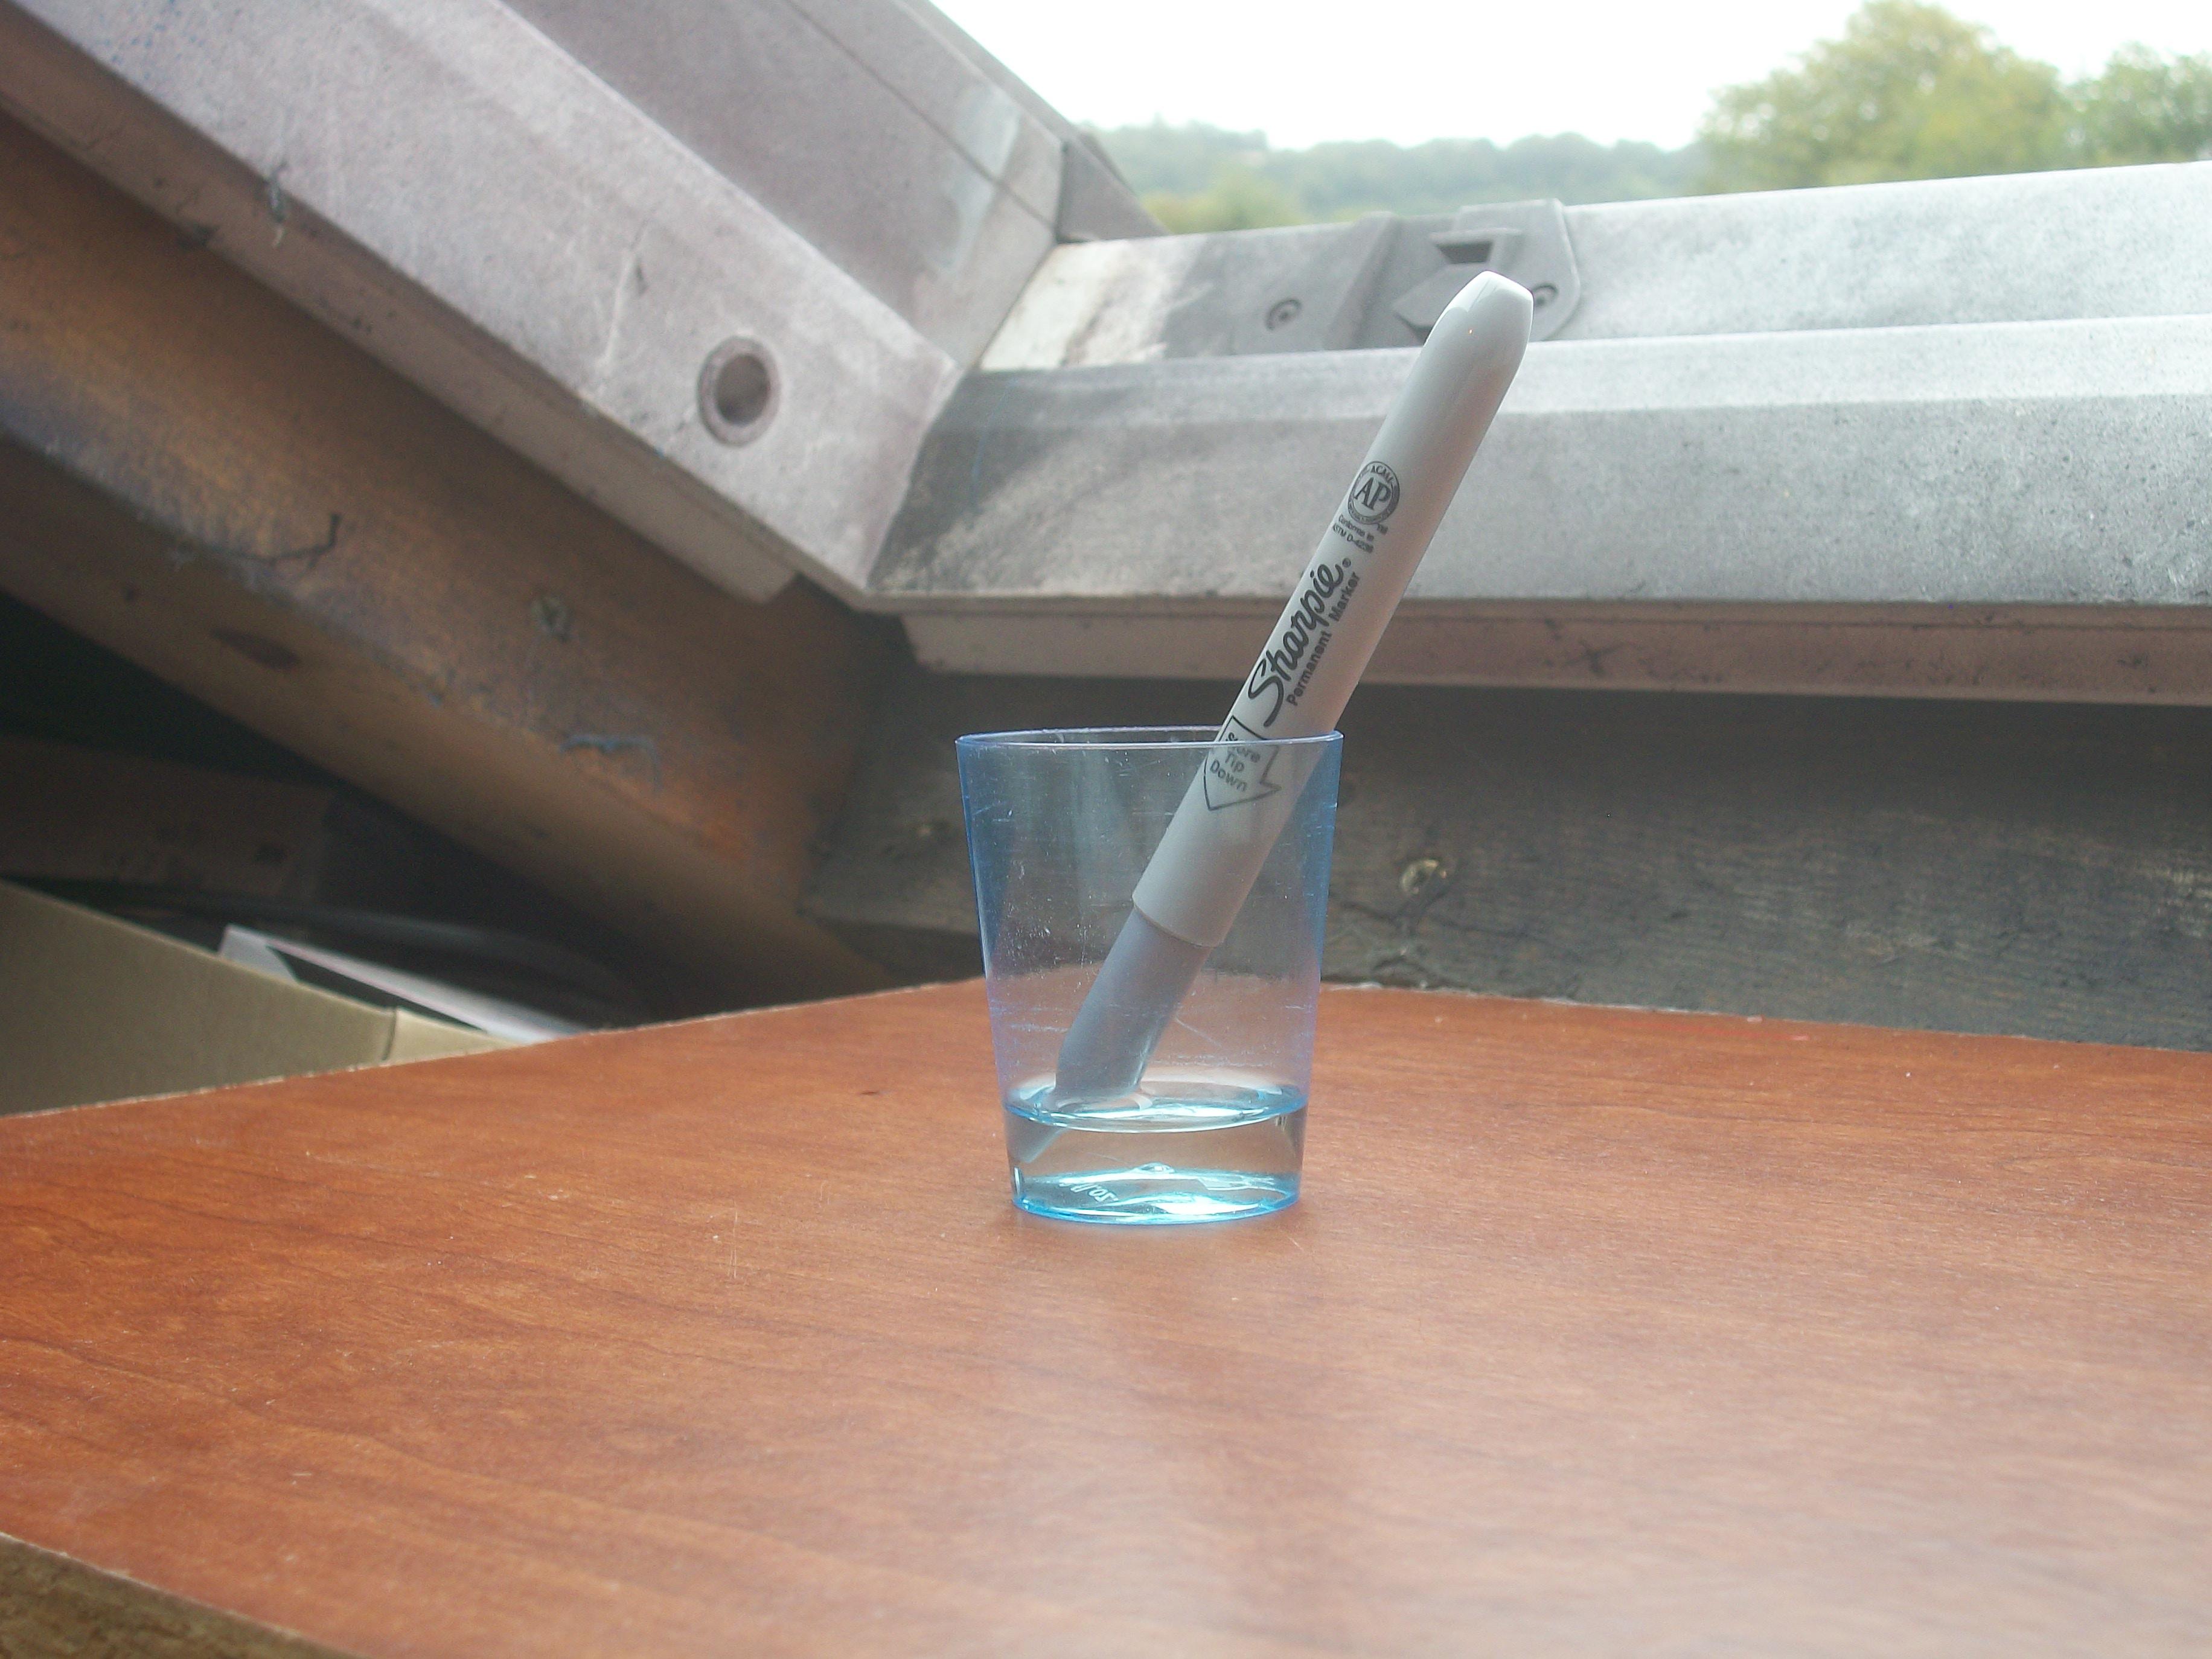
Yes Mark, I agree it looks pretty good. The hand sanitiser is causing the metallic Sharpie to be more fluid than it would be normally, and it is taking longer to dry. Usually, you would be able to handle a part that has had Sharpie applied almost straight away, but this needs a more cautious approach. What is your current build at the moment ? David -
Rolls-Royce No Chemicals, No Paint, No Harmful Glues
Anglia105E replied to Anglia105E's topic in WIP: Model Cars
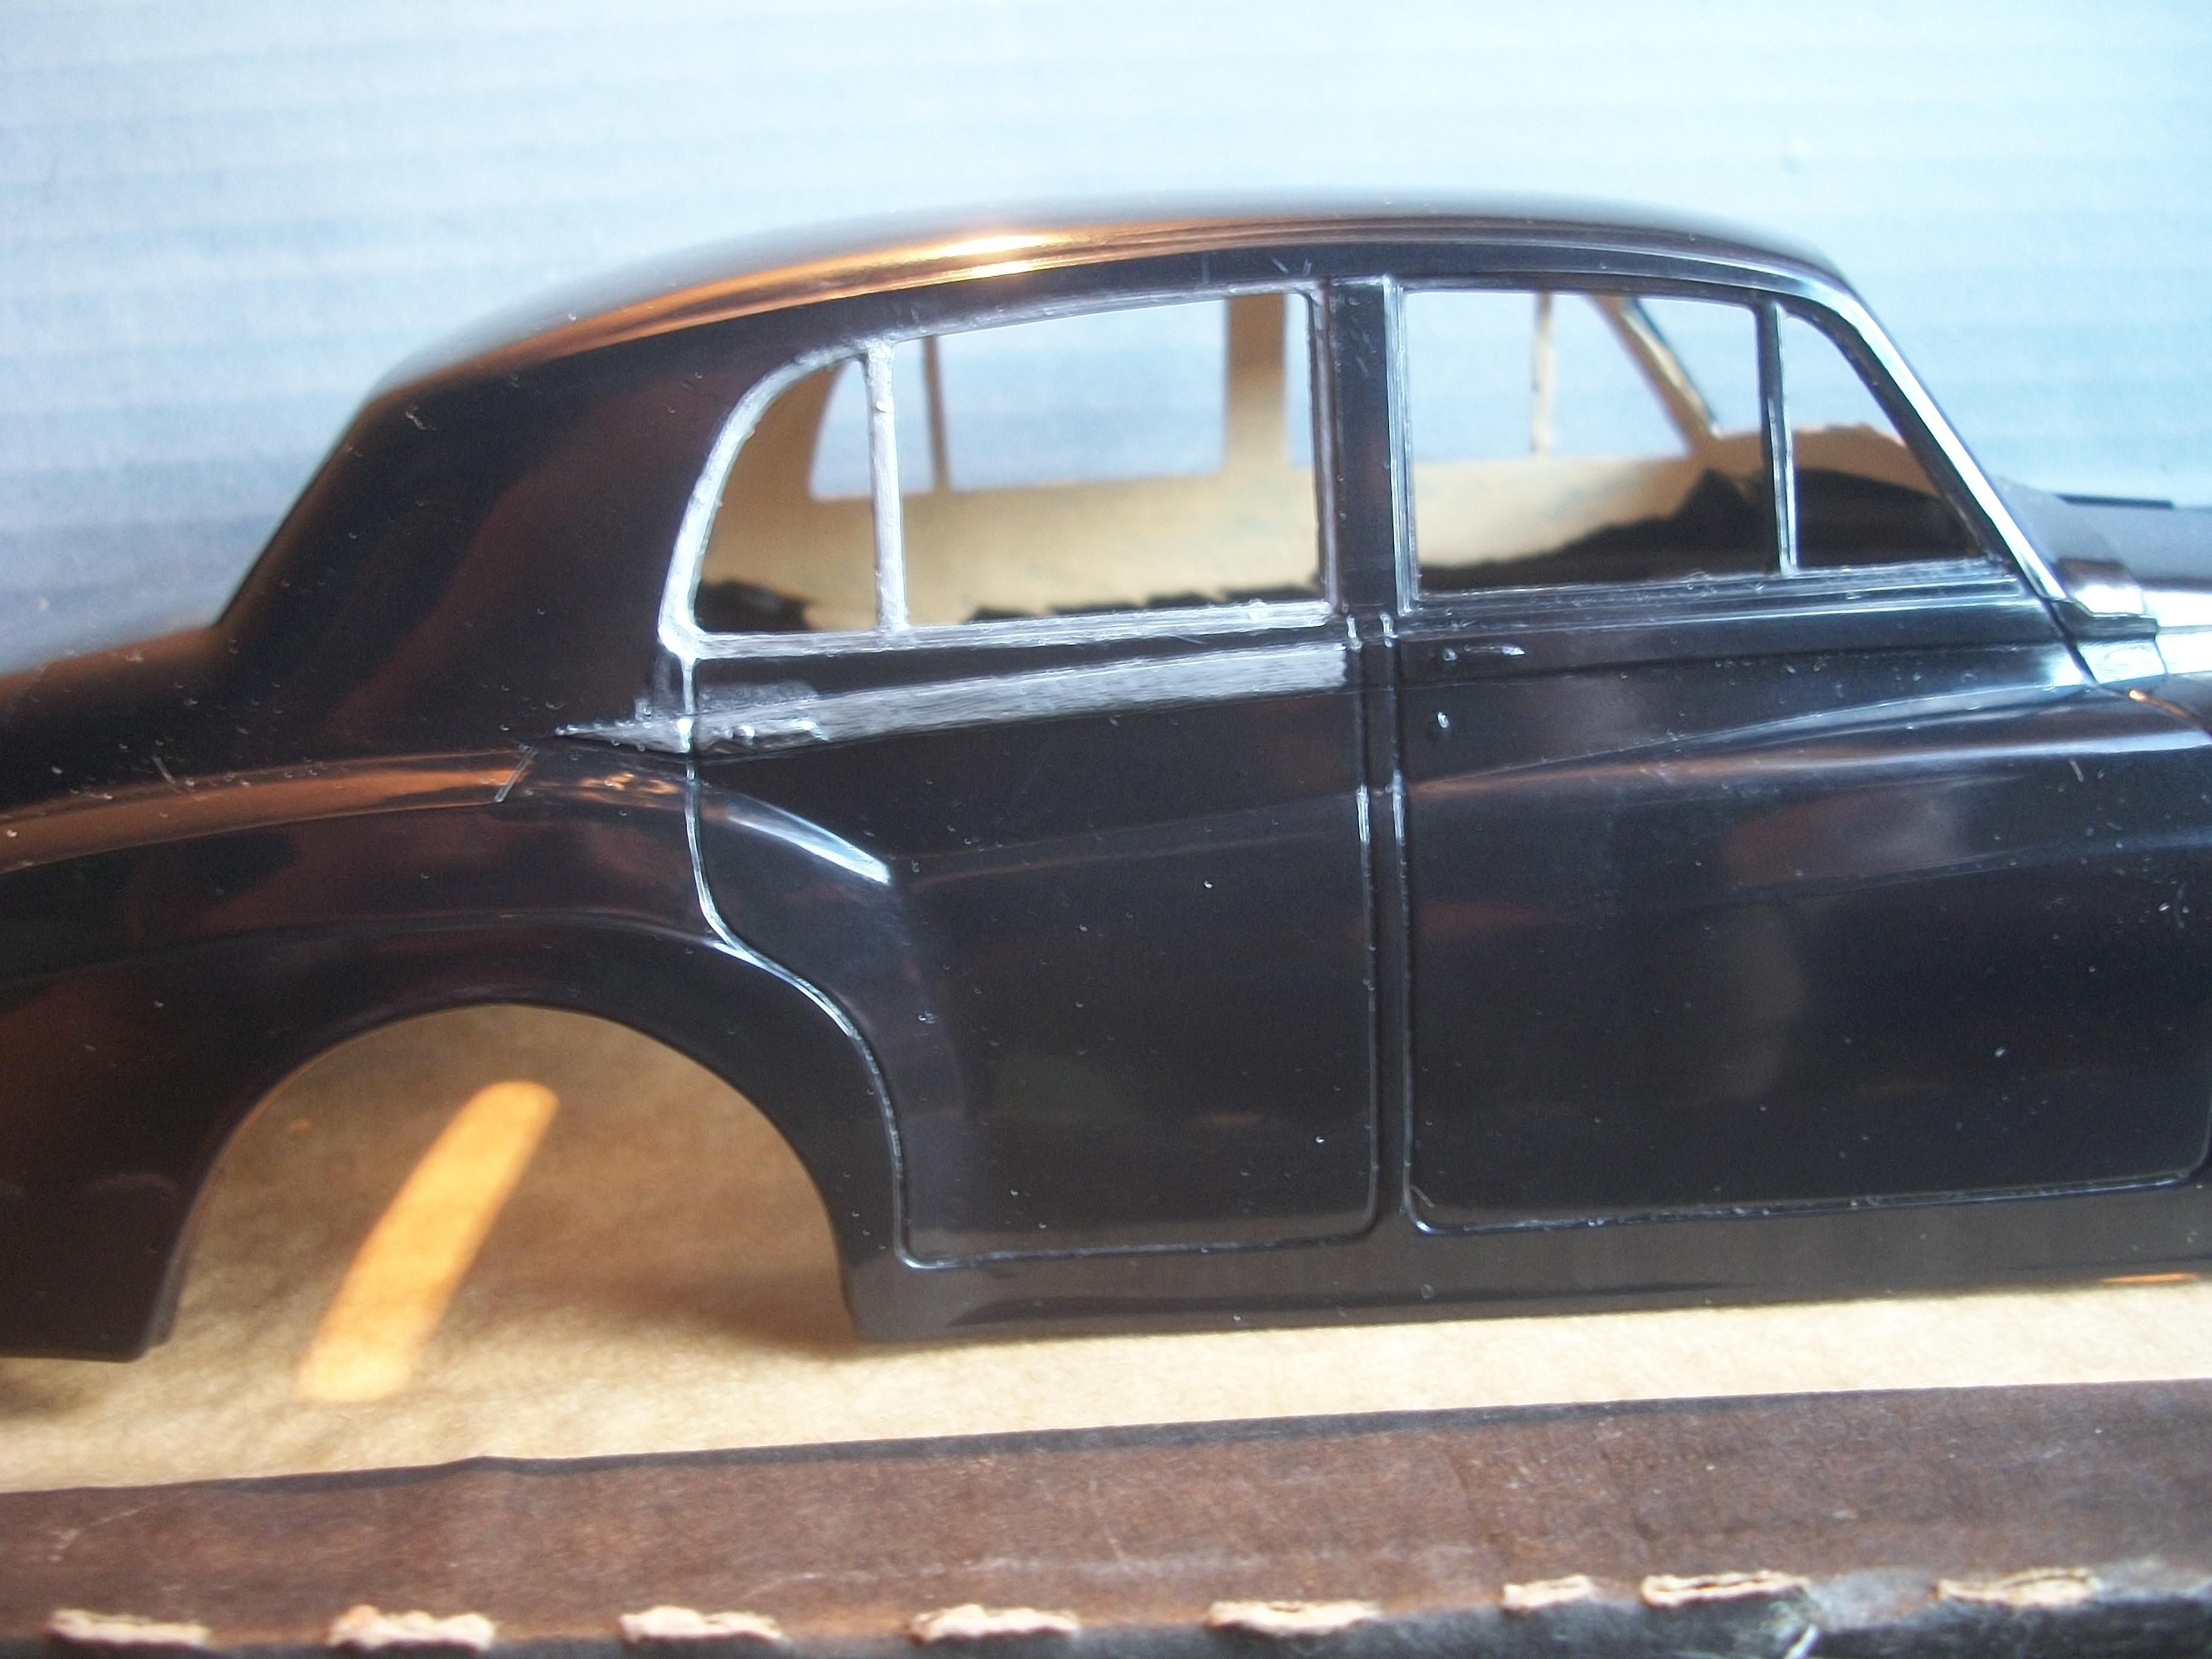
The silver Sharpie pen was allowed to soak in hand sanitiser overnight for 12 hours plus. Today, the silver ink was flowing from the nib in the same manner that Molotow Liquid Chrome ink is known to behave . . . I am now able to put the cap on this pen, then place it vertically with the nib downwards, and then continue using the pen several hours later. The door strips are chromed on both sides of the body, and I even managed to get the two sill mouldings done as well. Next step was to apply silver to the rear door window frame on the passenger side of the car. However, this resulted in a step backwards, because while handling the body I rubbed off much of the silver ink on both sill mouldings . . . That was careless of me, wasn't it ? These will have to be redone tomorrow. The Sharpie ink that is applied from the nib that has been soaked in hand sanitiser clearly takes longer to dry before handling, due to its liquid consistency. David
-
Rolls-Royce No Chemicals, No Paint, No Harmful Glues
Anglia105E replied to Anglia105E's topic in WIP: Model Cars
Yep, that is the plan Mark . . . The silver Sharpie worked without any shaking needed tonight, but it only managed to cover half of the door strips, before the ink stopped flowing. I have returned the pen to the container of hand sanitiser, and I shall leave it overnight to soak. Getting there, slowly ! David
-
Well guys . . . Admins and moderators and those members who have kindly offered their suggestions and advice, I am pleased to report that I have just posted five chunks of text that divided up from the main block of text. Not one of those five chunks of text generated the error message that I was getting previously, and they all posted normally . . . Just to be sure, I also posted the same five photos that were part of the larger text block. That also posted normally, with no error message. This does not make sense, mind you. The logic of this is lost on me. Why does the whole block of text fail to post, but the five individual portions of this text posted normally, without error, suggesting there is nothing contained within that text to cause a problem ? Thanks very much guys ! David Watson
-
Rolls-Royce No Chemicals, No Paint, No Harmful Glues
Anglia105E replied to Anglia105E's topic in WIP: Model Cars
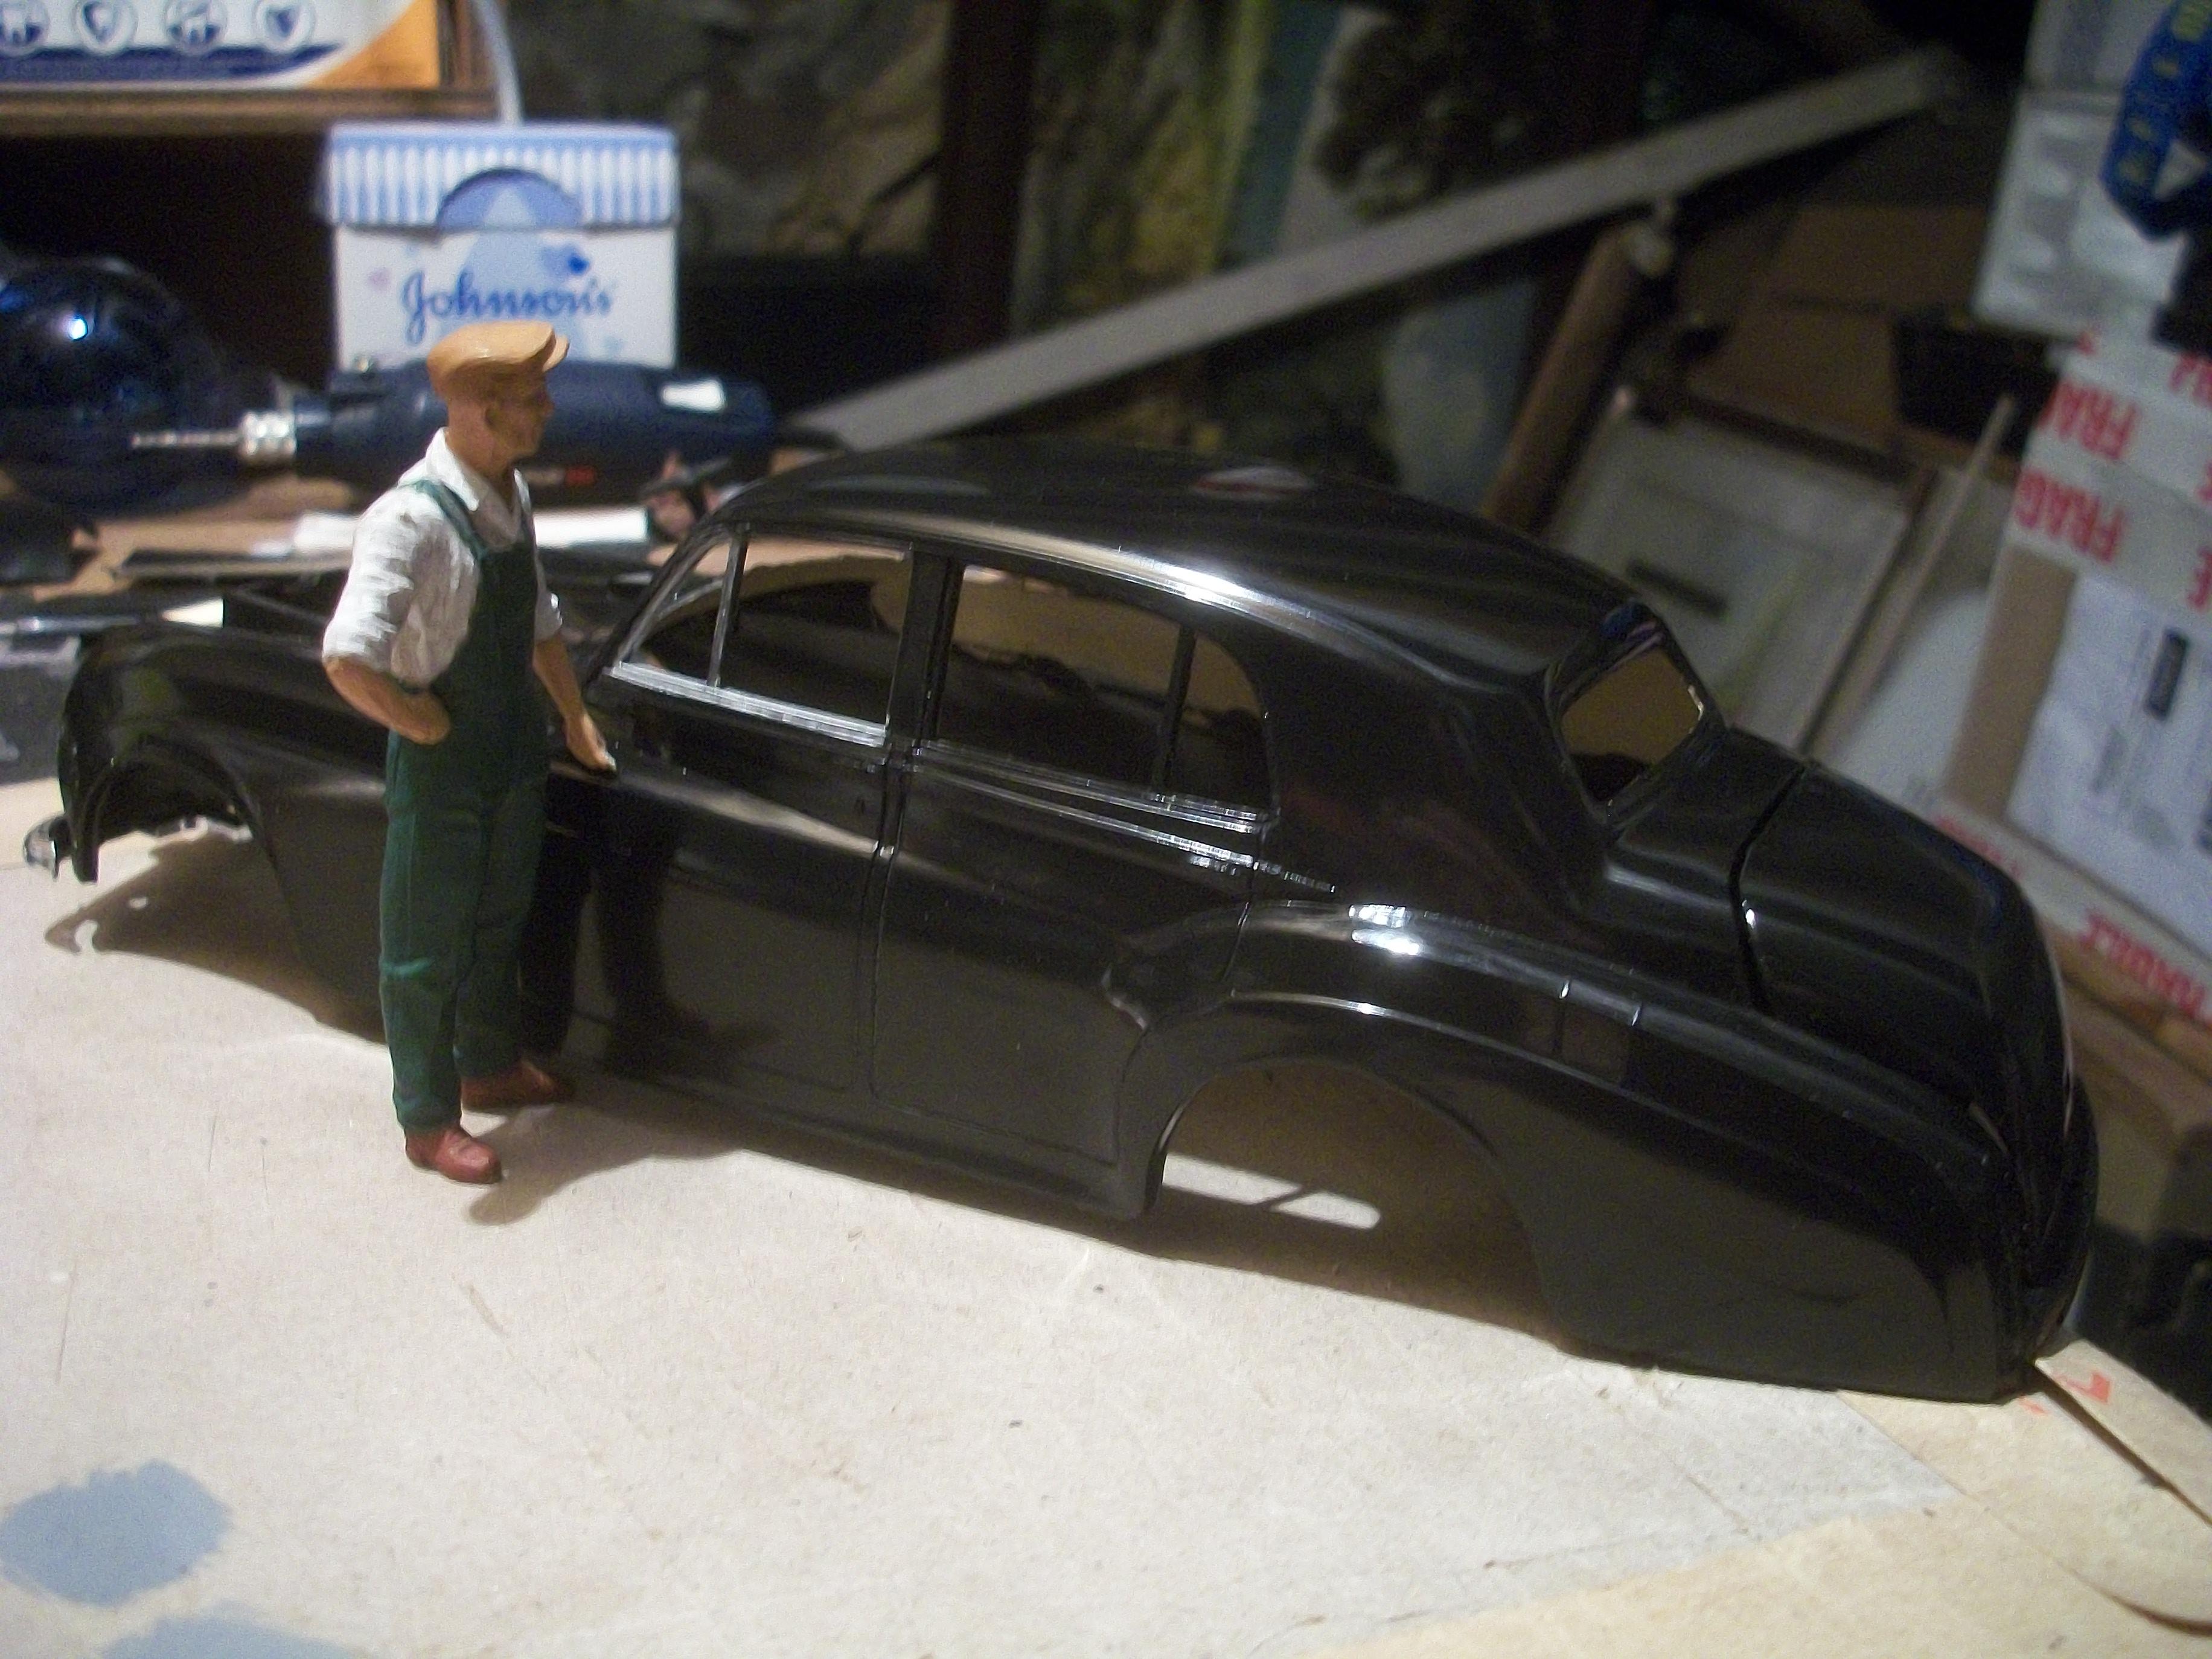
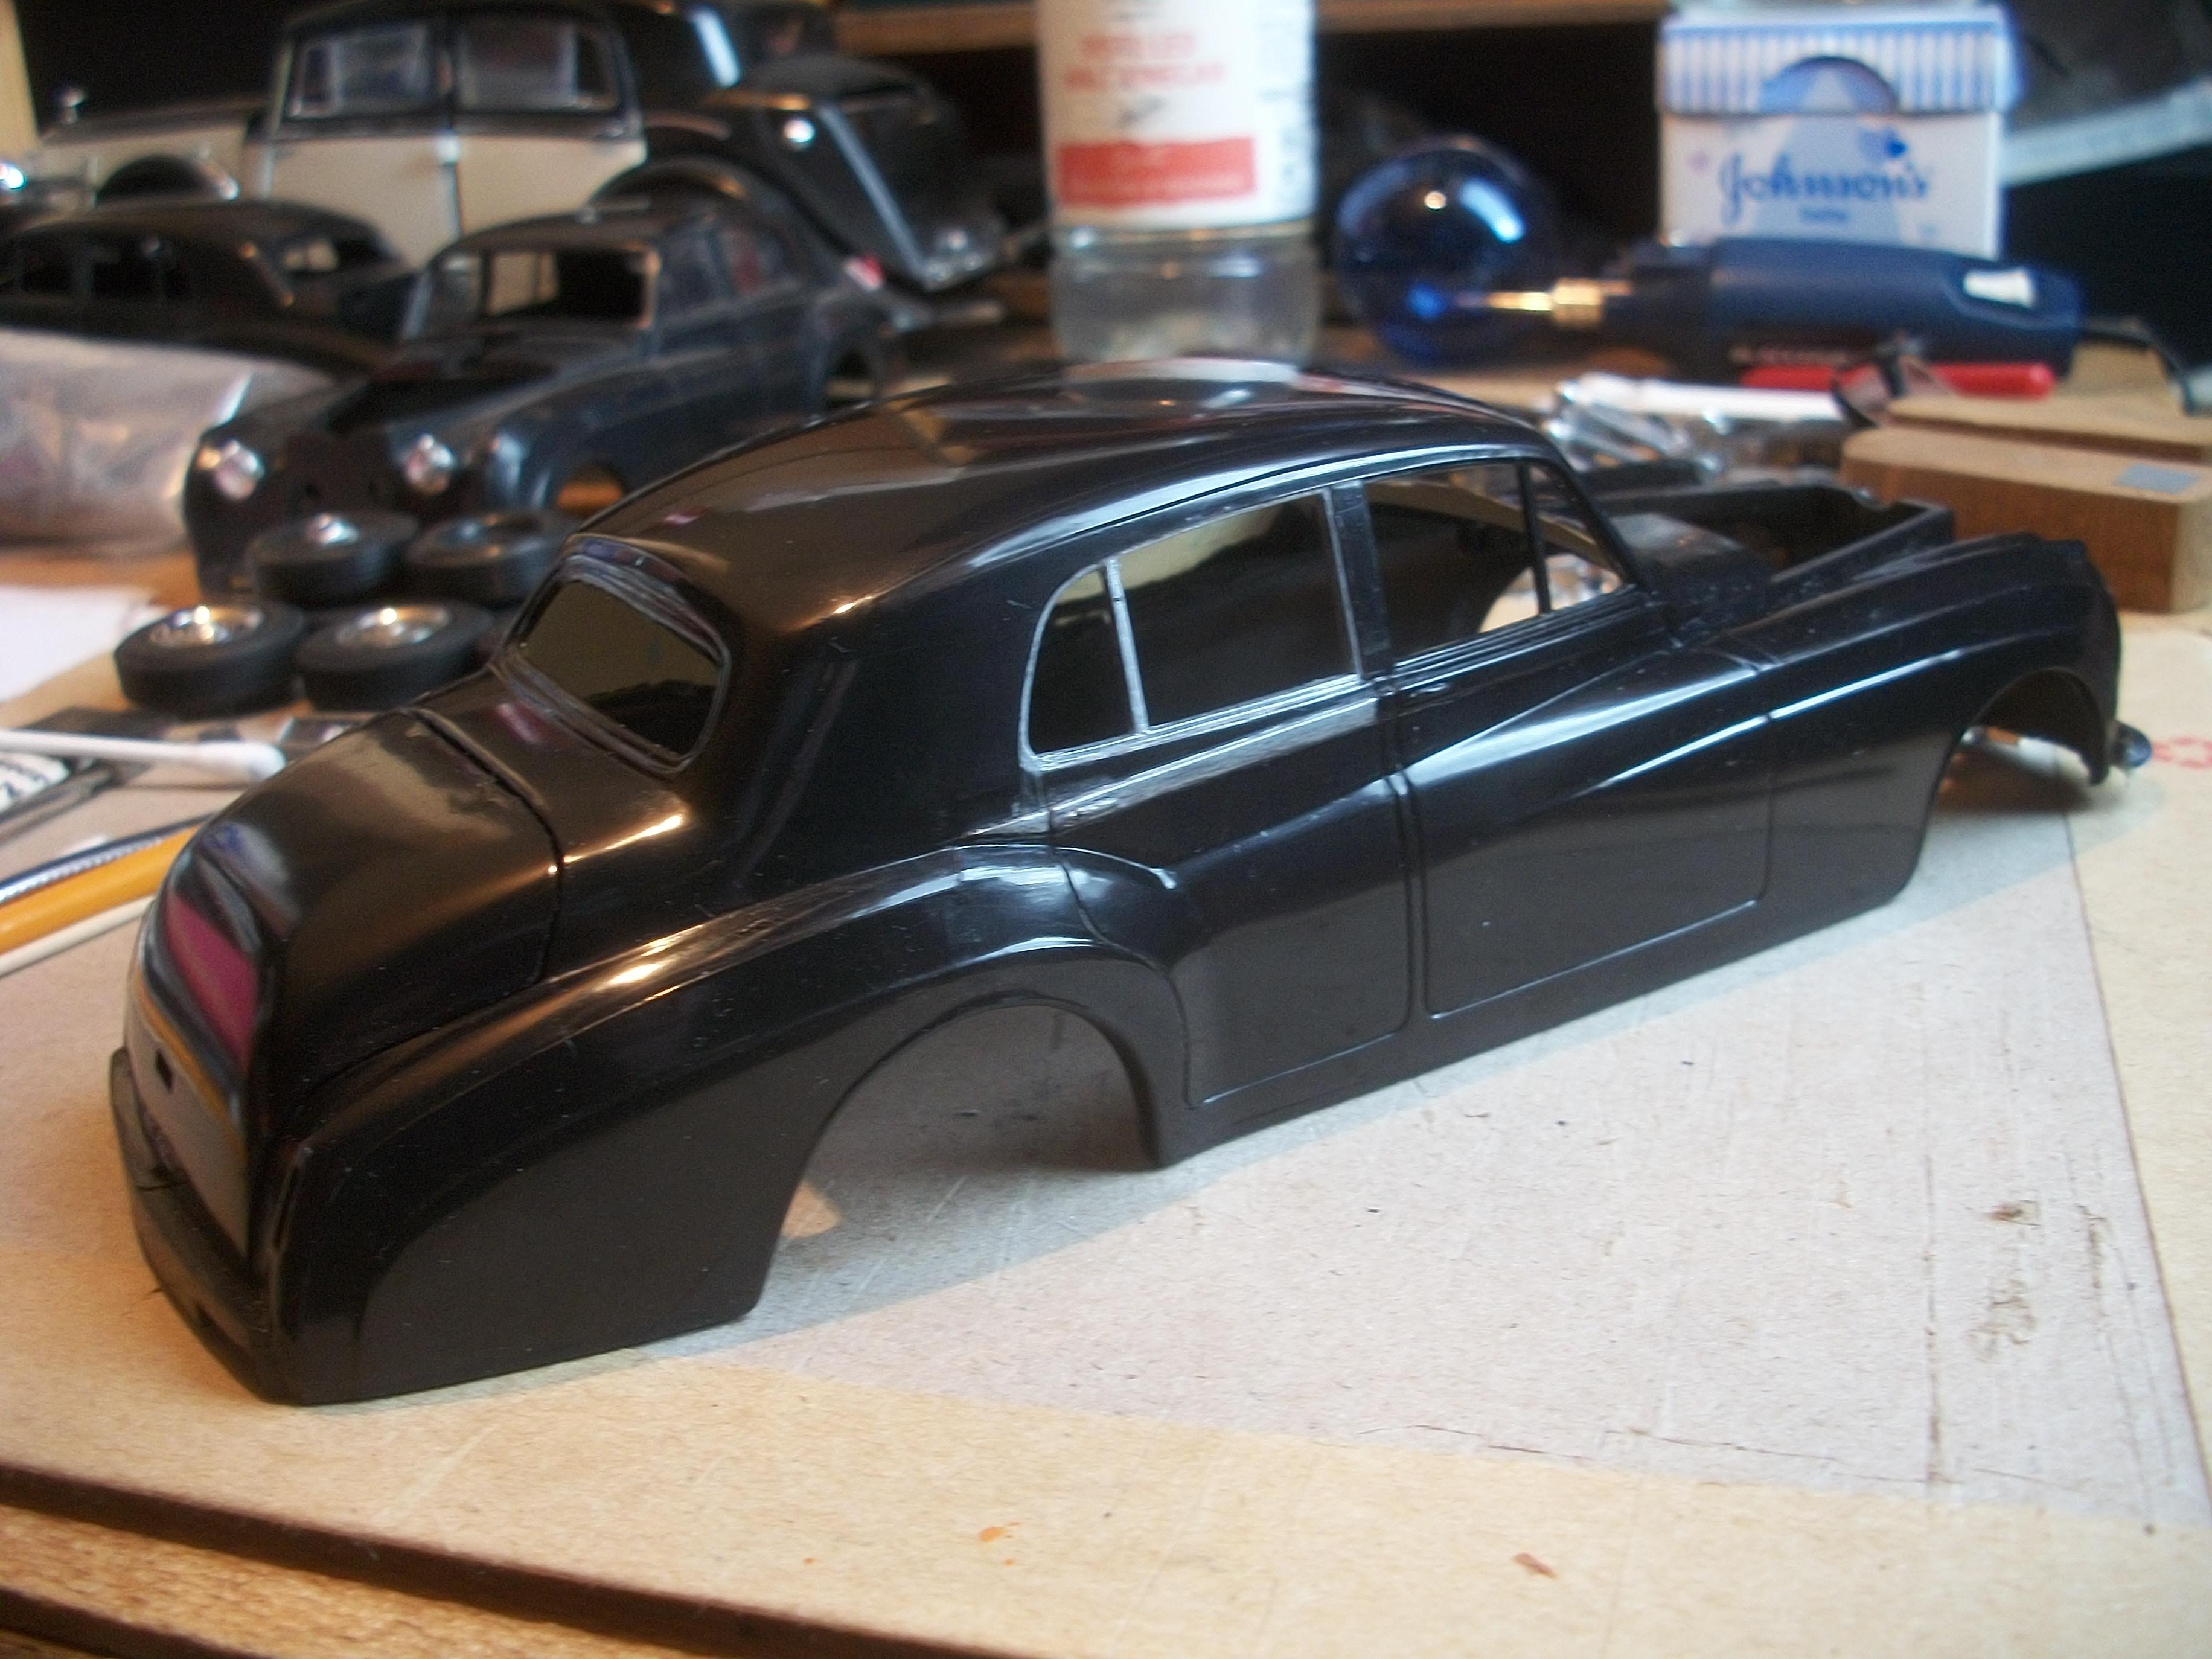
The following five photos show my progress so far. David W.
-
Rolls-Royce No Chemicals, No Paint, No Harmful Glues
Anglia105E replied to Anglia105E's topic in WIP: Model Cars
Eventually I was able to apply silver ink to all of the door window frame. The odd thing is that the gold and the bronze Sharpies are working fine, so it is only the silver pen that is giving me so much trouble. Of course, it had to be the silver one that is problematic, as it is the one that I must use for the chrome effect. David -
Rolls-Royce No Chemicals, No Paint, No Harmful Glues
Anglia105E replied to Anglia105E's topic in WIP: Model Cars
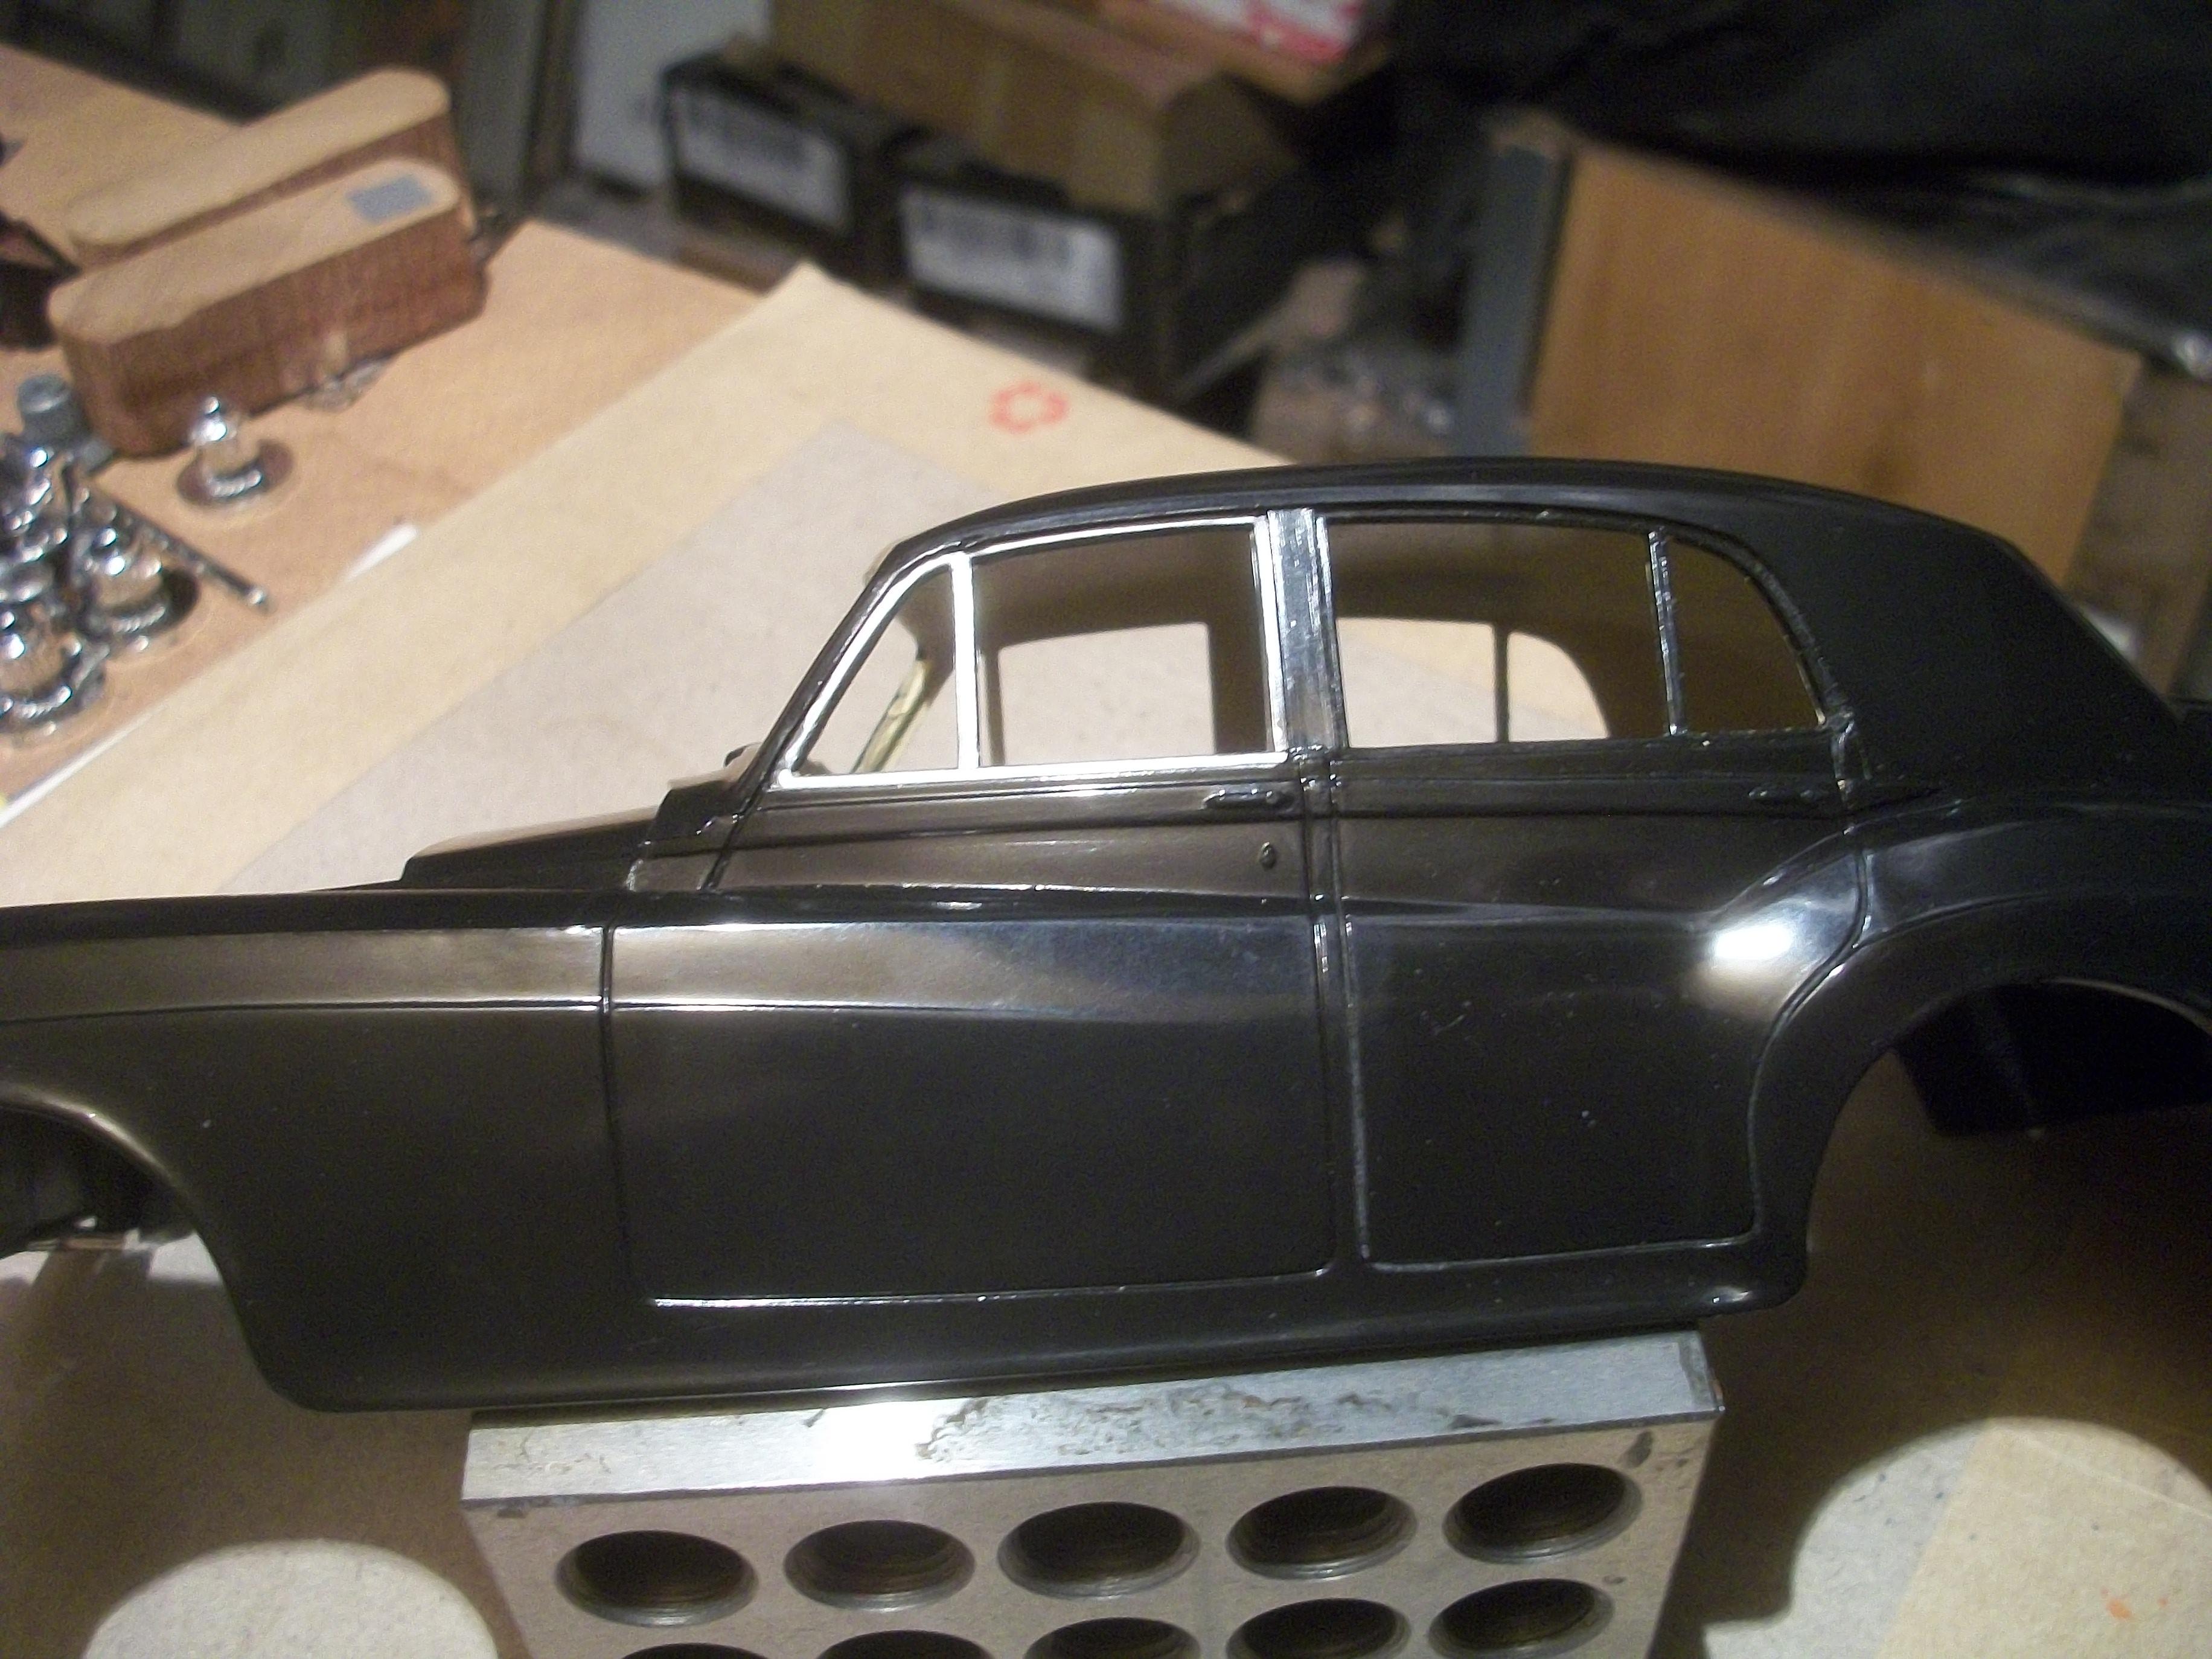
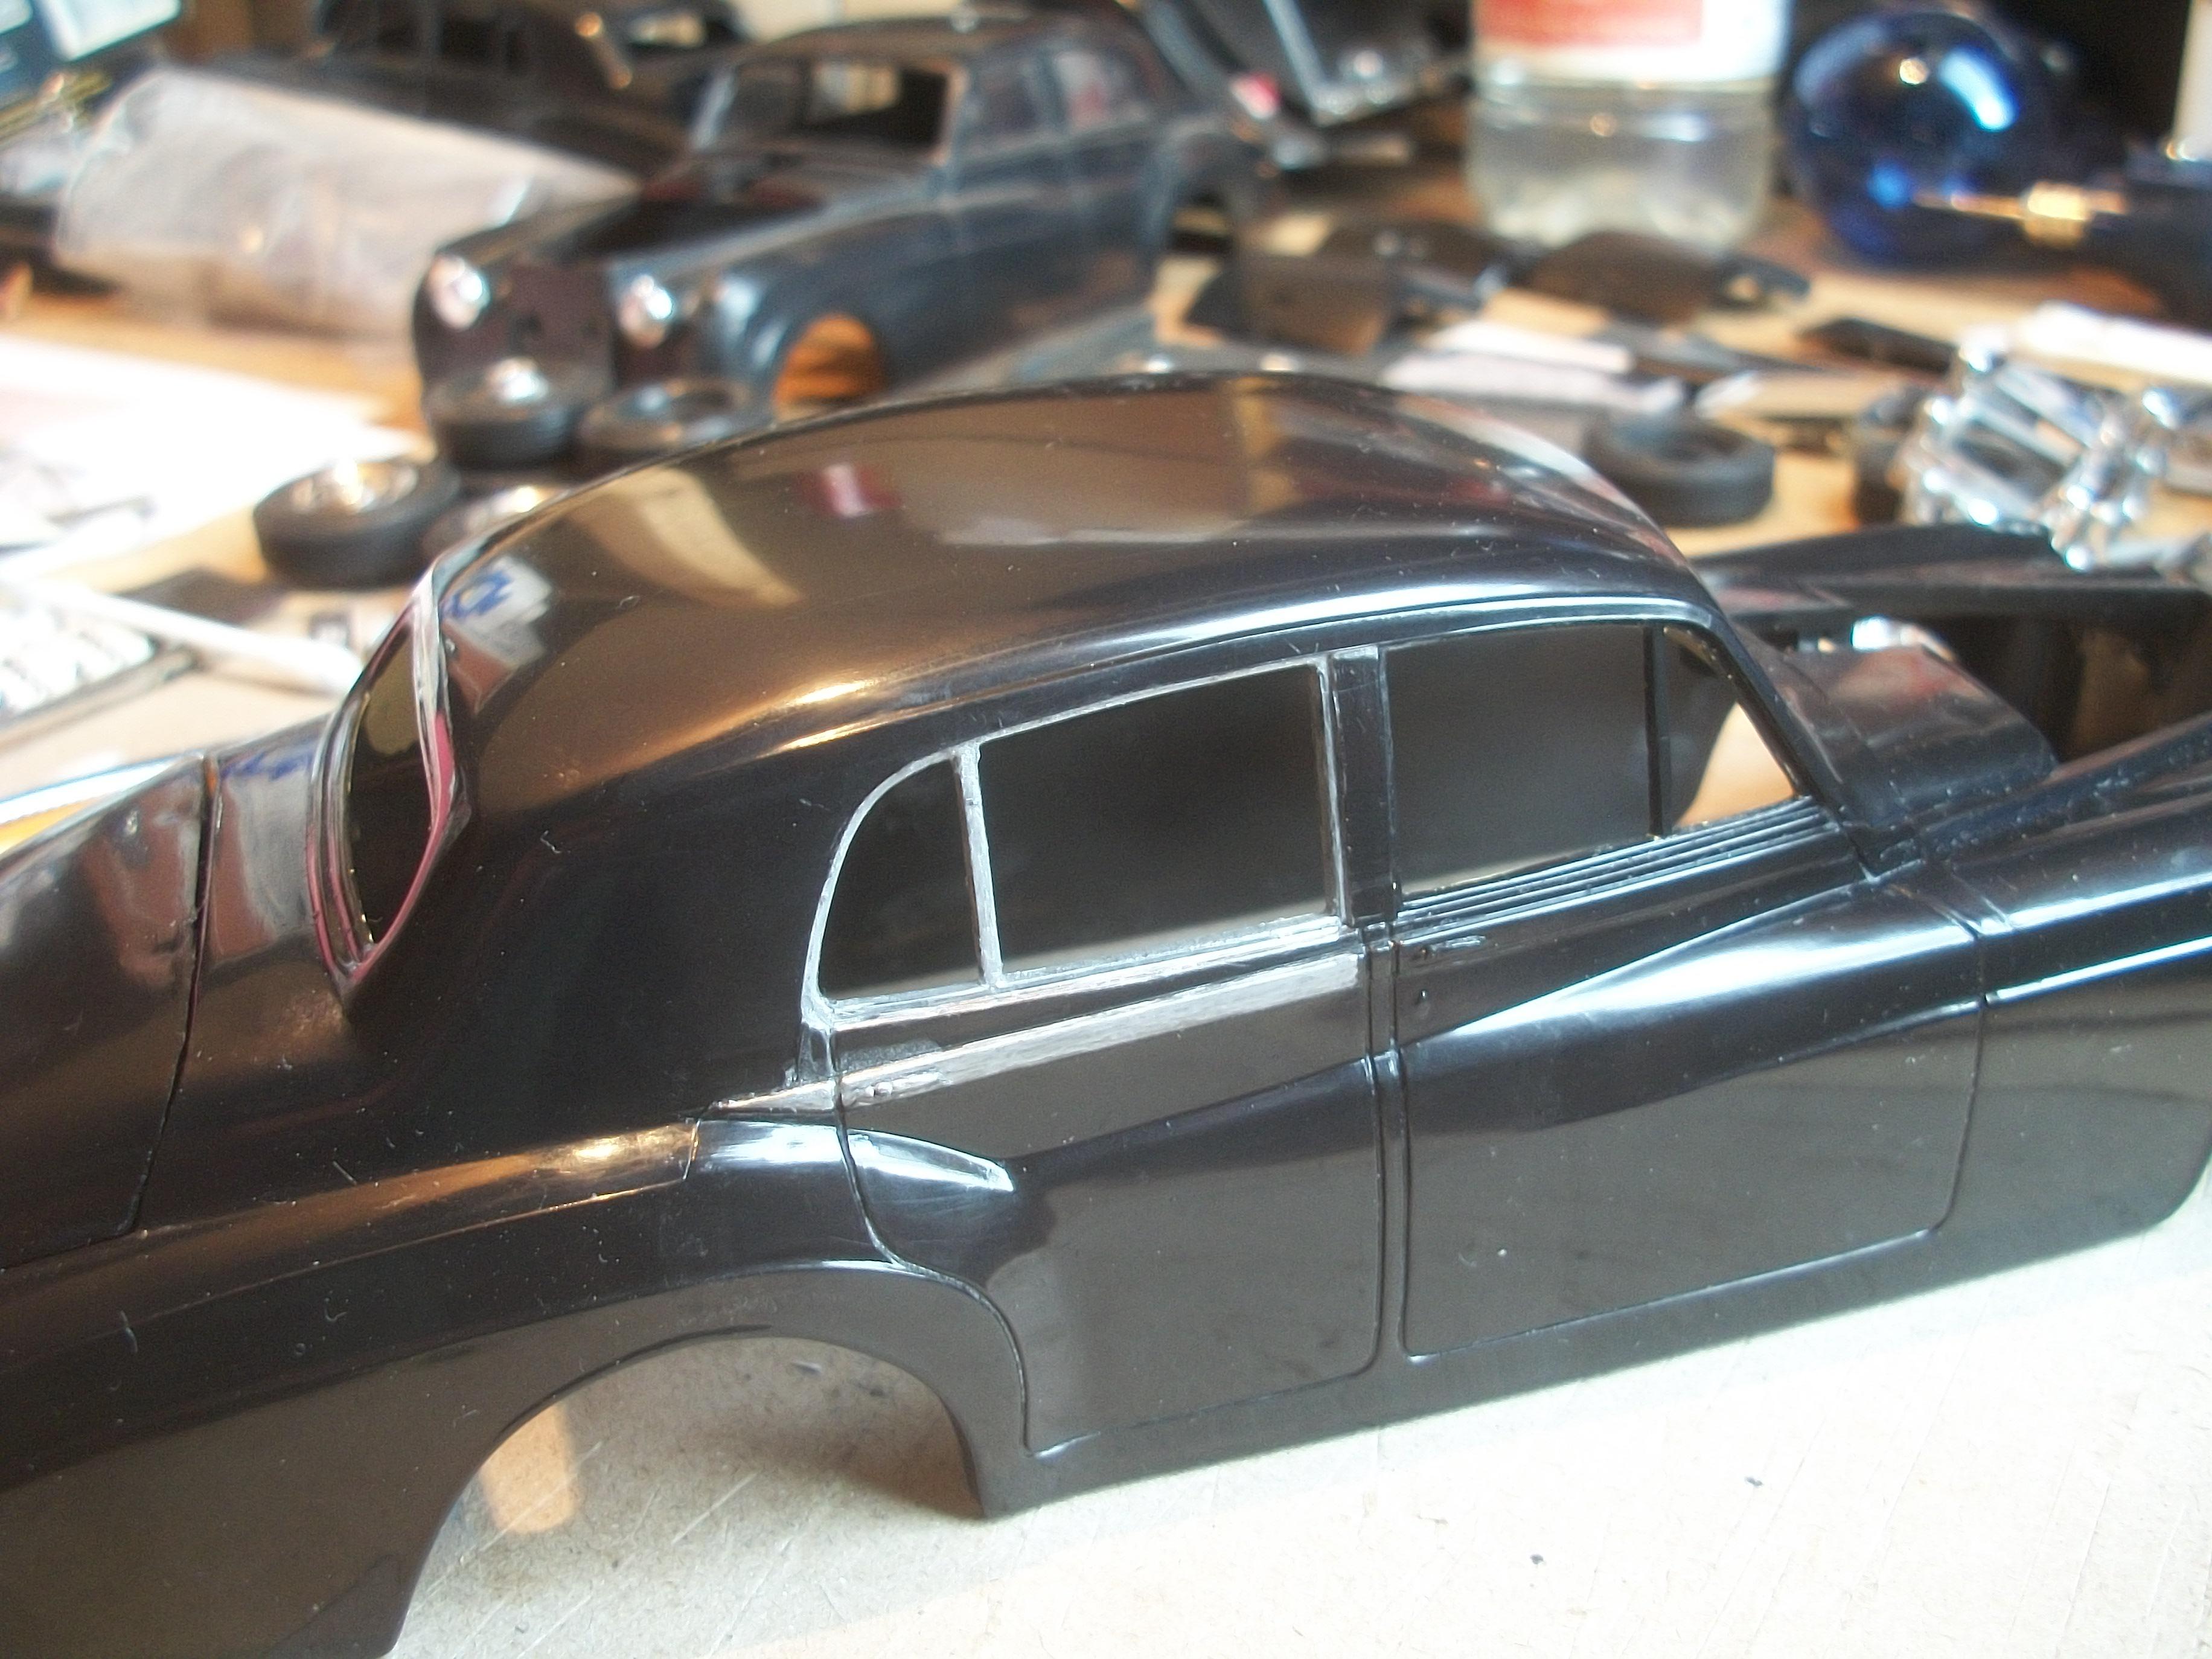
Moving over to the door window frame of the Silver Cloud body, I found that the silver ink flowed out of the Sharpie nib as I ran it along the styrene frame. This reminded me of the way that Molotow Liquid Chrome would do the same thing, as it flows from the tip of a fine brush. After chroming part of the window frame, the pen did stop working once more, but with a little more vigorous shaking the ink resumed flowing. -
Rolls-Royce No Chemicals, No Paint, No Harmful Glues
Anglia105E replied to Anglia105E's topic in WIP: Model Cars
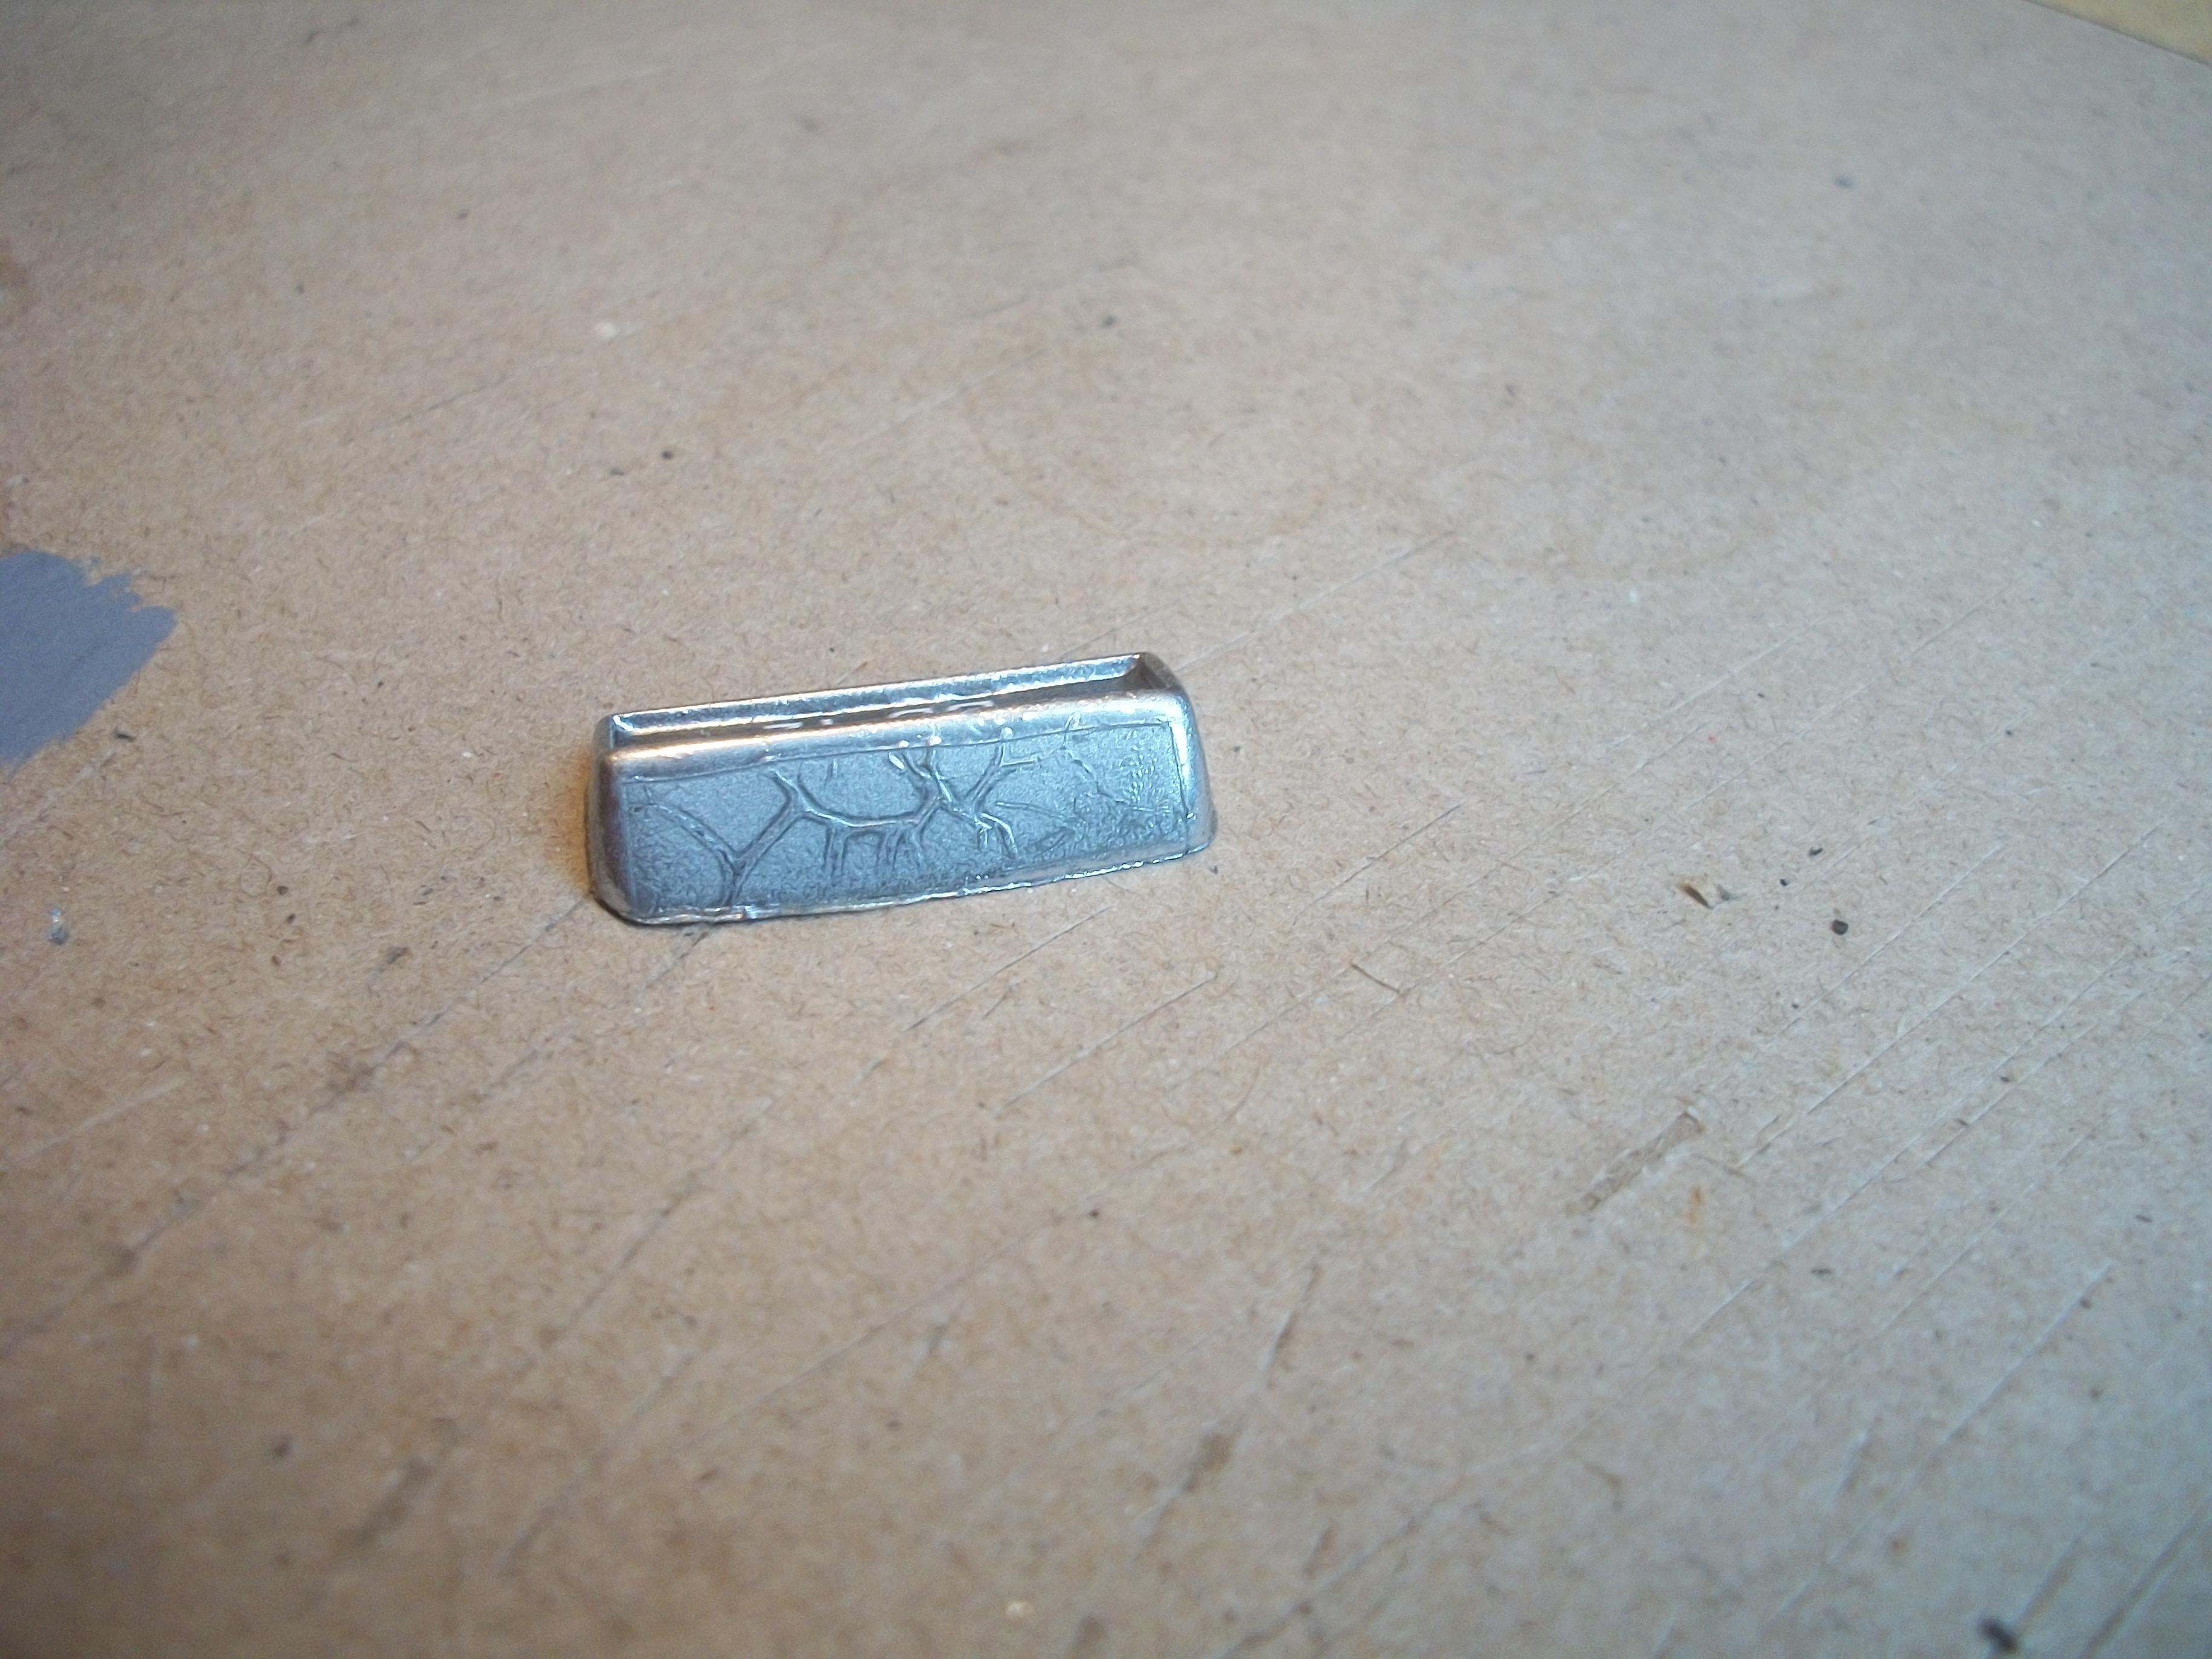
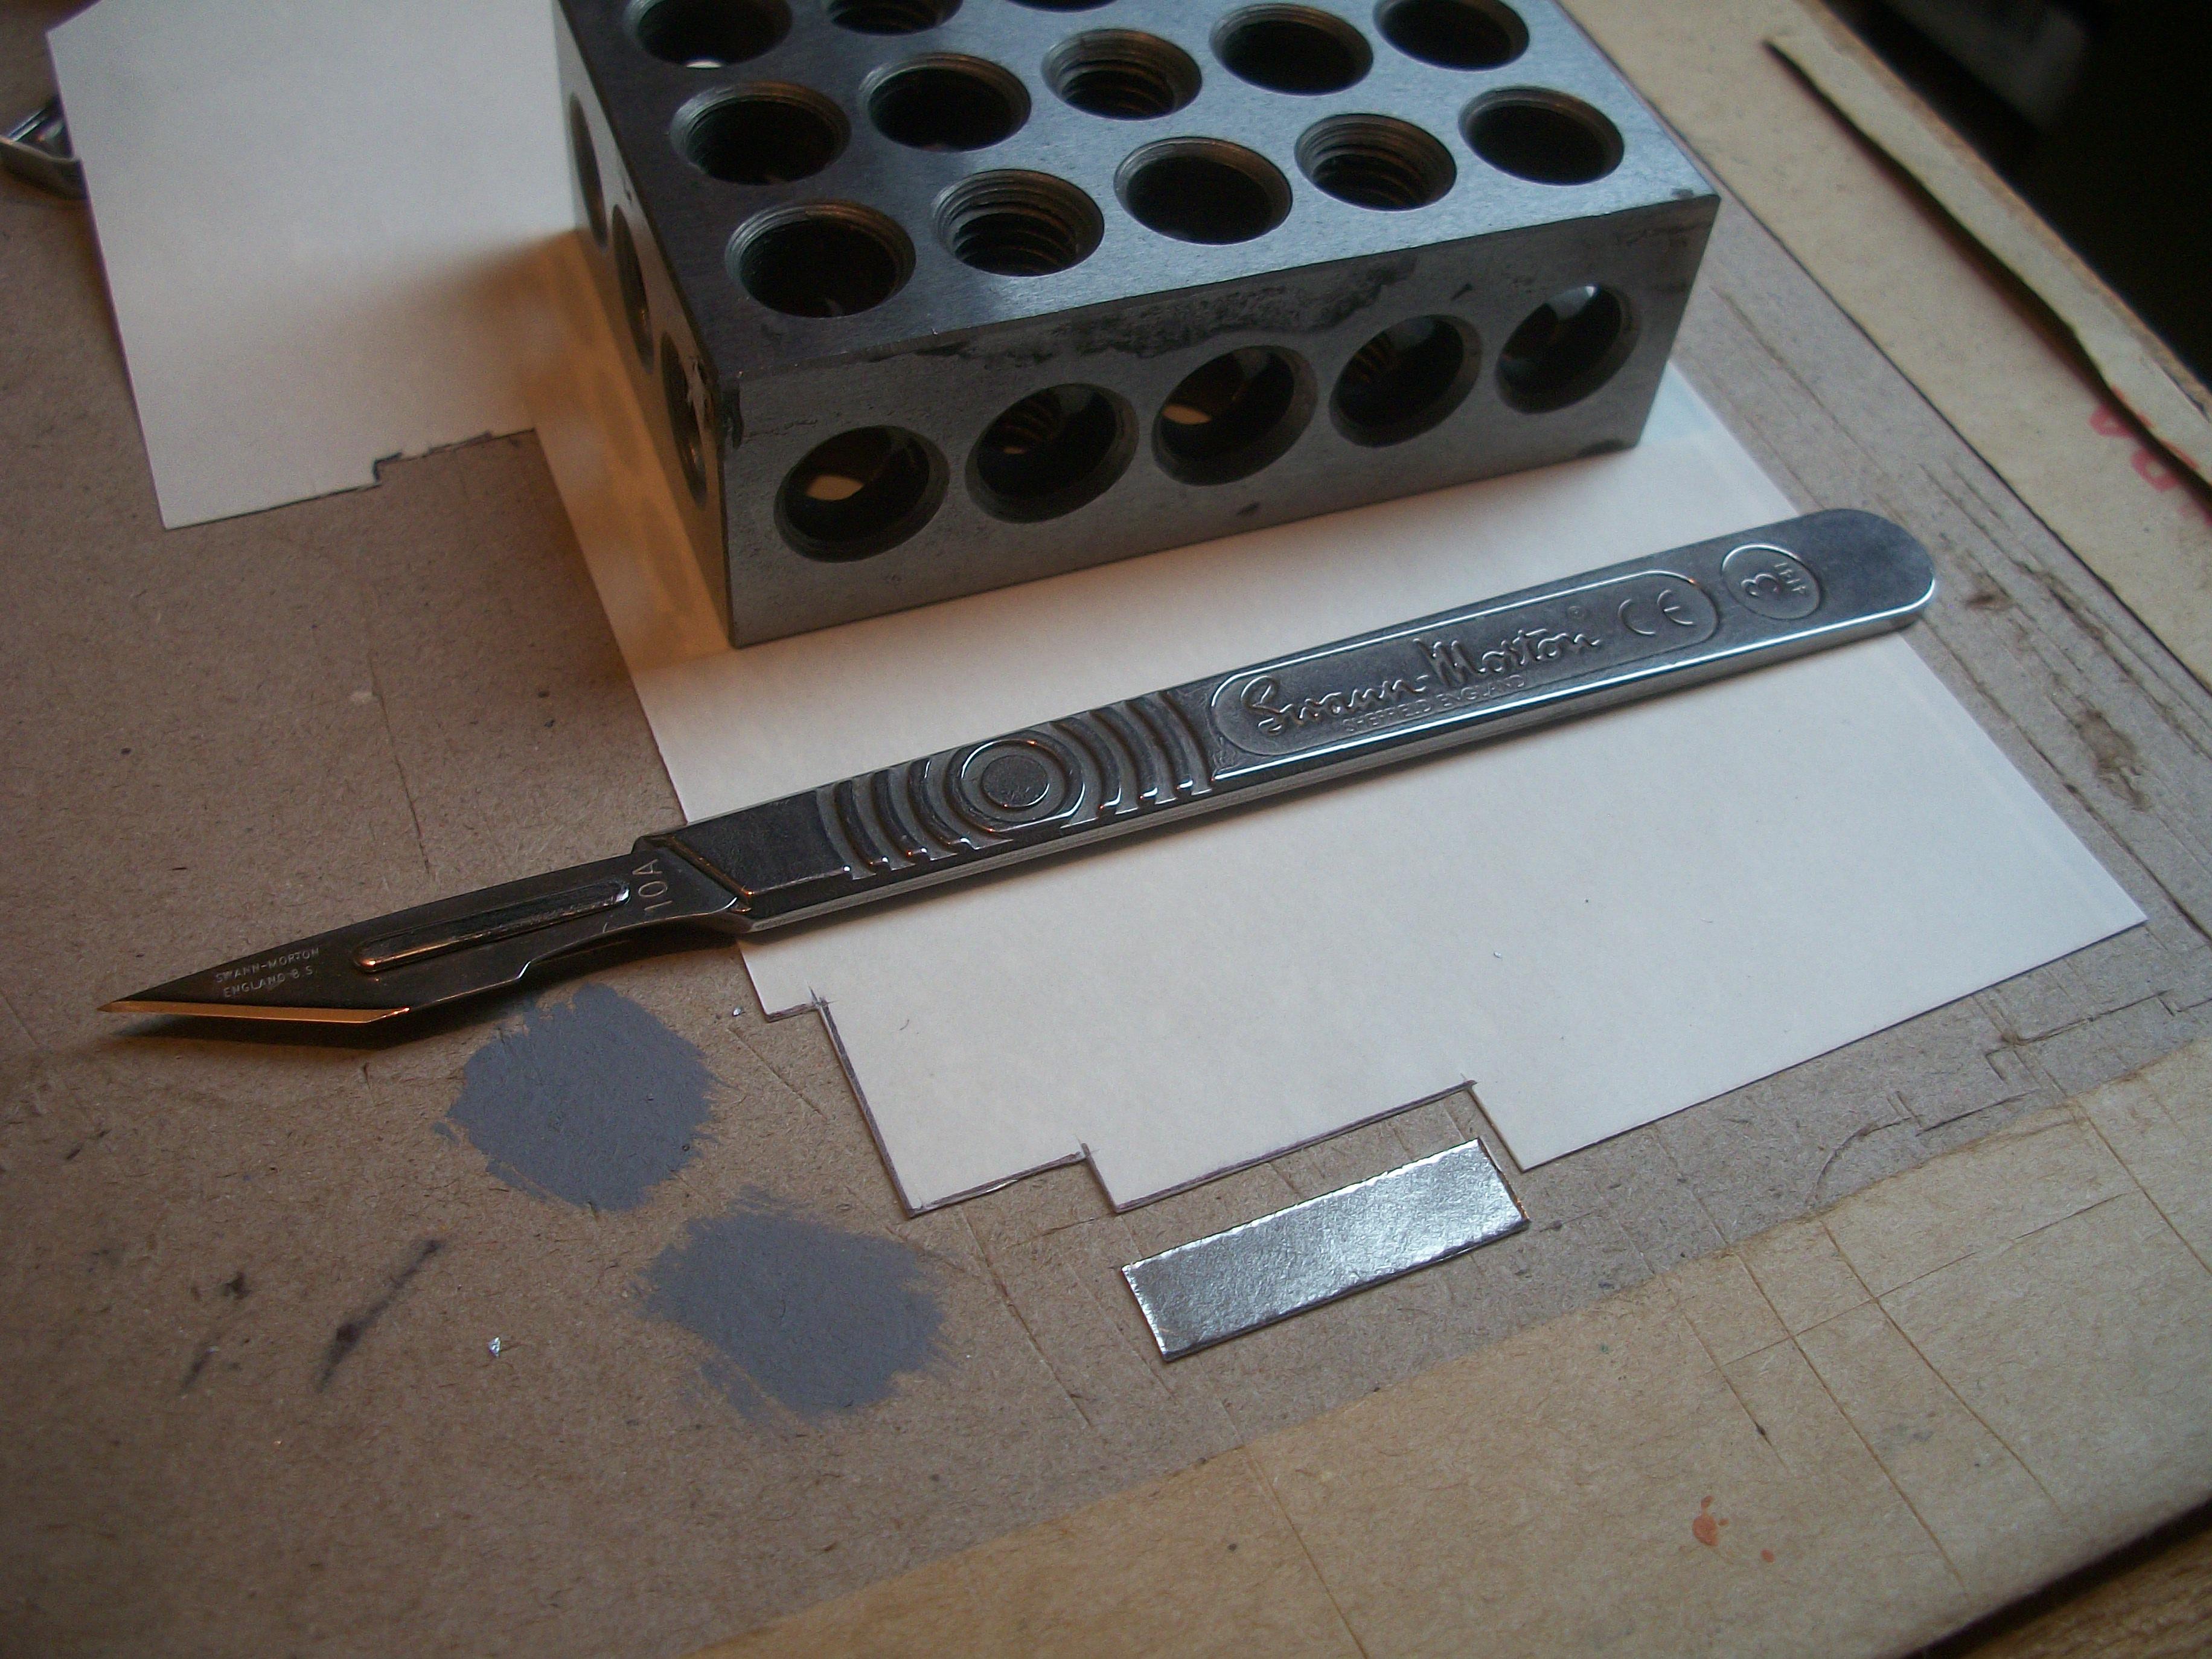
The Sharpie was placed in a vertical position, tip downwards, for 2 hours . . . To be honest, I wasn't expecting this method to work either, and at first there was nothing. The nib of the pen was visibly dry and no ink came out. Then I shook the pen vigorously up and down vertically, and after doing this two or three times there was a blob of silver ink material there on my piece of scrap card. -
Rolls-Royce No Chemicals, No Paint, No Harmful Glues
Anglia105E replied to Anglia105E's topic in WIP: Model Cars
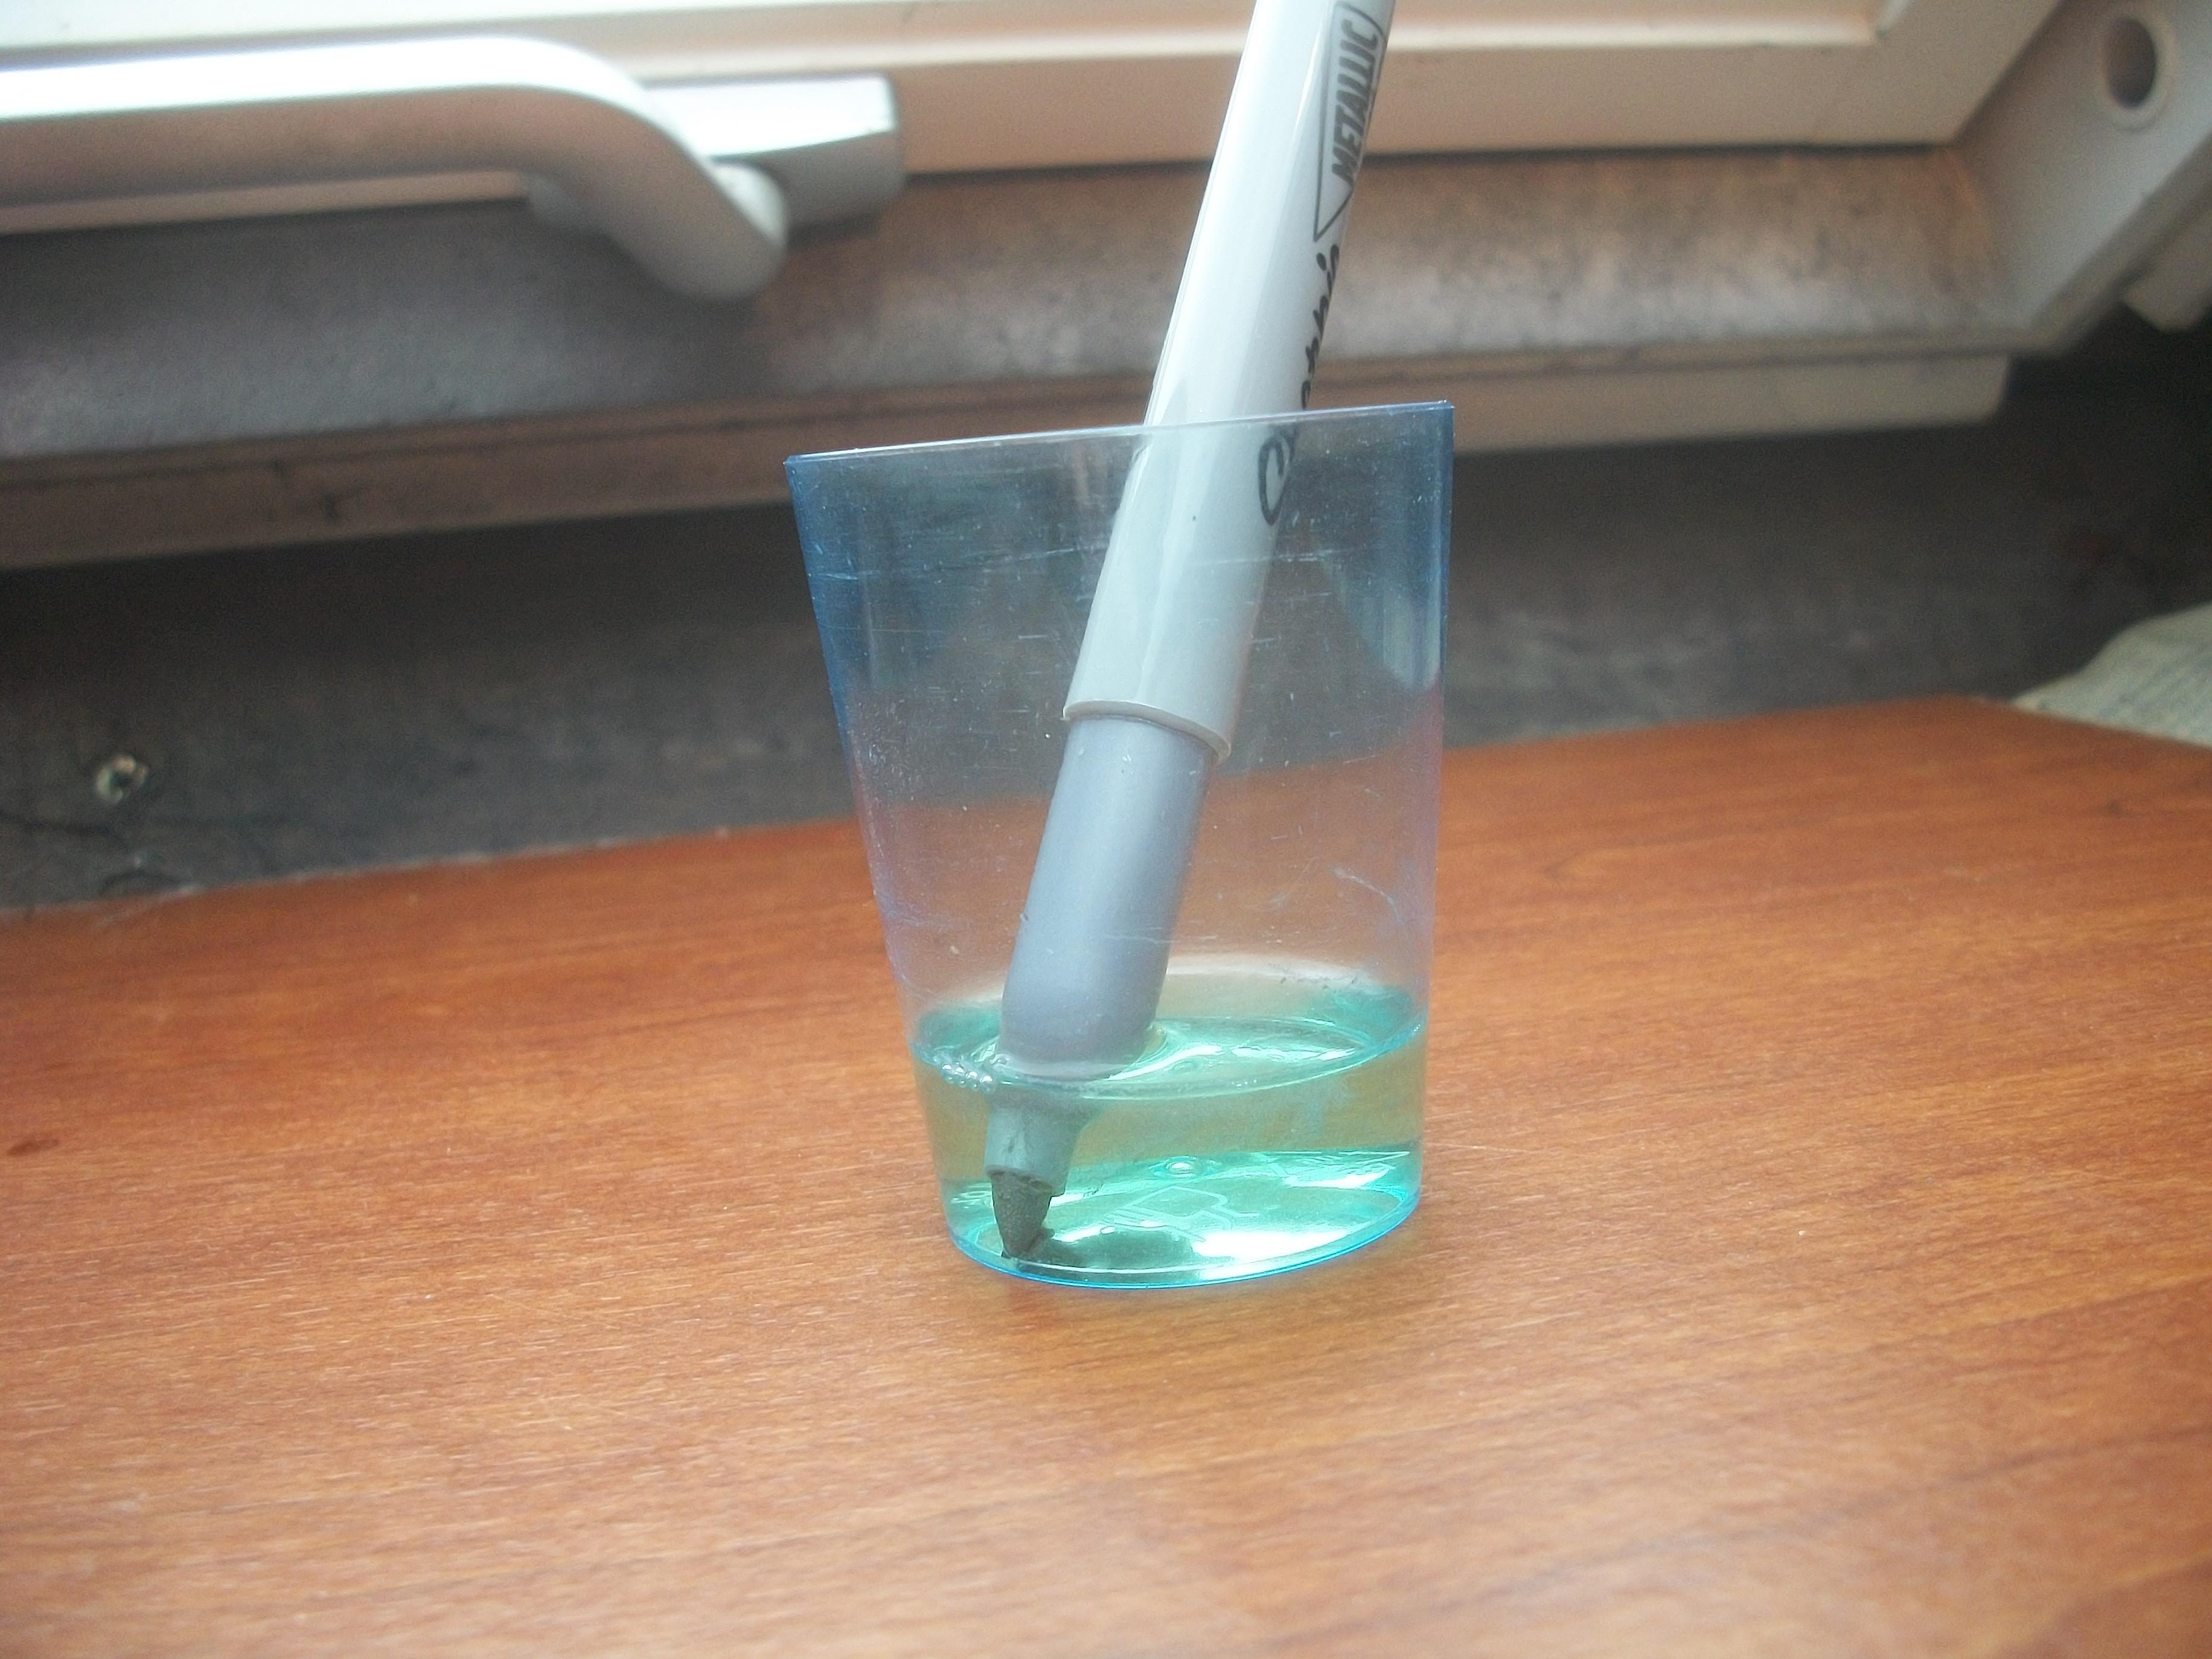
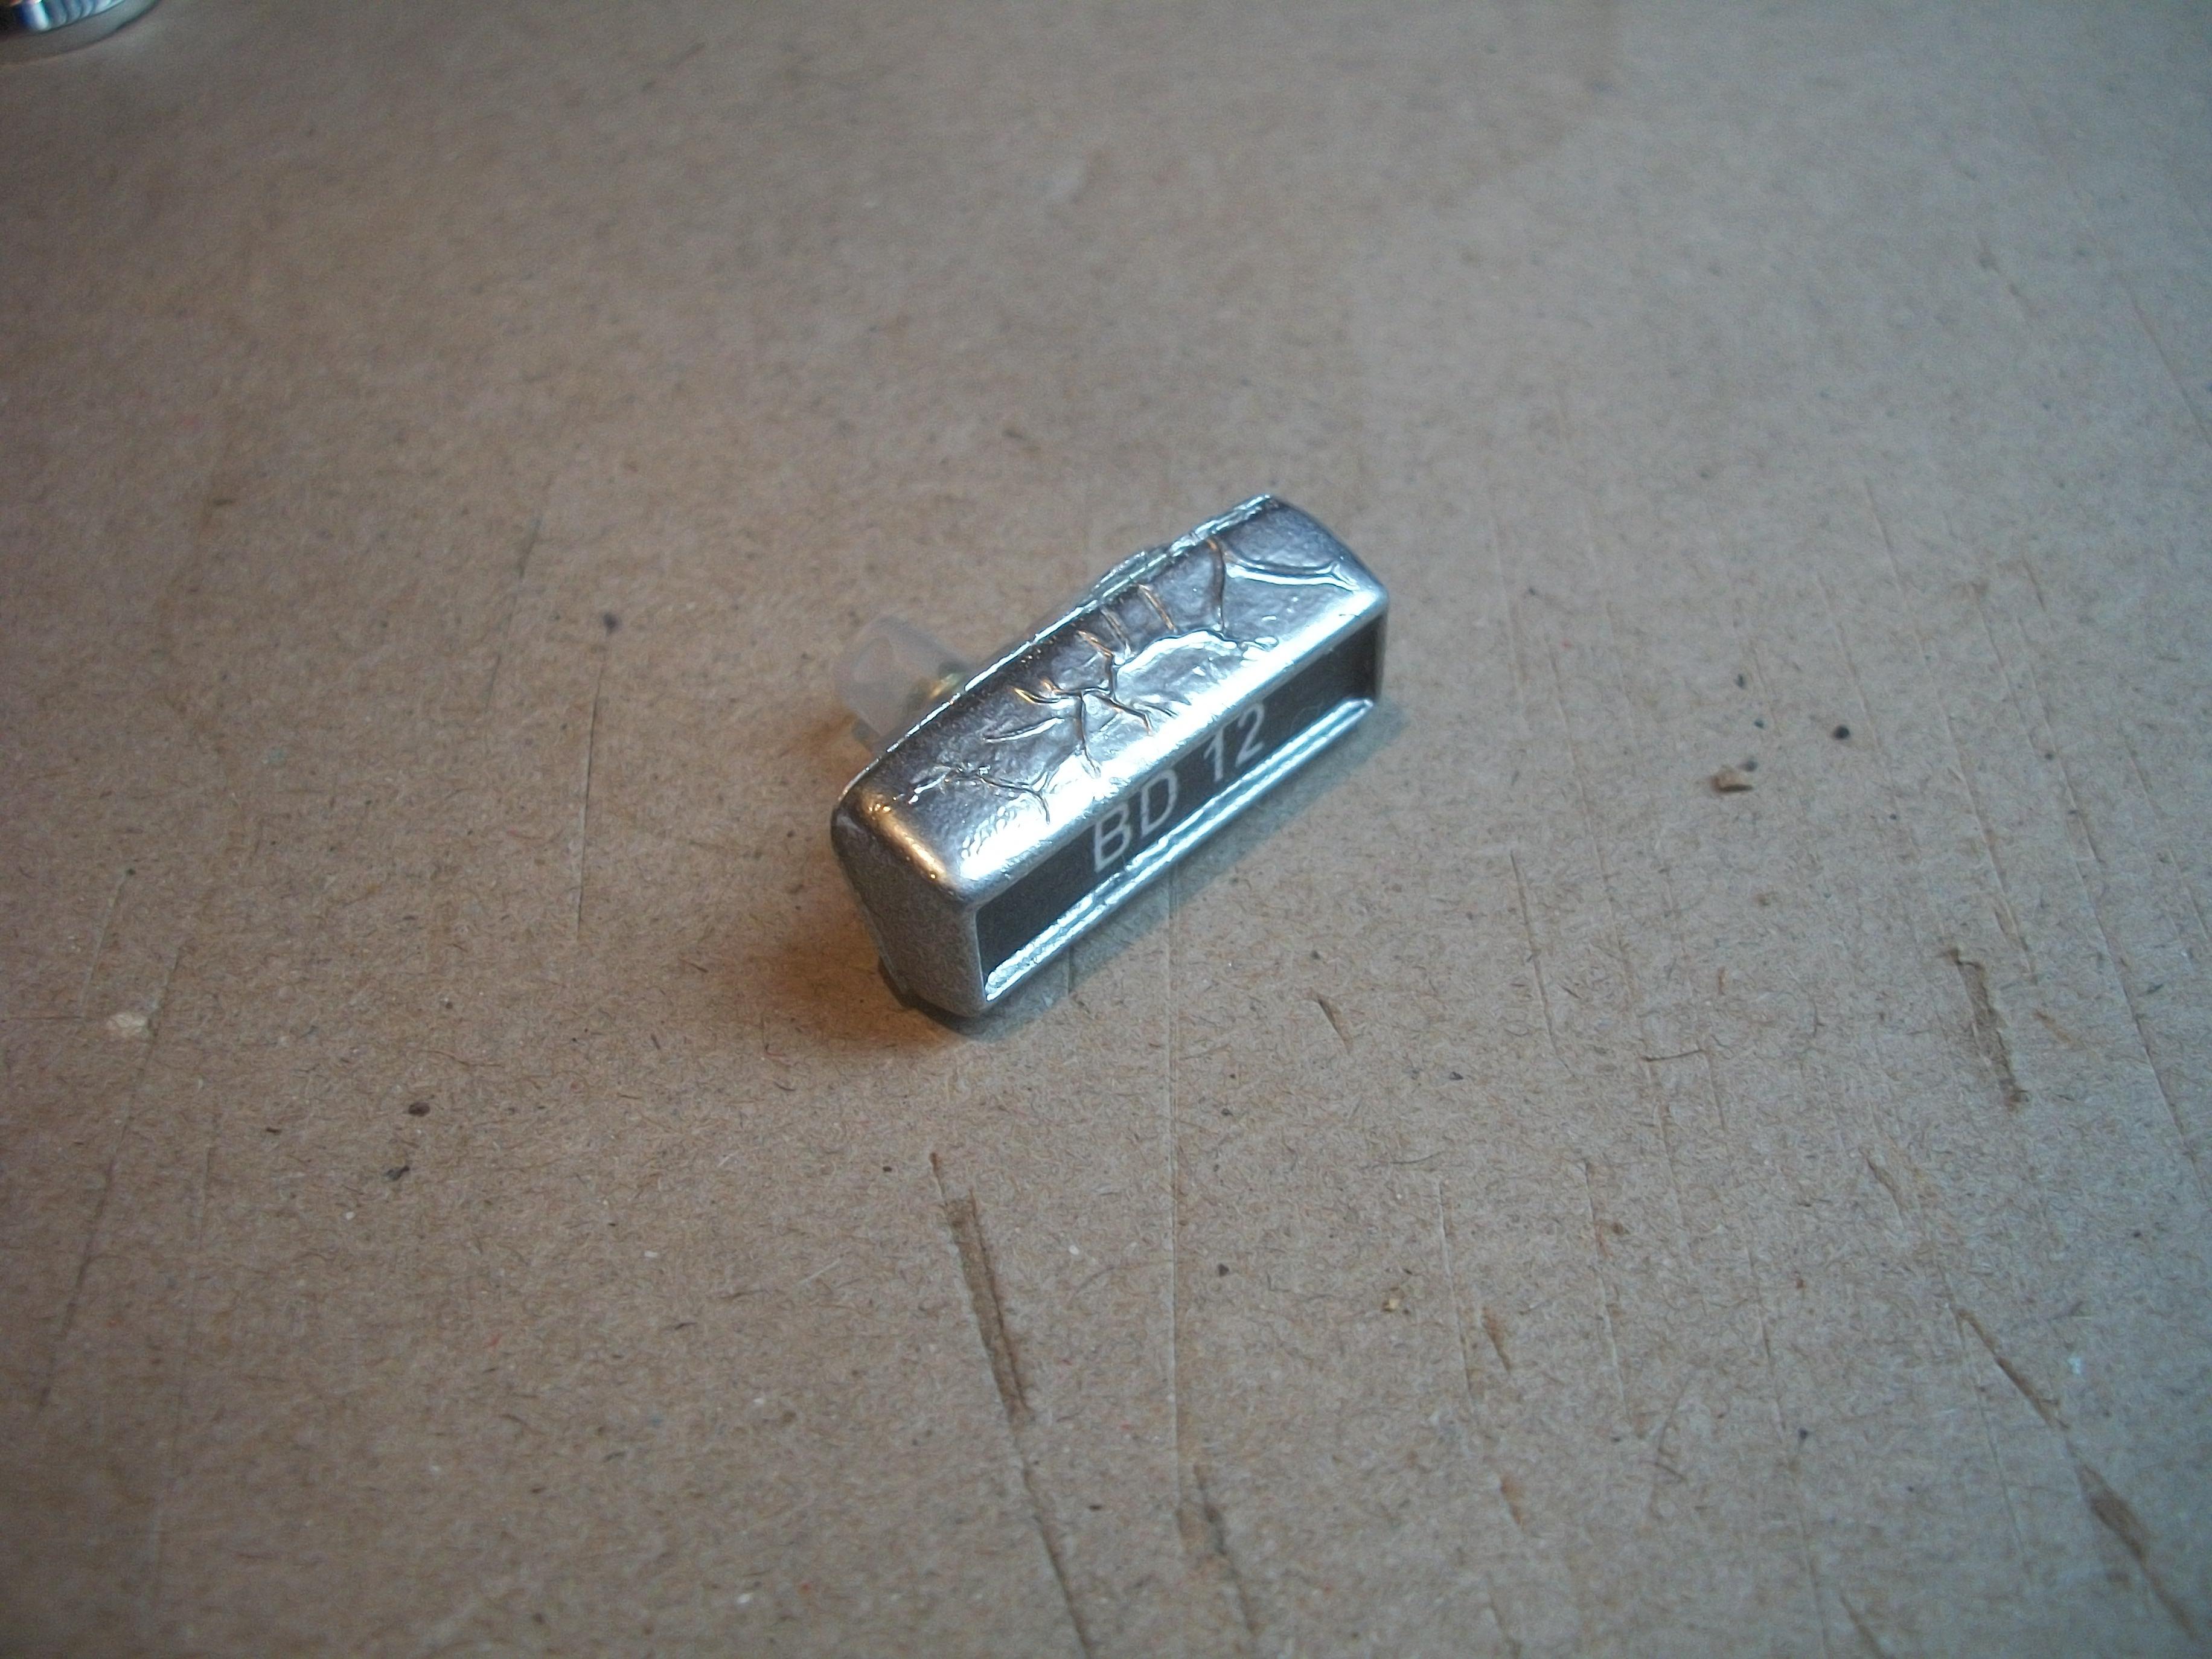
IPA did not work for me, and I would rather not handle acetone as it will dissolve the plastic shot glass container as part of the process. So, I decided to give the third option a try. I placed my dried up silver Sharpie in a container of hand sanitiser, just enough to cover the nib of the pen. This was allowed to stand for 4 hours, and I could see that a small amount of ink had flowed into the hand sanitiser solution, so I removed the pen from the container and replaced the cap. -
Rolls-Royce No Chemicals, No Paint, No Harmful Glues
Anglia105E replied to Anglia105E's topic in WIP: Model Cars
Following the failed attempt to revive the silver Sharpie using Isopropyl Alcohol, my next step was to watch several YouTube videos, and one in particular got me thinking . . . The test that was presented showed a selection of different chemicals being tried to get dried out Sharpies writing again. Only three of the methods worked; one was IPA, one was acetone and the third was hand sanitiser ( rubbing alcohol ) -
Thanks Bob . . . I already have the text saved in a simple text document, which is something I do as a kind of safety net, particularly when the text that I am posting is quite lengthy . . . My idea was to divide the whole block of text into smaller manageable chunks, and then to post each of the smaller portions until one of them fails spectacularly . . . Your suggestion ties in nicely with my idea. The only downside of course, is that each small chunk on it's own is not really self explanatory for the readability of the topic, but then I only have to do this once in order to fix the problem (hopefully). David
-
Good thinking on your part Peter . . . I was just reading through my troublesome block of text, and honestly I cannot see a single word that I could change or modify, and as you say, it would be purely guesswork with trial and error. David
-
Thank you both Dan and Peter . . . I have a feeling that some word or words within my block of text is triggering off the problem. I am using Microsoft Windows 10 Professional, and Windows Defender Security Centre ( no third party anti-virus or anti-malware ) The browser I am using is Opera, but I also tried Edge and Chrome, which generated the same error message and blocked my posting. David W.
-
Hello Moderators . . . I am hoping that one of the moderators with expert knowledge can help me with a problem please . . . As I do almost every day, I am posting some text regarding my work in progress, and this post does include a few photos. When I click on ' Submit Reply ' I am taken to a page that says Model Cars Magazine Forums, and it states ' Oops, that page can't be found ' . Repeated attempts, after checking that nothing is wrong with my post, result in the same error. This has happened previously, around one week ago, and I tried using three different browsers, but the error keeps preventing me from posting. I am a retired Technical Support Engineer, so I fully understand all things computer related, but this has me baffled. There seems to no reason why this post should not upload as it usually would do . . . Here is the content of my attempted posting, if it will allow me to post it to you. There are five photos attached also. My topic is in W.I.P: Model Cars ' Rolls-Royce No Chemicals, No Paint, No Harmful Glues ' This post failed to upload to you while it contained my block of text, so I have removed the text before posting to you again. David W.
-
Rolls-Royce No Chemicals, No Paint, No Harmful Glues
Anglia105E replied to Anglia105E's topic in WIP: Model Cars
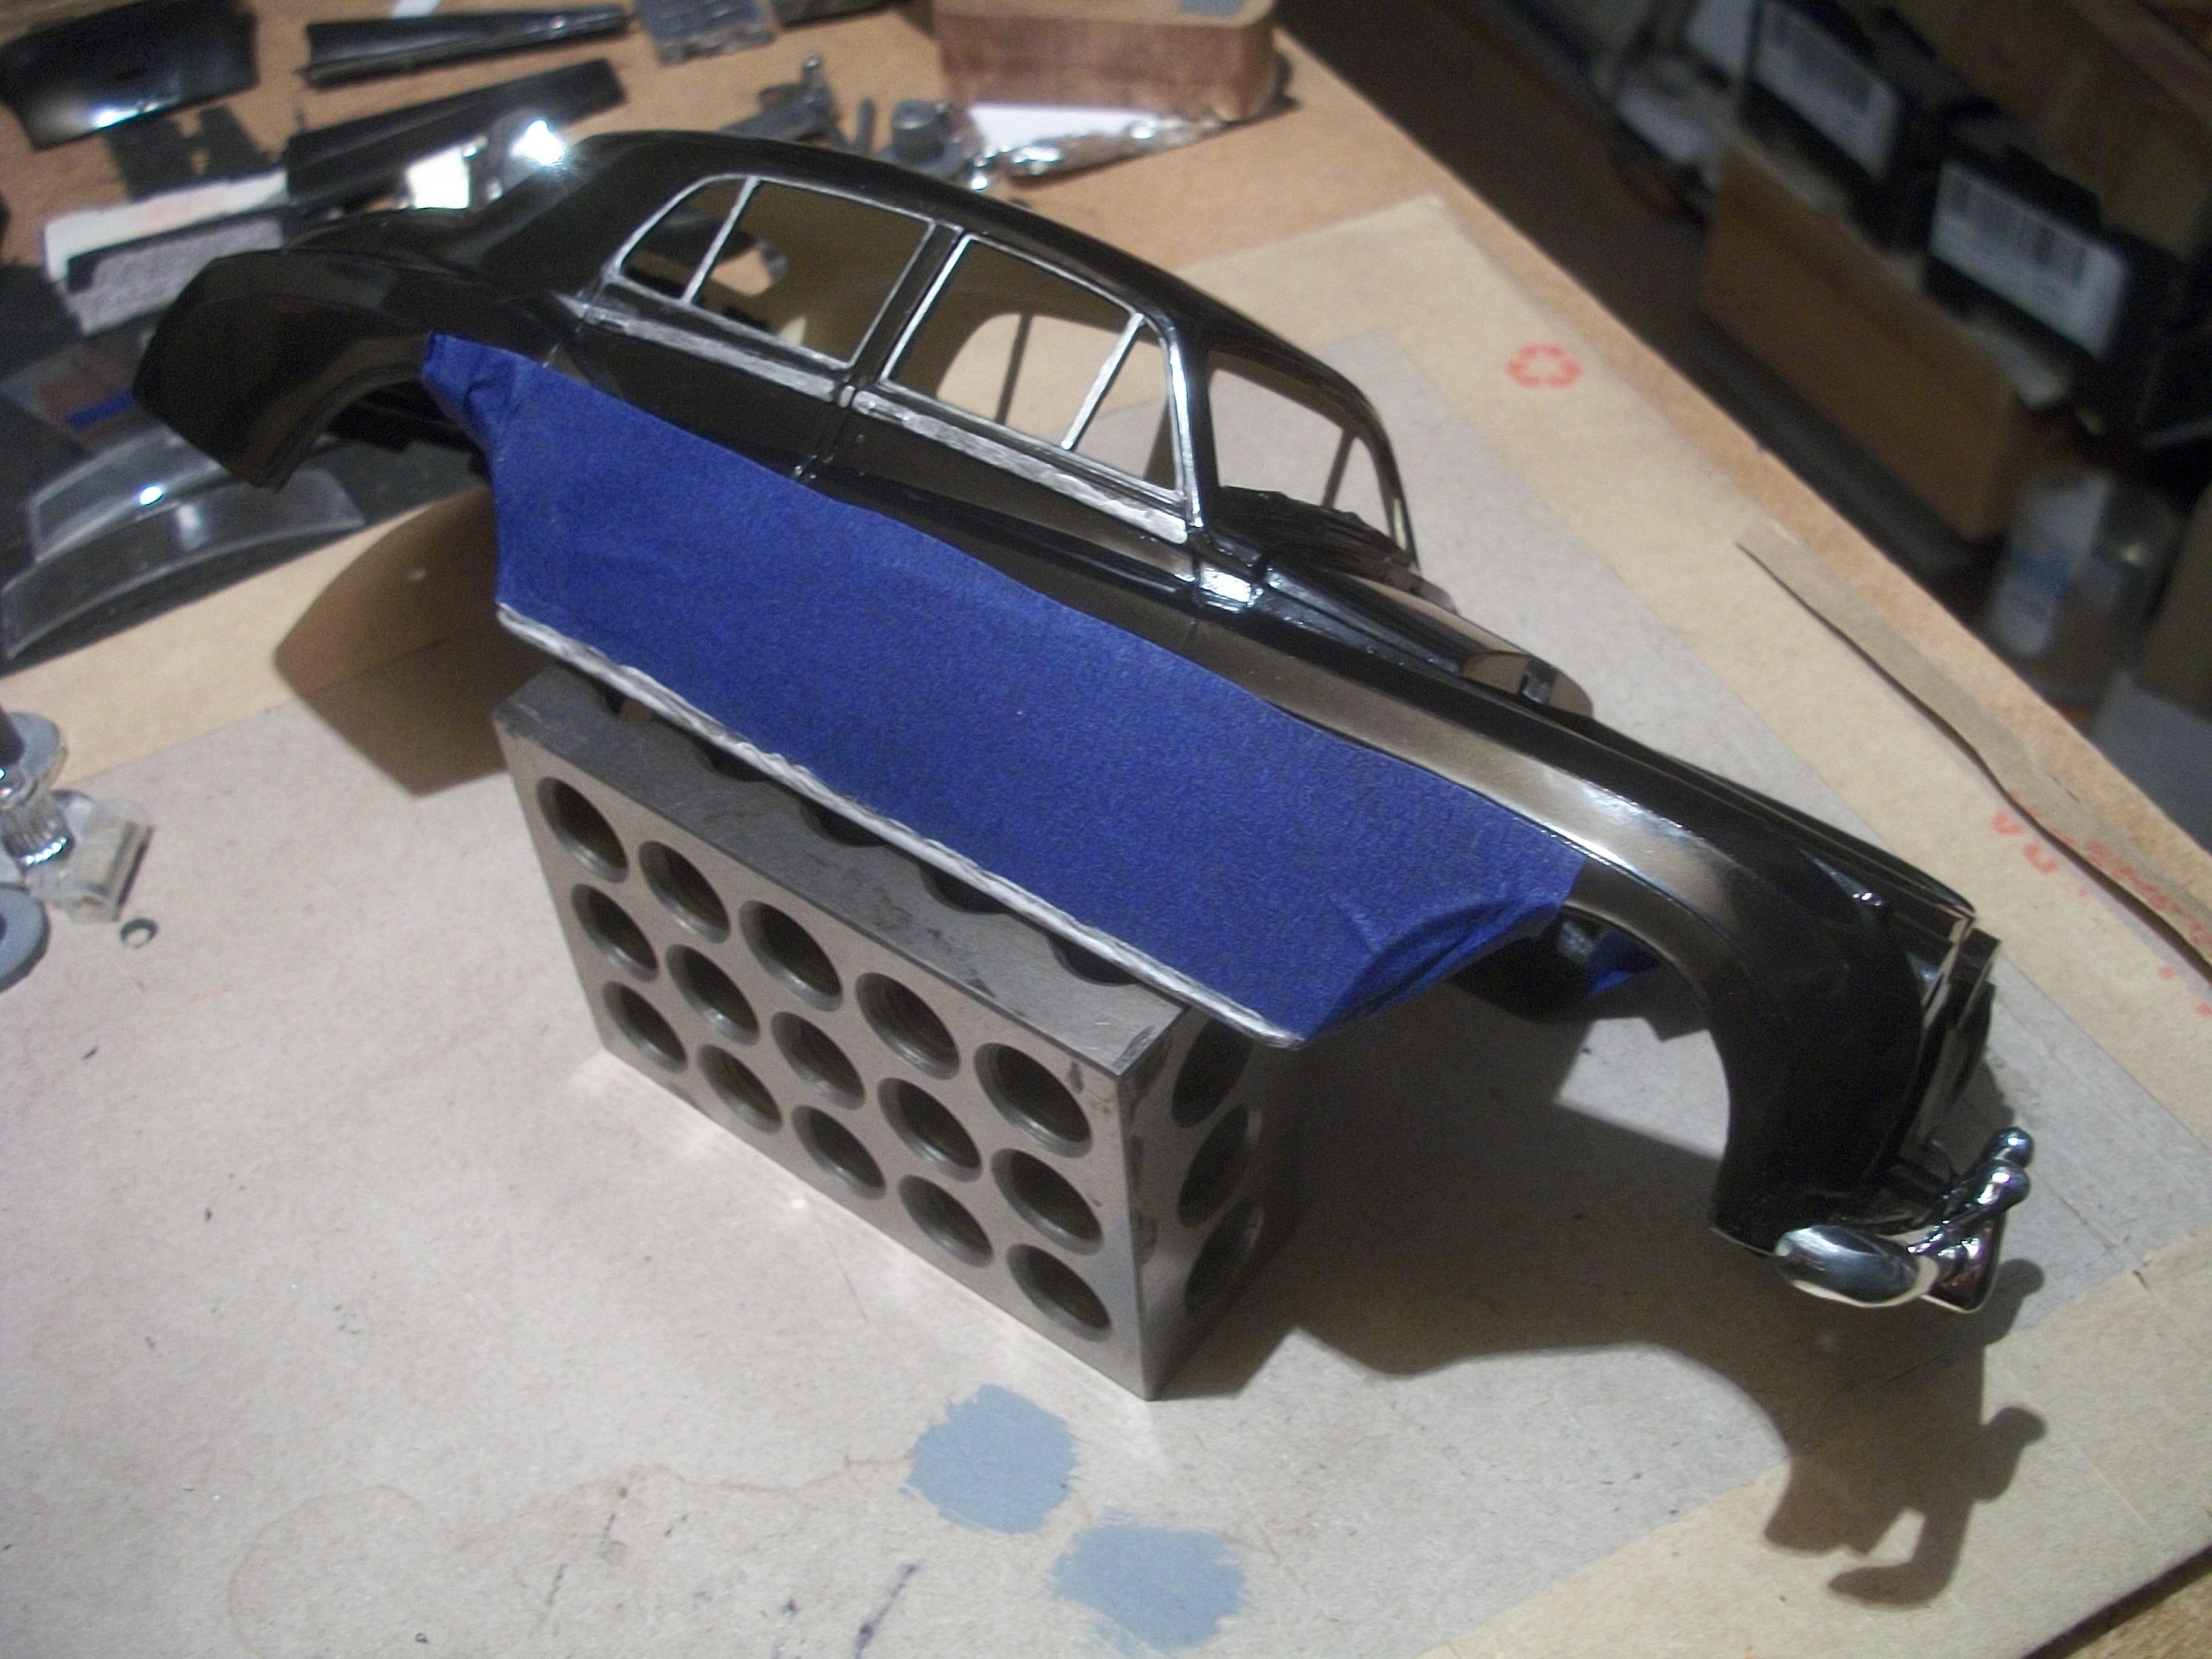
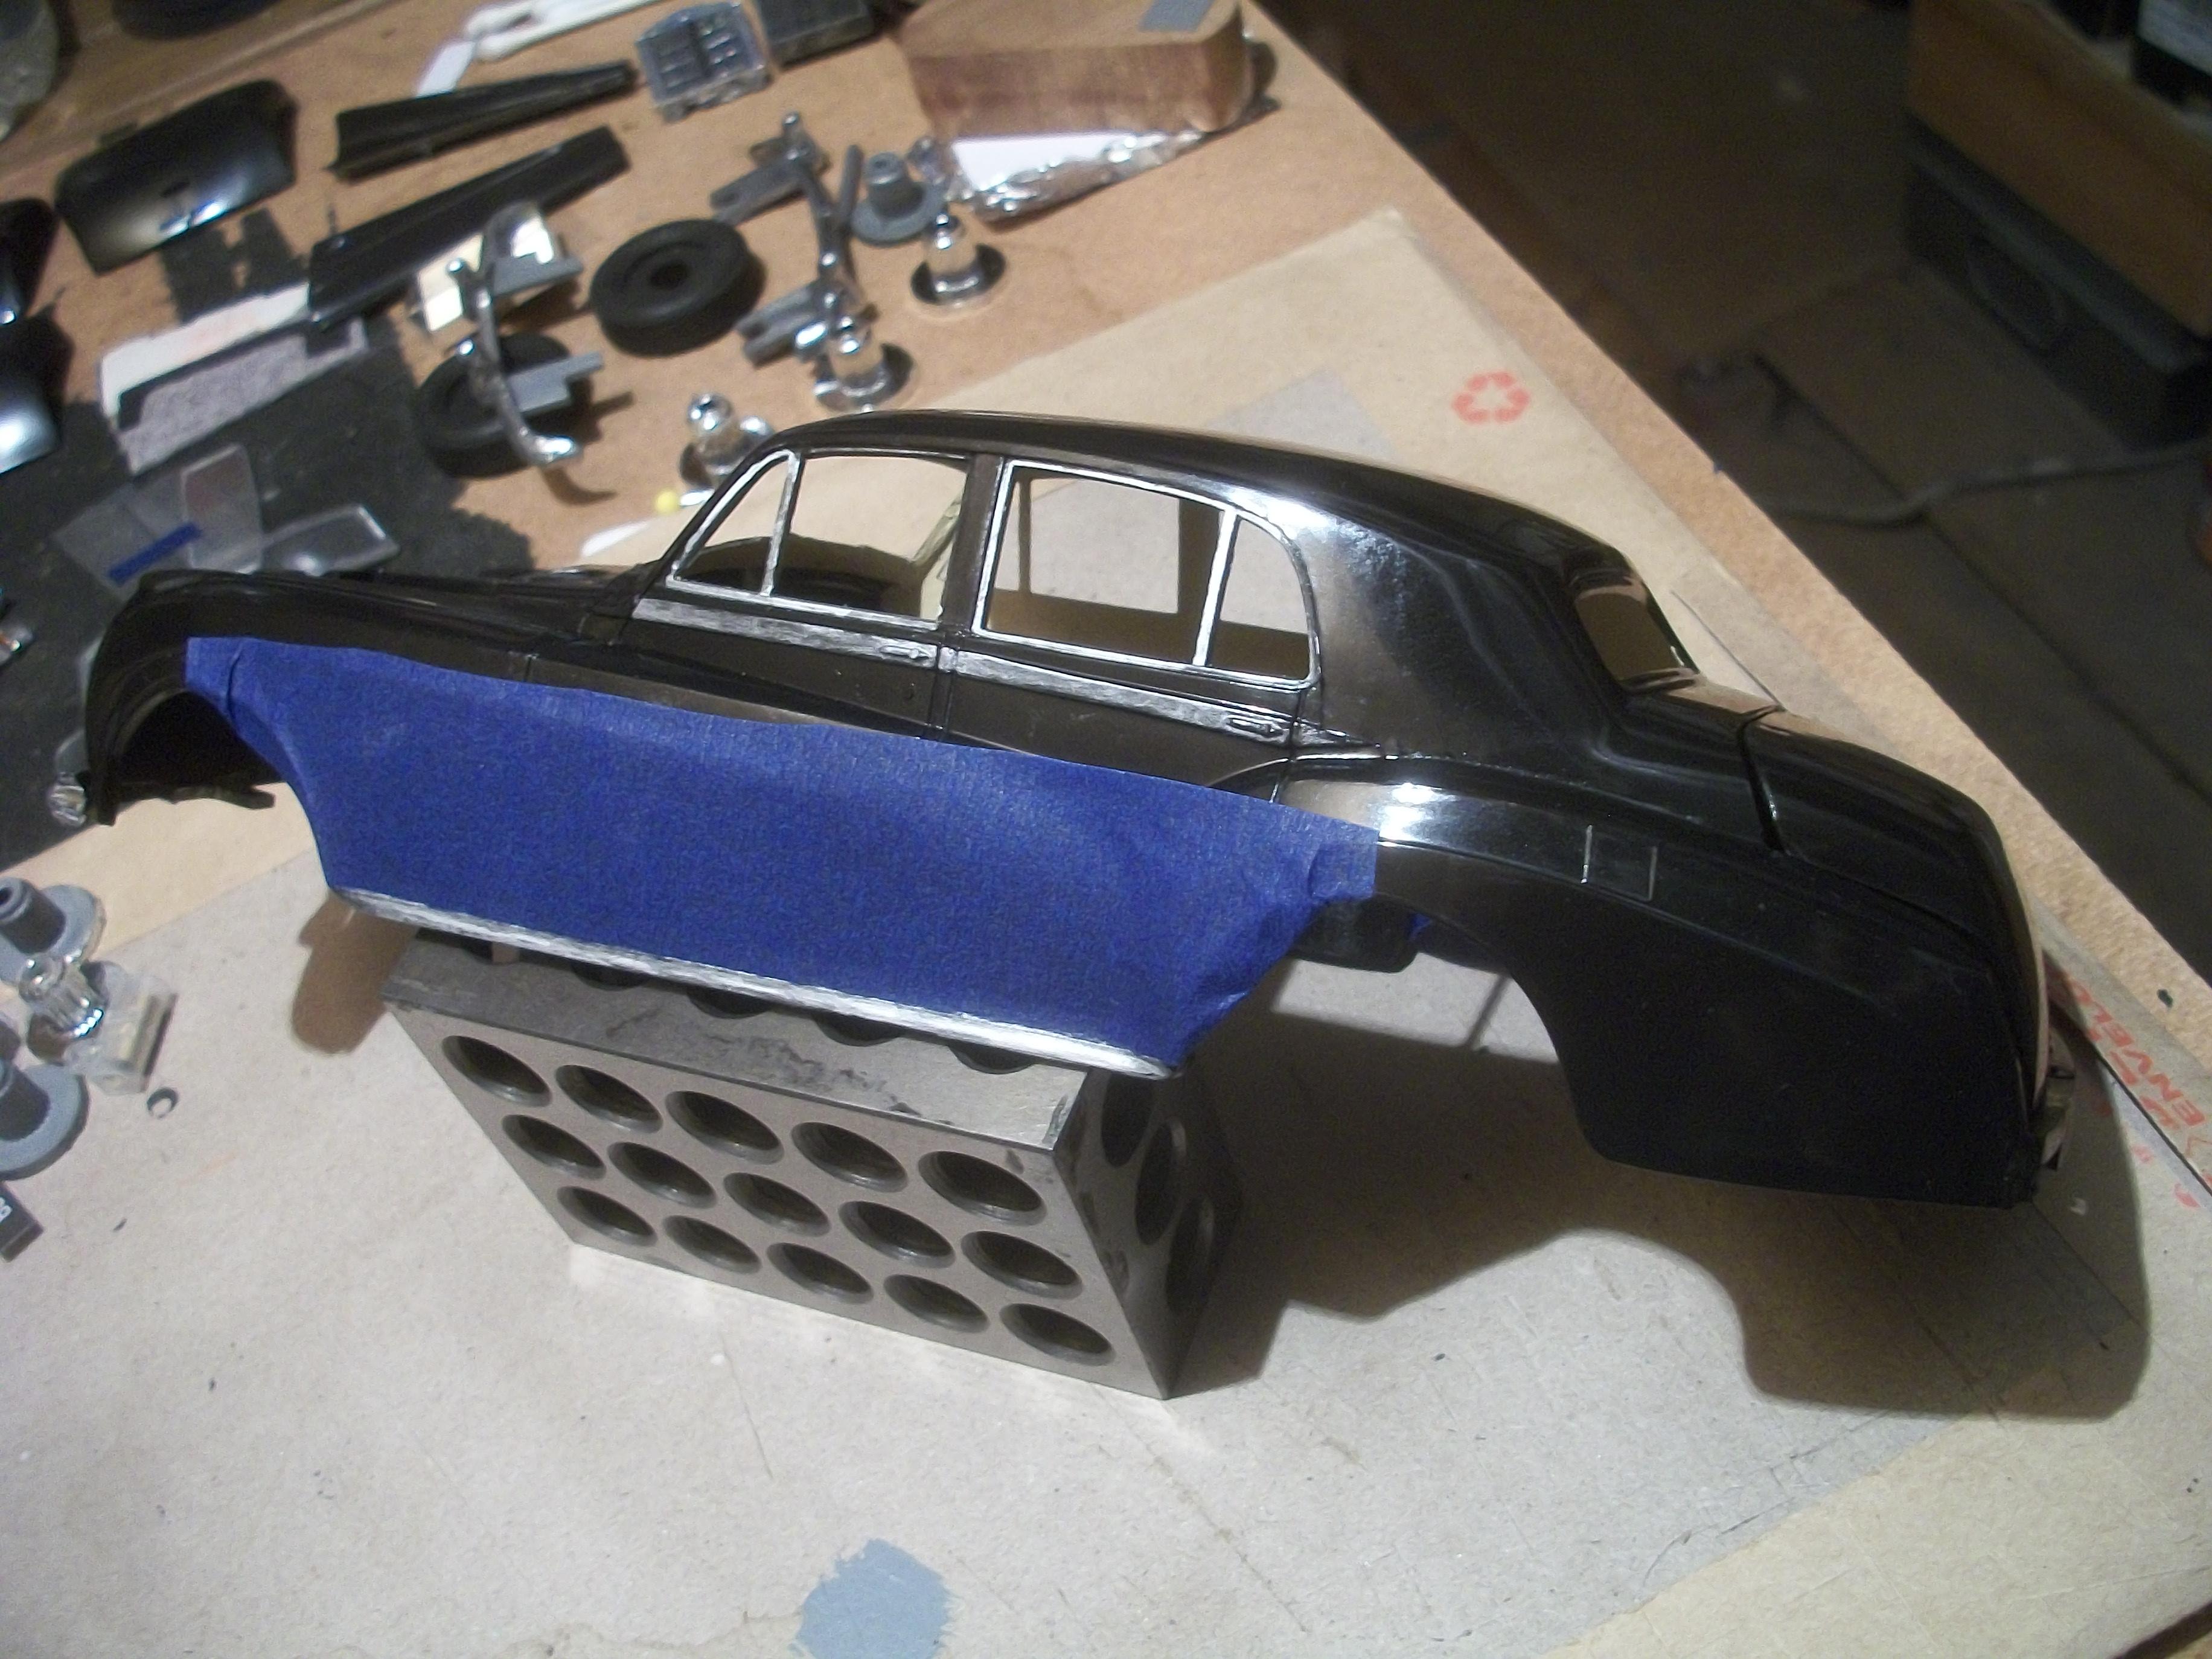
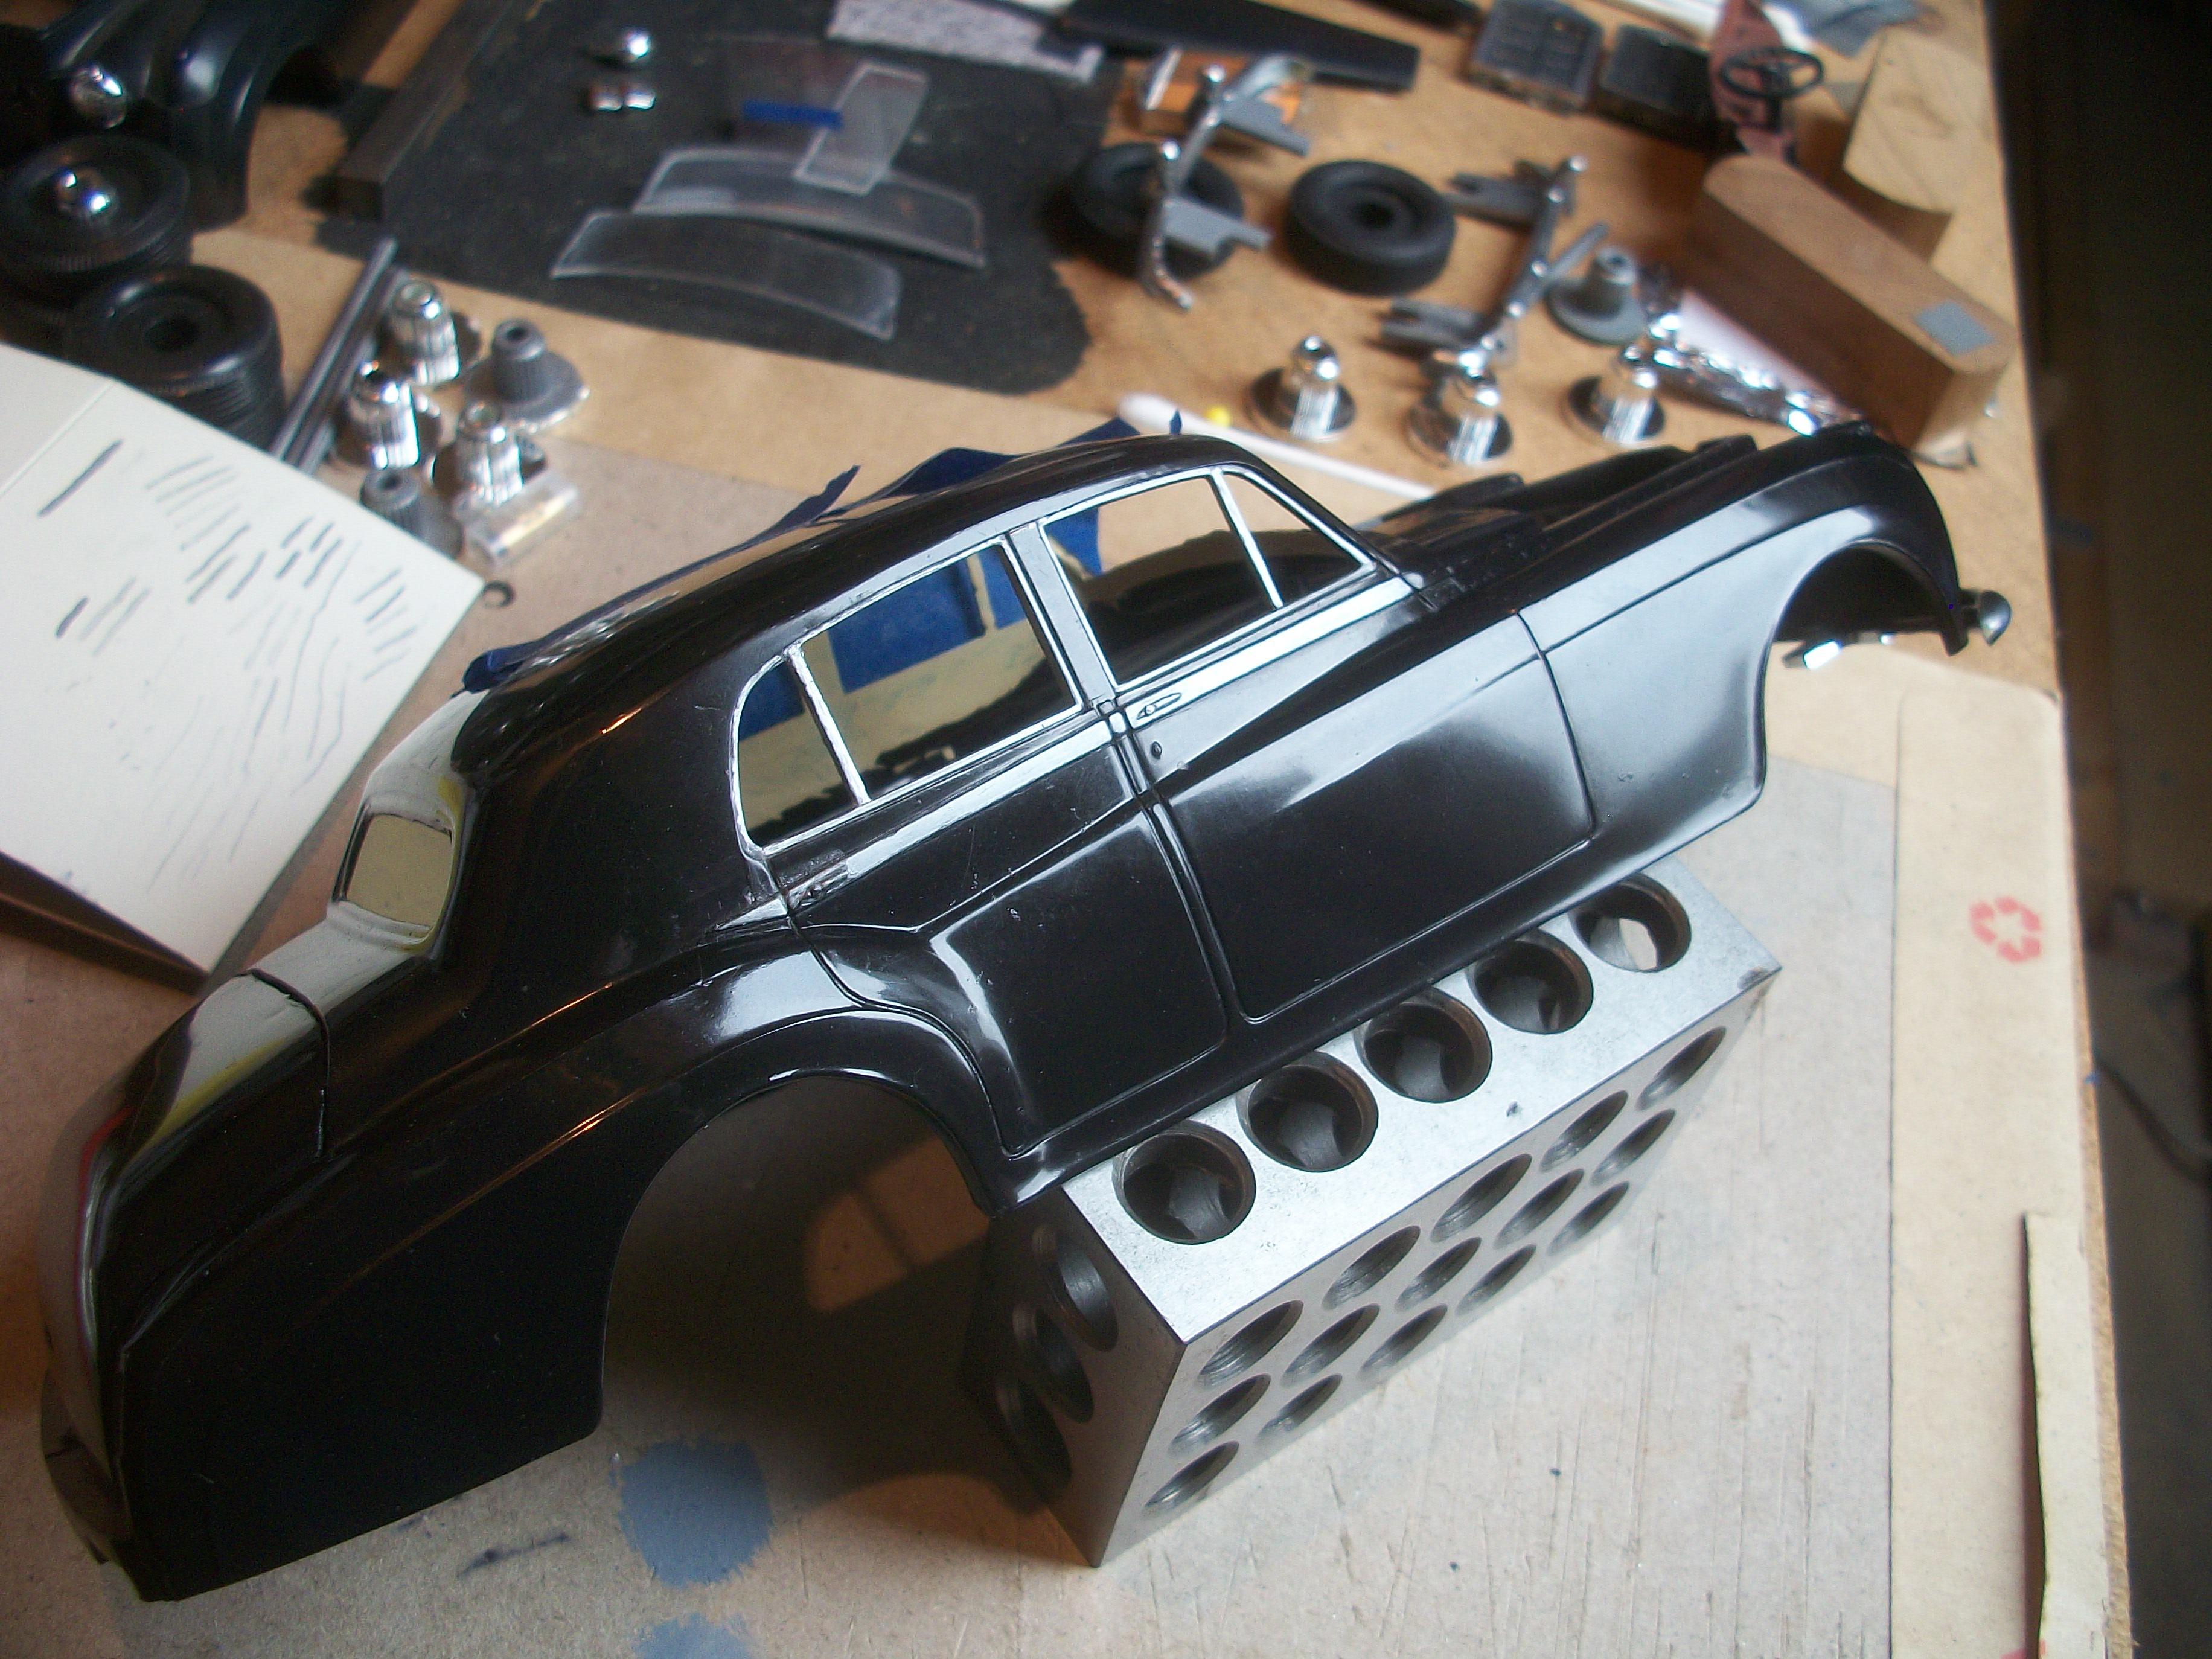
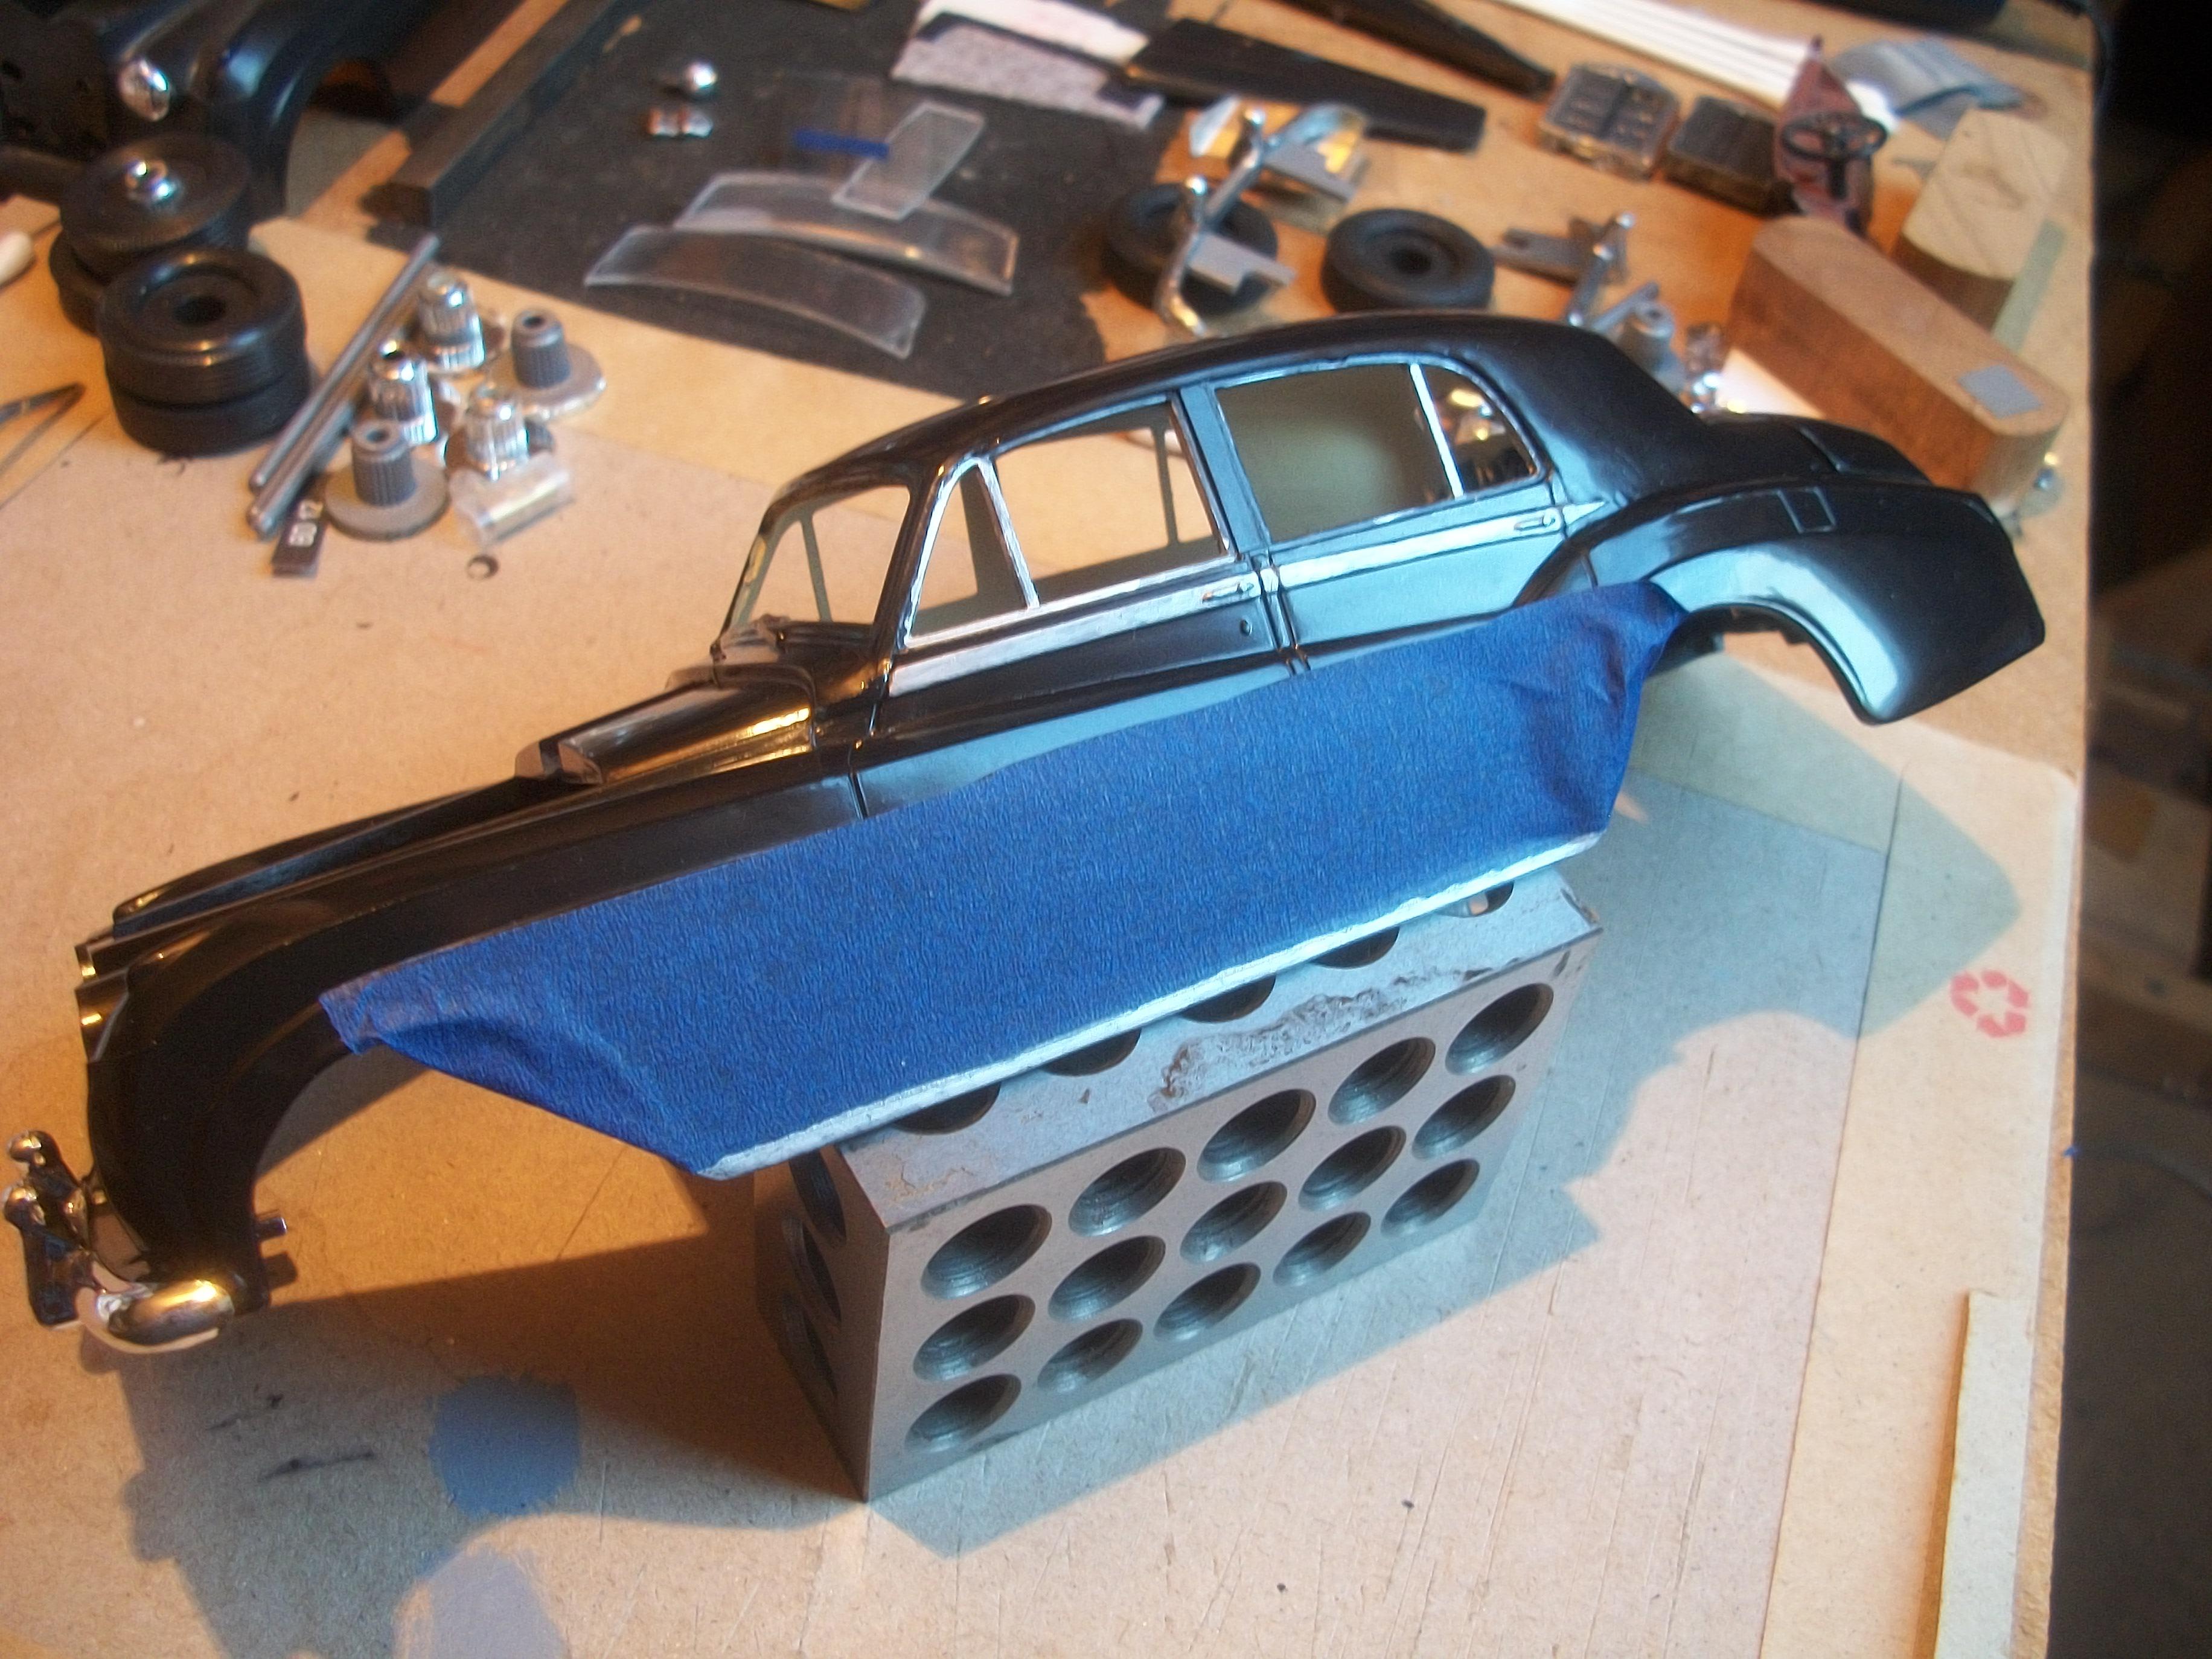
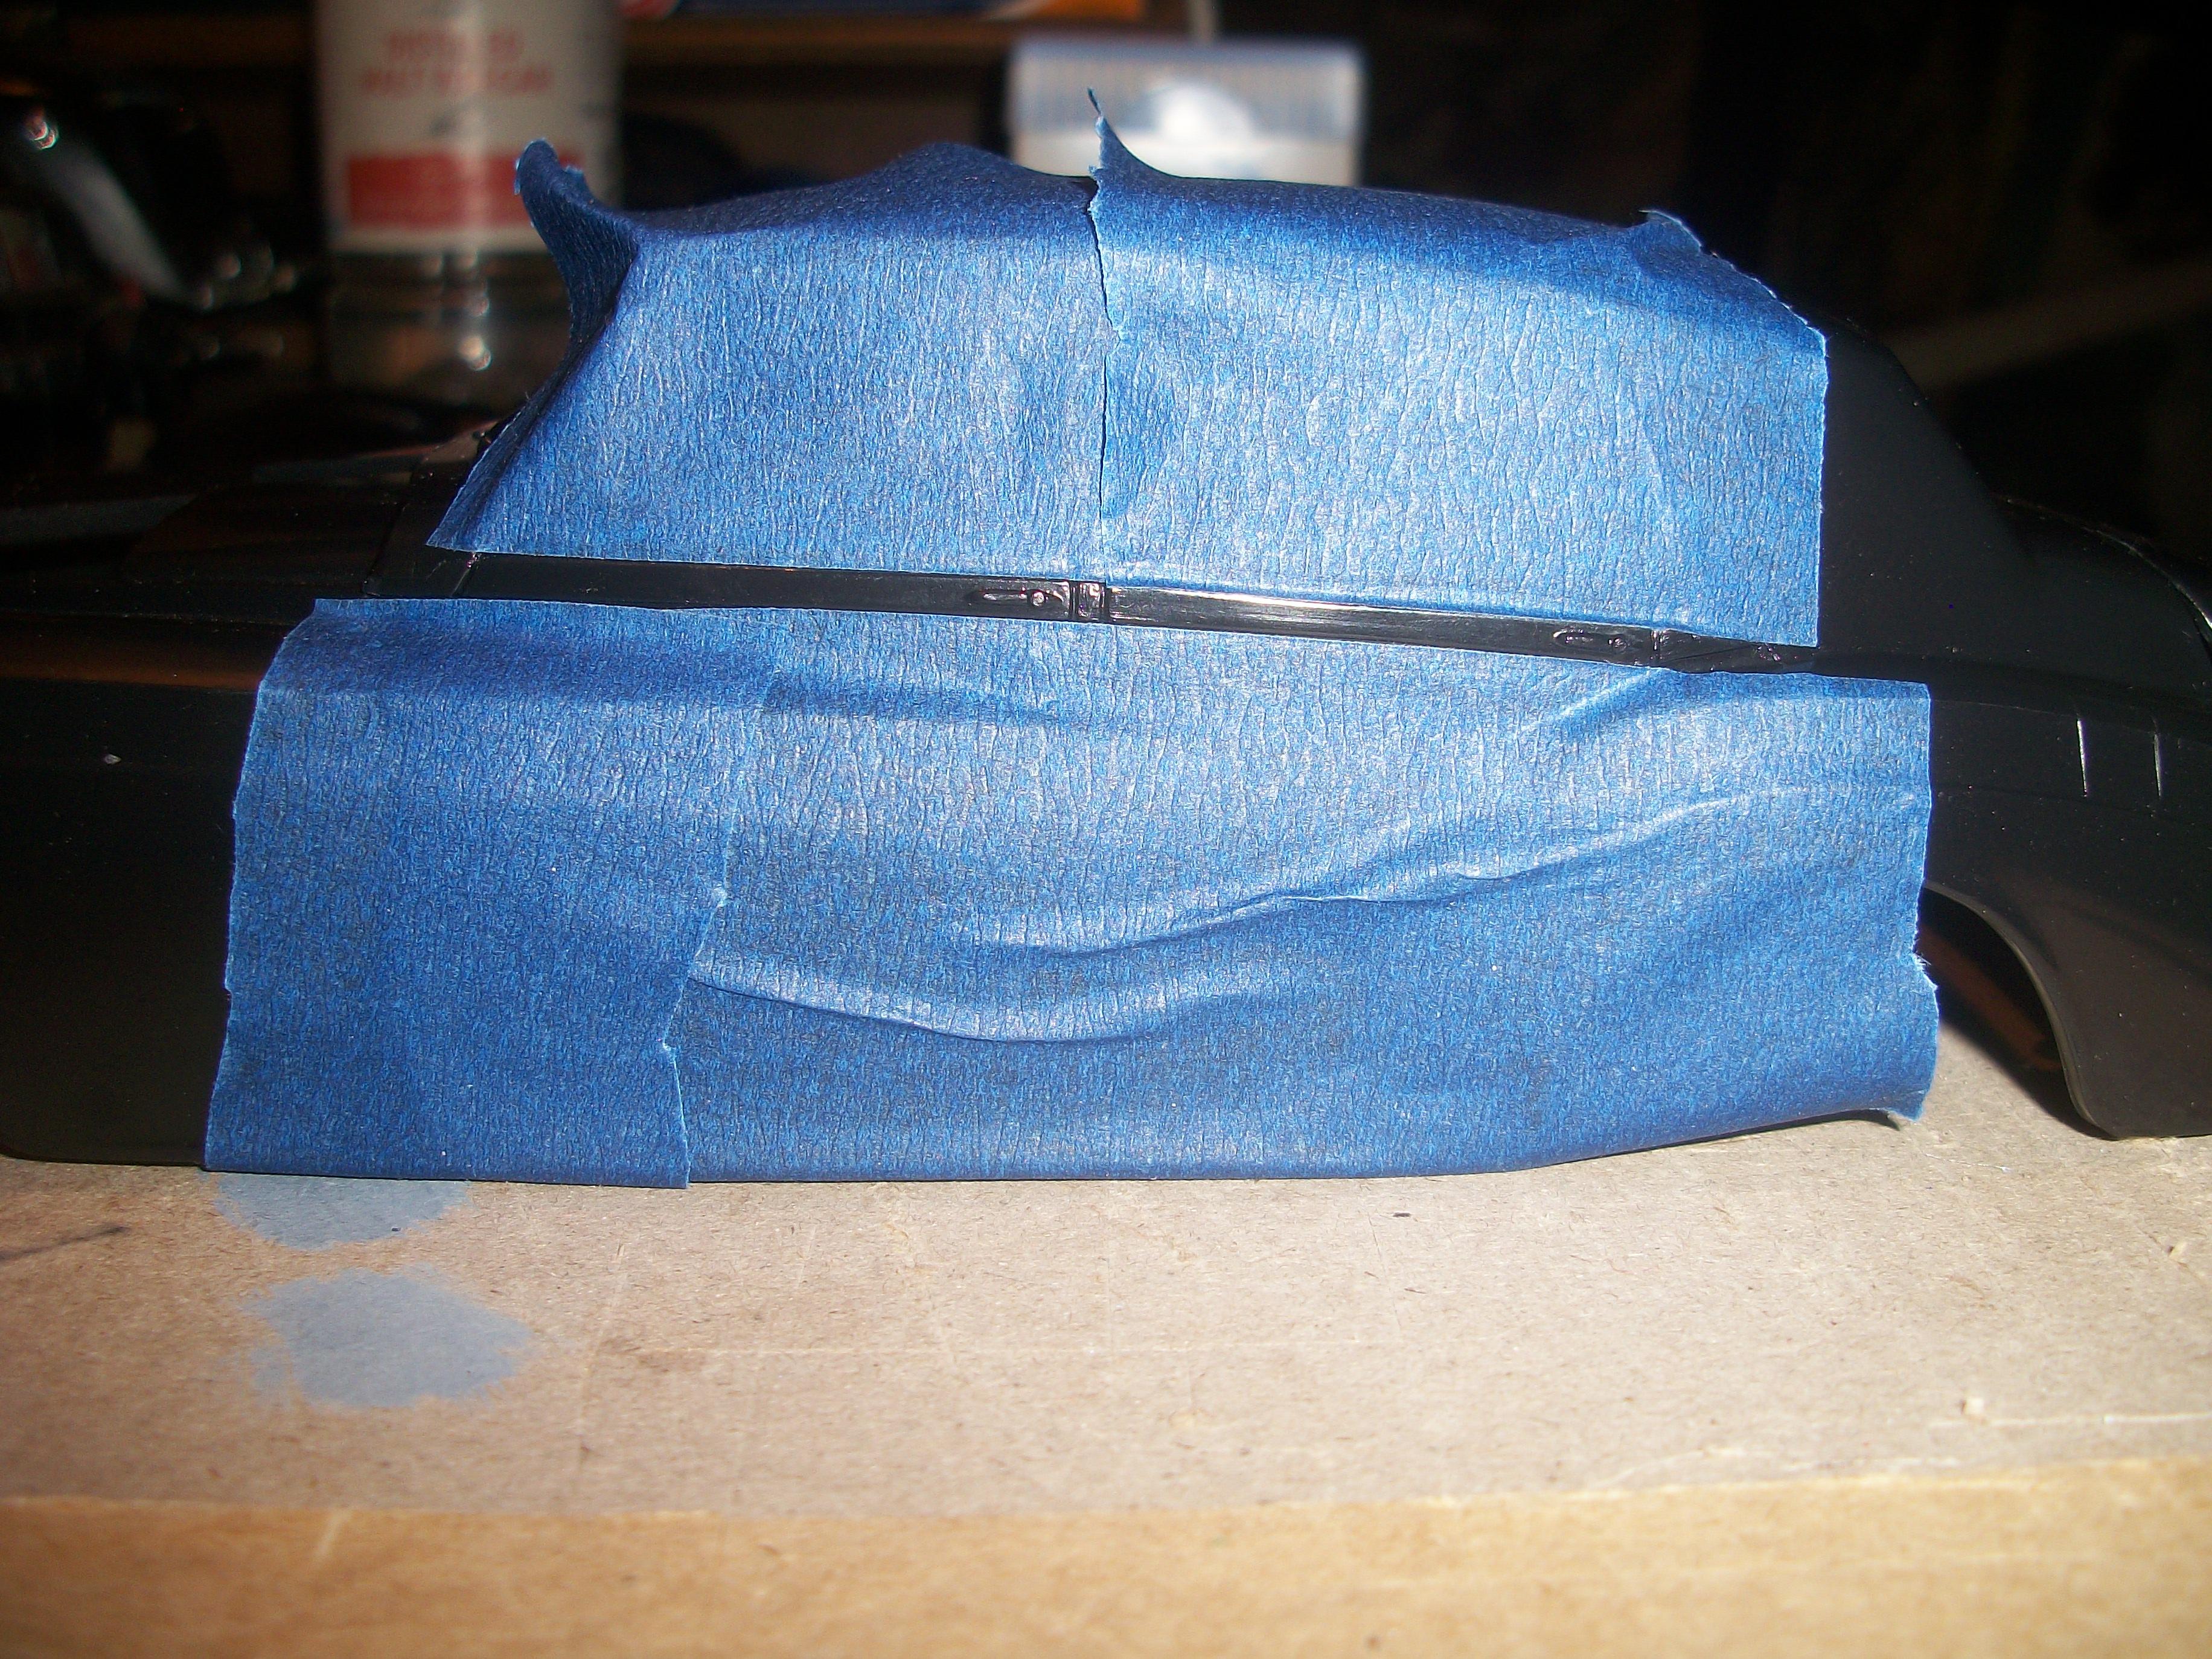
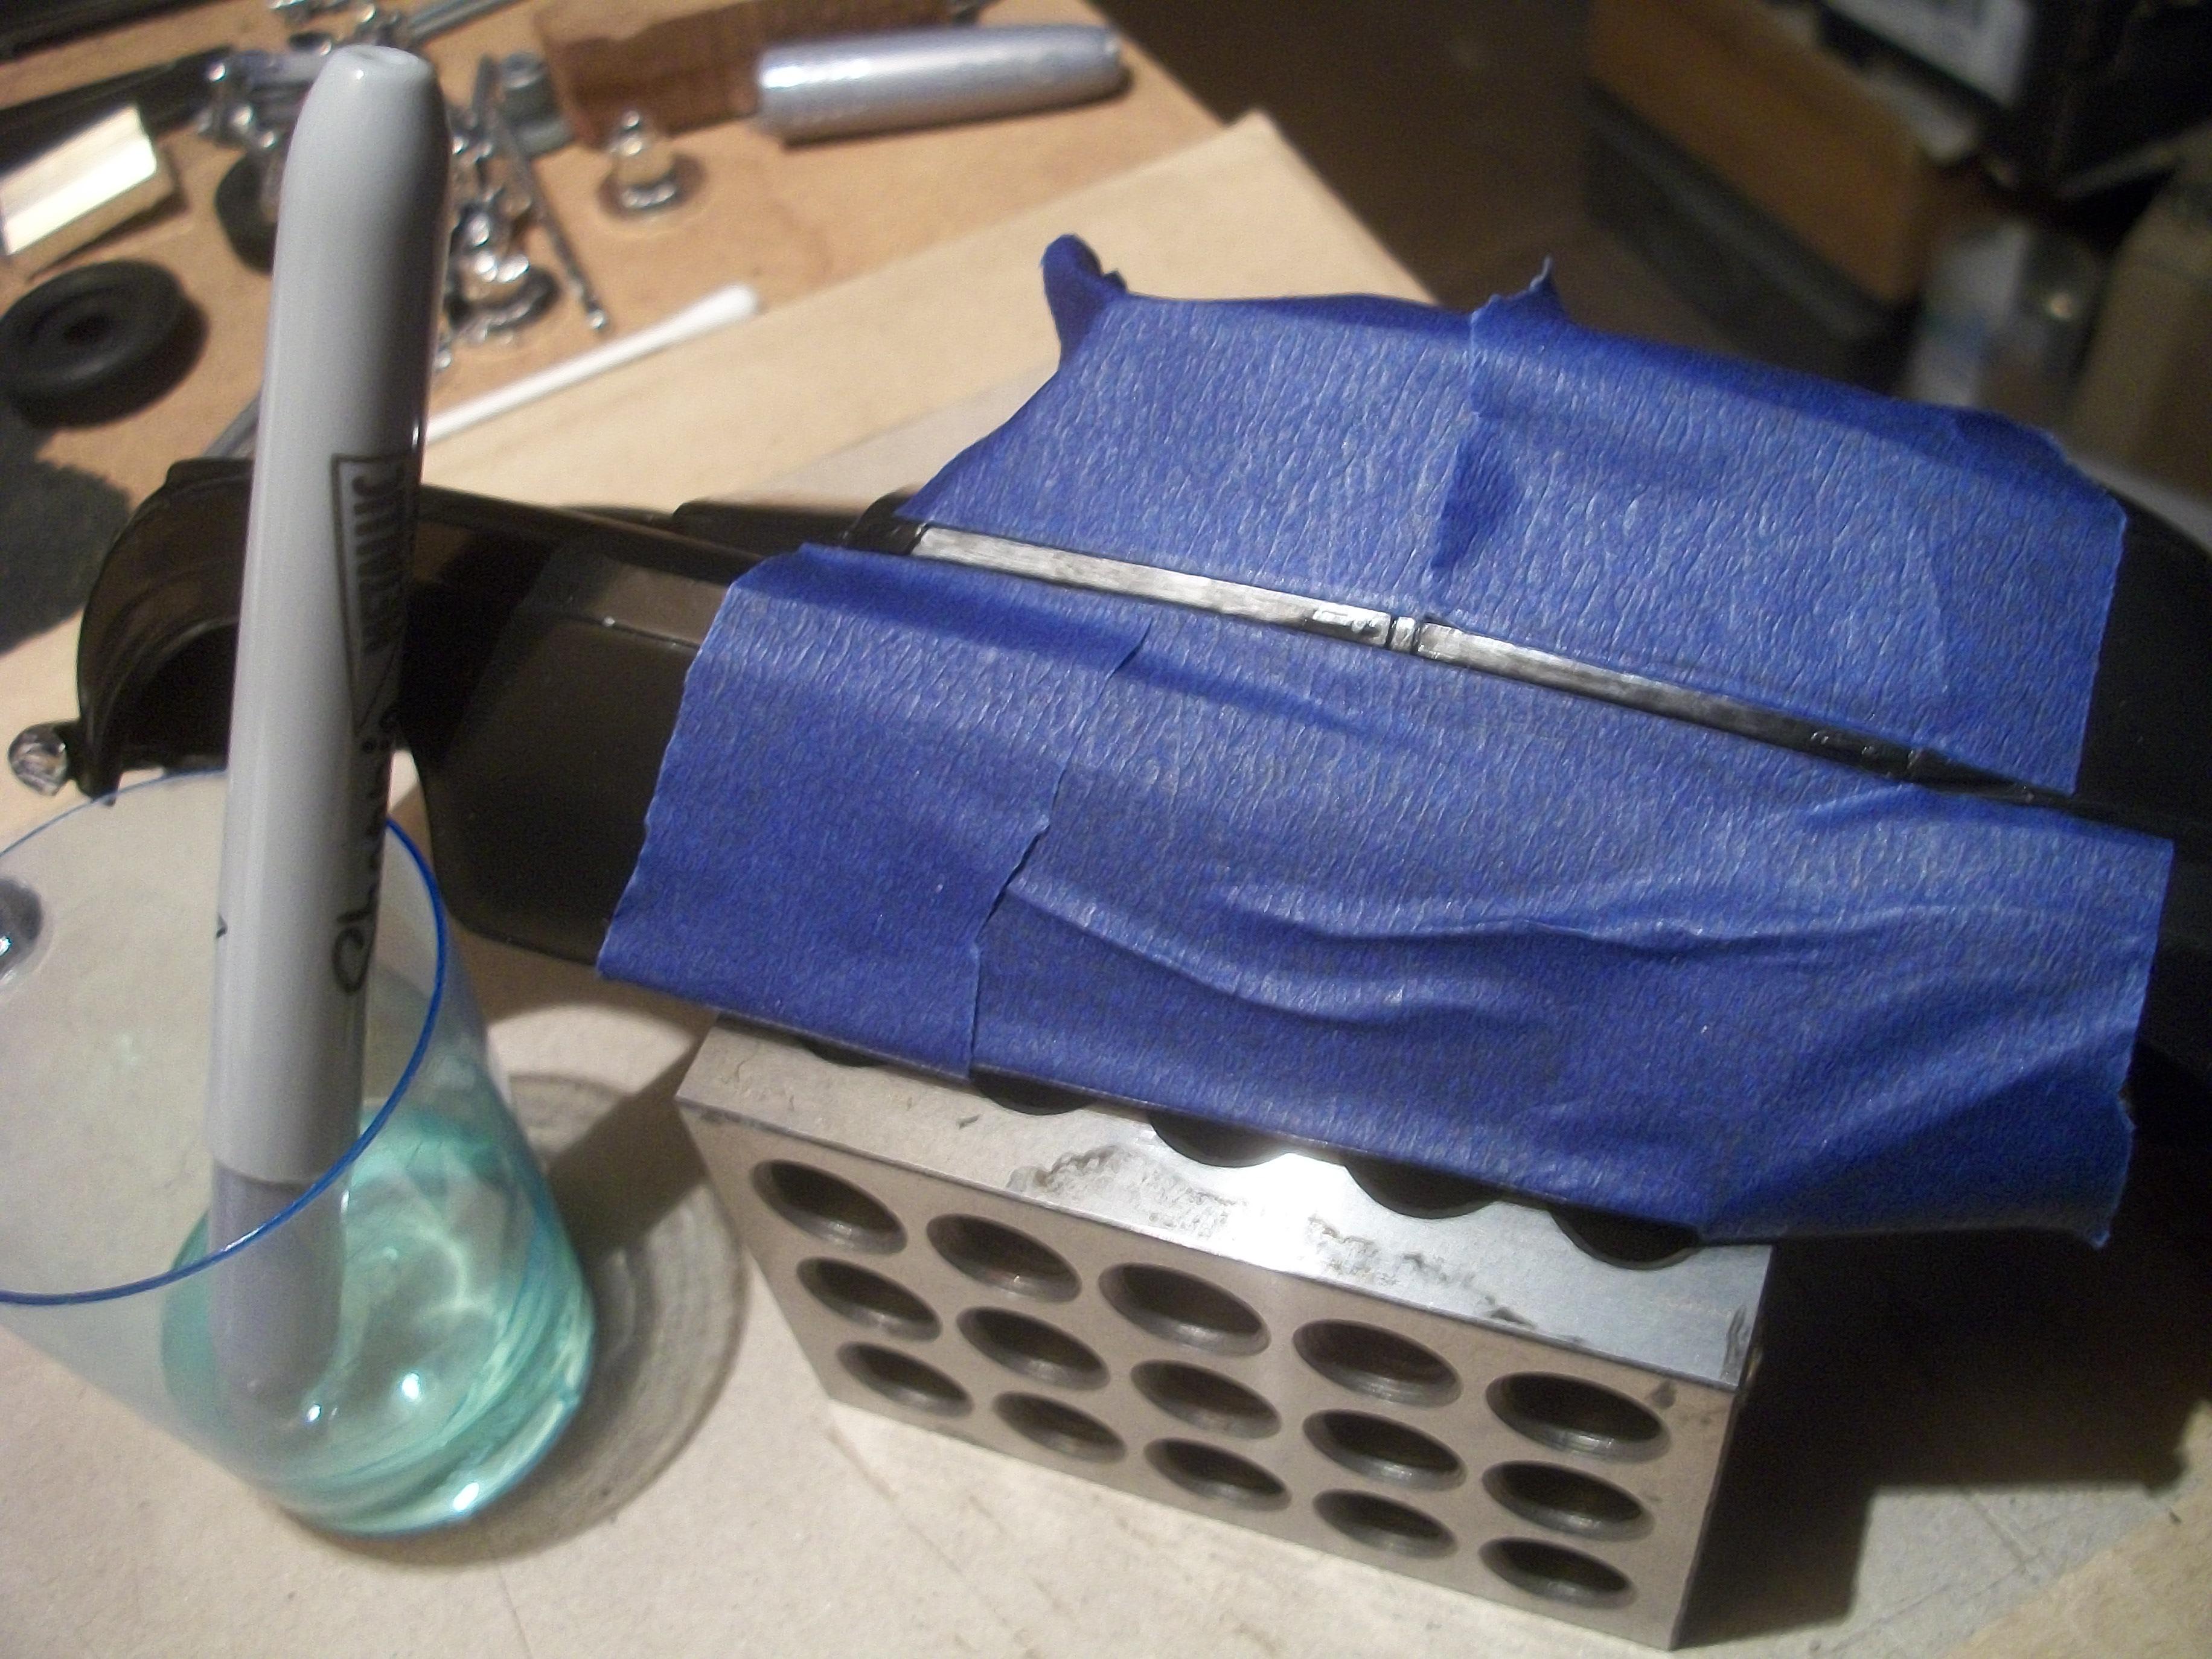
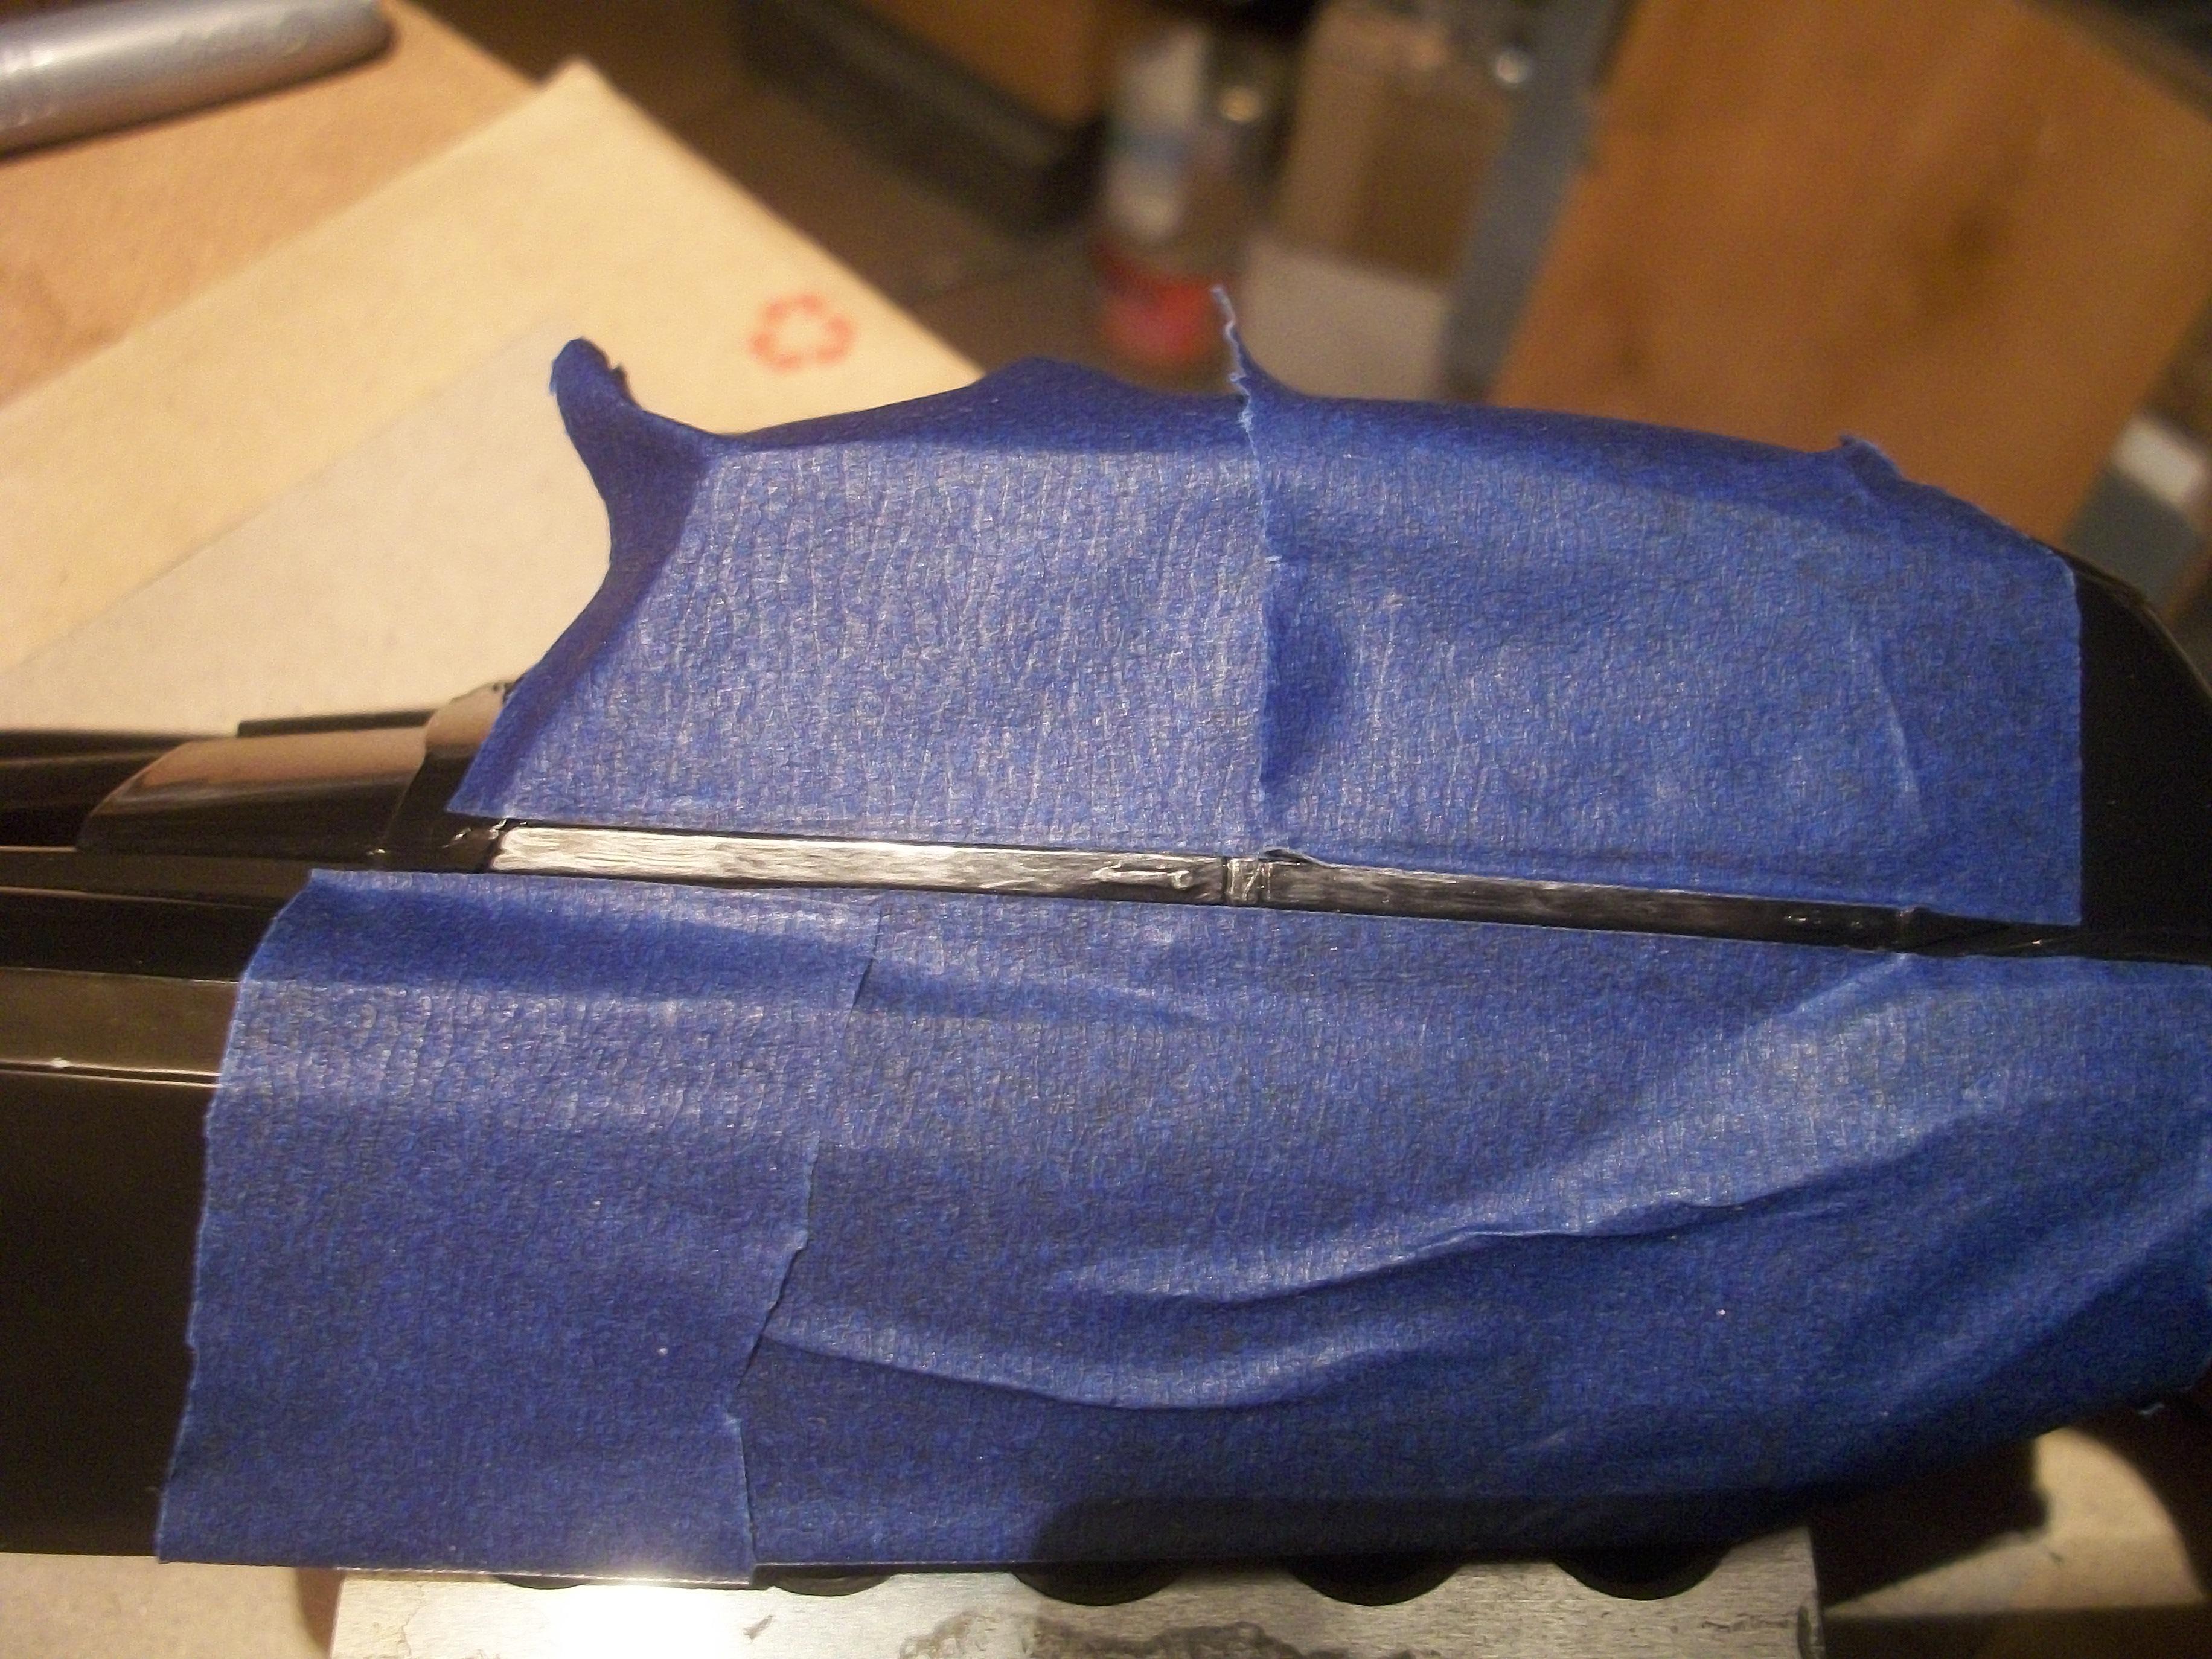
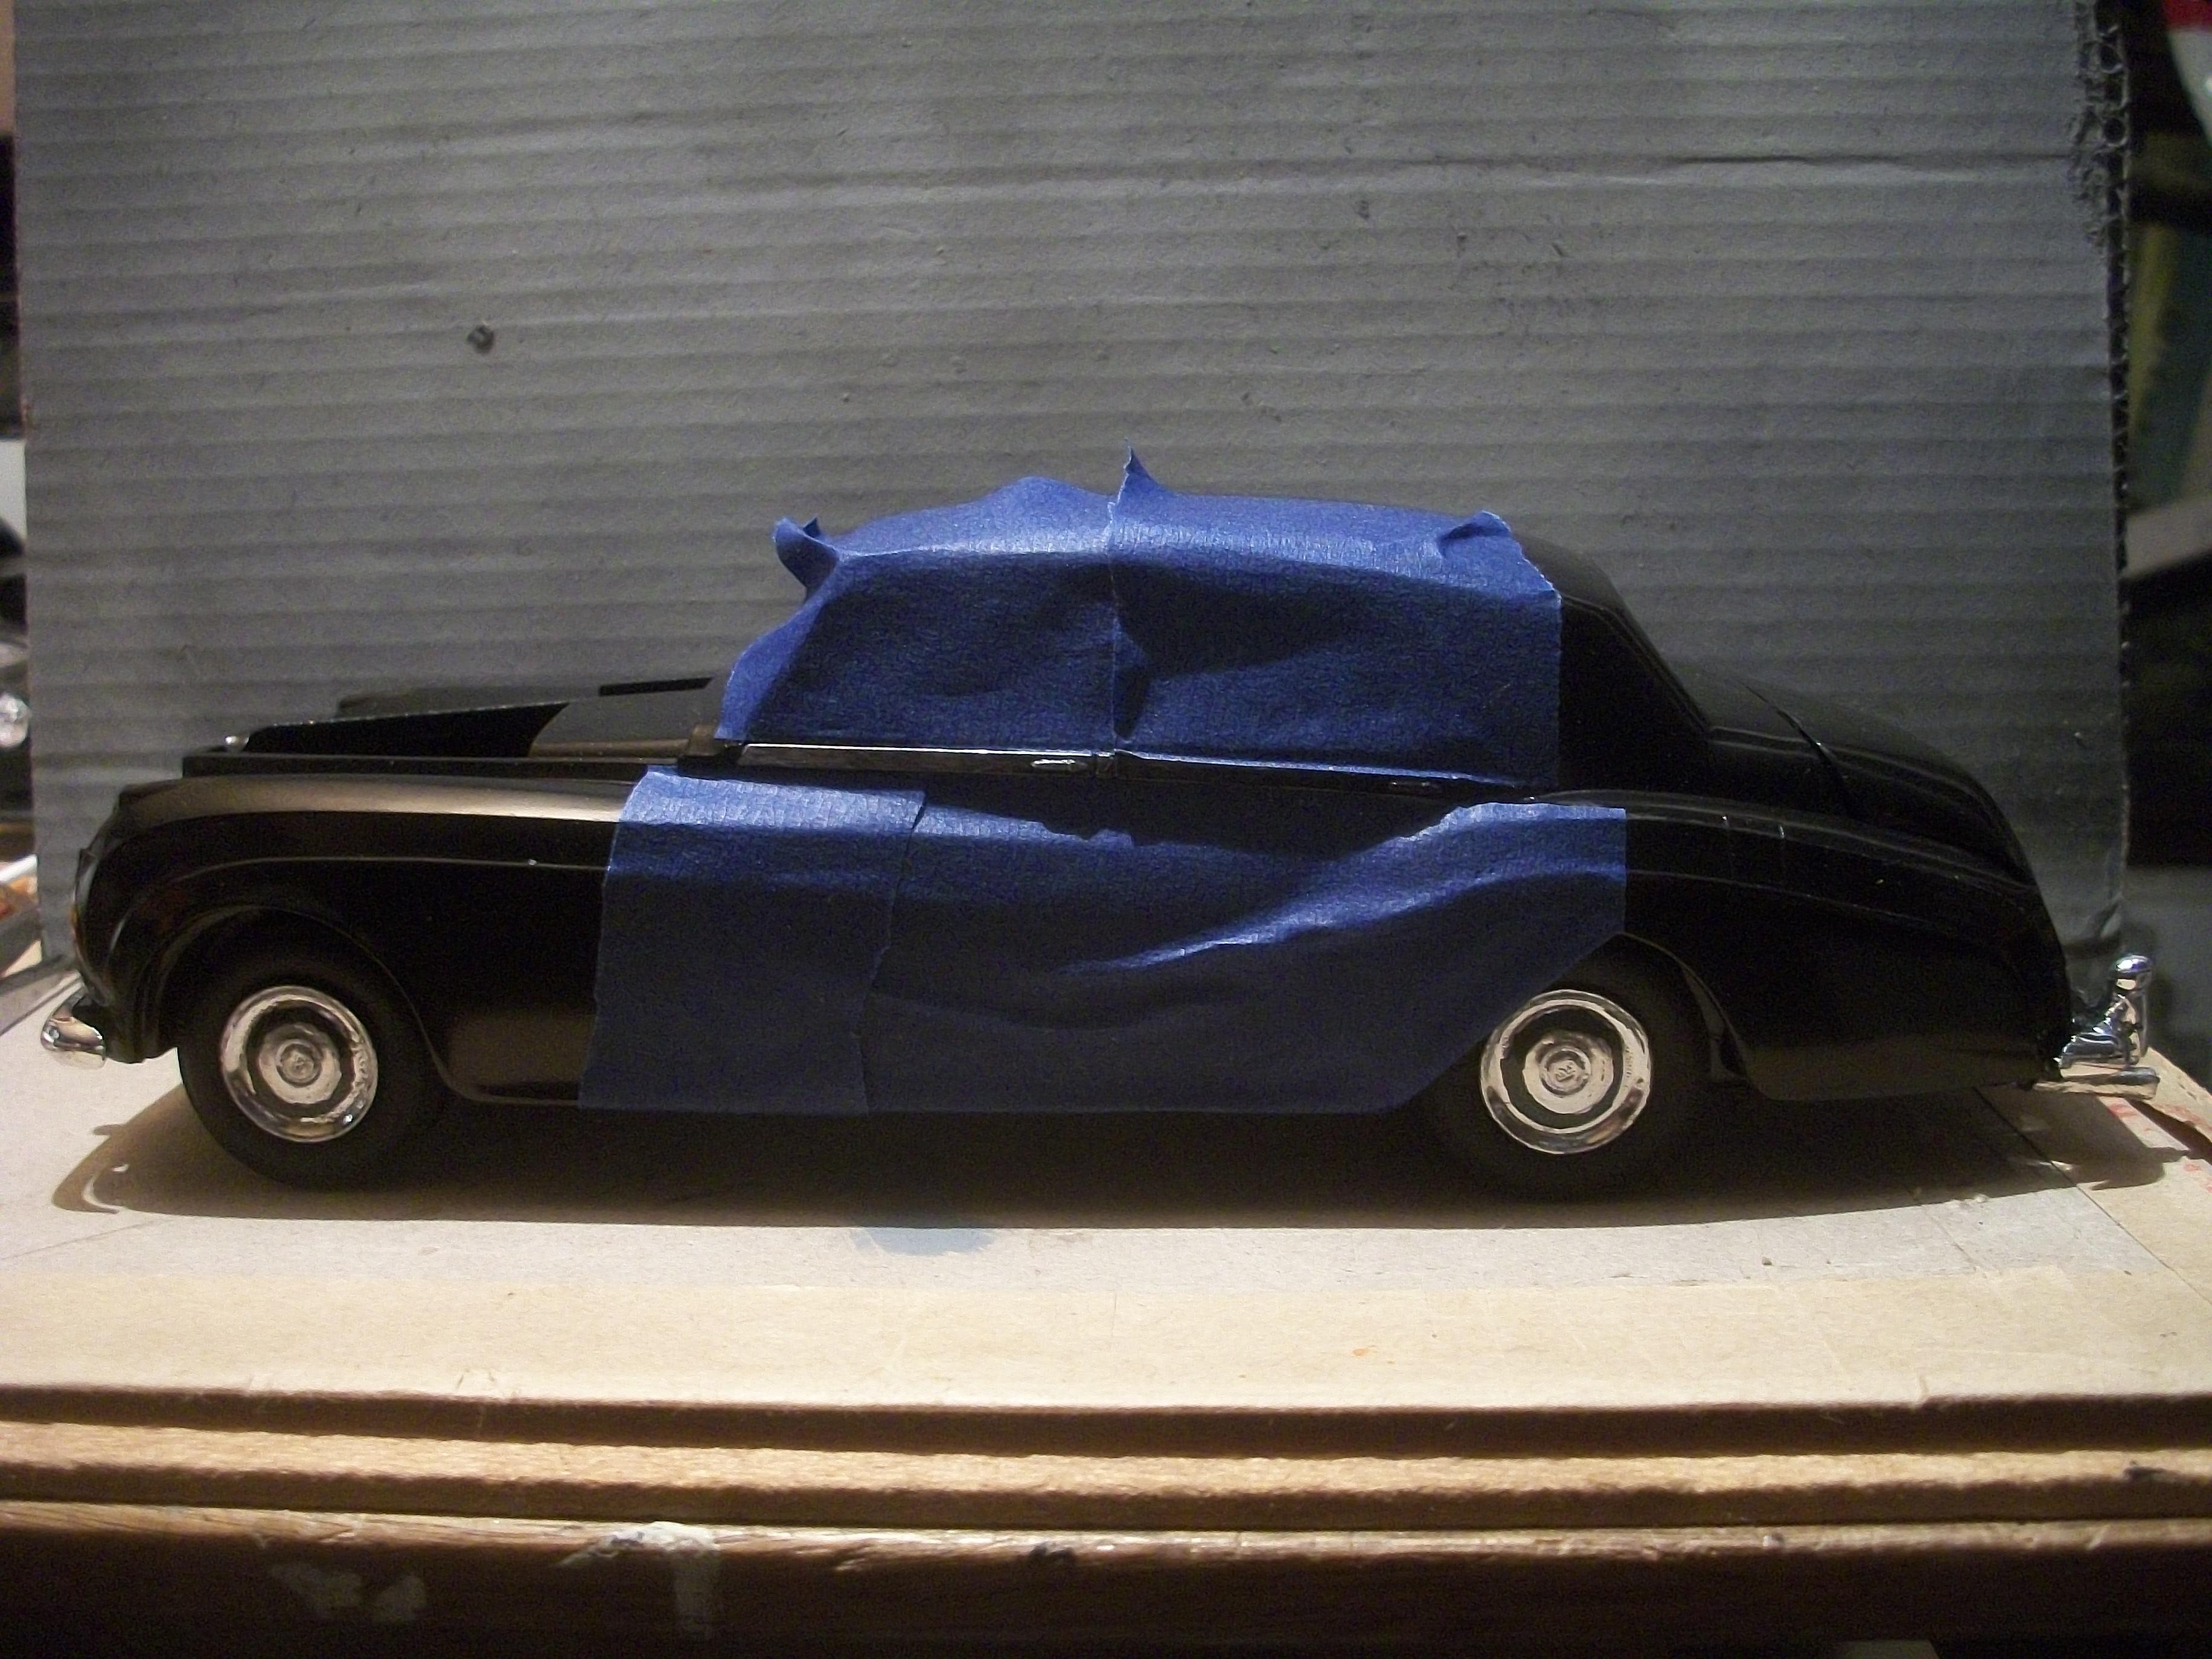
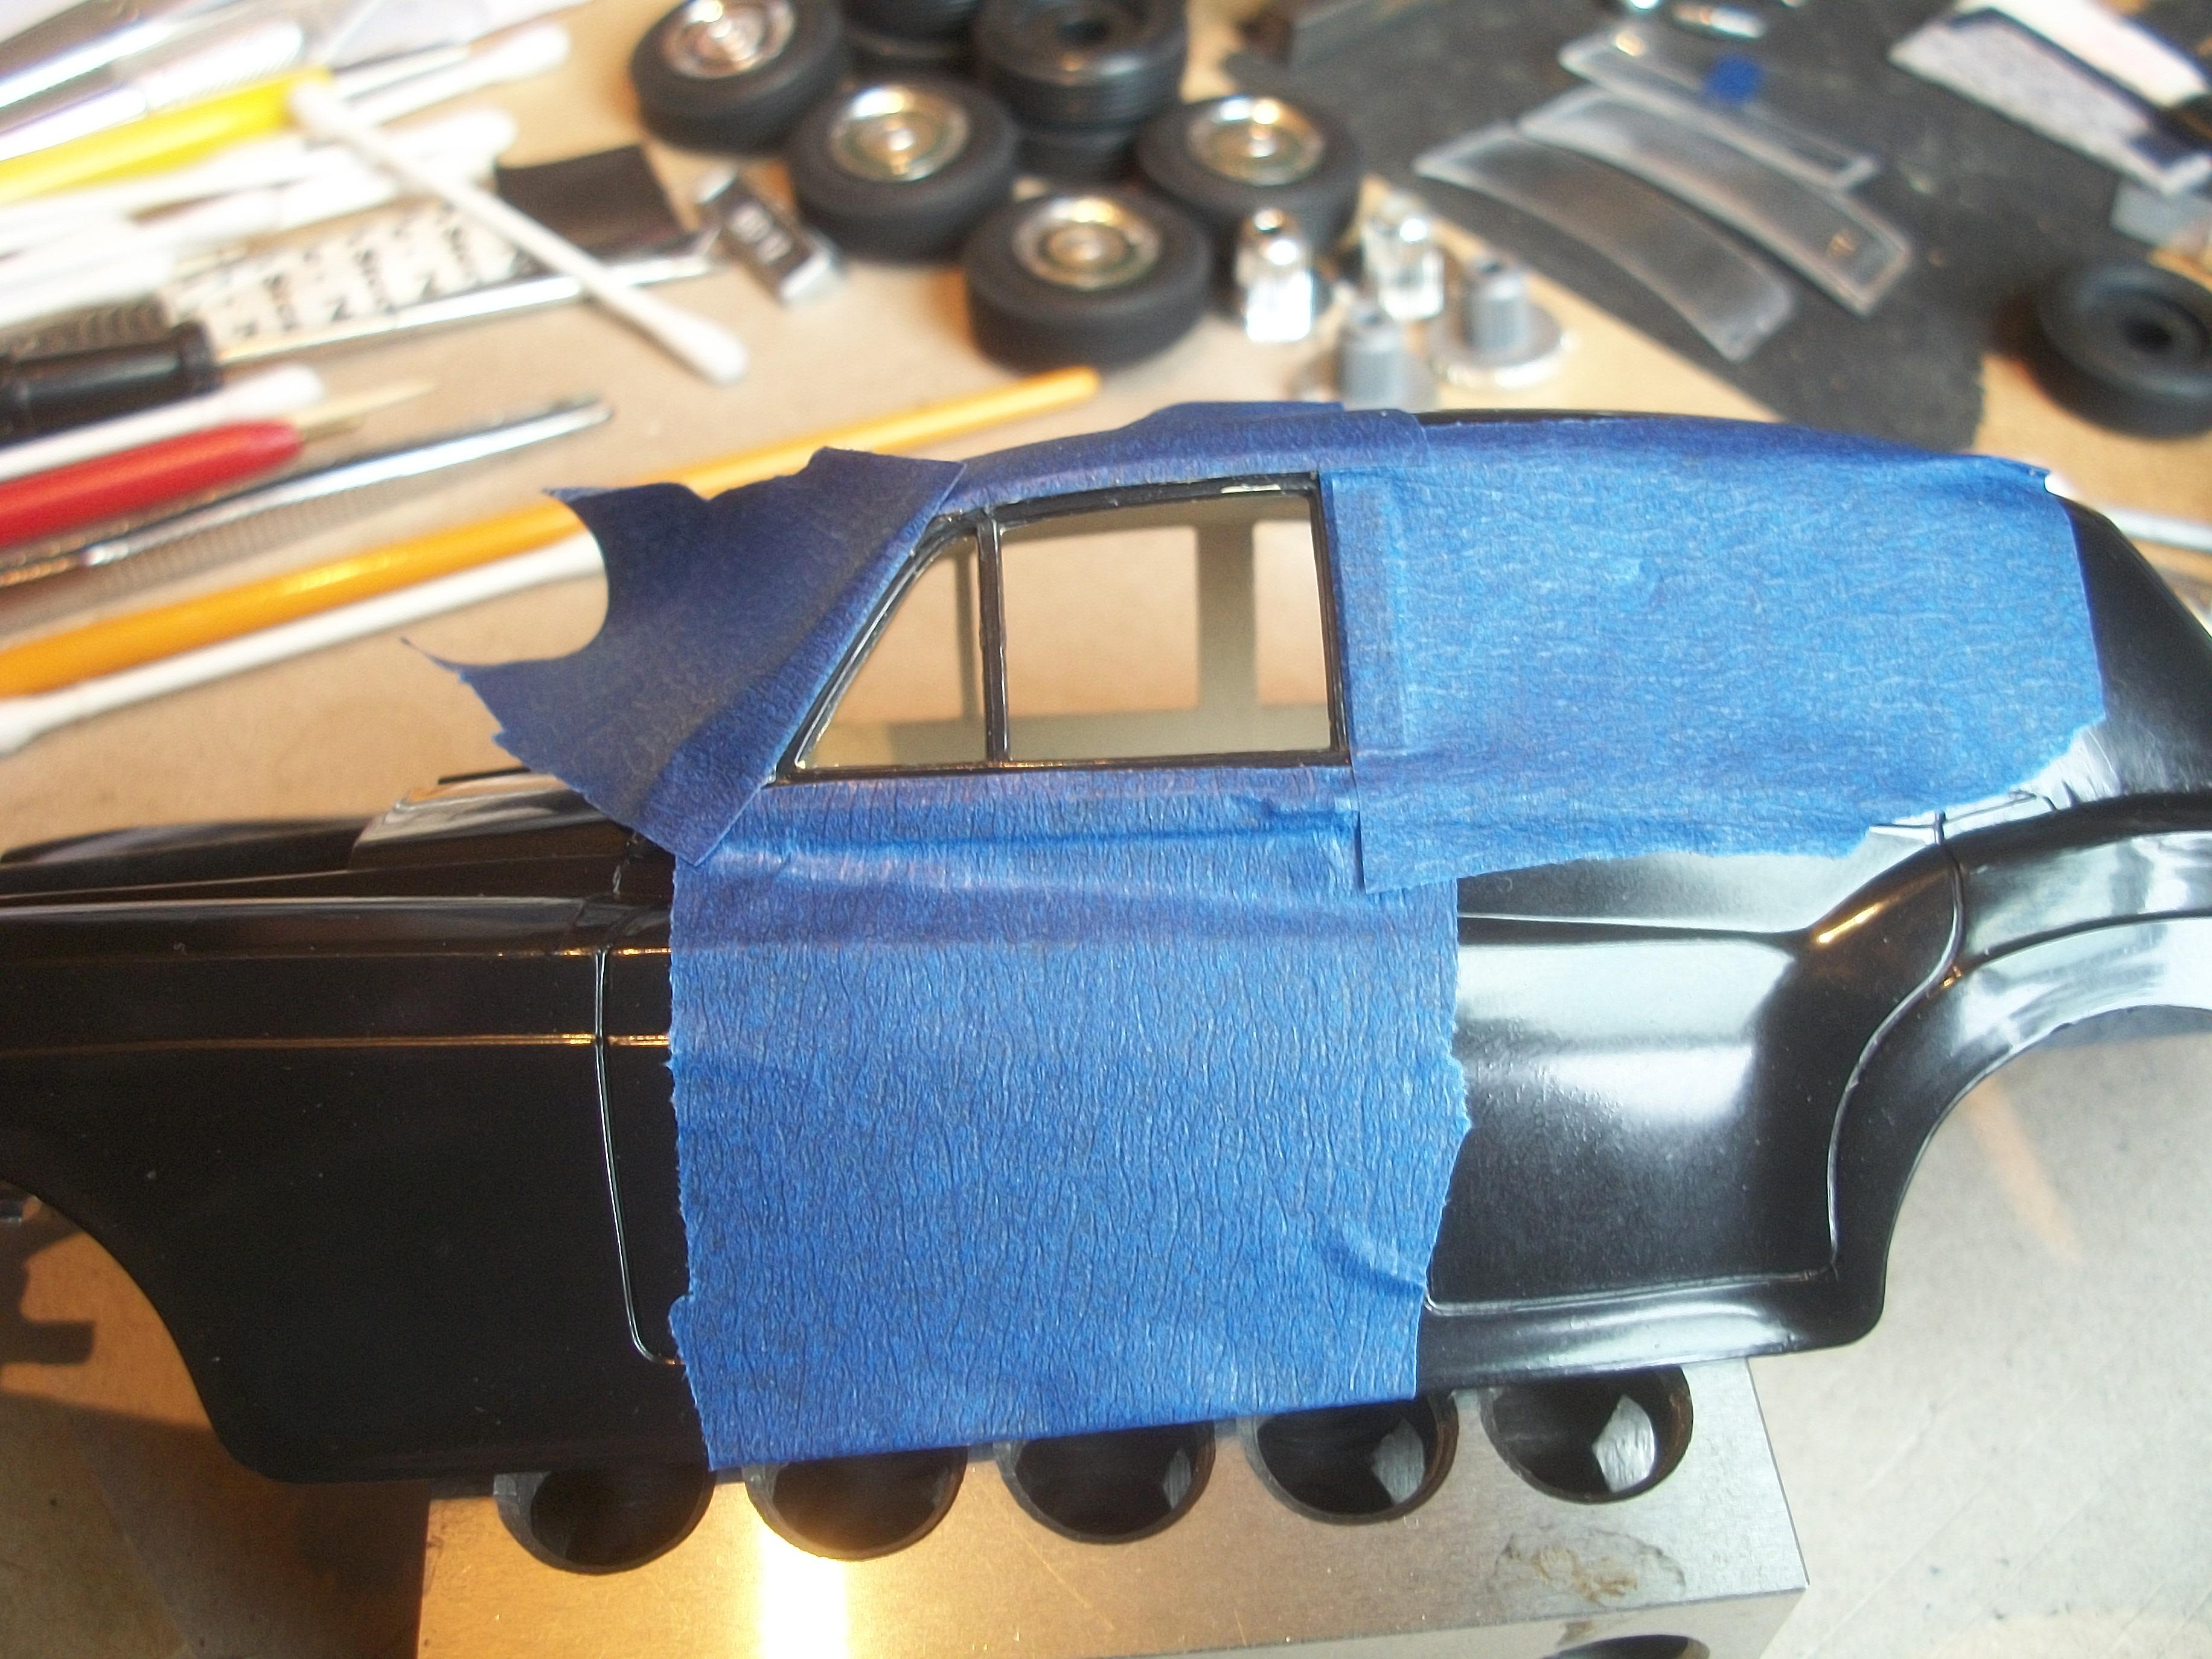
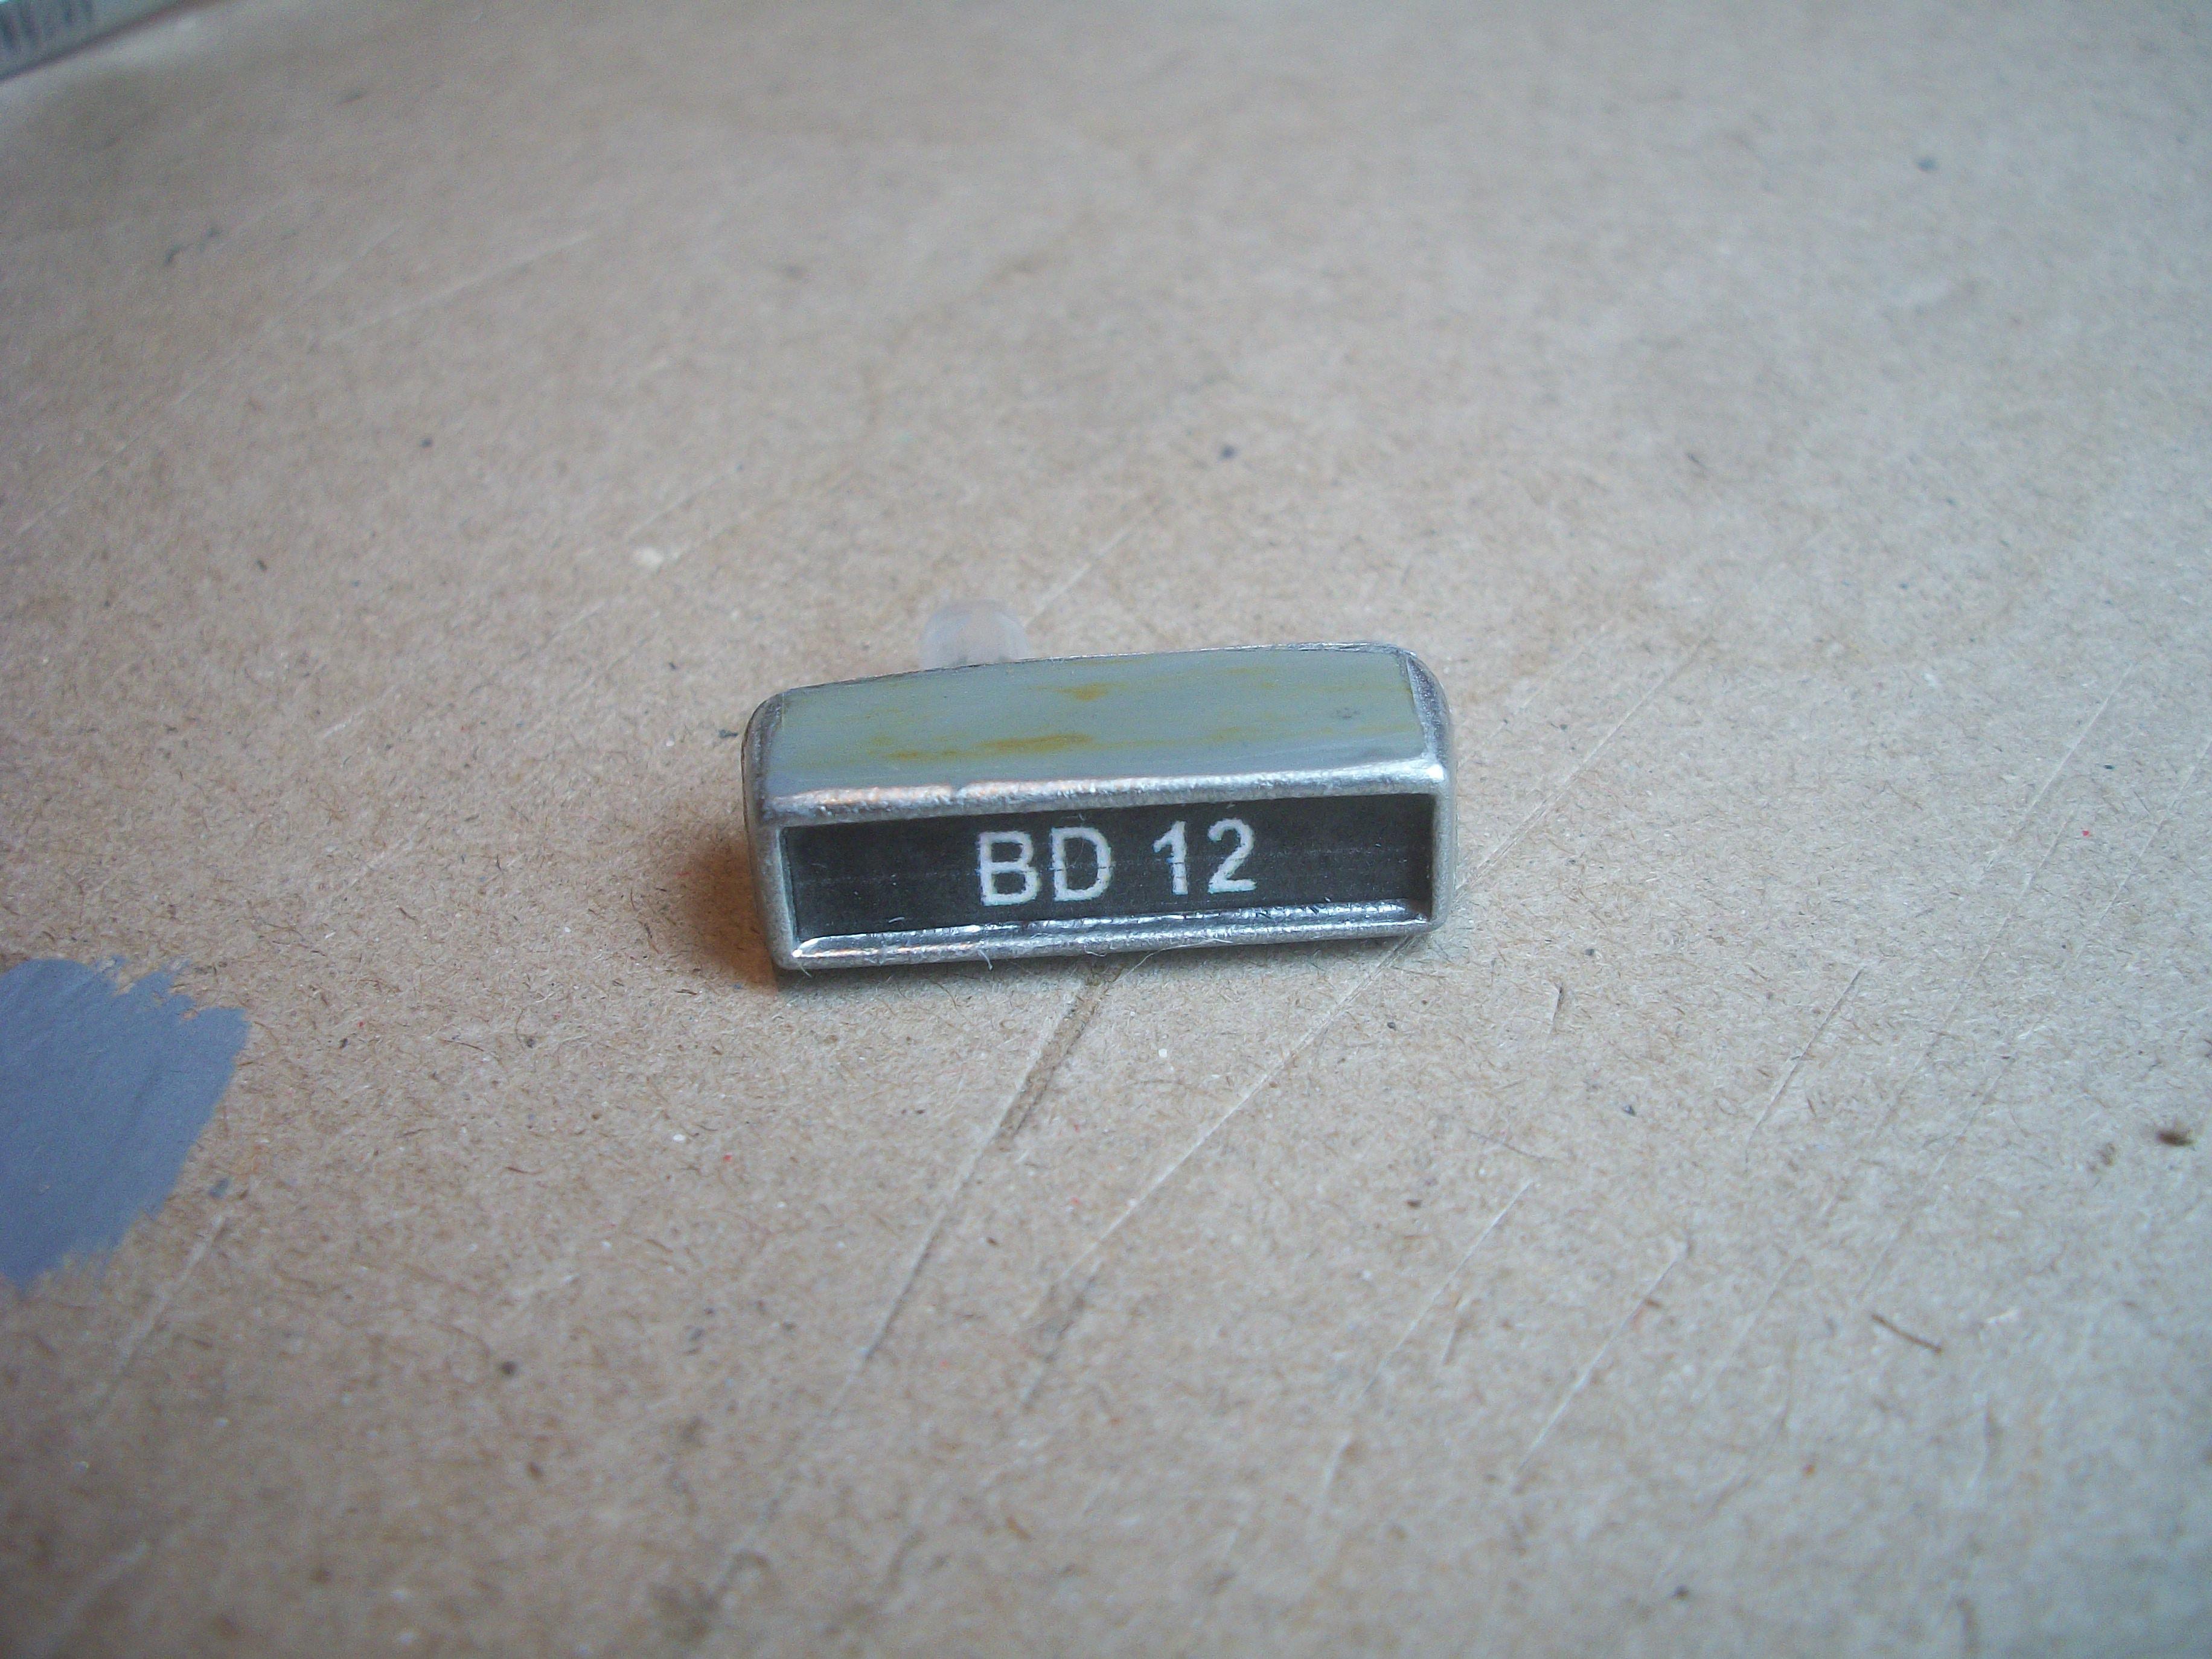
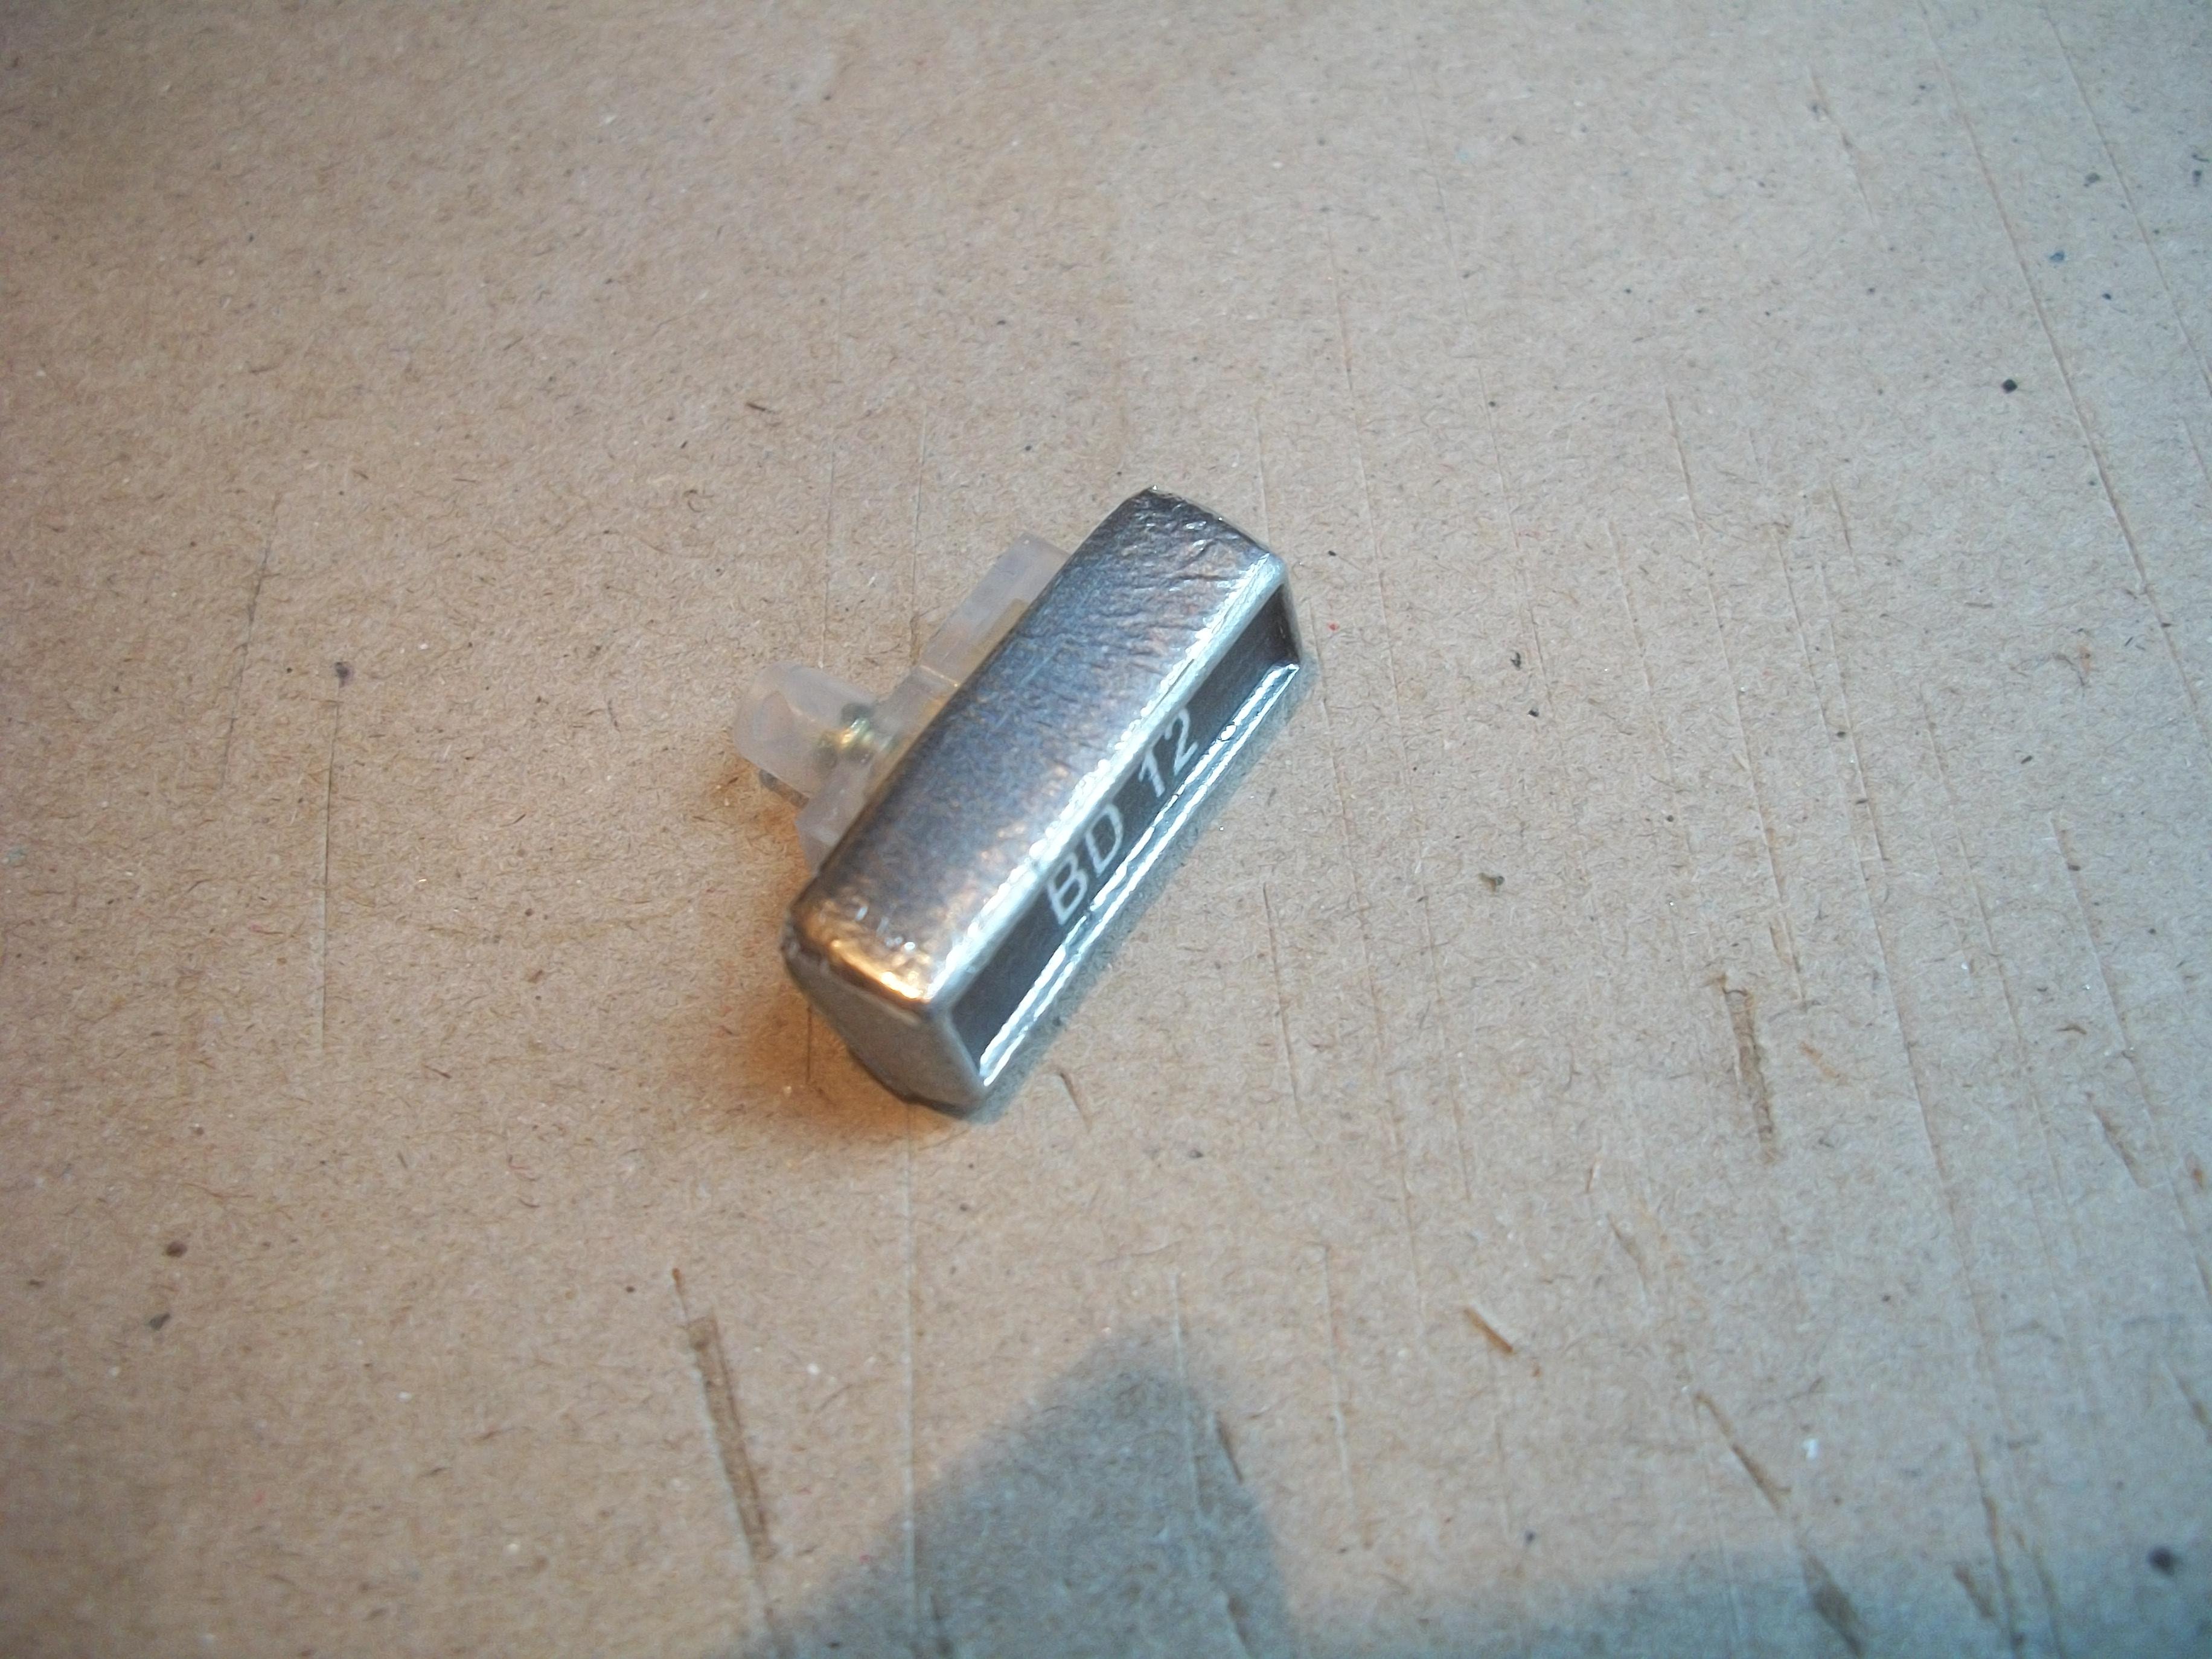
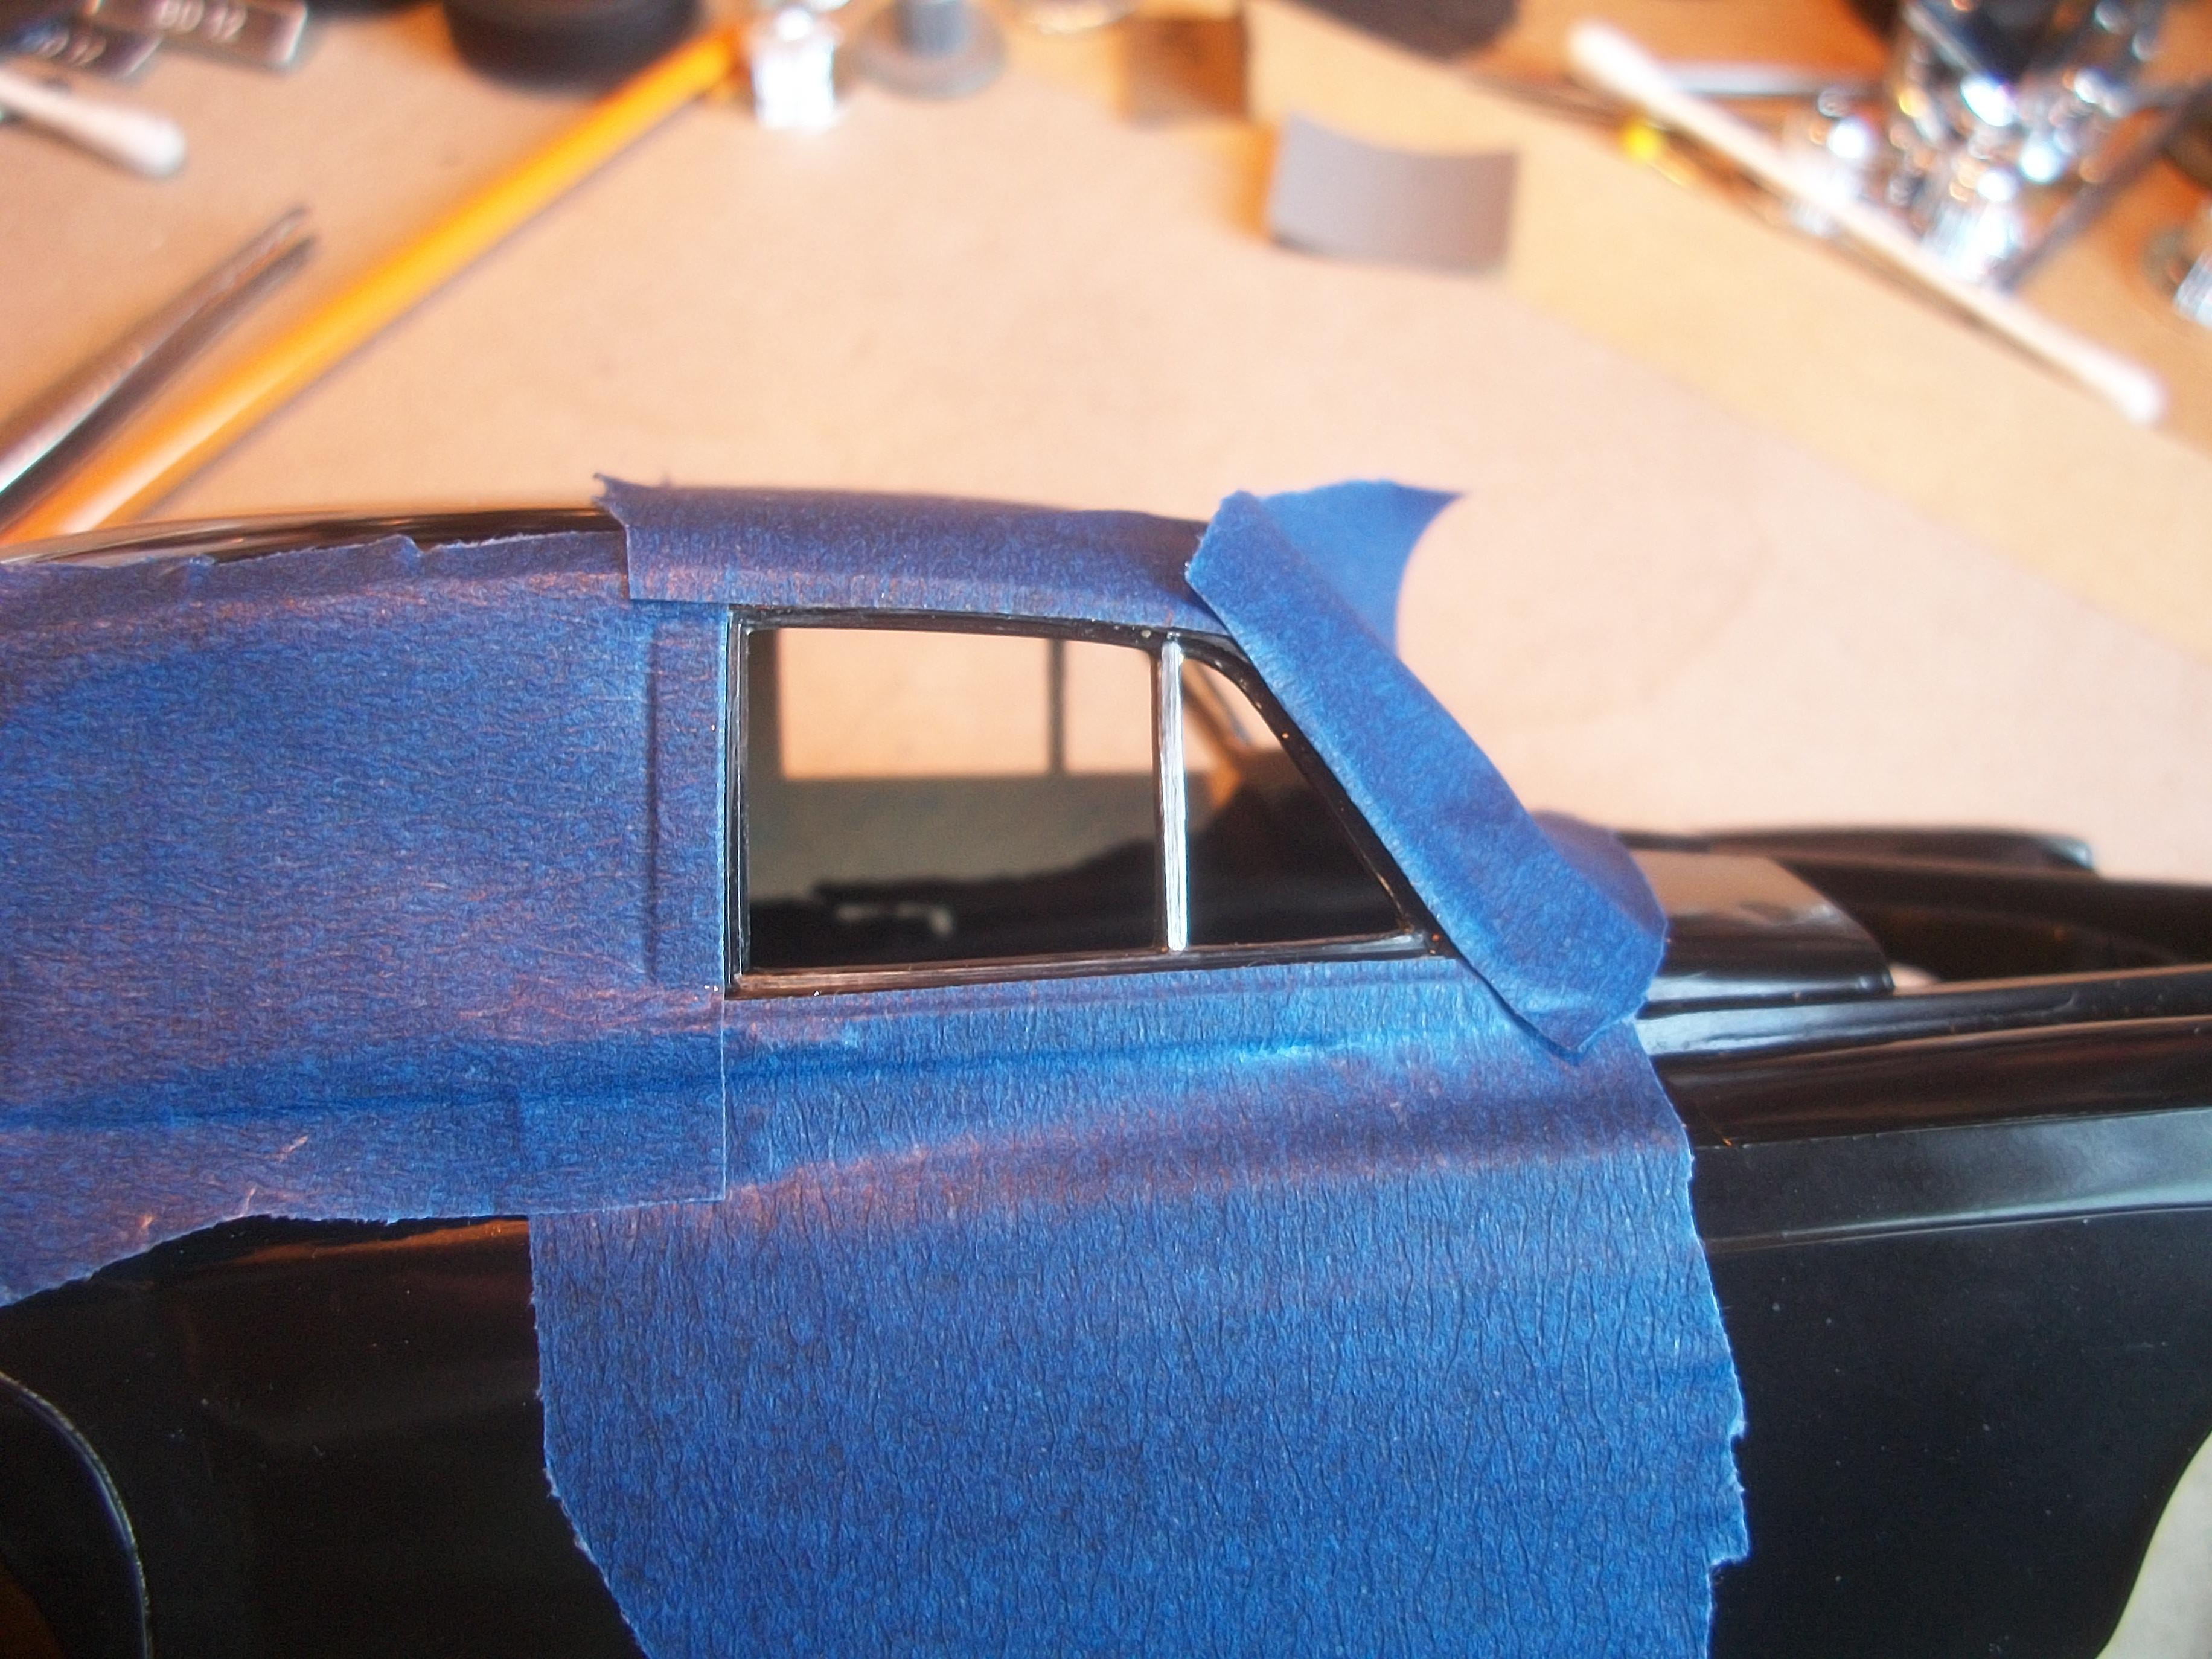
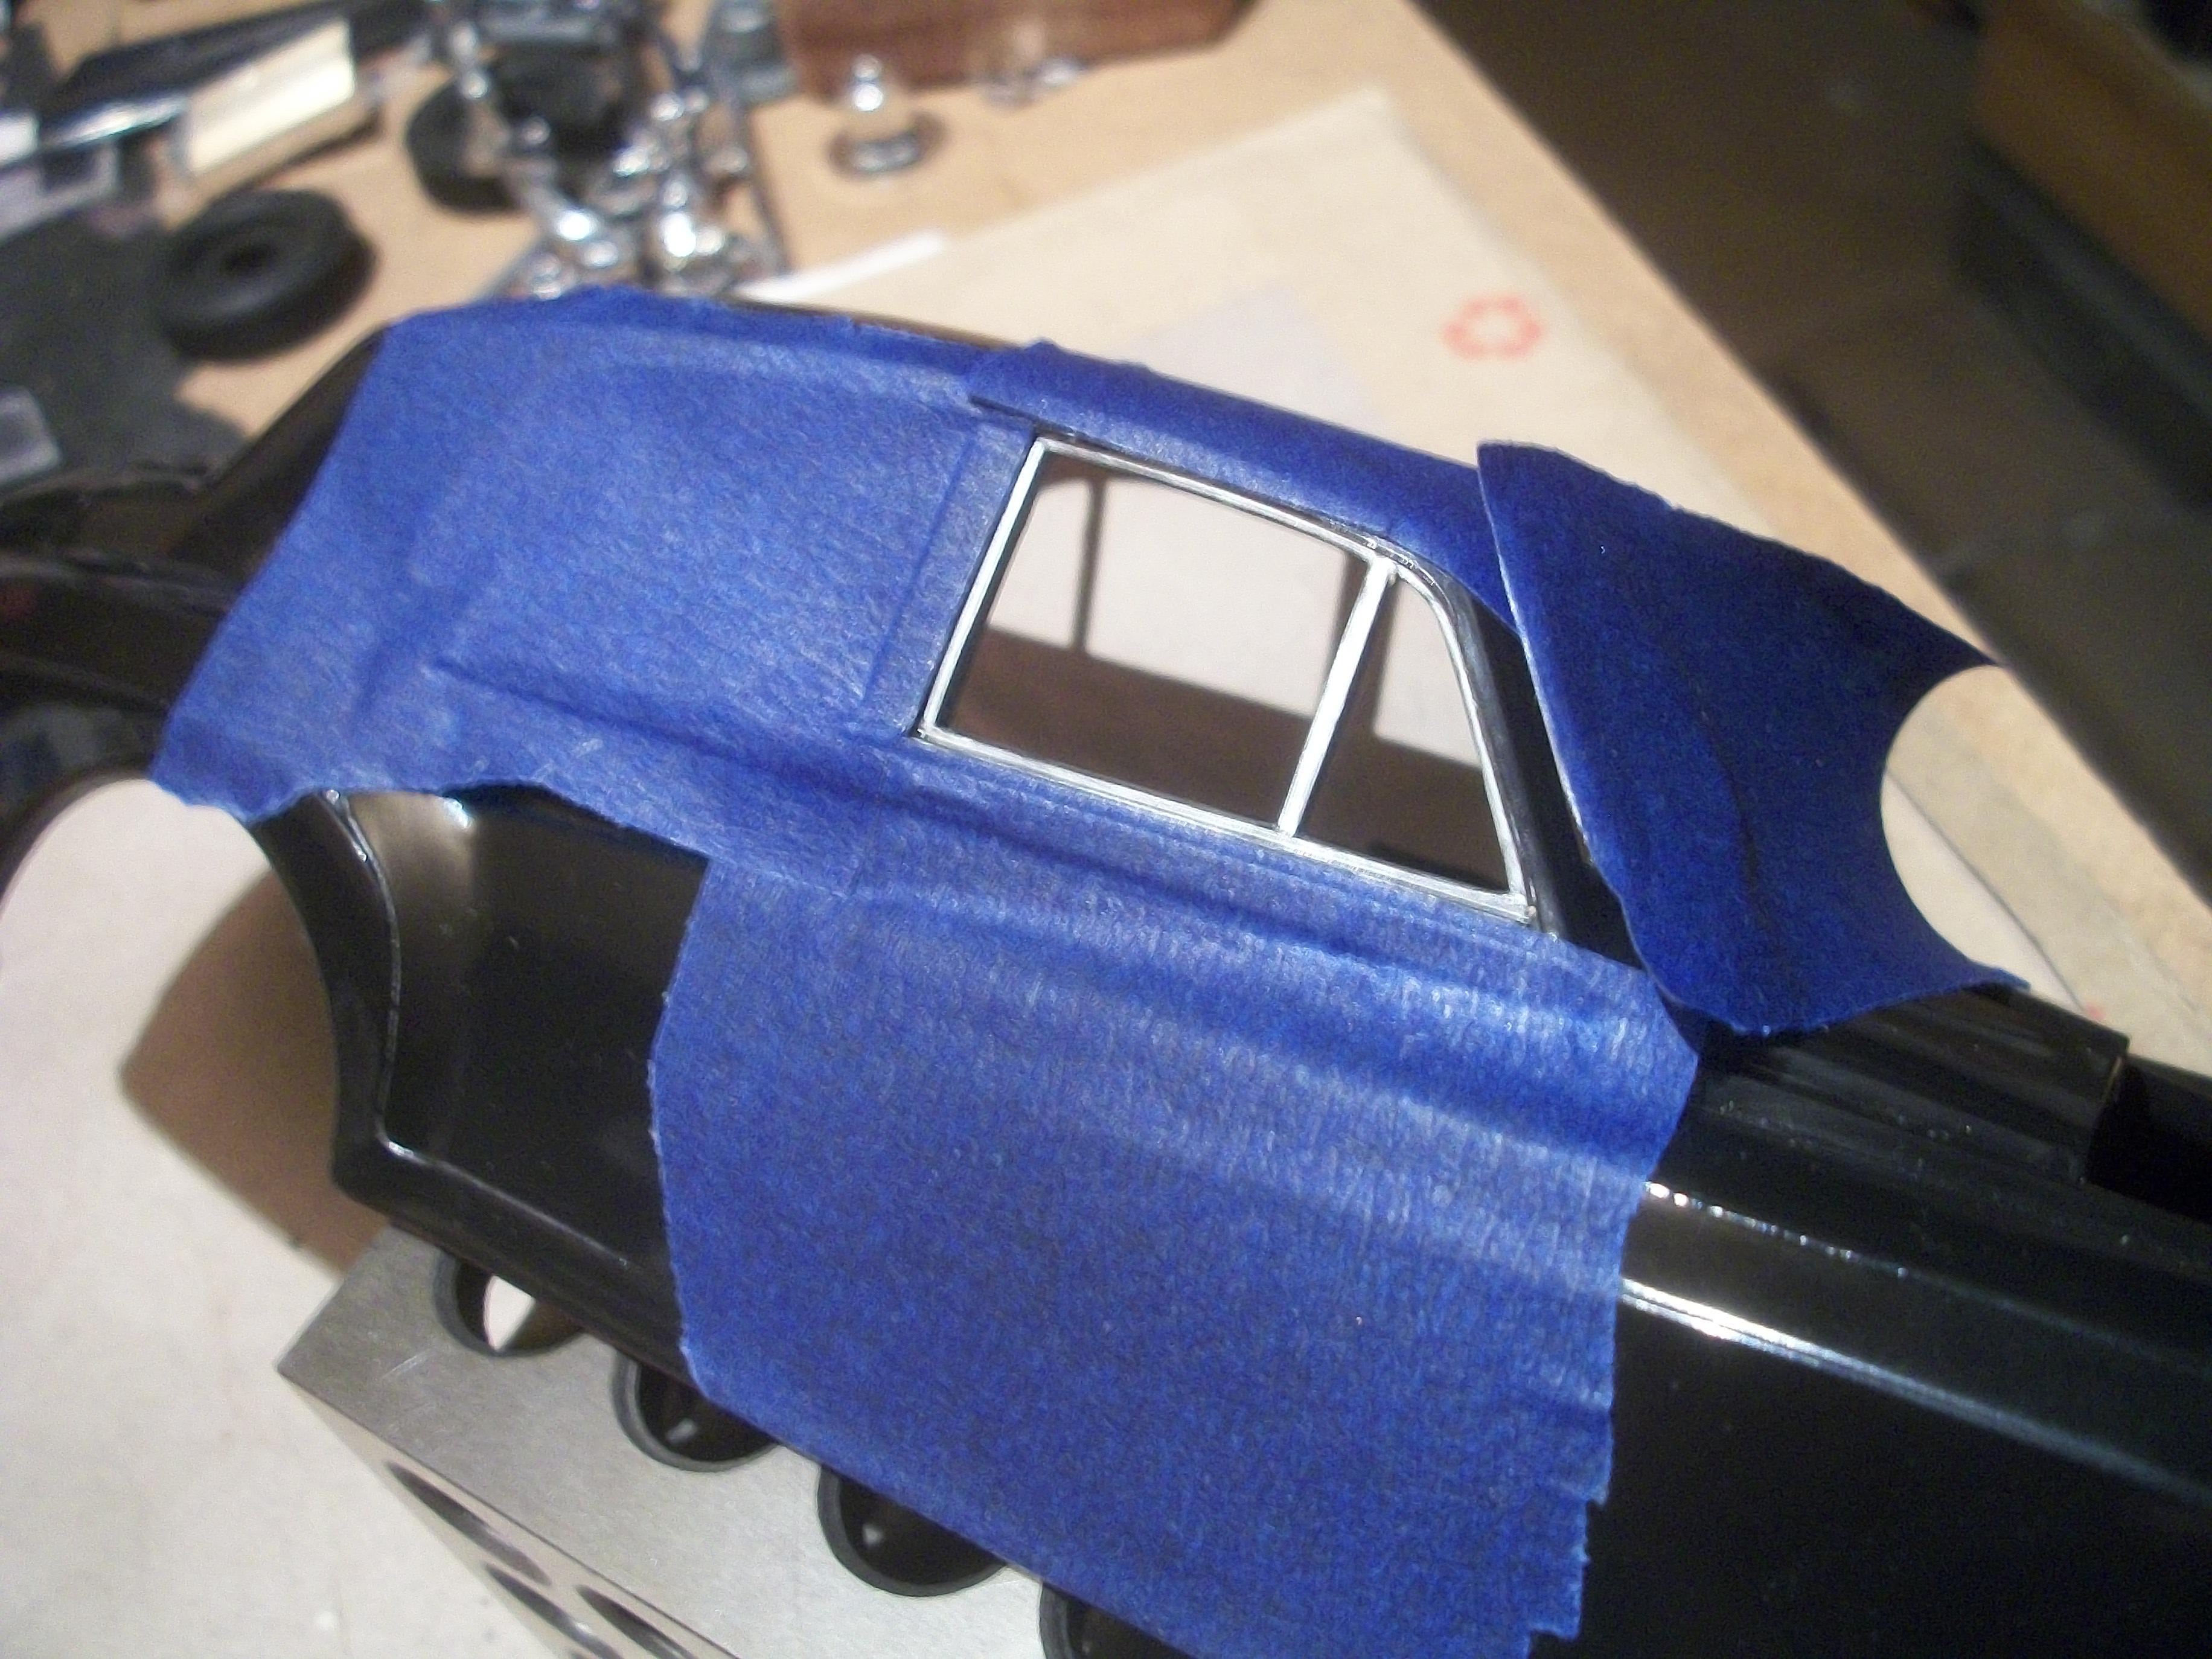
The silver Sharpie marker pen was placed into a plastic shot glass for 30 minutes, during which time there was no sign of any silver ink running into the Isopropyl Alcohol, only a few tiny air bubbles rising from the nib every few minutes or so . . . The pen was removed from the solution and placed upright, with the cap on and nib end down for well over one hour, but further testing revealed no progress. This Sharpie is not working for me ! While I take time out to think about what to do next, I removed the badly crinkled BMF from the top surface of the rear number plate plinth. The surface was sanded down smooth with 2000 grit ( dry ), and a new piece of BMF was applied on top. This looks much better, so for the photo I used a glue dot to hold the plinth in place on the boot lid. One of the following photos shows the passenger side front door window frame masked off with blue tape. I had hoped to apply silver Sharpie to the frame, but that was not to be just yet . . . David
-
Rolls-Royce No Chemicals, No Paint, No Harmful Glues
Anglia105E replied to Anglia105E's topic in WIP: Model Cars
Okay thanks, I understand . . . David -
Rolls-Royce No Chemicals, No Paint, No Harmful Glues
Anglia105E replied to Anglia105E's topic in WIP: Model Cars
What a fantastic story Mark . . . That was so special for your 50th wedding anniversary. You mentioned a 1964 Silver Arrow, but as far as I am aware there was no Arrow model within the Rolls-Royce range ( not even the Springfield produced cars in the US ). There is a Pierce-Arrow car, but that was pre - 1938 . . . . Do you think perhaps your hire car was a 1964 Silver Cloud? These were frequently used as wedding cars, and still are in the U.K. Yes, I would like to see the photos, once you have edited them of course. David -
Rolls-Royce No Chemicals, No Paint, No Harmful Glues
Anglia105E replied to Anglia105E's topic in WIP: Model Cars
Right now Mark, I would prefer to be applying Molotow Liquid Chrome instead of a silver Sharpie . . . Over the past couple of years I researched and had a lot of experience with the Moletow products, which for the most part are the best on today's market. The Liquid Chrome pen is not so great in my opinion, because the nib is too large, and also the flow of the material cannot be applied in a controlled manner. However, the Liquid Chrome refill is a much better product, because you have the choice of applying the material with a fine brush as I did, or you canpour the material into your airbrush, which I also tried with some success. This means that the refill is intended by Molotow for refilling the liquid chrome pens, when actually I would say it is the option to use a hand held brush or an airbrush that is the way to go for the absolute best result. The liquid chrome product could not be handled shortly after application, and some MCM Forum members stated that they had to wait as long as one or two weeks before handling the model, without harming the delicate finish. Others suggested spraying clear coat over the liquid chrome, or some sort of clear glossy varnish . . . The Sharpie finished look is probably more realistic than the extremely high gloss ' mirror ' finish of the Molotow Liquid Chrome, but that is debatable of course. The chrome component parts of a 1950's Rolls-Royce motor car, assuming they are the original finish, have the same high quality shiny appearance today as they did back in 1955 to 1959, which is testament to how good they were at that time. David -
Rolls-Royce No Chemicals, No Paint, No Harmful Glues
Anglia105E replied to Anglia105E's topic in WIP: Model Cars
If I can get the silver Sharpie working better, then maybe the window trim will eventually get done. Yes David, the polishing technique using baking soda toothpaste, distilled malt vinegar and microfibre cloths seems to be an effective method of polishing. Thanks . . . David -
Rolls-Royce No Chemicals, No Paint, No Harmful Glues
Anglia105E replied to Anglia105E's topic in WIP: Model Cars
Well Steve . . . The front window did get done, but I don't really want to spend this amount of time on all of the window trim. Hopefully, your suggestion to restore the silver Sharpie will provide some good results . . . I should be able to try that out later today. David -
Rolls-Royce No Chemicals, No Paint, No Harmful Glues
Anglia105E replied to Anglia105E's topic in WIP: Model Cars
Thank you Michael . . . Pleased to hear that you are finding this build interesting, and you may find some of my techniques rather unorthodox. Back in the days when I just used the materials and methods that got the job done, including spray paints, airbrush, enamels, glues and cleaning solvents, I never had to consider these alternatives. Maybe this is breaking new ground in a way . . . ? David -
Rolls-Royce No Chemicals, No Paint, No Harmful Glues
Anglia105E replied to Anglia105E's topic in WIP: Model Cars
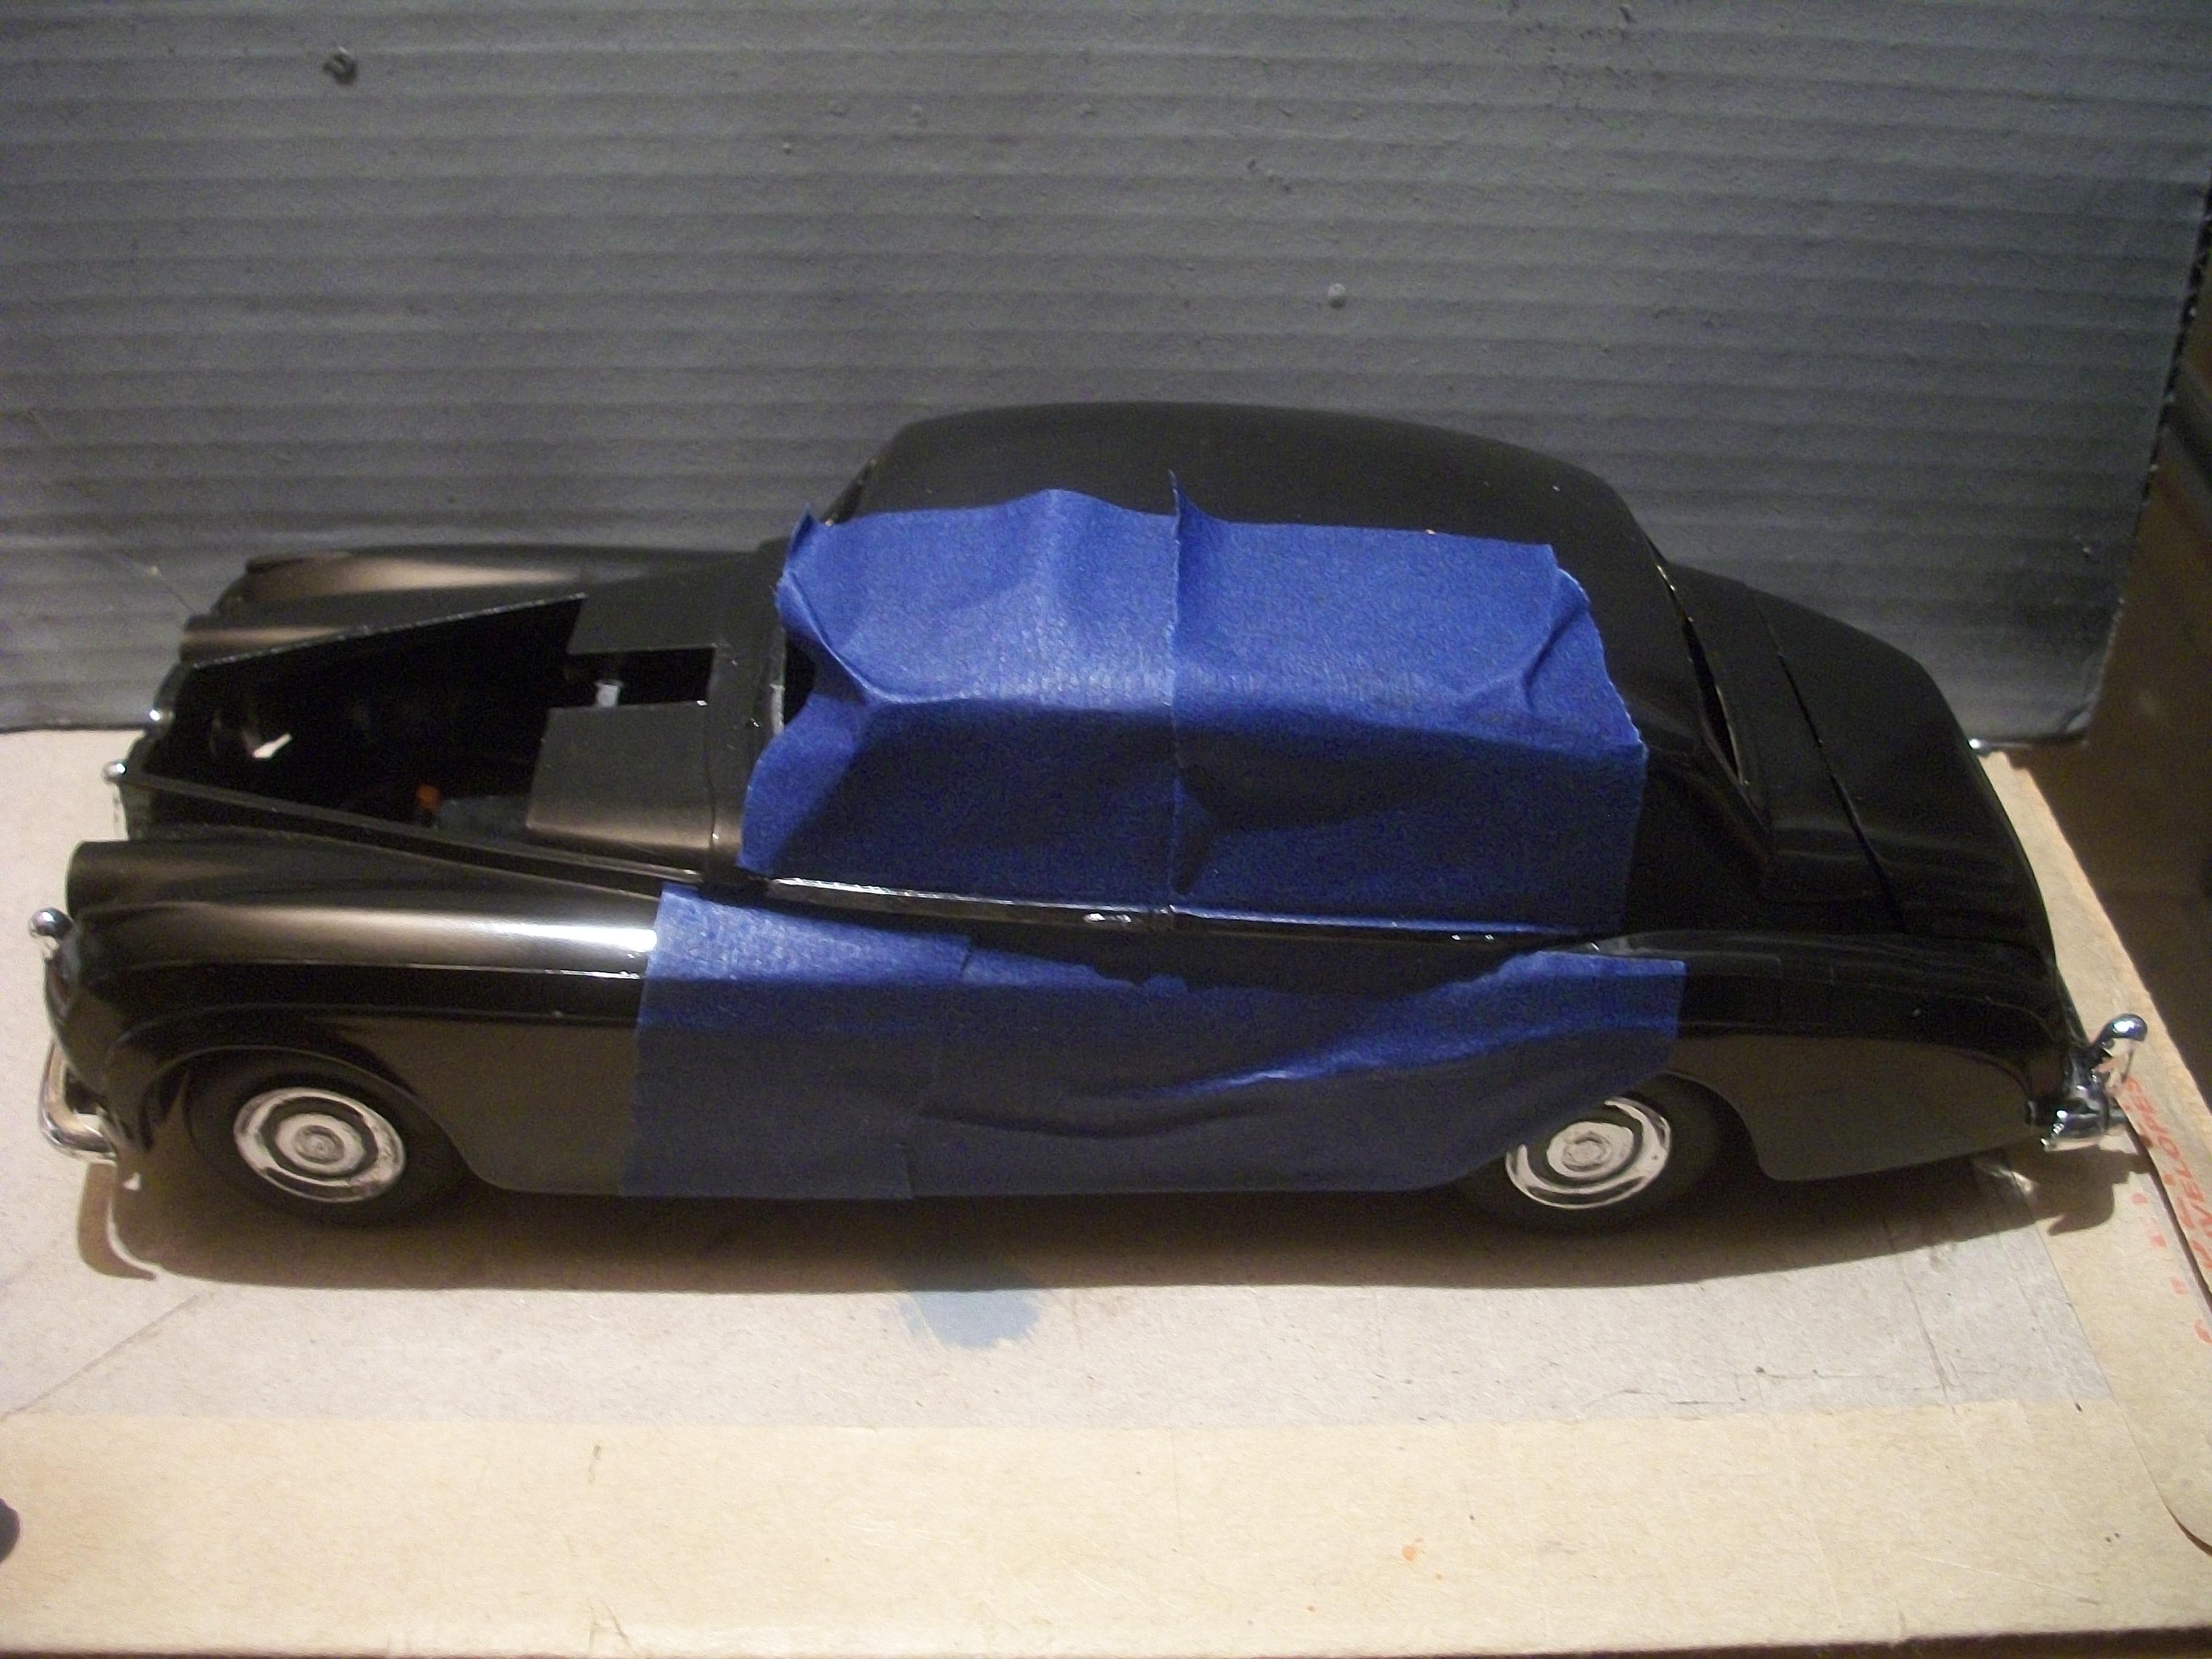
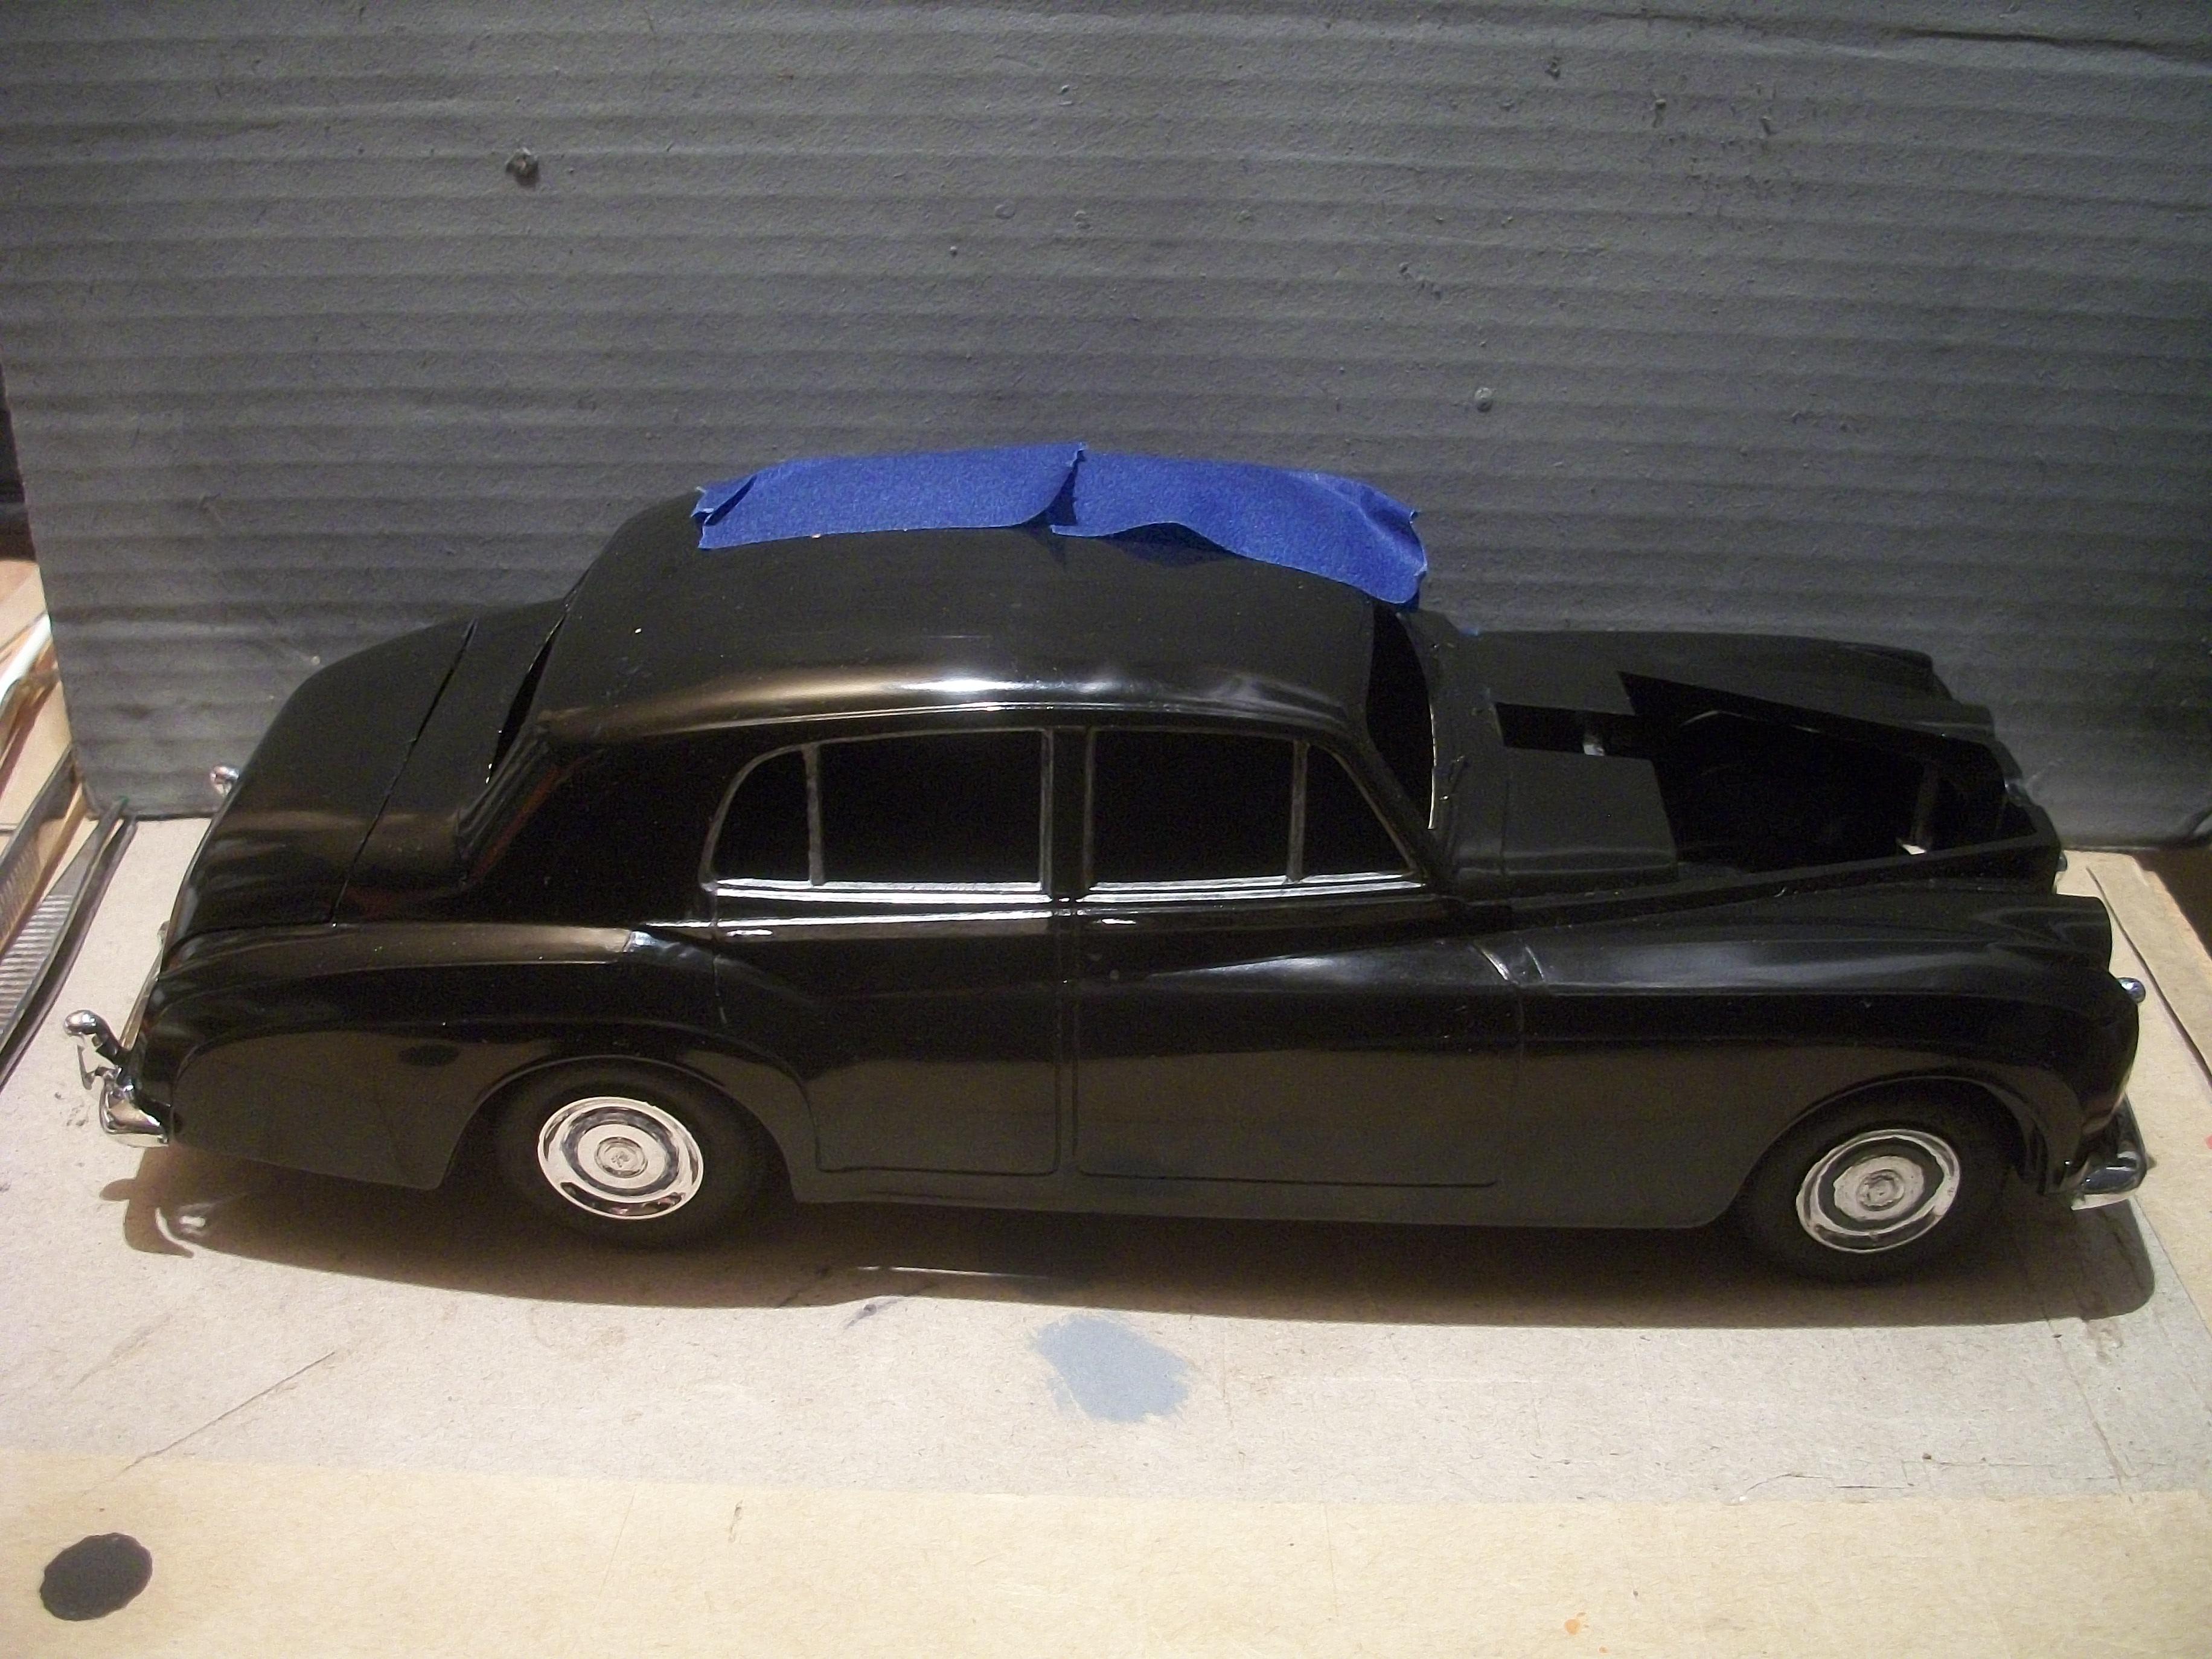
Moving on from the rear side window of the Silver Cloud body, it was time to mask off the front side window frame. This time the silver Sharpie was actually working, but only for about half of the window frame, and then it dried up again . . . I rummaged around in my loft space and found two old silver Sharpies that had run dry years ago. I tried them out, to see if there was any life in them . . . Both actually worked, if only for a short time, so I did manage to cover the front door window frame. Following on from the excellent and timely advice from Steve (Bert100), I intend to have a go at getting the newest silver Sharpie to start working properly. Meanwhile, here are a few photos of how things have gone so far . . . David
-
Rolls-Royce No Chemicals, No Paint, No Harmful Glues
Anglia105E replied to Anglia105E's topic in WIP: Model Cars
That information you have provided Steve, could be just what I need to get this Sharpie working properly . . . When you mentioned rubbing alcohol and isopropyl alcohol, my first thought was ' Oh no, that chemical again ', but only the other day I was told that hand sanitizer is actually rubbing alcohol. Hand sanitizer is something that I use every day, and in fact multiple times during each day . . . Anyway, what I could do is to use the Isopropyl Alcohol trick outside on my patio garden area. It would be great if that works . . . David