Anglia105E
-
Posts
3,487 -
Joined
-
Last visited
Content Type
Profiles
Forums
Events
Gallery
Everything posted by Anglia105E
-
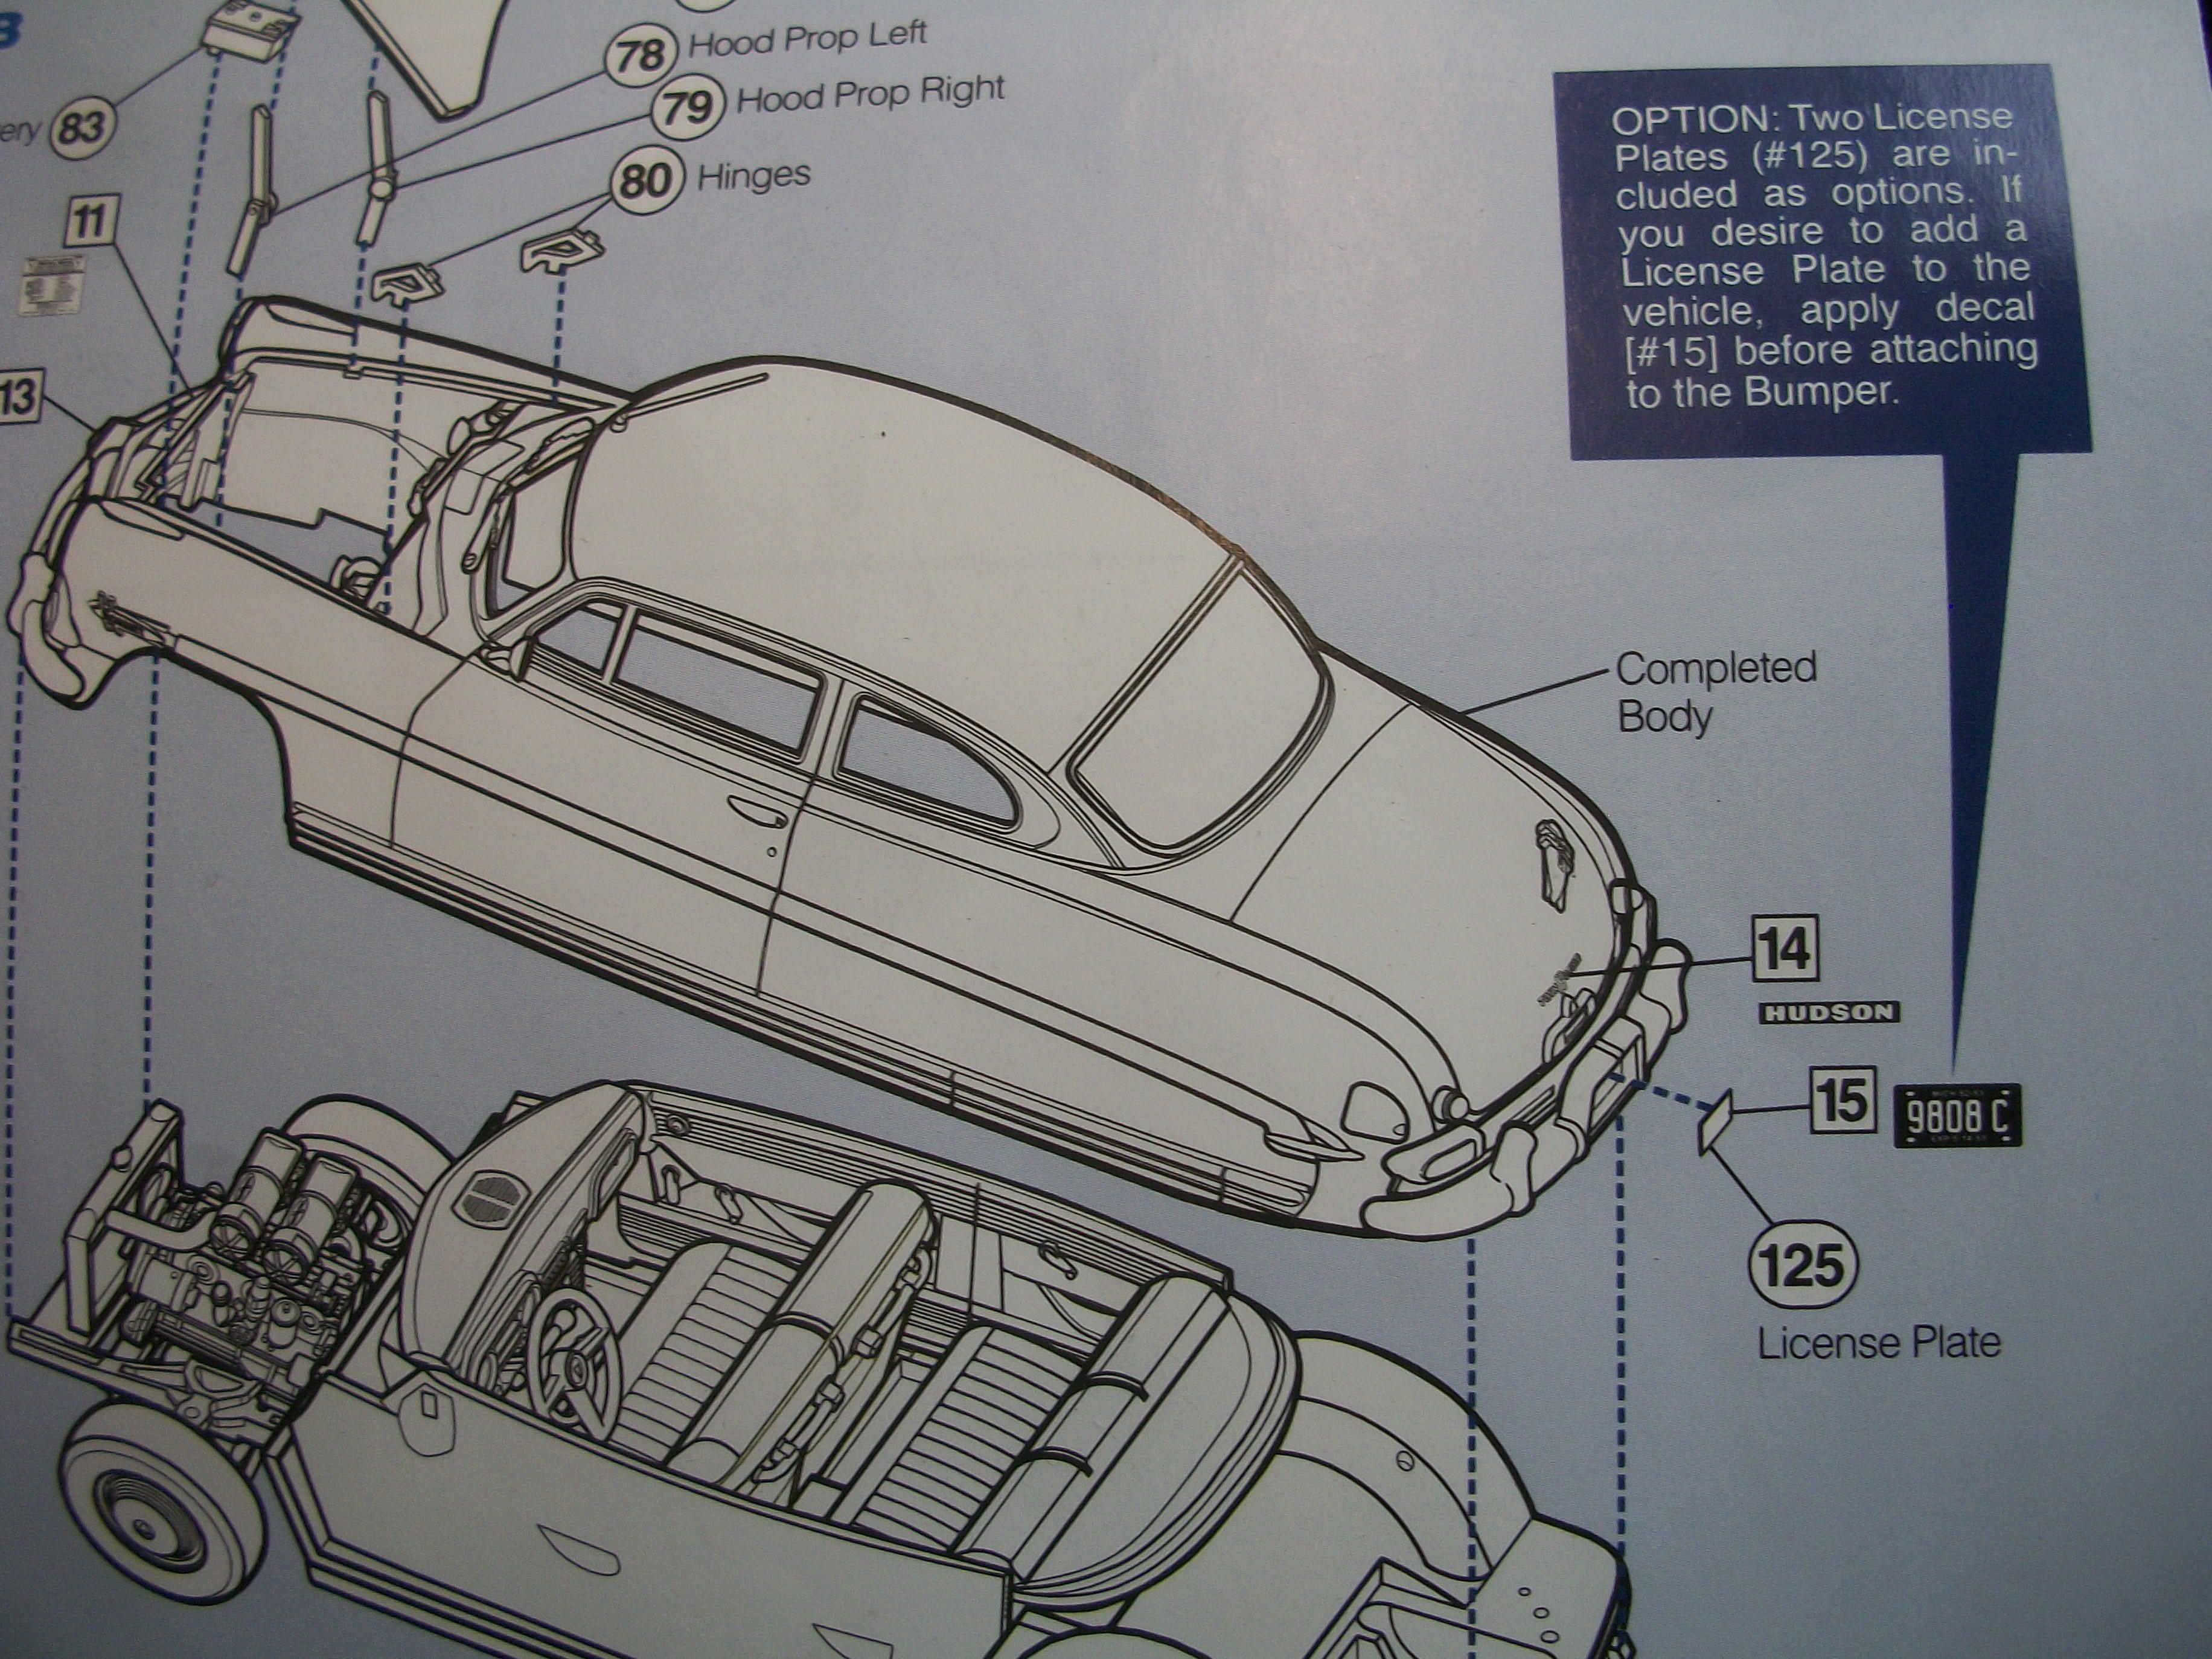
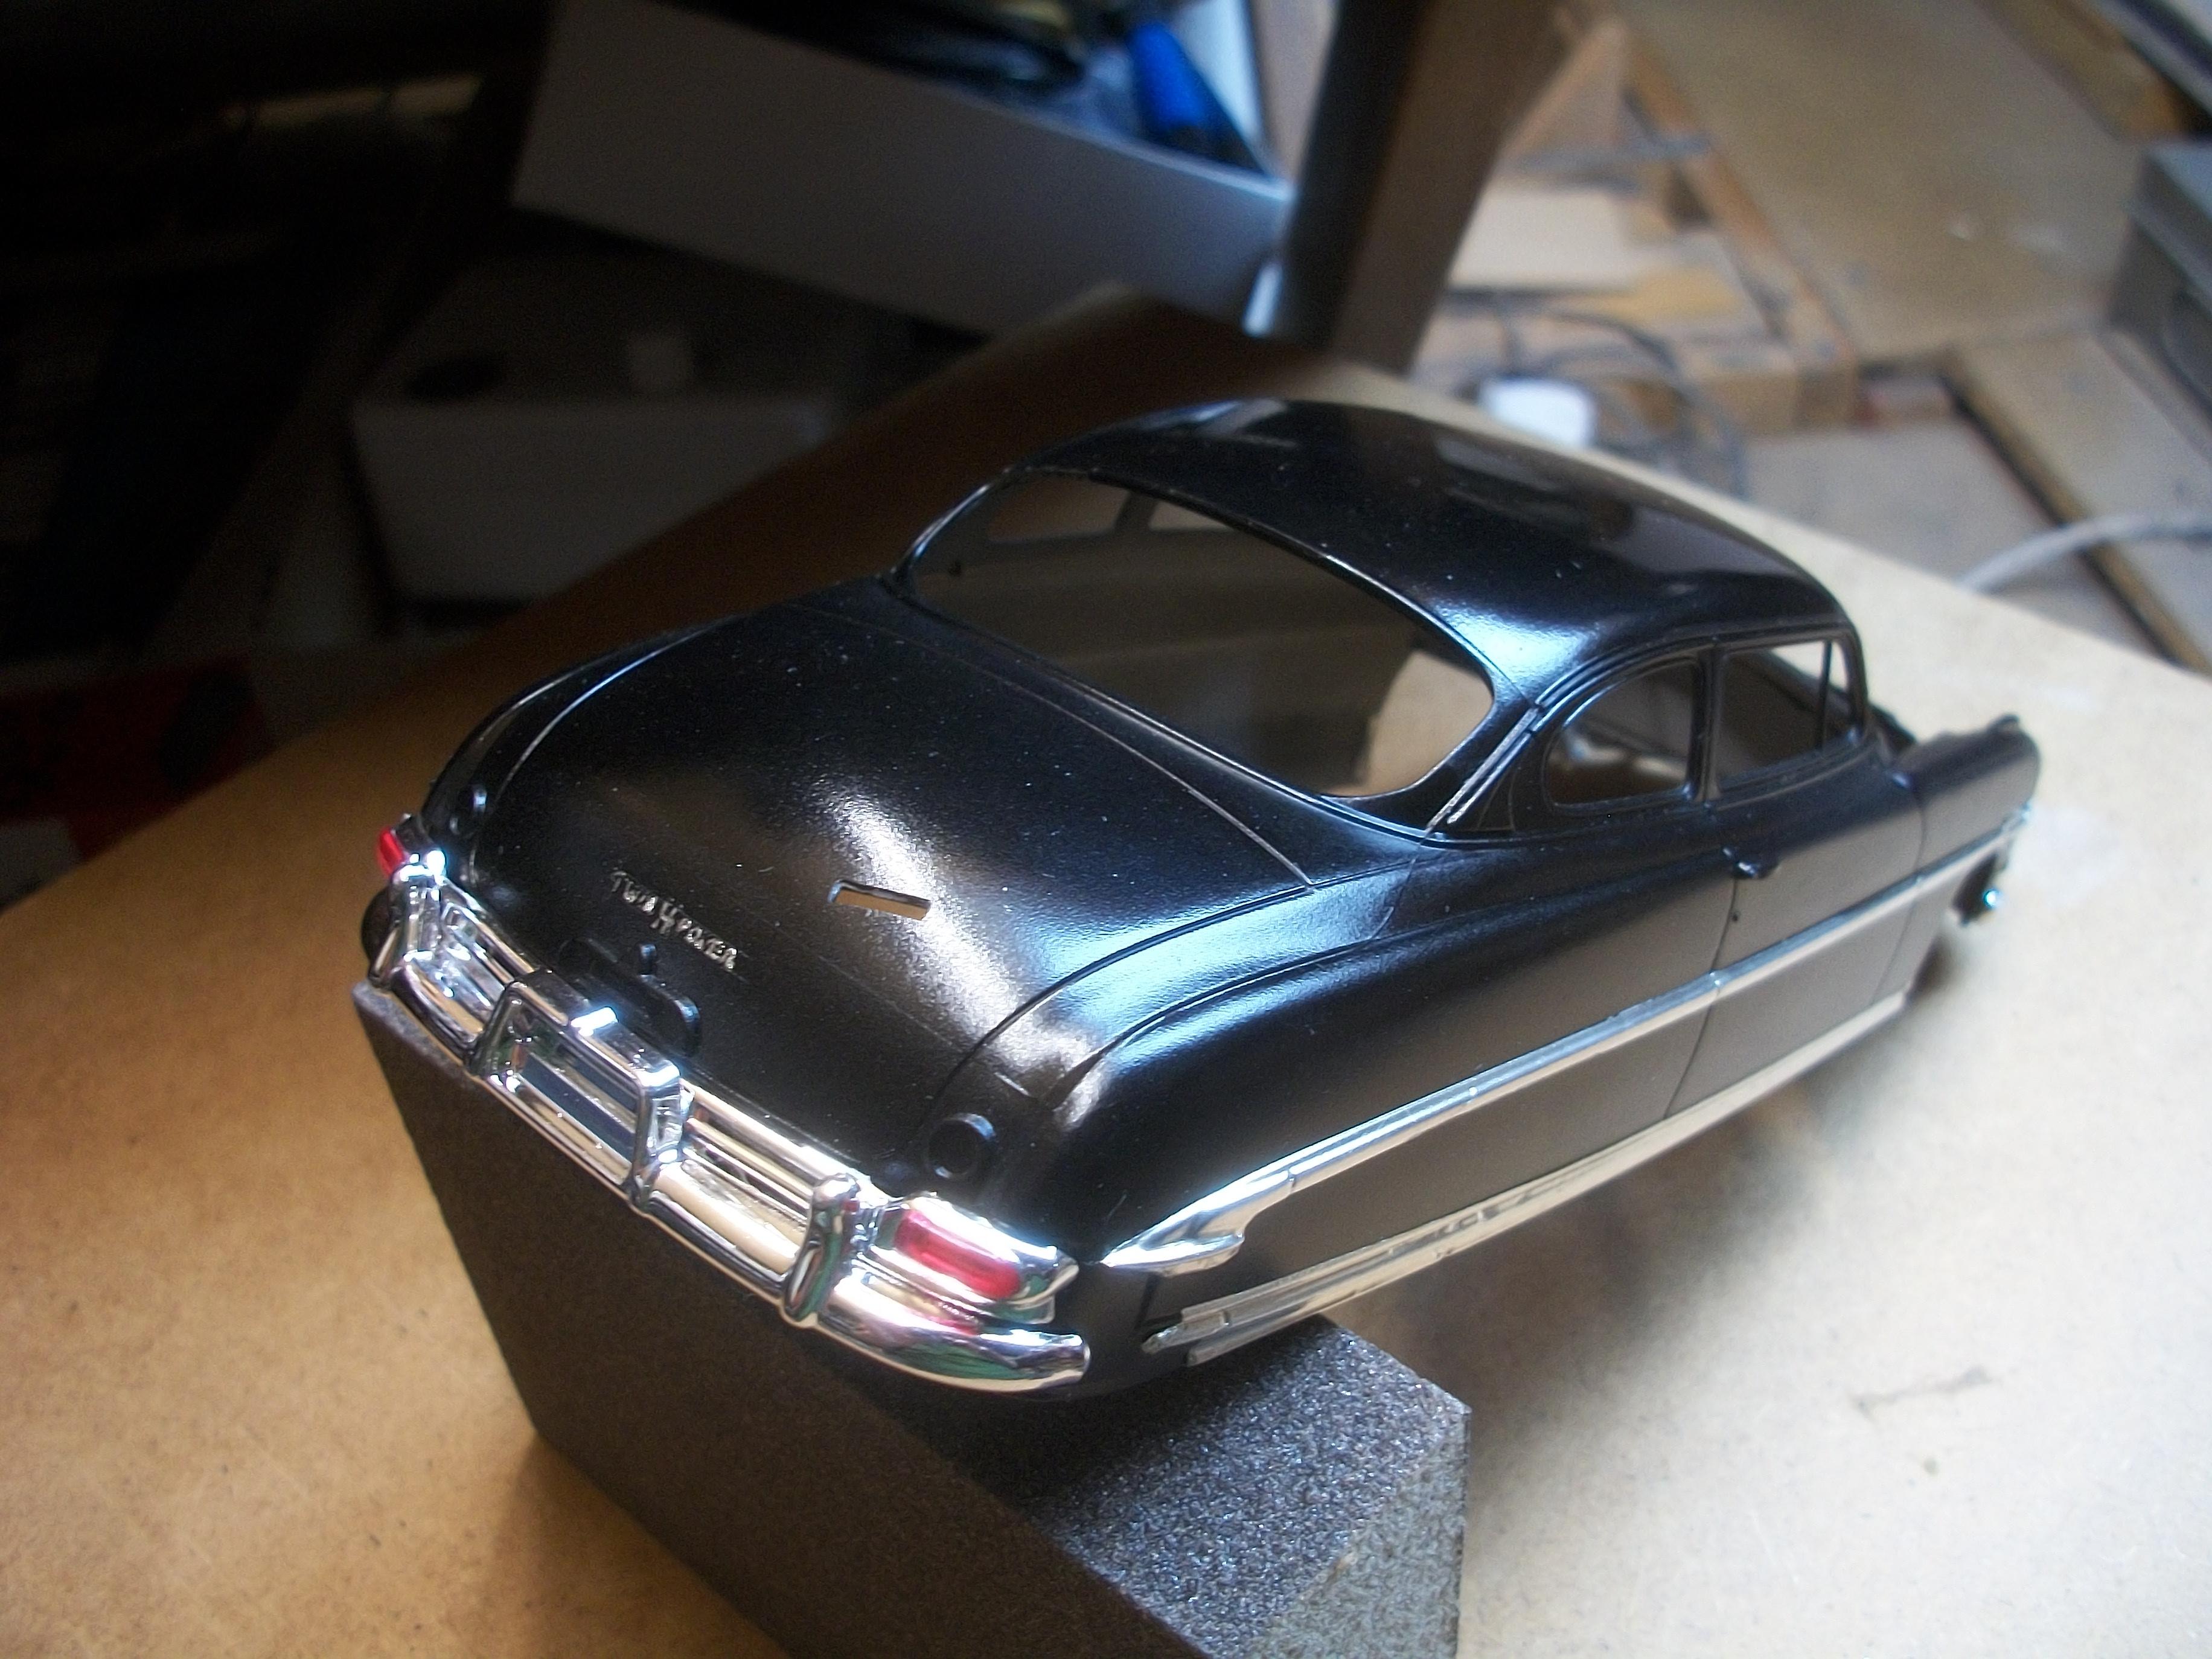
Sunday morning was spent applying the remaining decals to the engine bay, radiator and front grille . . . Then I had an idea to replace the missing decal, which was No.14 on the instruction sheet, ' HUDSON ' . . . Moebius have printed the image of this decal as actual size on the instruction sheet, so I cut this out with a scalpel knife and glued the paper to the trunk lid plinth, using Pritt stick glue. This looks good I think, and certainly better than nothing at all in that space. The background to the HUDSON lettering is red on the decal, whereas the cut out image is black, but I reckon that's fine. David

-
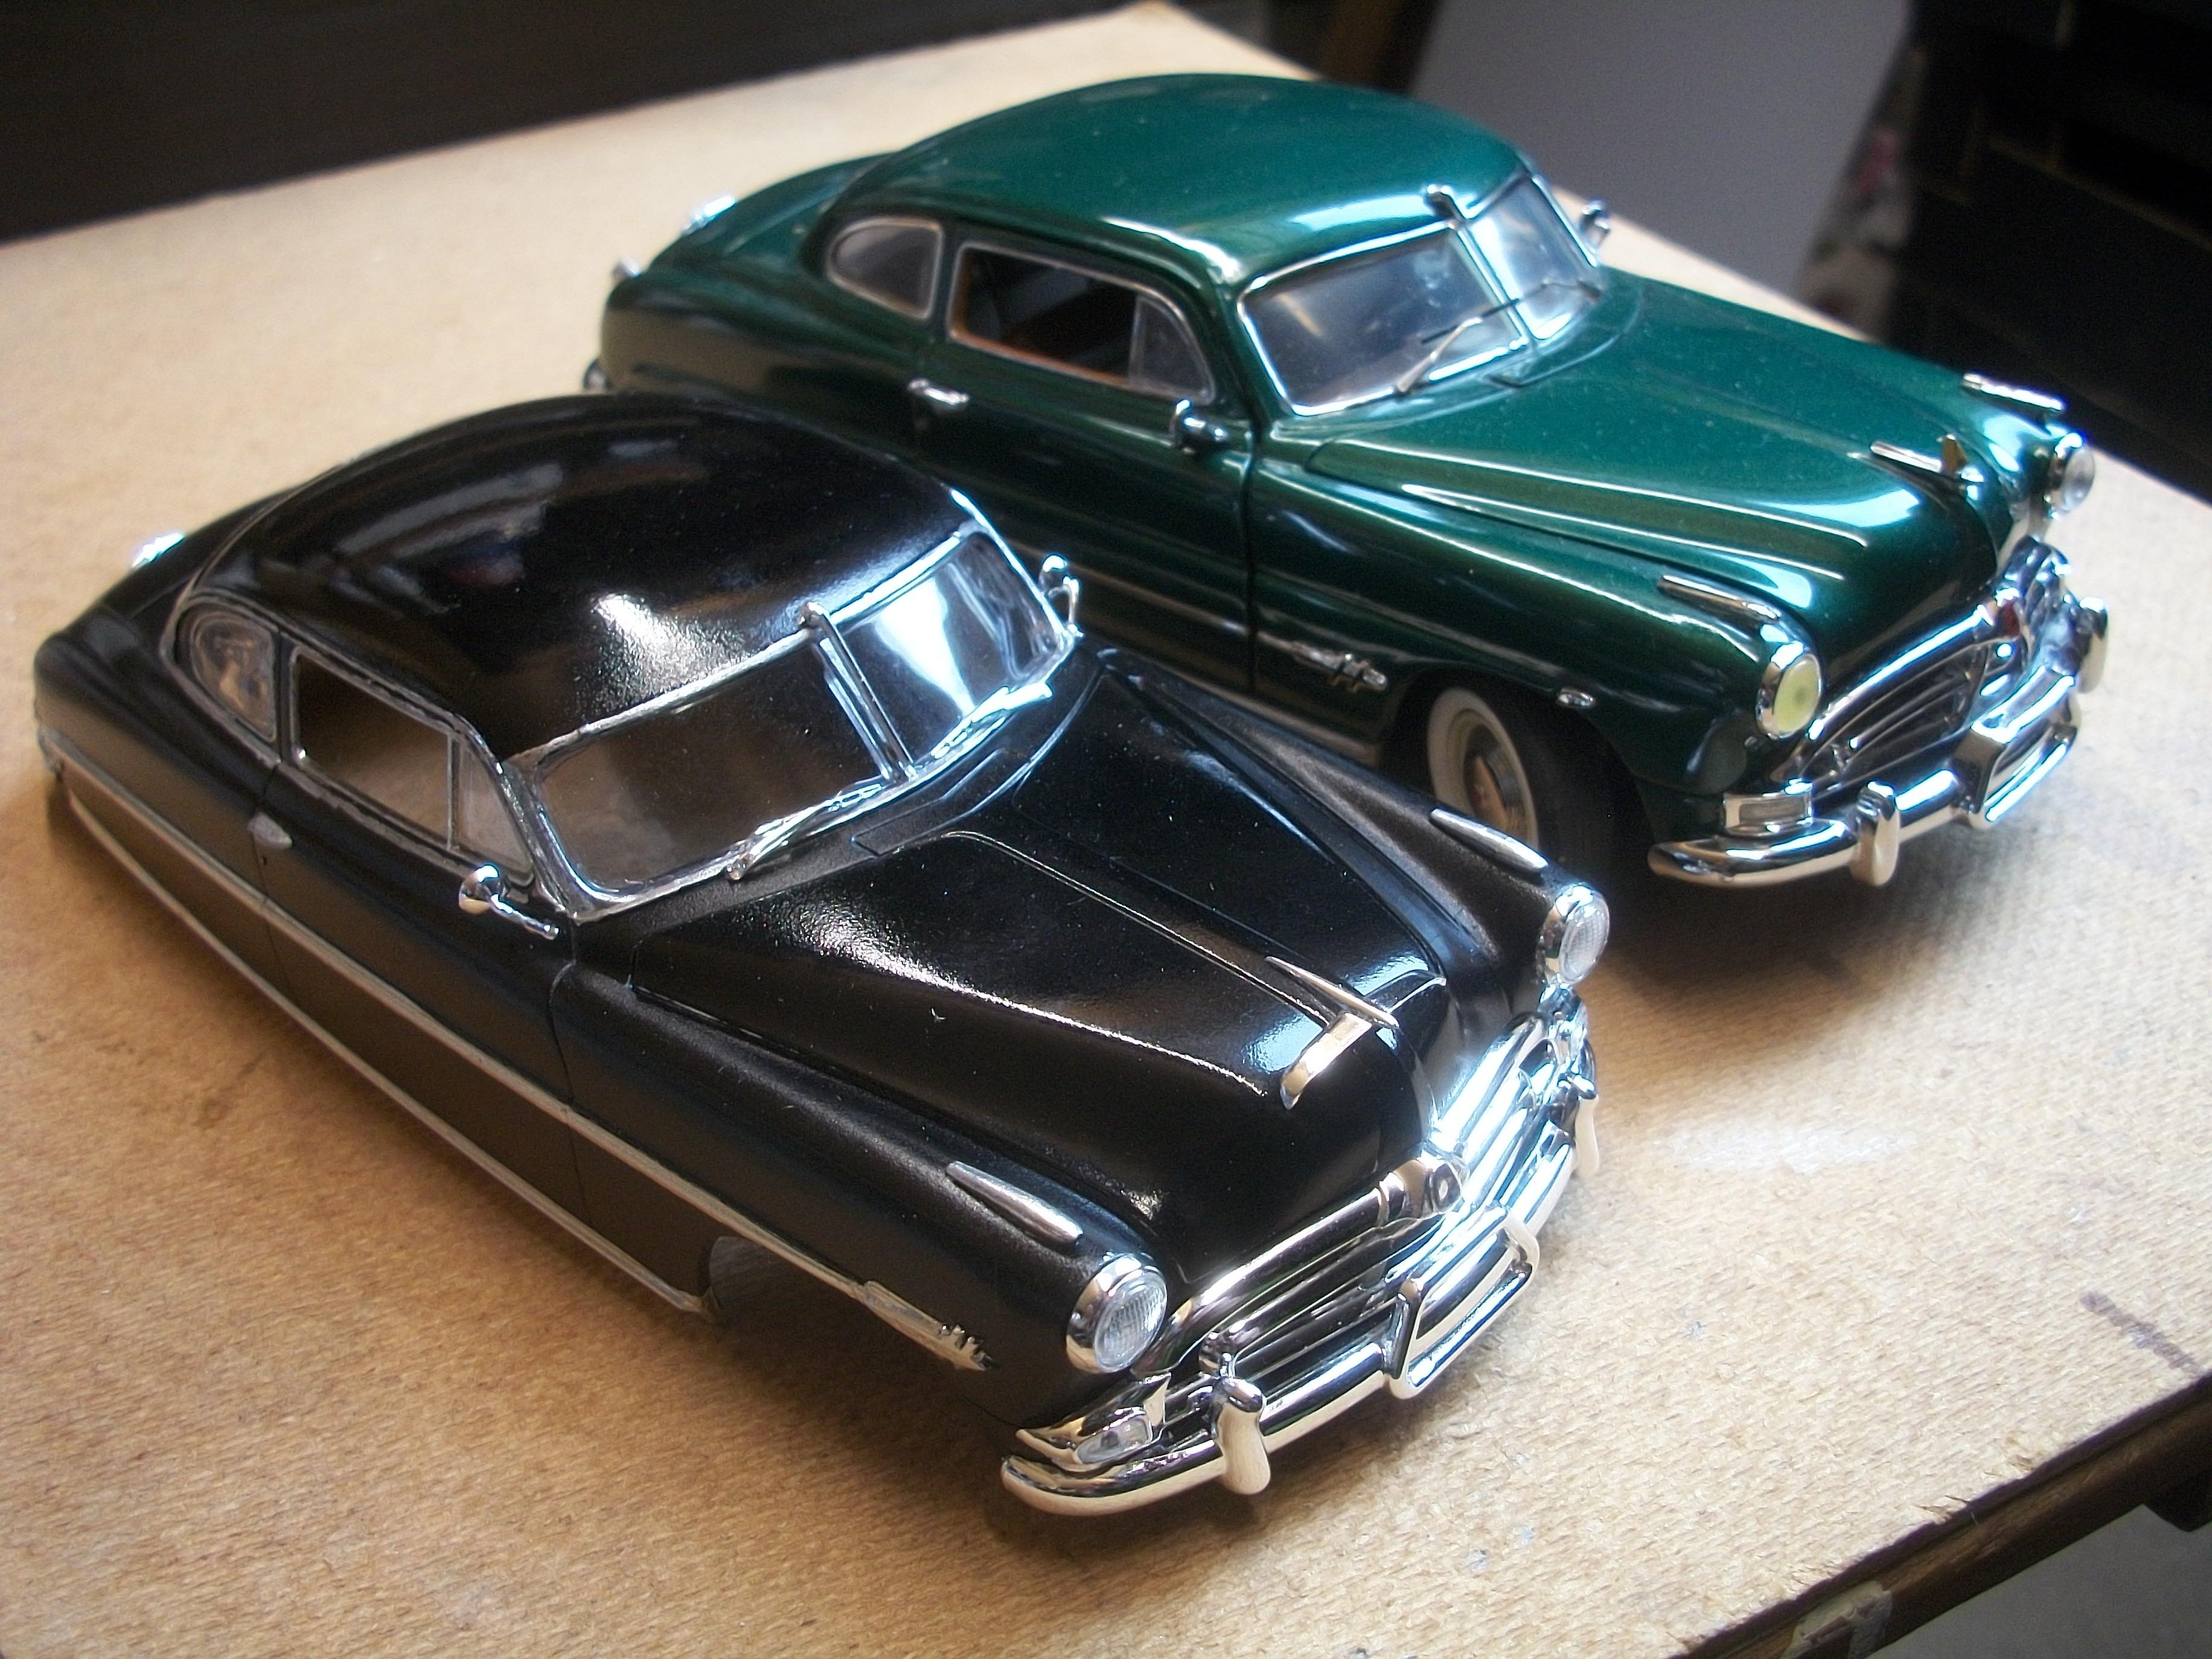
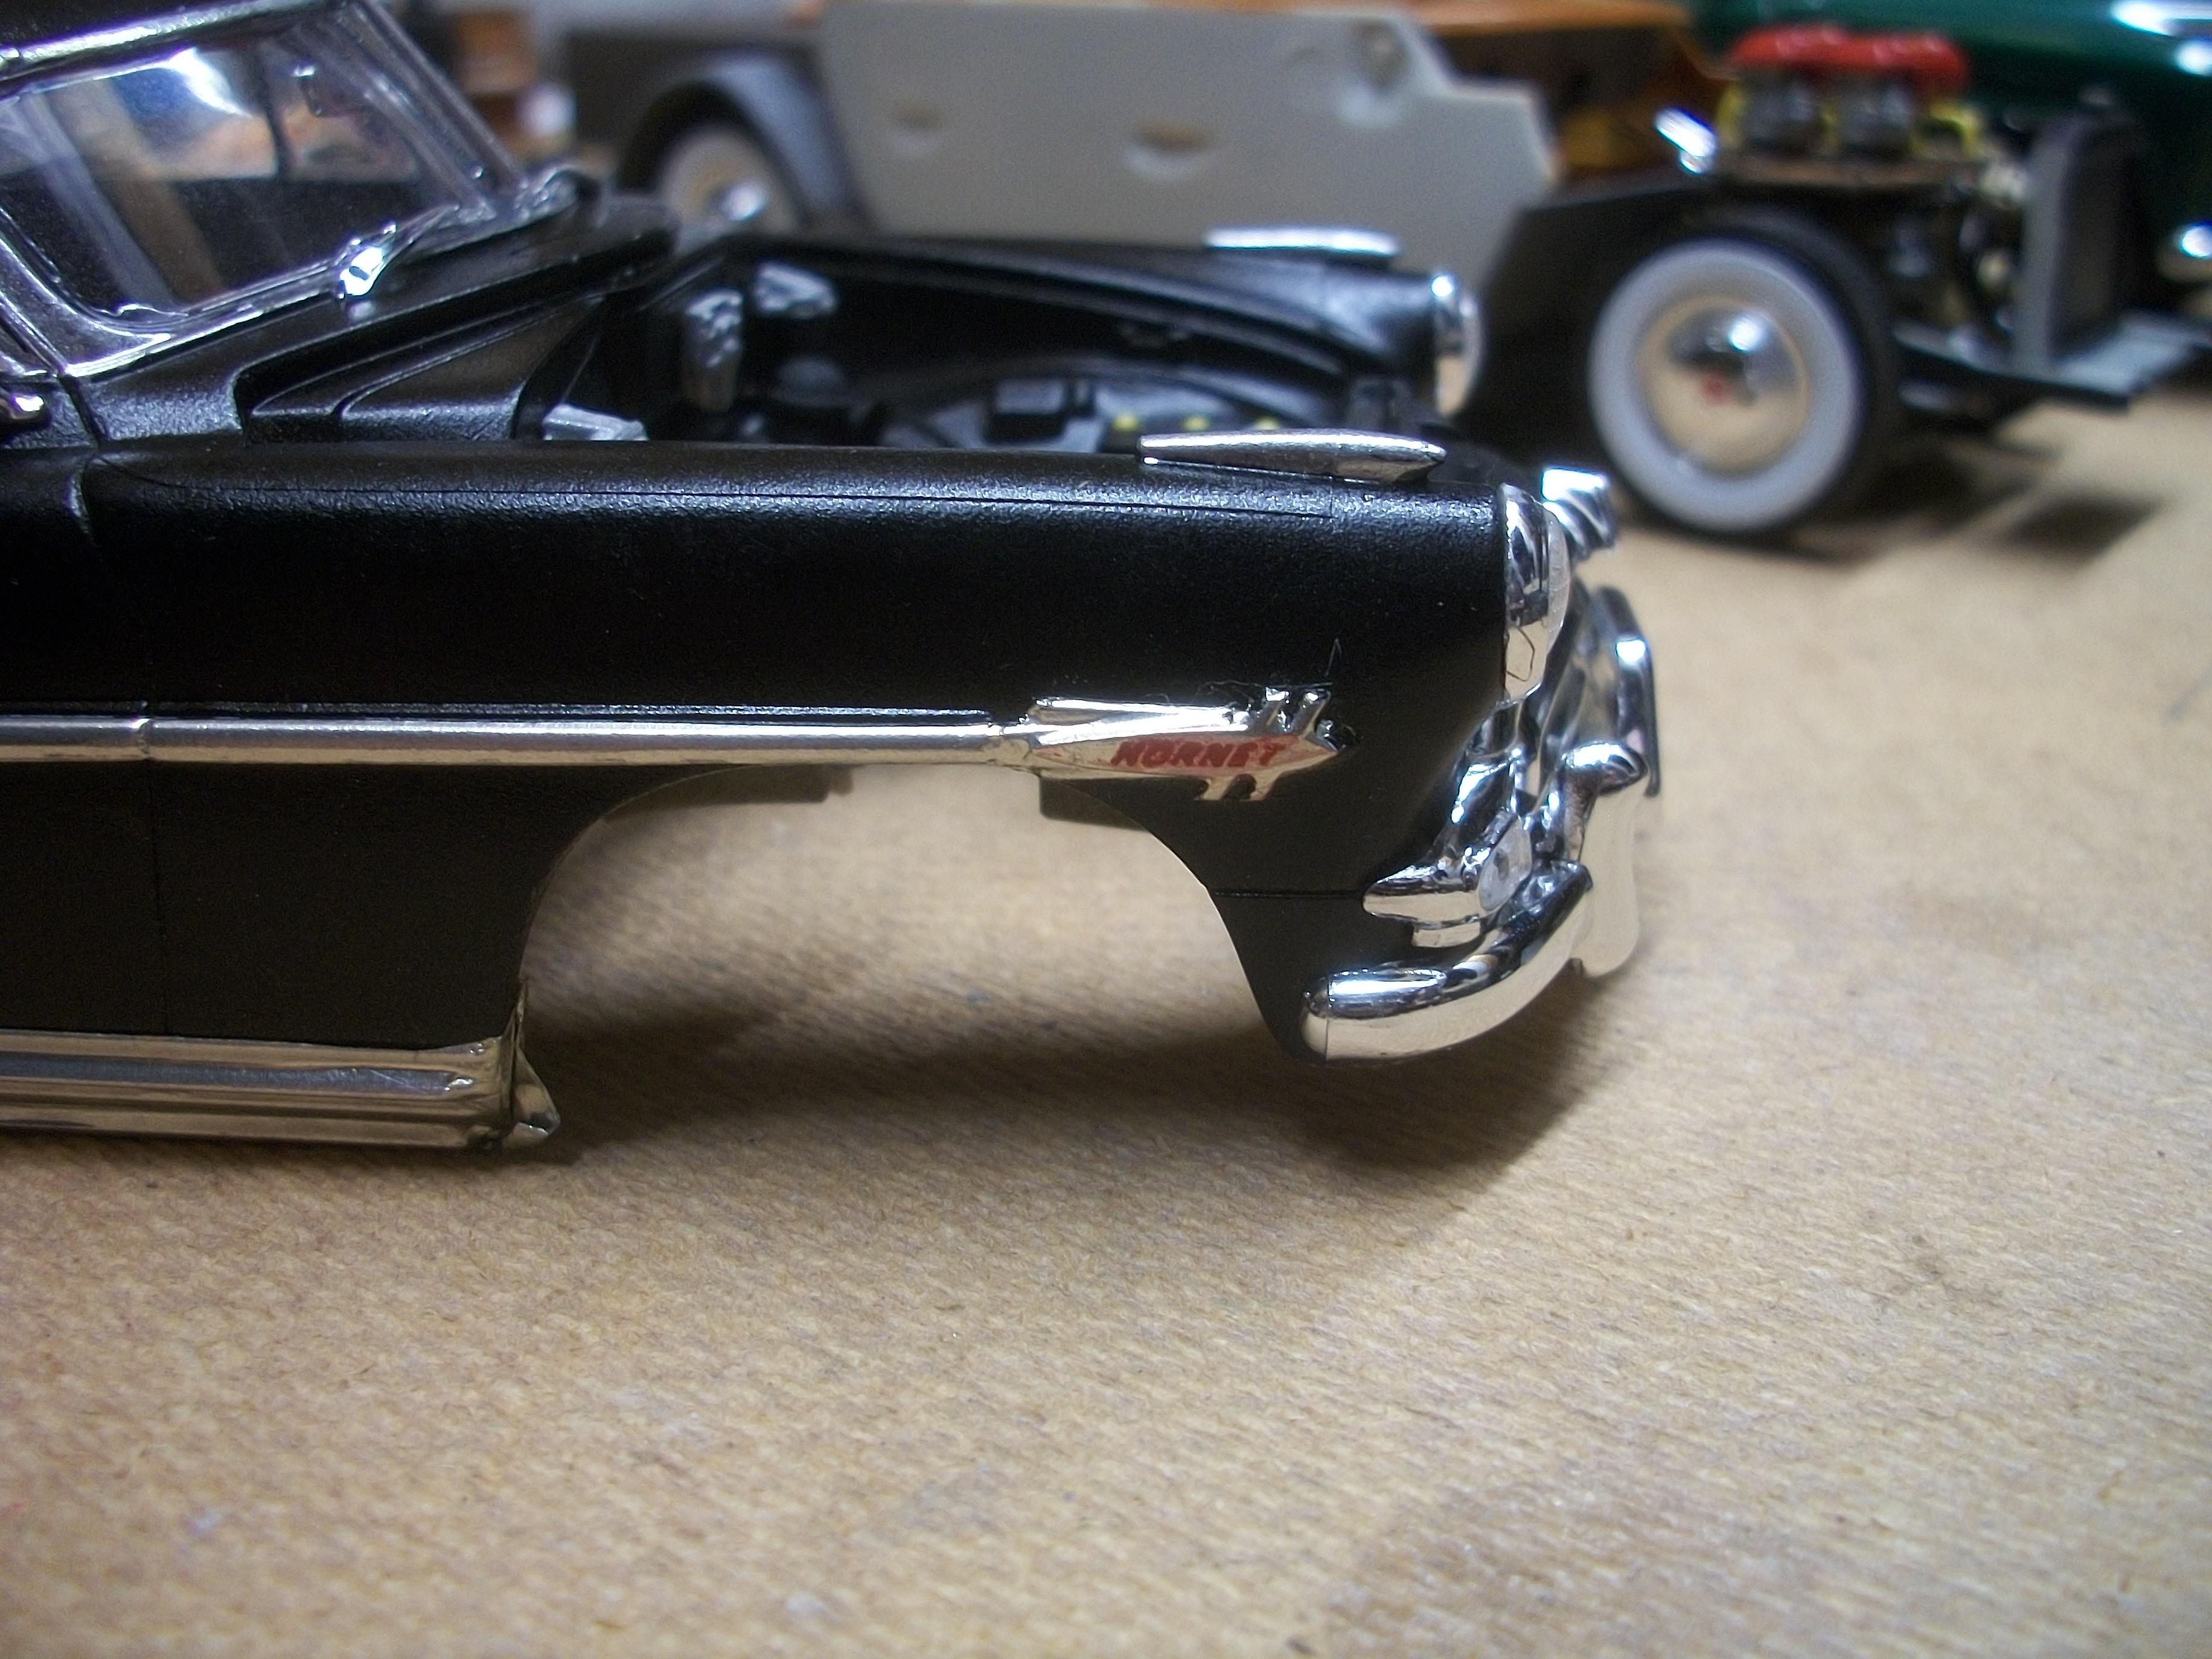
I made really good progress with the Hudson build today . . . The wiper arms and blades fitted nicely, and the radio antenna is glued in place using super glue top and bottom. I cut off the mounting pin, so it was not necessary to drill a hole in the roof. Also, I had to cut off 6 mm of the antenna's length, so that it could fit against the central pillar of the windshield. Two of the following photos show this black car alongside the green Franklin Mint diecast, which also has the downward angle to the radio antenna. Interior sun visors are glued in place, one of which I had to scratch build as one part was missing from the sprue in the kit box. The interior rear view mirror and the dome light are in place. The radiator and hoses went in nicely, and the body fits over the sides of the radiator. I have brushed some red enamel paint over the three ' Hornet ' motifs on the rocket emblems, and then rubbed away the excess paint with a cotton bud. All that remains is to apply three decals at the front end, and she is almost ready. I have ordered some fine point black pens for tidying up the chrome on black that is not good in some areas of the body. David
-
Many thanks Louis, and good luck with your build . . . David
-
The window glass has been glued in place, using Crystal Clear glue . . . Two front quarter vents, the windshield and the rear windows are all fitted. There are no door windows, which is good for viewing the interior of this car. Both sides exterior door mirrors are also fitted, and tomorrow I am hoping to add wiper arms and blades, radio antenna, interior rear view mirror and interior dome light. I test fitted the radiator where the engine bay slides over the sides of the radiator, and this is okay now. I have decided to mount the radio antenna angled downwards, so this prevents me from fitting the exterior sun visor, if that is my correct assumption? David
-
I applied the liquid chrome to the driver's side windows surrounds, and also the rear window surround, which took one hour. Then I had a short break, to recover from the intense concentration. One further hour of careful brush work saw the completed passenger side and the windshield surround done. I have to say, this is not perfect by any means, and I would like to find a very fine pointed black pen to run along between the chrome mouldings. With the body dry fitted onto the rolling chassis this is looking like one mean Hudson Hornet automobile ! Once the glass has been added, along with a few more chrome bits, we are nearly there. Such a lot of chrome on these 1950's cars ! David
-
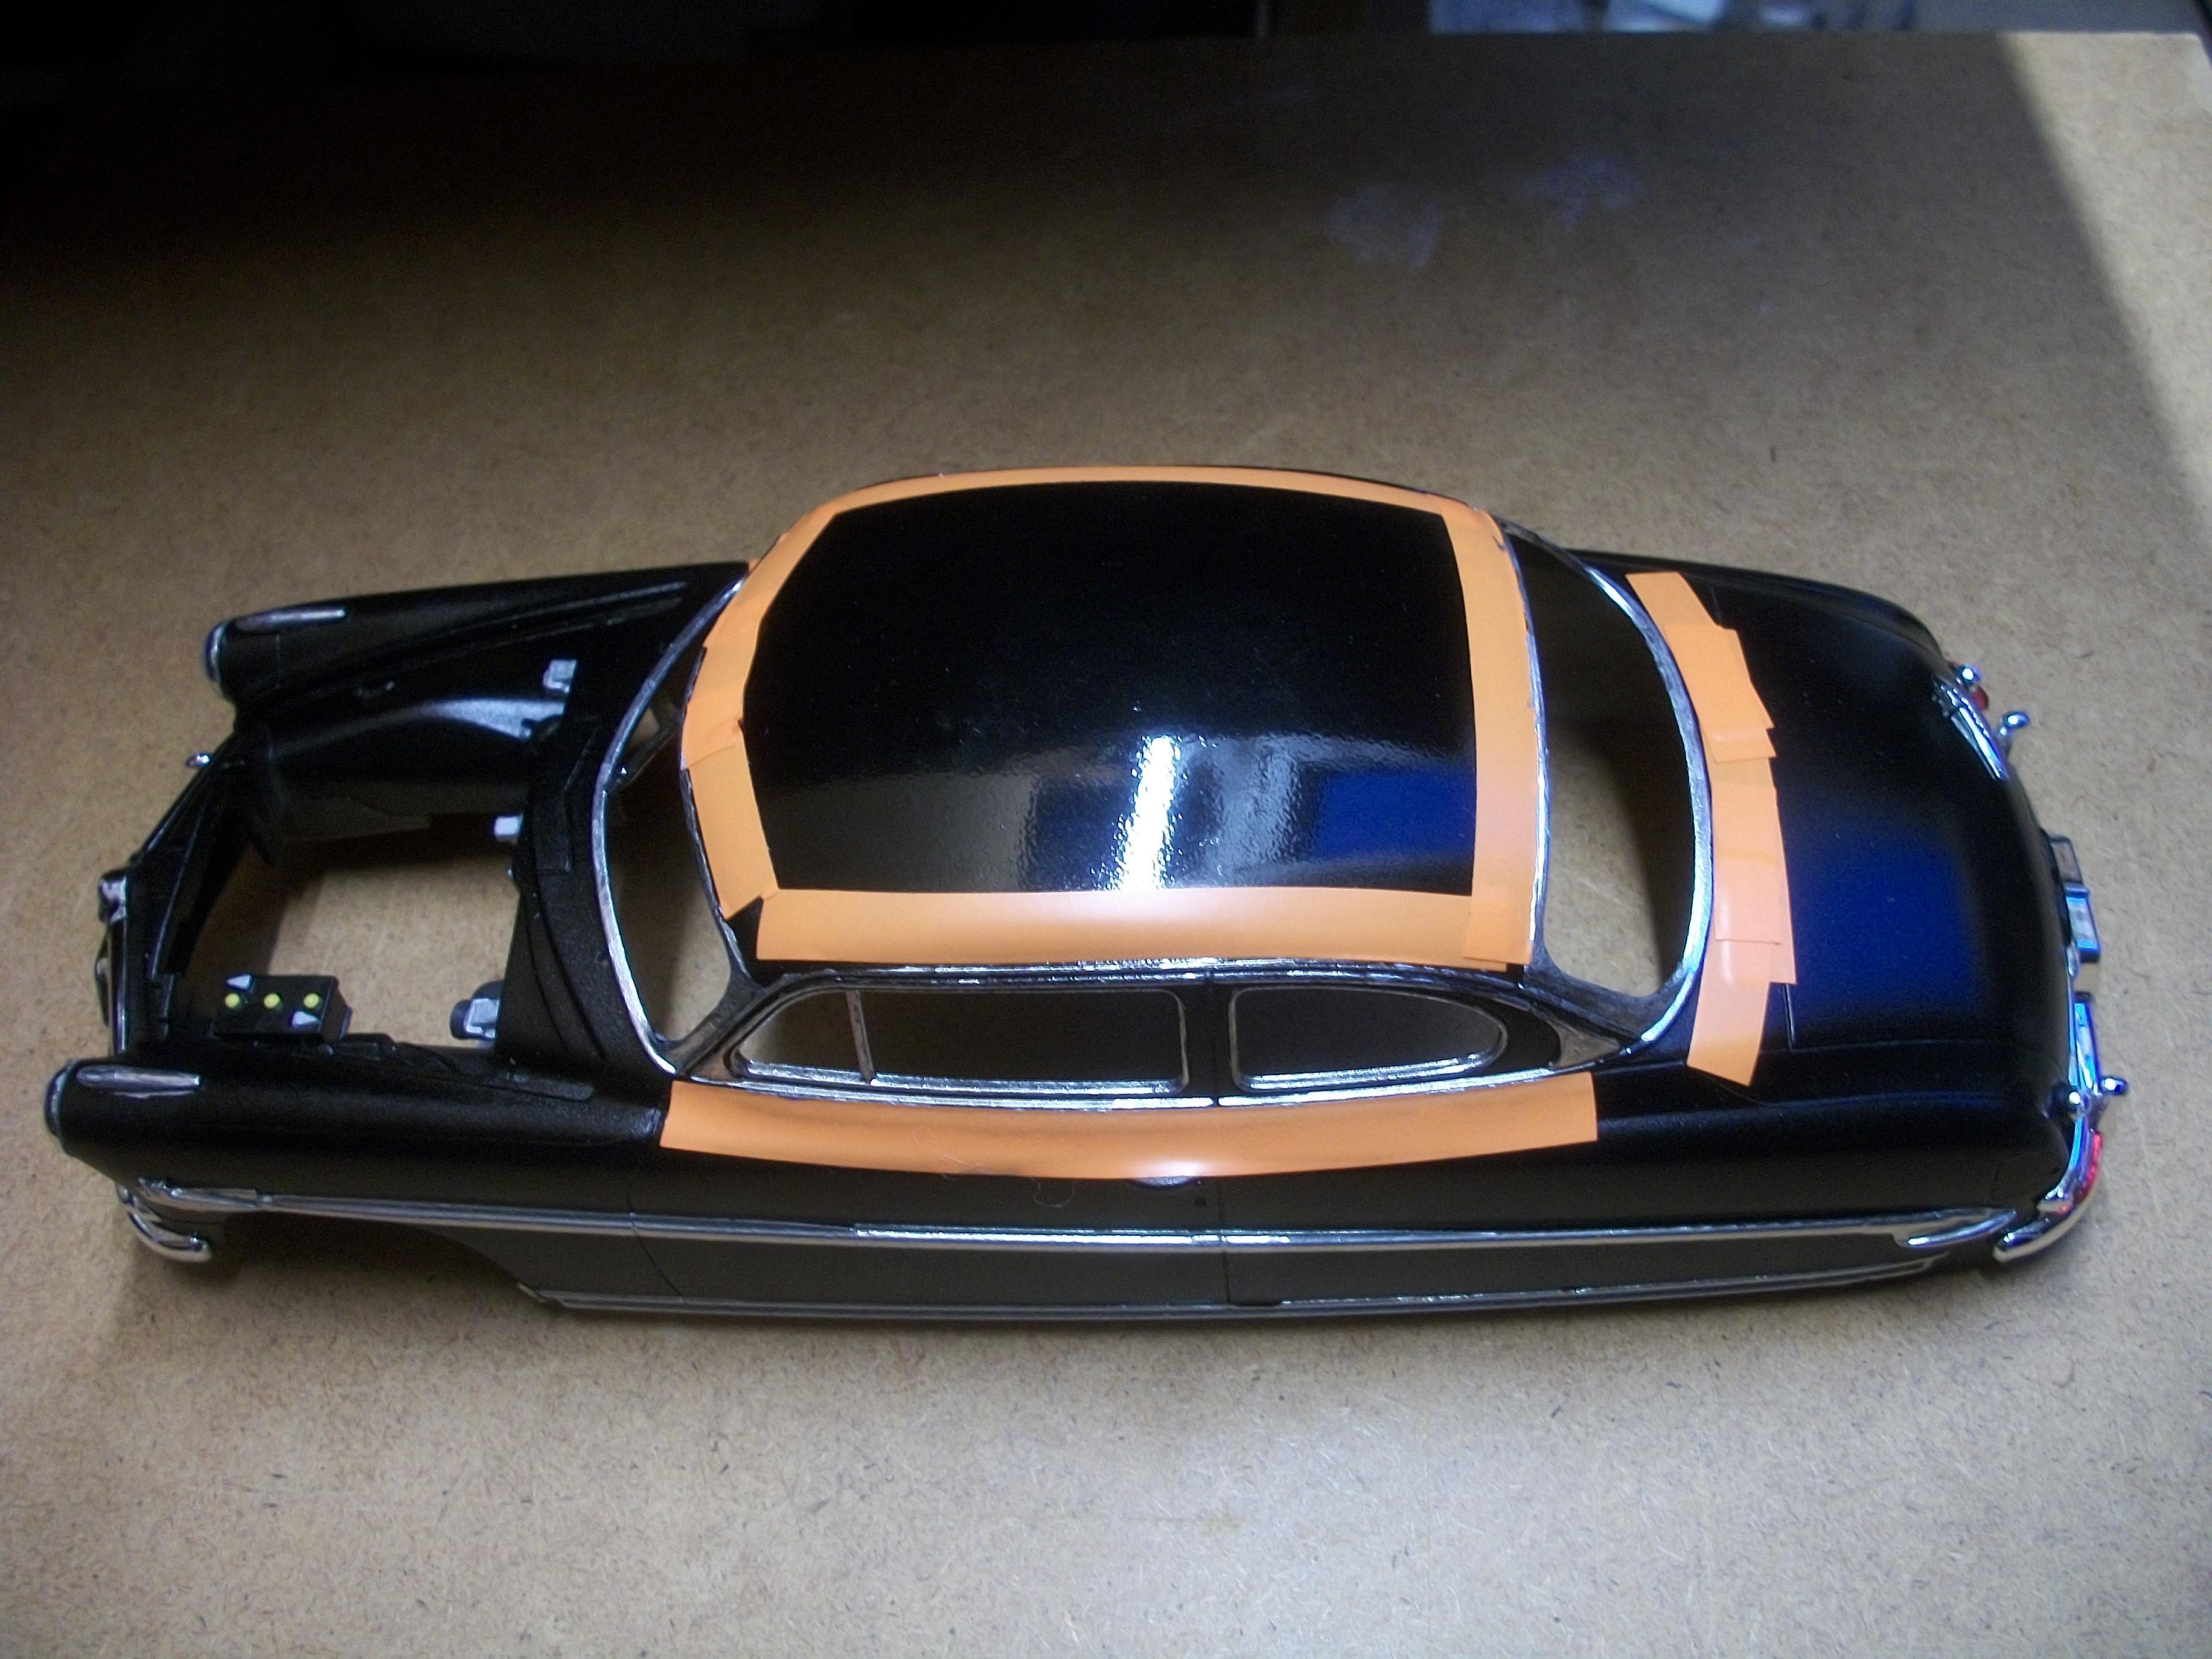
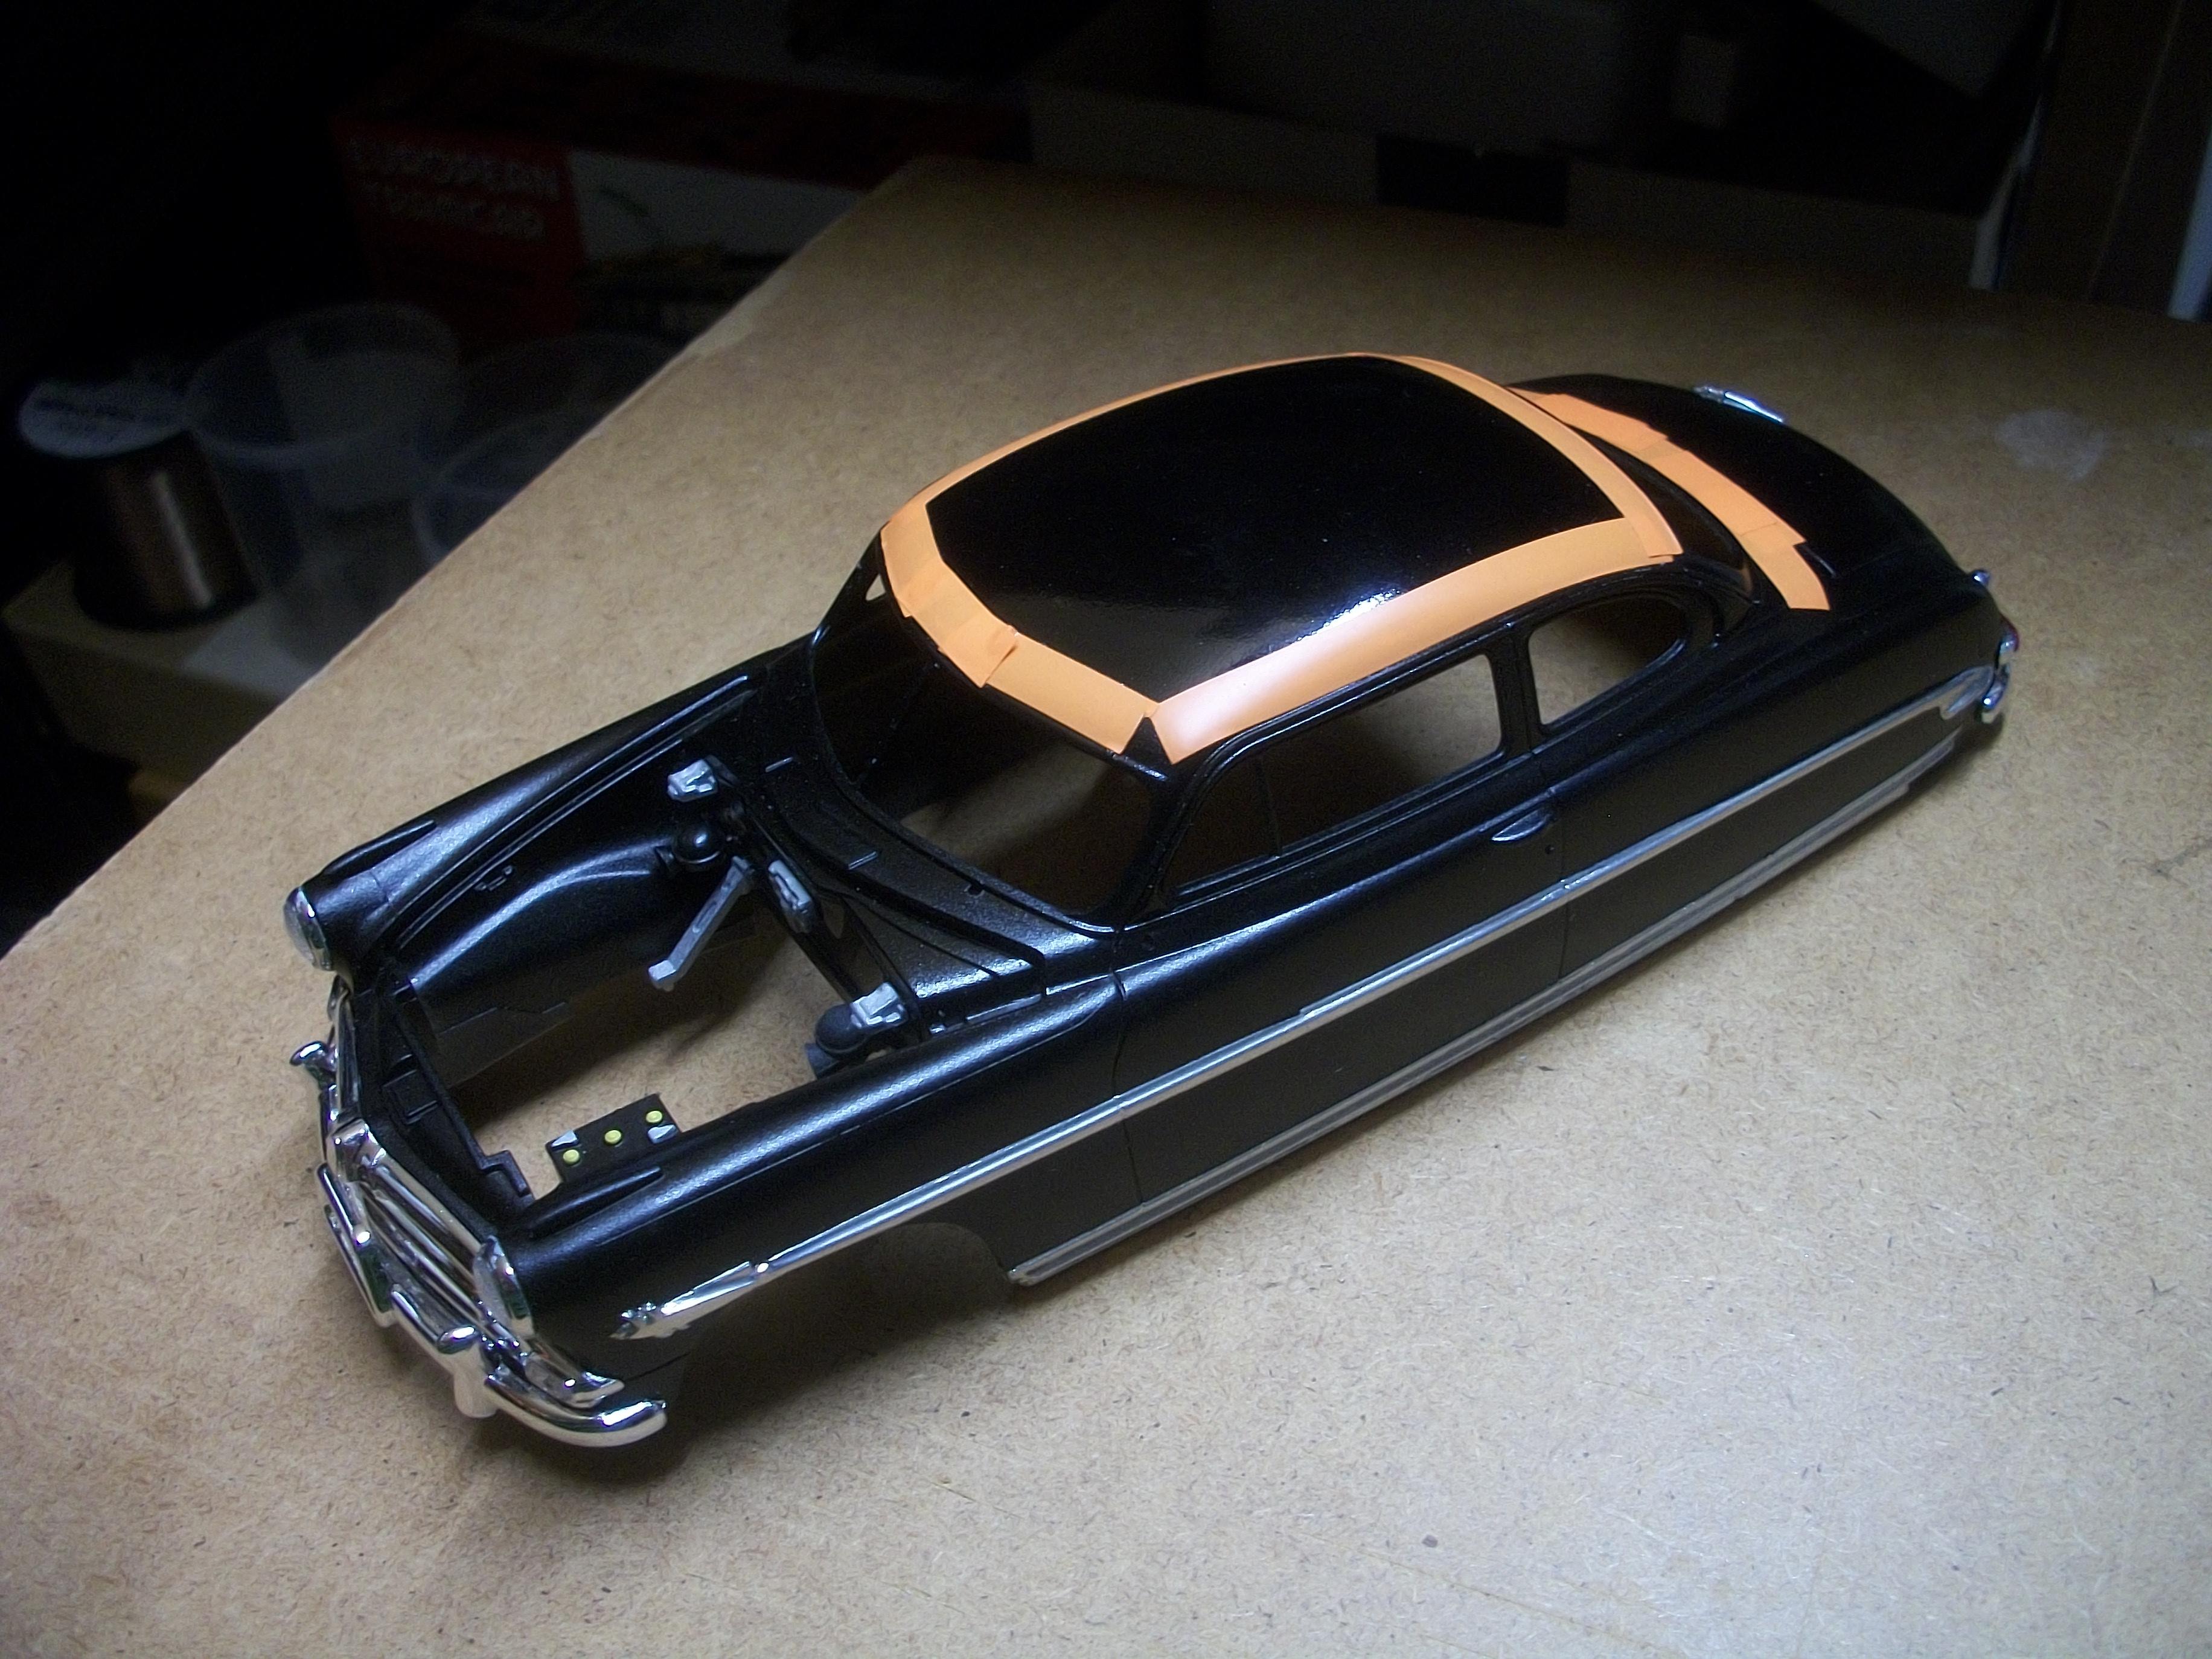
Not so much done today, but in between other stuff I did get the two front side lights glued in place, using Crystal Clear glue . . . One of the tiny lamp lenses dropped onto the board that was across my knees, and then bounced down towards the floor. Following a lengthy search, I found the elusive part inside the lid of a box . . . What a relief ! Th two bezels and two lenses for the optional backup lights were carefully glued in place next. These backup lights were not fitted as standard to the 1953 Hudson Hornets, but I do like them. The lenses are too small to grip with tweezers, so I use a cocktail stick with a piece of Blu-Tac on the end, which works well . . . The narrow orange strips of tape on the roof are to help with achieving straight lines for the Liquid Chrome, which will be applied from refill by brush. Previously I have used BMF on the window surrounds, but I remember it being very tricky, so hoping the liquid chrome goes on nicely. David
-
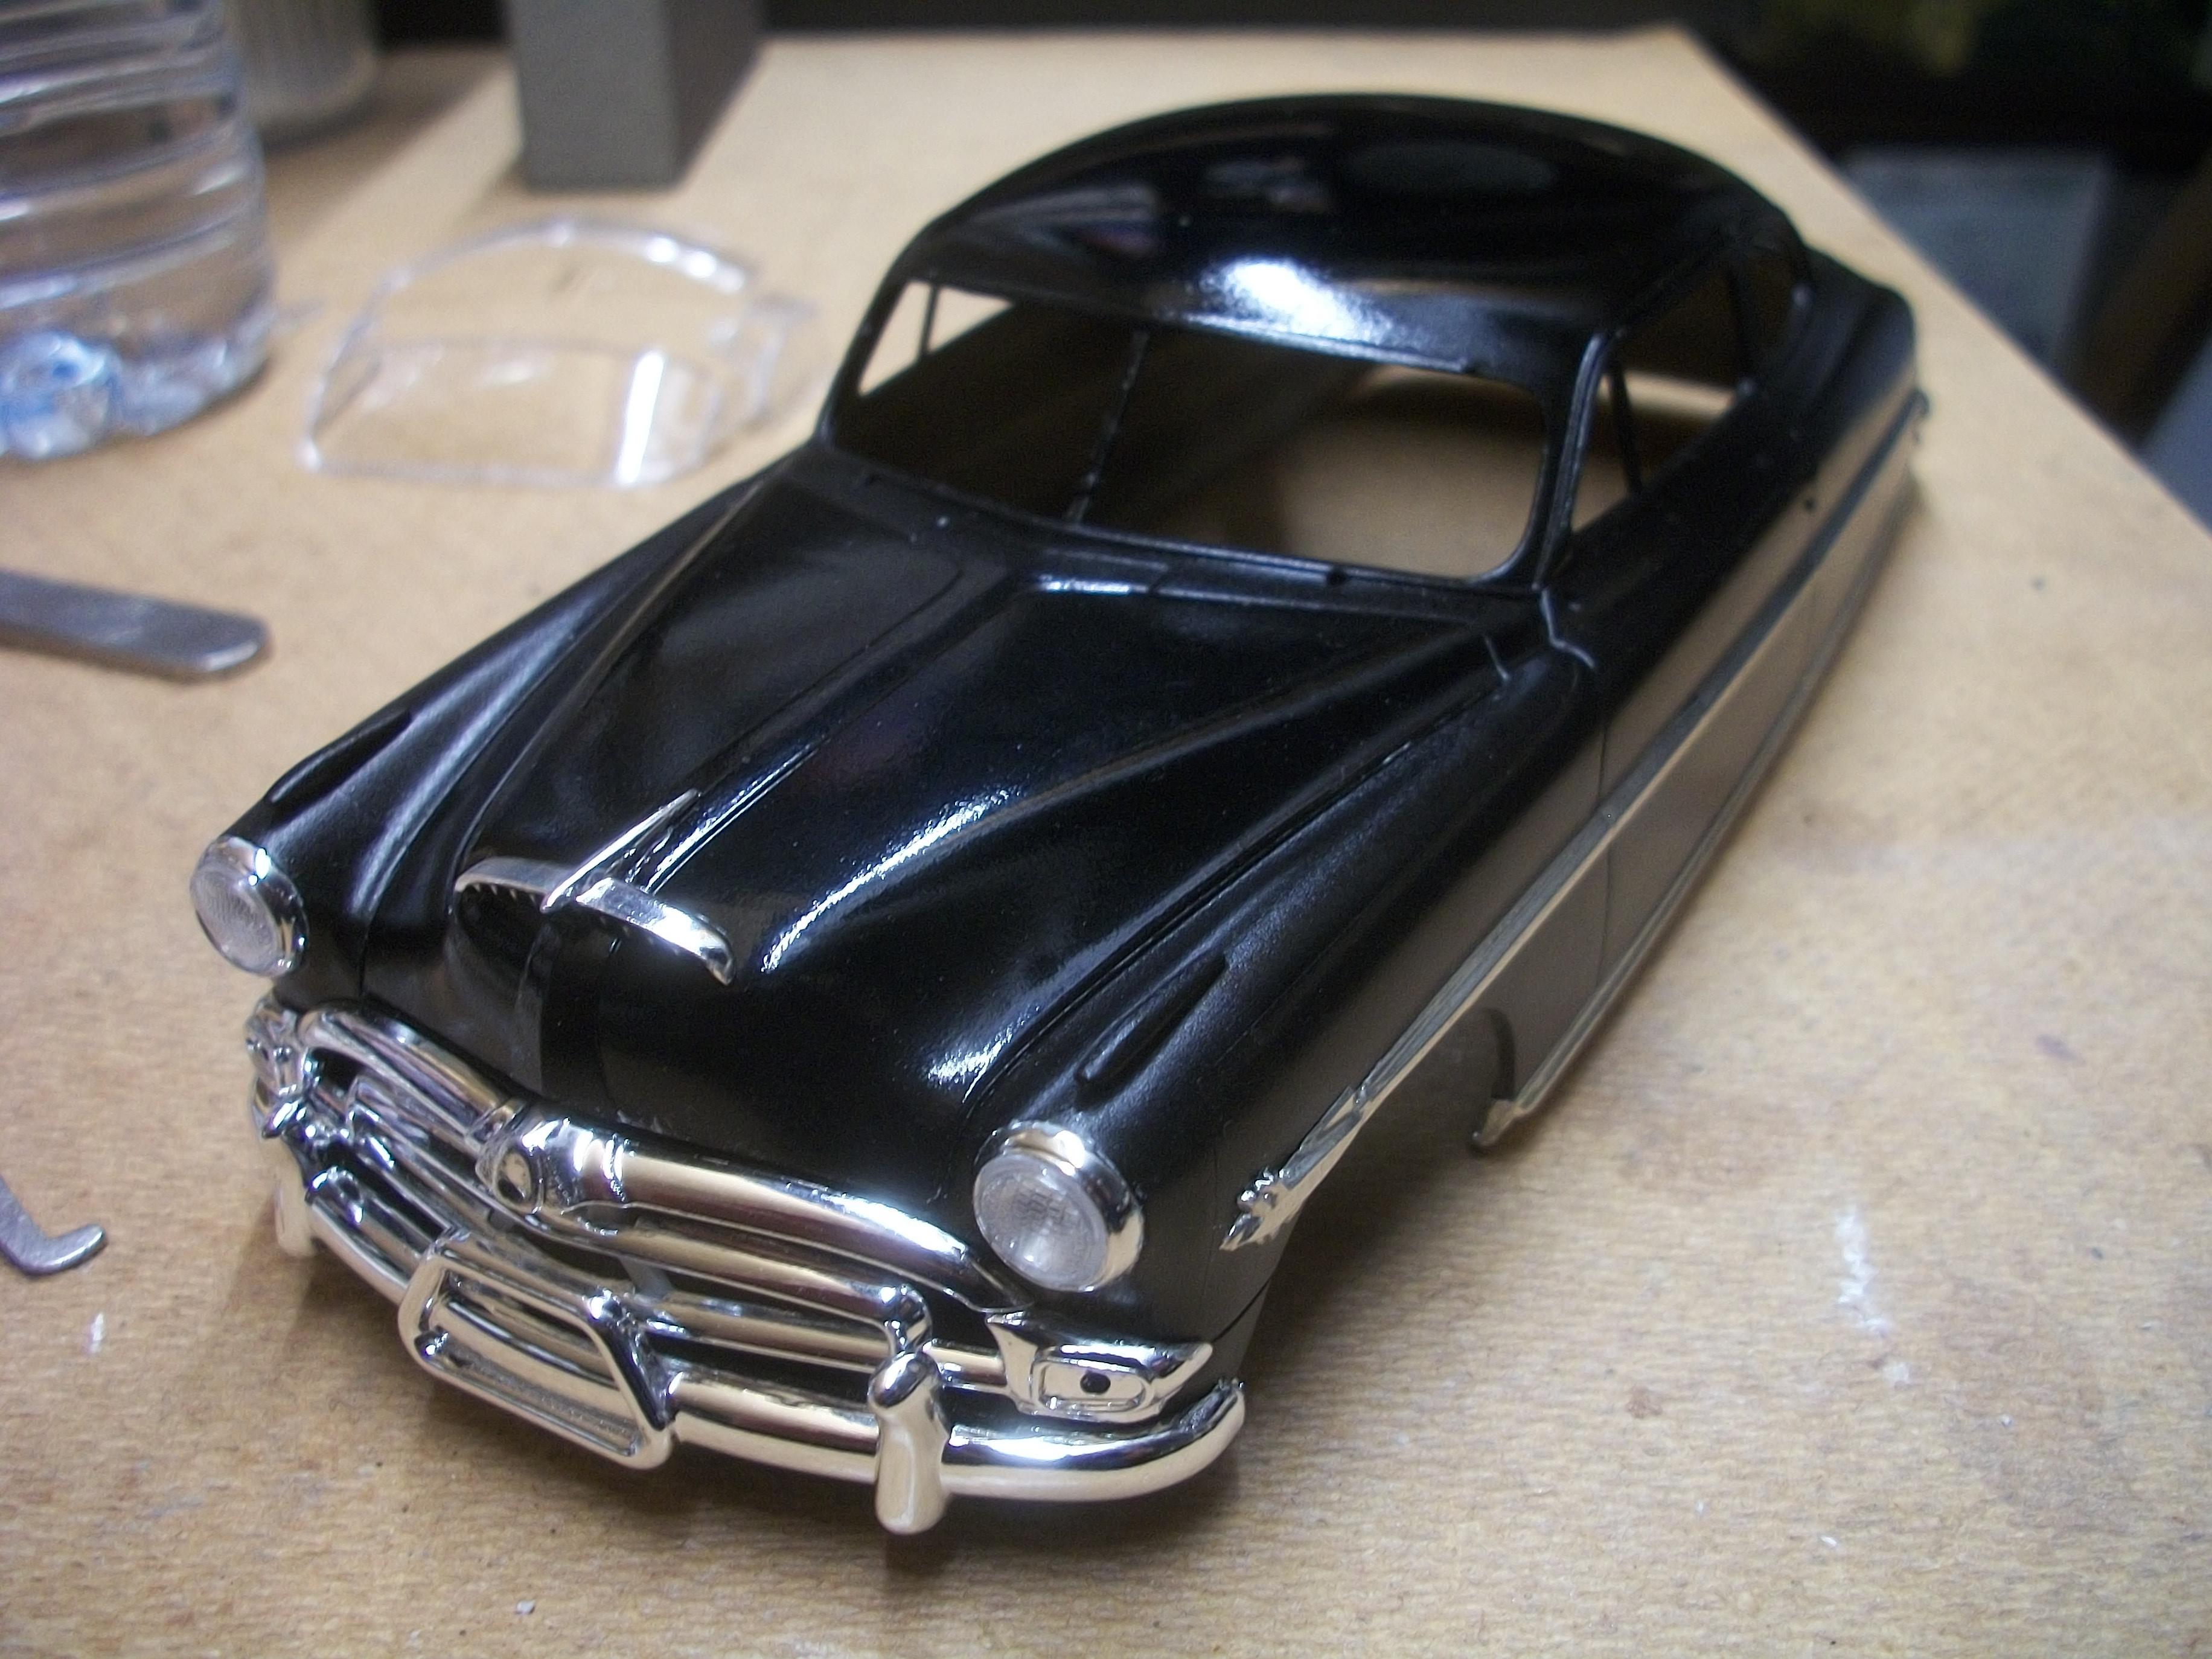
Good progress today on the Hudson . . . The front griile and front bumper have been fitted, also the rear valance including the tail lights and rear bumper are in place. Both sides sills and waistline mouldings have had BMF applied, and I have decided to brush on Molotow Liquid Chrome for the window surrounds. The ' Hornet ' rocket emblem is mounted on the trunk lid, and after opening up the locator hole in the hood, the hood ornament is mounted. I have glued in place the headlamp reflector bowls and the headlamp lenses. All of the window glass will be fitted after the frames are chromed. David
-
Thanks Trevor . . . It is not perfect, but gaining in confidence with the more I do ! David
-

What would YOU like to see as a model
Anglia105E replied to JeroenM3's topic in General Automotive Talk (Trucks and Cars)
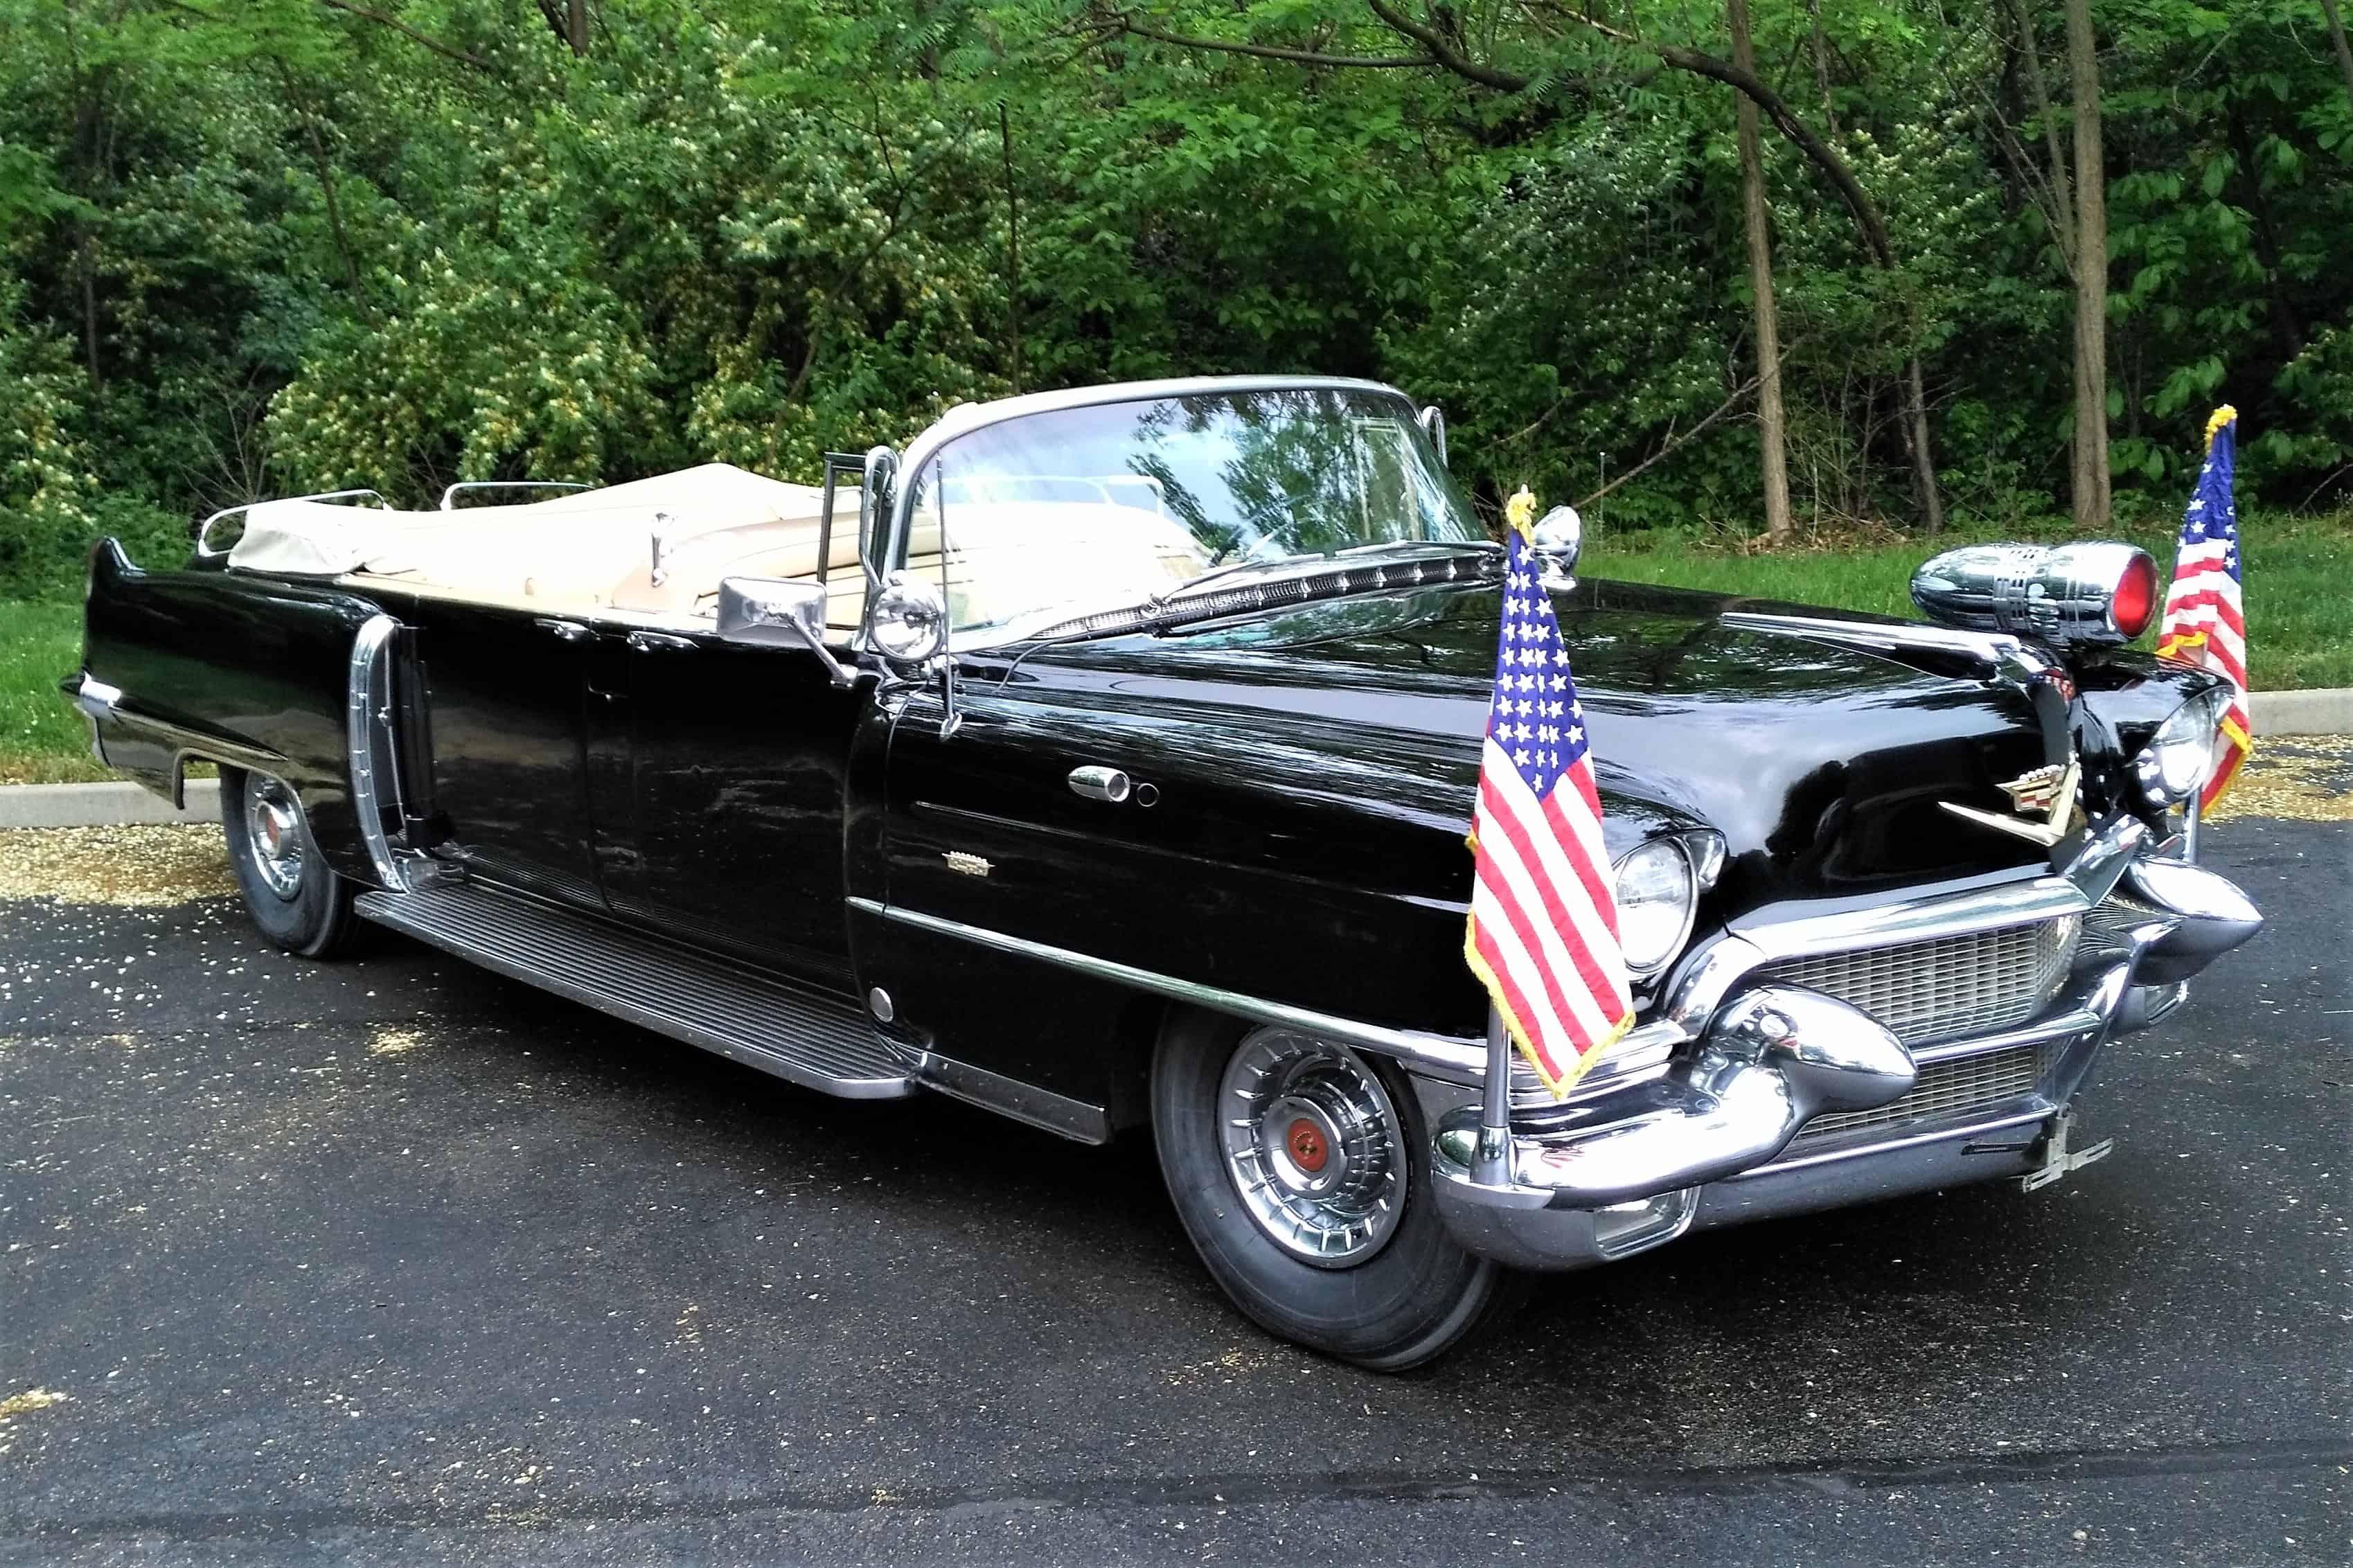
I would like to see a 1956 Cadillac Series 75 Limousine convertible (state Presidential) as a kit model. There are plenty of diecast versions of this car available in 1:24 scale, but as far as I can see there isn't a styrene kit out there. David
-
Cheers Steve . . . Getting there, slowly. David
-
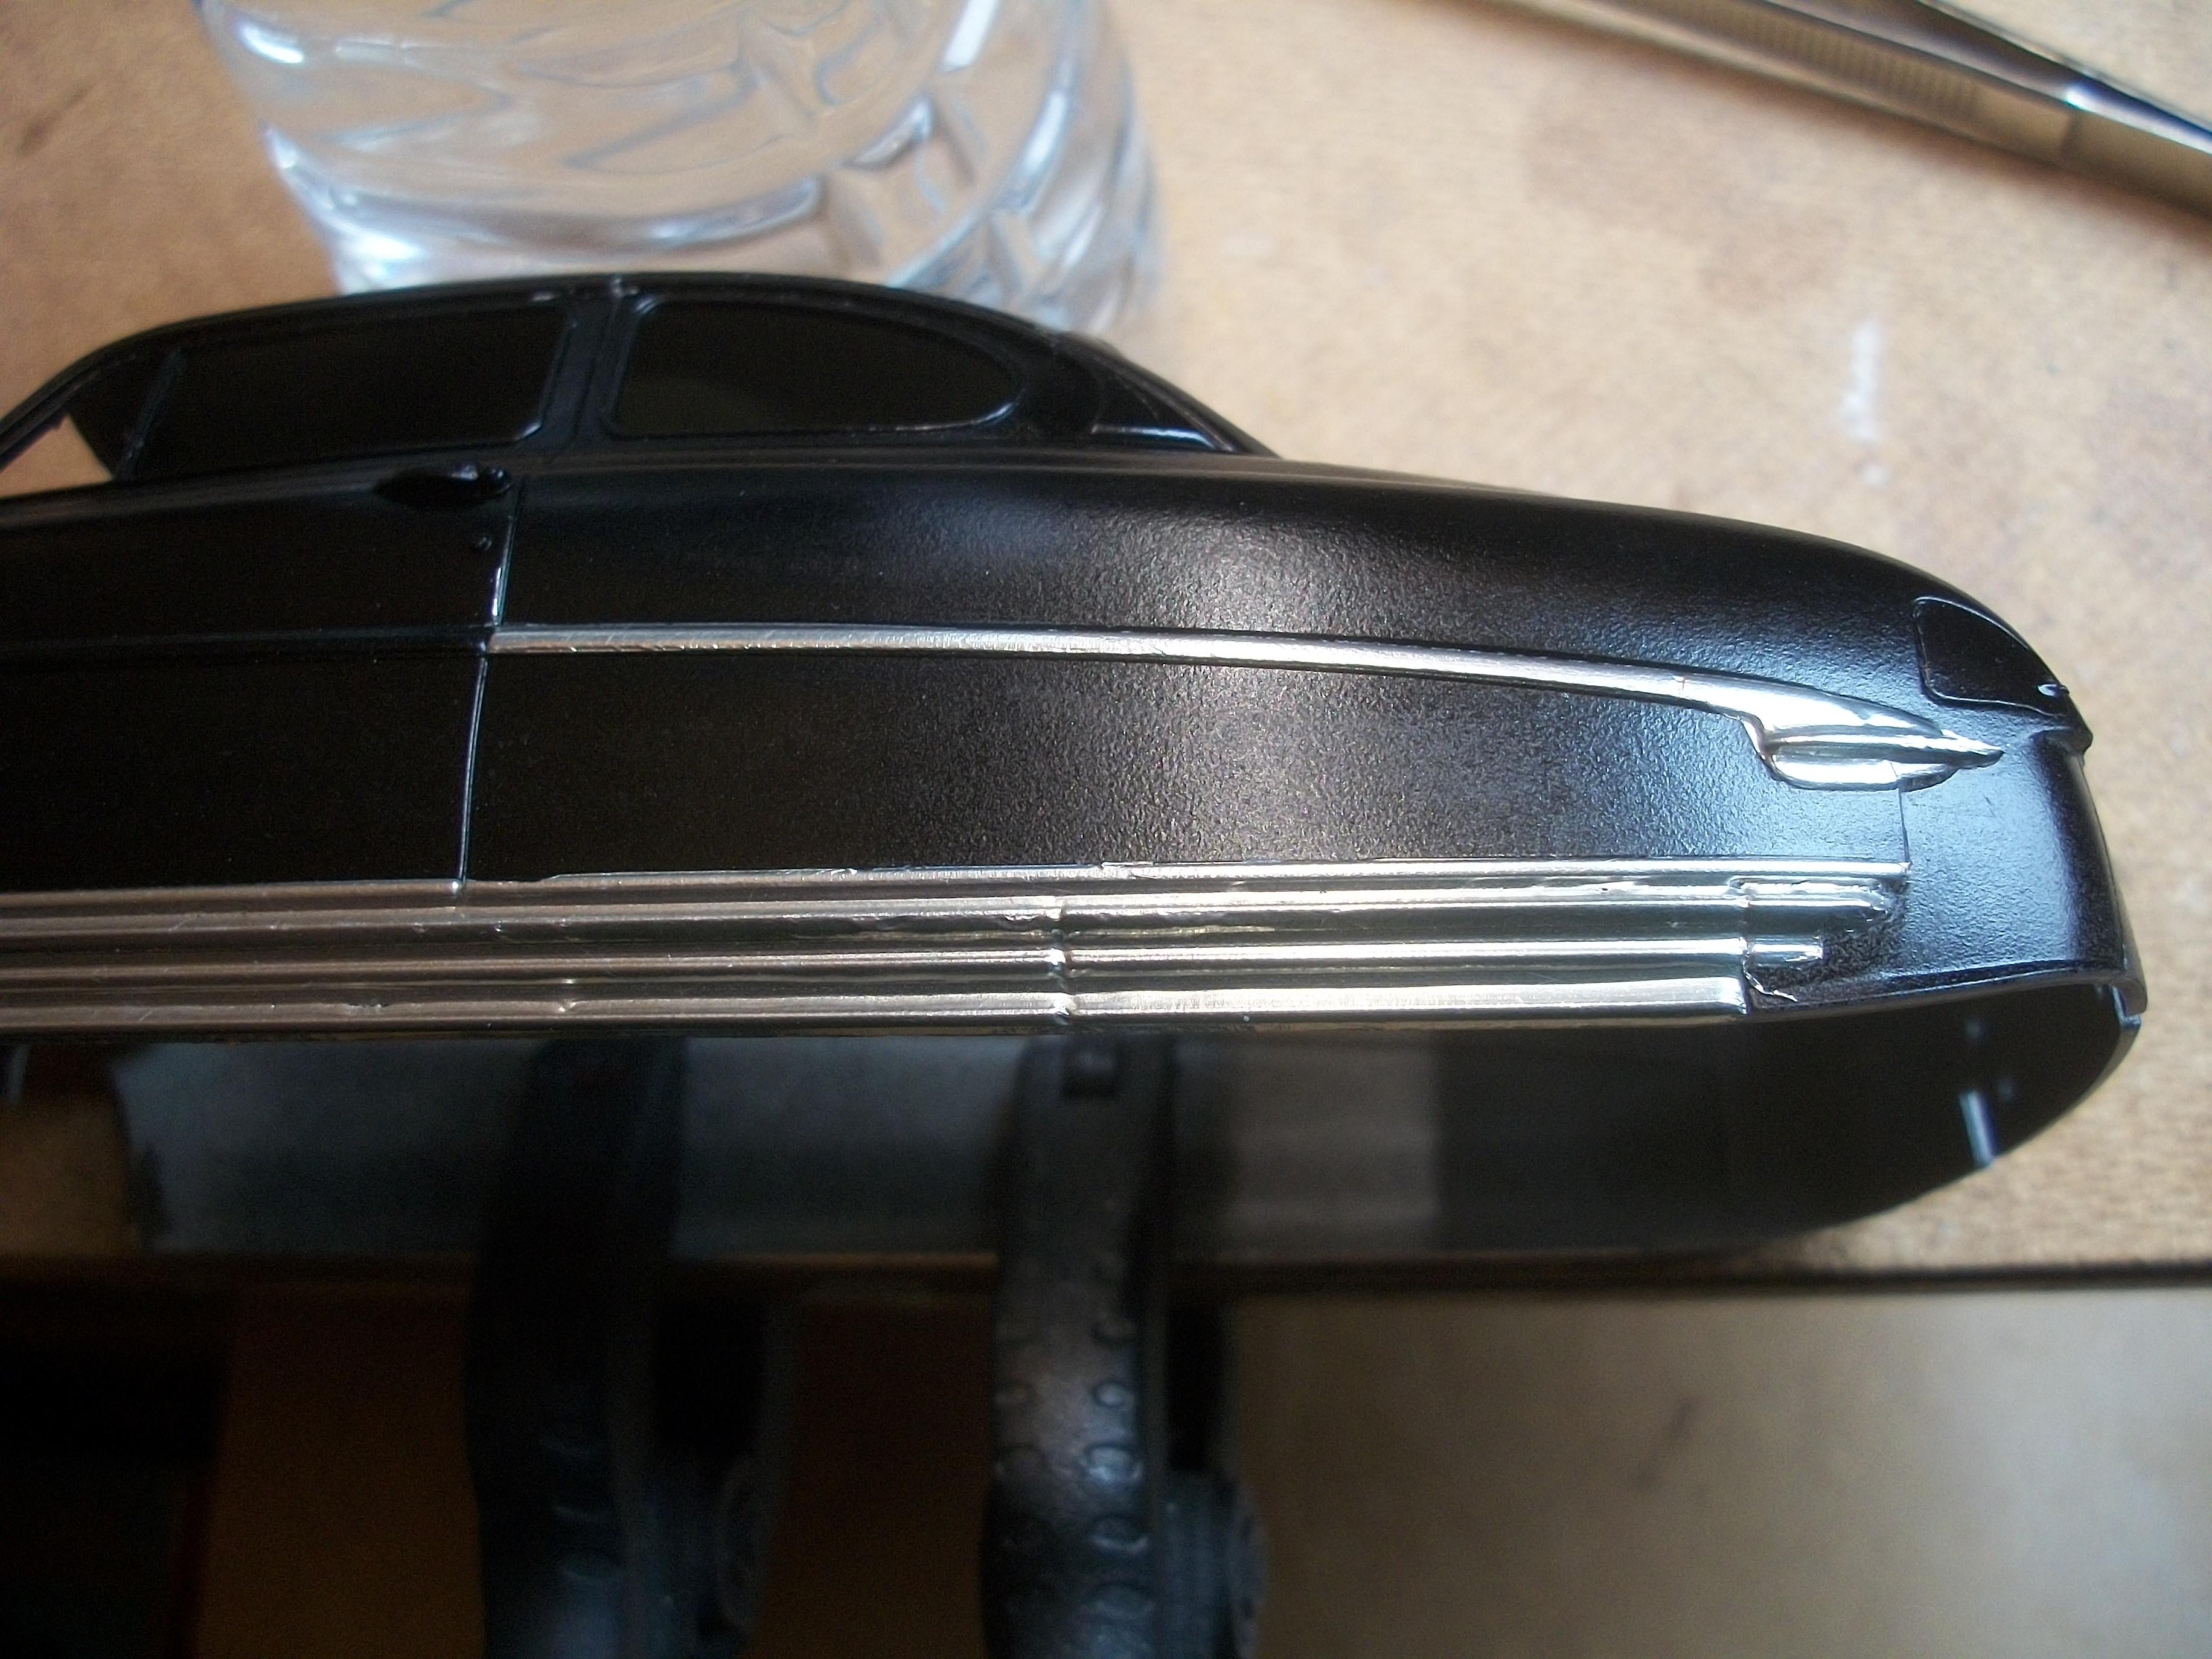
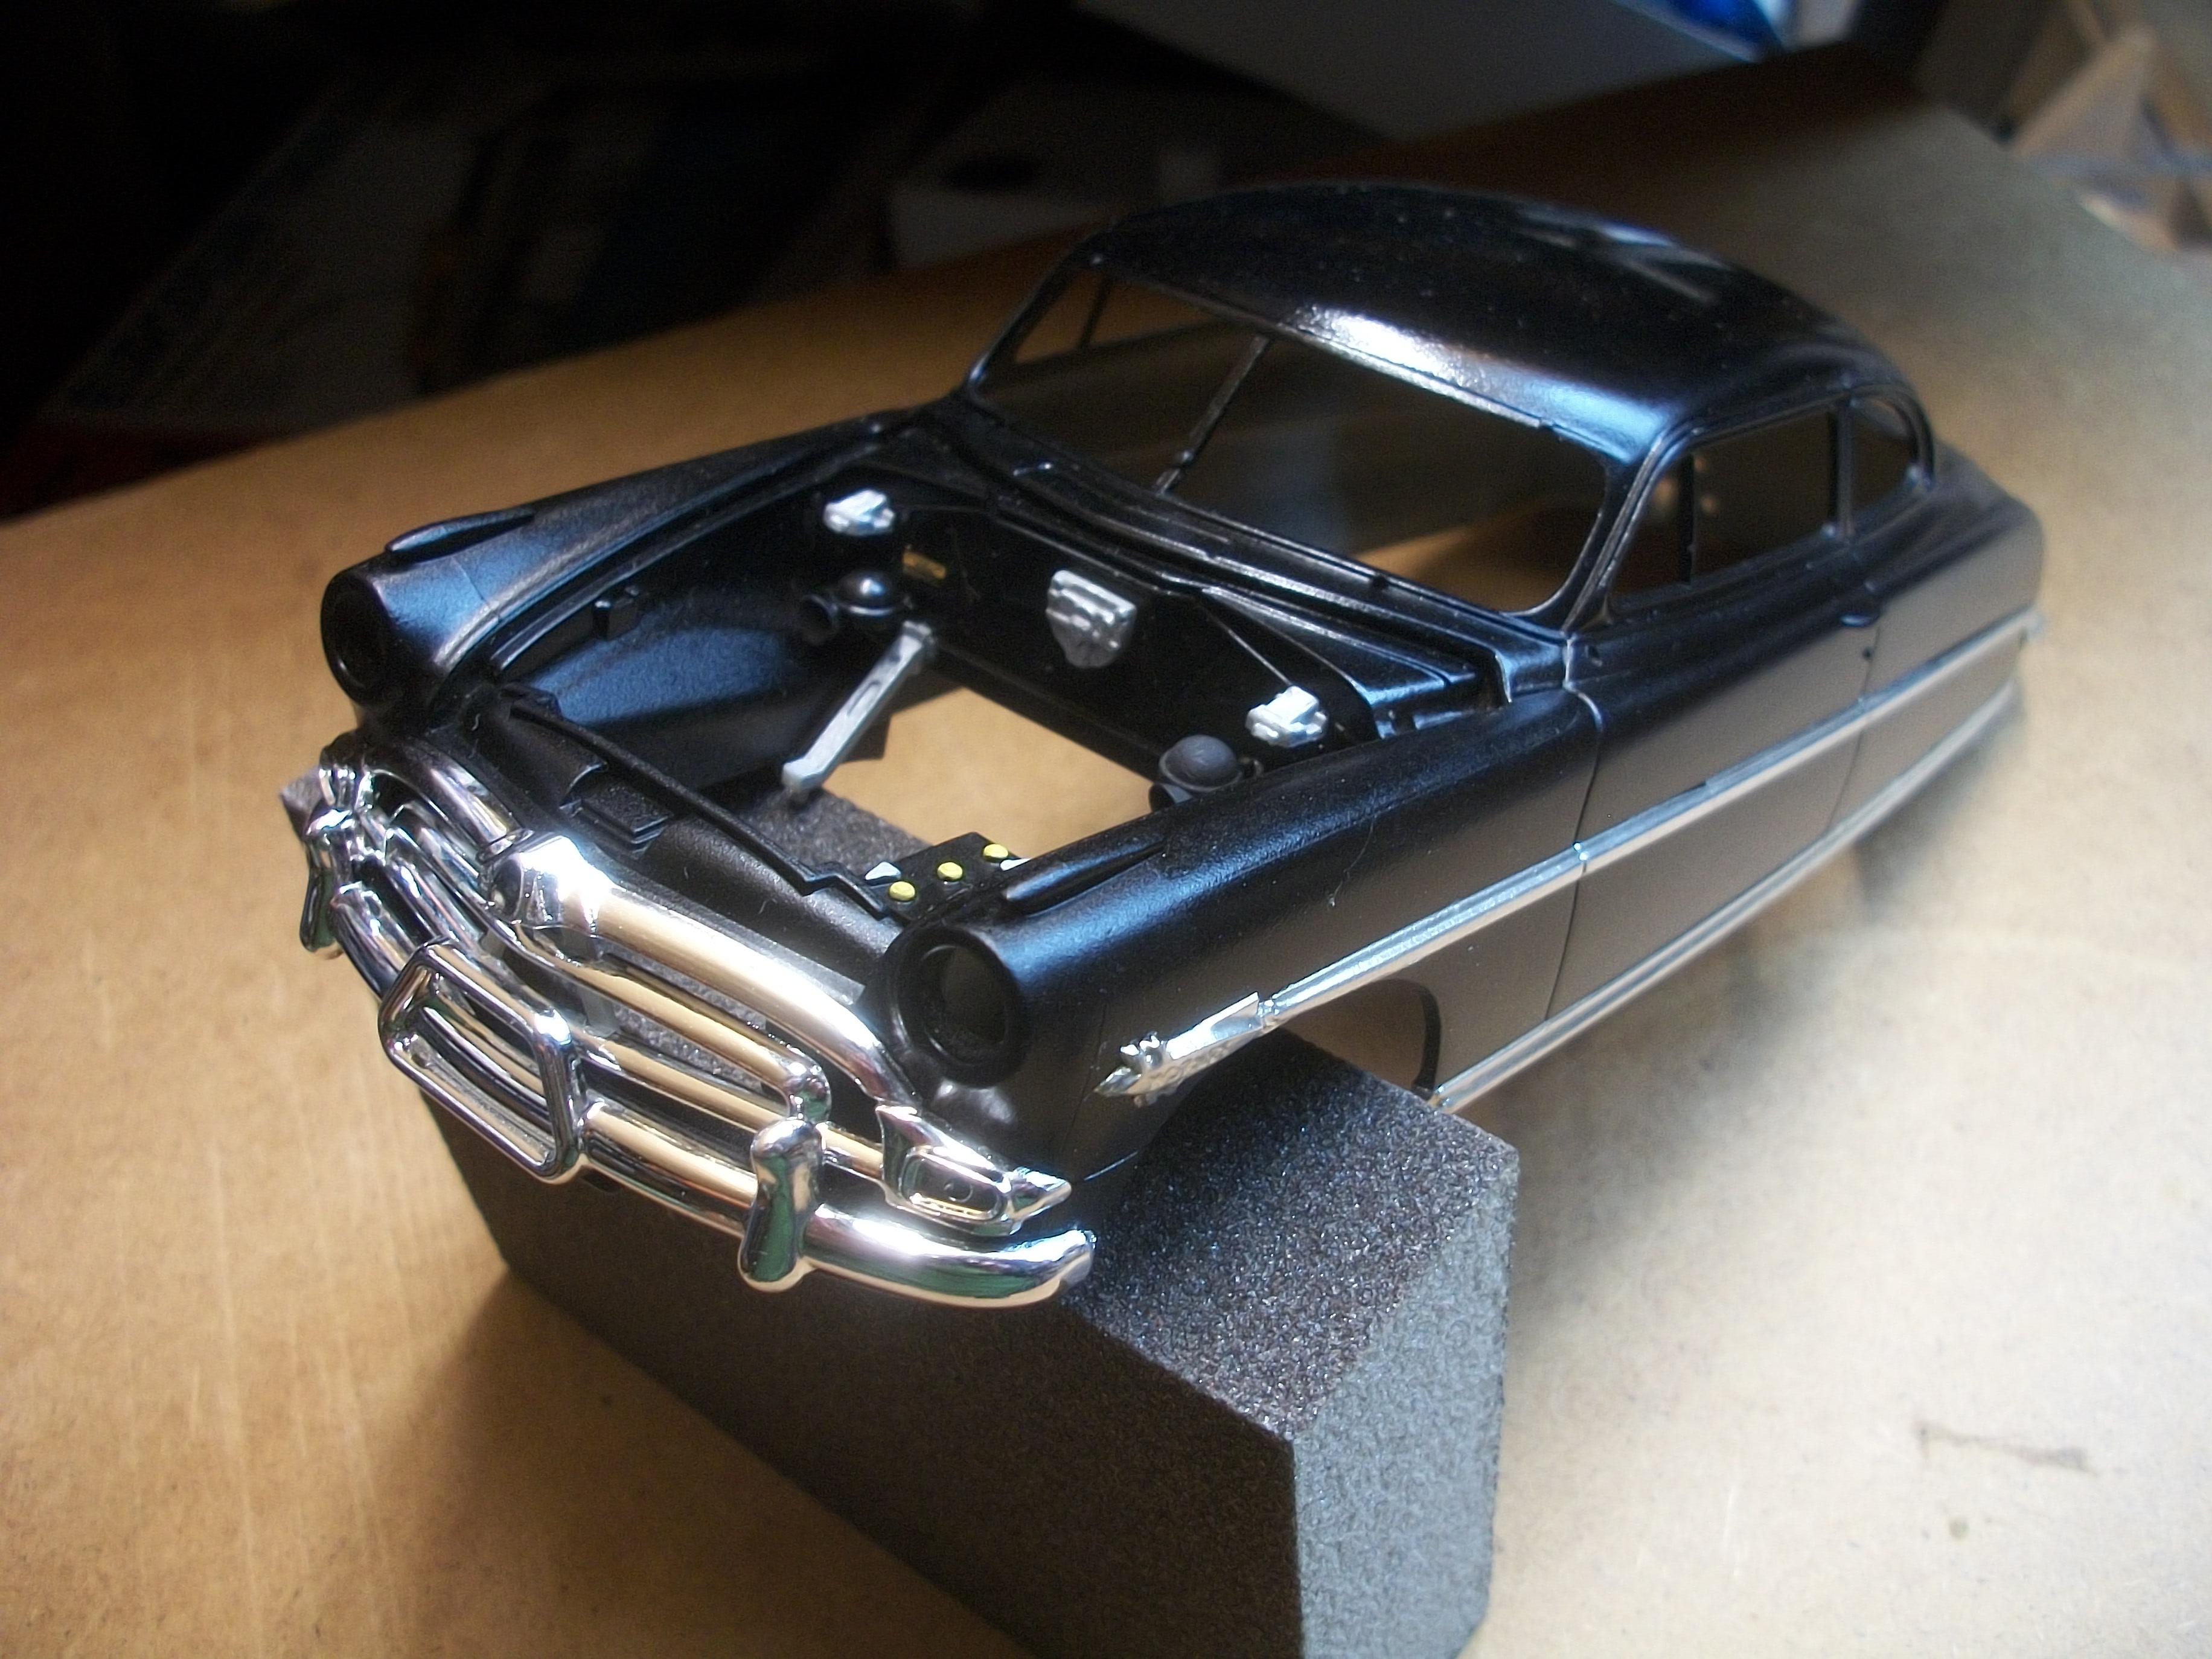
The firewall and it's component parts has been glued in place at the back of the engine bay, also the battery is glued in place. I have done the Bare Metal Foil on the sills of the Hudson both sides, and so far the waistline mouldings have BMF applied on the passenger side only. I do like the BMF product, but I am always nervous about using the scalpel knife. The process is satisfying, if somewhat time consuming. David
-
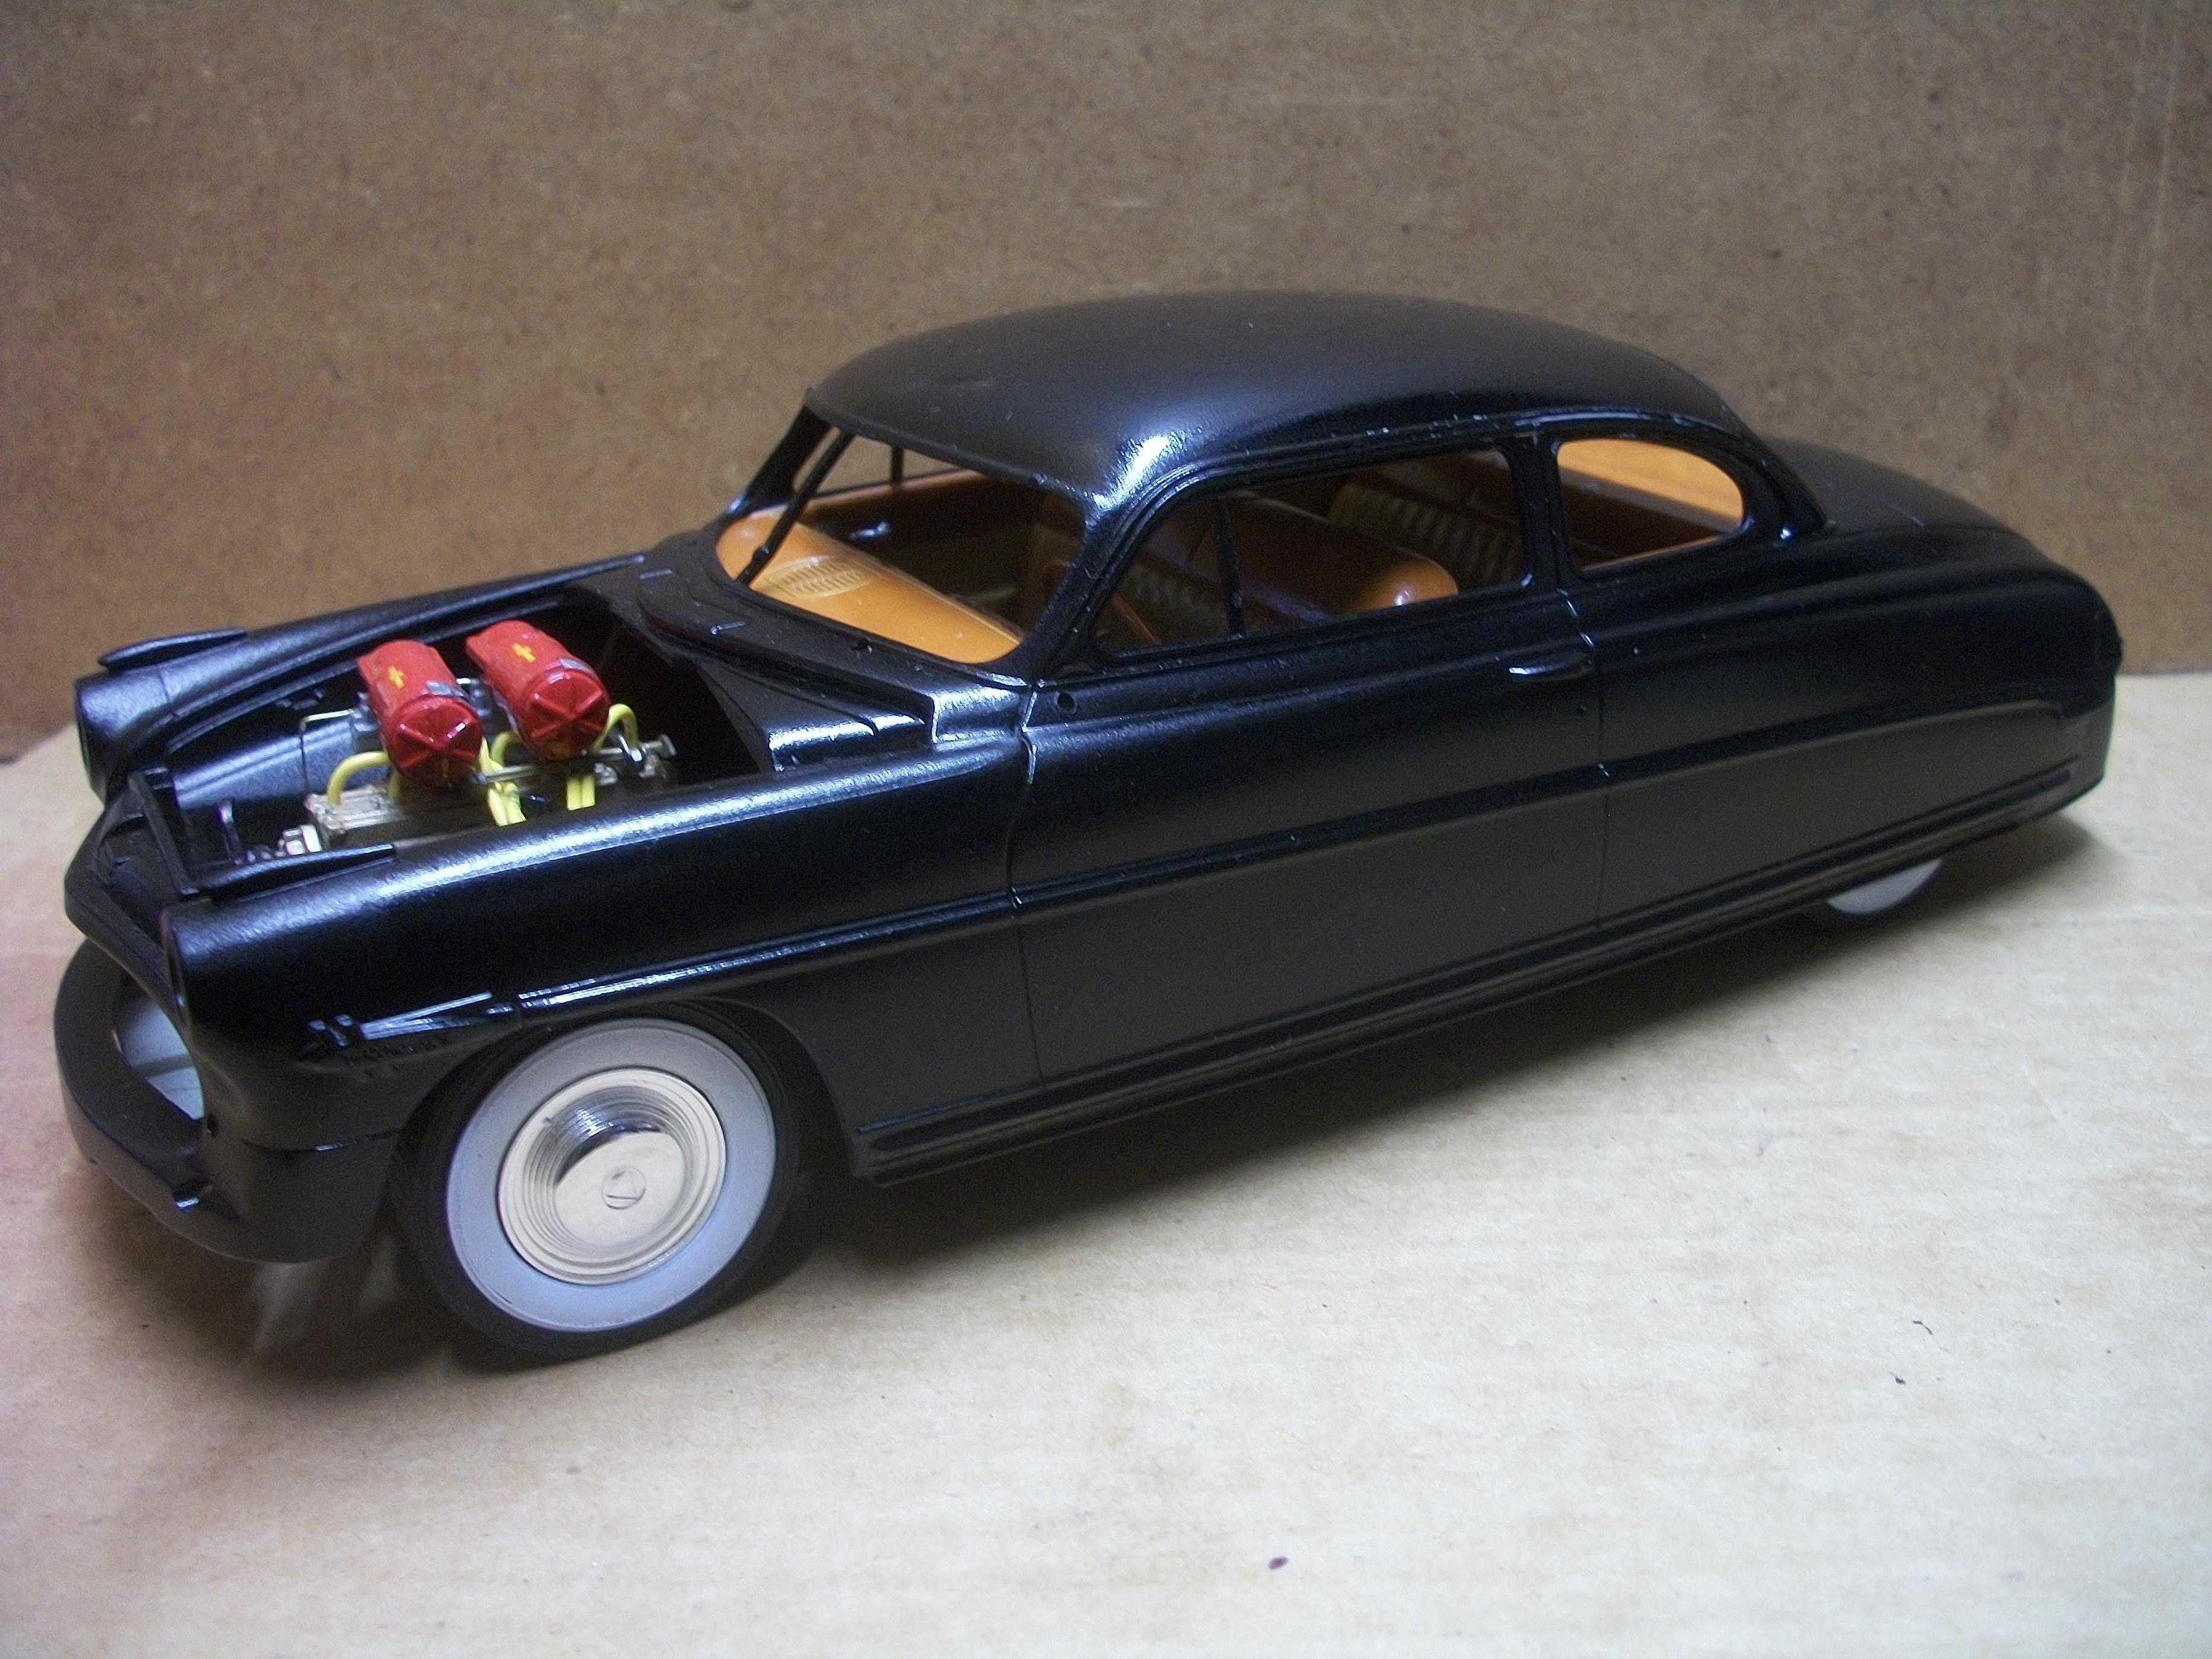
Nicely done ' Star of India ' Louis . . . I didn't paint mine in those colours, but instead I chose to paint the car Cream over Black, as shown in the following photo. David
-
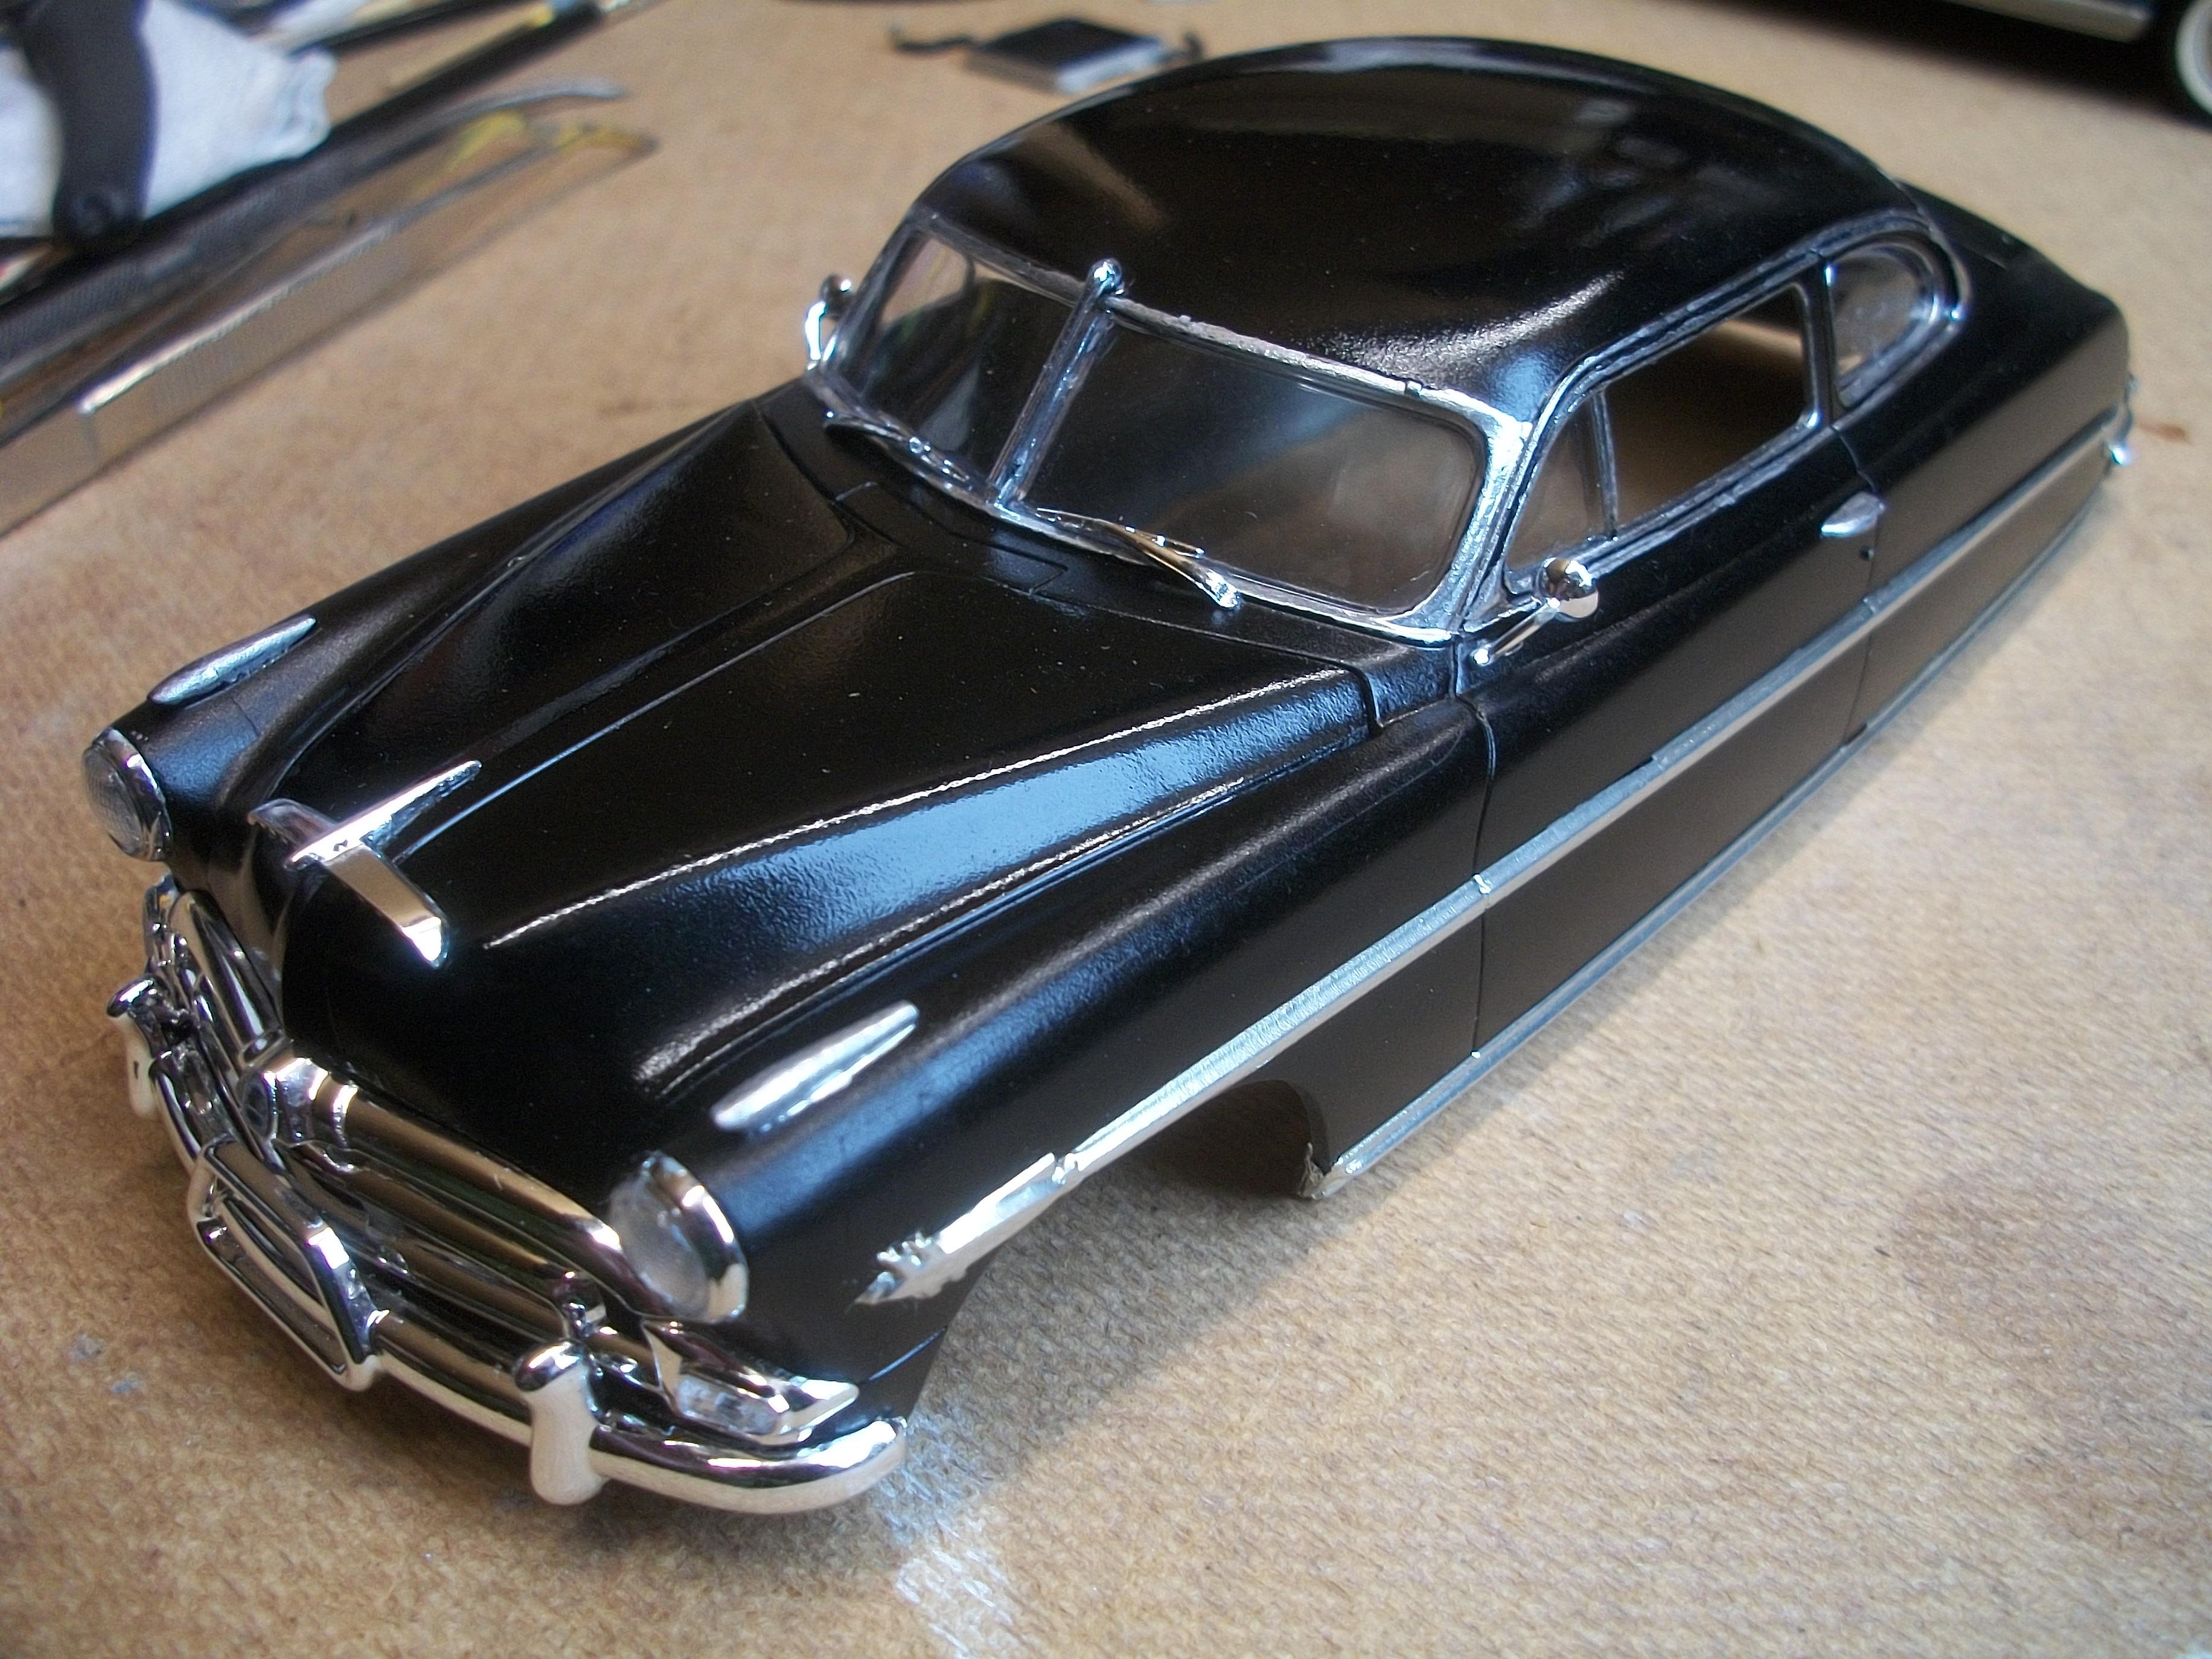
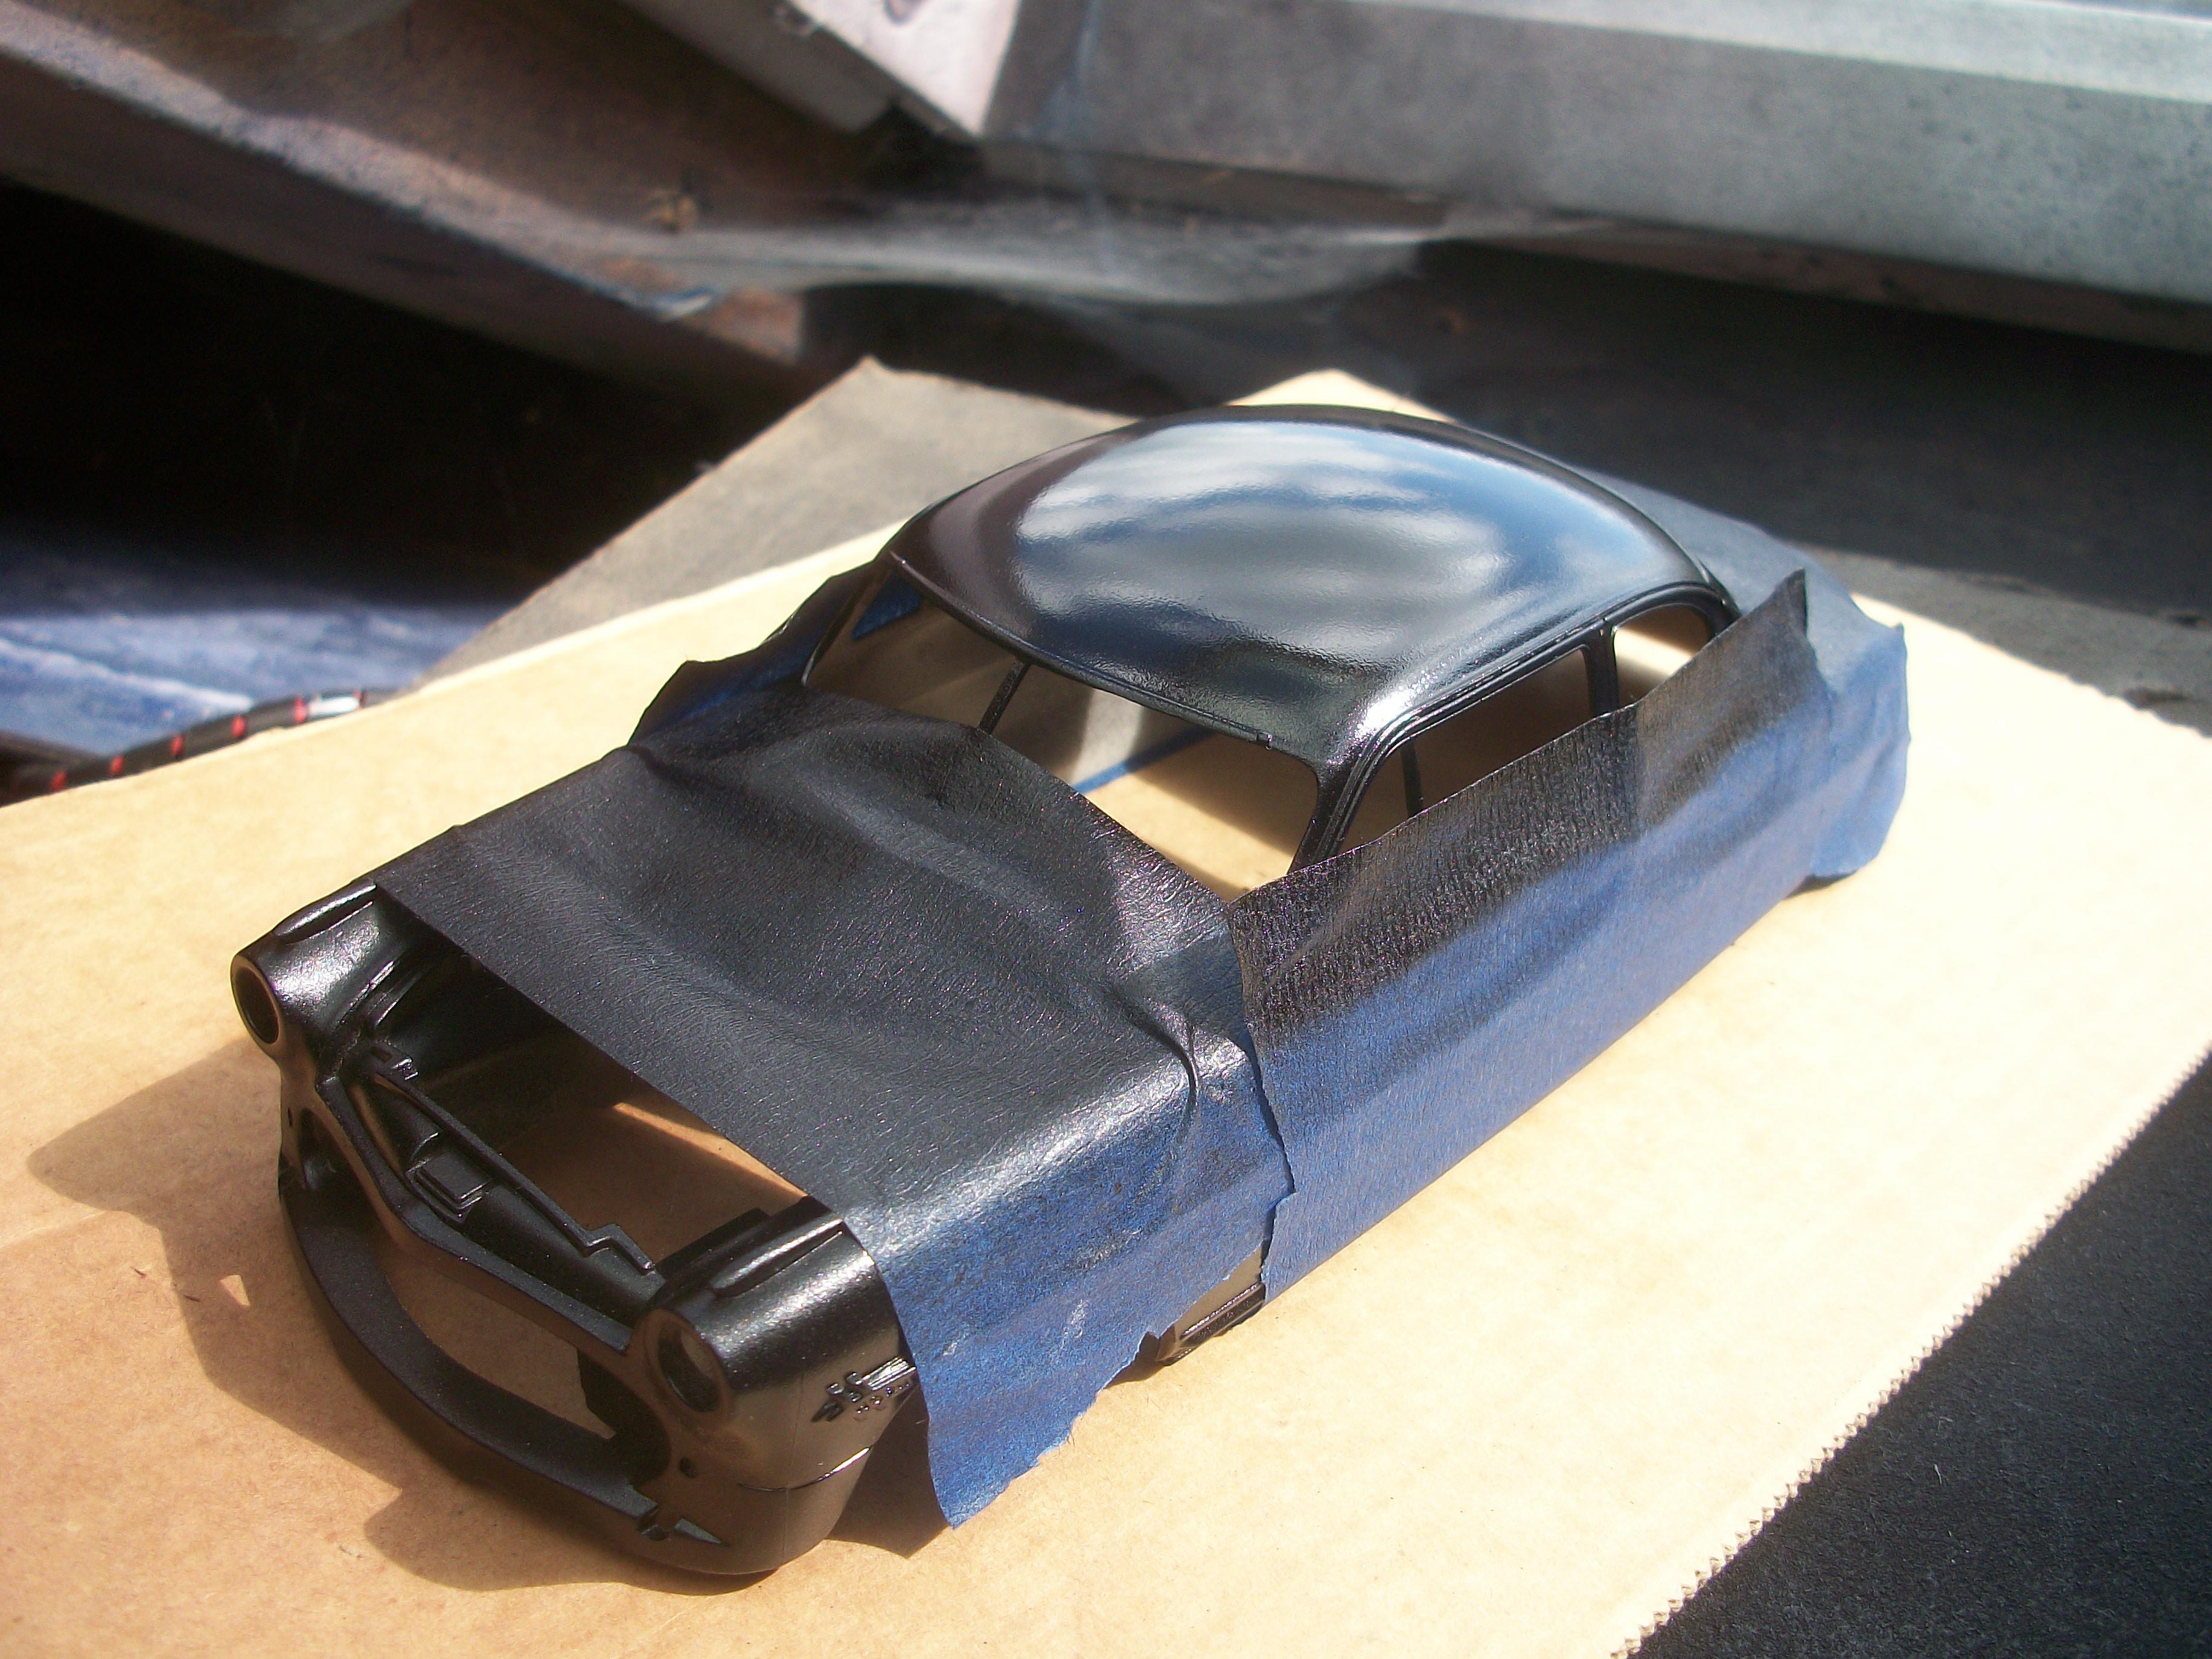
This was the first time that I have used clear on a model car, and I still need to learn about the use of it. The third coat of Tamiya TS-14 Black produced such a good finish that I decided not to apply any clear over the black. David
-
This will be an interesting build for you Louis . . . Having built a 1934 Rolls-Royce Phantom II in 1:24 scale by Italeri myself, the Revell 1:16 scale version of this car is something I have considered building. Maybe your build will inspire me to purchase the kit, so I shall be following your topic. Thamk you. David
-
Thanks a lot Ken ! David
-
Thanks Bob . . . Lots of interesting paint techniques within your comment. There are so many different opinions about what should be the best approach, and it probably comes down to personal preferences and actual hands on experience in the end. My local model building expert did warn me that black is the most difficult colour to get right. I am pleased with my improved paint finish since trying out the Tamiya products. I never did achieve a ' mirror ' paint finish on any of my Rolls-Royce Silver Cloud builds, and there were many of these over the years. Some were quite close, but always falling short of what I wanted to achieve. One day I still hope to get there ! David
-
More natural light inside?
Anglia105E replied to JollySipper's topic in Model Building Questions and Answers
Hi Tim . . . I use 100 watt Daylight Bulbs that I buy in a pack from Ebay, which are very effective. Most standard LED bulbs will produce a ' blue tinge ' to your photos of model cars and dioramas. Sometimes I do take the model cars outside for a photo shoot, but maybe you don't have that option. I haven't come across daylight LED's so far . . . One other factor to keep in mind, is that if you photograph the model car against a completely white background you will get one colour, and the same model car against a brown or black background will give you a different colour. This will also affect highlights and shadows too. David -
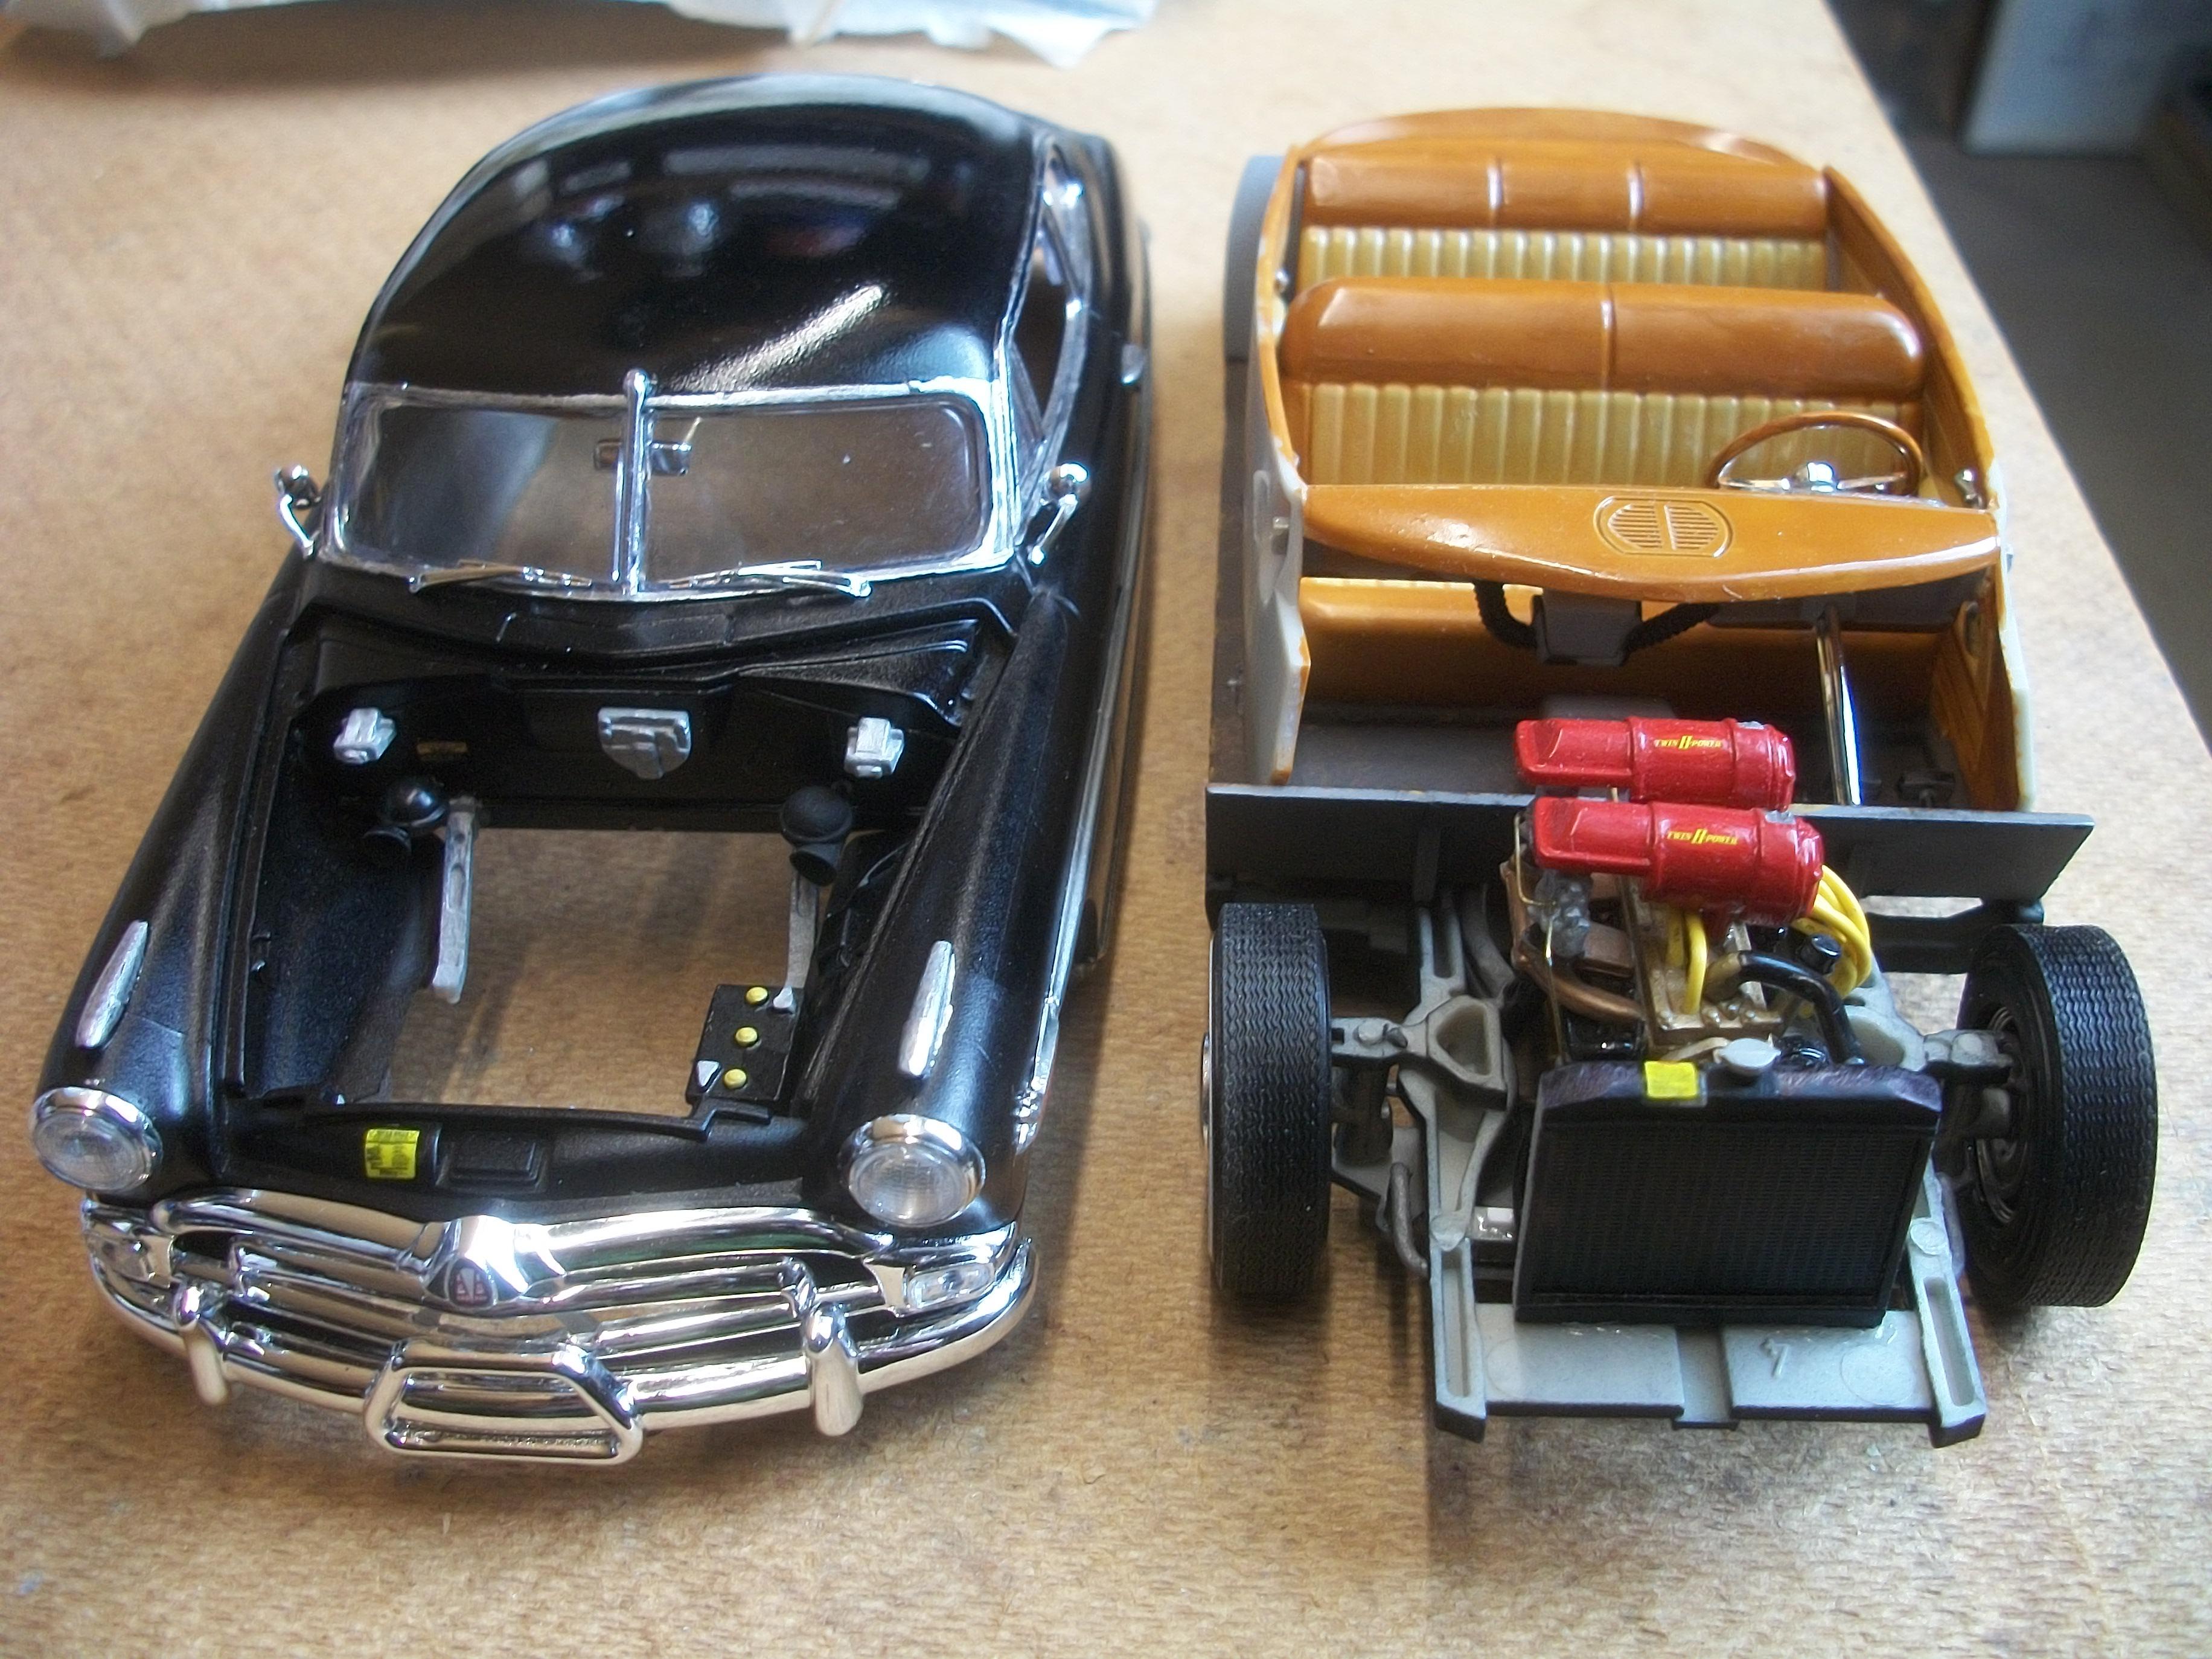
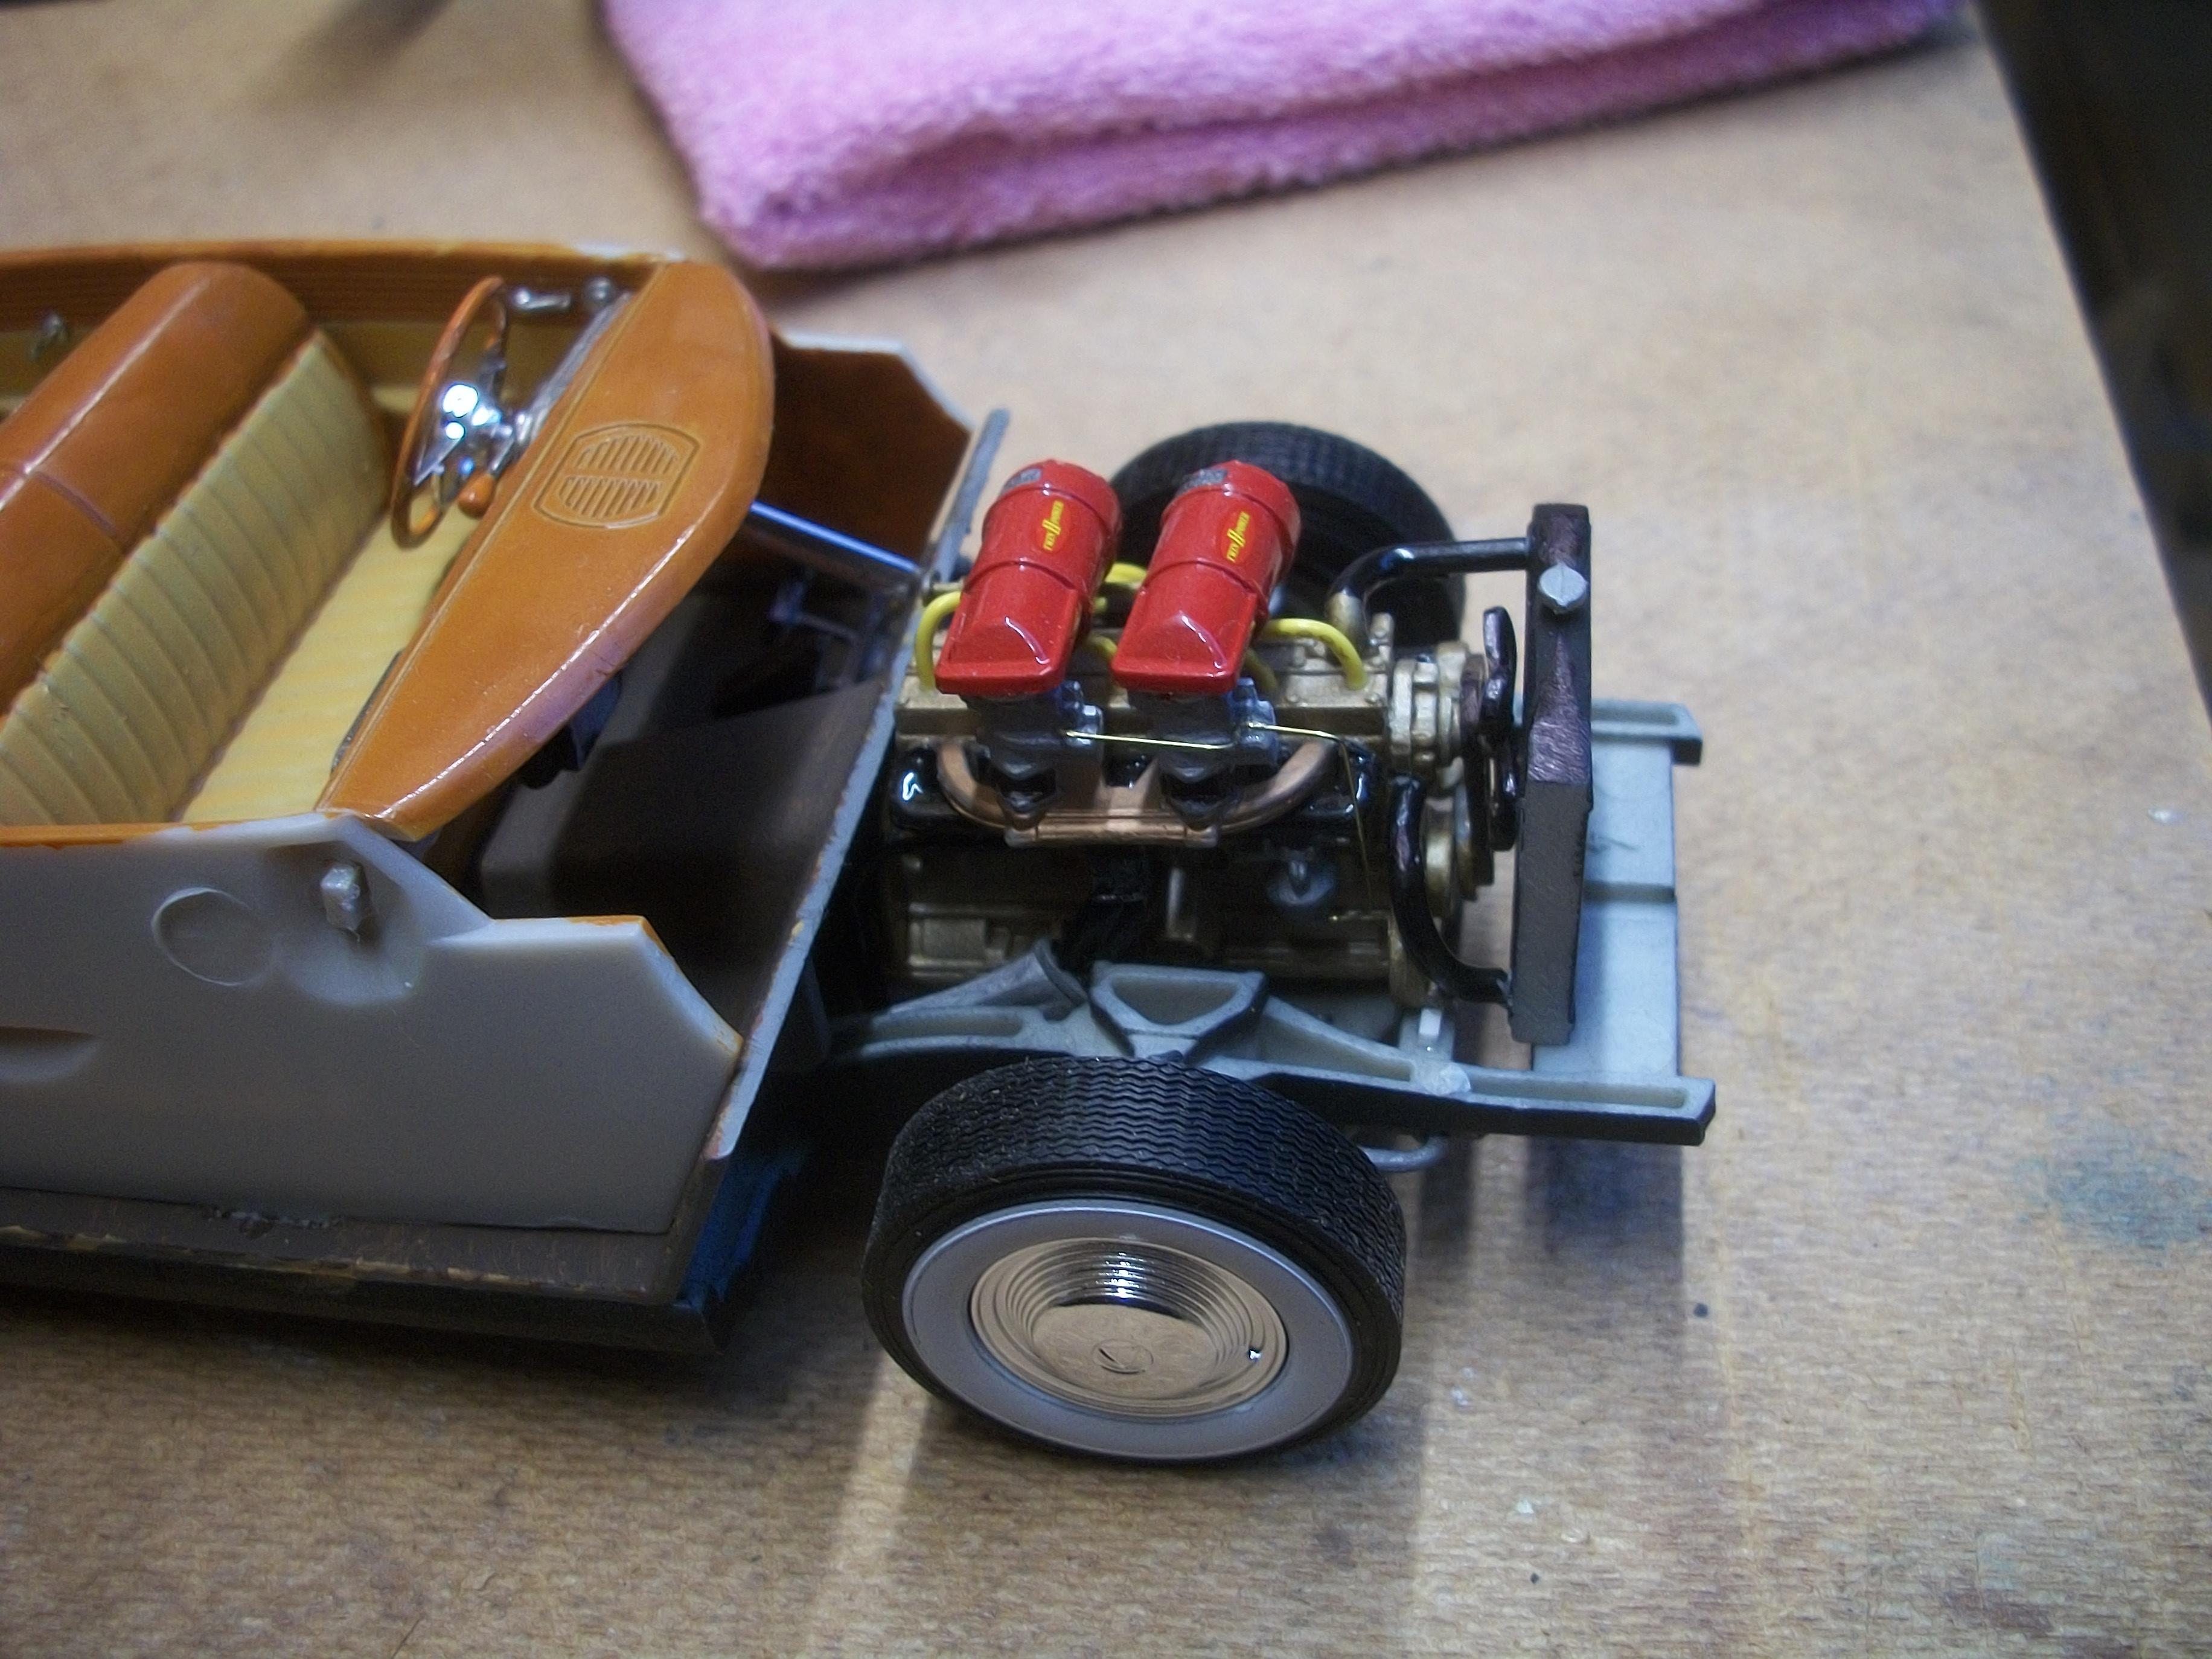
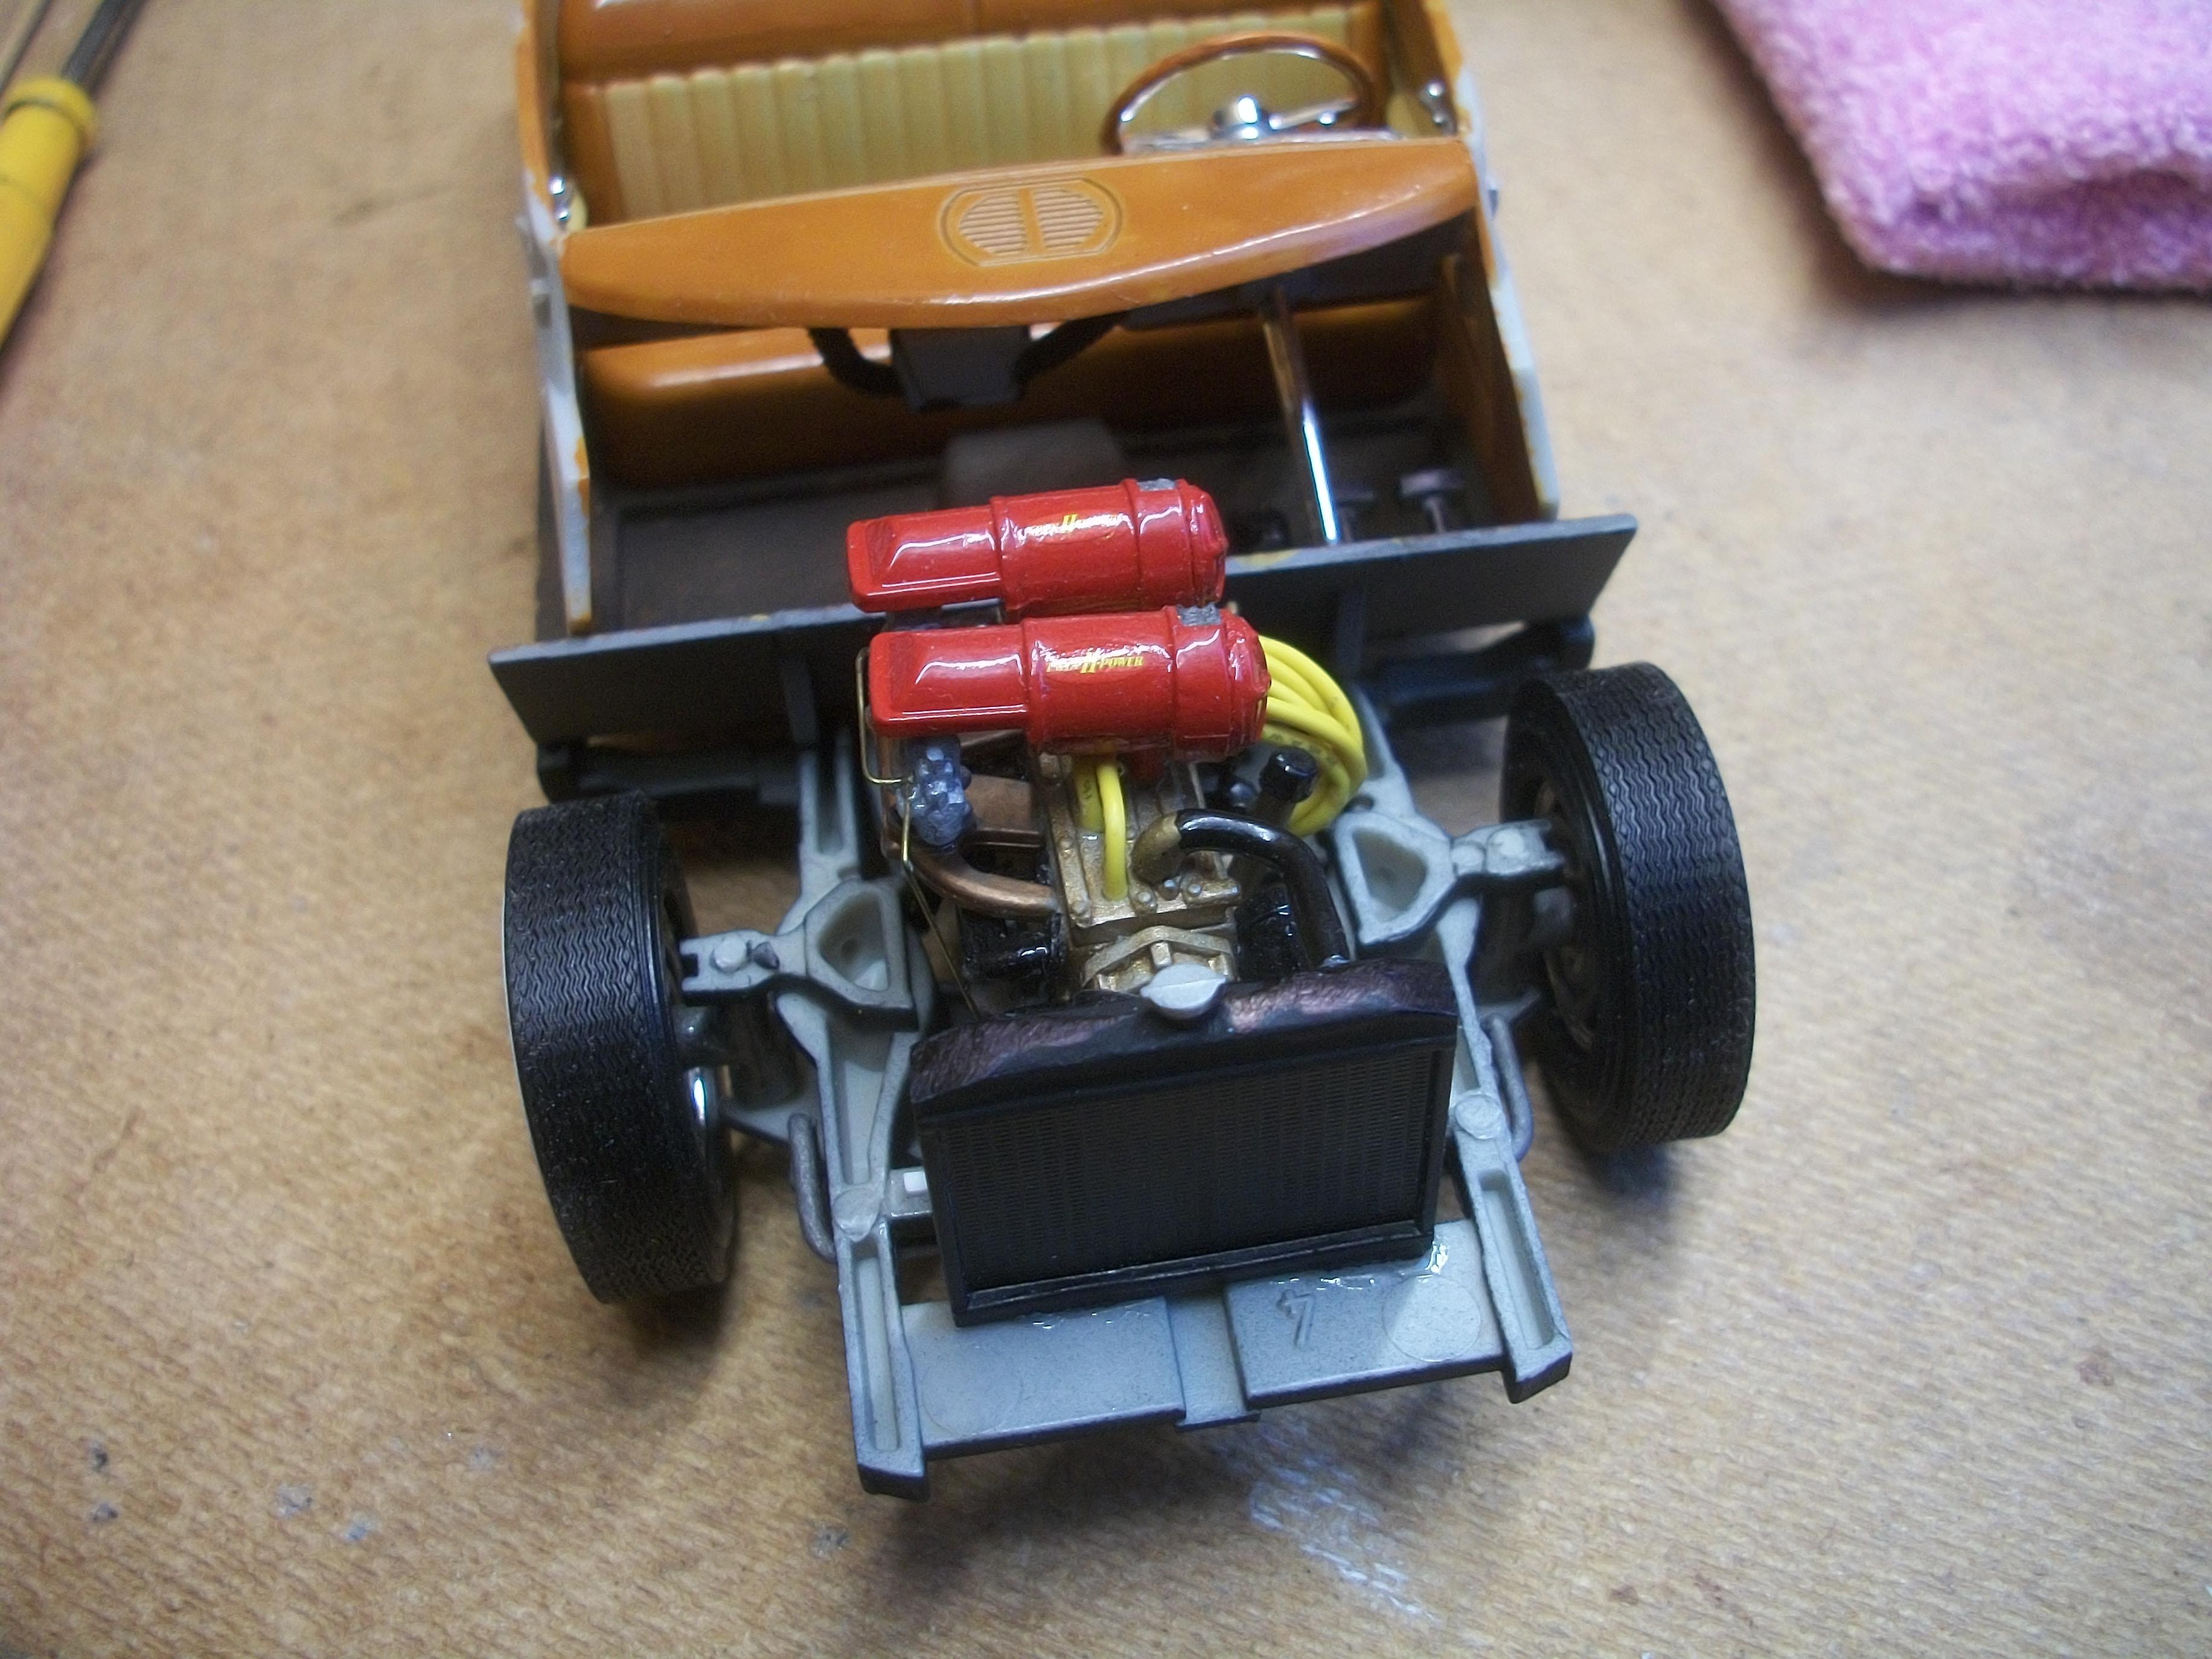
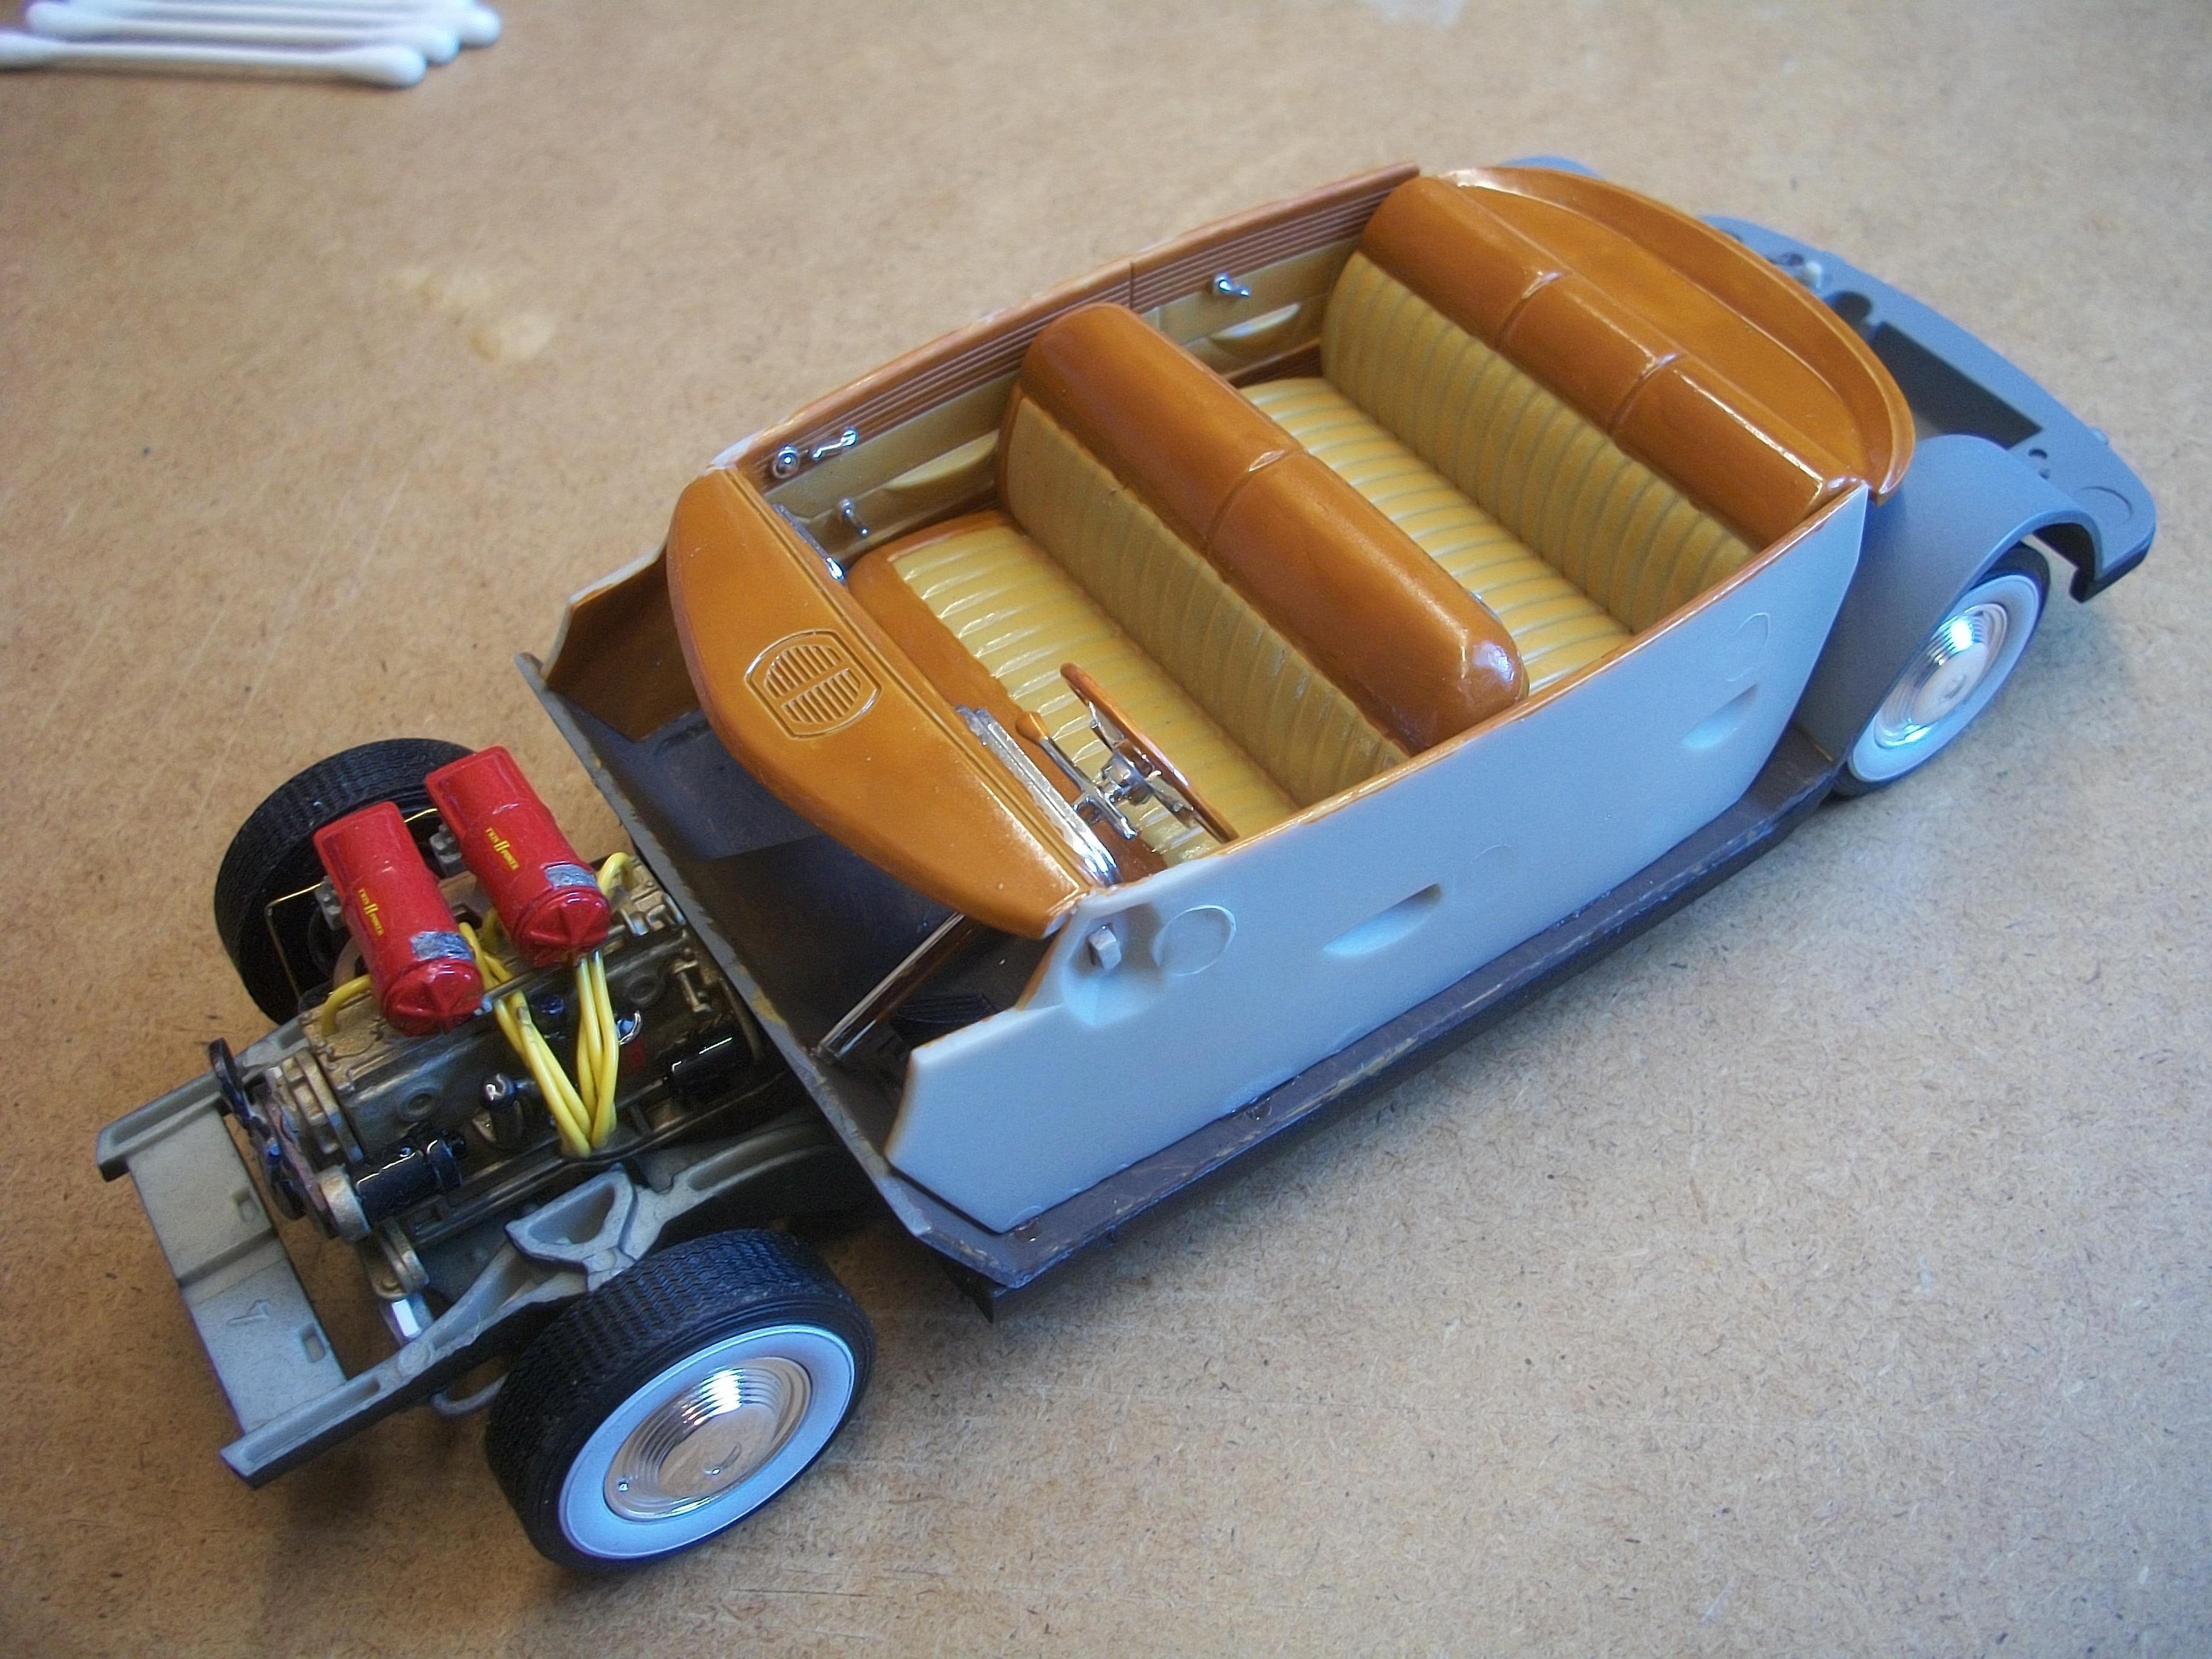
Thanks Steve . . . As far as I know, all the 1:25 scale Moebius Hudson Hornet kits come with an engine, and they all have the Twin - H - Power air cleaners. Slightly puzzled ? David
-
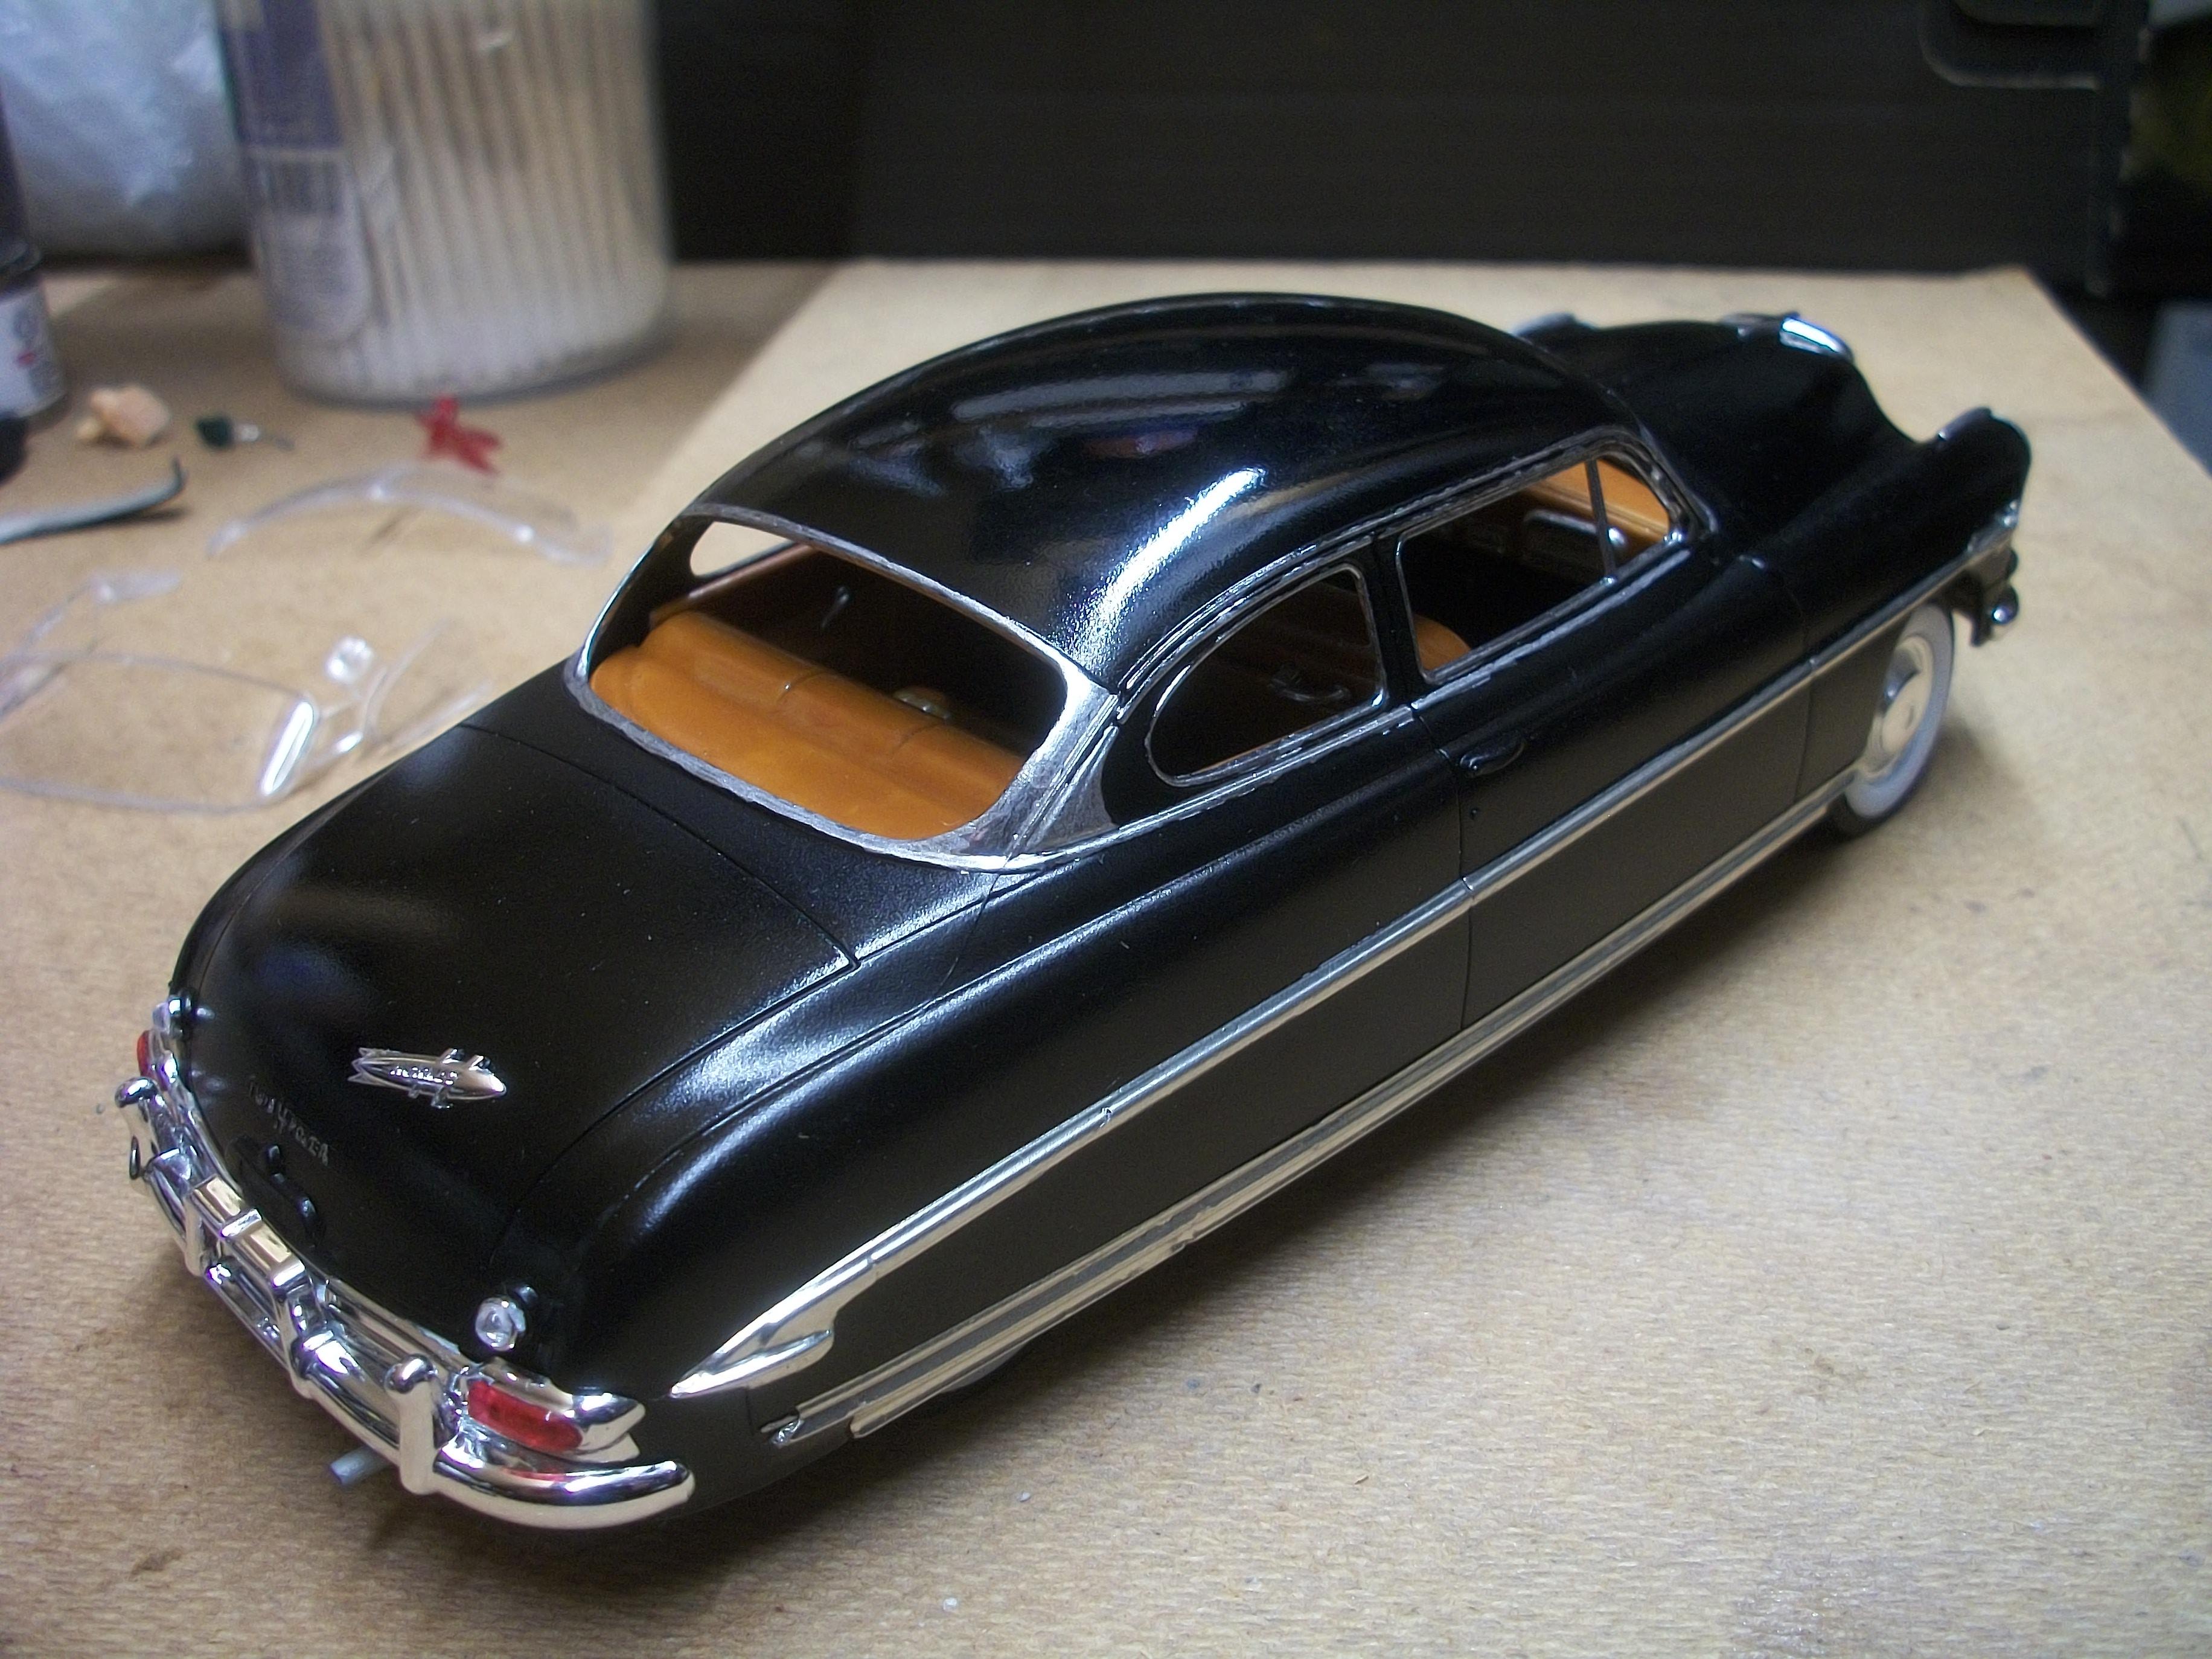
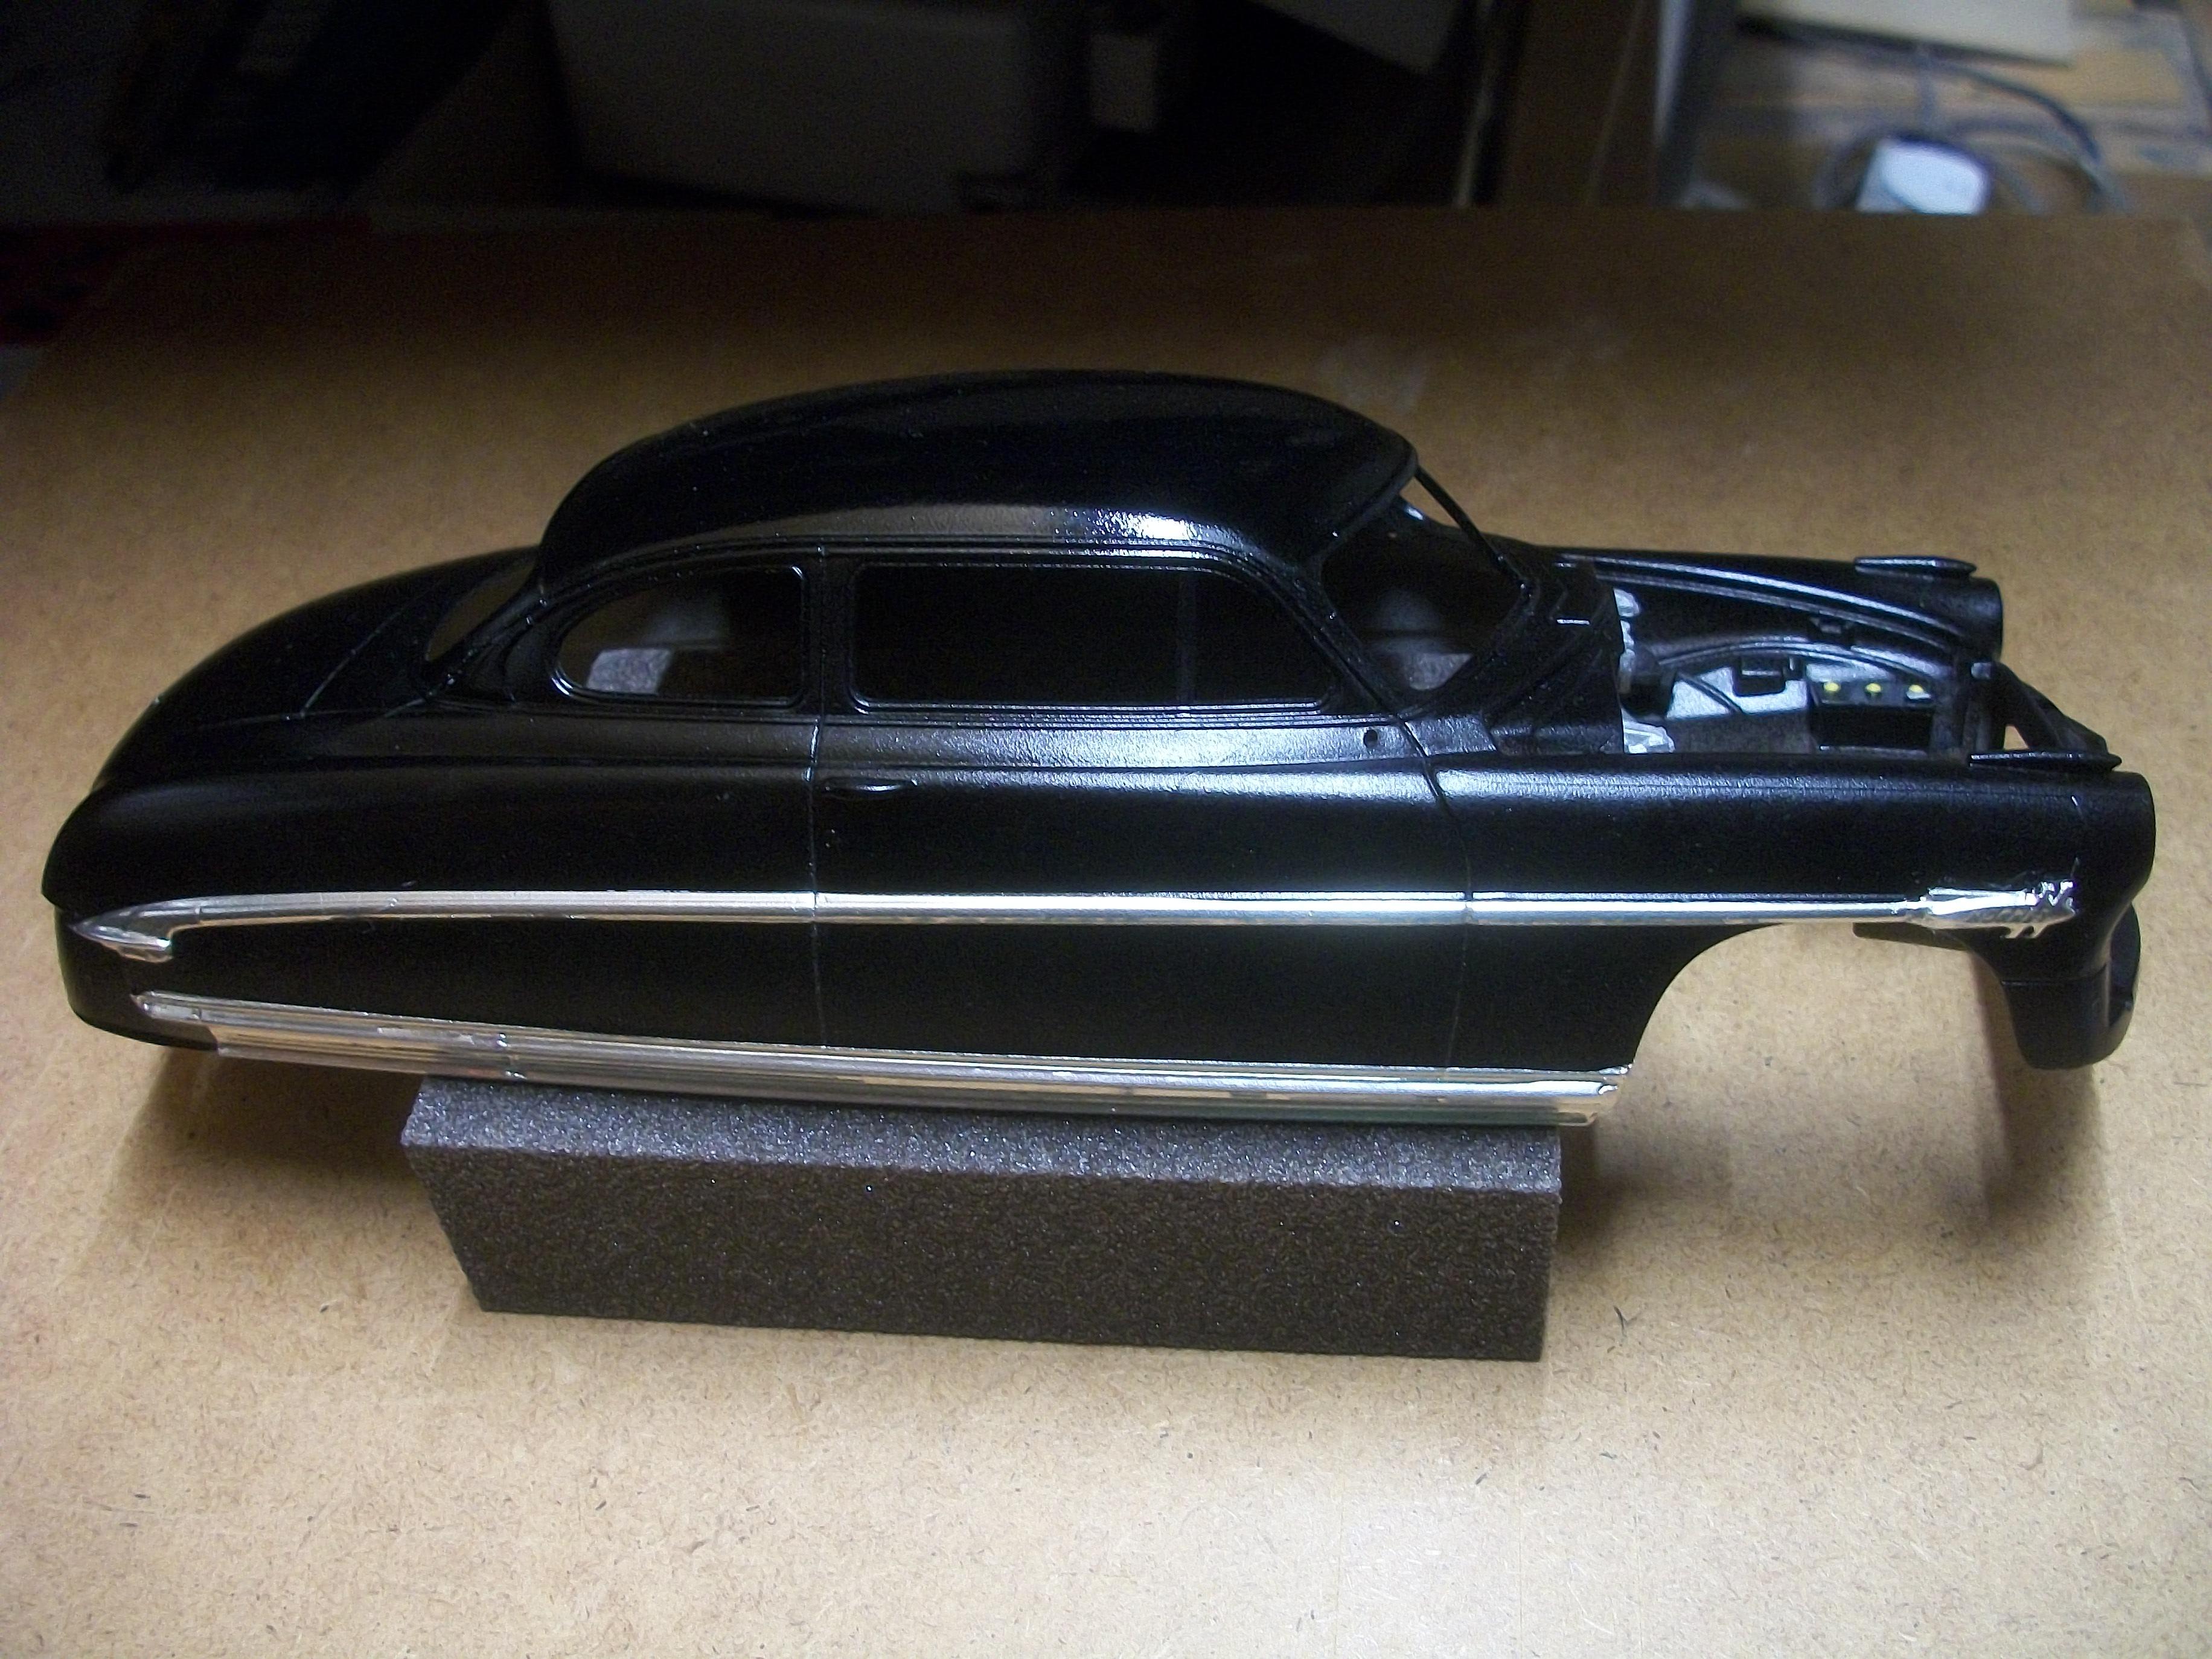
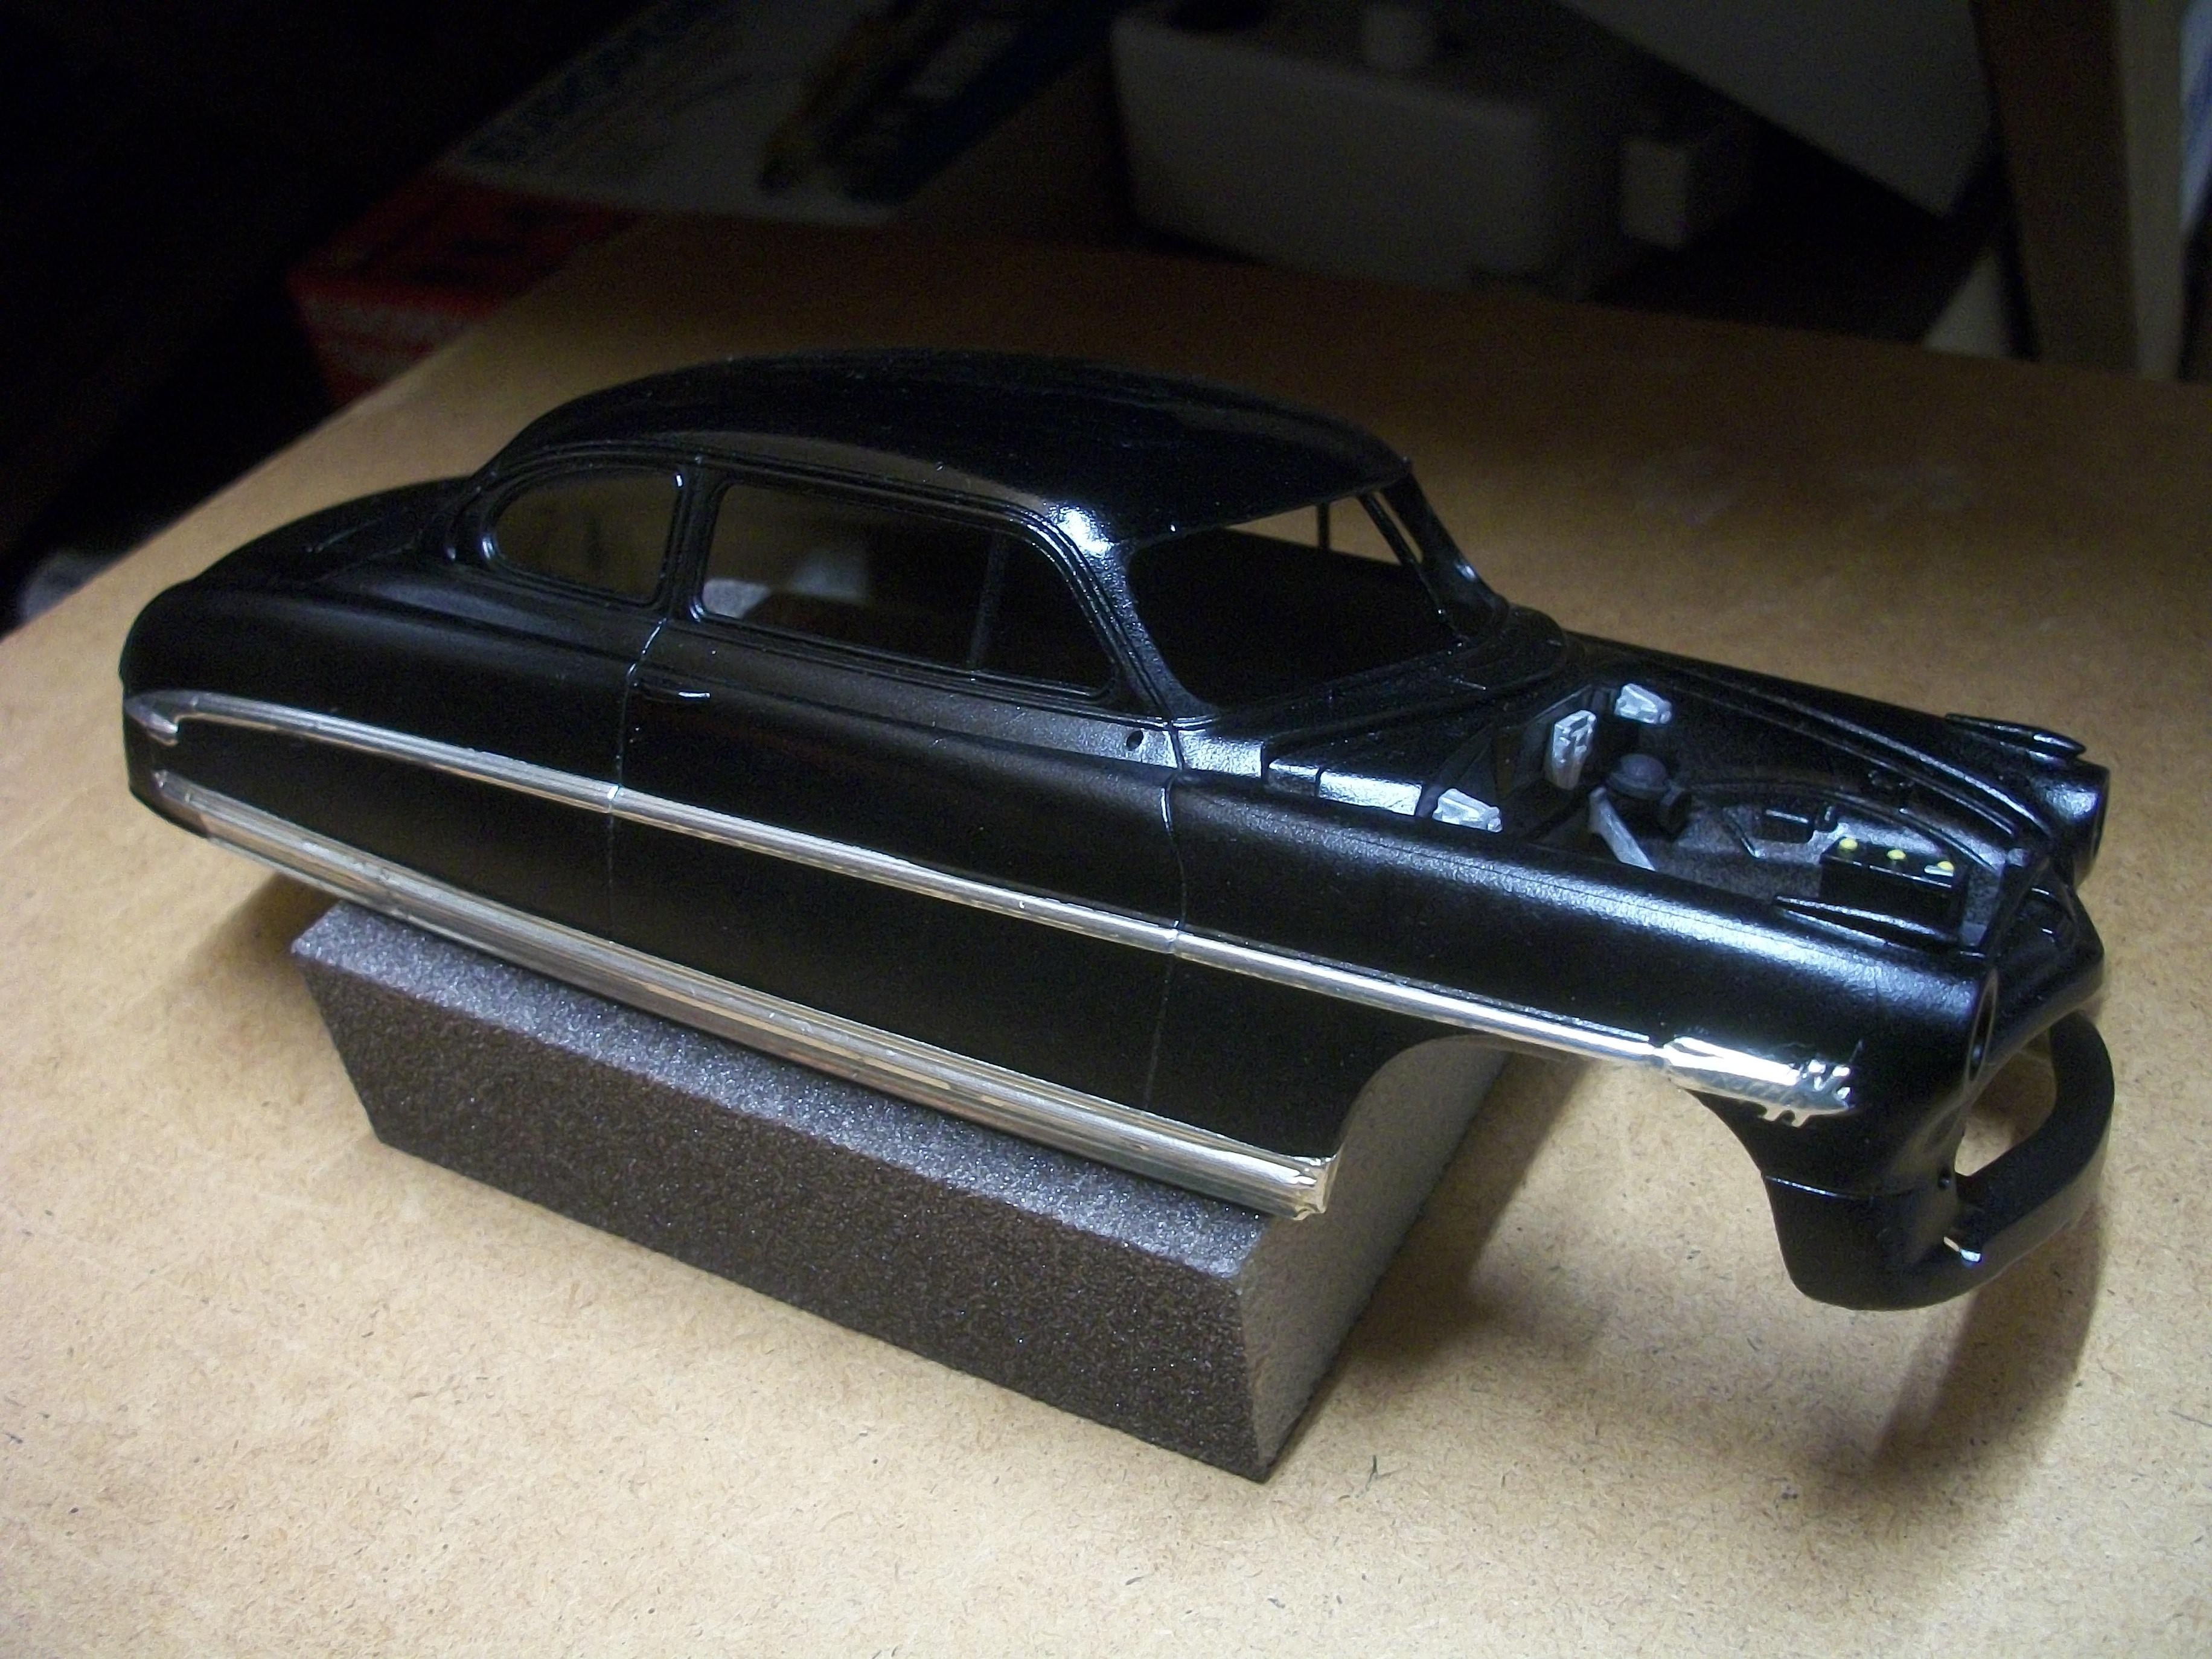
The roof of the Hudson has now been polished, using Tamiya Polishing Compound in coarse grade, fine grade and finish grade. The interior of the car is completed, and I have done a mock-up of the body on chassis . . . Moving on to the next stage of the build, I shall be Bare Metal Foiling, along with some Molotow Liquid Chroming, fitting the window glass and adding chrome bumpers, grille and lights. The radiator and hoses are ready to be fitted, also the battery. Here's a question for fellow members who may have the answer . . . I have noticed that the radio antenna on a Franklin Mint diecast Hudson Hornet that I have recently purchased is pointing vertically downwards, instead of upwards . . . I did some research, and it seems the radio antenna can be turned through 180°, but the cars that have the antenna in this position do not have a windshield visor fitted. I might want to fit the radio antenna pointing downwards on this build, but would I not be able to fit the windshield visor ? David
-
1962 Rolls Royce Silver Cloud II by Minicraft Models: WIP
Anglia105E replied to David G.'s topic in WIP: Model Cars
Nice to see you back on this one David G. . . . There is a lot you can do with this very basic kit, and as you go along you can make decisions about how far you want to go in terms of details. I noticed that Pierre mentioned the headlamps, and it is true what he says. The headlamps will be the difference between a ' toy-like ' look, and a more realistic ' 1:1 ' look . . . You have wisely chosen to re-chrome the Minicraft parts that need some decent chrome. The Revell version of this kit does have much better chrome, but parts like the hub caps and radiator grille are grey plastic anyway. Have you had any thoughts on the engine? The two bonnet / hood panels do open, but the top view of the kit engine is crudely represented. I am happy to see someone building the Rolls-Royce Silver Cloud, so I shall follow your topic with interest. David W. -
Thank you Bob . . . I am pleased that you can make out the improvement from my photos! David
-
Thanks a lot David M., and I do warm up my aerosol cans for around 10 minutes in hot water, but only when the outside temperature falls below 13°C, so during Summer when the outside temp is 20°C and above, I don't warm up the cans . . . I have been applying several light coats rather going too heavy, and there have been no runs so far. I must say, these Tamiya paints are far superior to the Halfords aerosols and also the automotive paints. Cheers, David W.
-
Thank you Carl . . . This is an old build . . . March 2023 (nearly 6 months). David
-
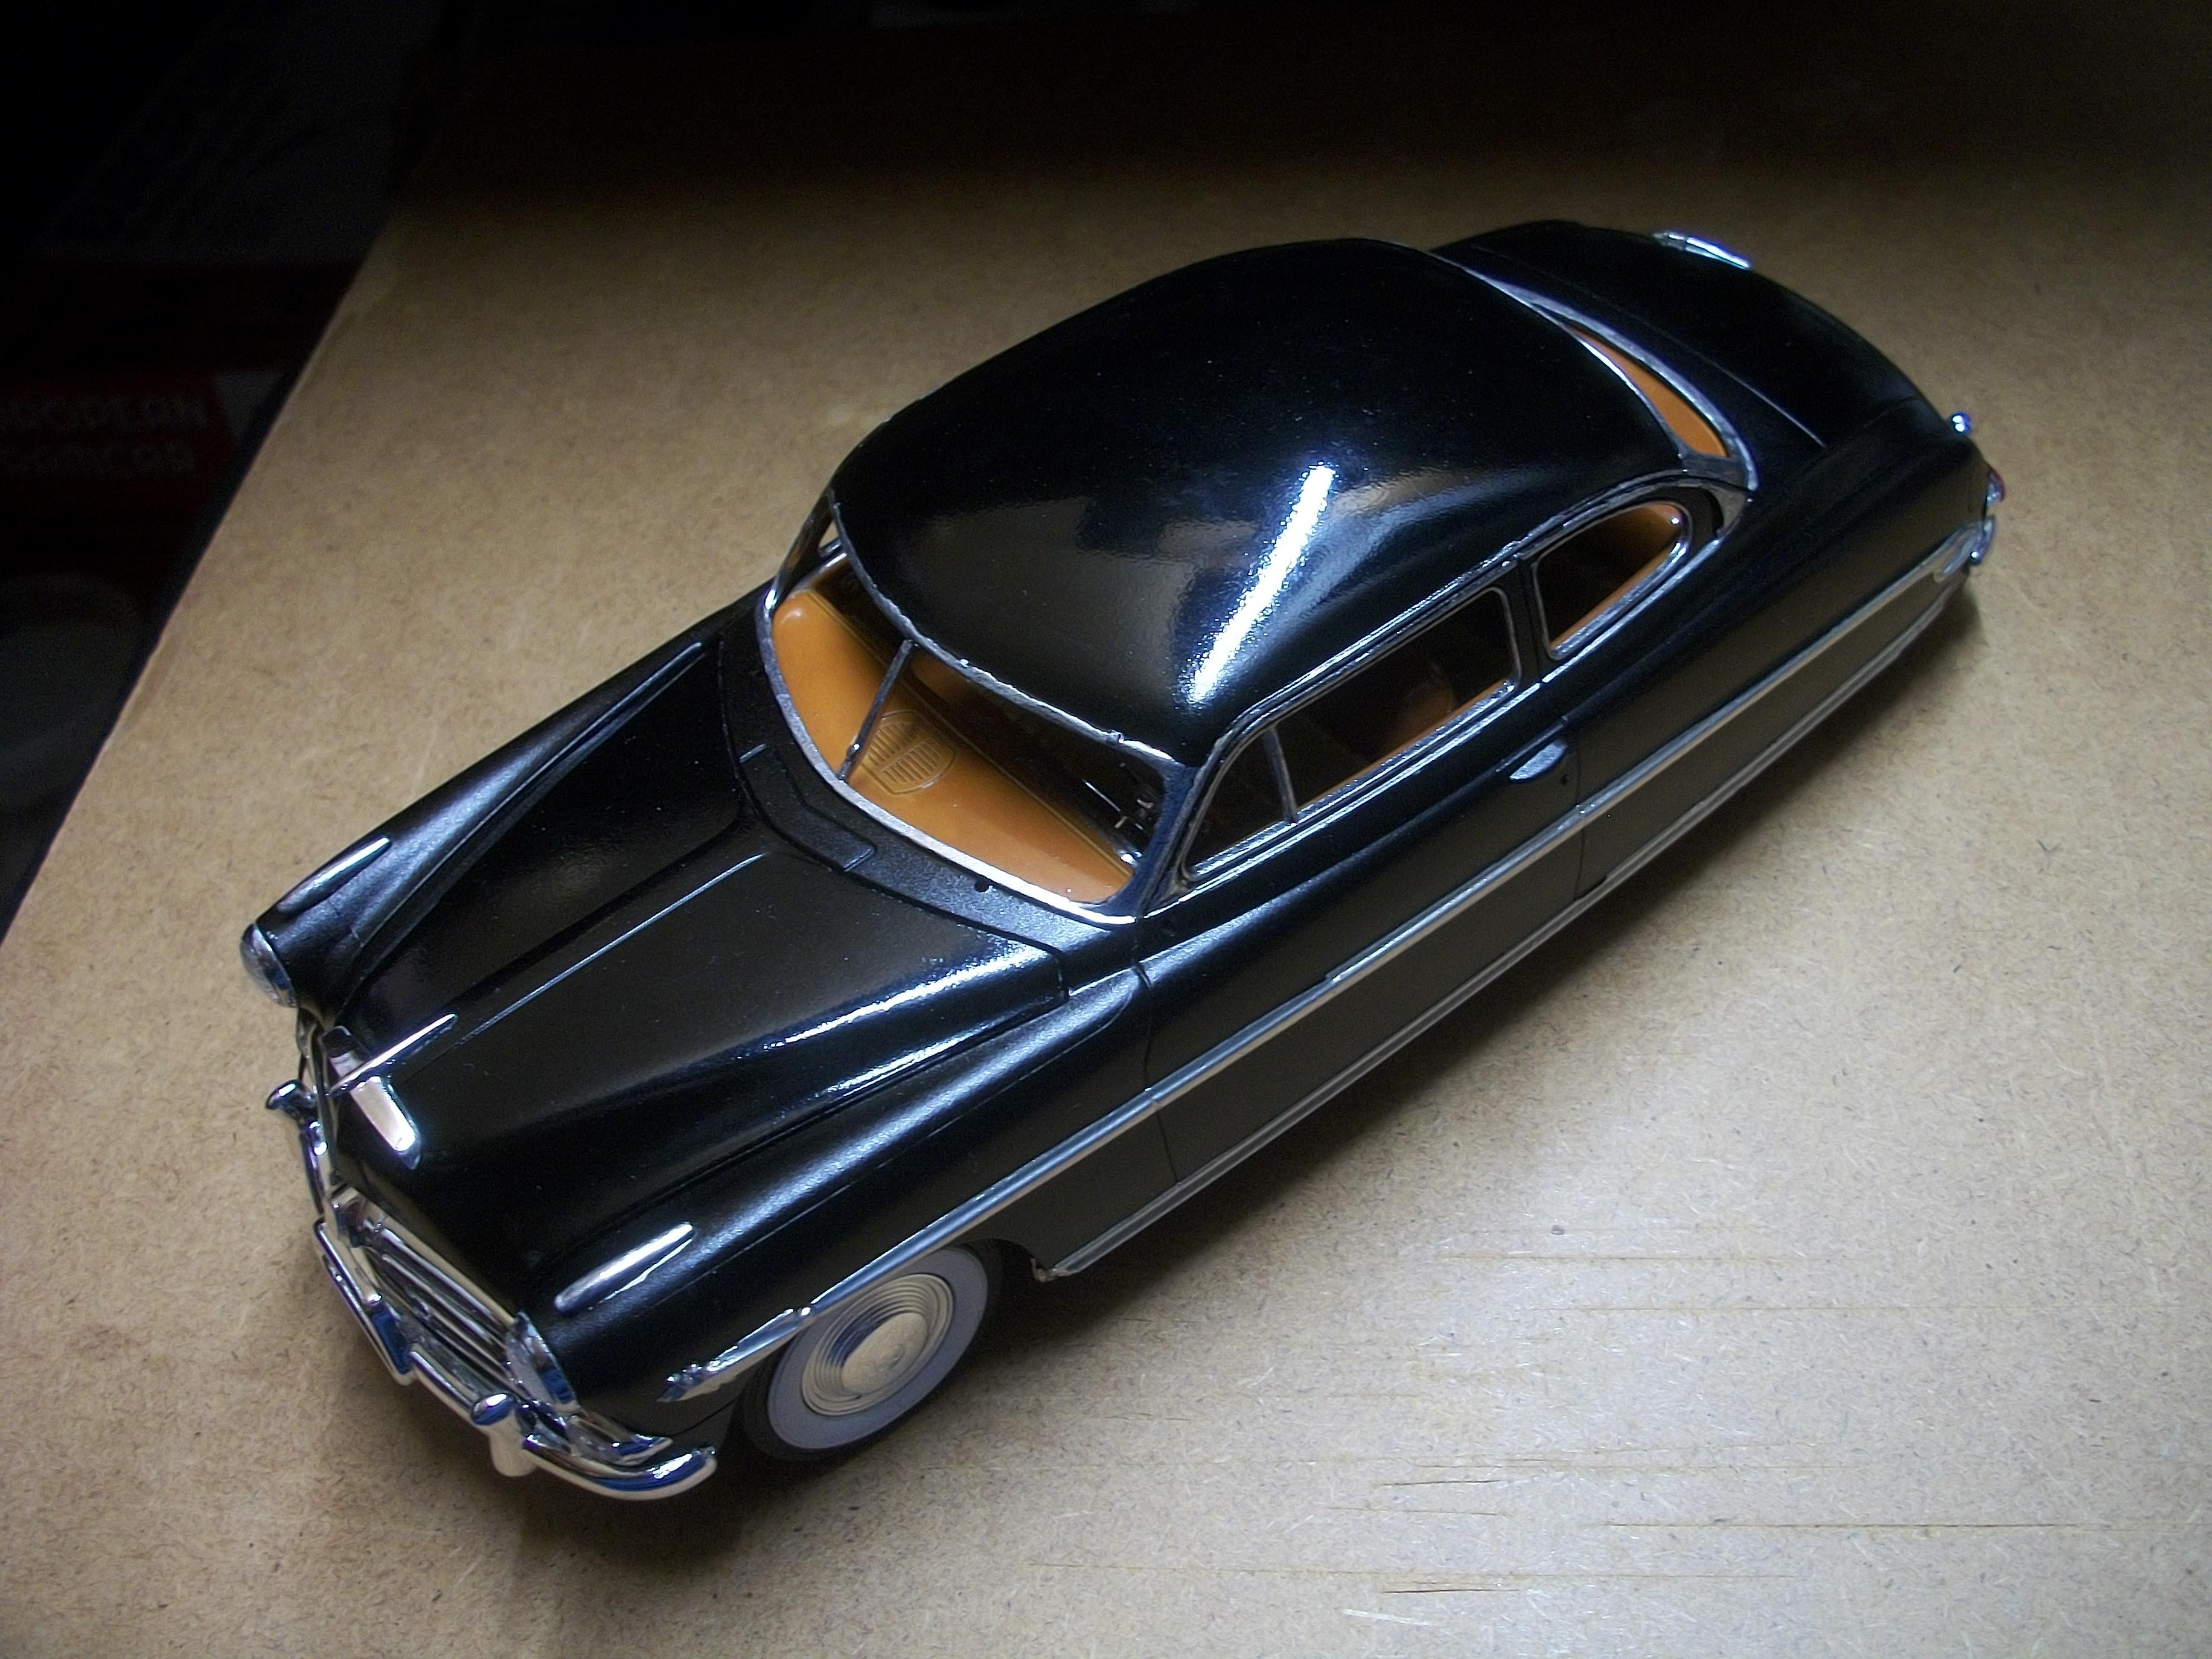
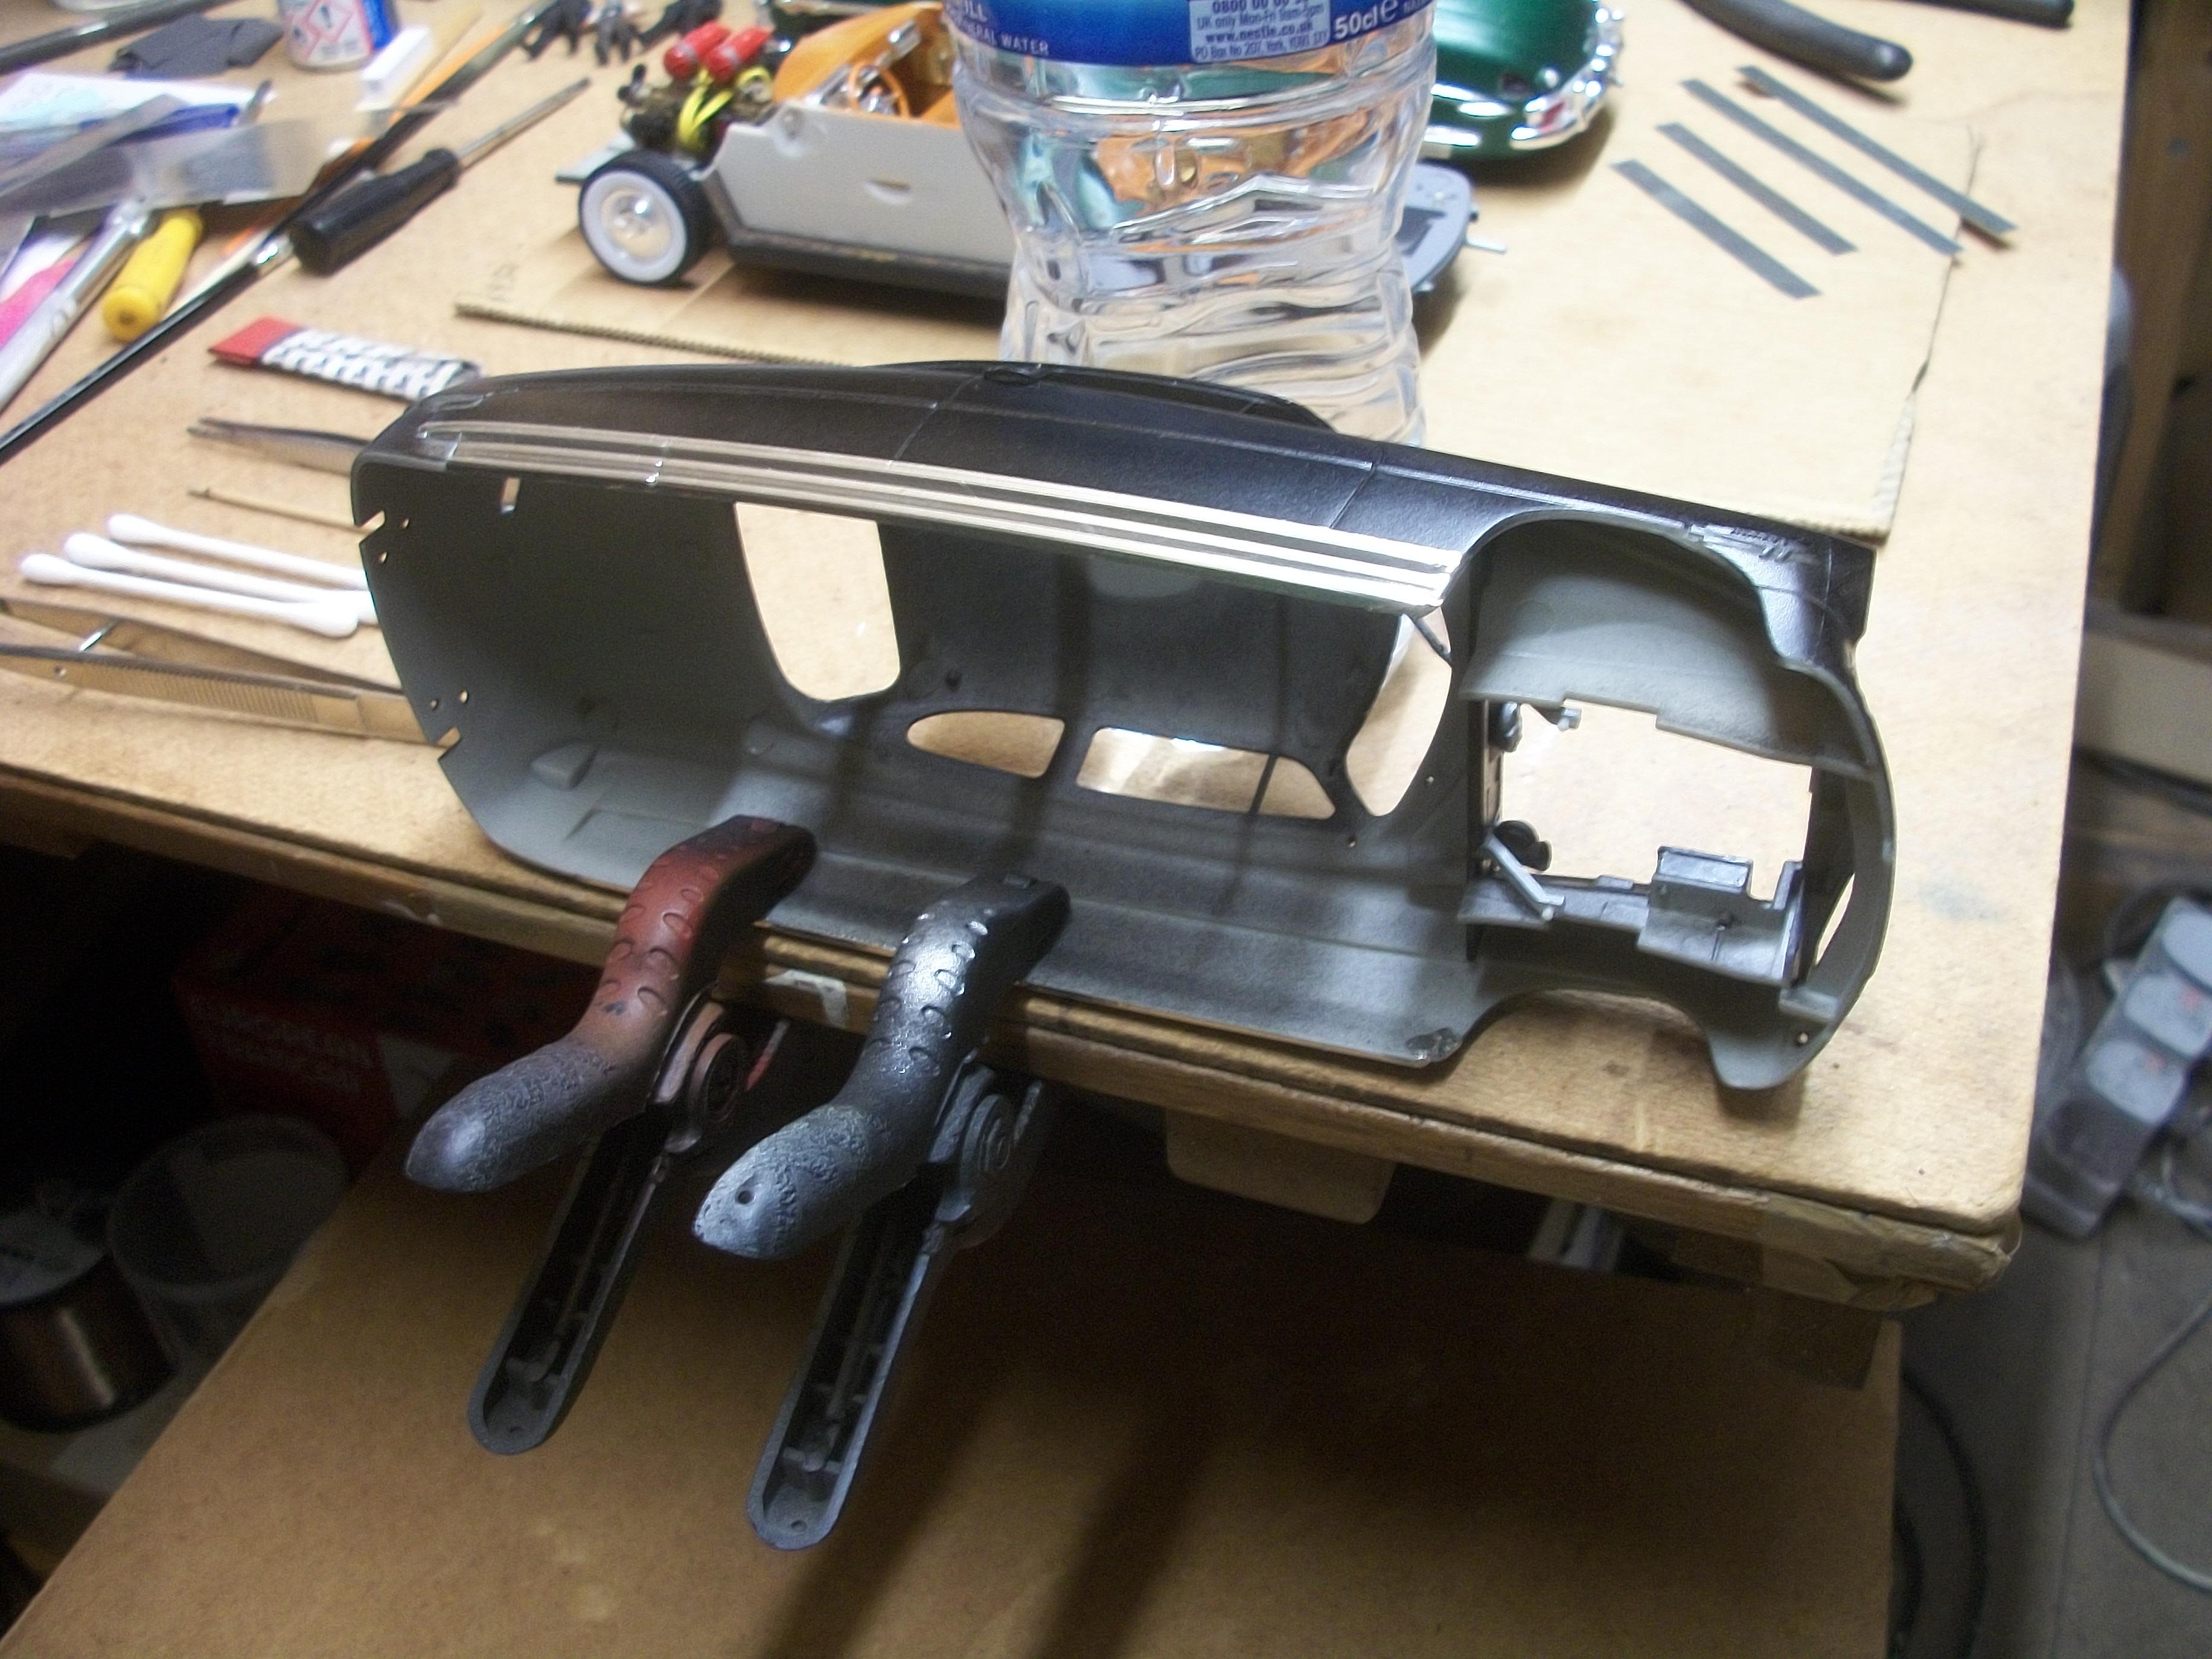
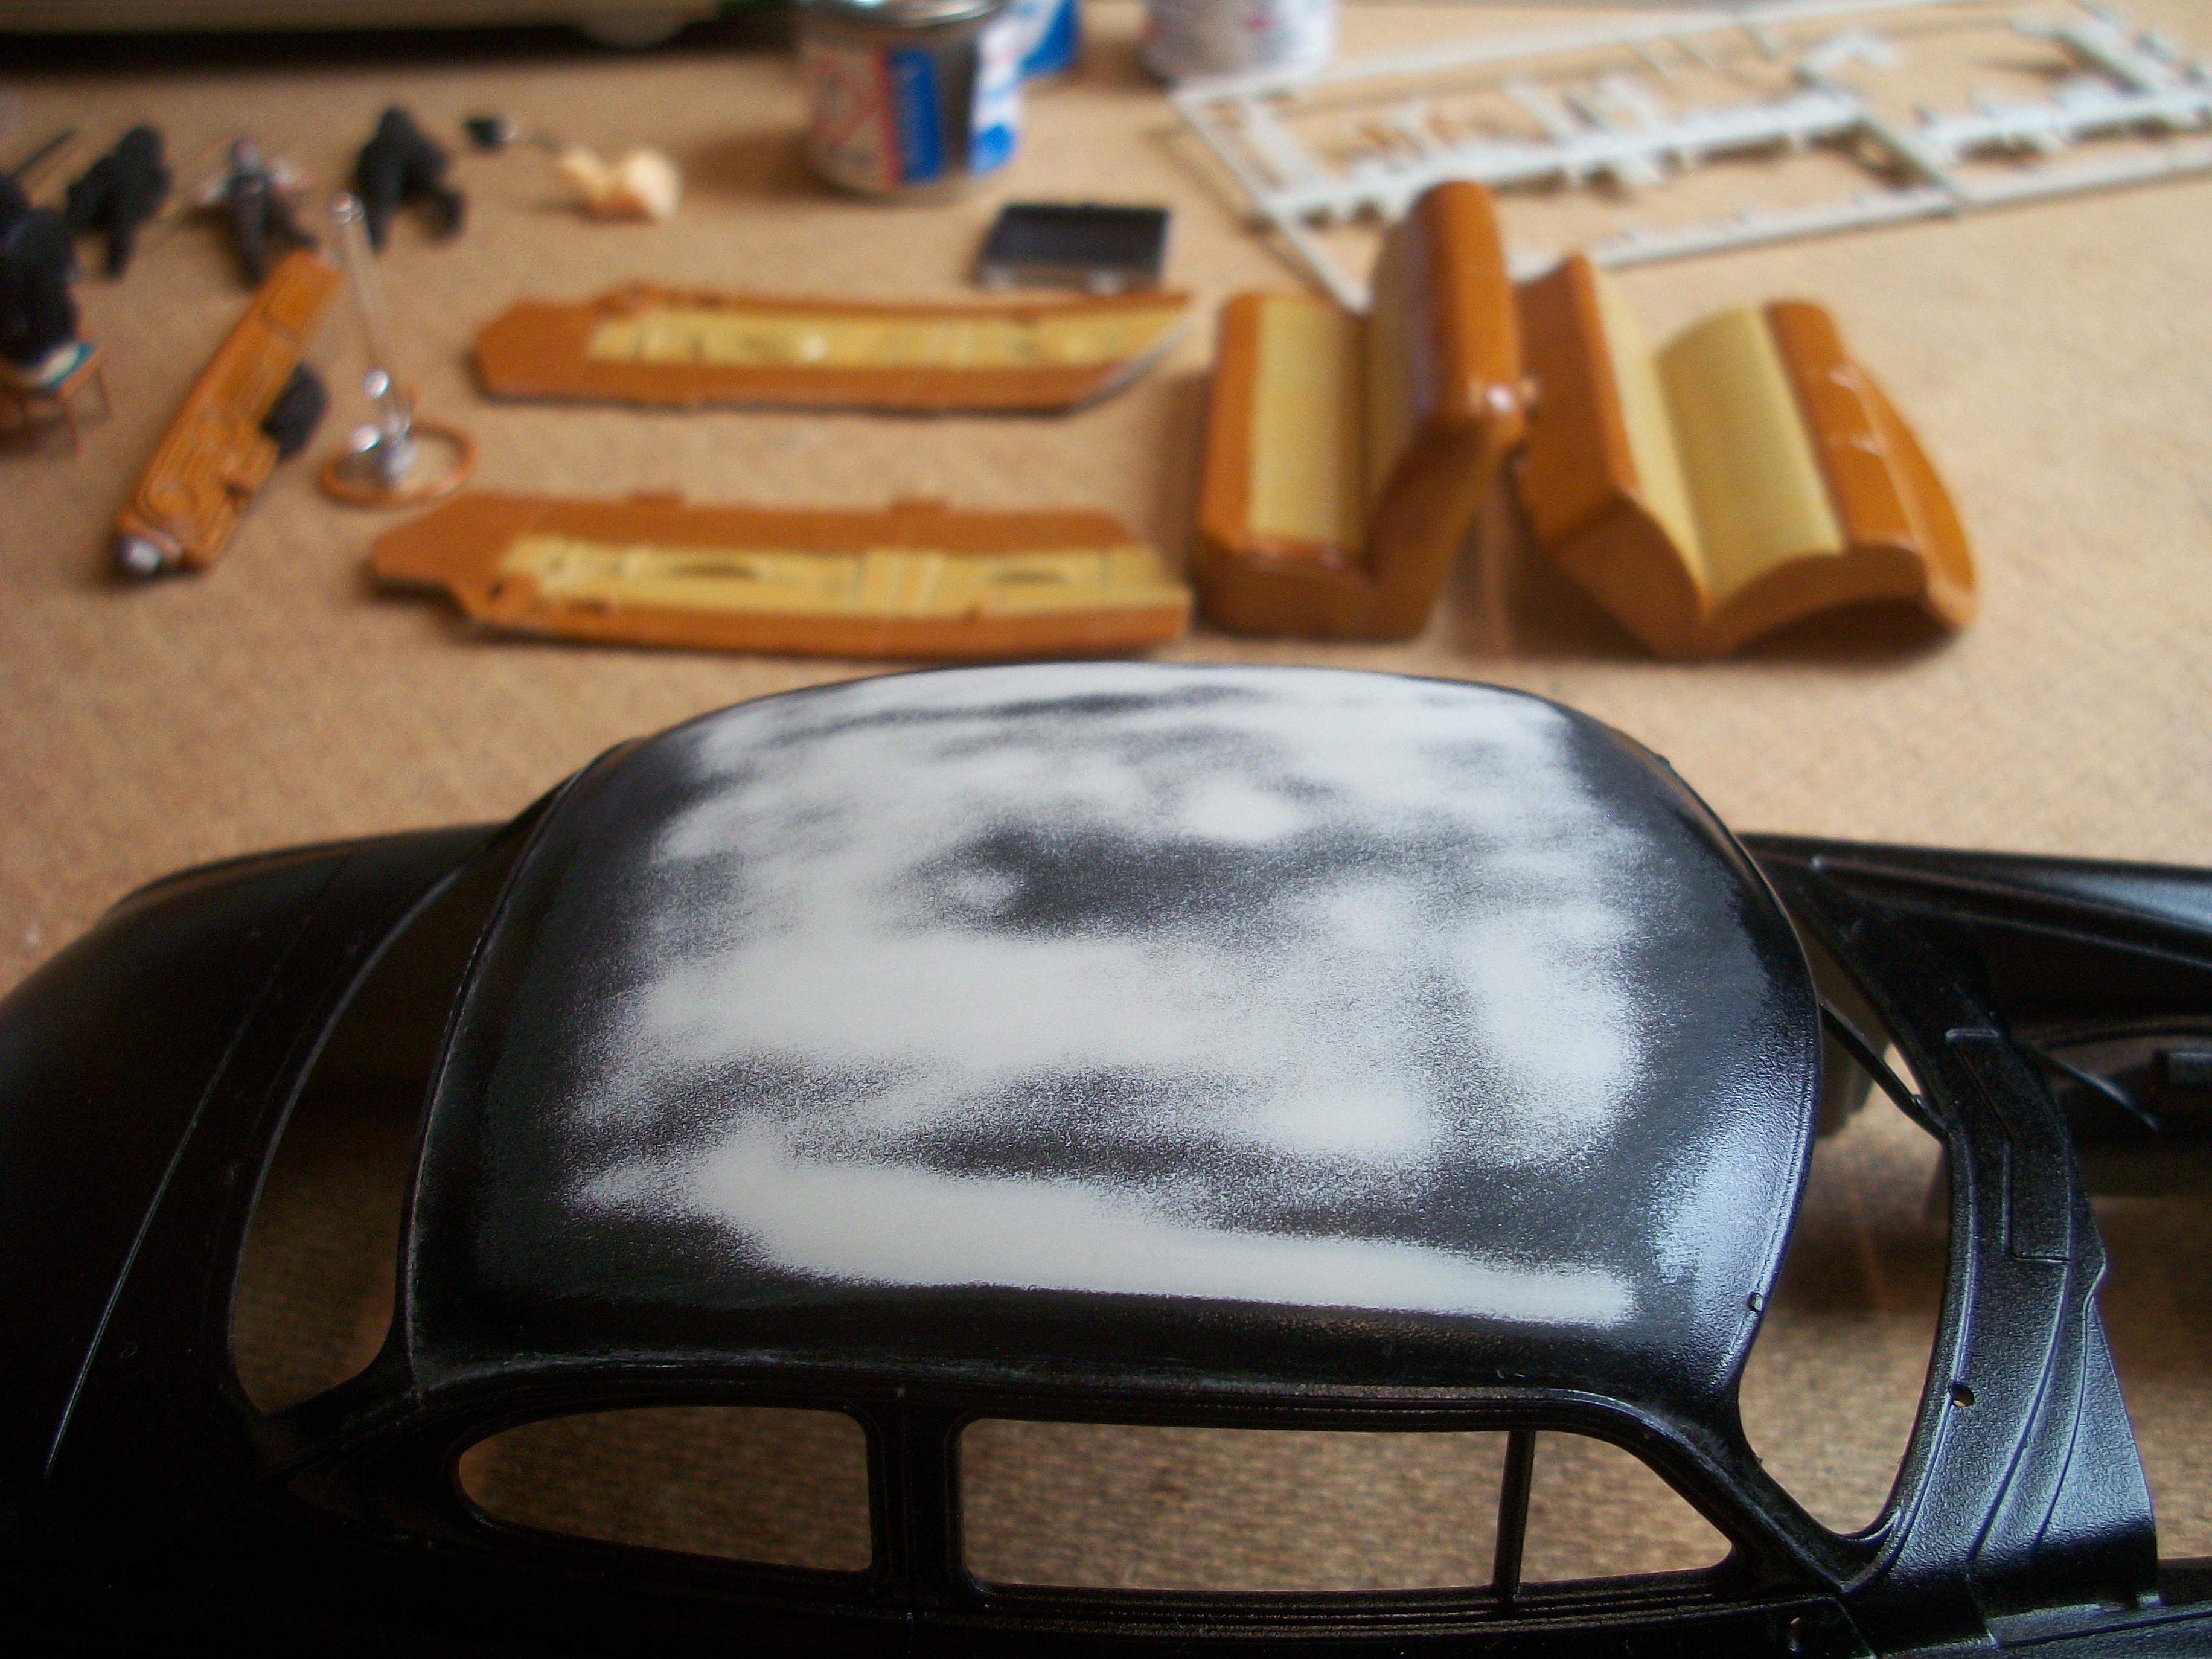
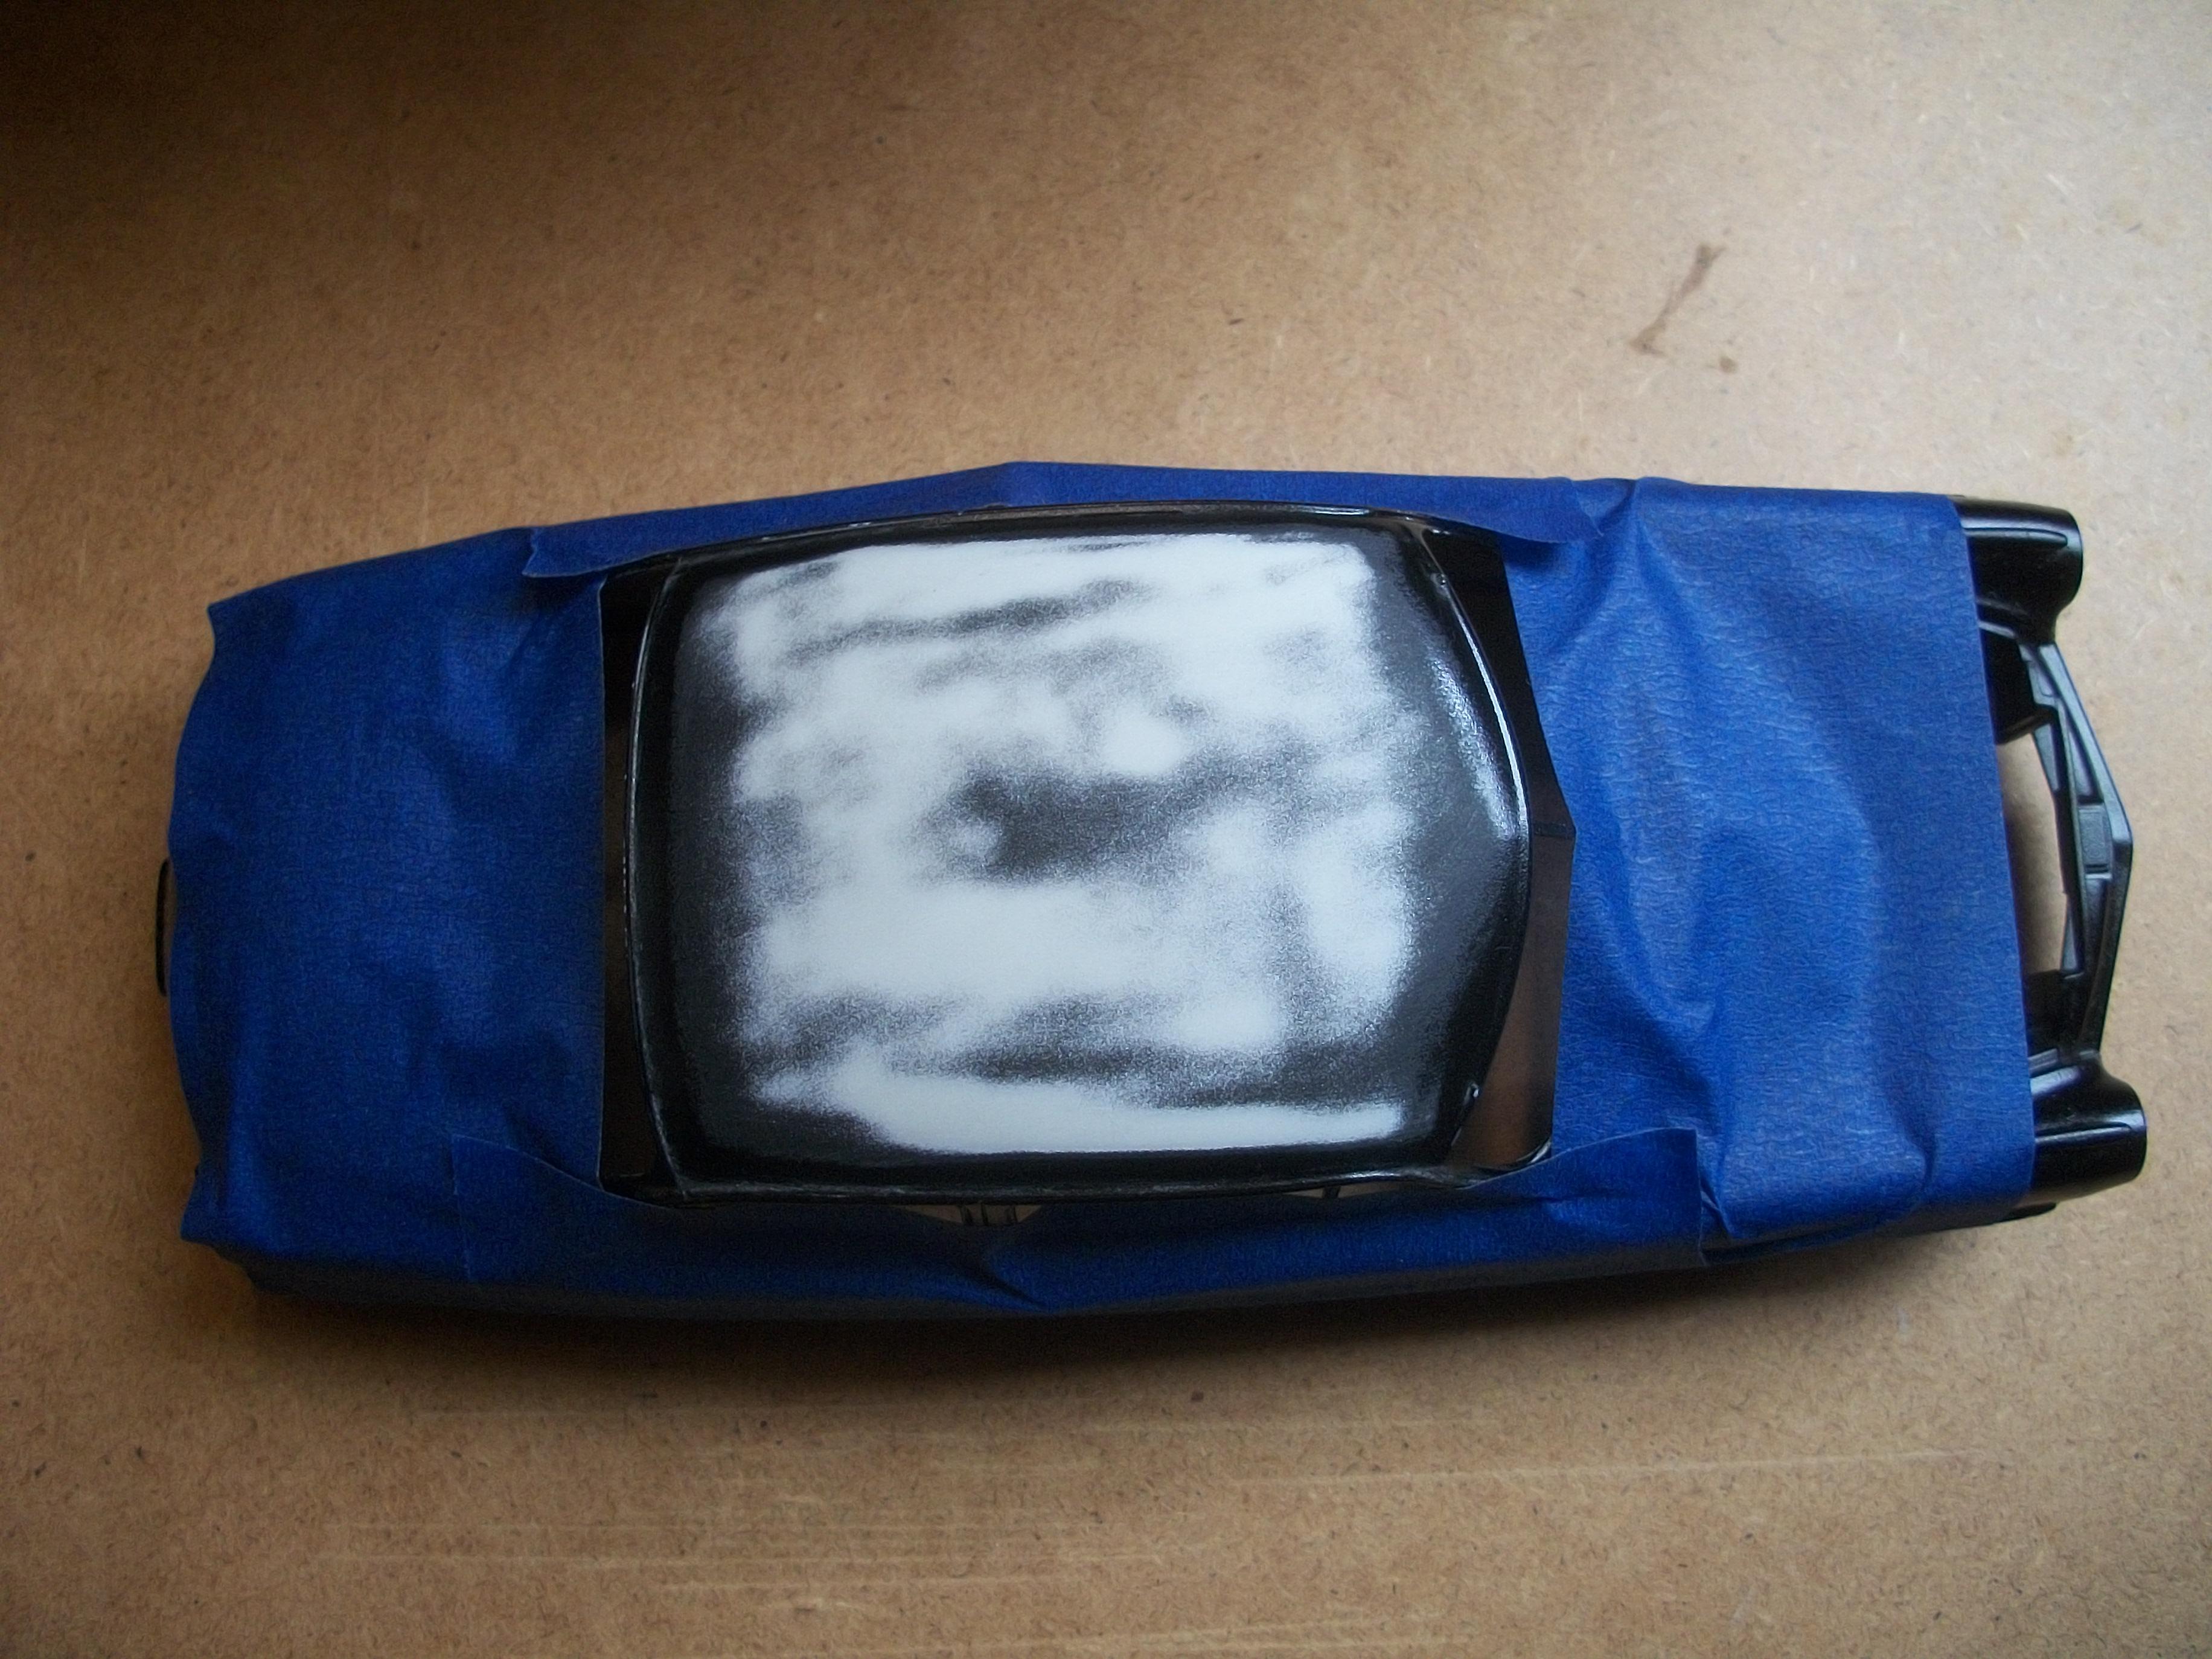
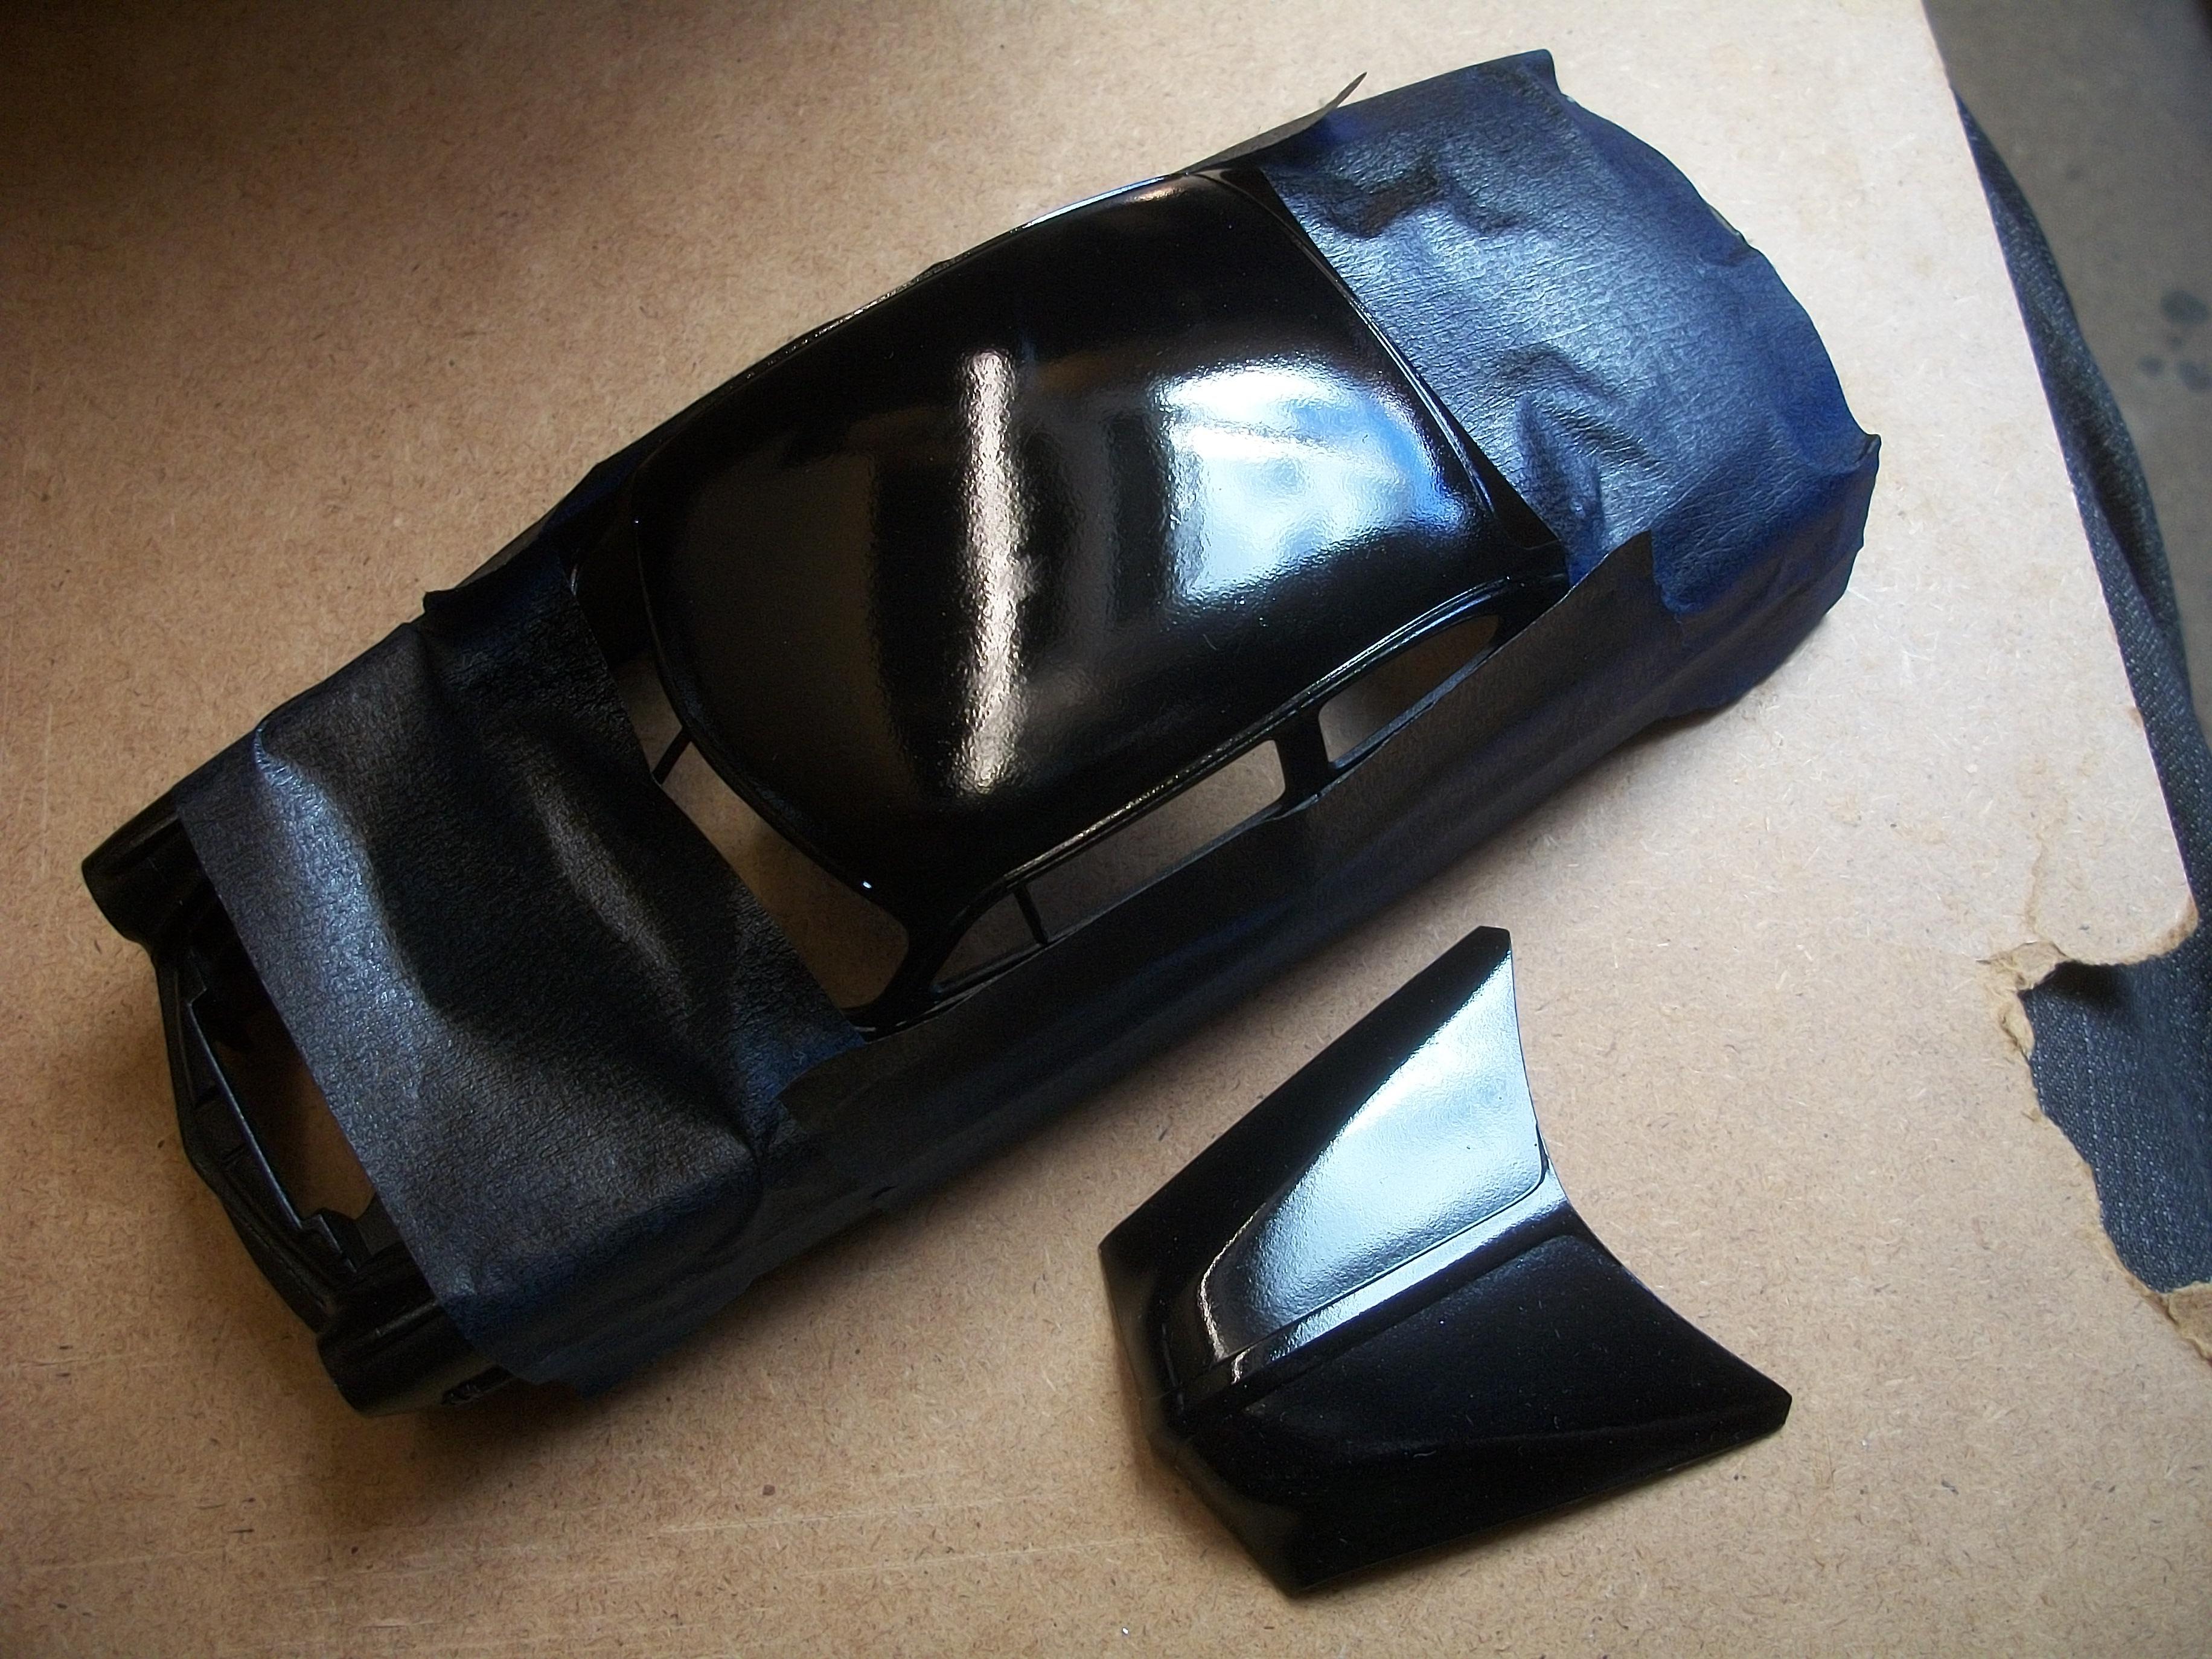
The roof area of the Hudson body has been wet sanded, and this time I have used a circular motion of the wet & dry paper, rather than sanding lengthways. The sanding was only down as far as the light grey primer, so just removing the black paint. Then I applied three coats of Tamiya TS-14 Black, with five minutes in between coats. When I did a visual check after overnight drying, I was pleased with the high gloss finish. Leaving the body for a 5 days curing period before polishing compound is applied, I am working on the interior of the model. There will be no further clear applied over the black this time, as I am hoping the polishing will bring out the required finish. David
-
'Forest Find' - Third and final upgrade...hopefully!!!!
Anglia105E replied to tiking's topic in Dioramas
This is one of your best dioramas Charles . . . So much to take in at one look, so I will go back through your photos to discover more! The three trees coming together, form the resting place for the vehicle, and the real tree stump is perfect as a base for the whole scene. Where did you manage to find a SWB Land Rover model, as they all seem to be the LWB version ? David