Anglia105E
-
Posts
3,487 -
Joined
-
Last visited
Content Type
Profiles
Forums
Events
Gallery
Everything posted by Anglia105E
-
Thank you Phil . . . Wise words indeed Sir ! David
-
Thanks Tim . . . David
-
Thank you Chris . . . David
-
Thanks Steve . . . David
-
Many thanks Garry . . . The Cortina is the 1:16 scale FROG kit, which is shown as two door on the box art, but is four door inside the box. These kits are now very rare, and also expensive. My Dad's car was a four door so this kit was perfect for me . . . Merry Christmas to you, and all the best for the New Year David
-
All of these are nice builds Bob, and I particularly like the gold Chevrolet Impala . . . David
-
Thank you Ismael . . . David
-
Thanks Bob . . . David
-
Cheers Dave . . . Thank you David
-
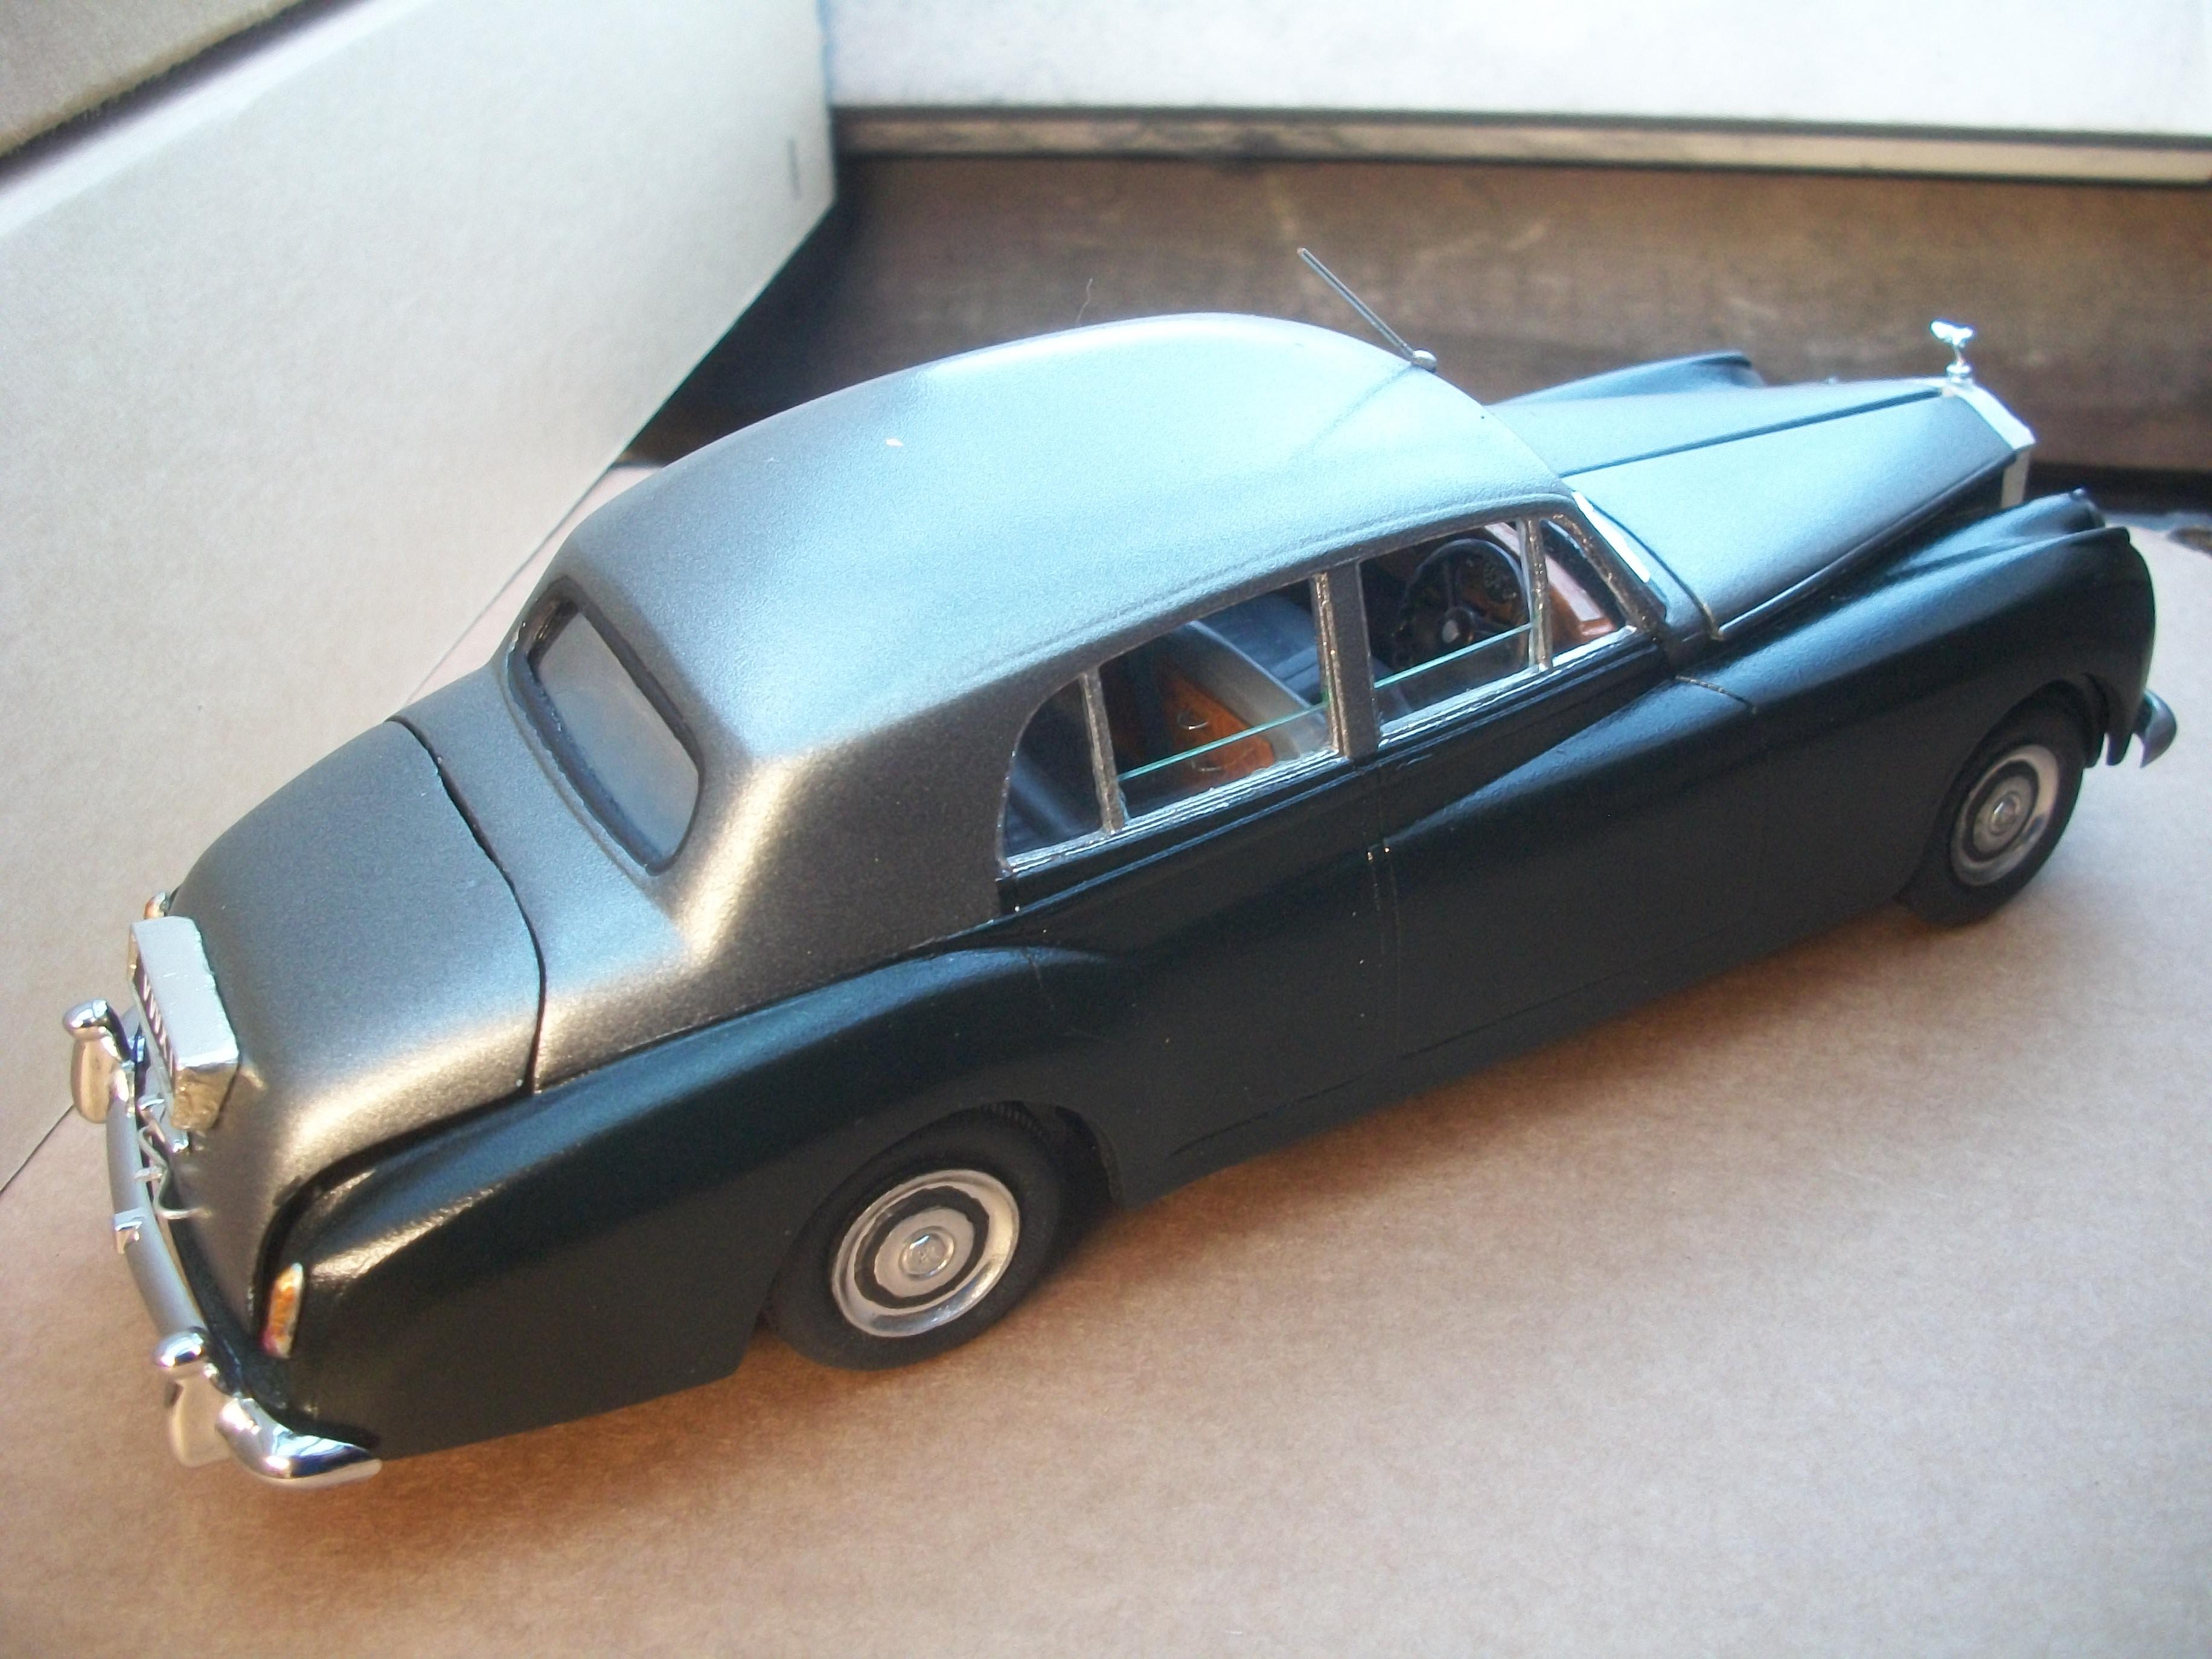
Here are my three most recent builds for this past year . . . Rolls-Royce Silver Cloud I . . . Hudson Hornet . . . Ford Consul Cortina MK I Merry Christmas and a Happy New Year to all fellow MCM members ! David

- 27 replies
-
- 11
-

-

Canadian 1961 Pontiac Laurentian conversion
Anglia105E replied to TheBEAUMONTGURU's topic in WIP: Model Cars
Nicely done Pontiac, DA . . . I used to own a 1968 Pontiac Parisienne 4-door, which was right hand drive from Canada . . . My Pontiac was finished in Maize yellow with brown vinyl roof, 5.3 litre V8 engine, auto transmission and registration number in England was FCK 33 I built a 1:24 scale model of the Parisienne from a resin body kit, and I have photos for anyone interested in Pontiac's David -
1932 Cadillac V16 plug wires?
Anglia105E replied to Matt87's topic in Model Building Questions and Answers
Sorry Matthew, I don't know of a prewired 16 cylinder distributor, but I am starting the build of a 1:16 scale Rolls-Royce Phantom III in January, which has two distributors of 12 ignition leads each, for the V12 engine. From what I have been reading on this forum, there is not much space to accommodate the 24 plug leads . . . David -
Best looking soft top I've seen Steven . . . Very nicely done, also lots of detail inside and outside too. Certainly worth moulding and casting as someone suggested (david espenshade) David W.
-
I have only just realised, that I have posted in the wrong place, under the wrong topic . . . ' What Diecast Did You Get Today? ' My three Phantom III's were not purchased TODAY . . . as I have owned these for quite some time . . . Sorry guys, my brain has gone AWOL Maybe it is a Christmas / End of Year thing . . . I have not been drinking something strong, honestly ! David
-
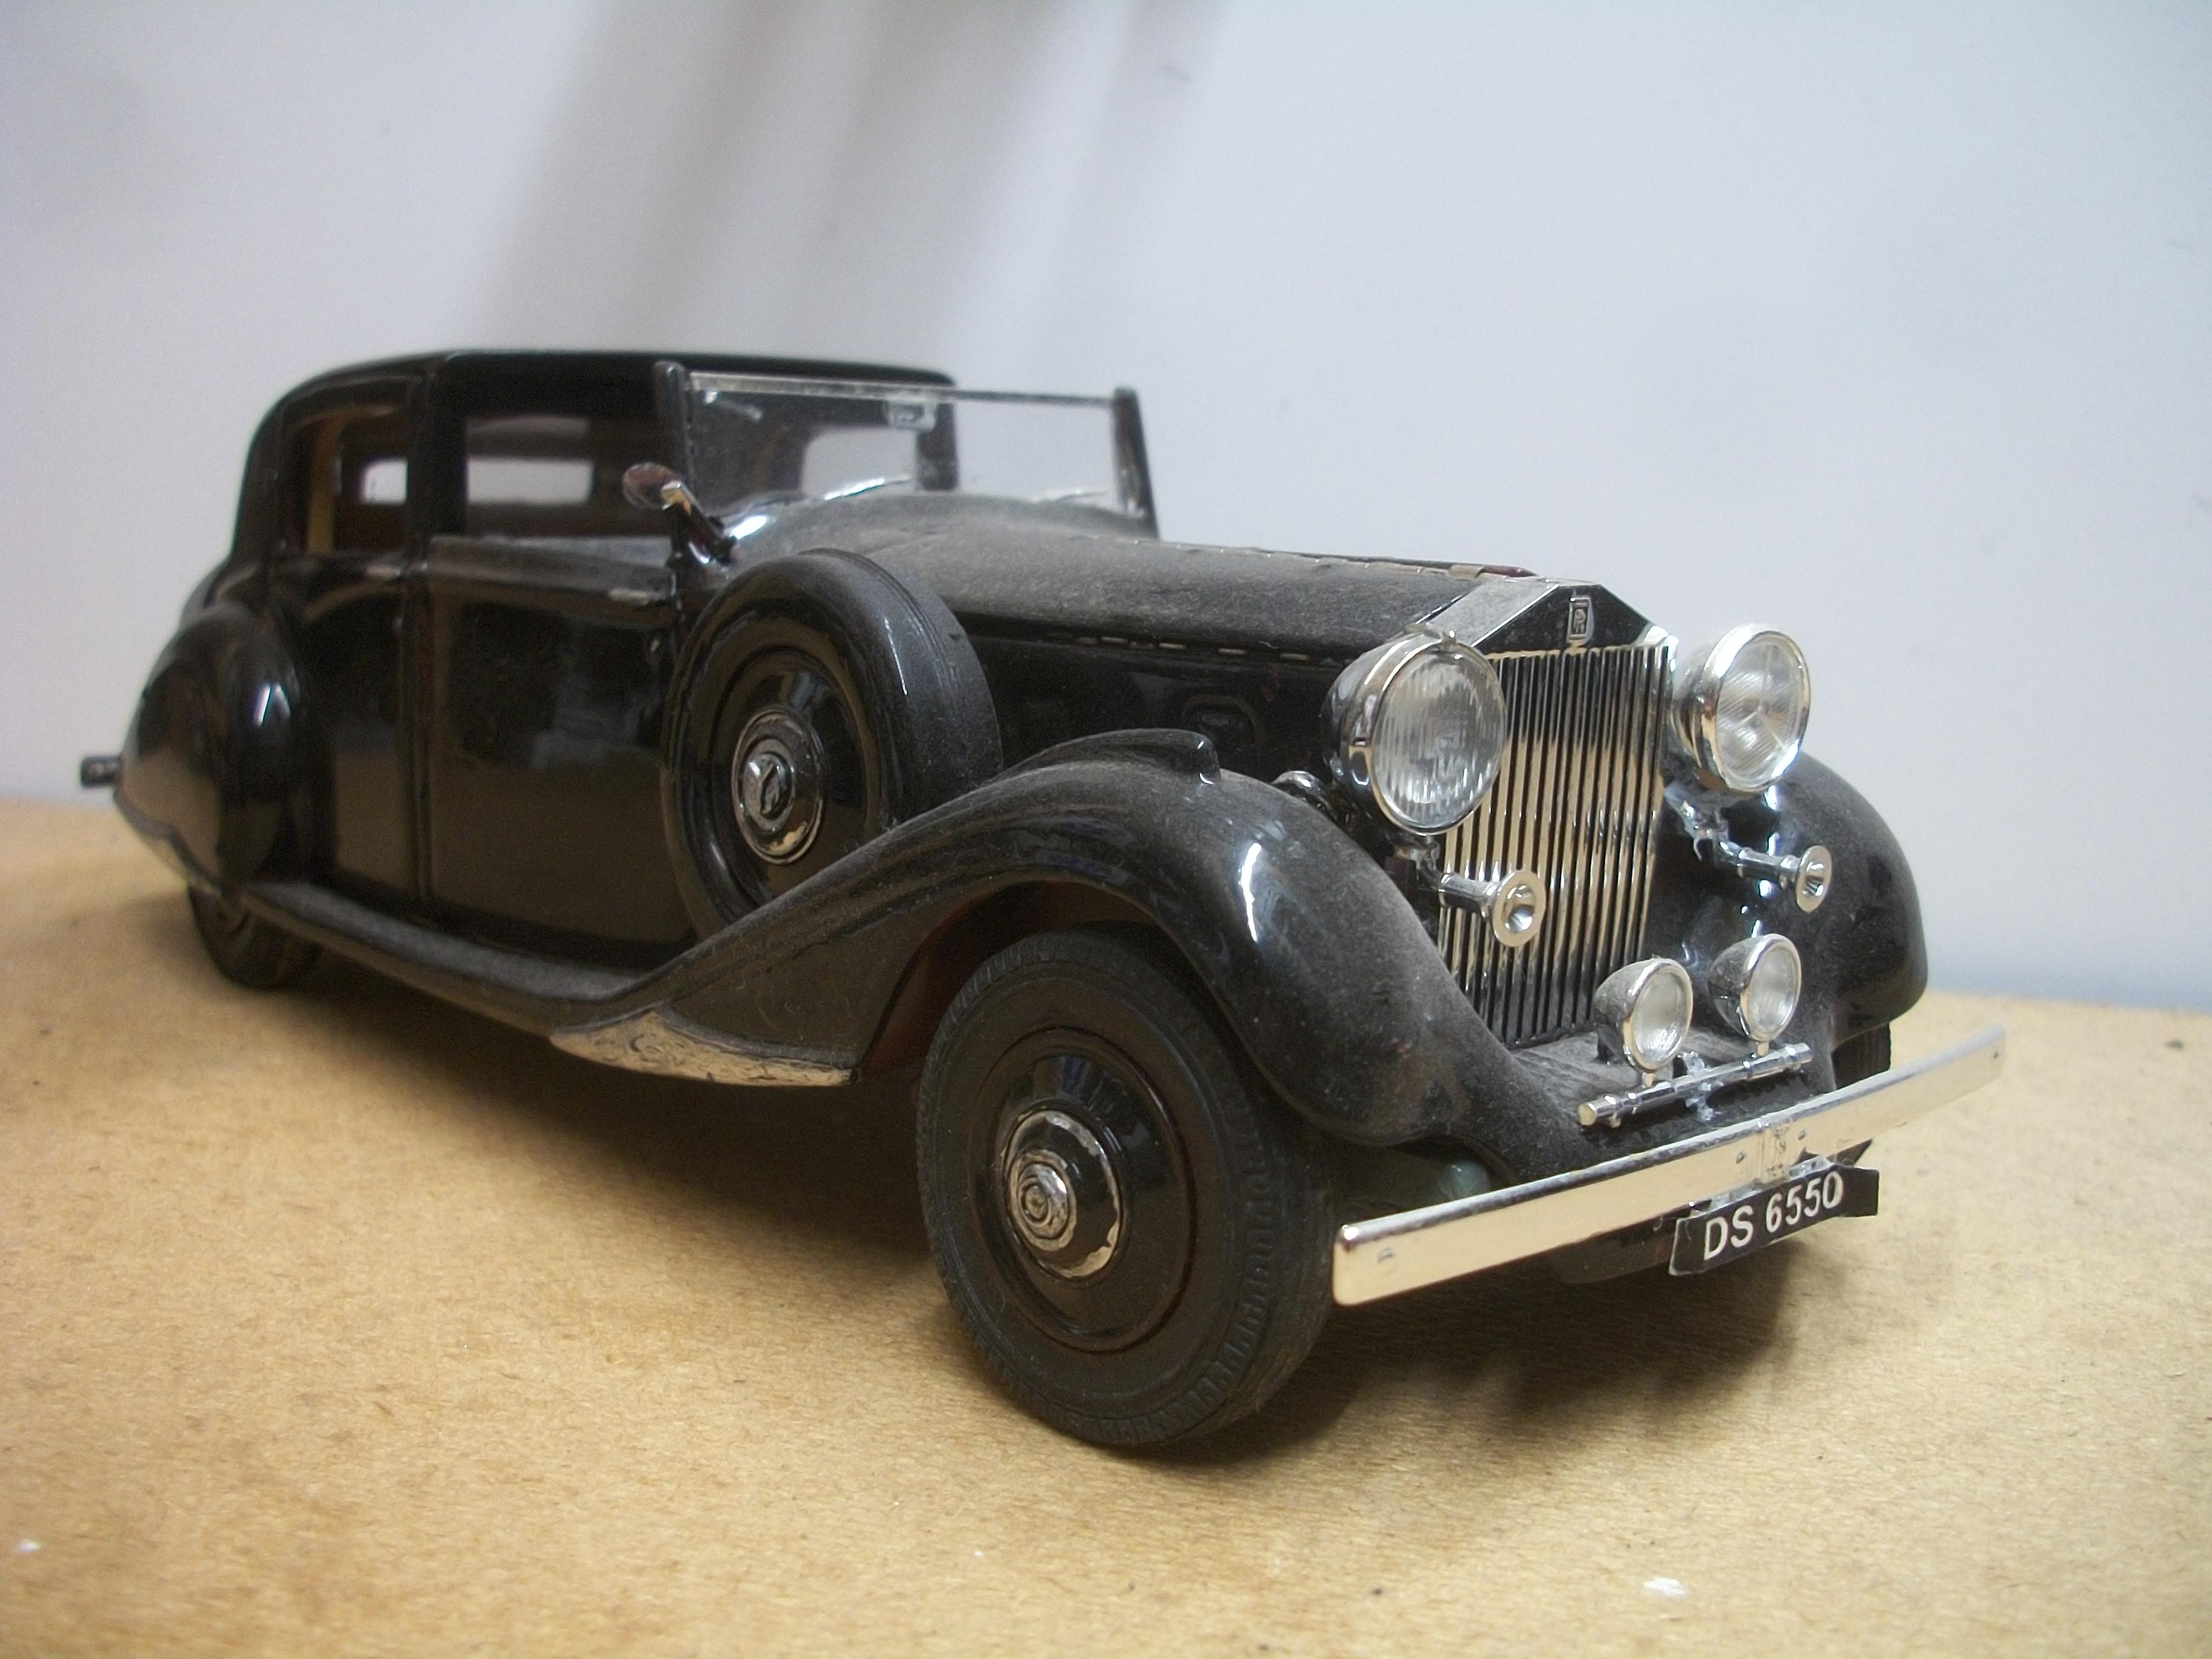
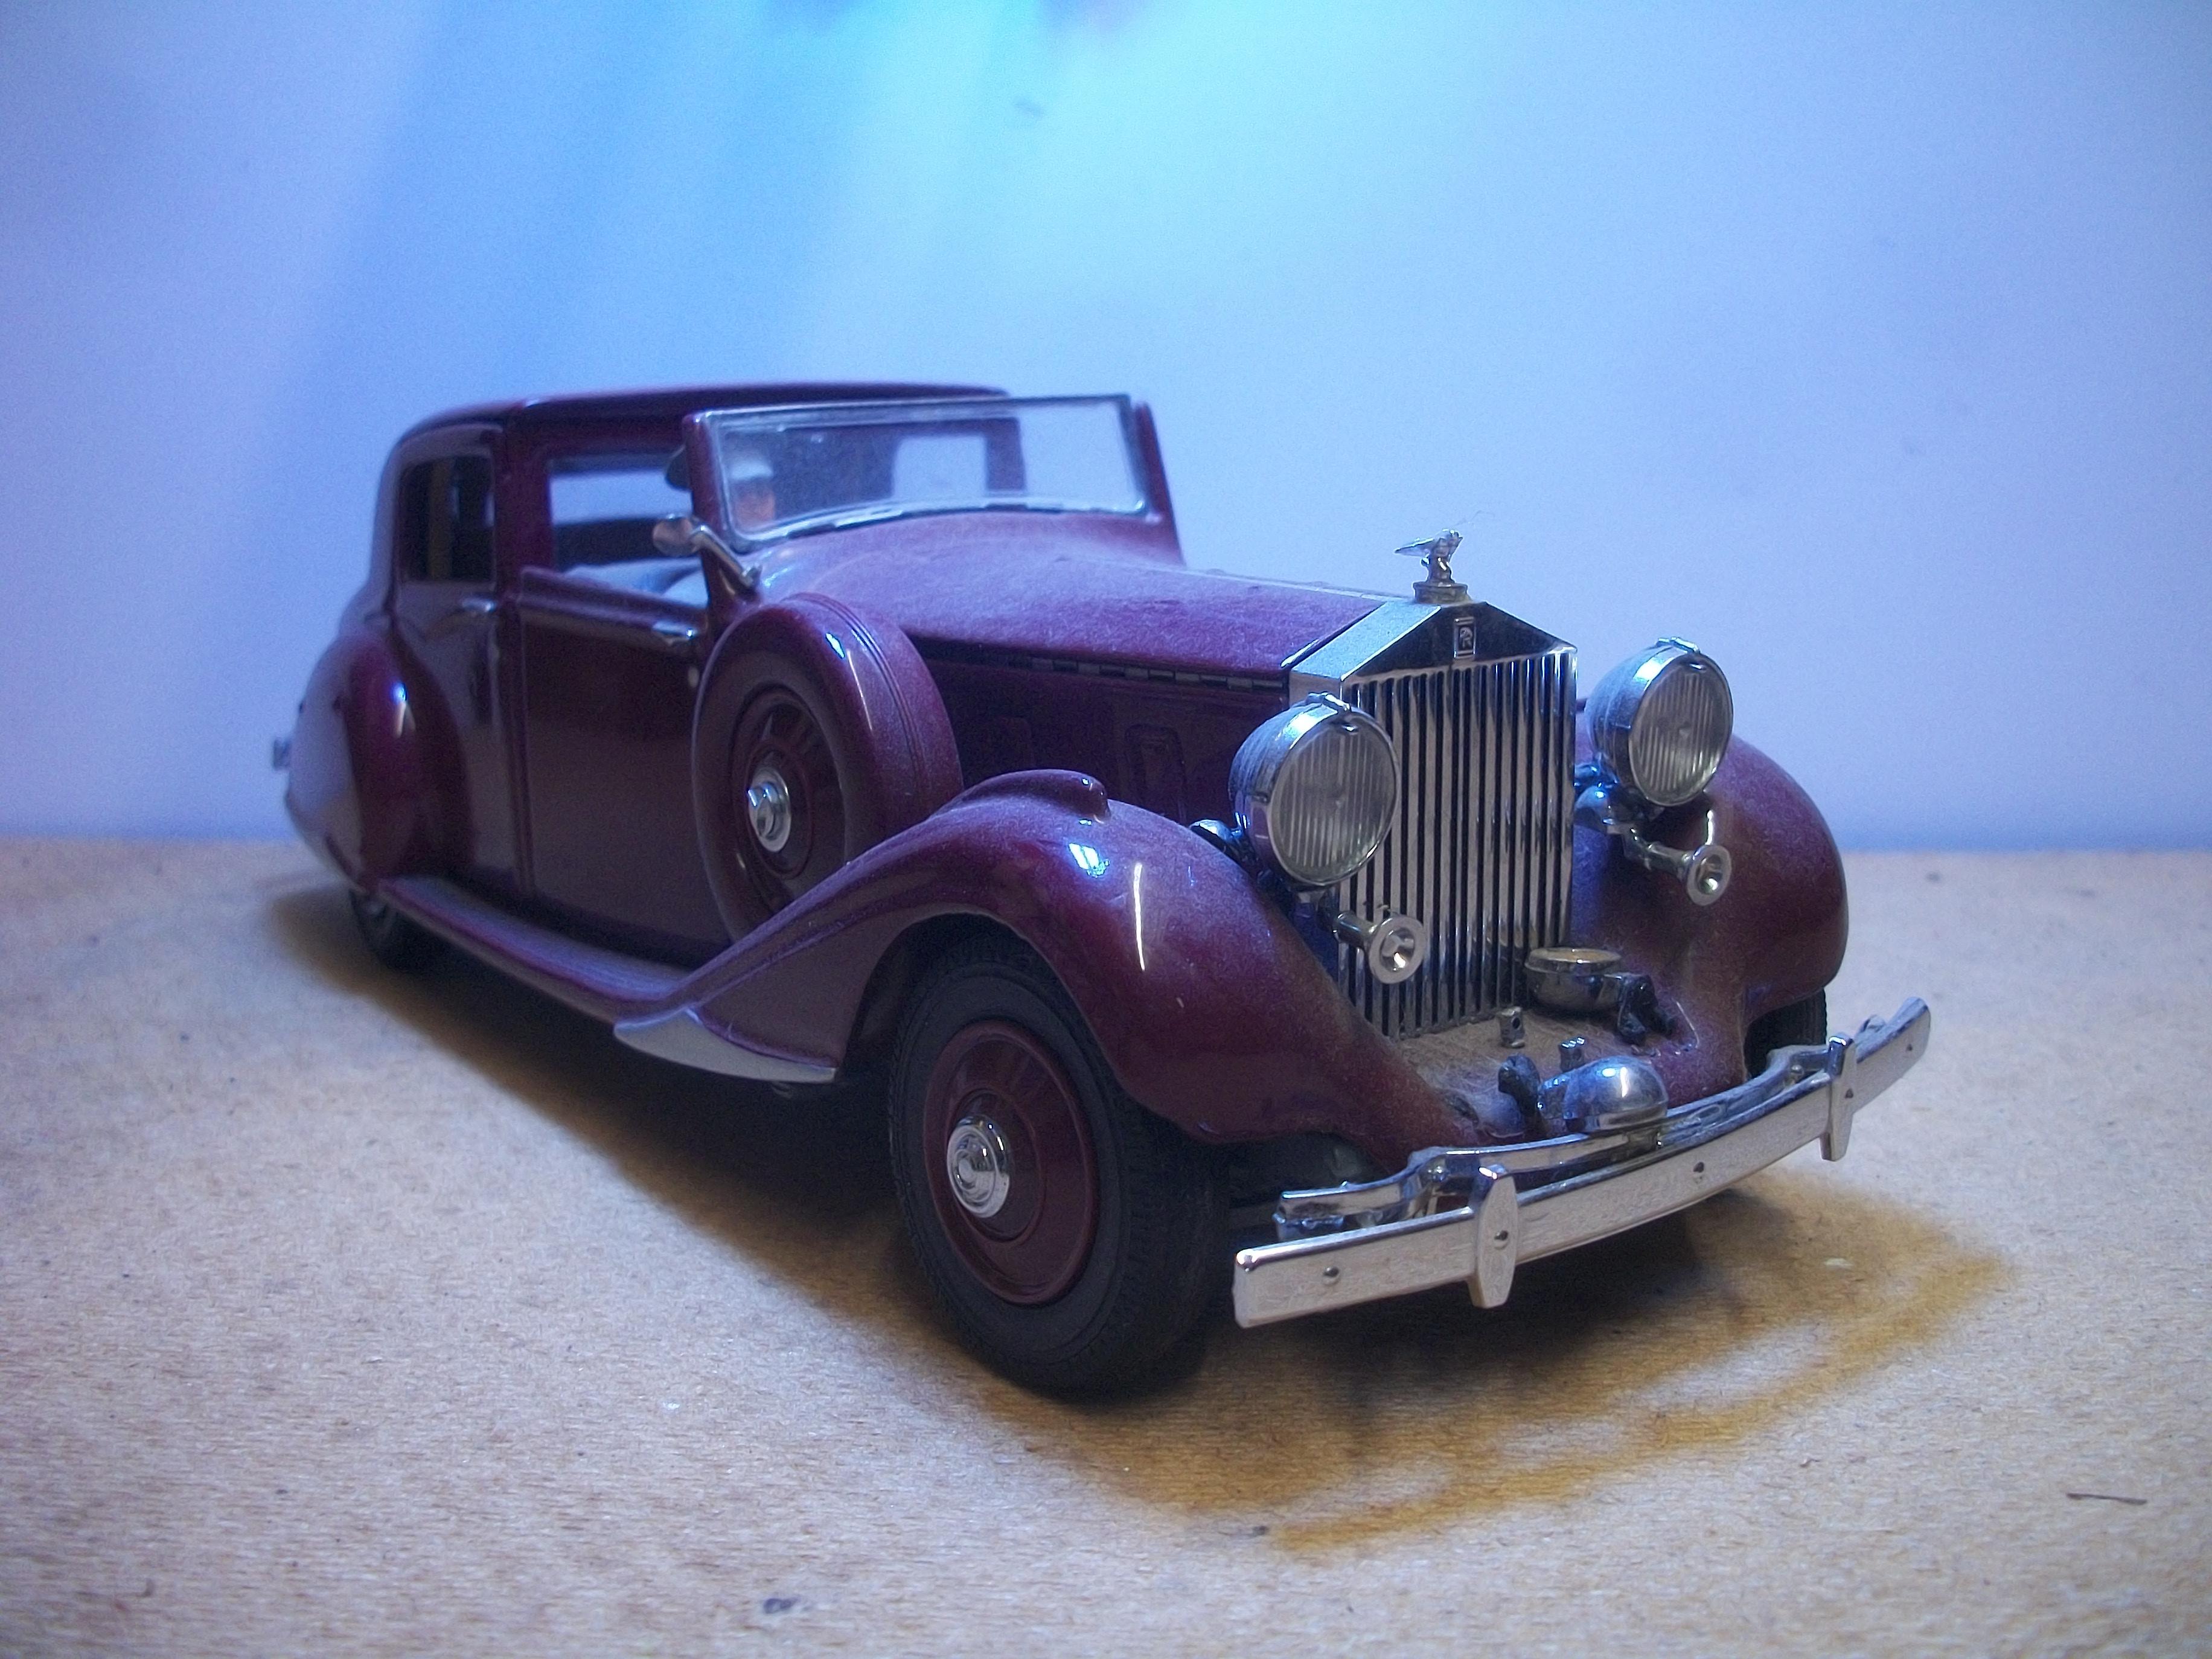
Apologies guys . . . I forgot to mention these three model cars are in need of a good polish, as well as a missing Spirit of Ecstasy on one of them, and a pair of spot lamps that need fixing back in place. Thanks a lot Gary . . . David
-
Here are my three Danbury Mint Rolls-Royce Phantom III diecast models in 1:24 scale, which I have owned for some time. One car is finished in black, one is in burgundy and one in light blue and grey two-tone . . . David
-
What an excellent build this is David G., . . . Reading your summary of the completed build, I was surprised to see so many decals supplied by Revell, and particularly those areas that you would have expected to paint yourself. Beautiful colour for this car, and I can see that you have done your research meticulously at every stage . . . You have done your best with the warped hood, and you didn't resort to glueing the hood in place to make a curbside. Well done ! David W.
-
Chrysler Iperial Phaeton....Kit Italeri 1/24 scale
Anglia105E replied to louis Carabott's topic in Model Cars
These are nice kits from Italeri, and this one of your Chrysler is a good build Louis . . . David -
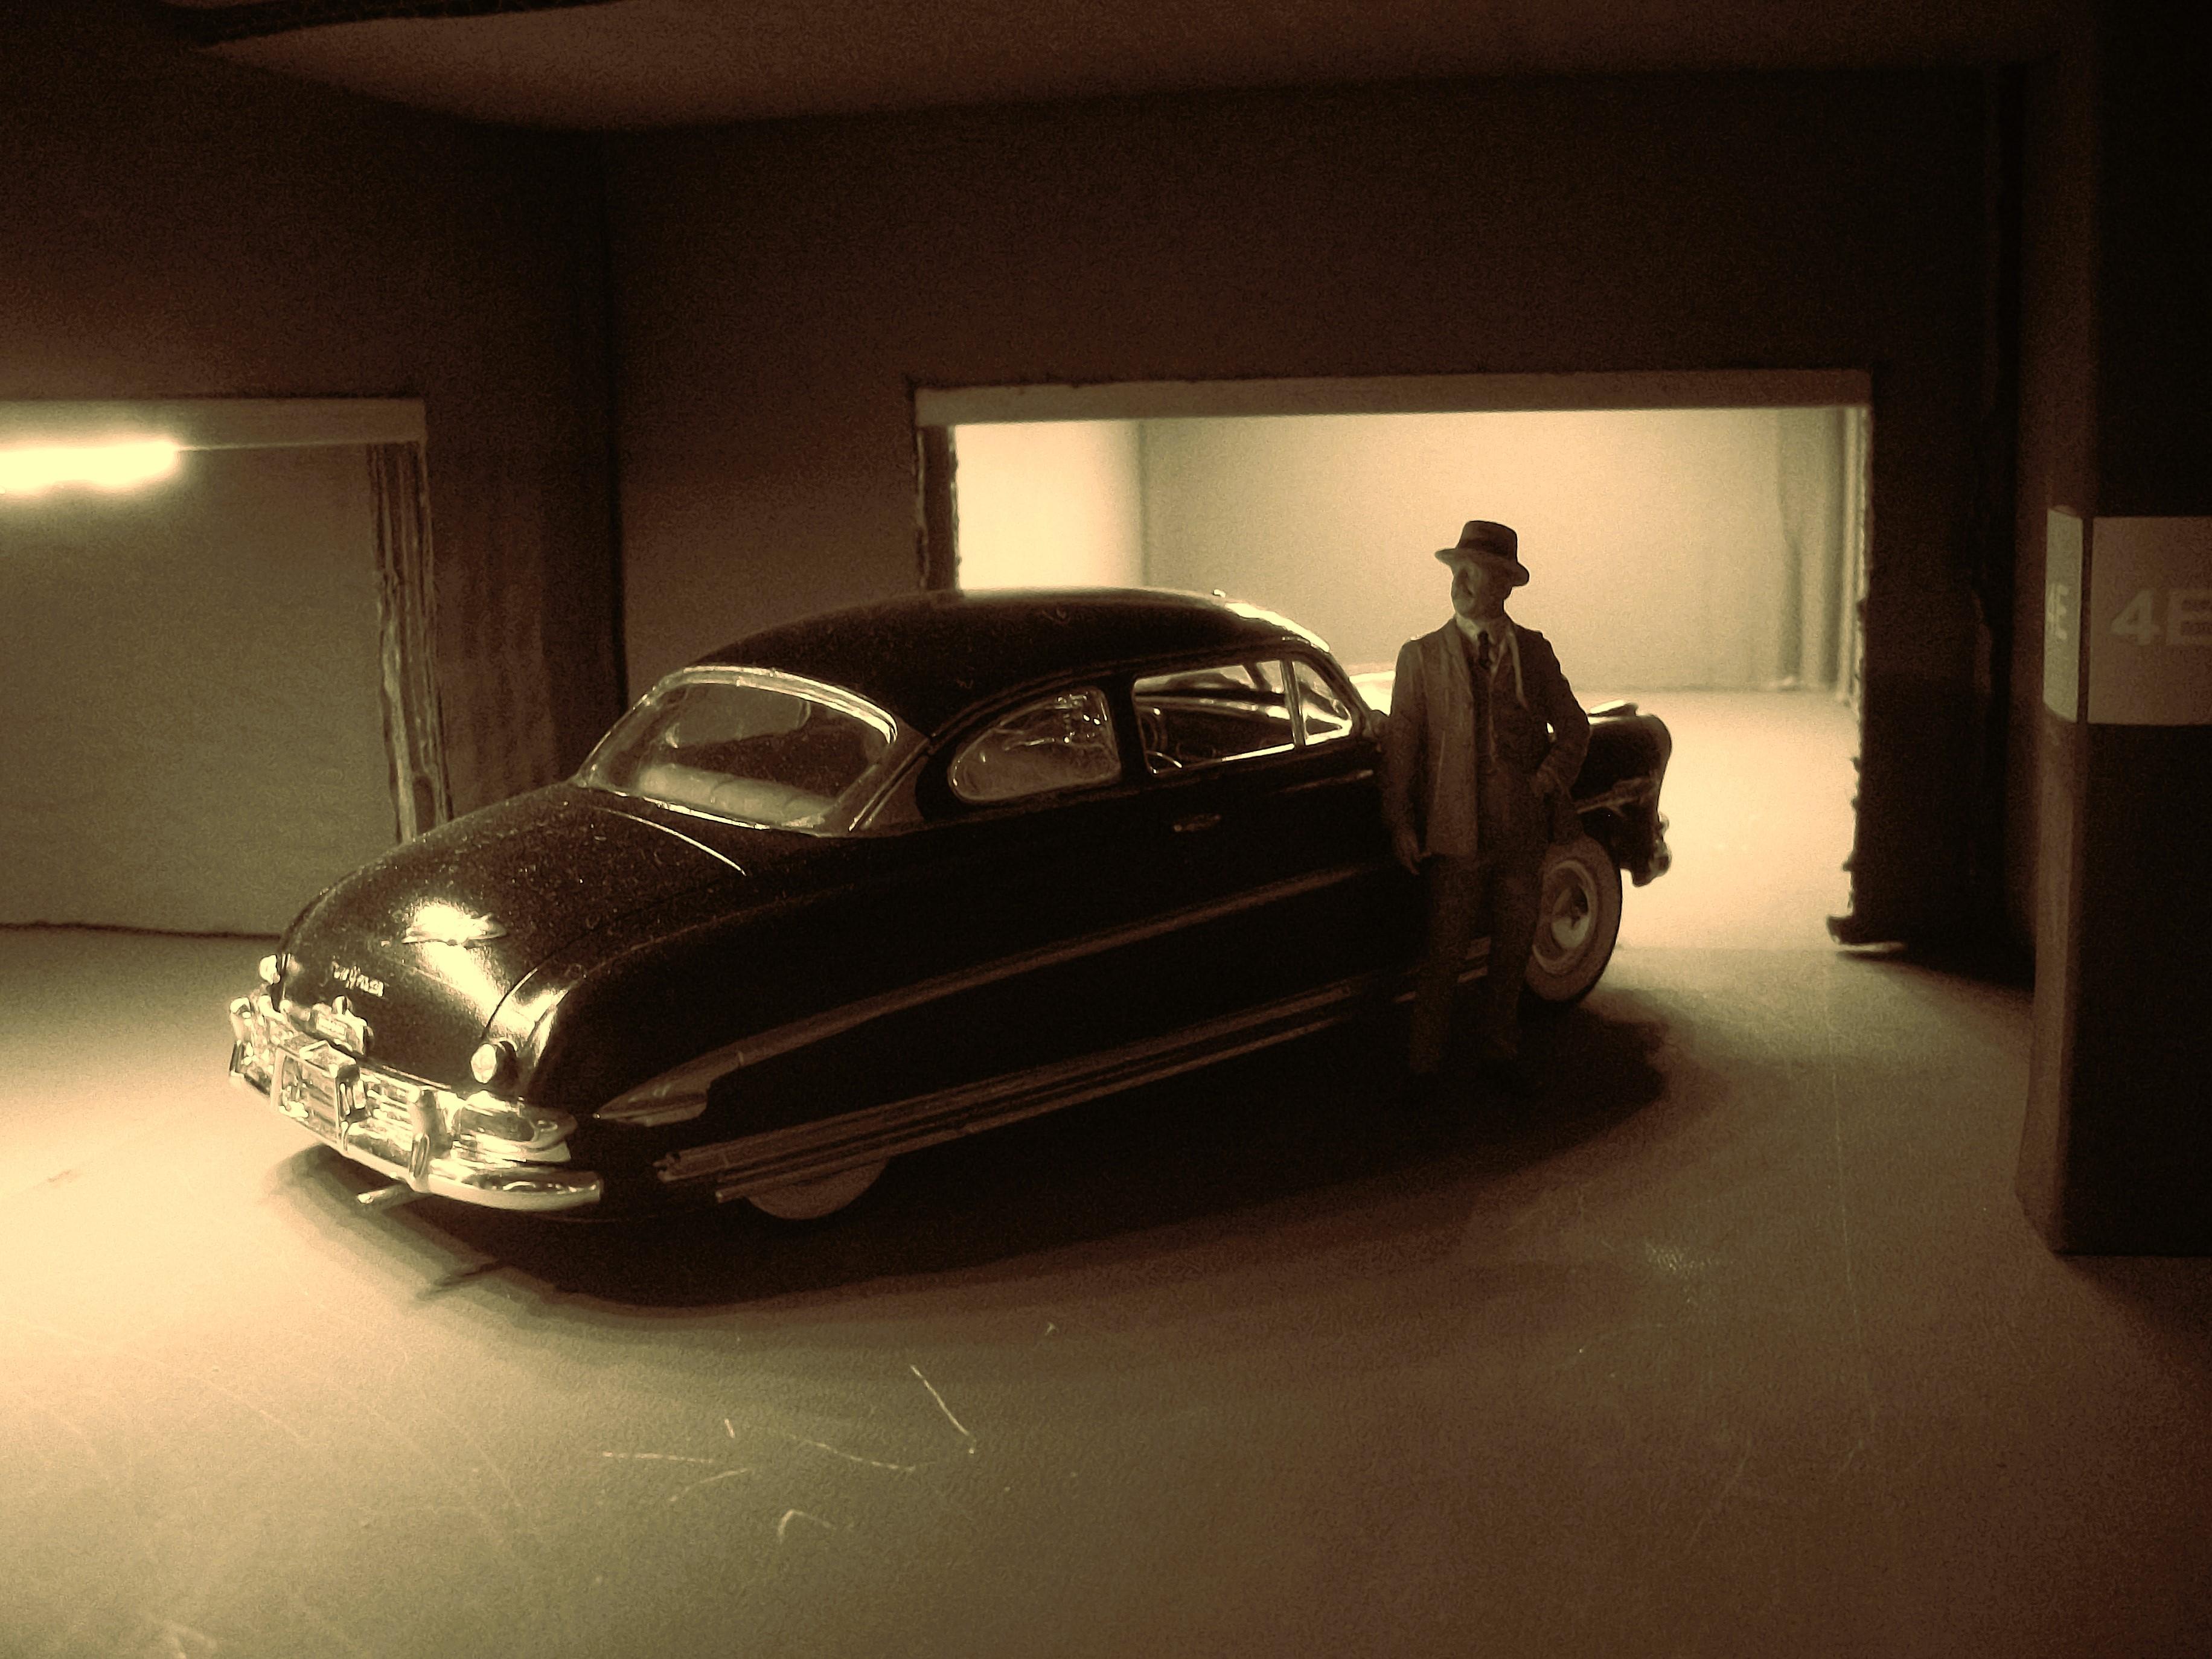
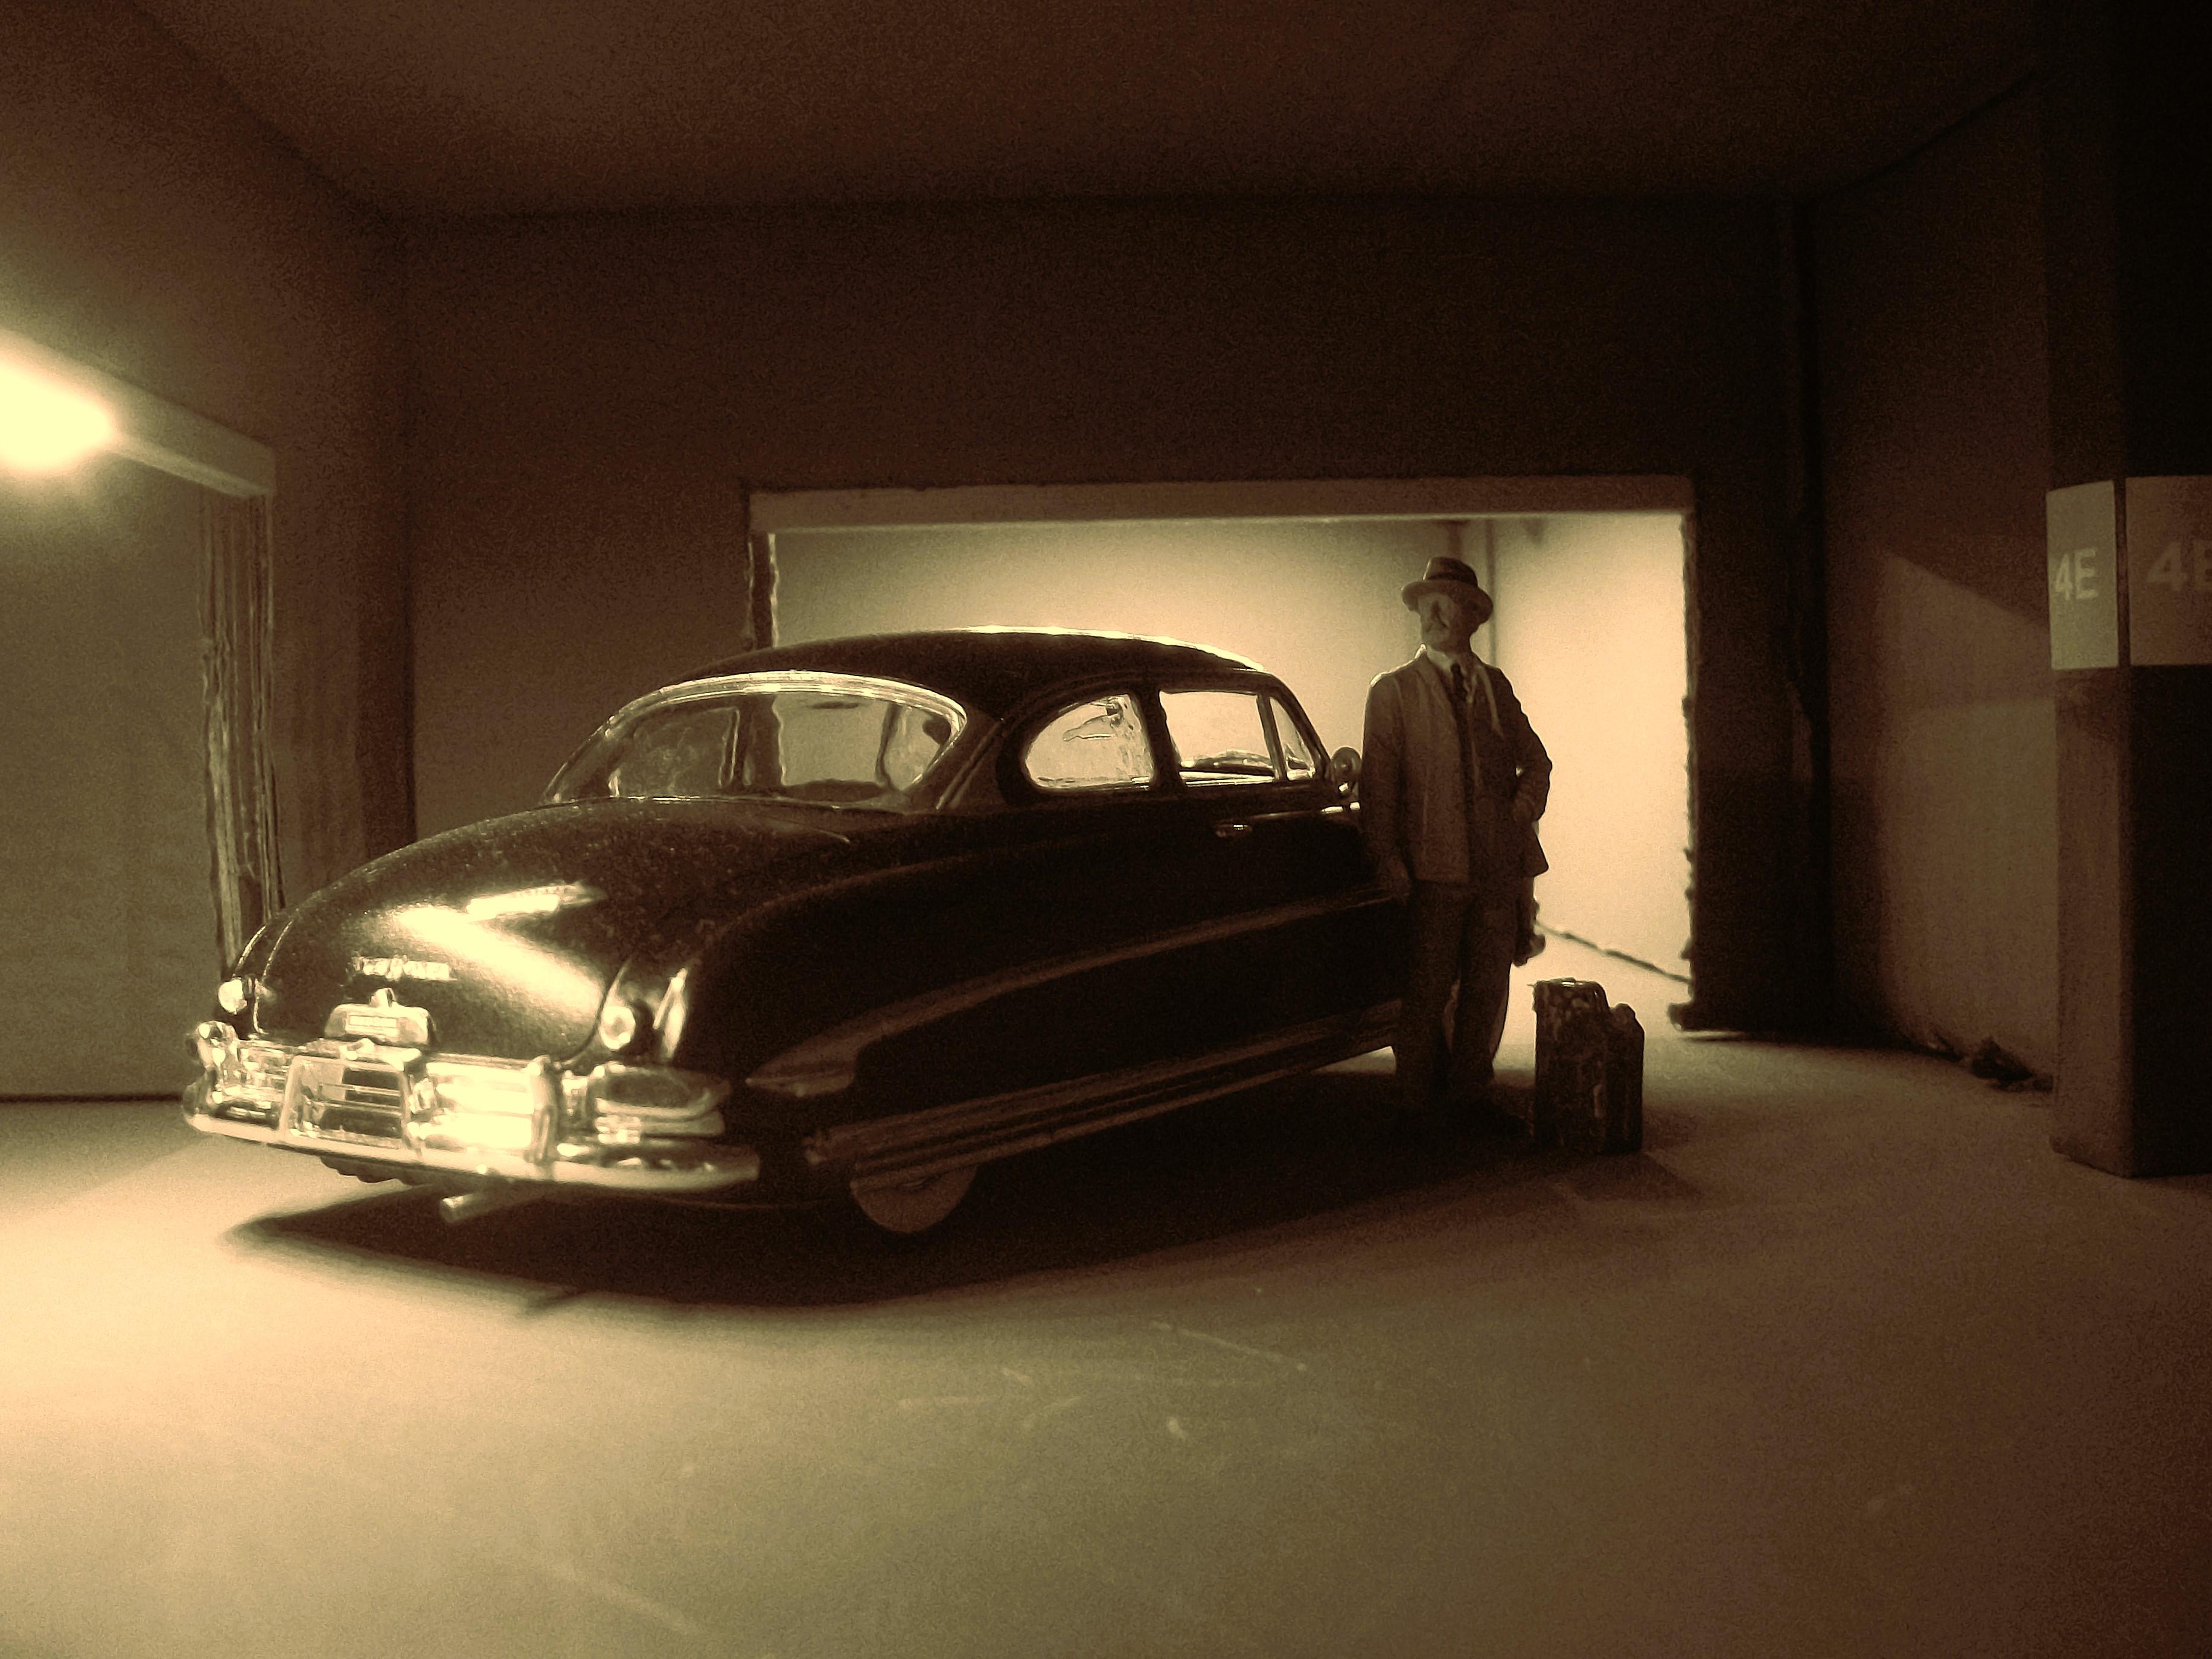
Who is this guy in the suit and hat ? . . . What is he doing ? Something would suggest that he is up to no good . . . David
-
Thanks David G . . . Glad you like the staging. David W.
-
Thanks Carl . . . The Hudson is on the move . . .
-
You will see from the following photograph that the Hudson is moving from one side of the basement garage to a second bay . . . The bay to the right hand side has it's own lighting, so there is no natural daylight here. David
-
I like this diorama of yours Olivier . . . You have captured the real scene using a relatively small space for the models. There is a sense of movement and action ! David
-
A couple of company names that spring to mind are Mercury and Packard . . . Also Cord and Pierce Arrow maybe . . . David
-
Thanks a lot Rattlecan Dan . . . I hope my photos do the Hudson justice. Such an iconic motor car. David