R. Thorne
-
Posts
1,305 -
Joined
-
Last visited
Content Type
Profiles
Forums
Events
Gallery
Everything posted by R. Thorne
-
I find myself using these dual tip acrylic markers more often these days.

-
Just for your information, the amt pp008 Goodyear blue streak 9.00x15 slicks are the correct 9” scale rear slicks. Unfortunately, they are a little harder to find nowadays.
-
An awb 65 Dodge hardtop converted to a sedan
R. Thorne replied to R. Thorne's topic in WIP: Drag Racing Models
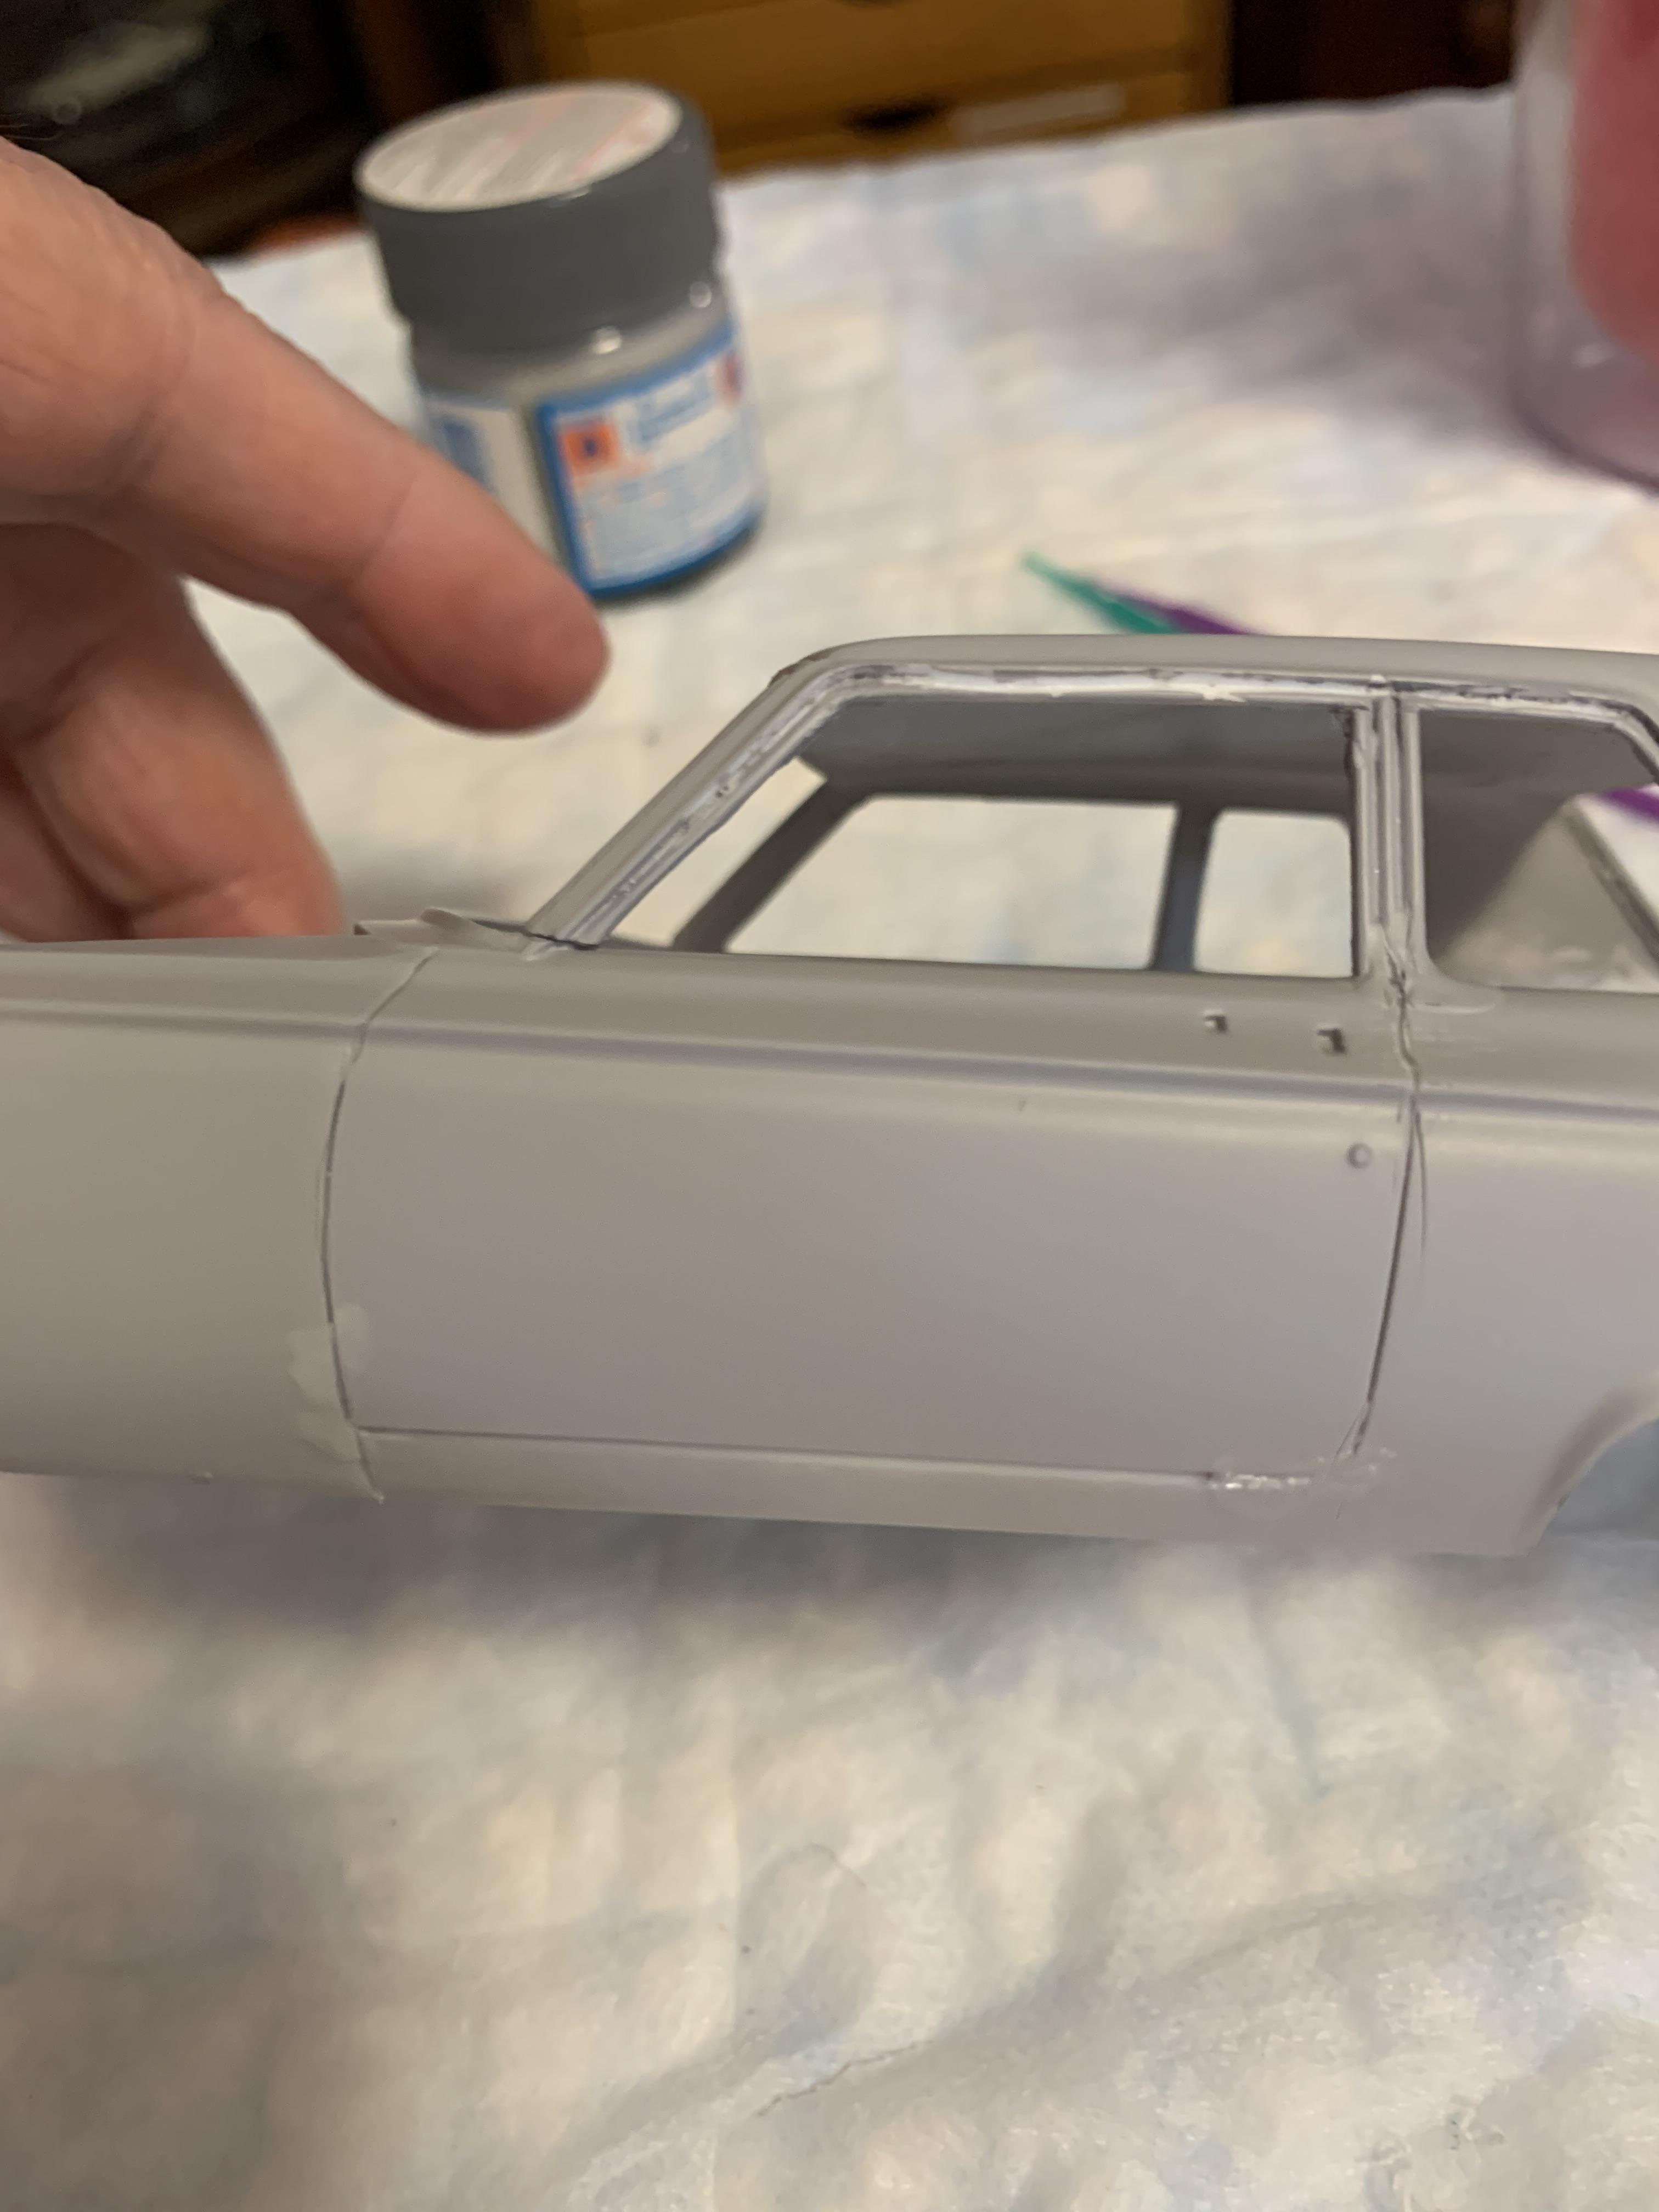
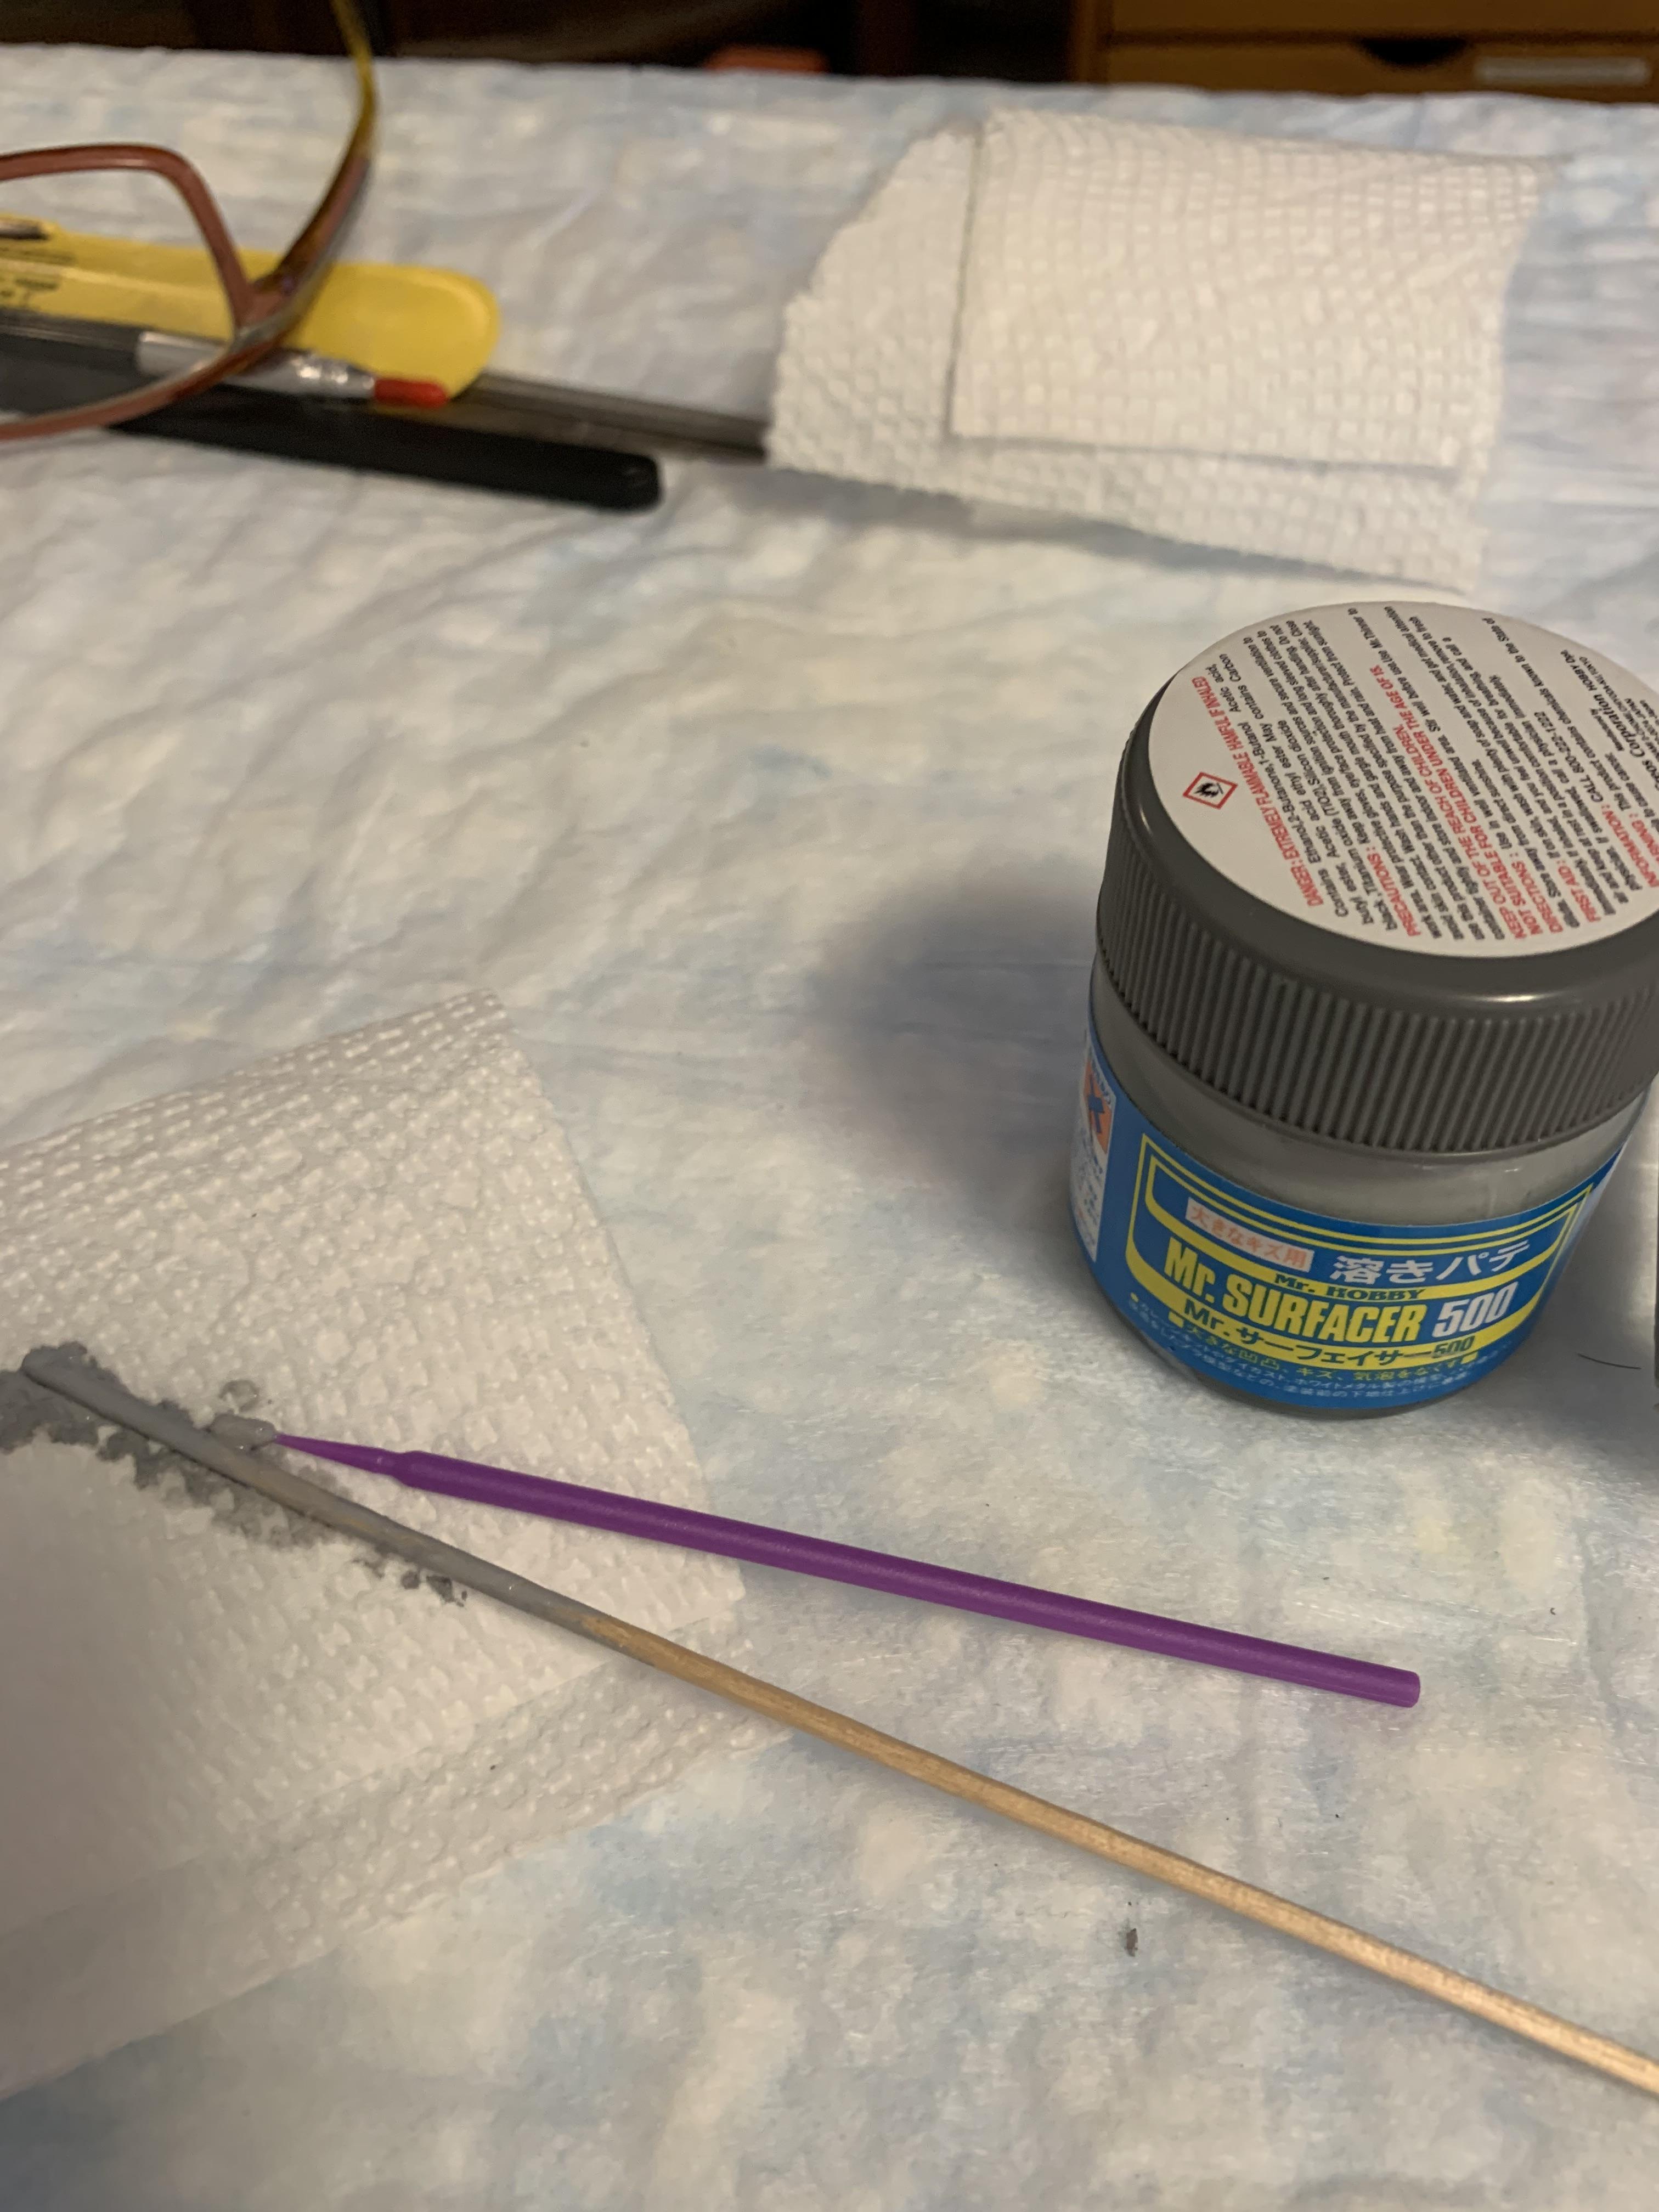
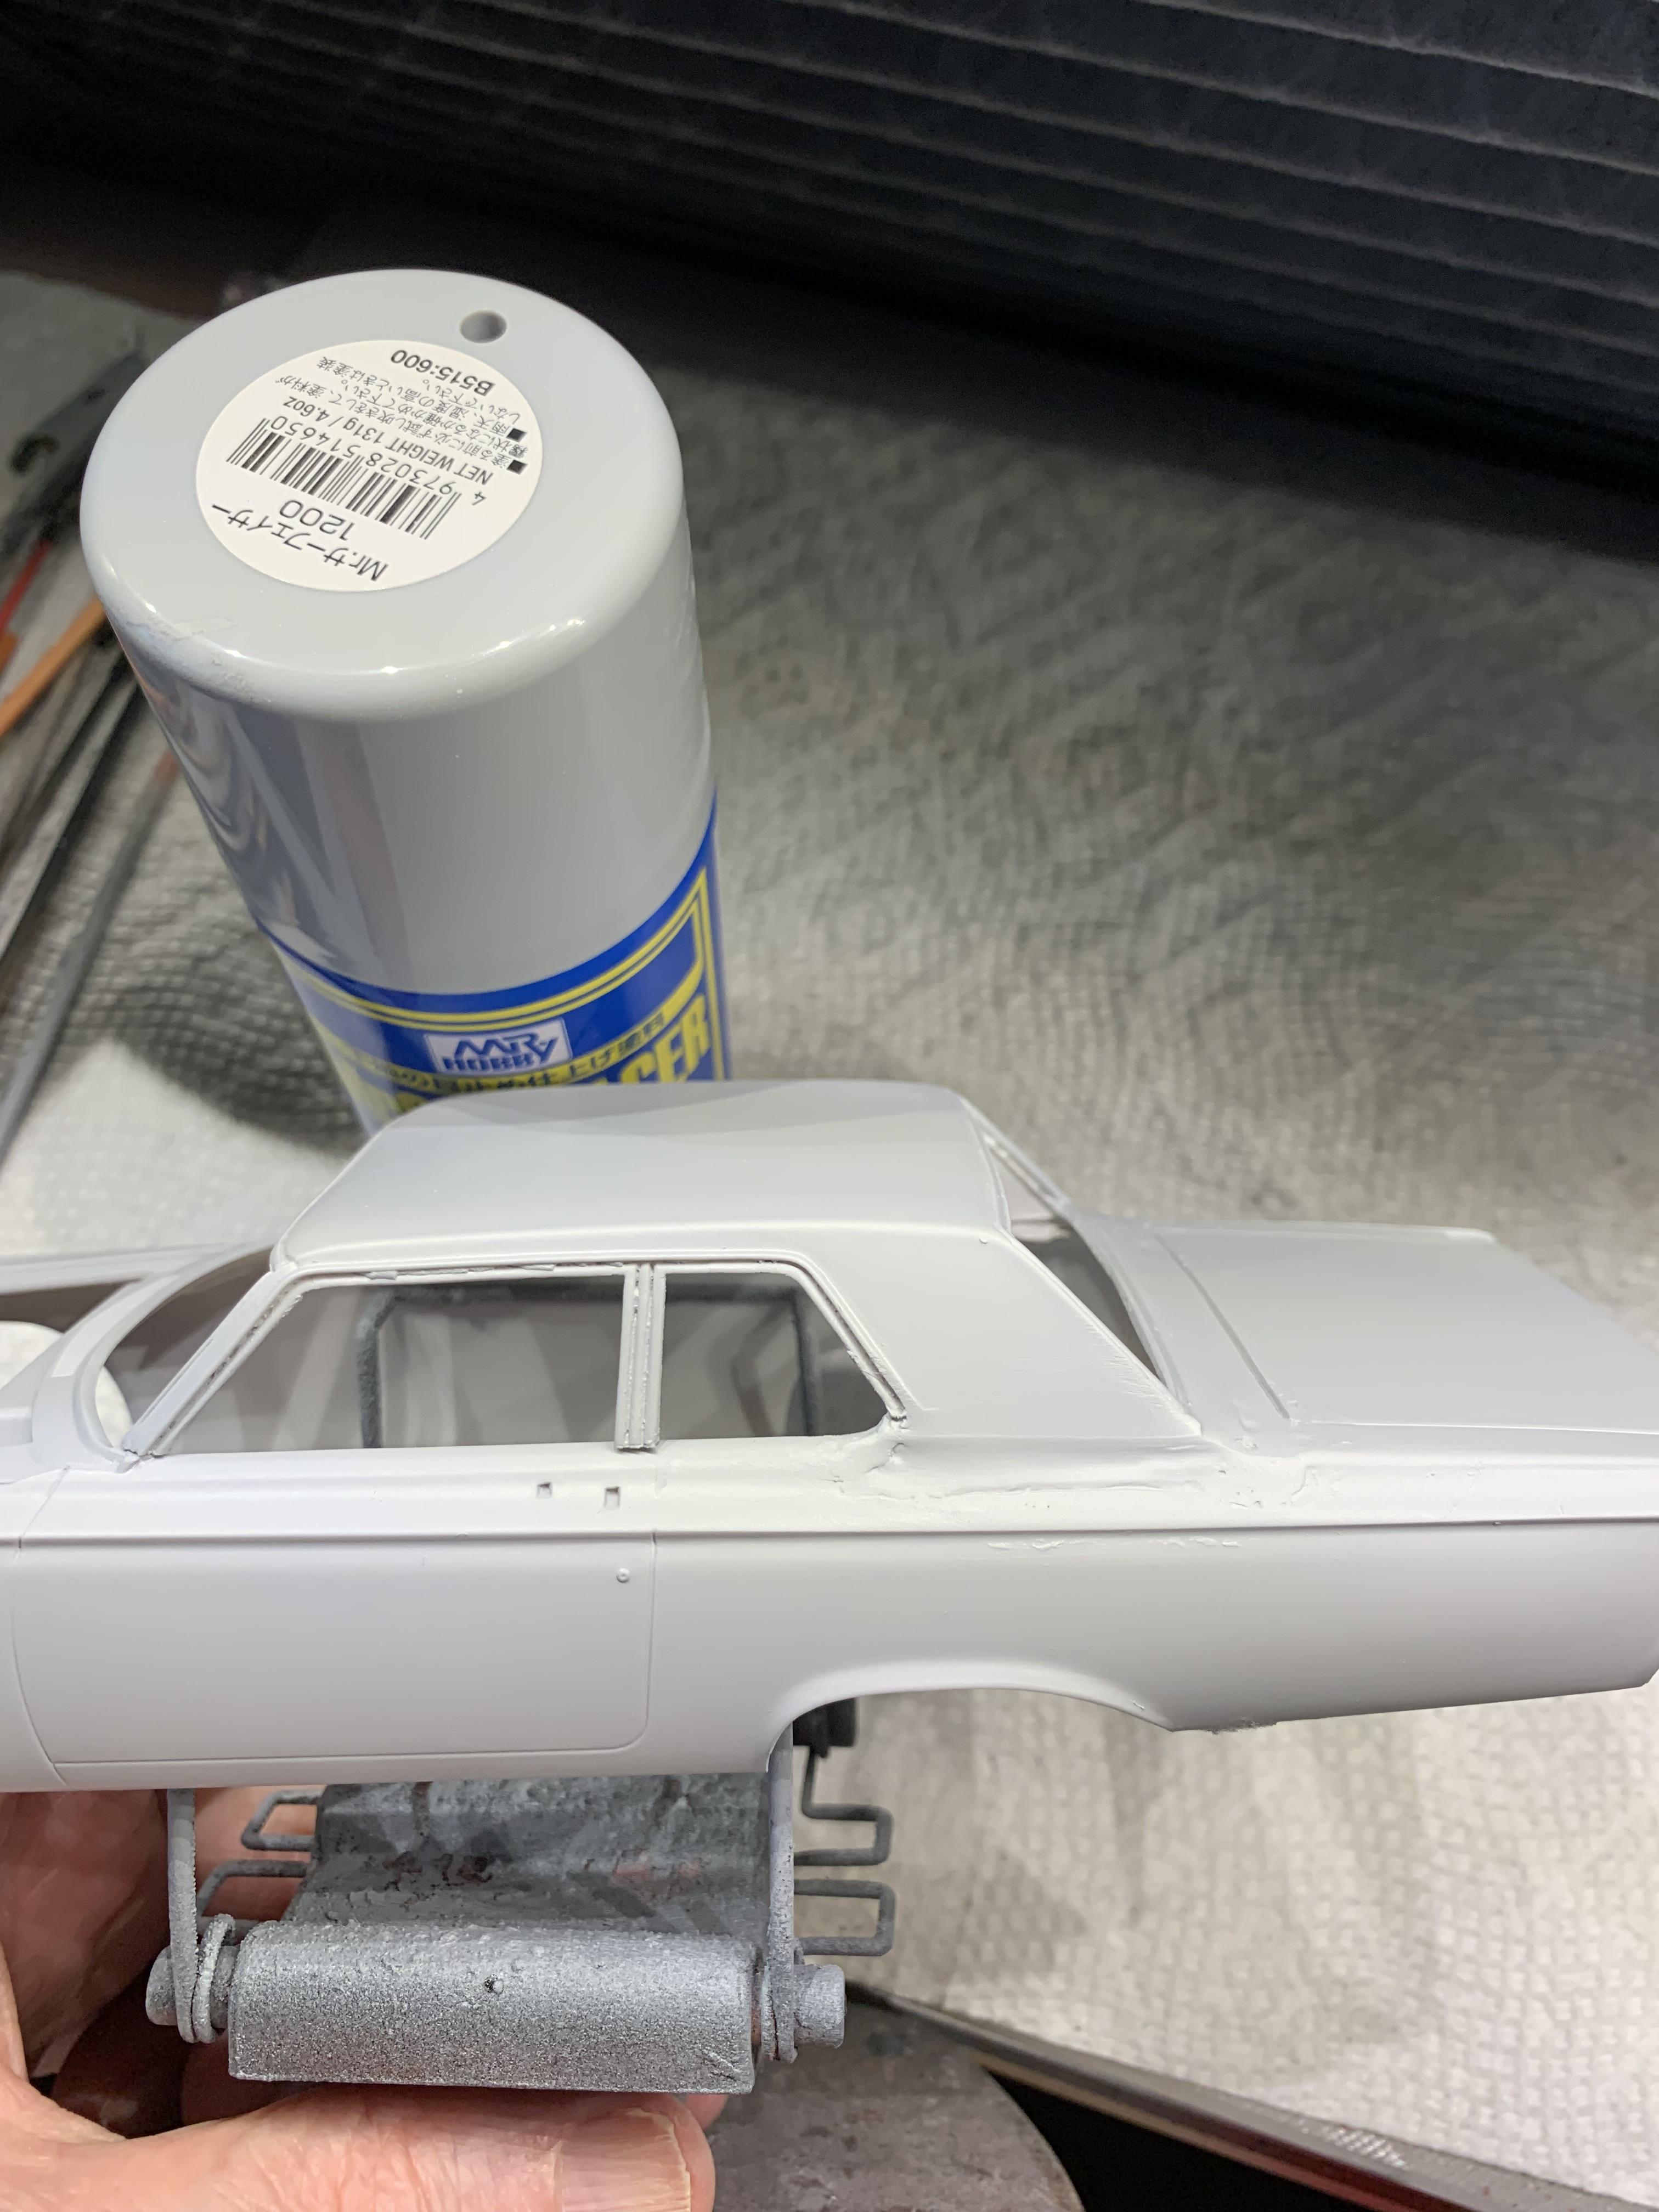
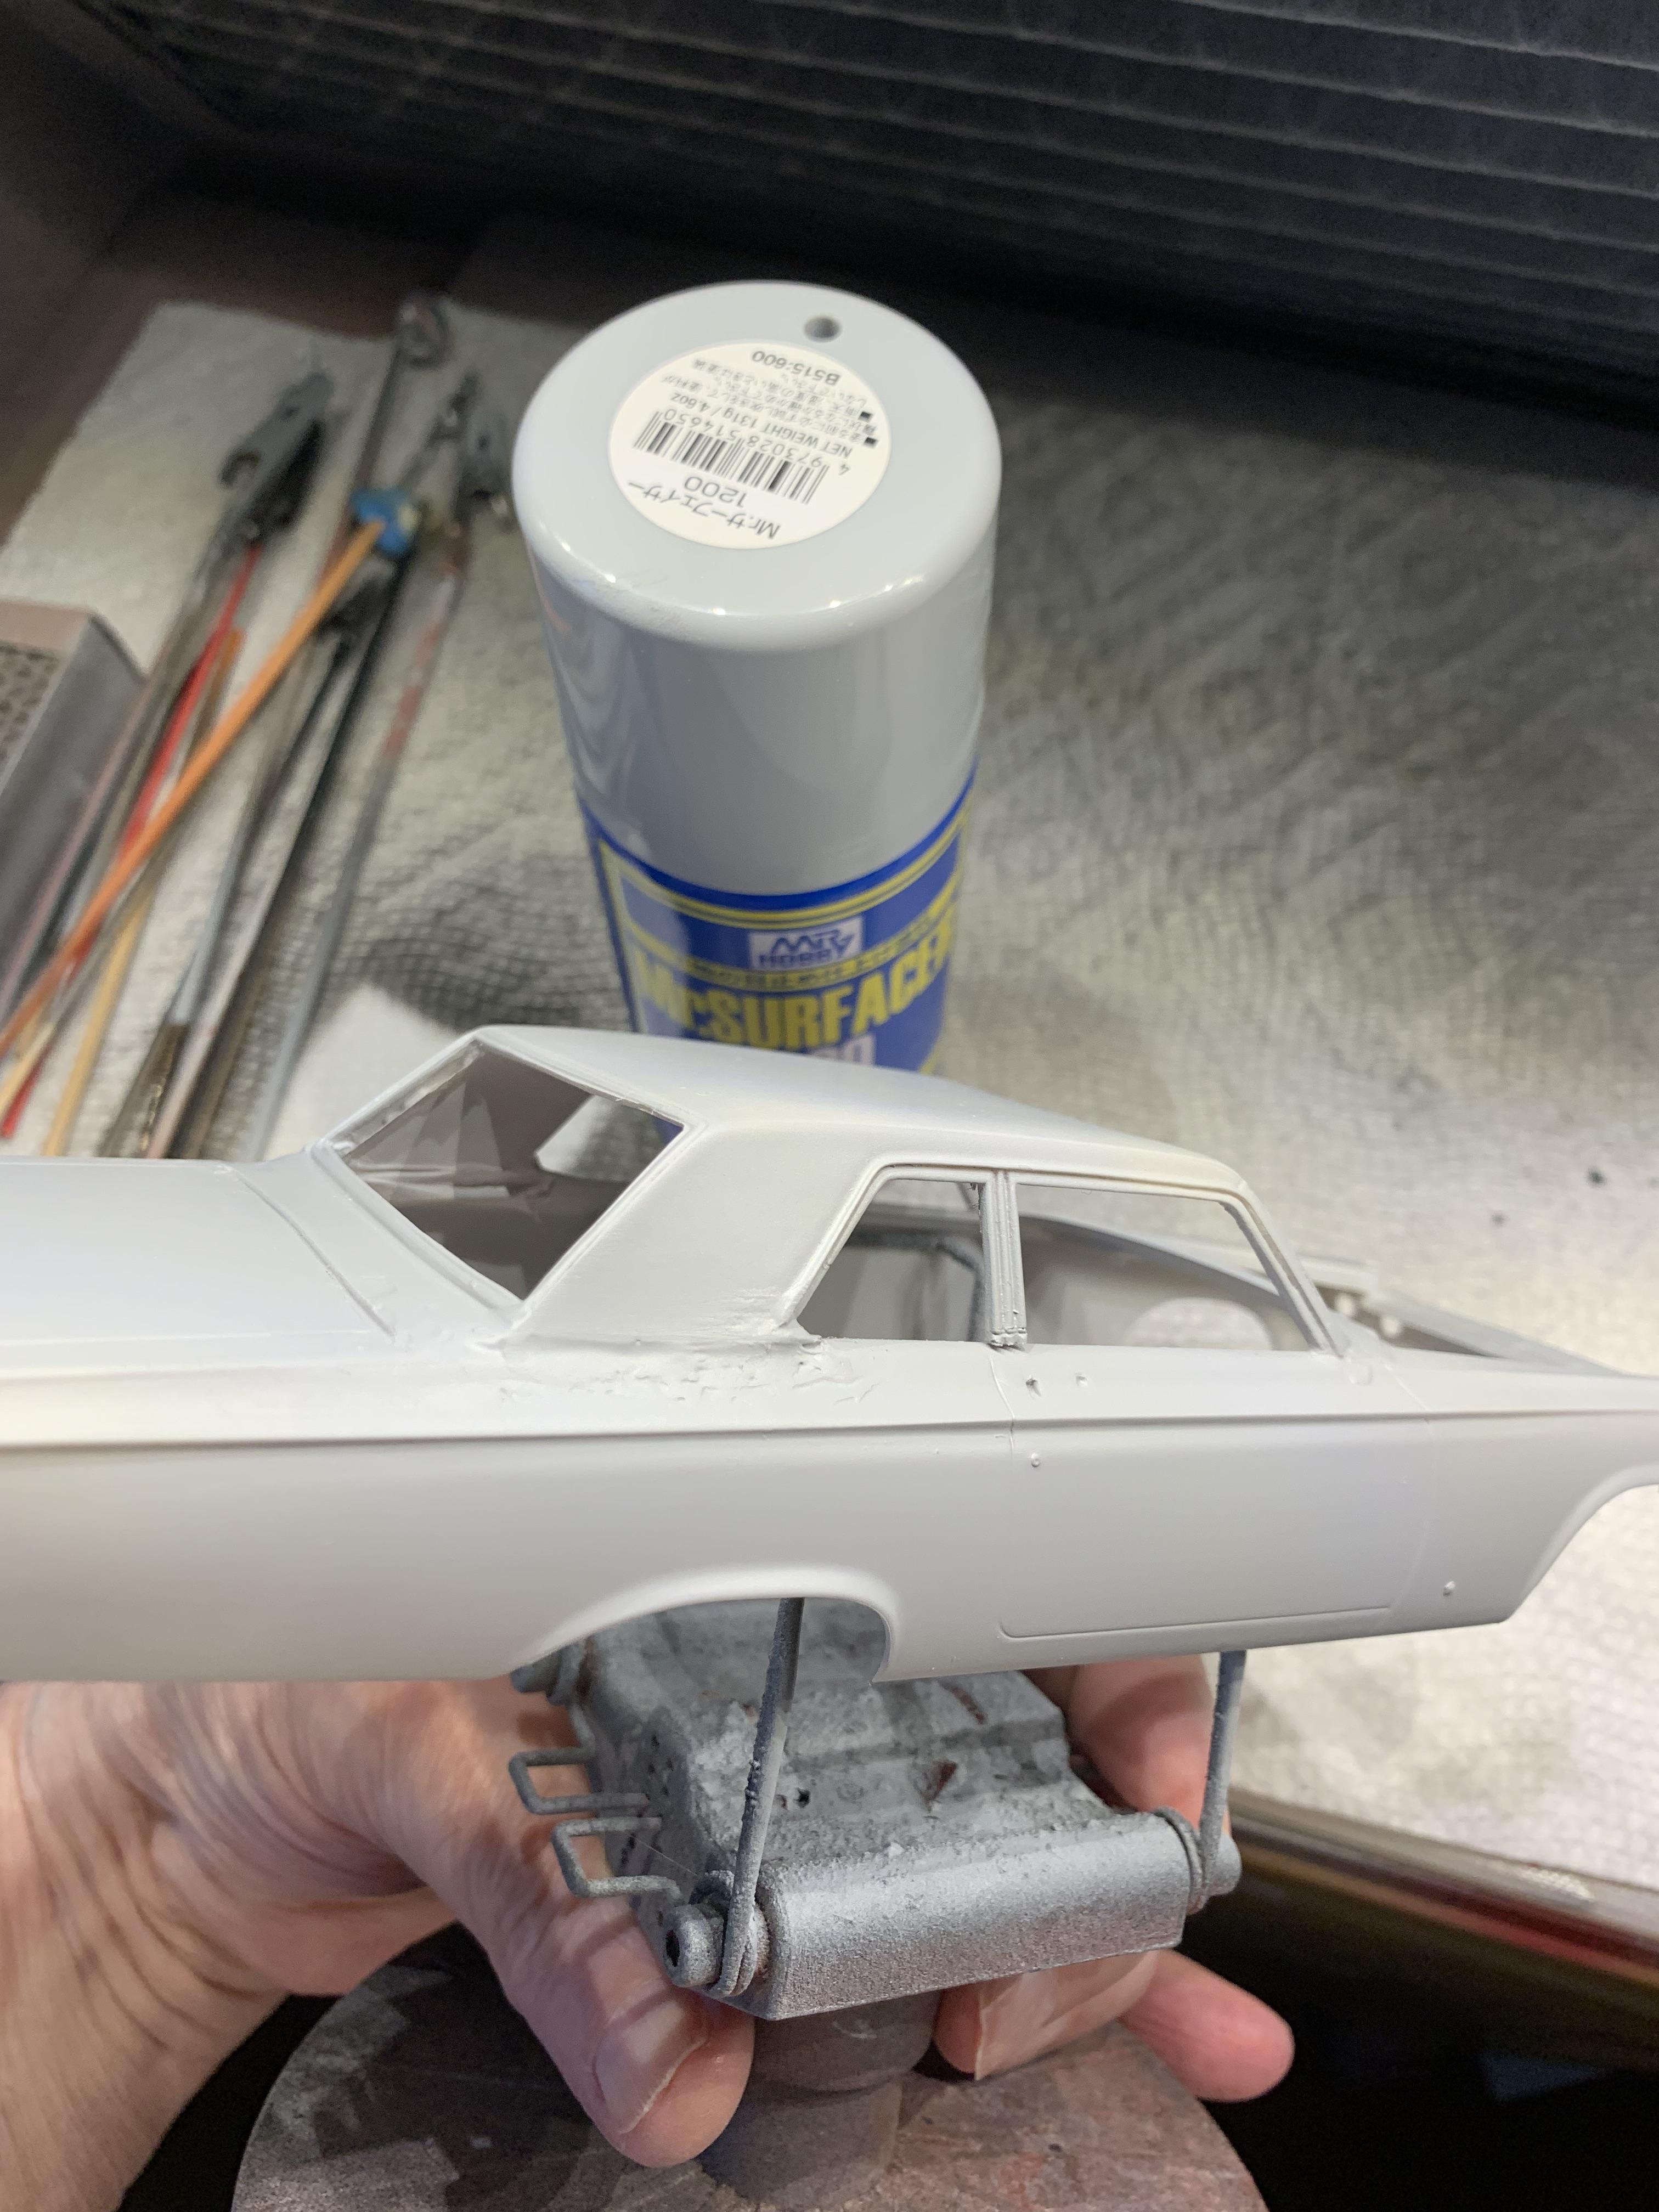
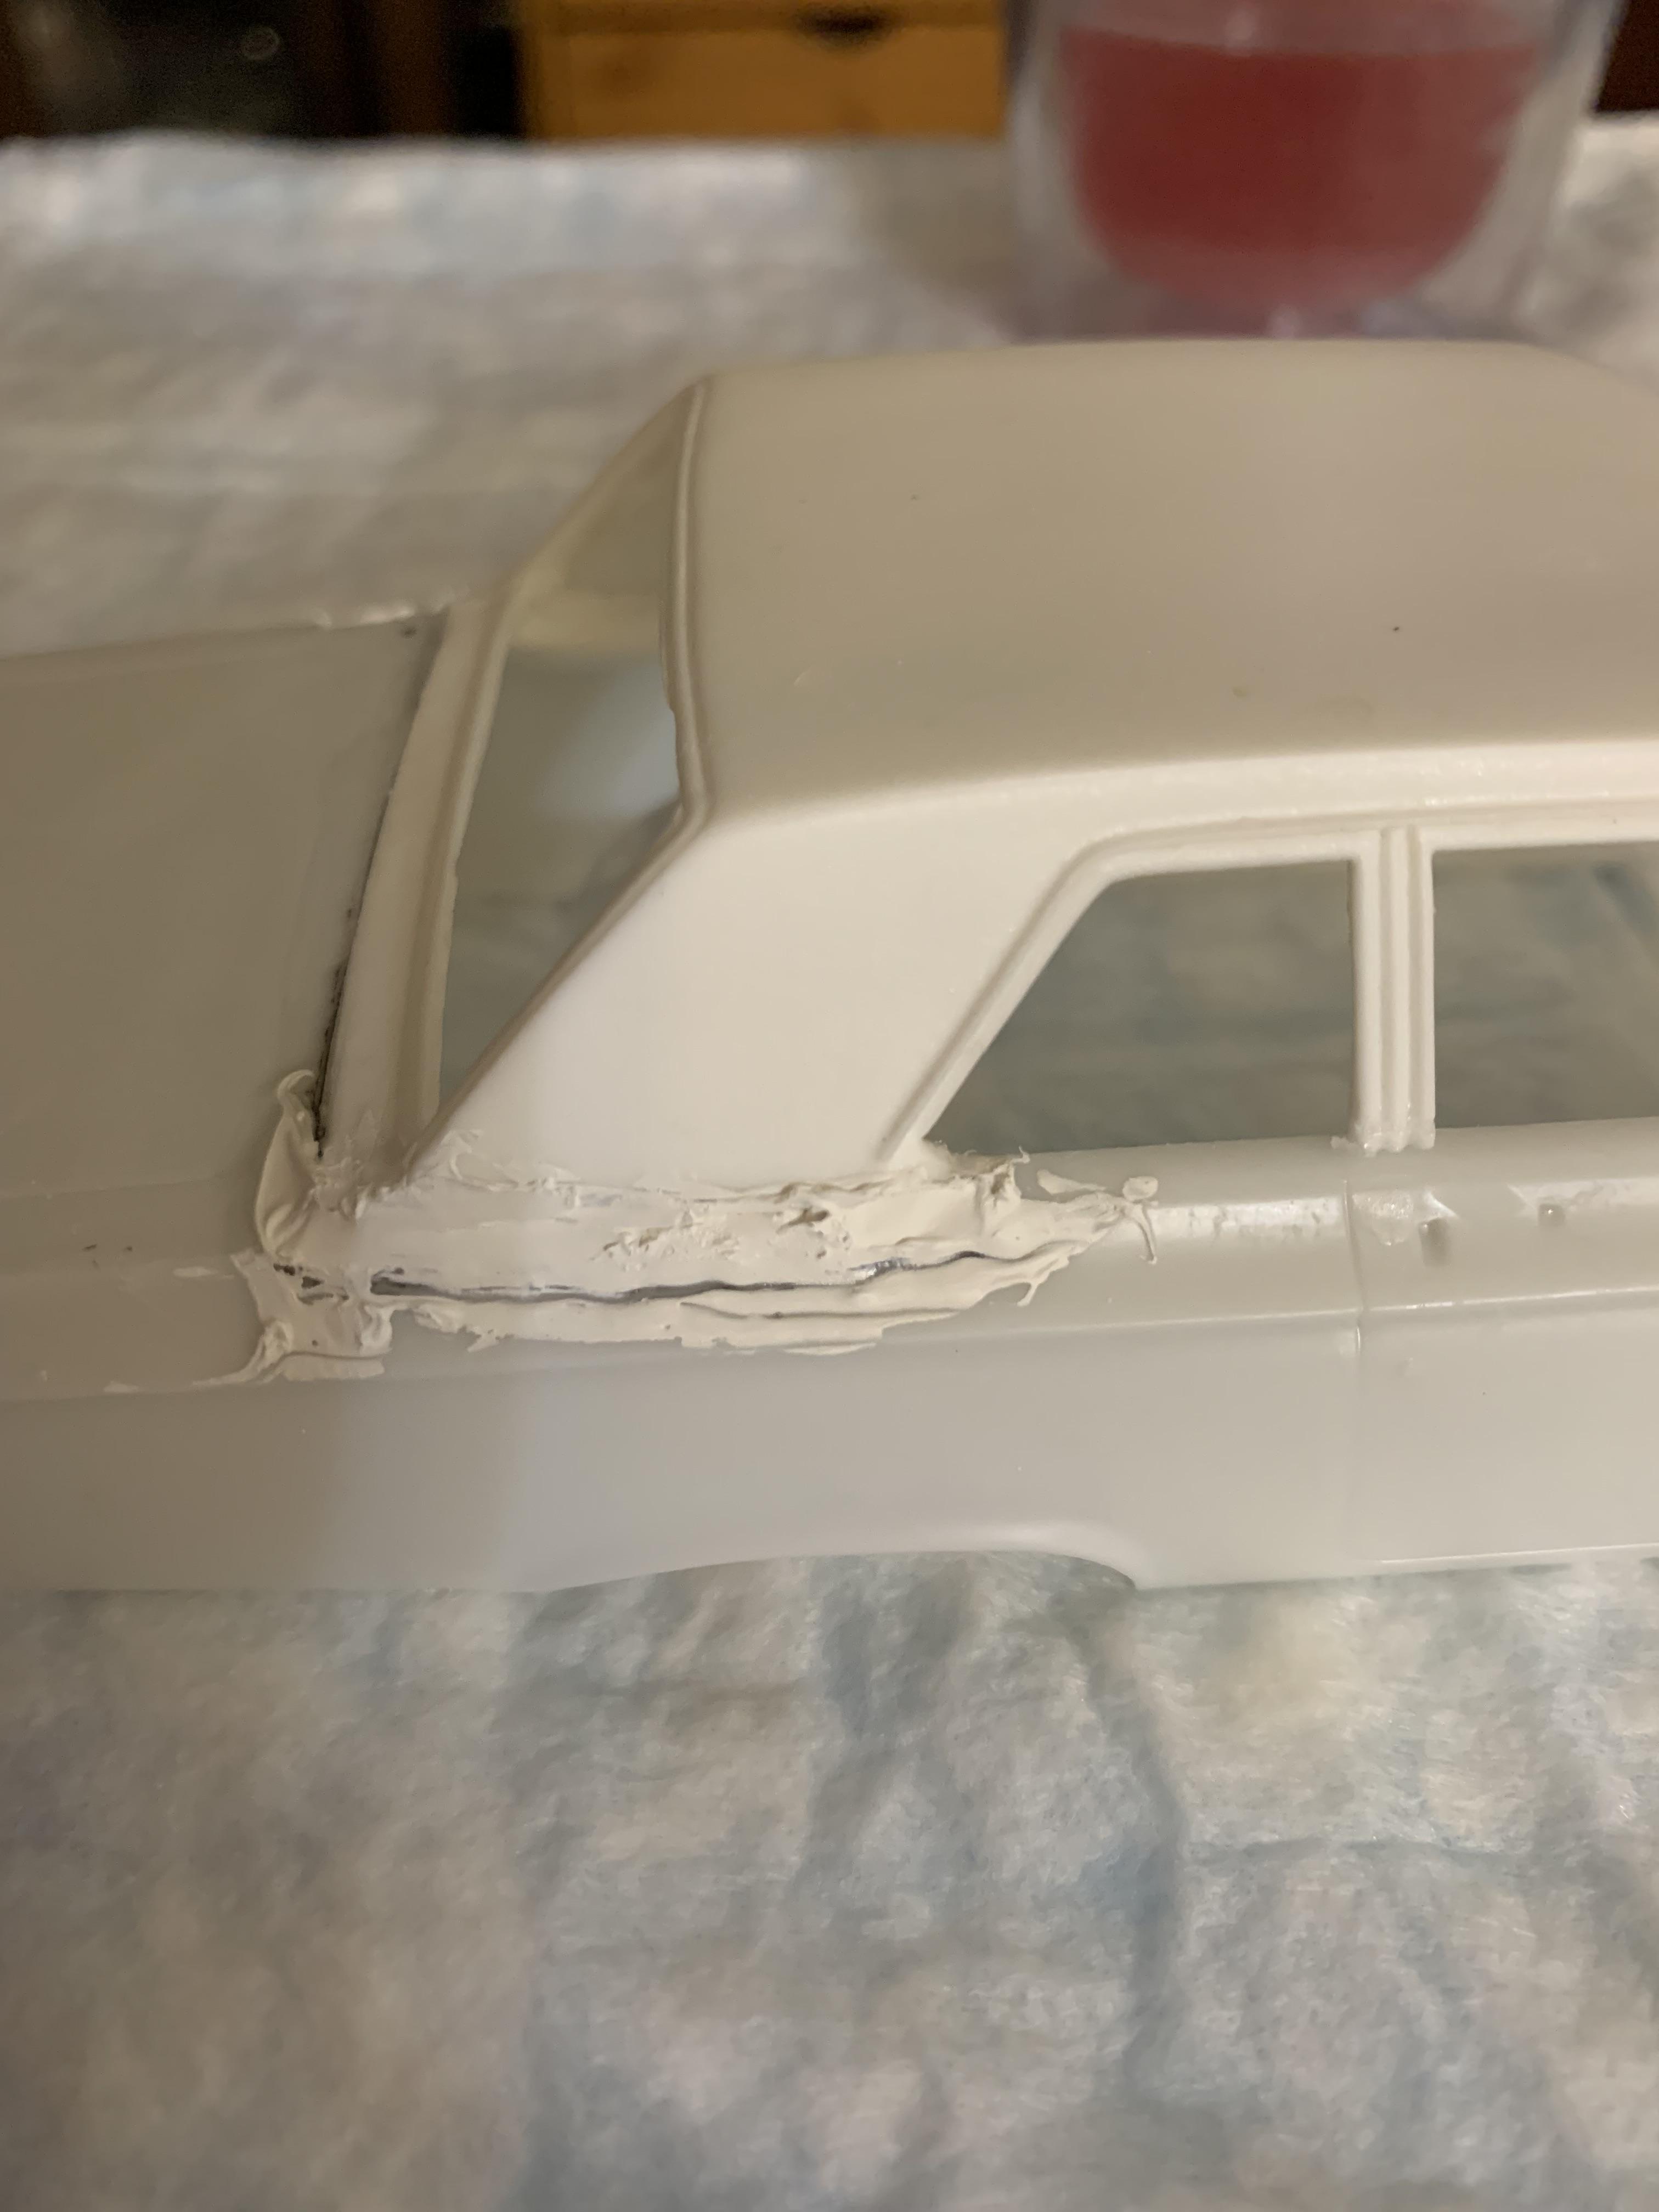
Thanks for the words of encouragement. Sanding, body work, etc., is definitely not my forte, but we all have to stretch our capabilities to improve ourselves. Found a couple more spots that need improvement and this time I tried some Mr. Surfacer 500 instead of the Tamiya putty. Should work better for the occasional scribing errors. The interior looks ok.
-
An awb 65 Dodge hardtop converted to a sedan
R. Thorne replied to R. Thorne's topic in WIP: Drag Racing Models
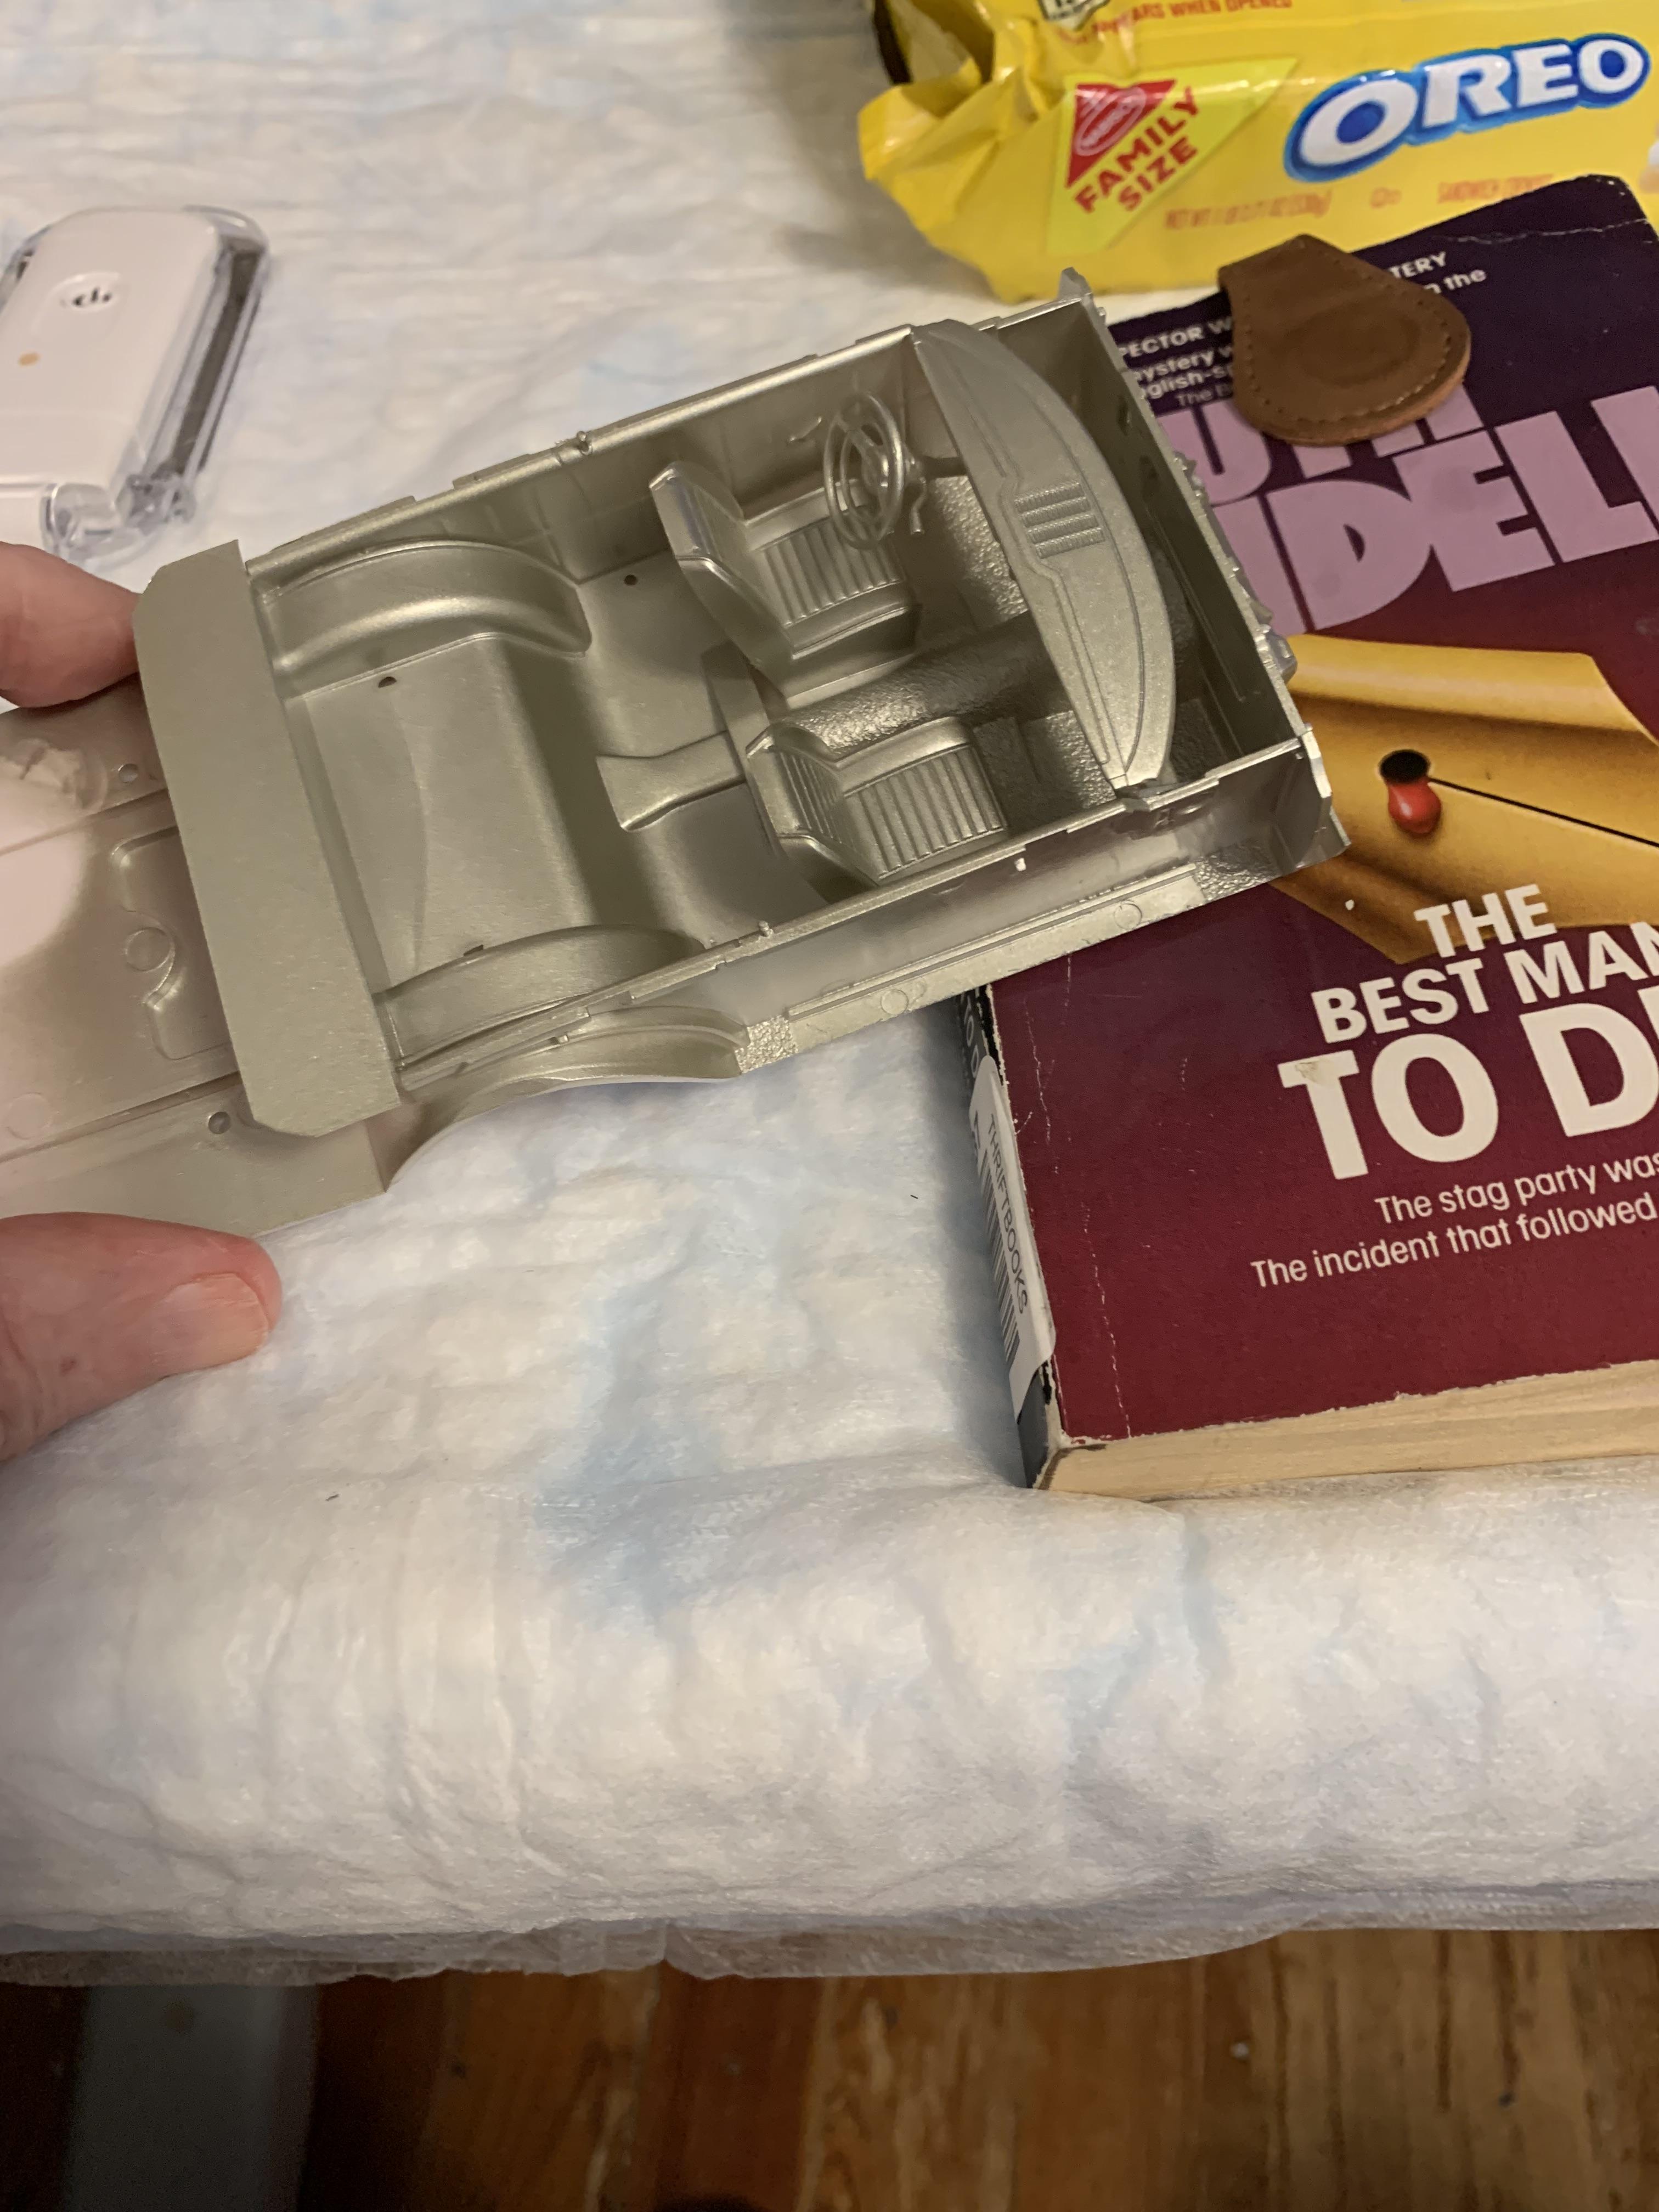
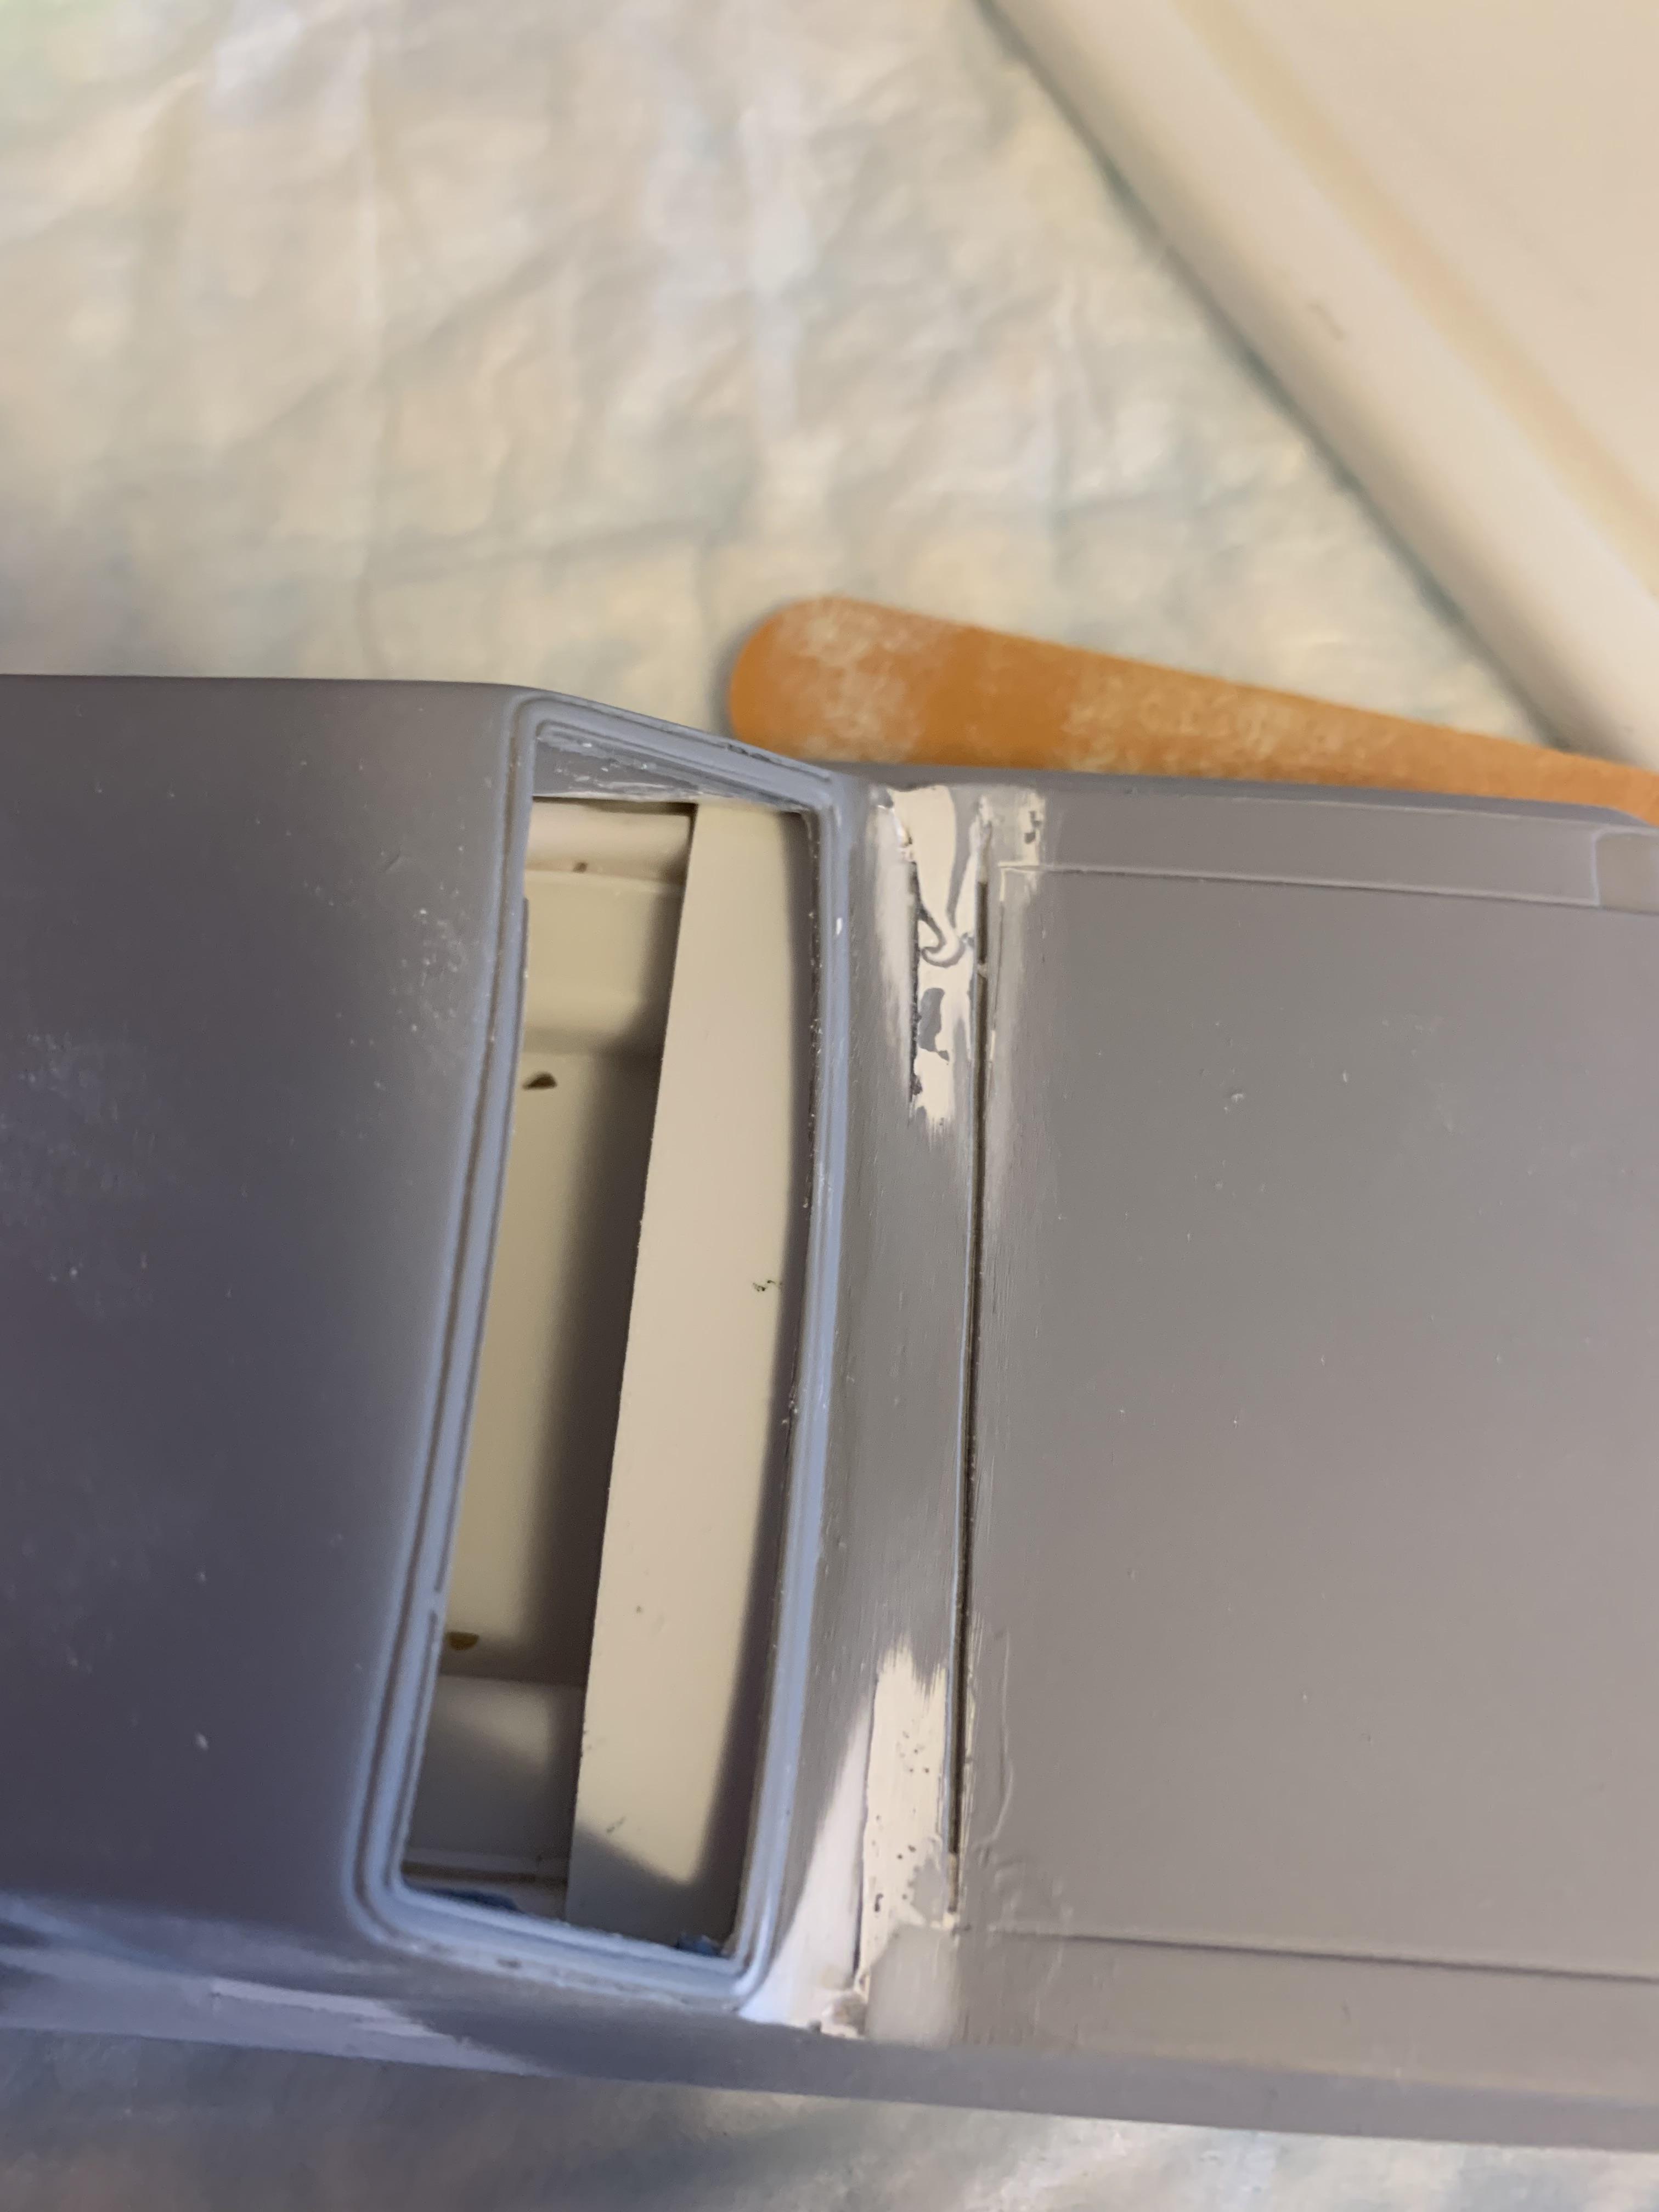
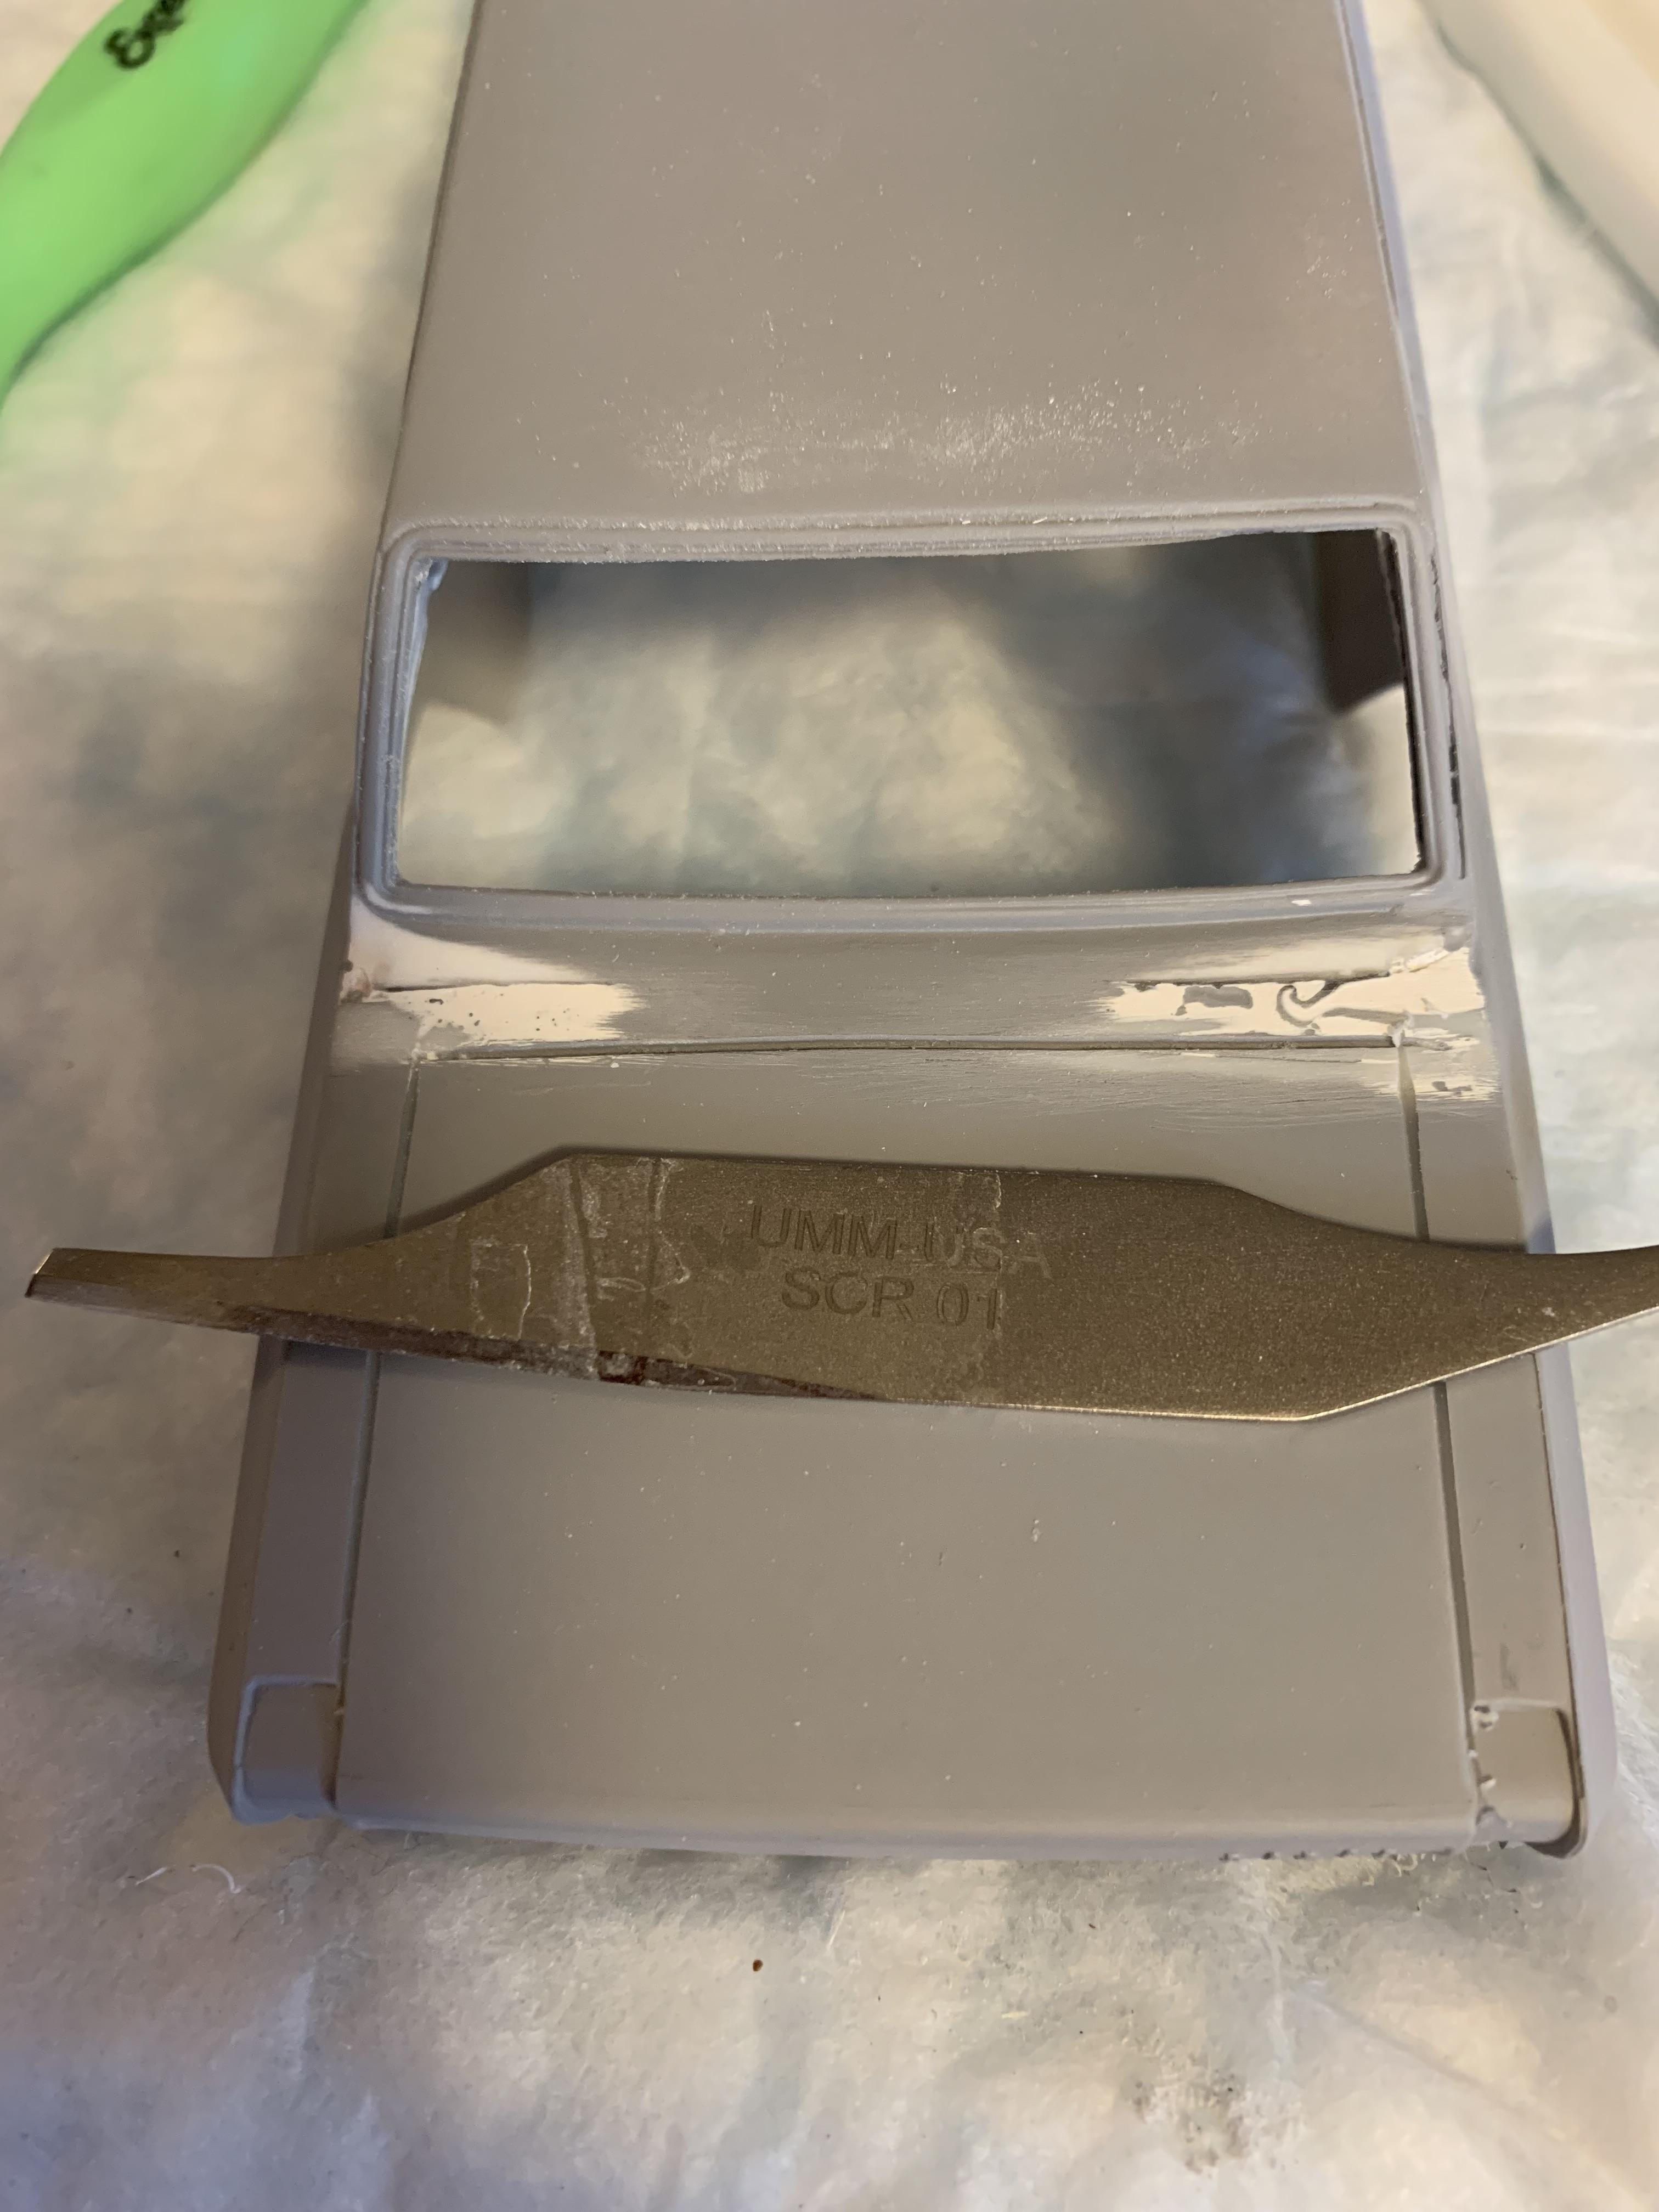
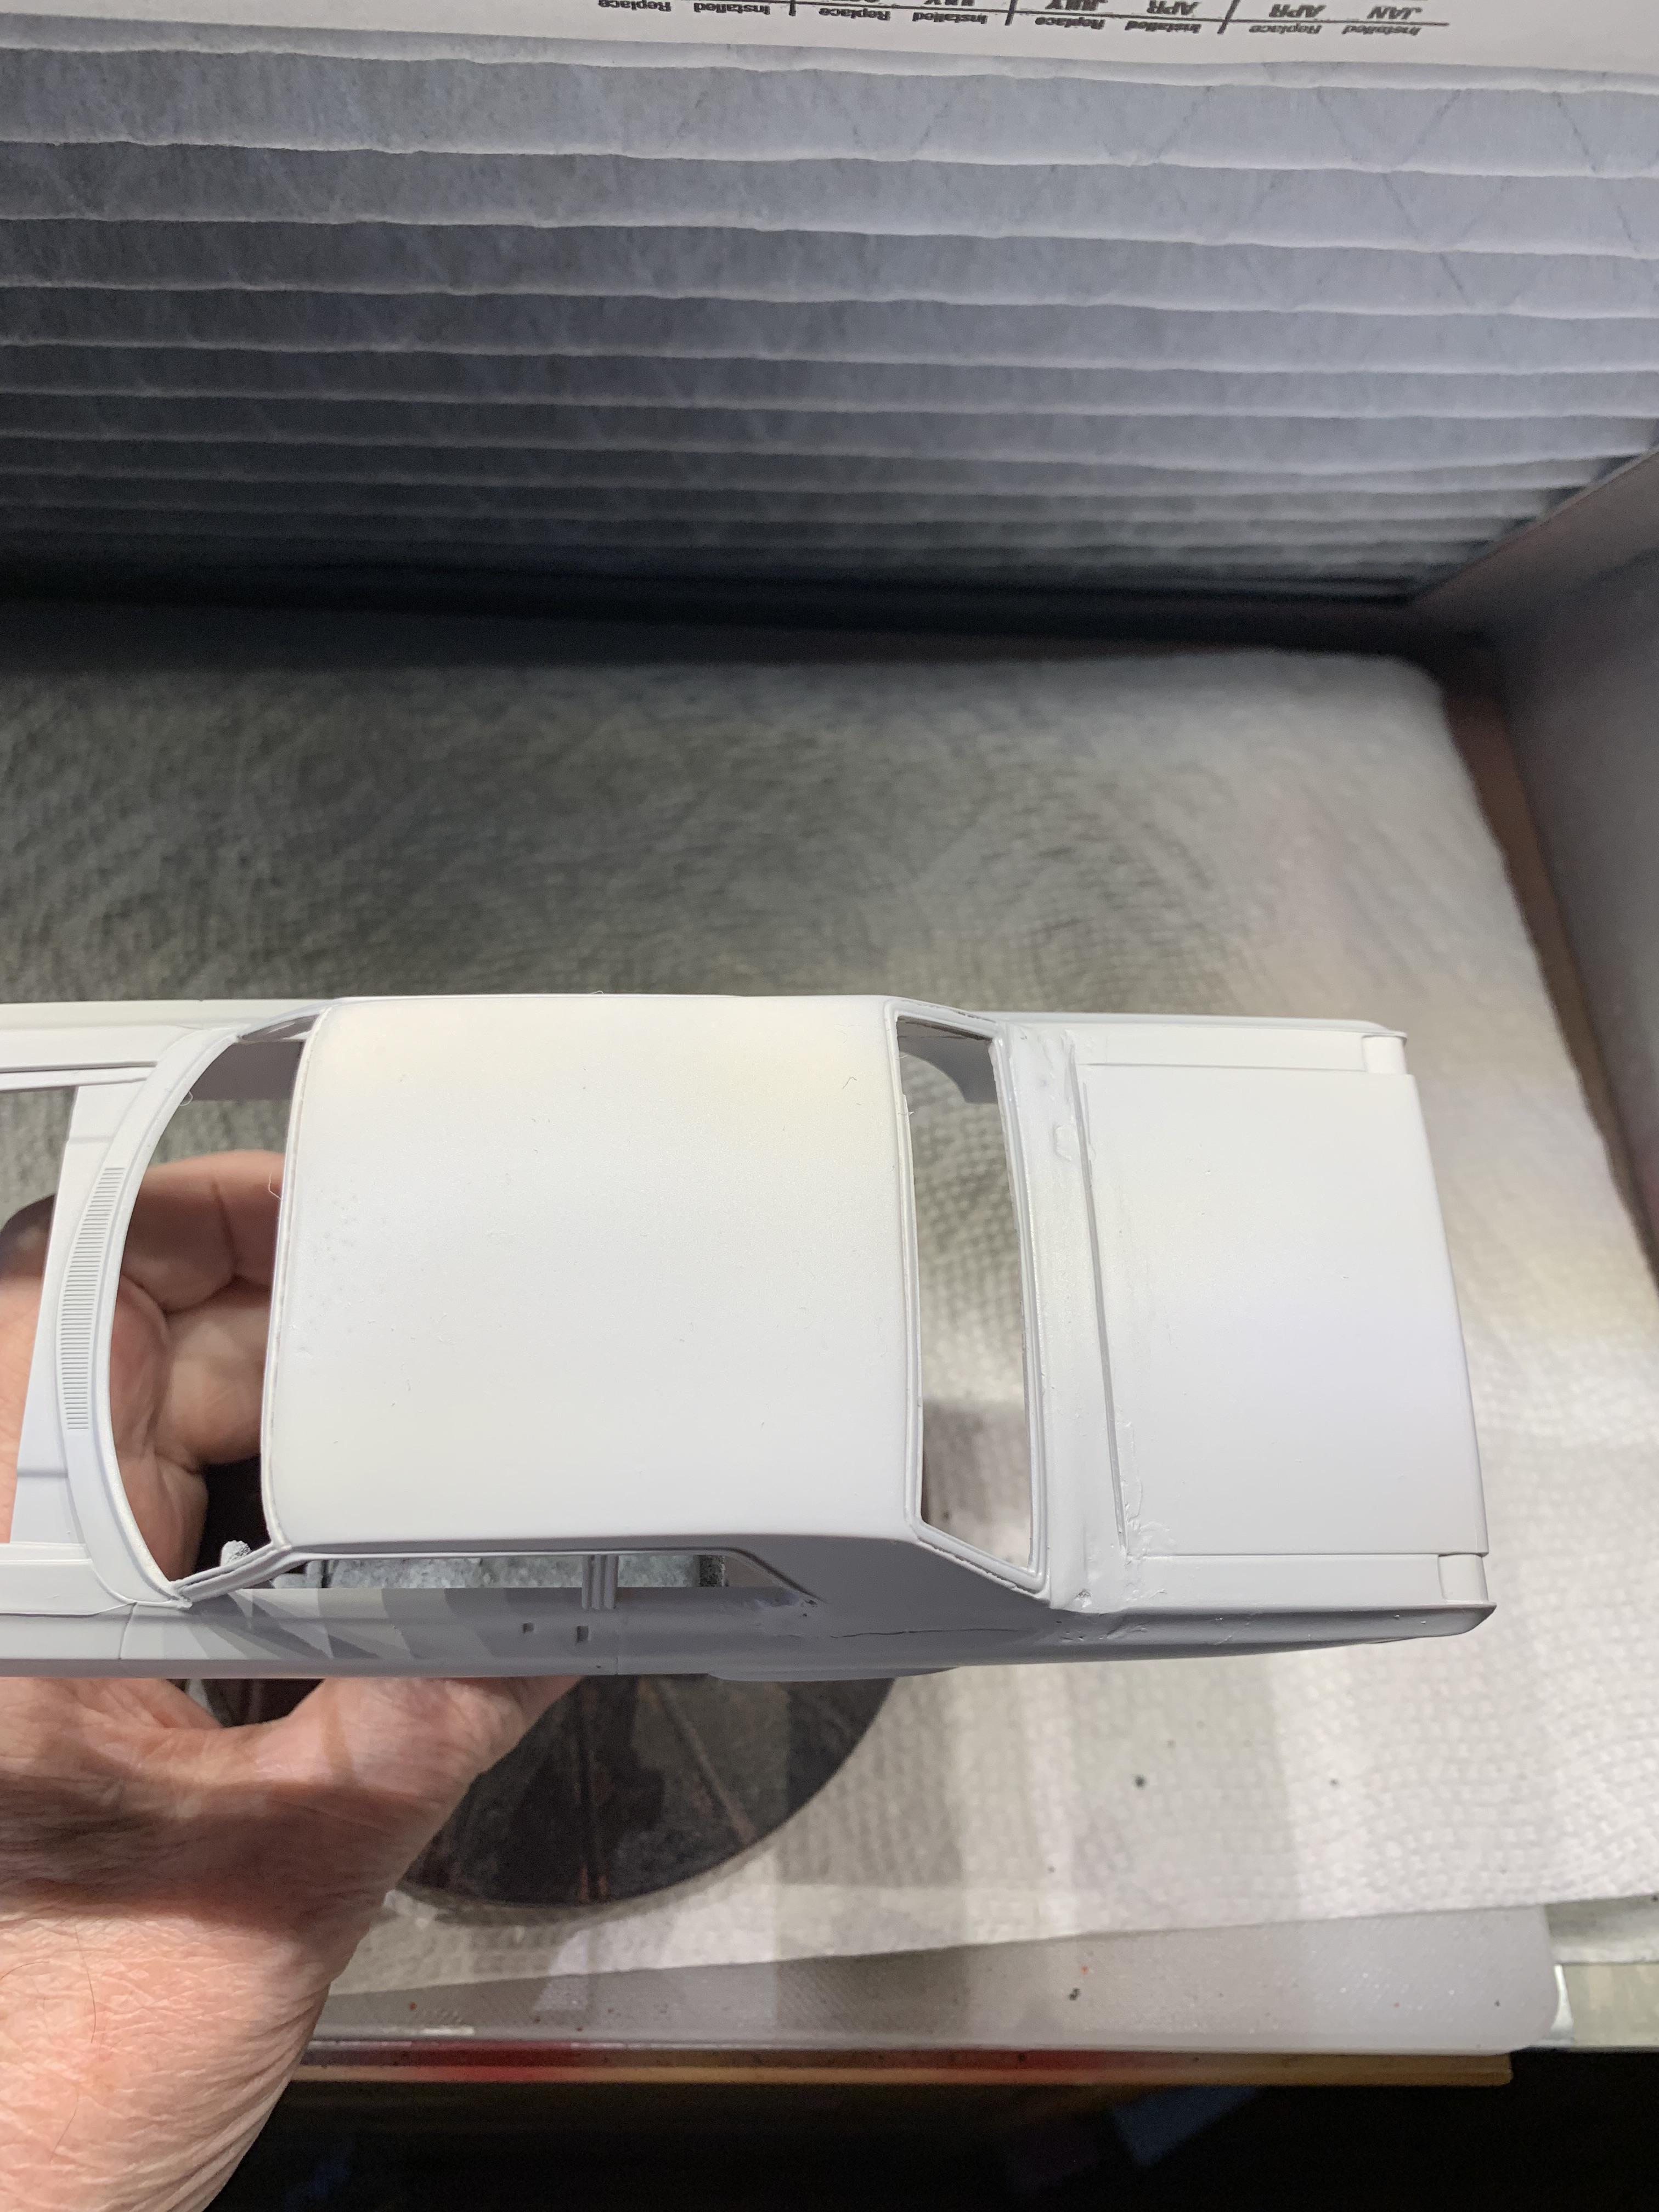
Thanks, Mike. Took a couple days off. Cut a new package tray from .015” styrene sheet and glued it on. Some more sanding (sigh!) , run some 3000 grit foam Tamiya over the whole body, then scribed the trunk. Washed it off for another coat of primer and paint the interior with some Tamiya Champagne gold.
-
Greg Wann from Holy Grail Resin Model Parts. He is on Facebook.
-
Outstanding!
-
An awb 65 Dodge hardtop converted to a sedan
R. Thorne replied to R. Thorne's topic in WIP: Drag Racing Models
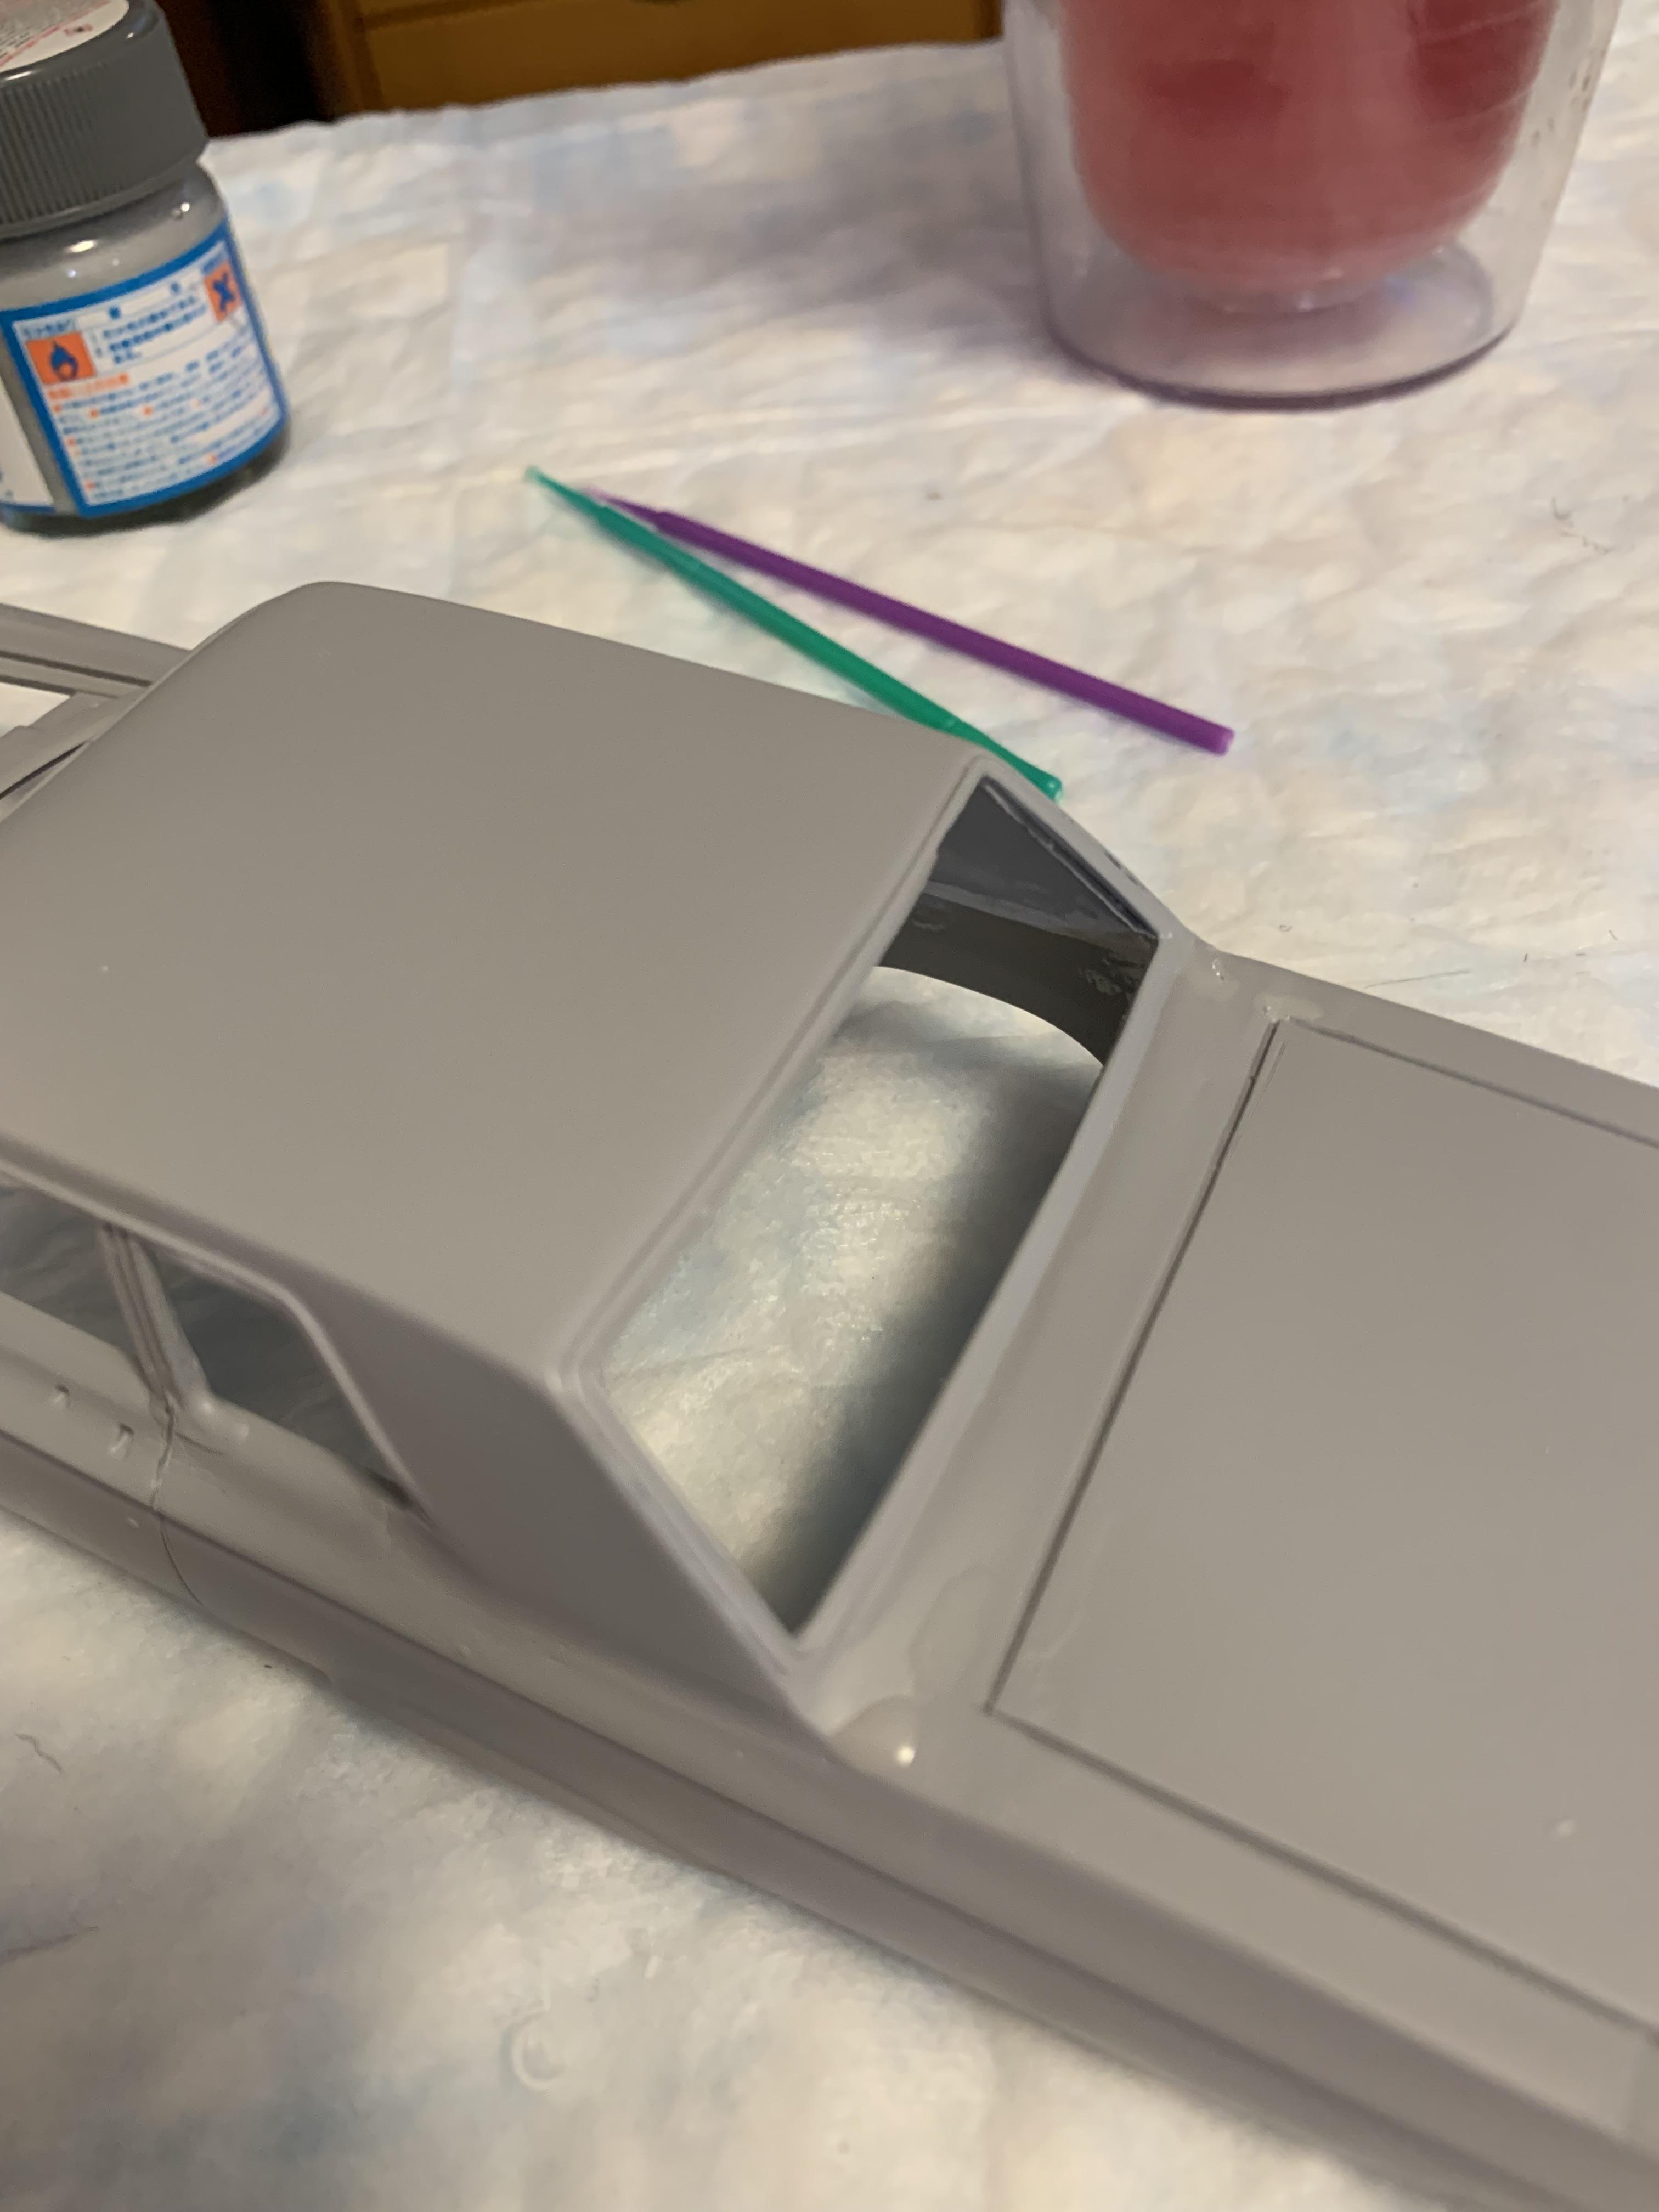
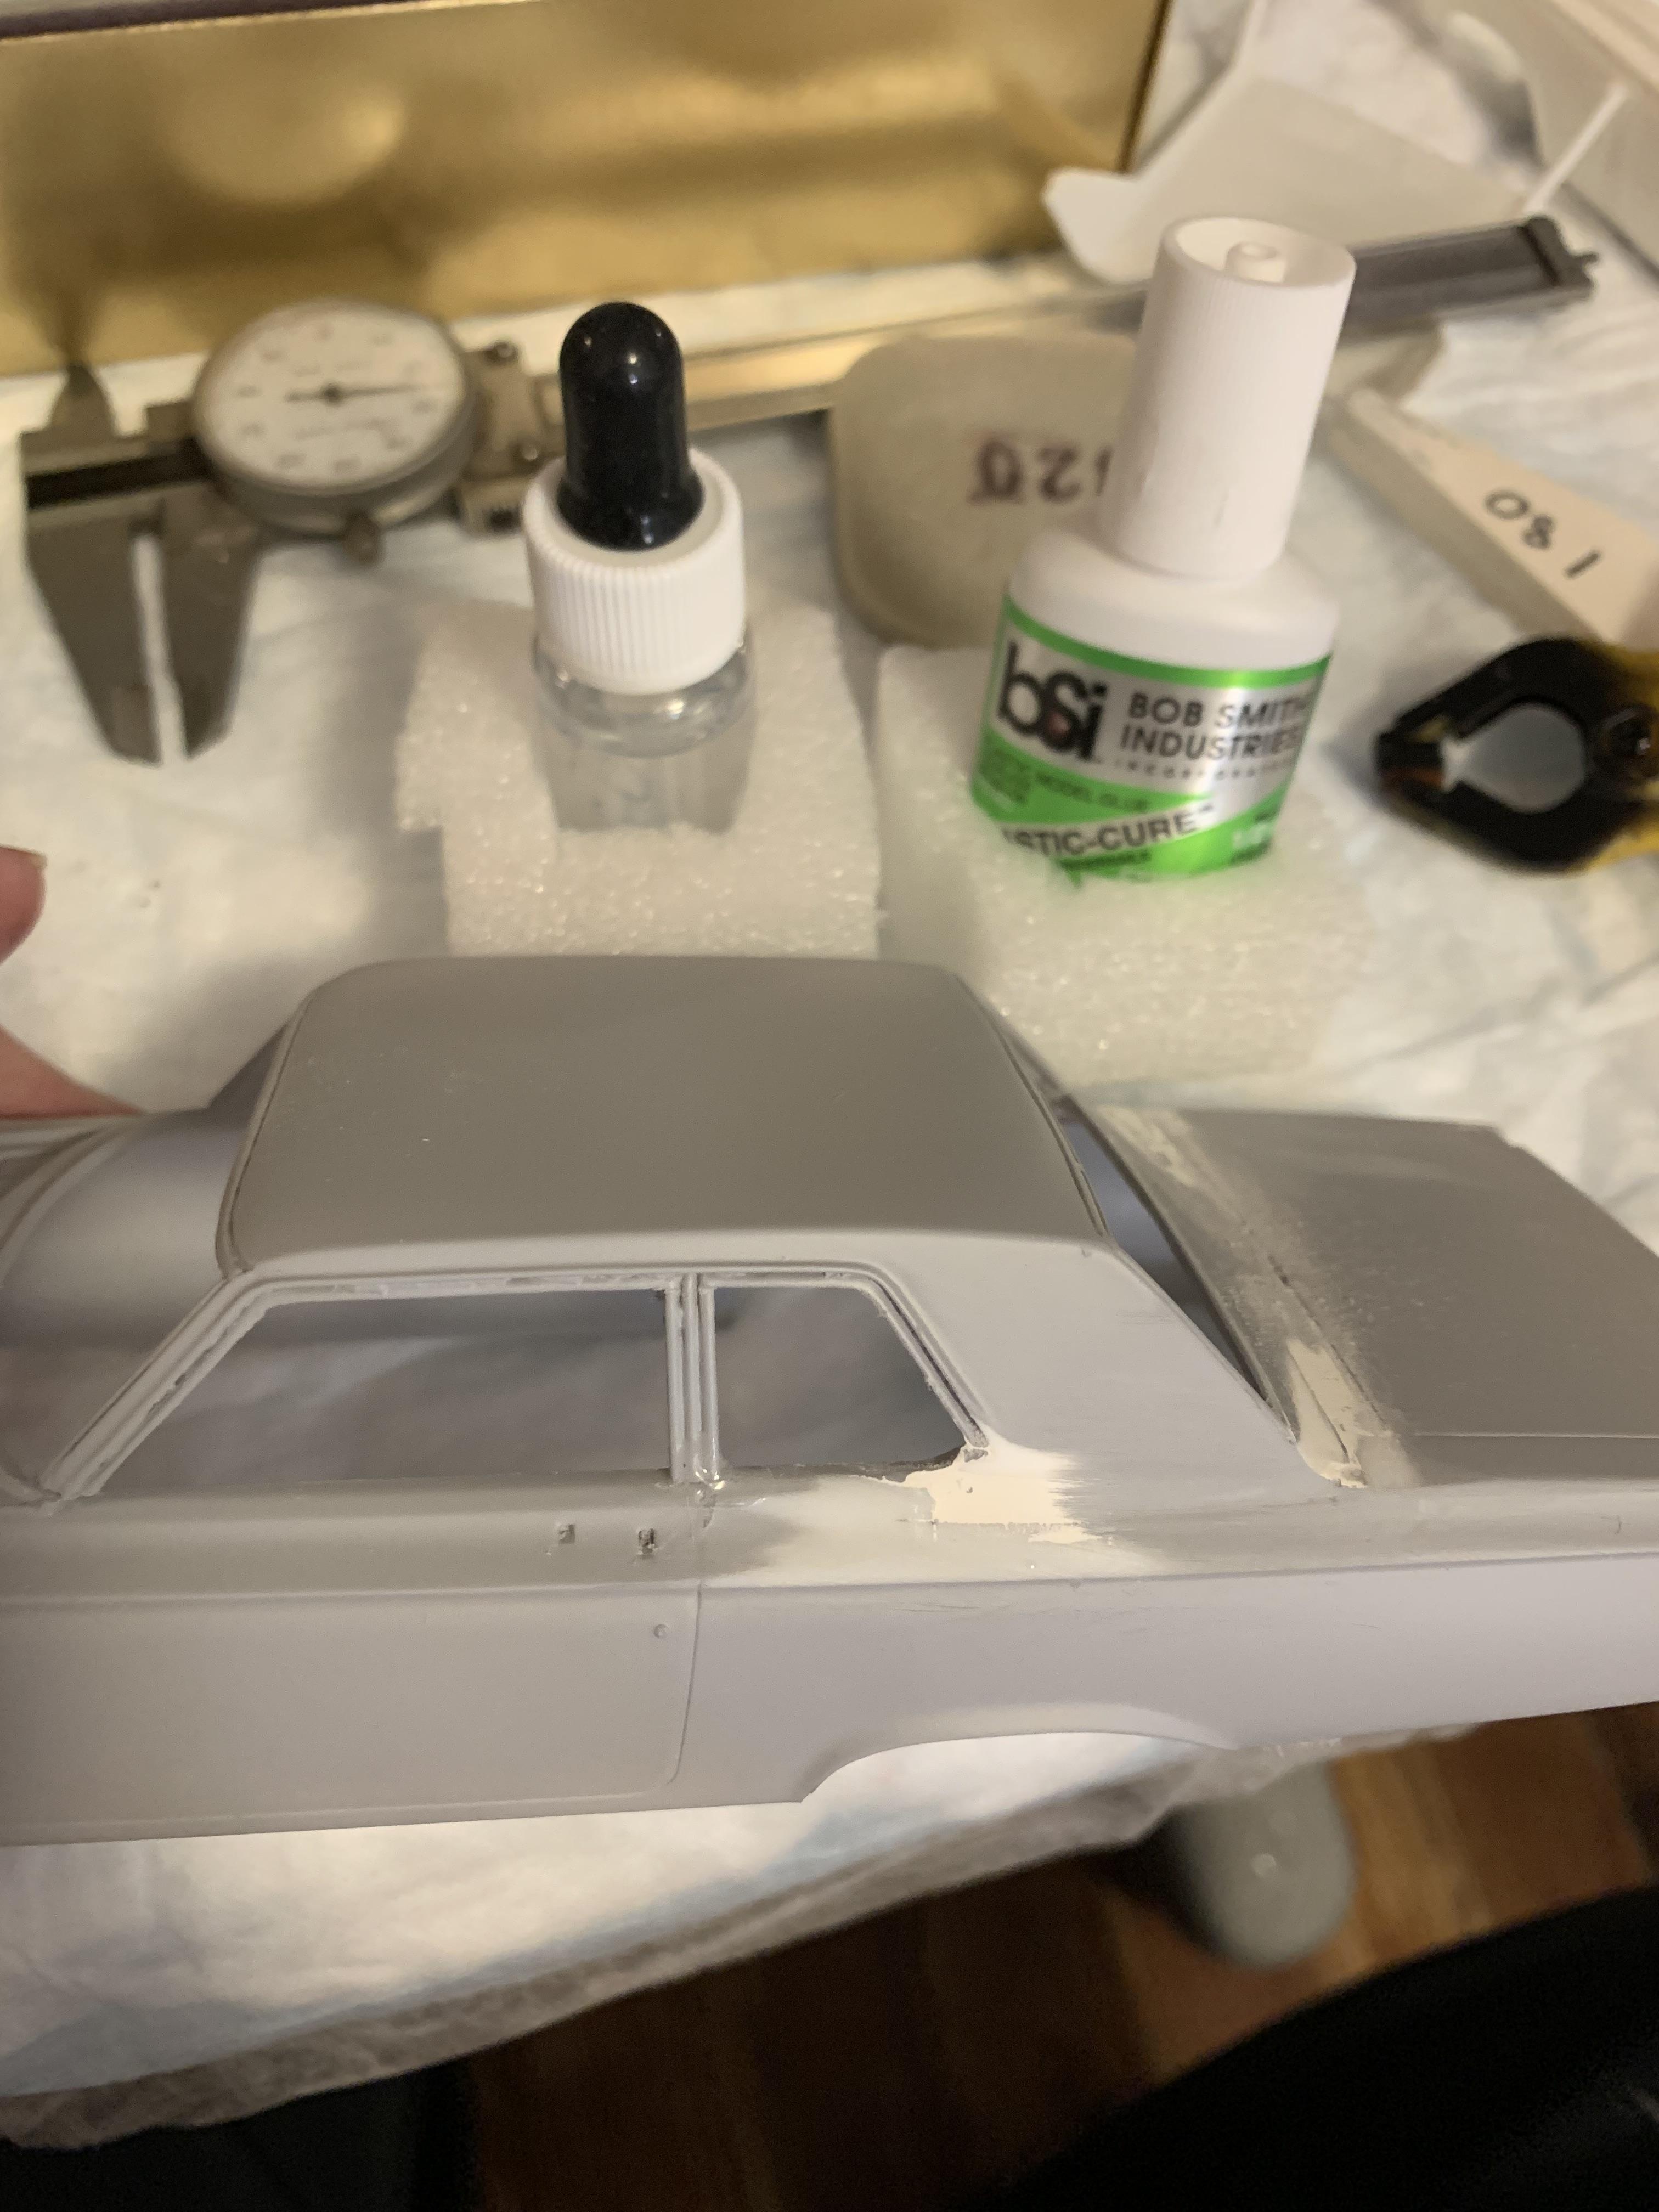
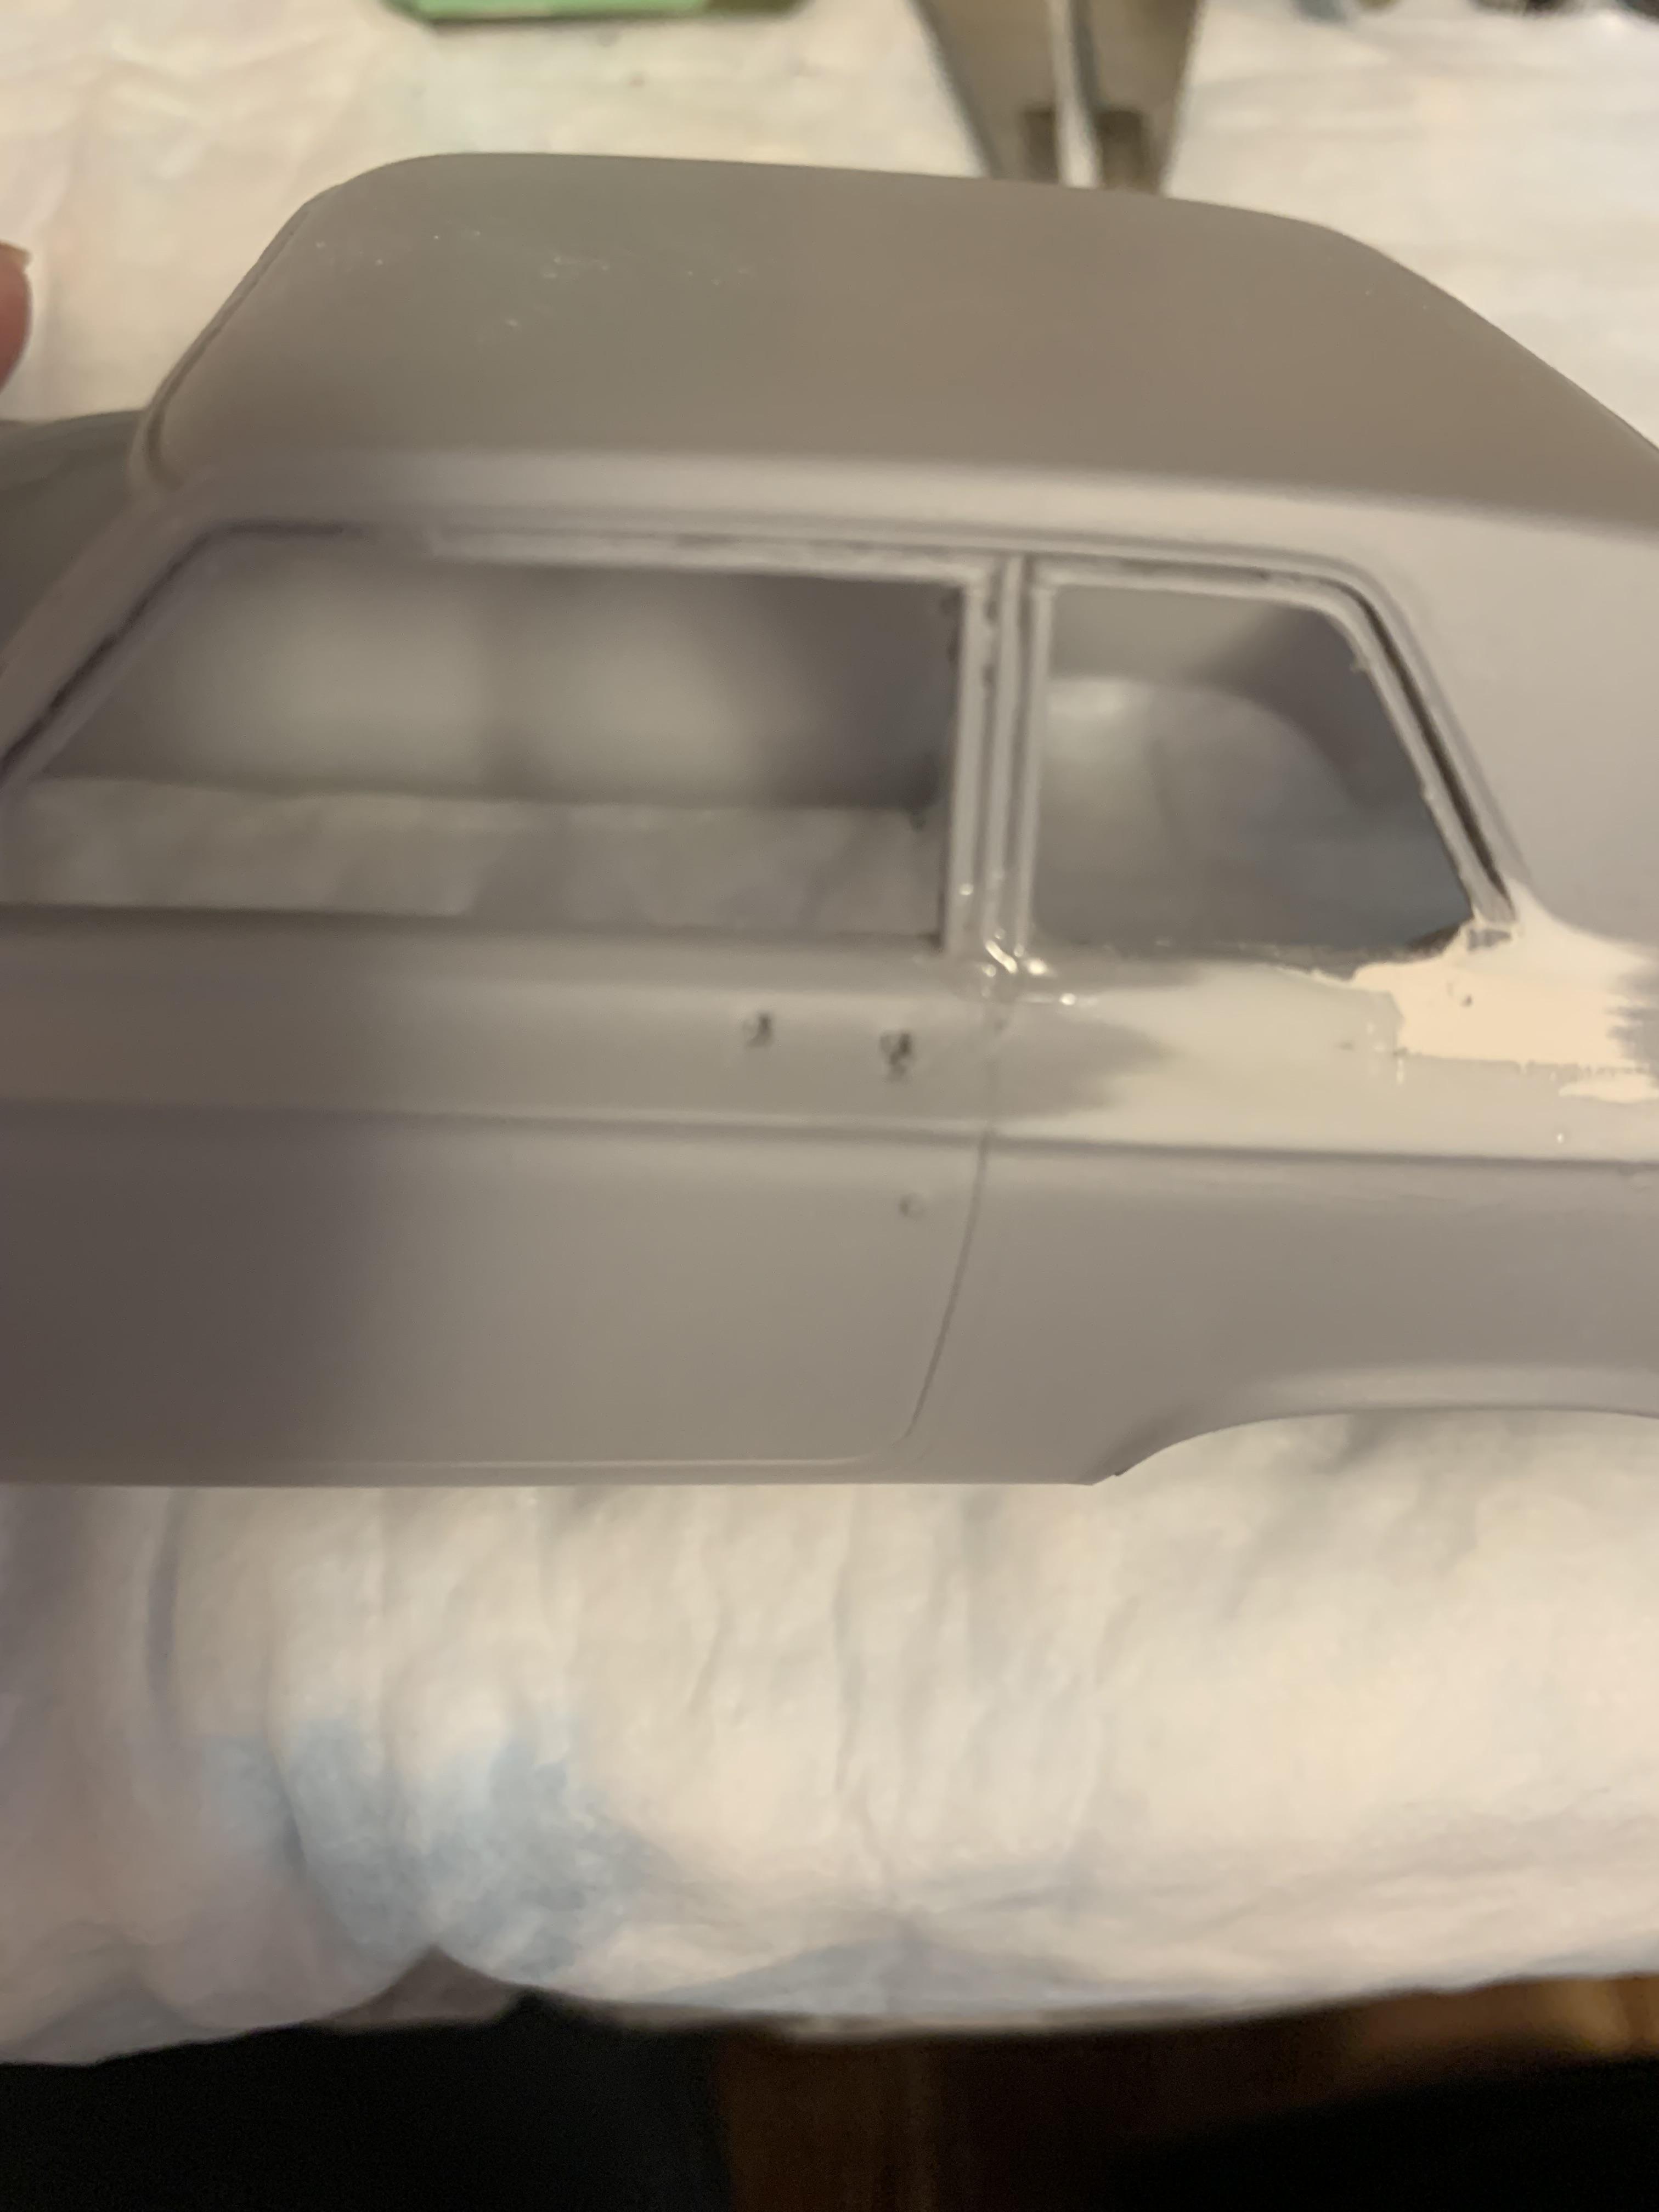
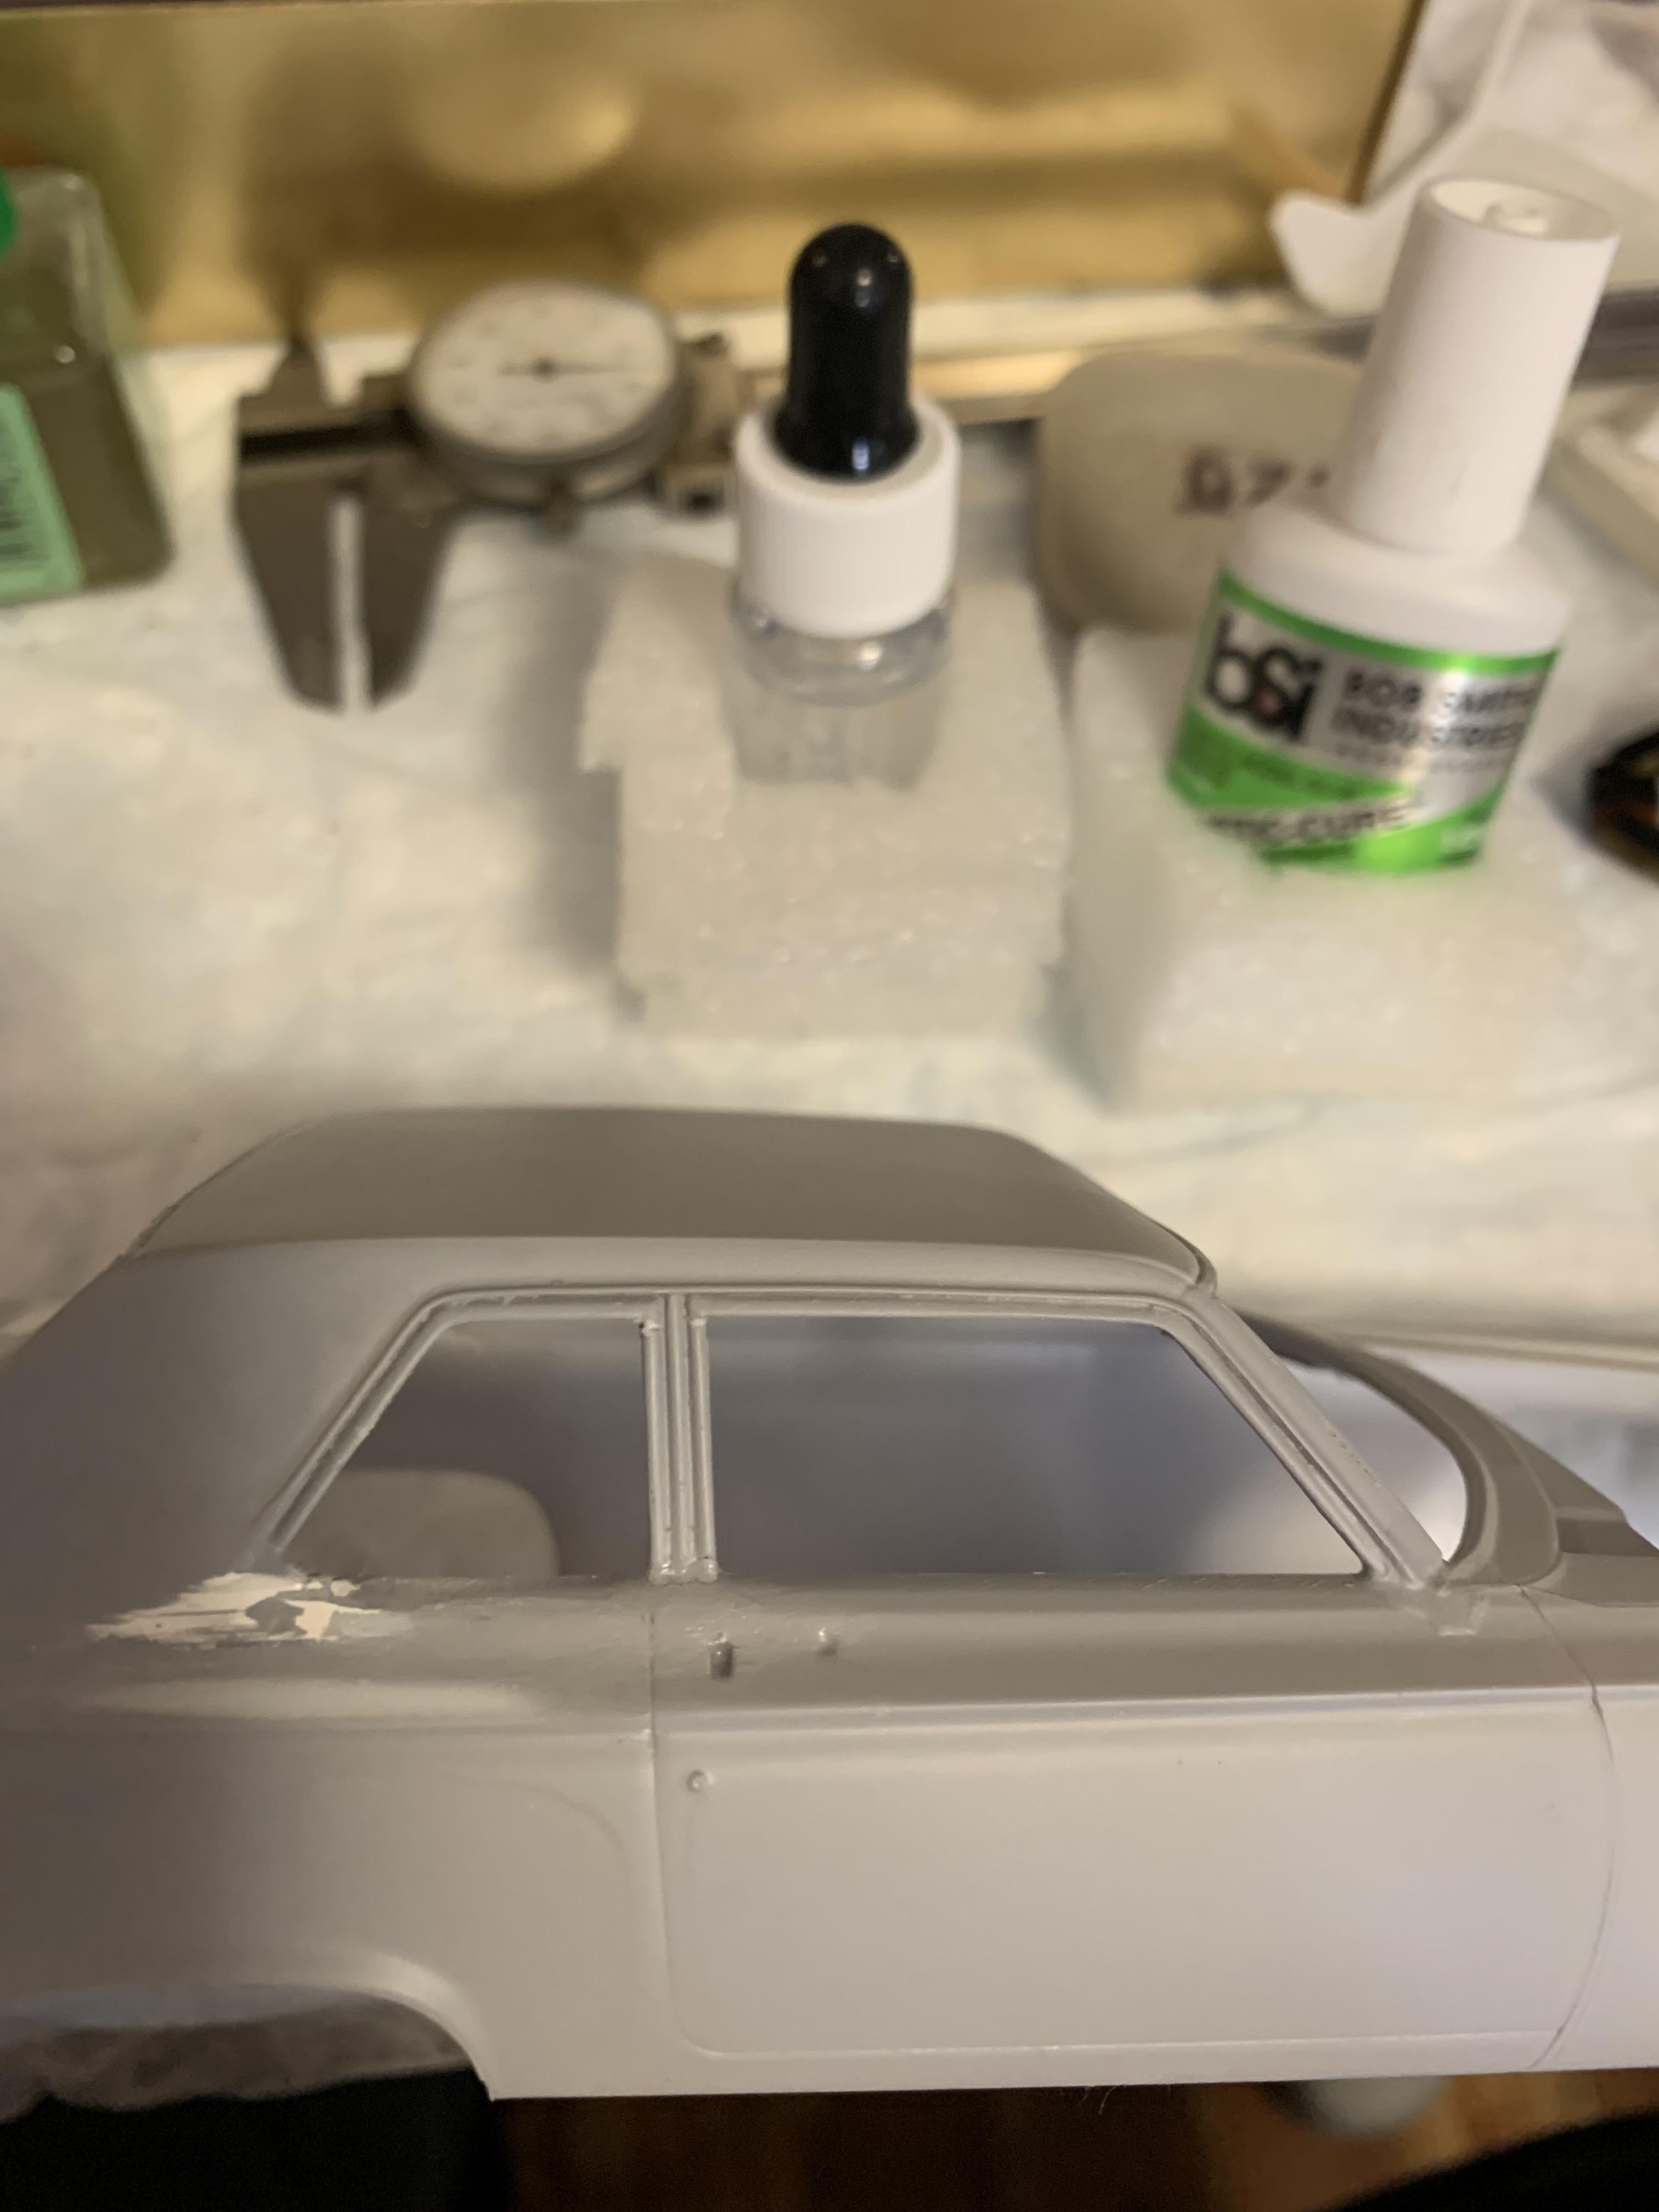
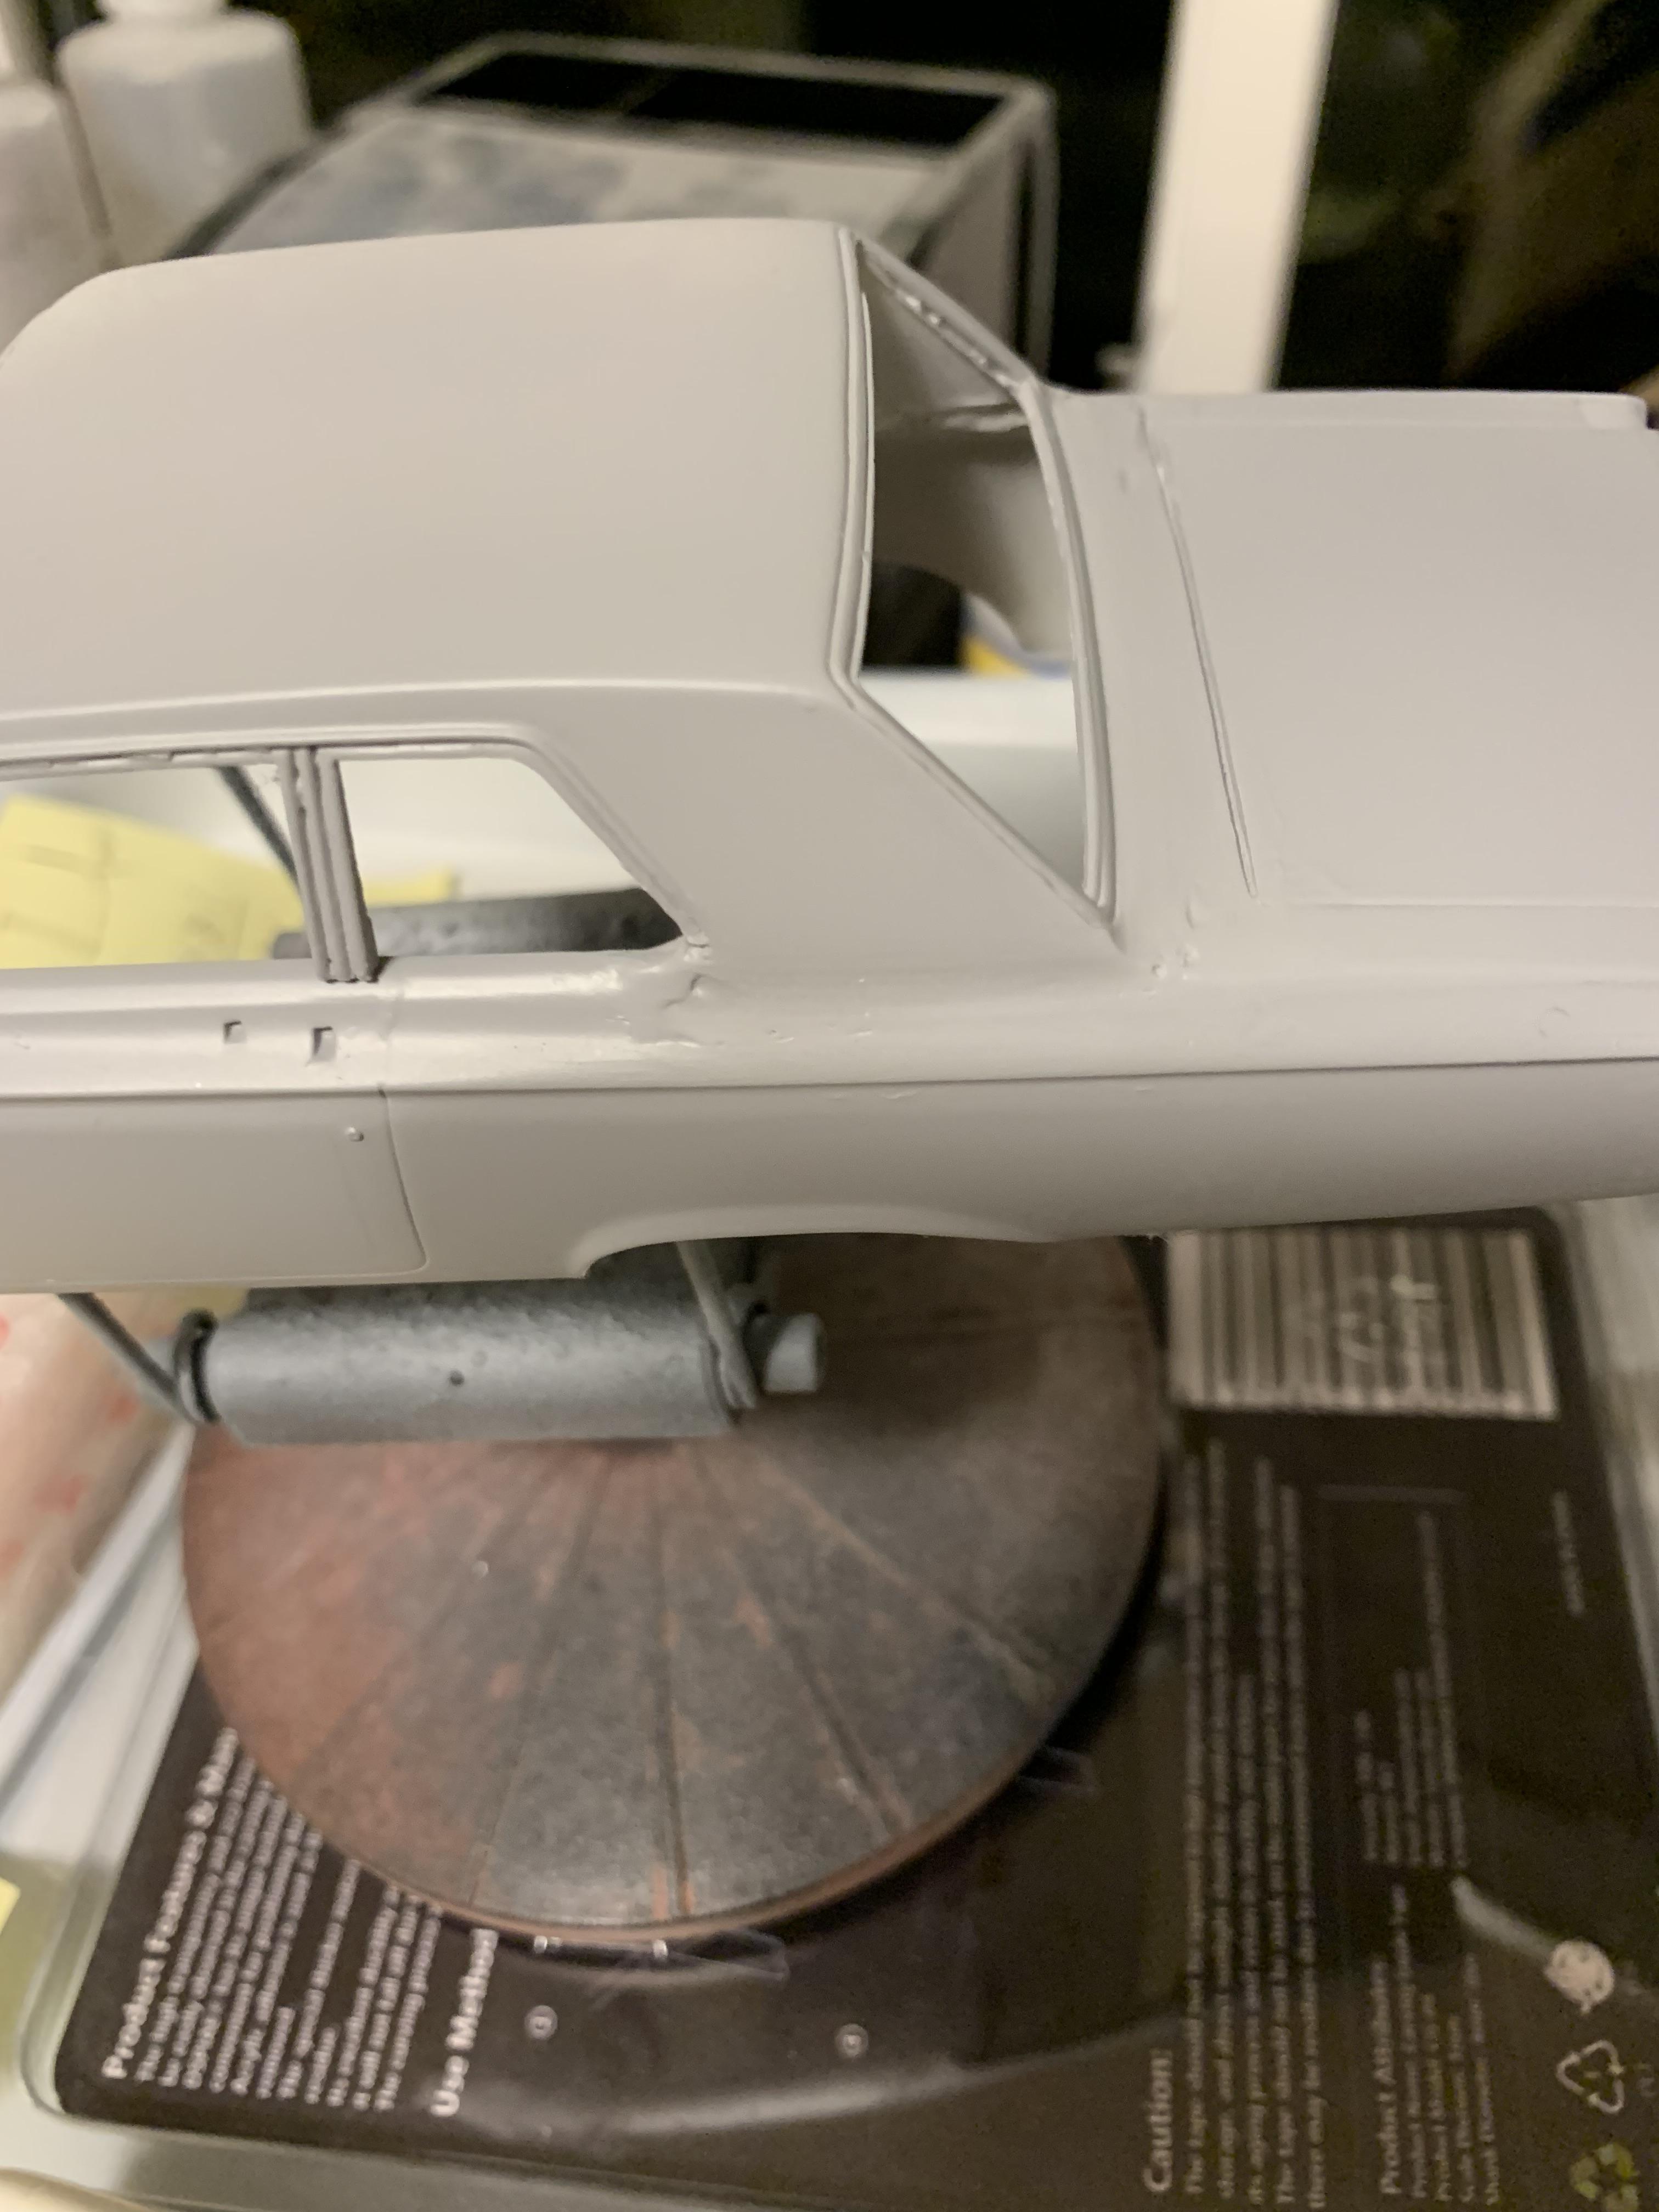
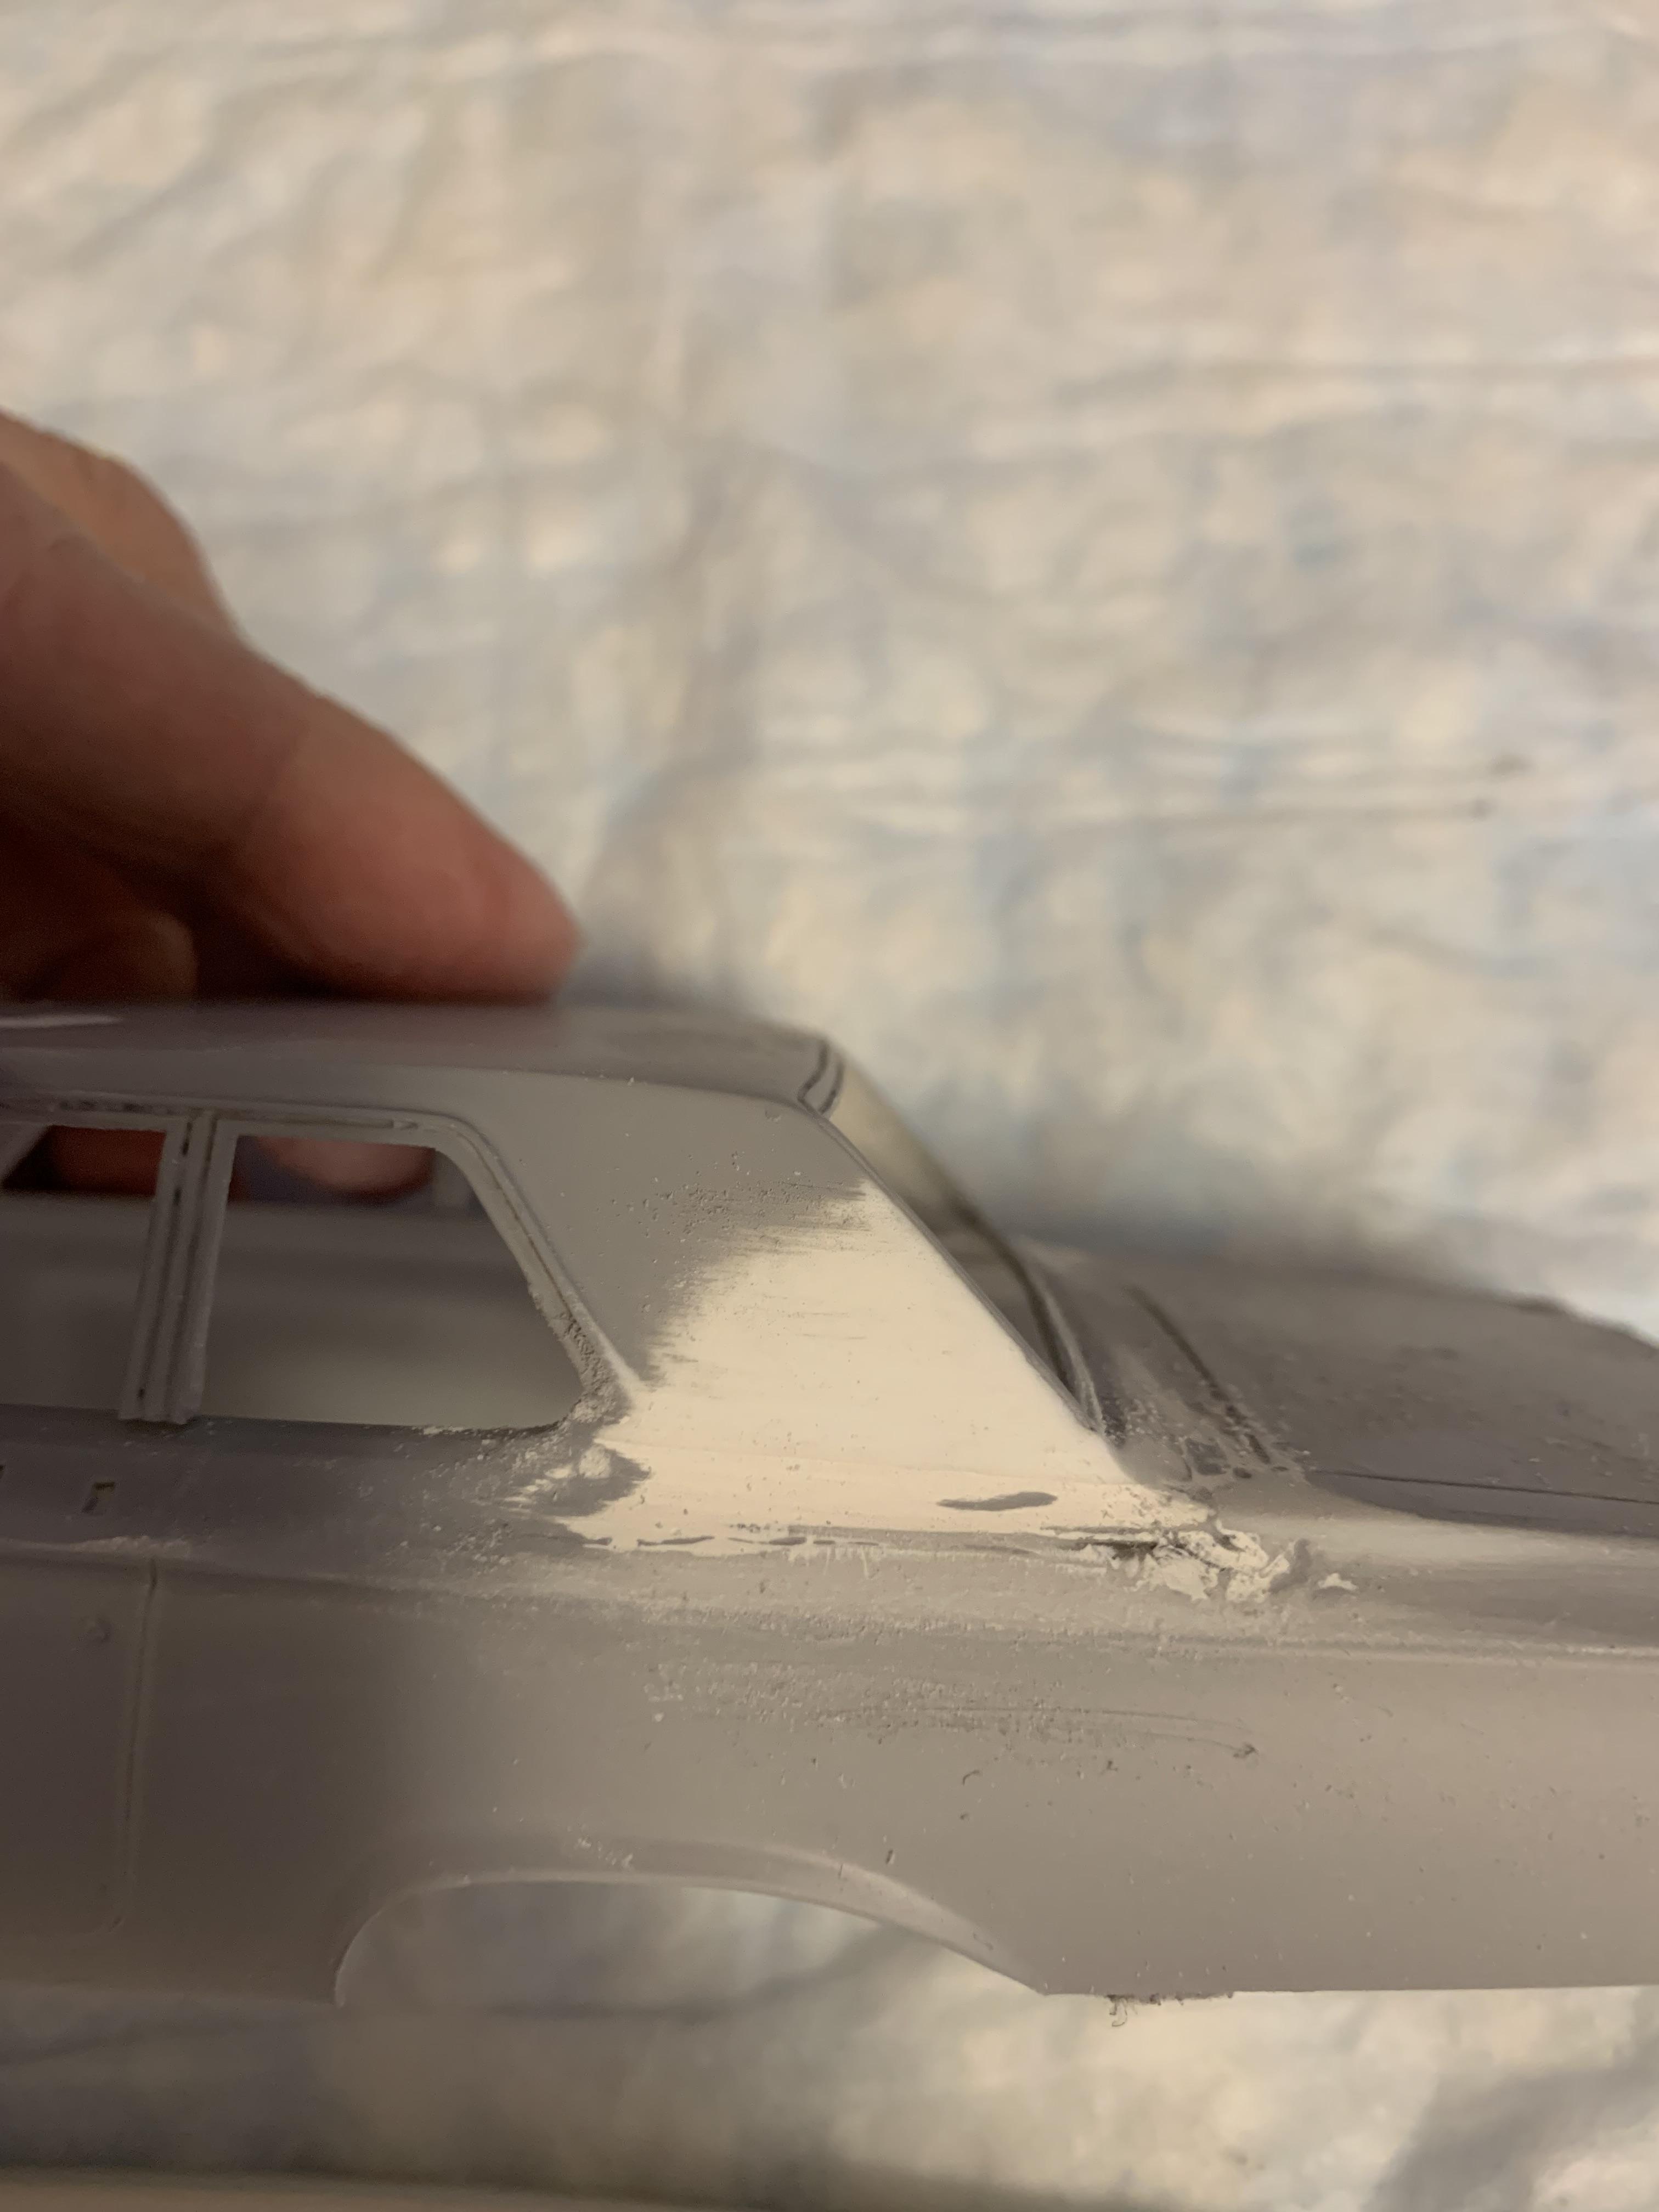
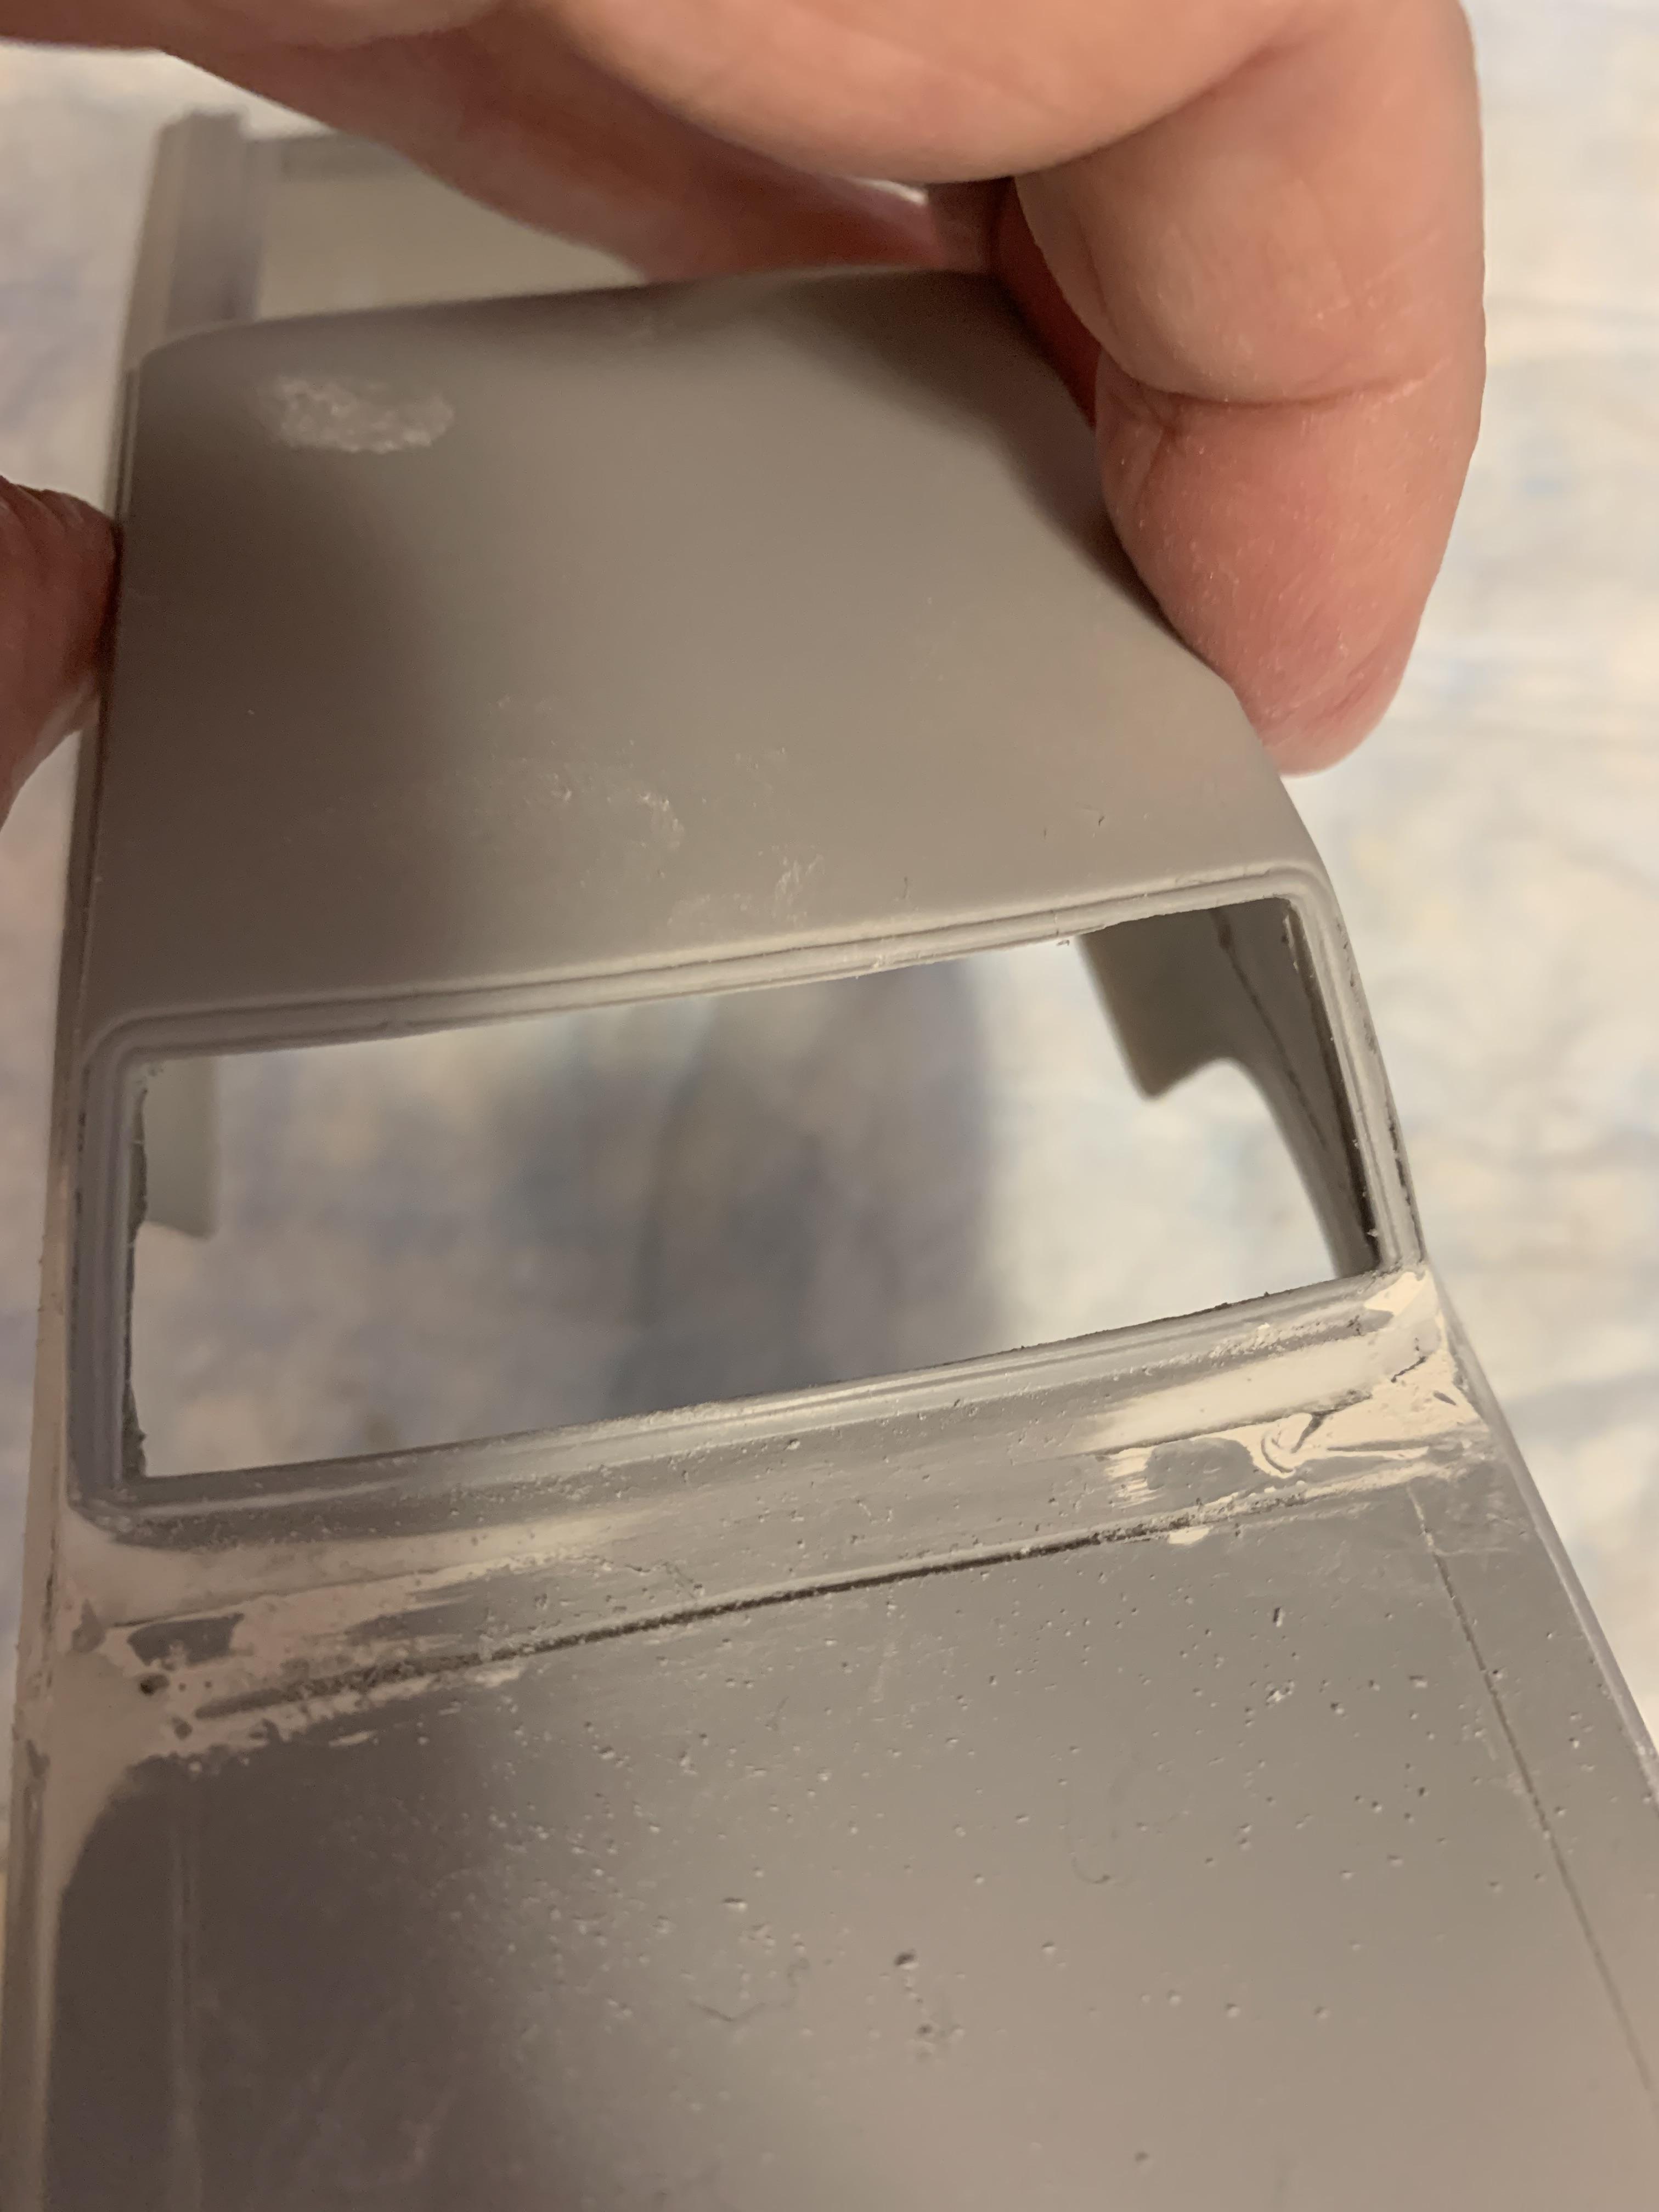
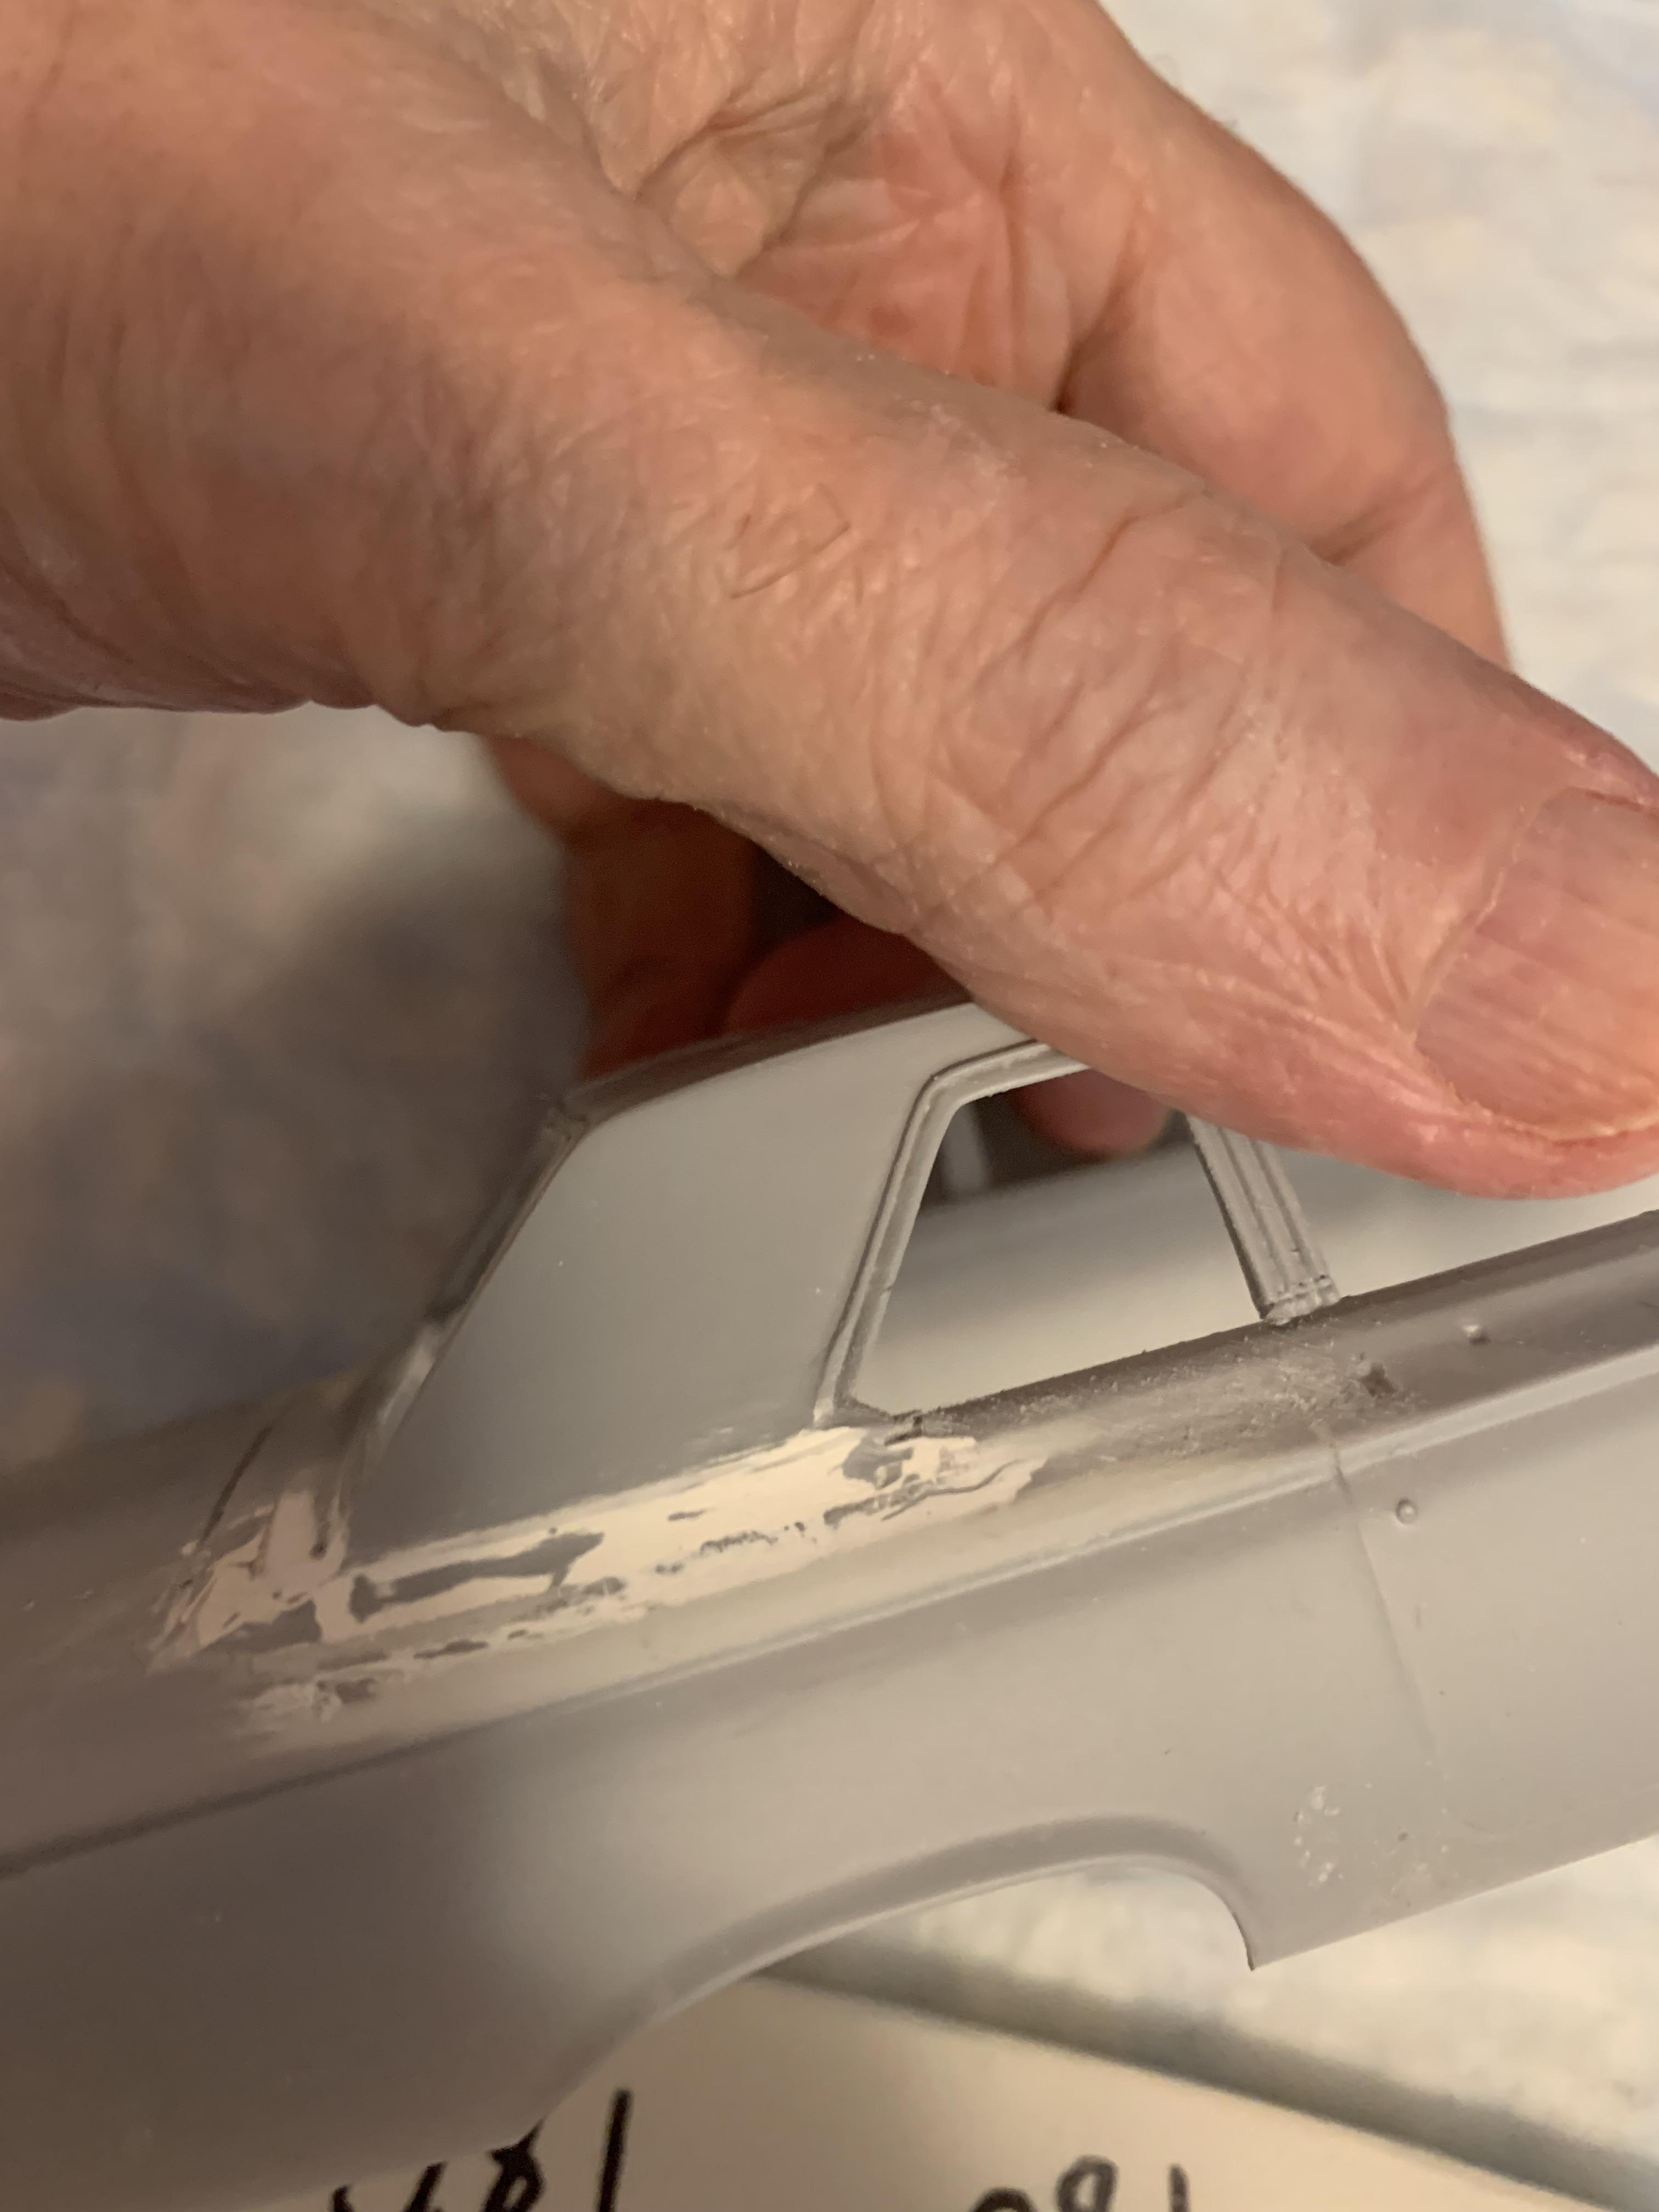
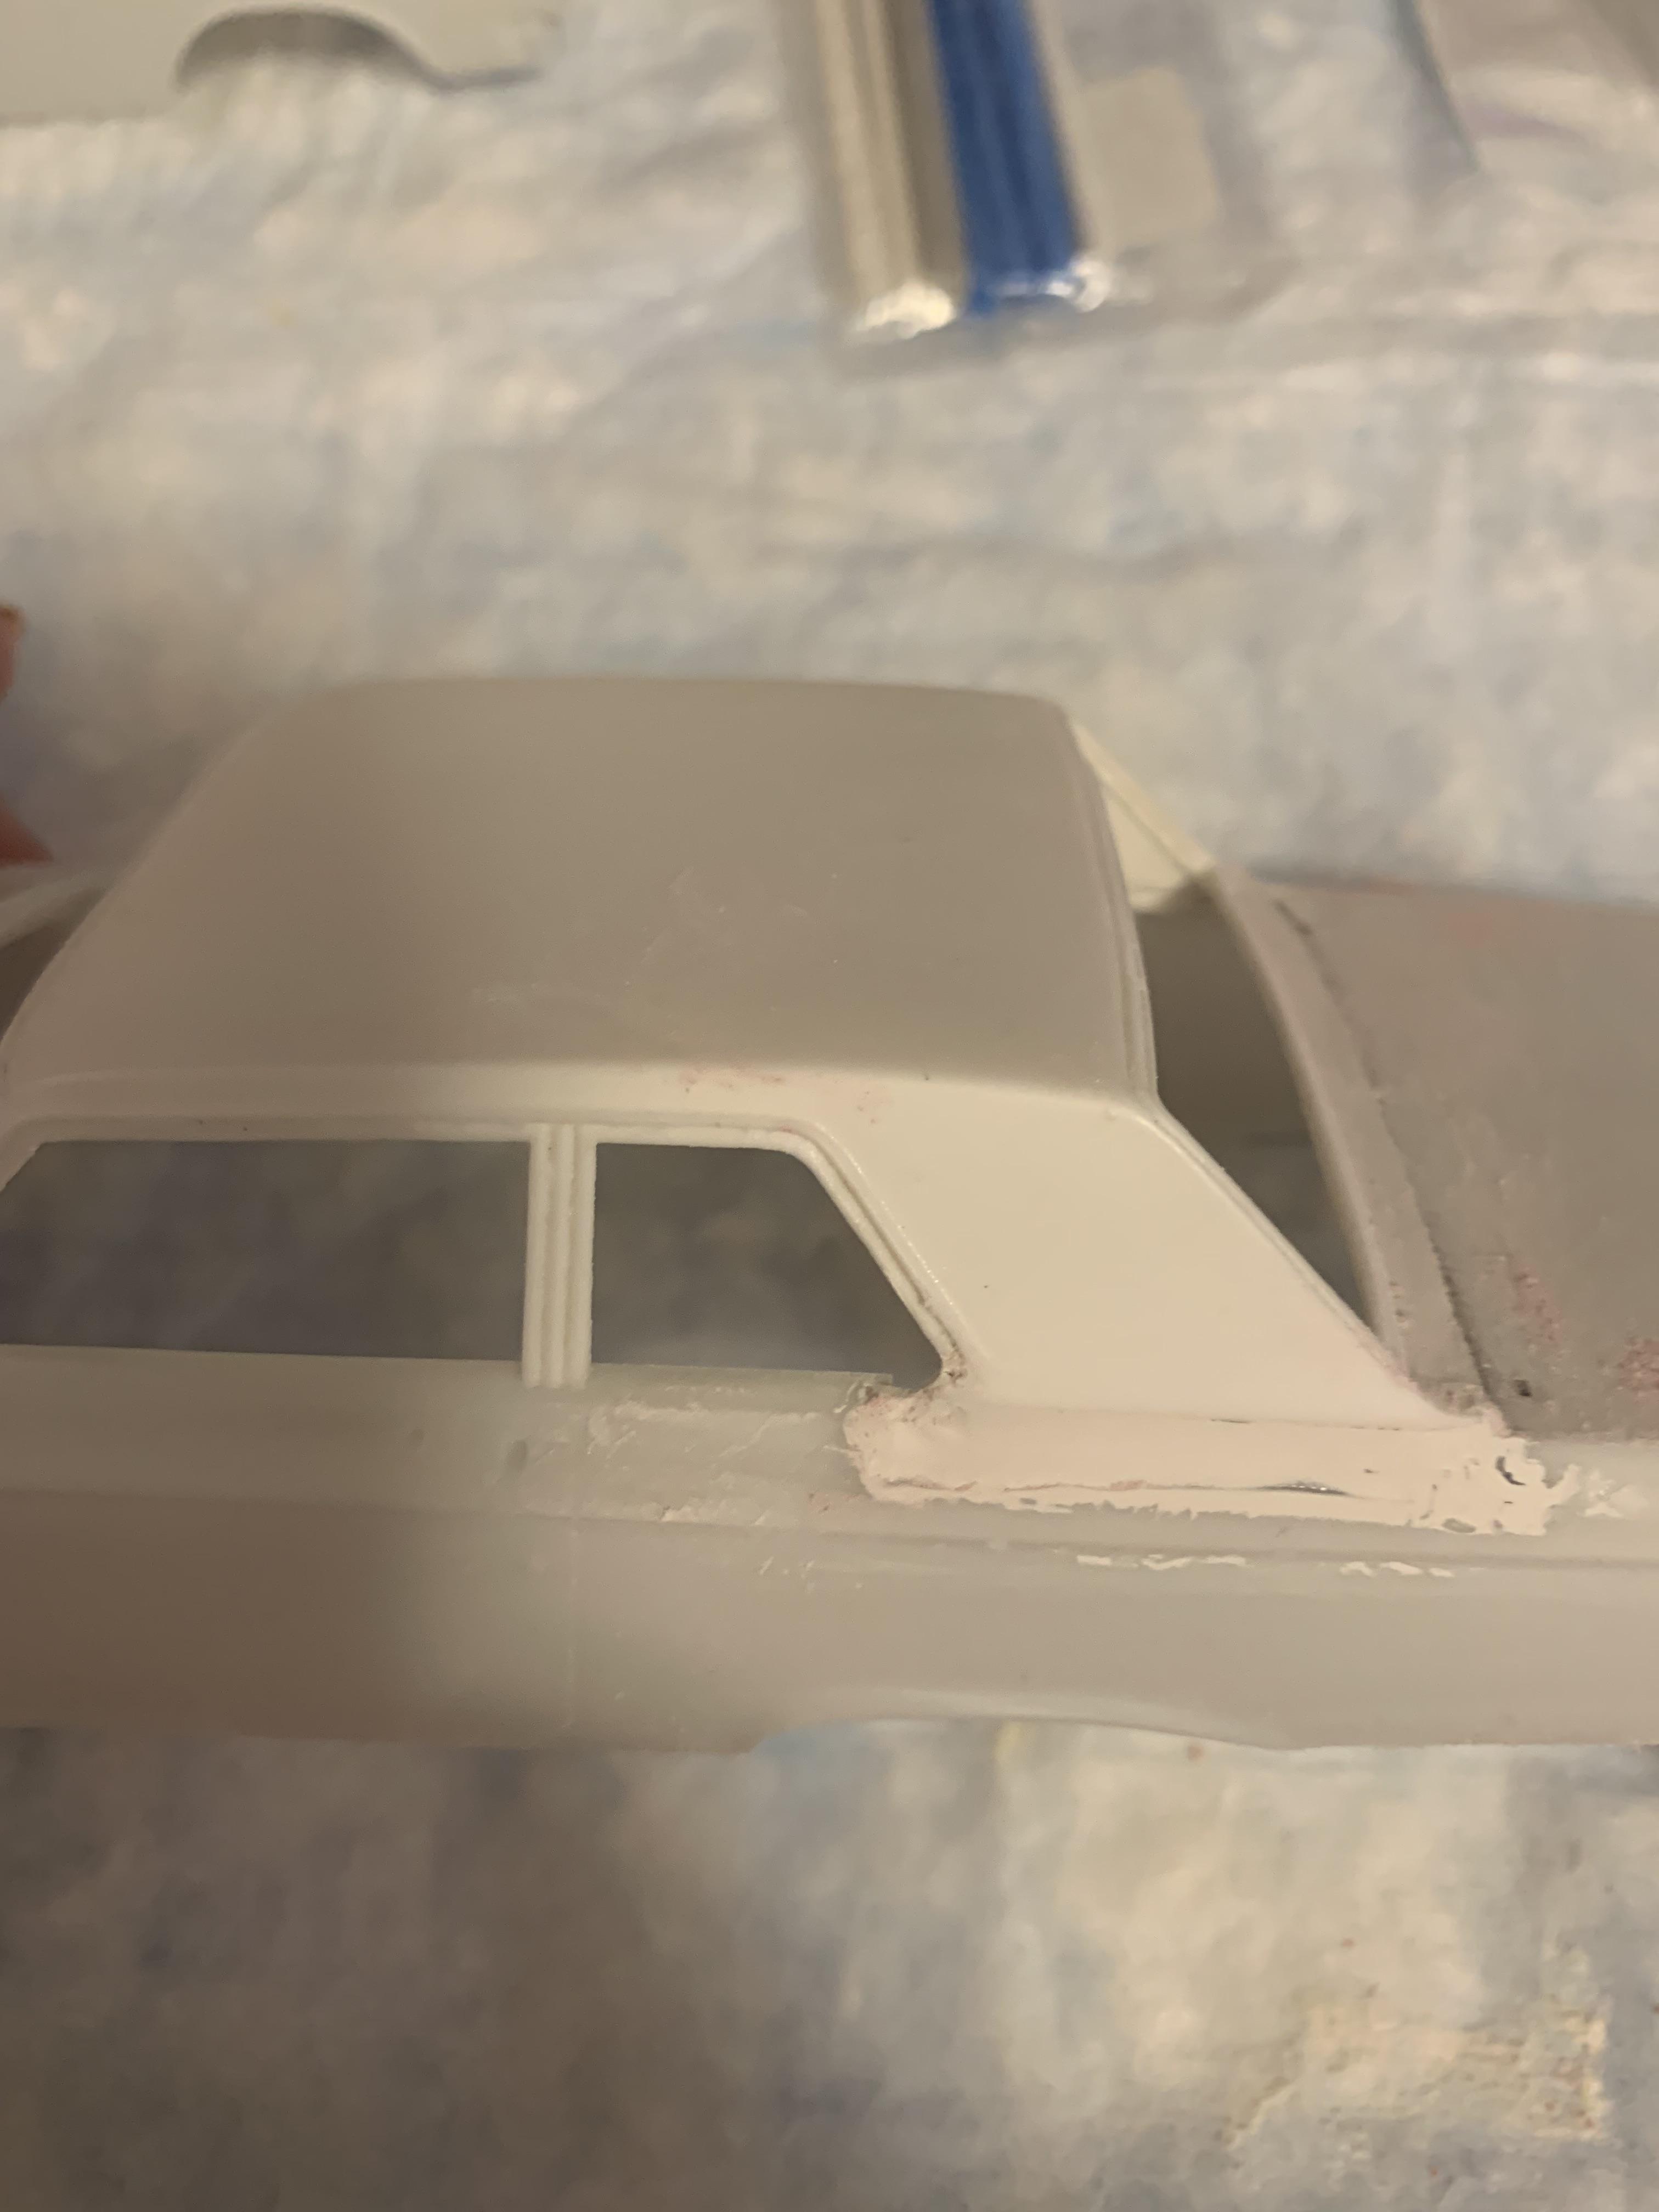
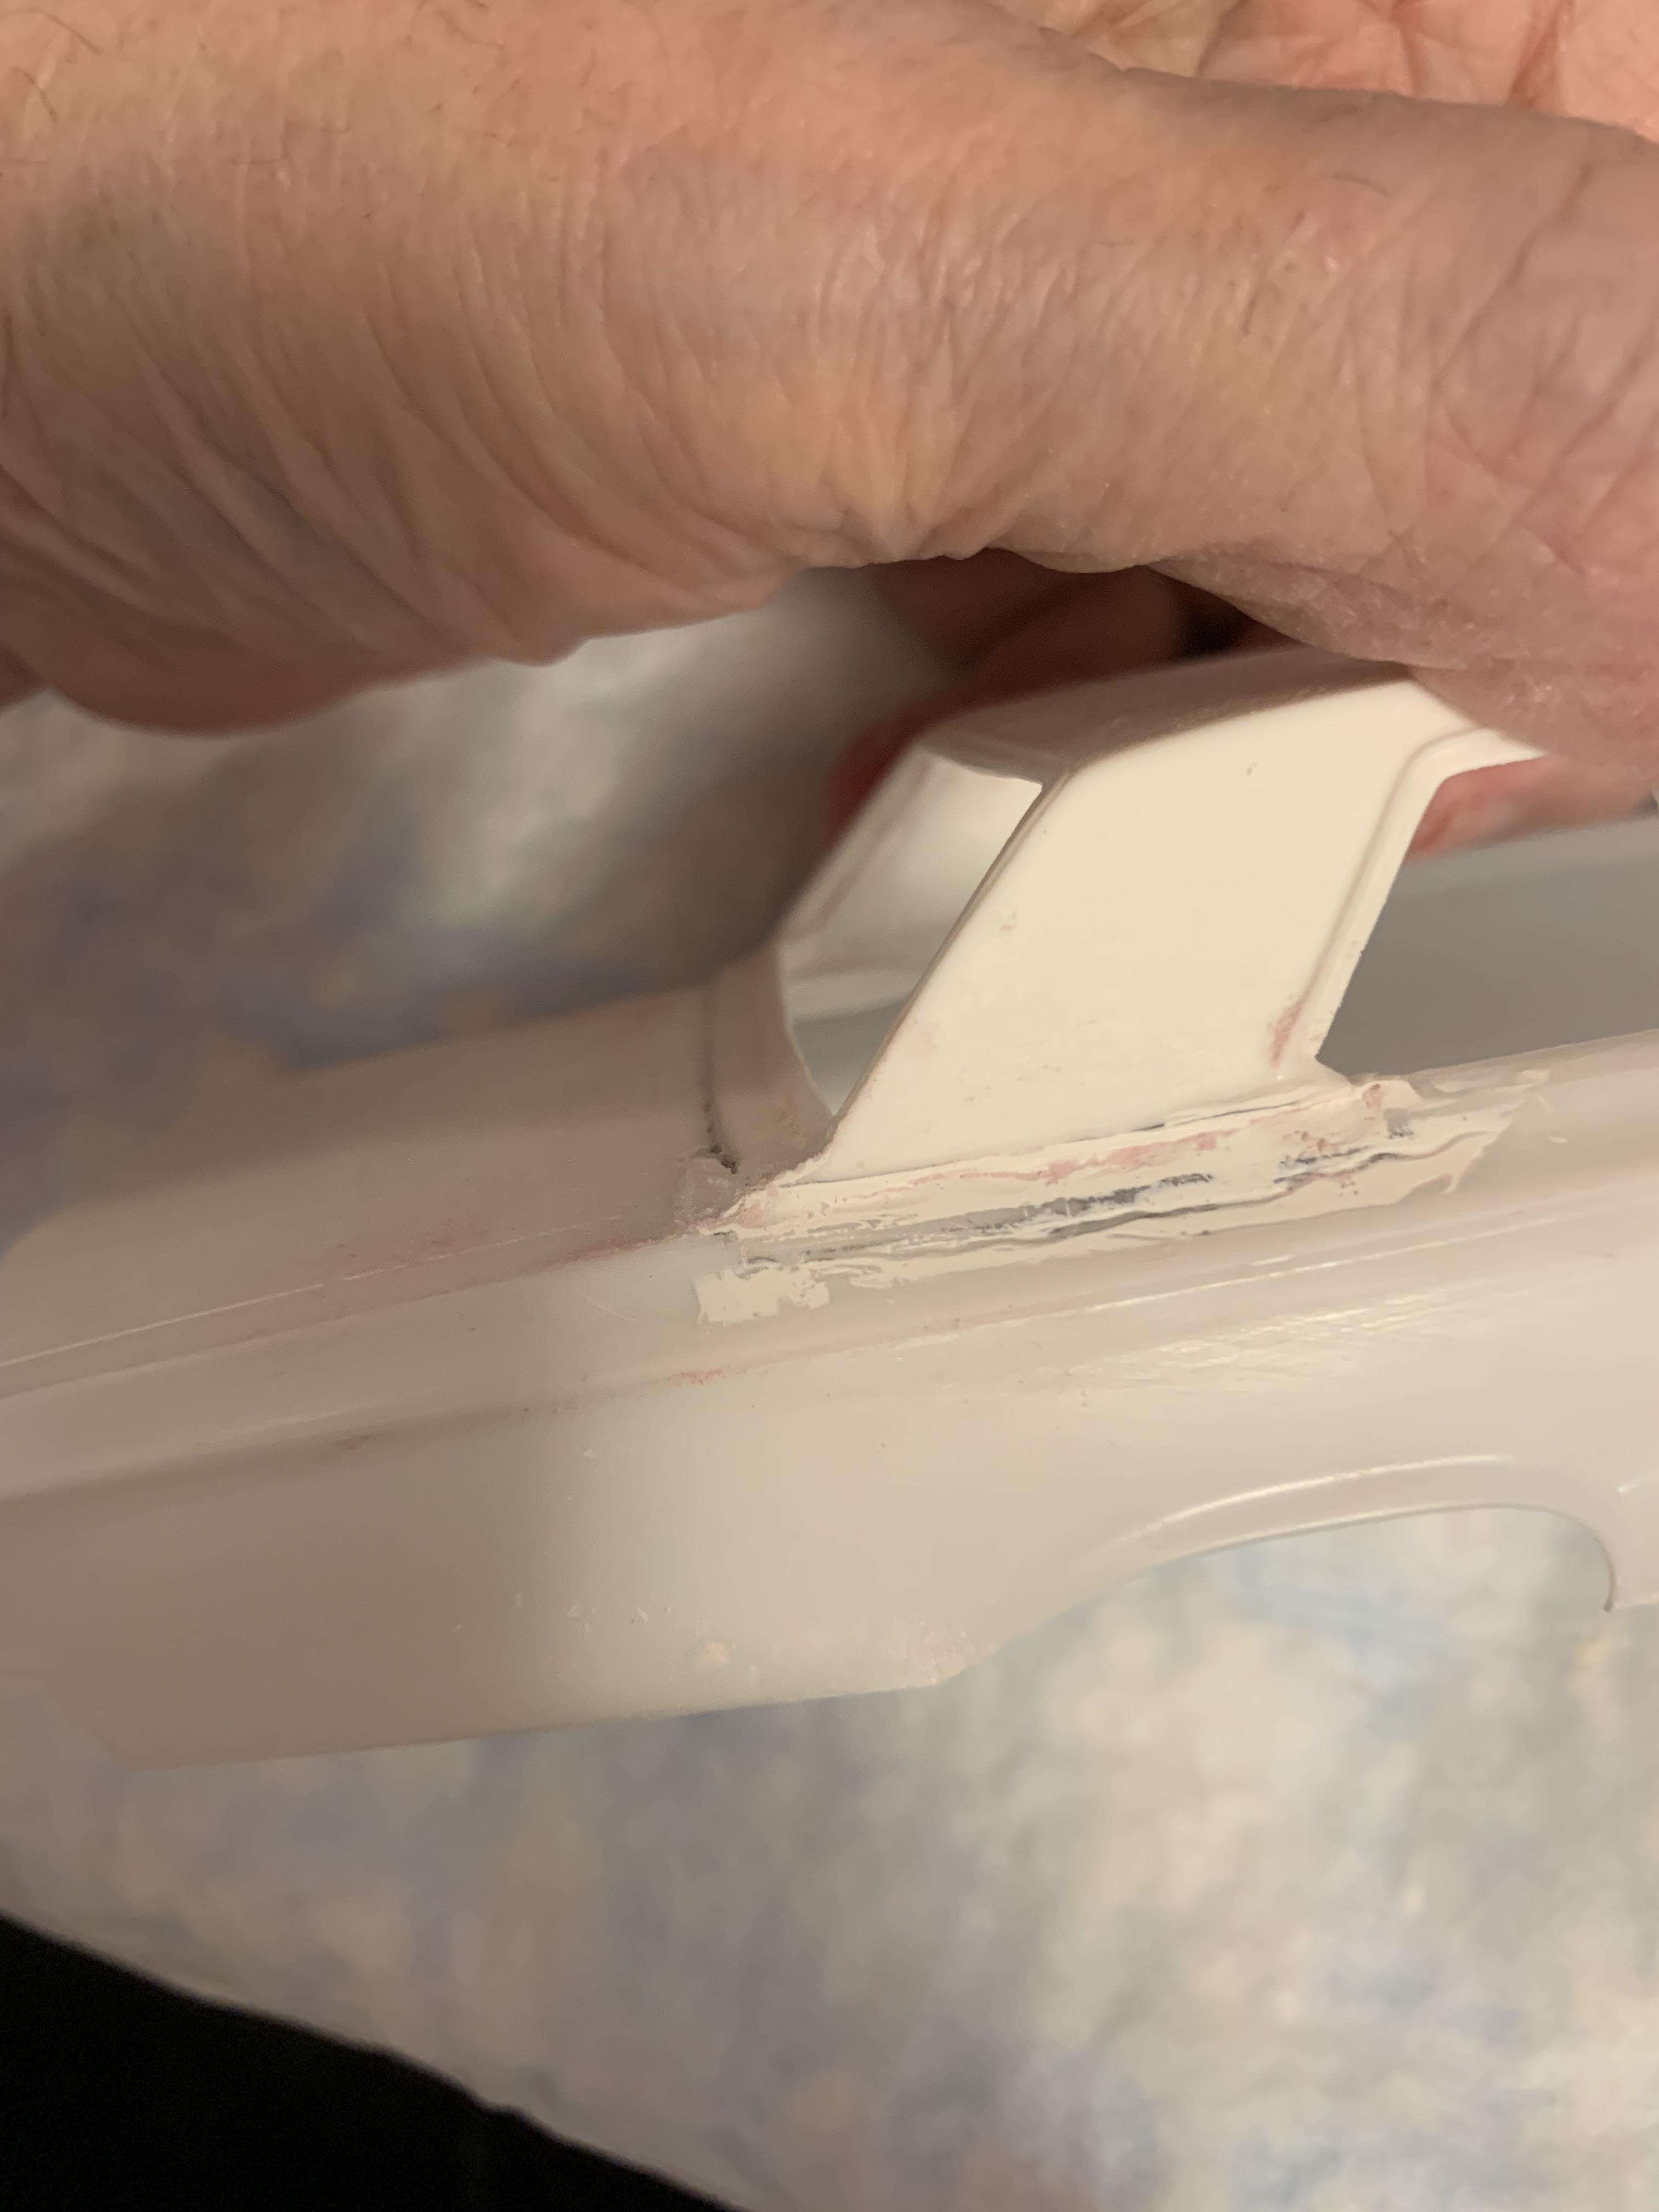
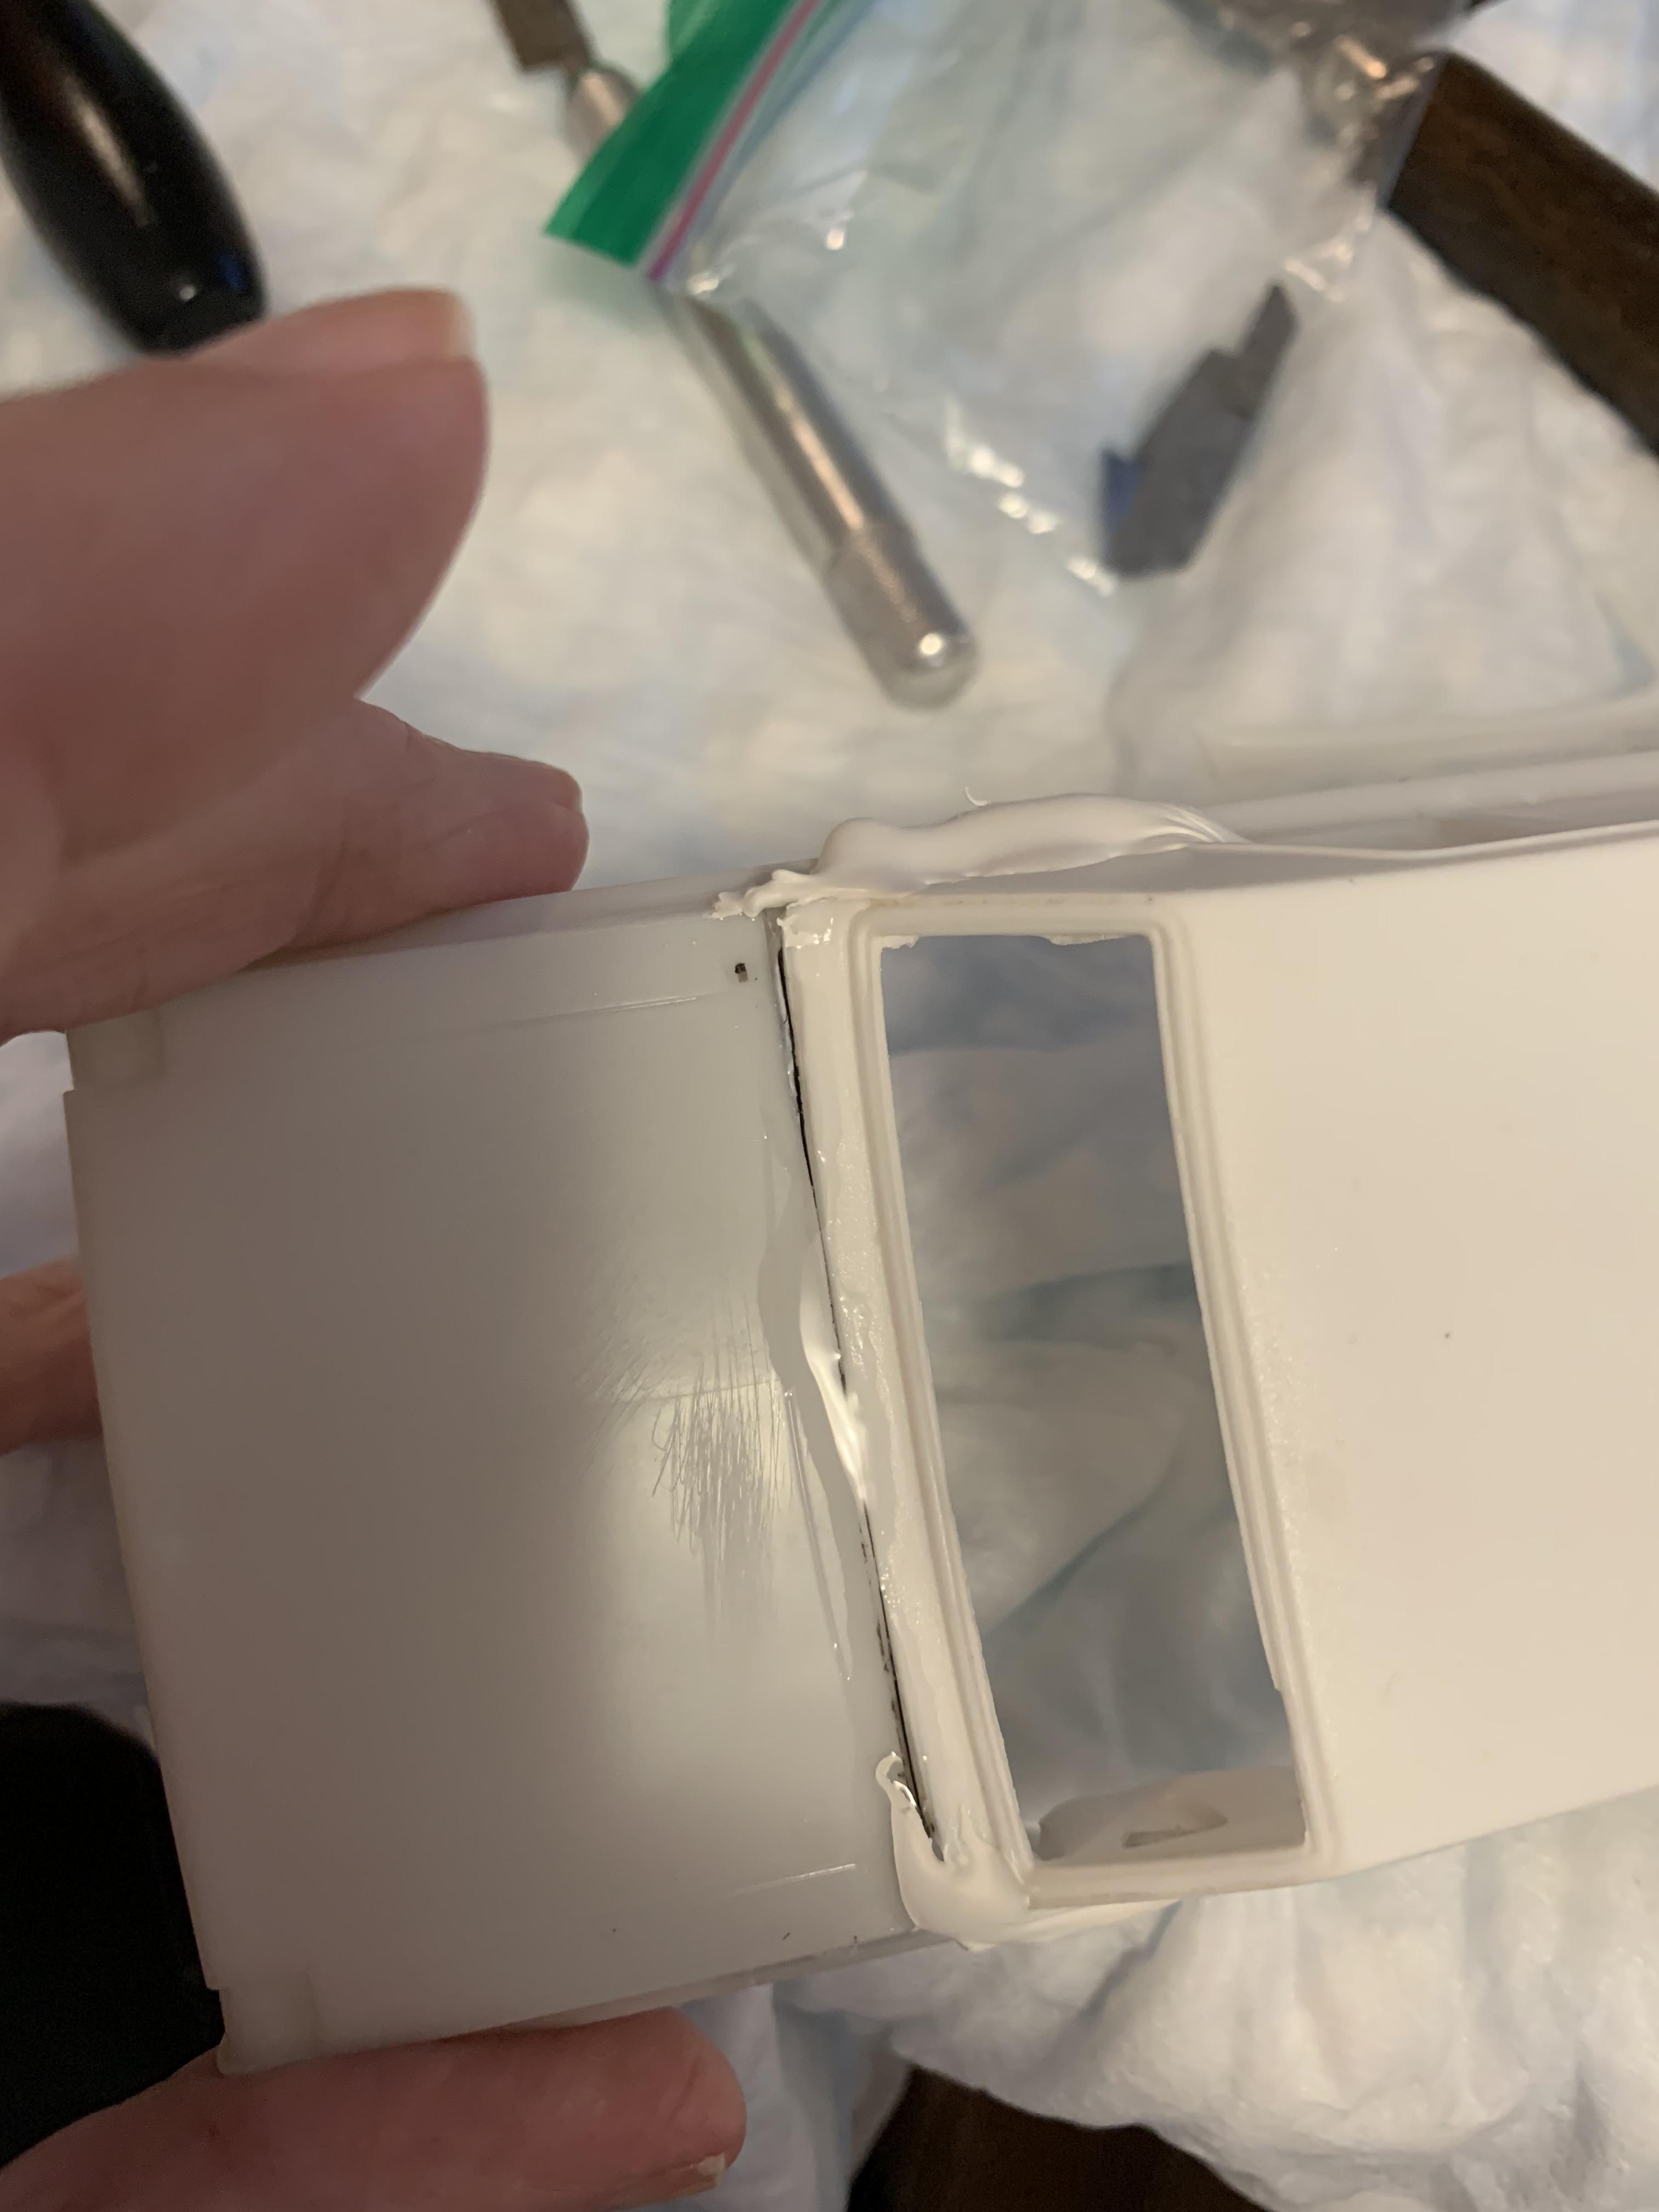
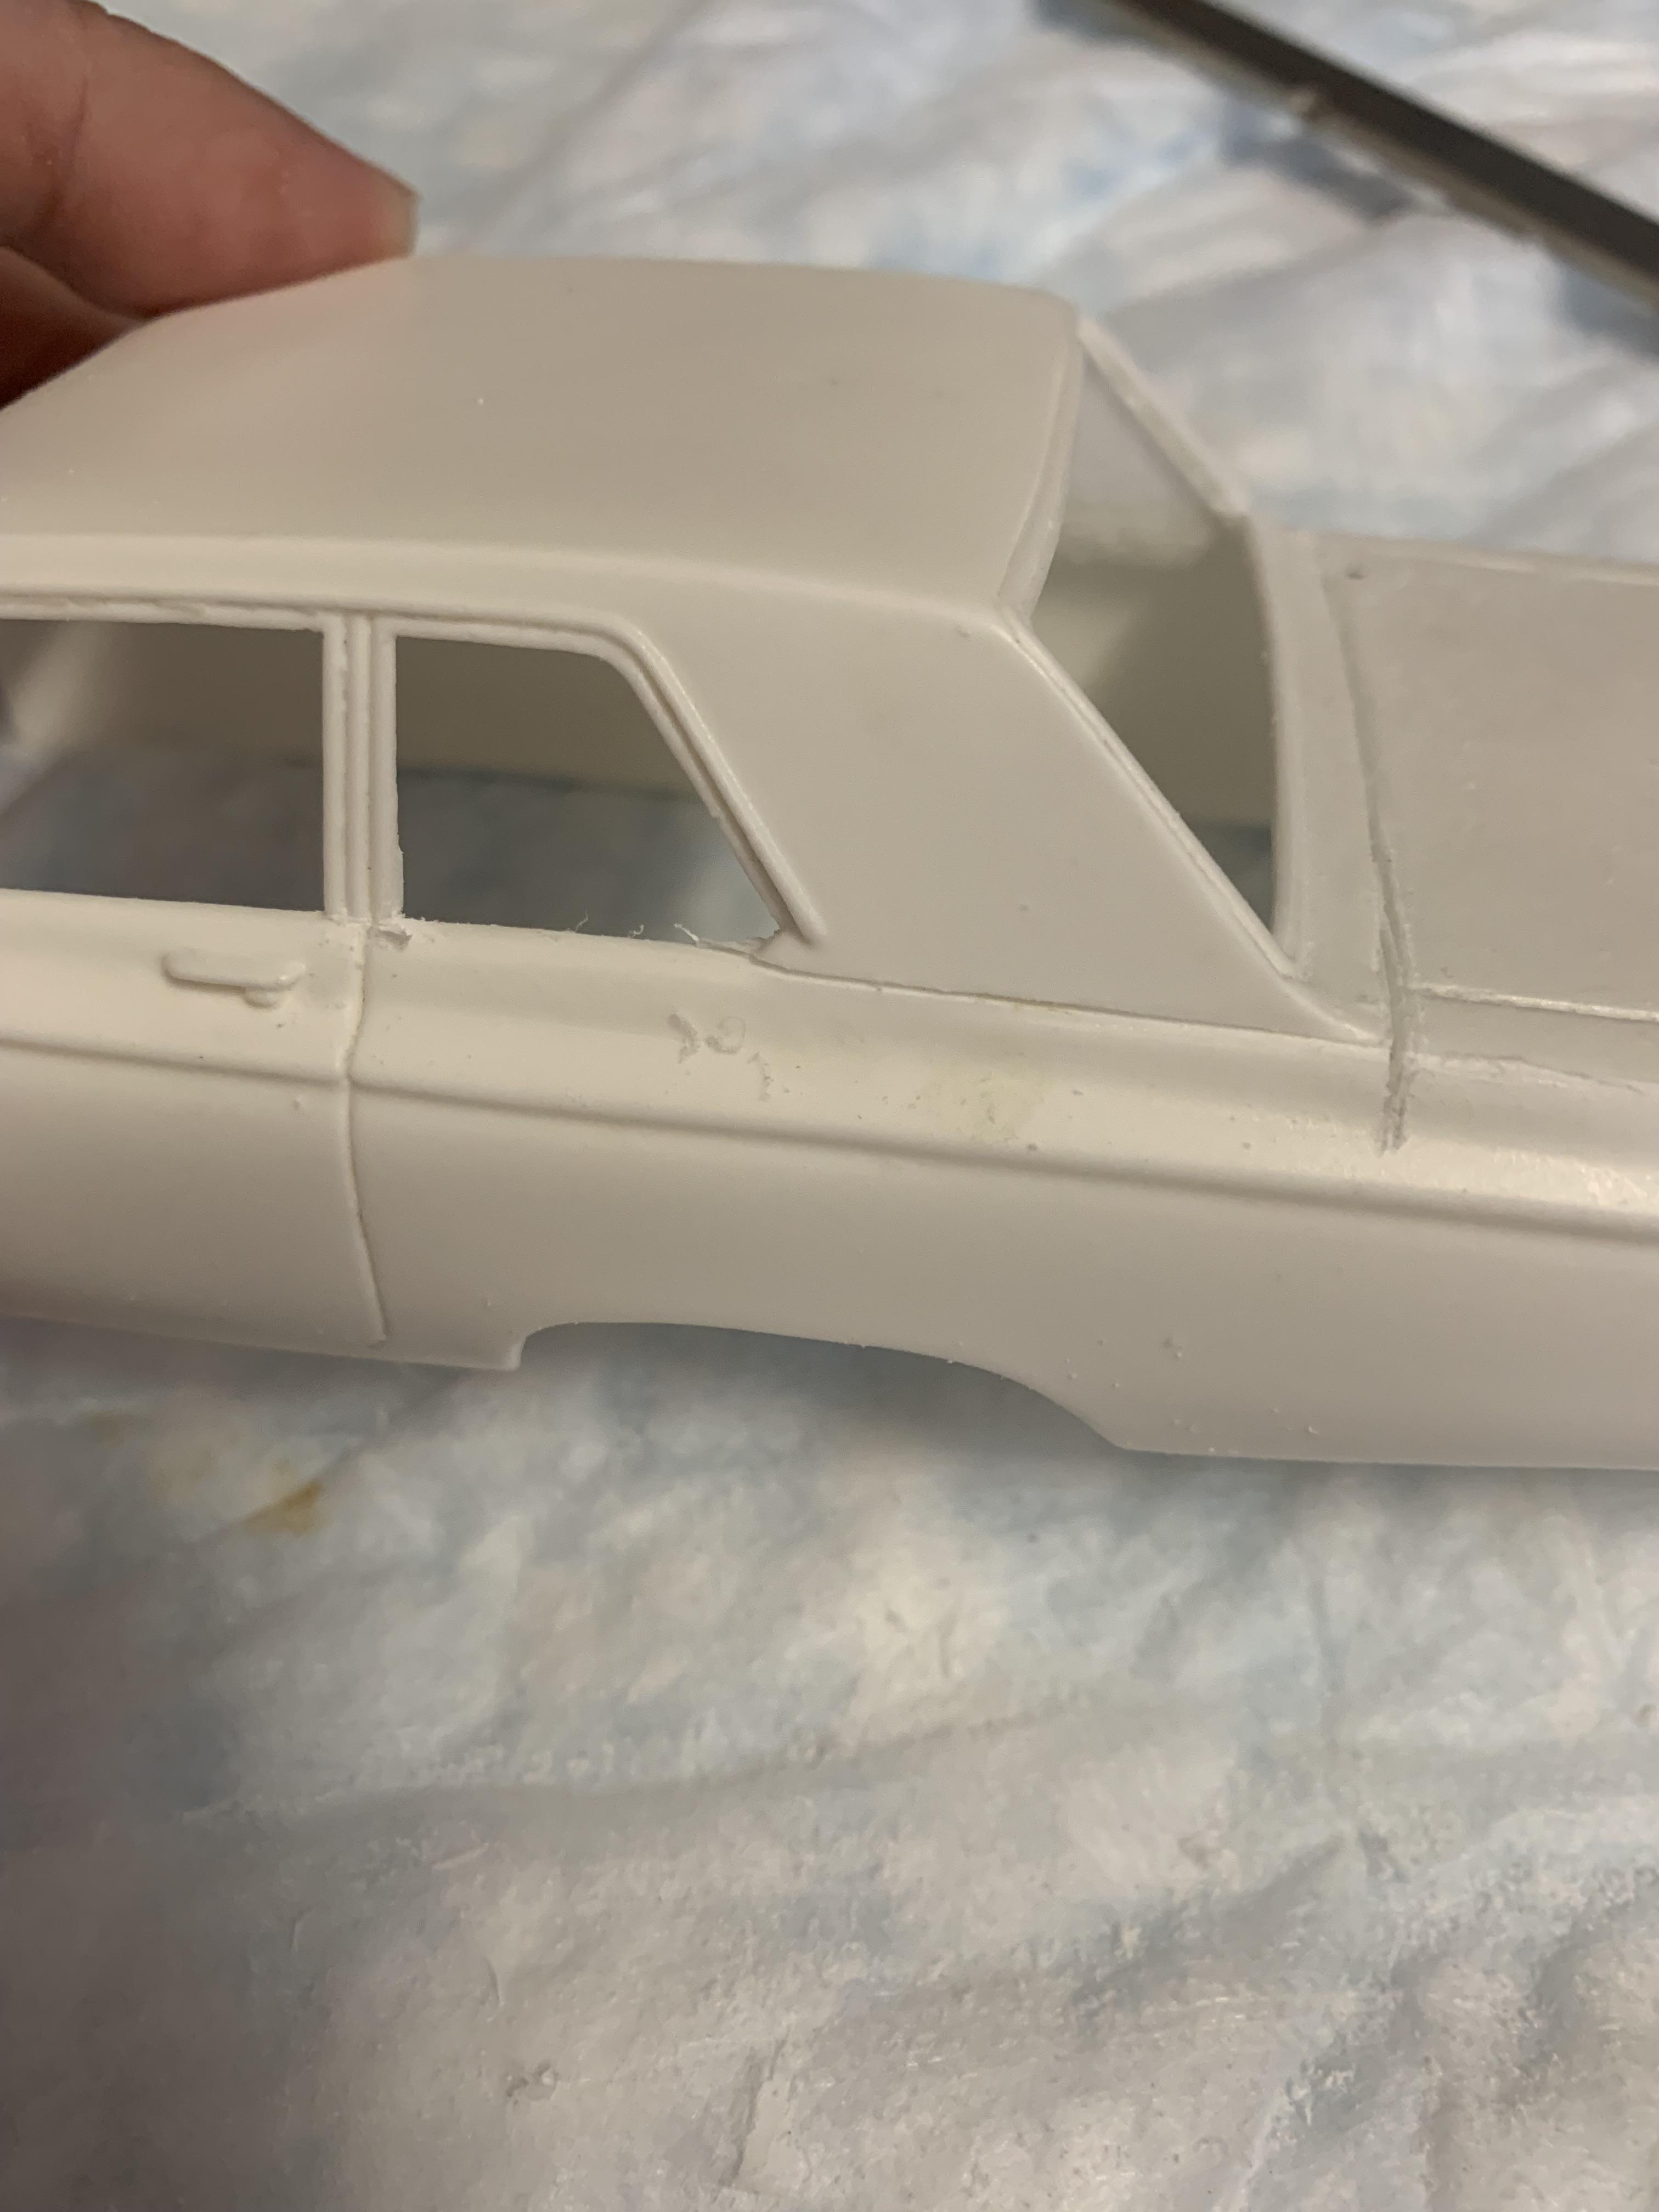
Some more sanding, a failed attempt with vinyl tubing to extend the package tray, weakened the top of the sedan post by clipping part way through the post, then bending it into alignment, brushed on some ca glue (really like the brush on stuff). Then a touch of “kicker”. Missed it a little on the passenger side. Got to fill a hole (on the underneath side) with some putty.
-
An awb 65 Dodge hardtop converted to a sedan
R. Thorne replied to R. Thorne's topic in WIP: Drag Racing Models
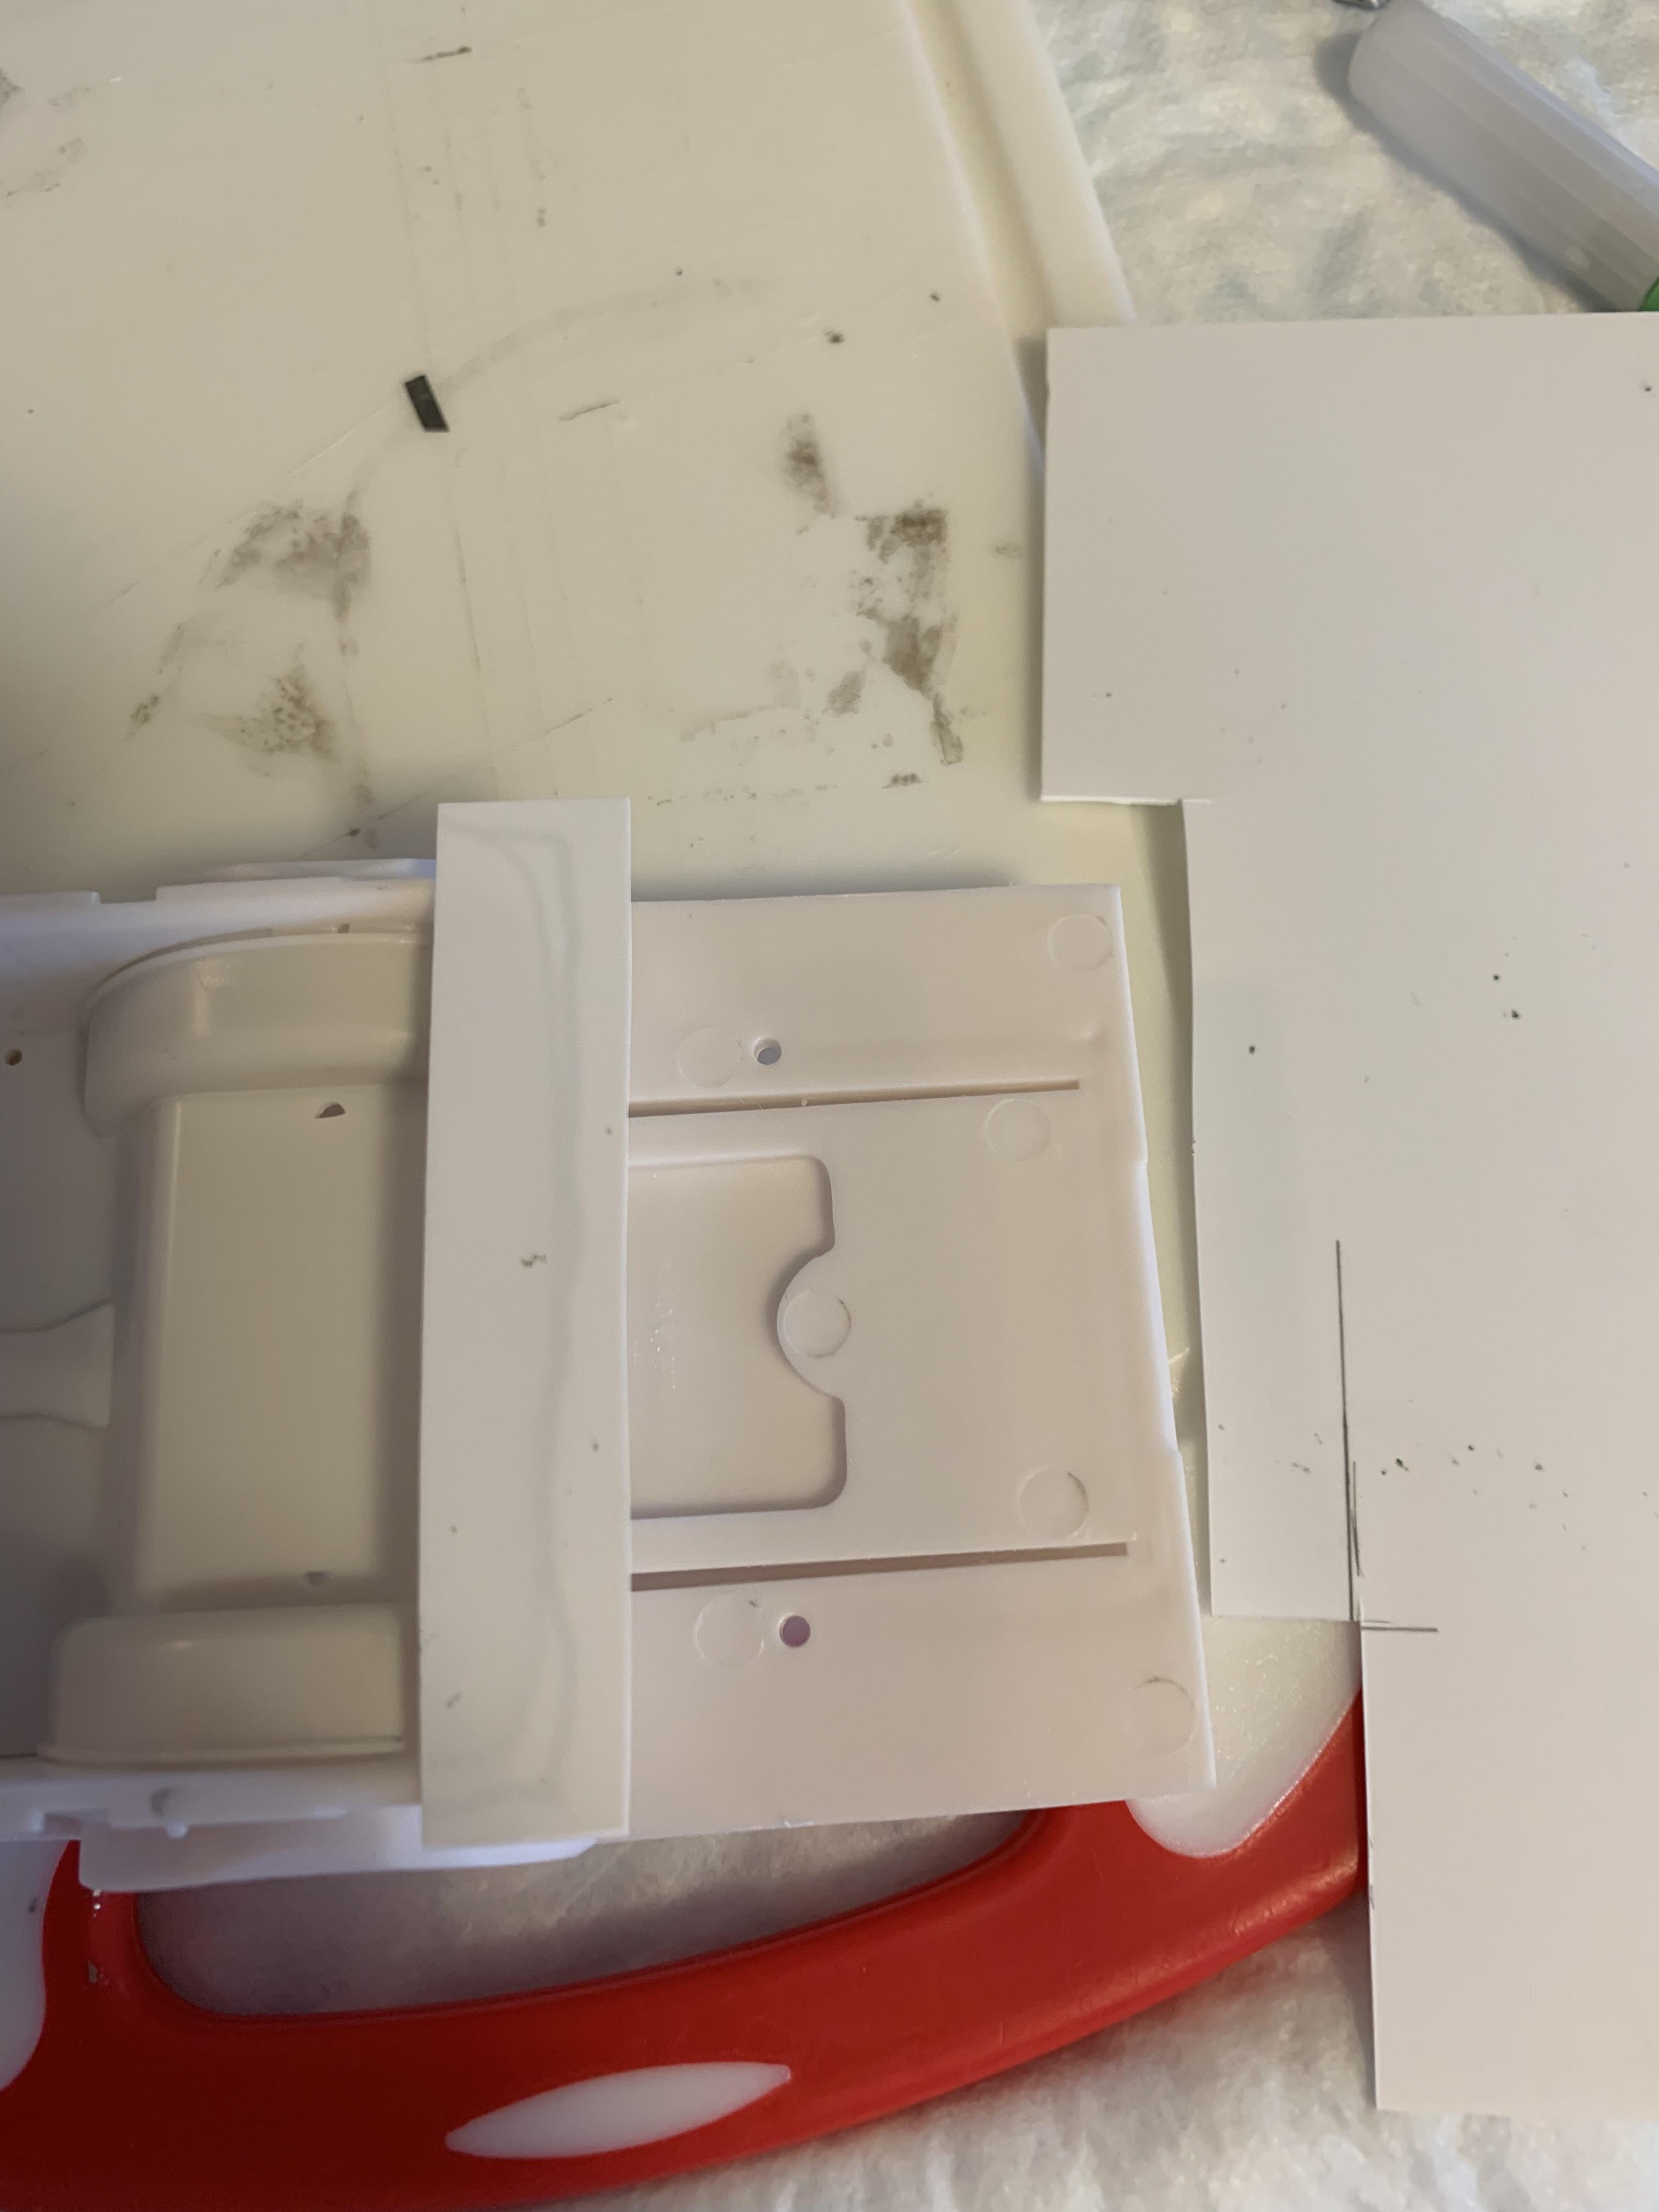
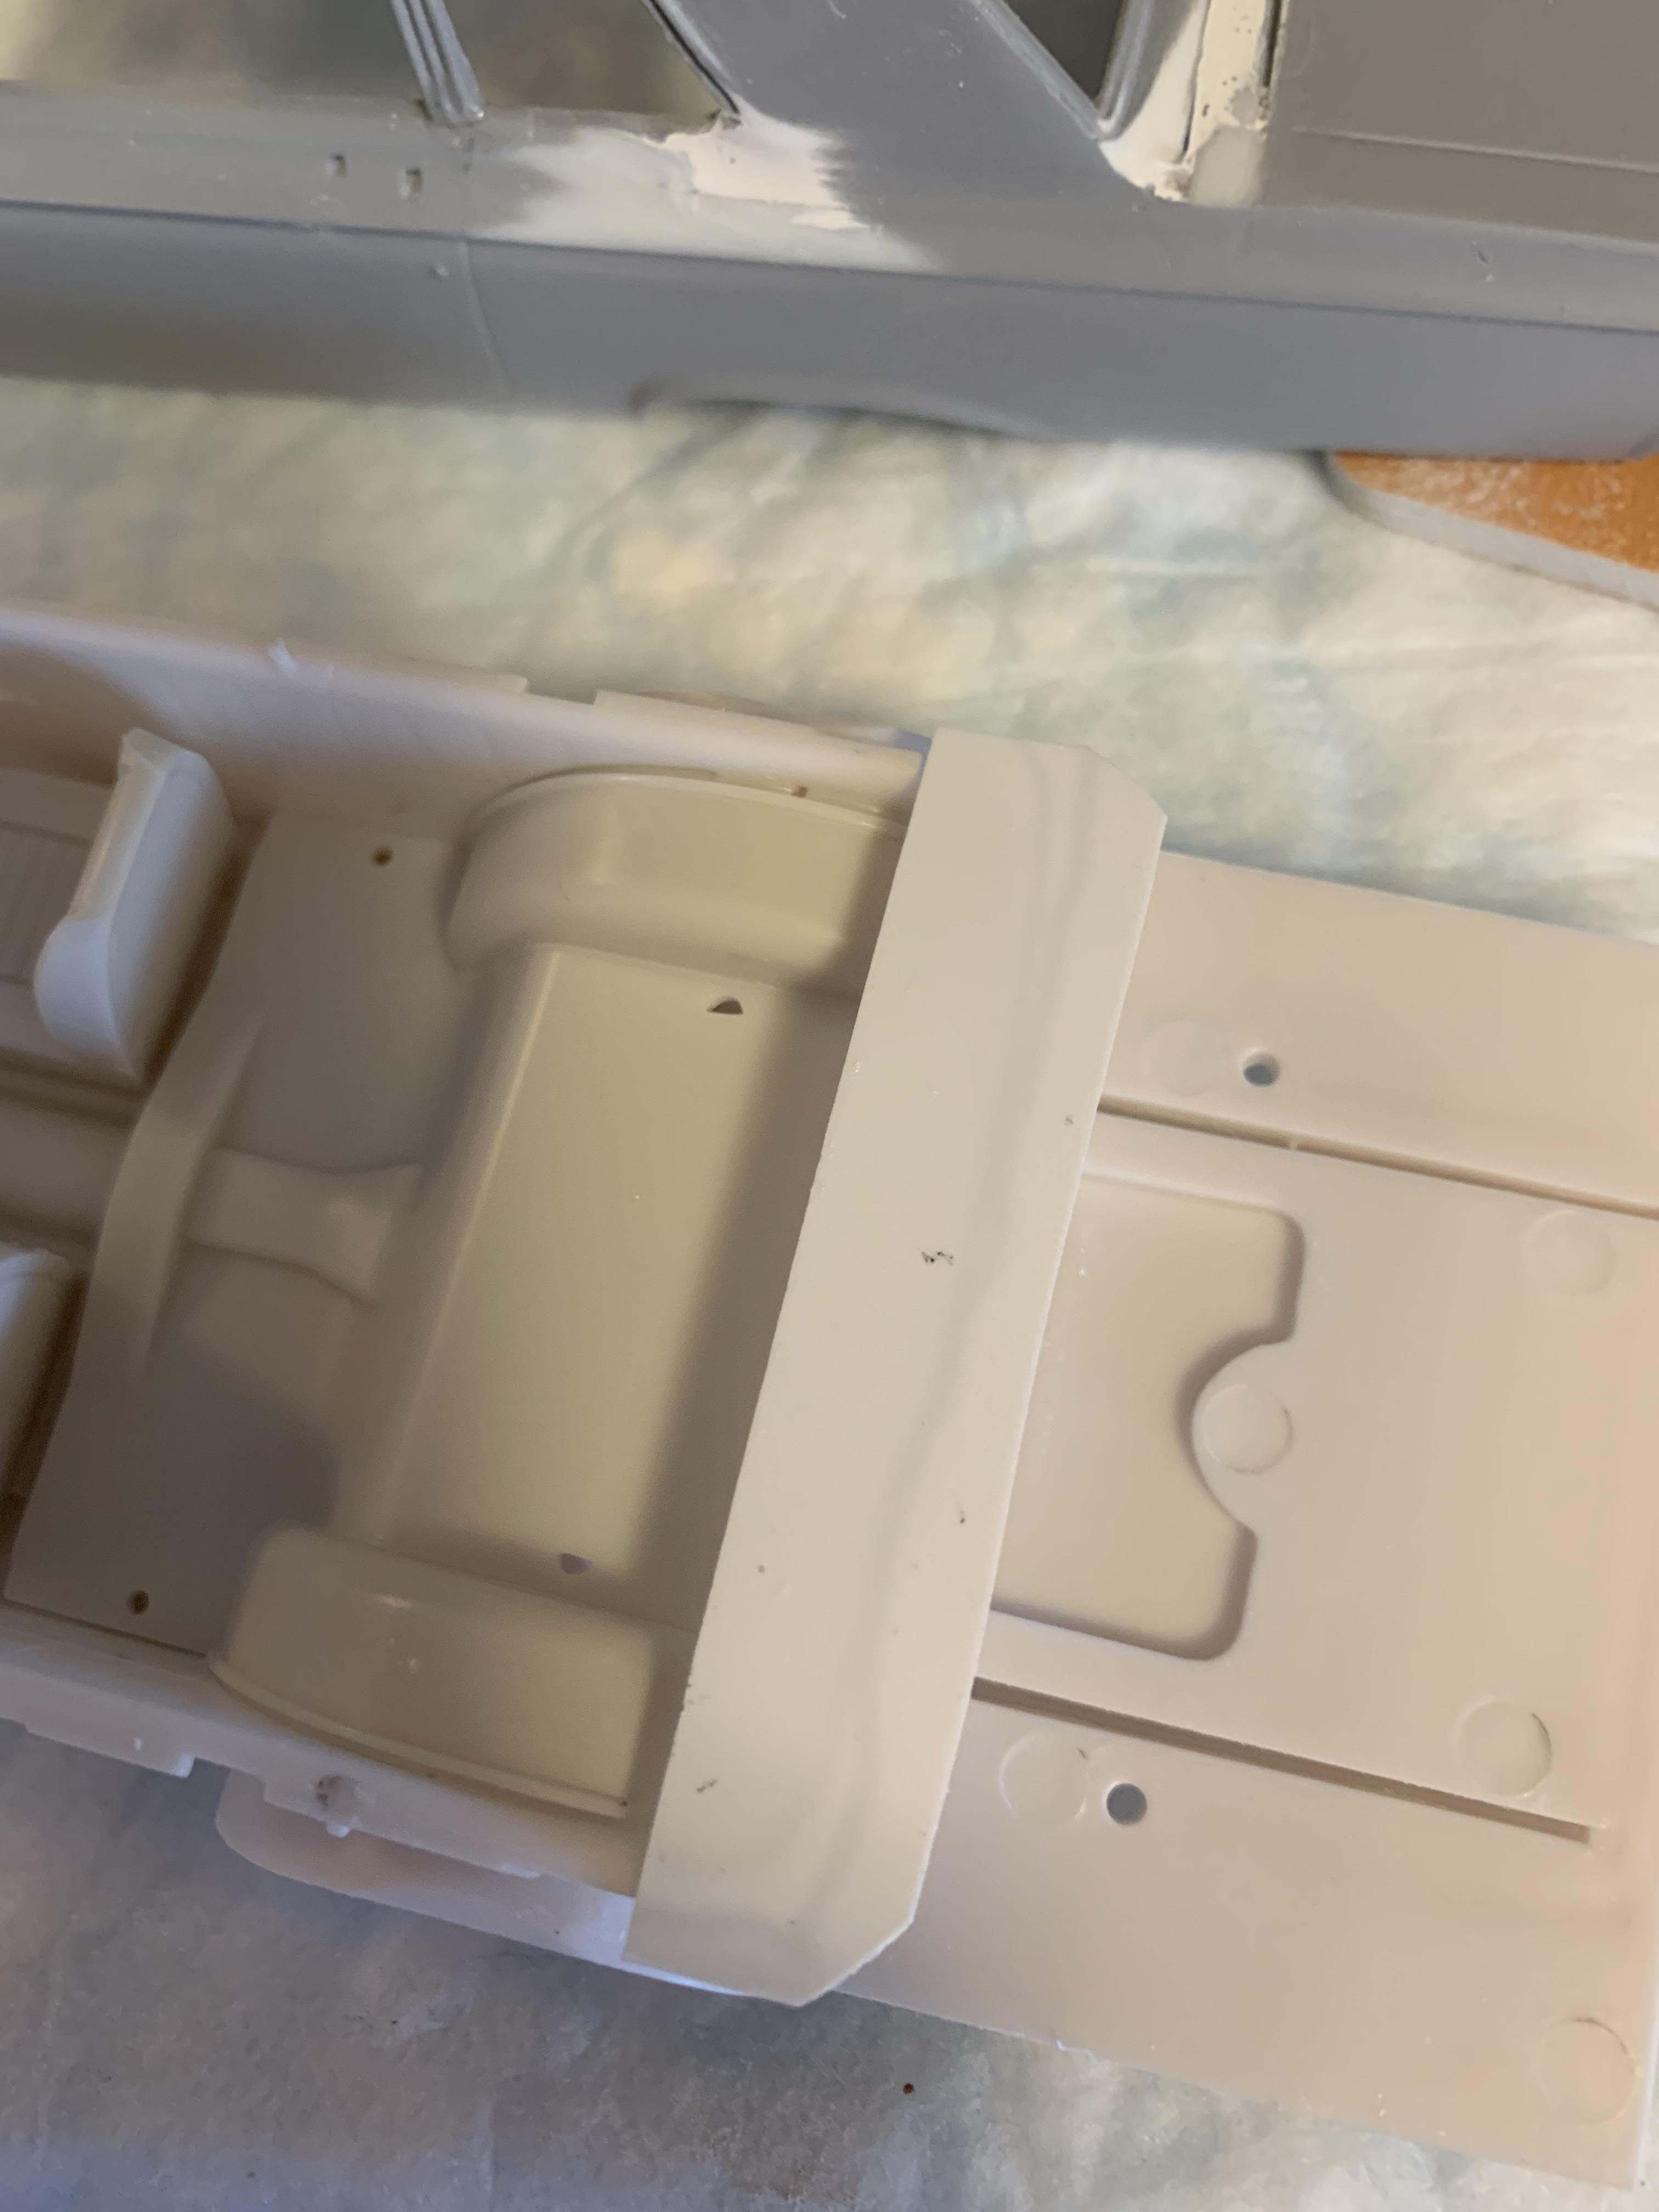
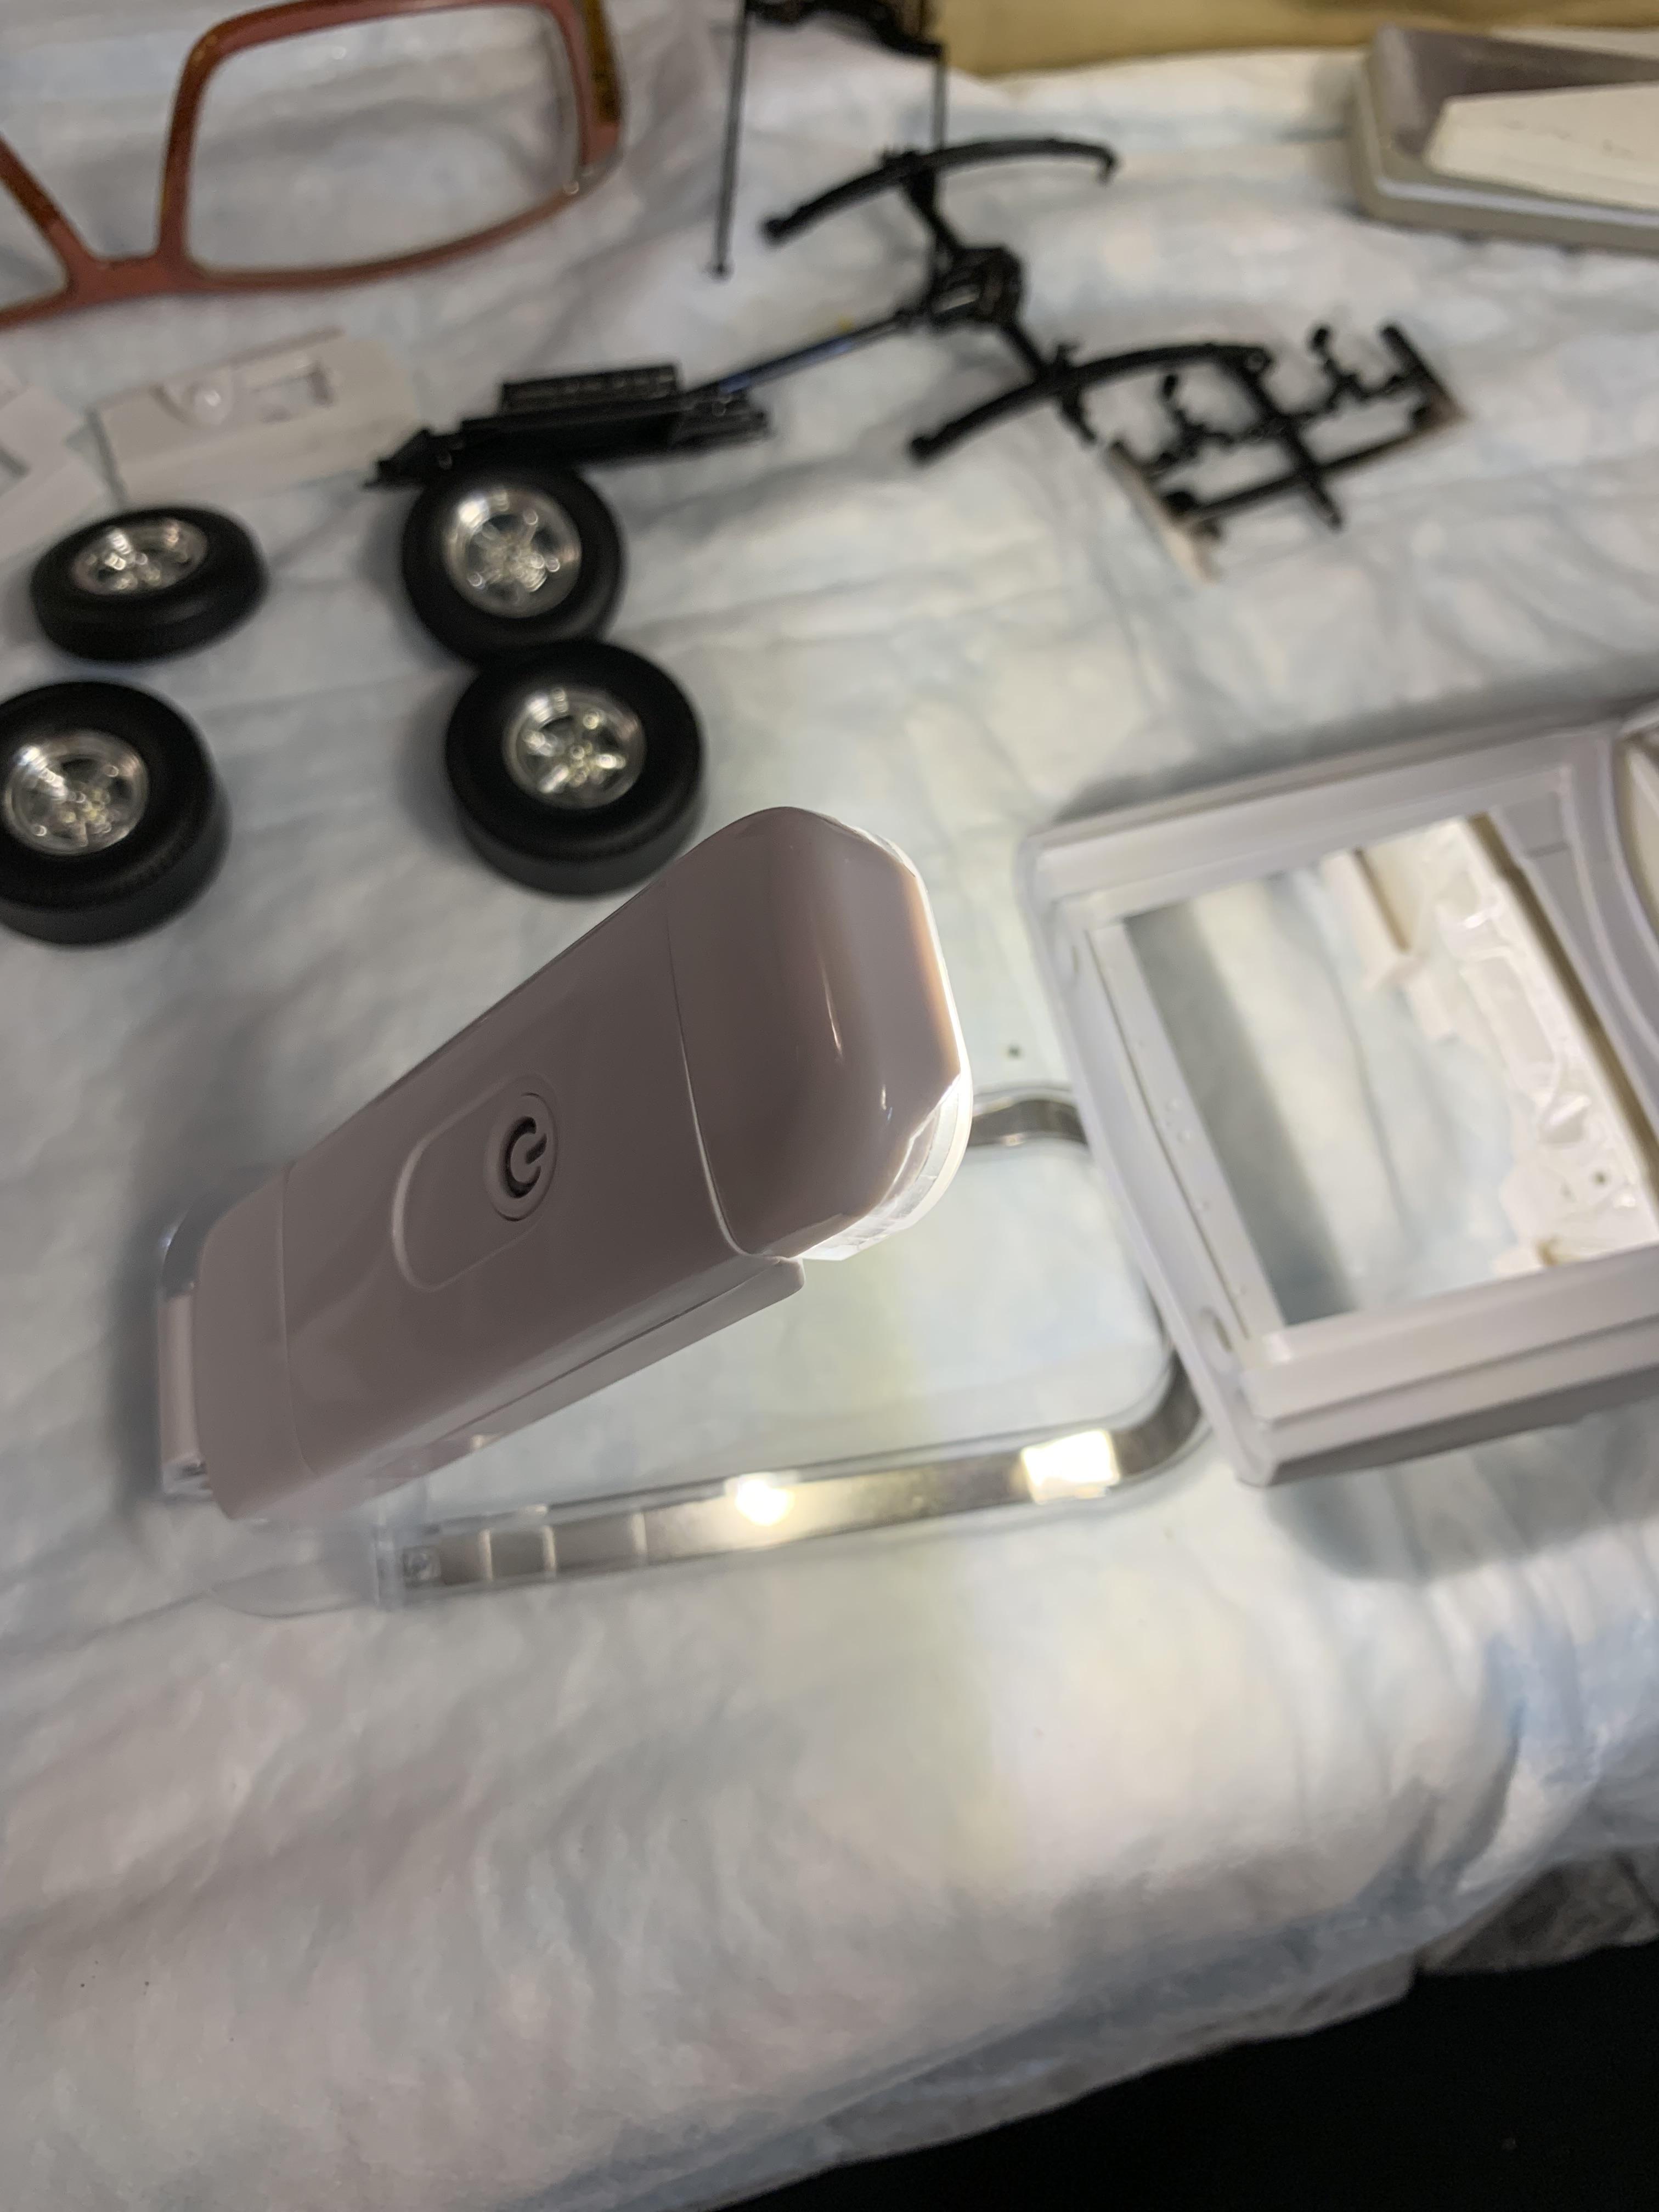
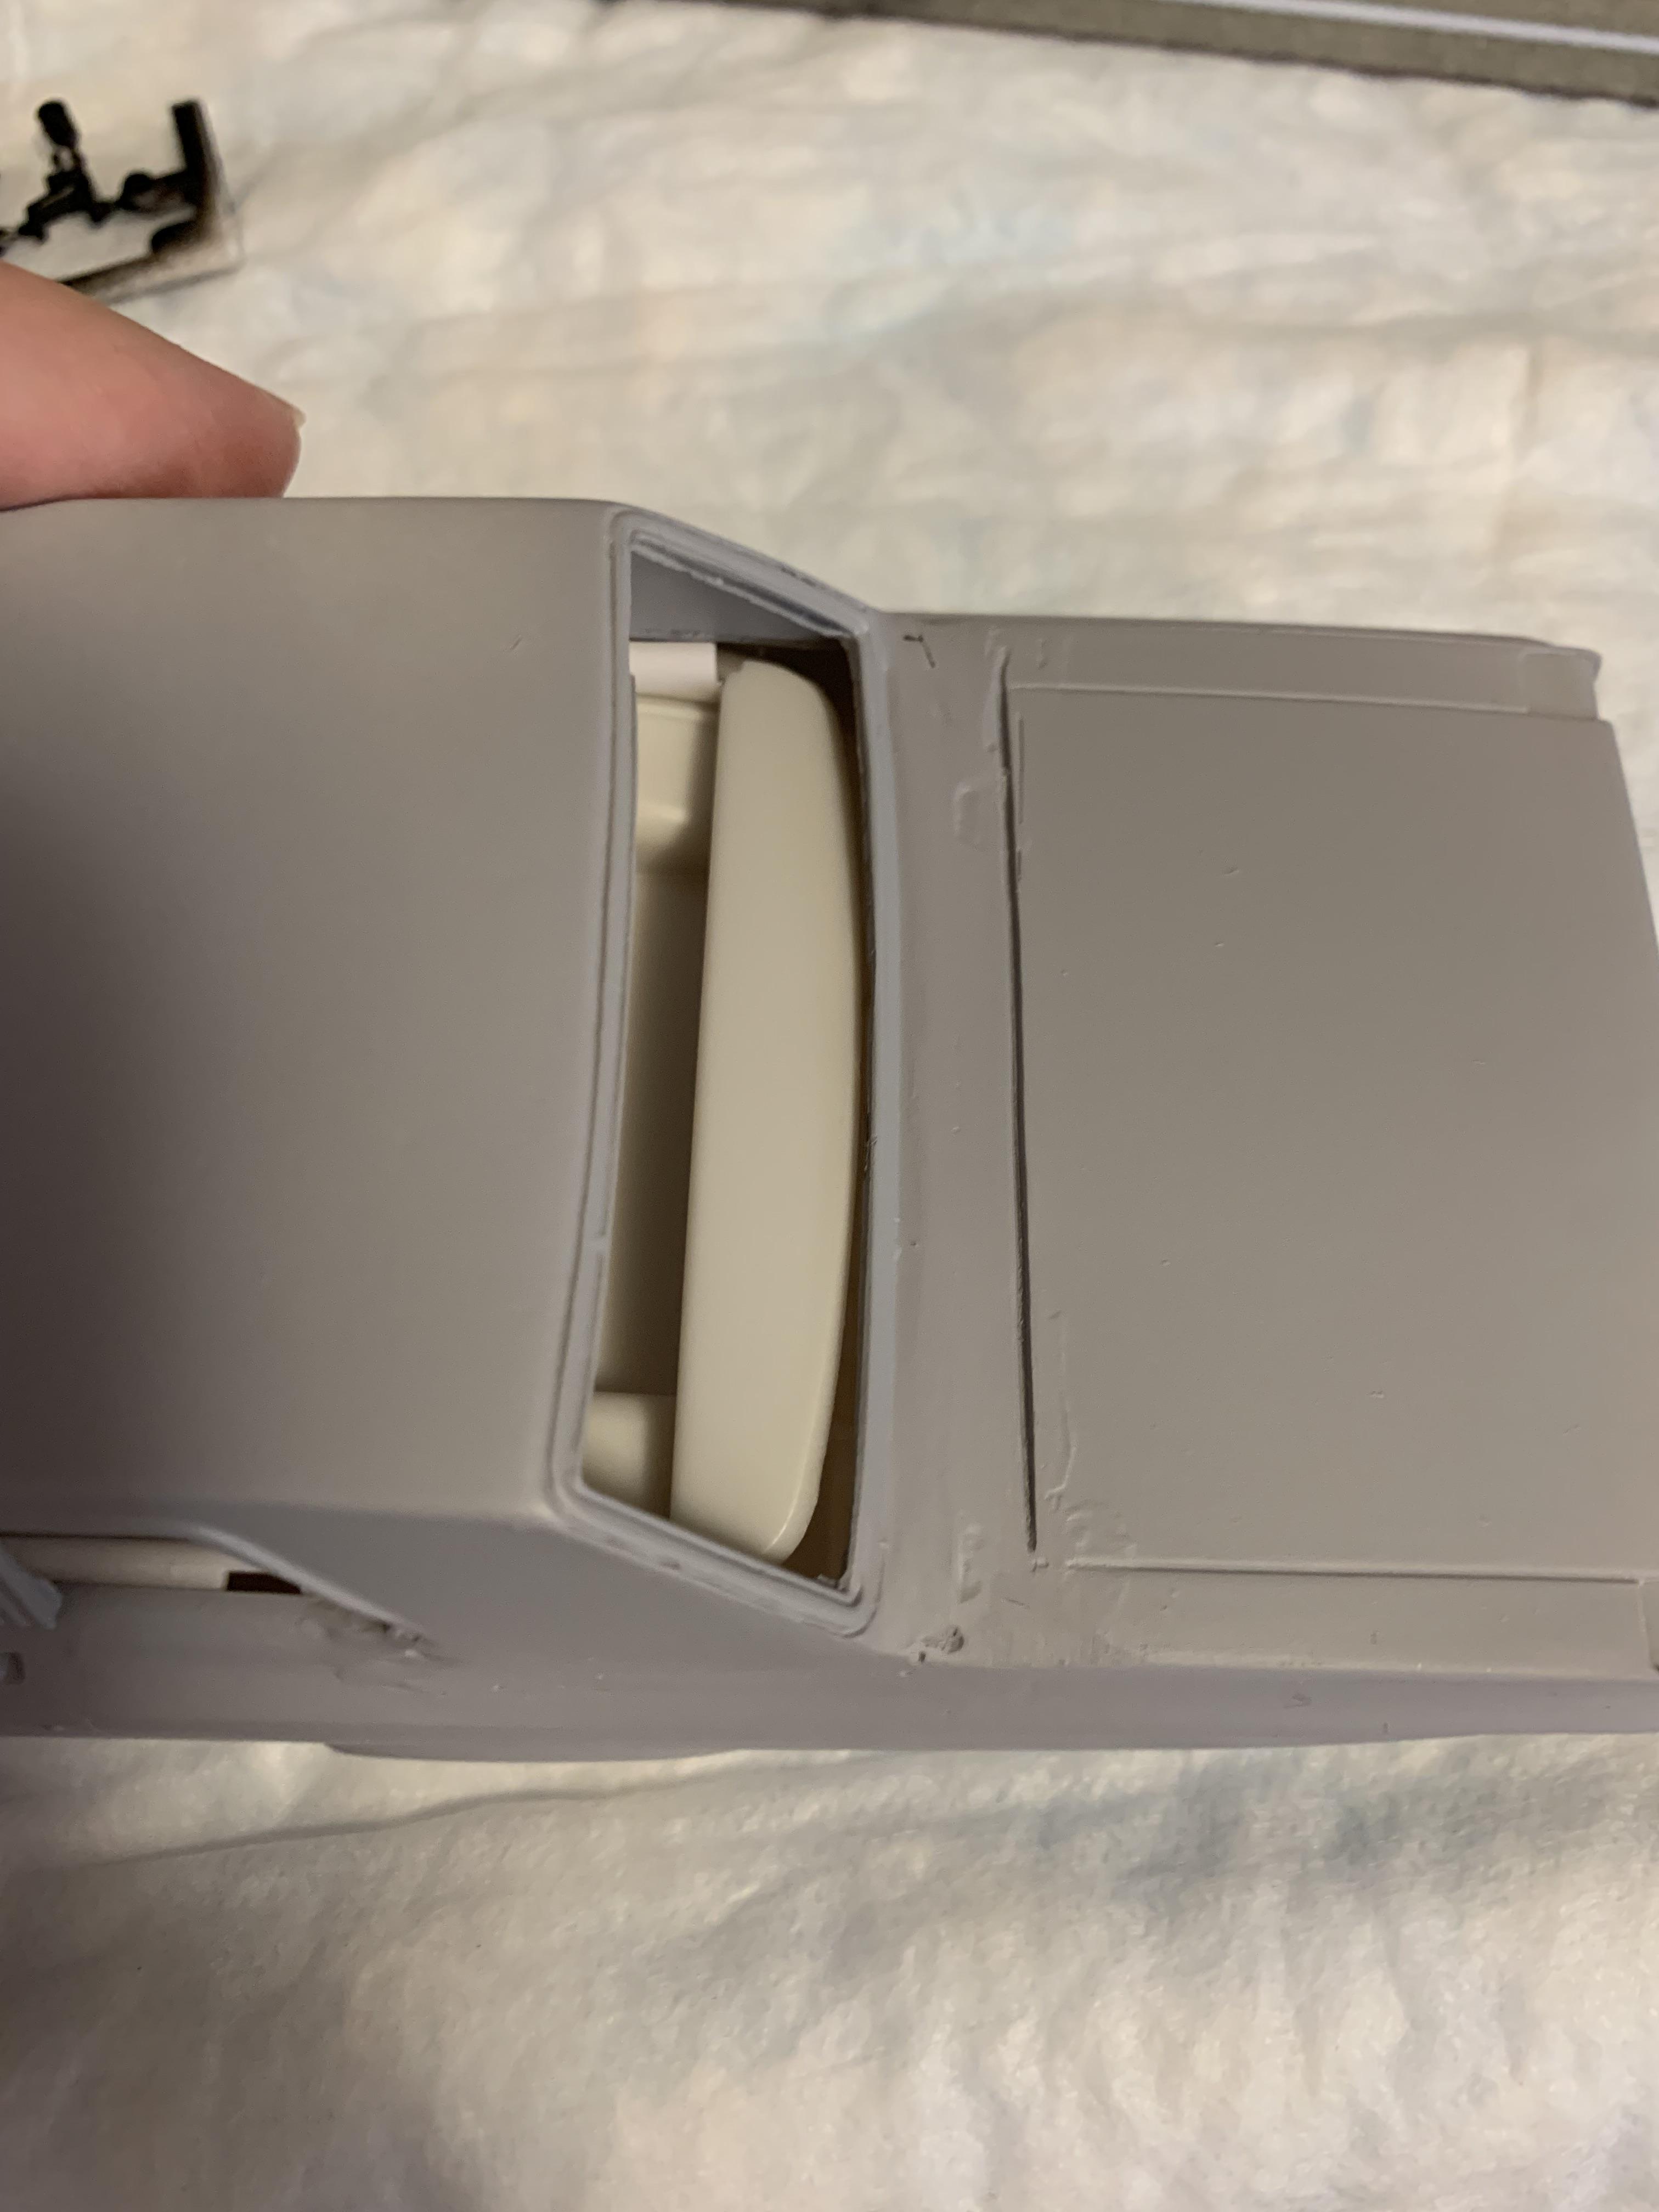
Upon trial fitting the interior tub I noticed the poor fit of the rear package tray. Not sure whether I am going to do anything about it or not. Also, got in a book light thingy (I read a lot of books), that I may use for a portable light for modeling.
-
An awb 65 Dodge hardtop converted to a sedan
R. Thorne replied to R. Thorne's topic in WIP: Drag Racing Models
Painted a few items and put another light coat of primer on the body.
-
An awb 65 Dodge hardtop converted to a sedan
R. Thorne replied to R. Thorne's topic in WIP: Drag Racing Models
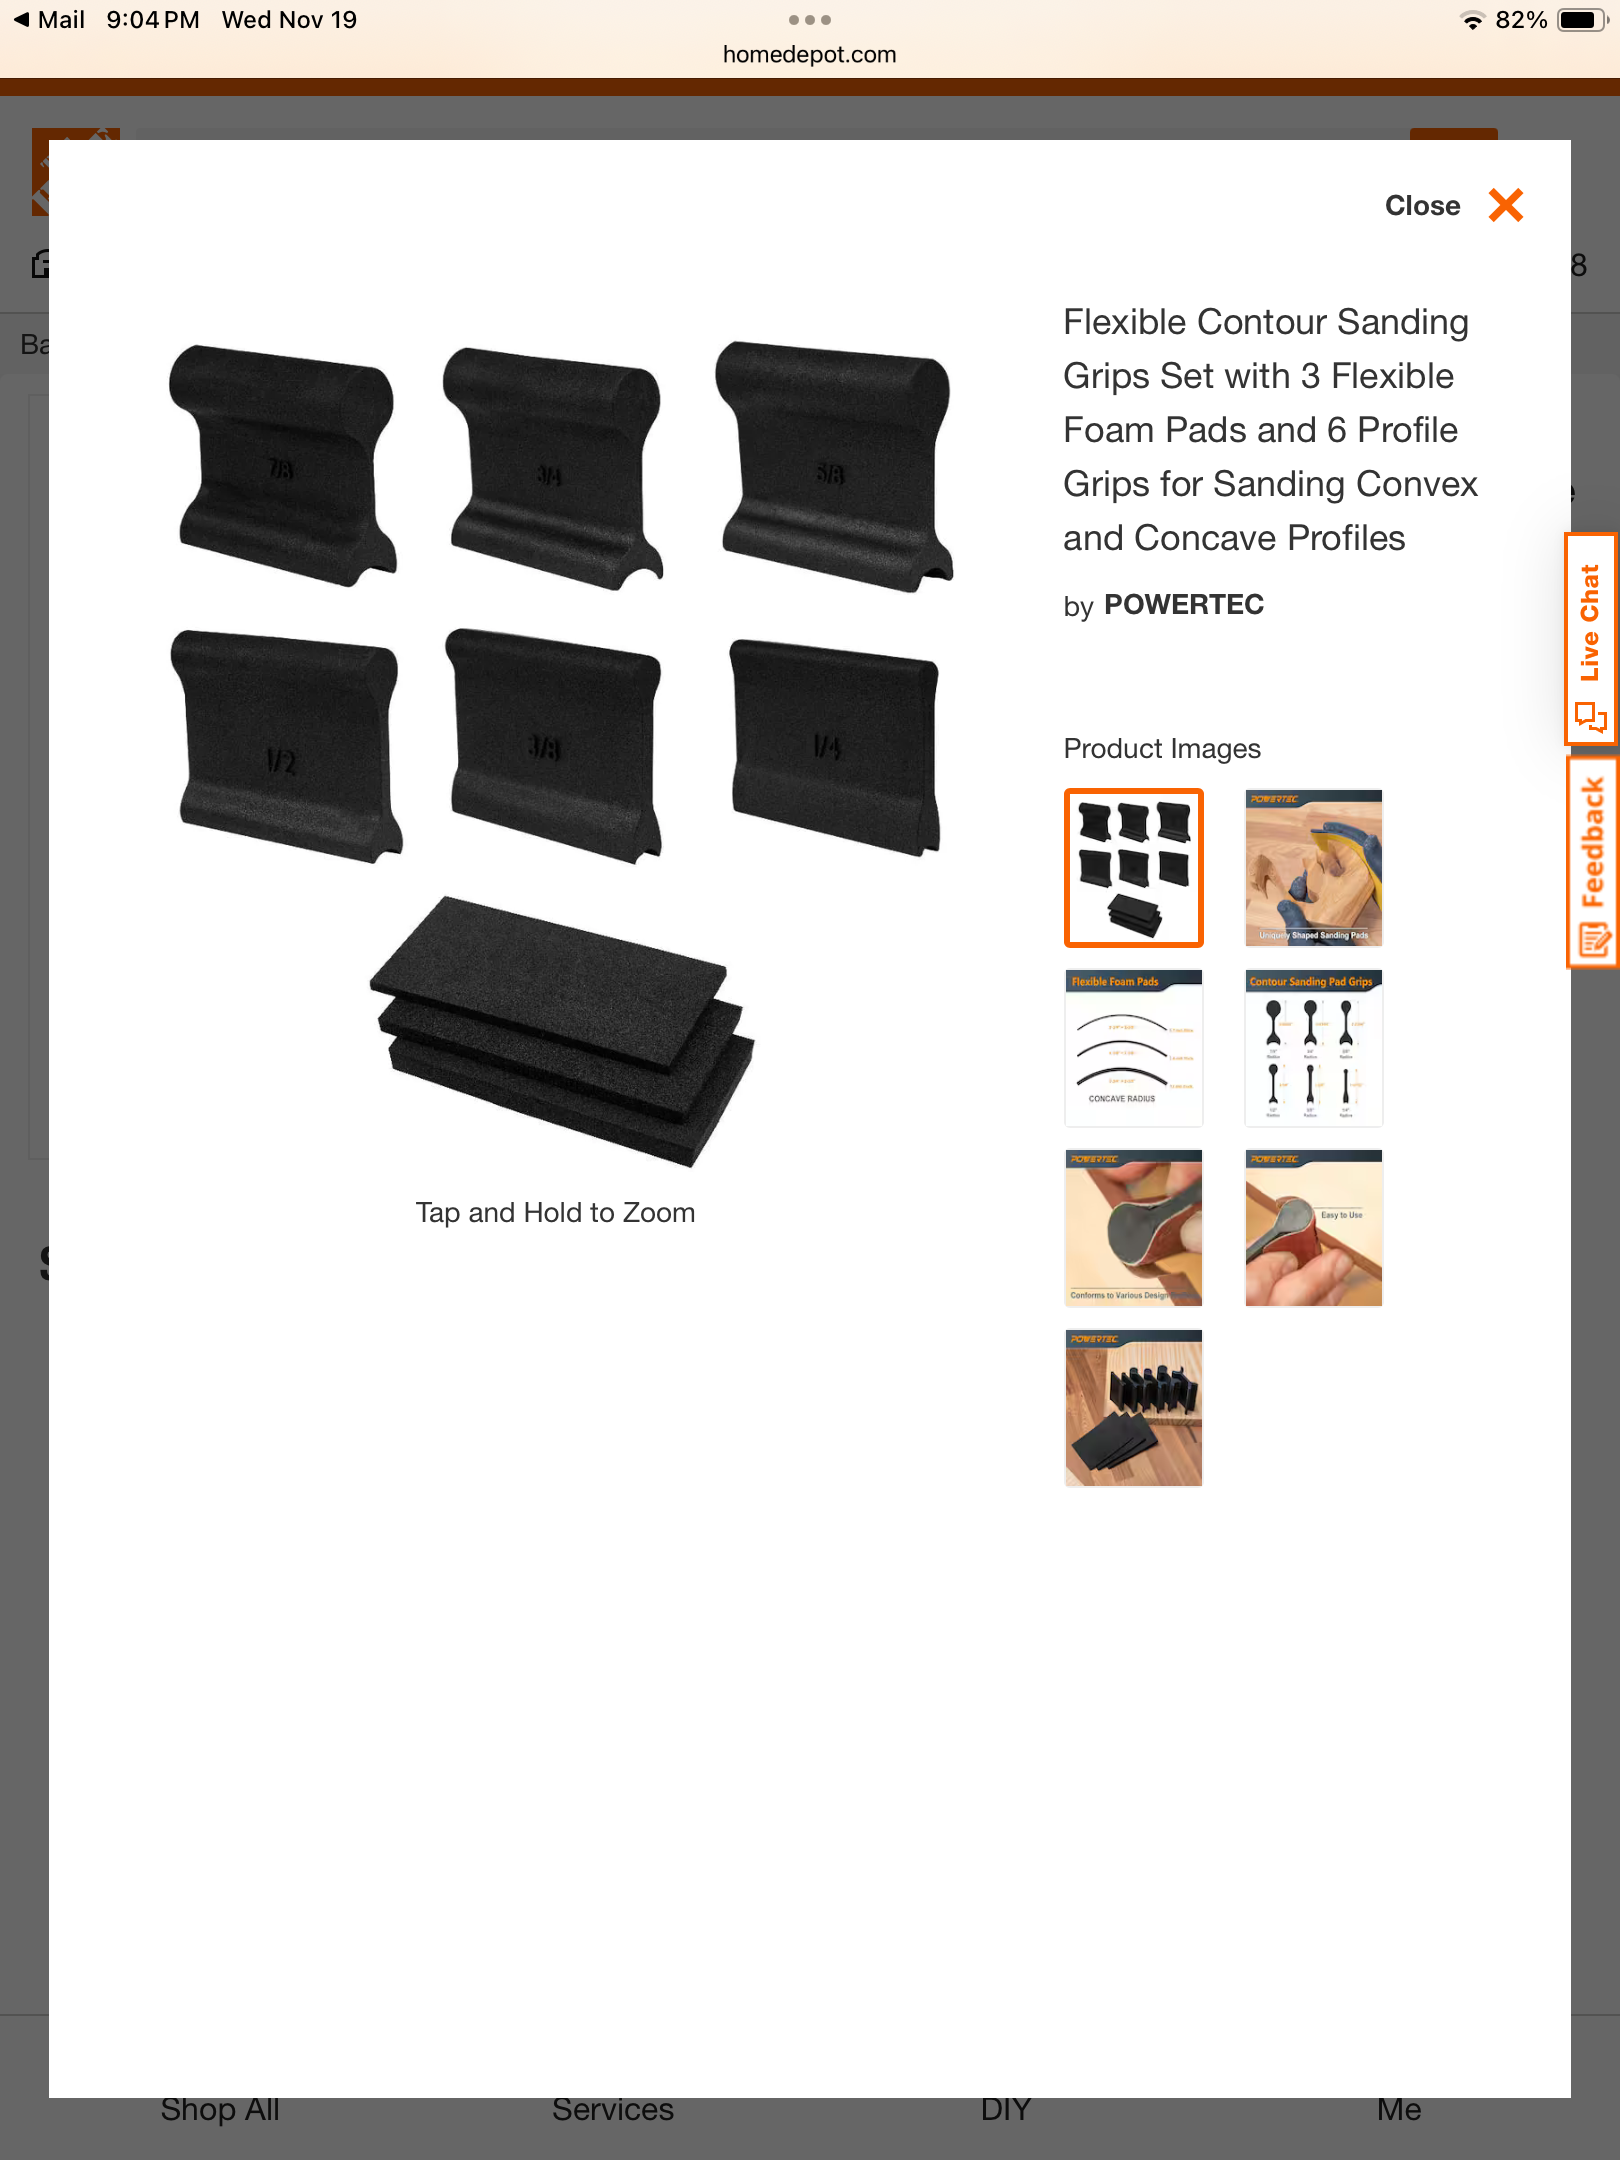
I did order some of these to try in the future. Free delivery from HomeDepot.
-
An awb 65 Dodge hardtop converted to a sedan
R. Thorne replied to R. Thorne's topic in WIP: Drag Racing Models
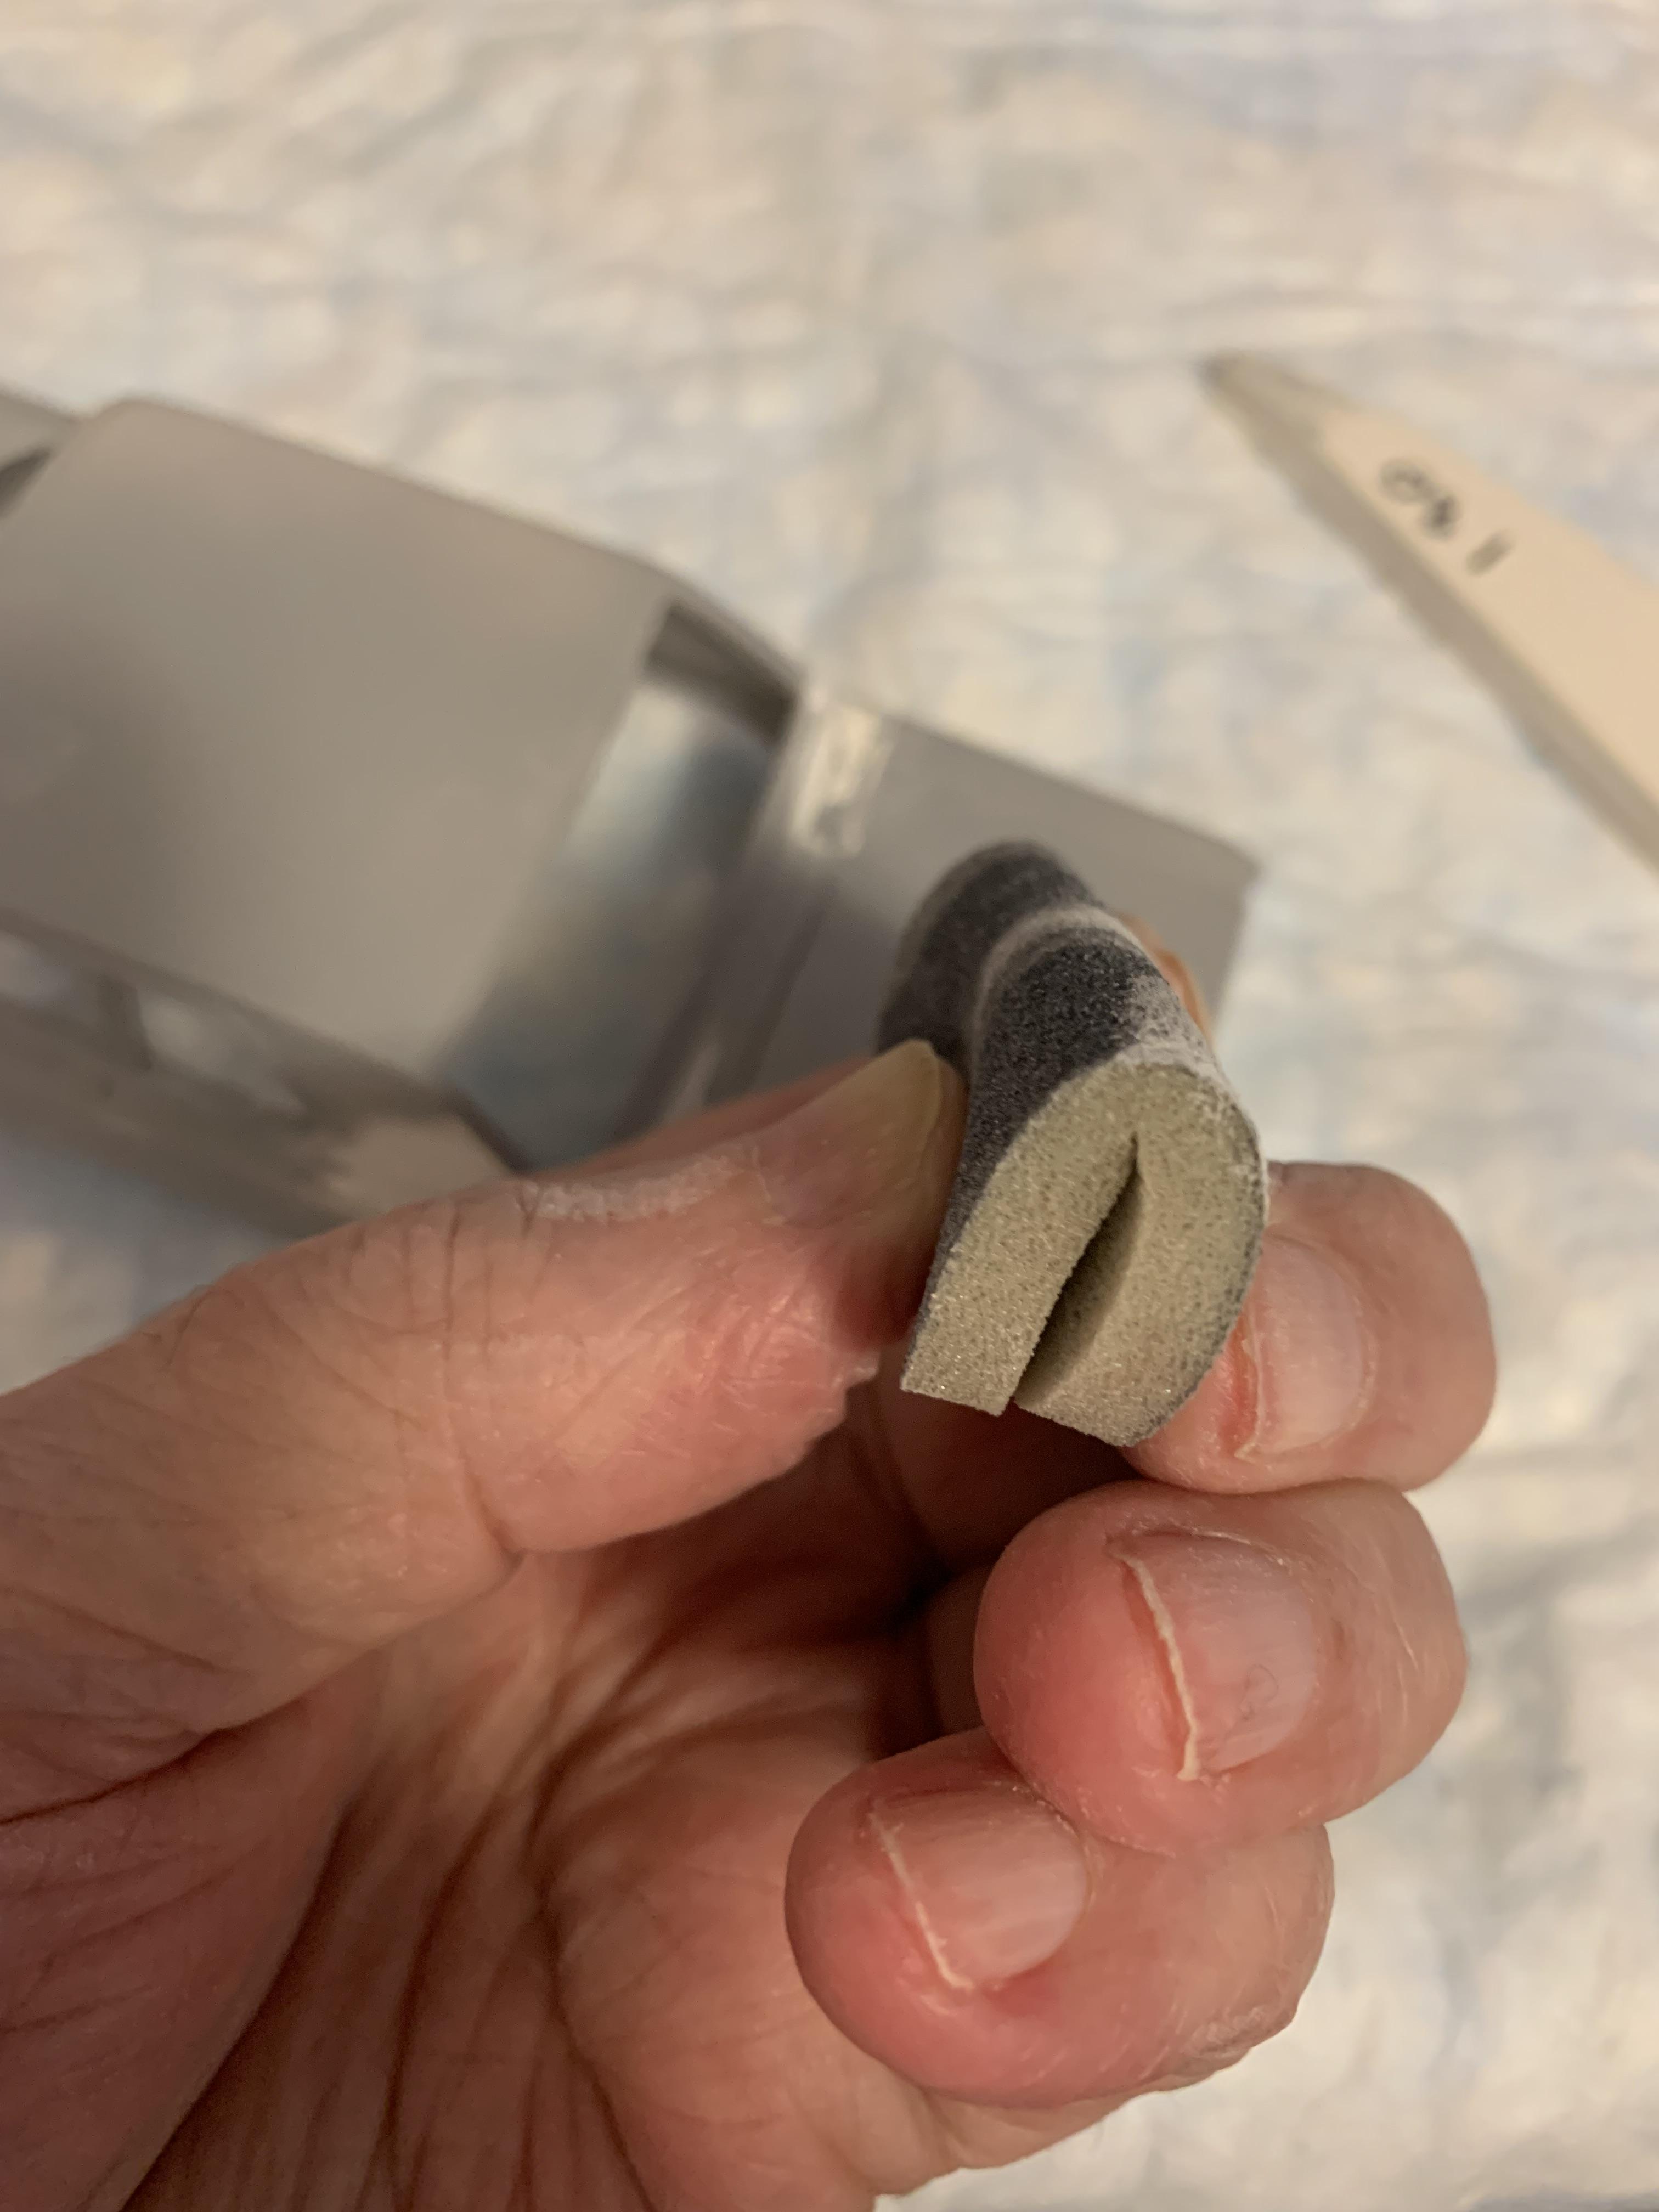
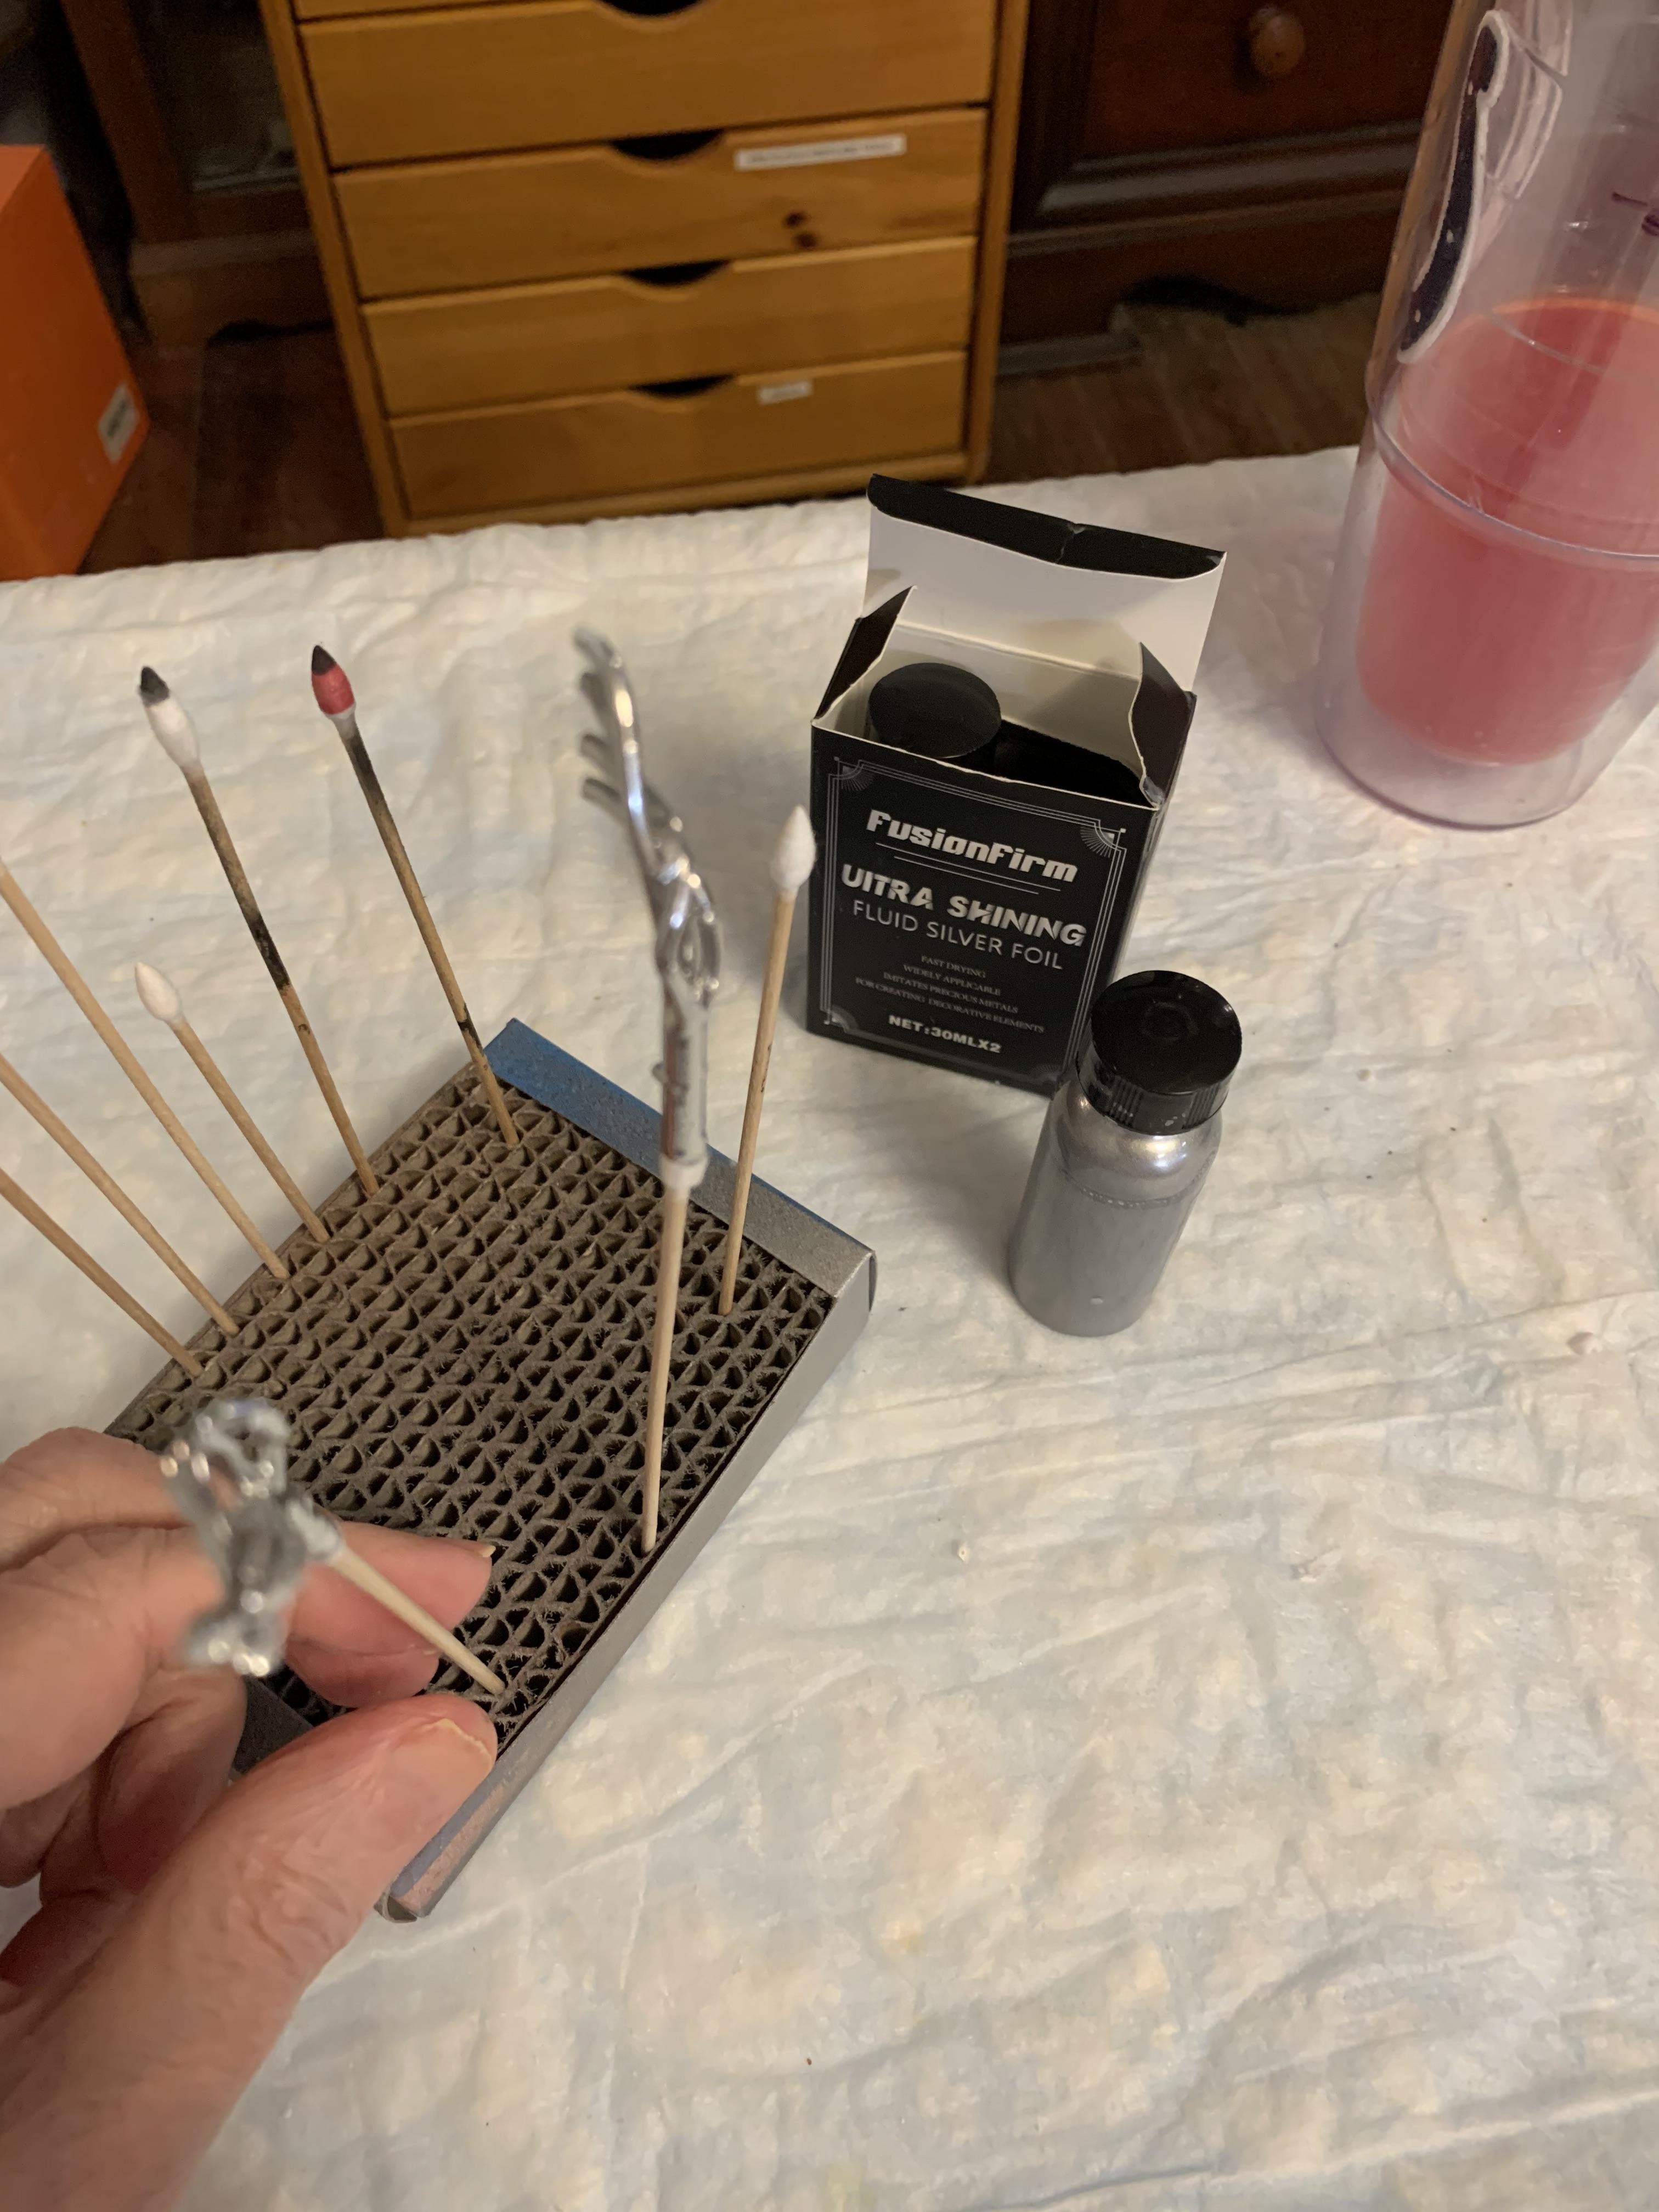
Thank you, Dennis. What are we here for if not to help and, possibly, inspire others. If you look on page 2 of the tips & tricks section, you will find a thread I started on FusionFirm chrome. Anyway, got a little sanding done on the top. When it’s dried off I will put some more primer on to see what else it needs. I like the sponge pads doubled over and the tapered foam sanding sticks with a different grit on each side.
-
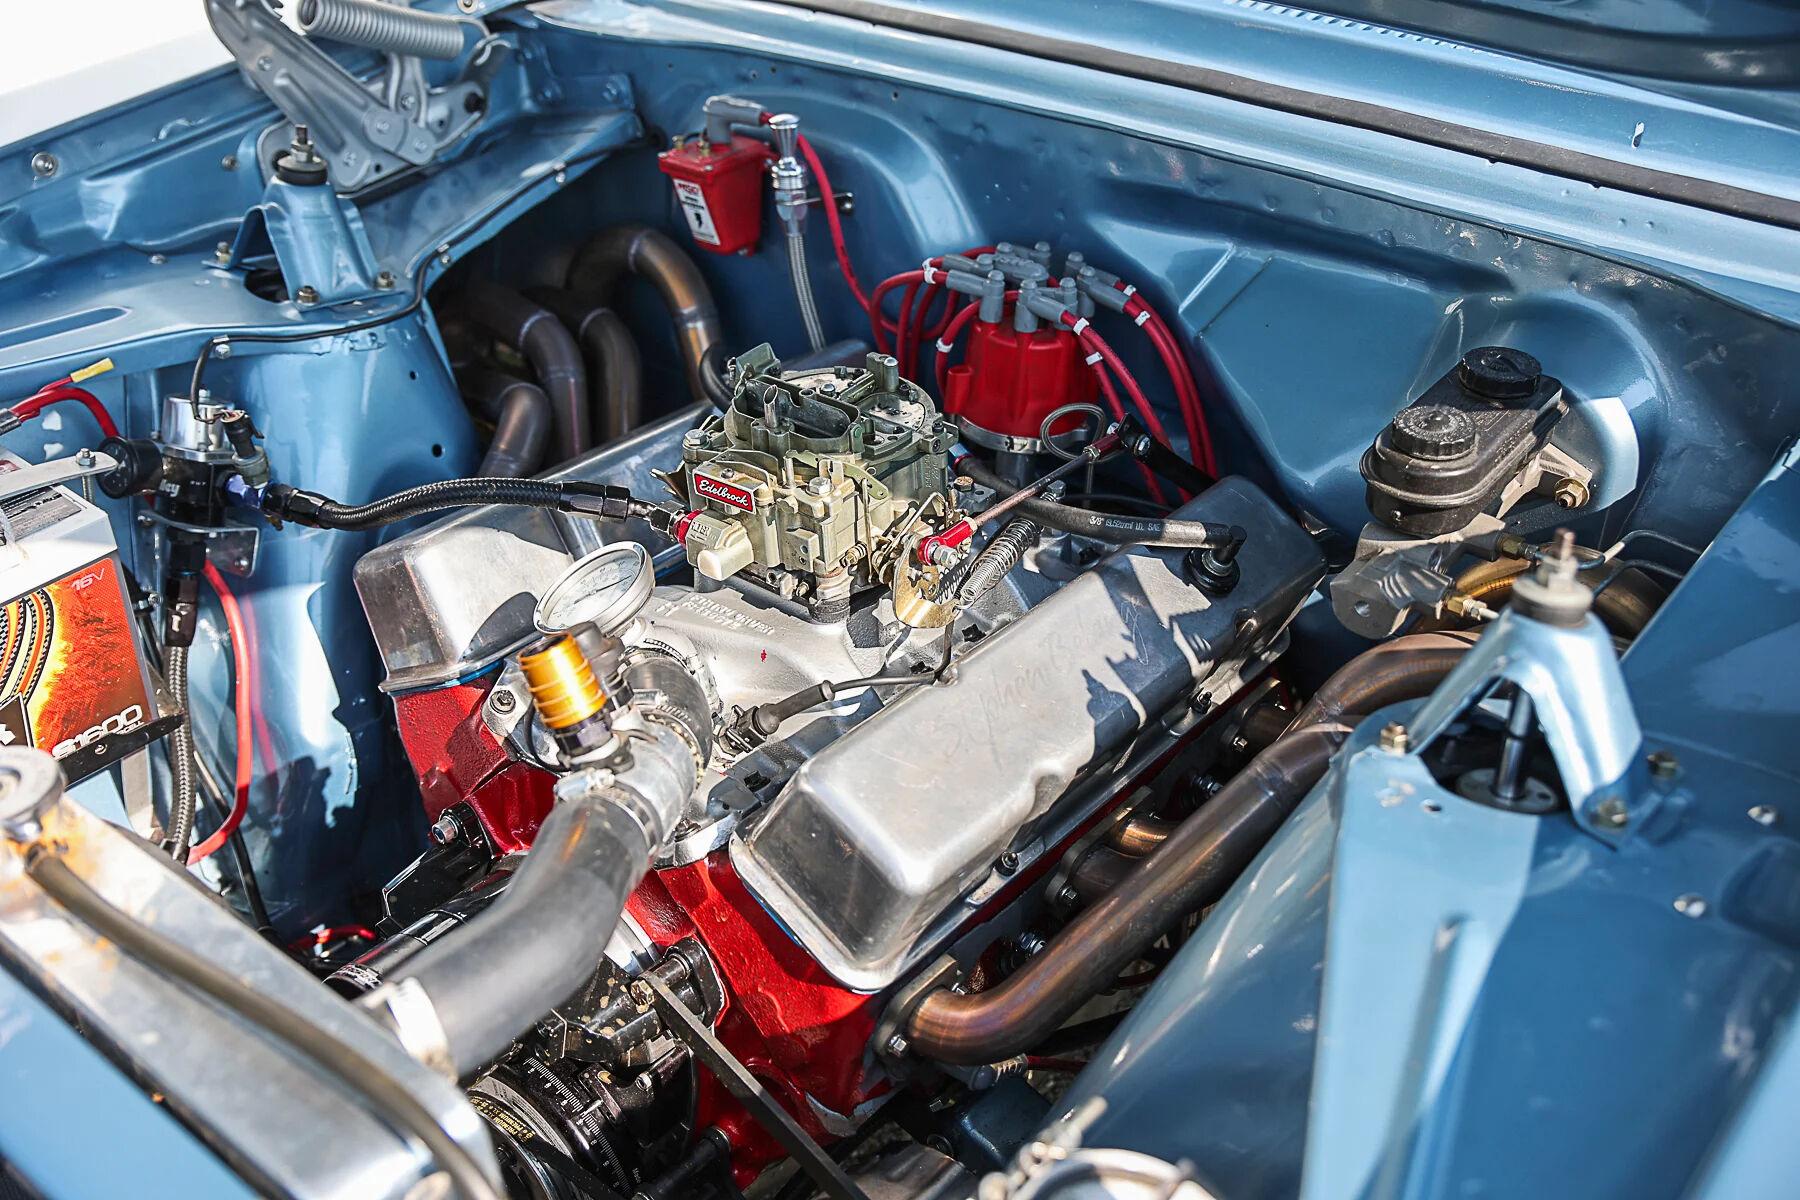
Man, you take good close up pictures of tiny parts. Way beyond my smart phone capability. Looks like you extended the water outlet snout for a scratch built hose to slip on easily? Water pump is sweet. My ocd commands me: why do the rear studs on the quadrajet look like a bolt head with another bolt head on top? Some guys probably use just a bolt instead of a stud and nut. Great job on that tedious work.
-
An awb 65 Dodge hardtop converted to a sedan
R. Thorne replied to R. Thorne's topic in WIP: Drag Racing Models
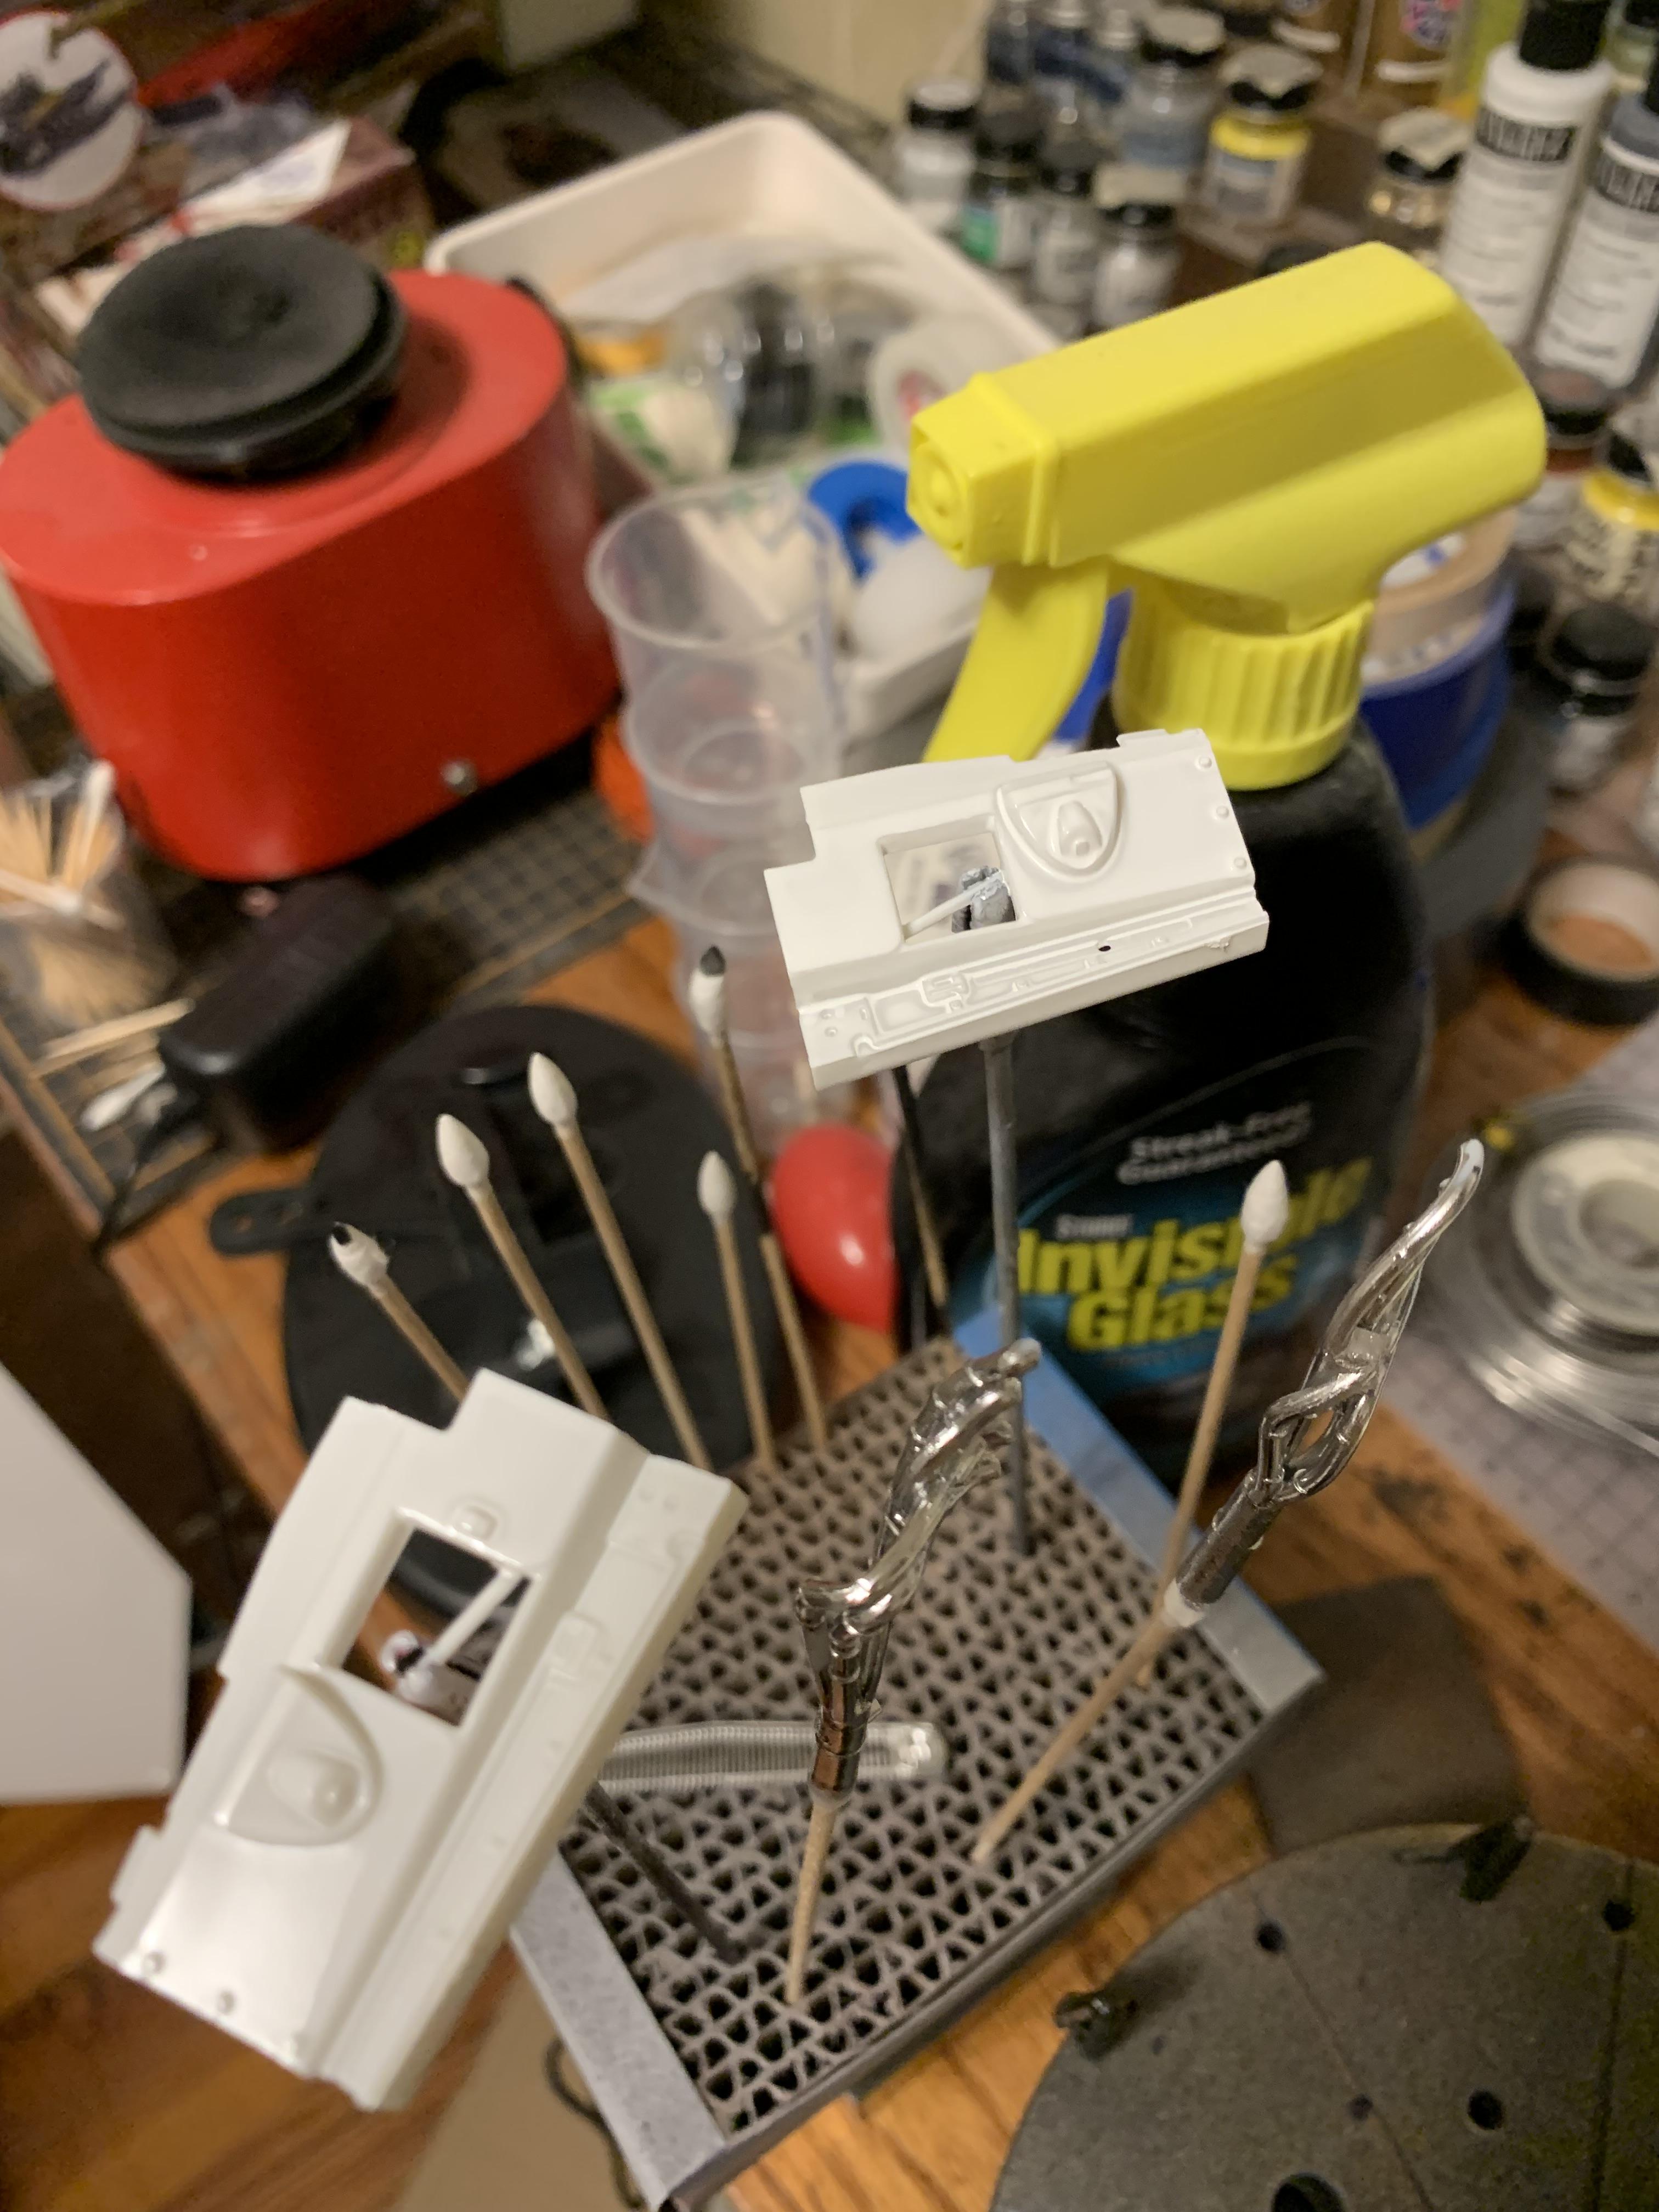
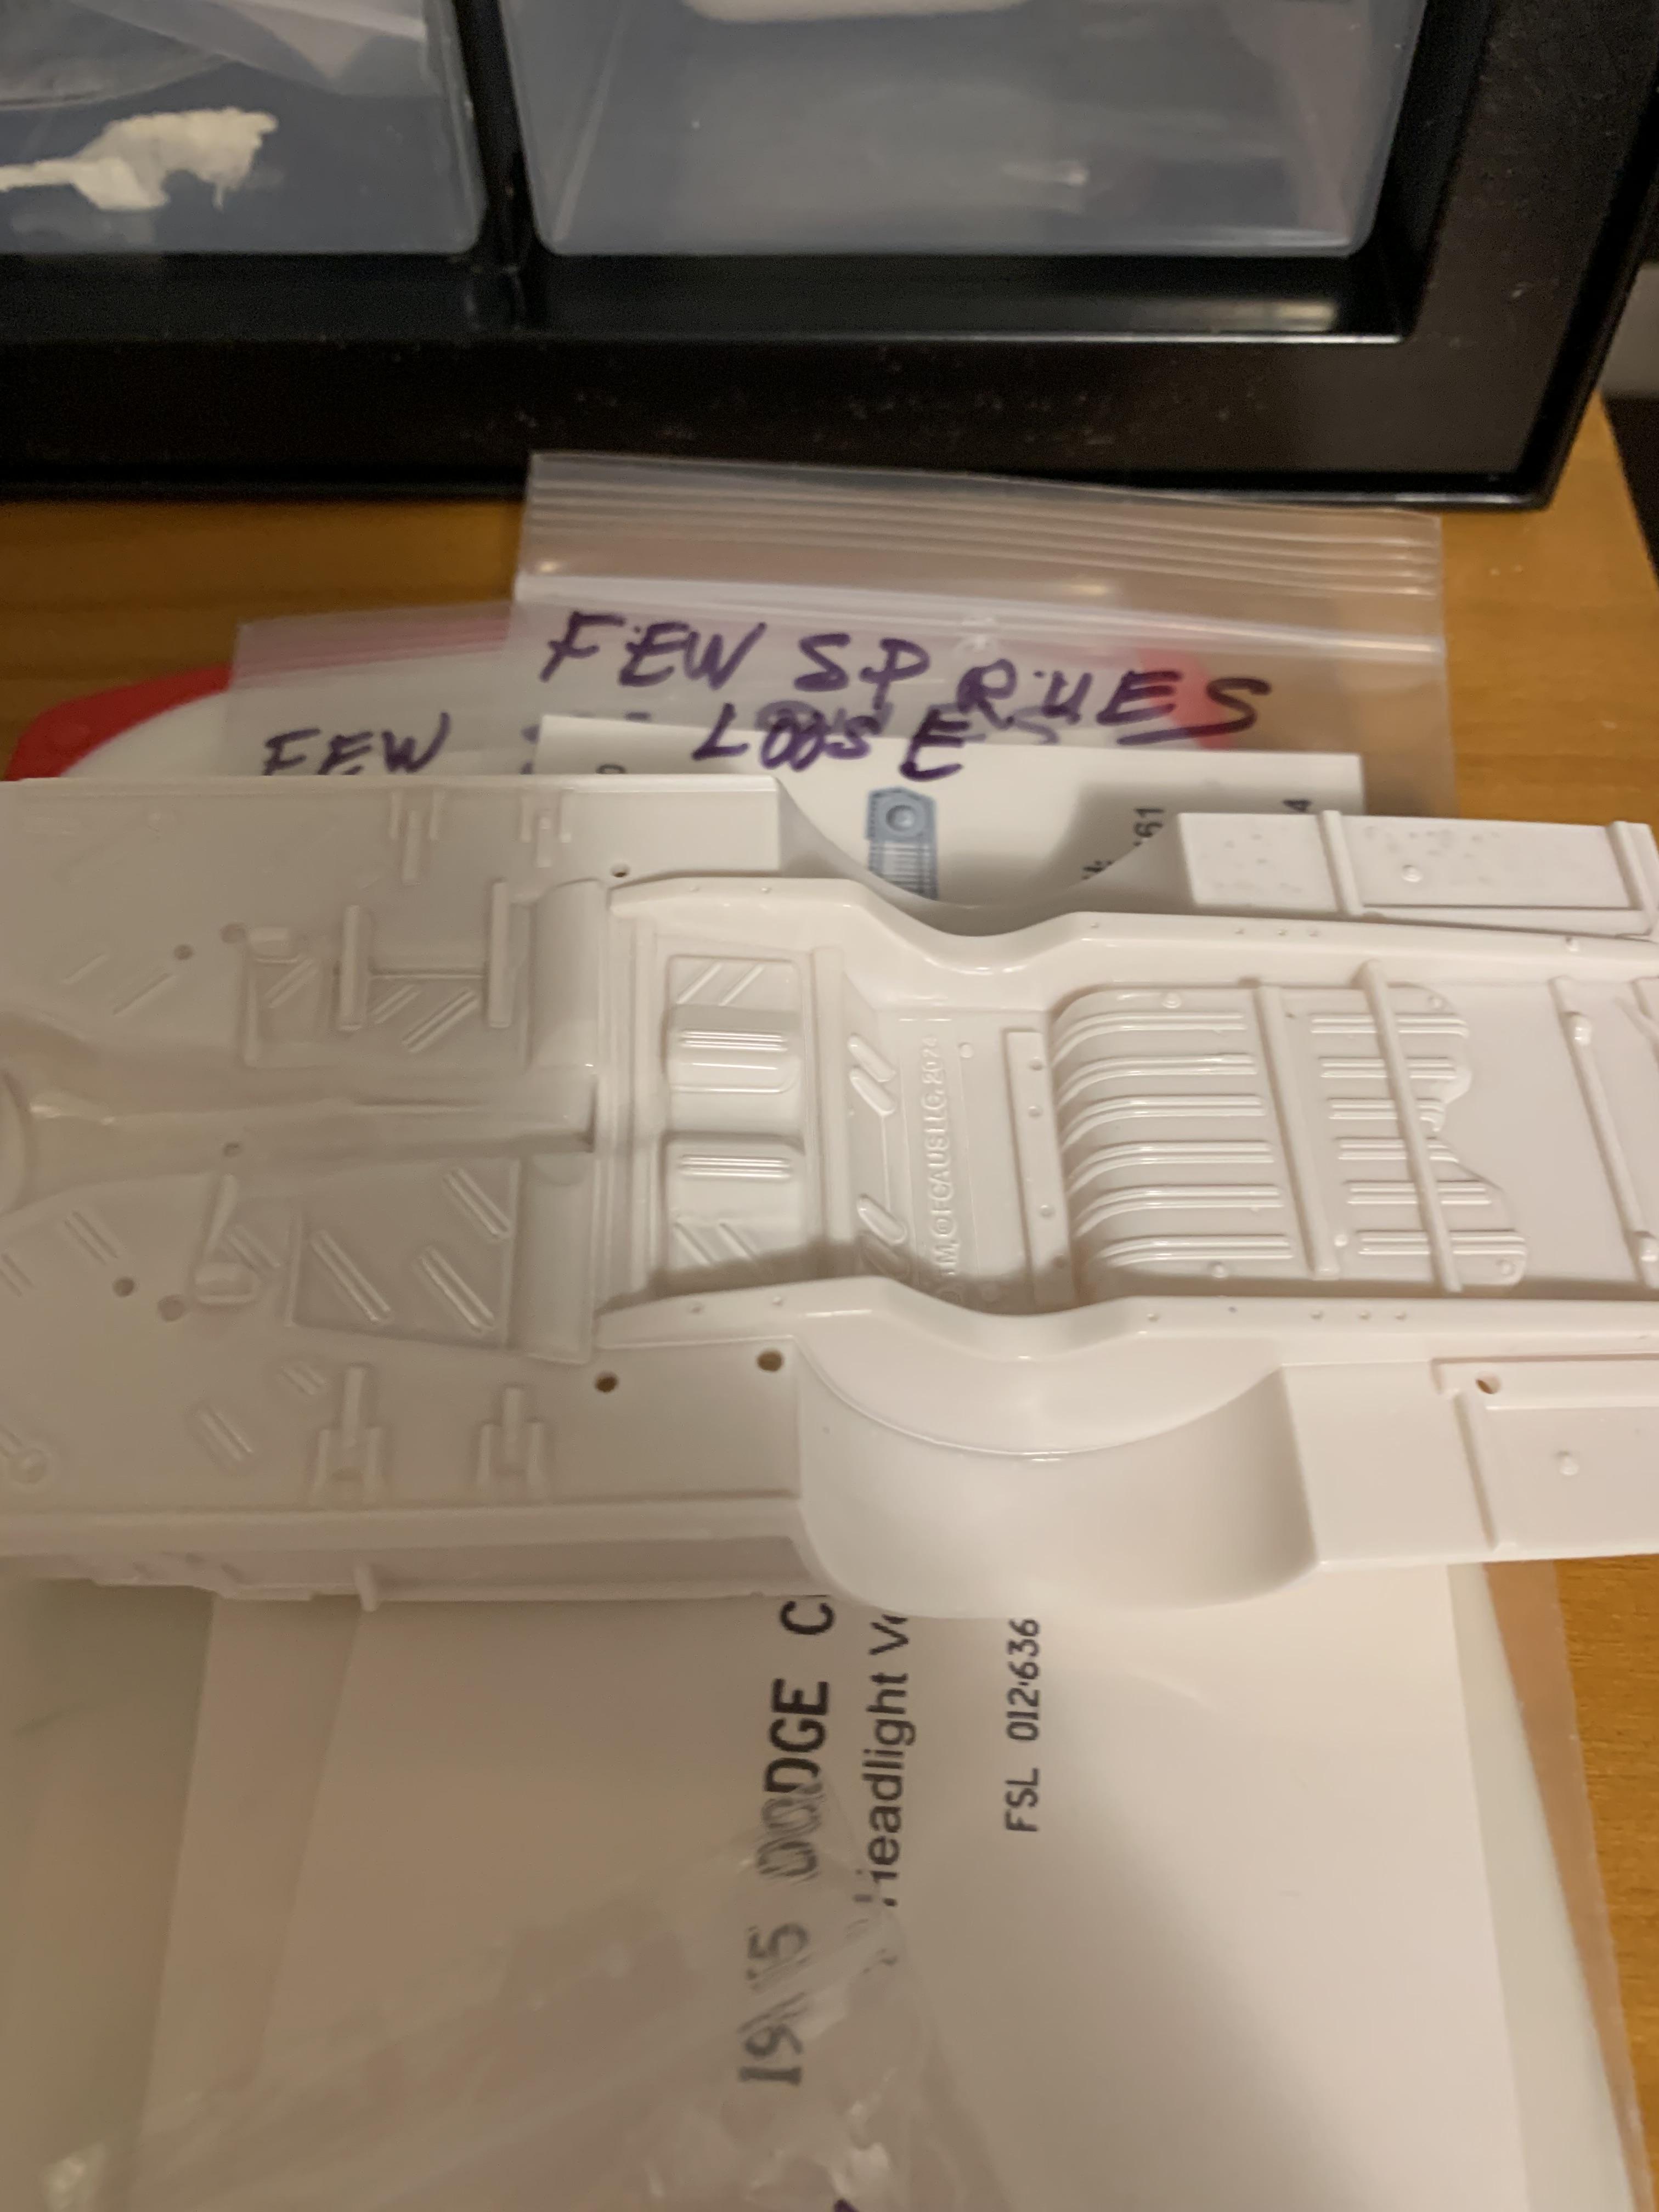
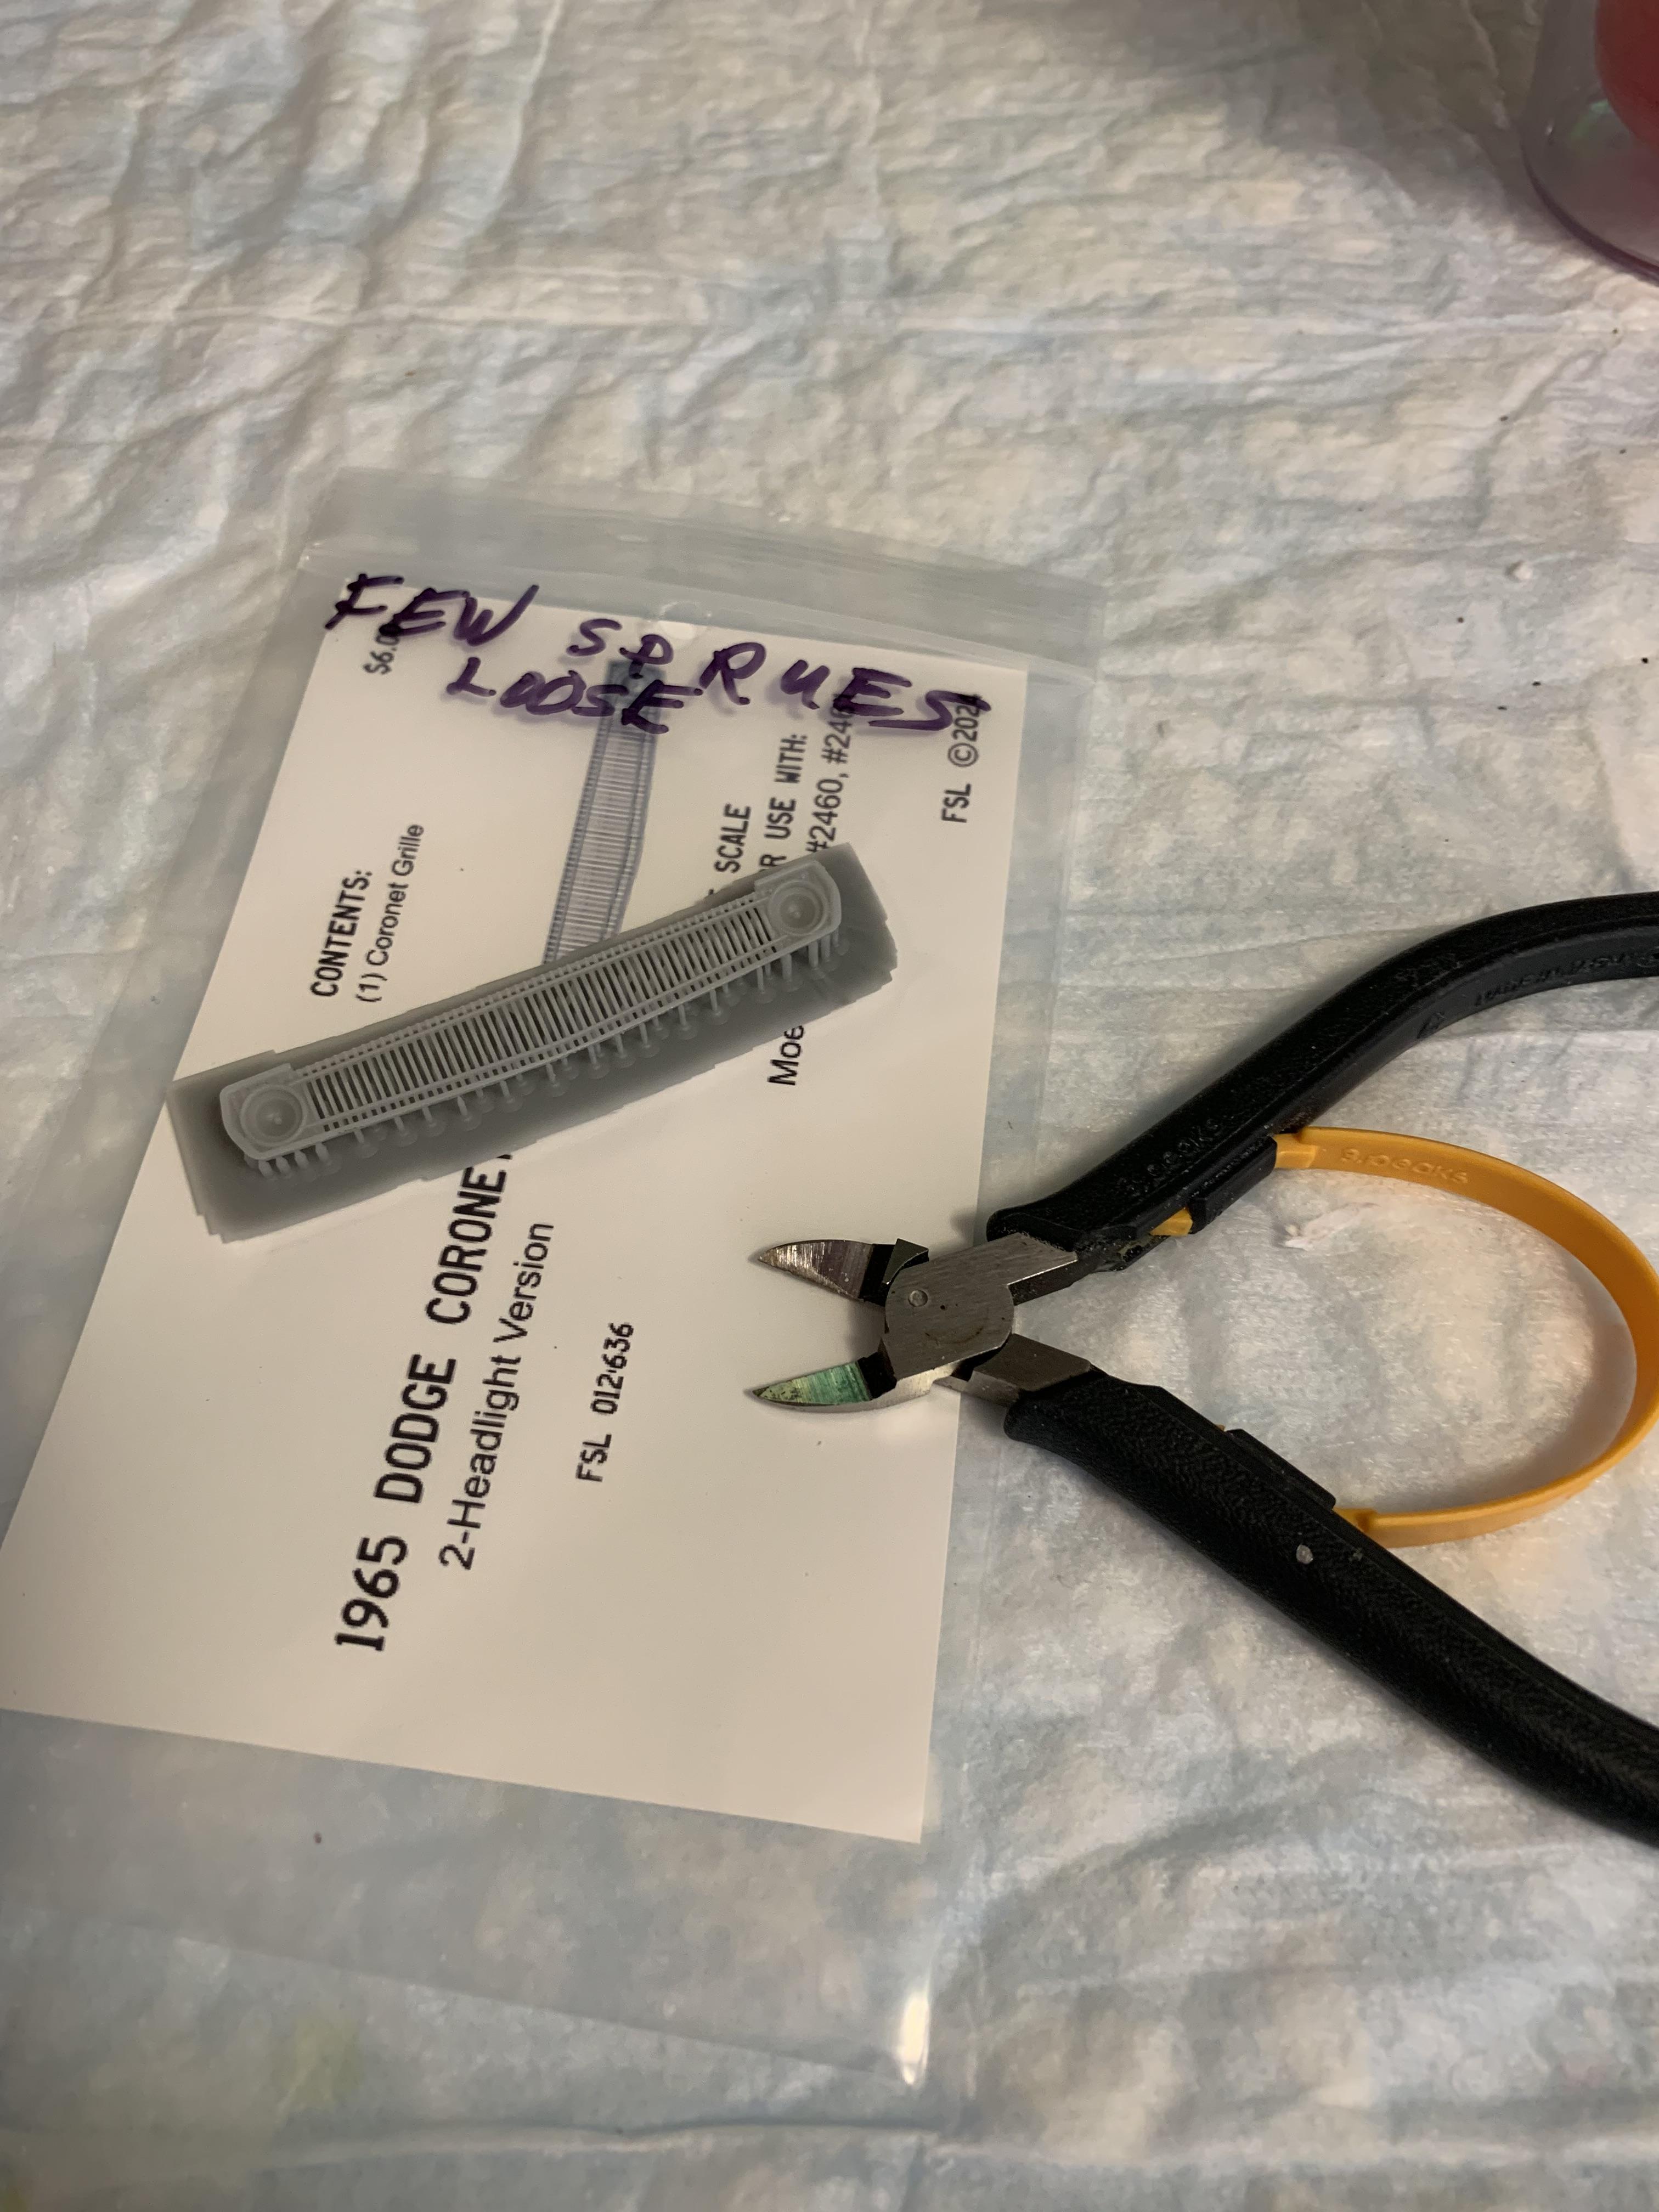
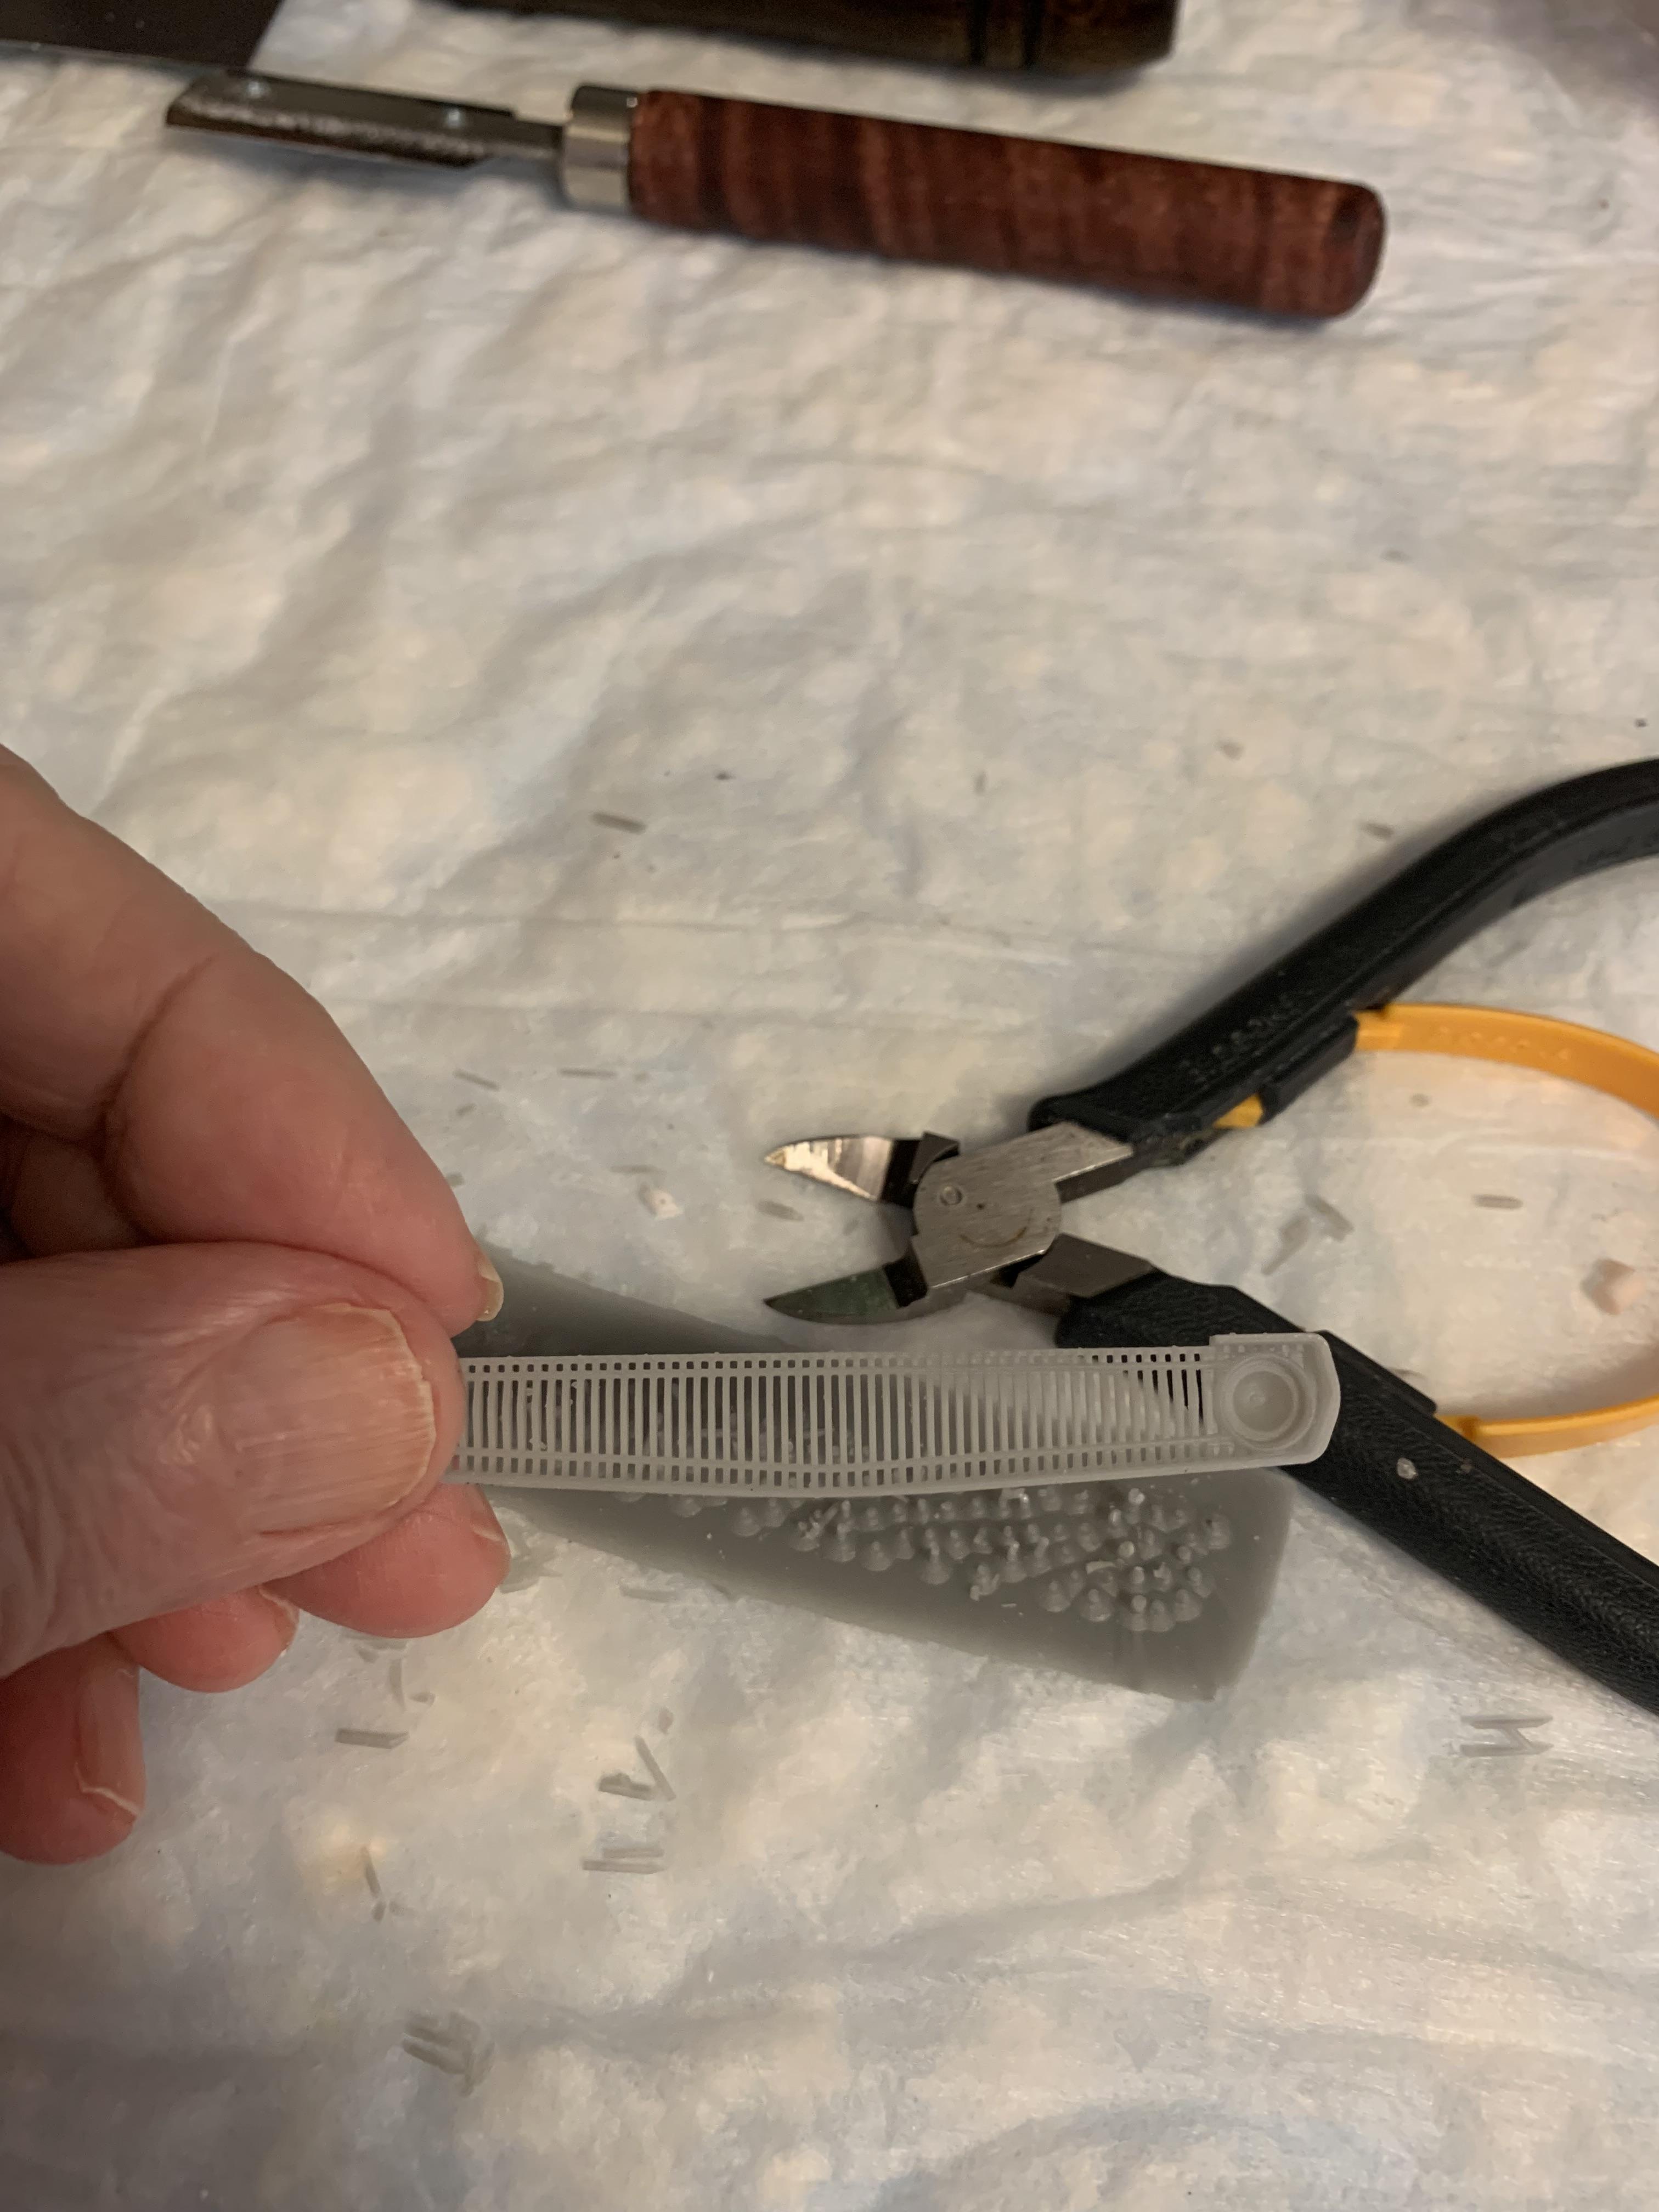
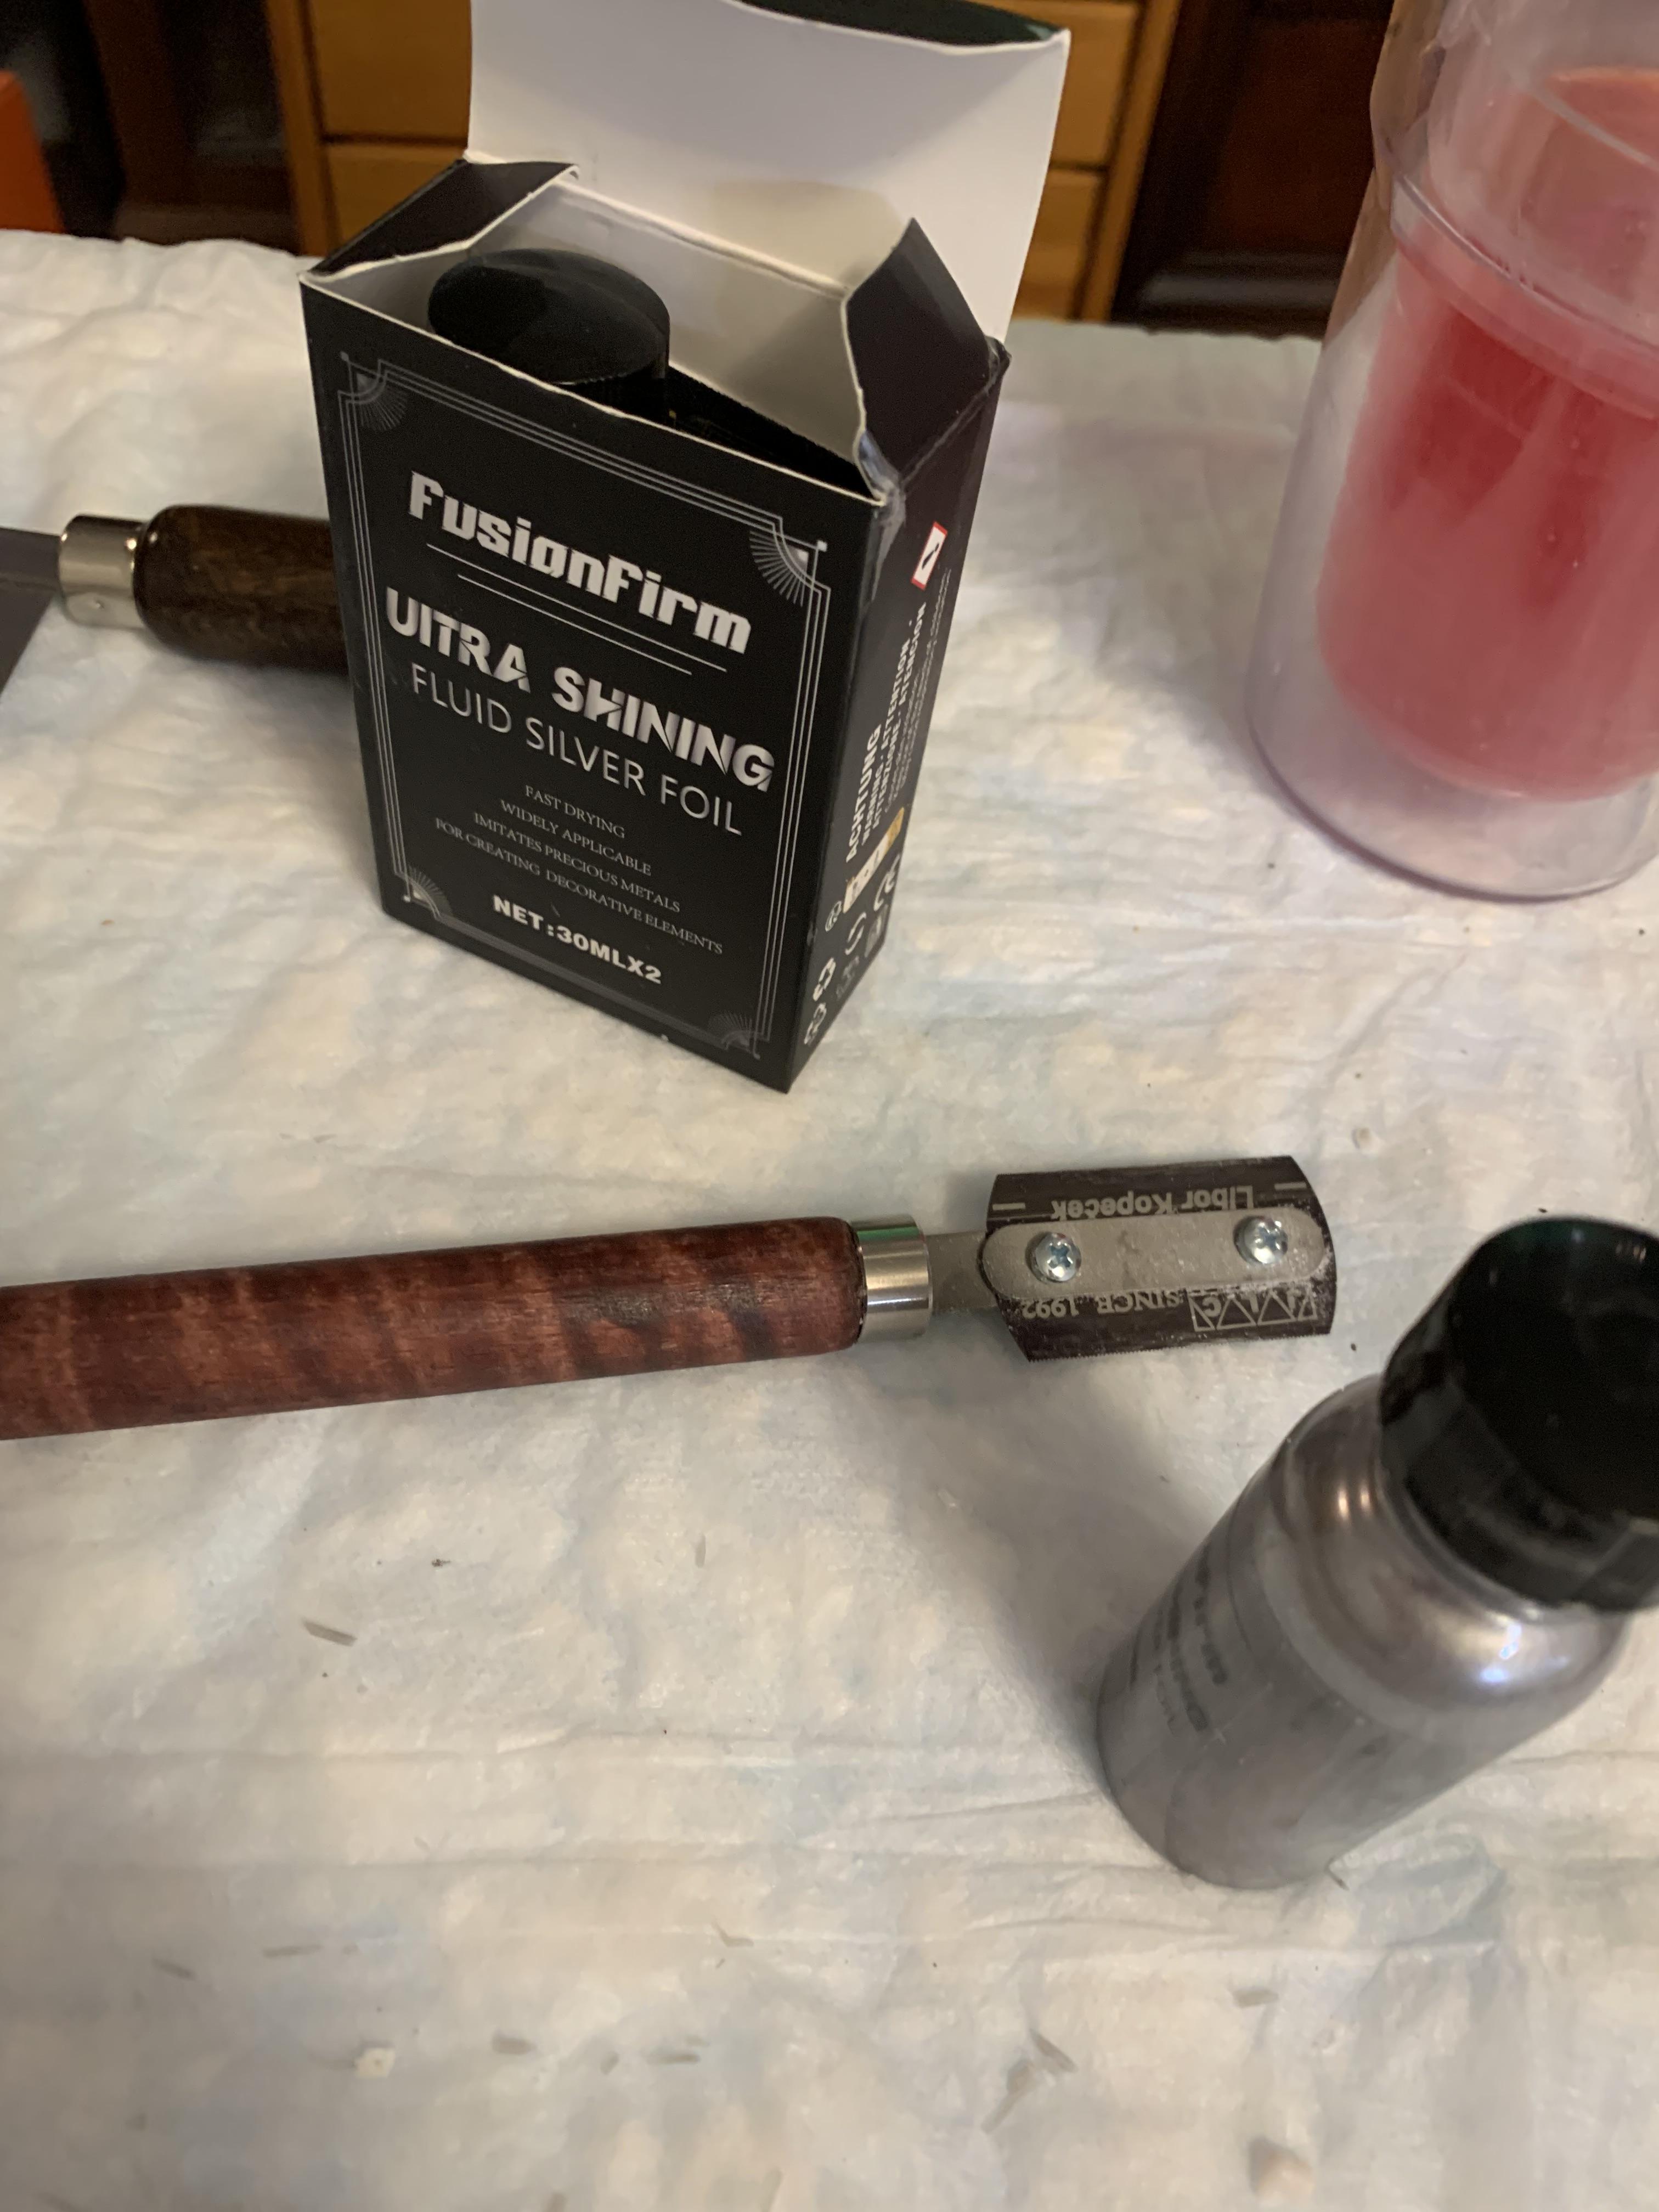
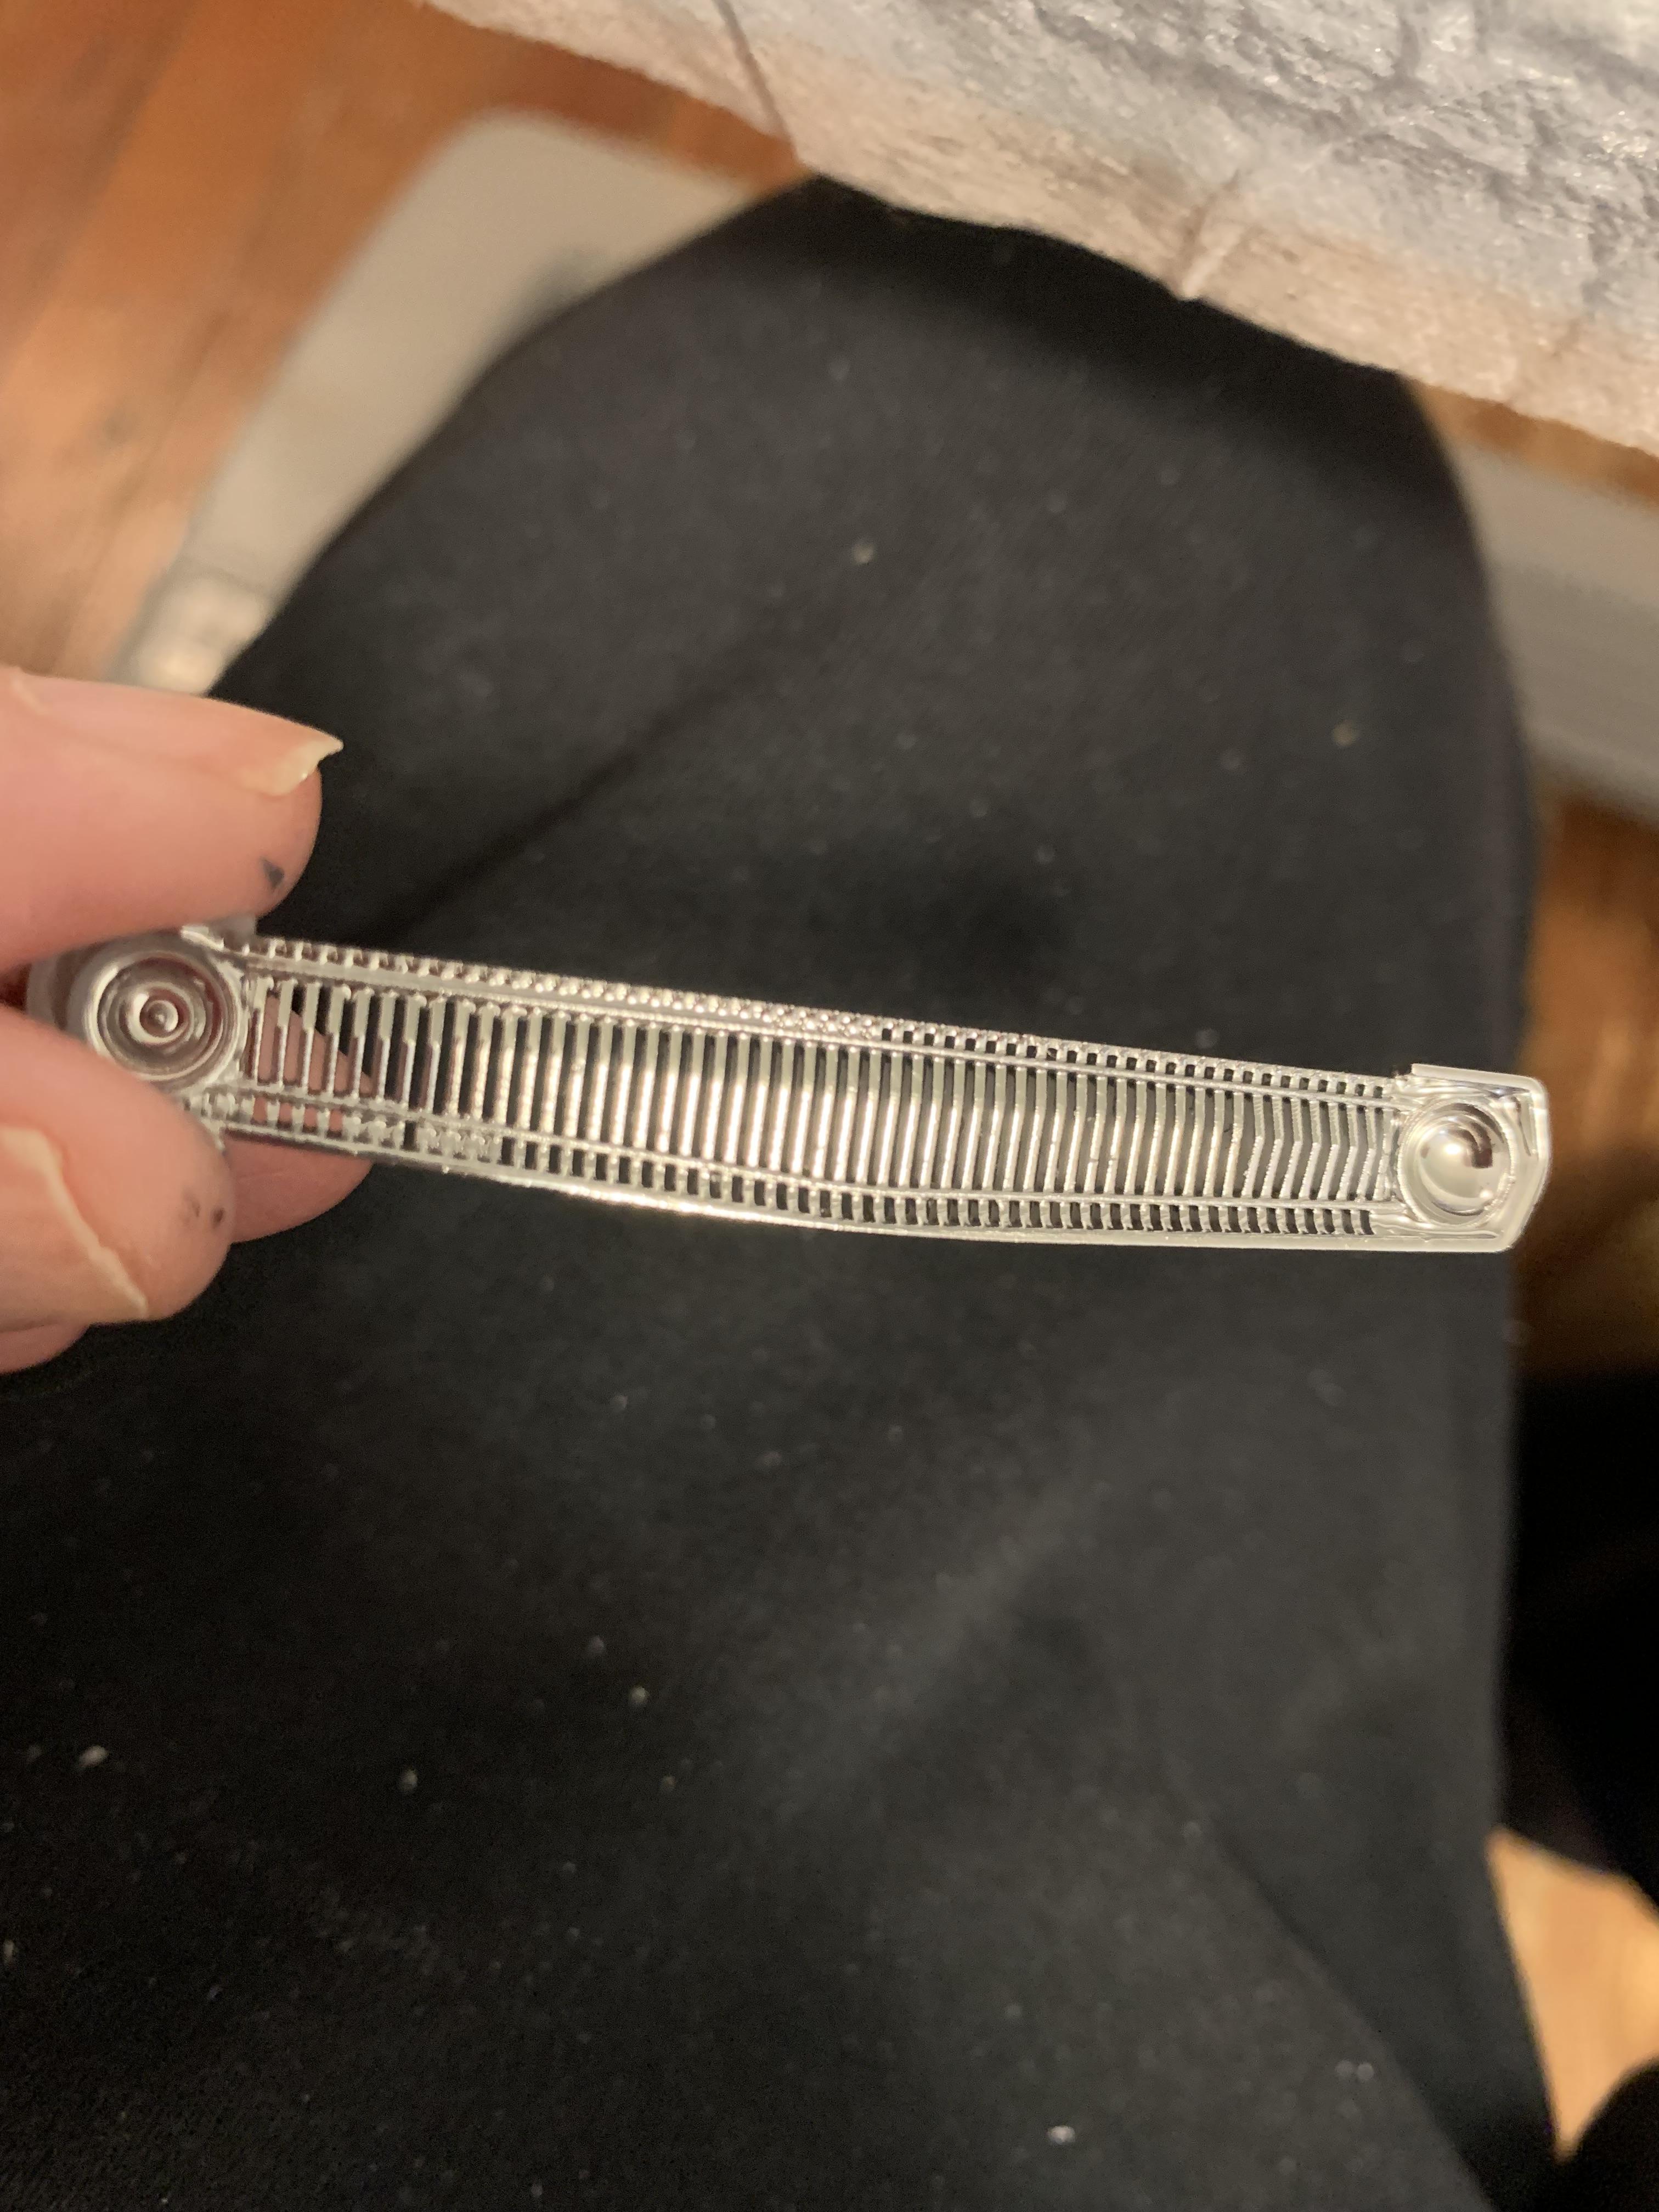
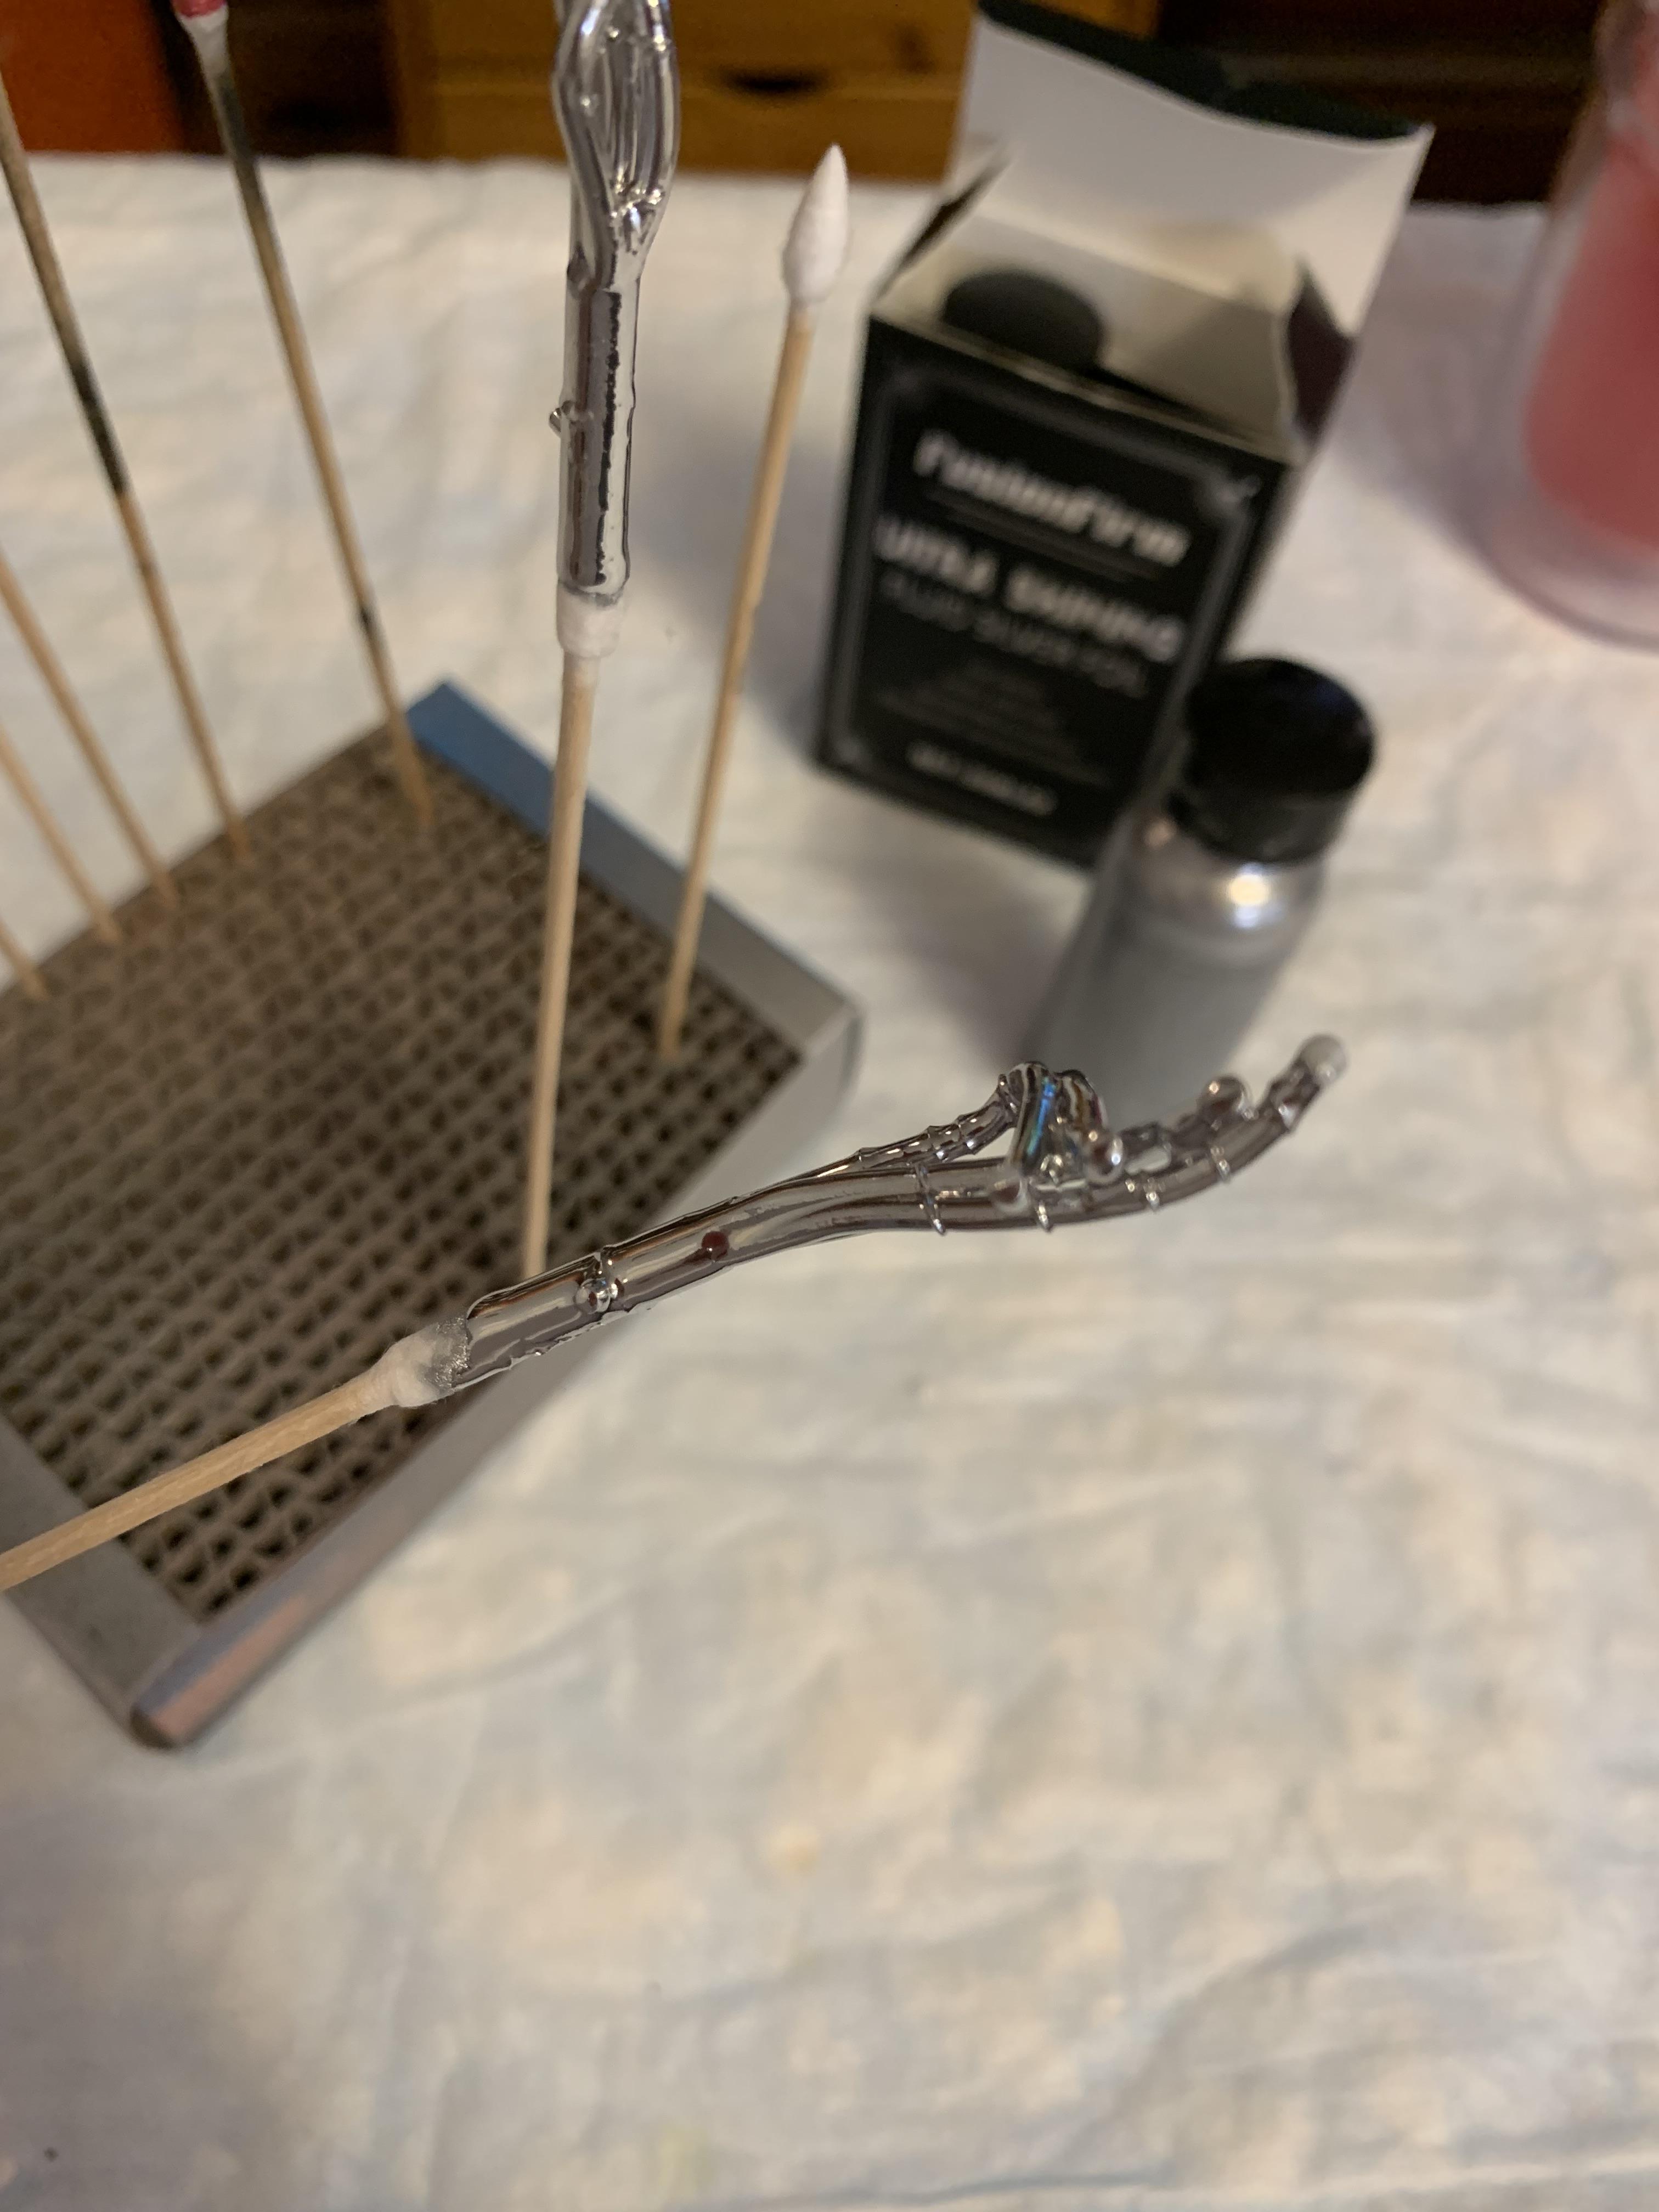
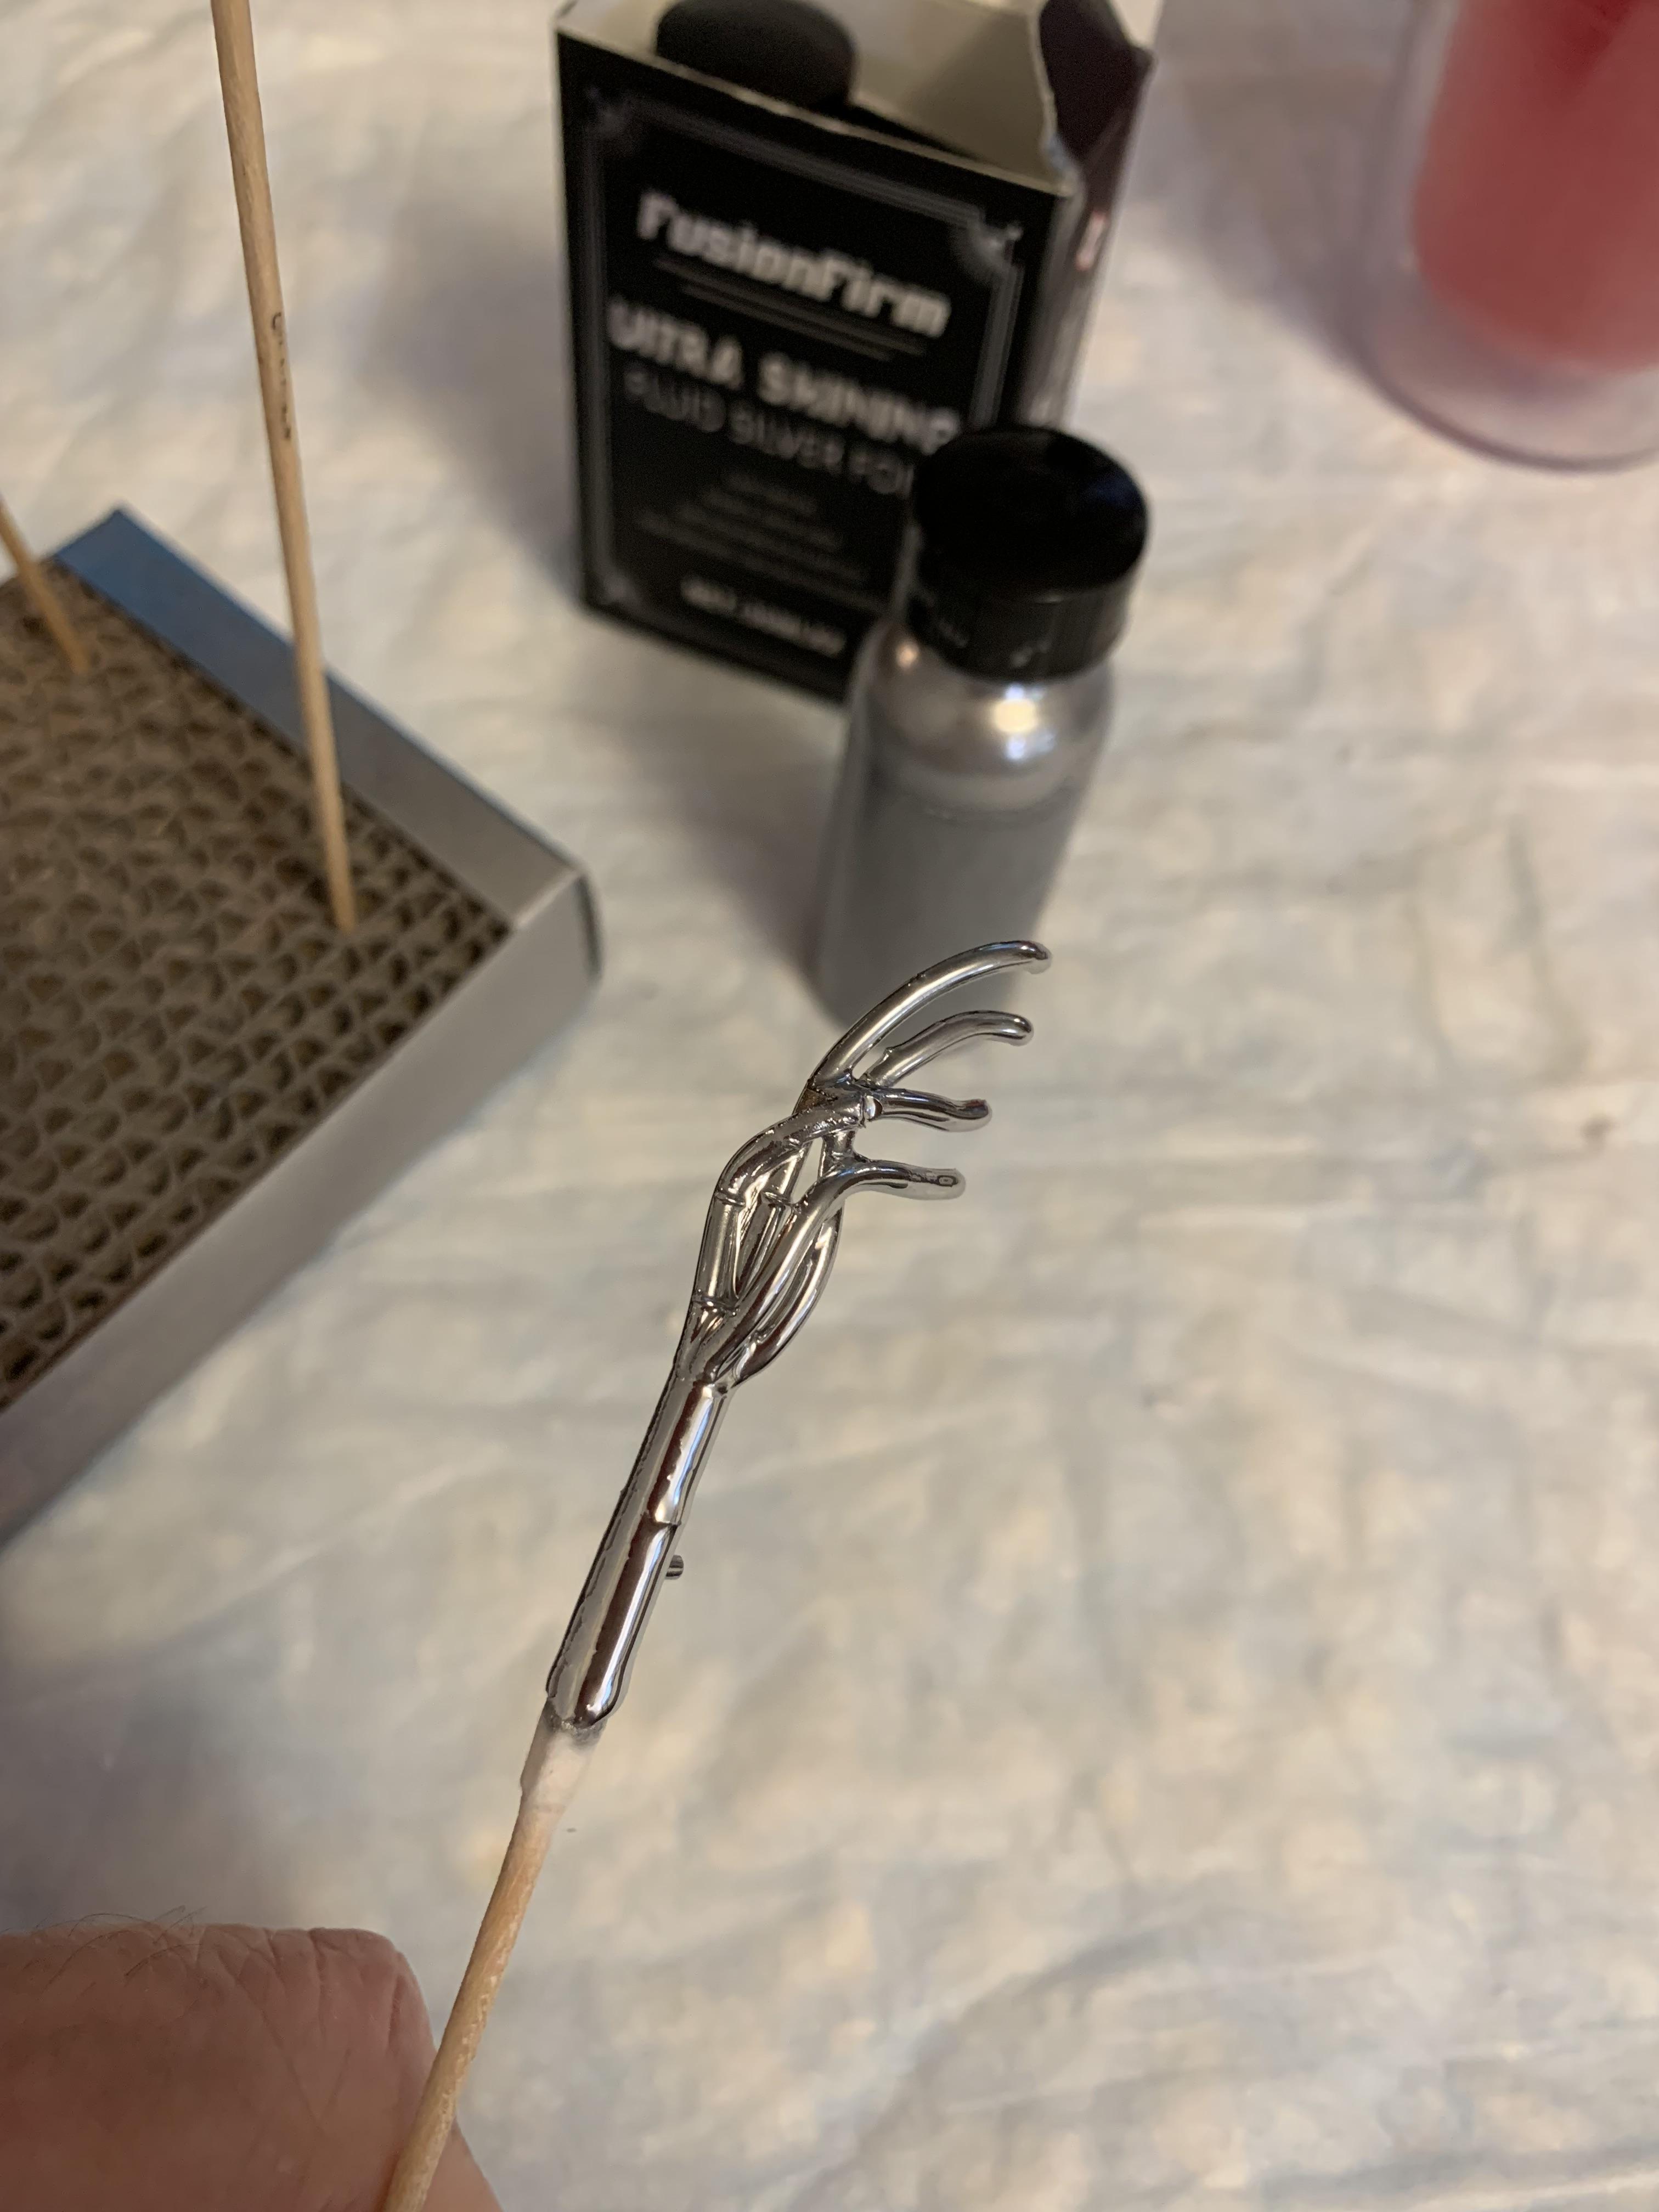
Worked on my aftermarket grille from FewSpruesLoose. Got it loose from its mounting with my irreplaceable pliars, then brushed on some FusionFirm. I was concerned that it might fill up the tiny holes in the grille, but then I remembered how thin it was when I put some on a 53 Olds resin bumper and it showed all the imperfections.
-
An awb 65 Dodge hardtop converted to a sedan
R. Thorne replied to R. Thorne's topic in WIP: Drag Racing Models
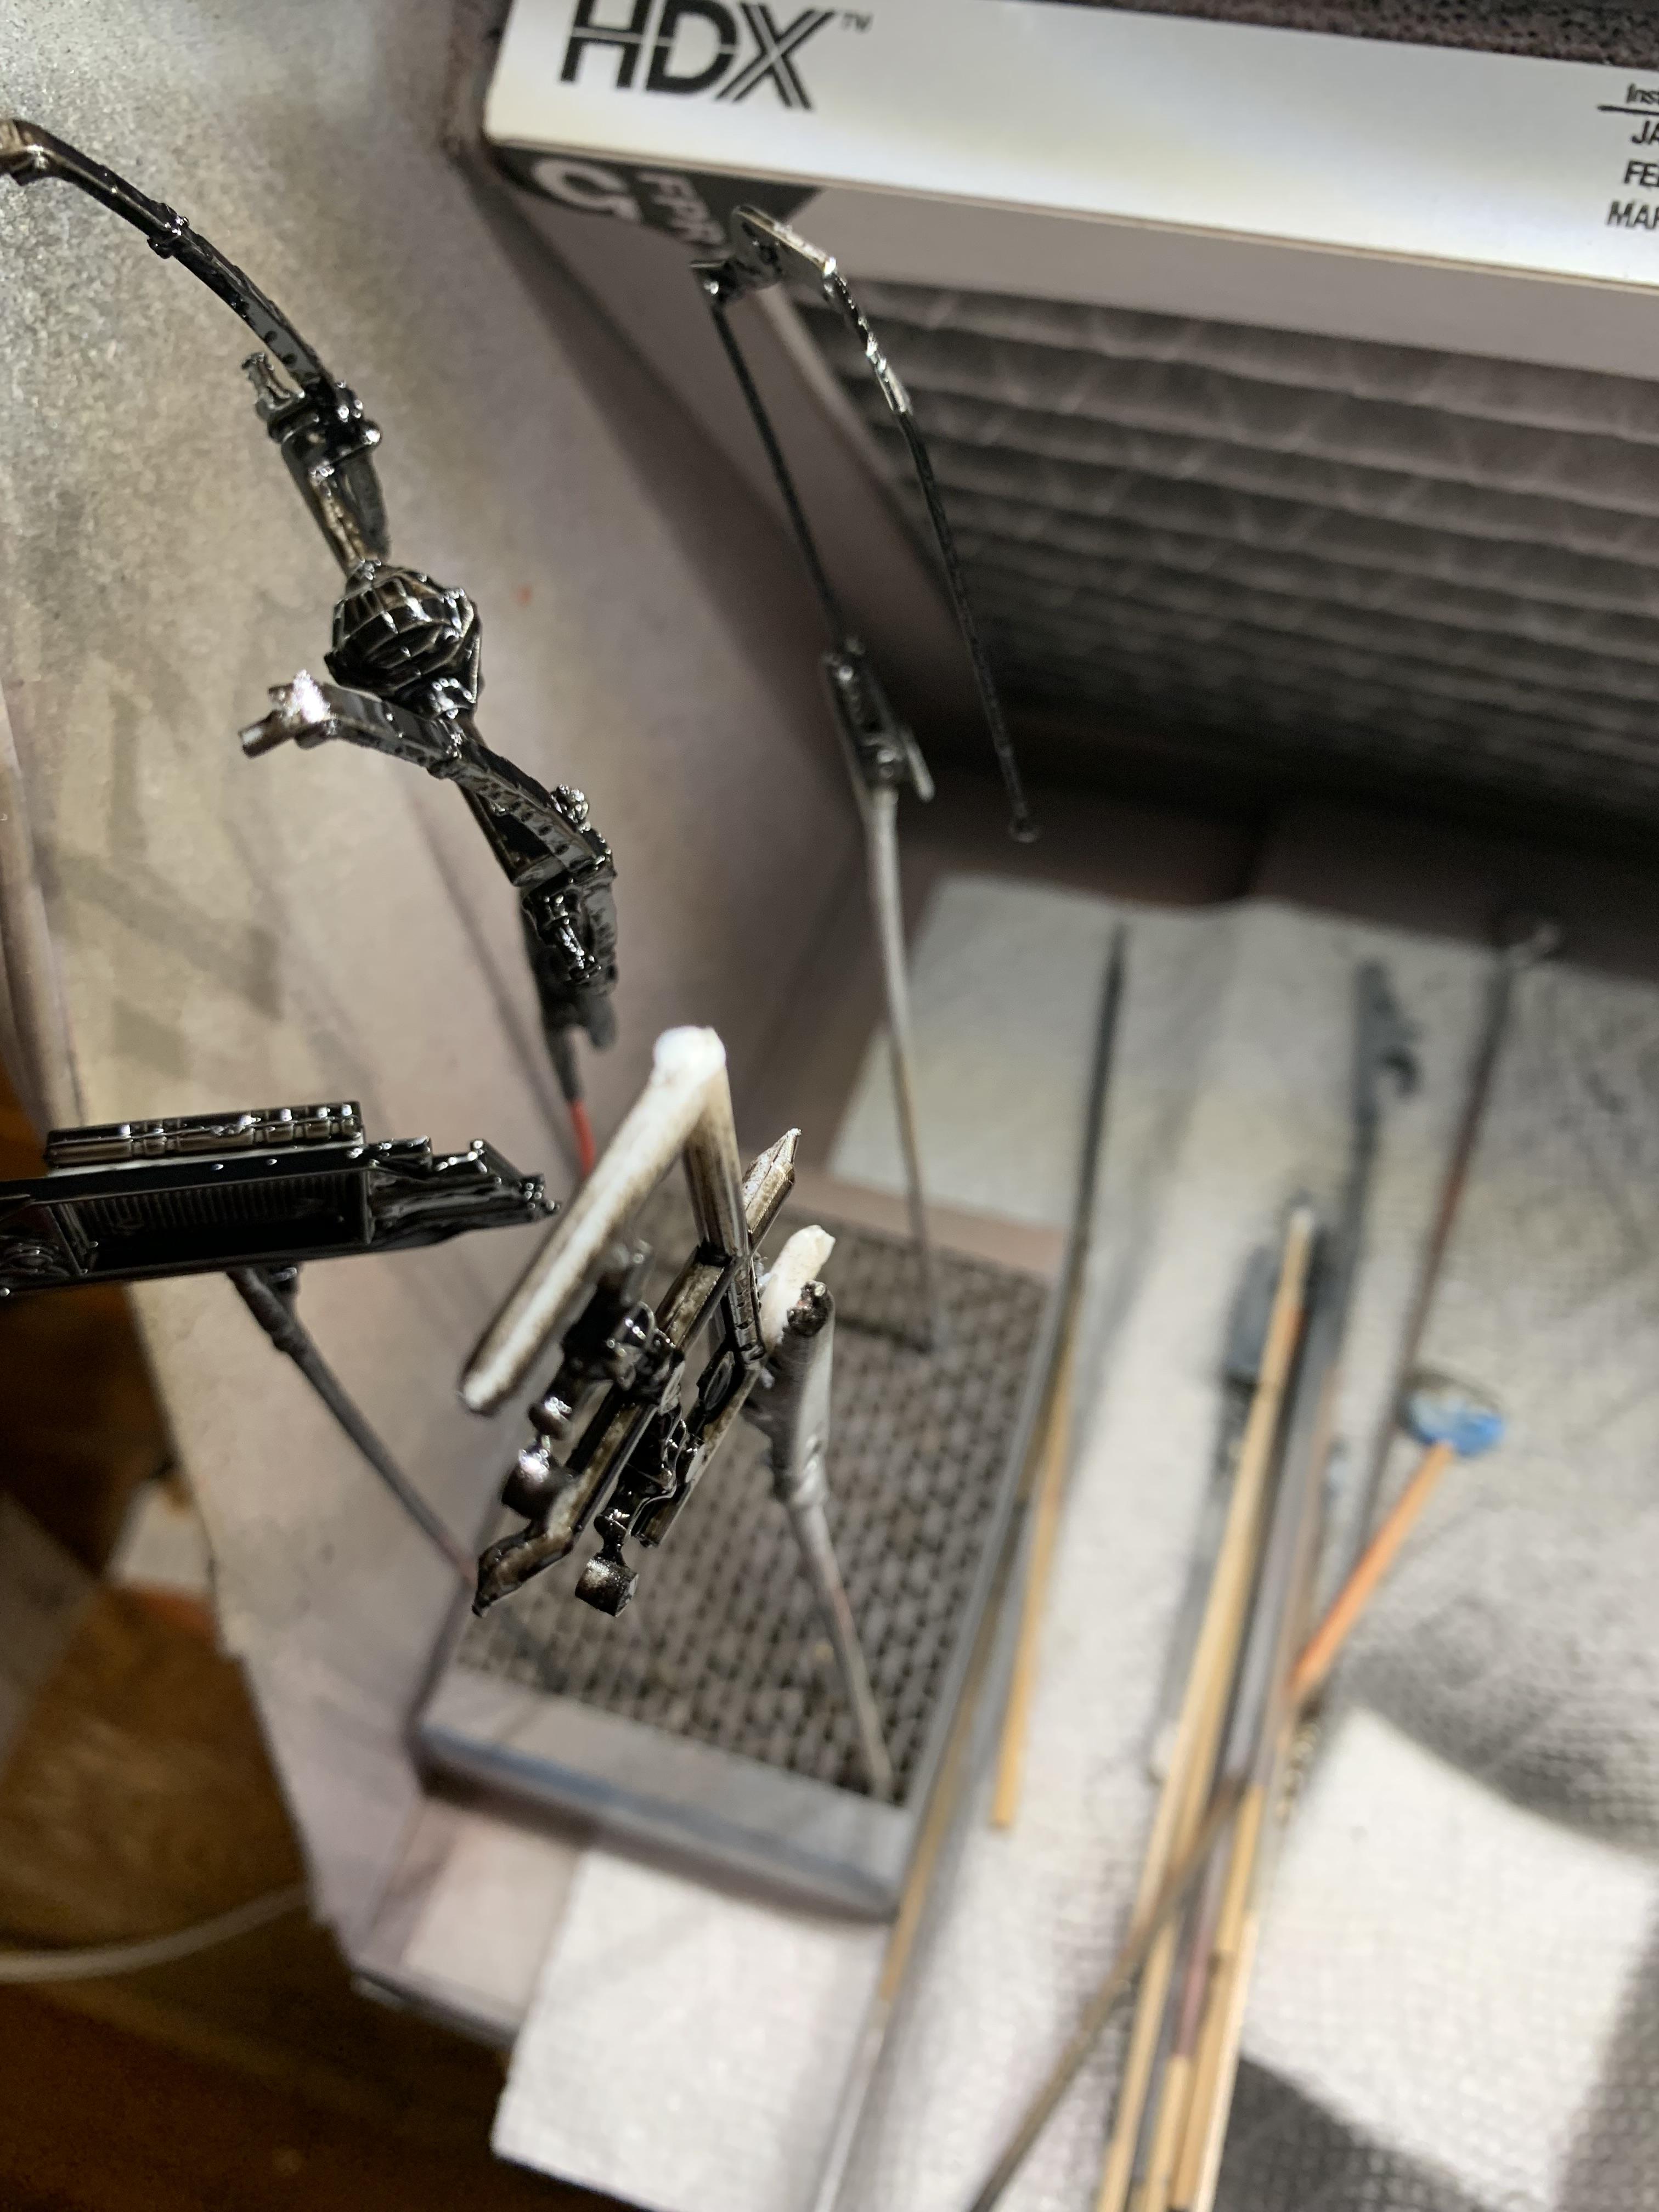
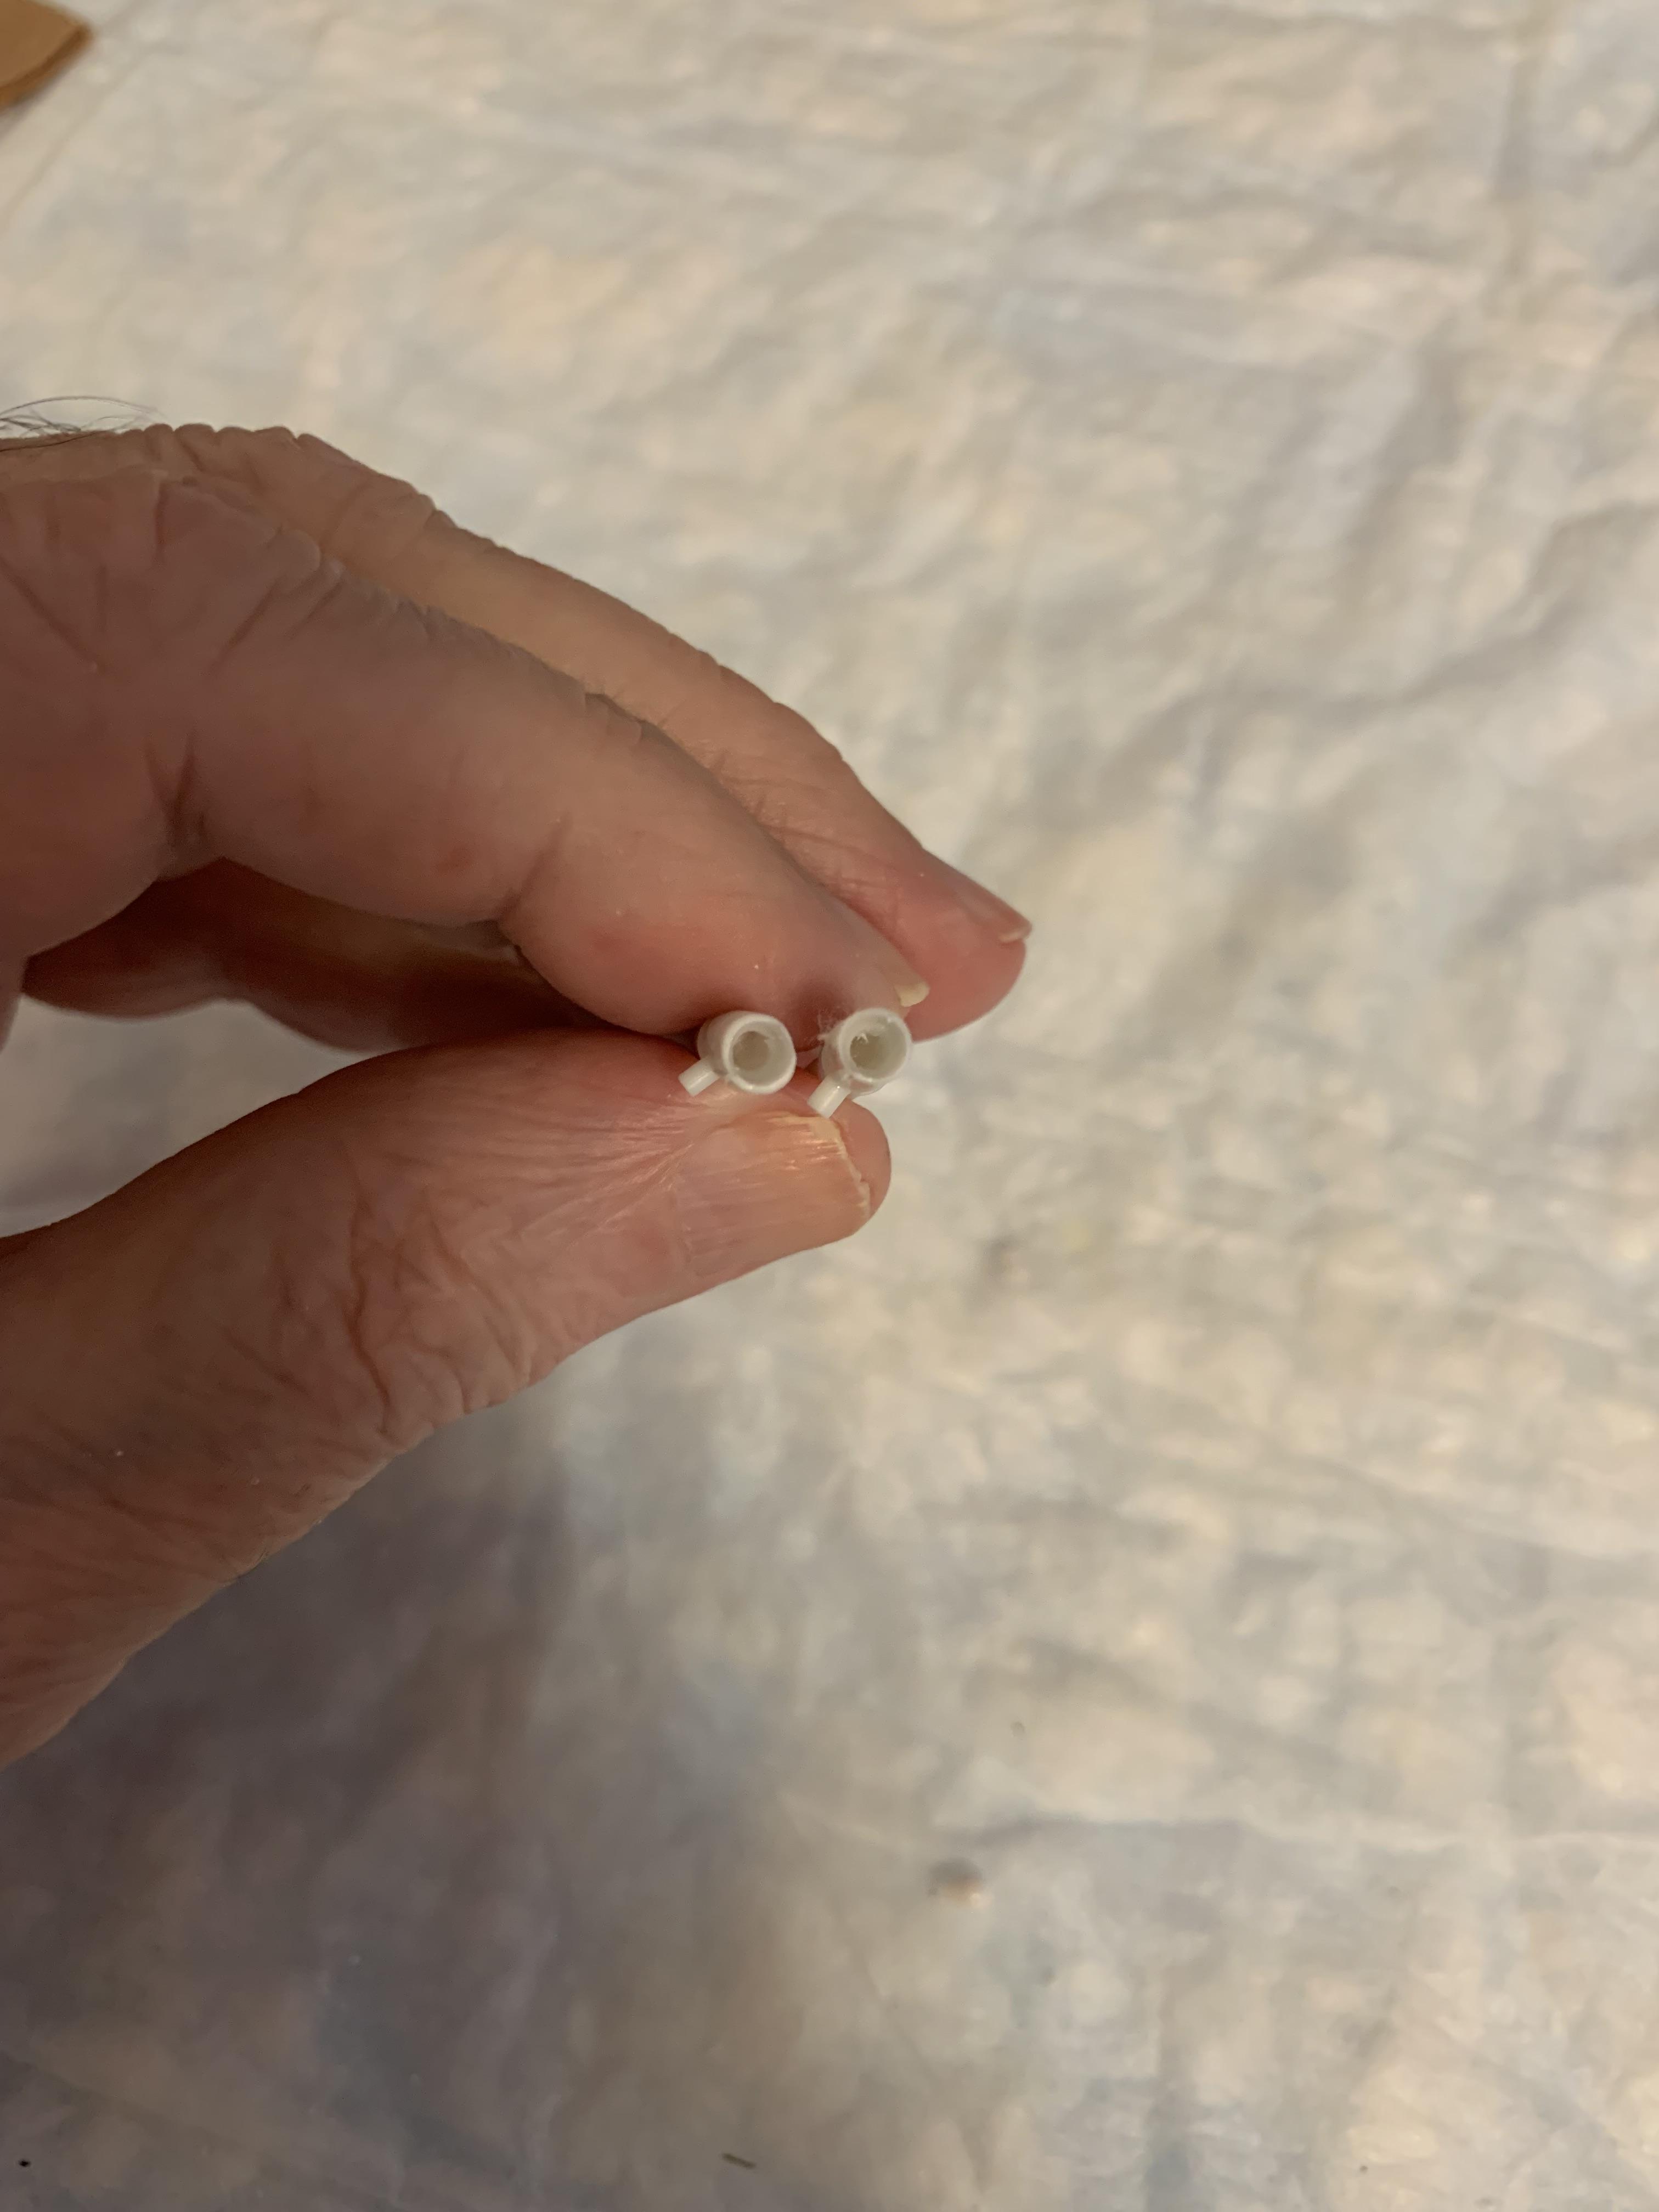
Reamed out the collectors and put some FusionFirm on.
-
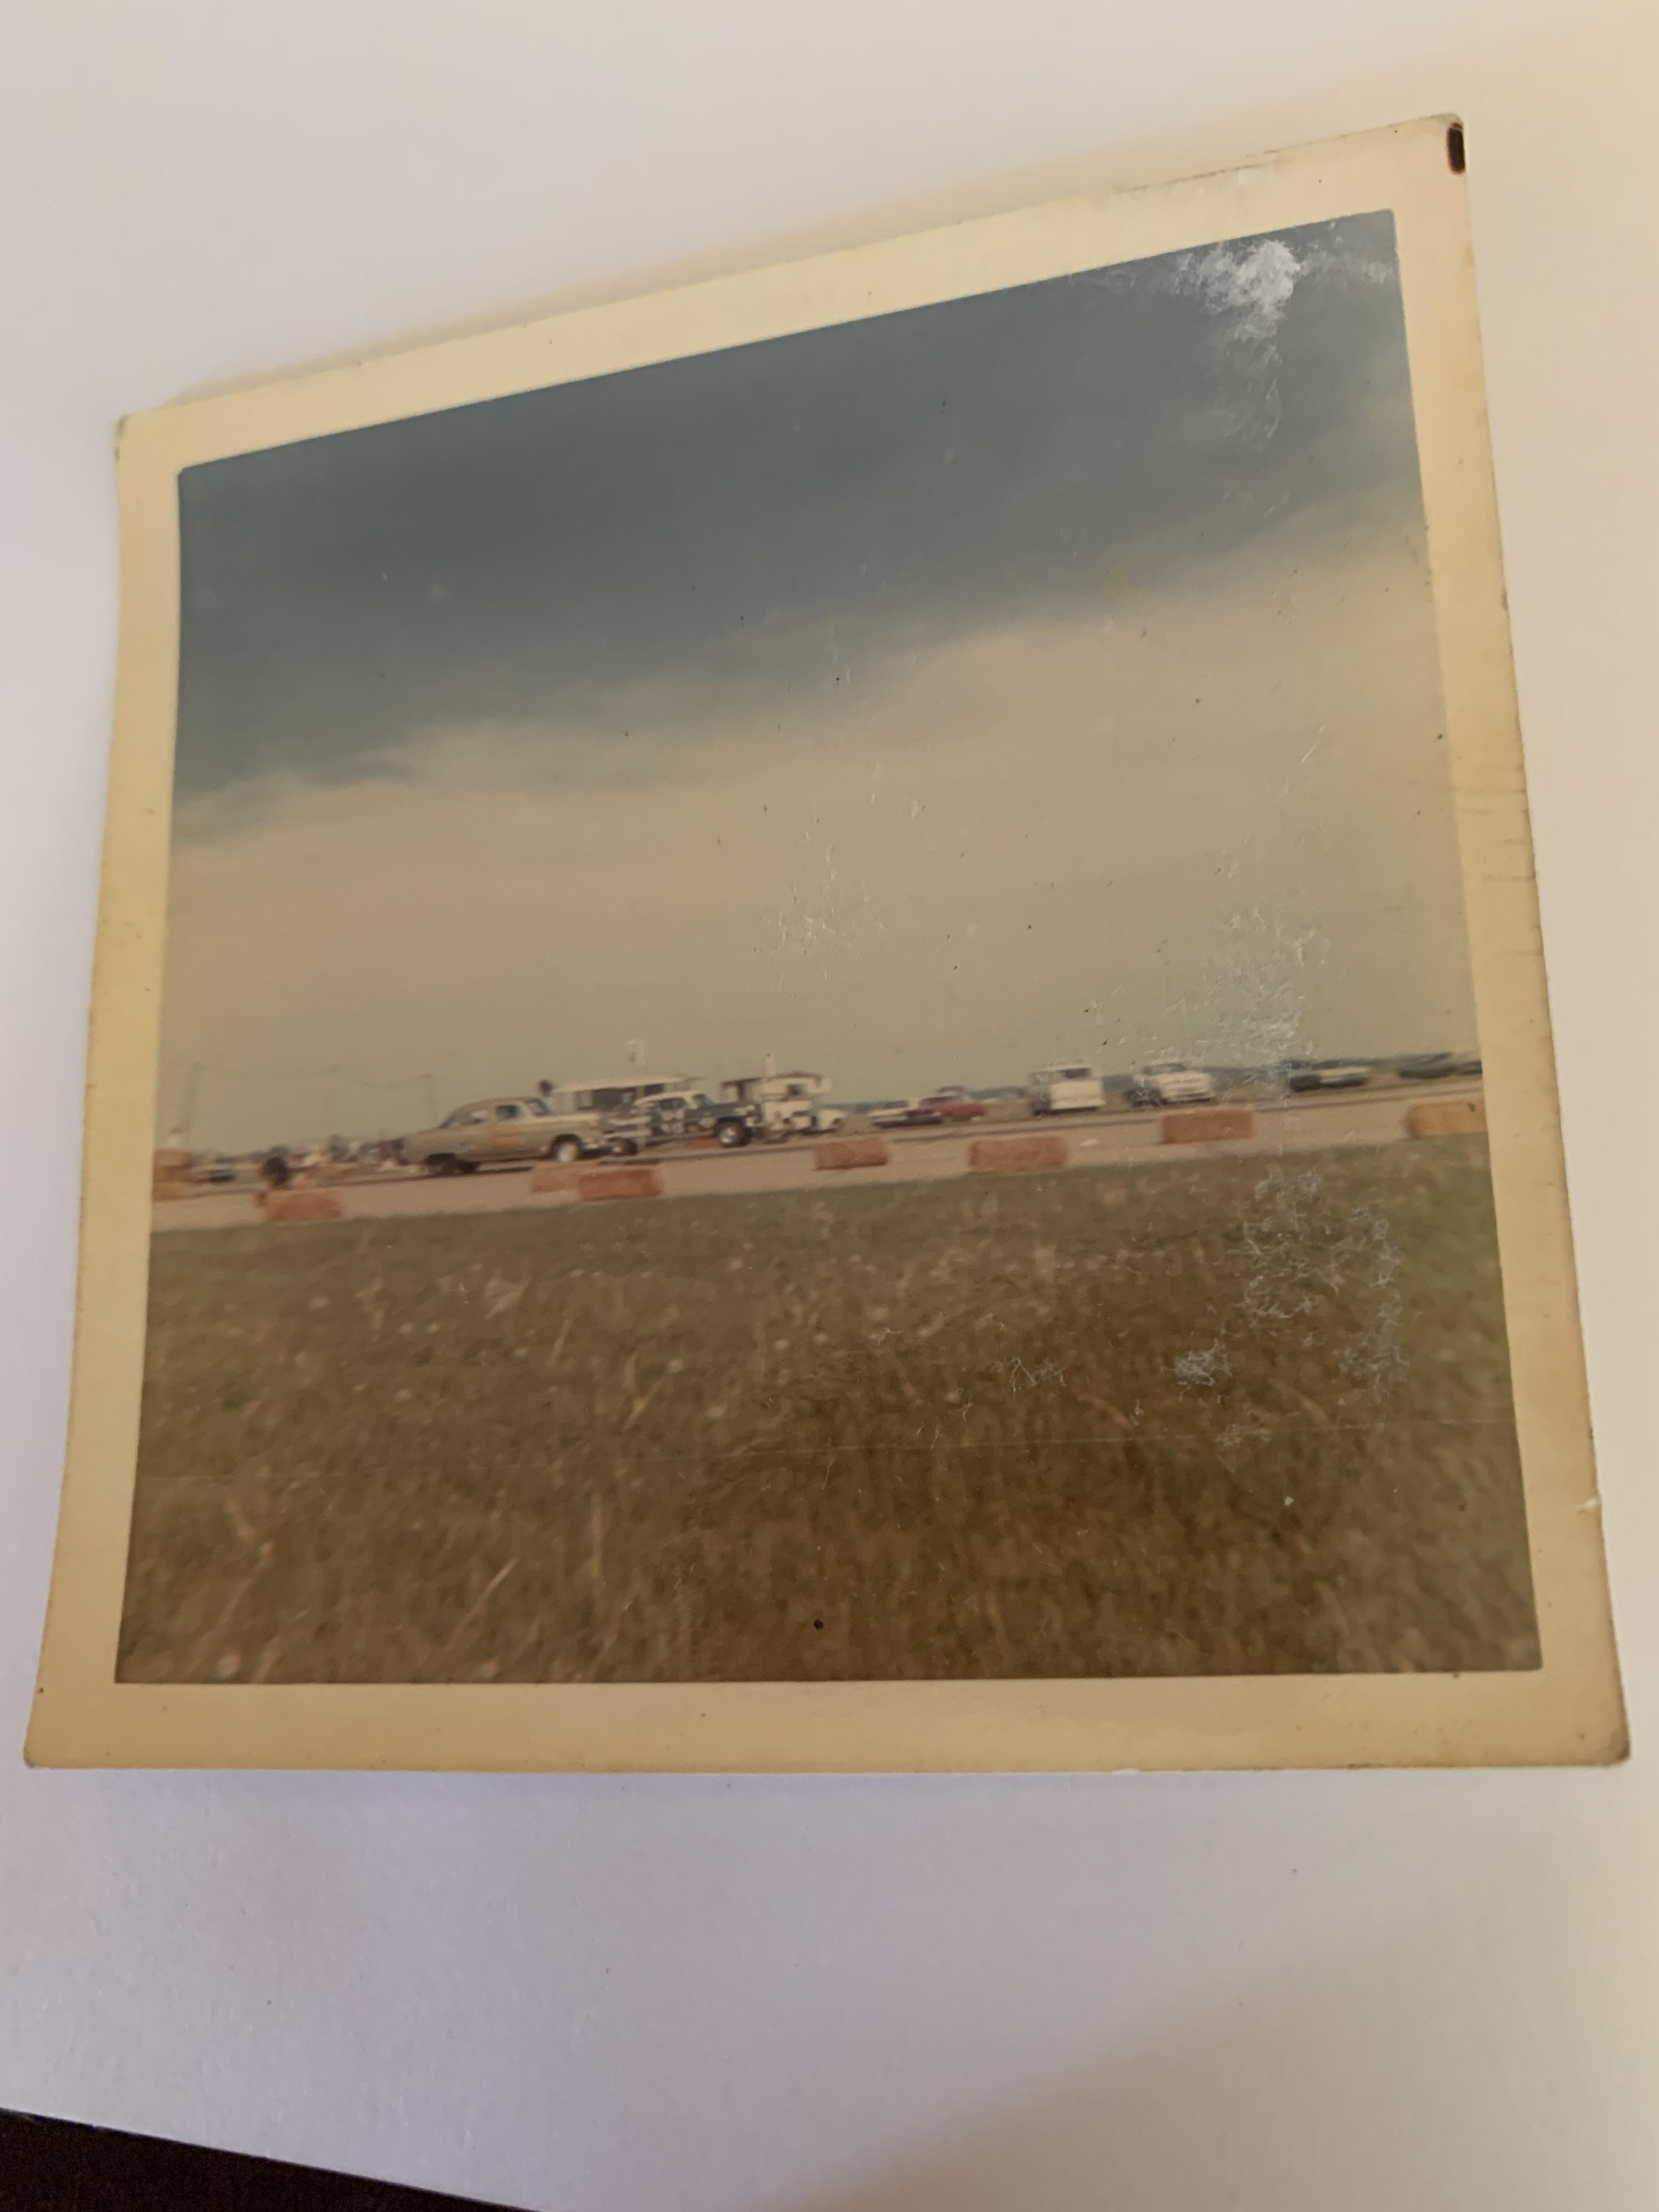
At the risk of detracting from Dennis’s very impressive build, you are quite right Edgar. I remember that 10 inch treaded tire rule that only lasted about a year or two. My 53 Olds running against Gary Ellard’s 53 Hudson at Sturgis, Kentucky airport. This was a functioning airport 6 days a week, but on Sundays the Road Knights car club would bring out the hay bales and timing truck and equipment and we would have a fun day at the races.
-
An awb 65 Dodge hardtop converted to a sedan
R. Thorne replied to R. Thorne's topic in WIP: Drag Racing Models
Great info, Bill. Thank you for responding. -
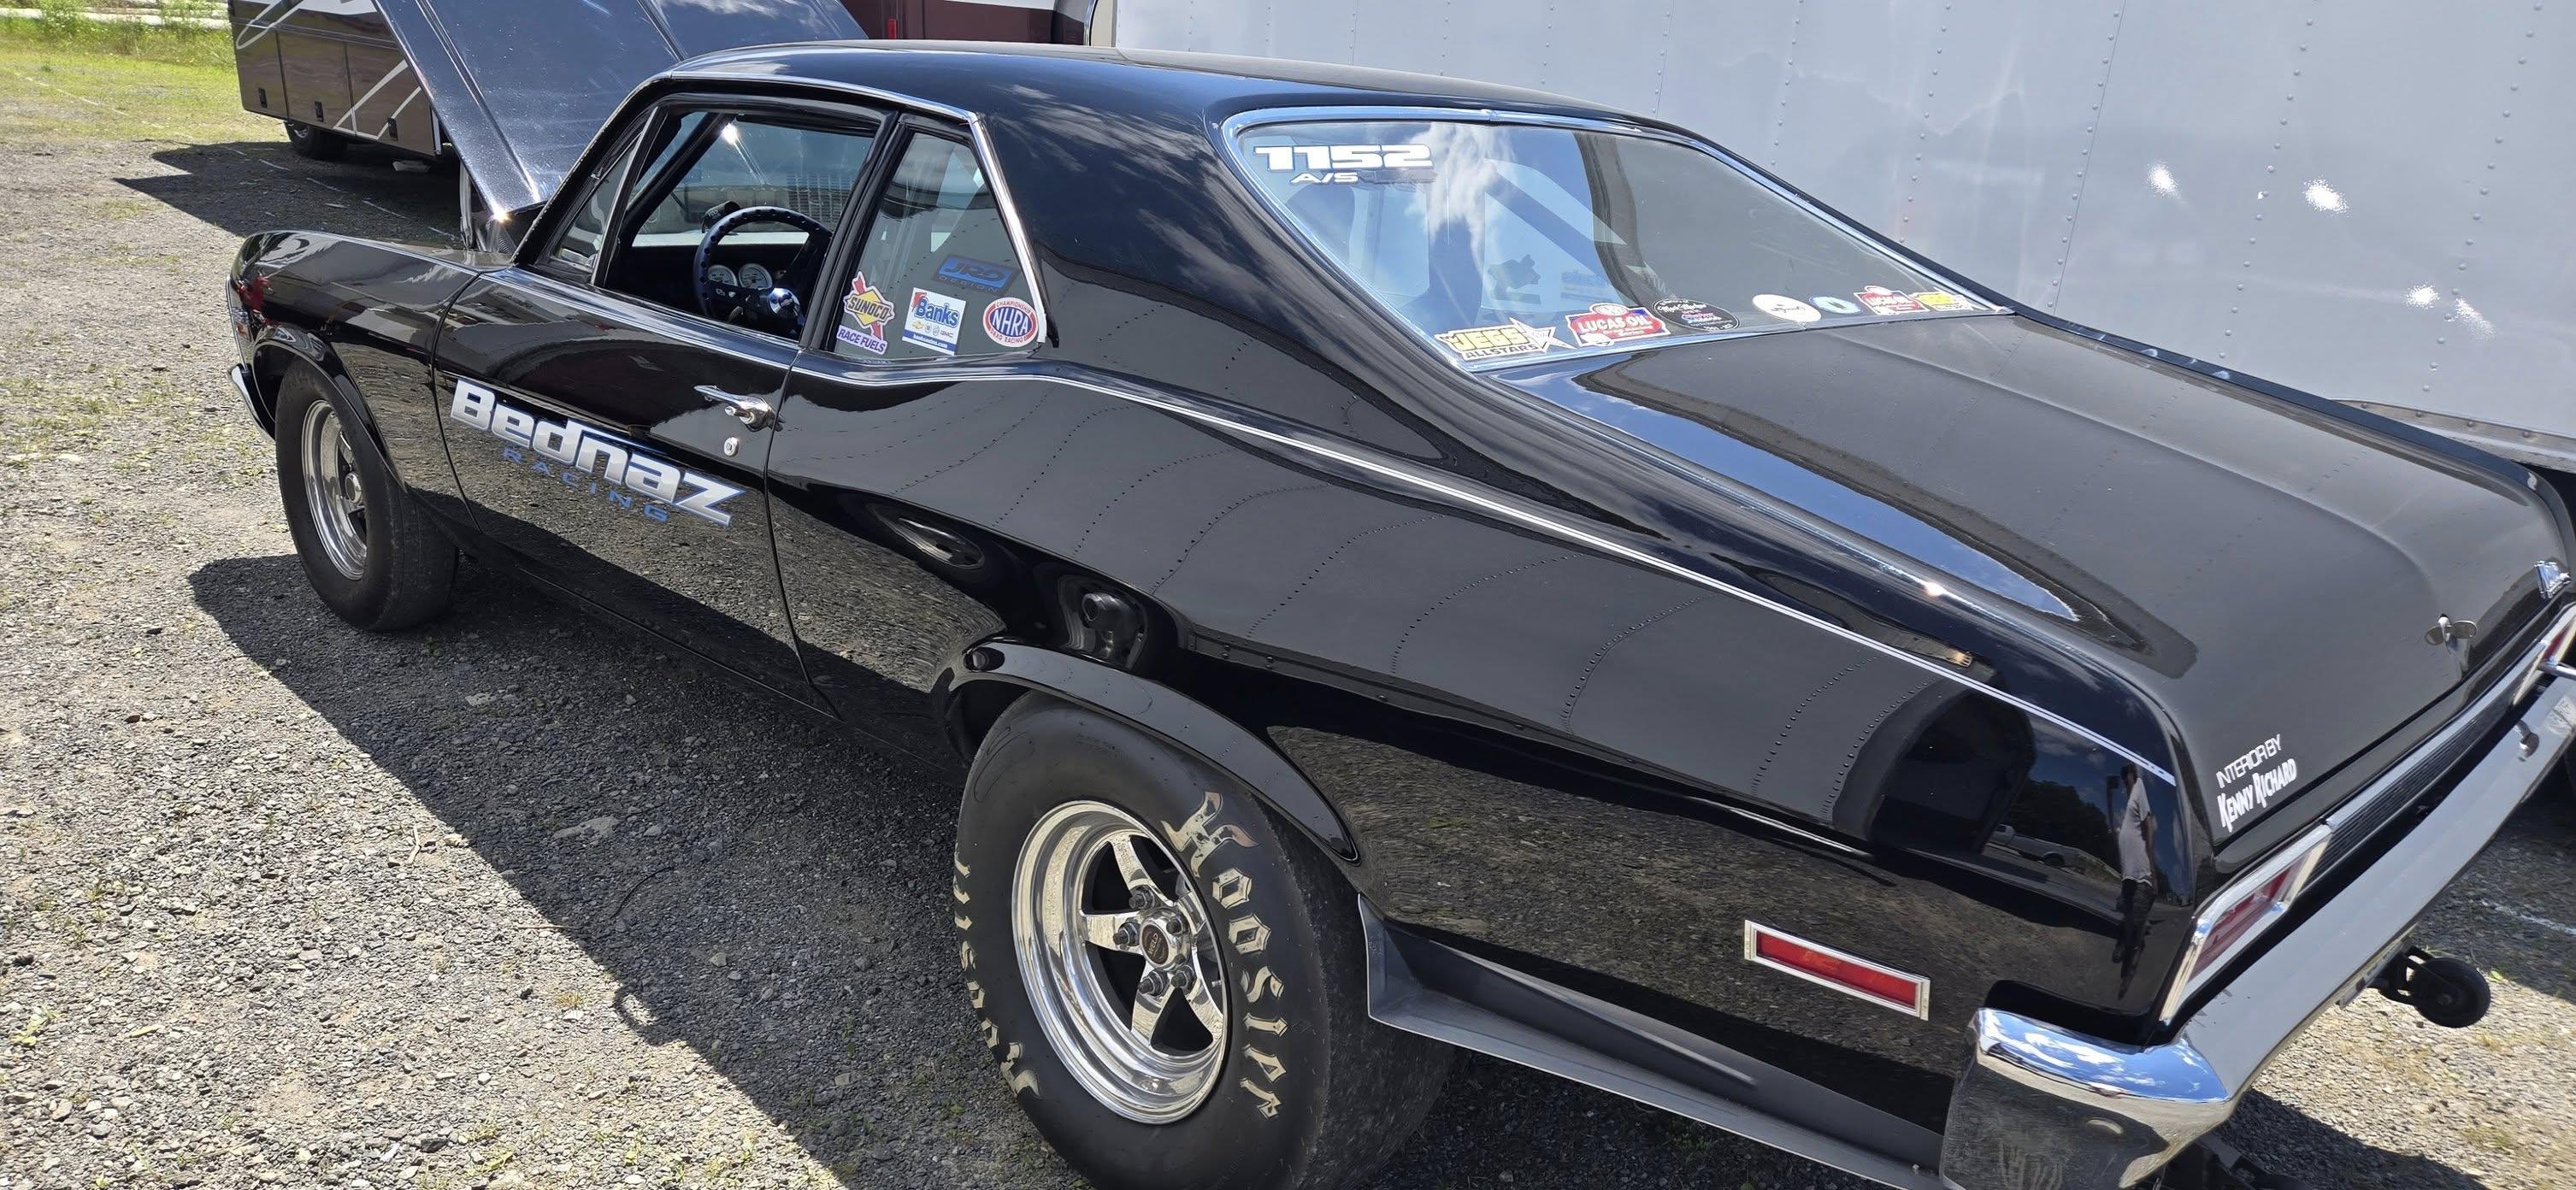
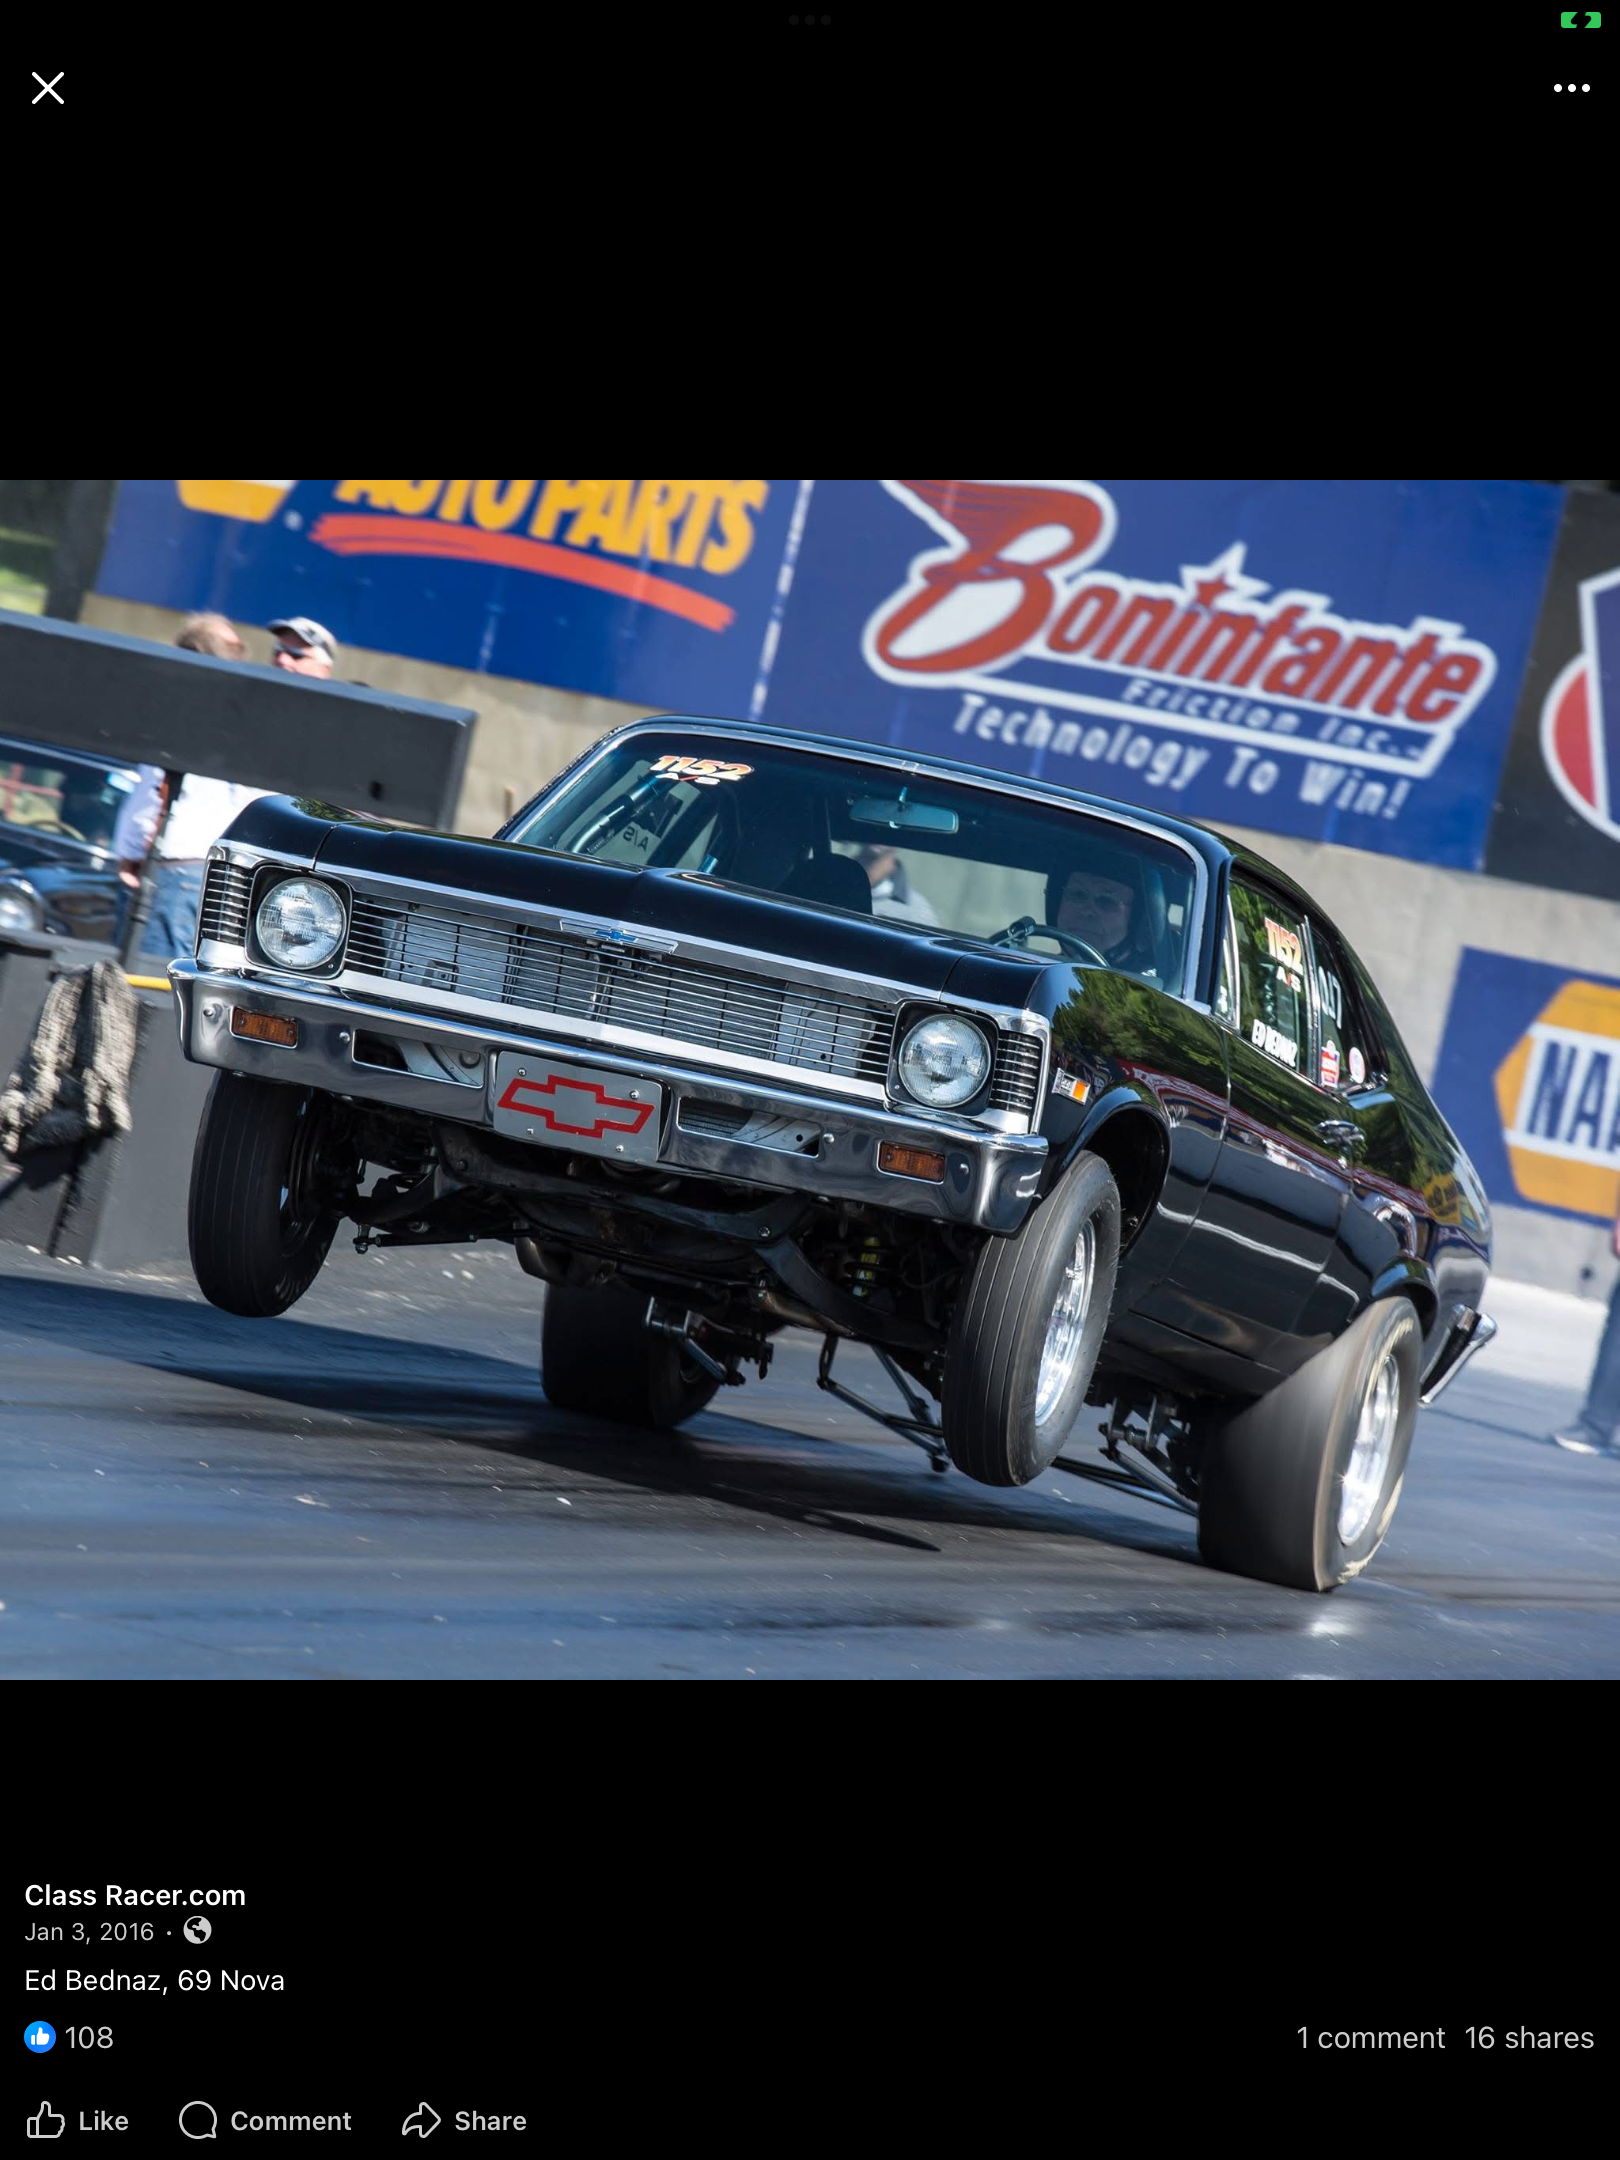
You’re off to a great start, Dennis. Color is always a head scratcher. When I did Mike McDonald’s F/SA Nova, I didn’t think I would care for his orange color, but I really liked the color afterwards. Of course, there’s always basic black. Here’s one on my list (big block A/S).
-
An awb 65 Dodge hardtop converted to a sedan
R. Thorne replied to R. Thorne's topic in WIP: Drag Racing Models
Thanks for that information, Michael. I sent him an email to see if they are still available. Not listed on his eBay site. -
An awb 65 Dodge hardtop converted to a sedan
R. Thorne replied to R. Thorne's topic in WIP: Drag Racing Models
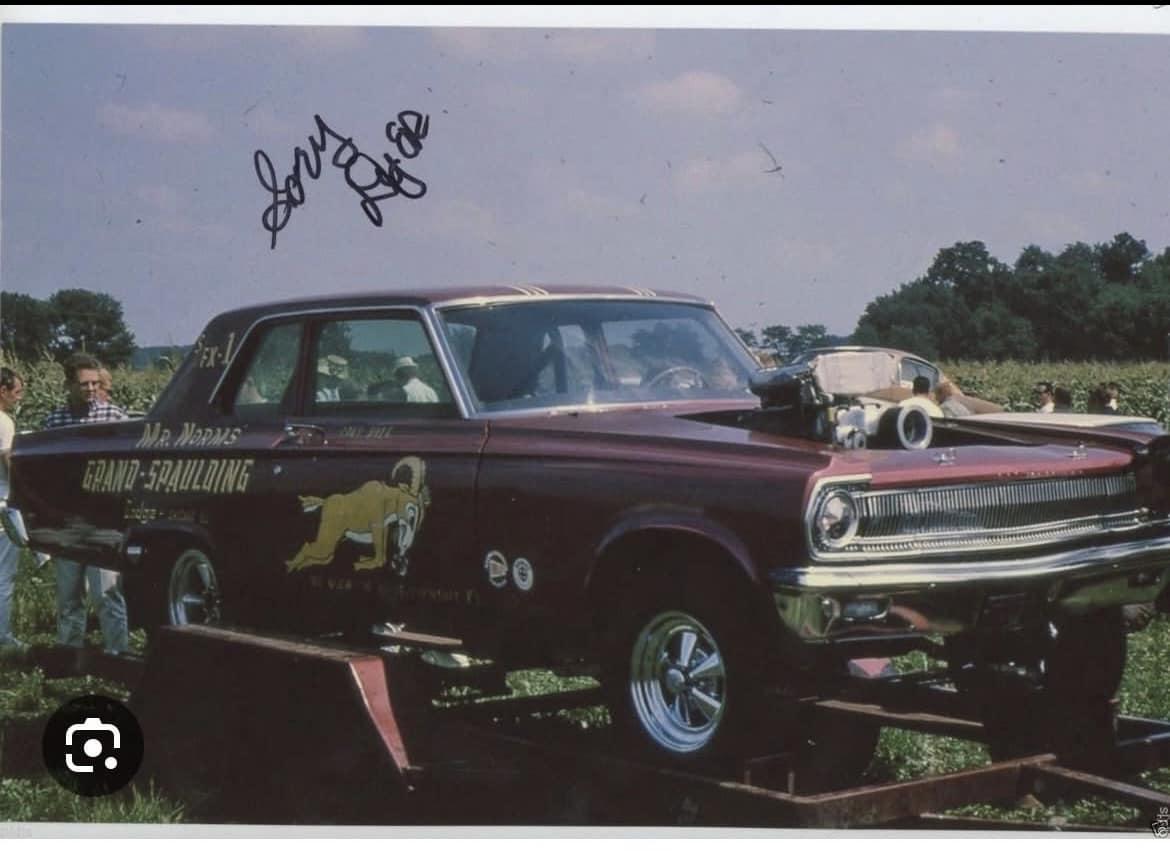
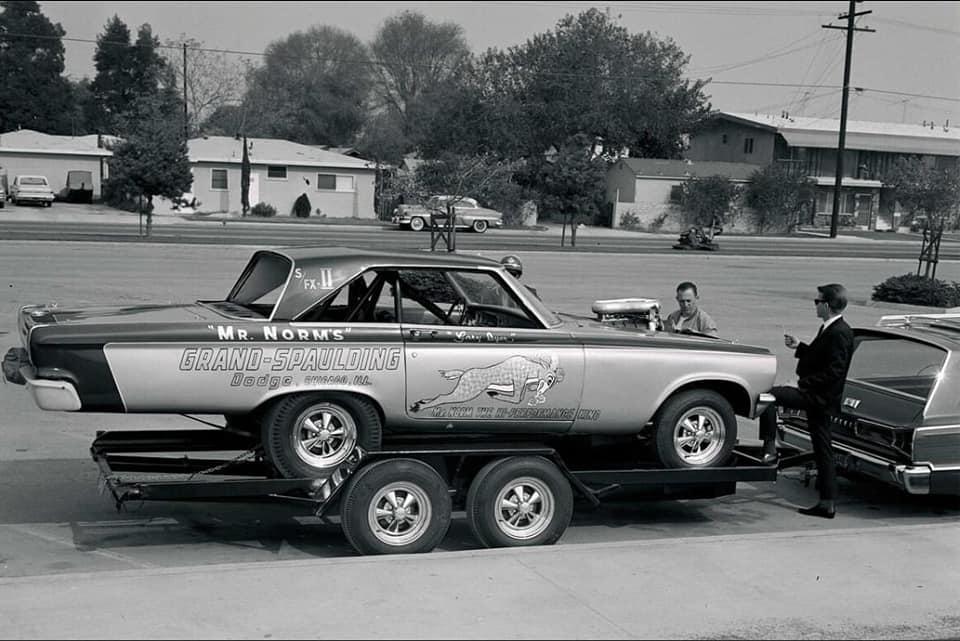
Sharp eyes, Edgar. In the 2nd pic with the Gary Dyer signature, it looks like the front end has been extended, however. -
An awb 65 Dodge hardtop converted to a sedan
R. Thorne replied to R. Thorne's topic in WIP: Drag Racing Models
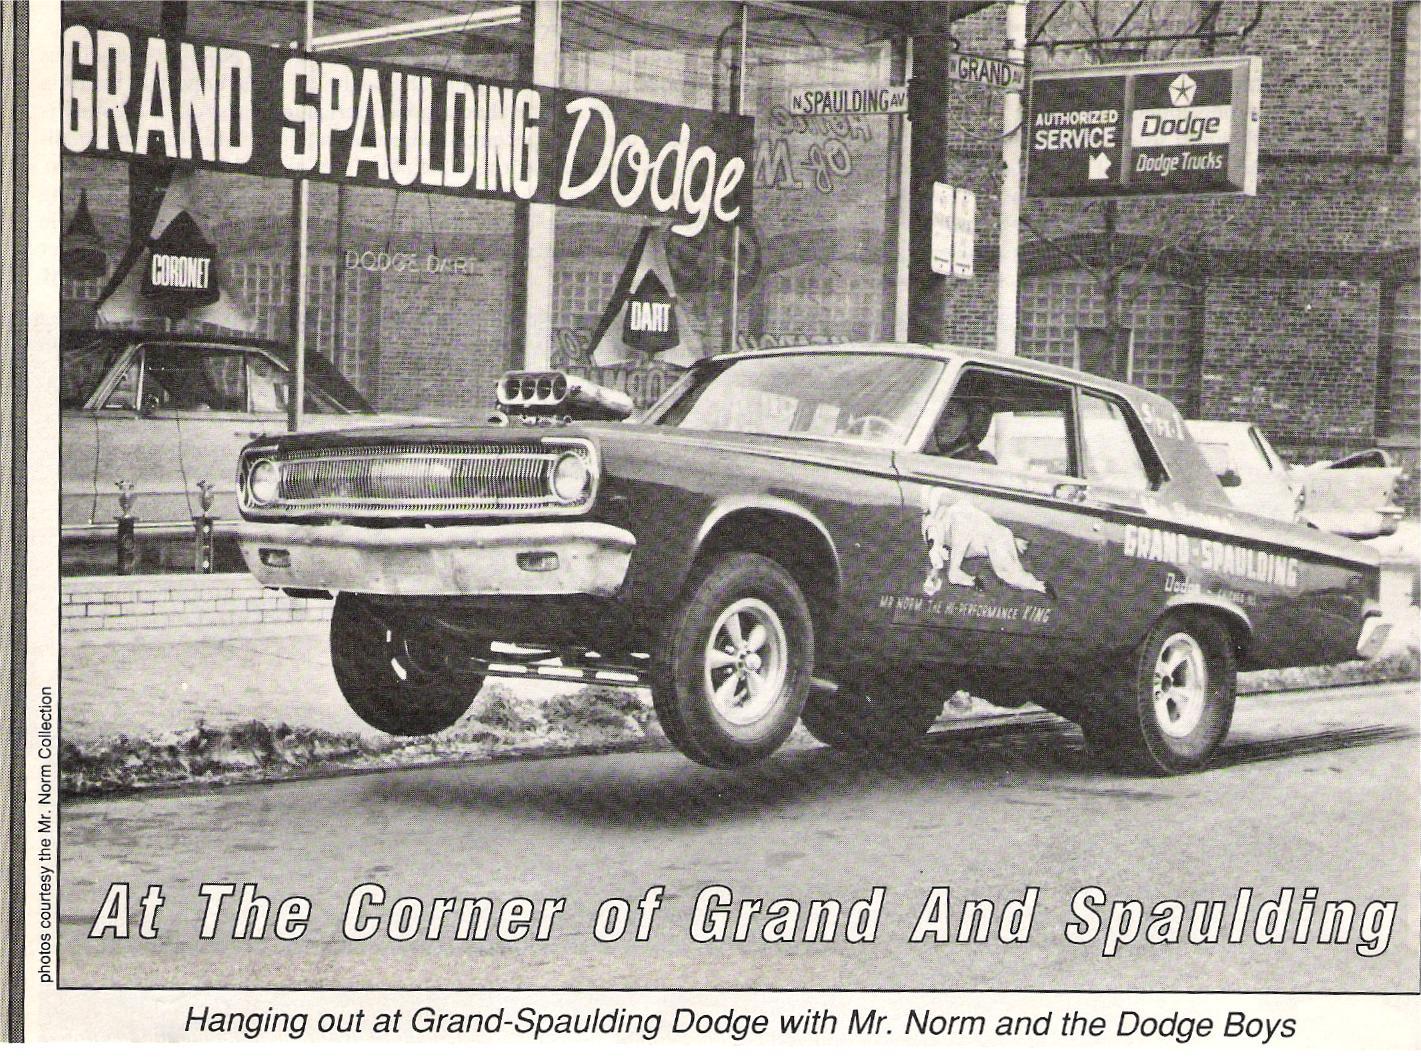
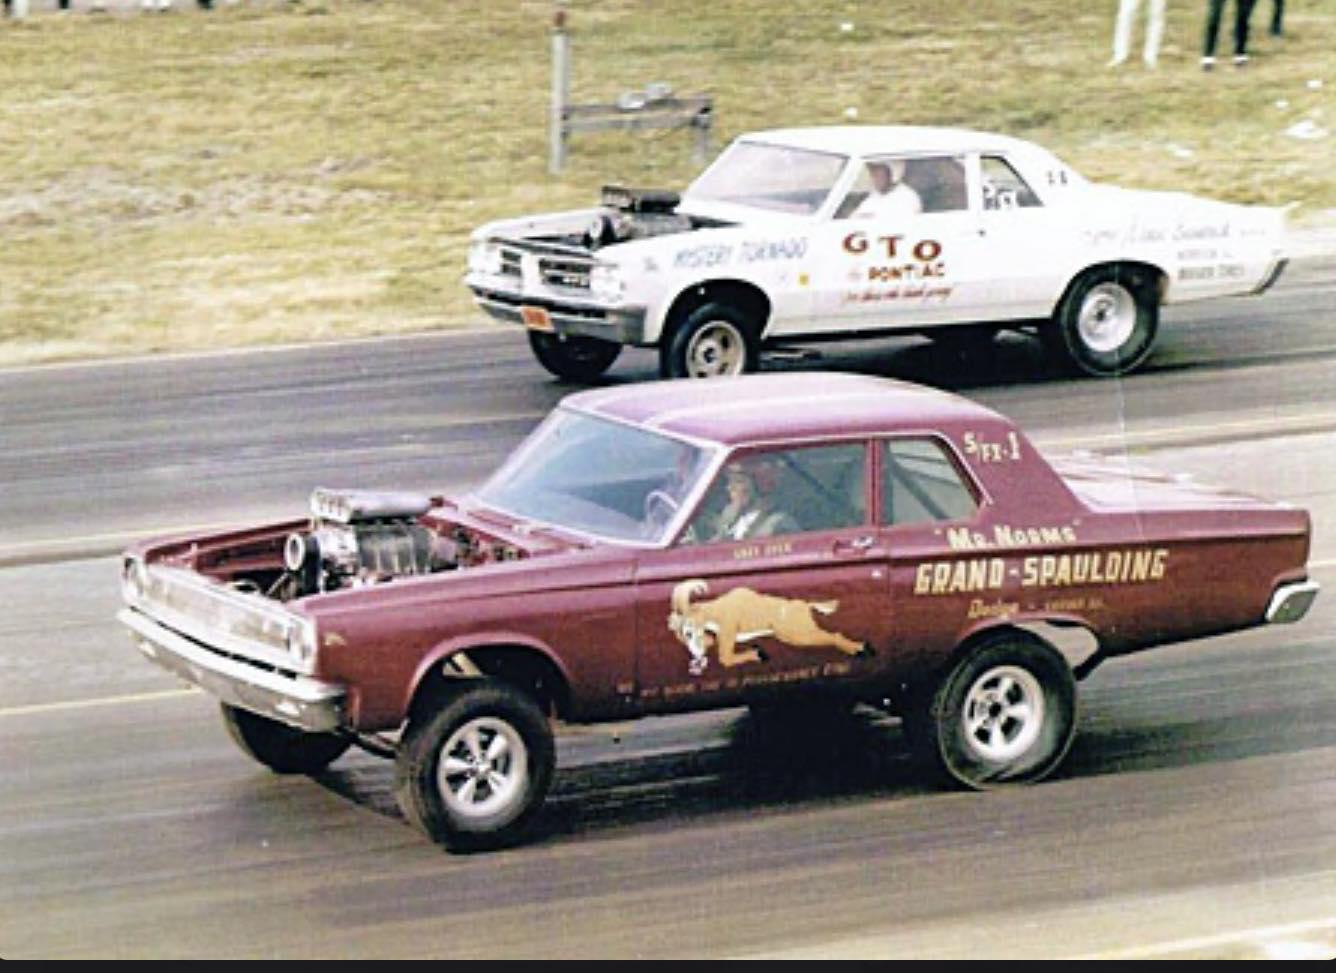
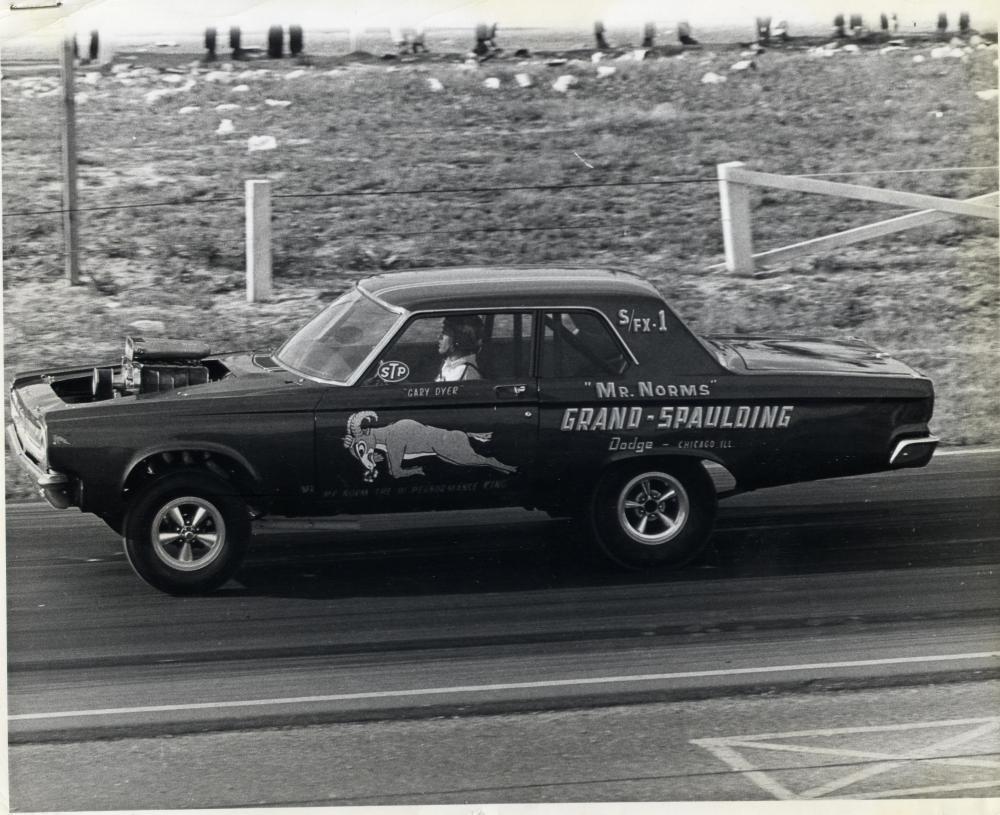
Showed the wrong picture of the Grand Spaulding blown car. This is the sedan car.
-
An awb 65 Dodge hardtop converted to a sedan
R. Thorne replied to R. Thorne's topic in WIP: Drag Racing Models
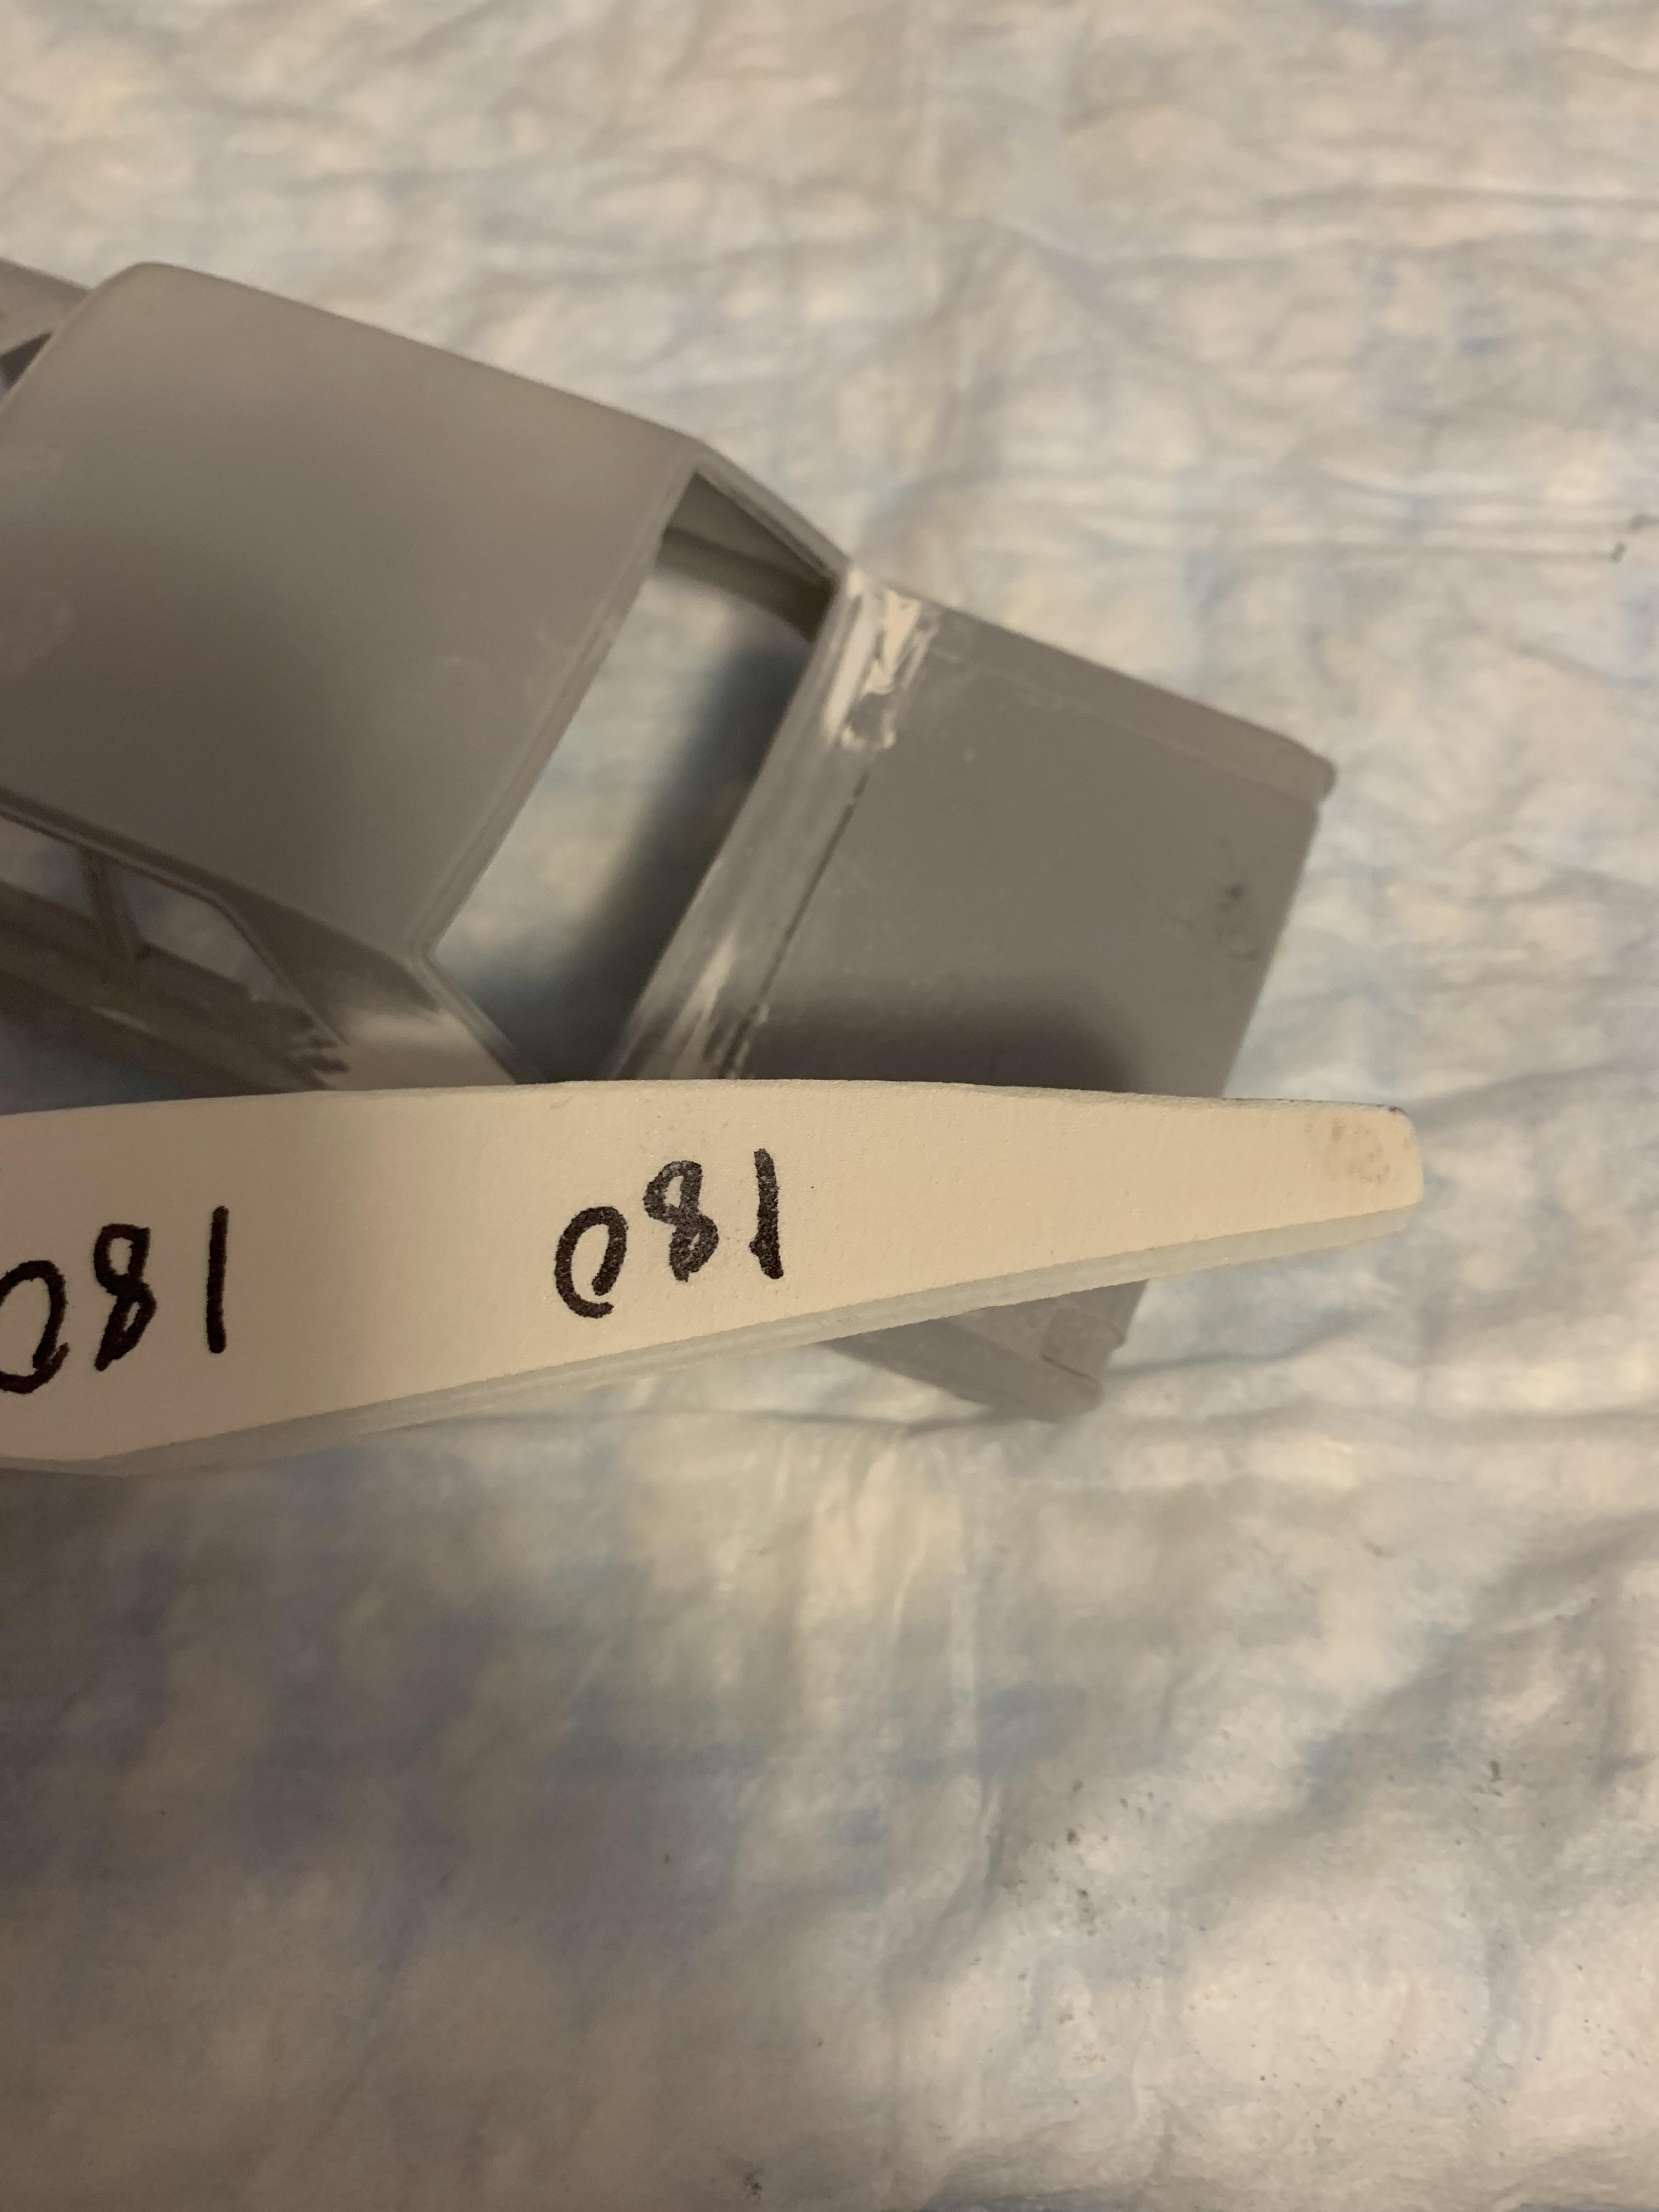
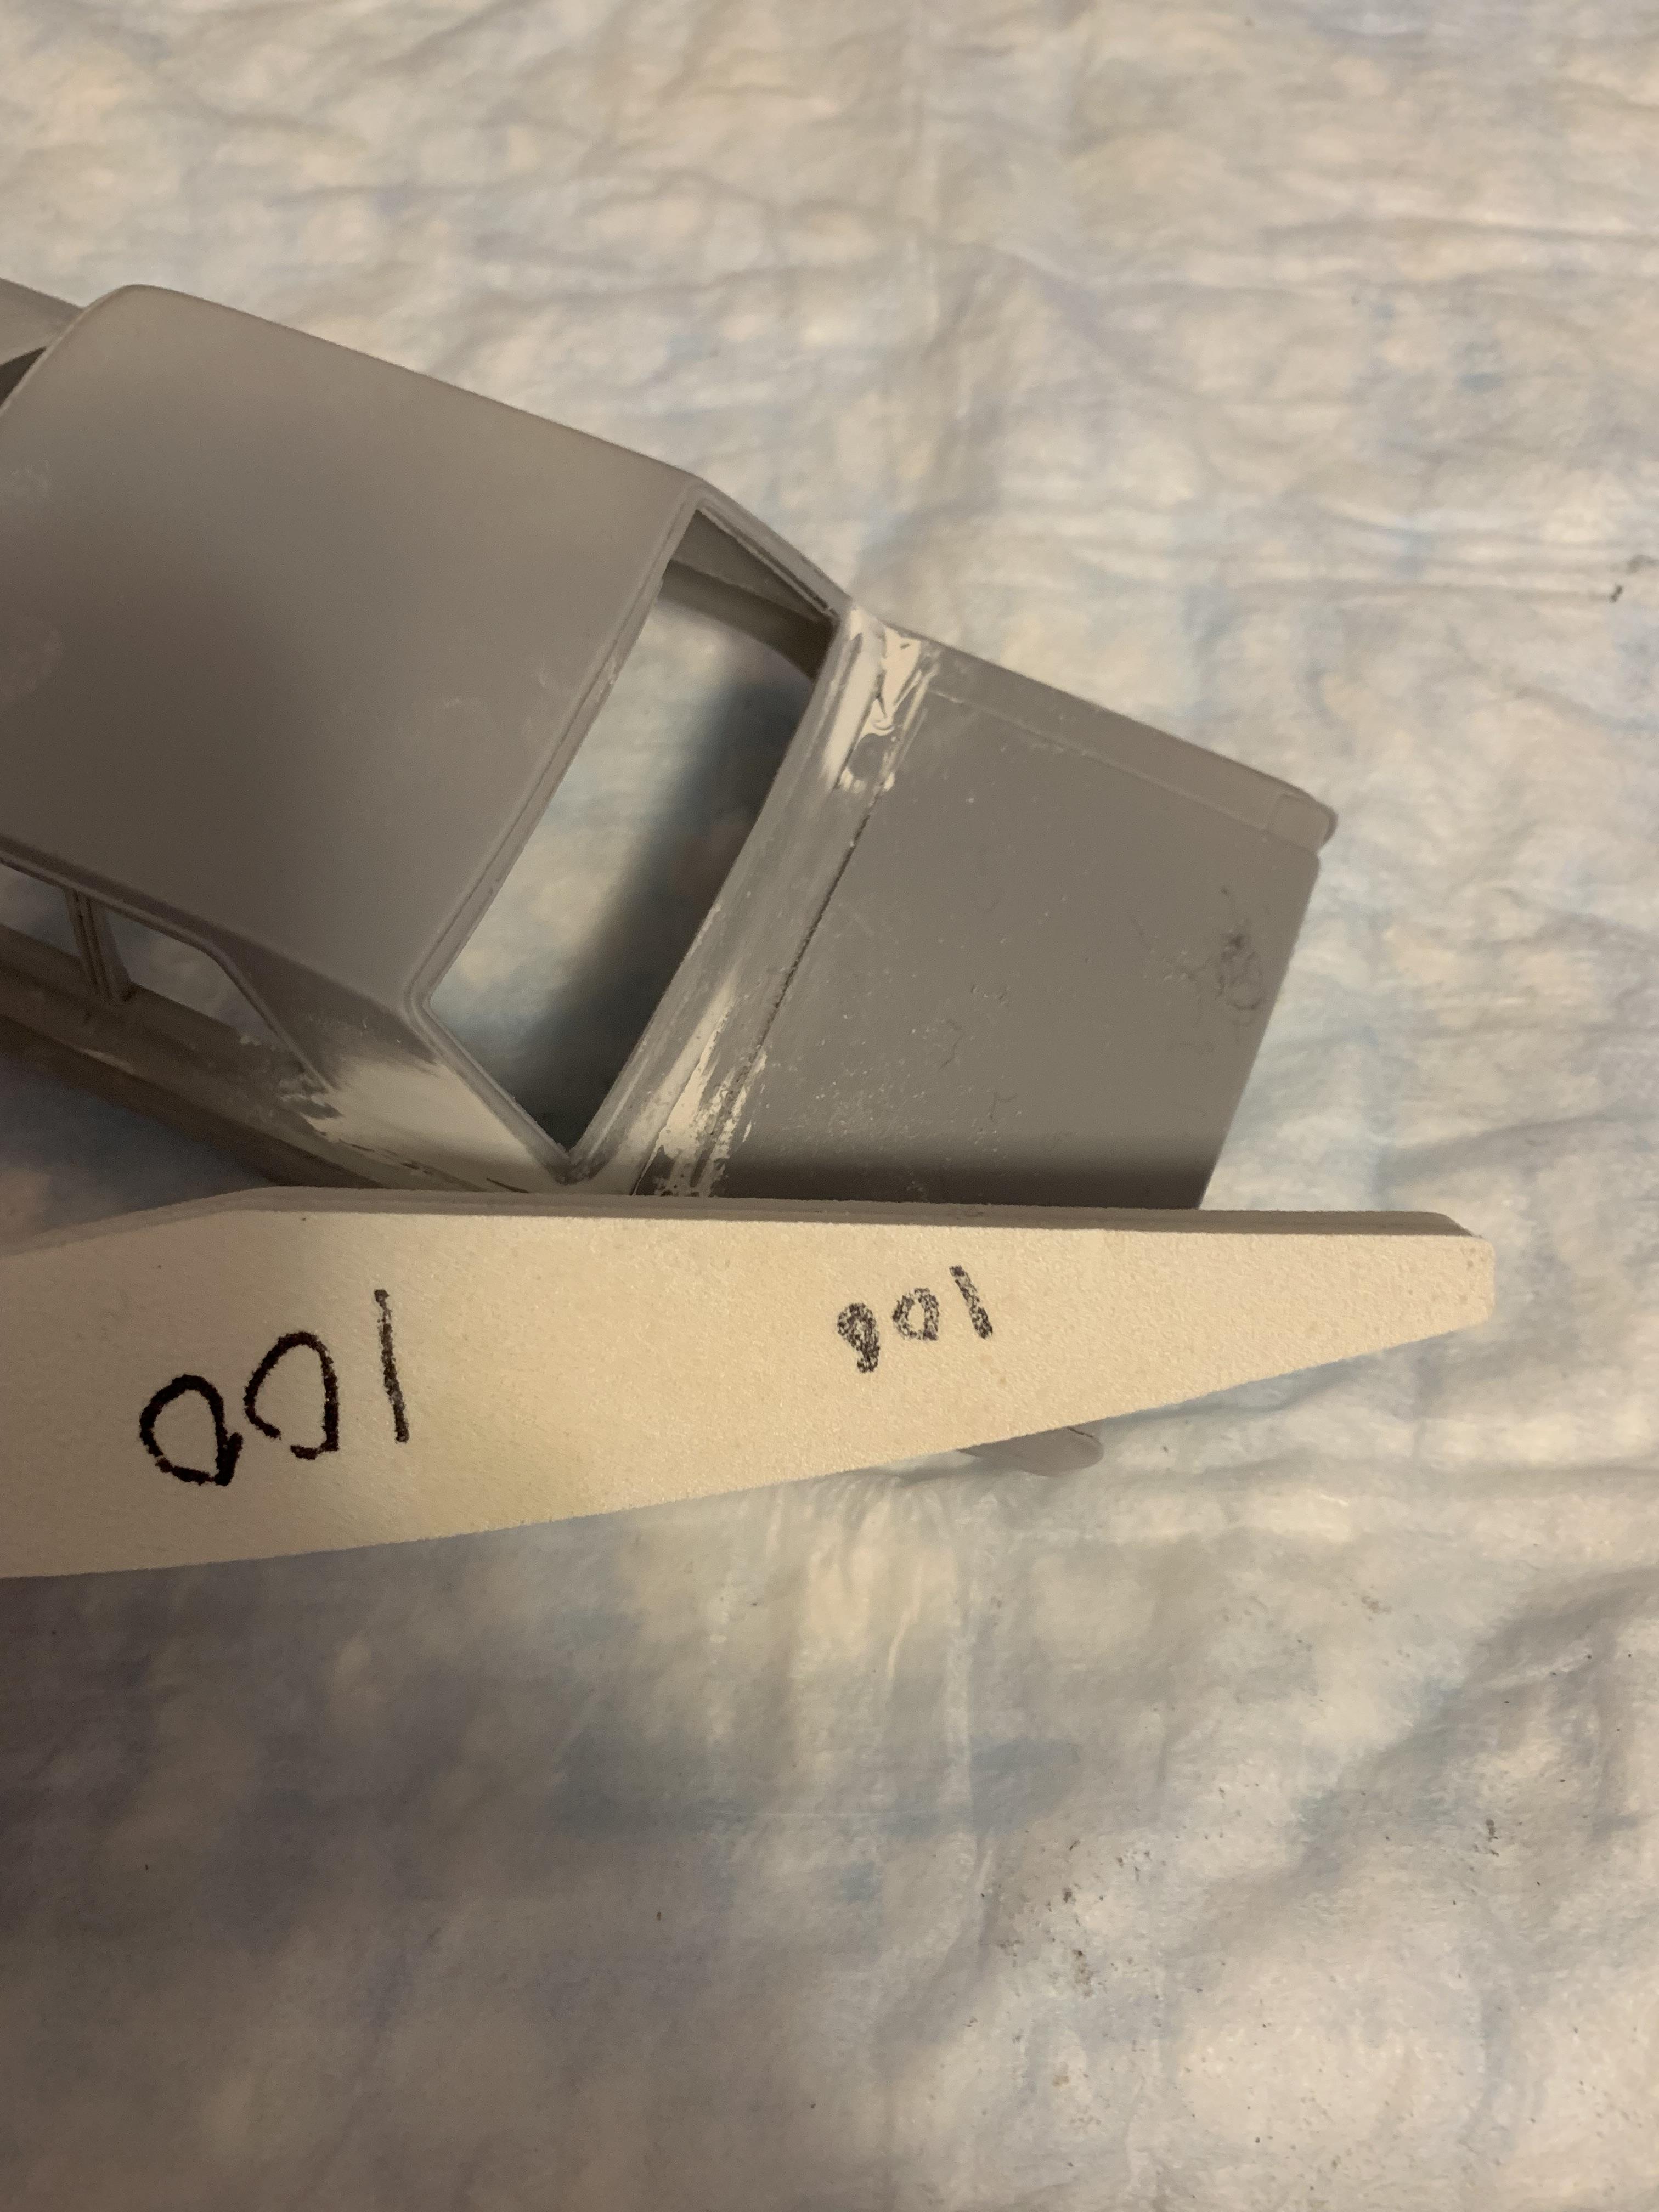
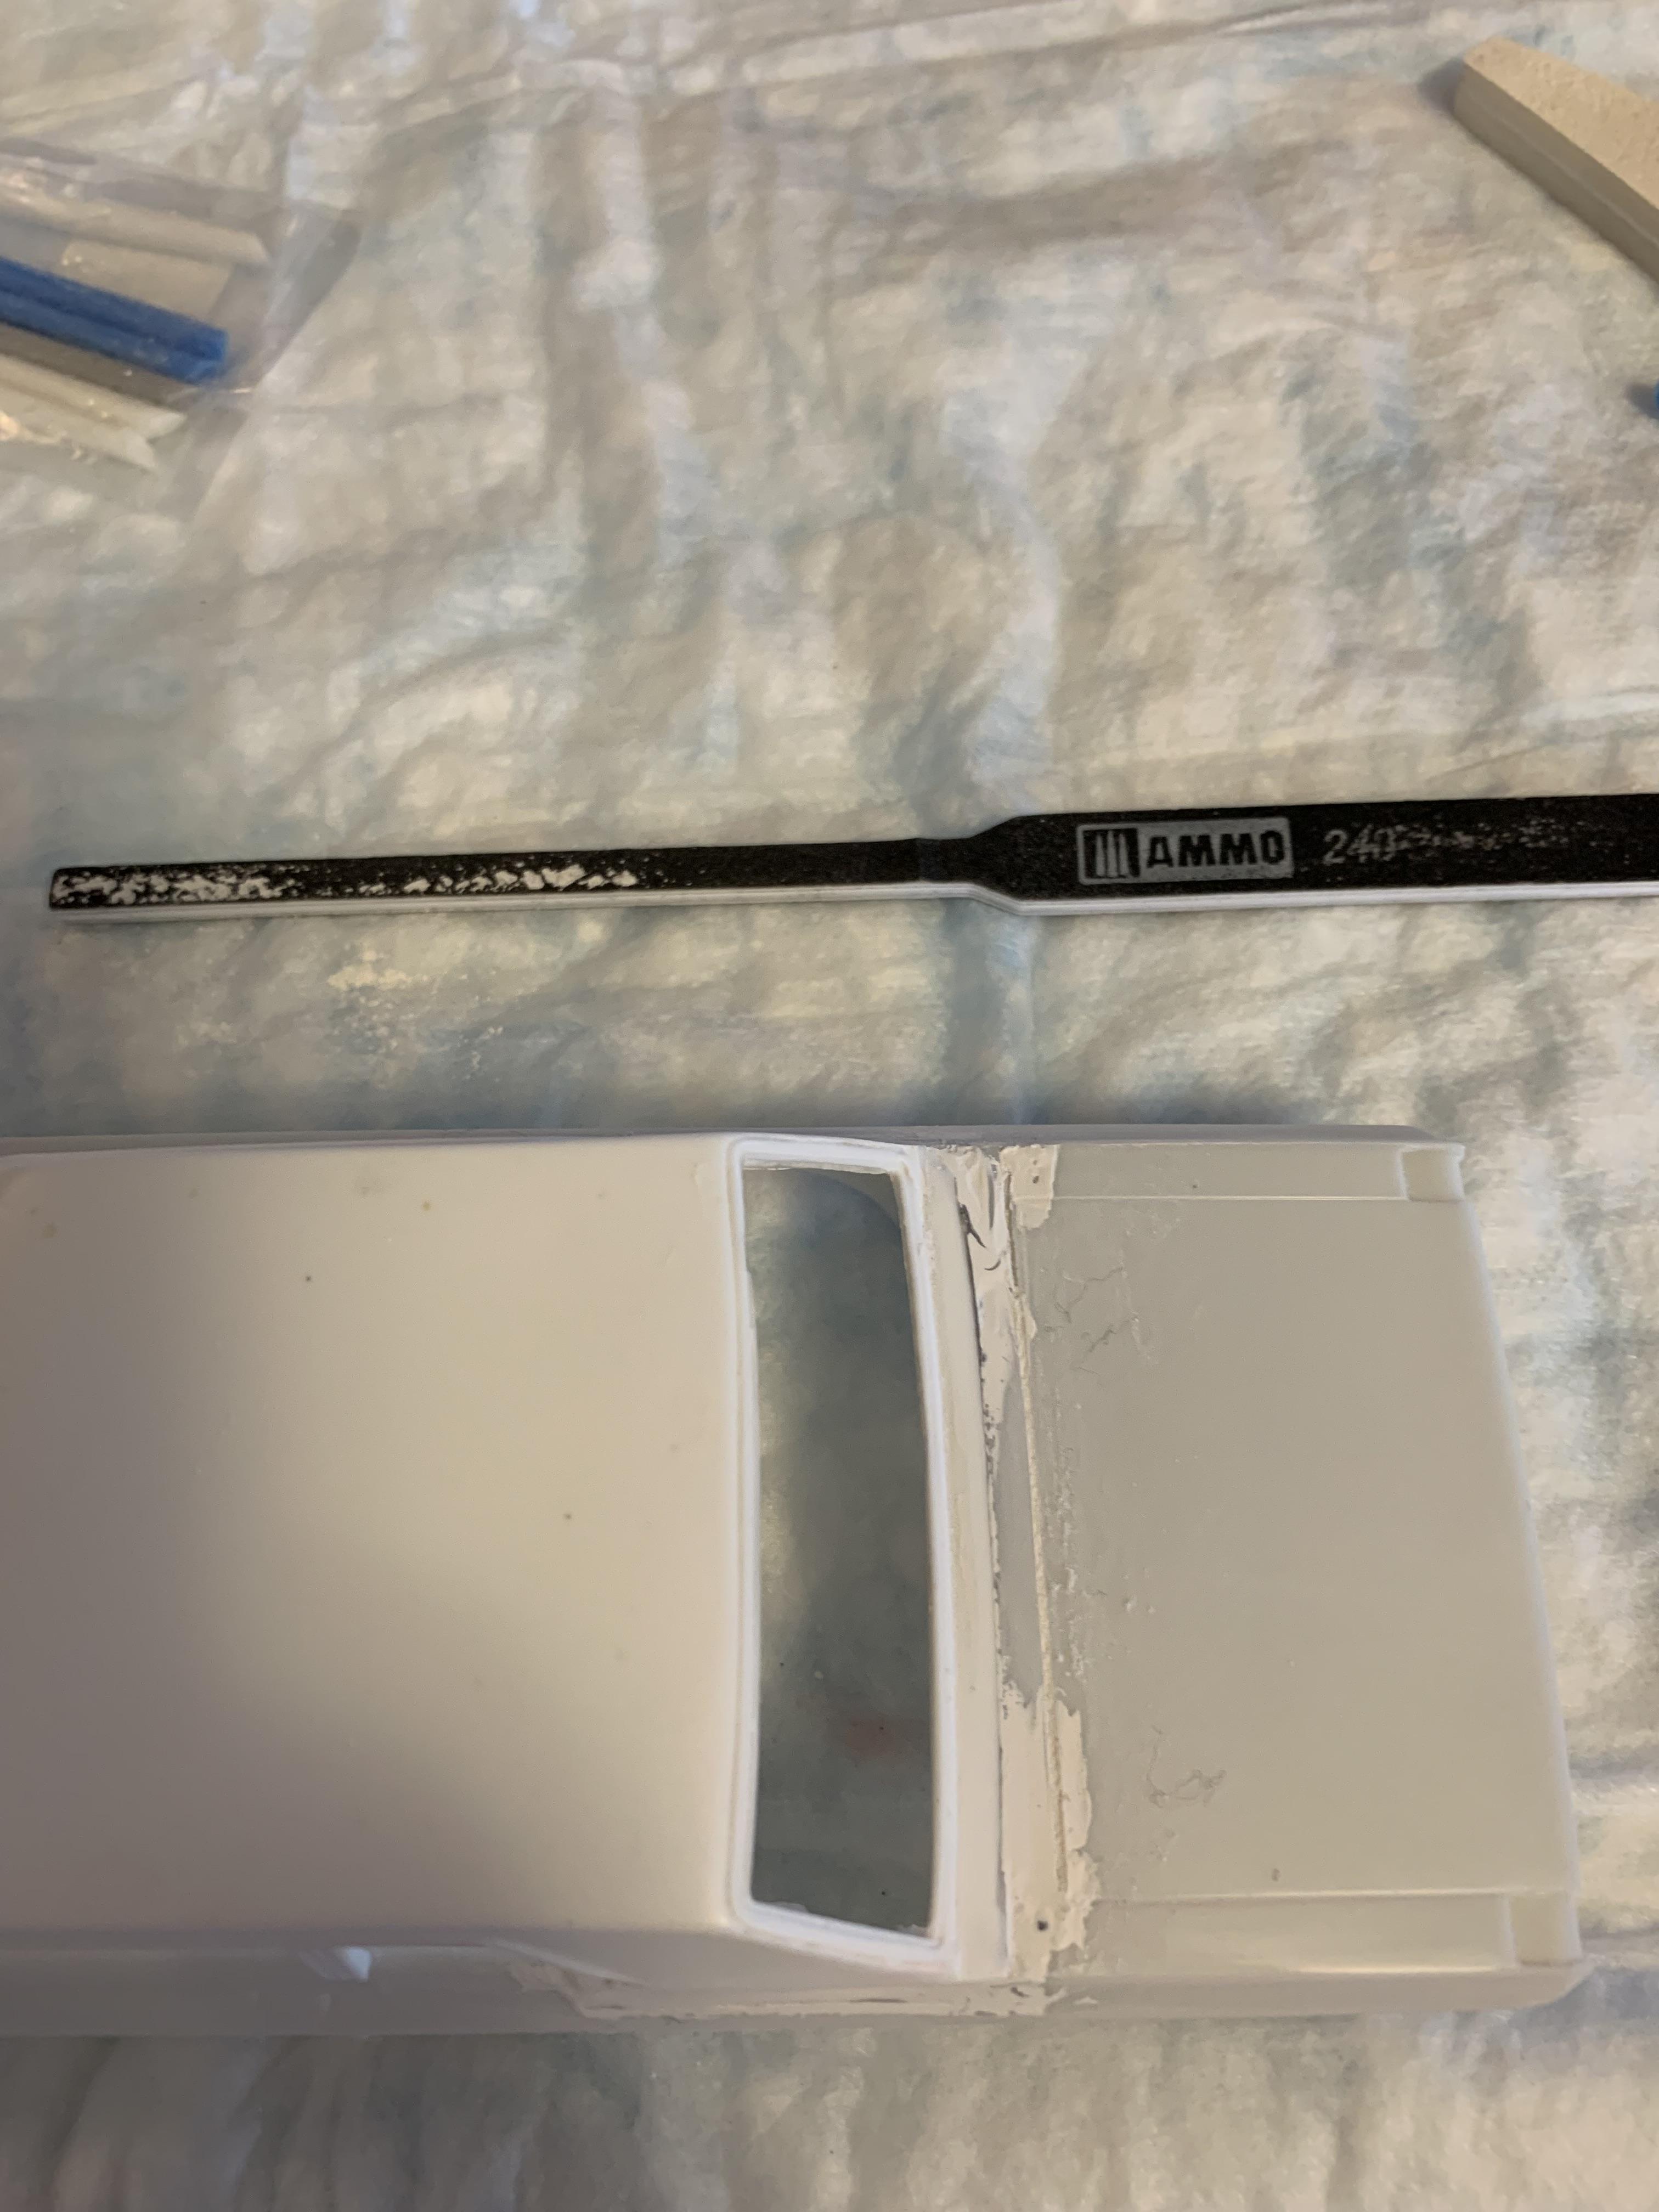
Some more sanding with the Ammo by Mig sanding stick mainly (wish someone made a round version of them). May just make my own out of 1/8” styrene rod and some foam backed sandpaper. Cleaned the top with some 70% alcohol wipes and put some primer on to show all the bad places up.
-
An awb 65 Dodge hardtop converted to a sedan
R. Thorne replied to R. Thorne's topic in WIP: Drag Racing Models
Closer, now back to my Agatha Christy book, while, hopefully the last batch of putty dries overnight.
-
An awb 65 Dodge hardtop converted to a sedan
R. Thorne replied to R. Thorne's topic in WIP: Drag Racing Models
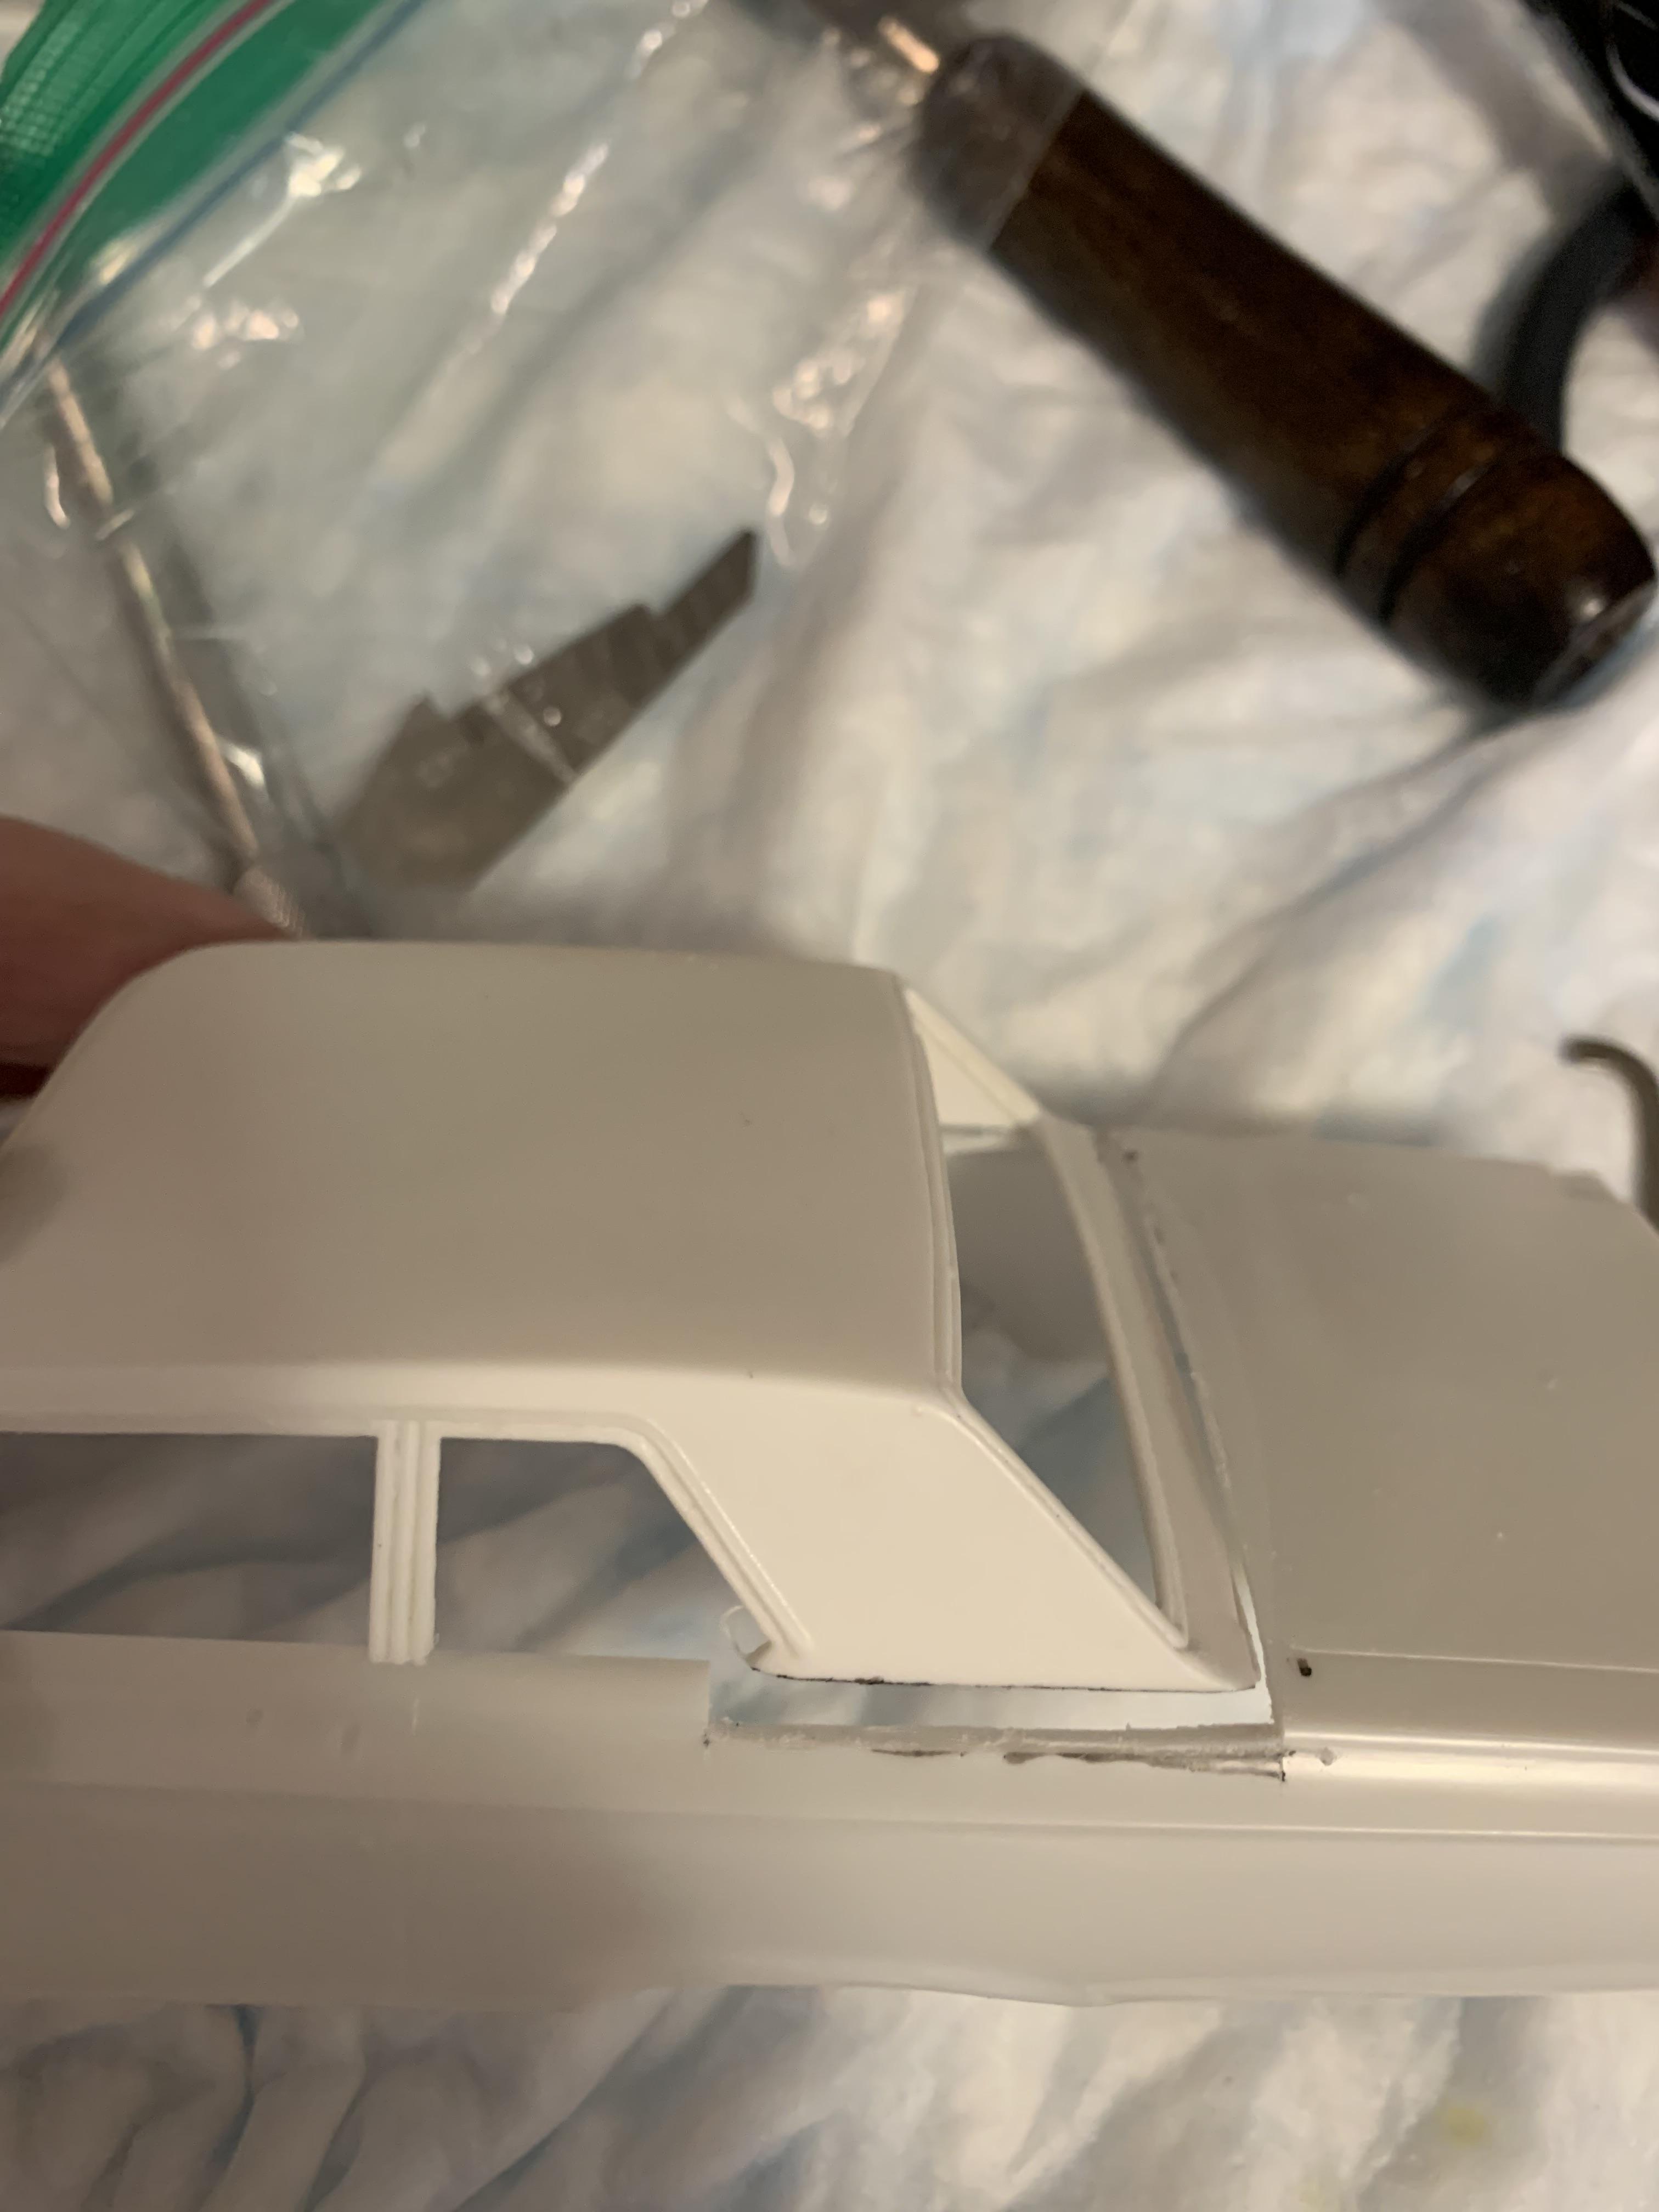
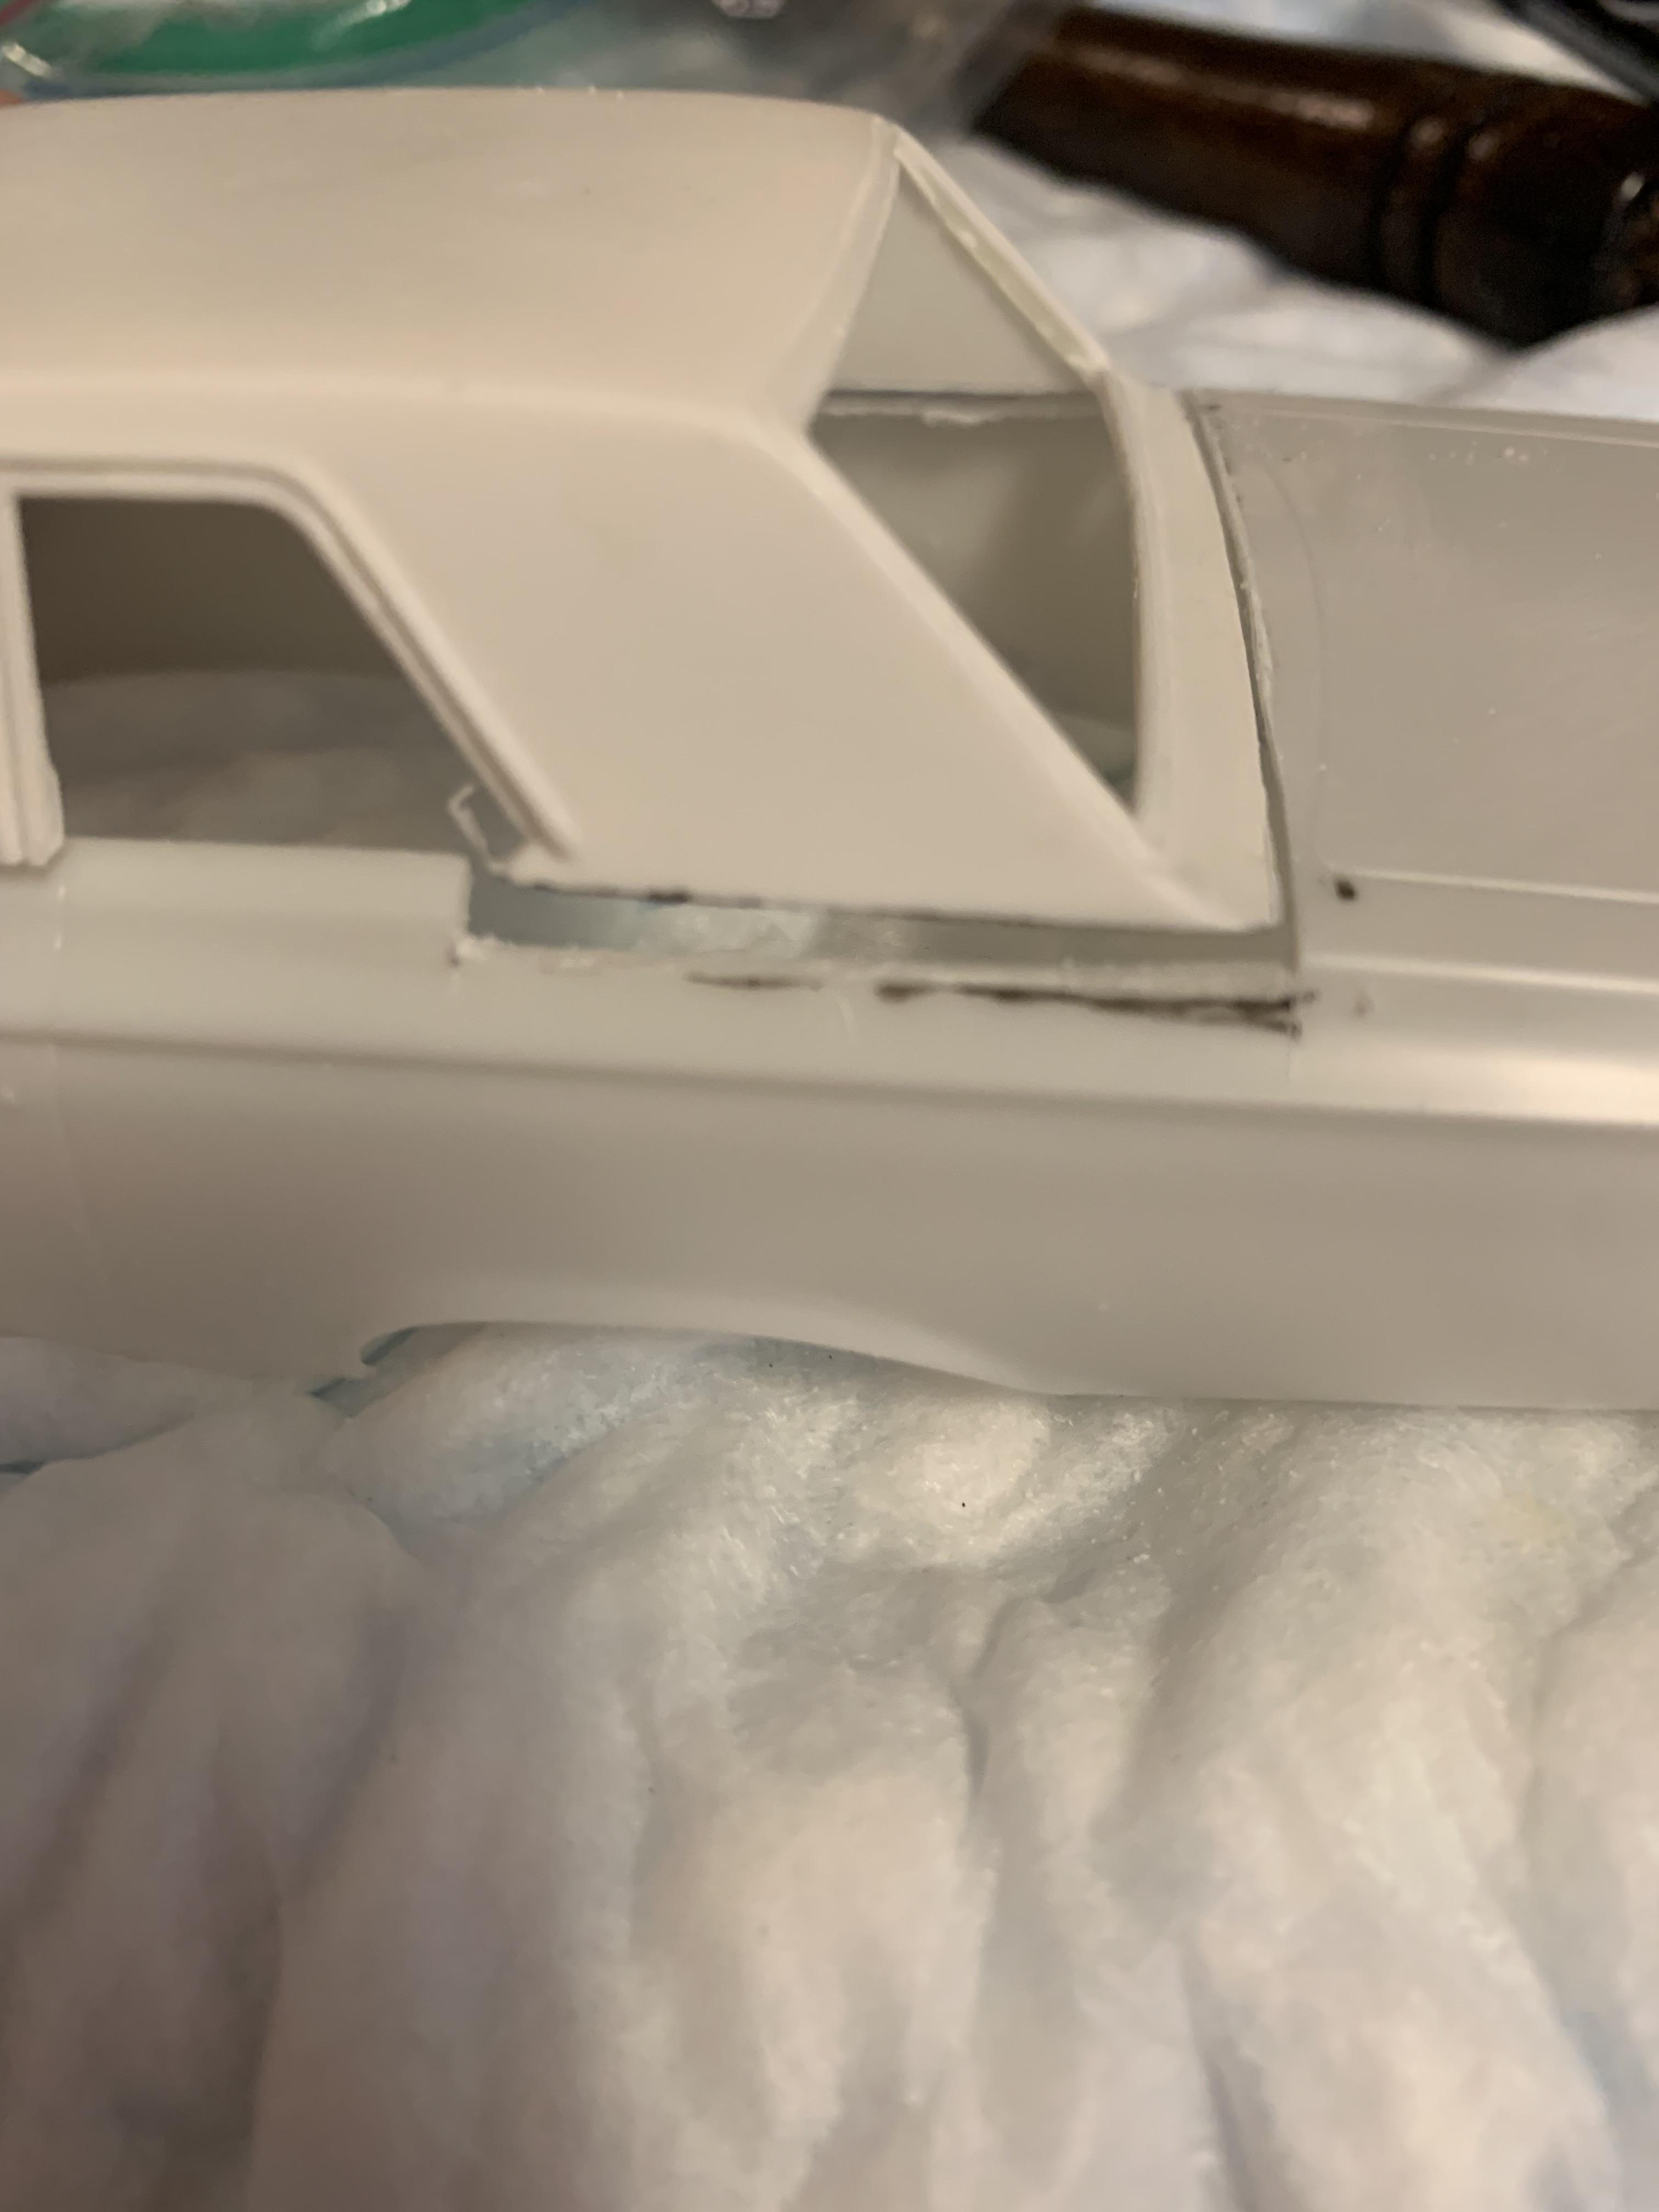
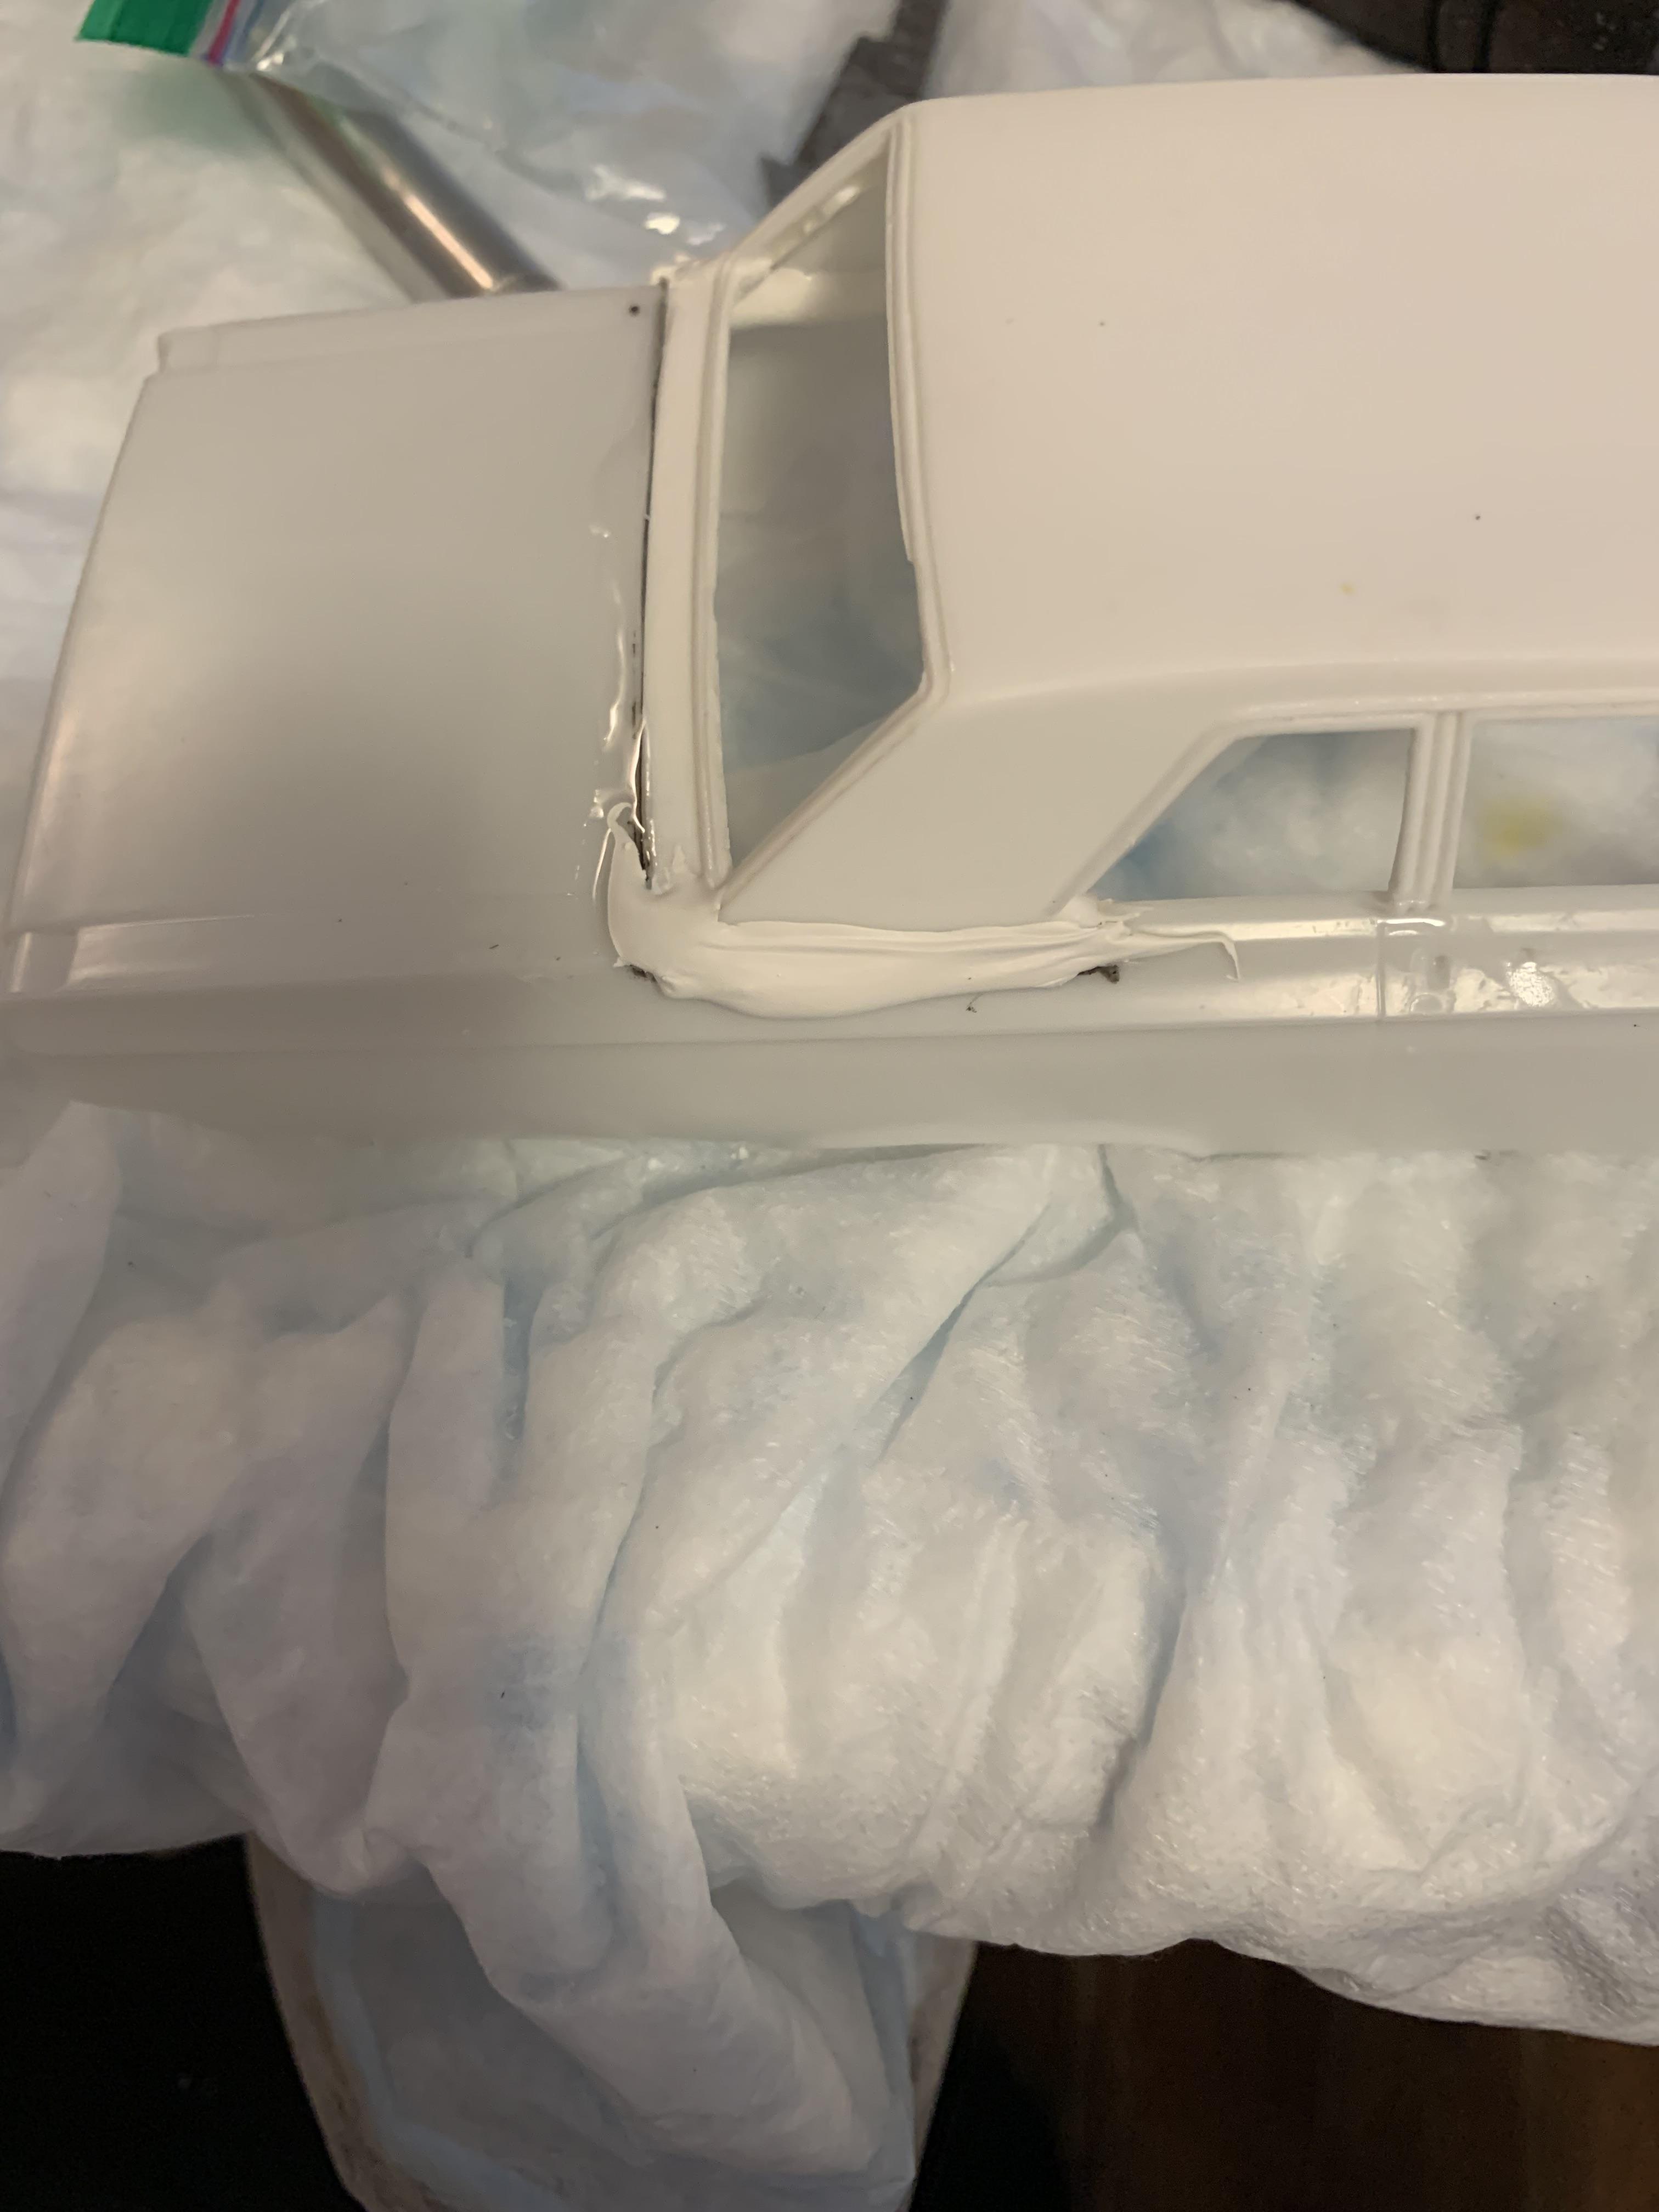
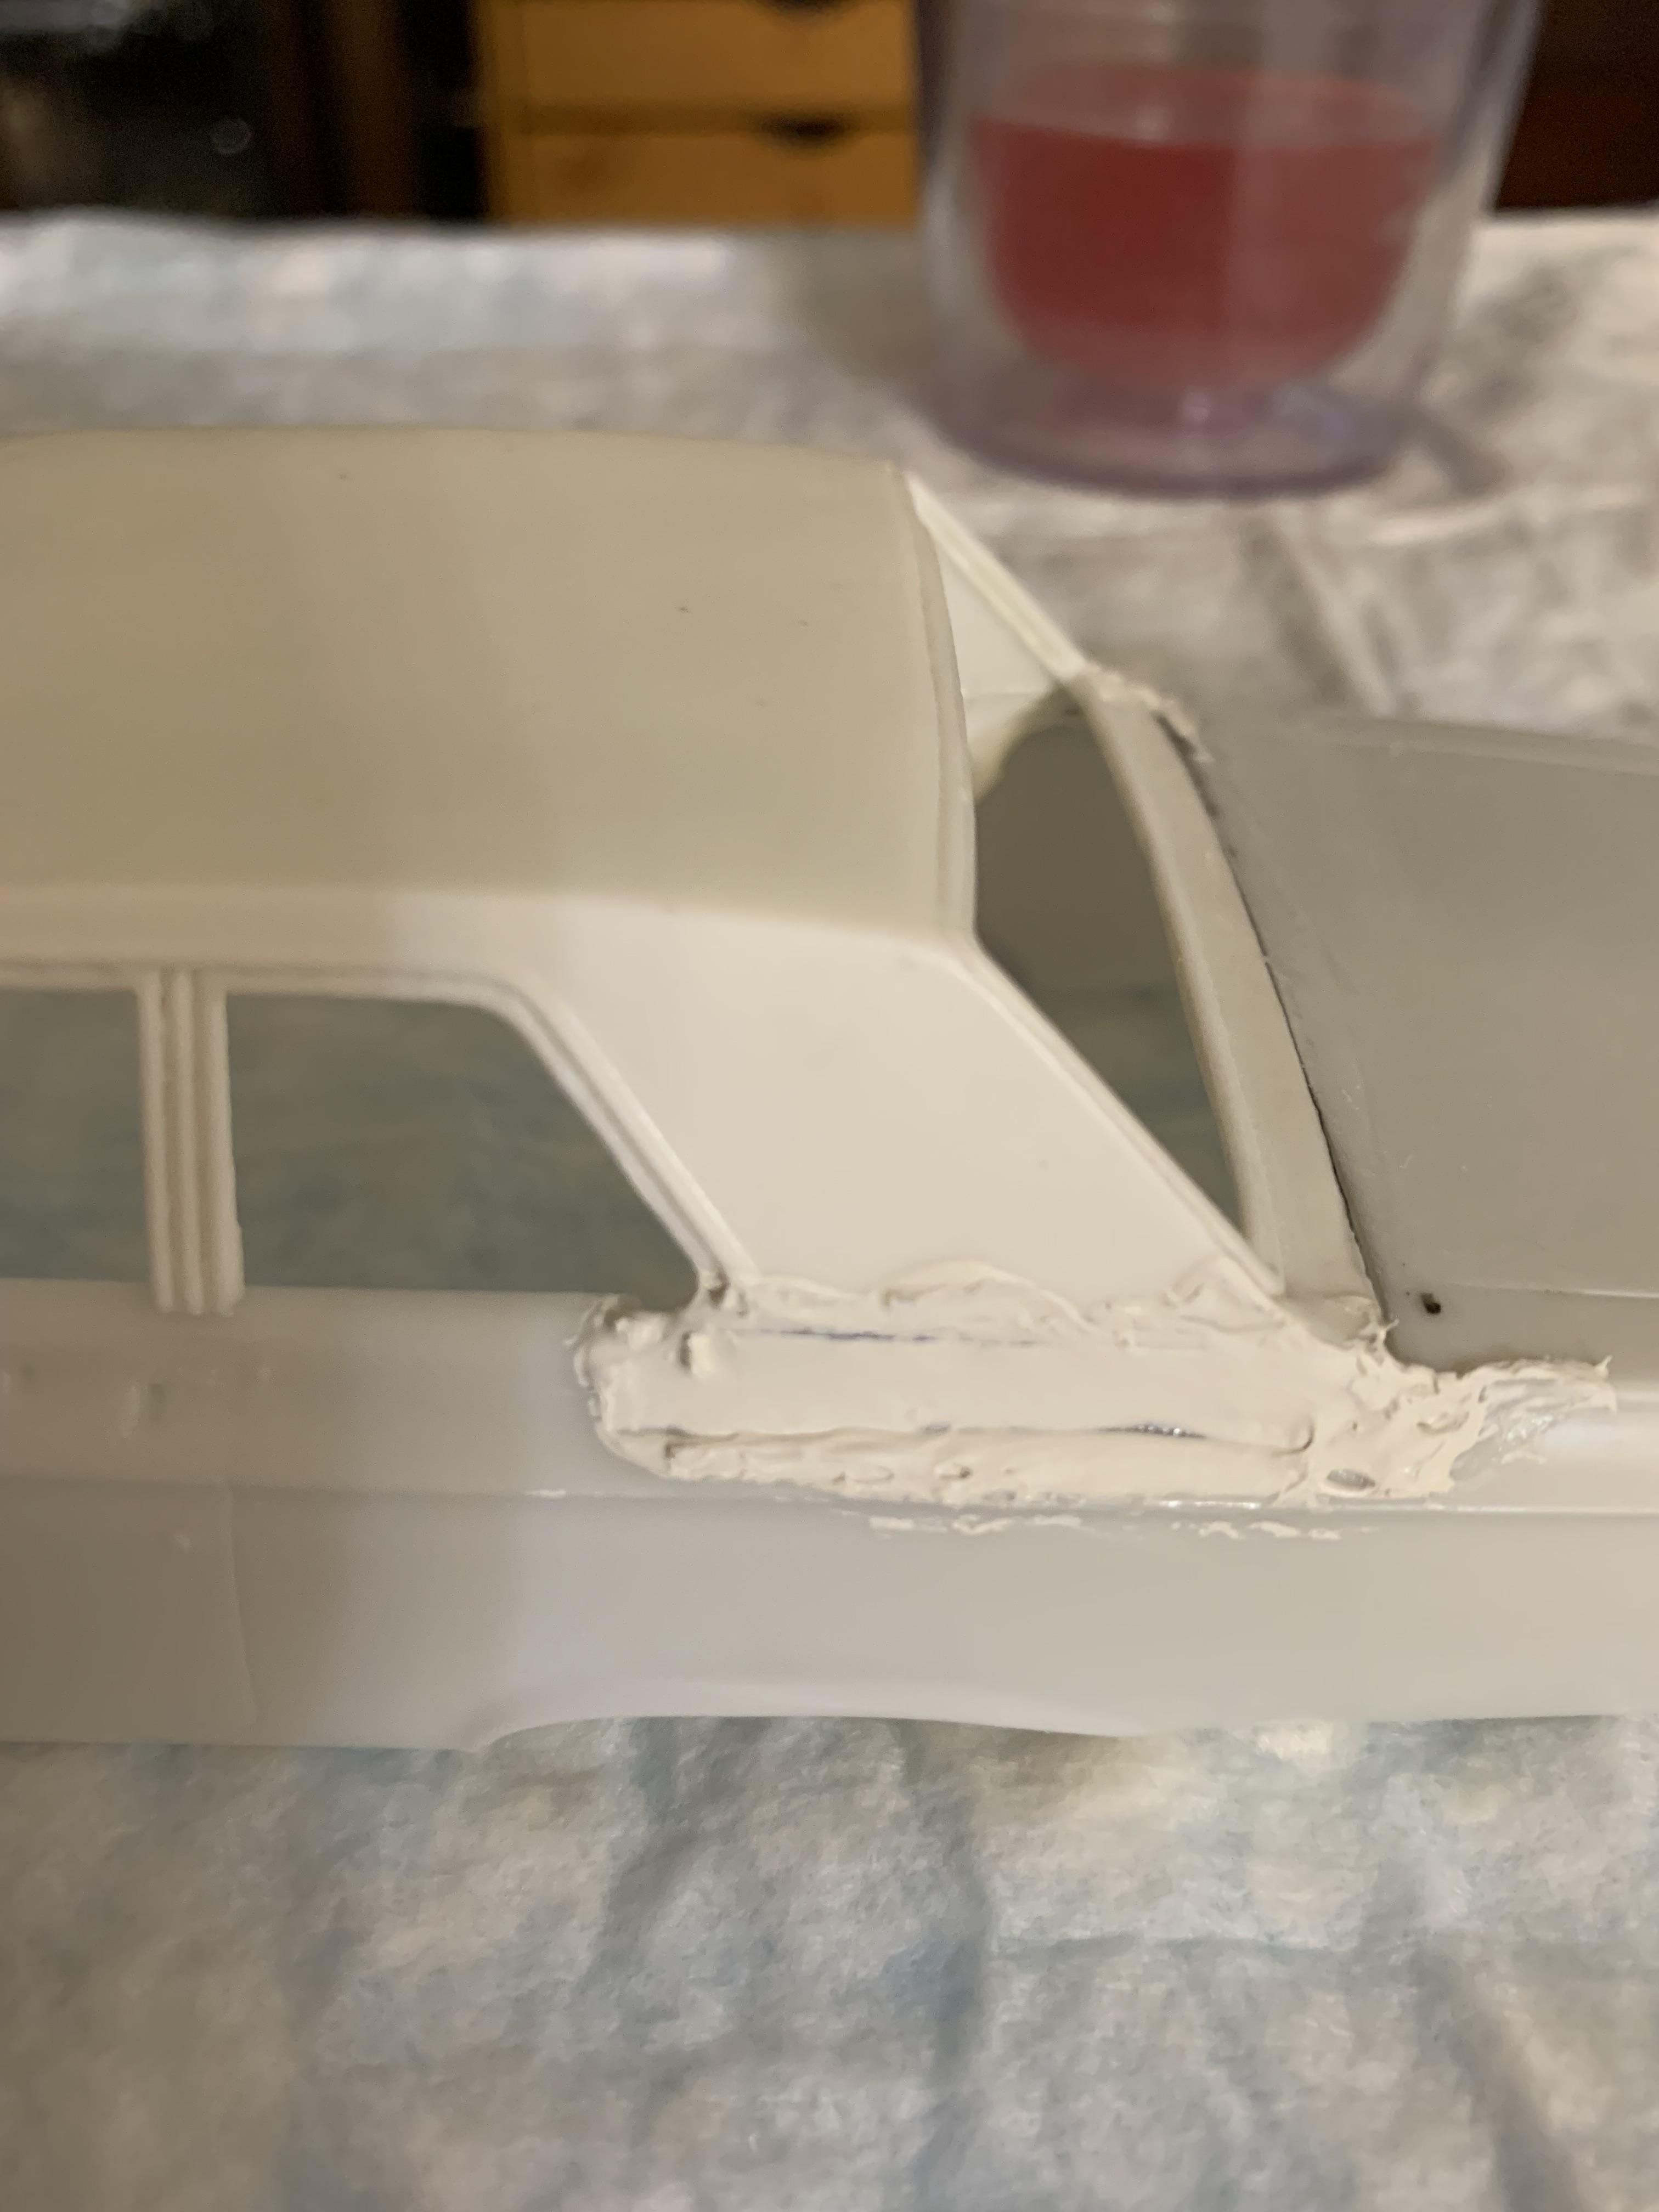
Some additional cutting, then some ca glue, then Tamiya putty, sanding, more putty, etc.
-
An awb 65 Dodge hardtop converted to a sedan
R. Thorne replied to R. Thorne's topic in WIP: Drag Racing Models
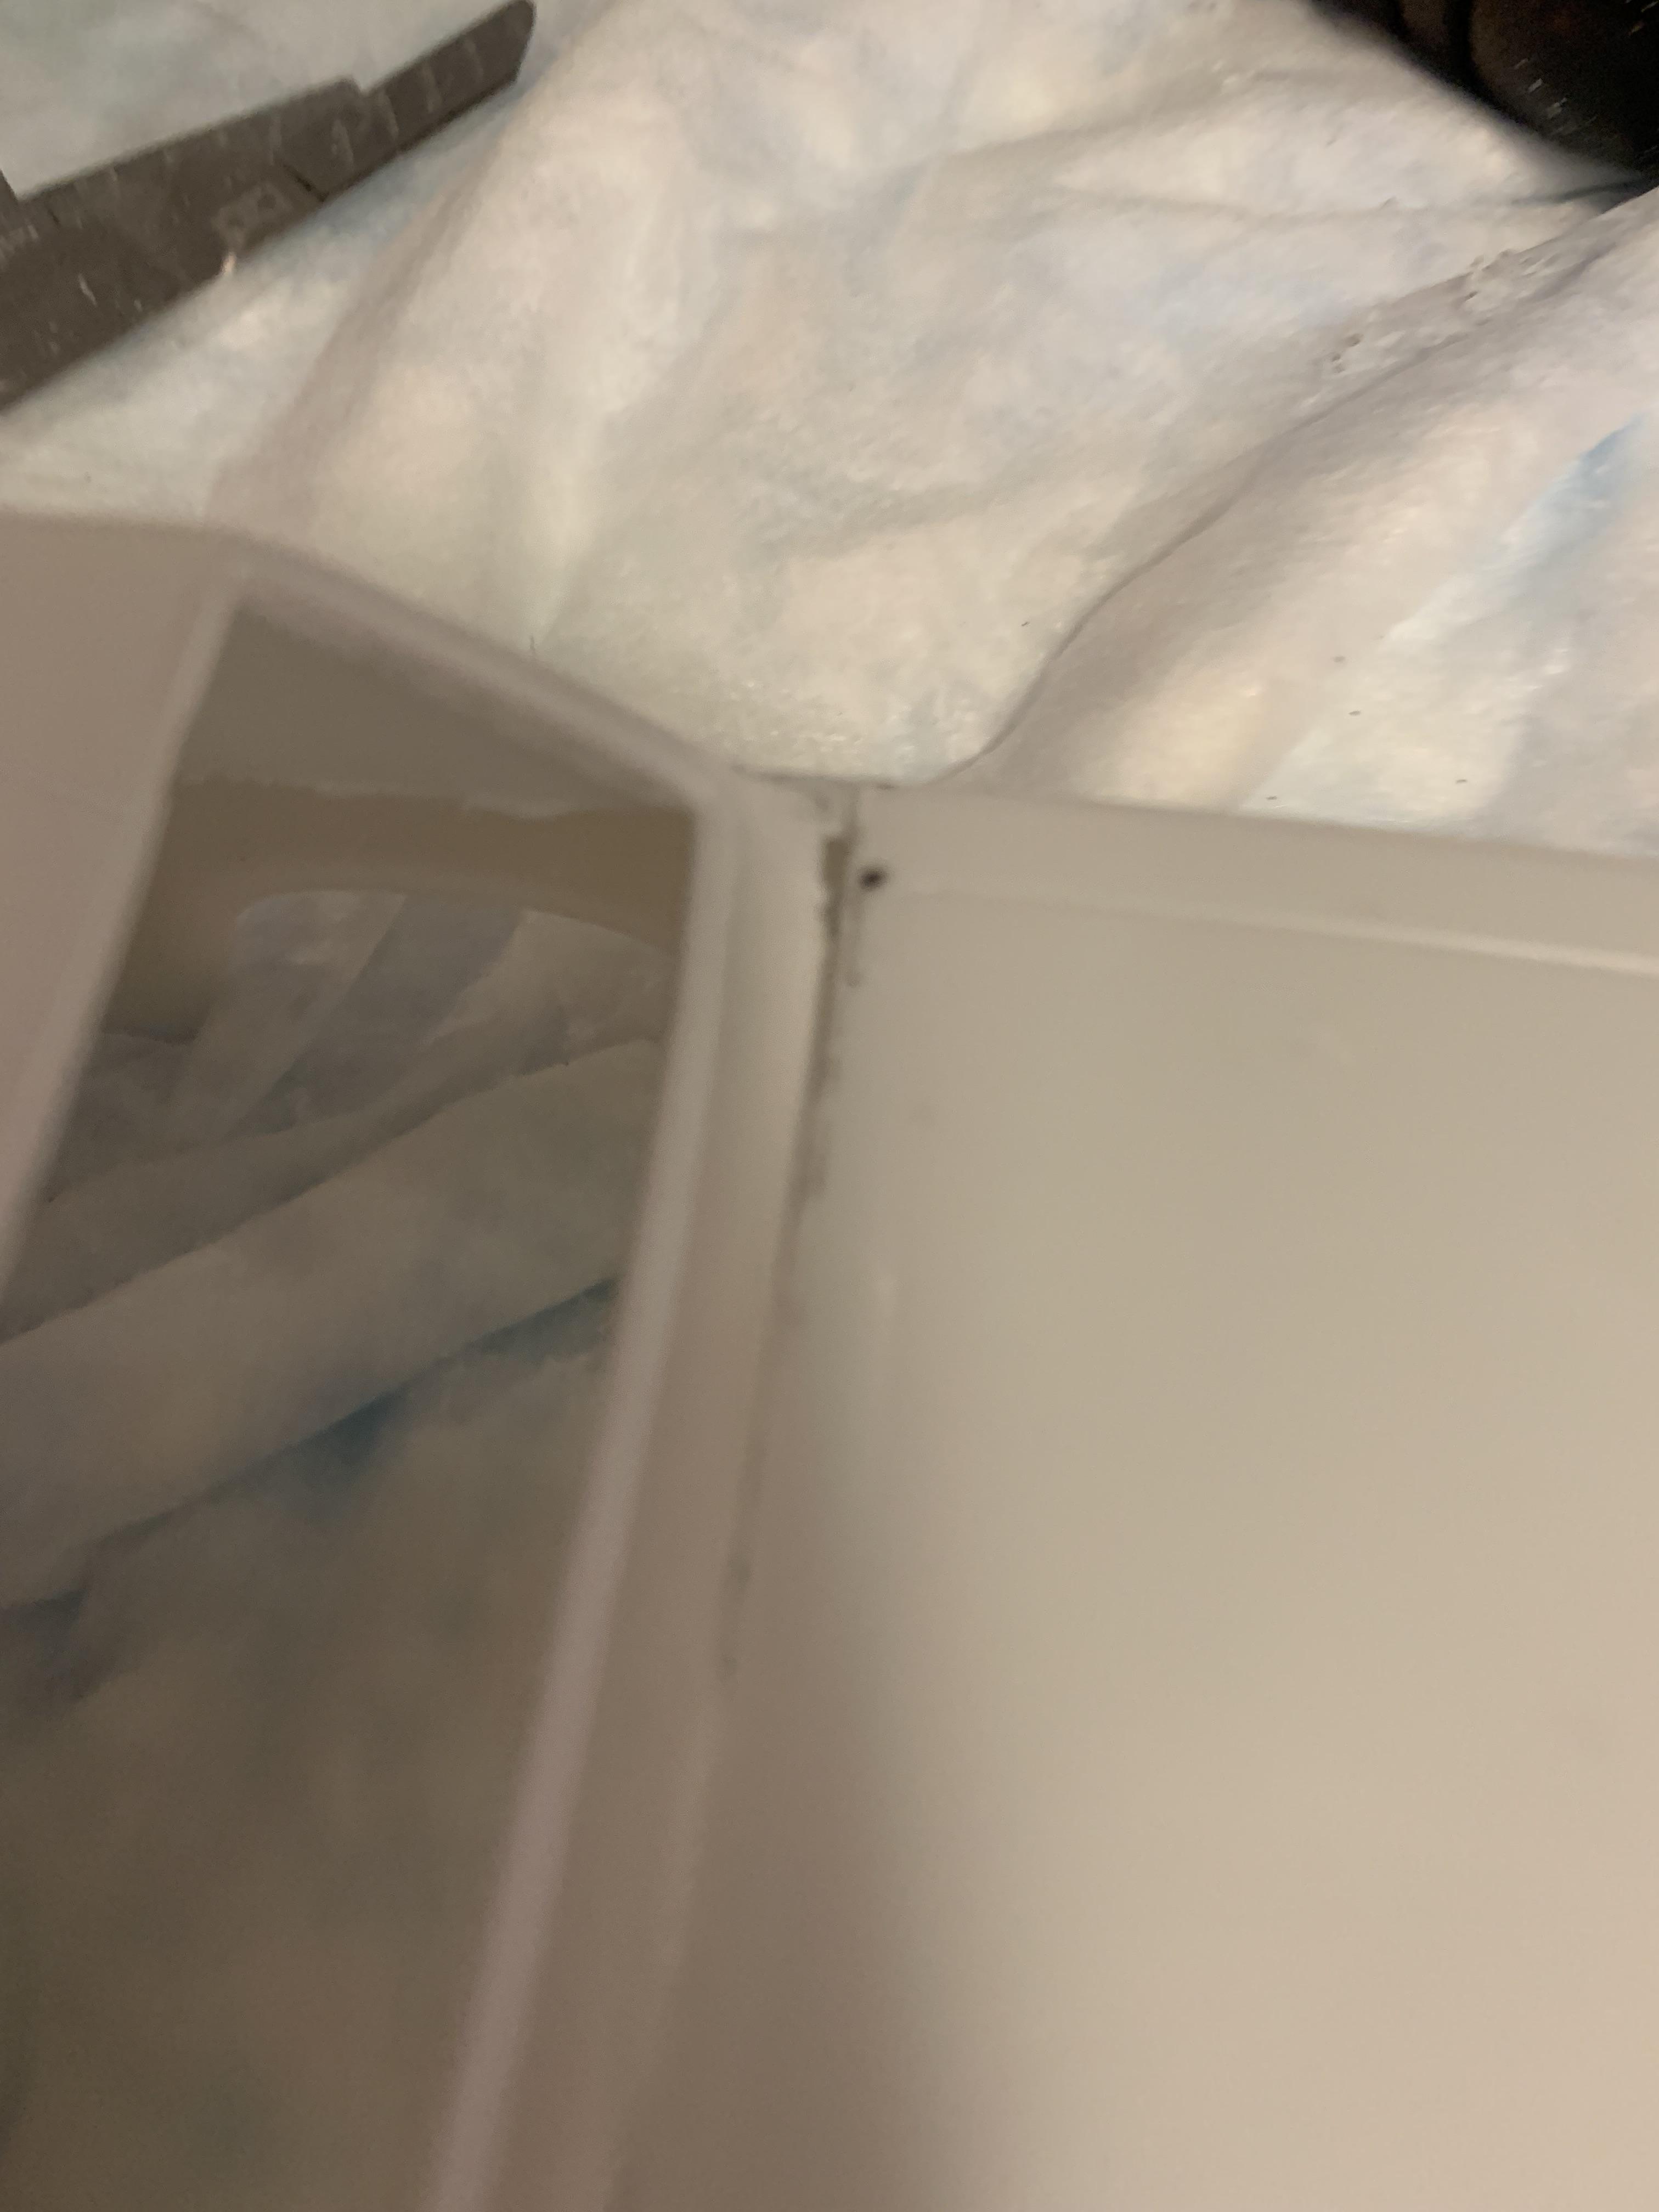
Couple more pics.
-
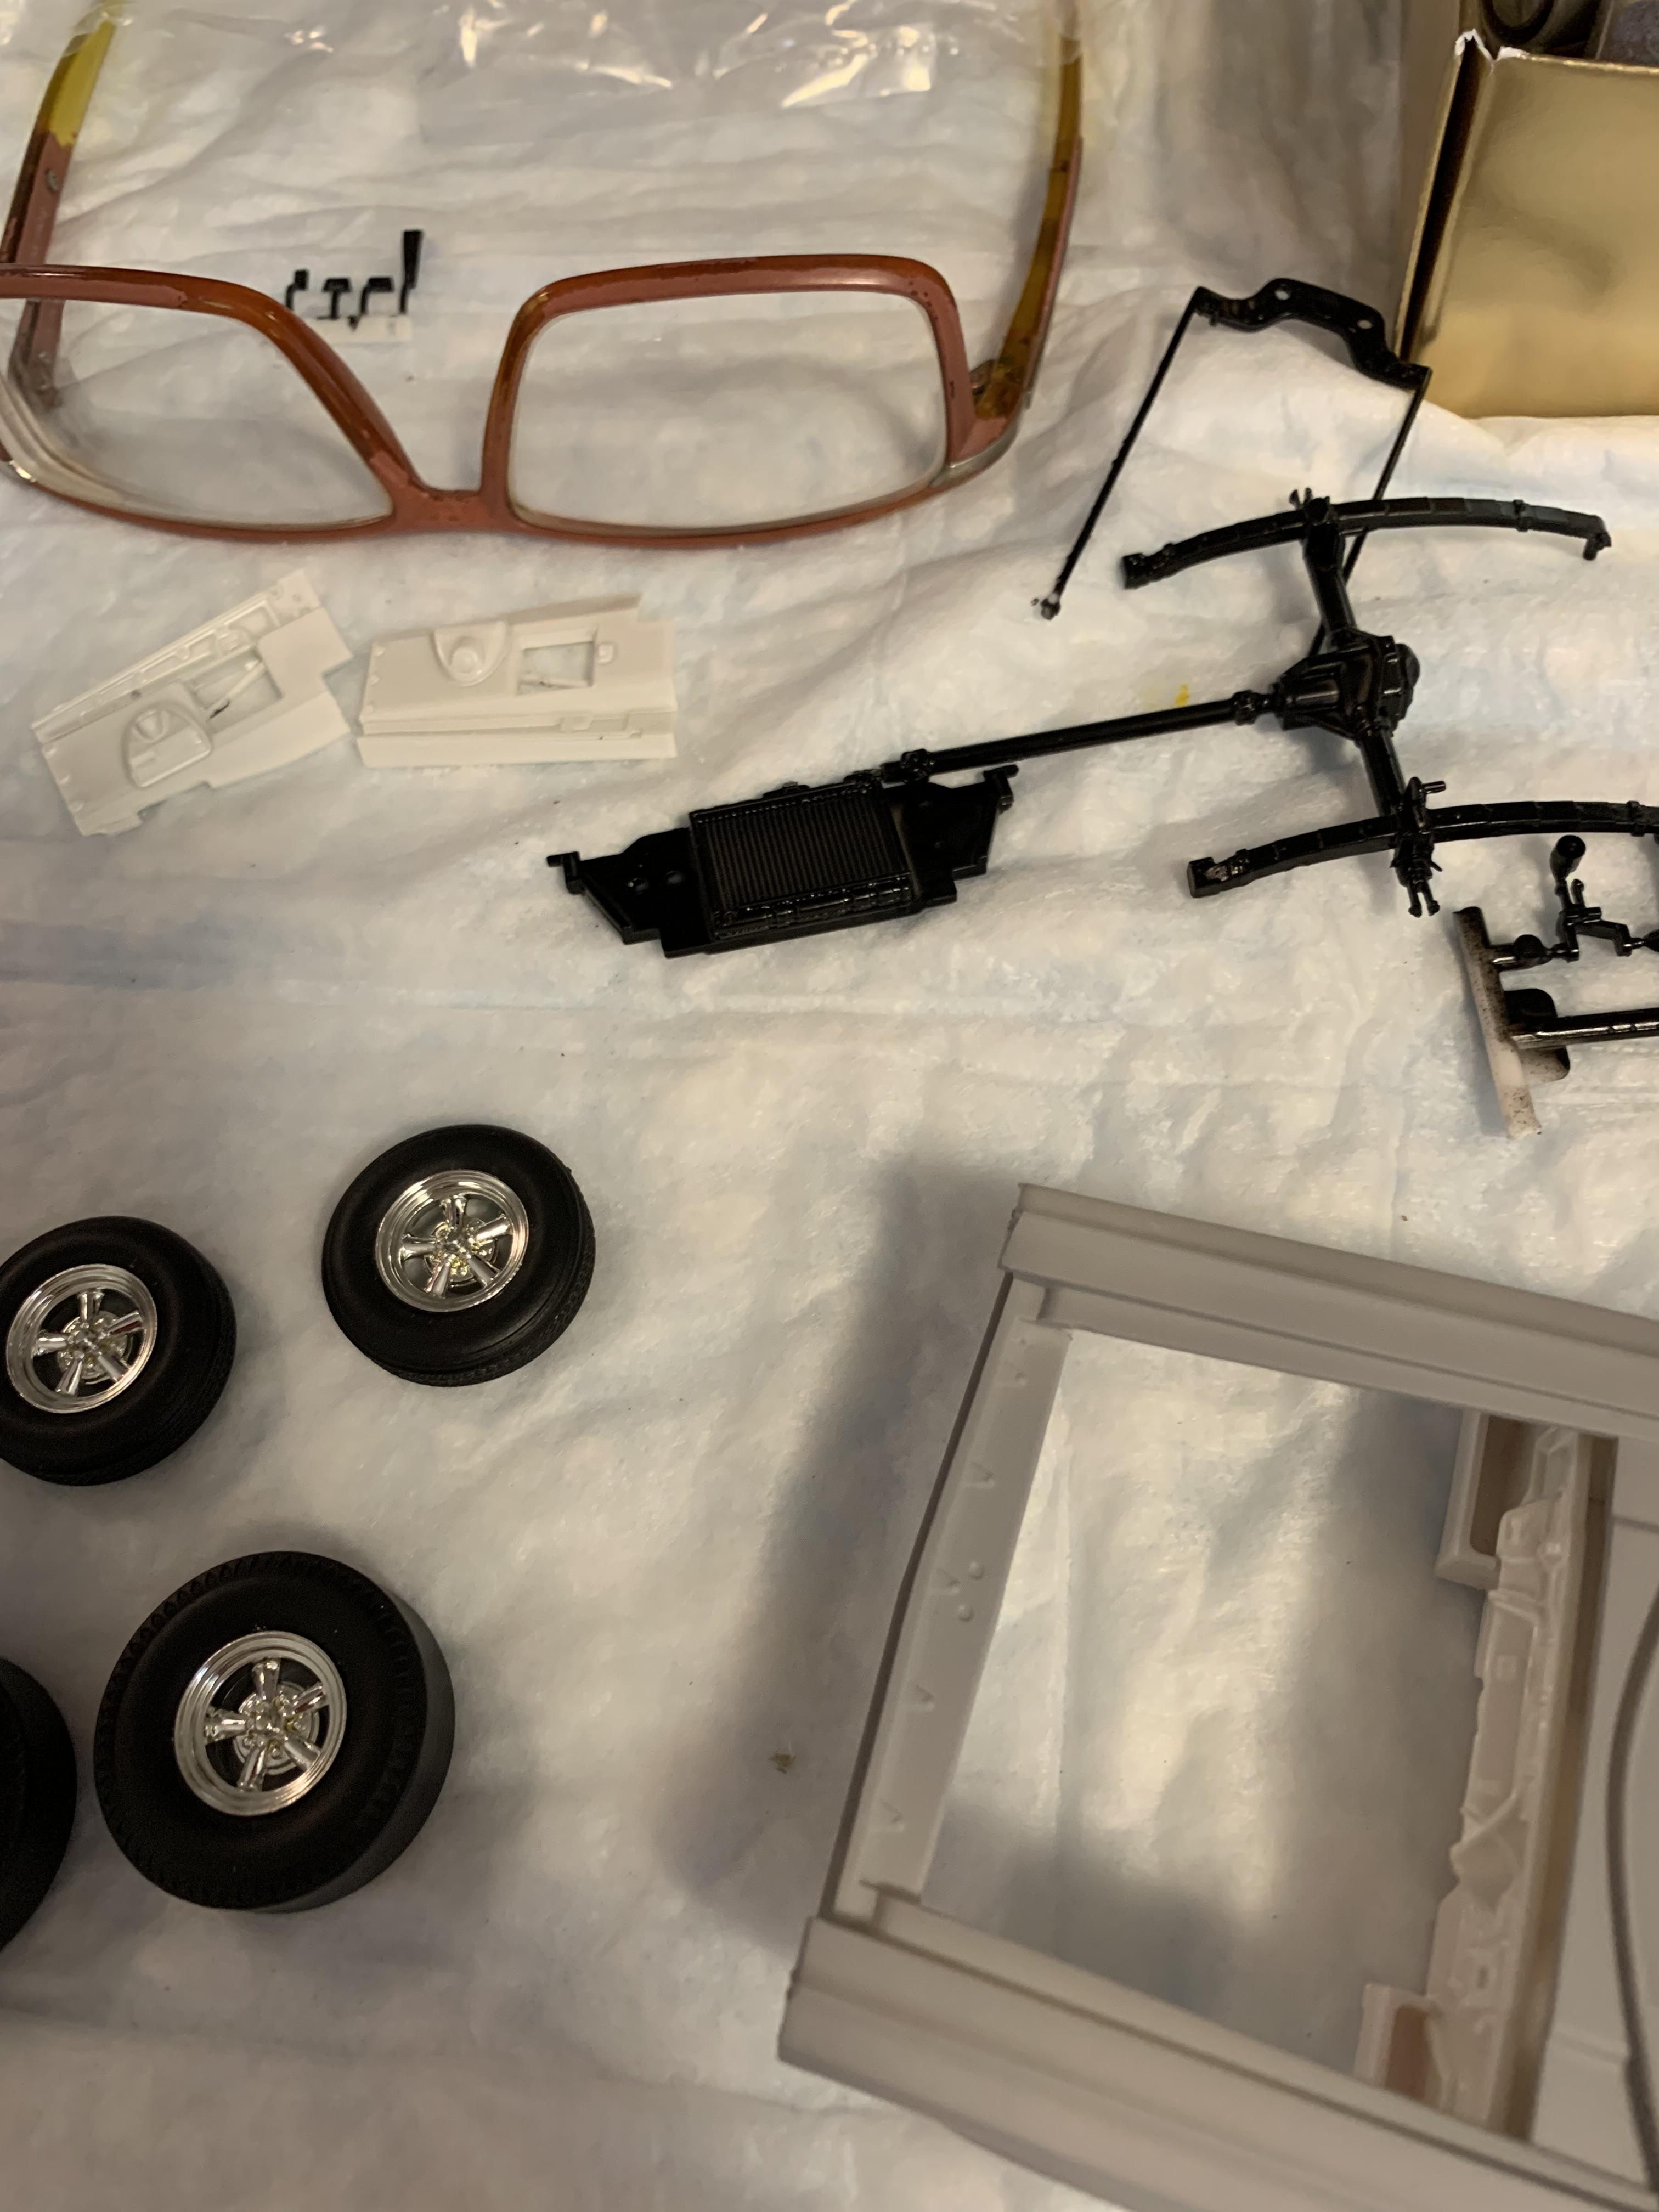
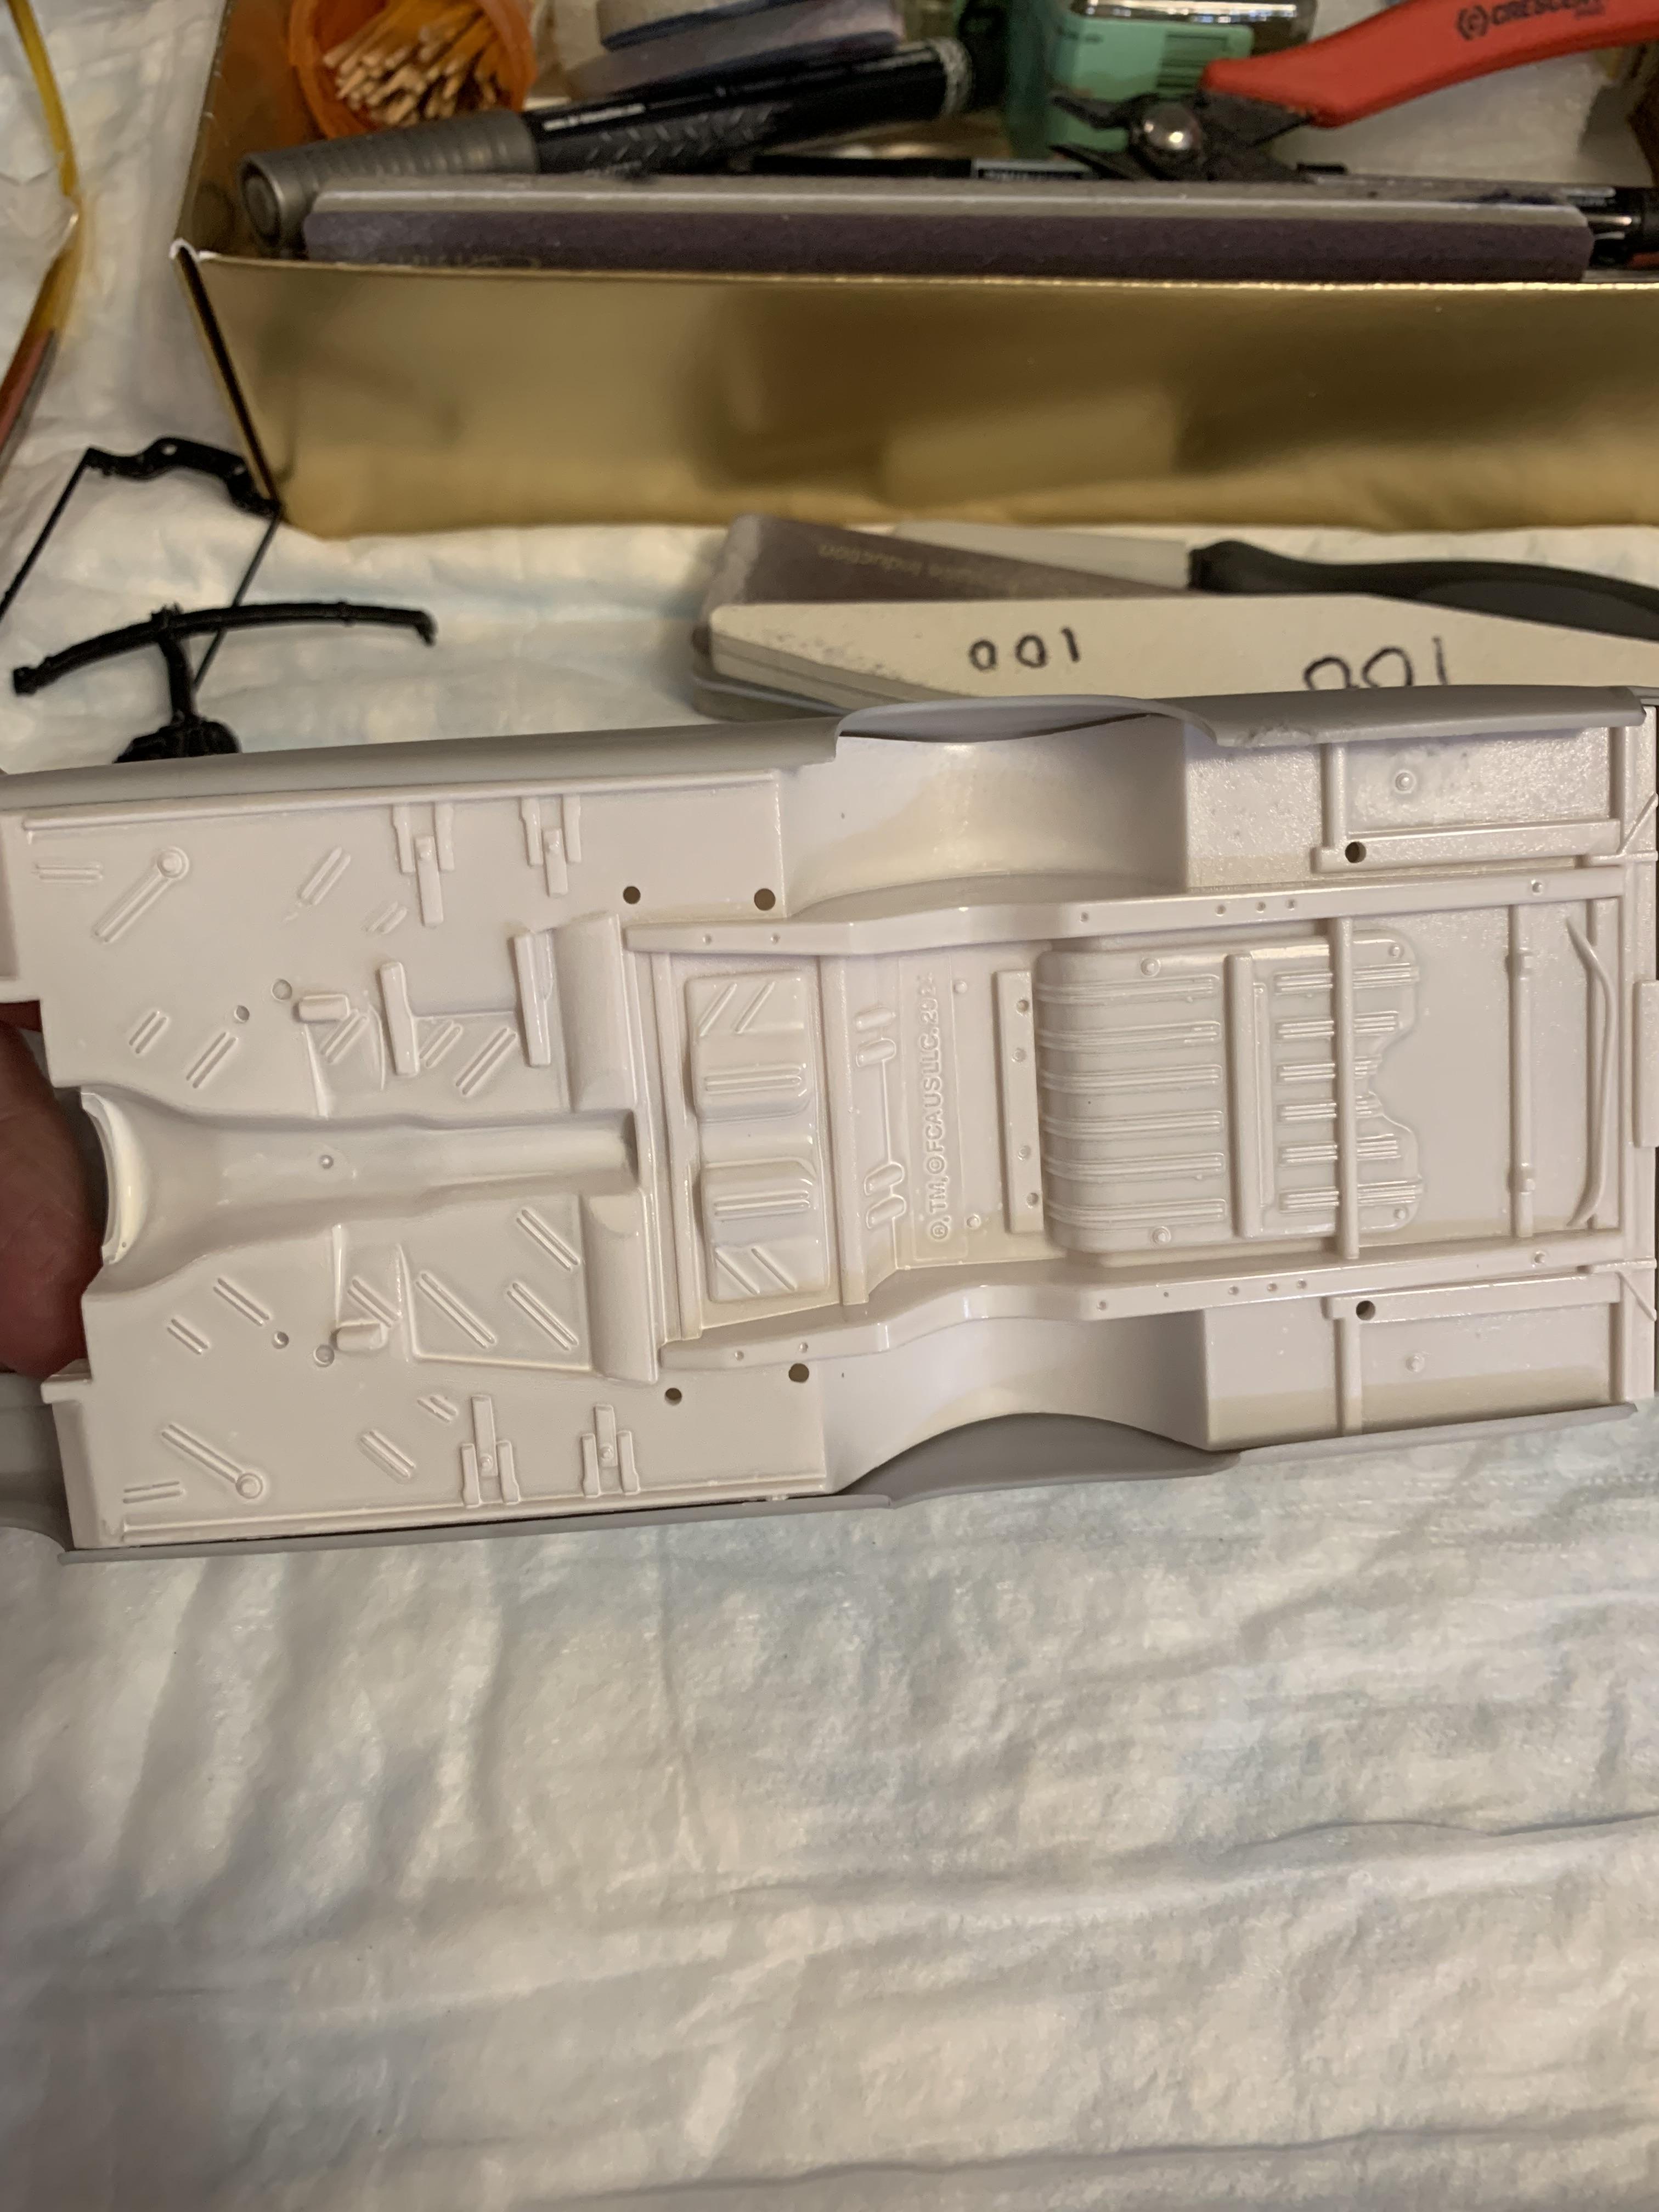
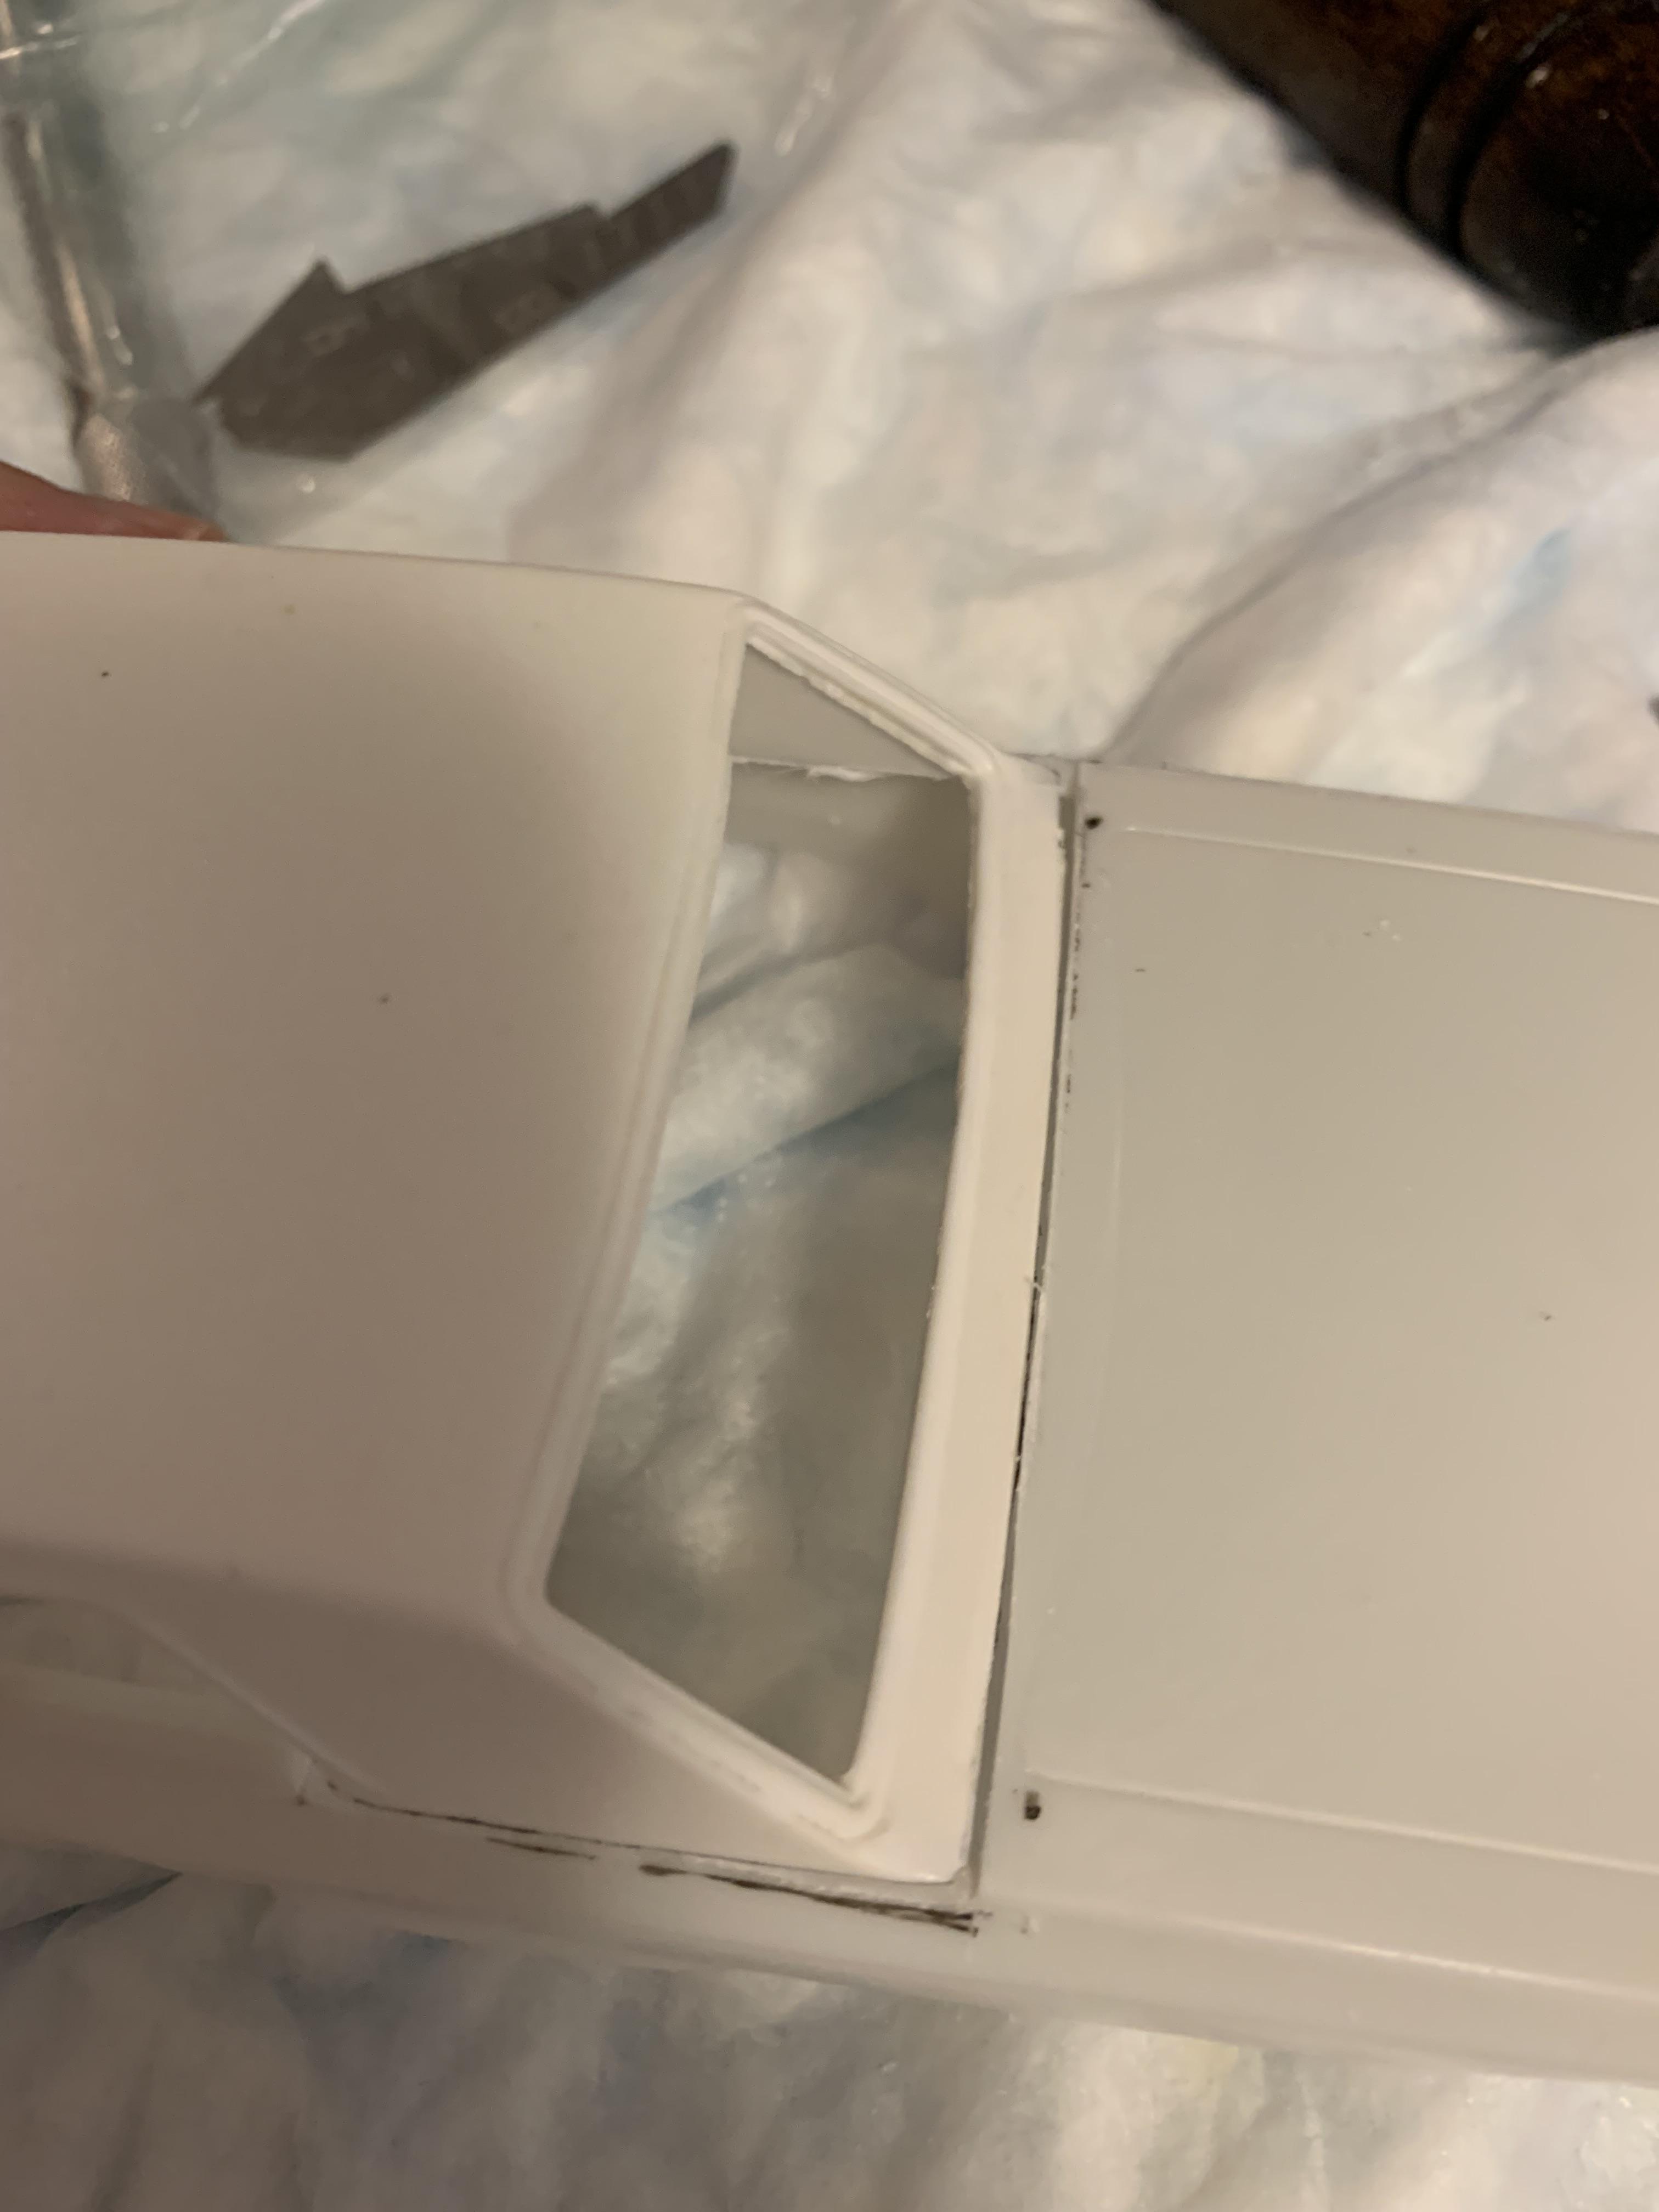
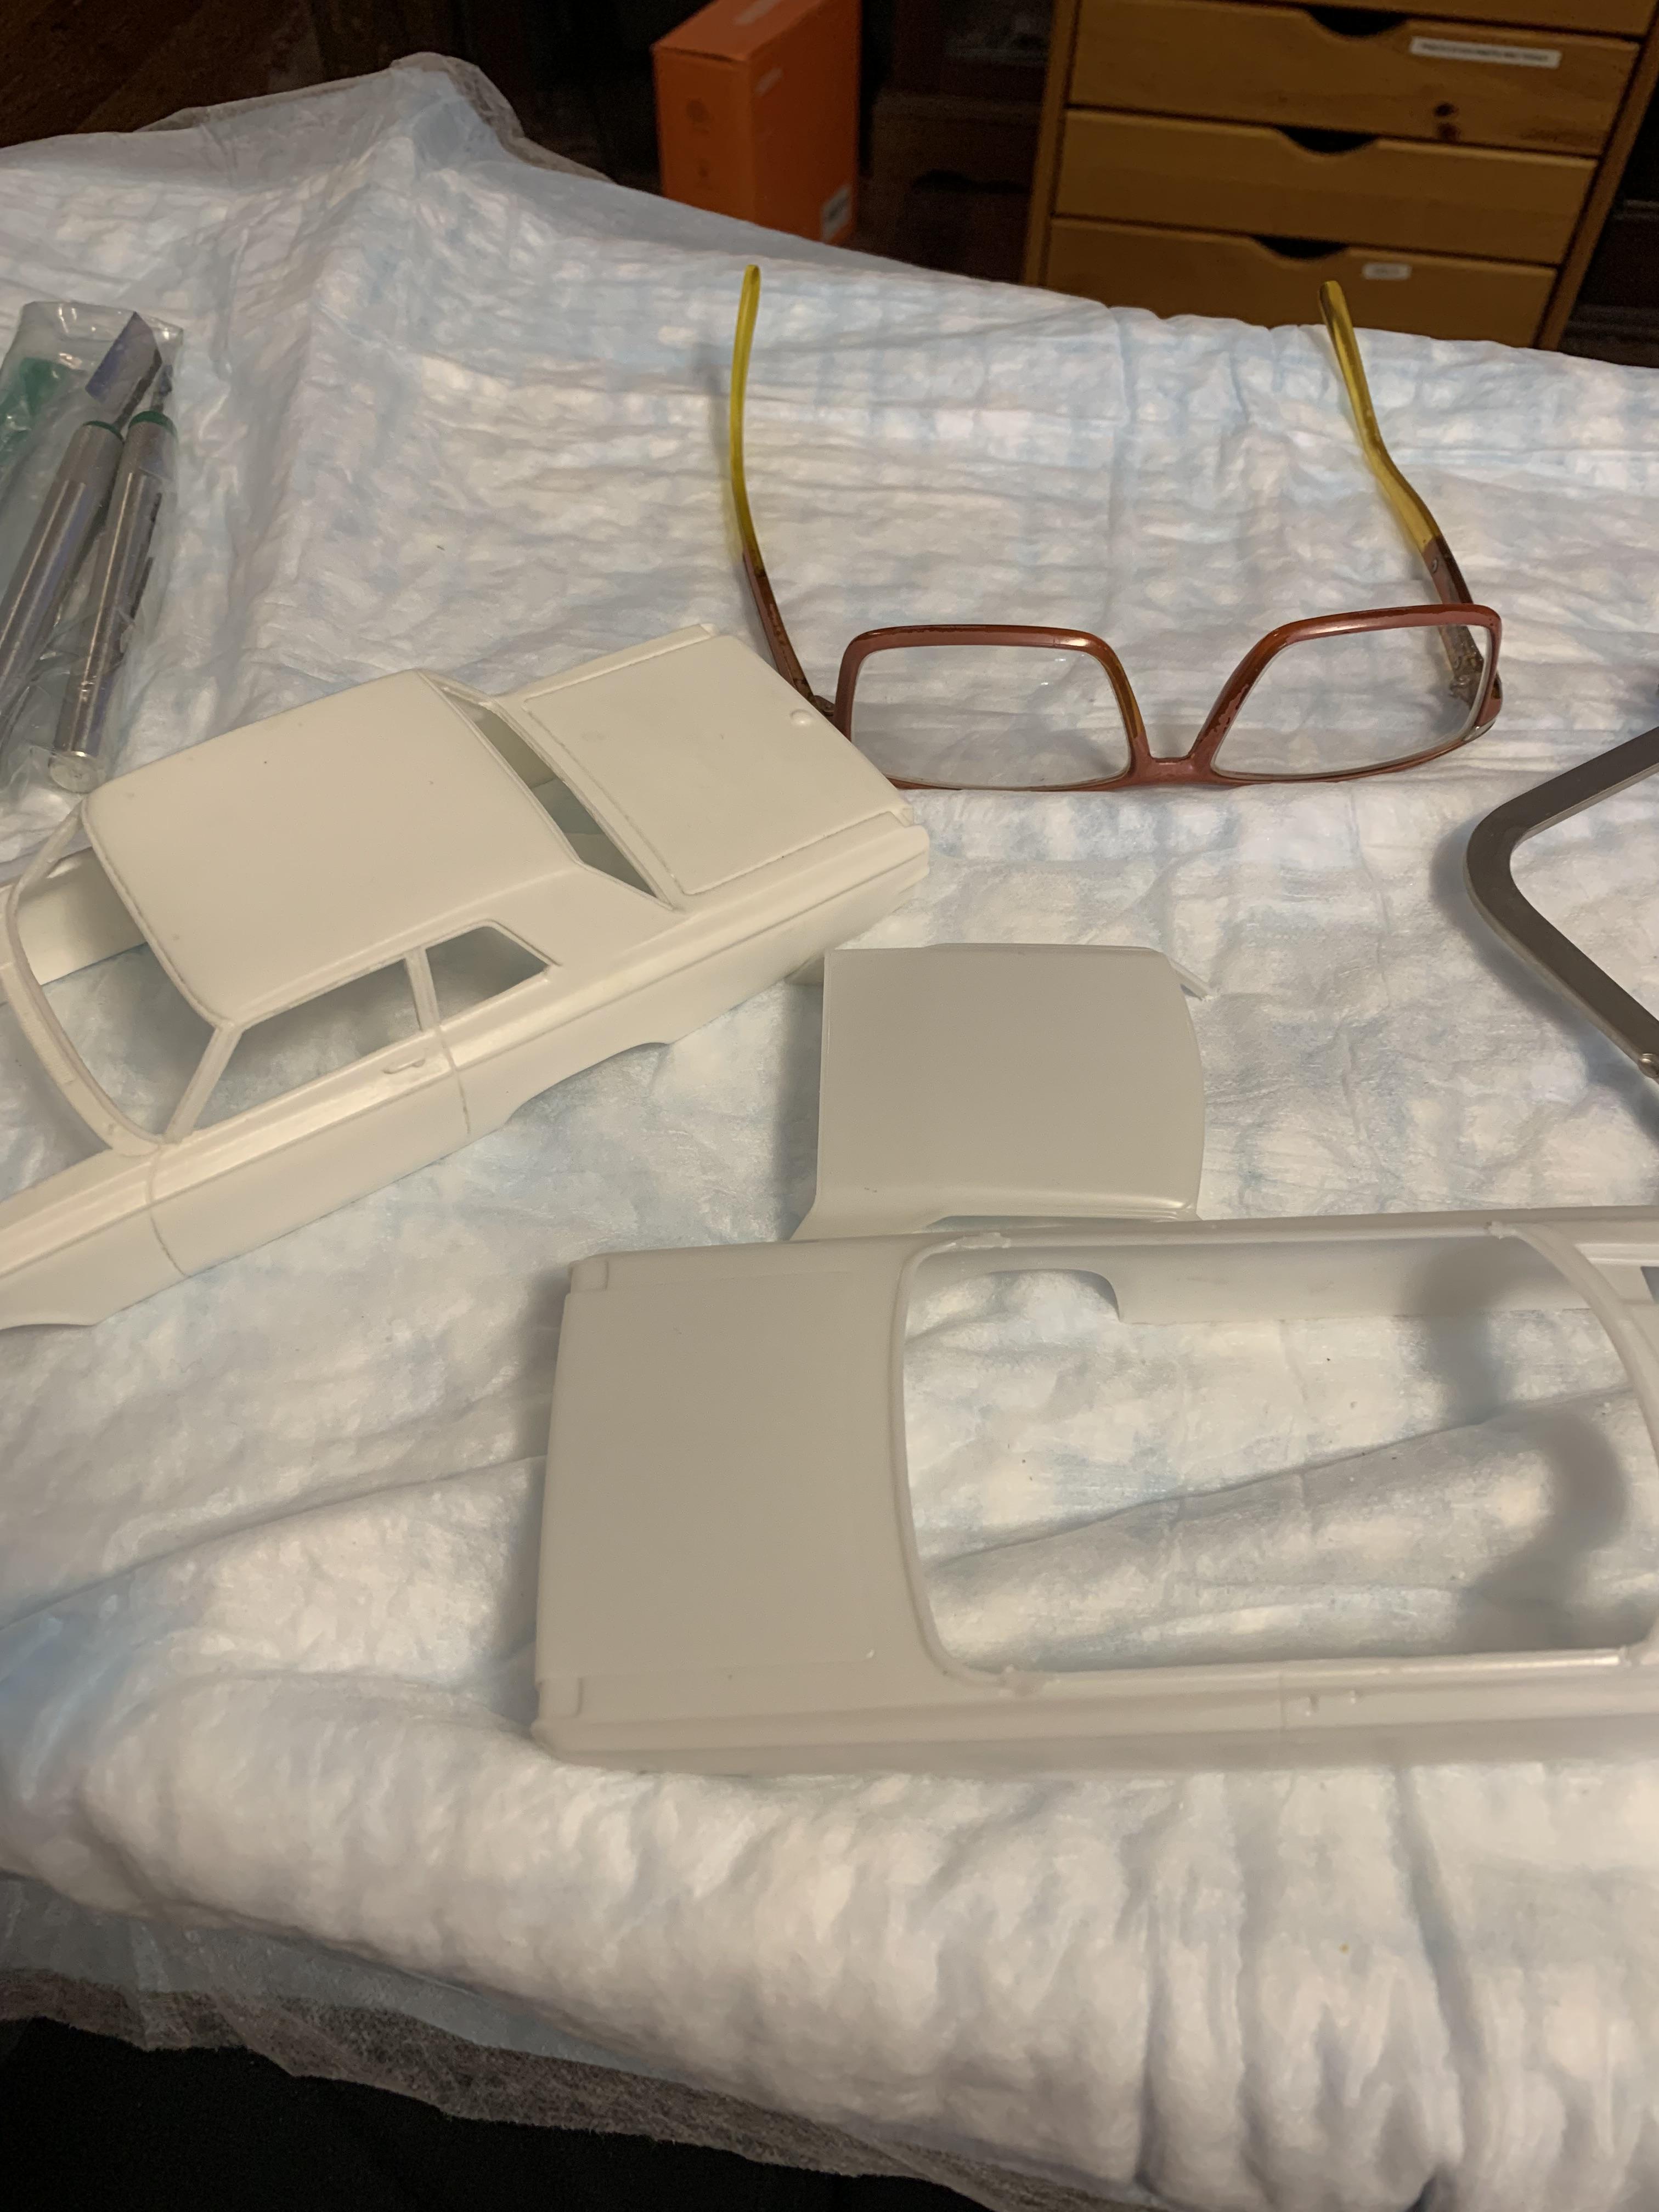
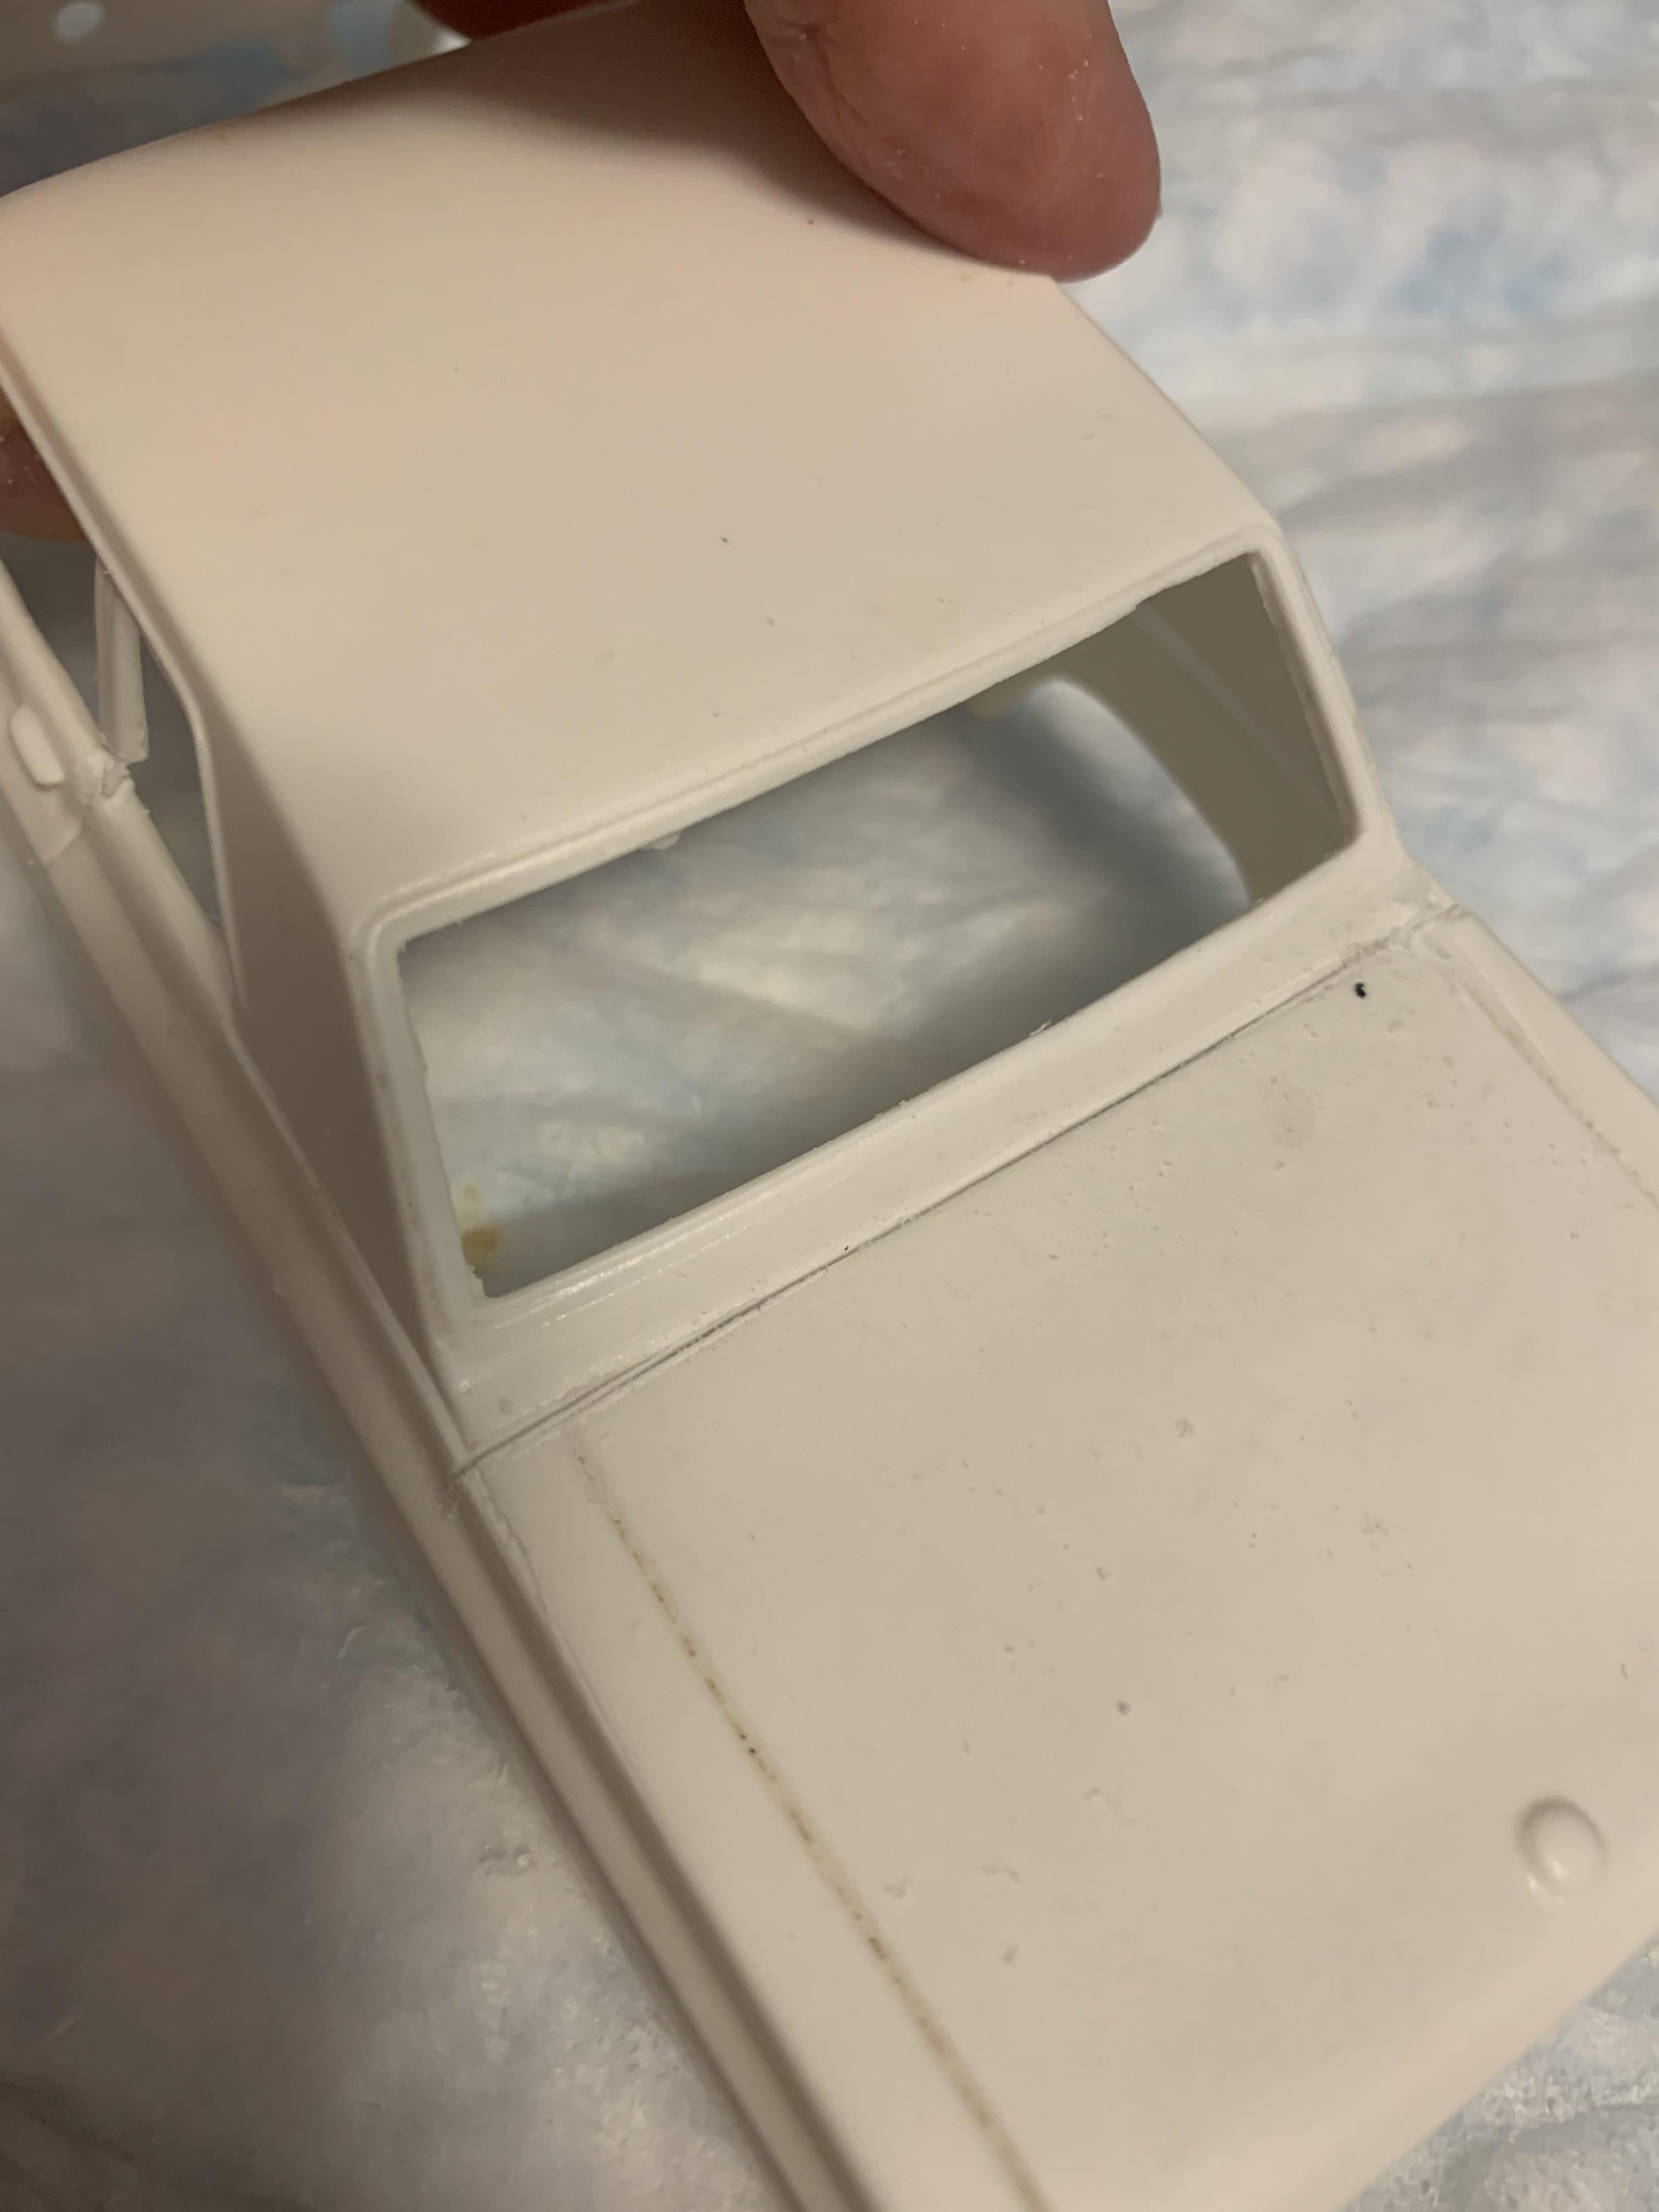
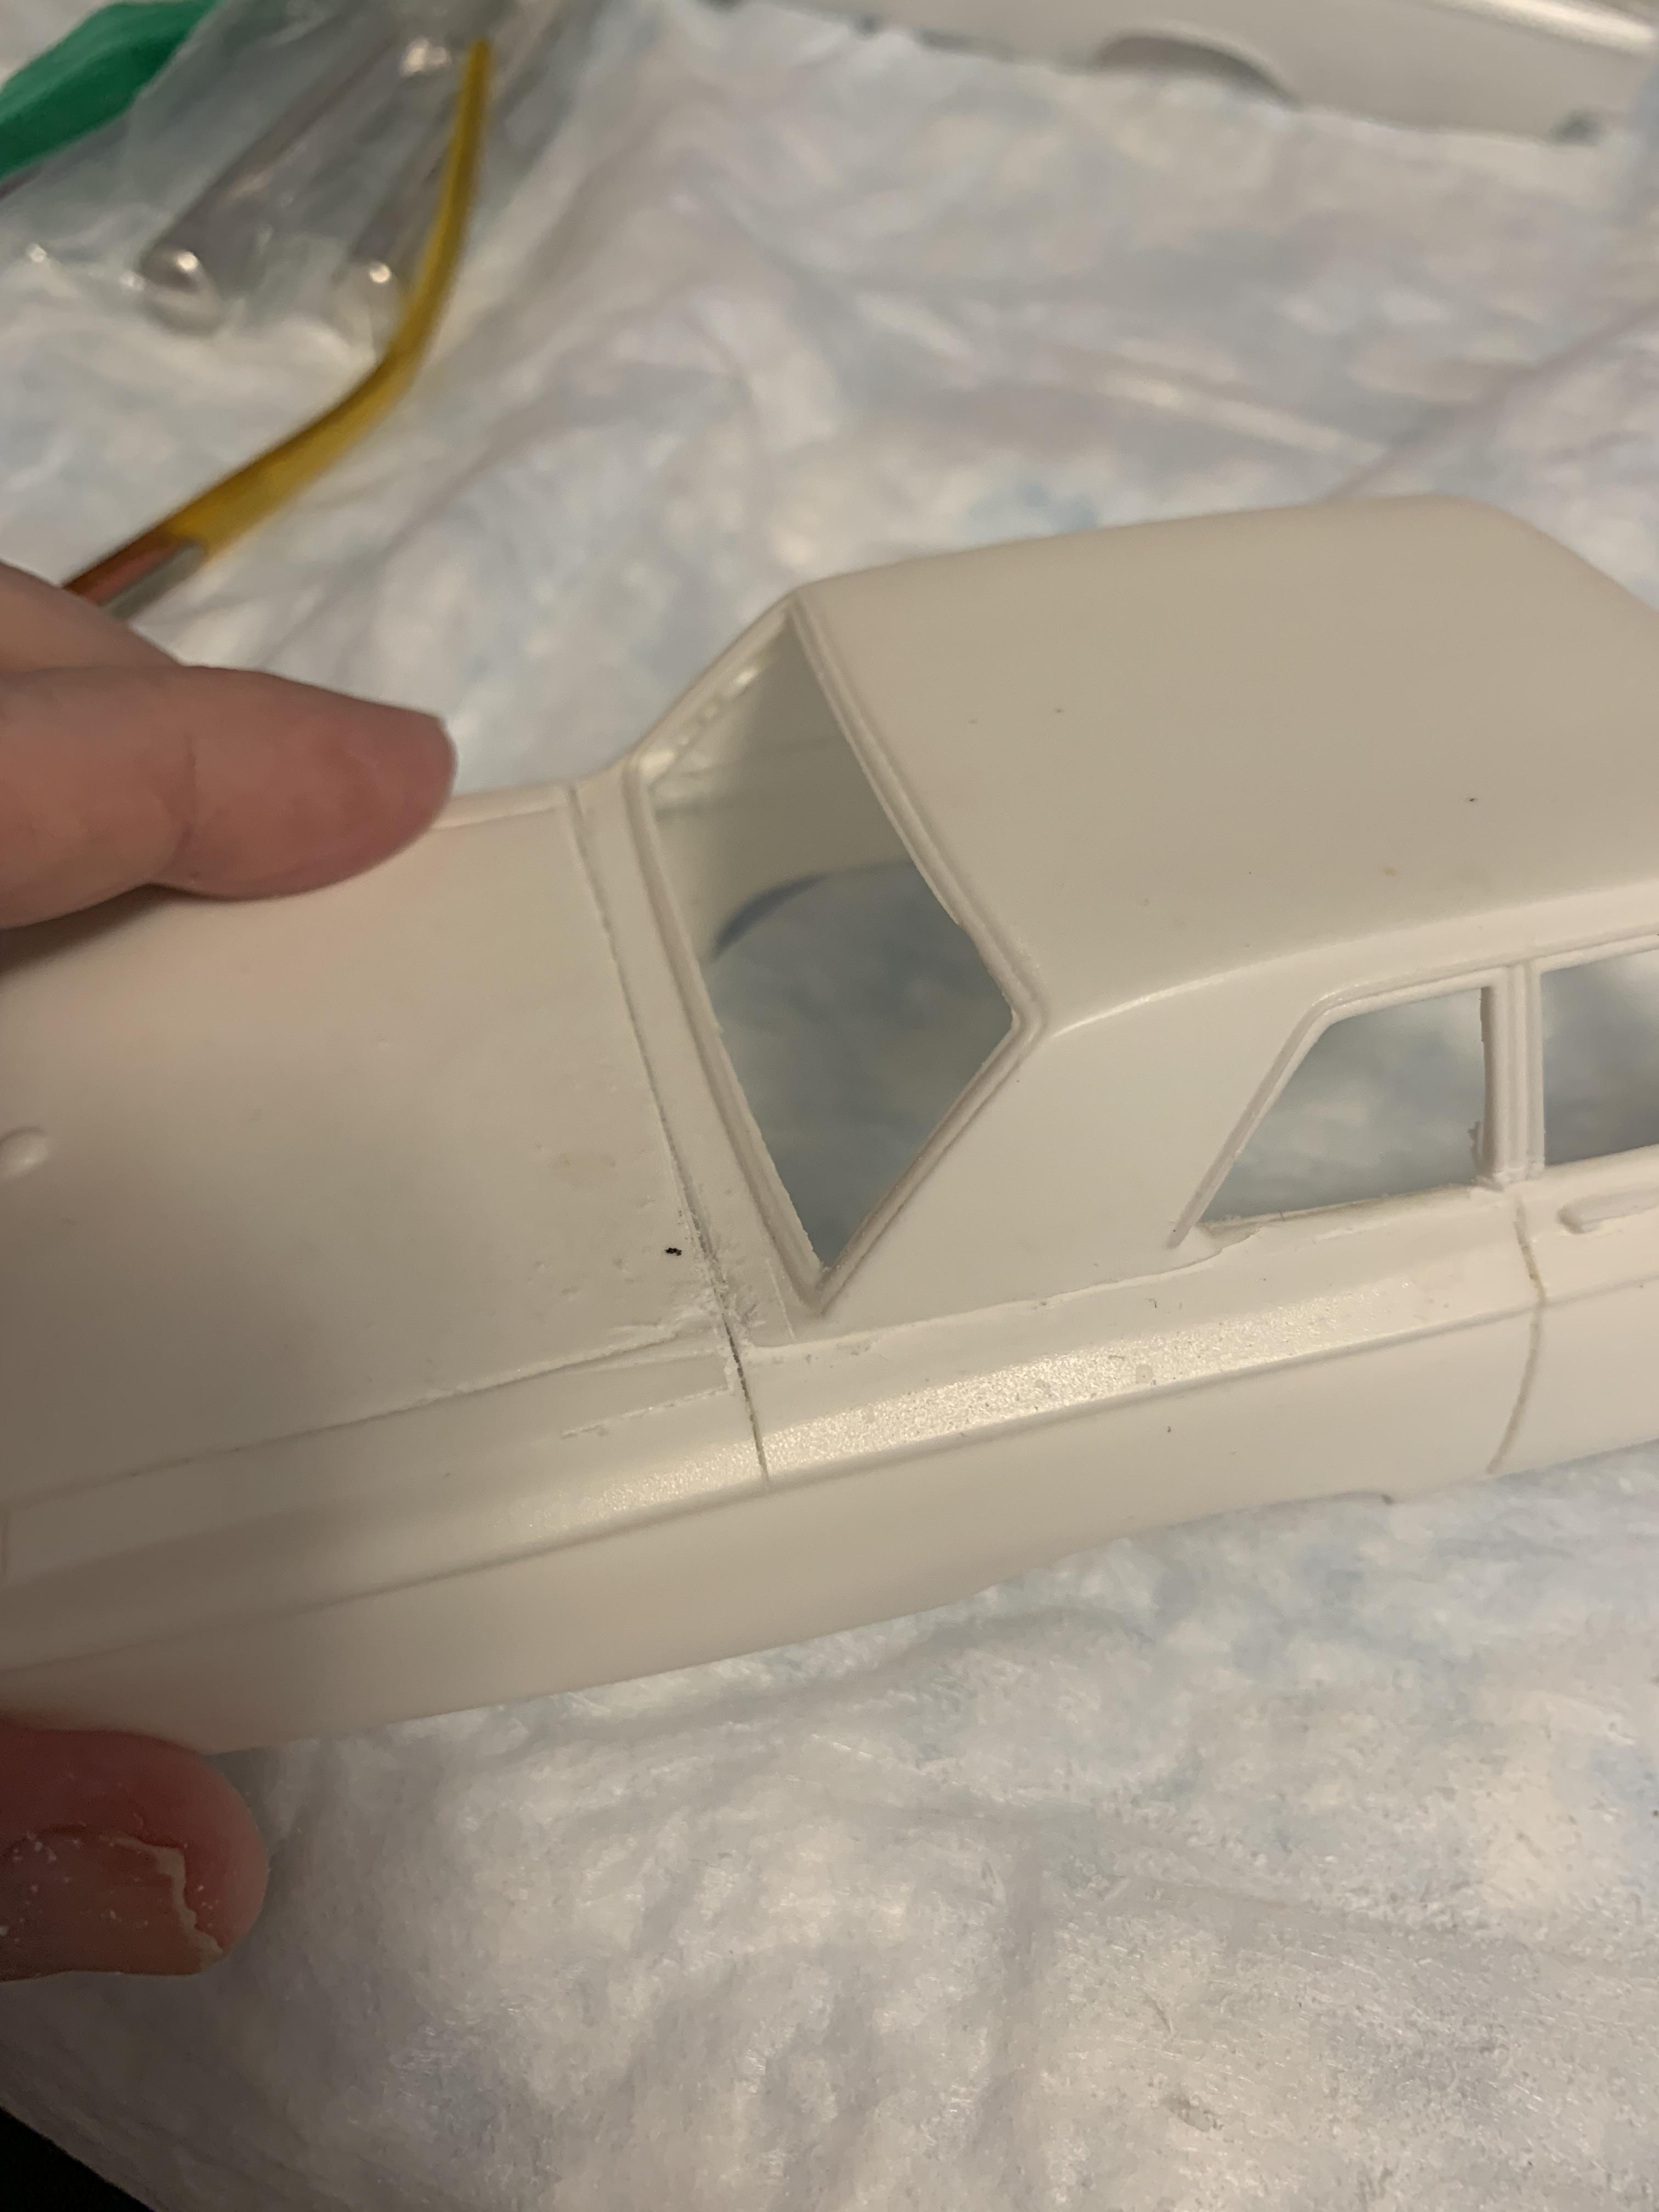
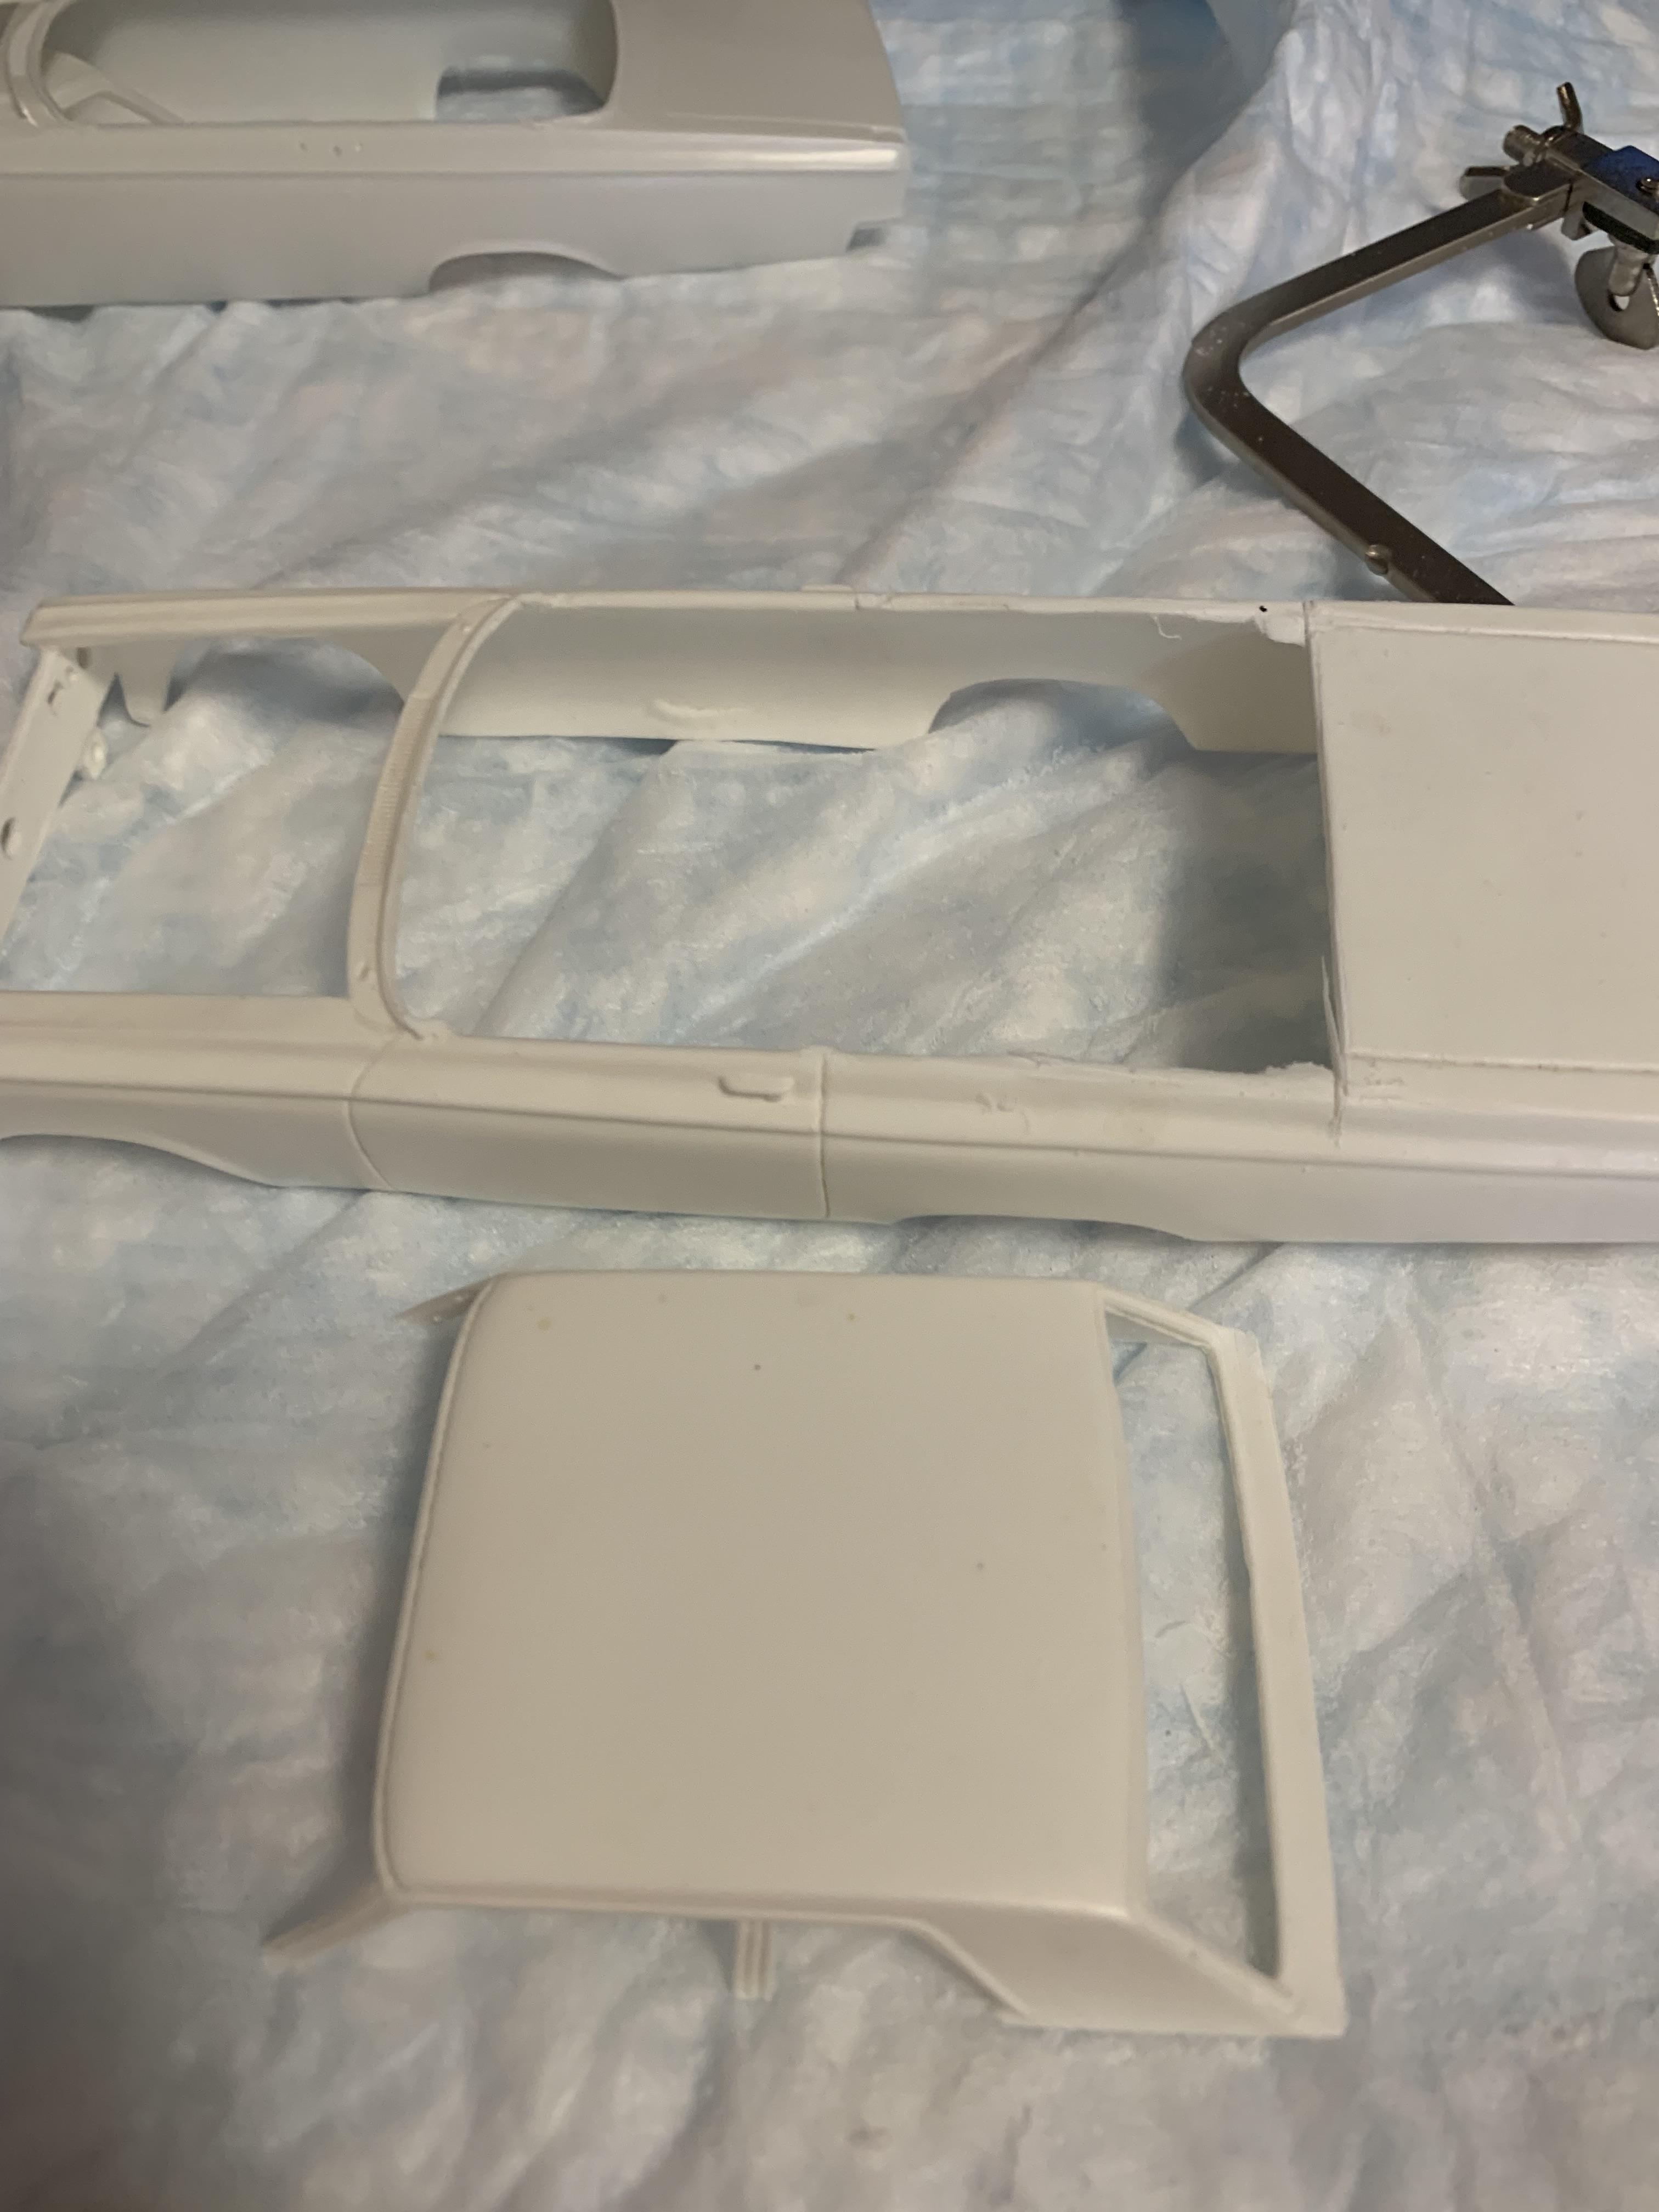
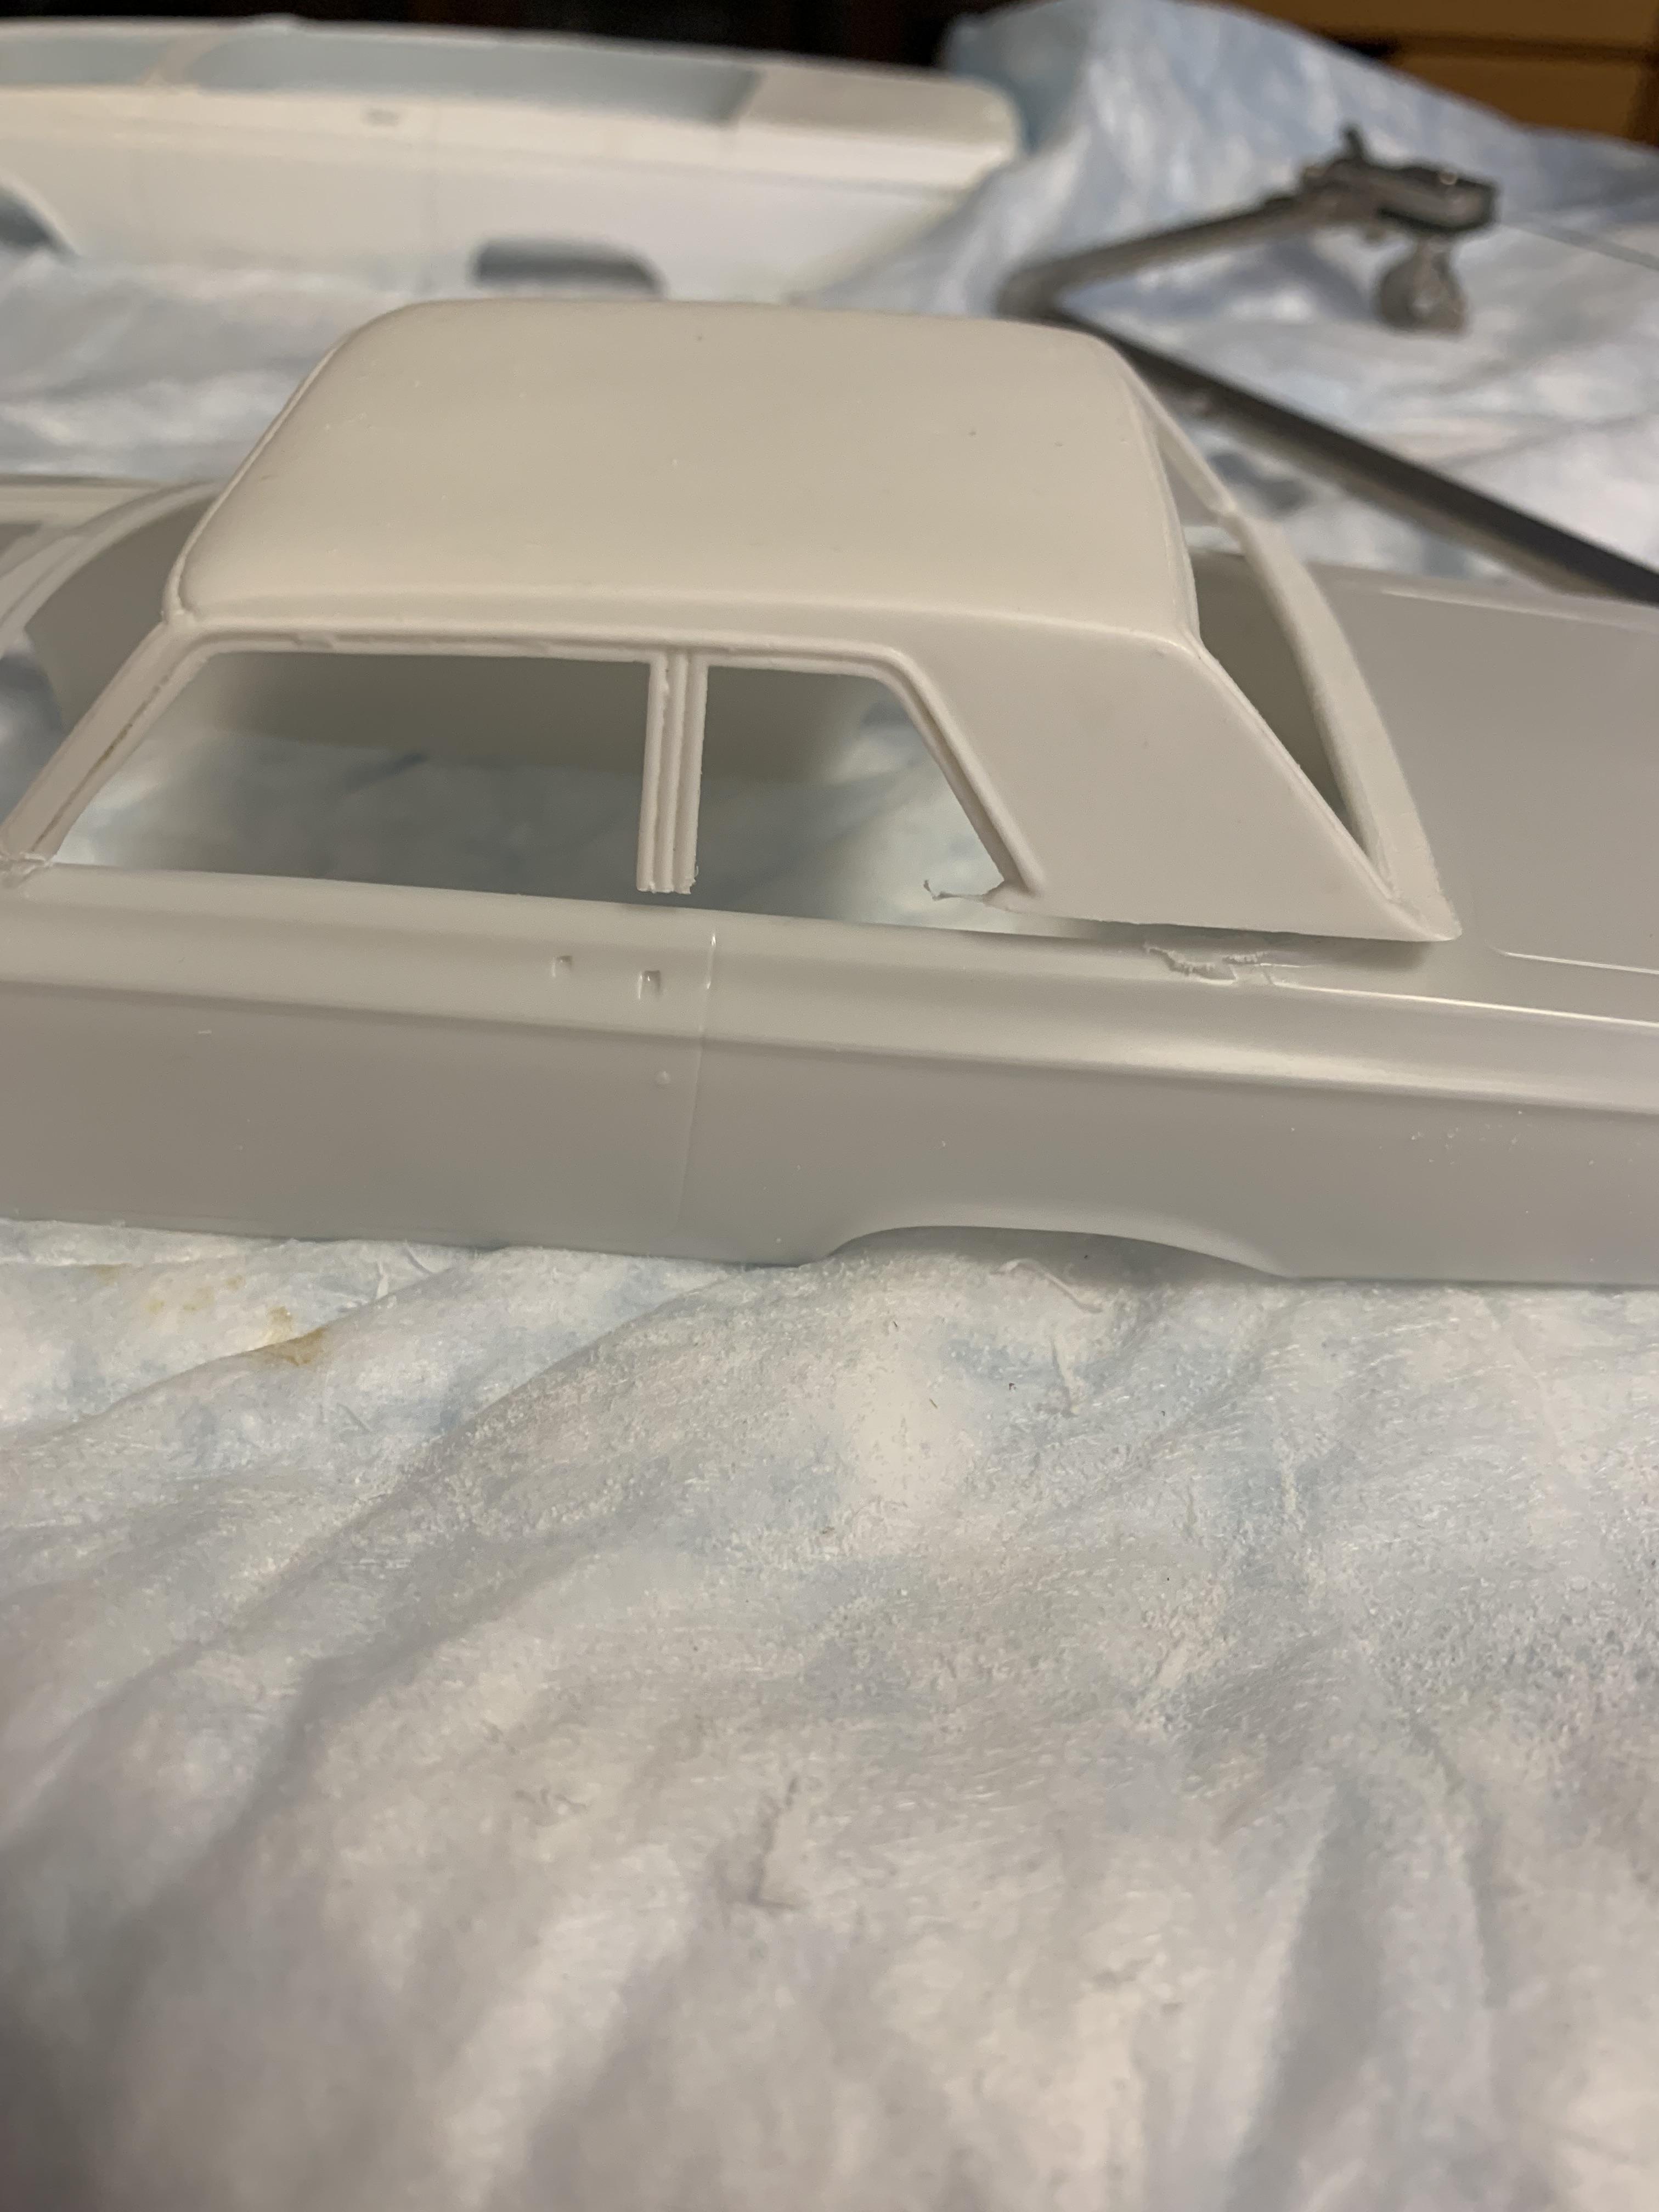
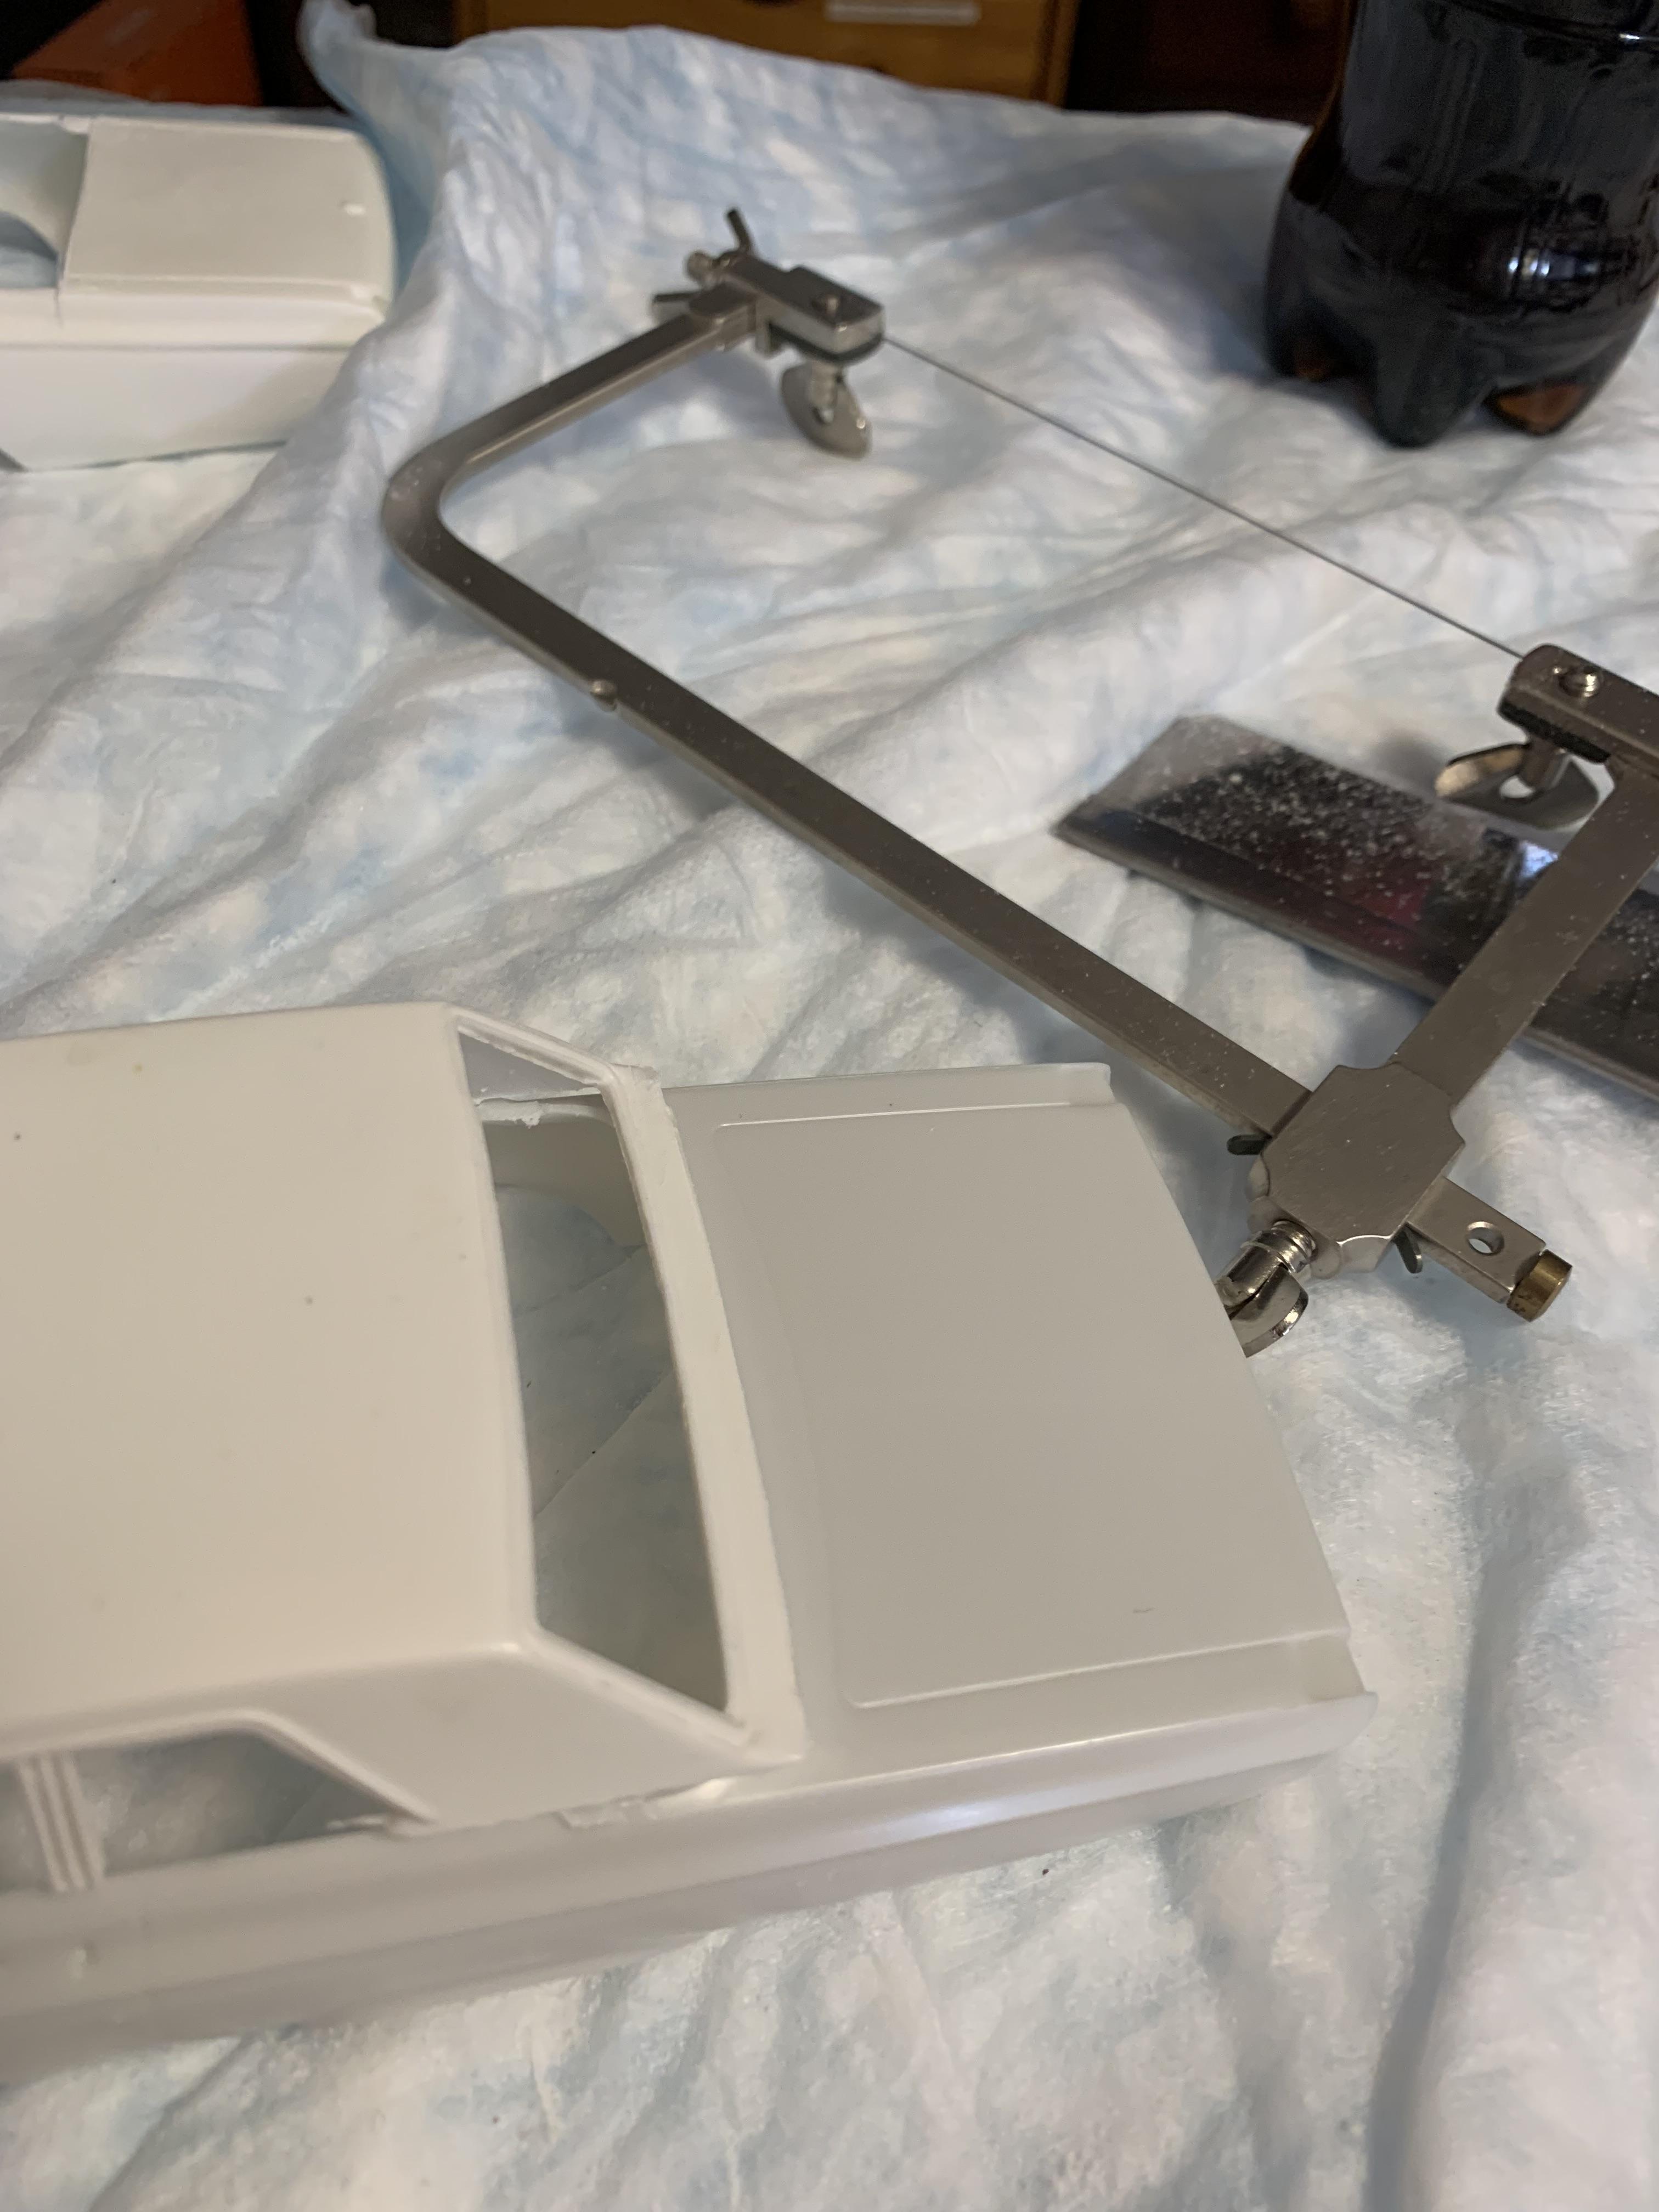
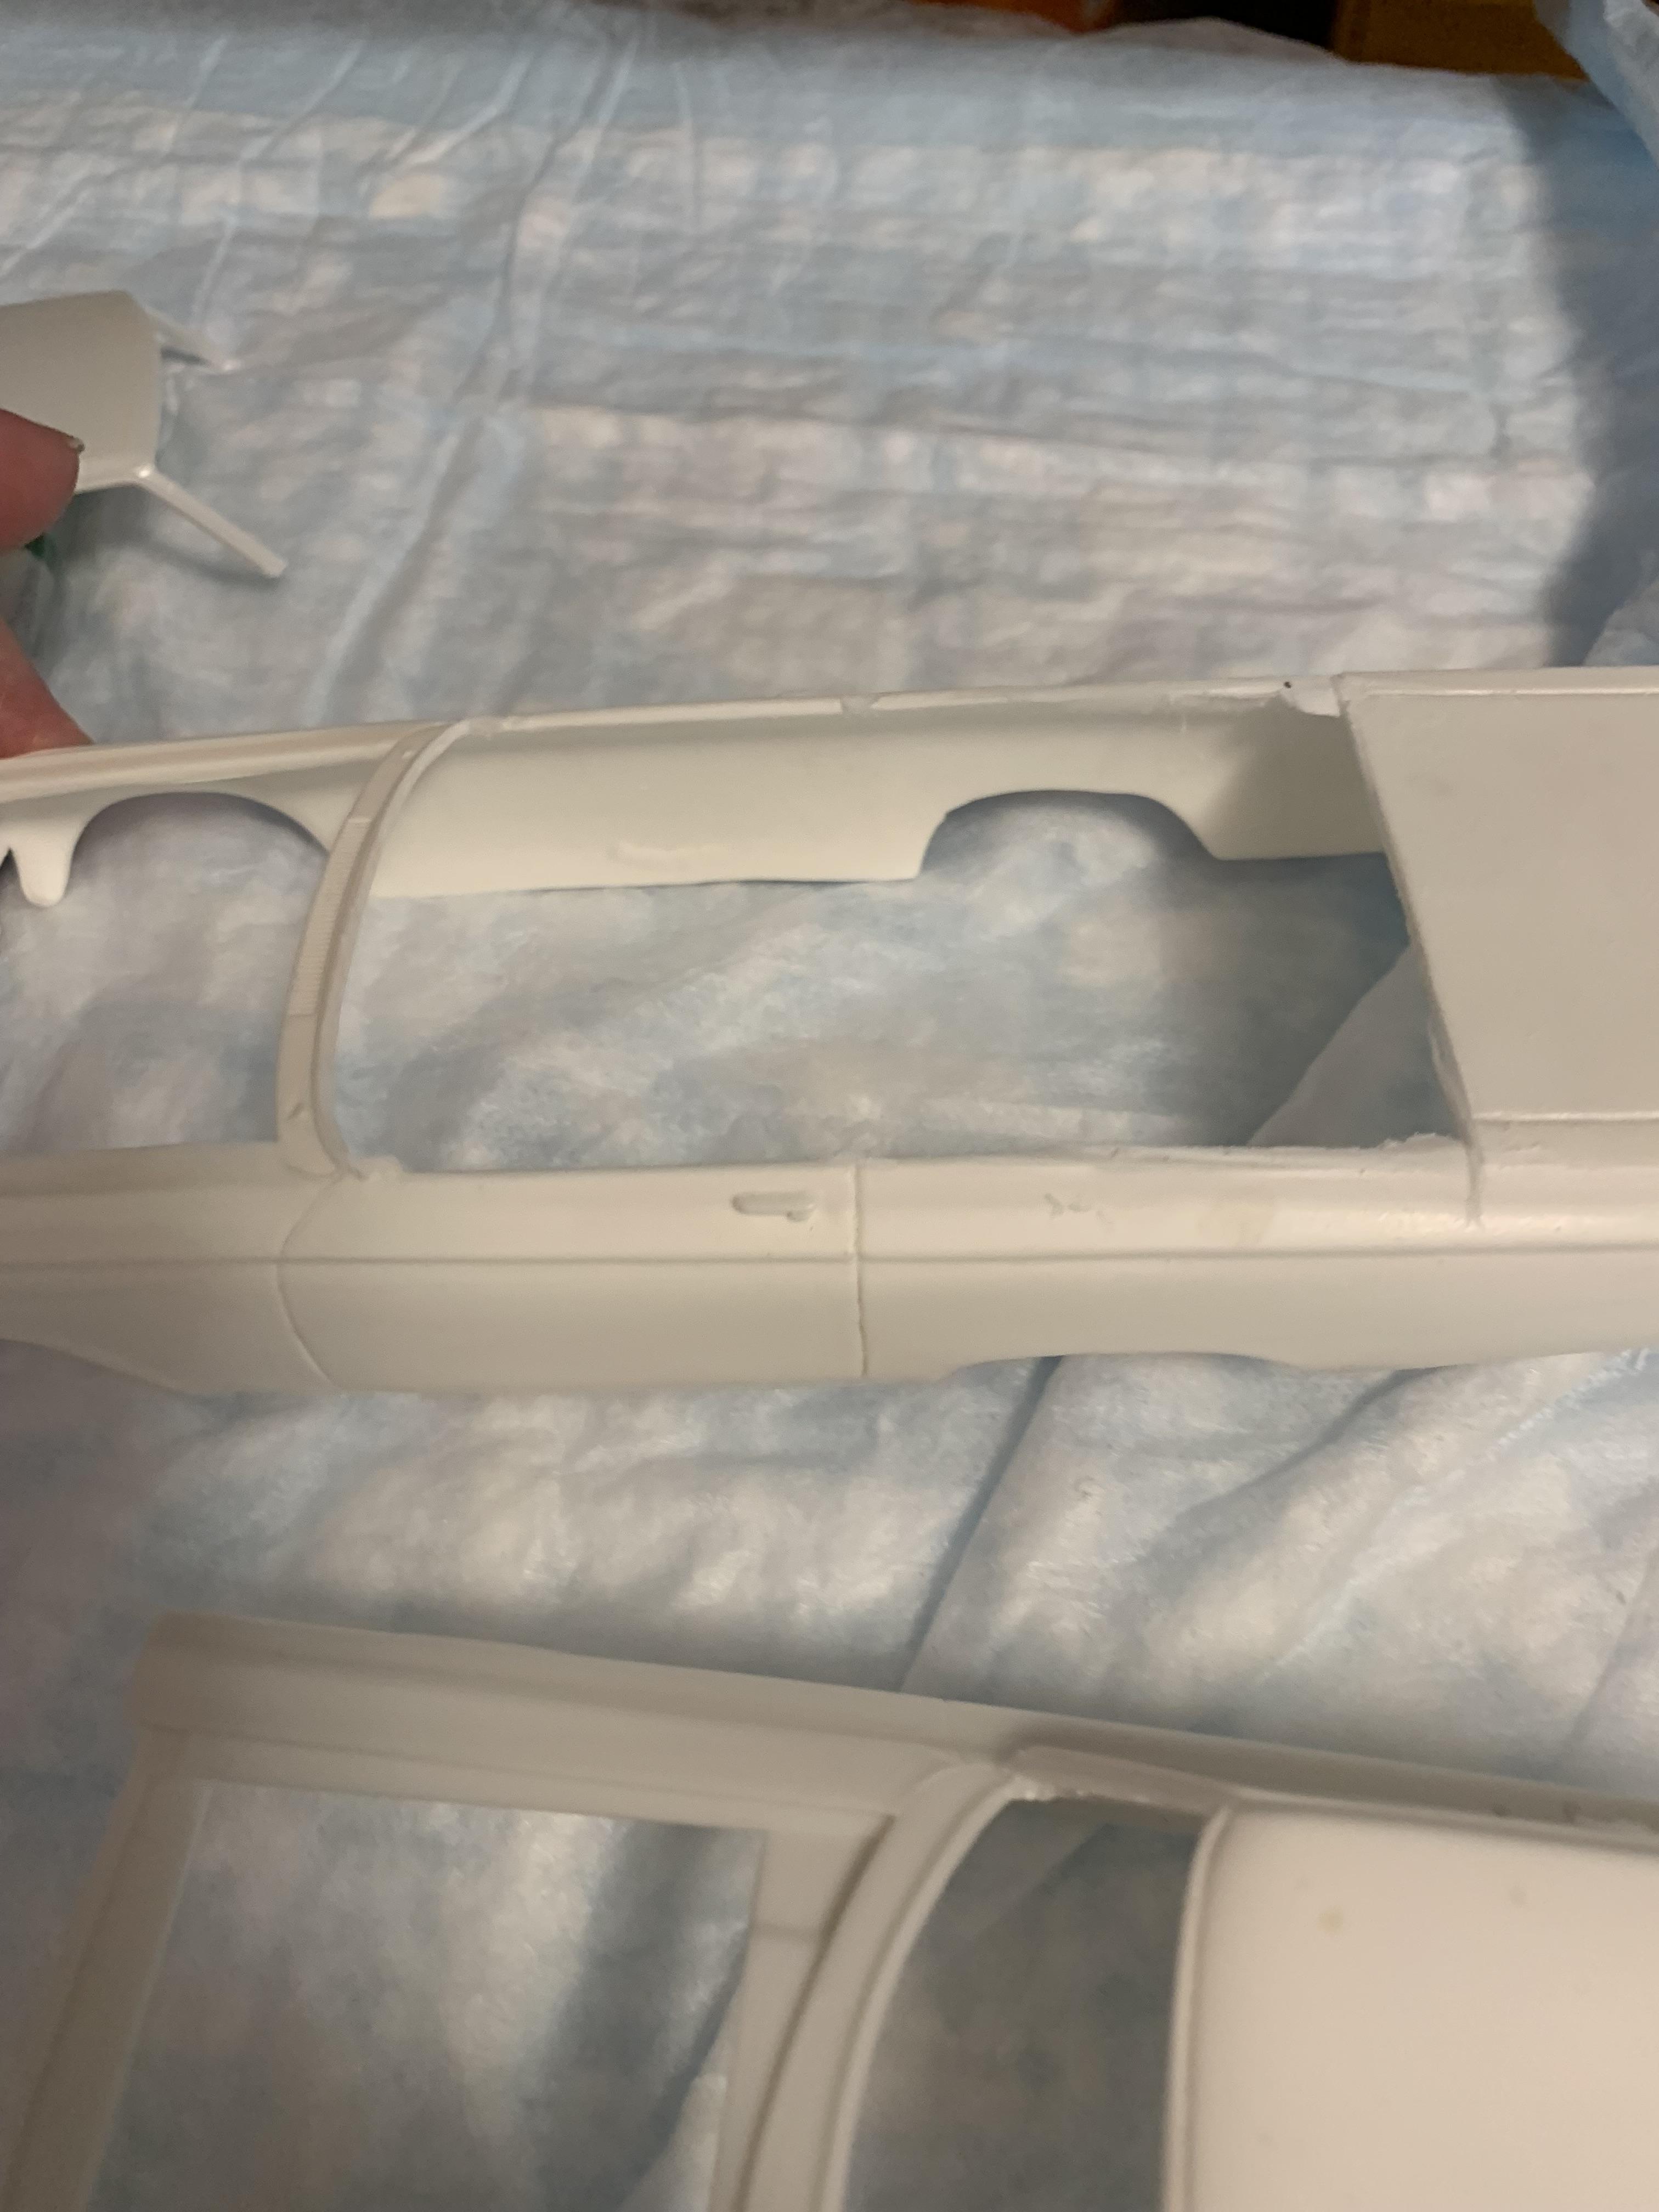
I somehow ended up with 3 Fremont resin sedan bodies a while back and just recently acquired a couple Moebius Dave Strickler kits. I always preferred the looks of the sedan, so, hey, why not chop the hardtop off and graft the sedan top on. I would like to build the Kentucky Colonels car, the Grand Spaulding blown car or the Bill Flynn Yankee Peddler car, but no decals are currently available for these cars, so we will see what happens. It may just be a no name car. Anyway, my humble efforts at the surgery involved are presented here.