R. Thorne
-
Posts
1,276 -
Joined
-
Last visited
Content Type
Profiles
Forums
Events
Gallery
Everything posted by R. Thorne
-
Options for THIS car. Golden Commandos 1964 Plymouth
R. Thorne replied to gtx6970's topic in WIP: Drag Racing Models
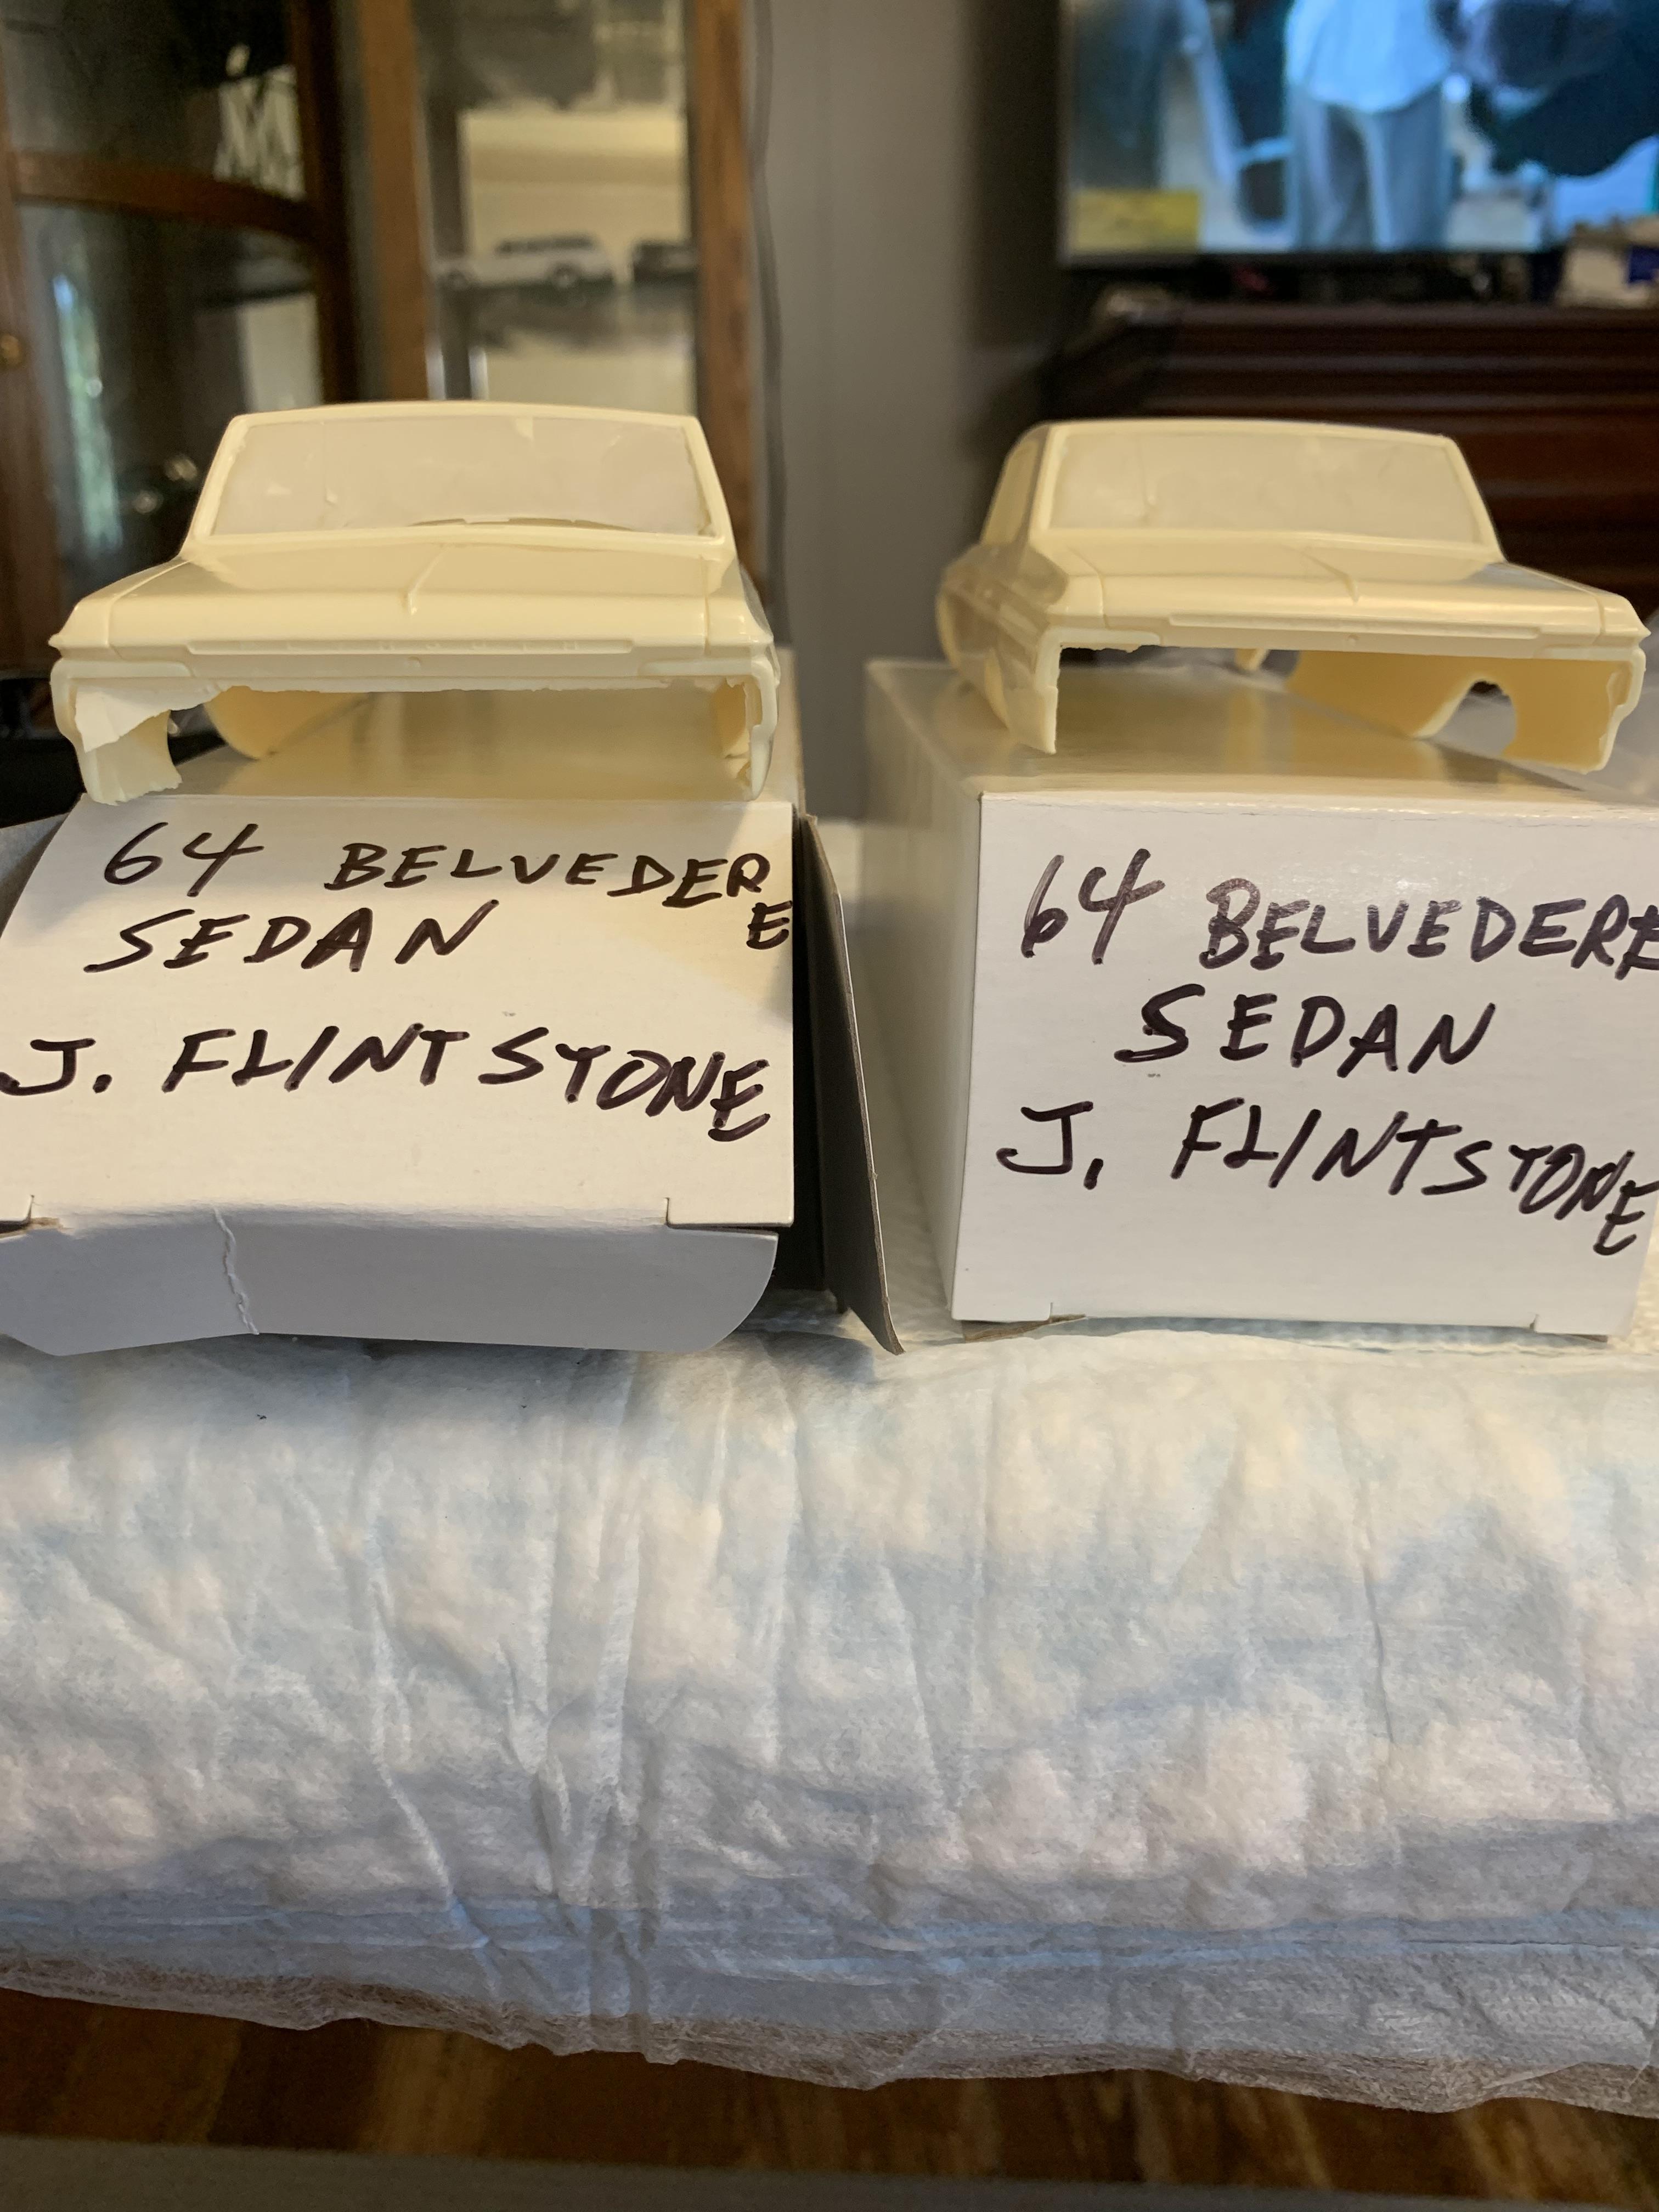
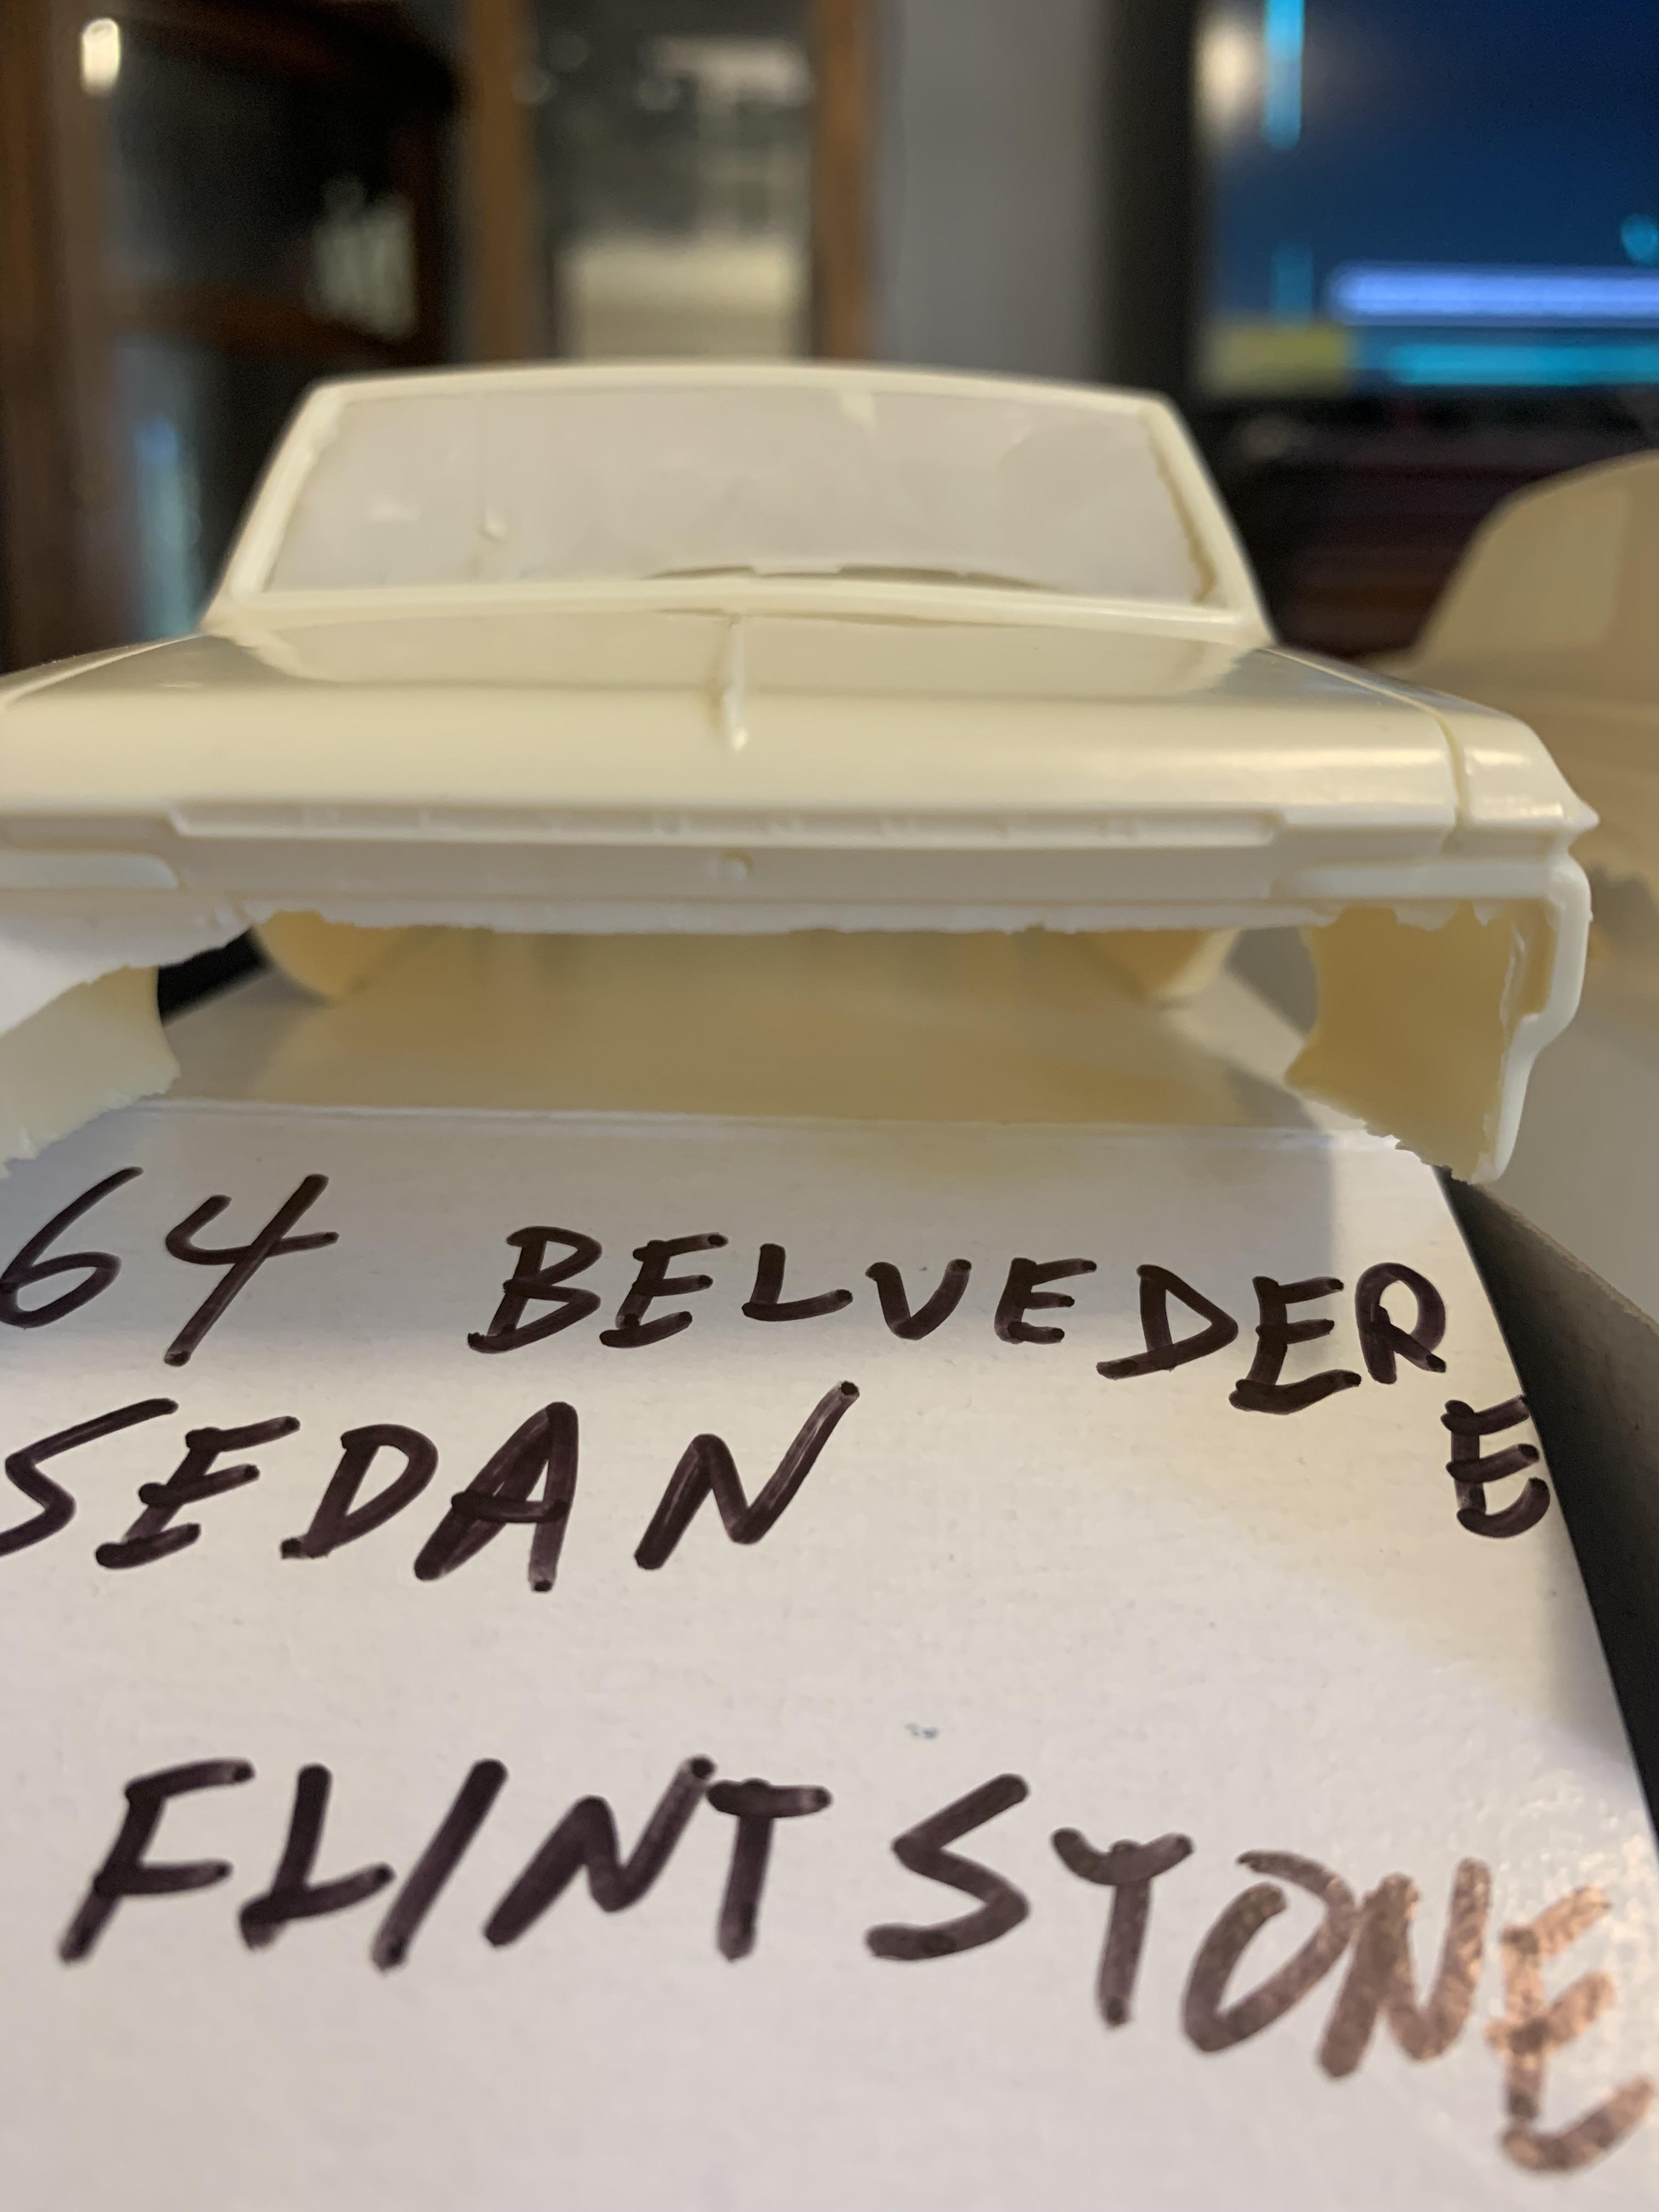
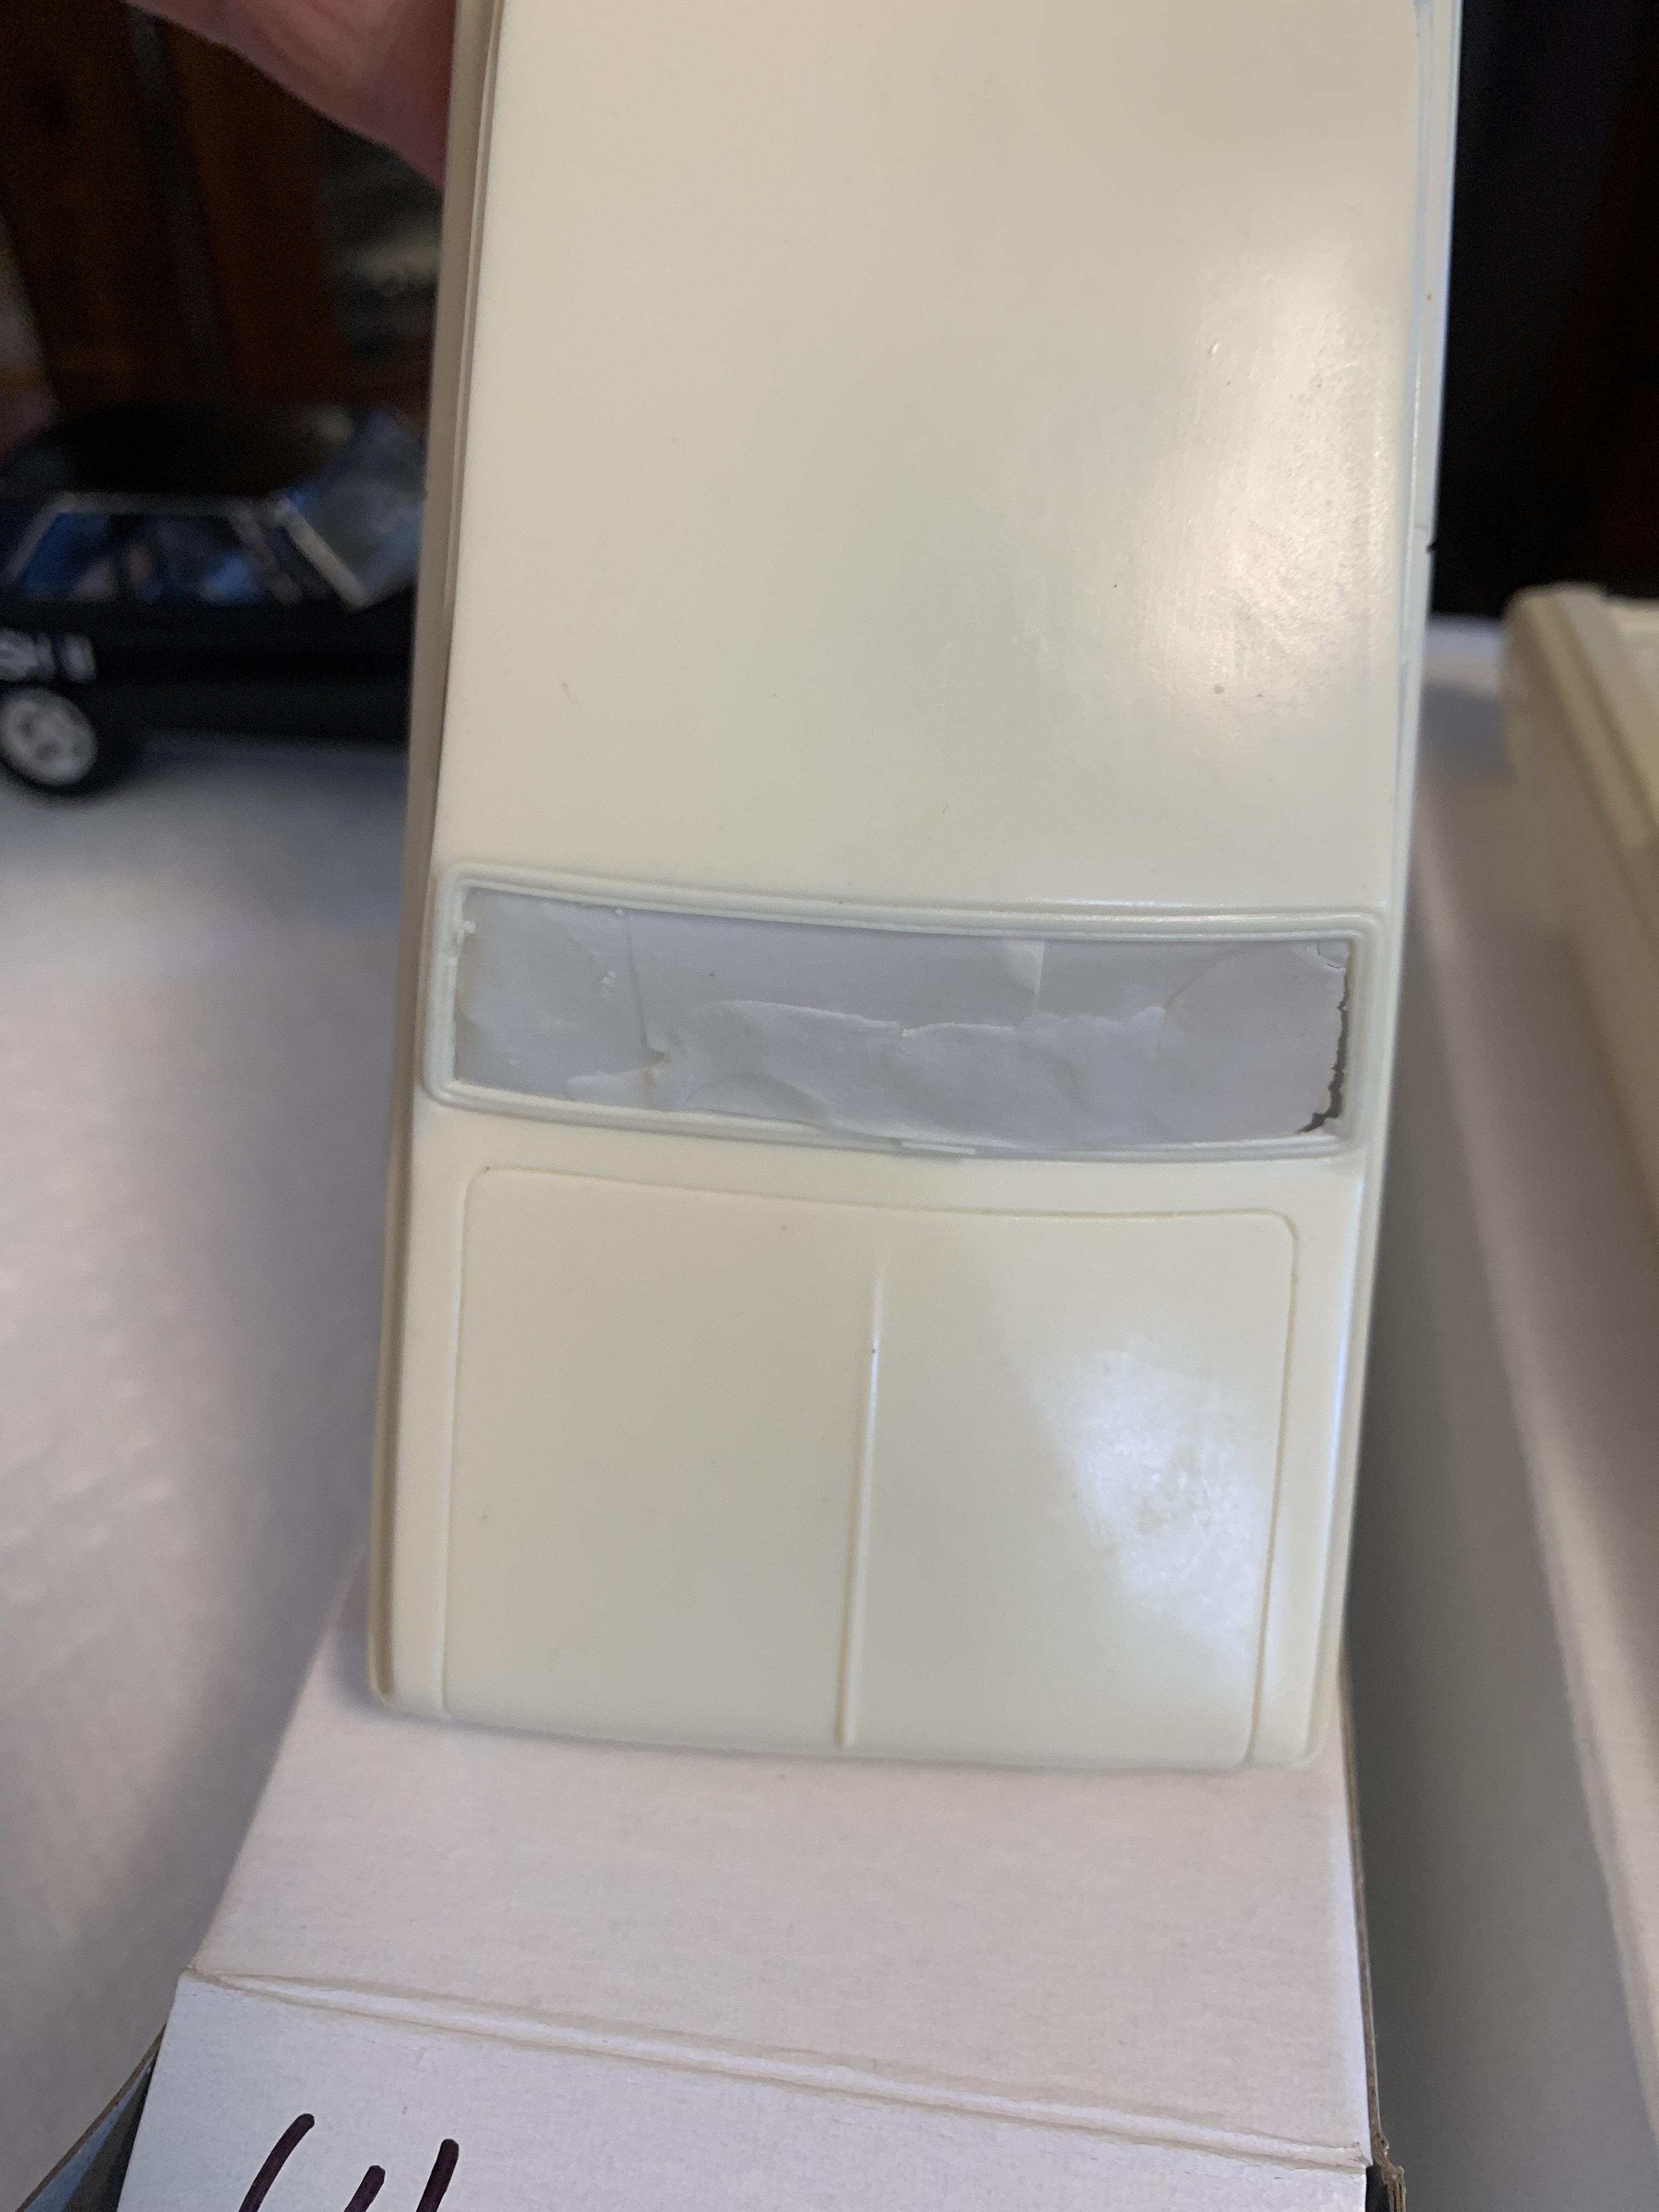
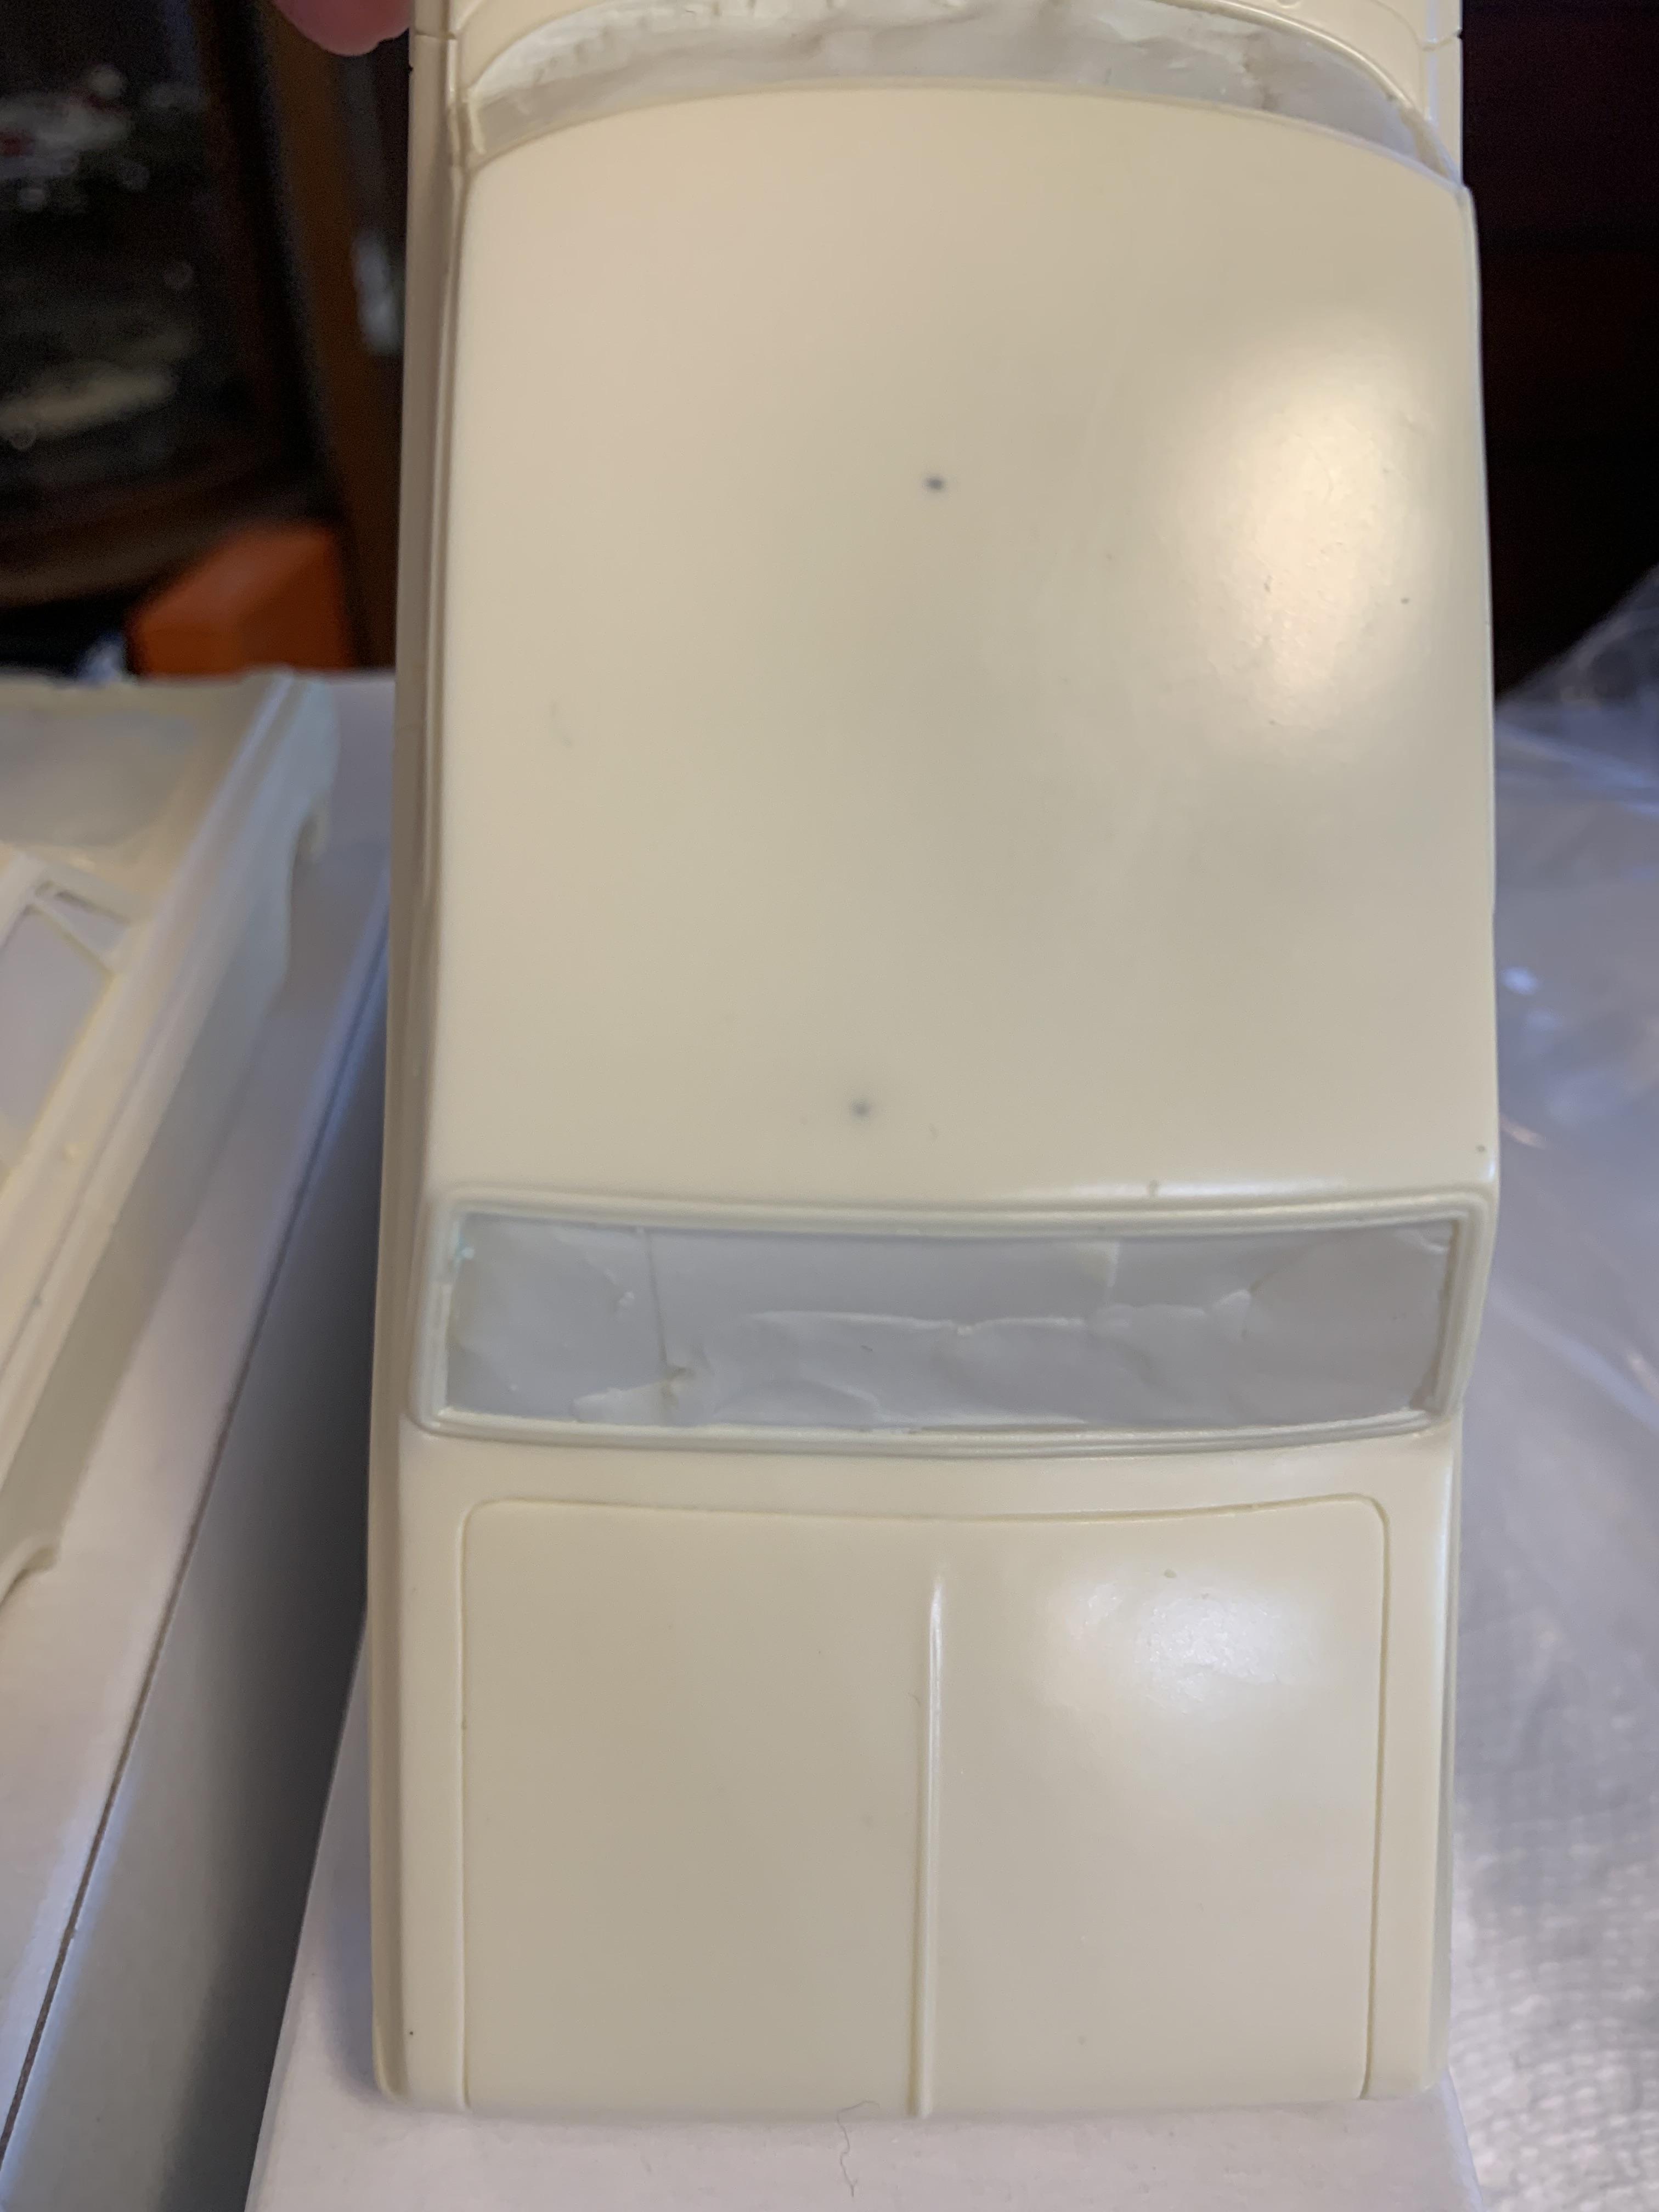
I am confused. The bodies I purchased on eBay a year ago were advertised as Jimmy Flintstone bodies. As you can see, they appear to look like the smh resin bodies. These were purchased from an individual, not Jimmy Flintstone directly. Perhaps they were packaged wrong. My point is: are you sure about the origins of your bodies?
-
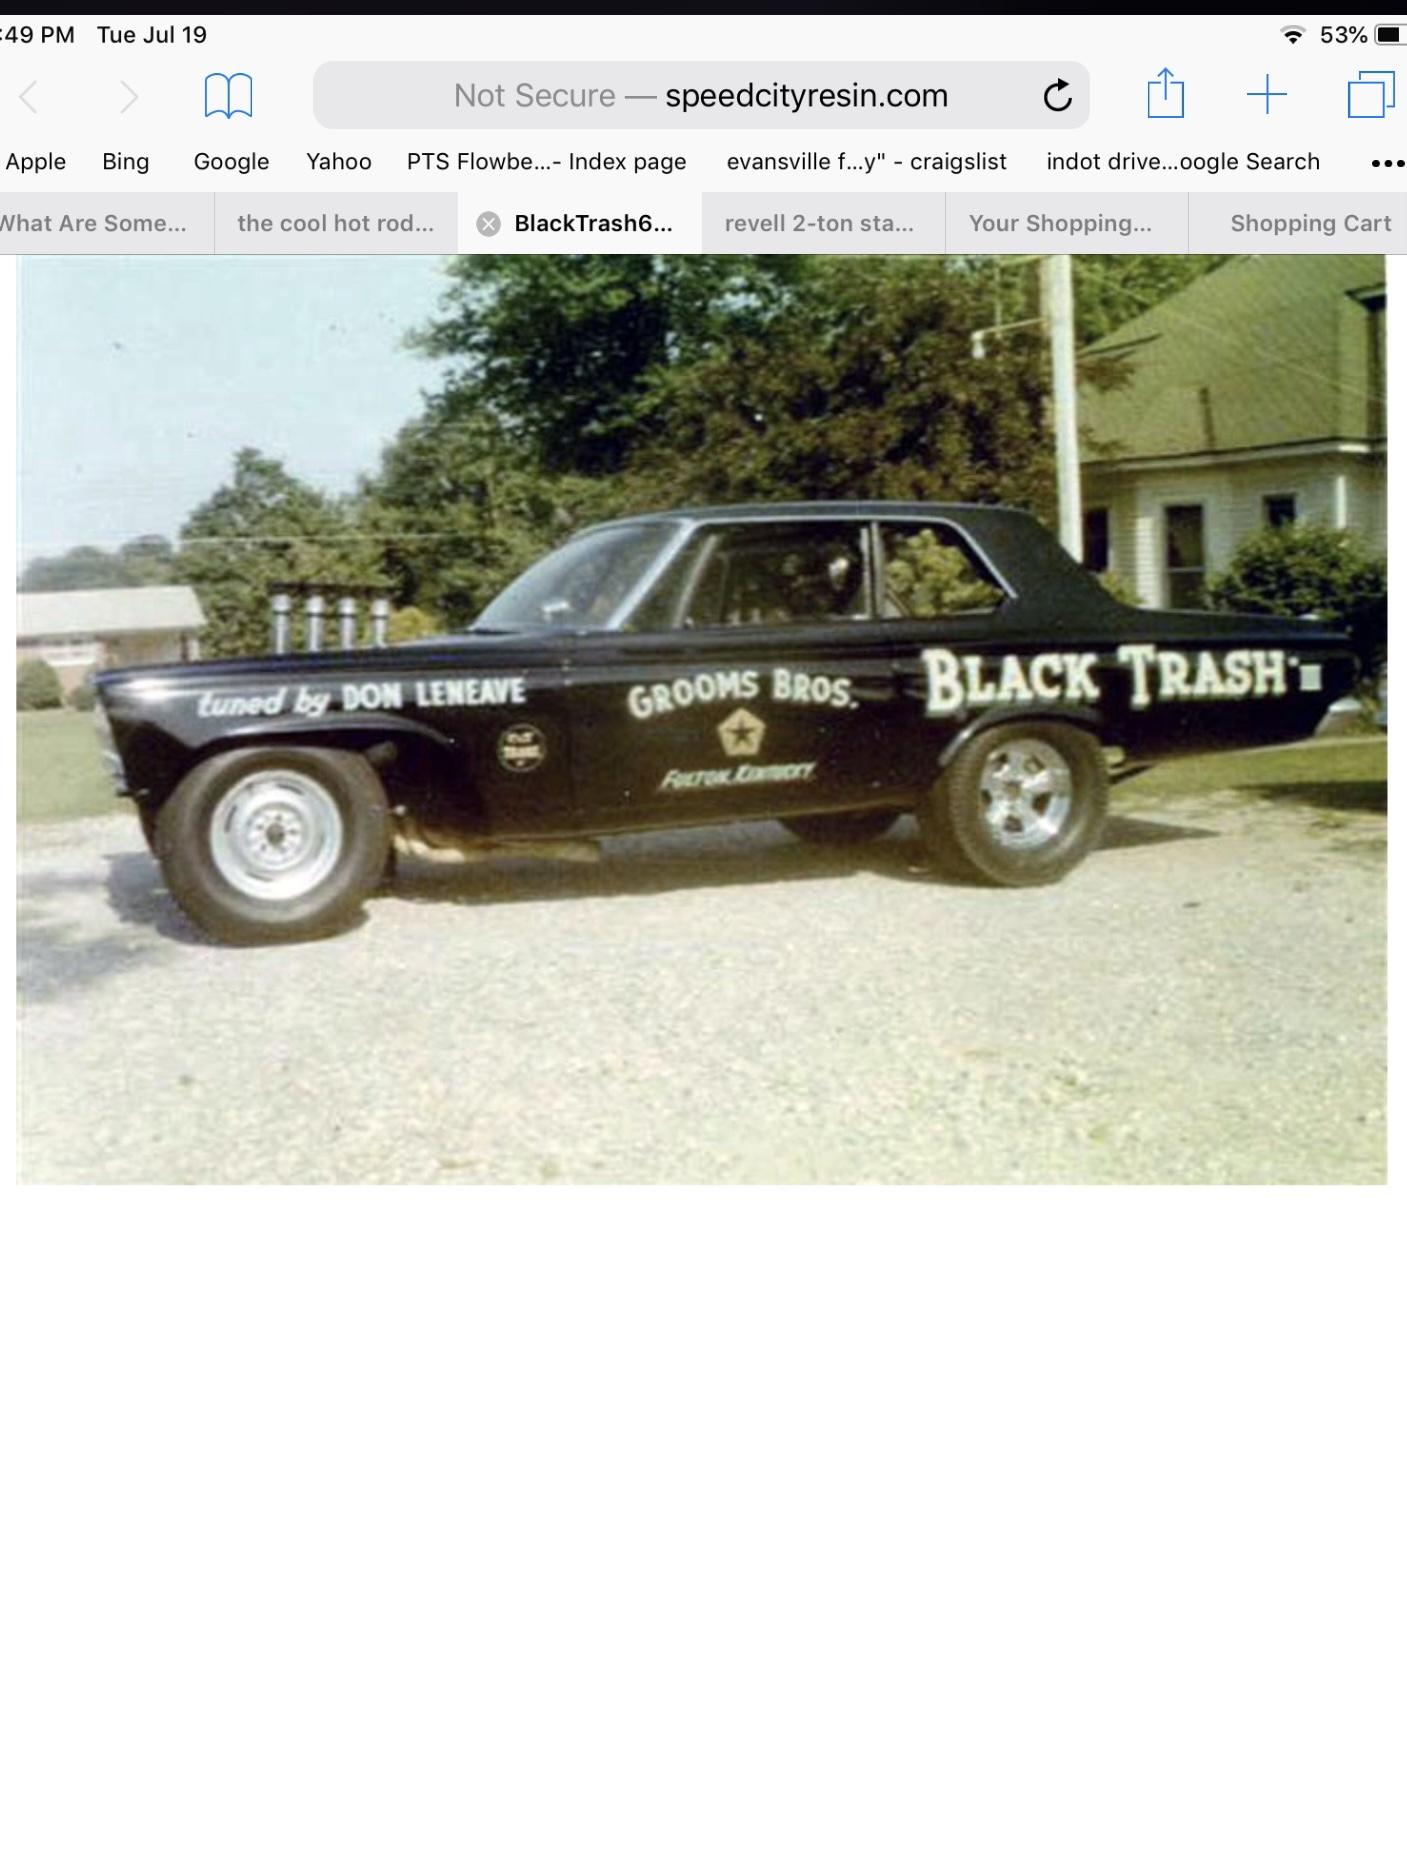
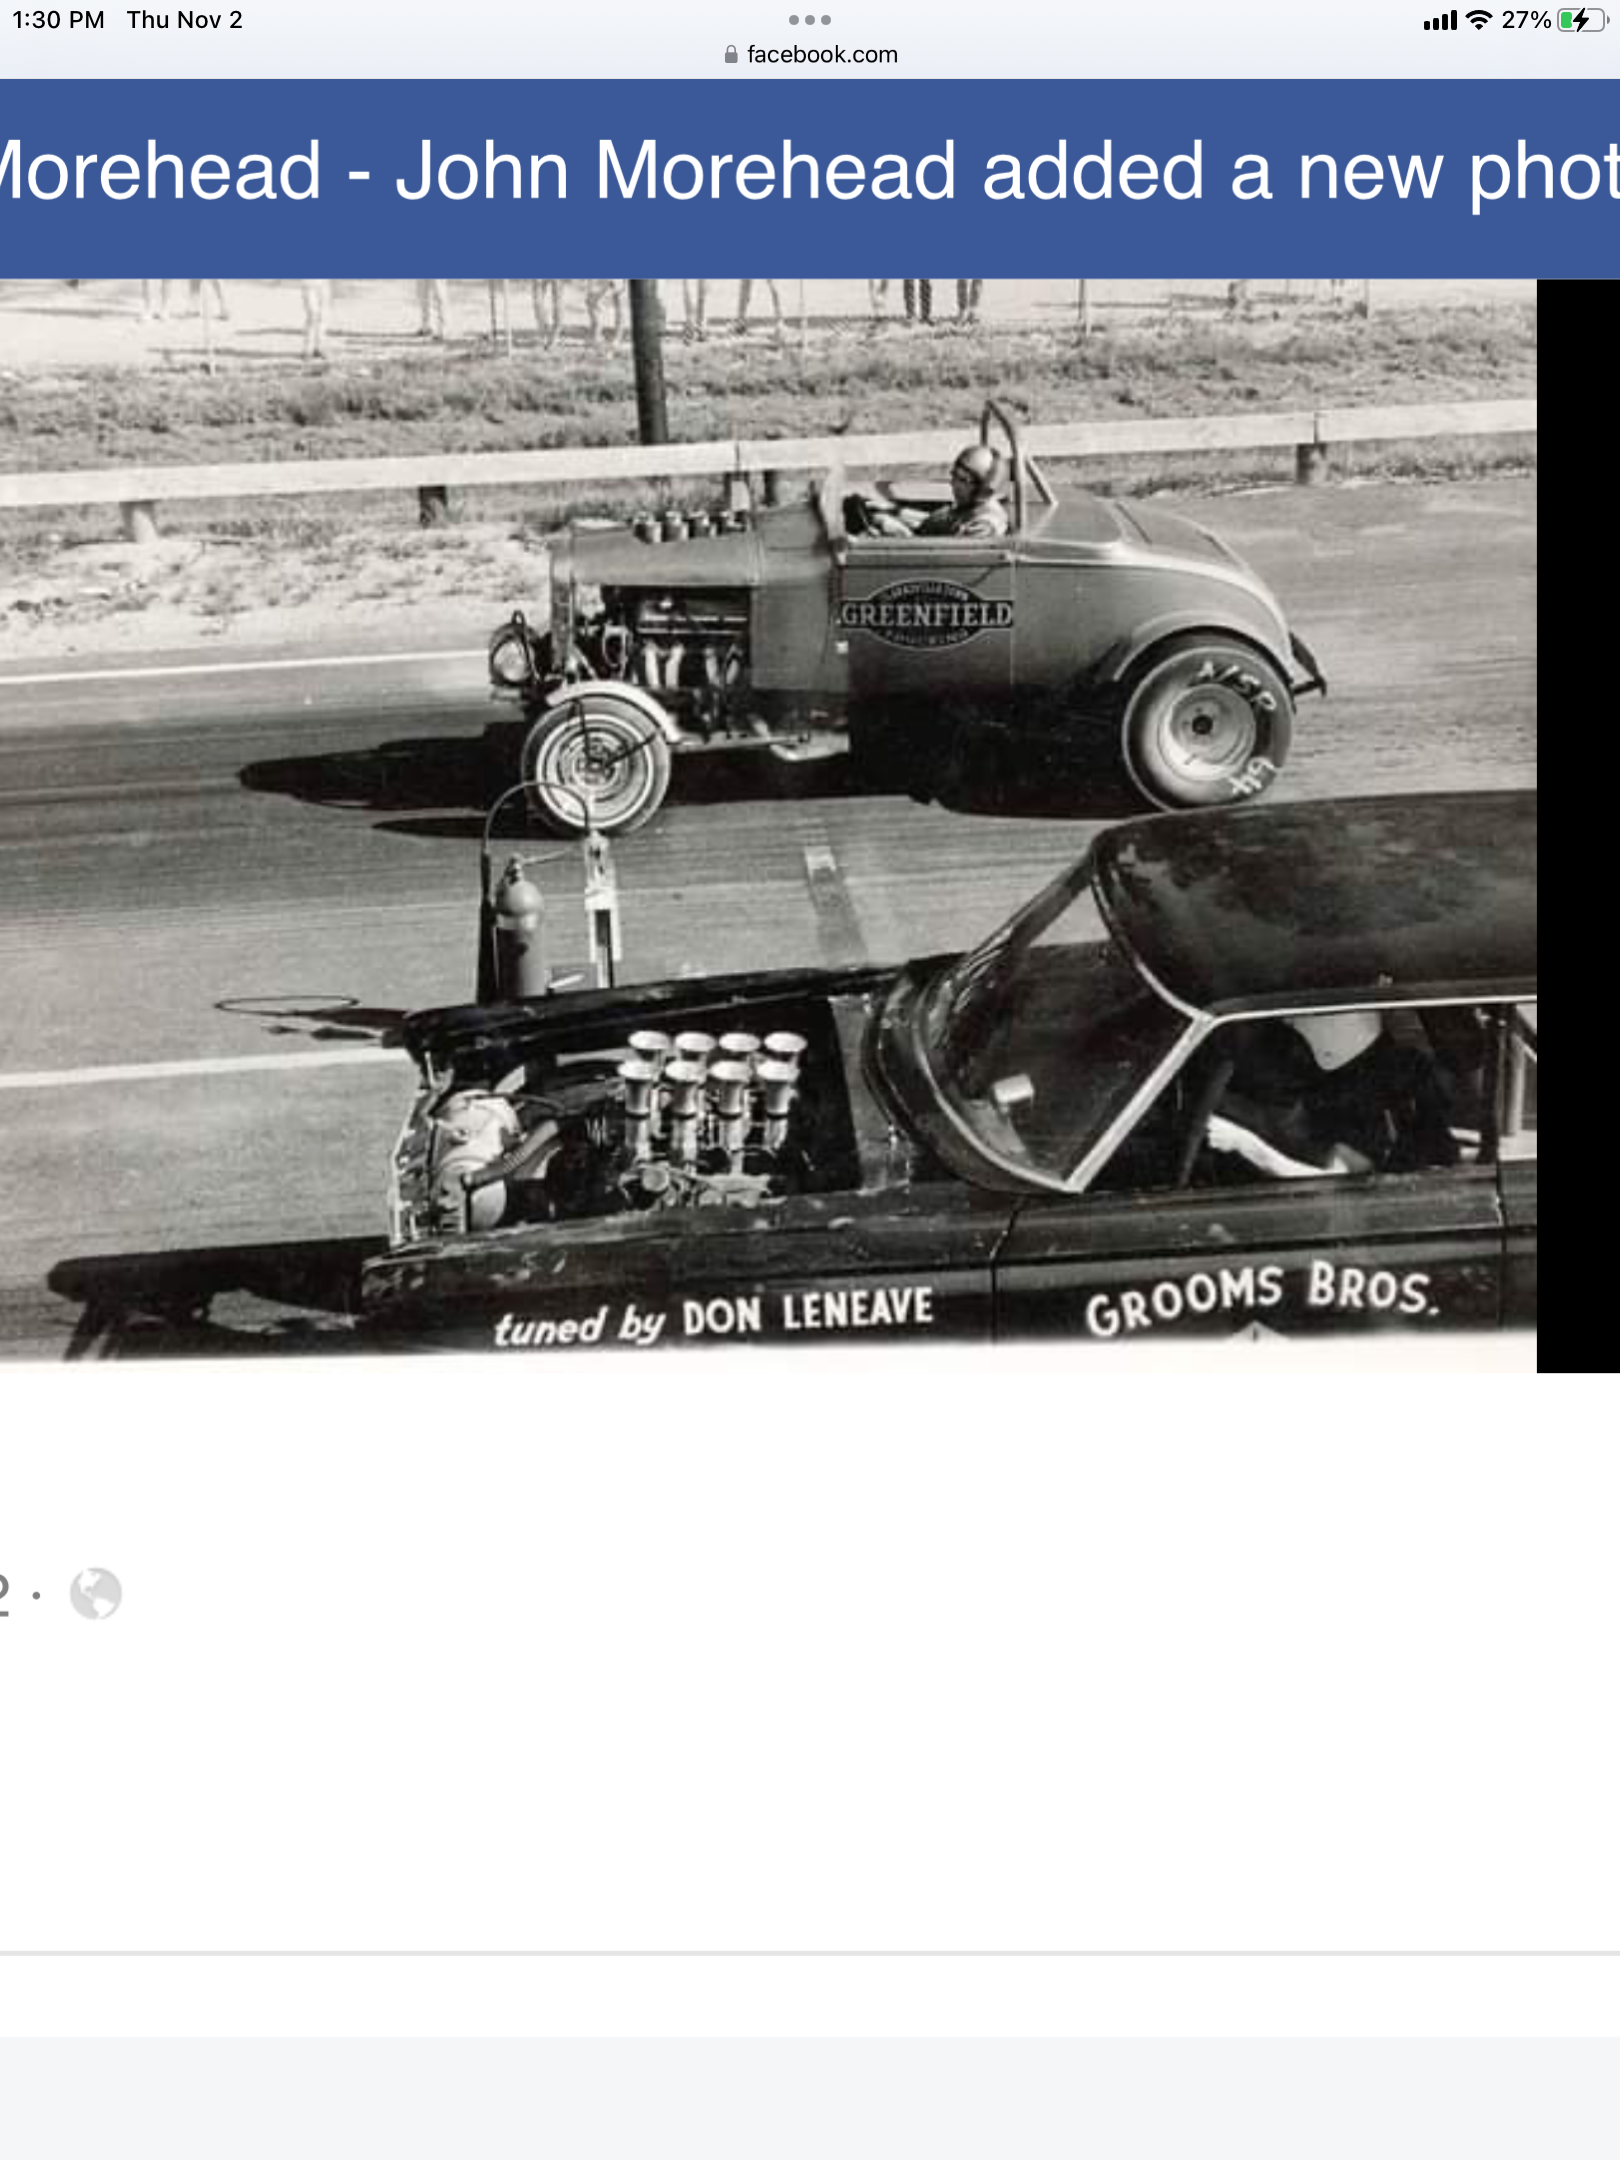
Grooms Bros. 1965 Plymouth Sedan awb Black Trash II
R. Thorne replied to R. Thorne's topic in WIP: Drag Racing Models
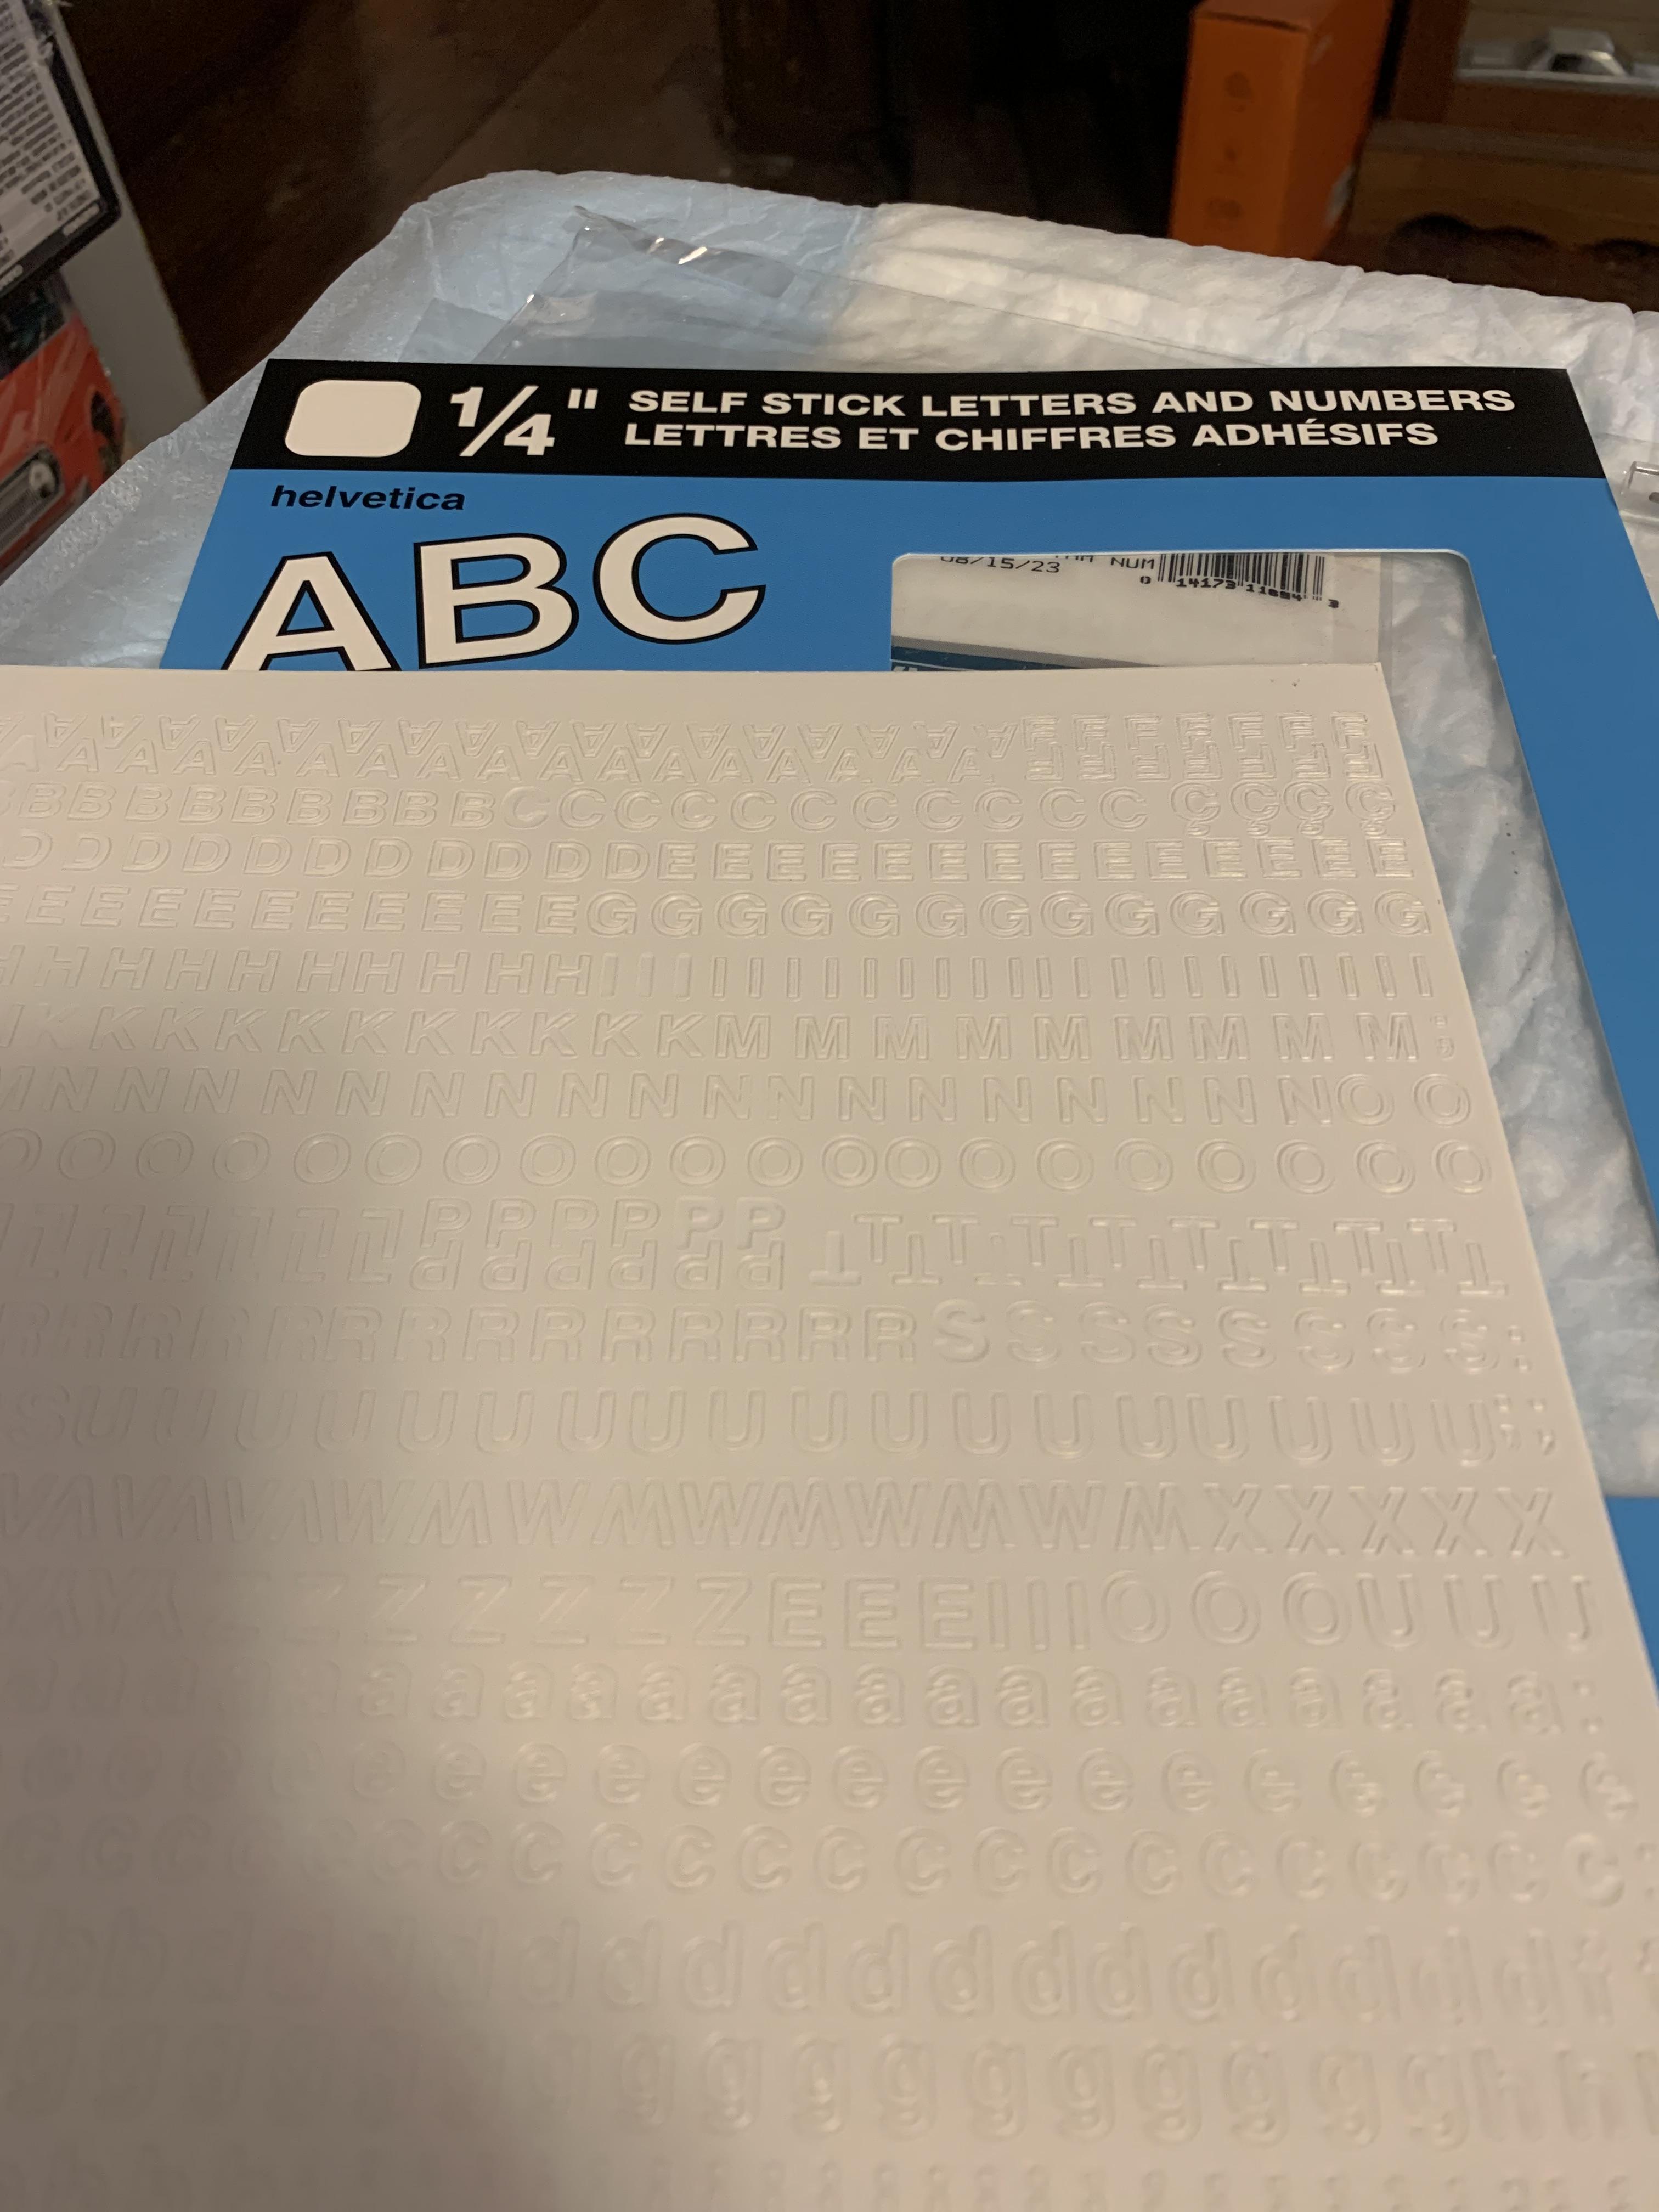
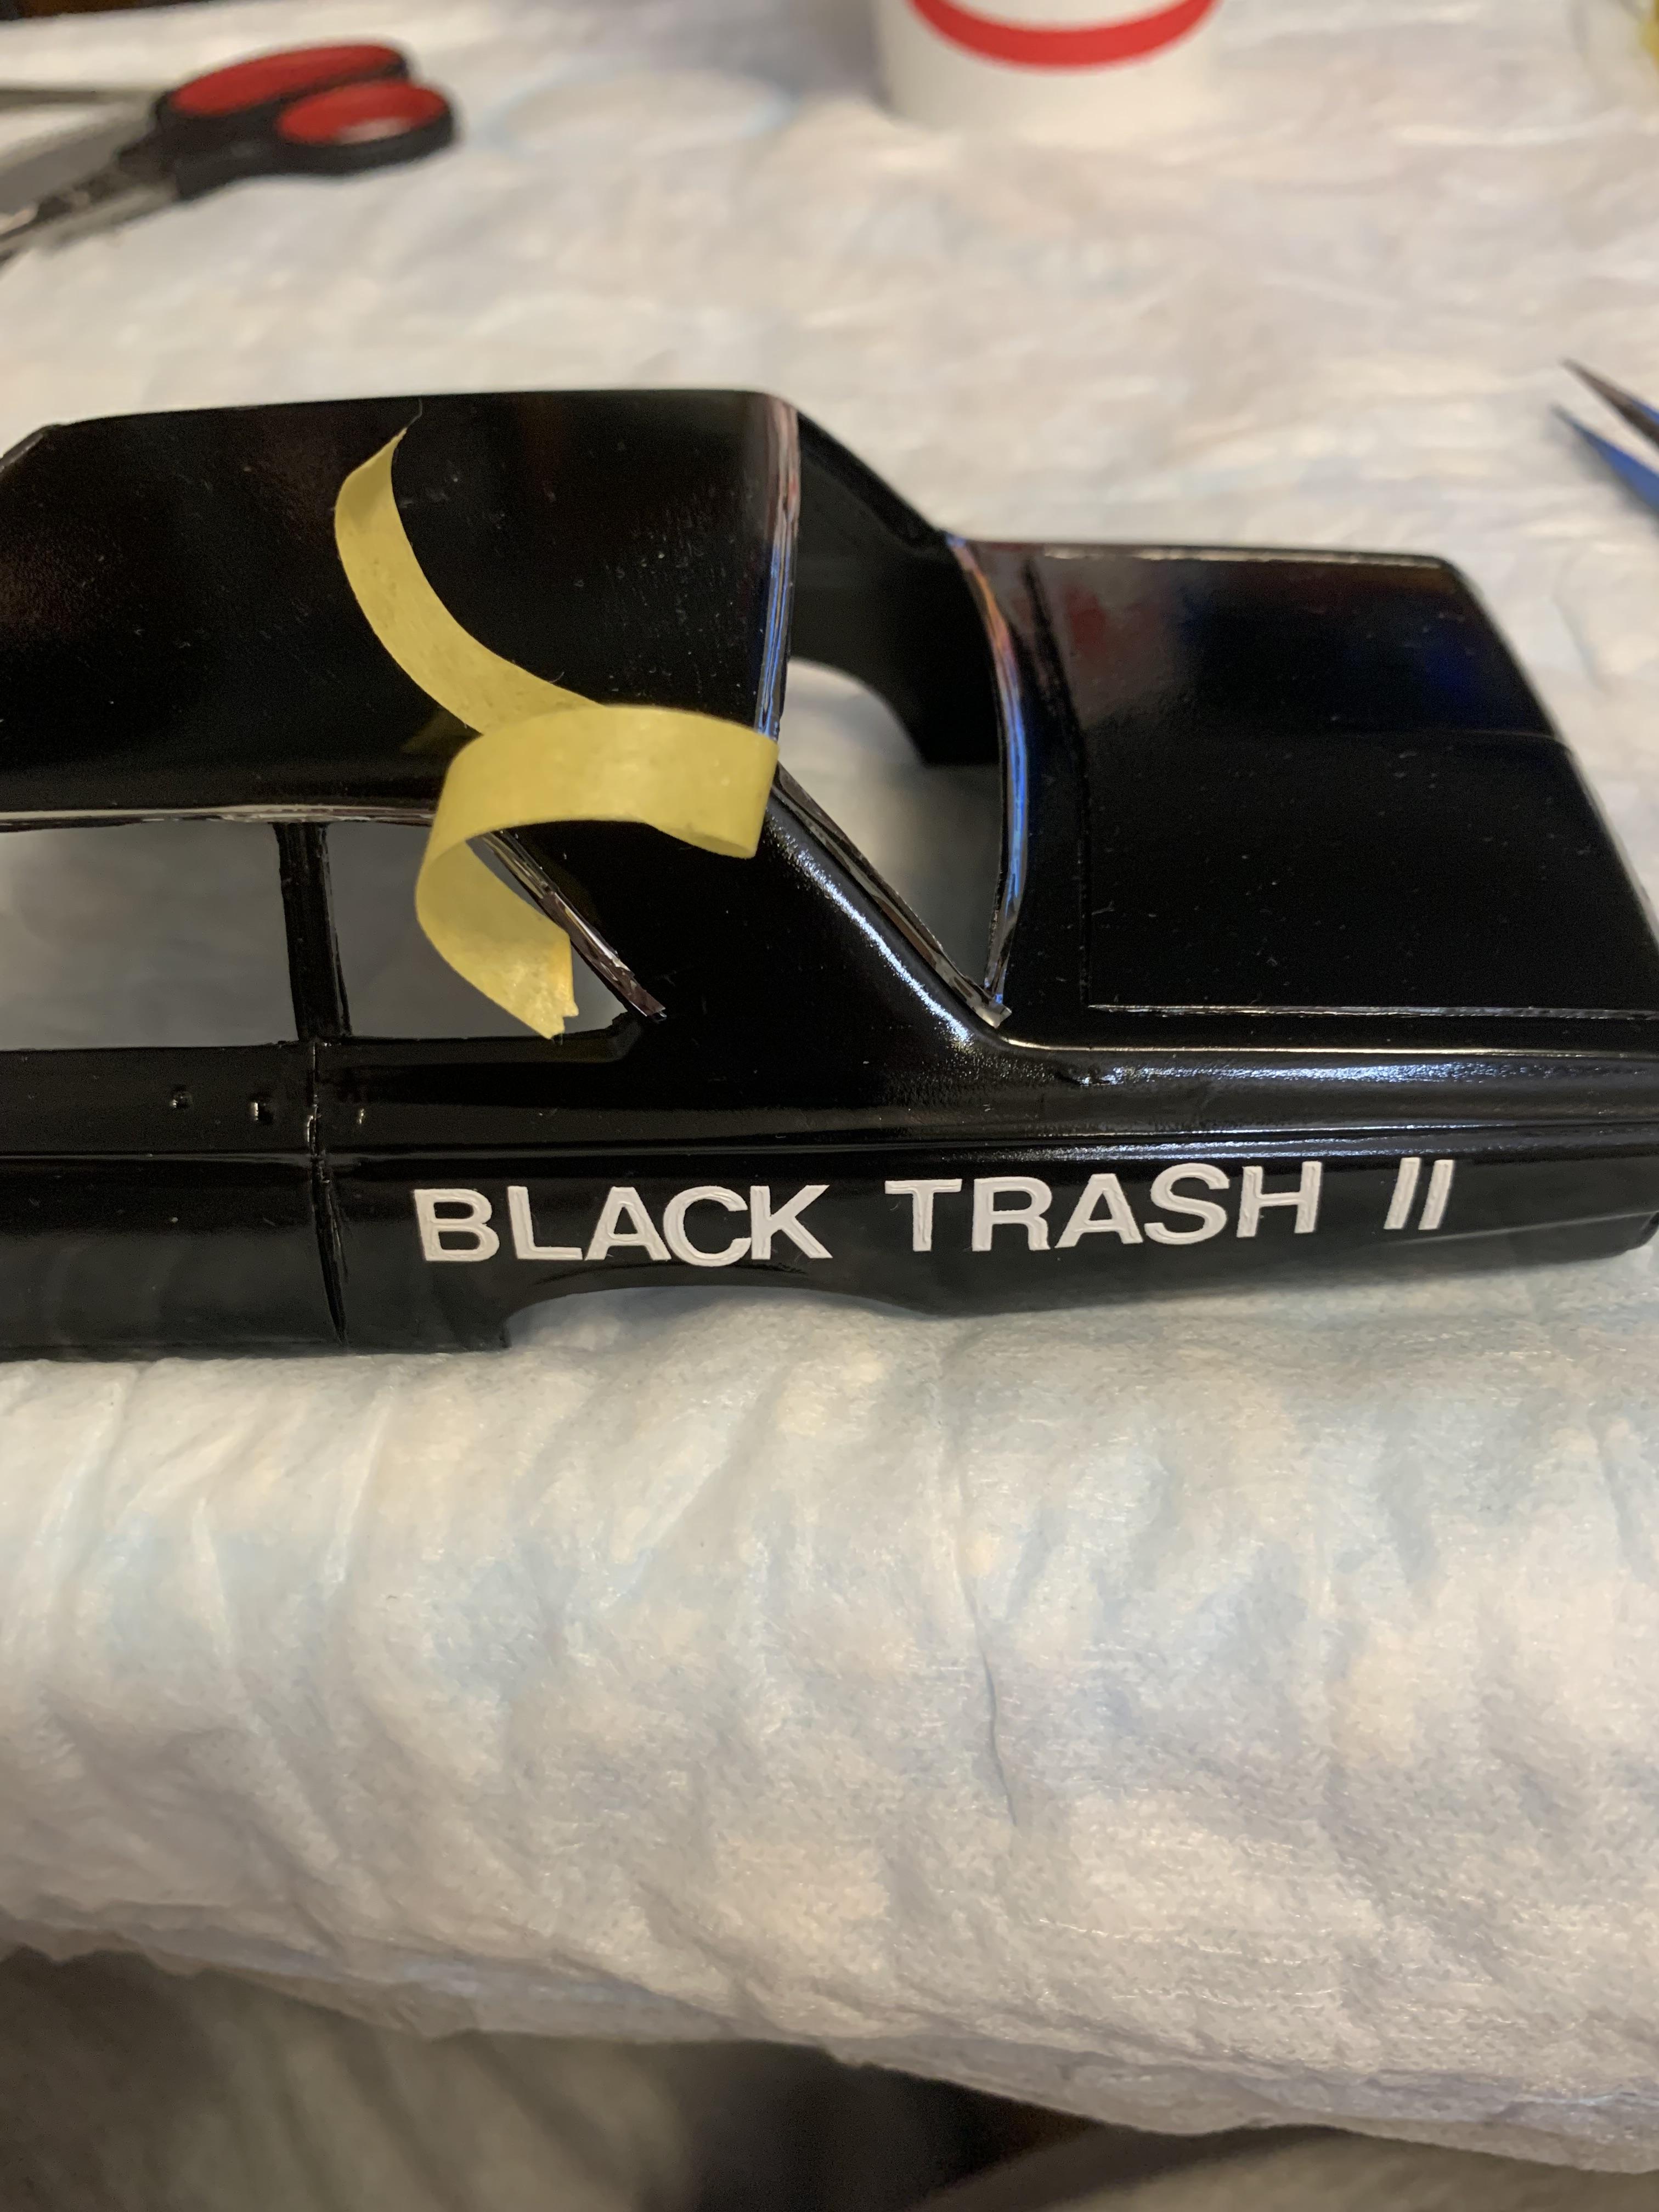
Thanks for your input, guys. Finally got some free time to get some vinyl letters on.
-
Grooms Bros. 1965 Plymouth Sedan awb Black Trash II
R. Thorne replied to R. Thorne's topic in WIP: Drag Racing Models
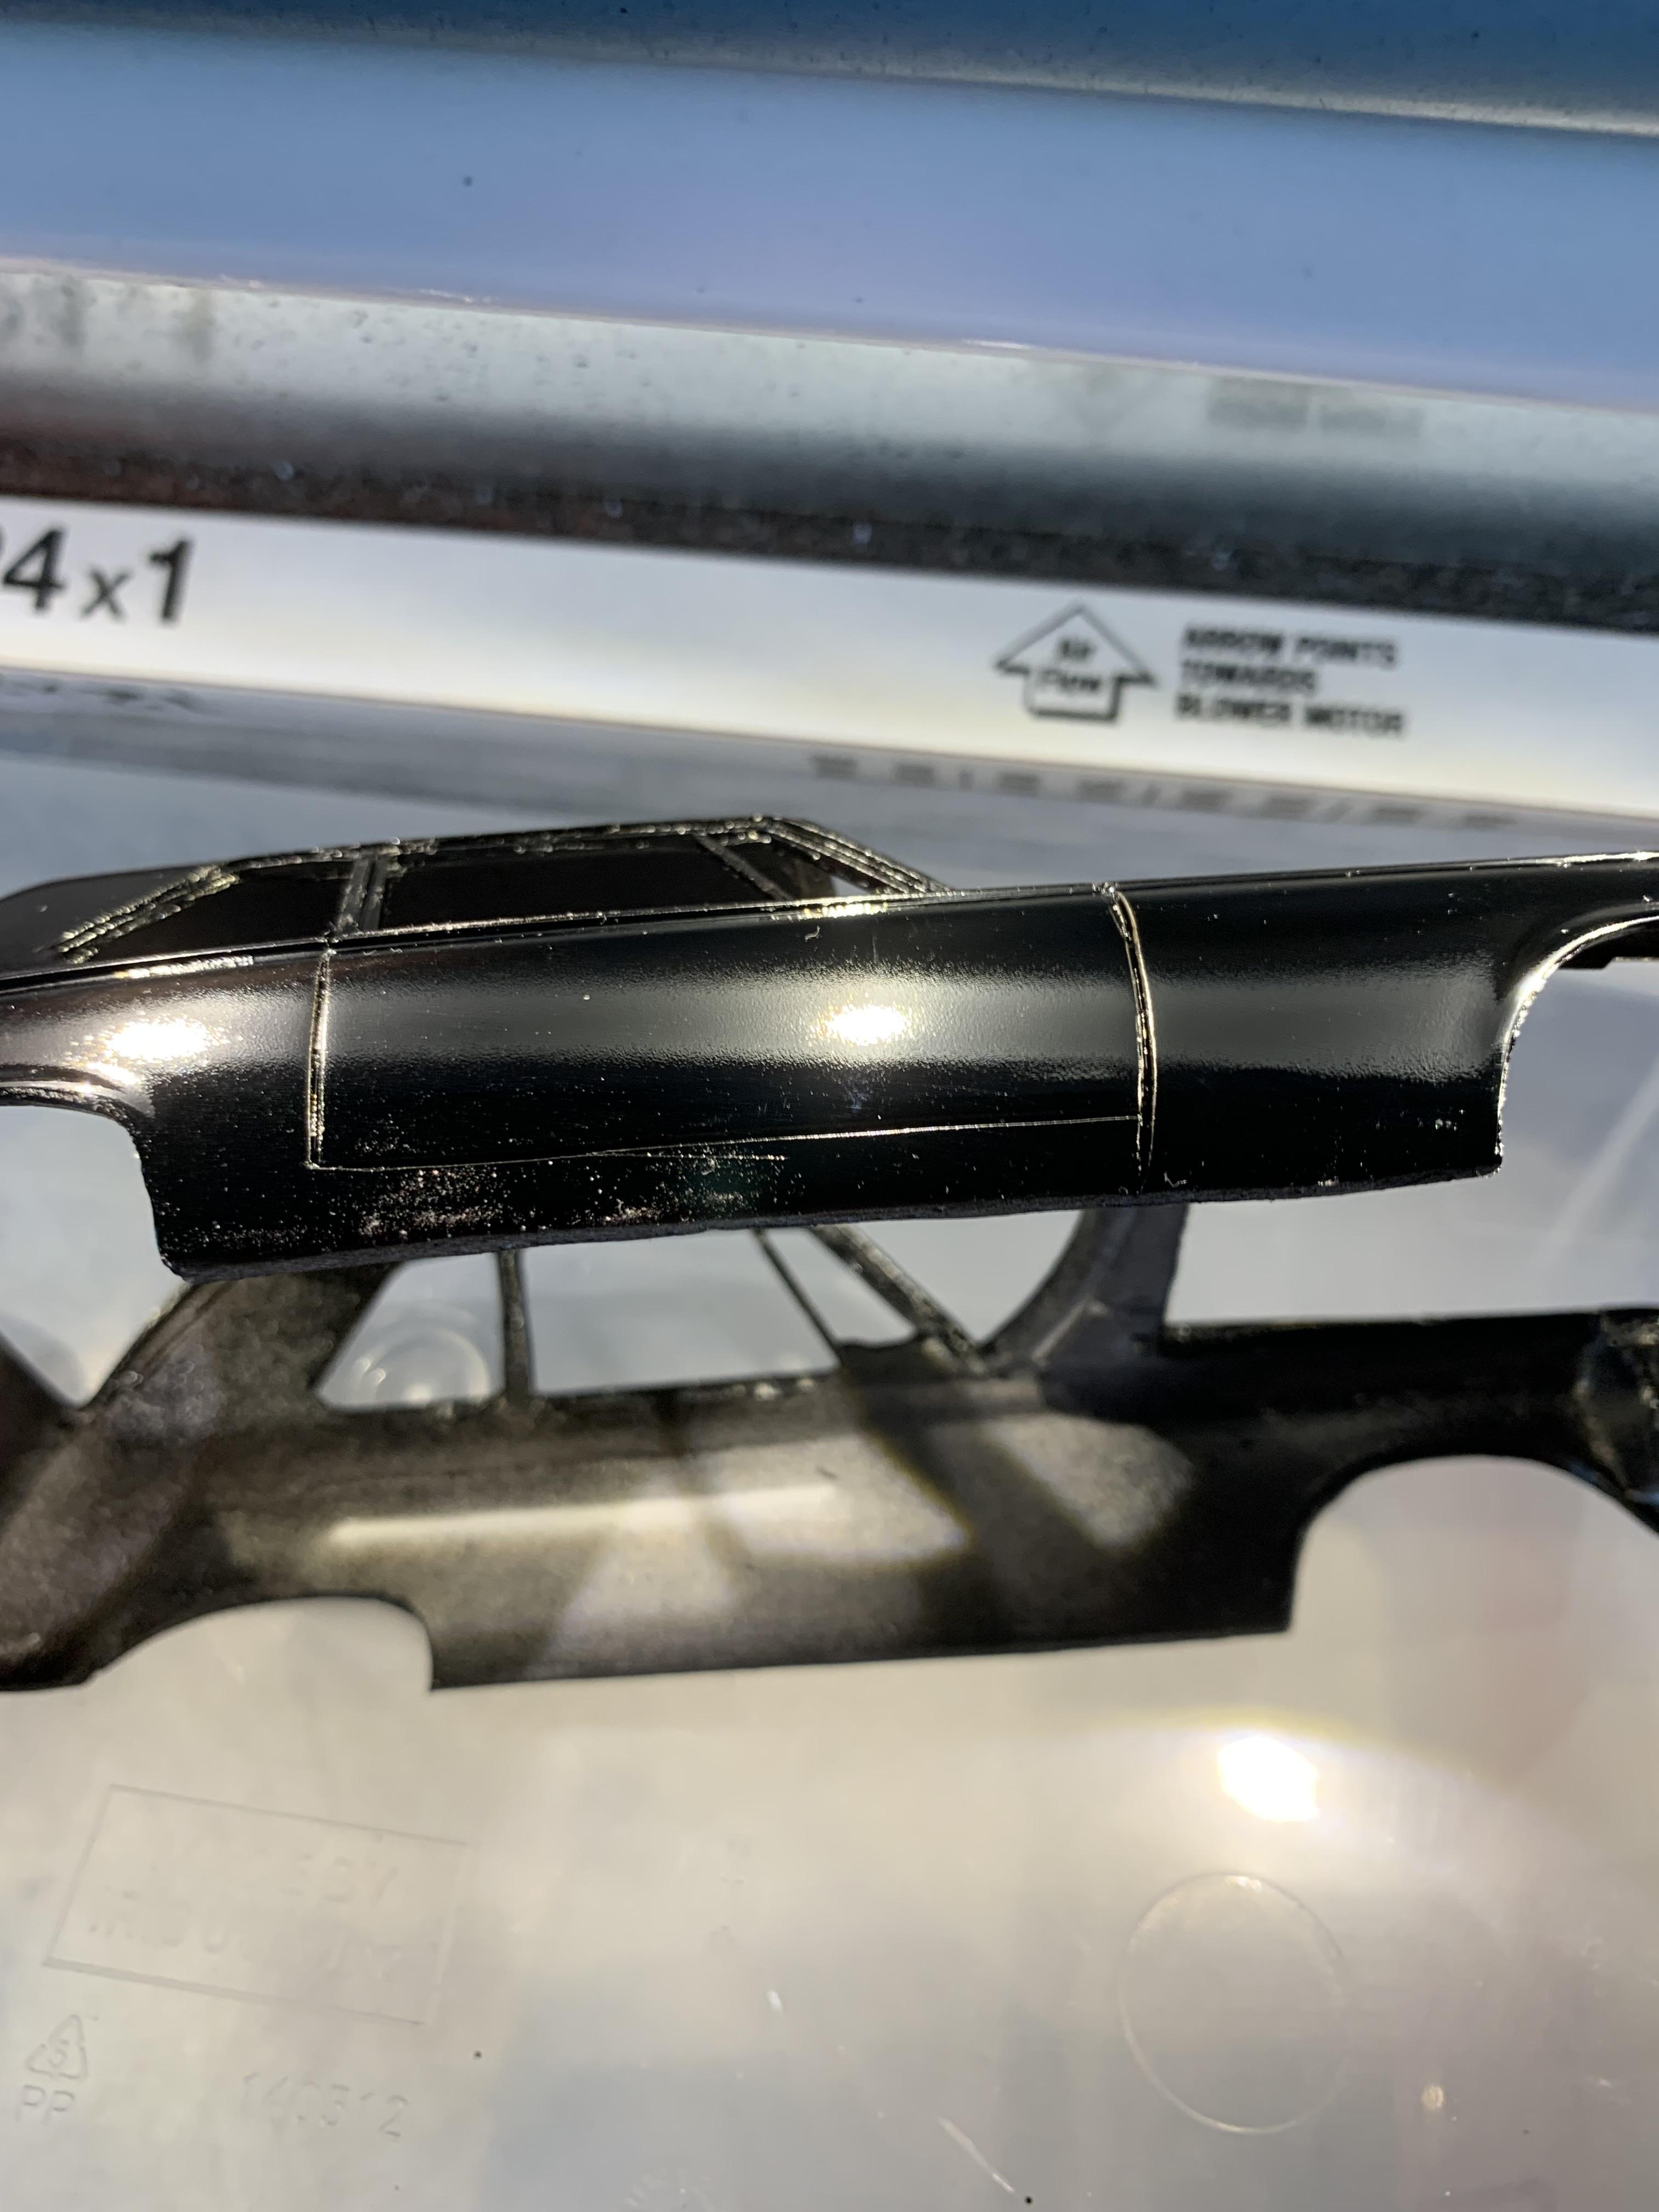
One hour of foiling and that part is over.
-
Grooms Bros. 1965 Plymouth Sedan awb Black Trash II
R. Thorne replied to R. Thorne's topic in WIP: Drag Racing Models
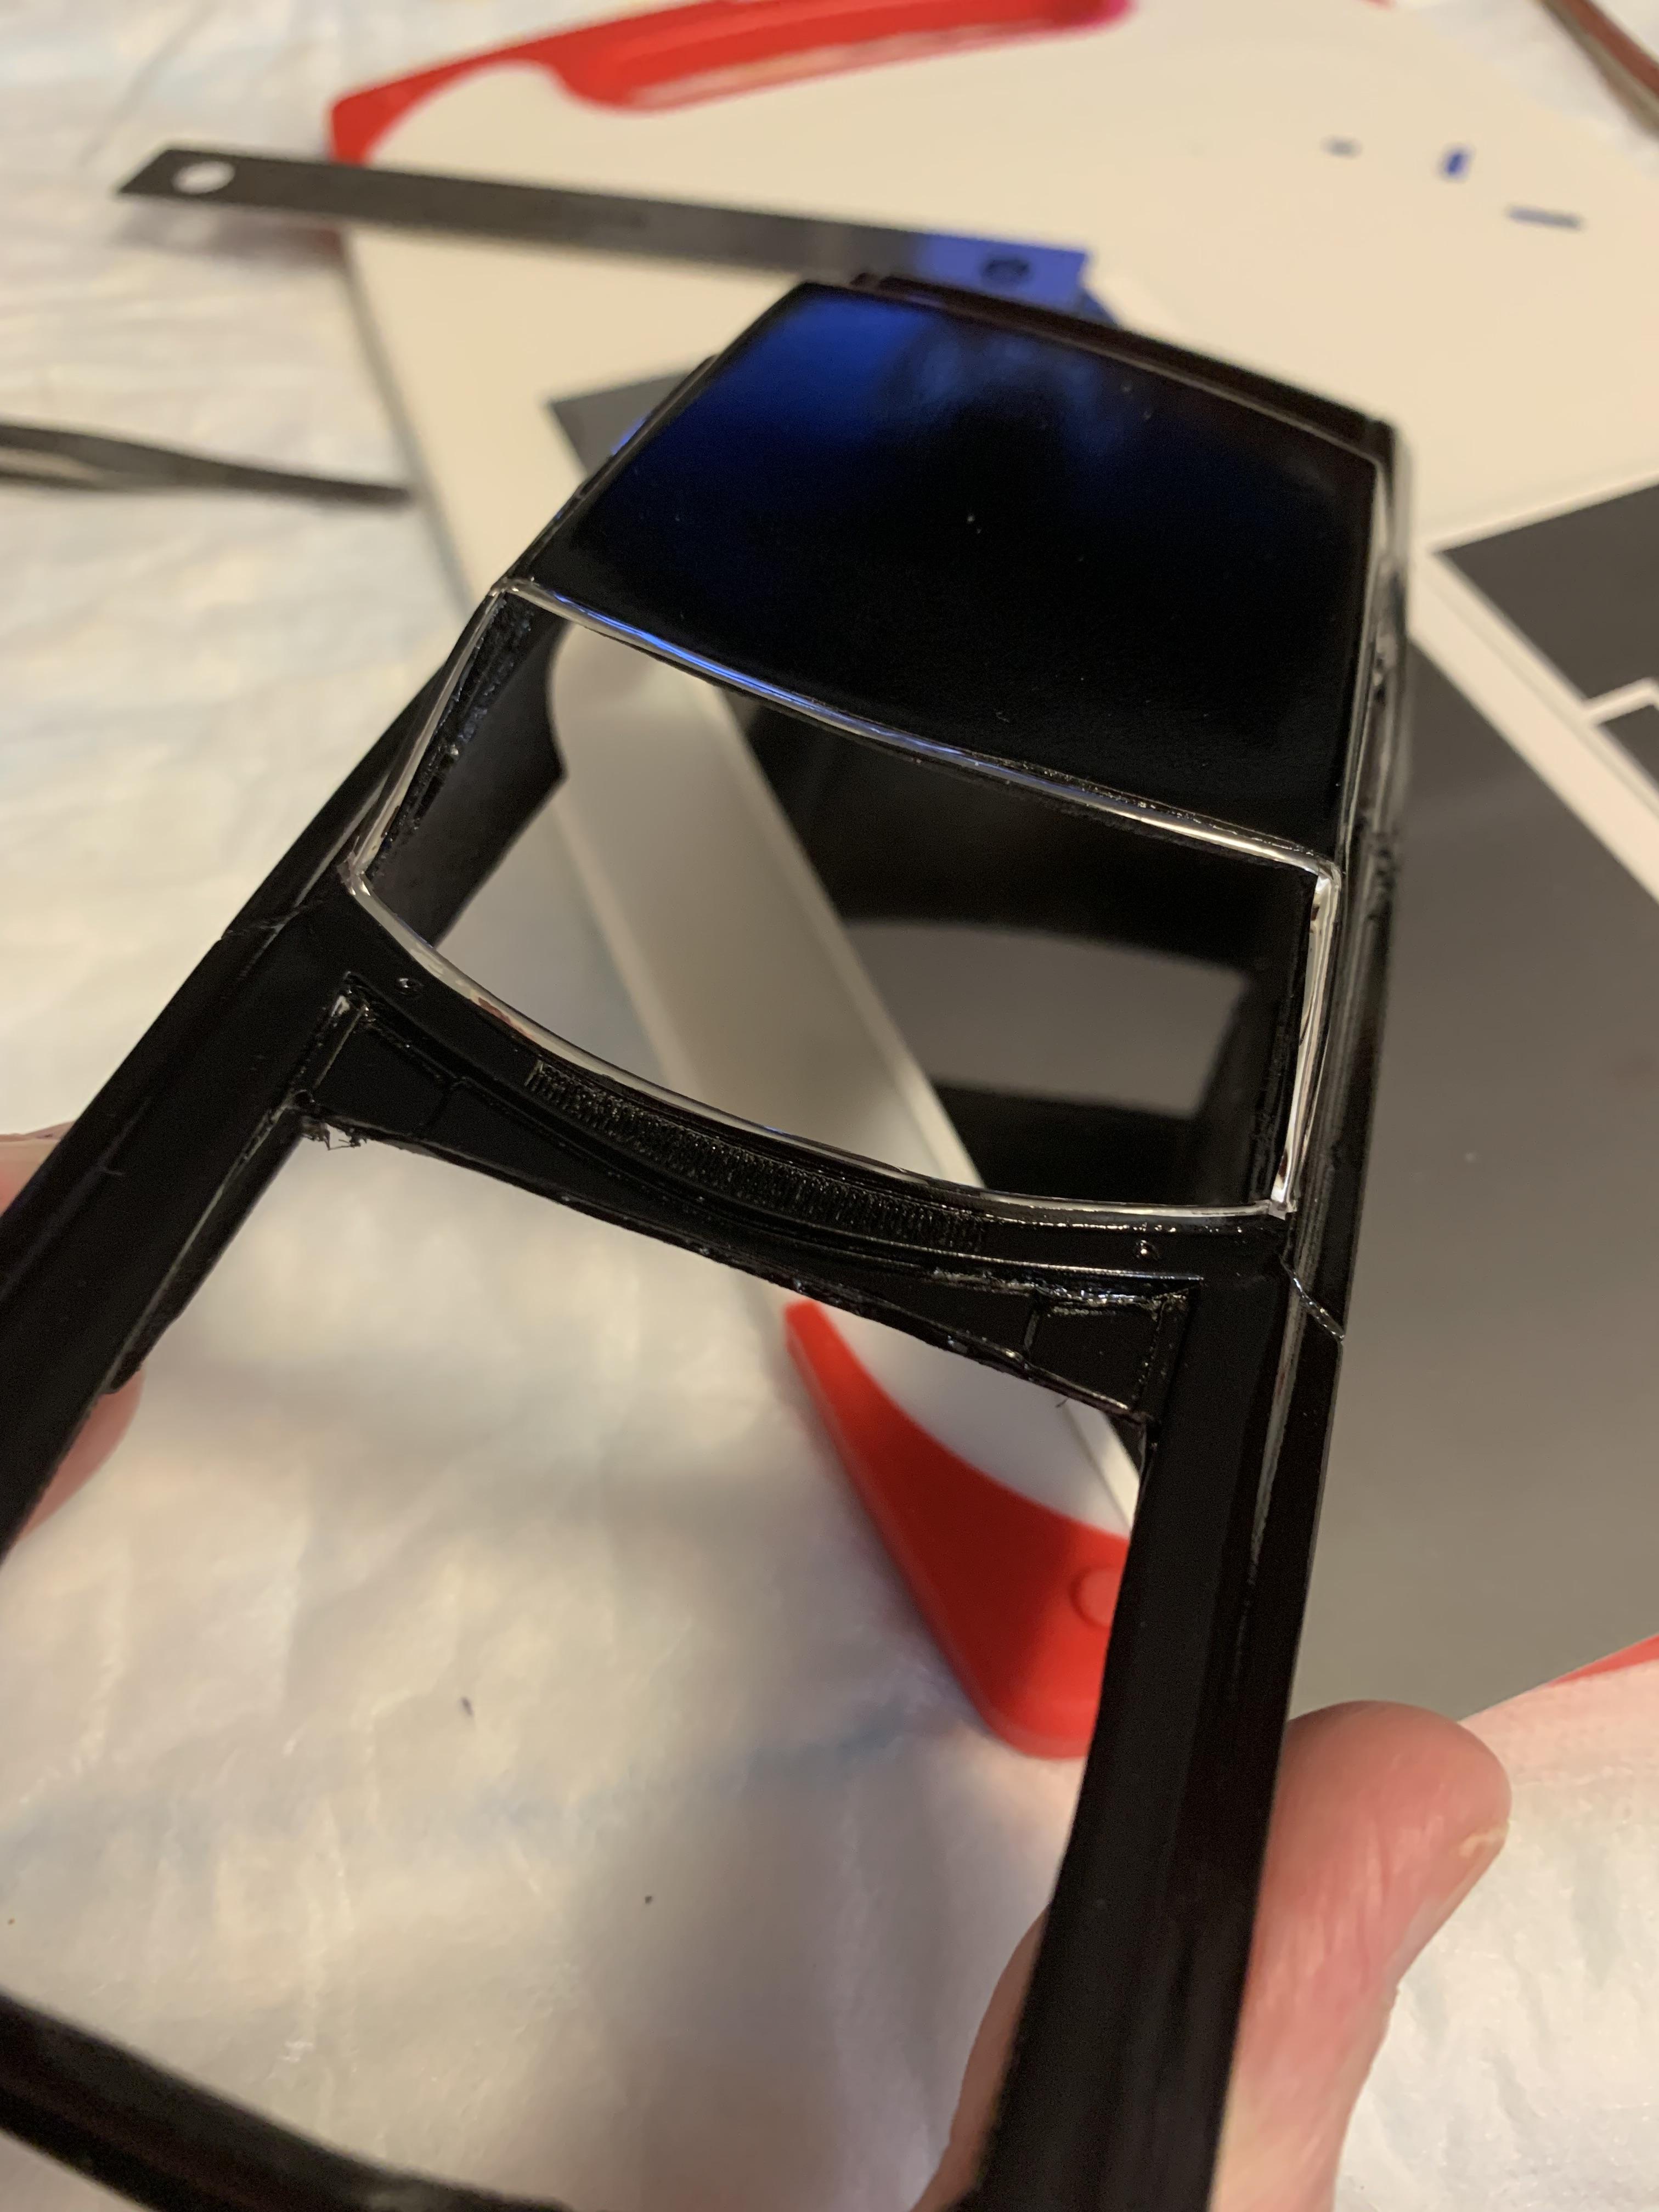
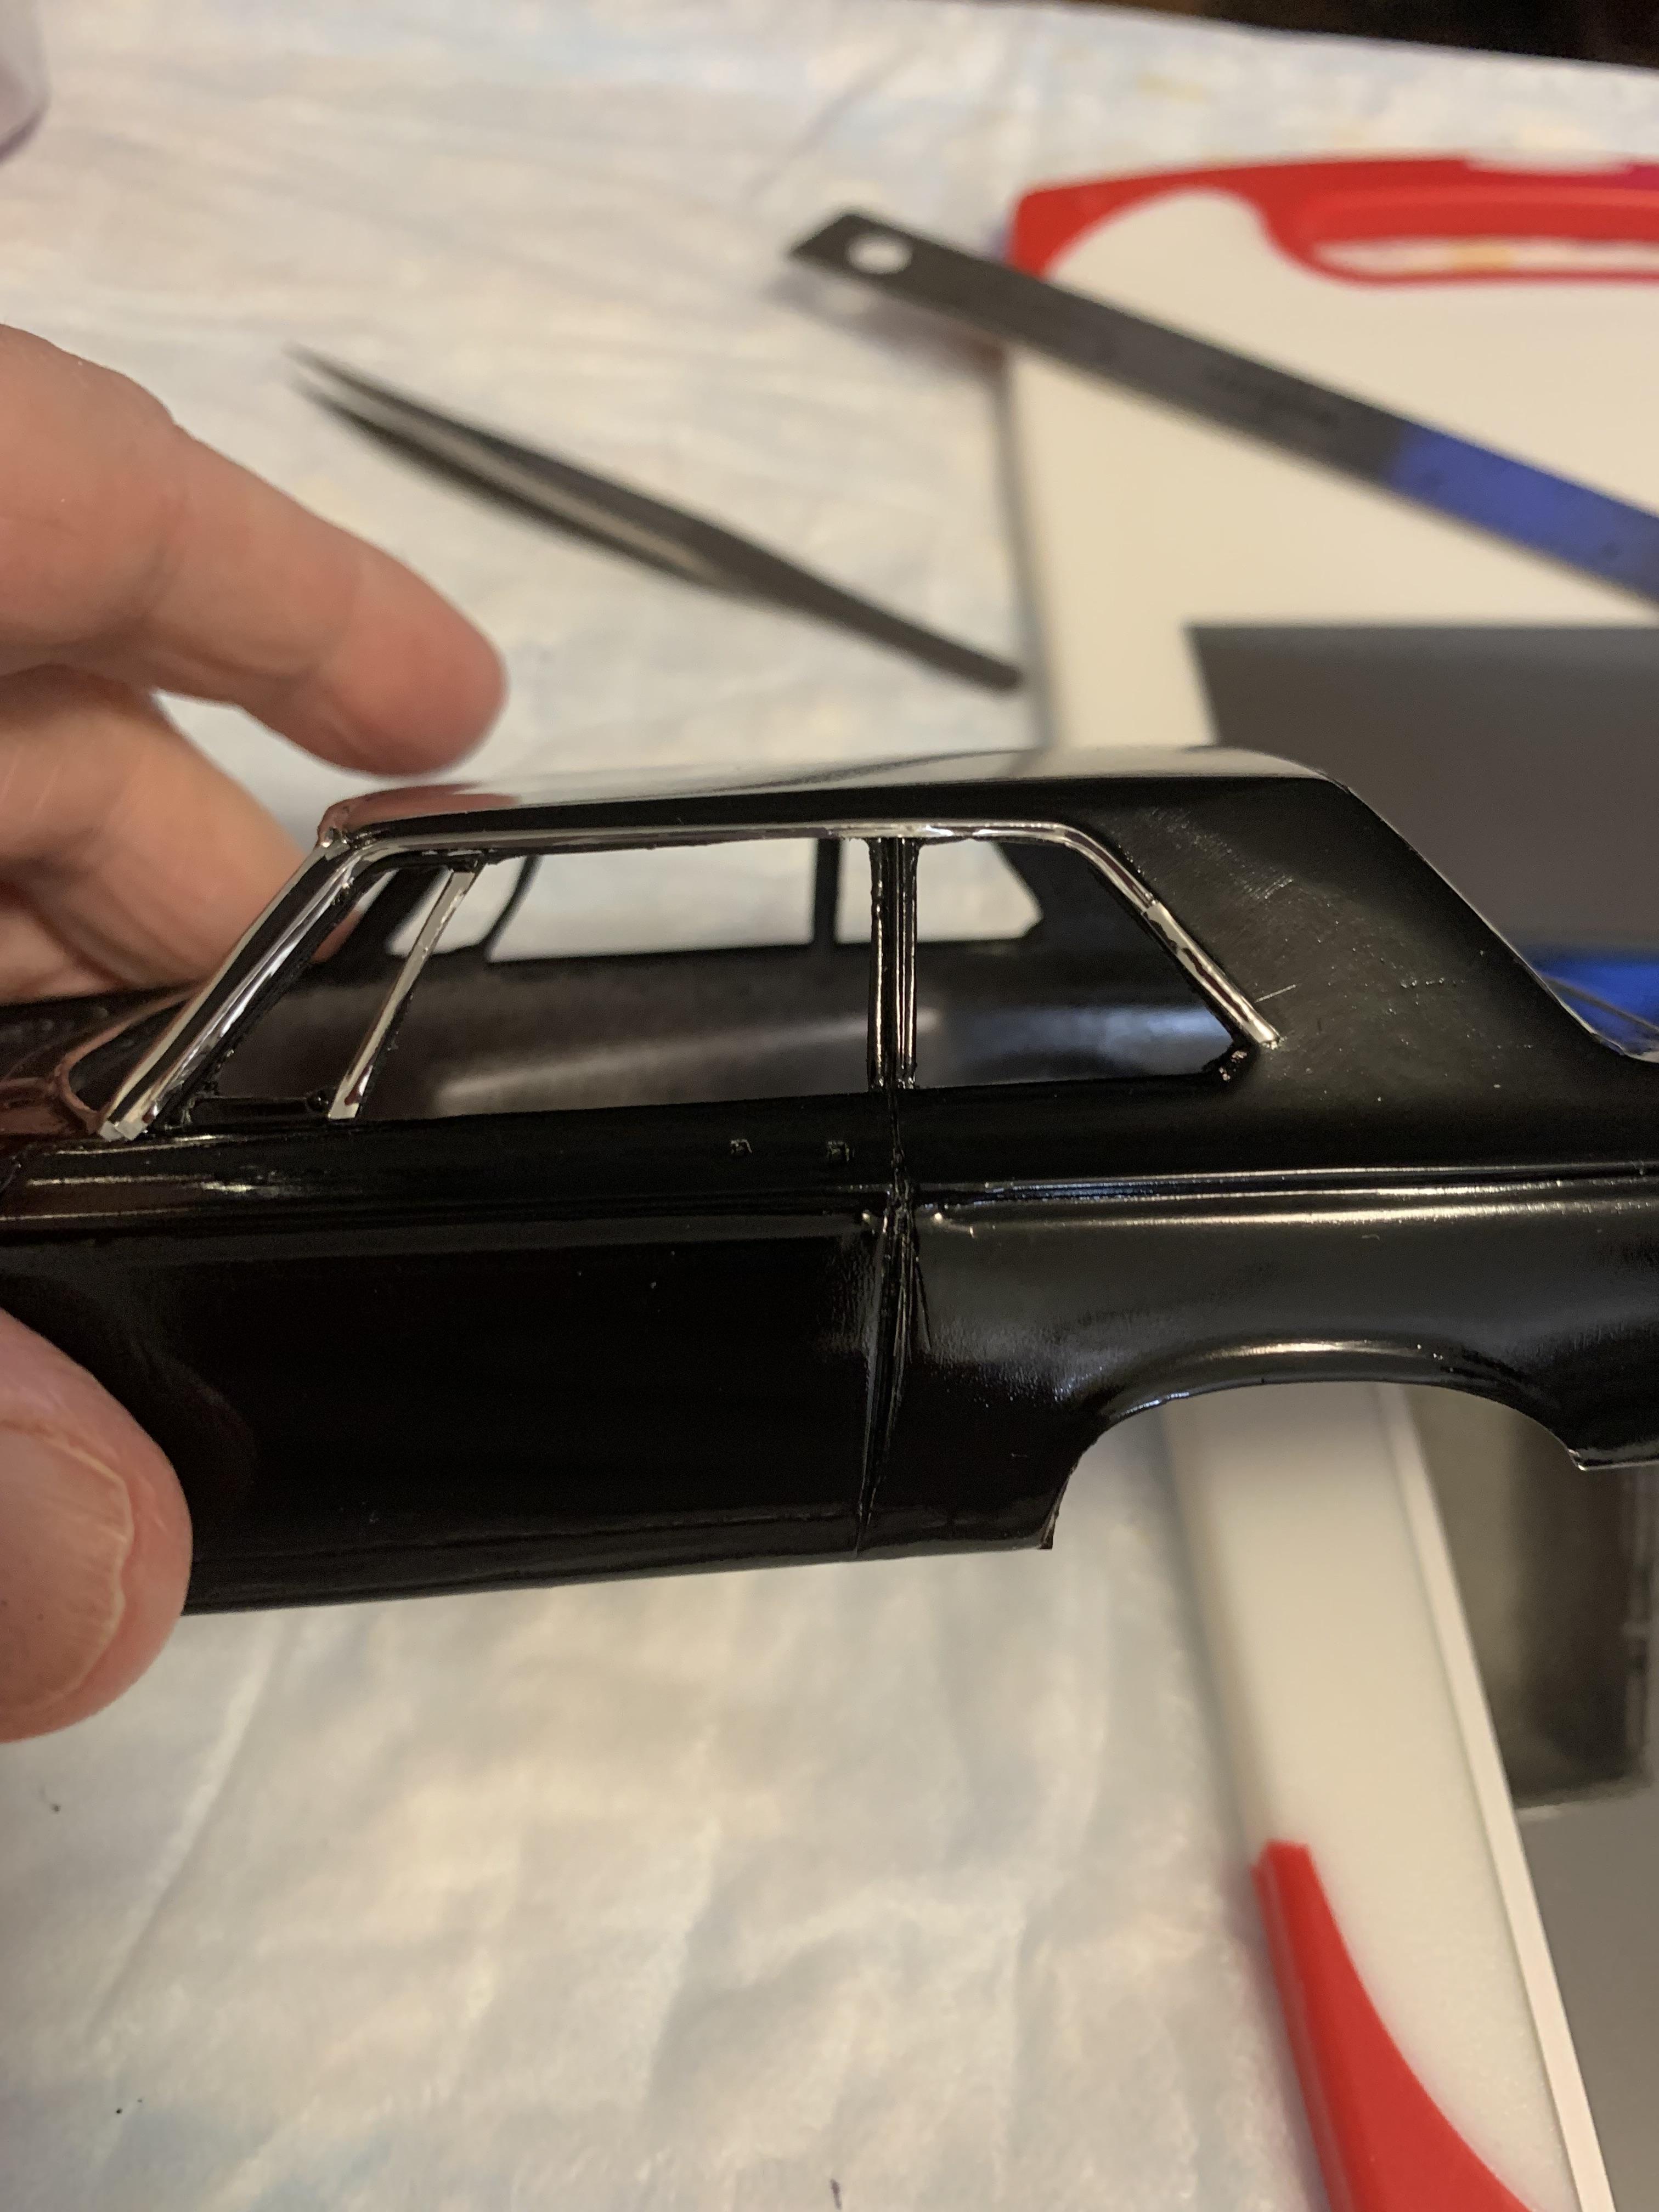
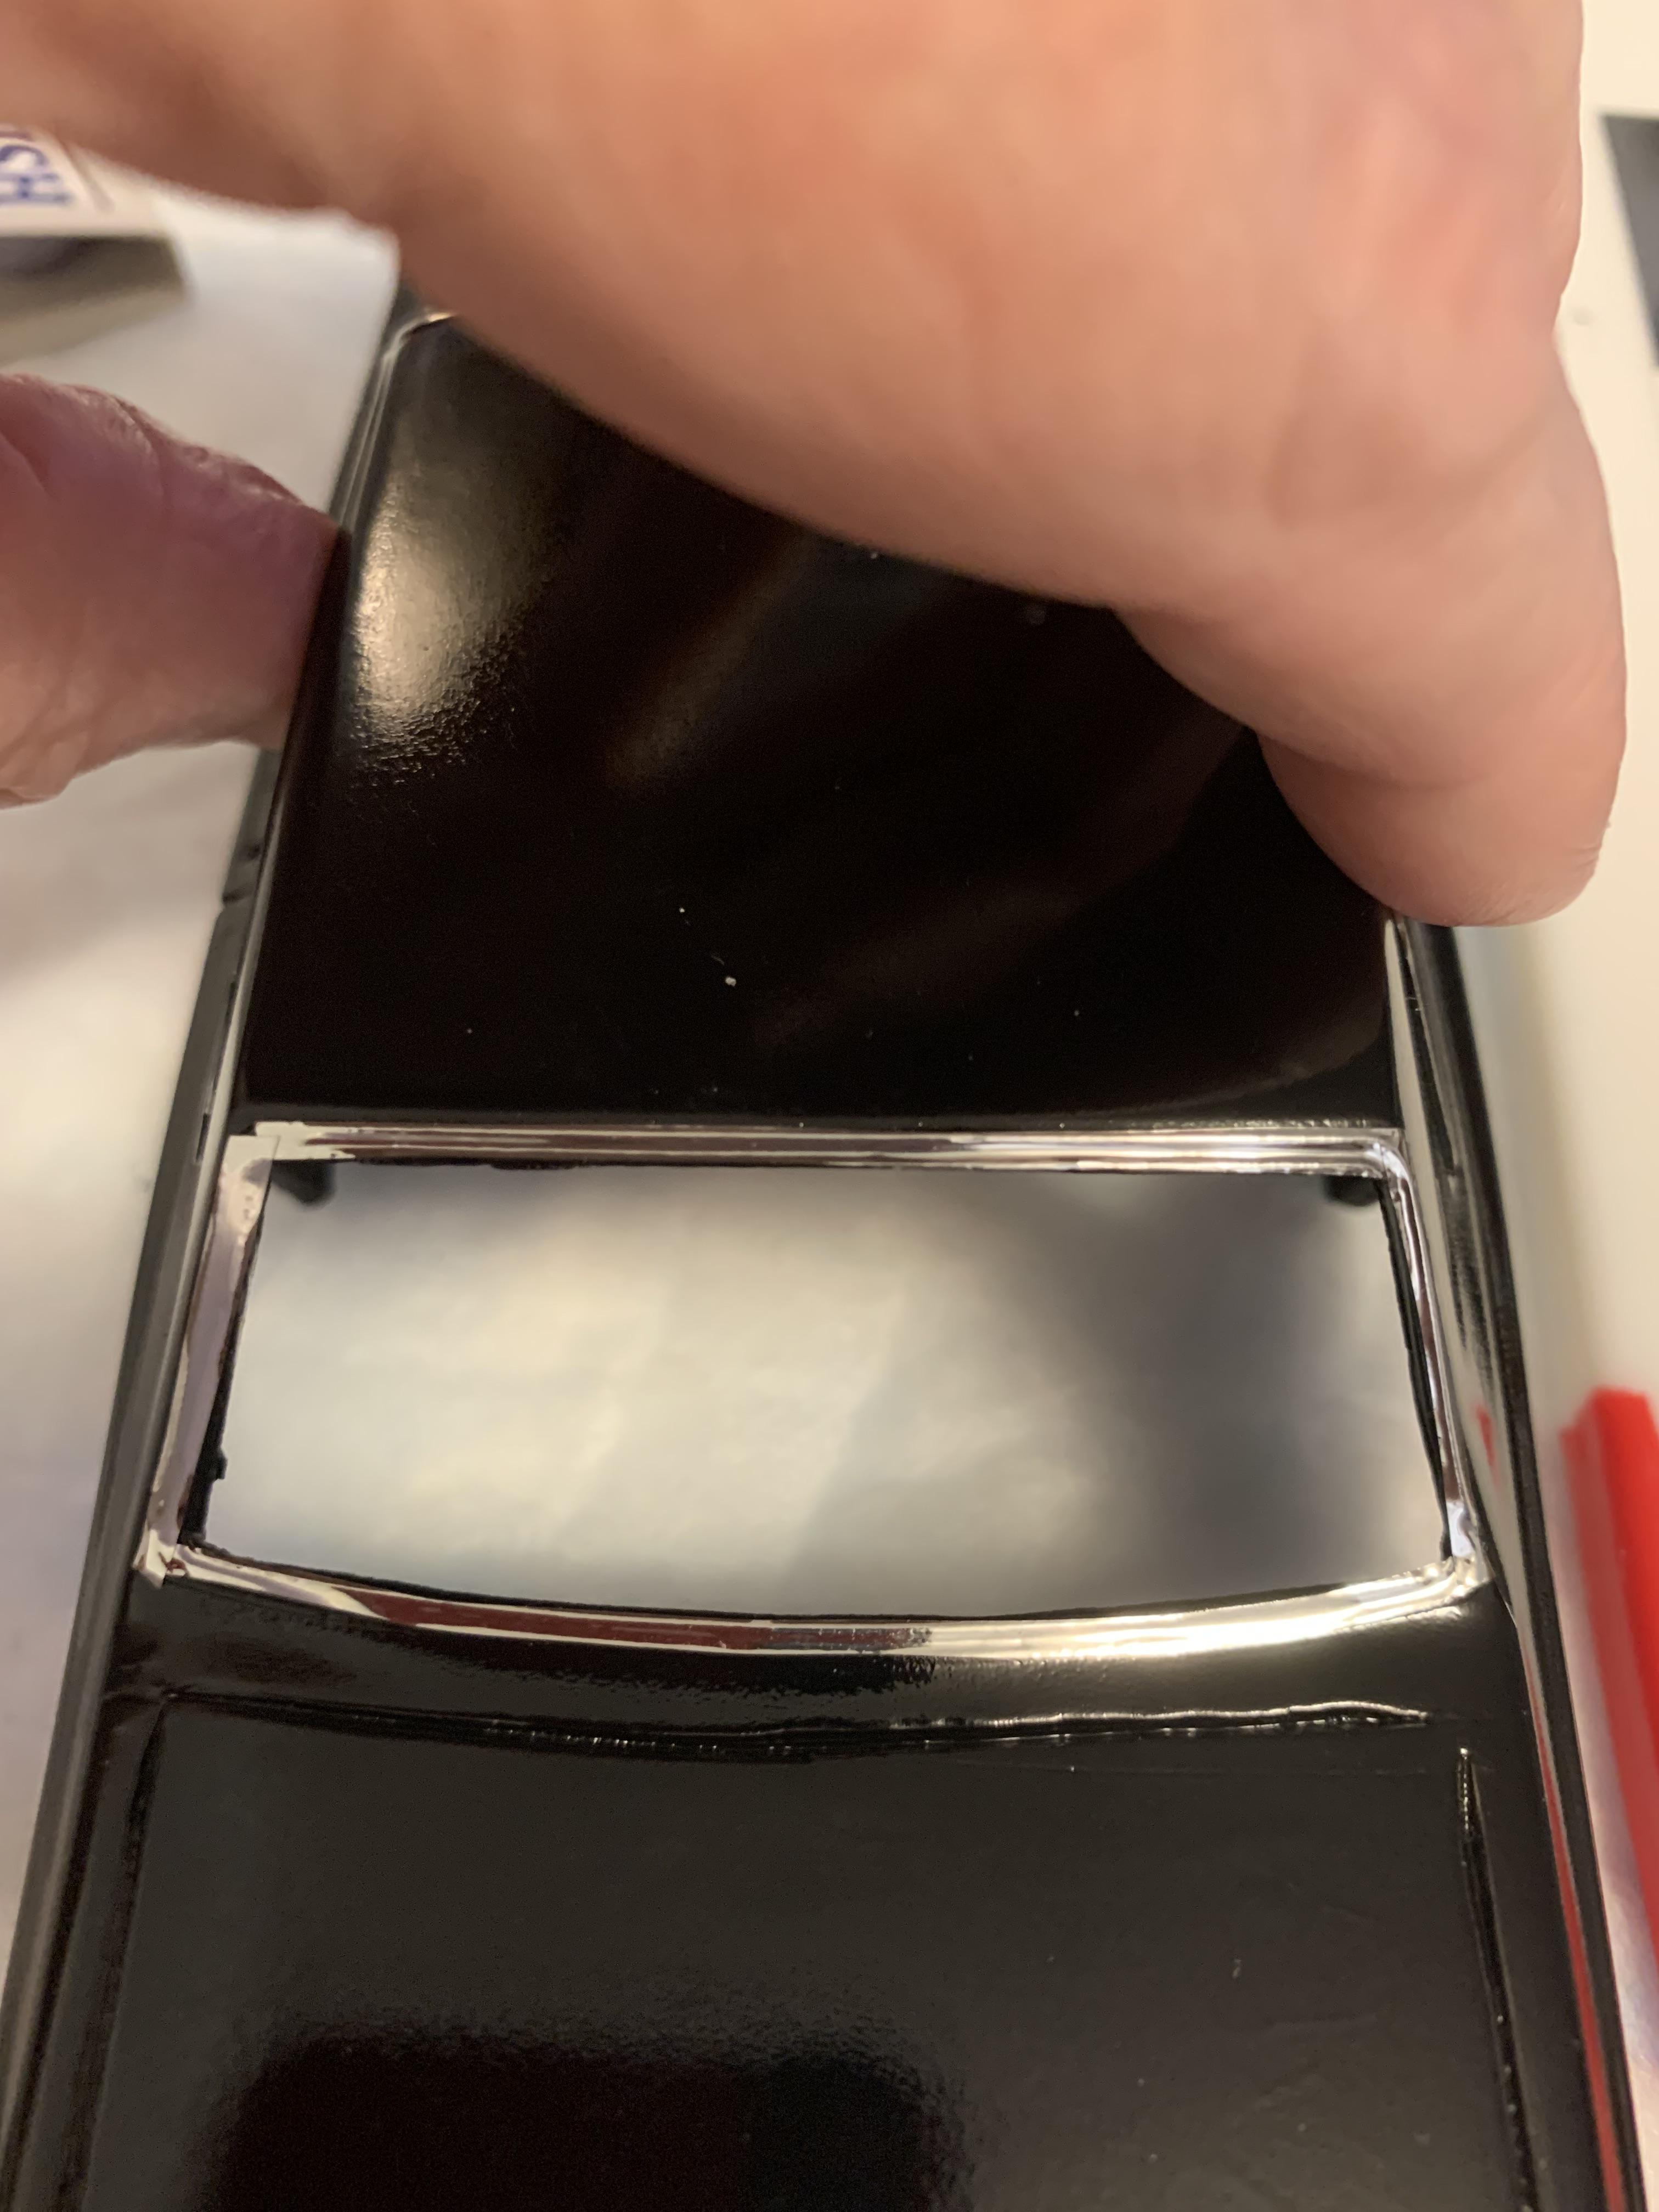
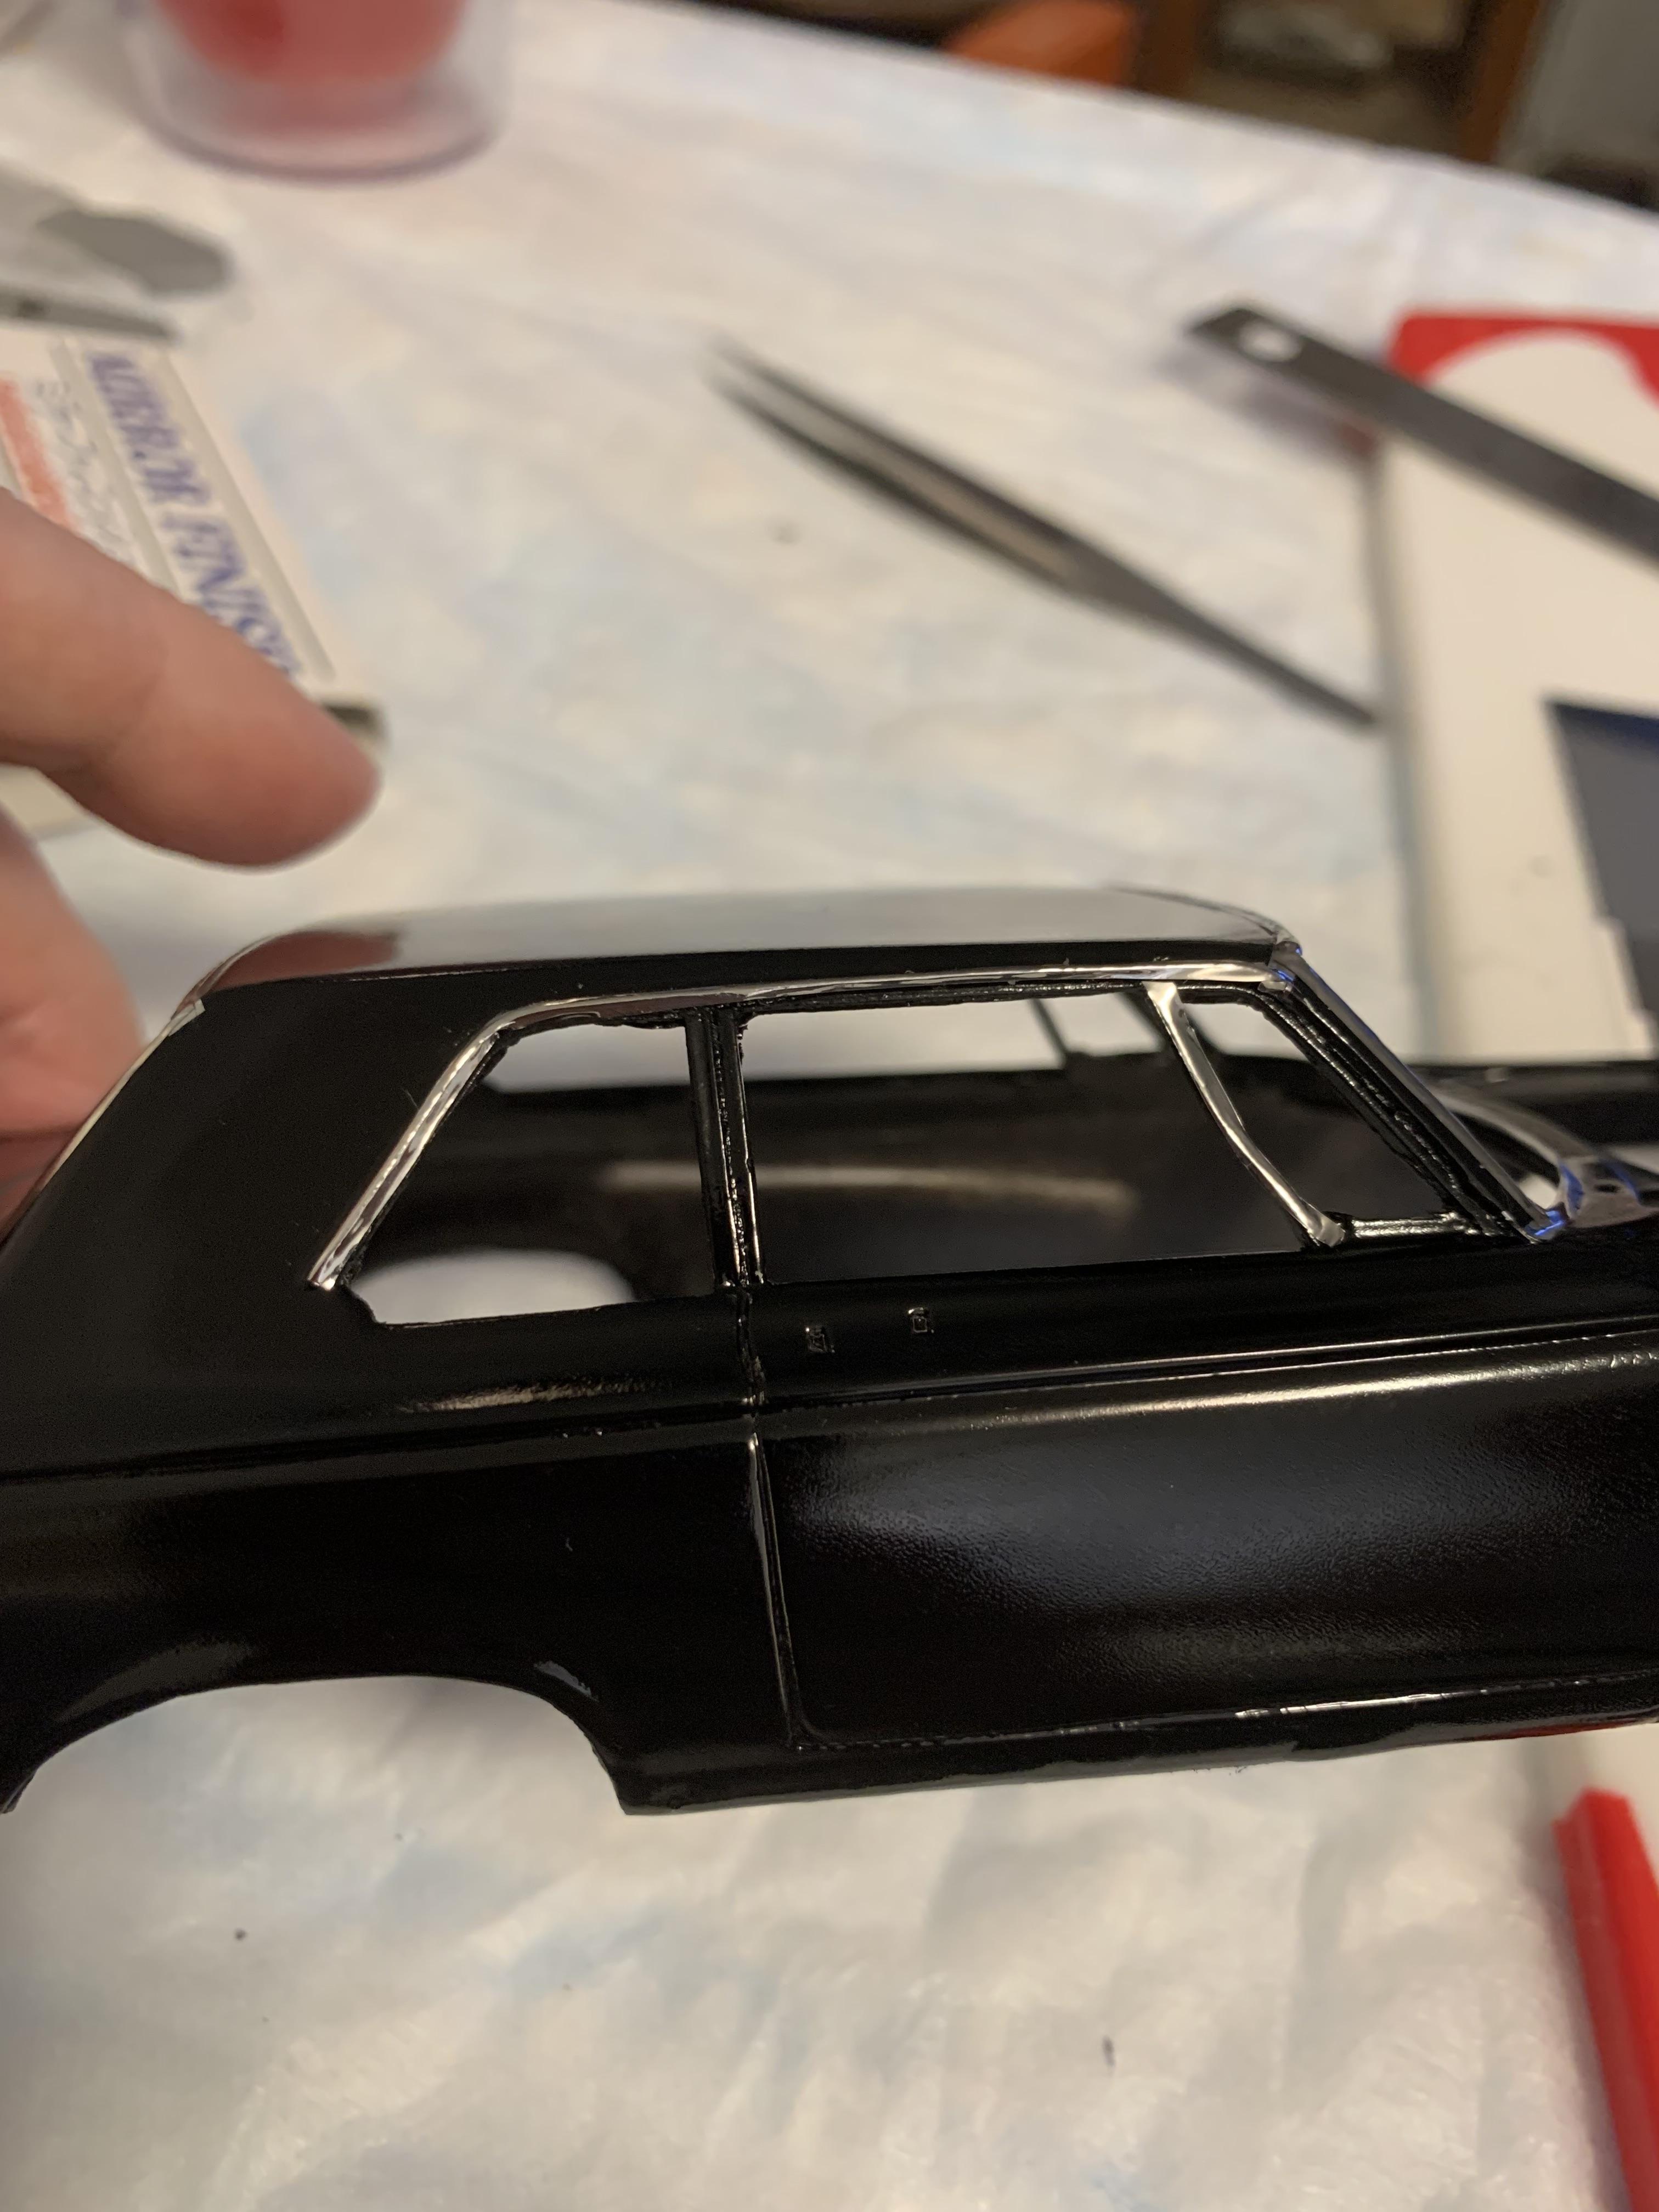
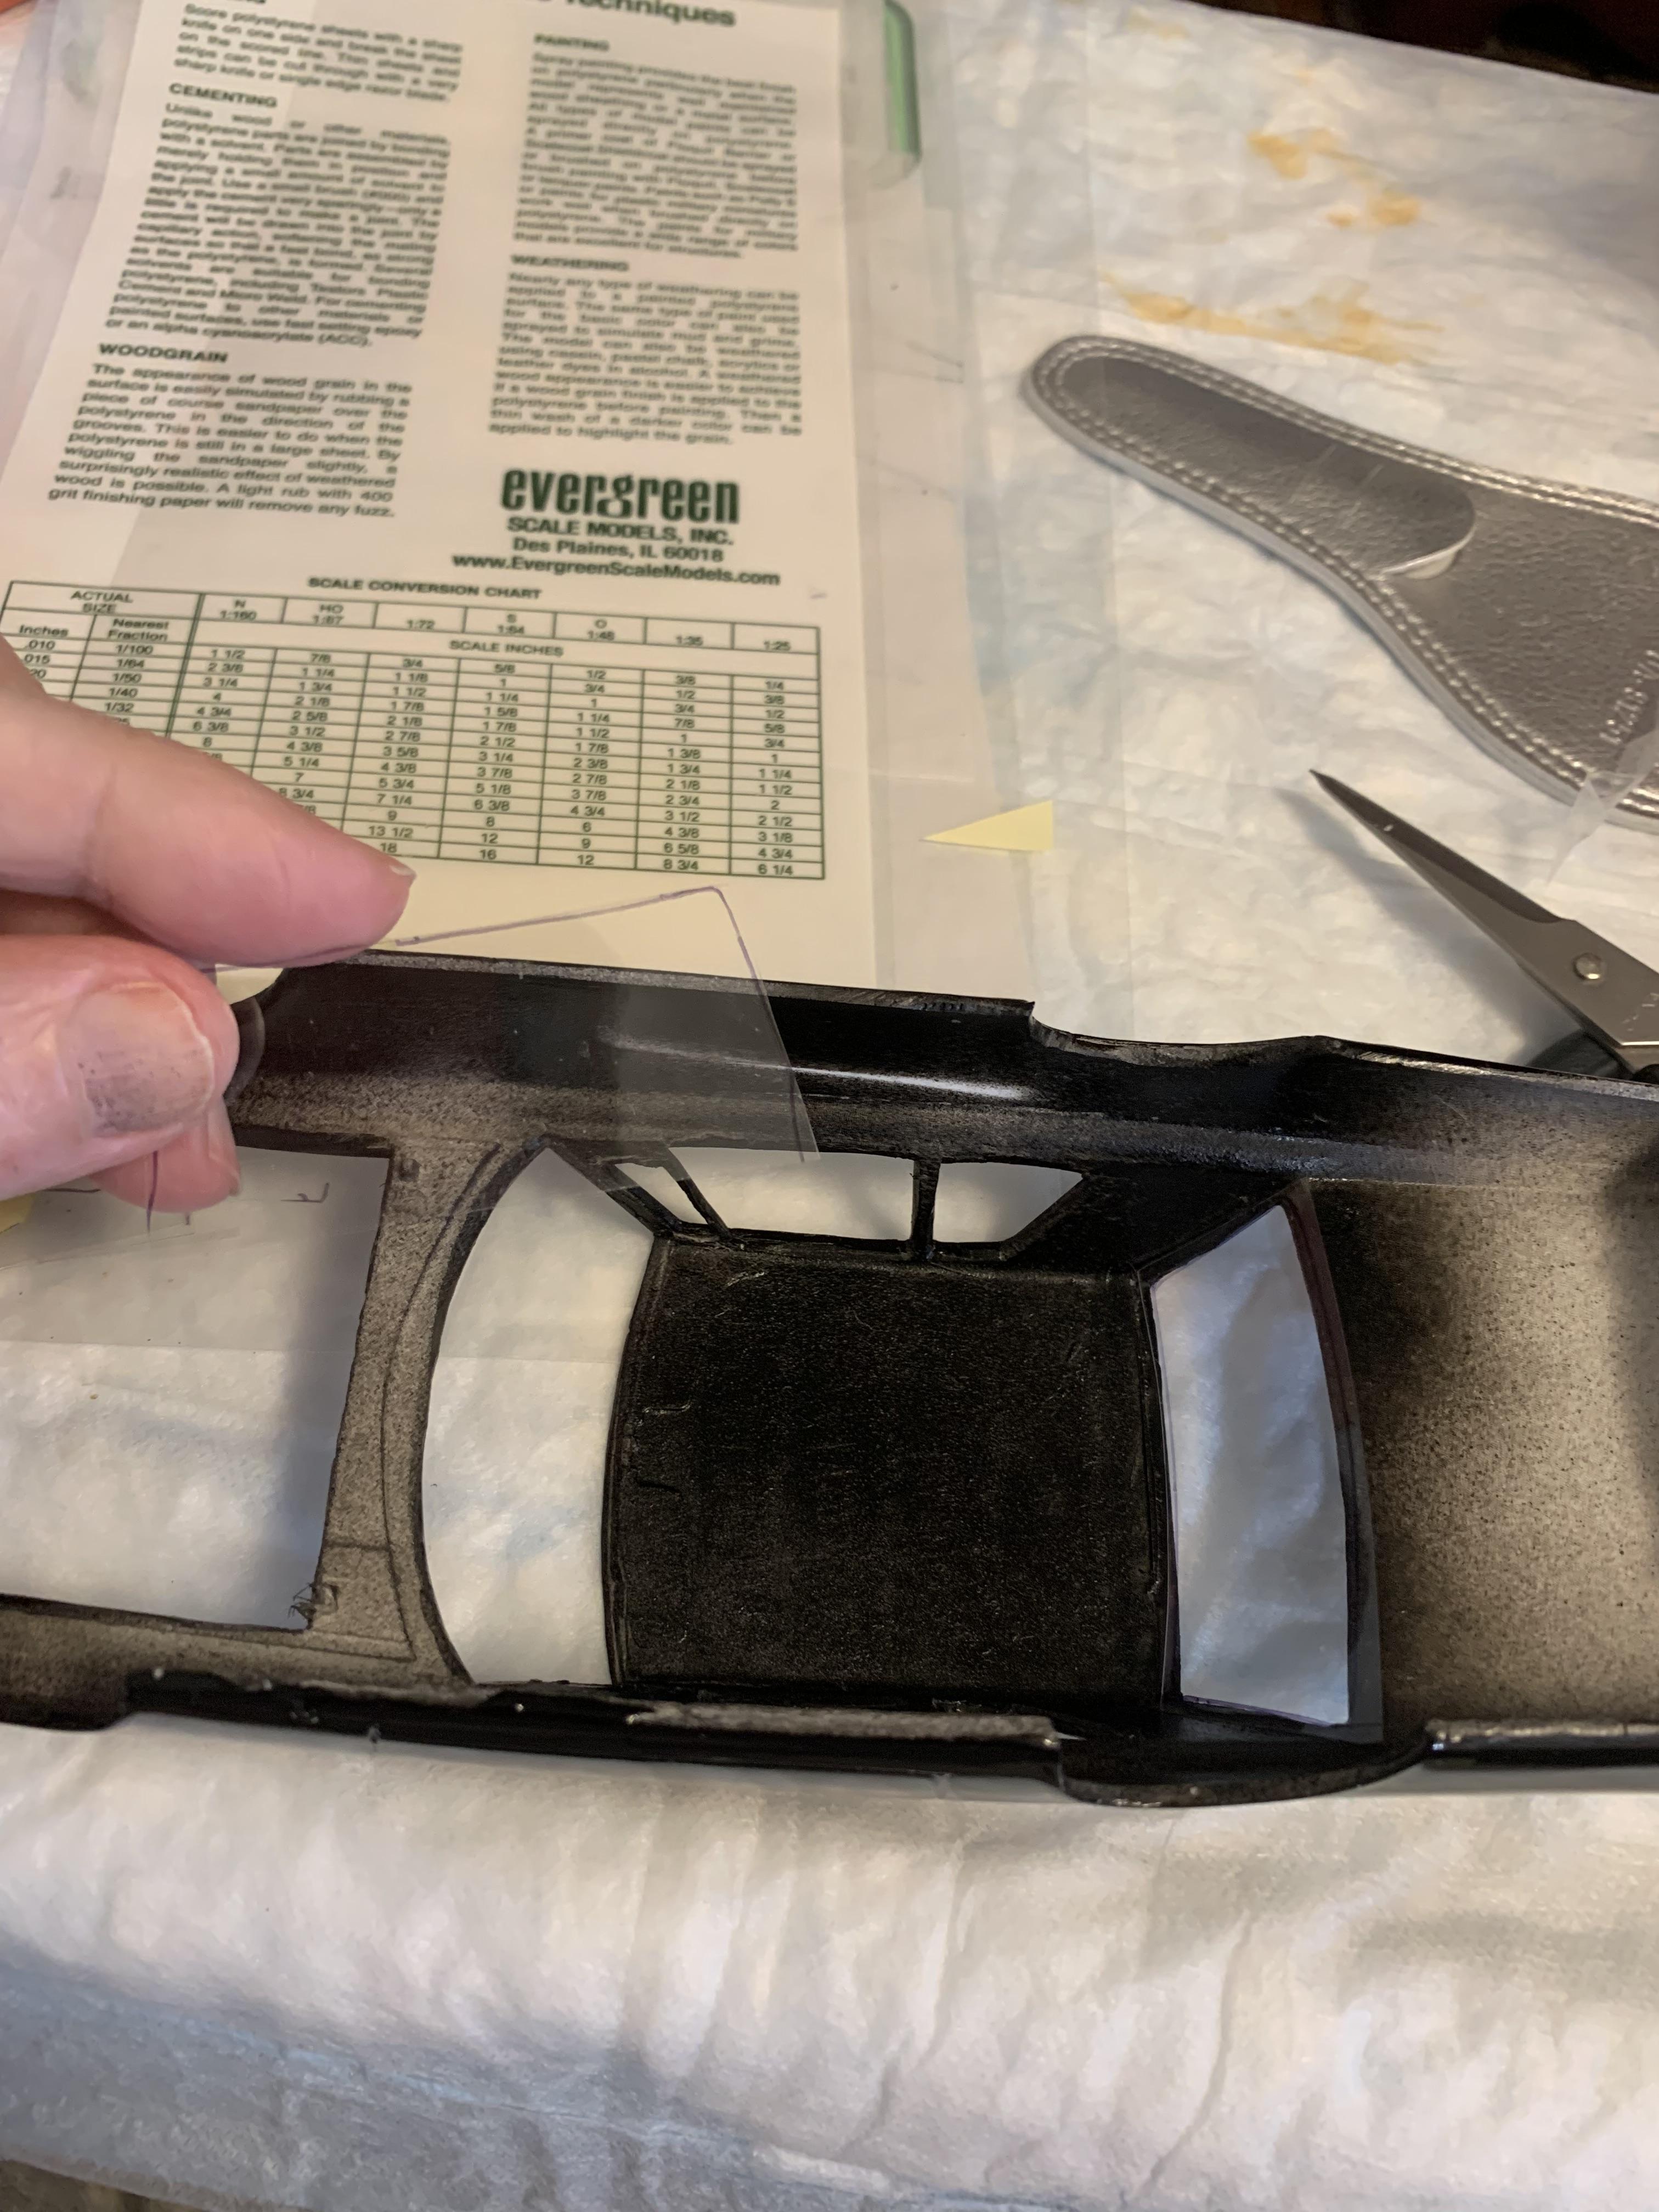
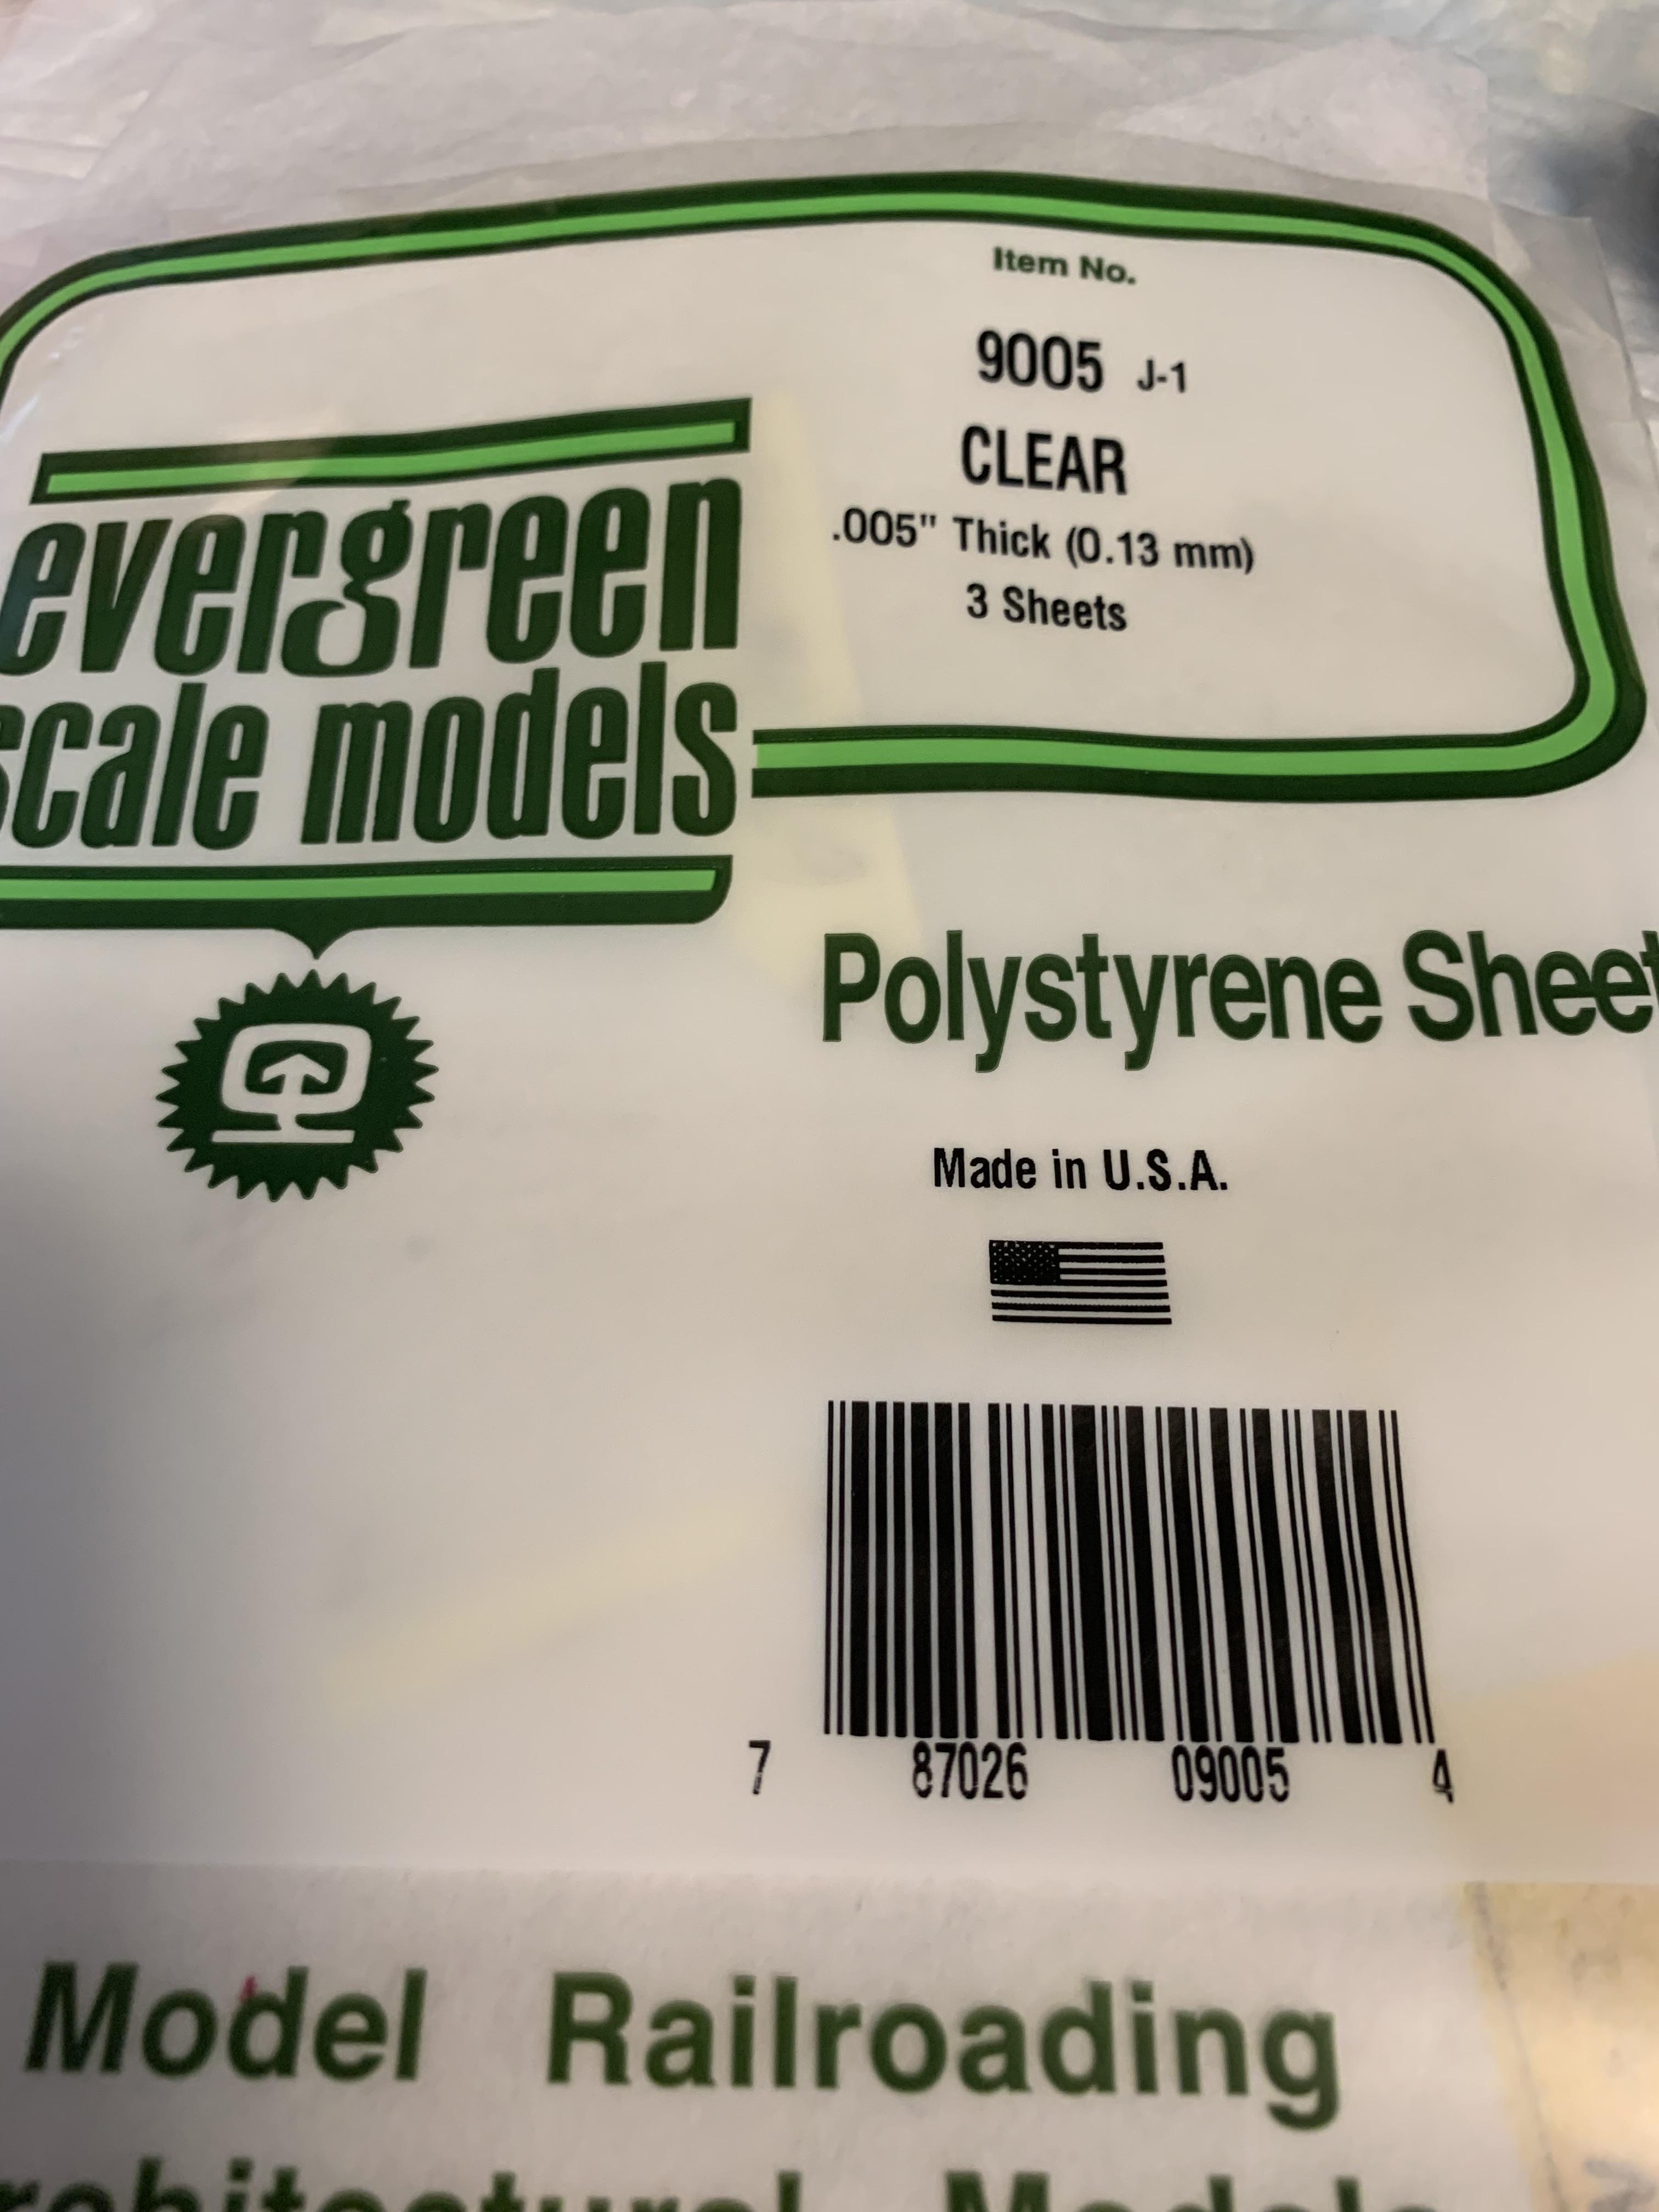
Paint job is tolerable. I have learned (perhaps relearned) my lesson. If it ain’t shiny smooth before paint, it won’t be shiny smooth after the paint job. Resin bodies need lots of sanding (my least favorite part of this hobby). Cut out some .005” clear to install inside the windshields. Now, some Hasegawa chrome for the outside of the windshields.
-
Grooms Bros. 1965 Plymouth Sedan awb Black Trash II
R. Thorne replied to R. Thorne's topic in WIP: Drag Racing Models
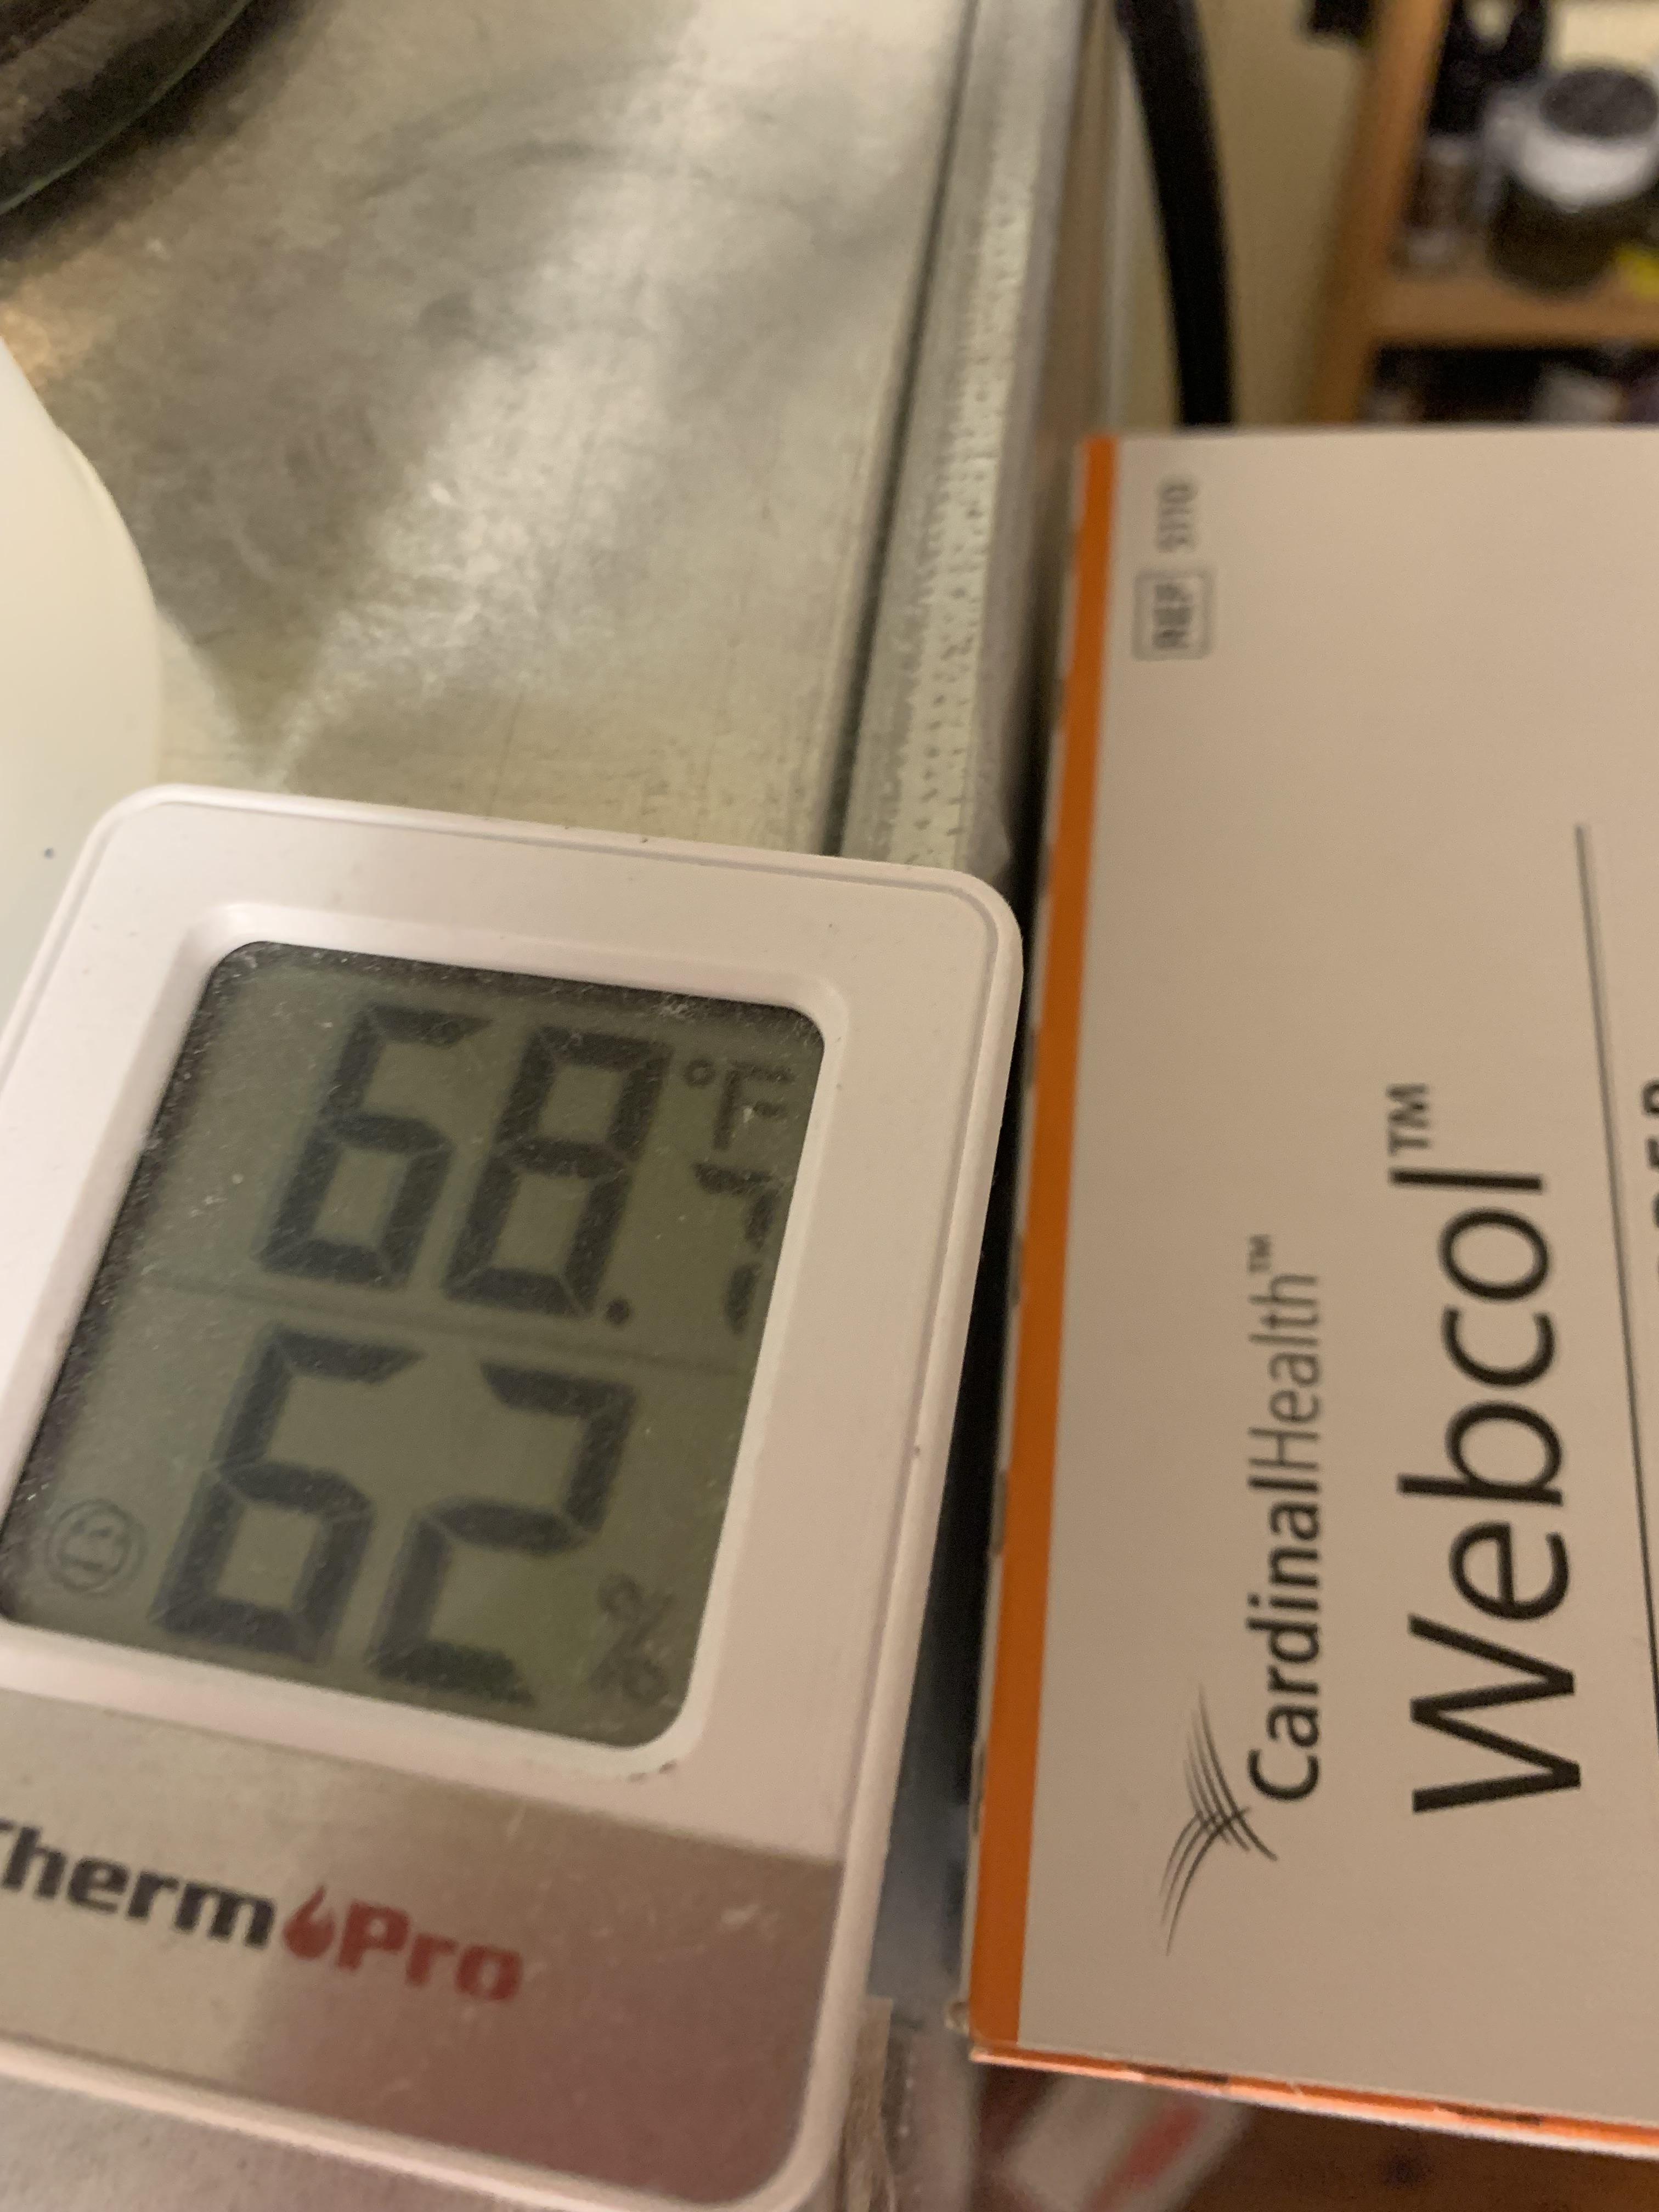
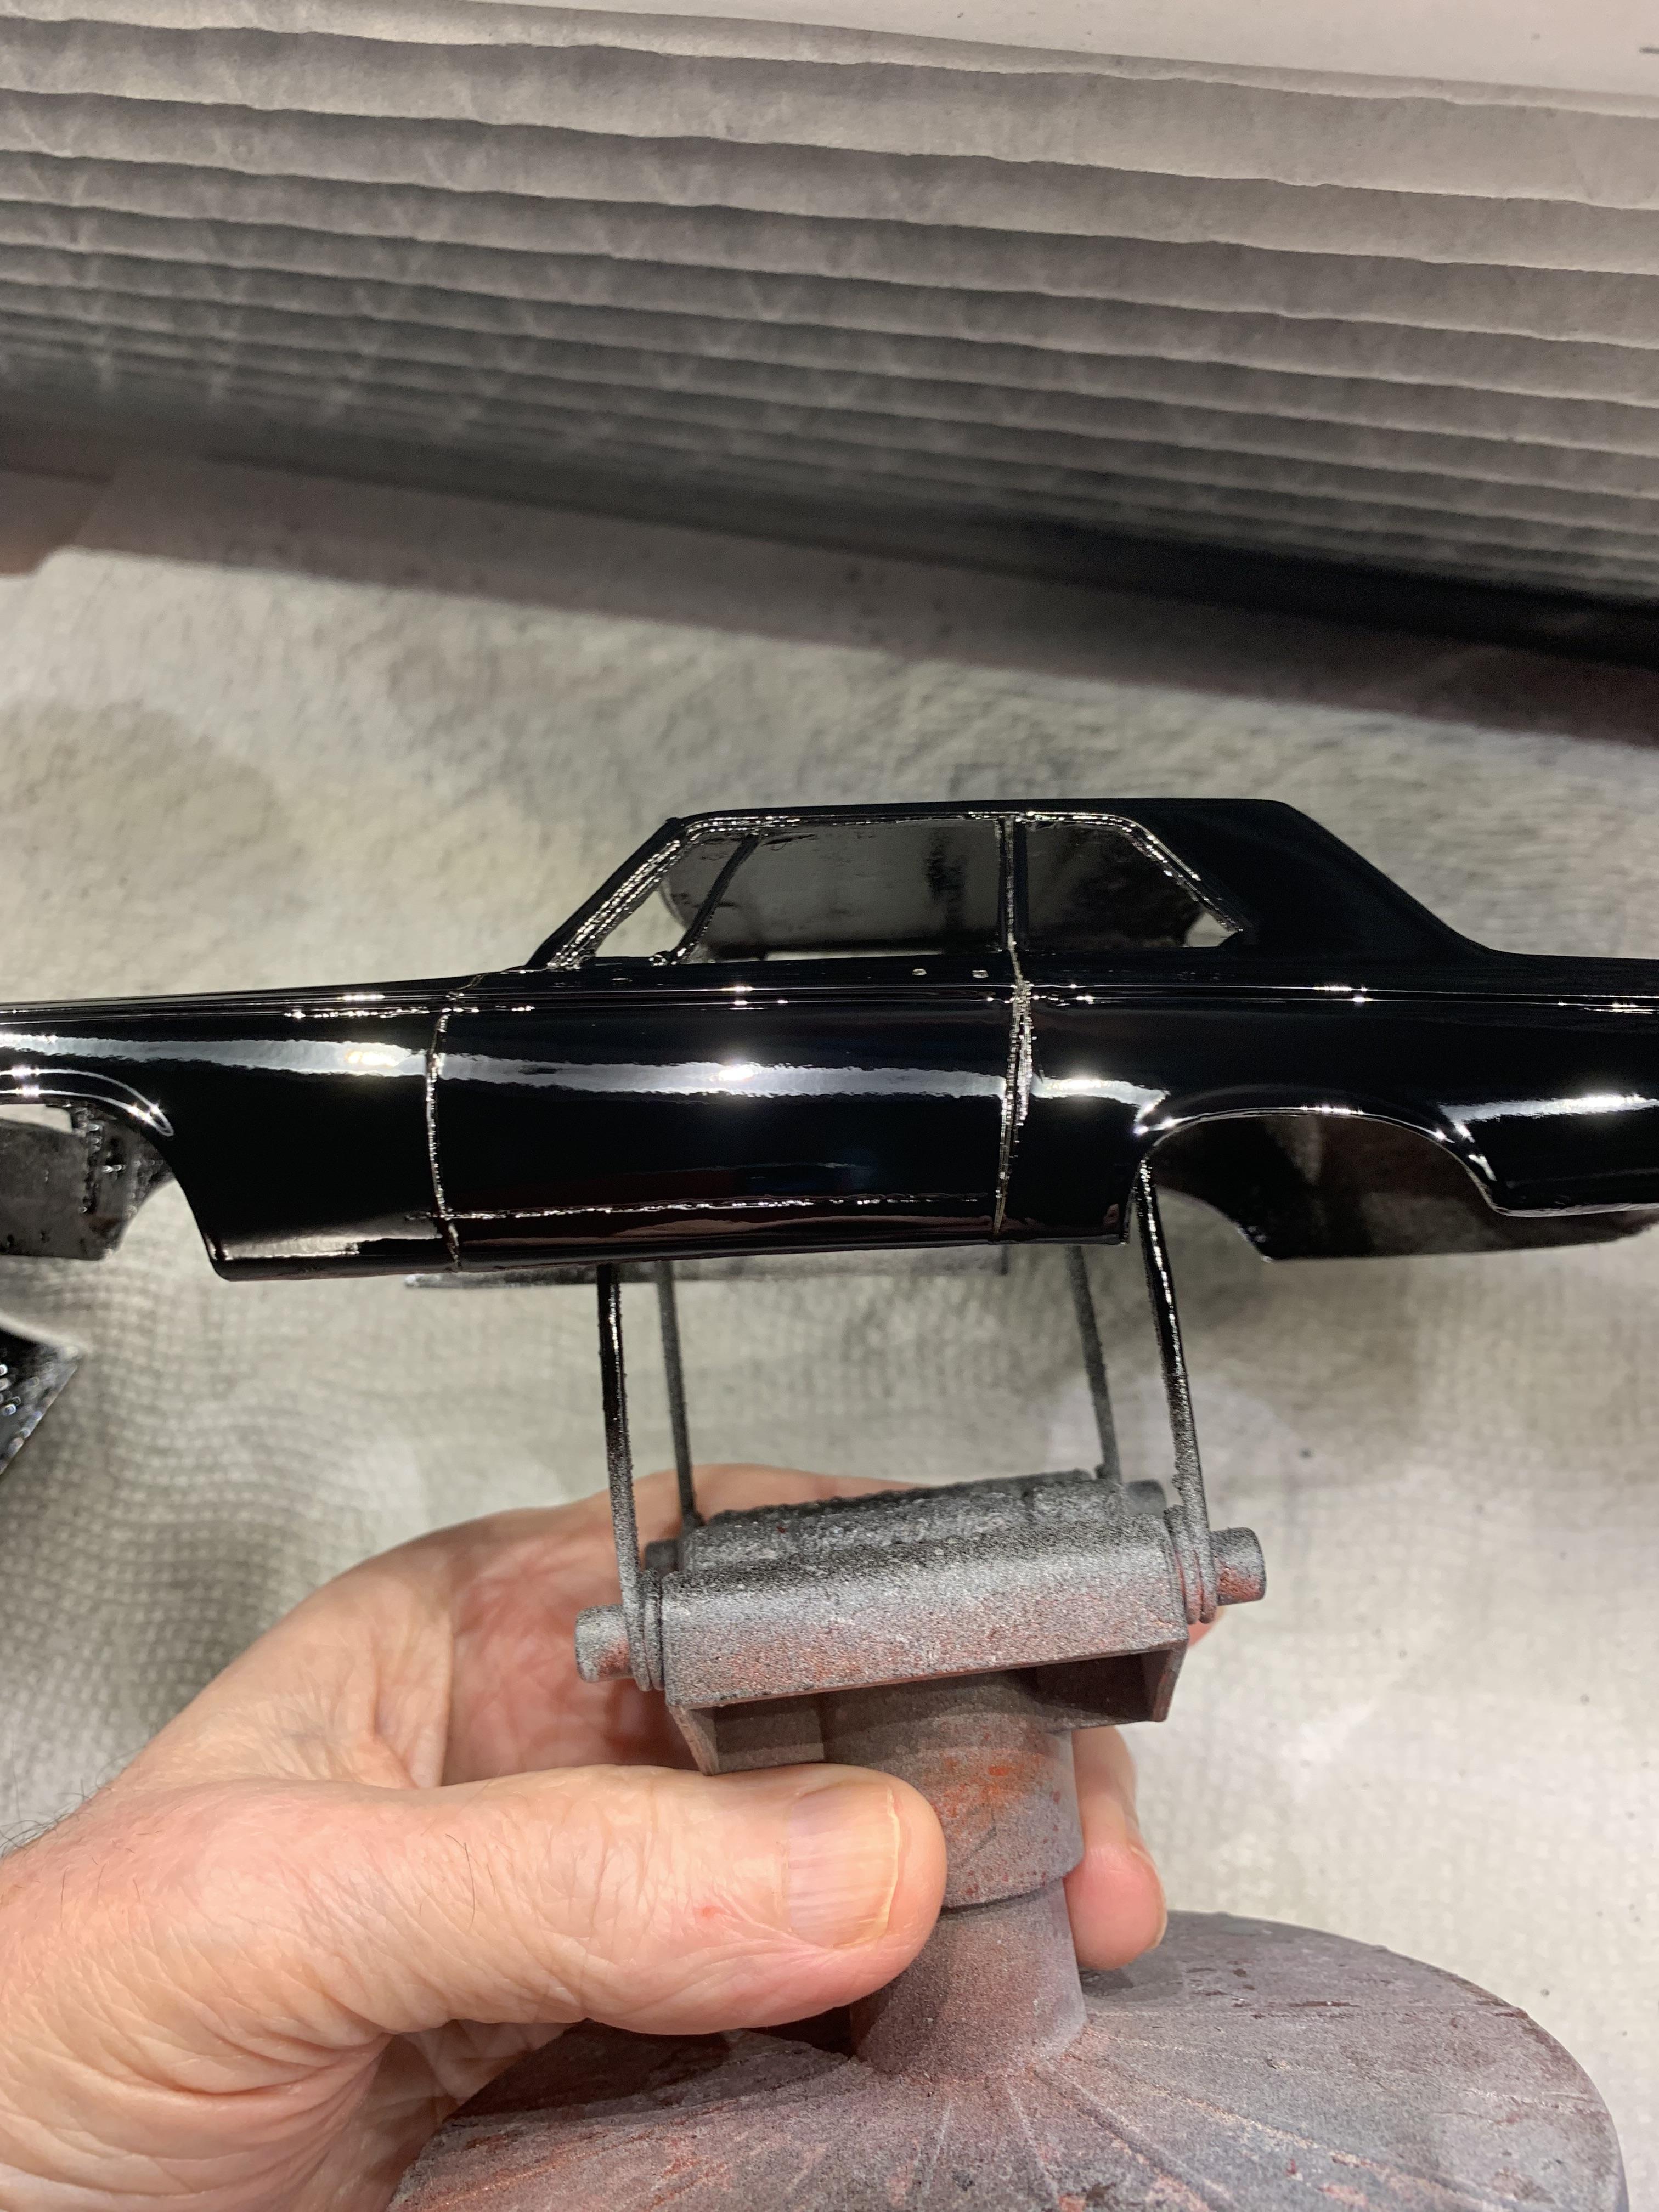
Pushing the humidity factor, but, hey, sometimes we just have to climb out of the hole and move on. We shall see what she looks like after drying.
-
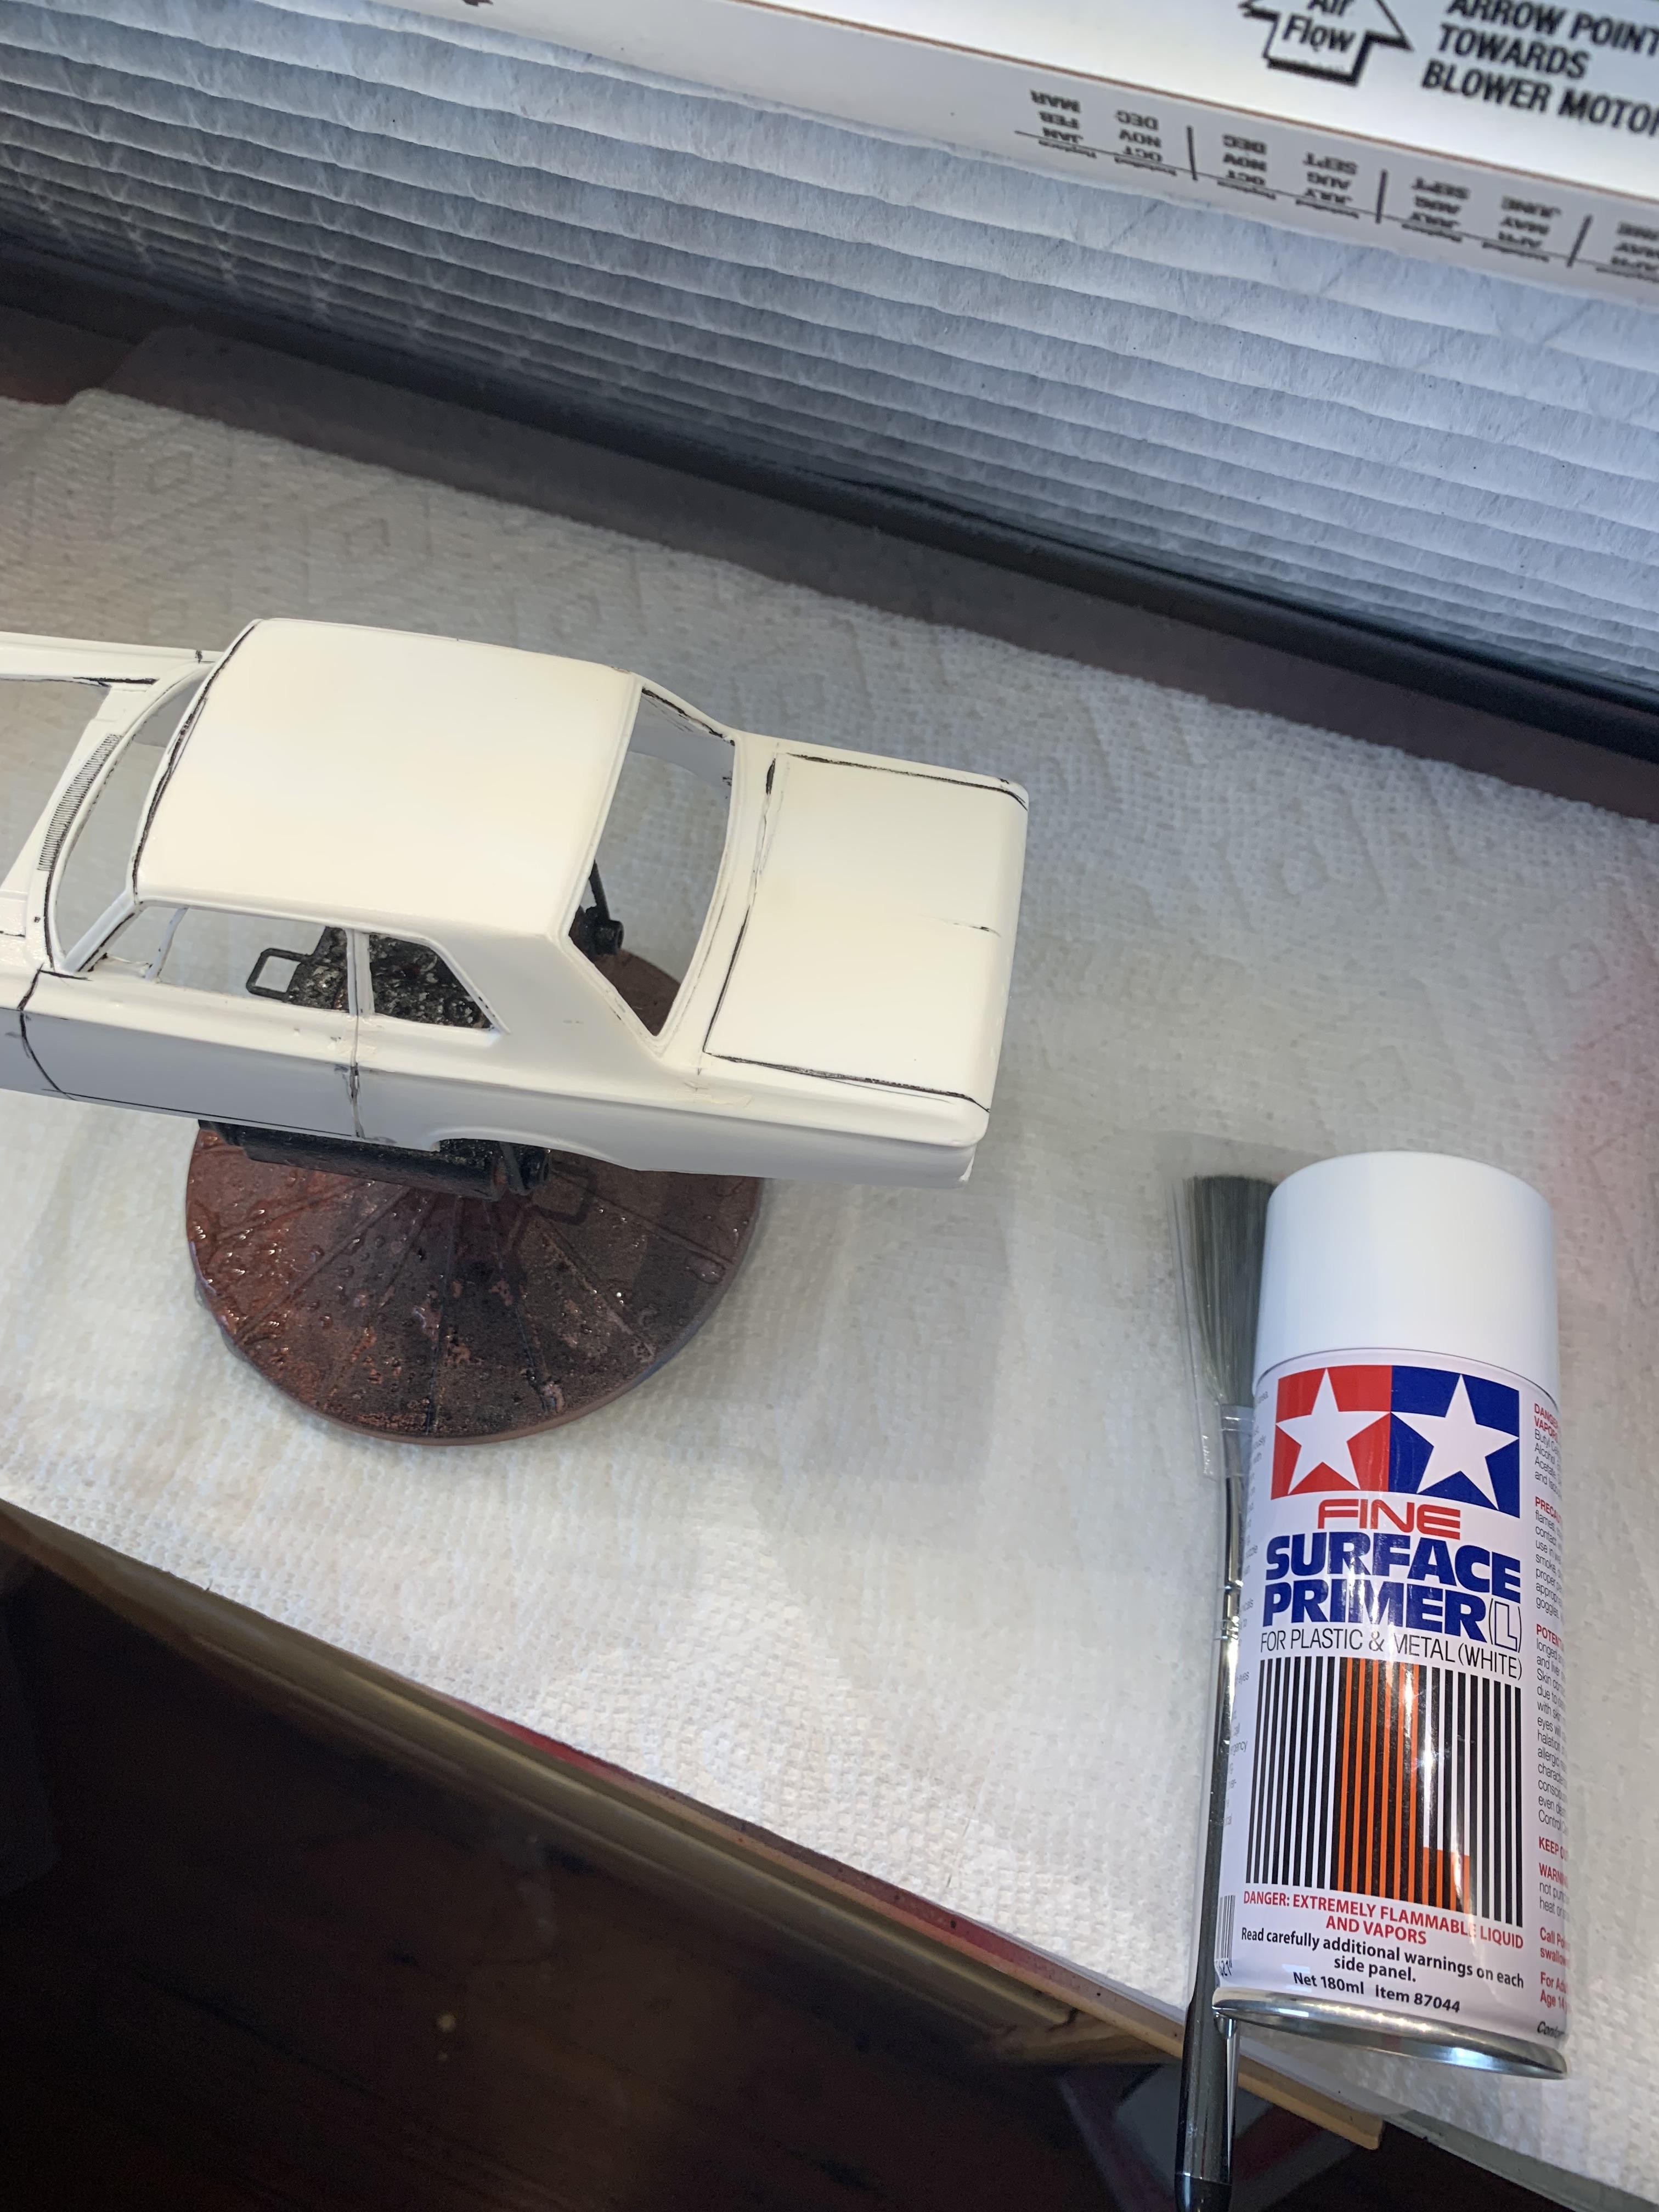
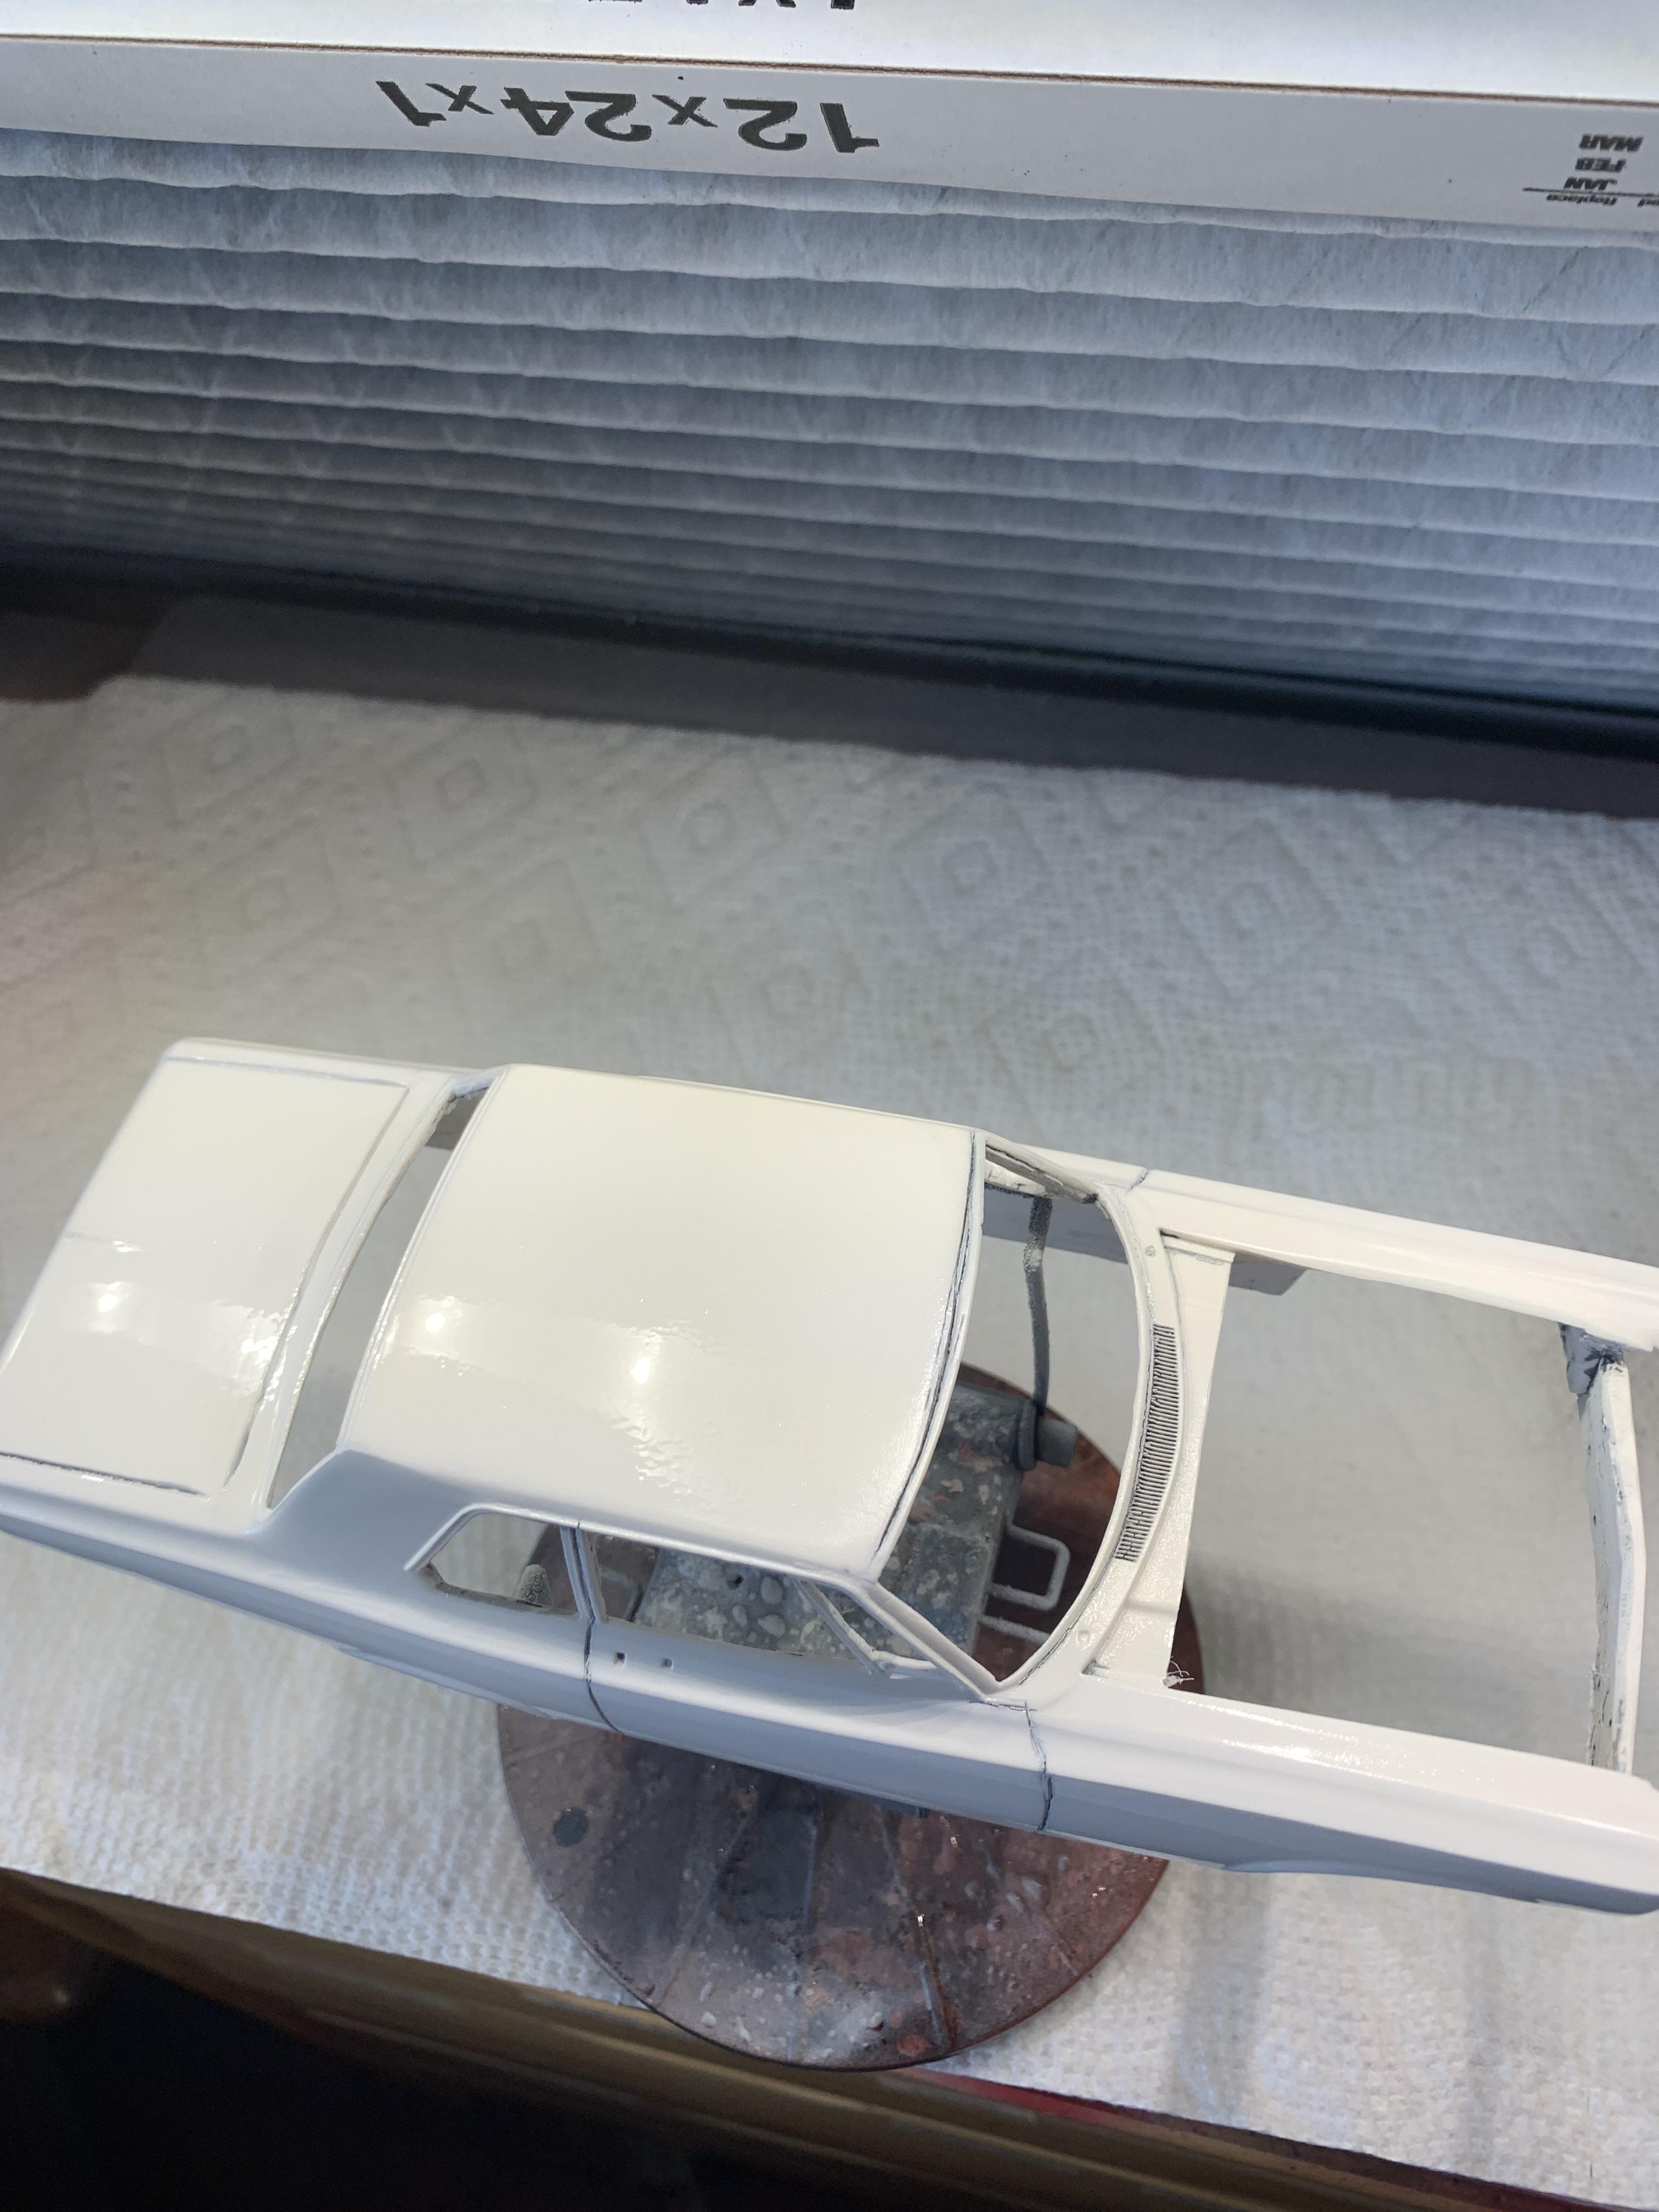
Grooms Bros. 1965 Plymouth Sedan awb Black Trash II
R. Thorne replied to R. Thorne's topic in WIP: Drag Racing Models
Put some primer on this afternoon. Hopefully, some black on tonight or tomorrow.
-
Grooms Bros. 1965 Plymouth Sedan awb Black Trash II
R. Thorne replied to R. Thorne's topic in WIP: Drag Racing Models
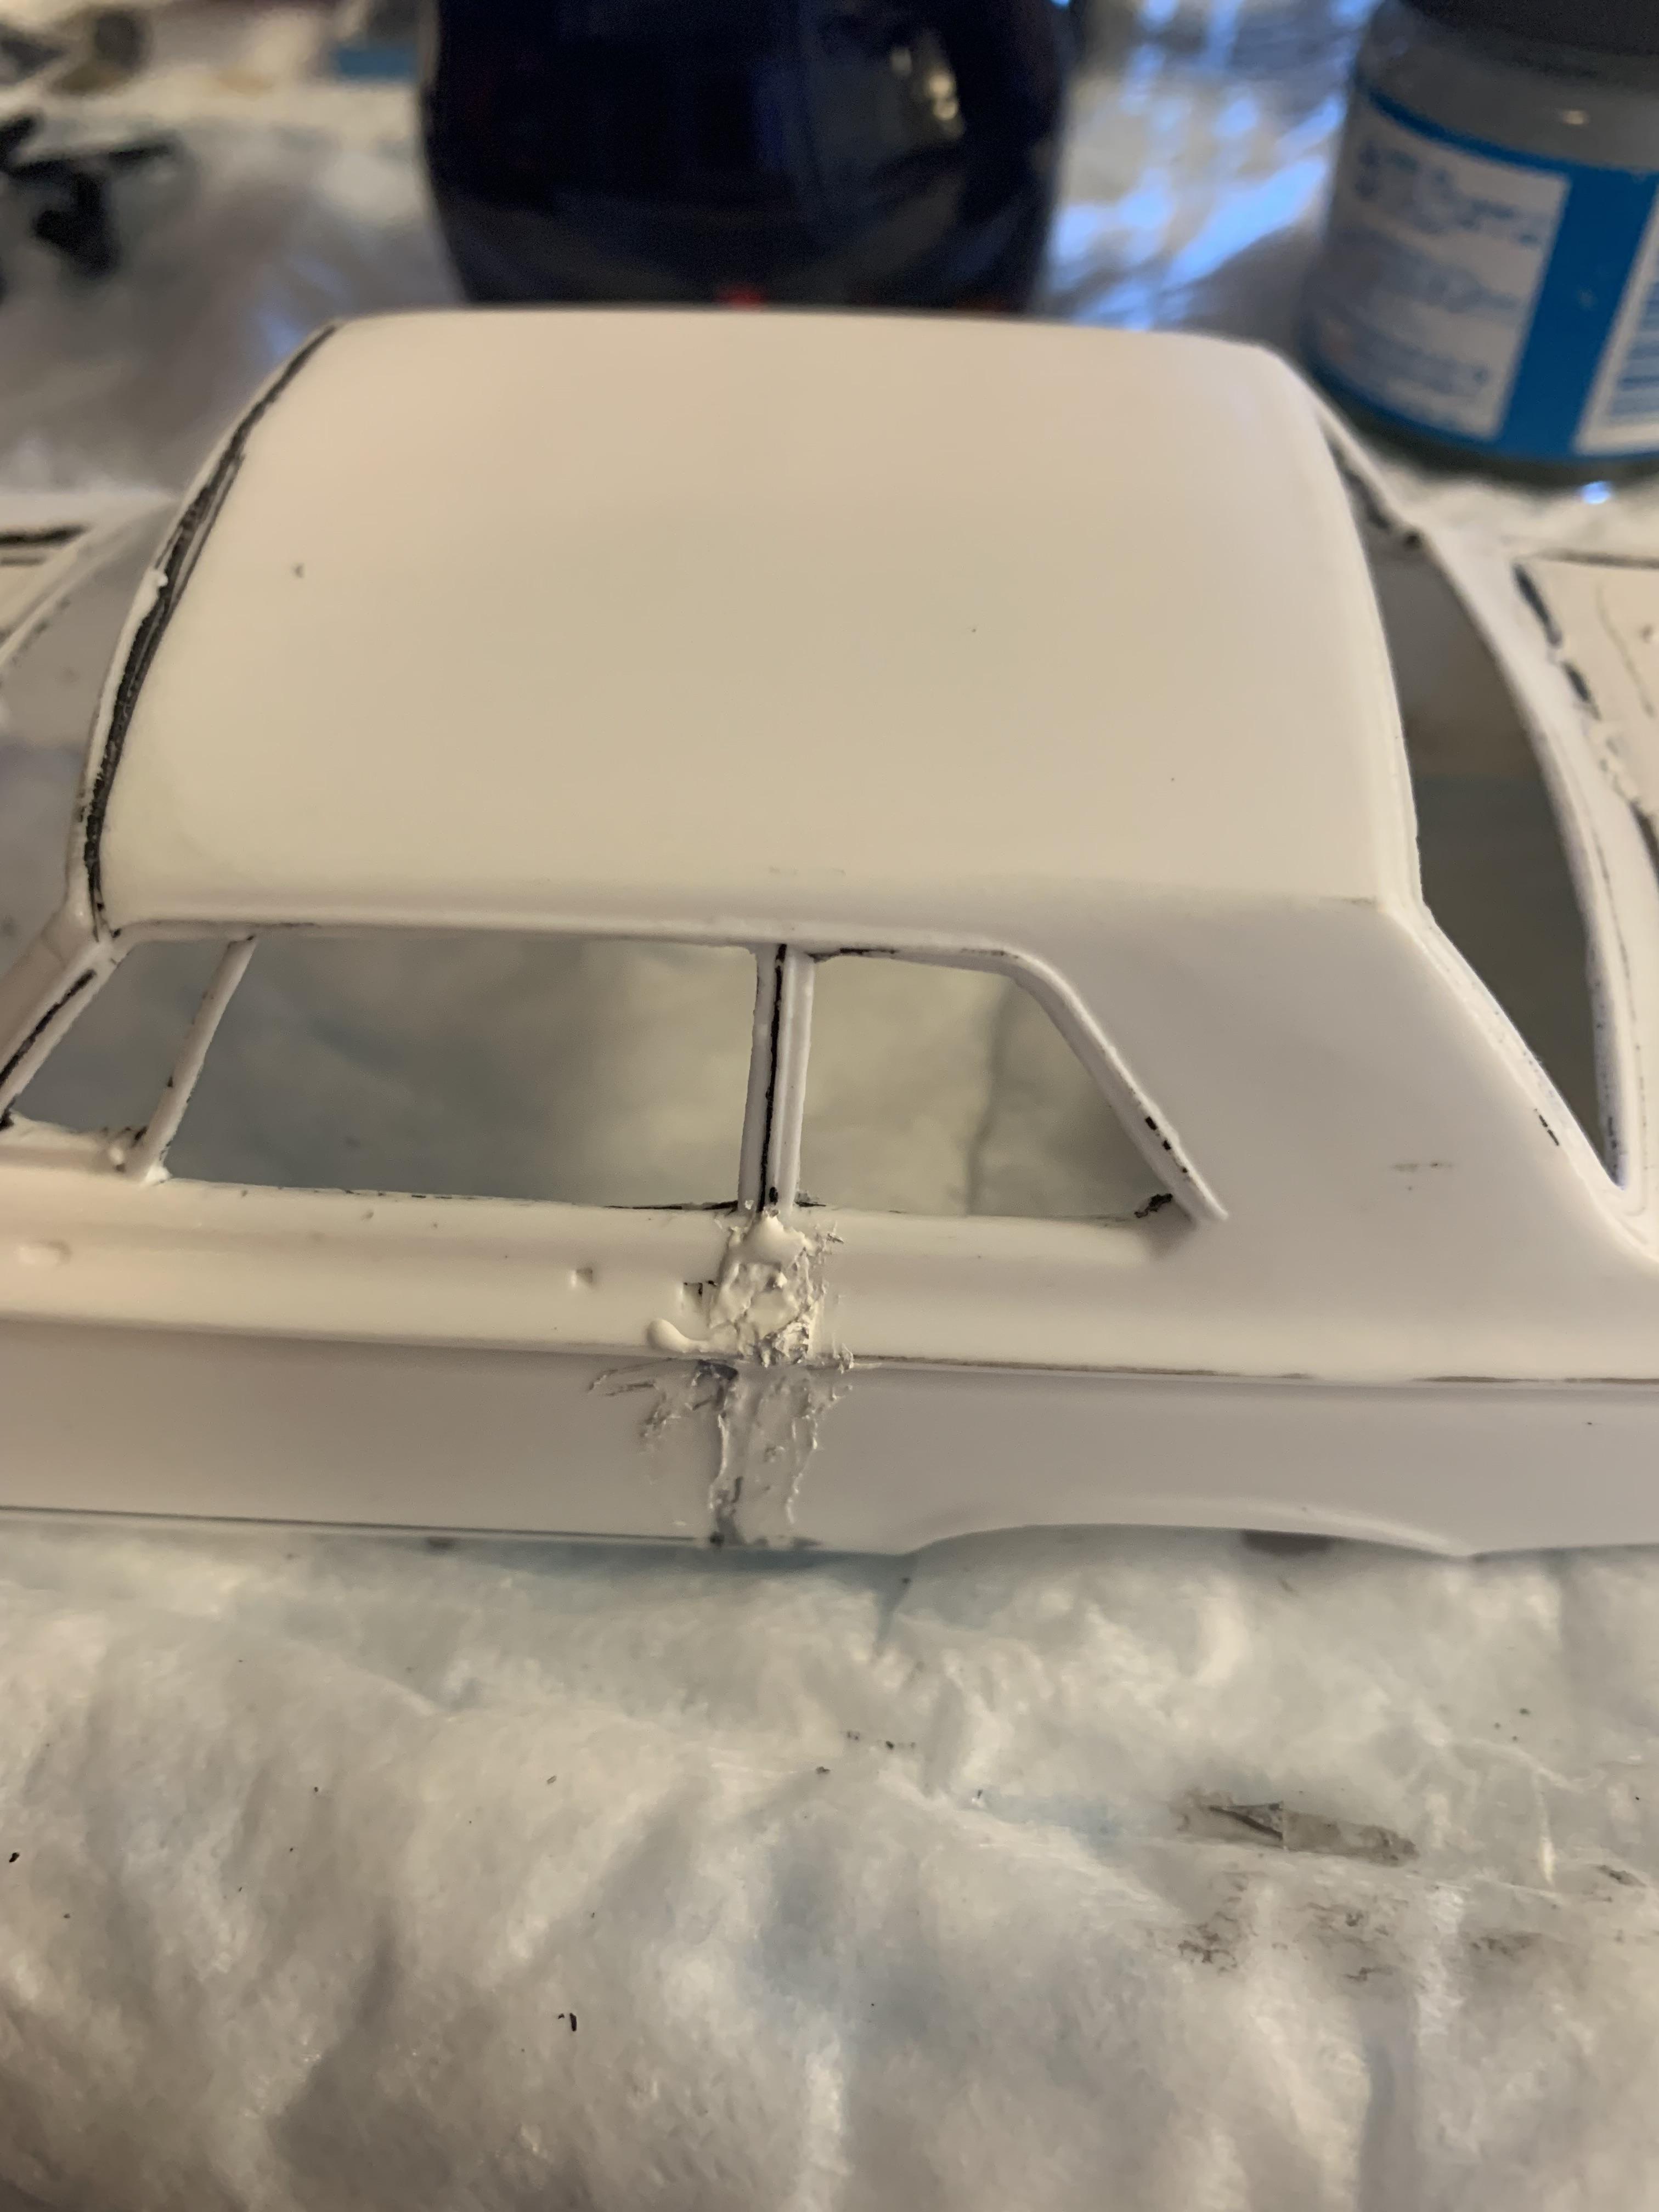
Some progress. Wet sanding with some 240, then 600, with my David Union sander. Then applied some putty to try and fix some scribing errors.
-
Grooms Bros. 1965 Plymouth Sedan awb Black Trash II
R. Thorne replied to R. Thorne's topic in WIP: Drag Racing Models
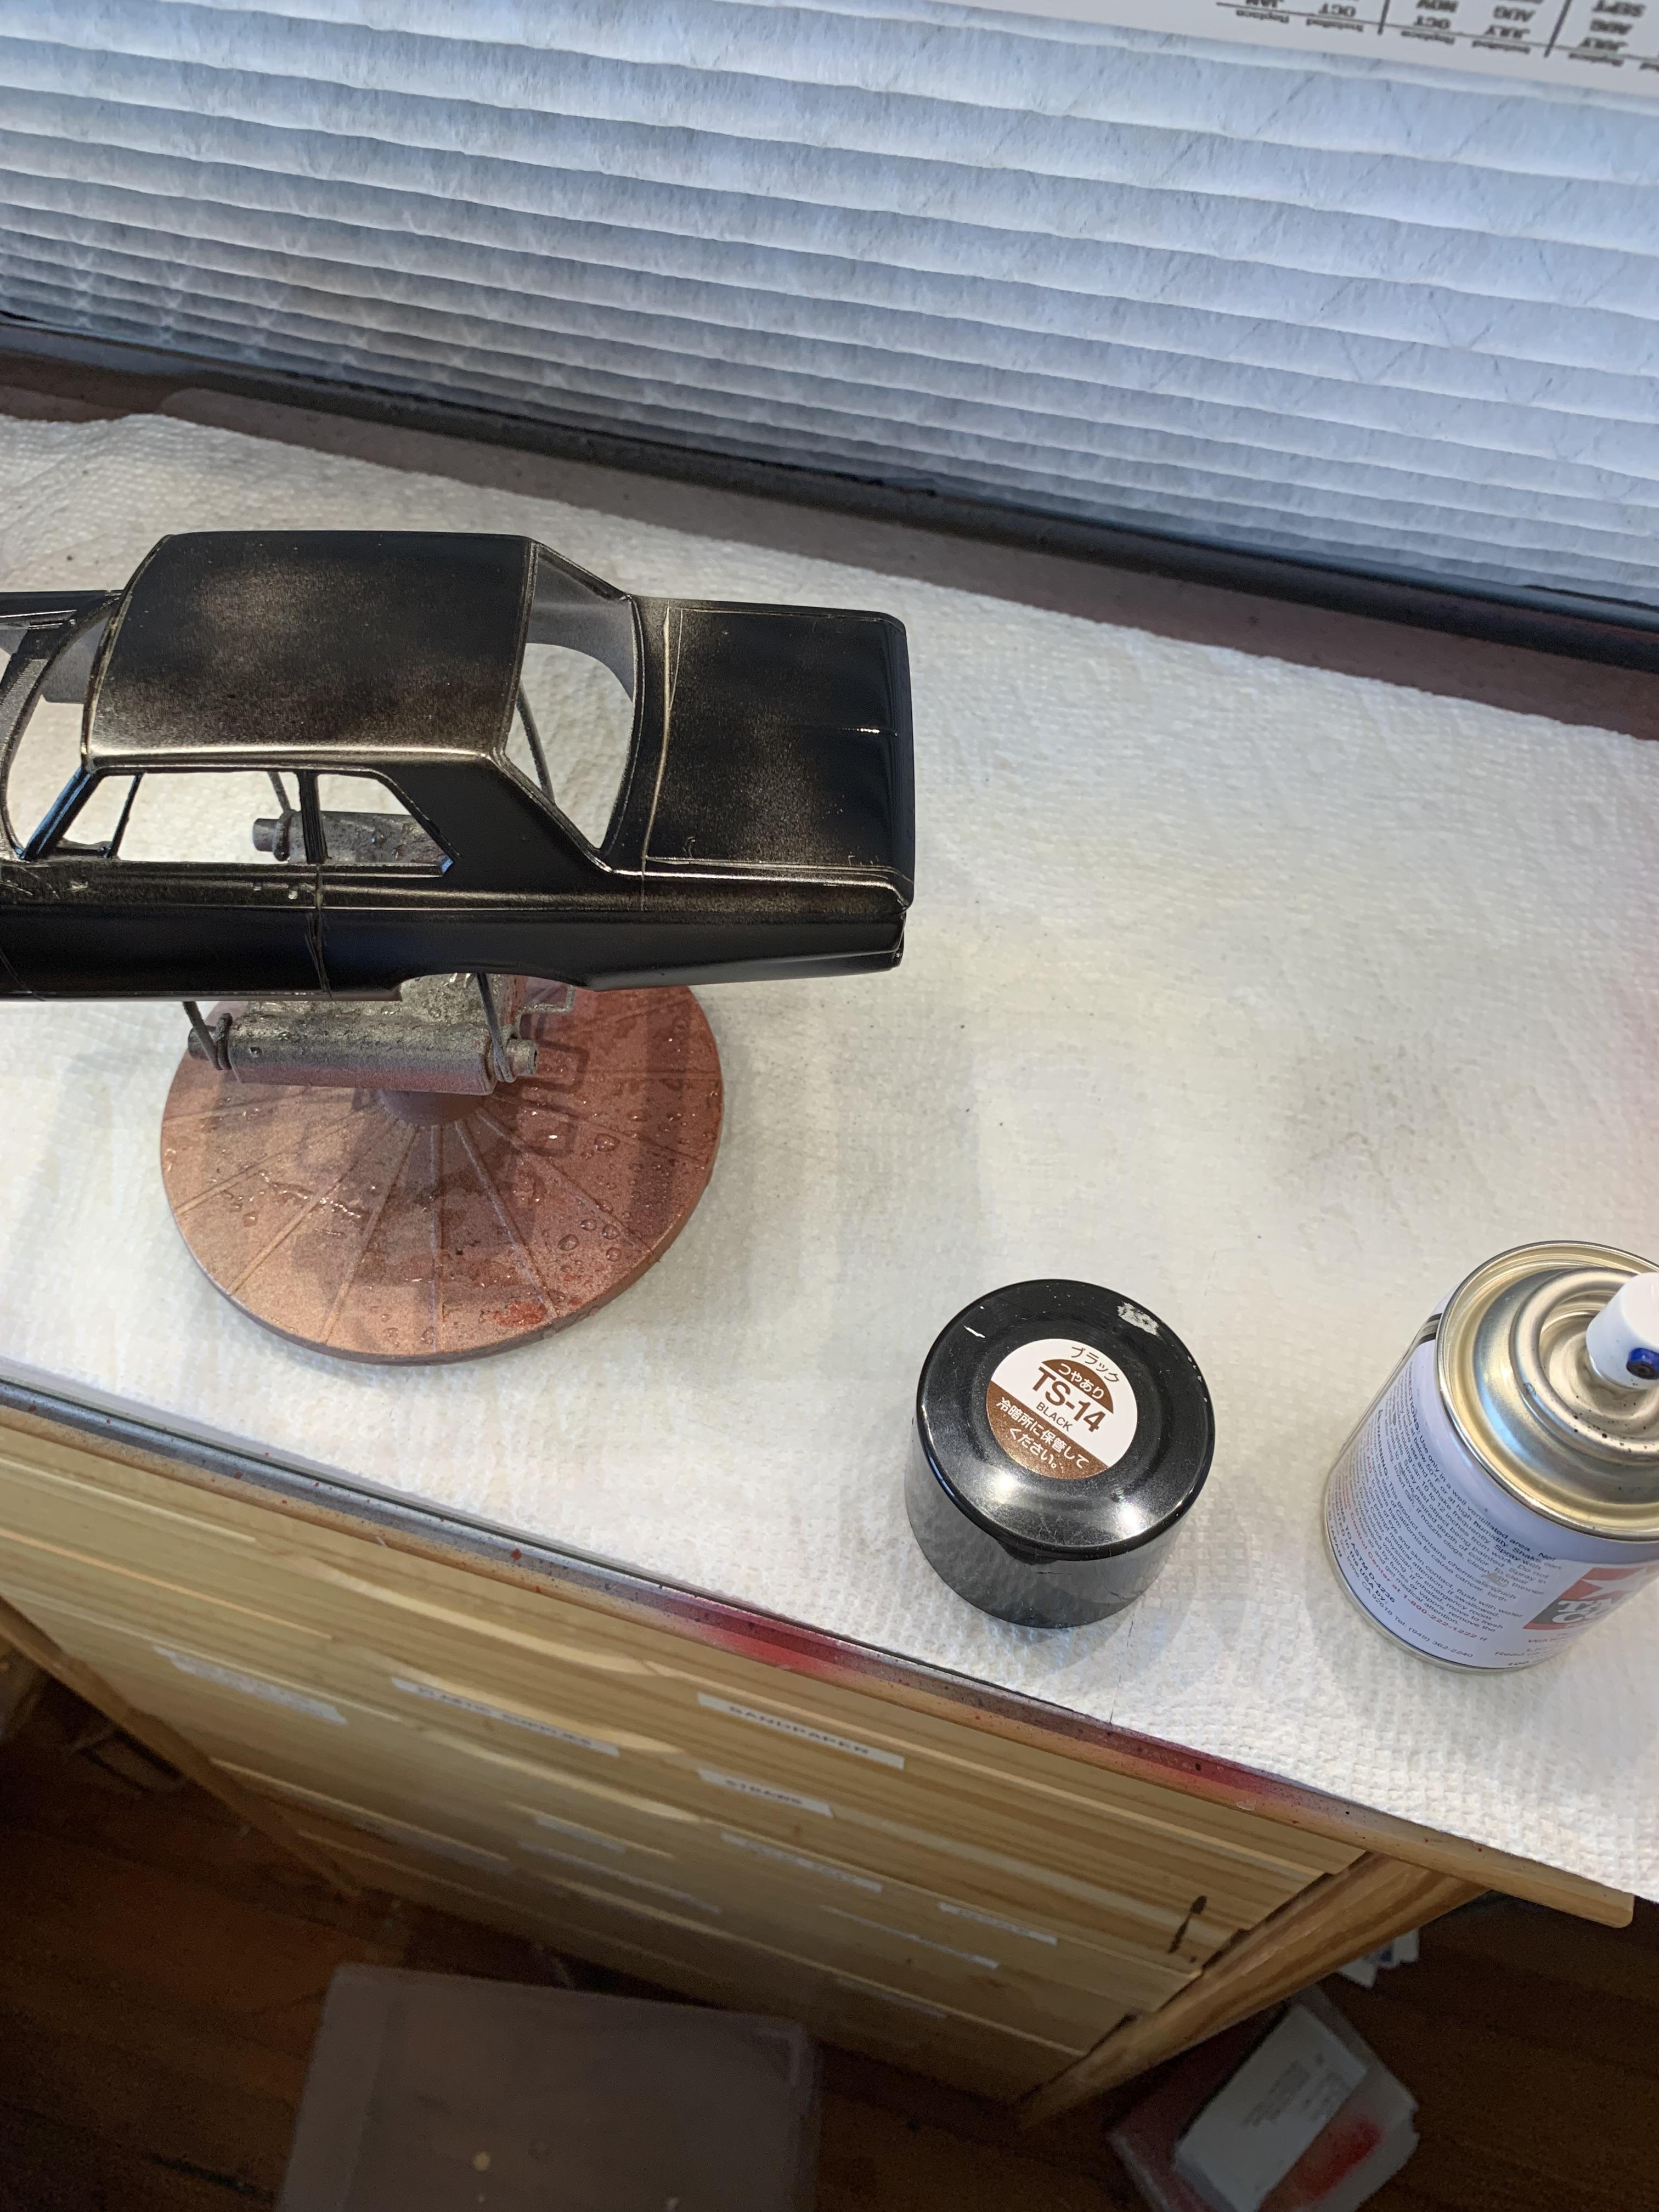
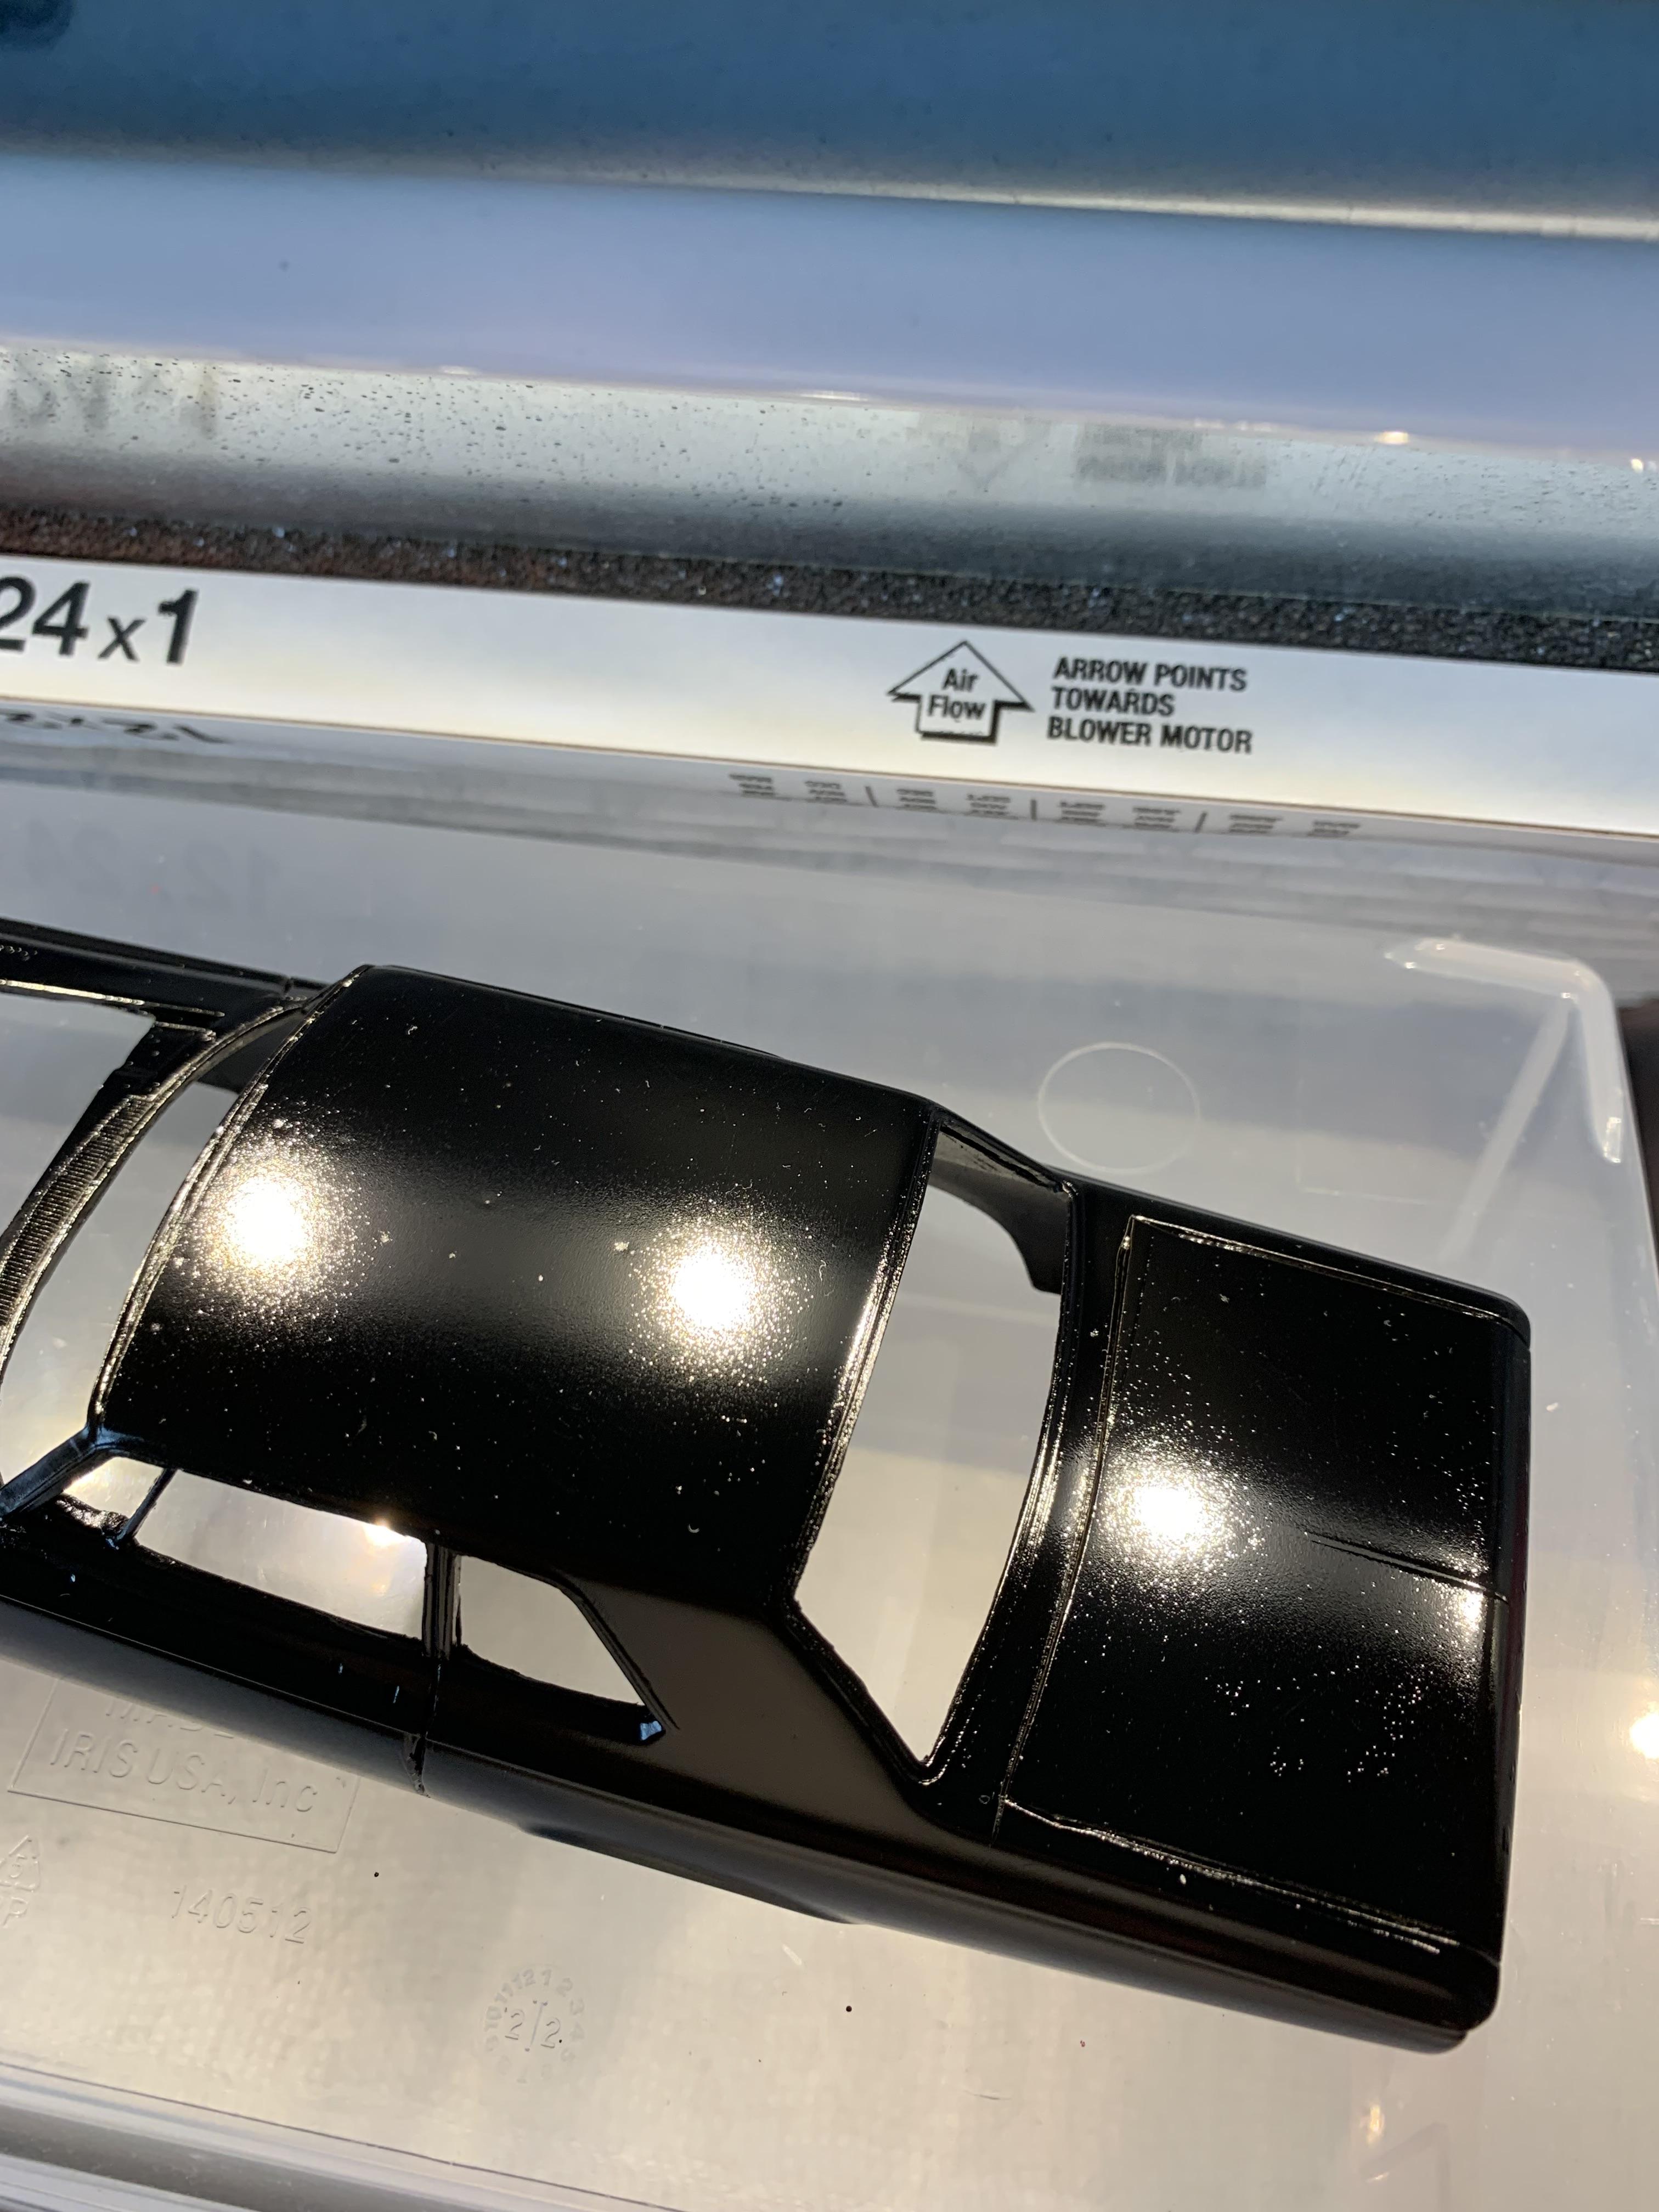
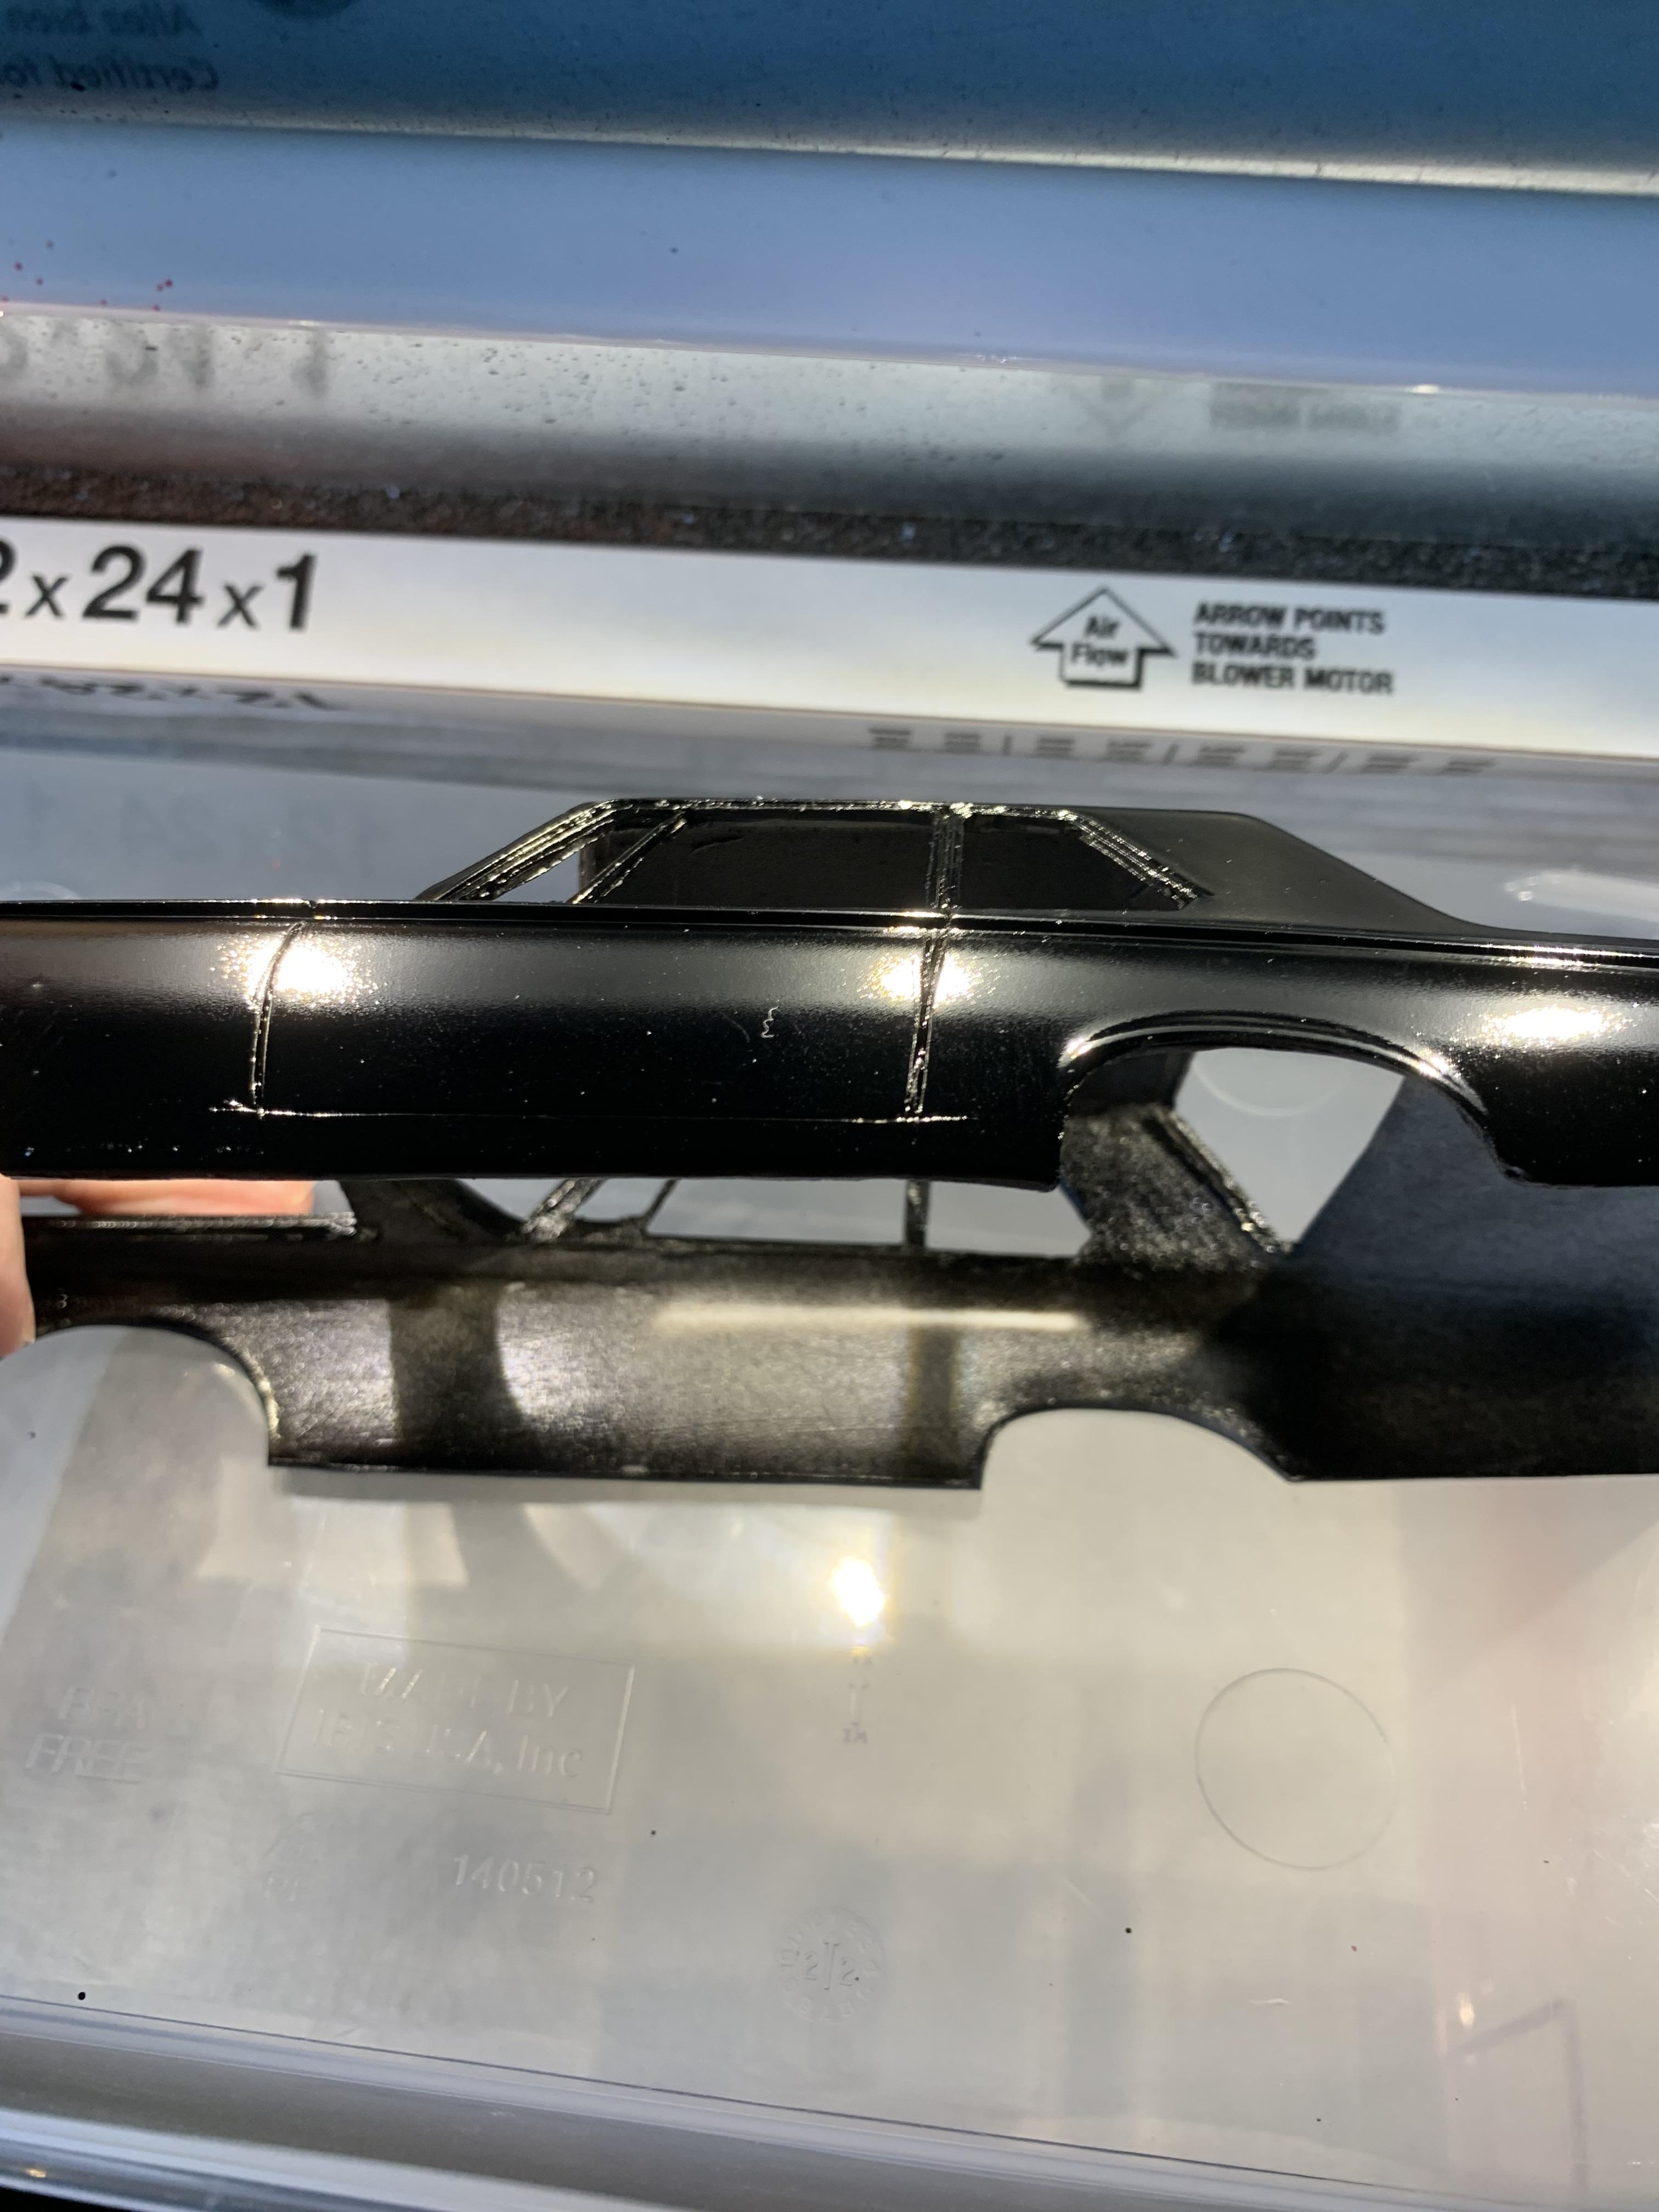
Well, it’s 3 years old now, but new when I used it the first time with the same results. I have used the 1000 and 1200 before with excellent results. When I applied the Tamiya, the shine was fine, but after sitting for a half hour or so, the finish went away. Anyway, from now on it will be Tamiya primer and Tamiya paint. -
Grooms Bros. 1965 Plymouth Sedan awb Black Trash II
R. Thorne replied to R. Thorne's topic in WIP: Drag Racing Models
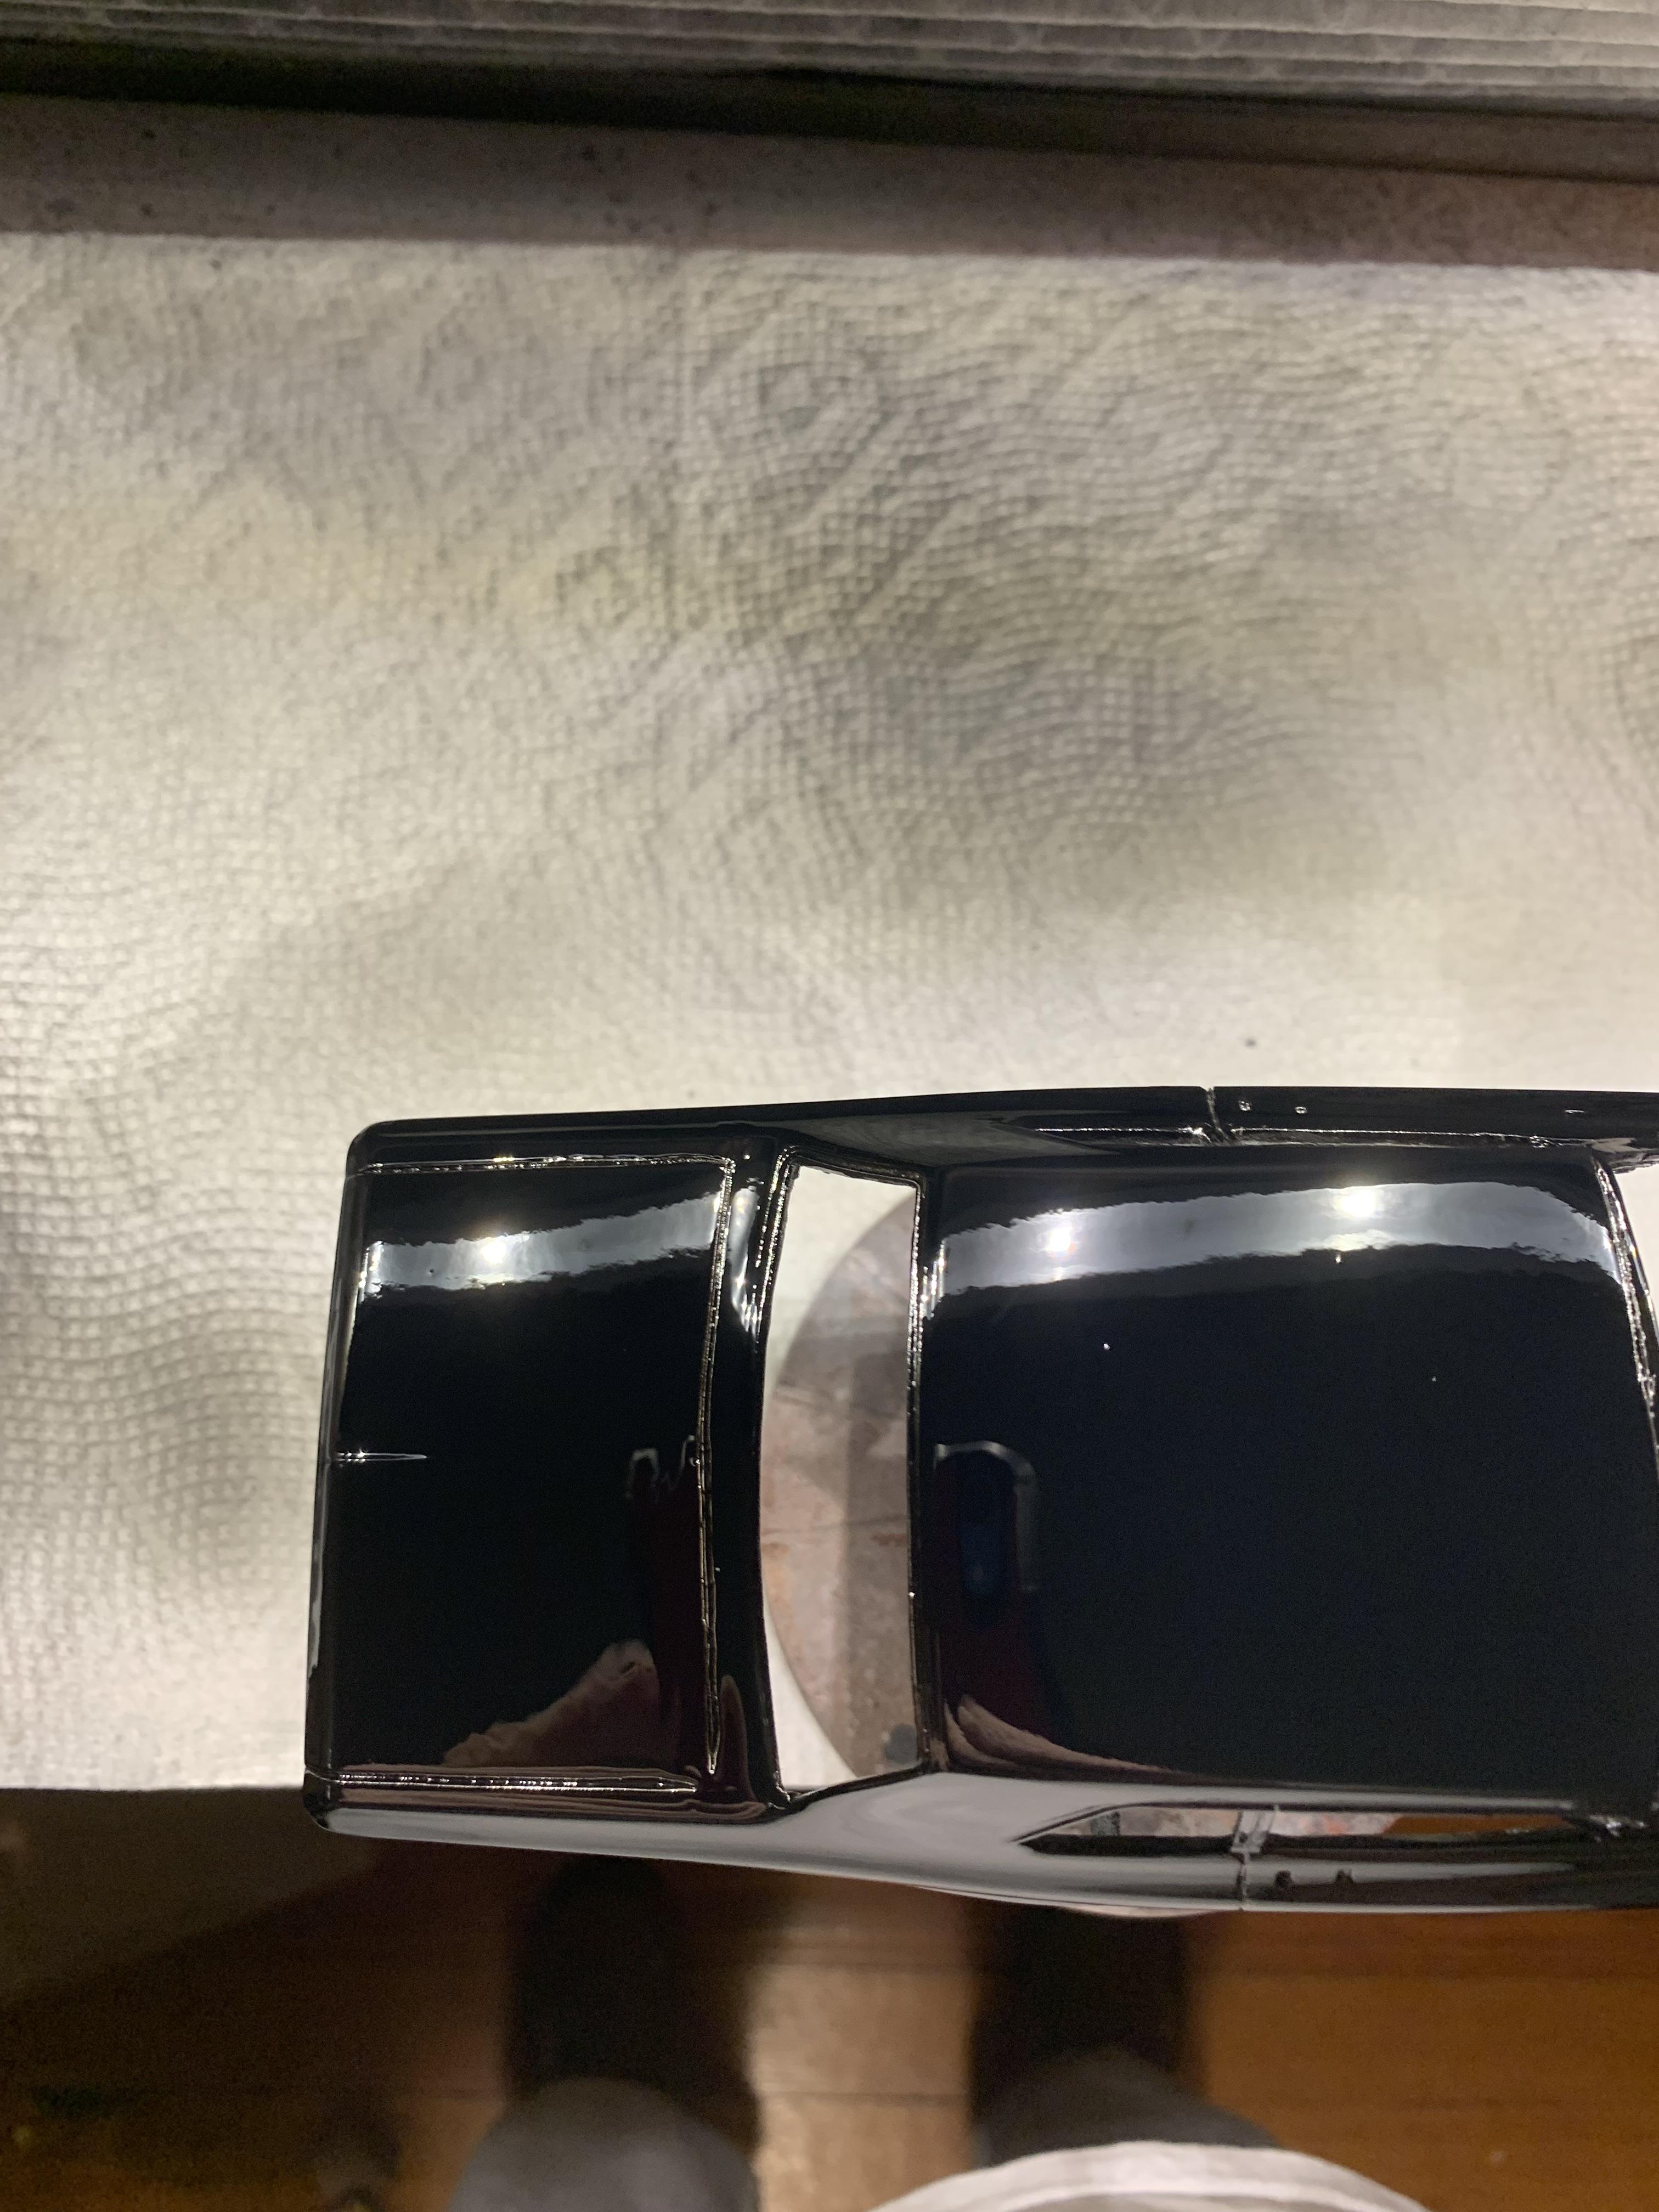
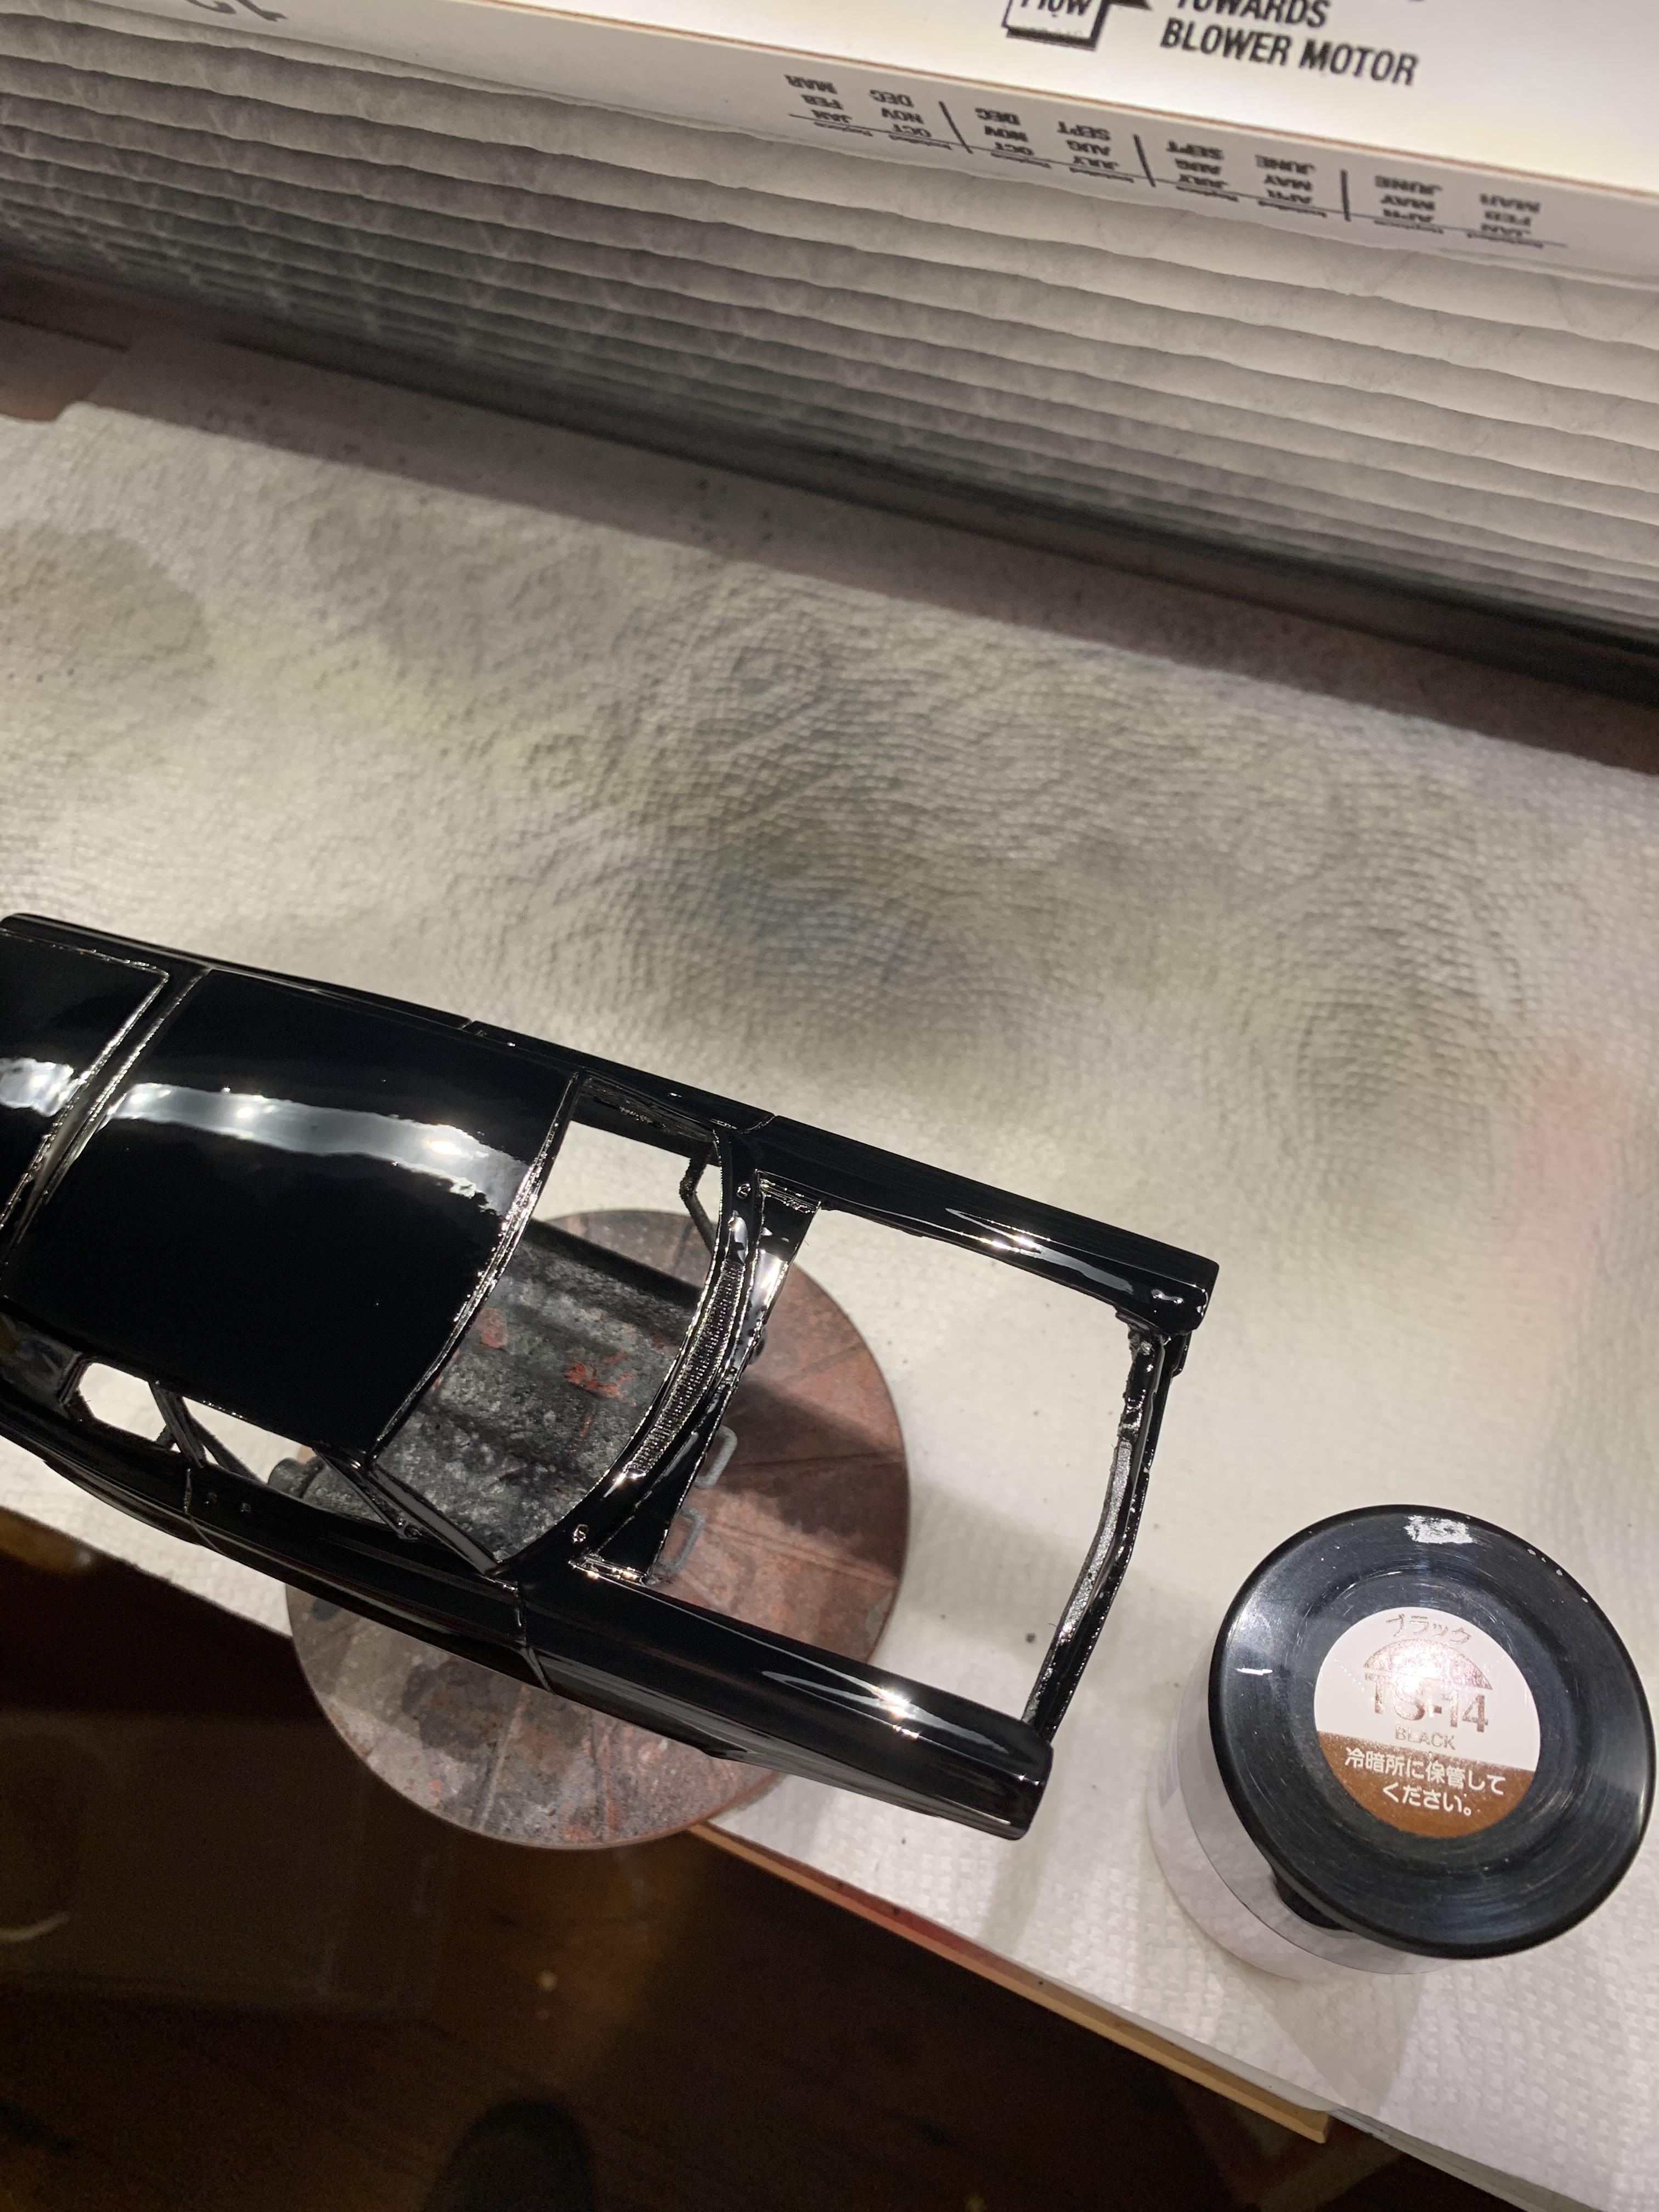
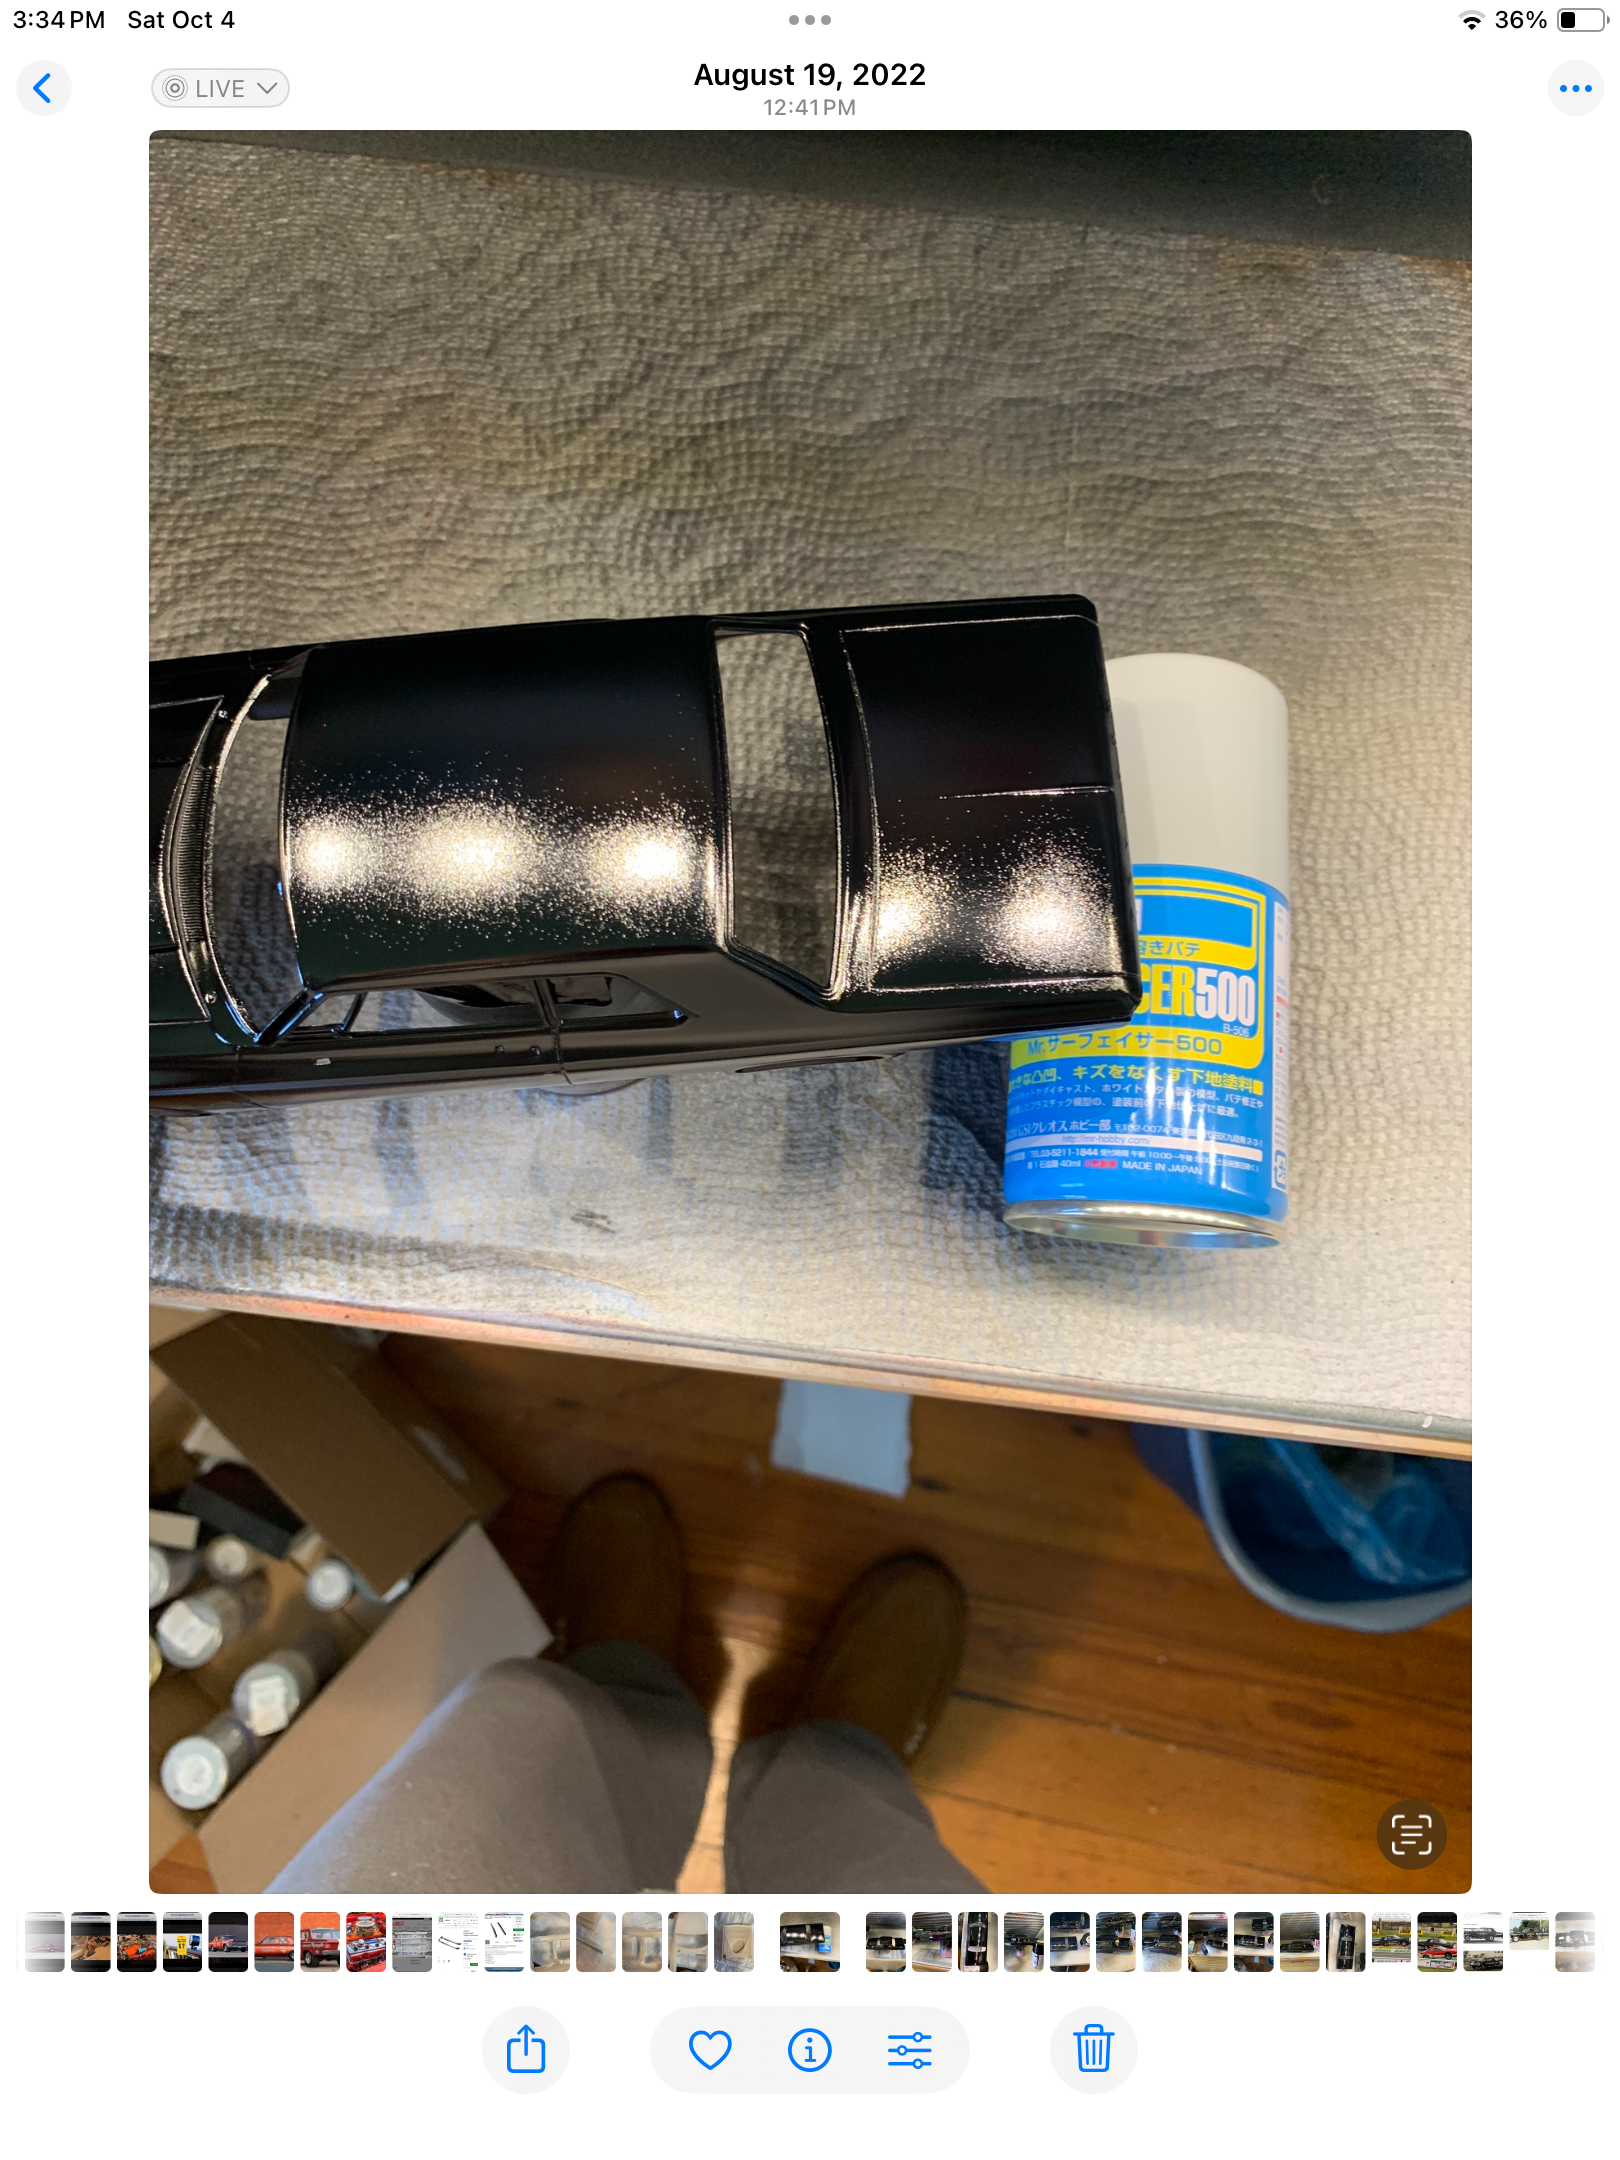
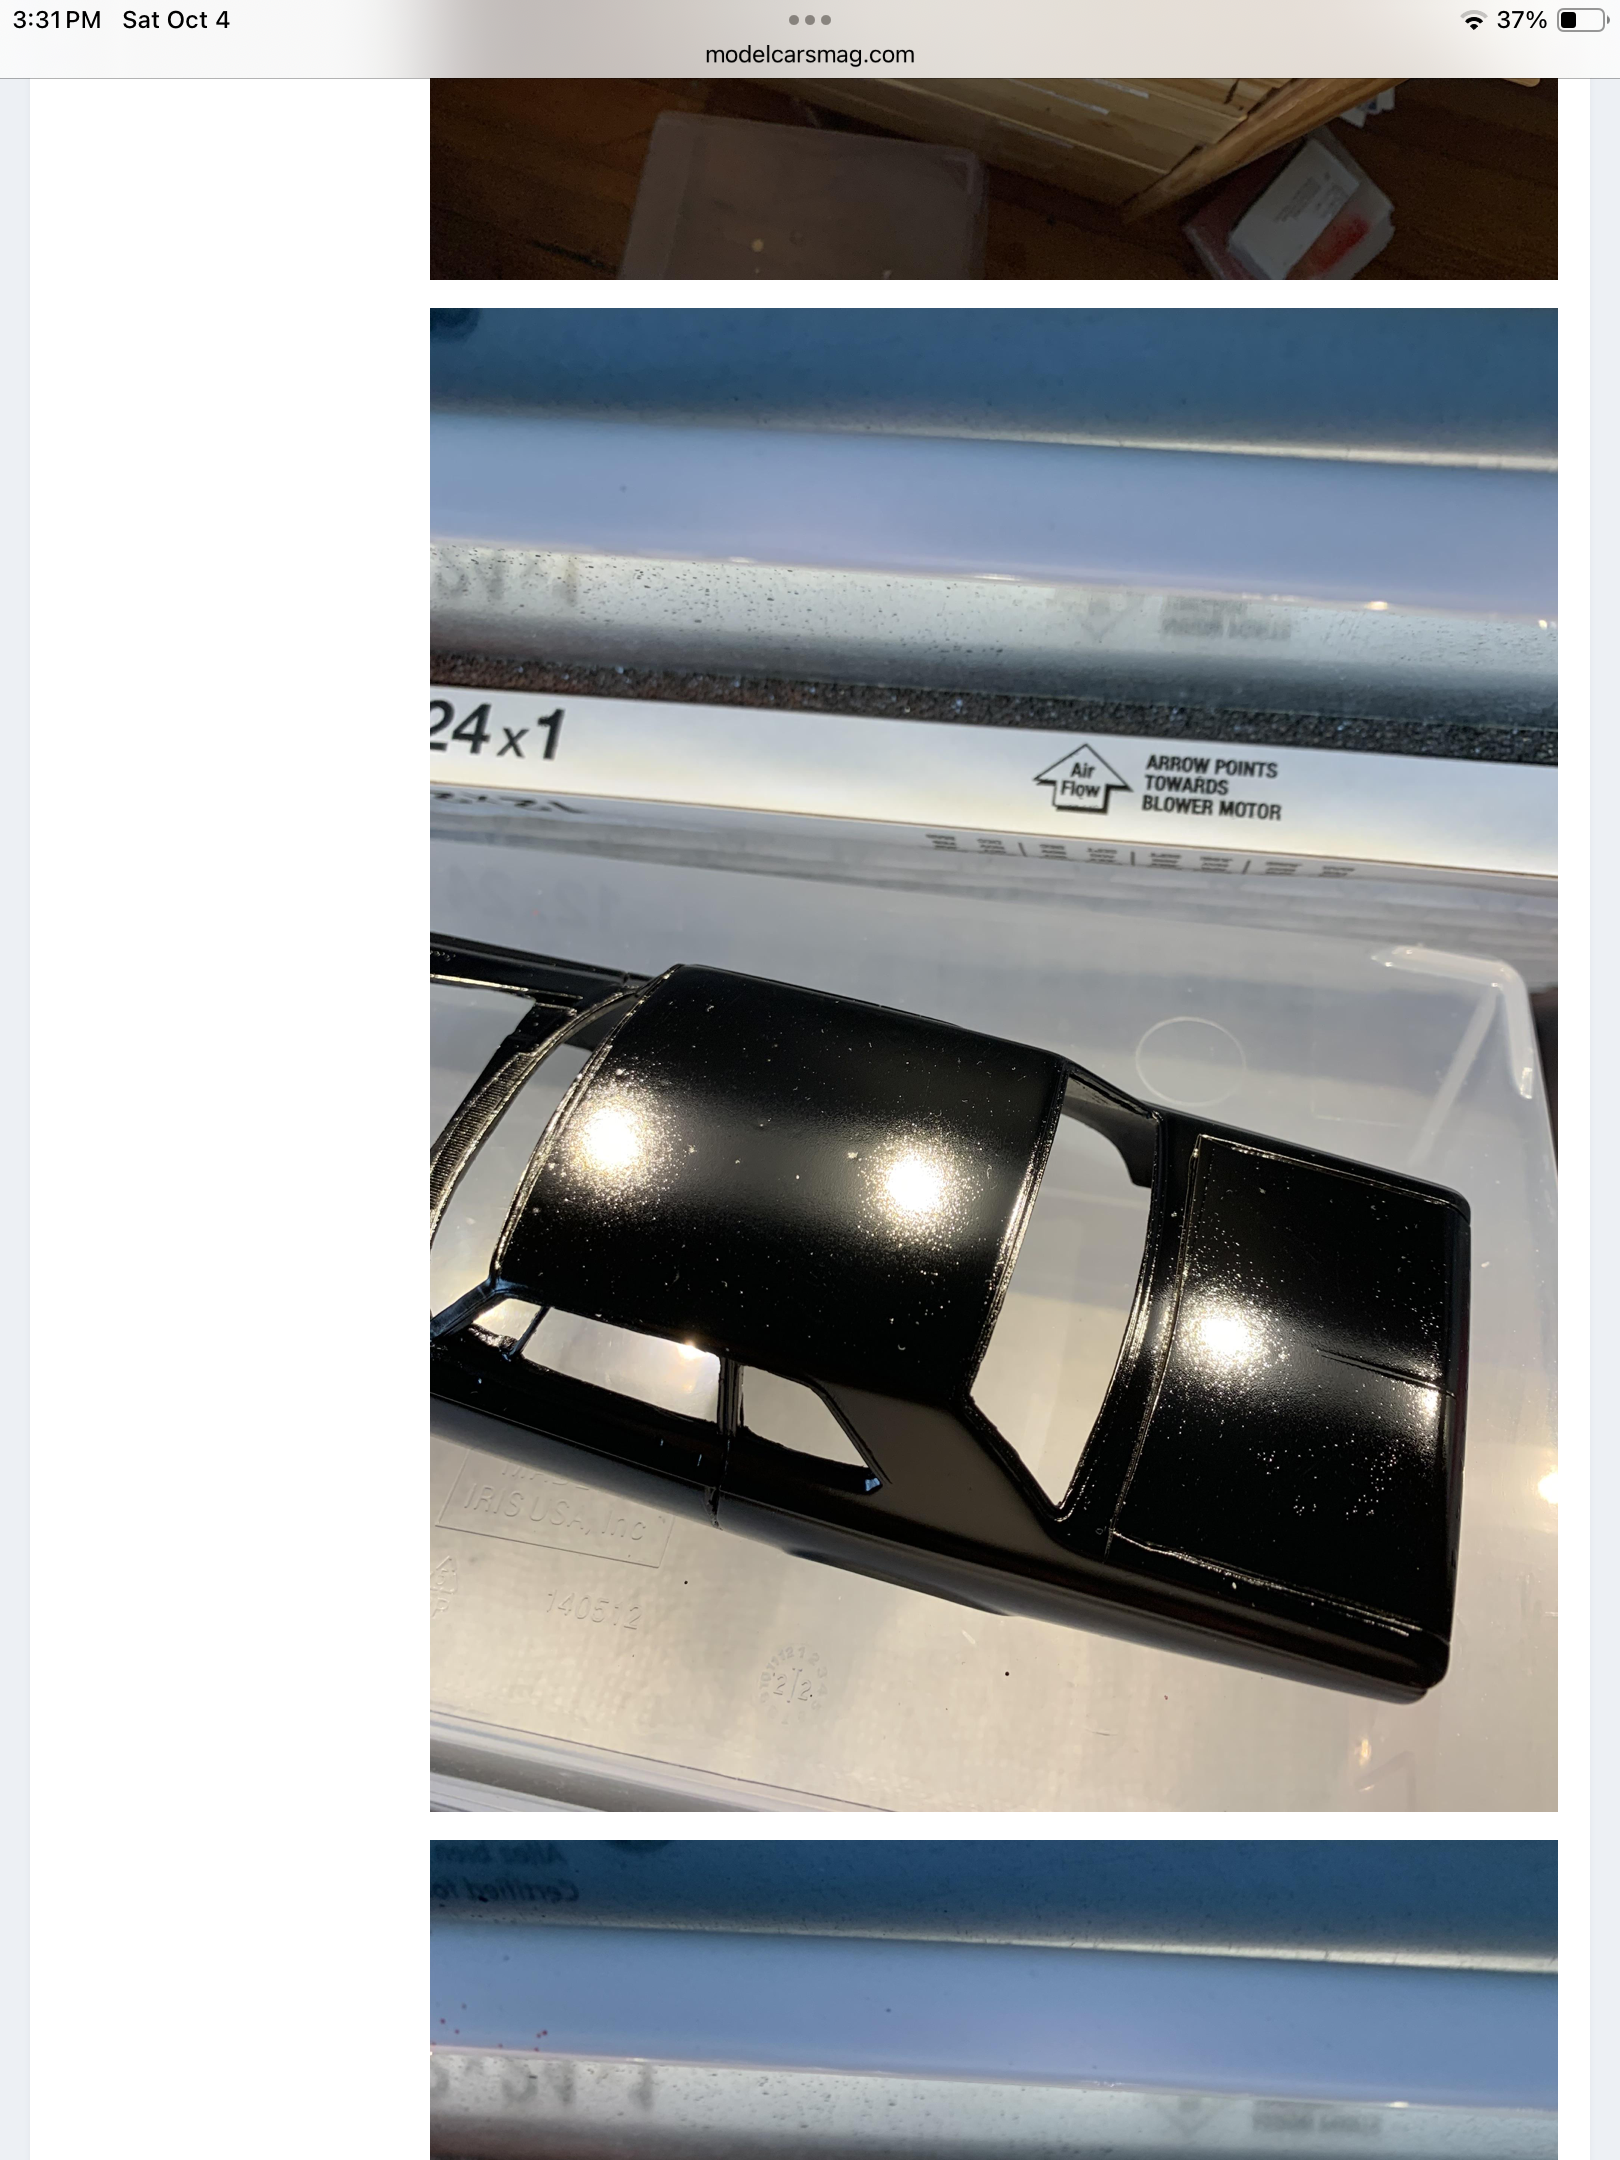
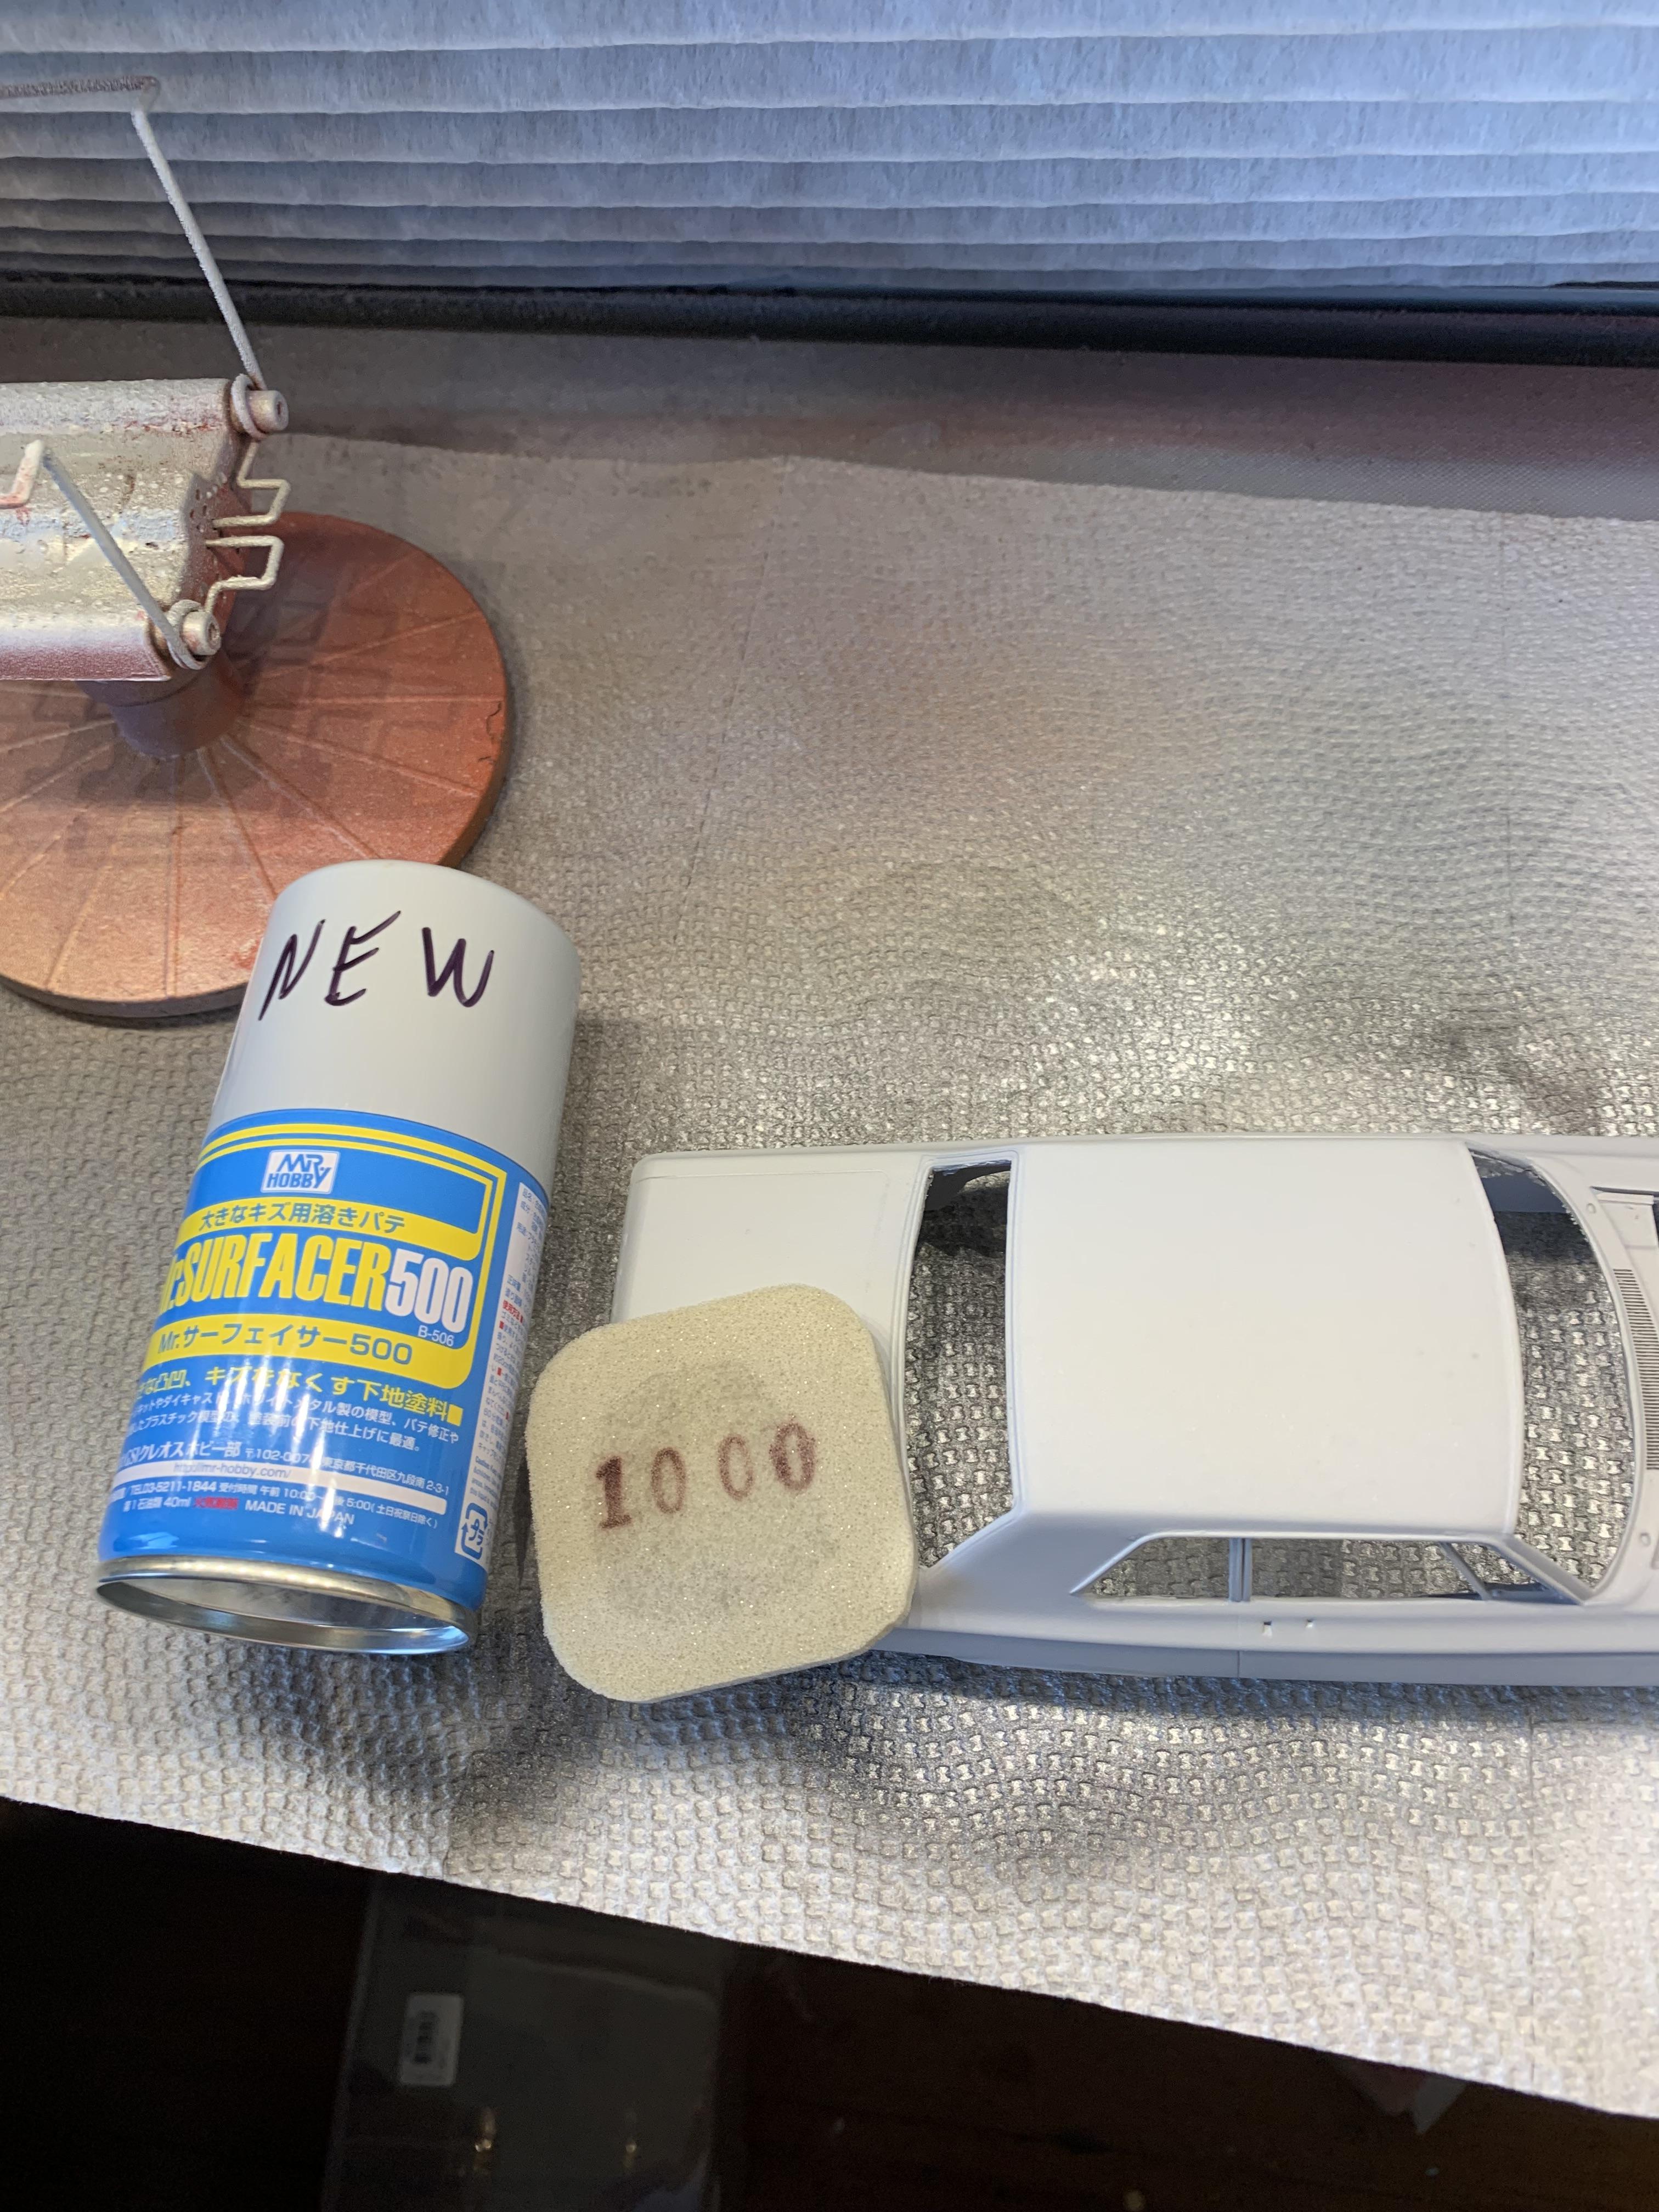
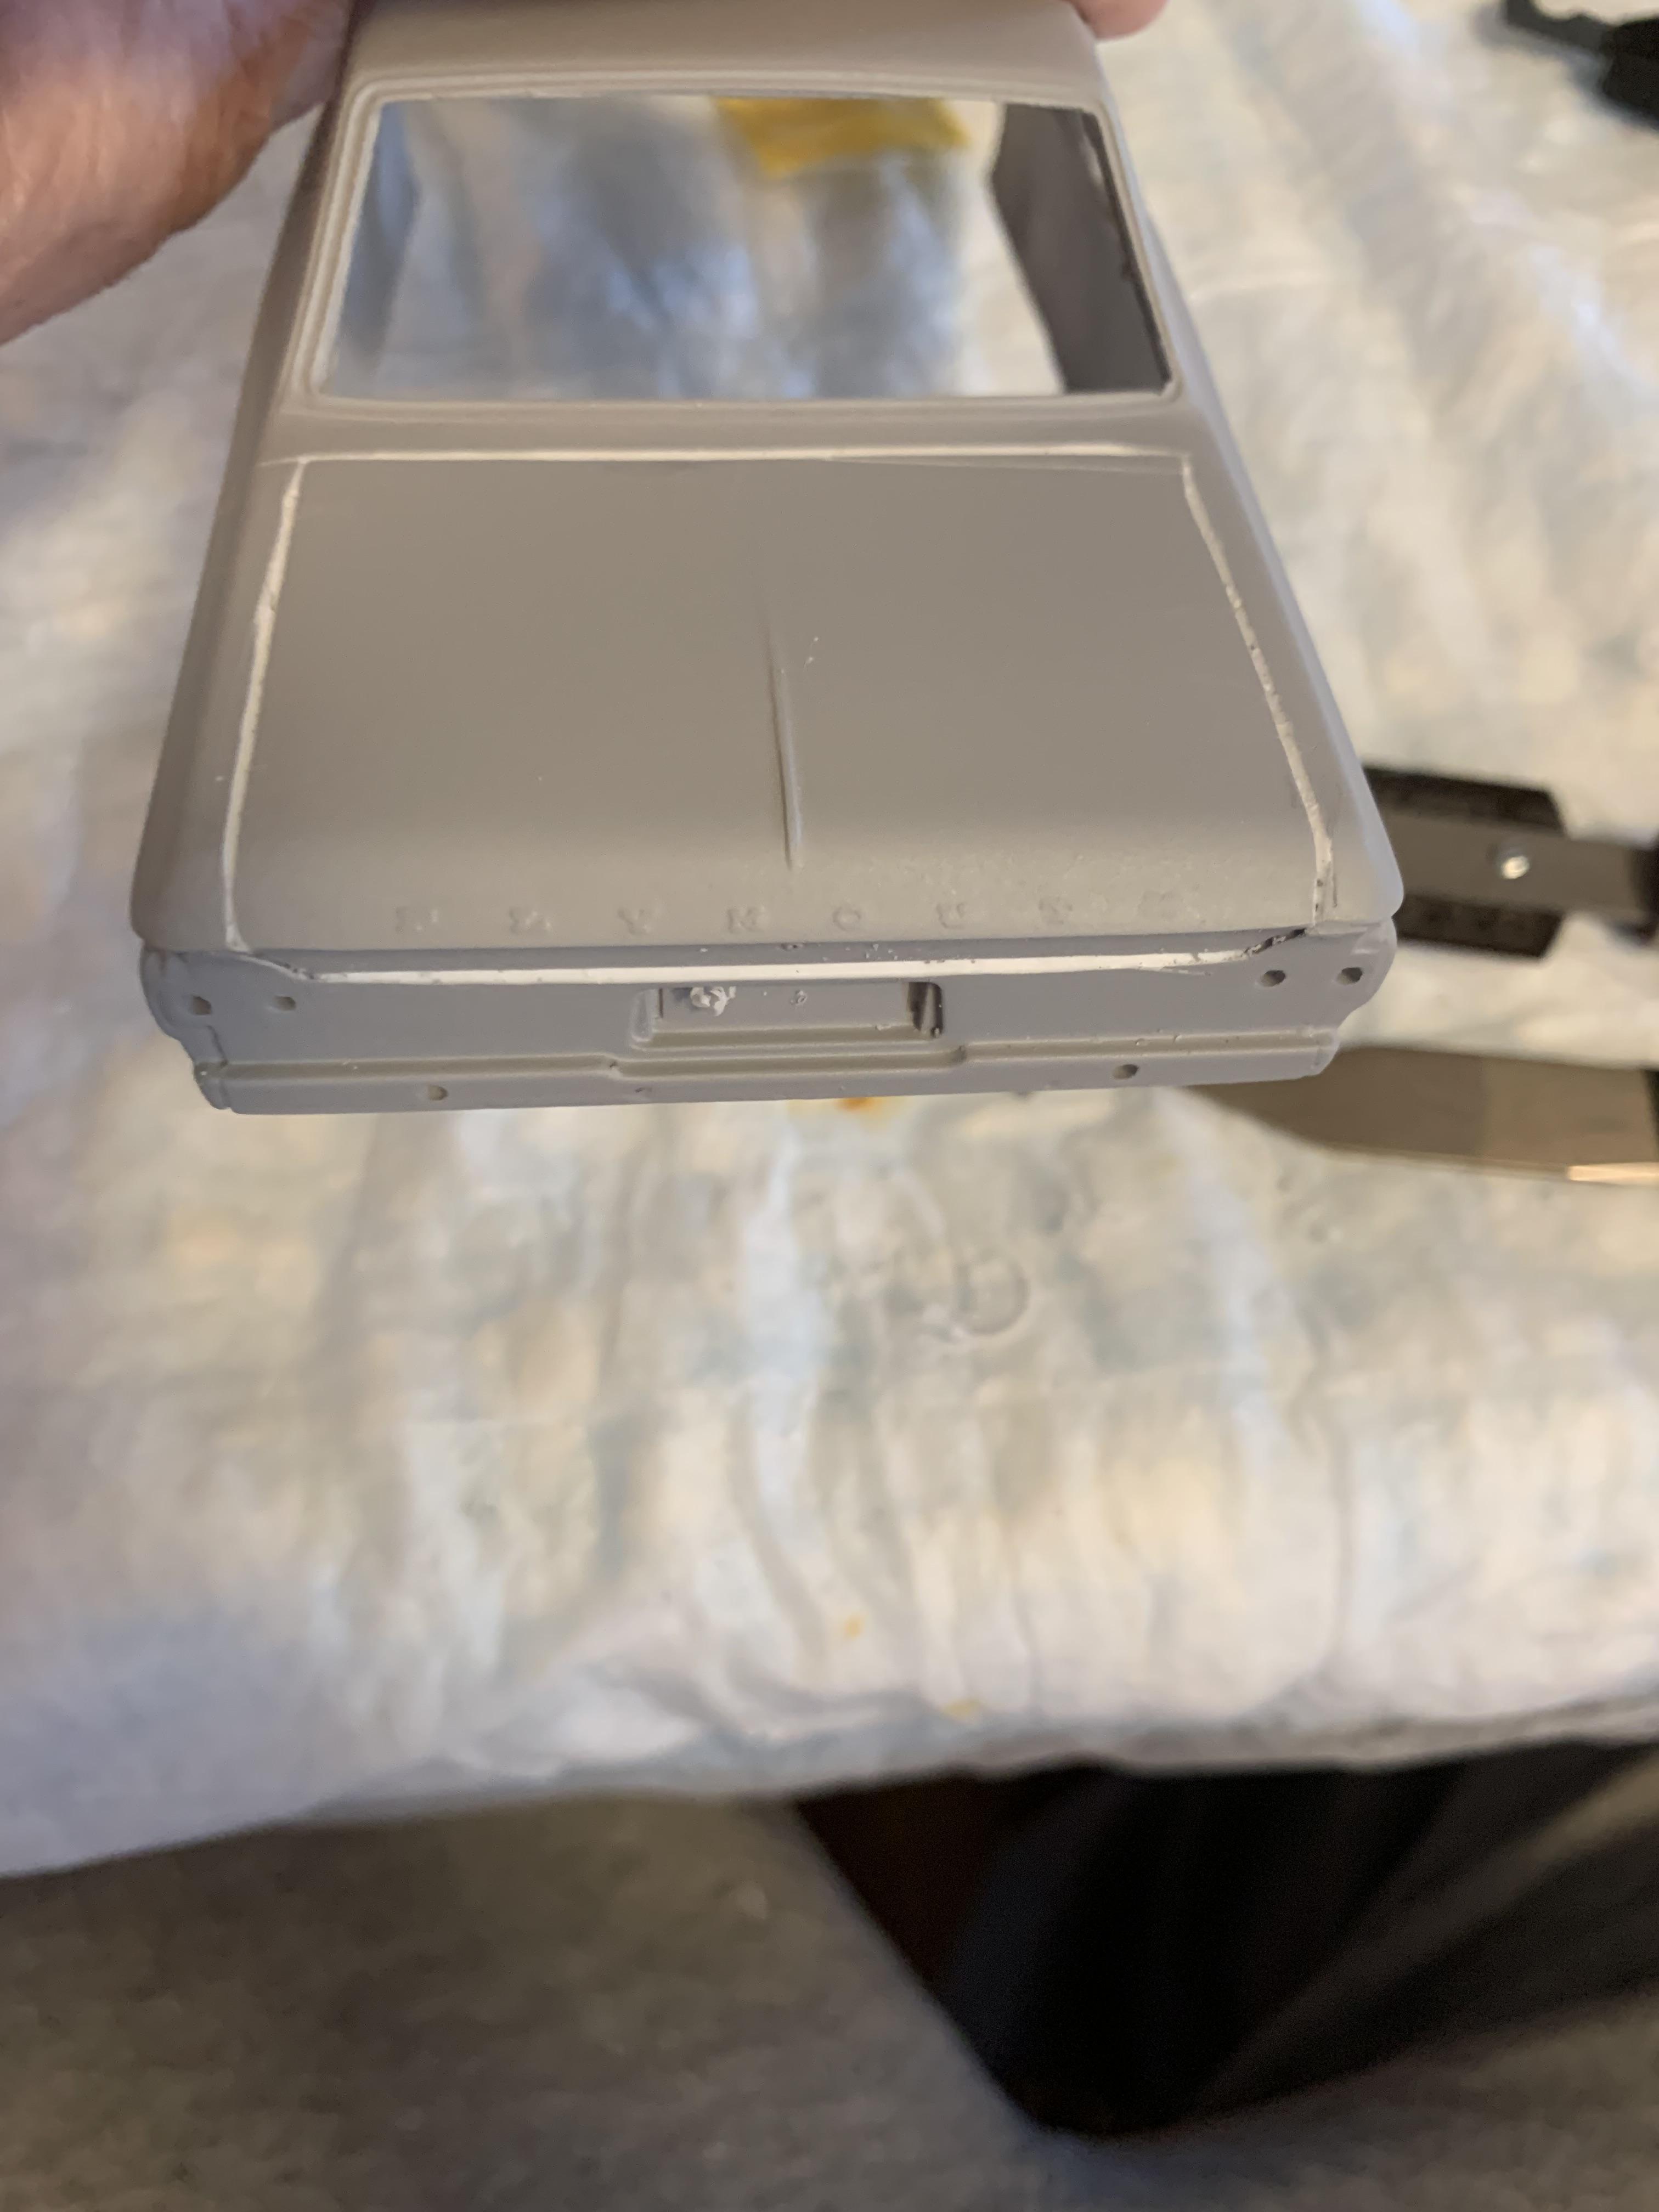
Well, at least the paint mystery has been solved. The 500 (grit) Mr. Surfacer does not like the Tamiya ts14 black. I had forgotten I sprayed the same thing 3 years ago on a 1965 Plymouth Stock Eliminator build with the oem style styrene body with the same results as the resin body now. I think the primer needs to go in the trash so I will never use it again. The first pic is 3 years ago and the 2nd is 2 weeks ago. I will be sanding for the next day or so.
-
Grooms Bros. 1965 Plymouth Sedan awb Black Trash II
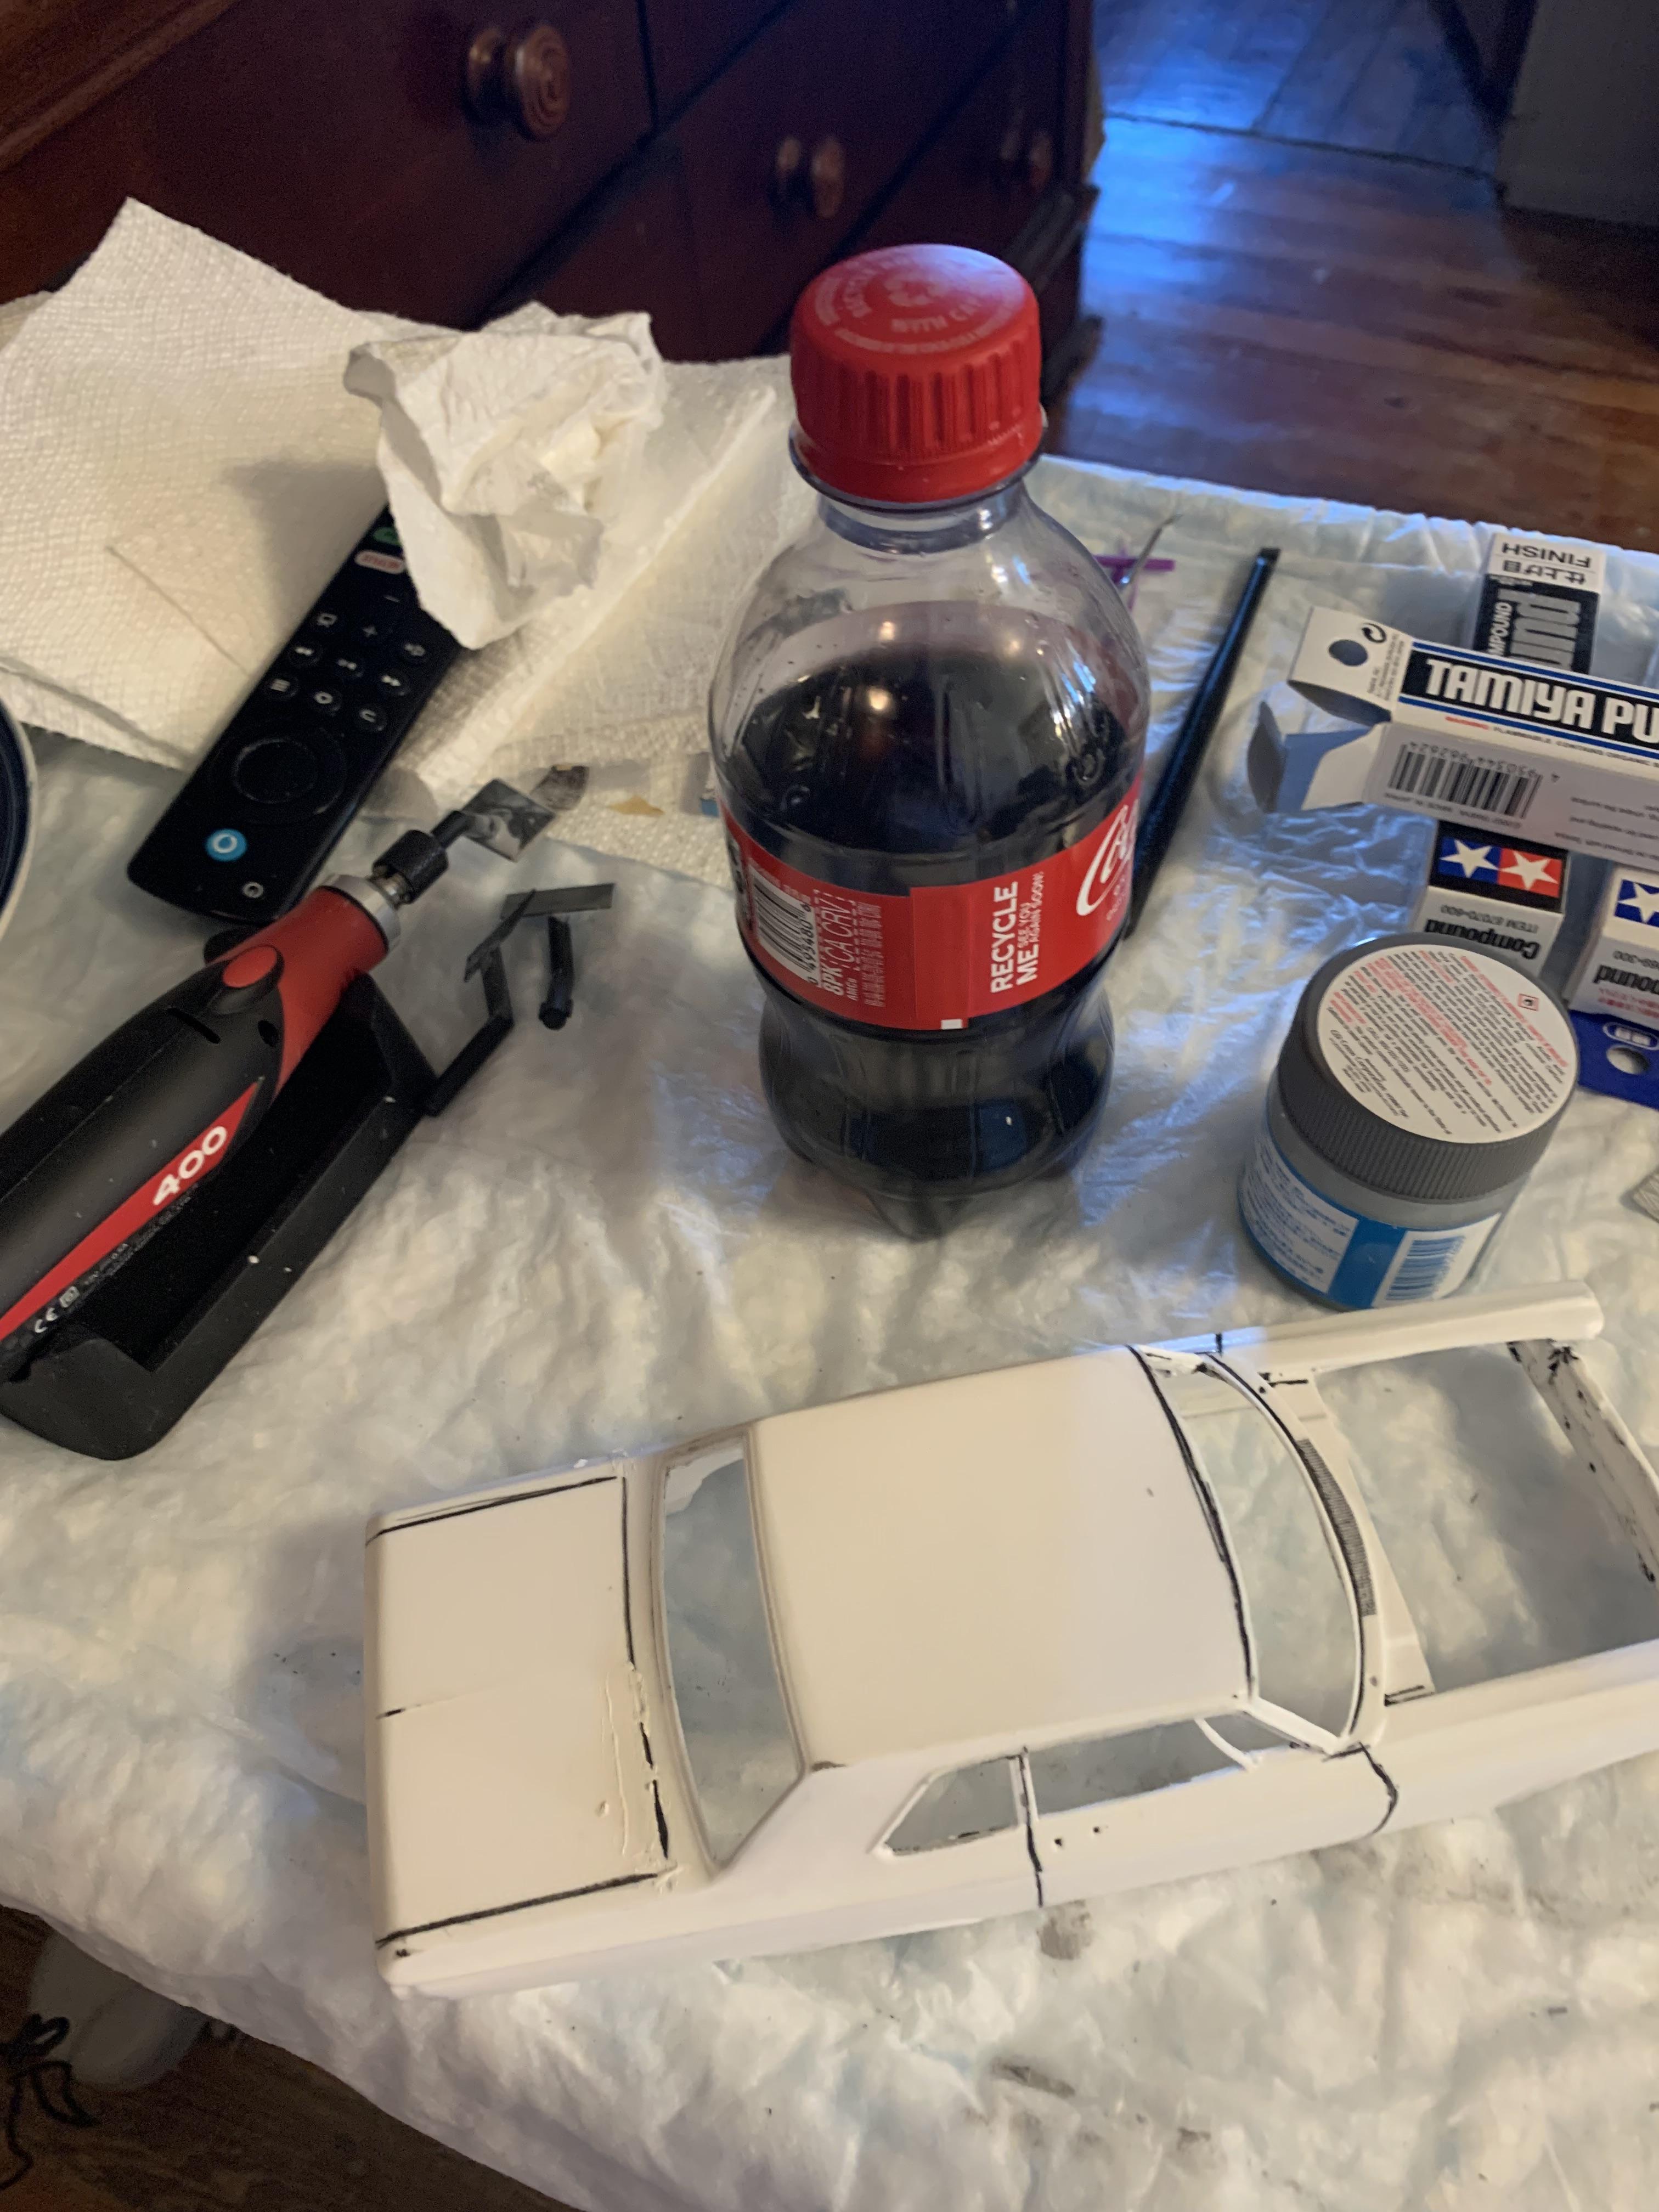
R. Thorne replied to R. Thorne's topic in WIP: Drag Racing Models
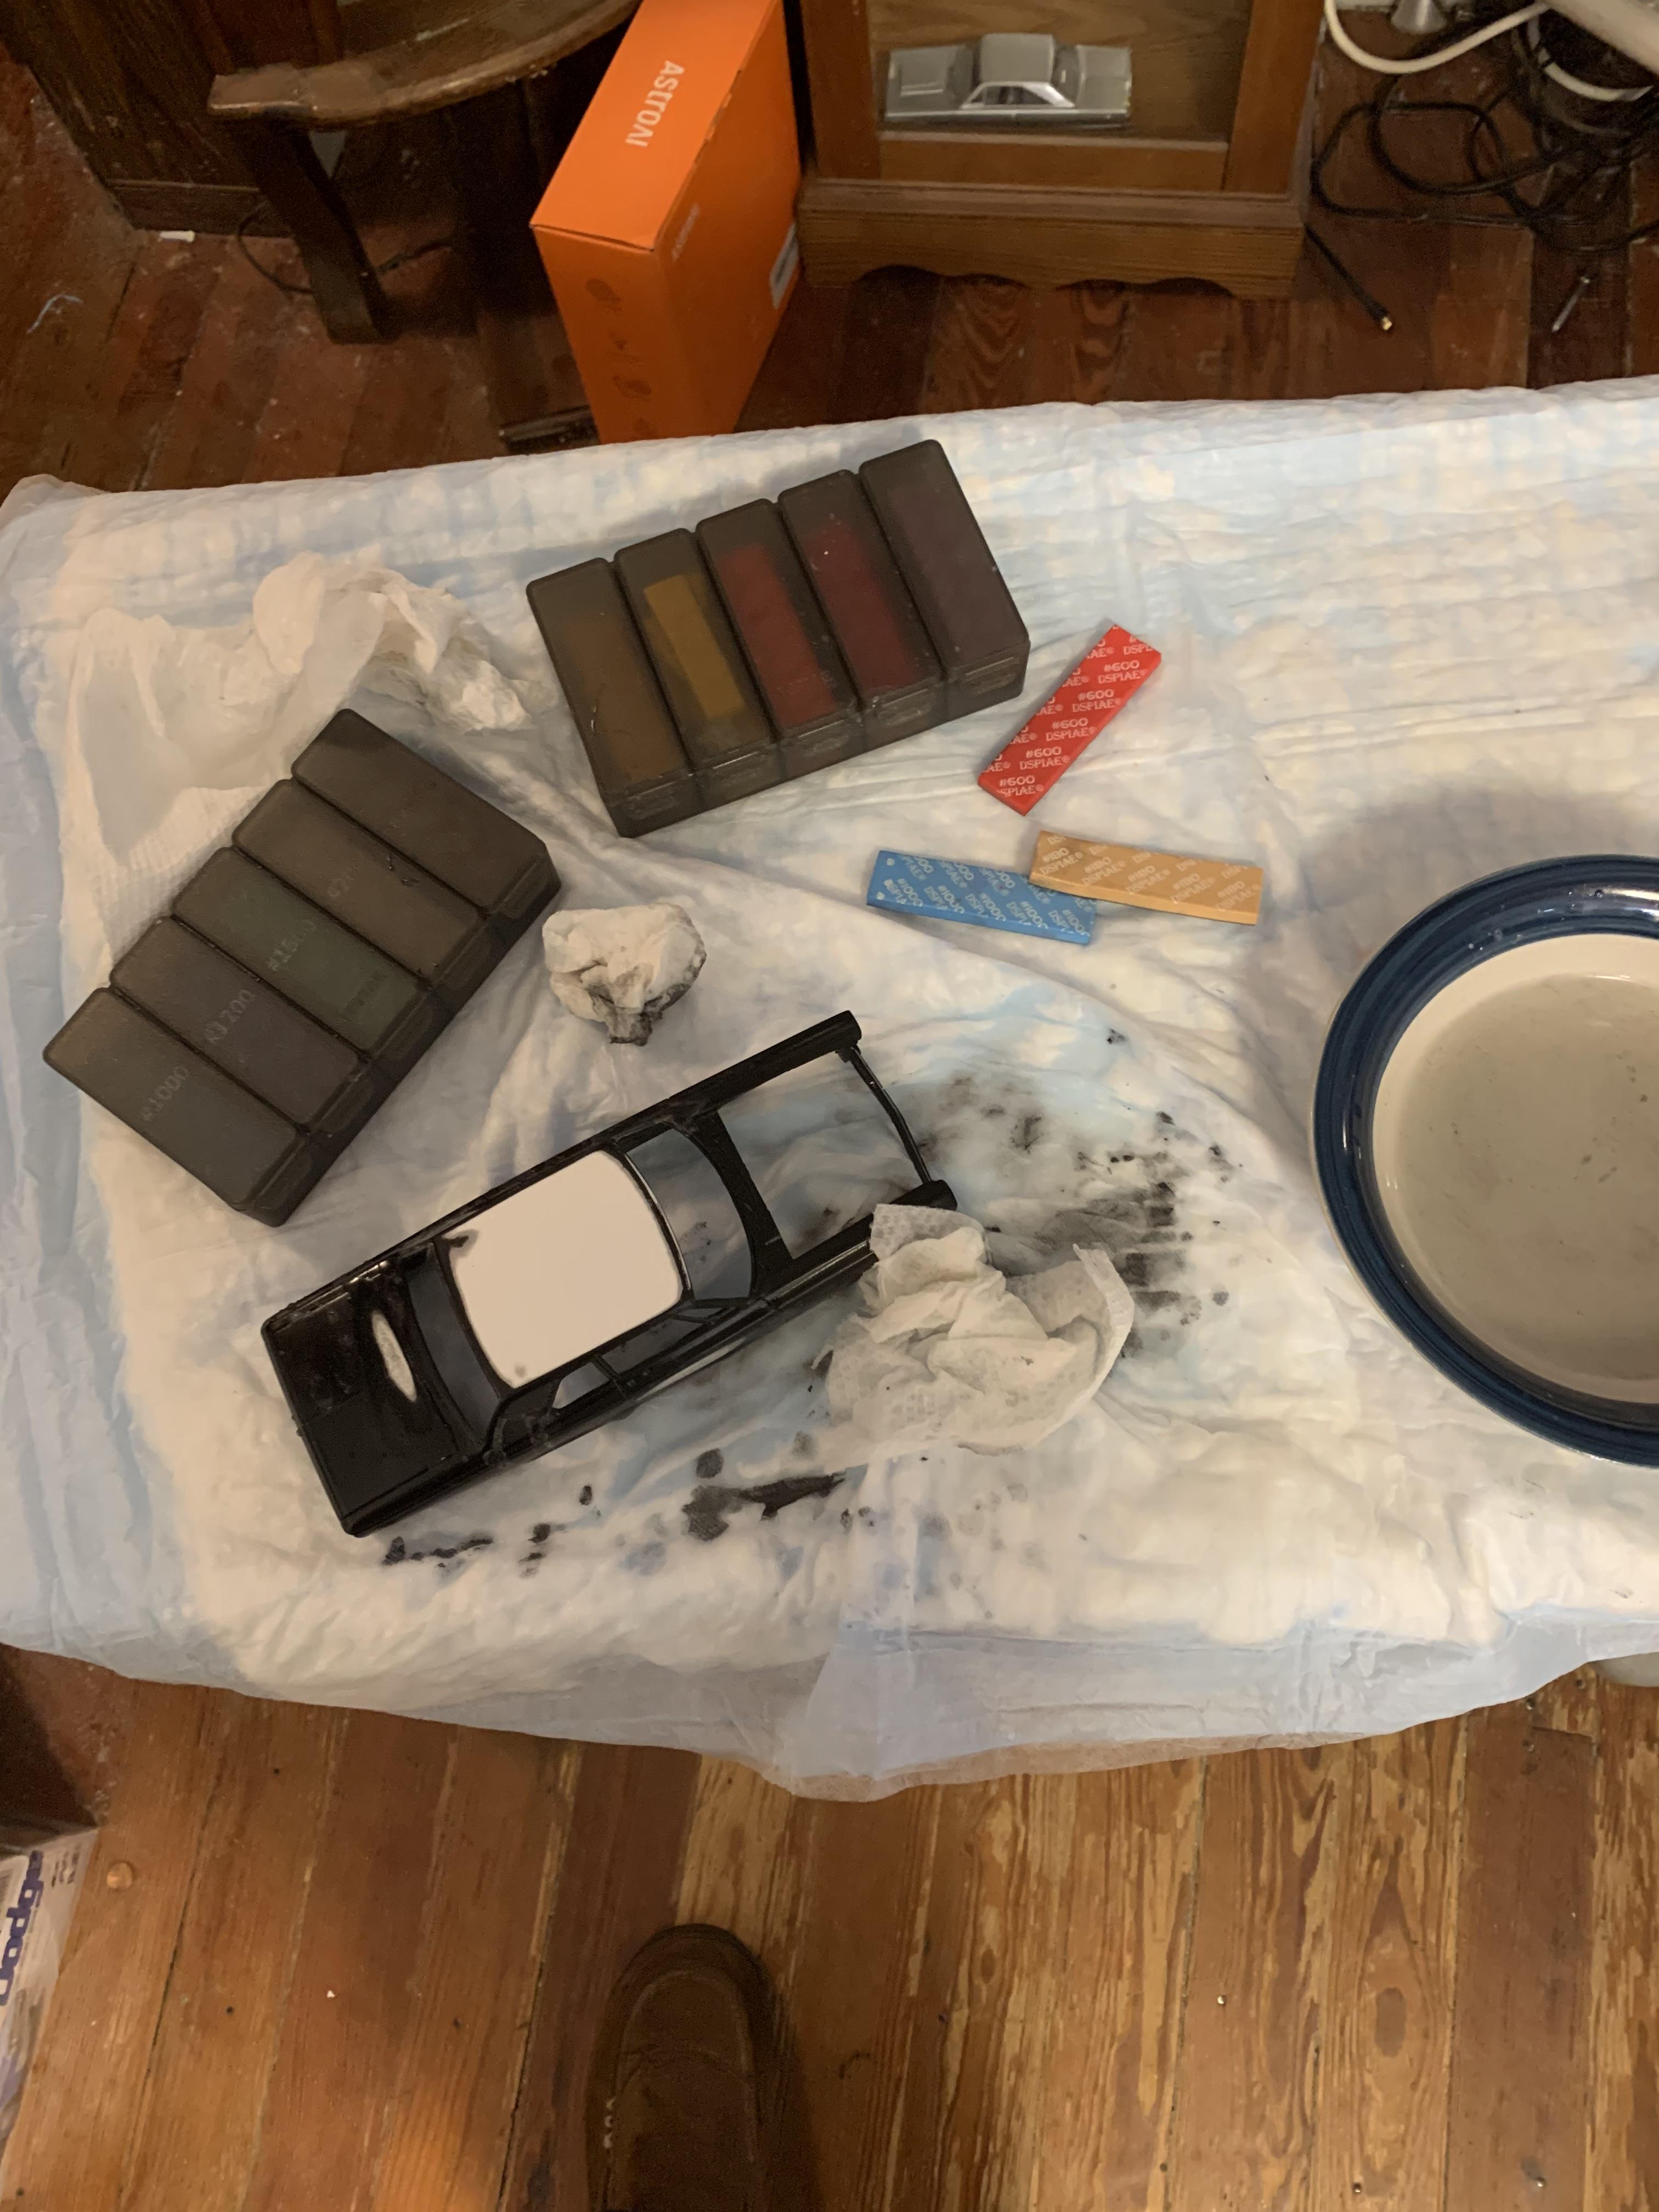
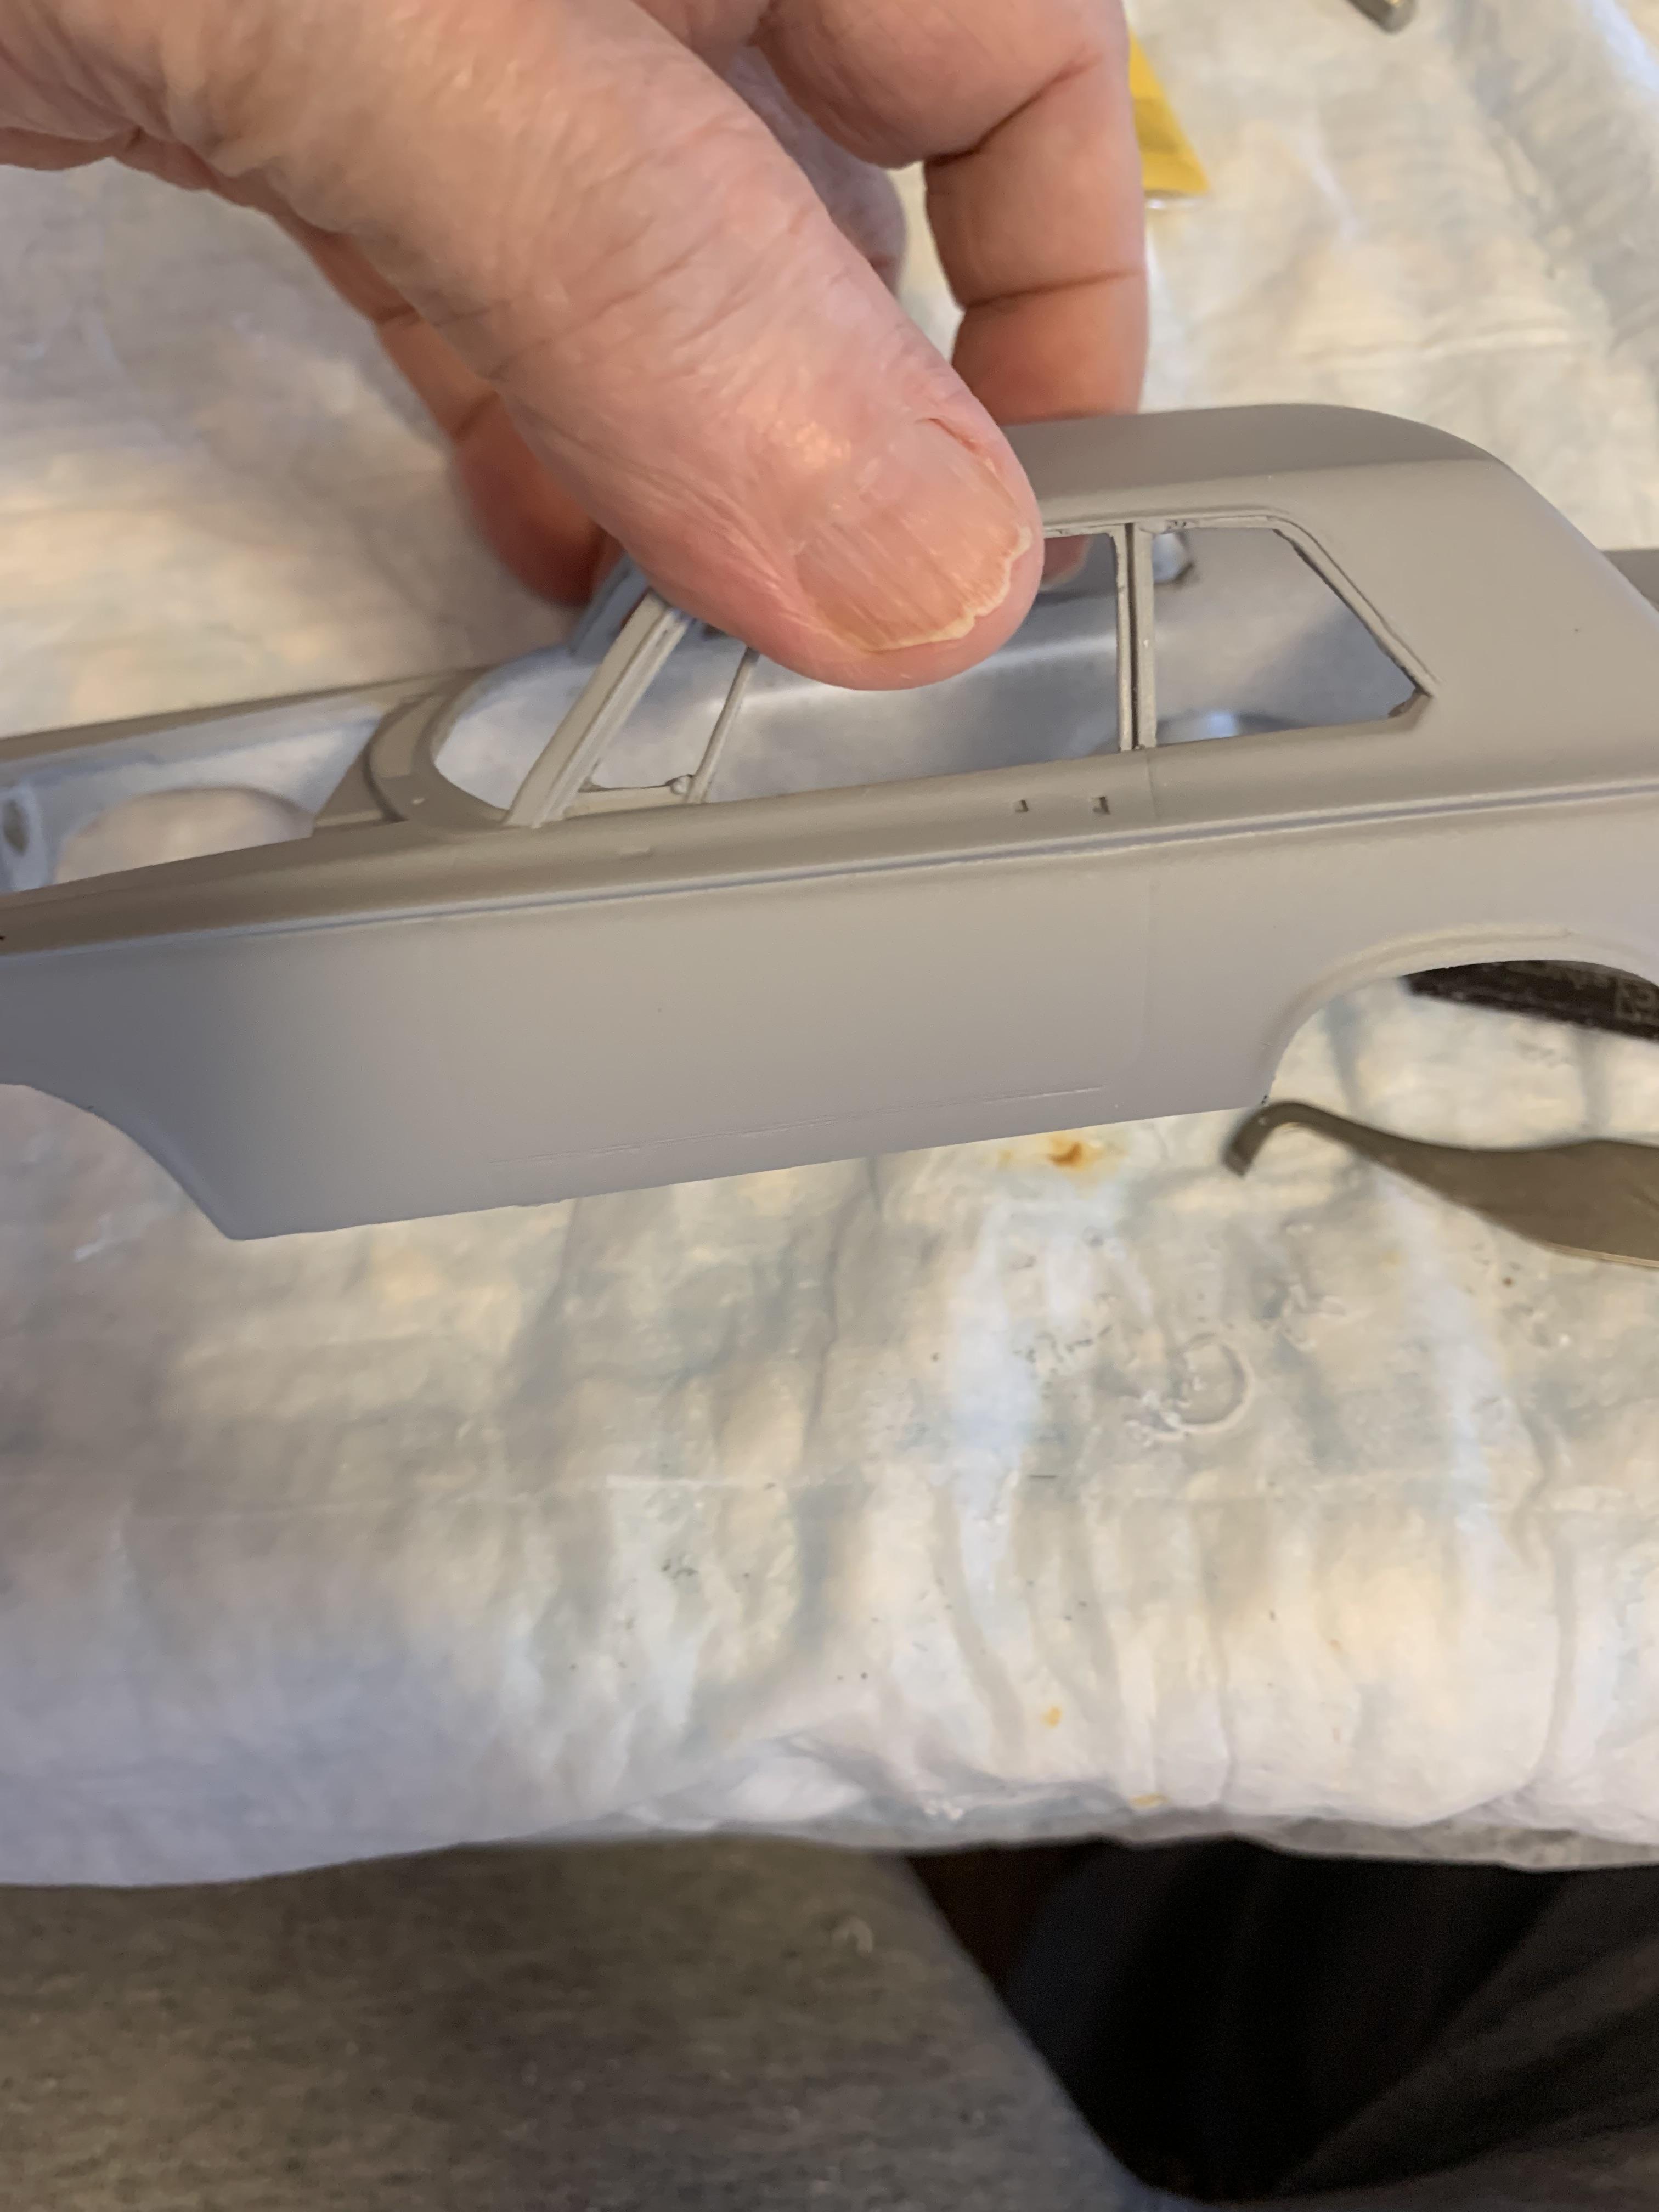
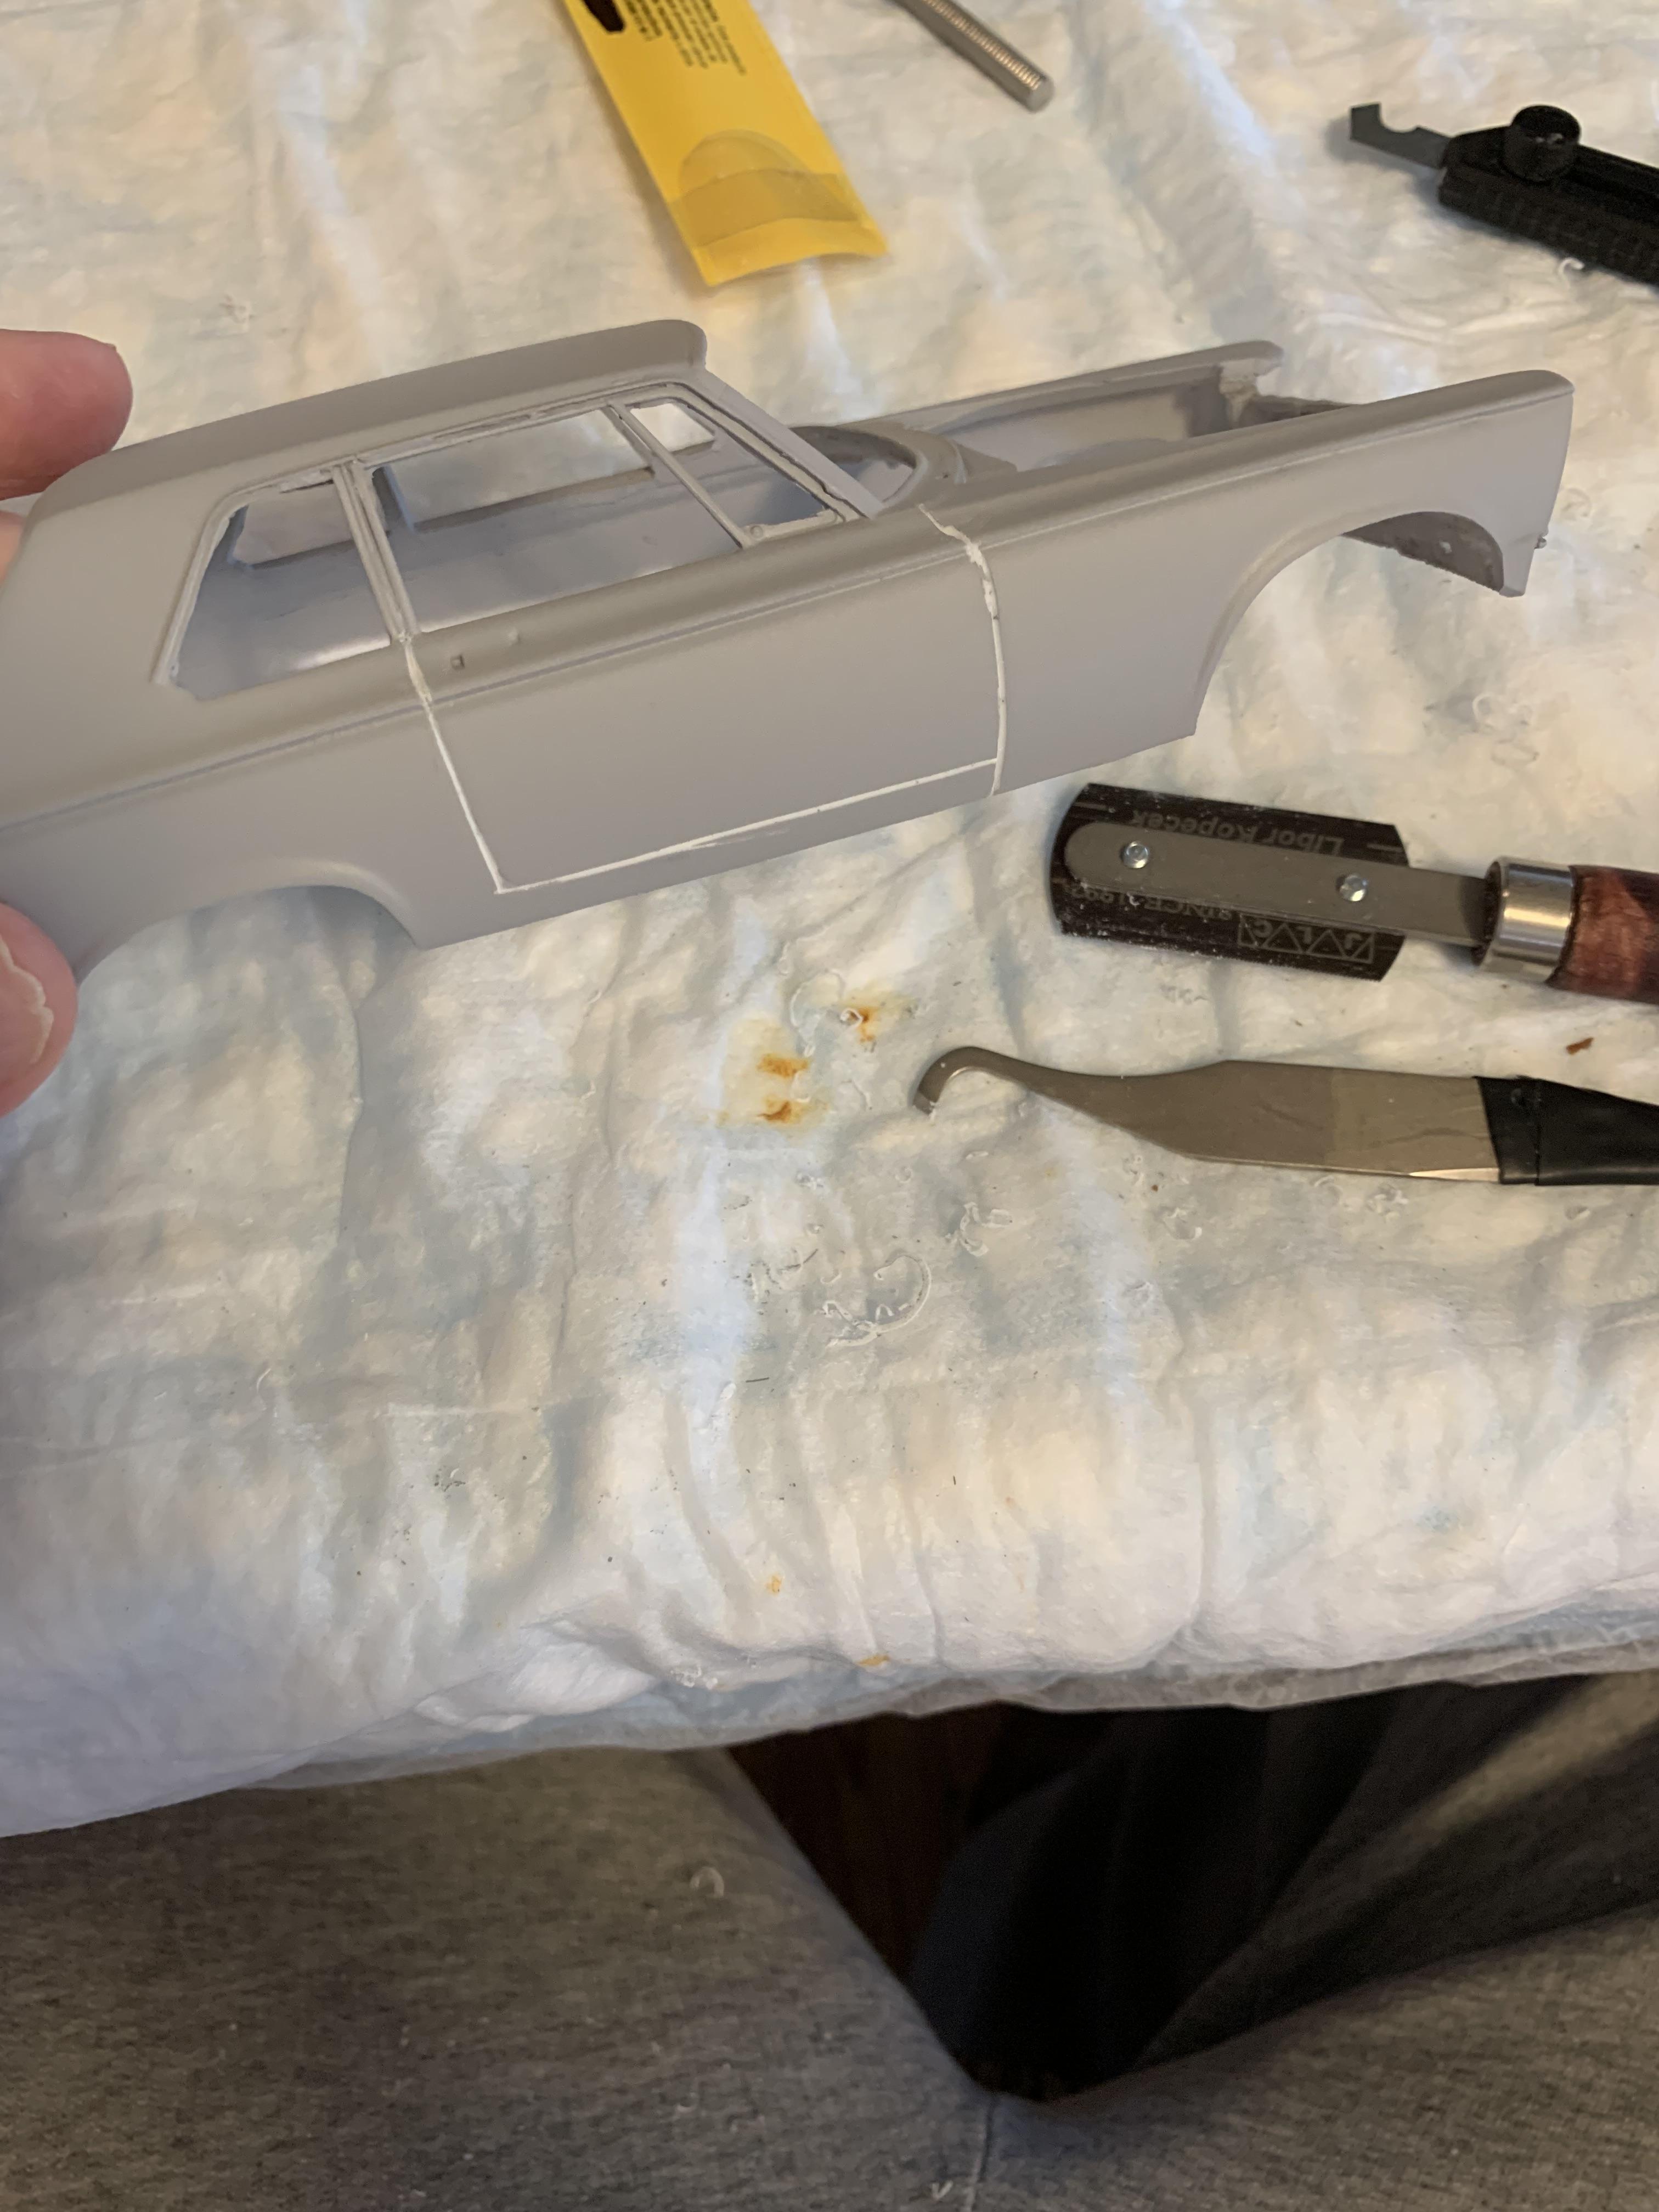
Started working on the botched, mysterious, paint job. First, I tried just sanding the top with some 180 Dspiae pads, then 400, and 1000. Then, decided to remove the rest of the paint. The manufacturer of the body was kind enough to answer my question about removing the paint from his resin bodies. He recommended Westley bleach whyte, but he had never used lacquer paint. Since I have a variety of “tanks” , including the Westley’s, I soaked it overnight, with no effect, as I suspected. Then, a bath in the purple stuff with the same result. I was being over cautious, as I had never stripped a resin body before. Then I used what I knew would work (91% isopropyl alcohol), but only dunked it for 3 hours. Finally, success. Now I will sand the rest of the body as I believe the splotchiness in the paint job was due to a rough texture.
-
Grooms Bros. 1965 Plymouth Sedan awb Black Trash II
R. Thorne replied to R. Thorne's topic in WIP: Drag Racing Models
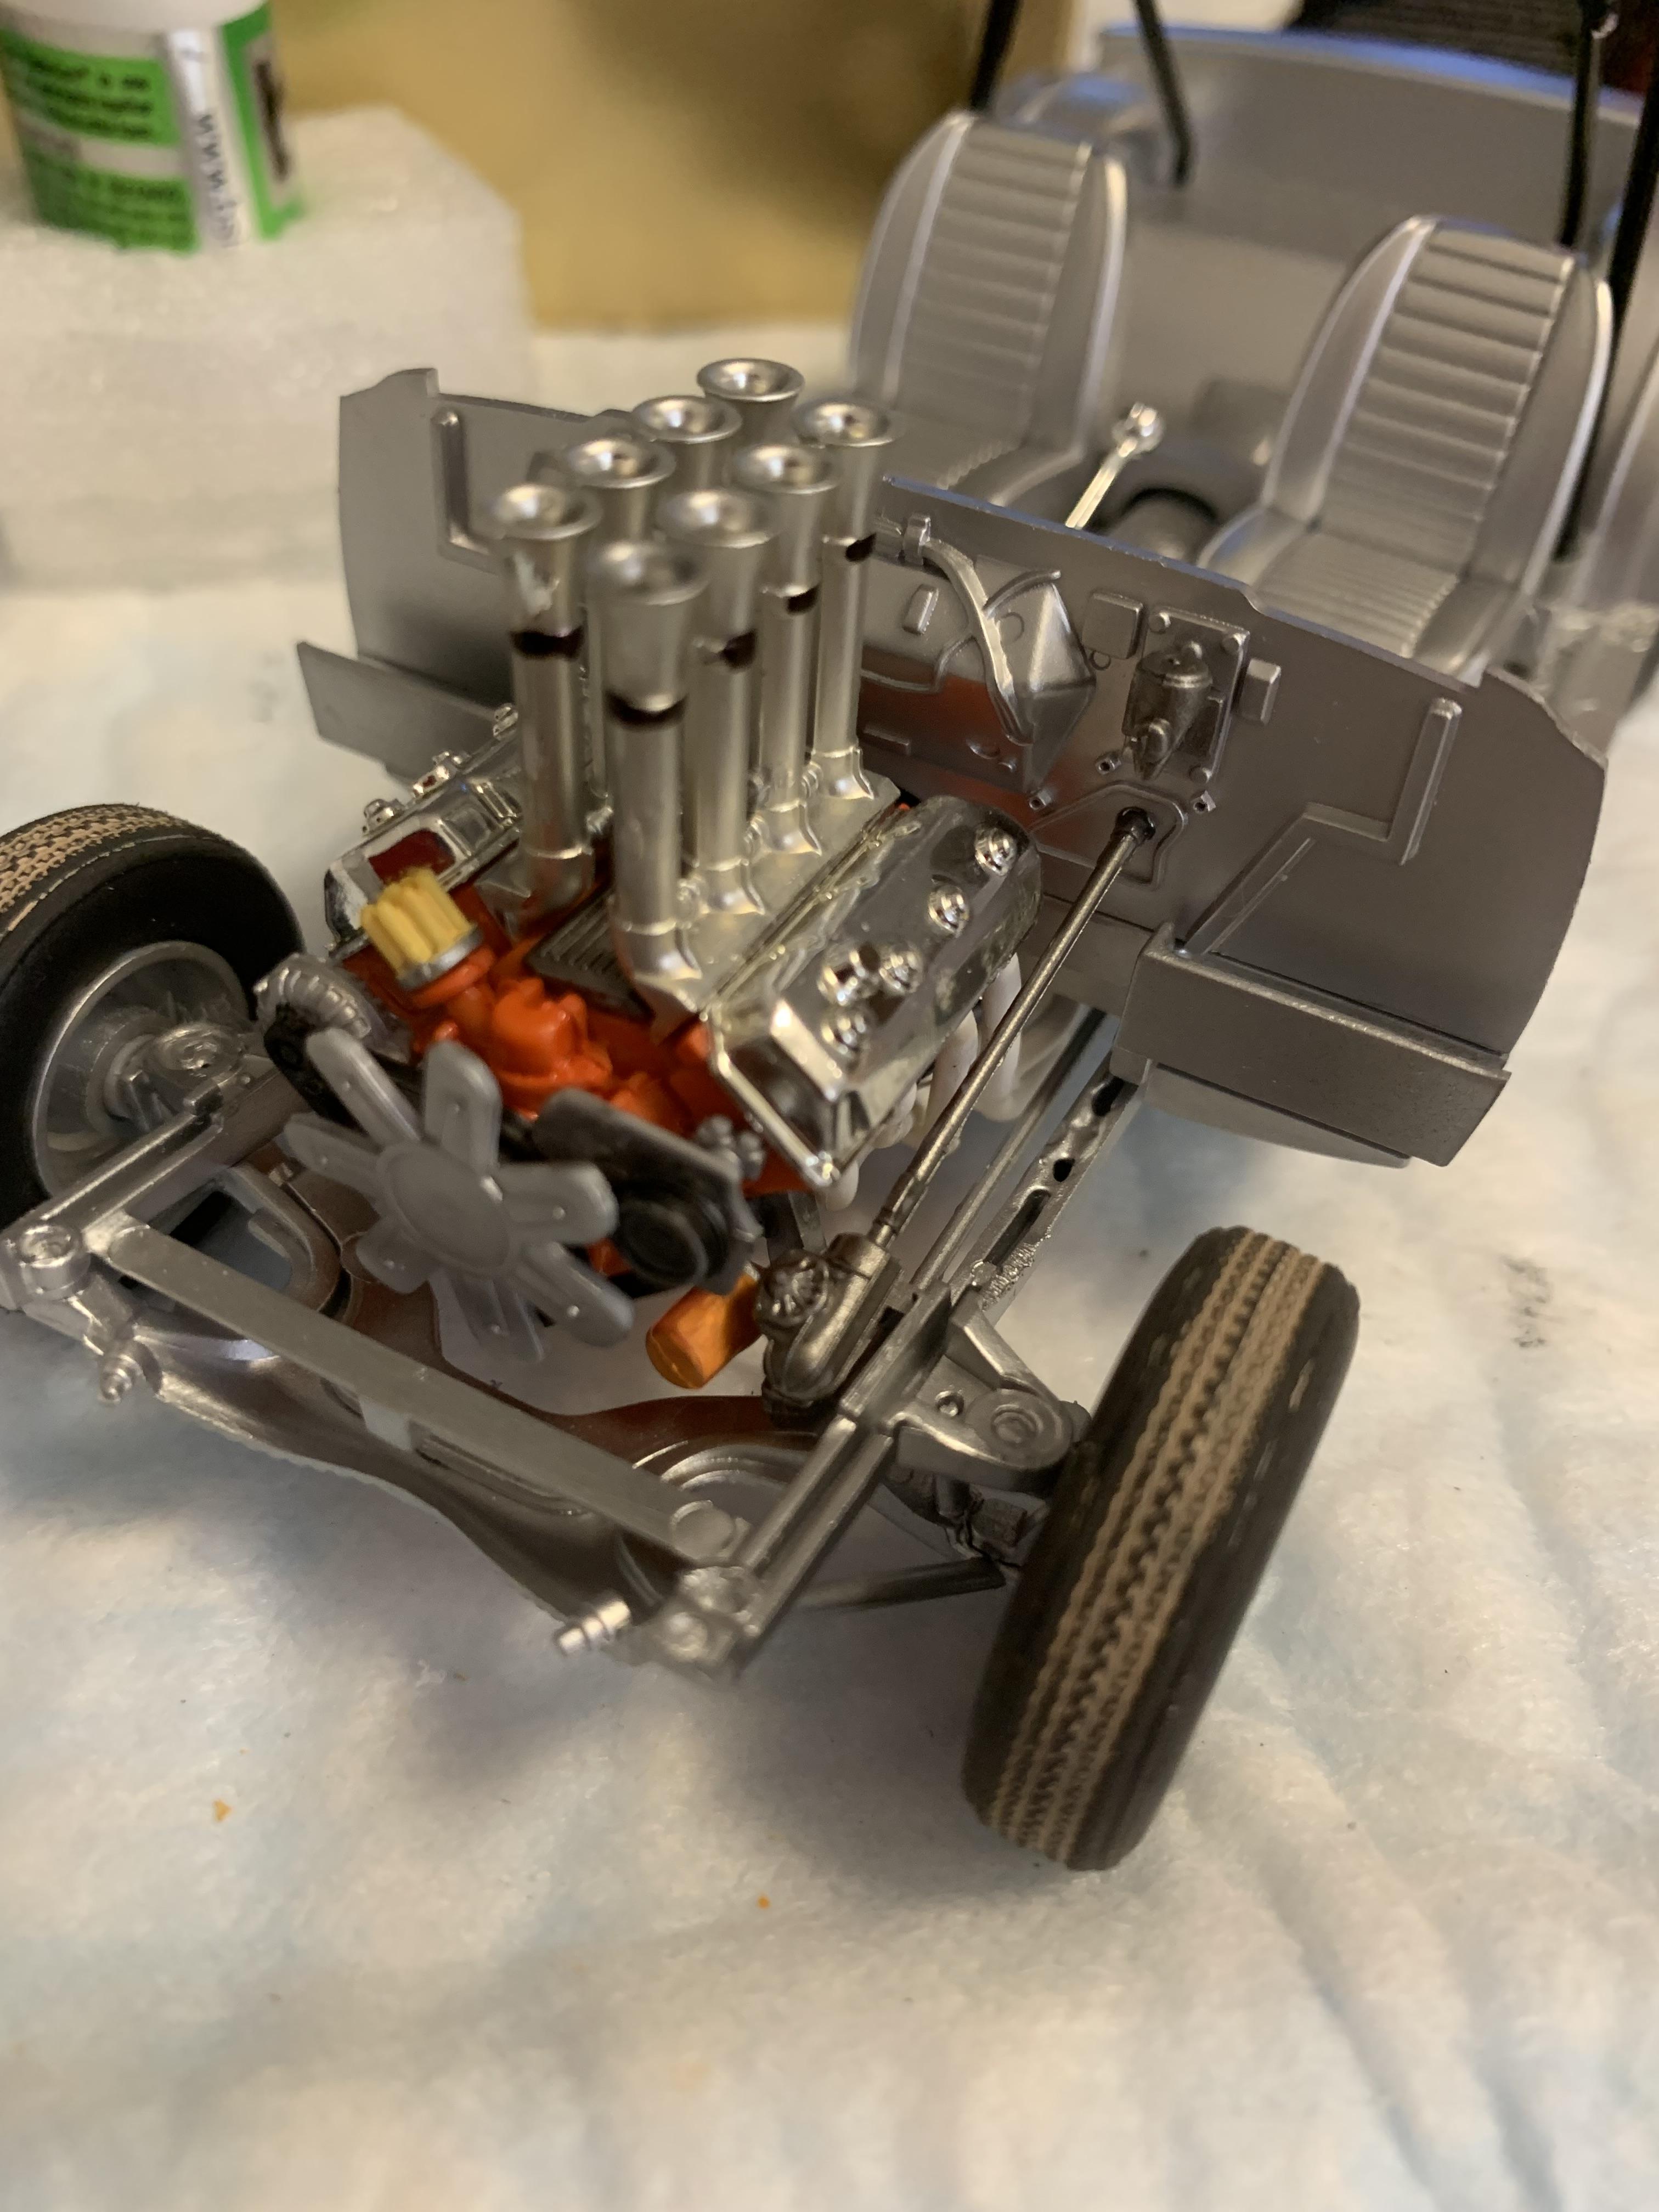
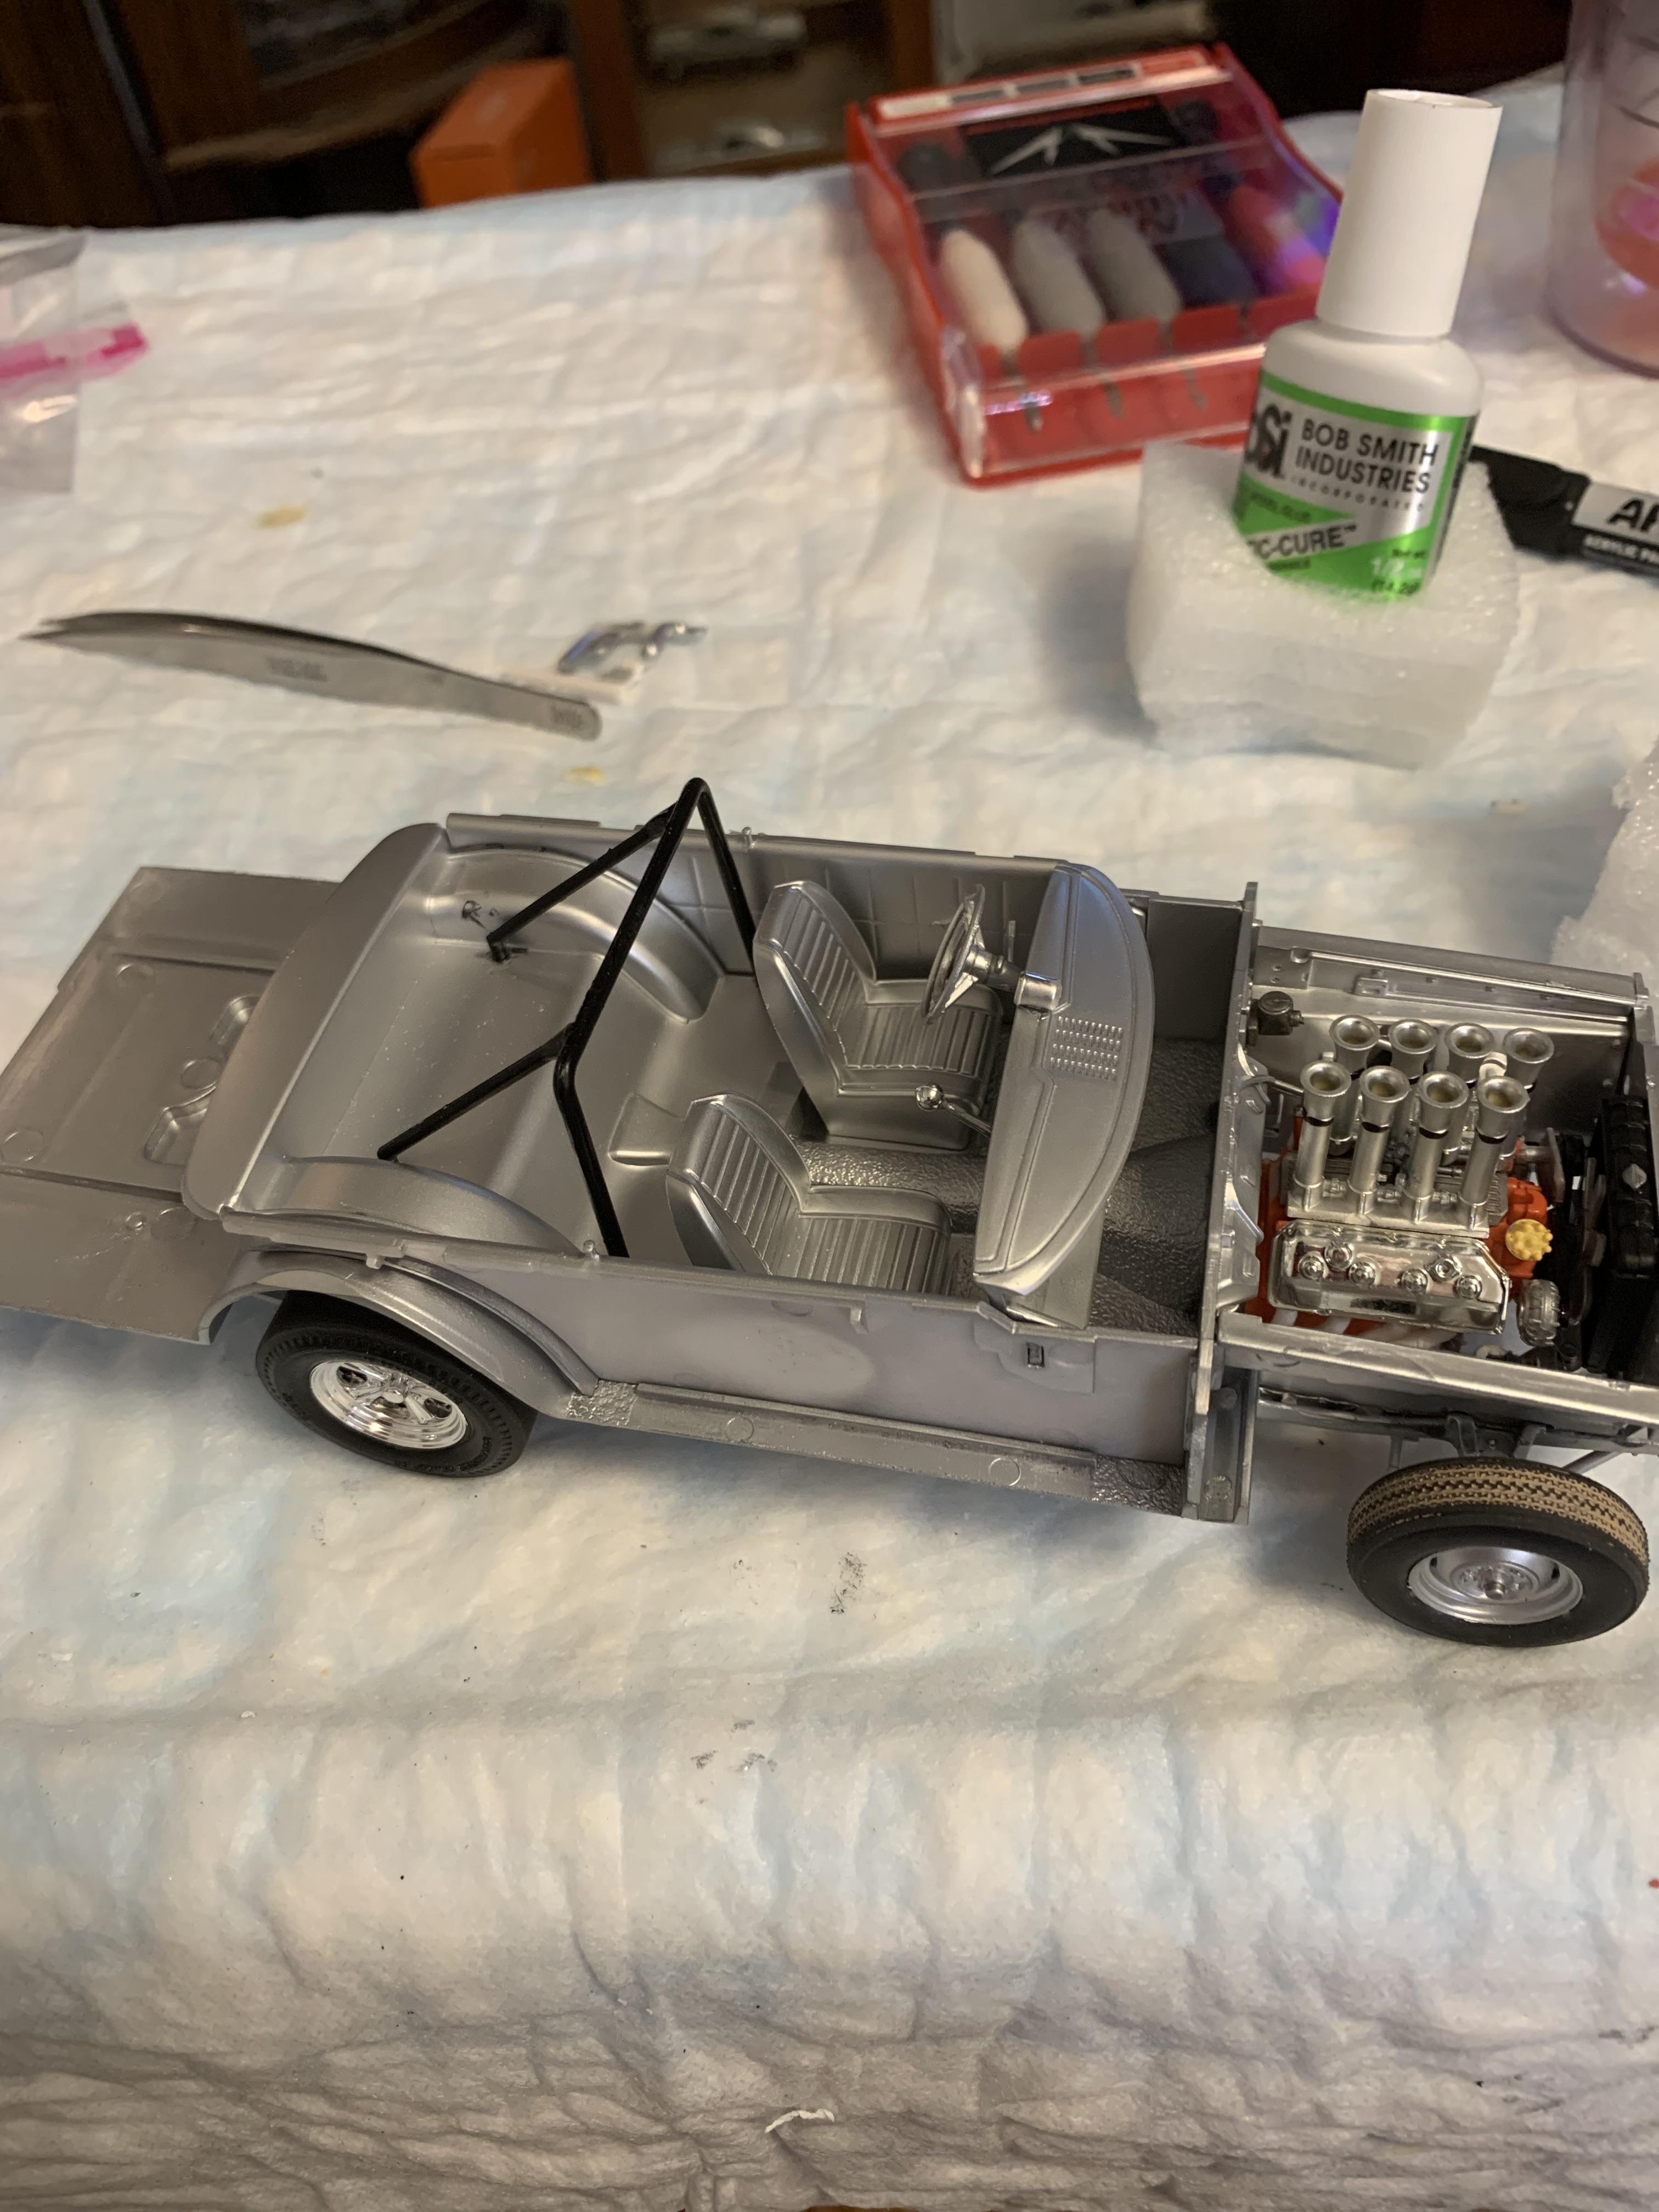
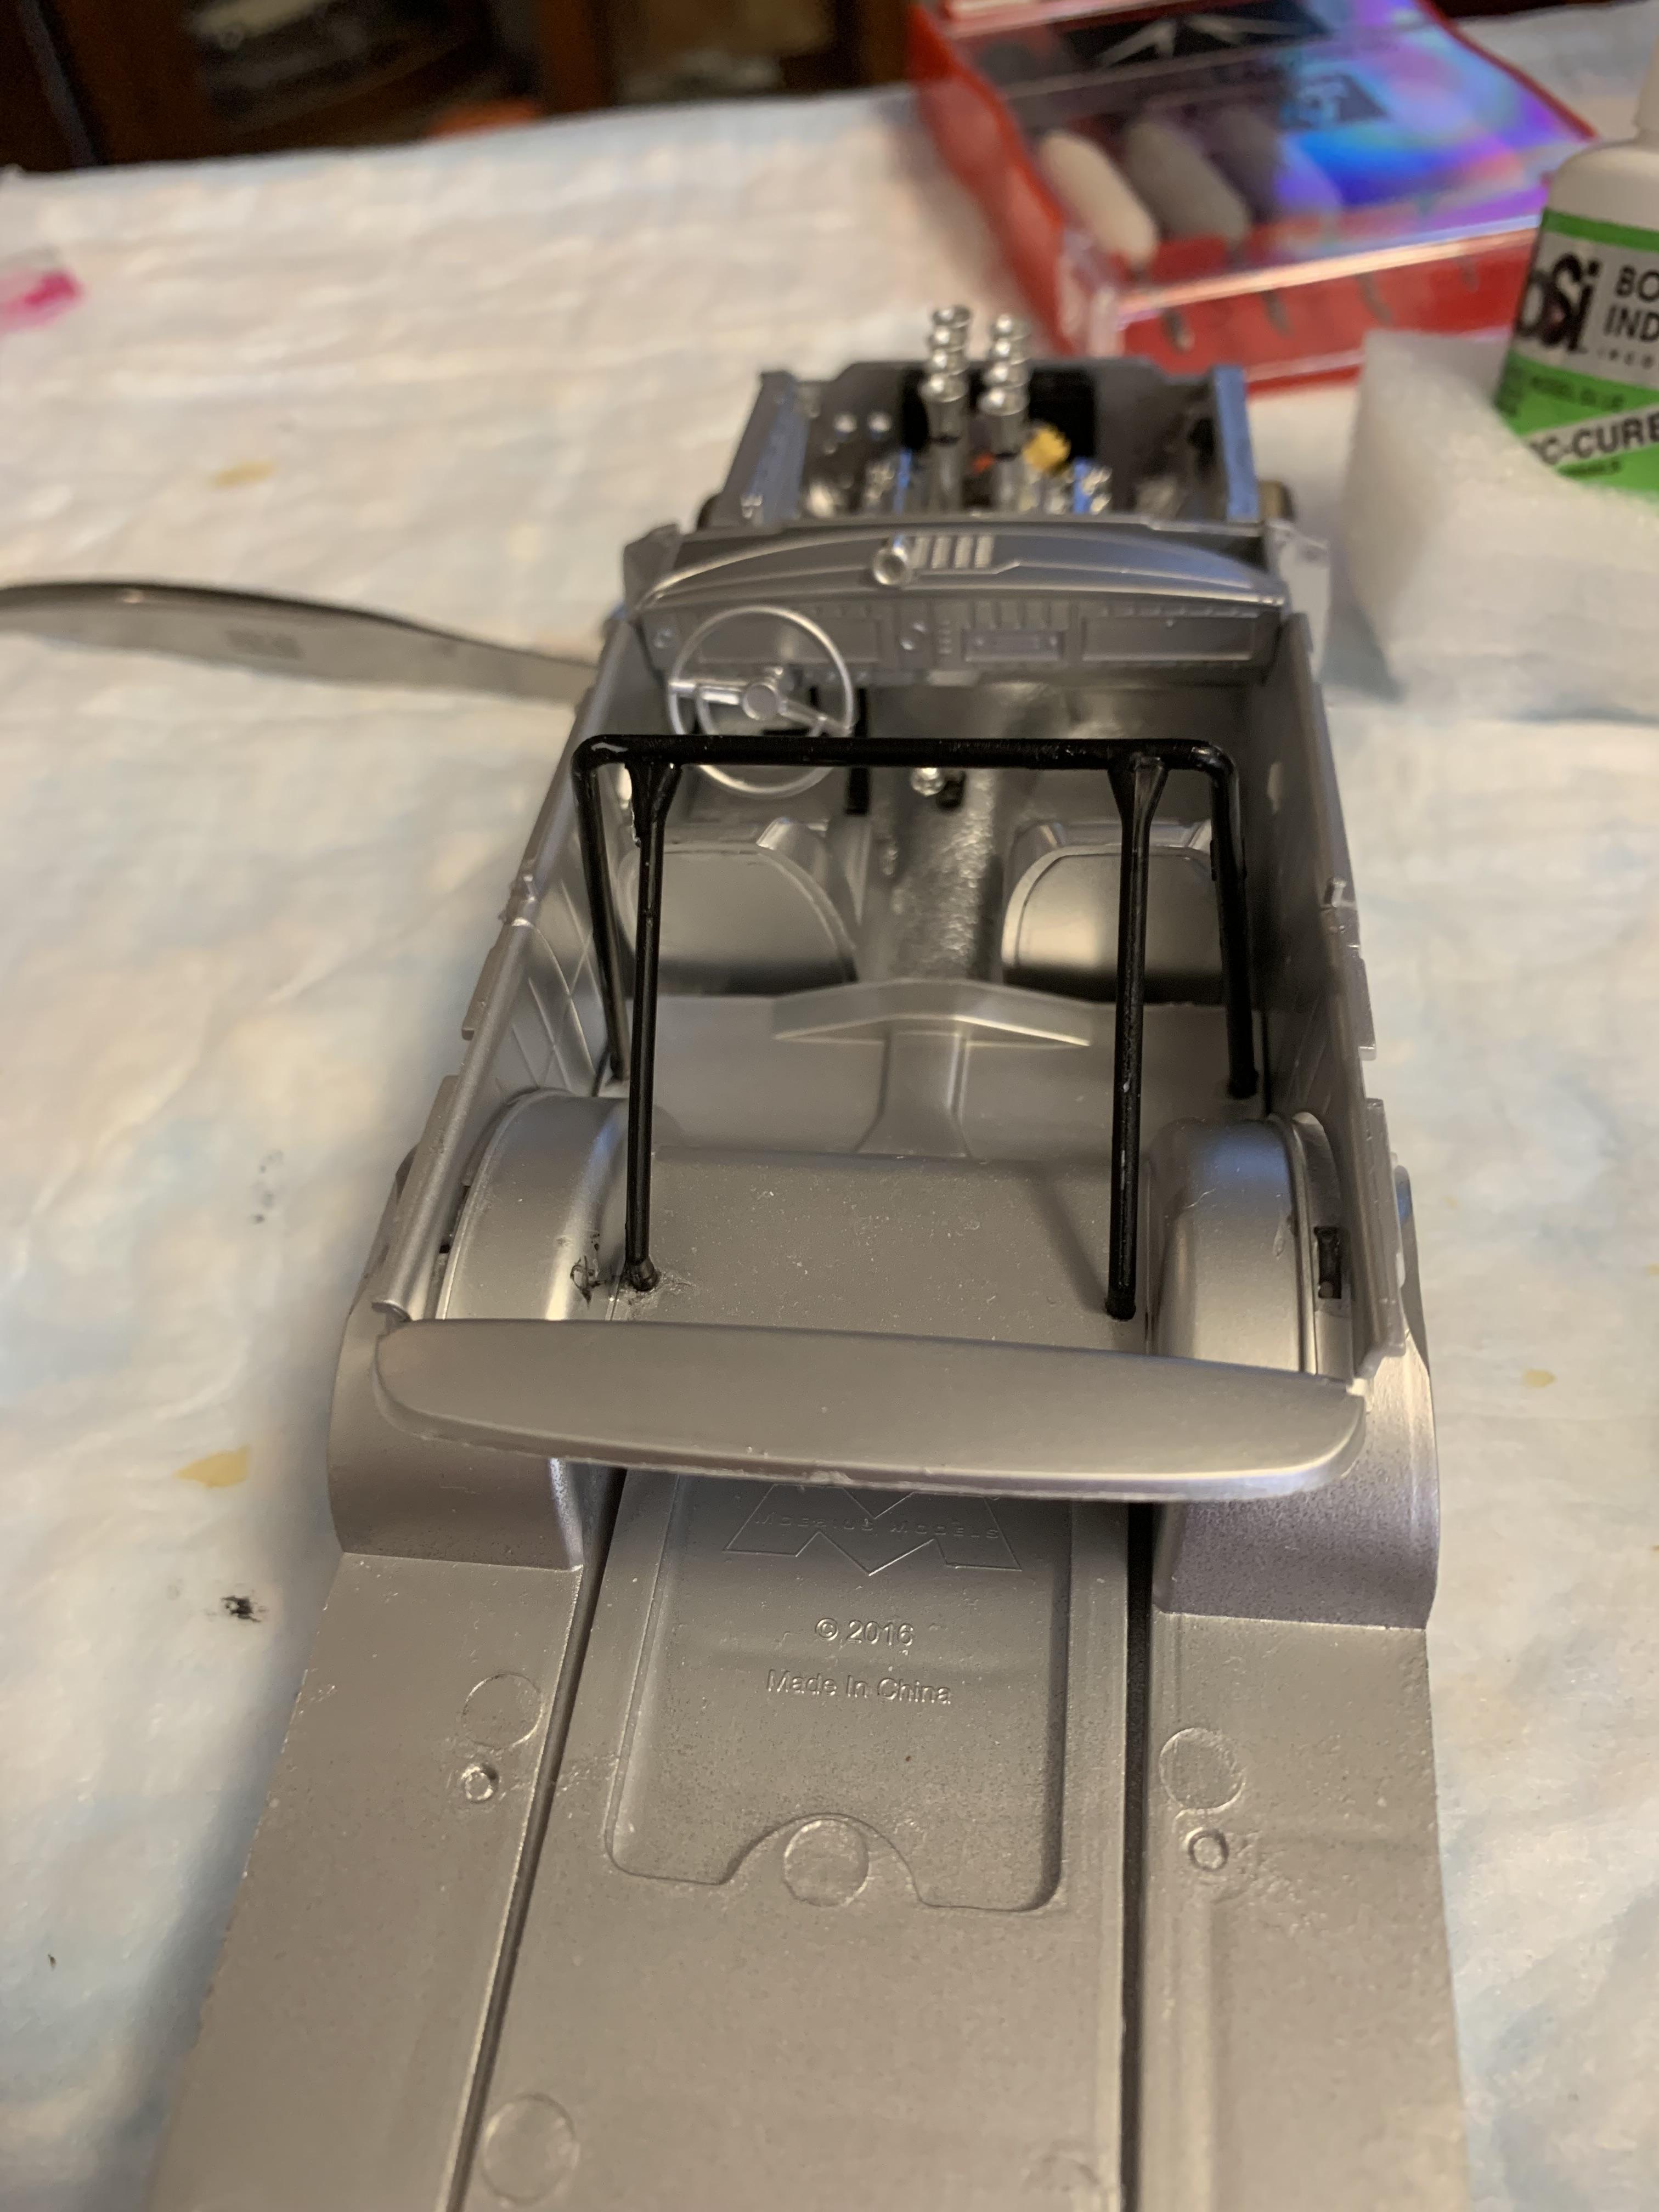
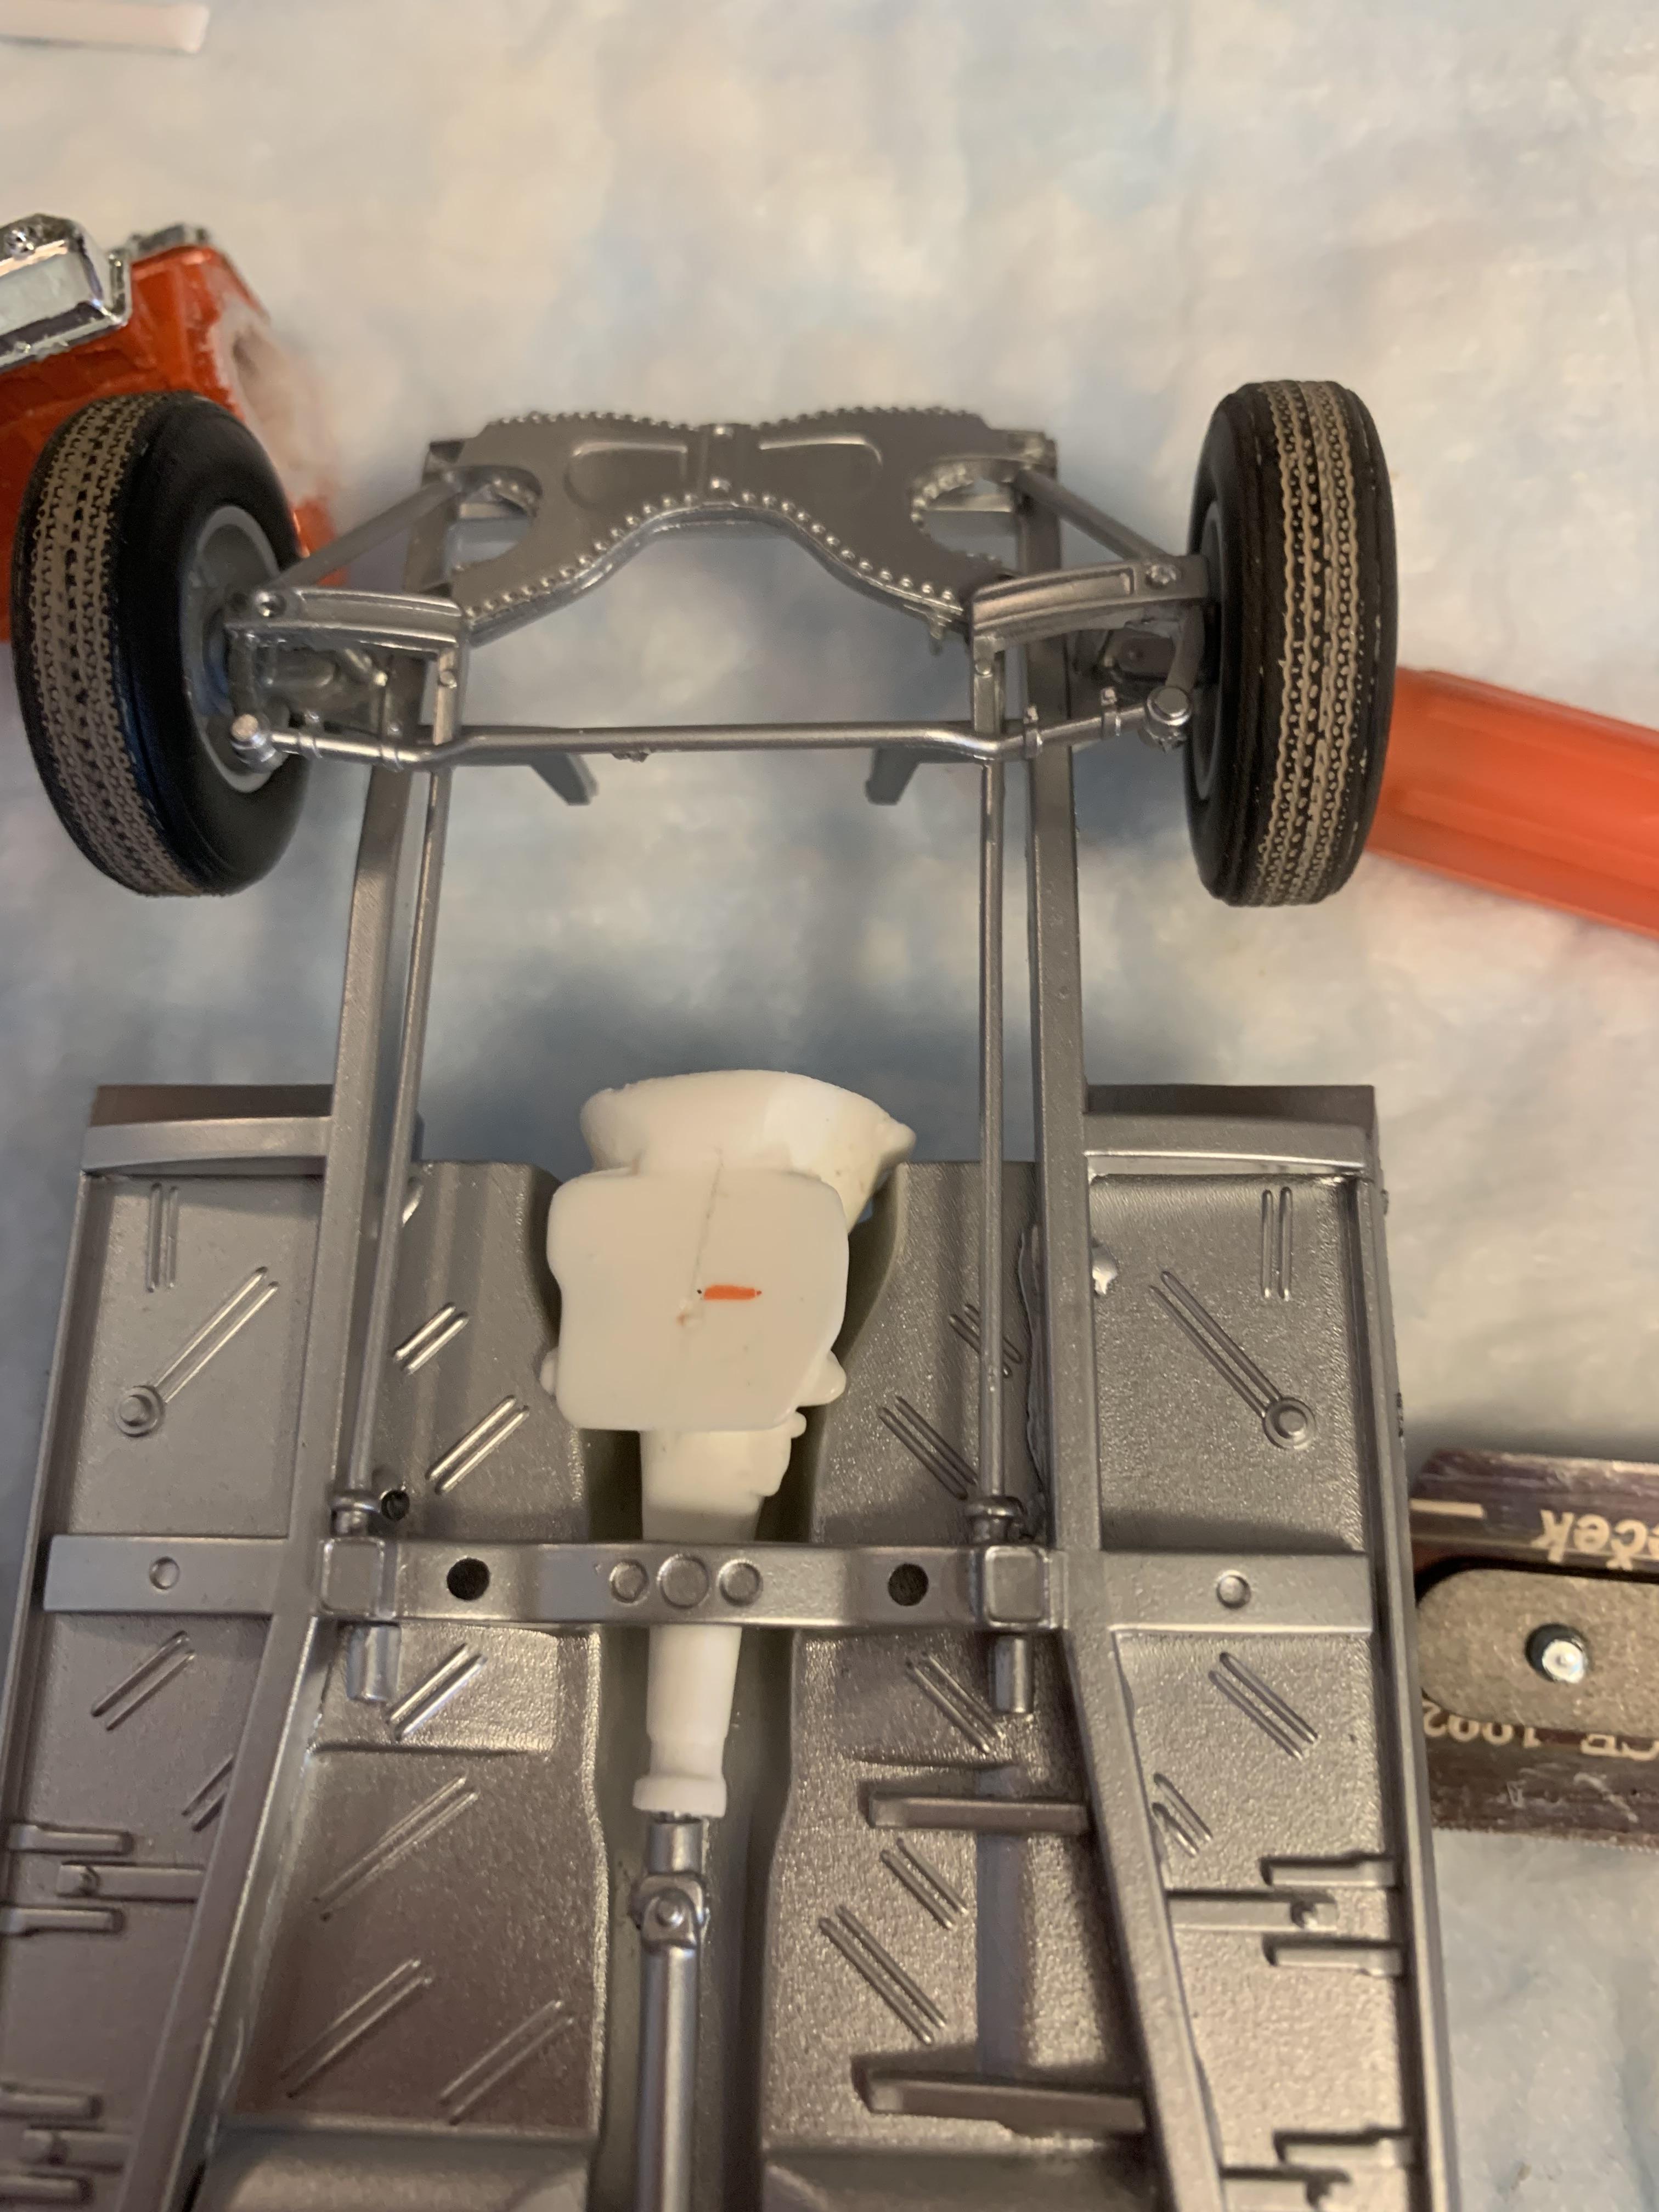
Installed firewall along with master cylinder and steering box with shaft. Then inner fenders (along with radiator and support), and interior side panels (at the same time as the dash) then roll bar.
-
Grooms Bros. 1965 Plymouth Sedan awb Black Trash II
R. Thorne replied to R. Thorne's topic in WIP: Drag Racing Models
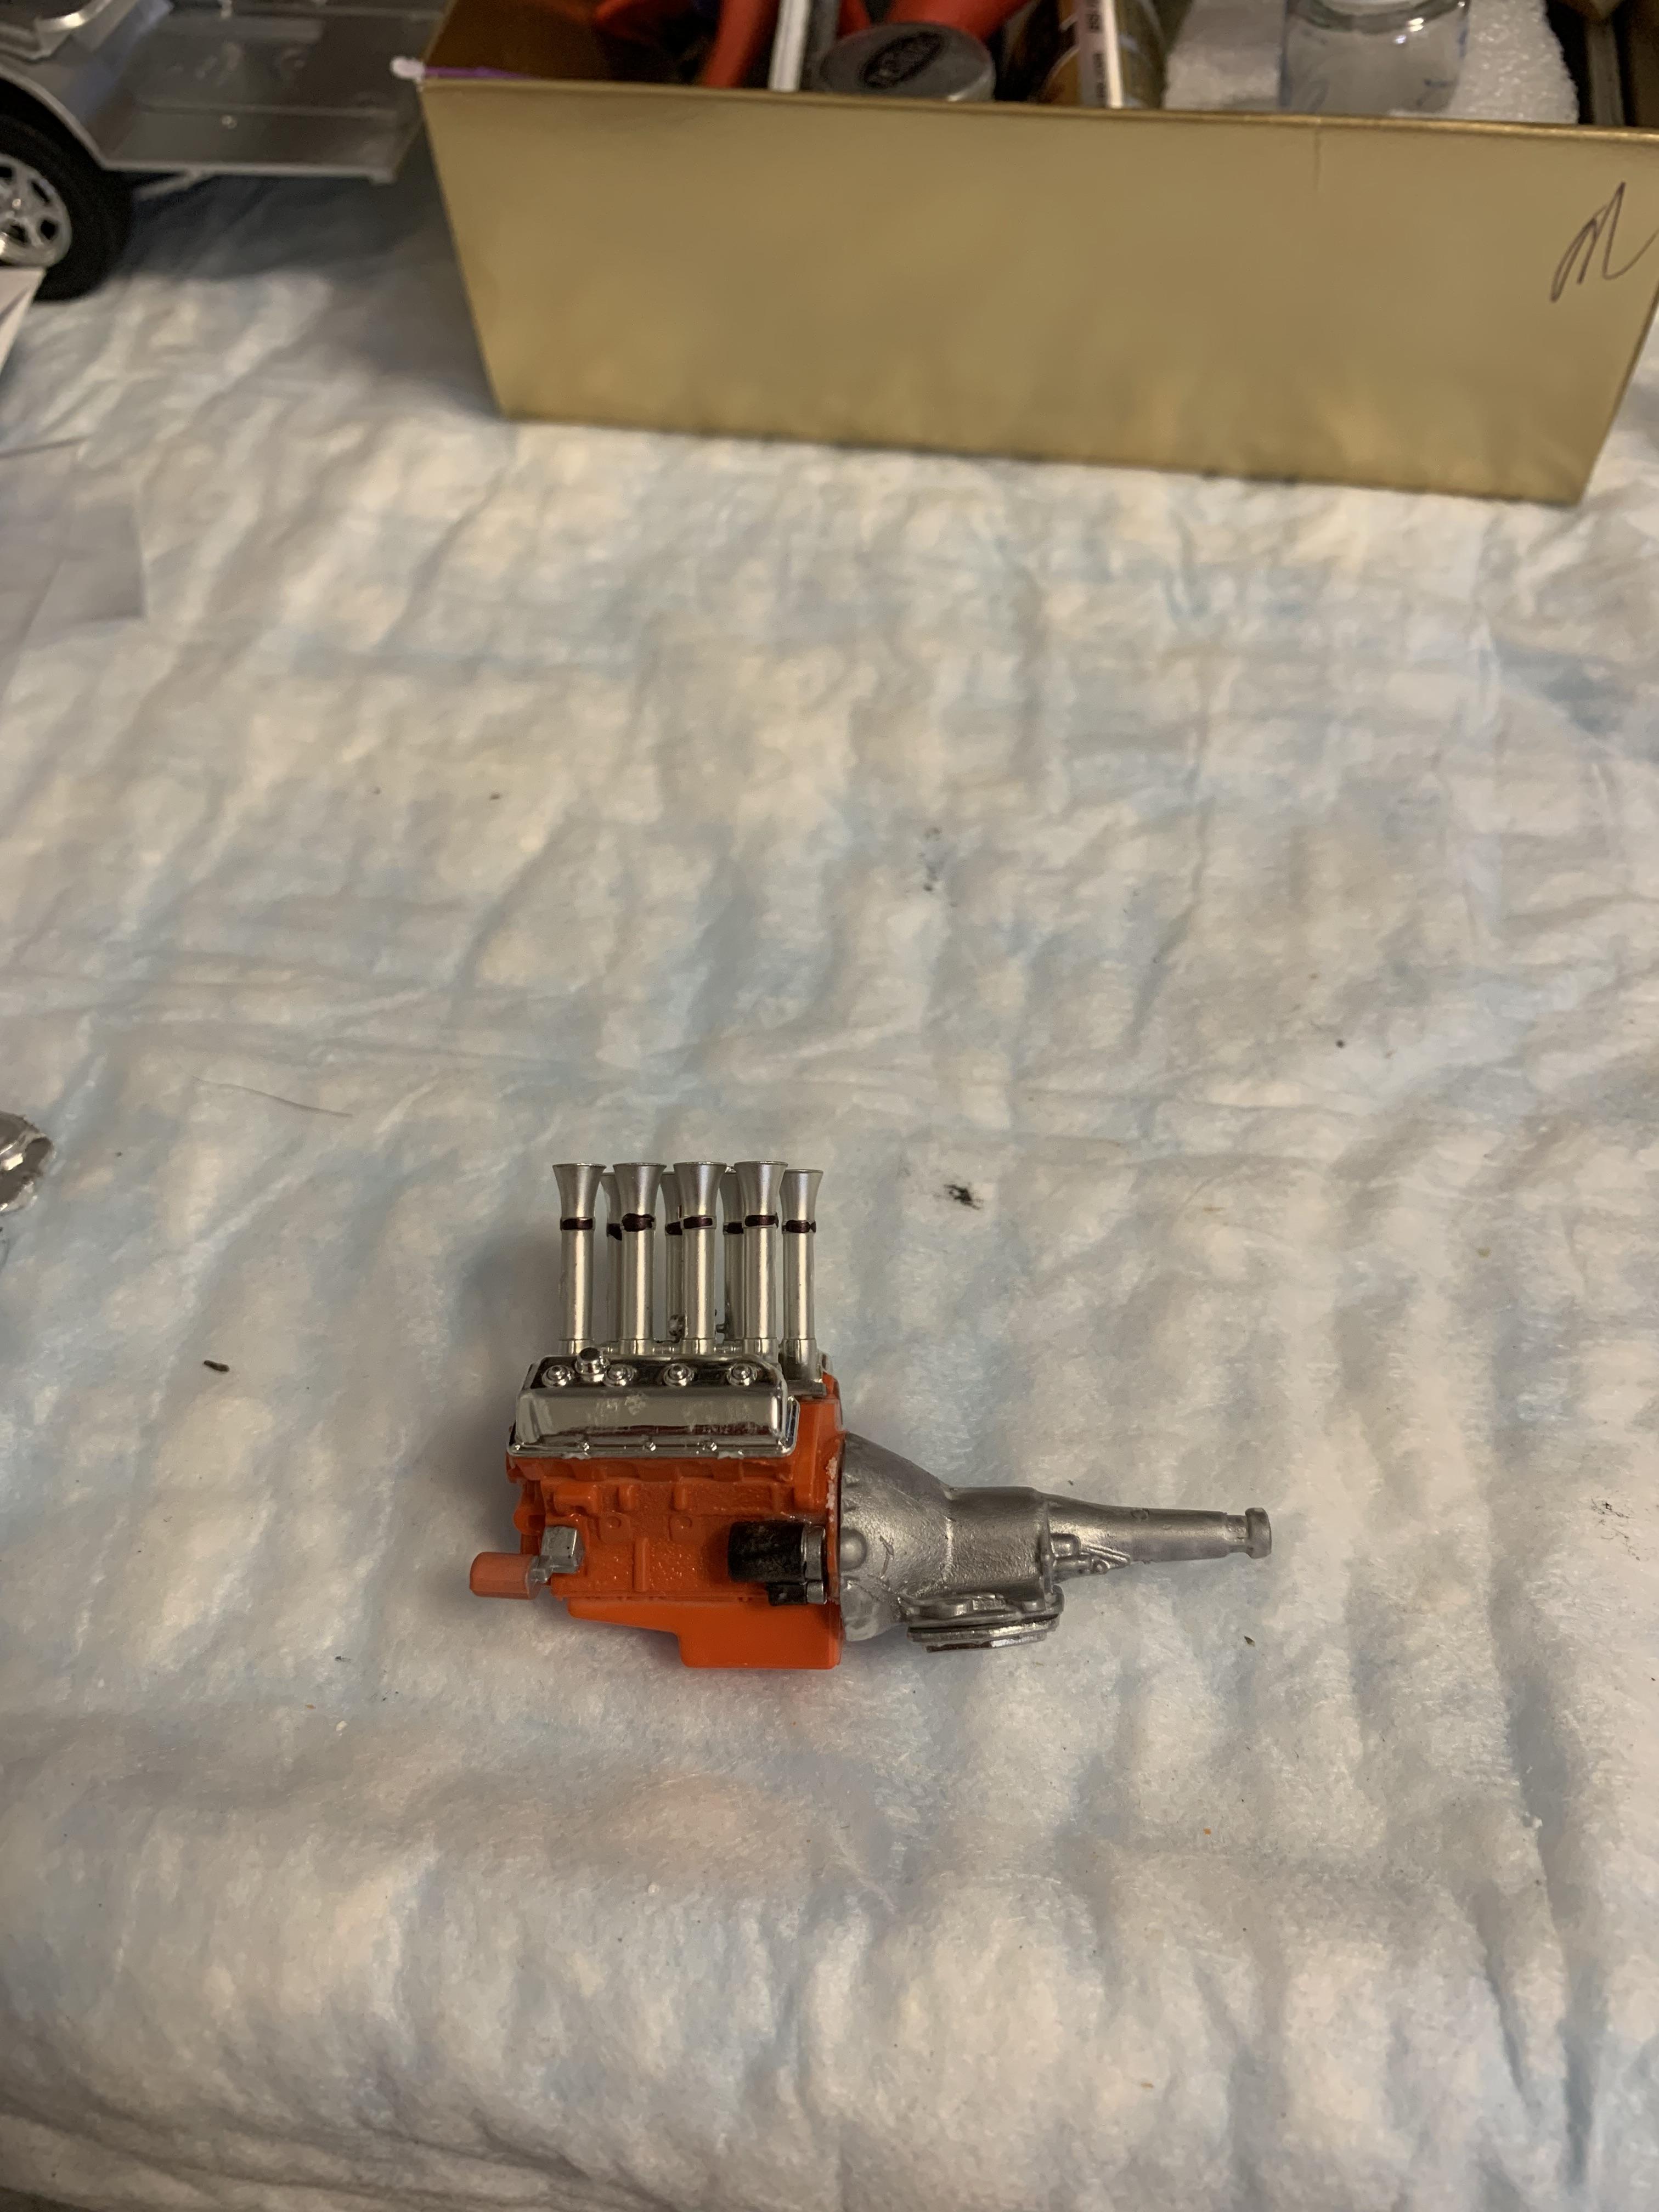
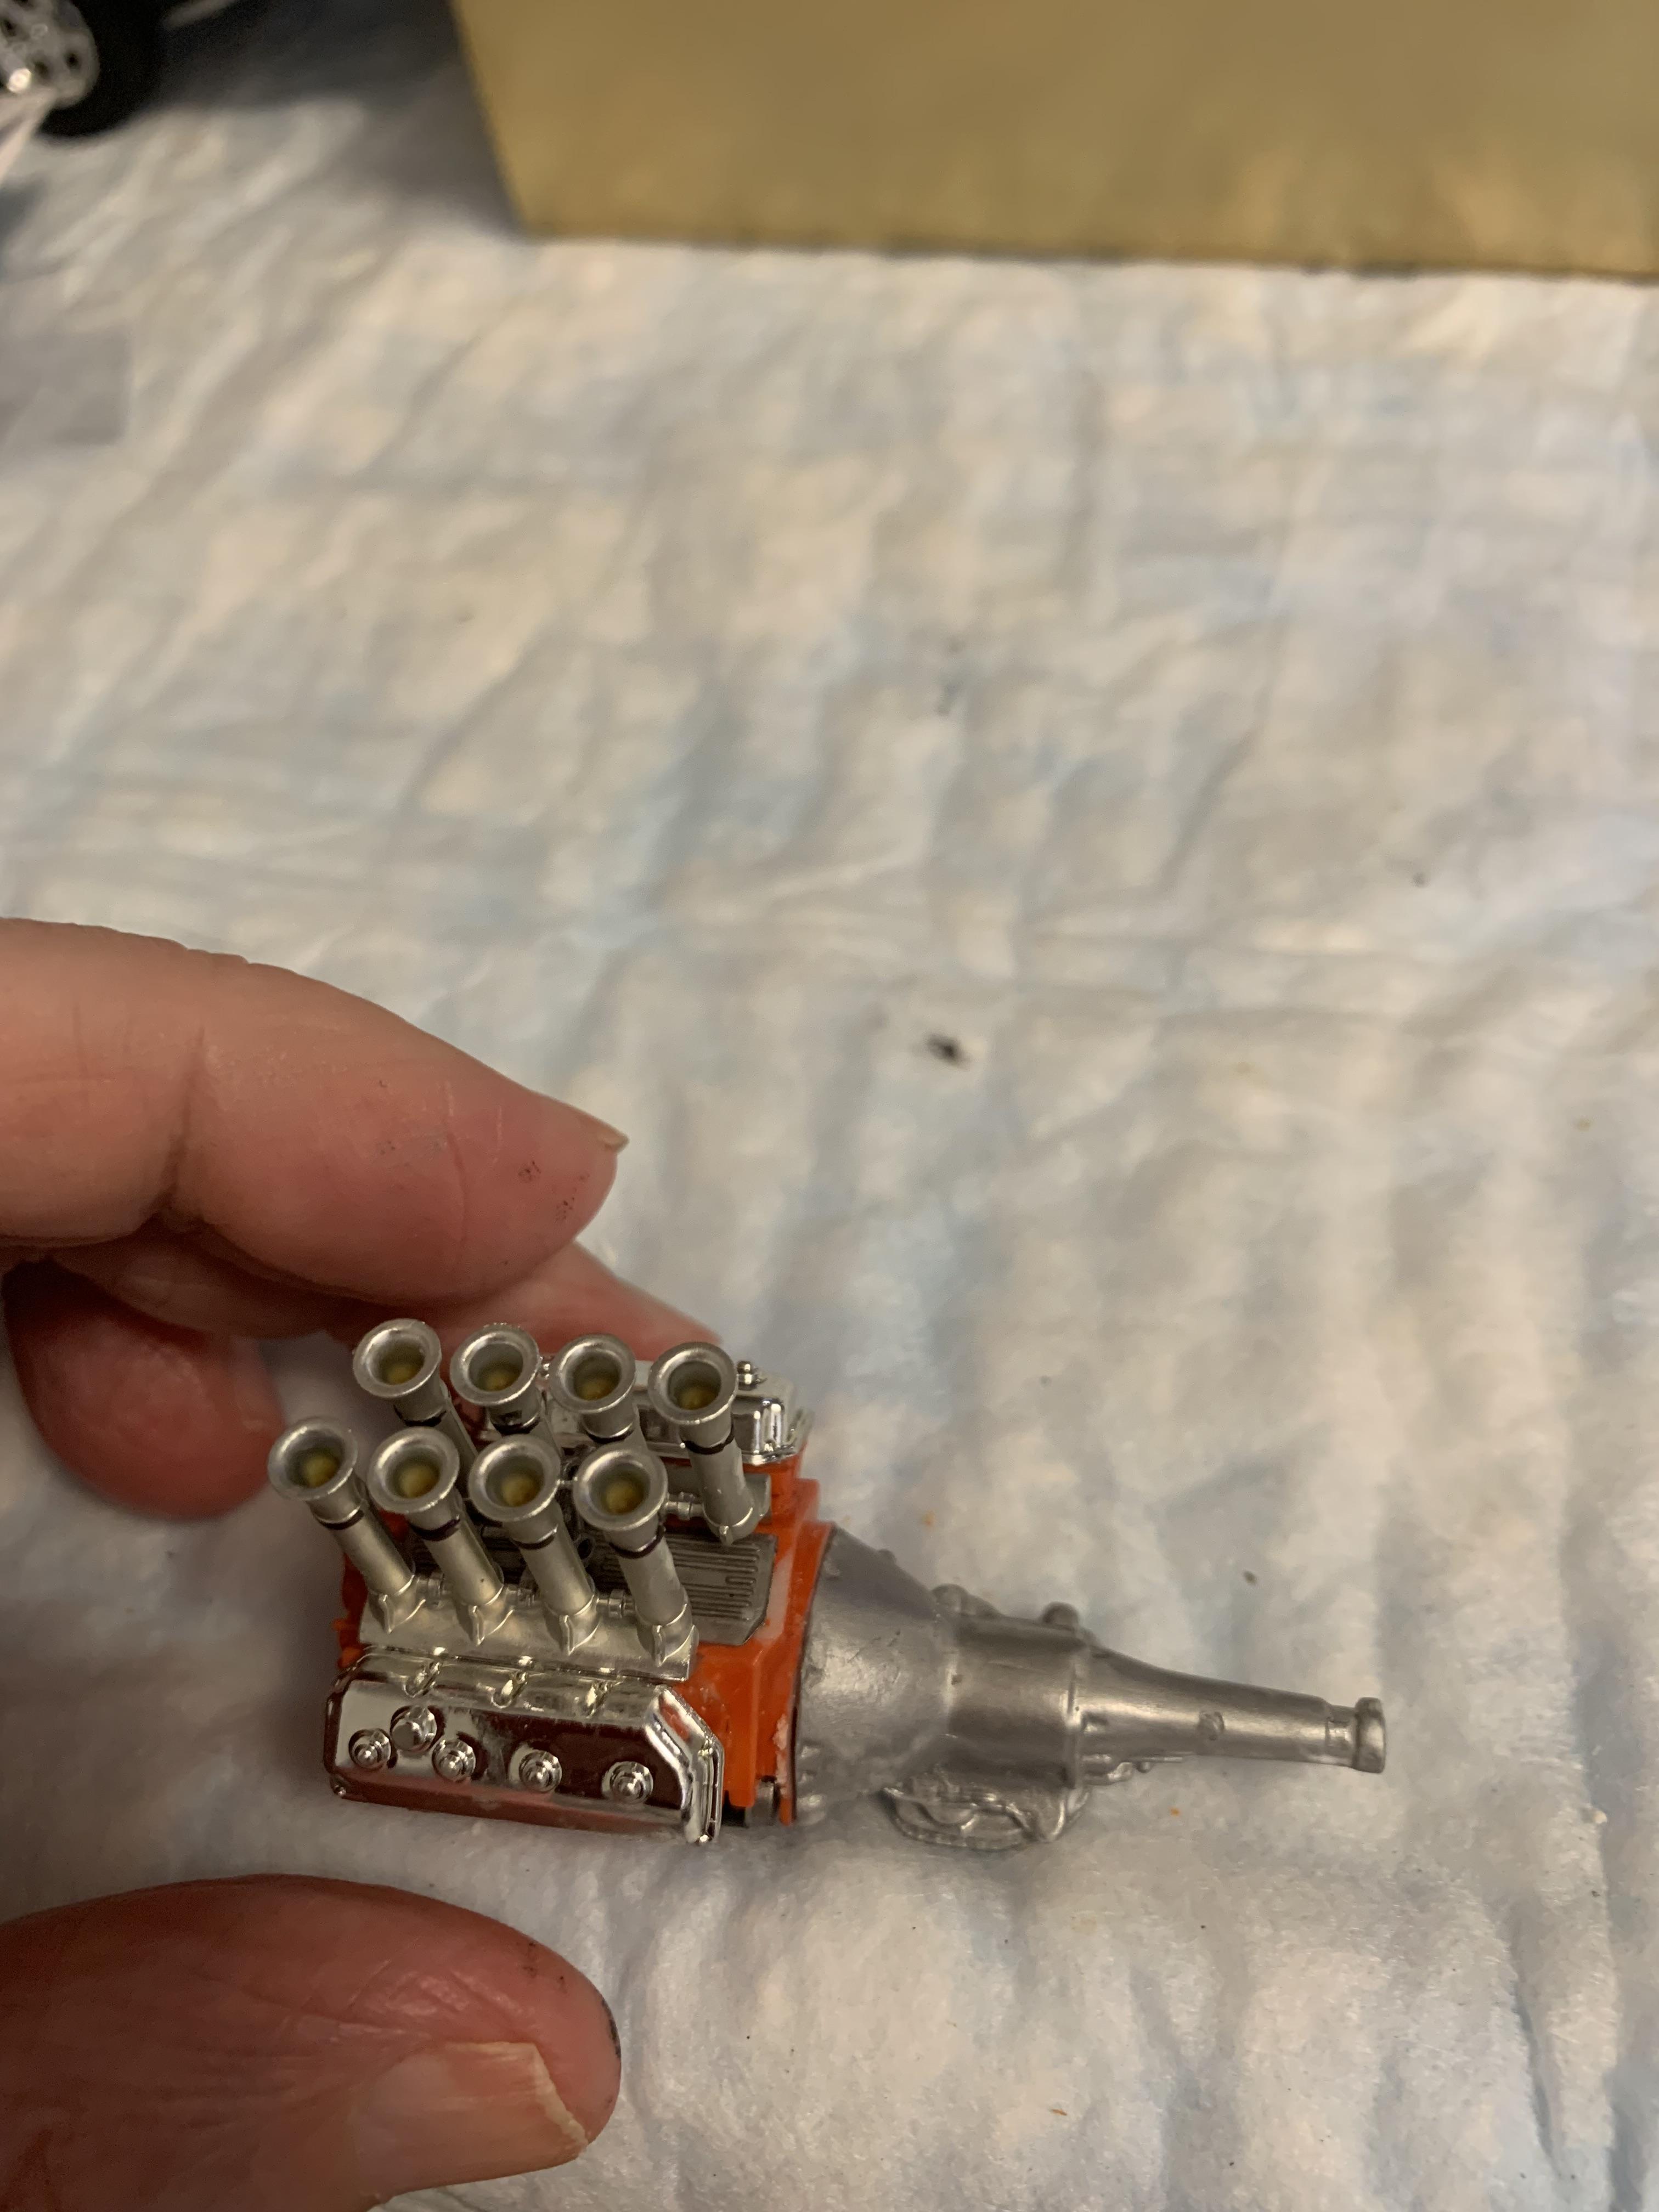
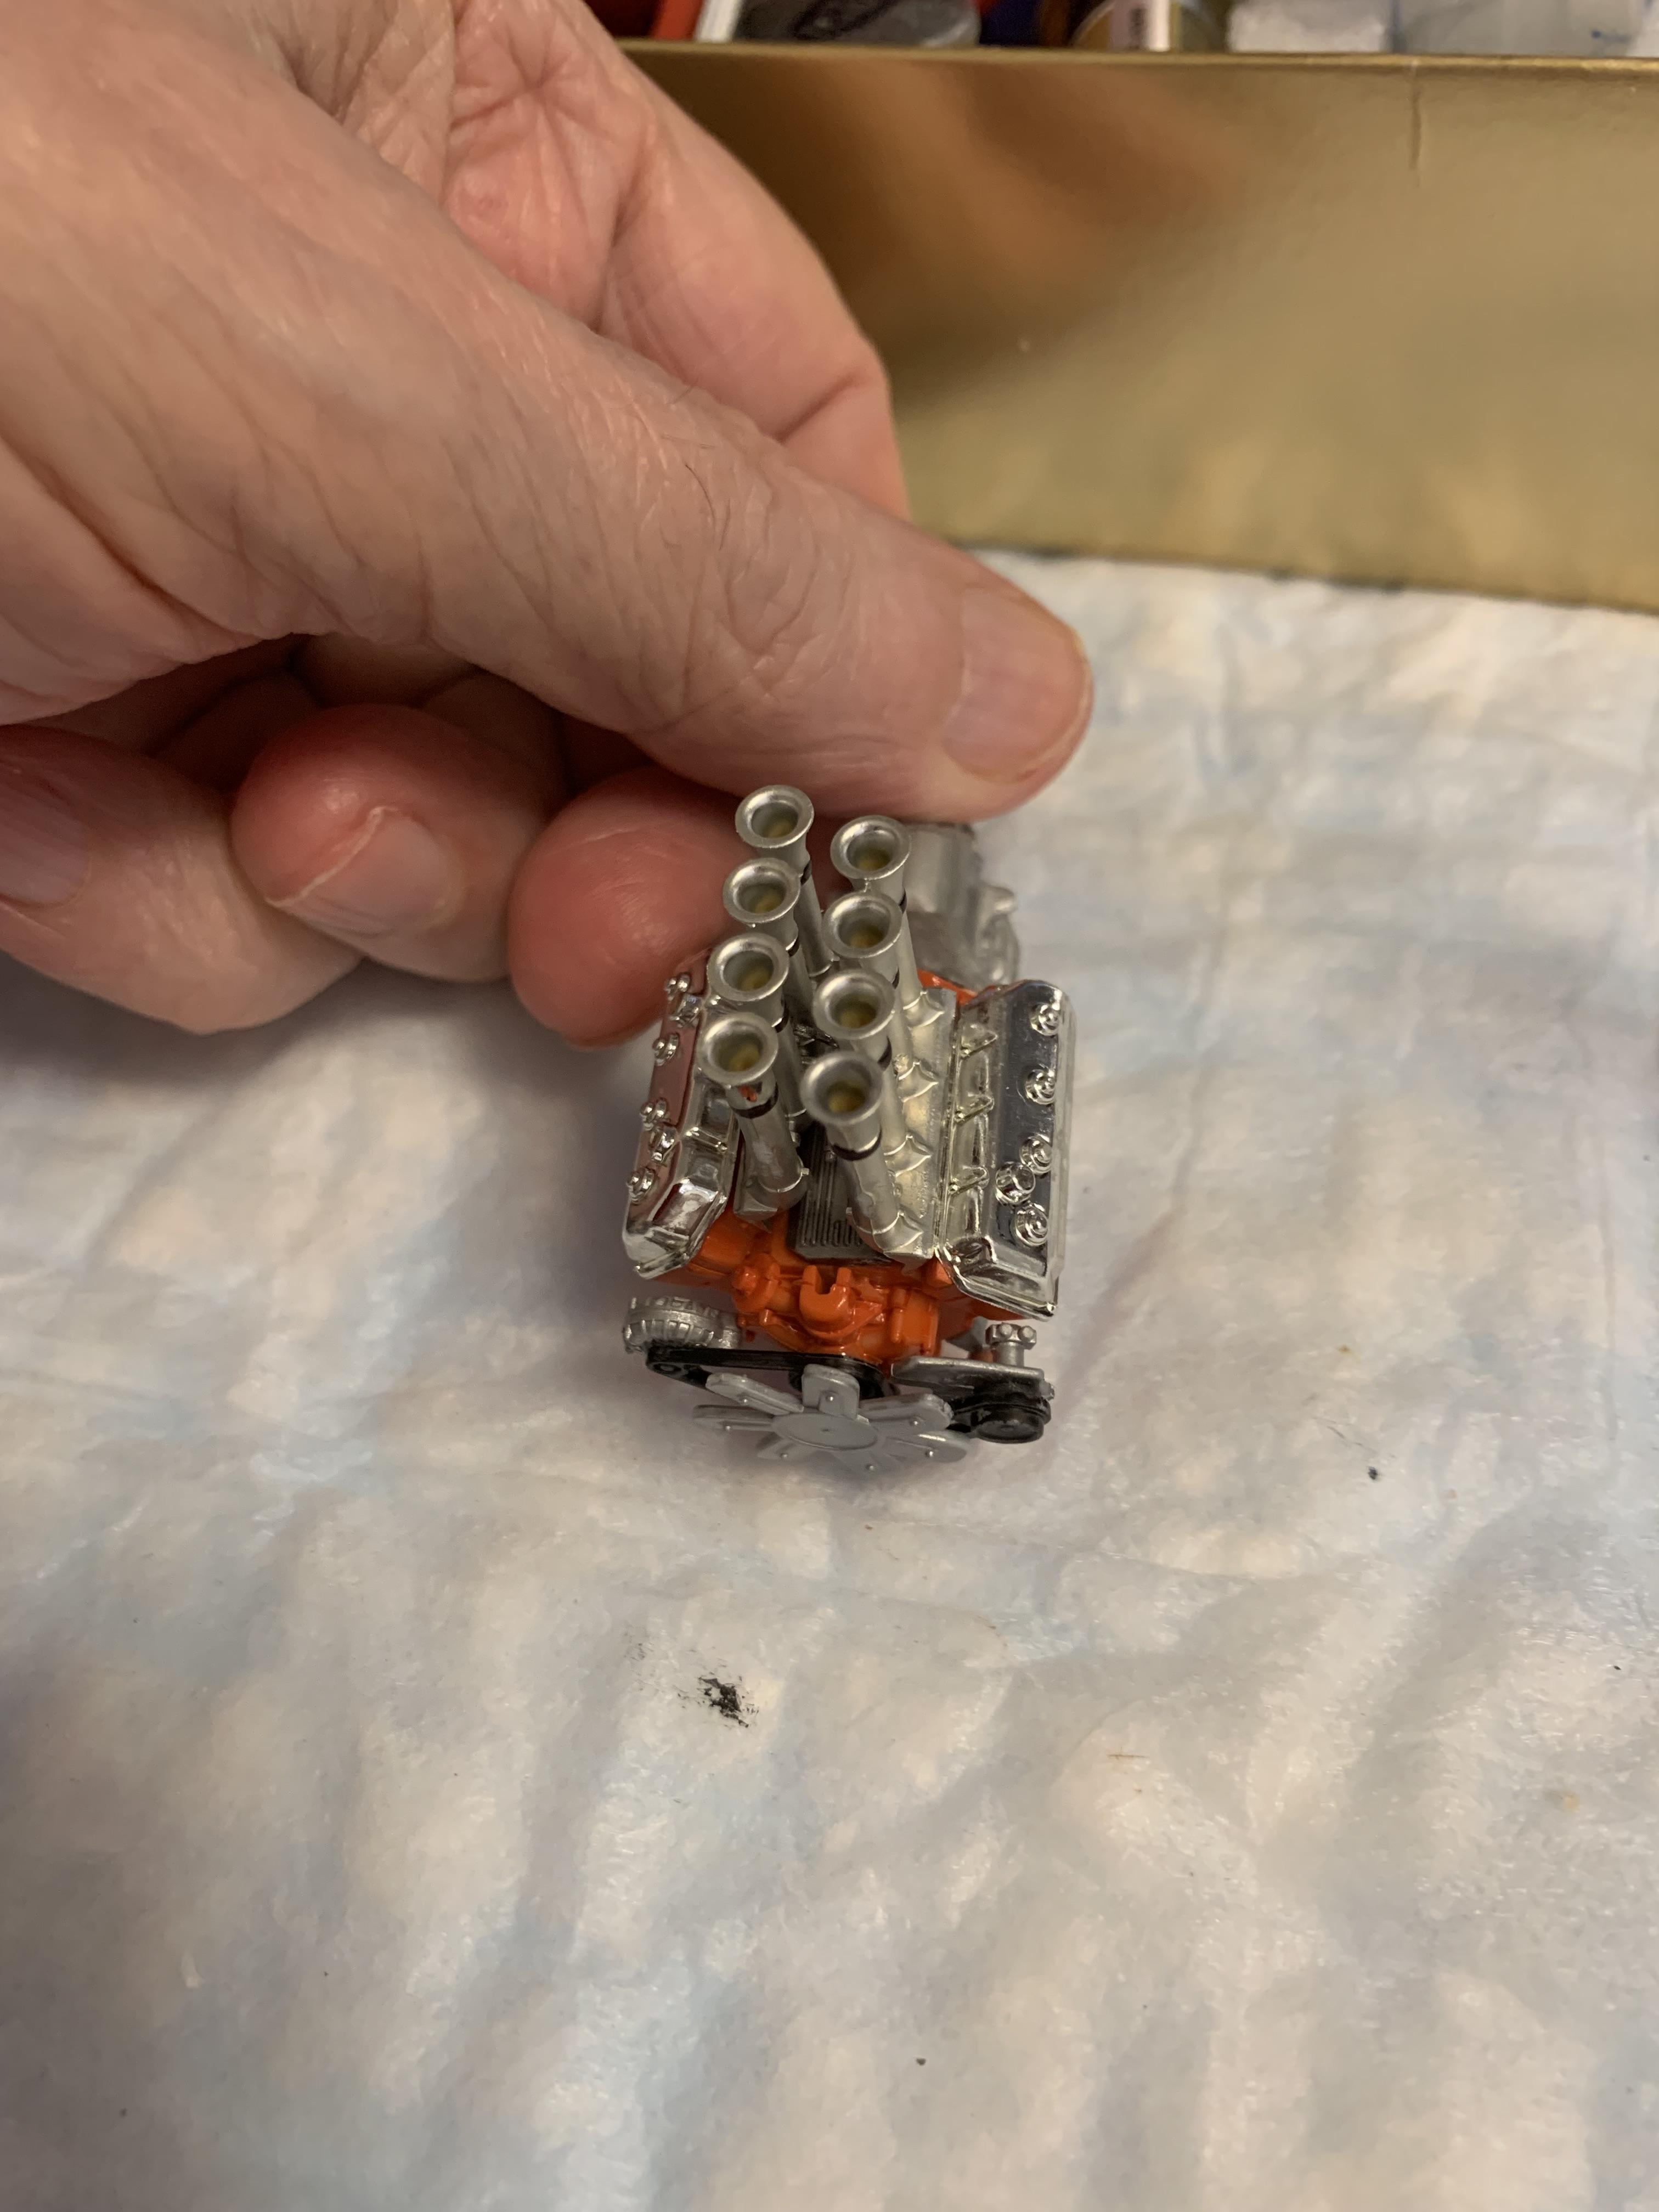
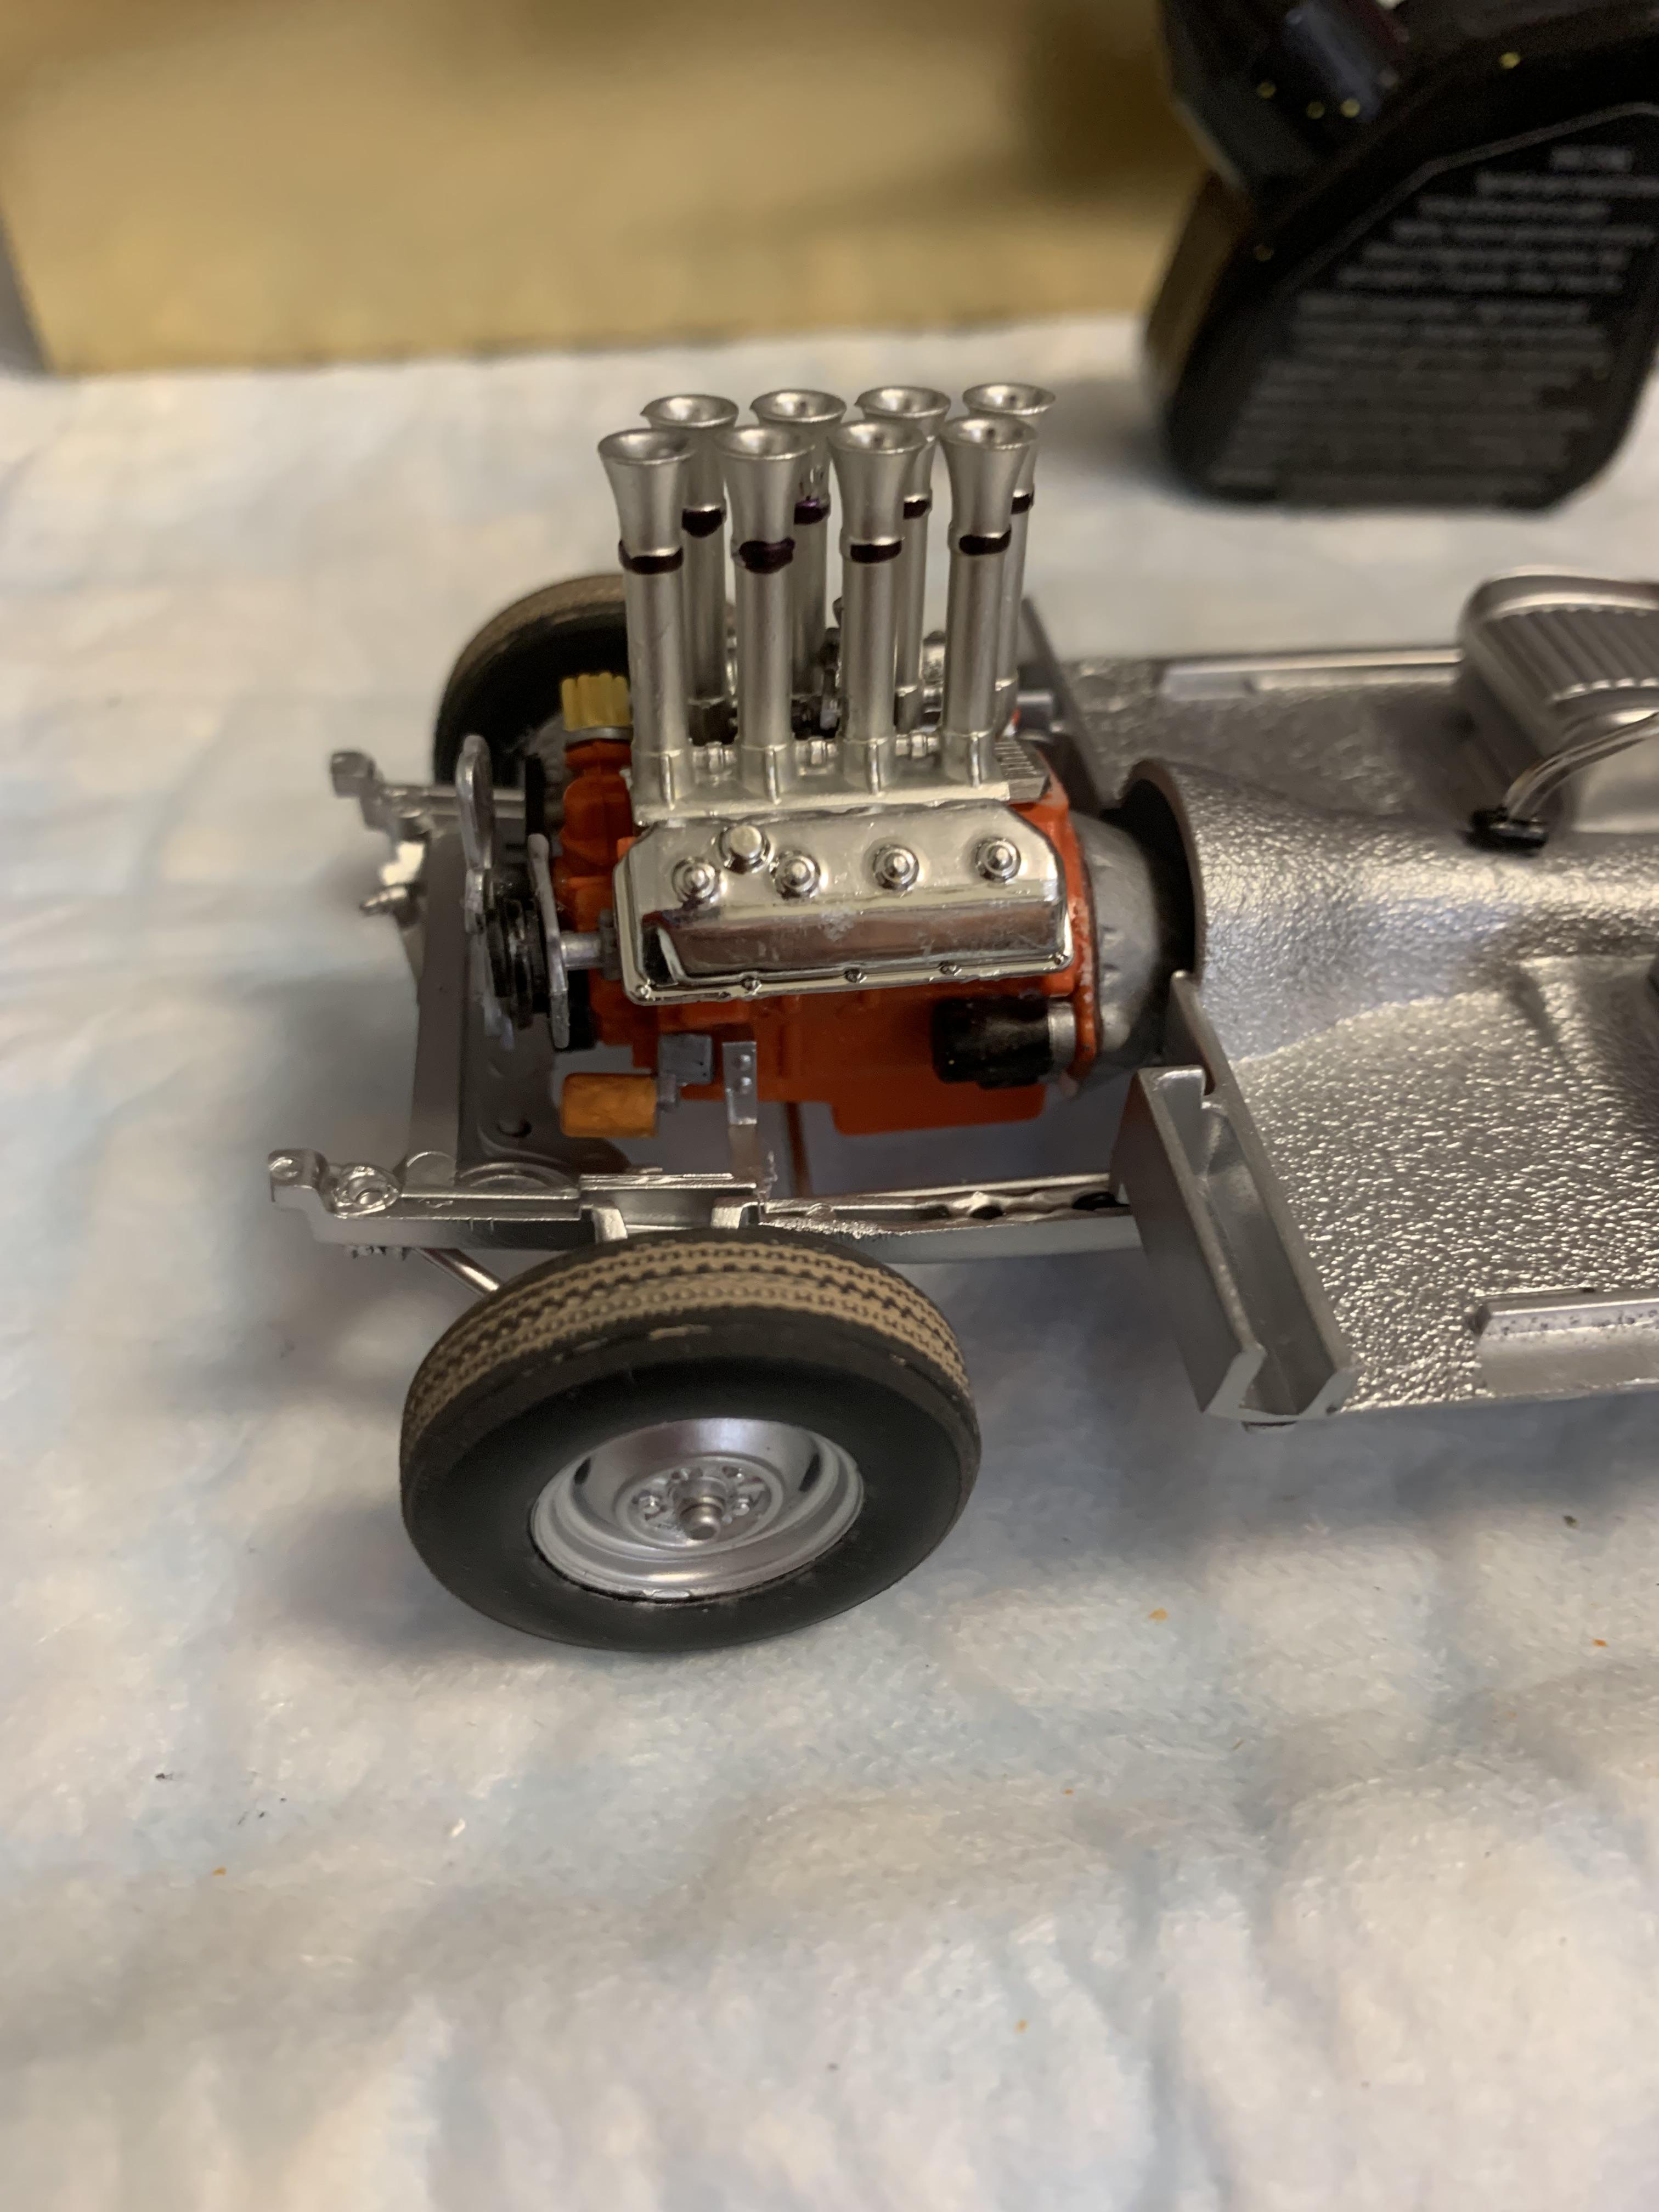
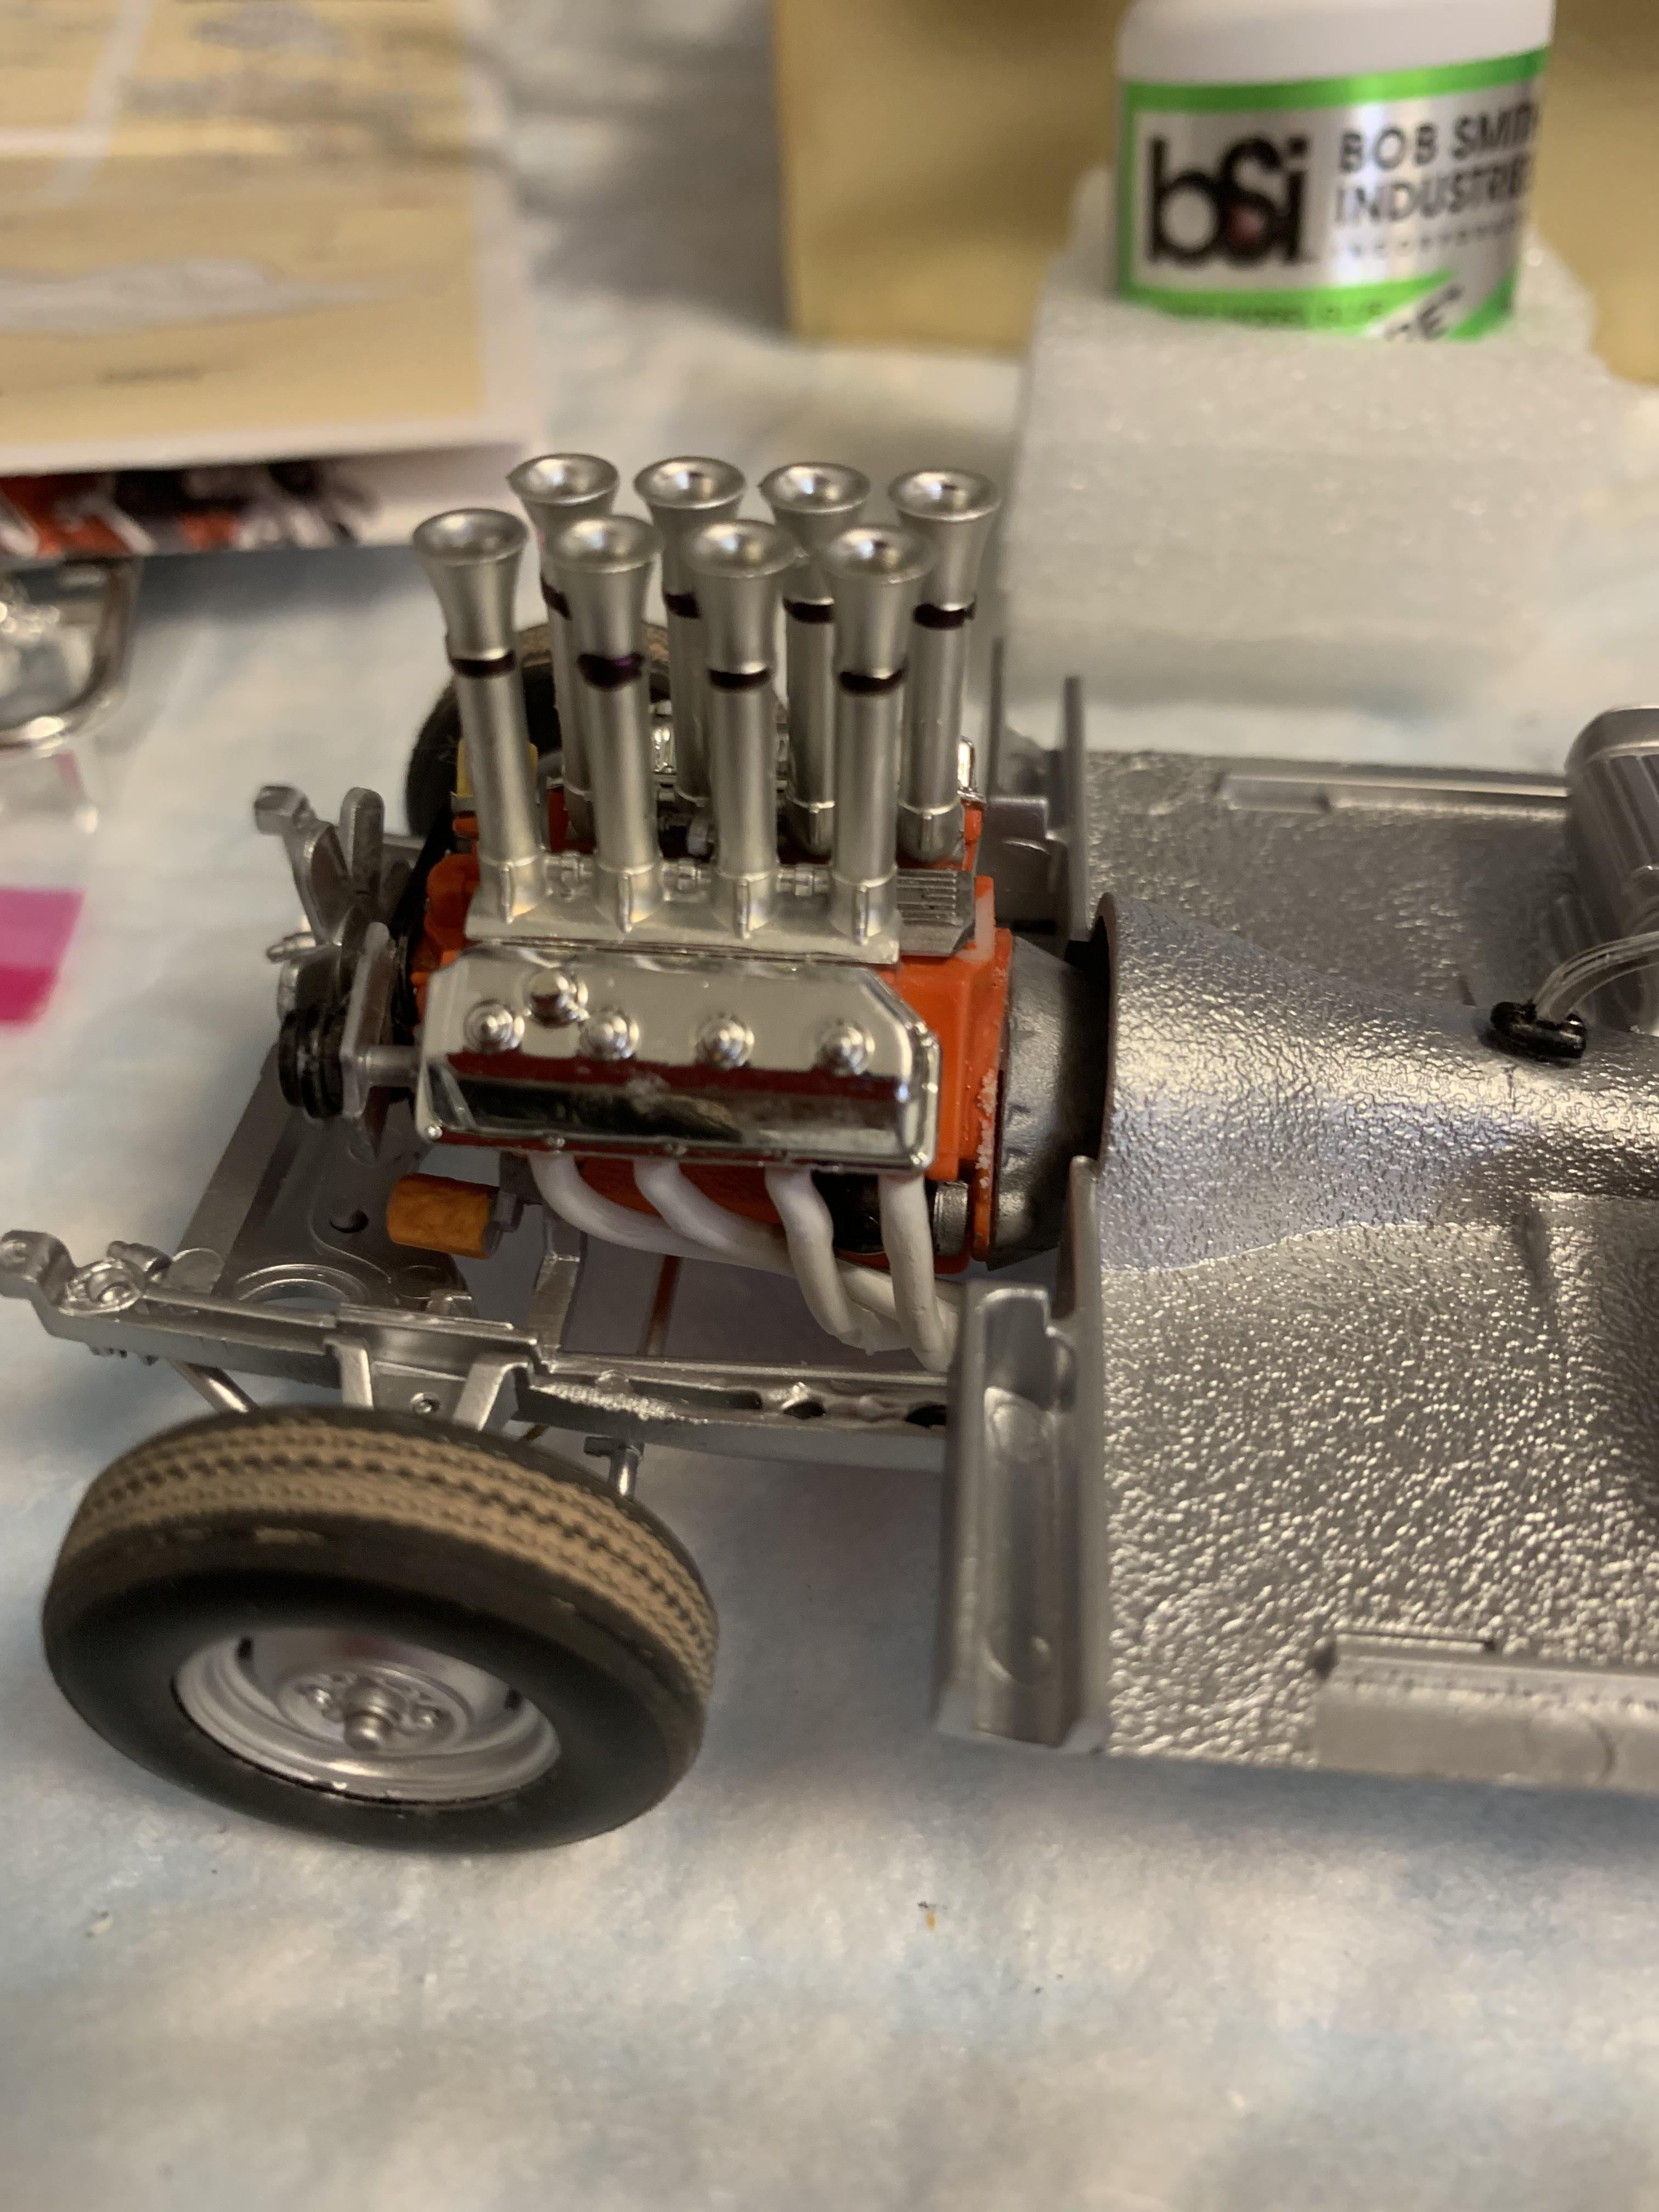
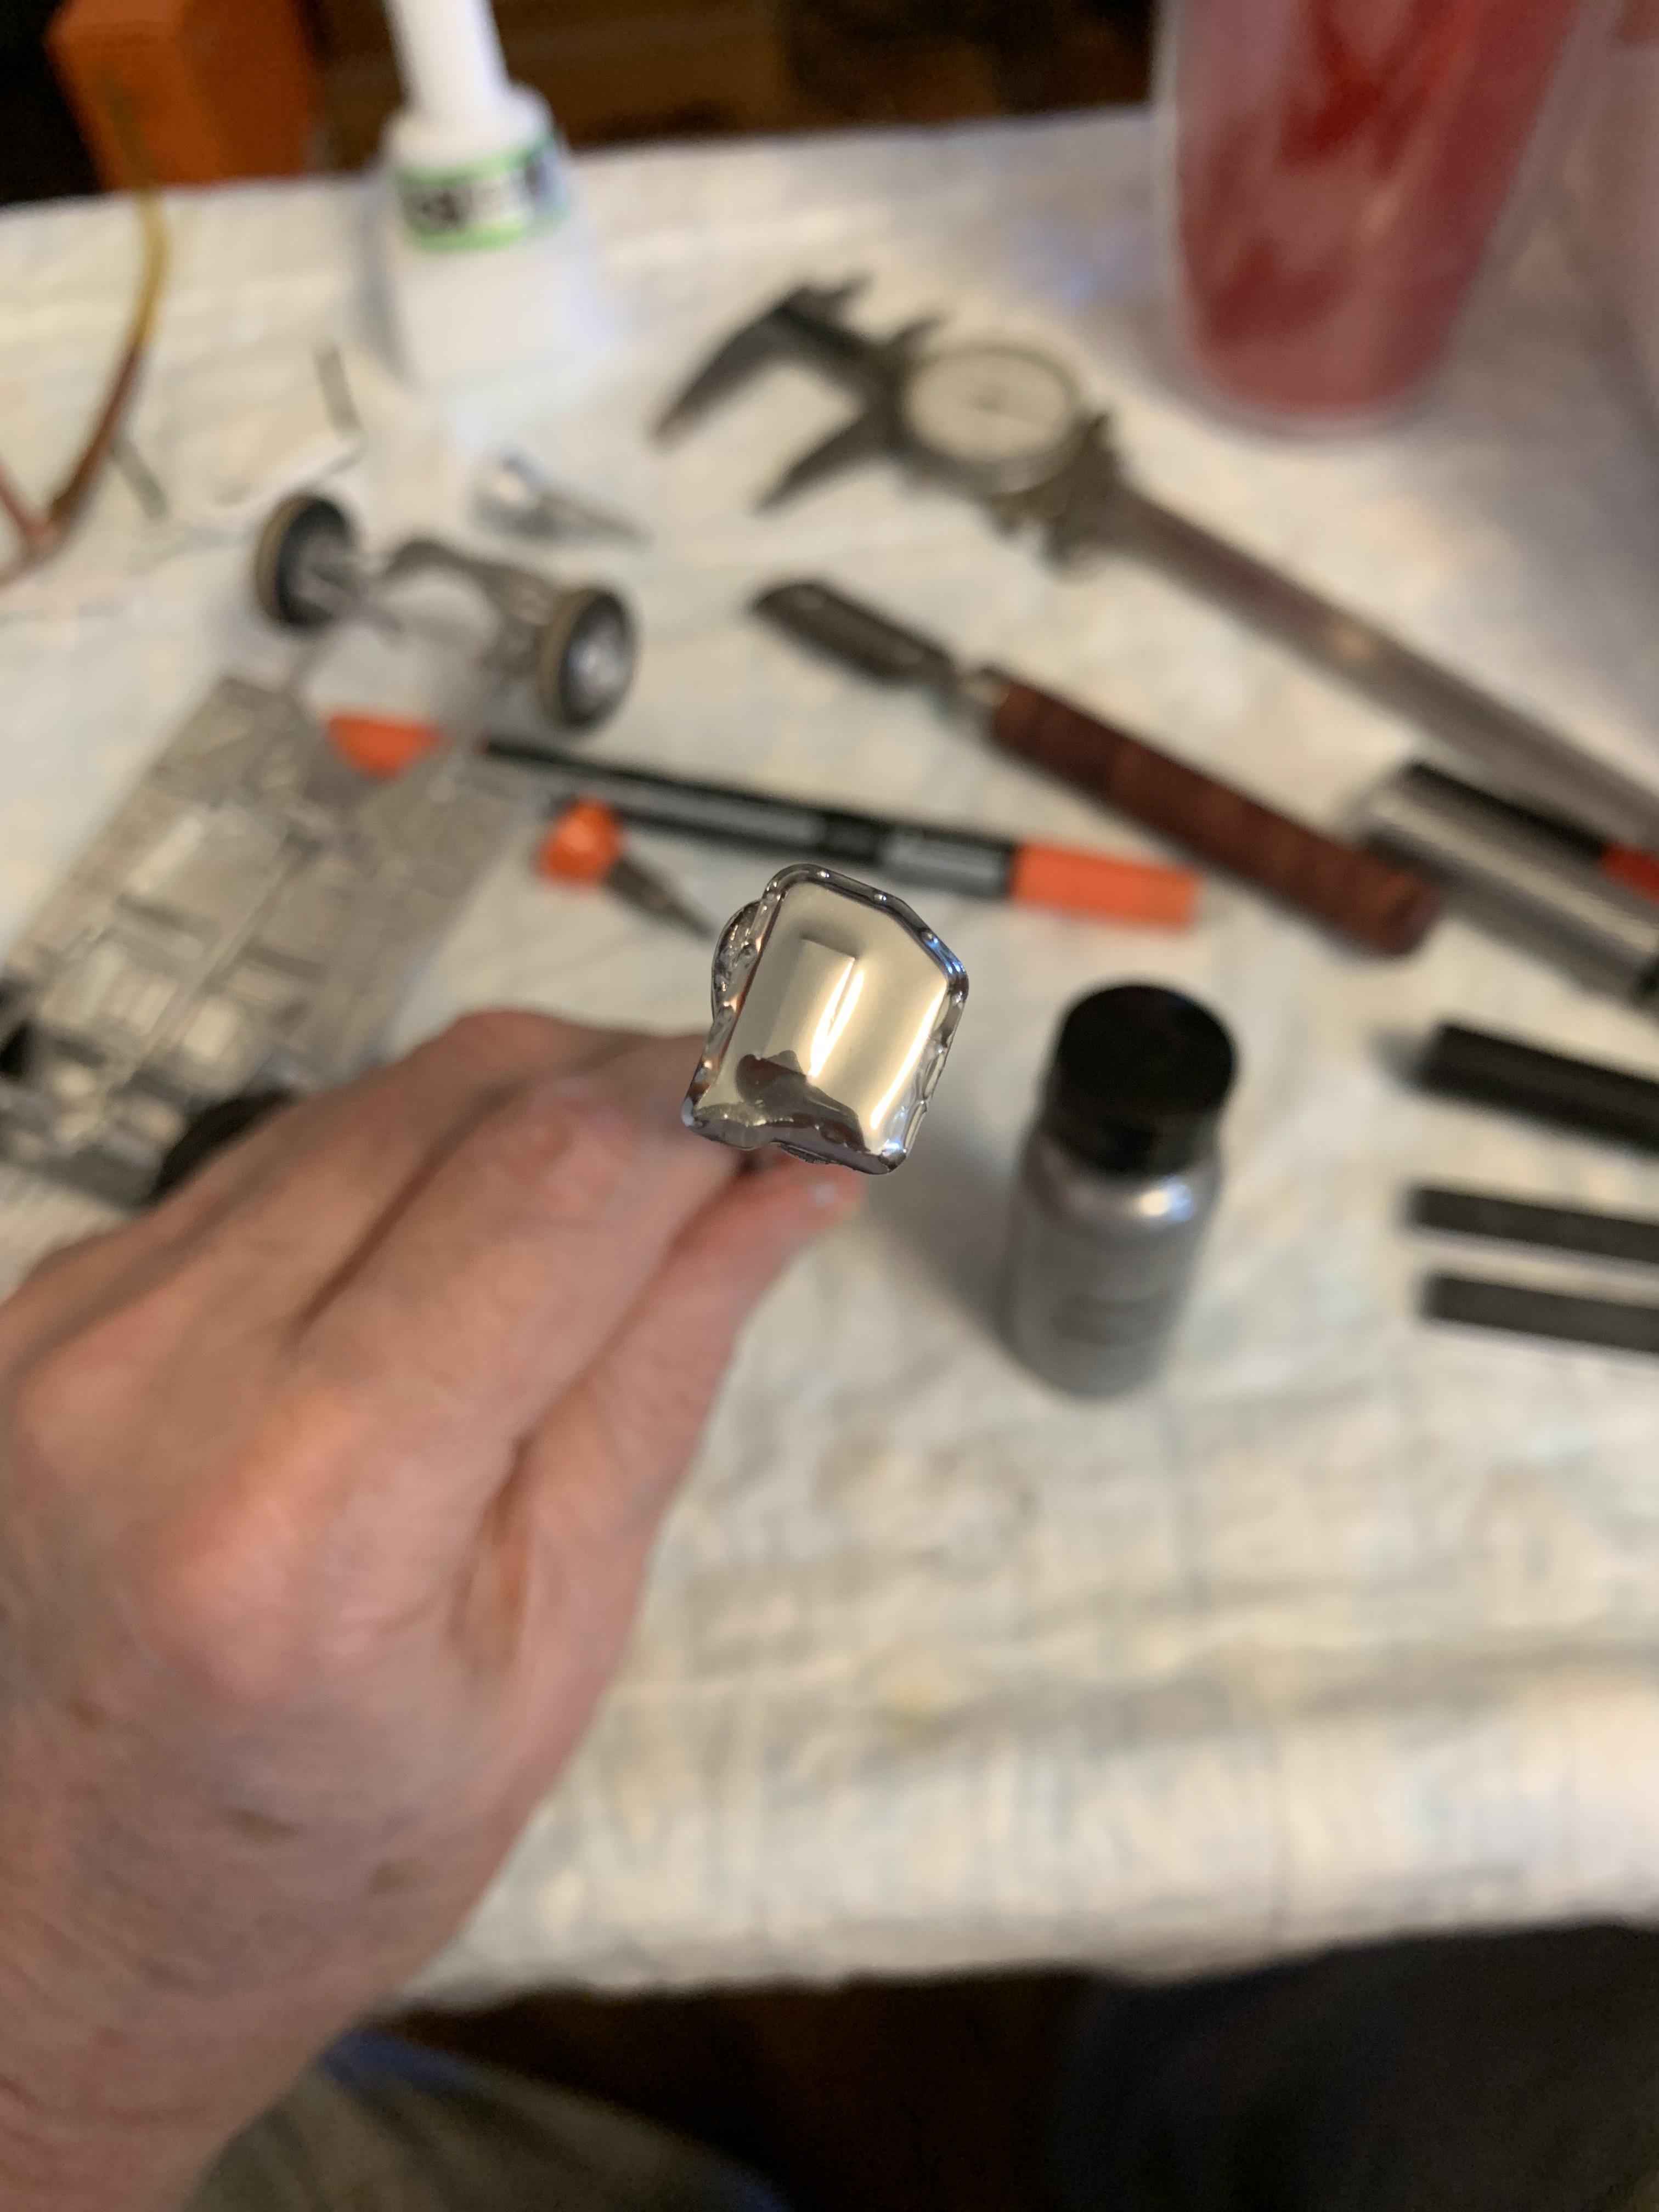
Put the starter, oil filter, distributor, fan, fuel injector pump on the engine. Used a black sharpie on the injectors. Not a great job, but ok. Installed engine and headers.
-
Grooms Bros. 1965 Plymouth Sedan awb Black Trash II
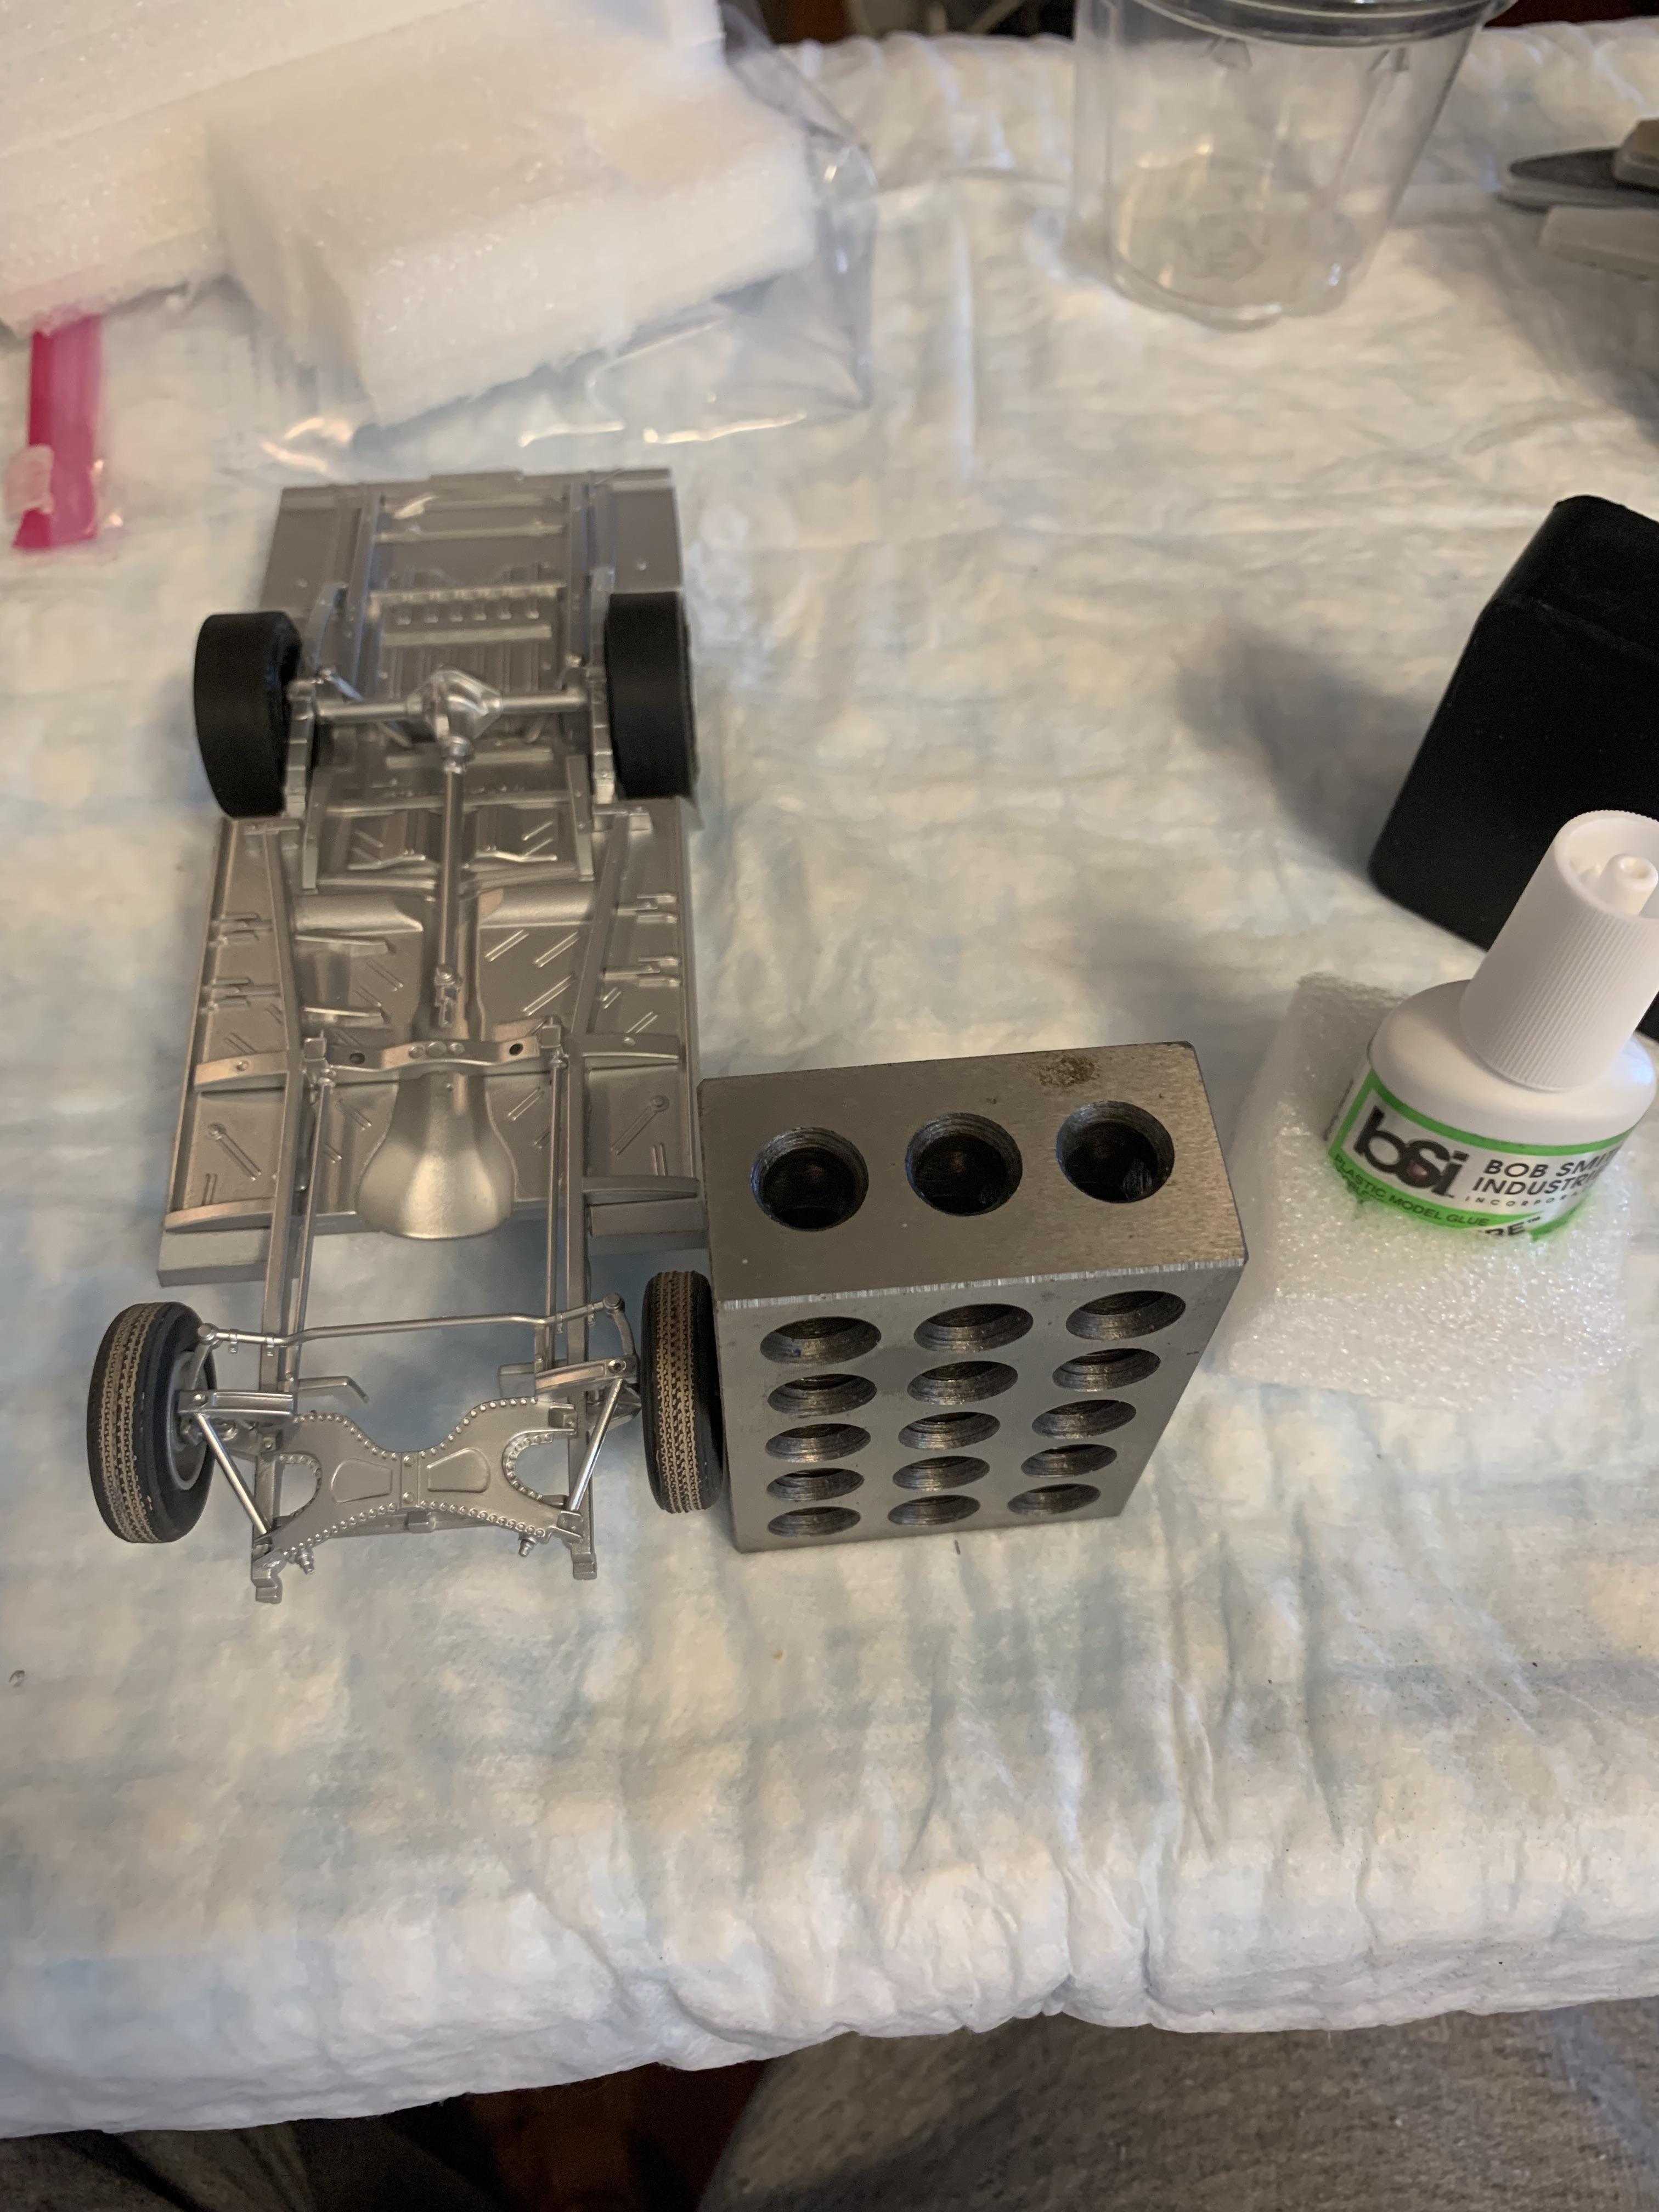
R. Thorne replied to R. Thorne's topic in WIP: Drag Racing Models
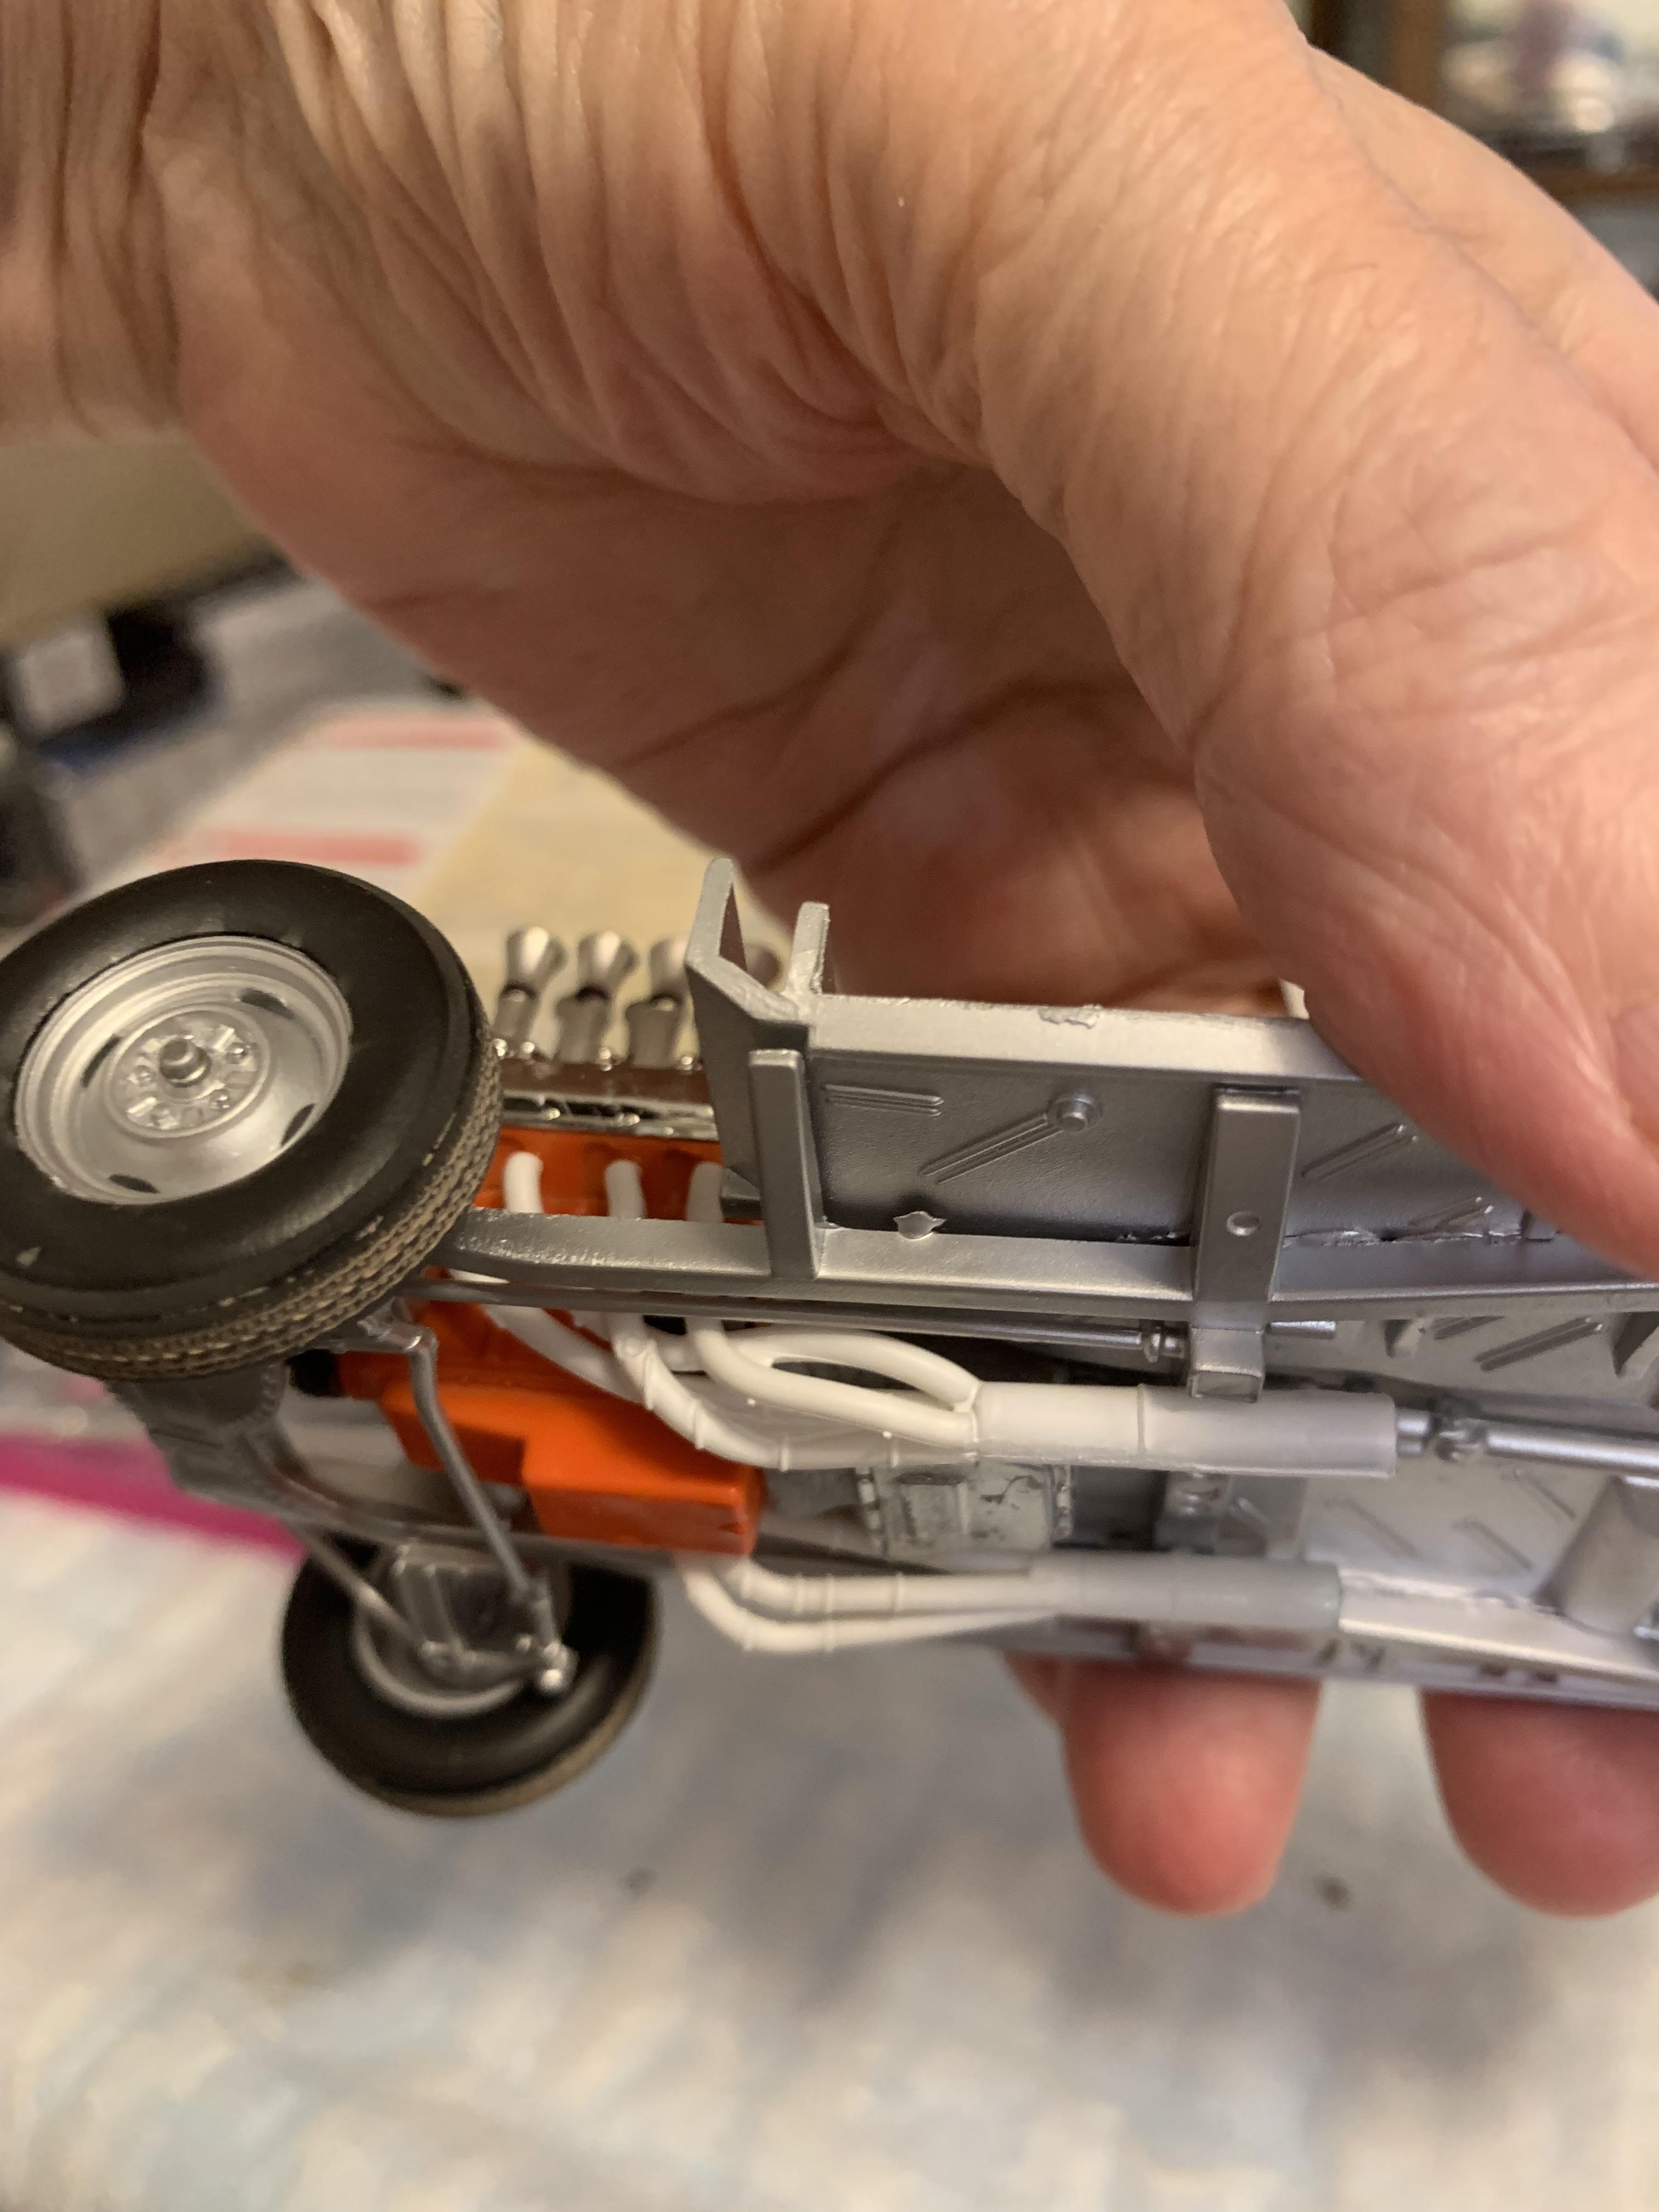
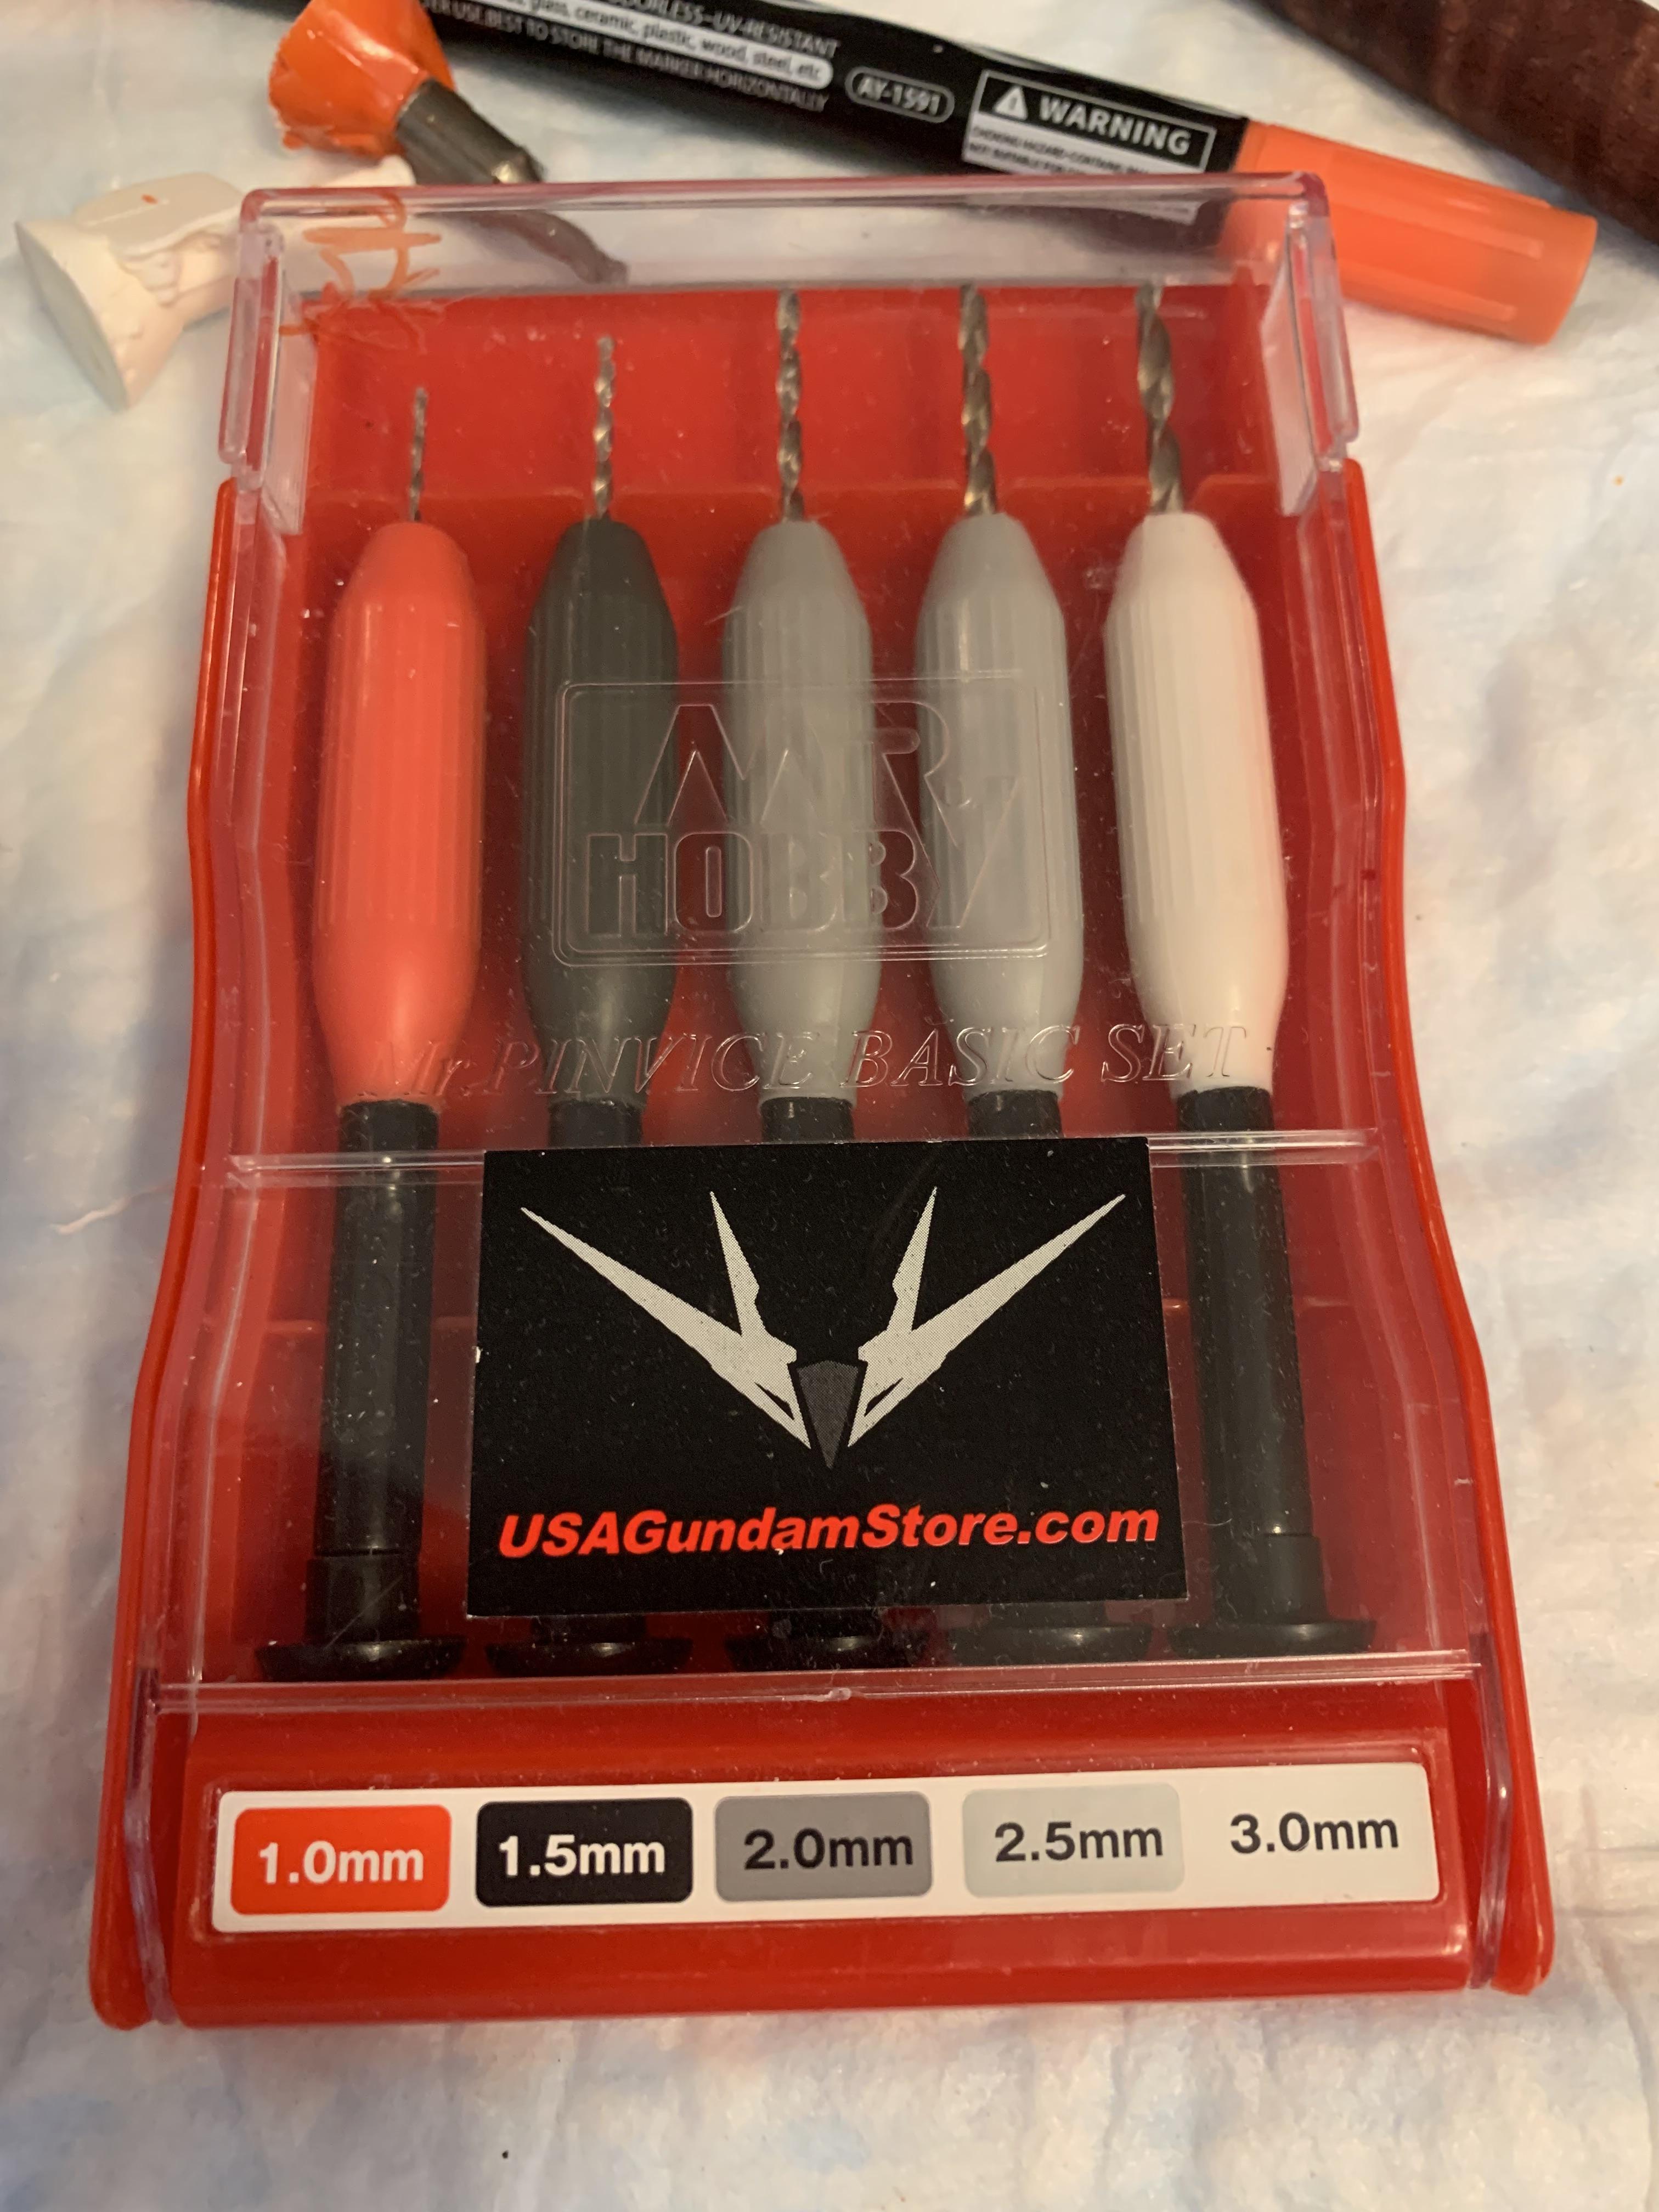
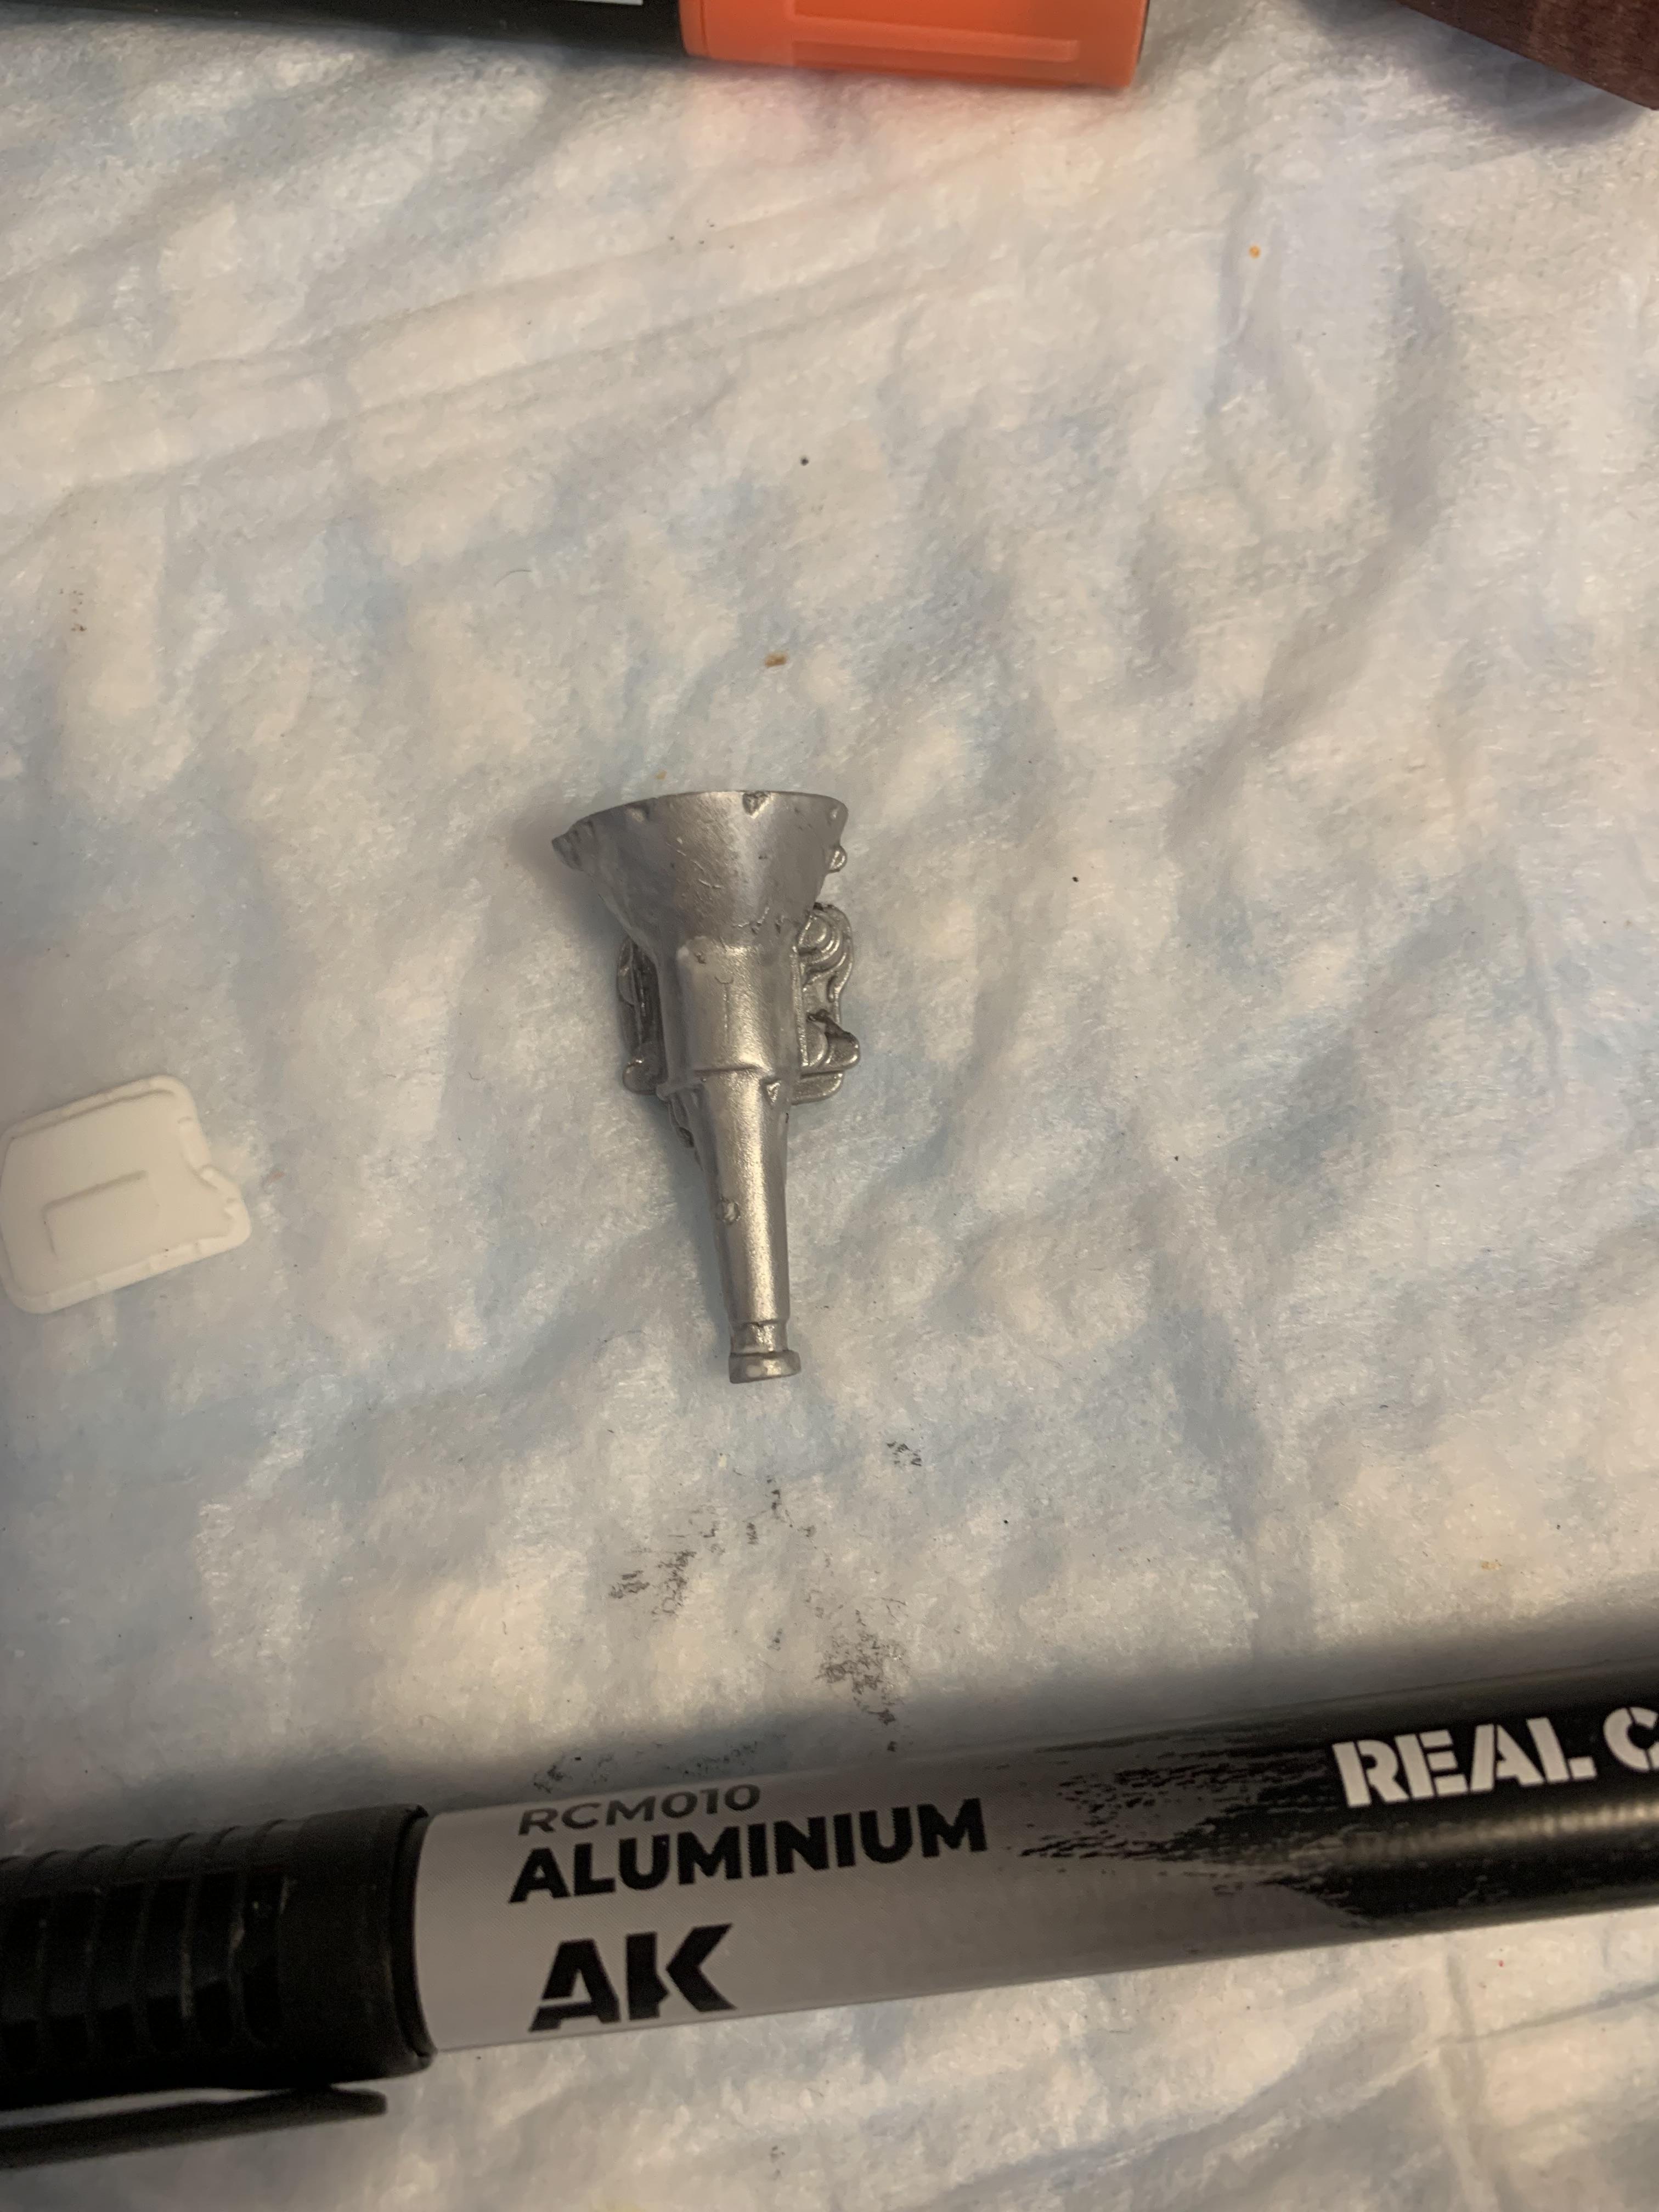
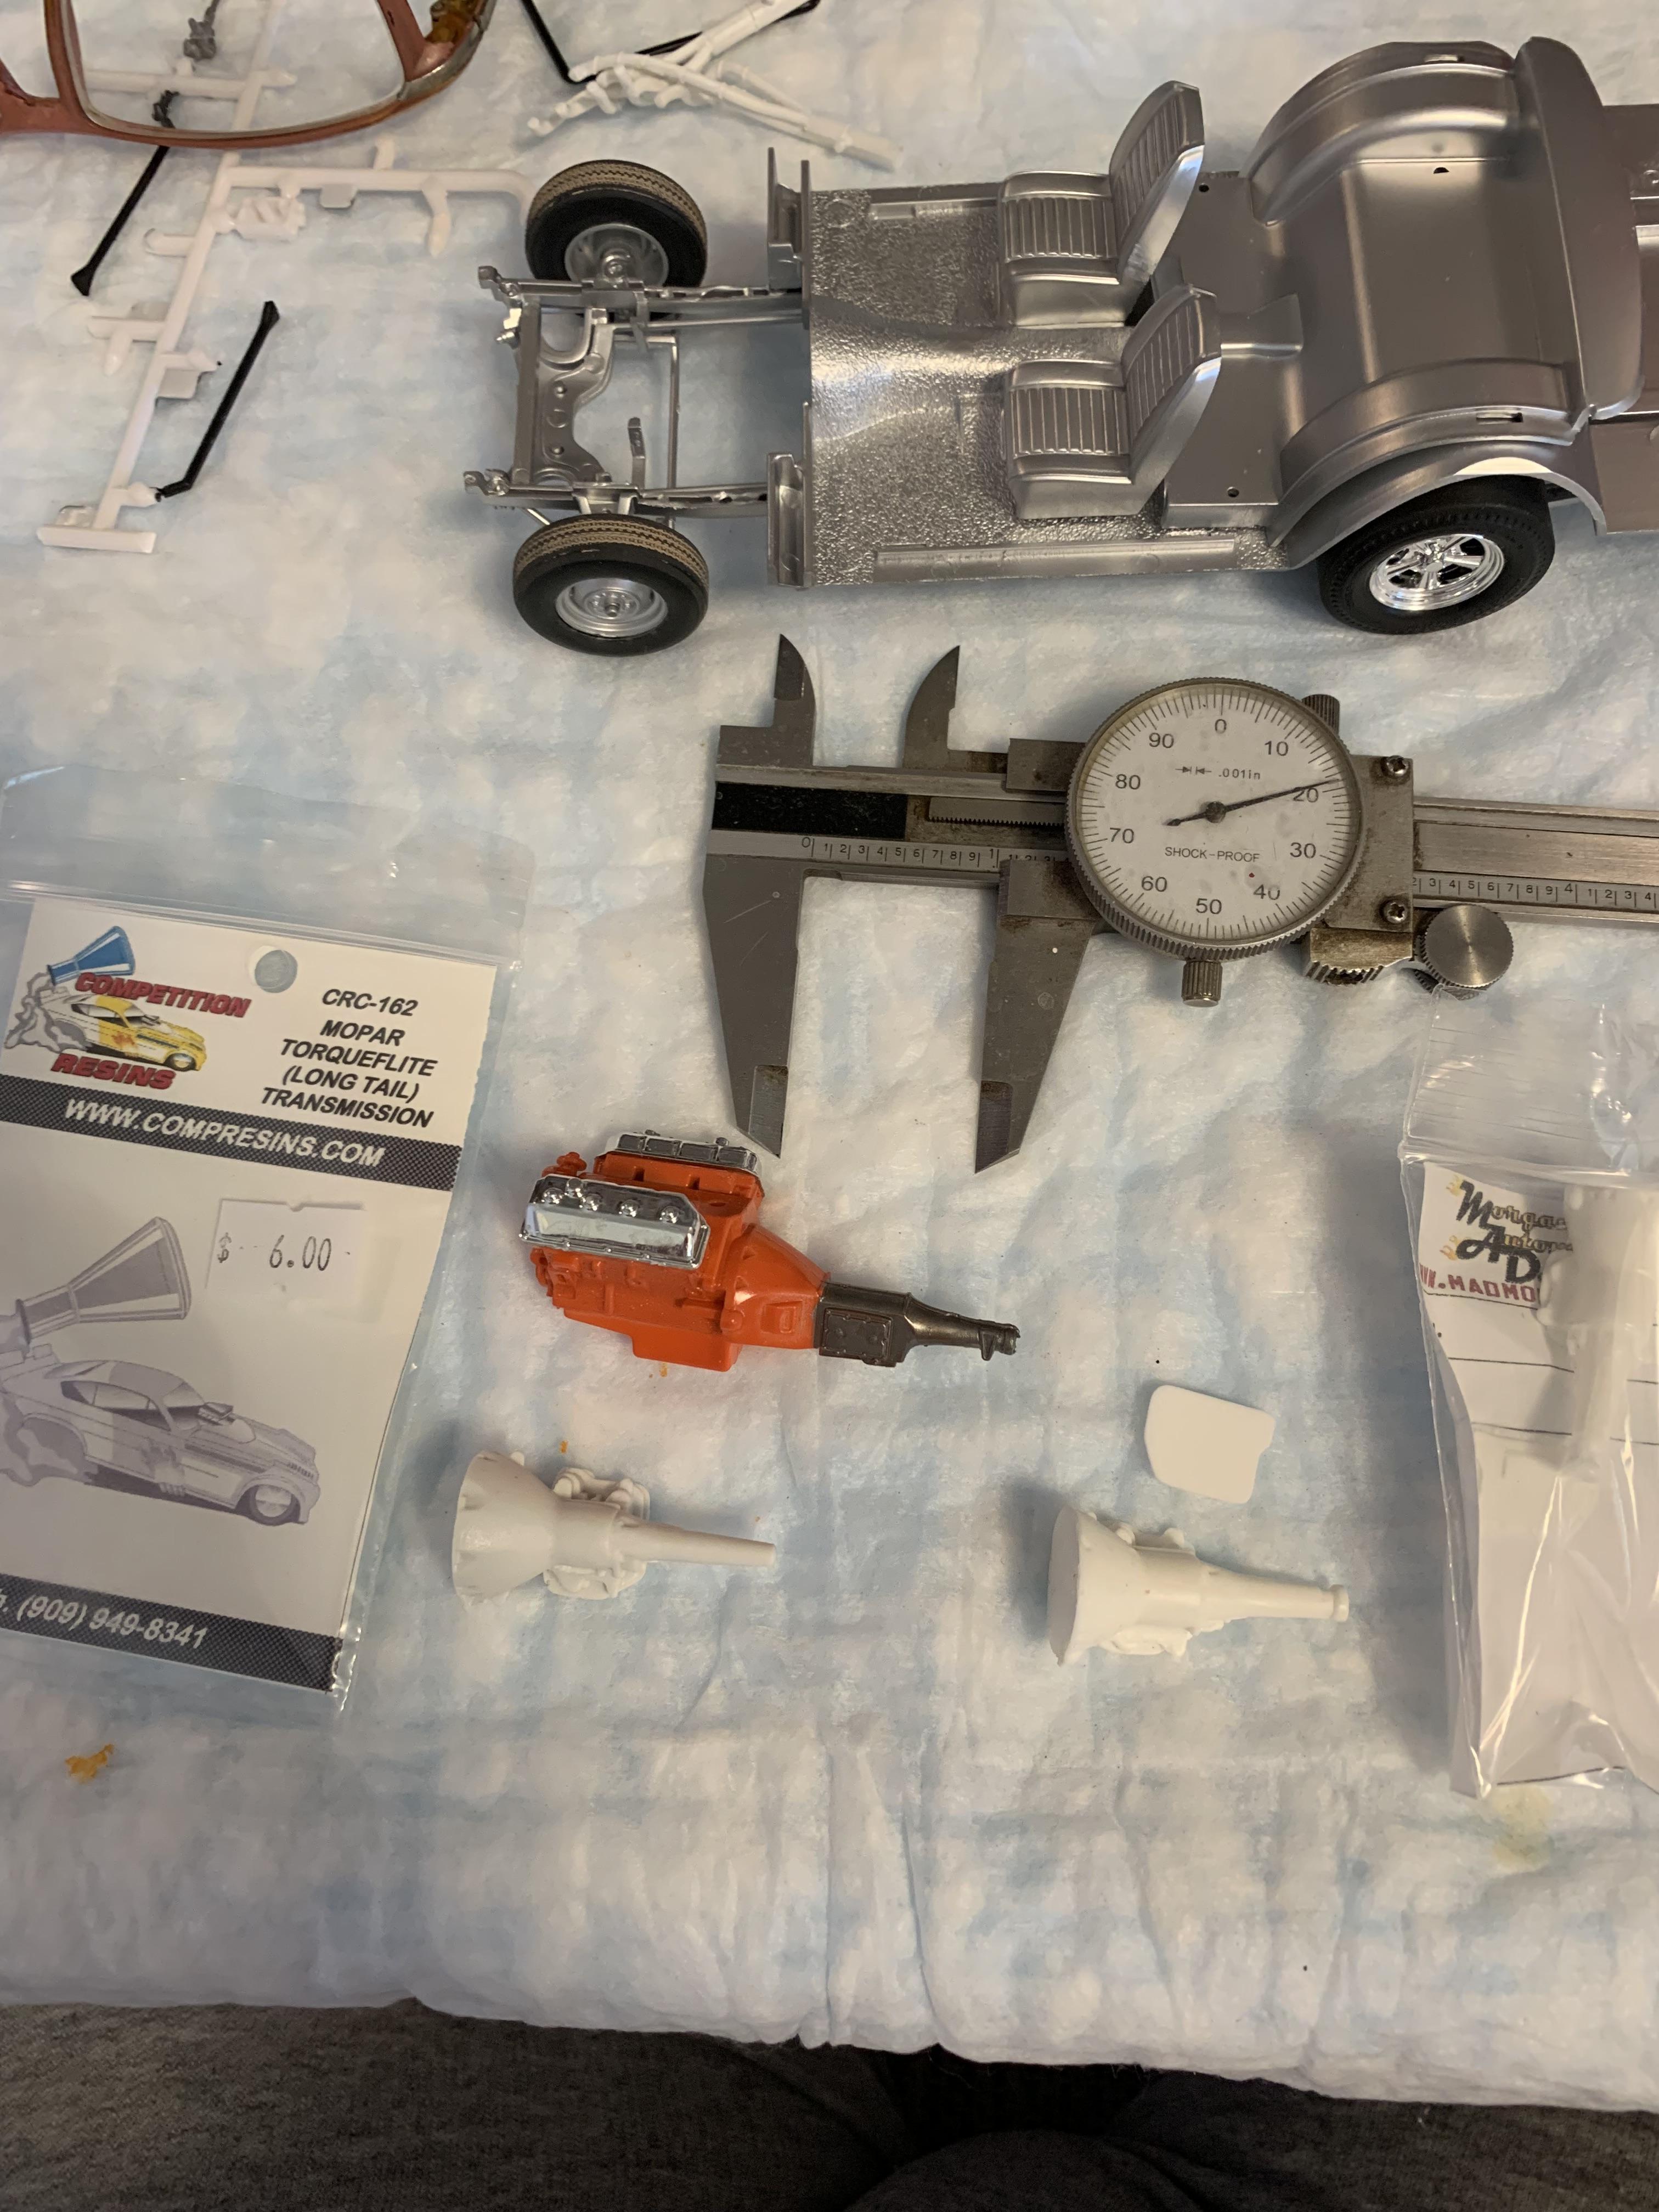
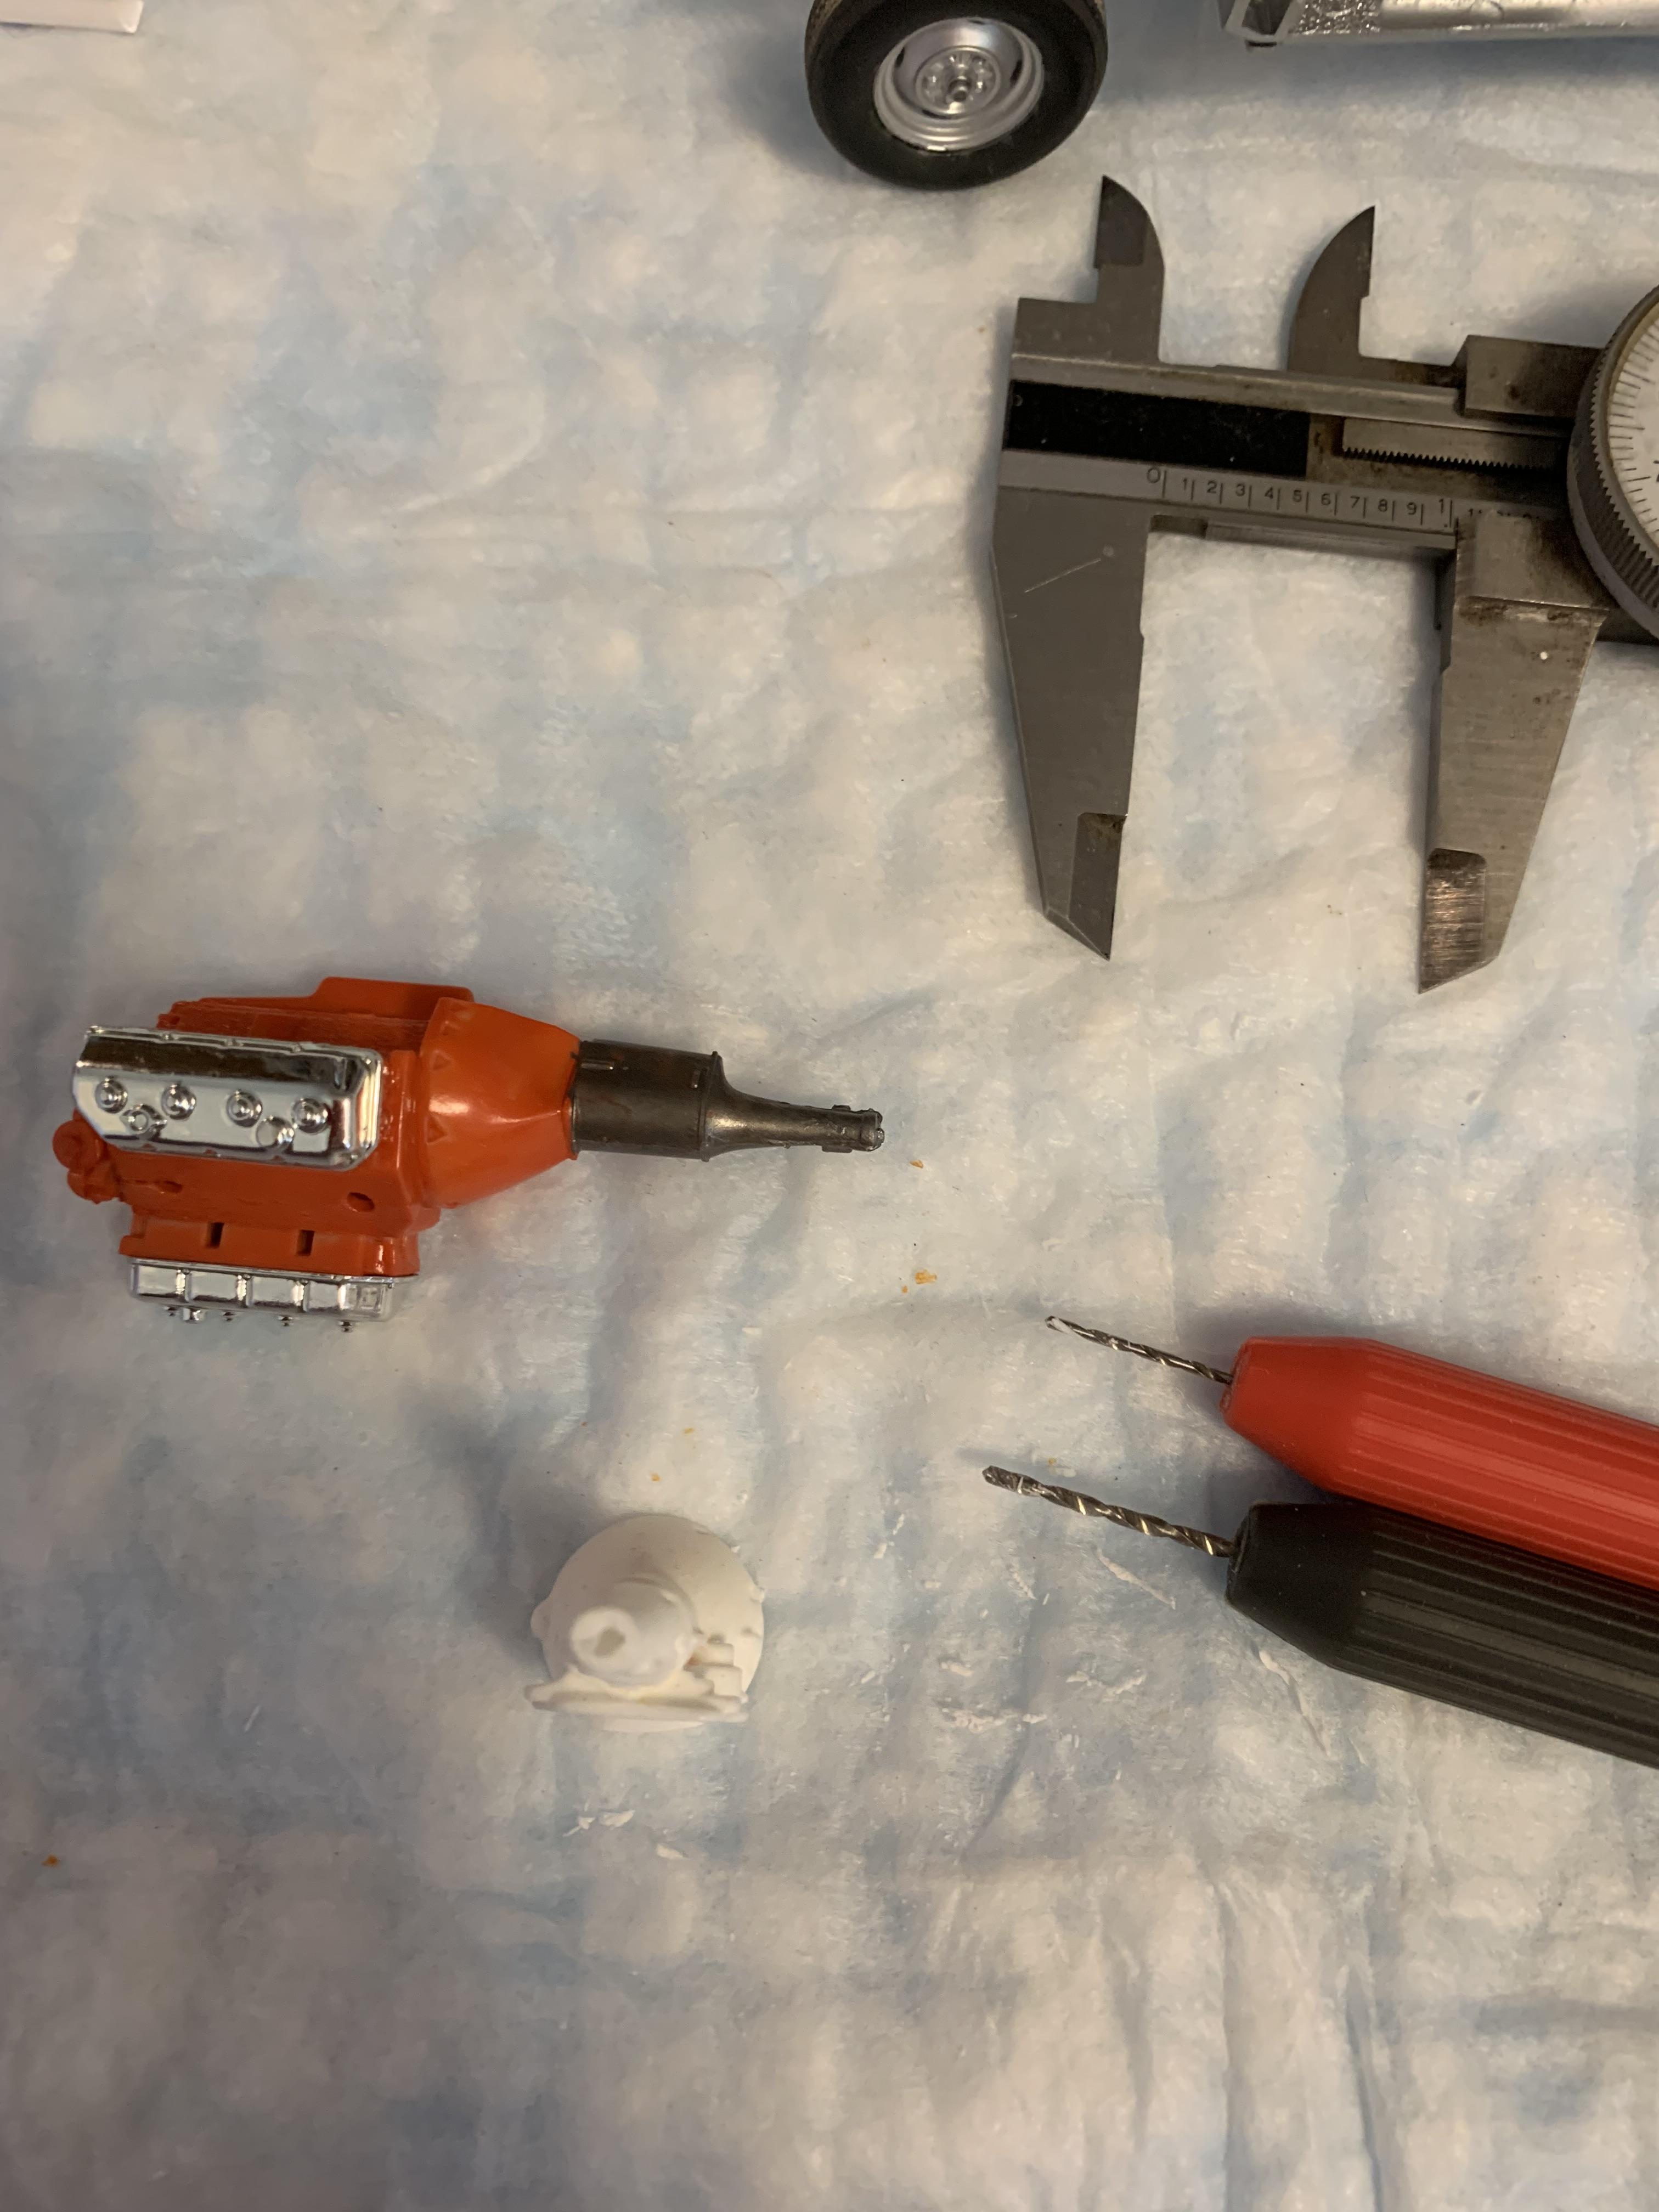
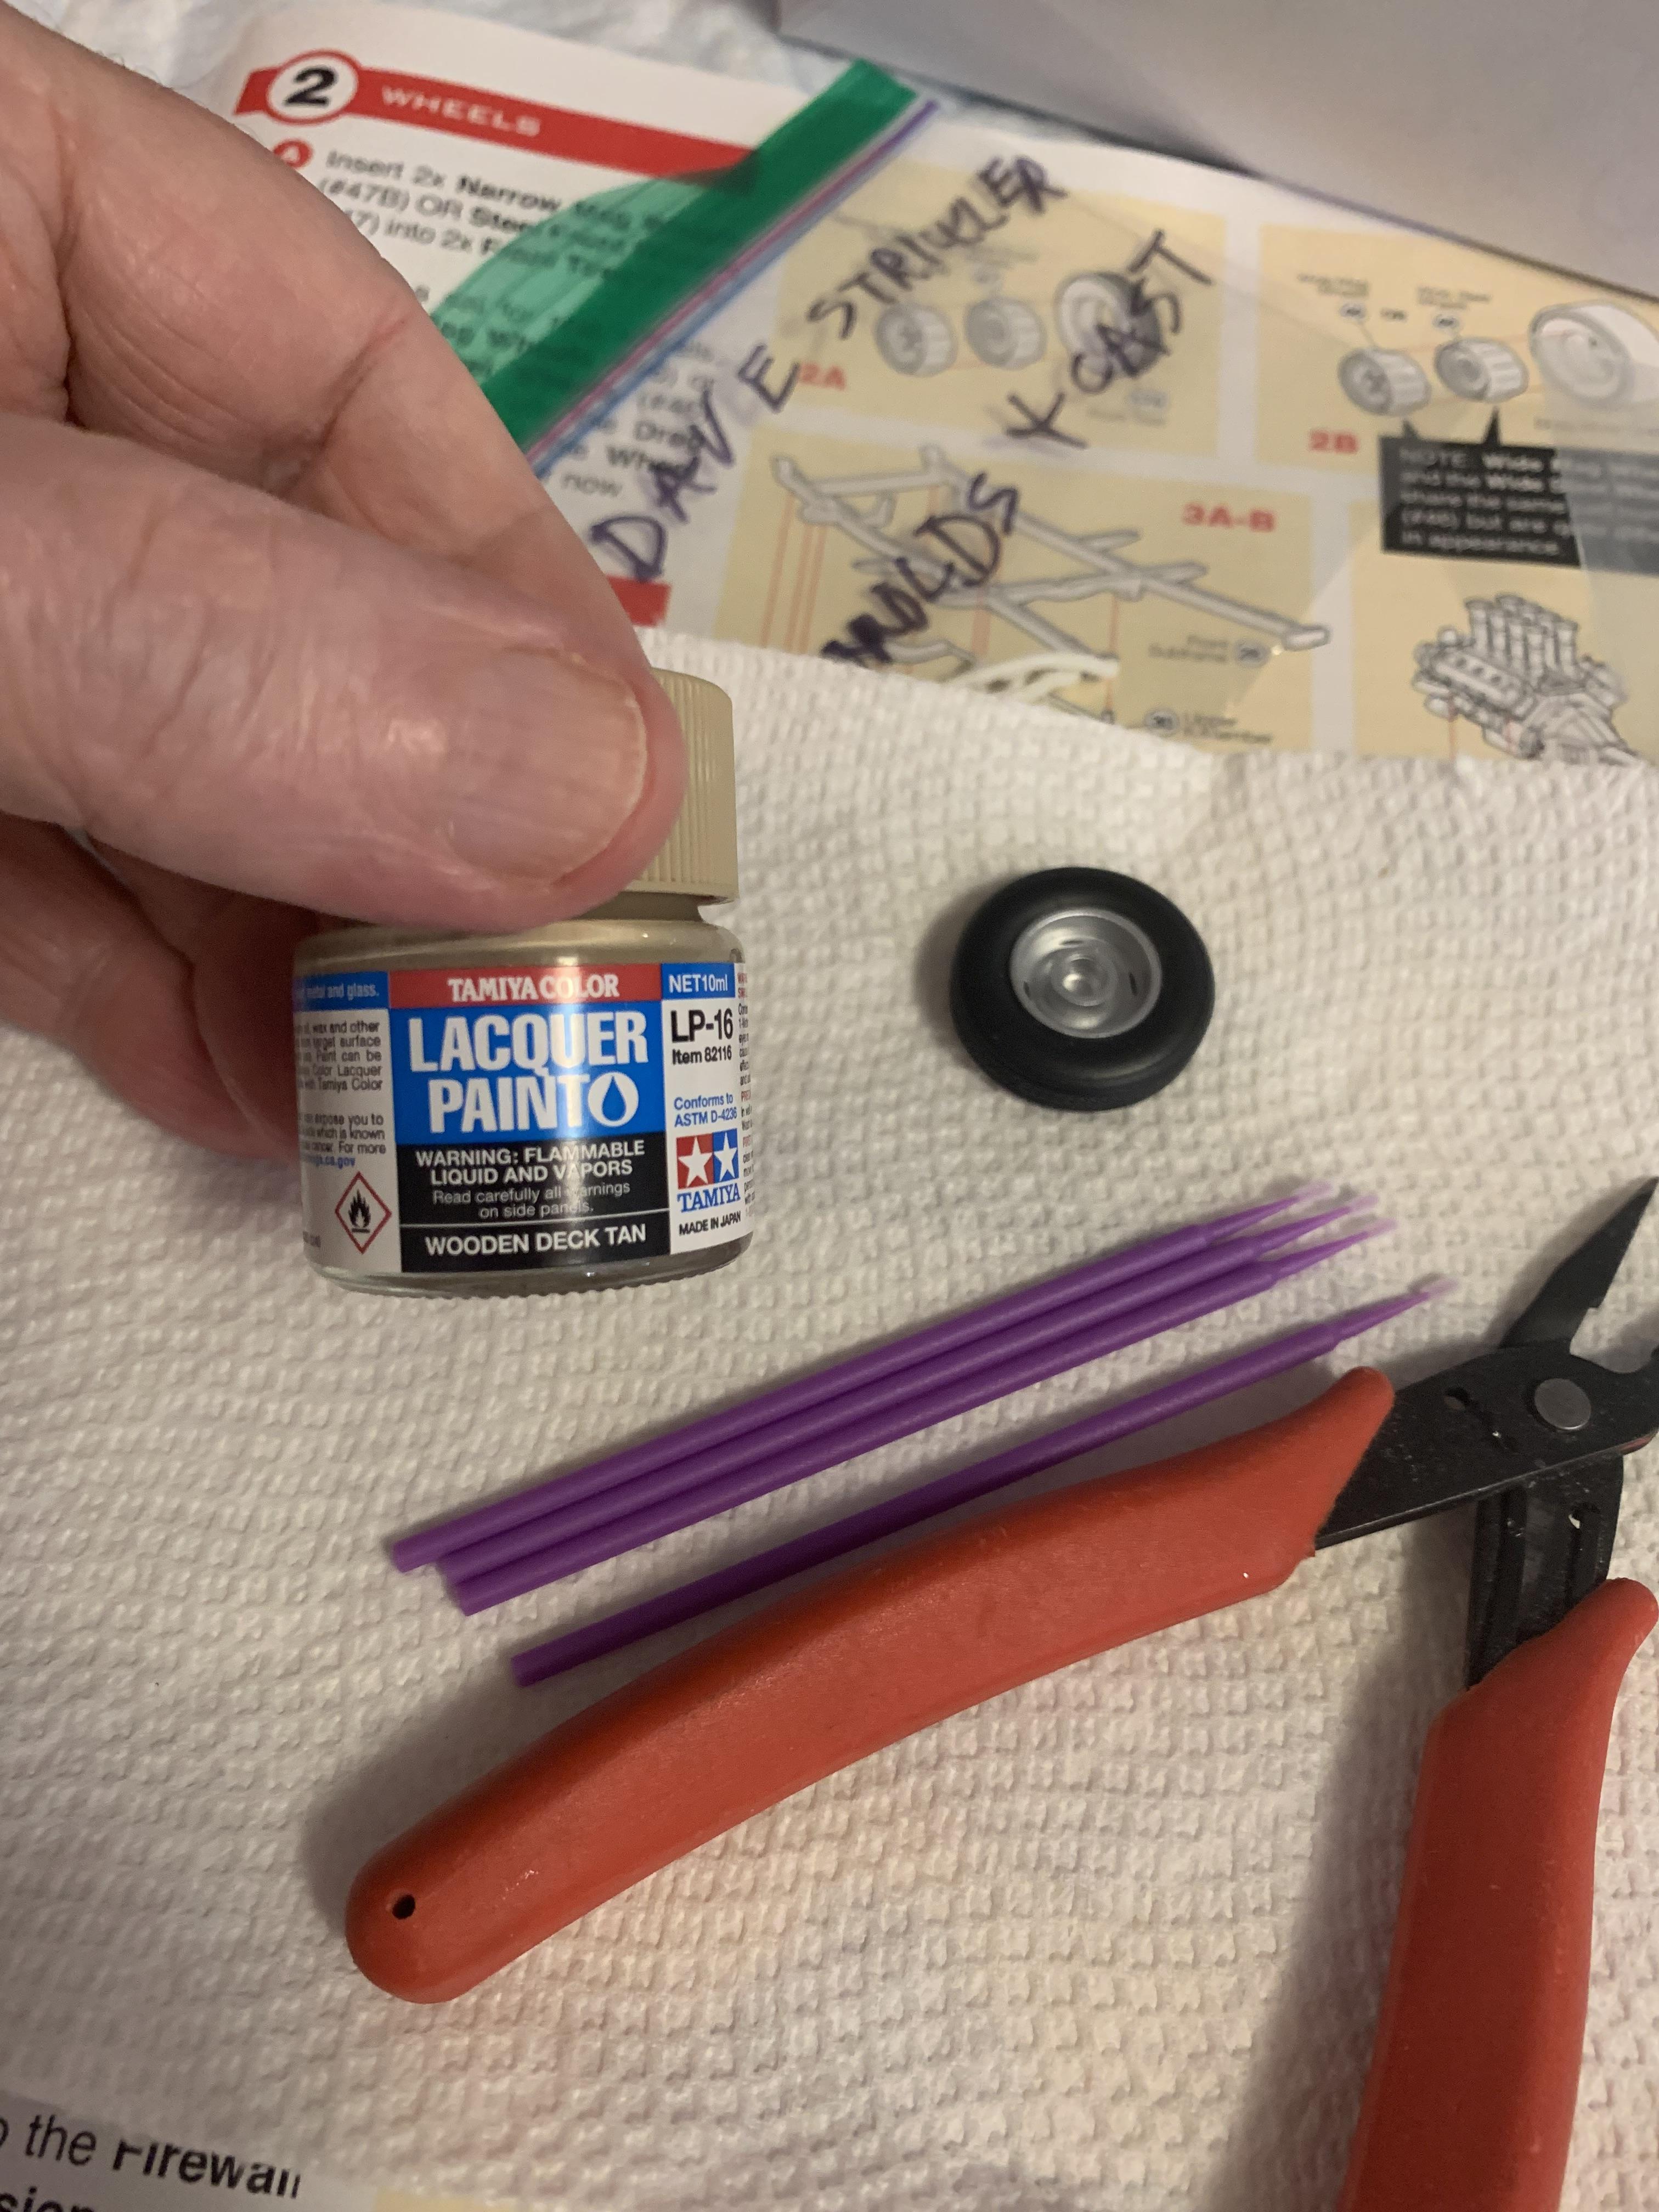
Then I test fit the alignment hole on the crossmember. These drill bits are so handy. I “painted” the trans with my new AK aluminum marker. Sure speeds up the build time. Then, some FusionFirm on the trans pan, glued it on with the brush on ca glue, then used a black marker on the collector insides.
-
Grooms Bros. 1965 Plymouth Sedan awb Black Trash II
R. Thorne replied to R. Thorne's topic in WIP: Drag Racing Models
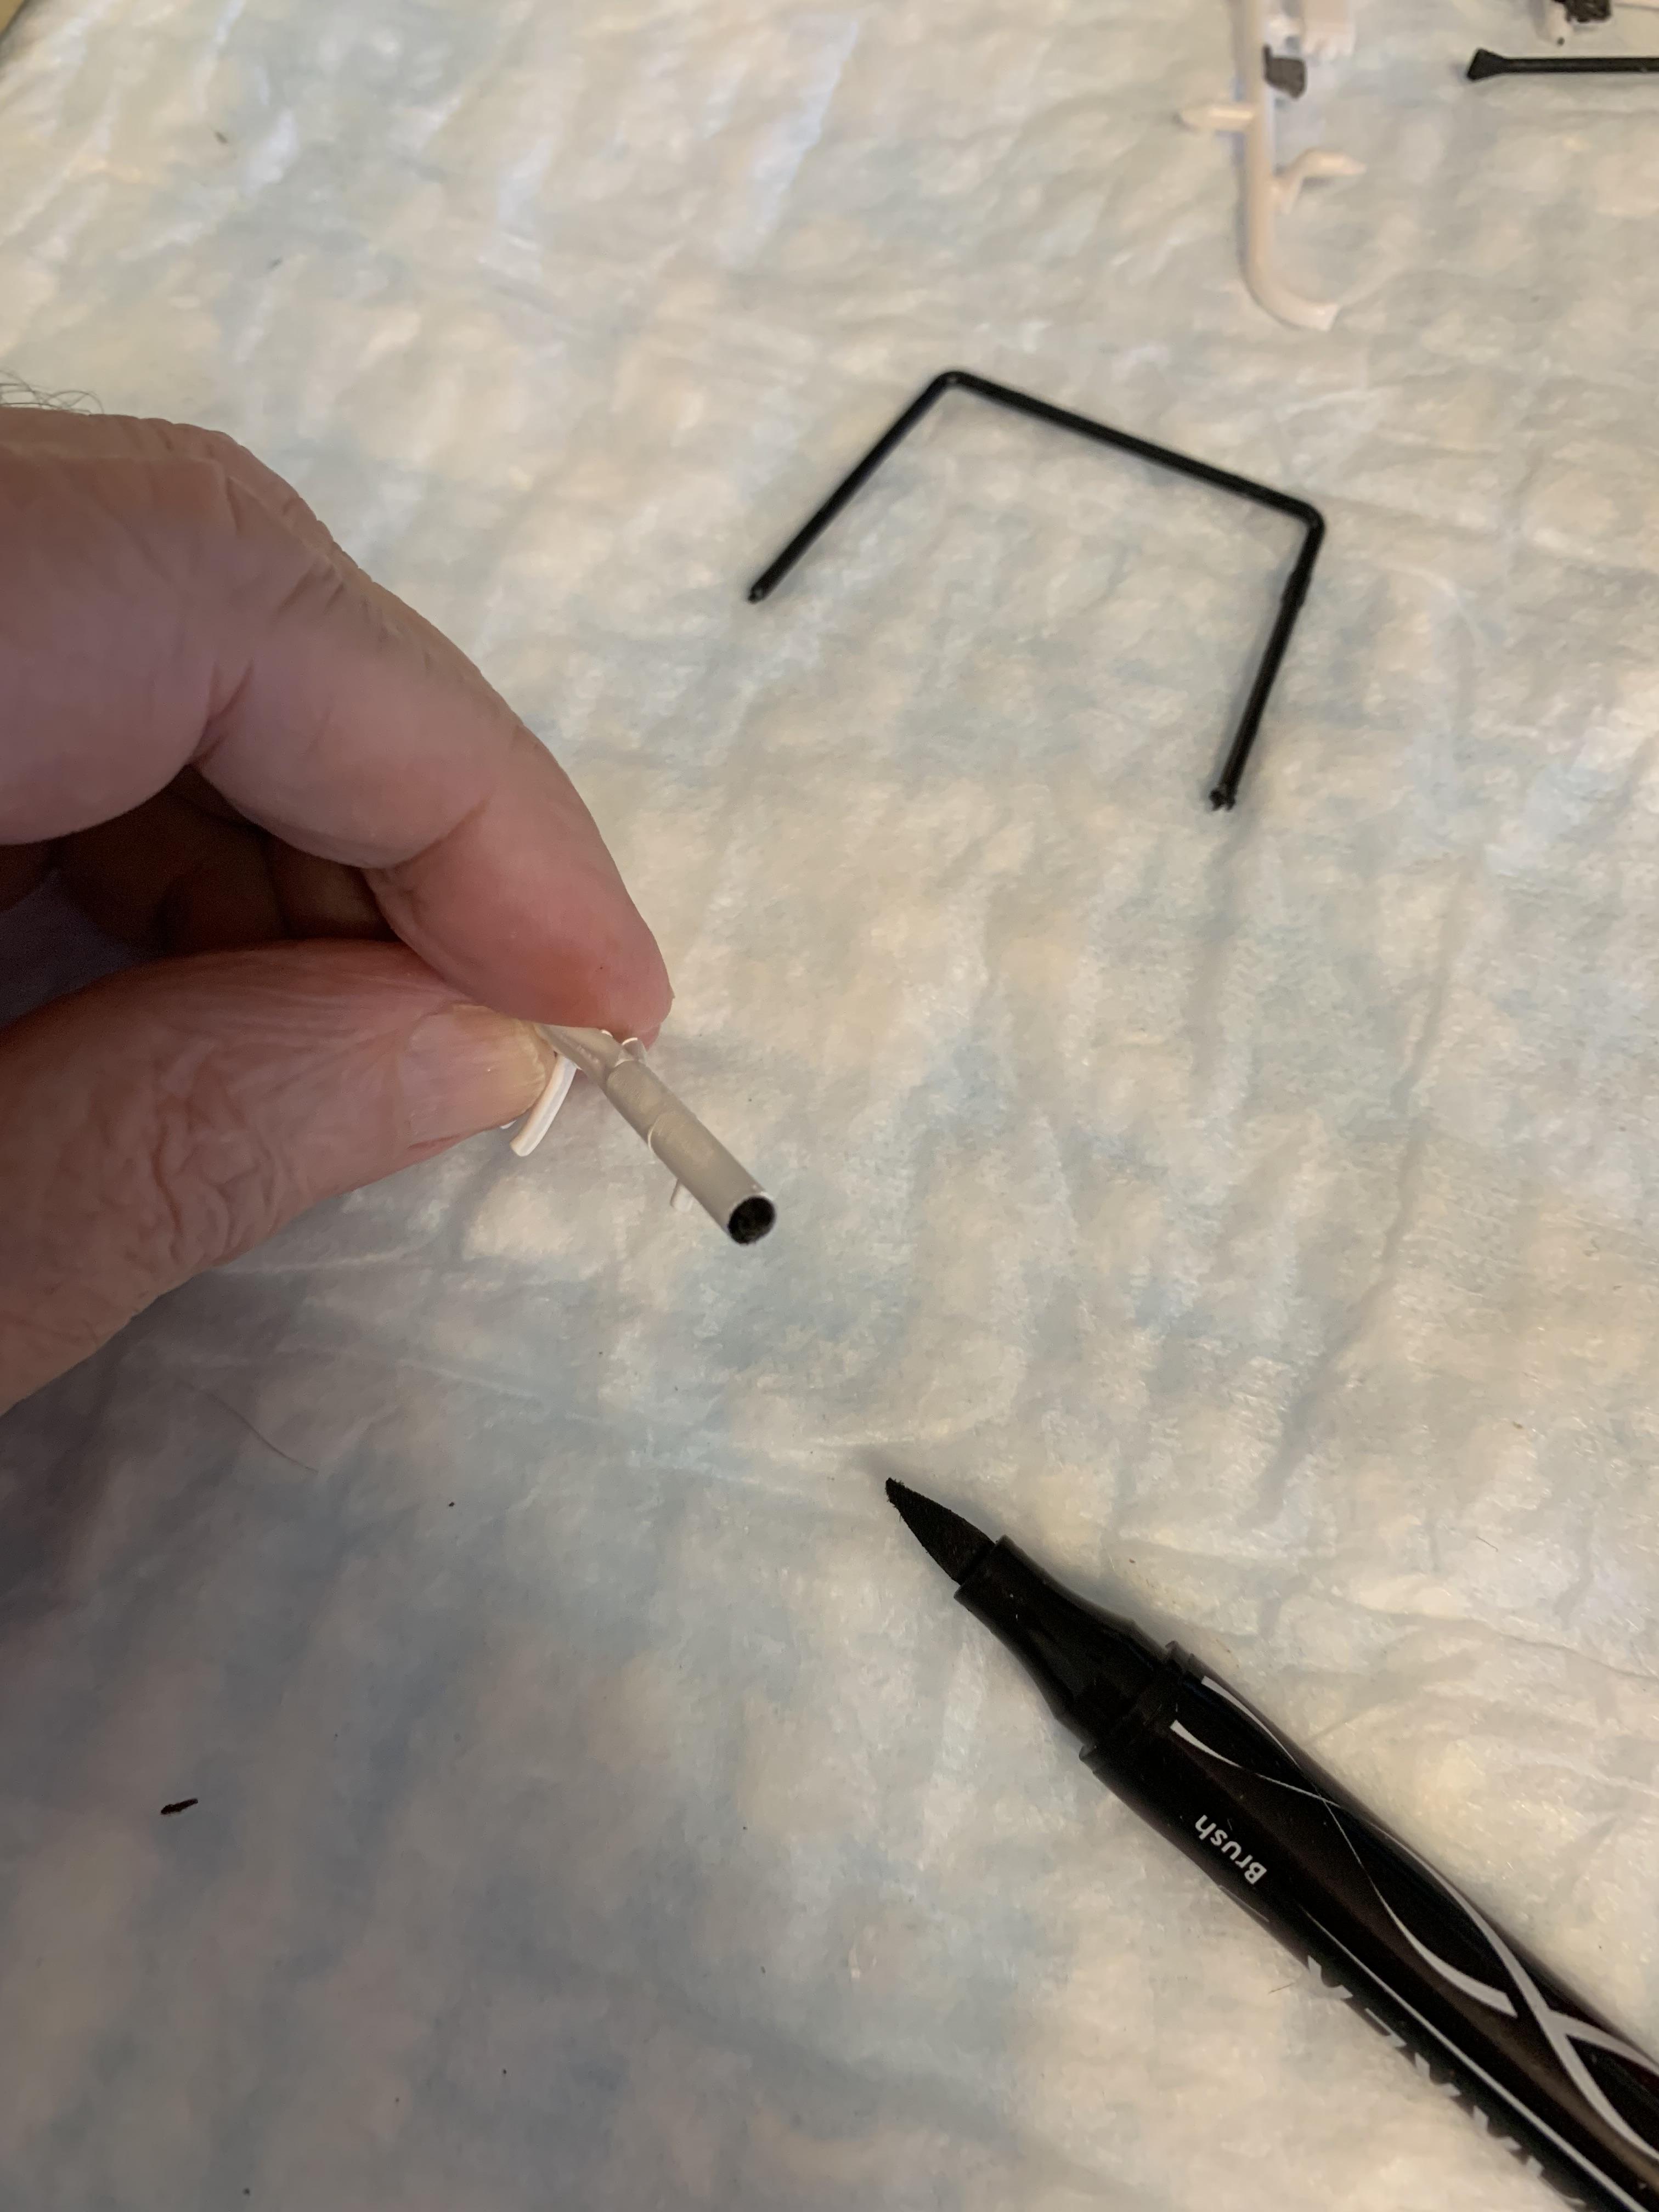
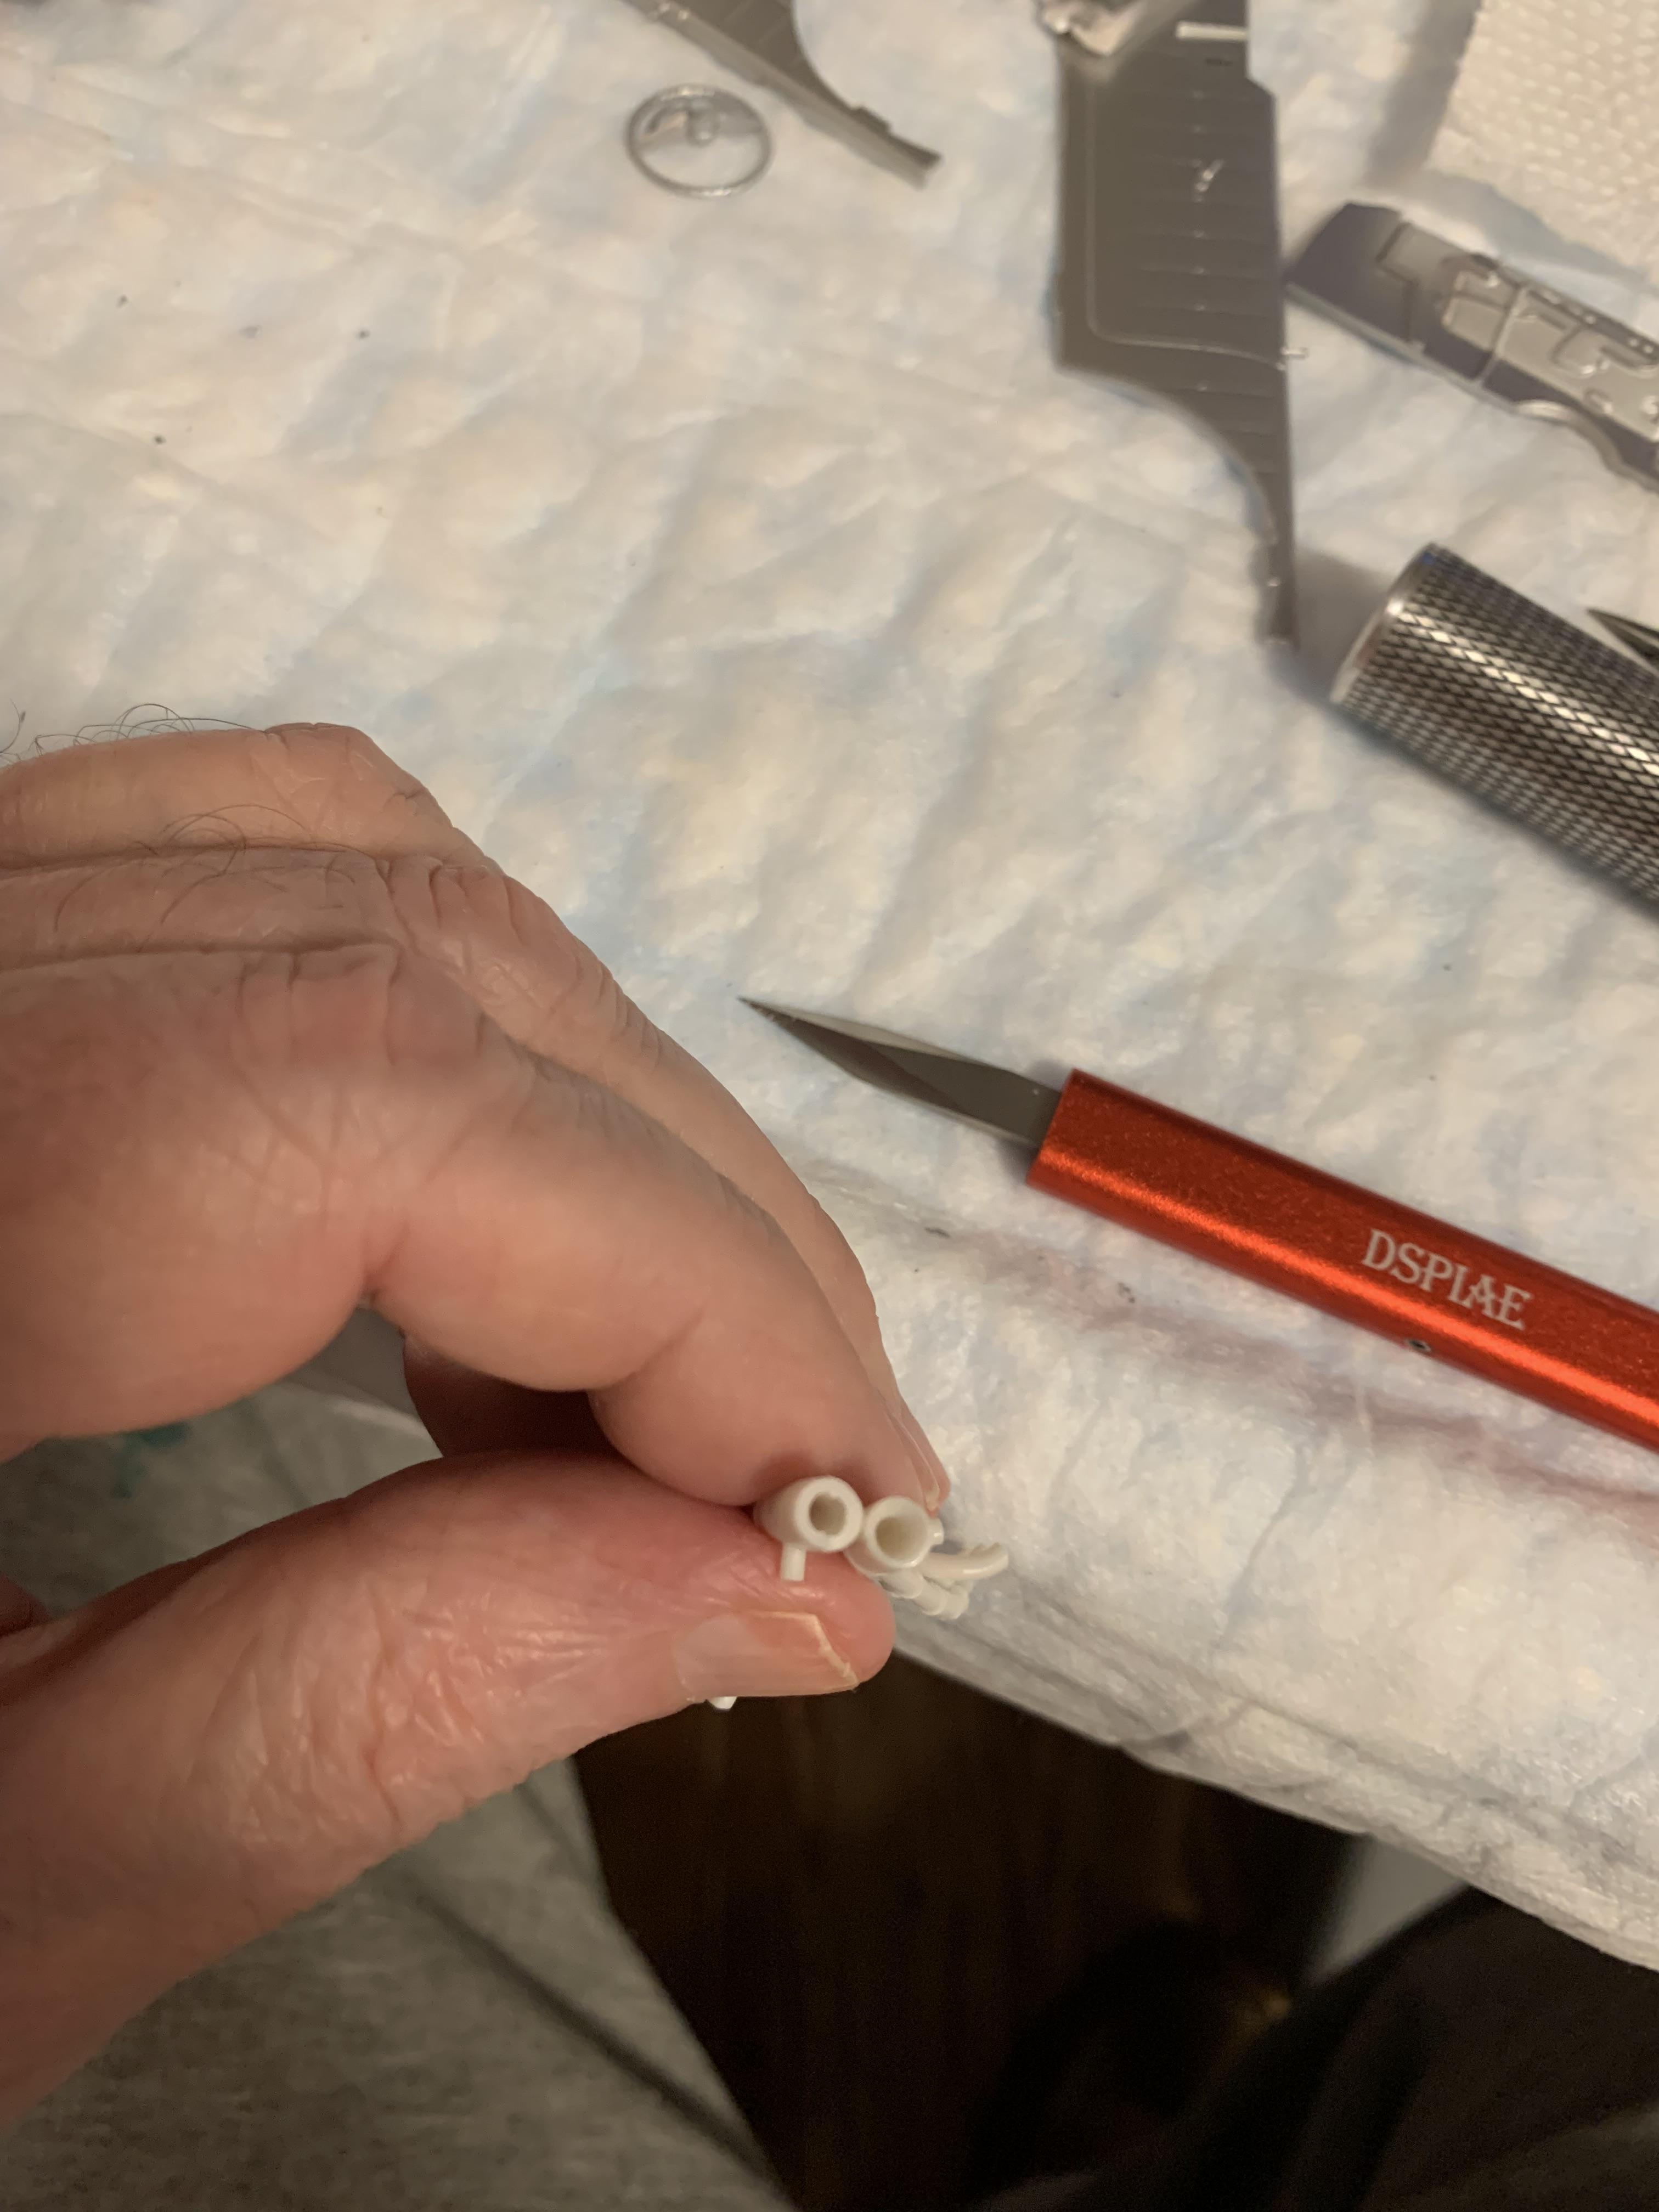
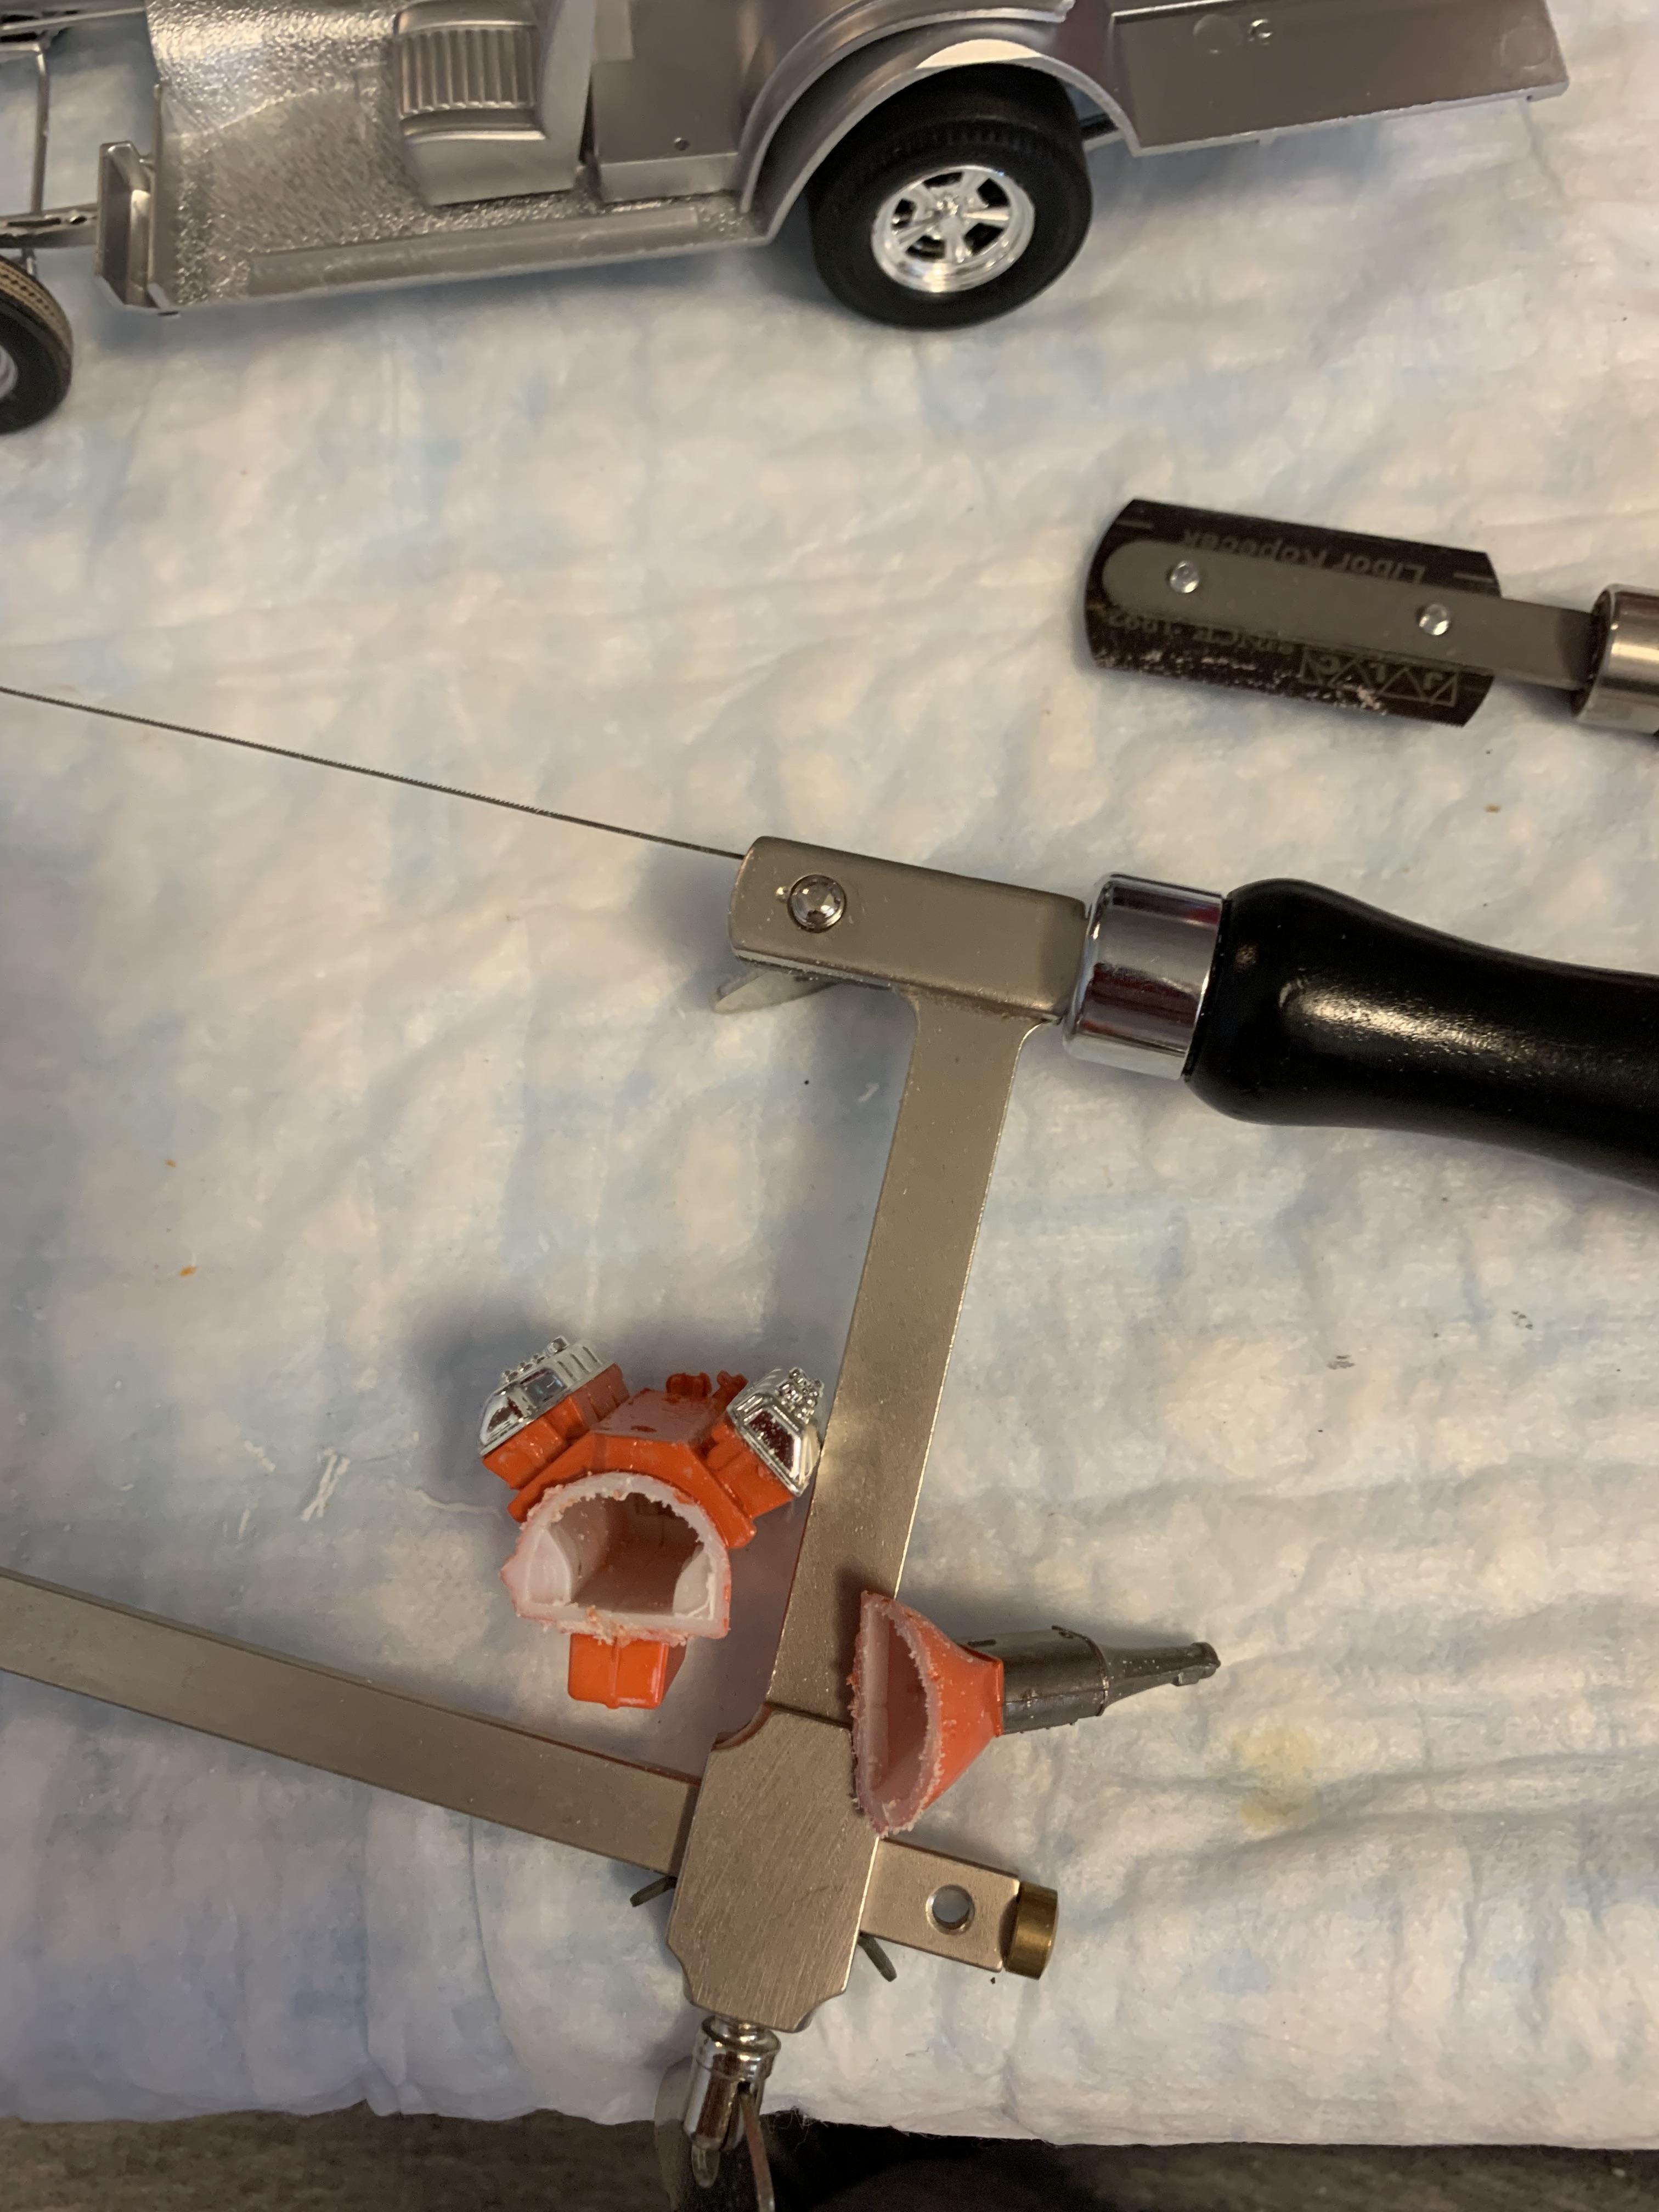
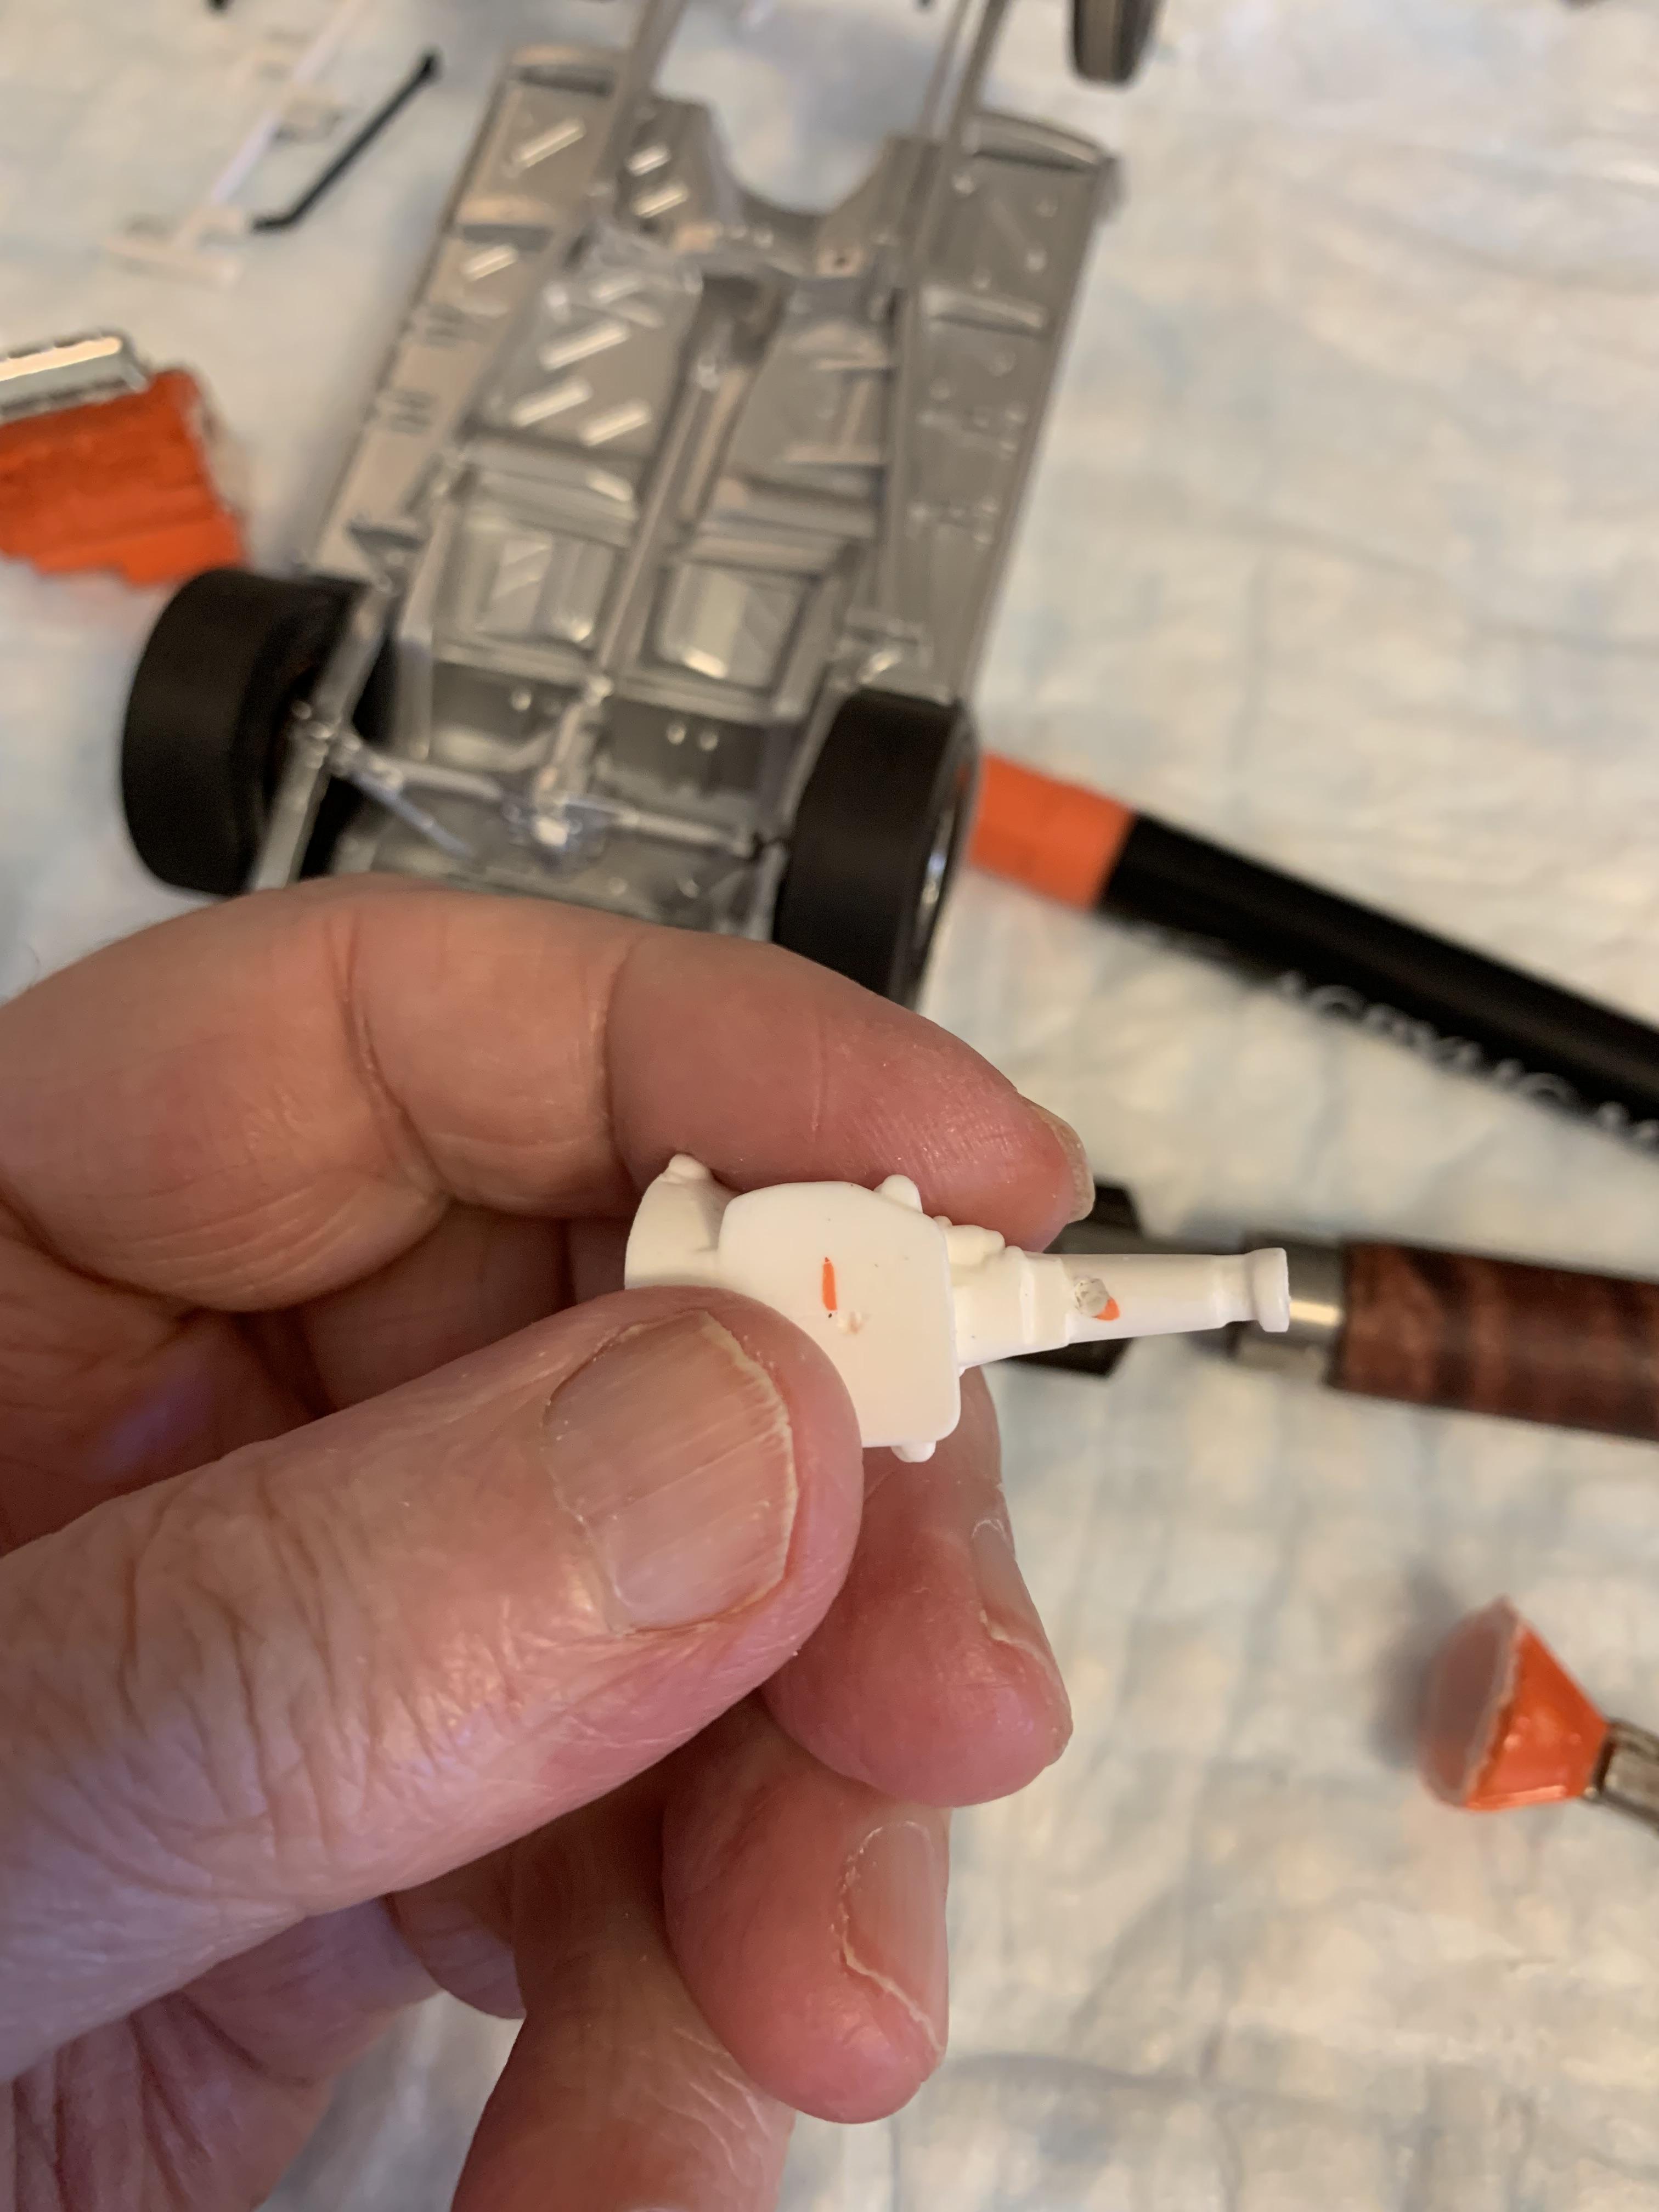
Reamed out the collectors with my new Dspiae tool, then decided against the stick shift trans that came in the kit, went with the MorganAutomotiveDetail 727. I cut off the old one, compared and marked the alignment hole, then drilled it.
-
Grooms Bros. 1965 Plymouth Sedan awb Black Trash II
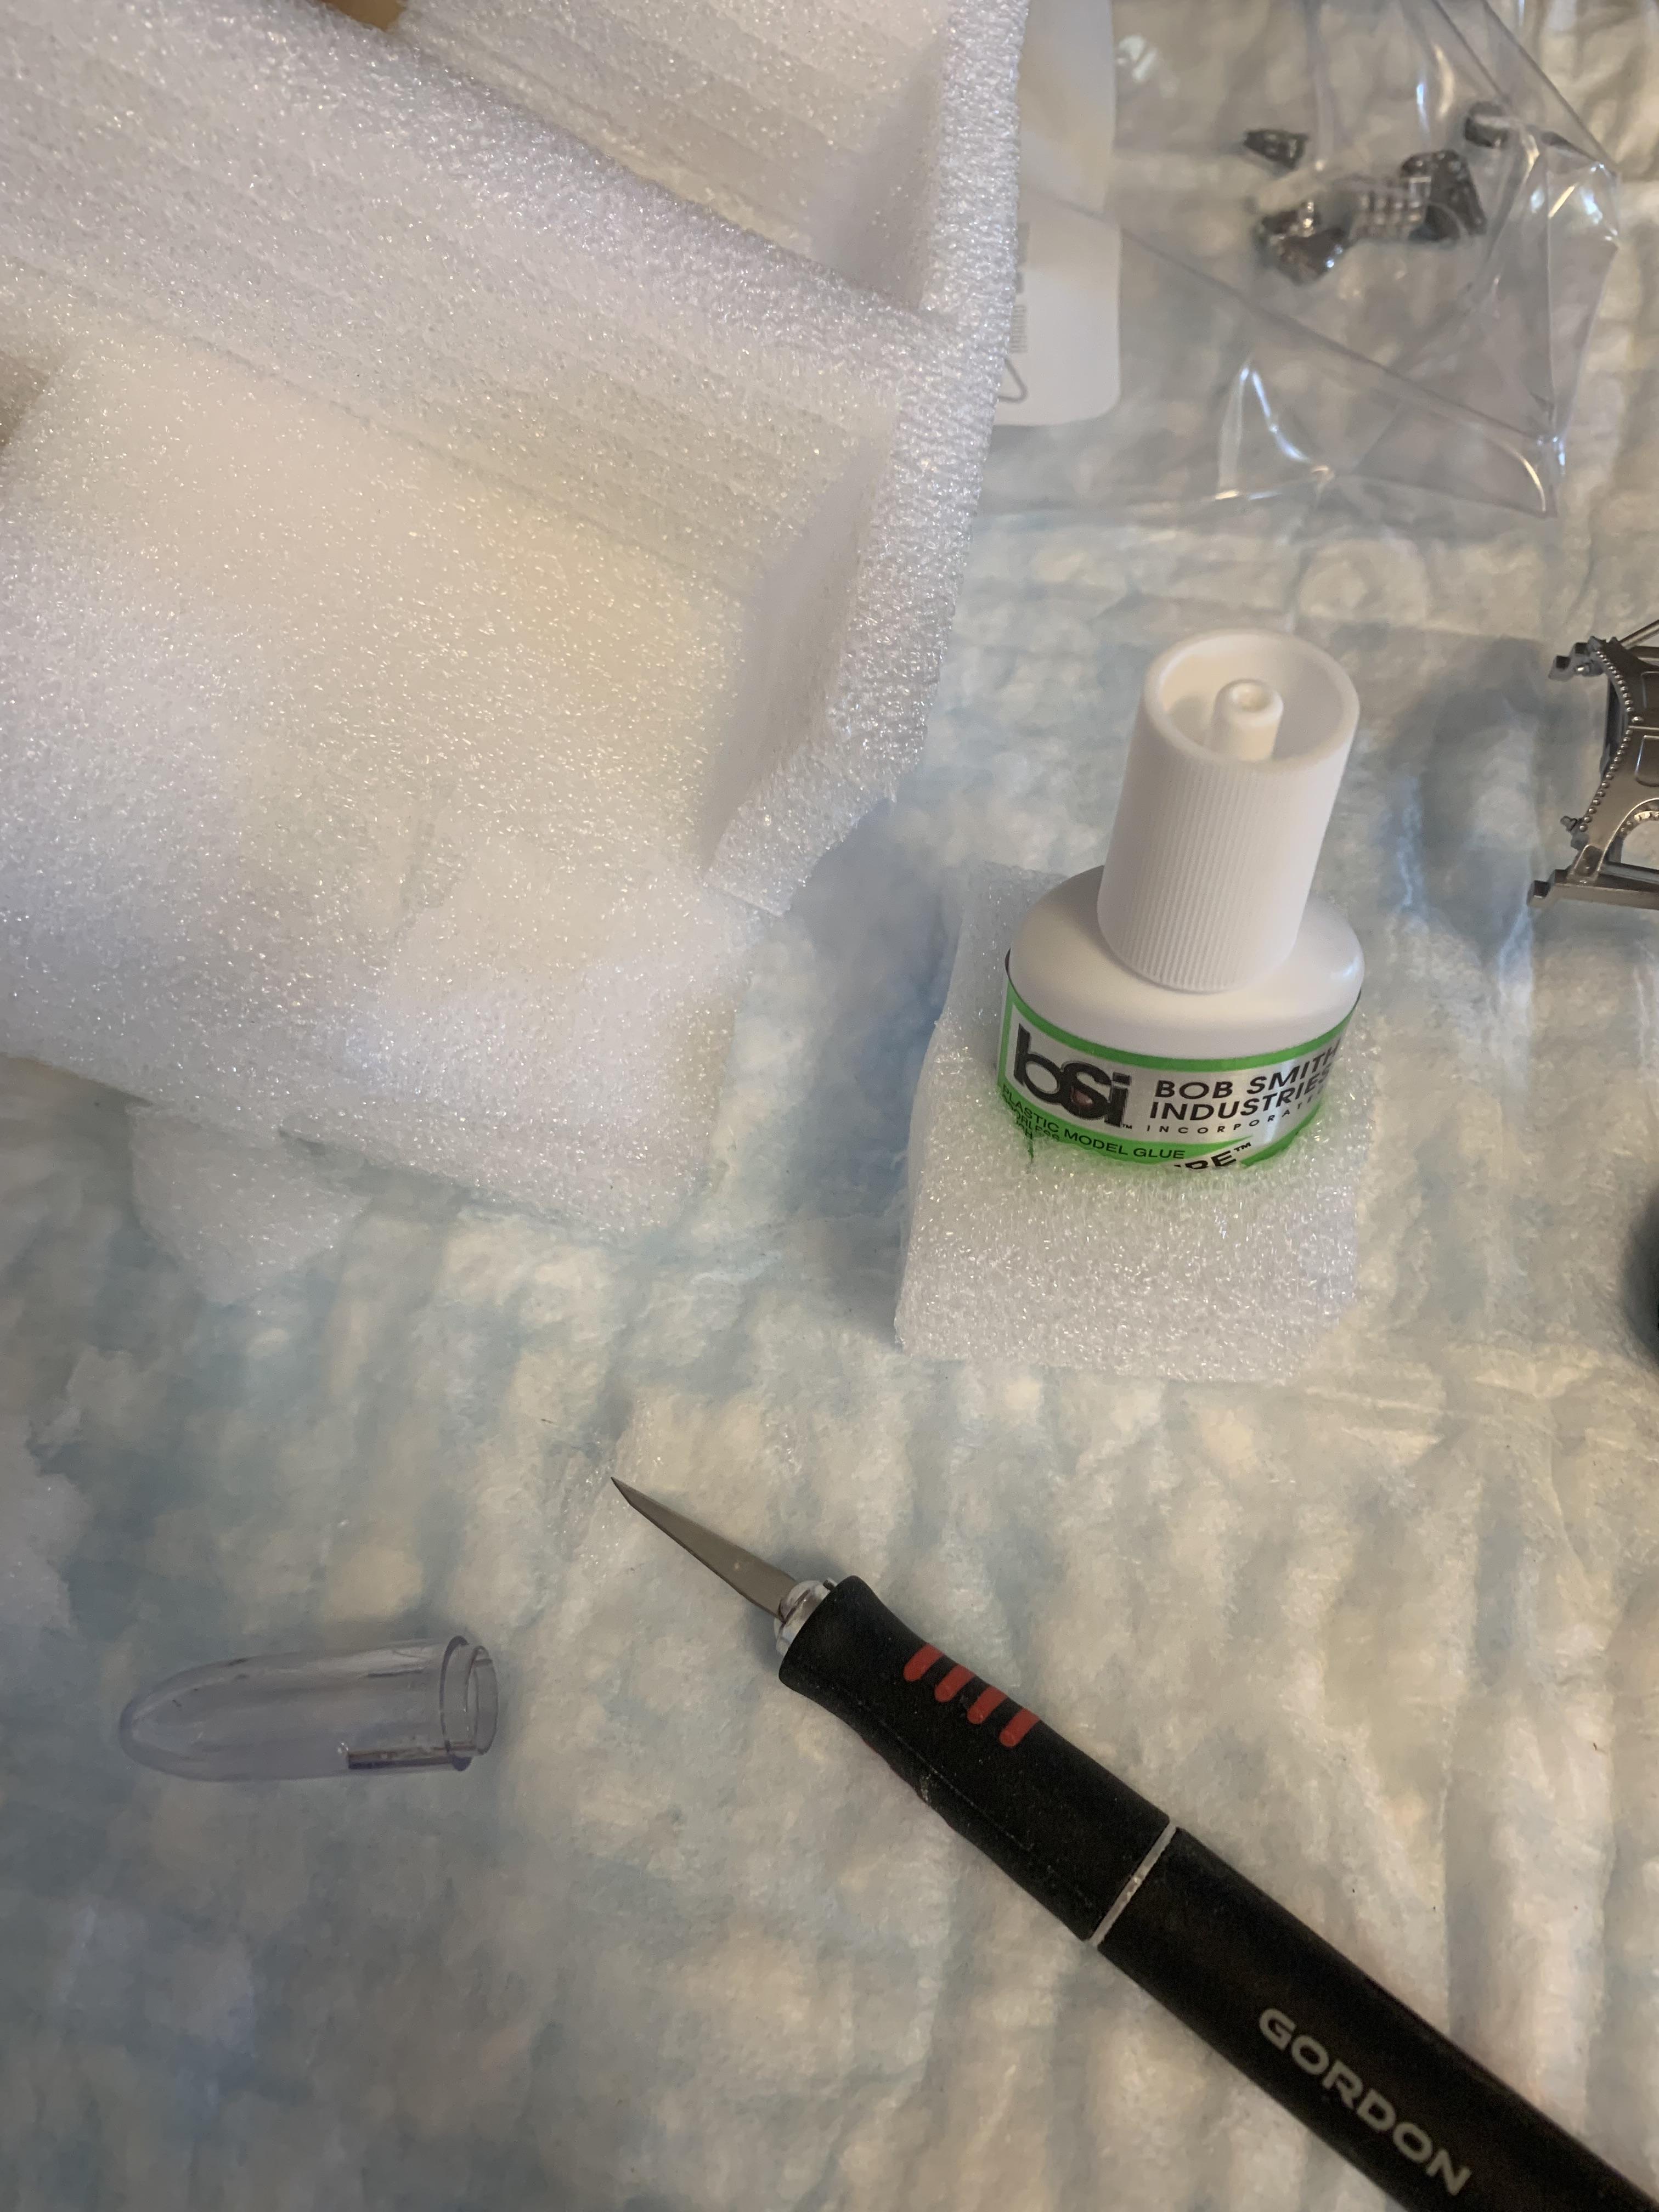
R. Thorne replied to R. Thorne's topic in WIP: Drag Racing Models
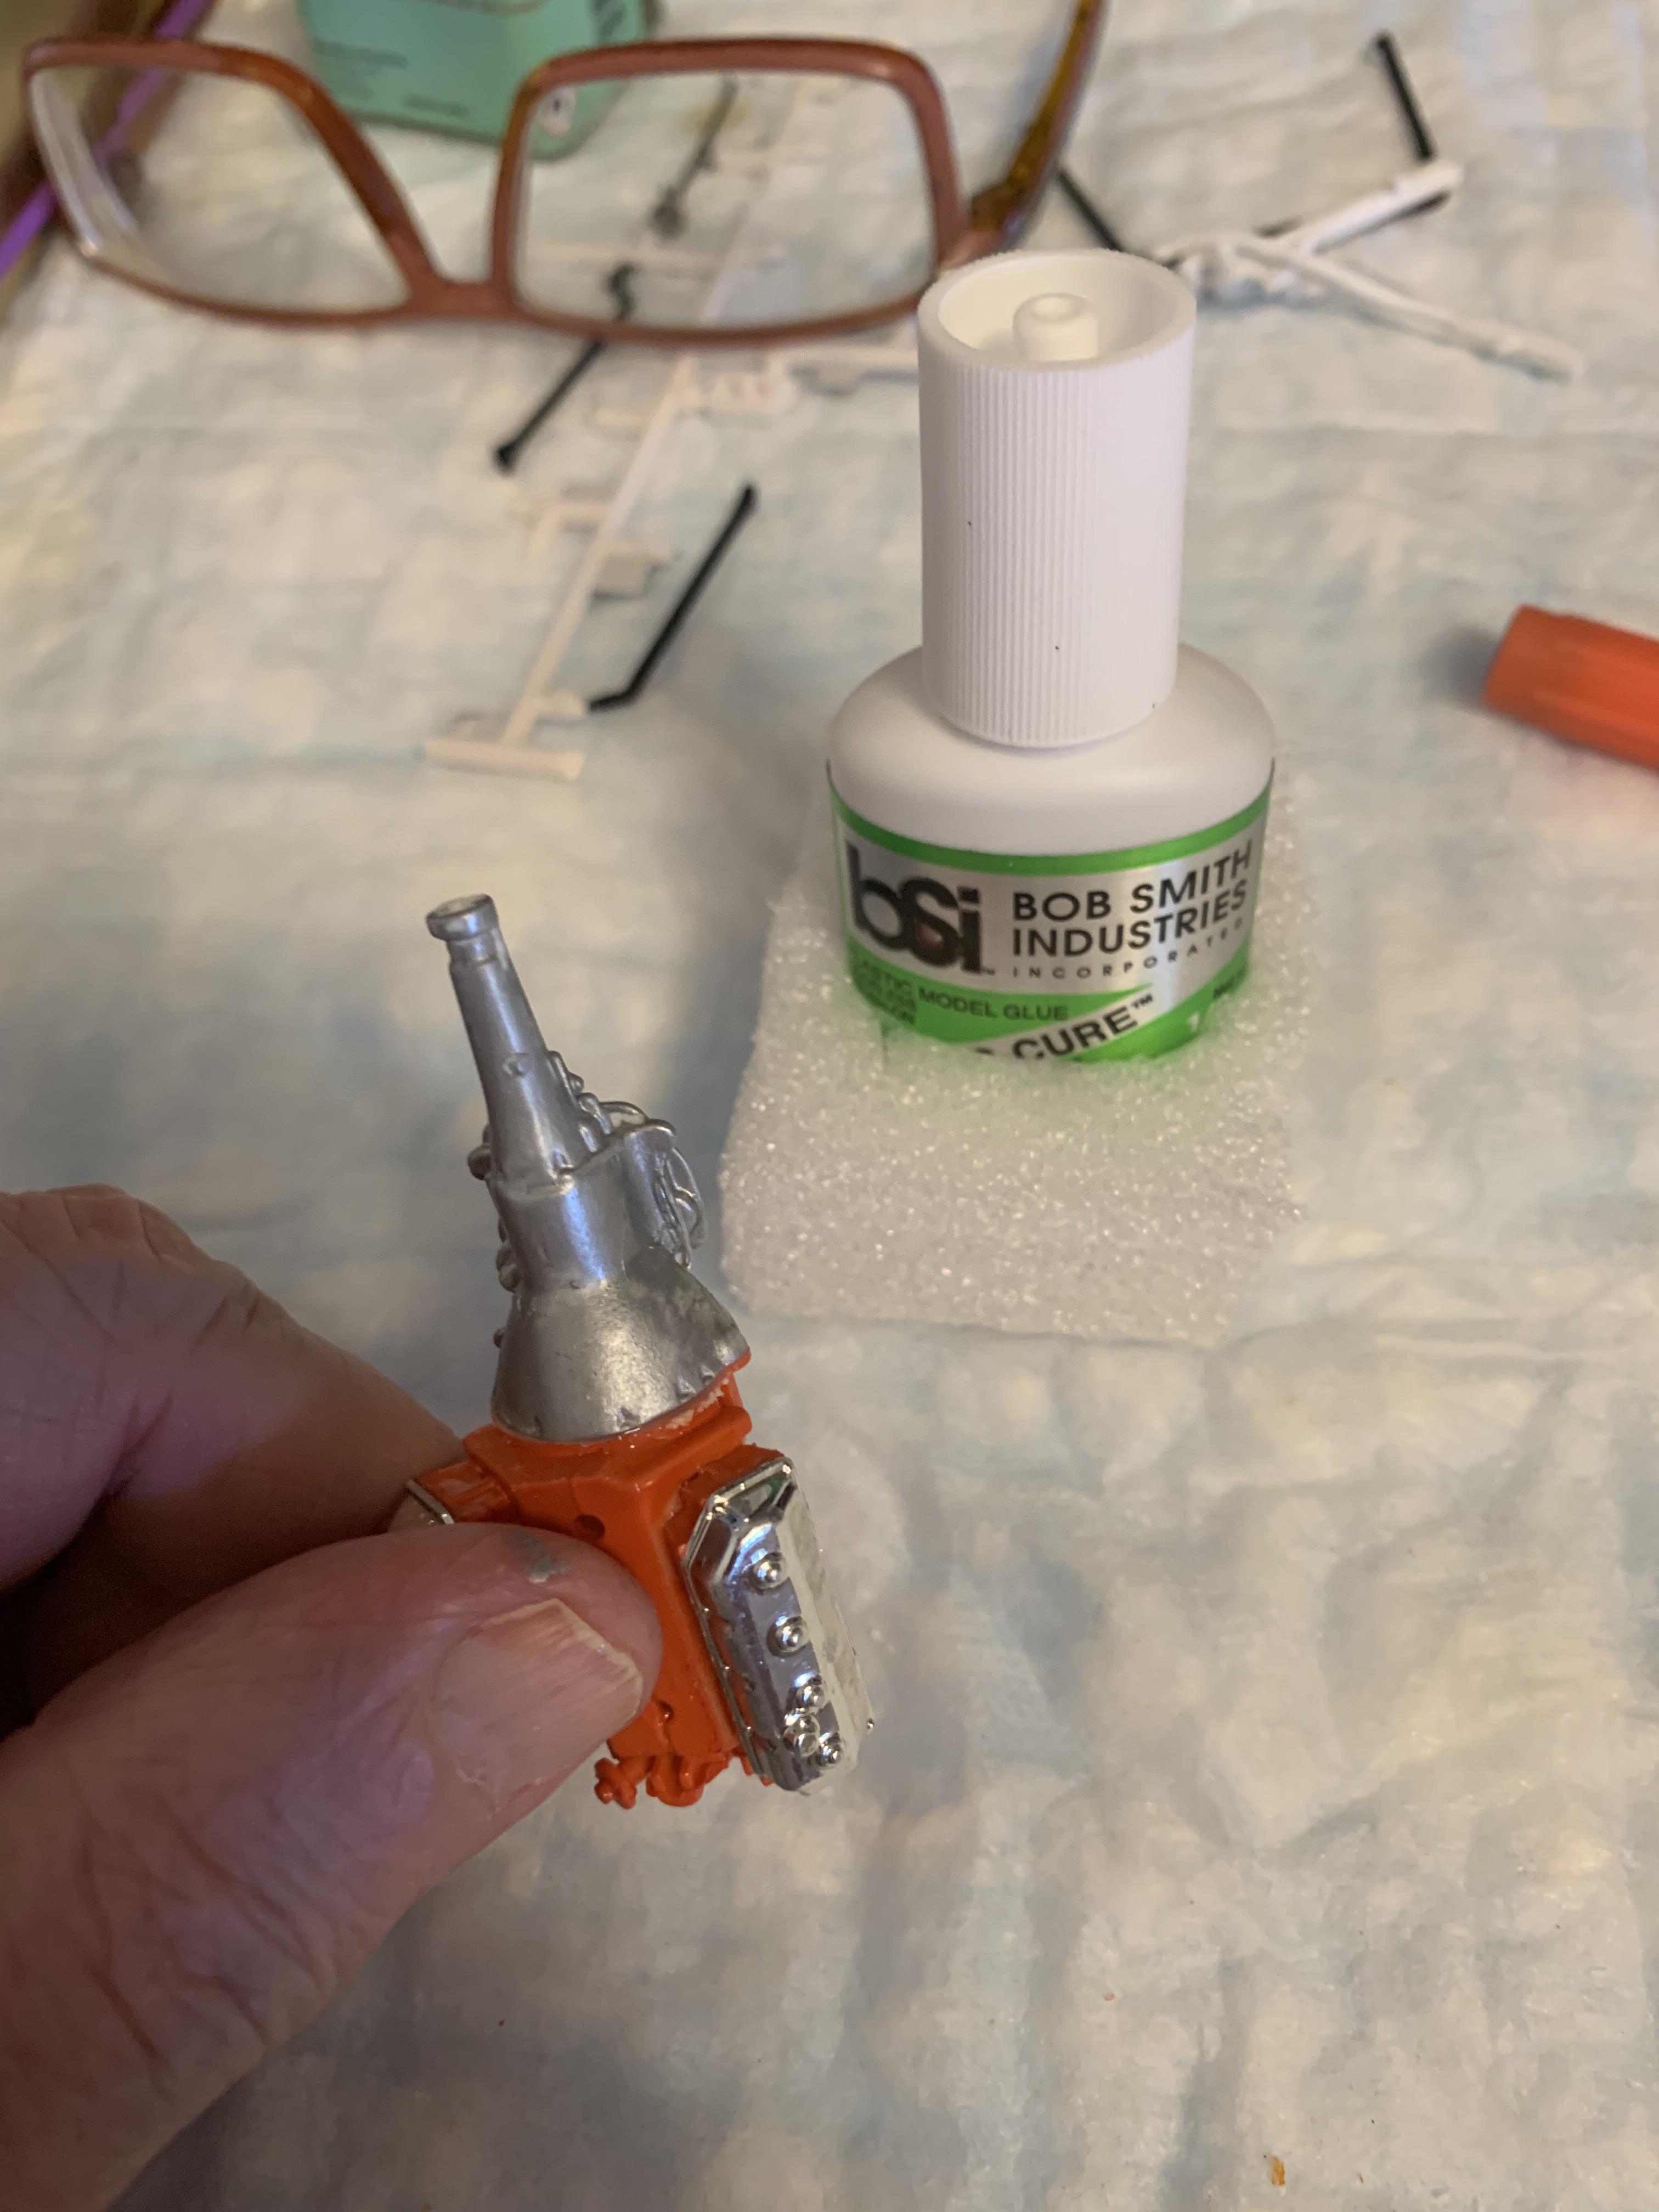
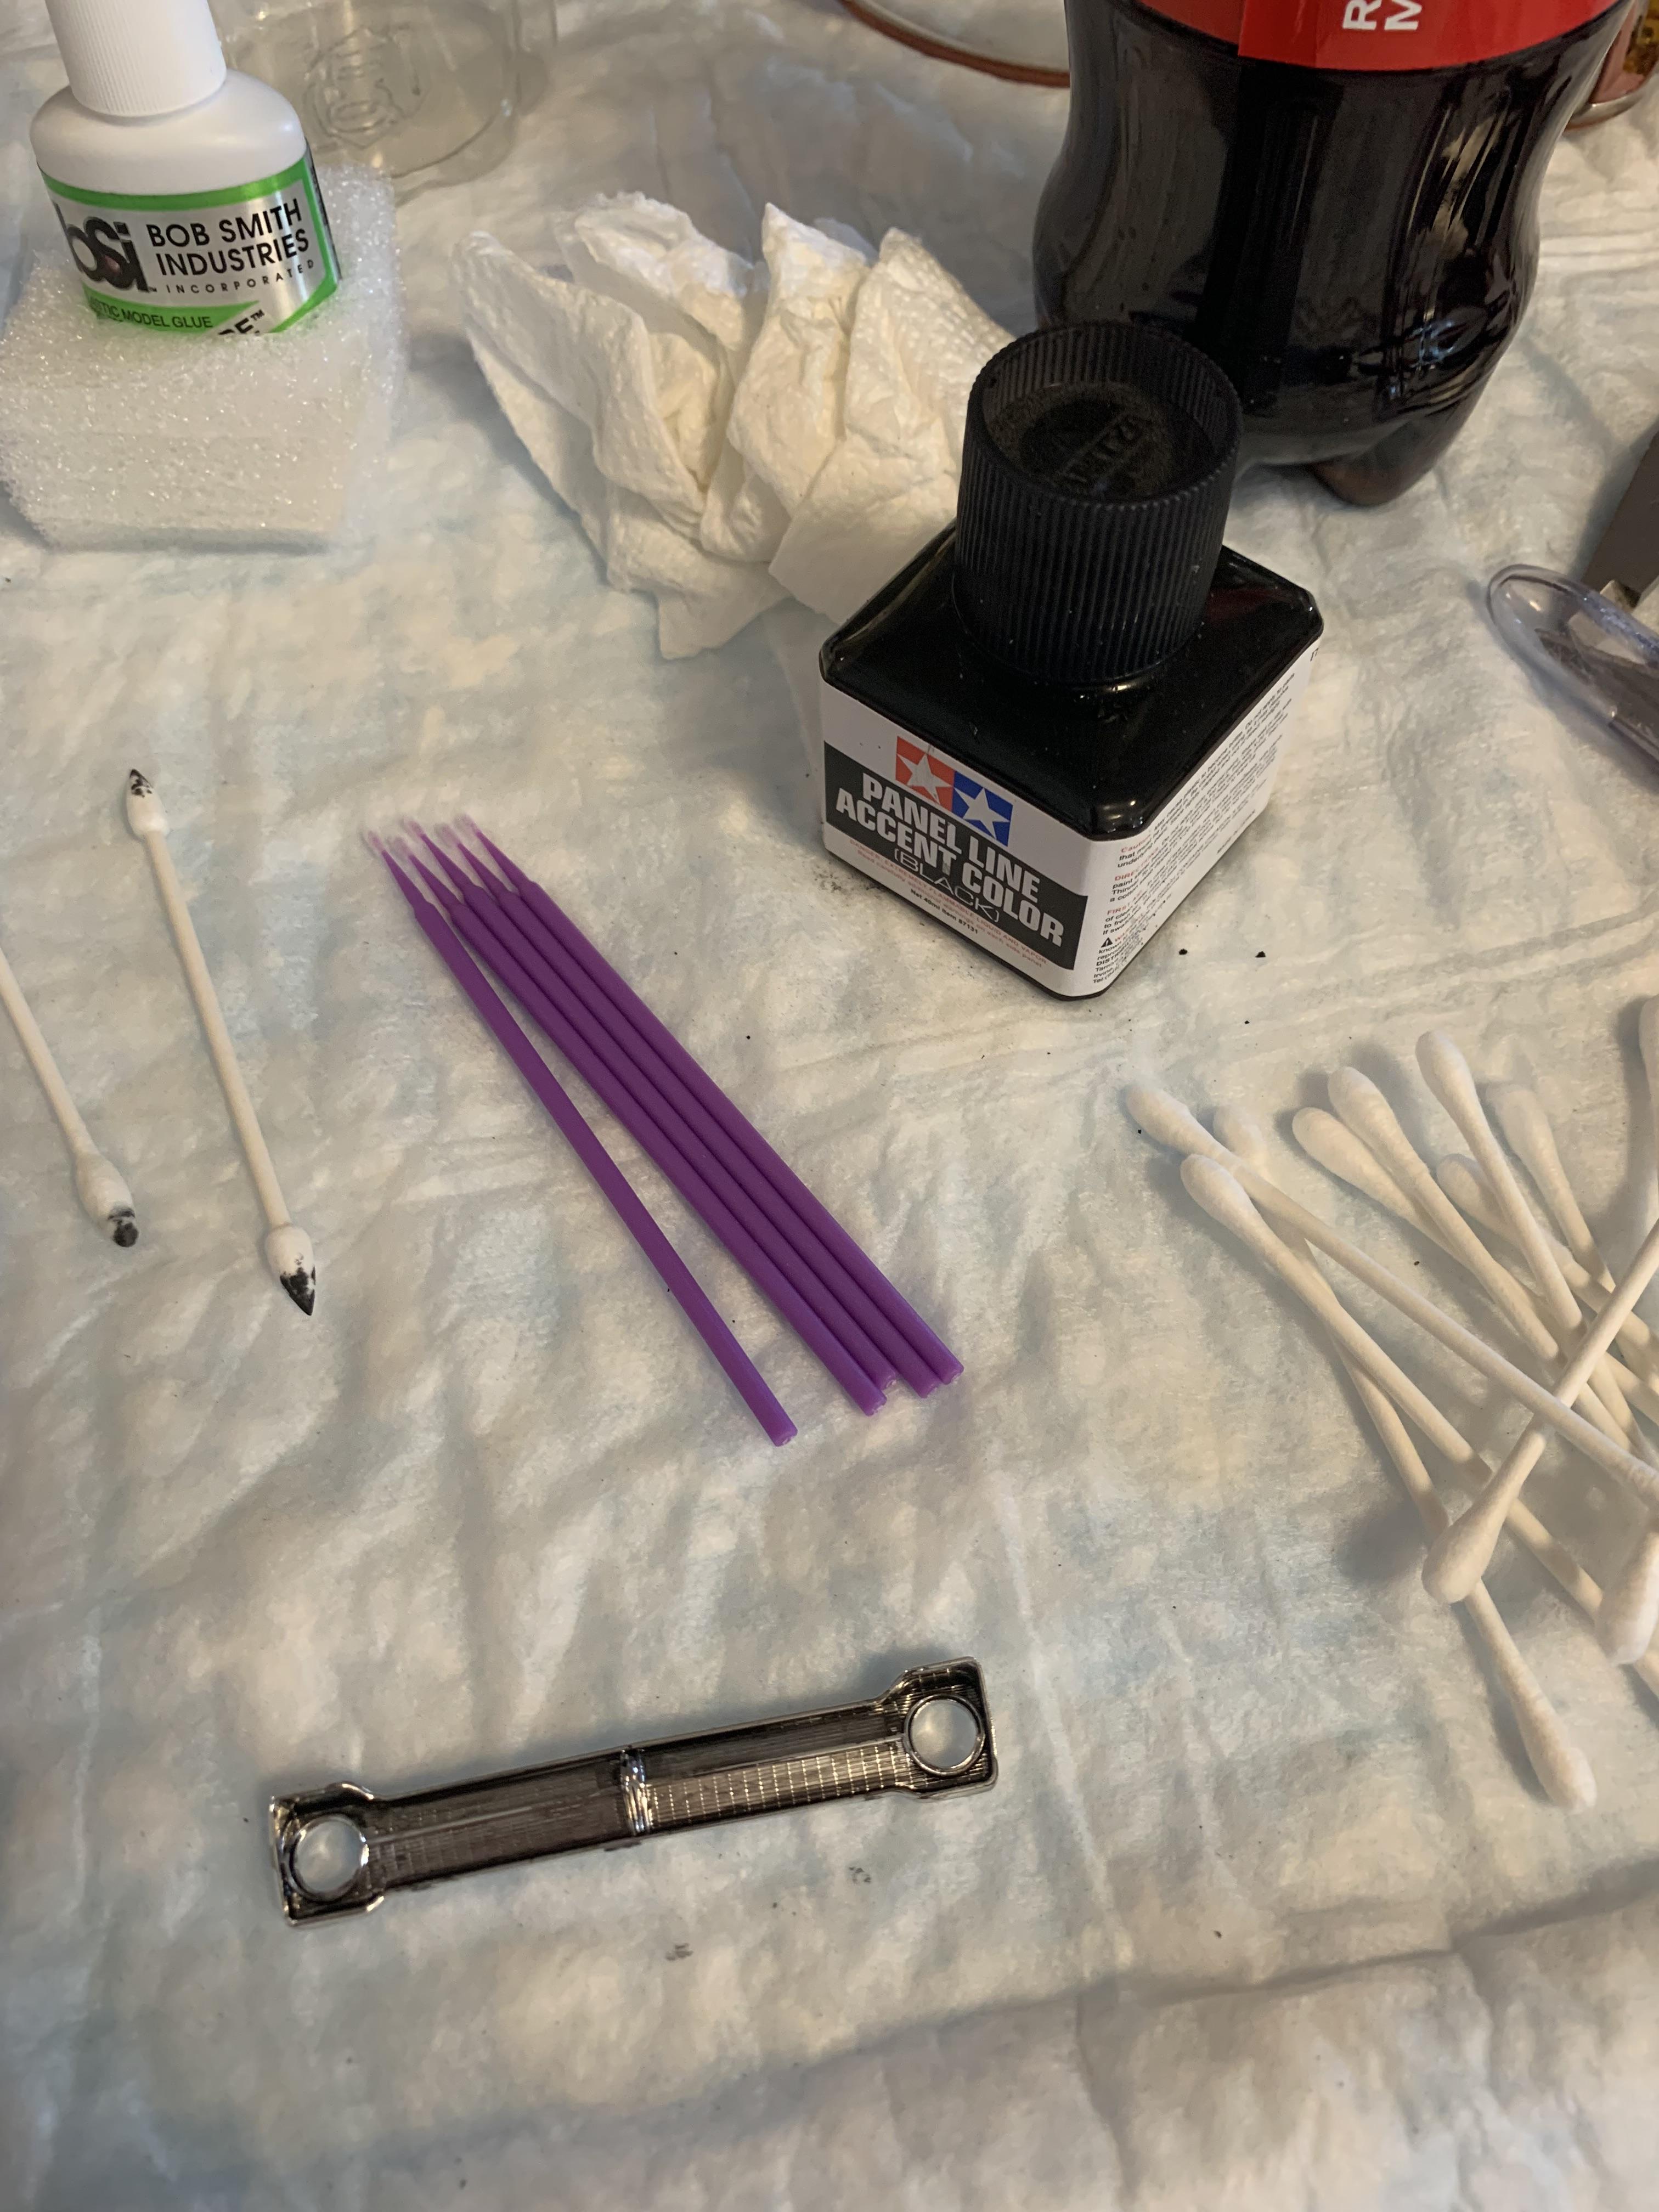
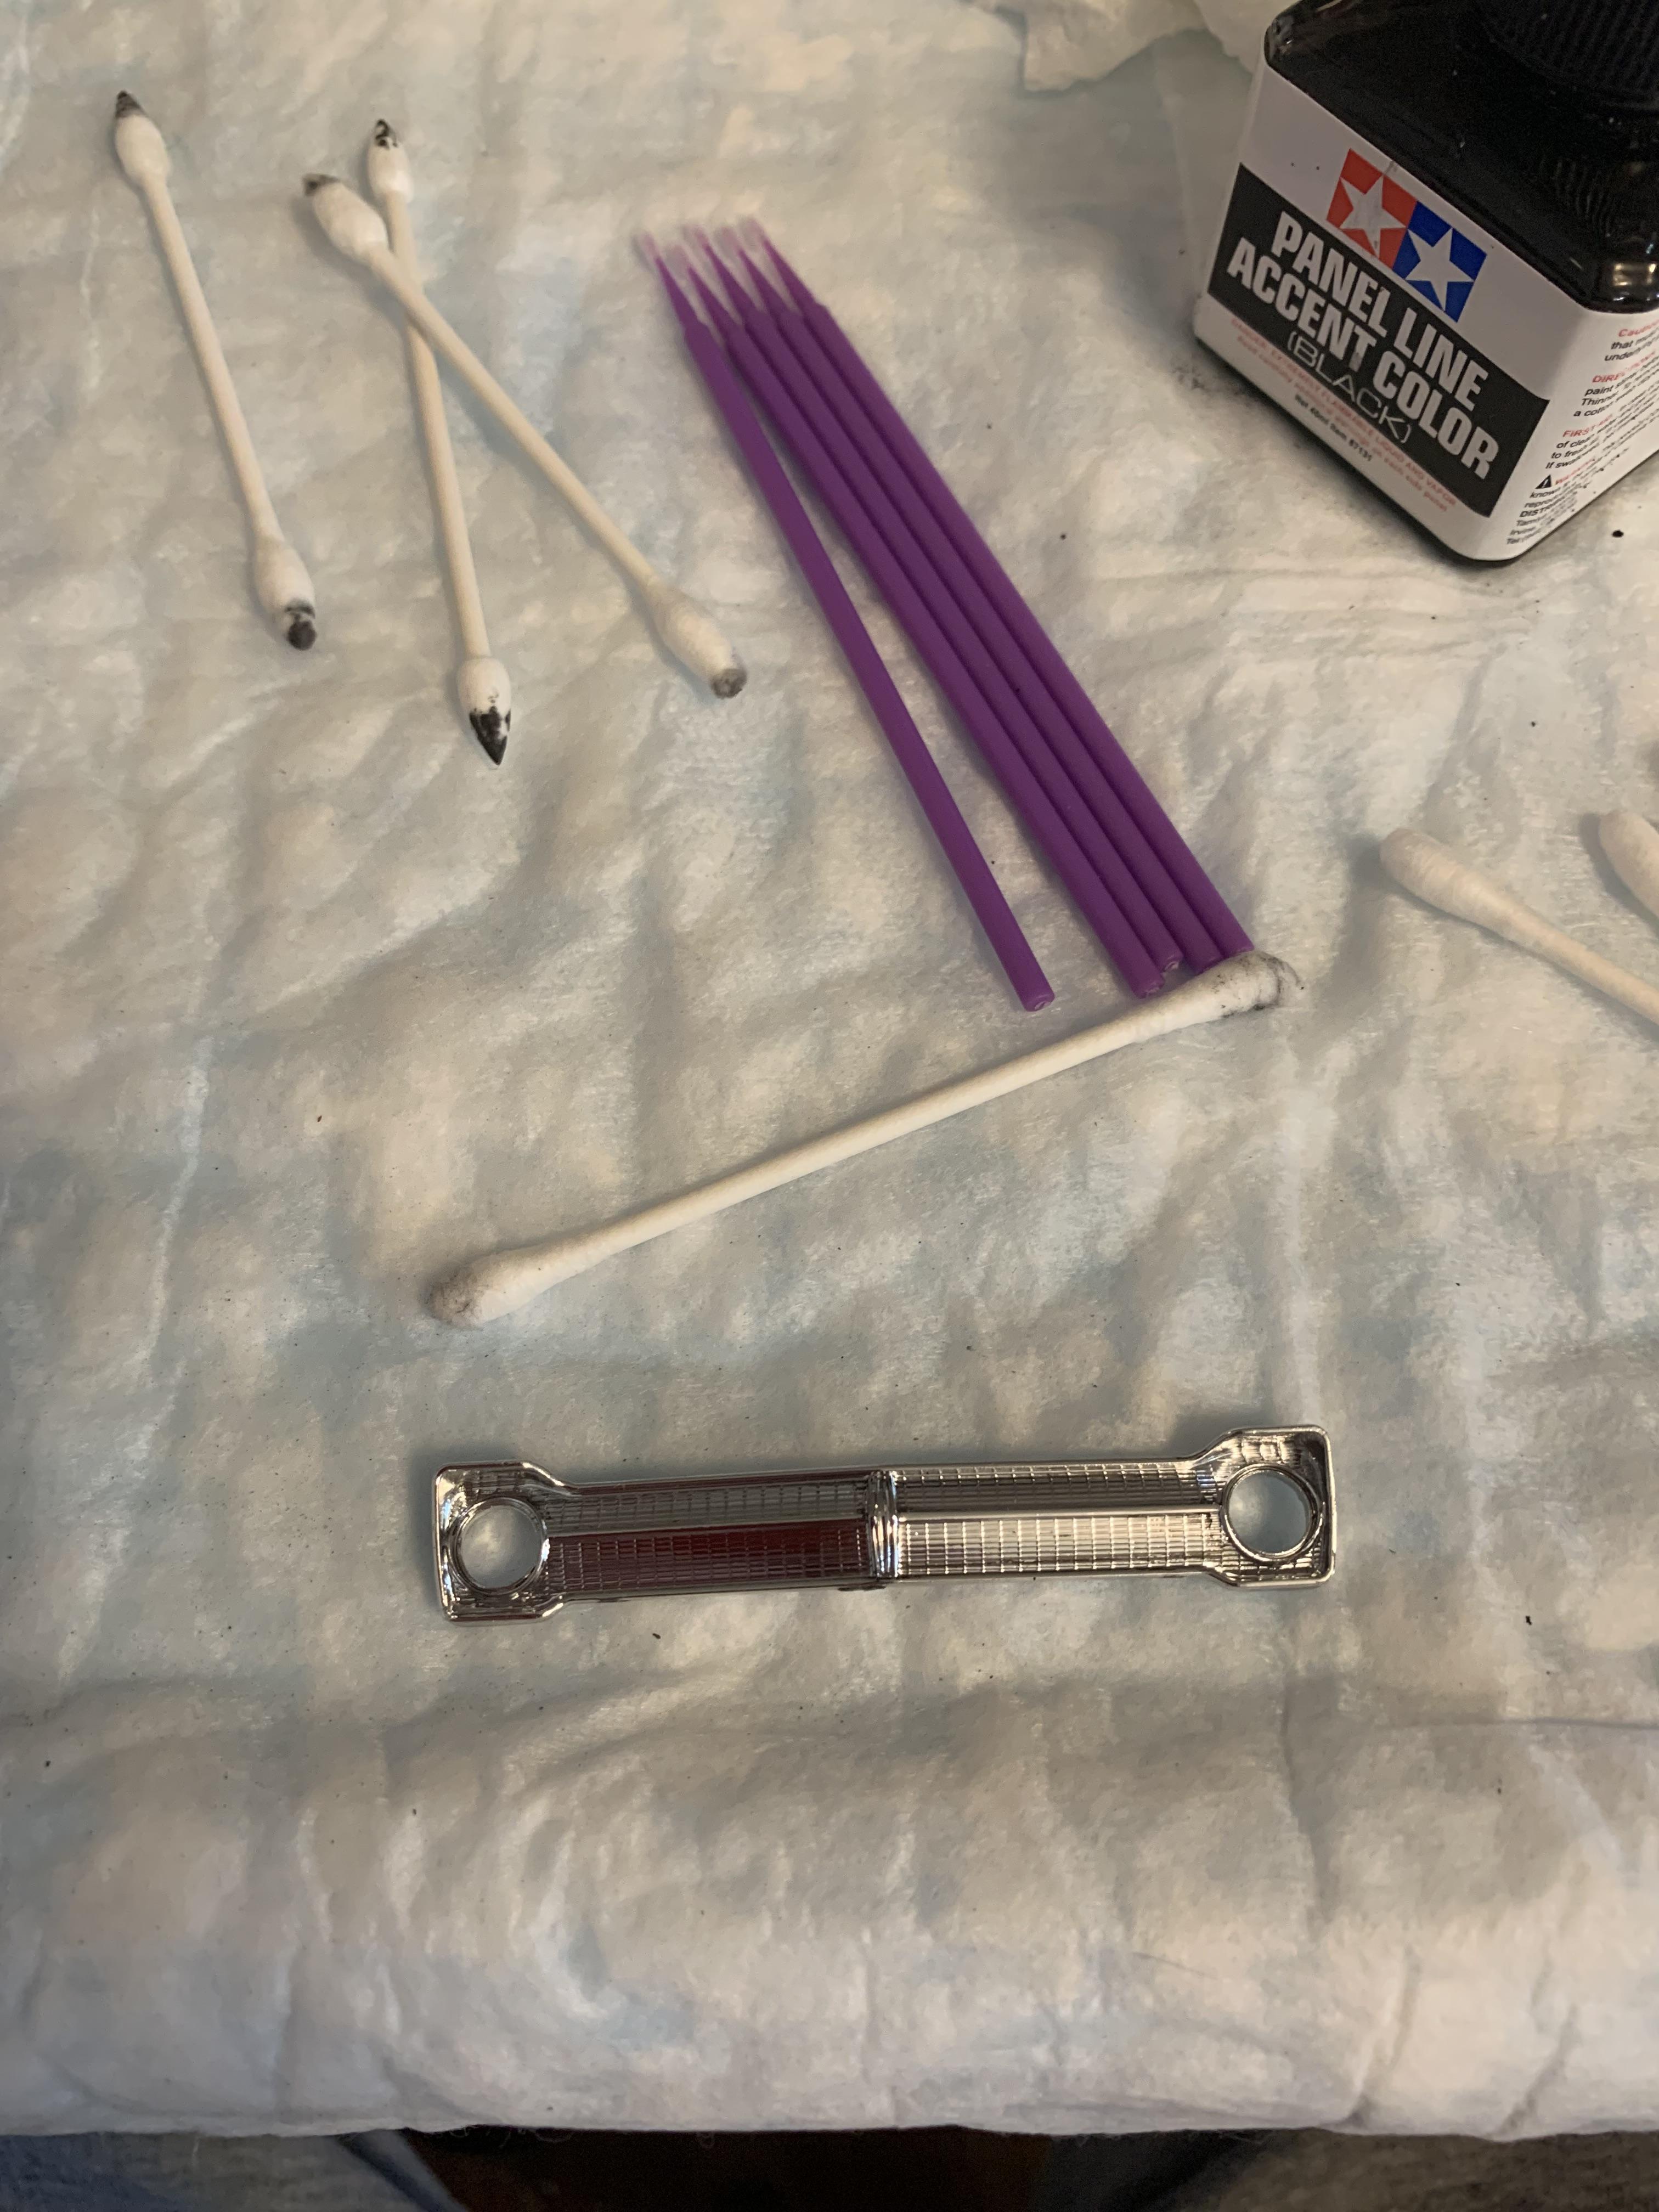
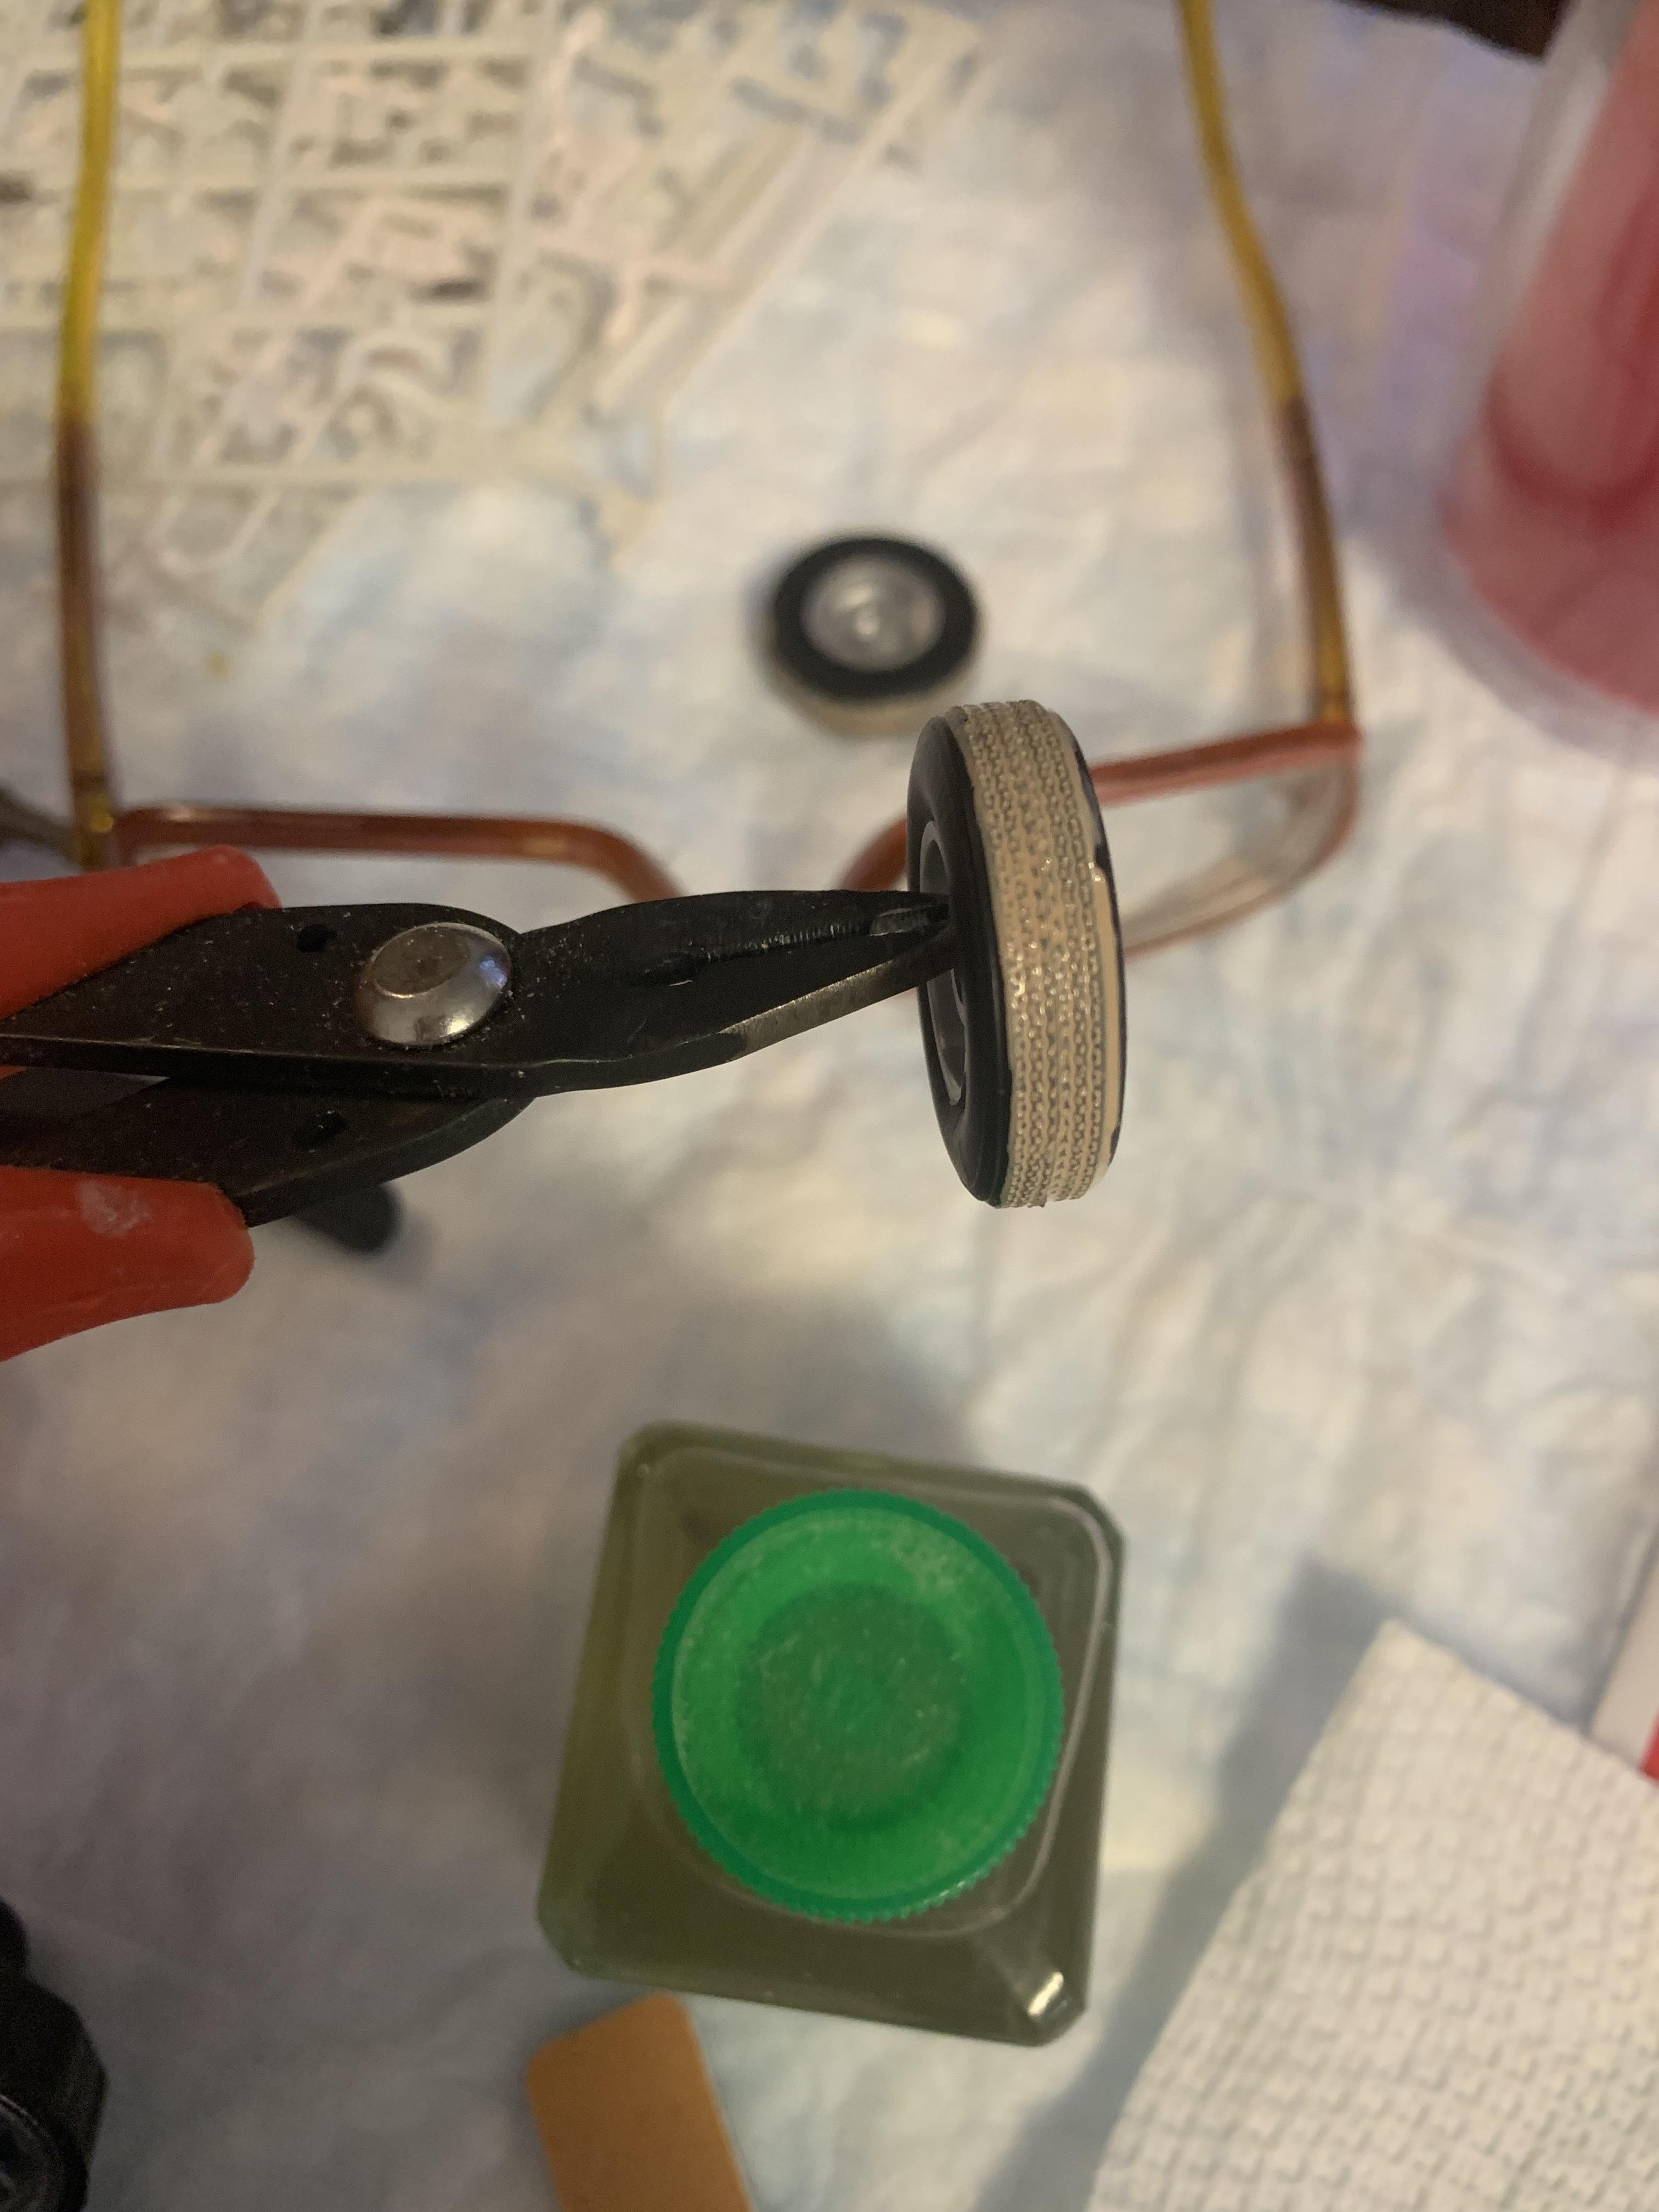
Cut out some foam for a new ca glue (brush on Bsi) I am trying out. The jury is still out, I like the brush type, but doesn’t seem to set up as quick as the medium bsi gold I normally use on painted parts. Glued the tires on, then checked the fit of the Moebius grille on the resin body (looked okay). Tried some panel wash on it. Didn’t like it, so washed it off. Then painted some interior parts with ts30 Tamiya silver.
-
Grooms Bros. 1965 Plymouth Sedan awb Black Trash II
R. Thorne replied to R. Thorne's topic in WIP: Drag Racing Models
You are correct, Todd. This is my first resin body paint job, so, caution is the key and try not to soak them very long. Put some paint on the front tires to replicate the less than average pit conditions that existed in the mid 60’s. Perhaps too light a color.
-
Grooms Bros. 1965 Plymouth Sedan awb Black Trash II
R. Thorne replied to R. Thorne's topic in WIP: Drag Racing Models
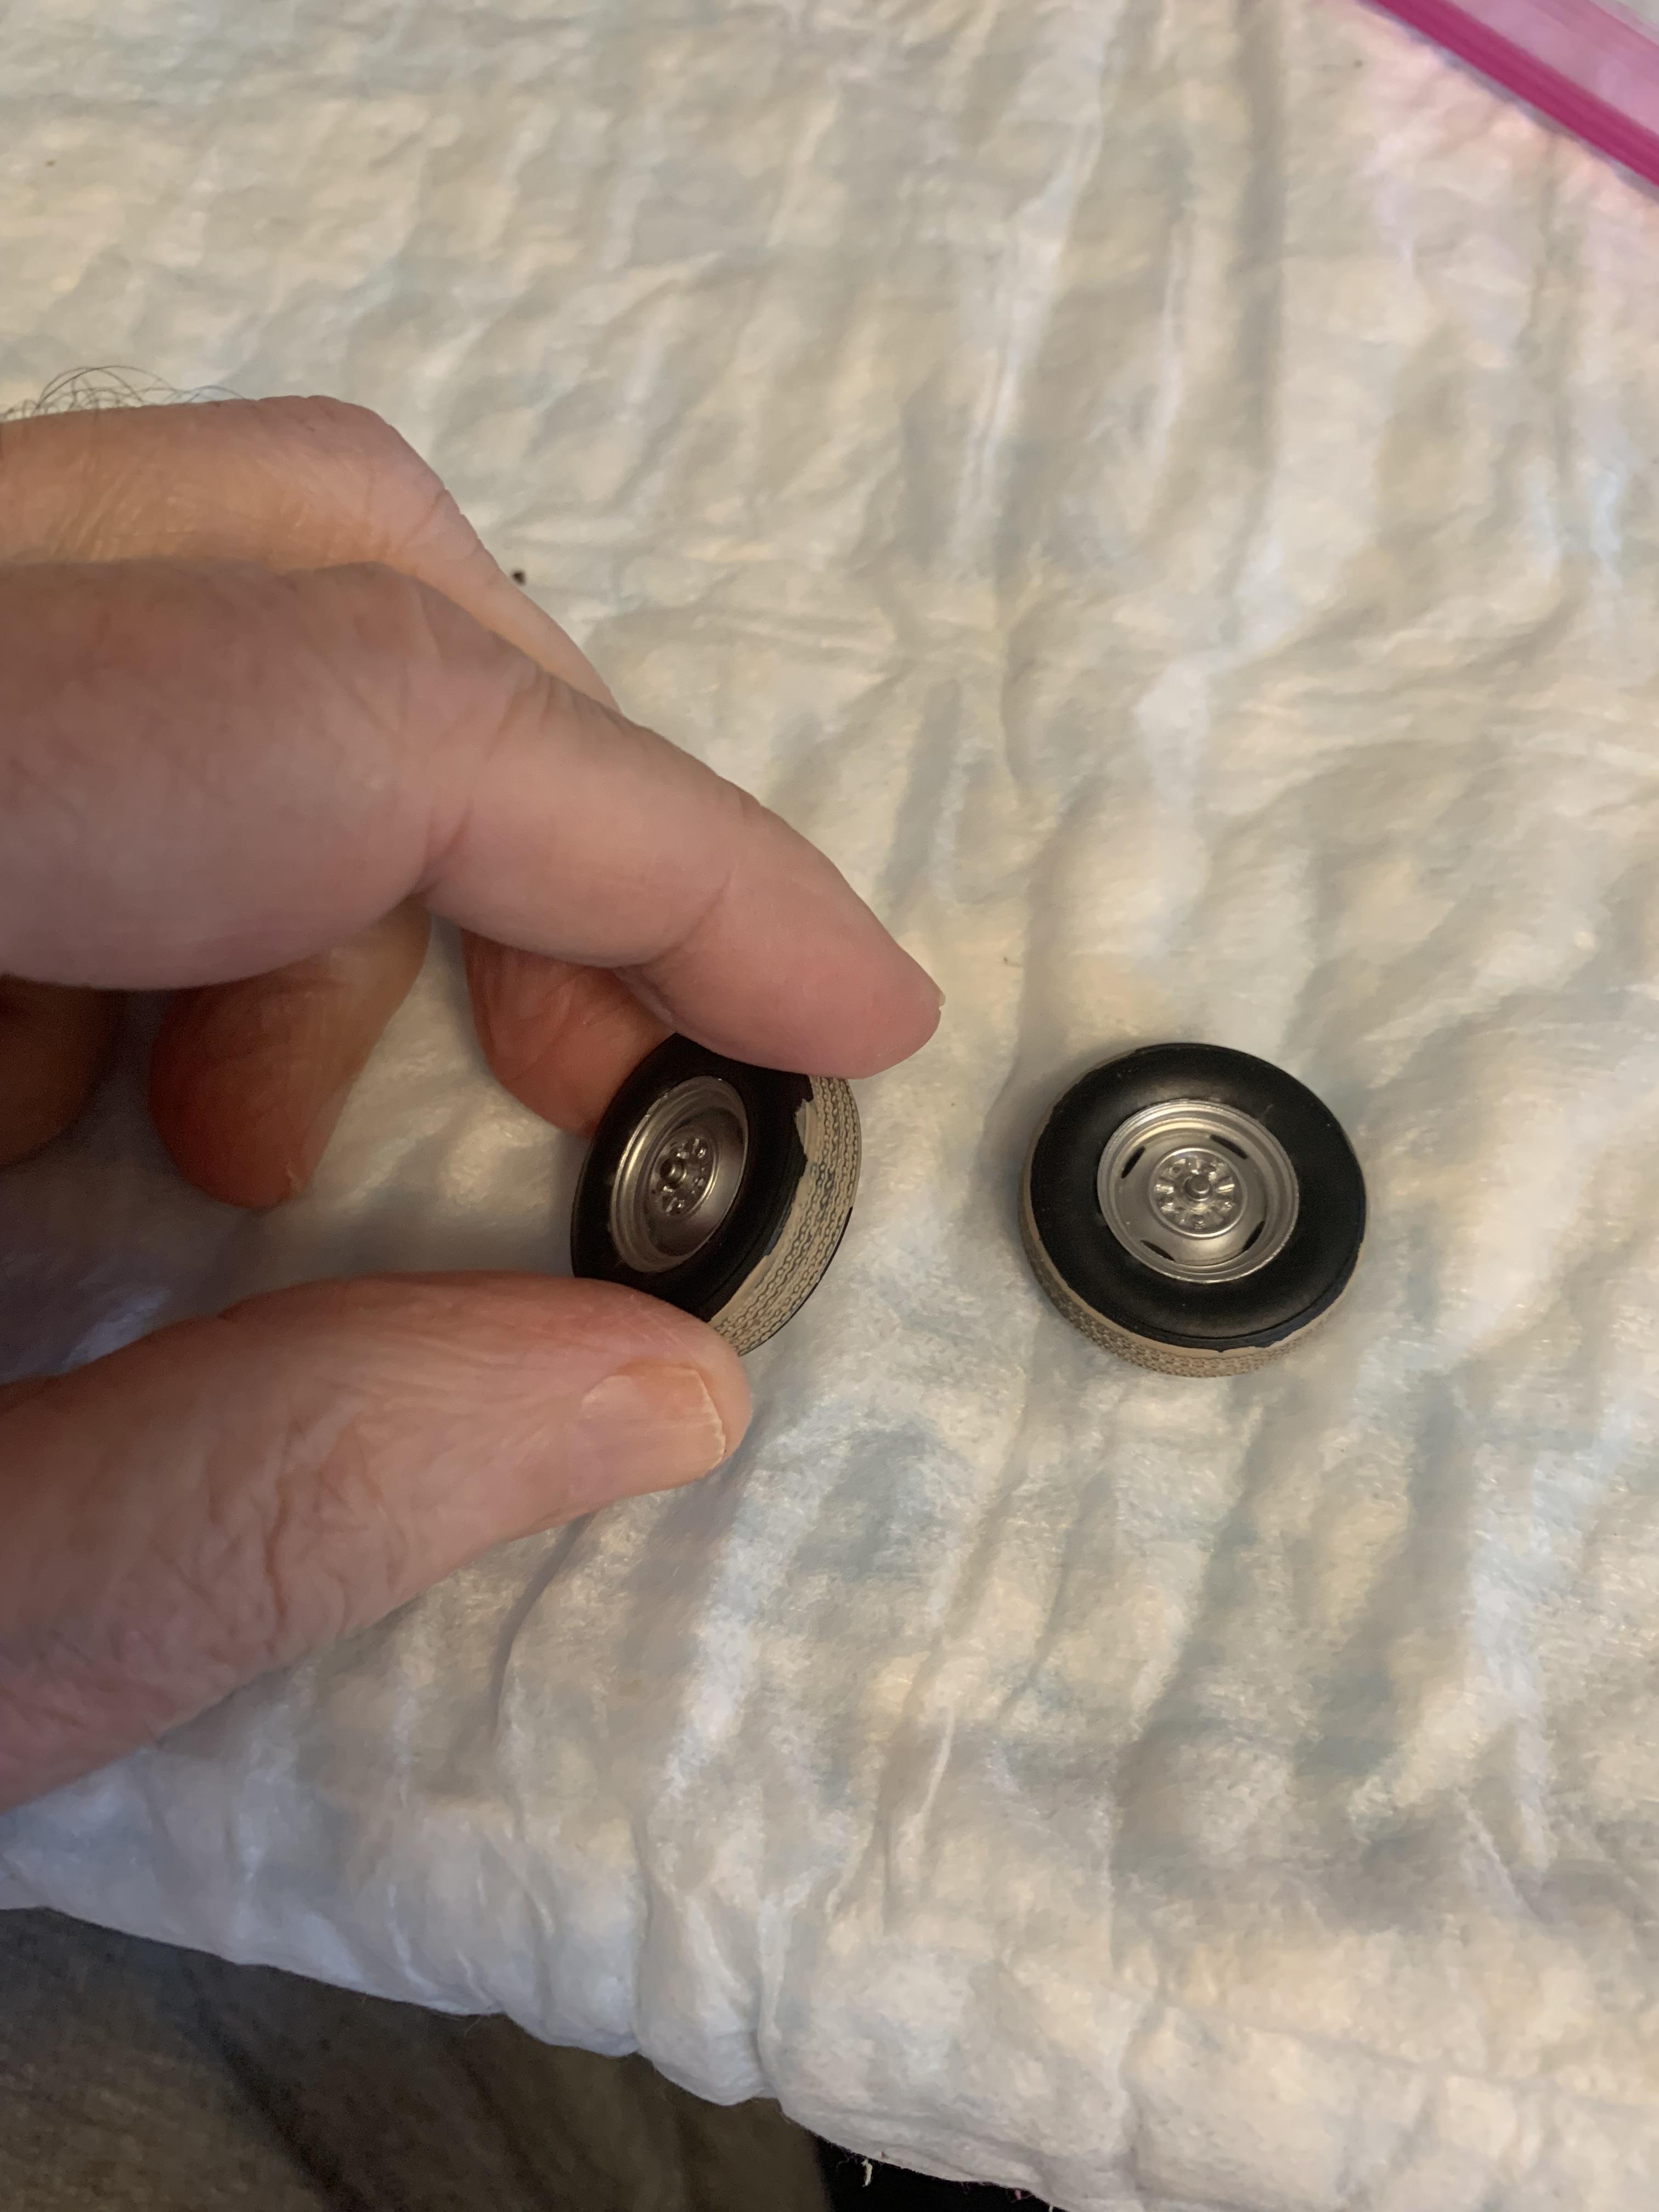
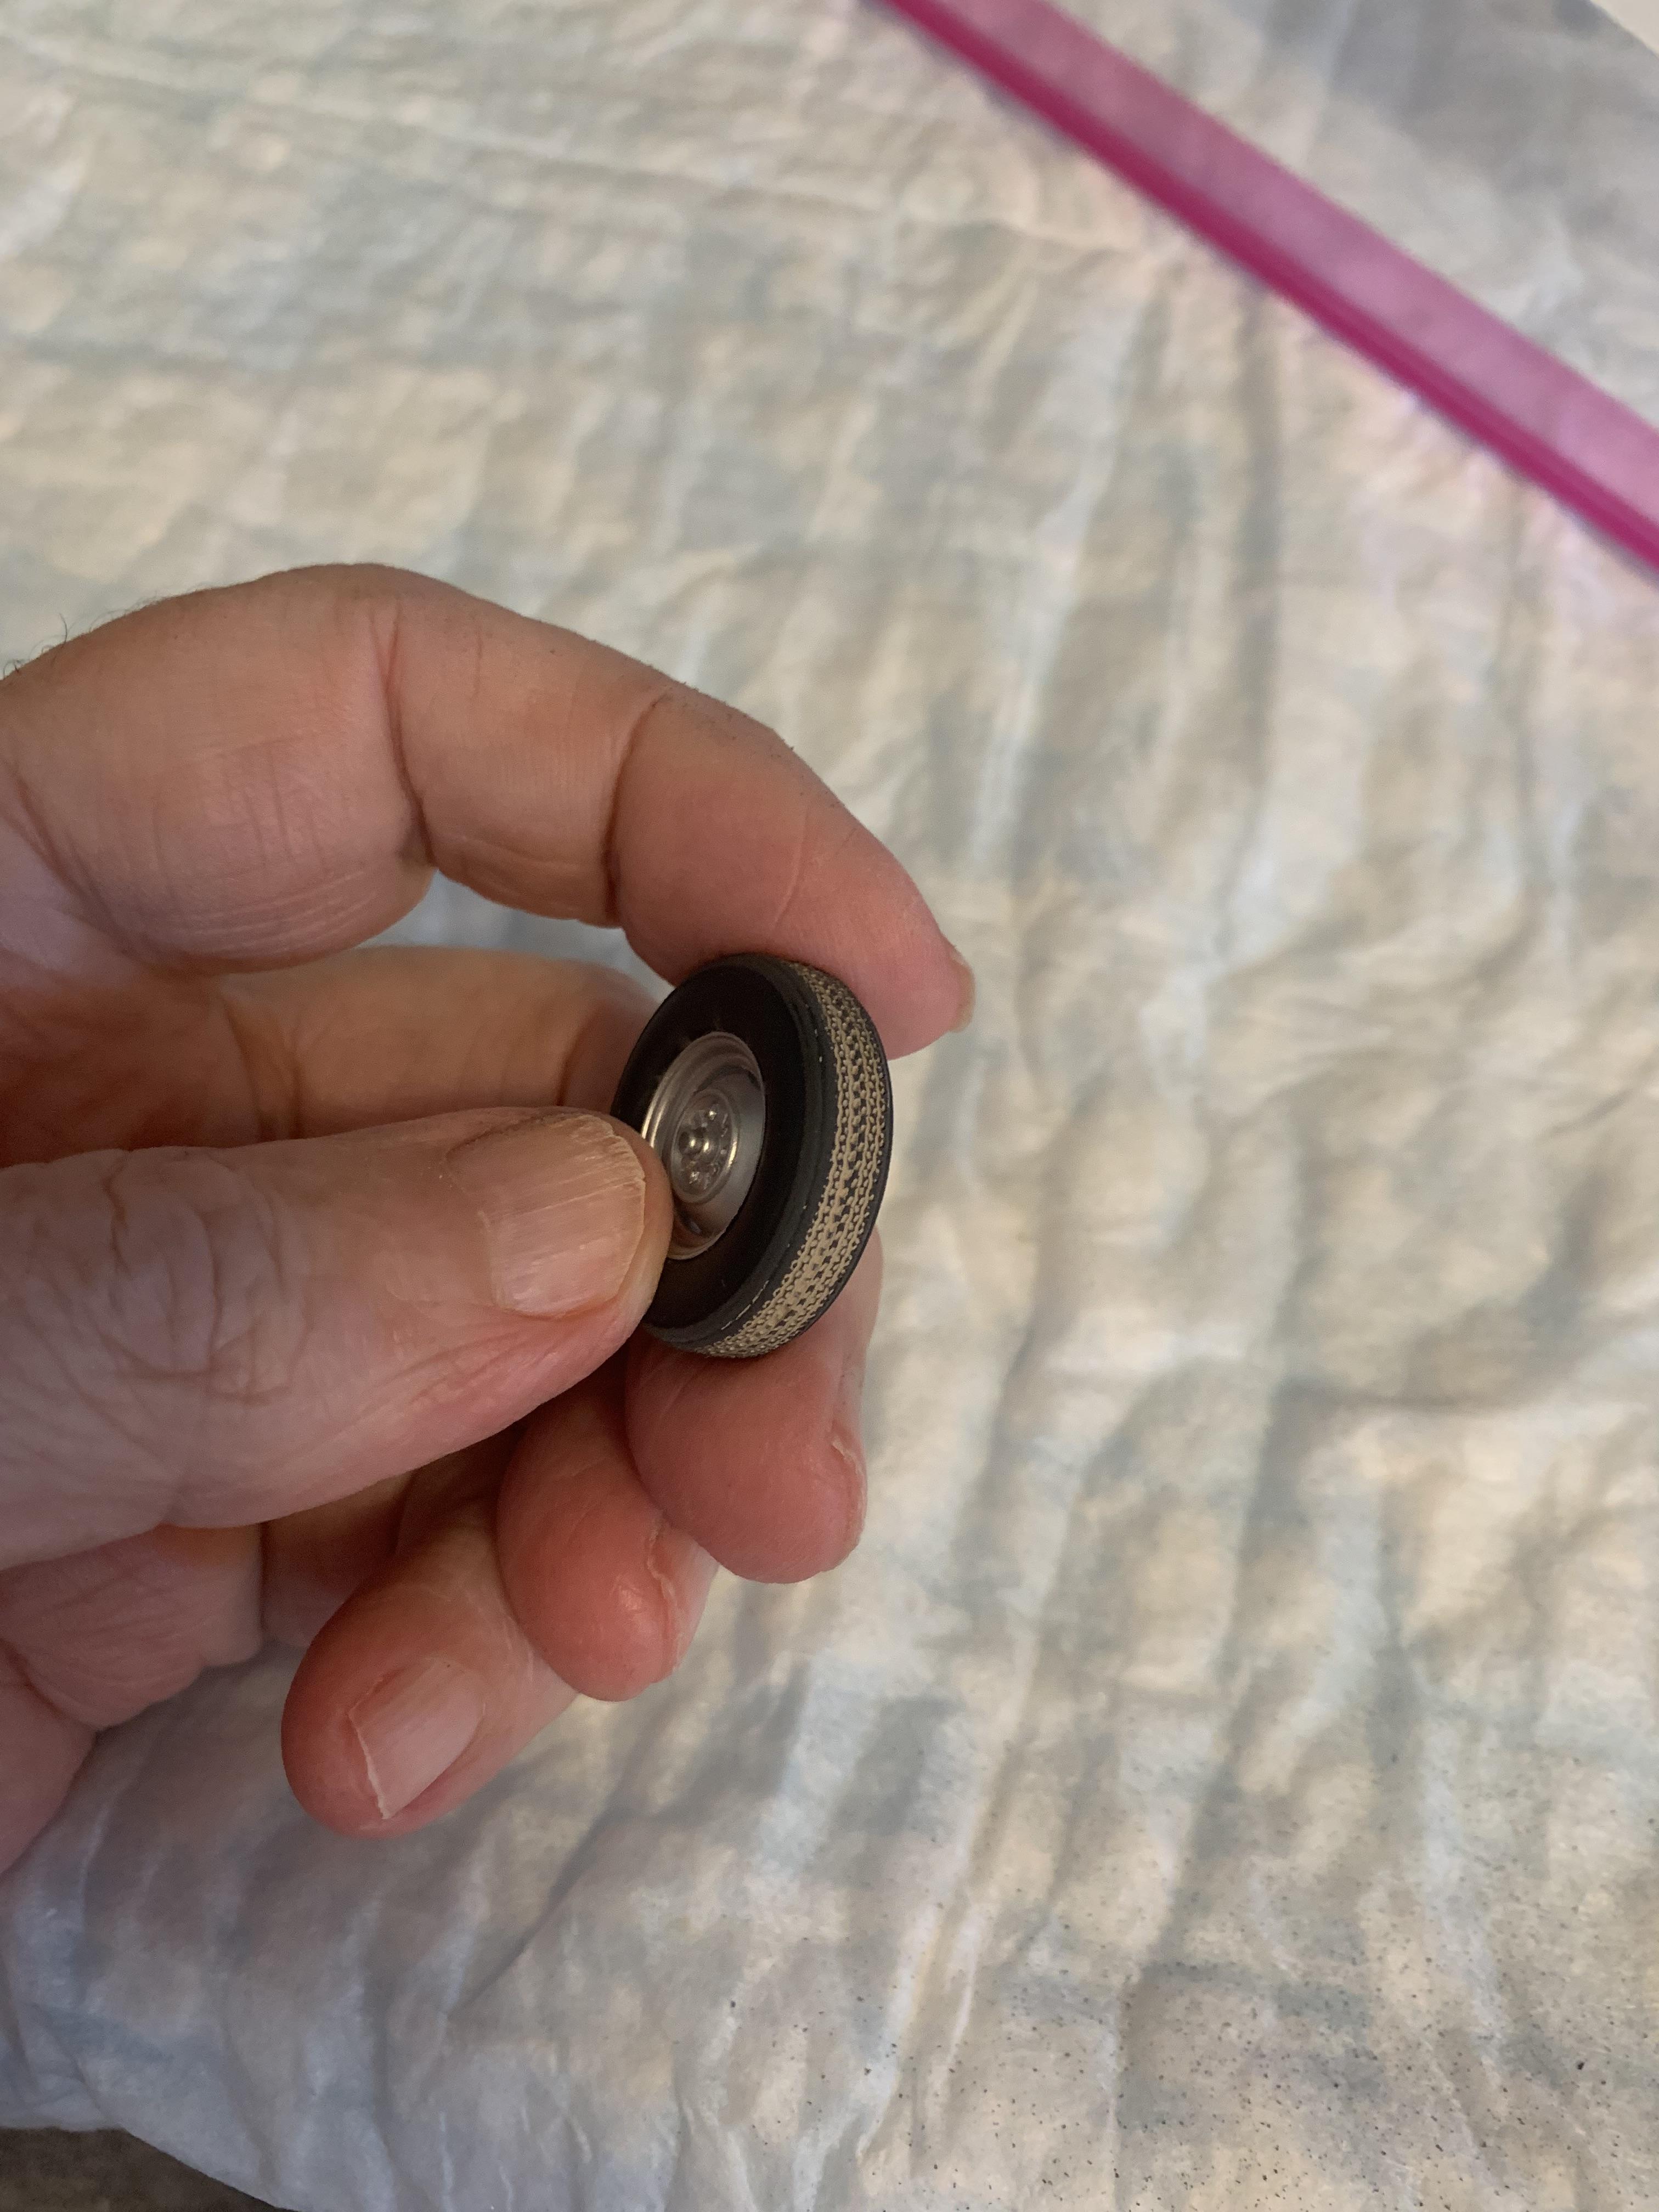
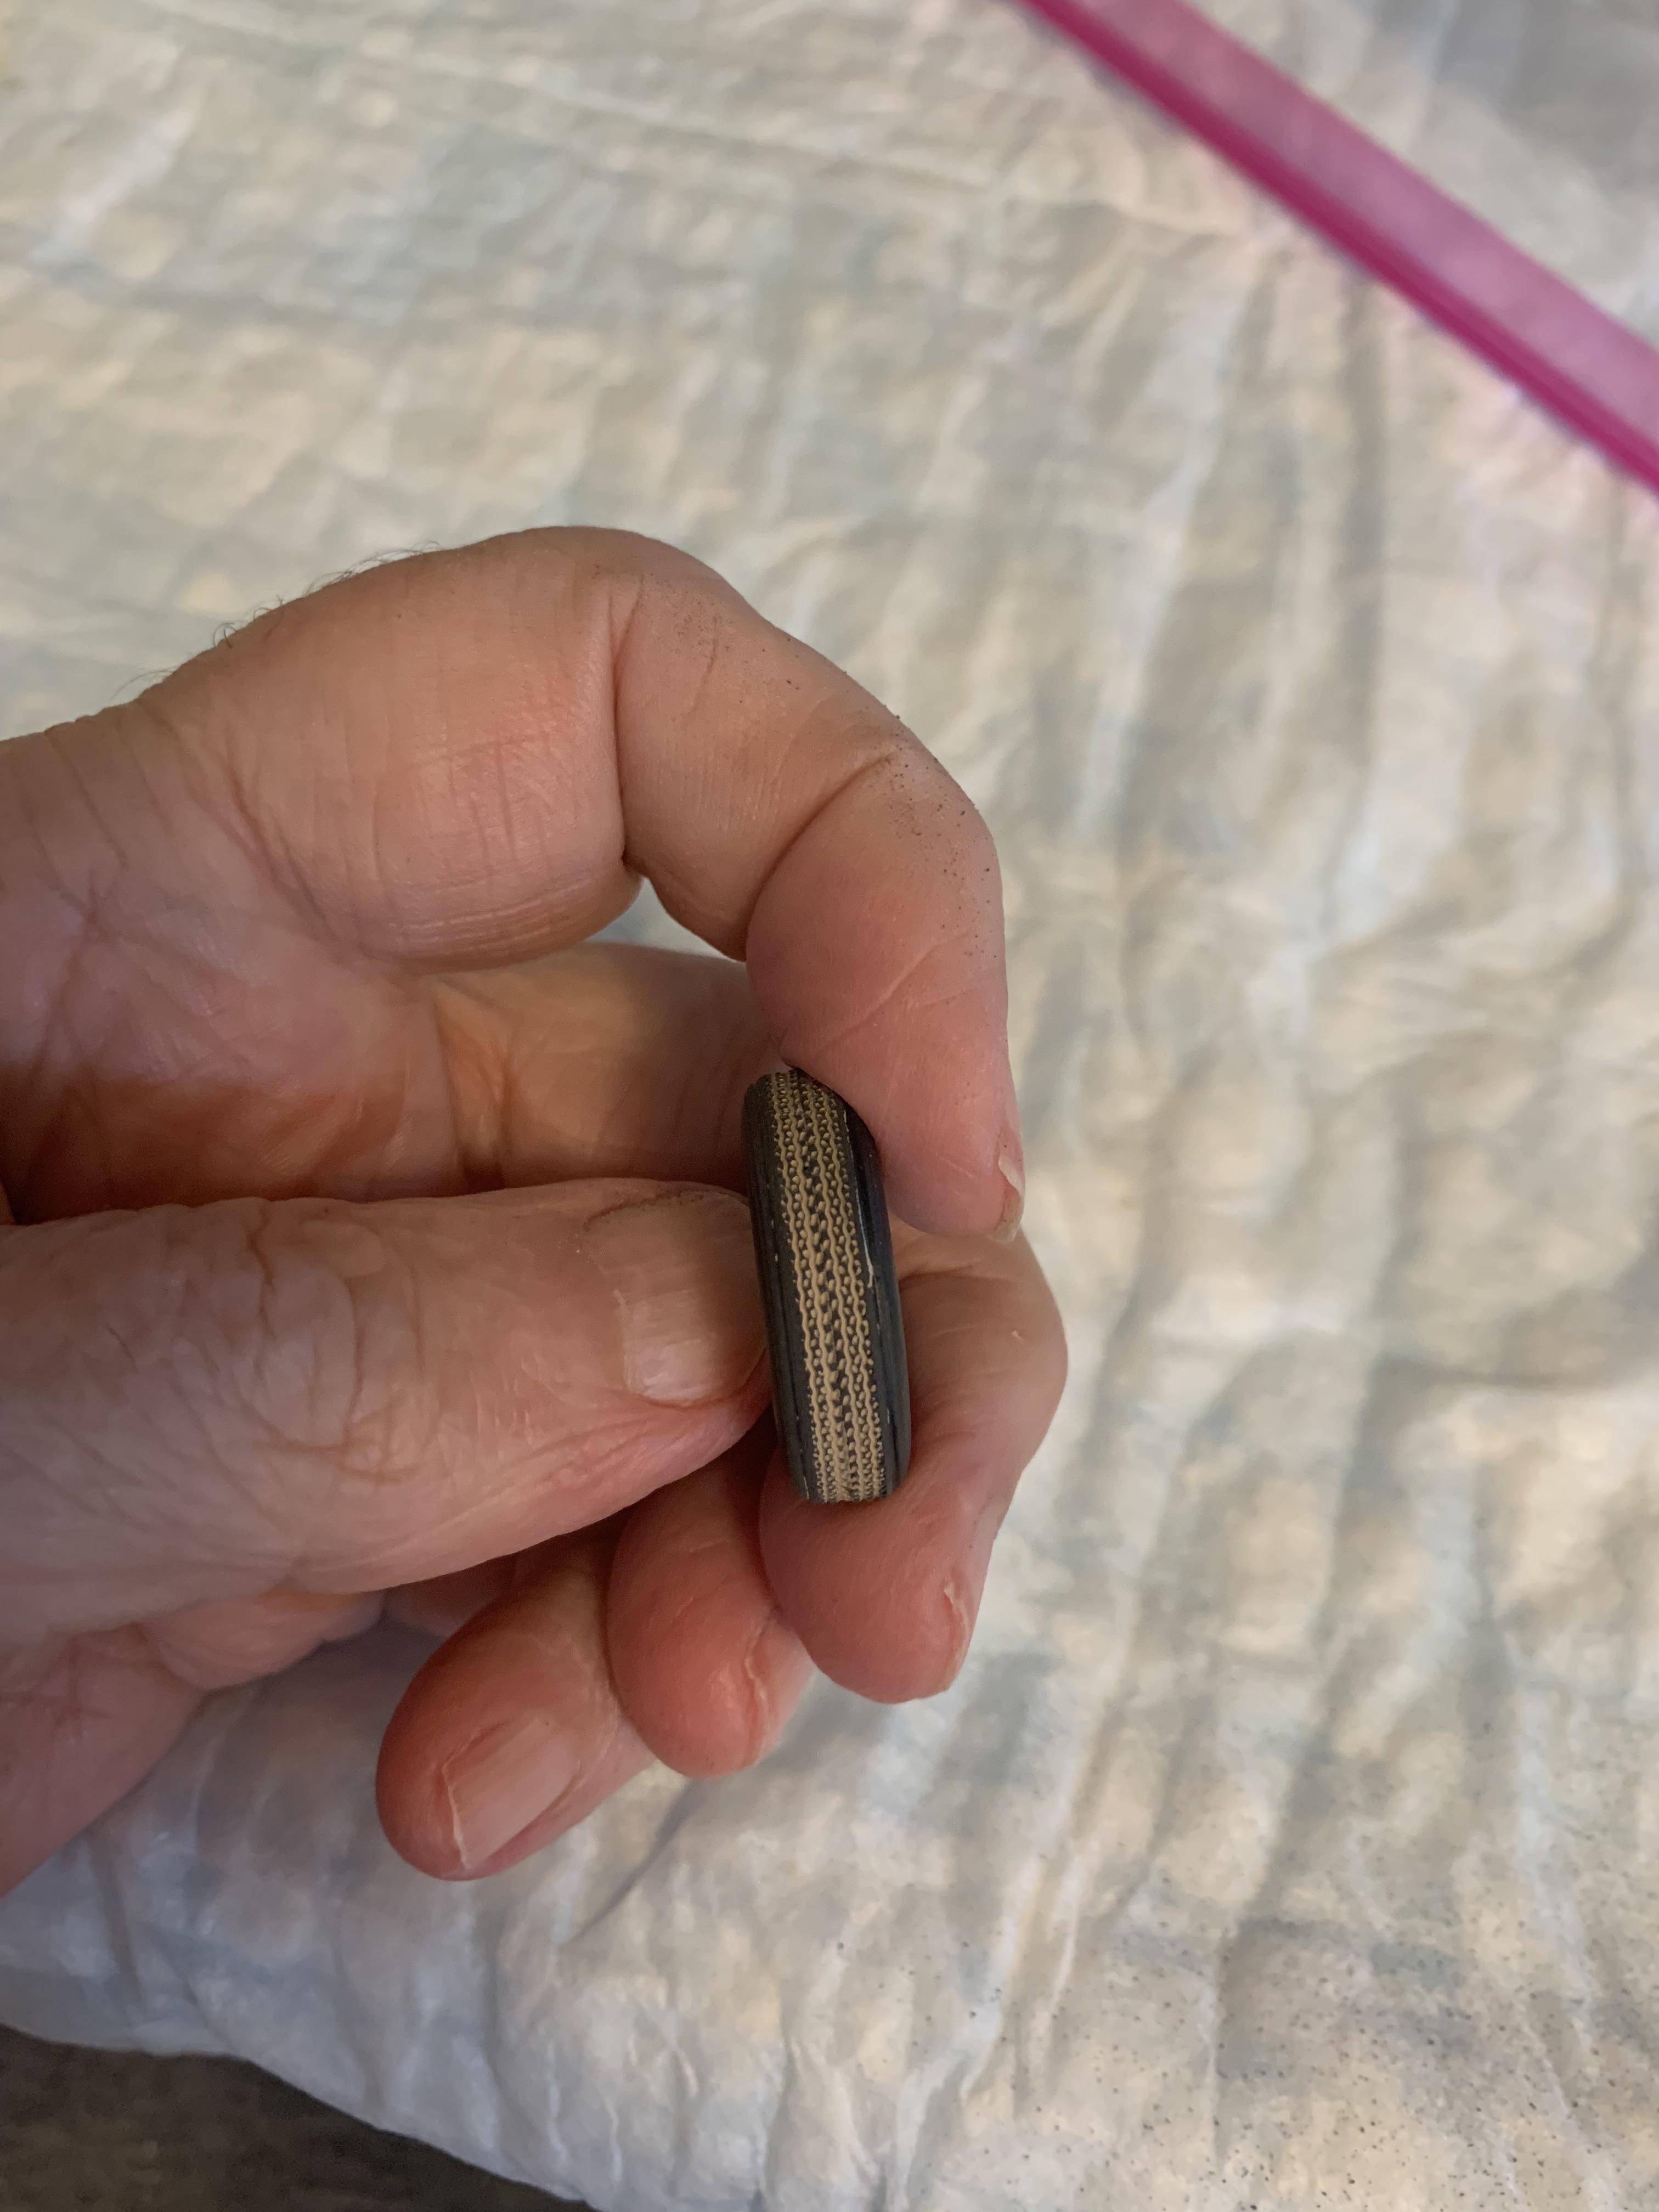
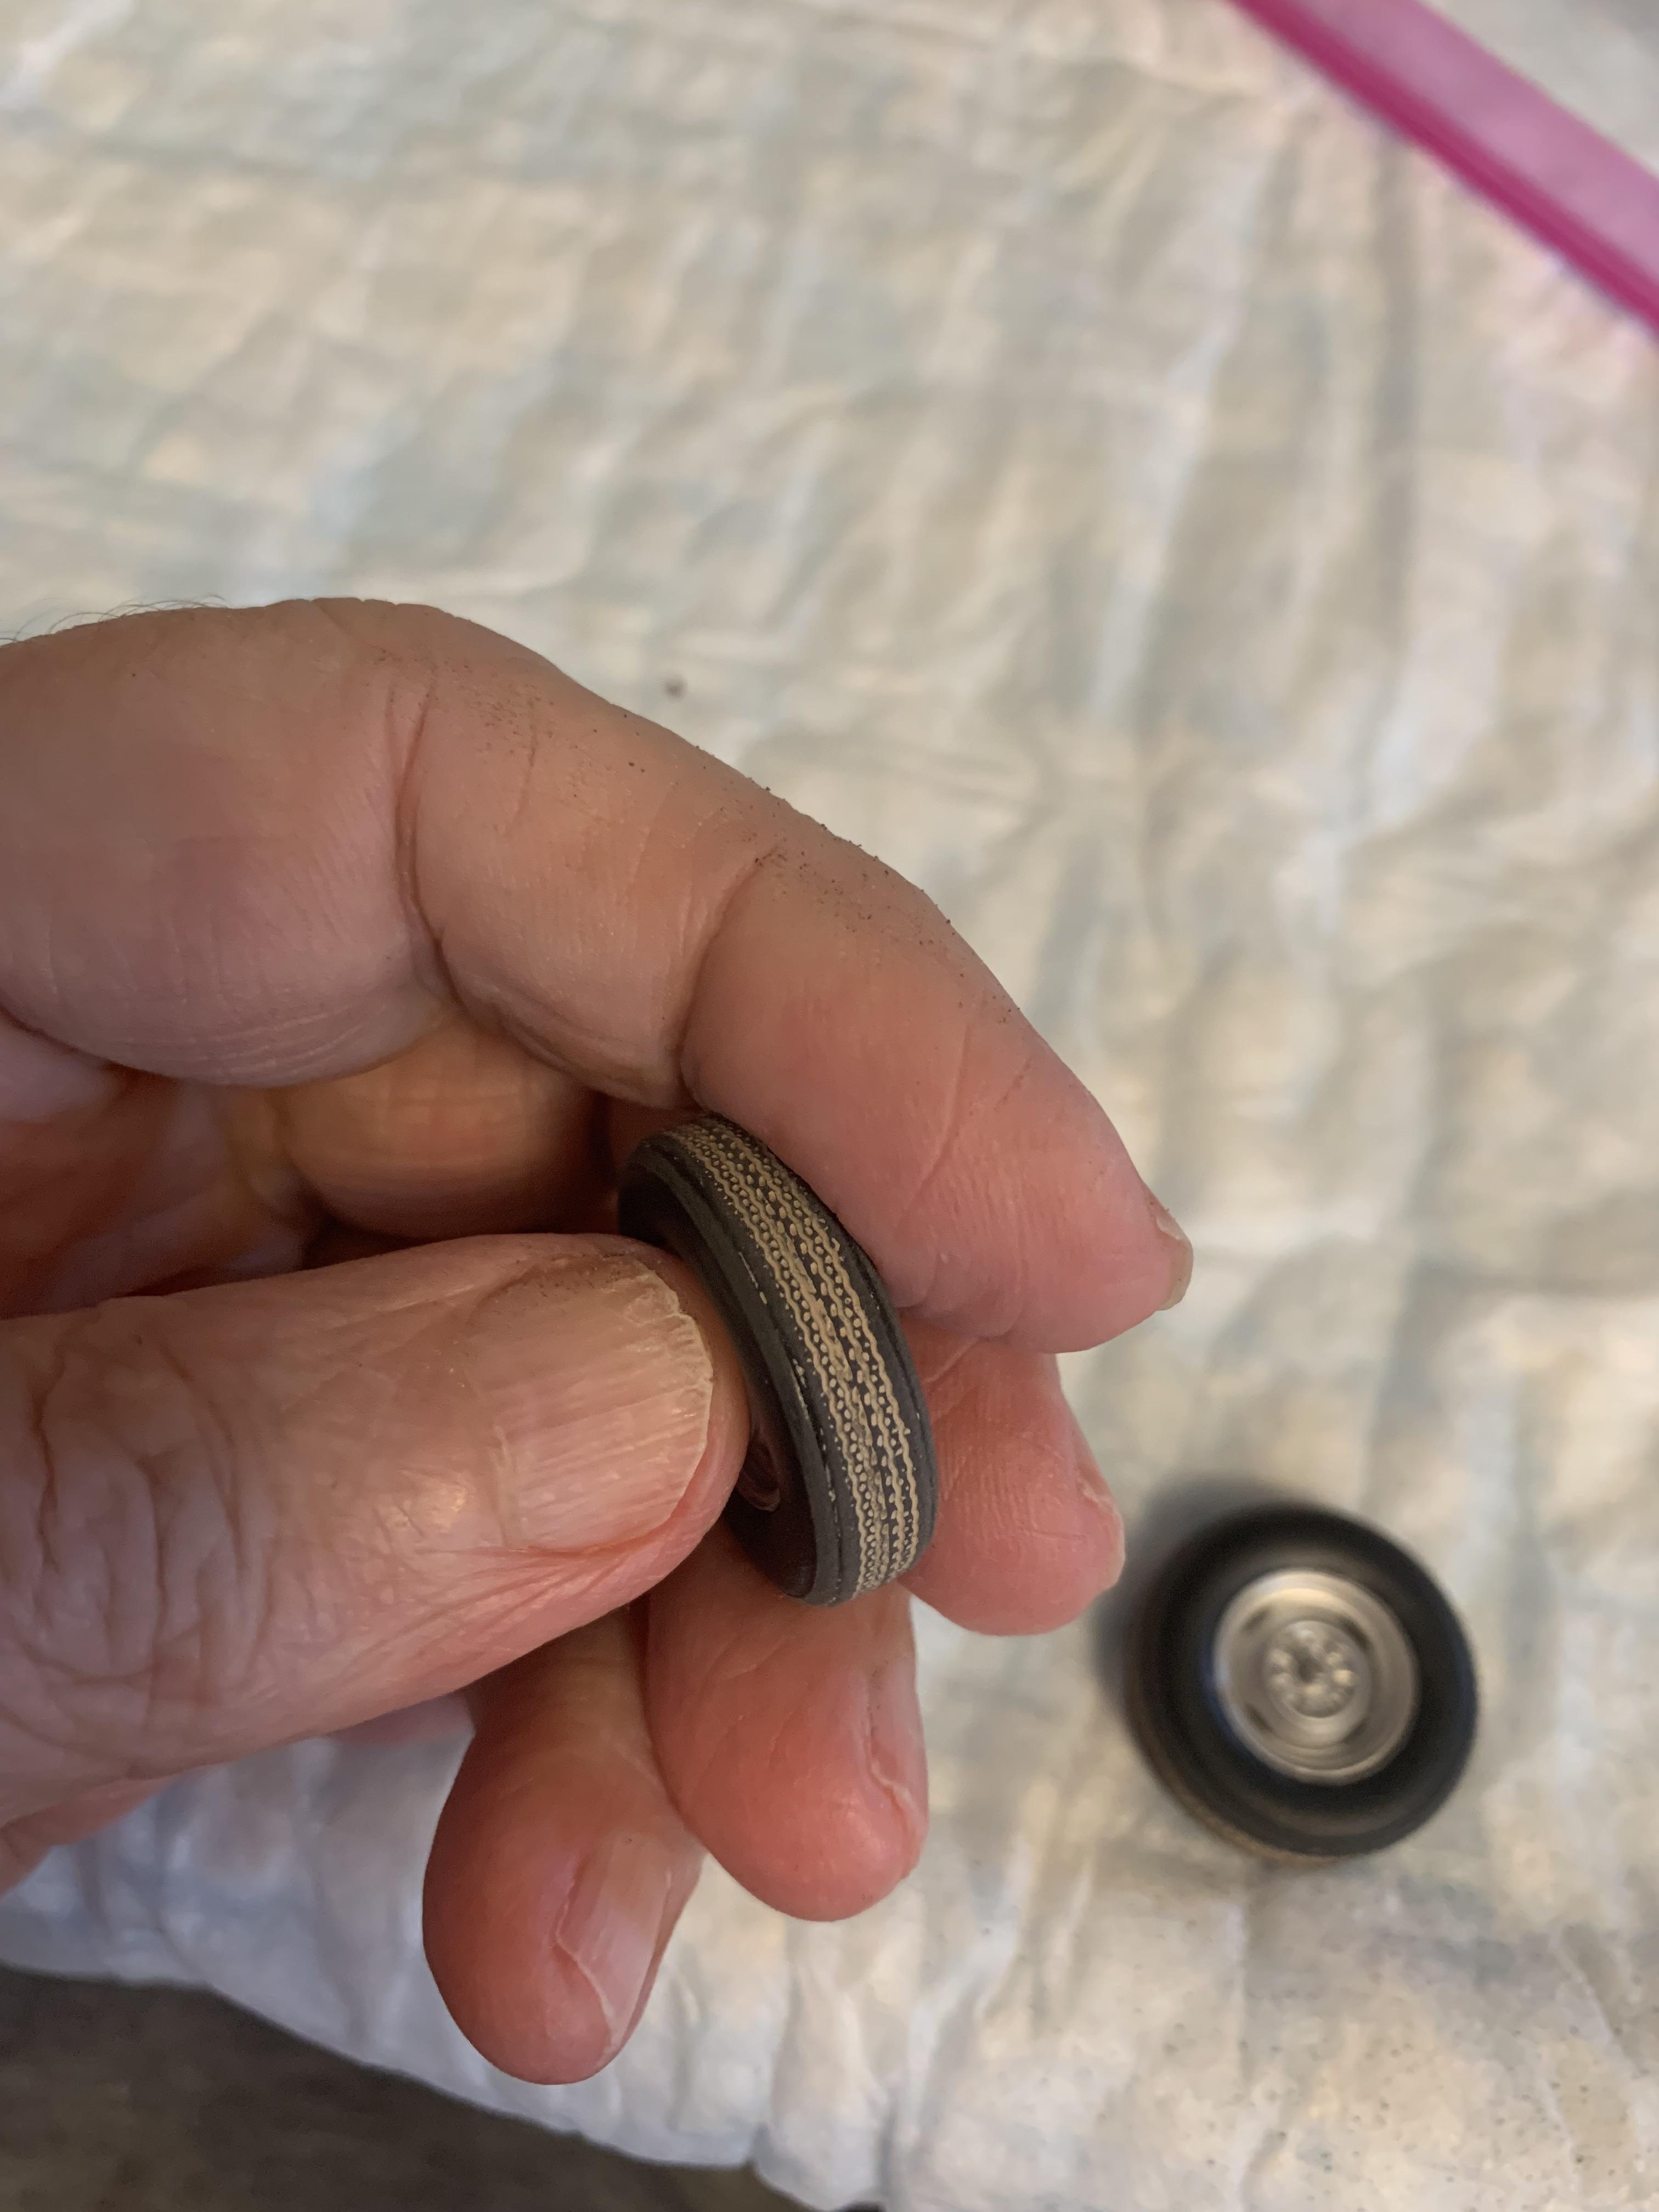
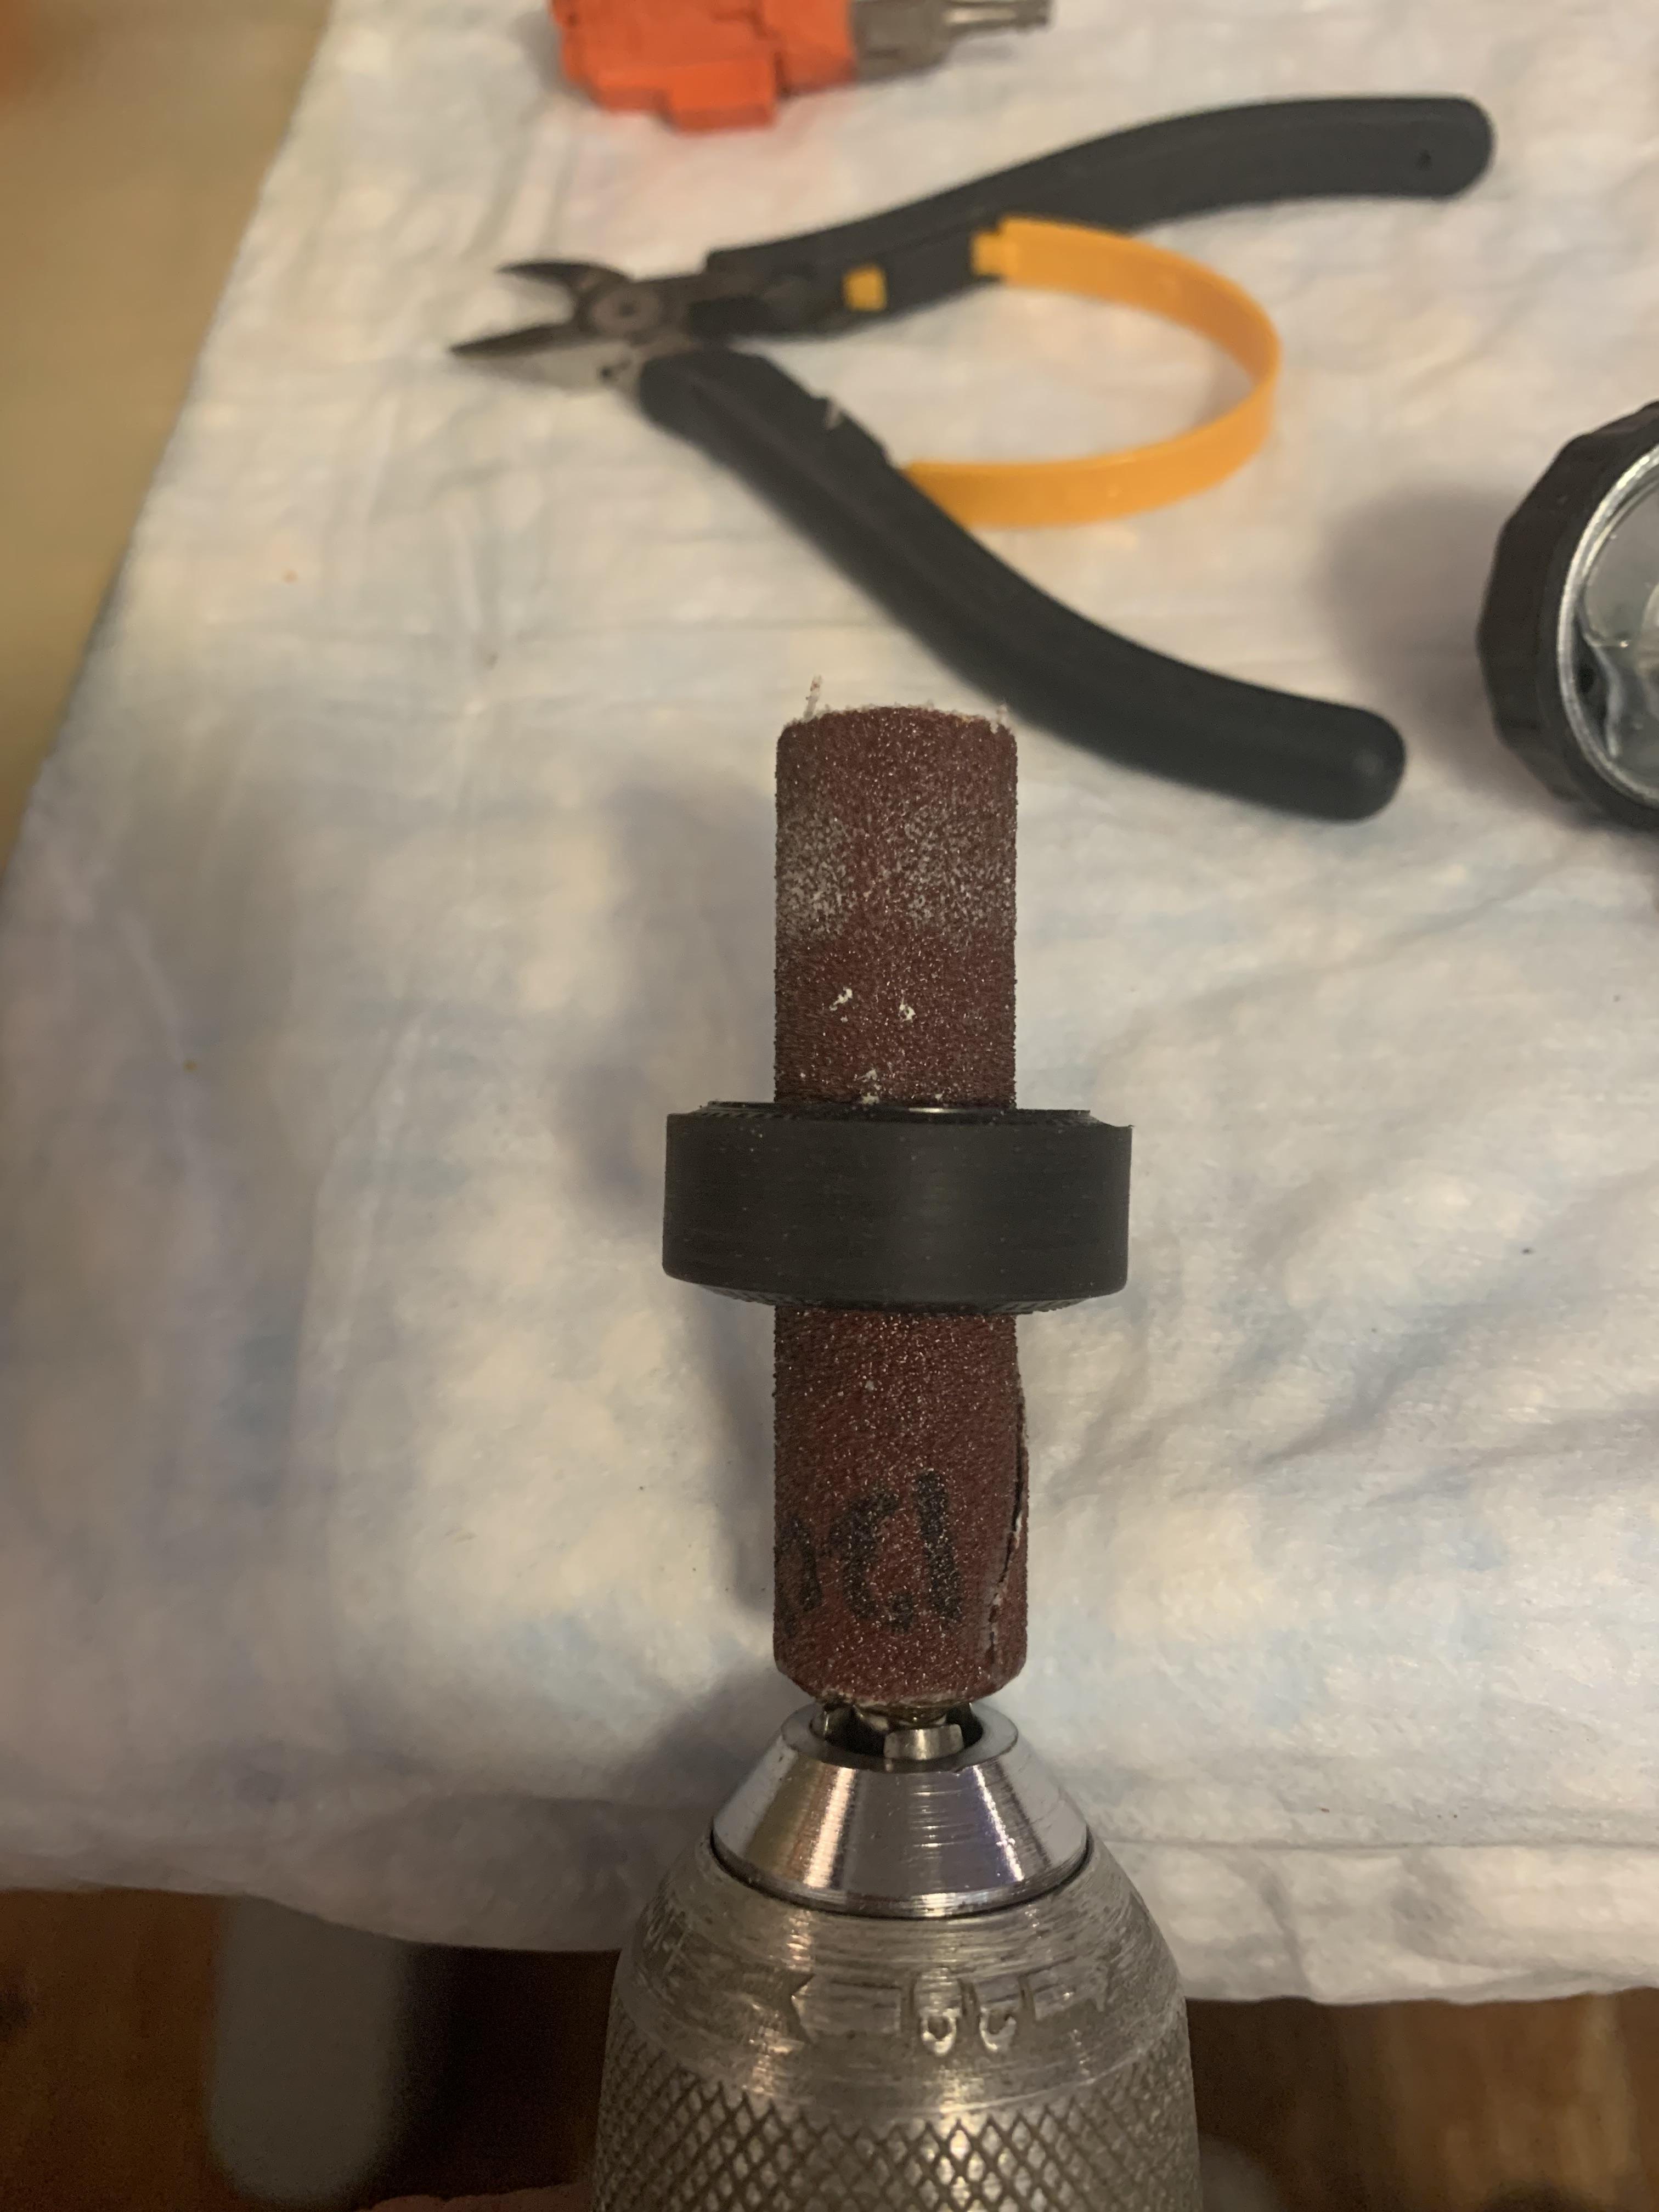
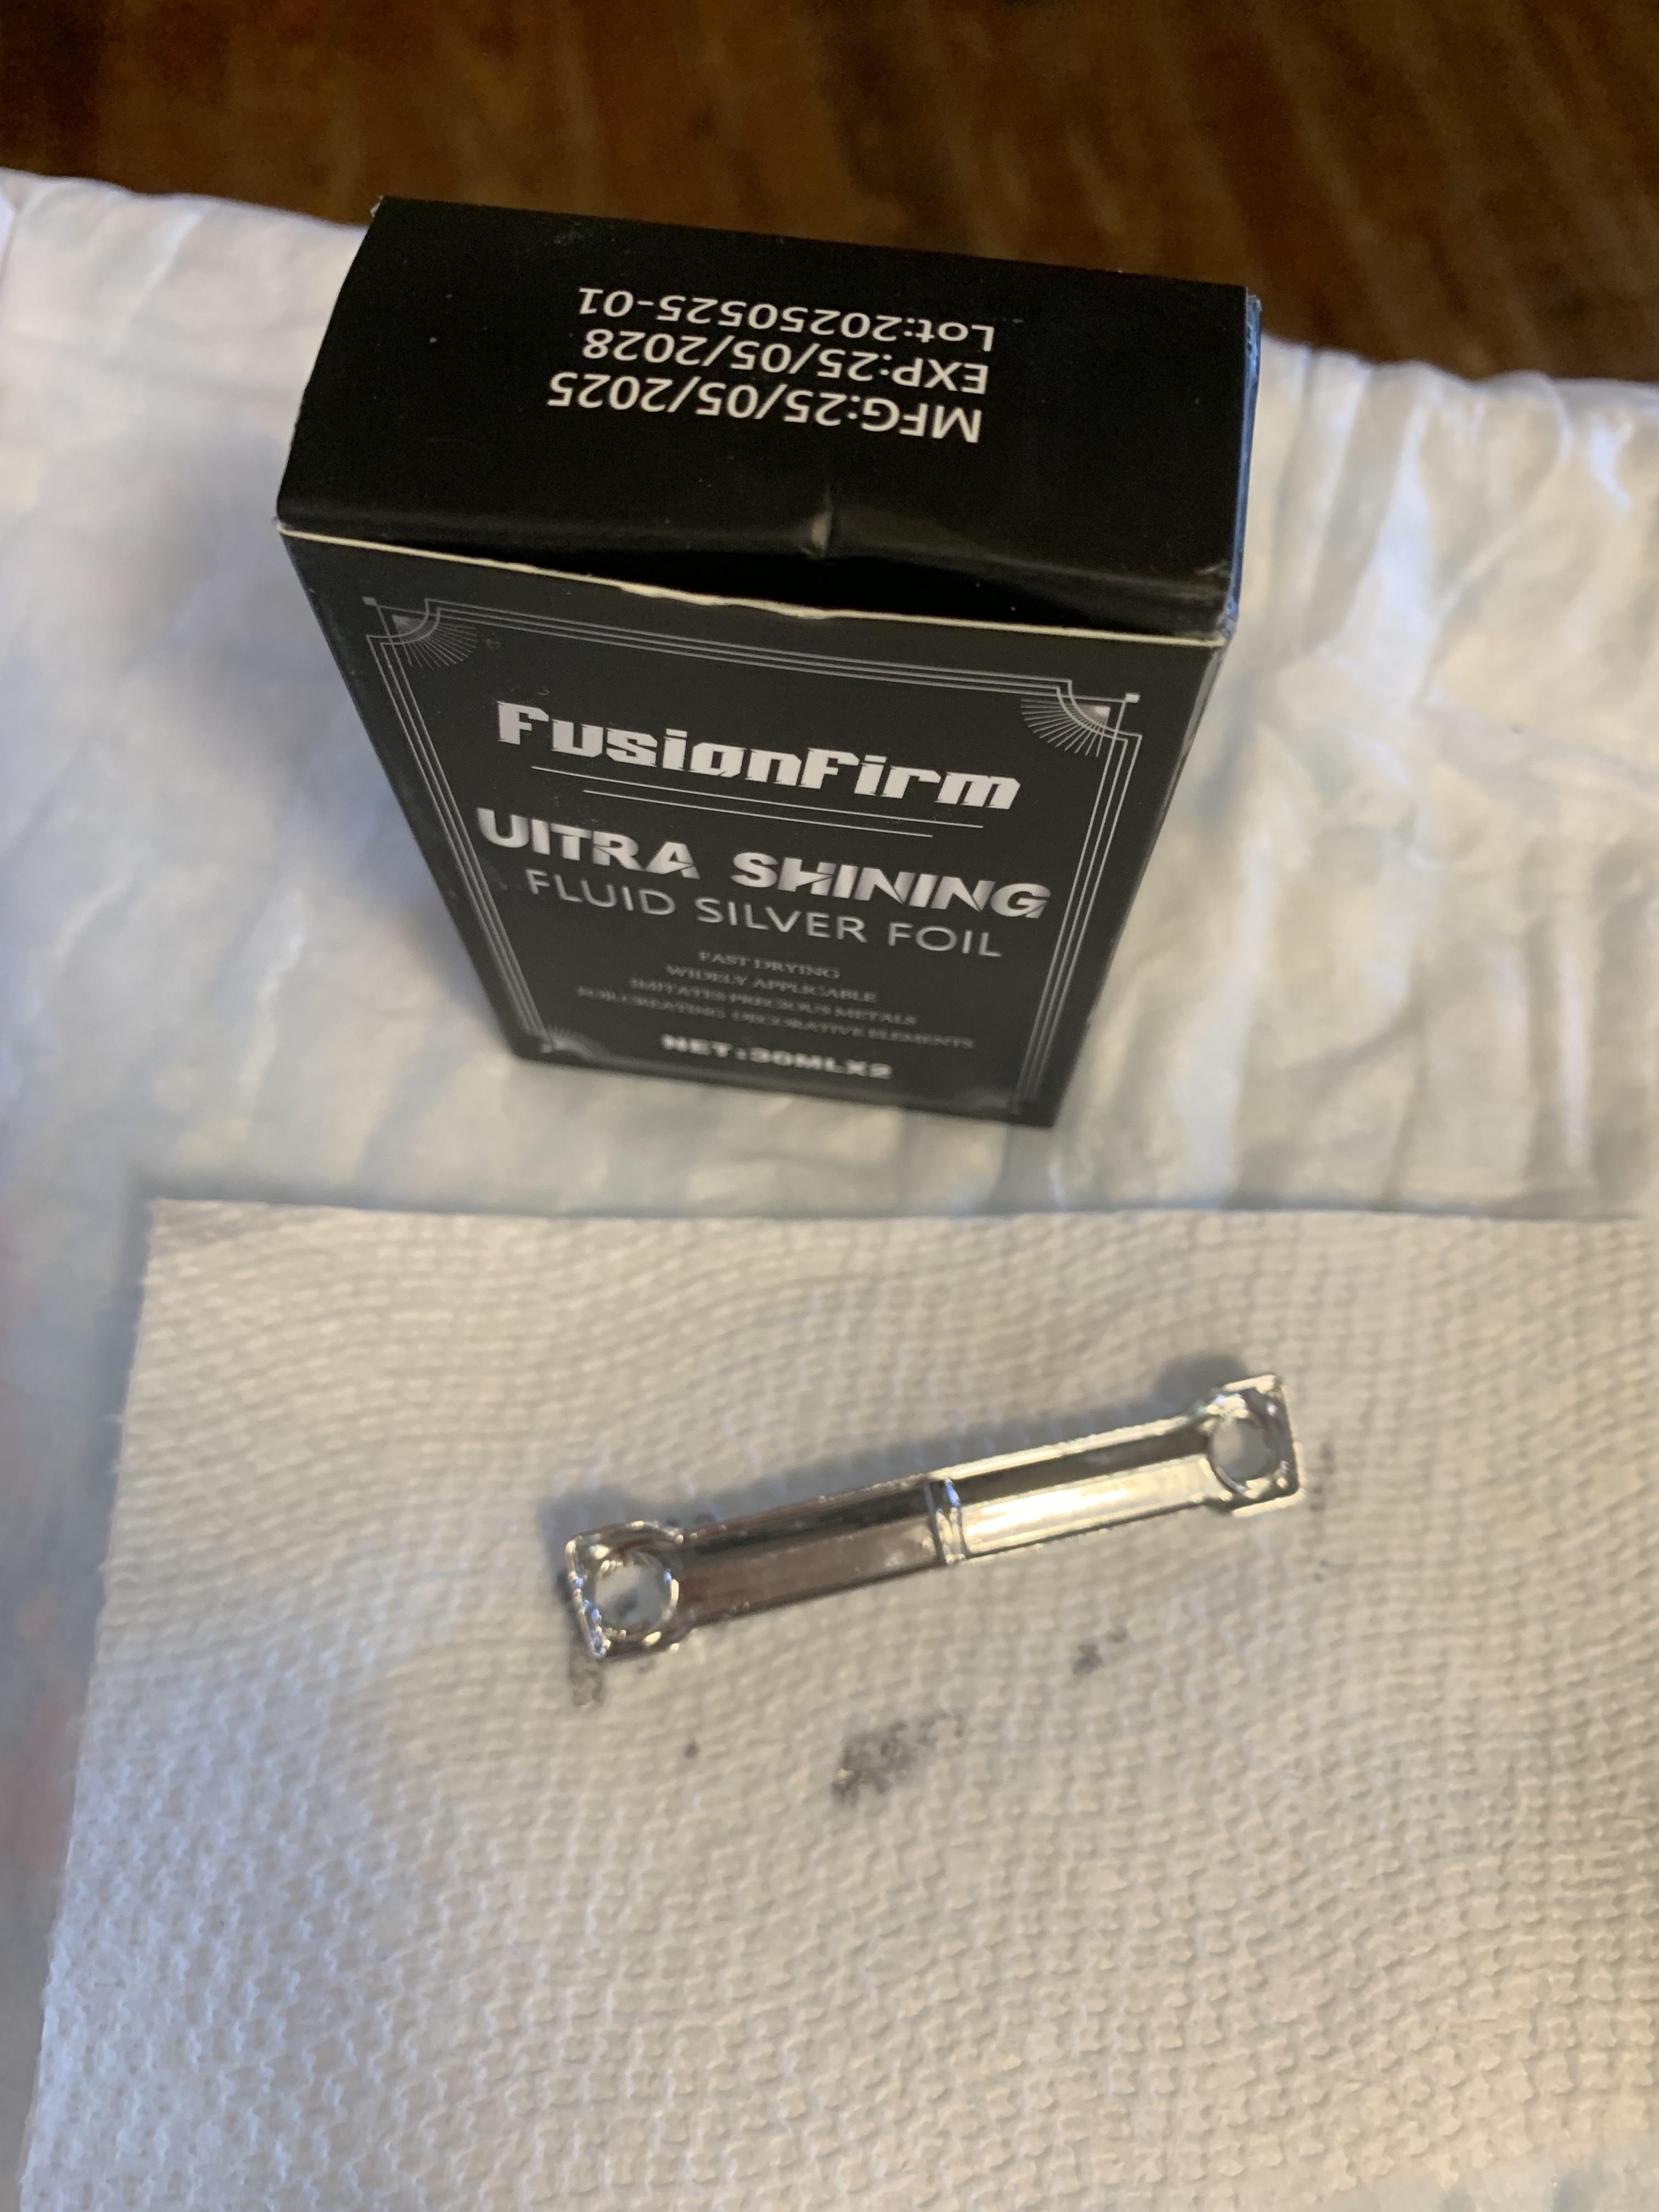
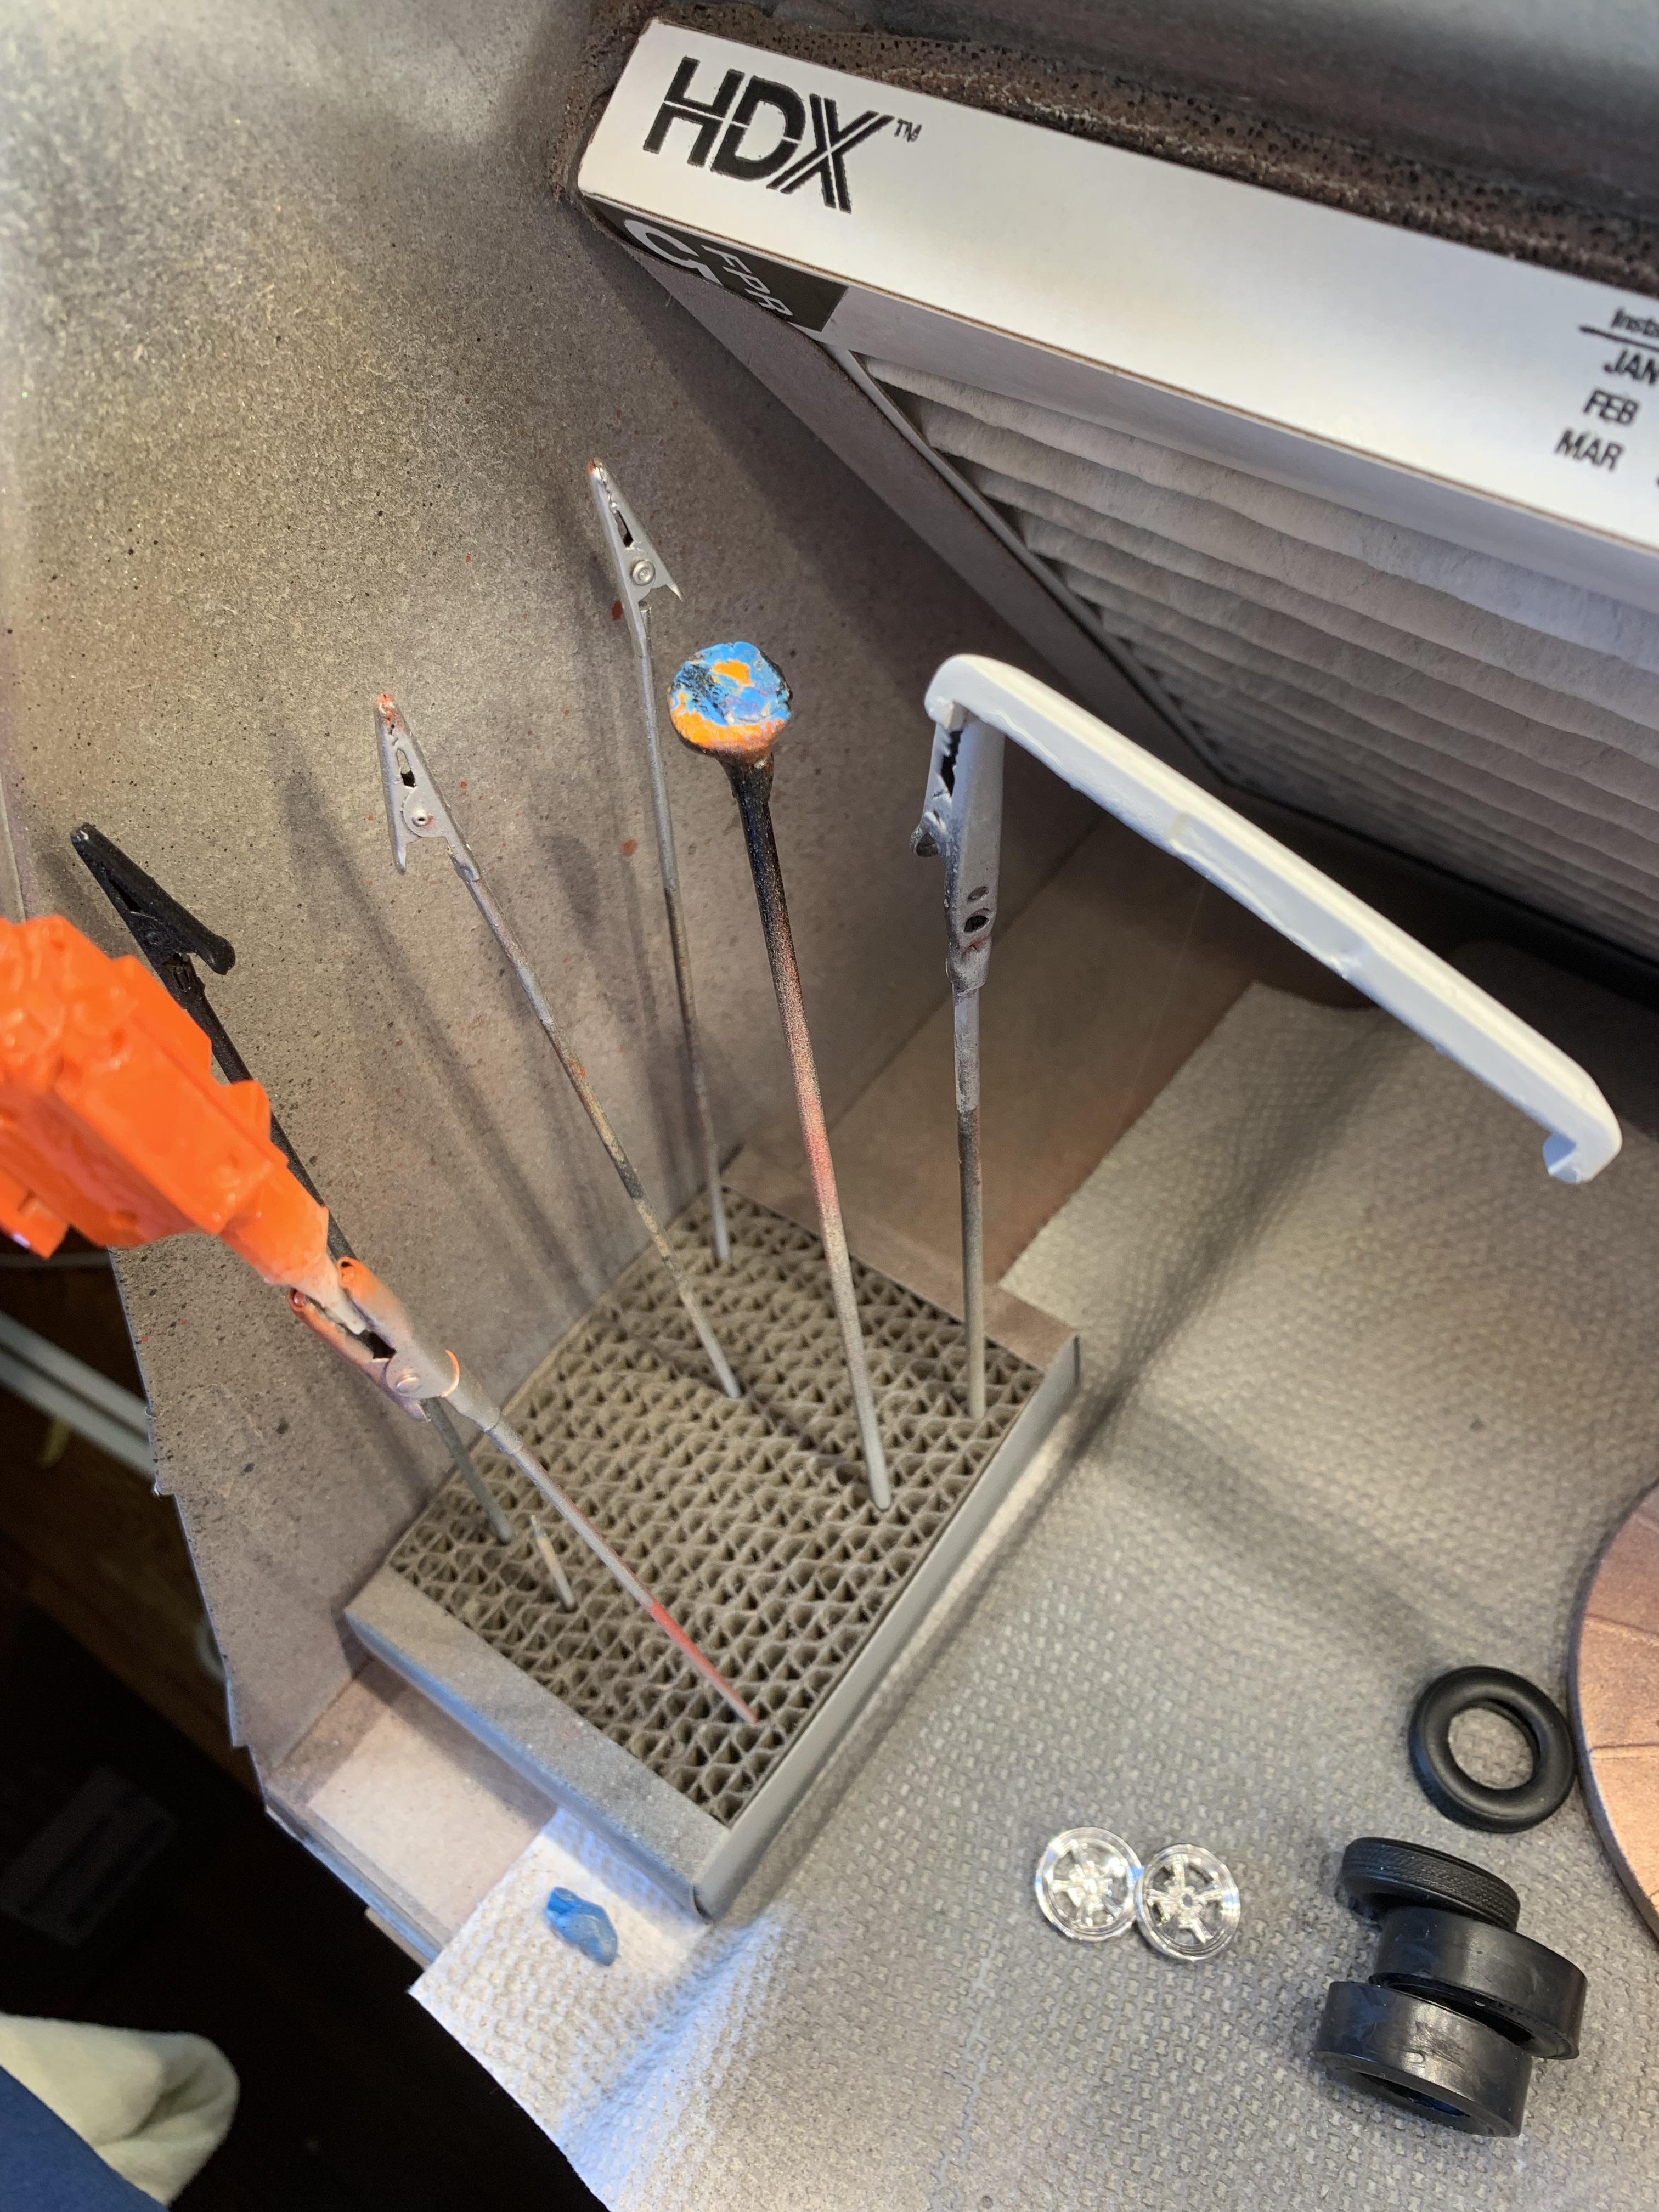
Thanks, Dennis. I forgot to mention all comments (good, bad indifferent) are welcomed as are questions. As Guy Beaudette said: I love questions, that’s how we learn. Anyway, put some “chrome” on the lug nuts and the resin grille. Spun the slicks on my head porting sanding pad and sanded them off a bit. A pic of the Radir wheels.
-
Thank you for your responses, gentlemen. I will keep looking.
-
Grooms Bros. 1965 Plymouth Sedan awb Black Trash II
R. Thorne replied to R. Thorne's topic in WIP: Drag Racing Models
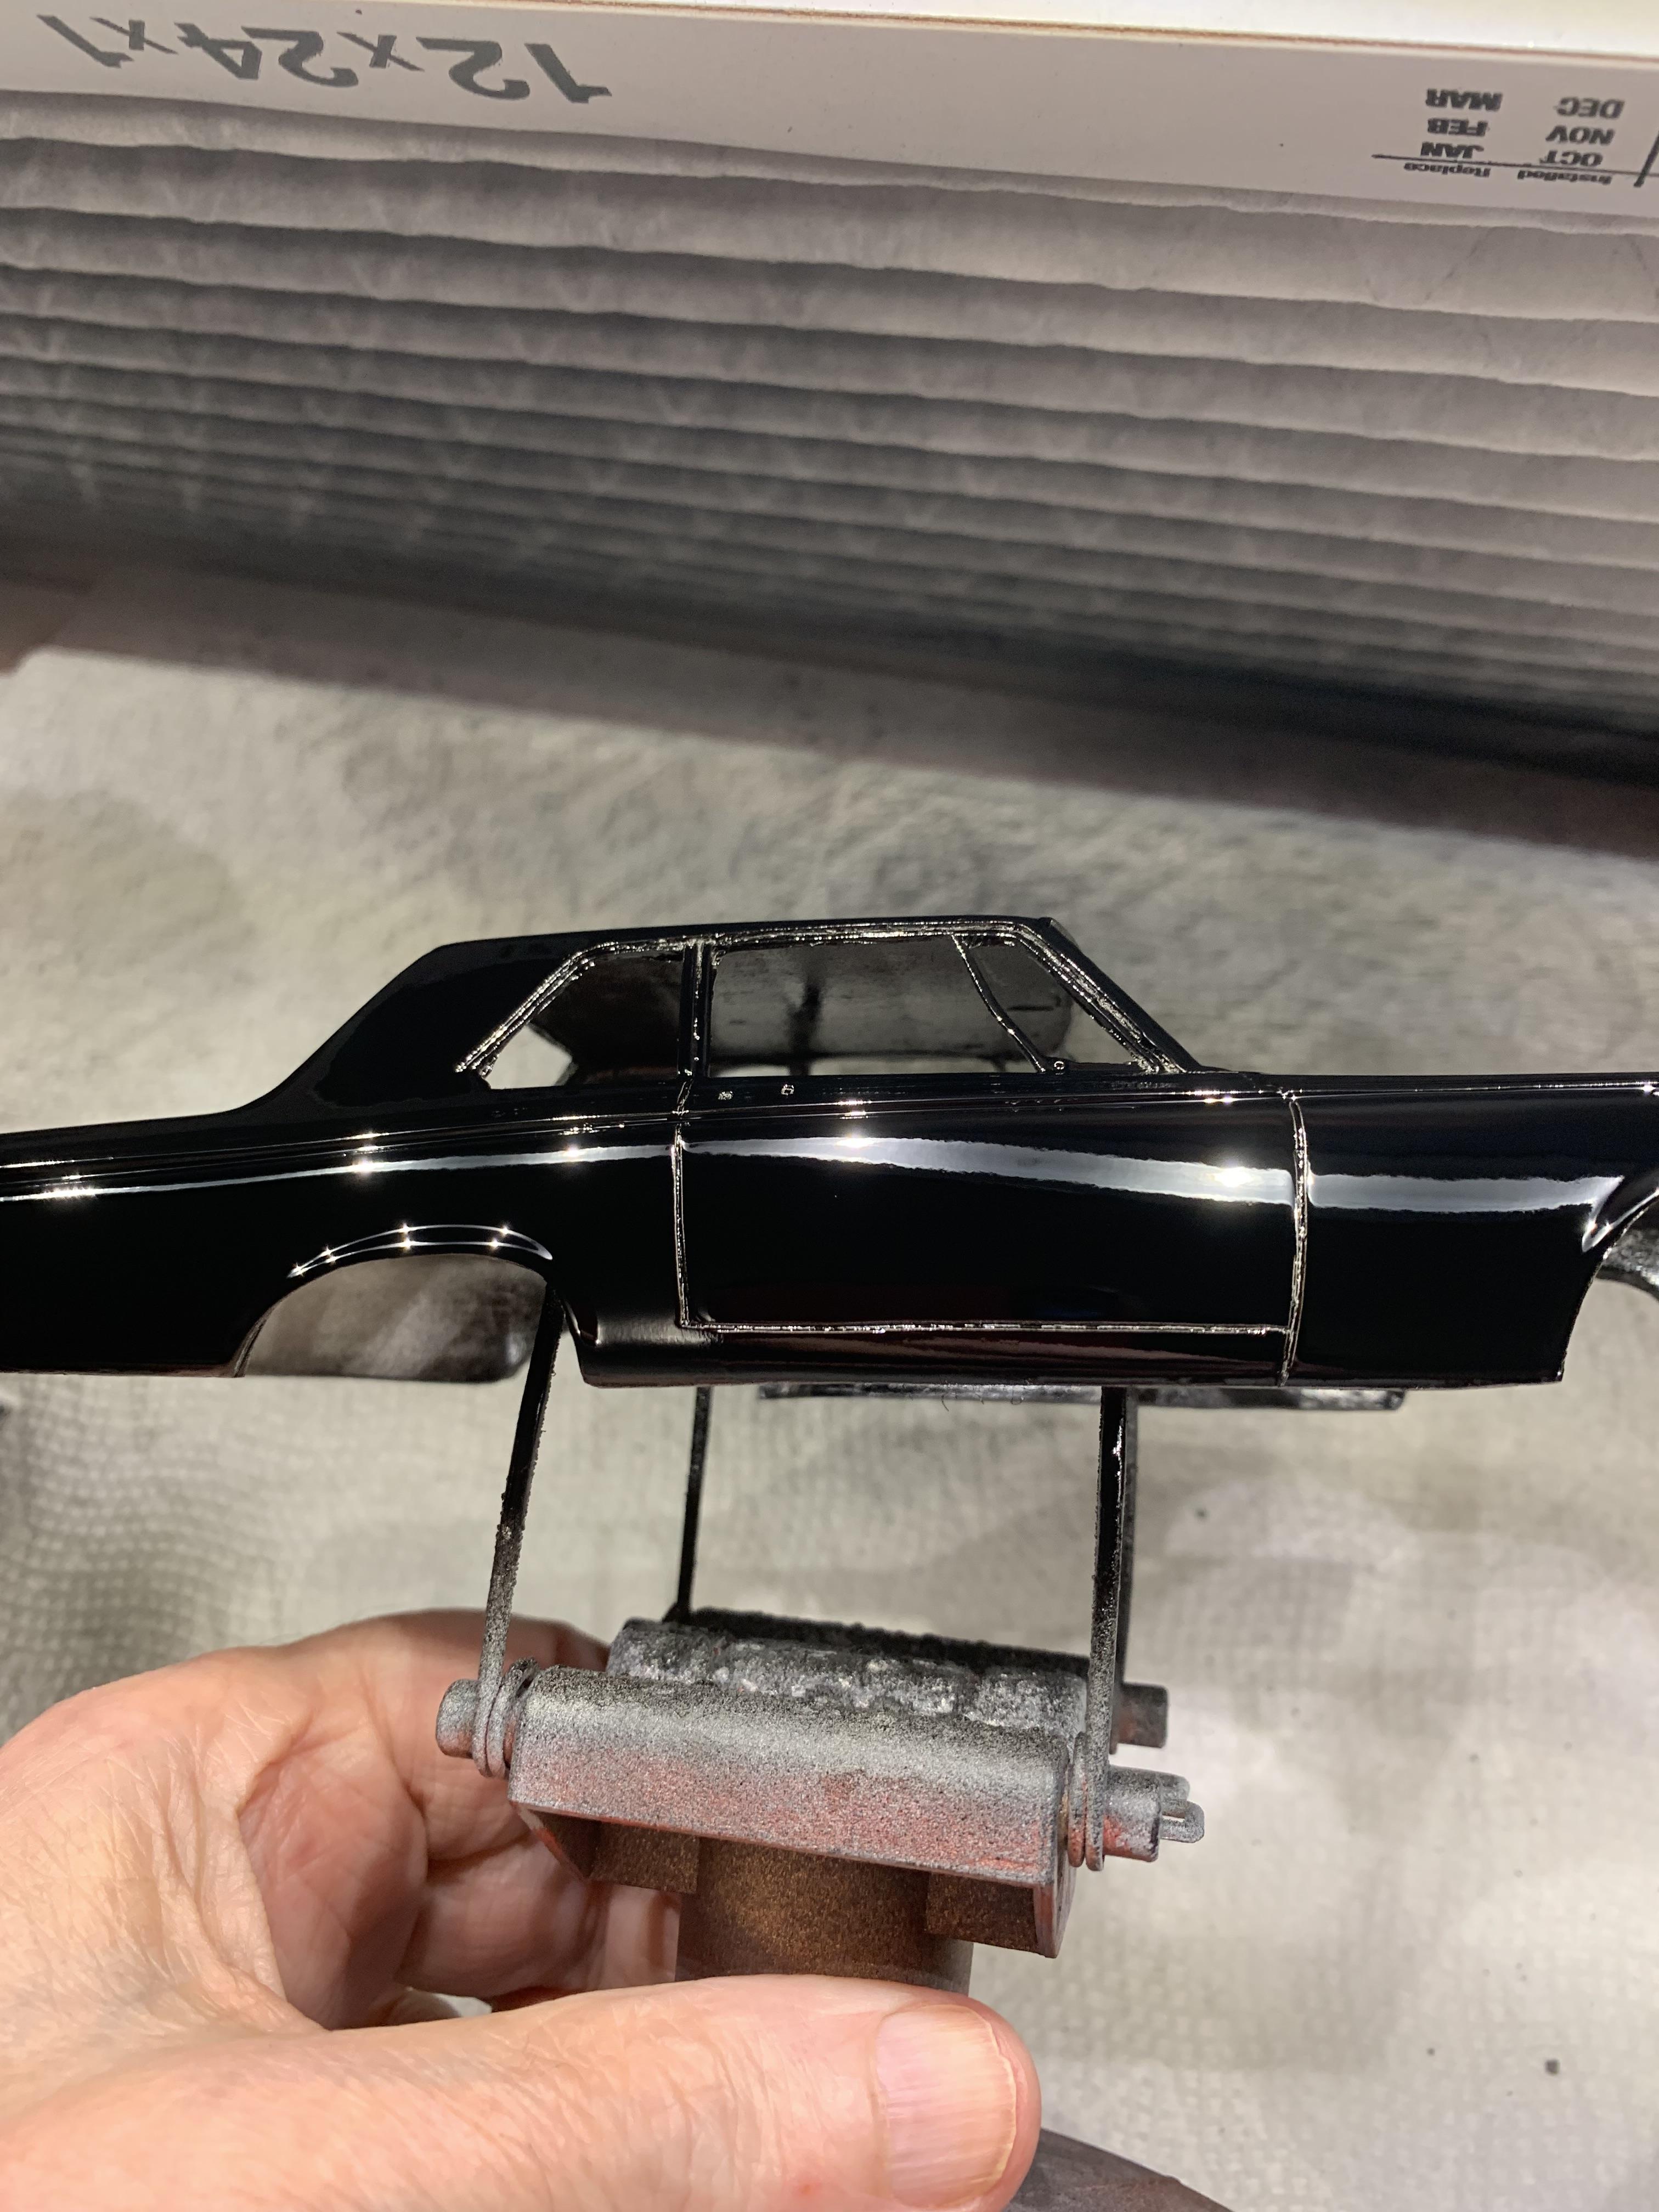
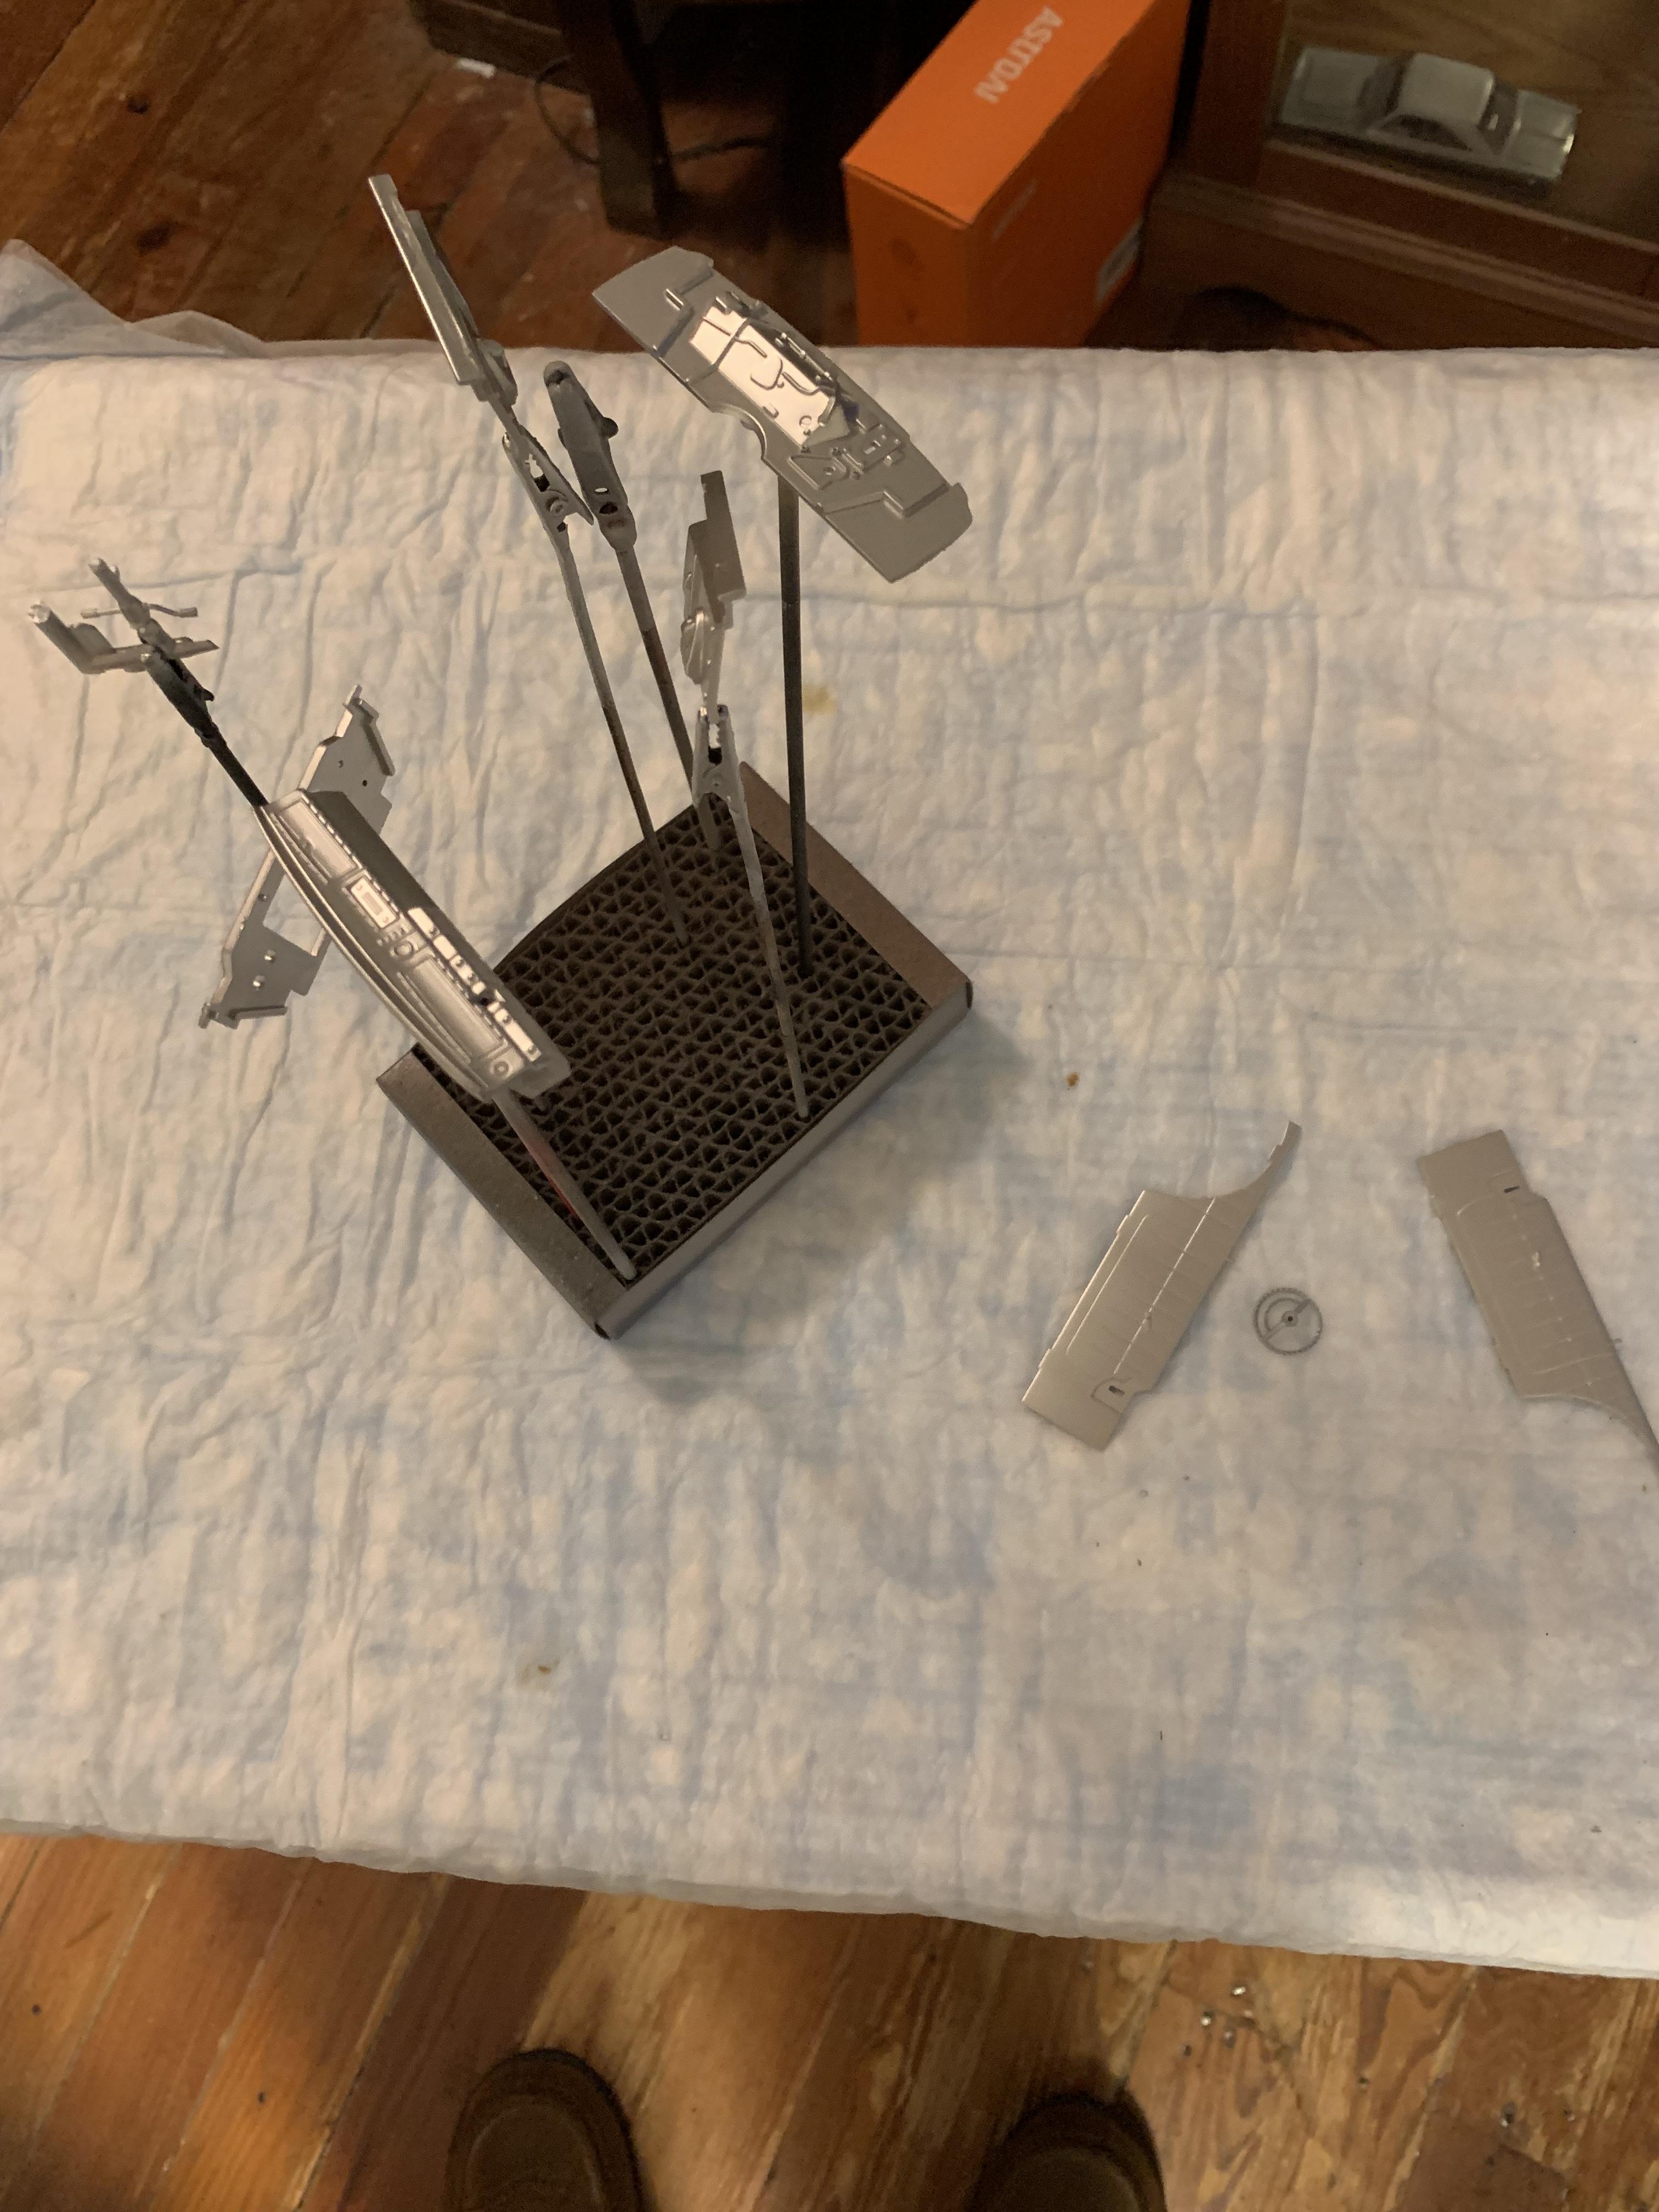
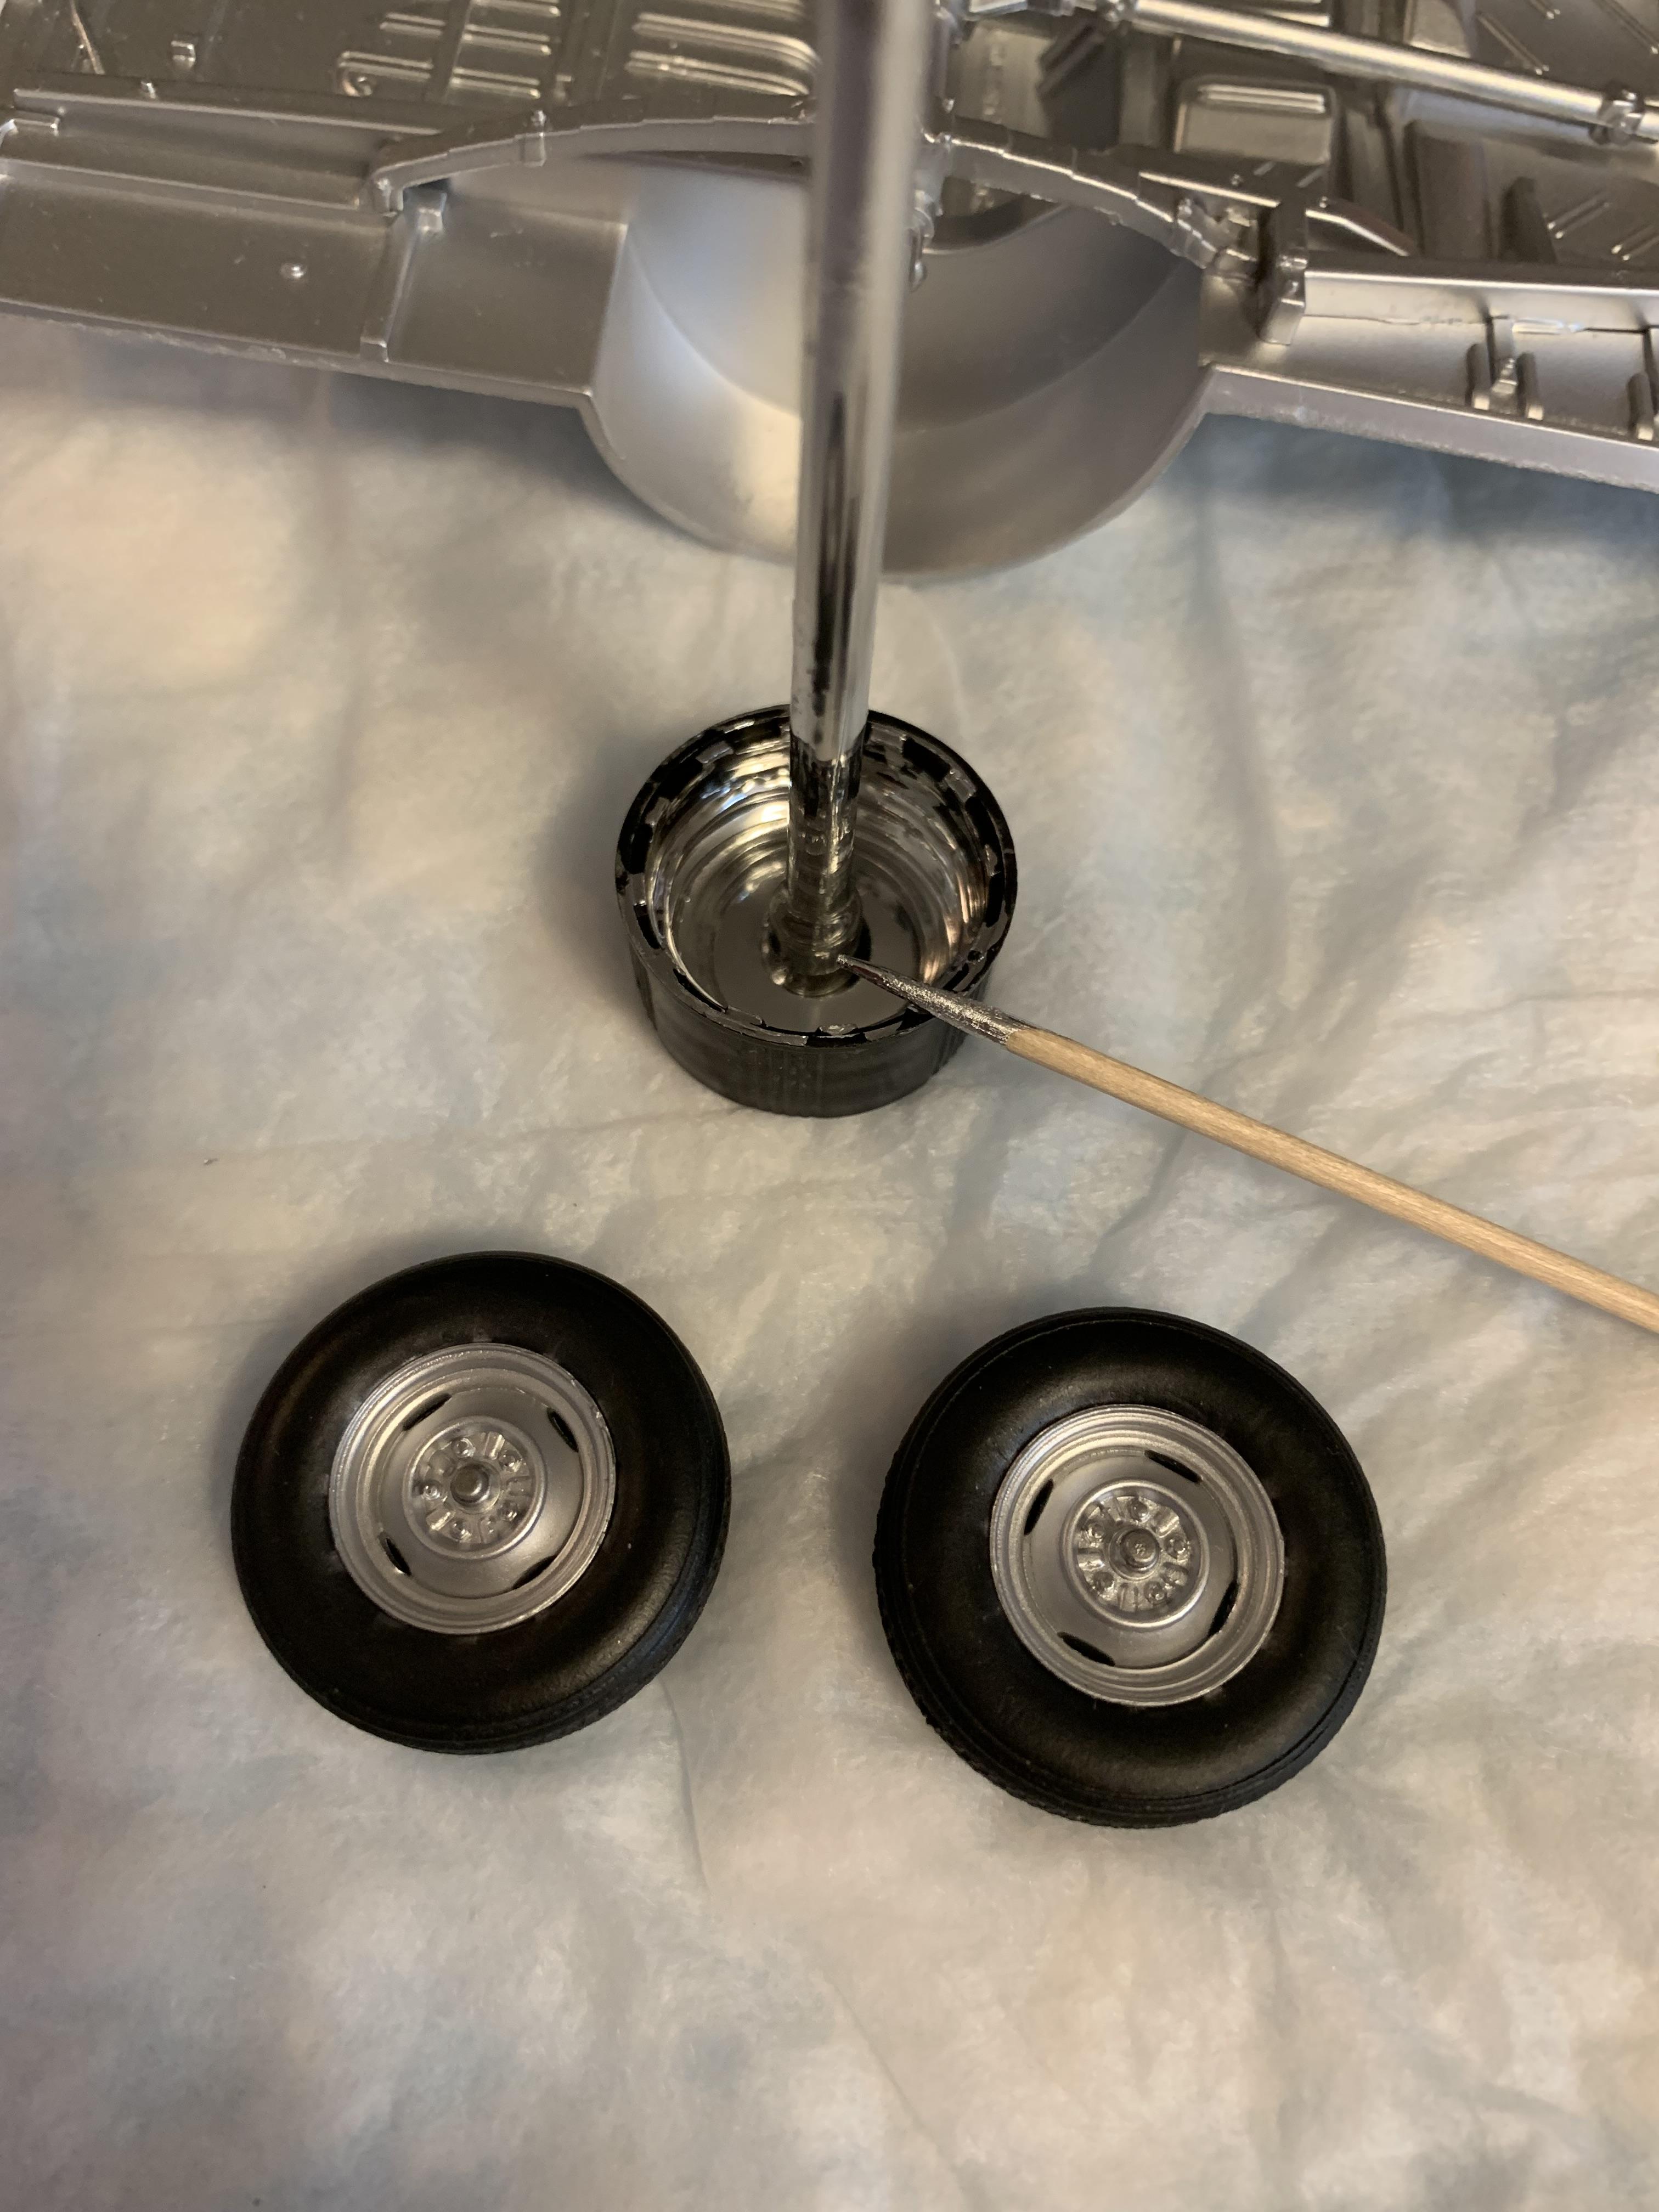
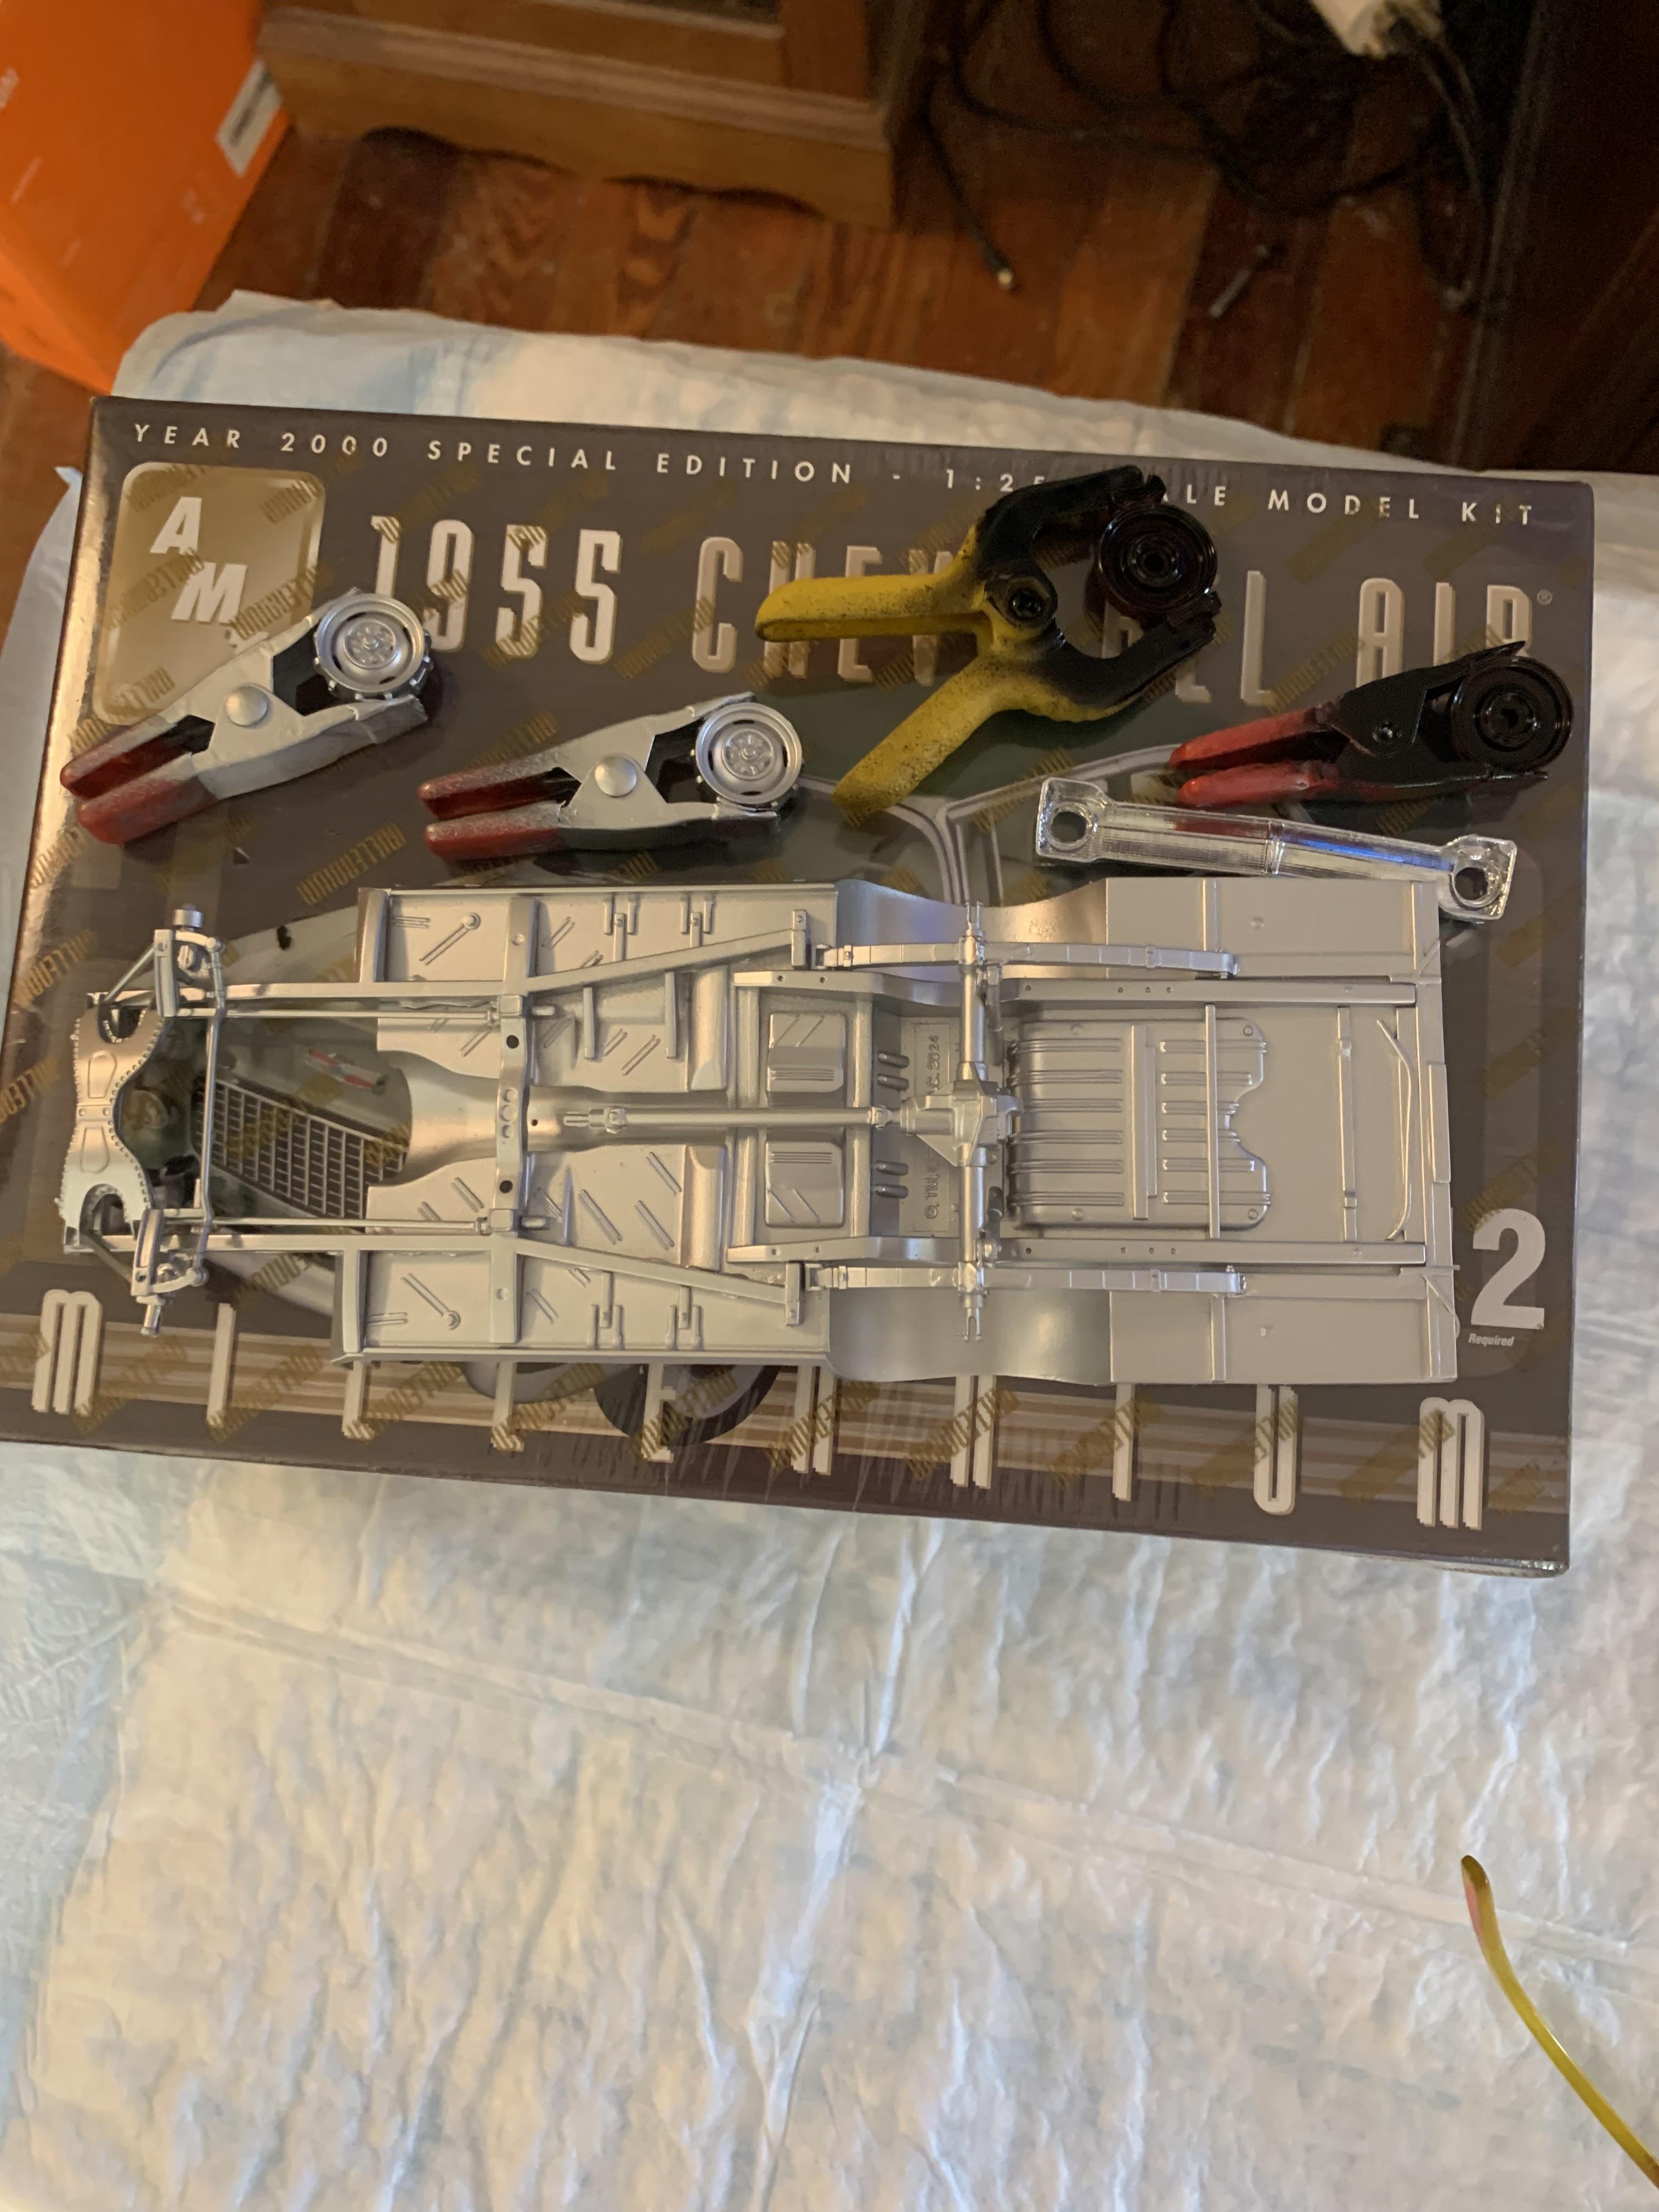
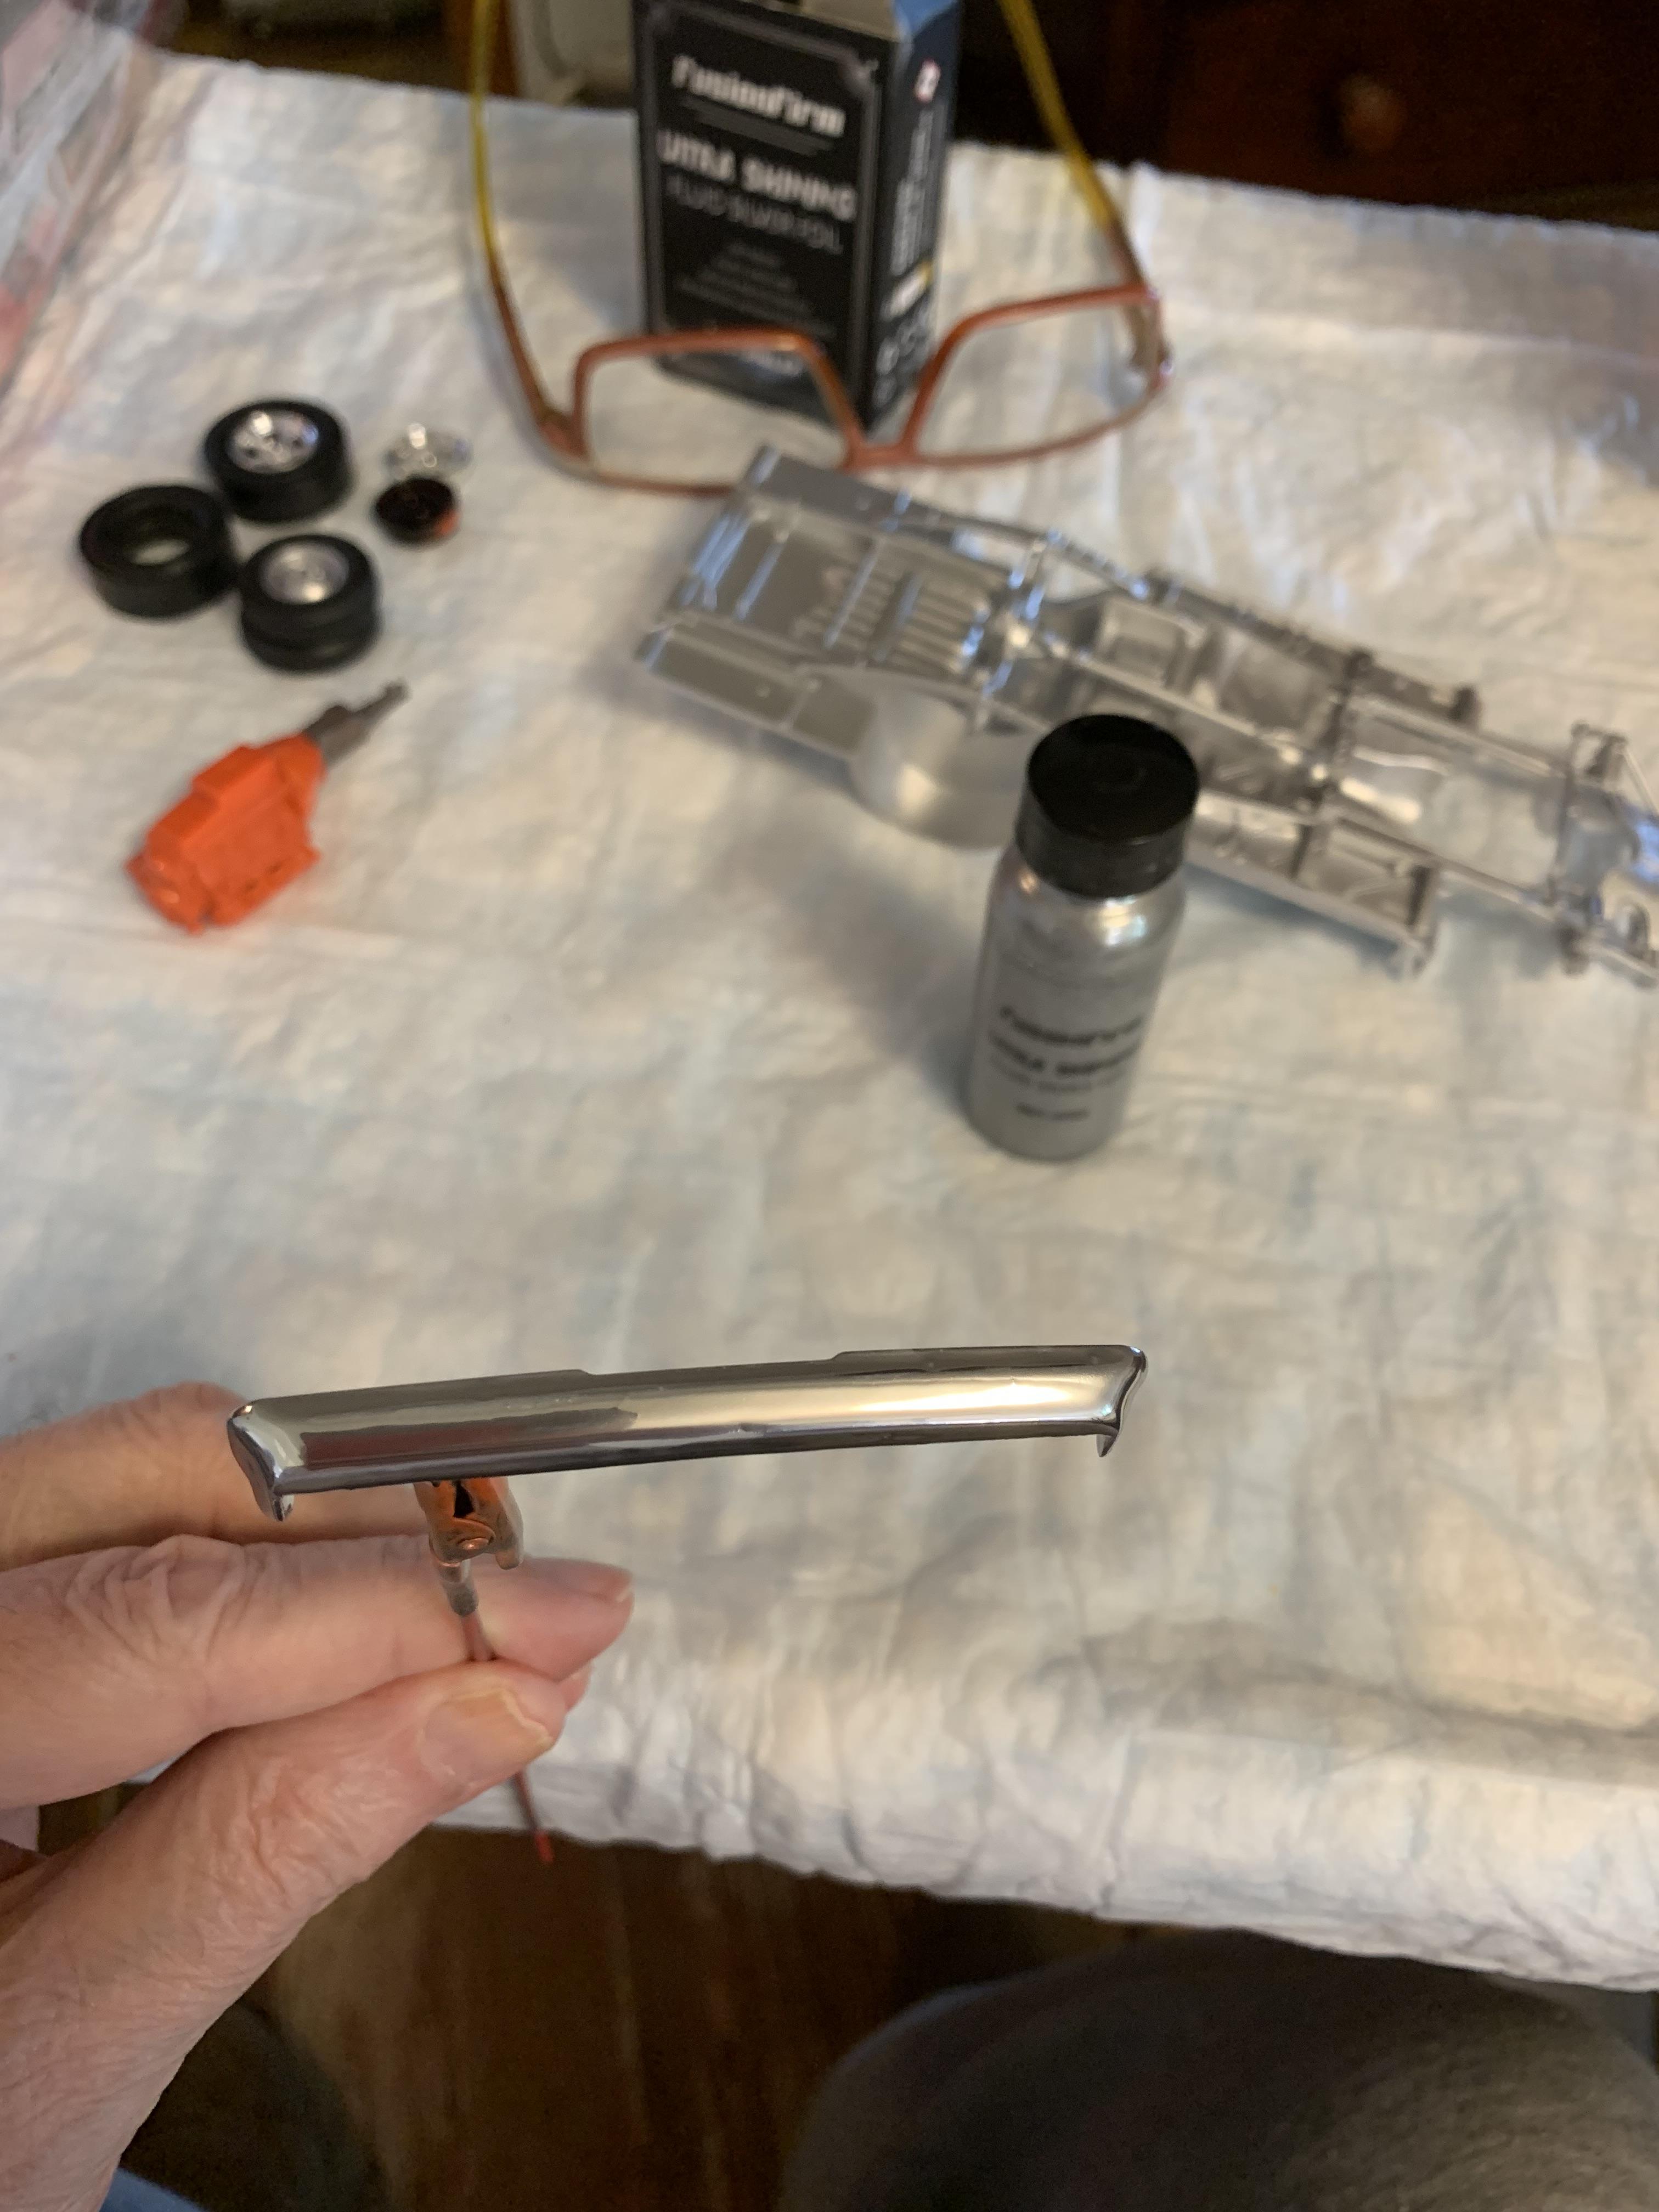
Assembled the chassis and sprayed some it with some ts30 Tamiya. Also, the front wheels. Then, some ts14 gloss black on the body. Turned out badly, don’t know why. Will be a do over. Chromed the rear bumper.
-
Grooms Bros. 1965 Plymouth Sedan awb Black Trash II
R. Thorne replied to R. Thorne's topic in WIP: Drag Racing Models
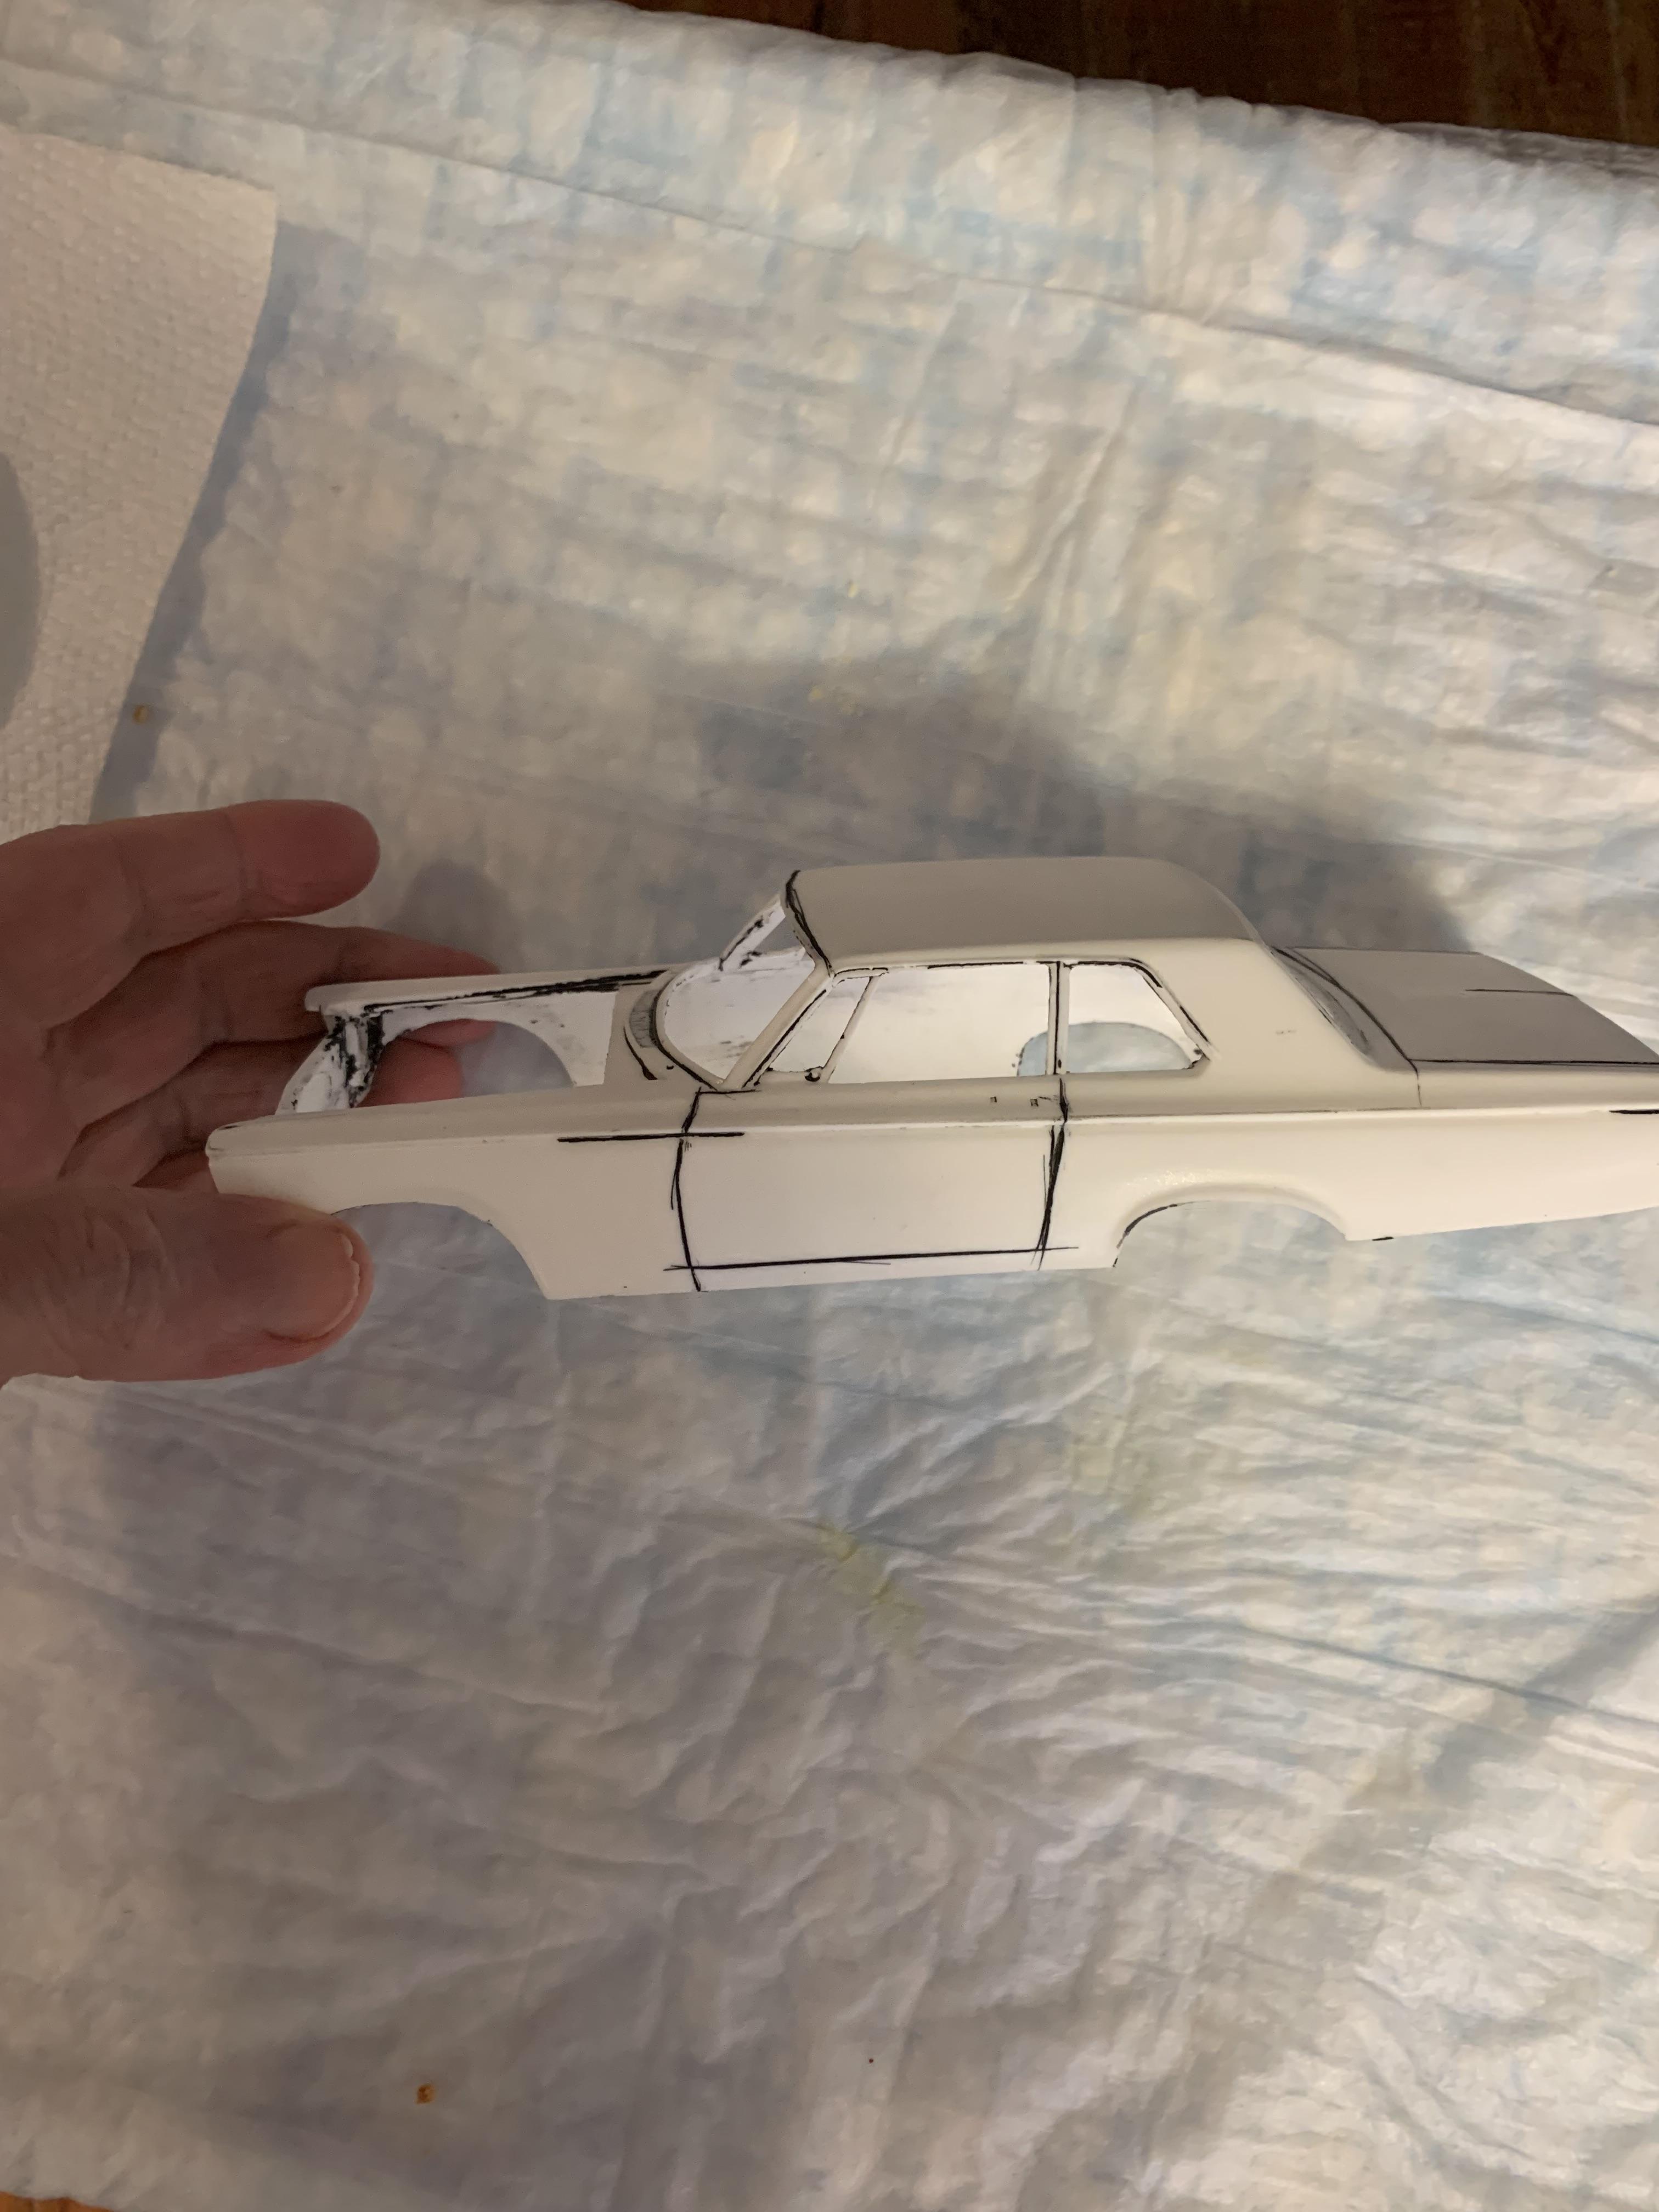
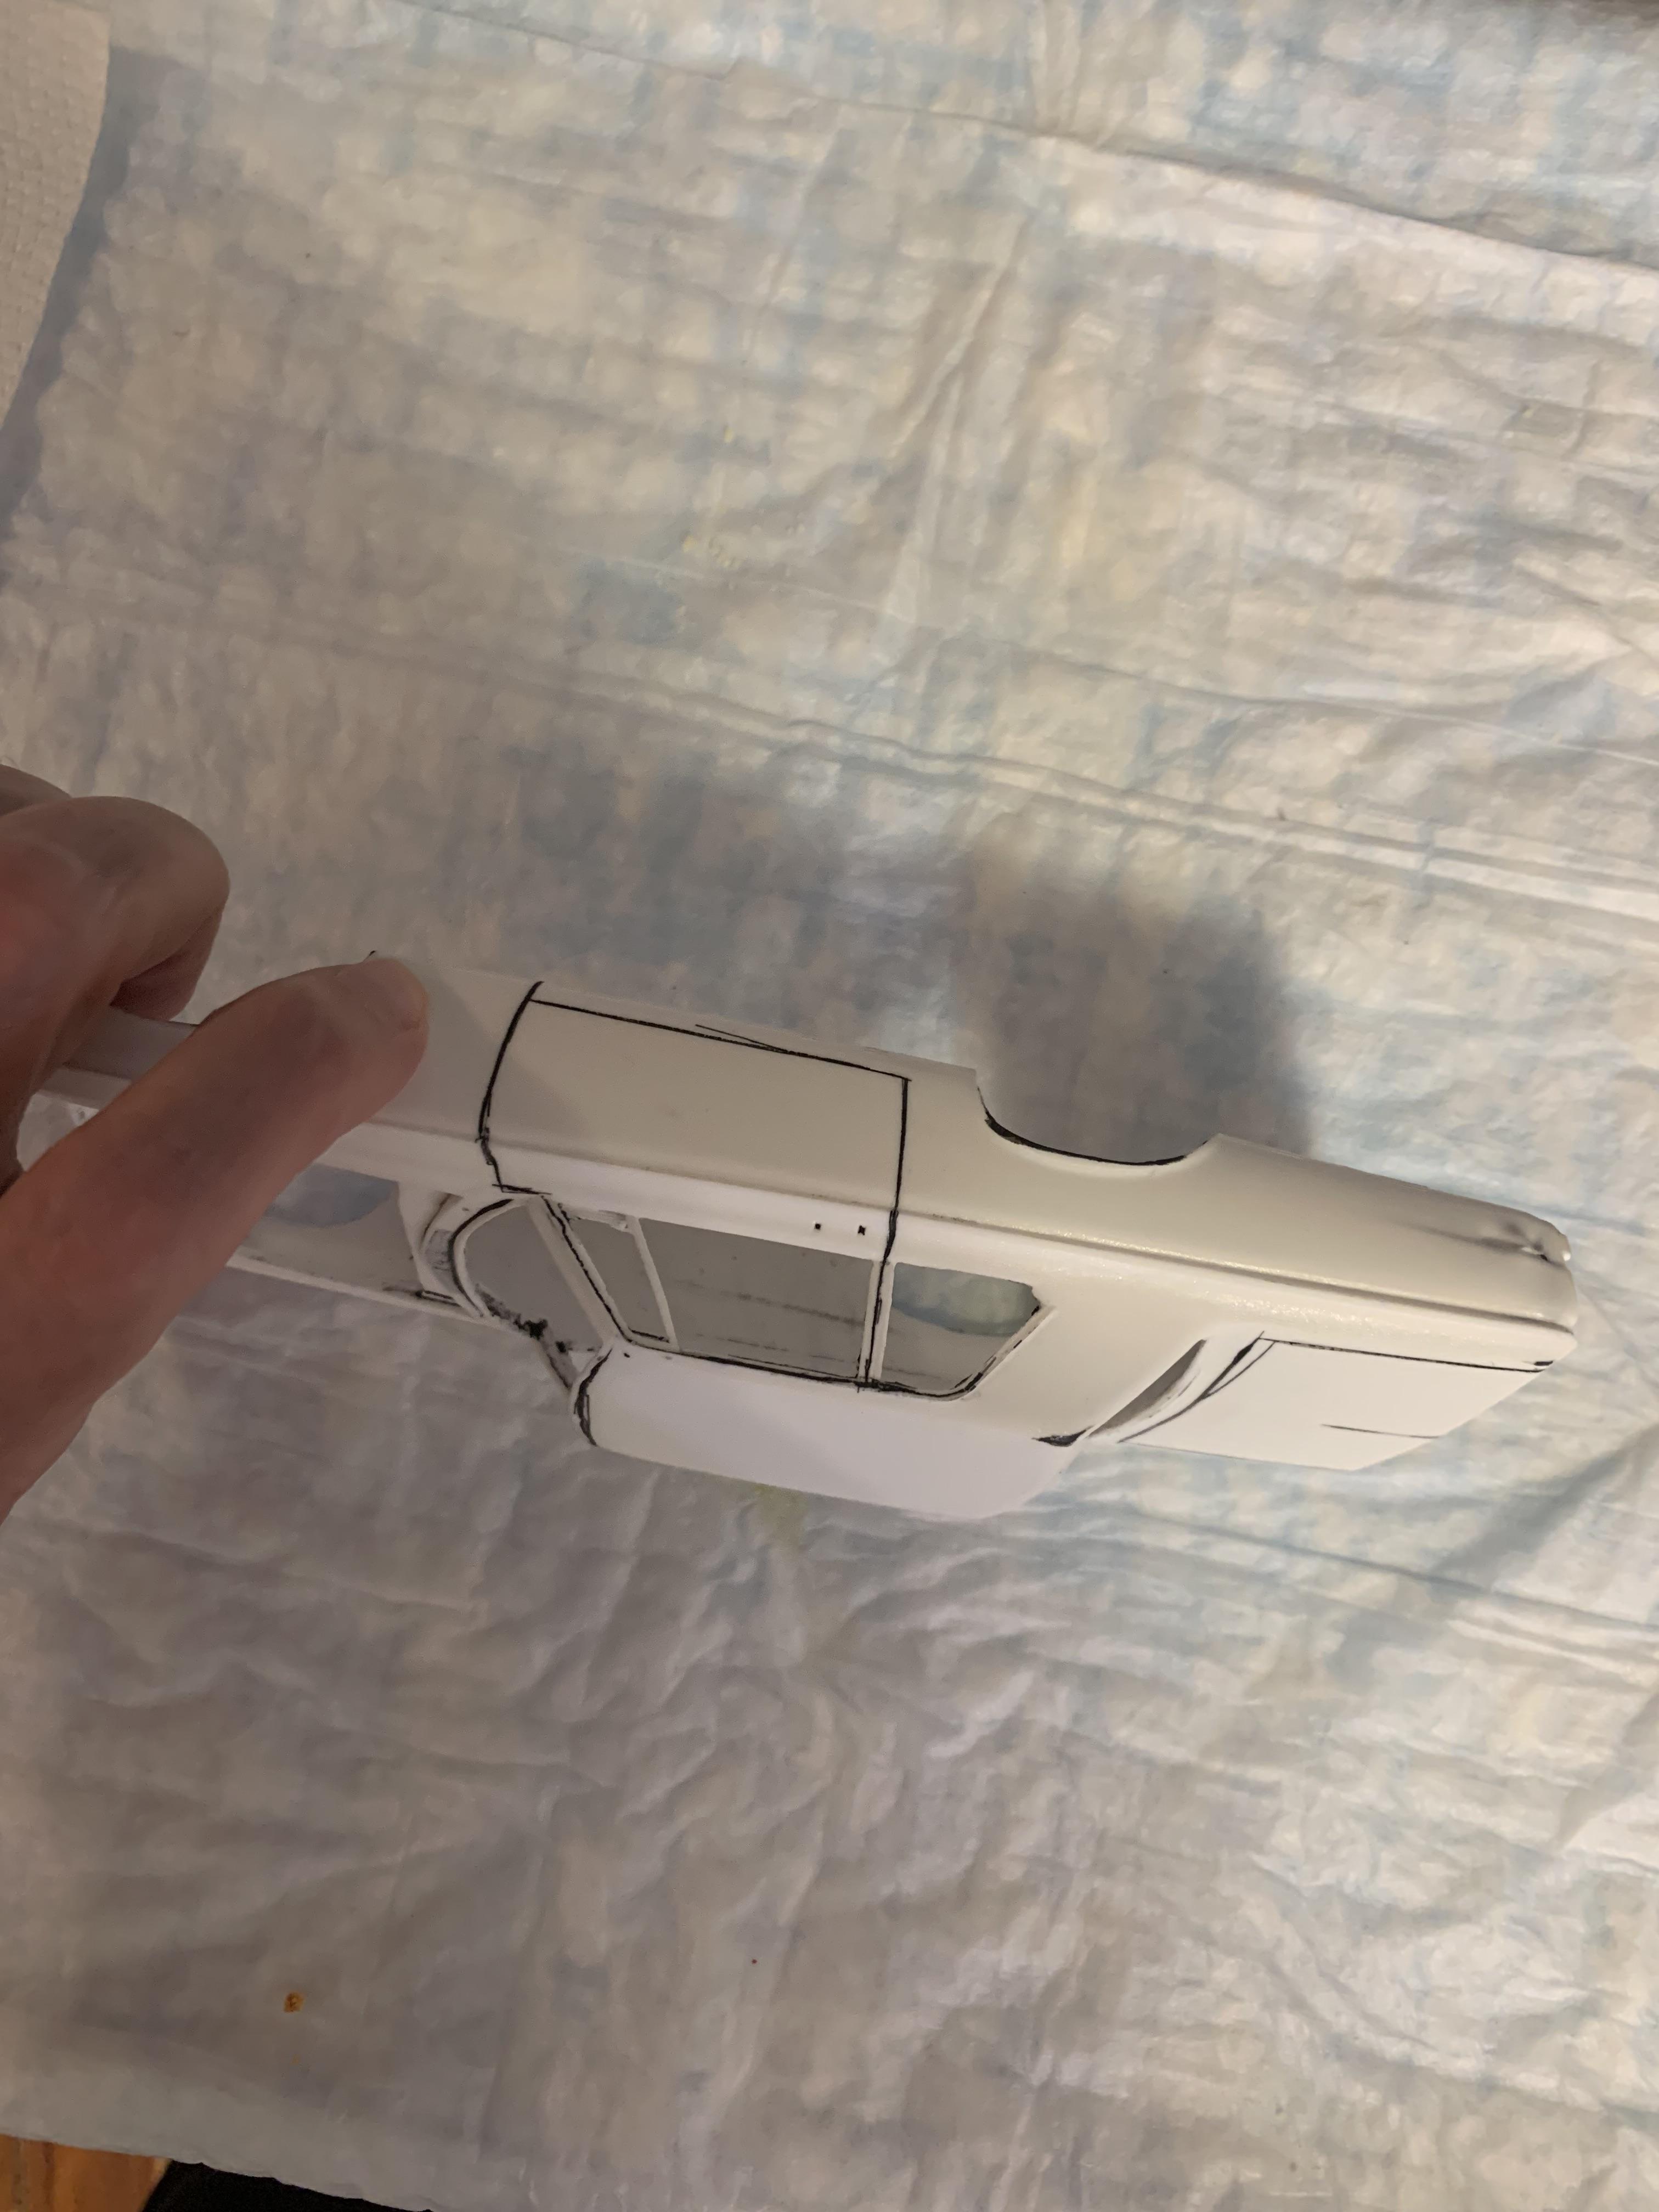
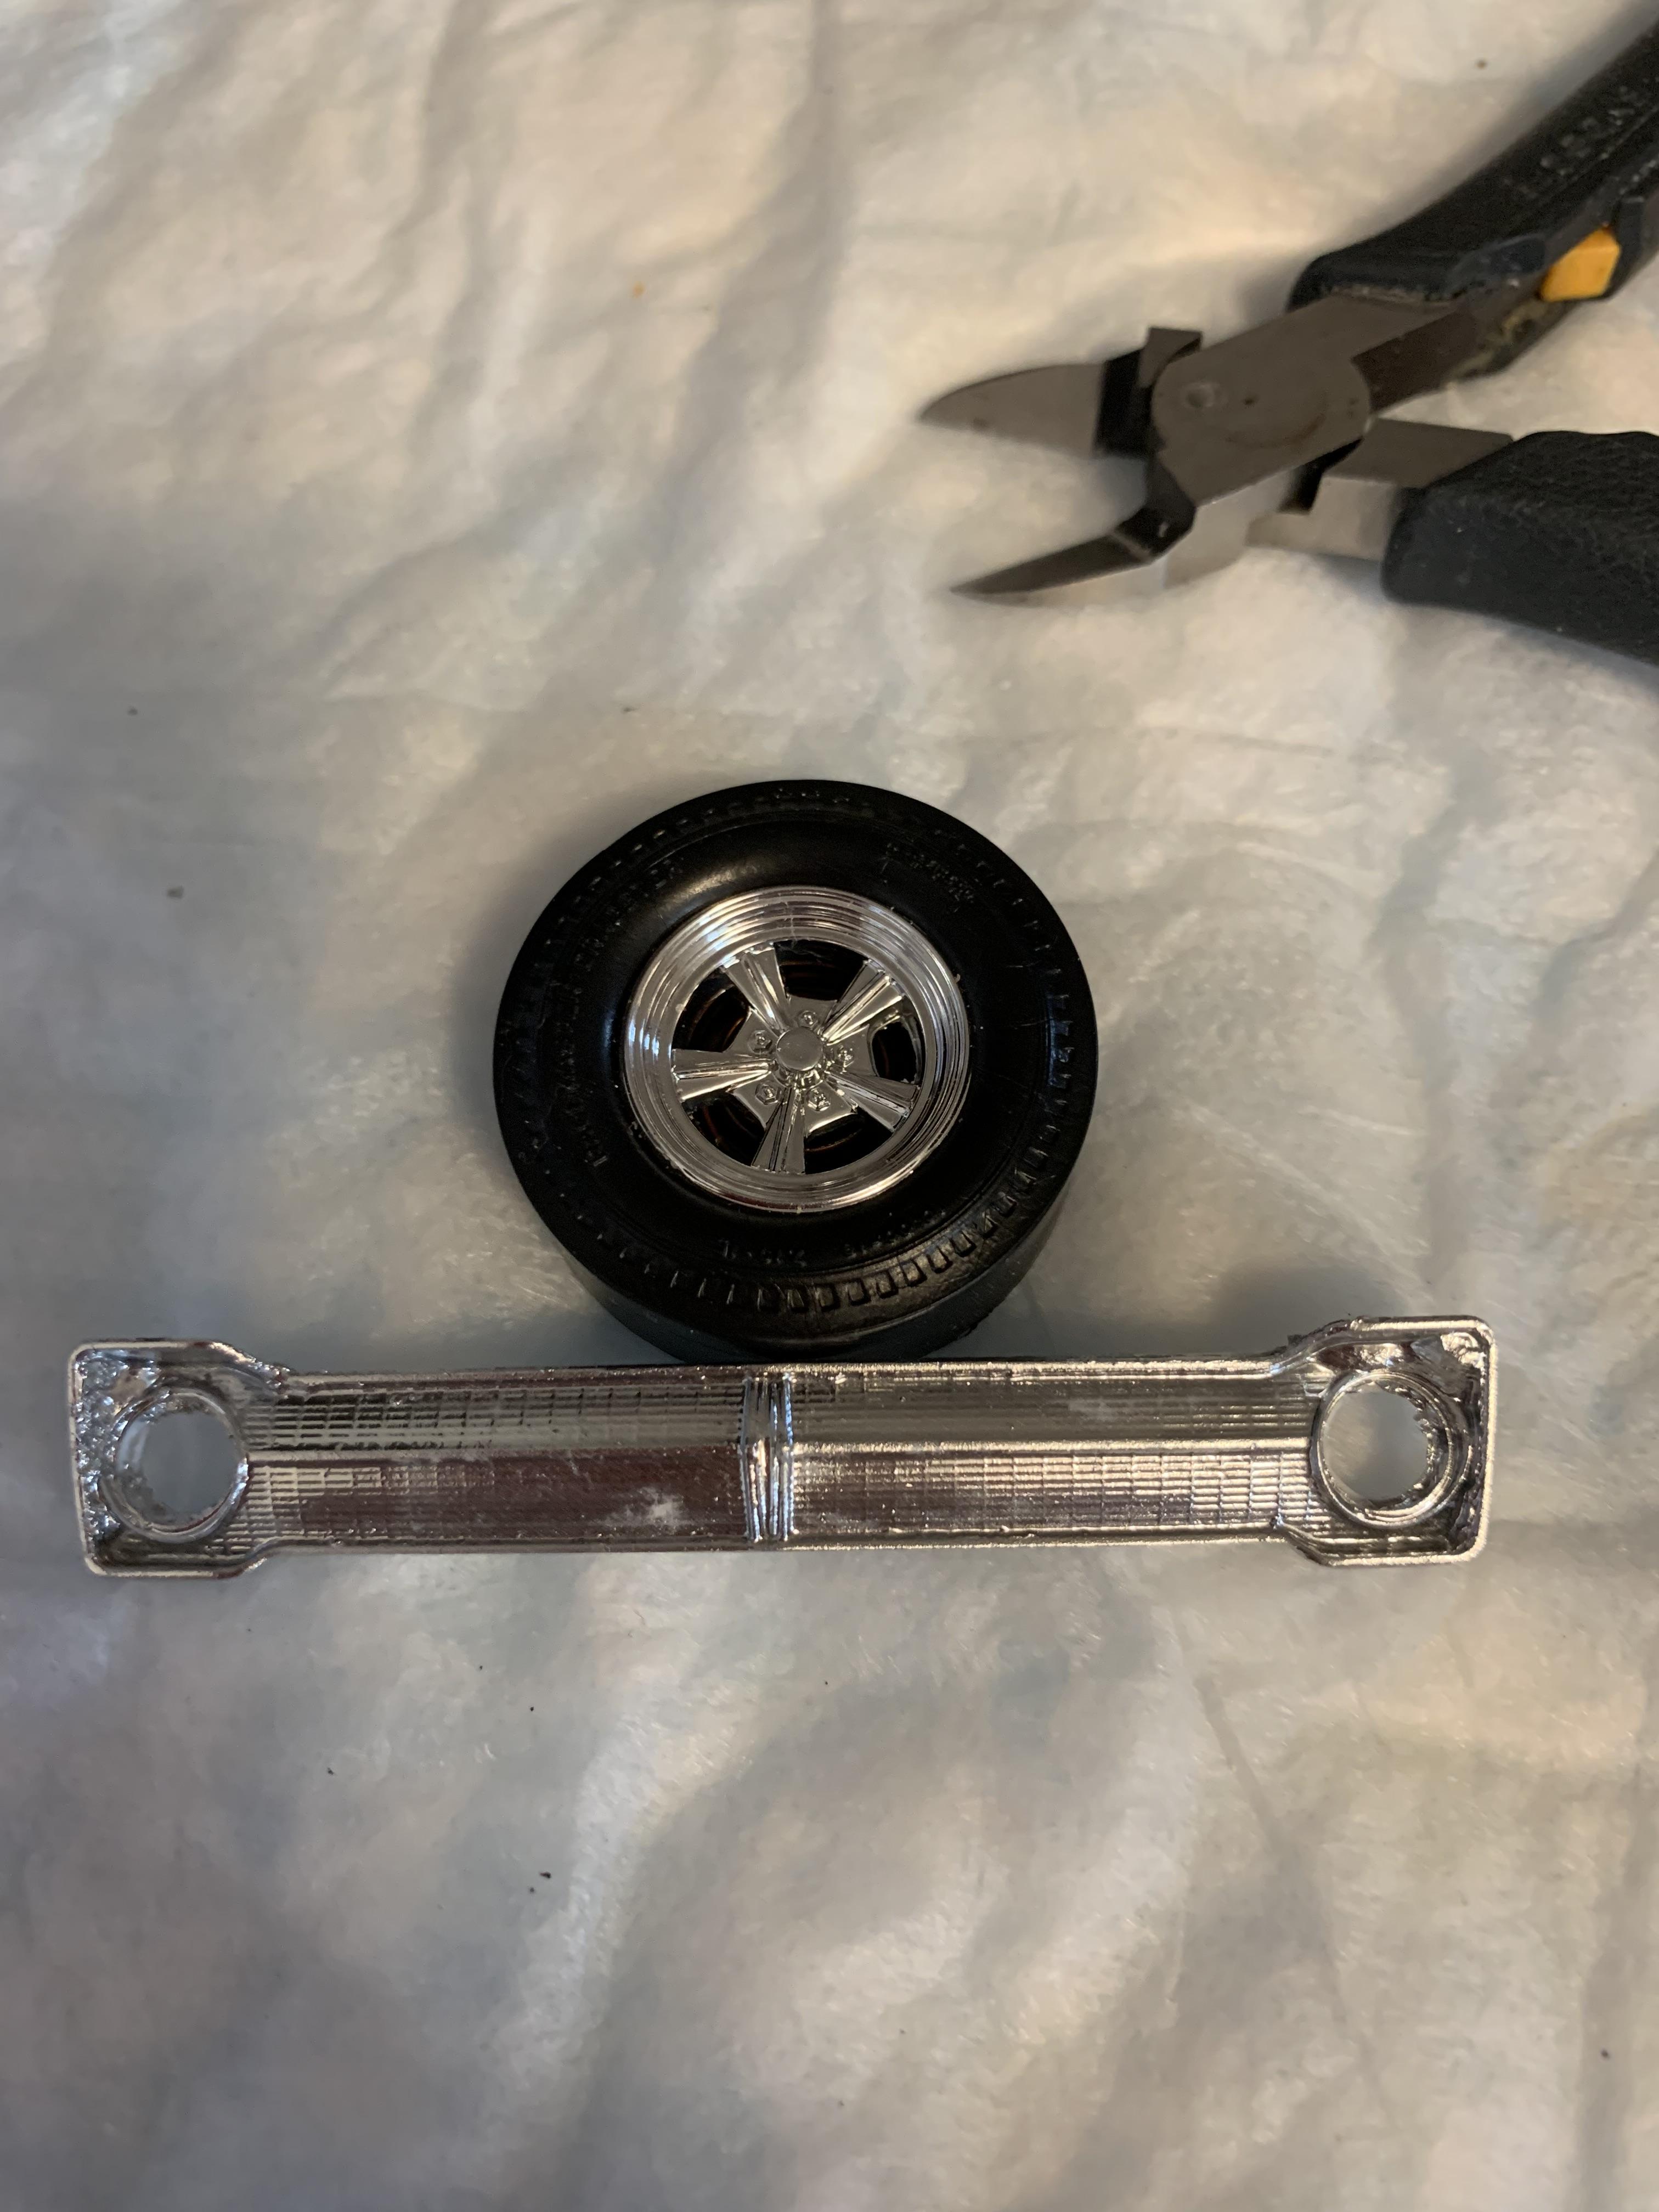
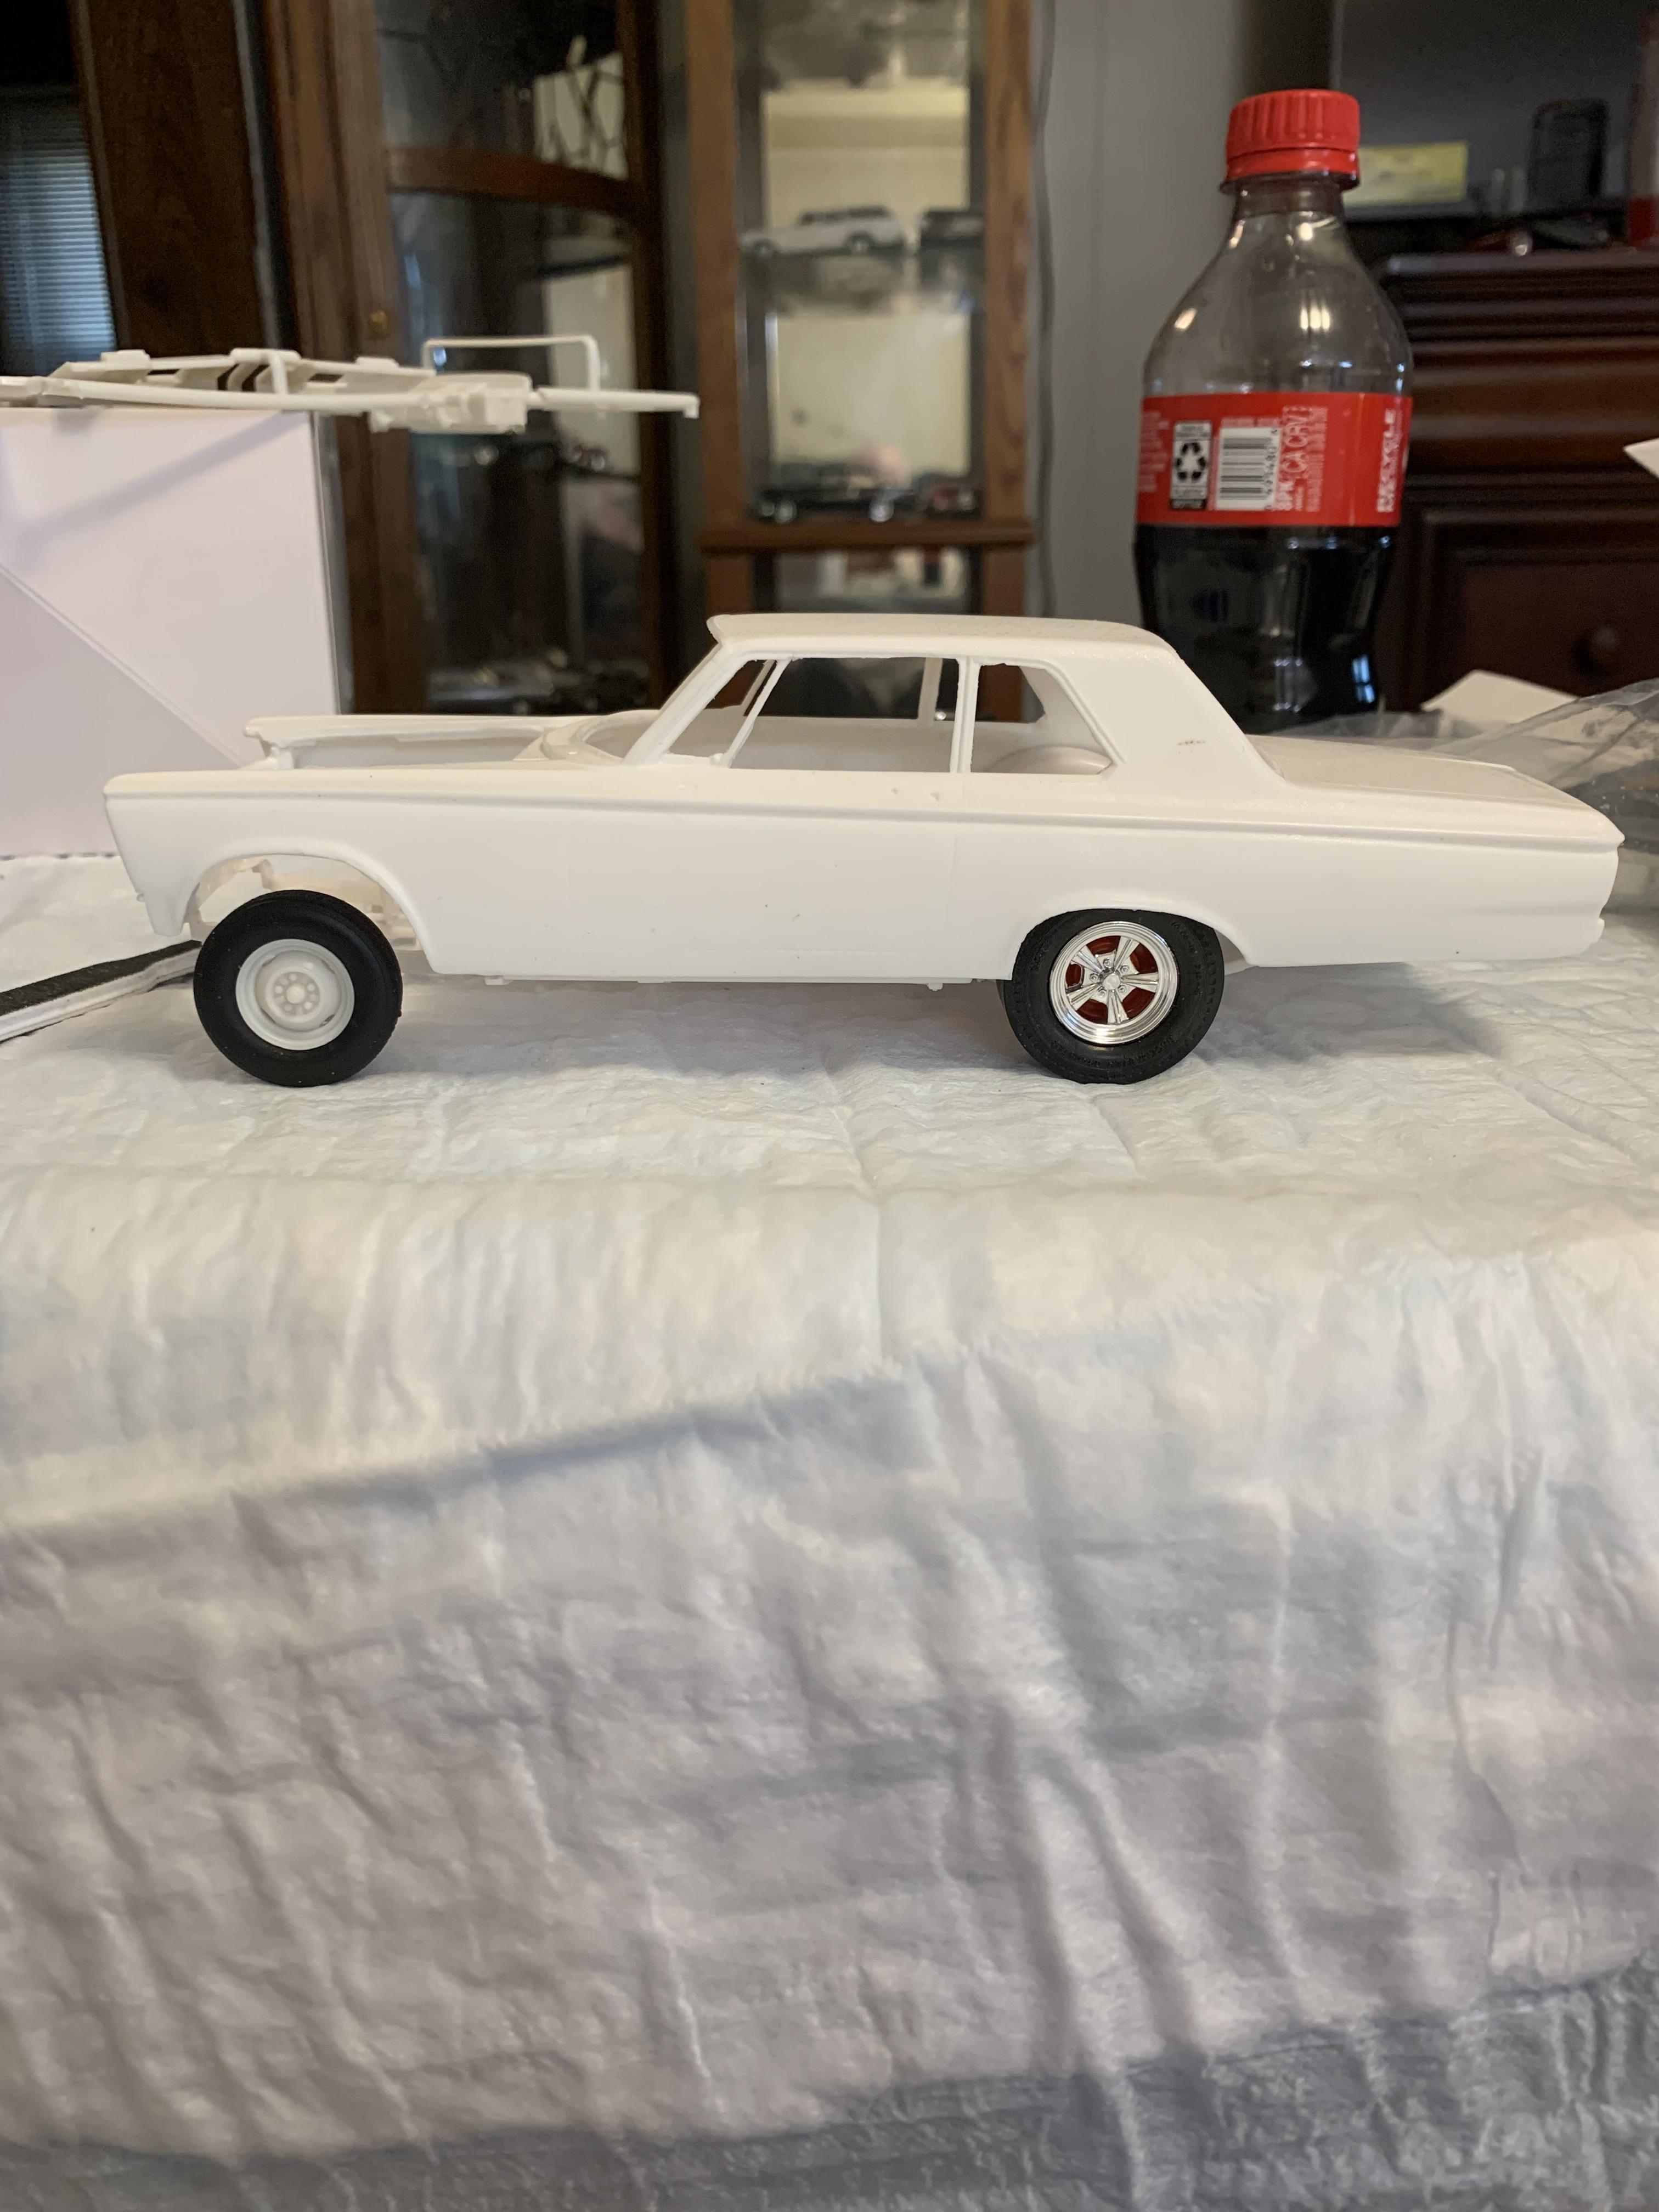
“Chromed” the front grill, sanded the body and shot some 500 primer, found some Radir rear wheels from a Thunderbolt kit, then rescribed some lines.
-
Grooms Bros. 1965 Plymouth Sedan awb Black Trash II
R. Thorne replied to R. Thorne's topic in WIP: Drag Racing Models
Thanks for pointing that out. The ‘33 has been on my list for quite some time. Sorry to hear of his passing.
-
Grooms Bros. 1965 Plymouth Sedan awb Black Trash II
R. Thorne replied to R. Thorne's topic in WIP: Drag Racing Models
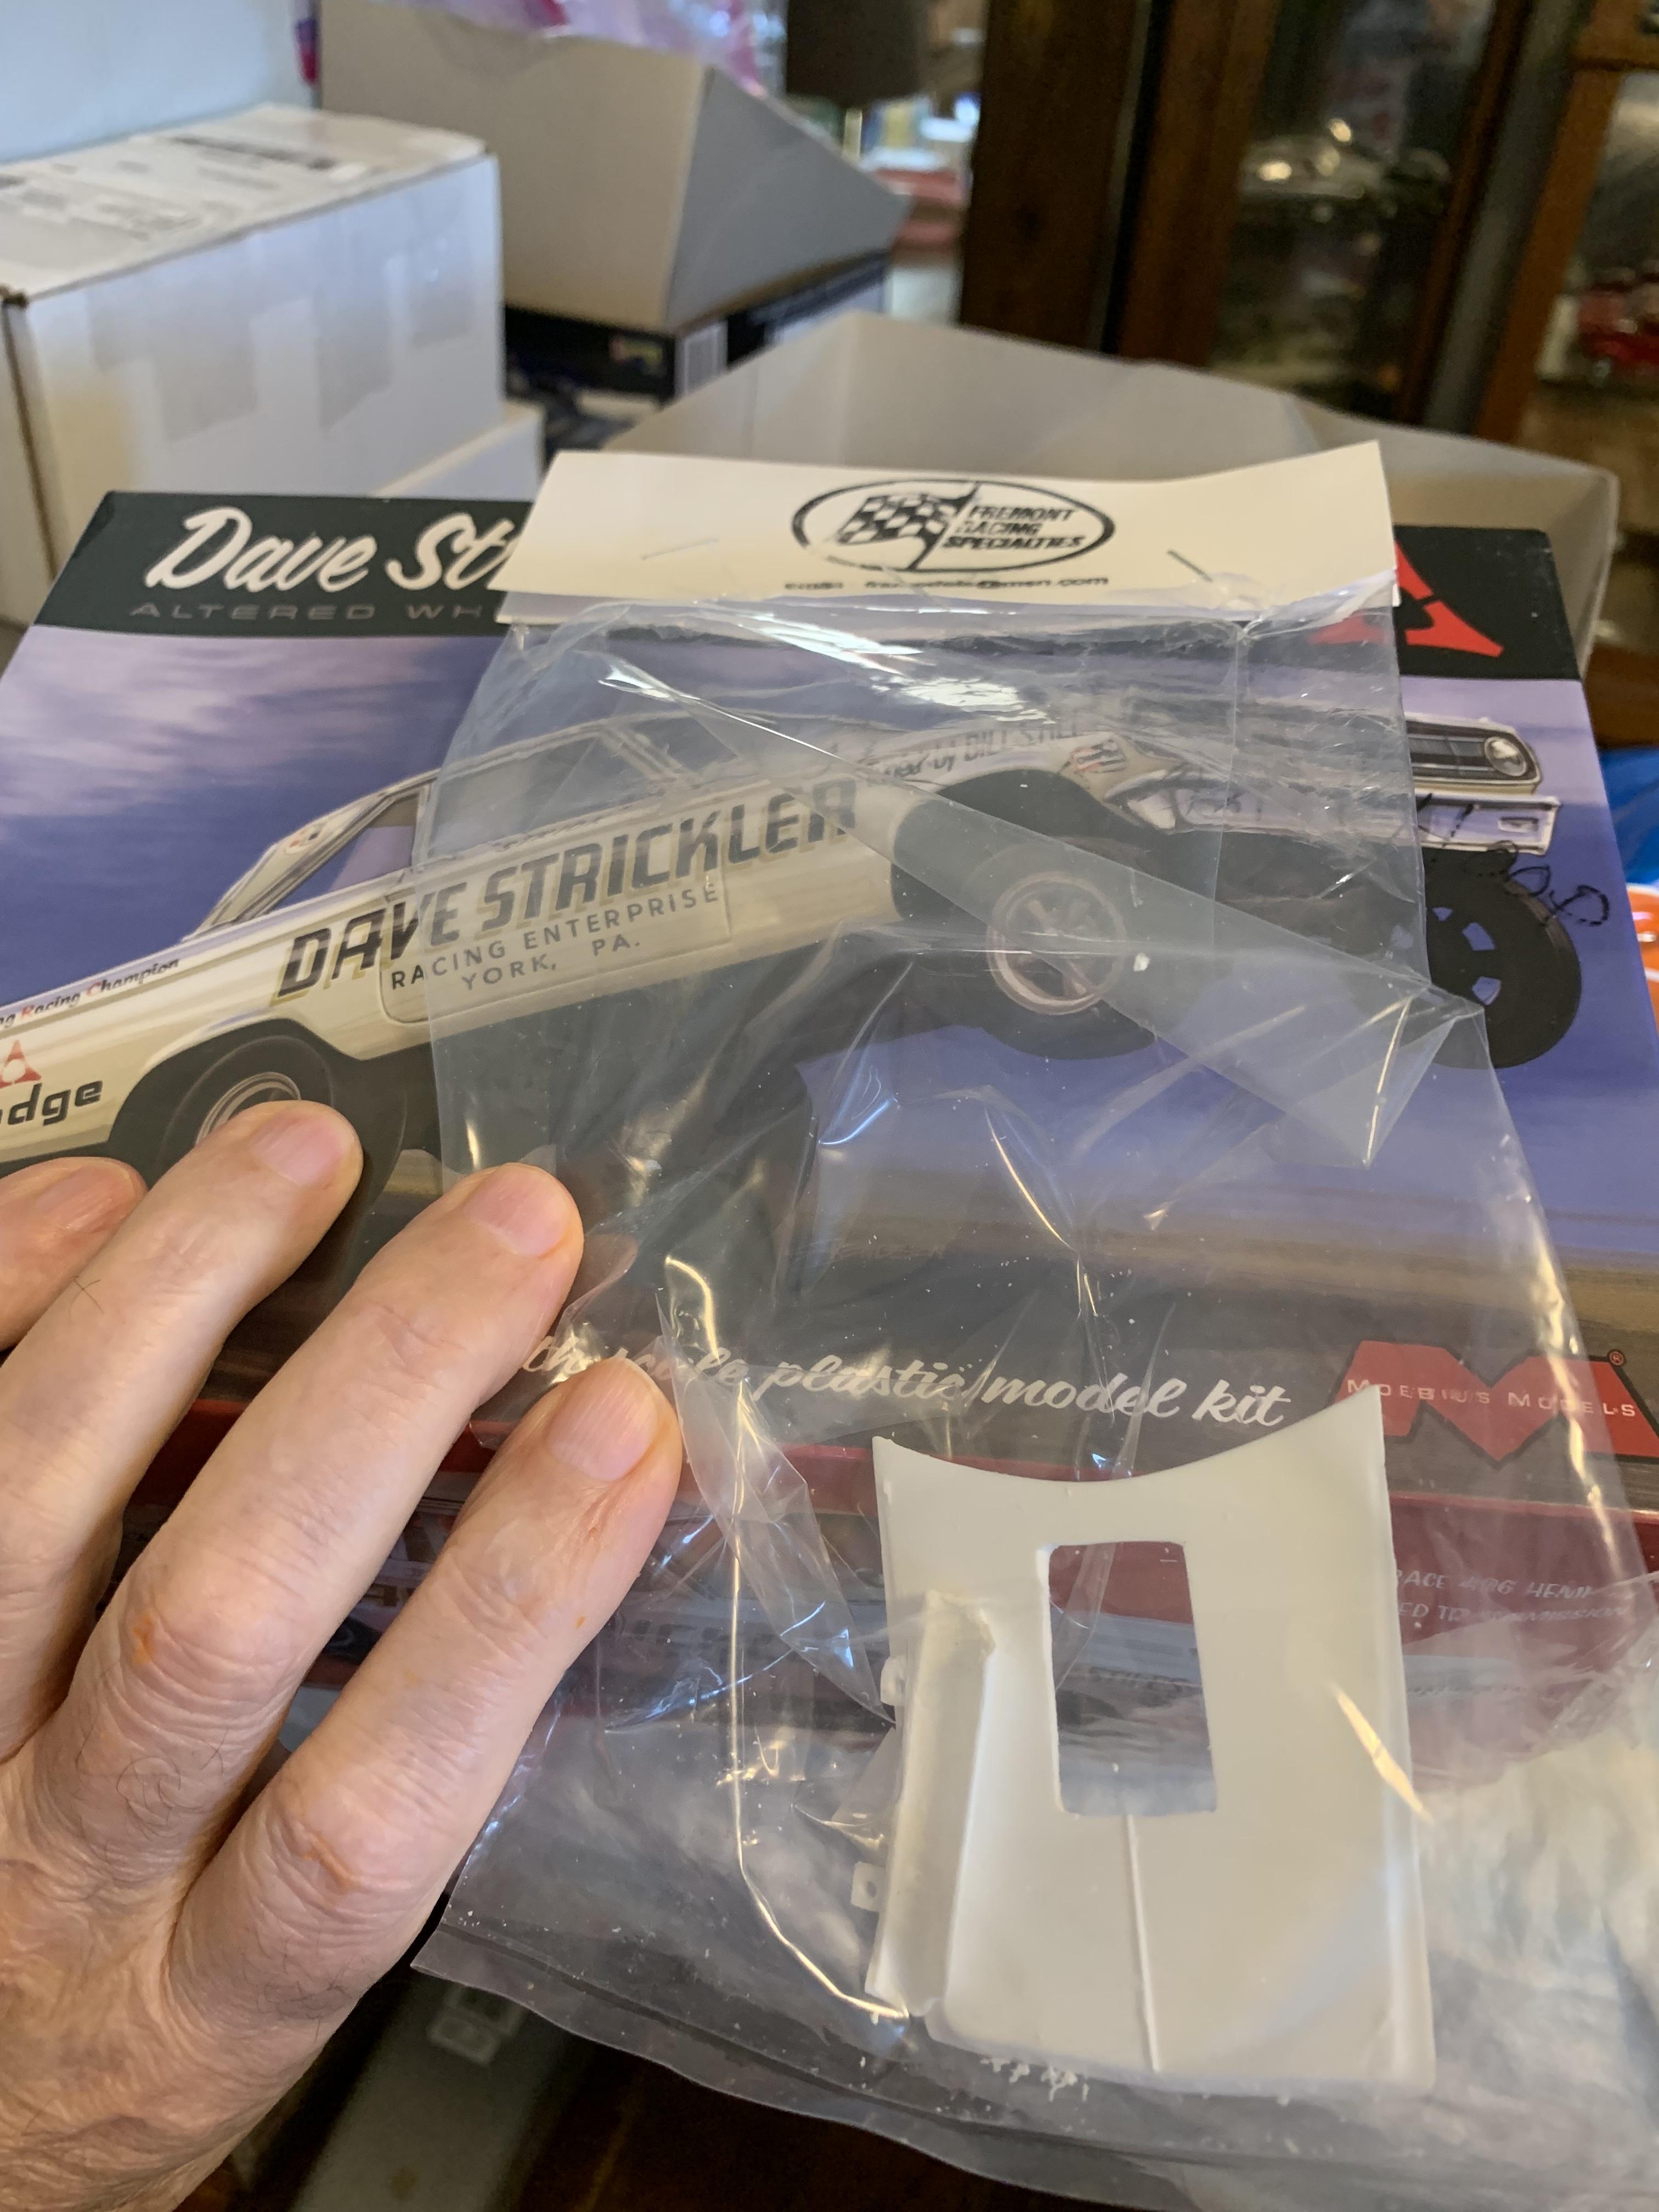
Available on eBay. Got mine 2 weeks ago. -
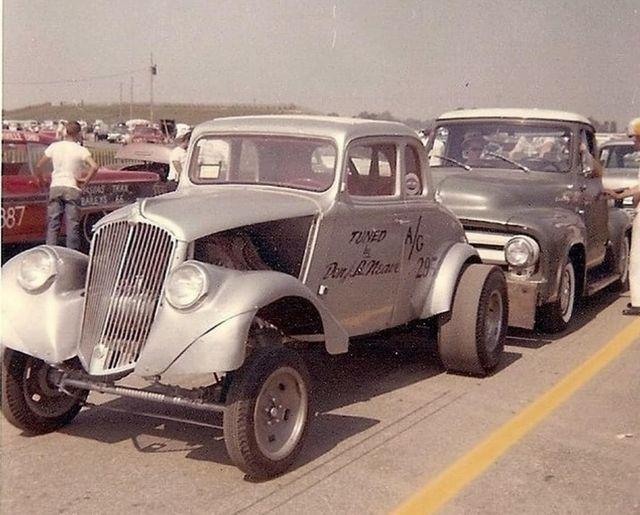
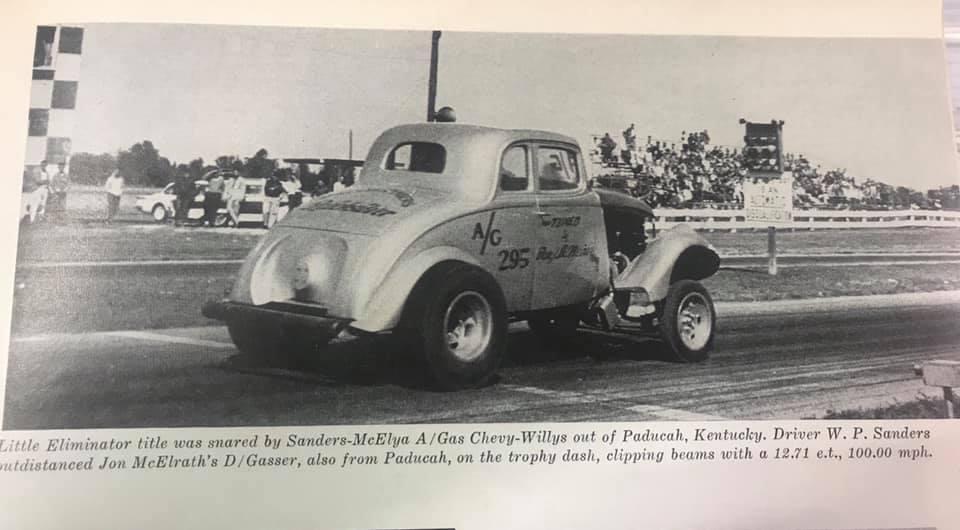
This may not be an exact replica due to lack of decals, but pretty close. This car was from Fulton, Ky. It was tuned by Don Leneave, who was involved with a number of competitive drag cars in the 60’s. I am using the Moebius (what would we do without them?) Strickler kit and a FremontRosins body.
-
Anybody offer these decals for one of the most iconic drag cars built?
-
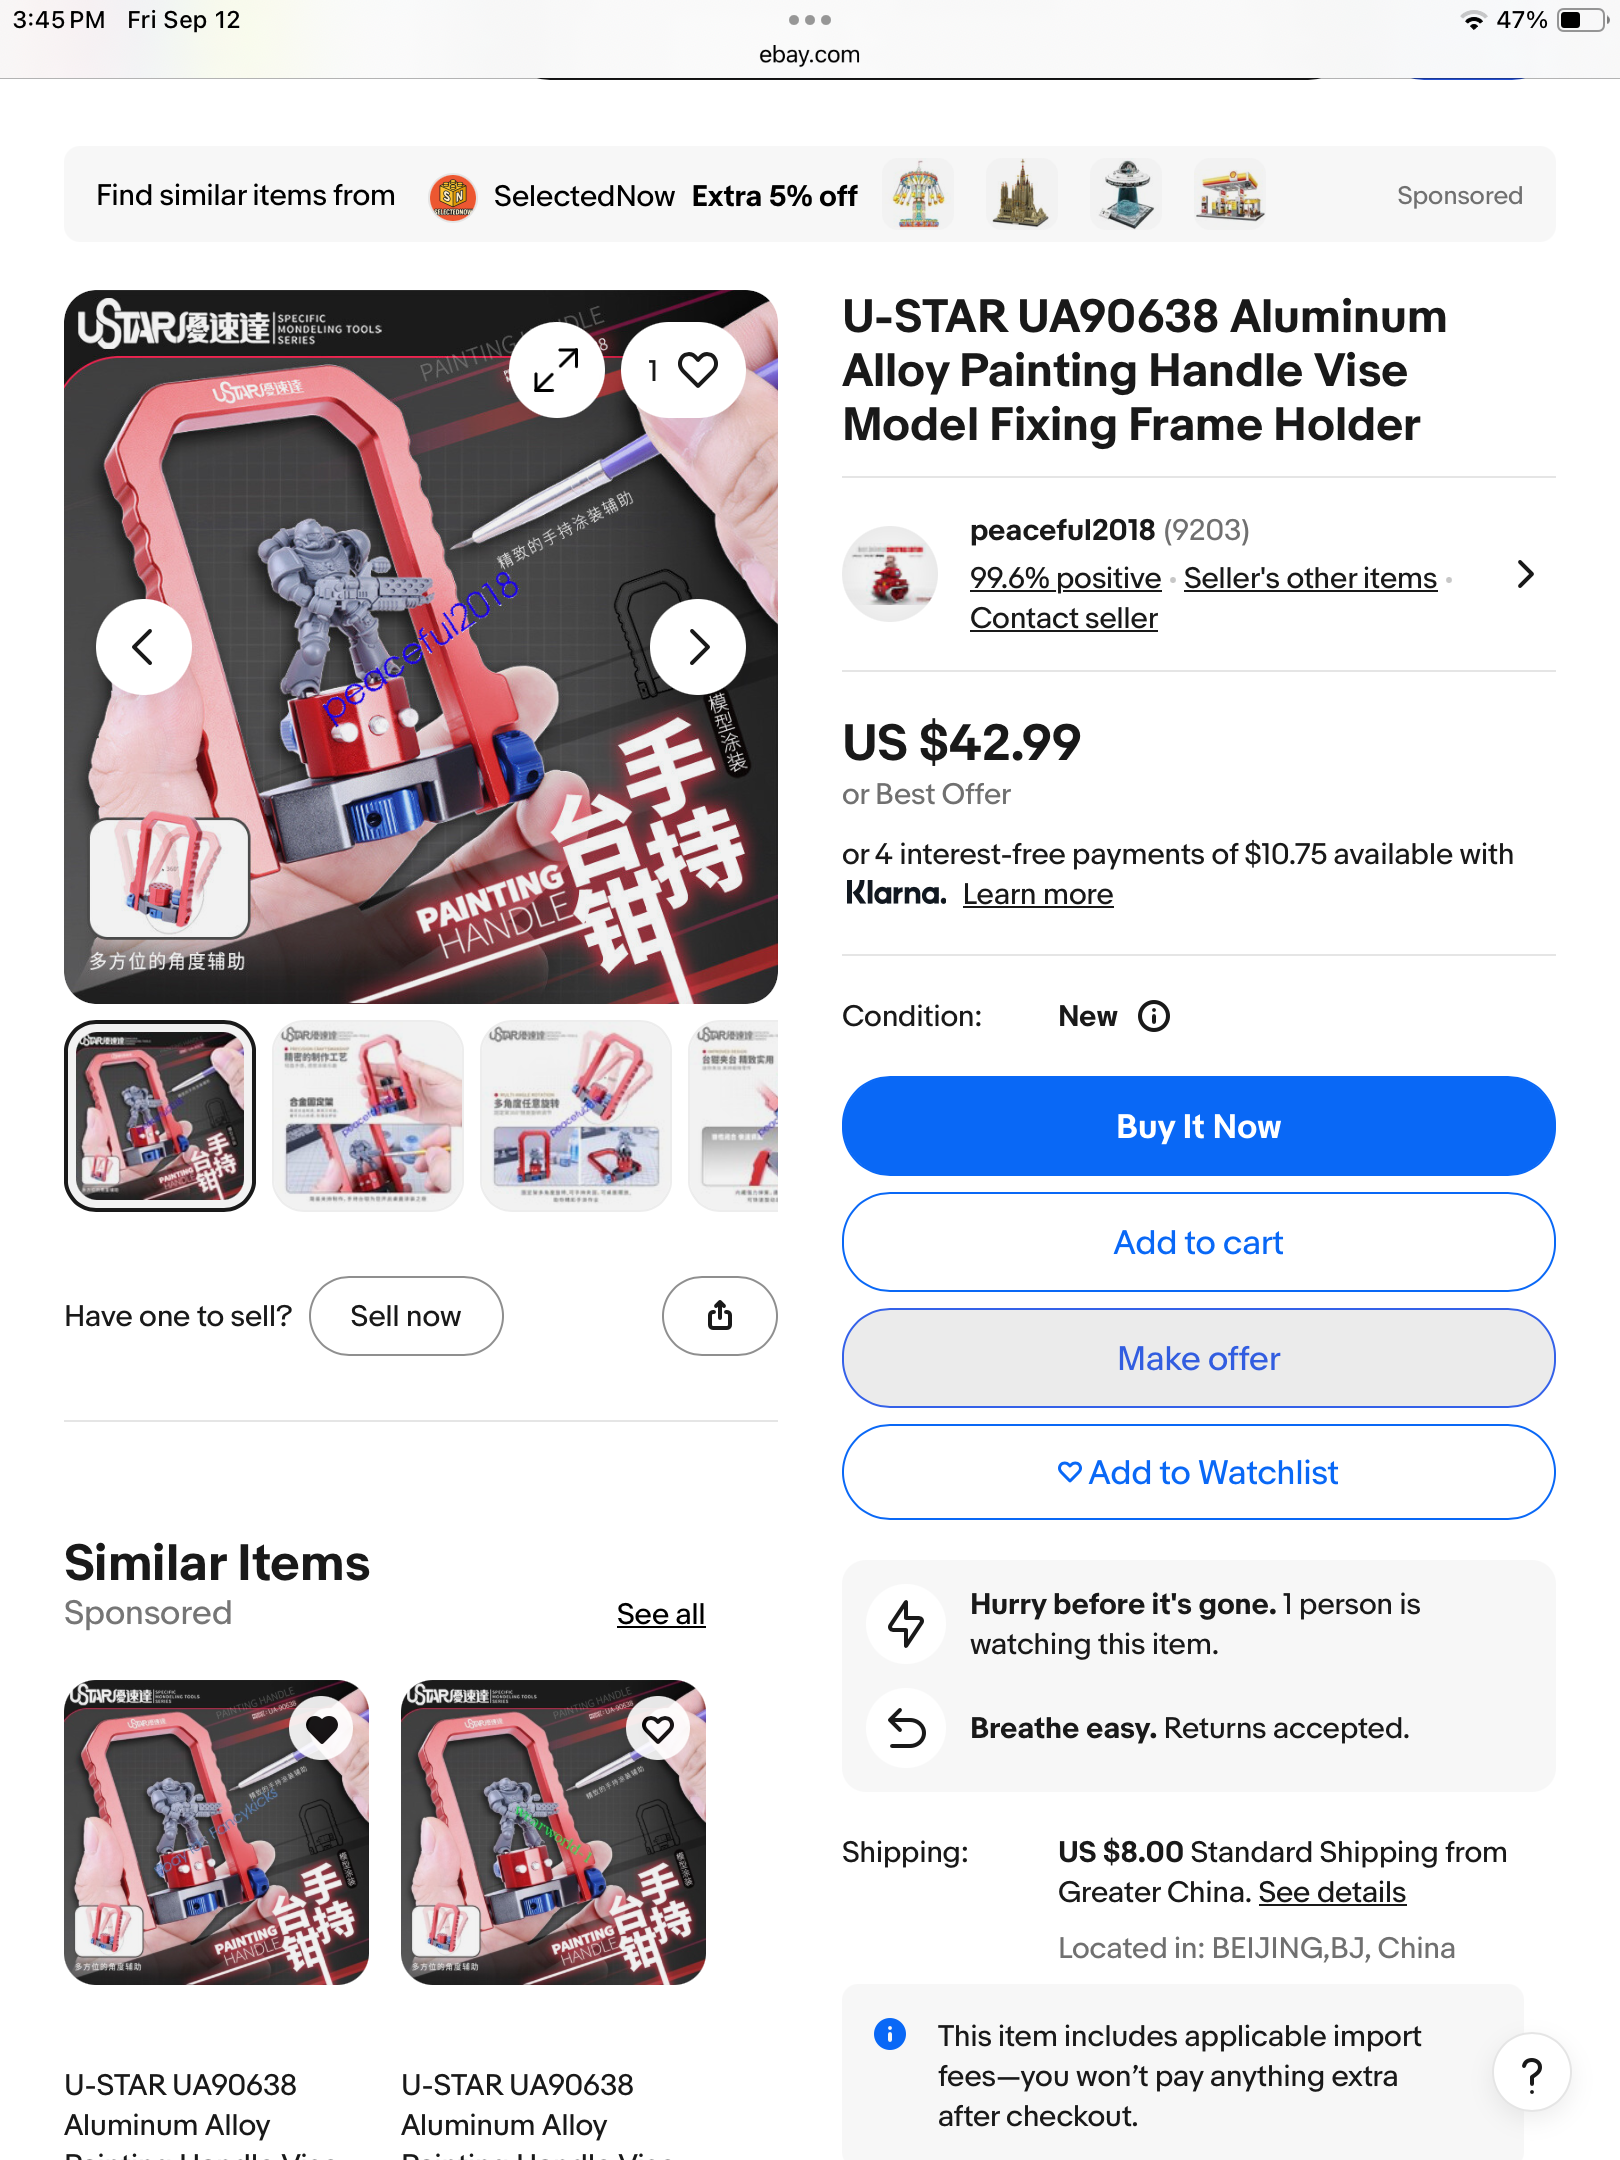
Ideas for holding figures
R. Thorne replied to slusher's topic in Model Building Questions and Answers
Still another possibility.