R. Thorne
-
Posts
1,276 -
Joined
-
Last visited
Content Type
Profiles
Forums
Events
Gallery
Everything posted by R. Thorne
-
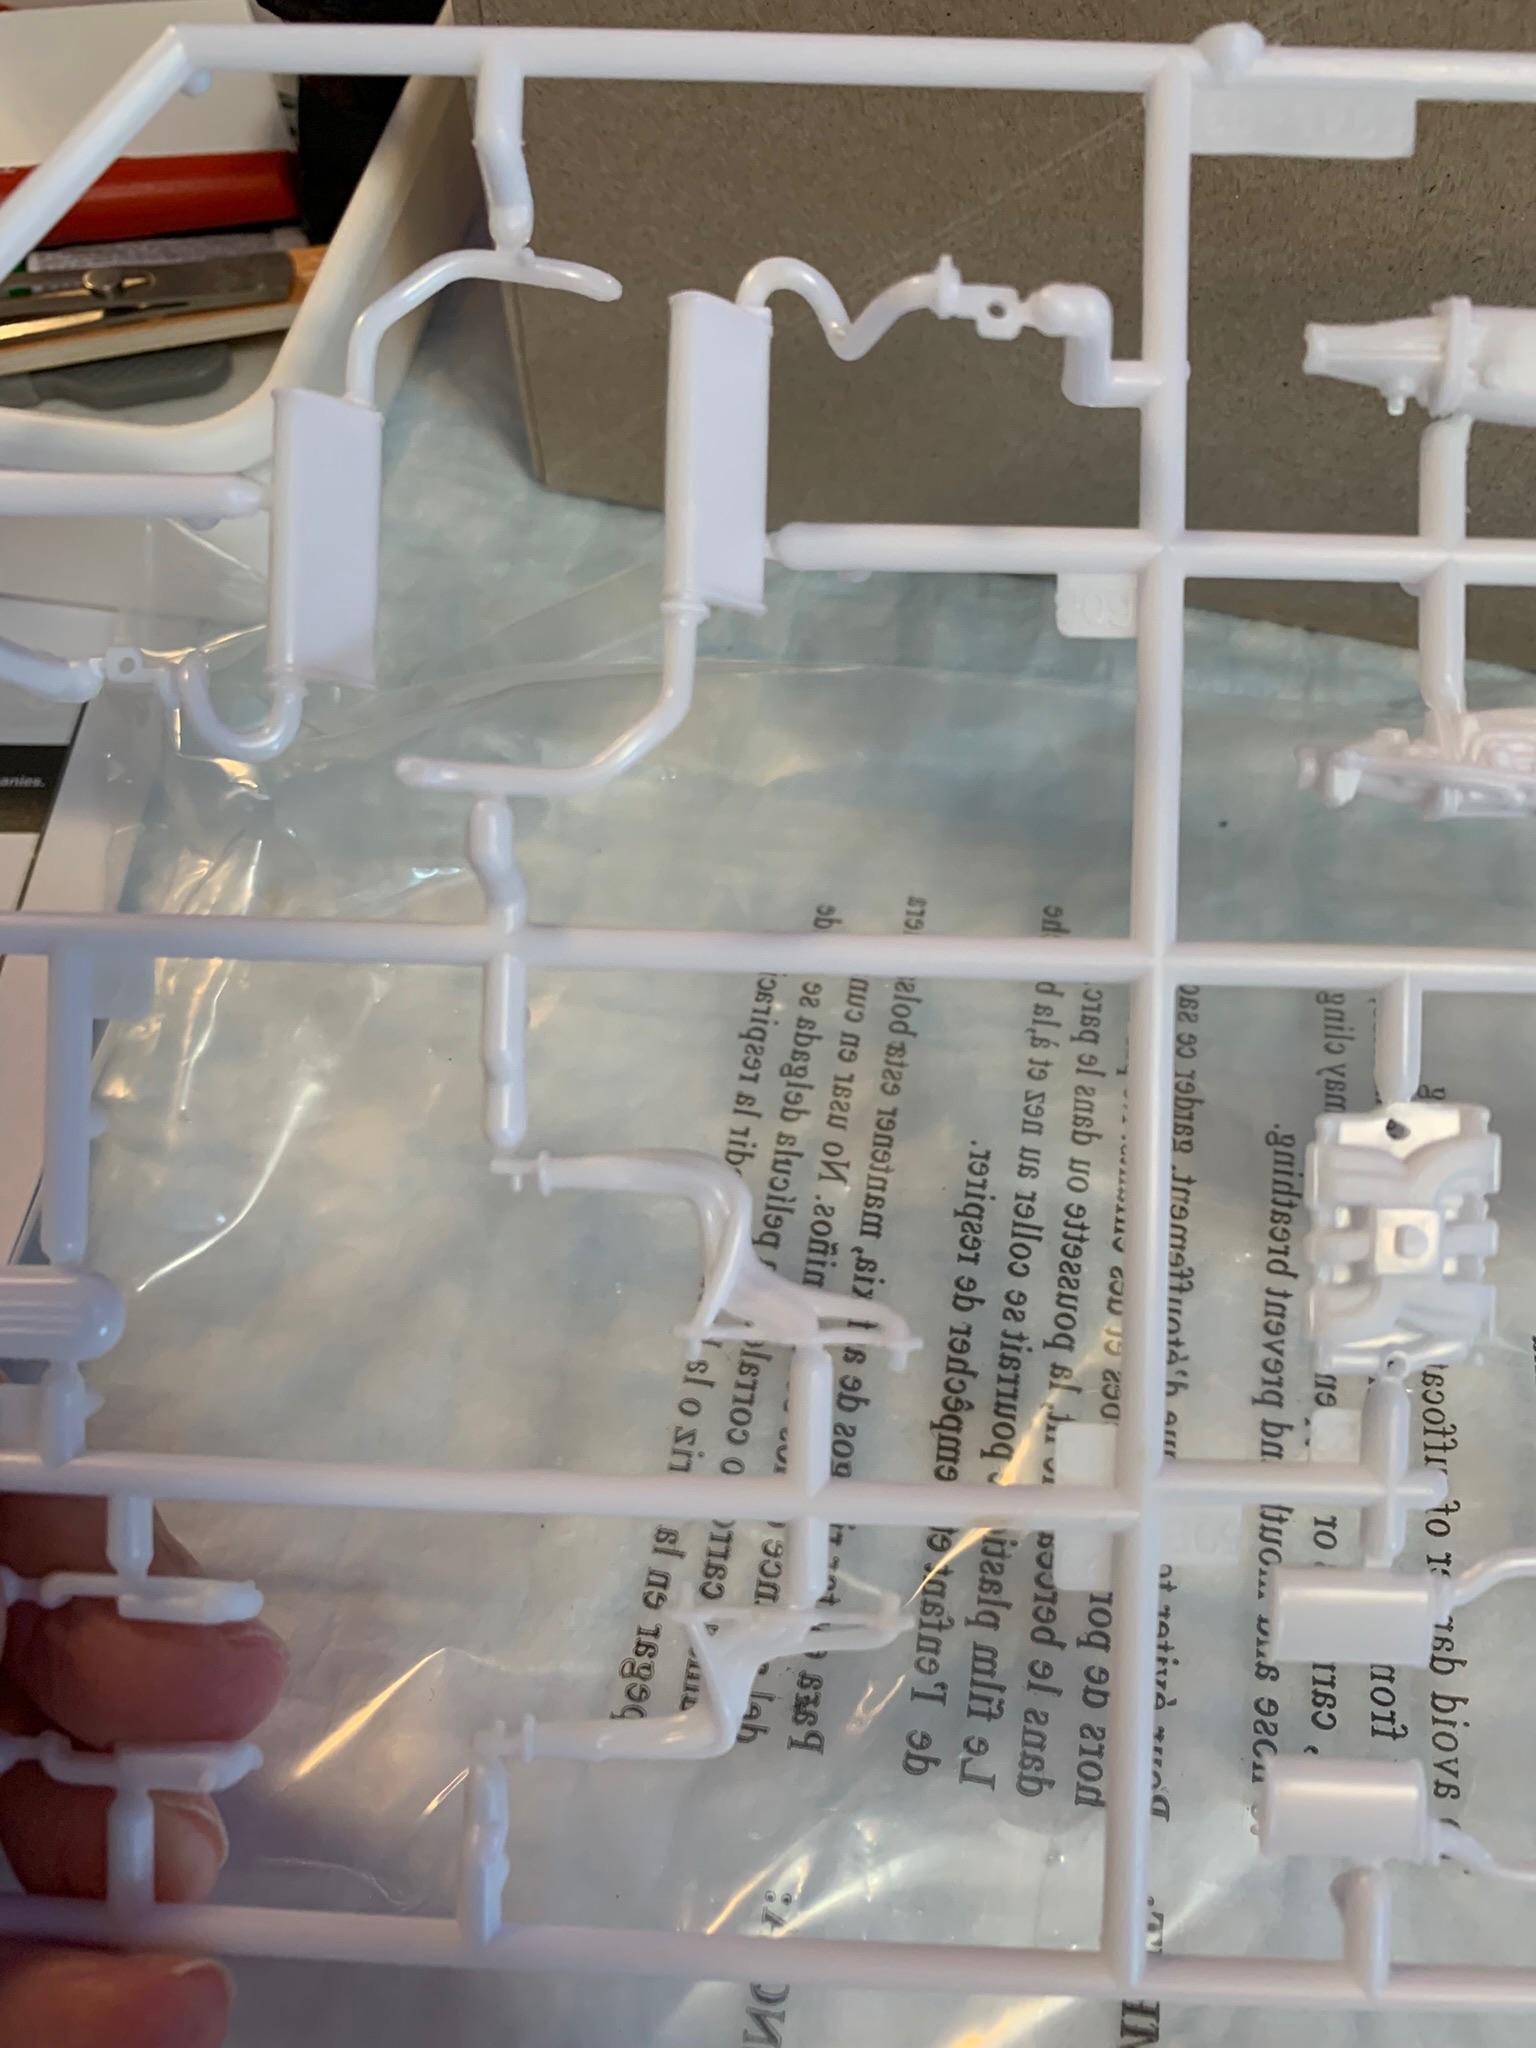
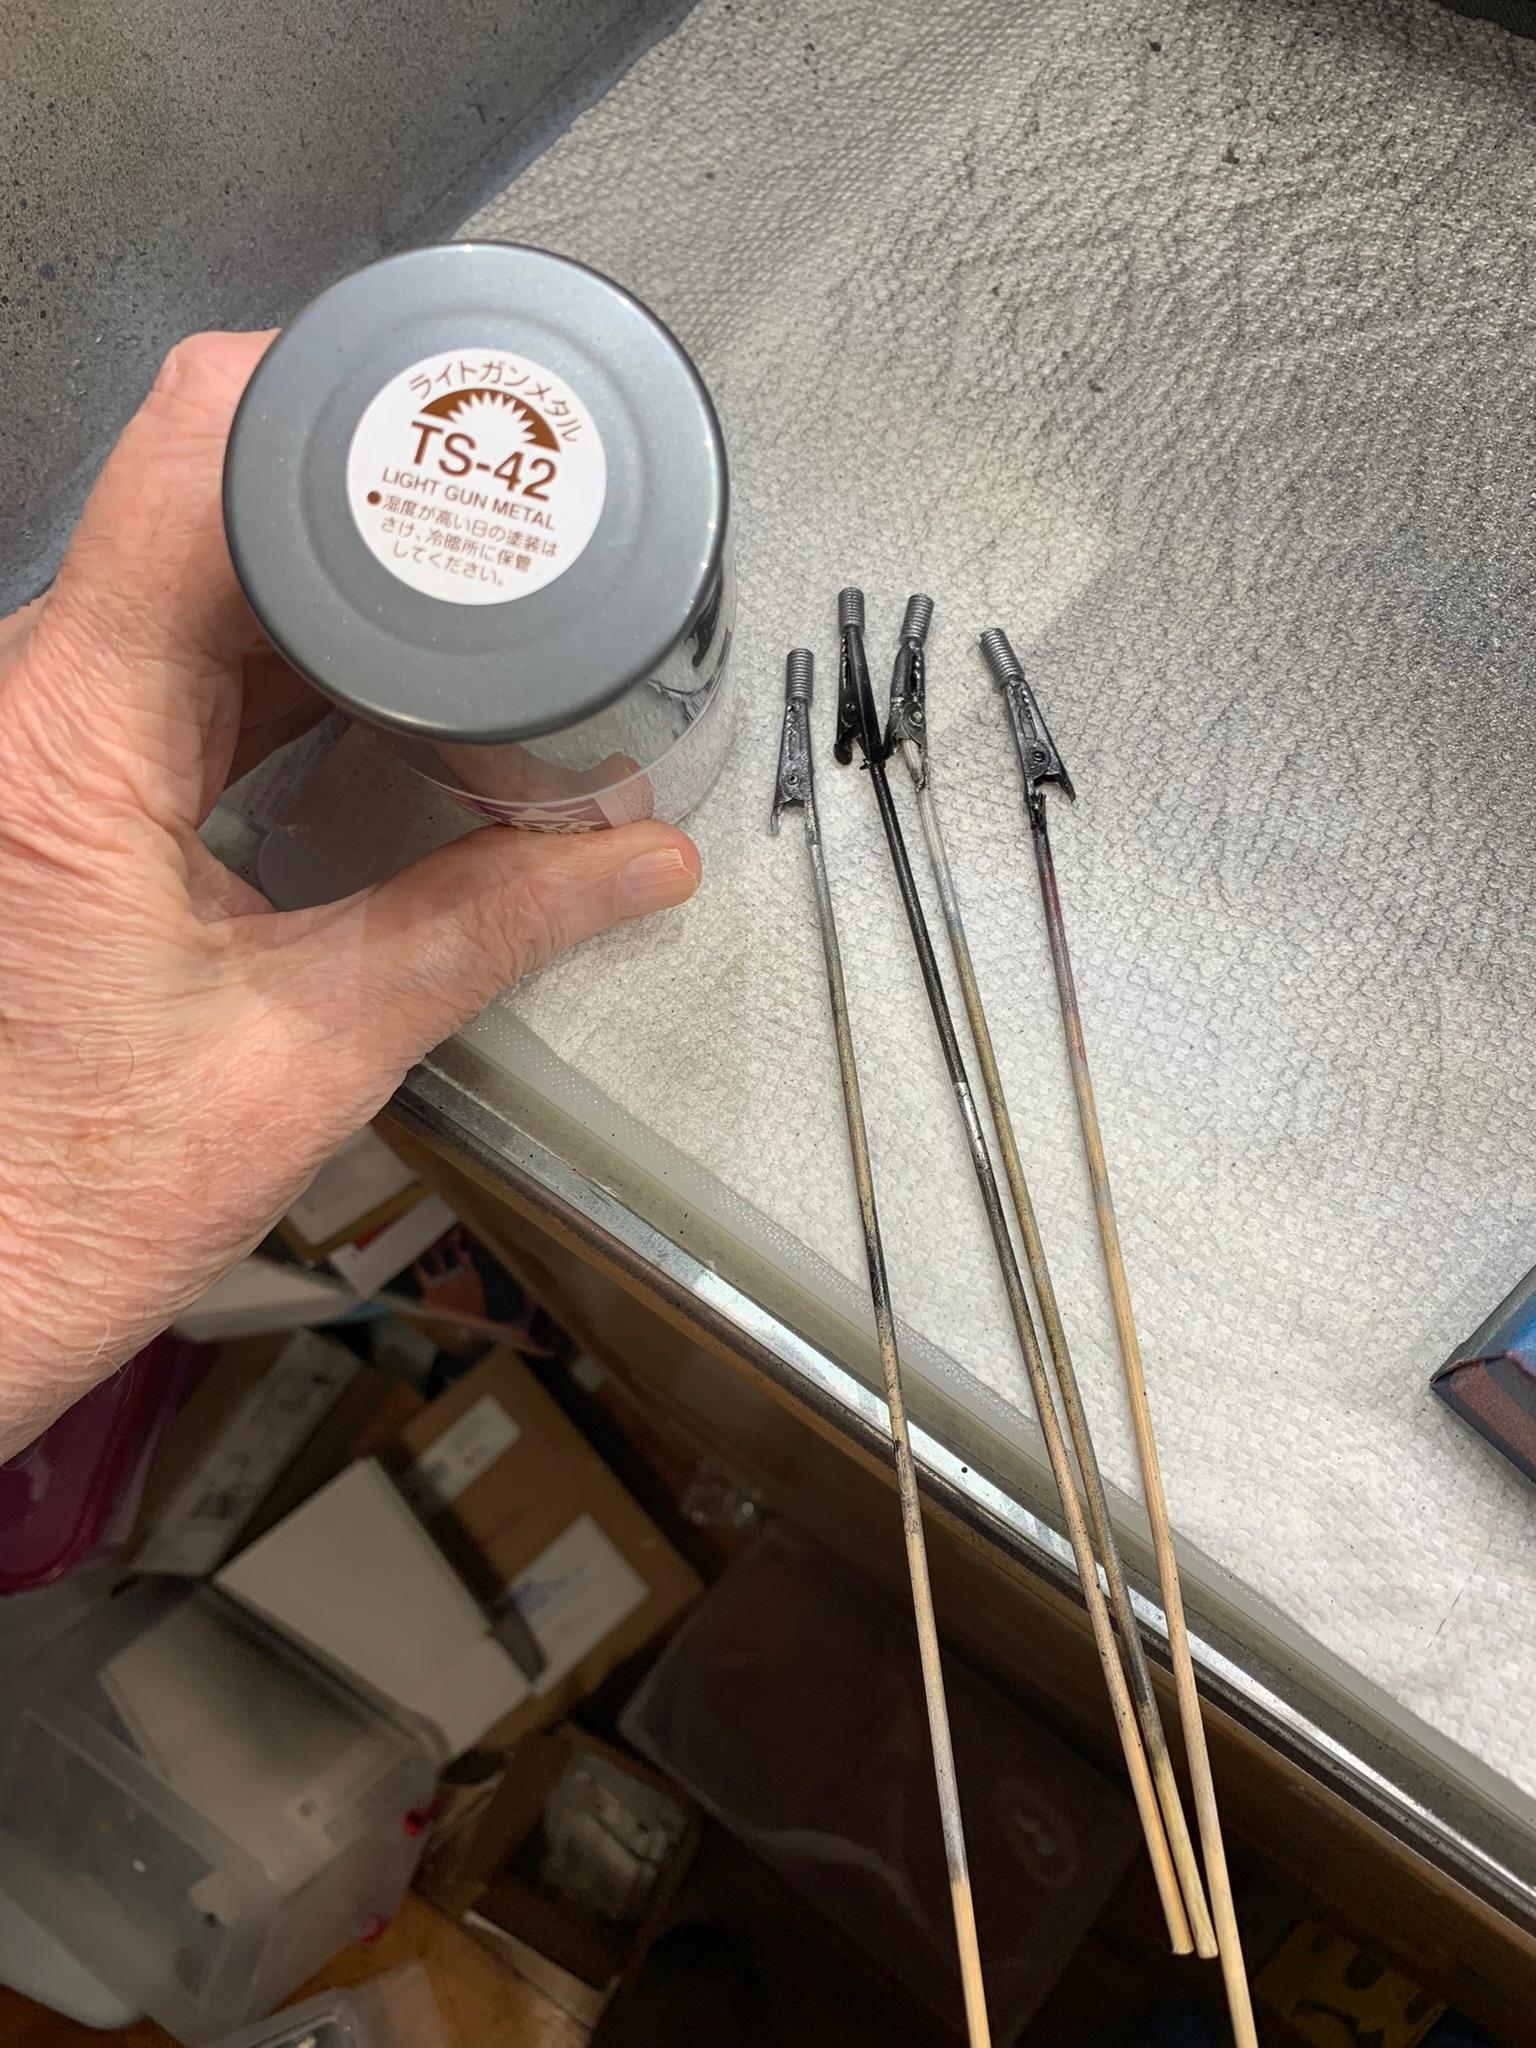
In case you are curious, this is the kit. Debating on these 2 Tamiya paints. I think ts42 is the closest.

-
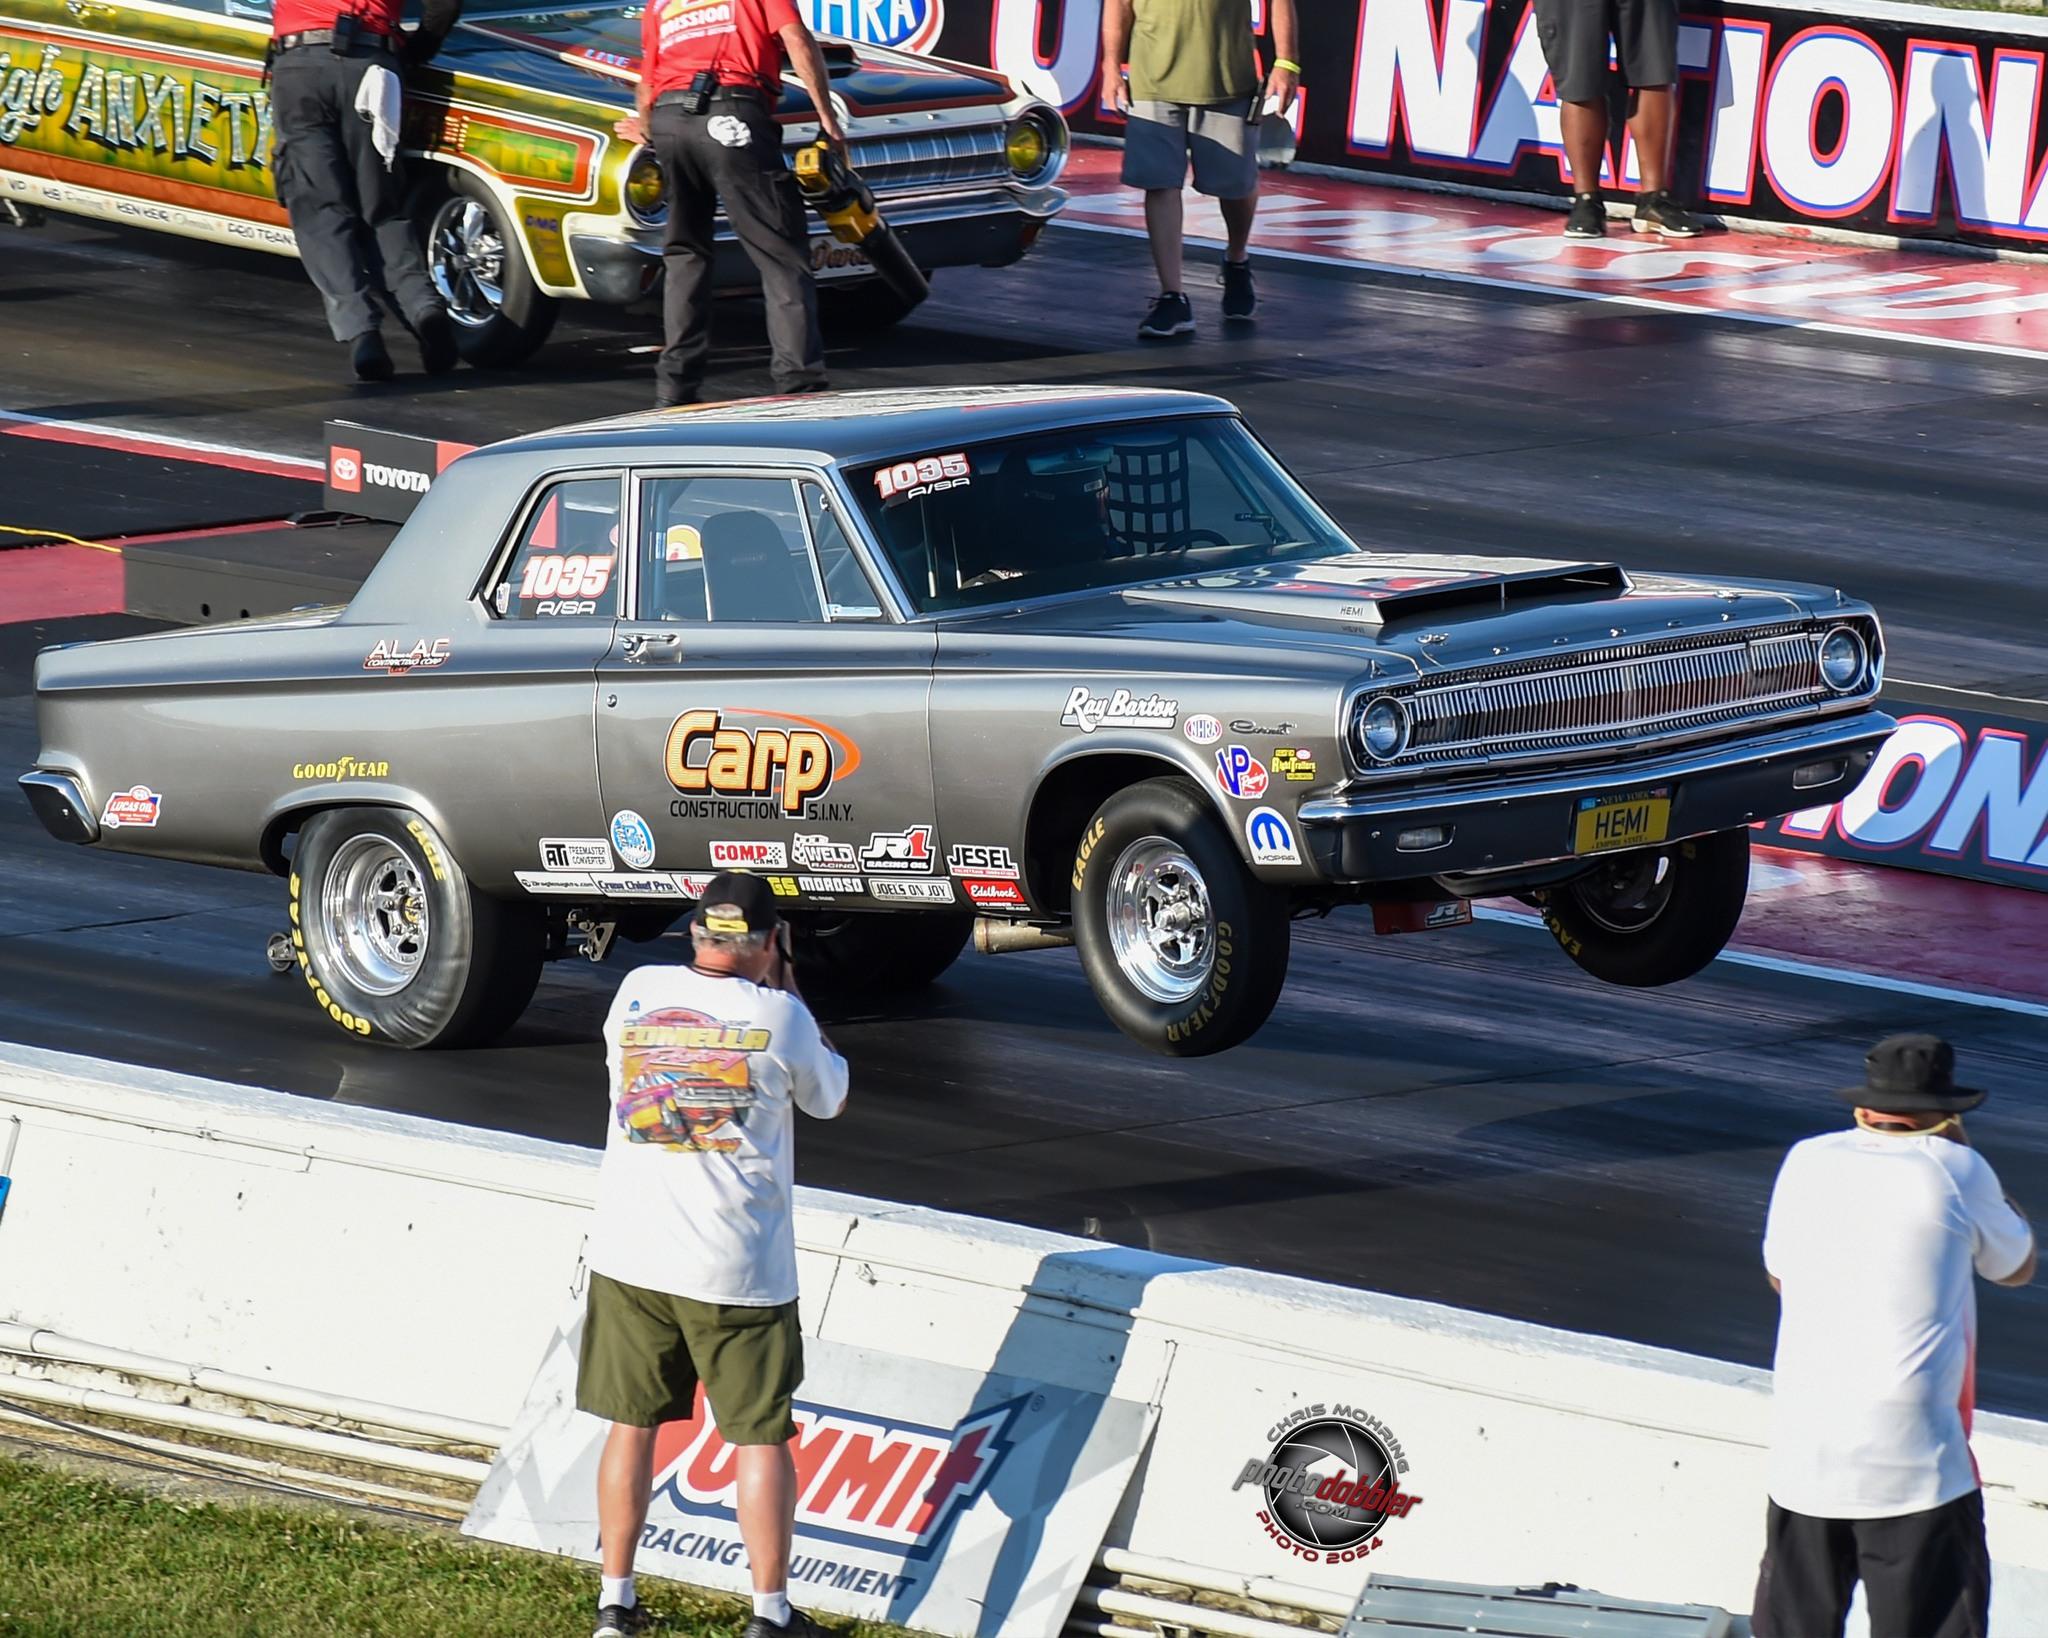
1962 Pontiac 421 SD F/SA circa 2024 edition
R. Thorne replied to R. Thorne's topic in WIP: Drag Racing Models
Thanks, Tony. I’m having fun with it. Applied some dull coat.
-
1962 Pontiac 421 SD F/SA circa 2024 edition
R. Thorne replied to R. Thorne's topic in WIP: Drag Racing Models
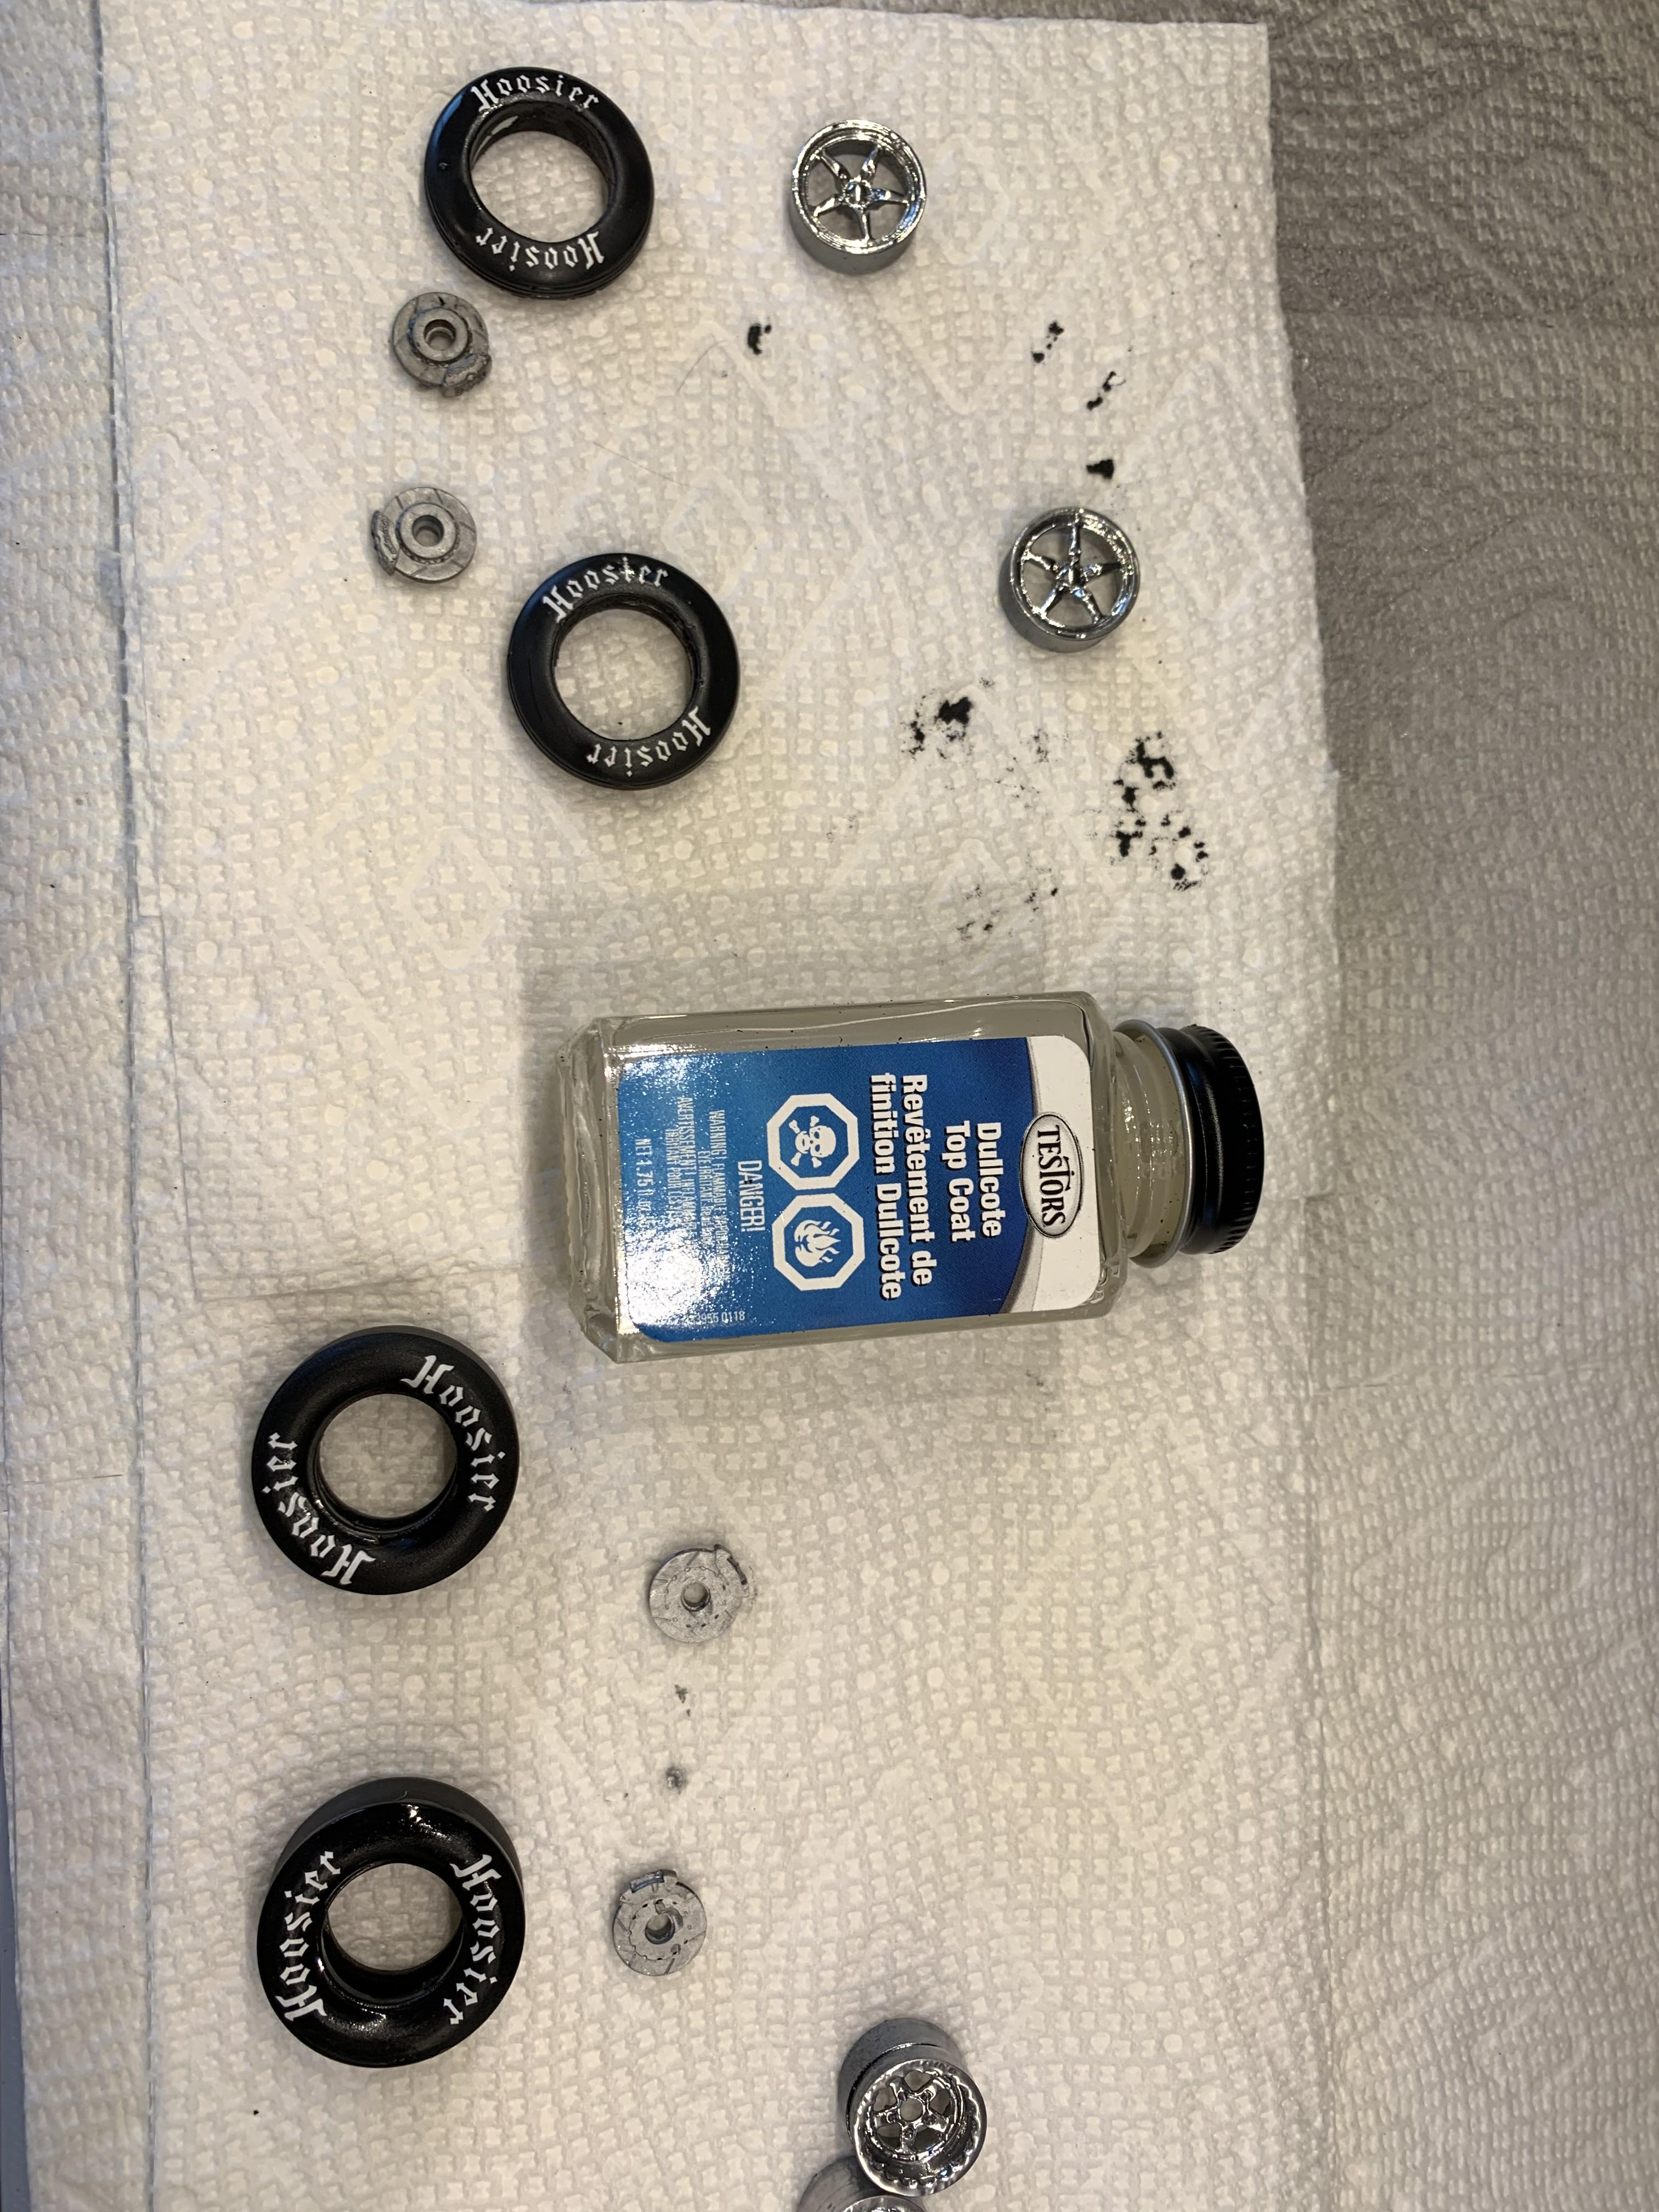
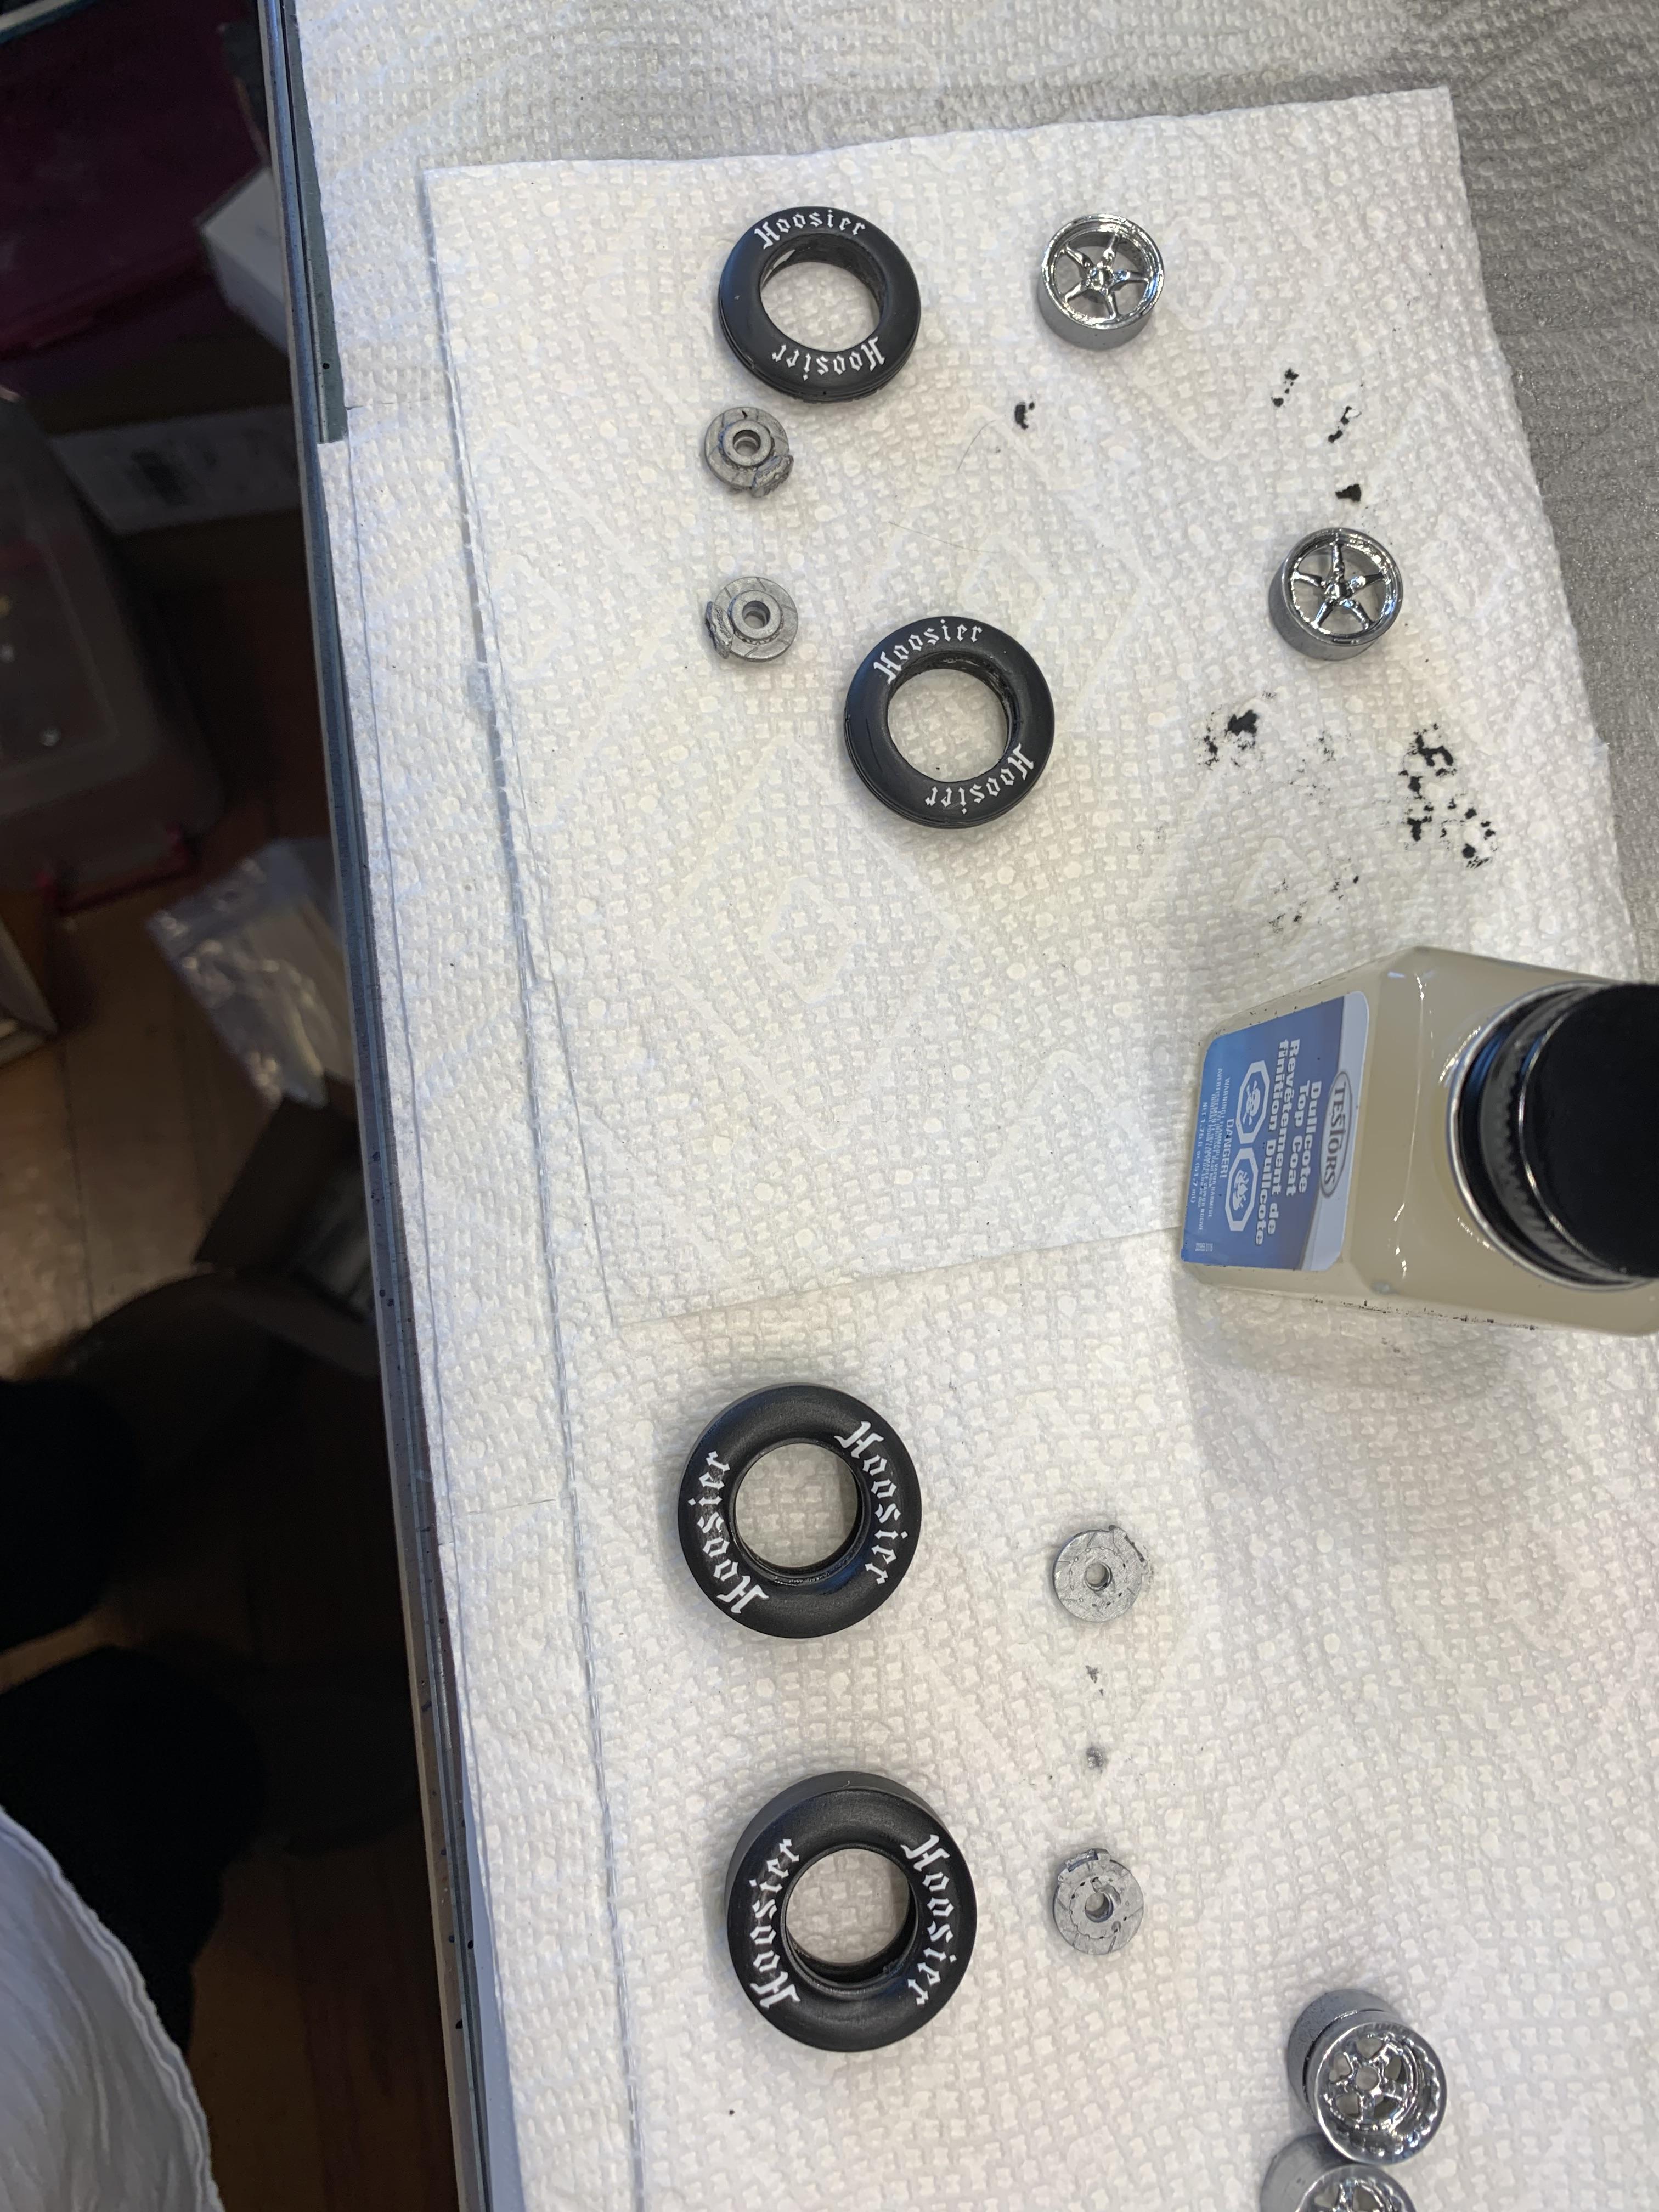
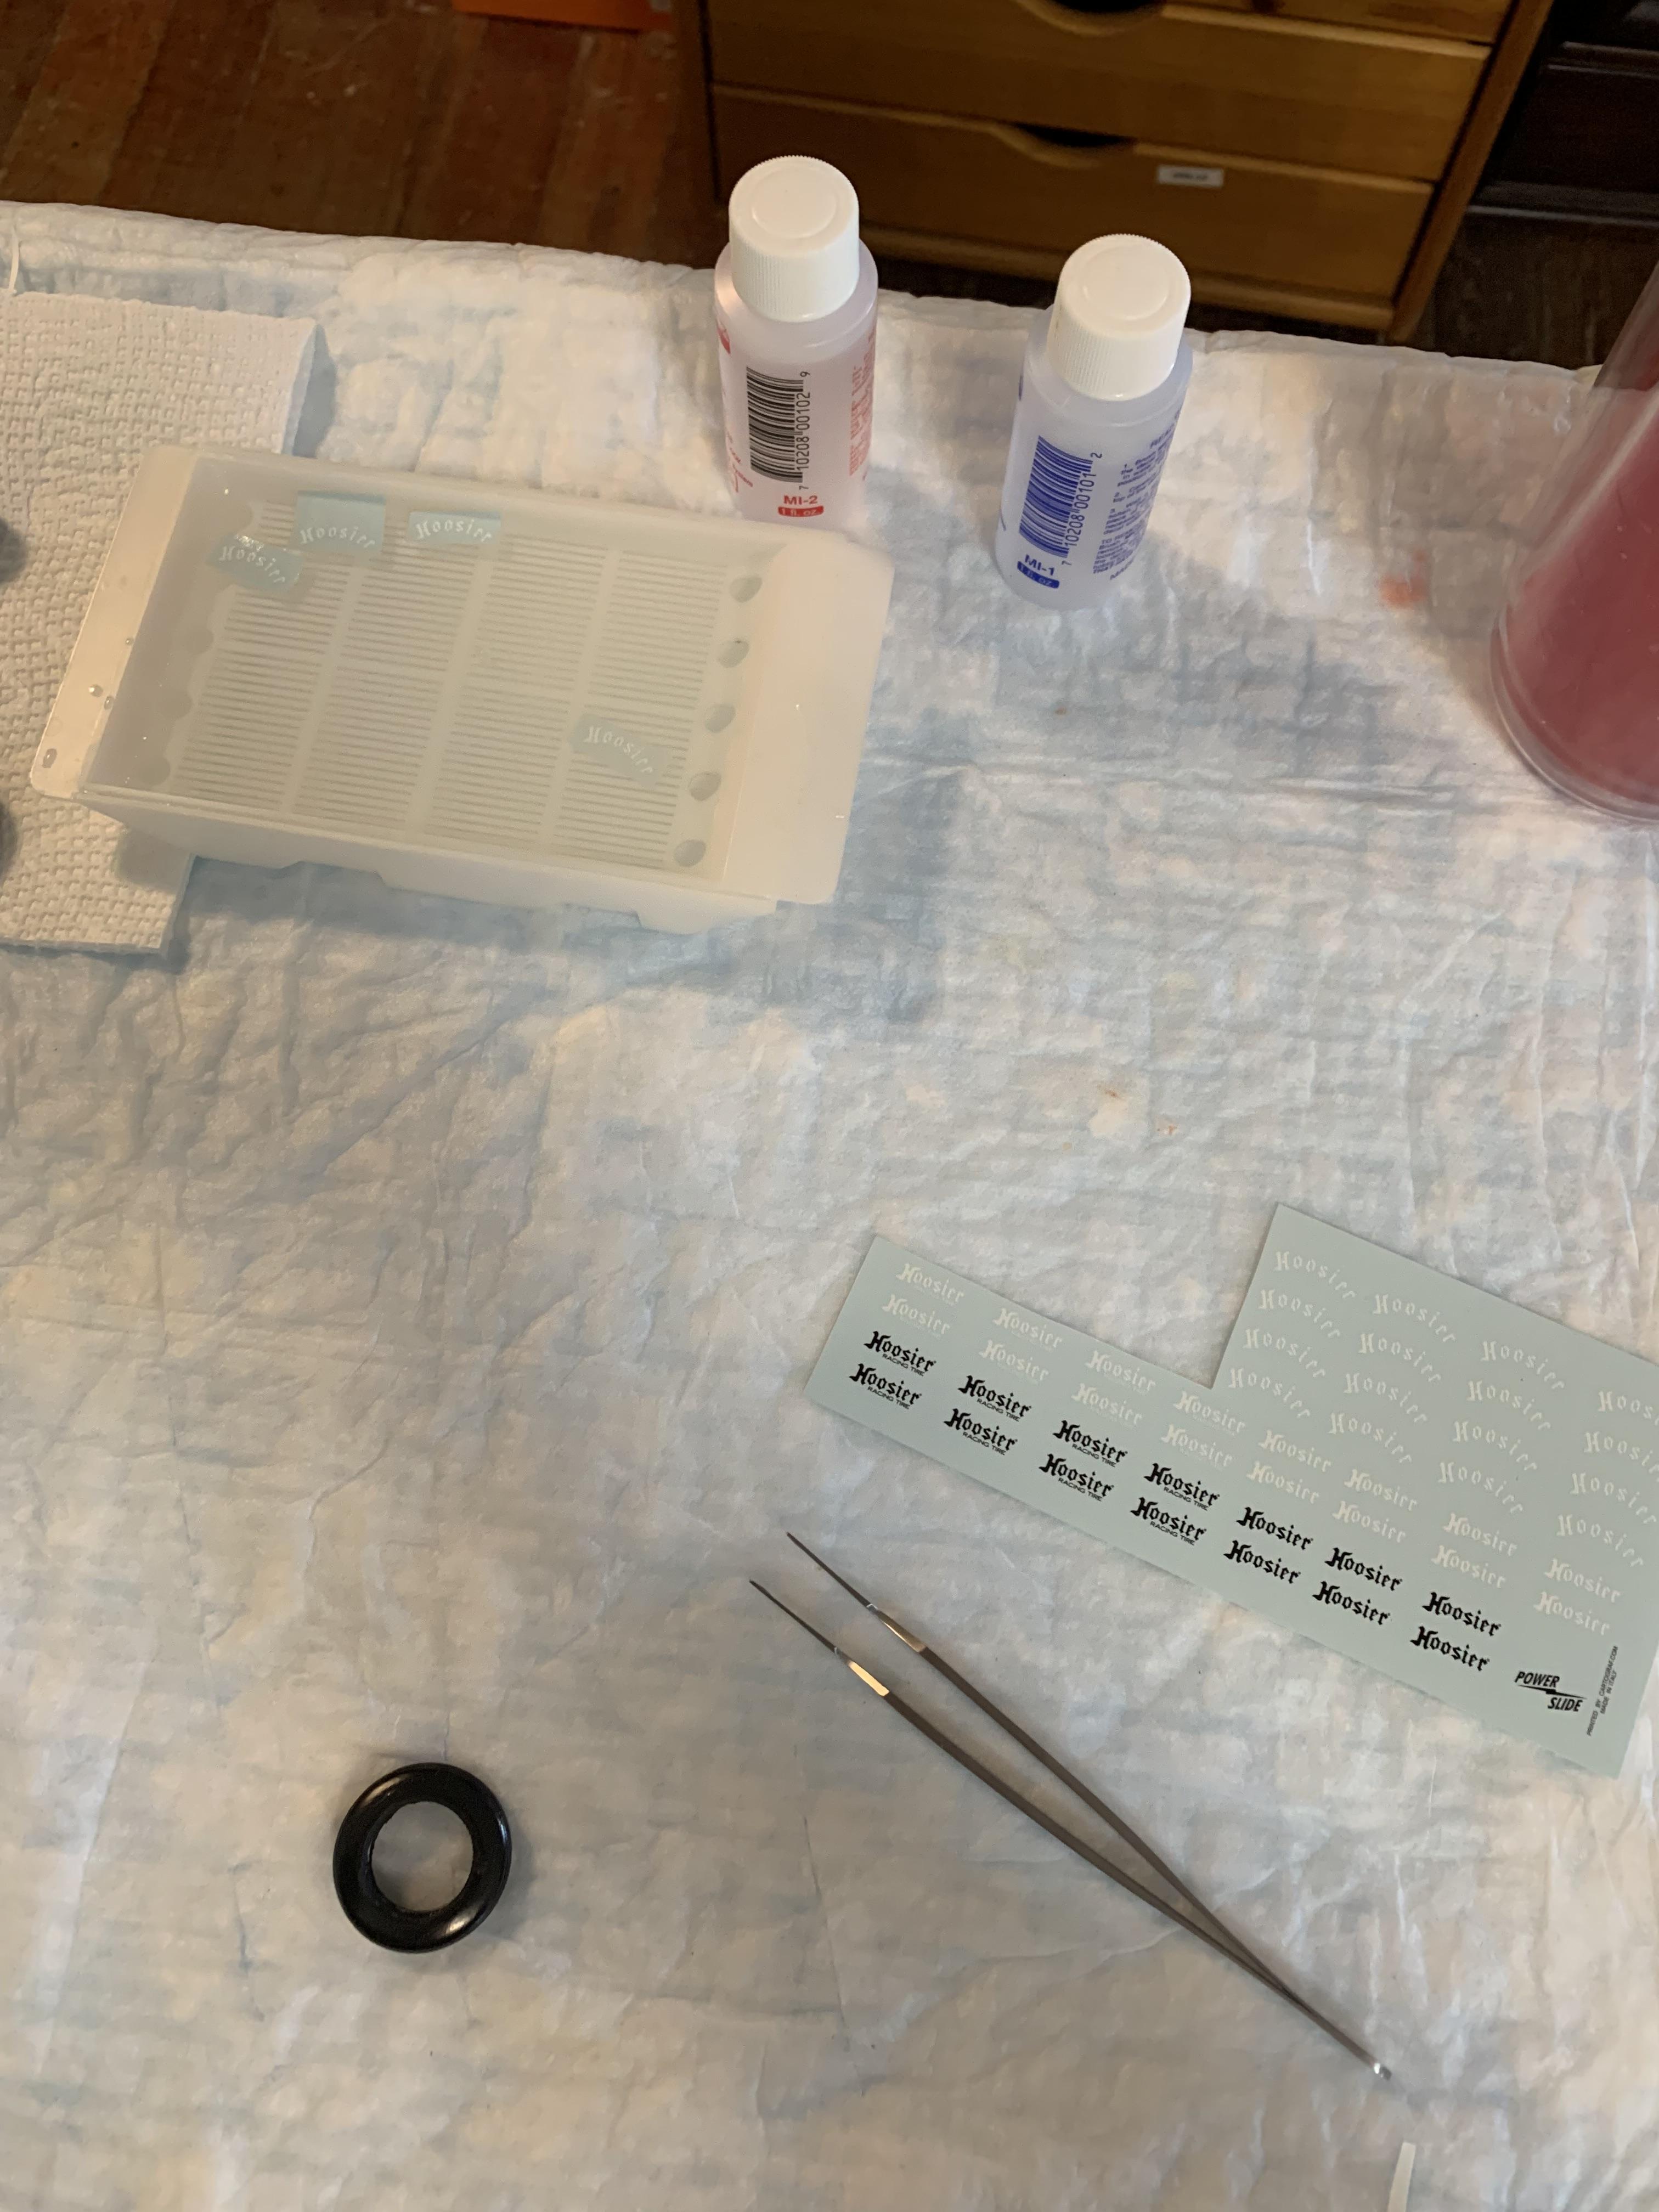
Hoosier decals time. Think I’ll let ‘em dry till tomorrow, then some dull kote and, finally, glue them on. Gives me an excuse to work on the Moebius 65 Dodge.
-
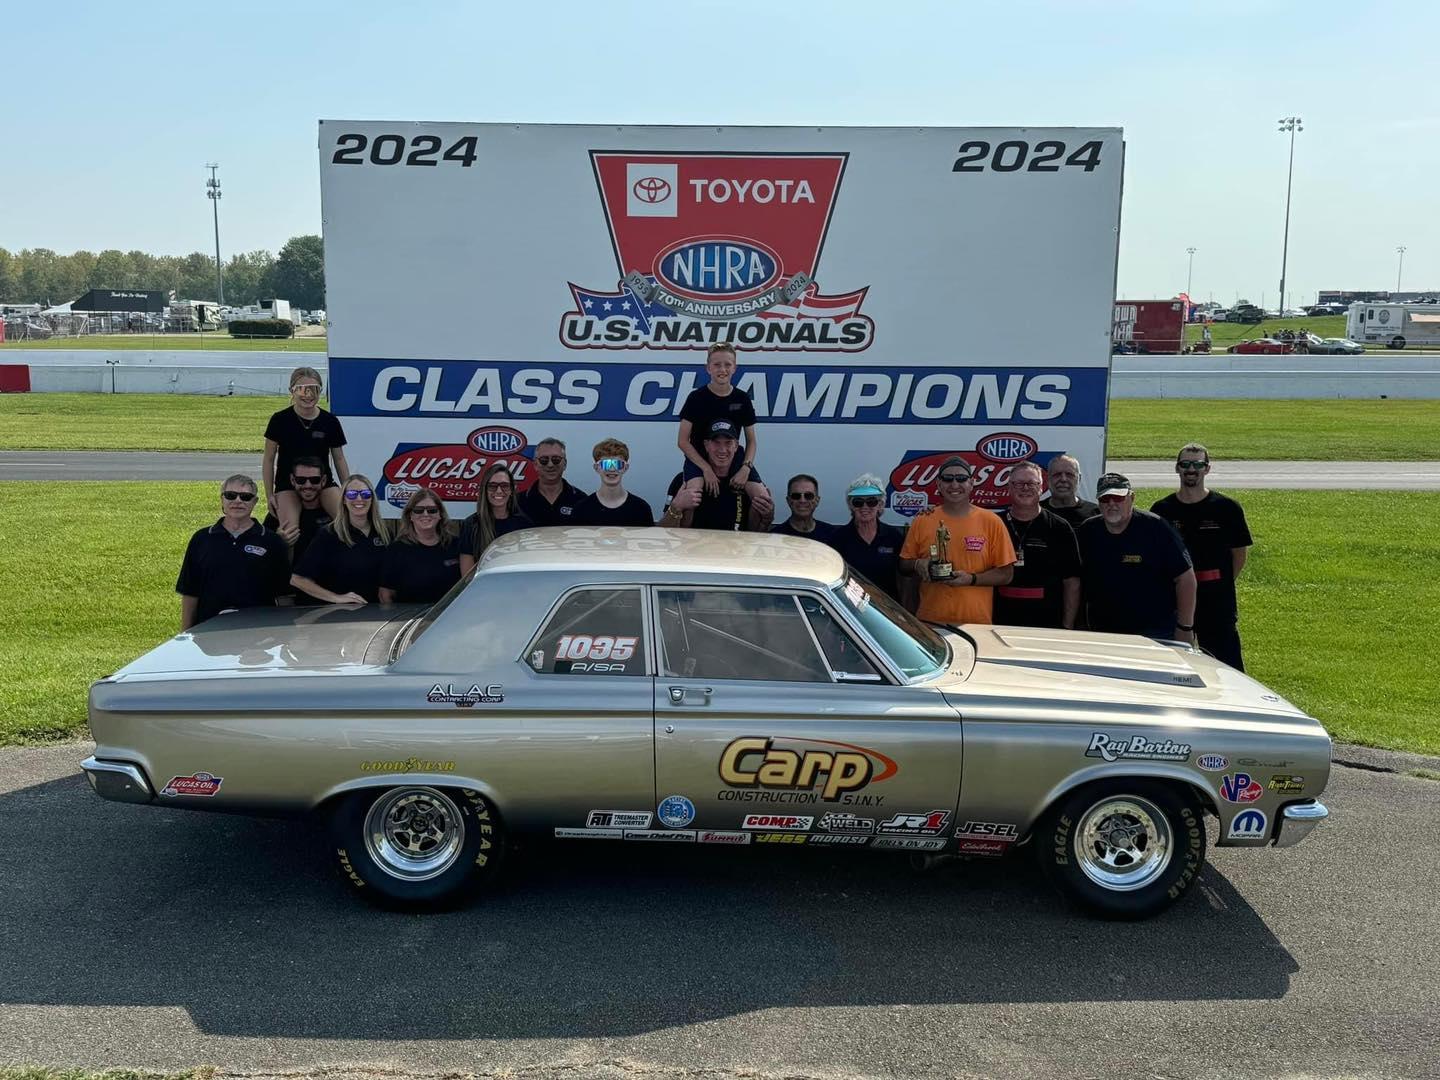
My next project with the new Moebius kit(s) I got this week. Will be something on the order of Todd Hoven’s car, though not a replica. I like the color of his car, but, may just go wild with a candy apple red paint job. Anyway, the journey begins.
-
1962 Pontiac 421 SD F/SA circa 2024 edition
R. Thorne replied to R. Thorne's topic in WIP: Drag Racing Models
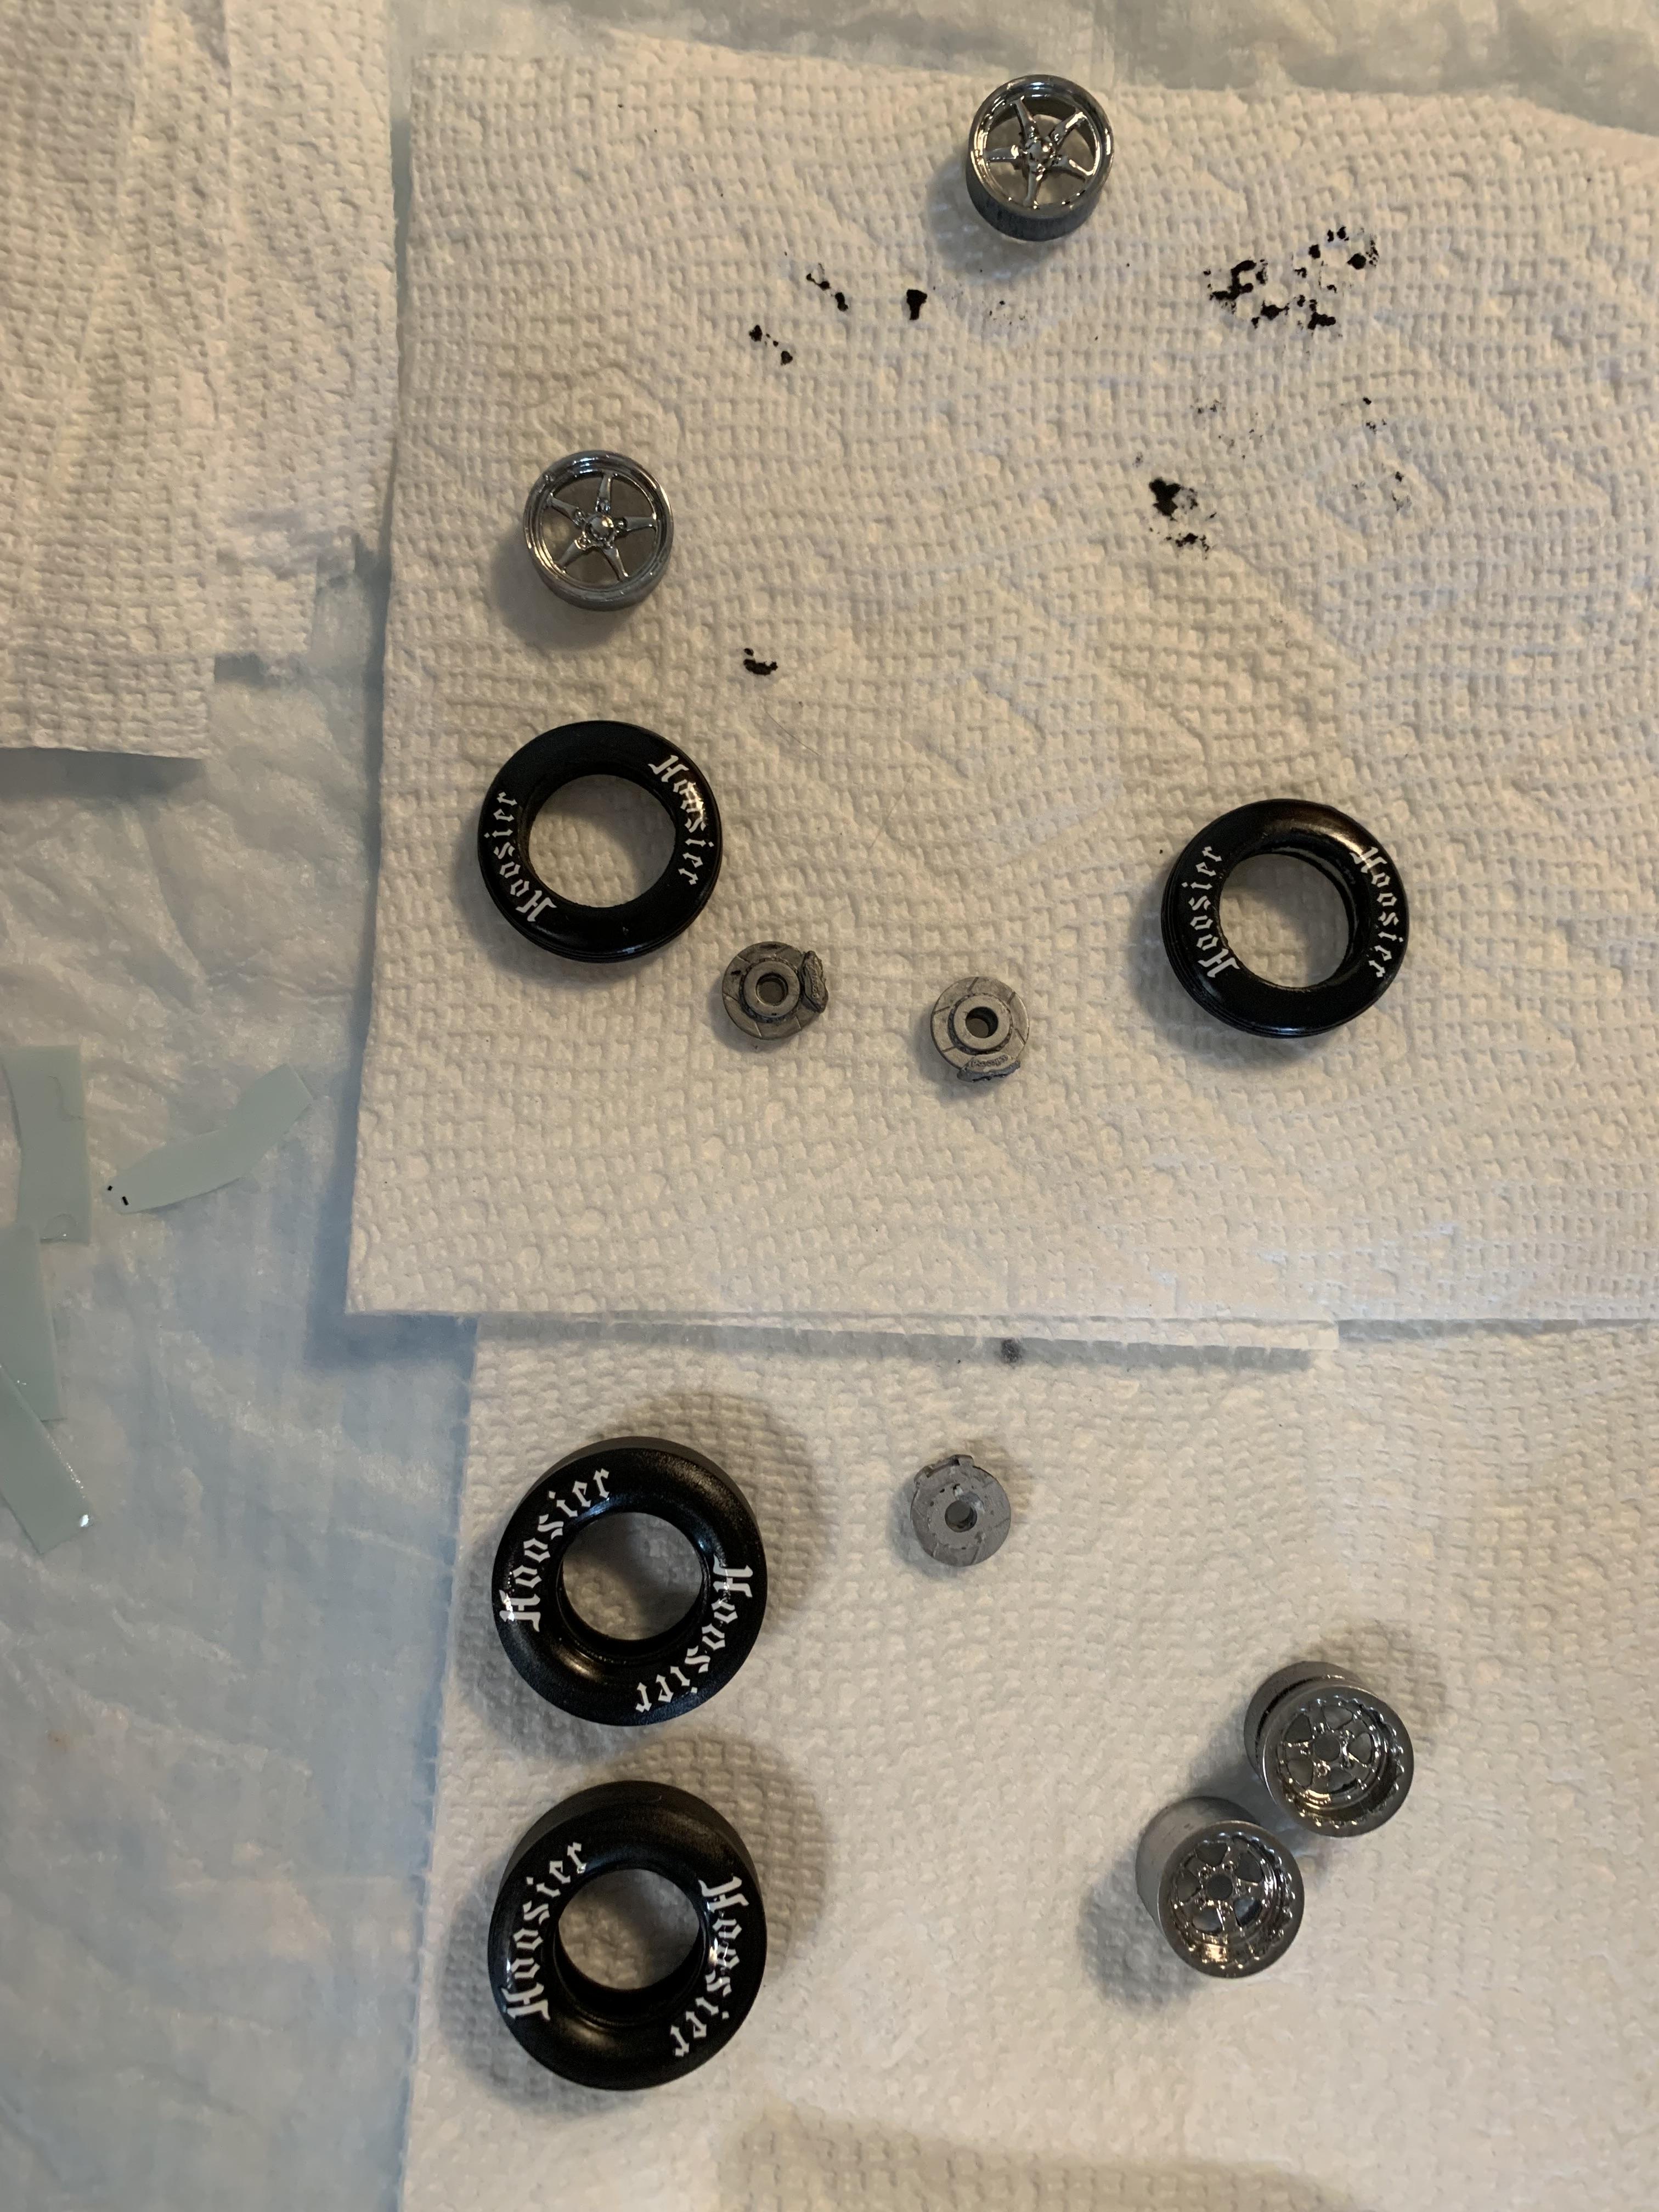
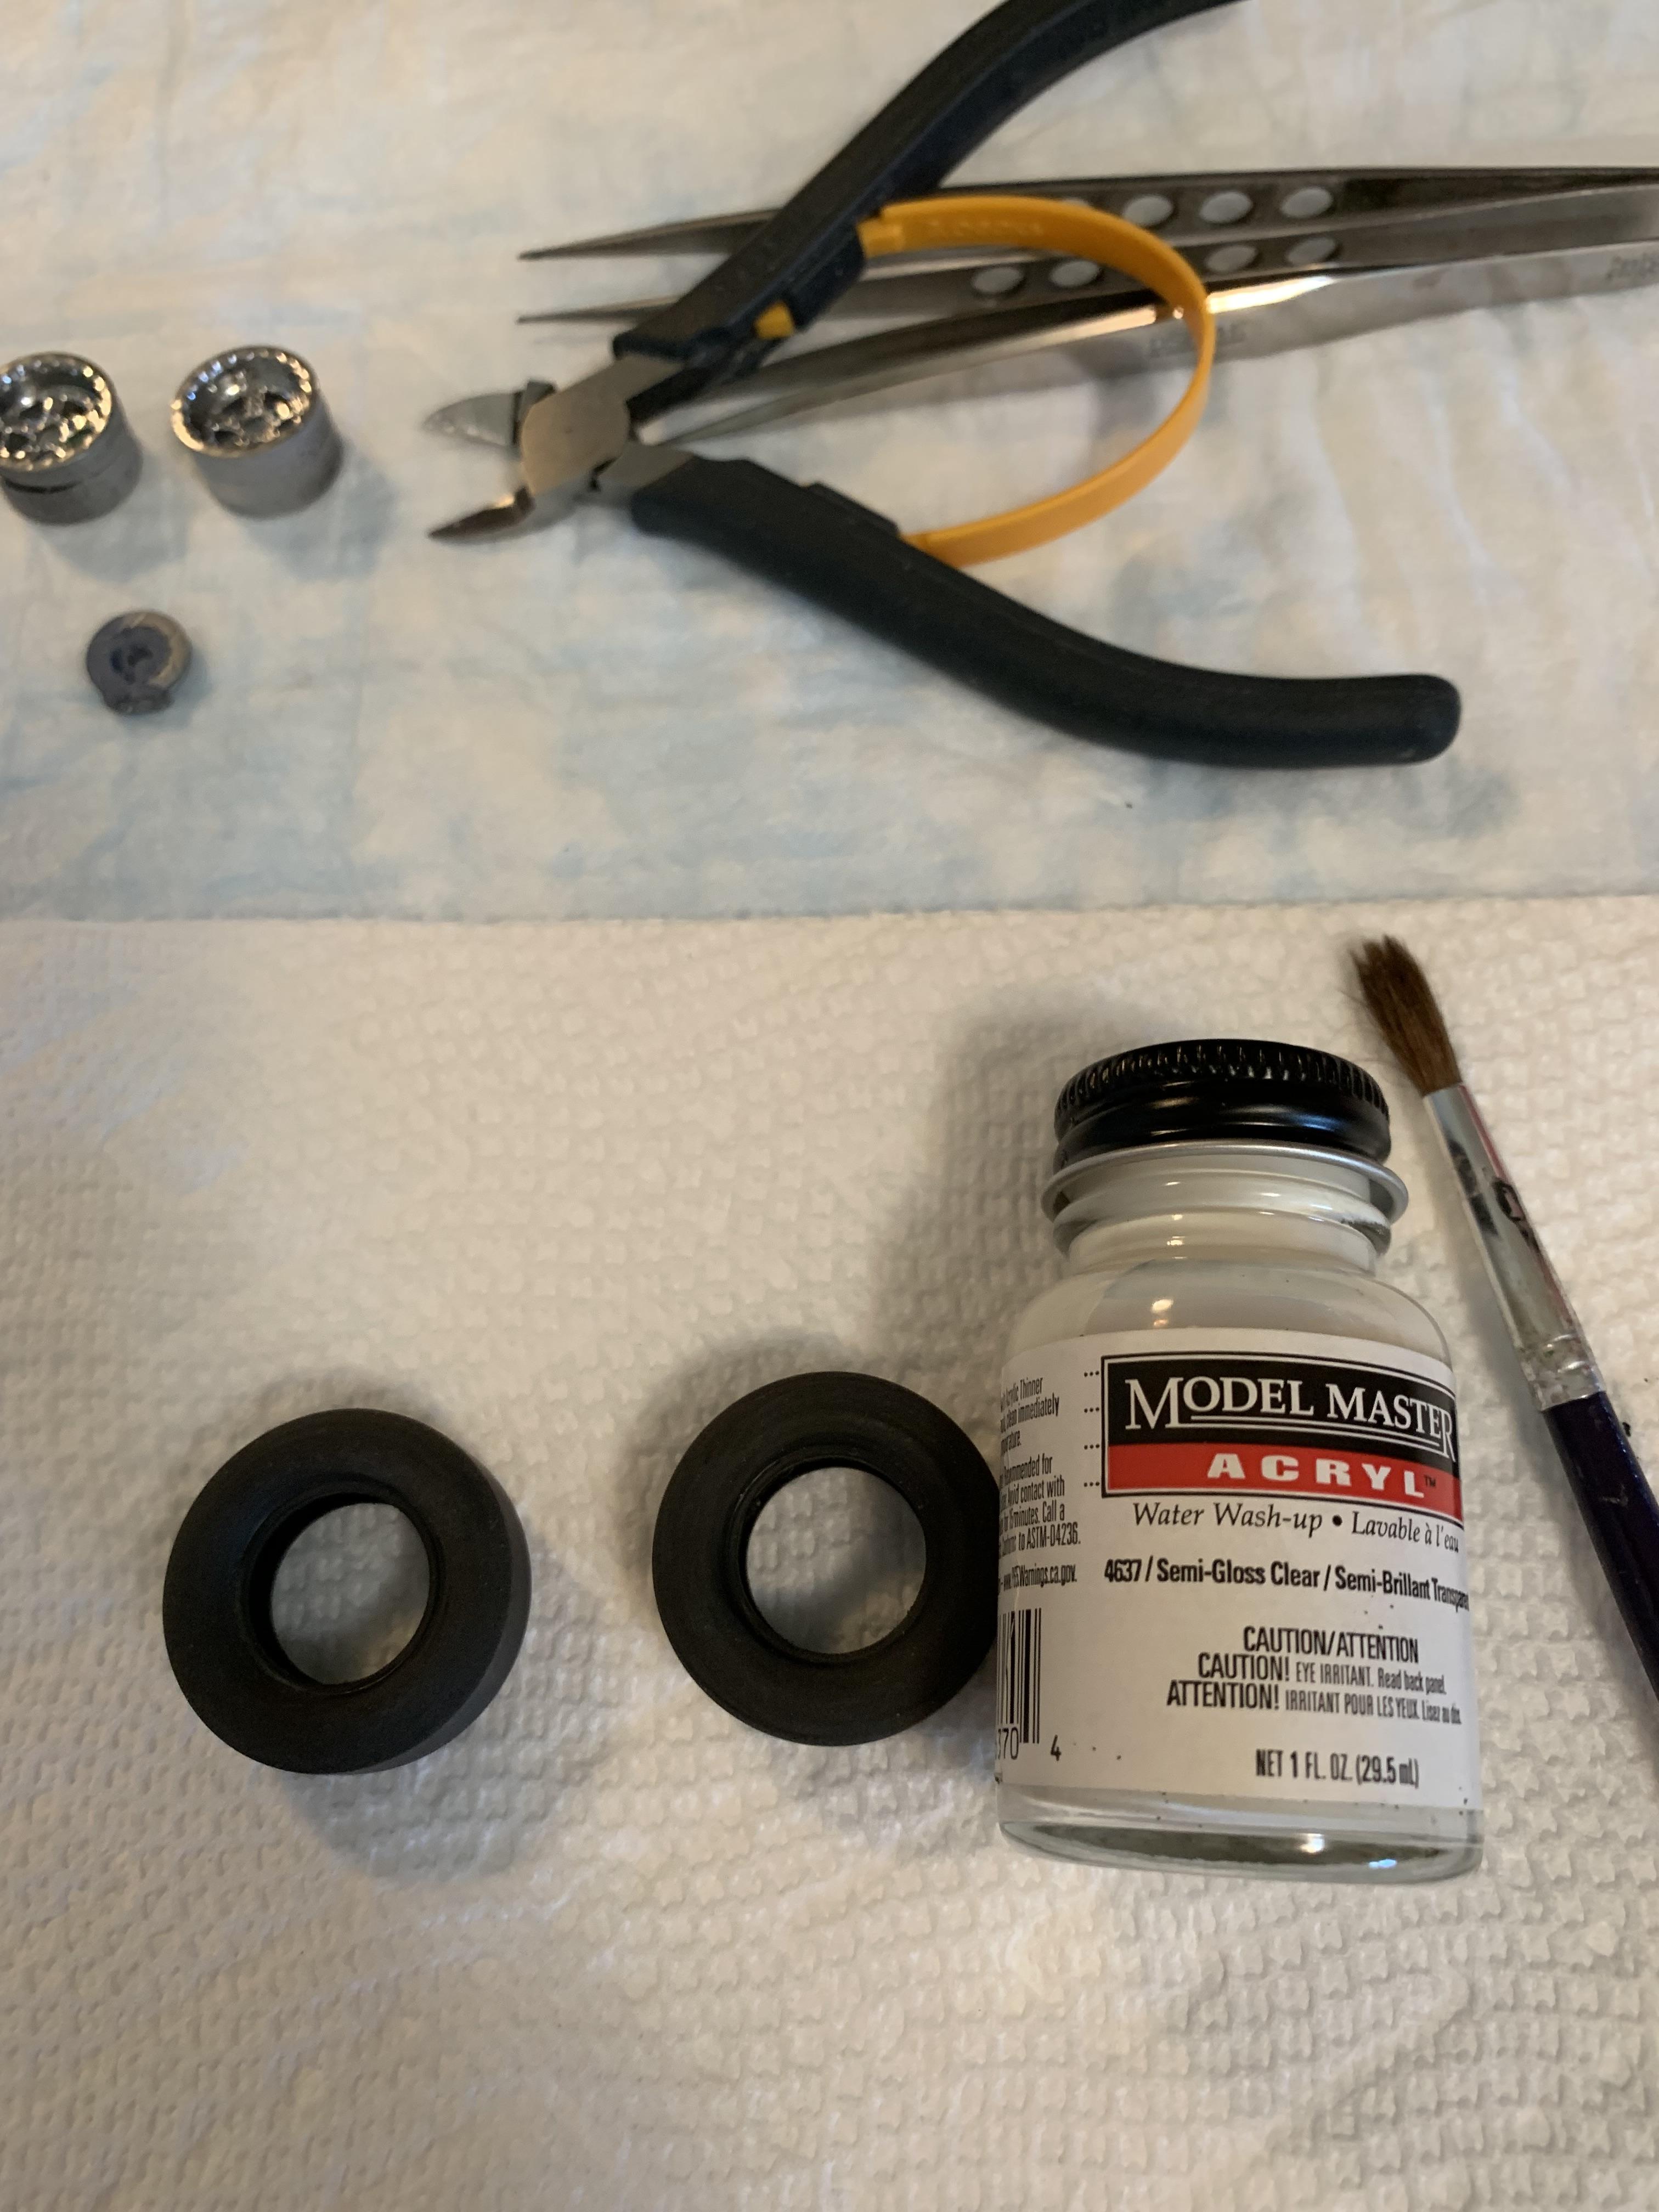
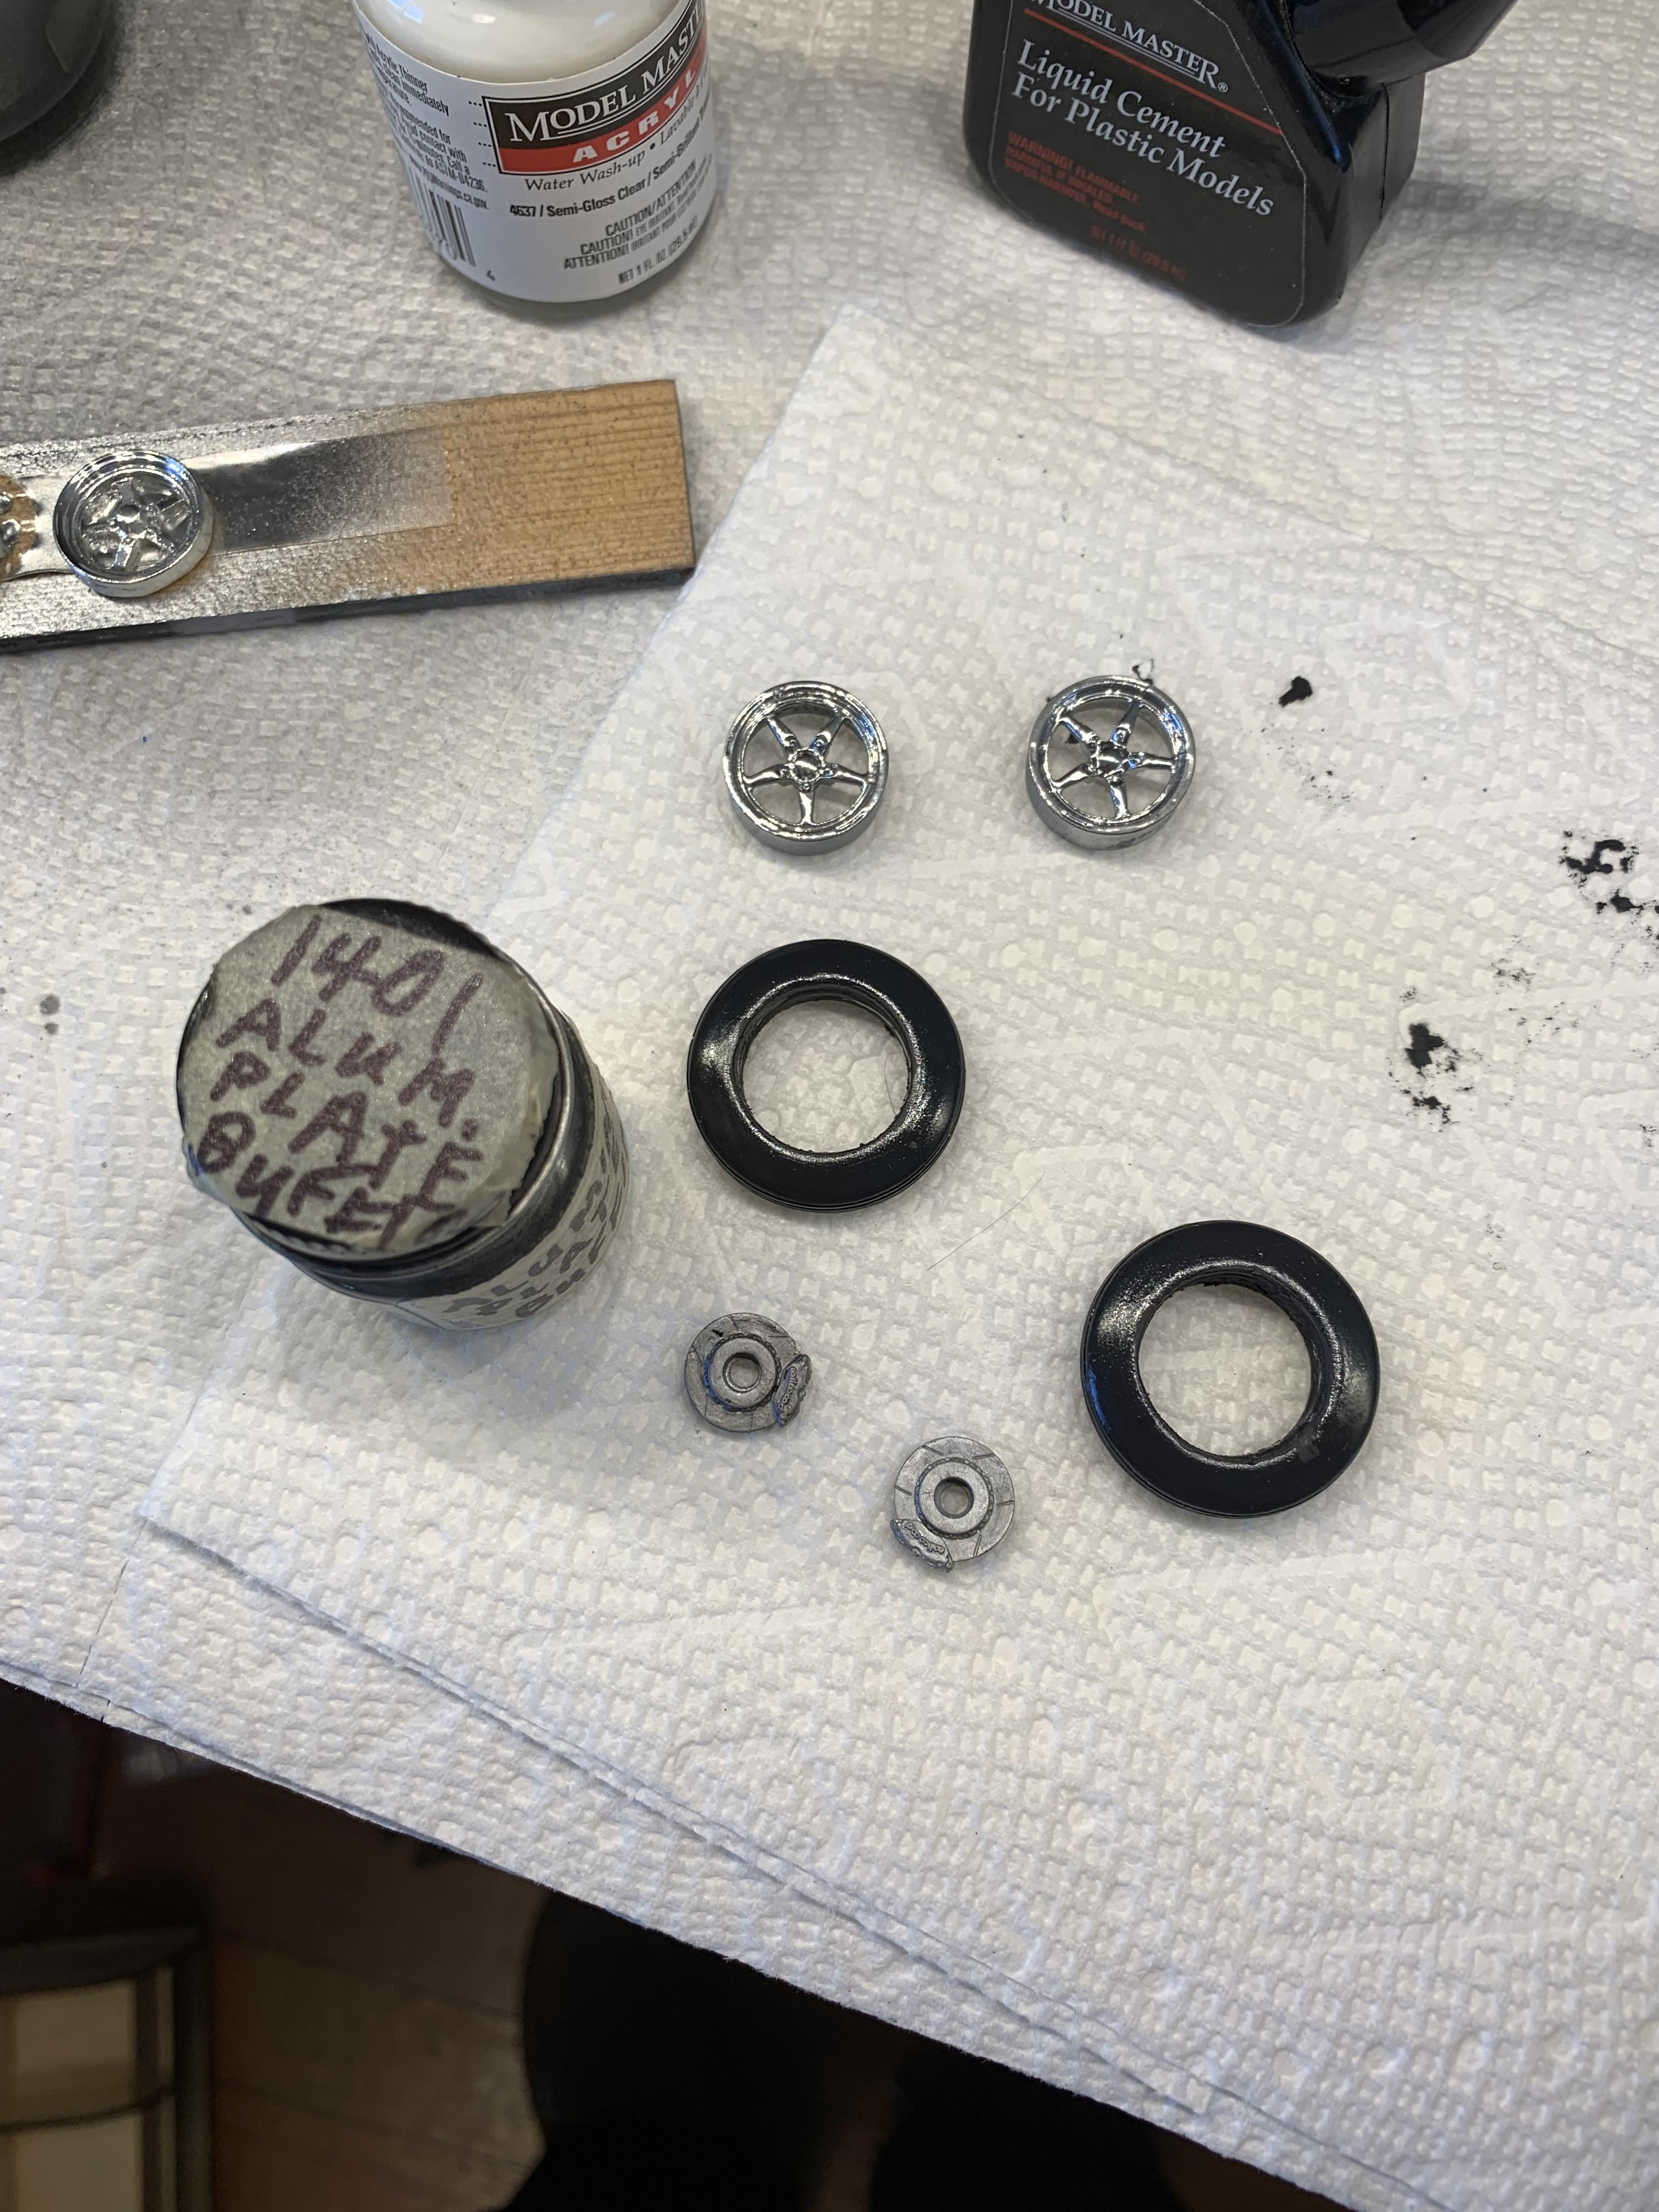
Then, some semi gloss clear on the slicks, and some aluminum paint on the front rotors. Next is some Hoosier decals after some drying (break) time.
-
1962 Pontiac 421 SD F/SA circa 2024 edition
R. Thorne replied to R. Thorne's topic in WIP: Drag Racing Models
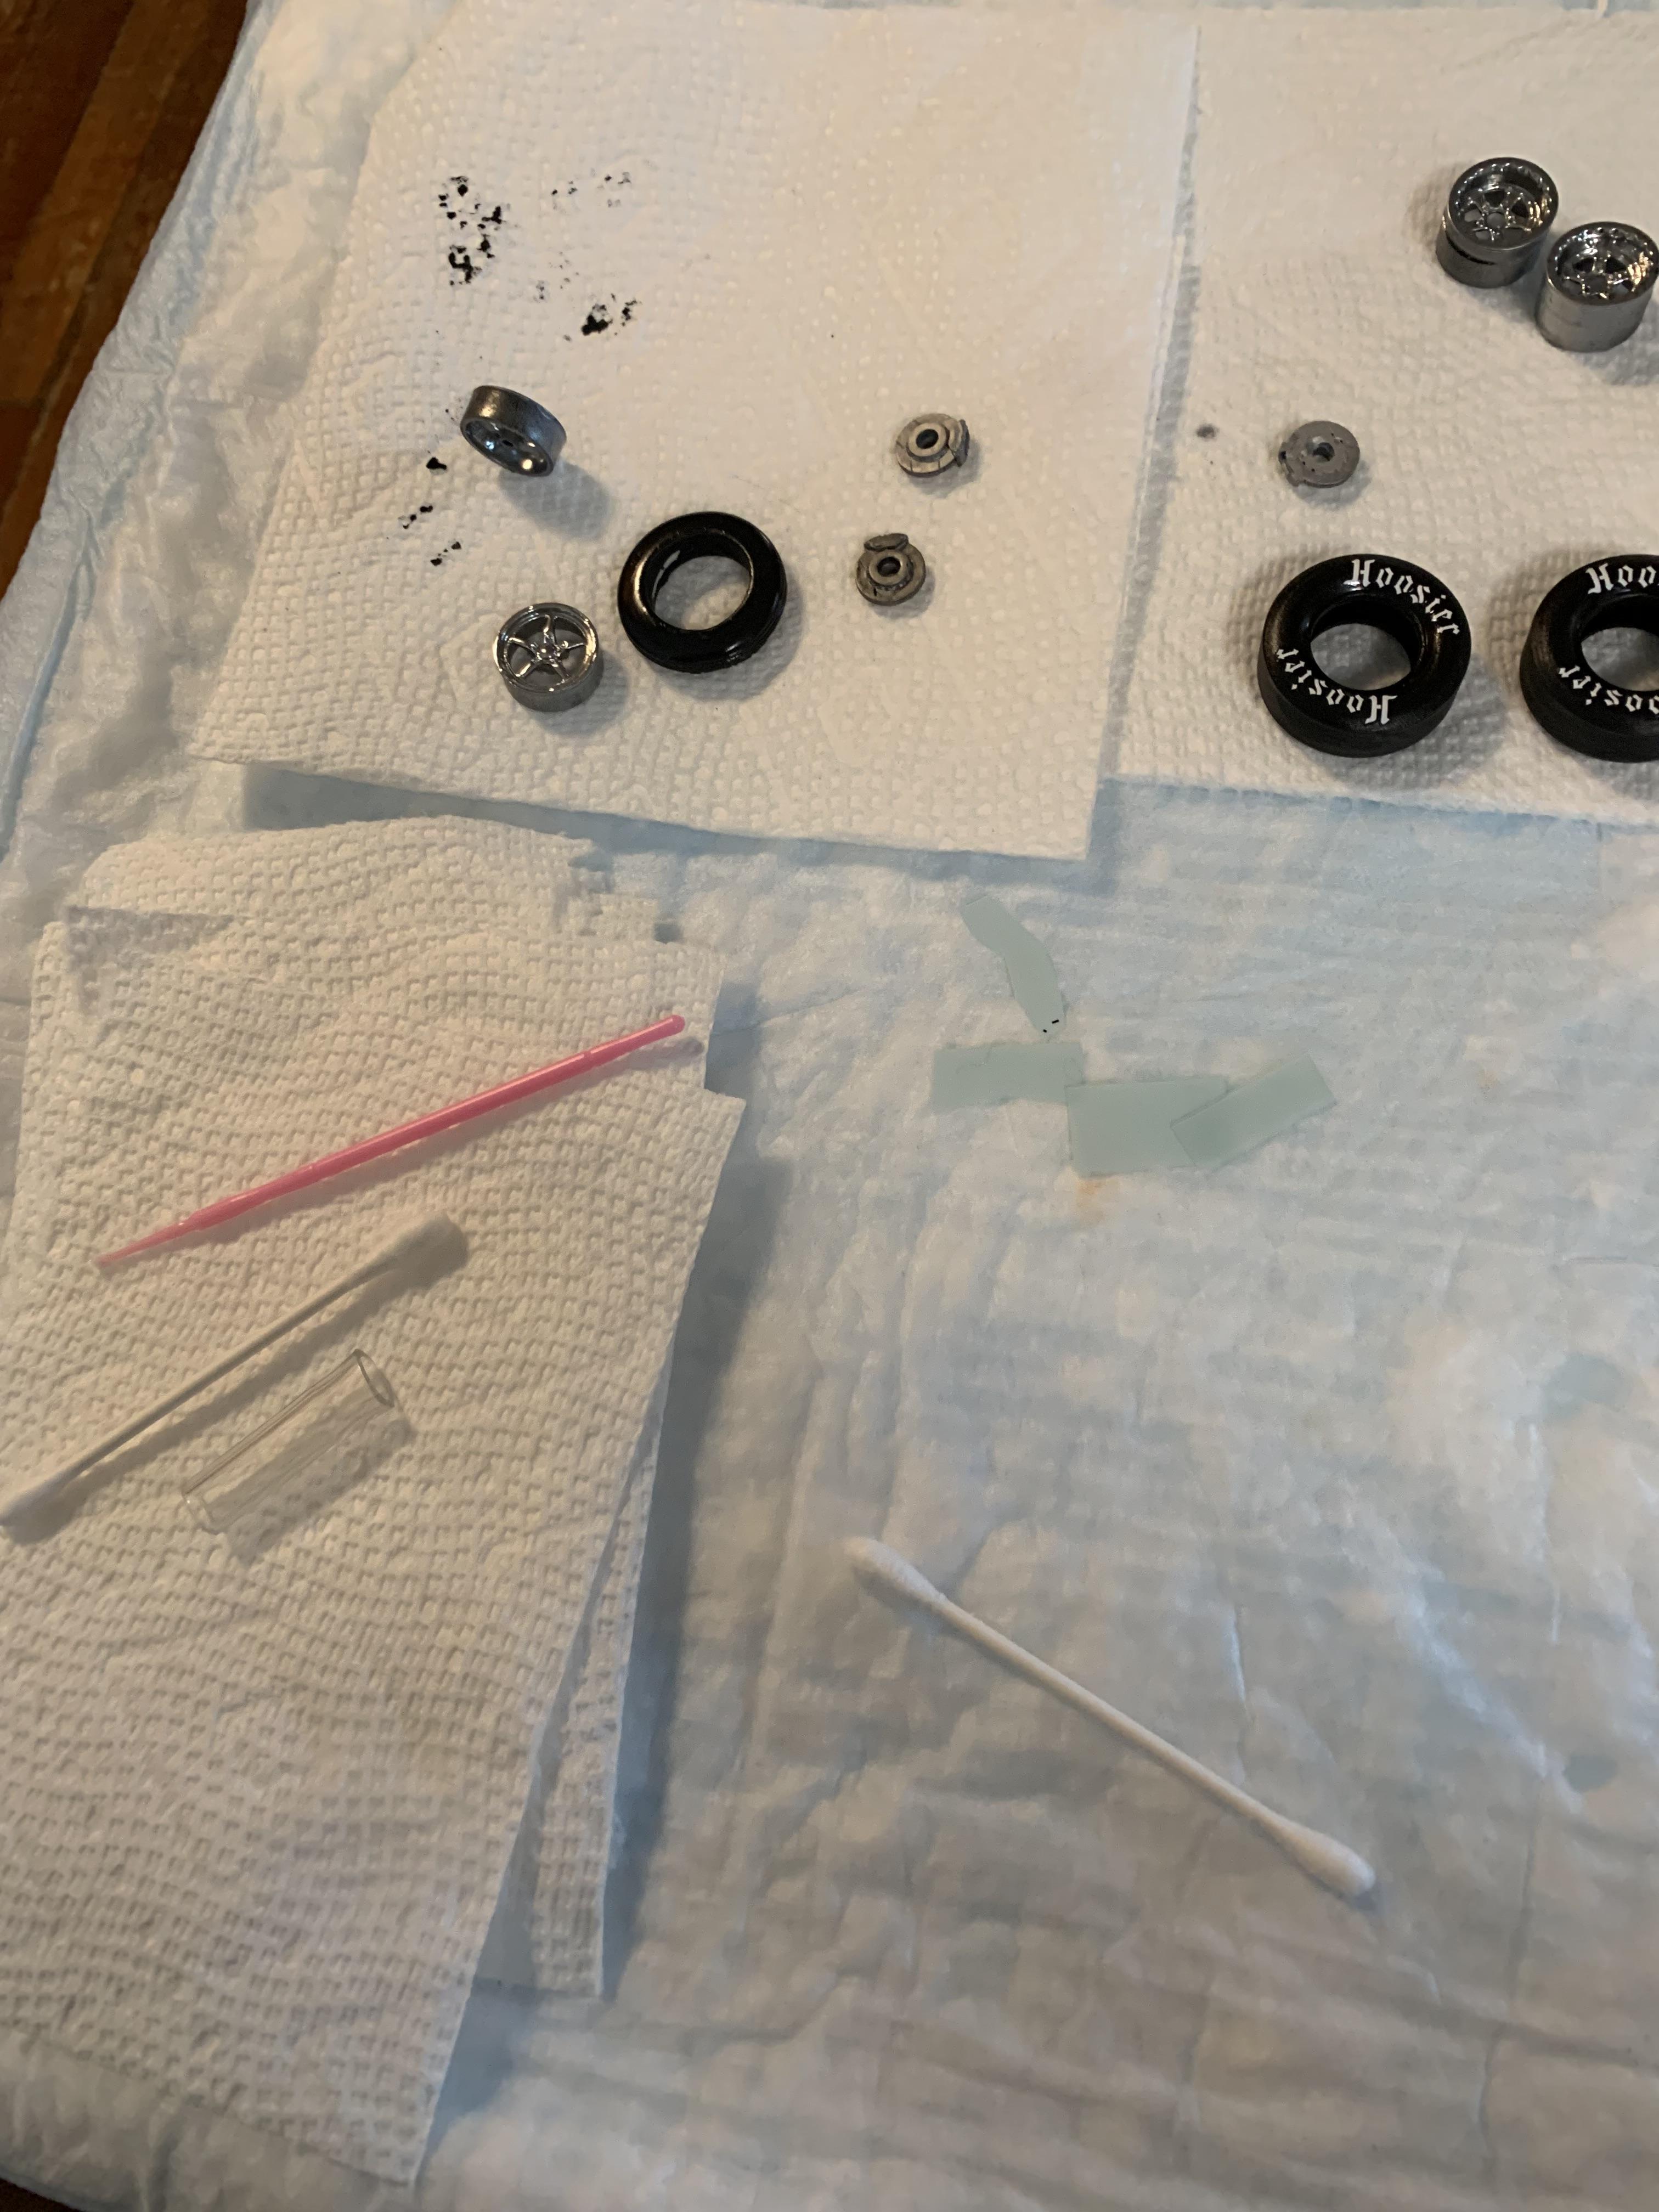
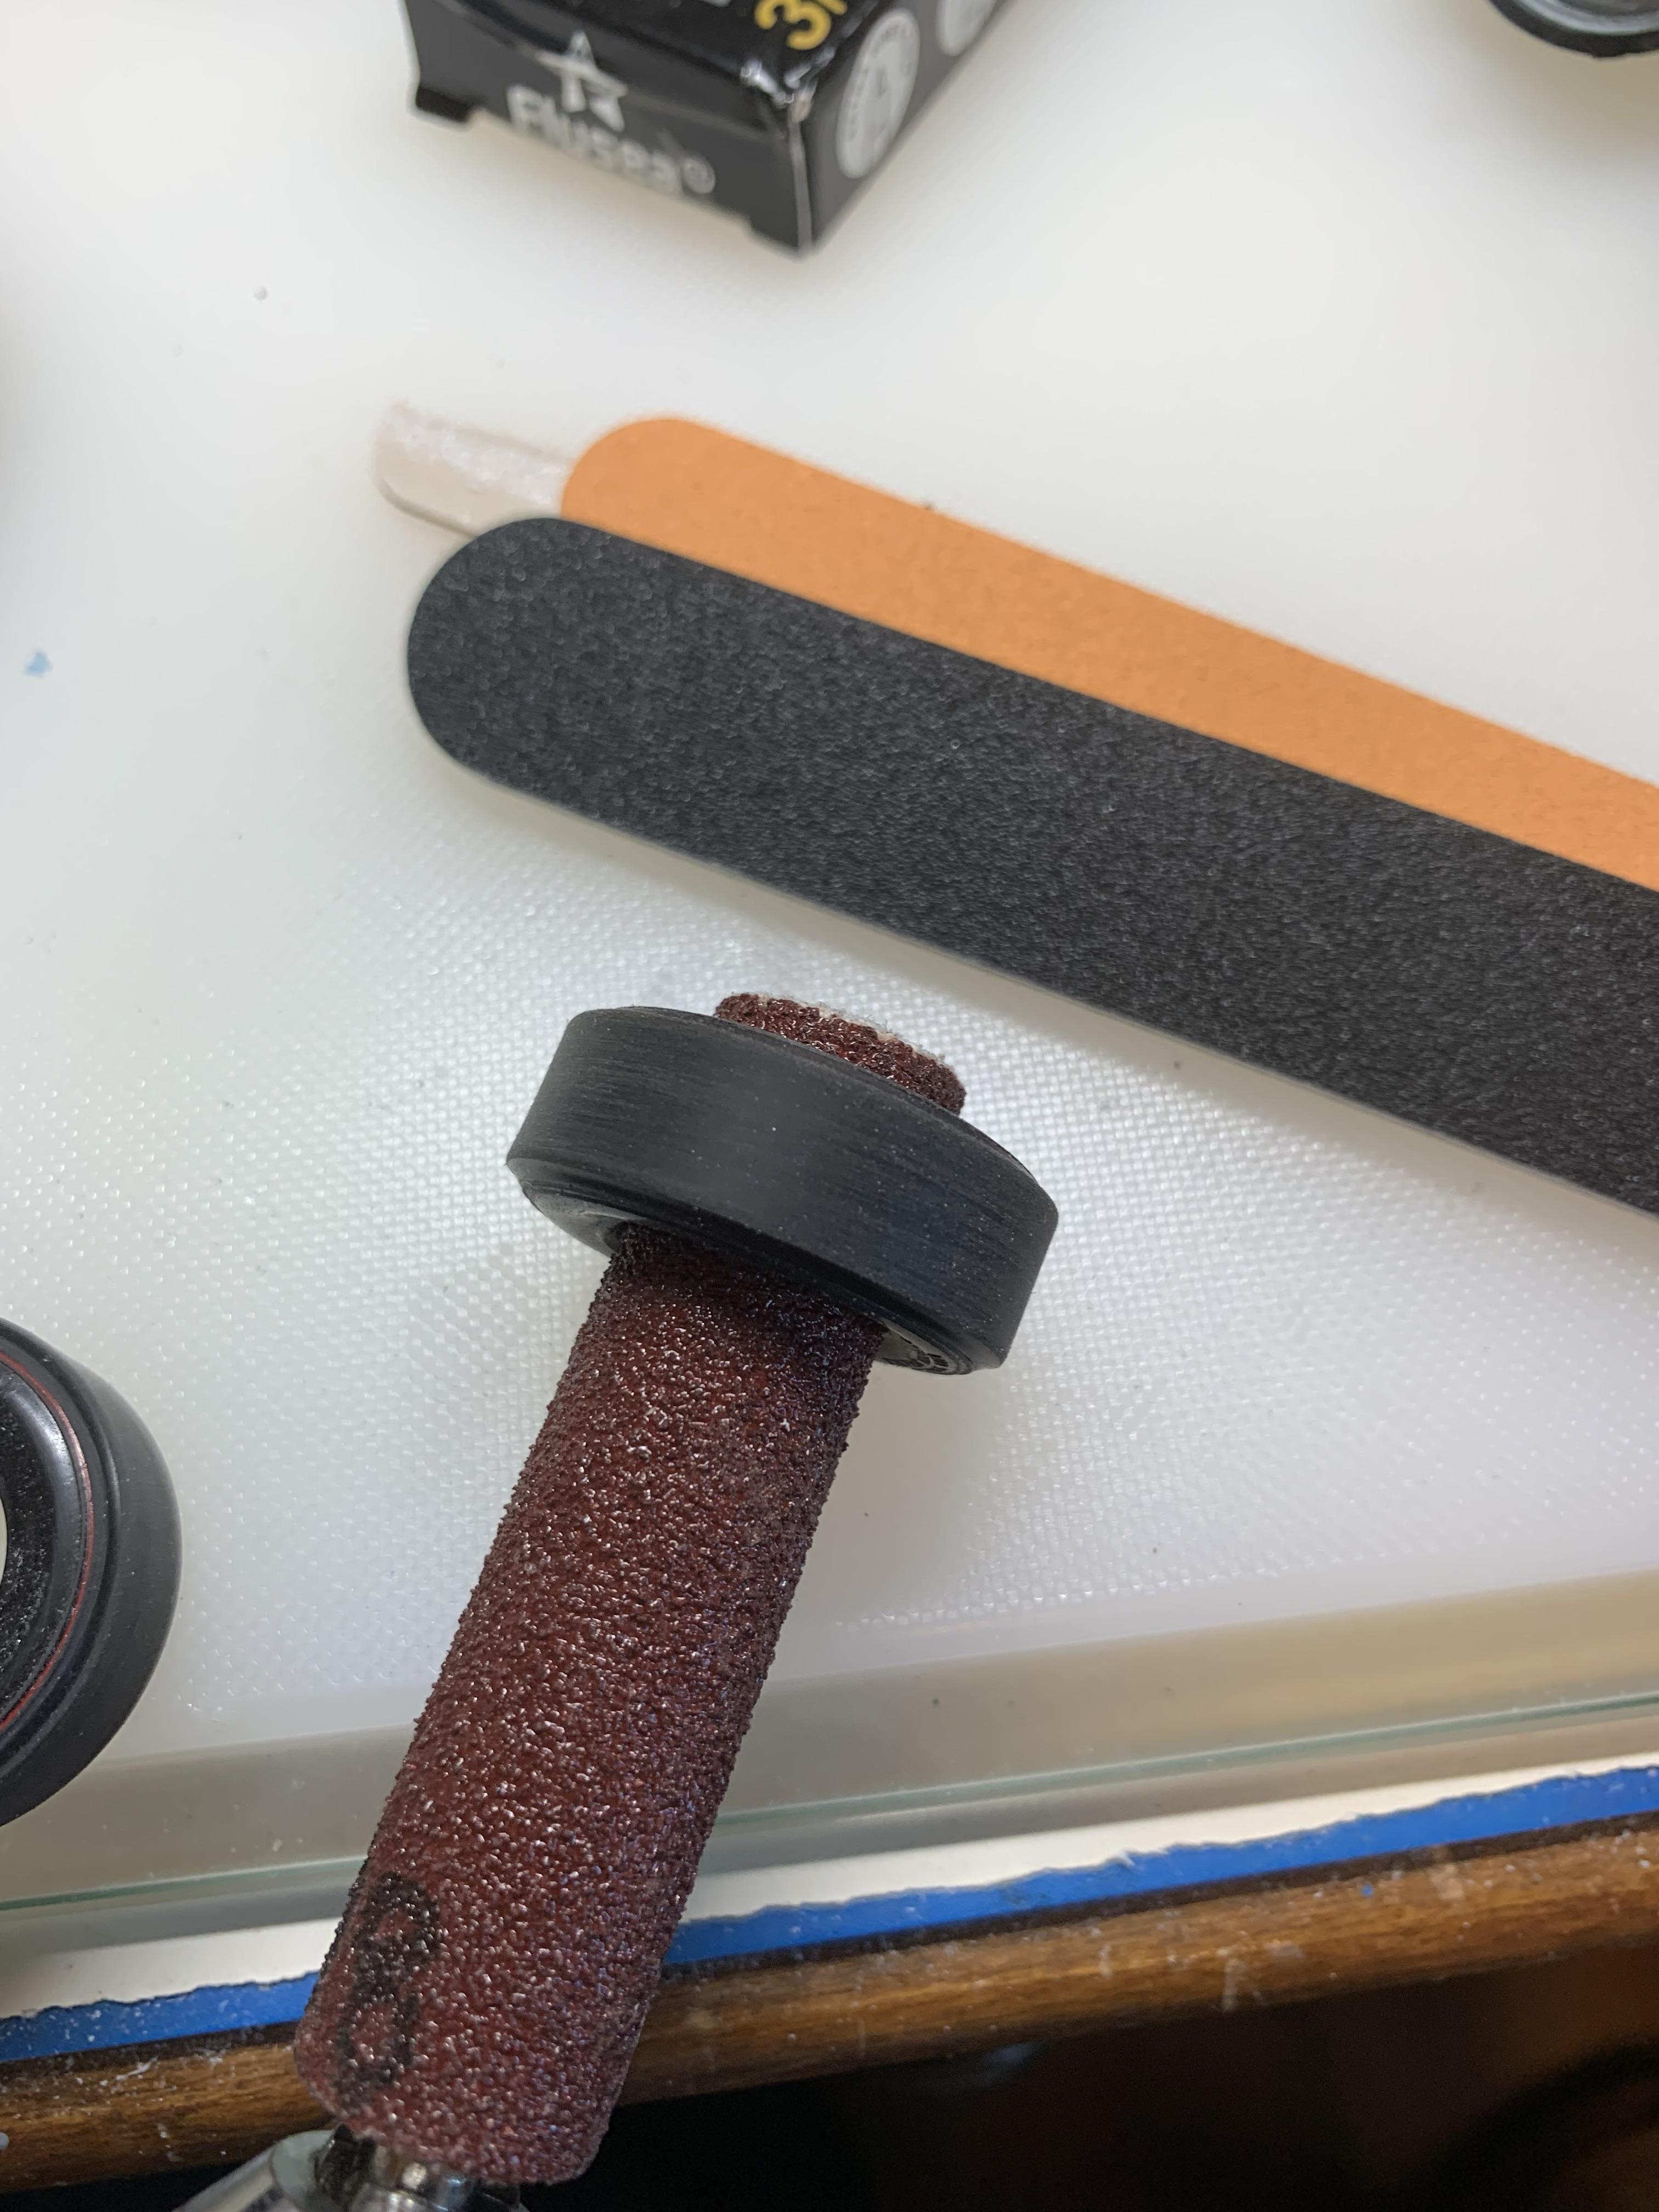
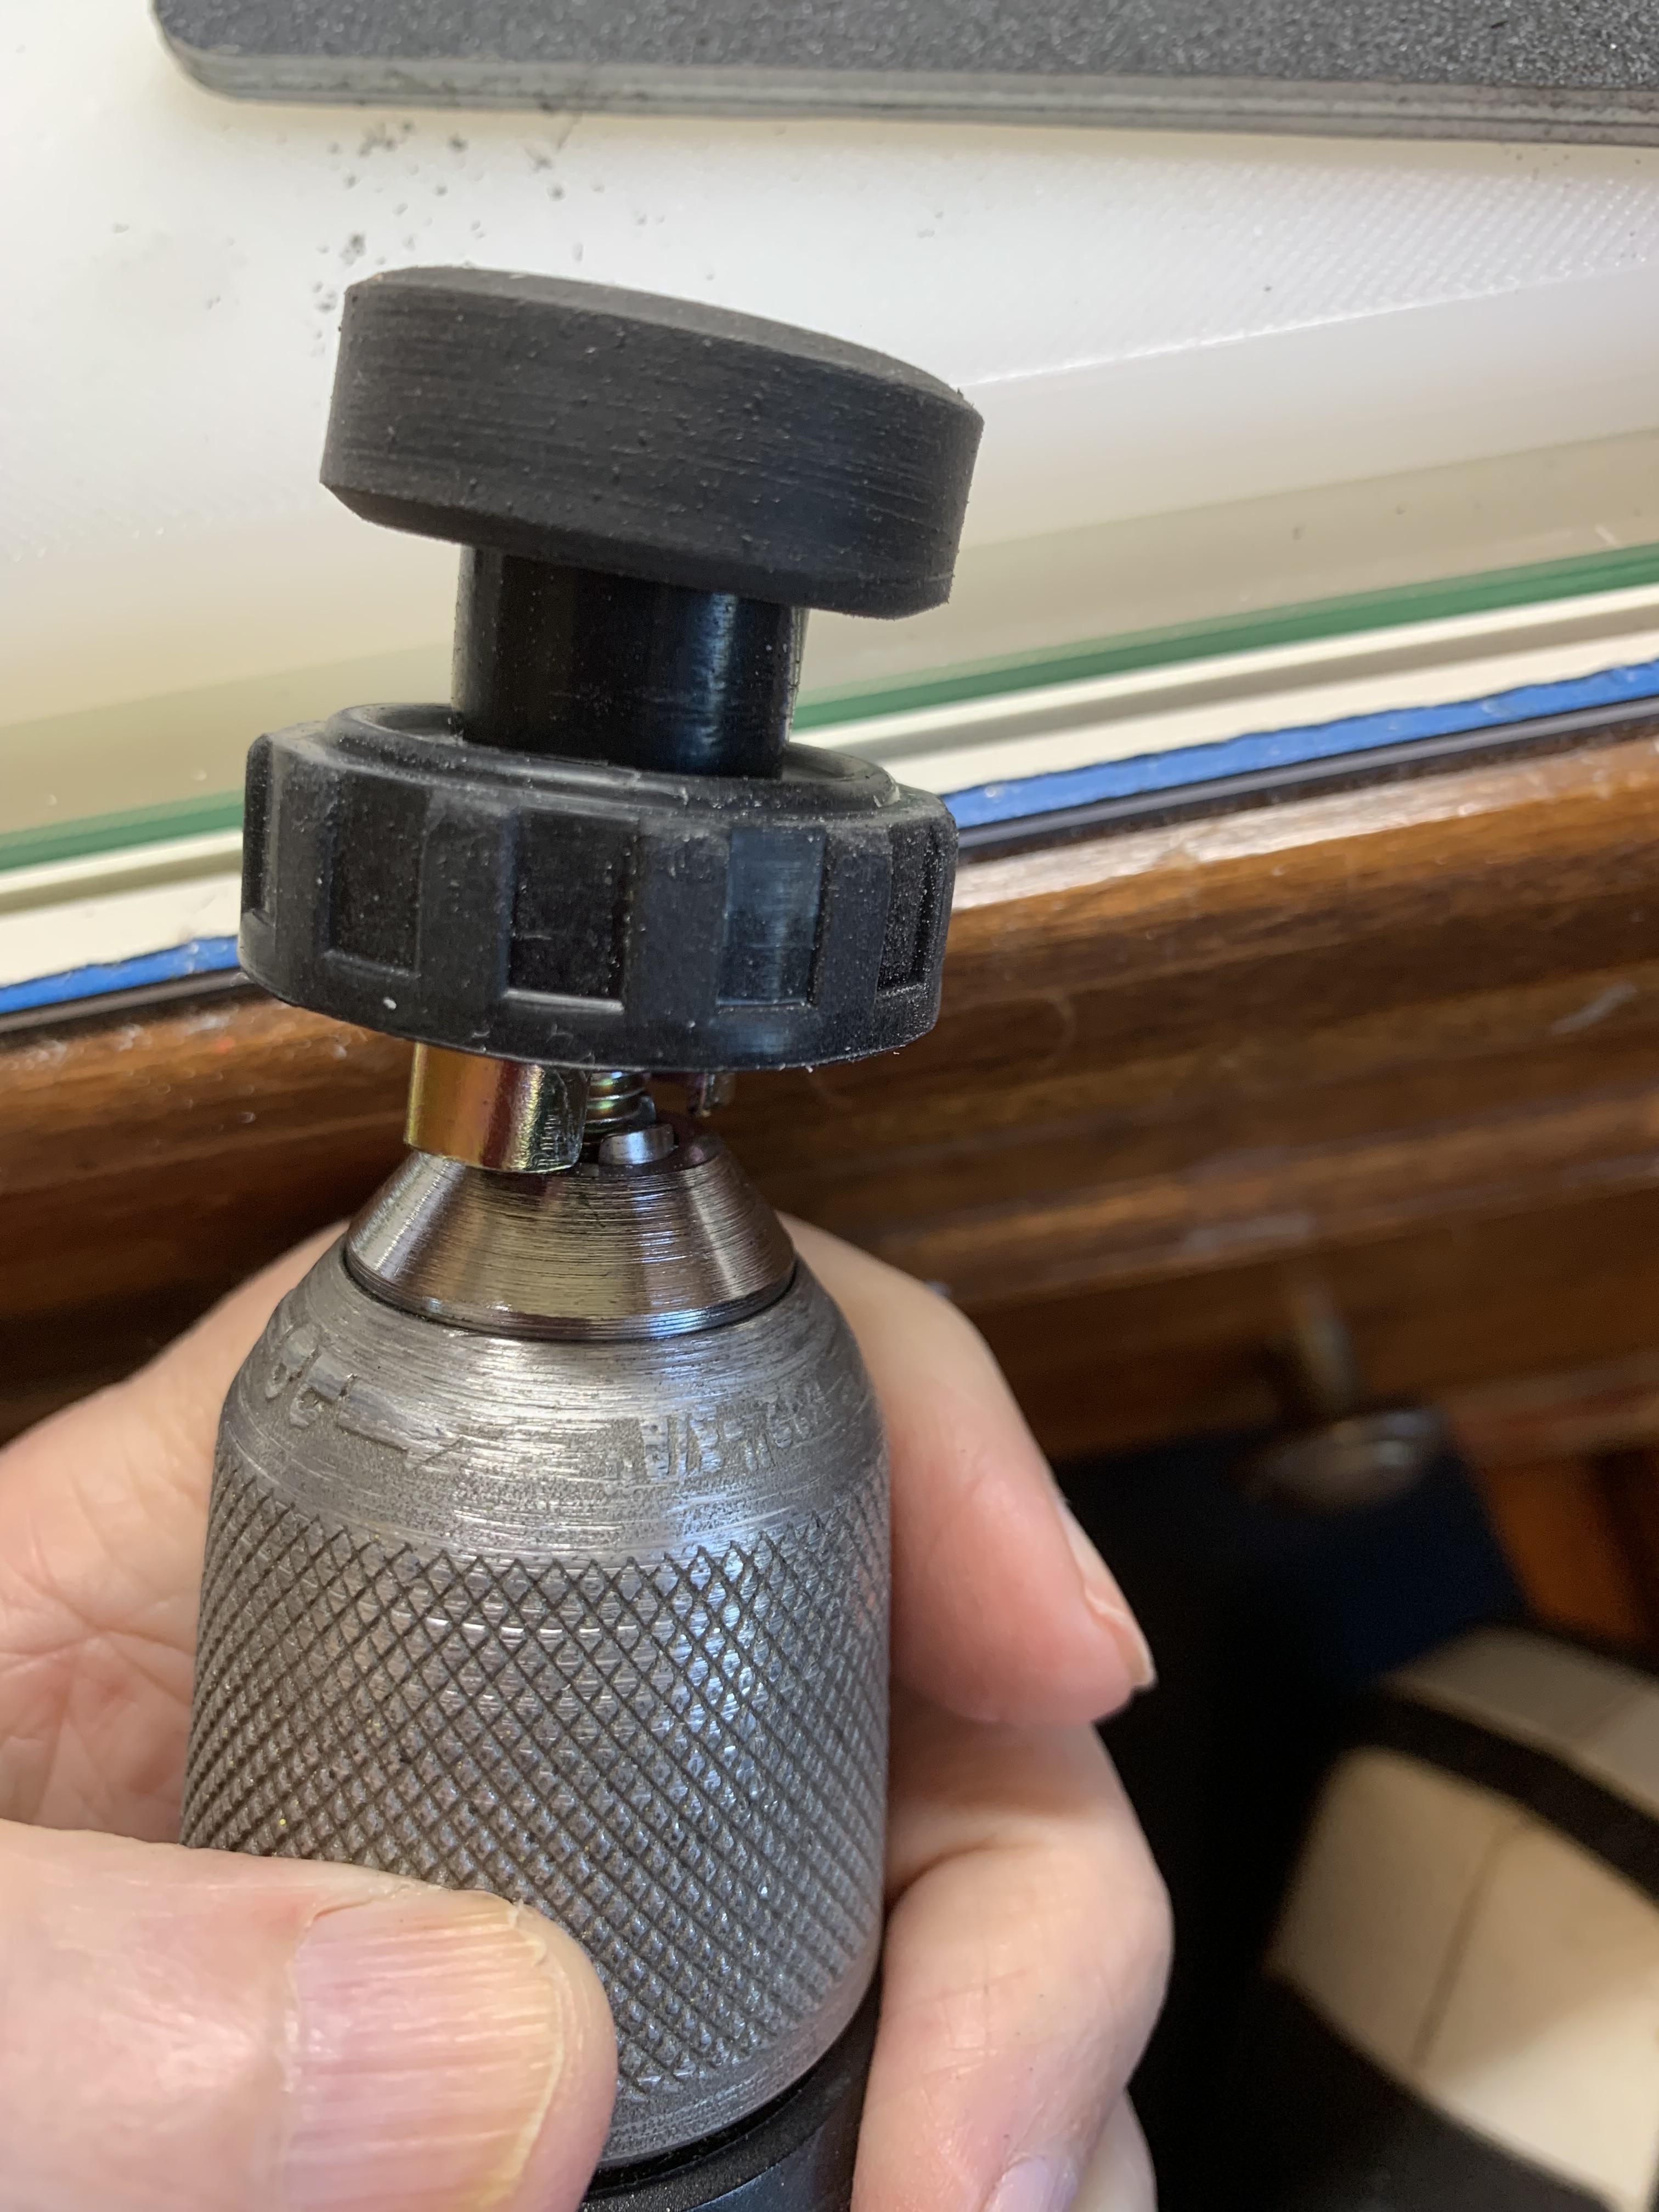
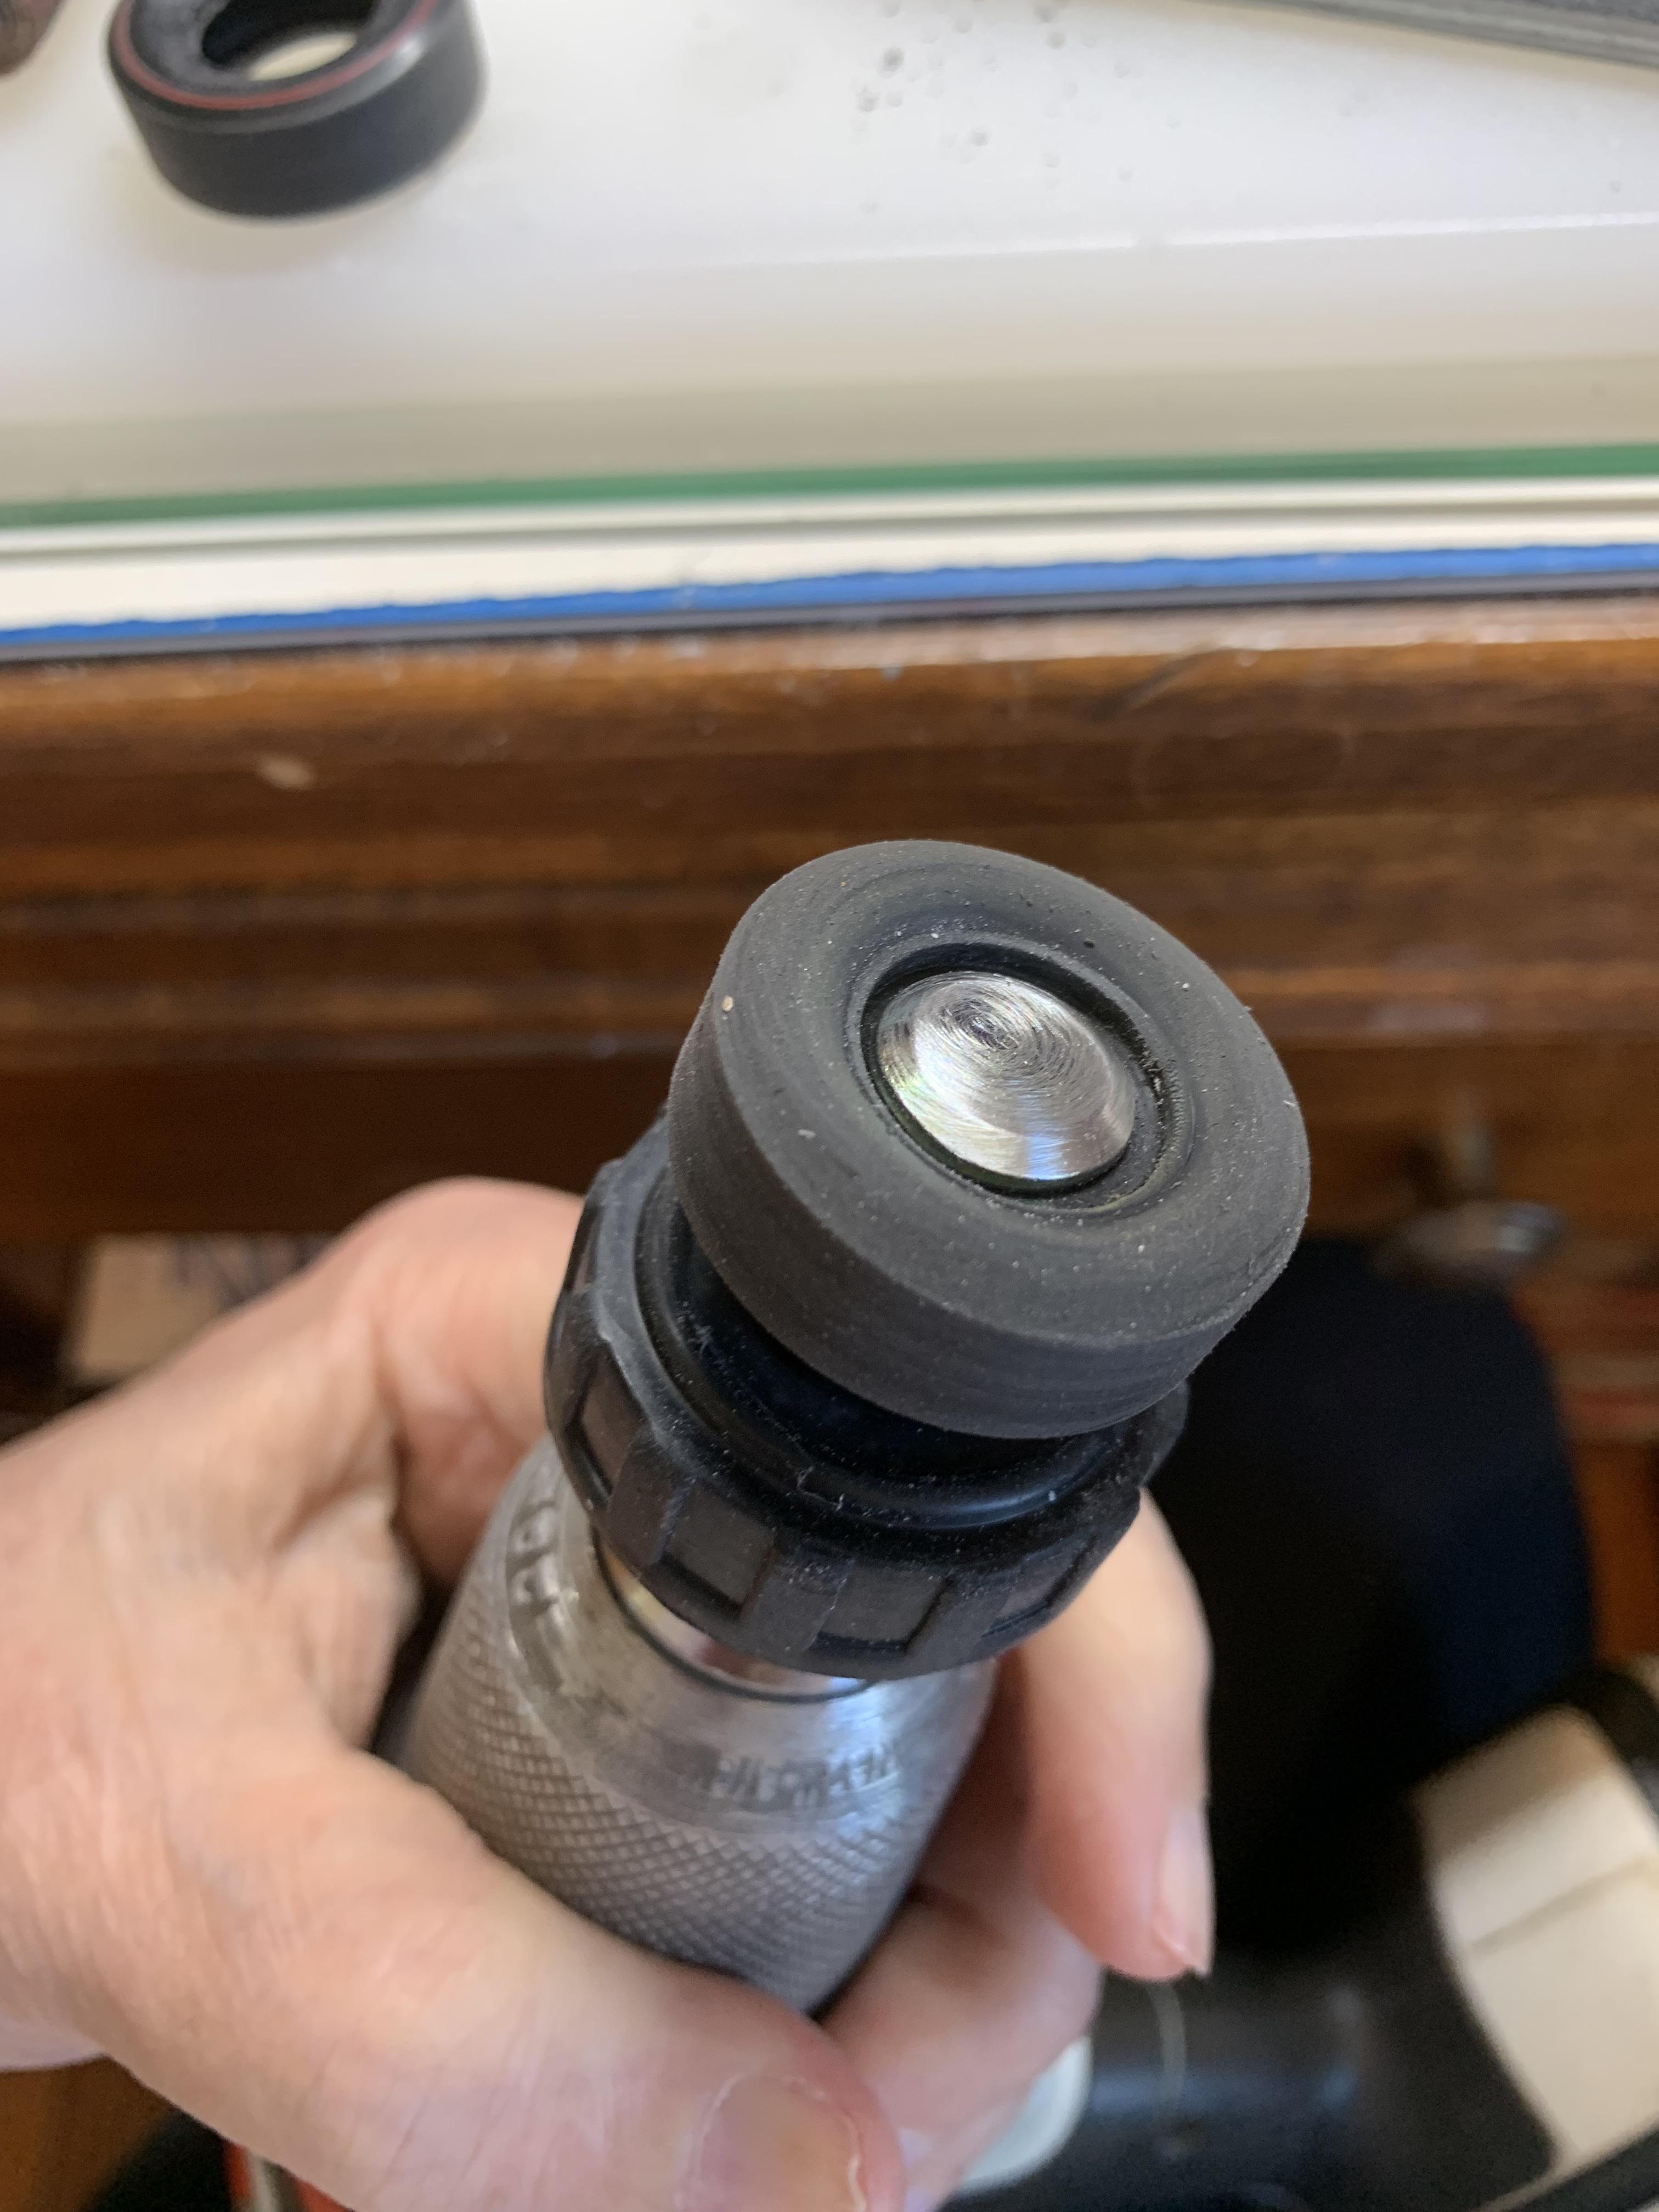
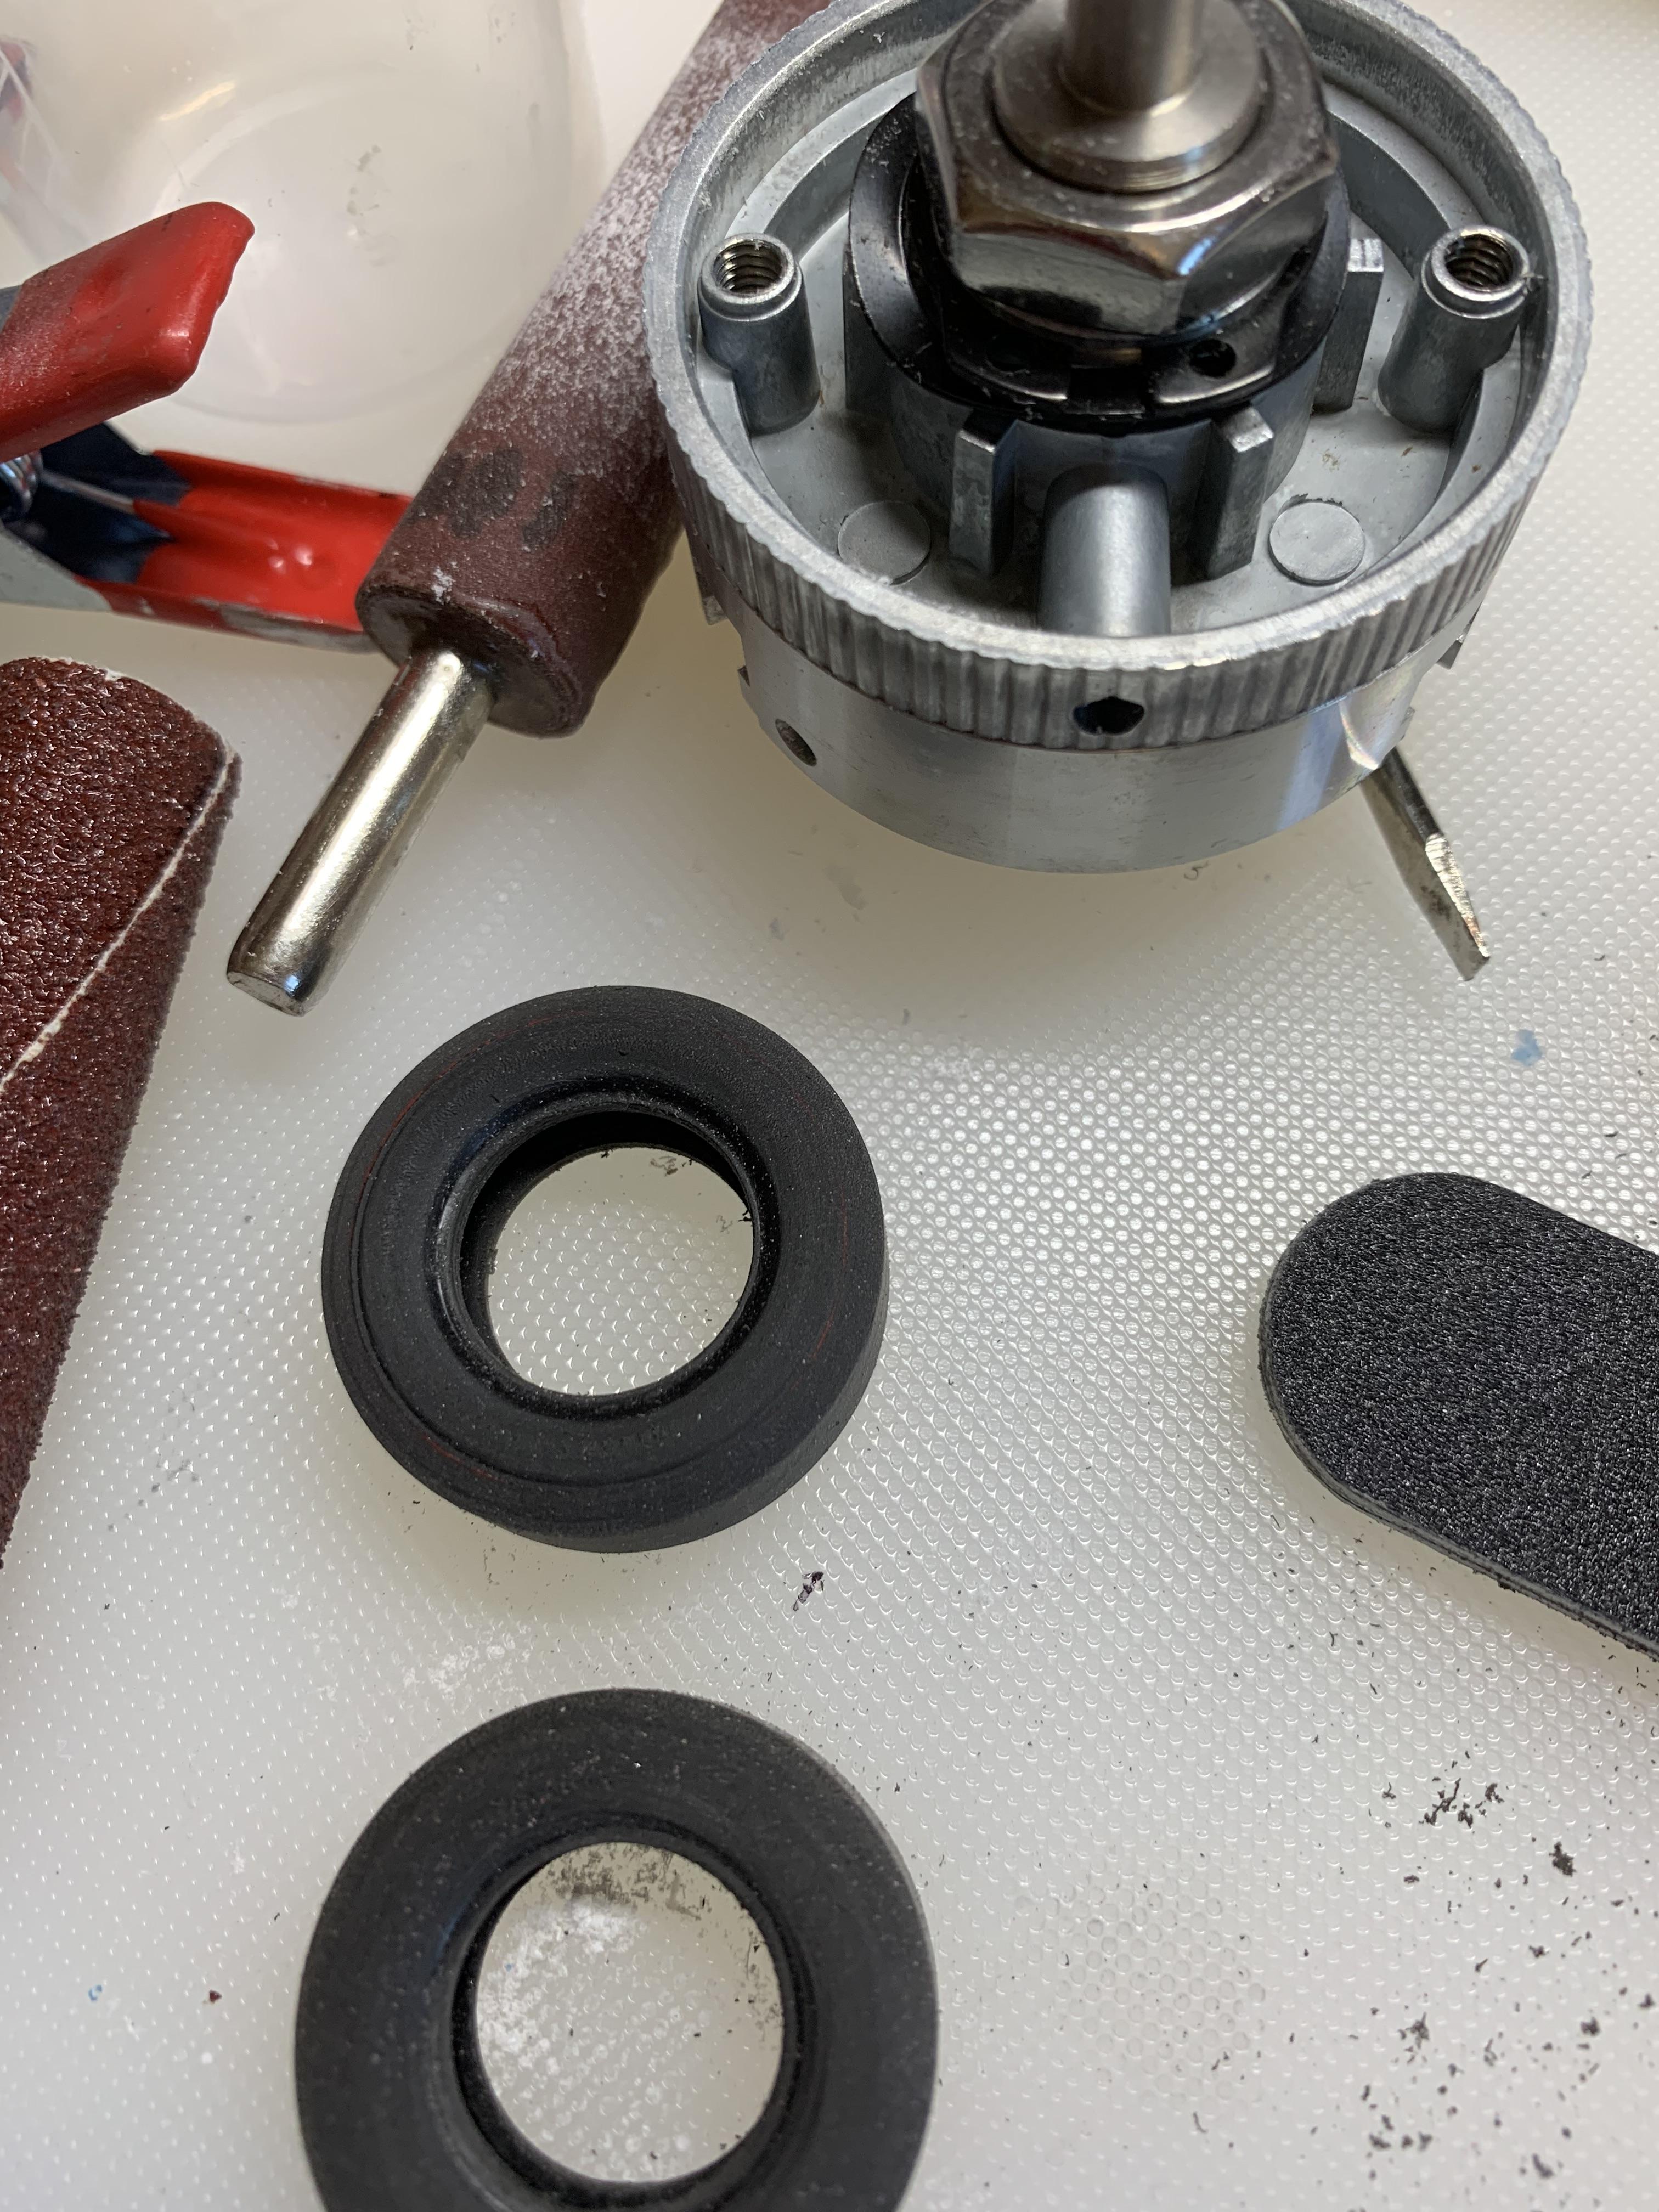
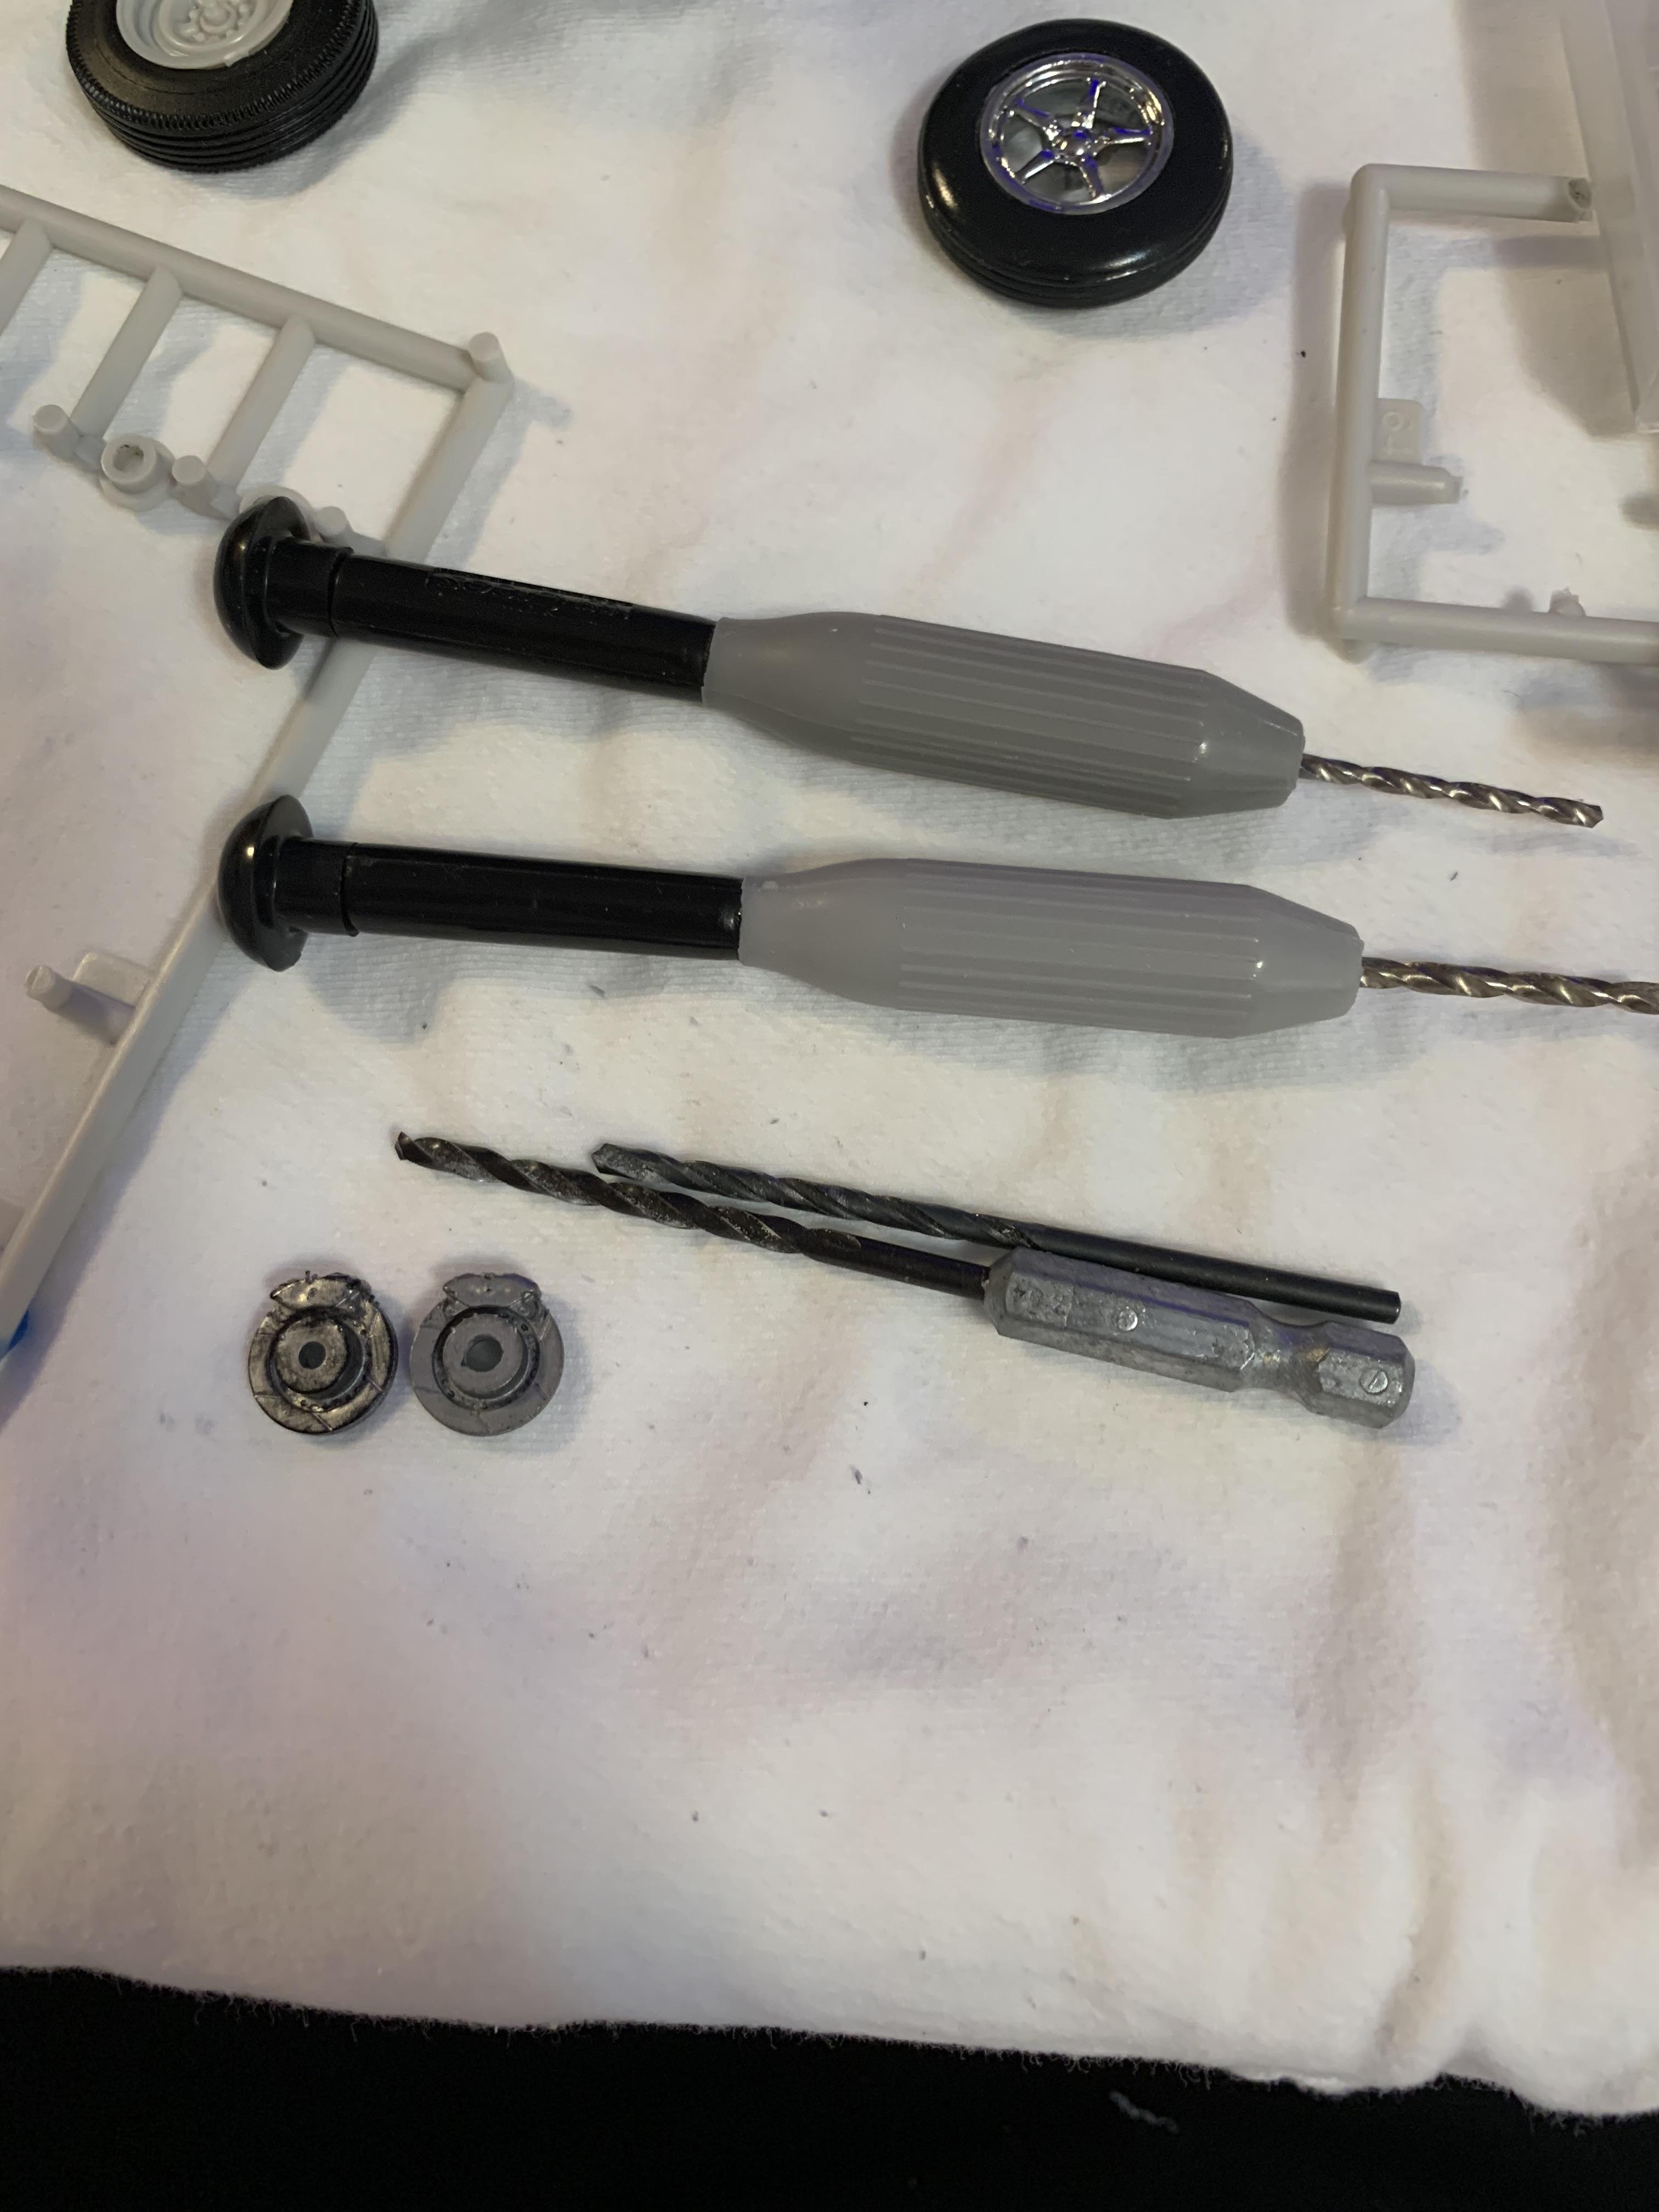
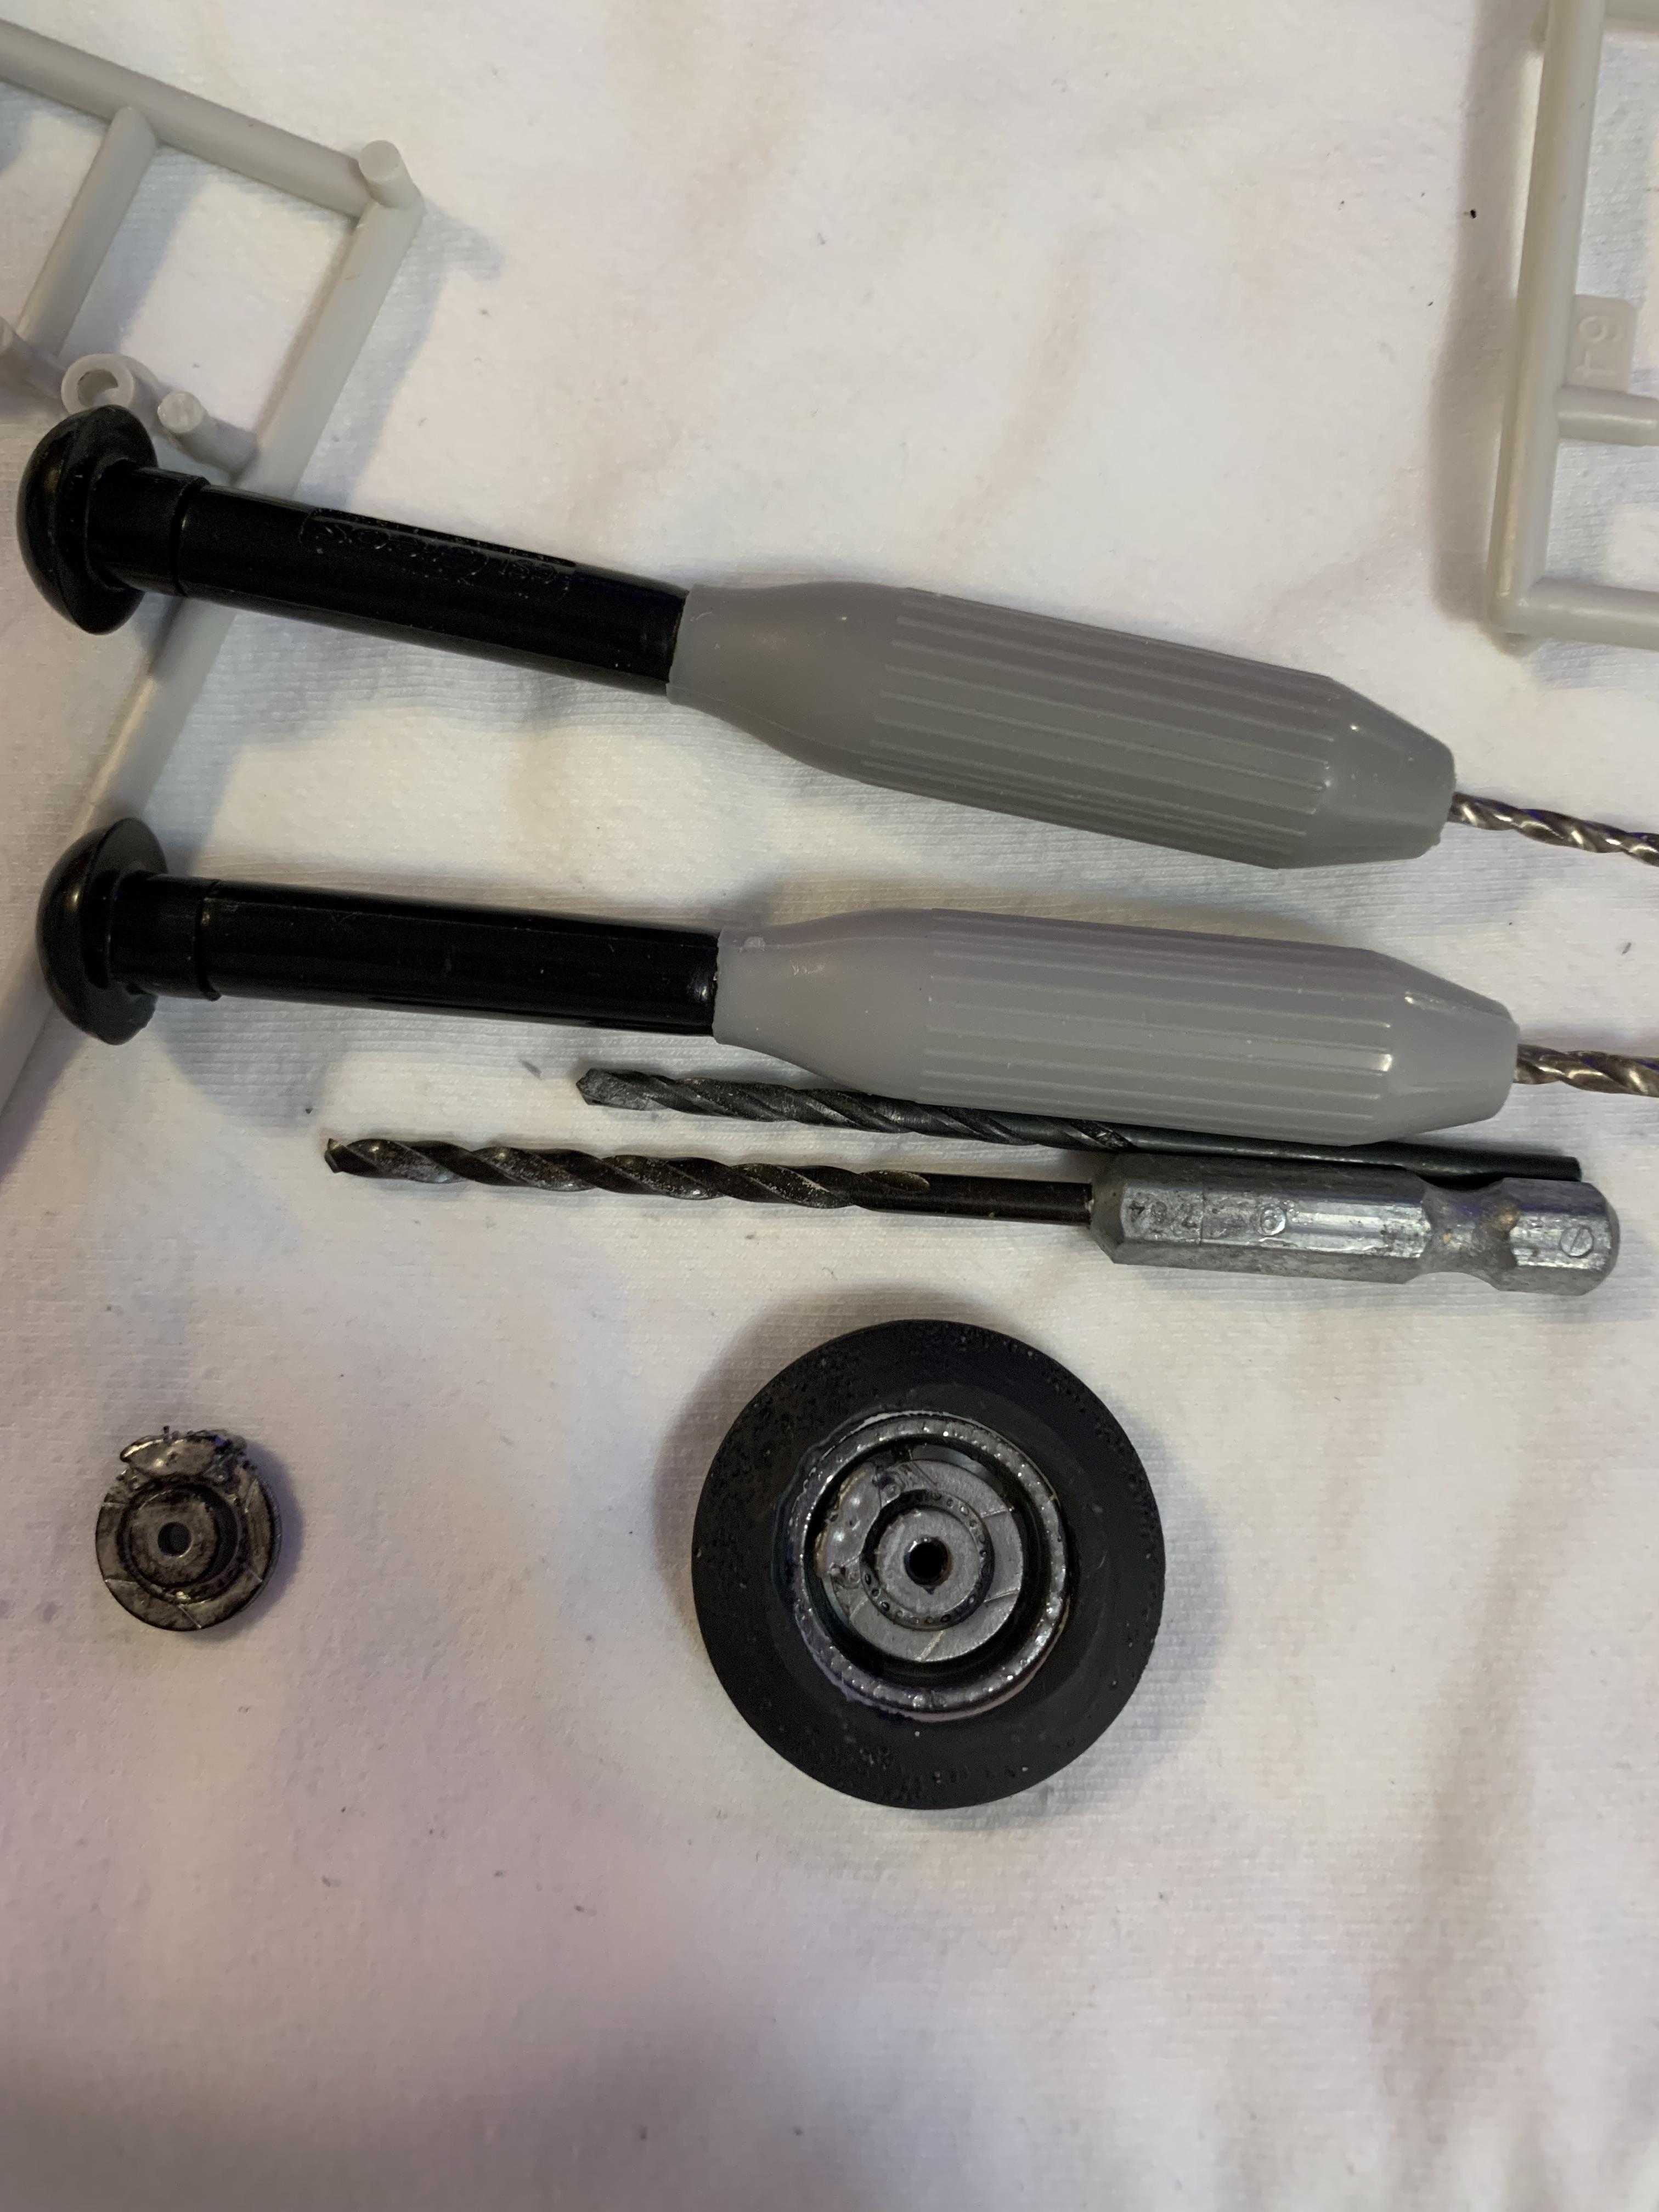
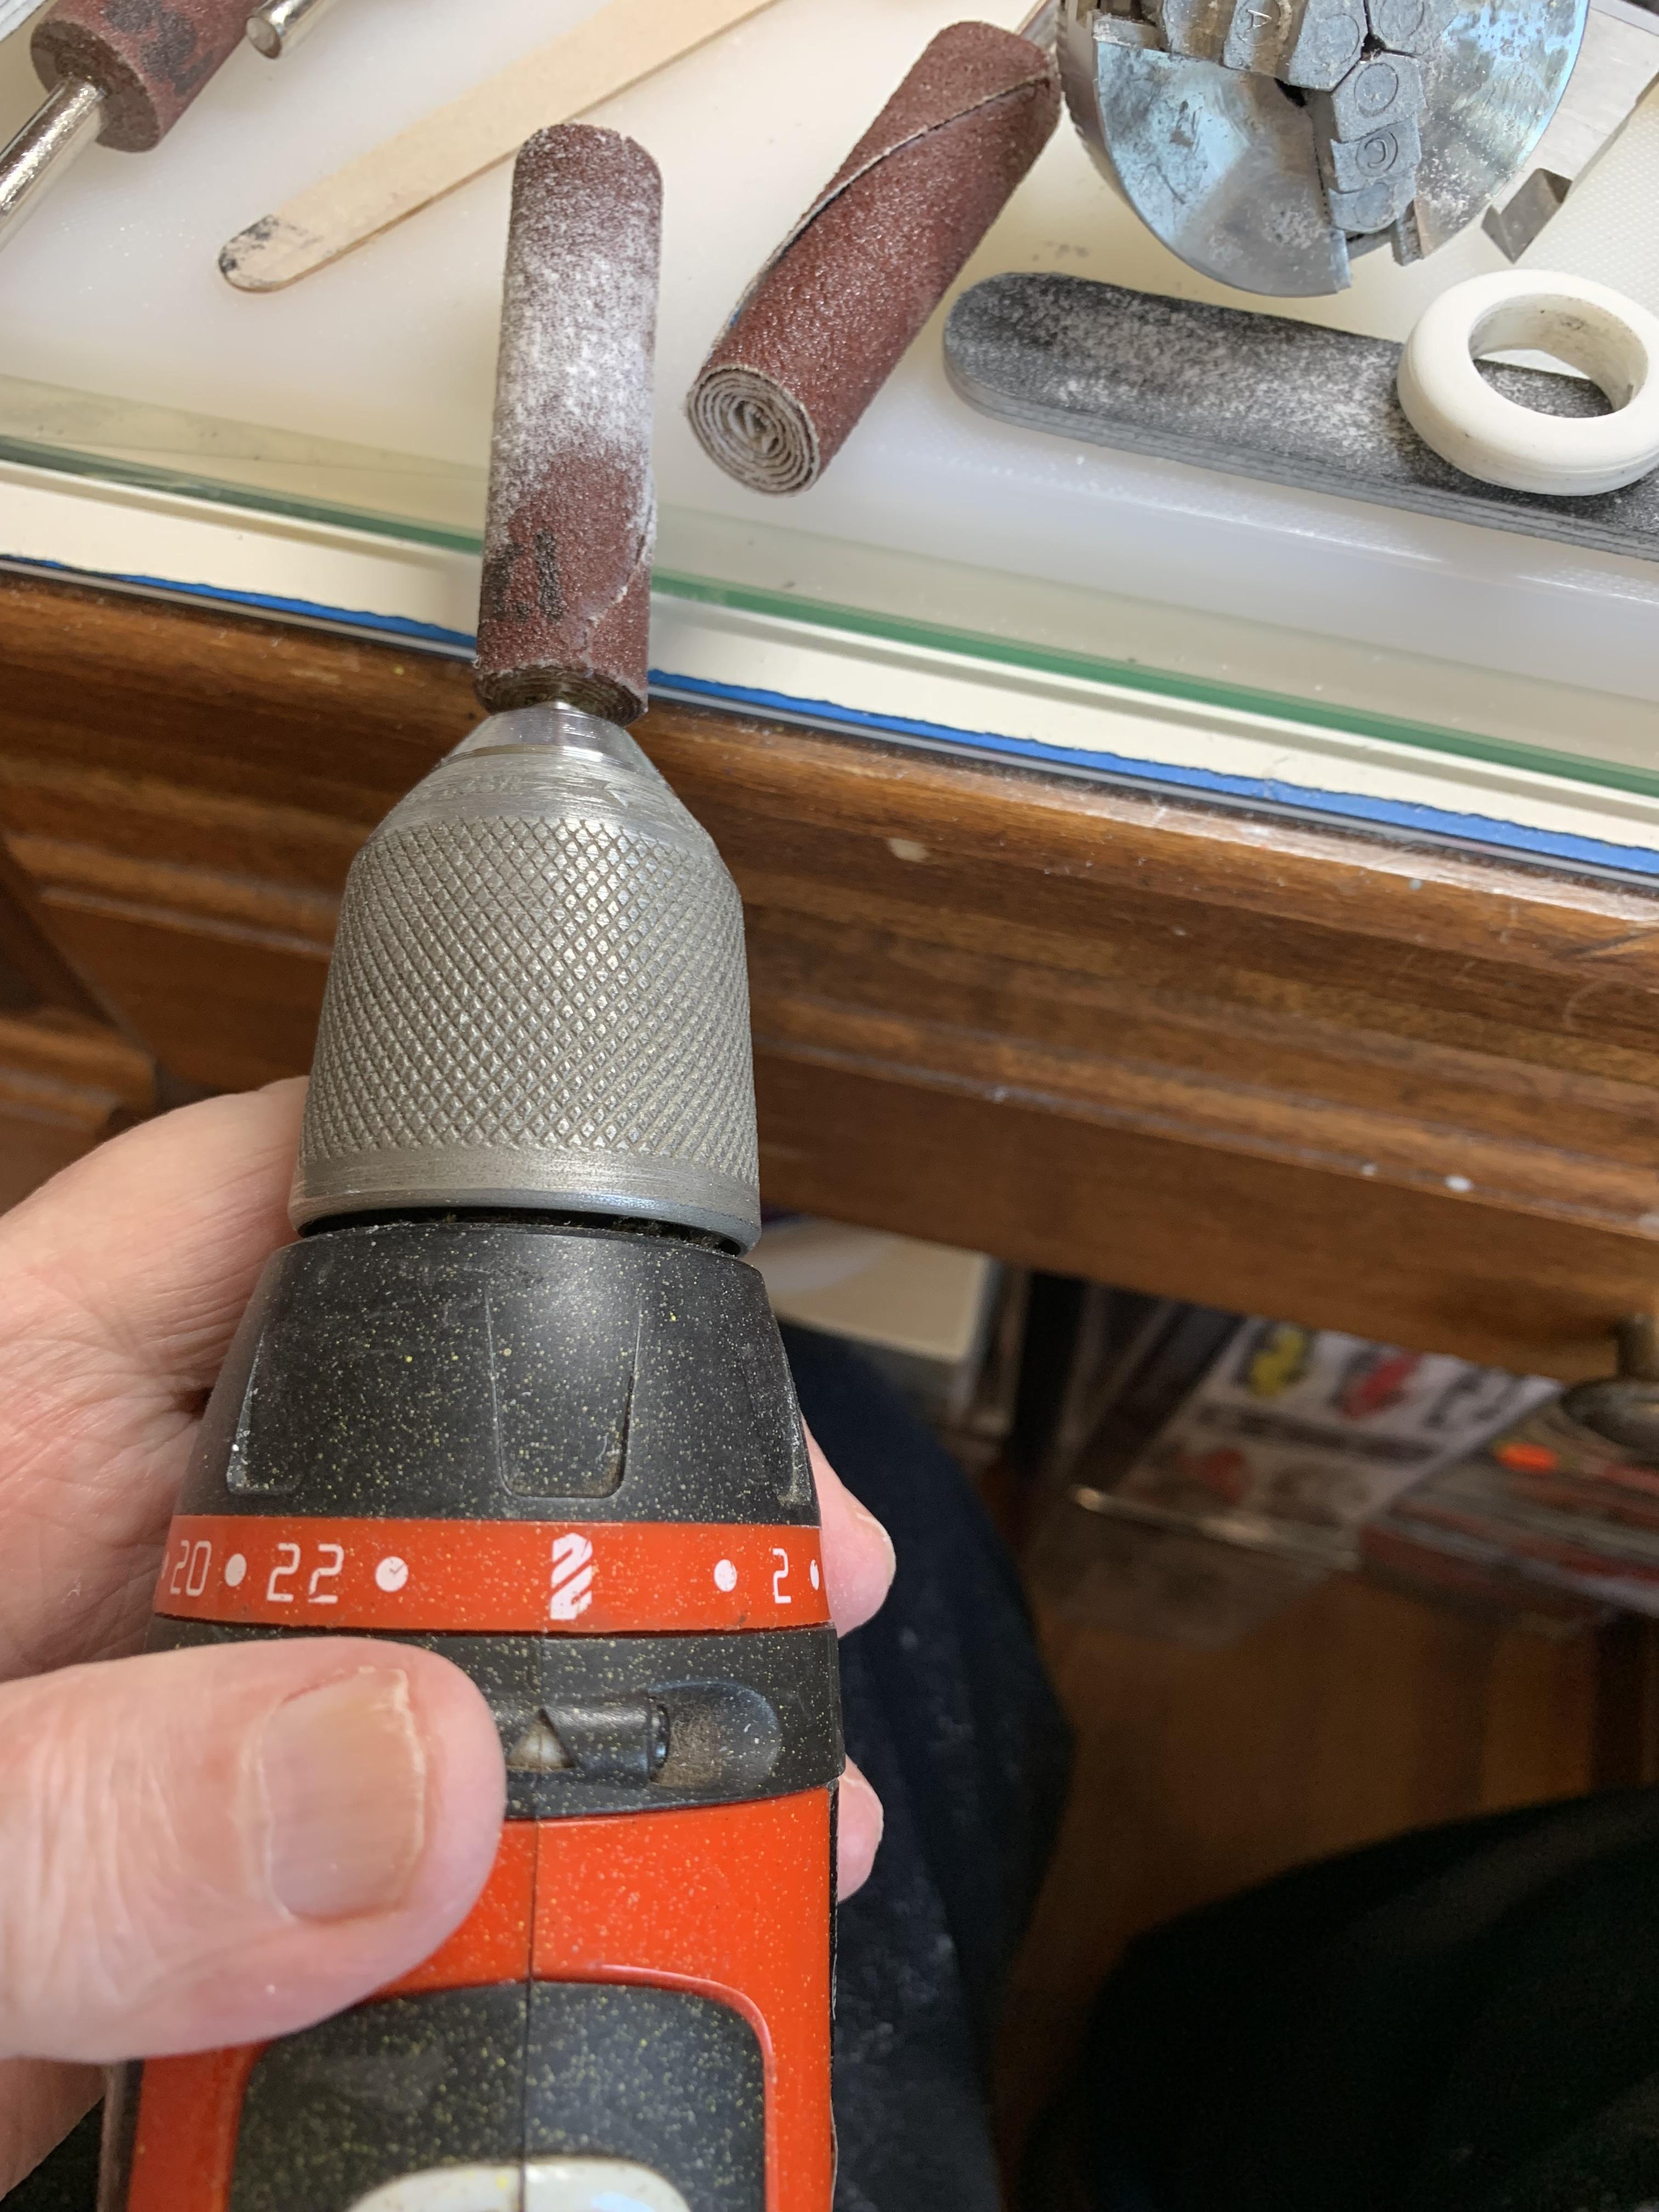
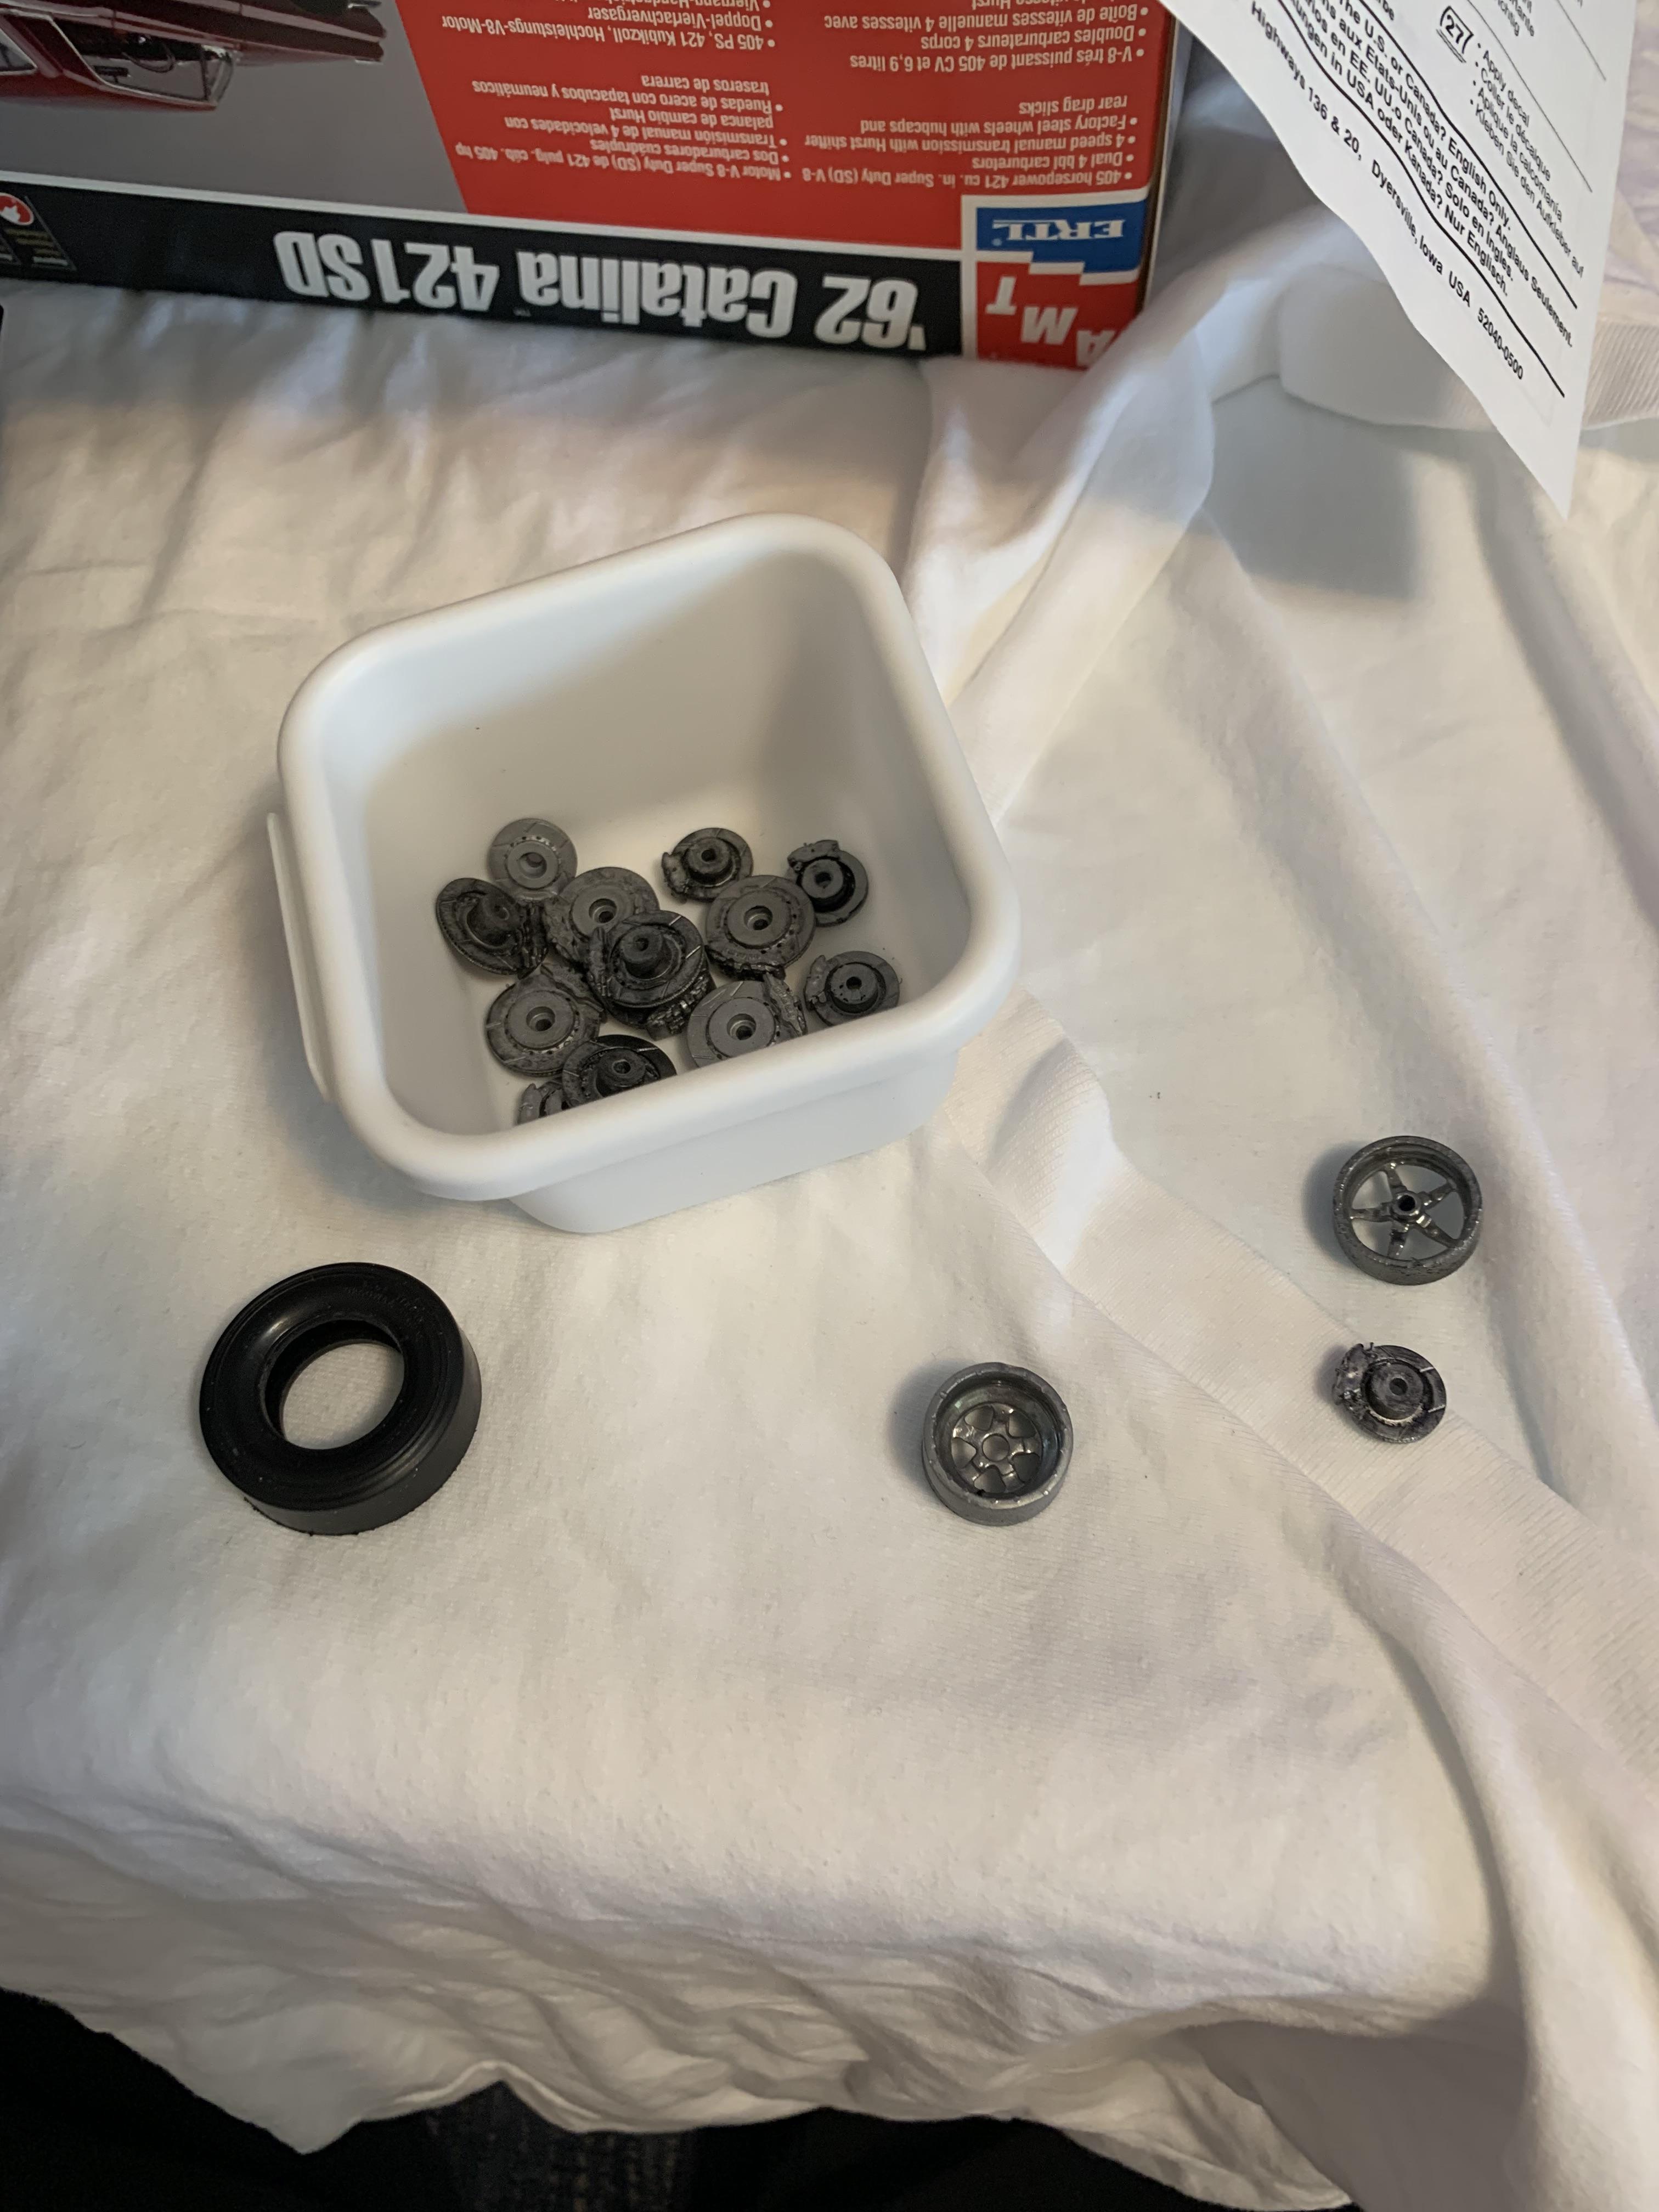
Worked on converting the “9 inch” Goodyear slicks to Hoosiers. First, tried a .600” 80 grit sanding flap (used for porting heads, etc.) to hold the tire, then spun in my old reliable B&D cordless drill. Worked well. Then, a 5/8” expandible rubber freeze plug to hold the tire on one side. Then sand the sidewall with sanding sticks while it is spun, once again, with the drill.
-
1962 Pontiac 421 SD F/SA circa 2024 edition
R. Thorne replied to R. Thorne's topic in WIP: Drag Racing Models
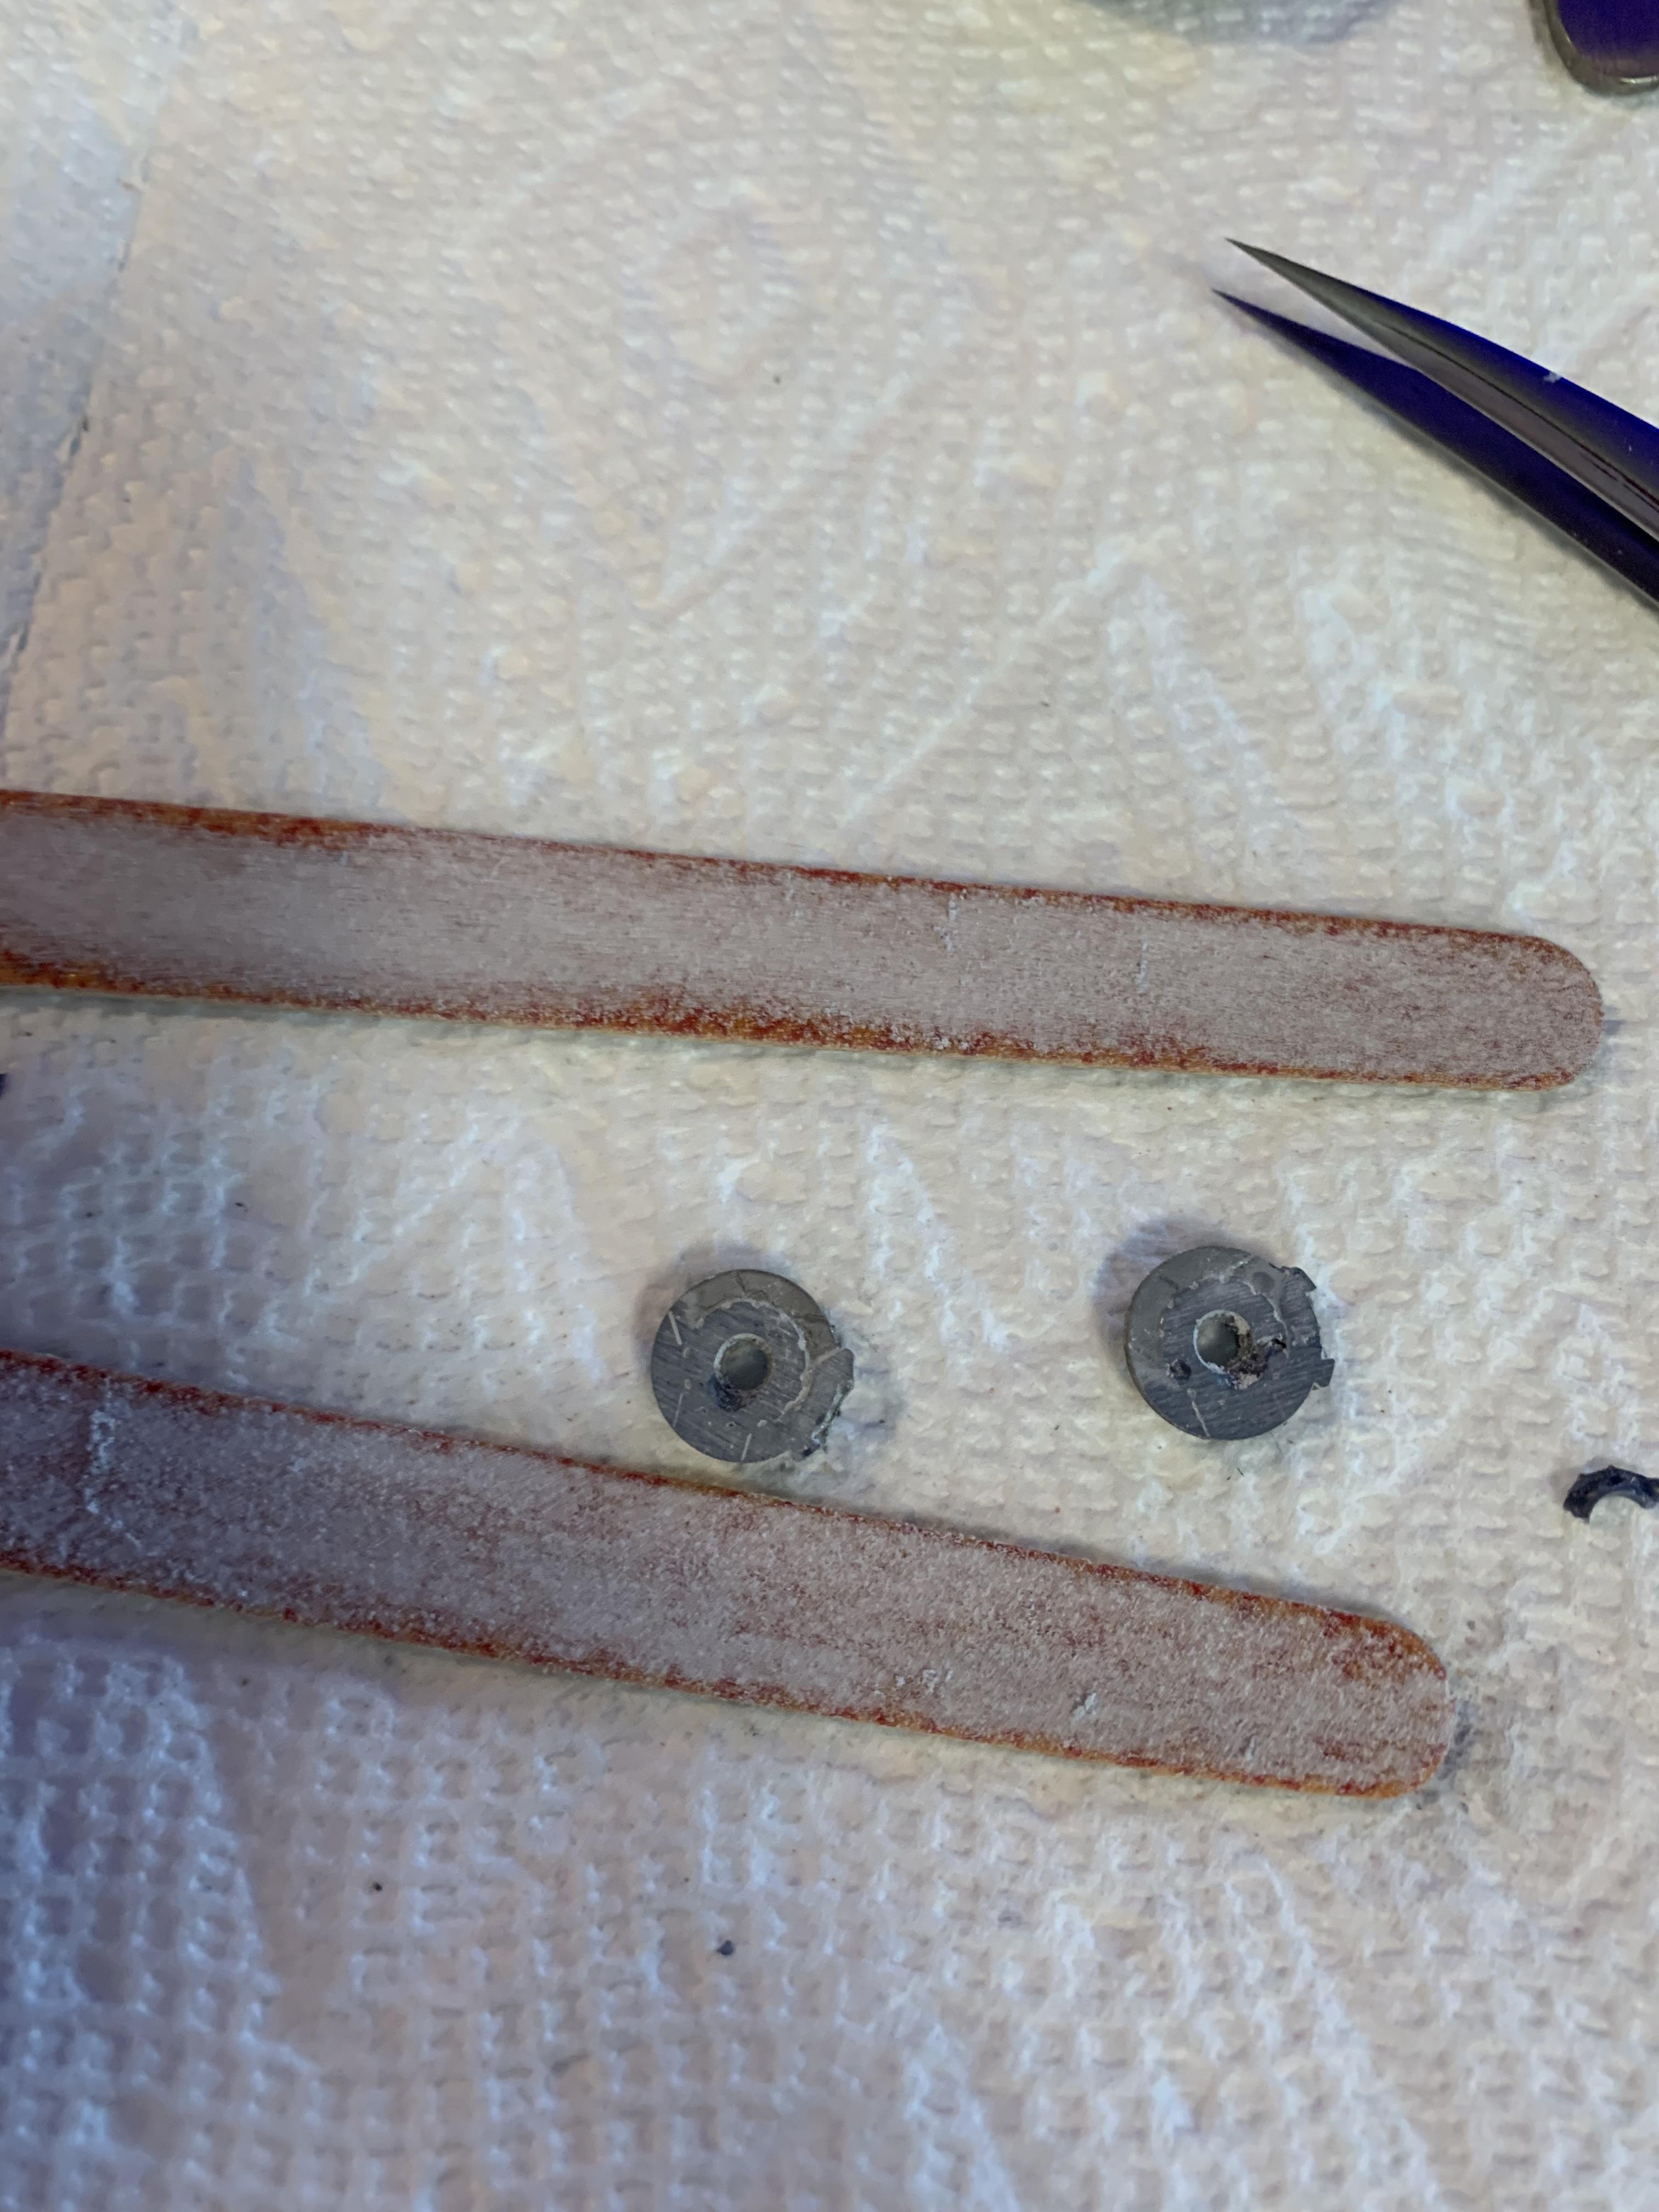
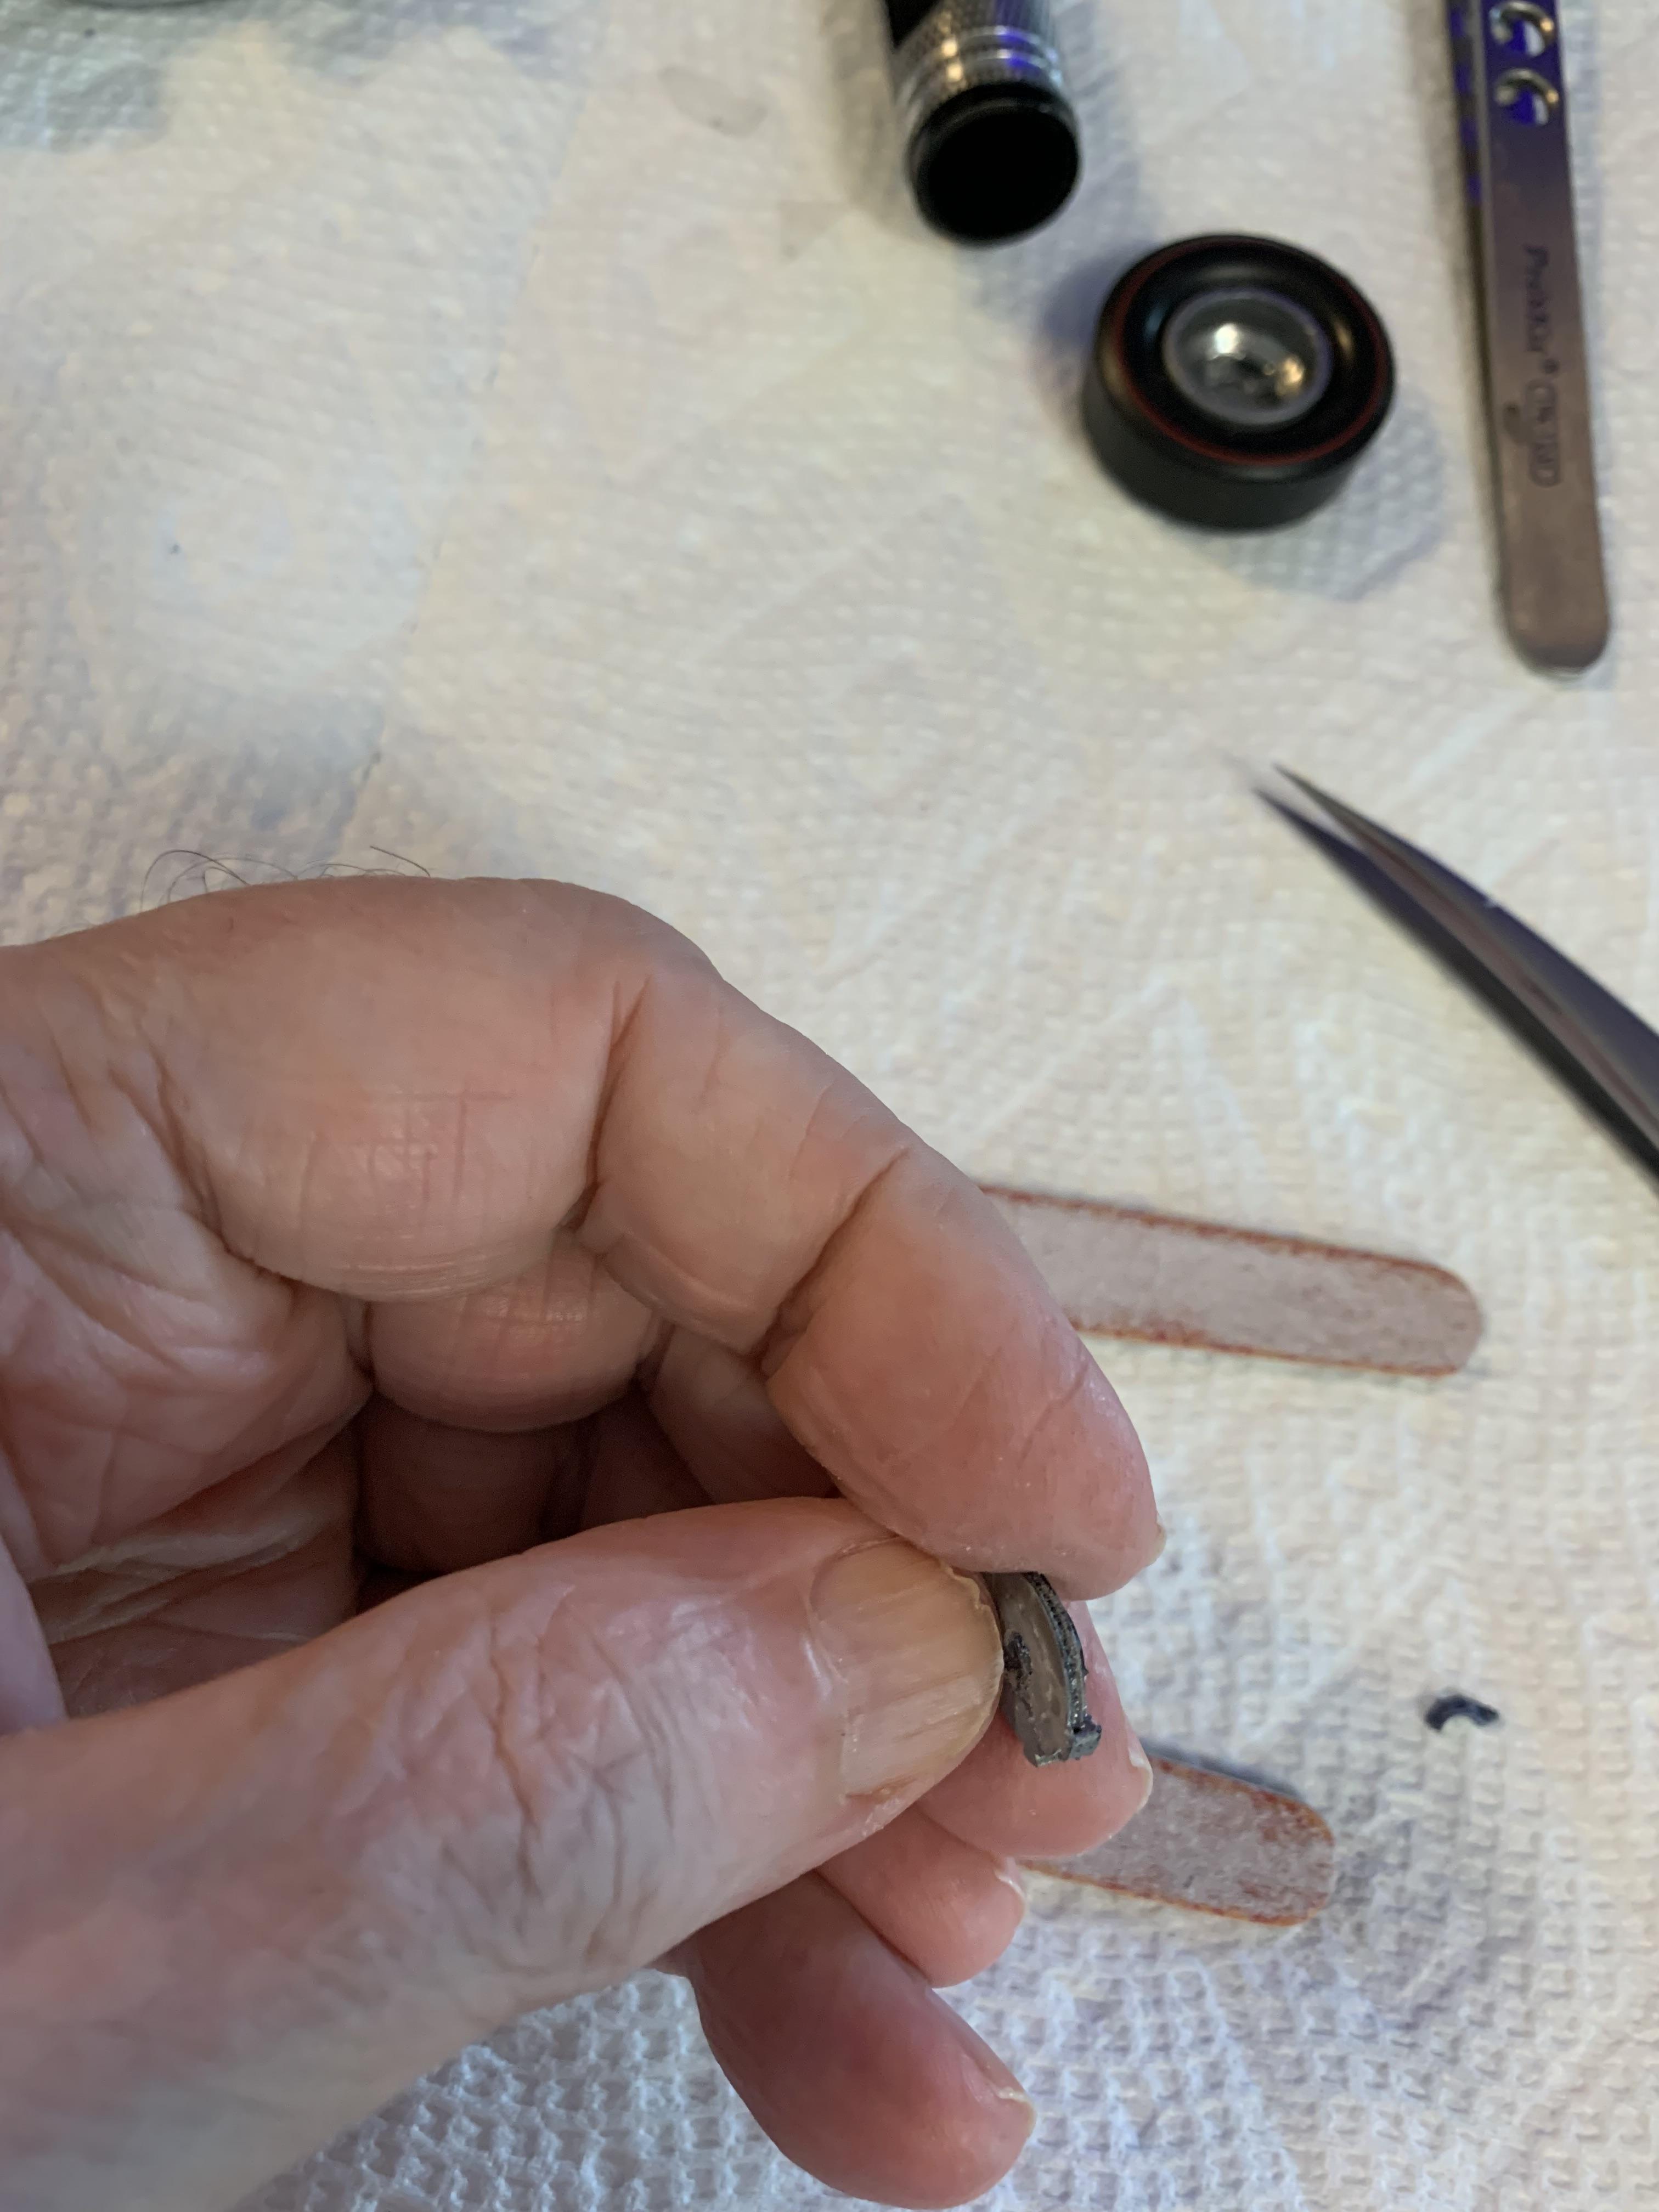
Ahh, those good old fashioned nail files are still some of the best (and cheapest) tools I have. Had to sand the rotors/calipers down to tuck the tires in some more.
-
1962 Pontiac 421 SD F/SA circa 2024 edition
R. Thorne replied to R. Thorne's topic in WIP: Drag Racing Models
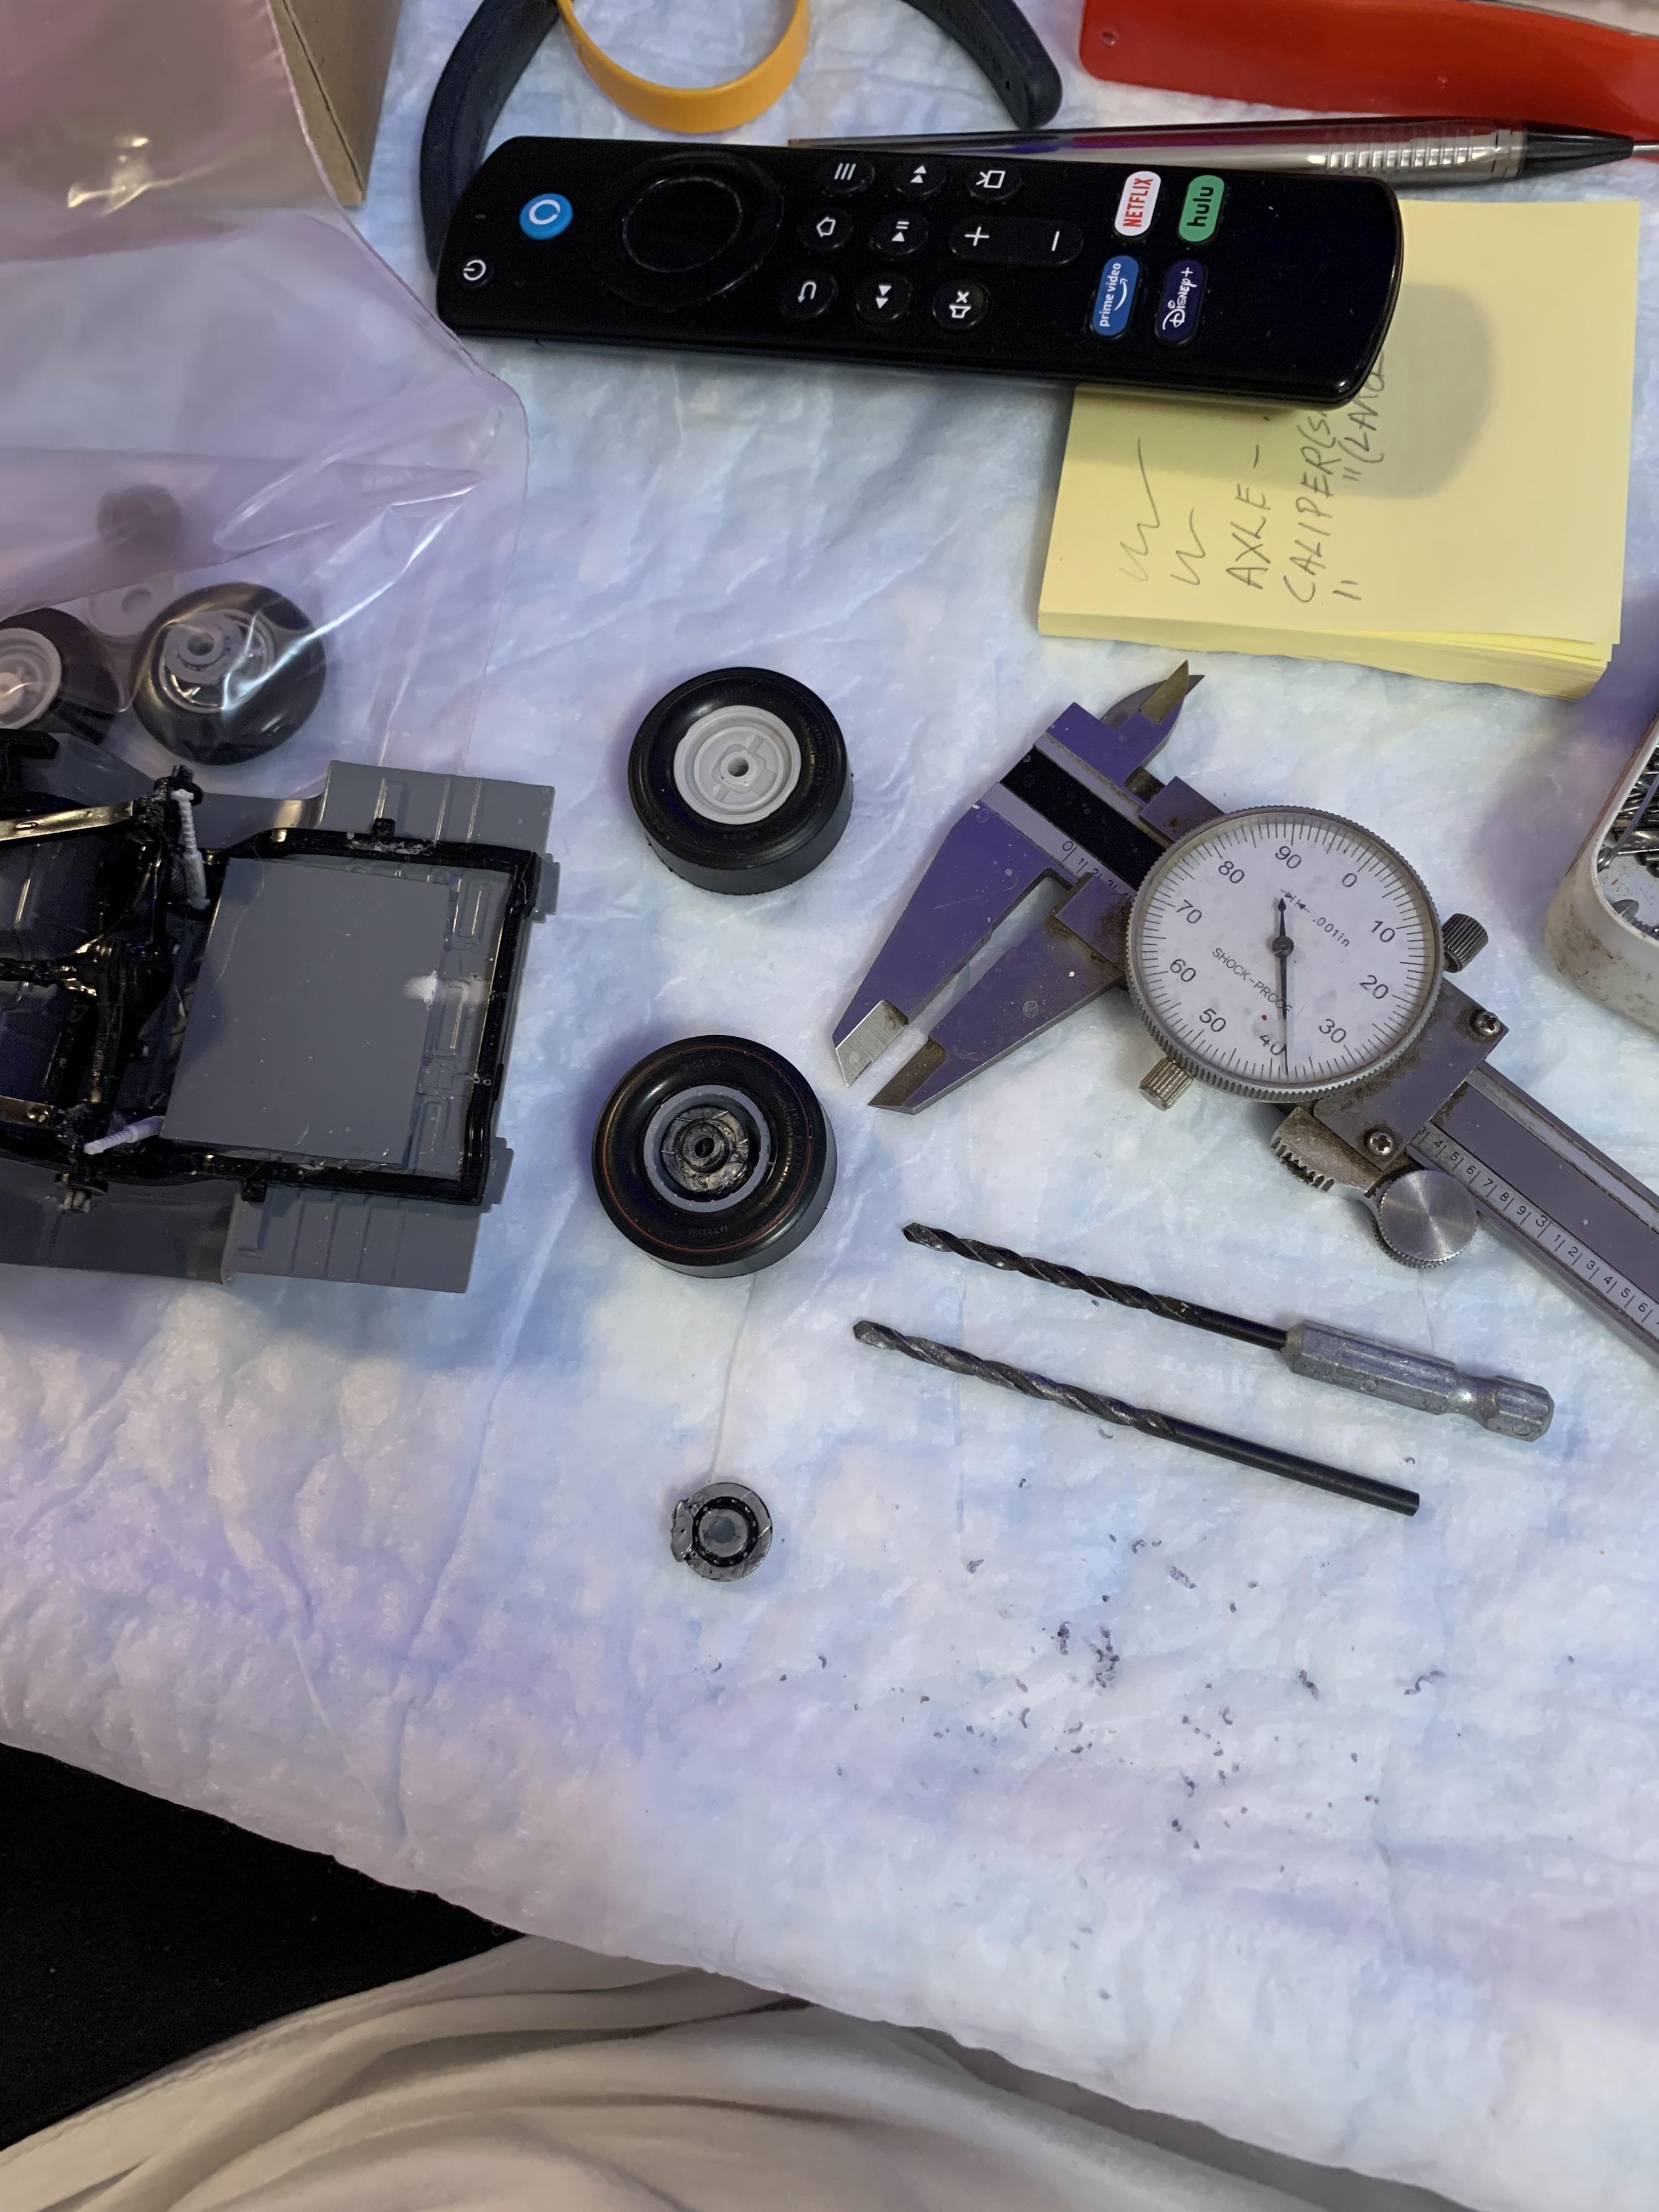
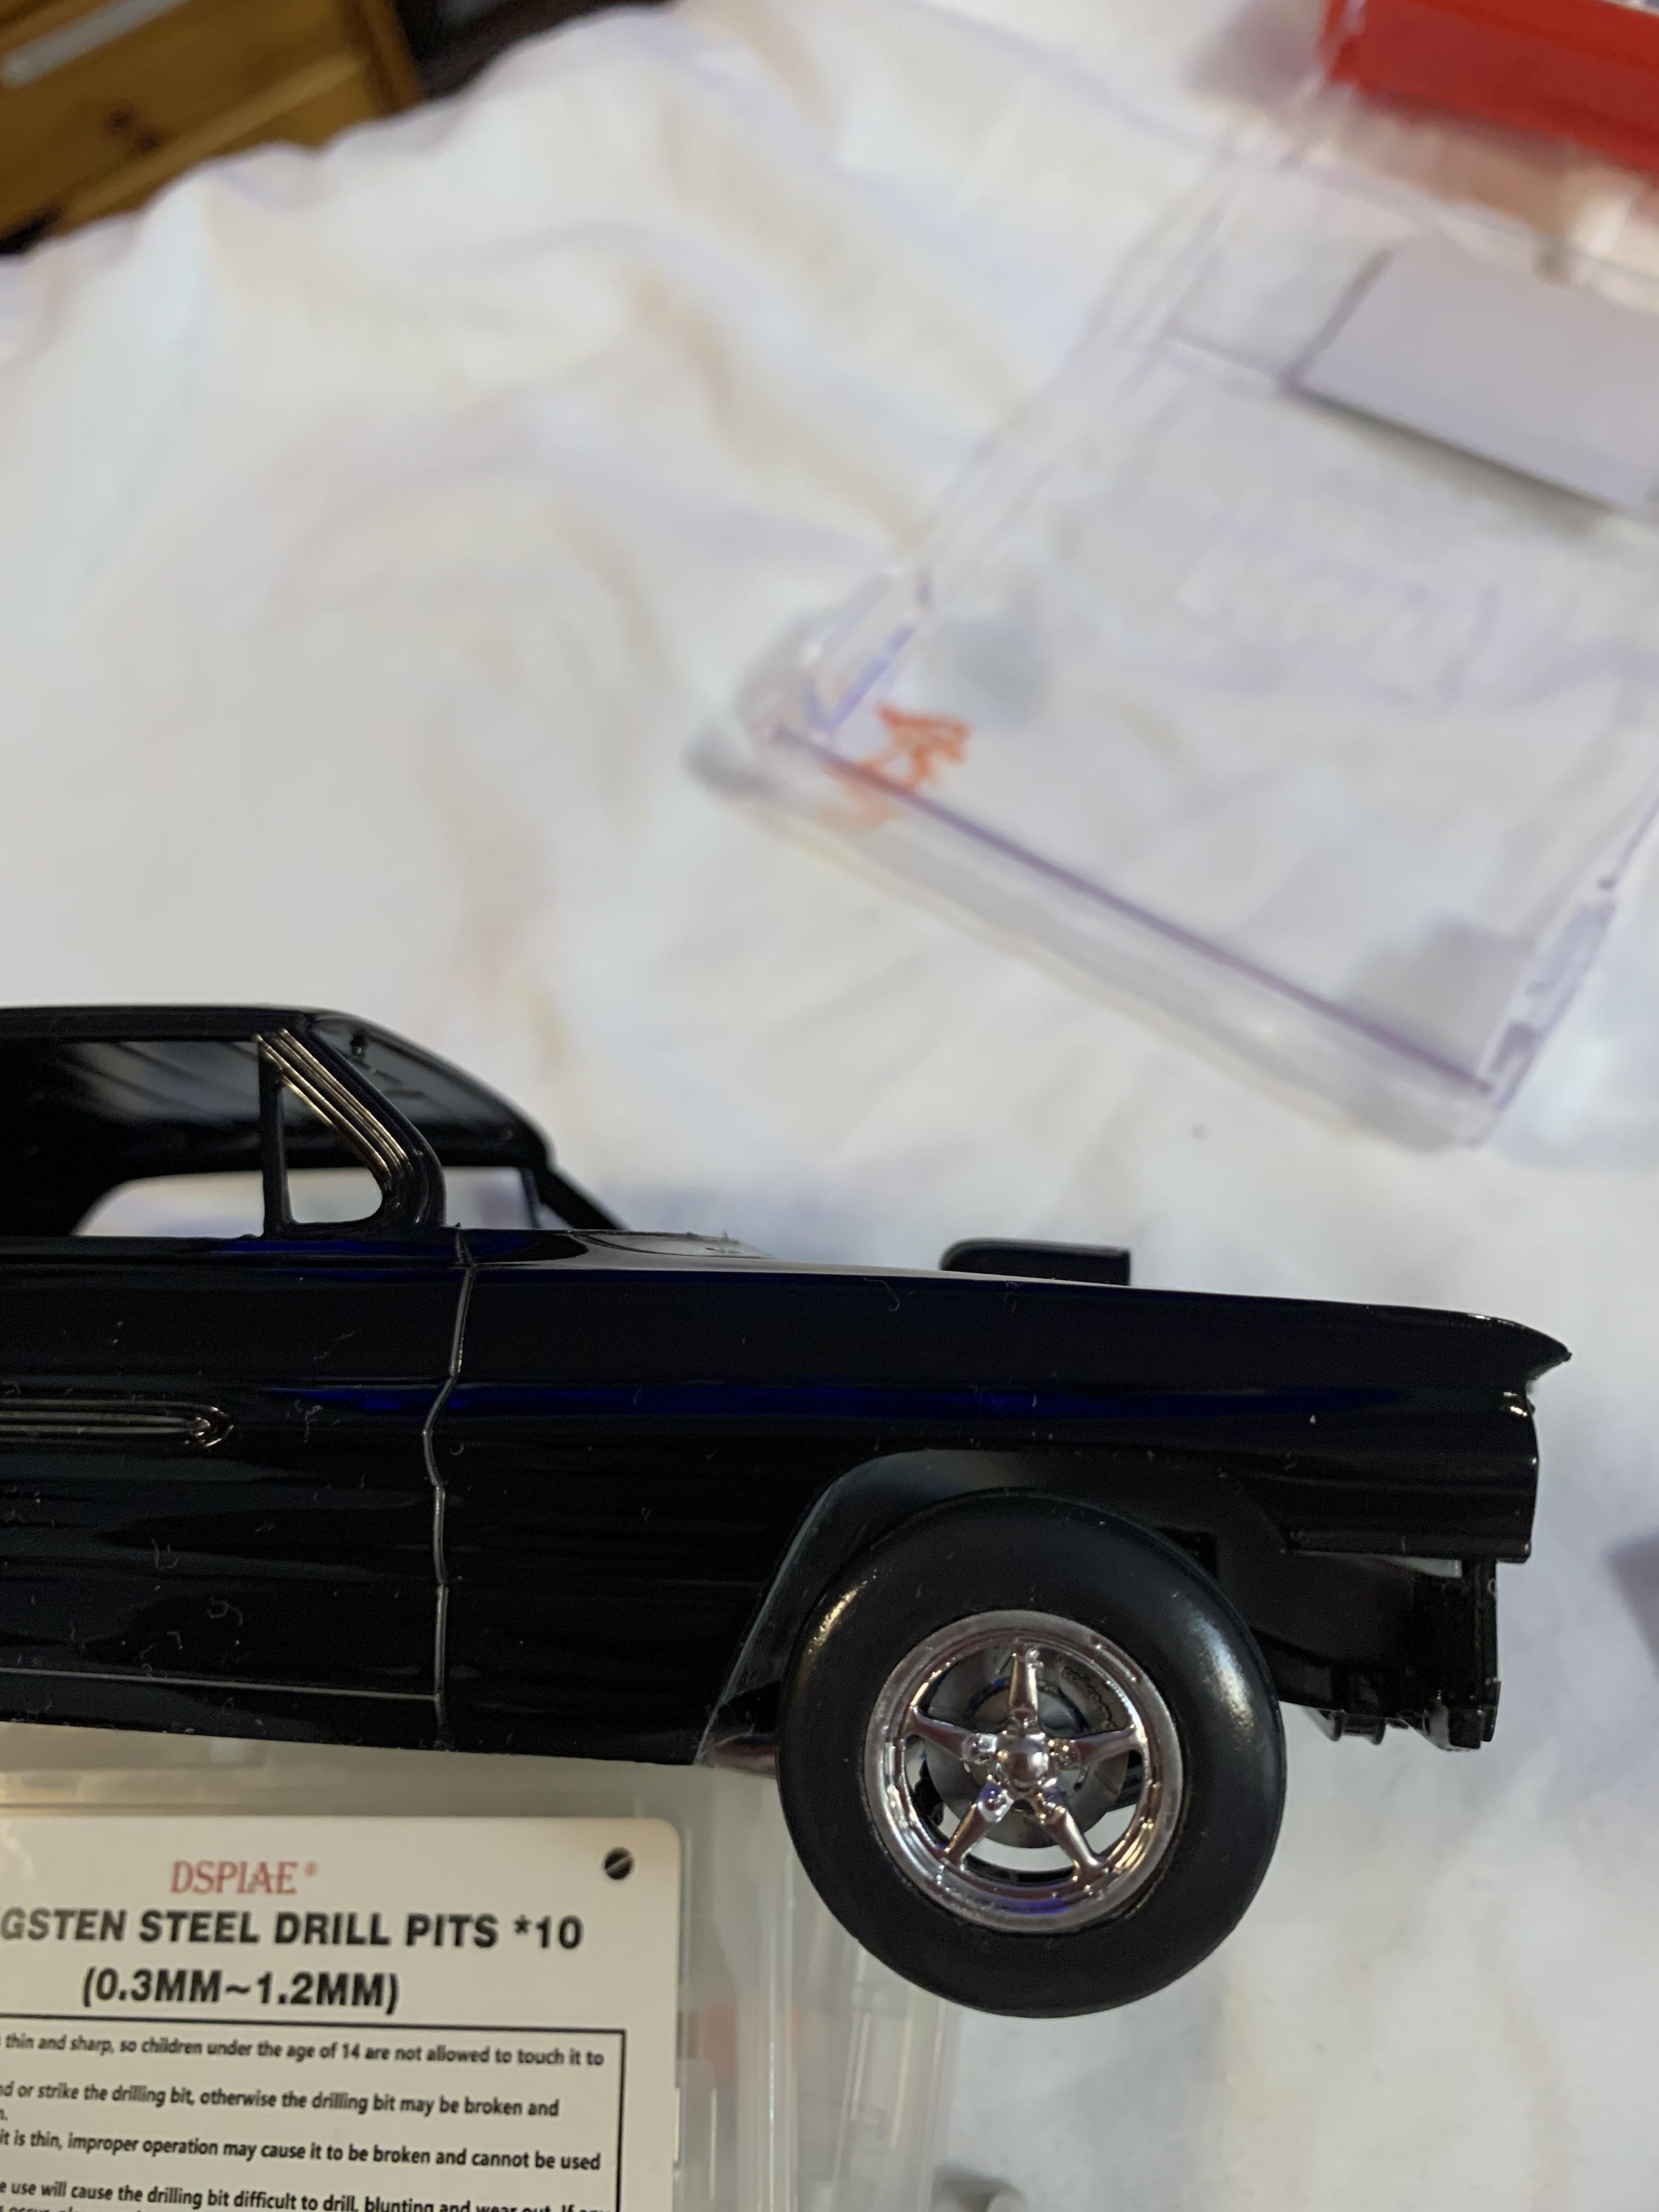
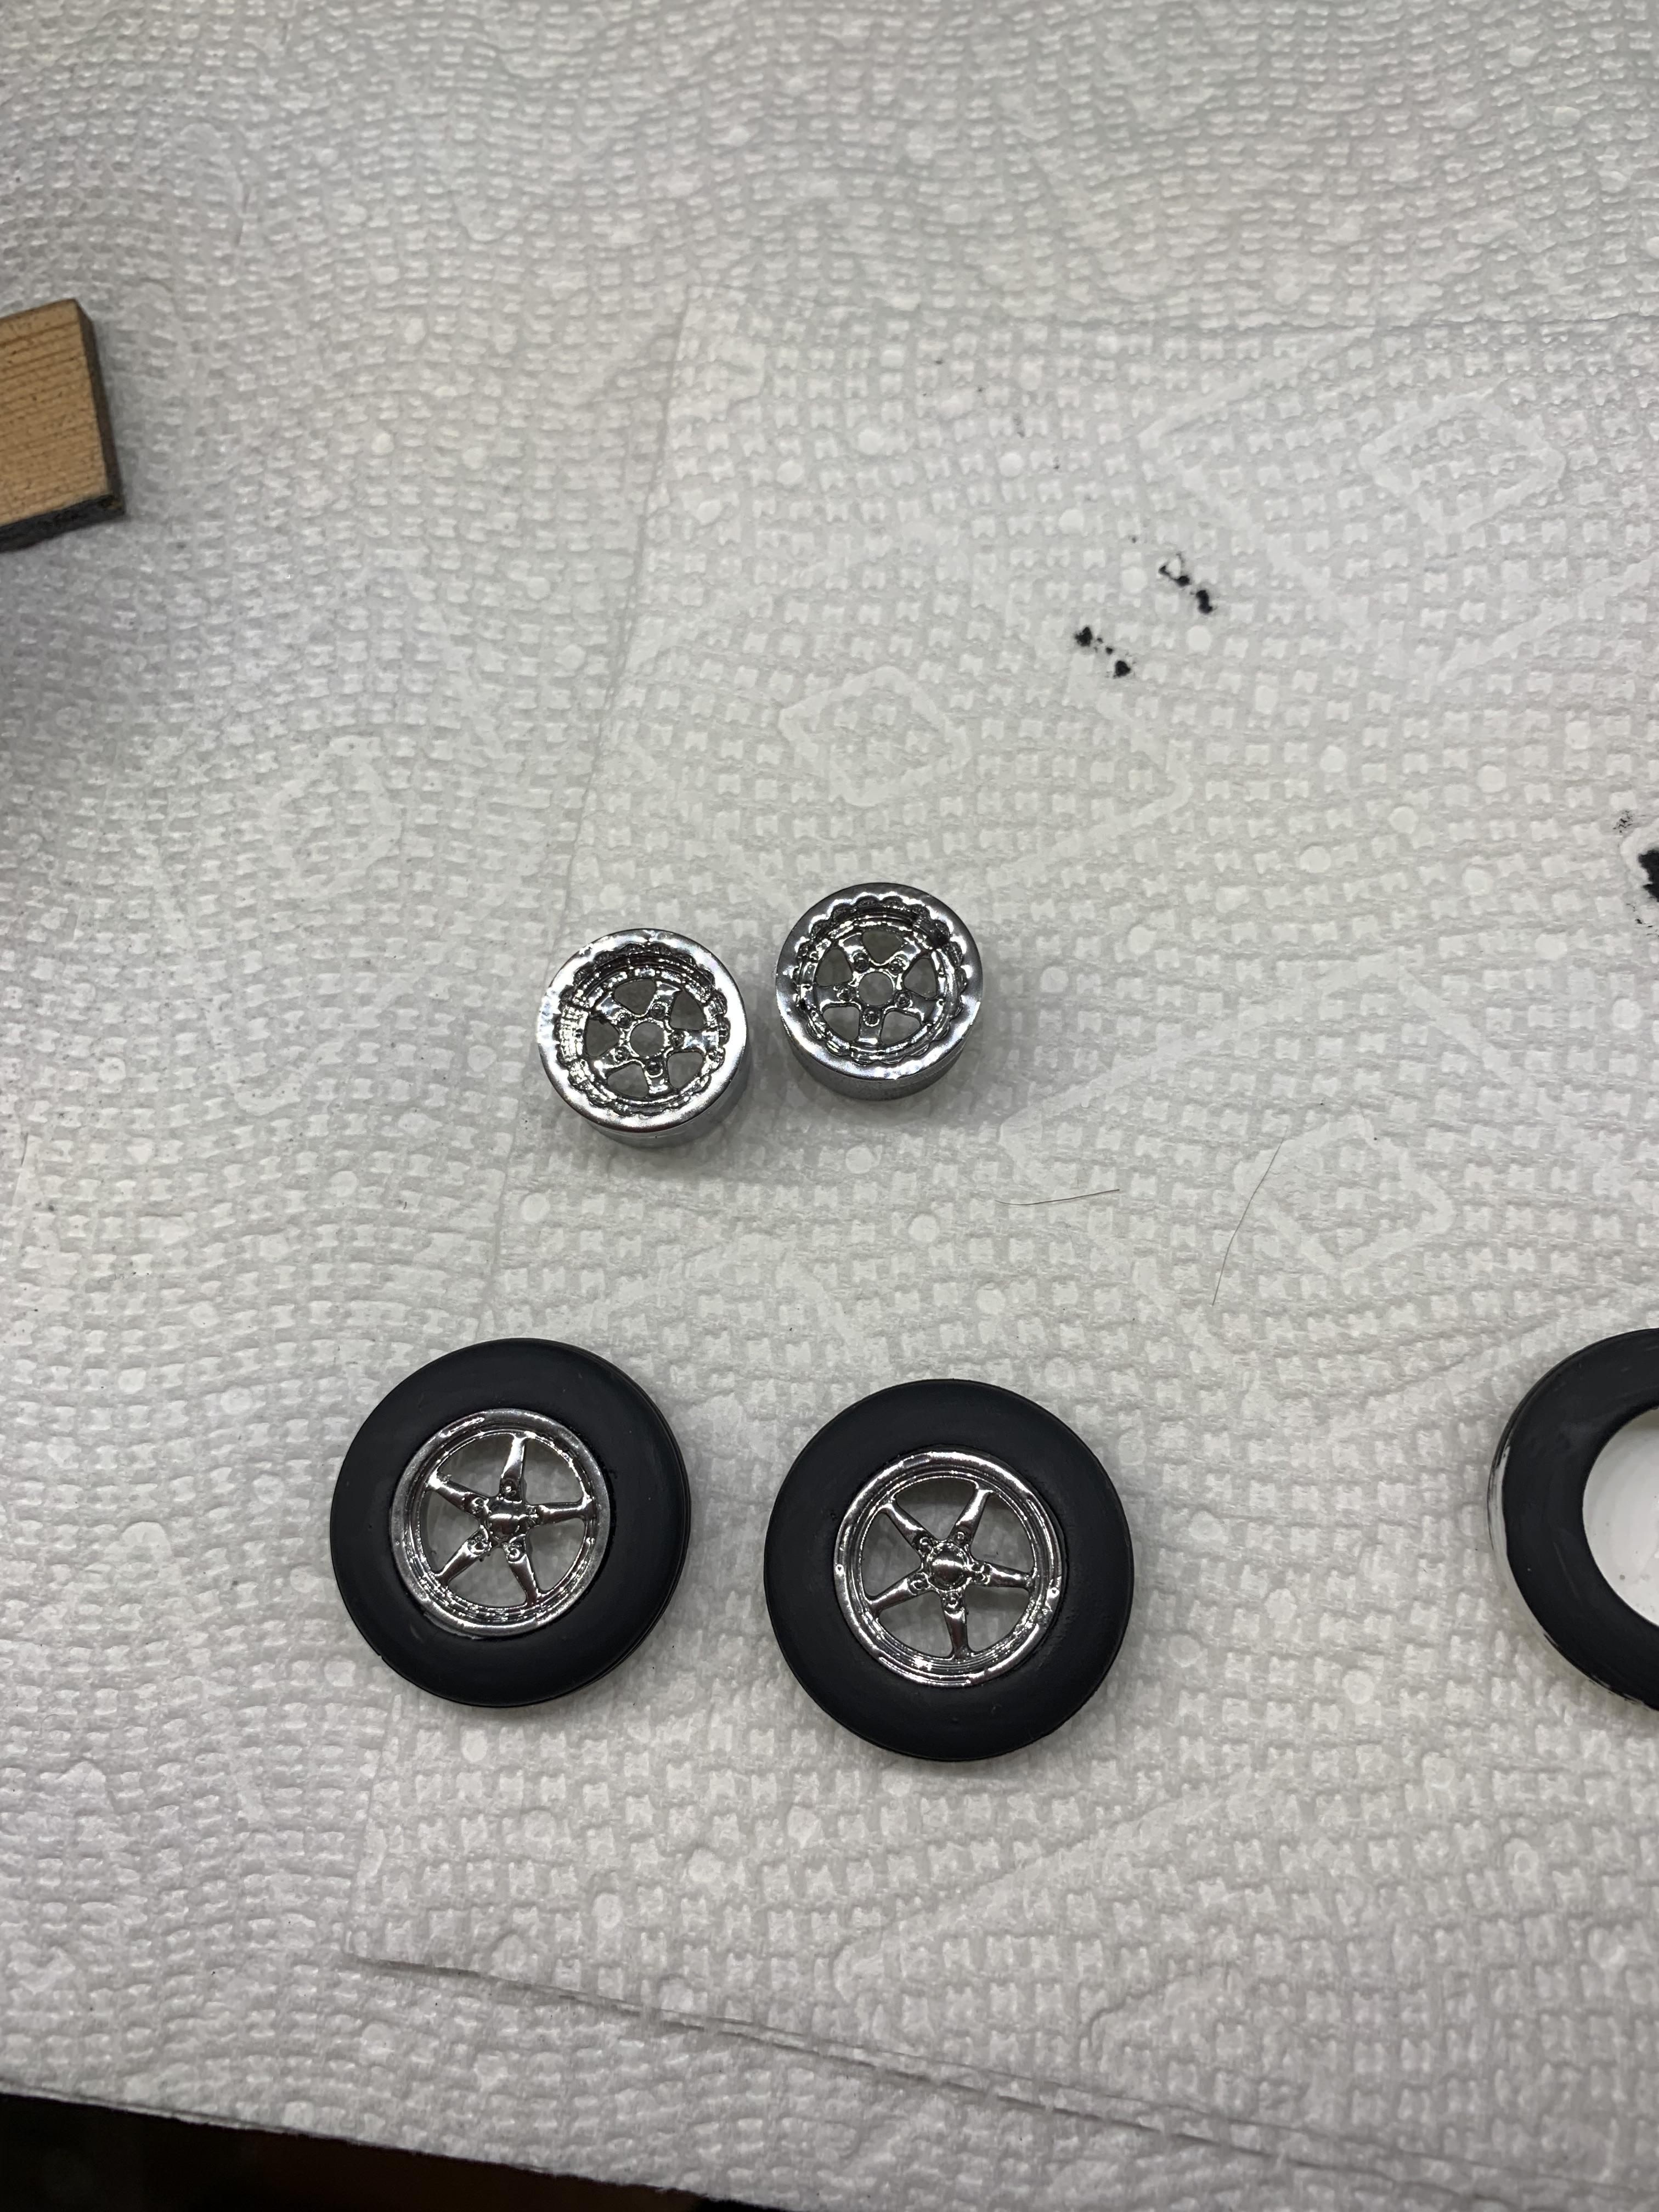
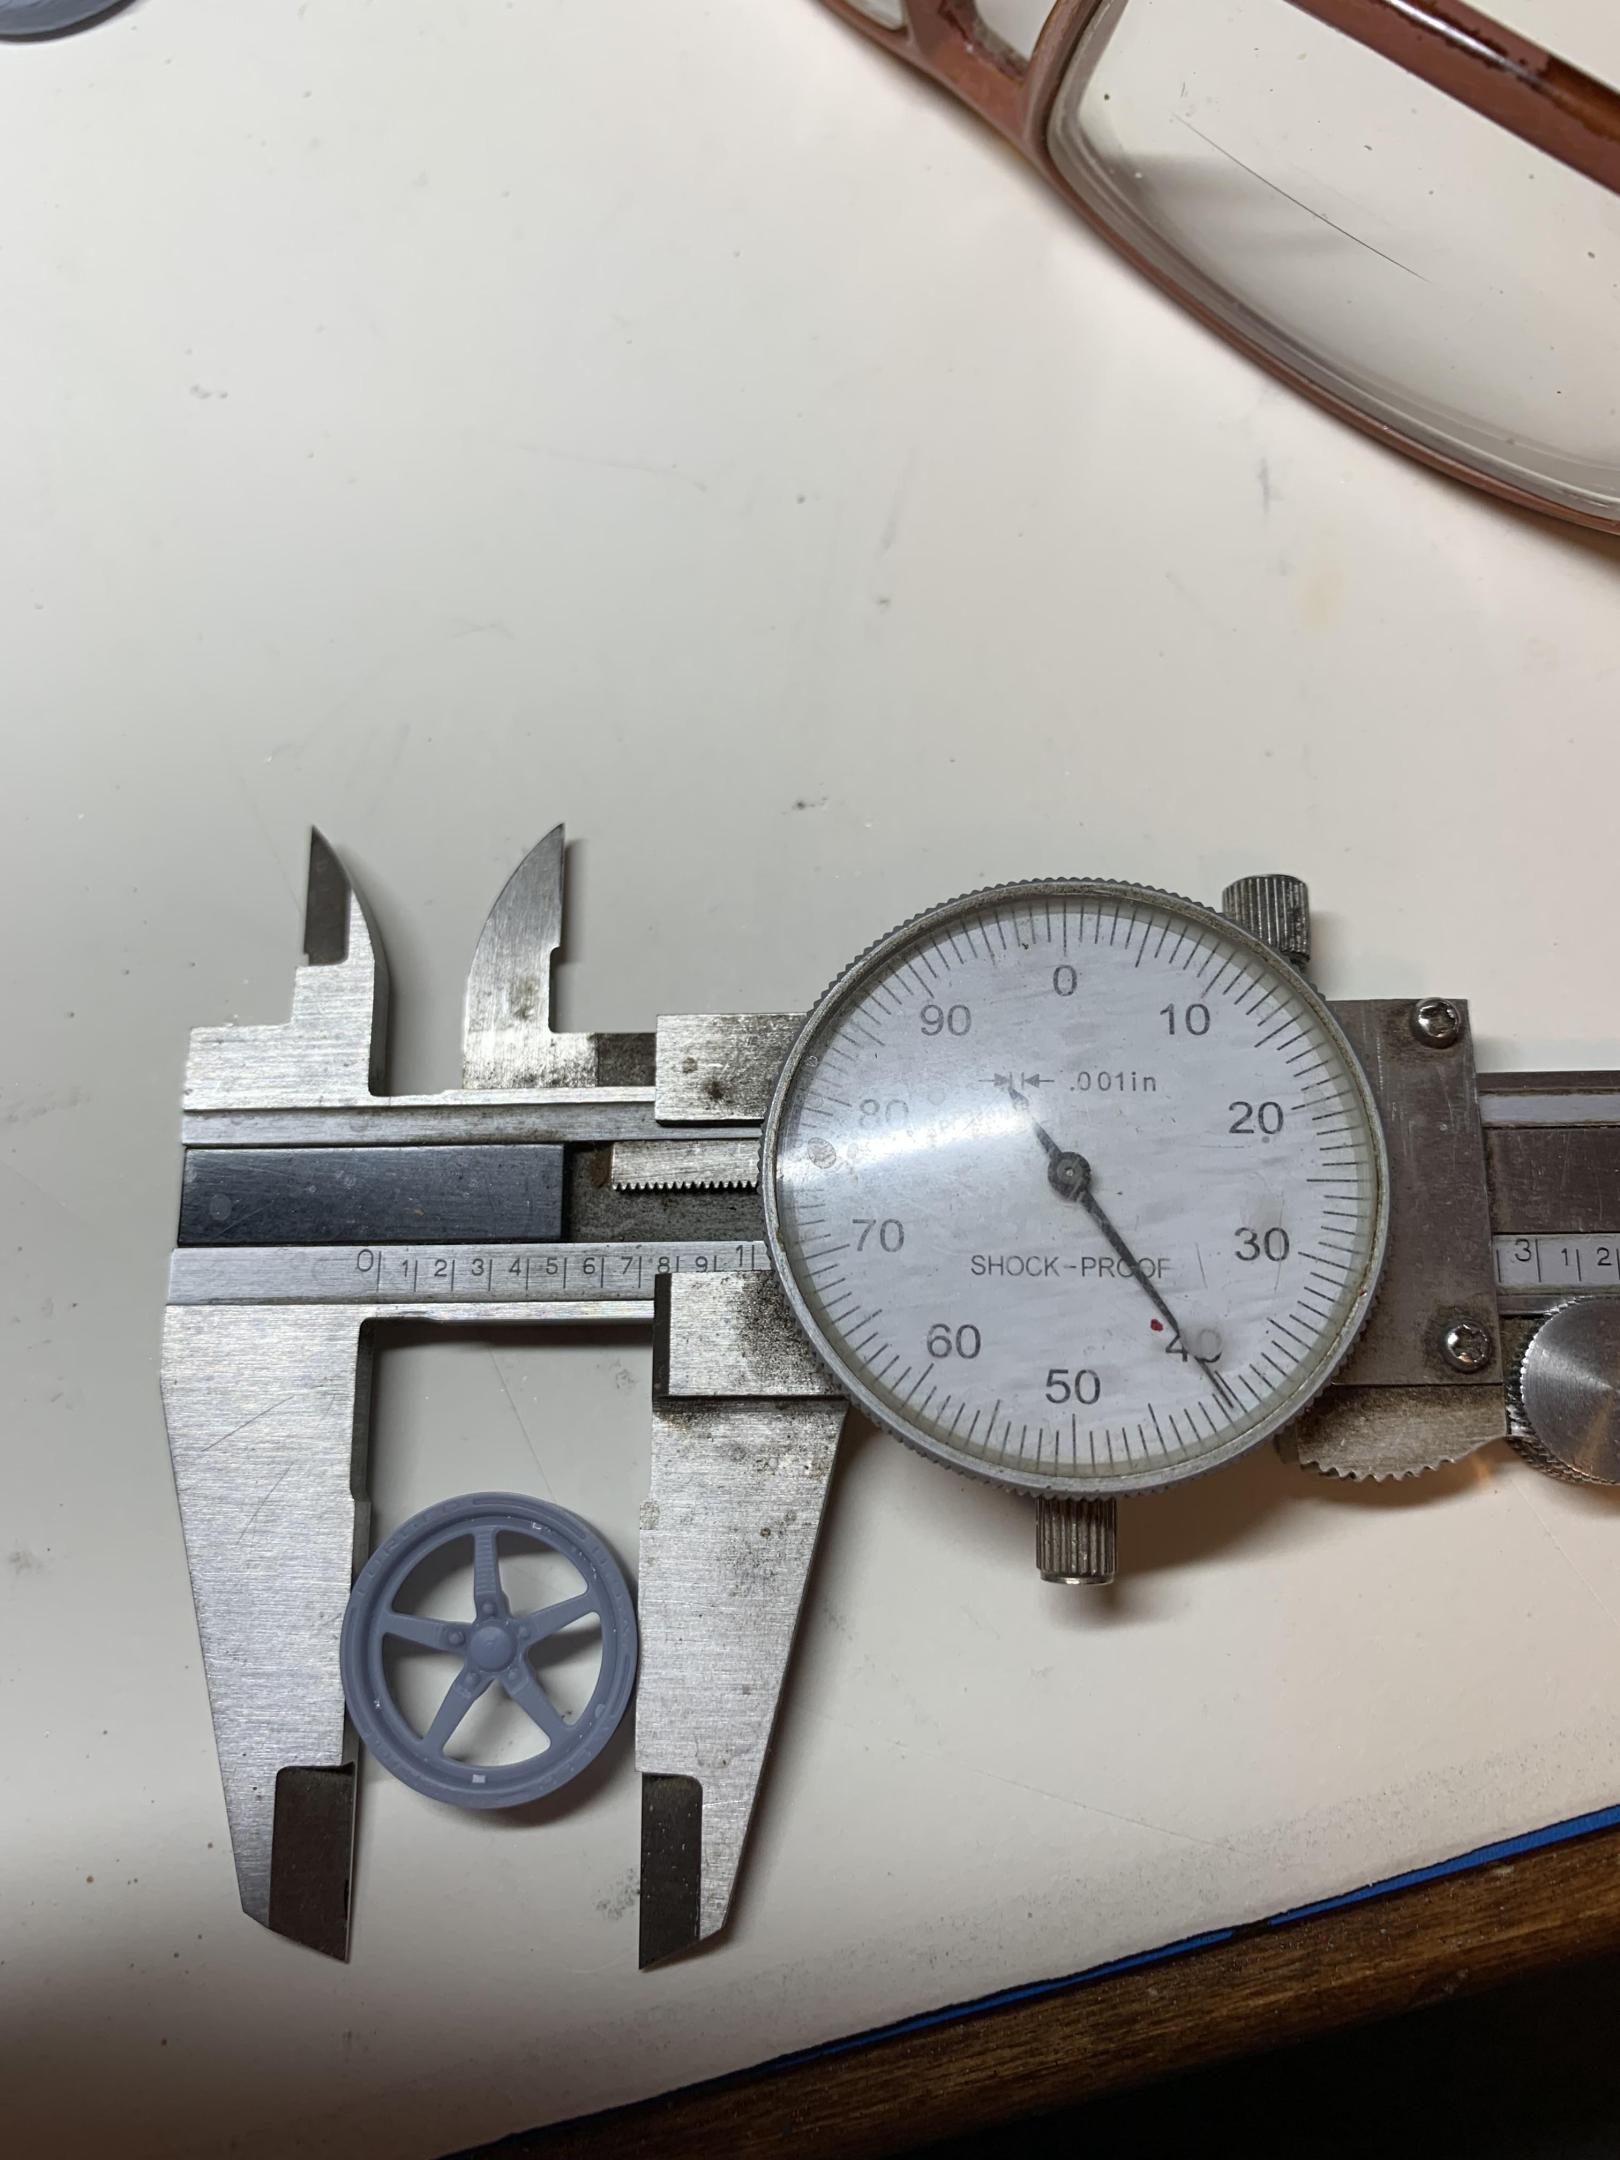
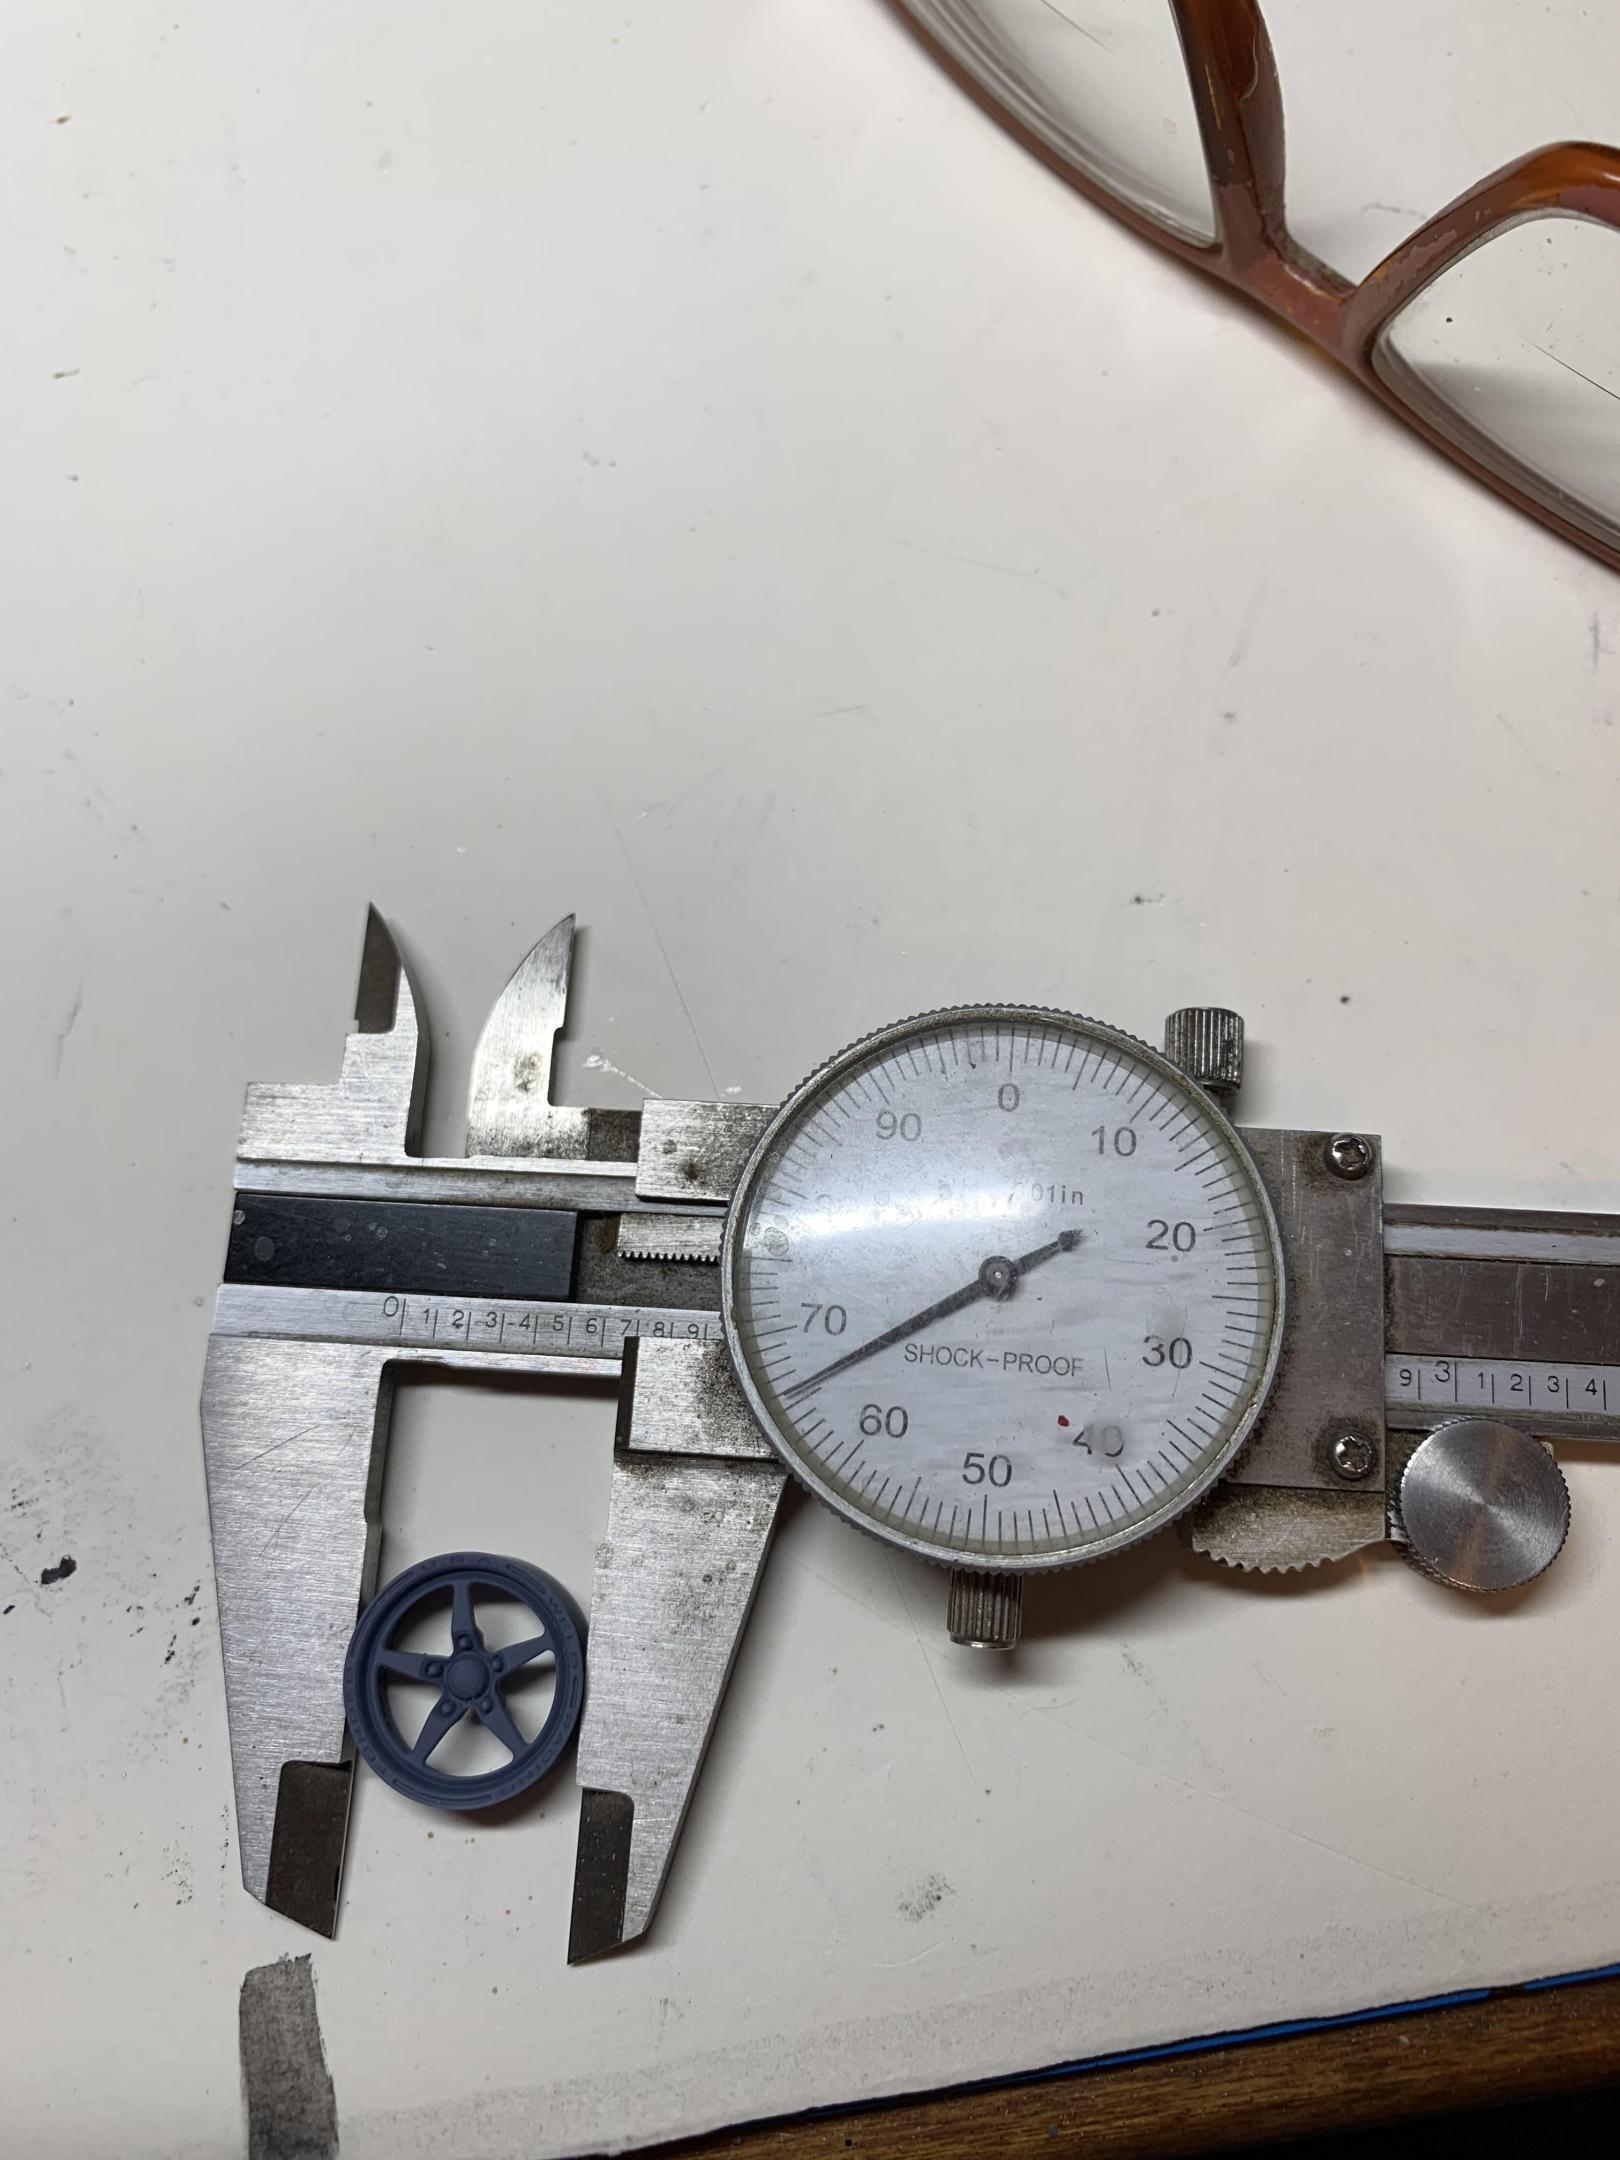
Not much time at the bench lately. After some head scratching, trial fitting, drilling out the holes, checking back spacing/clearance, I think i have the rear wheel situation line out.
-
1962 Pontiac 421 SD F/SA circa 2024 edition
R. Thorne replied to R. Thorne's topic in WIP: Drag Racing Models
Been watching too much drag racing on Nhra.tv since last Wednesday and, the previous weekend at Bowlingreen, Ky. Anyway, back at it tonight drilling out the aftermarket calipers (in small increments) for a trial fit on the front end. Next, I have to come up with something different for the rear wheels, as they aren’t made the same.
-
1962 Pontiac 421 SD F/SA circa 2024 edition
R. Thorne replied to R. Thorne's topic in WIP: Drag Racing Models
-
1962 Pontiac 421 SD F/SA circa 2024 edition
R. Thorne replied to R. Thorne's topic in WIP: Drag Racing Models
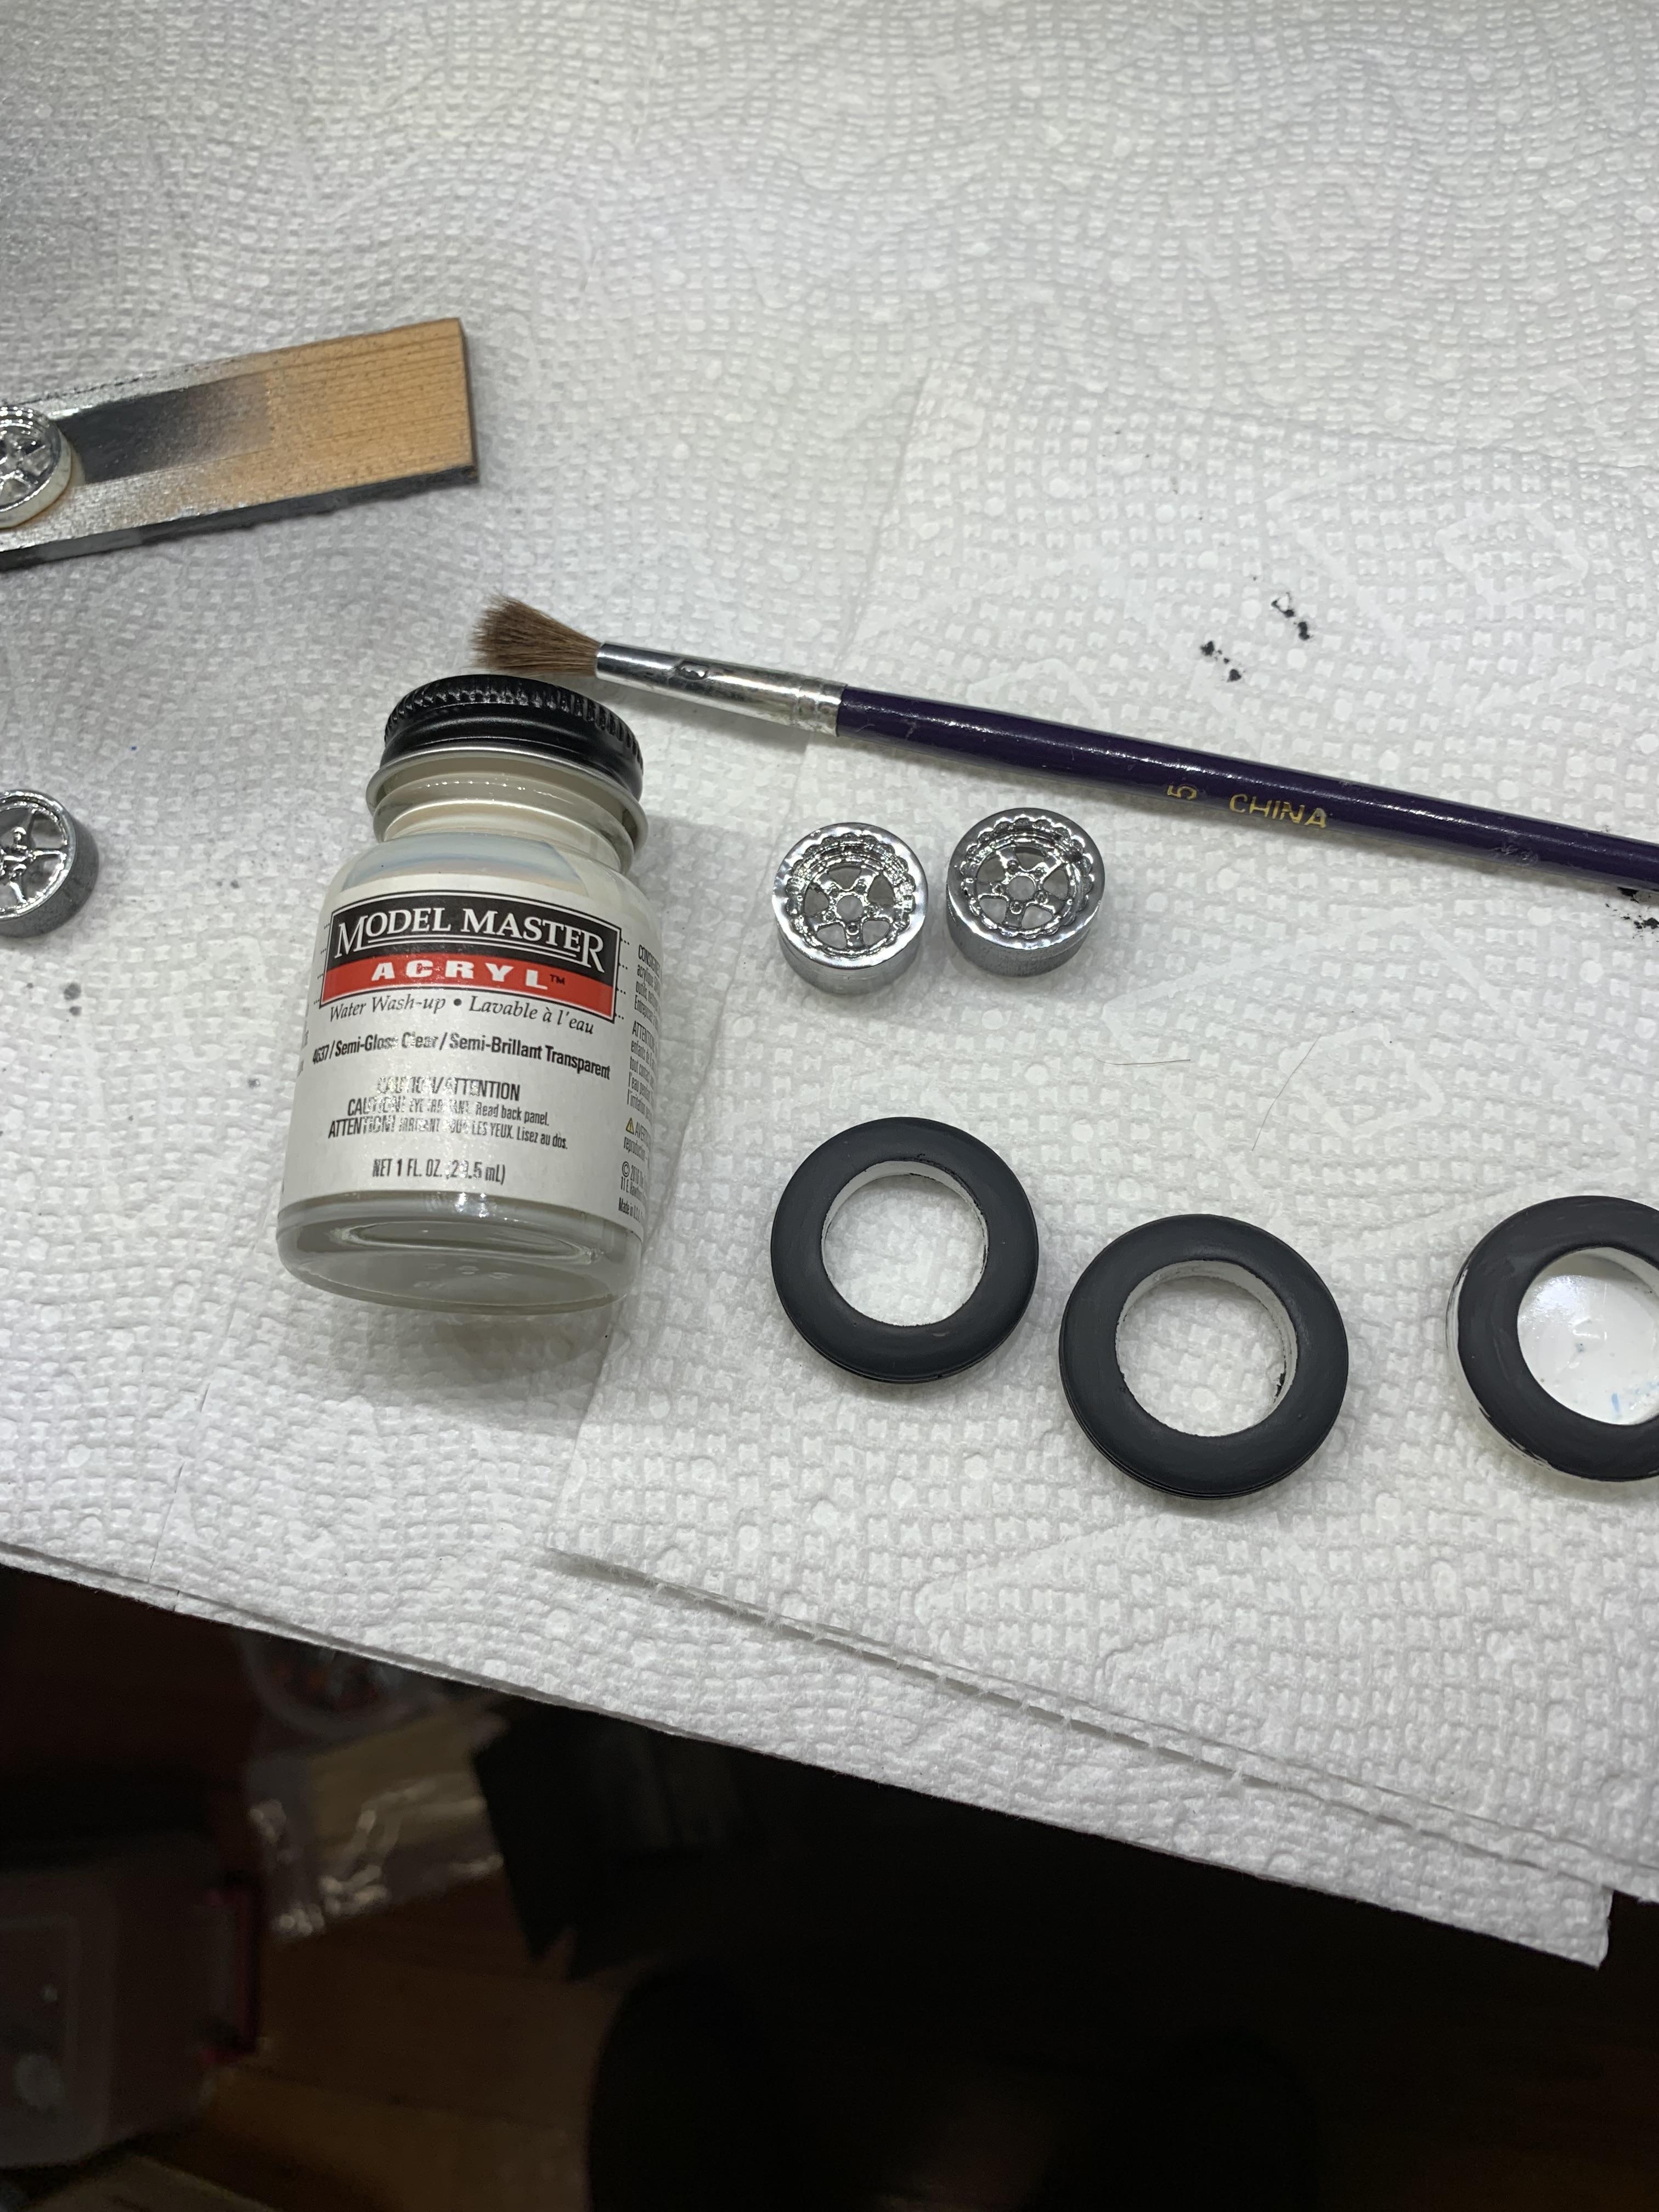
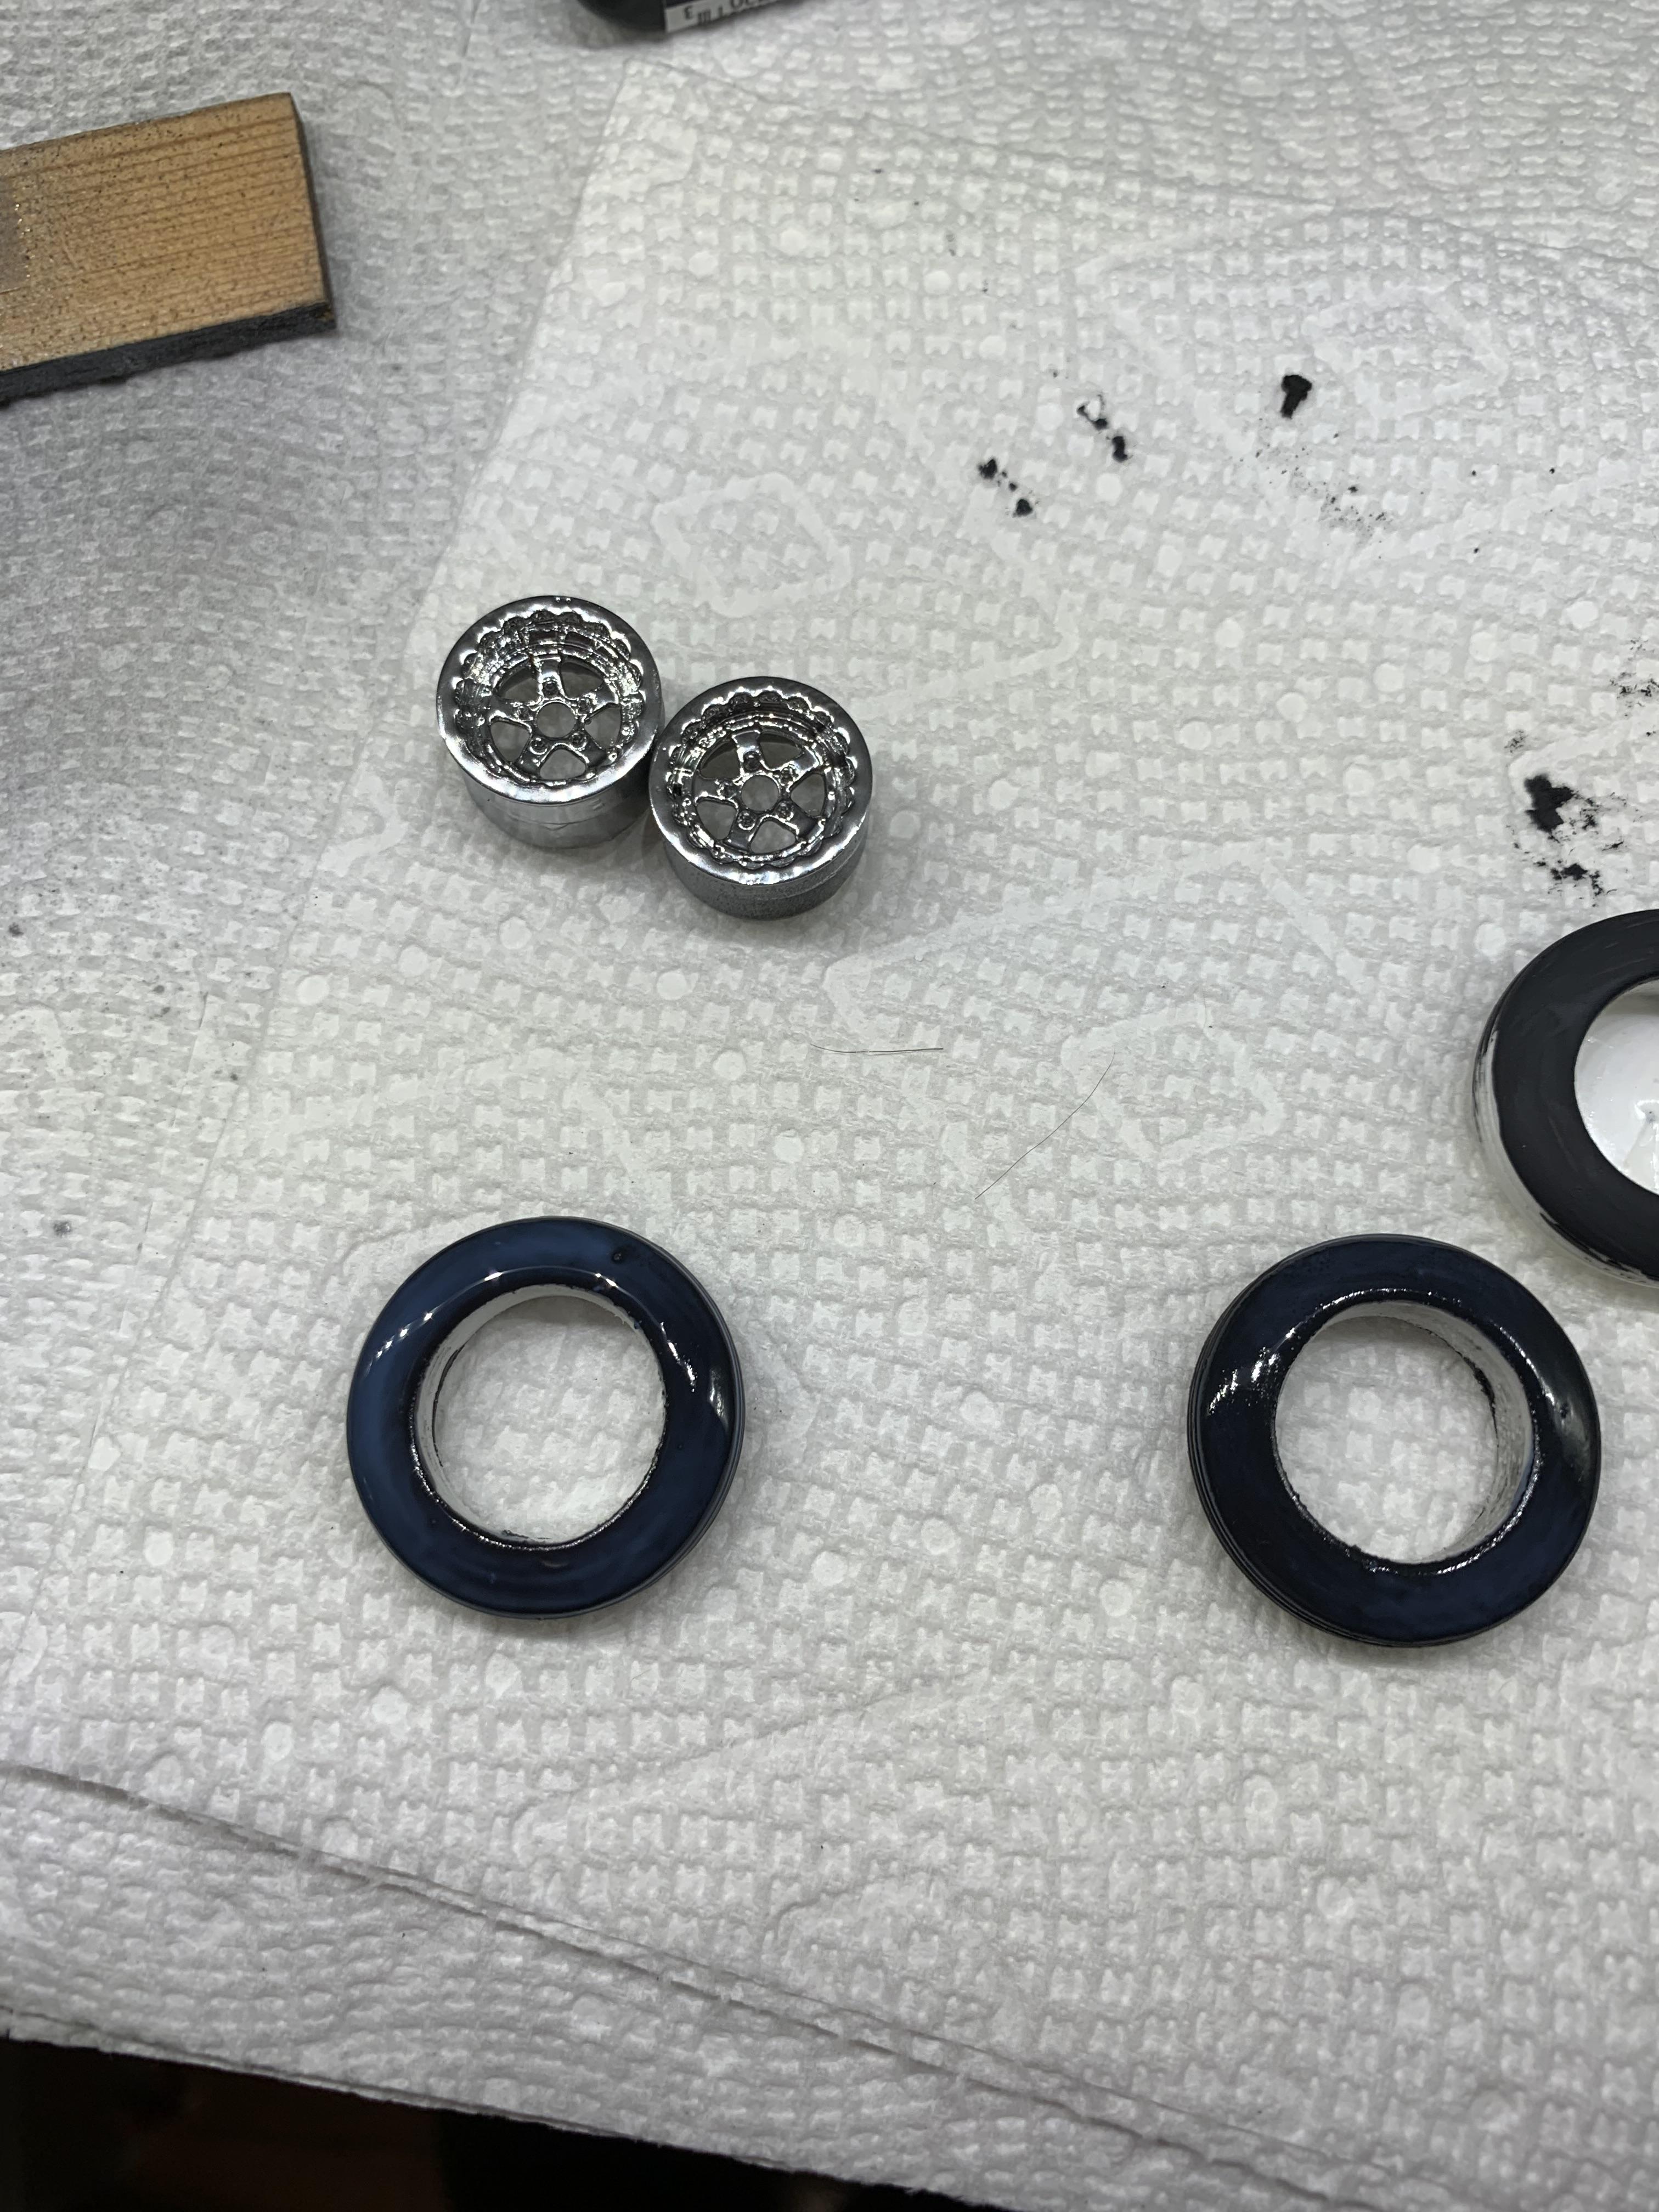
Brushed on some Tamiya rubber black (gotta get the spray can version), then some Testors 4637 semi gloss clear. Next is Hoosier decals. Pics didn’t load. Will post tomorrow. -
1962 Pontiac 421 SD F/SA circa 2024 edition
R. Thorne replied to R. Thorne's topic in WIP: Drag Racing Models
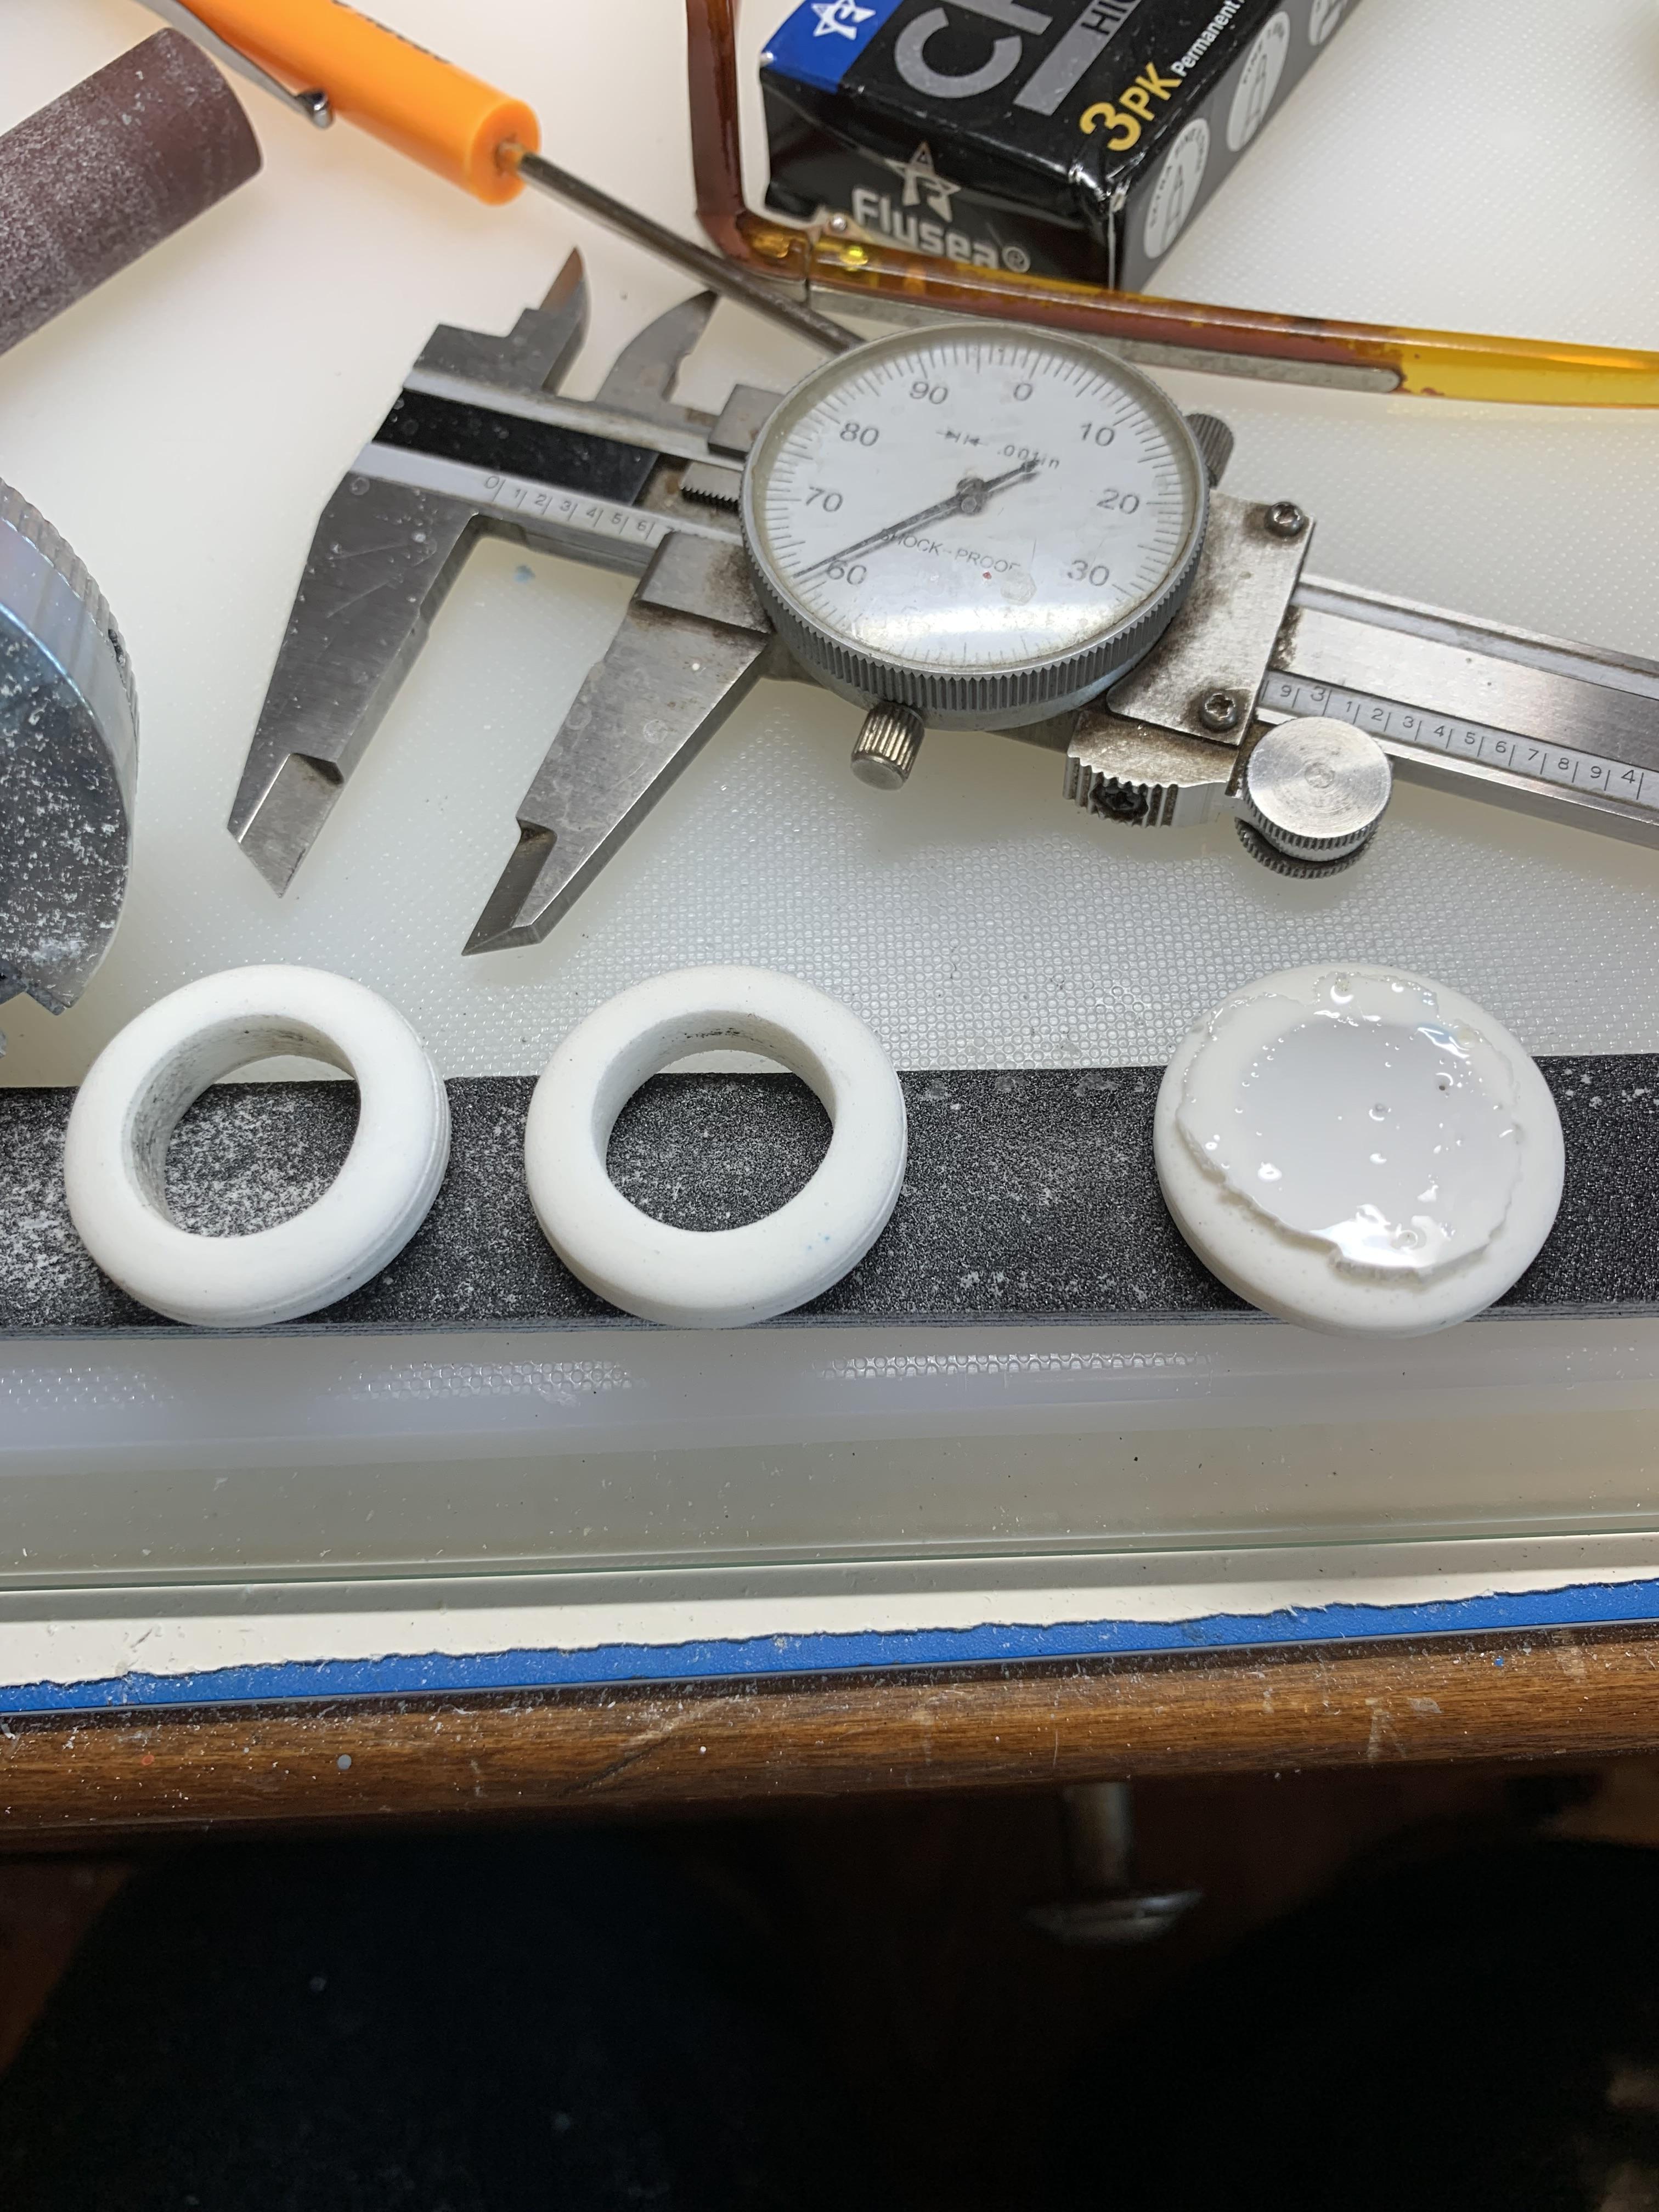
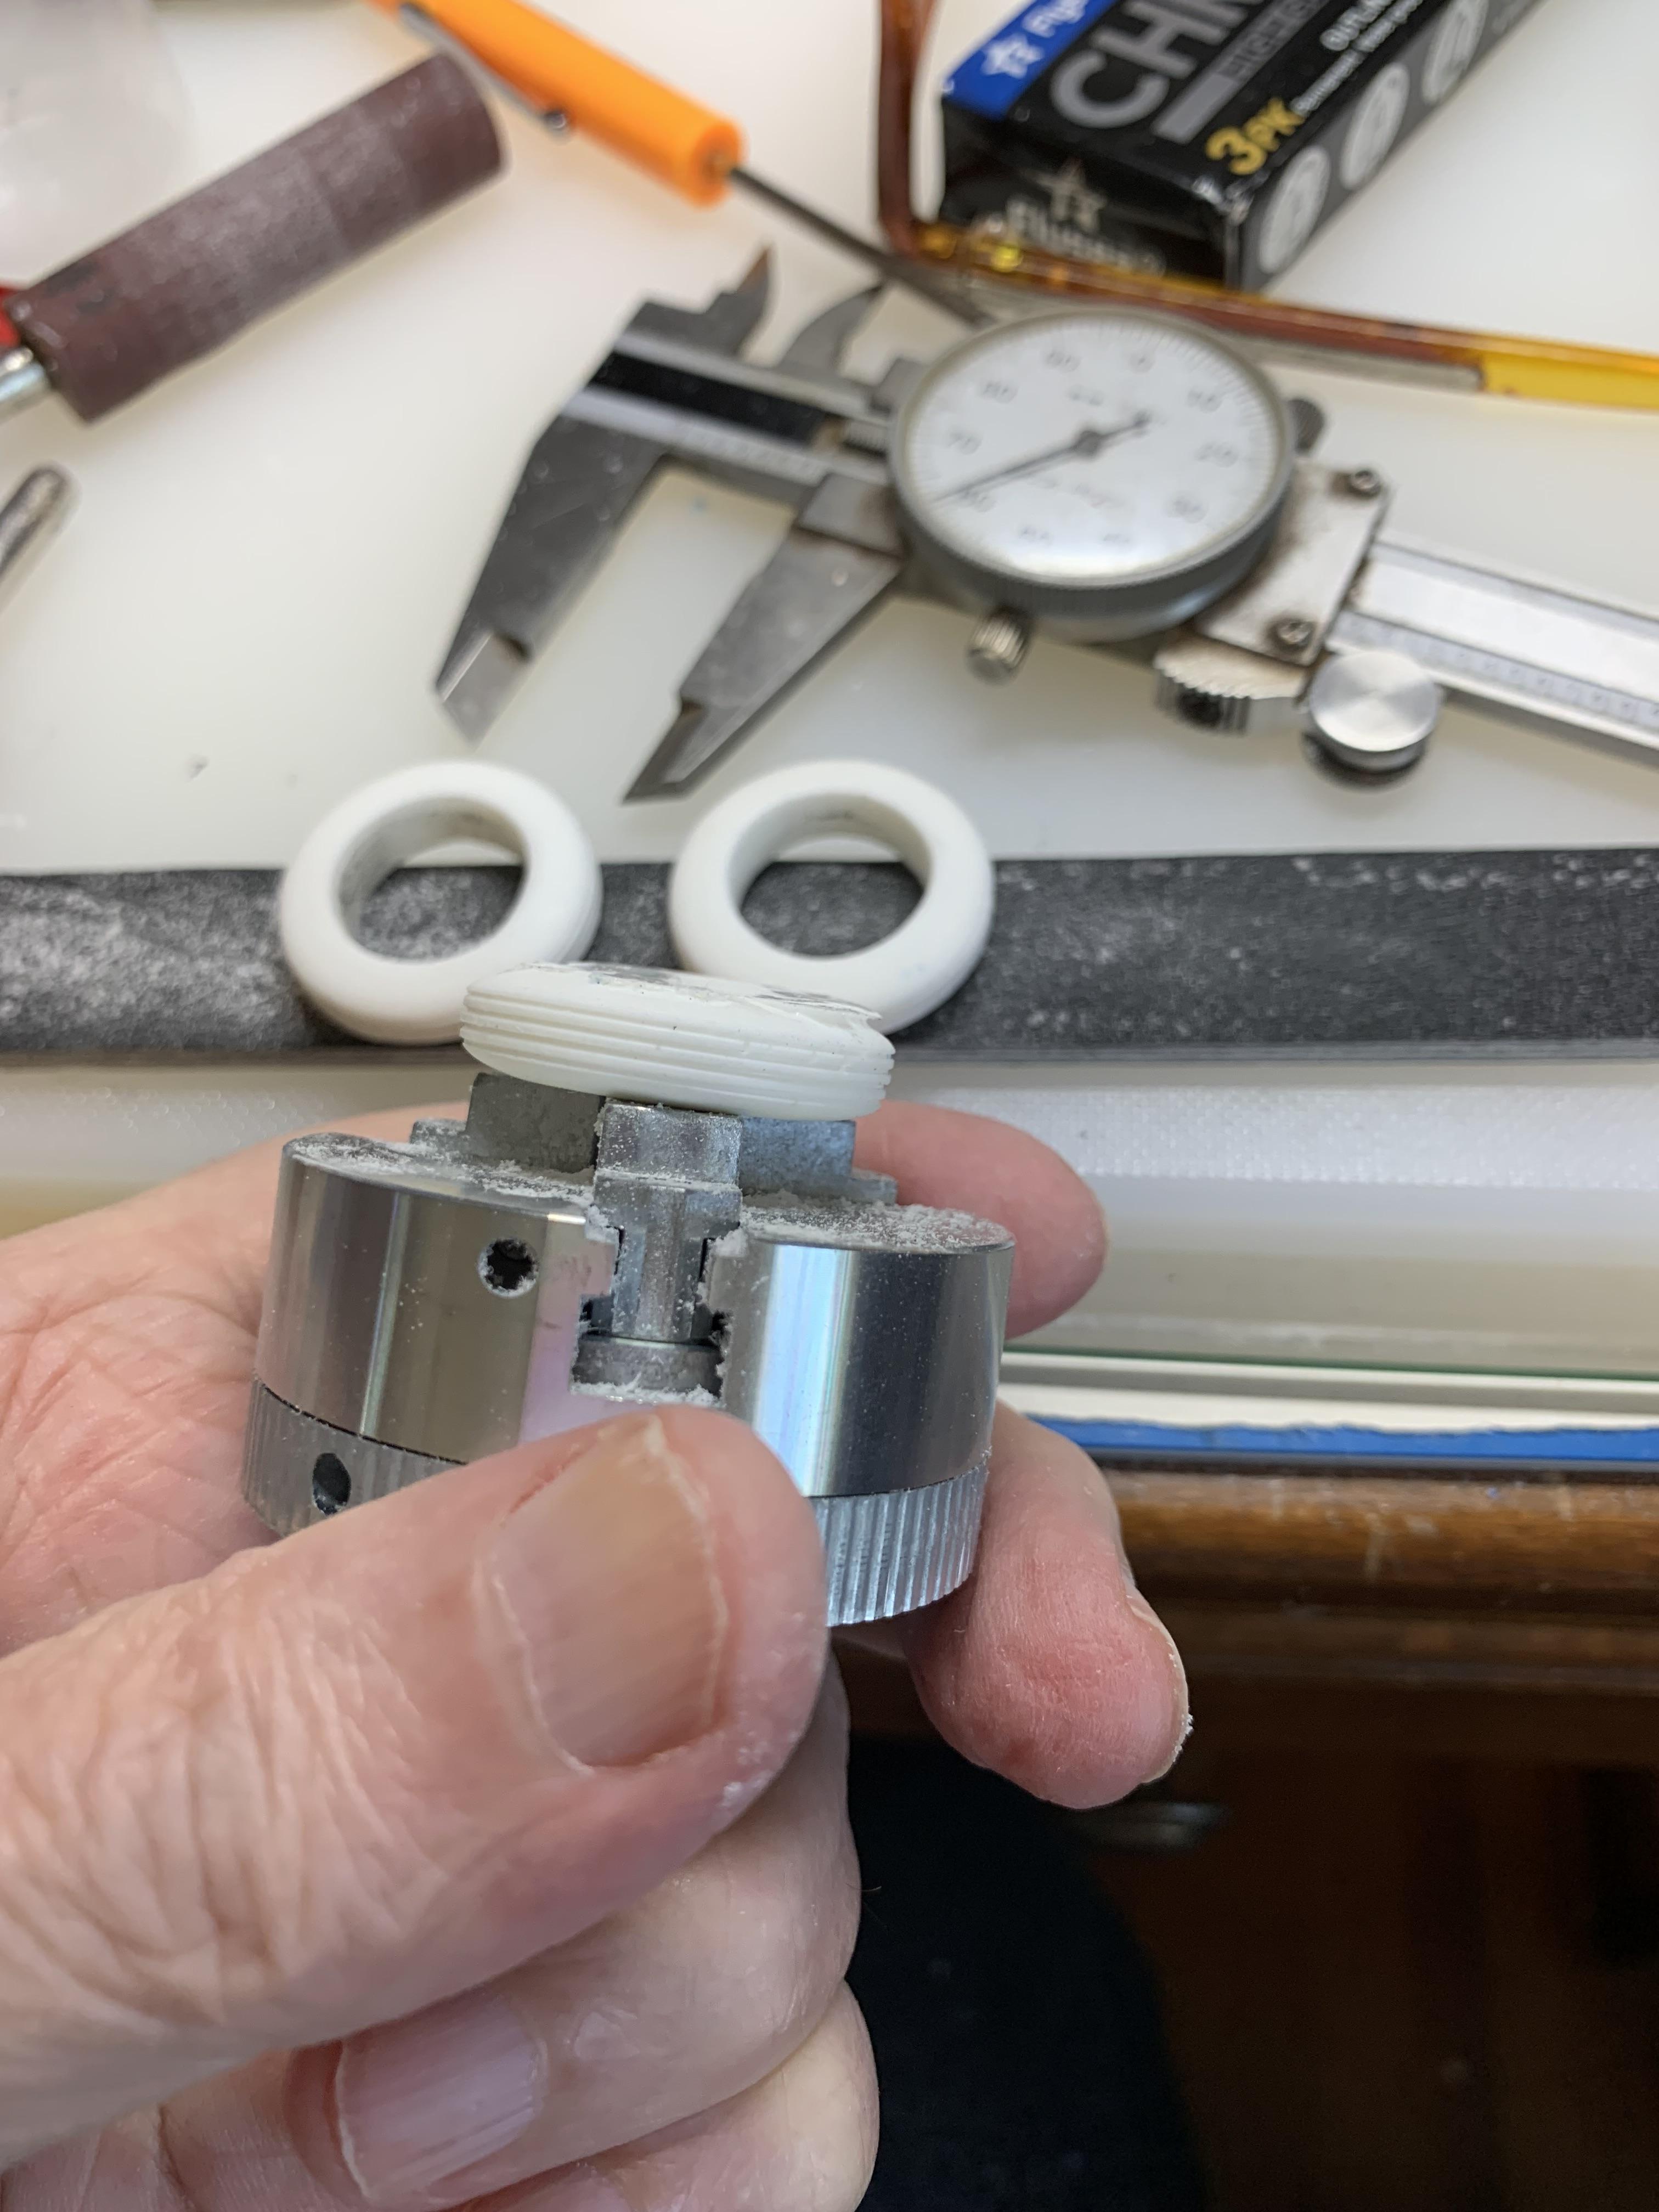
The wheels 24 hours later. Still shiny. As these wheels are larger I.d. (.660”), I had to enlarge the I.d. of a tire (and smooth up the sides). This “master” was made into a mold and cast up about 15 tires. These have to be cleaned up on one side. I used a .600” sanding flap on the inside, then held it with a 3 jaw chuck and sanded off the rough edges with a fairly coarse sanding stick. Next is to apply some Tamiya rubber black.
-
1962 Pontiac 421 SD F/SA circa 2024 edition
R. Thorne replied to R. Thorne's topic in WIP: Drag Racing Models
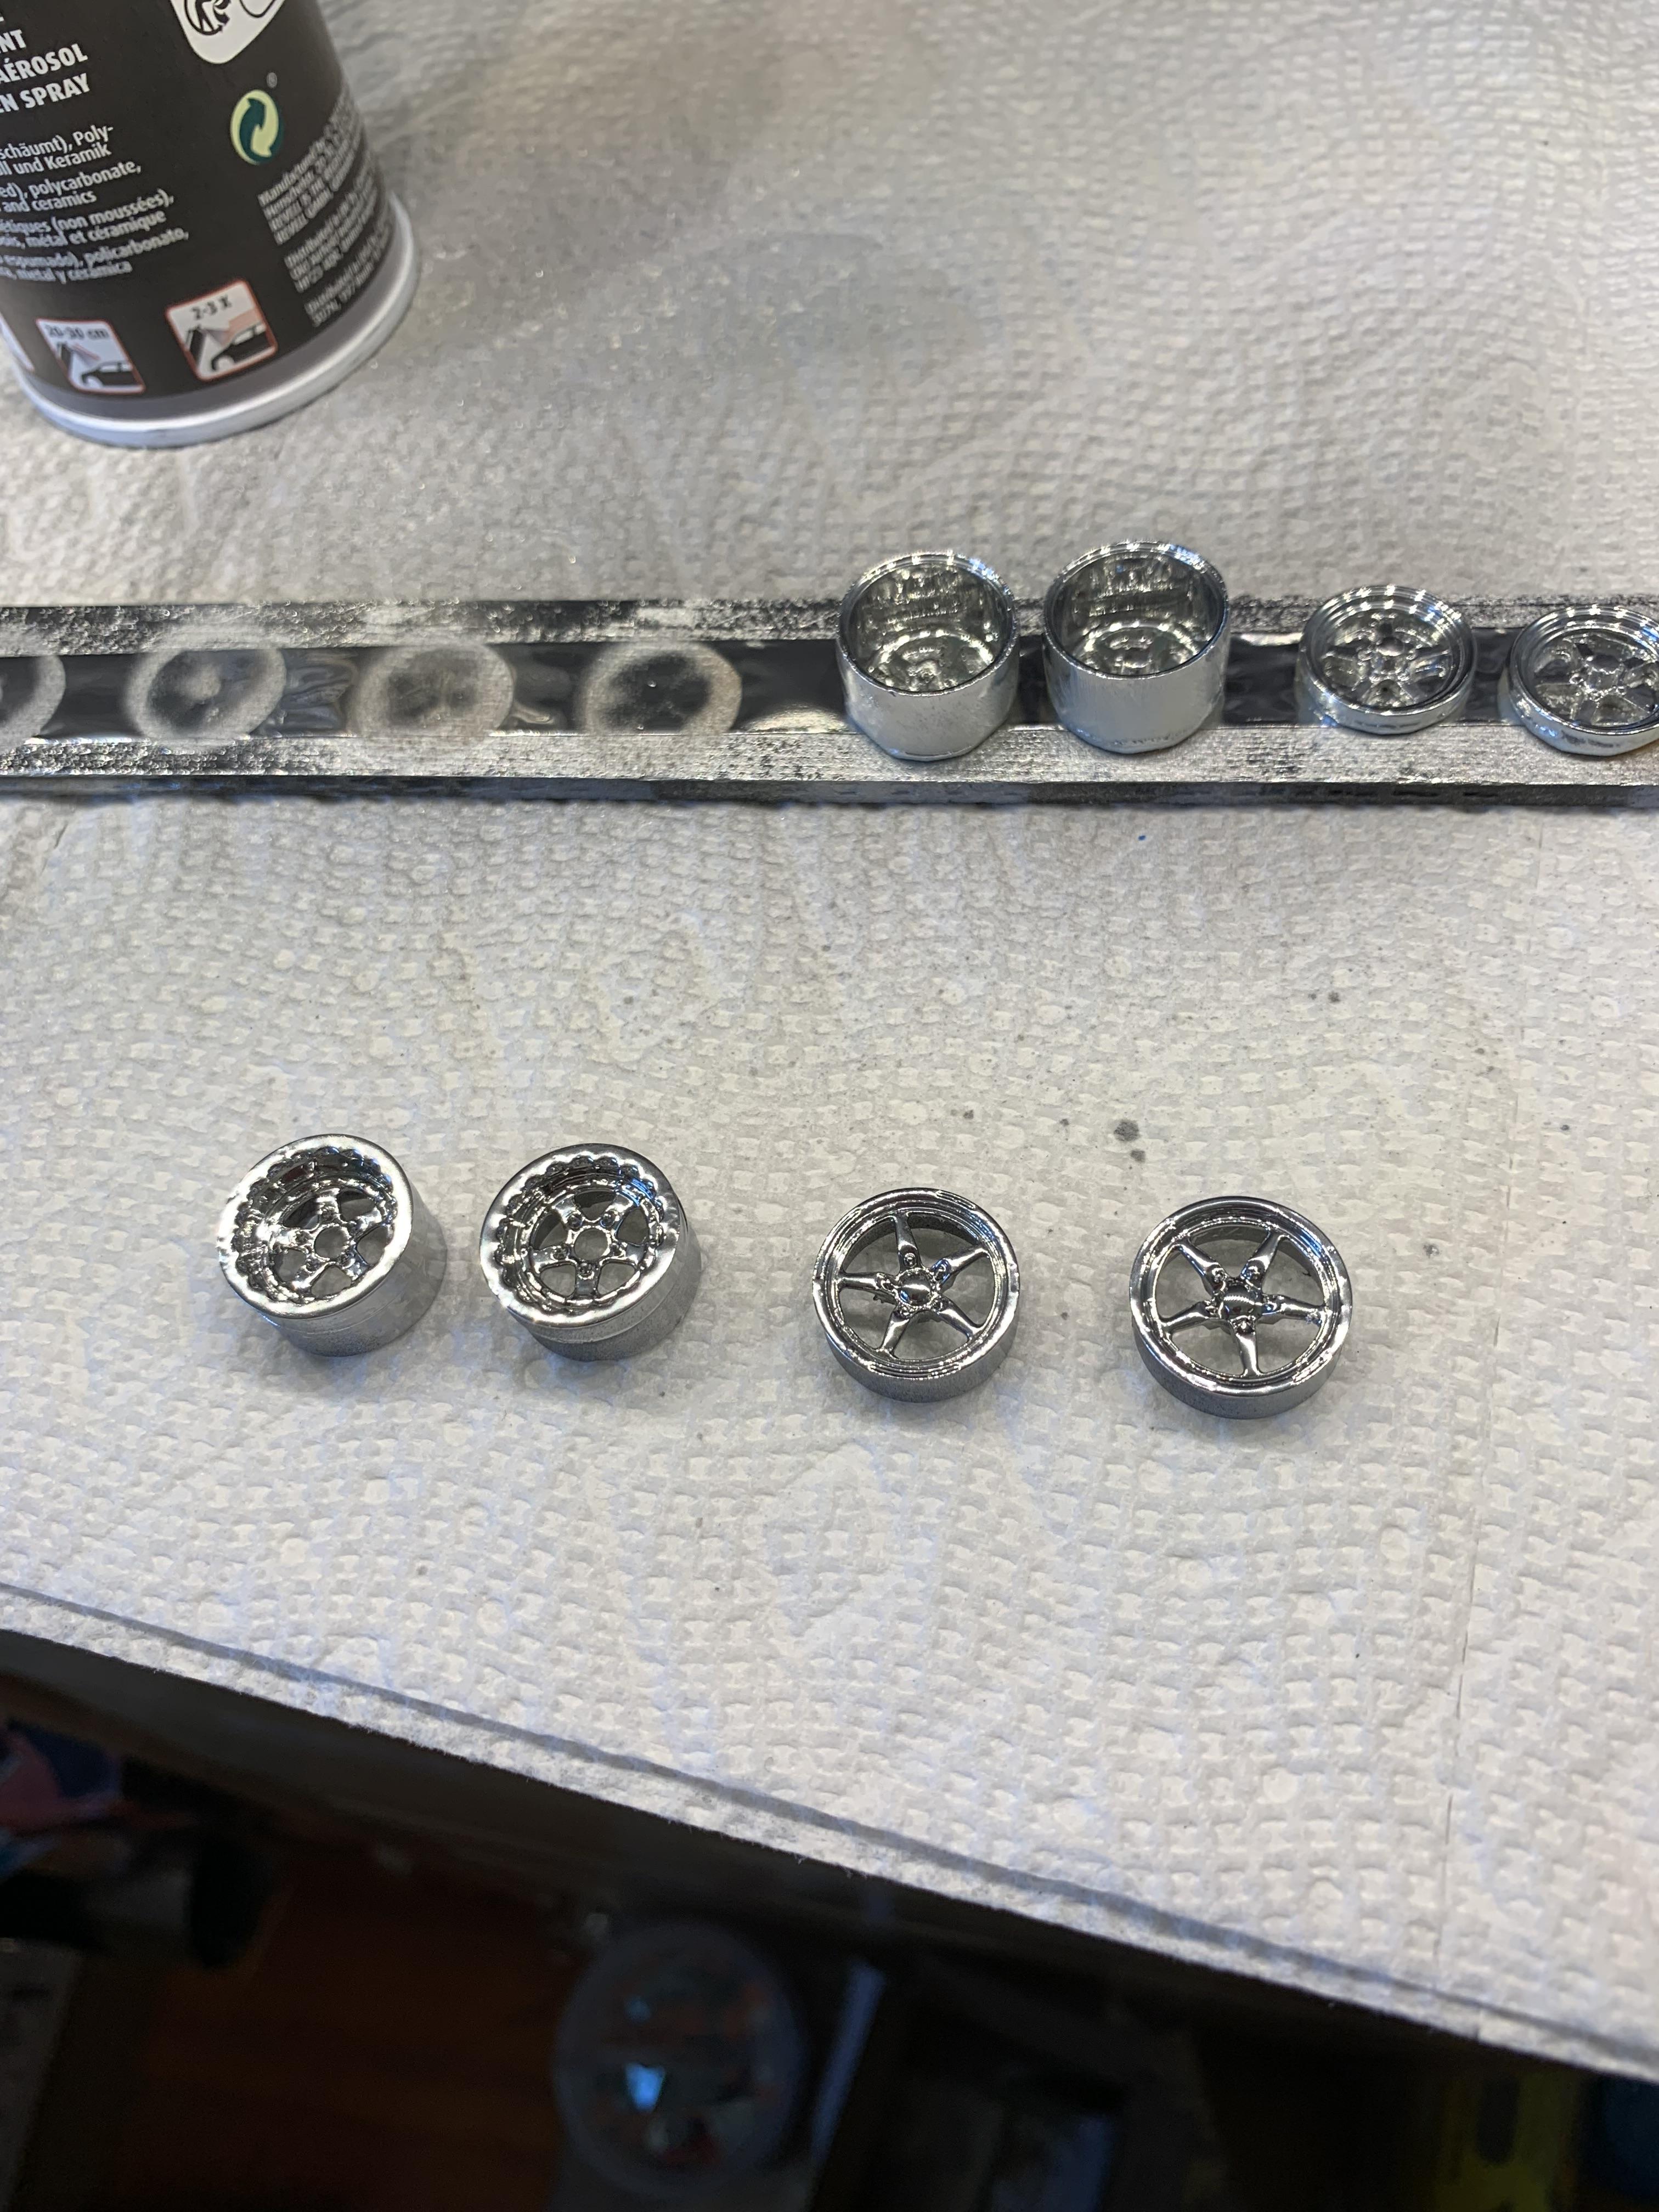
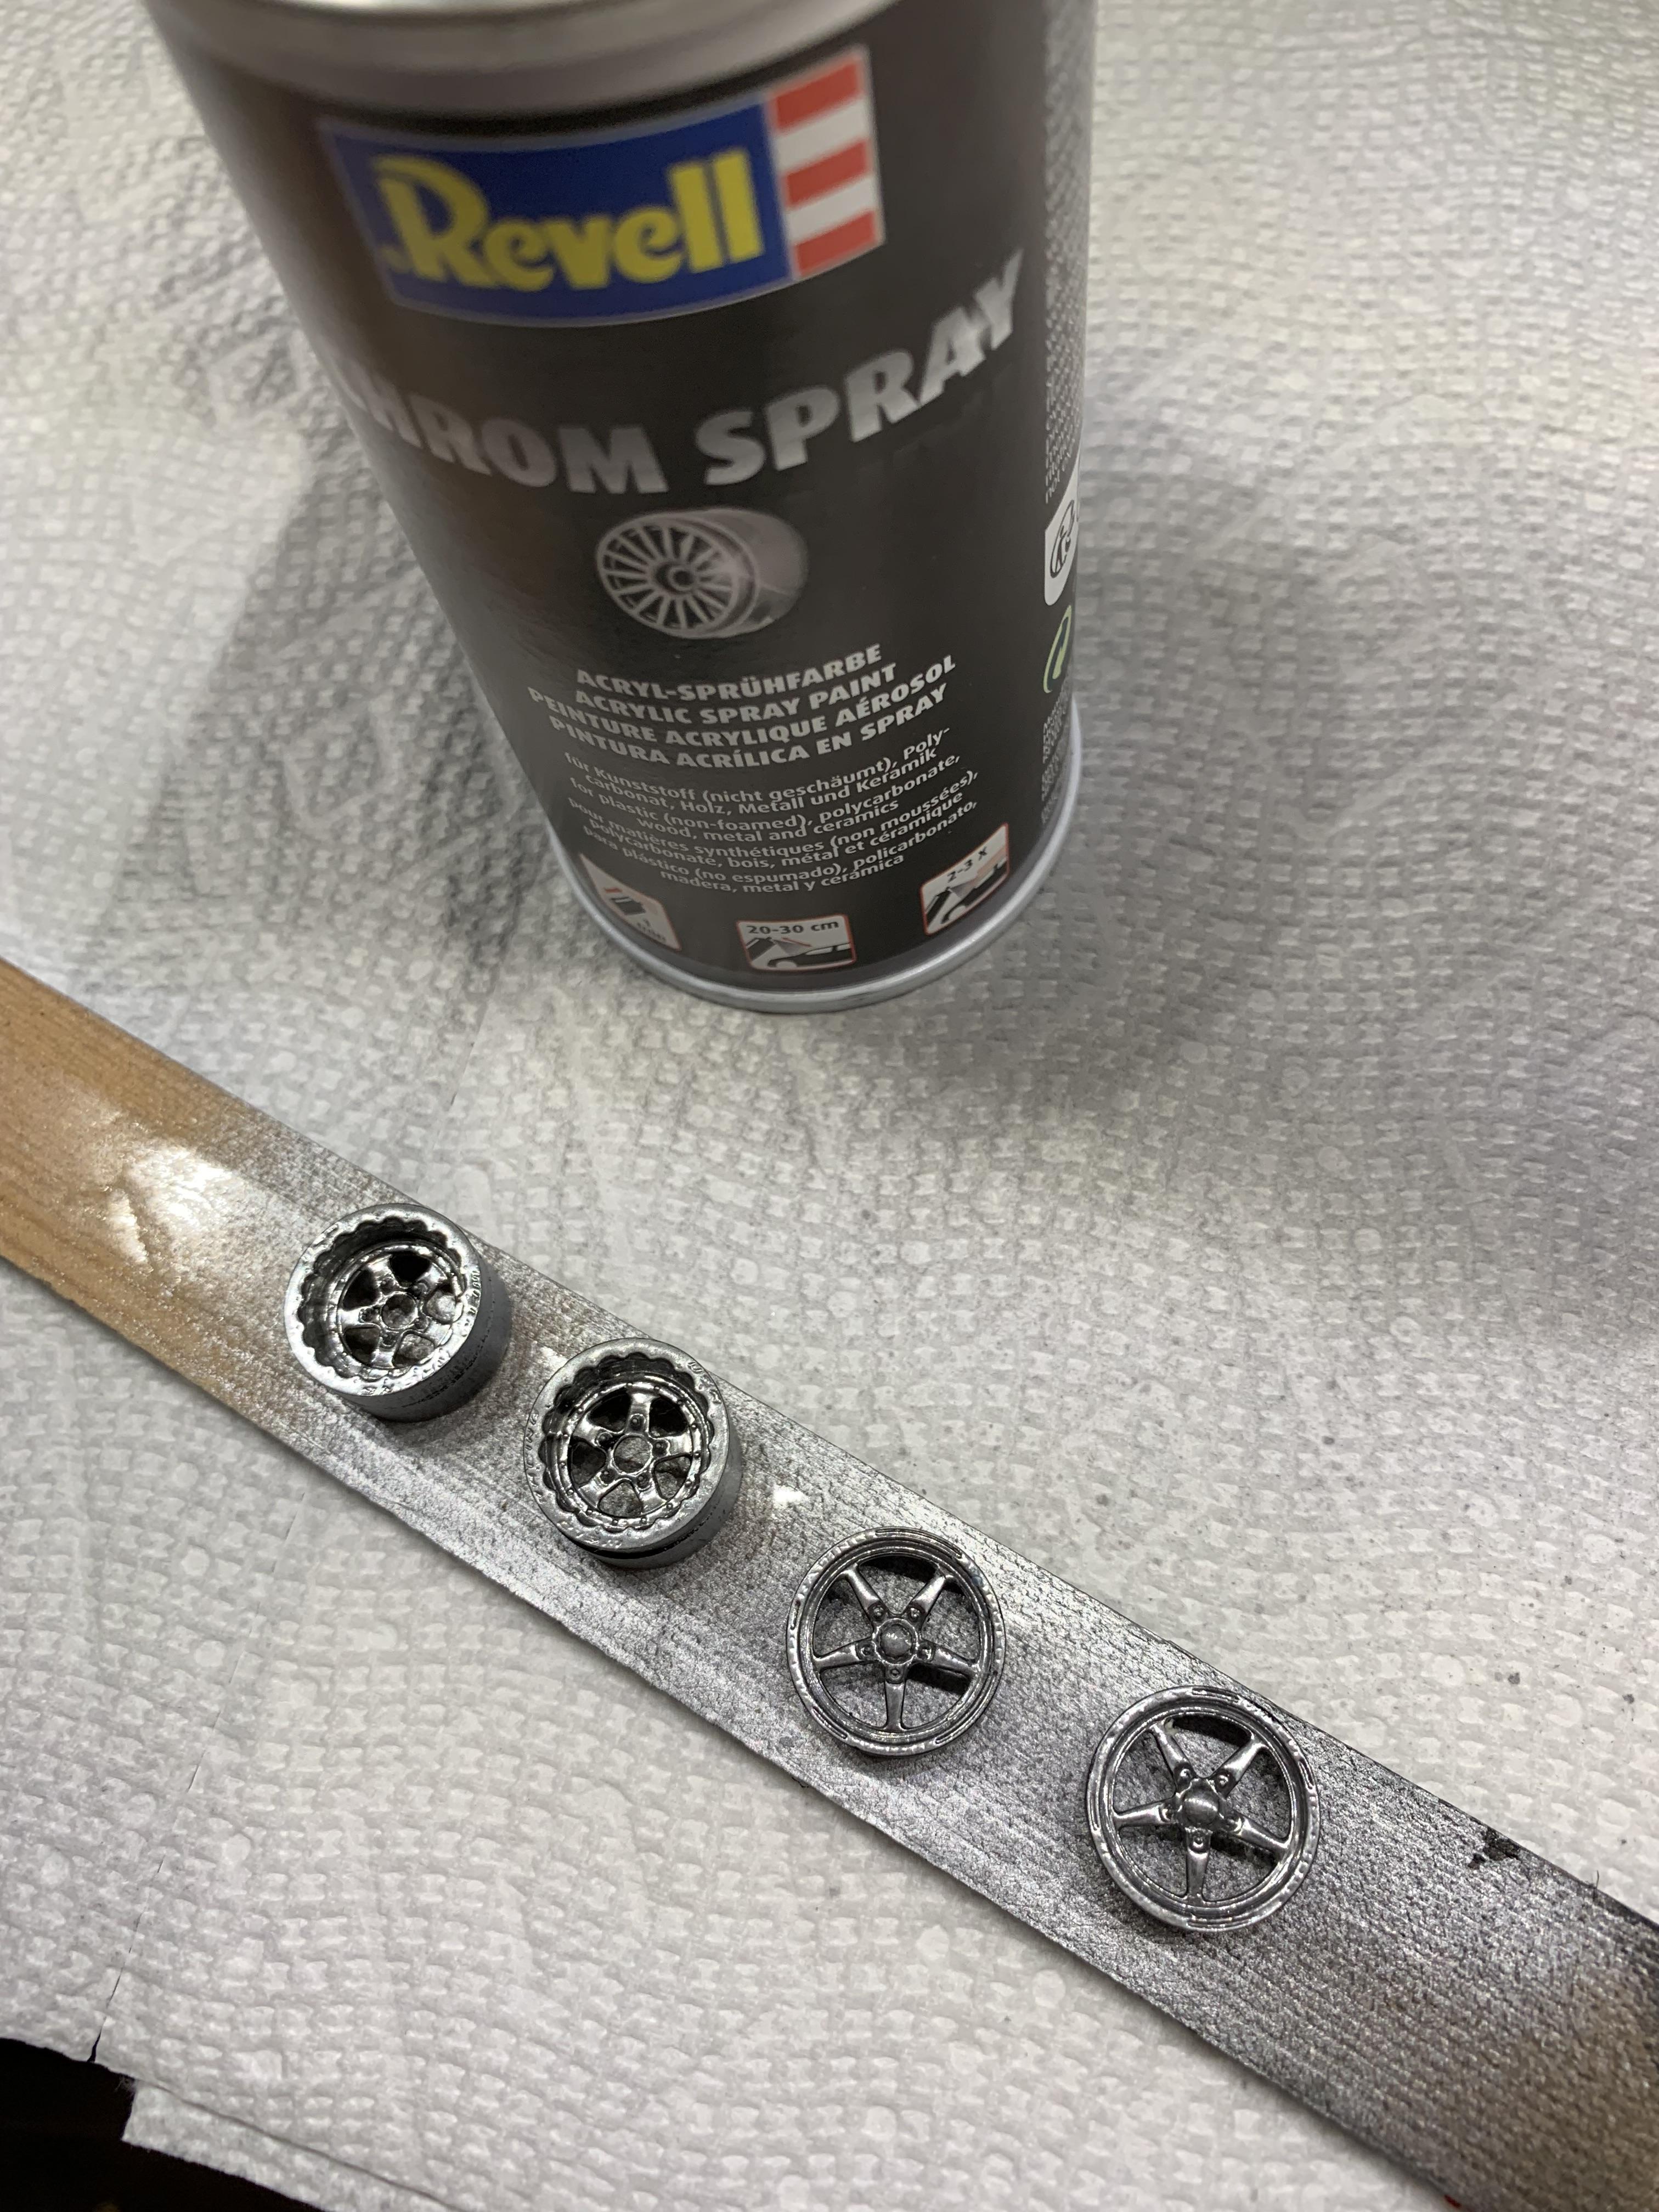
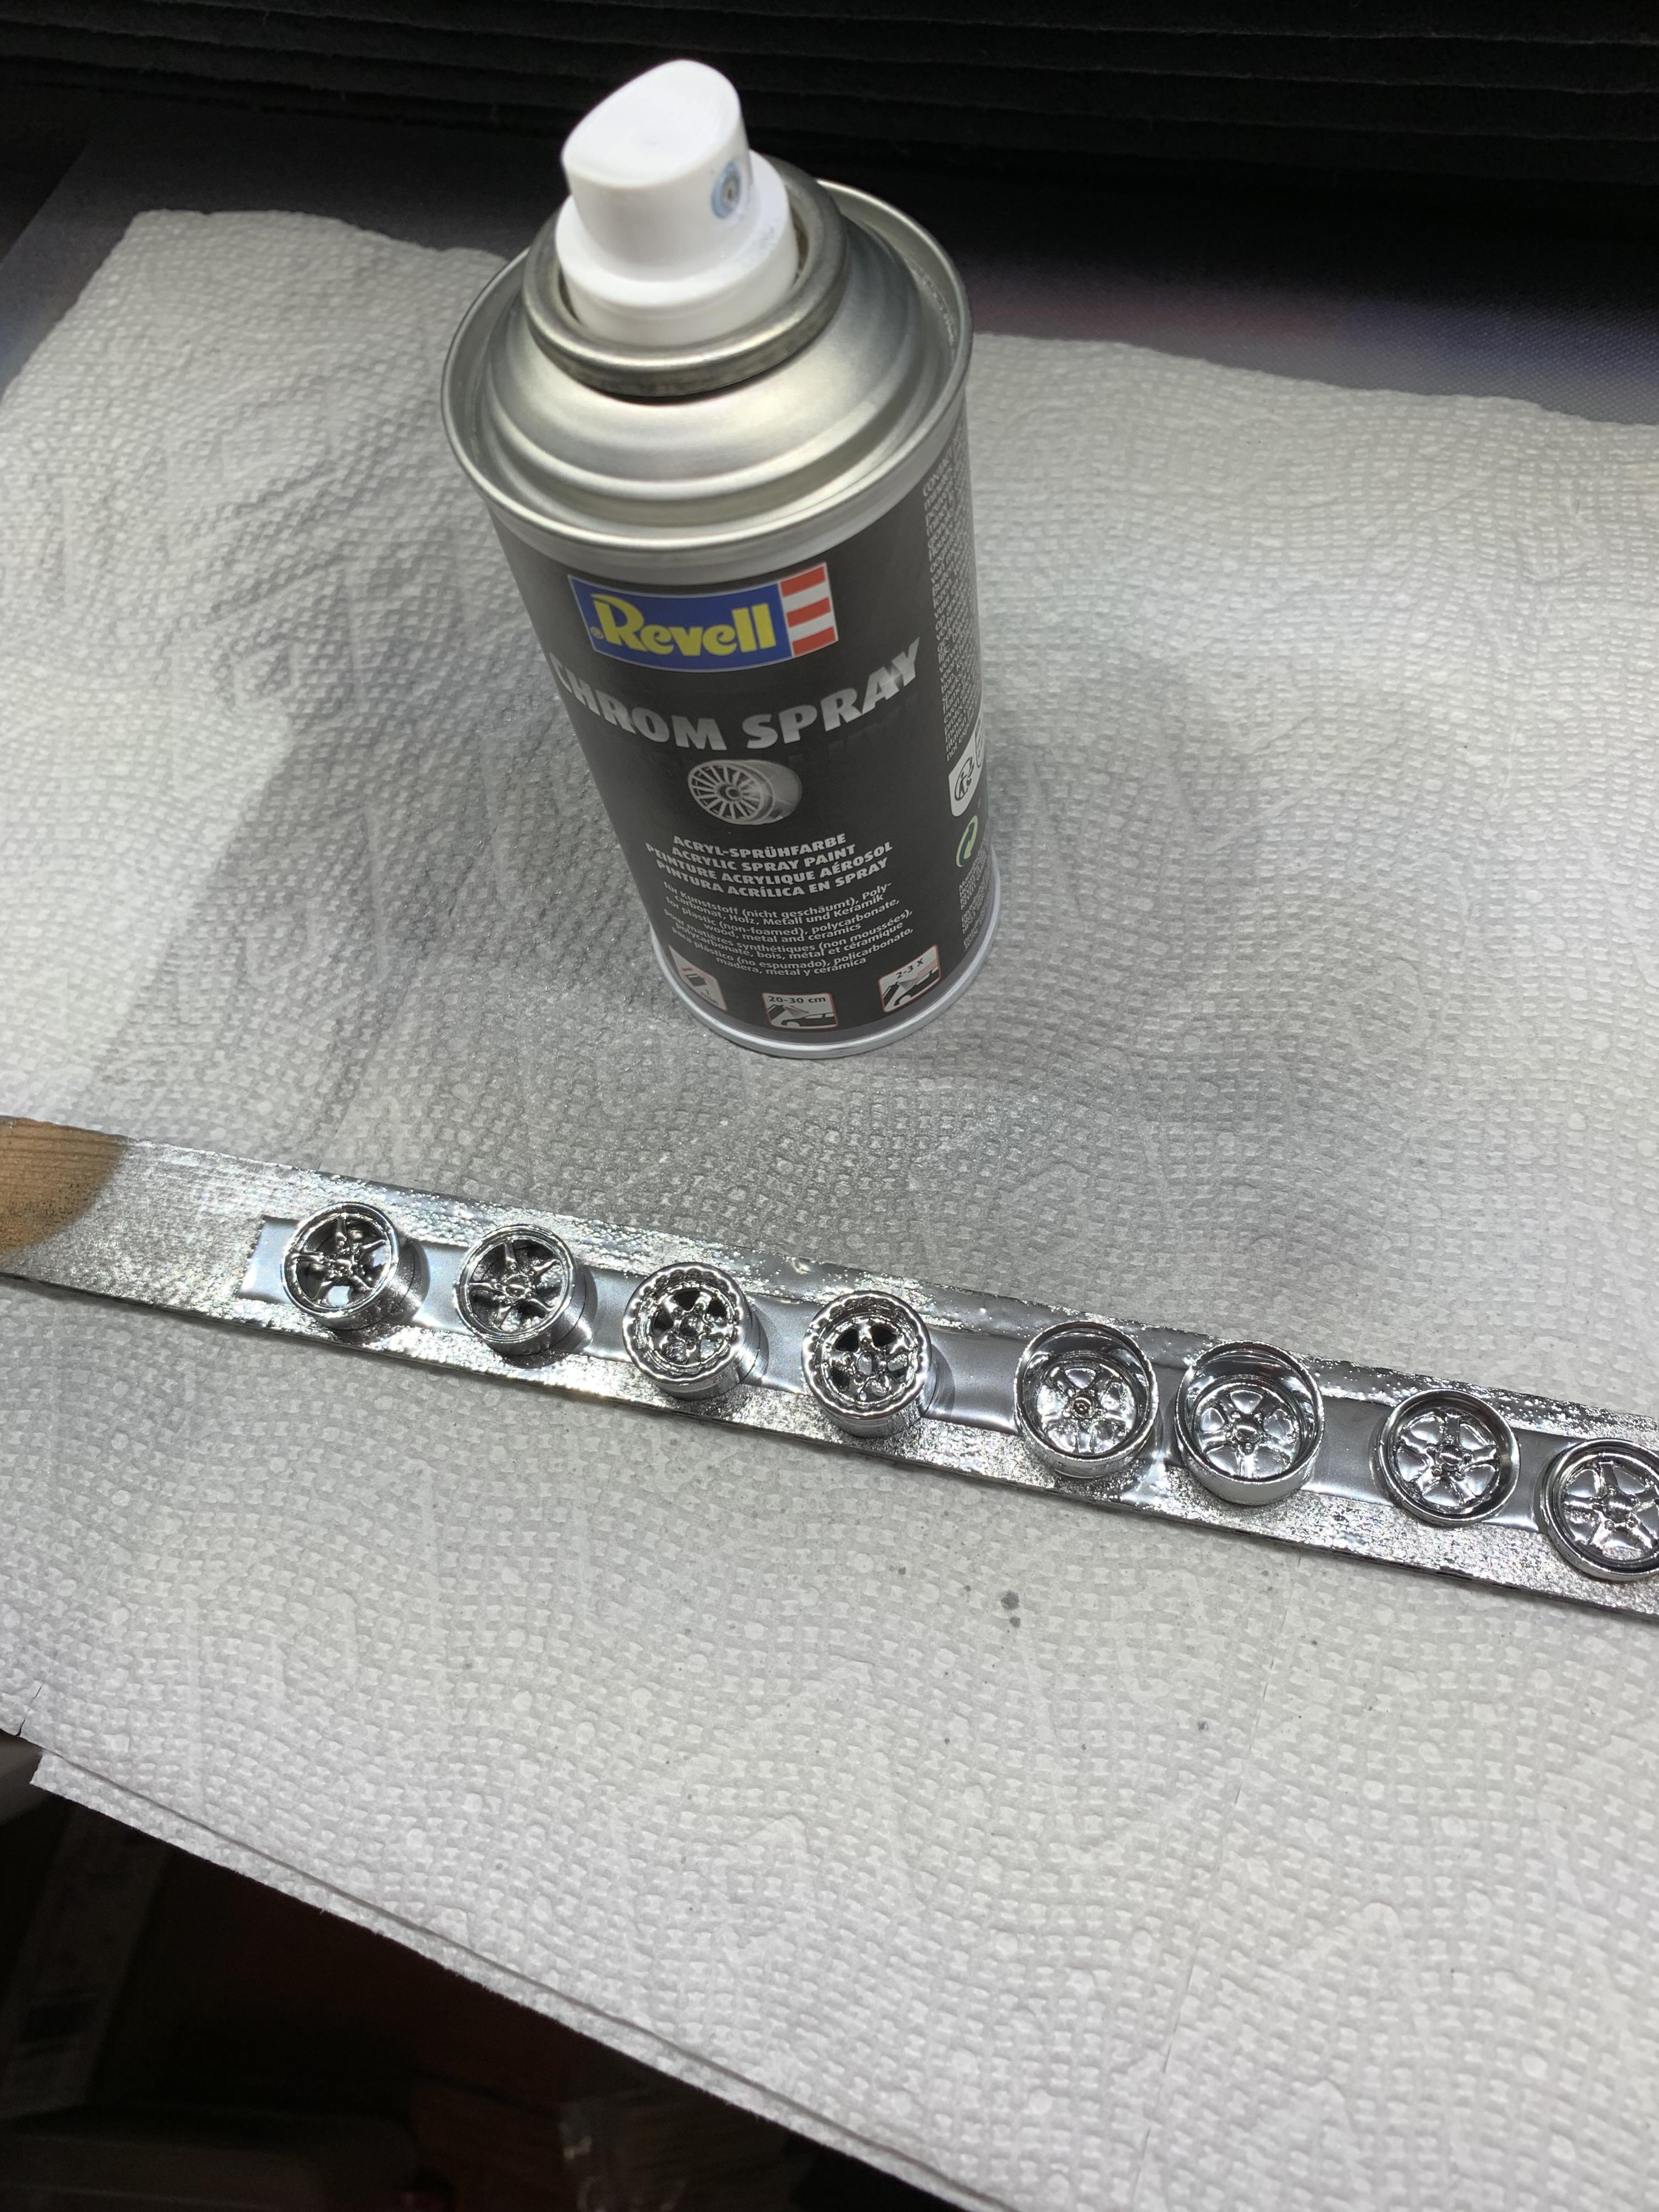
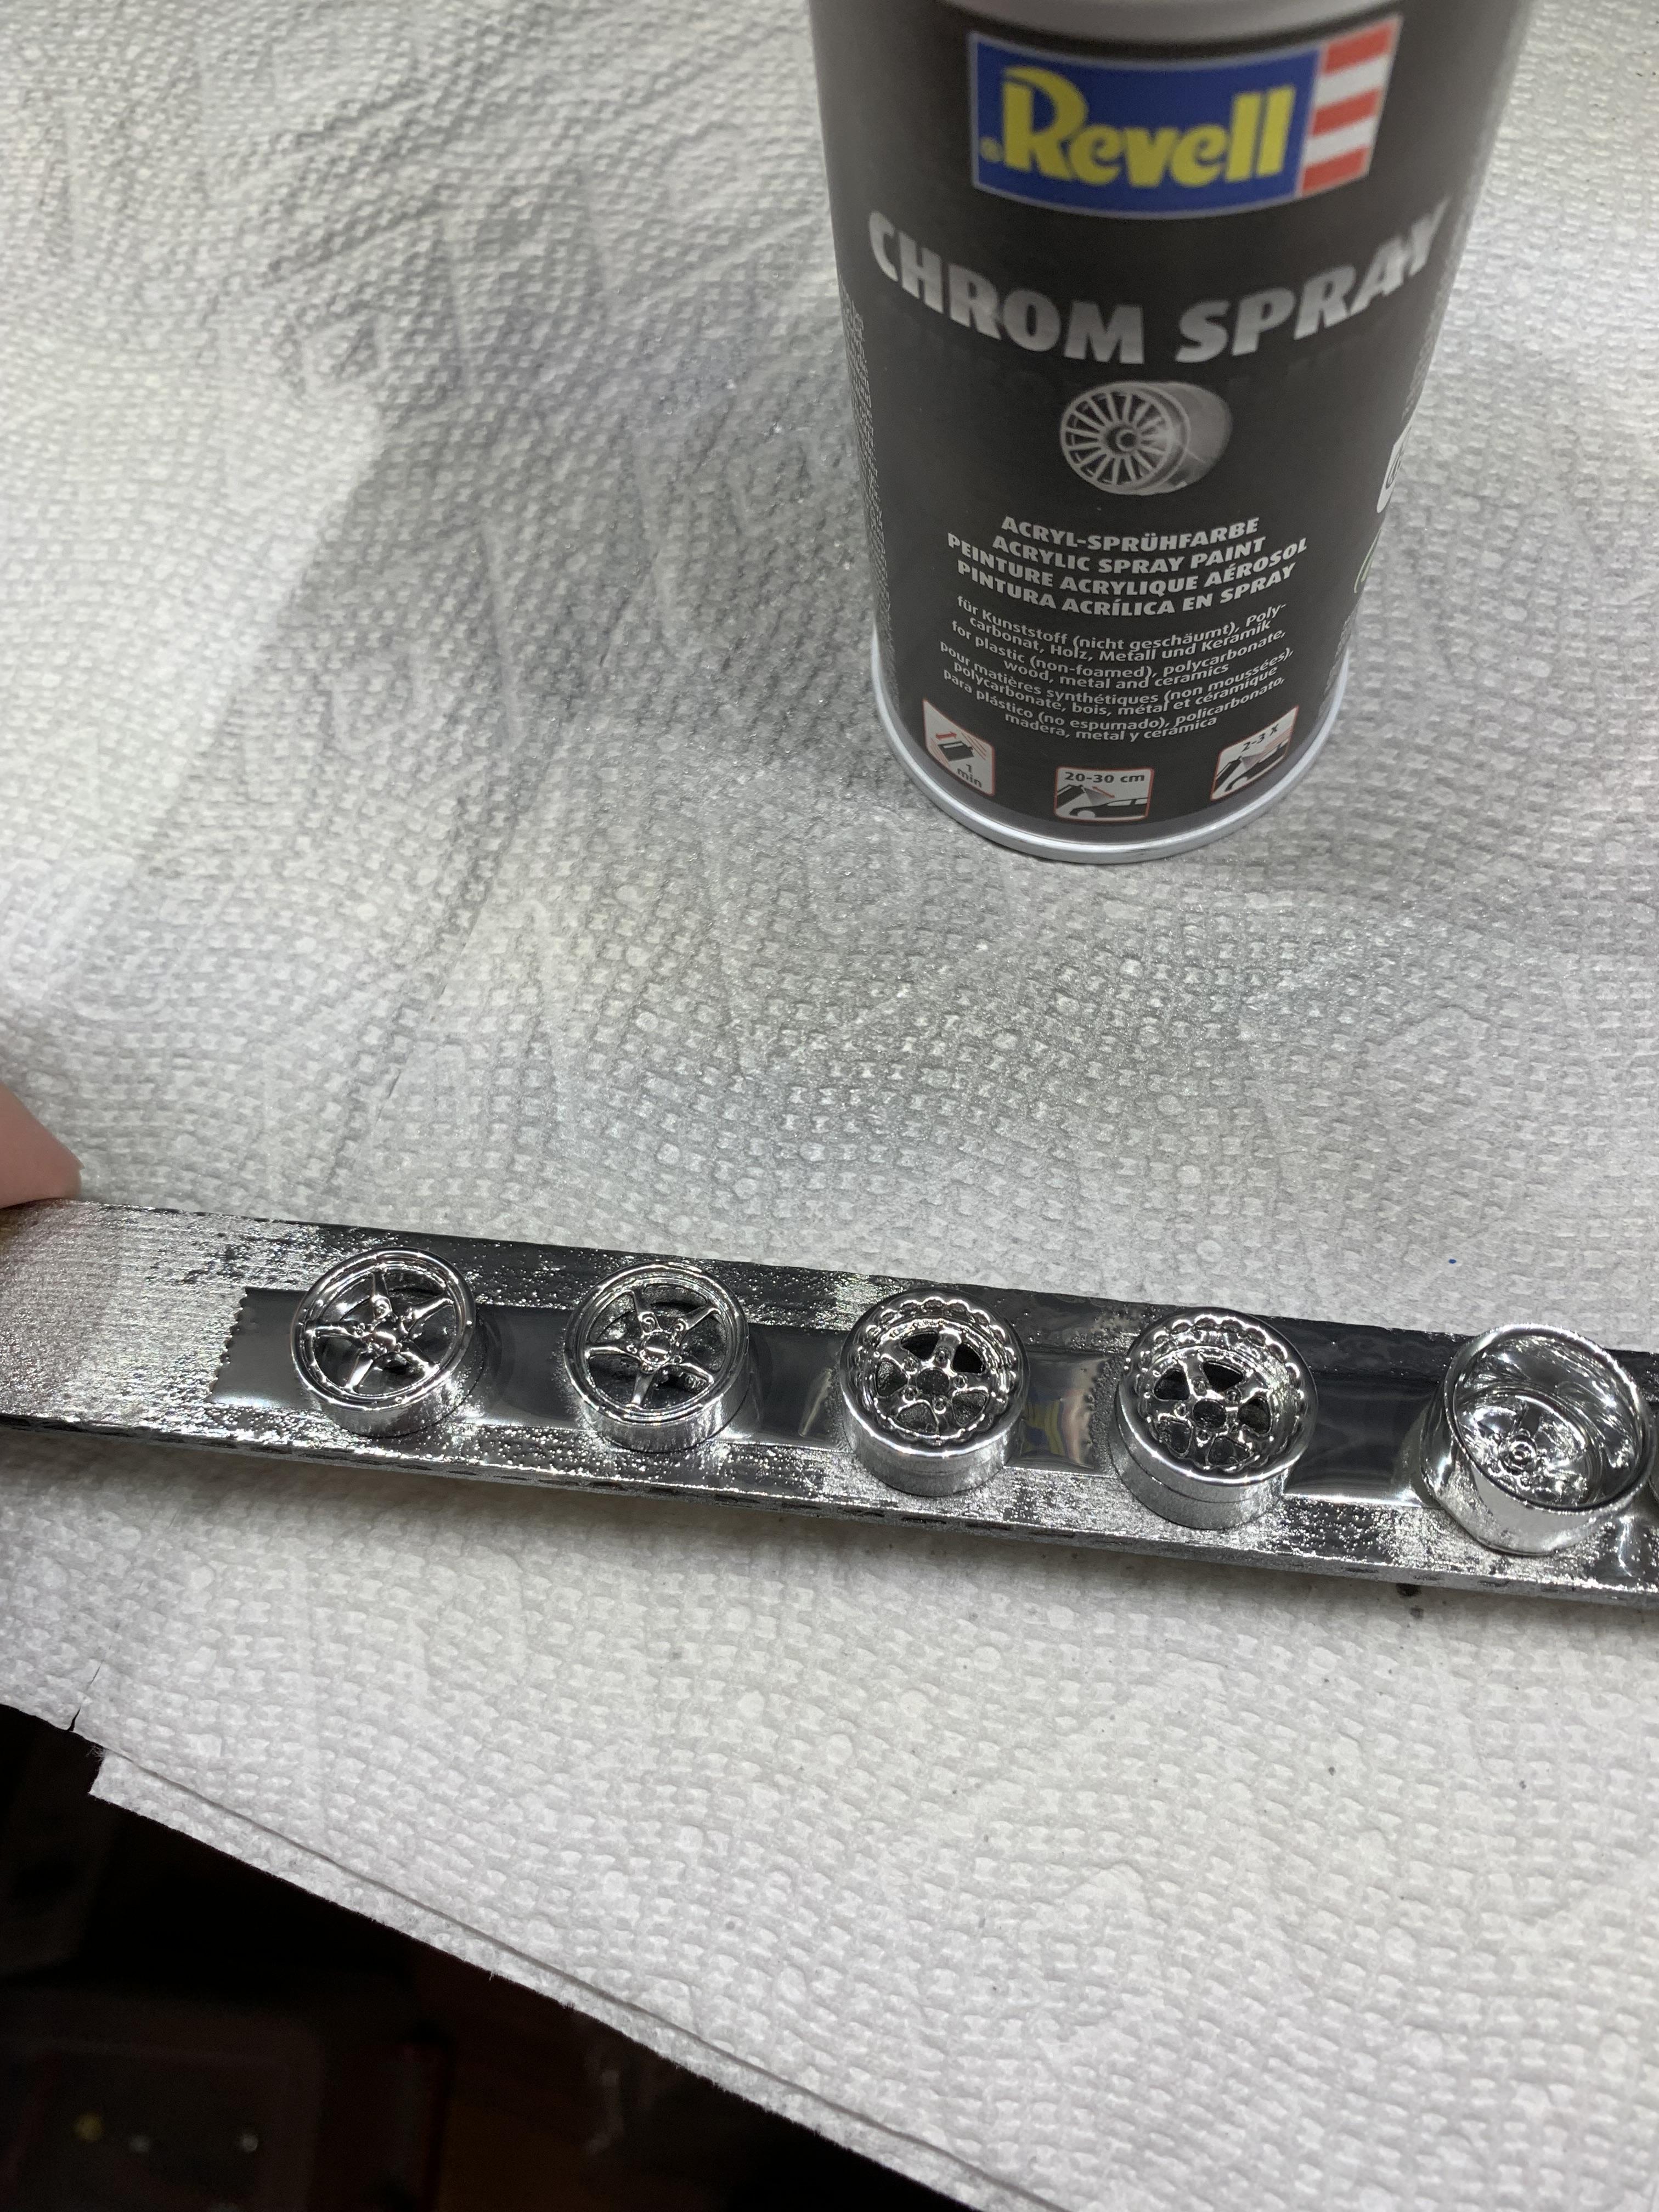
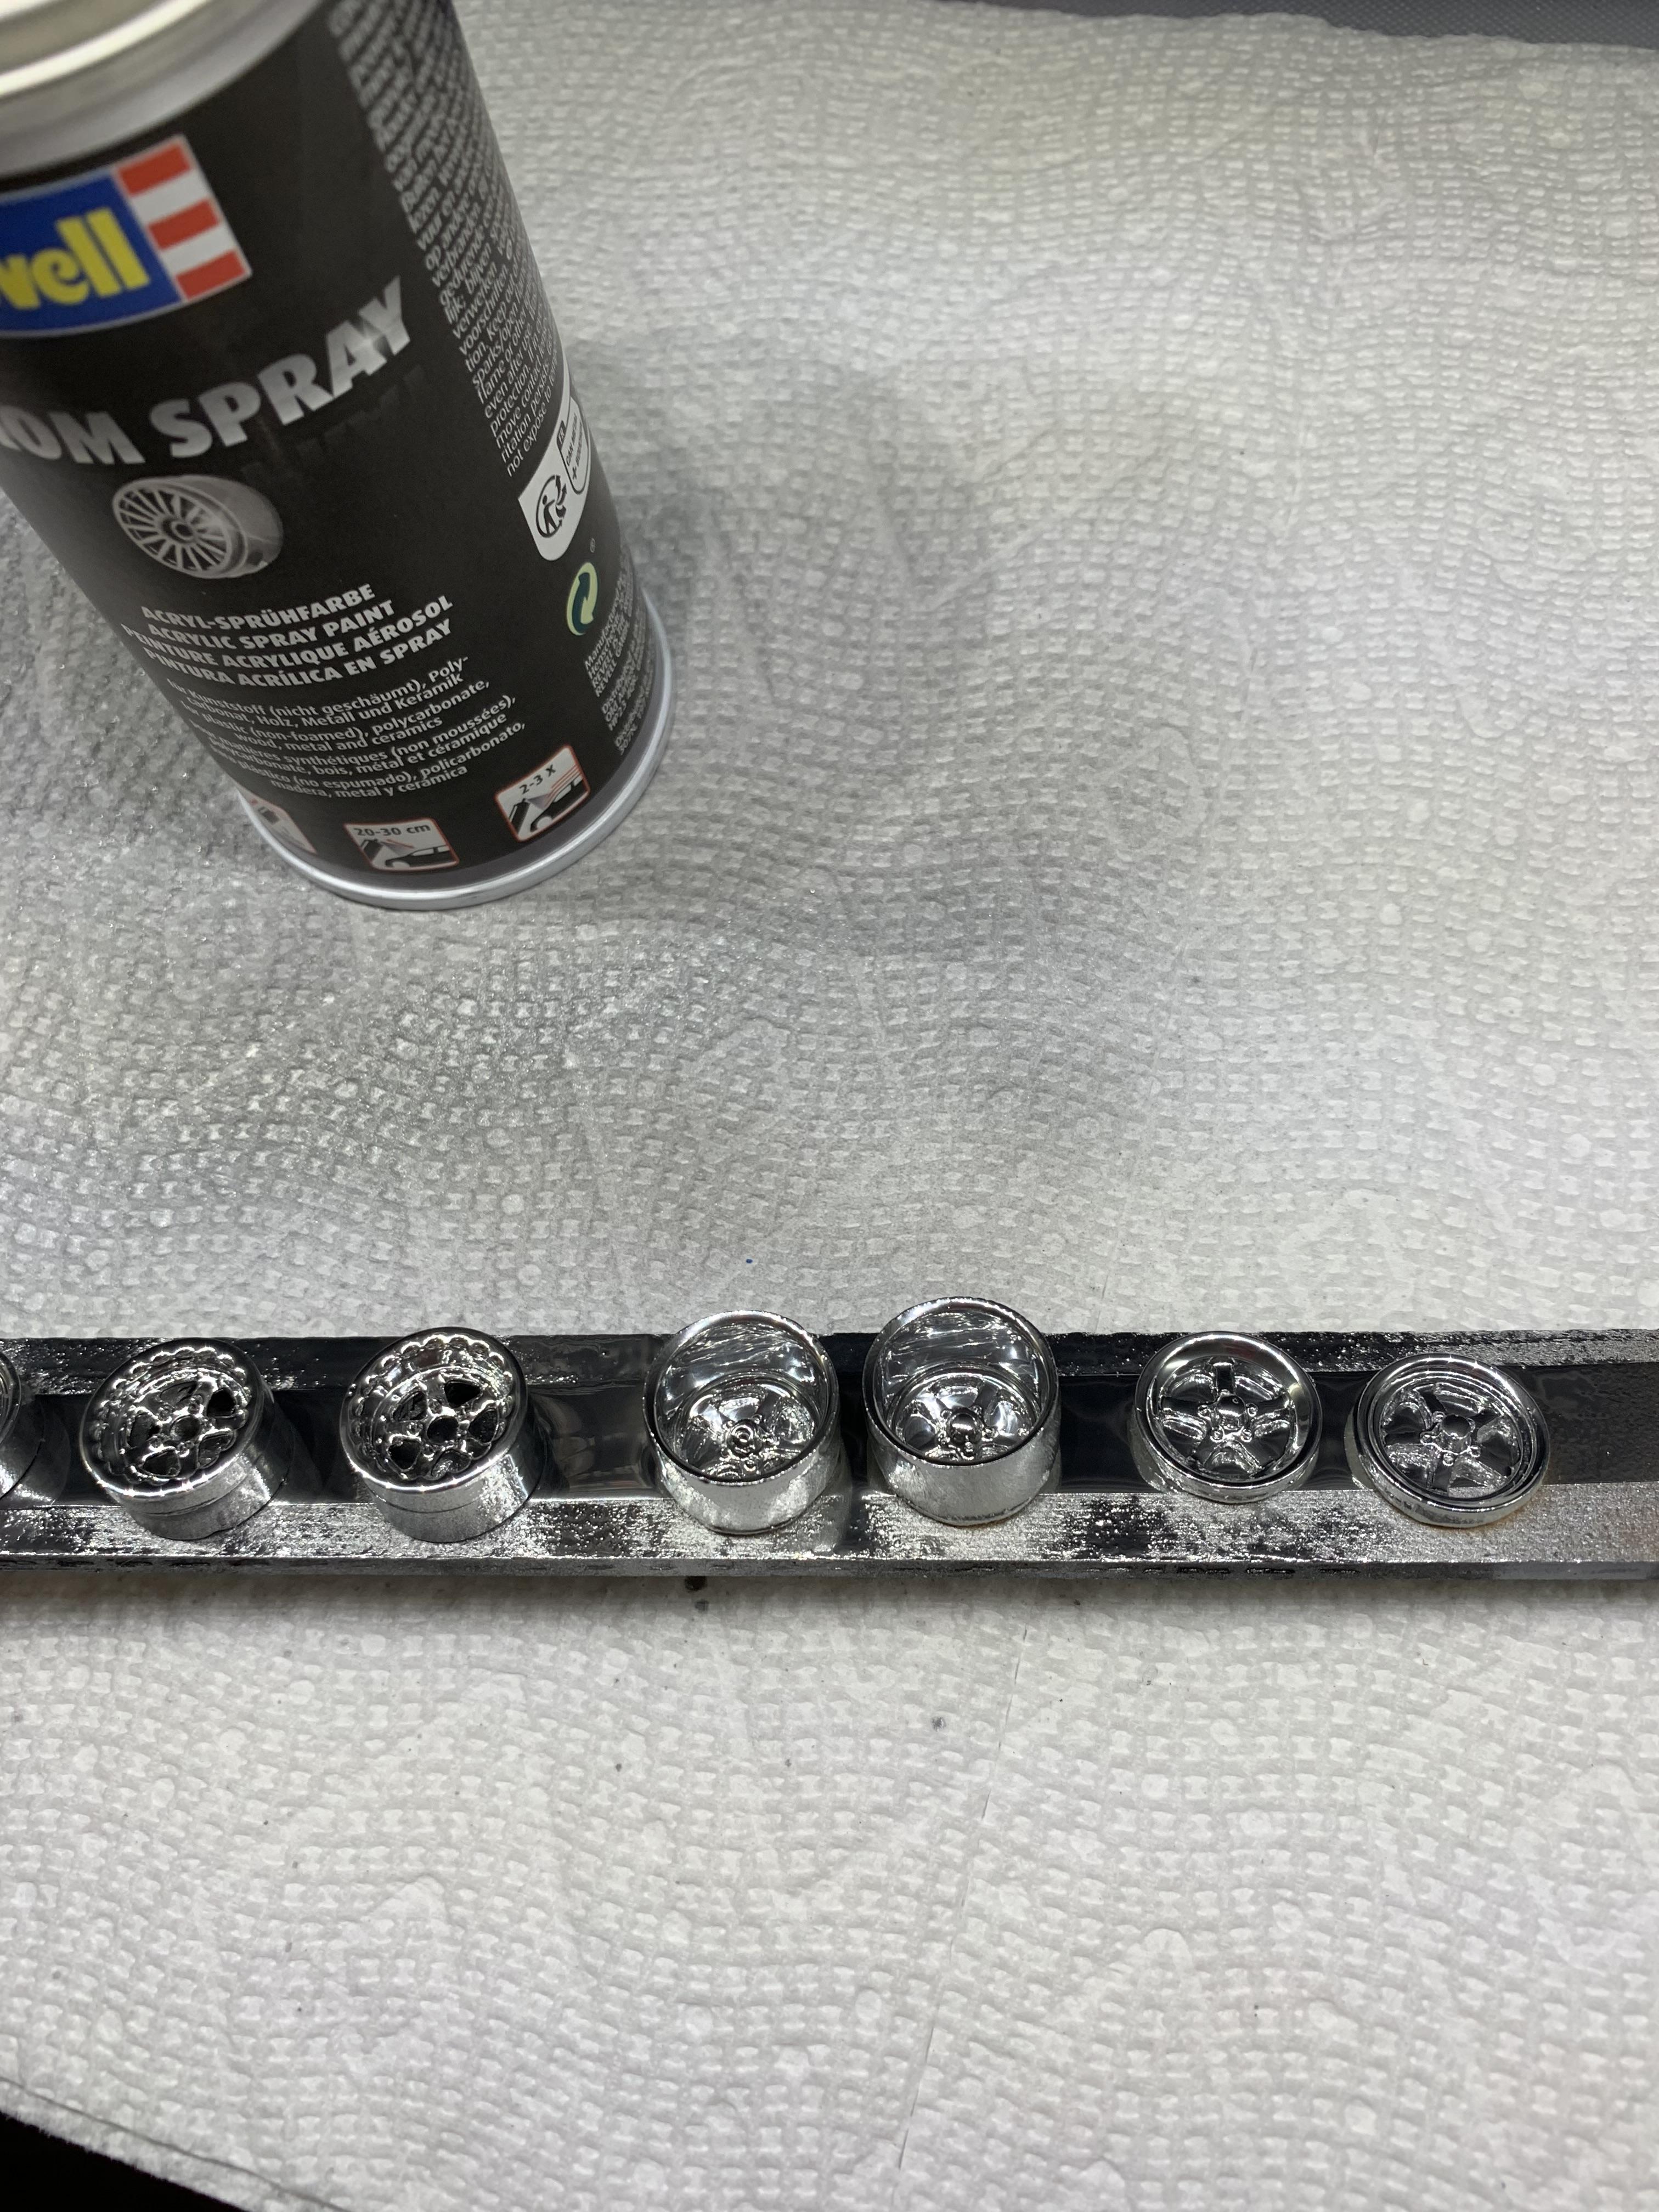
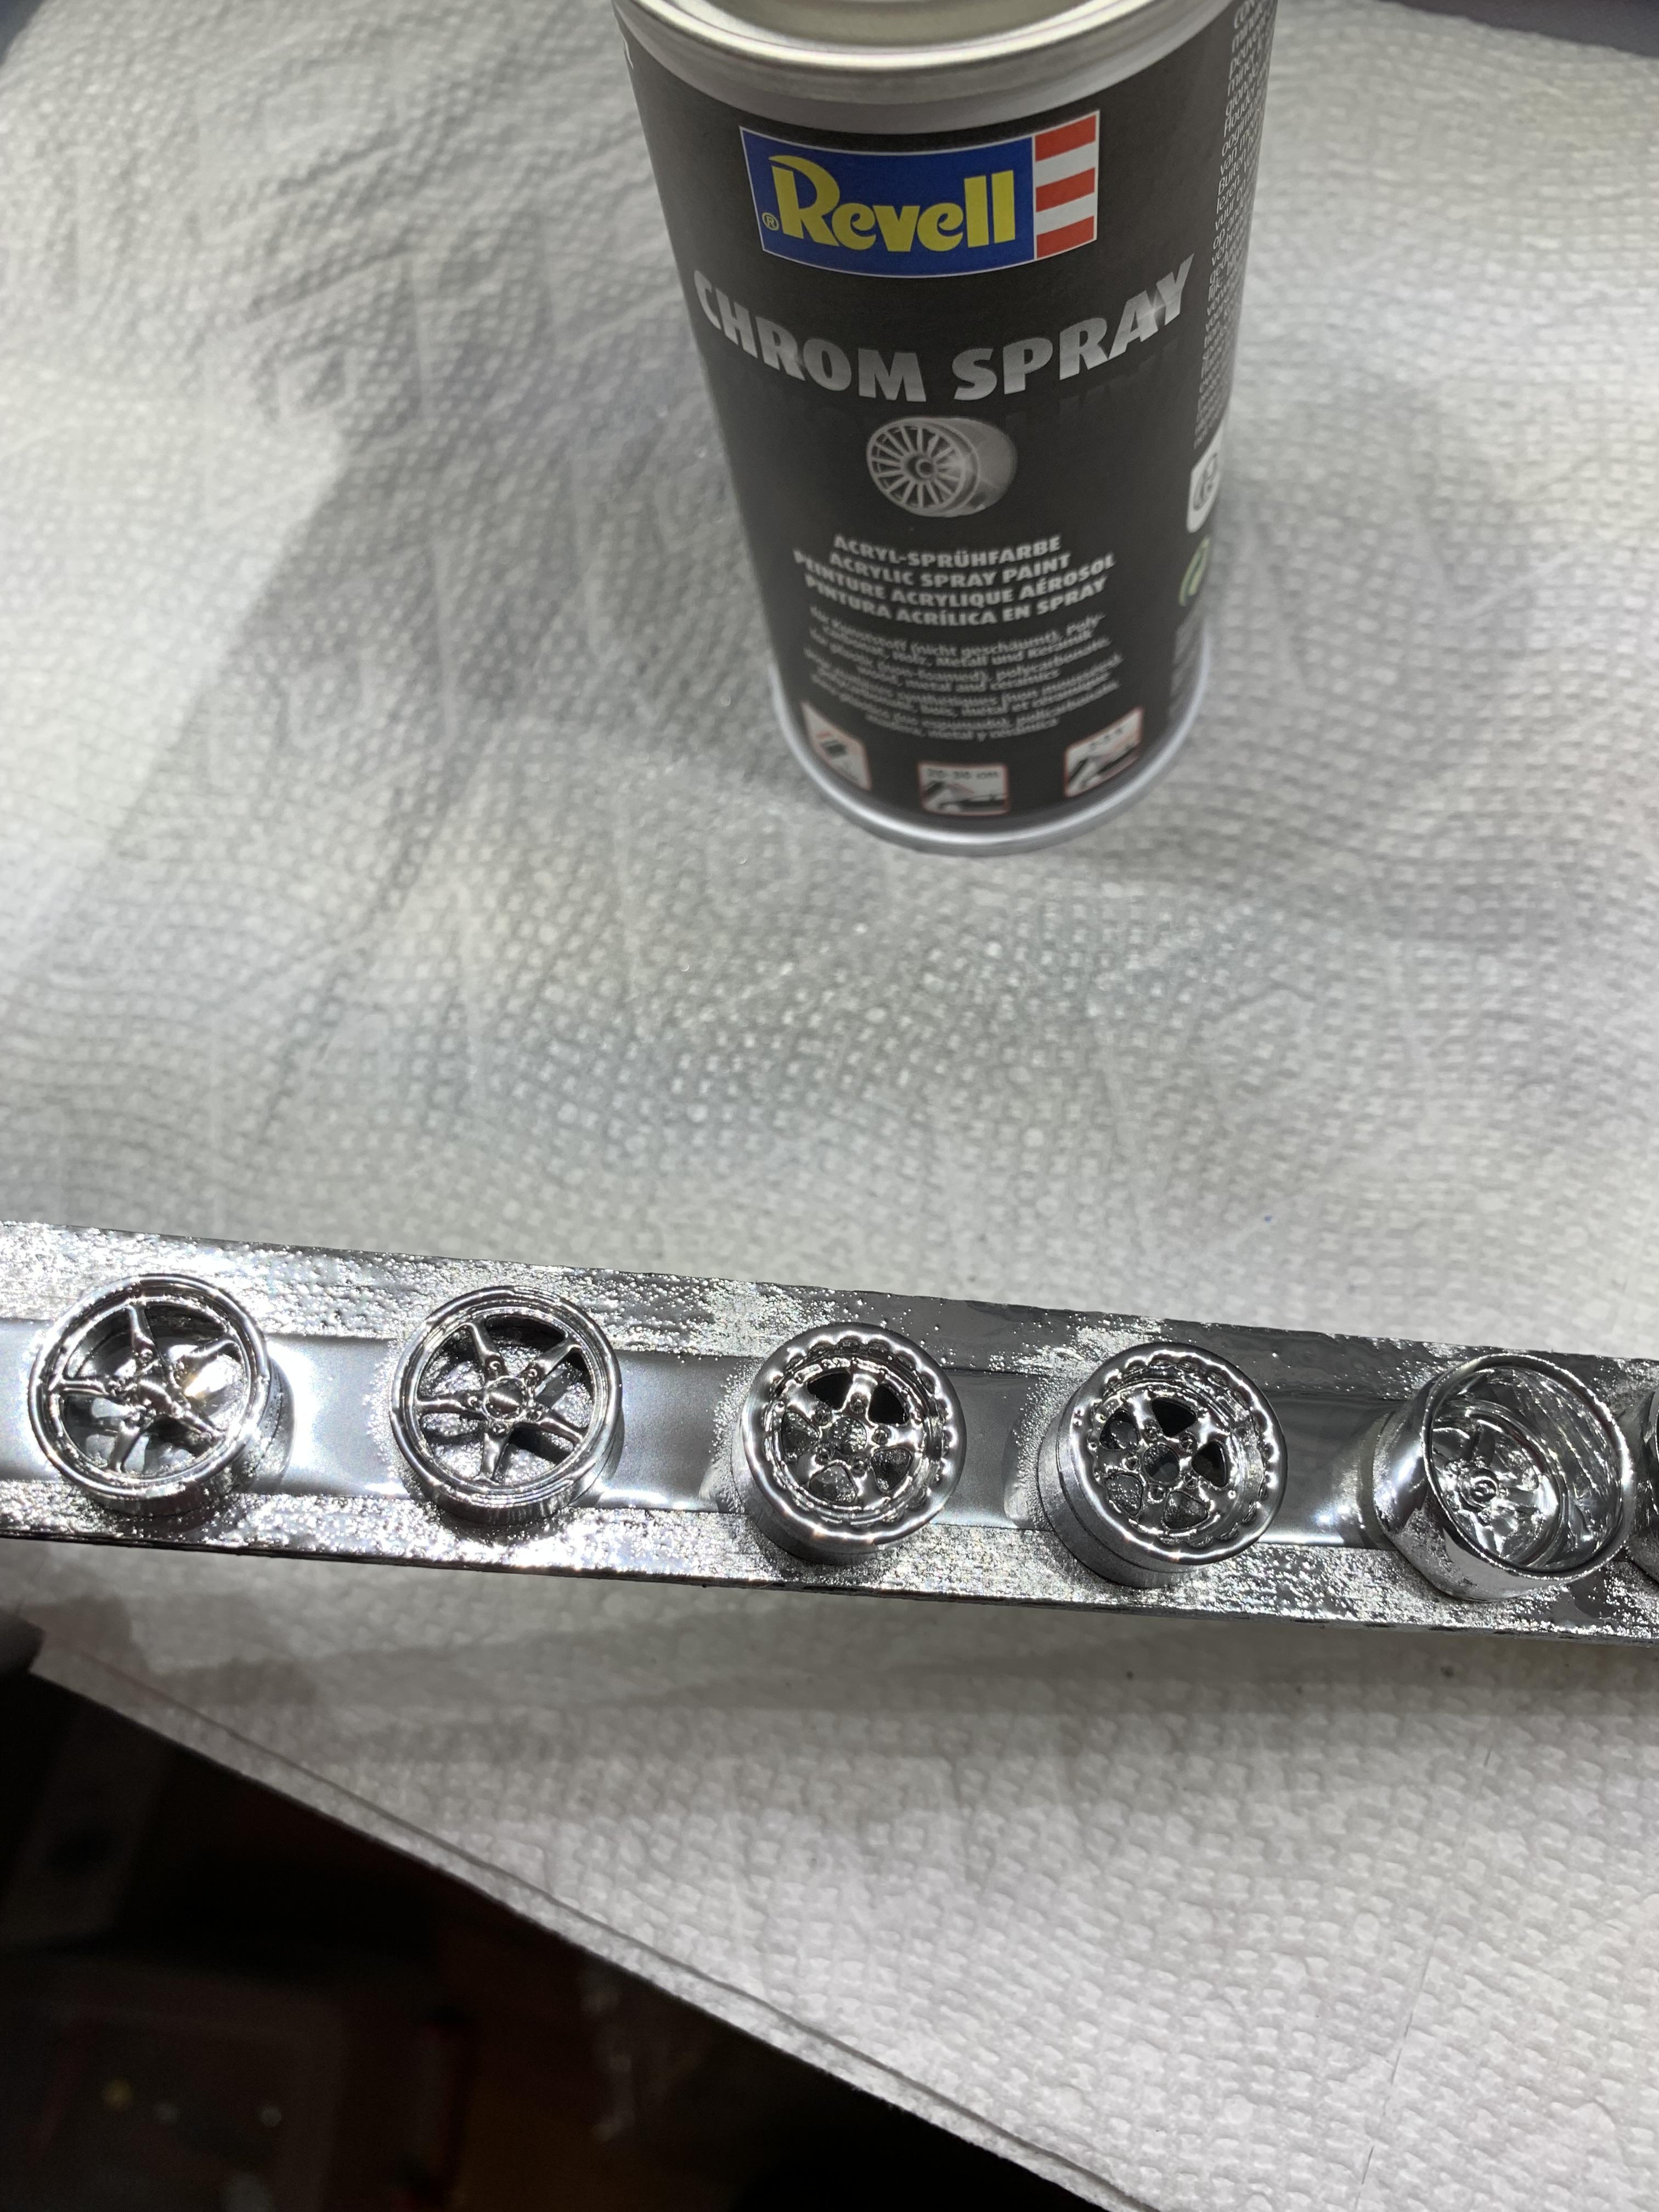
An experiment with Revell chrome spray. Got some Testors different size spray nozzles a while back, but they’re made different than Revell, so wouldn’t work. The first pic shows Greenstuffworld brushed on 4 wheels. The next pictures show the Revell sprayed over green stuff and then sprayed direct on some resin wheels. Will see what they look like tomorrow.
-
1962 Pontiac 421 SD F/SA circa 2024 edition
R. Thorne replied to R. Thorne's topic in WIP: Drag Racing Models
Some interior work, installed the body to approximate the available room for the slicks and wheel back spacing. Now, try to figure out how to mount the aftermarket wheels.
-
Tips for attaching aftermarket wheels
R. Thorne replied to atomicholiday's topic in Model Building Questions and Answers
Great tips, Brian. Thank you. -
1962 Pontiac 421 SD F/SA circa 2024 edition
R. Thorne replied to R. Thorne's topic in WIP: Drag Racing Models
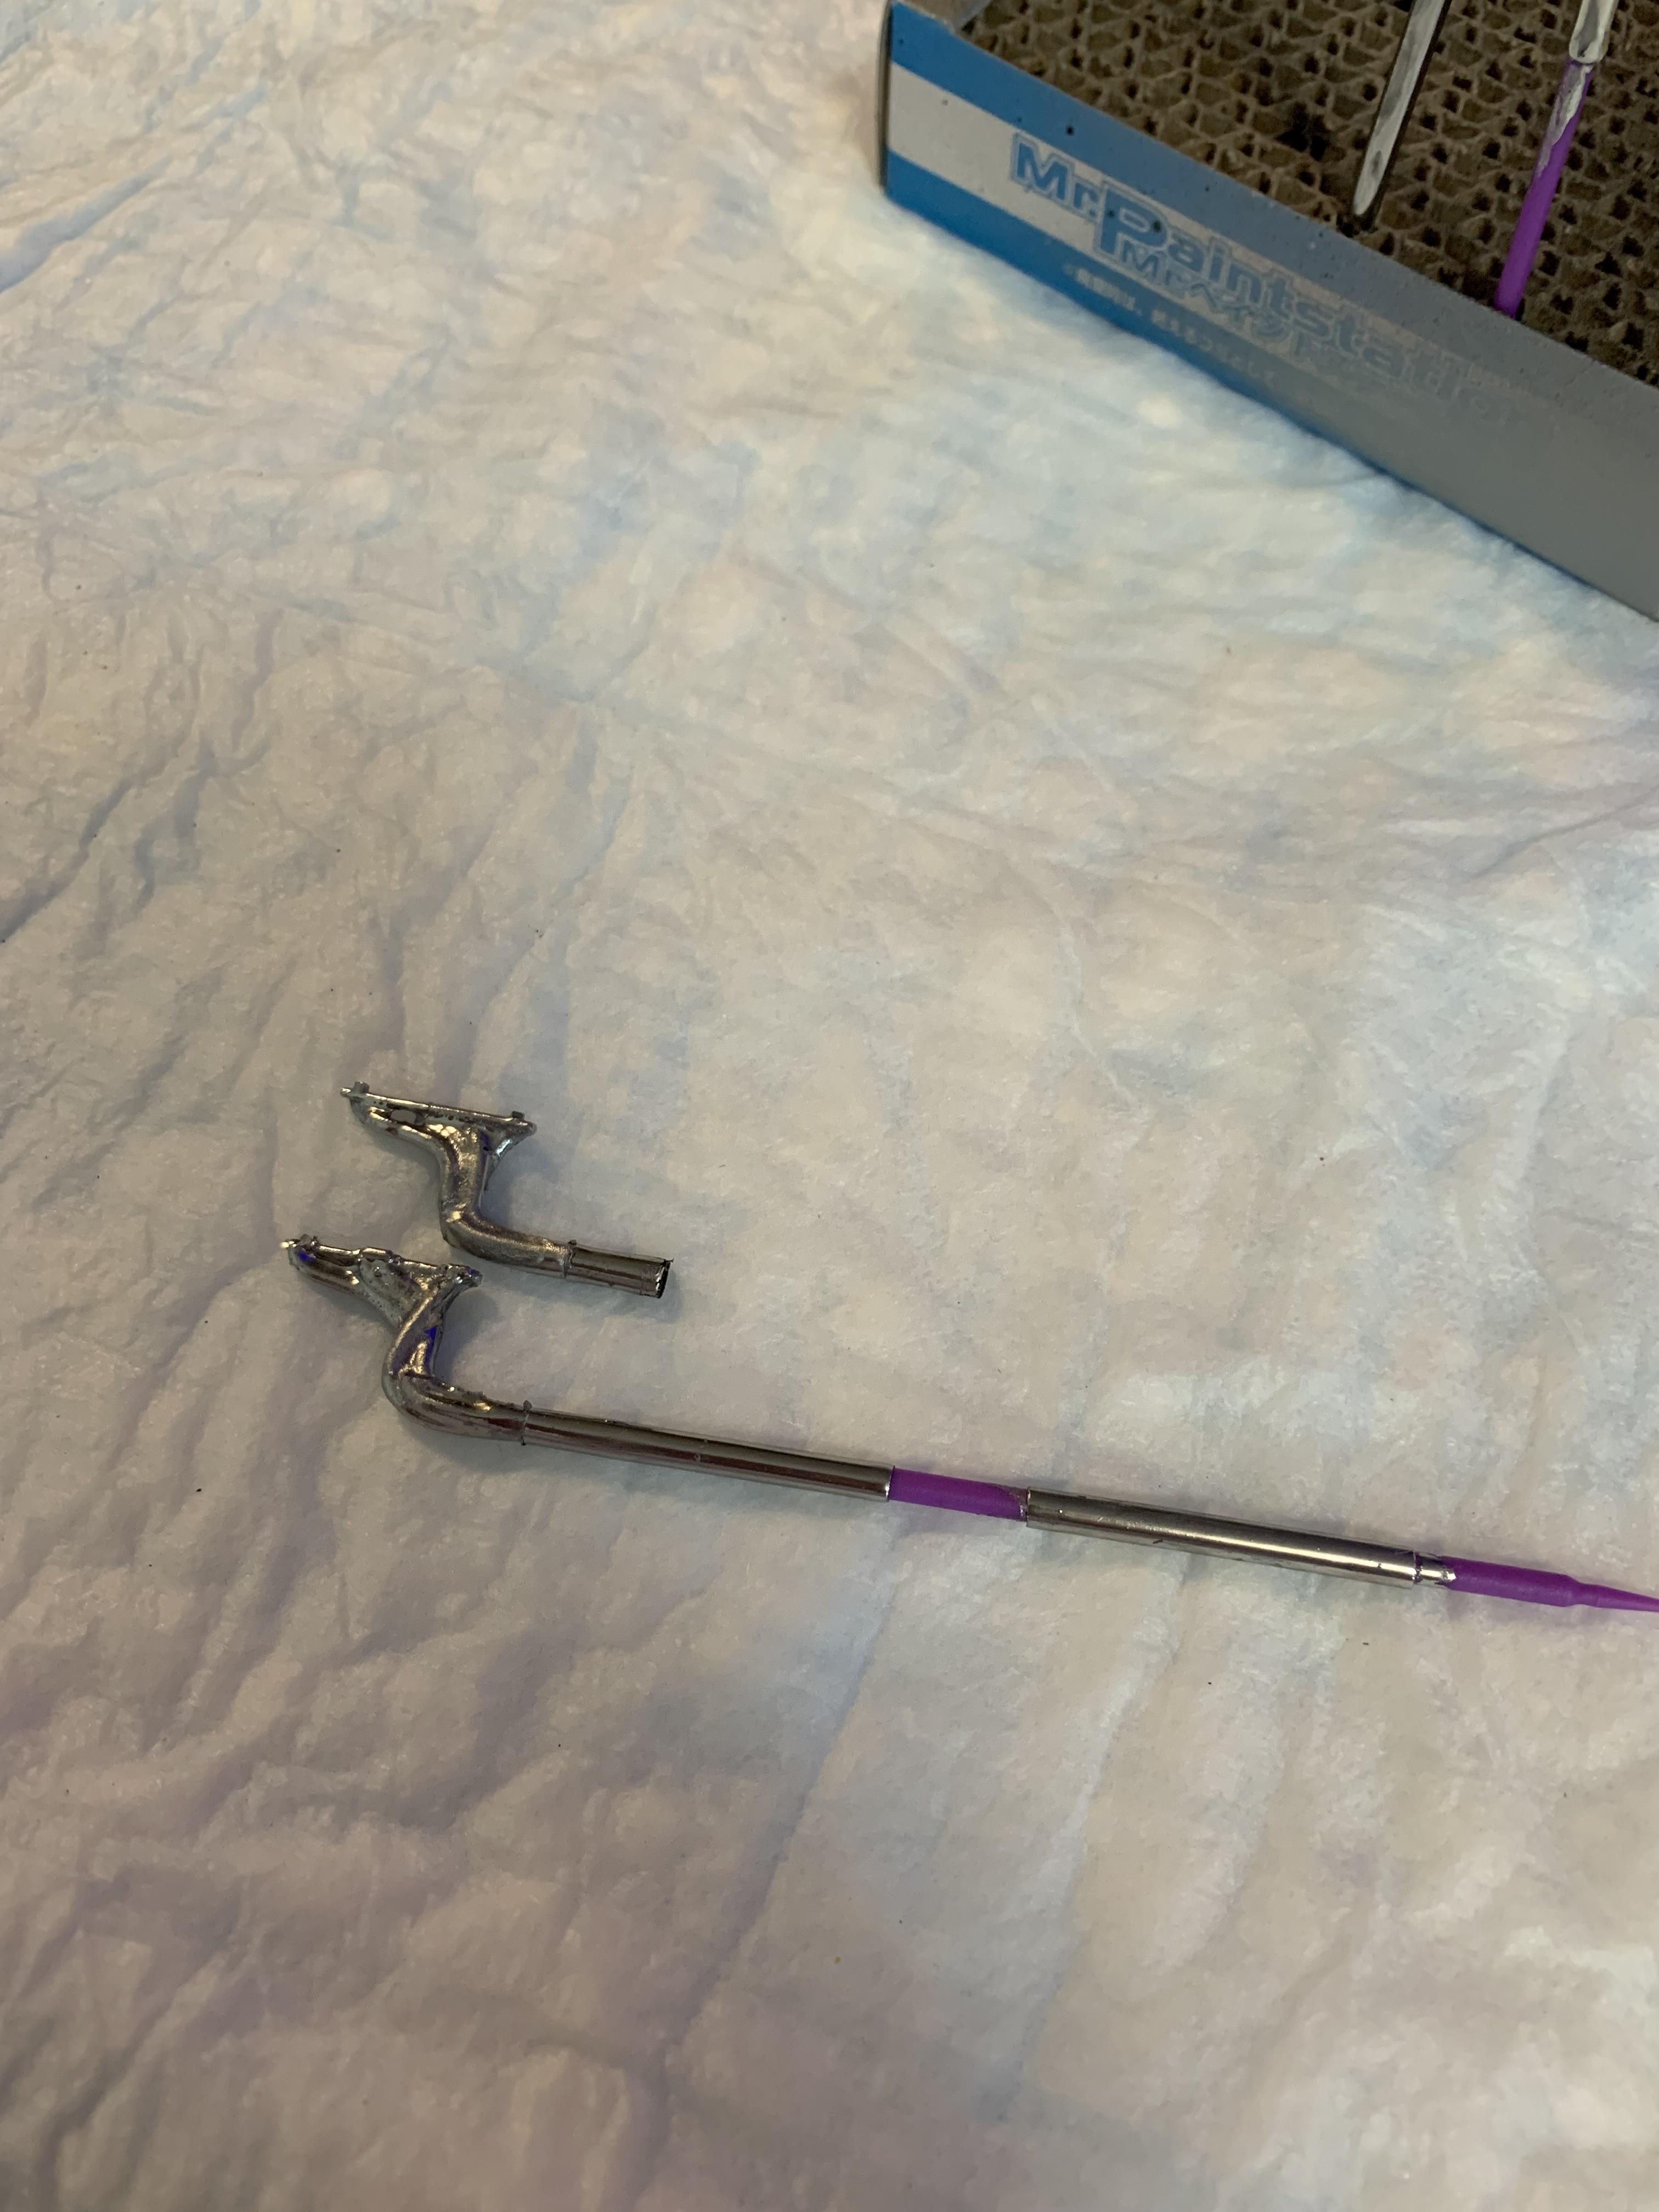
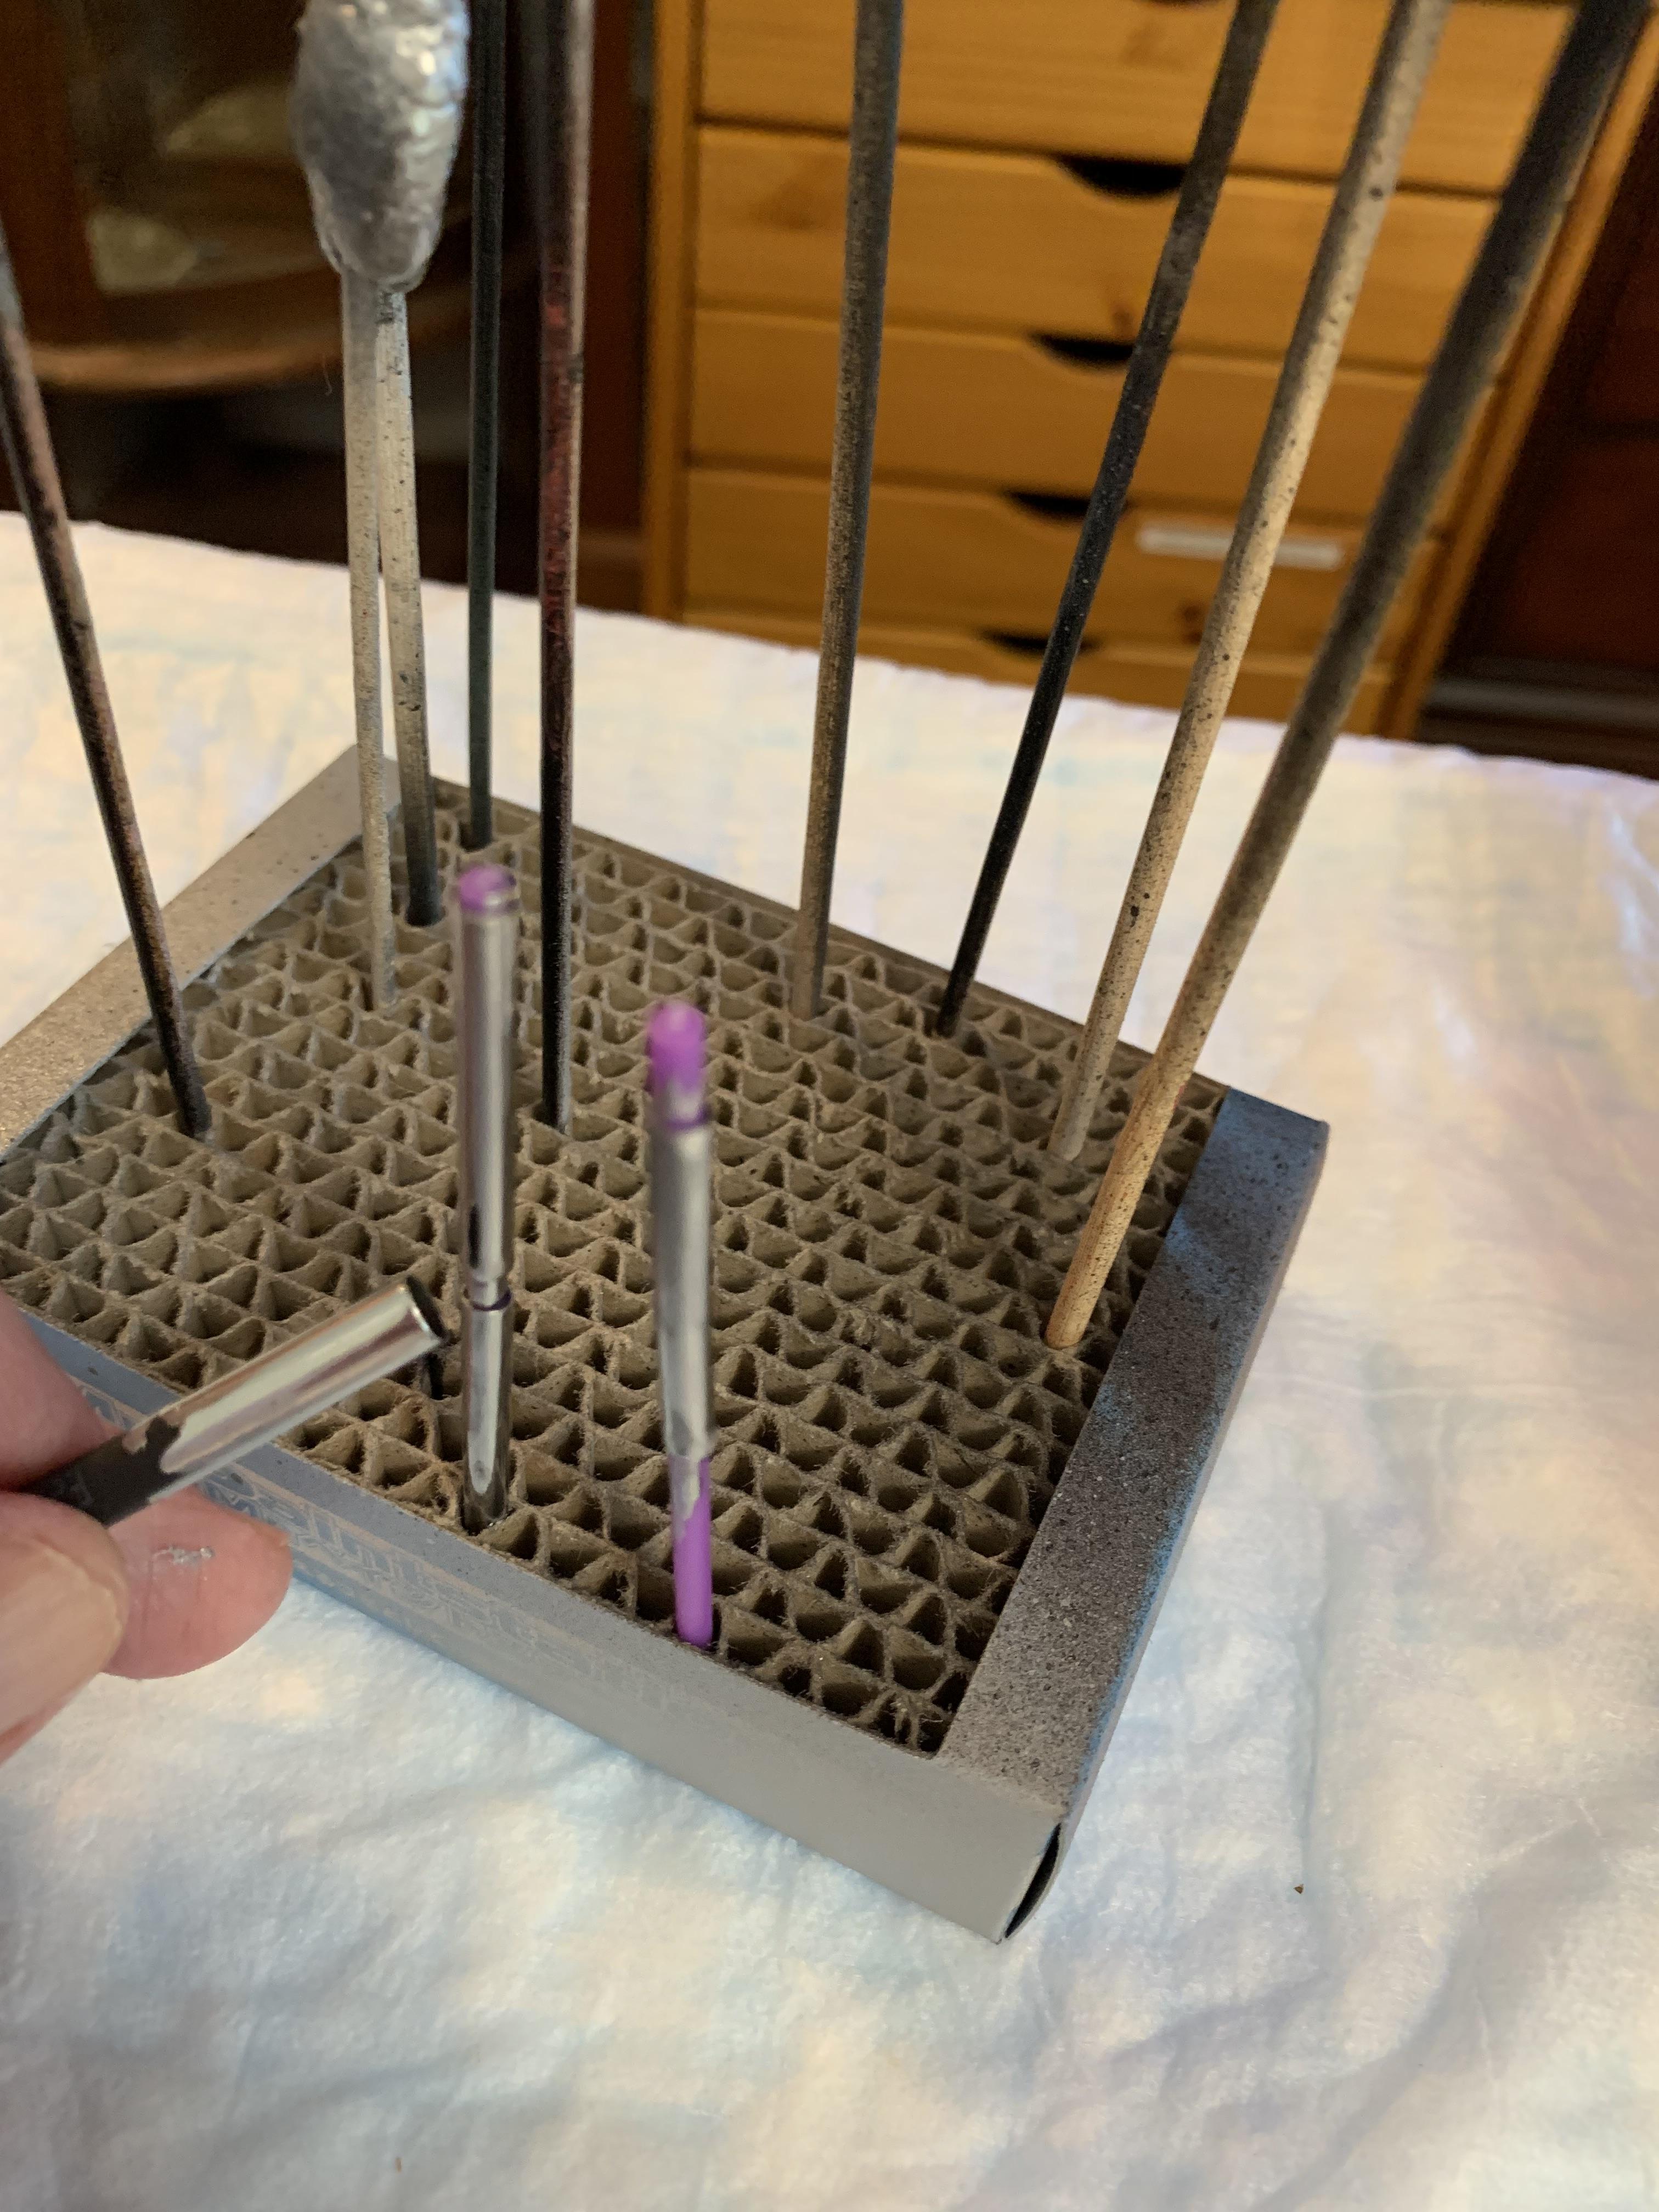
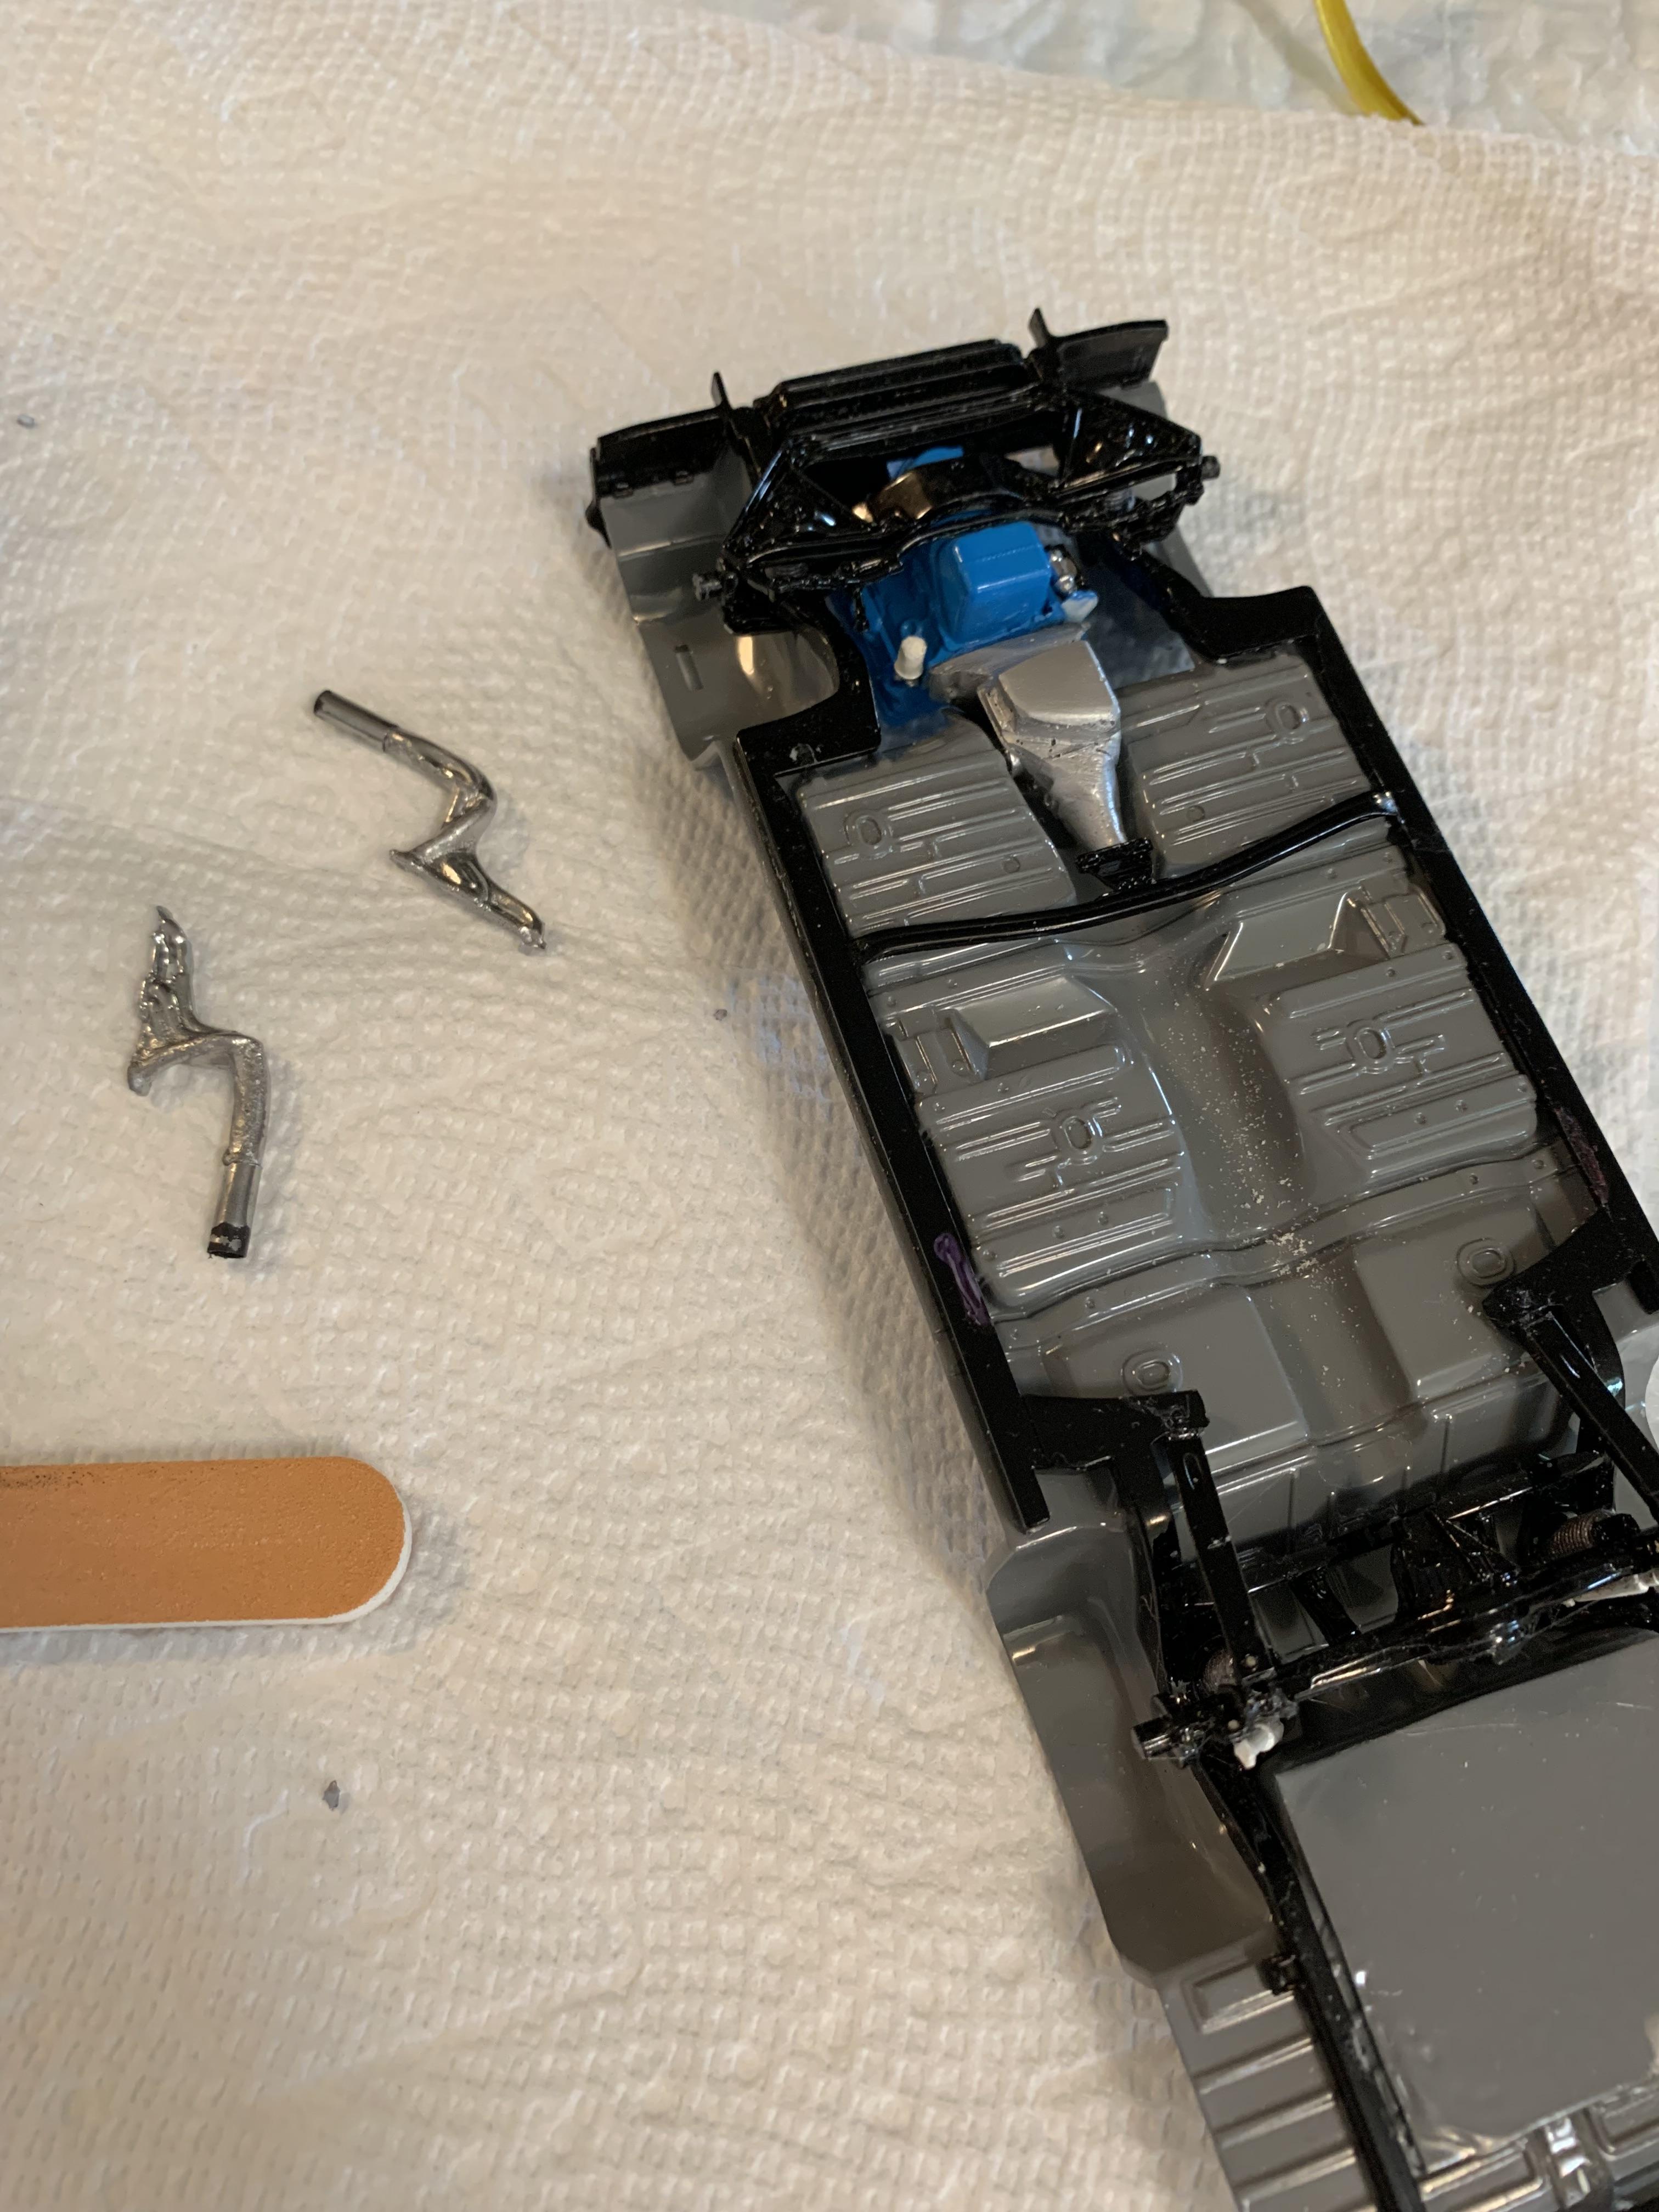
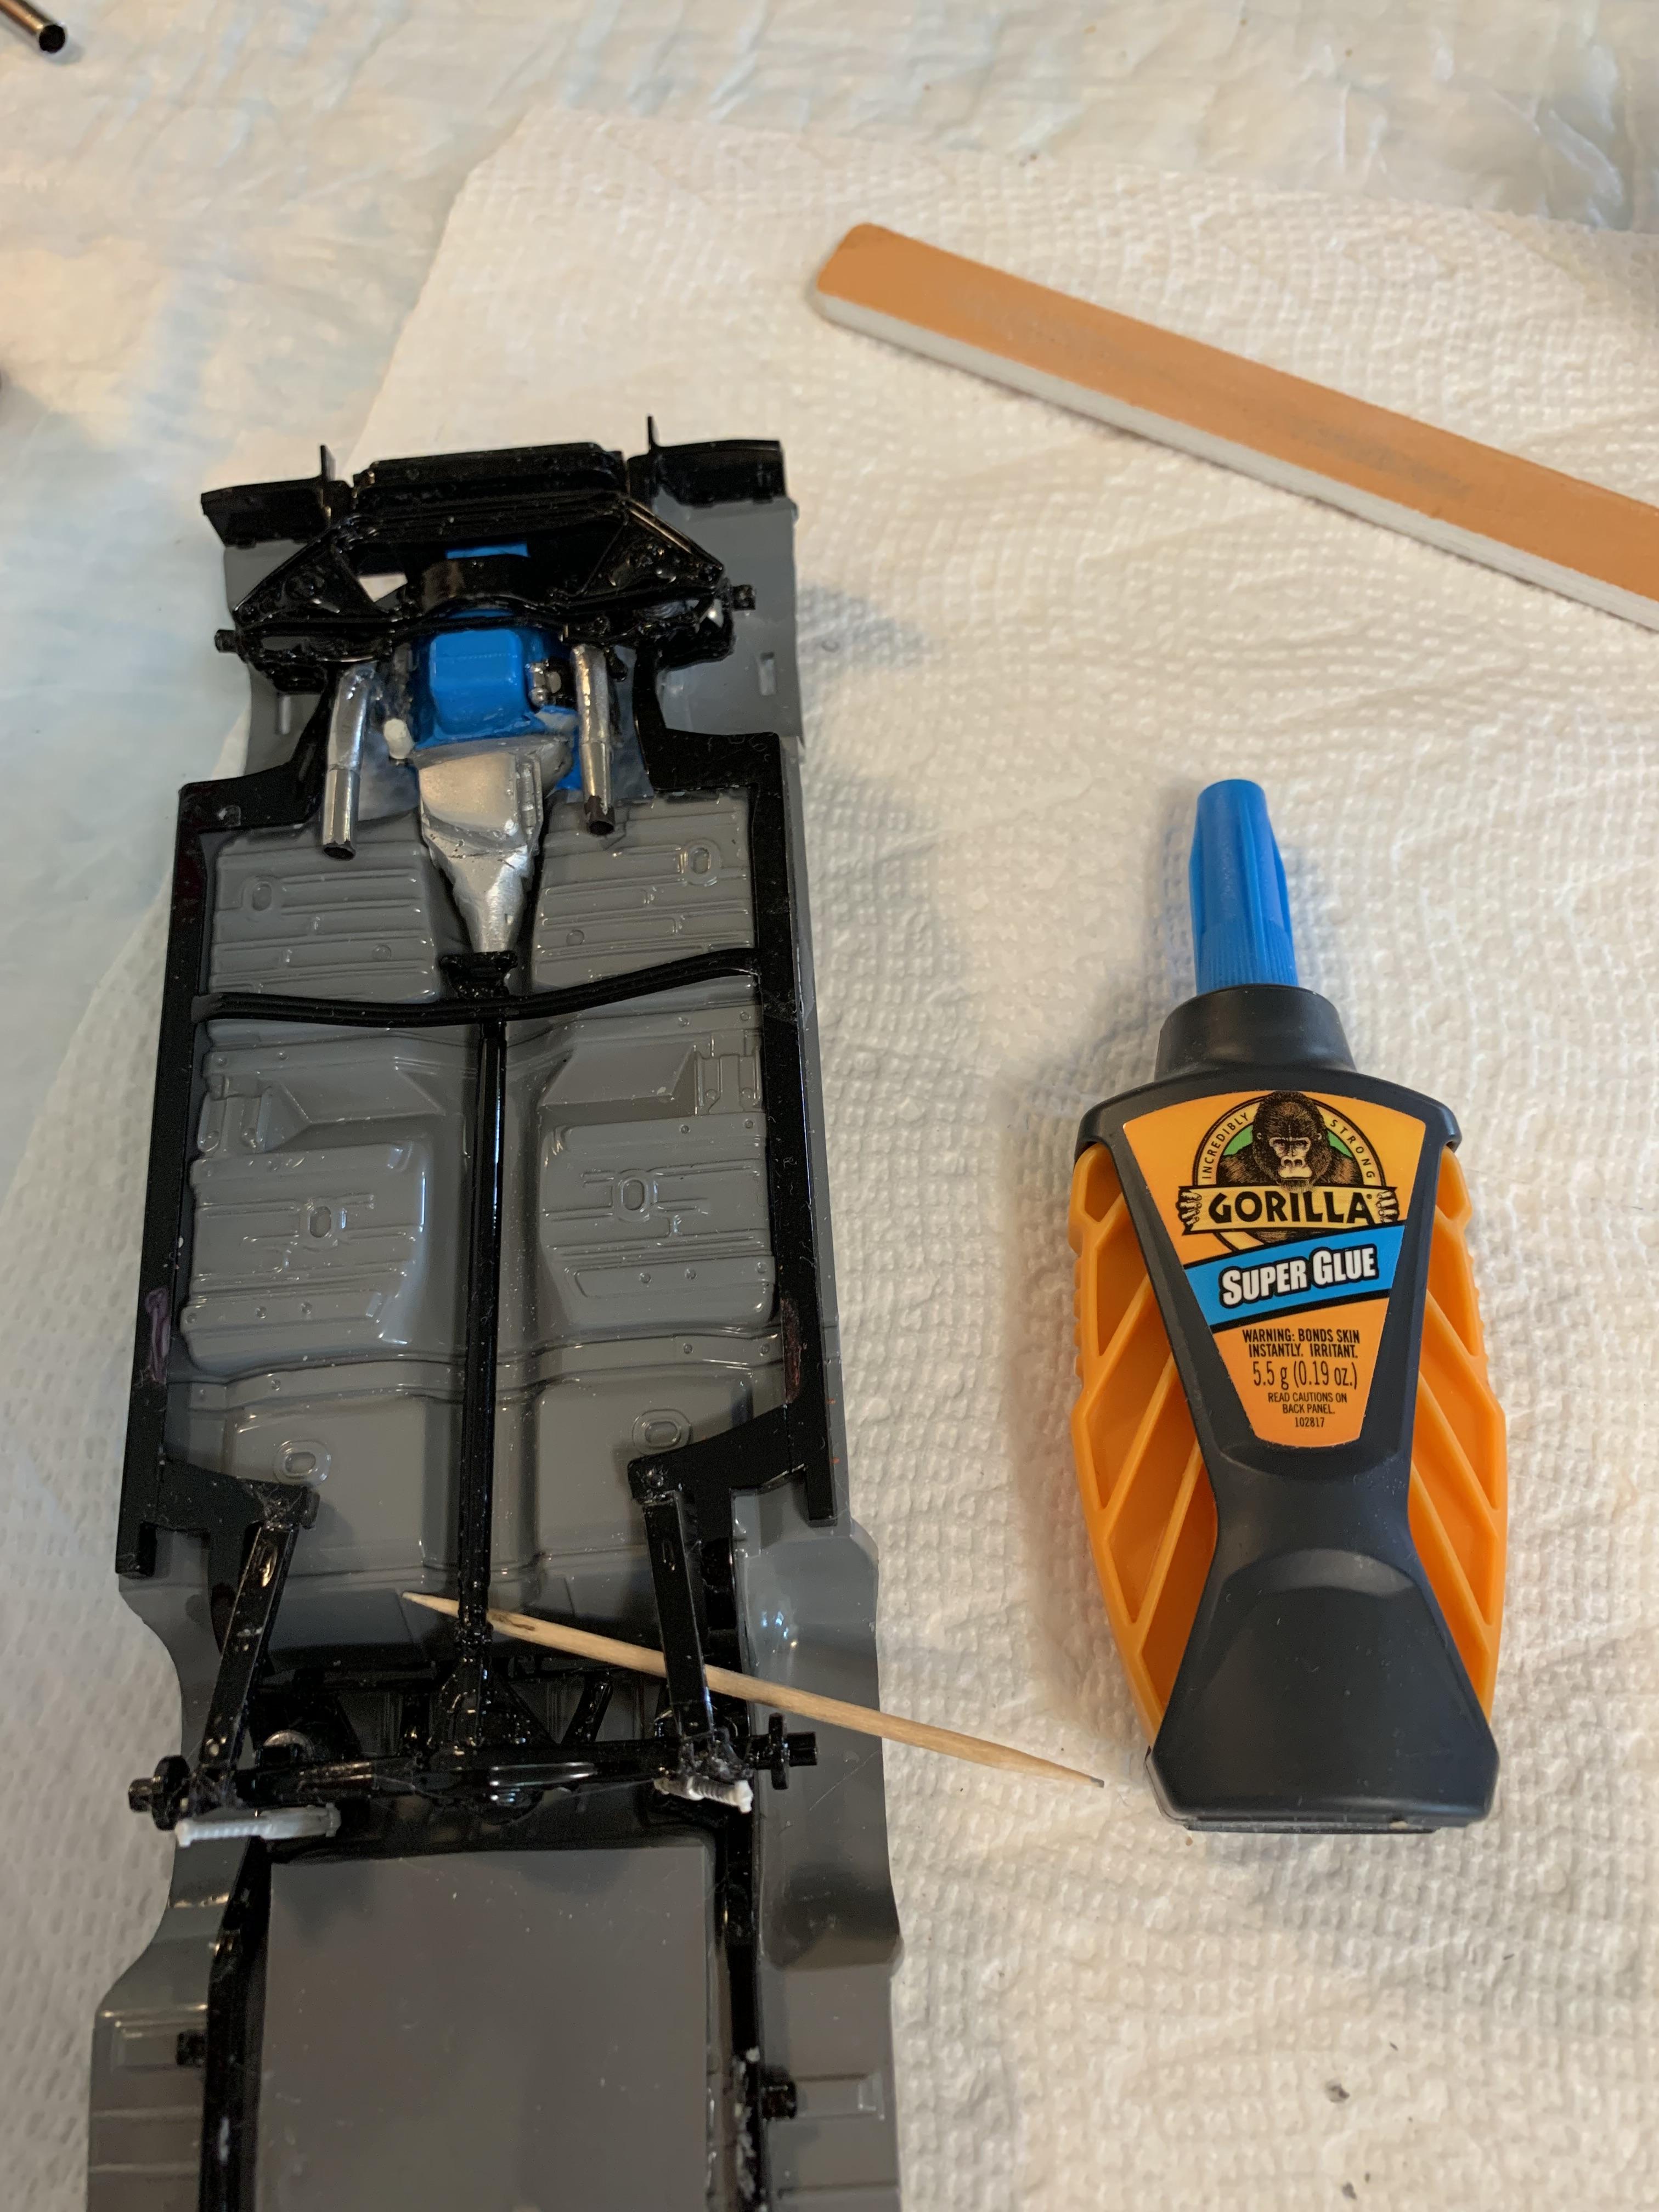
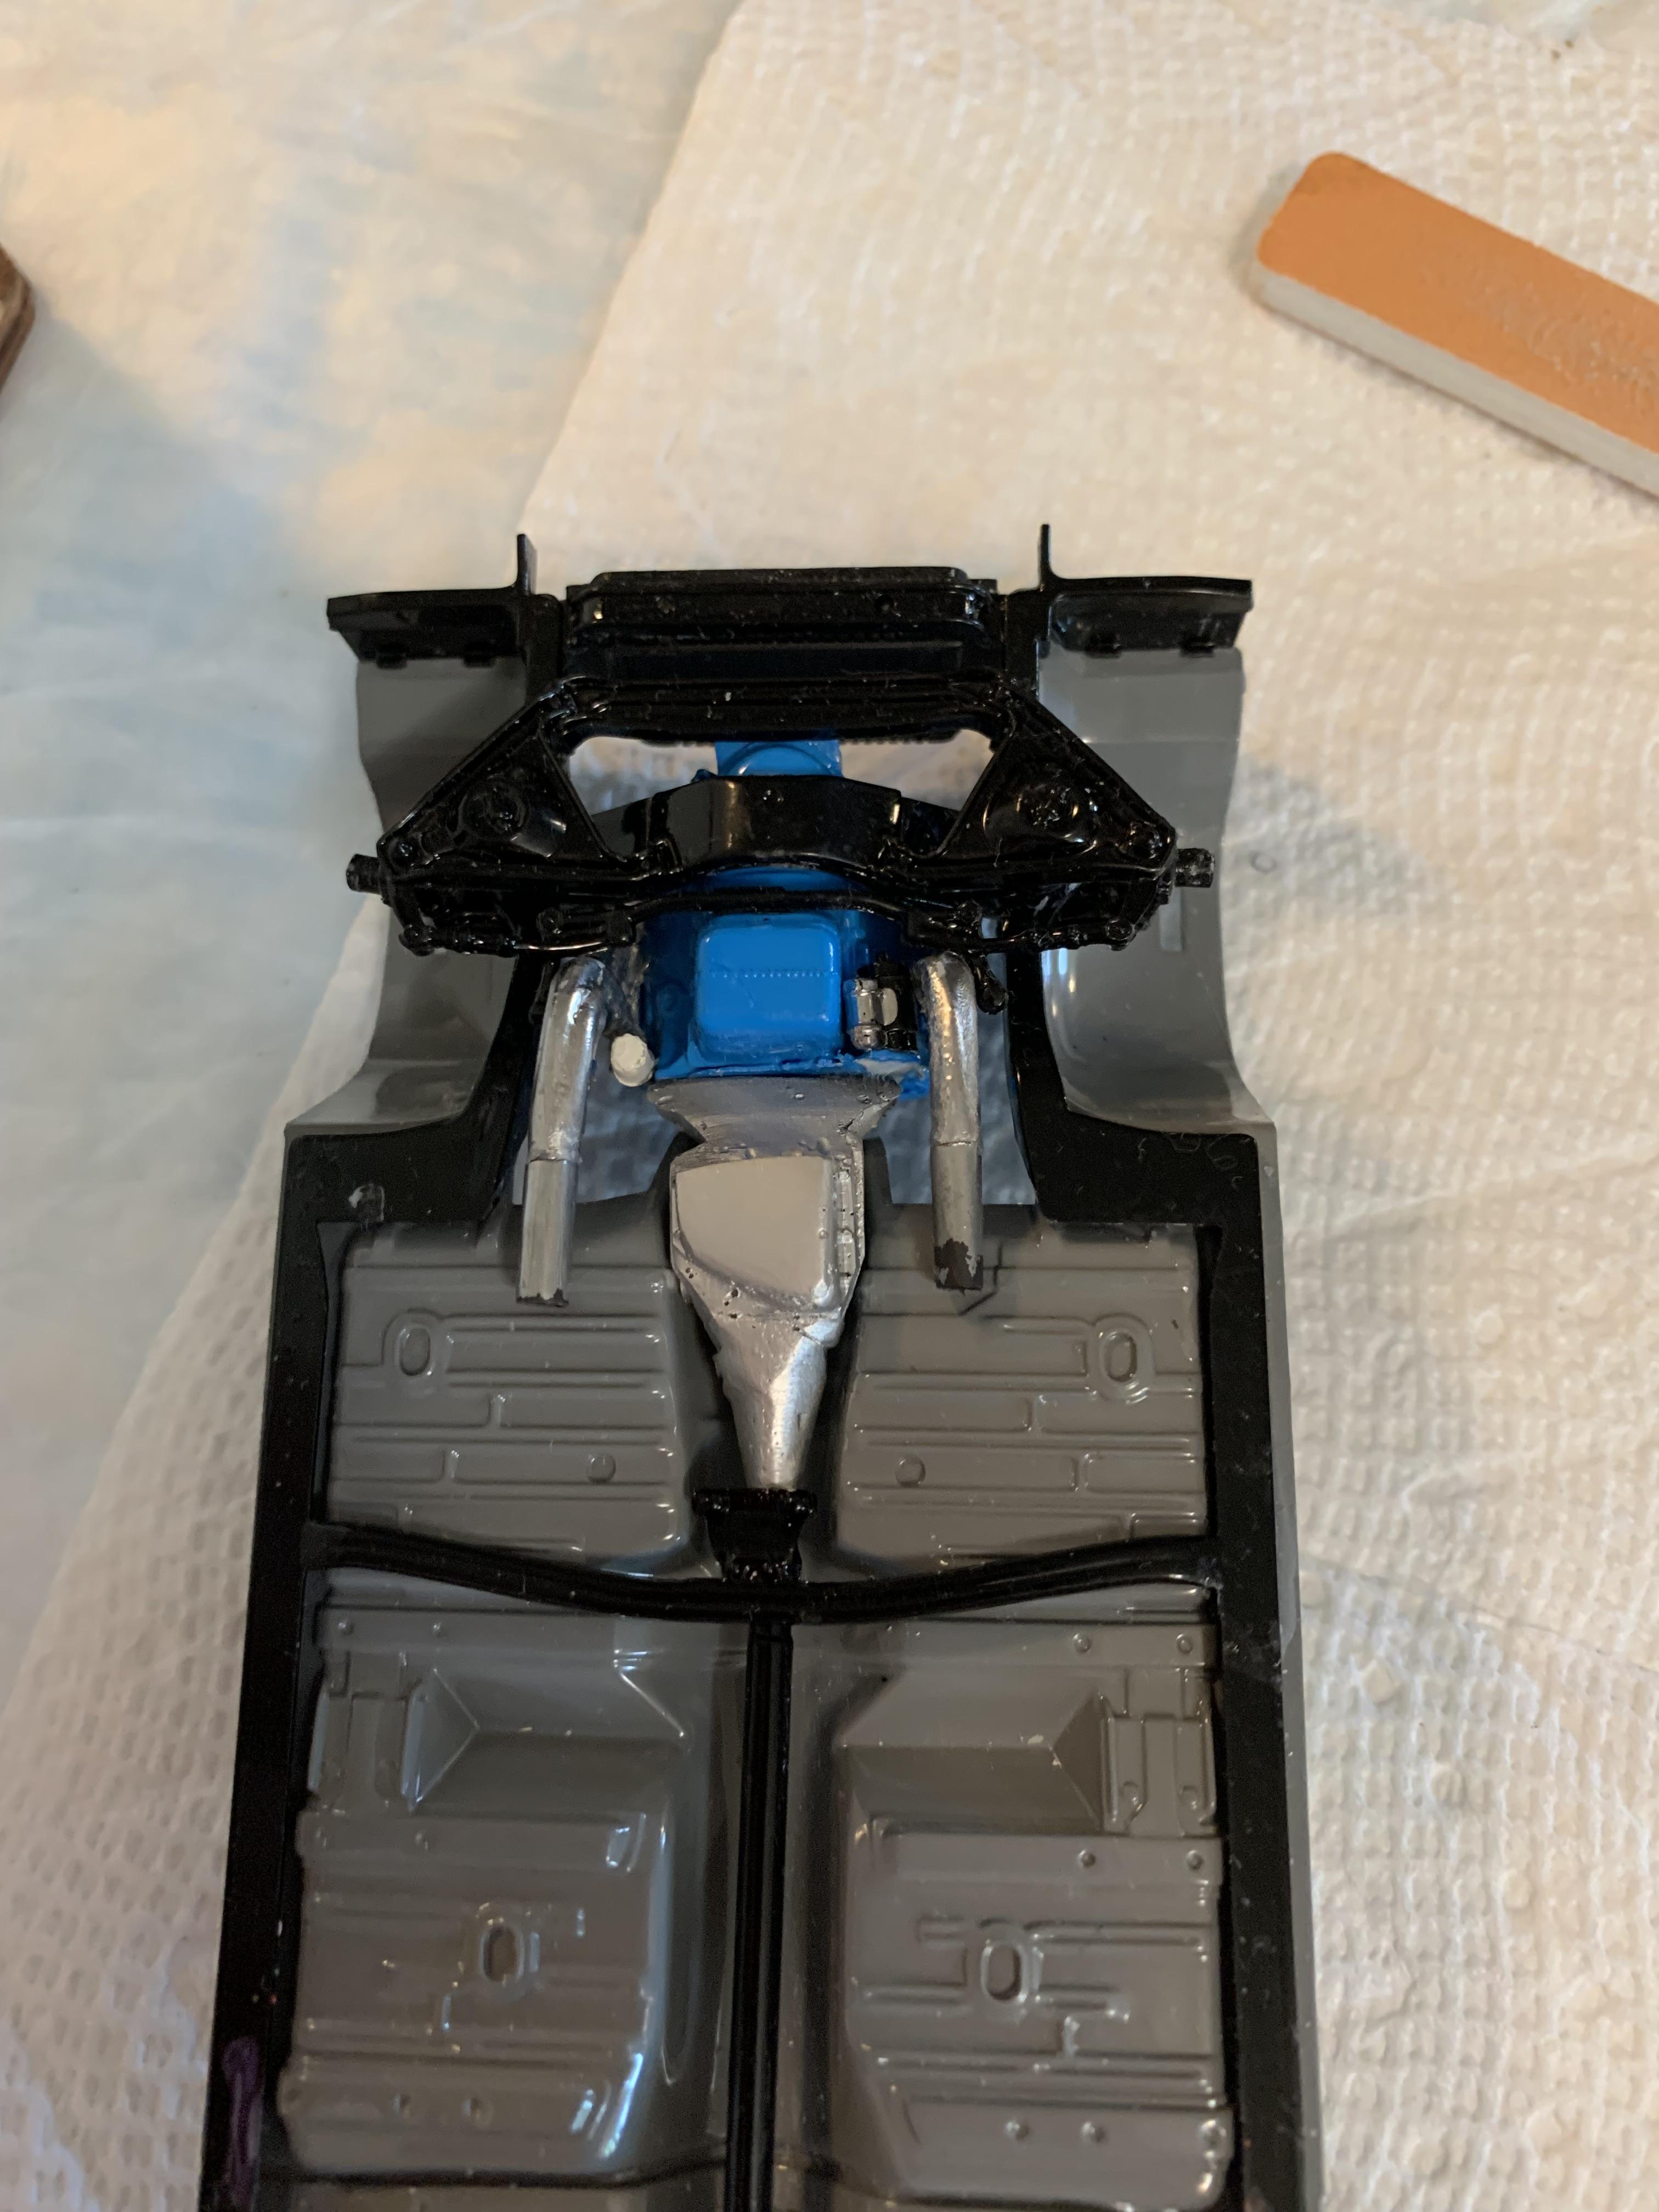
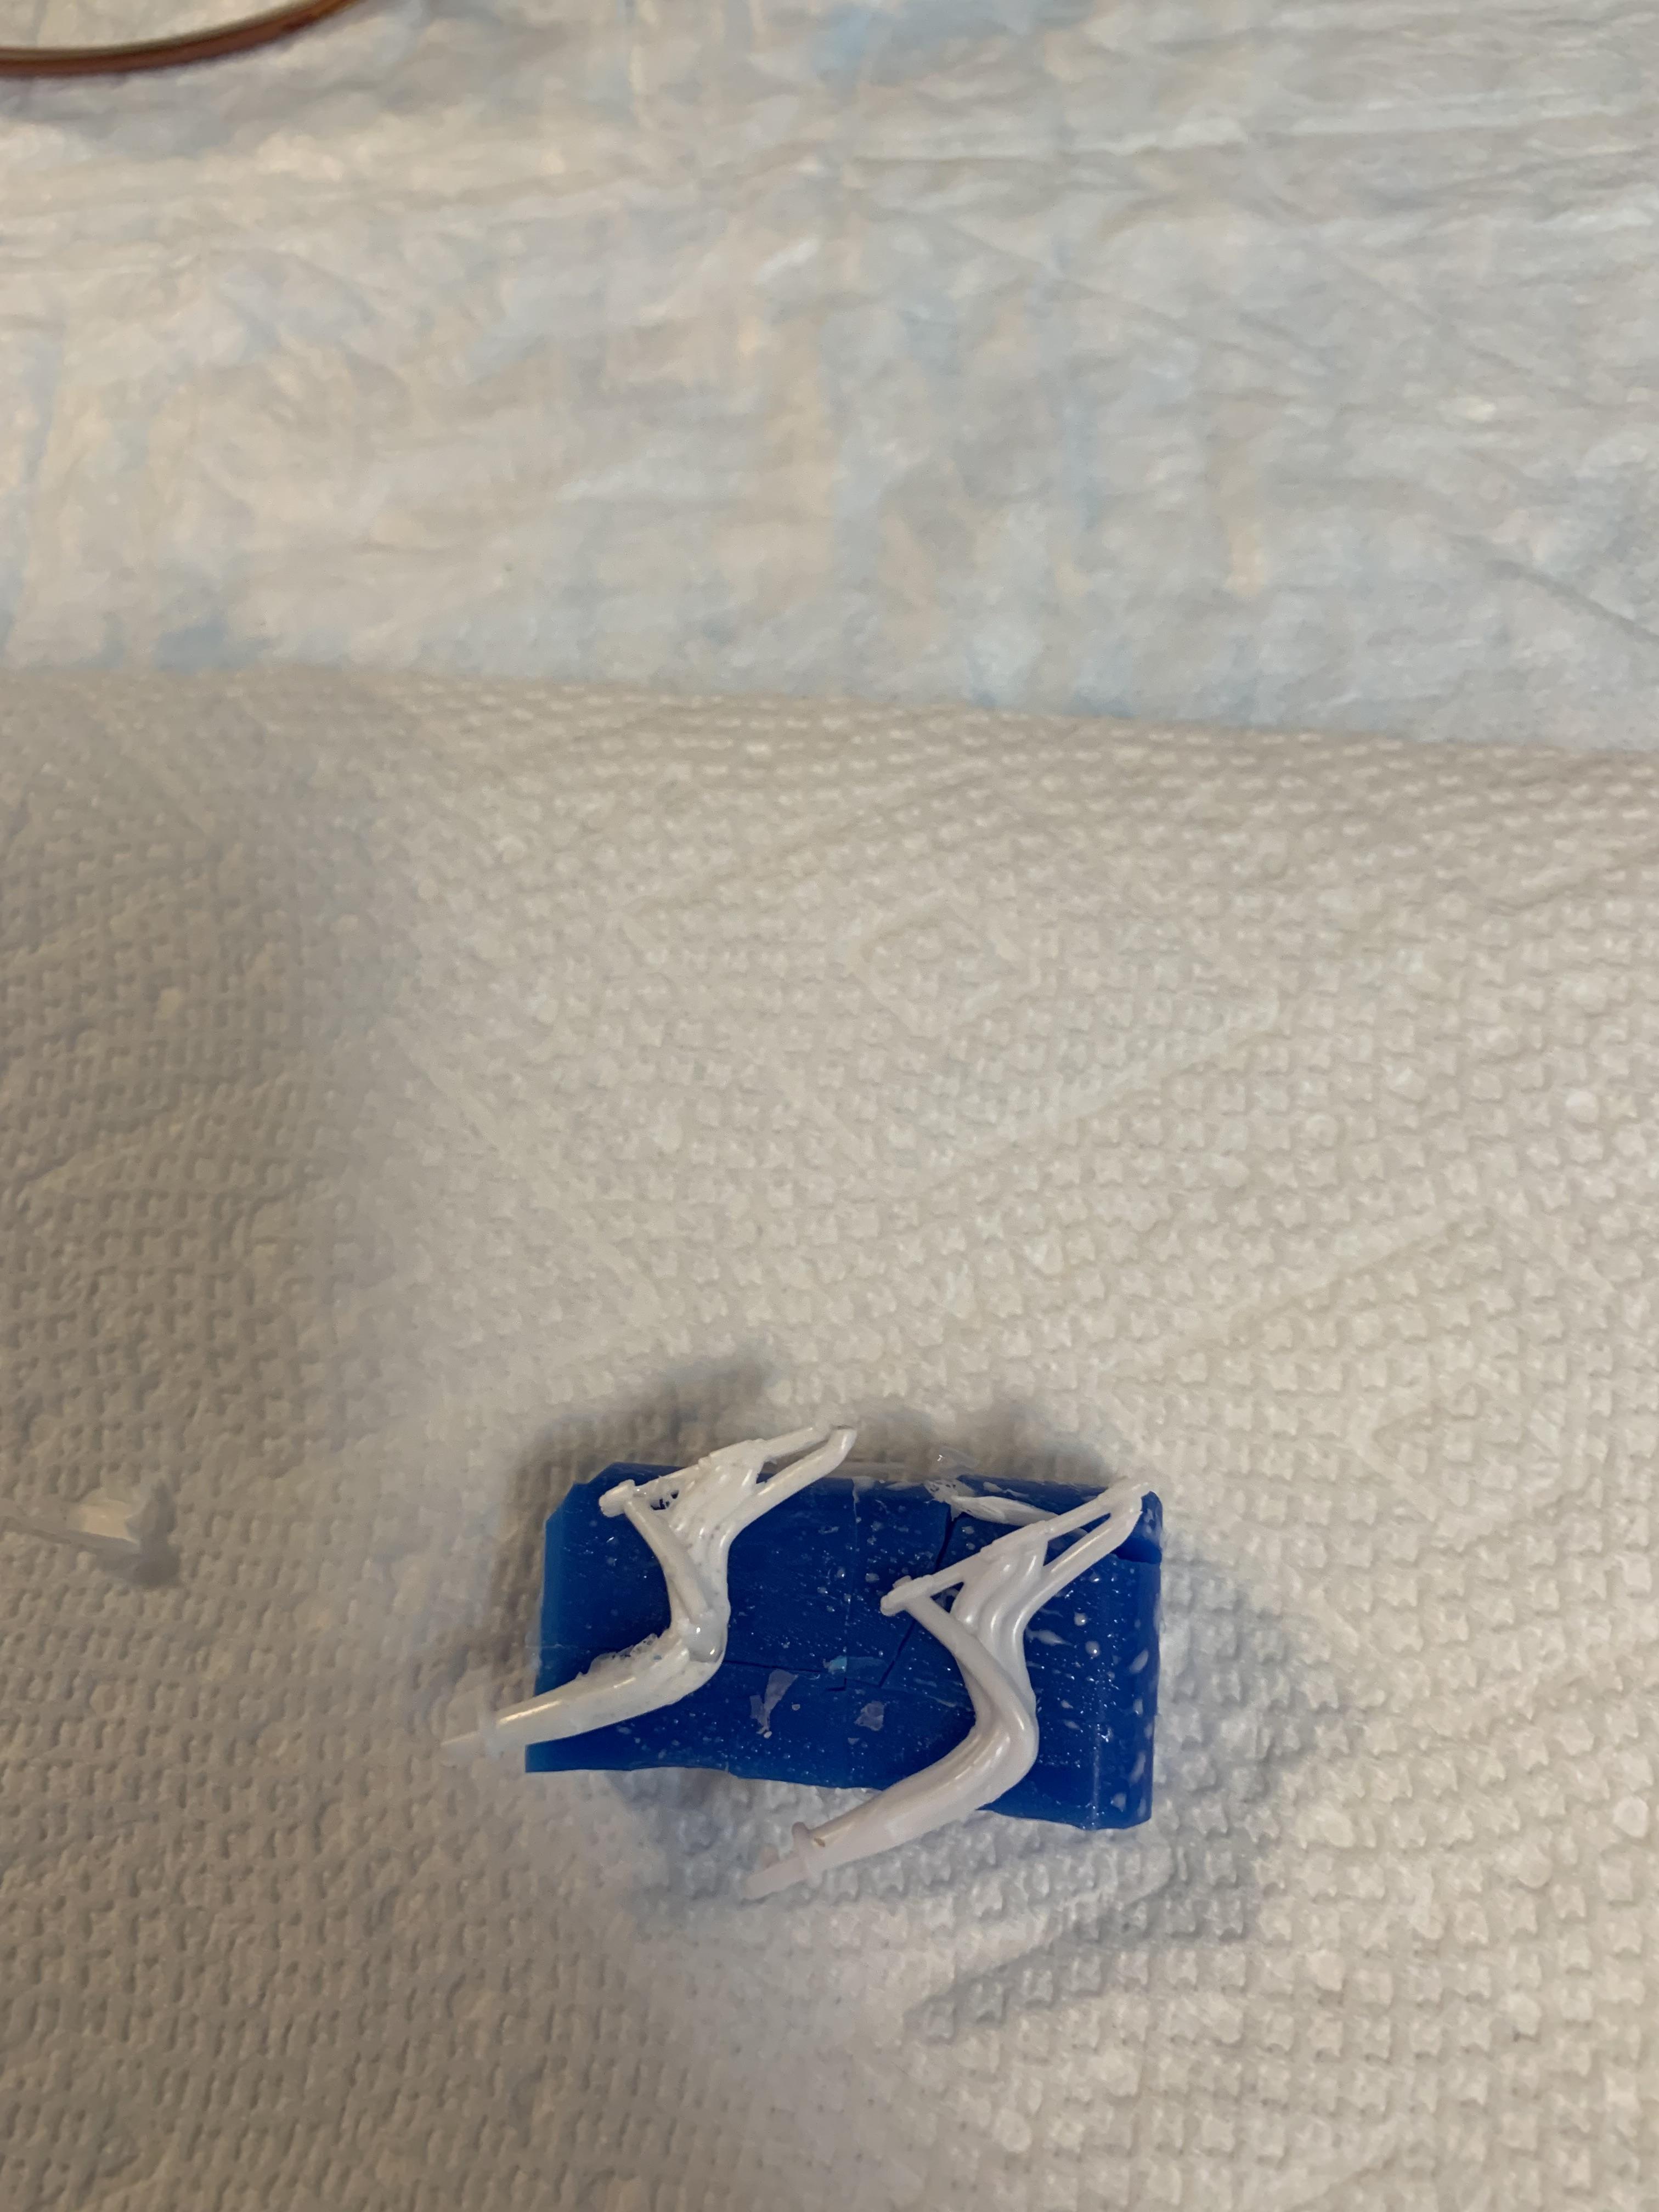
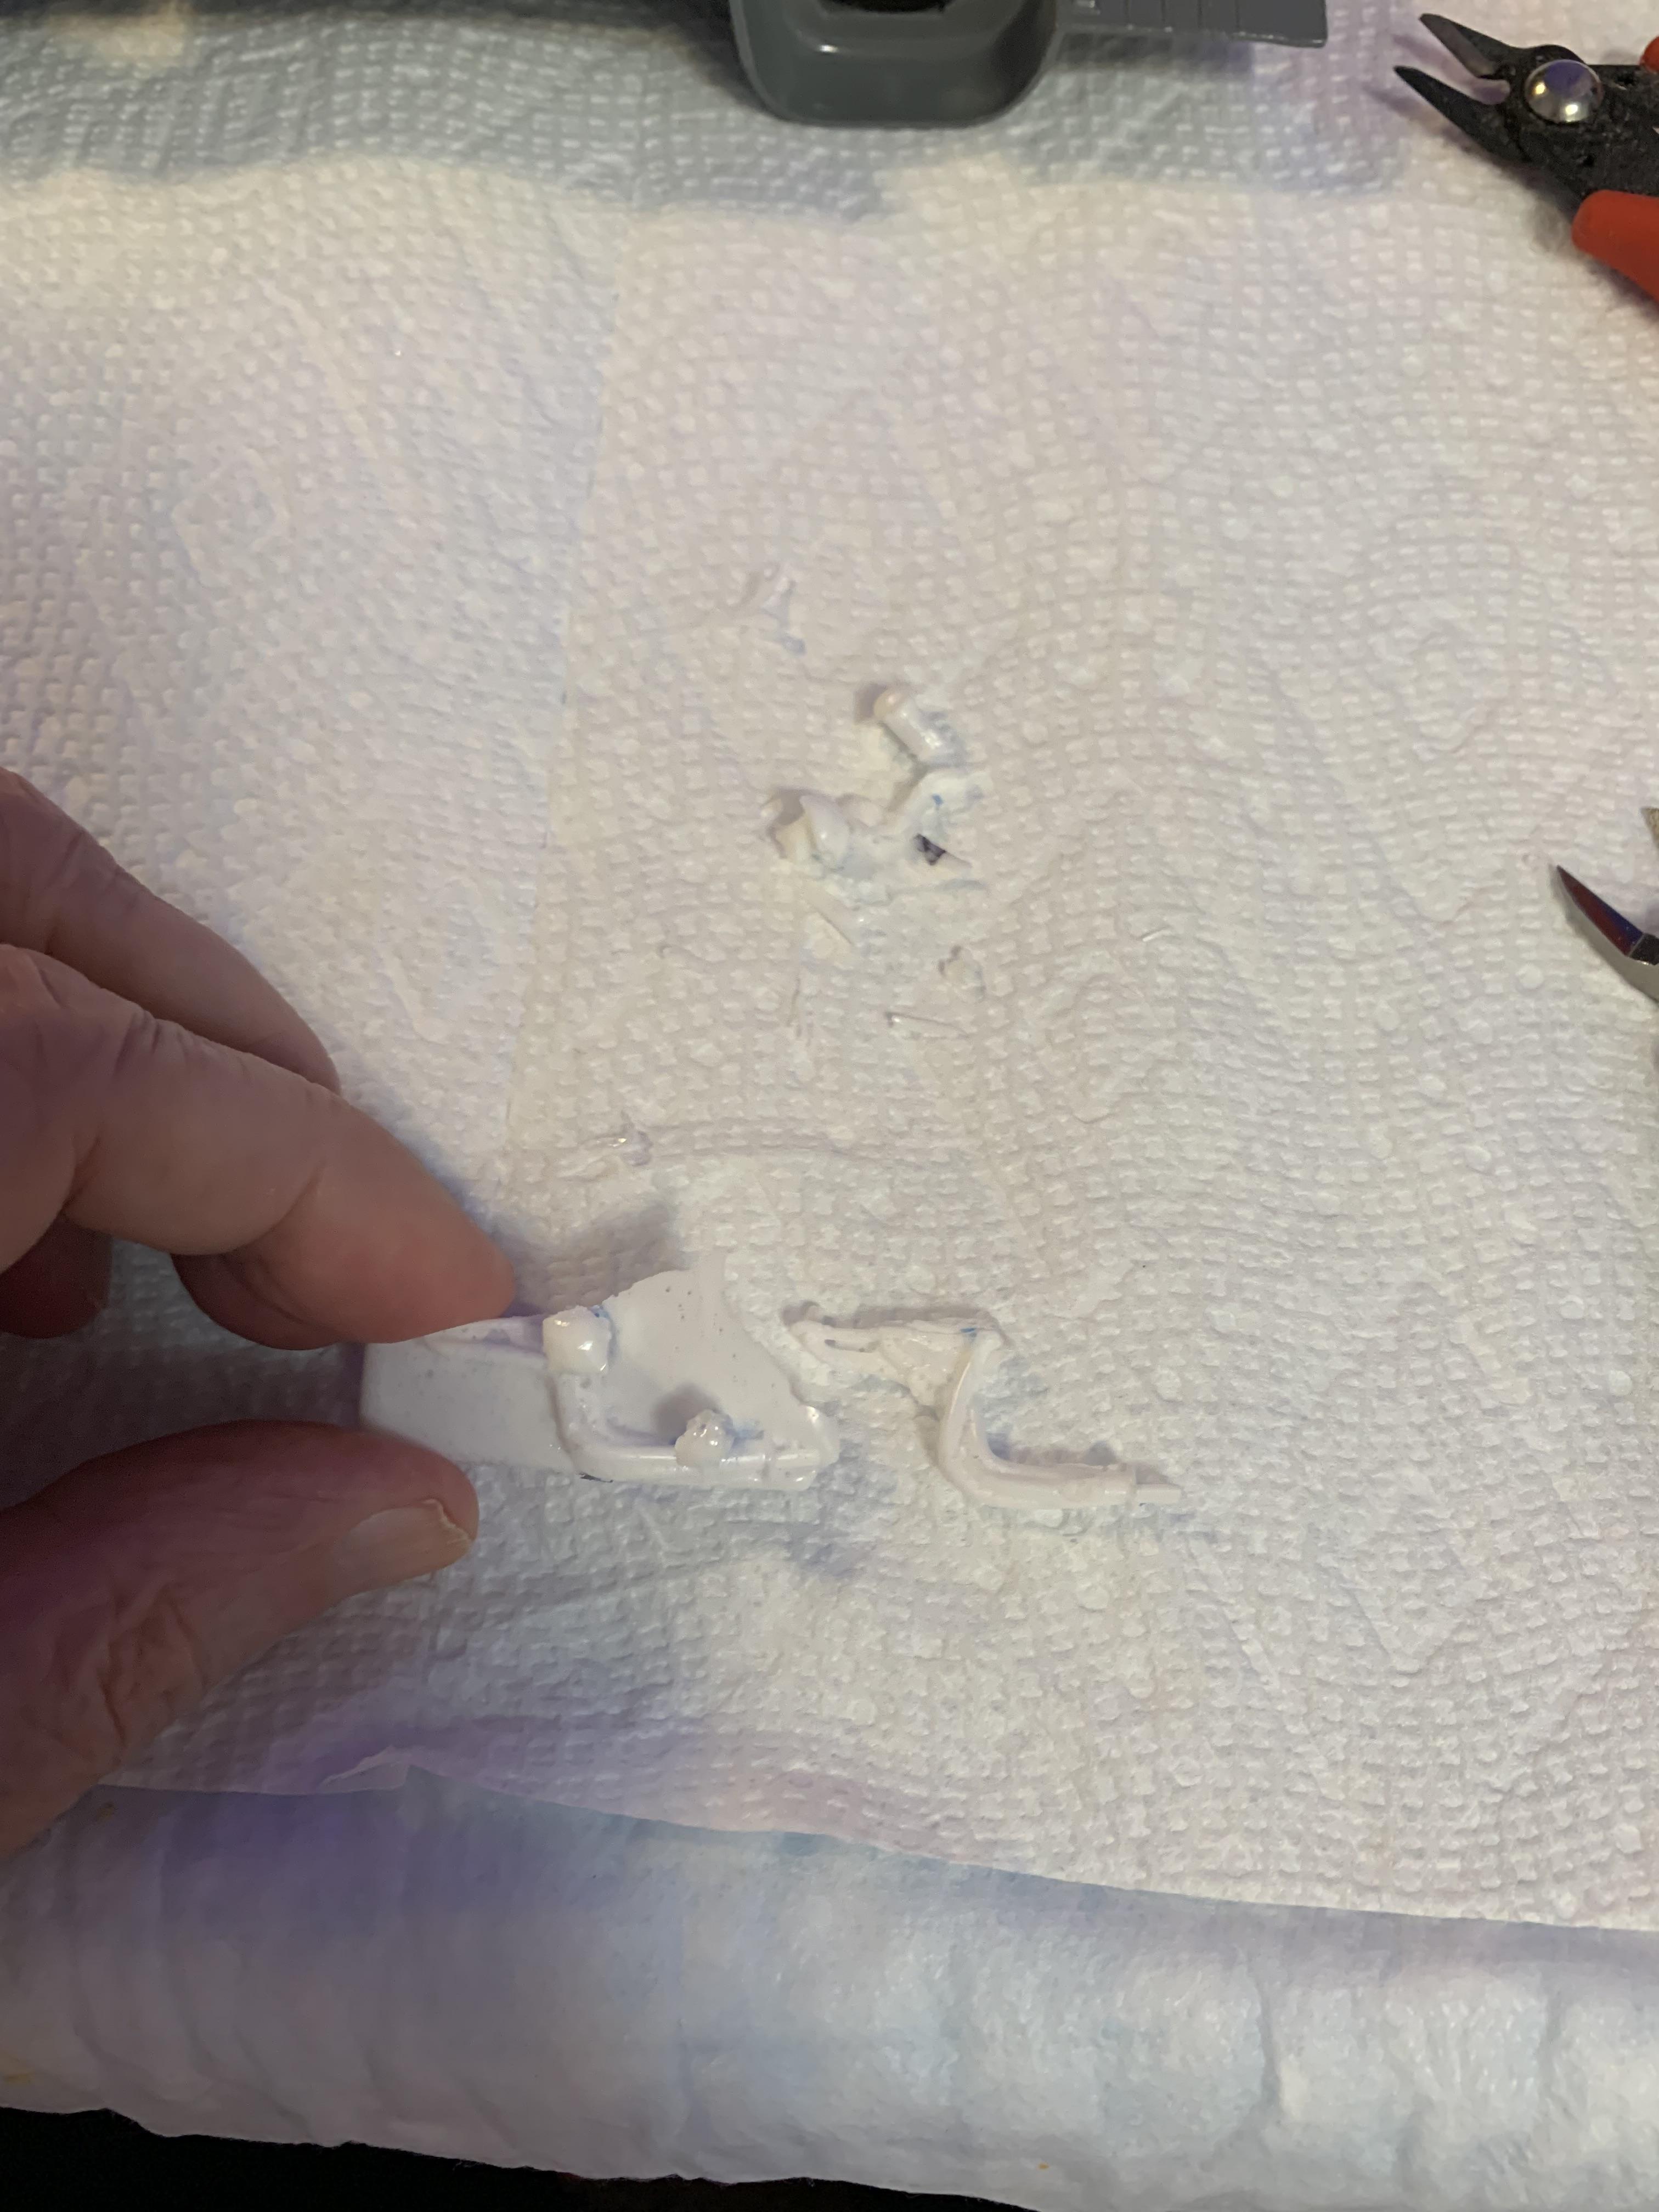
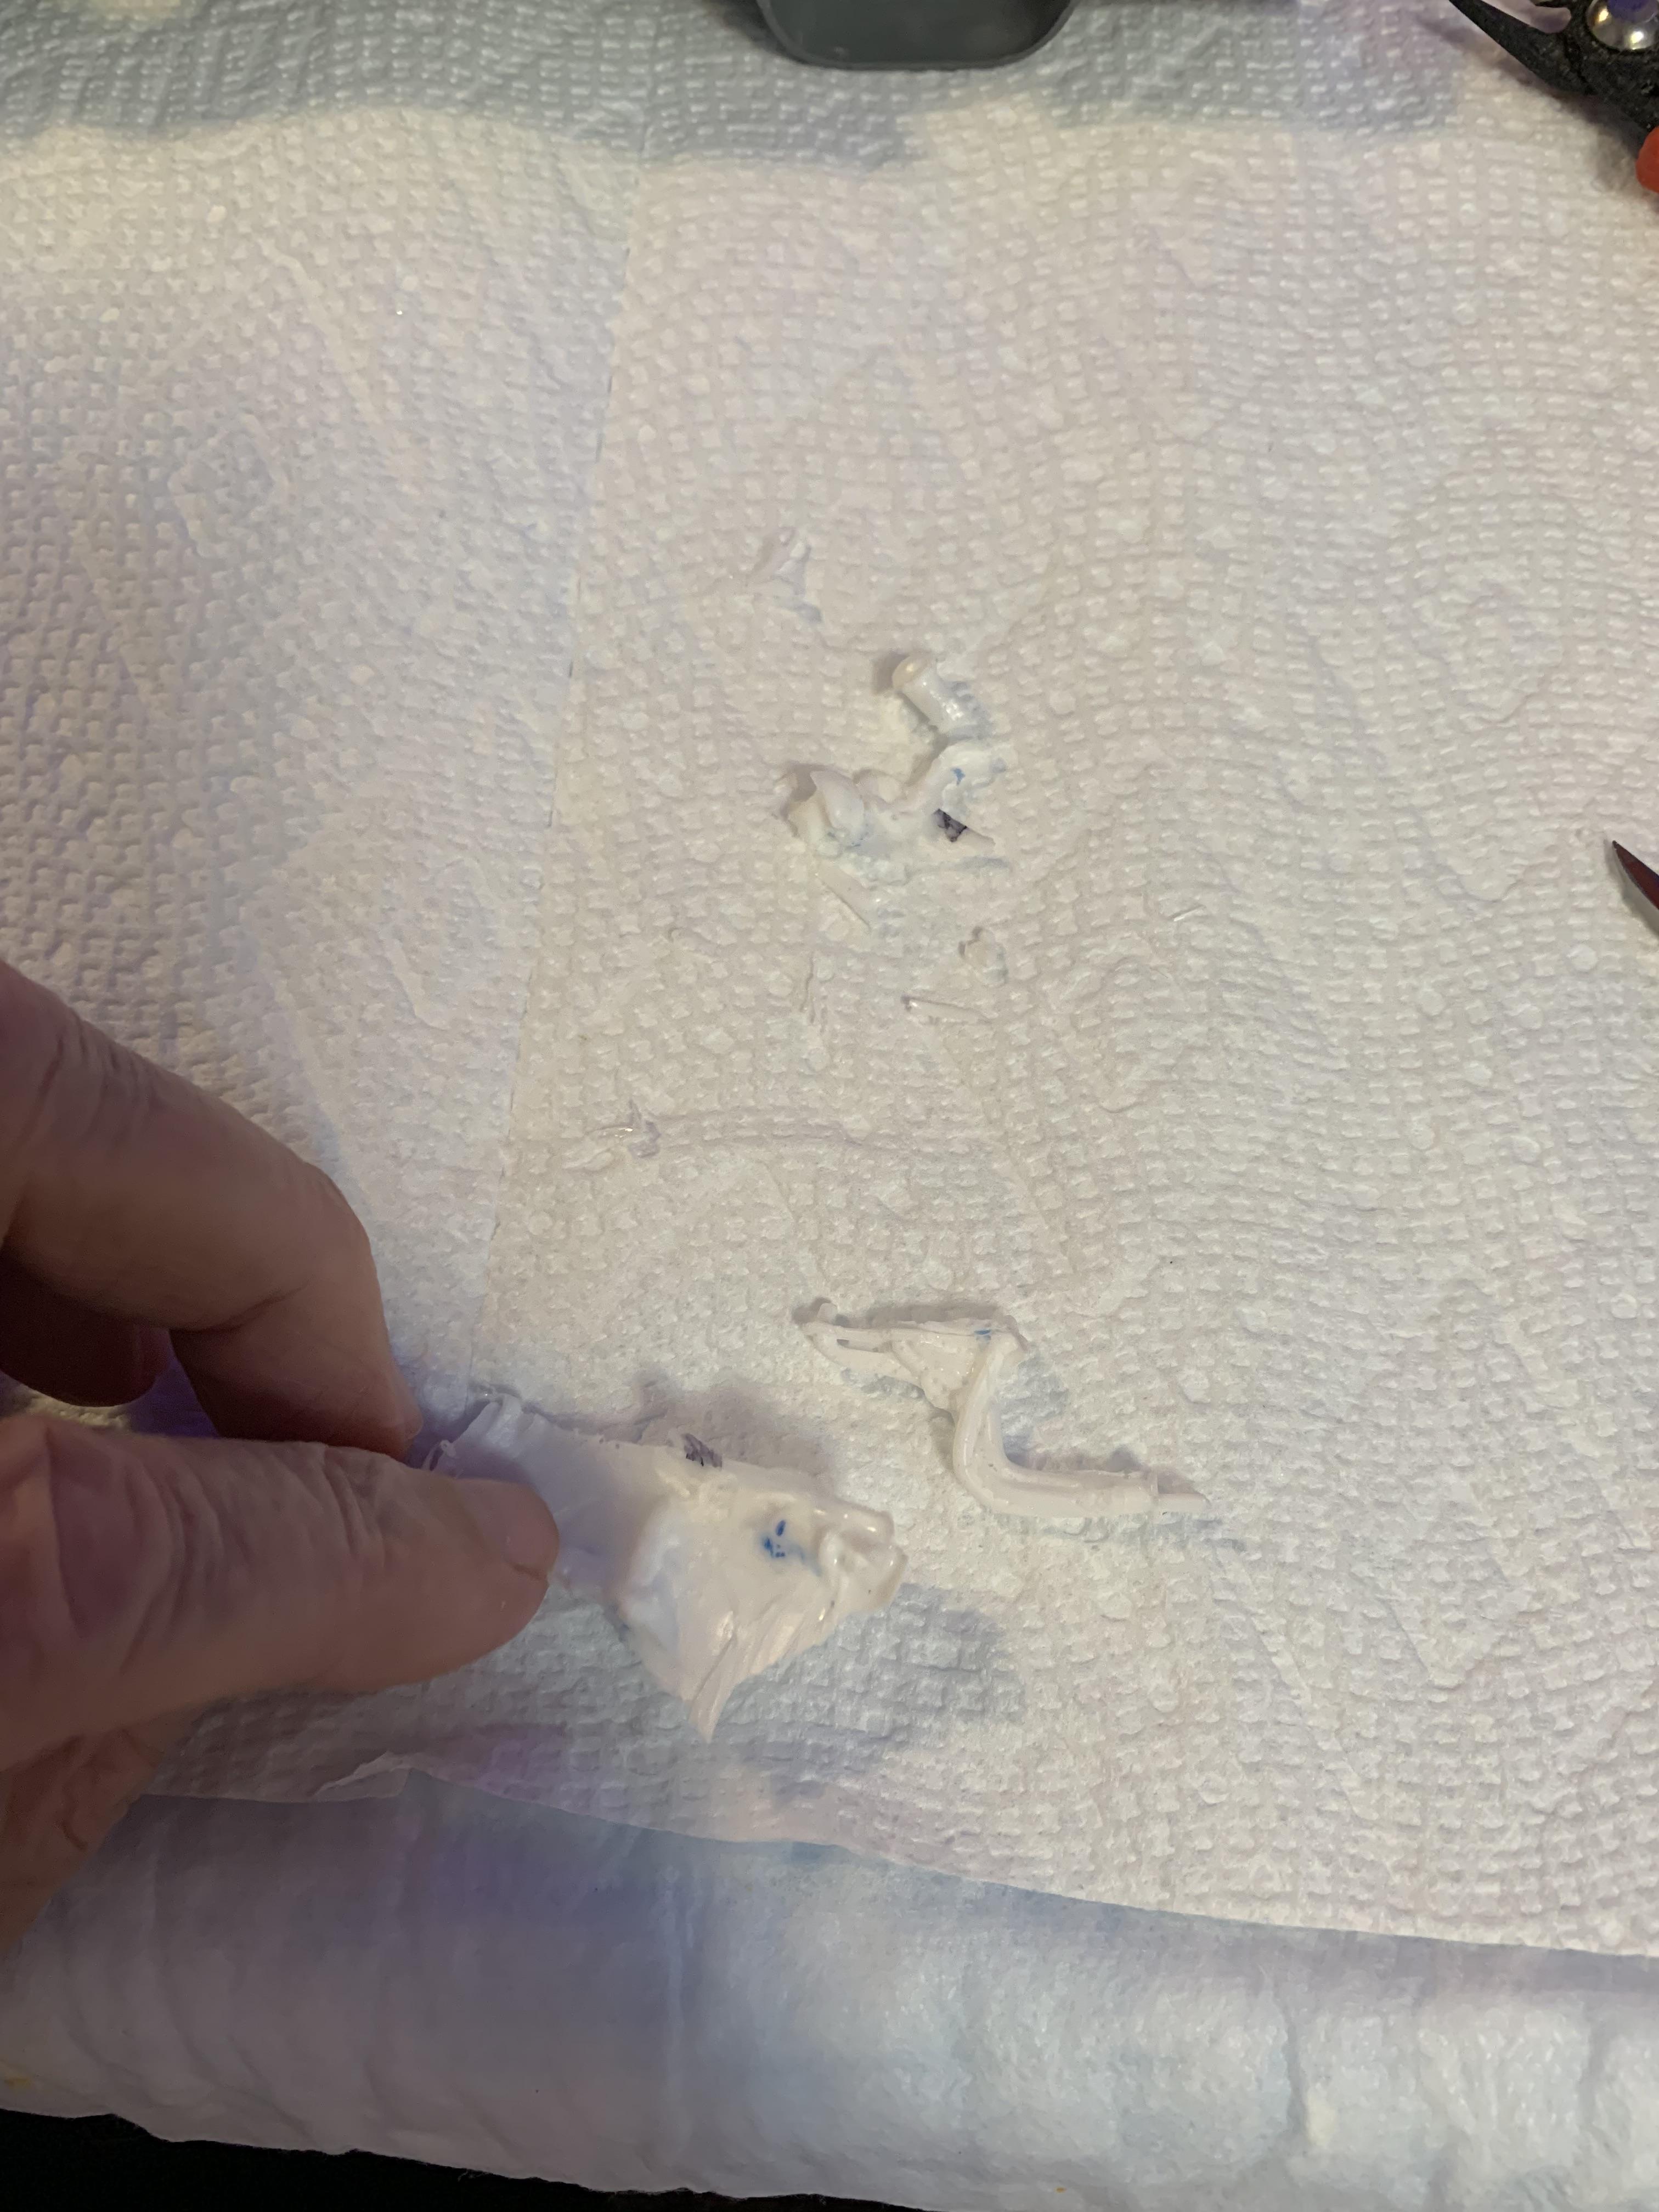
Picked the best set of headers, cleaned ‘em up the best I could, put some thick primer on as pin holes surfaced after a coat of primer. Then some Green stuff world chrome, shrink tubing slipped on, and installed along with driveshaft (no loop as the crossmember functions for that in this case).
-
1962 Pontiac 421 SD F/SA circa 2024 edition
R. Thorne replied to R. Thorne's topic in WIP: Drag Racing Models
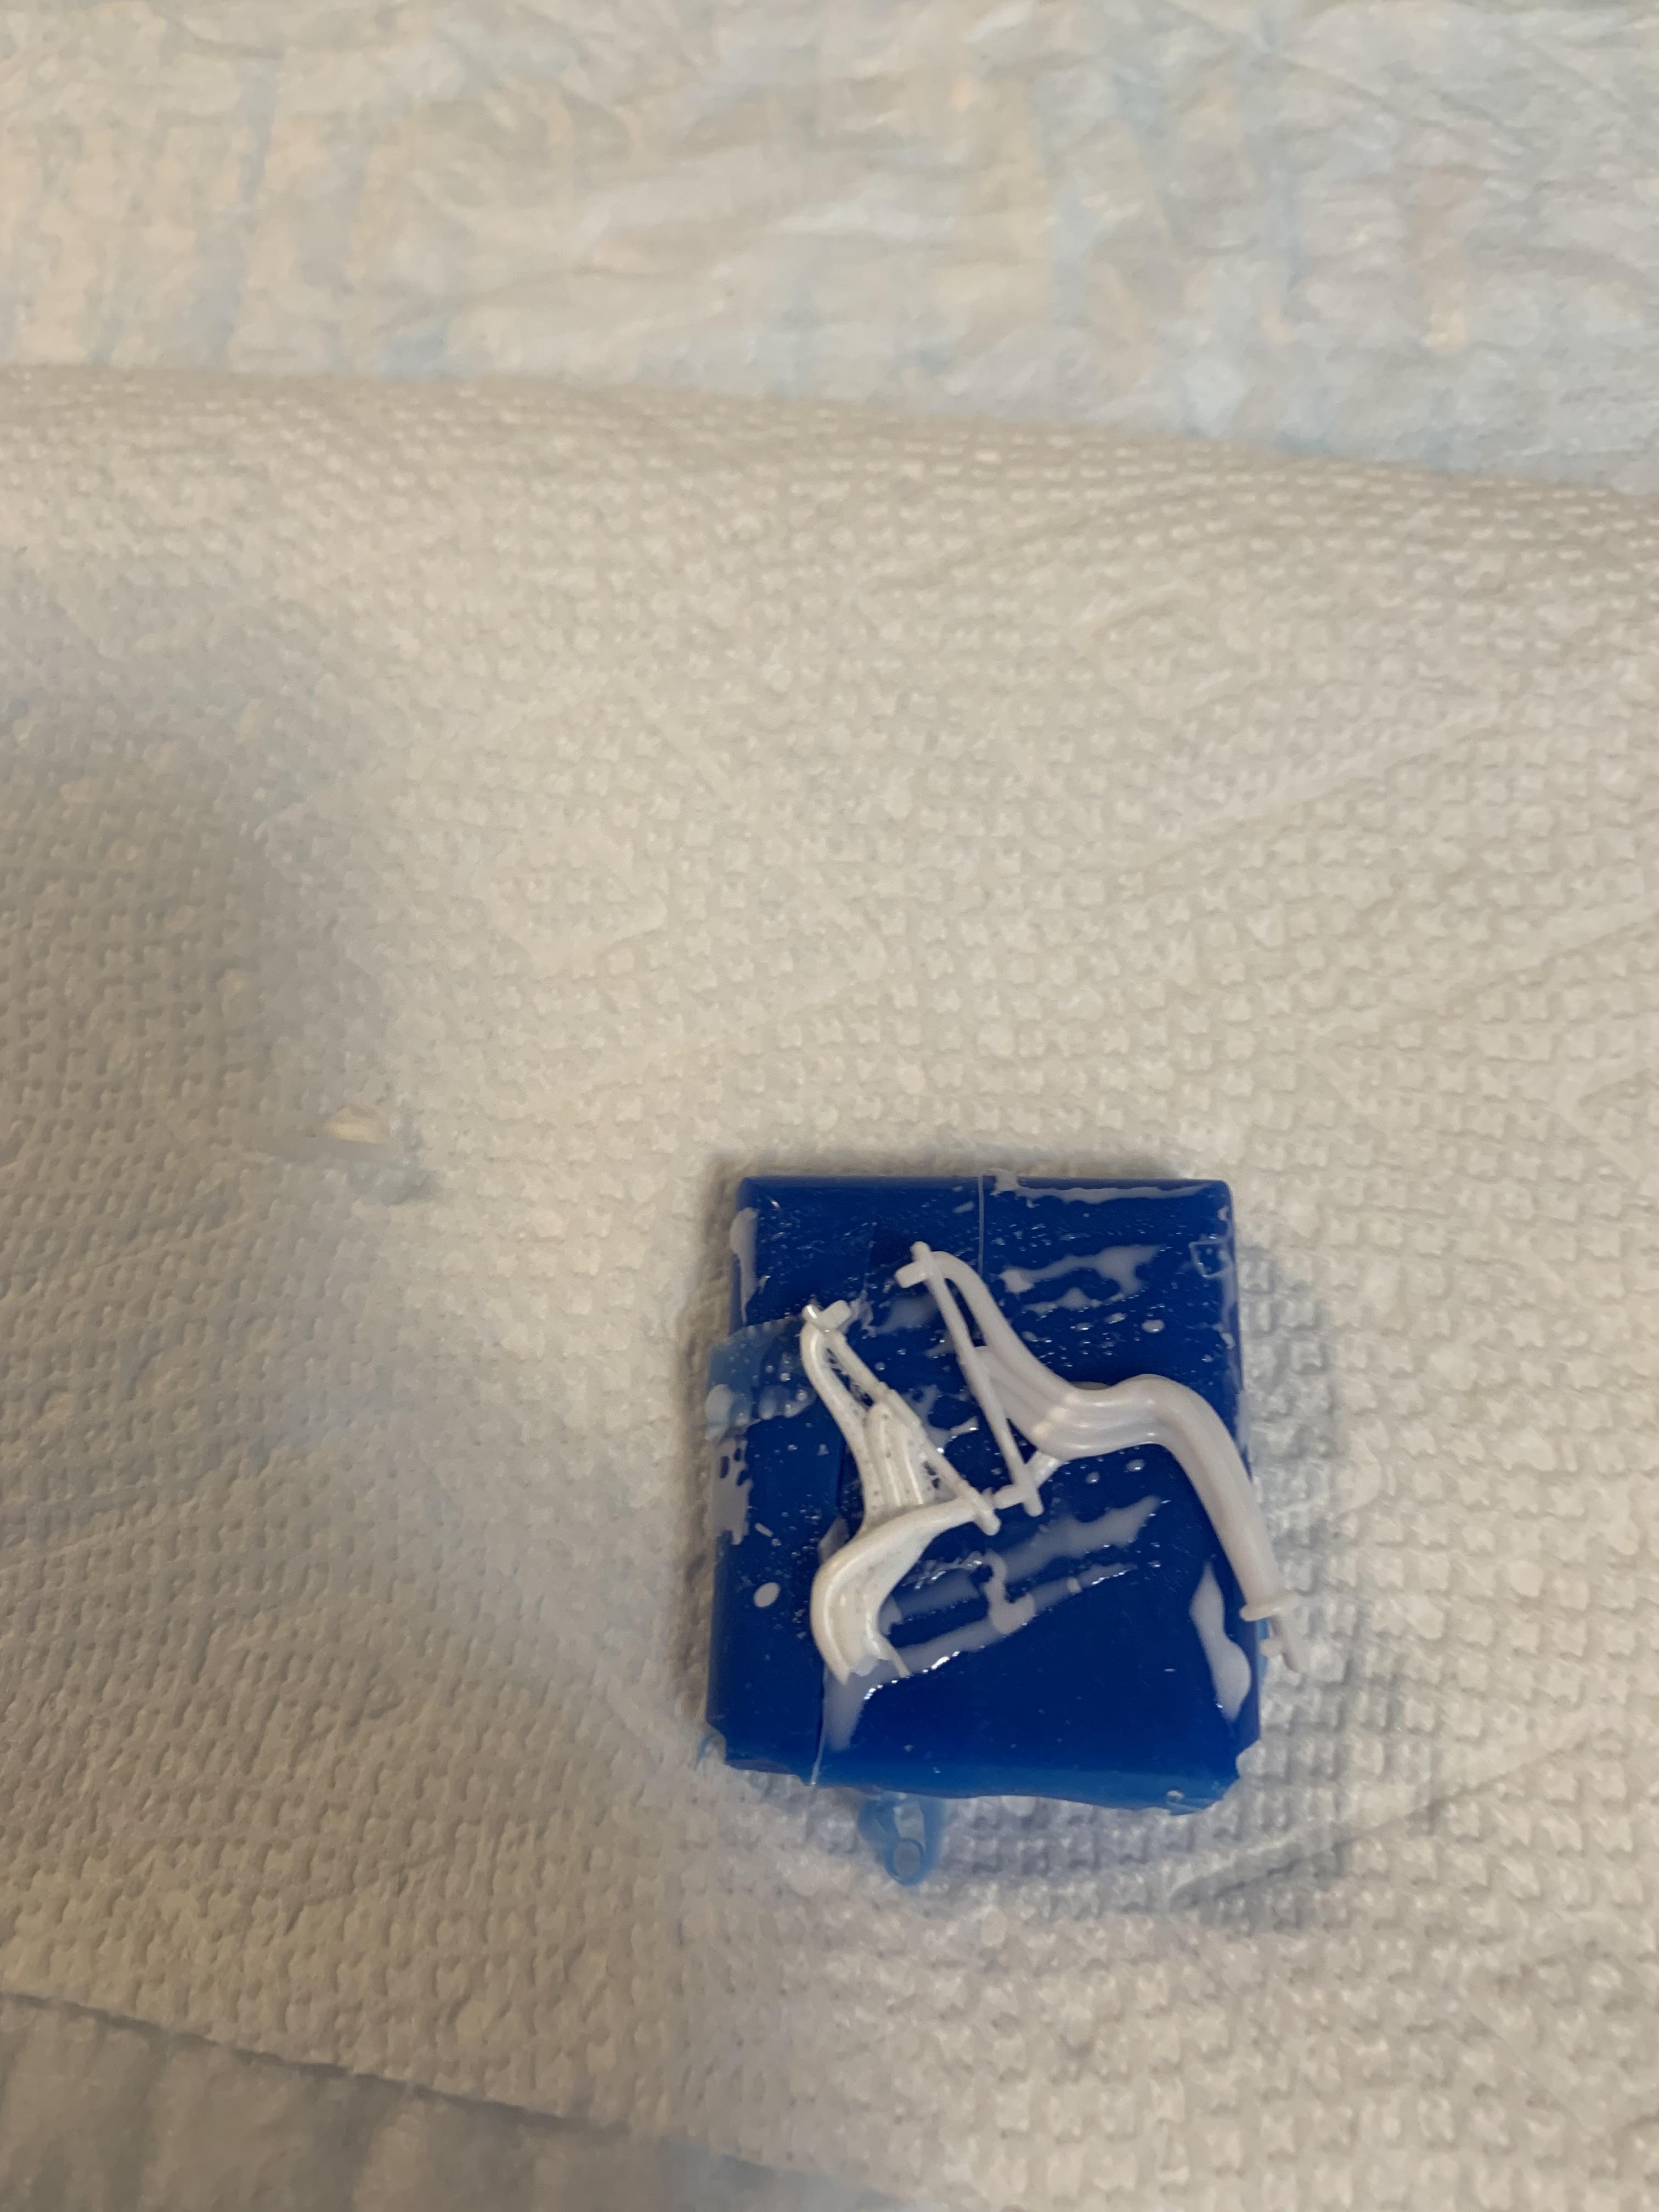
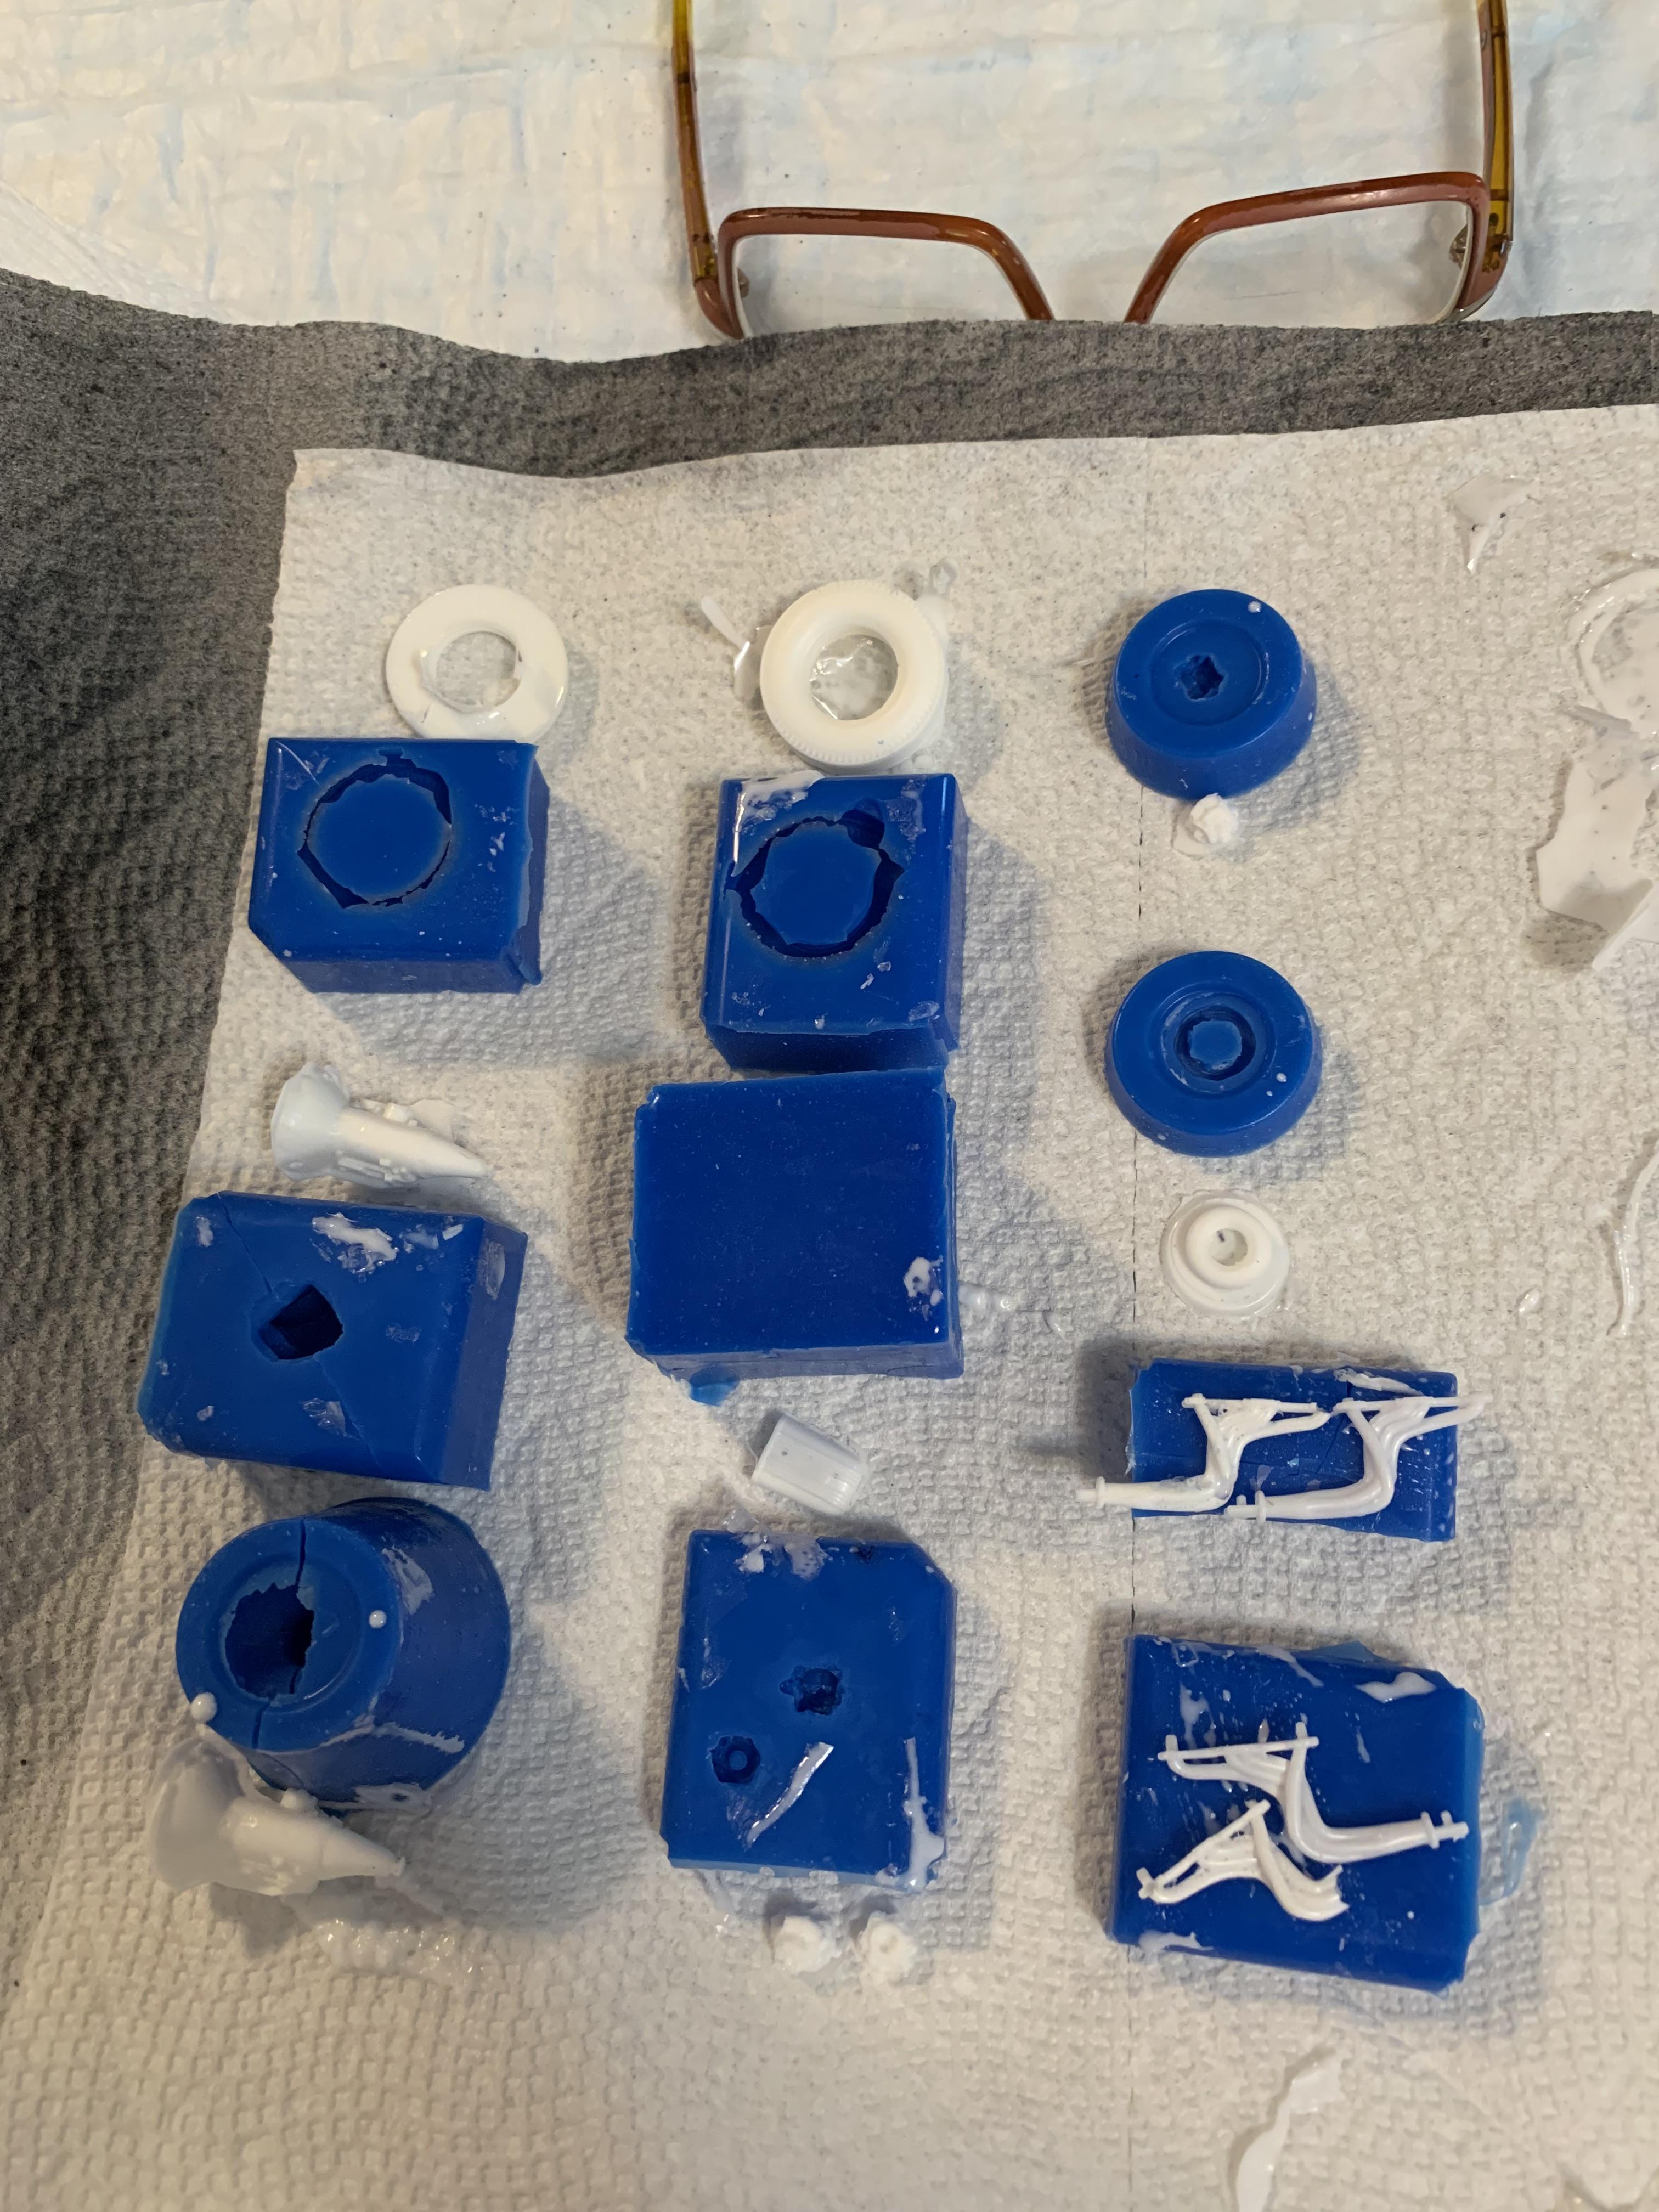
Thanks for the encouraging words, guys. Trying to climb out of this slump I let myself fall into and finish this dad blasted model car. Did some header casting. Tried single envelope style and 2 piece molds with less than stellar results, but simply have to move on and try again at a later date. Anybody have any suggestions on how they have done headers?
-
1962 Pontiac 421 SD F/SA circa 2024 edition
R. Thorne replied to R. Thorne's topic in WIP: Drag Racing Models
Looked through some kit and aftermarket headers. Really liked the looks of NASCAR type, but Decided on the 68 Firebird headers, as the others would have required quite a bit of work to fit. Poured a mold today, will cast some tomorrow, as there are more Pontiac stockers in the future. Also, a mold for some racing seats was poured.
-
1962 Pontiac 421 SD F/SA circa 2024 edition
R. Thorne replied to R. Thorne's topic in WIP: Drag Racing Models
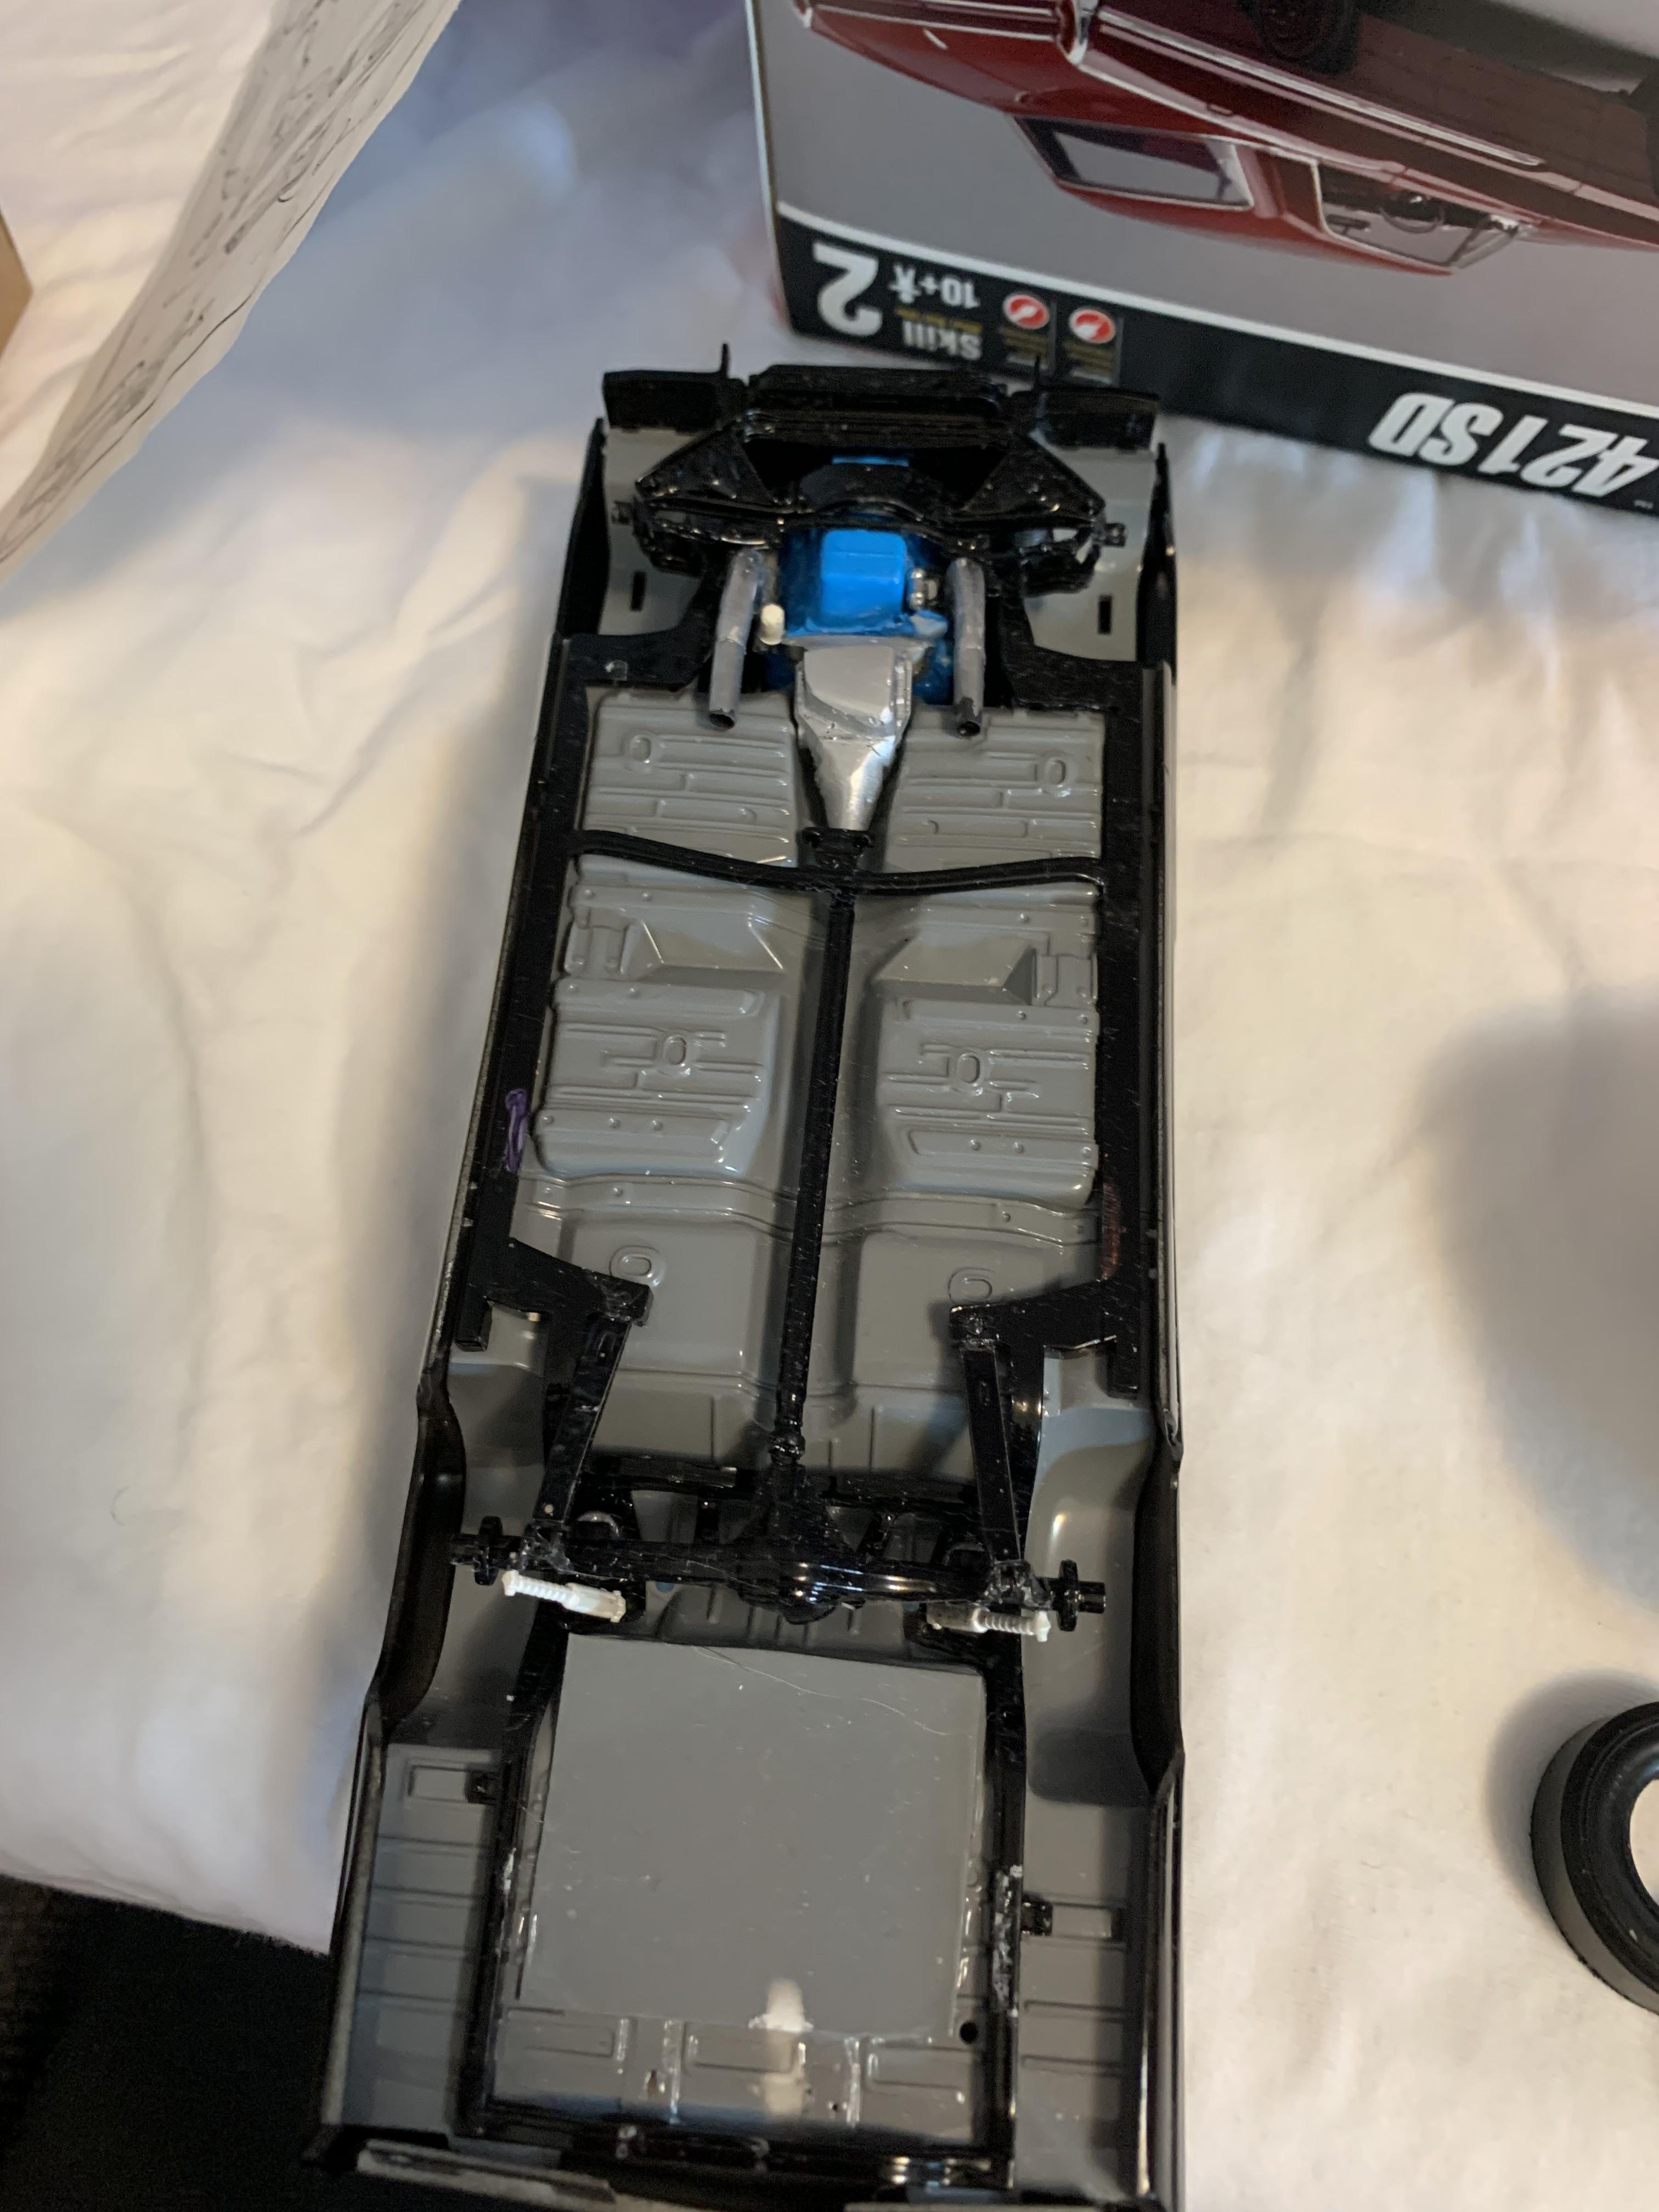
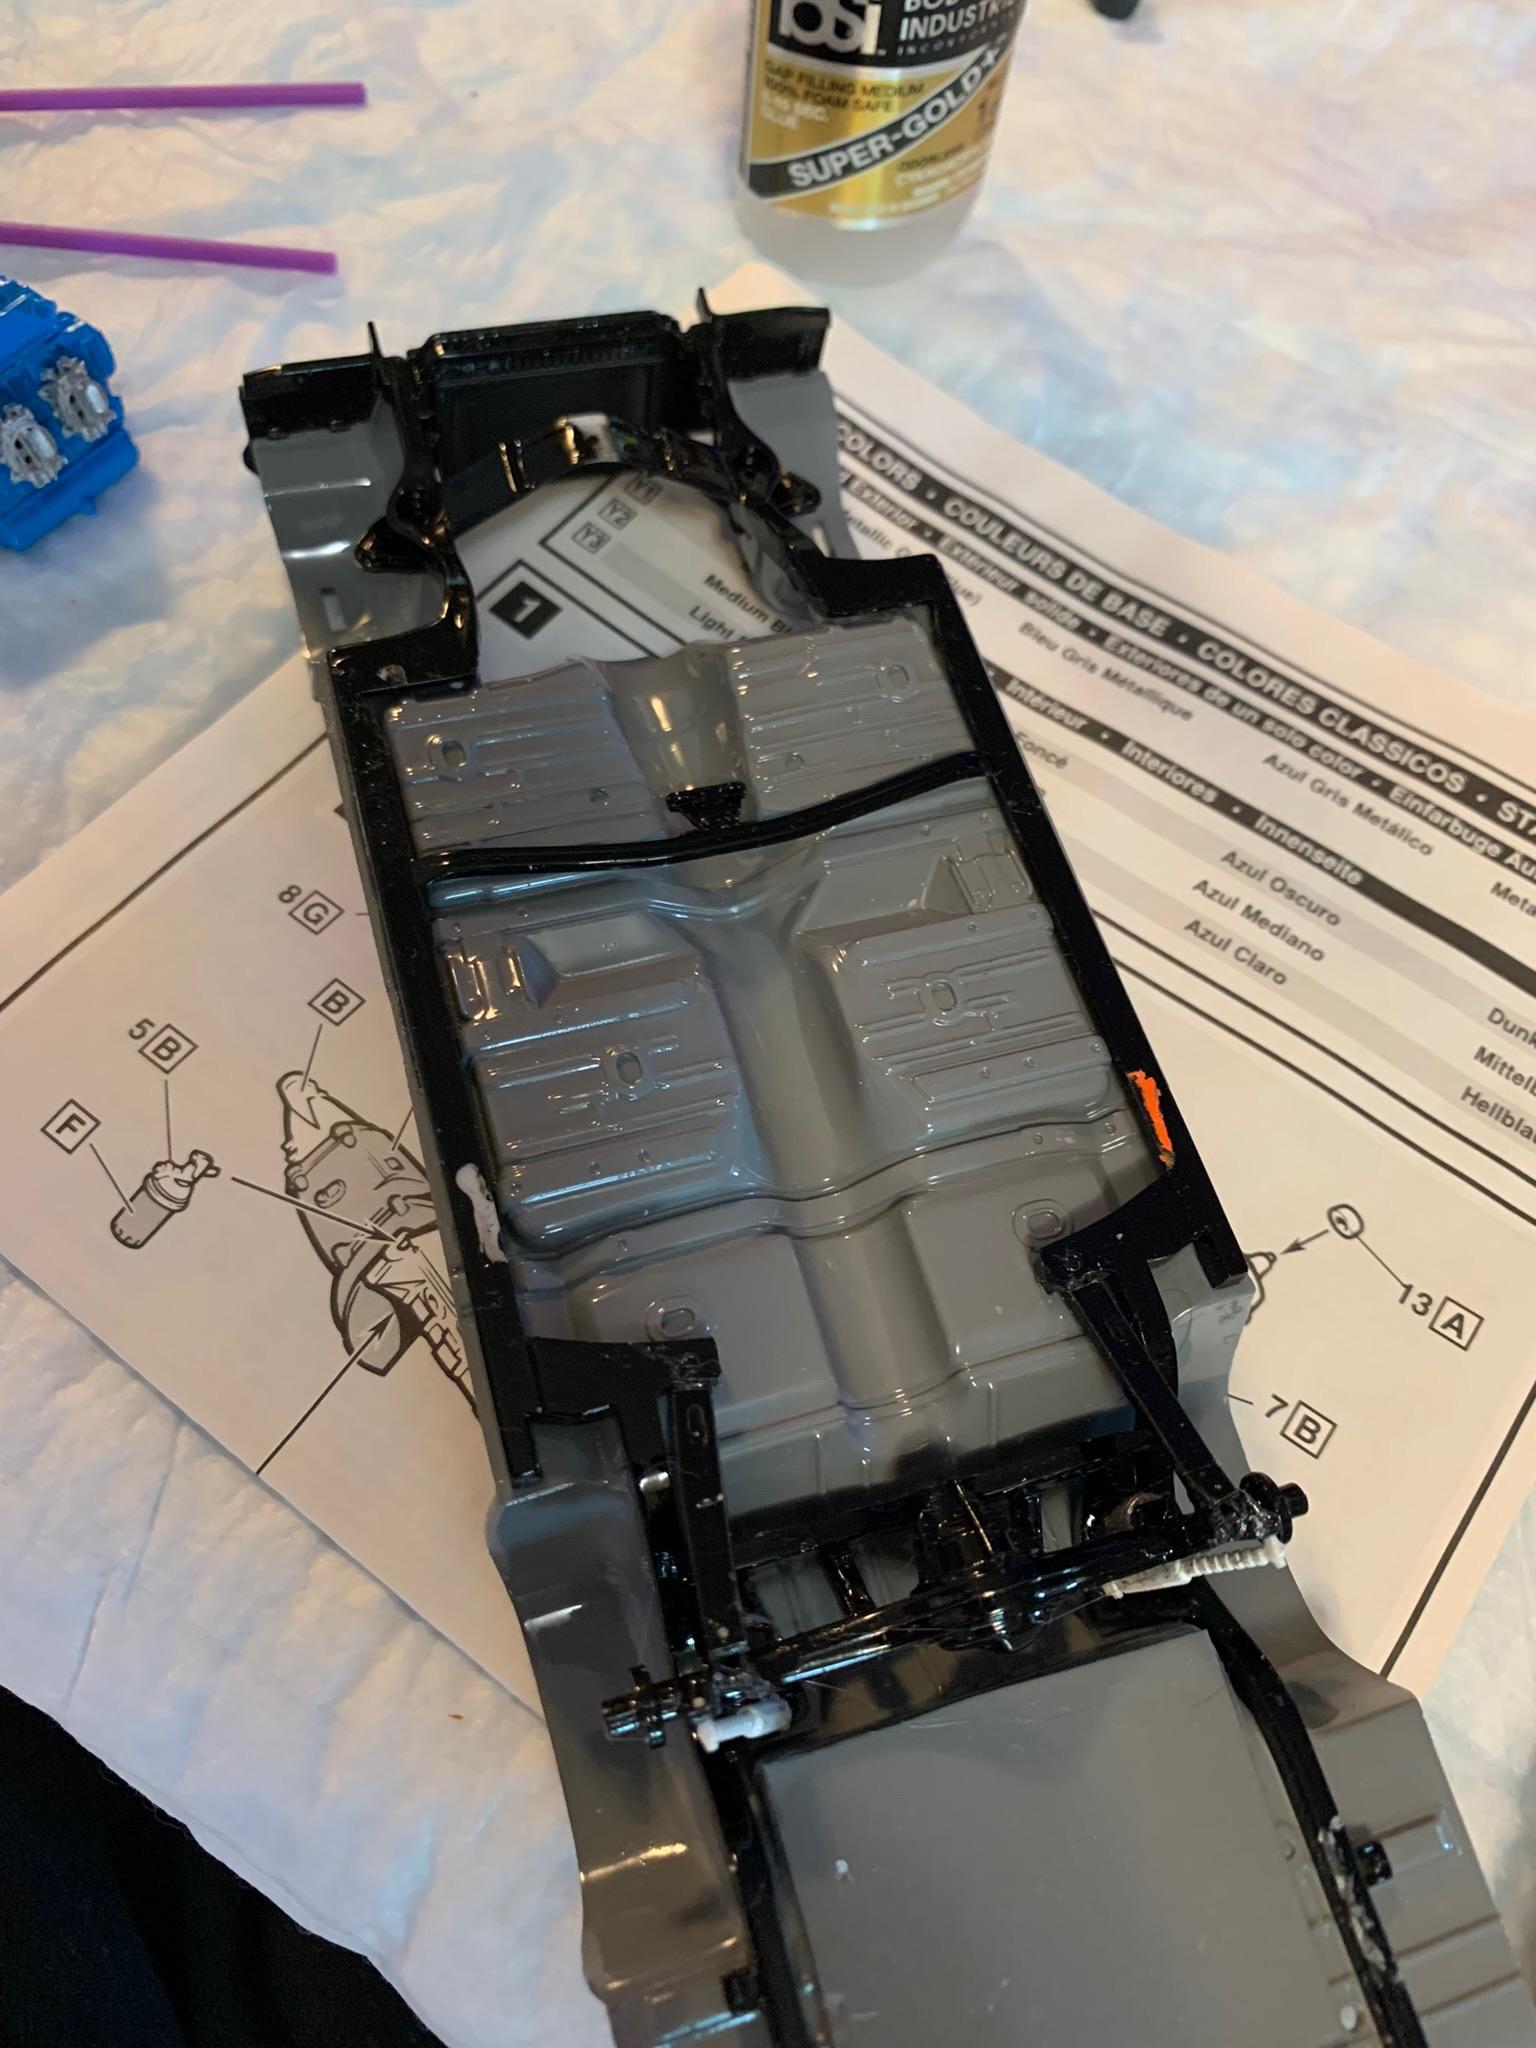
Thanks, I don’t know about “fast”, but somewhat steady progress. Got the front suspension on and fit the motor in temporarily to check the driveshaft length with the different trans. Looks okay on length, so no shortening or expanding the driveshaft. Trimmed the floorboard slightly. Next is deciding on which headers to use.
-
1962 Pontiac 421 SD F/SA circa 2024 edition
R. Thorne replied to R. Thorne's topic in WIP: Drag Racing Models
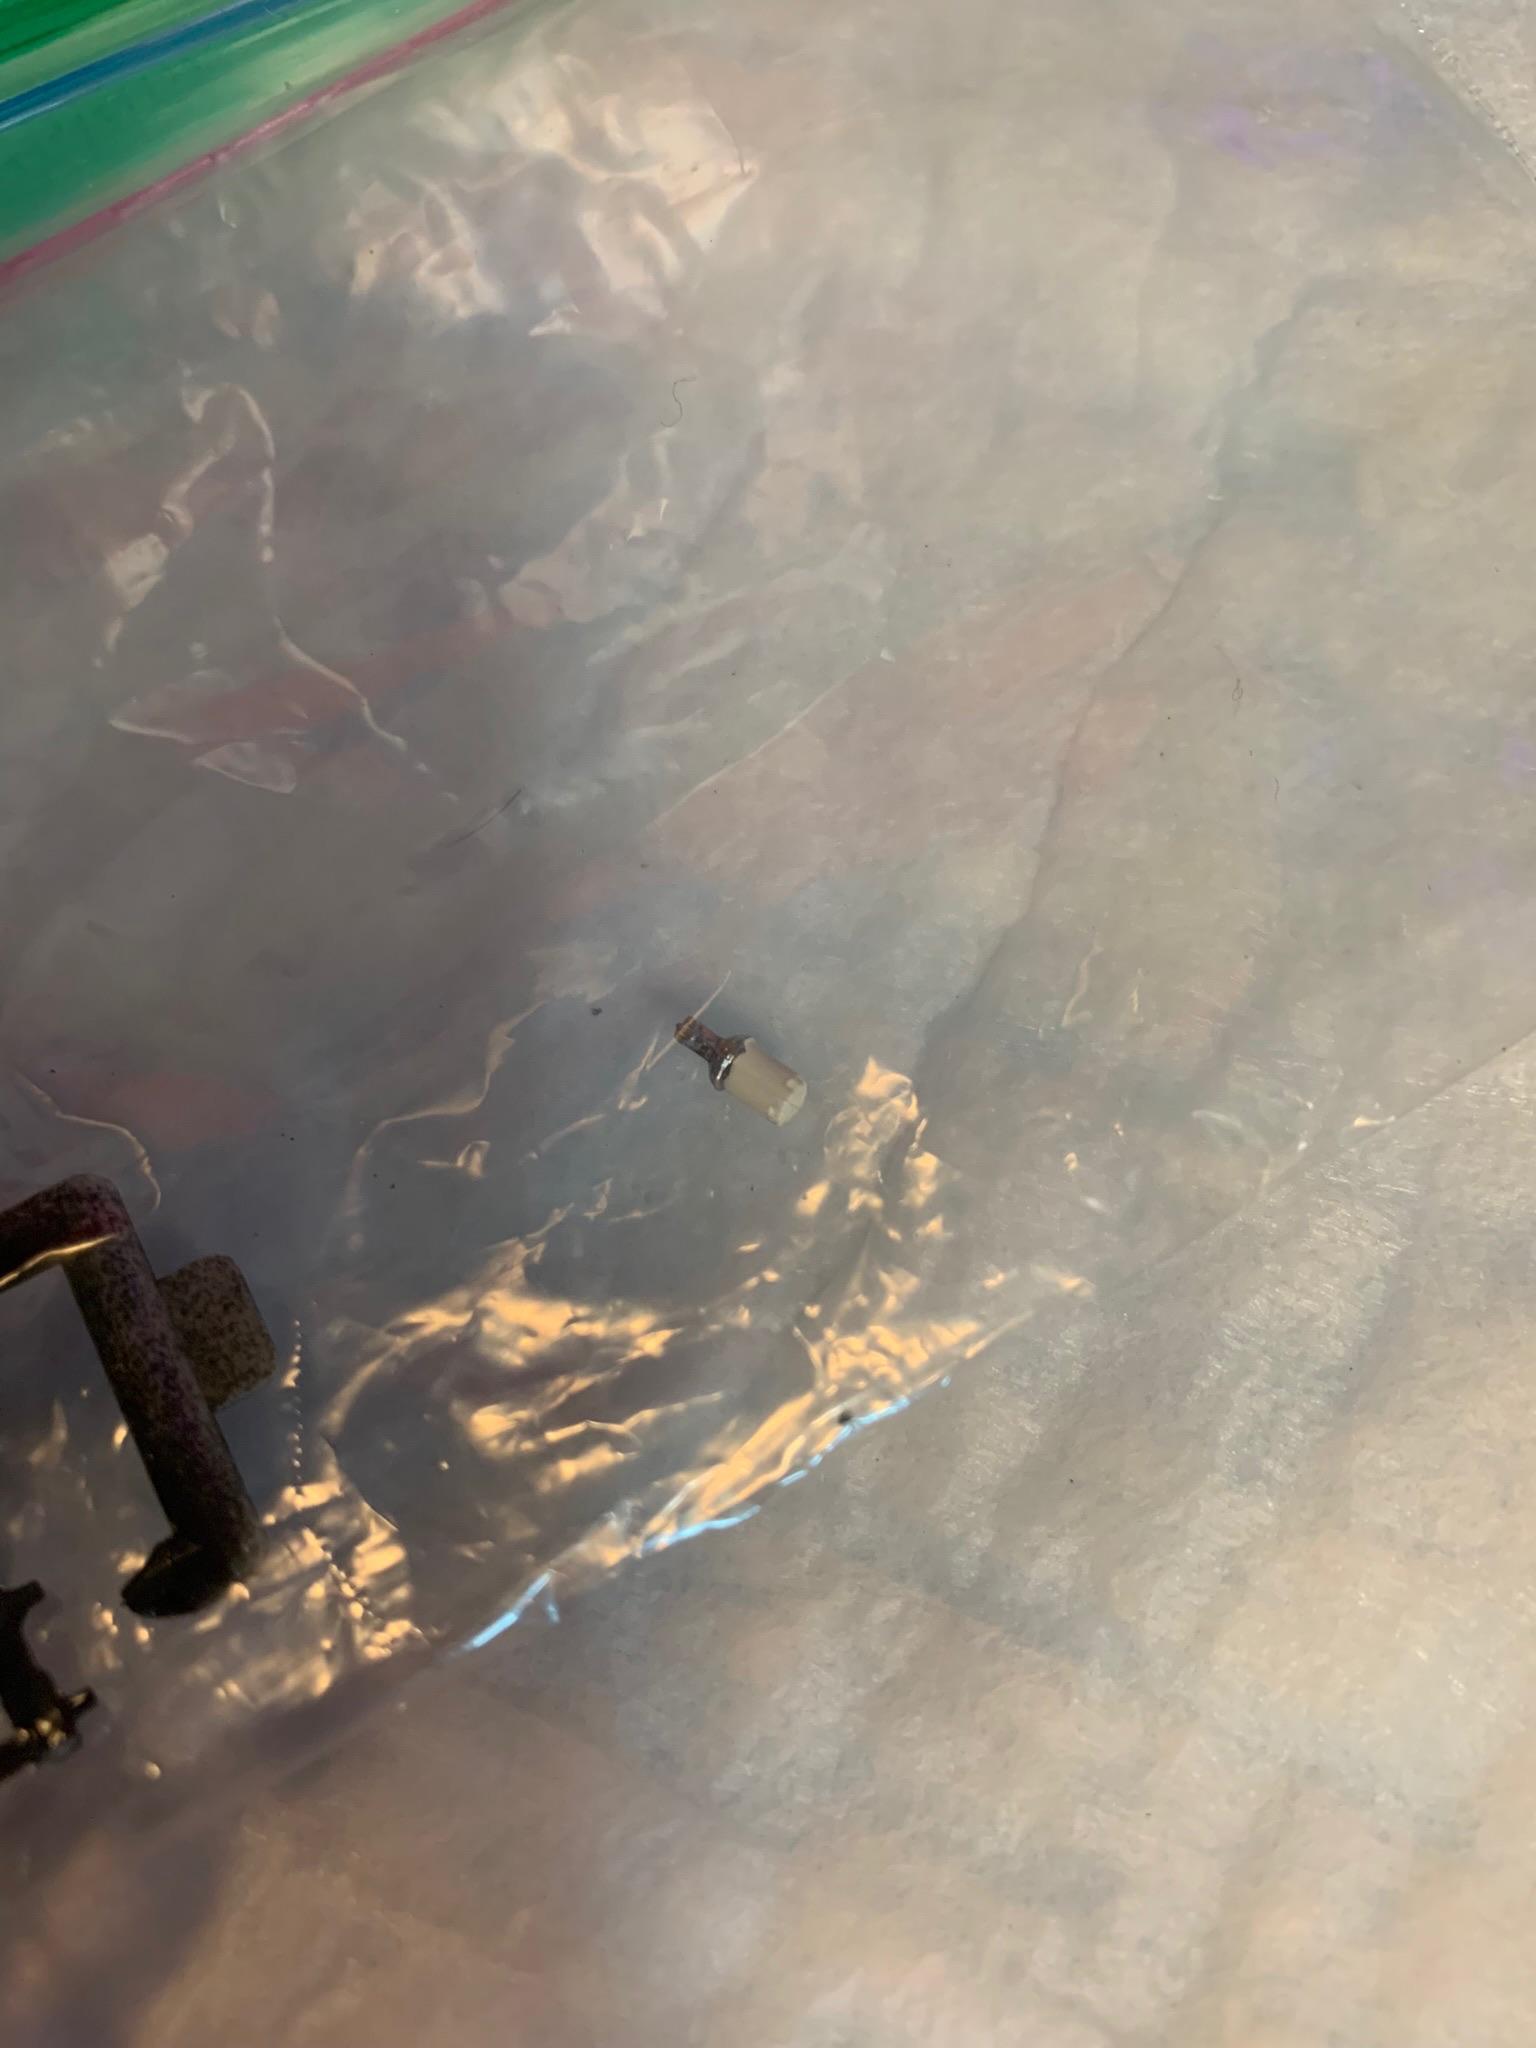
I was putting the front suspension stuff on, digging the springs out of the zip loc bag I keep small parts in after I have painted them. Guess what else is in the bag? The mysterious, missing, oil filter/adapter! Evidently, the bag was open when the adapter popped out of my tweezers. Strange.
-
1962 Pontiac 421 SD F/SA circa 2024 edition
R. Thorne replied to R. Thorne's topic in WIP: Drag Racing Models
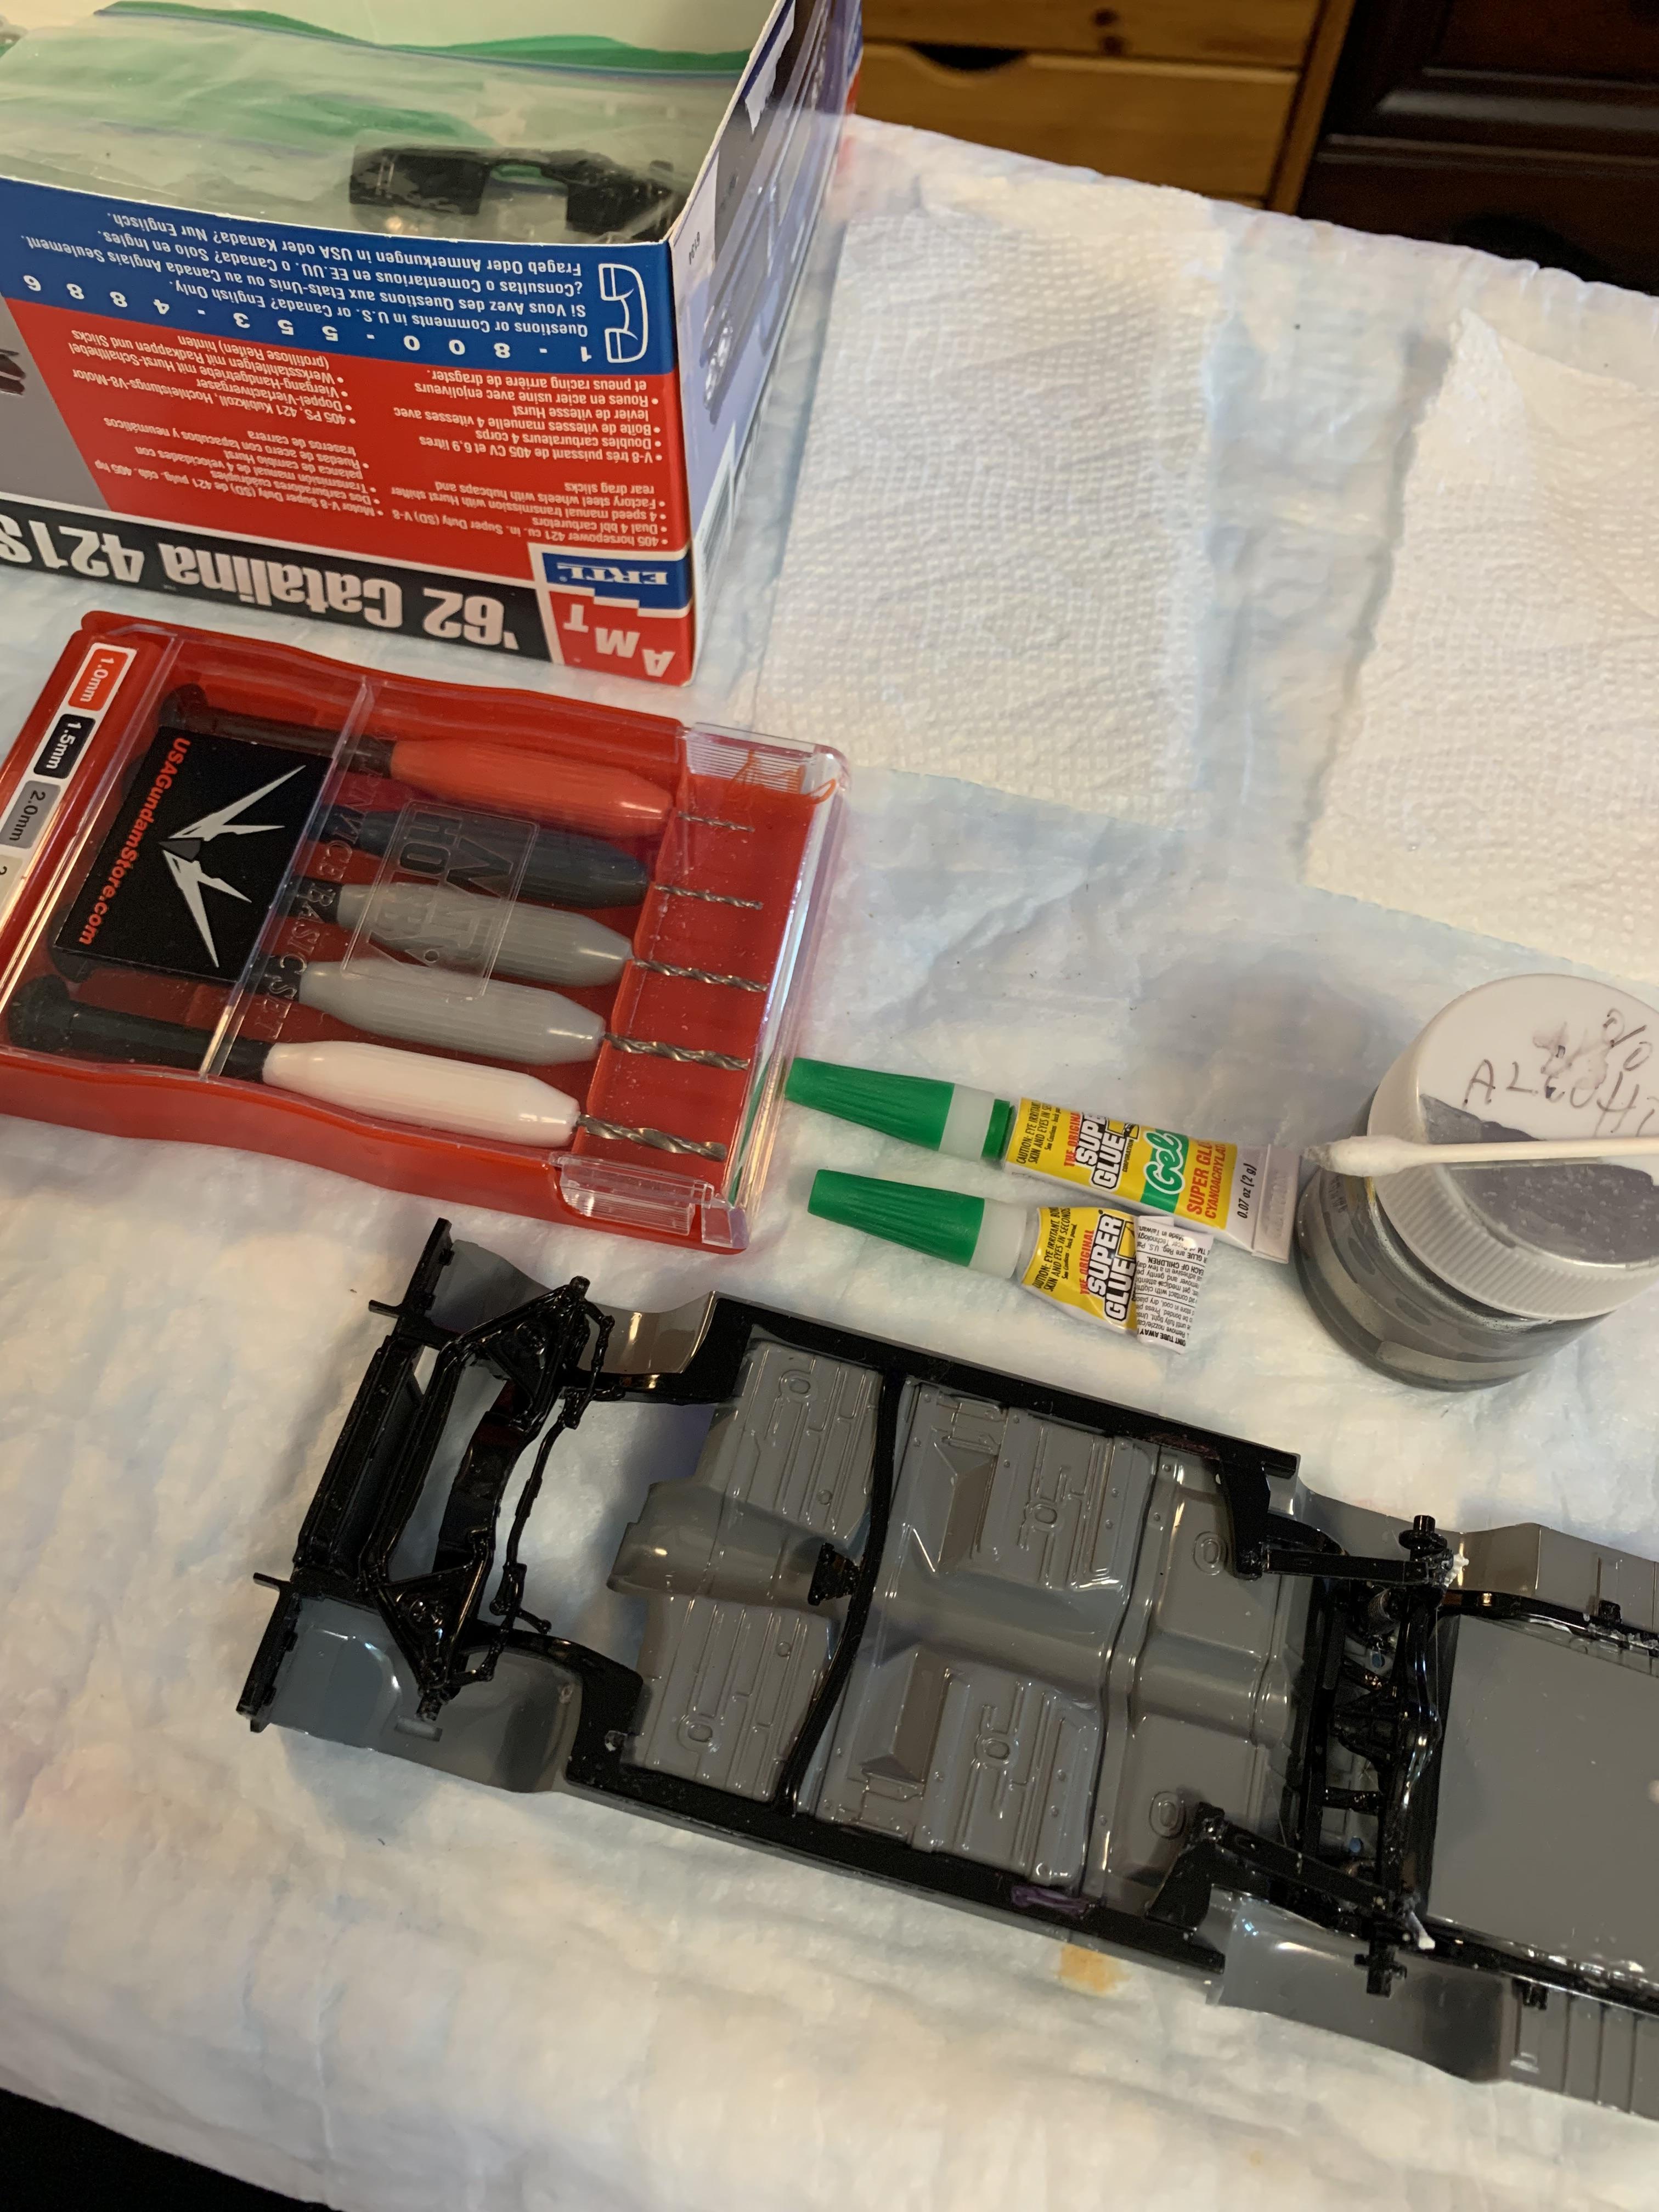
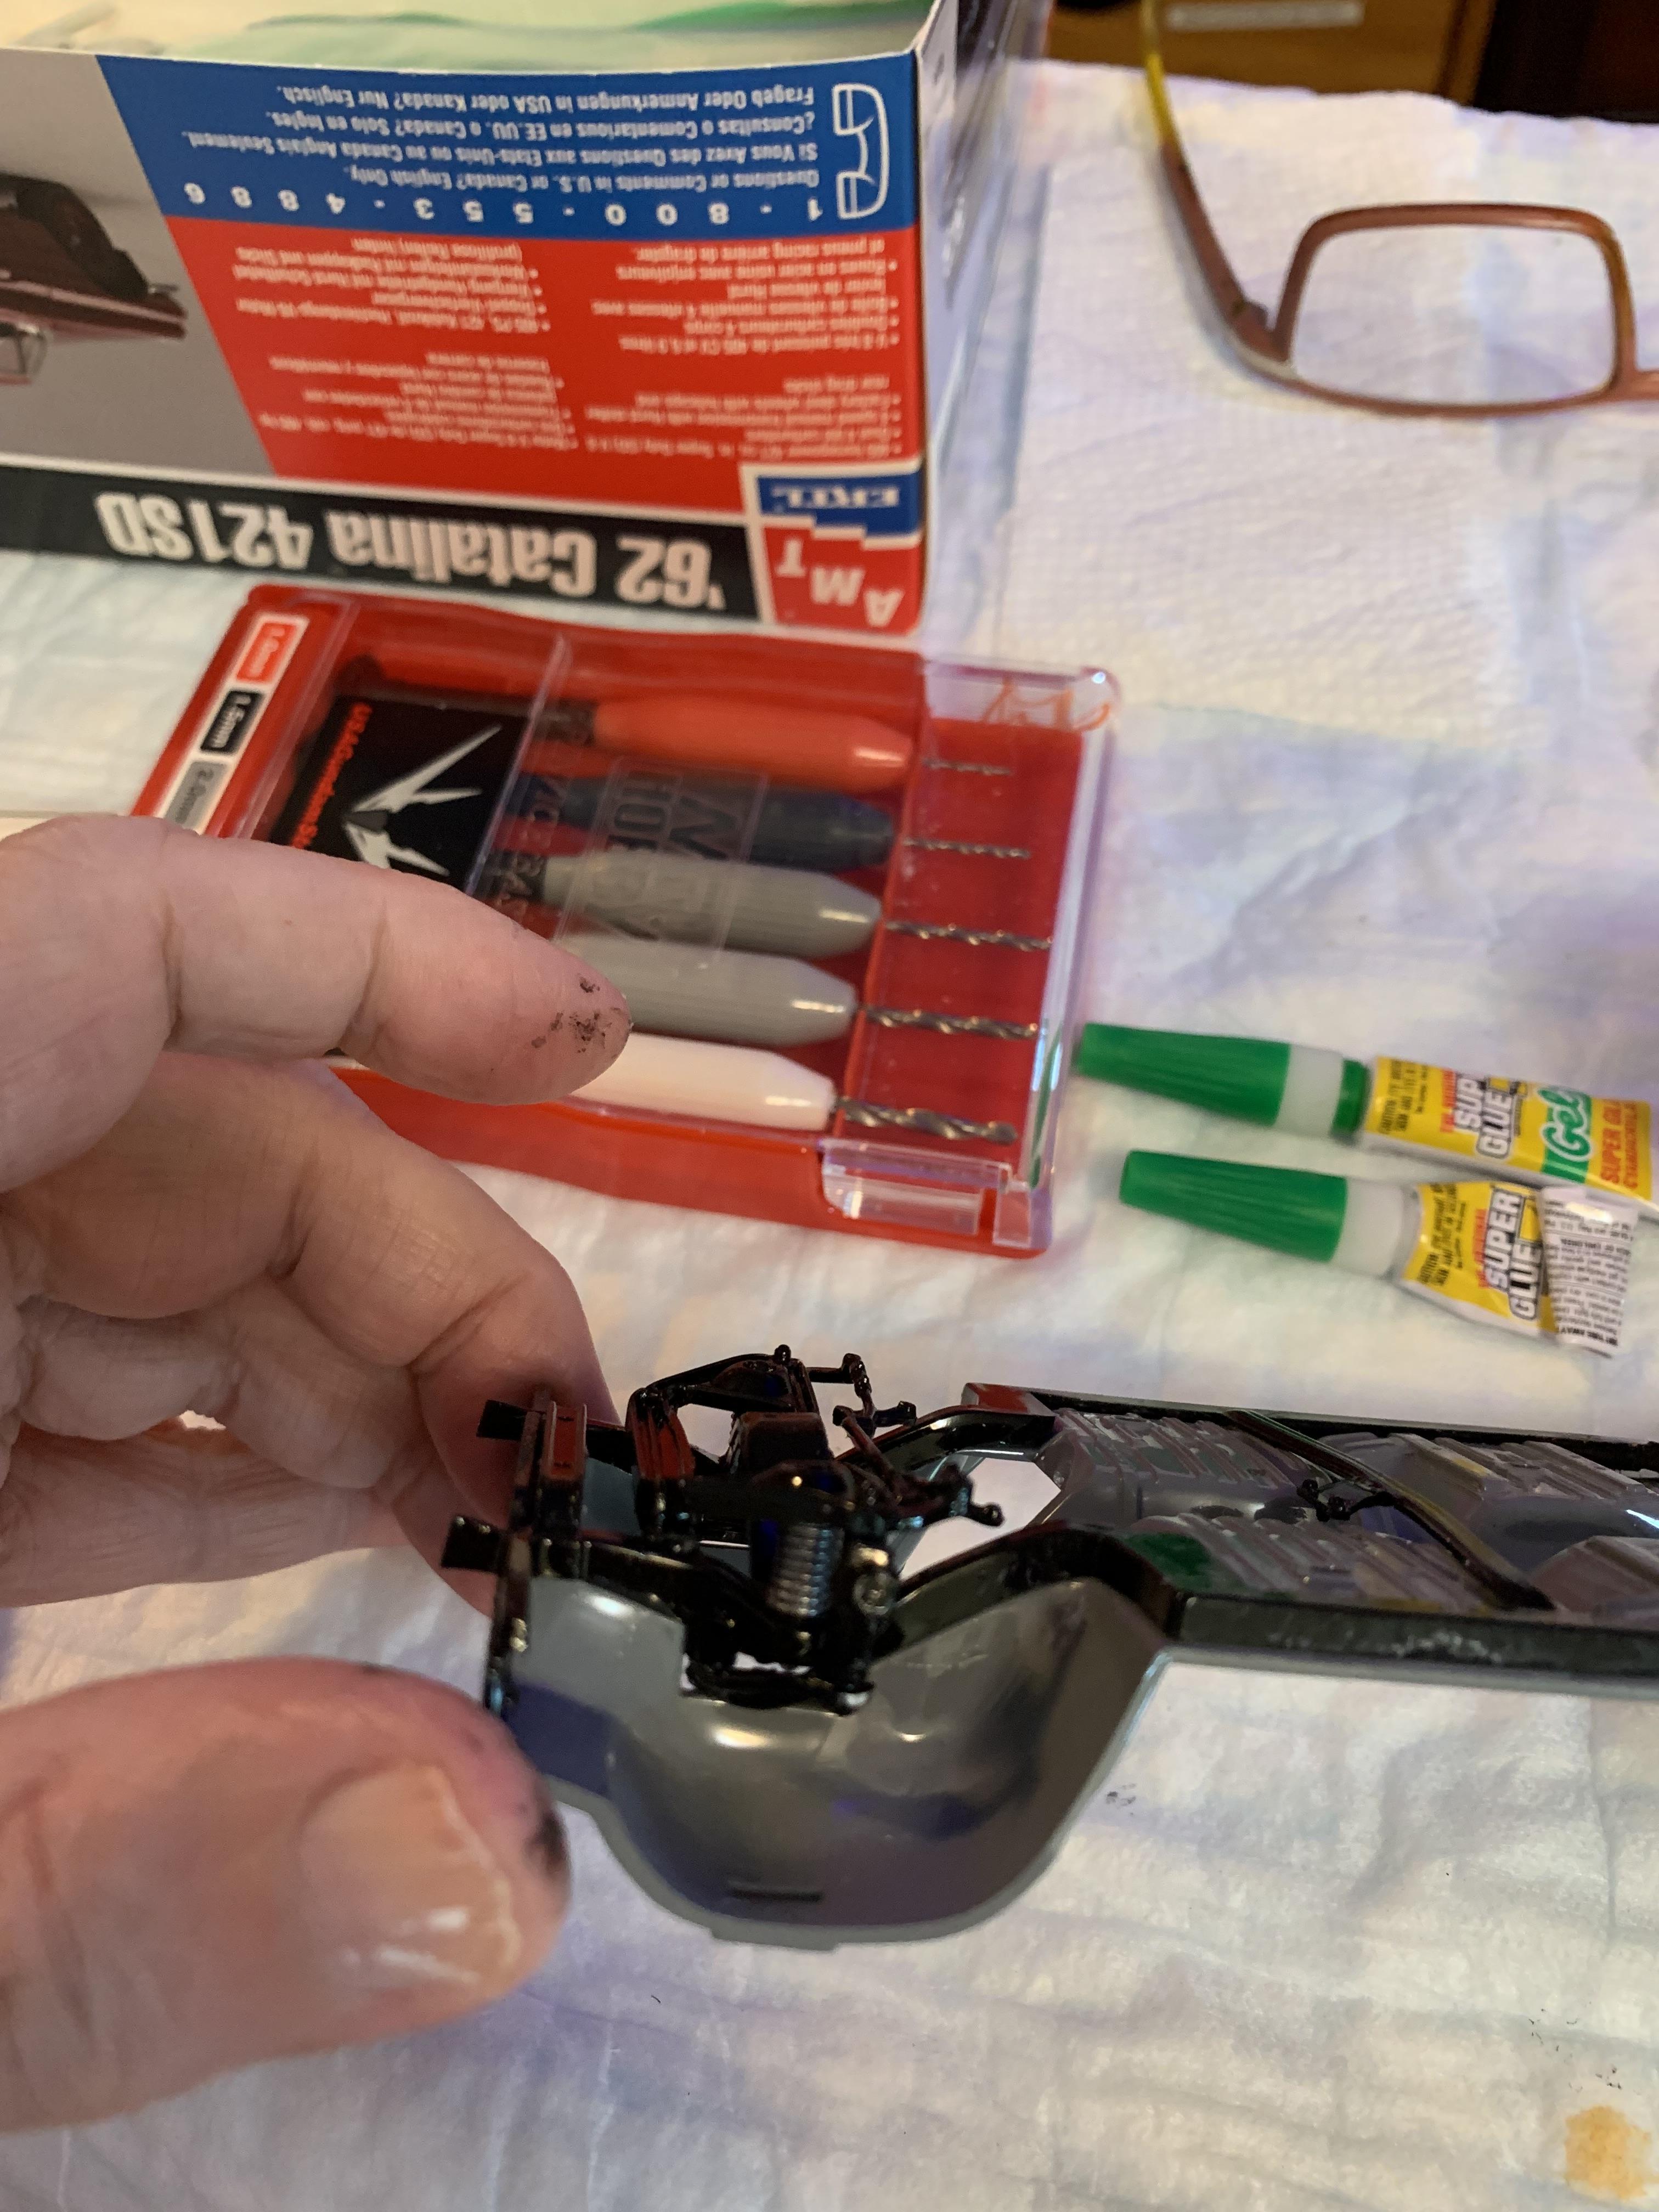
Well, the oil filter/adapter ( a tiny little thing), went flying into the air I know not where. After some scrounging, I remembered a build Of a friend of mine’s 62 Pontiac i started and stalled on about 5 years ago. Lo and behold, in the box was the part I needed as I had used a different engine combination. This time I glued a piece of sprue onto it, painted it, then glued it on. Will remove the sprue after it is dry and paint the bottom of the oil filter then. Got the frame installed and the rear end. Gotta touch up the frame where a couple clamps had set. It is what I get for using clamps that have been used to hold small parts for painting. Lesson learned, hopefully.
-
1962 Pontiac 421 SD F/SA circa 2024 edition
R. Thorne replied to R. Thorne's topic in WIP: Drag Racing Models
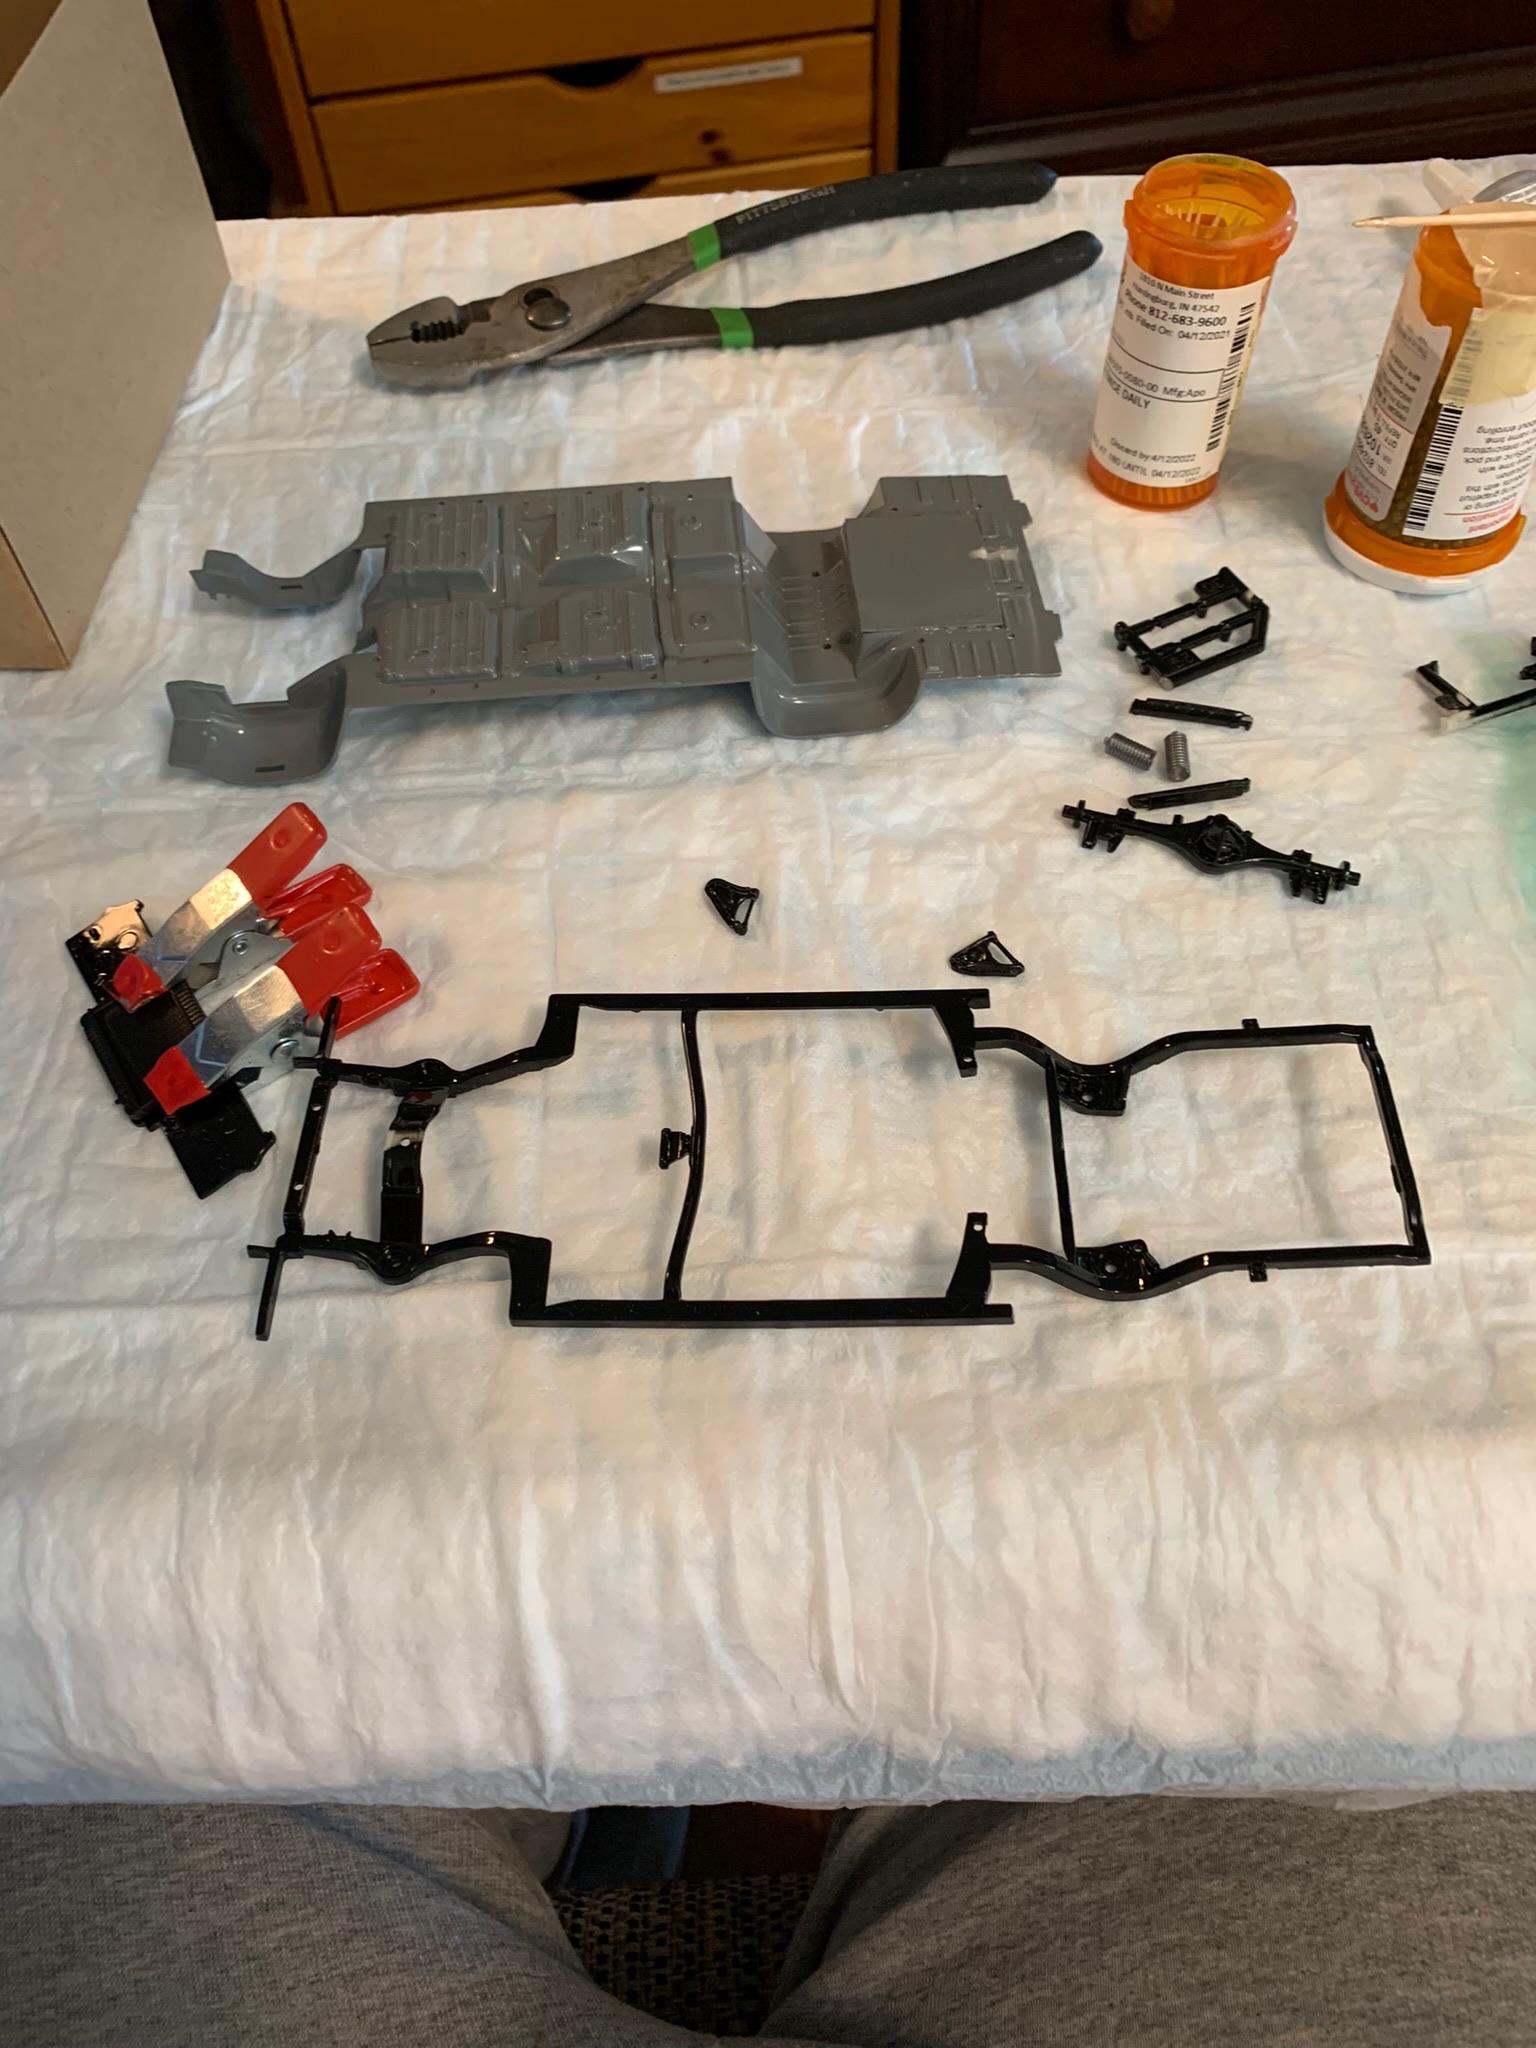
Got this kit in to look at the headers. Also, have some aftermarket ones I am considering modifying to more closely resemble Pontiac ones. Undecided at this point. Assembling some chassis parts.
-
1962 Pontiac 421 SD F/SA circa 2024 edition
R. Thorne replied to R. Thorne's topic in WIP: Drag Racing Models
Thanks, Tony and Carl. Should be back on this one in a day or two. -
1962 Pontiac 421 SD F/SA circa 2024 edition
R. Thorne replied to R. Thorne's topic in WIP: Drag Racing Models
Thanks, Jimmy. I just started casting back in January. Instead of keeping a written log of what I used, I post it on here. If (actually, when), I forget how I did or what color paint I used on a particular model, I can look it up here. So, there is a certain amount of selfishness involved. -
1962 Pontiac 421 SD F/SA circa 2024 edition
R. Thorne replied to R. Thorne's topic in WIP: Drag Racing Models
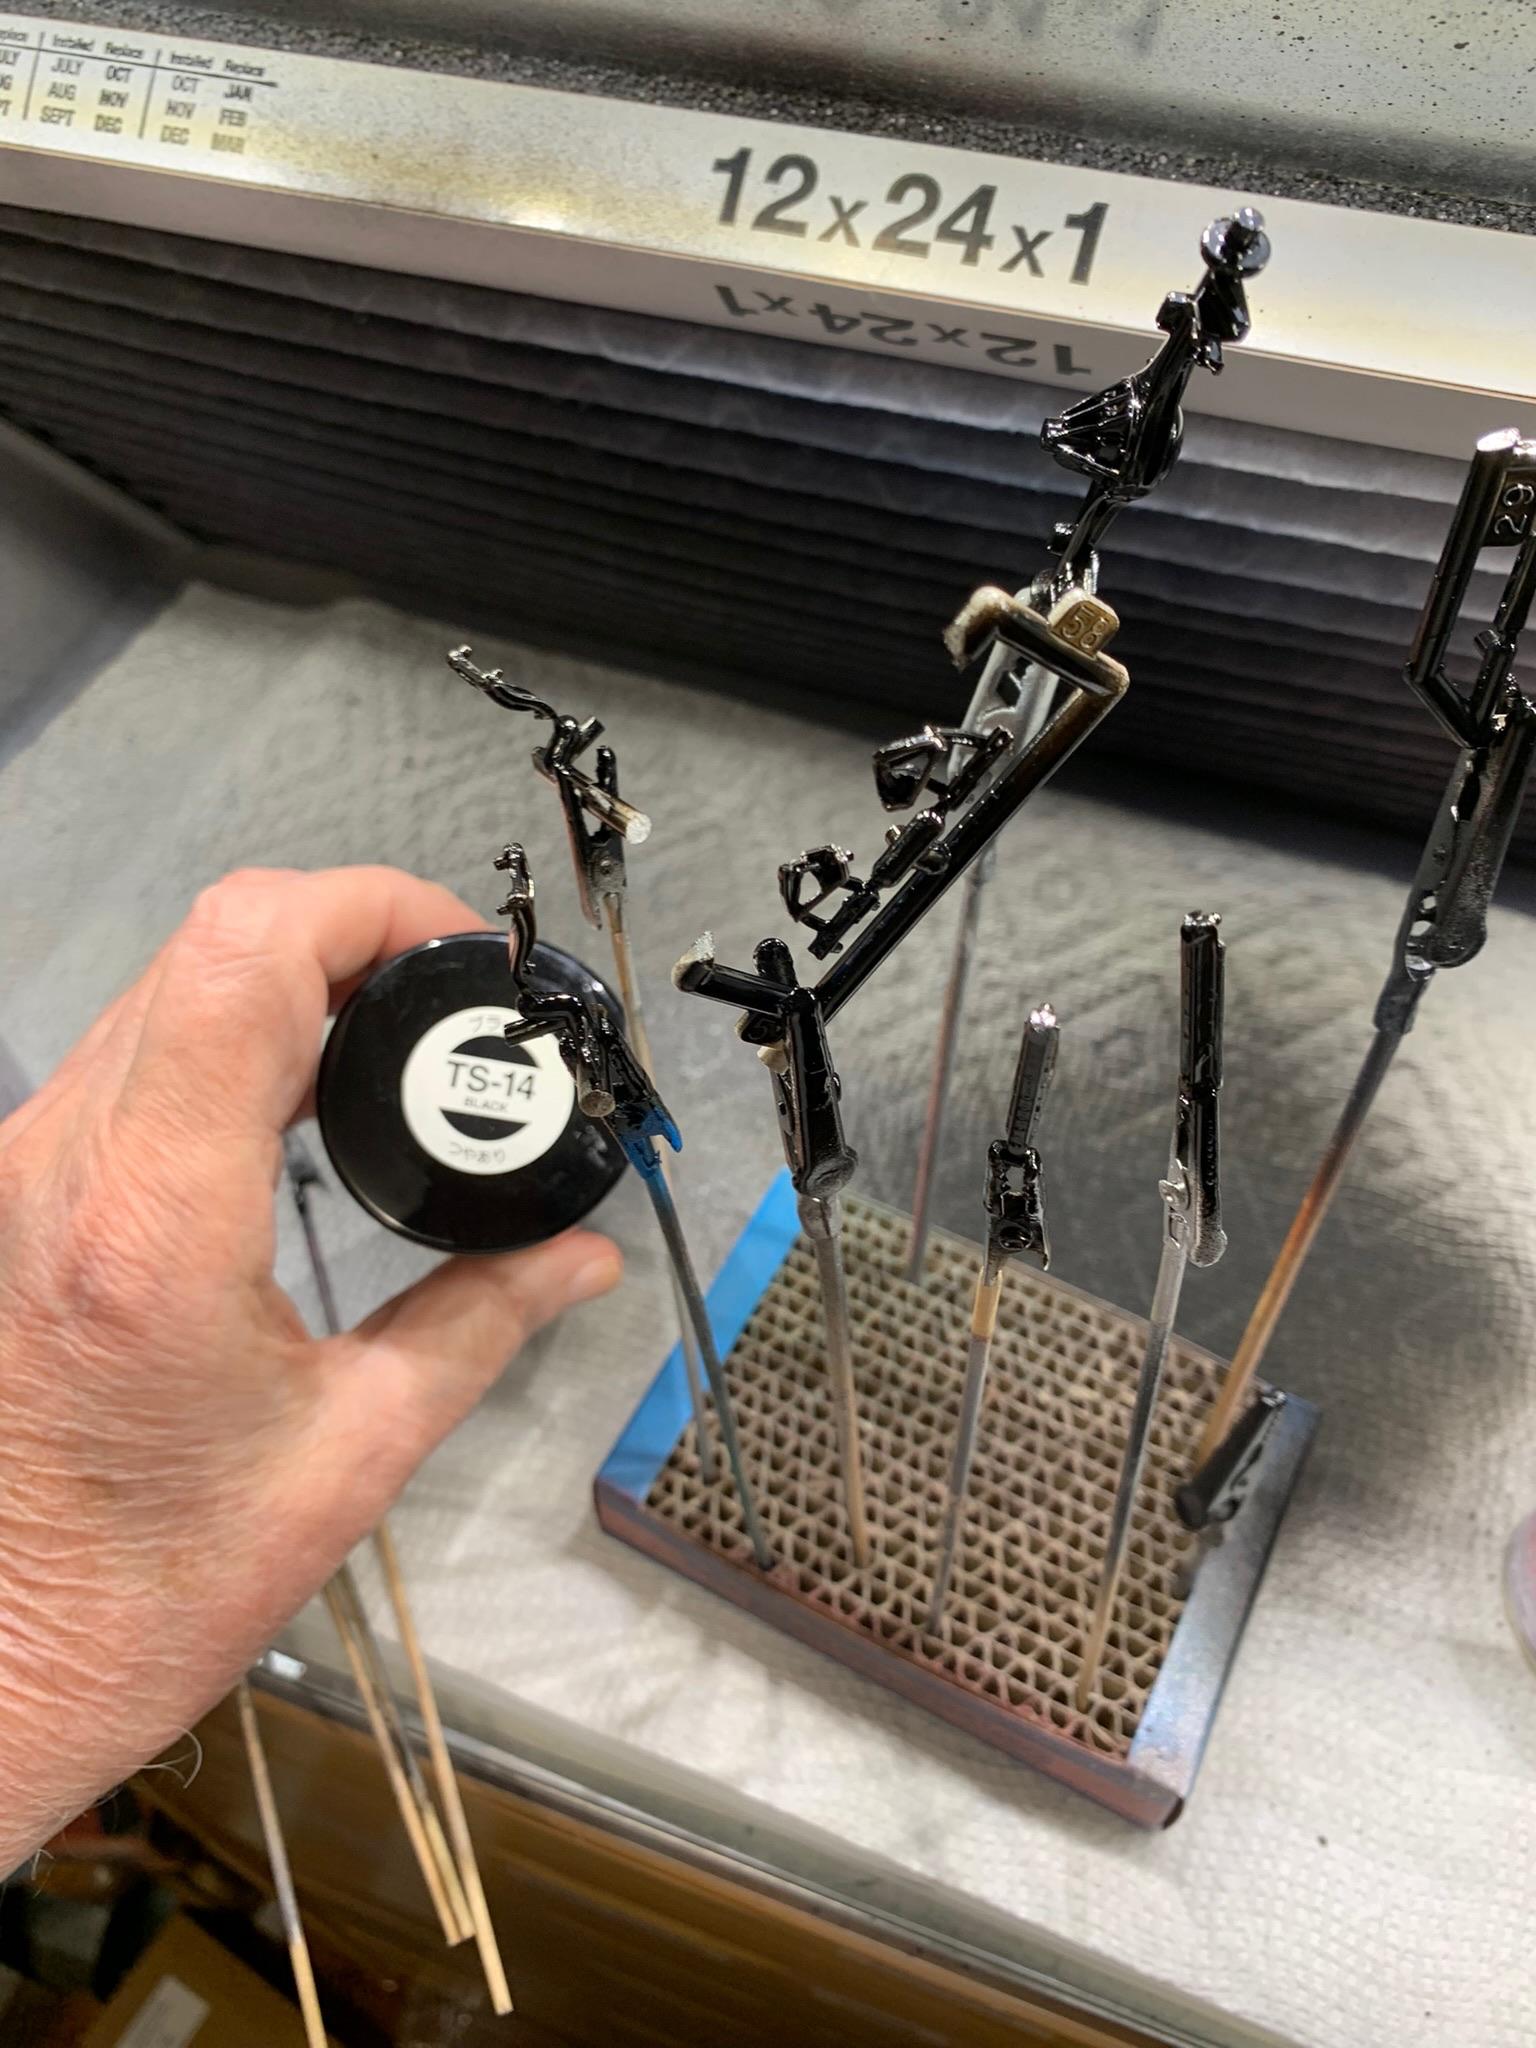
Painted some small stuff.