R. Thorne
-
Posts
1,318 -
Joined
-
Last visited
Content Type
Profiles
Forums
Events
Gallery
Everything posted by R. Thorne
-
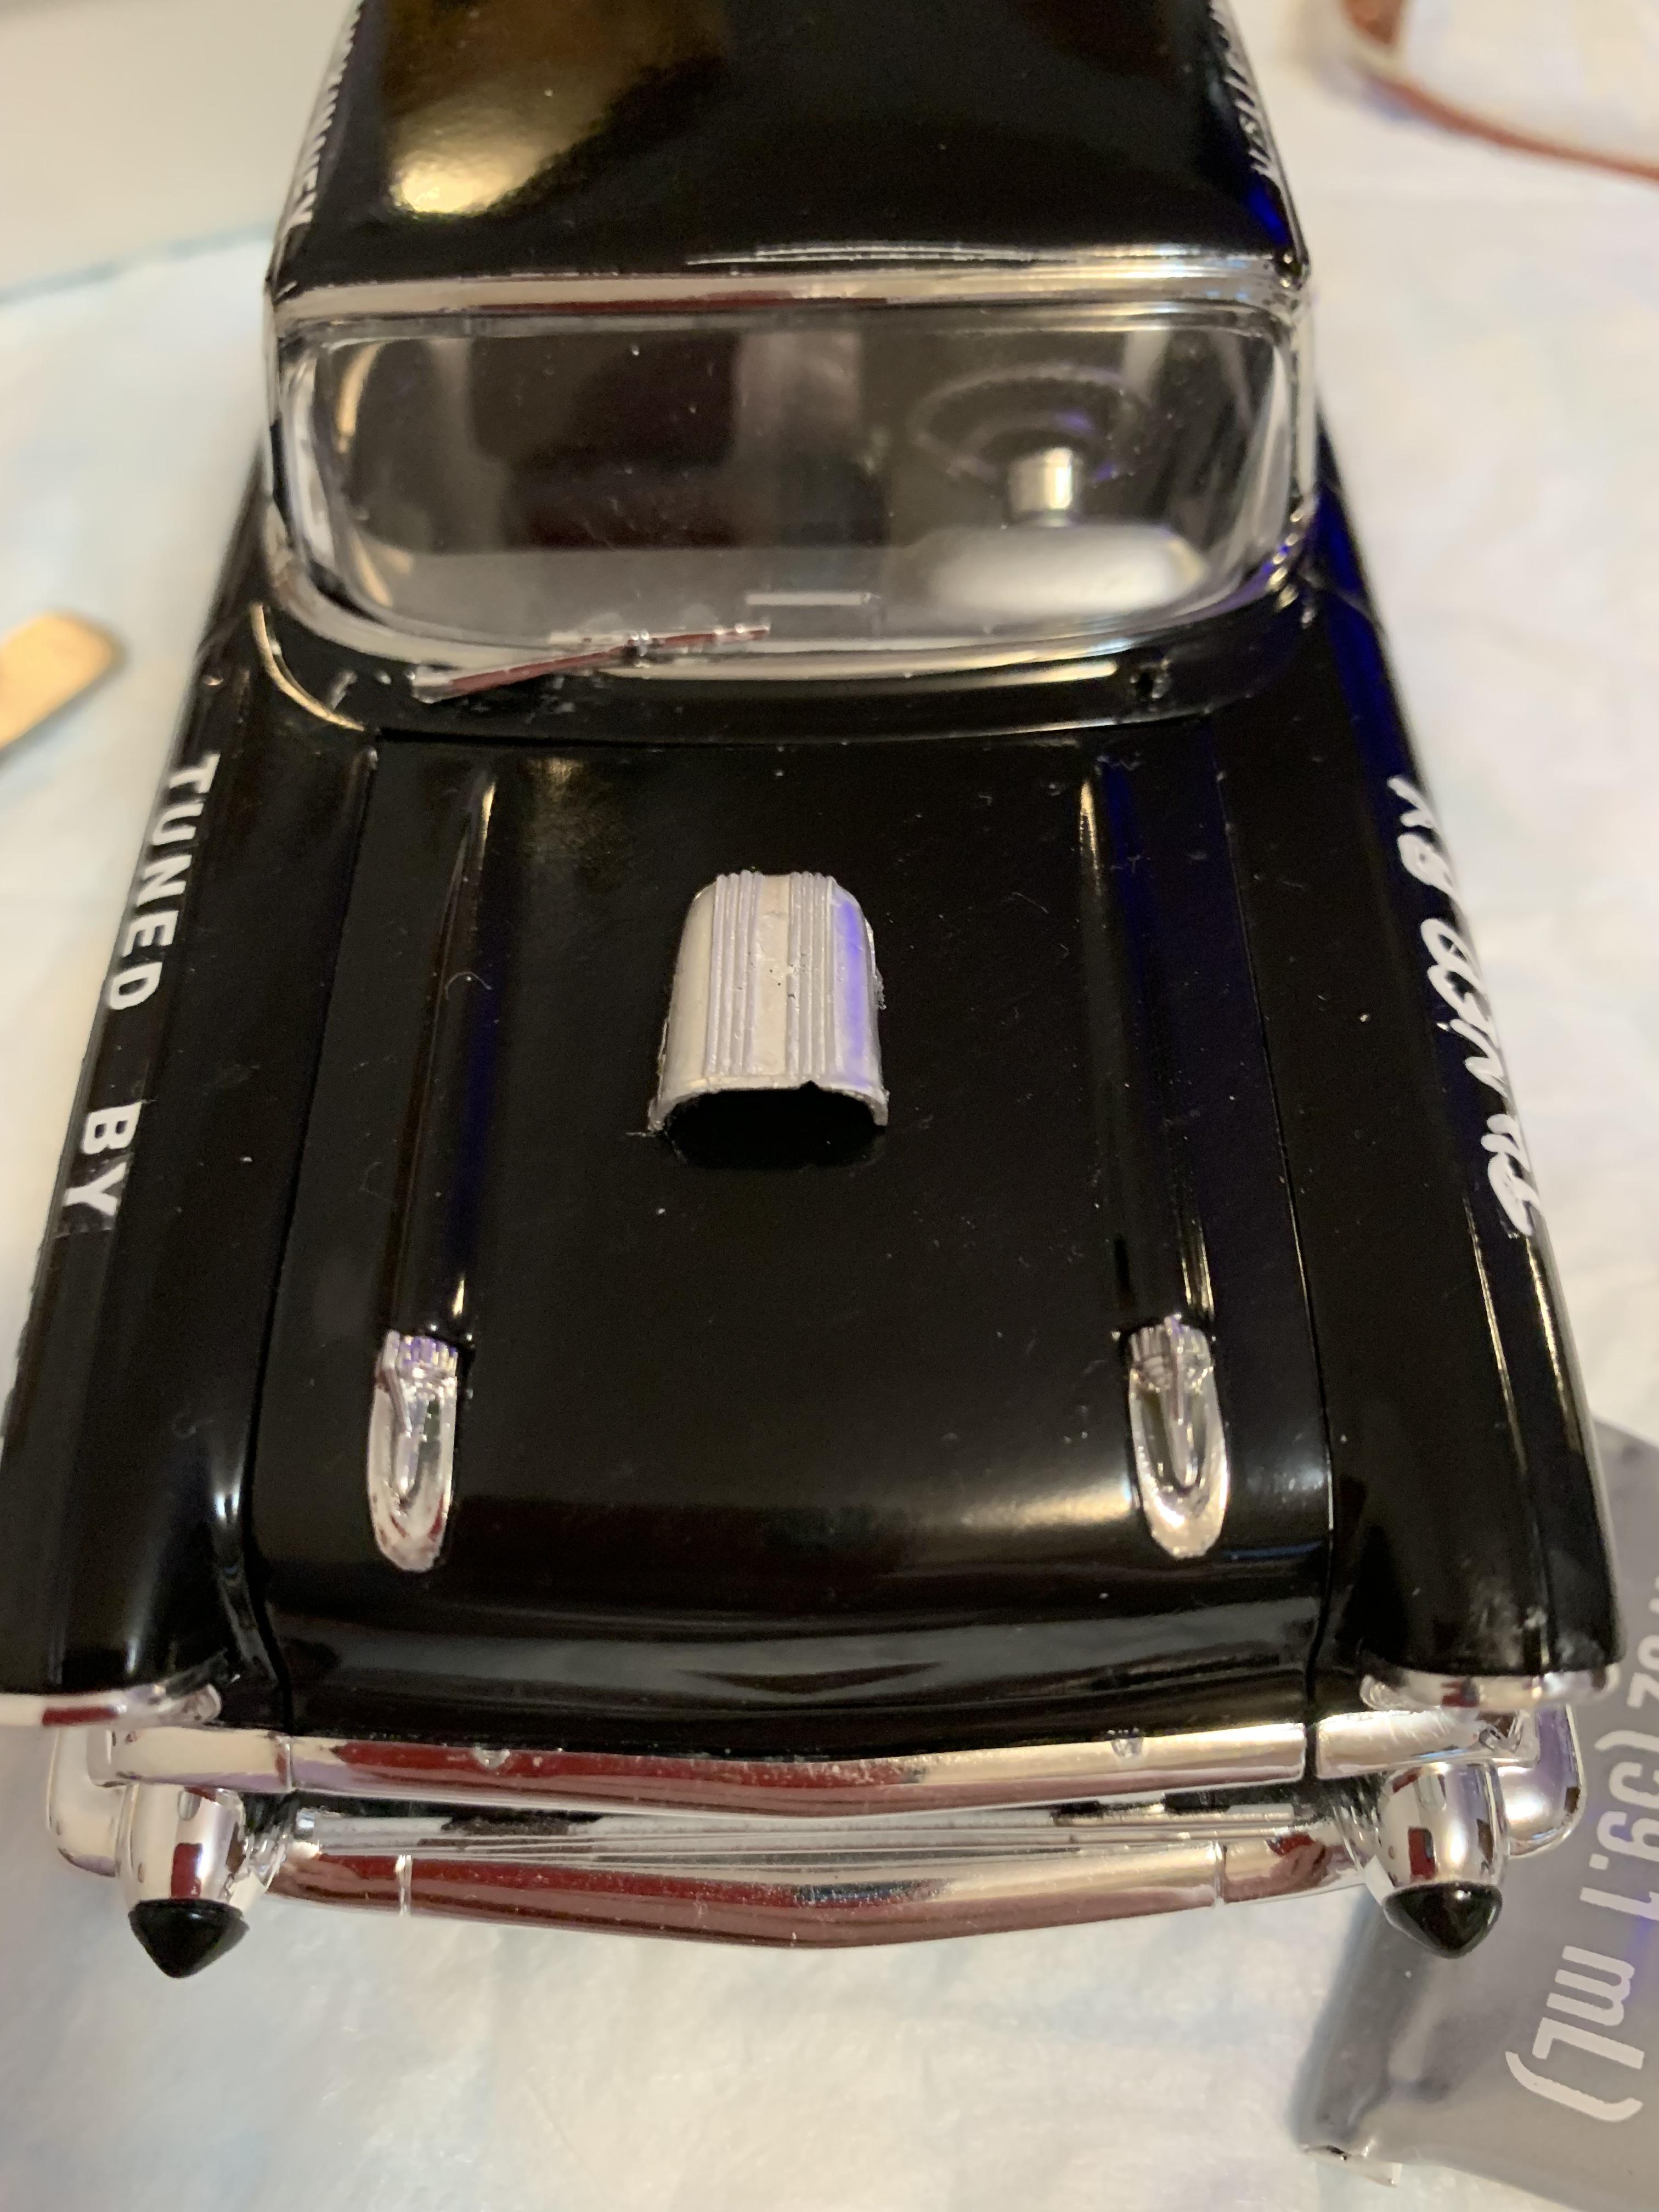
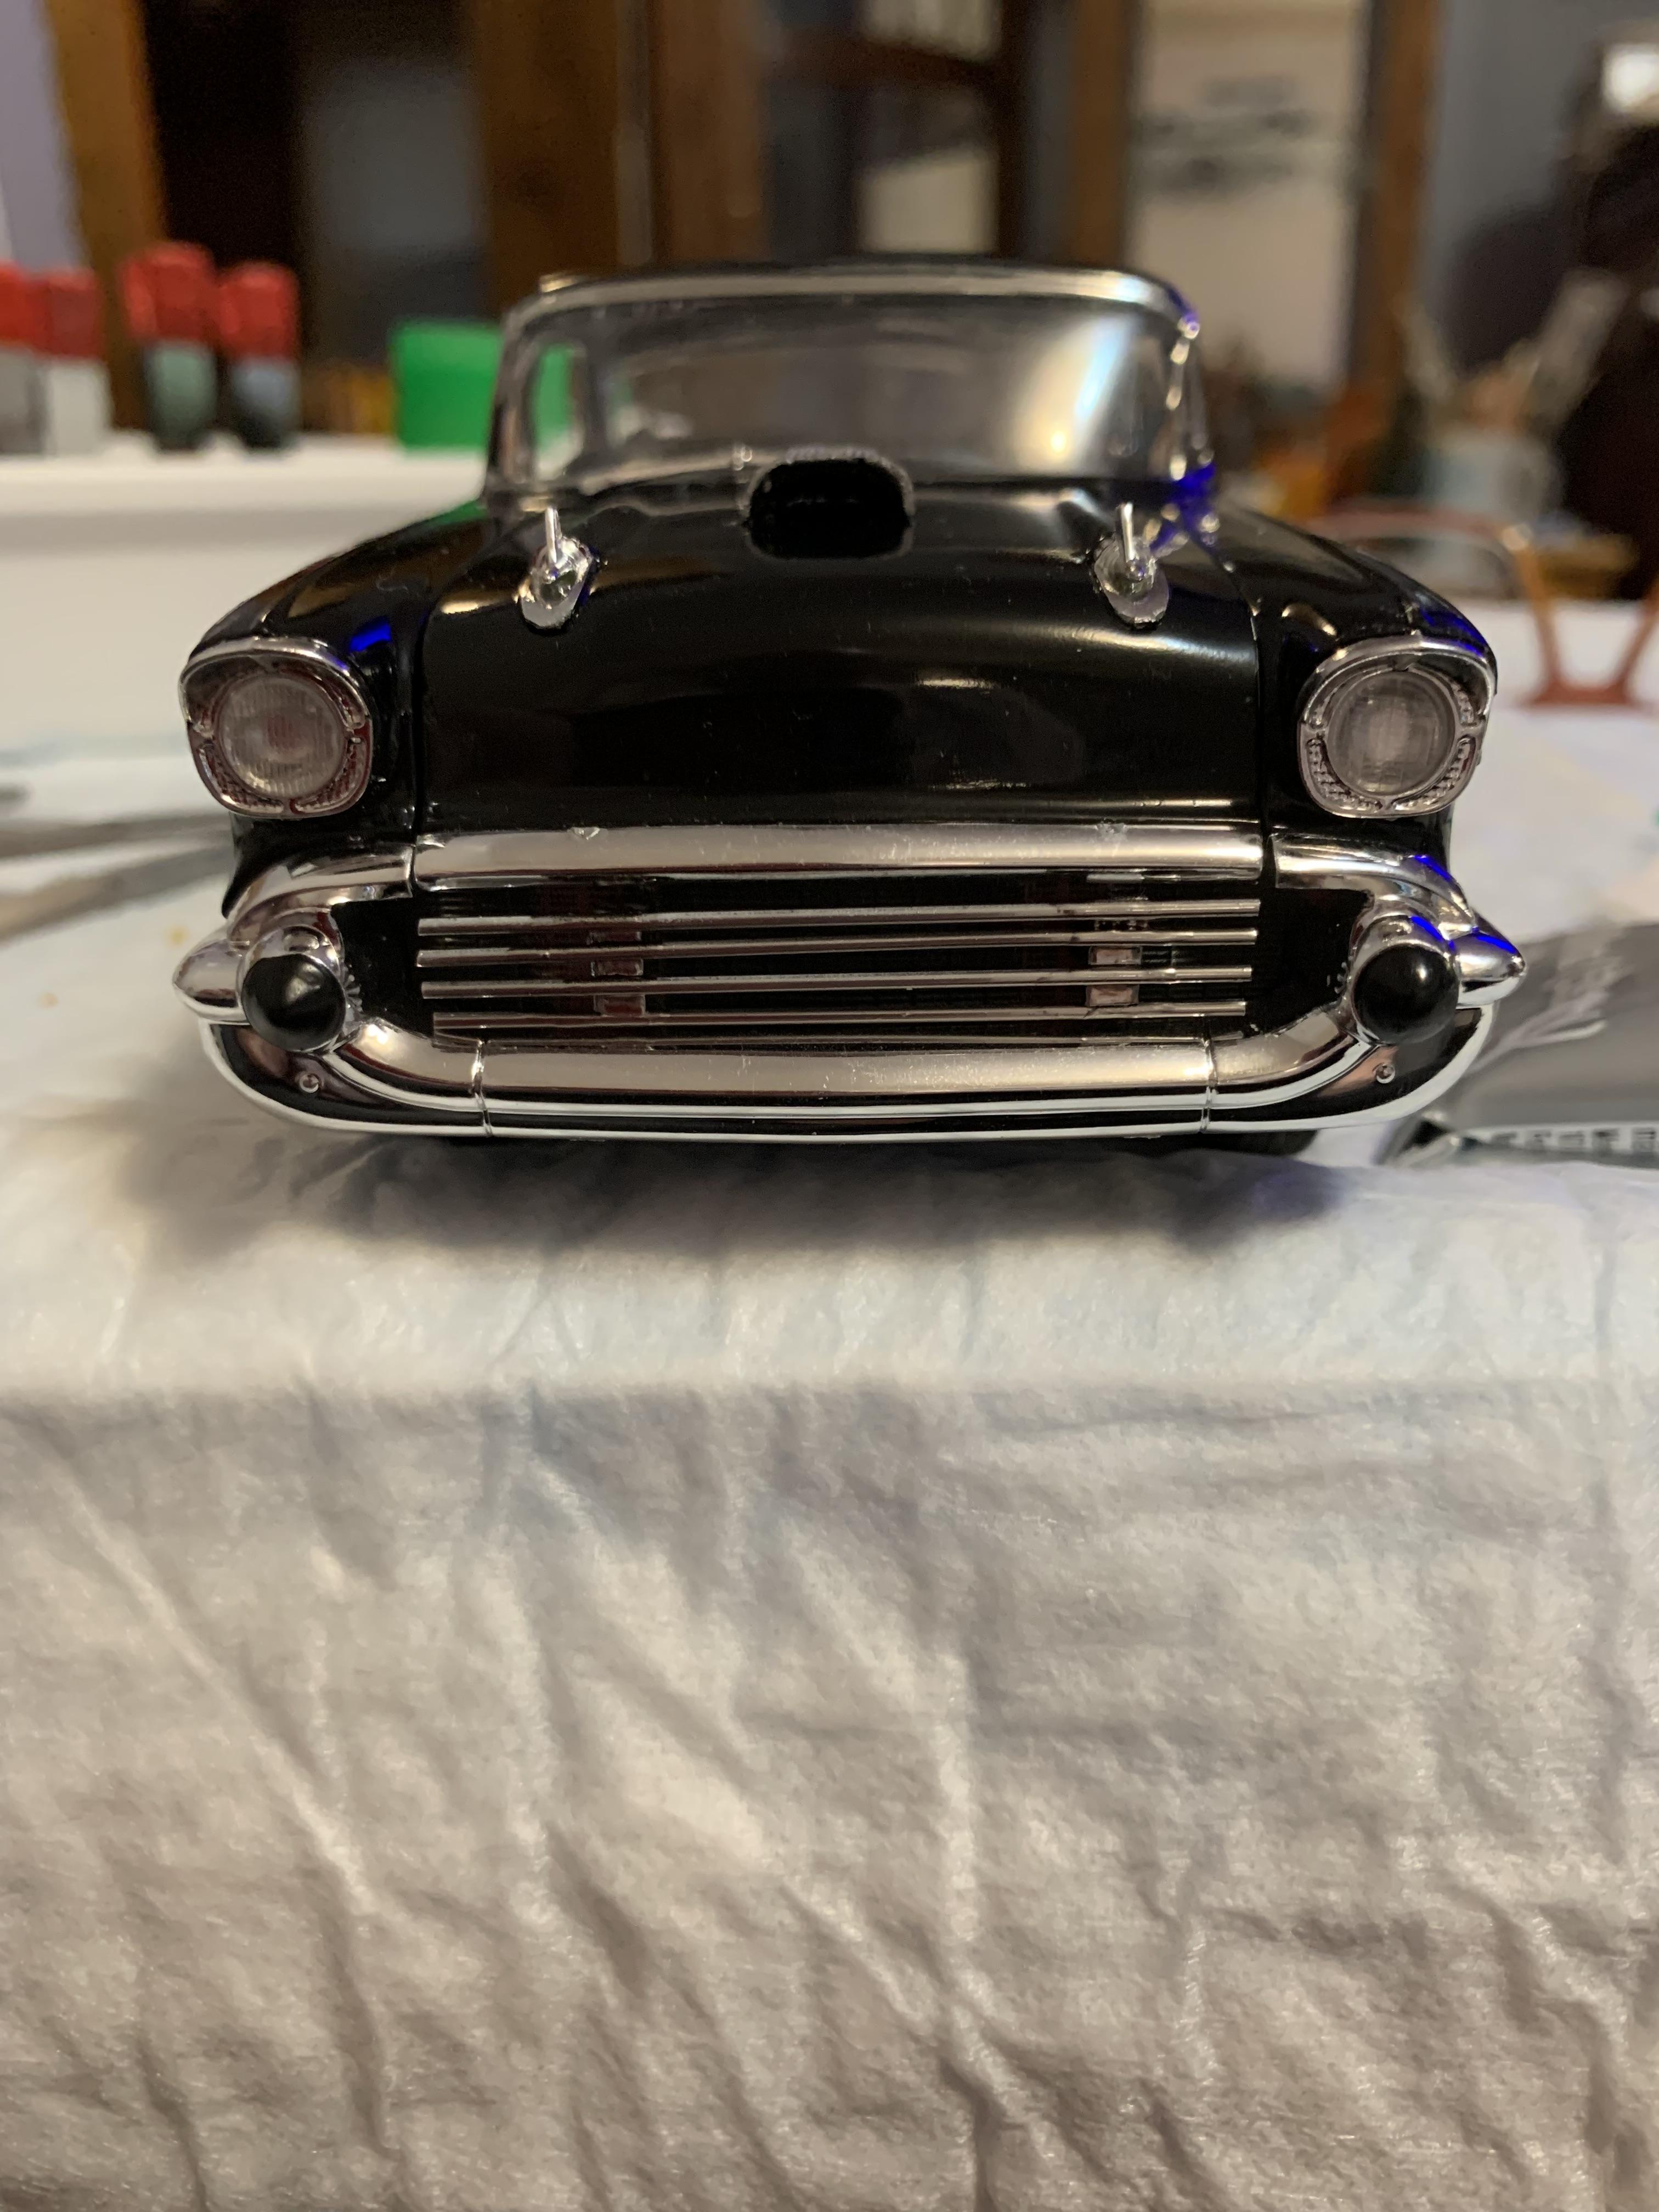
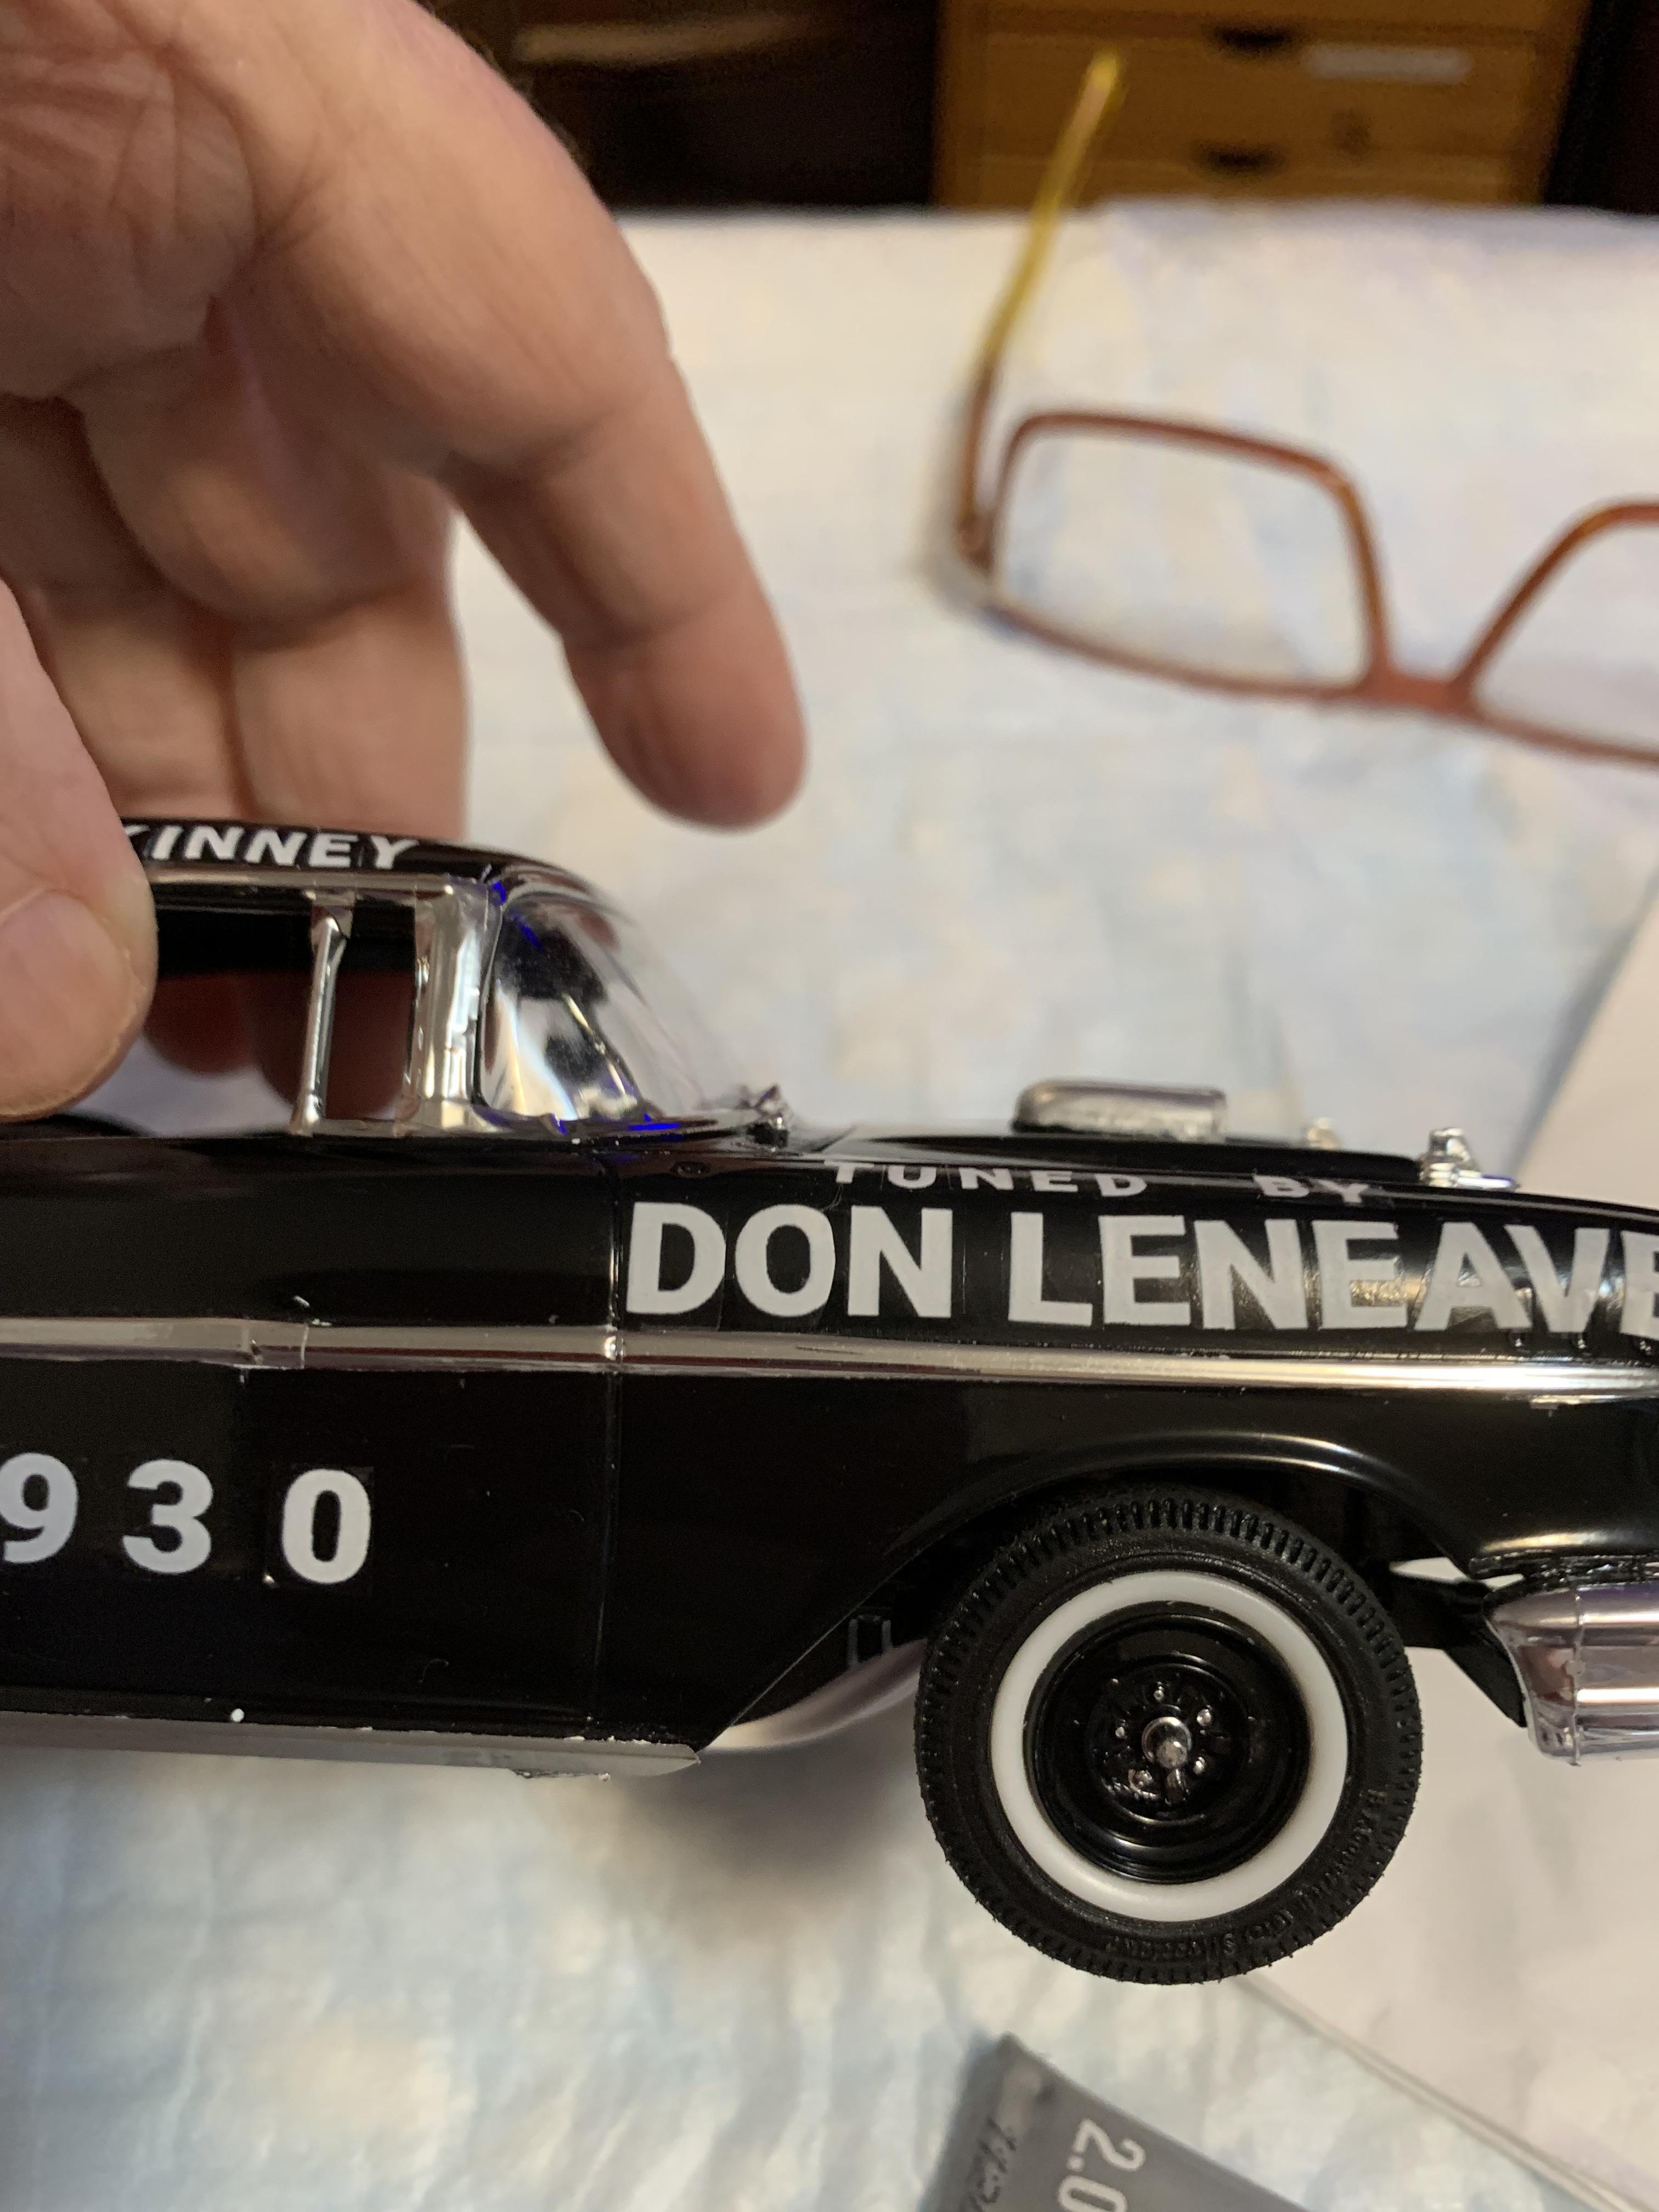
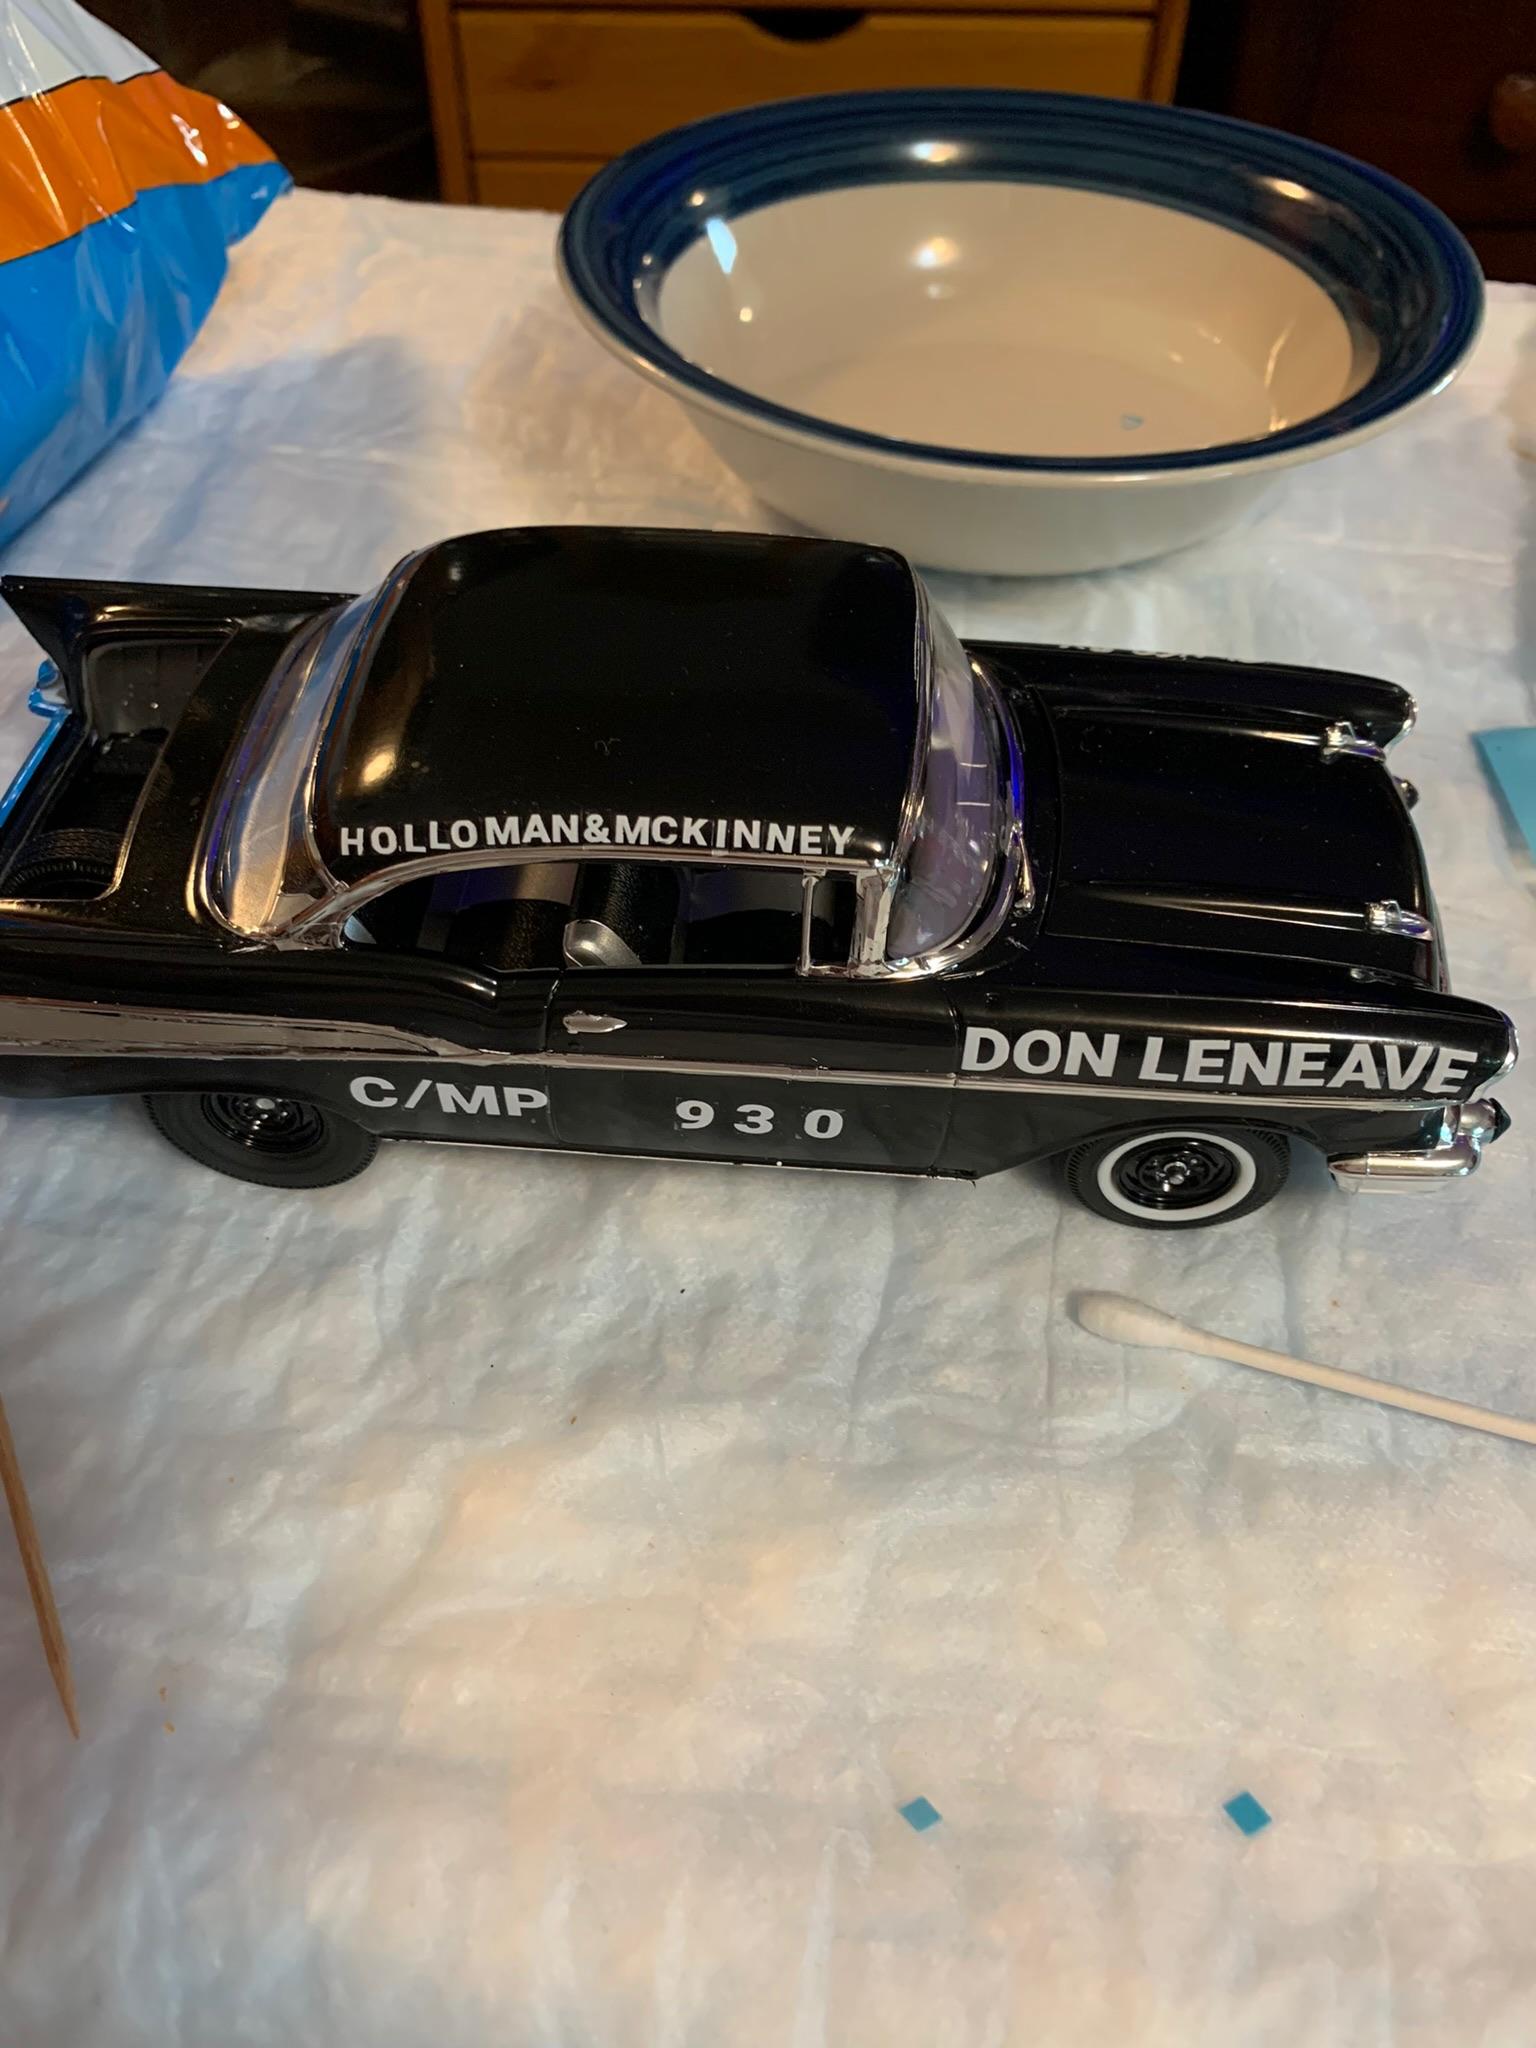
Holloman & McKinney 57 Chevy C/MP circa 1964
R. Thorne replied to R. Thorne's topic in WIP: Drag Racing Models
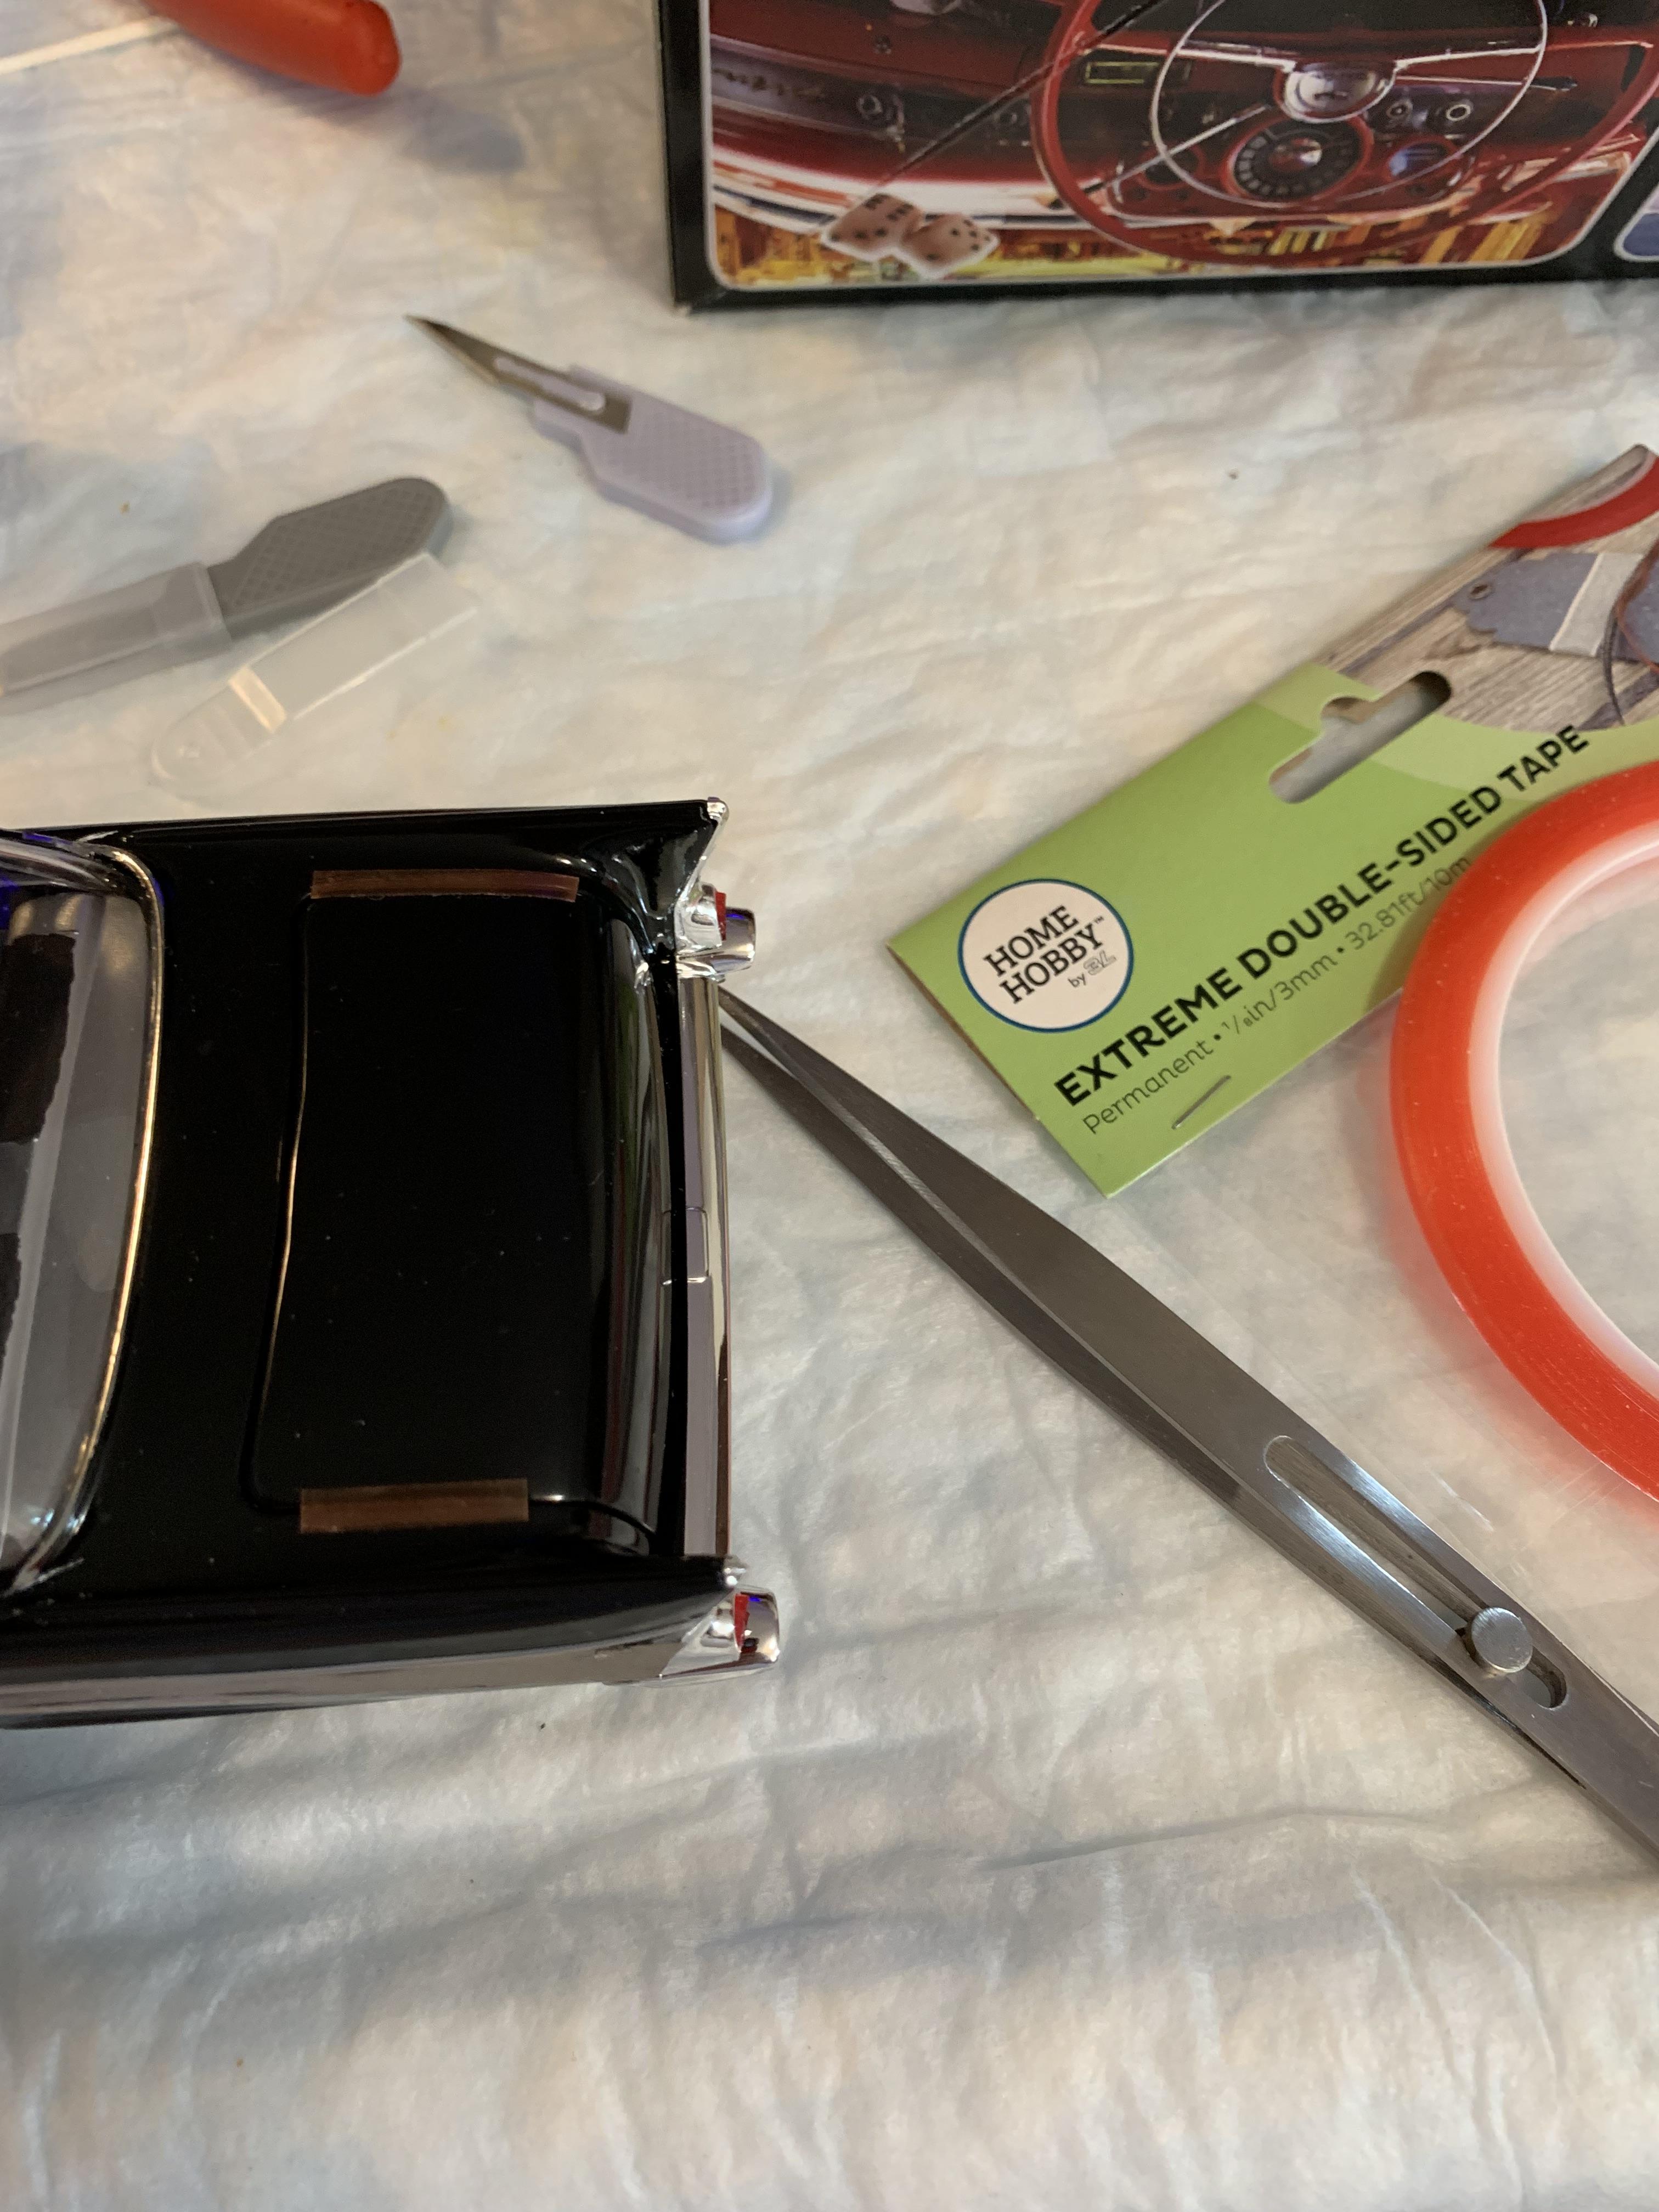
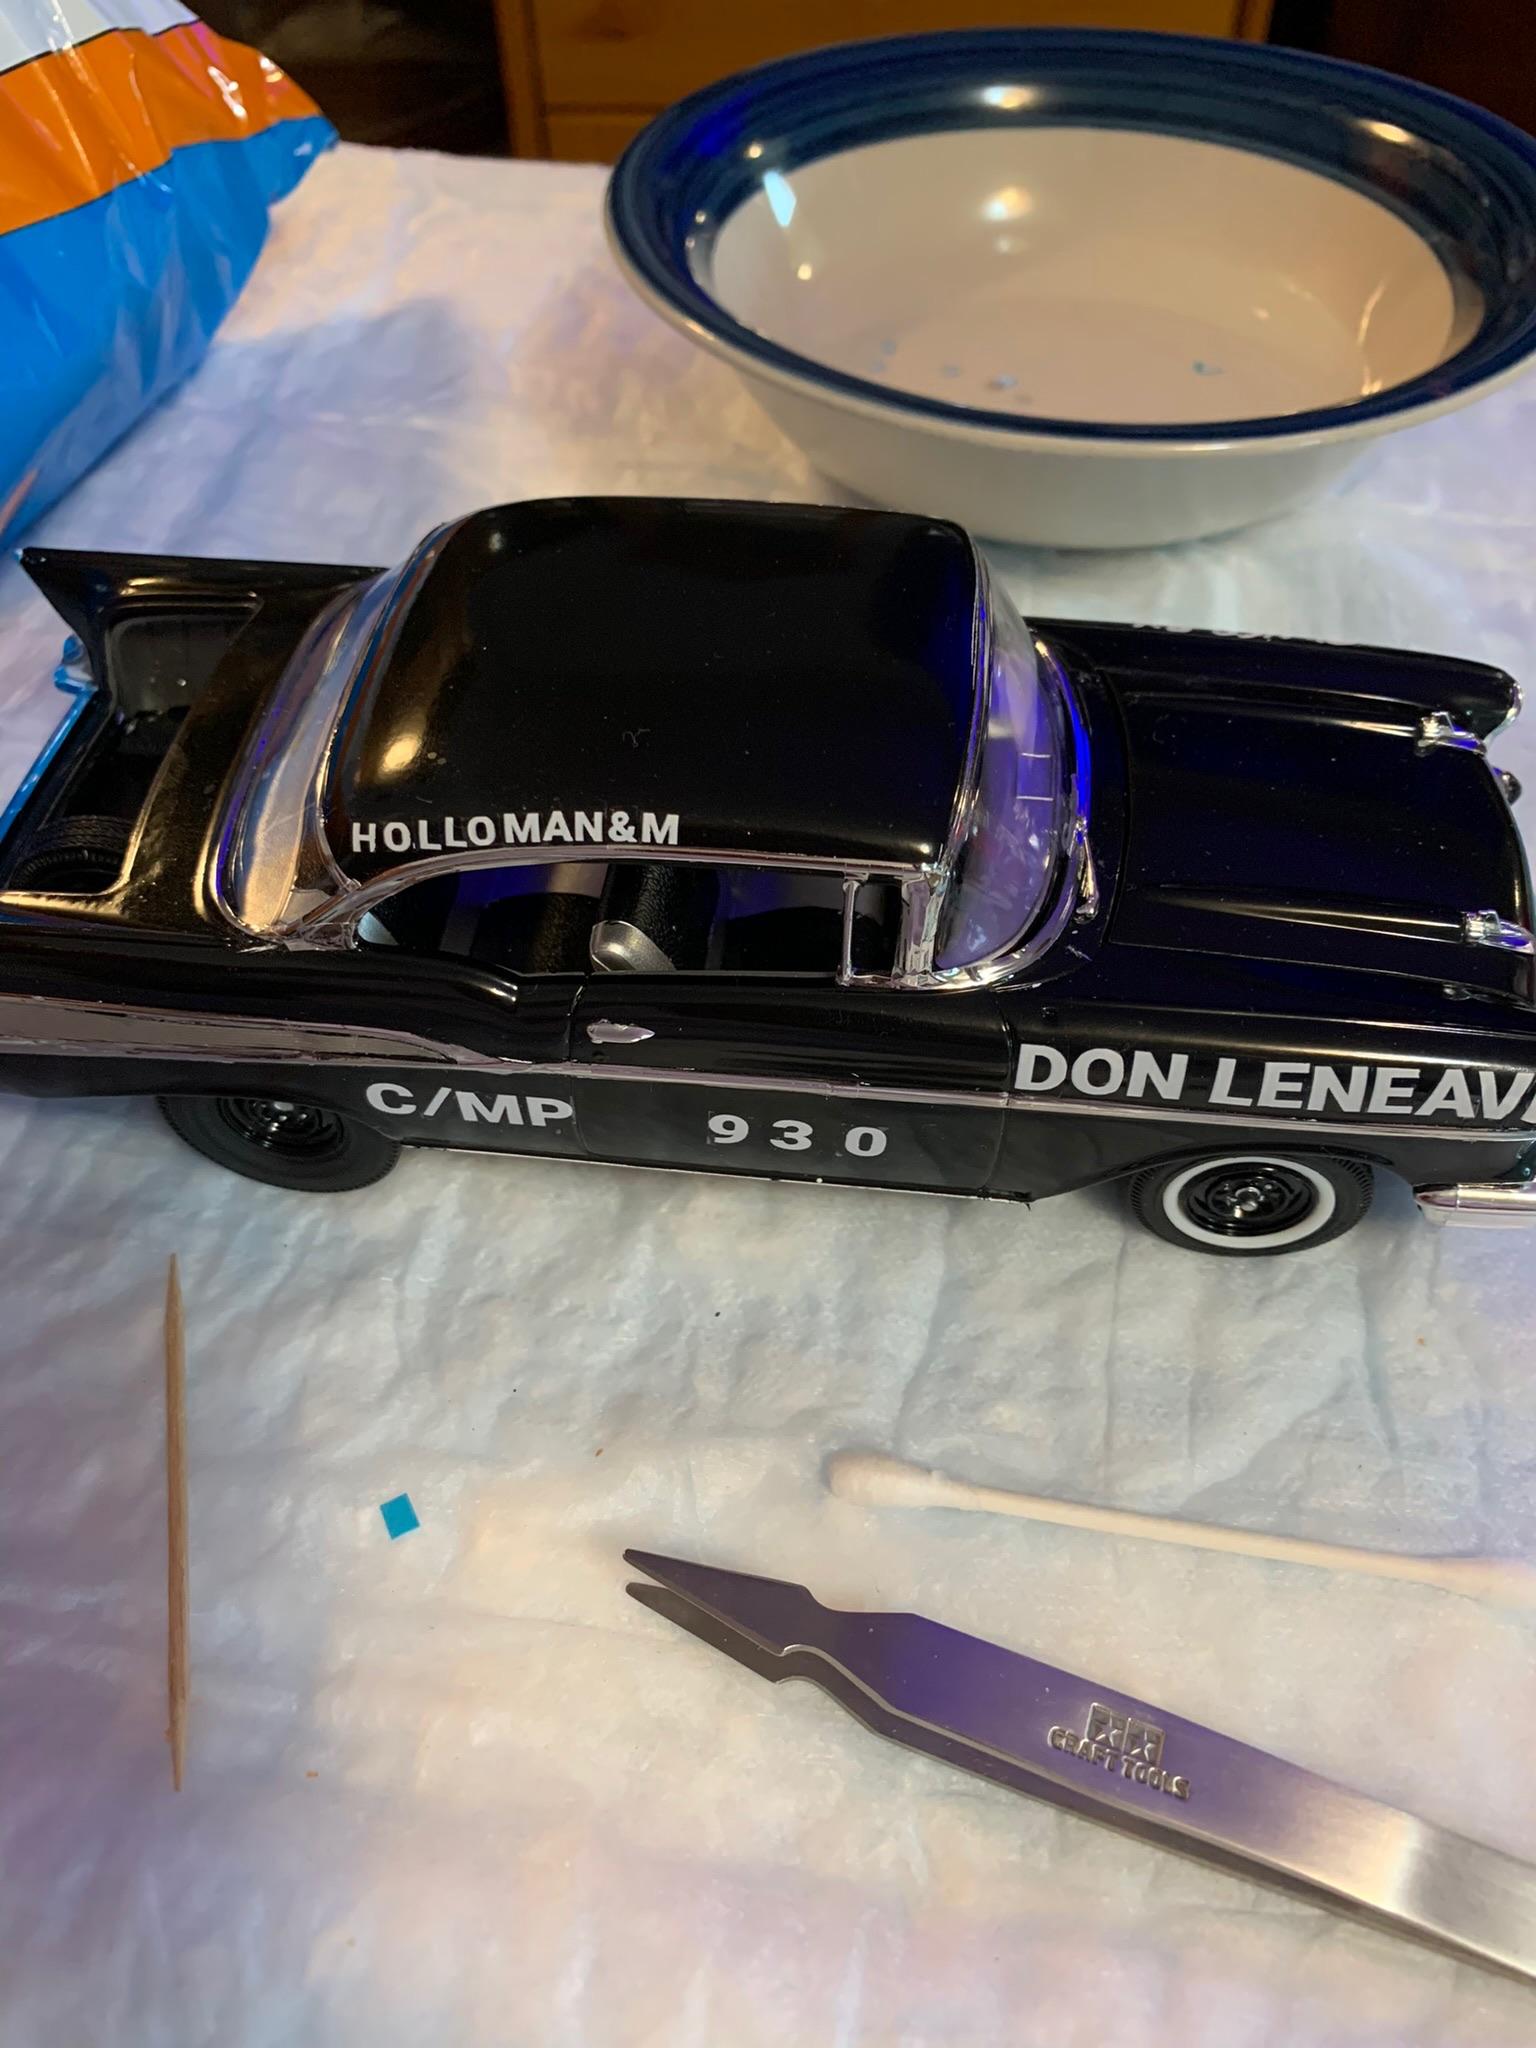
Put the top radiator hose on and tried some double sided tape to hold the hood and trunk on. Not enough trim on the trunk, so just put it on the outside. Results are not very impressive, but better than nothing and quick. Next model may use magnets. Calling it done. May take some pics later for the finished section. Comments, criticism, and suggestions are always welcome and encouraged.
-
56 Chevy Junior Stocker circa 1960’s
R. Thorne replied to R. Thorne's topic in WIP: Drag Racing Models
It’s part of the game. Black is becoming my favorite color (with model cars, that is). Gotta get back on this one, soon. -
Holloman & McKinney 57 Chevy C/MP circa 1964
R. Thorne replied to R. Thorne's topic in WIP: Drag Racing Models
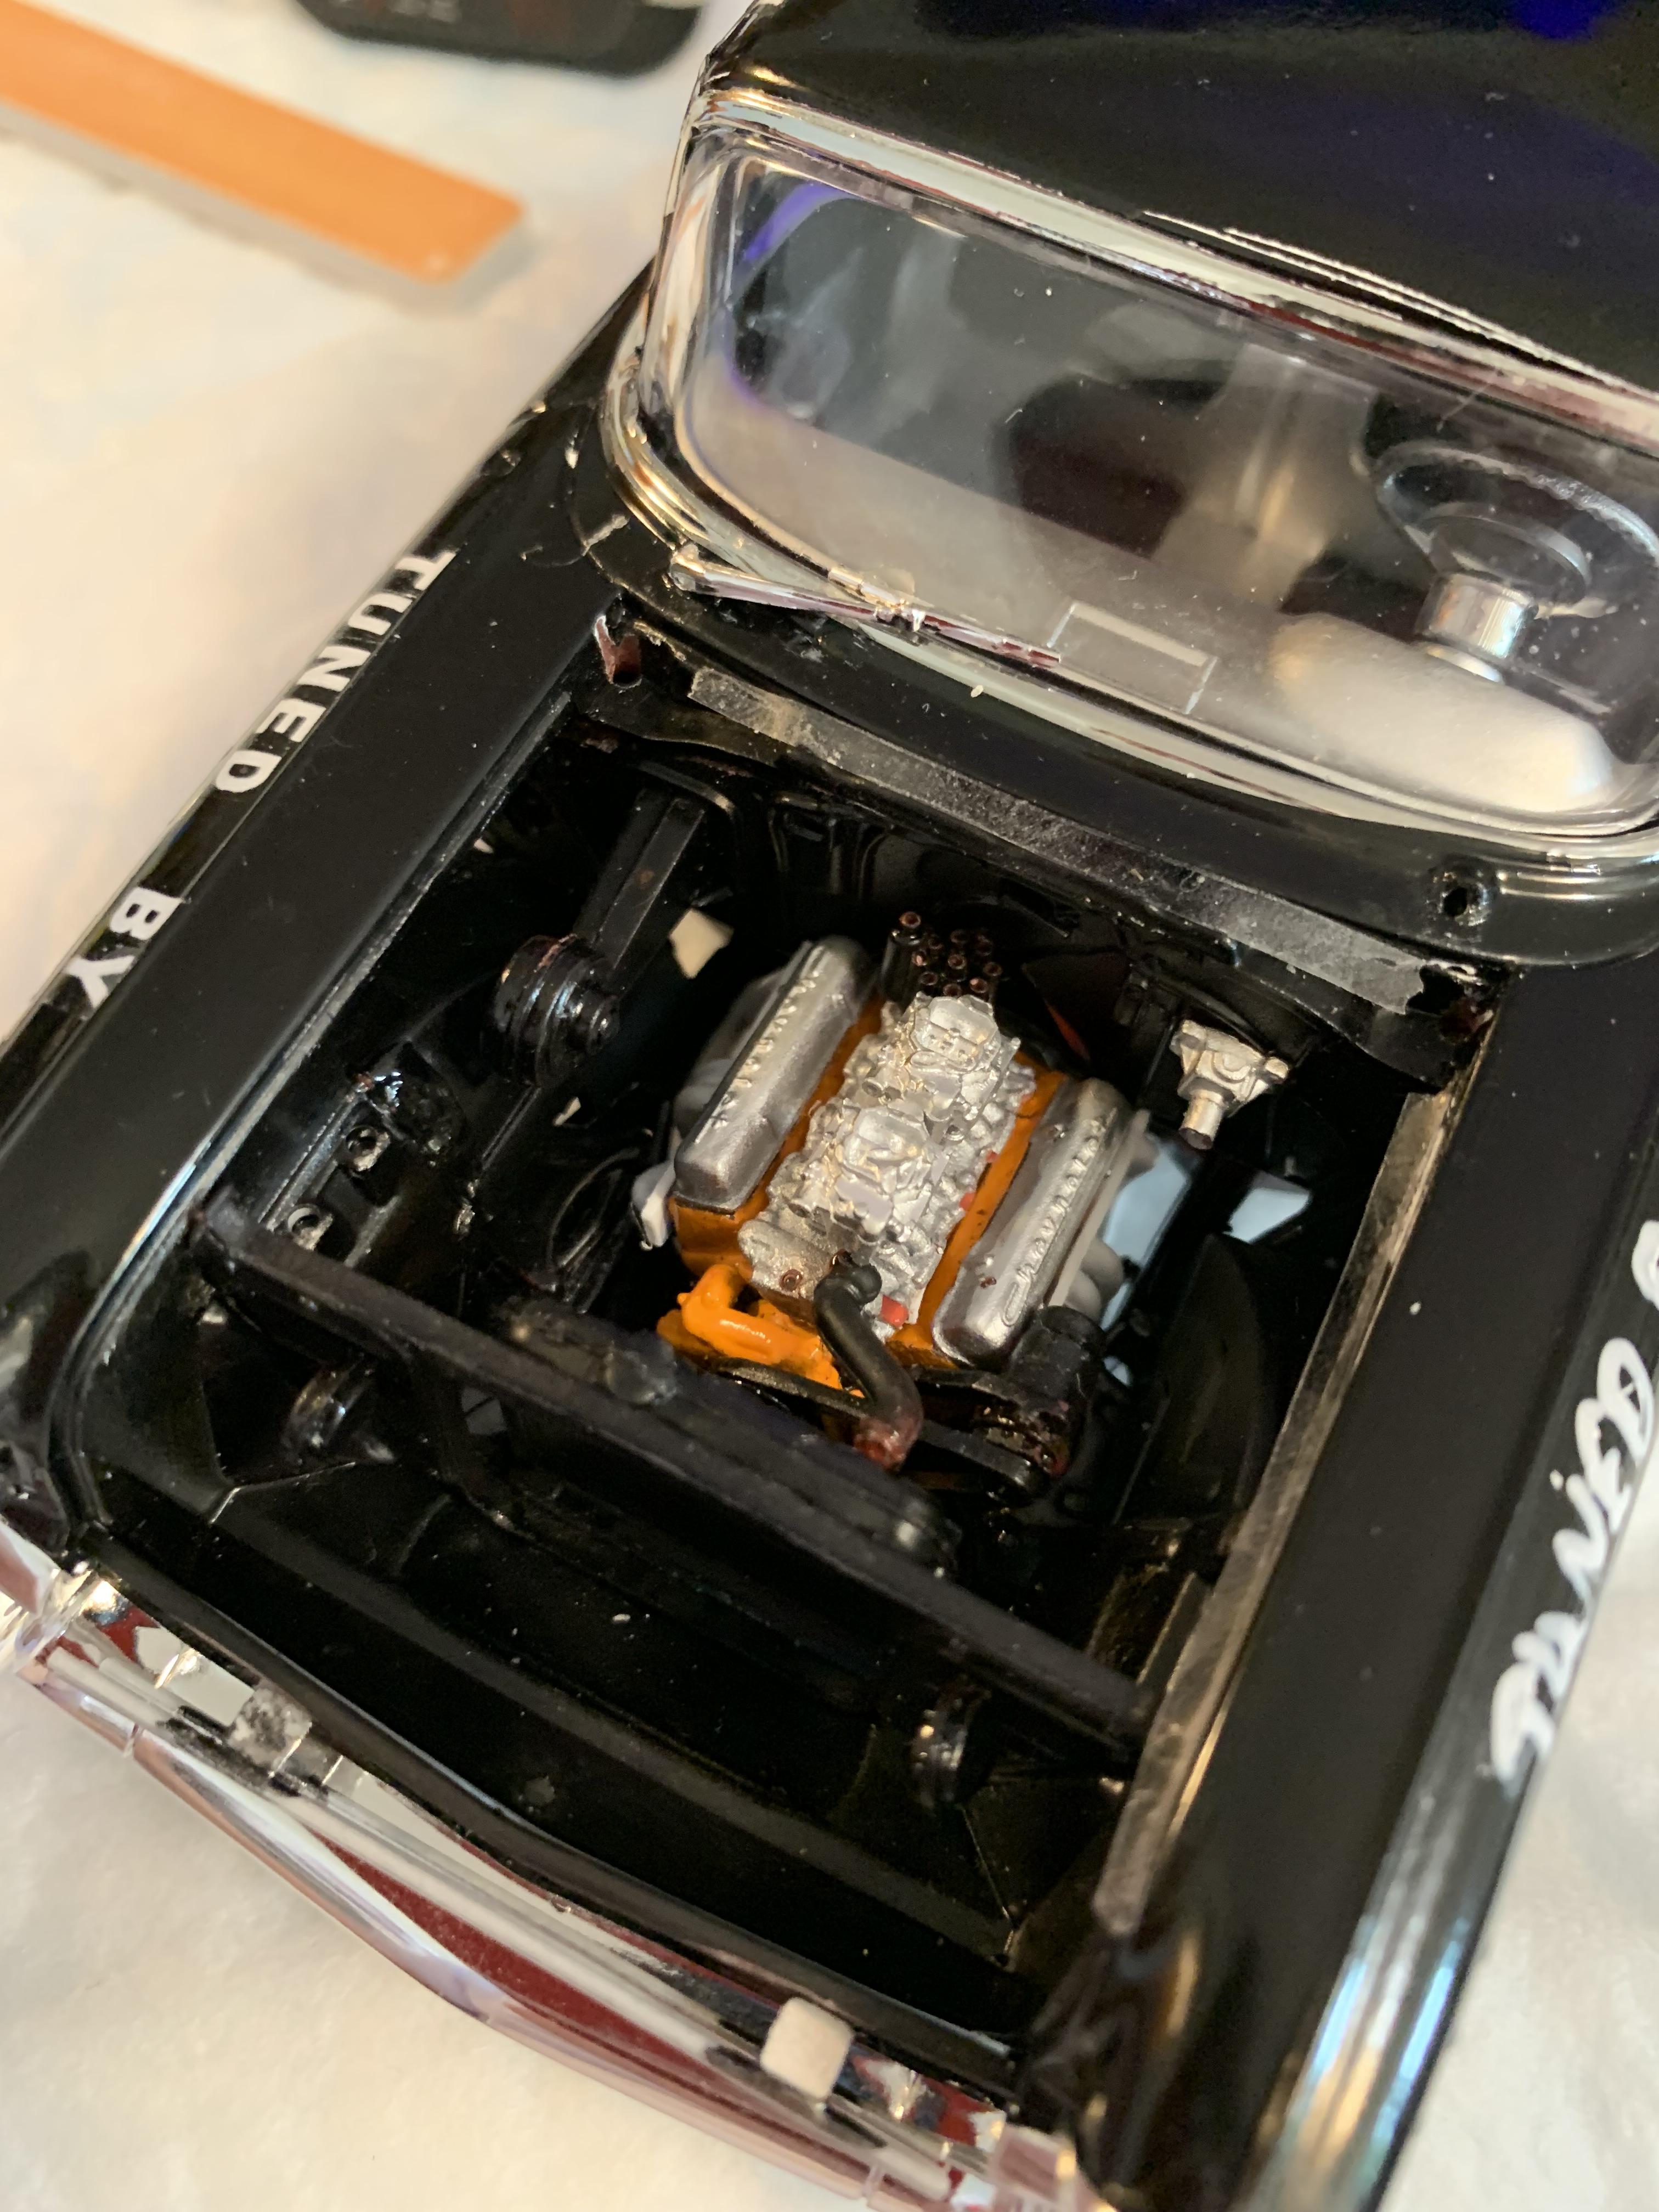
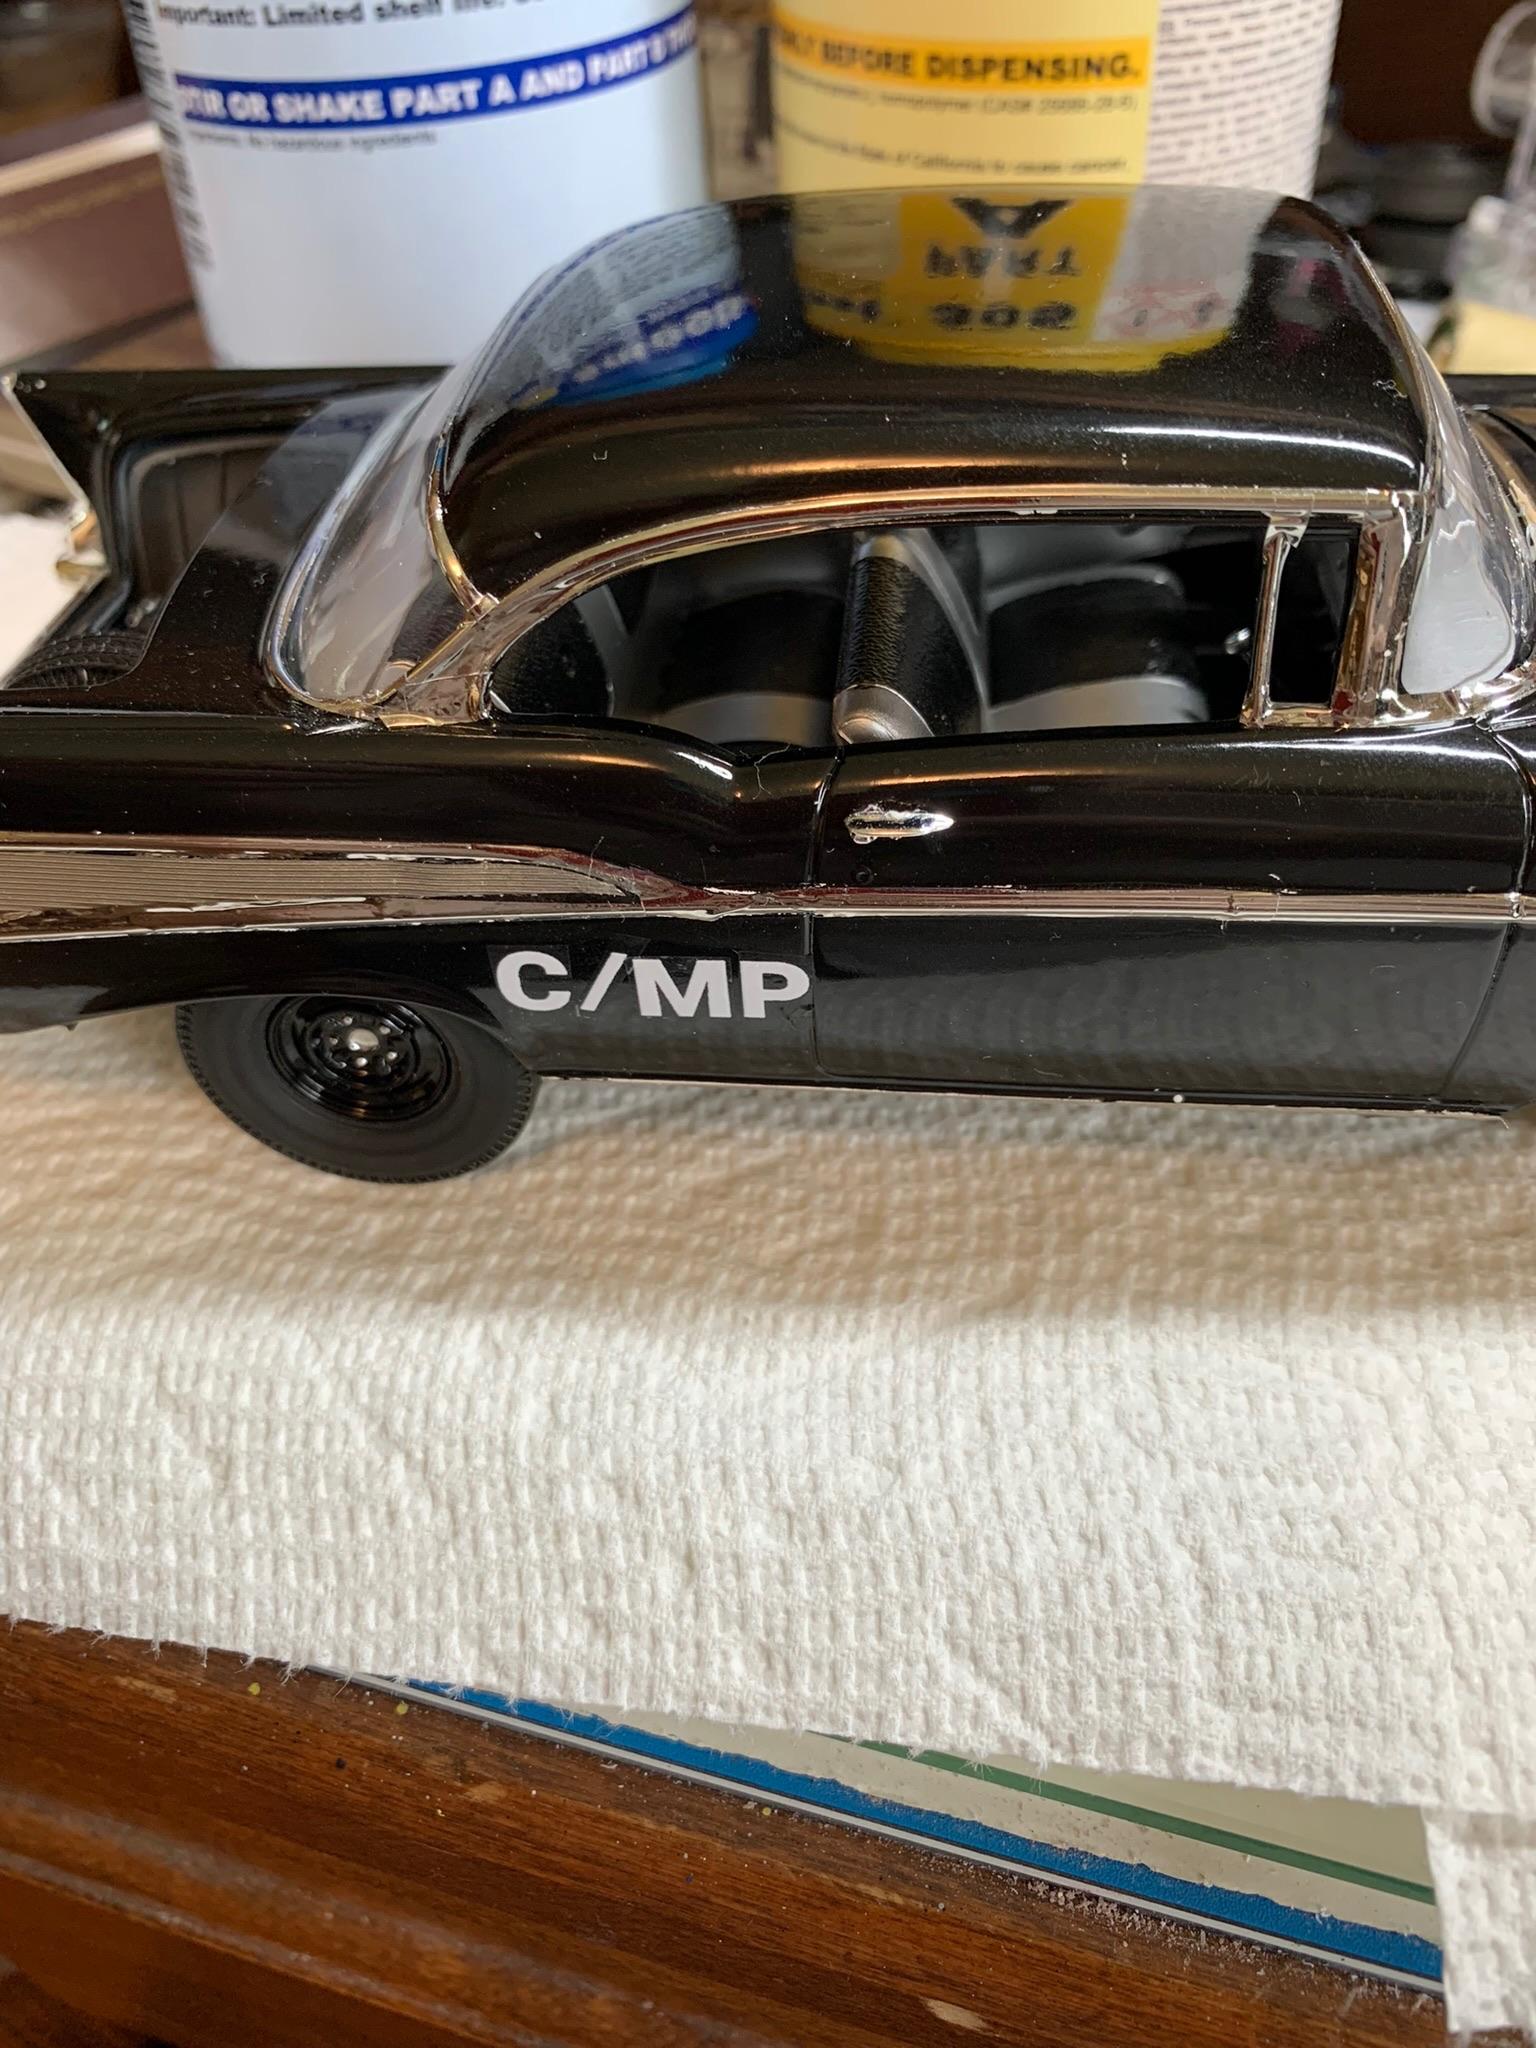
Finally got the hood scoop painted and installed (thanks again, Trevor).
-
My J/SA 62 Pontiac 421 SD & H/SA 427 Impala SS
R. Thorne replied to Maurice Henderson's topic in Drag Racing
Lots of work and care put into these 2 models. Keep ‘em coming. By the way, the 62 with 2 fours (428 engine) like Norm Warling’s, would run in F/SA. With 3 deuces (389 engine), probably K/SA, like my friend Bob Michael’s. I use .005” clear styrene for those pesky side windows and sometimes hold them in with double back clear tape. Oh, and Steve’s car would be a 396-325h.p. Car.
-
Holloman & McKinney 57 Chevy C/MP circa 1964
R. Thorne replied to R. Thorne's topic in WIP: Drag Racing Models
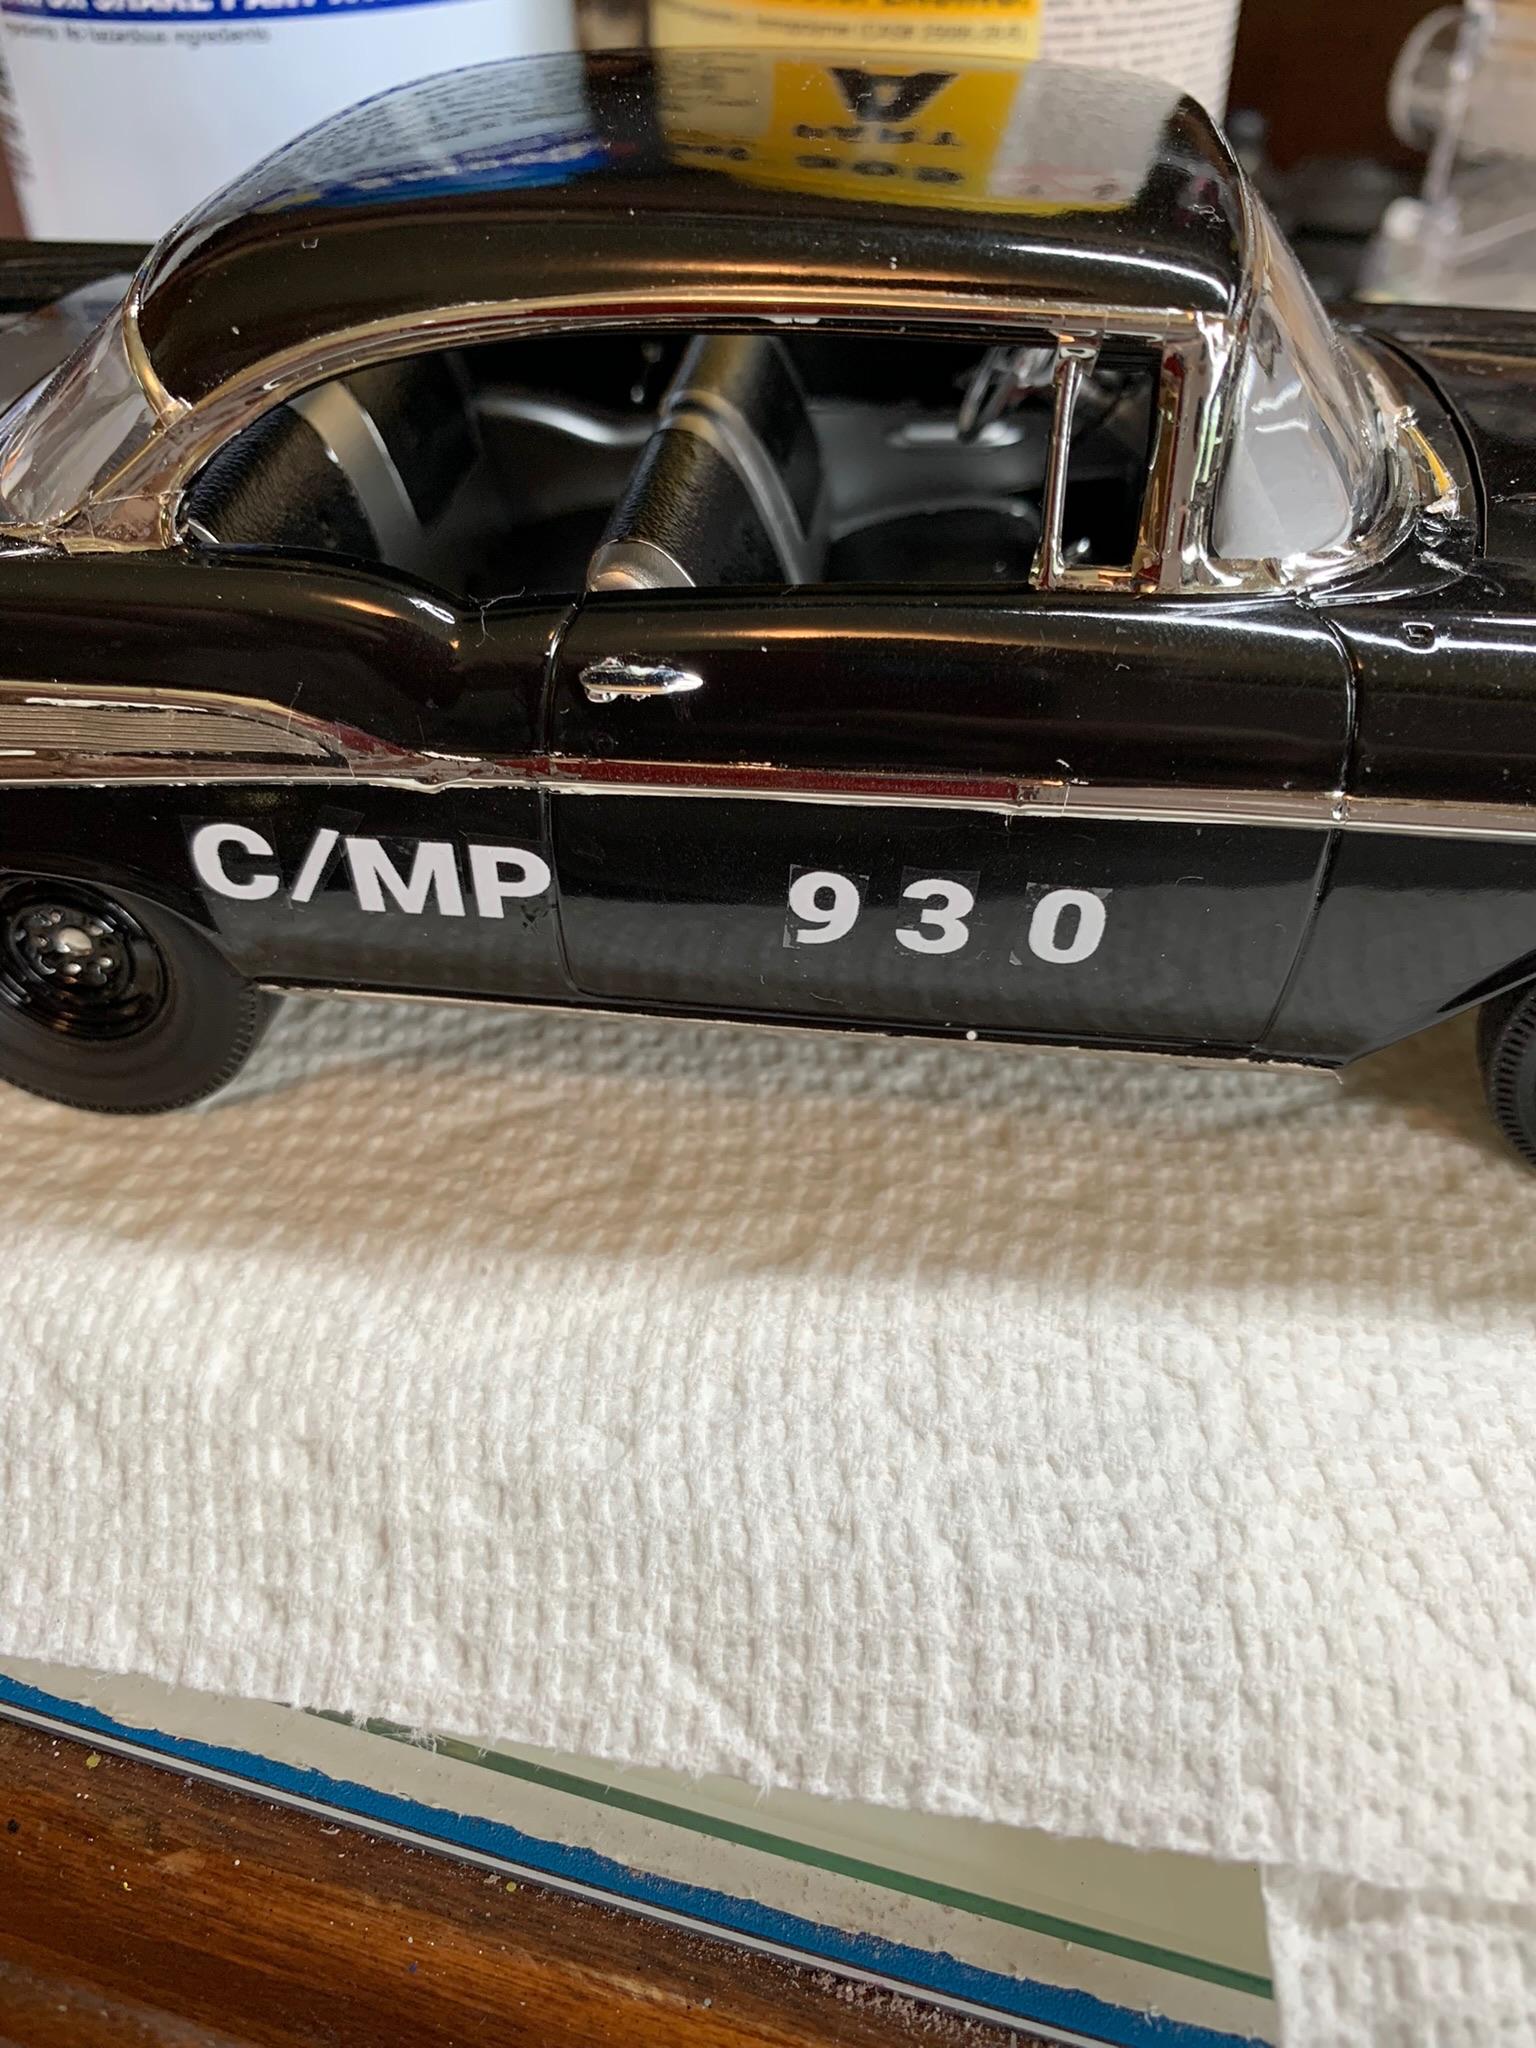
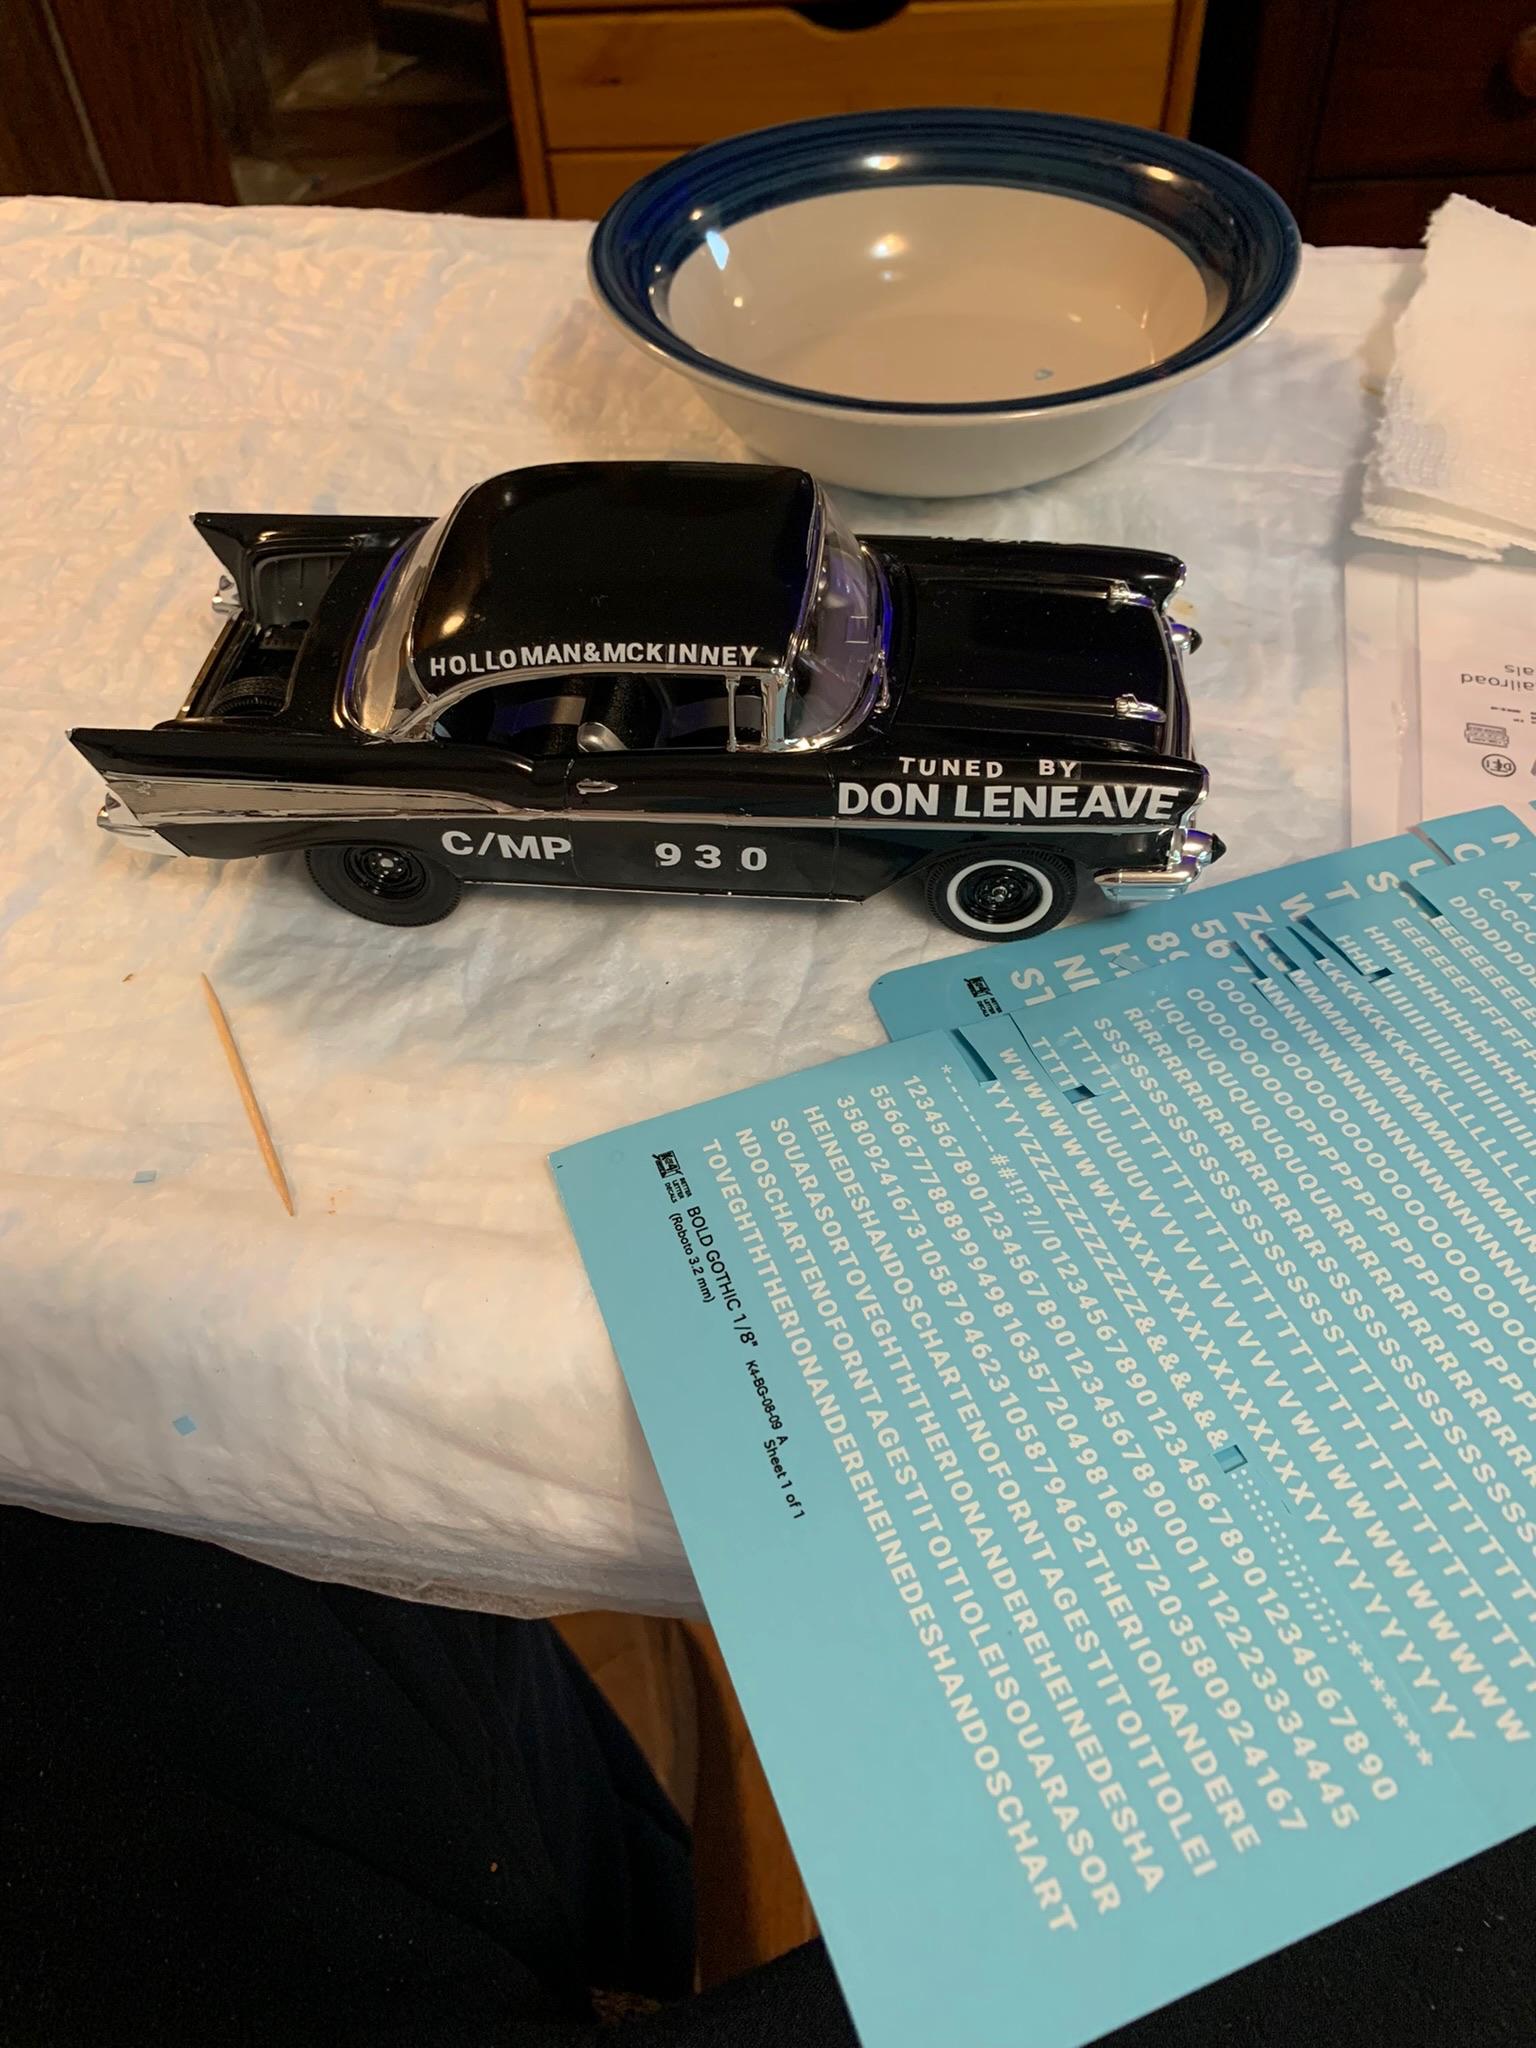
Just wasn’t happy with the lettering, so tried some Gothic 1/8” and 1/4” stuff I had for another project. You have to trim it close as they are not unitized for each one (one big decal). Used this on the passenger side. I like it better. May just leave the driver’s side hand lettered to remind me of the difference.
-
Holloman & McKinney 57 Chevy C/MP circa 1964
R. Thorne replied to R. Thorne's topic in WIP: Drag Racing Models
Thanks, Ken. Still working on the hood scoop casting. -
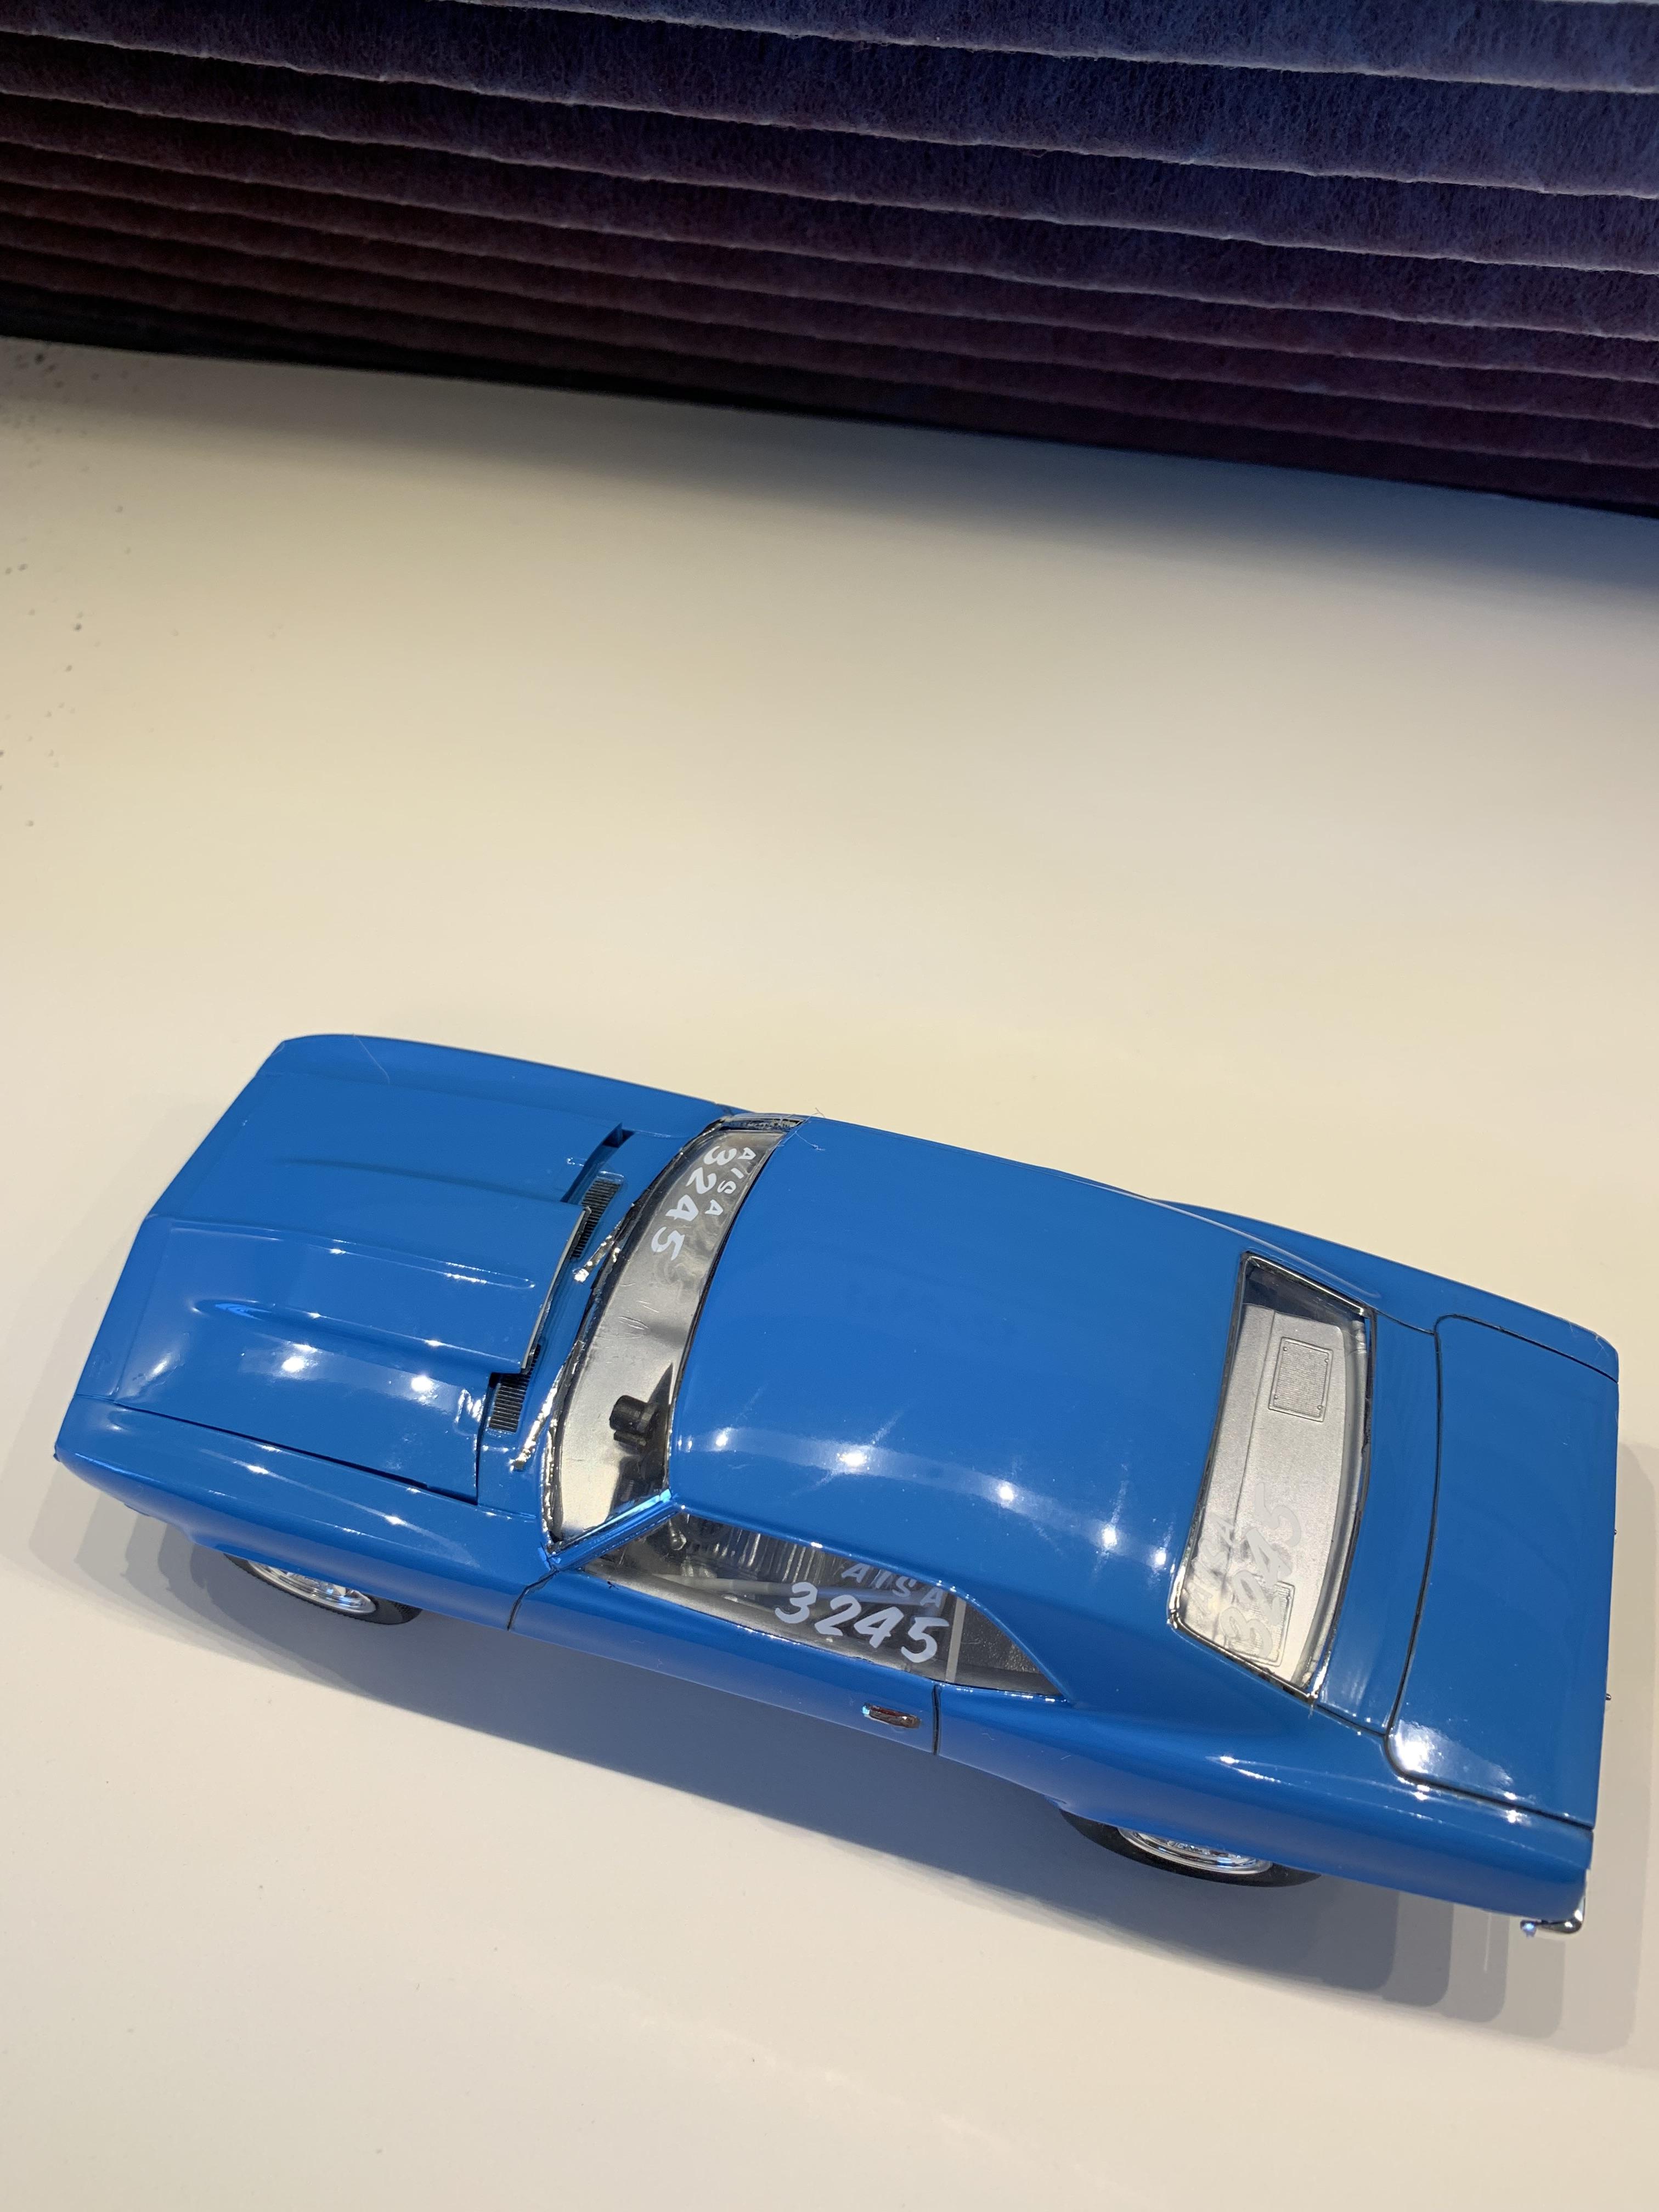
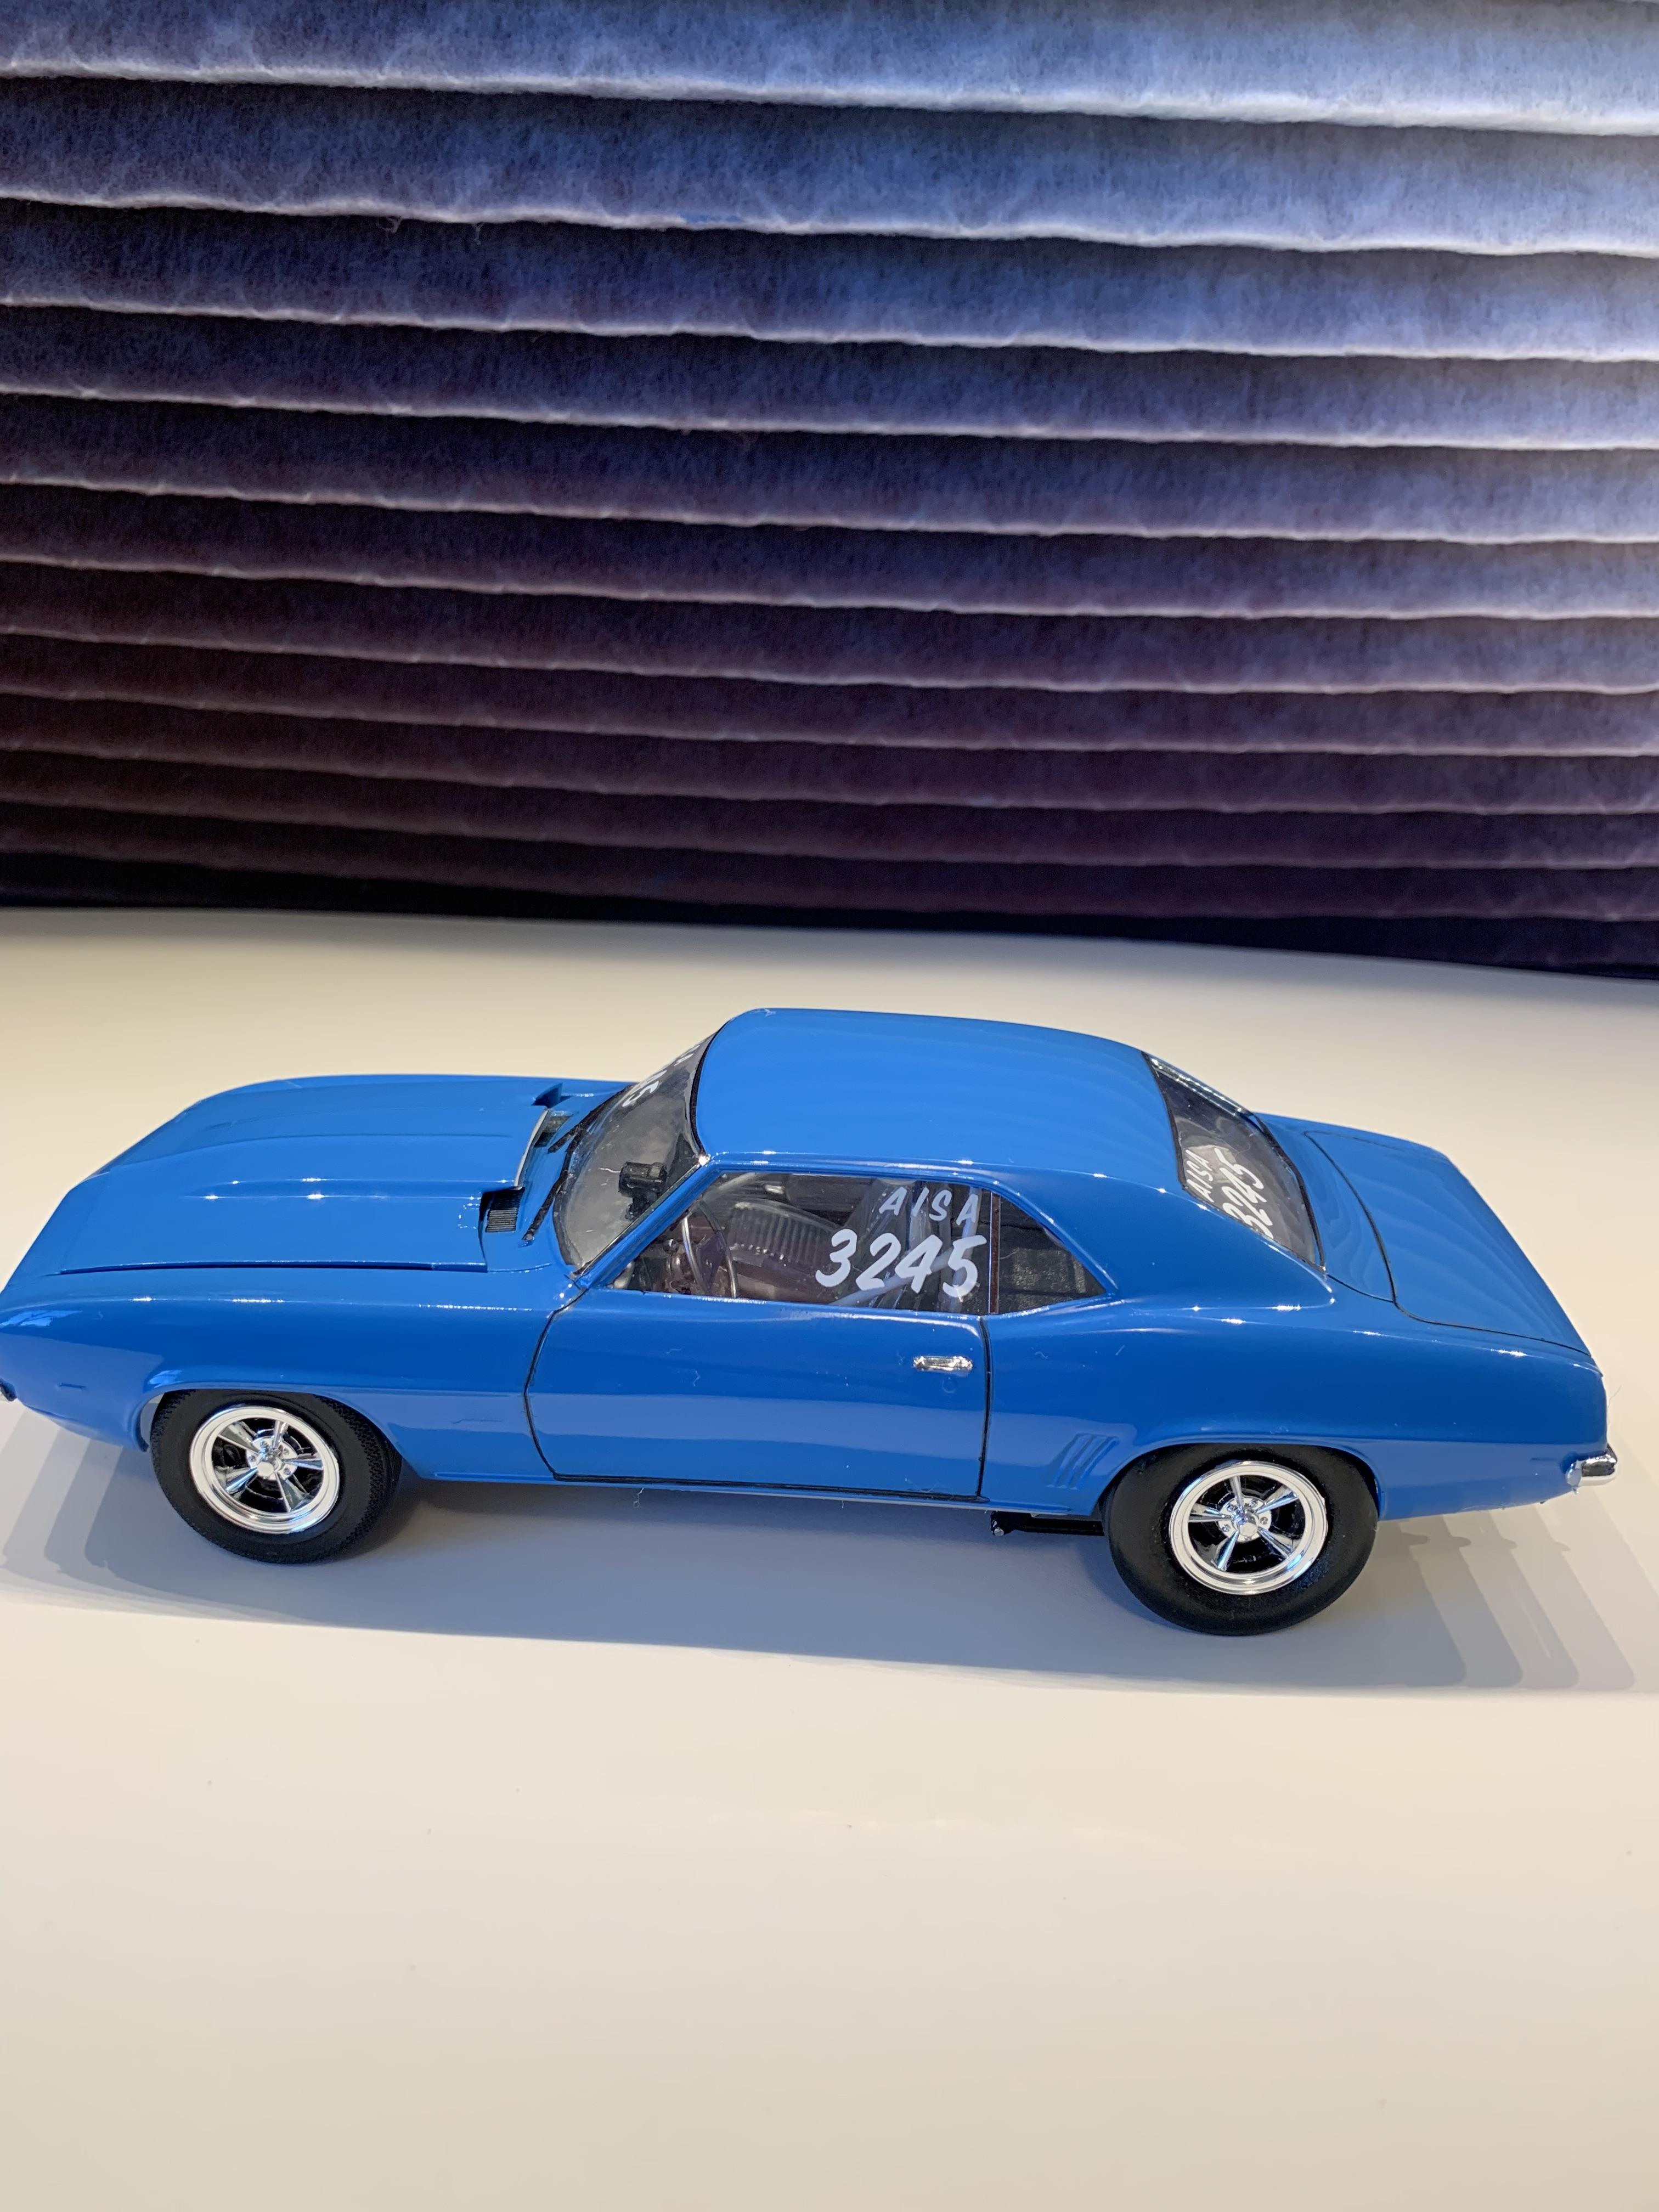
1969 Camaro A/SA (possibly Thomas Arnett’s)
R. Thorne replied to R. Thorne's topic in WIP: Drag Racing Models
Thanks, Bob. It was a trying build, but, overall, I enjoyed it, and learned a few things not to do. -
Thanks, guys.
-
Great advice from all these guys. Everyone is spot on.
-
Thanks, guys. After all my mistakes in painting this one, I was sure glad to finish it.
-
Holloman & McKinney 57 Chevy C/MP circa 1964
R. Thorne replied to R. Thorne's topic in WIP: Drag Racing Models
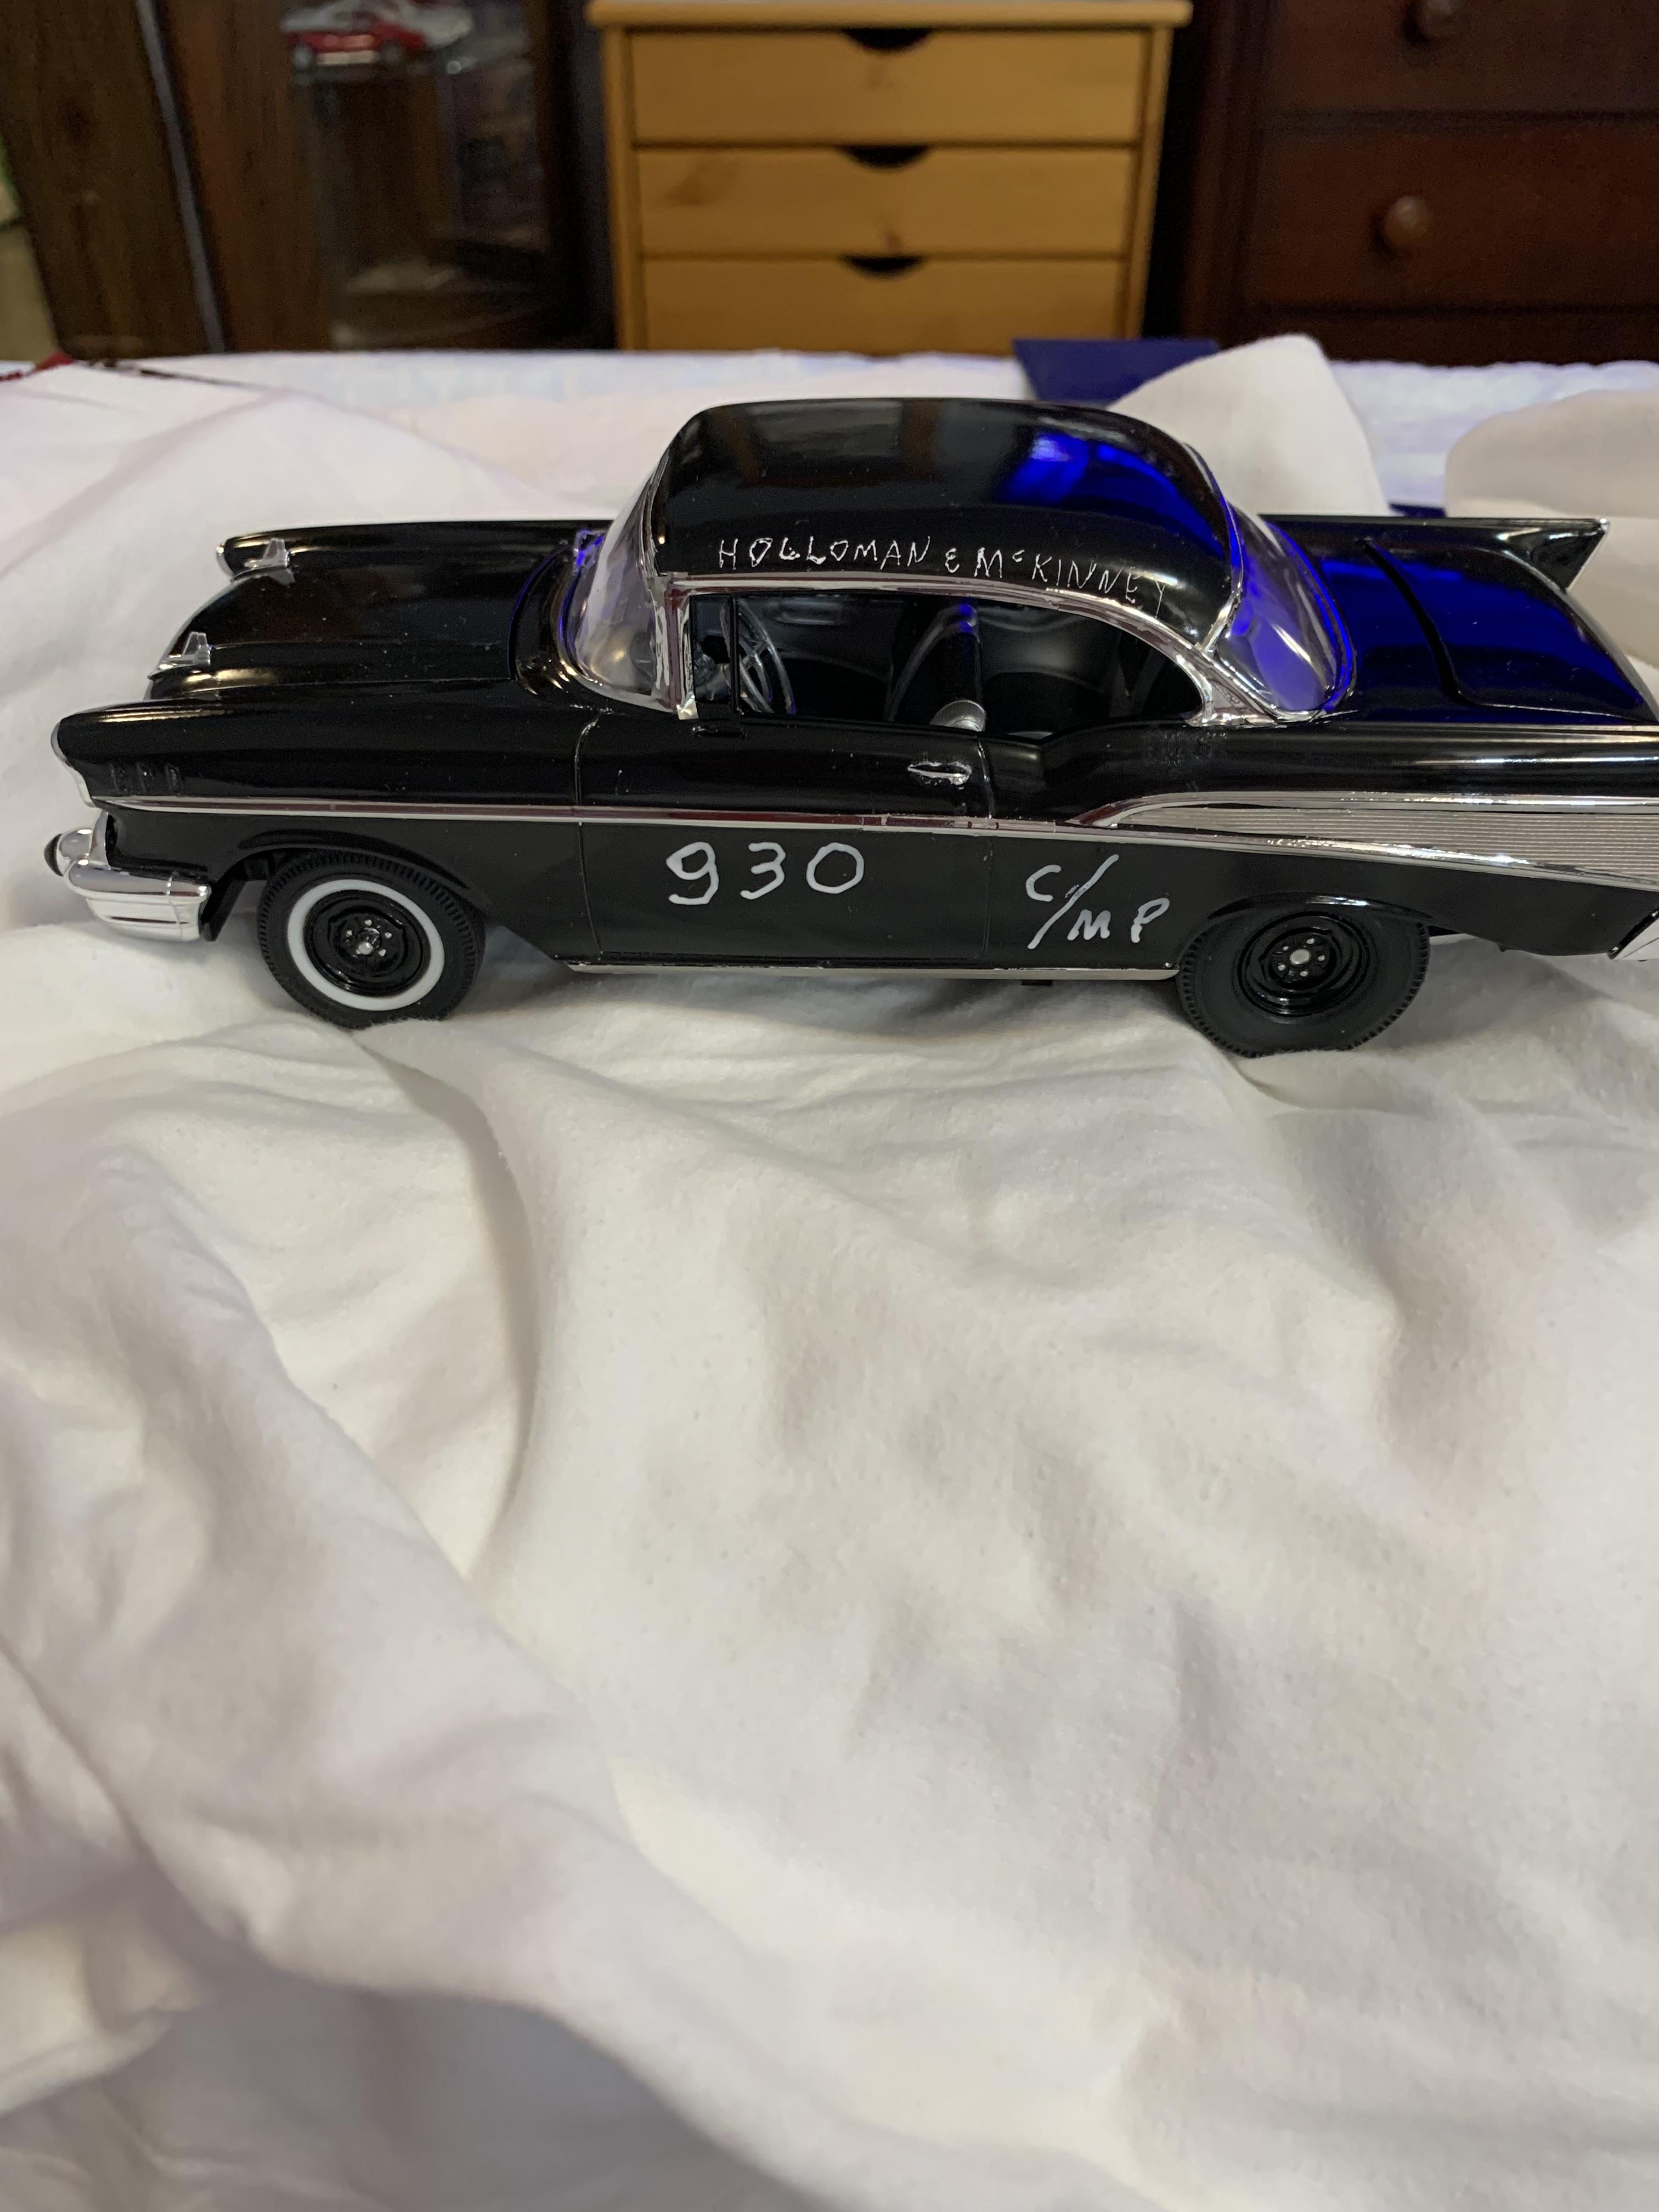
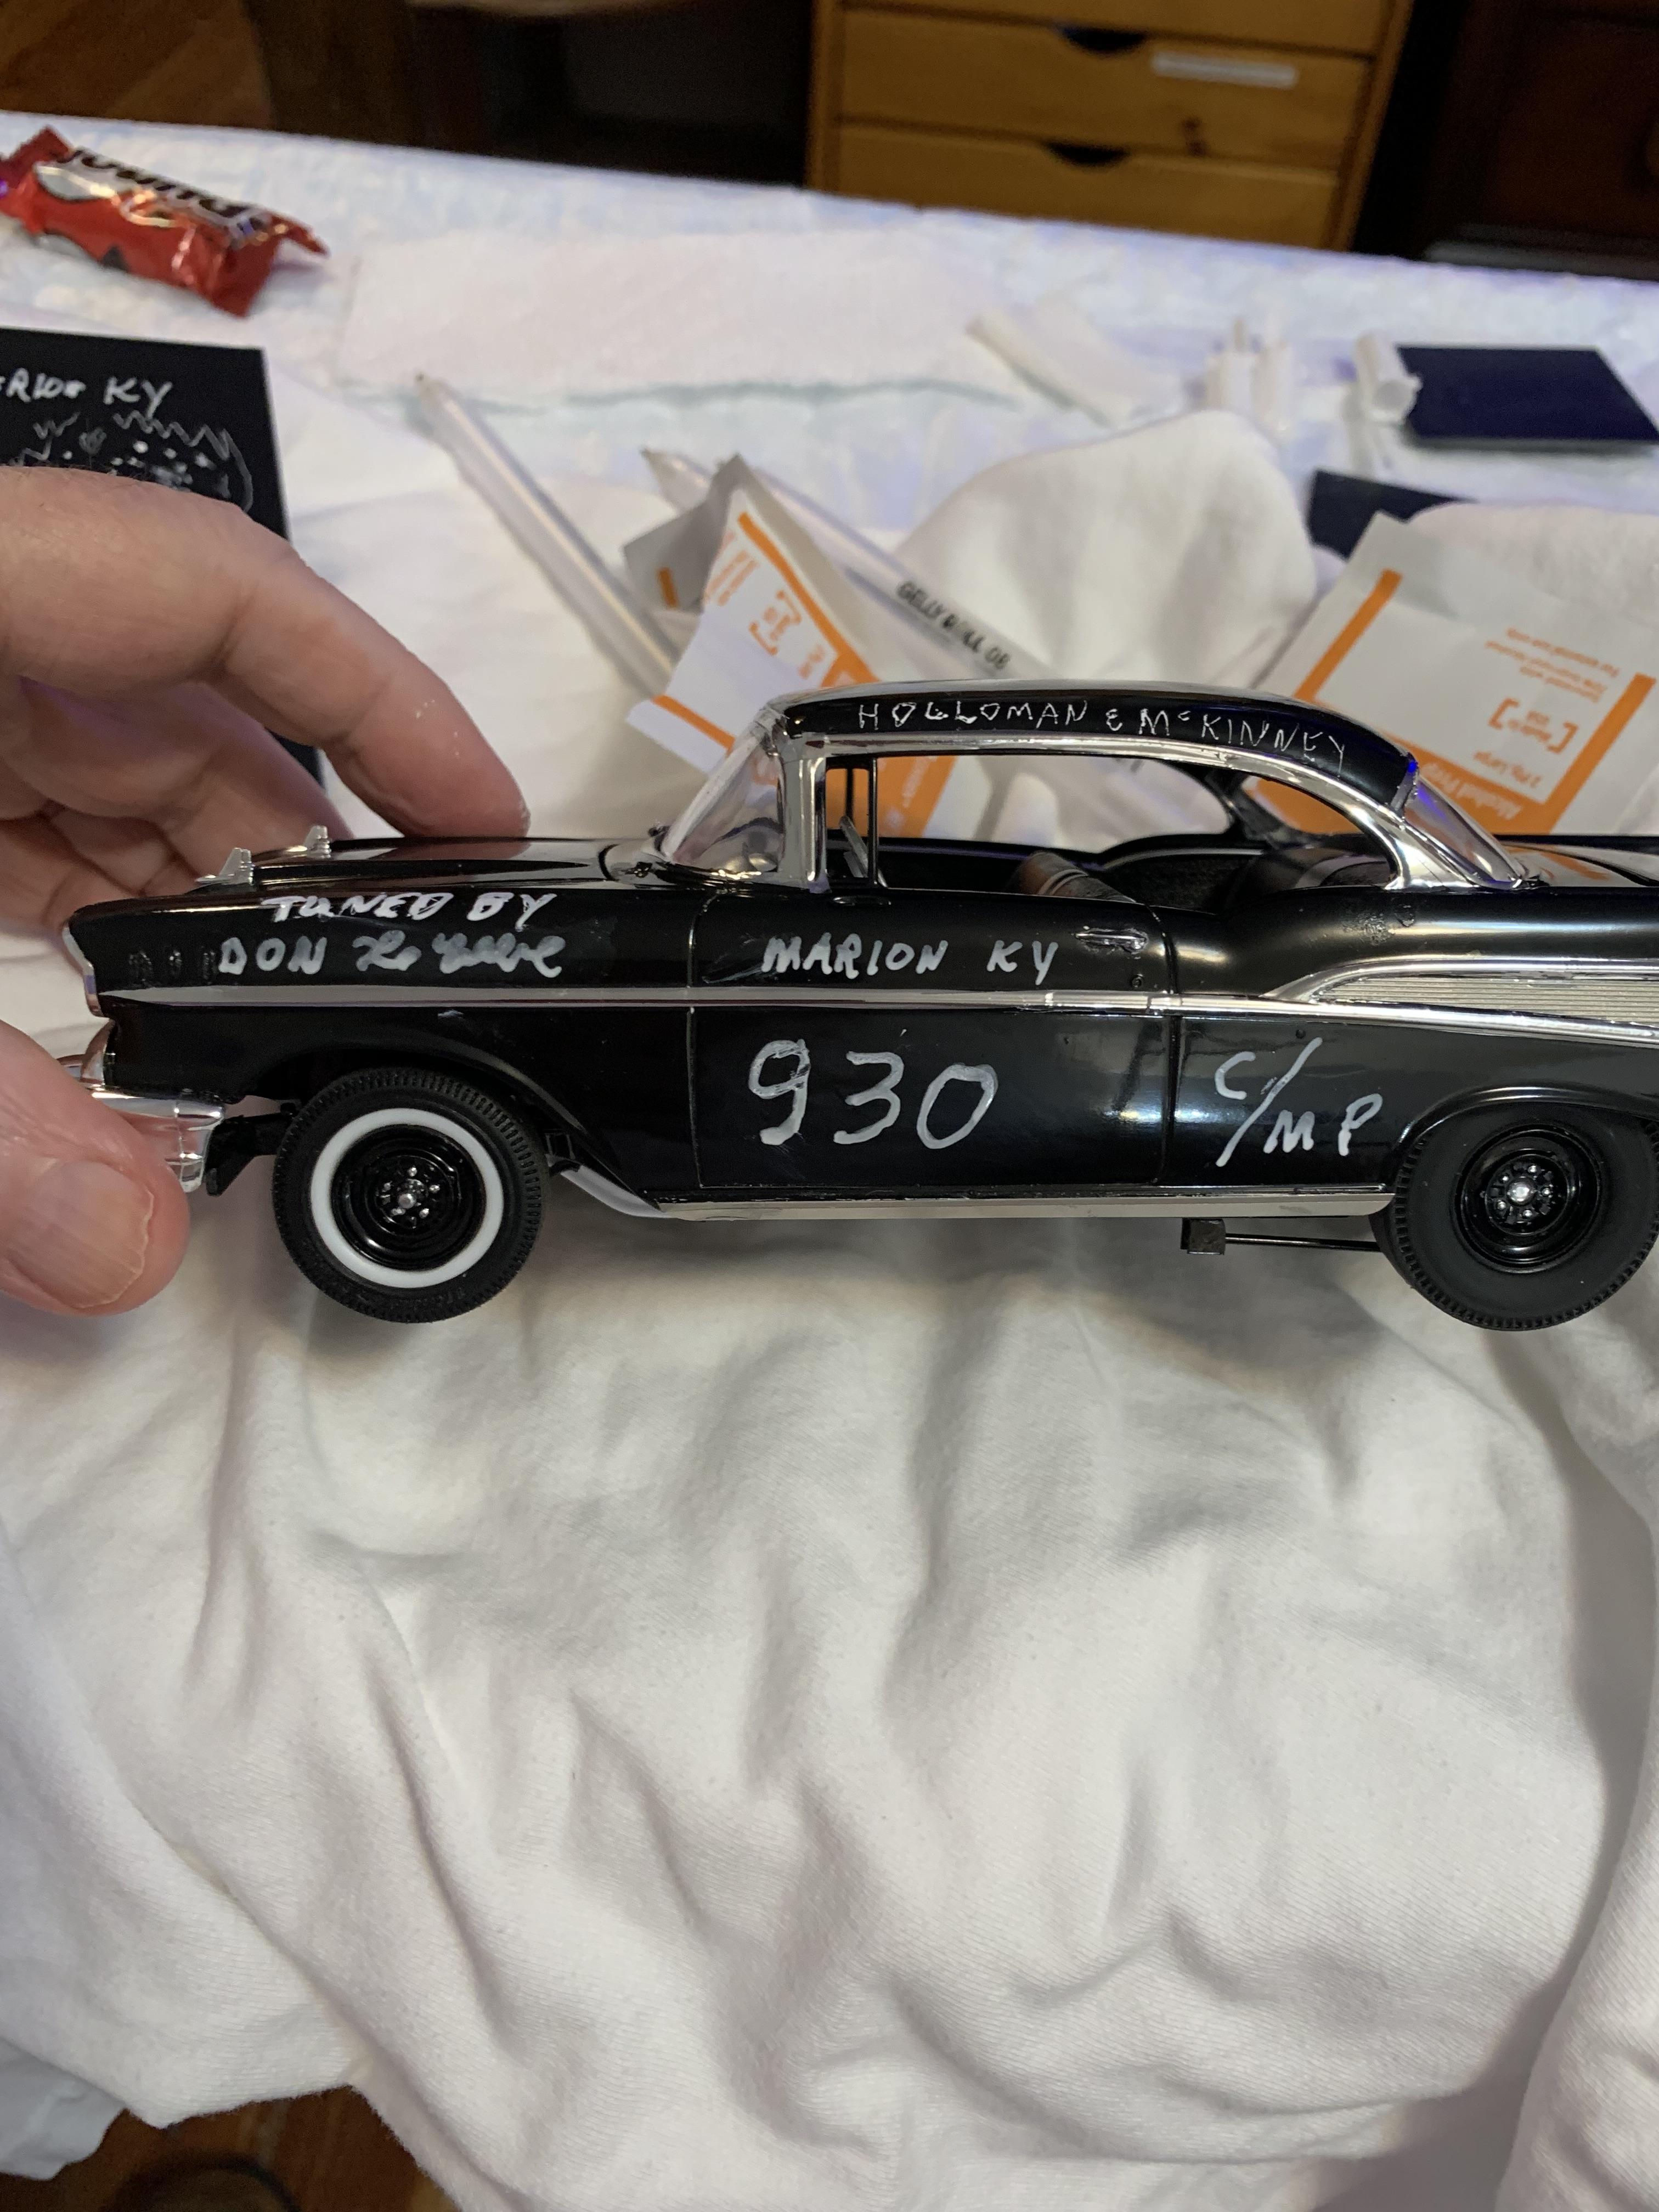
Well, it’s done. Had ordered some decals to try, but they were too small. Decided to hand letter it. Did the driver’s side only as I may come up with something better in the future. Not thrilled with the results, but a man’s got to know his limitations, as Clint would say. Whoops, forgot to cast & mold the hood scoop. Will do that tomorrow.
-
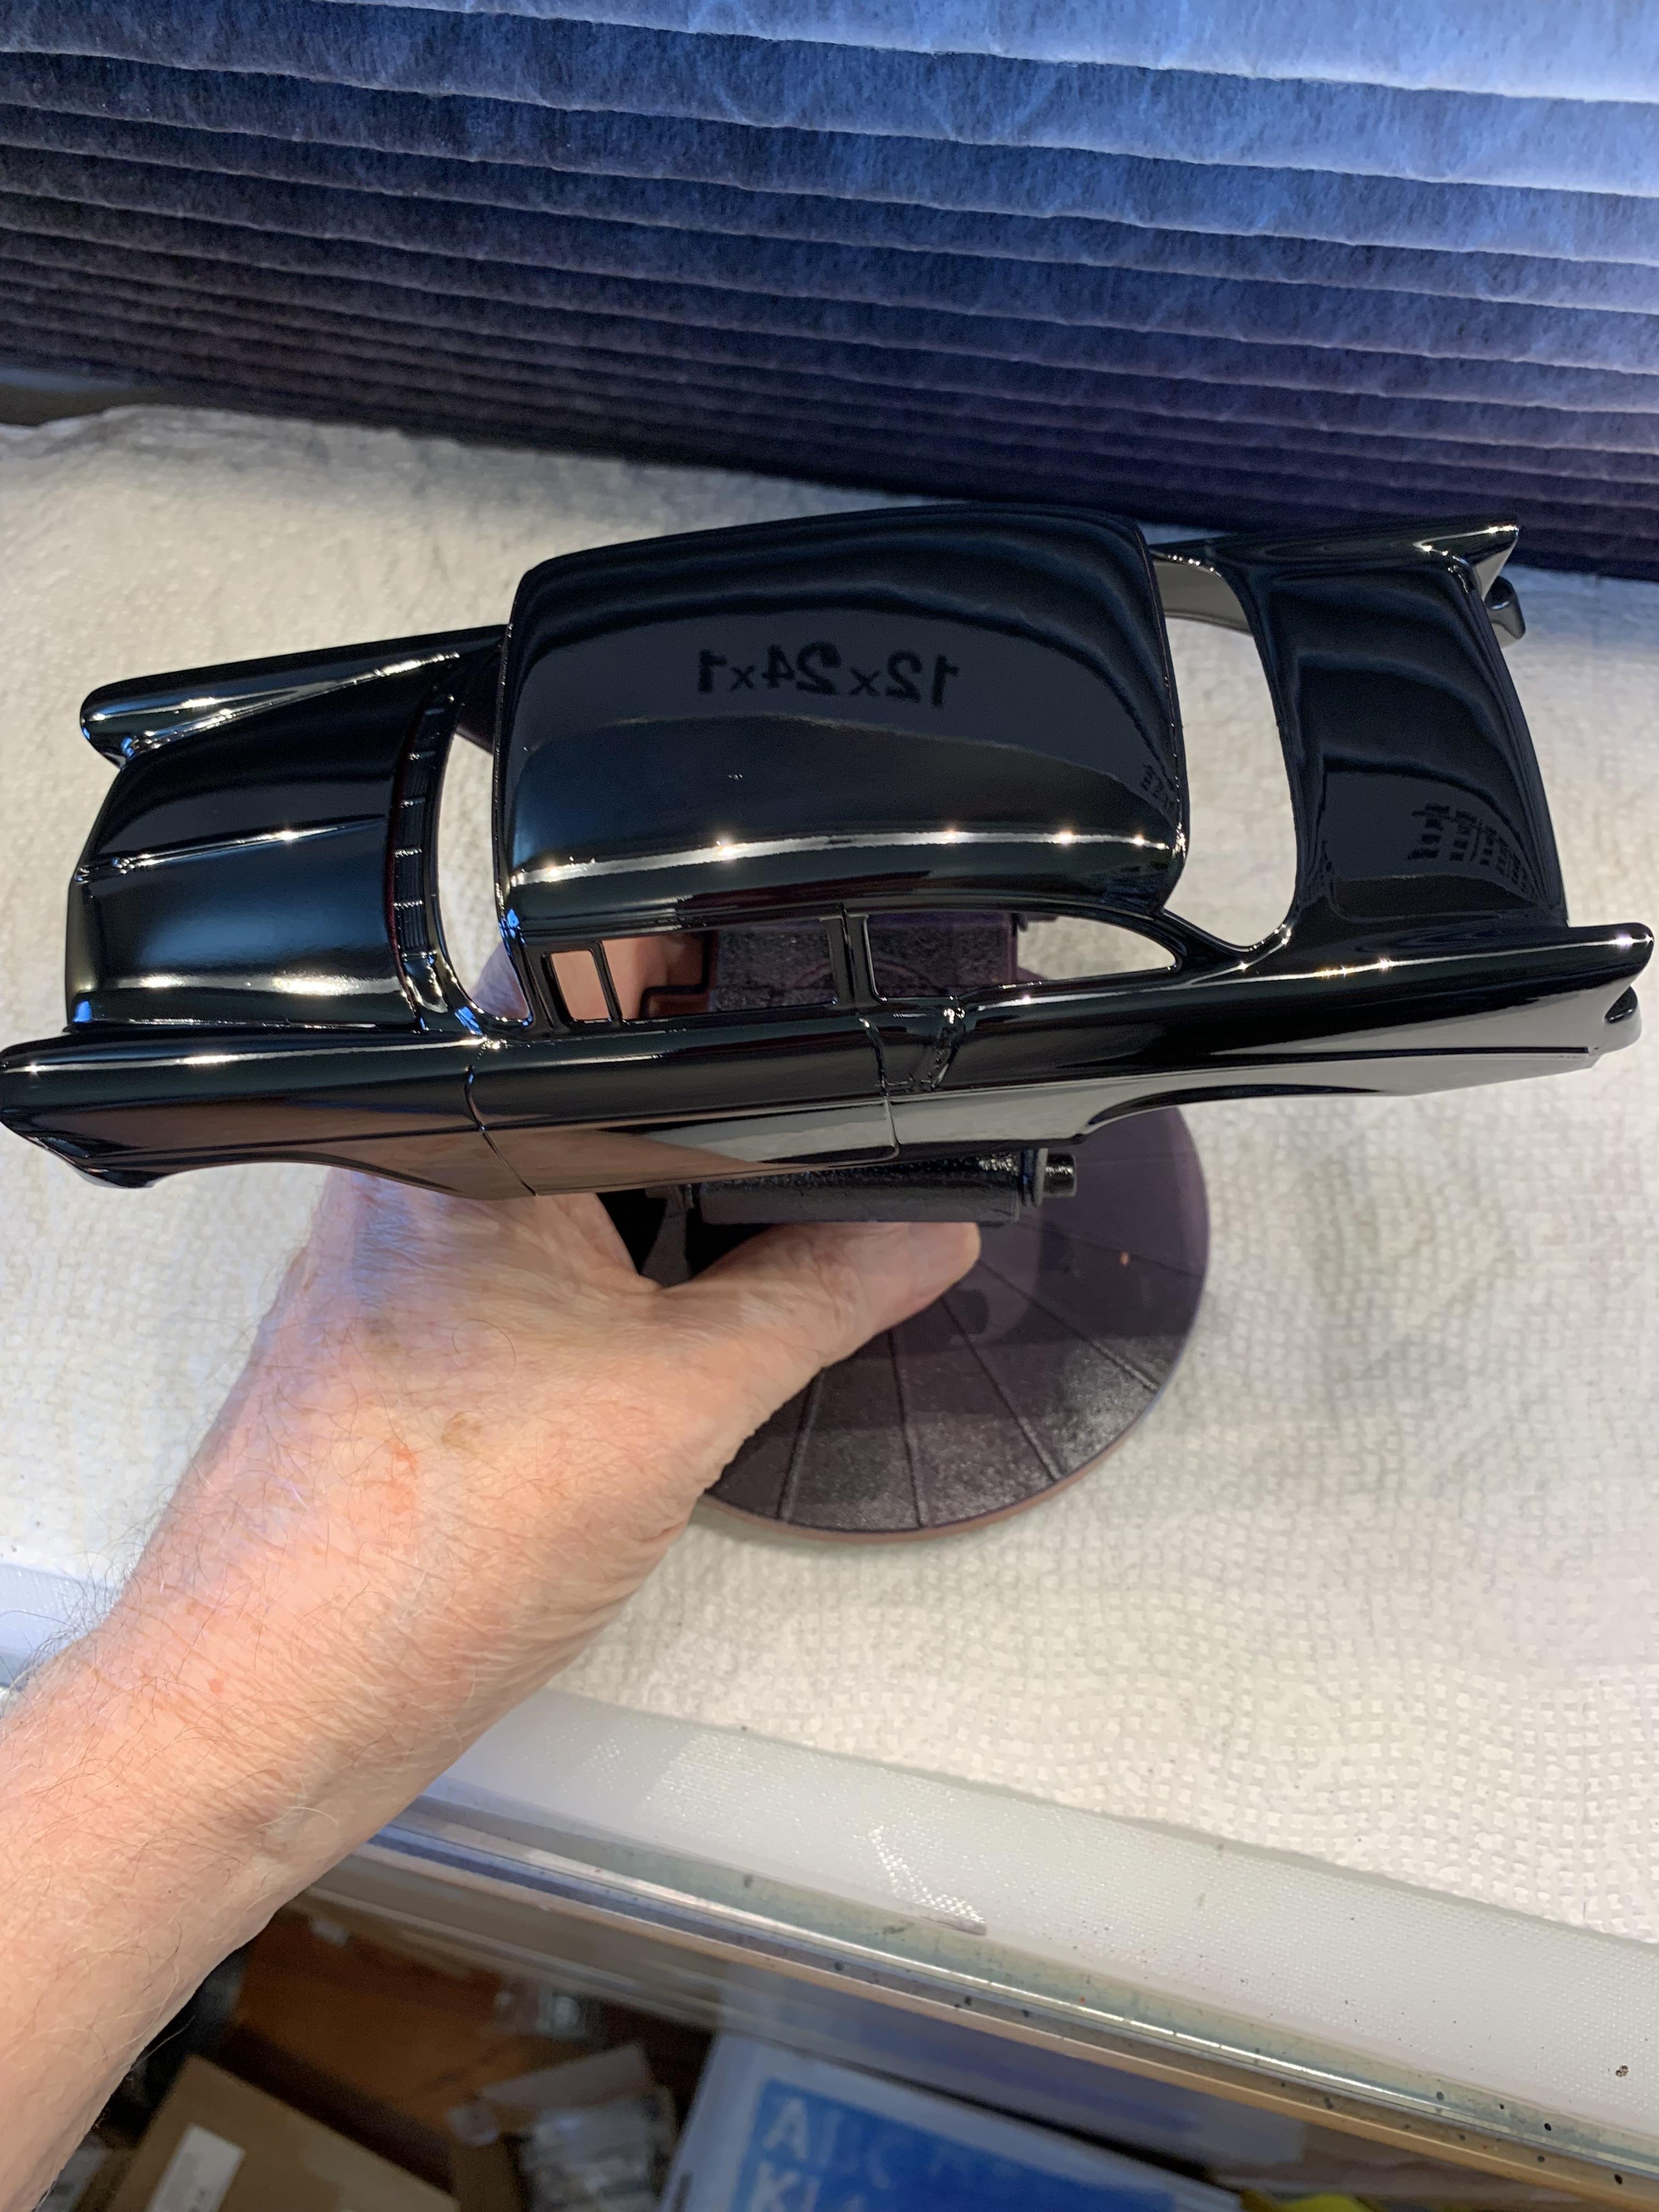
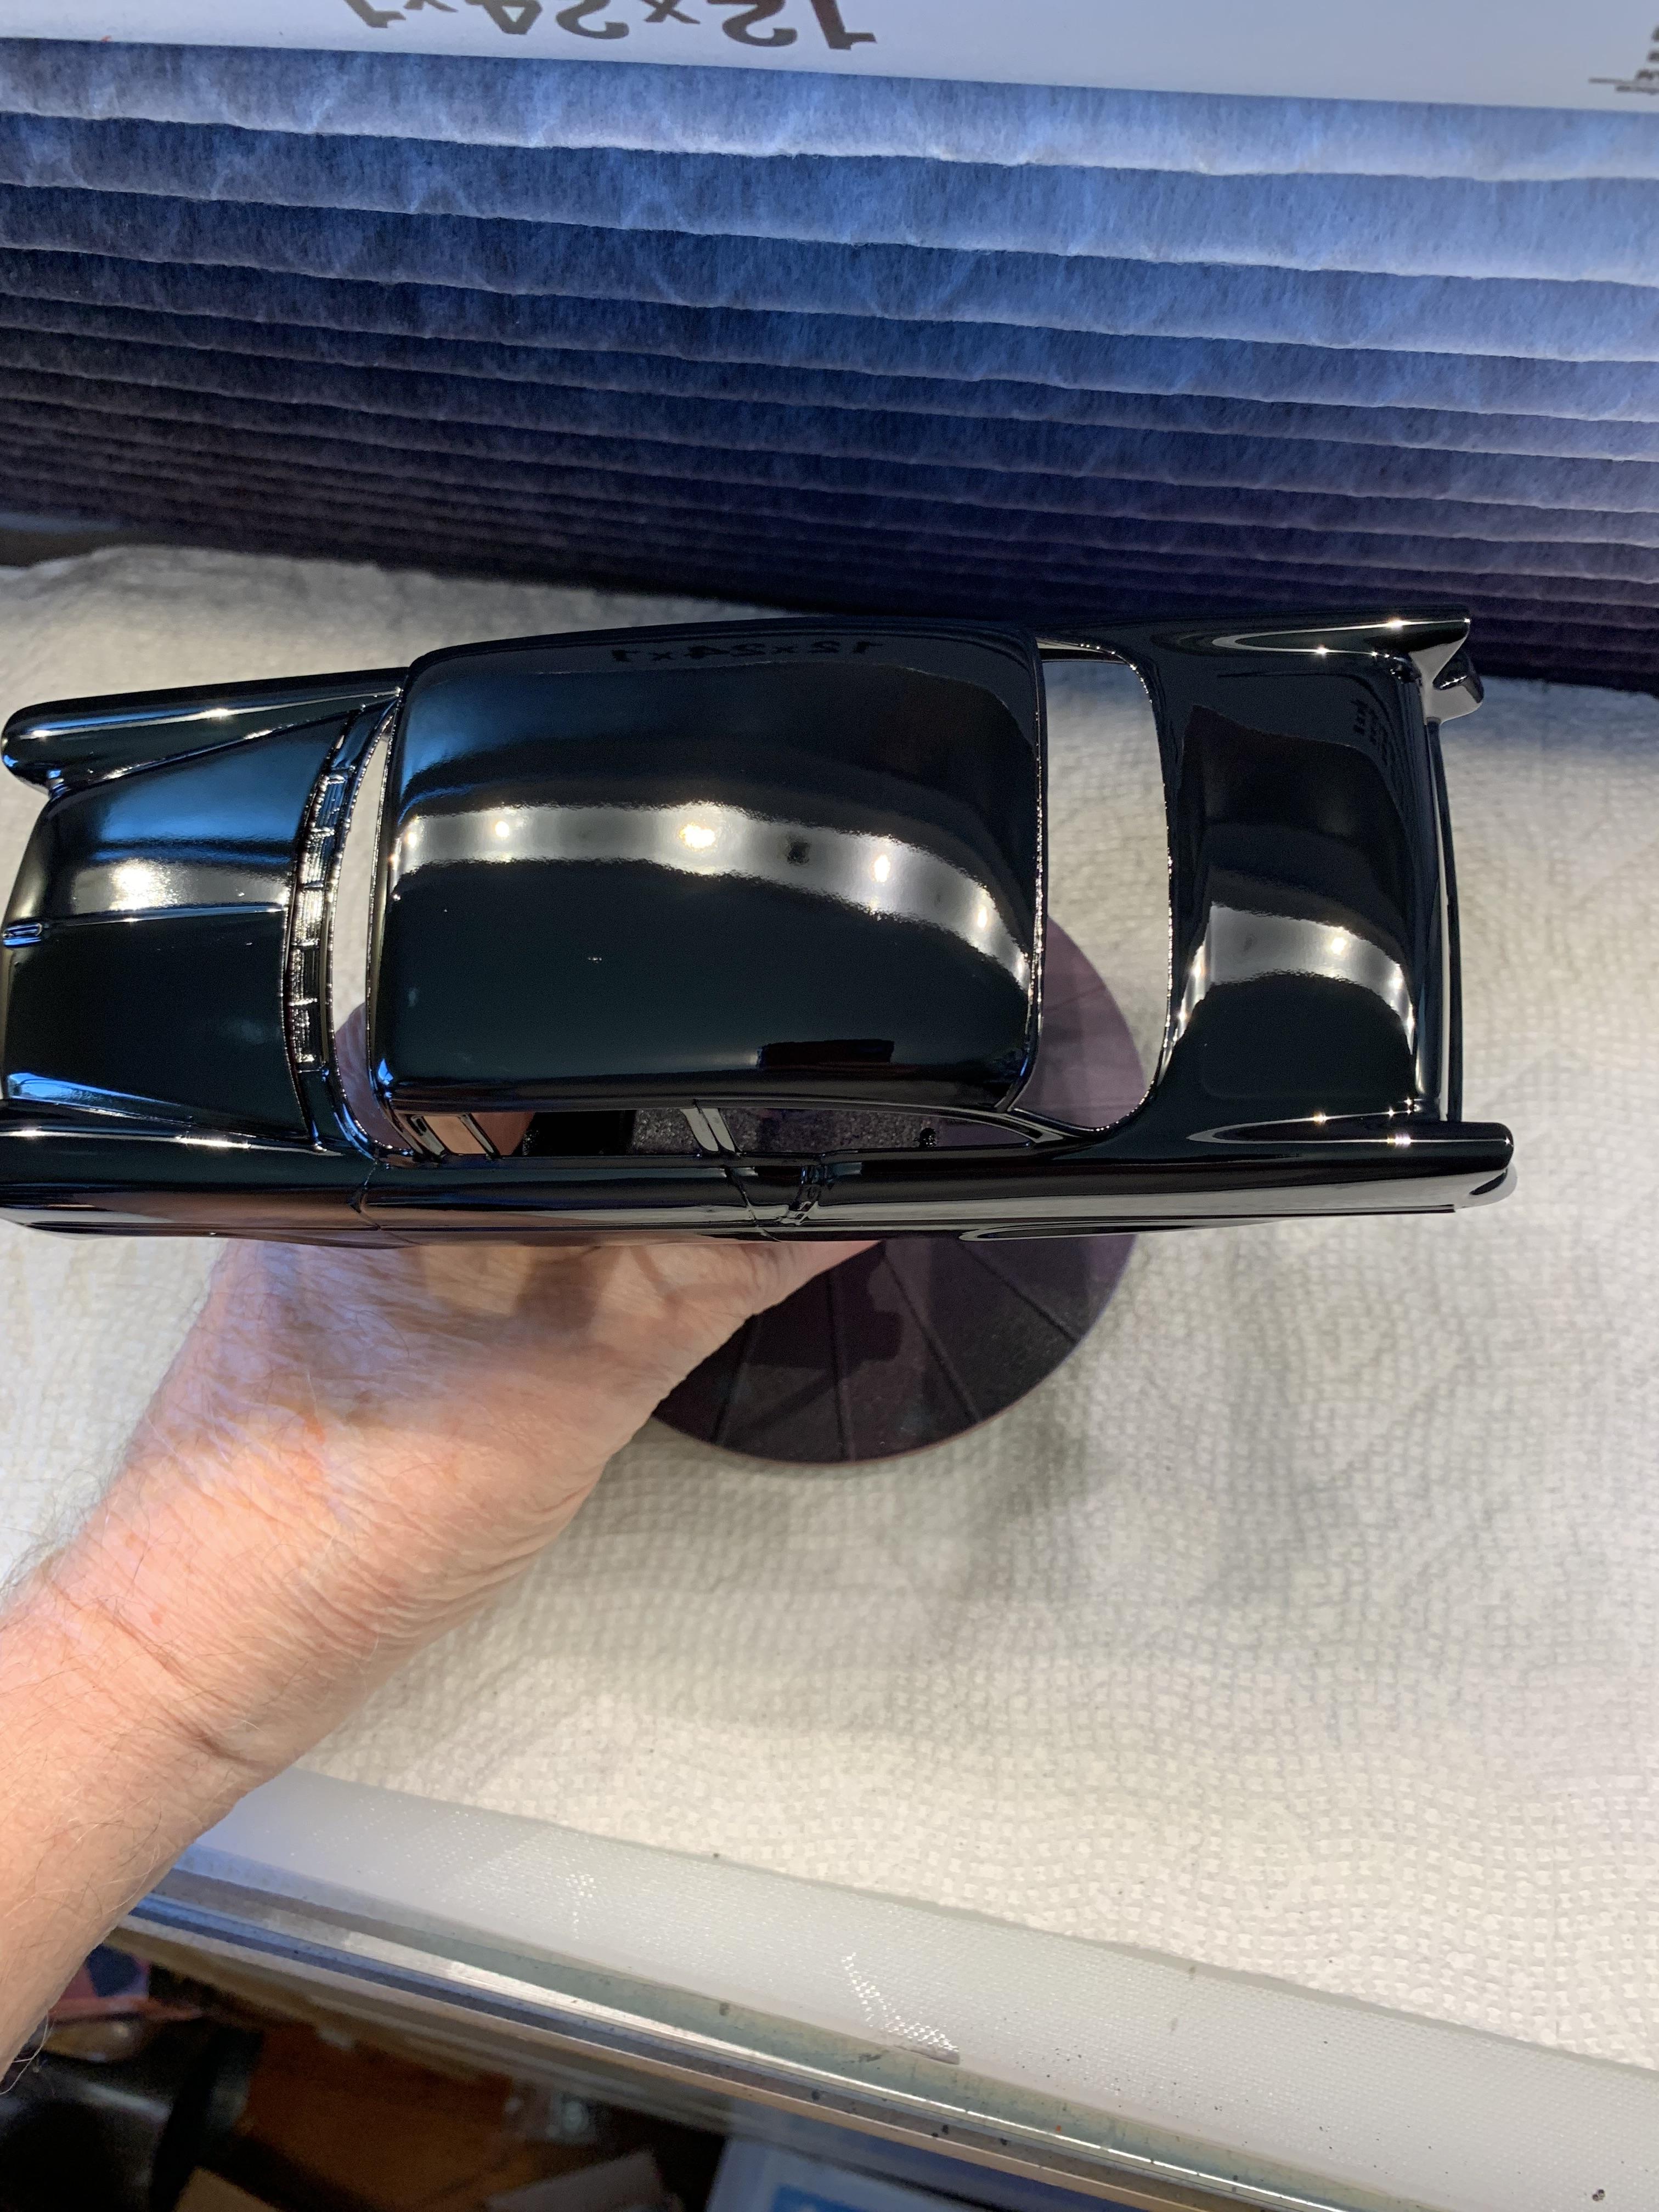
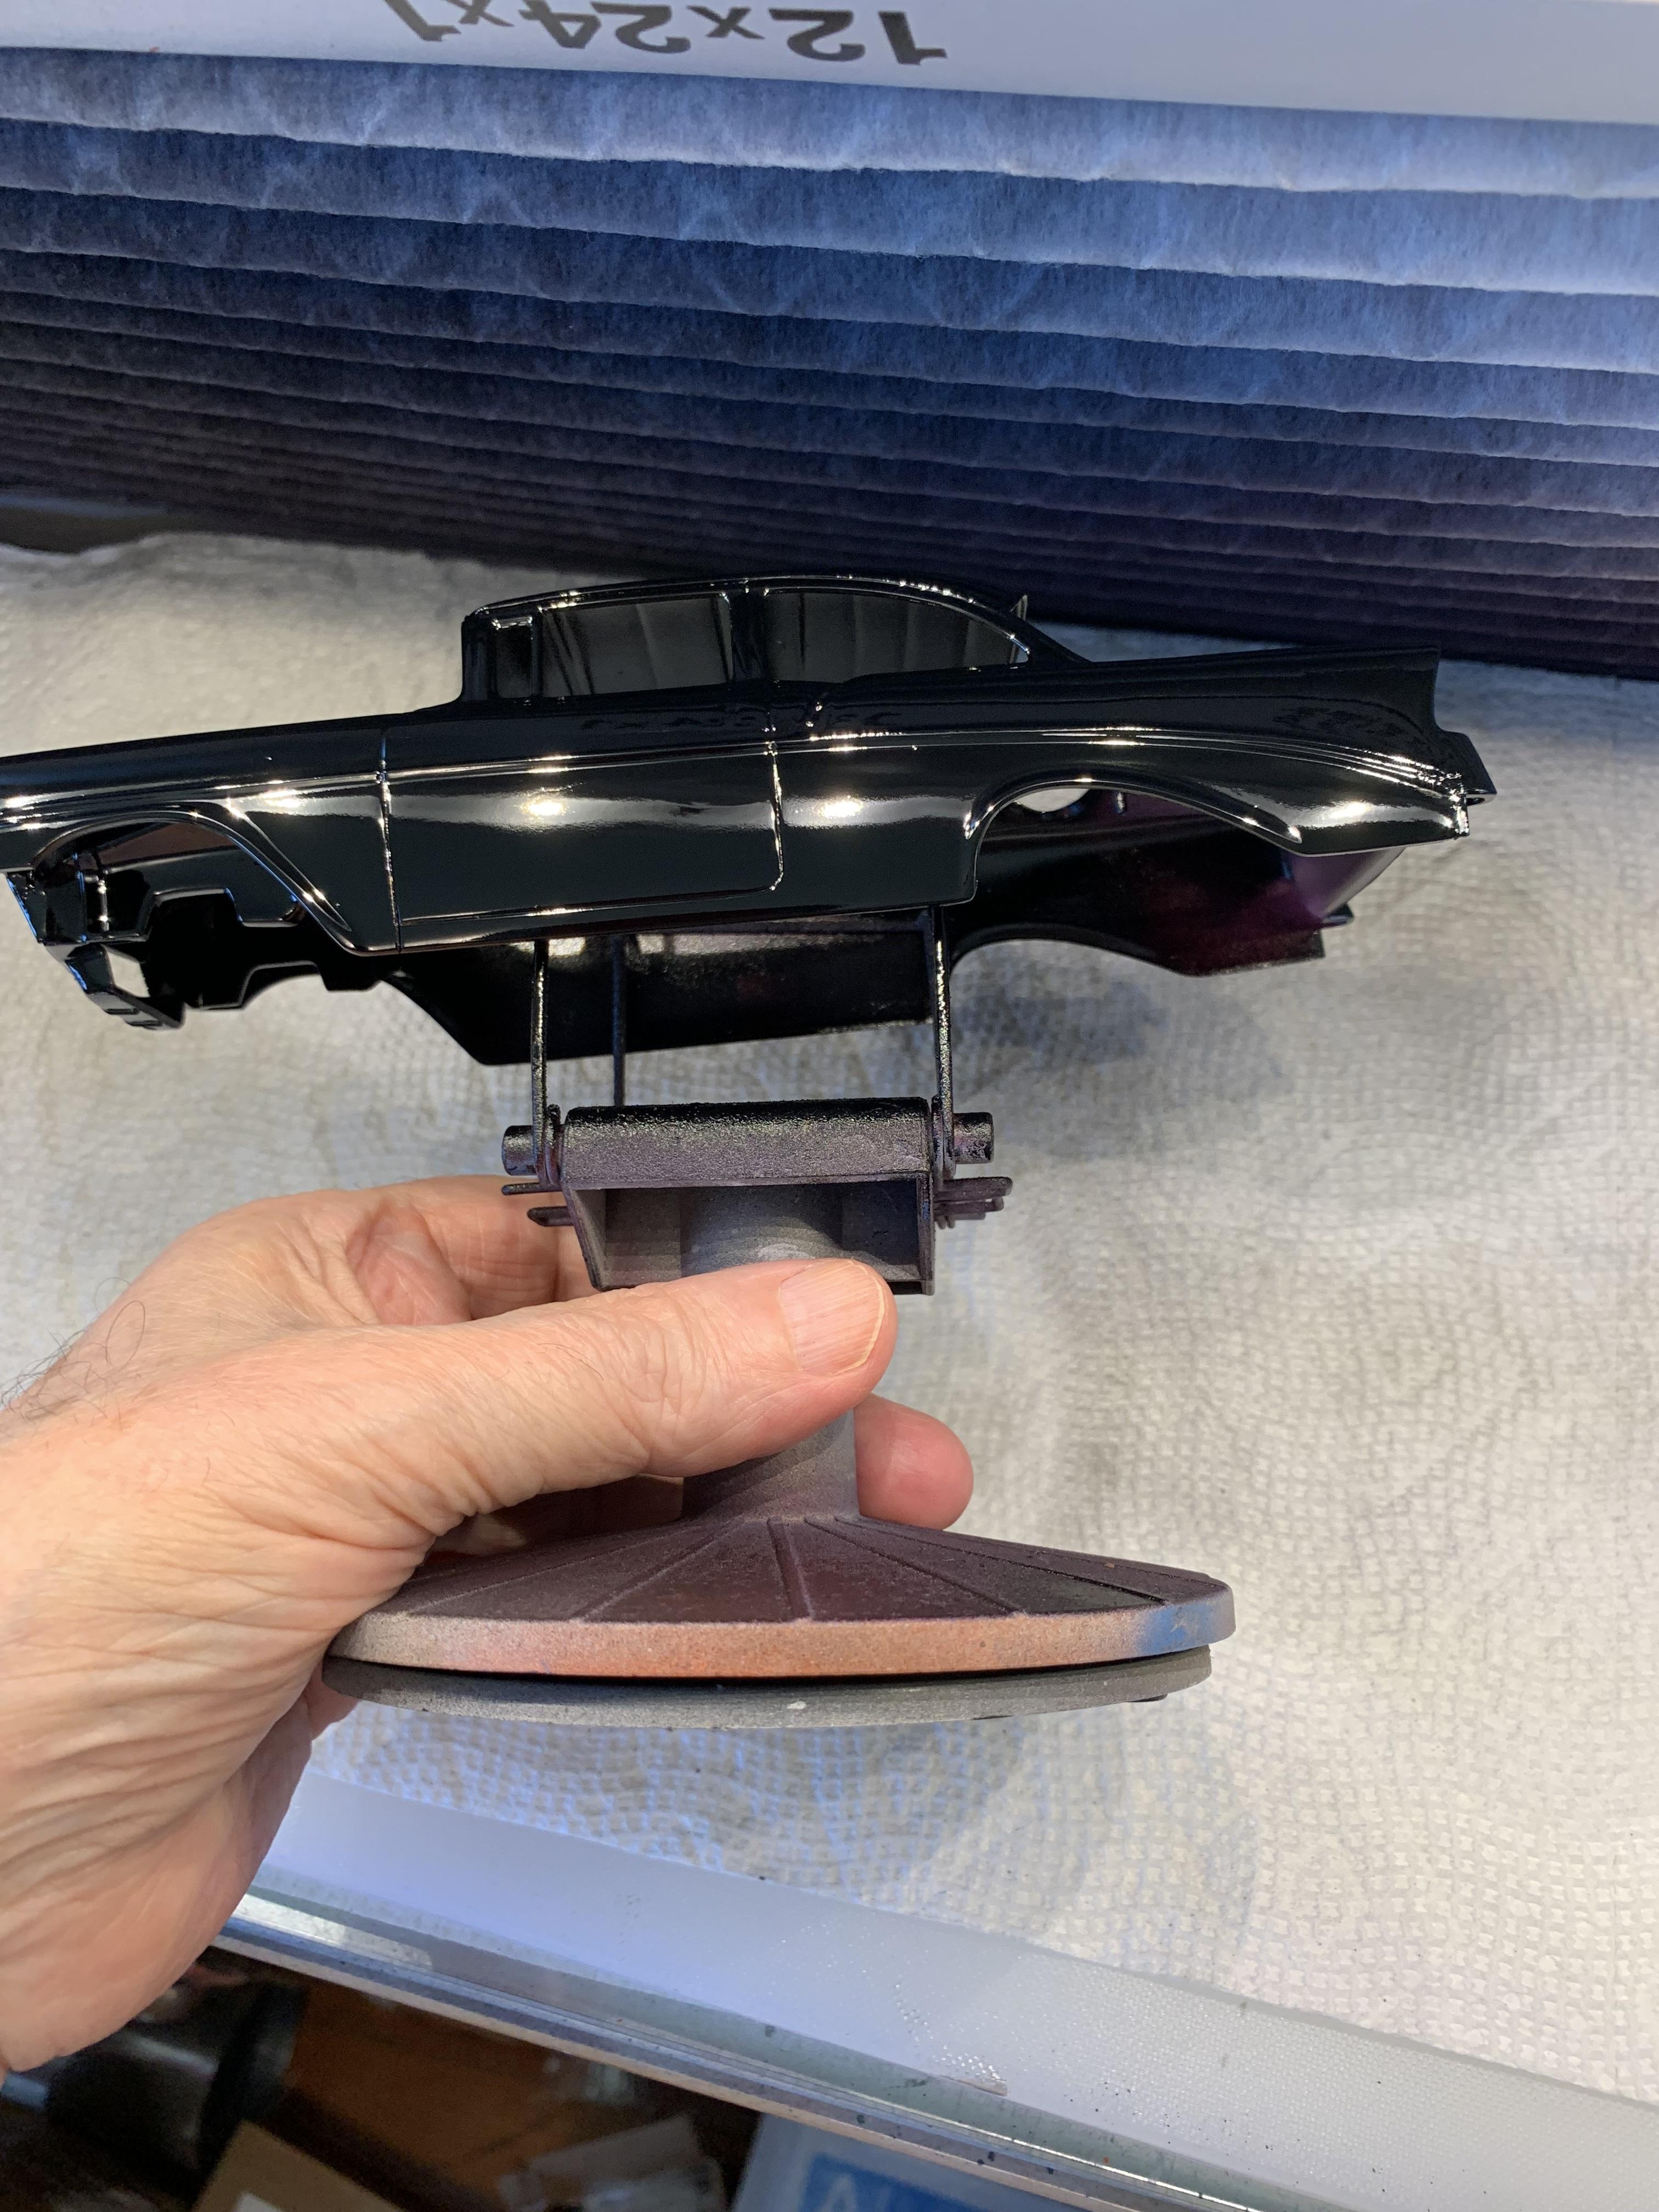
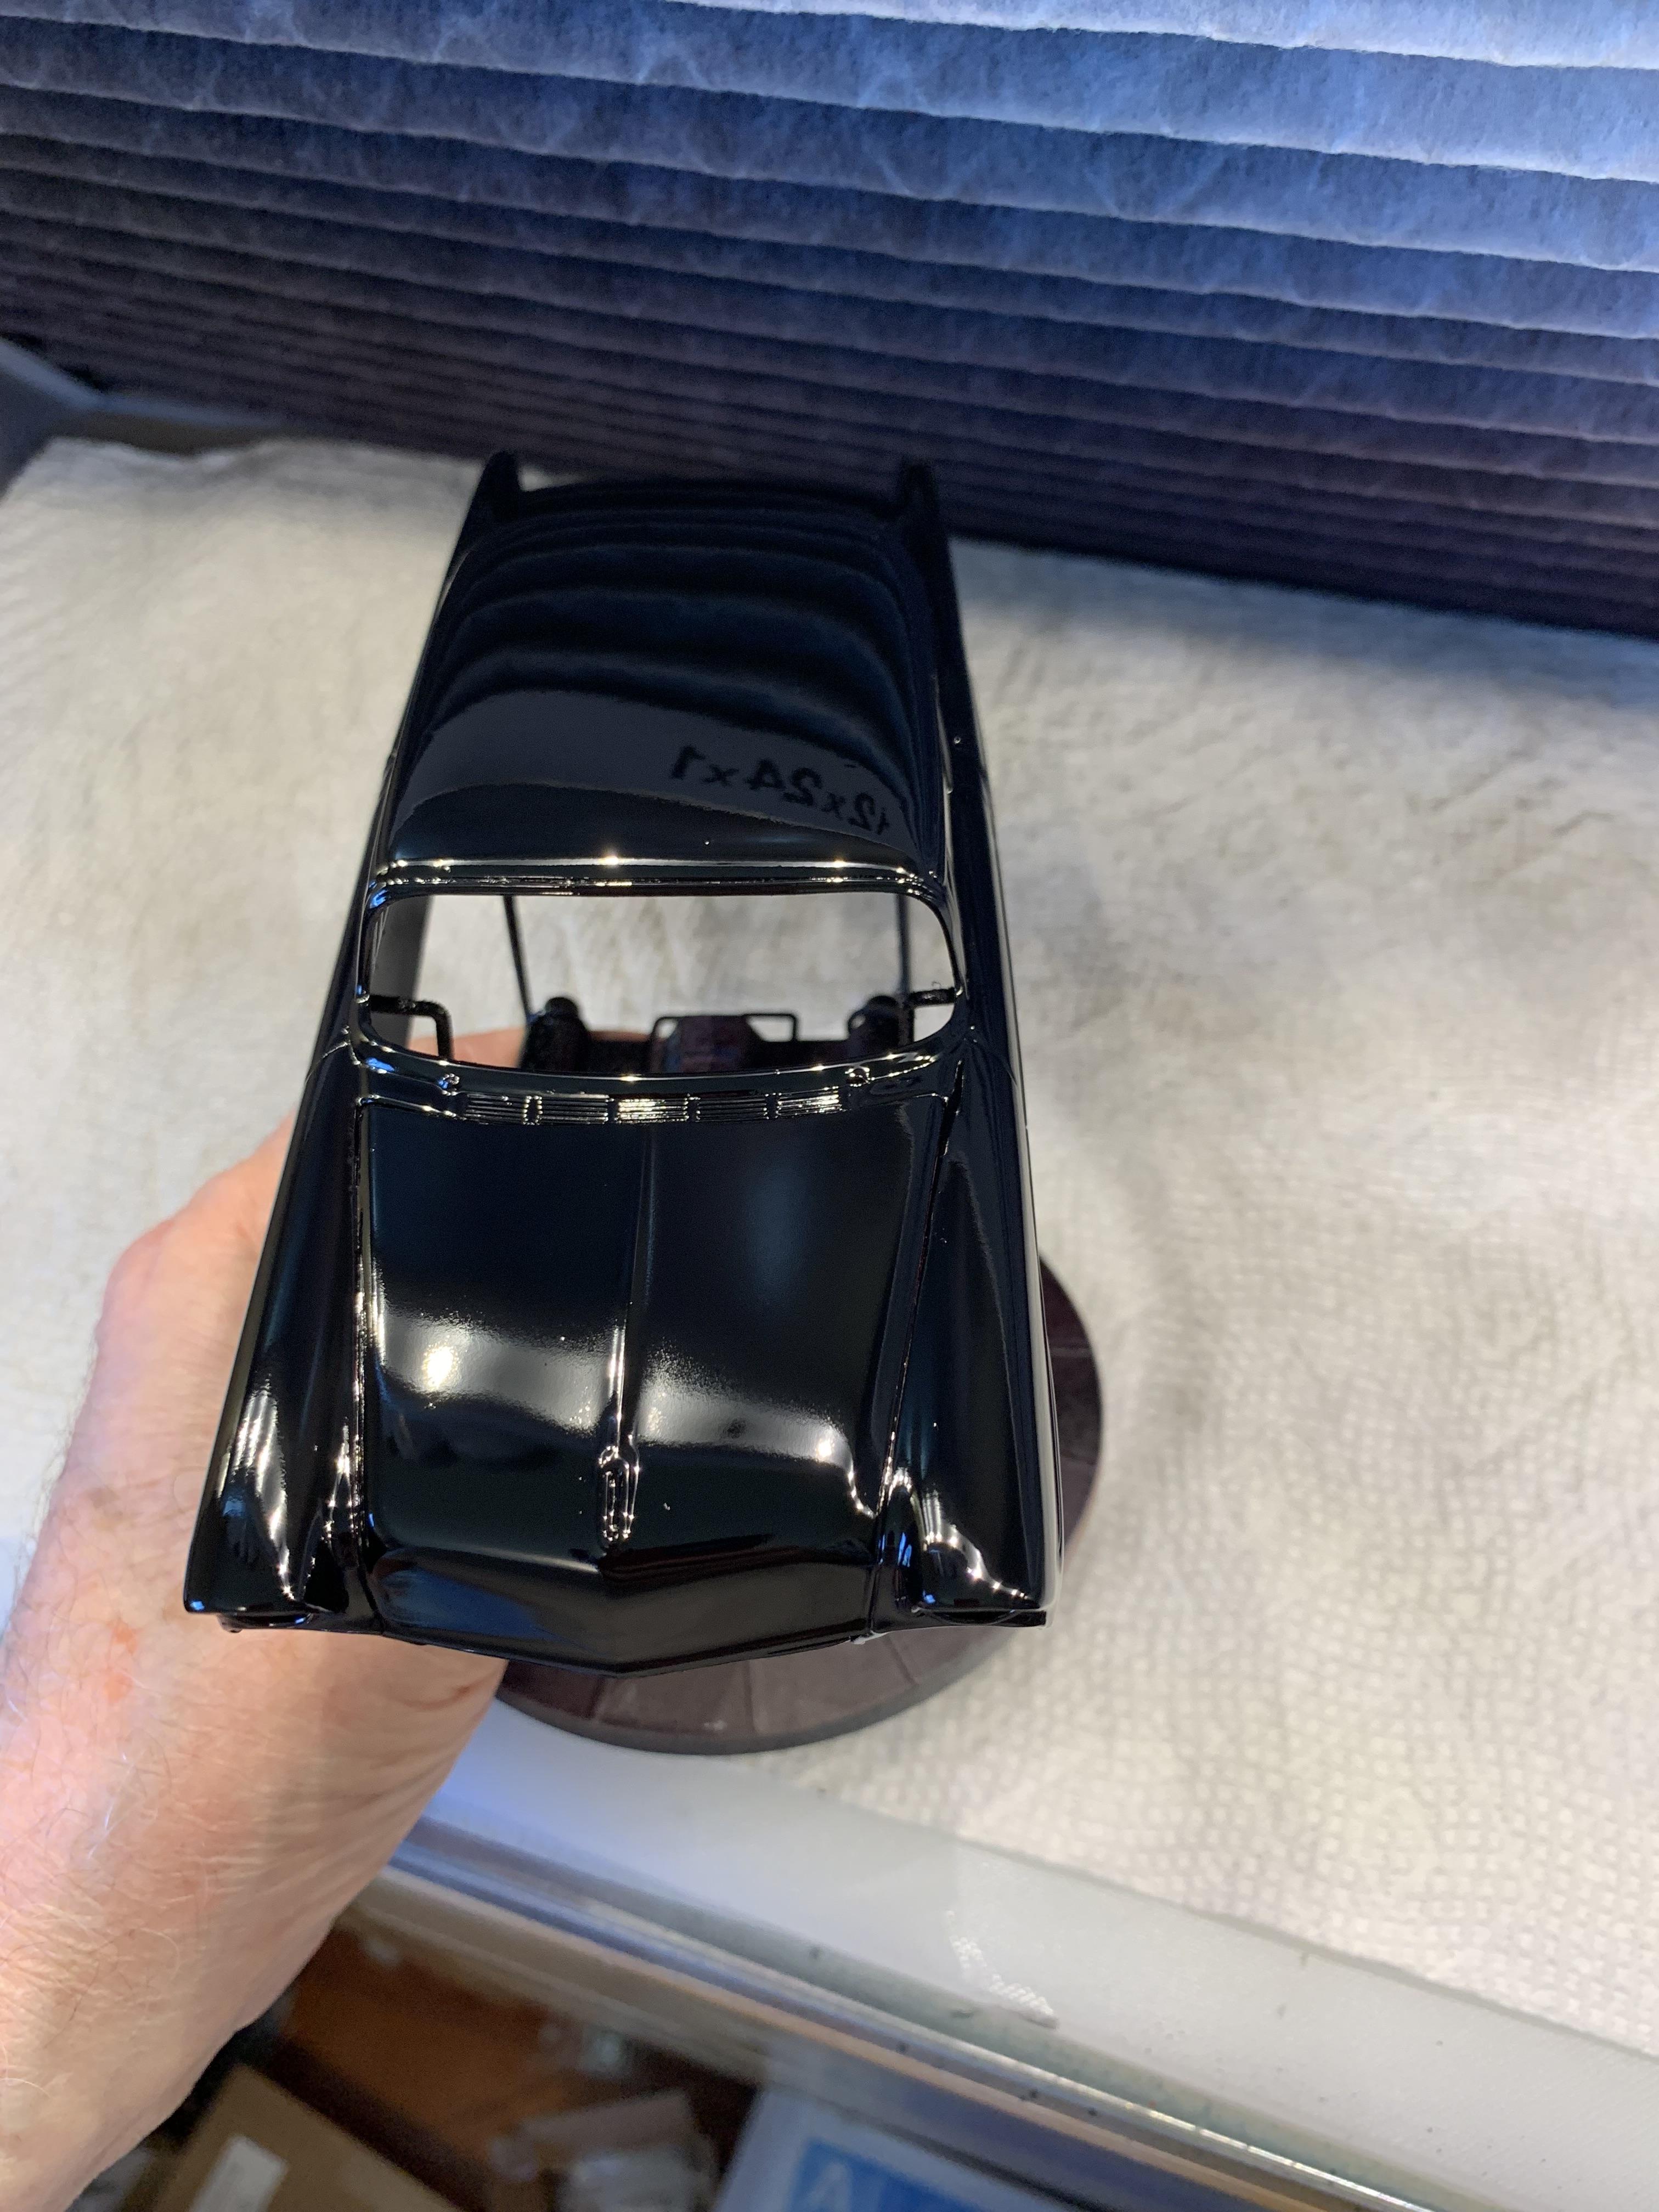
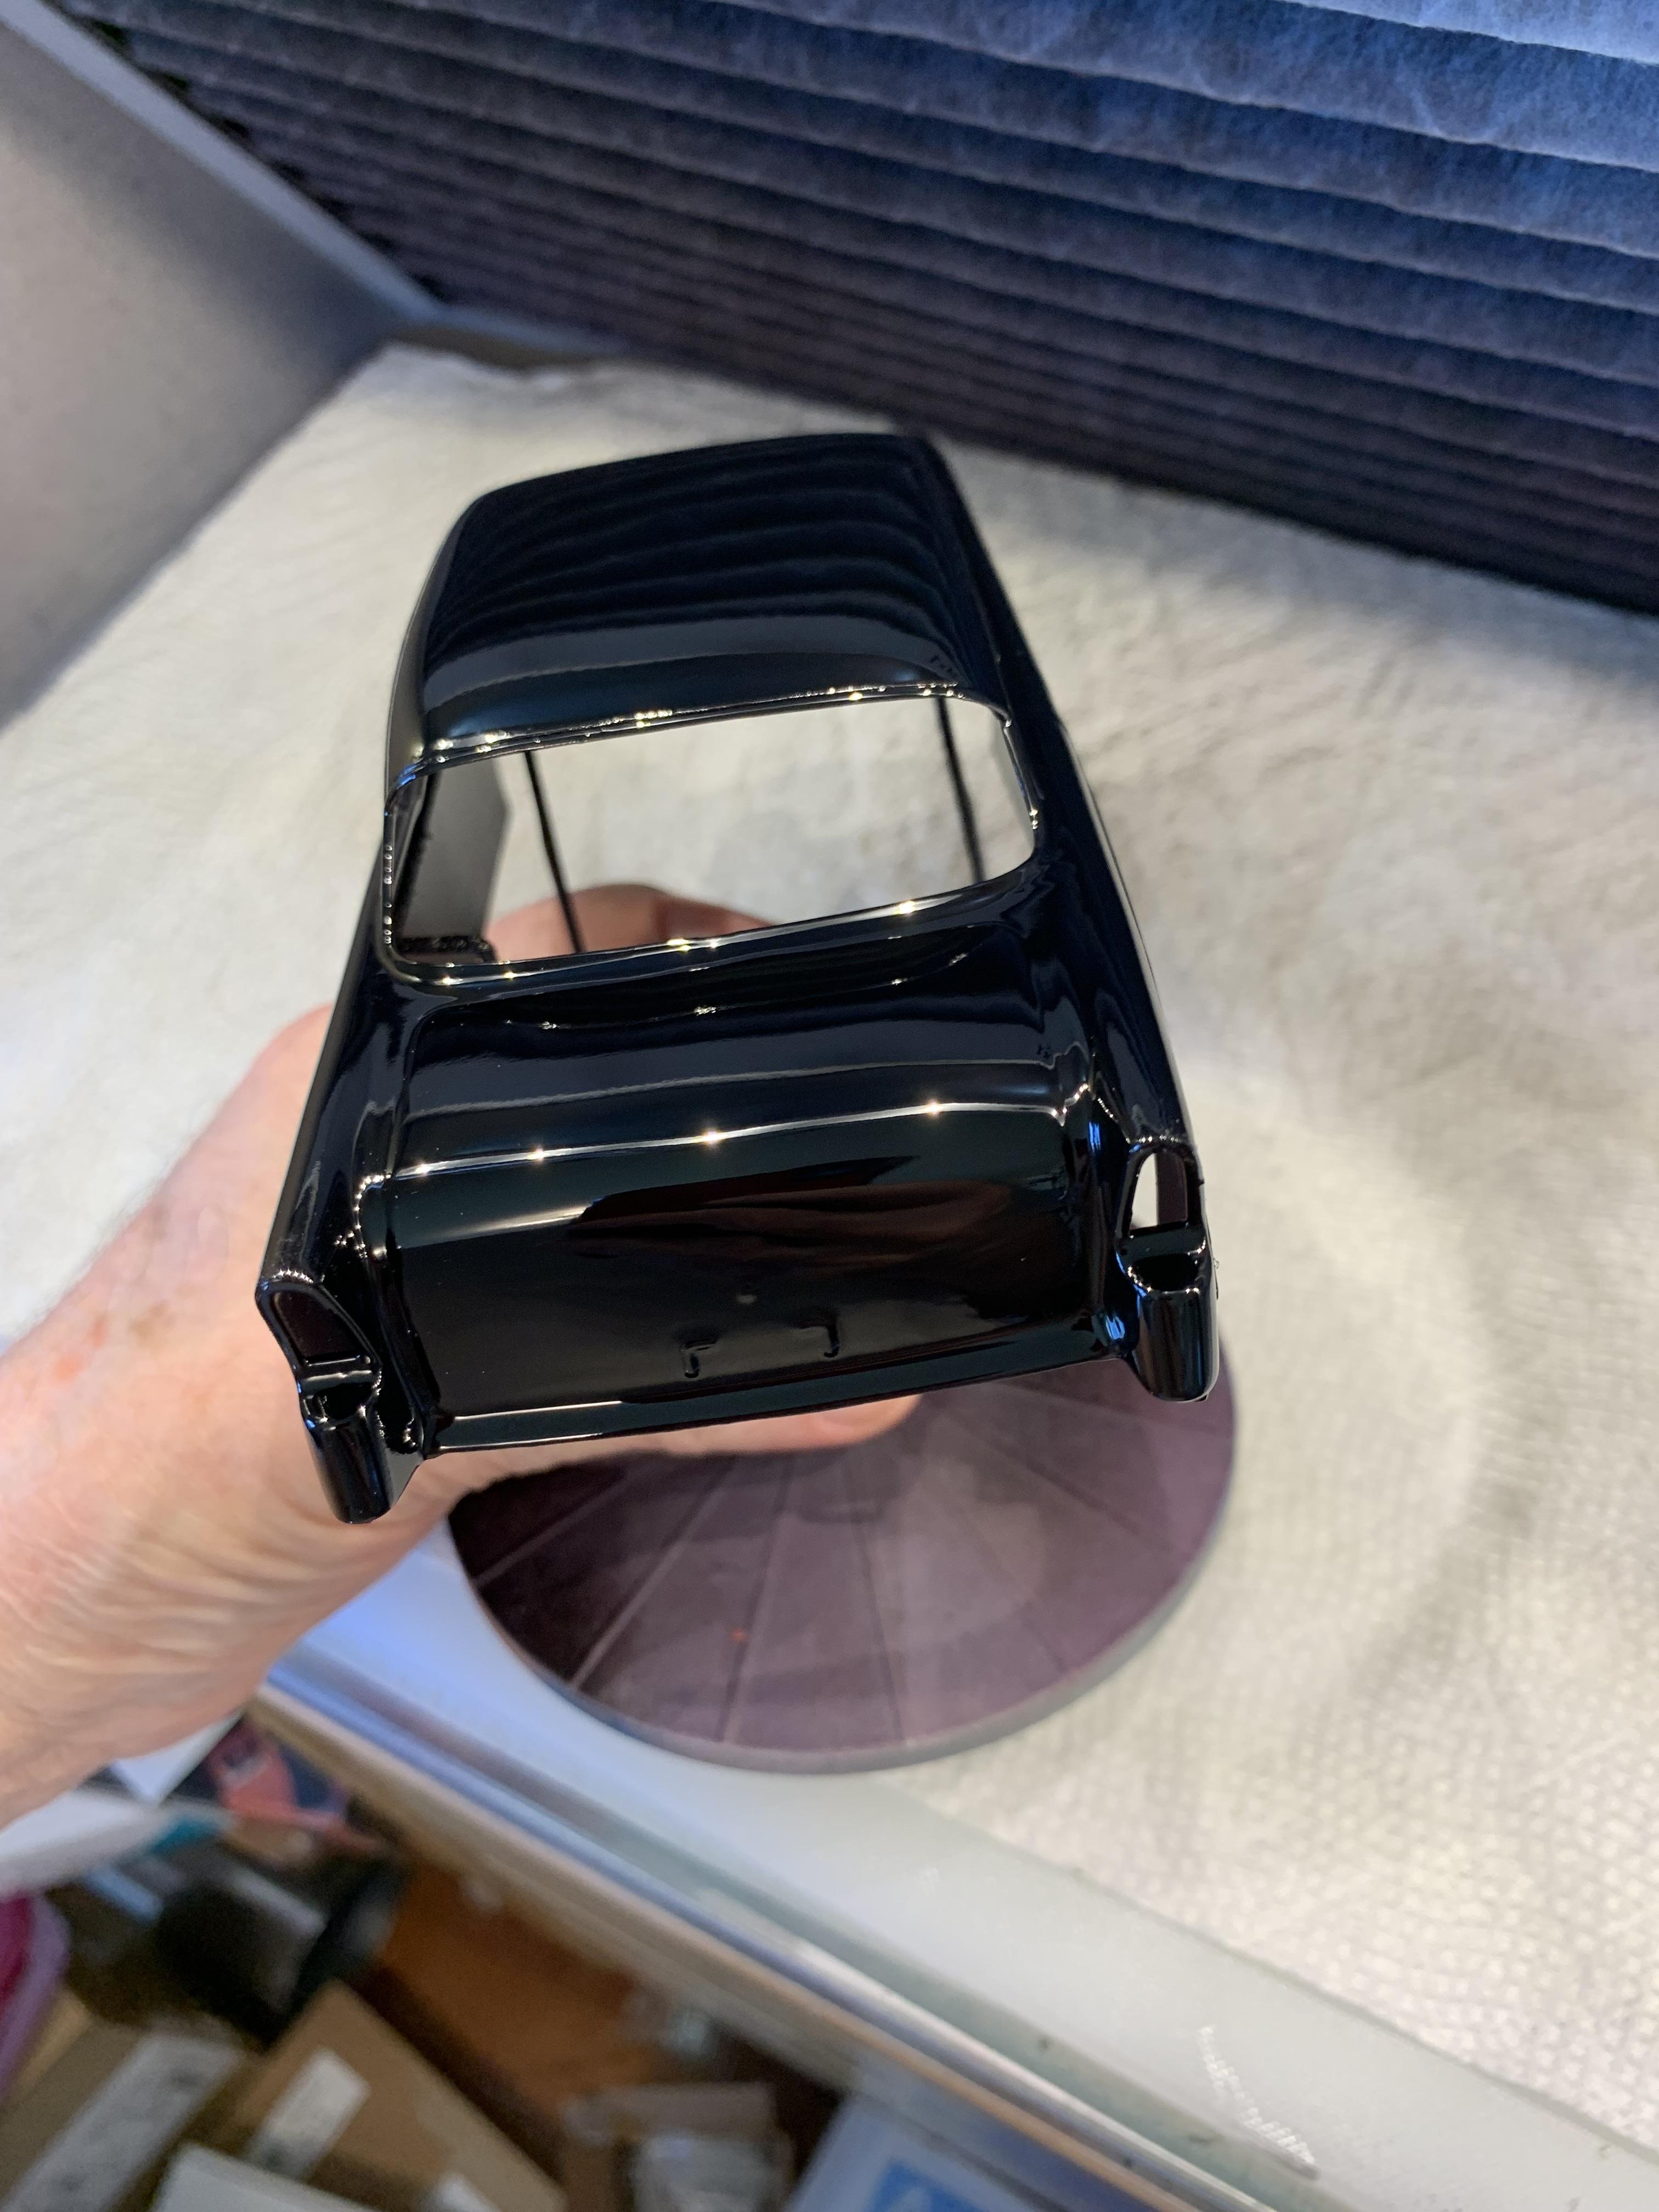
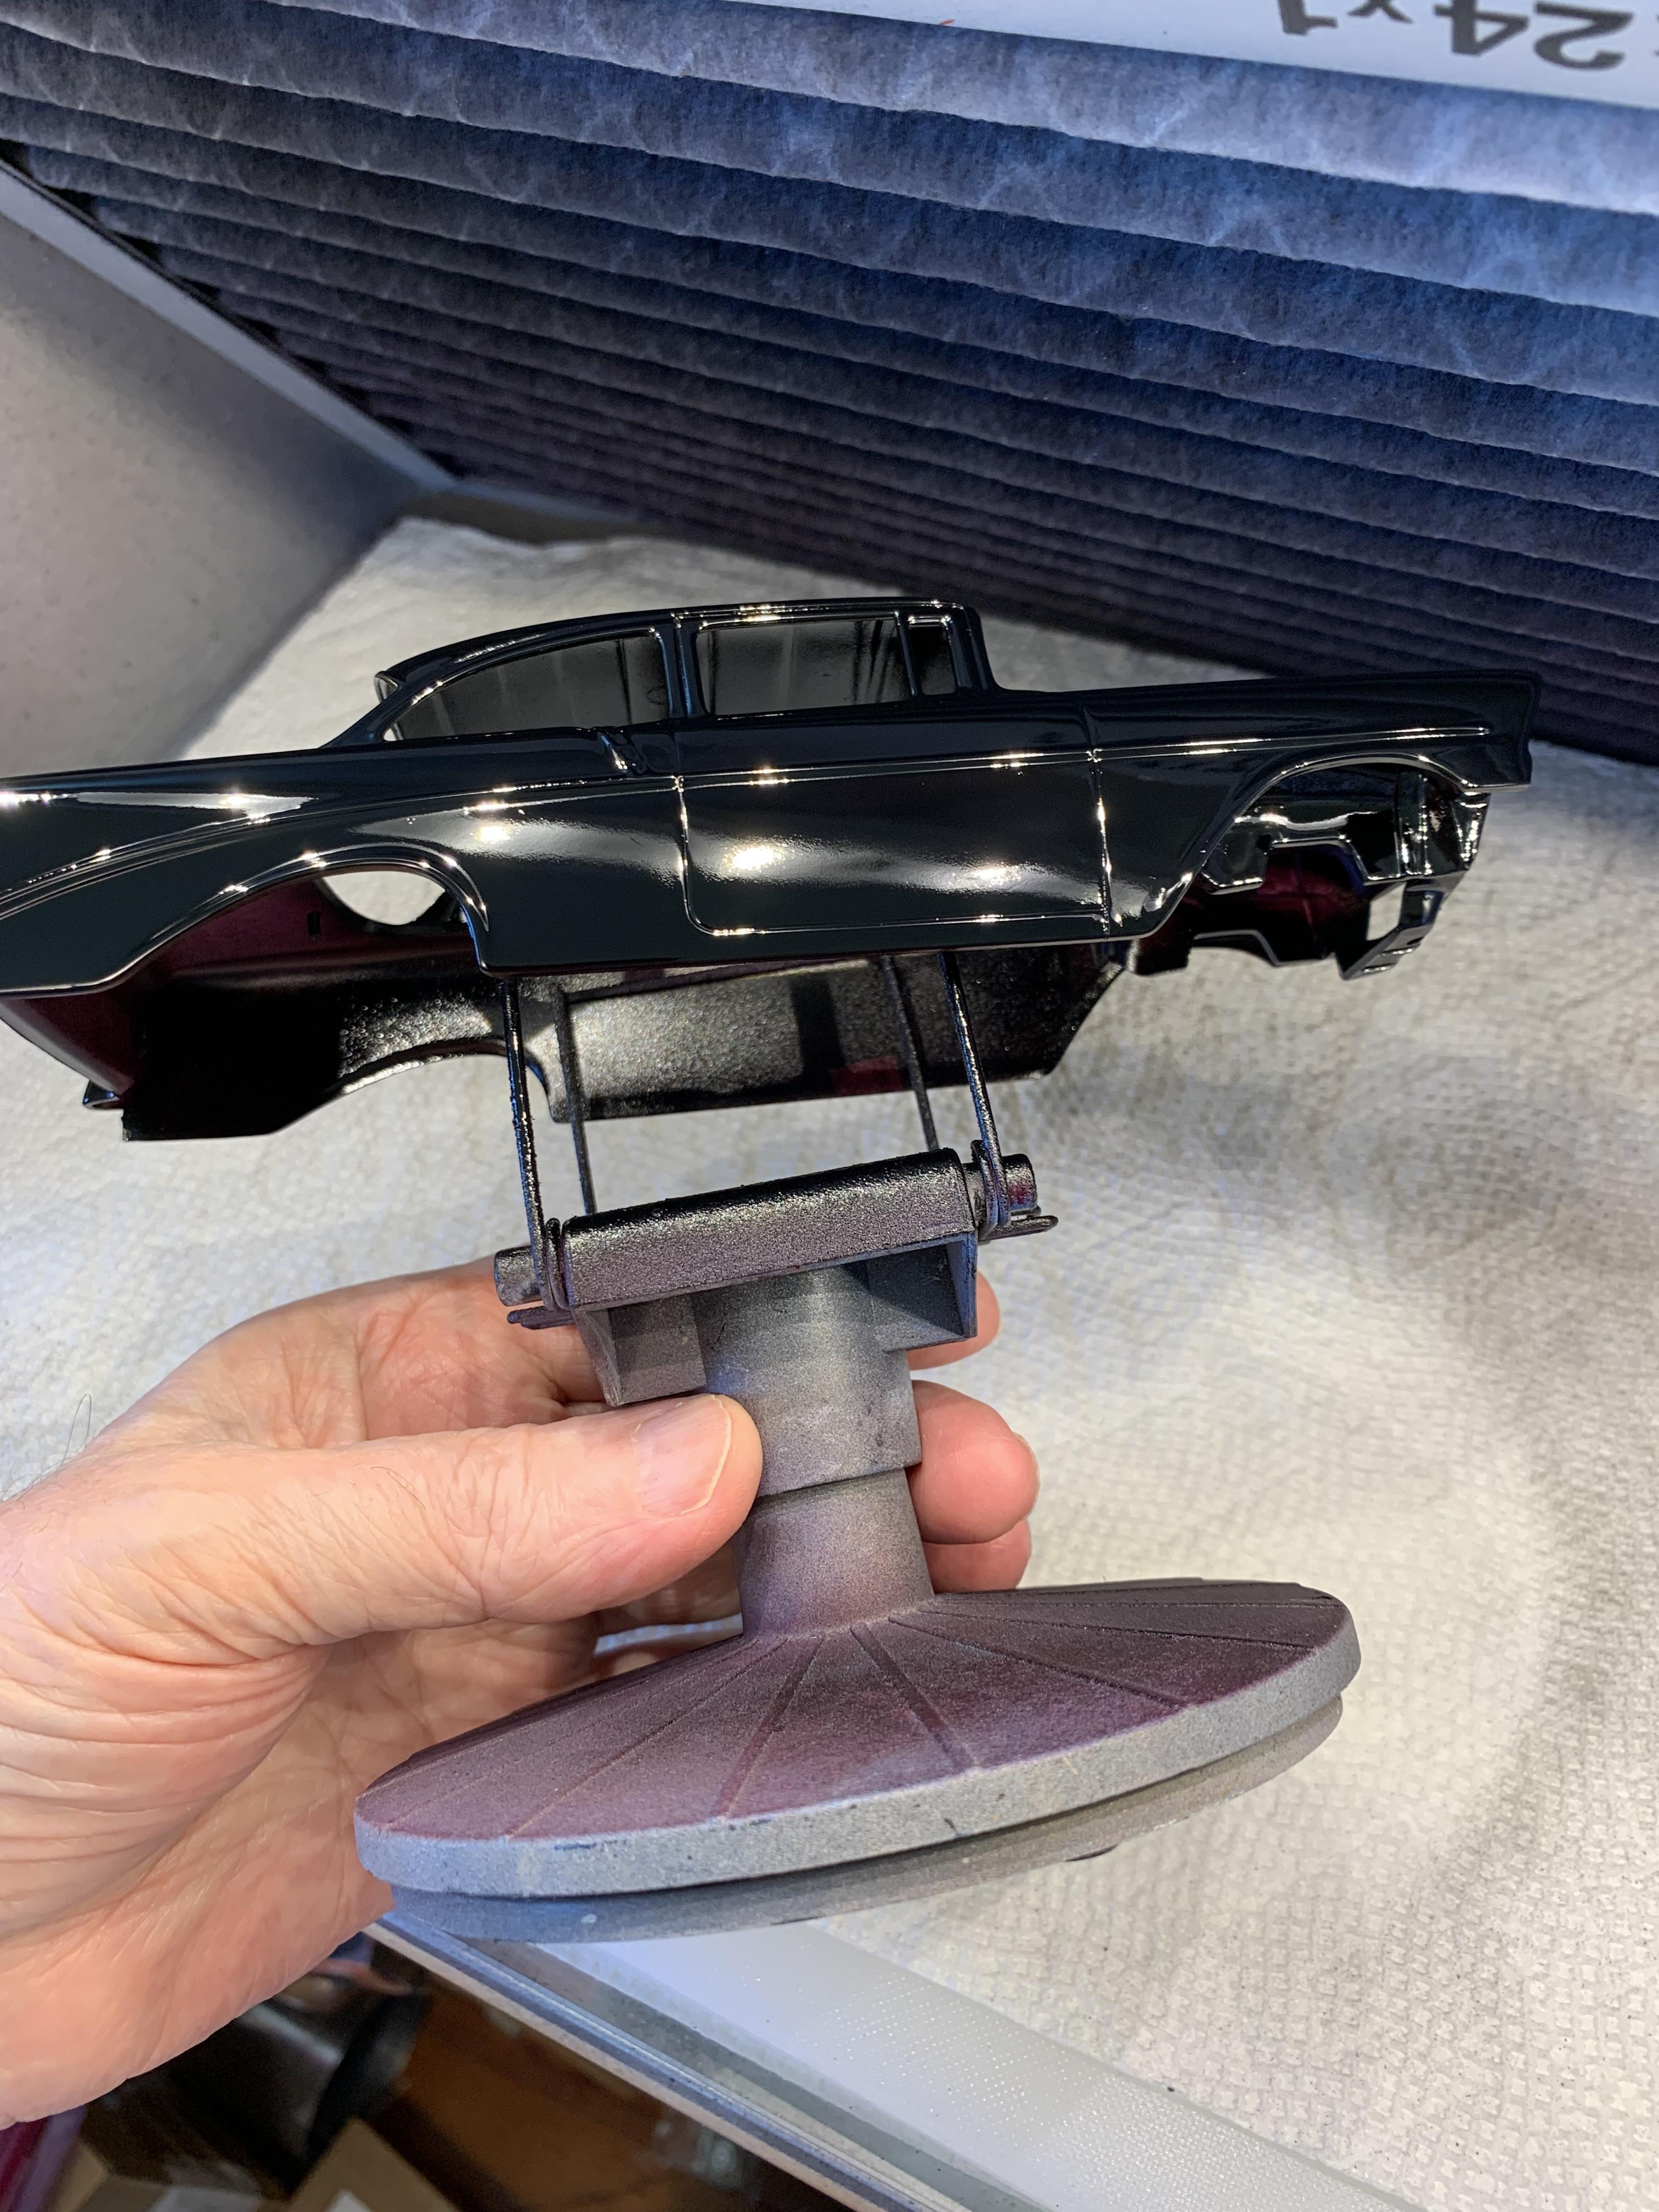
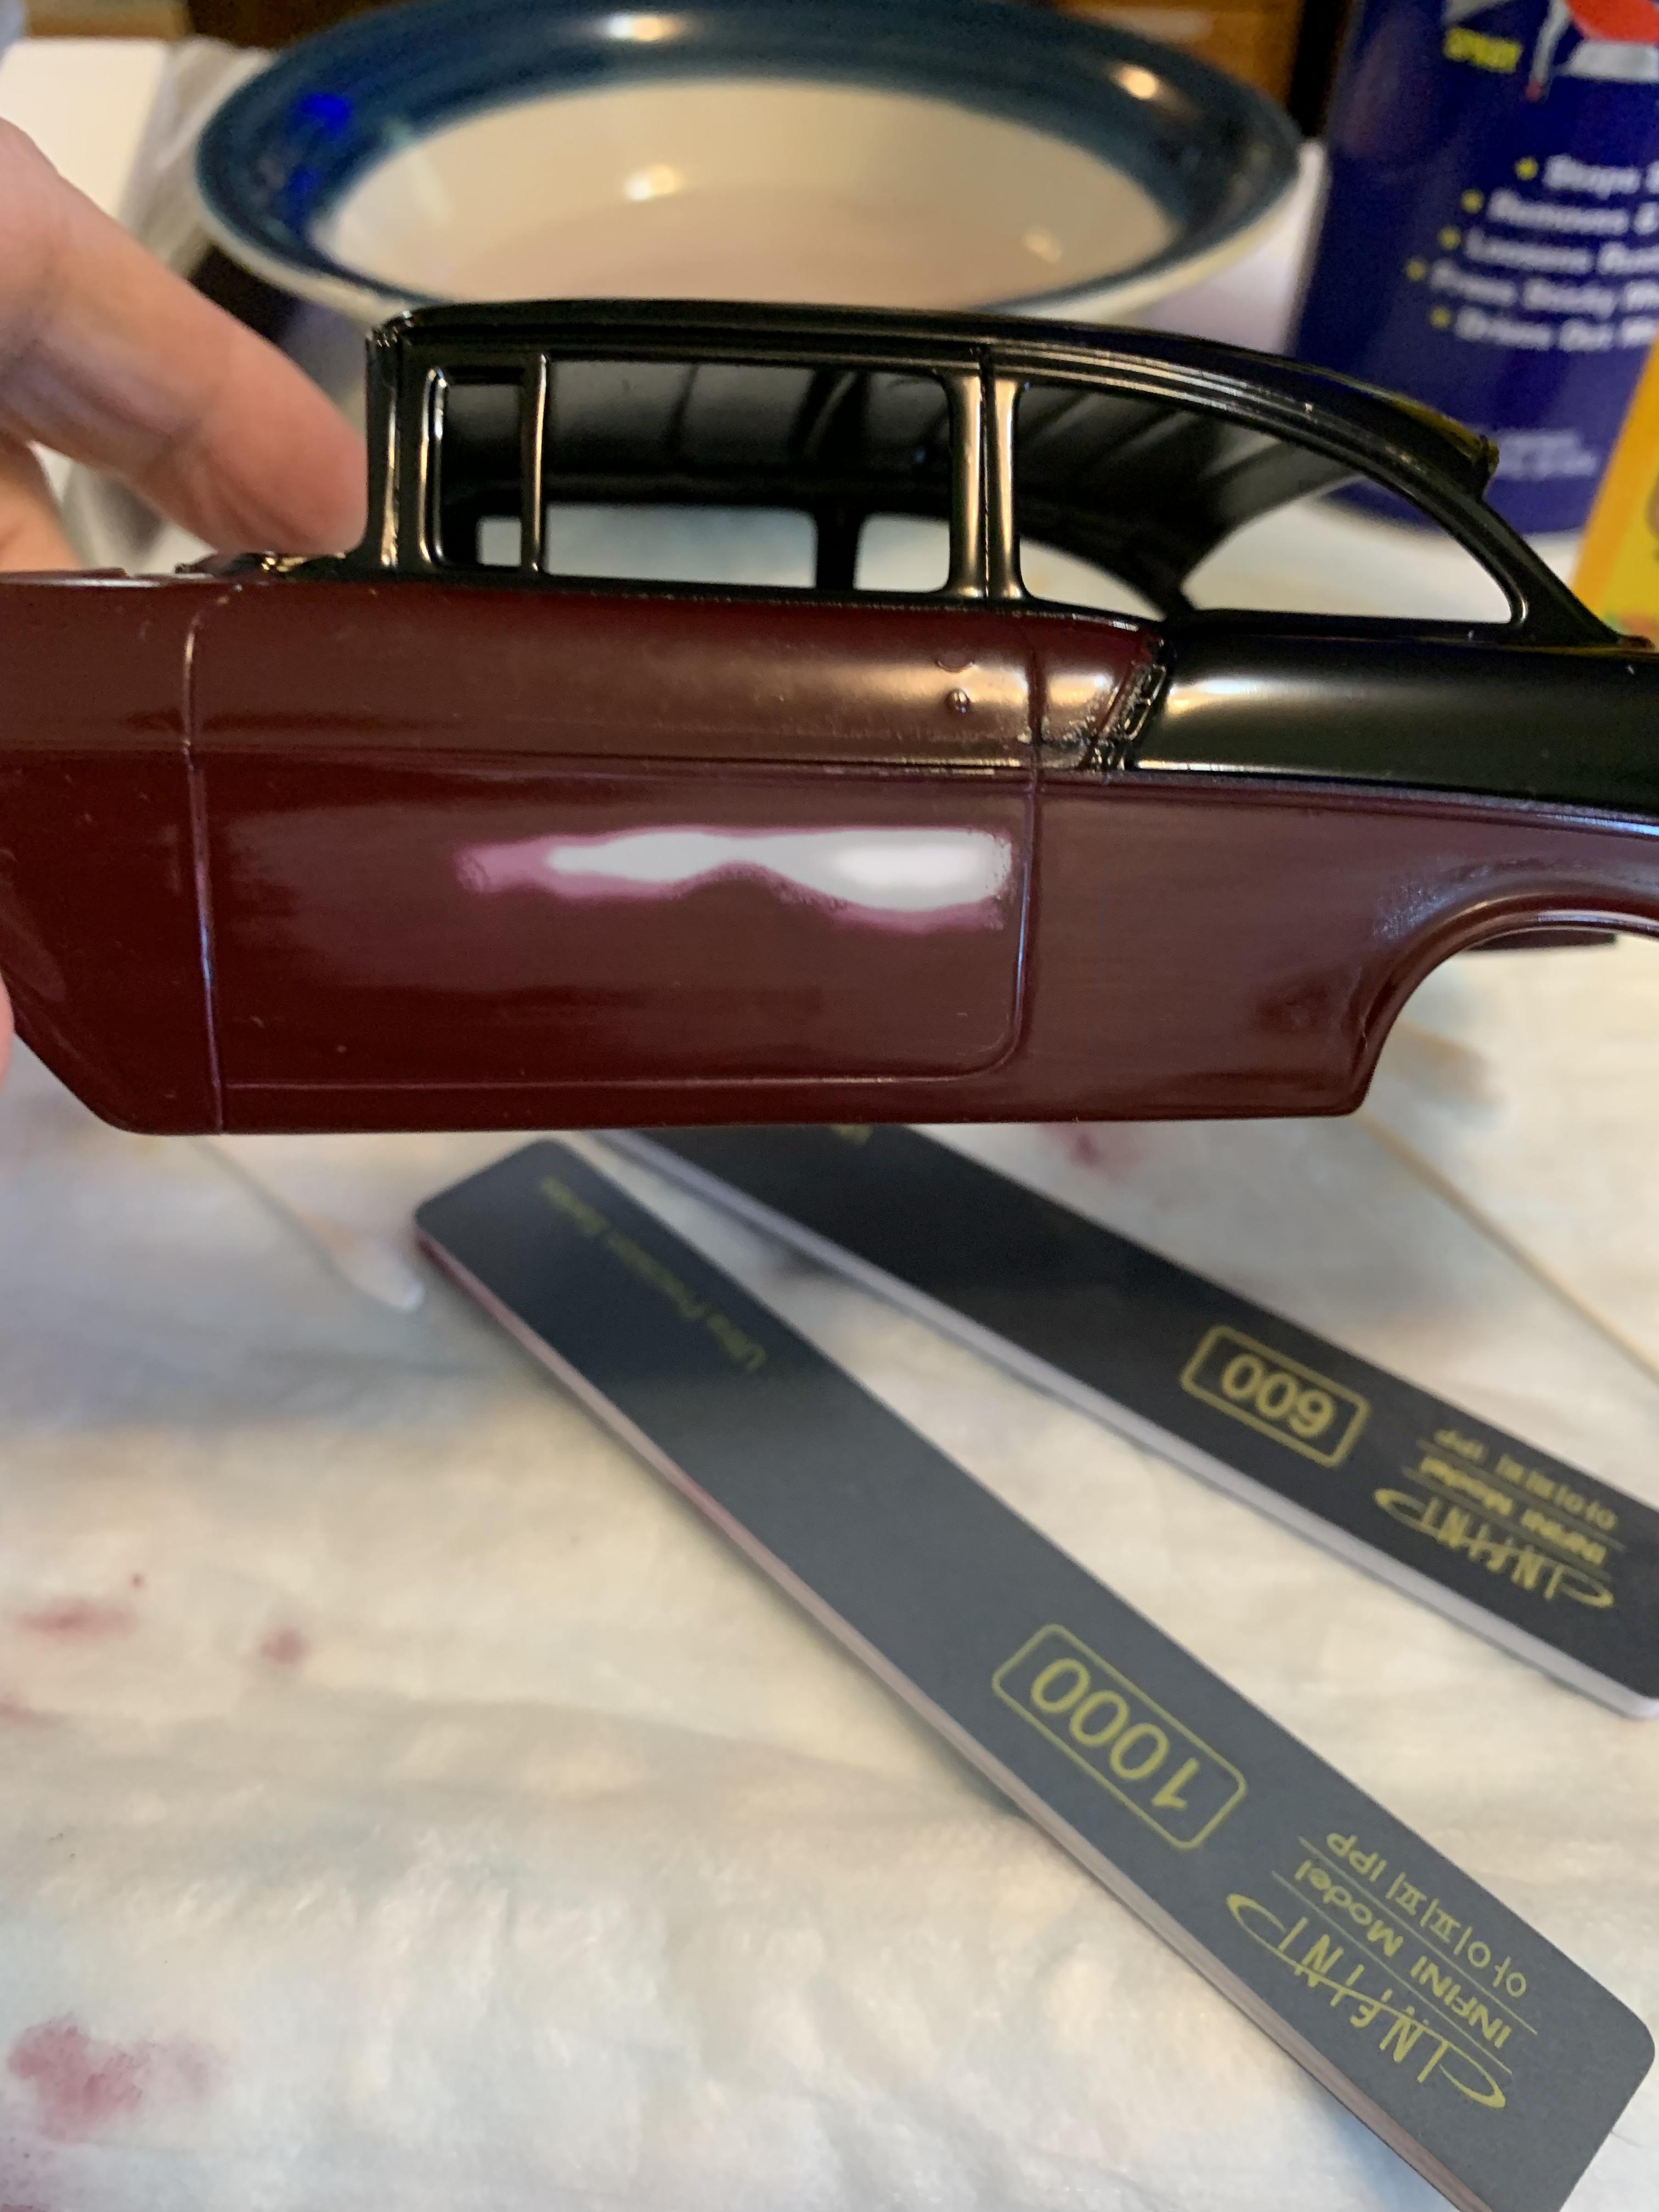
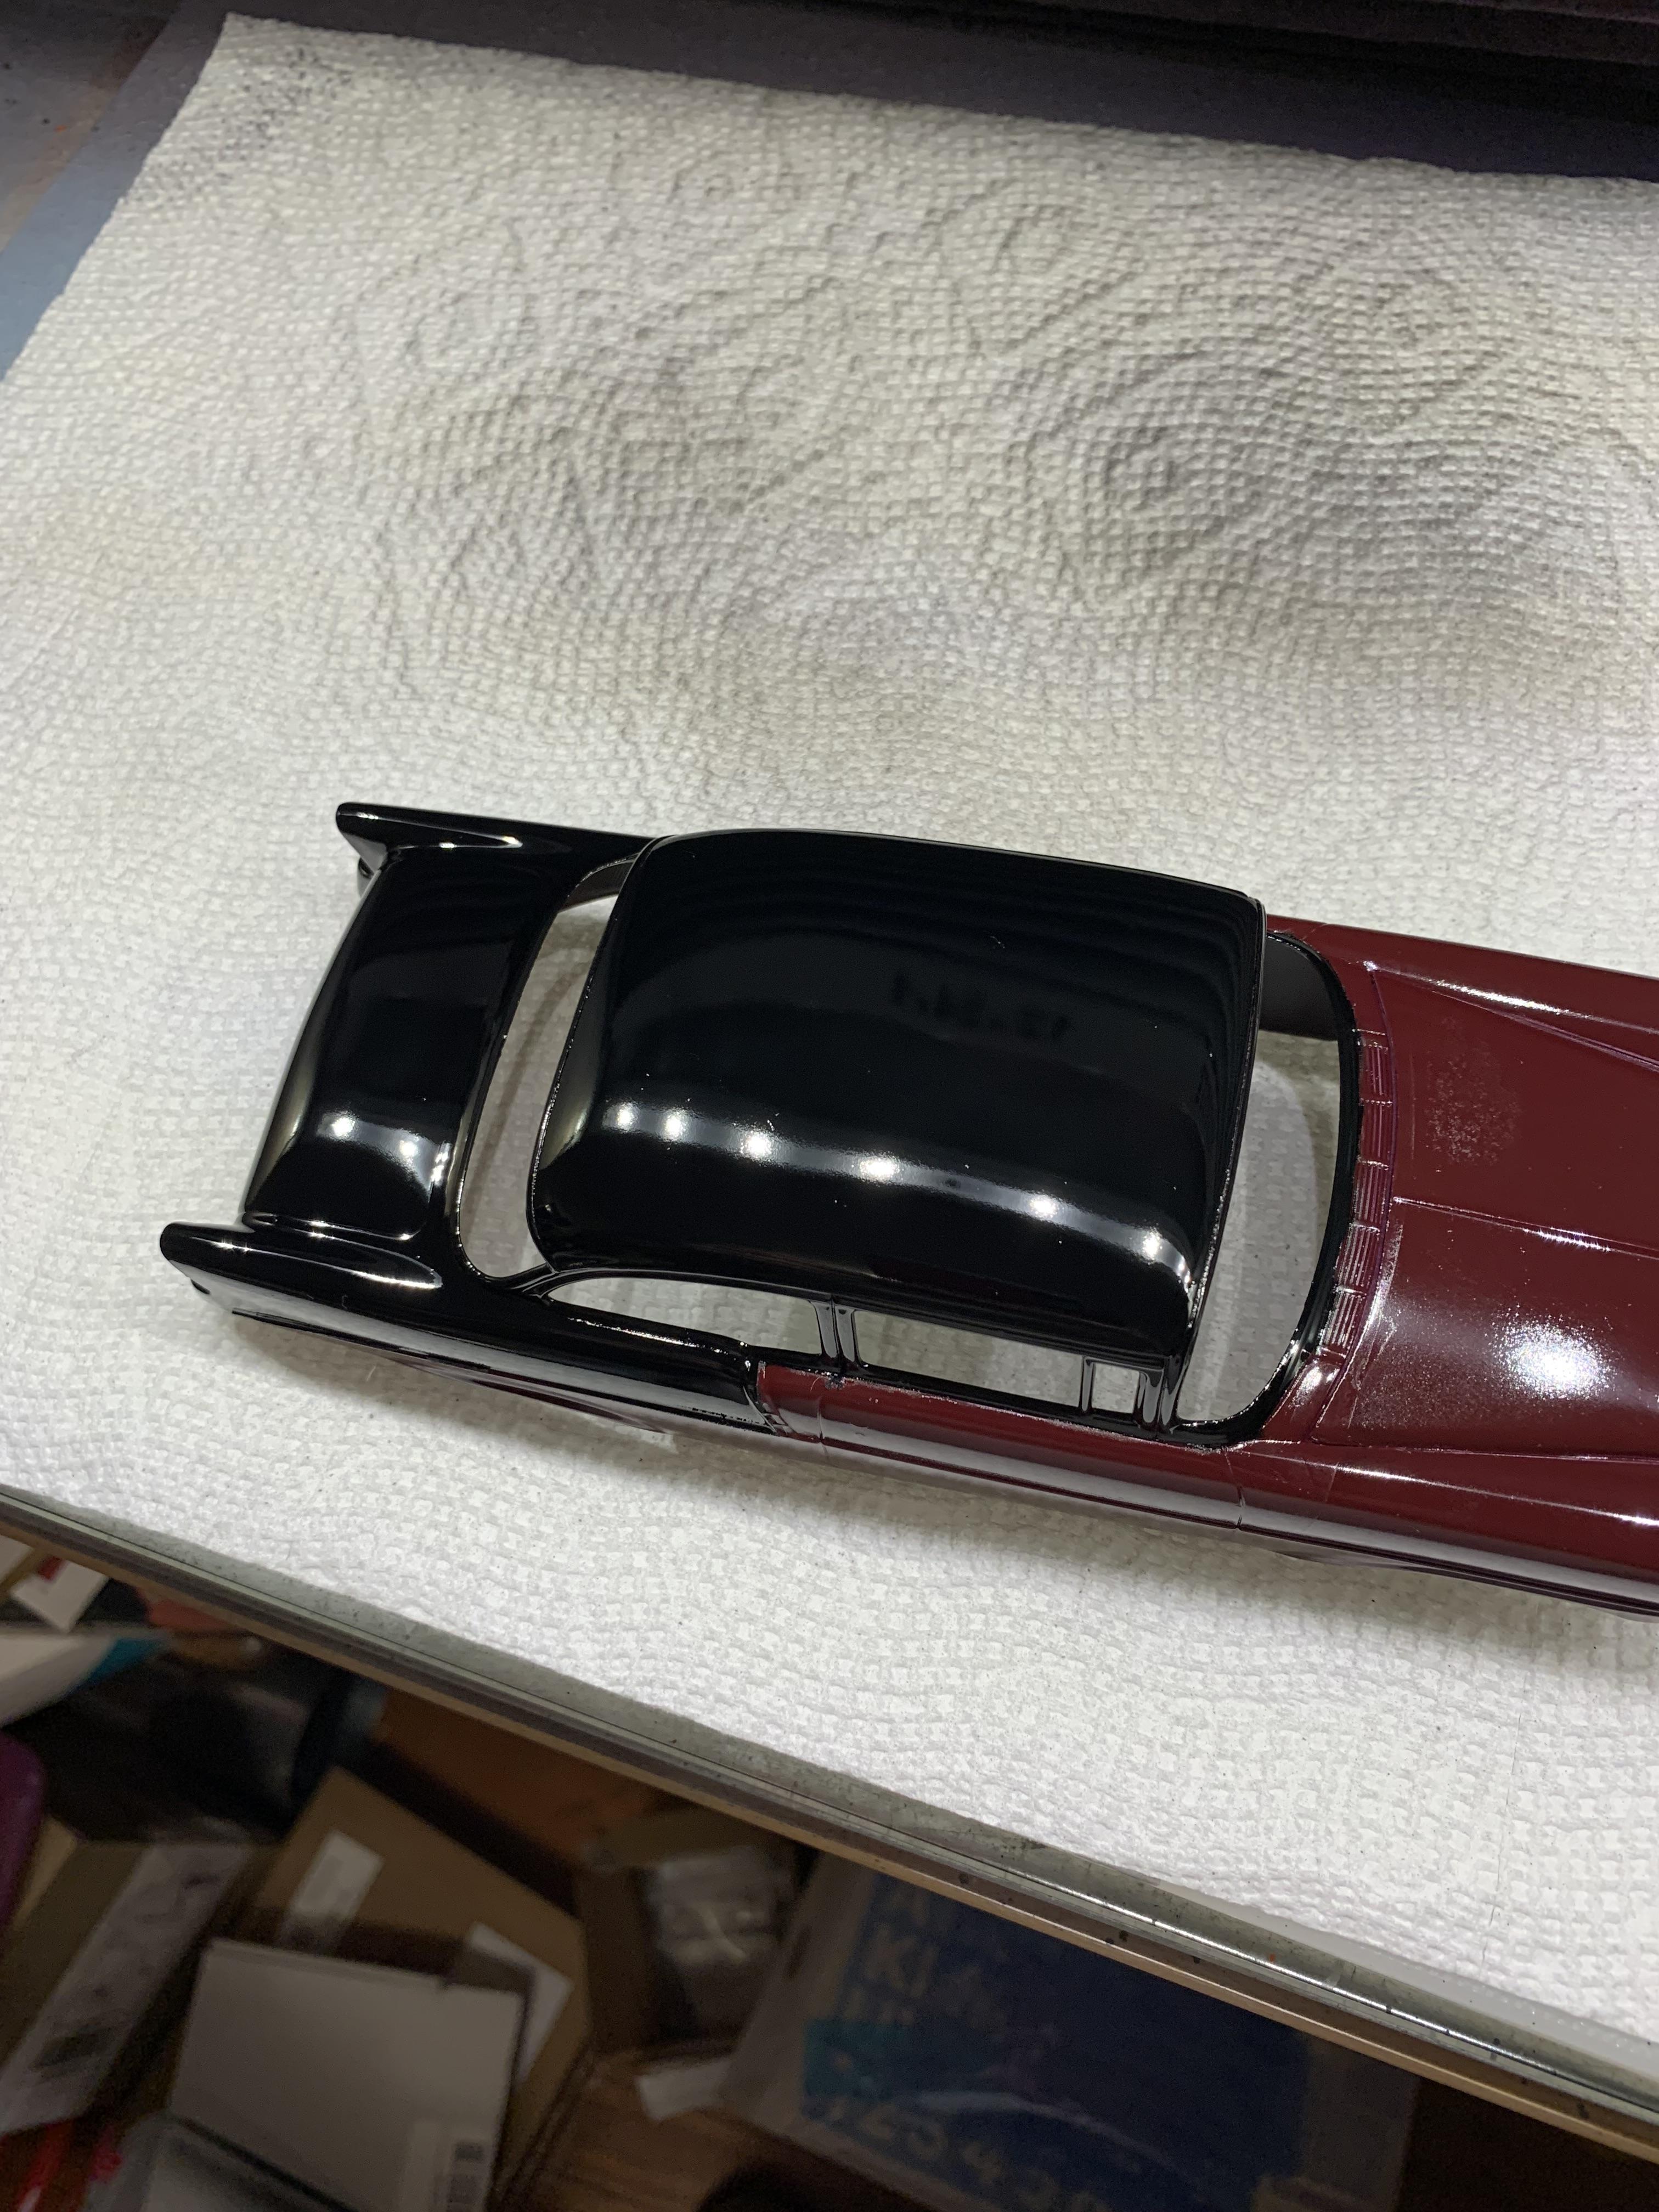
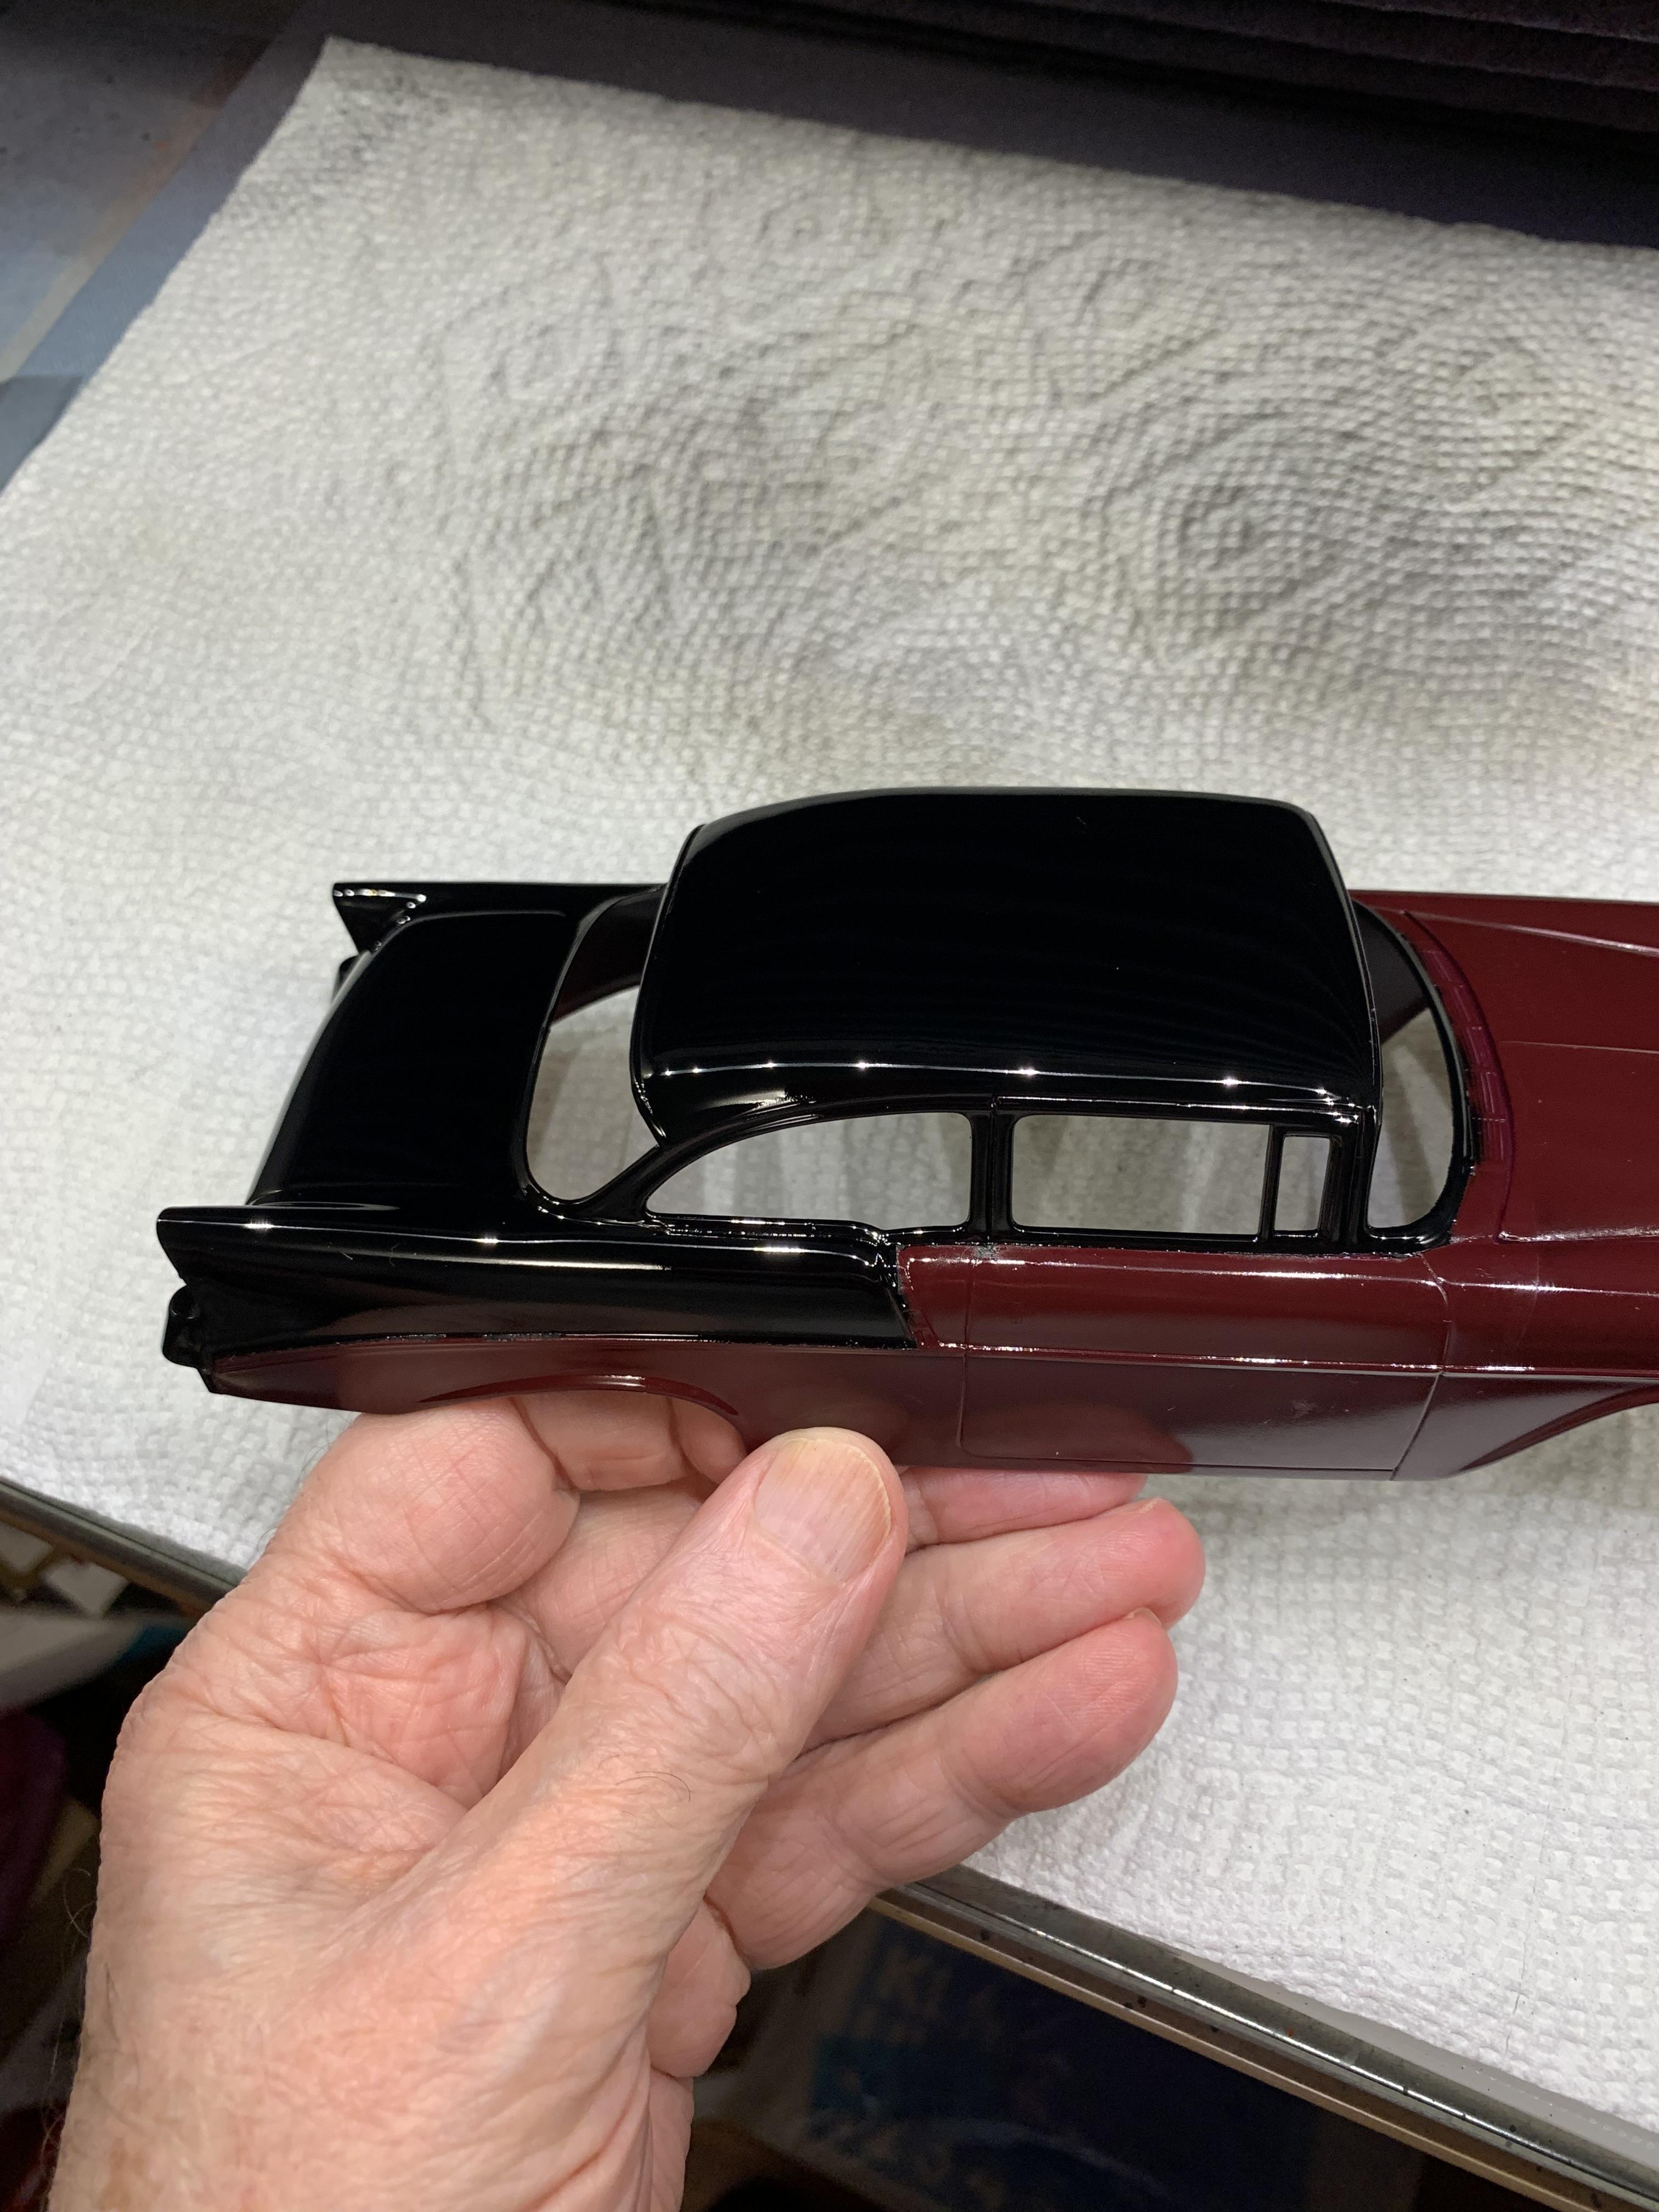
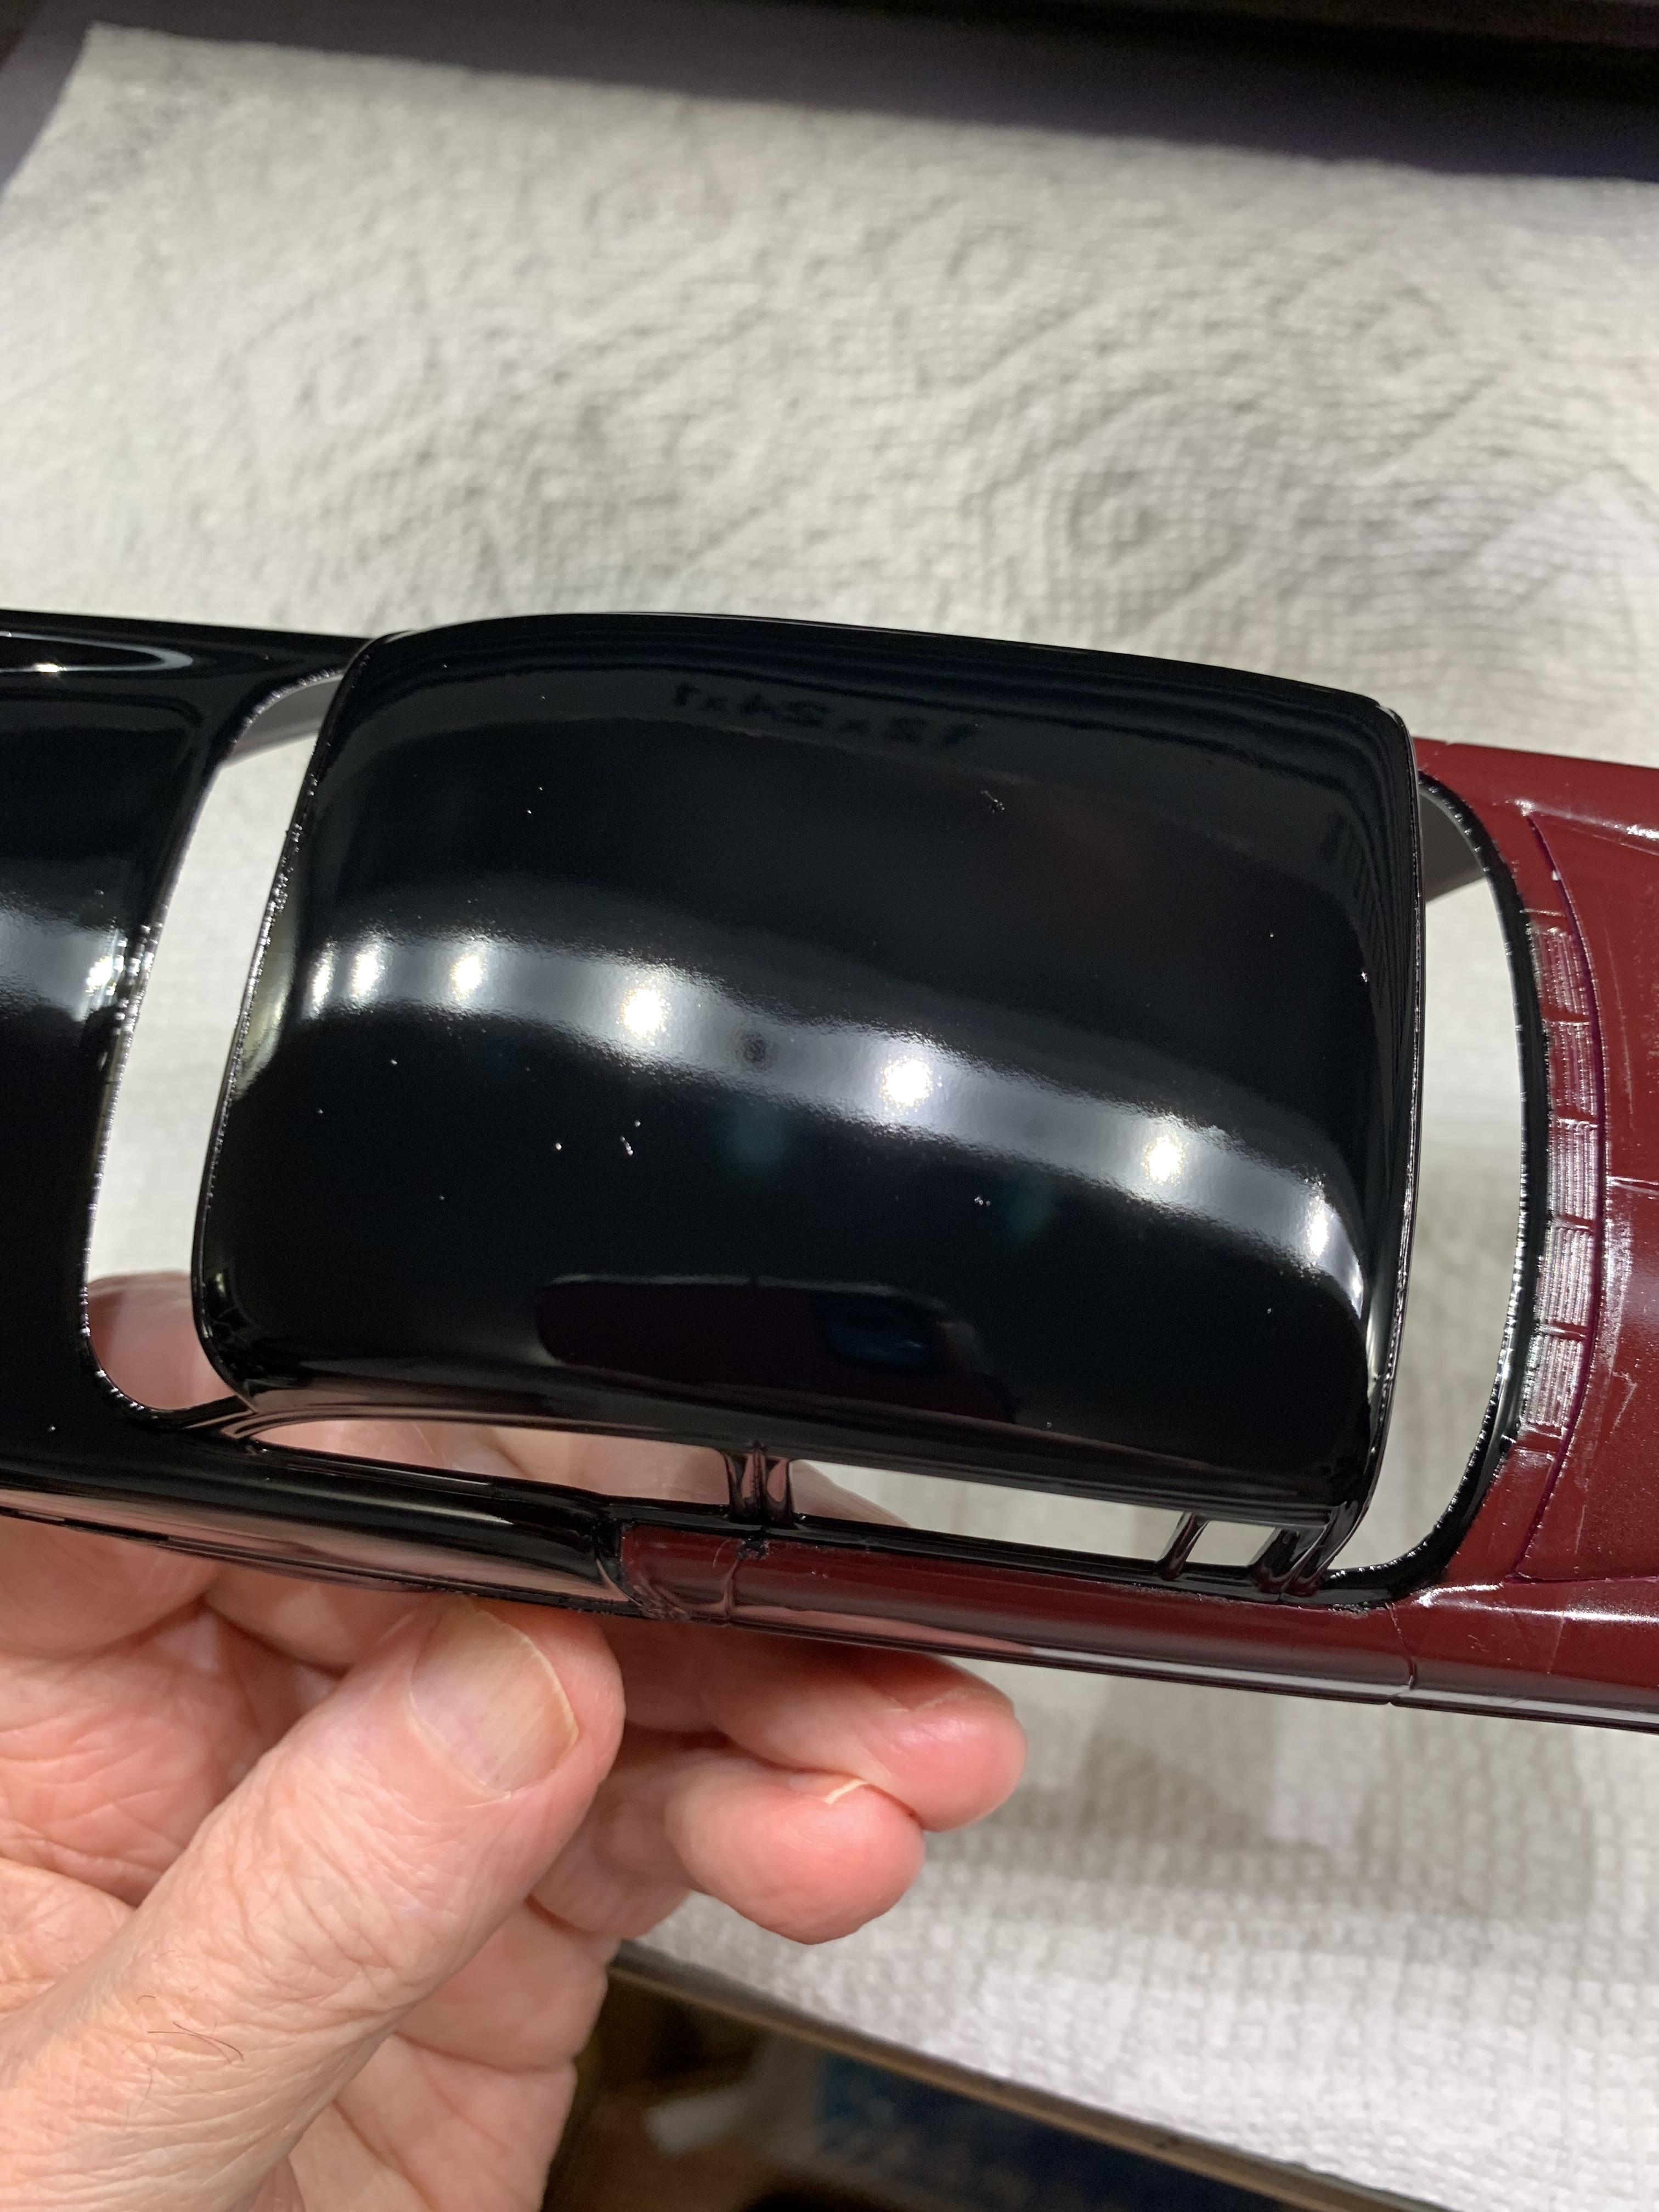
56 Chevy Junior Stocker circa 1960’s
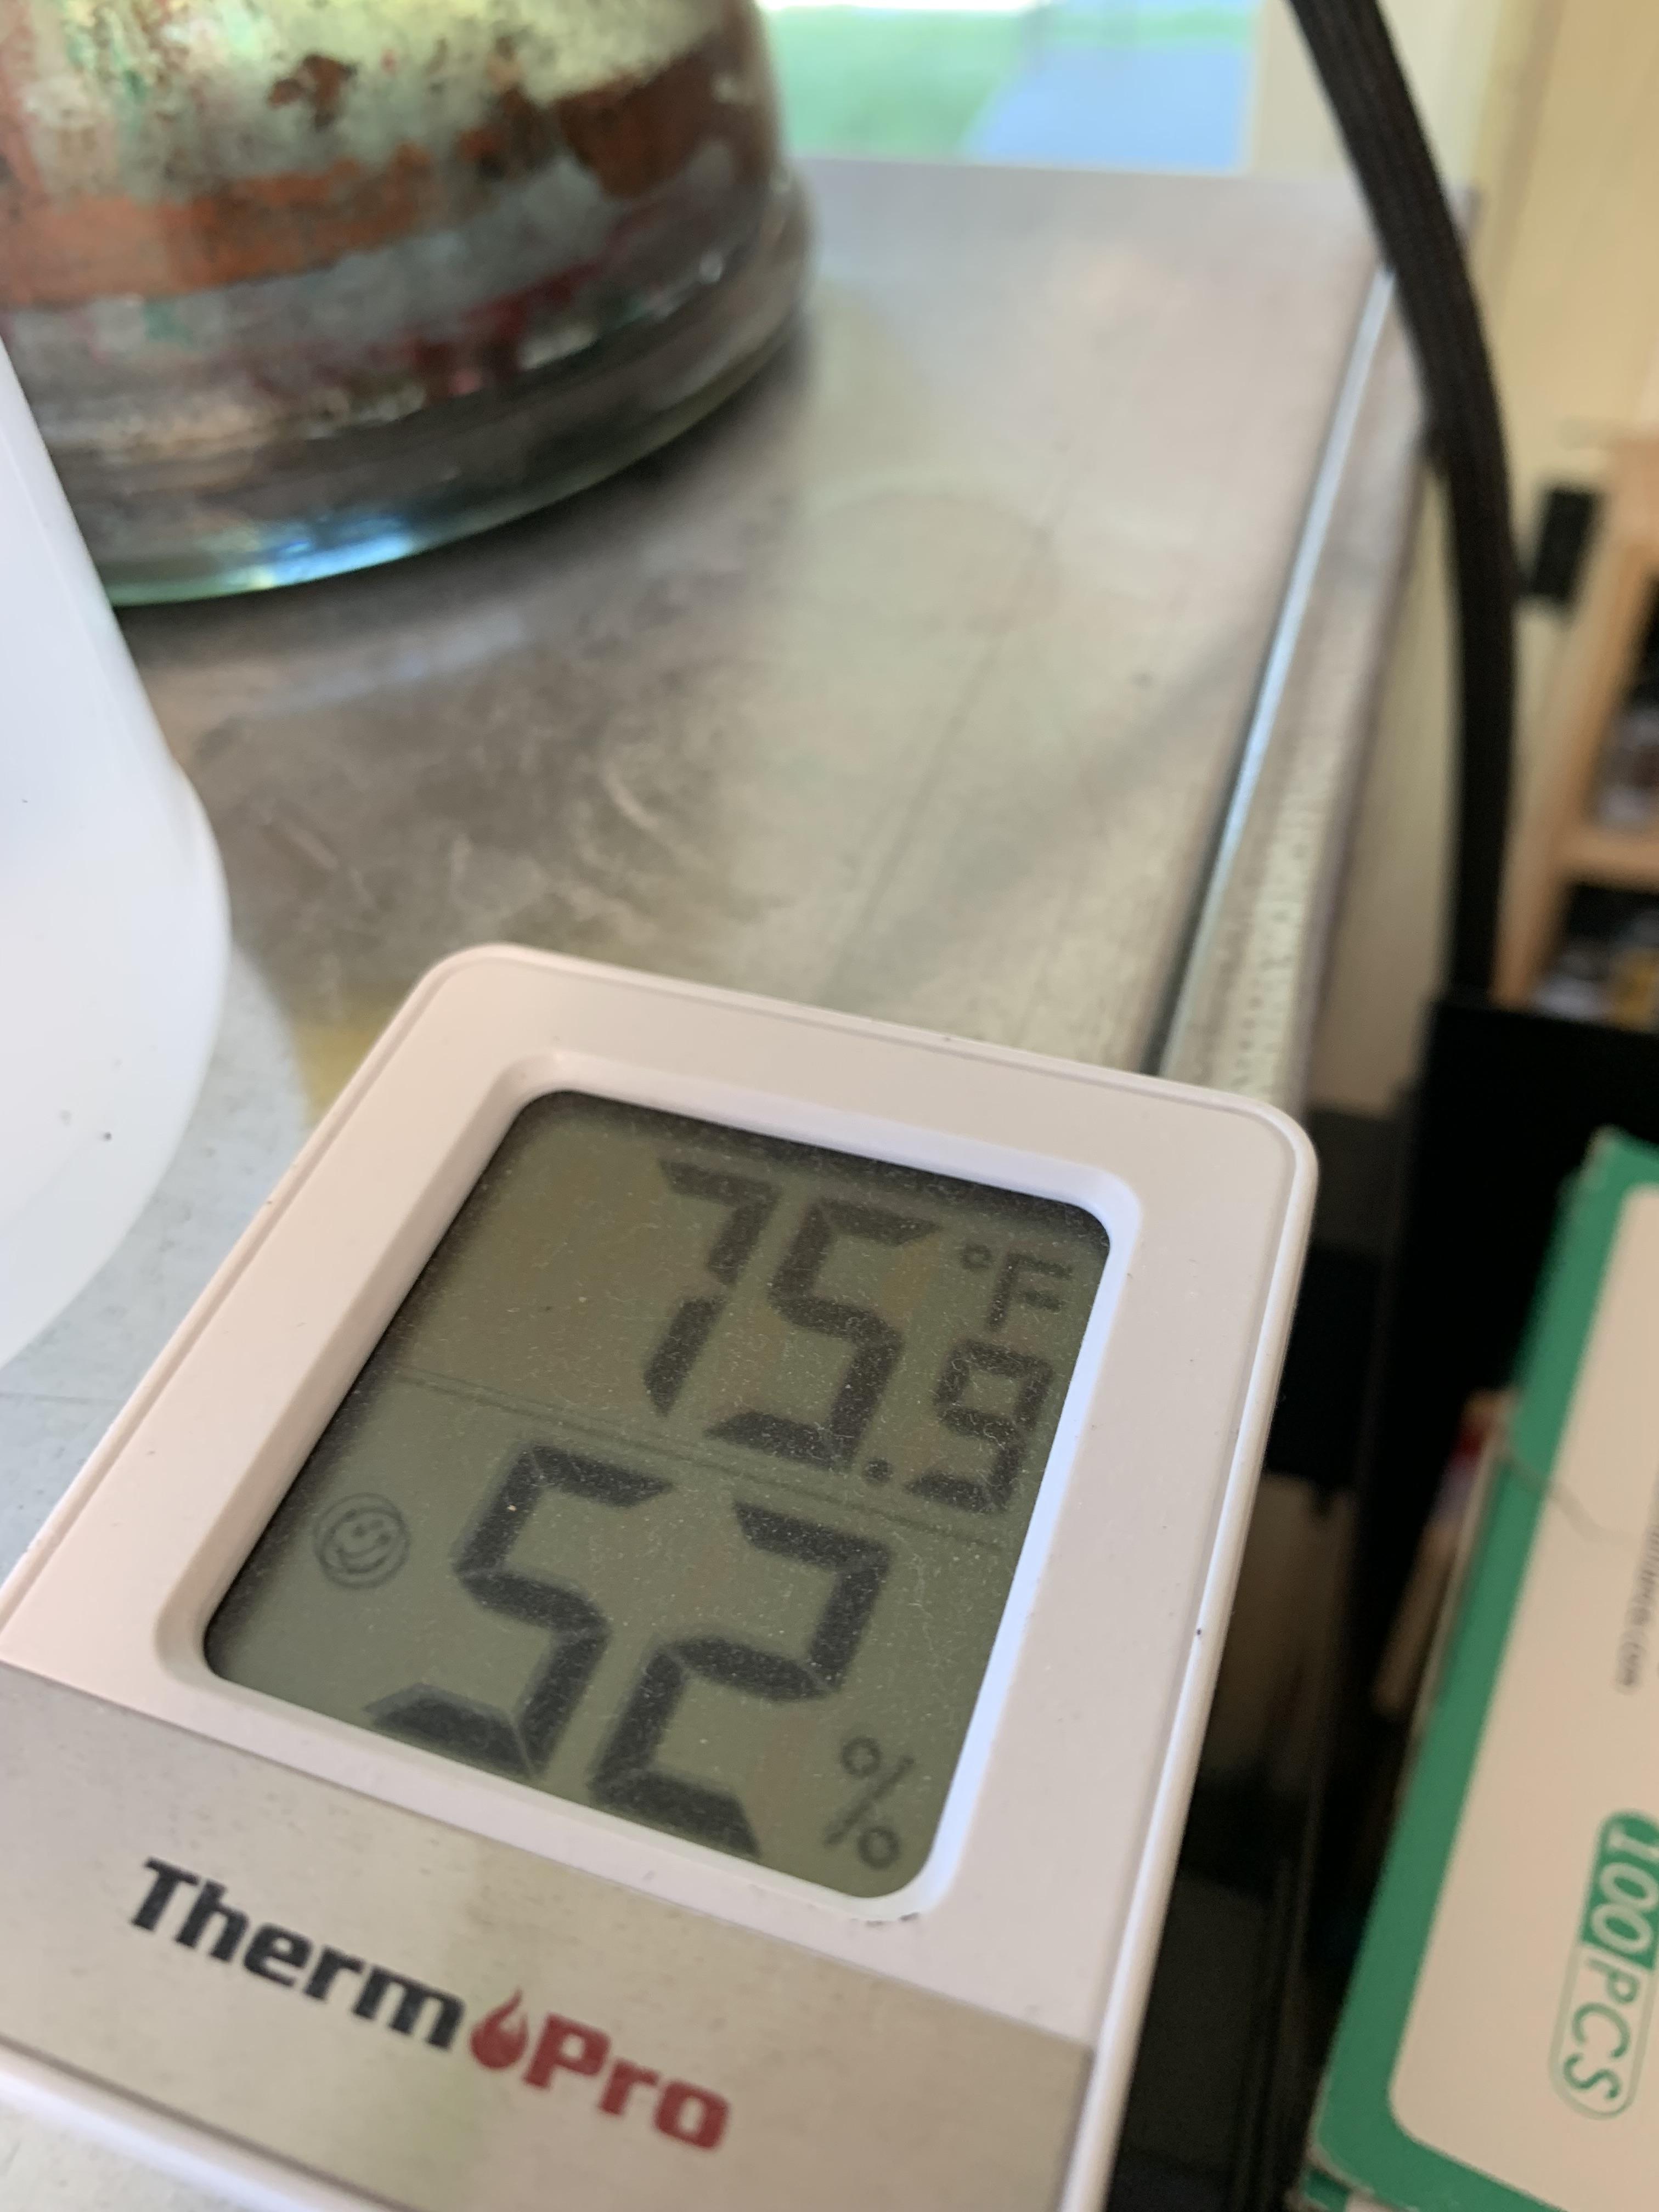
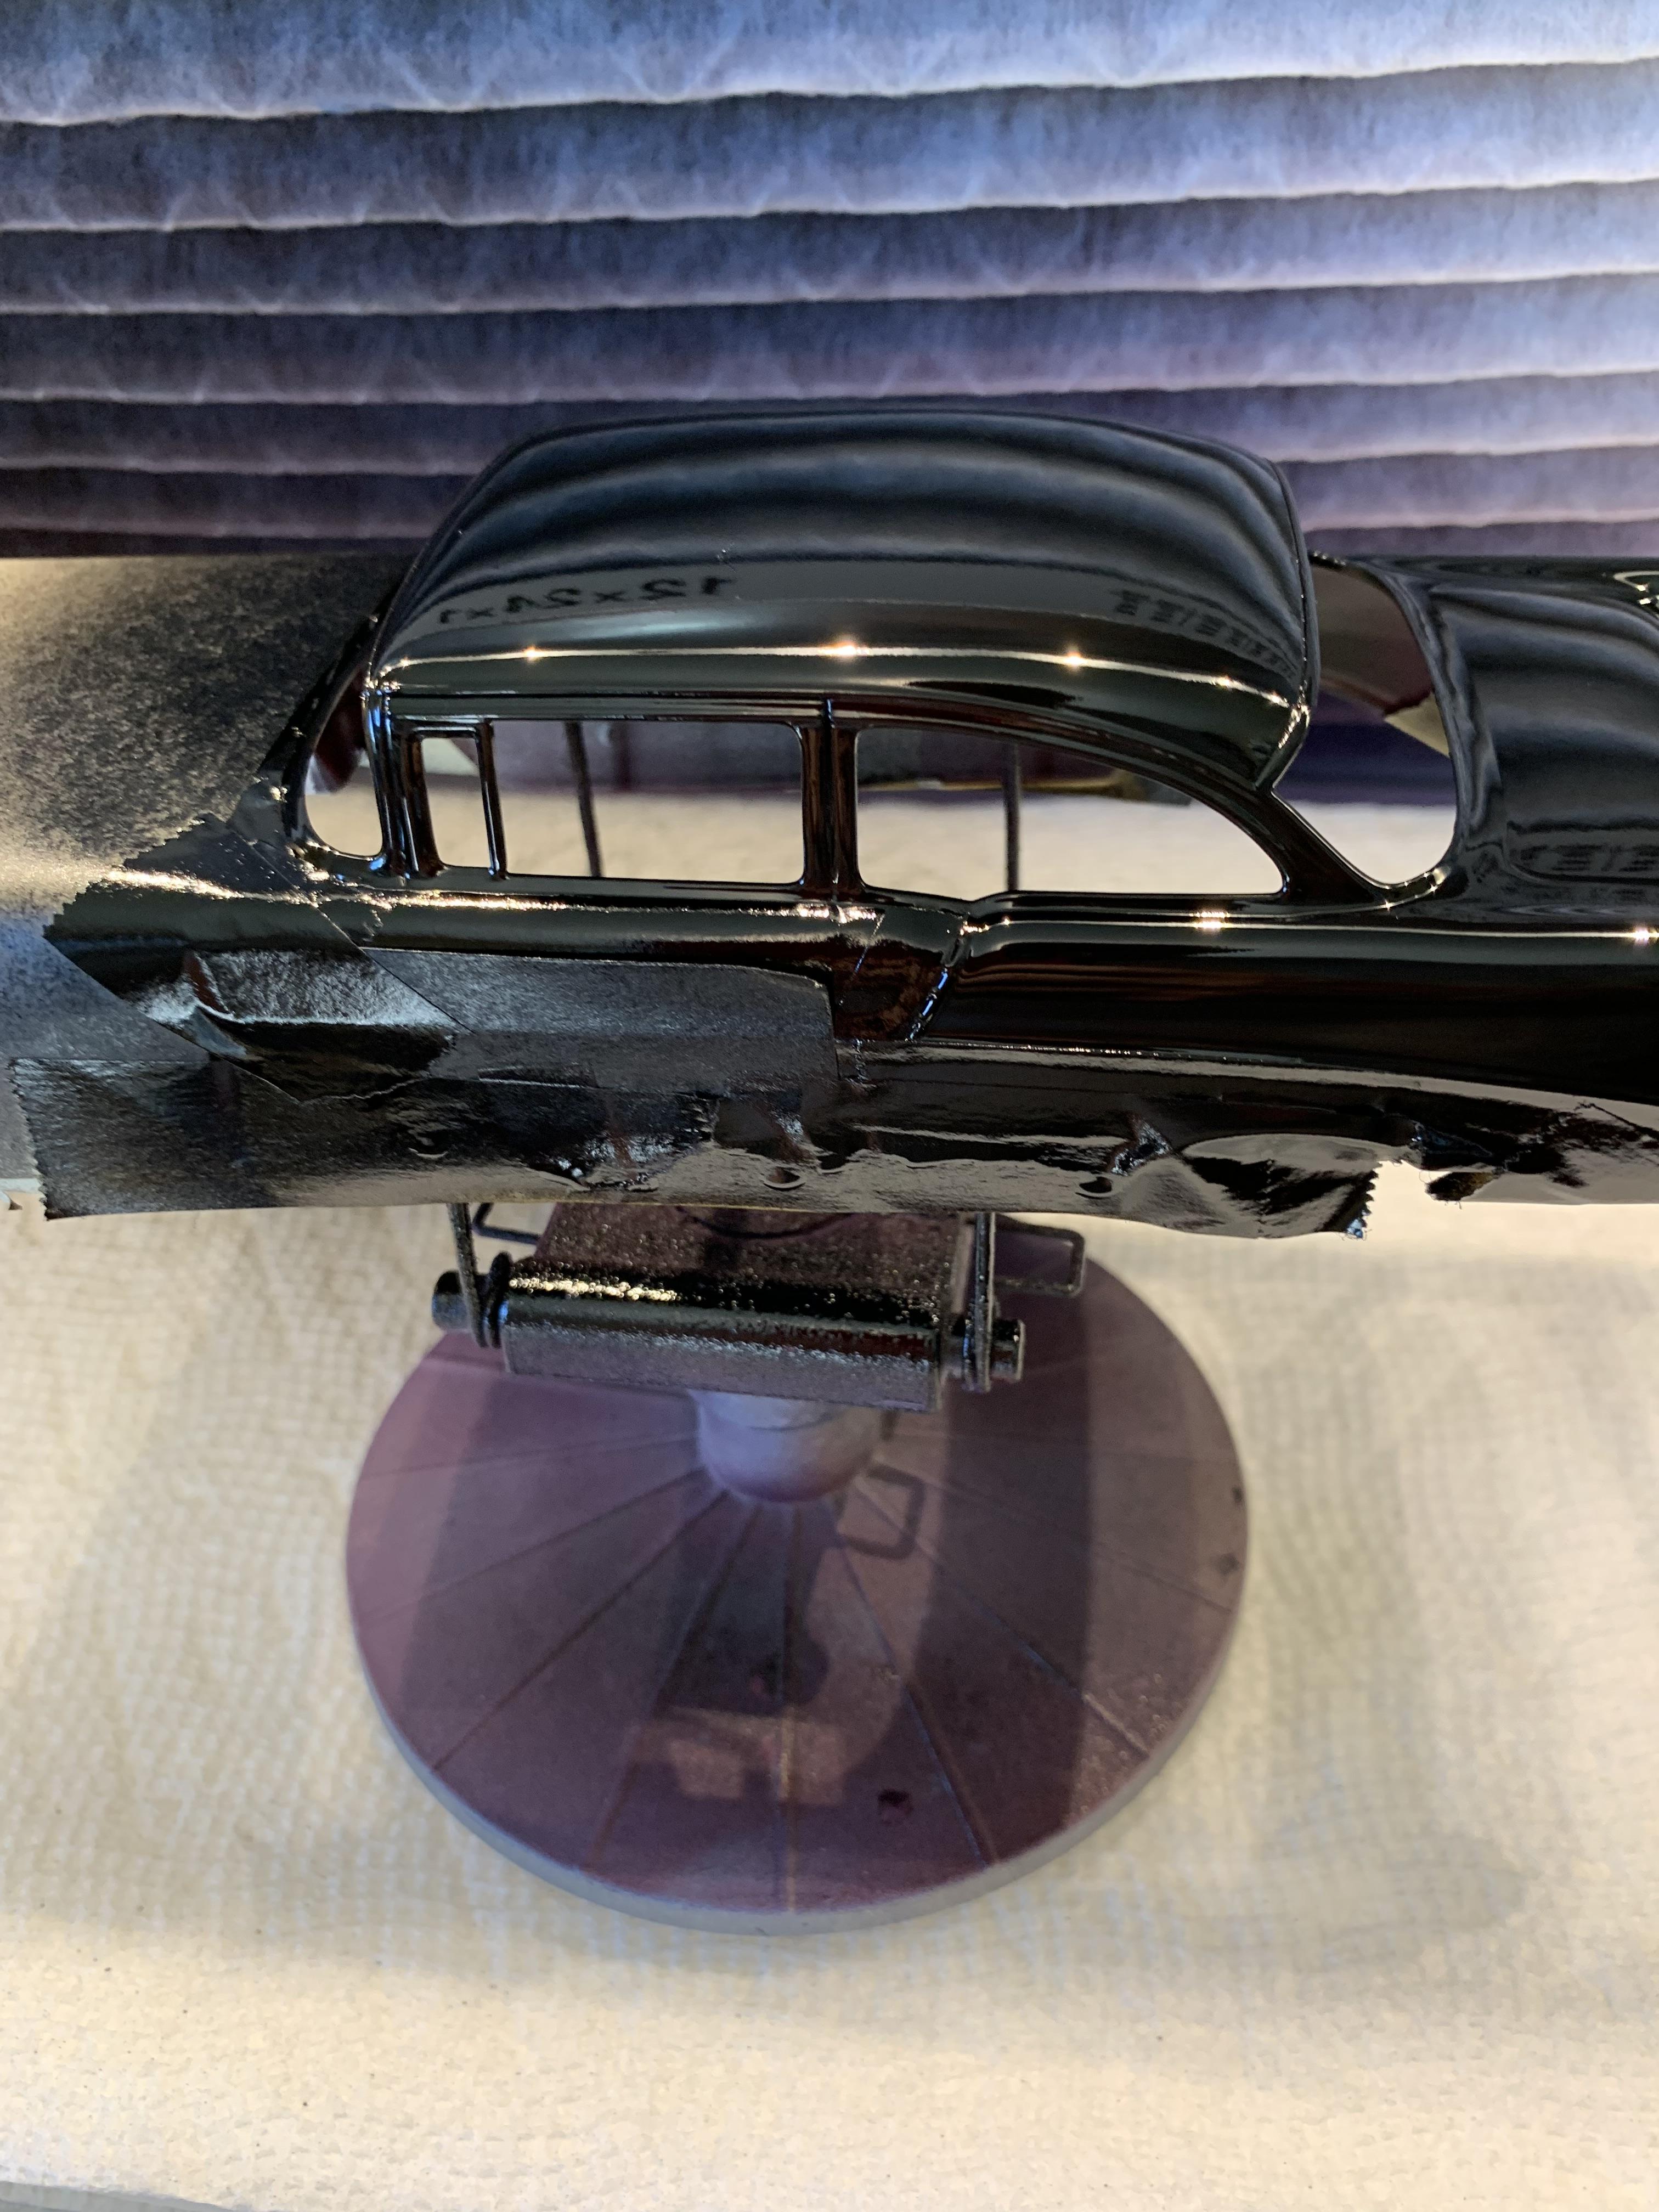
R. Thorne replied to R. Thorne's topic in WIP: Drag Racing Models
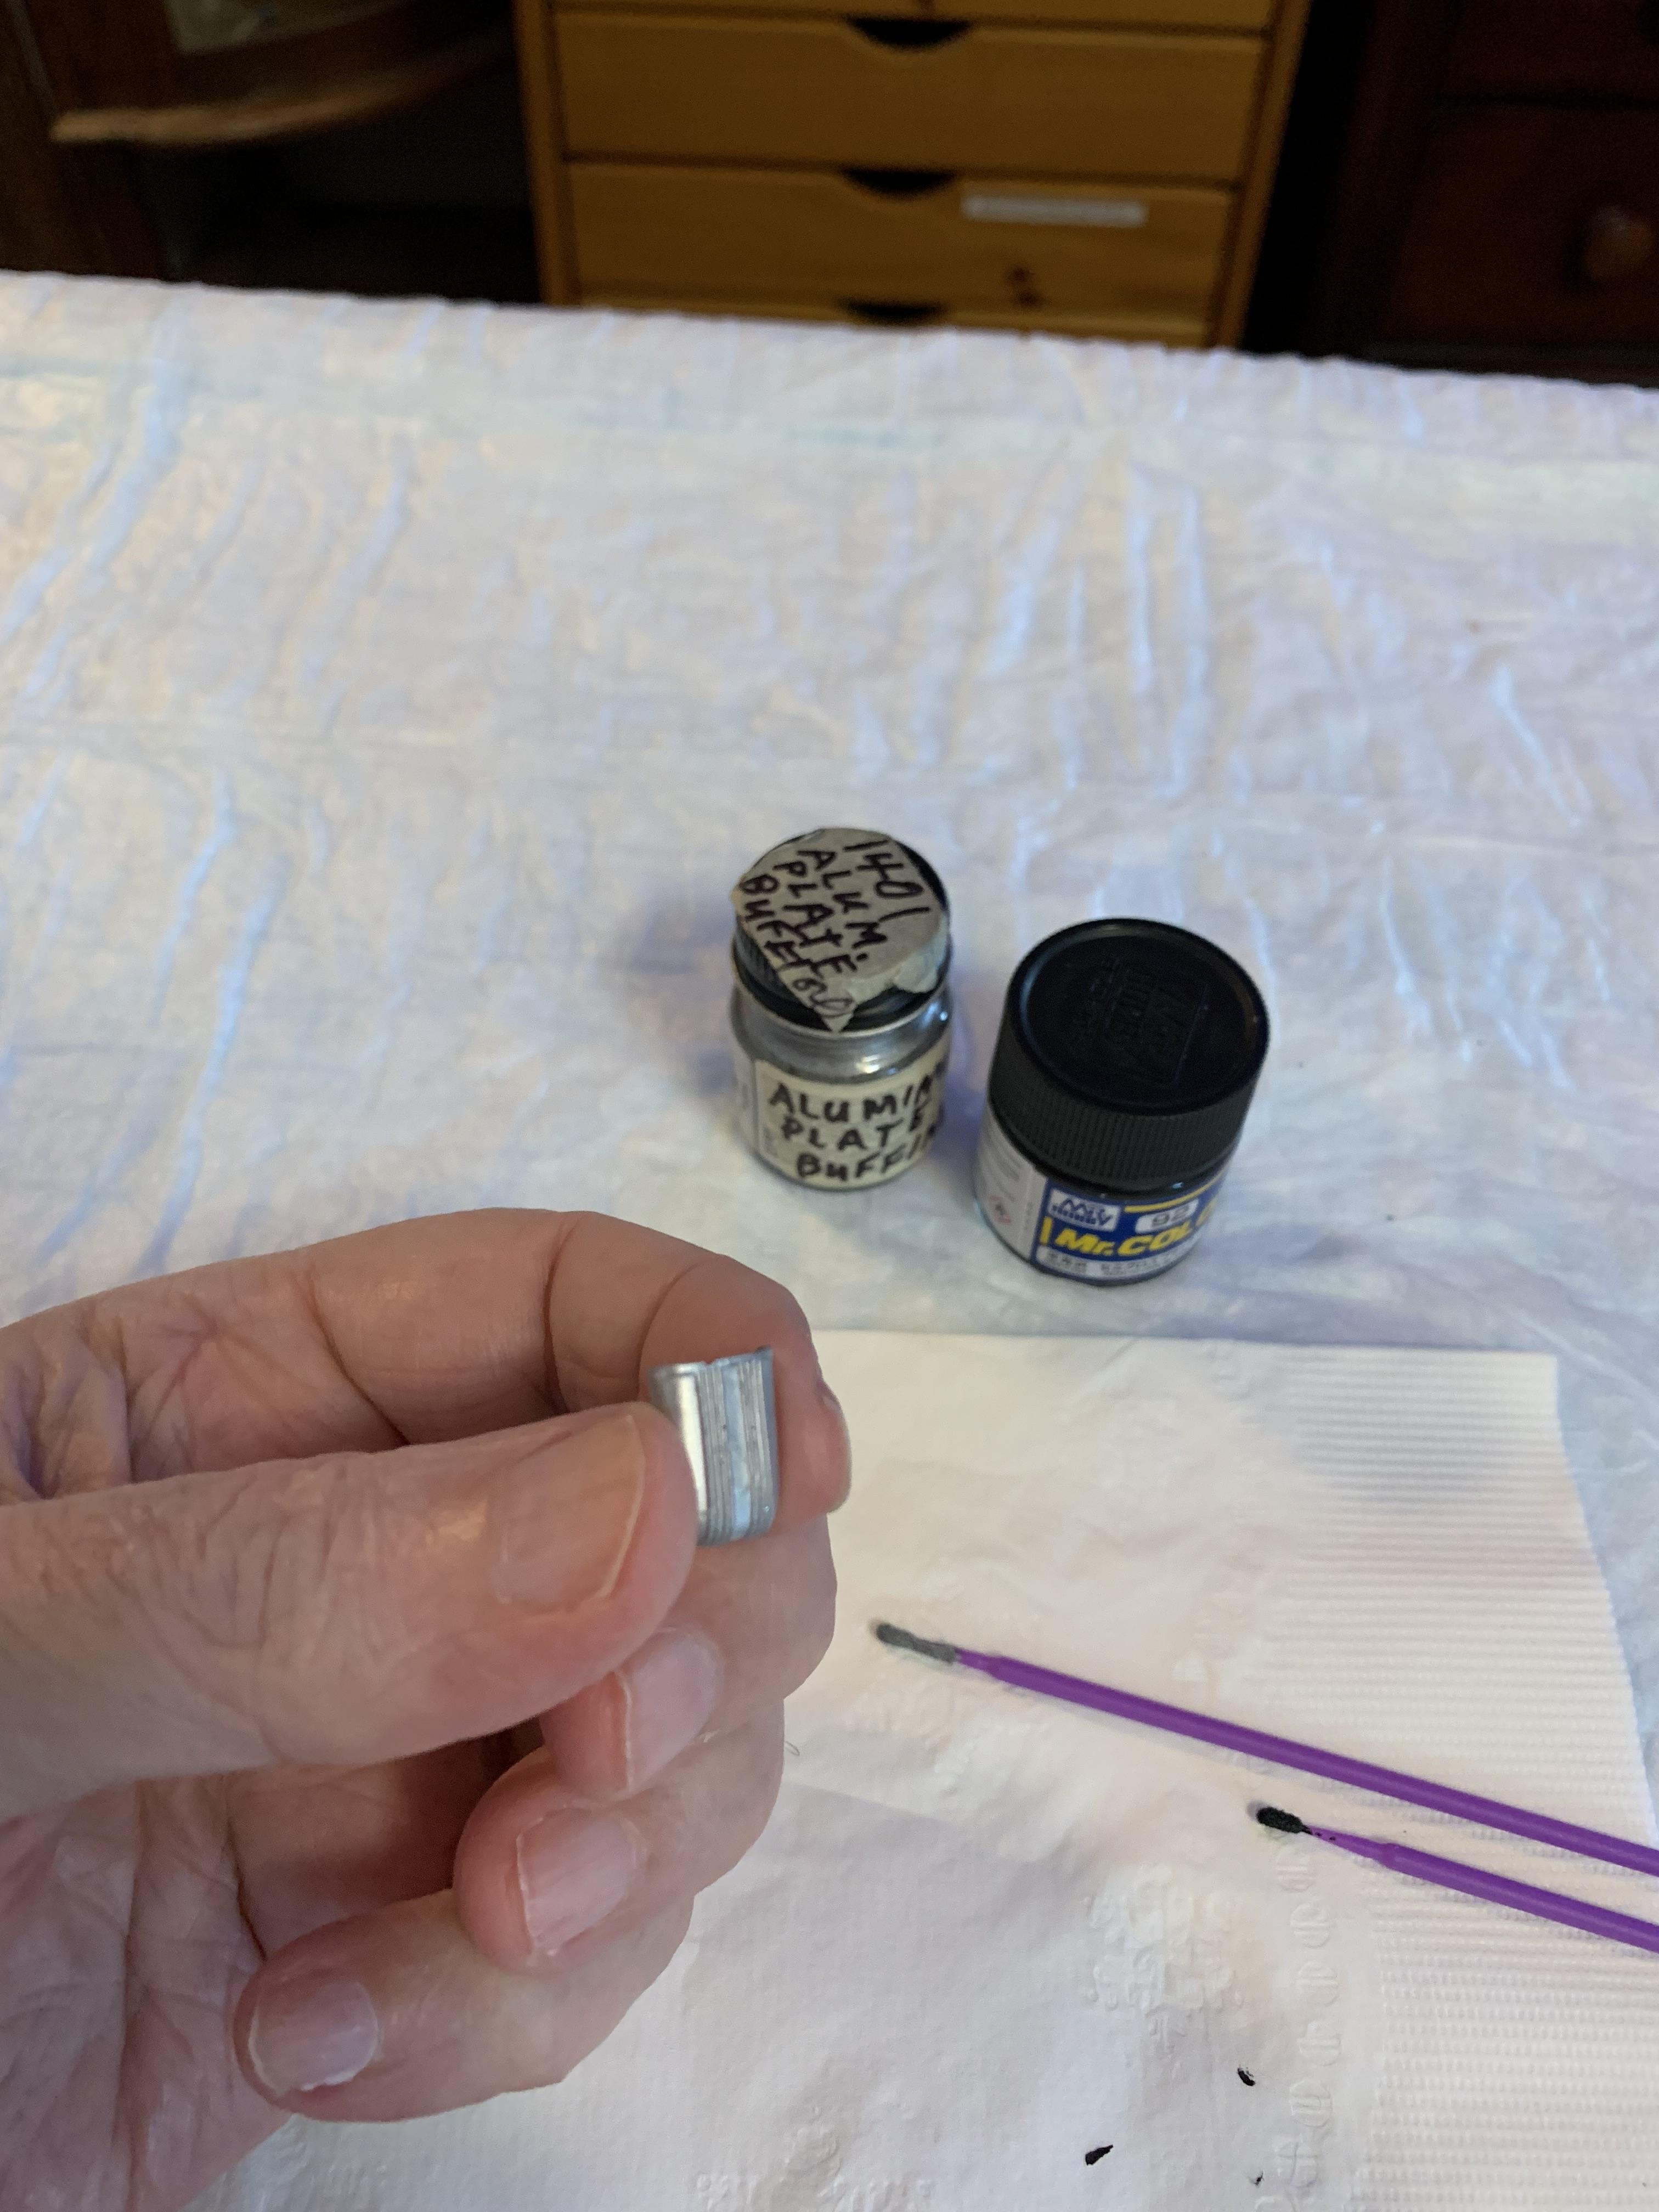
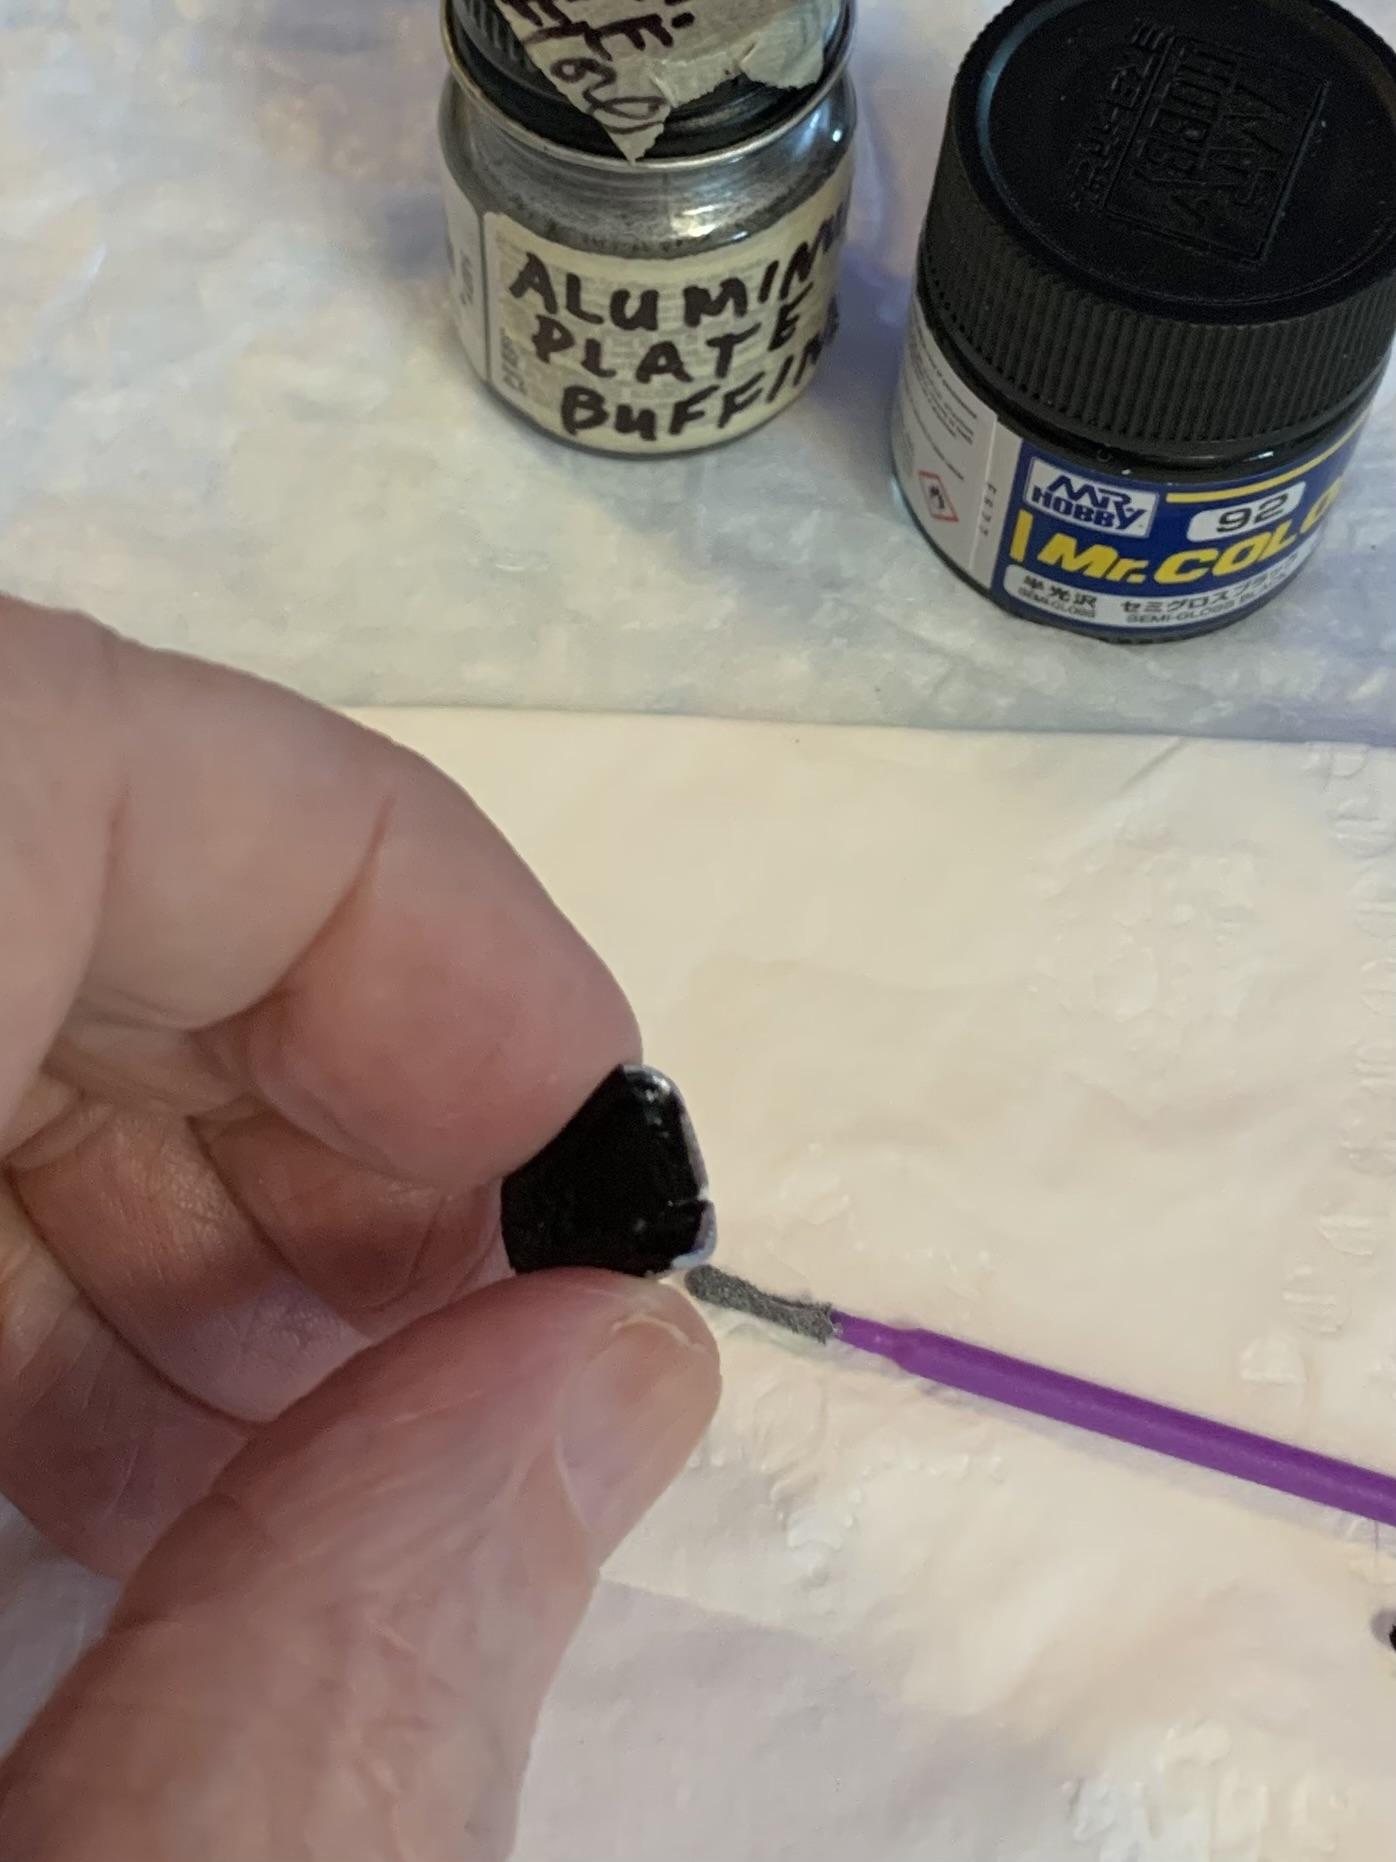
Decided to go all black. Went over whole car with 2500 then the white (polishing) sponge. The results after 30 minutes drying time. I’m happy and ready to move on.
-
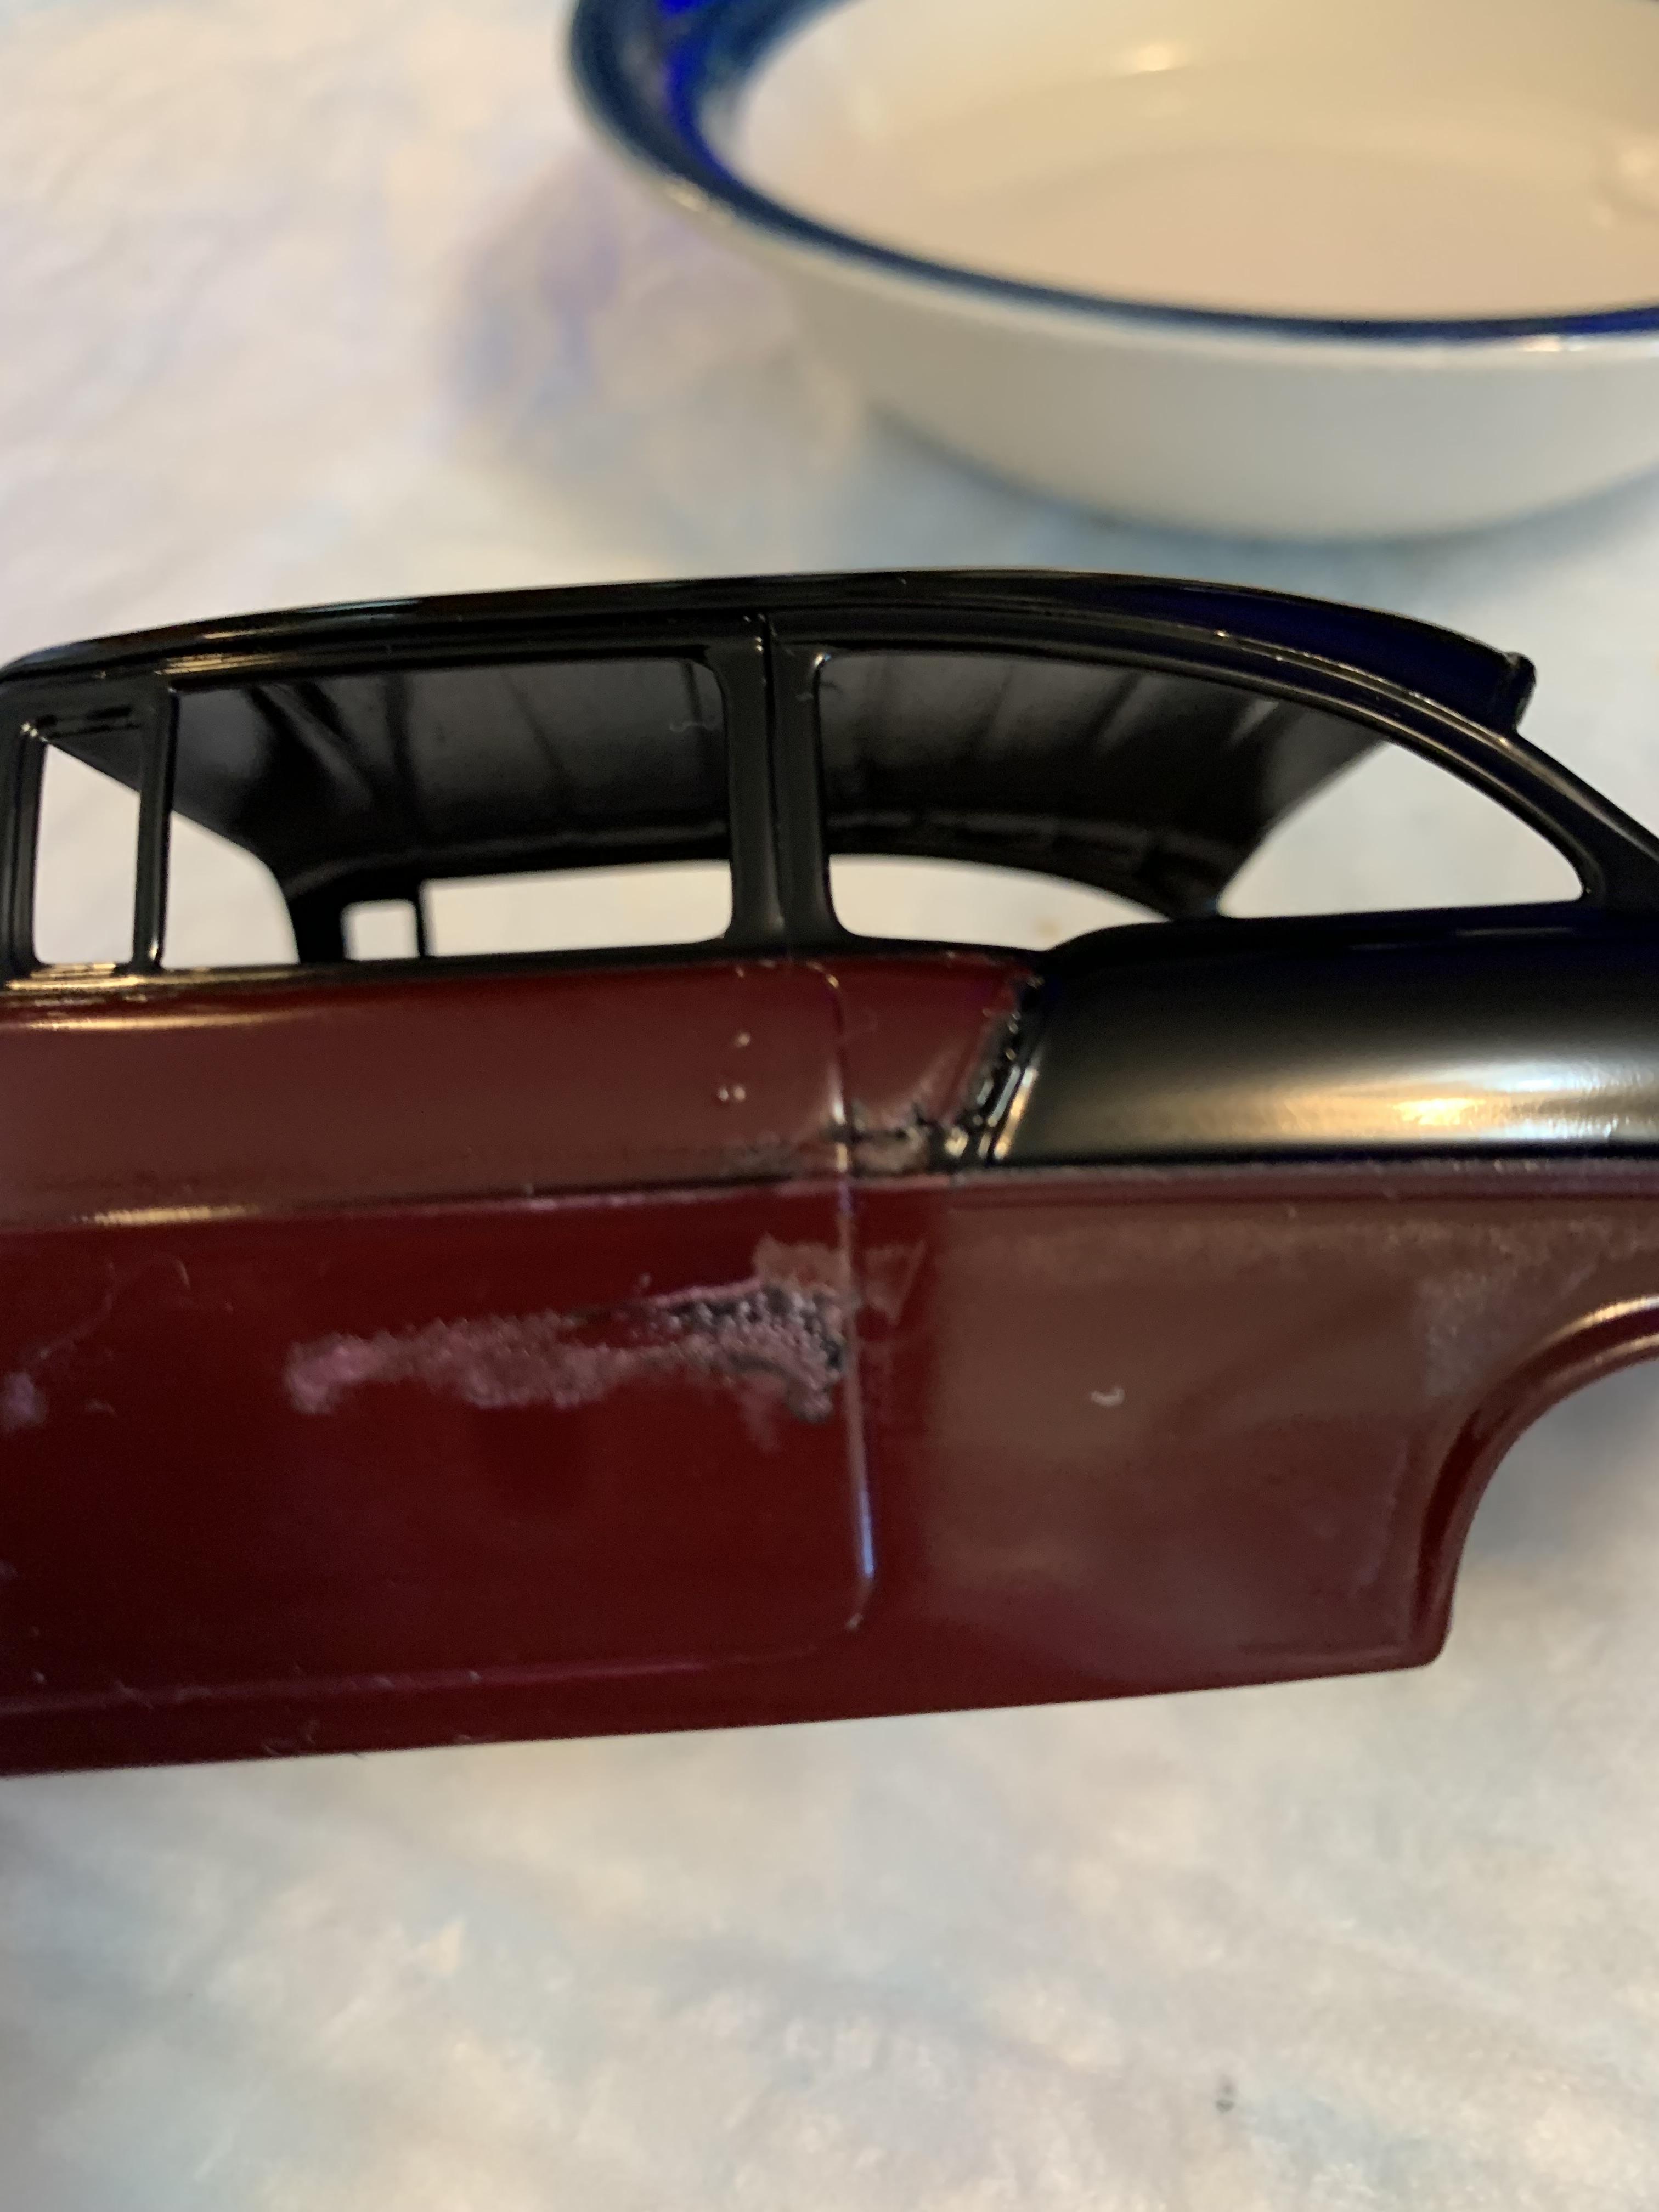
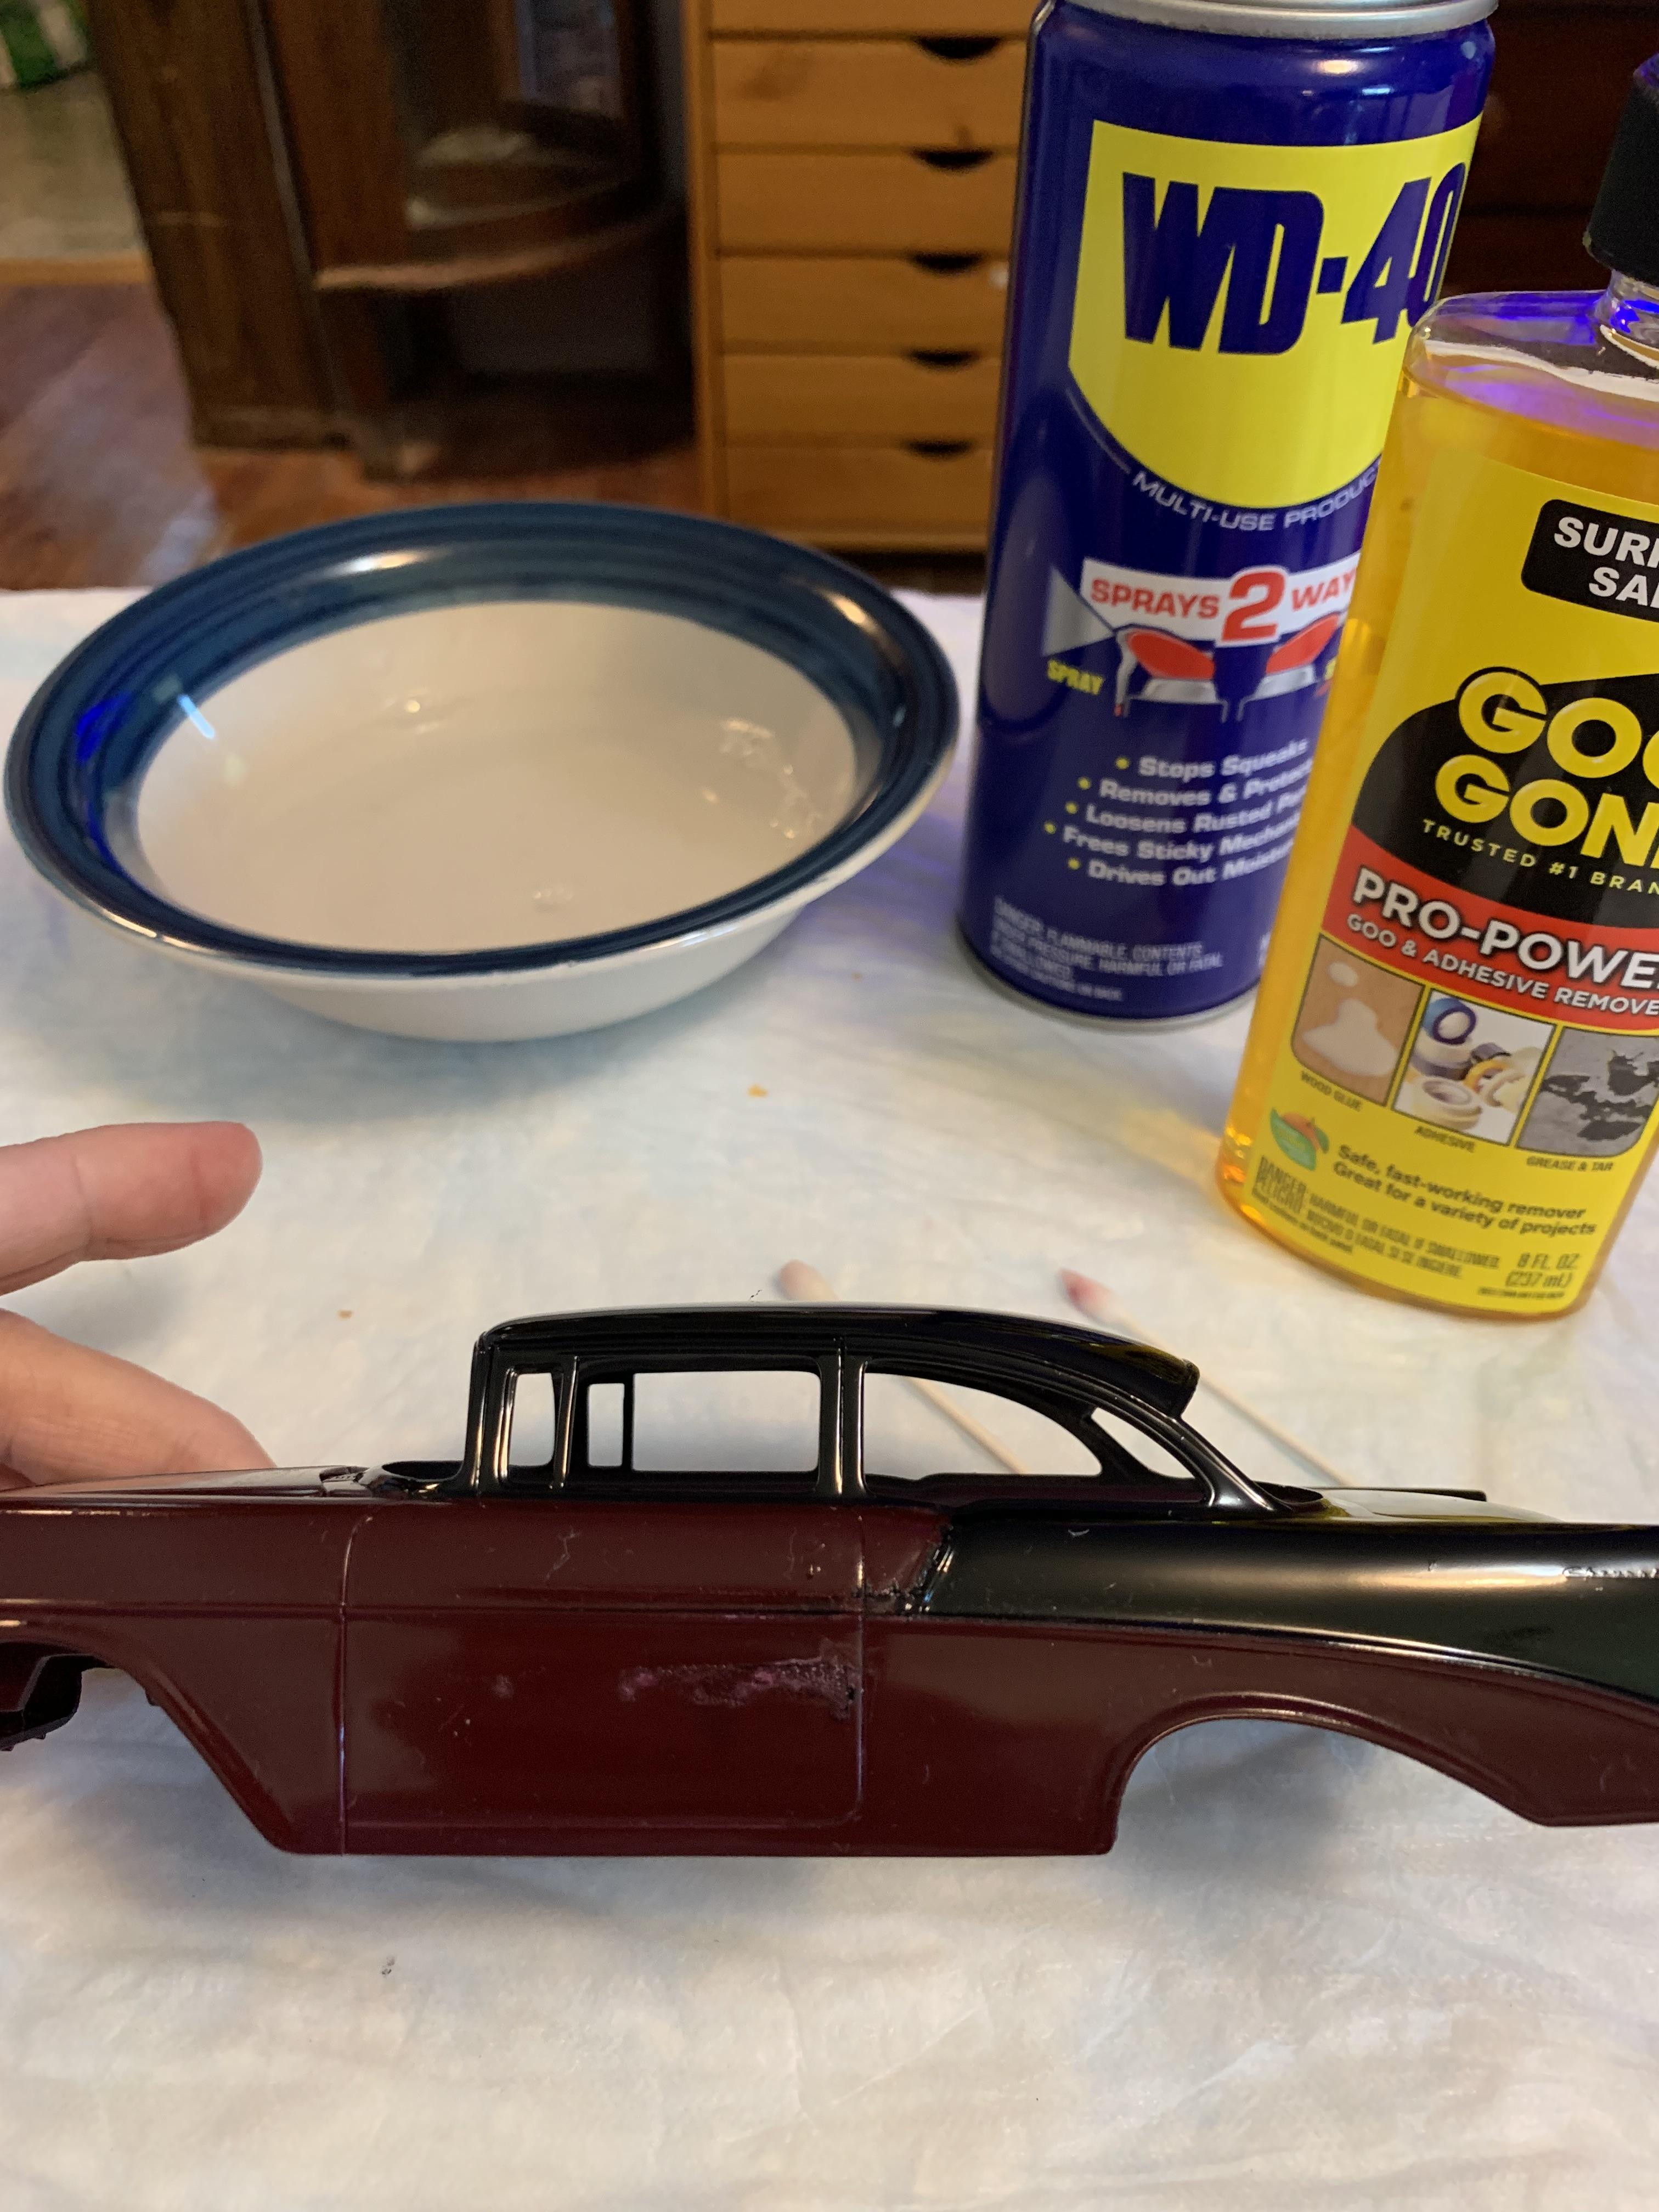
56 Chevy Junior Stocker circa 1960’s
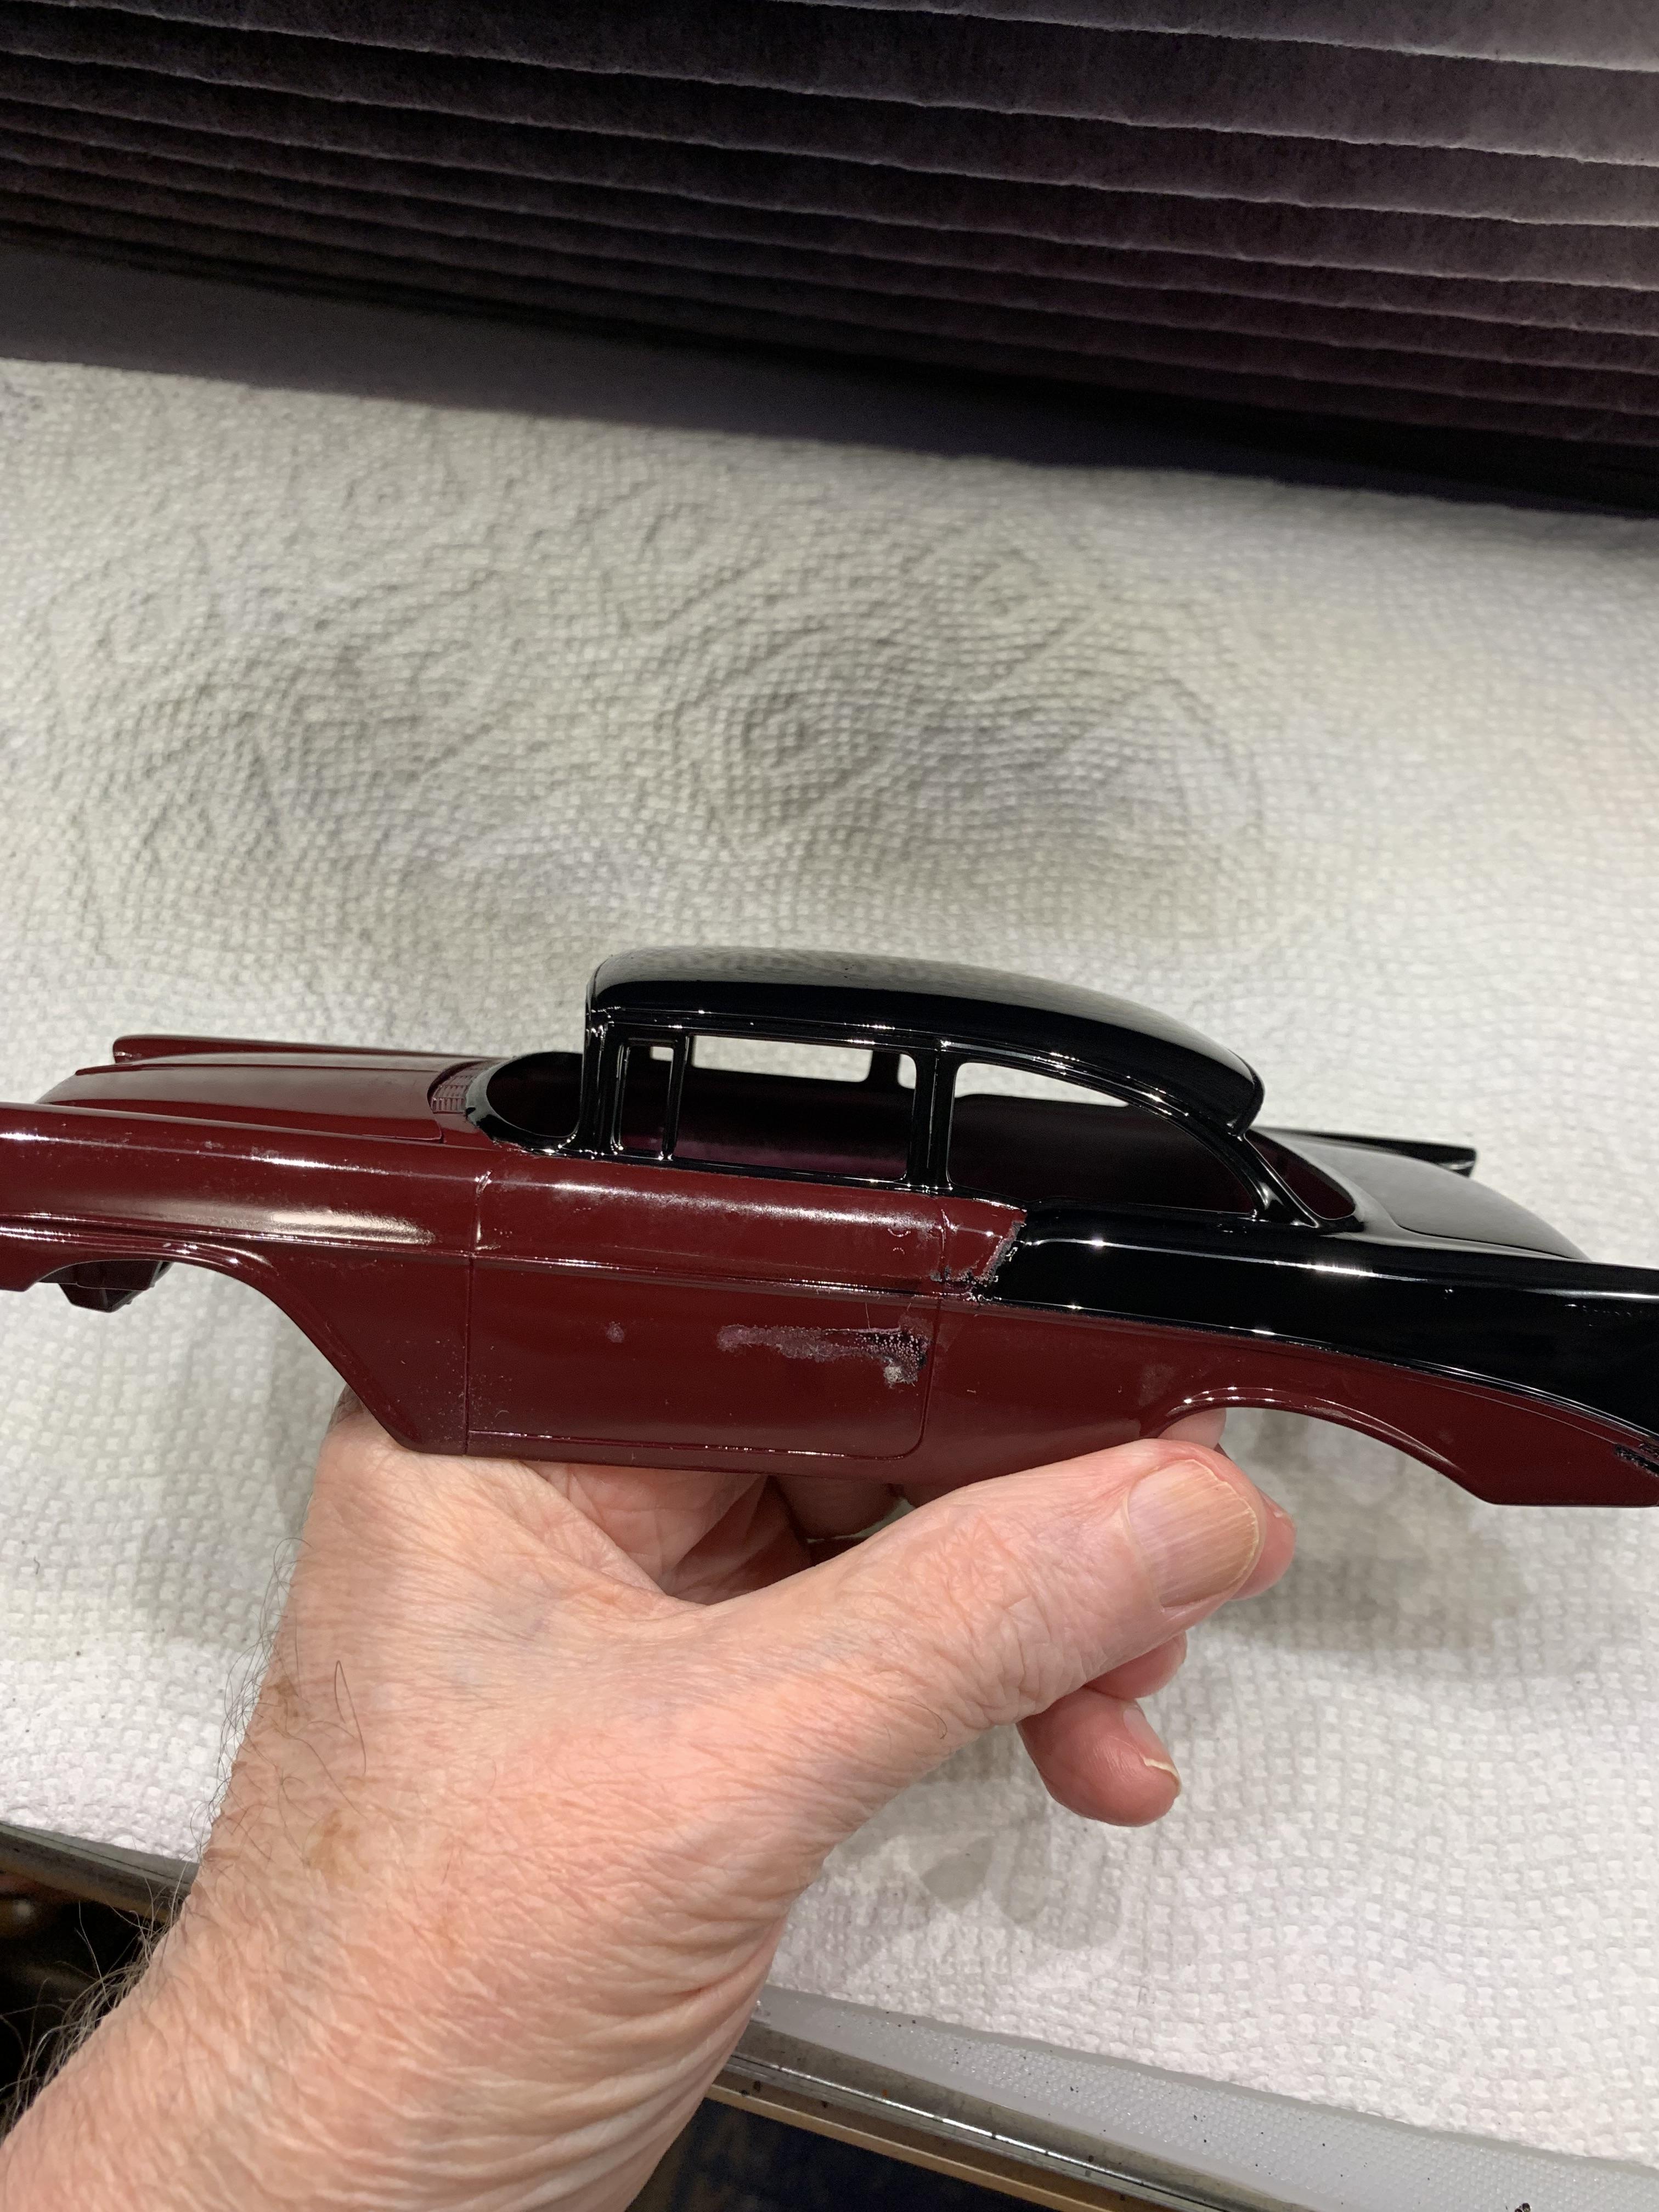
R. Thorne replied to R. Thorne's topic in WIP: Drag Racing Models
Well, my first attempt at a two tone paint job was not a success. Tried to remove the blotch on the door with wd40, goo gone, and finally sanding. Realized it was not tape residue, but, black paint had bled in from, I guess, a poor masking job. Other spots were from tape residue and resisted my efforts with wd40 and goo gone. At this point, I am thinking some cleanup and an all black 56.
-
Thanks, guys. Stockers are way cool.
-
56 Chevy Junior Stocker circa 1960’s
R. Thorne replied to R. Thorne's topic in WIP: Drag Racing Models
The black turned out good, but I’ve got some masking tape clean up to do on the maroon, especially on the driver’s side door. Probably try some wd40 first. Gonna wait til the black has dried before I mess with it anymore.
-
56 Chevy Junior Stocker circa 1960’s
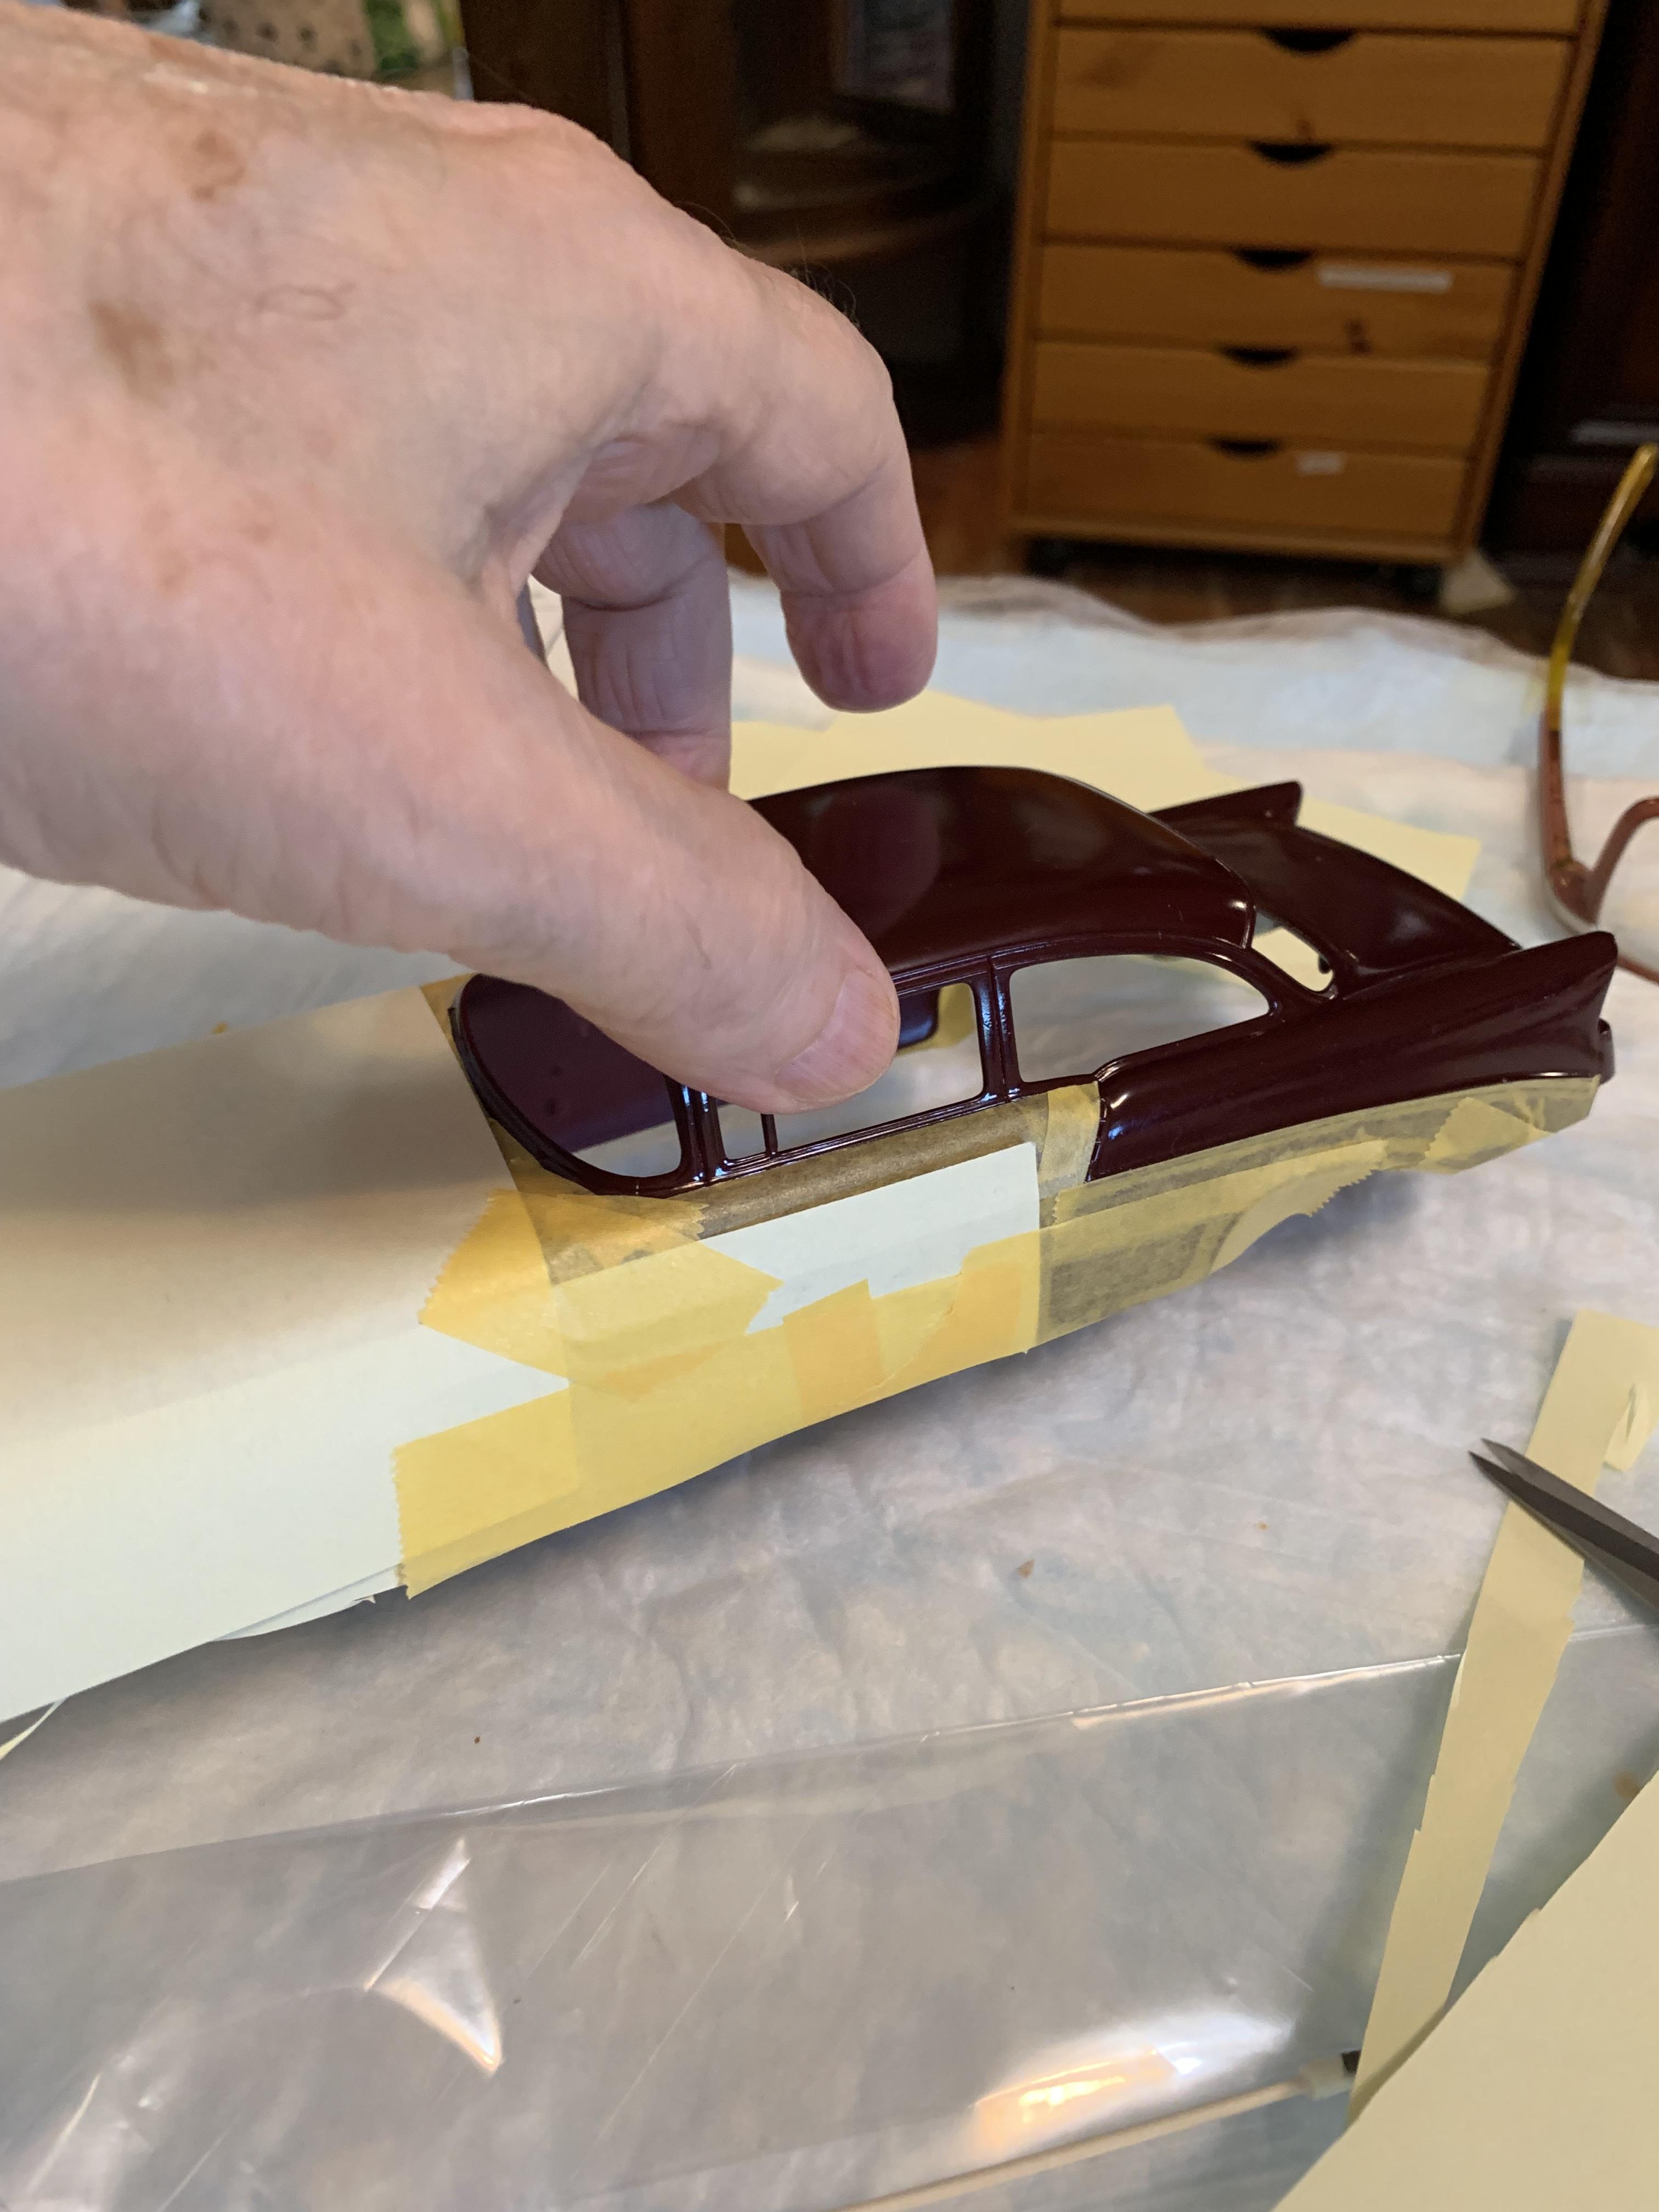
R. Thorne replied to R. Thorne's topic in WIP: Drag Racing Models
Got a couple coats on separated by about 25 minutes. Gonna wait about a half hour and then remove tape.
-
Tips for keeping track of all those trees
R. Thorne replied to TracerB's topic in Tips, Tricks, and Tutorials
I like it. Great idea. -
56 Chevy Junior Stocker circa 1960’s
R. Thorne replied to R. Thorne's topic in WIP: Drag Racing Models
Masked off and sanded and polished with the infini 4000 sponge stick for some ts14 Tamiya black.
-
Small PE Block Letters
R. Thorne replied to StevenGuthmiller's topic in Model Building Questions and Answers
Something like this?
-
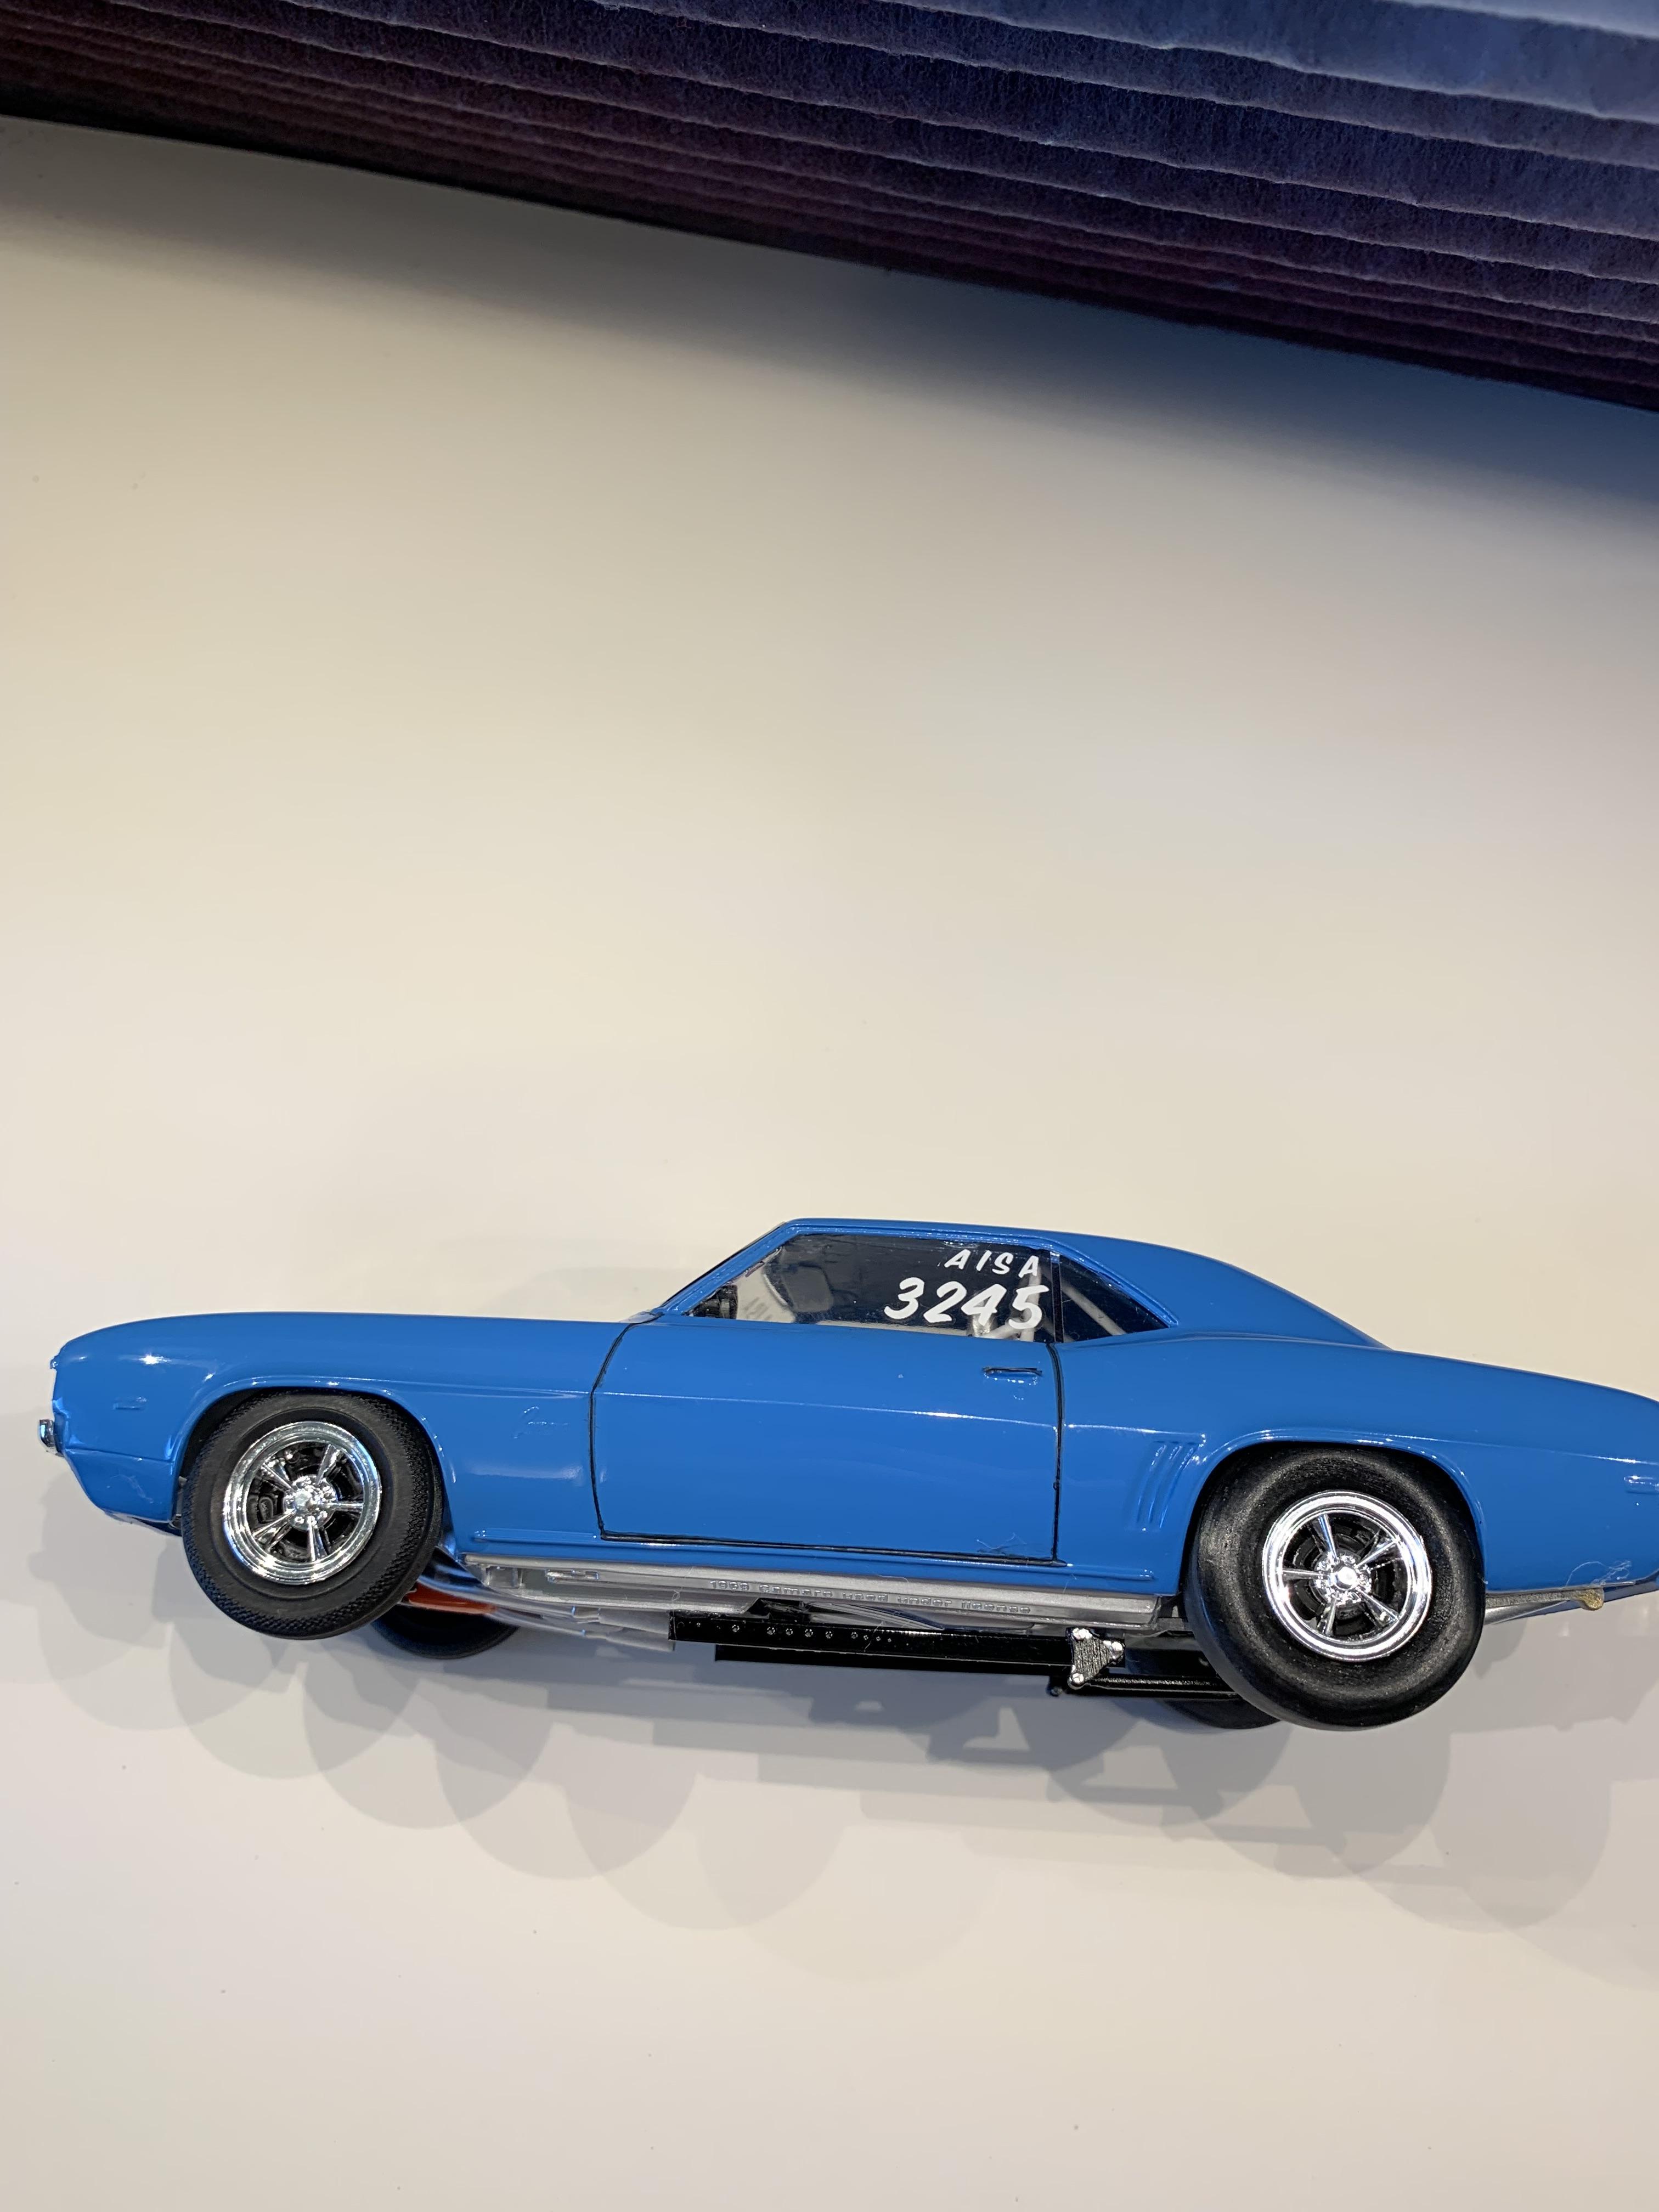
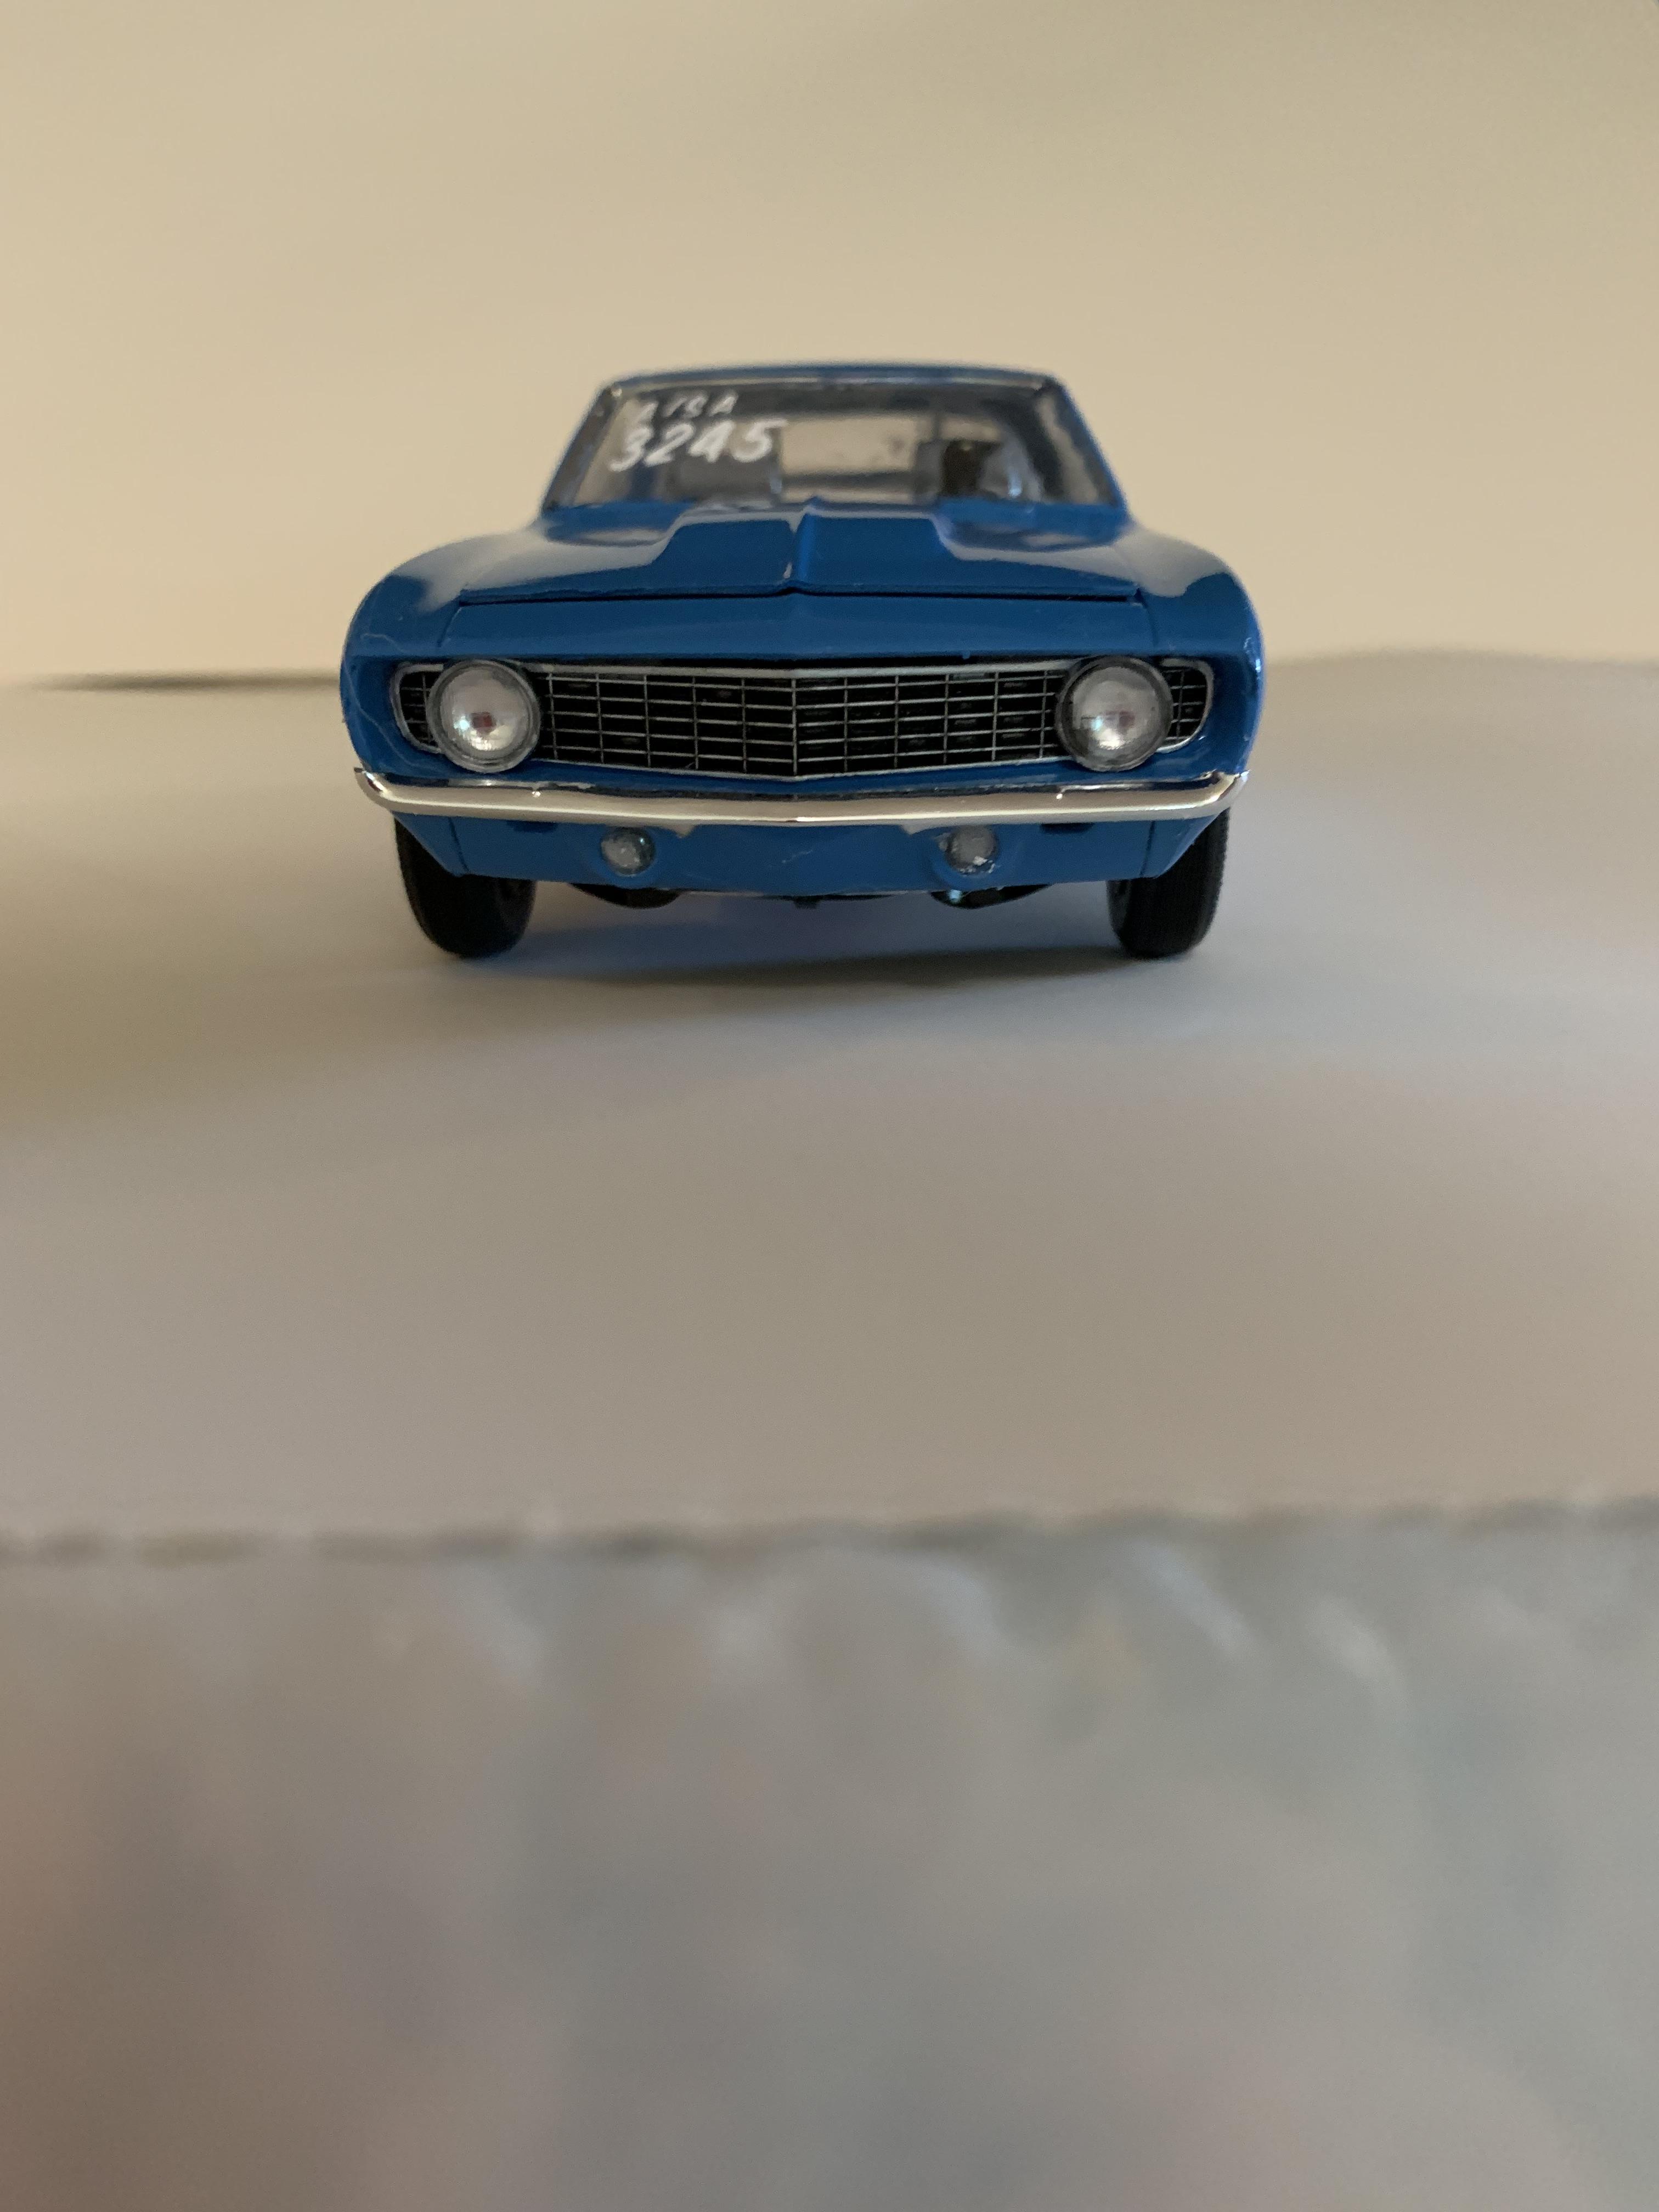
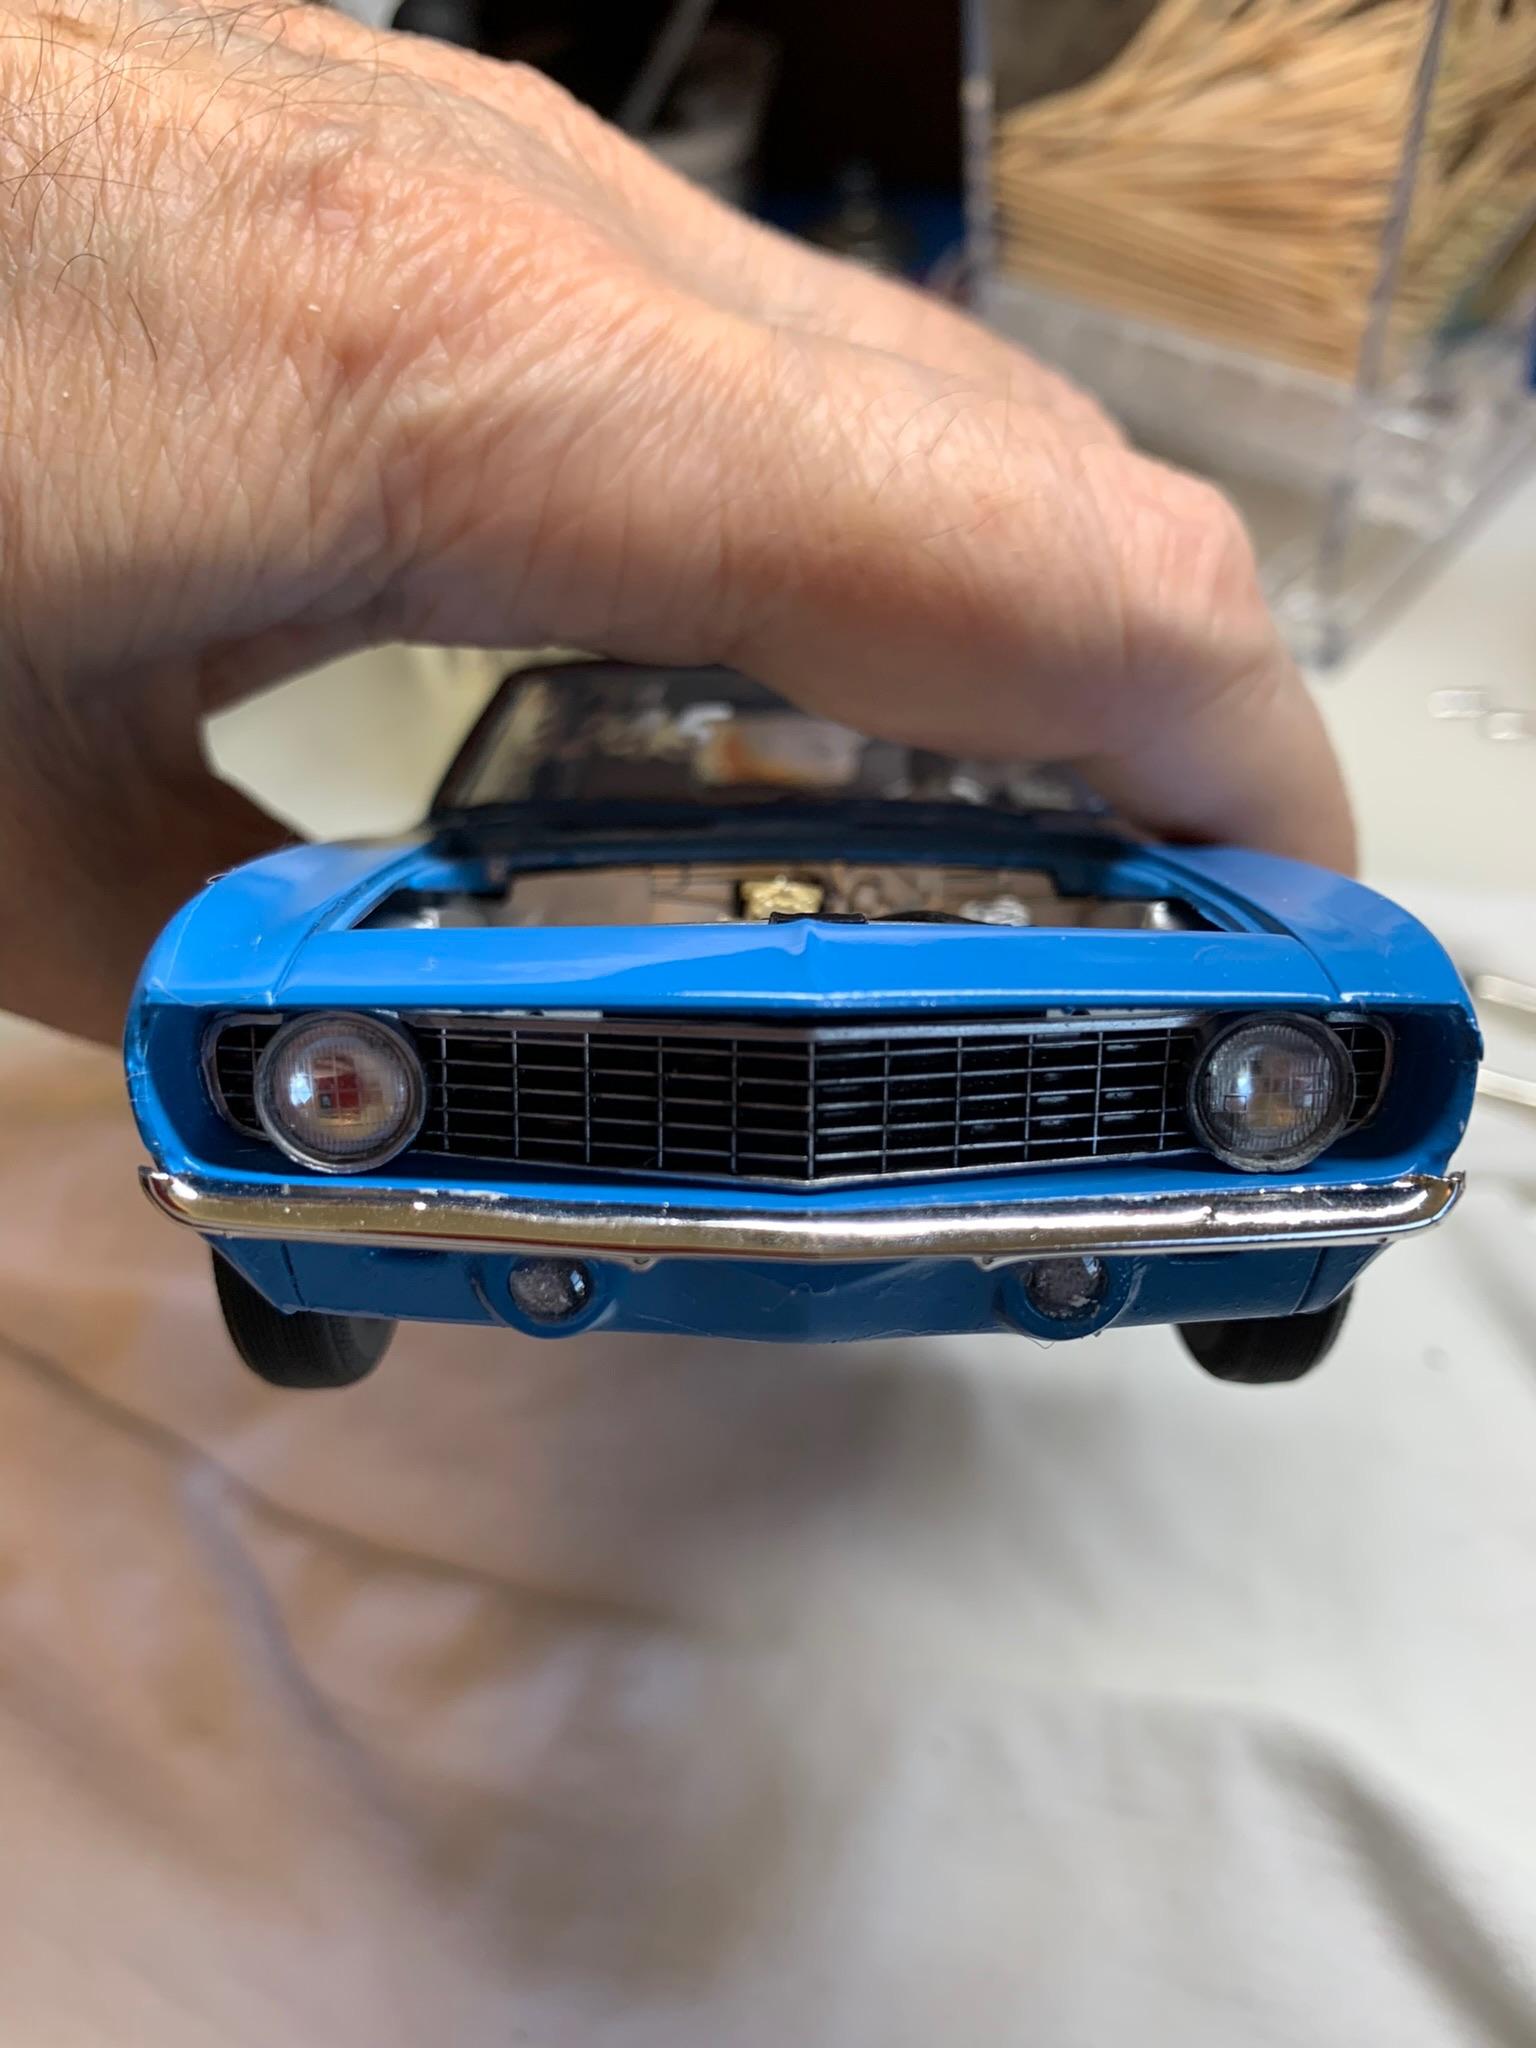
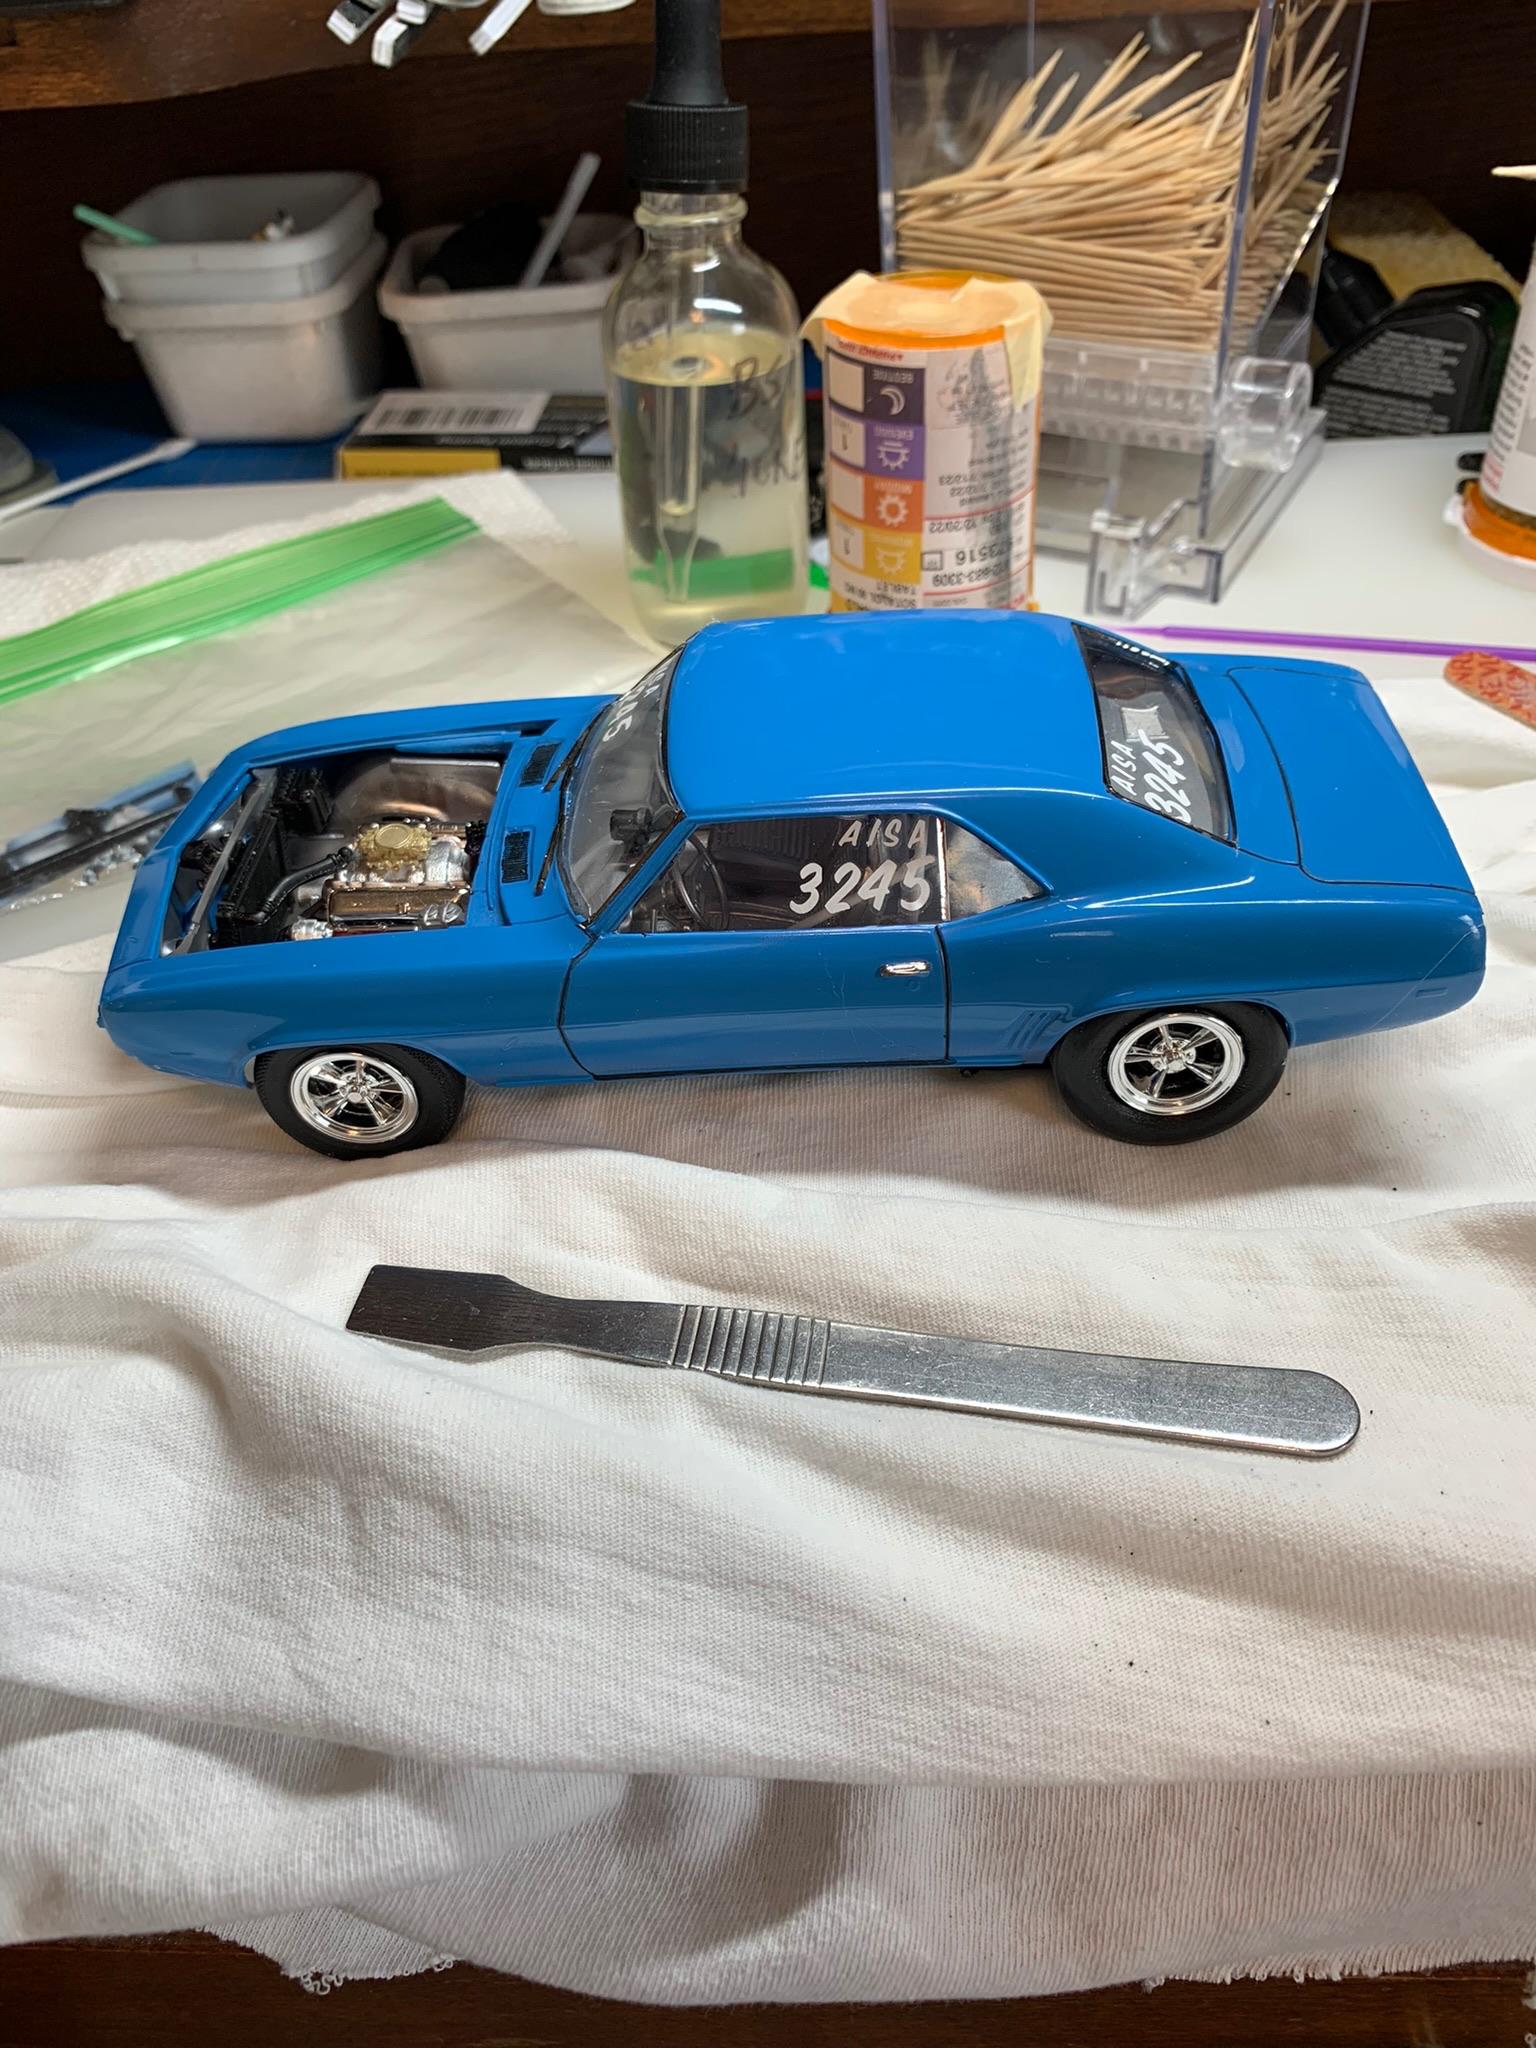
This build was gonna be a replica of my friend Thomas Arnett’s car, but, lack of wheels and the unusual paint trim waylaid those plans. This build represents a Stocker from about 2008 era. Paint was Tamiya TS10 French blue (applied 3 times due to operator clumsiness) and TS30 silver leaf. Details of my screw up are in the WIP section. By the way, I still only used 1 can of the TS10 paint. It was a fun build and many new and different things were tried out. Maybe now I can finish the 56 and 57 Chevies.
-
1969 Camaro A/SA (possibly Thomas Arnett’s)
R. Thorne replied to R. Thorne's topic in WIP: Drag Racing Models
-
1969 Camaro A/SA (possibly Thomas Arnett’s)
R. Thorne replied to R. Thorne's topic in WIP: Drag Racing Models
Finish line reached (at least for now). More pics in the under glass section. Pics won’t post, try later. -
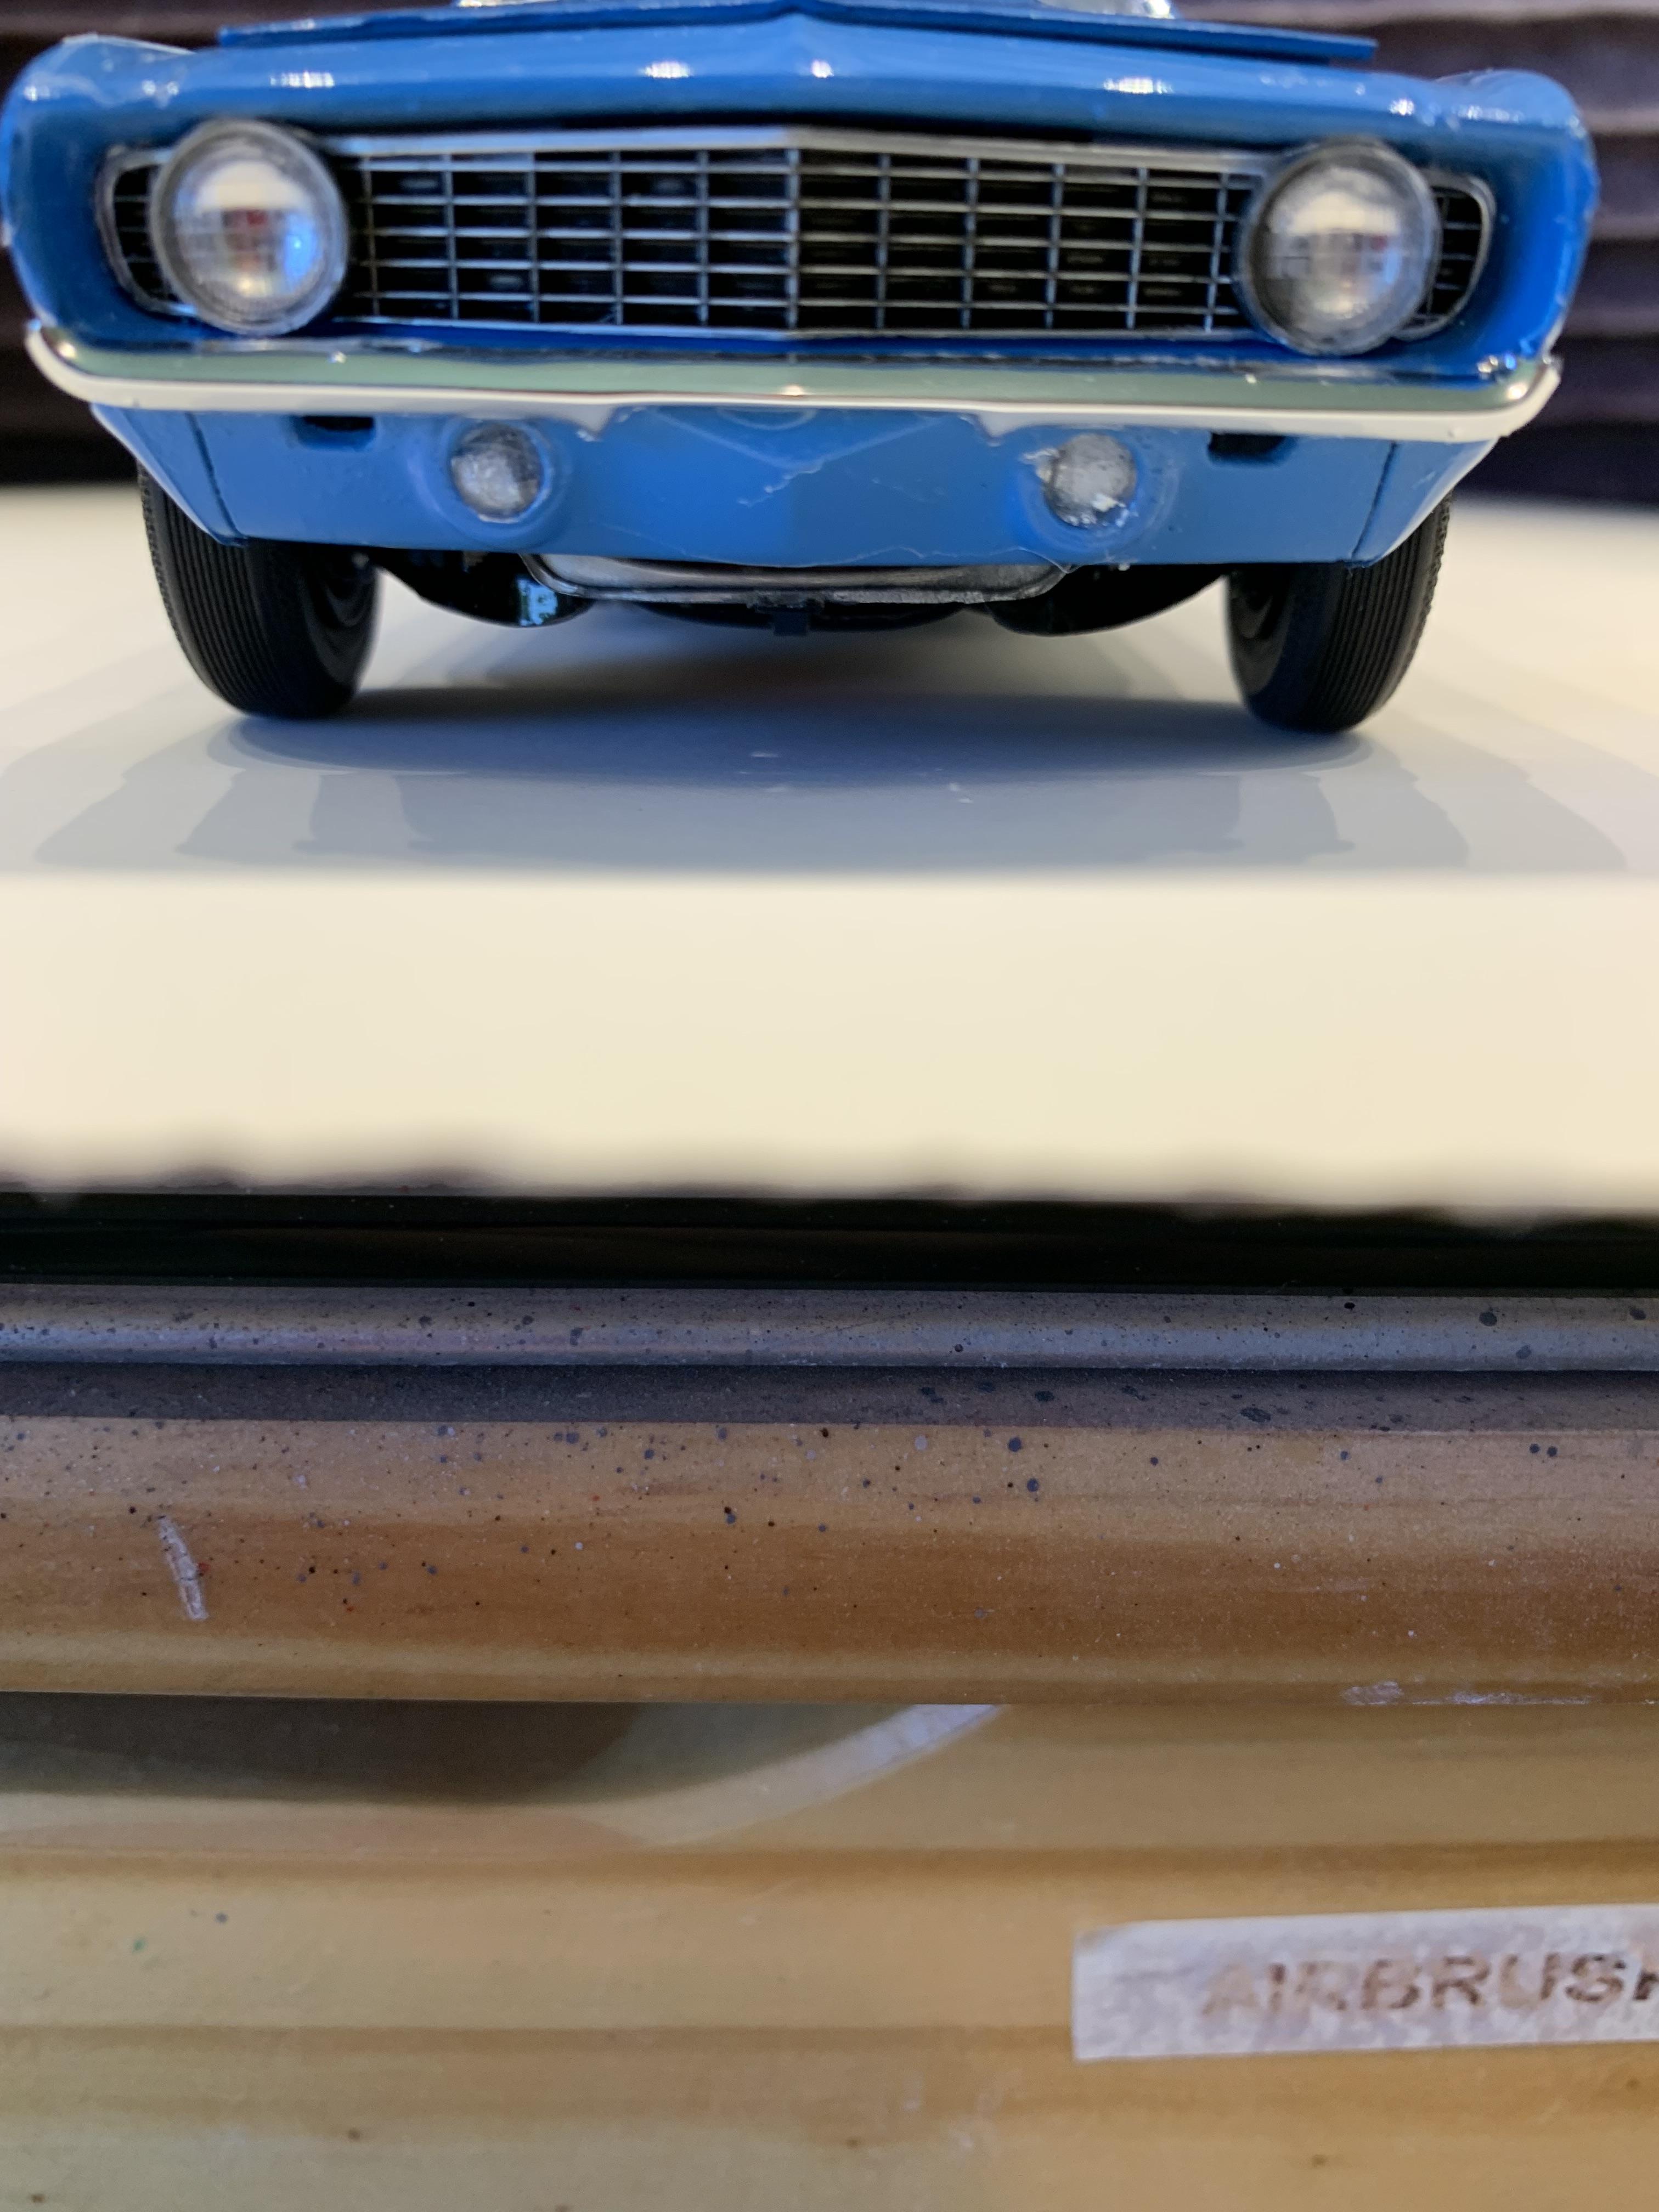
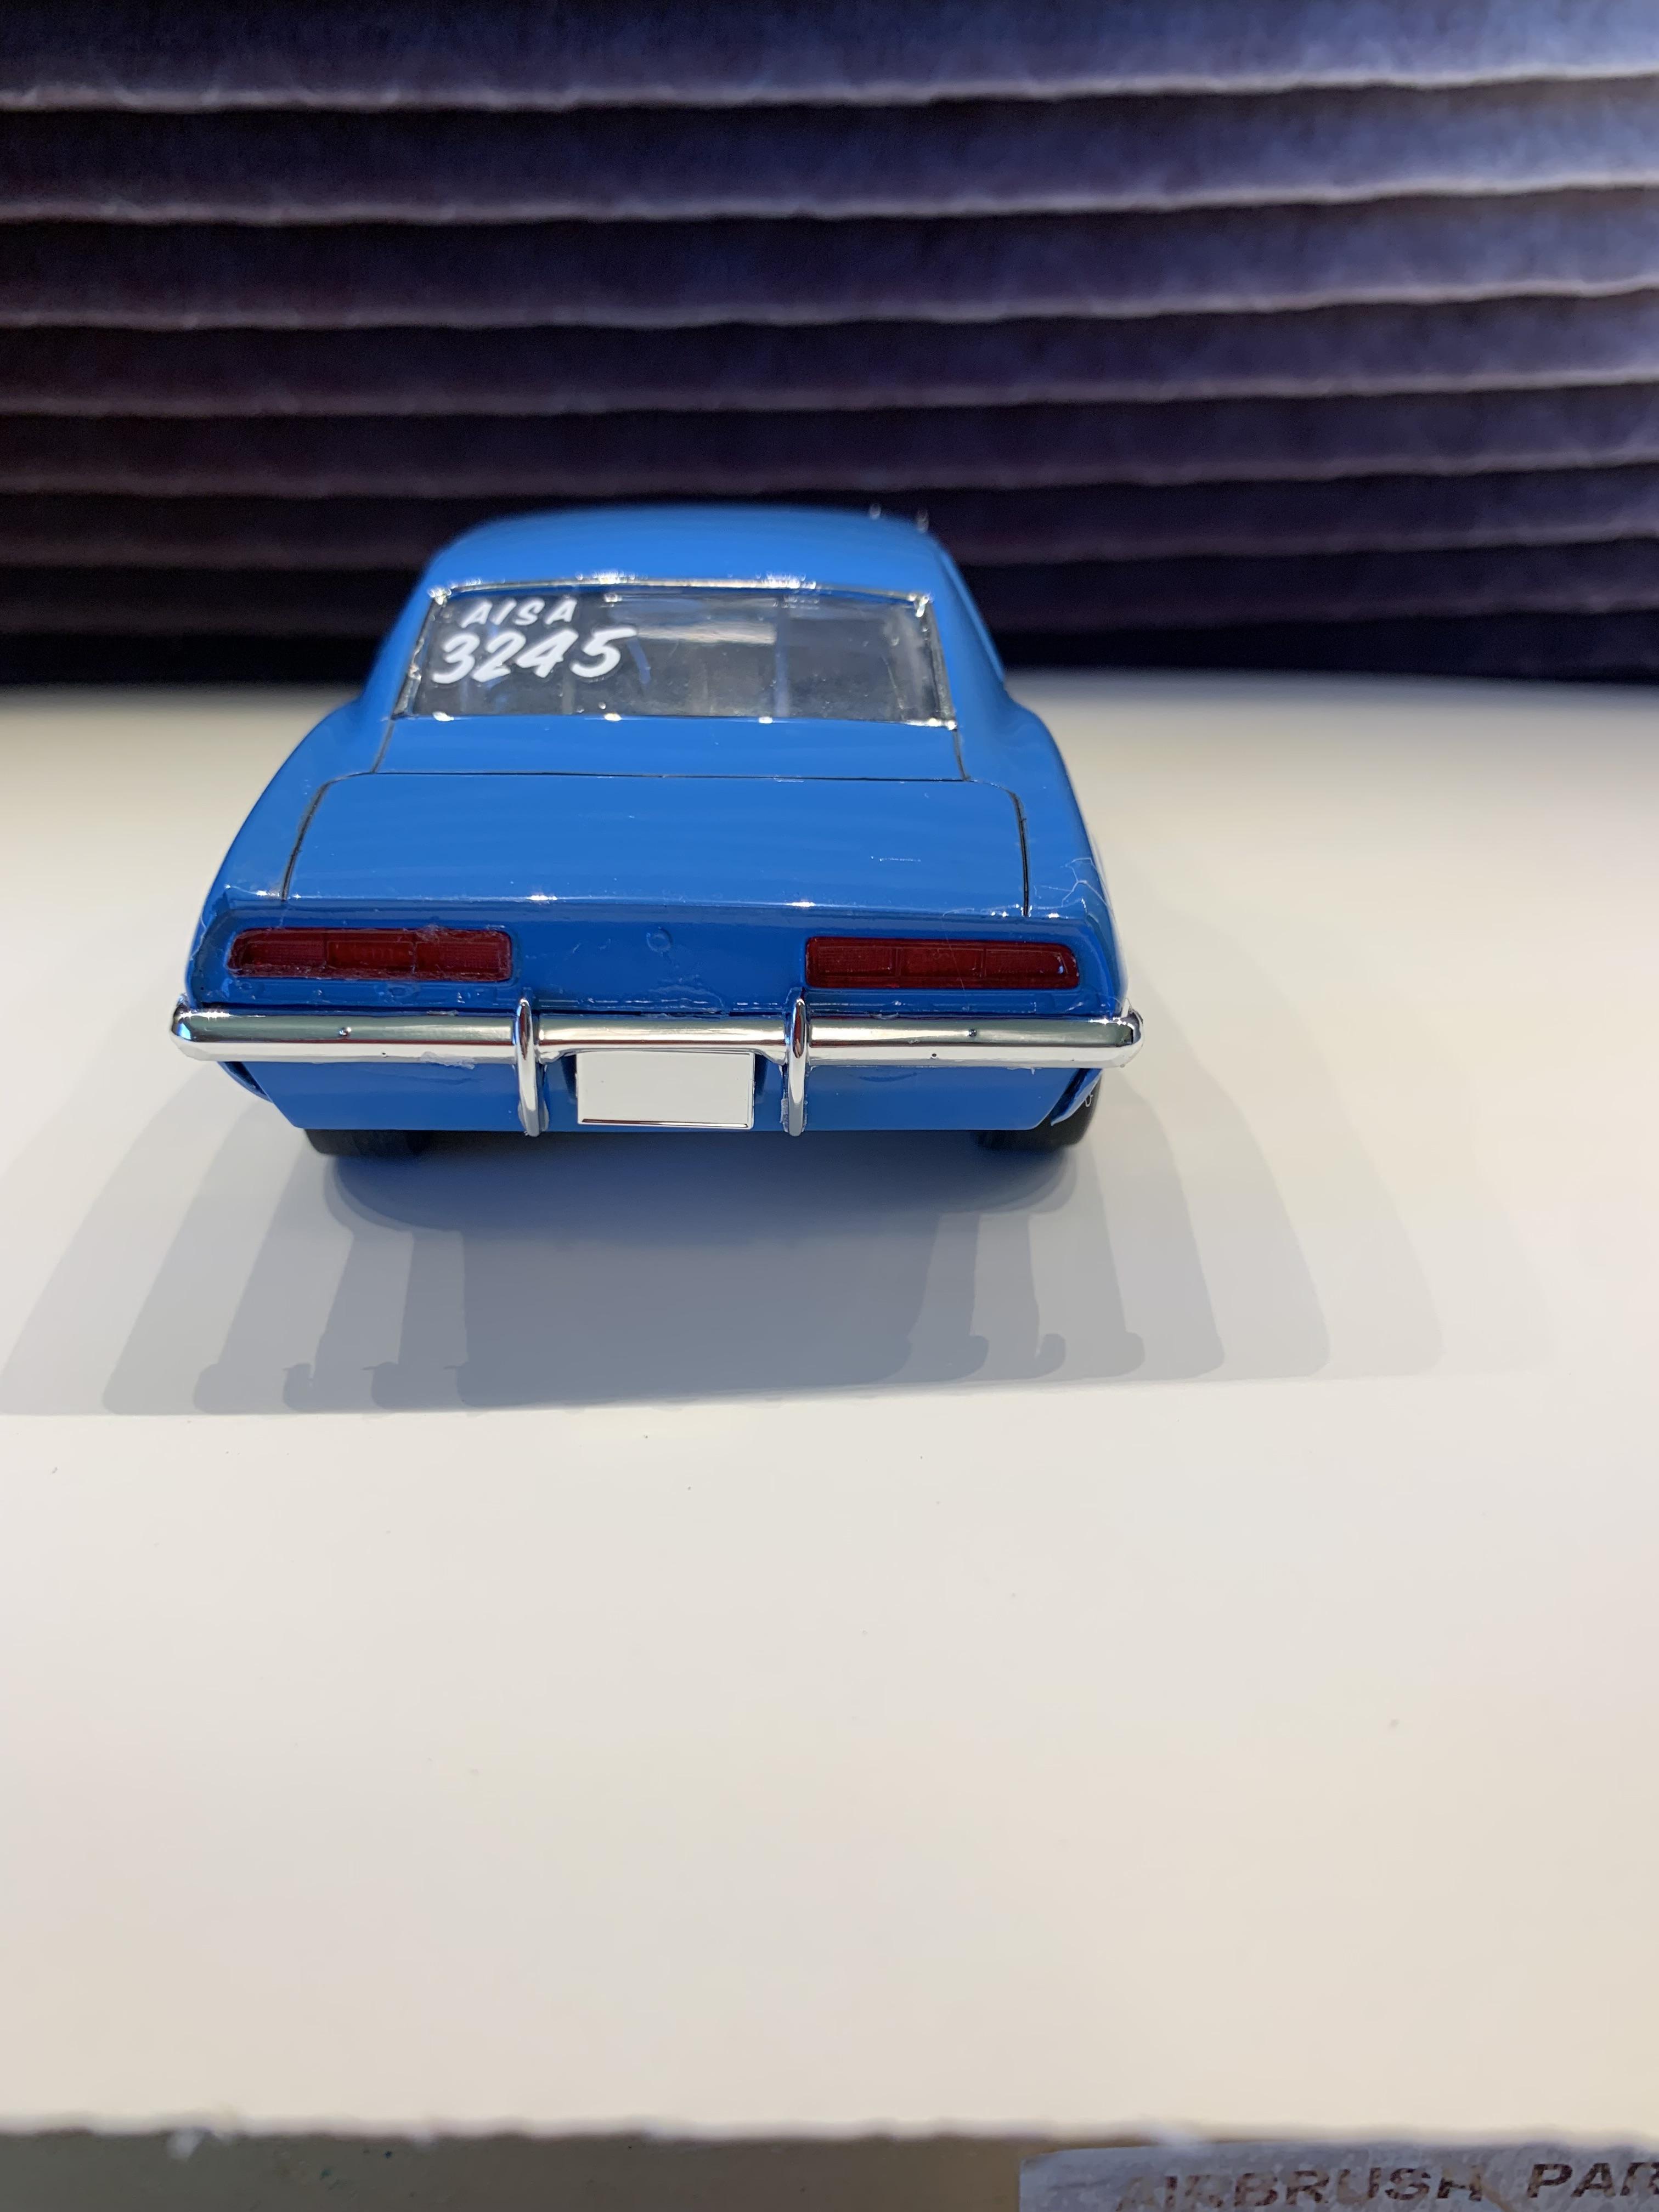
1969 Camaro A/SA (possibly Thomas Arnett’s)
R. Thorne replied to R. Thorne's topic in WIP: Drag Racing Models
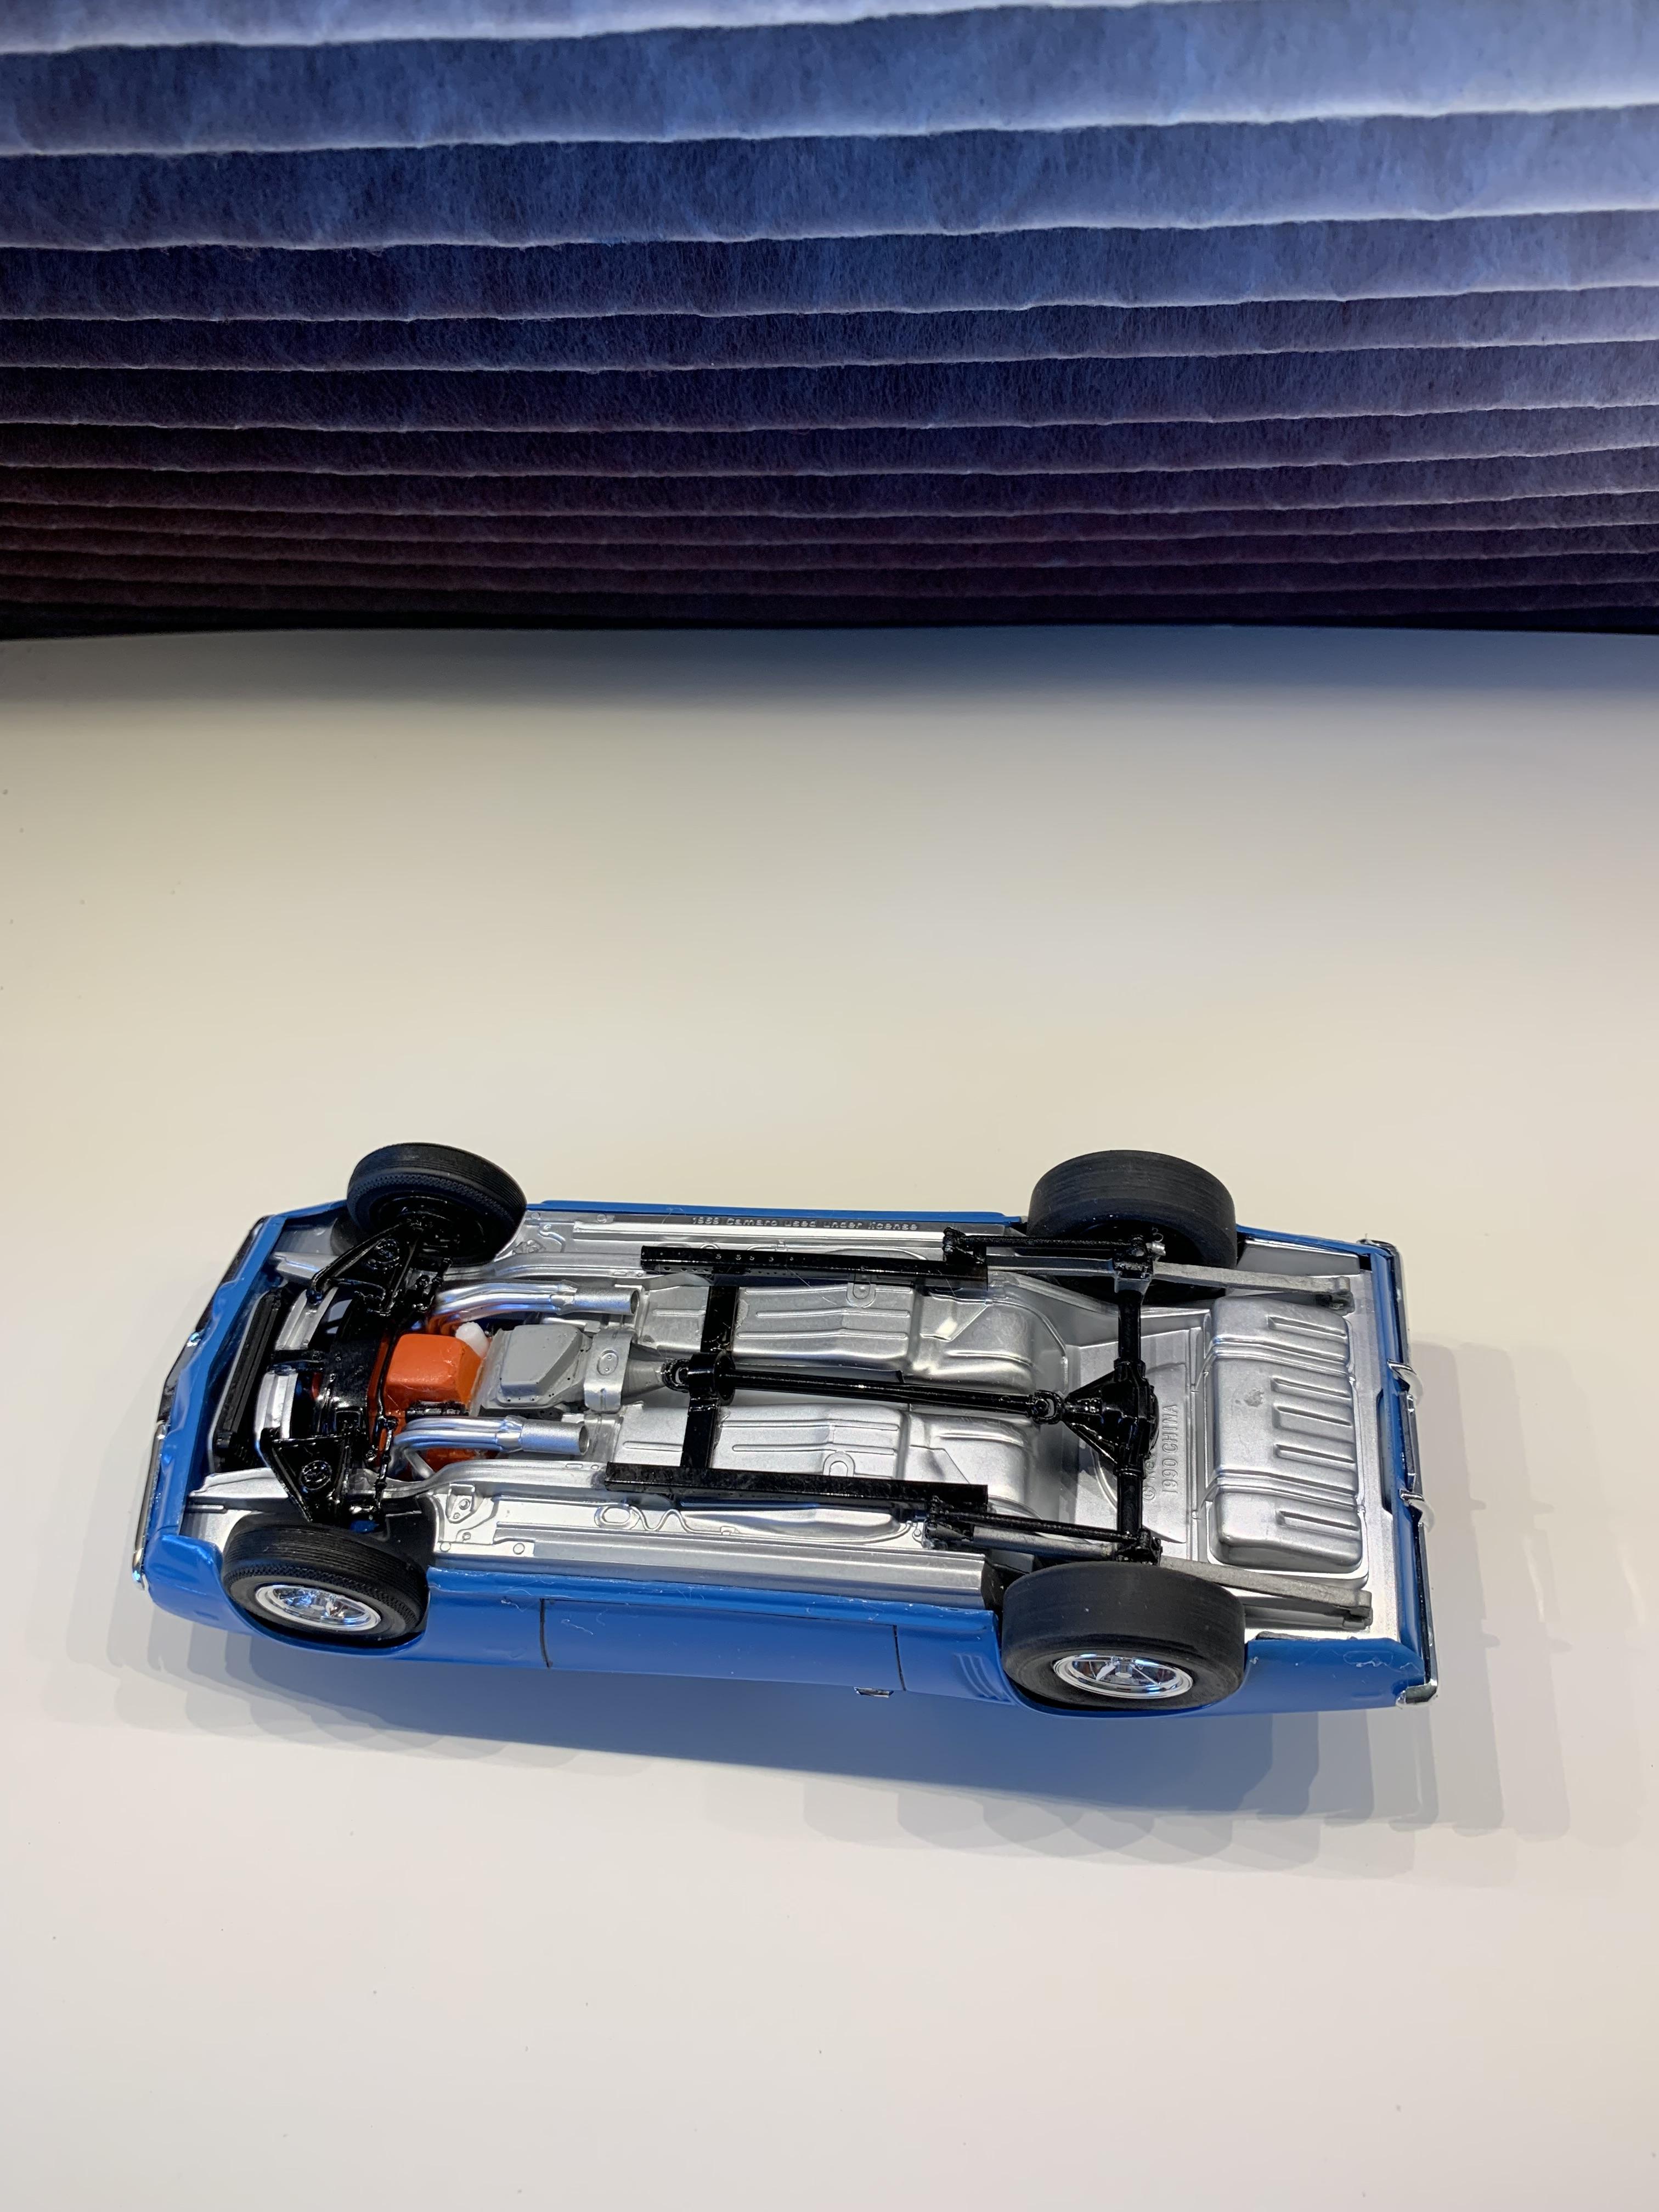
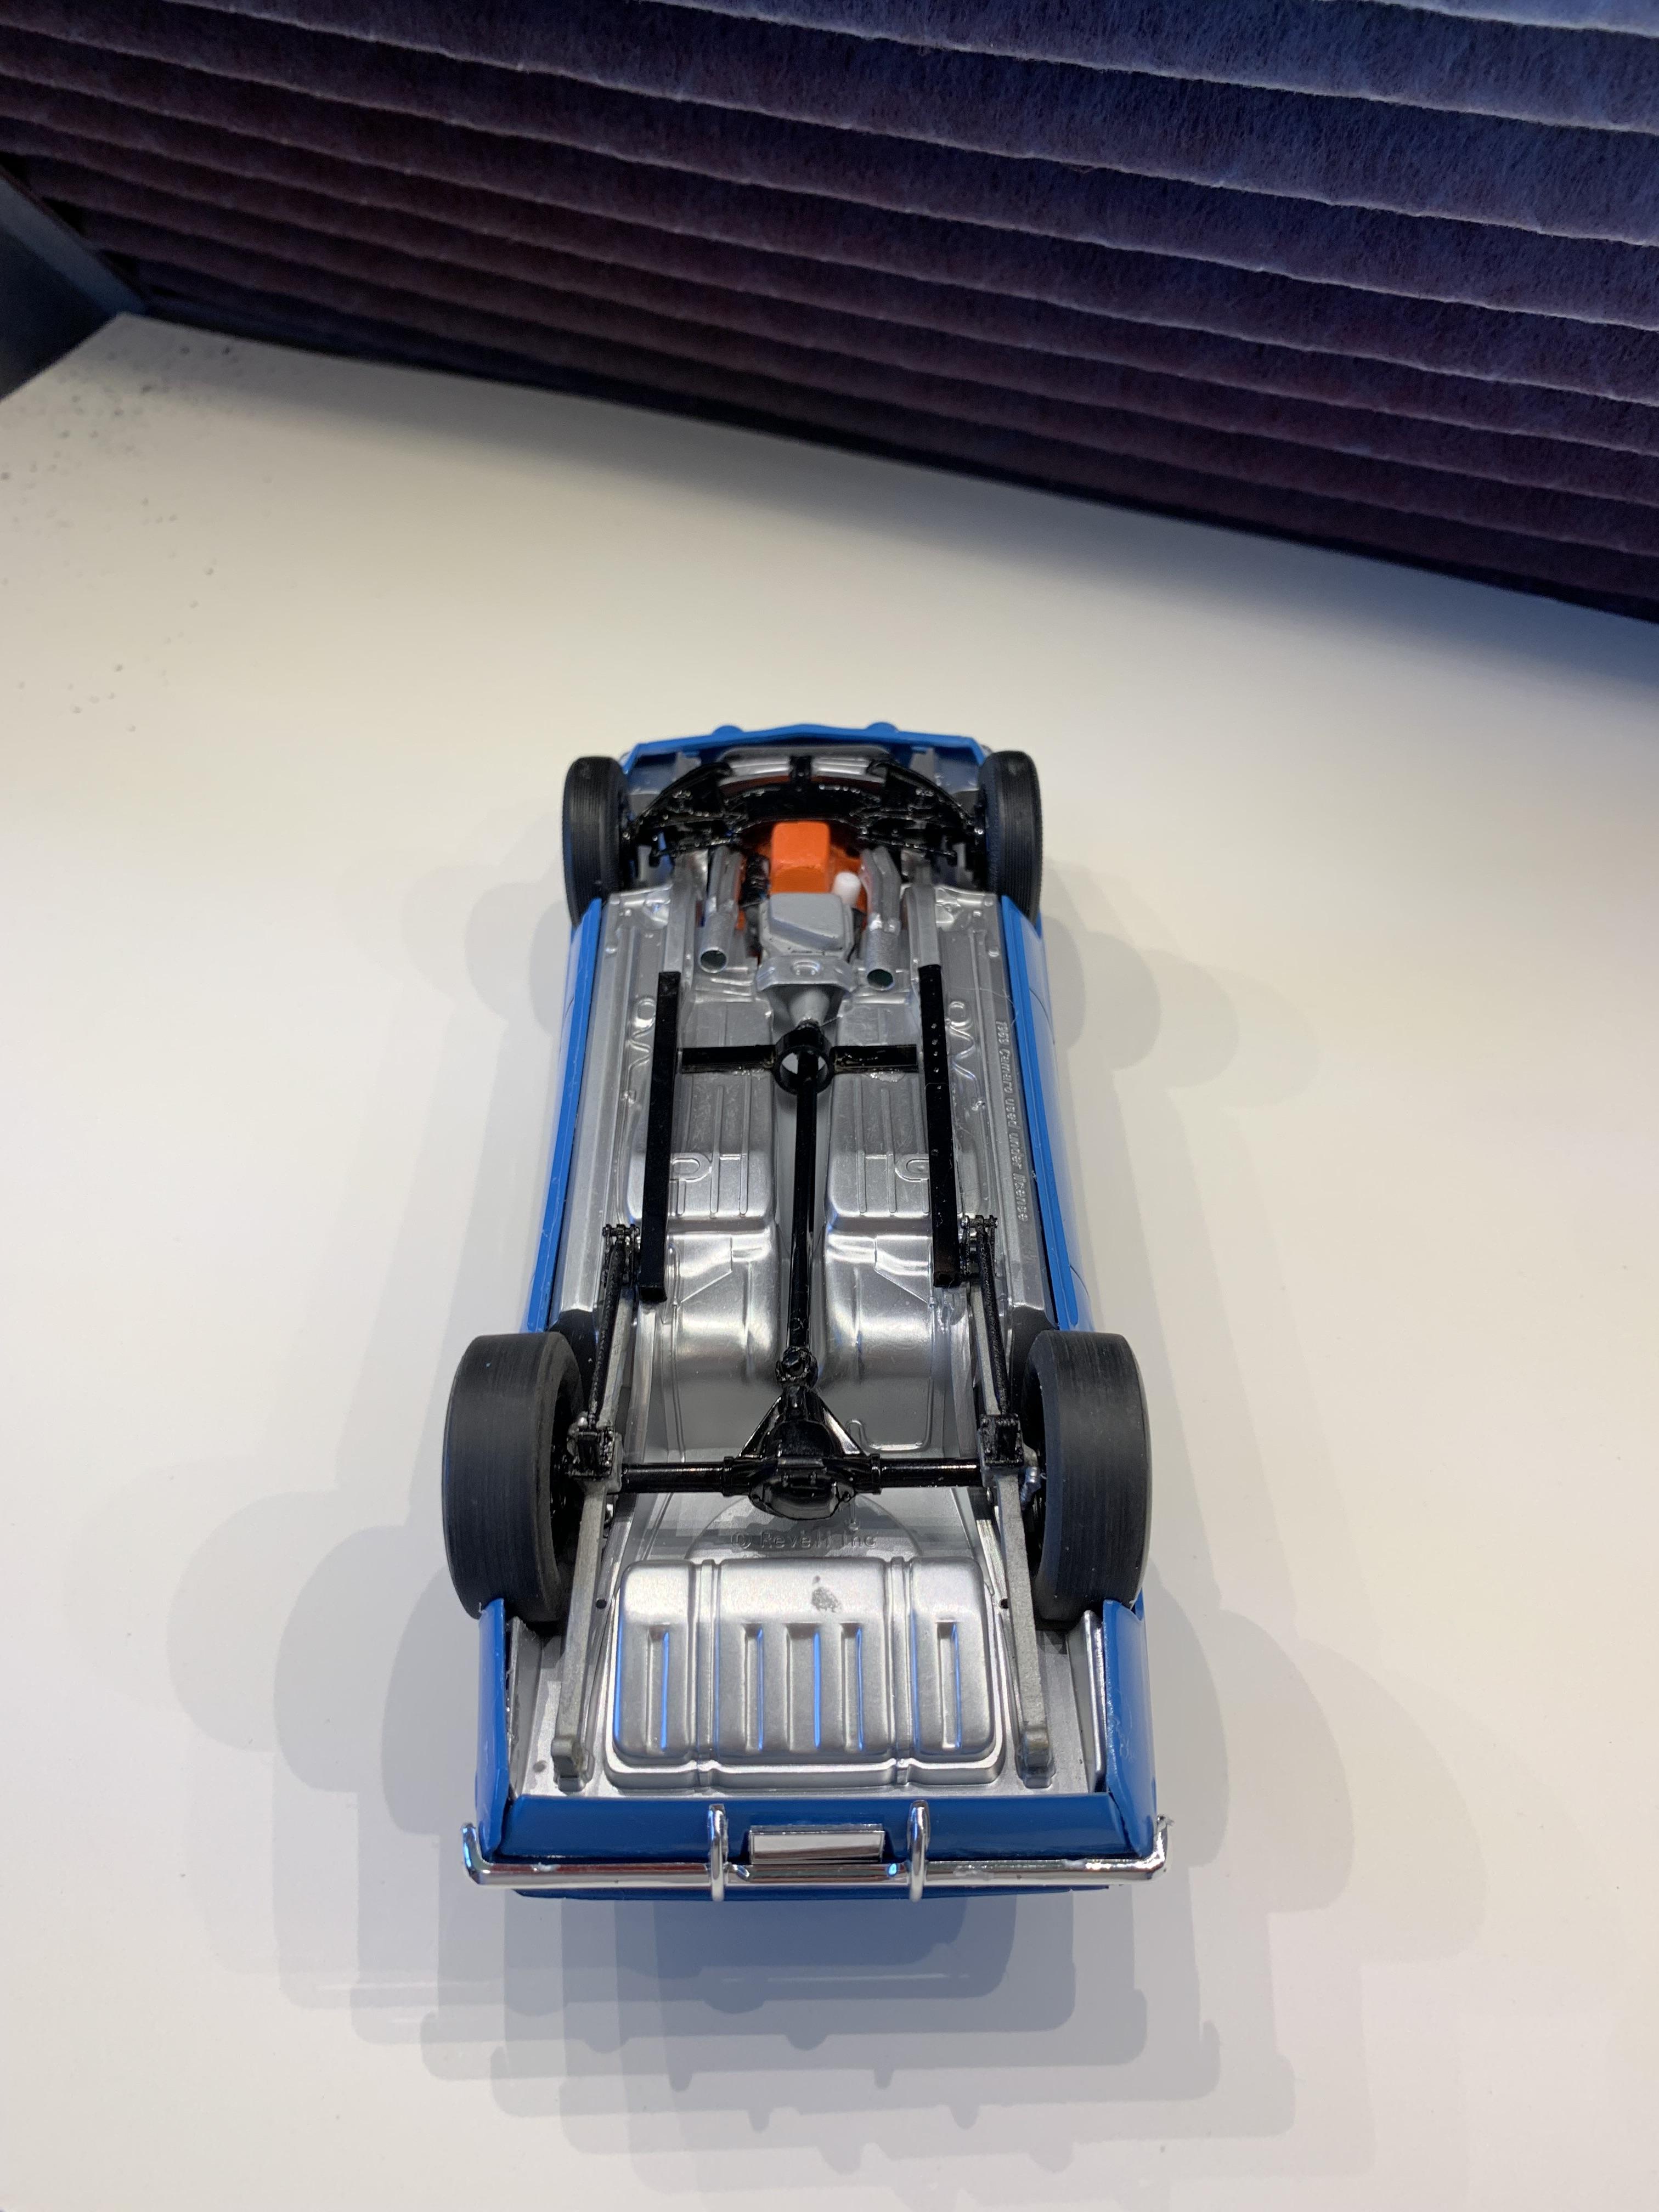
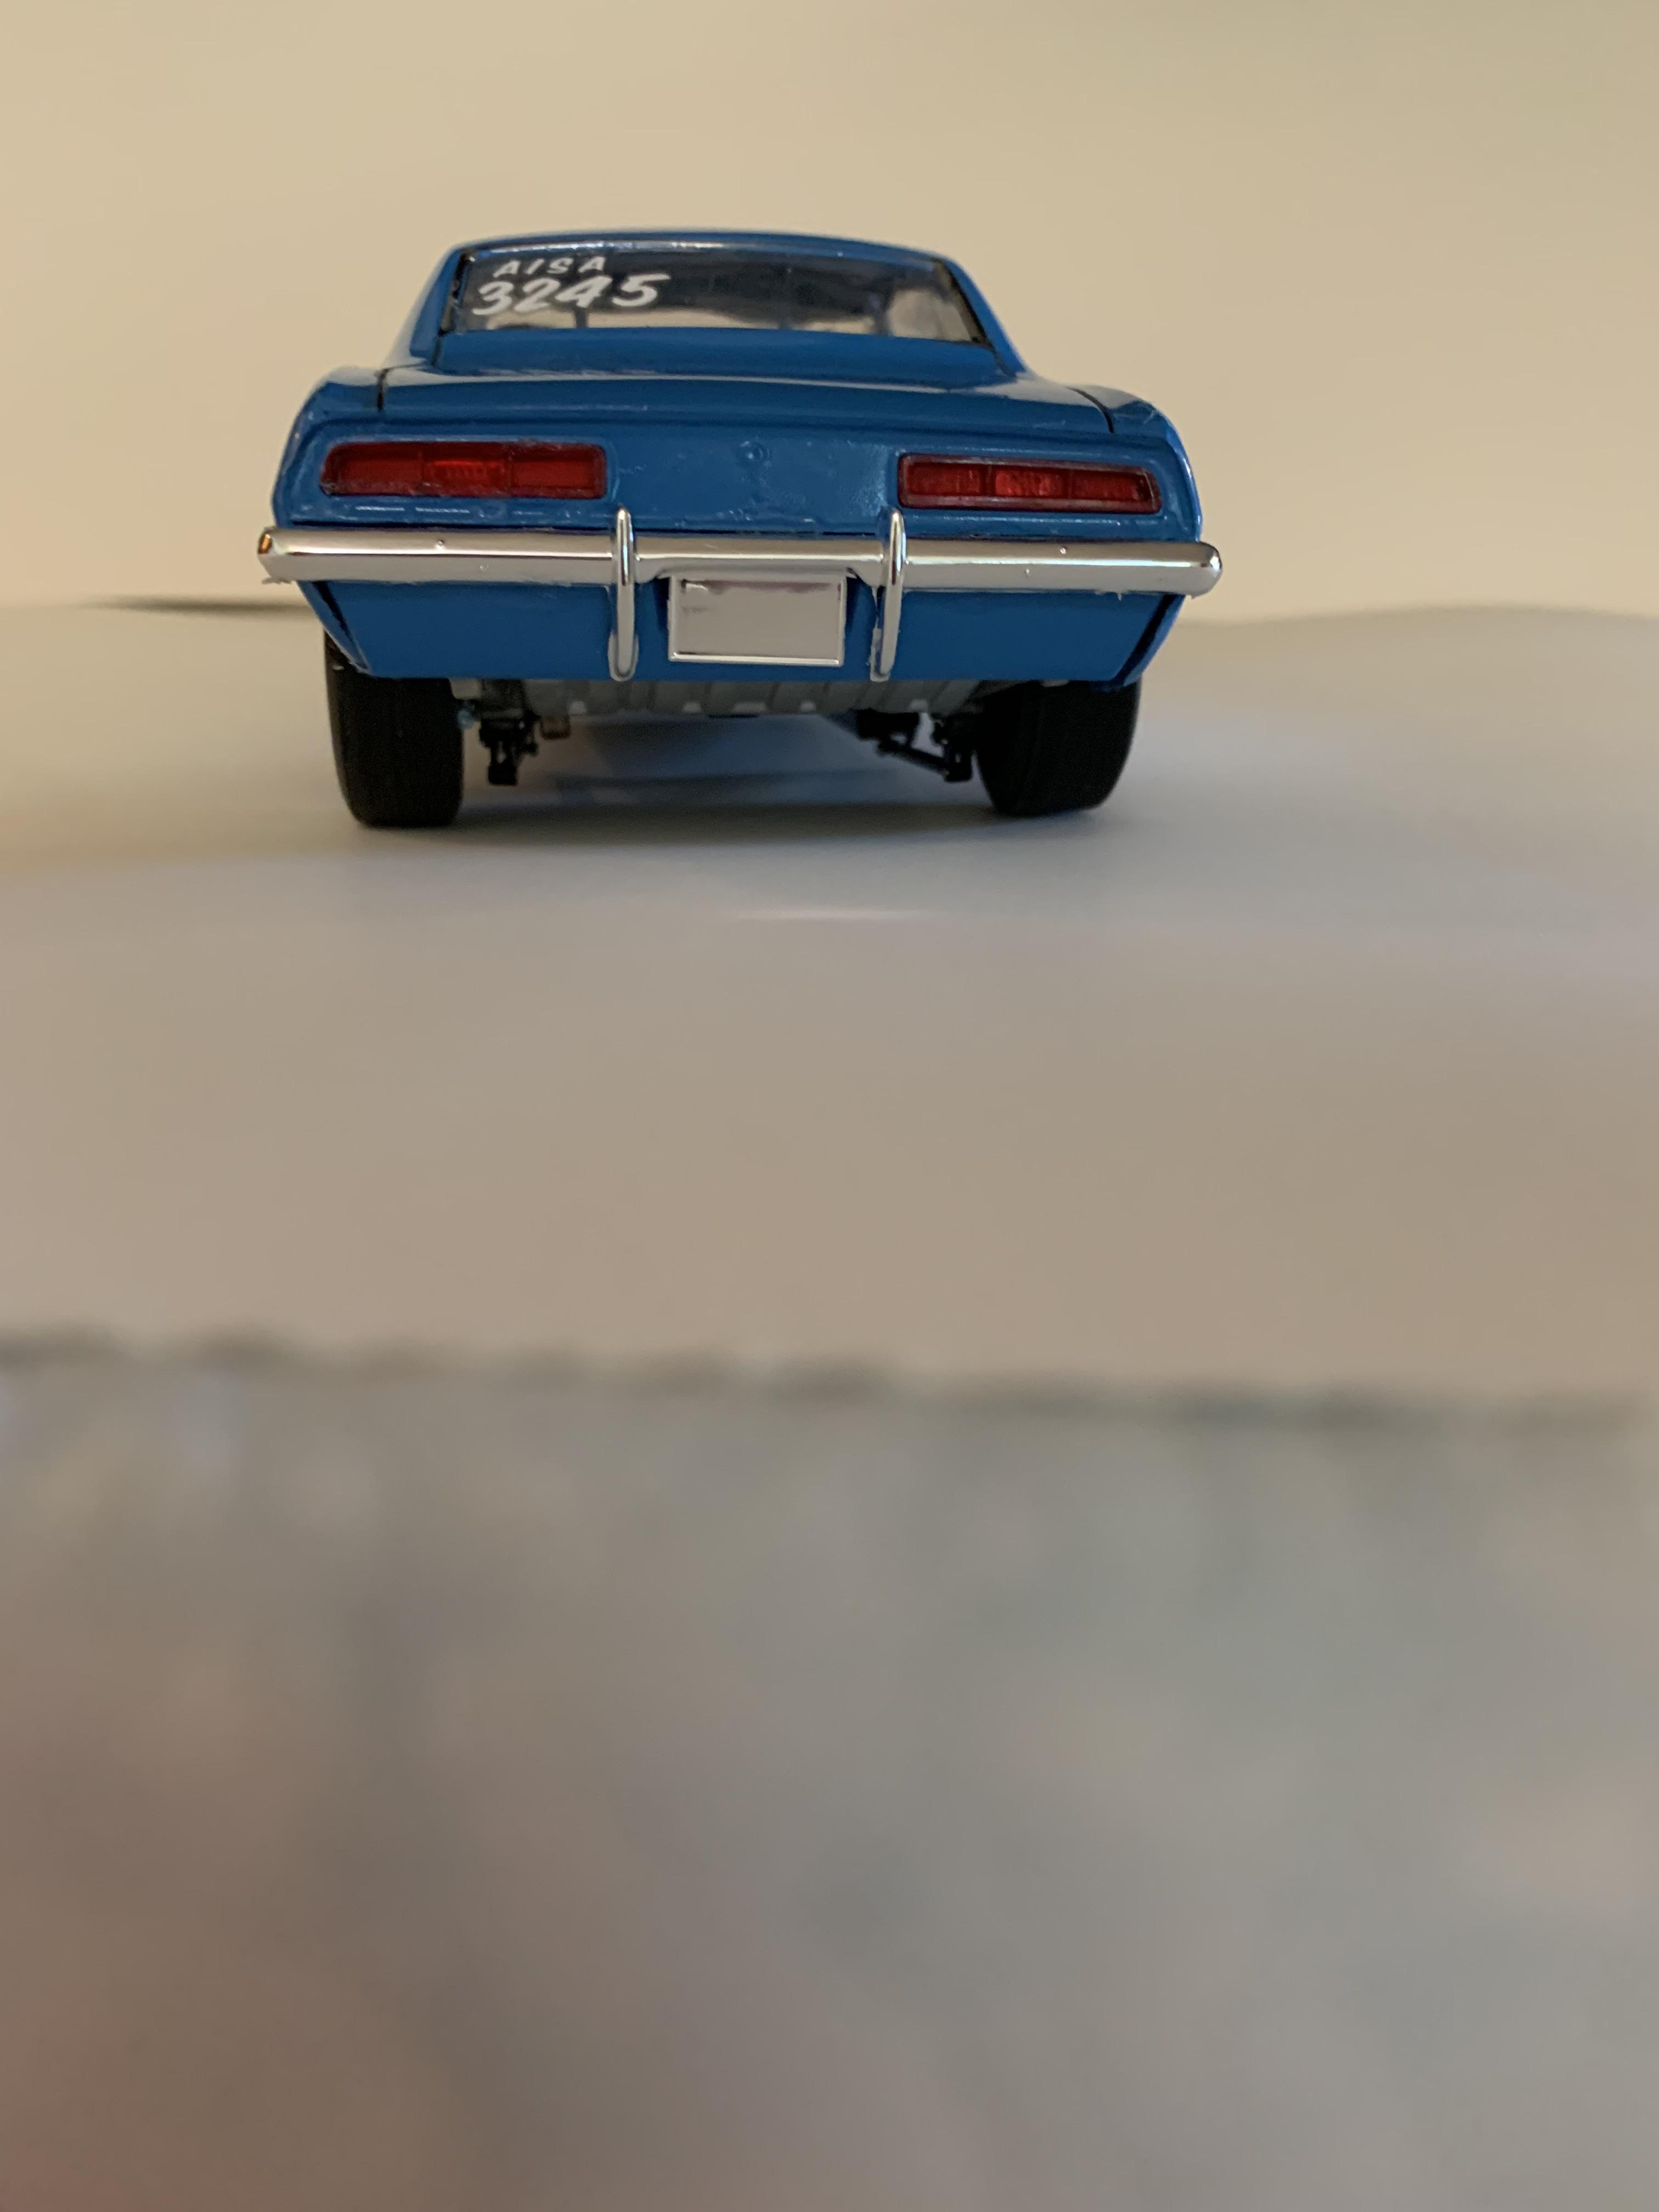
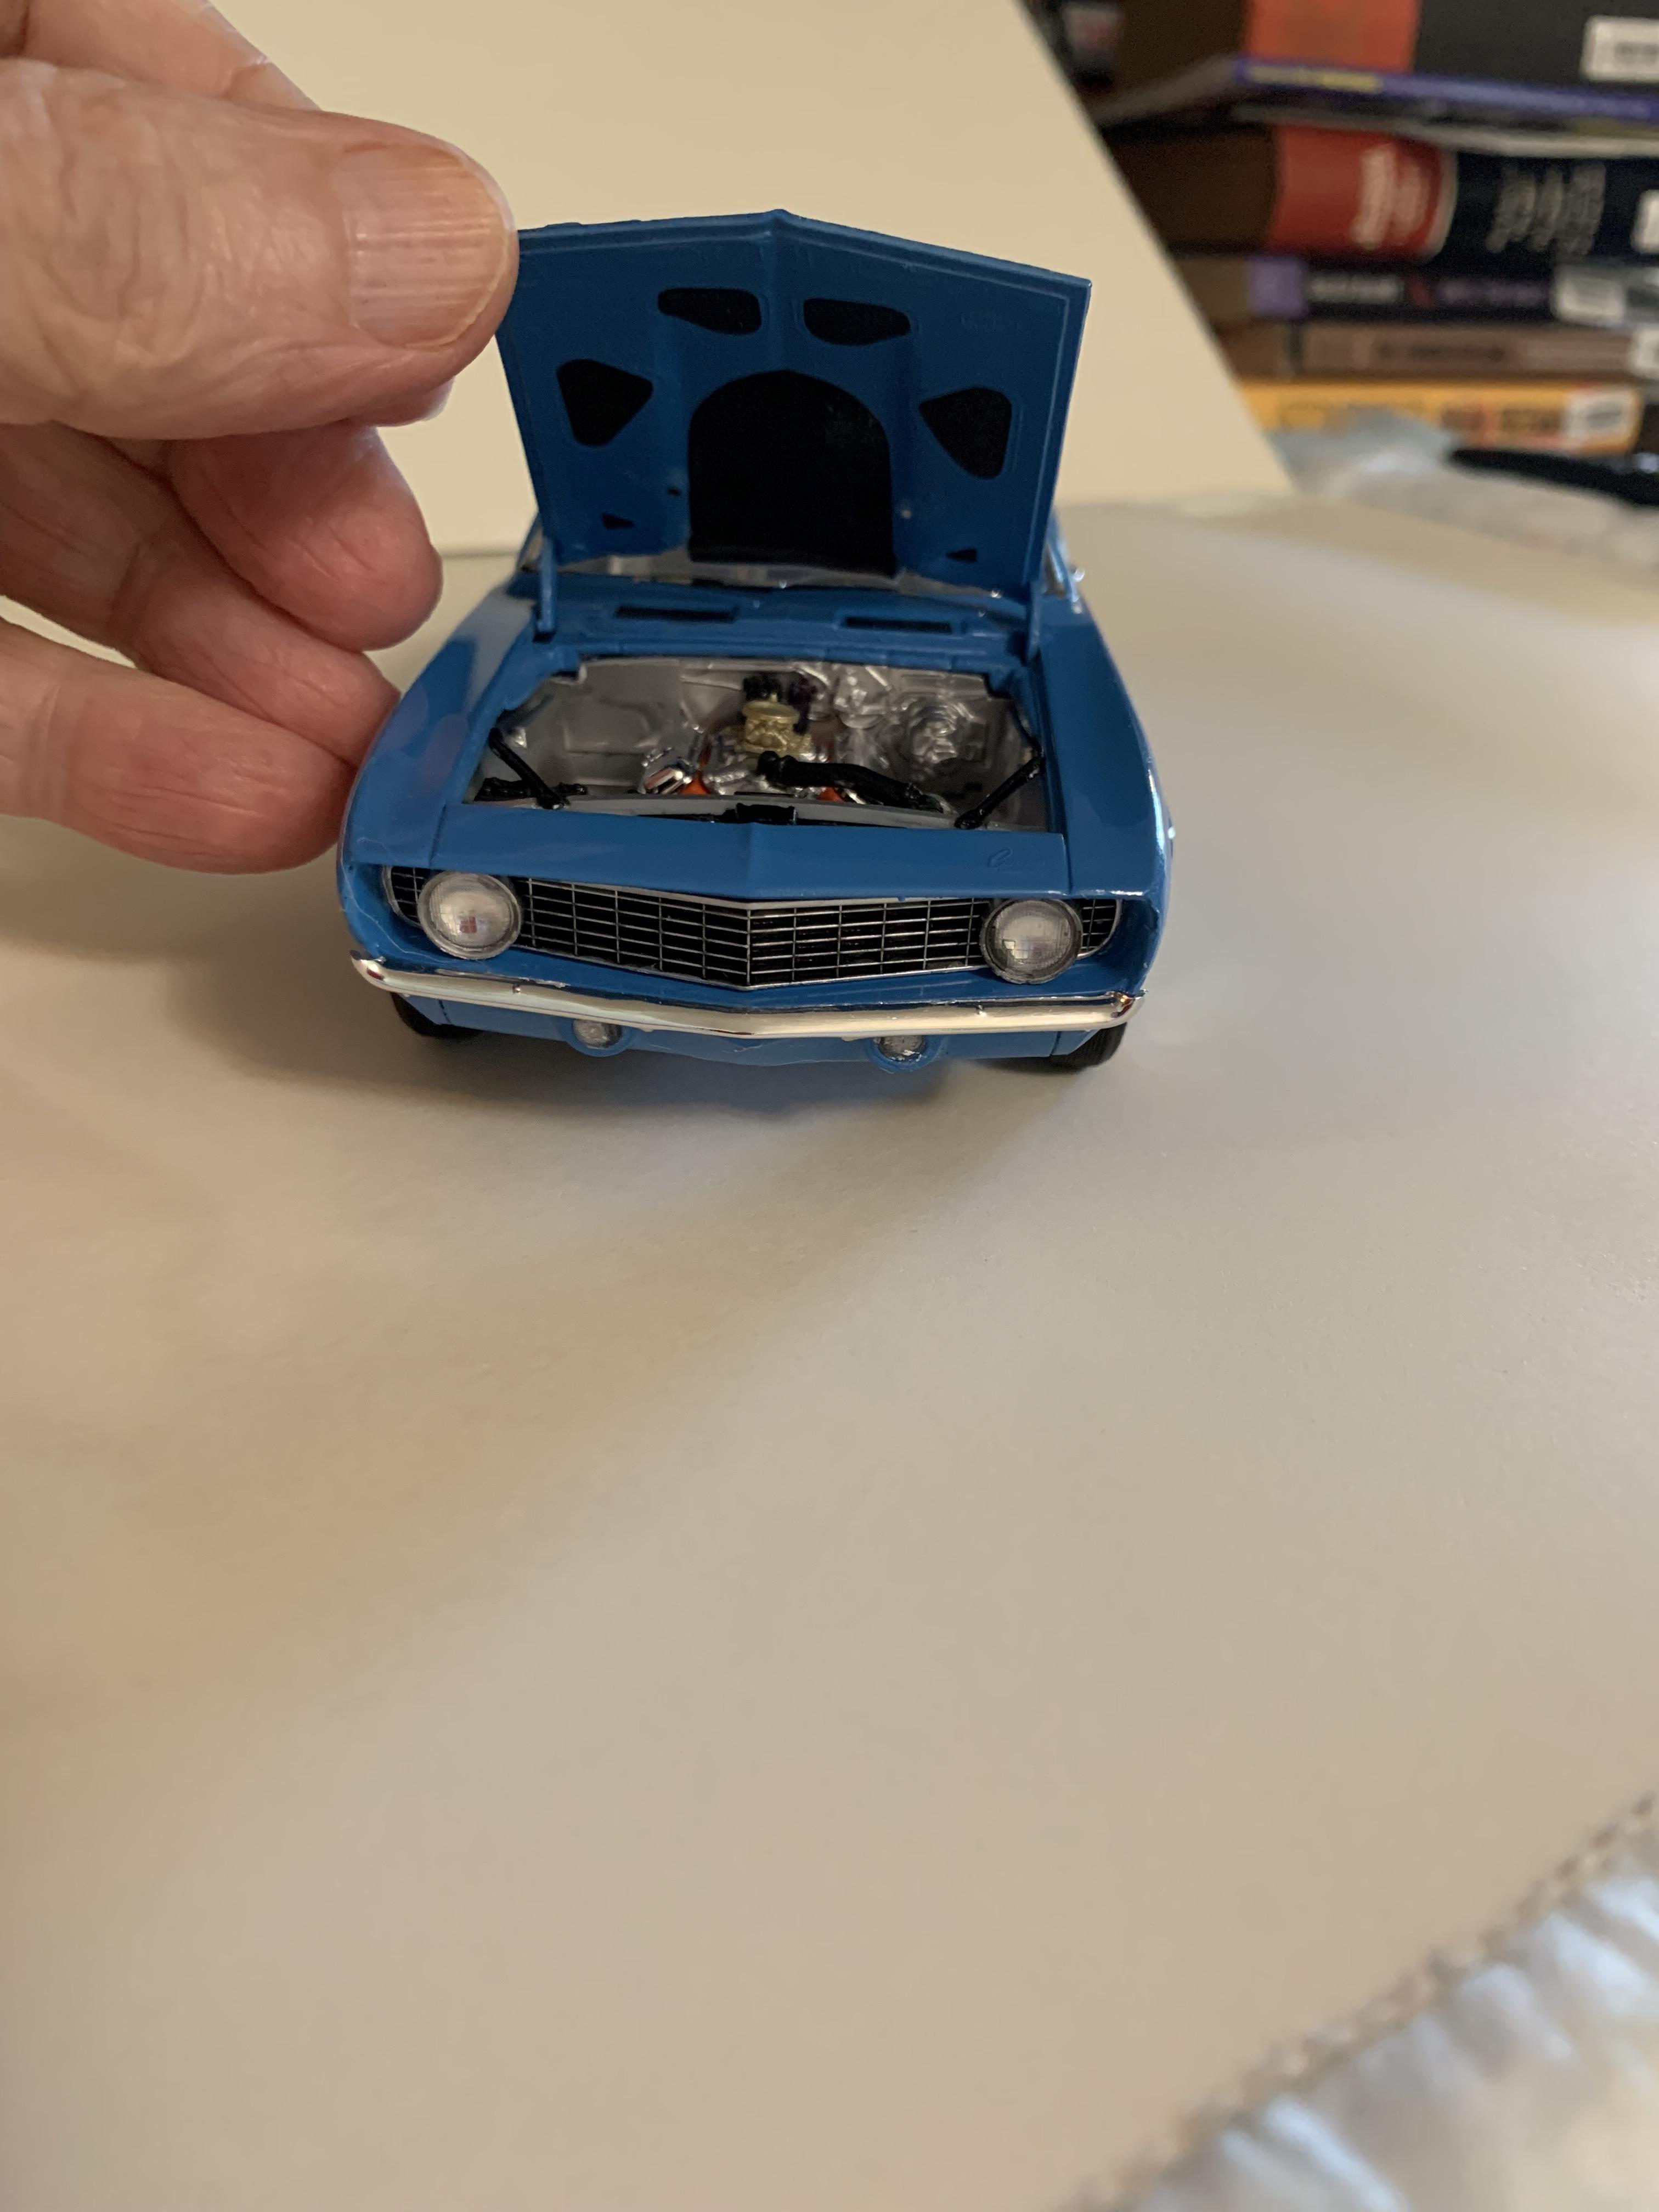
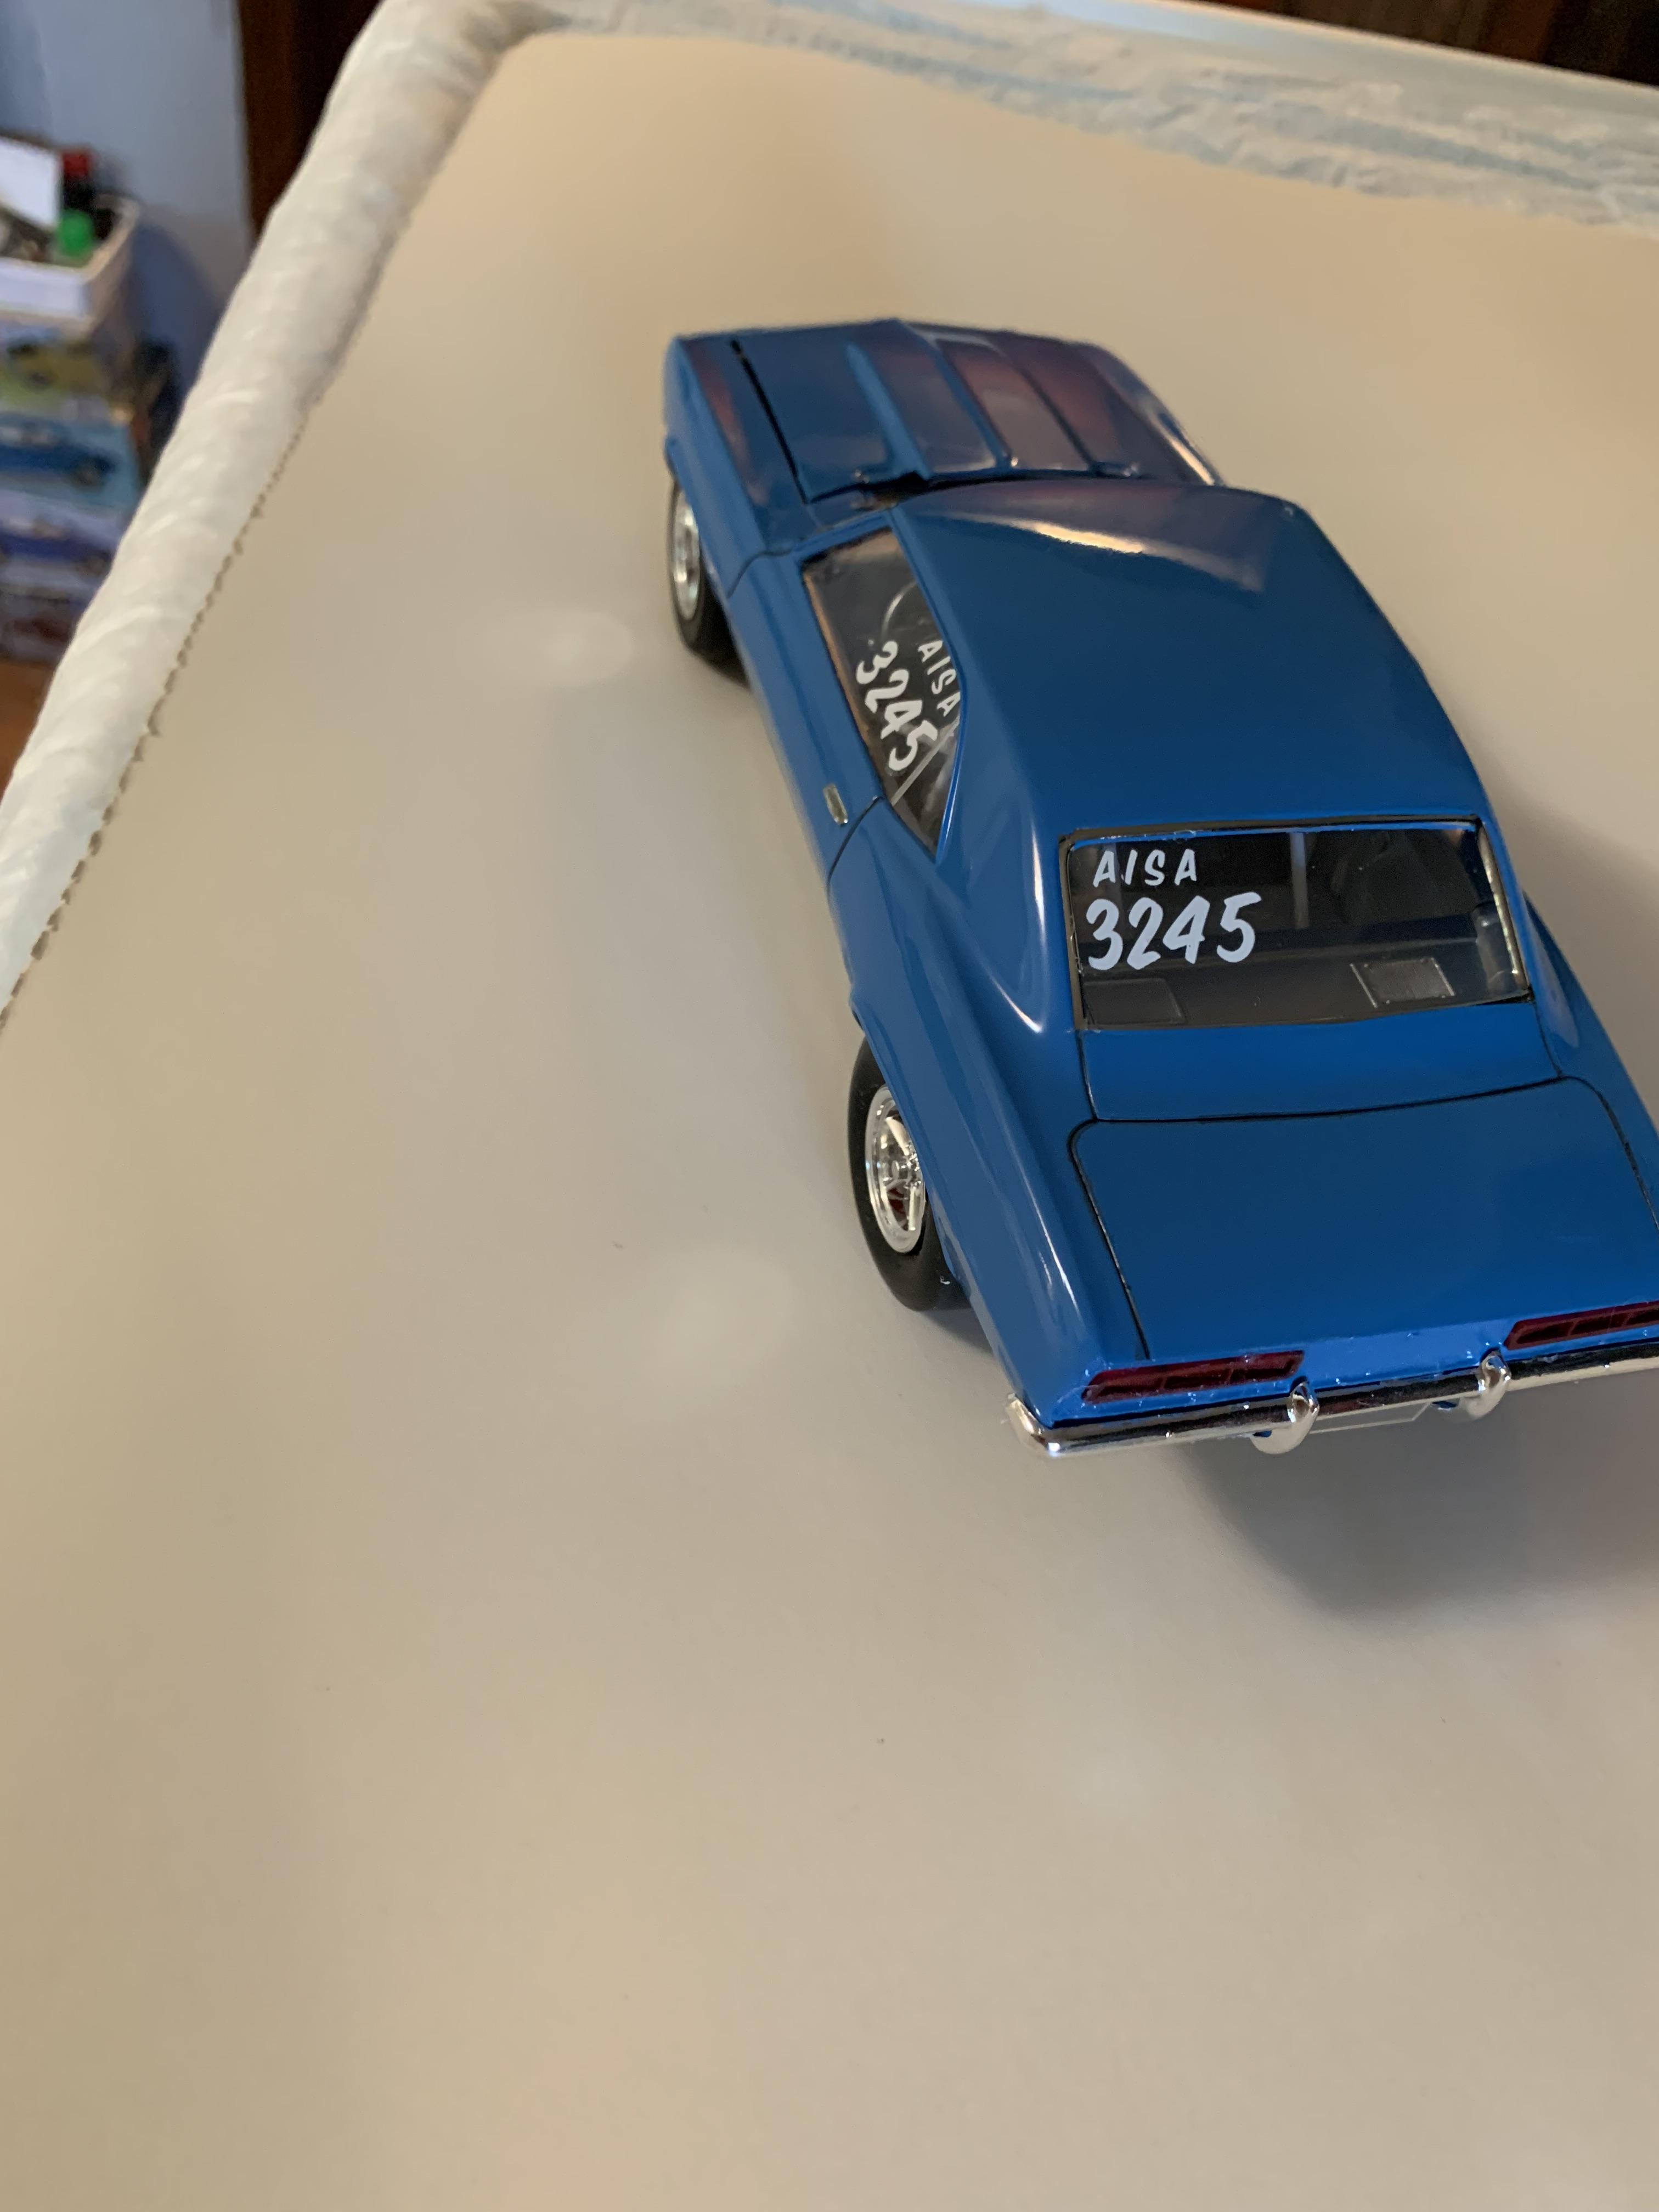
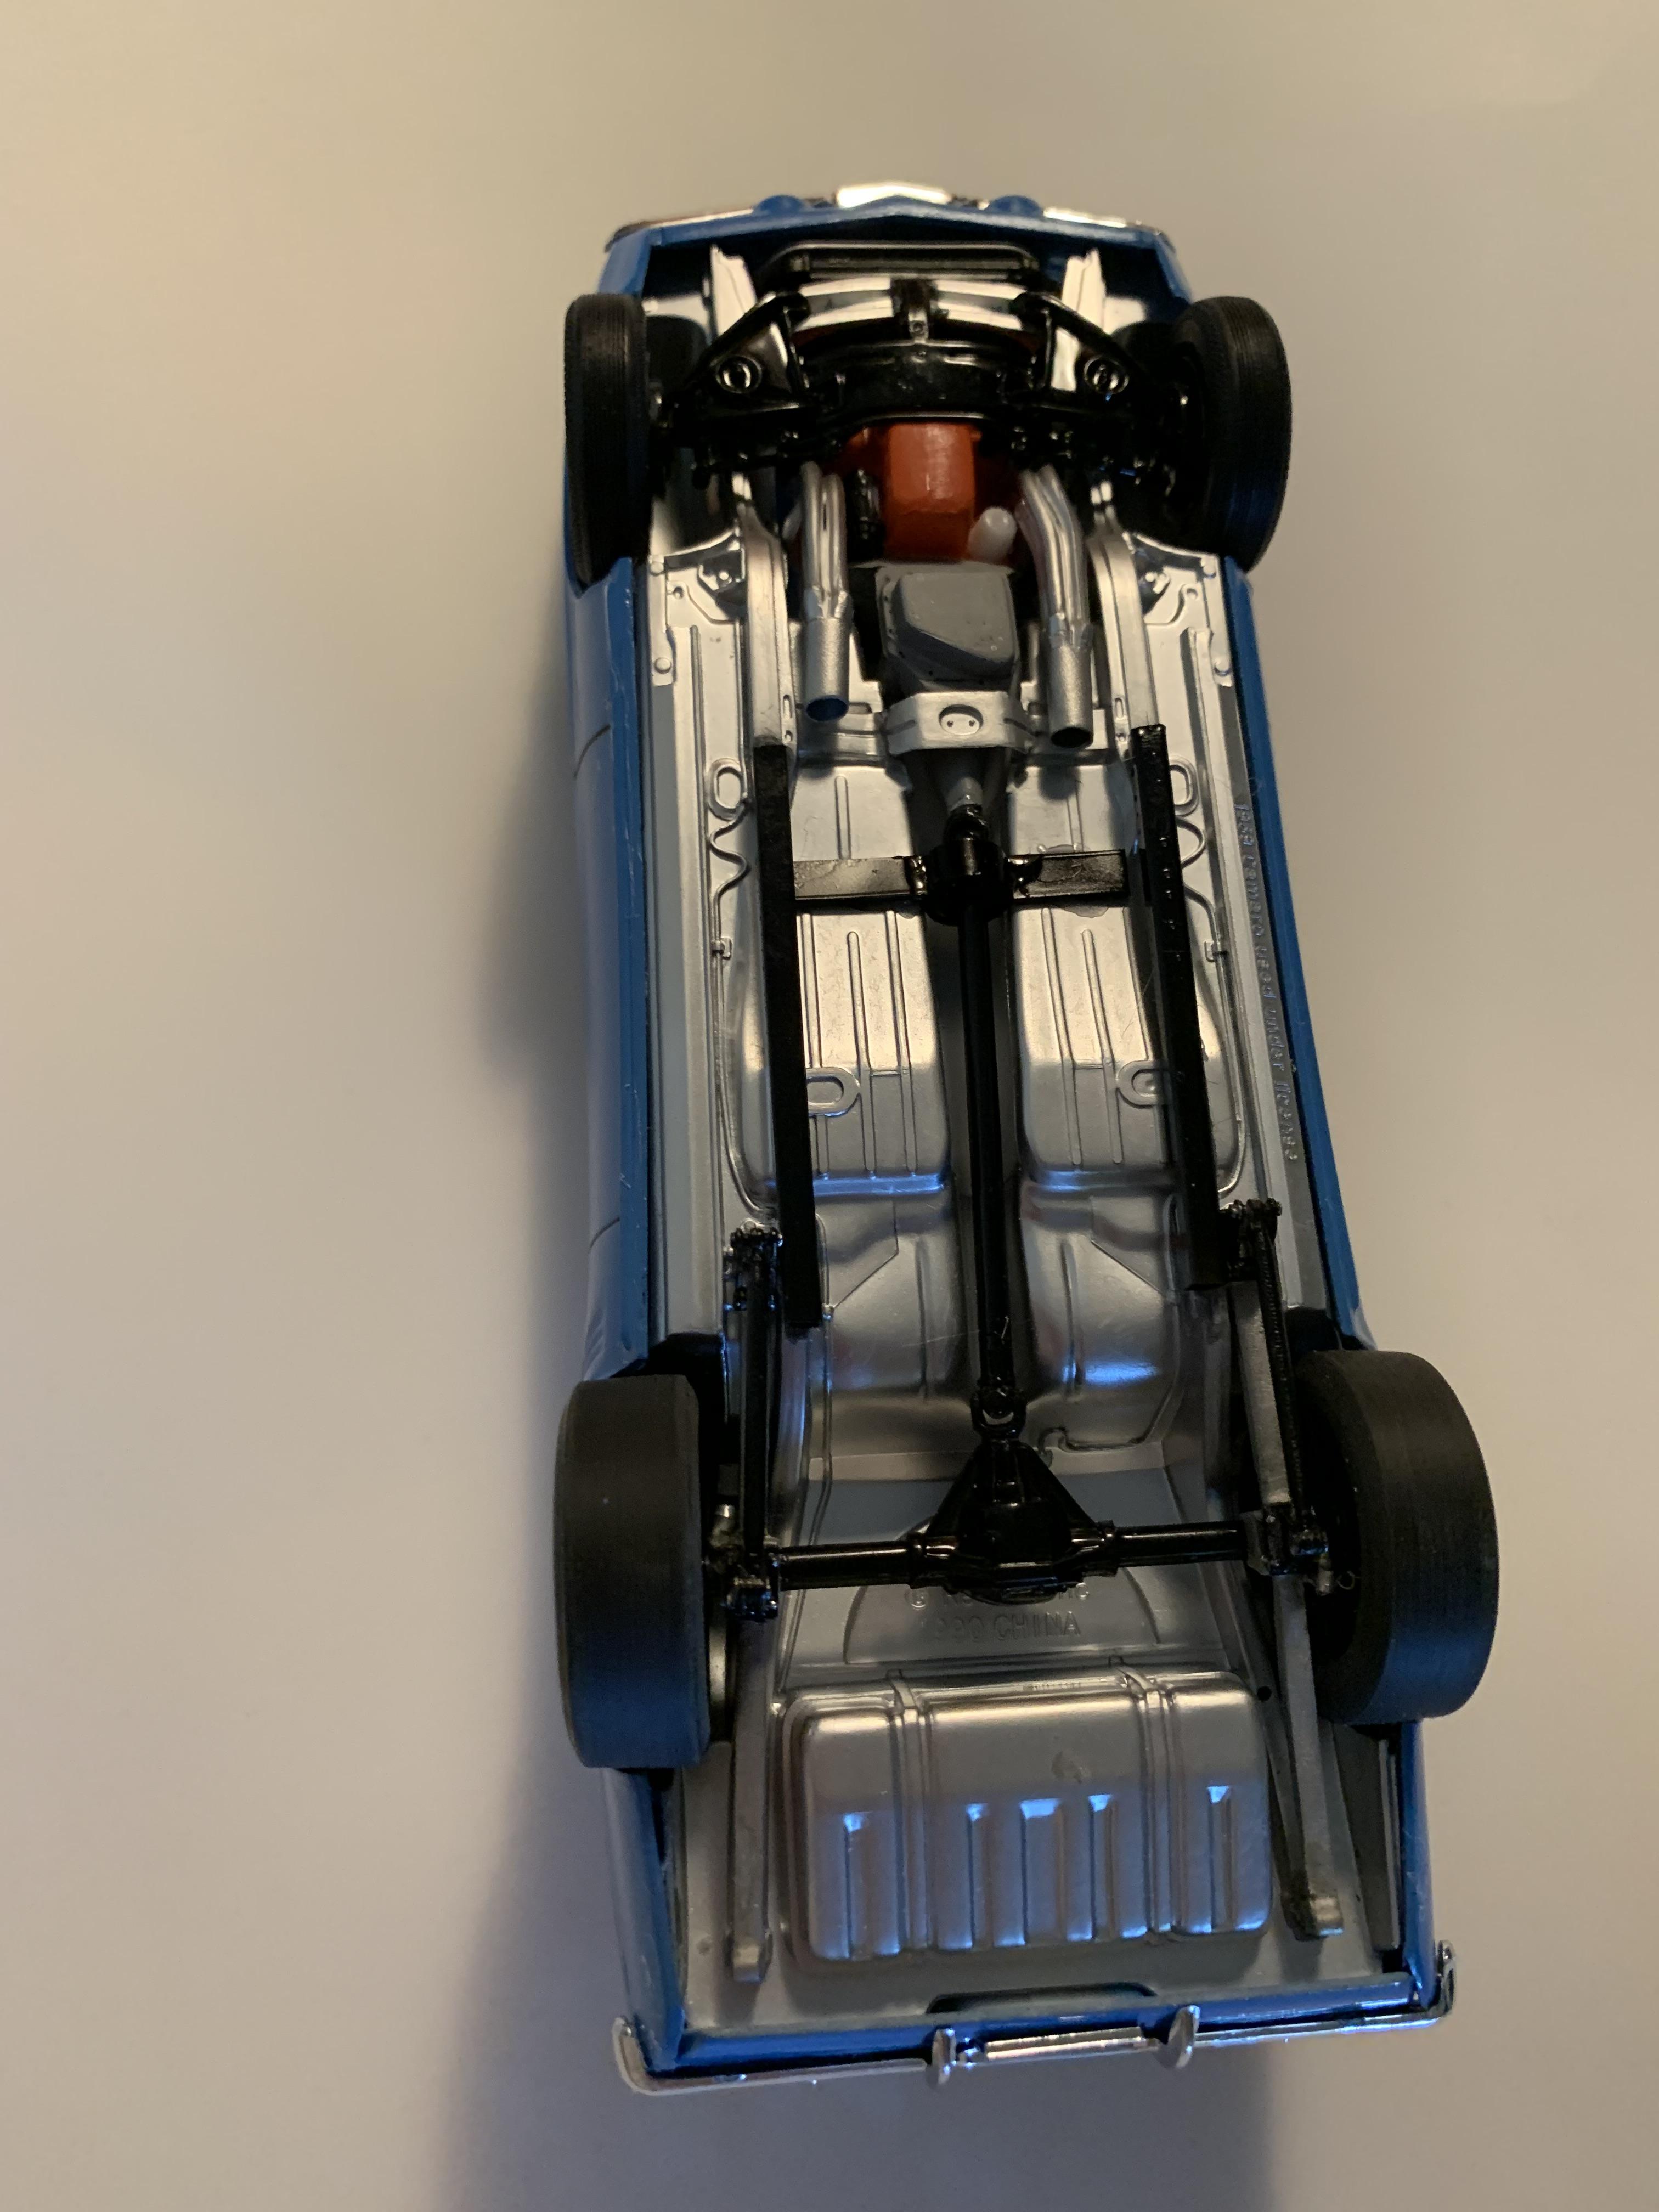
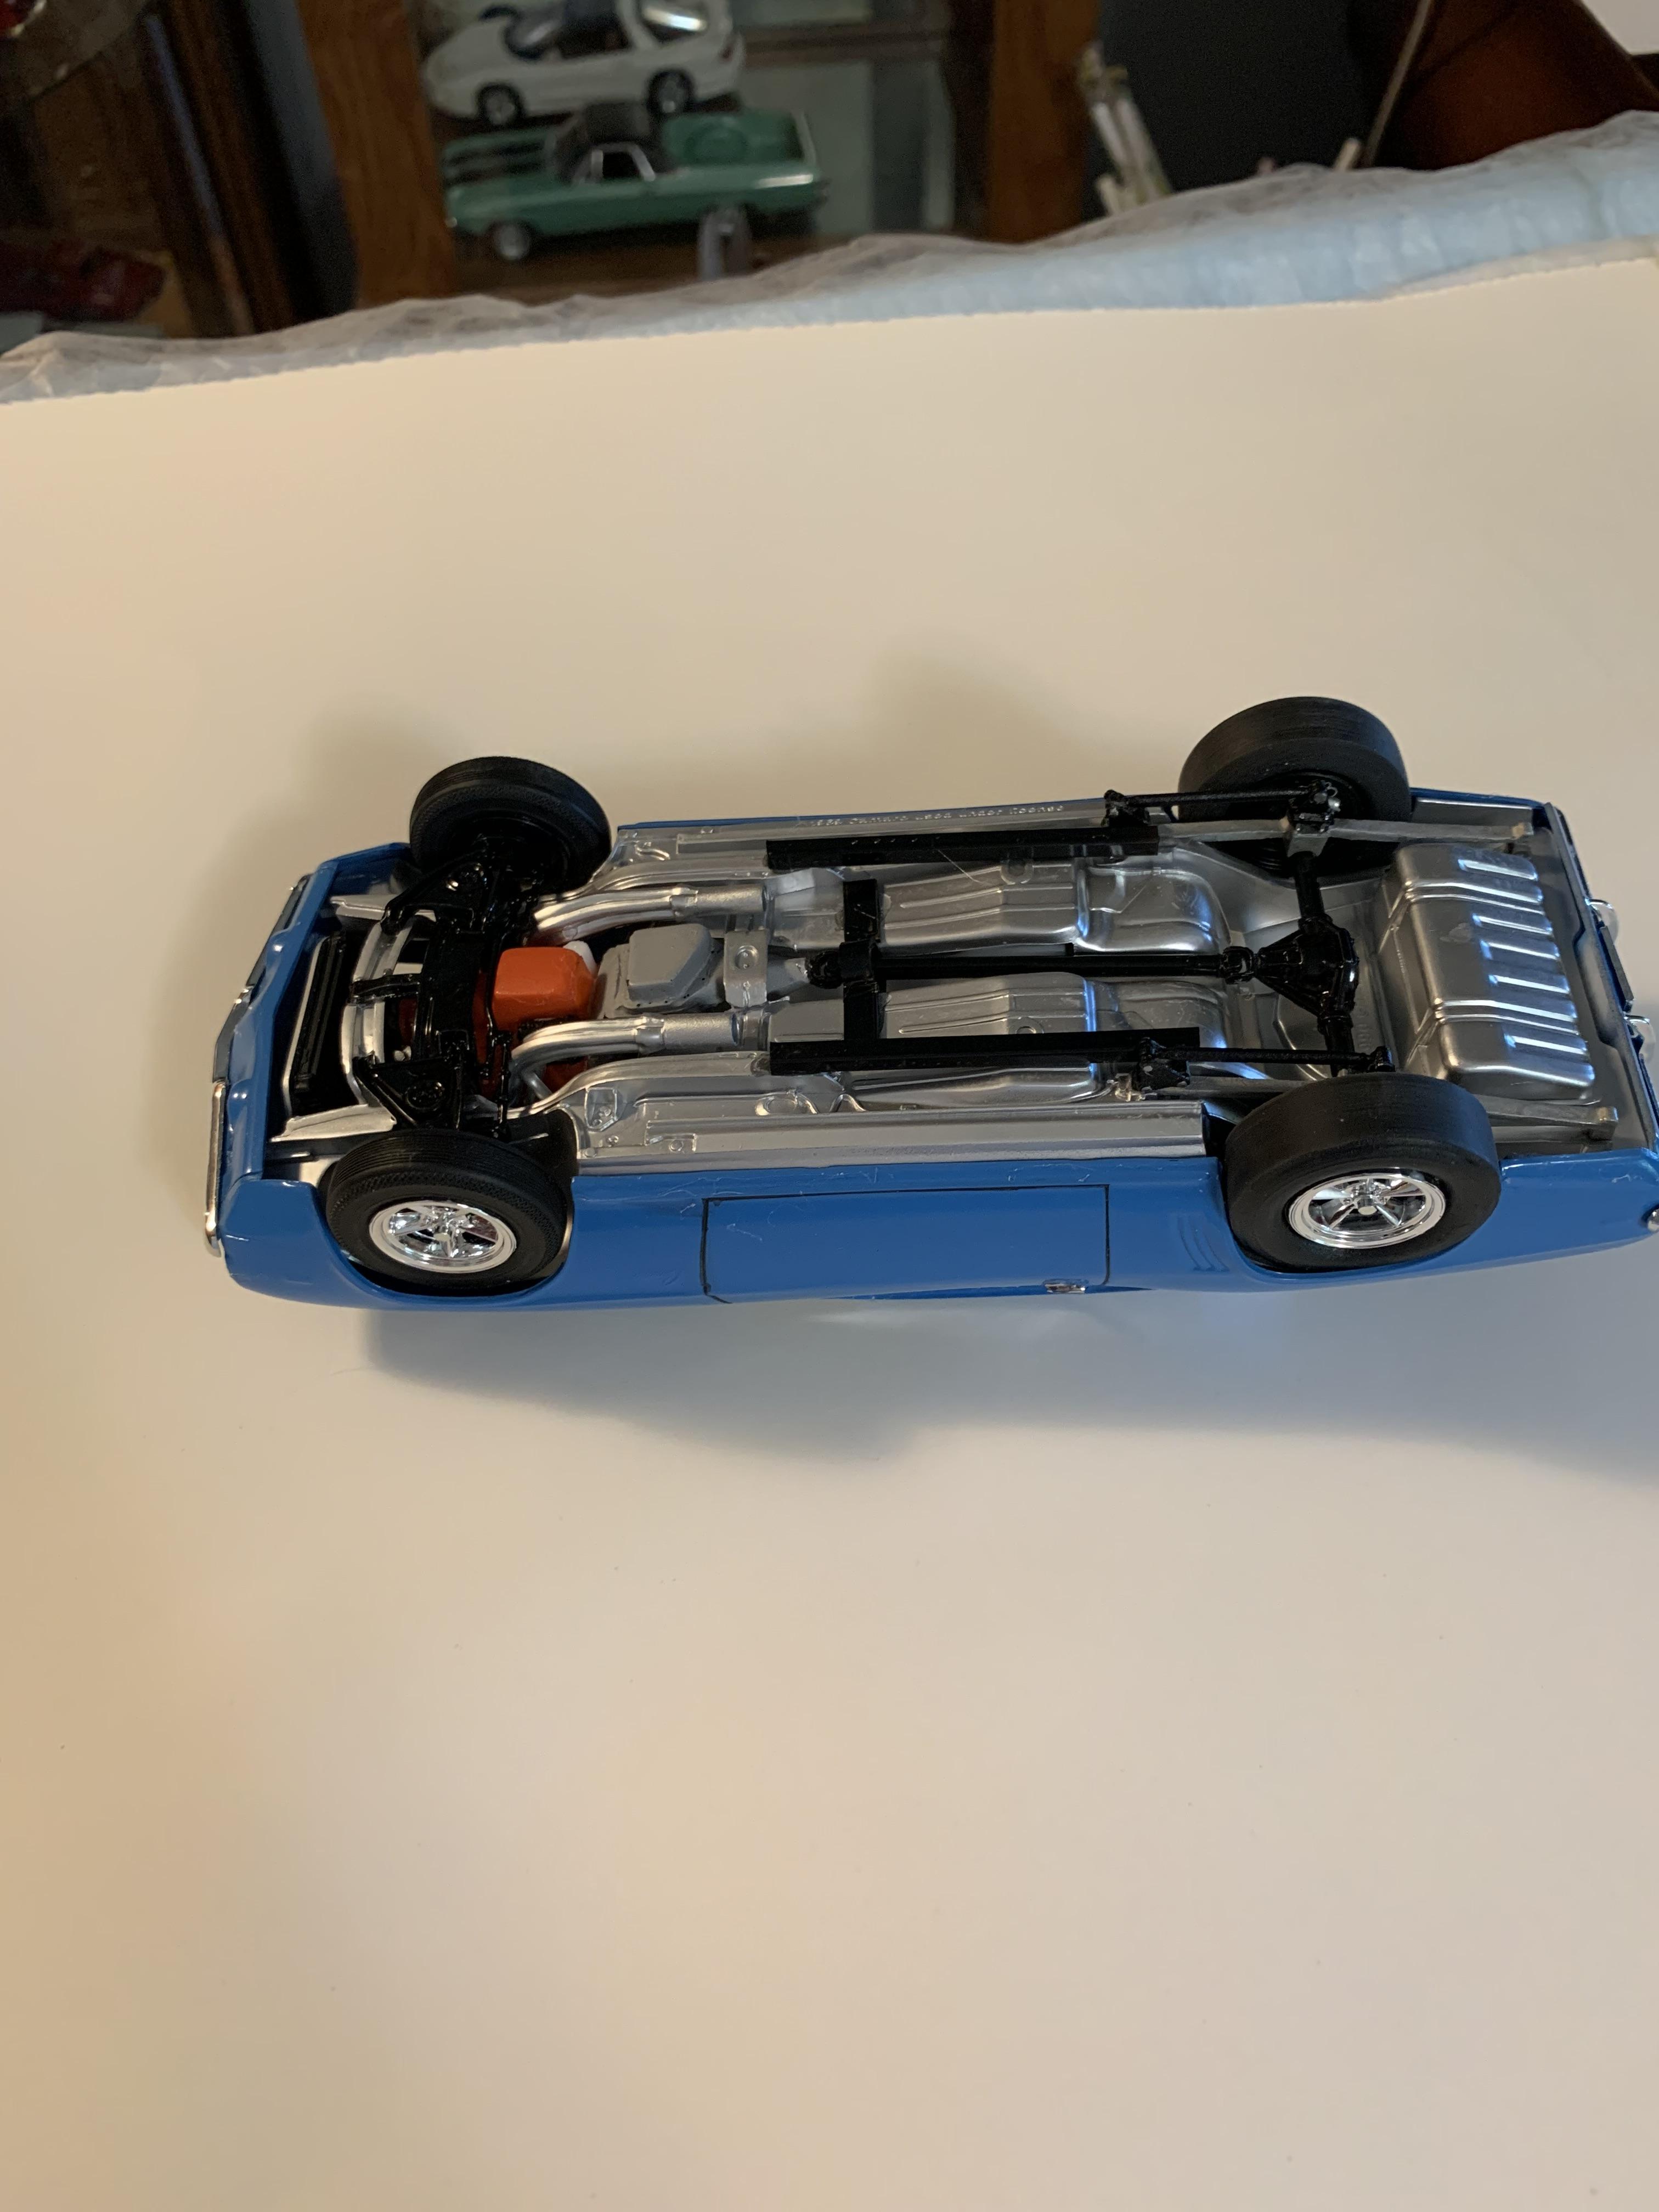
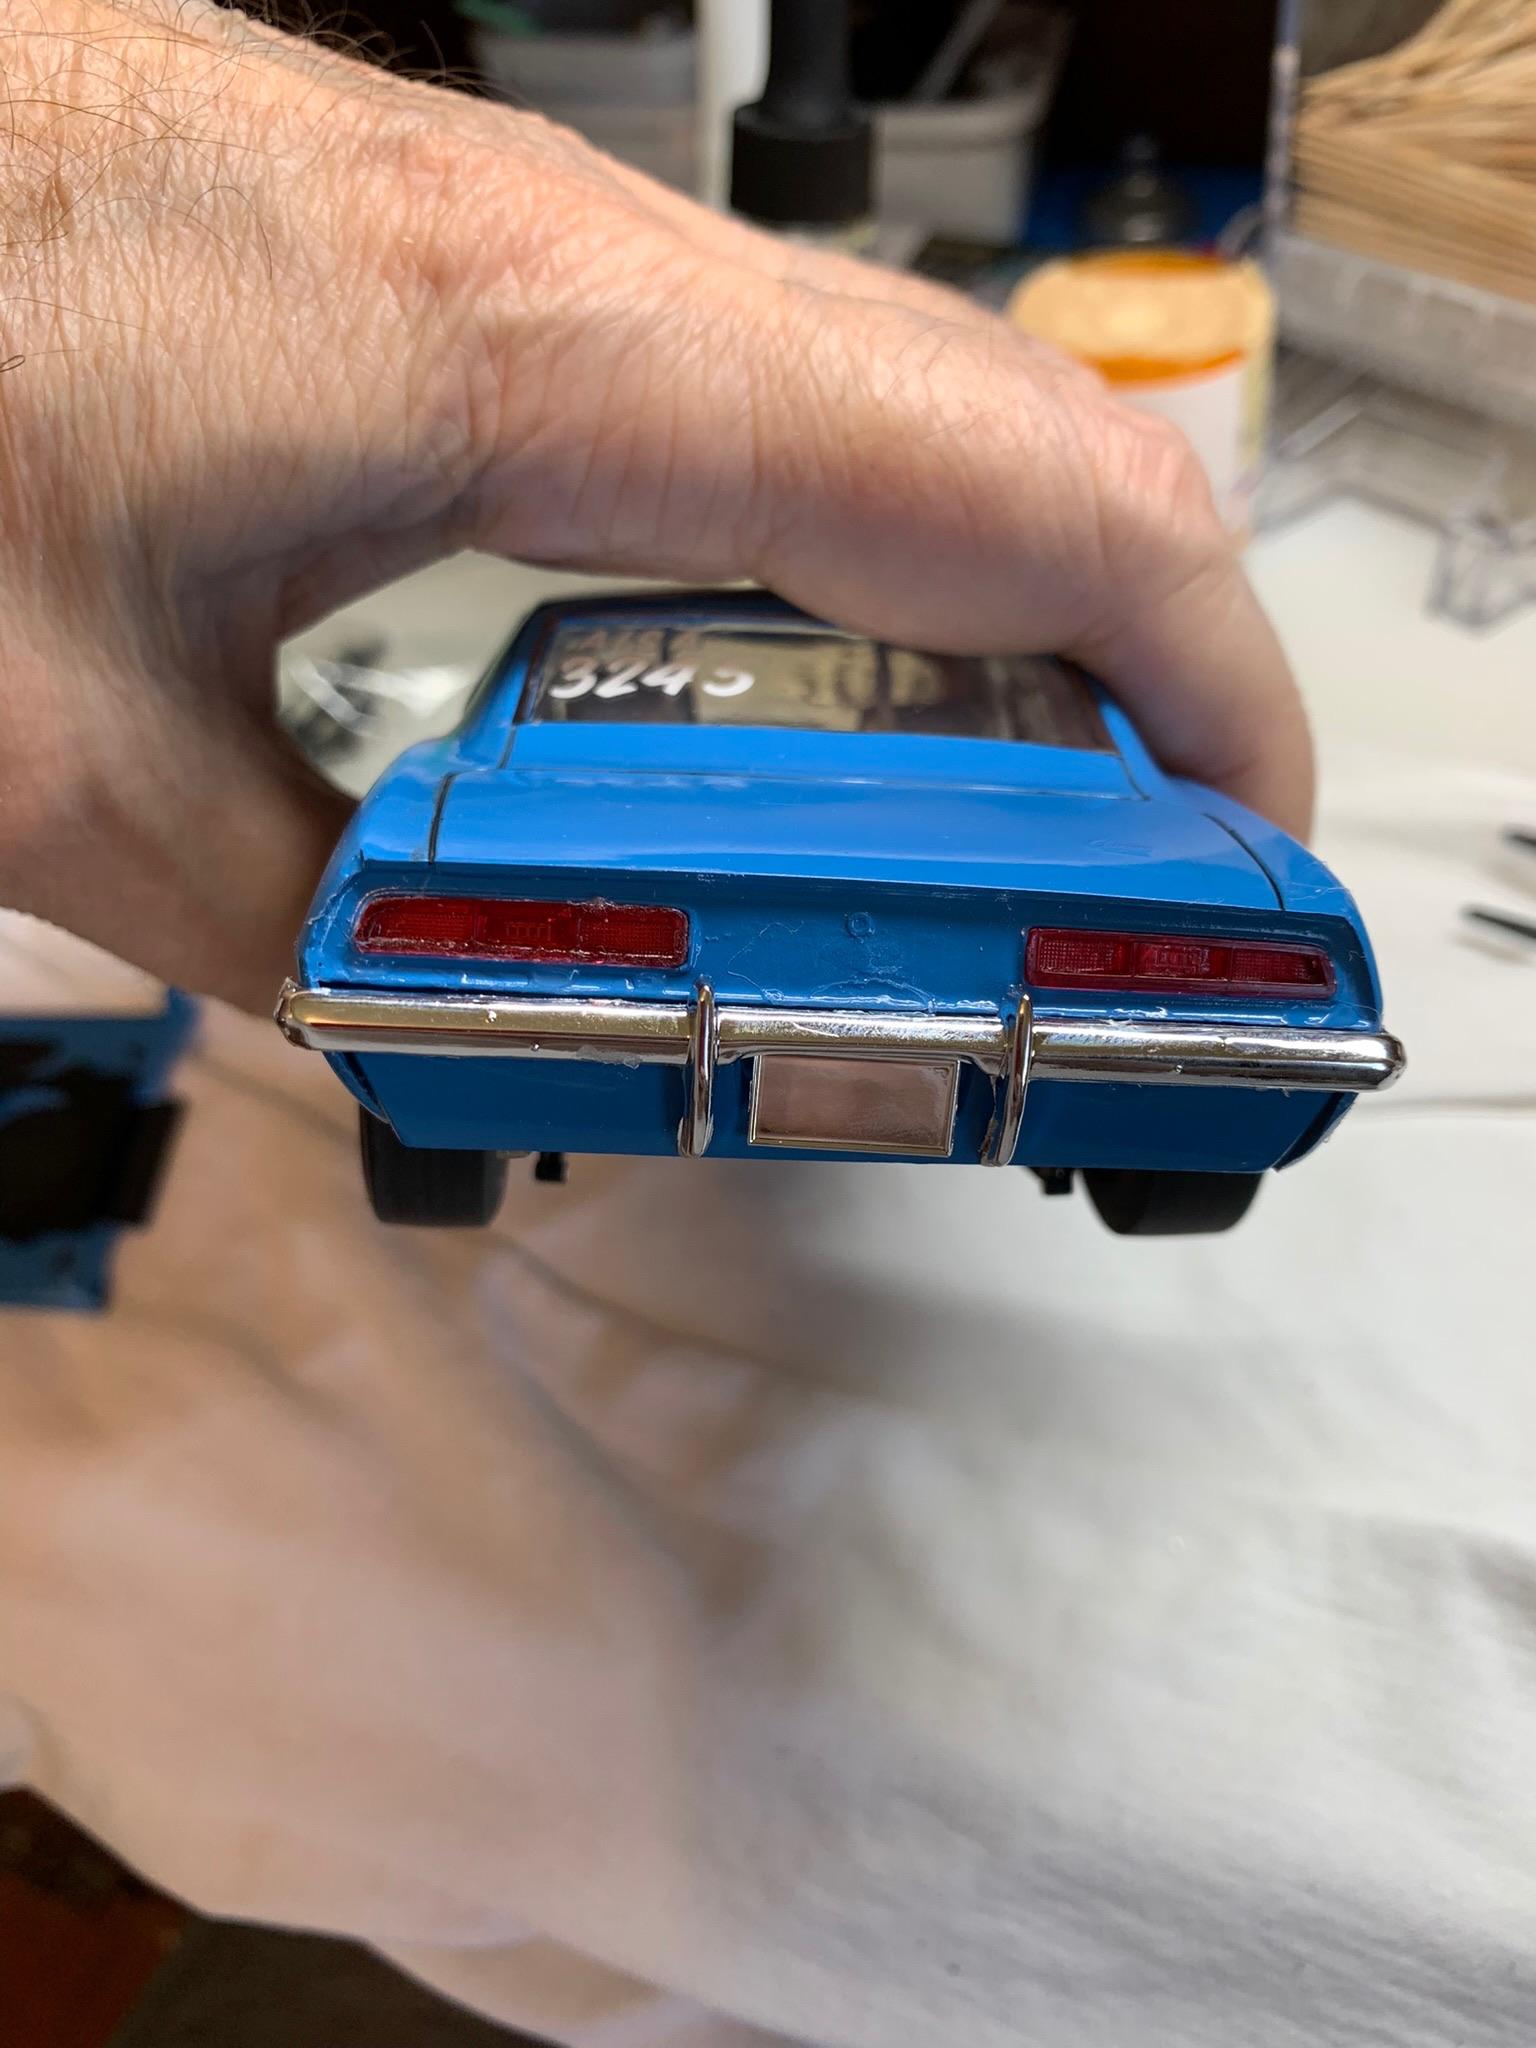
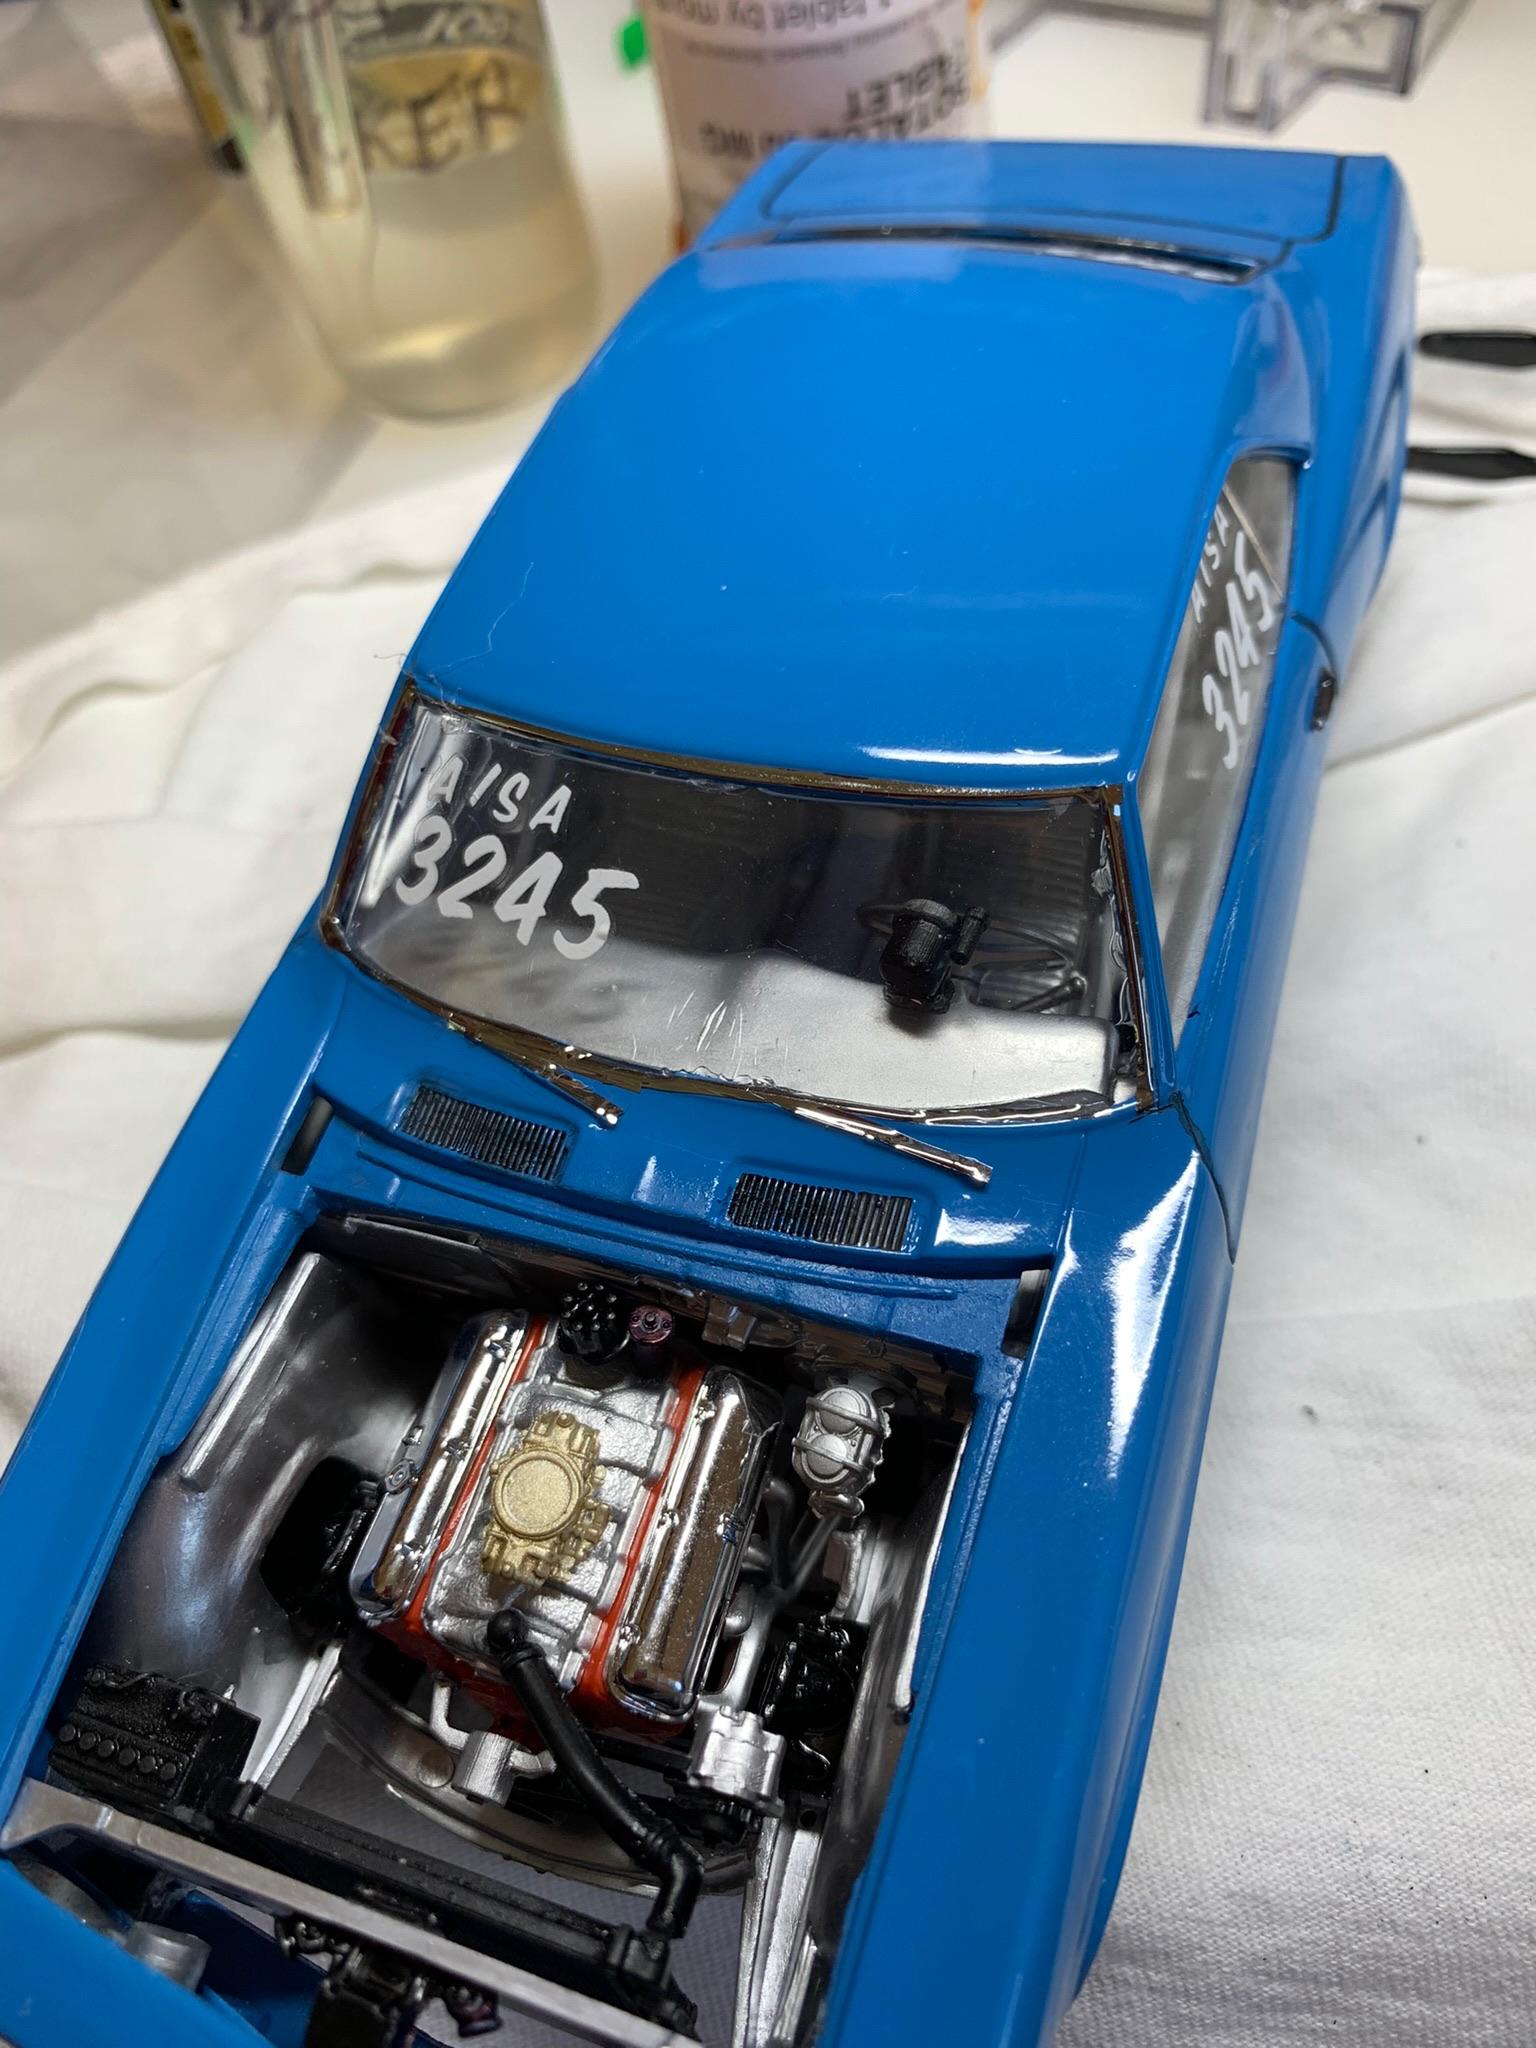
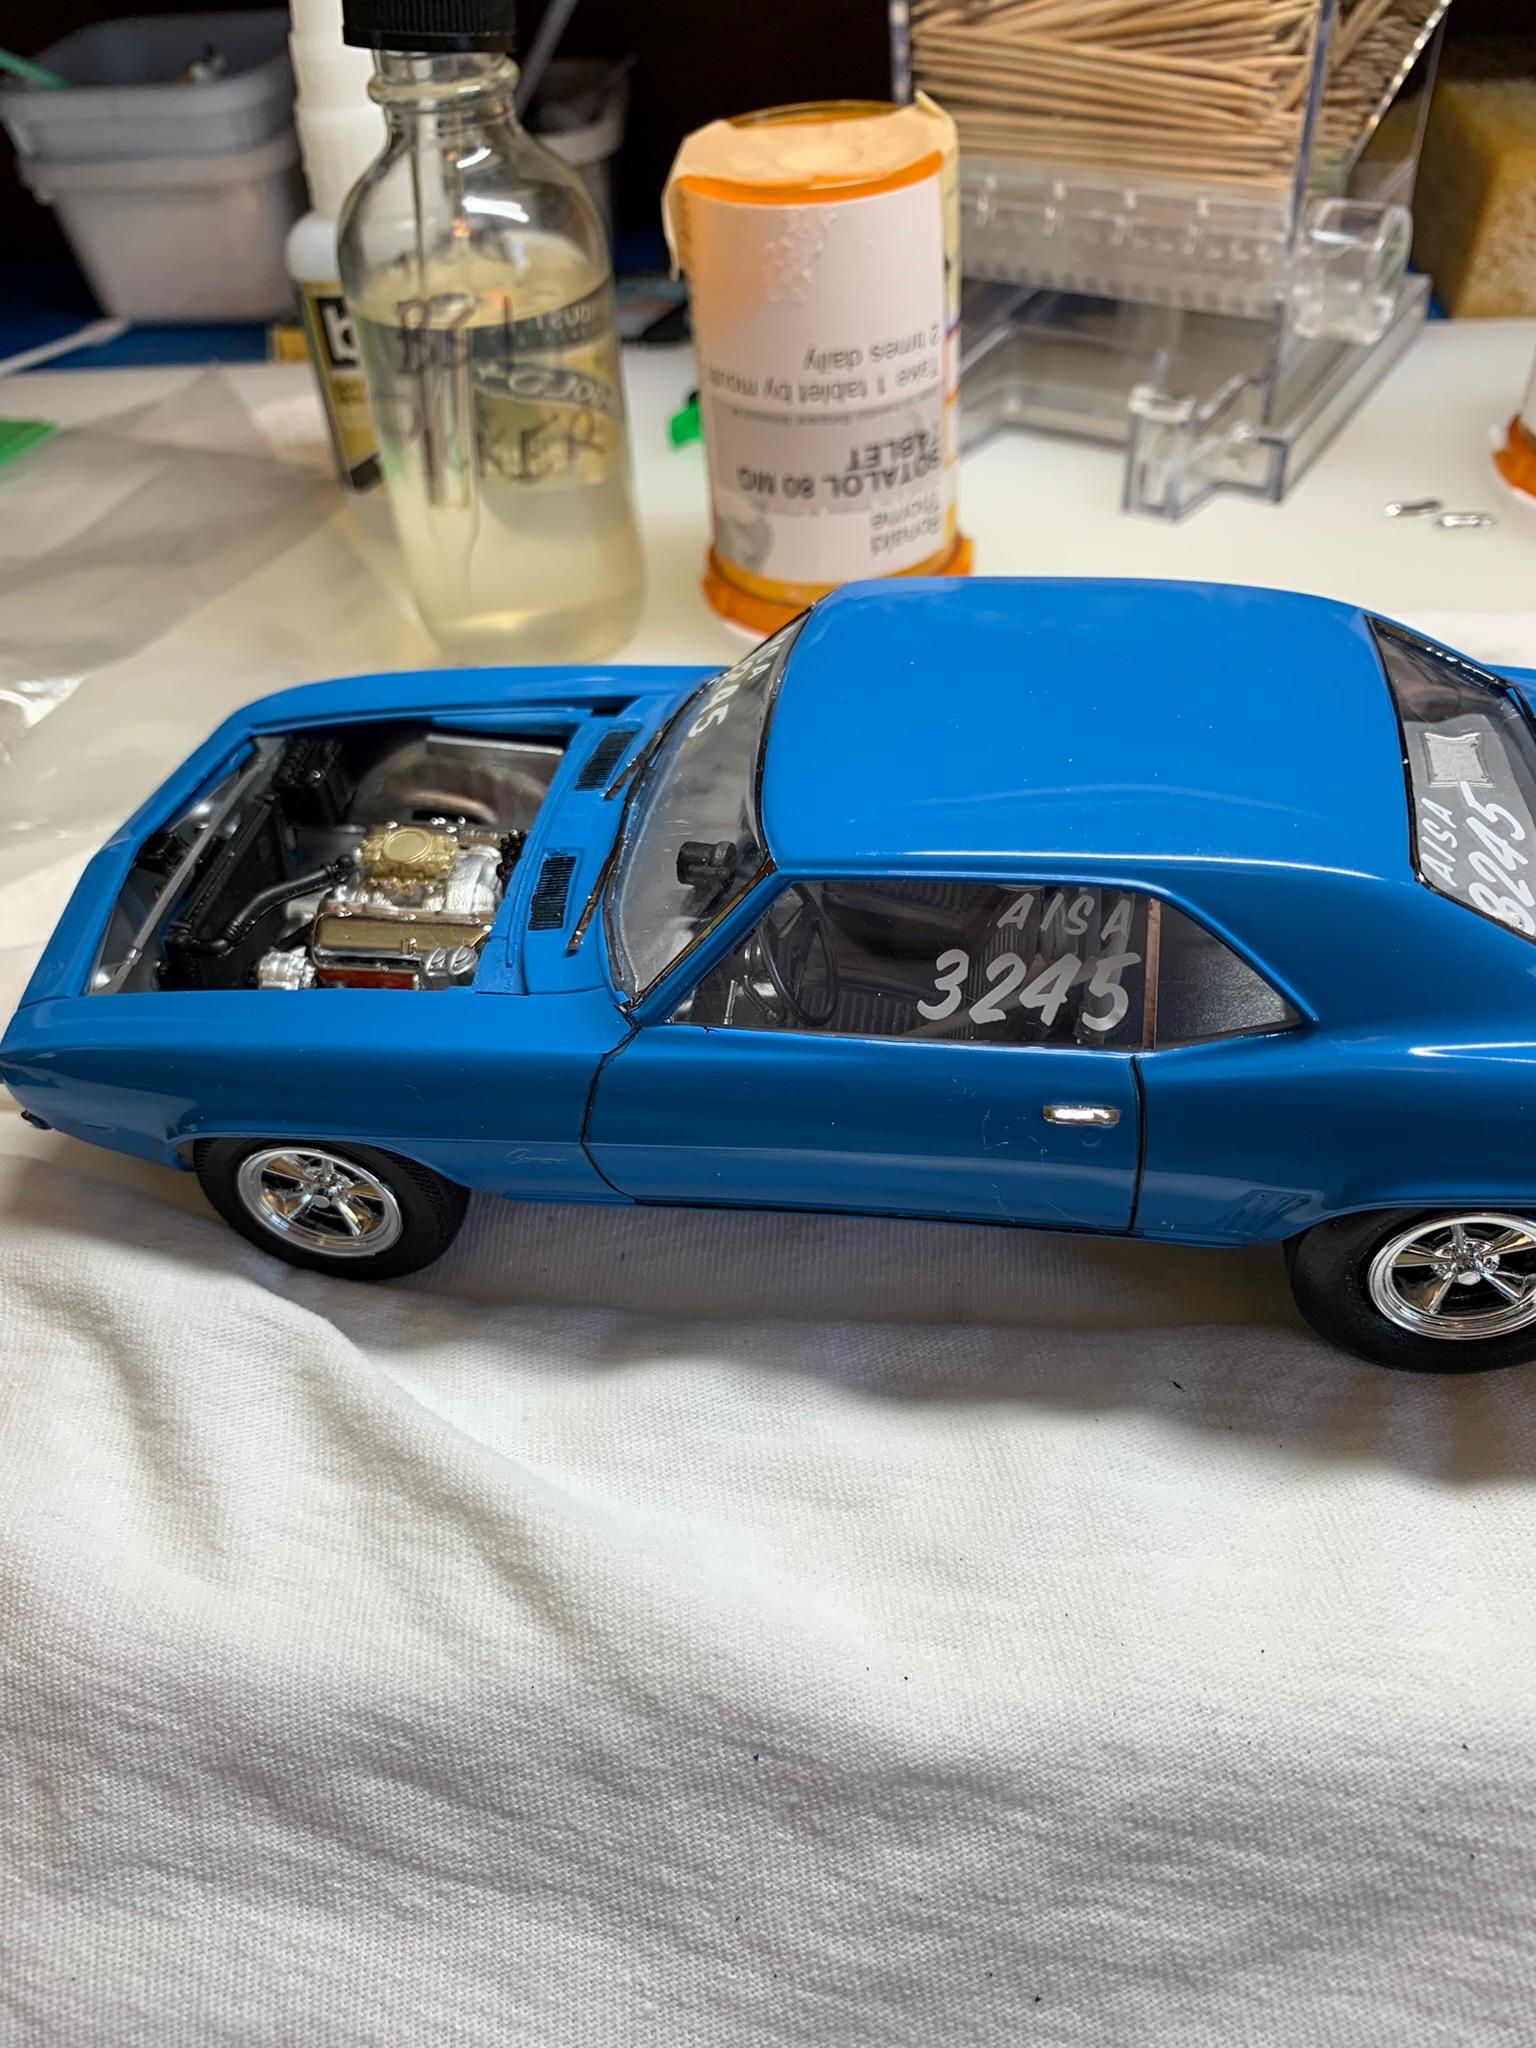
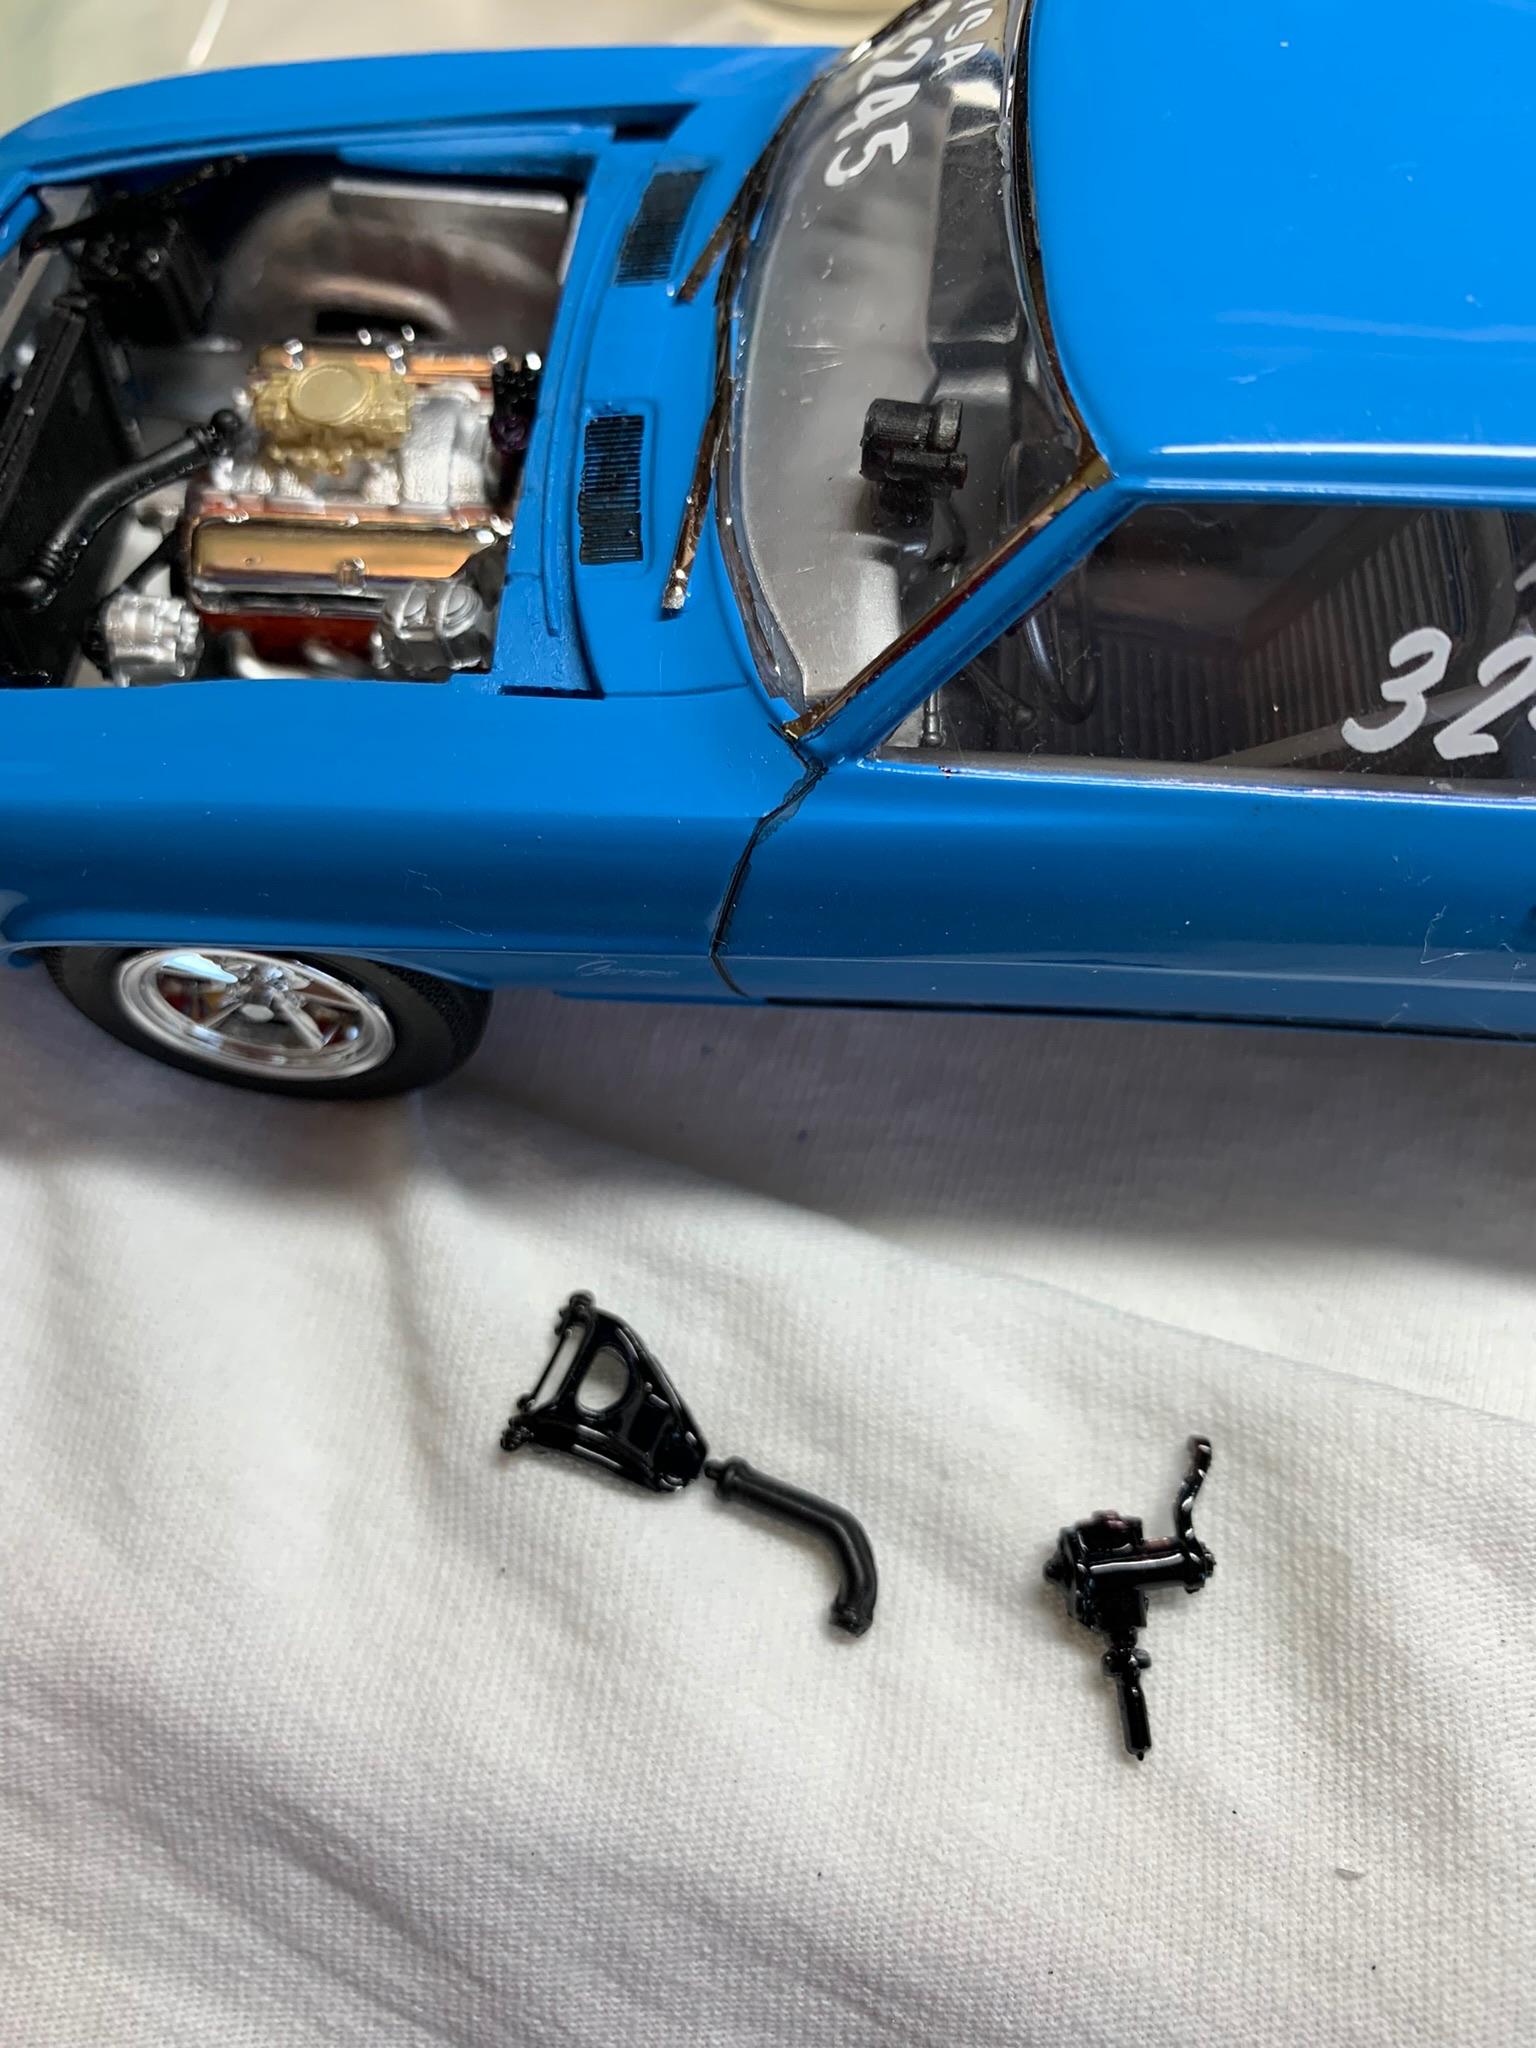
Some more stuff put on and some more errors magnified by the camera. Boy, that panel between the tailights is awful. Part of it is glue, but most of it comes from the paint job. Don’t know how I never noticed it before. Also, one of the upper control arms walked away, I forgot the steering box, and, of course, with the different water pump, the lower hose won’t fit. Getting close to a wrap on this one.
-
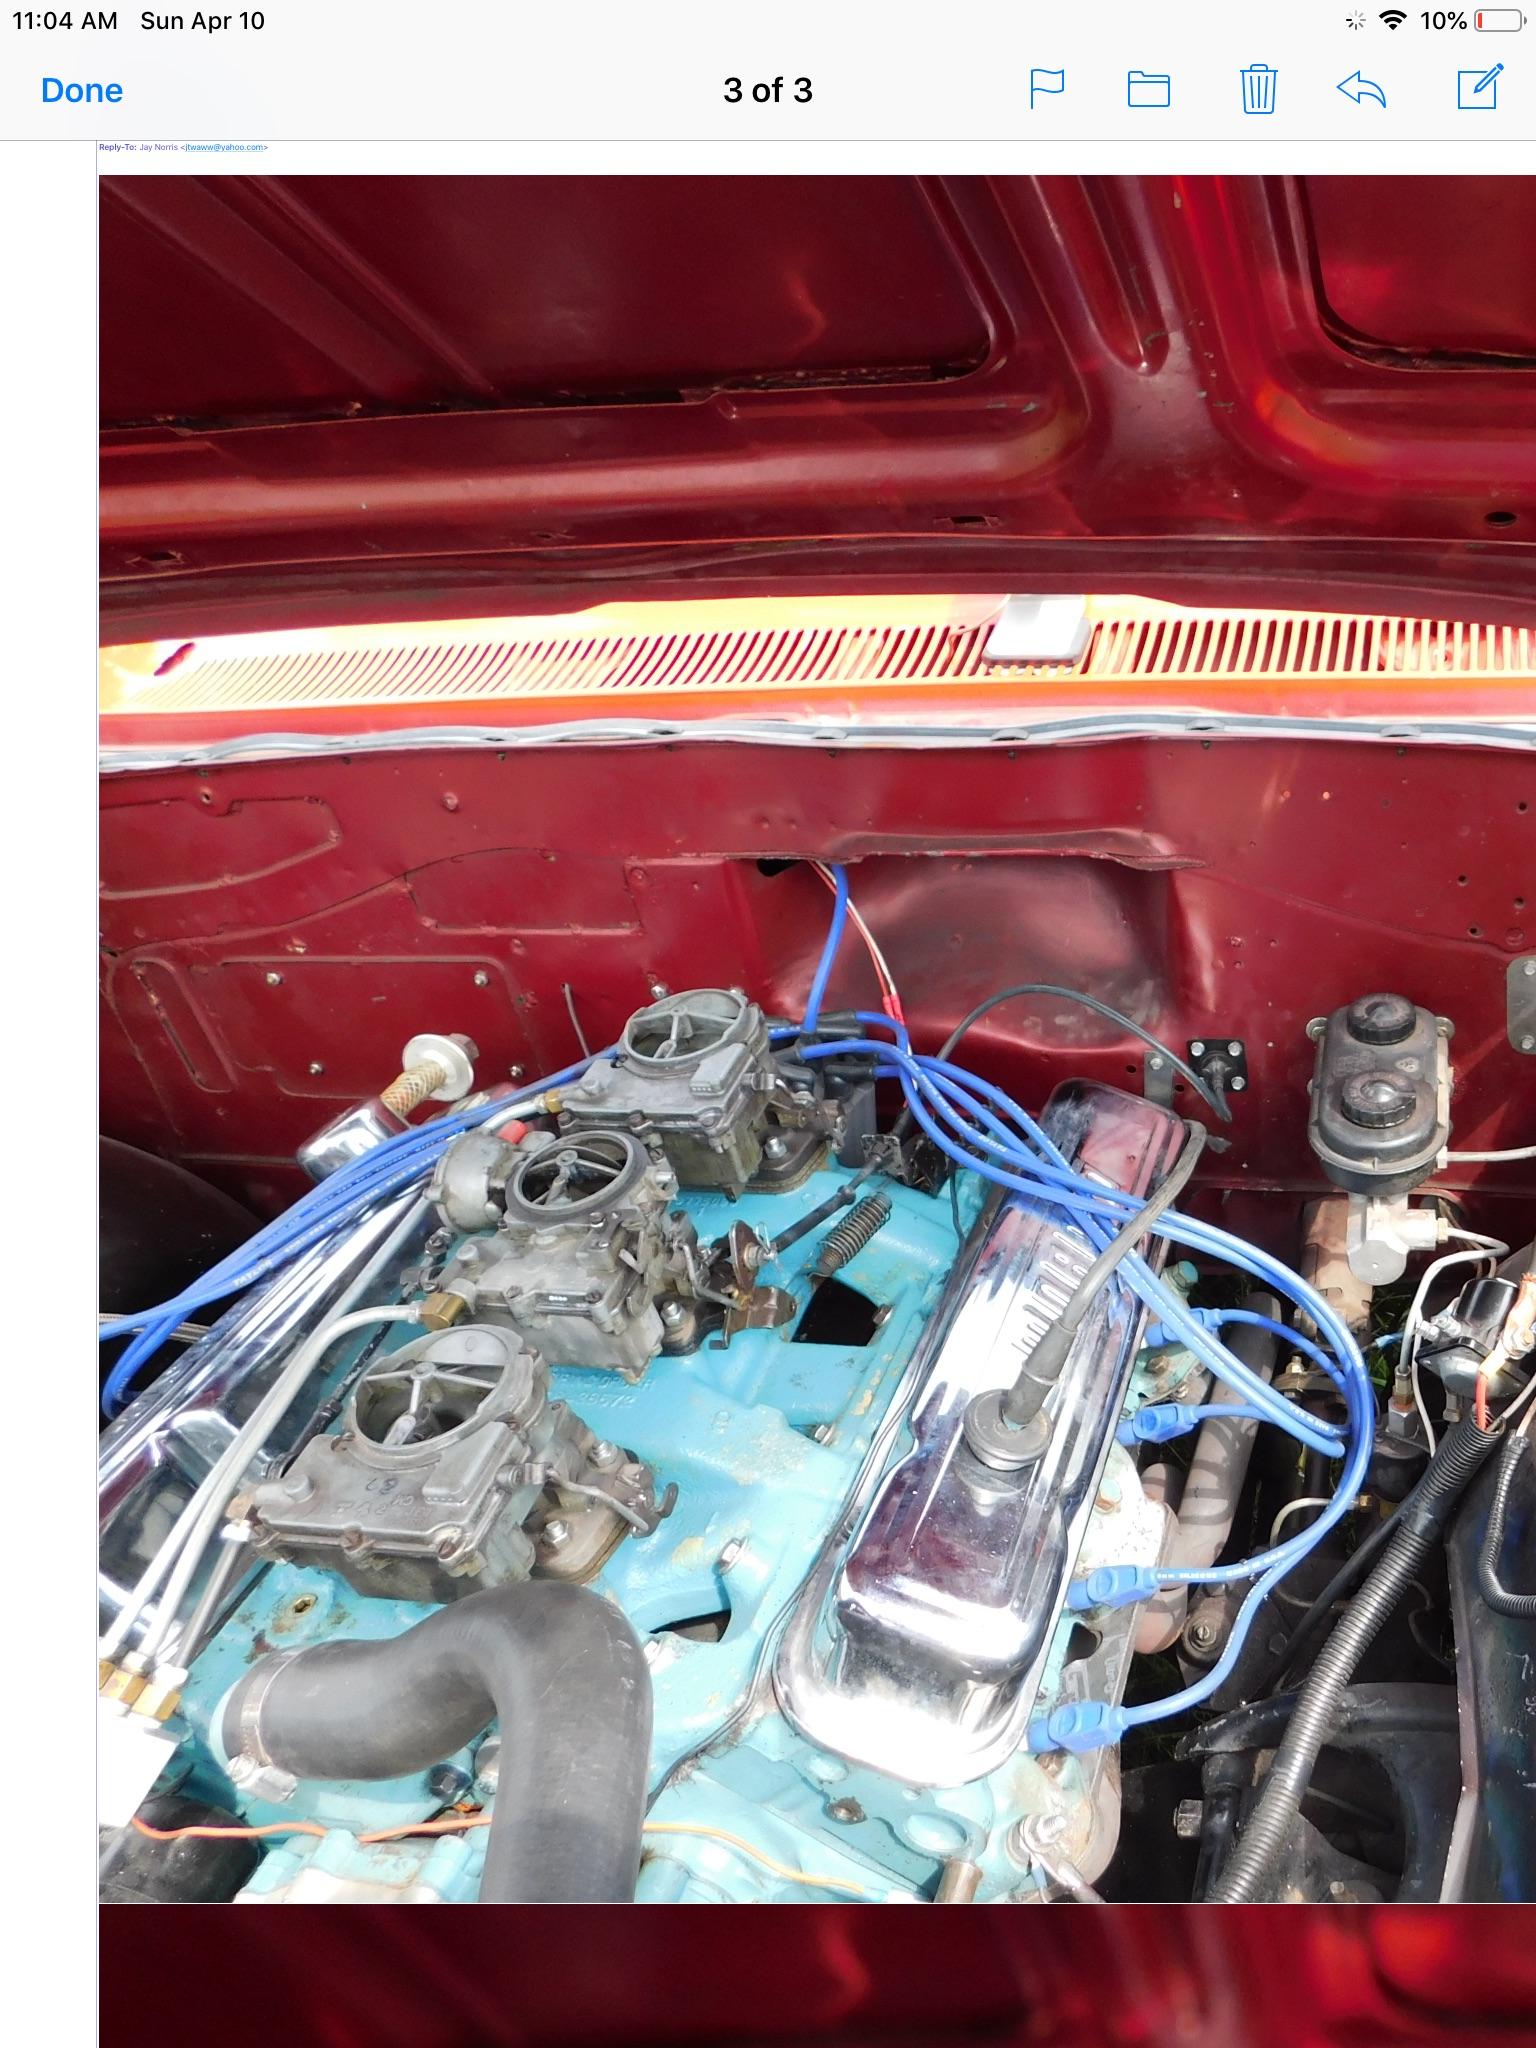
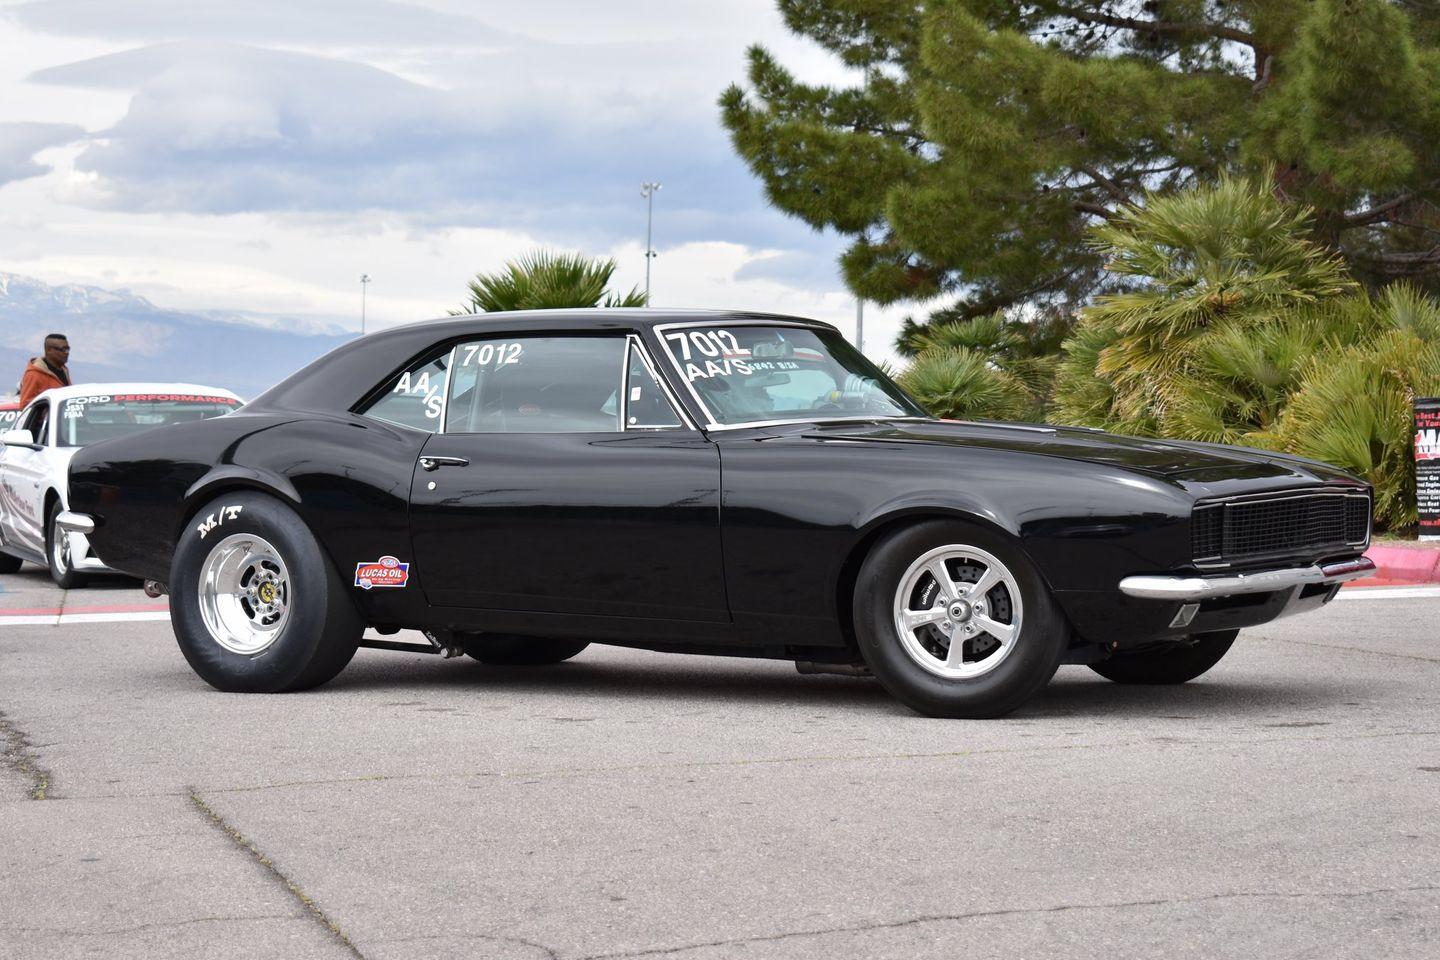
At the risk of going off topic and beating it to death, one of my future builds.
-
1969 Camaro A/SA (possibly Thomas Arnett’s)
R. Thorne replied to R. Thorne's topic in WIP: Drag Racing Models
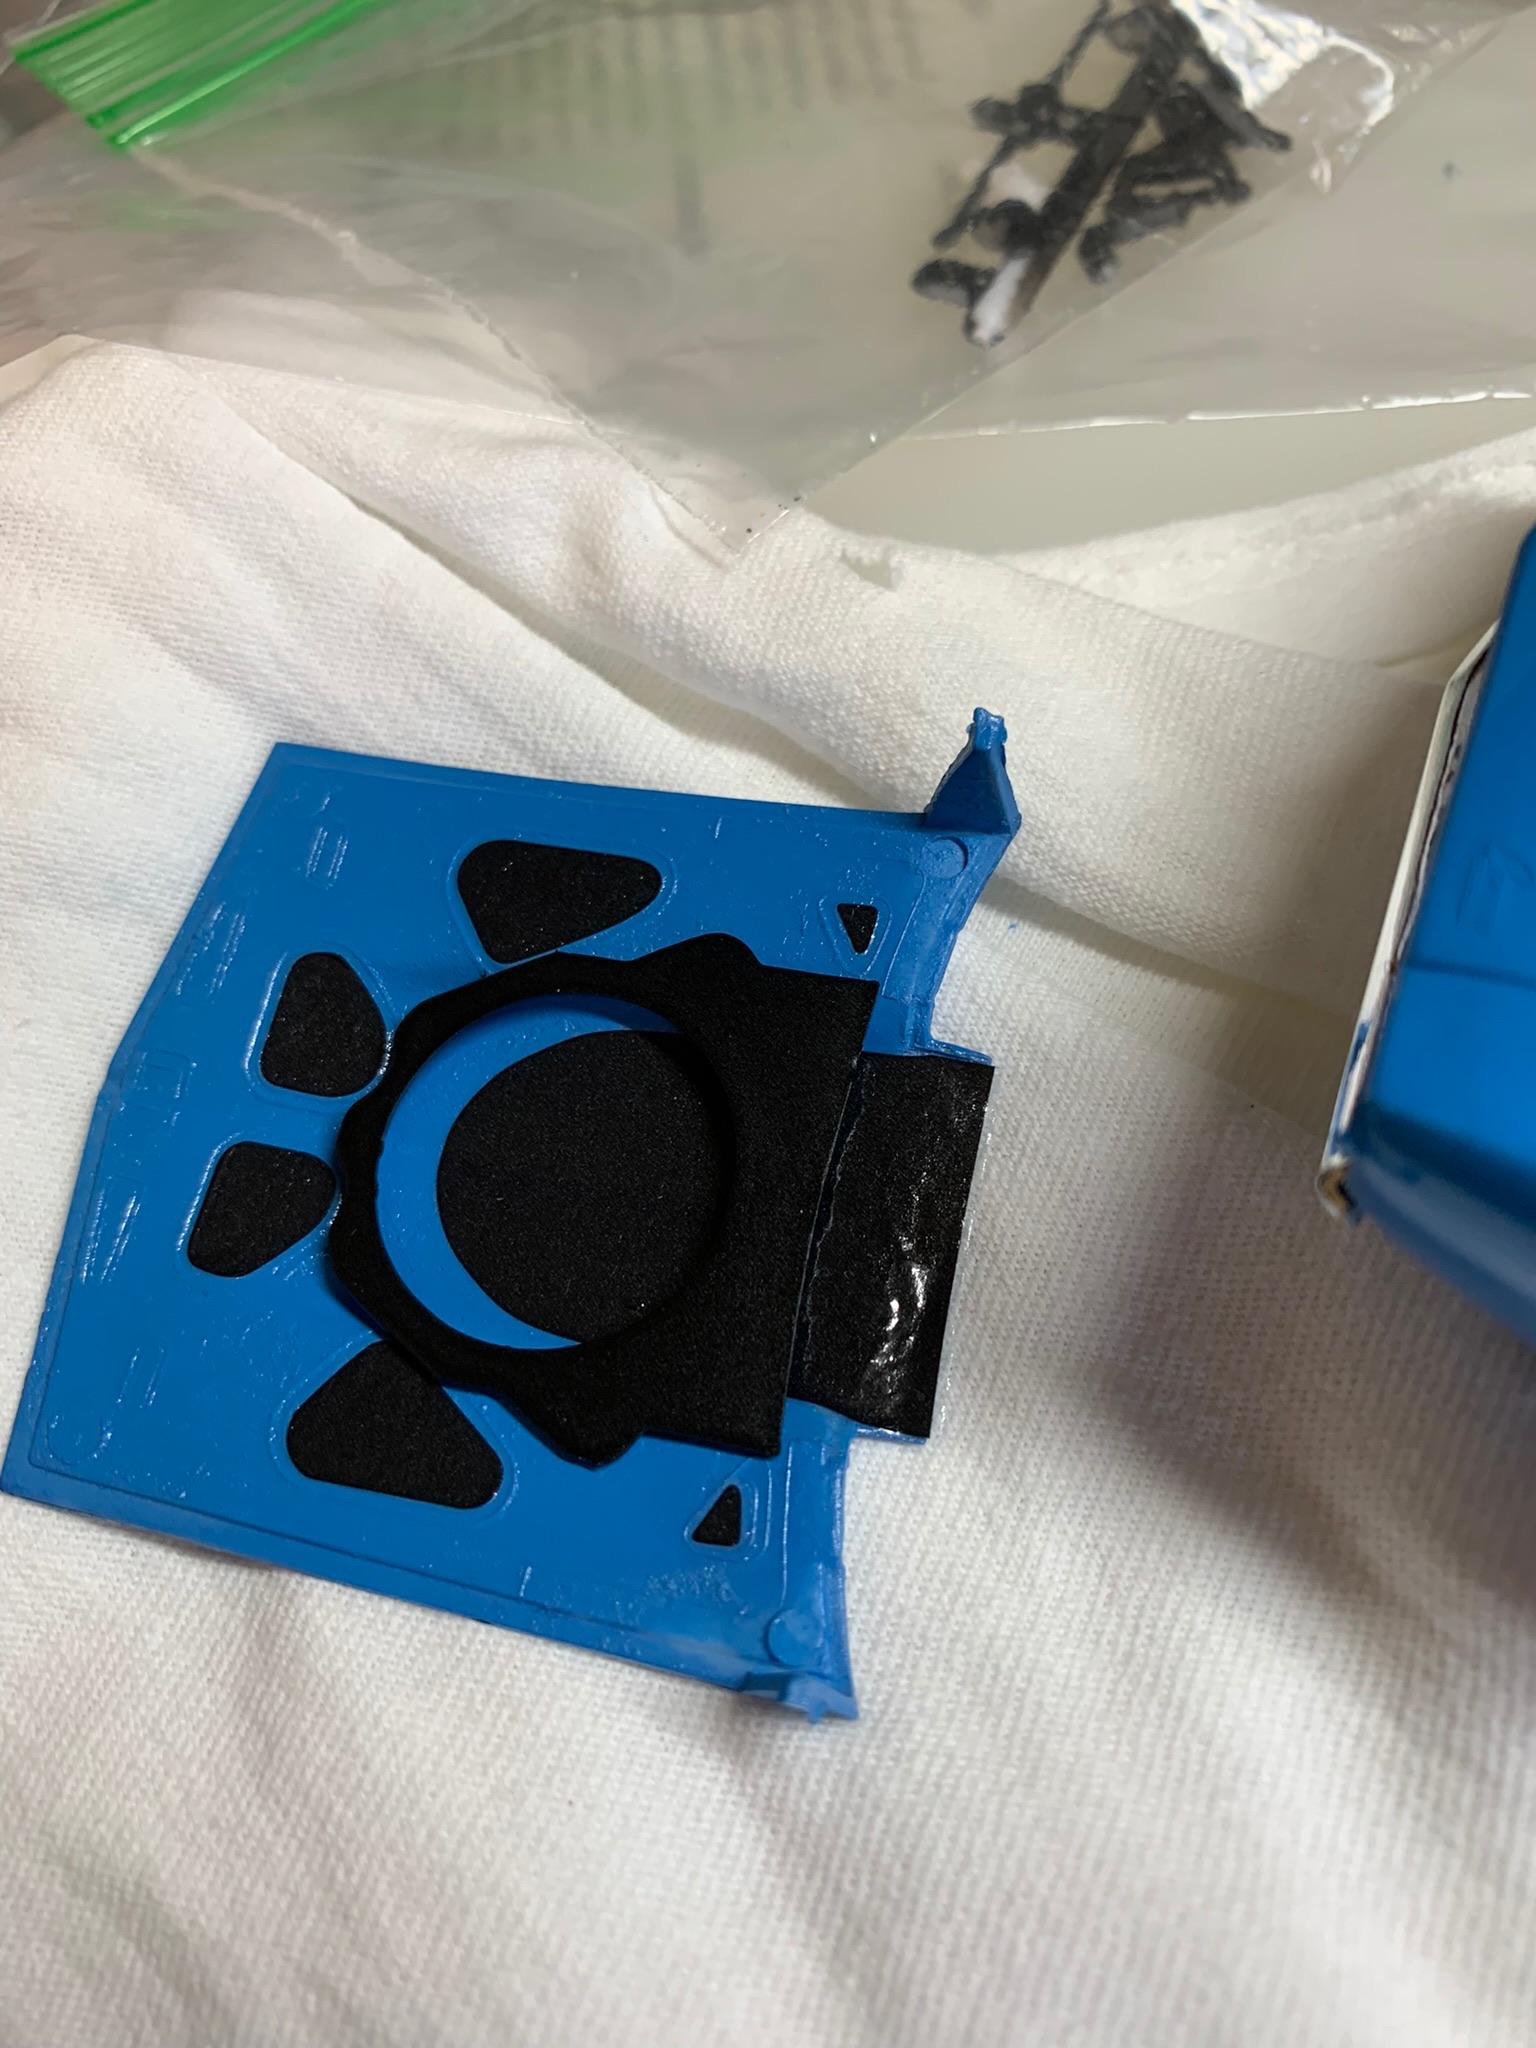
Got the interior in with the help of my great little shim/spreader tool that allowed me to go in from the end of the interior tub and pry out the body to clear the side windows. The windows always seem to catch on the interior tub on most of my builds. You change one thing, then expect other problems to surface. Anyway, got the body on also.