R. Thorne
-
Posts
1,276 -
Joined
-
Last visited
Content Type
Profiles
Forums
Events
Gallery
Everything posted by R. Thorne
-
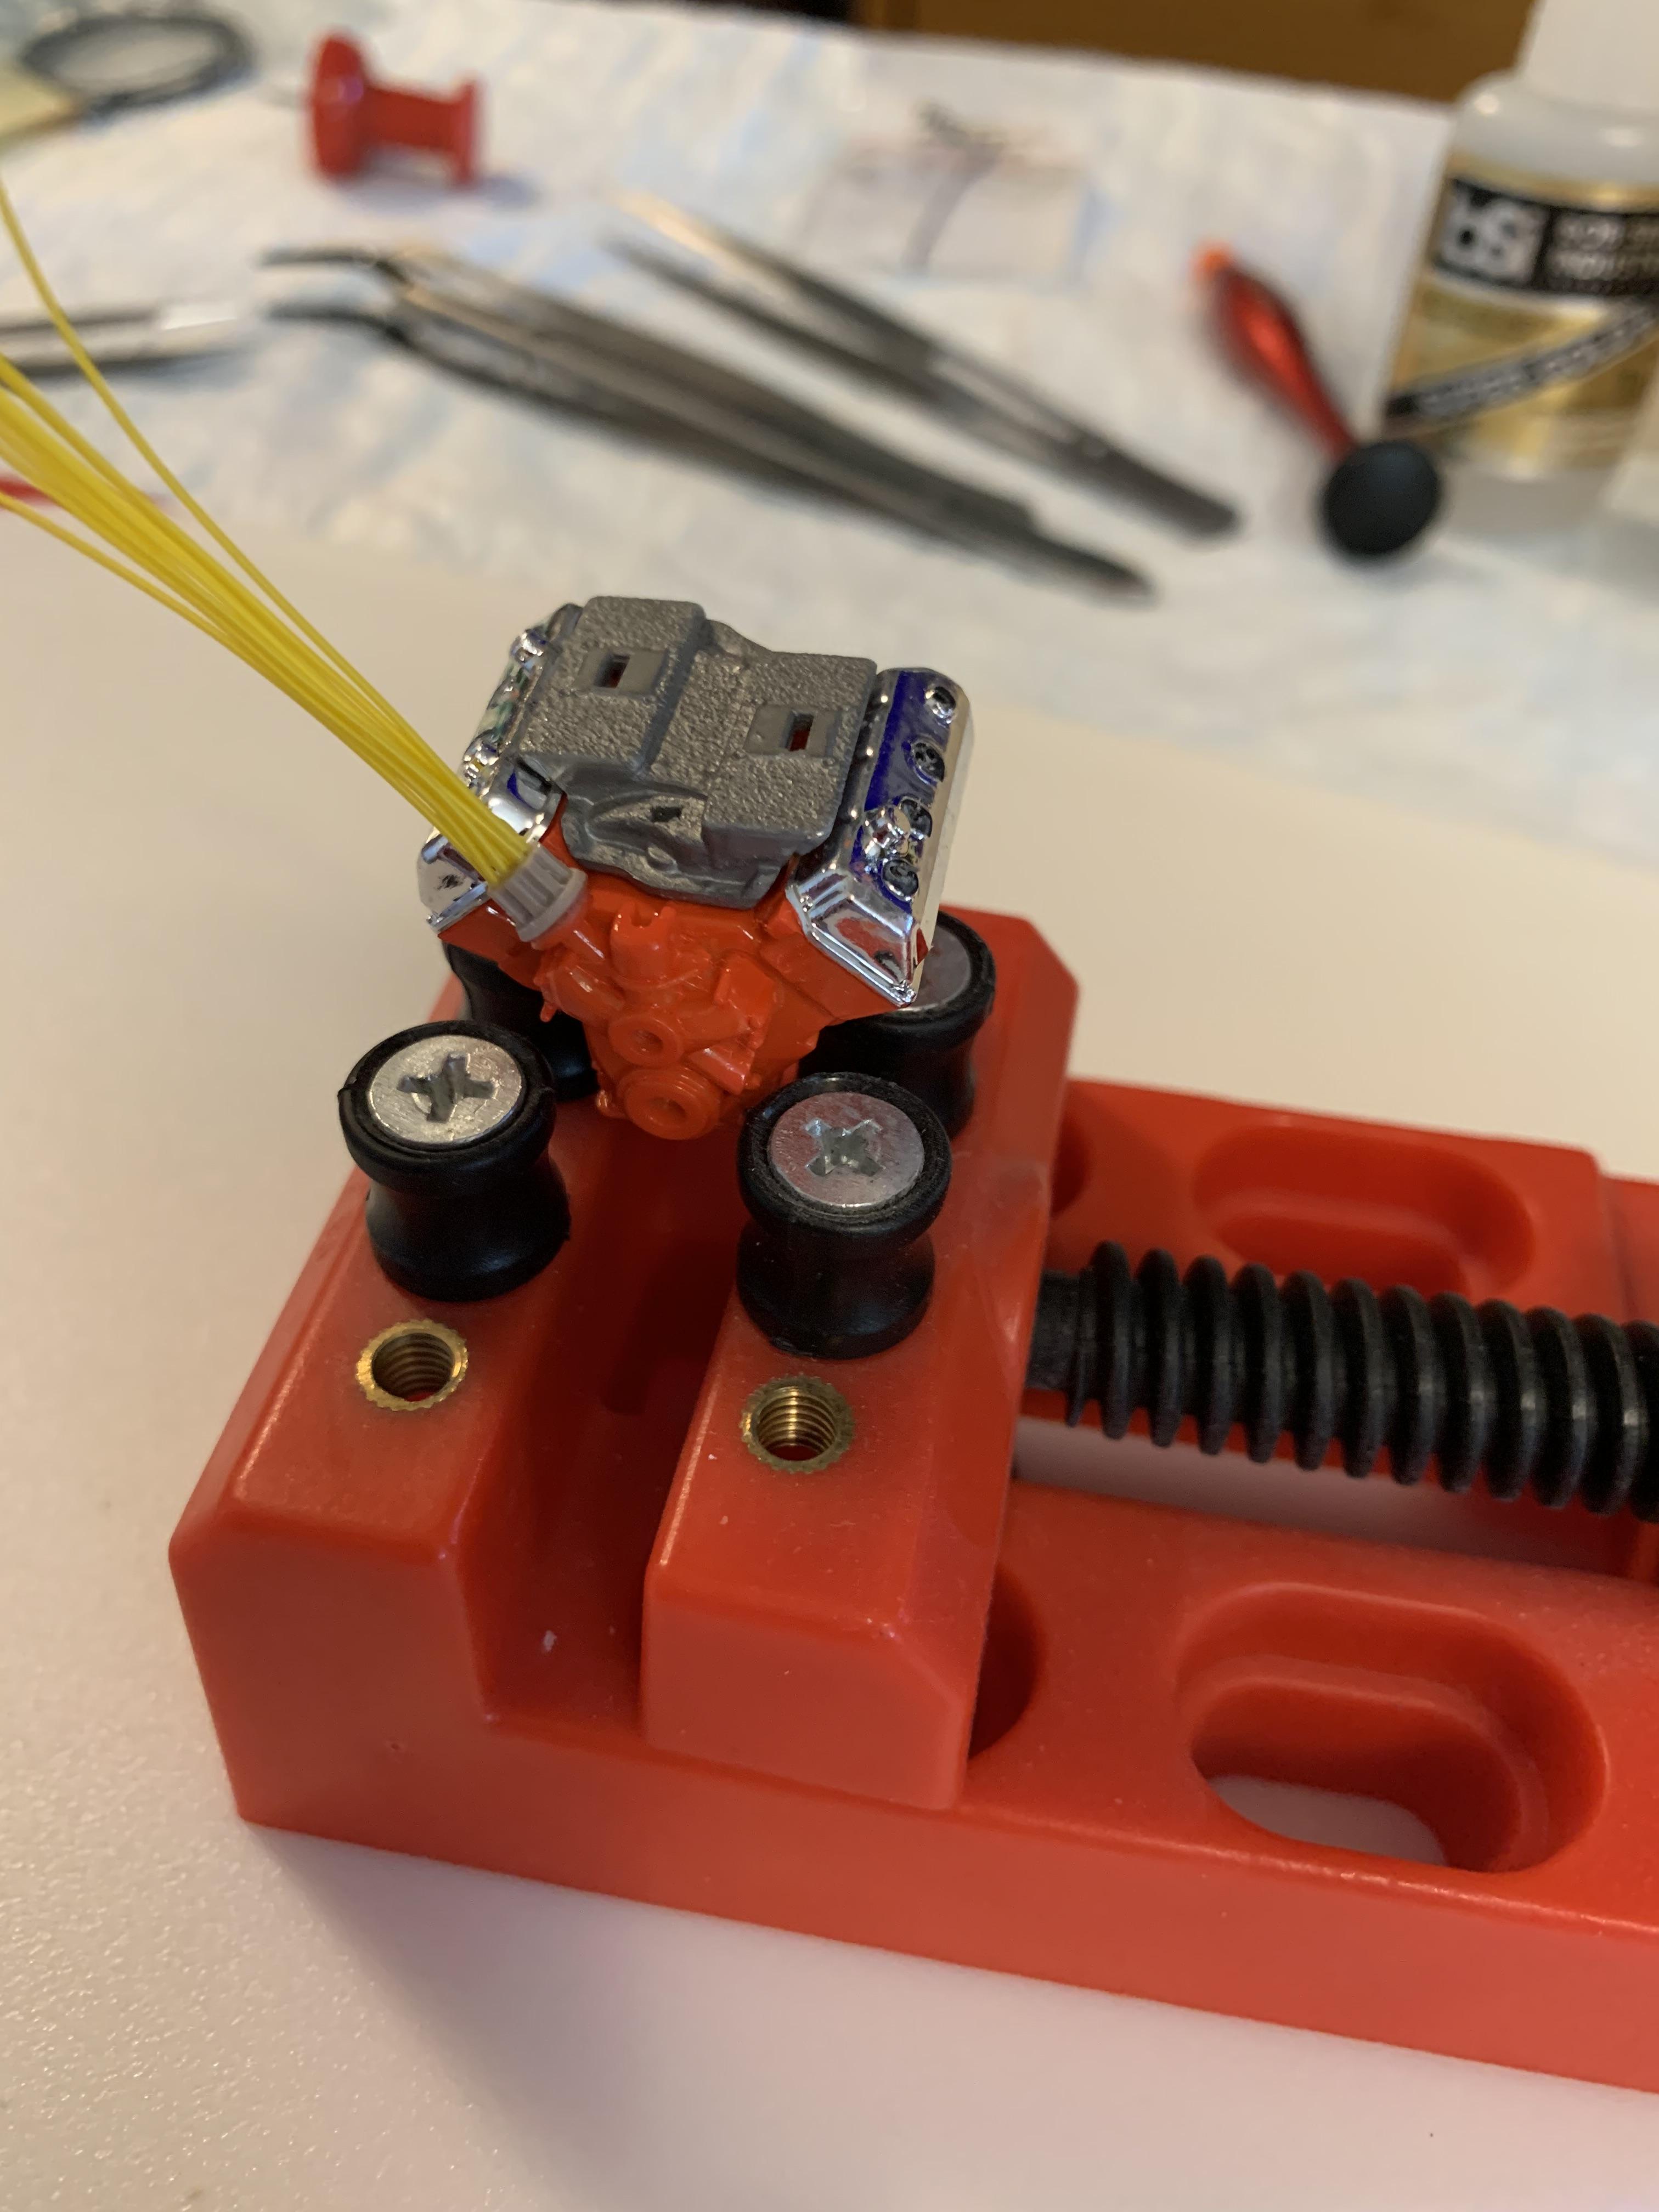
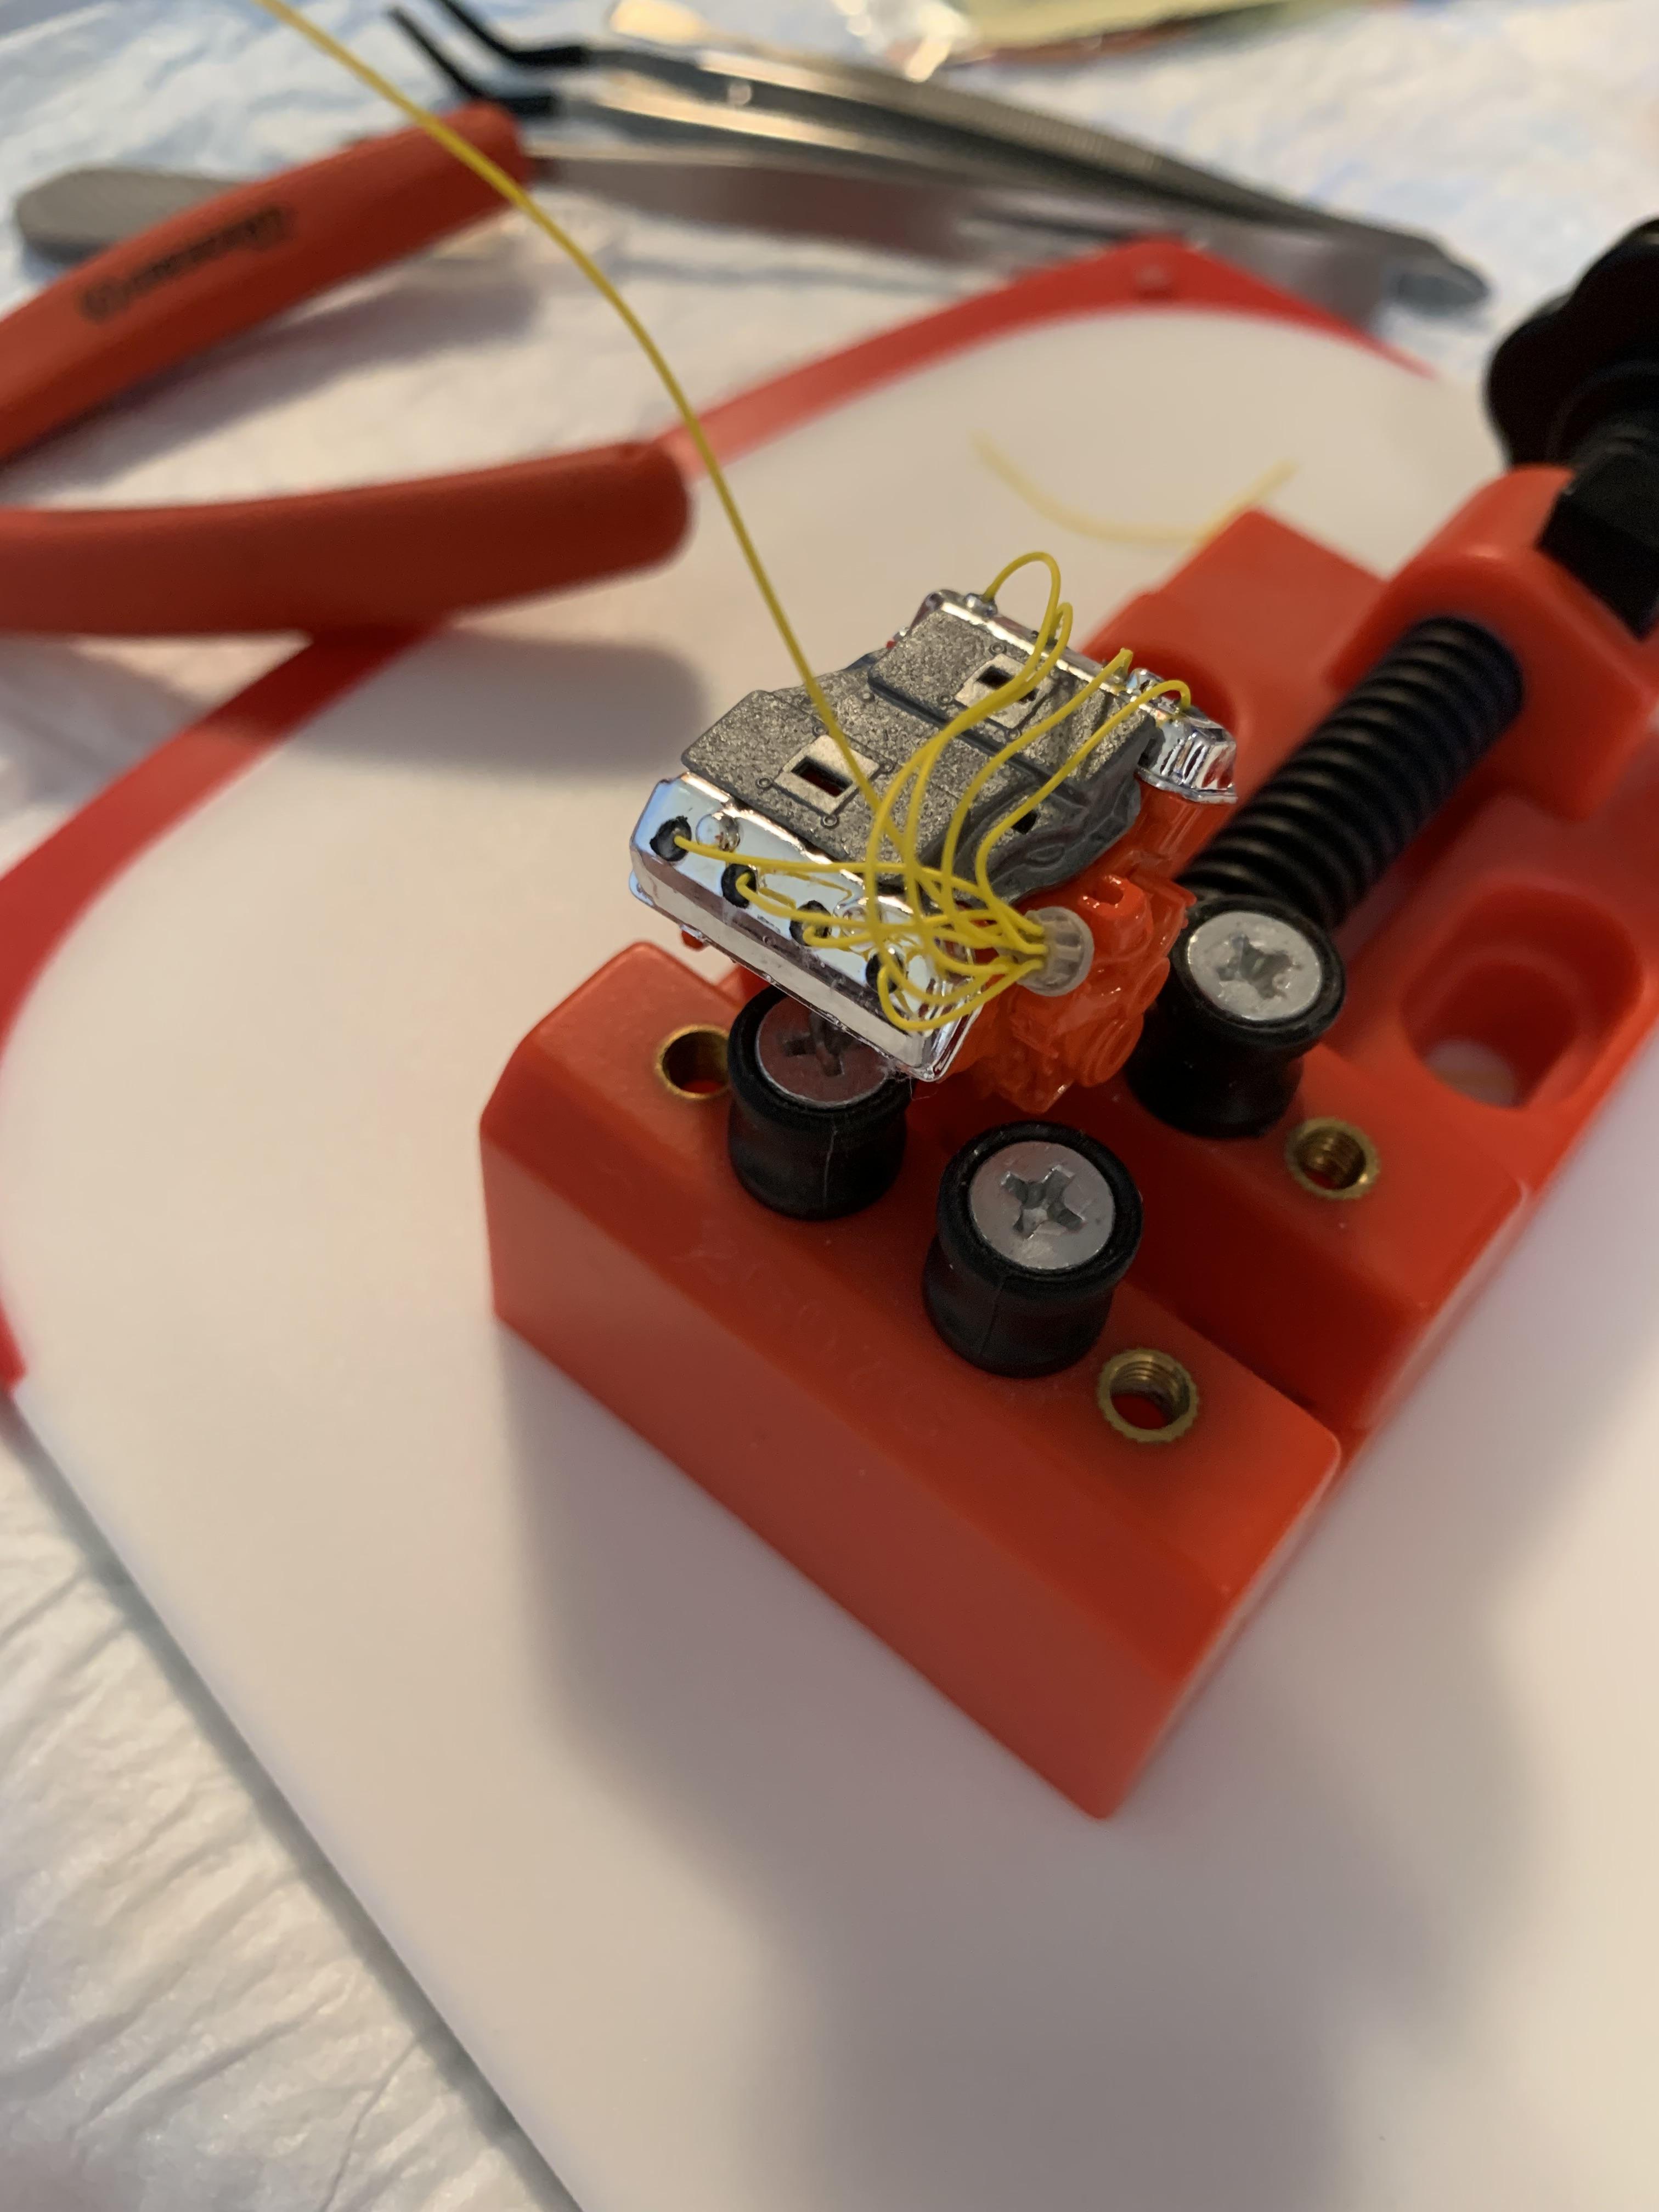
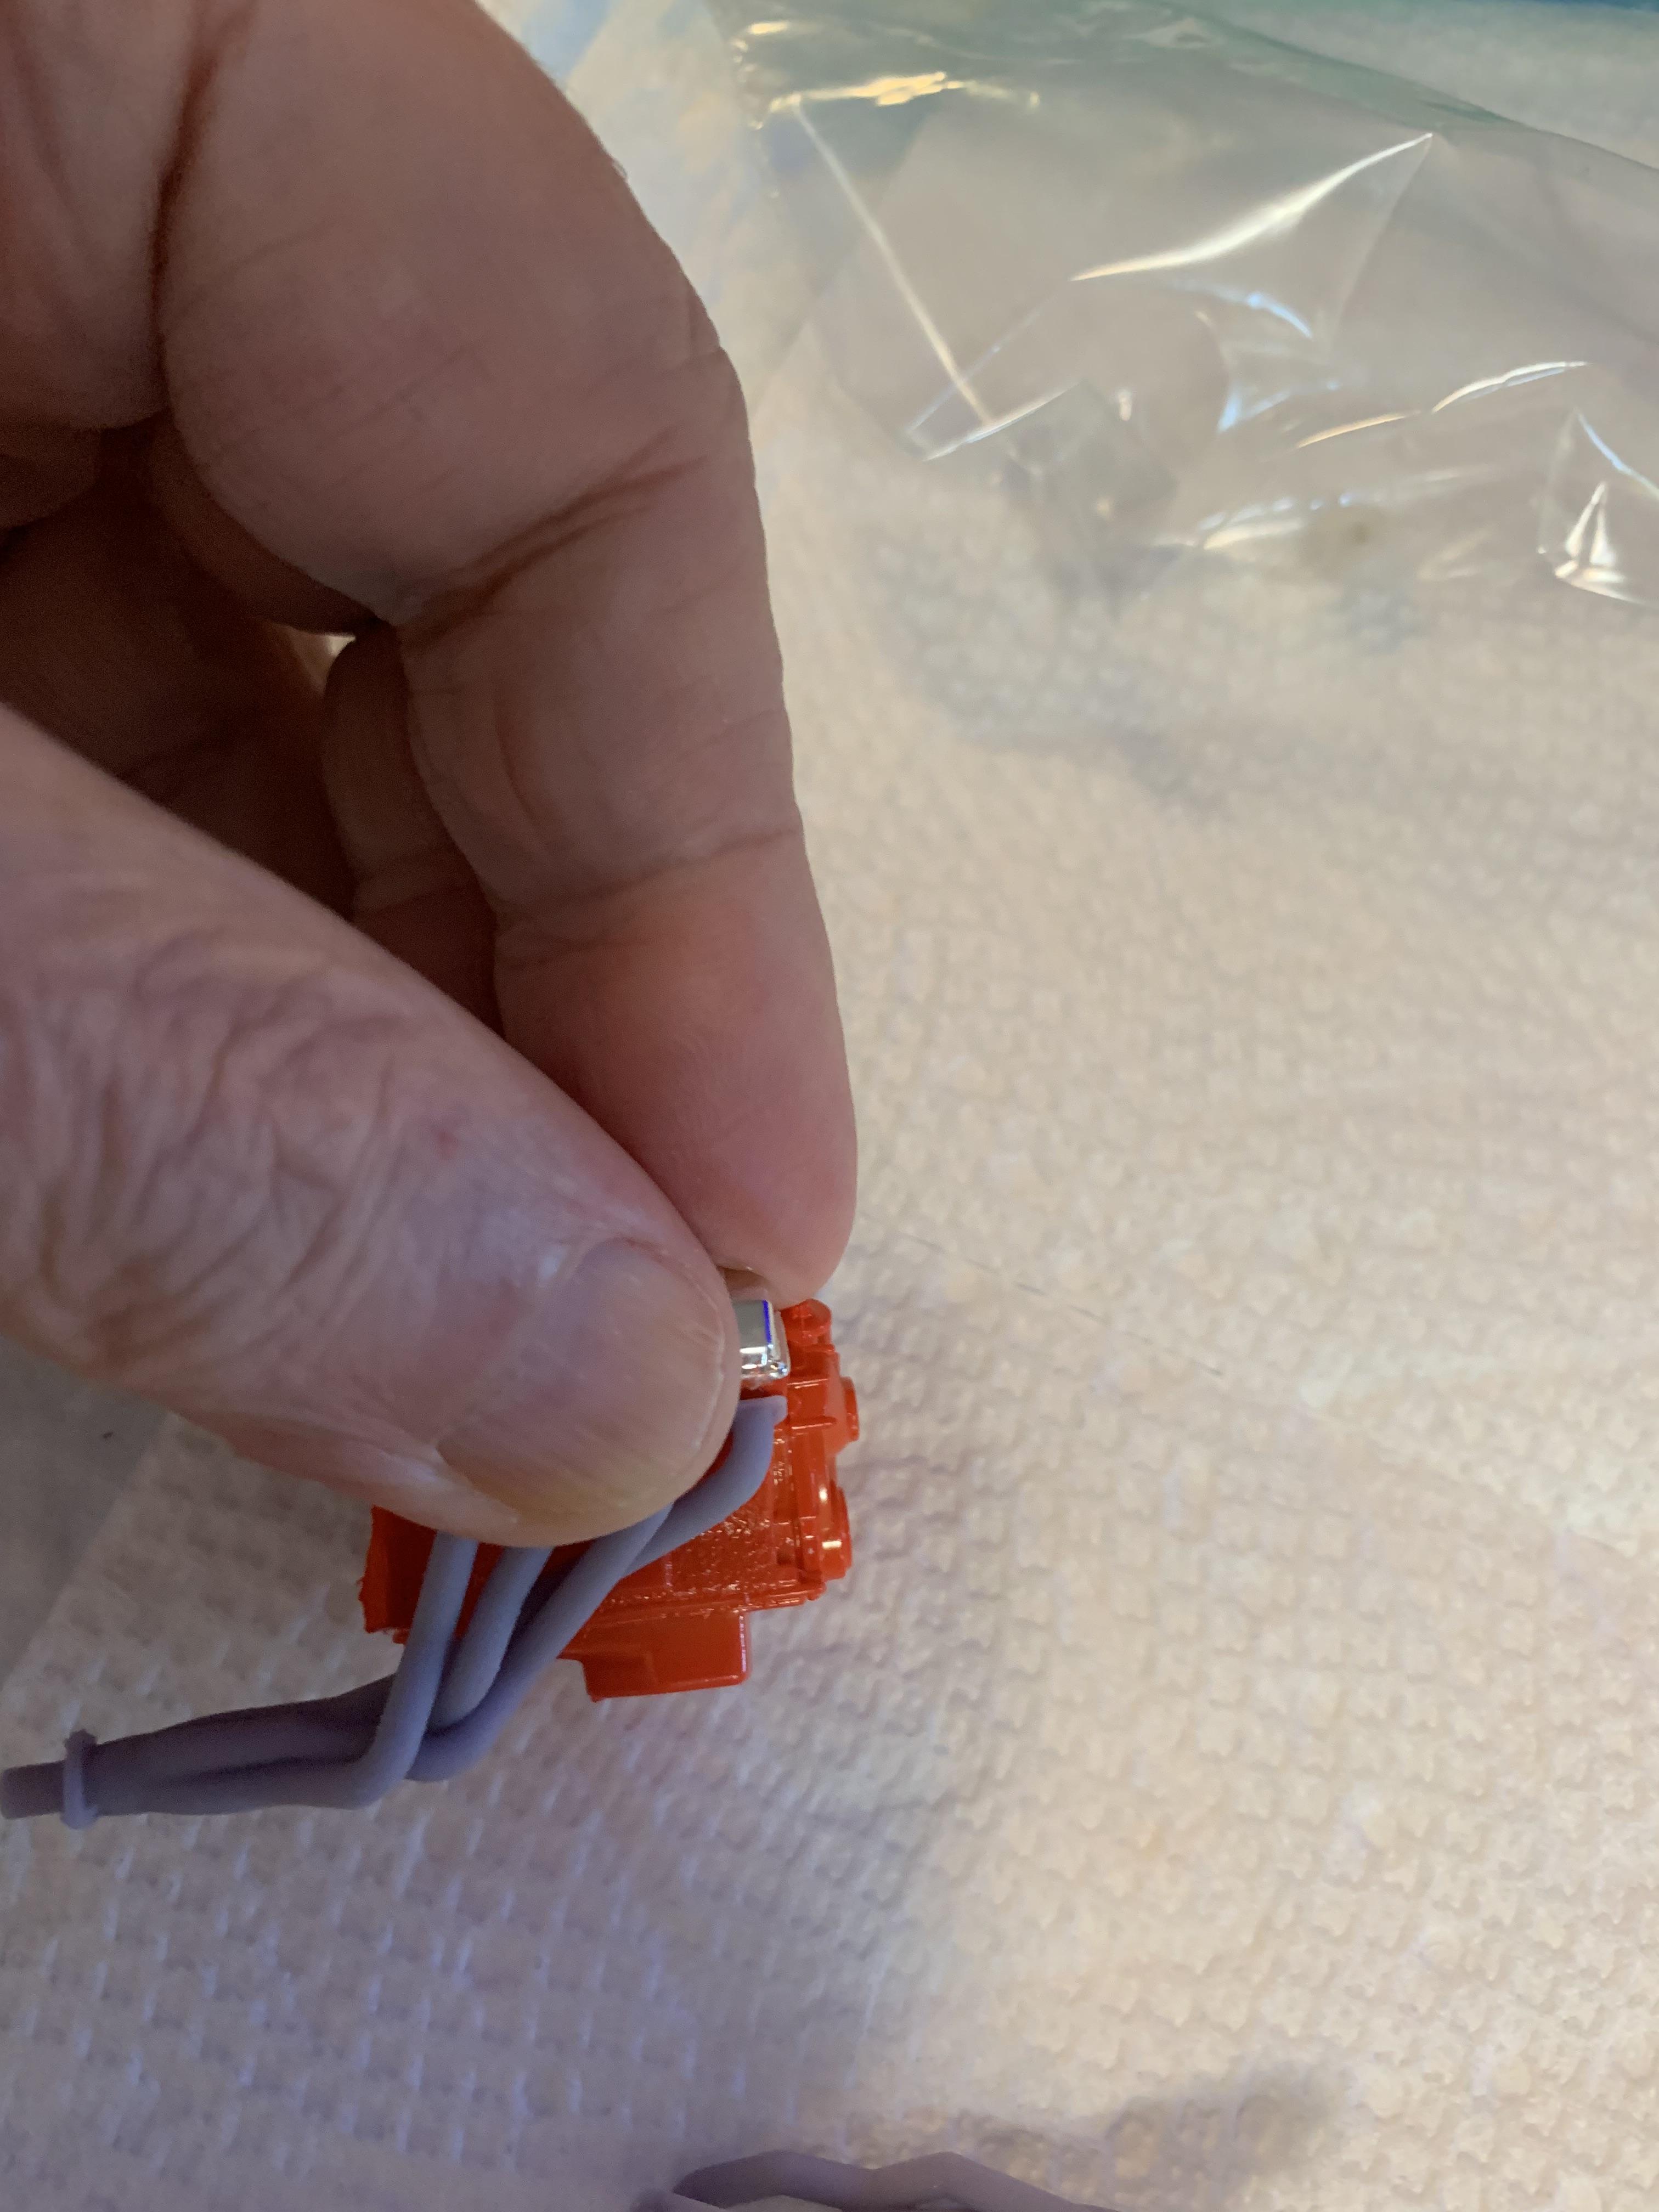
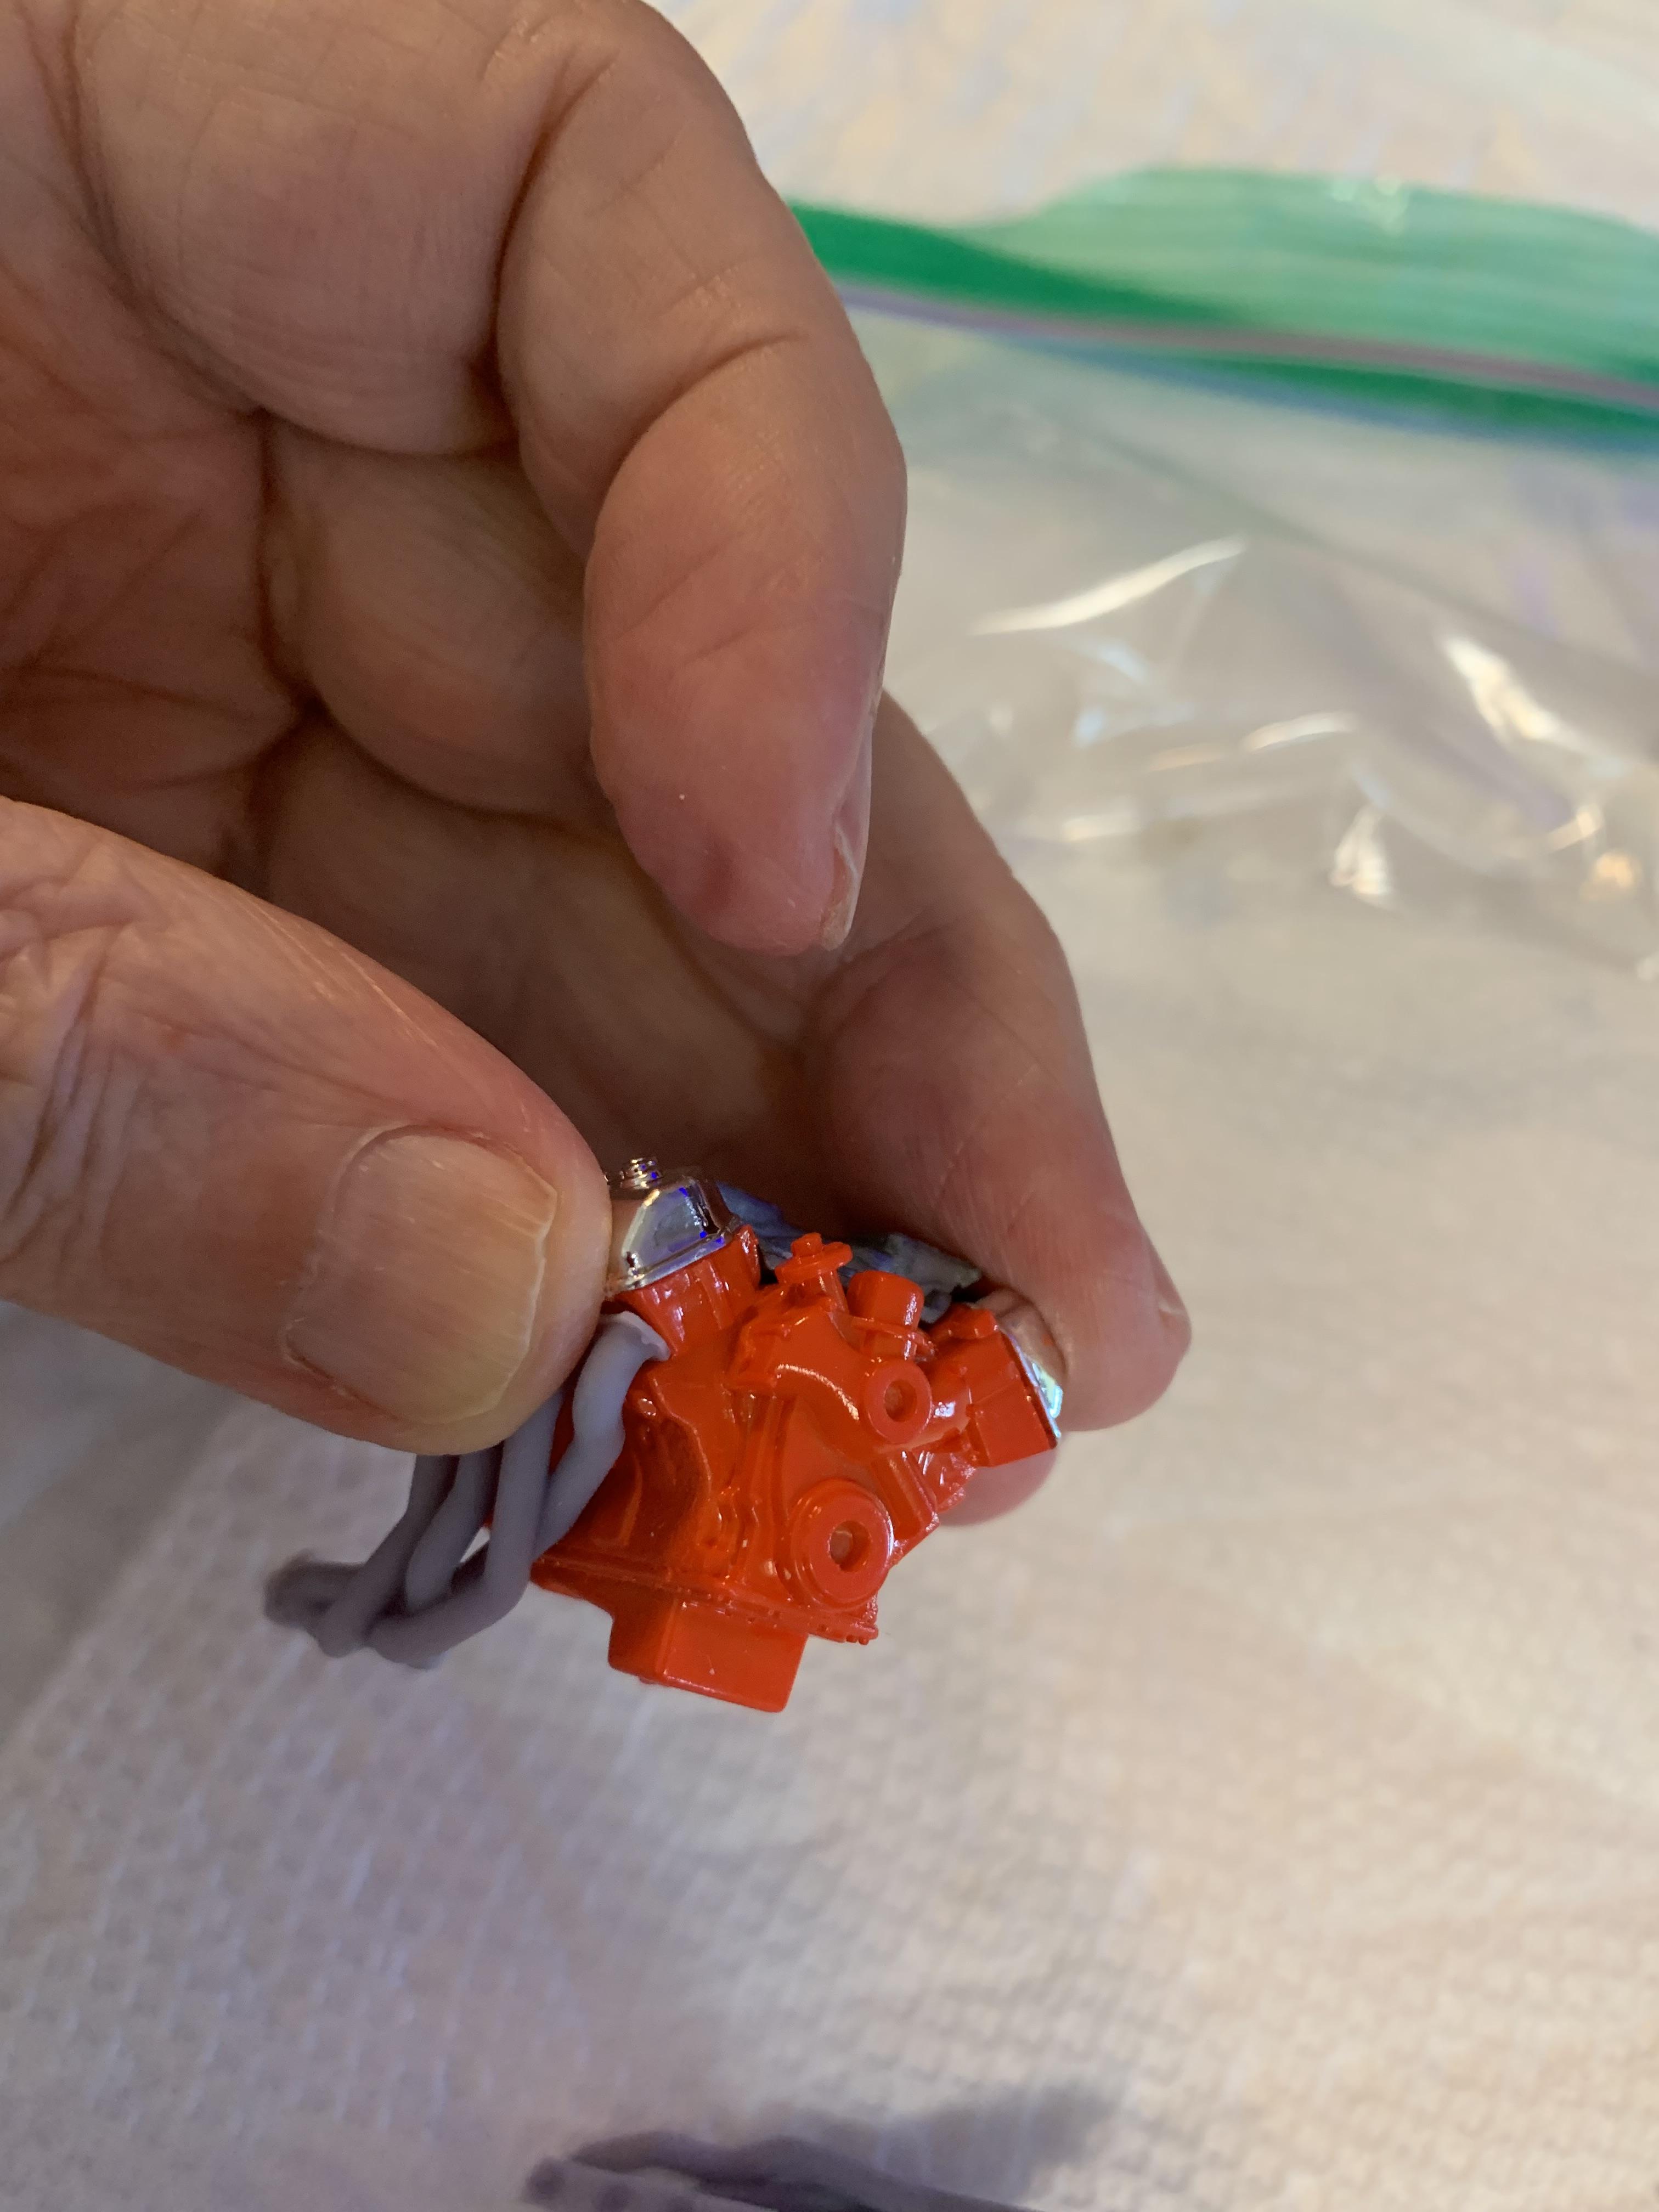
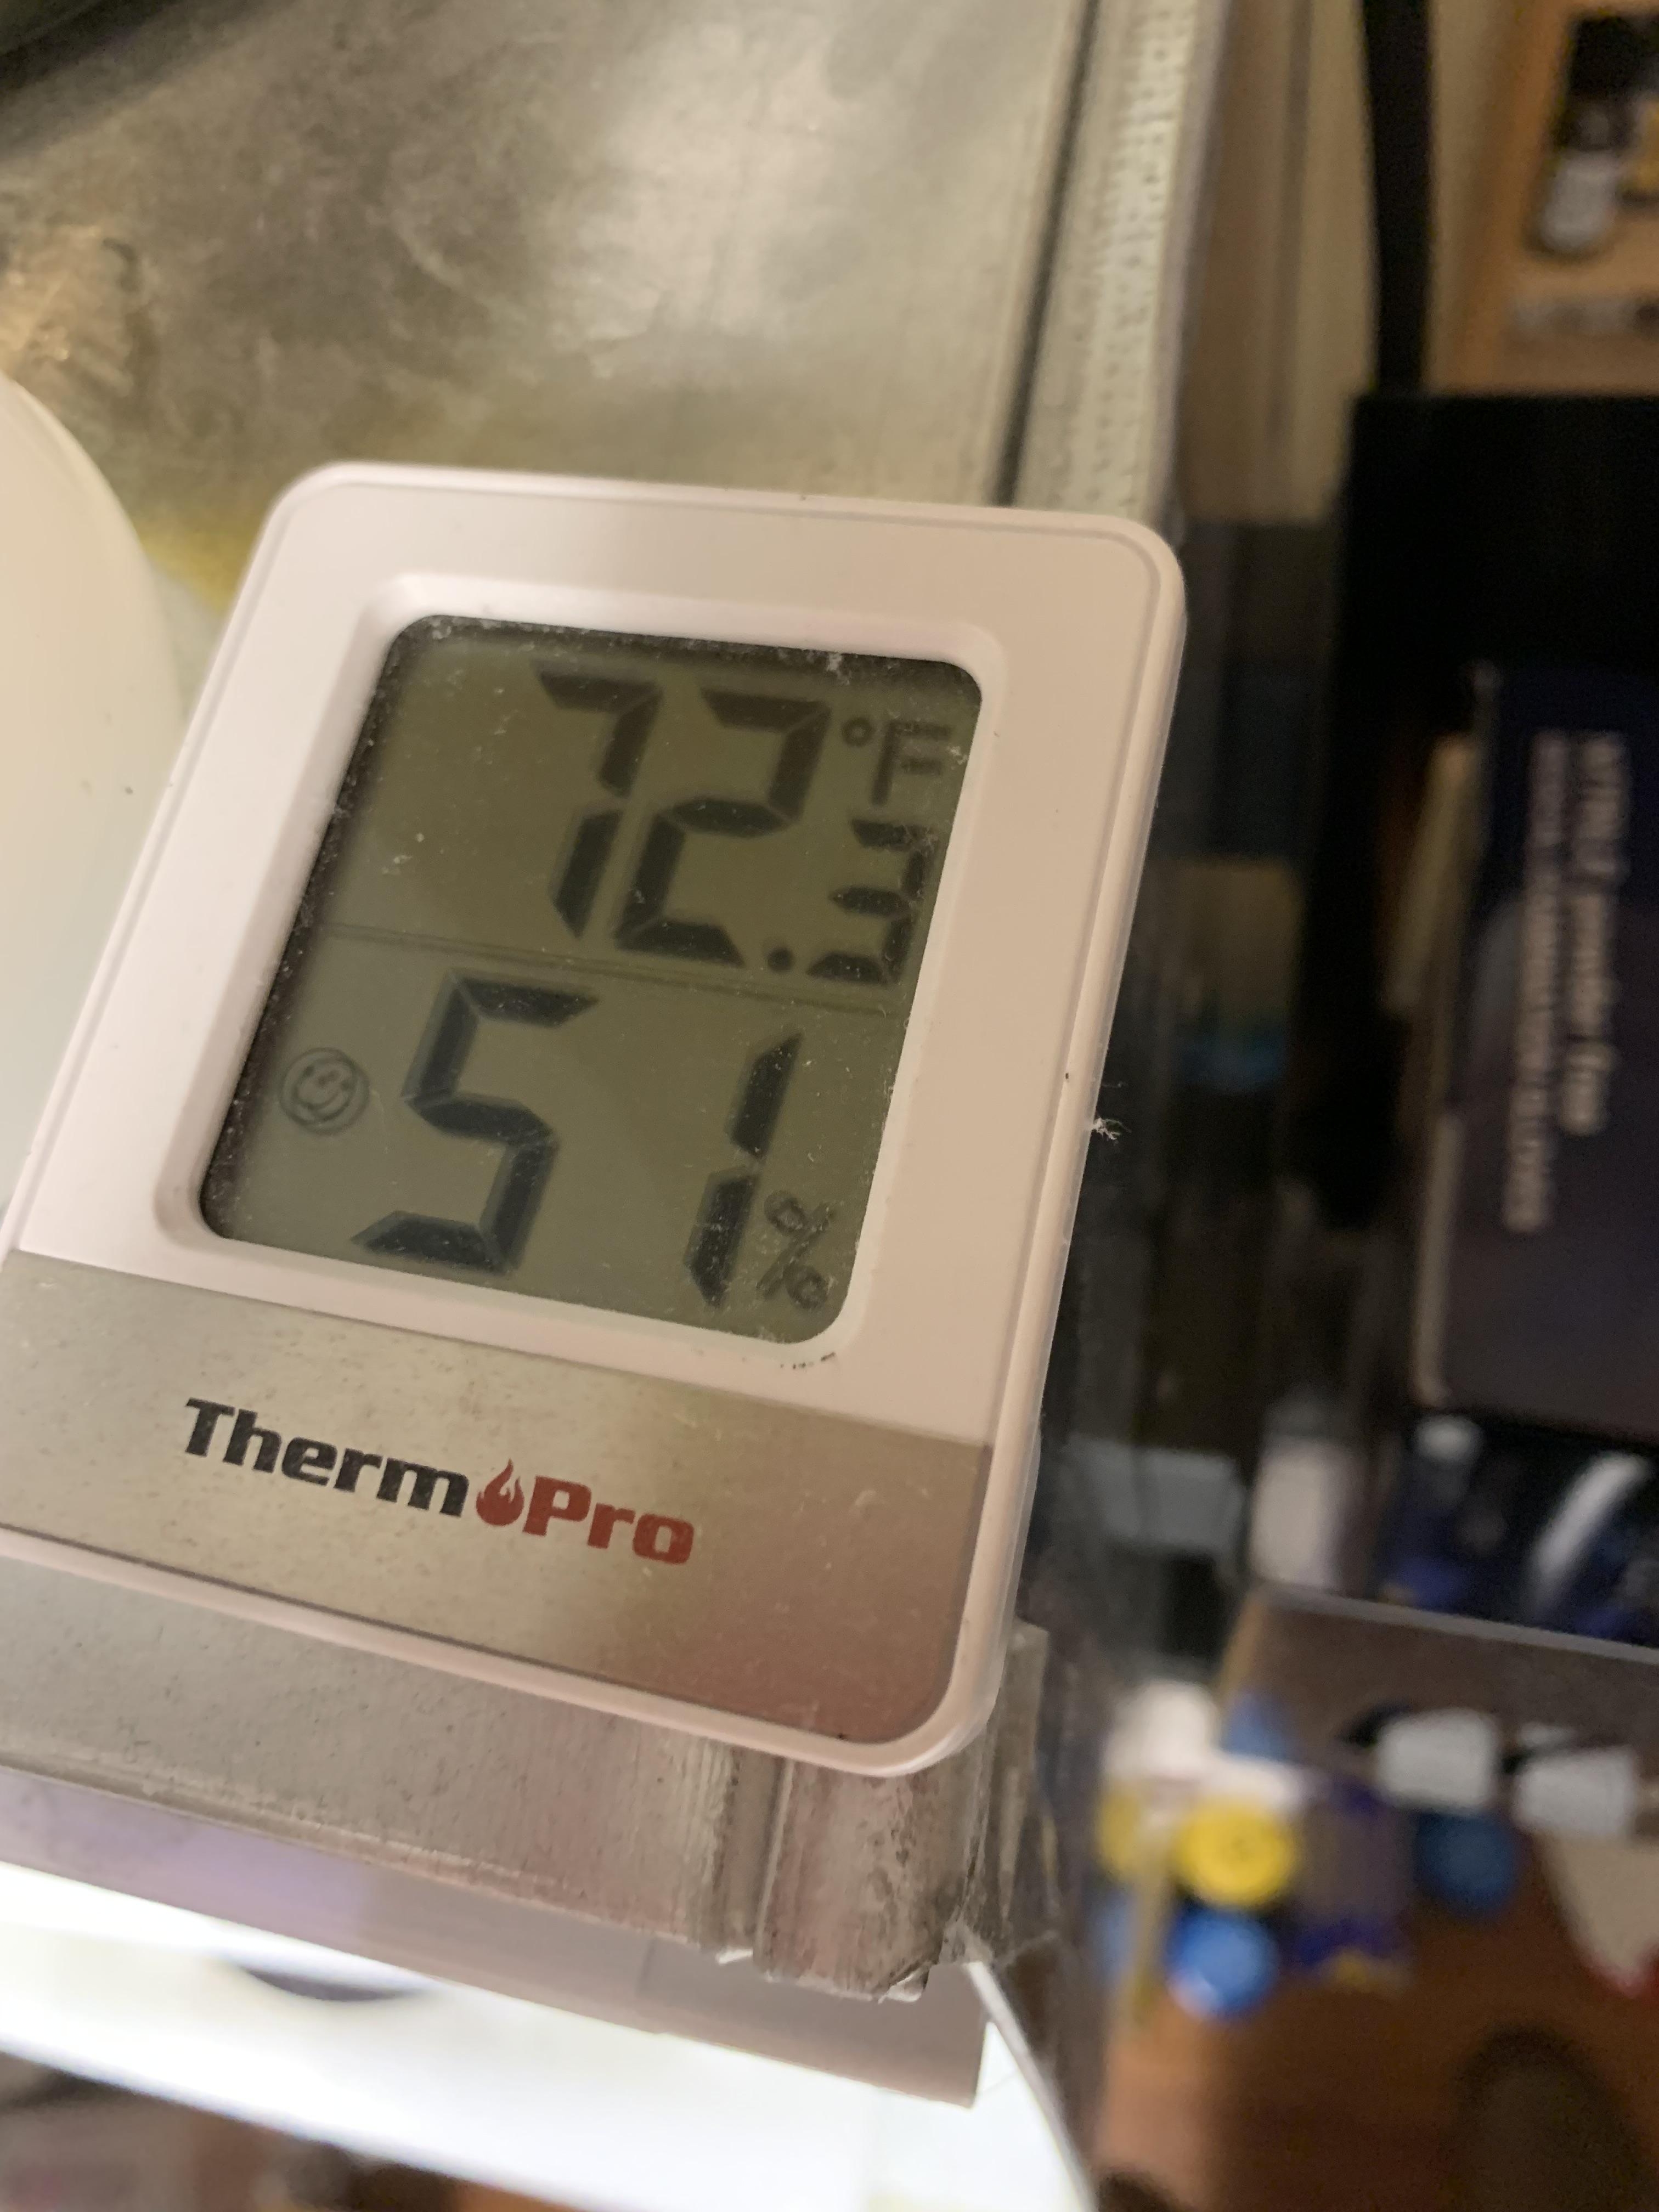
A little engine work. Forgot what the black wire supplied with MAD ignition wires is for. Anyone tell me?

-
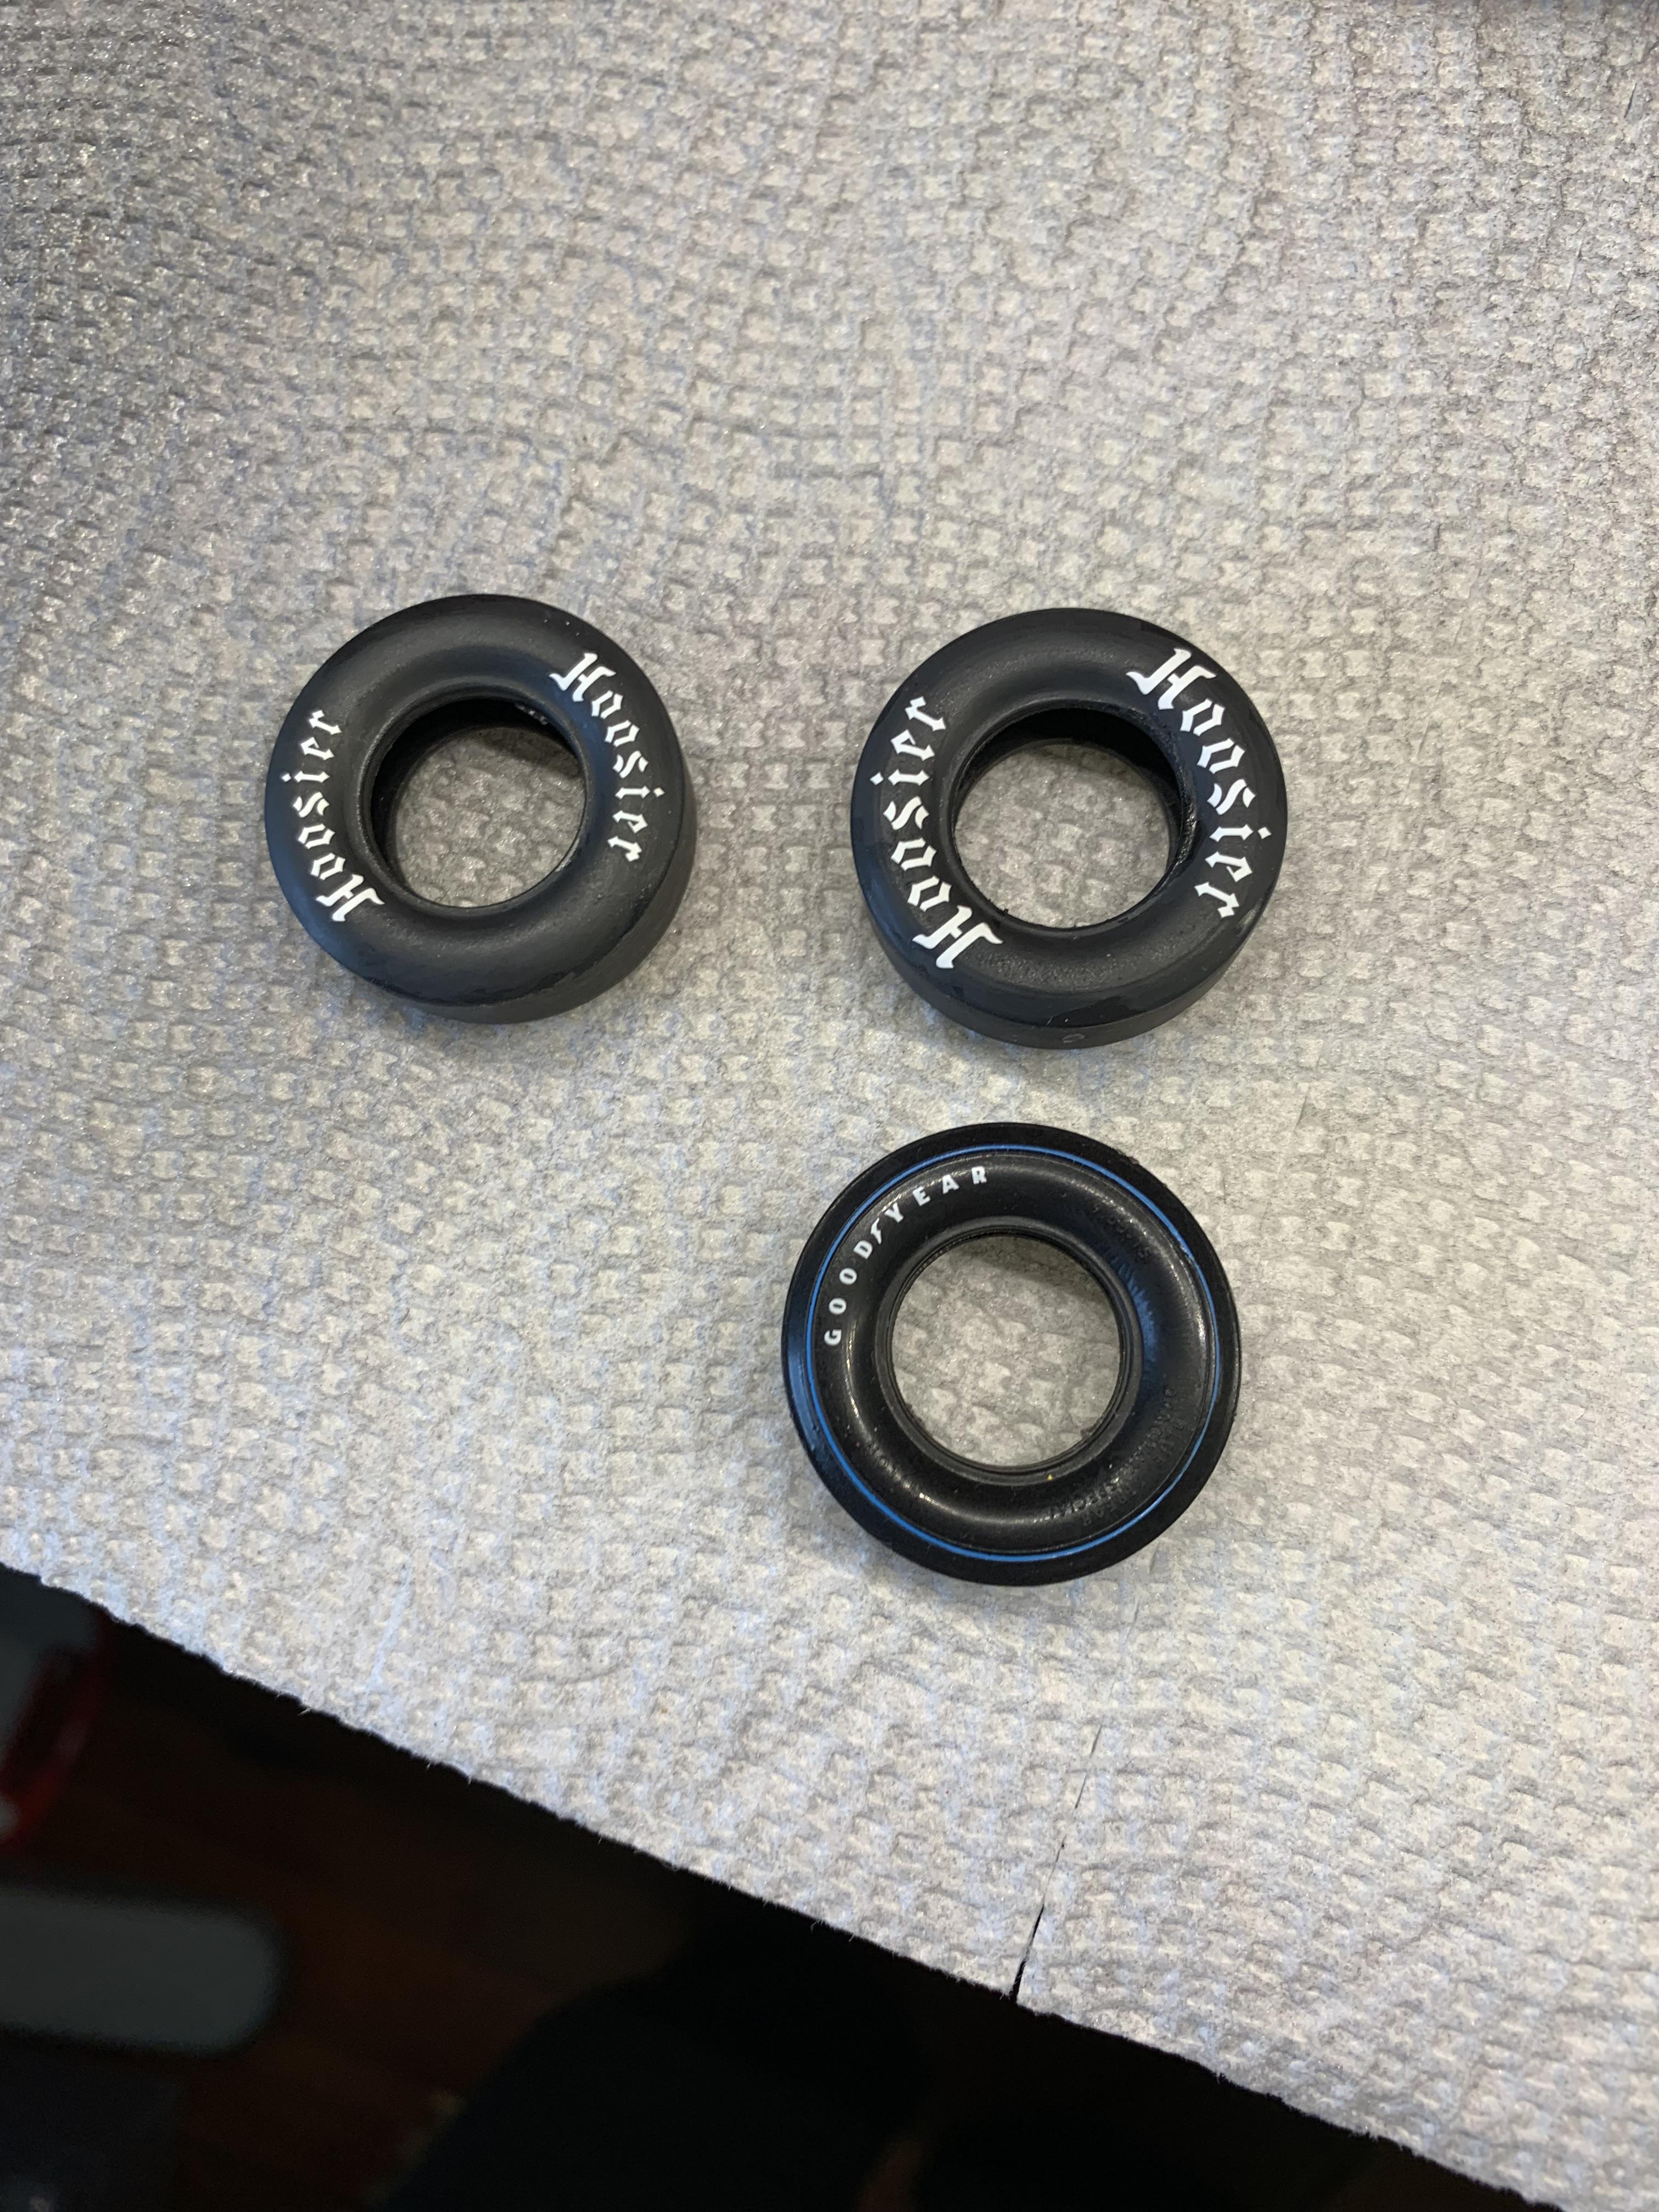
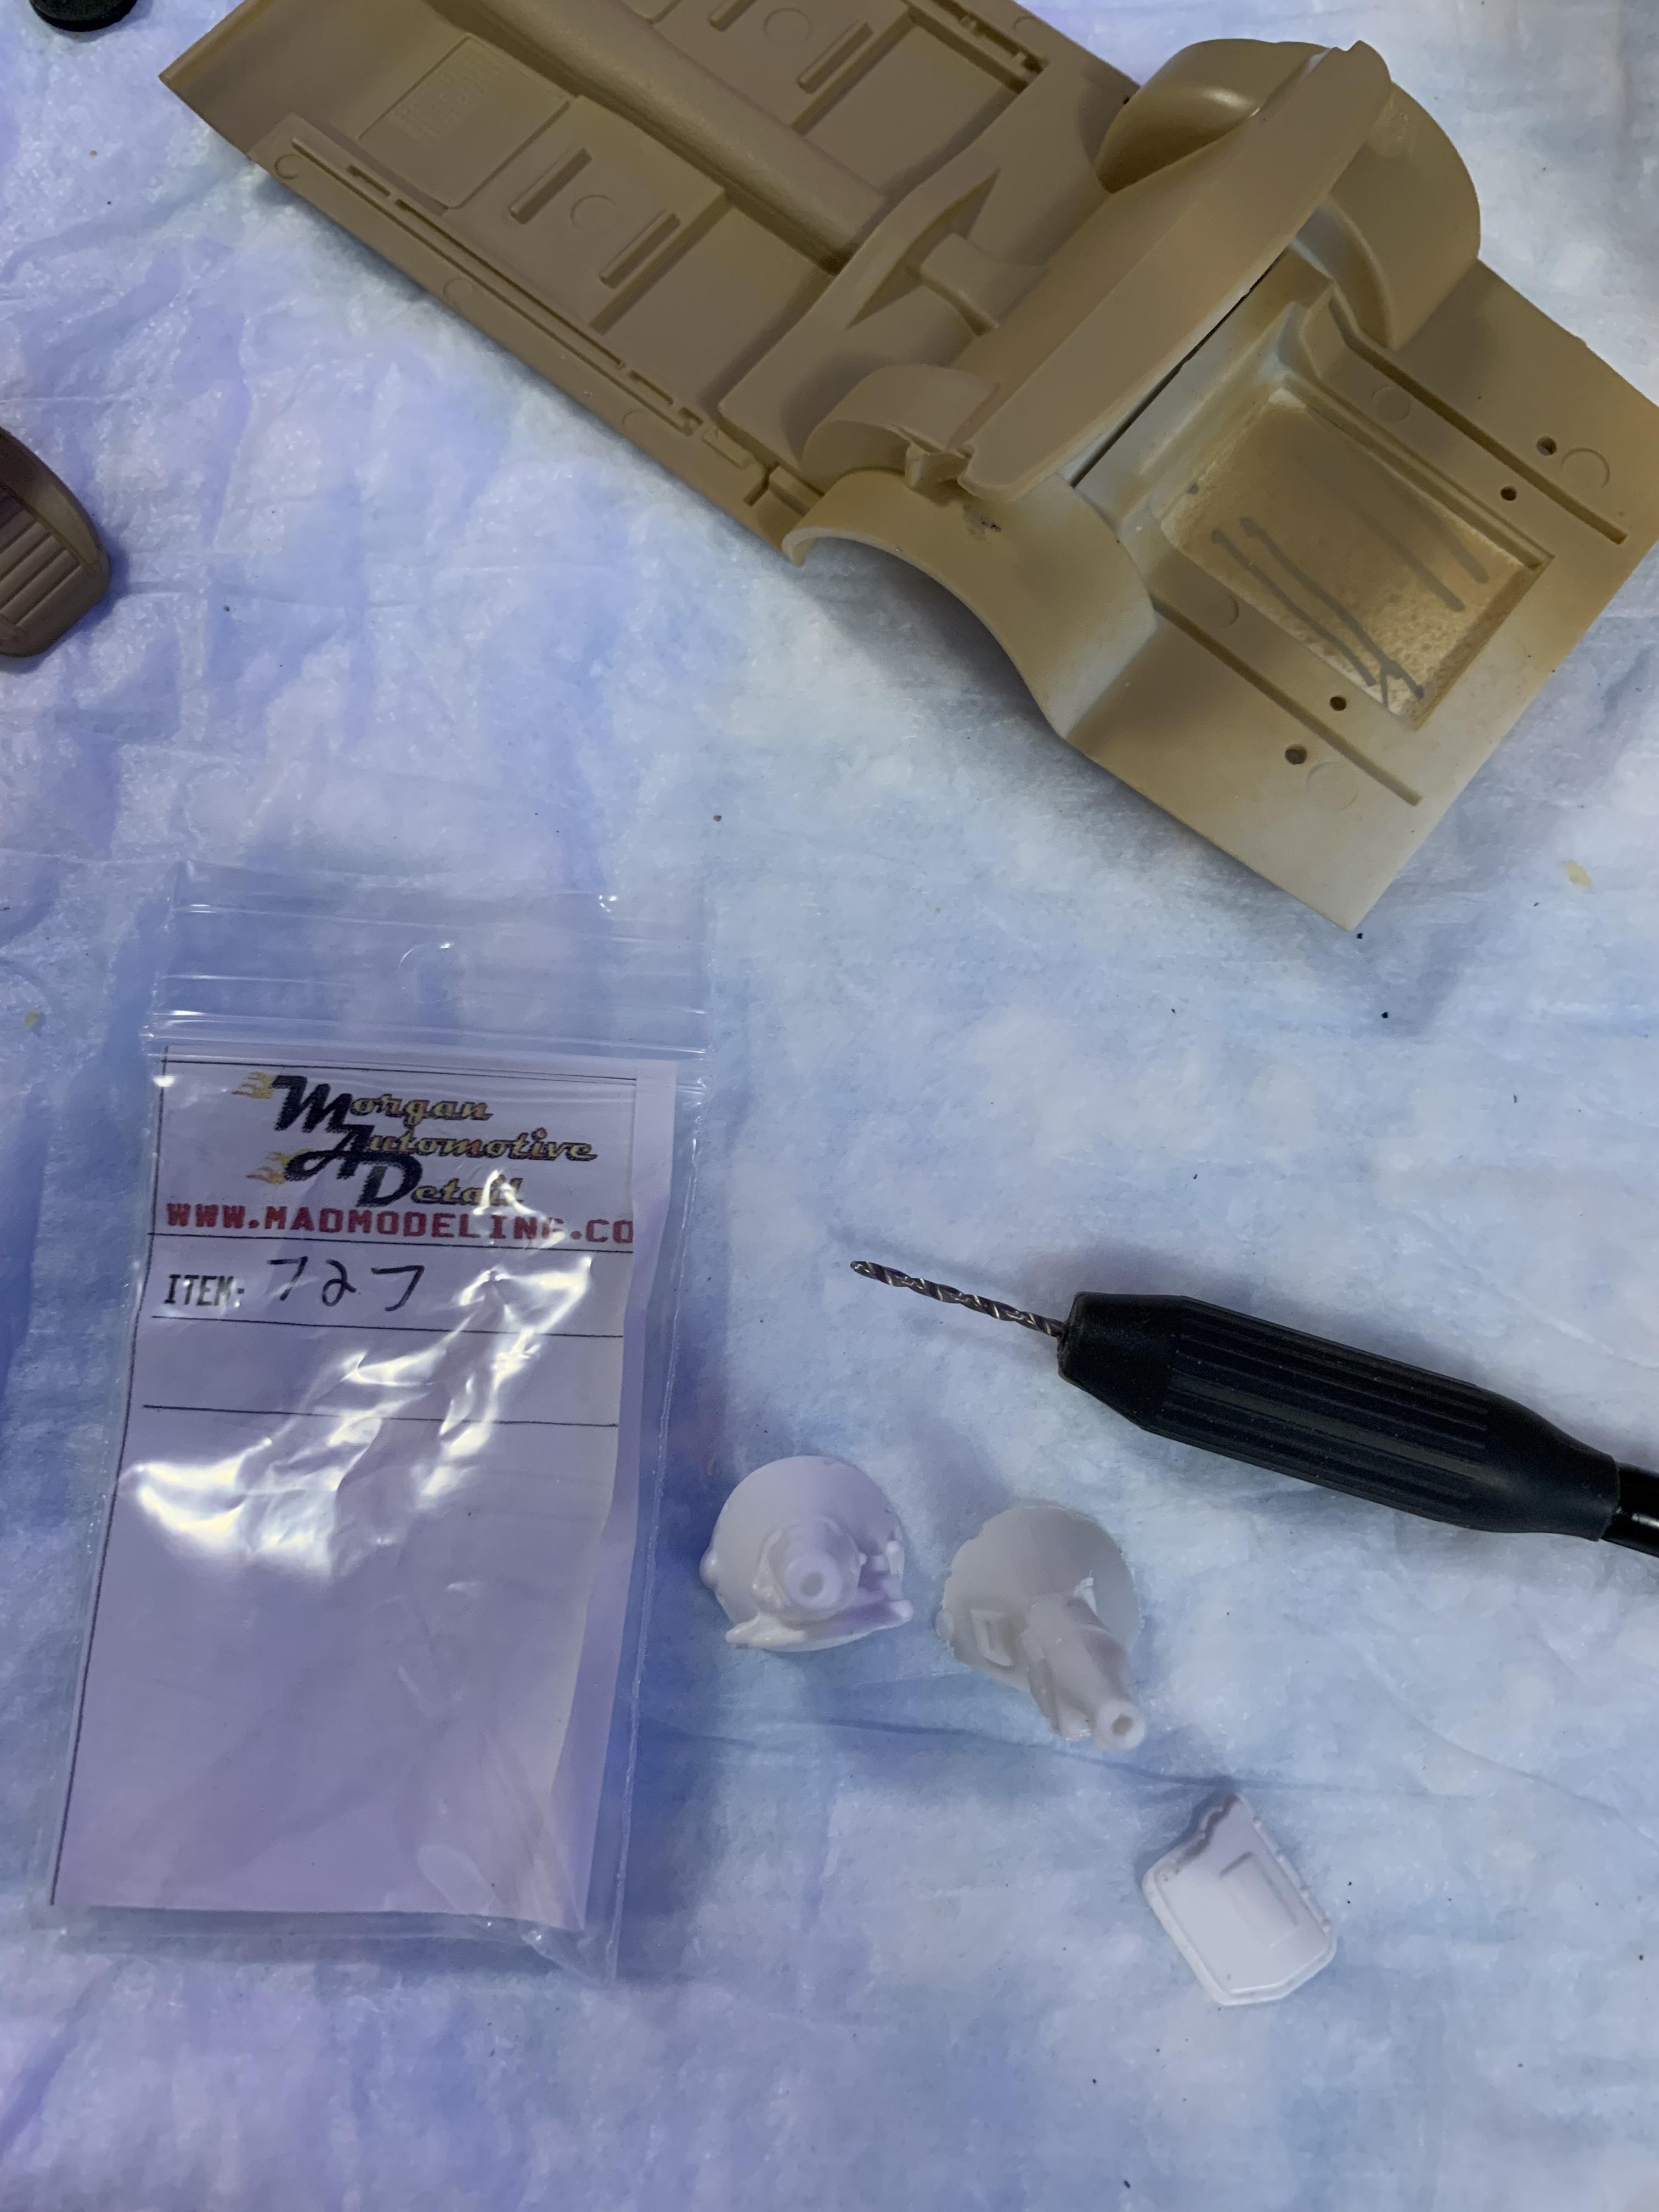
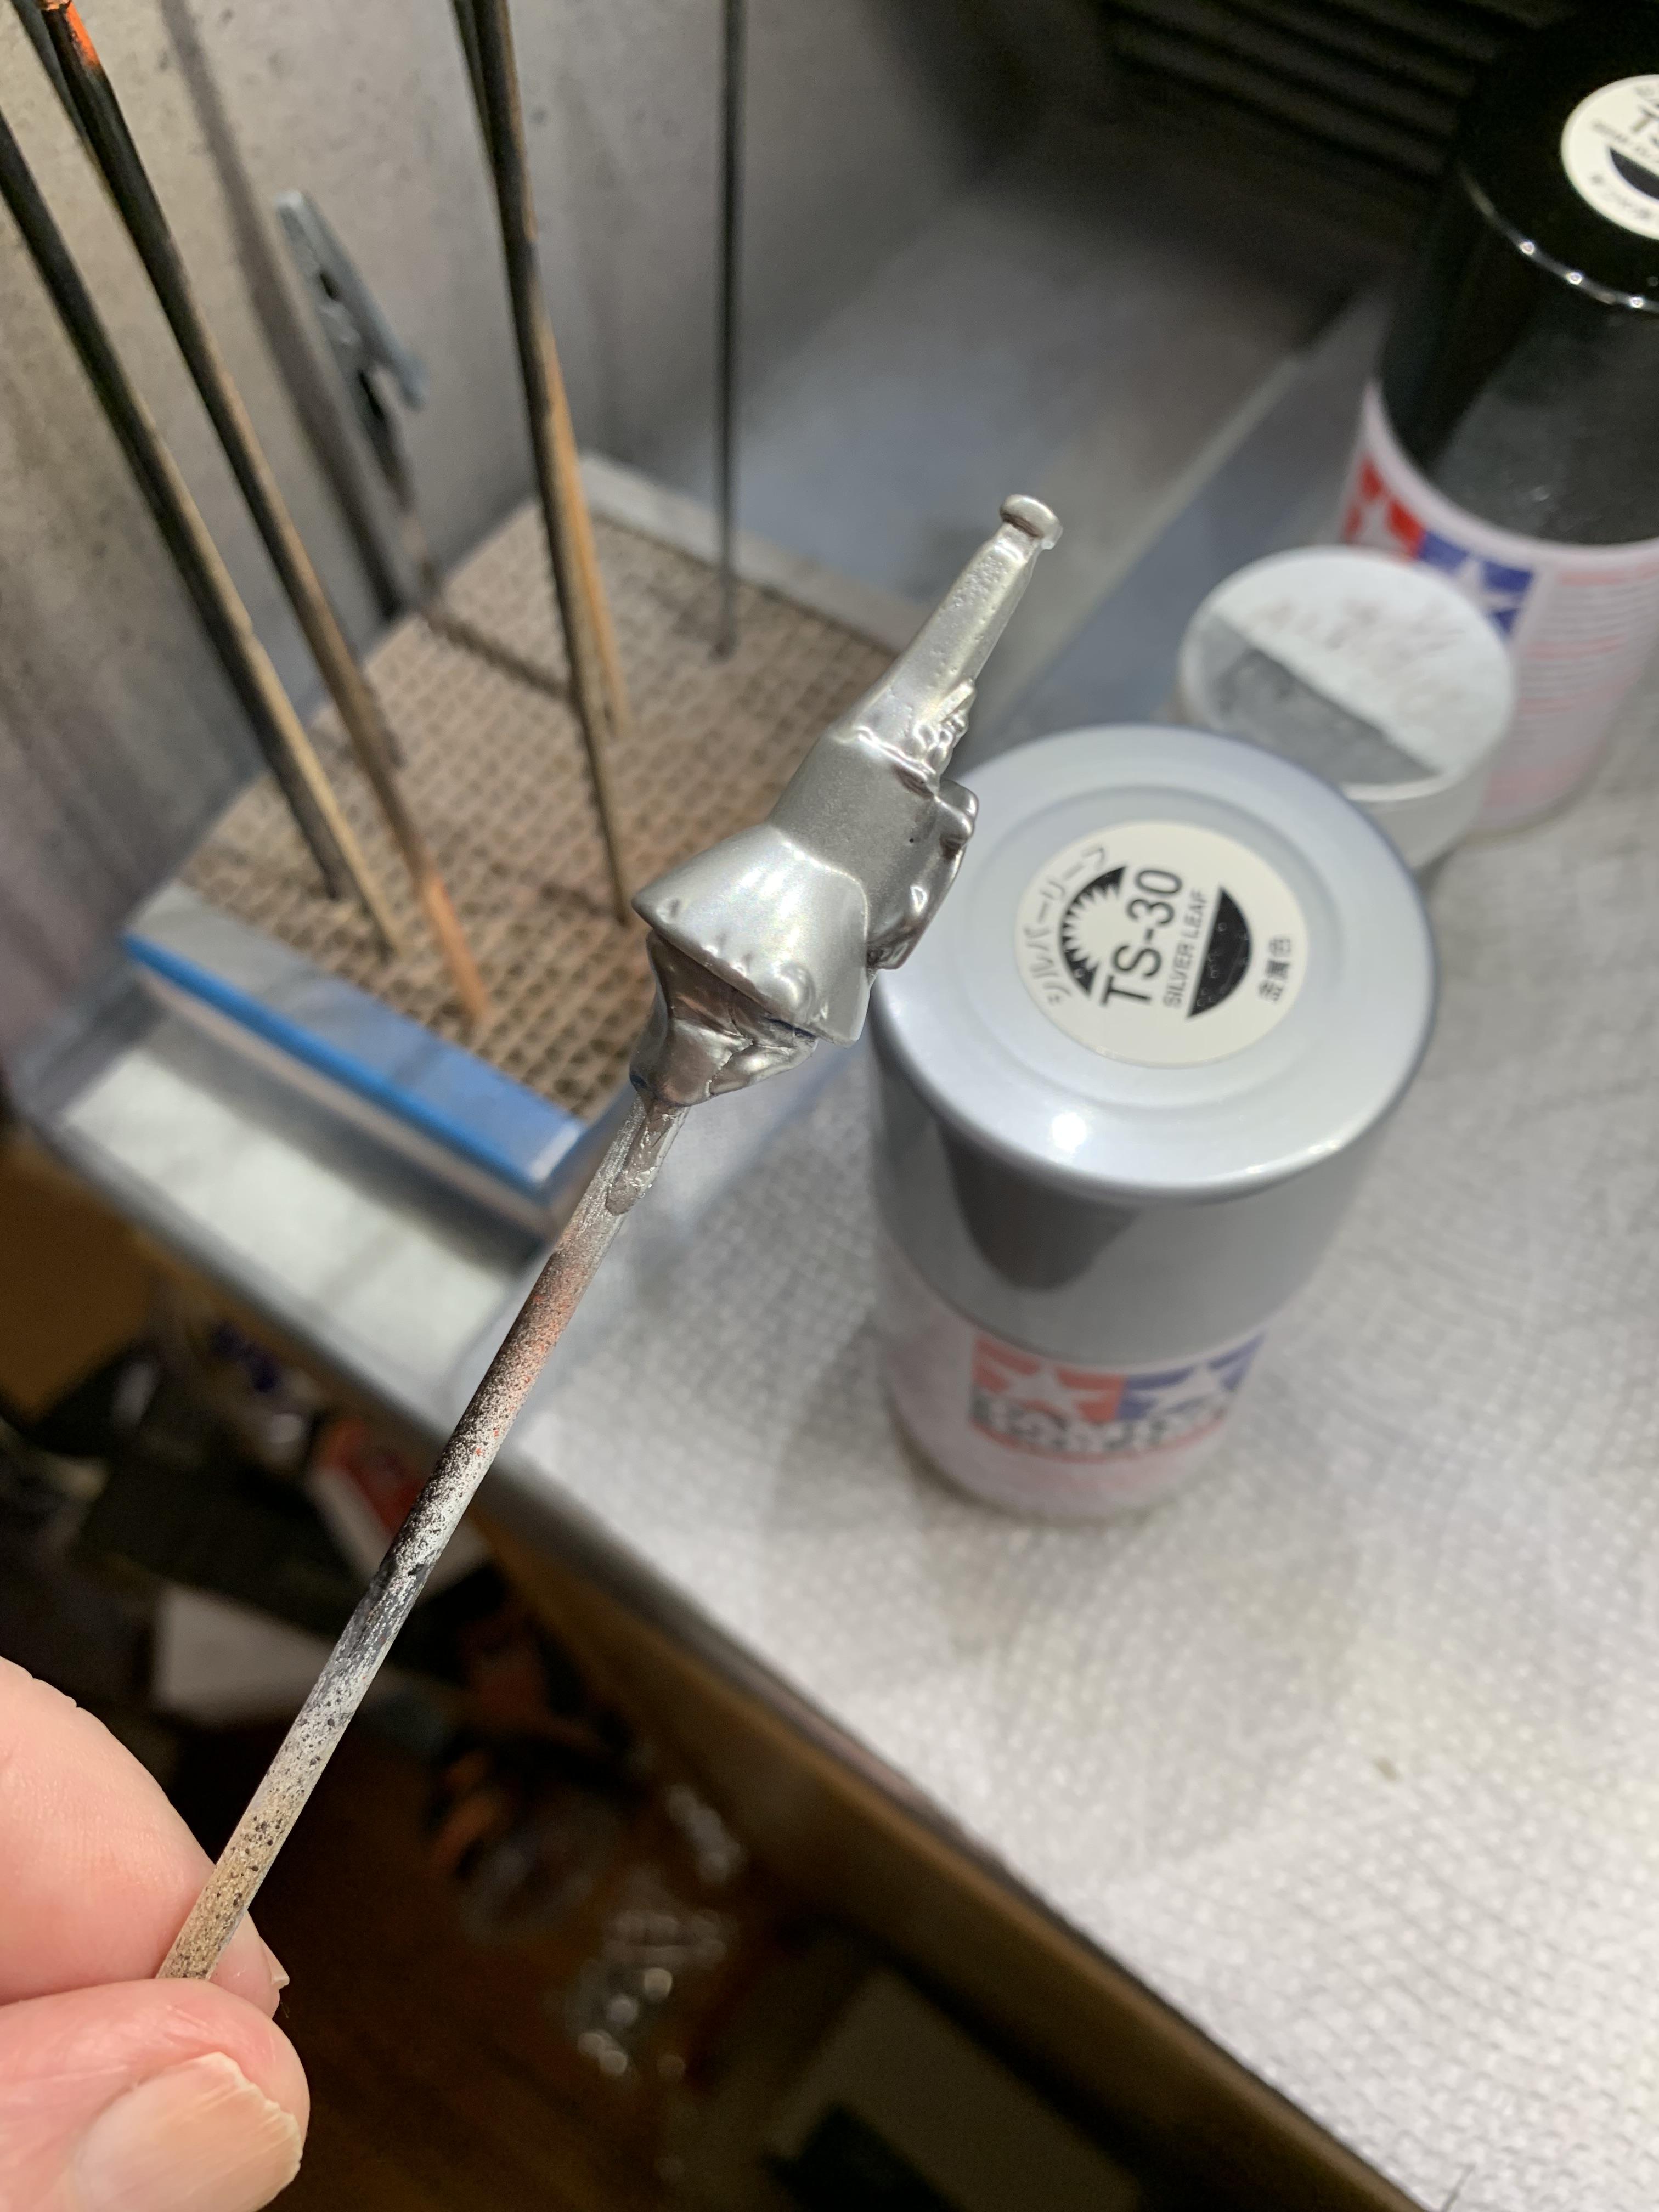
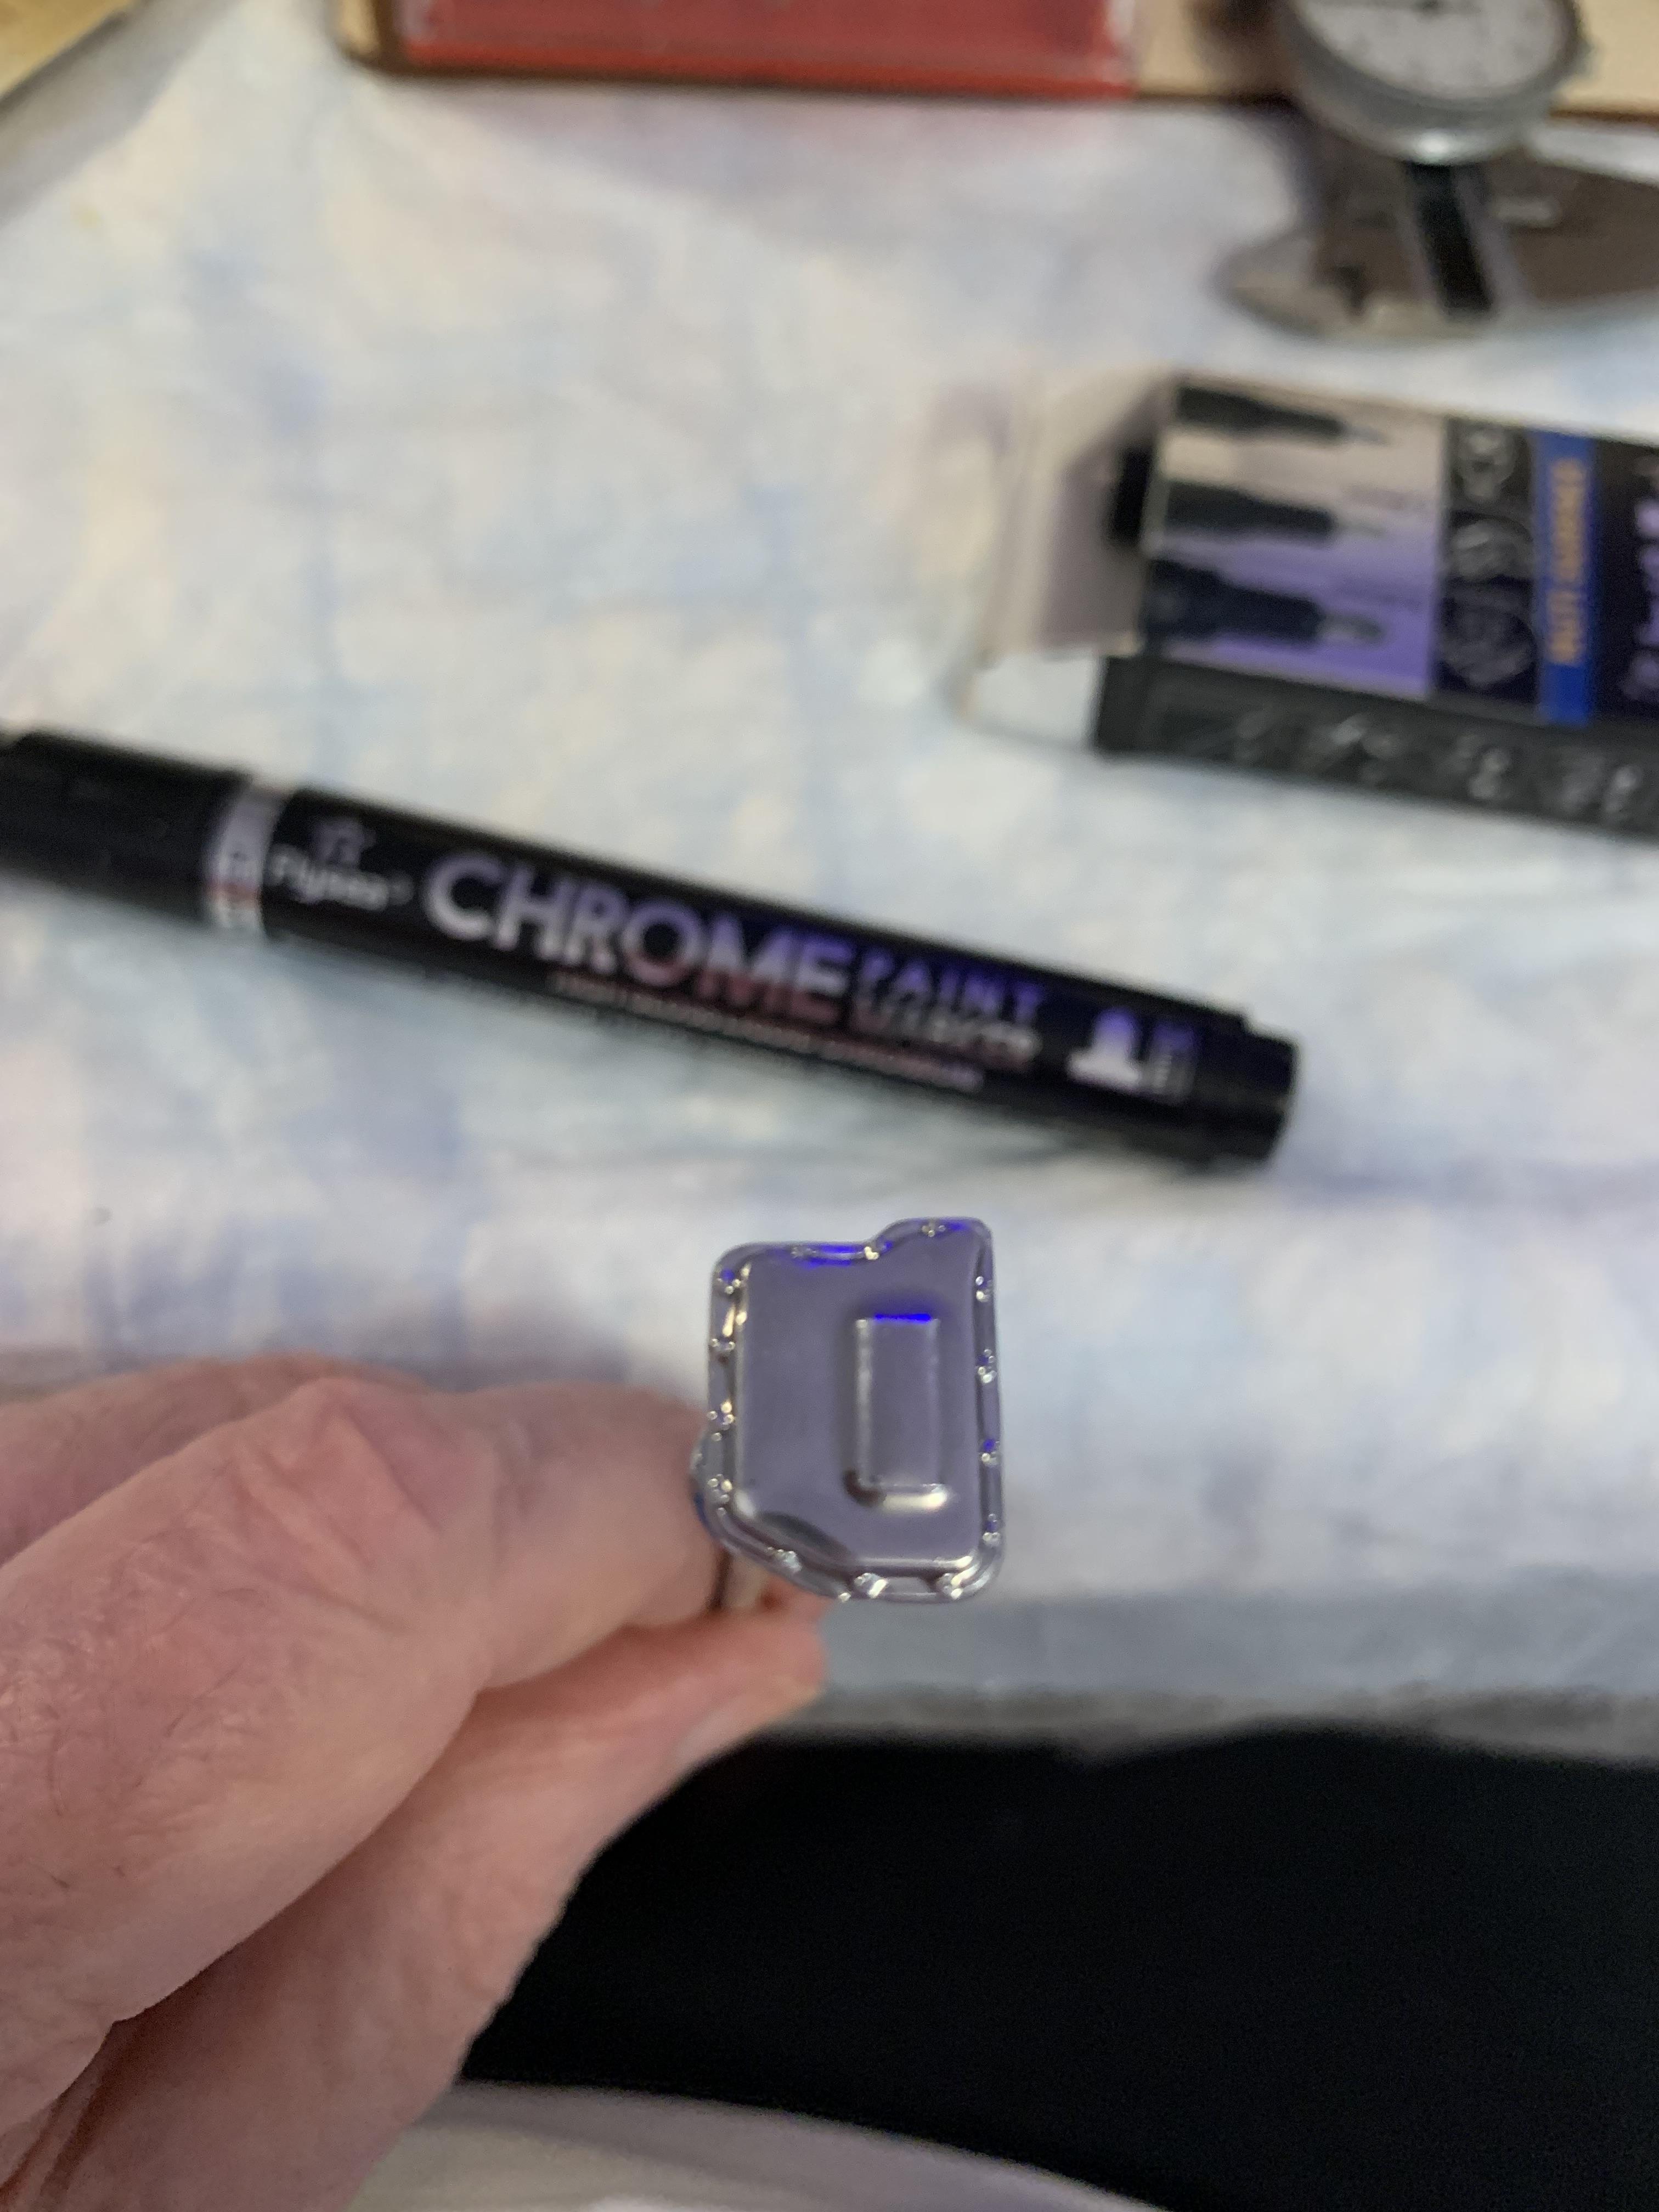
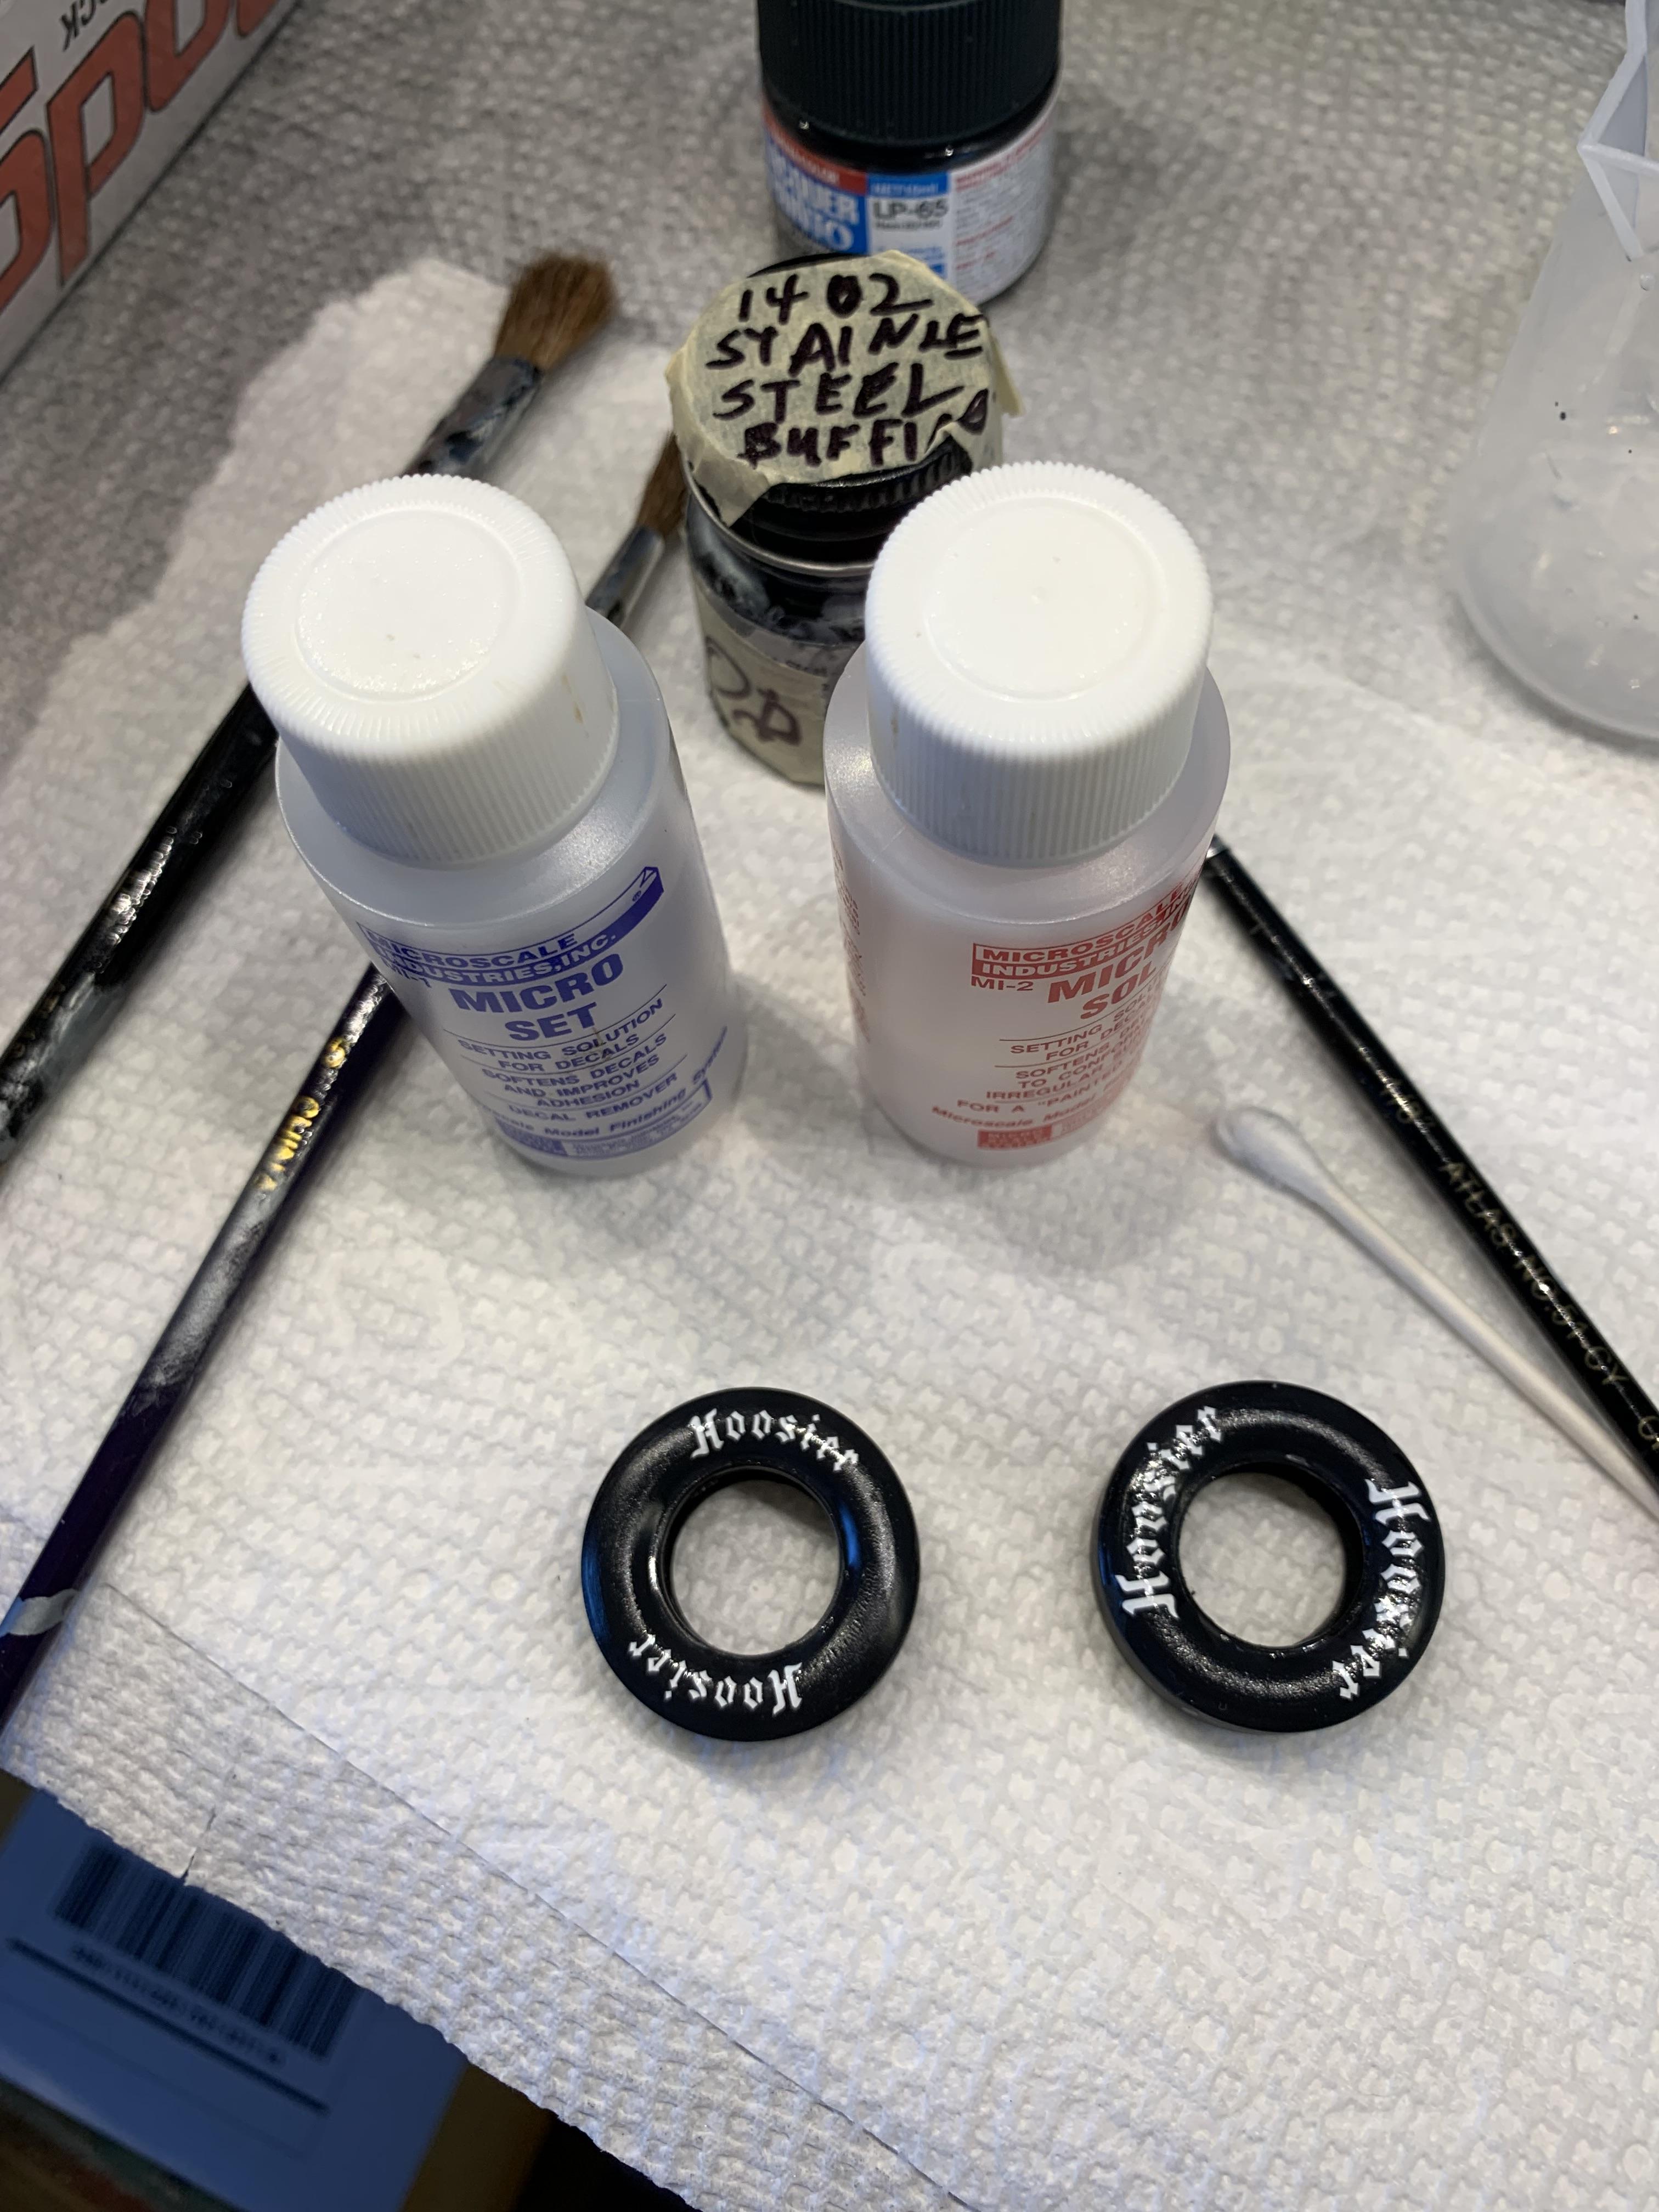
From amt Goodyear 9” scale tires to Hoosiers (1 tire with smaller Hoosier decal as I screwed up one of the large ones). Lesson learned: don’t use too hot water to dip decals in. Morganautomotivedetails 727 trans was the same length as the kit supplied stick shift trans. Sprayed housing with ts30 Tamiya and used Flysea chrome paint on pan.
-
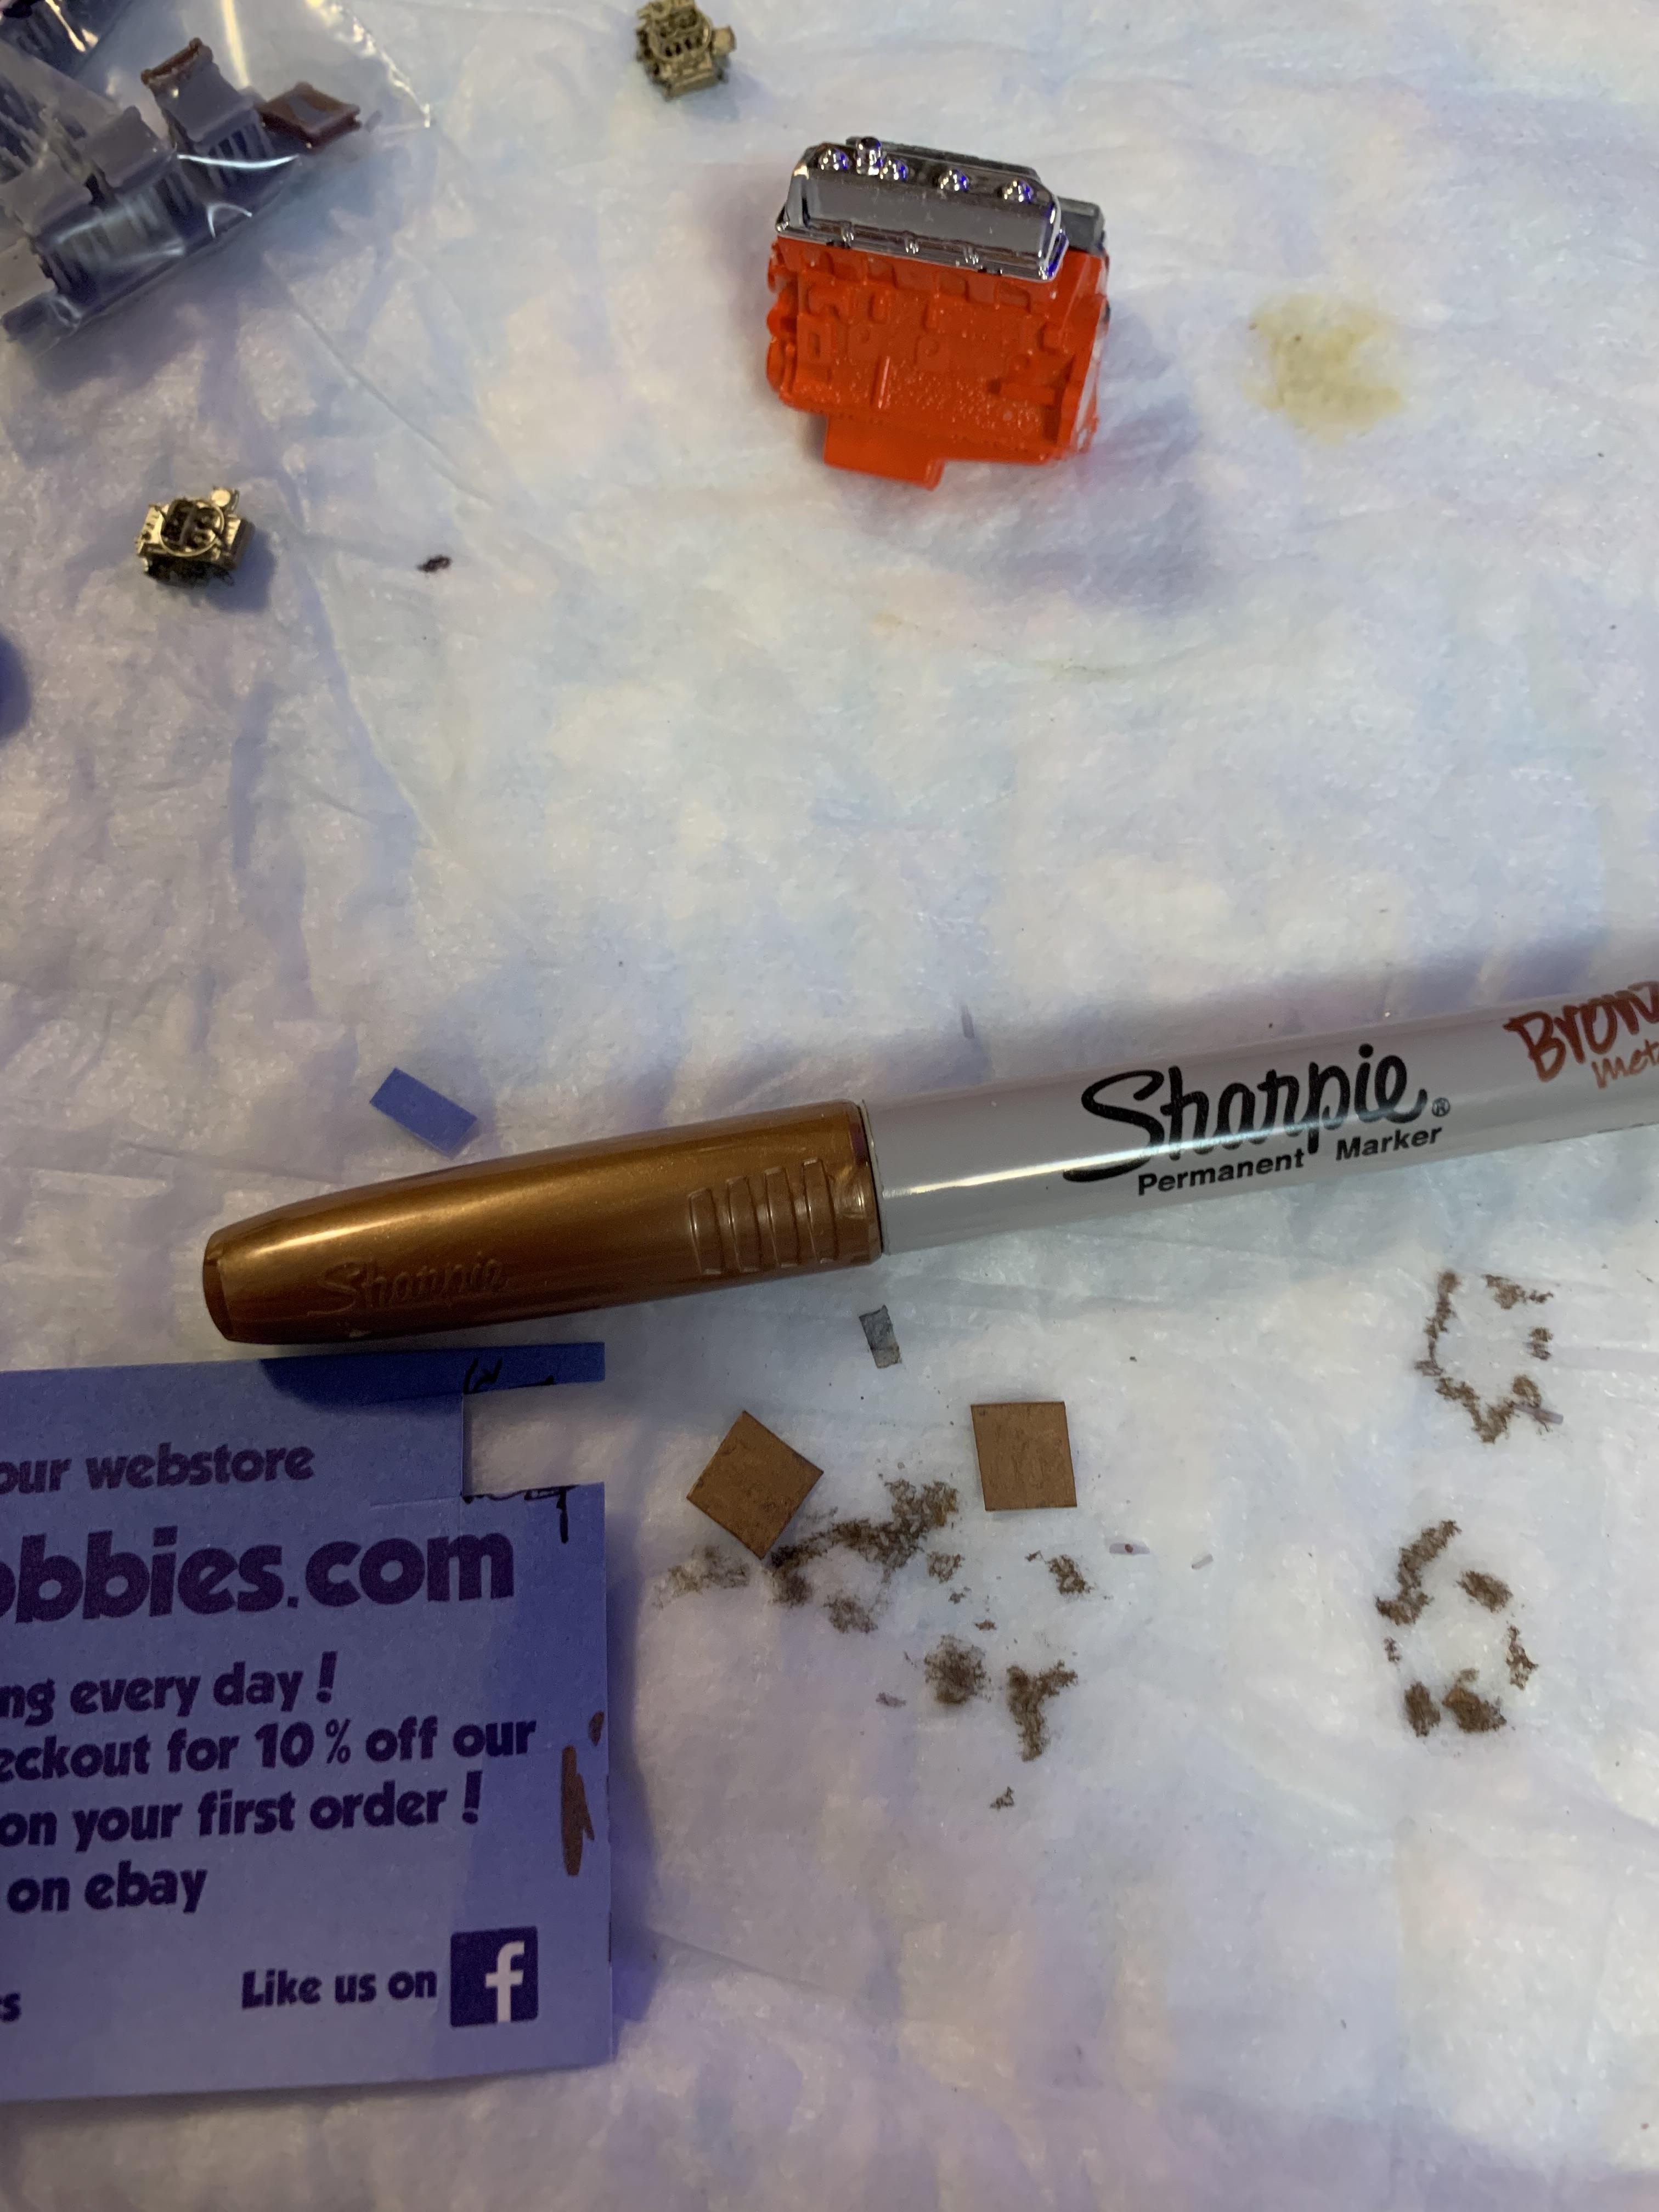
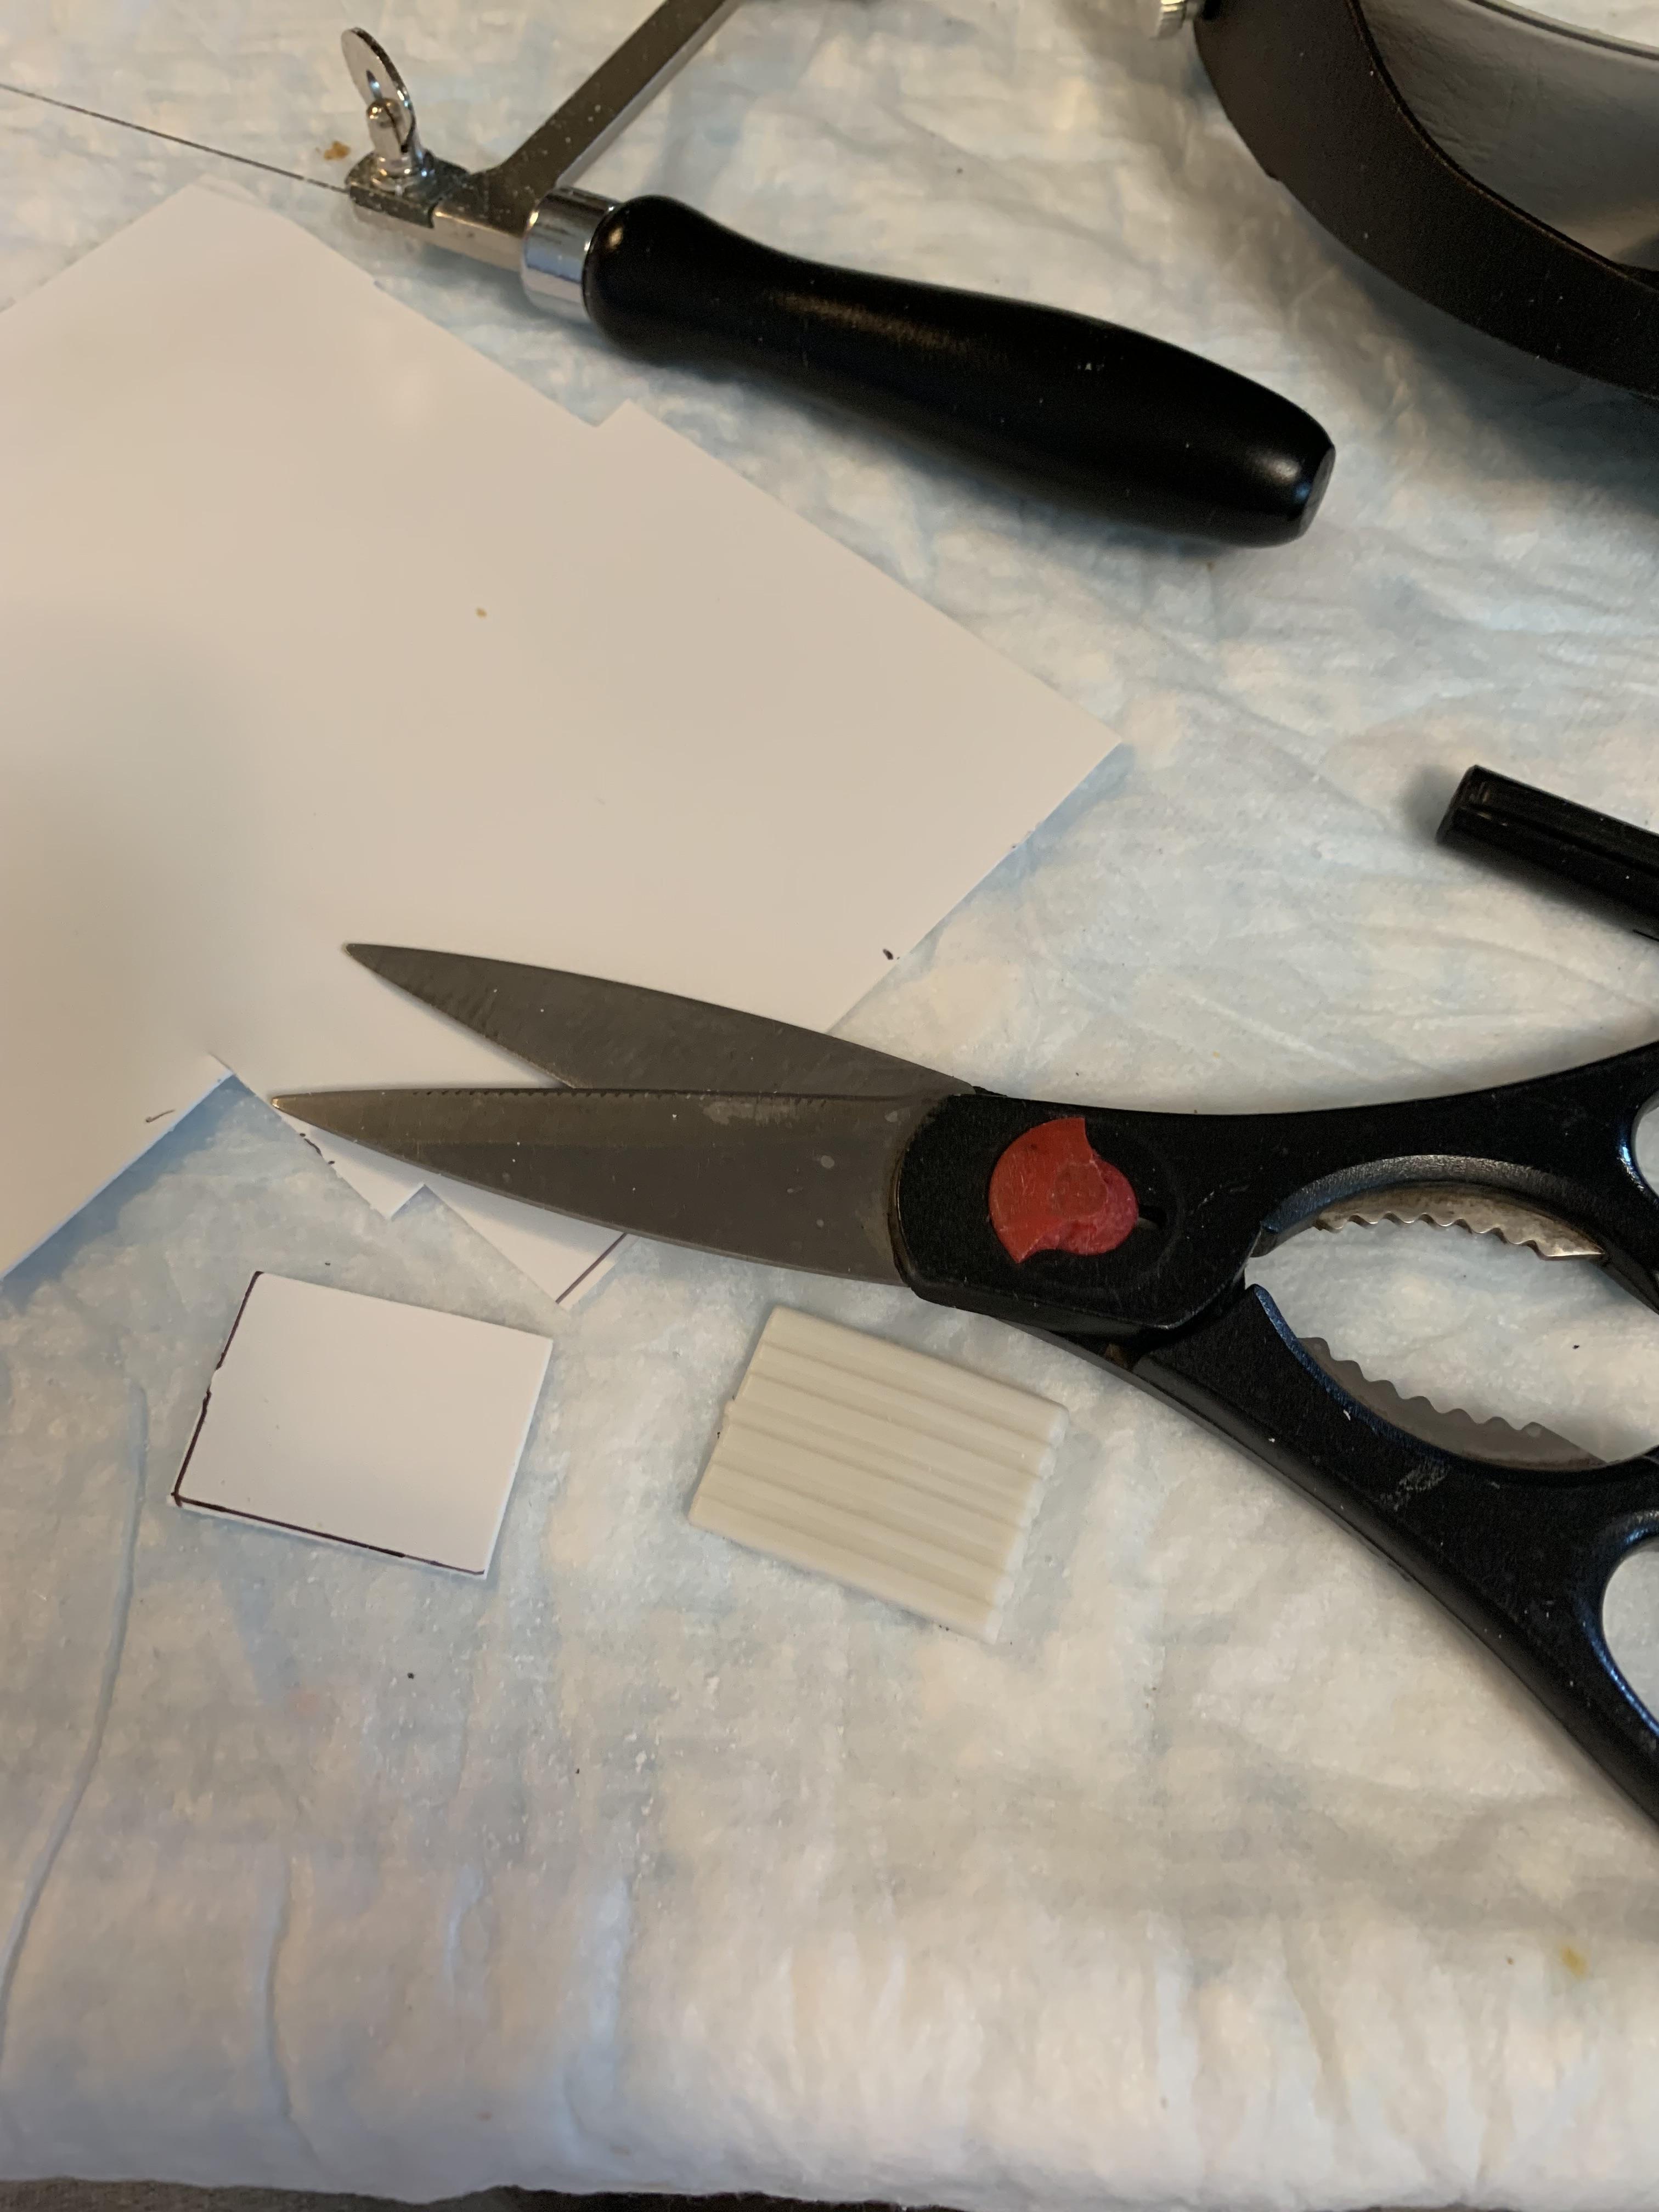
Thanks, Niko. My 53 Olds Stocker I started with in the 60’s. Still think Stockers are way cool. Anyway, sometimes, 1 step forward and 2 steps backwards. Didn’t like the looks of the headers, so tried some different paint. Didn’t like the carb spacer appearance, so made a “gasket” from a business card and coated it with a marker.
-
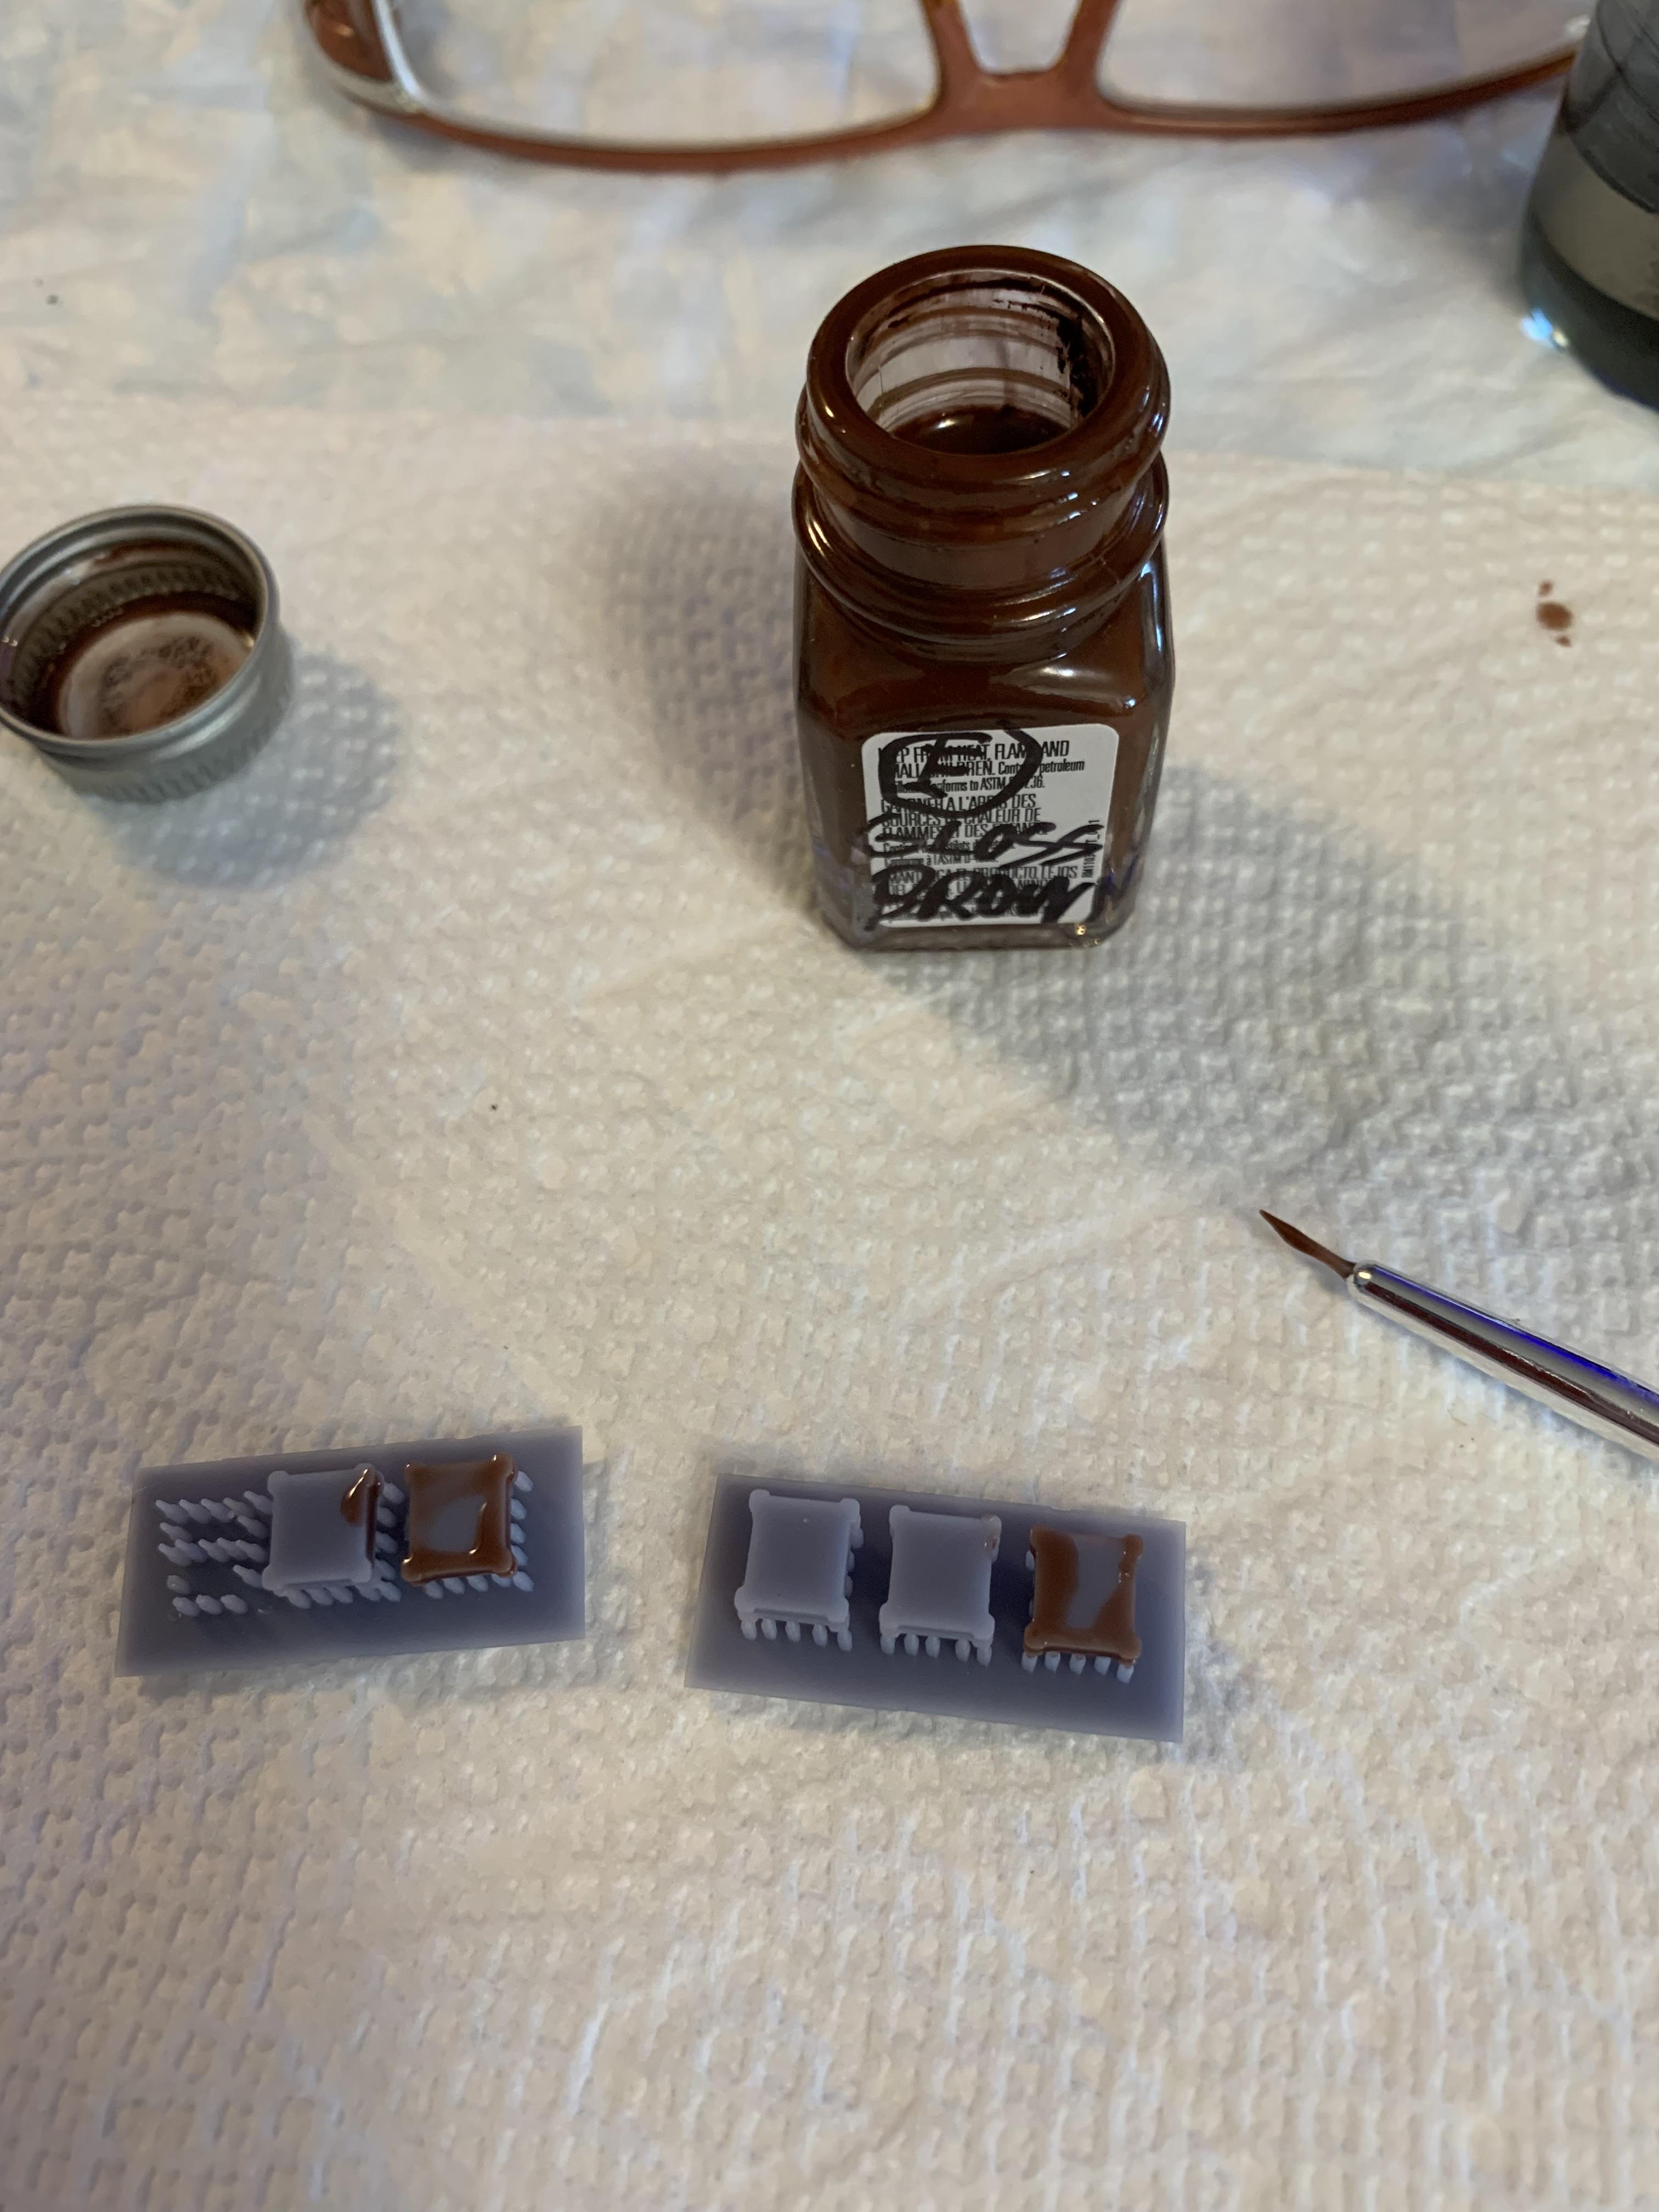
Messing with the carbs today. Trying to emulate these on Todd Hoven’s. Put some flat aluminum on the base plate and some brown on a spacer plate I just got from MCV products. Although spacer plates are illegal in Stock Eliminator, I am hoping this will resemble the 1/2” thick gasket most guys use. Jury is still out.
-
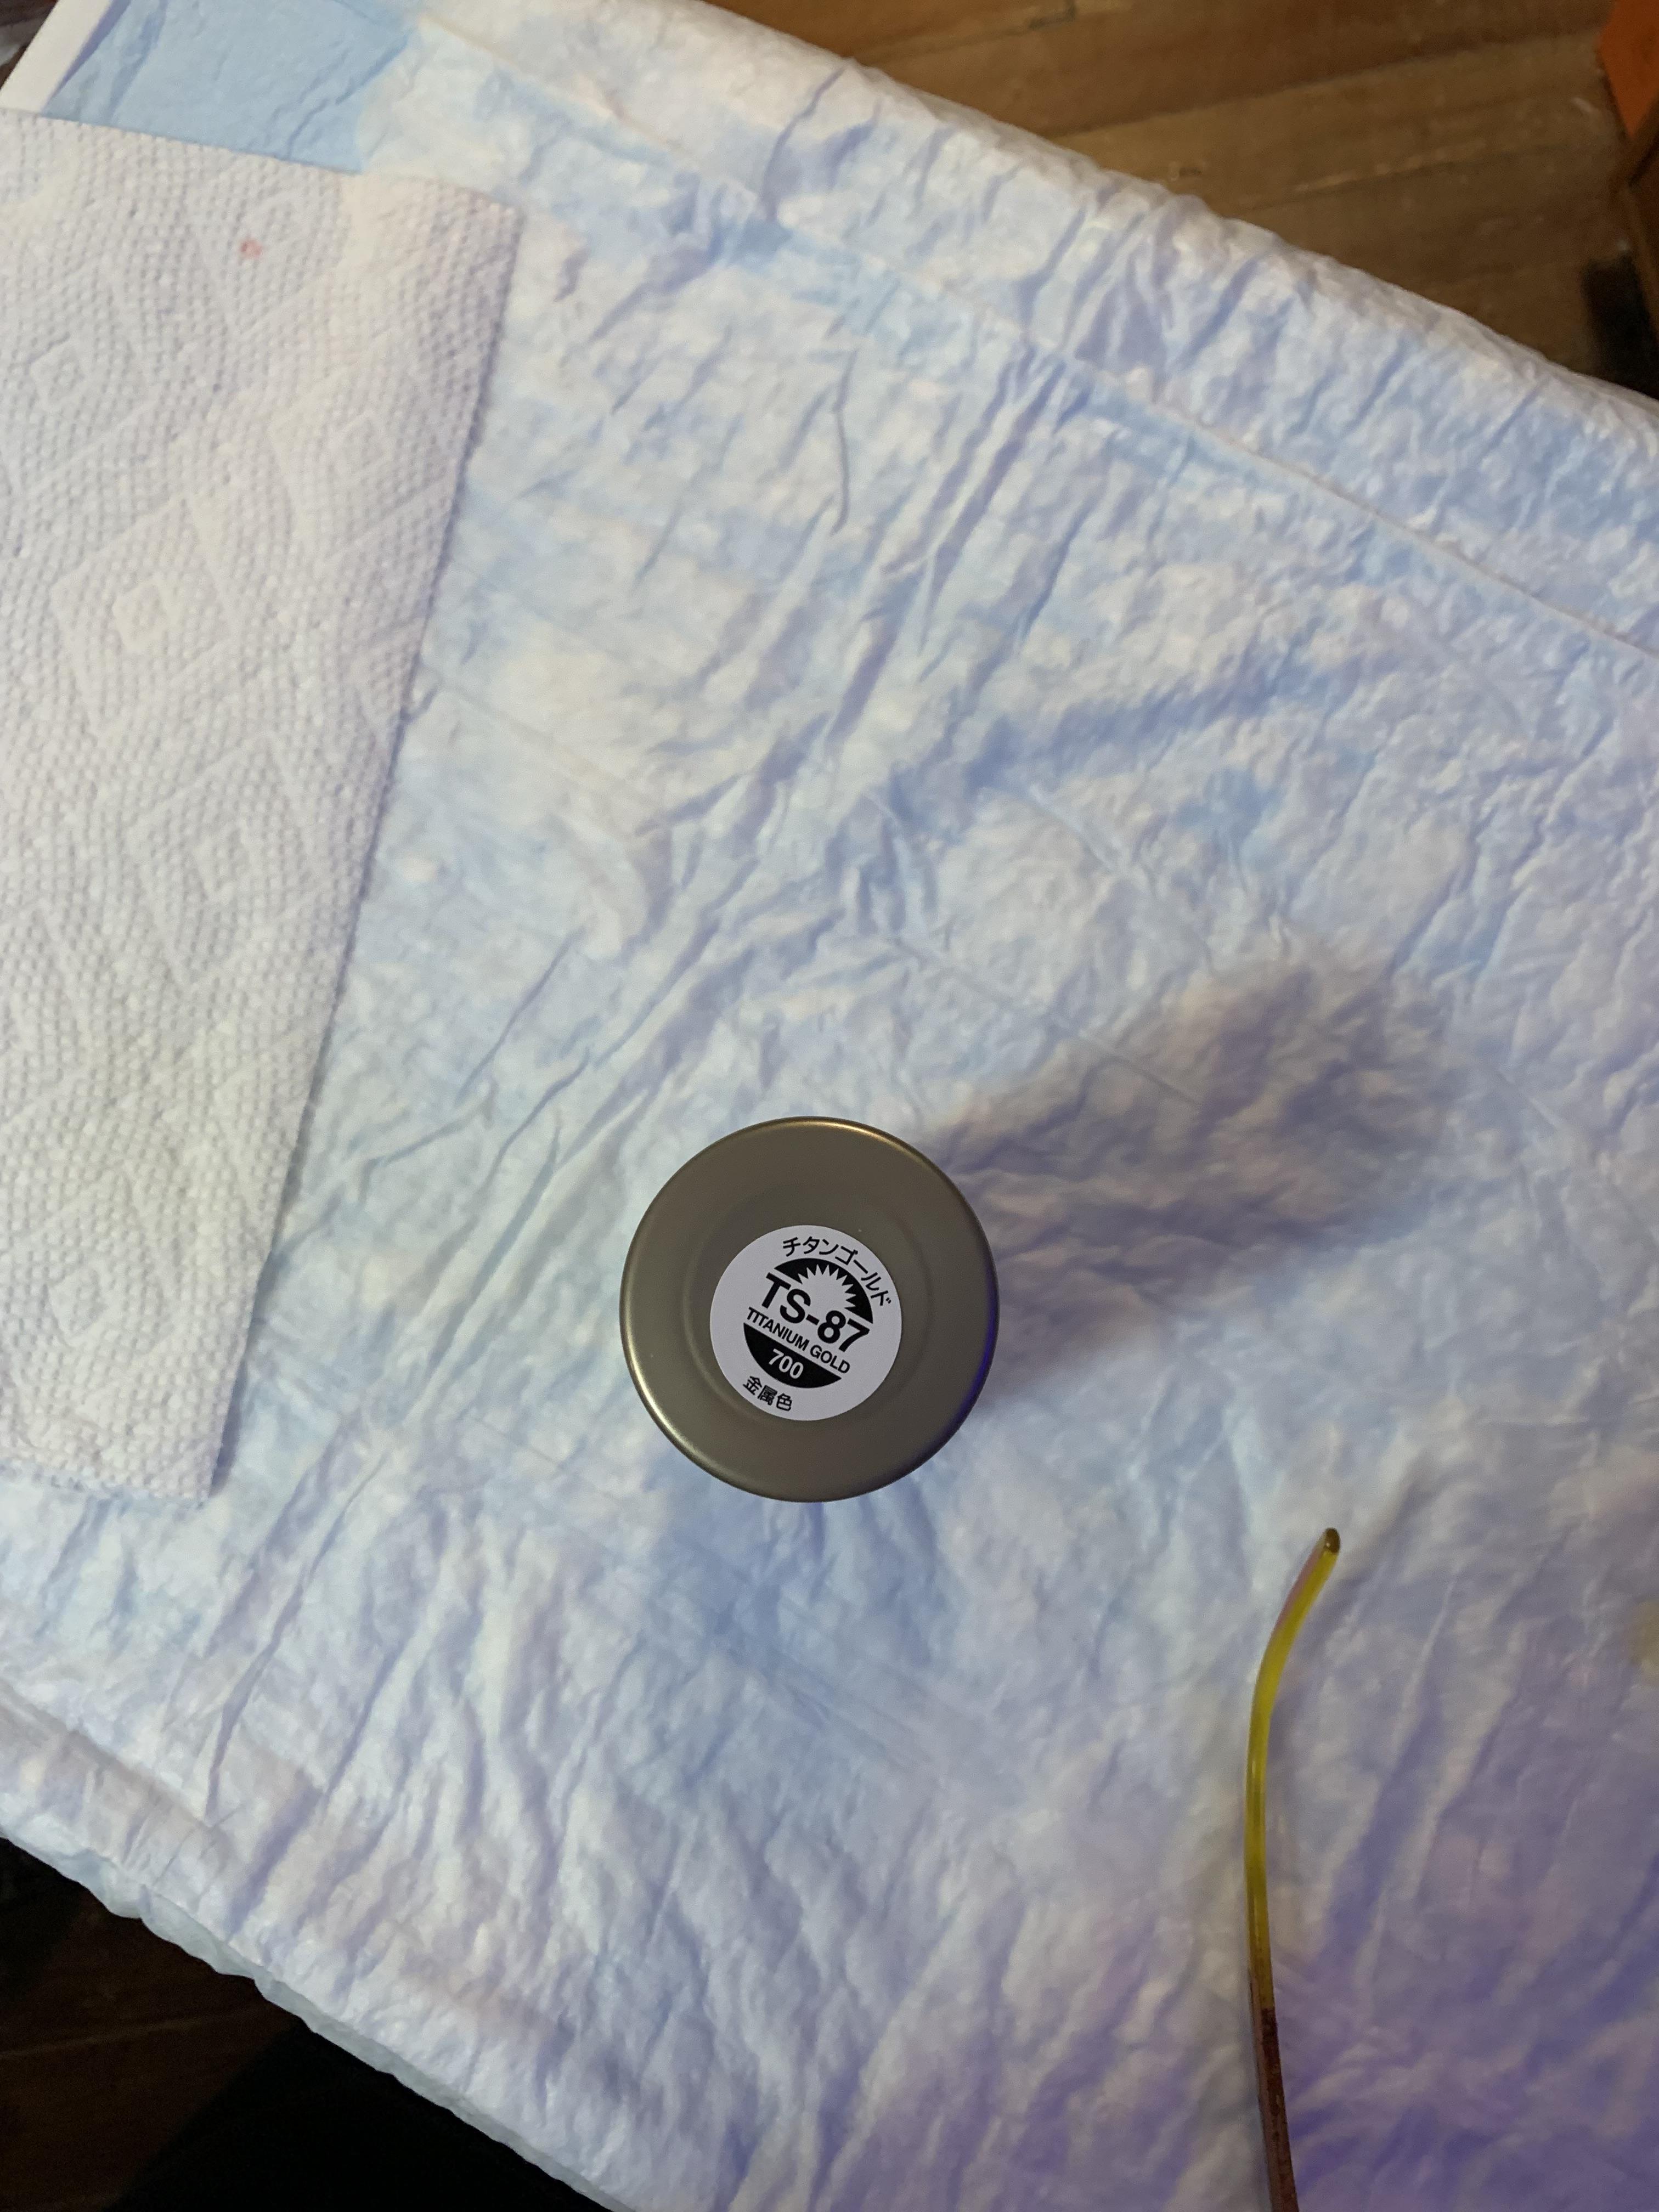
Sprayed some ts87 on ‘em. Sorry for the crummy pictures.
-
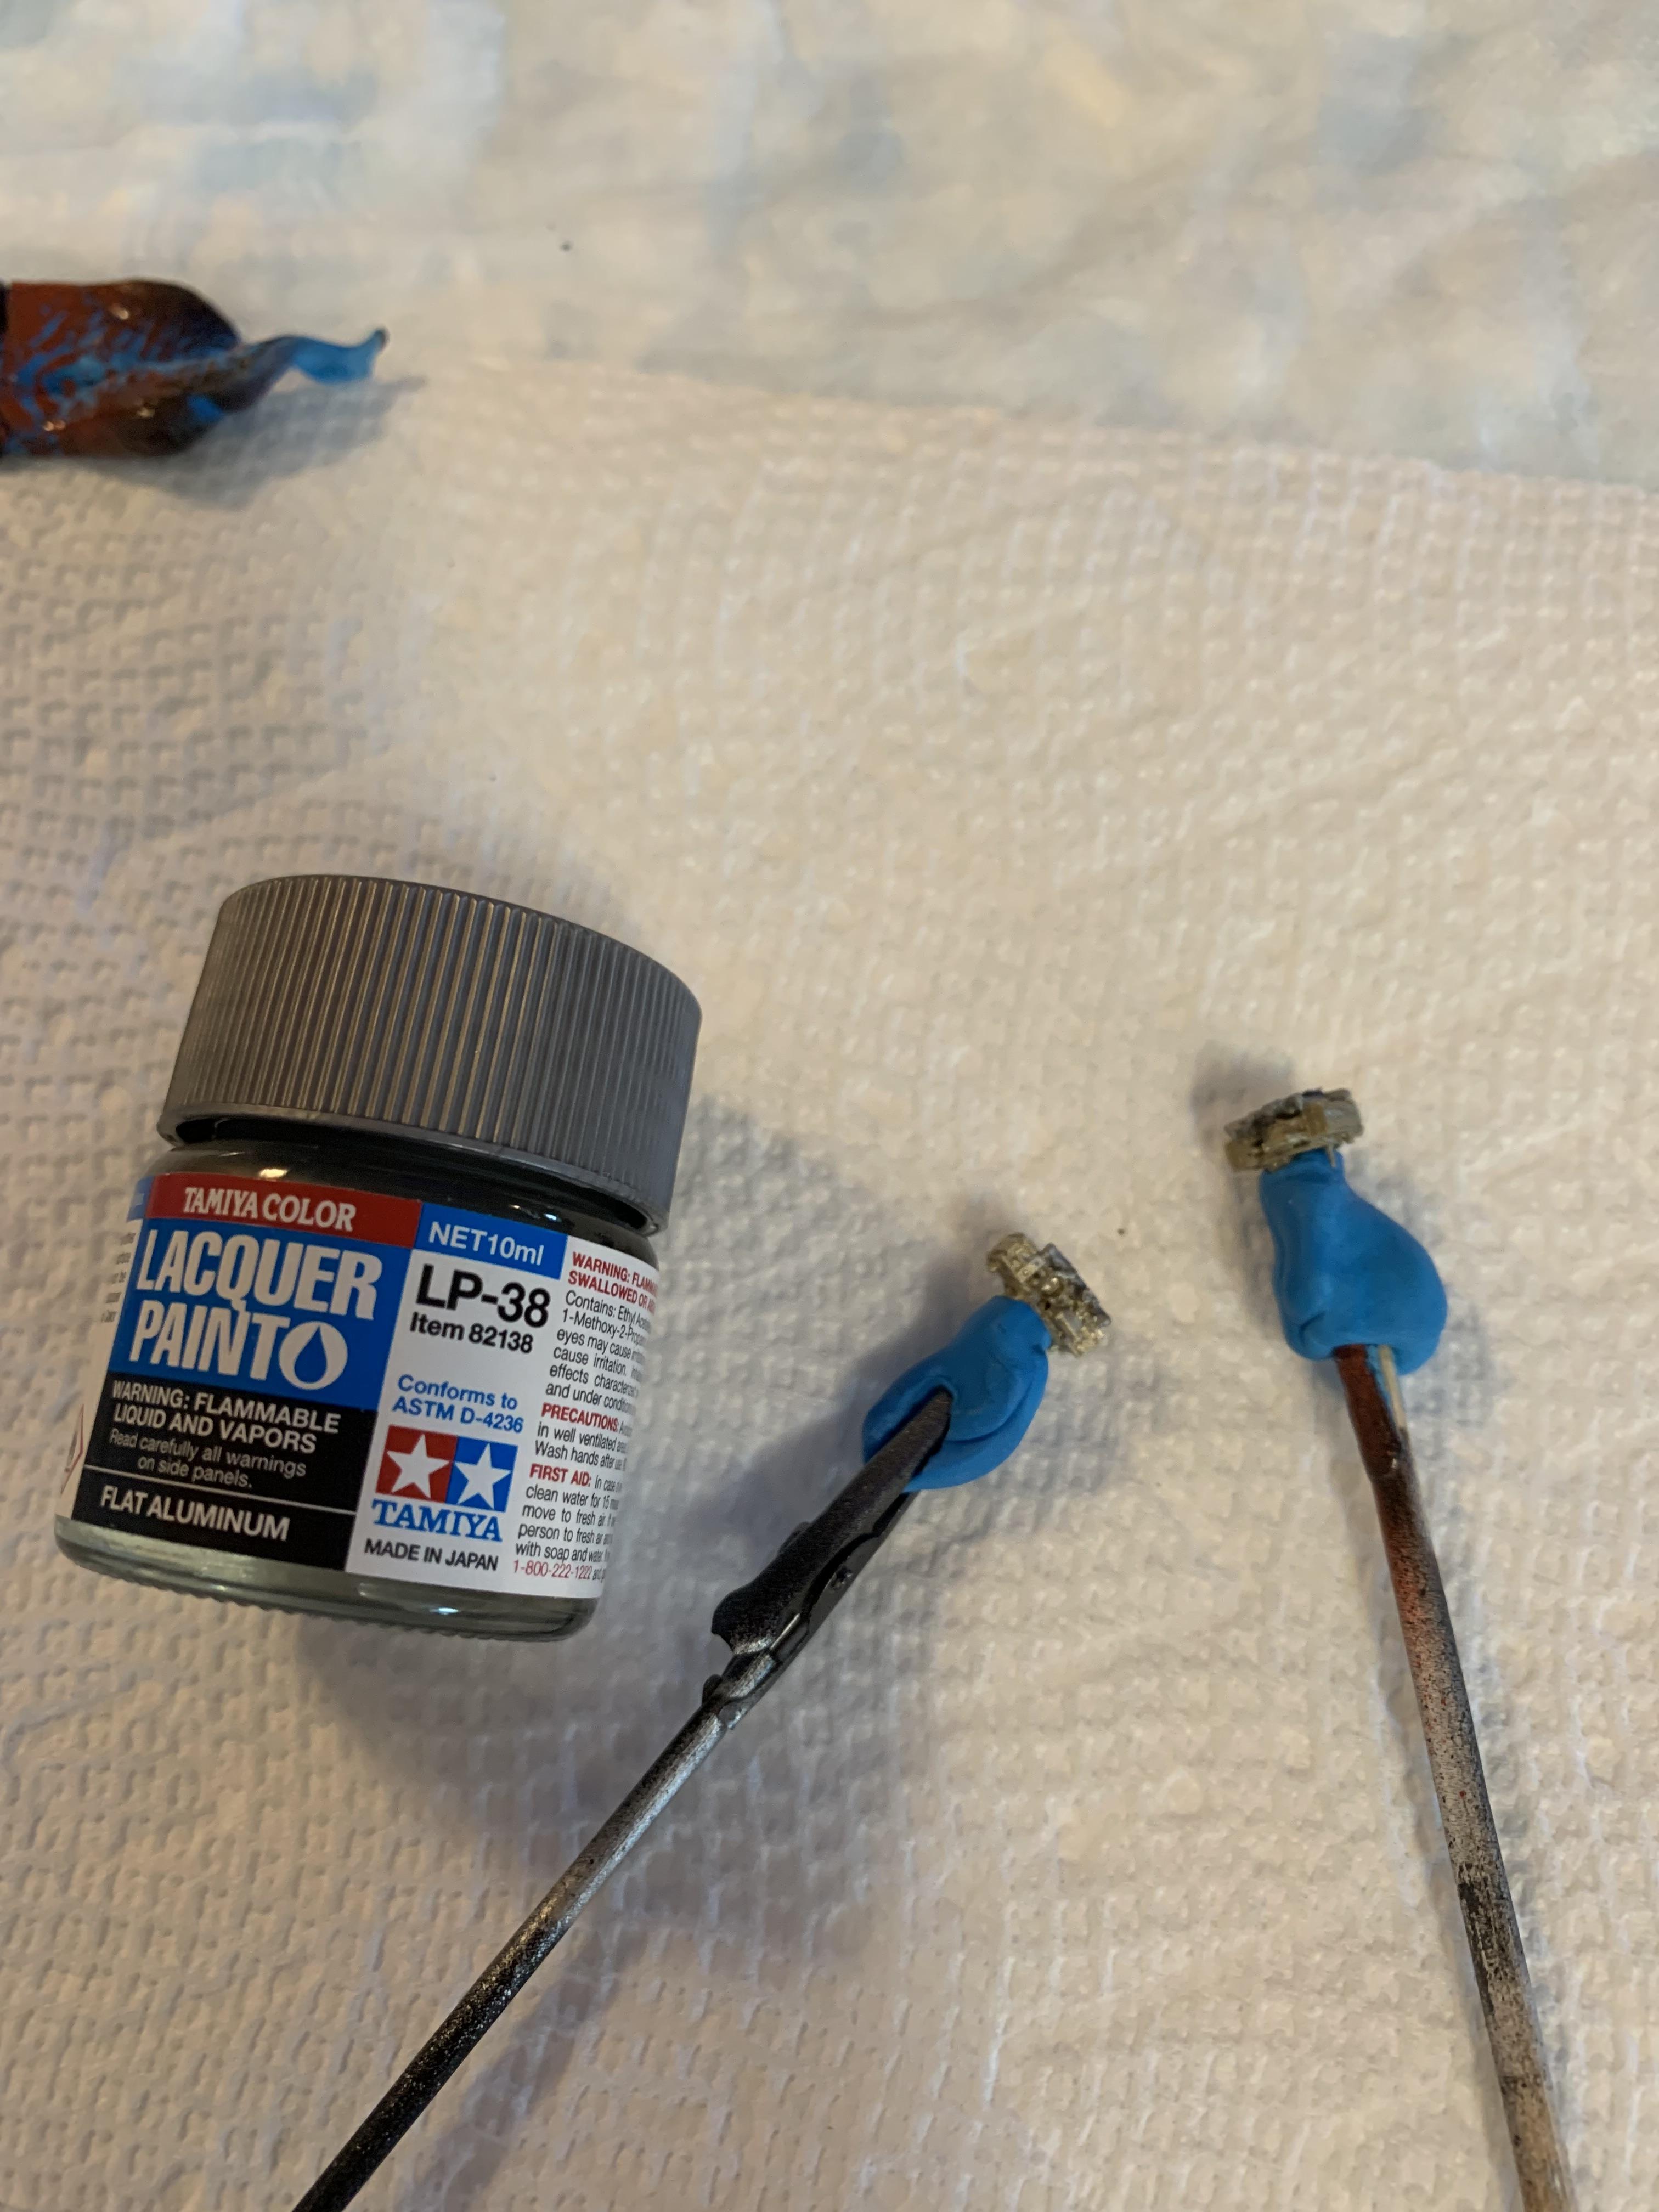
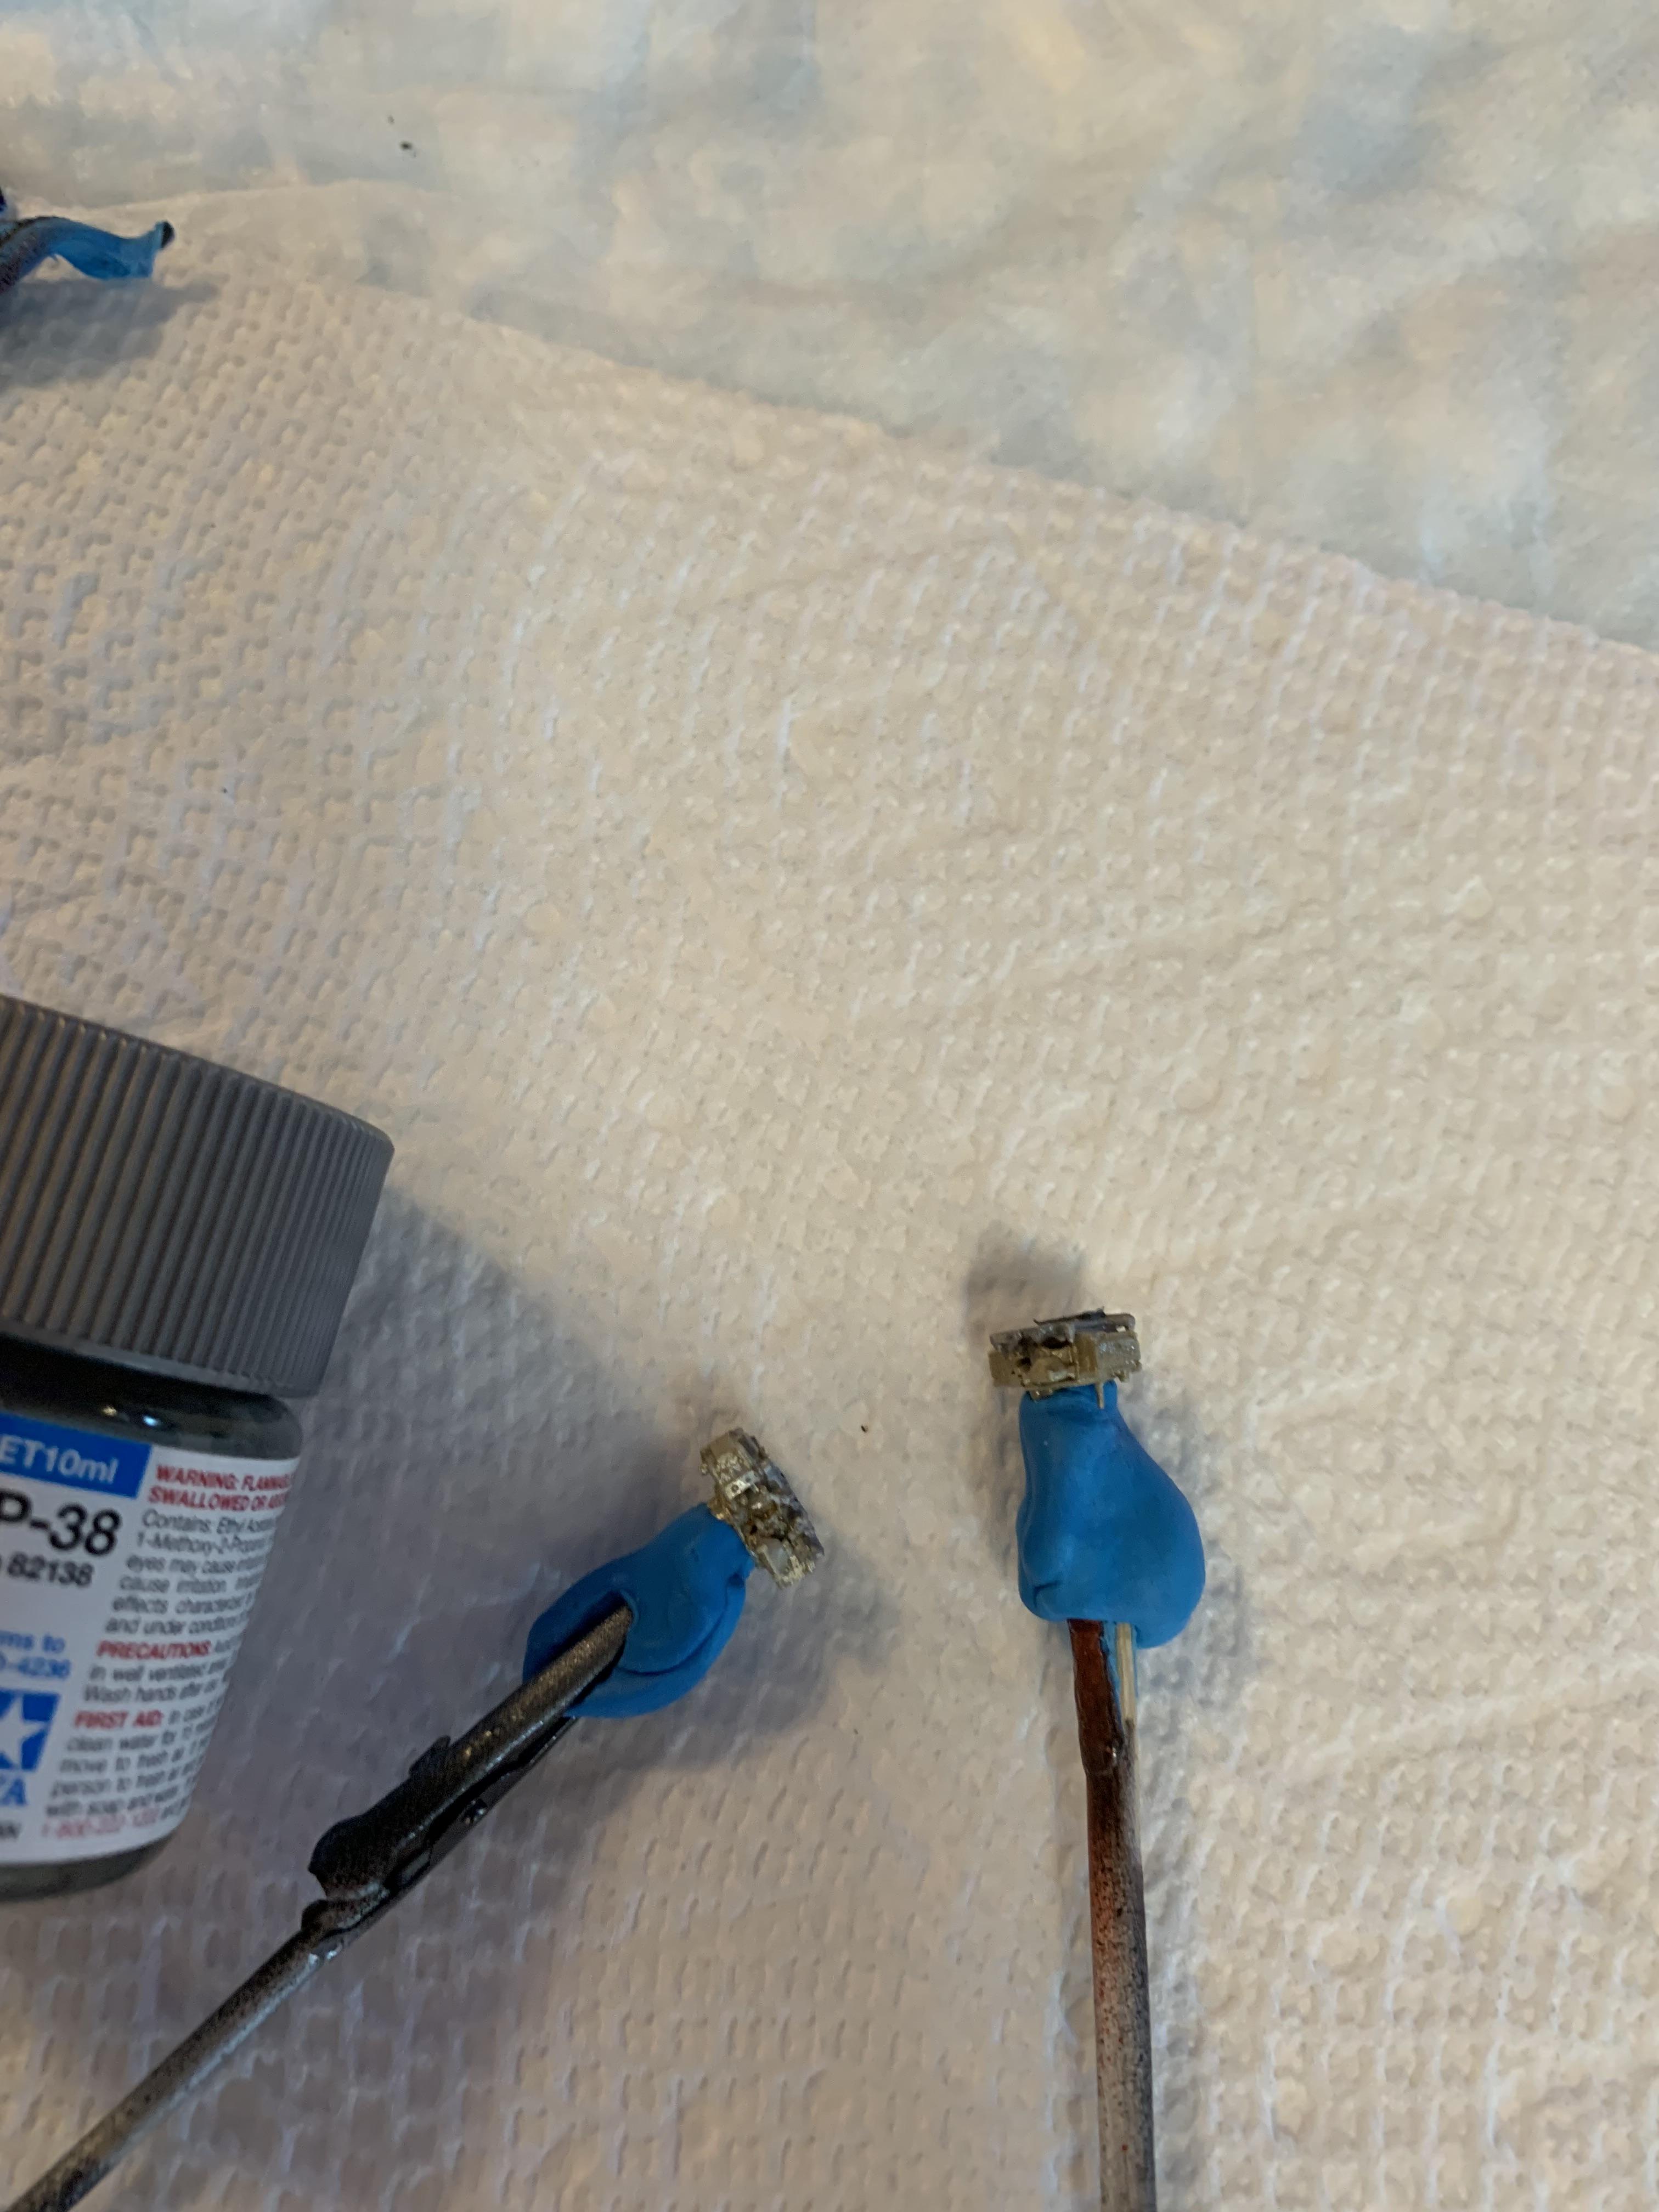
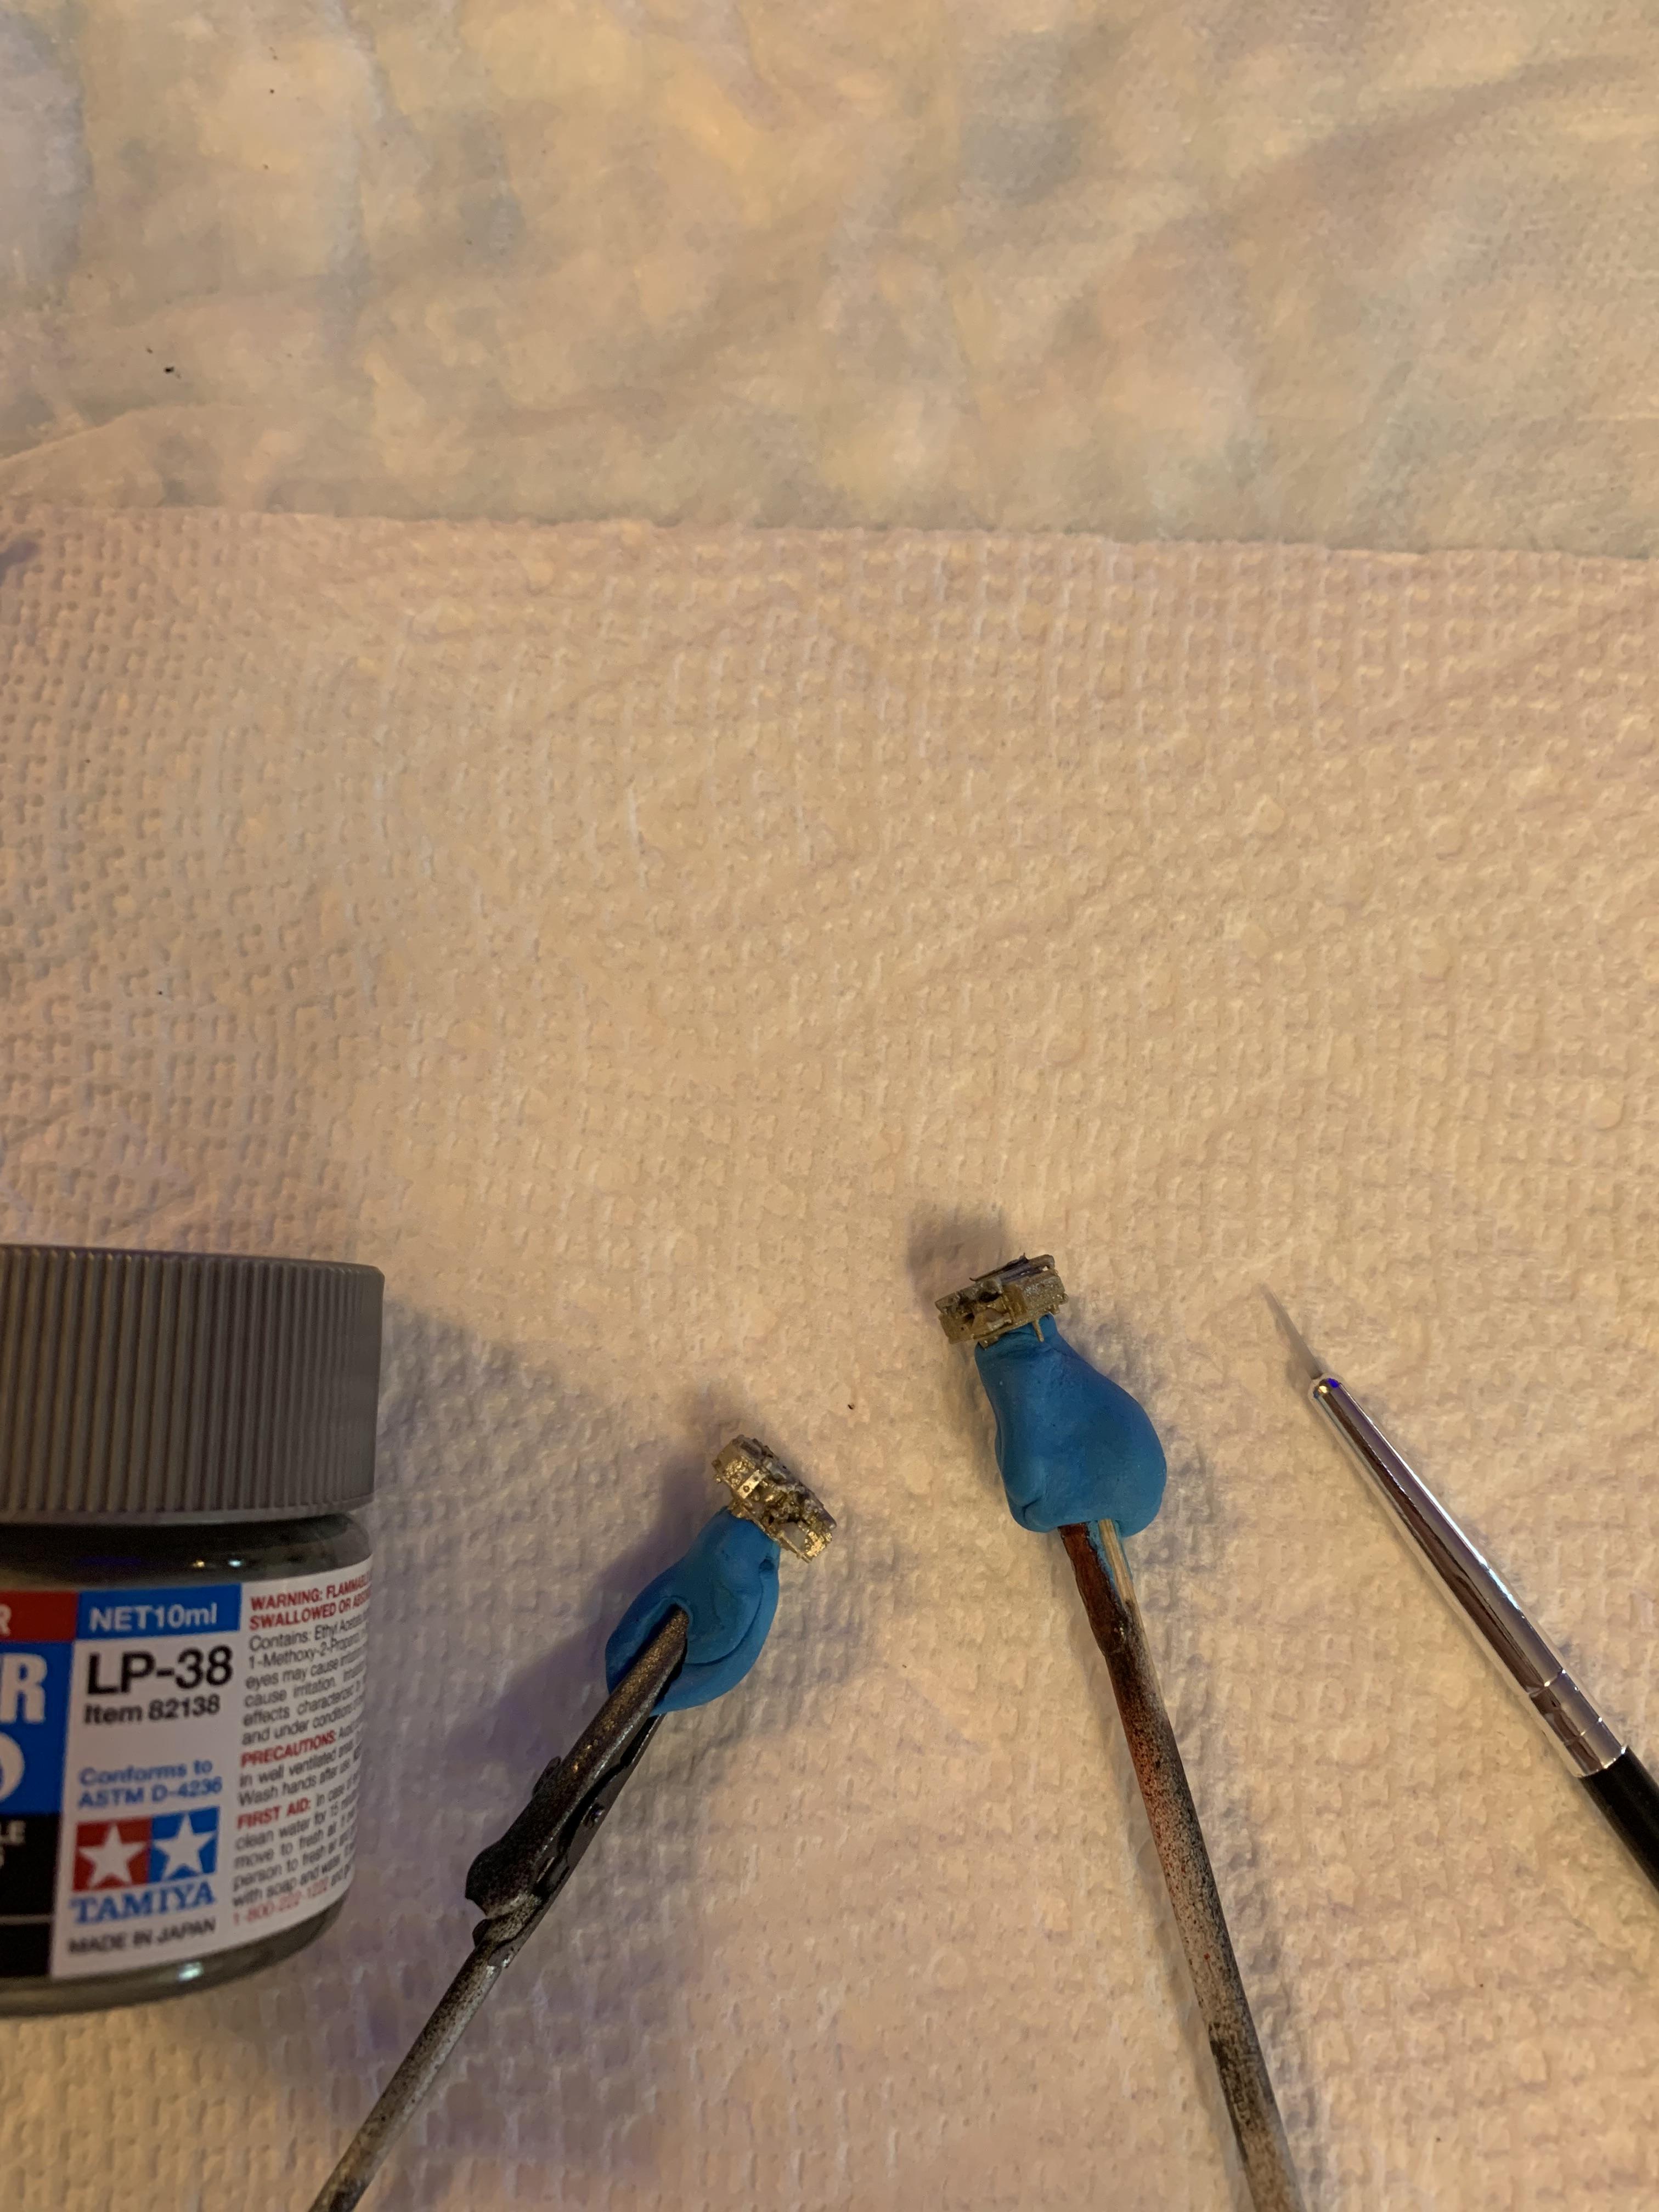
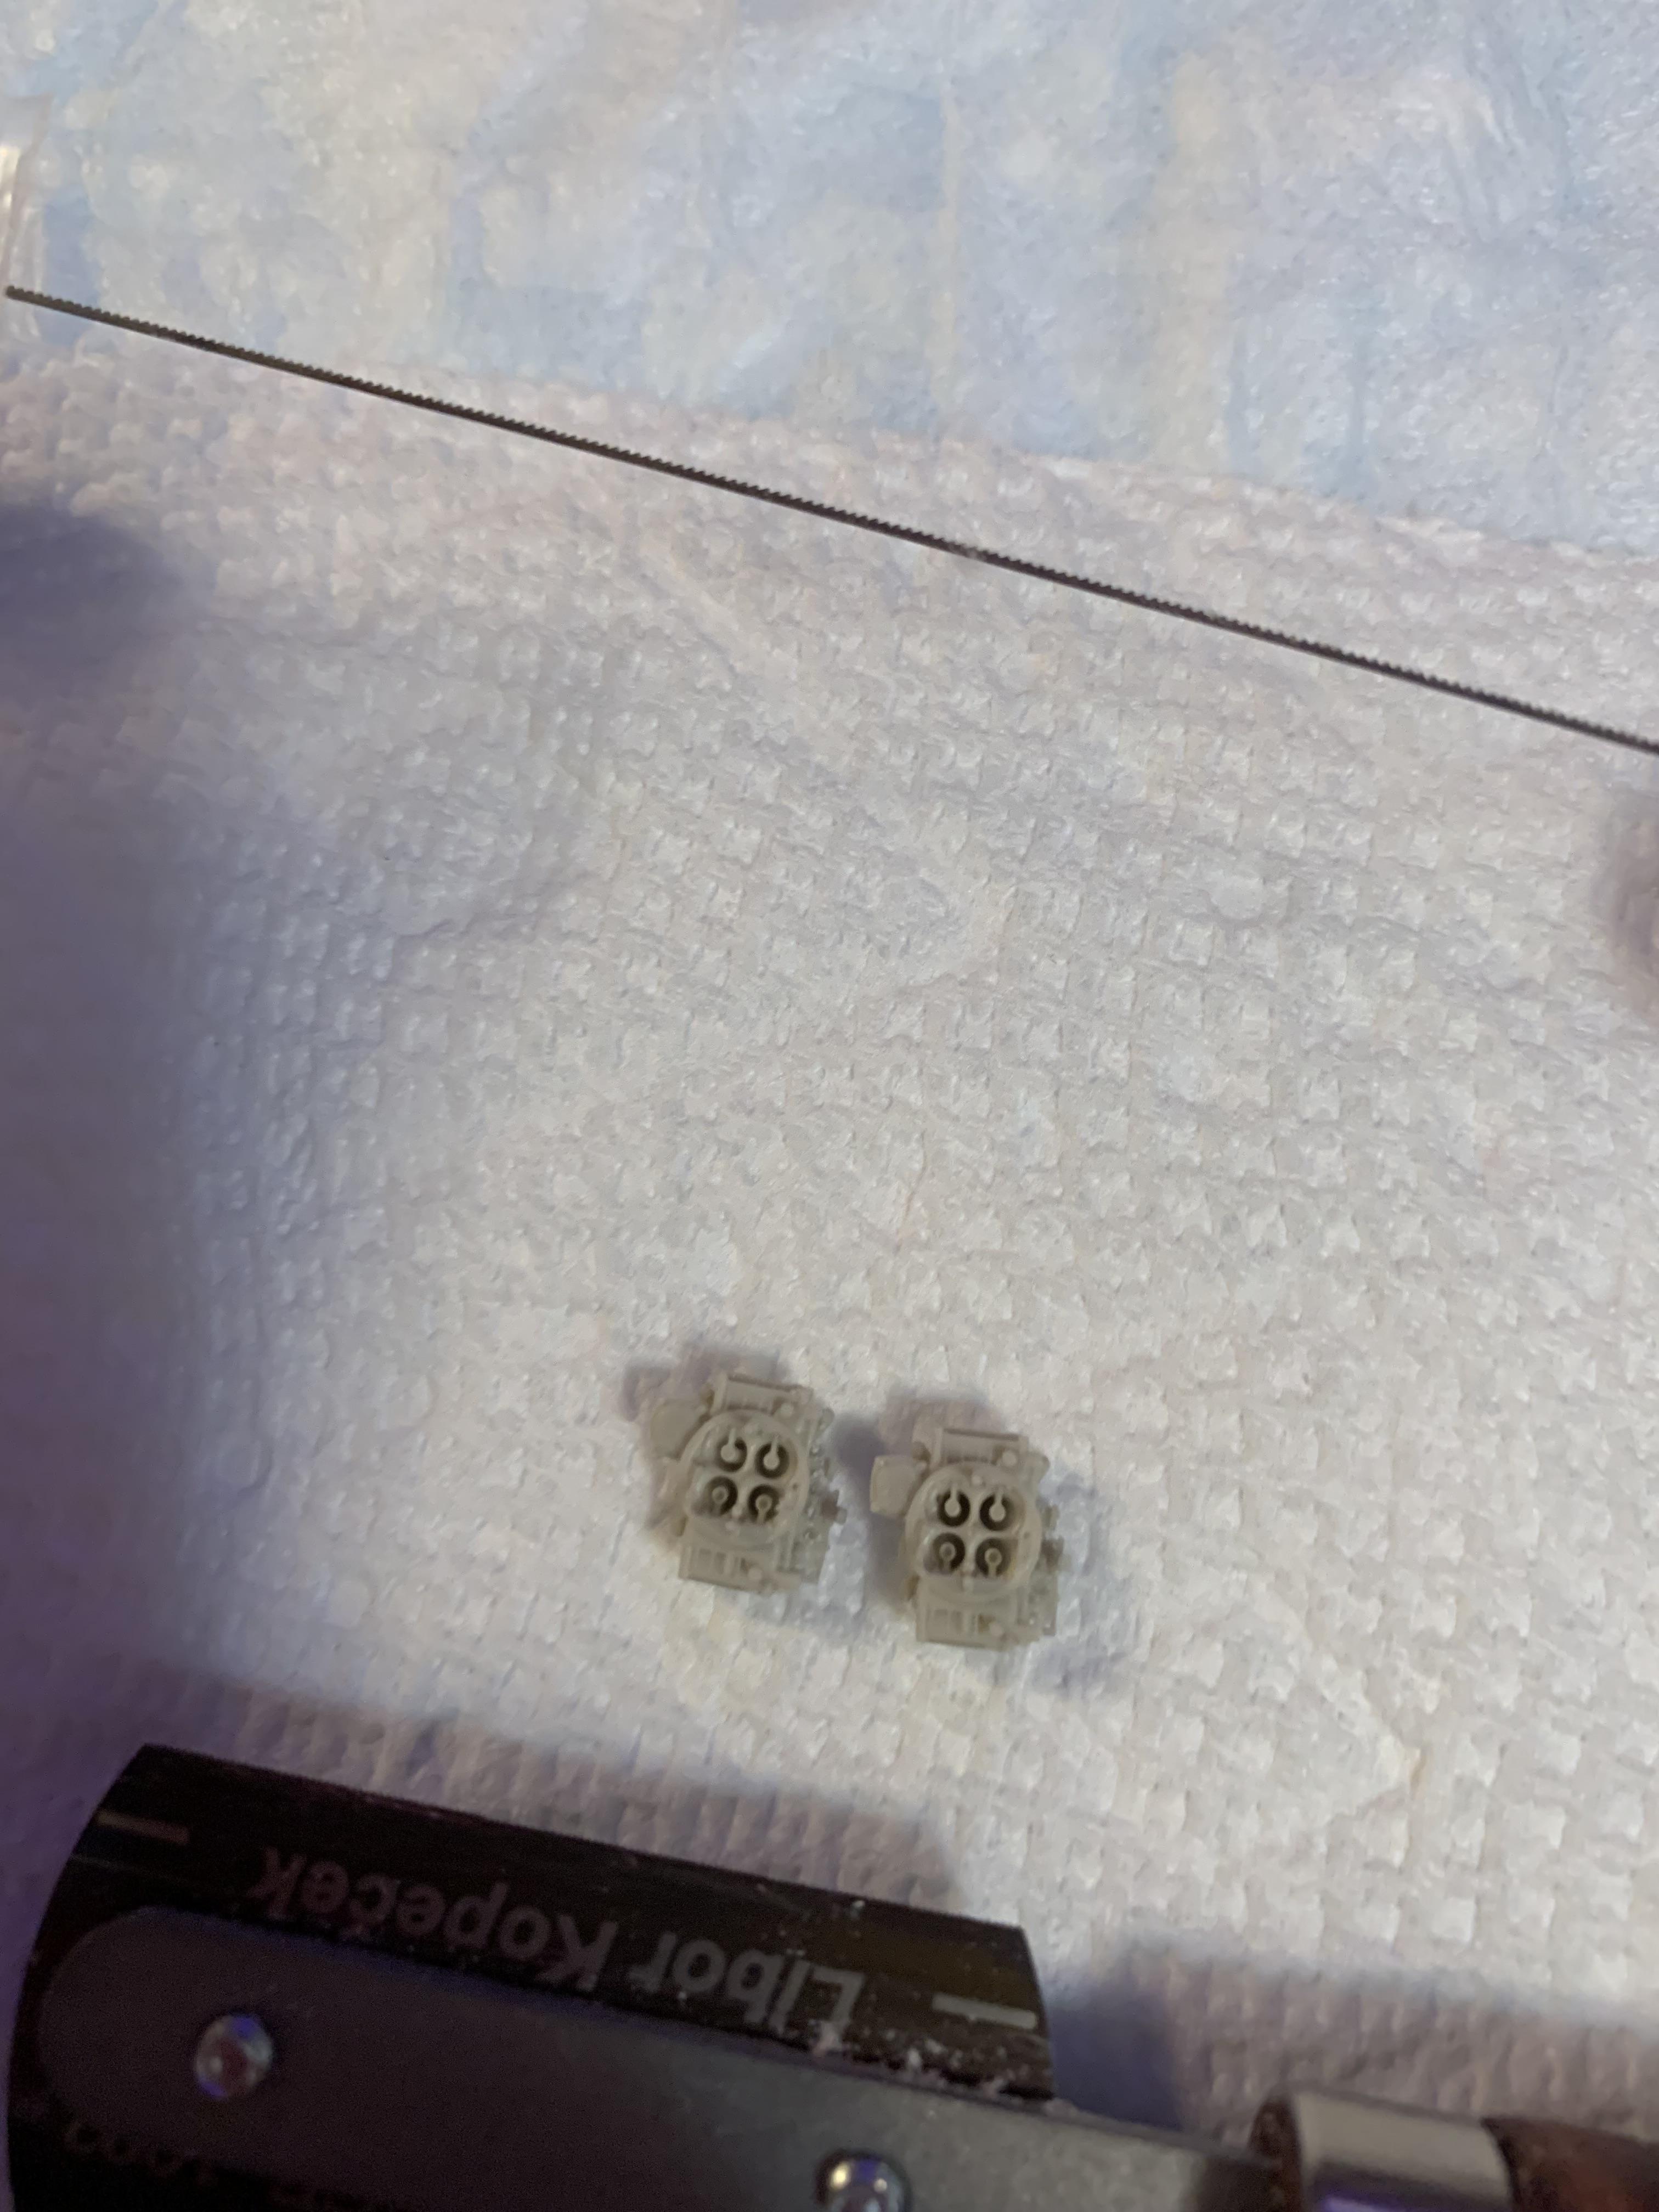
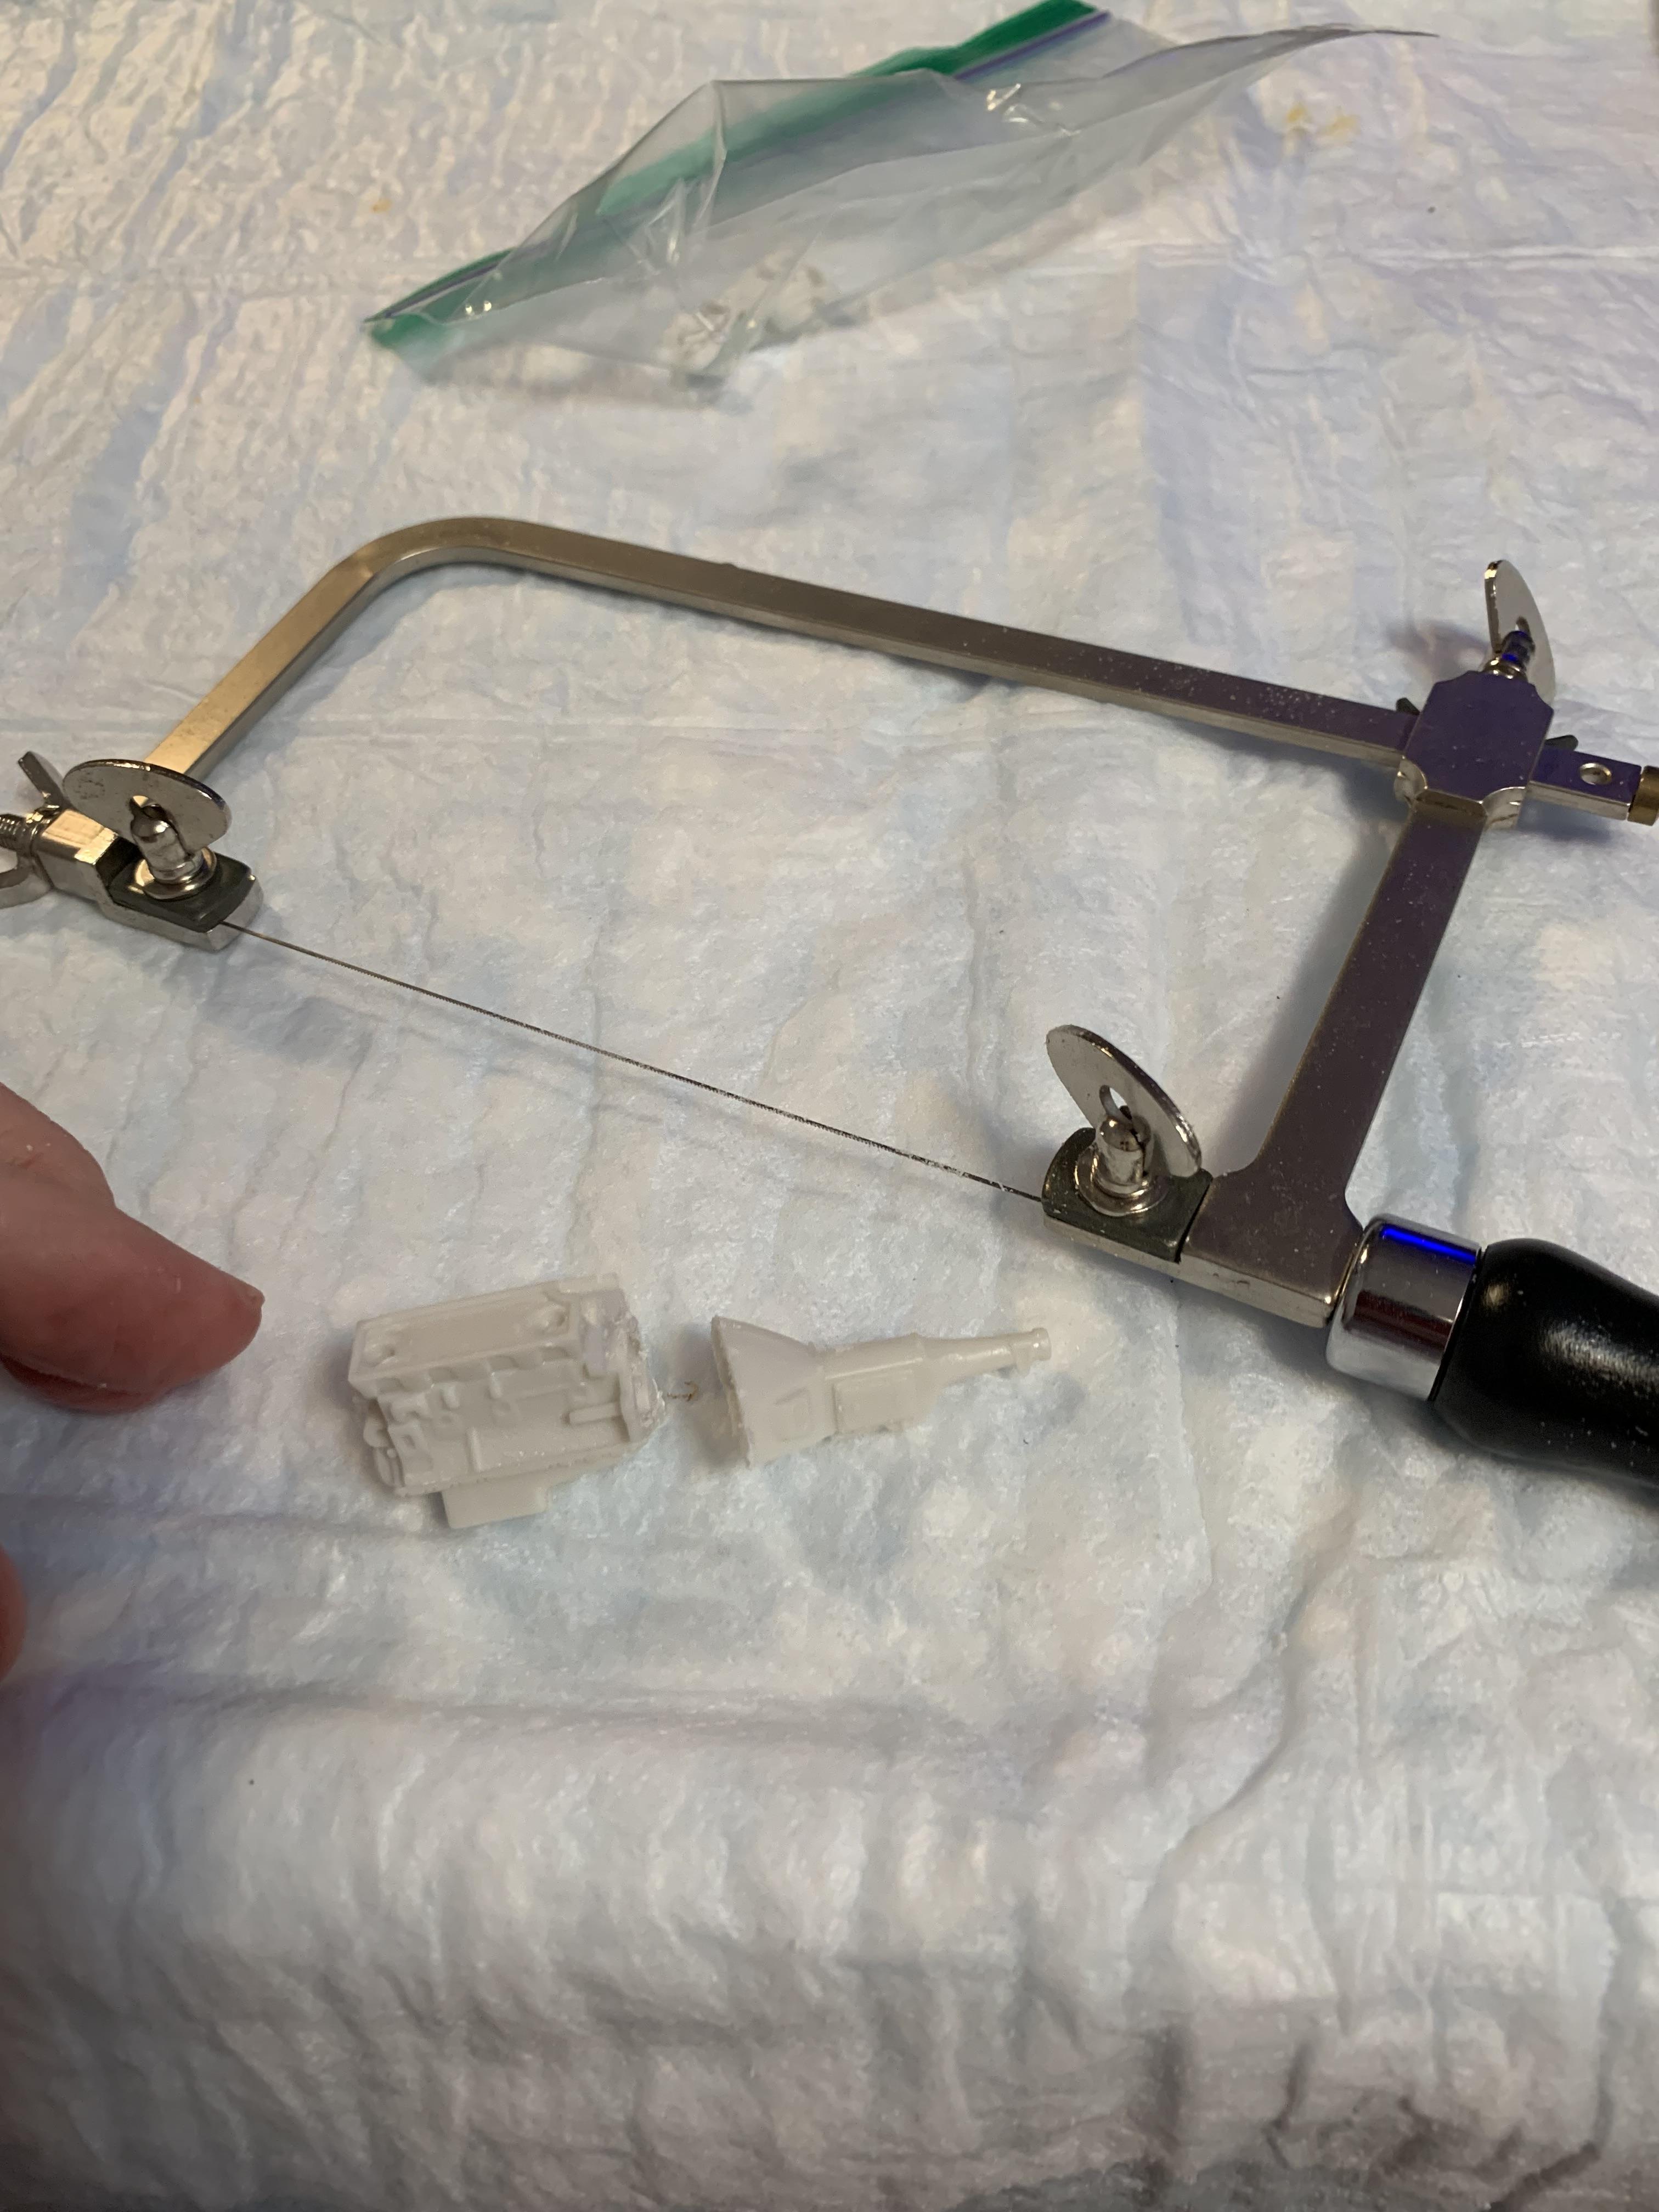
Cut off a couple of those awesome fireballmodelworks carbs. Tried my jewelry saw first, but ended up with my great jlc saw like I did the last time I had to cut carbs off. The trick (that Chief Joseph suggests on his web site) is to cut halfway through, then, flip to the other side, to finish.
-
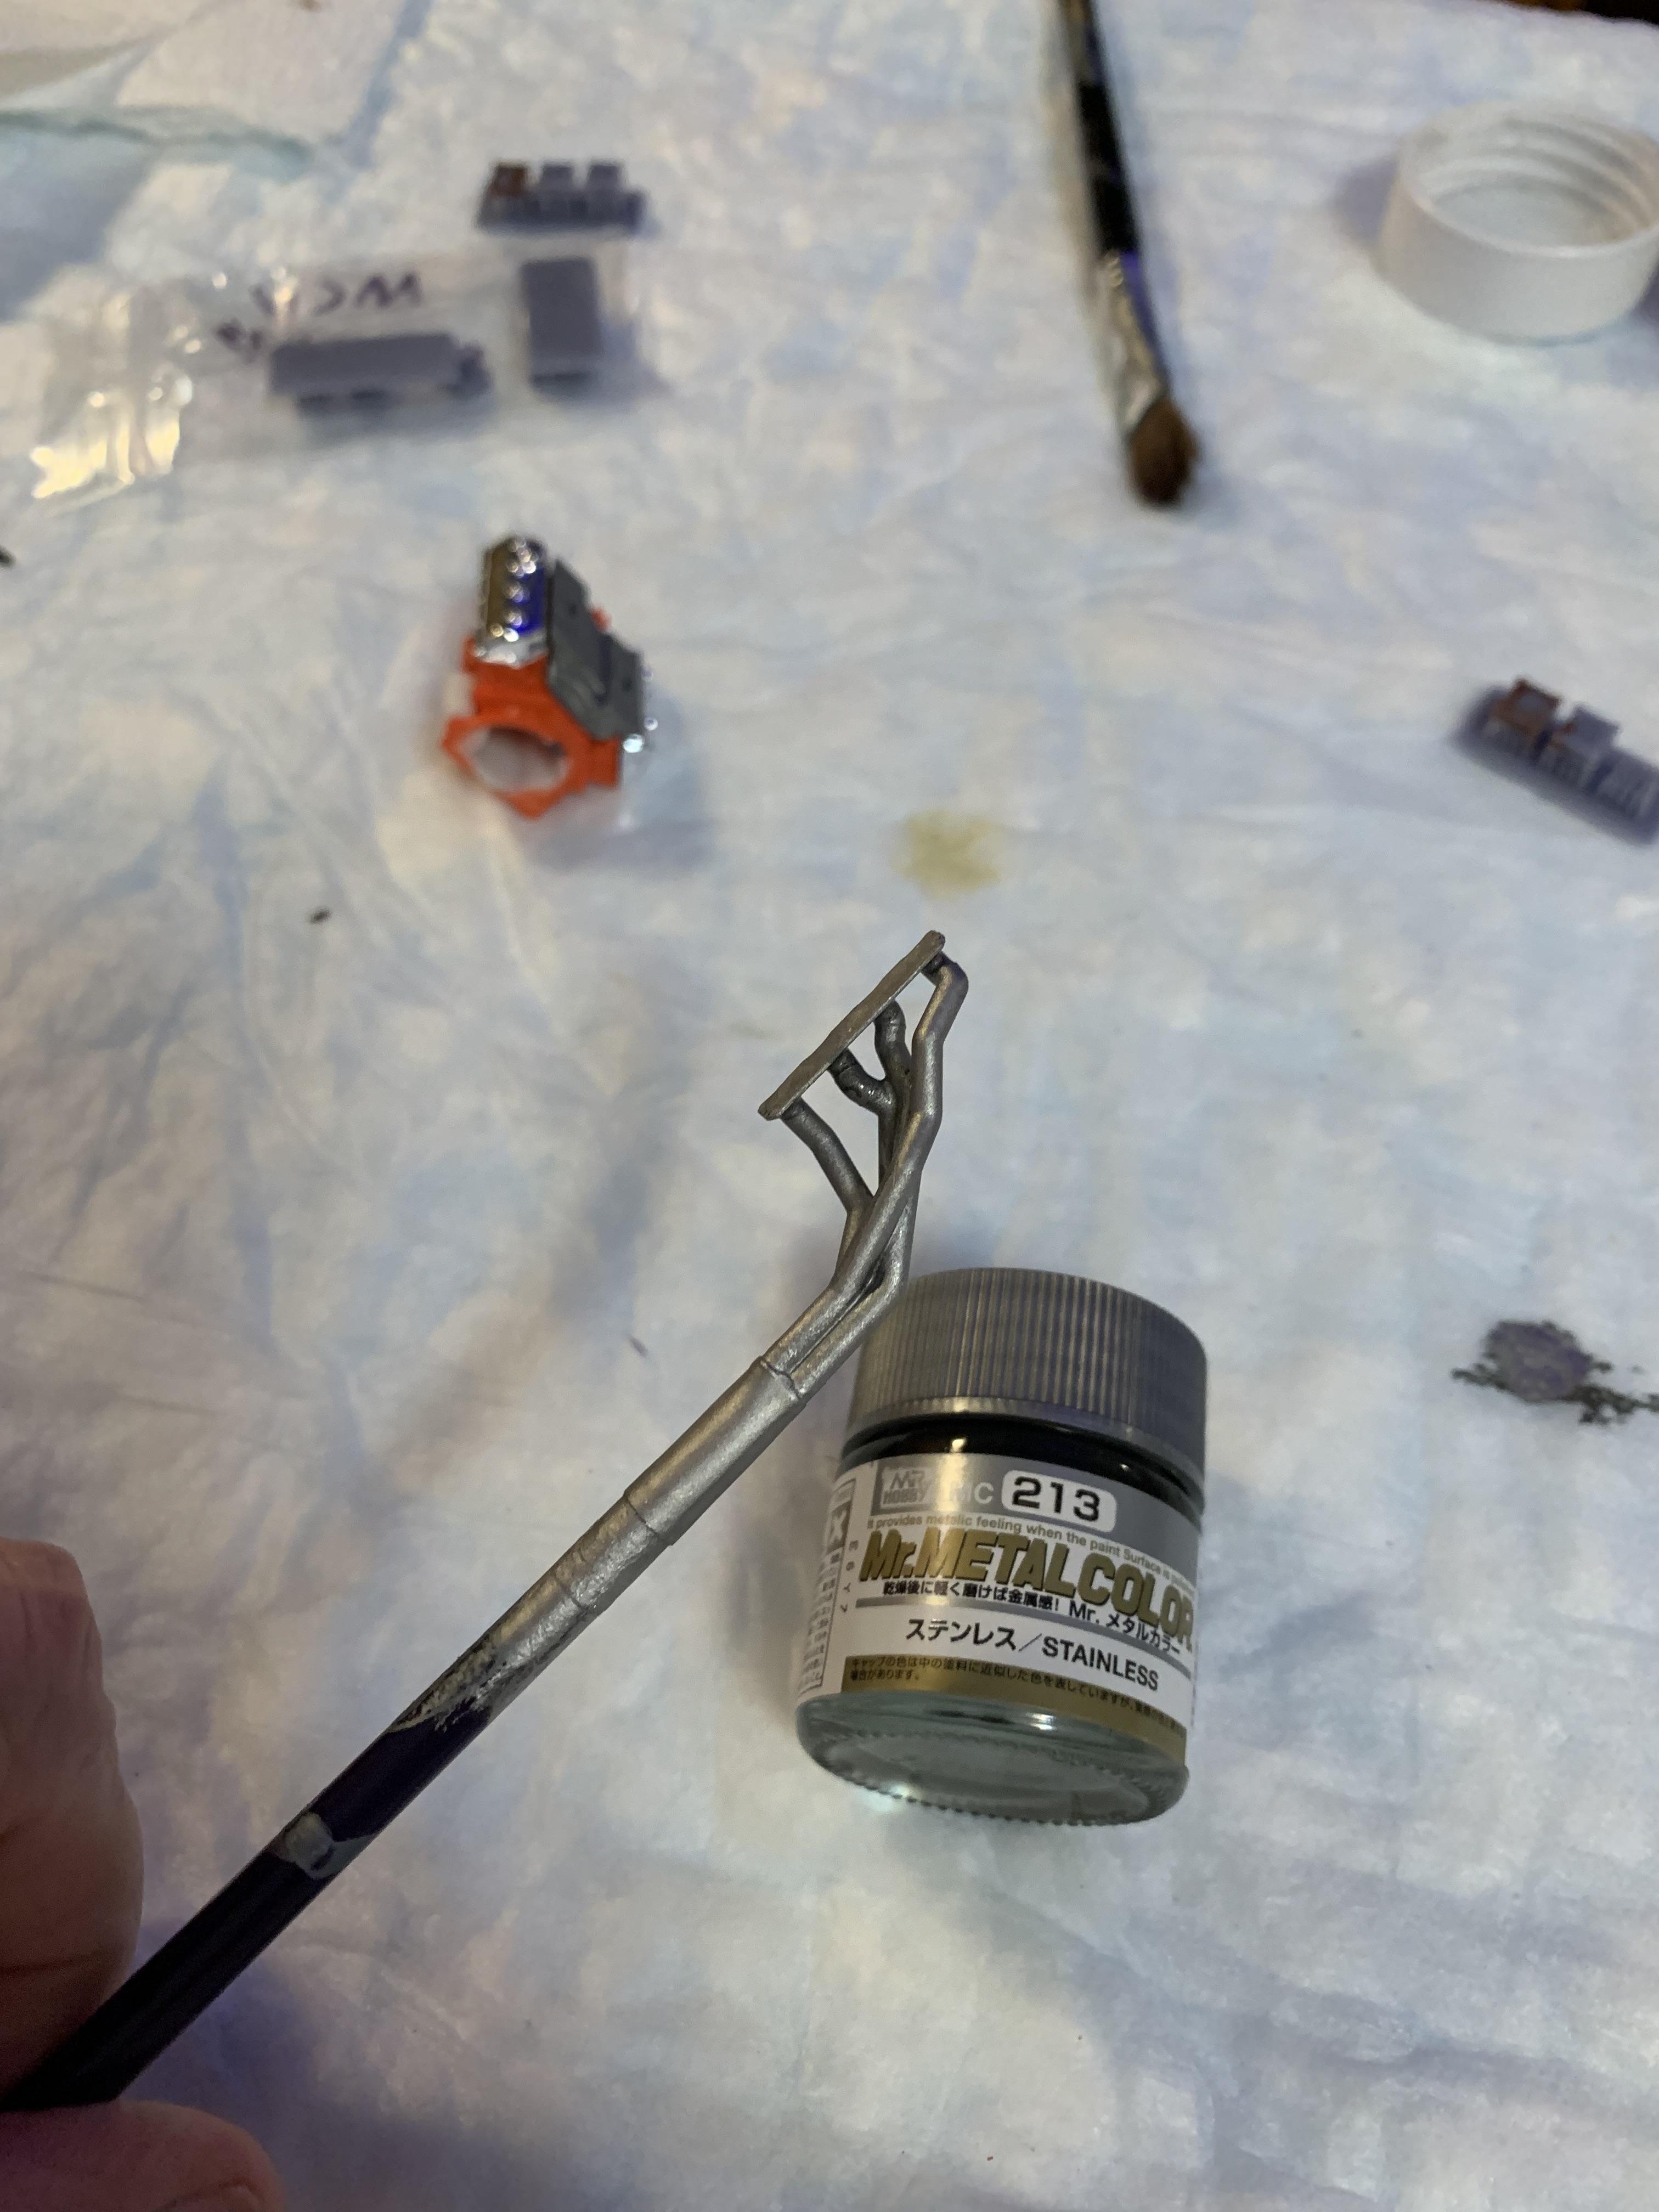
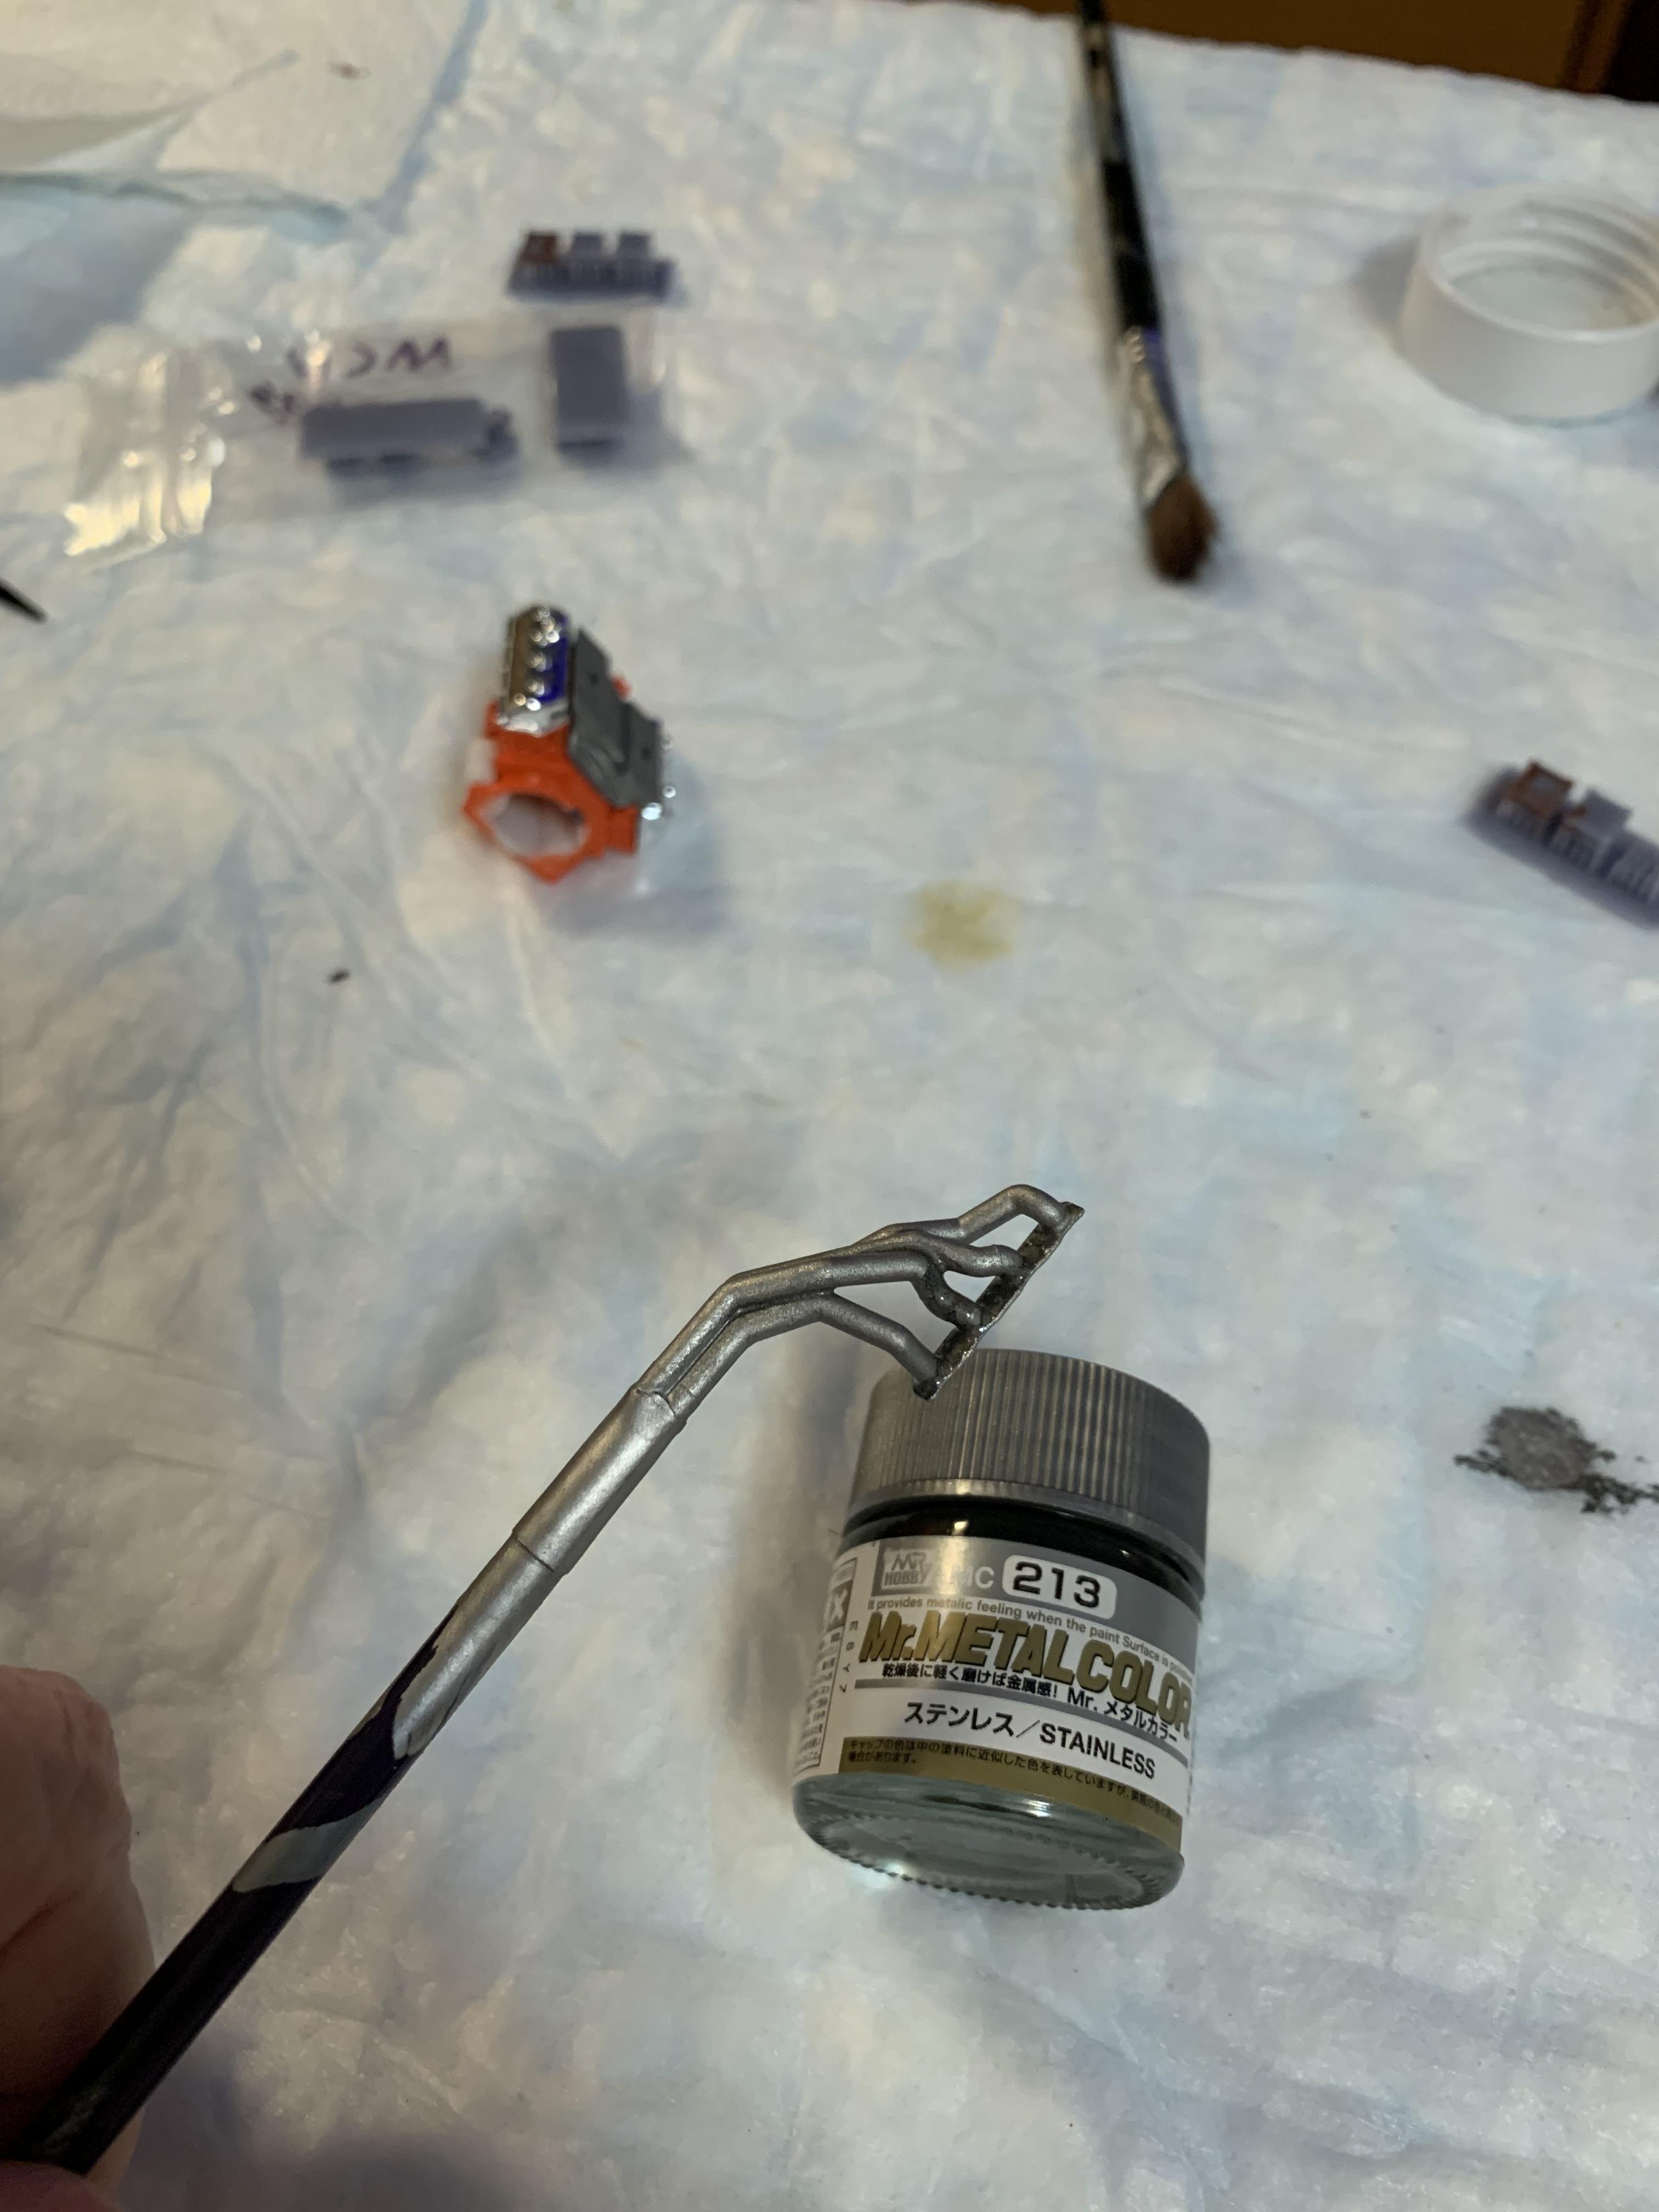
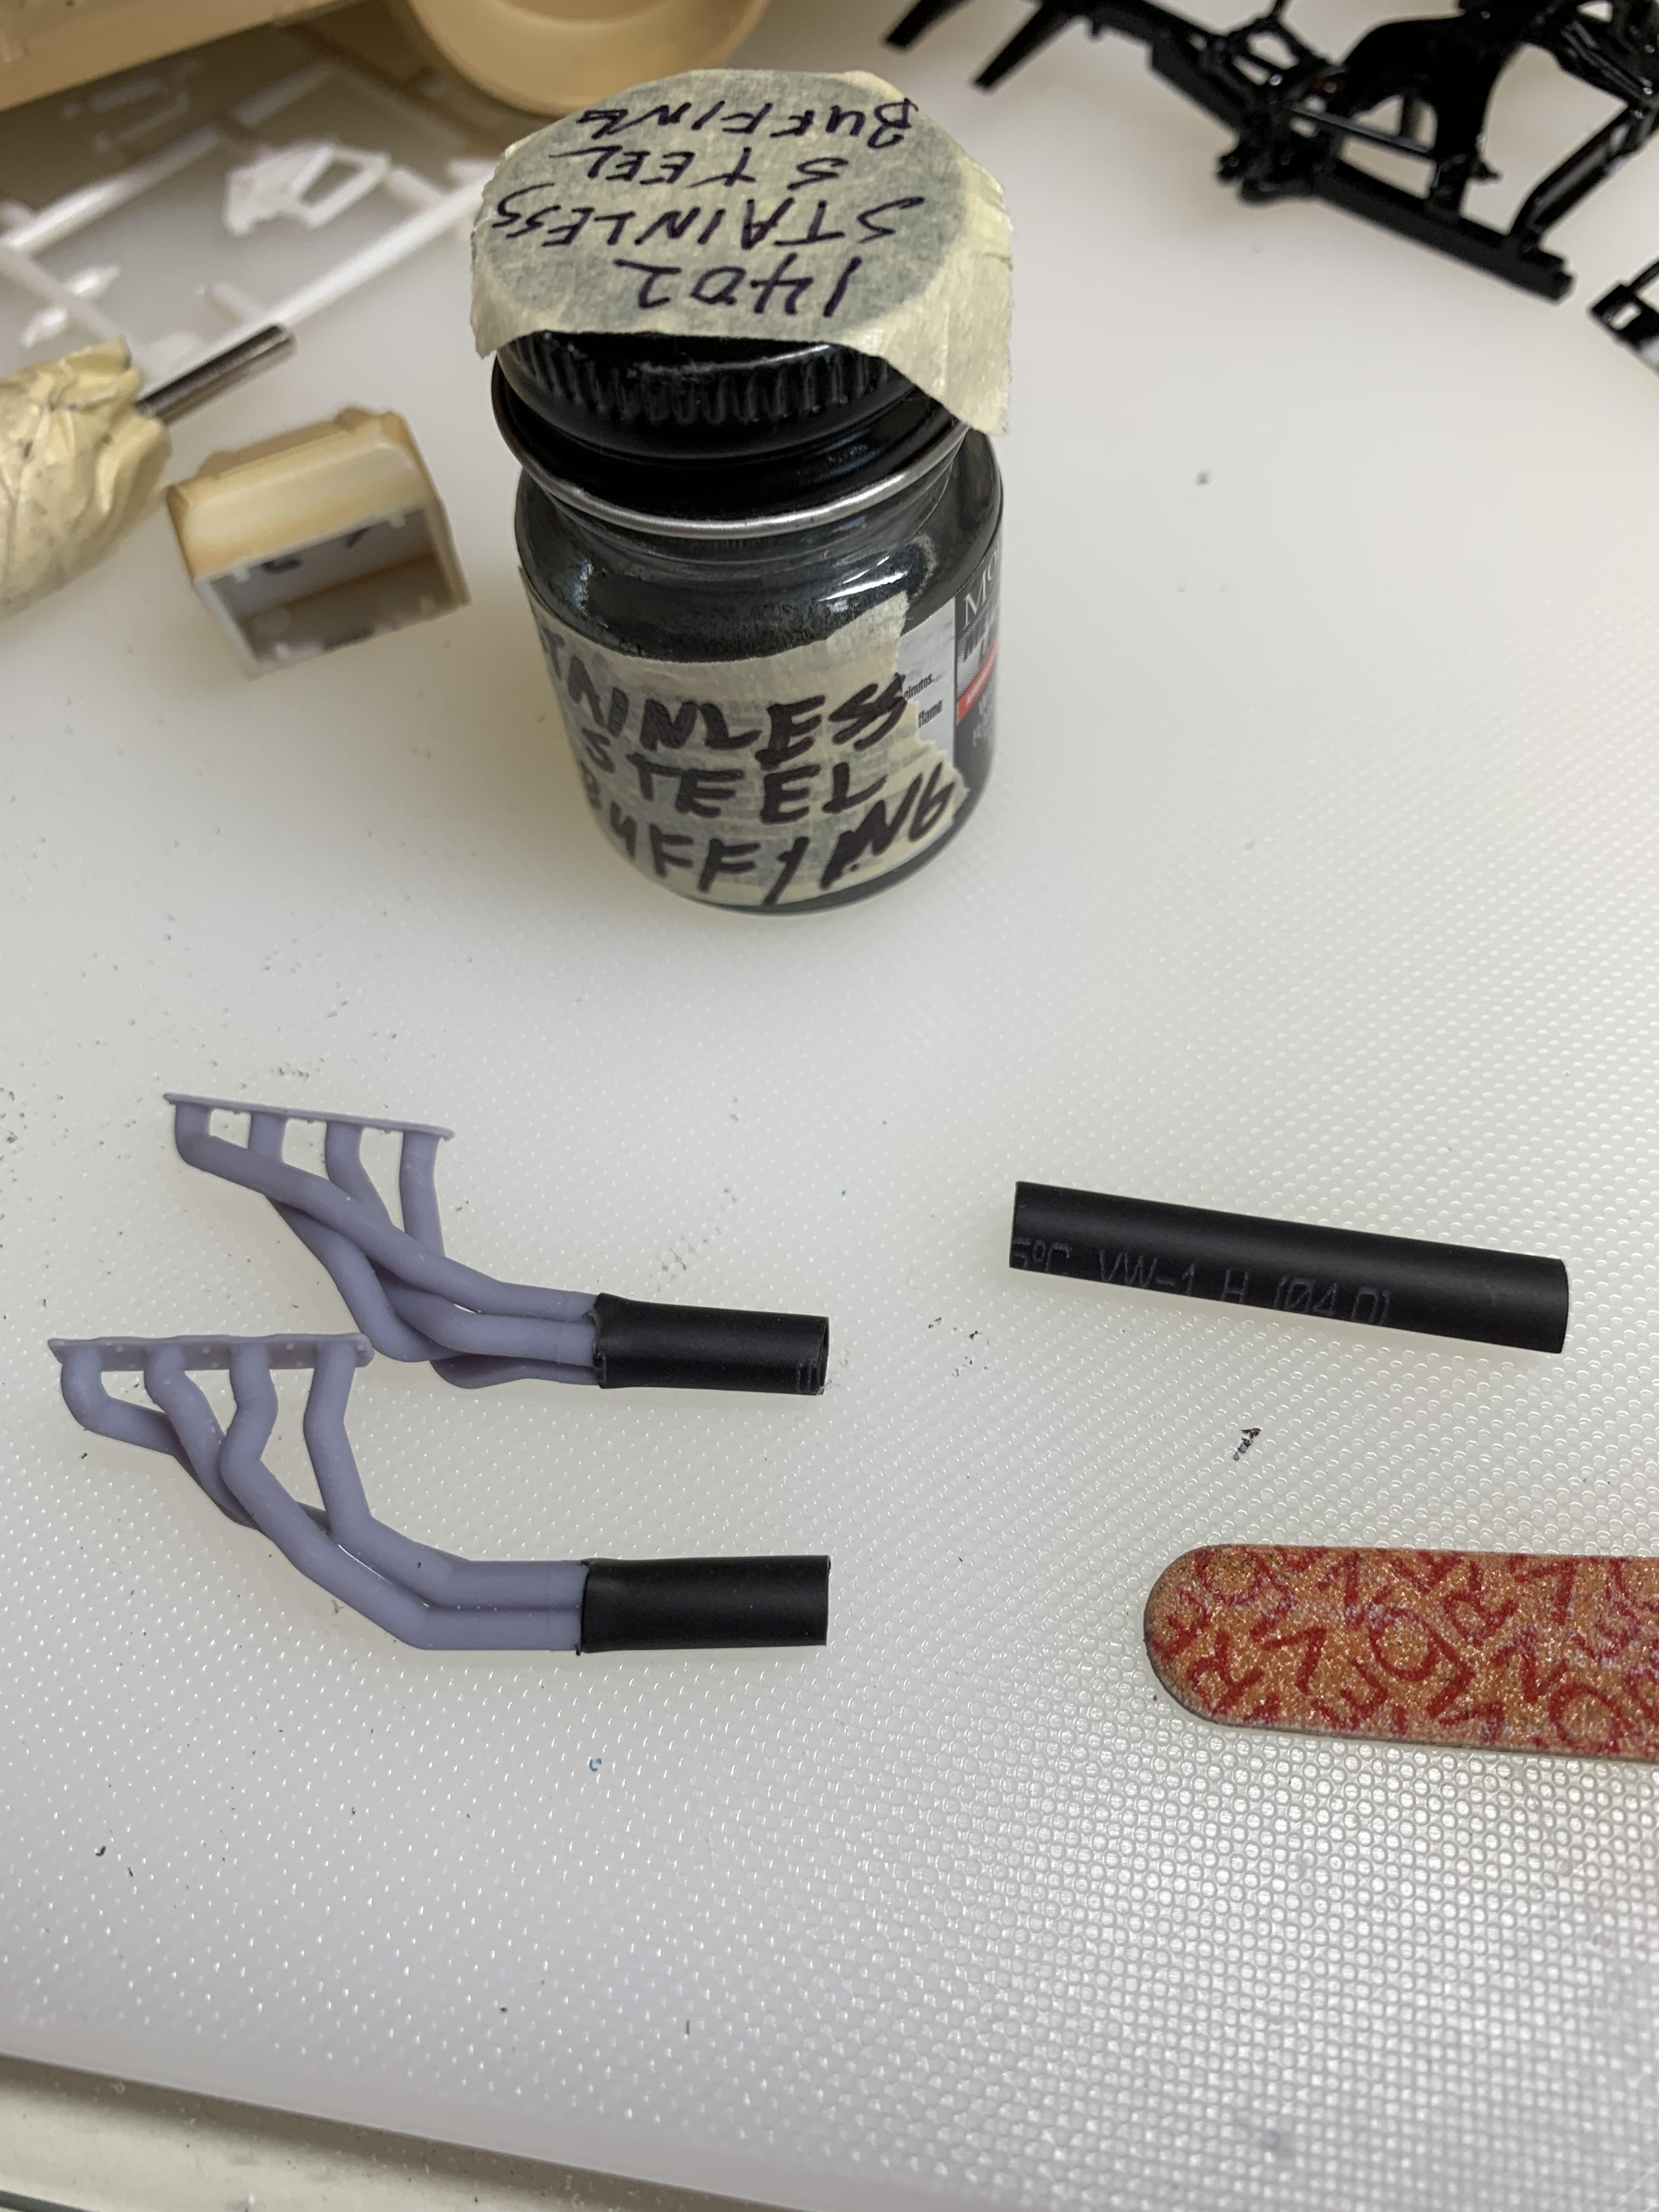
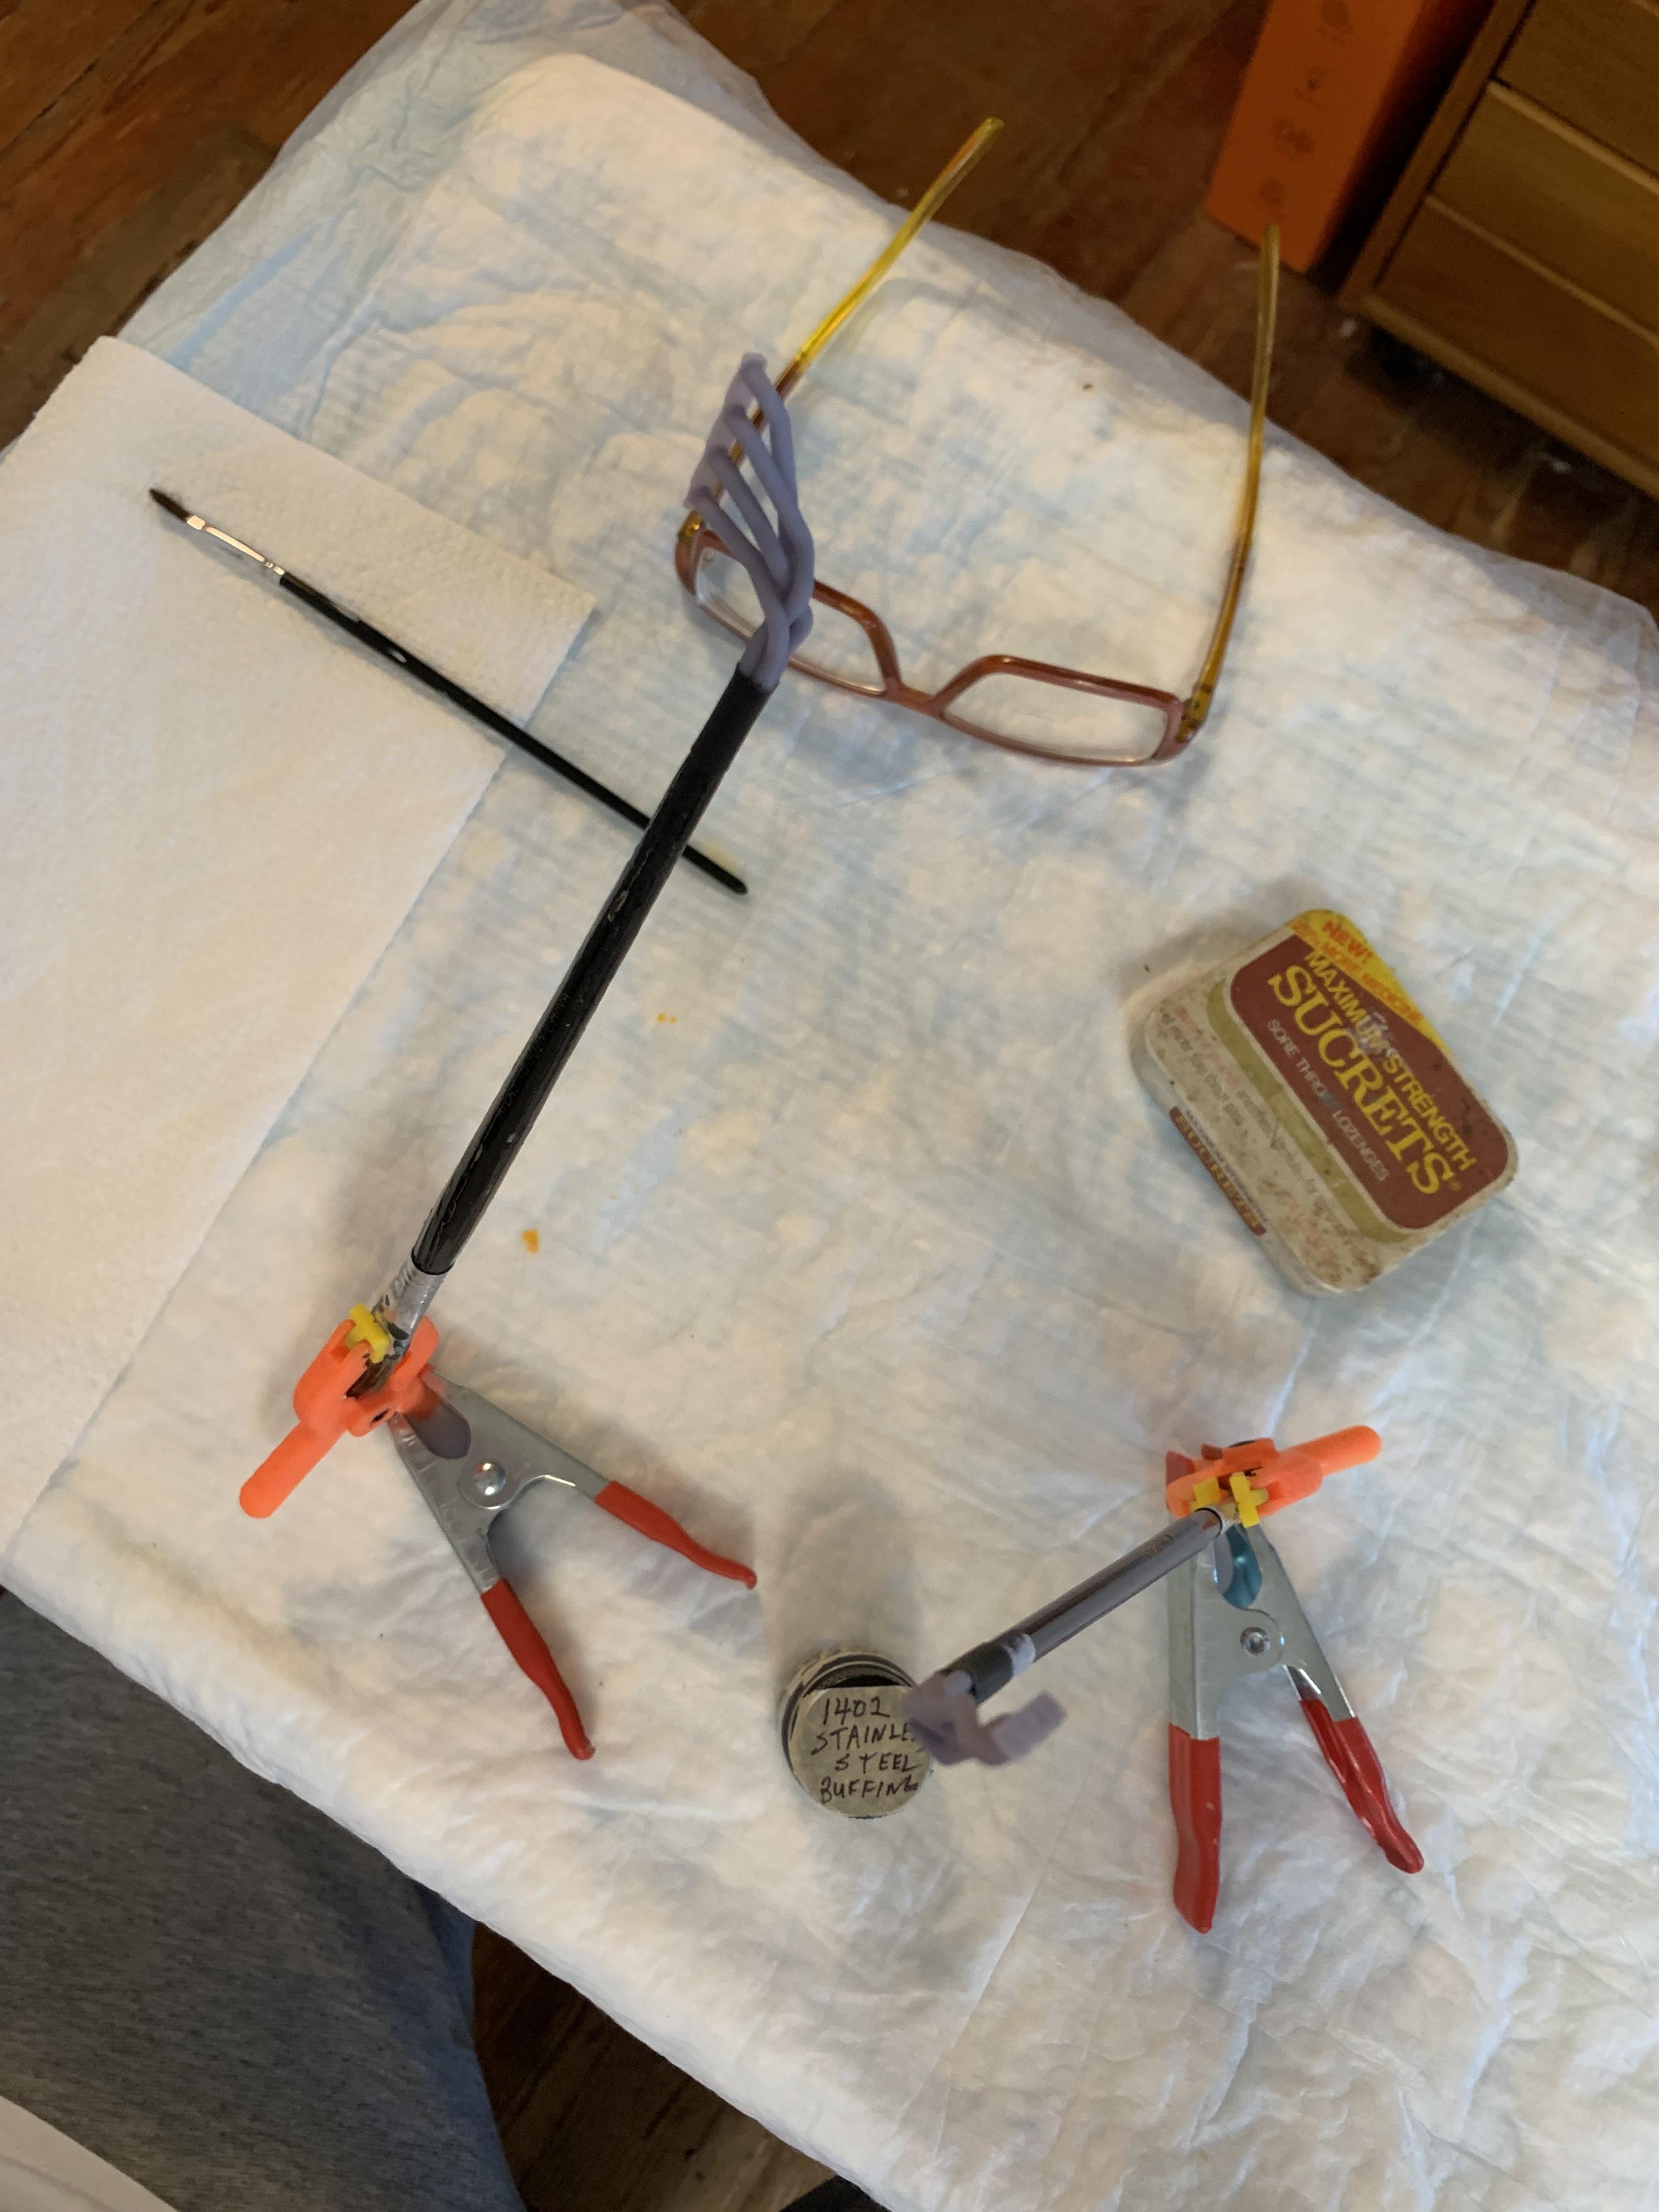
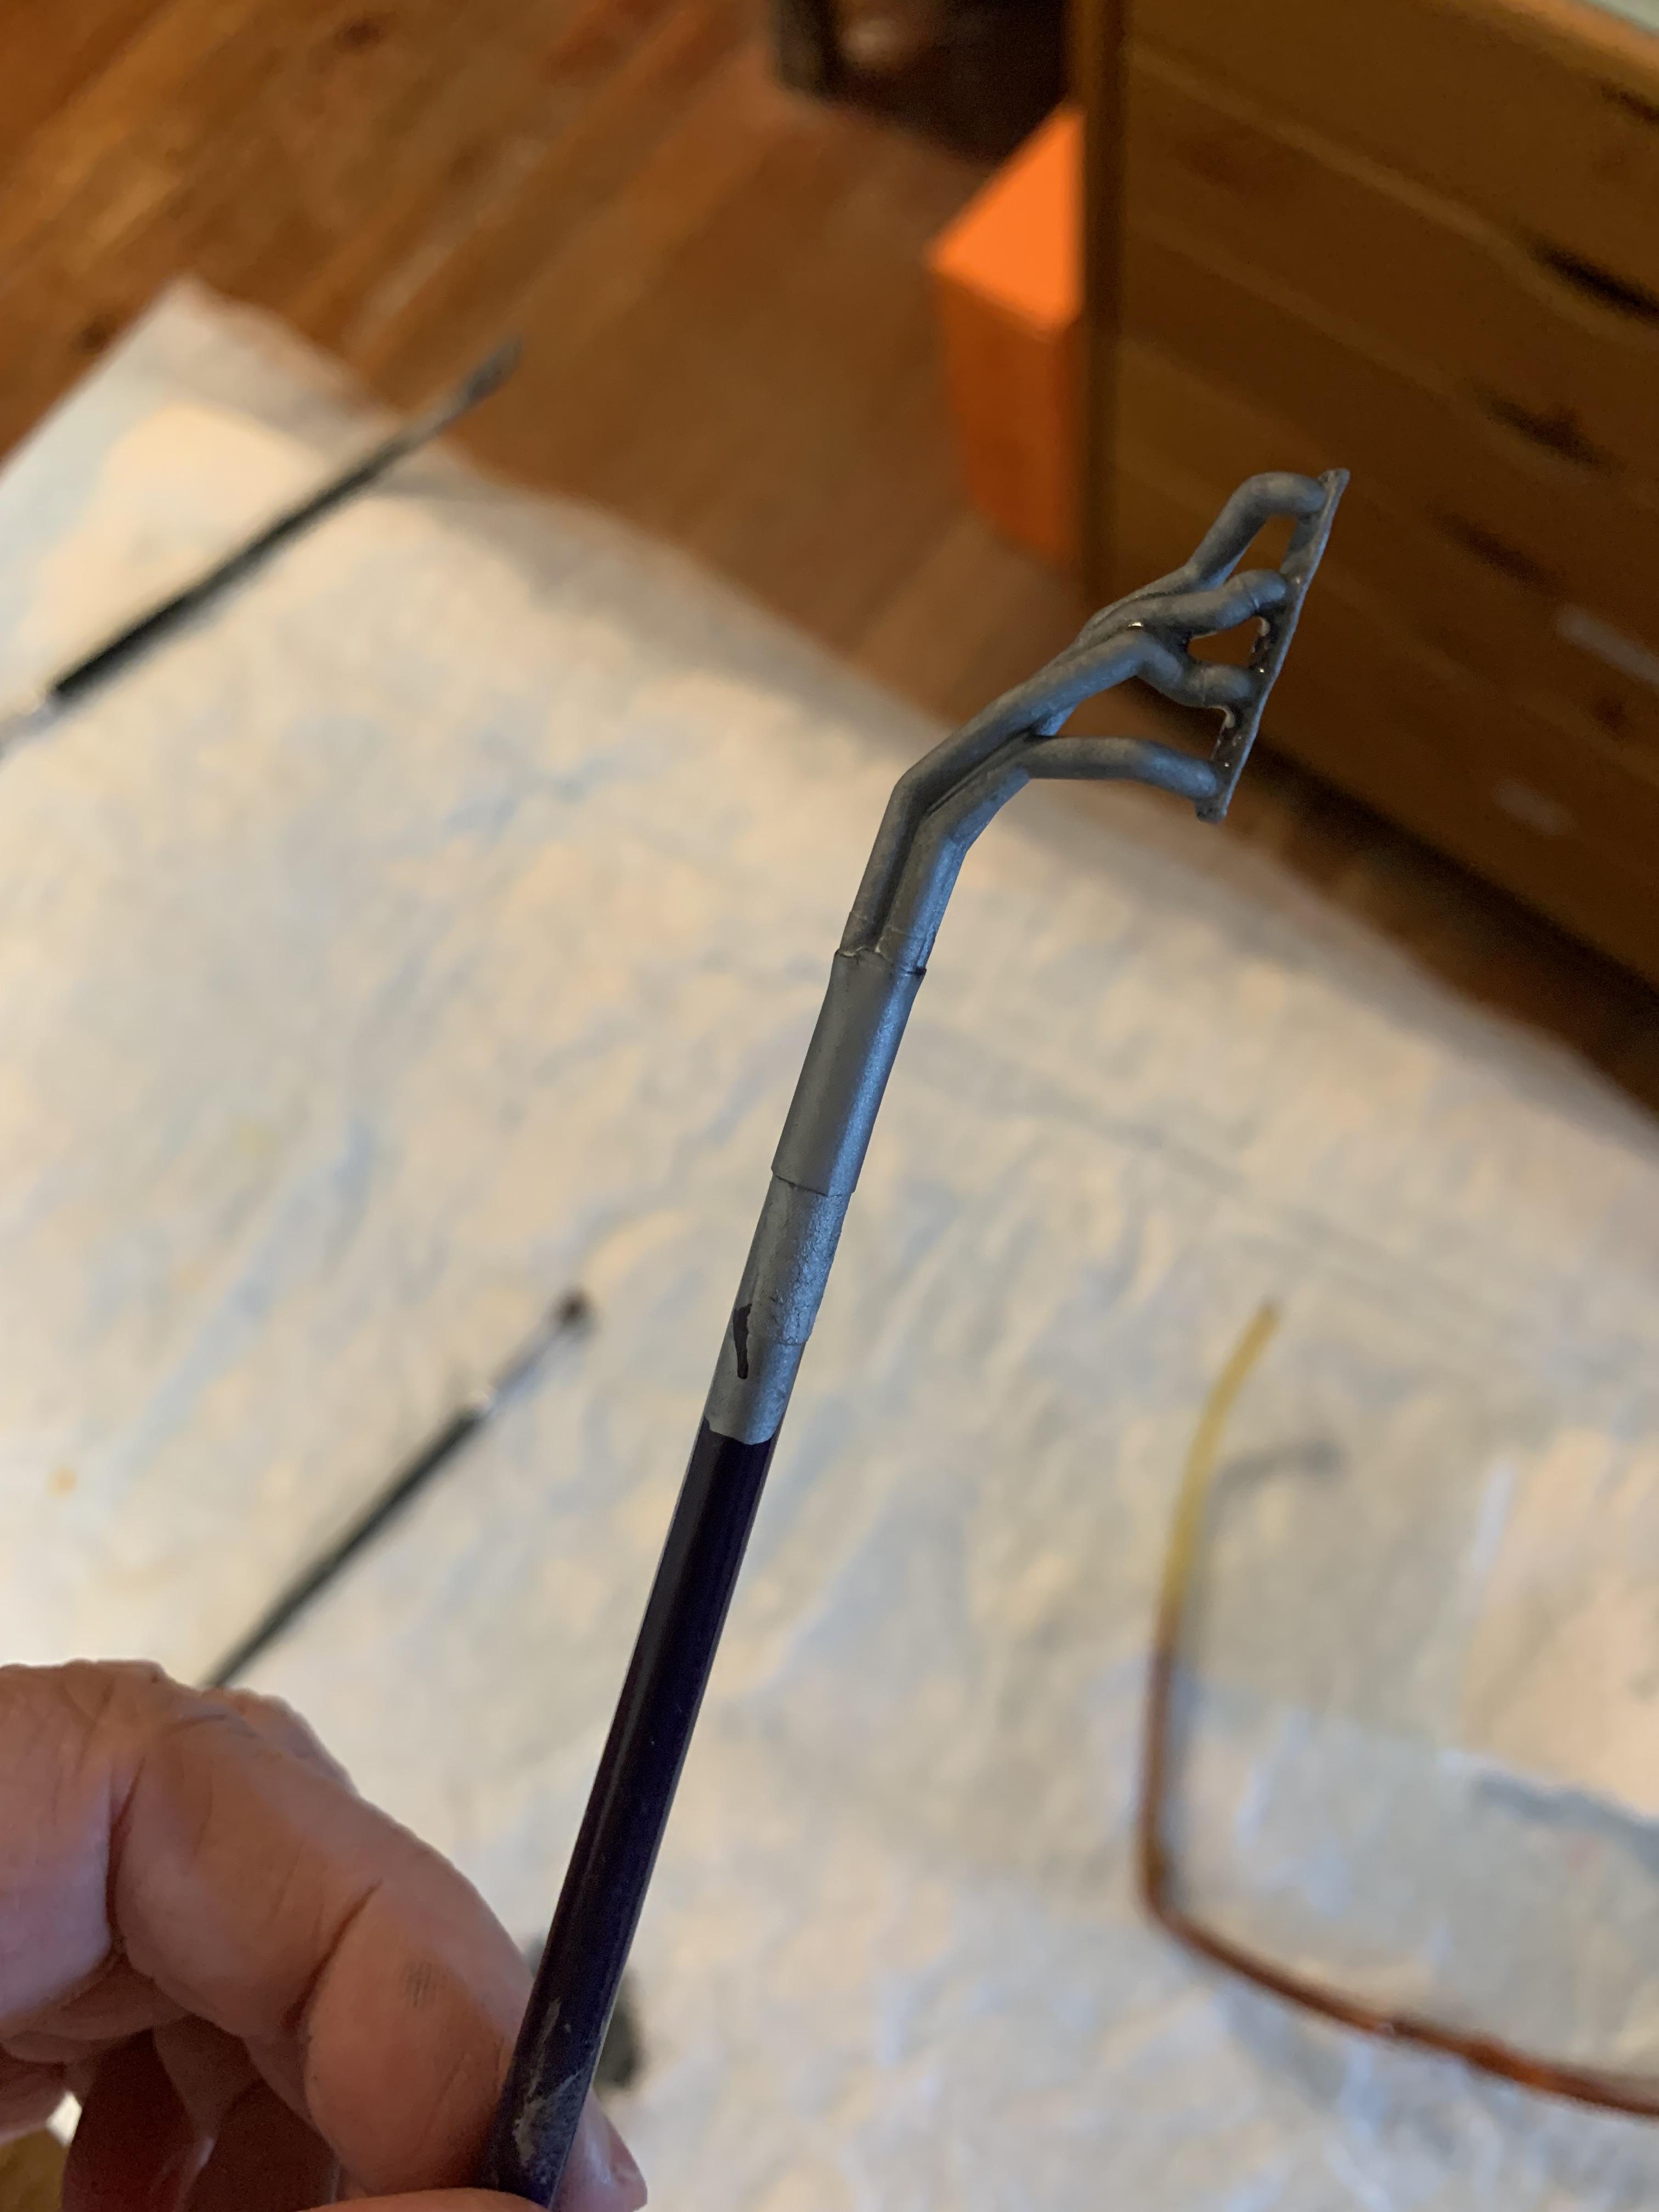
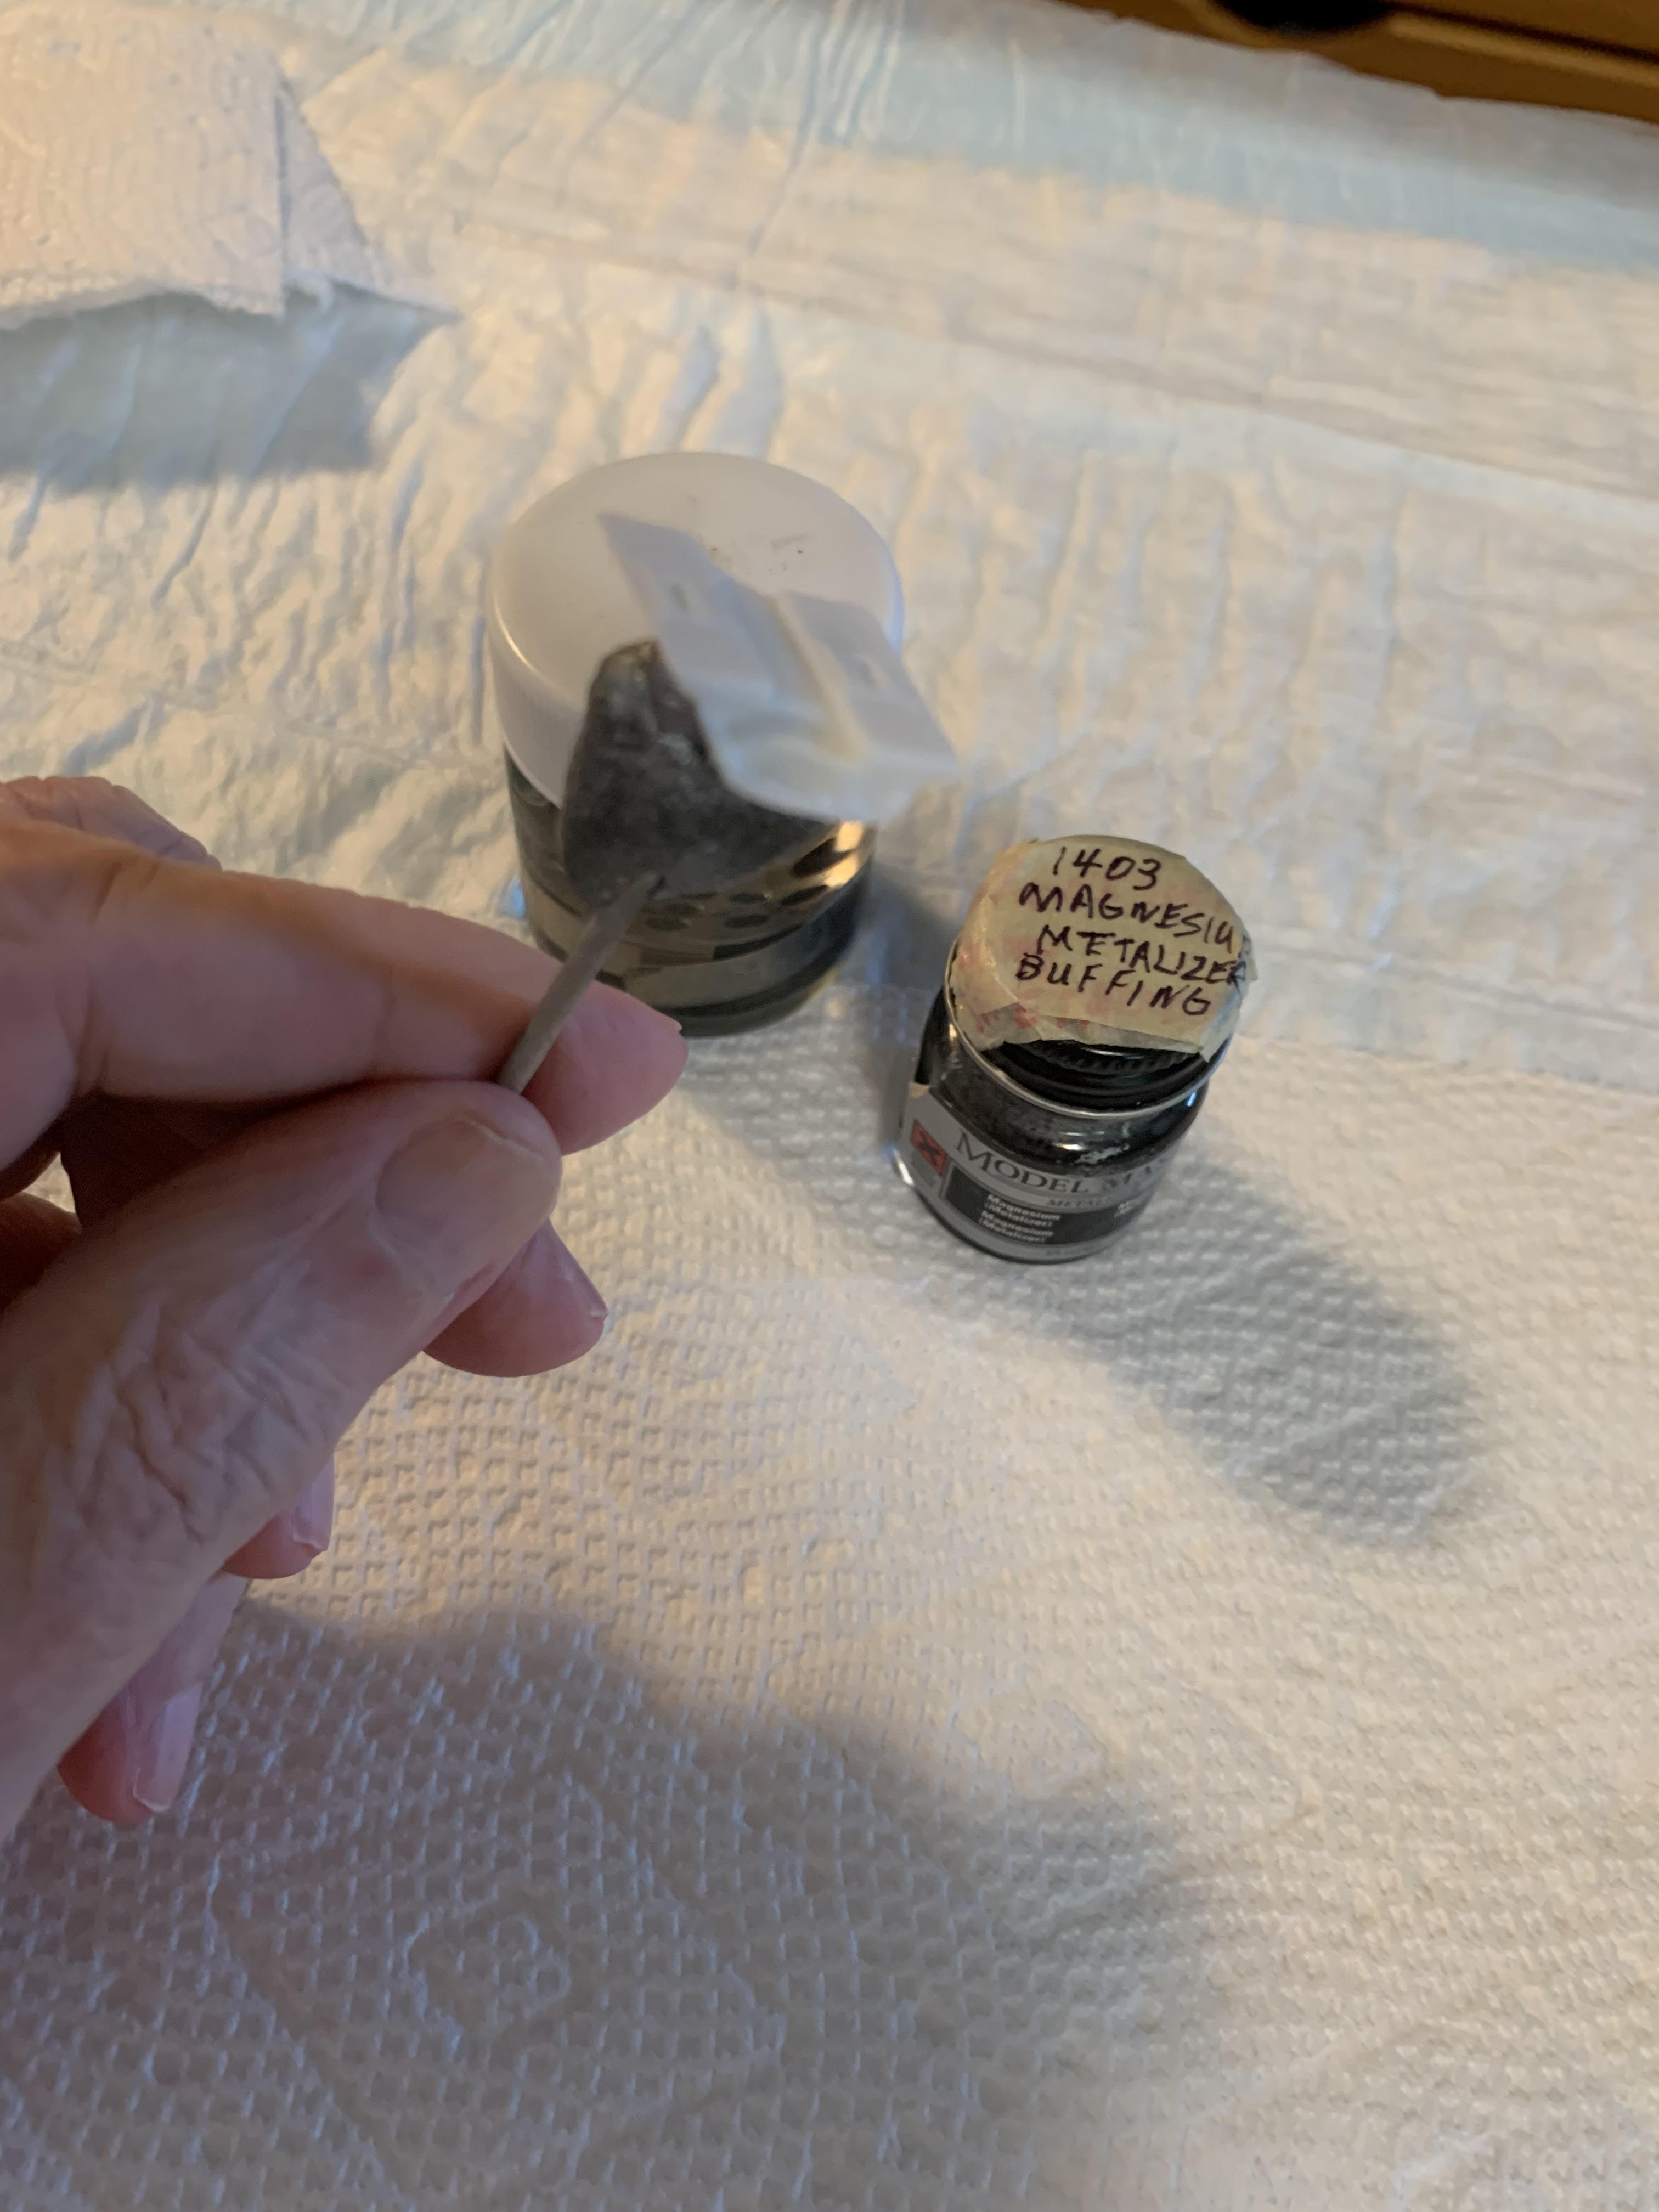
While that is drying, I put a couple of coats of that precious Modelmaster buffing stainless steel. We’ll see how that looks tomorrow. Oh, yeah, I cut off the collector flange and put some shrink tube on with super glue.
-
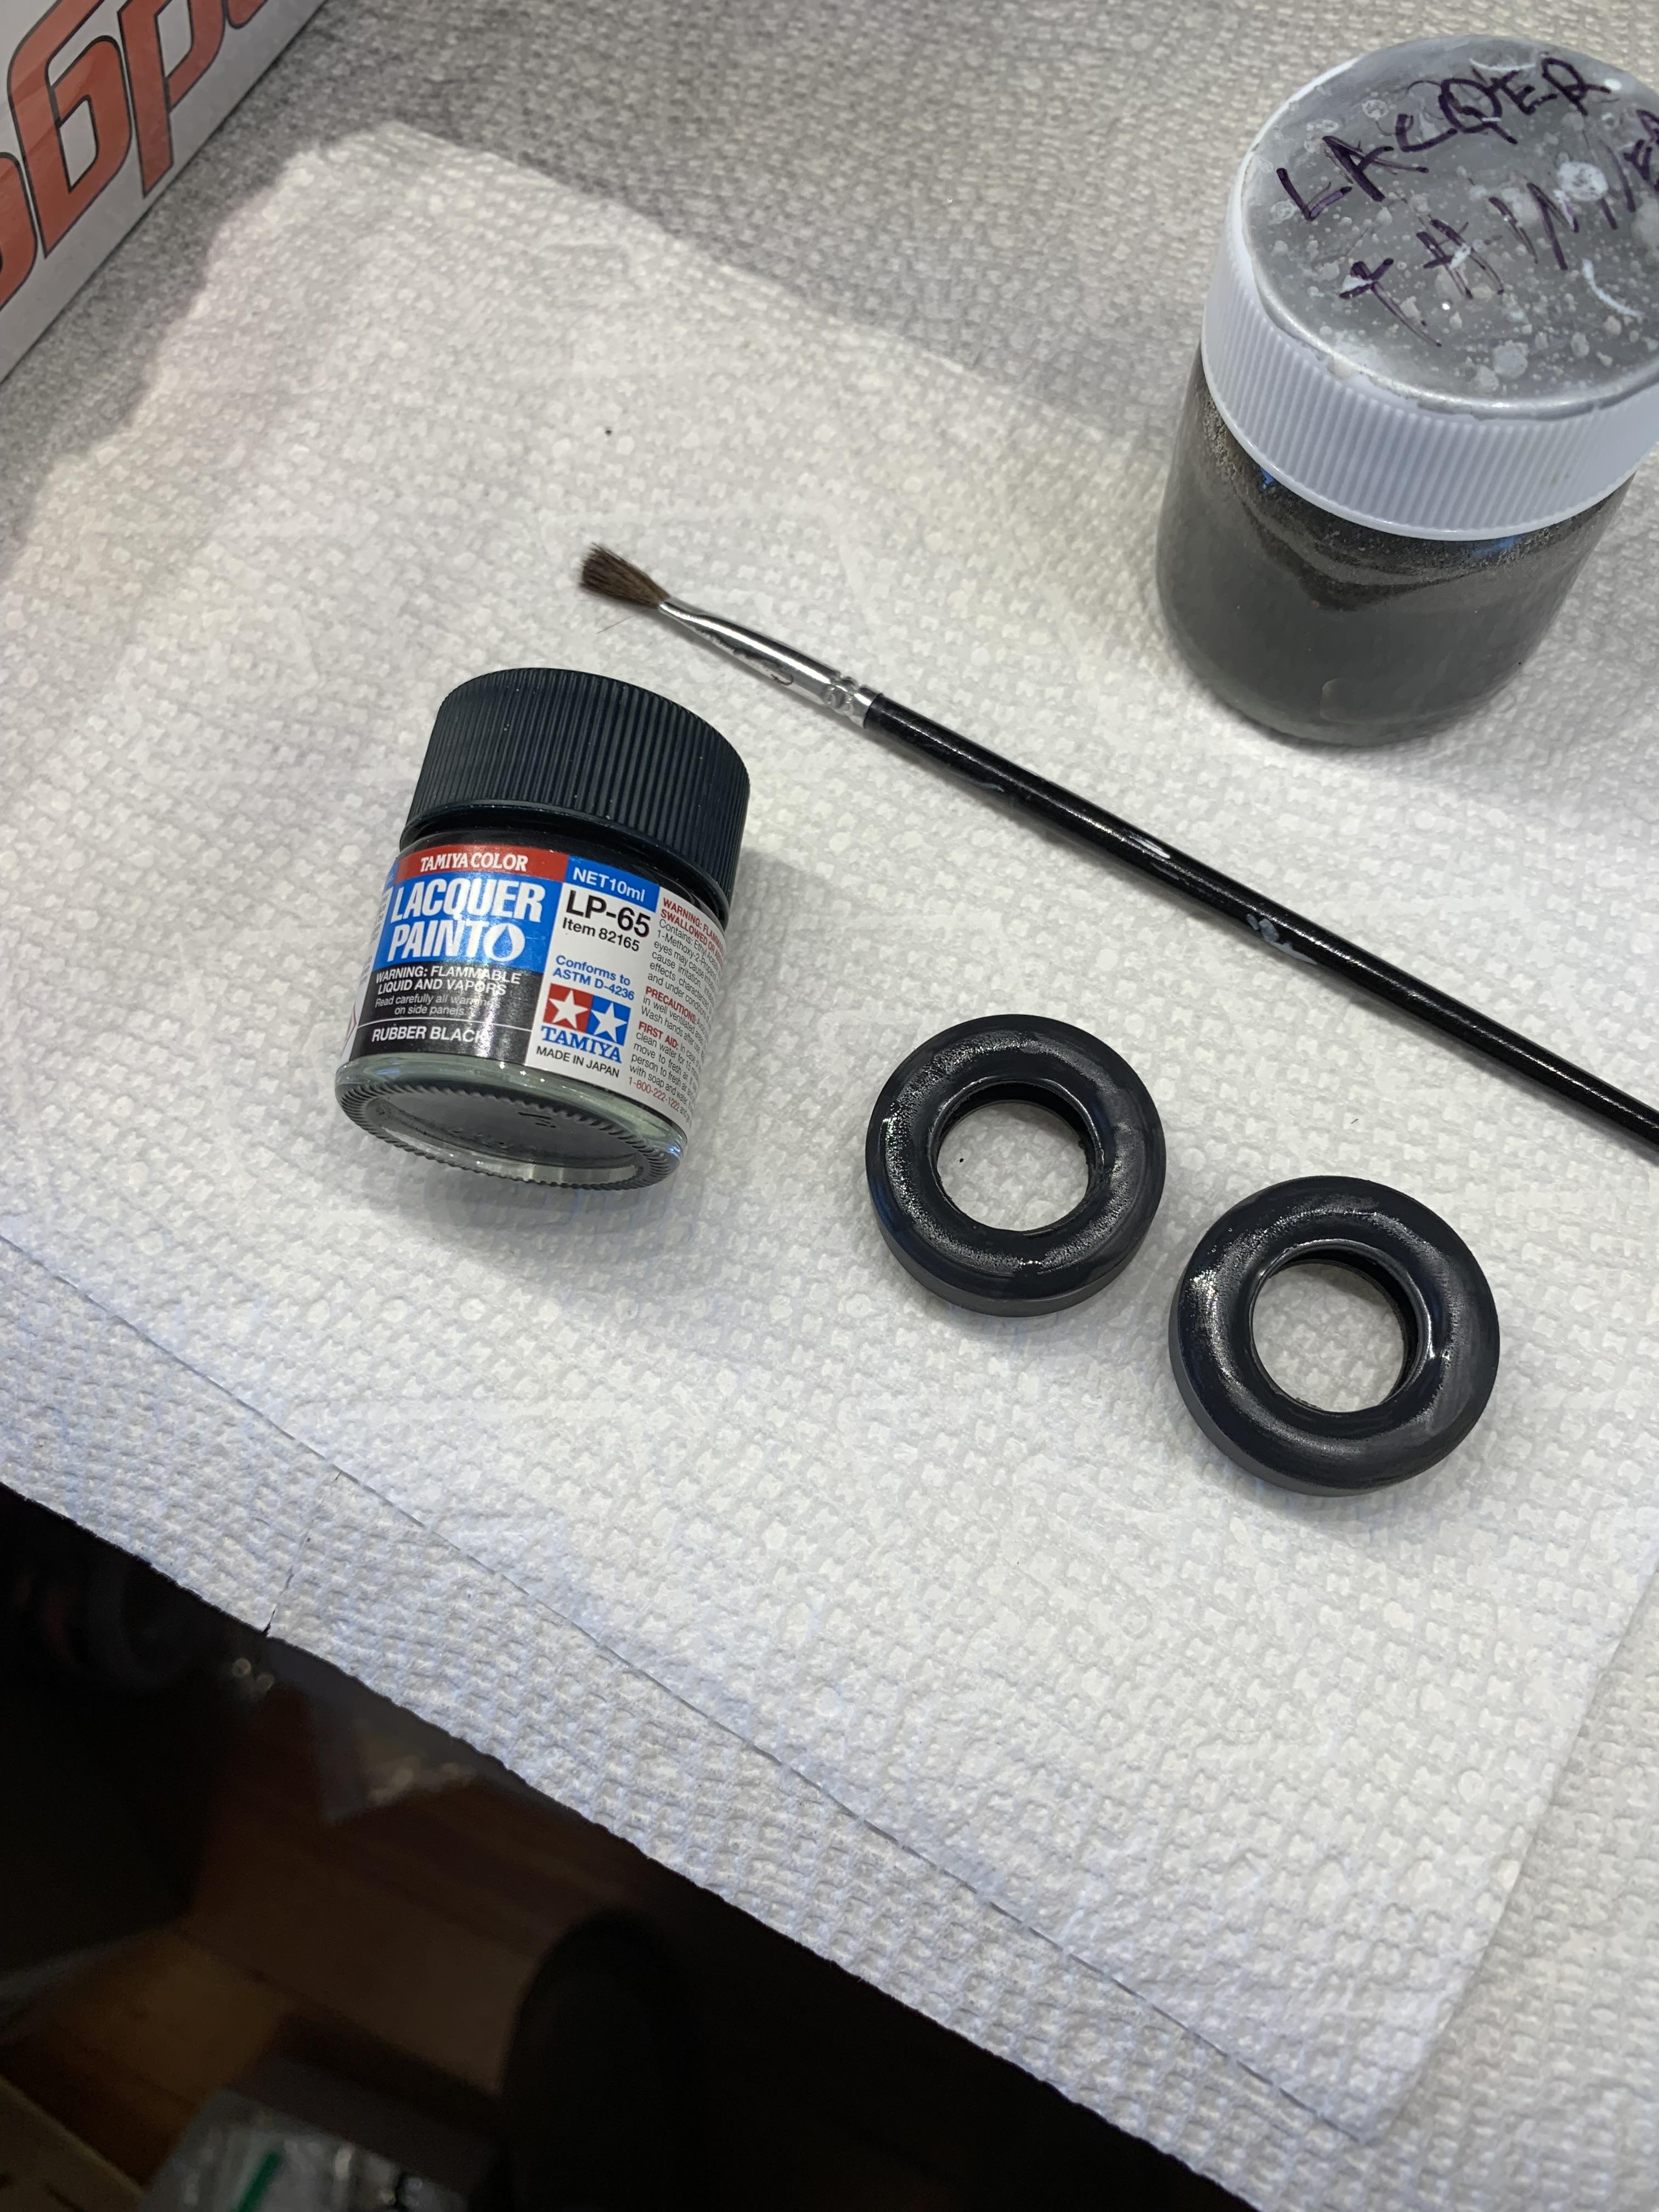
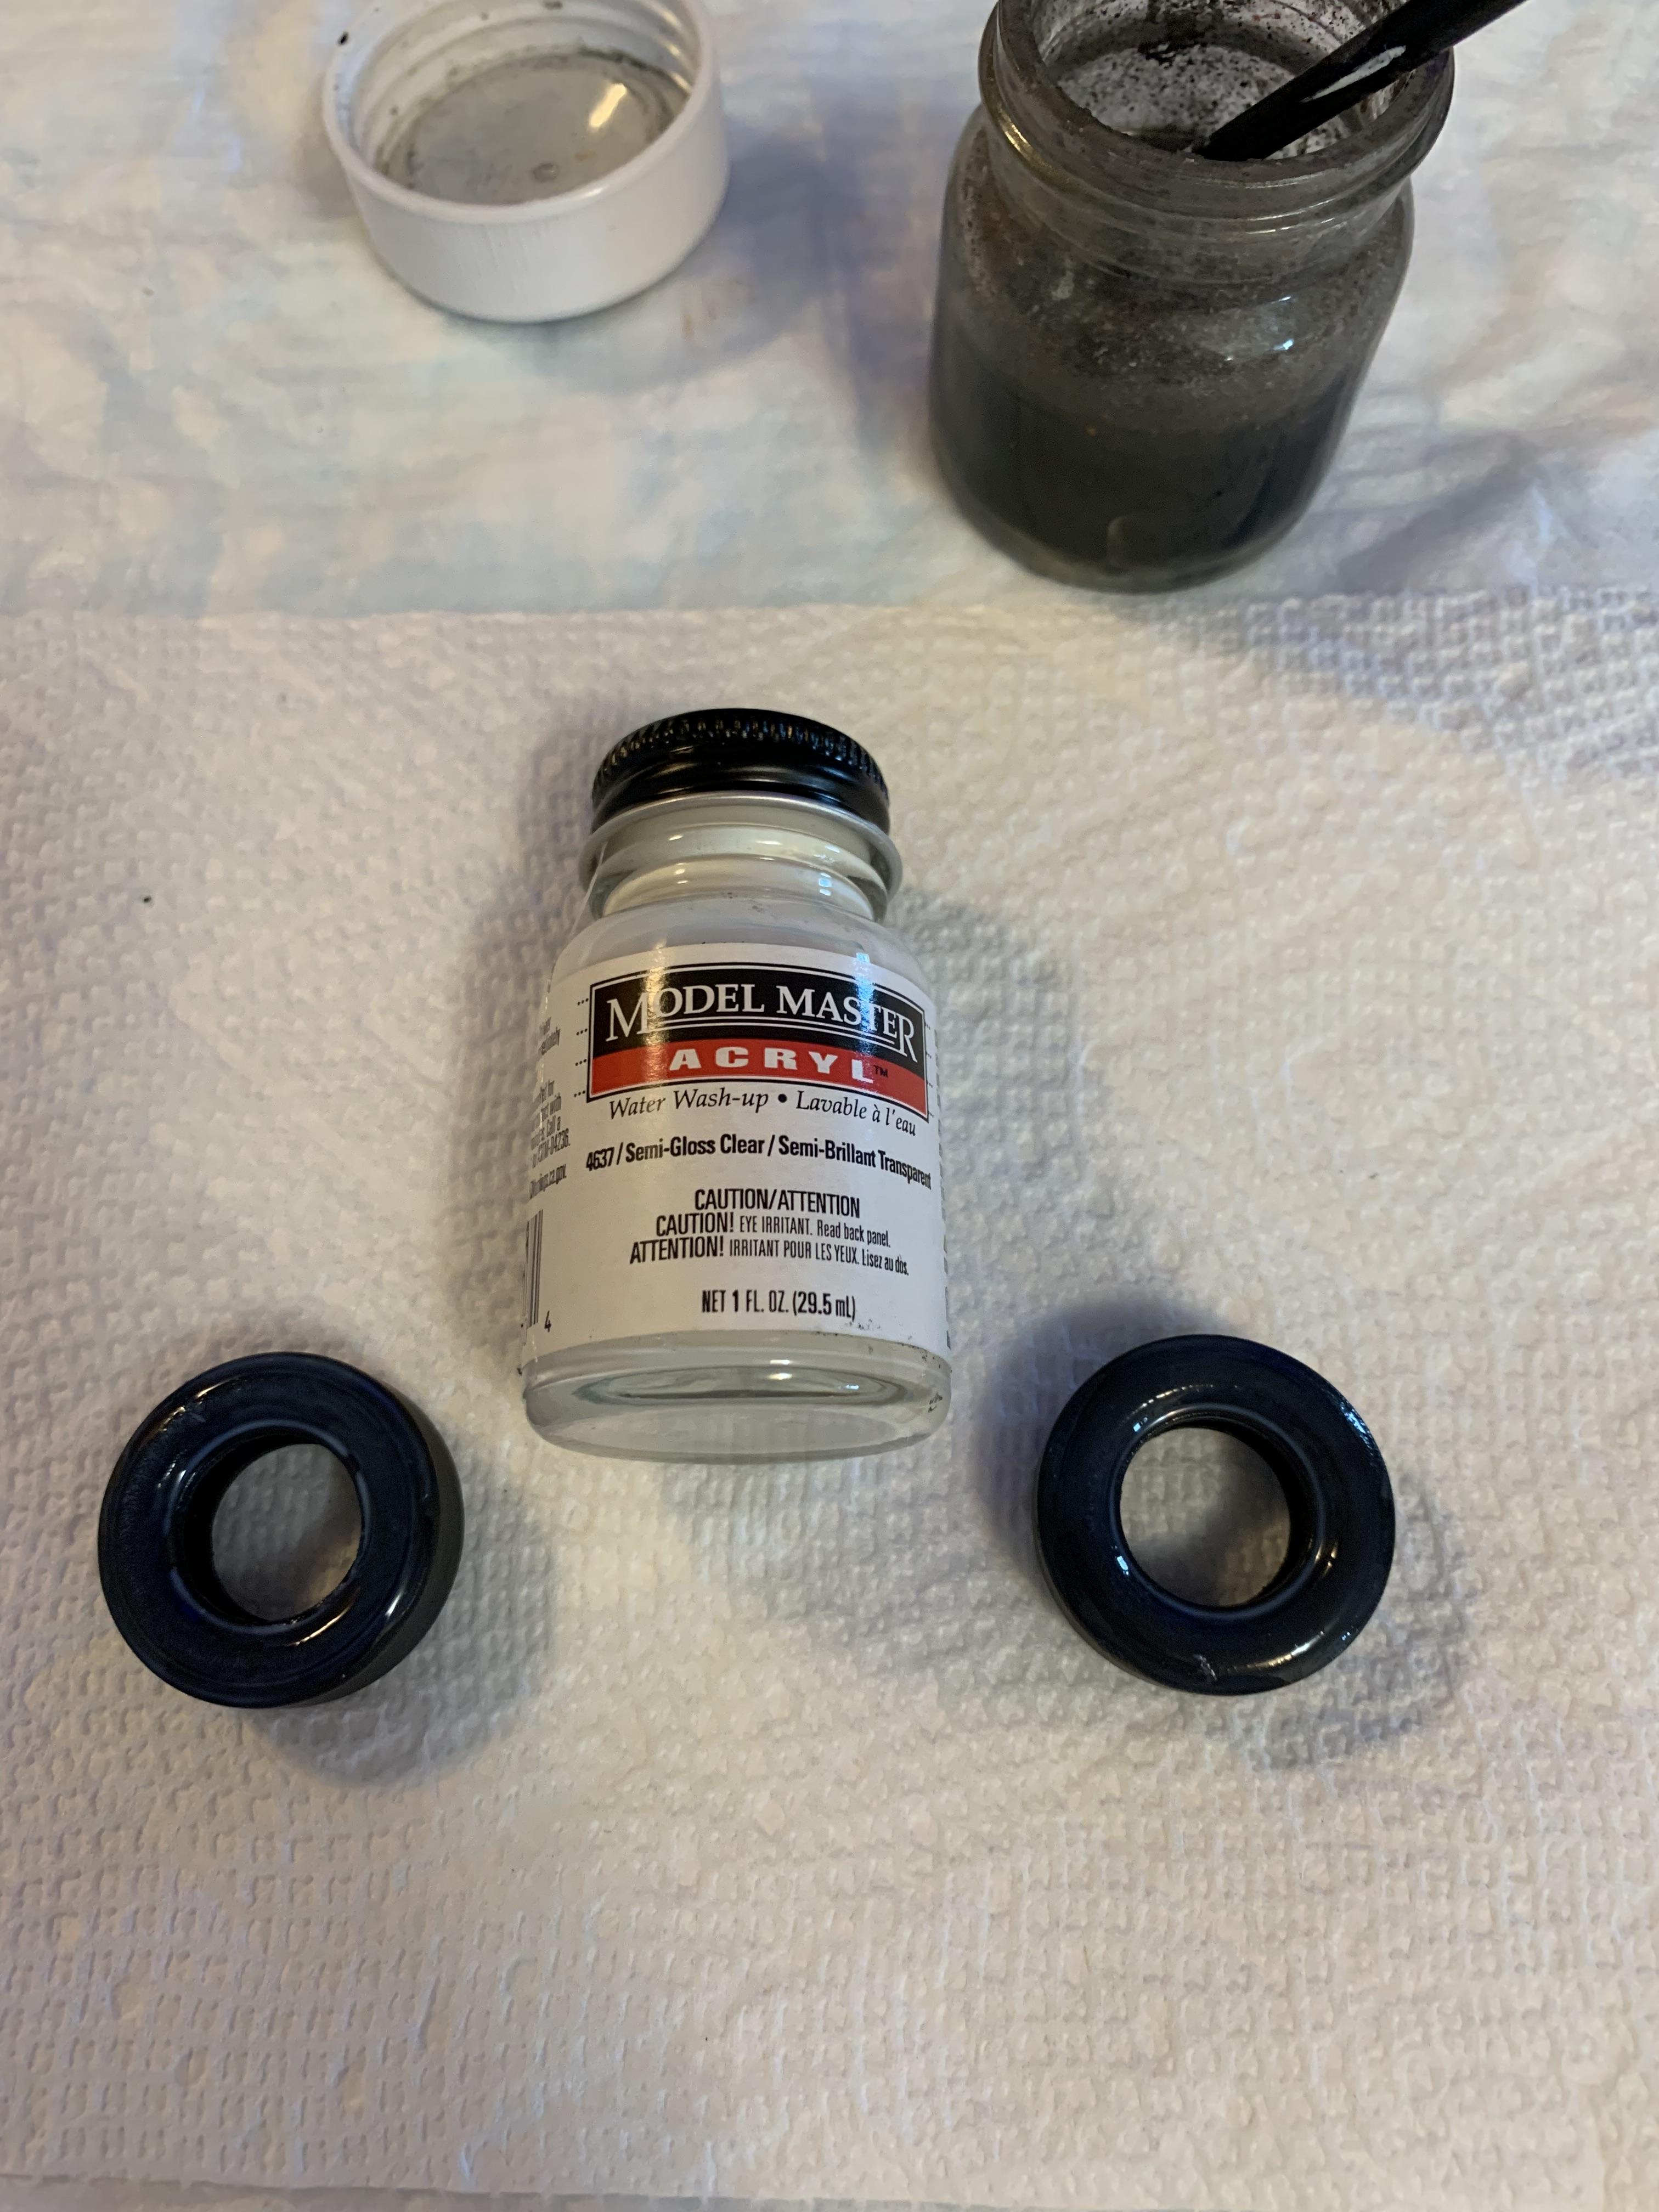
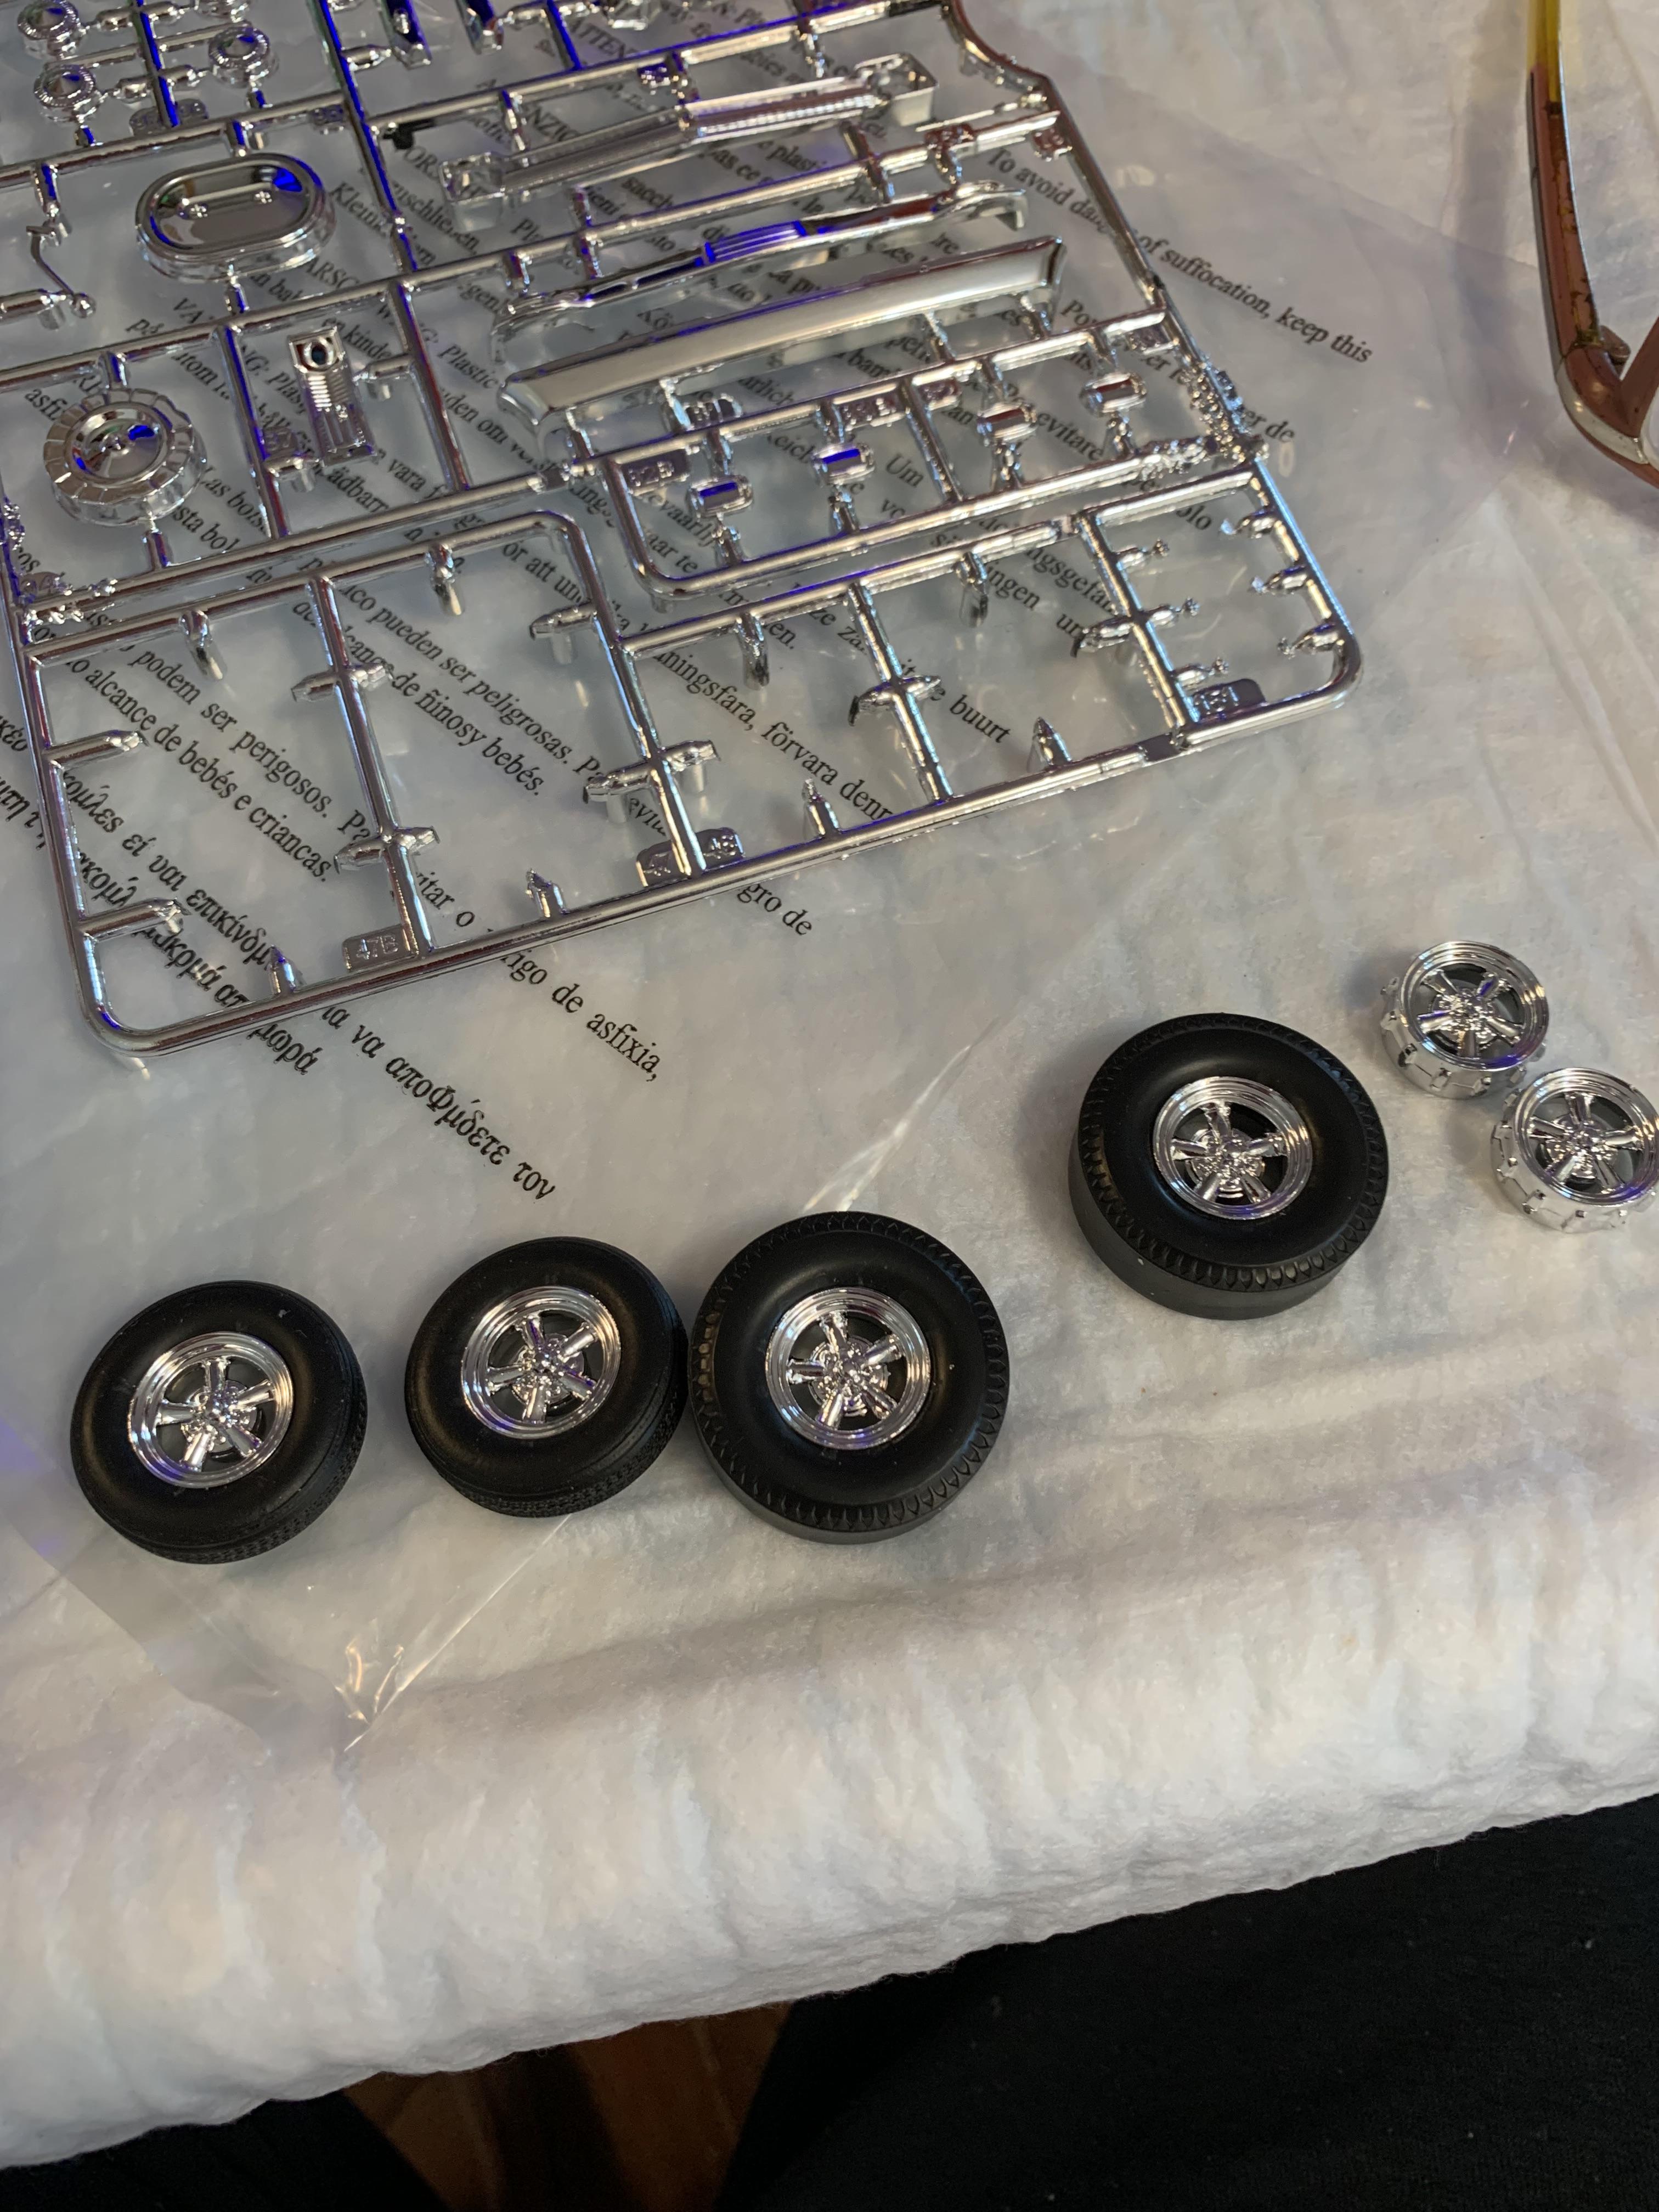
Put some Flysea chrome on, then sanded down some amt Goodyear slicks. Painted with rubber black, then semi gloss and decals. Let her dry with Microsol, then I’ll put some dull coat on tomorrow.
-
-
From the vault #9: Mickey Thompson-esque 1969 Mustang Funny Car
R. Thorne replied to tim boyd's topic in Drag Racing
A lot of meticulous work there and paint way beyond my capabilities. I like the riveted appearing windows/windshields. Thanks for posting. -
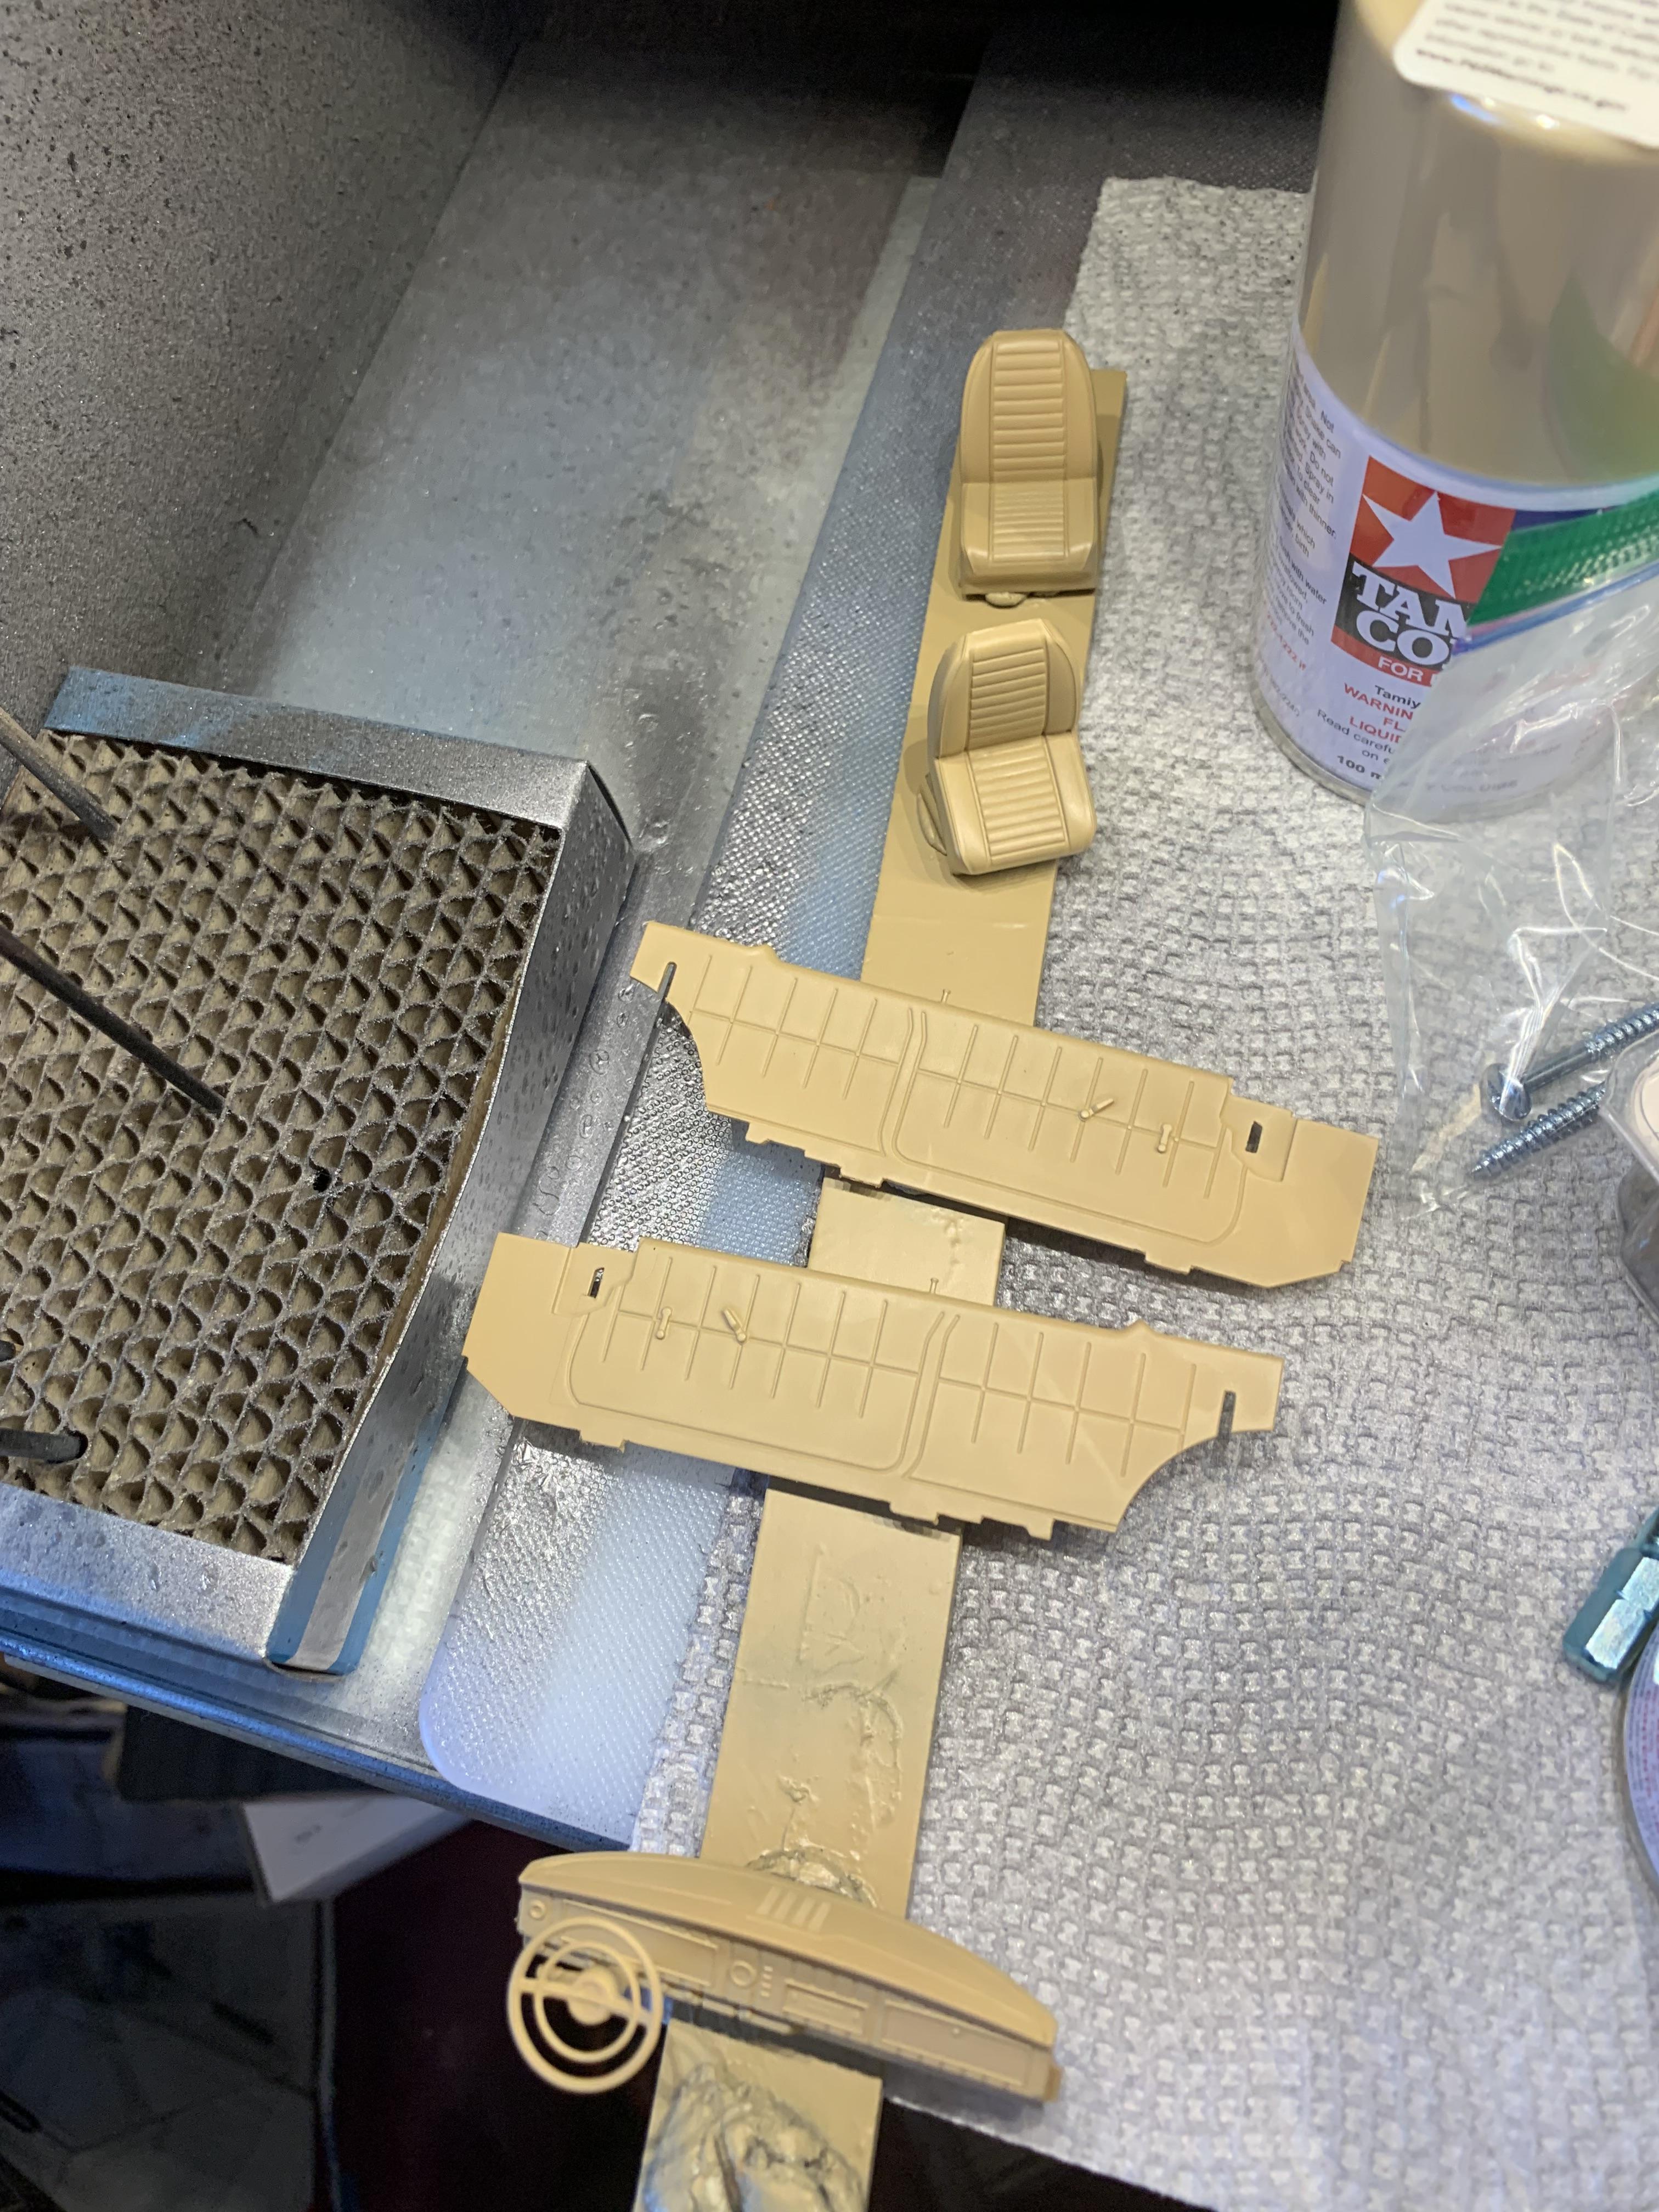
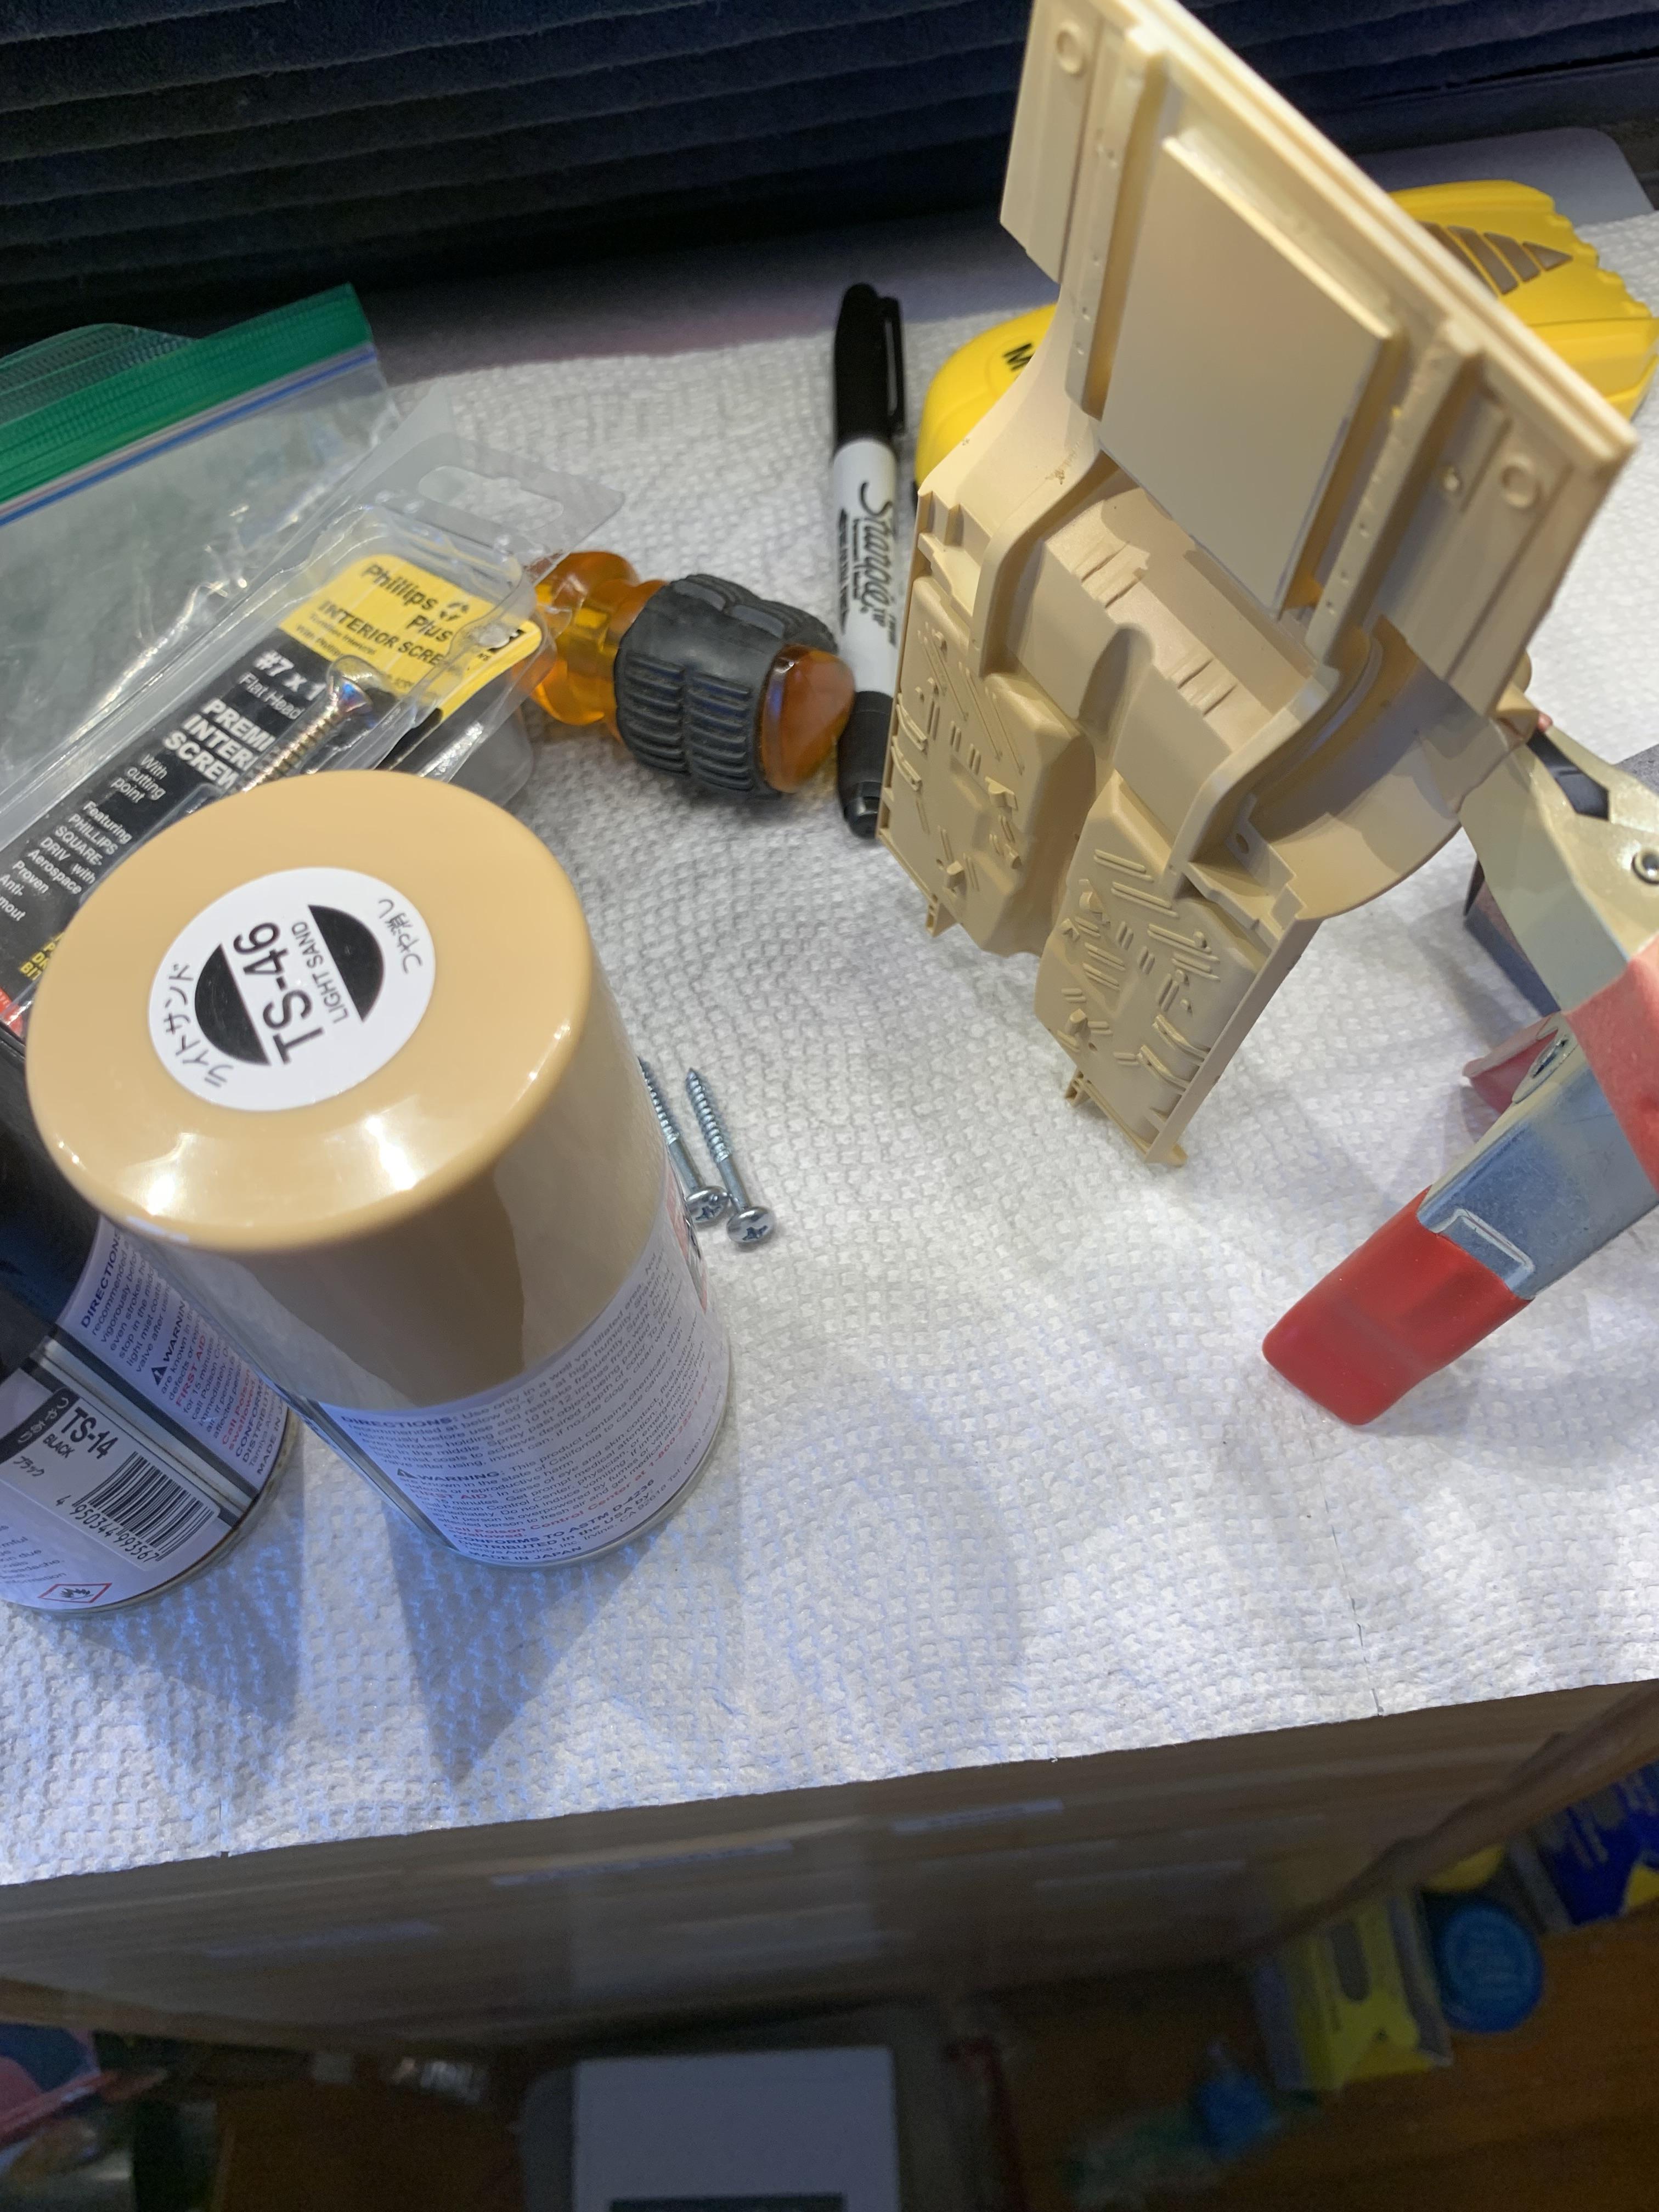
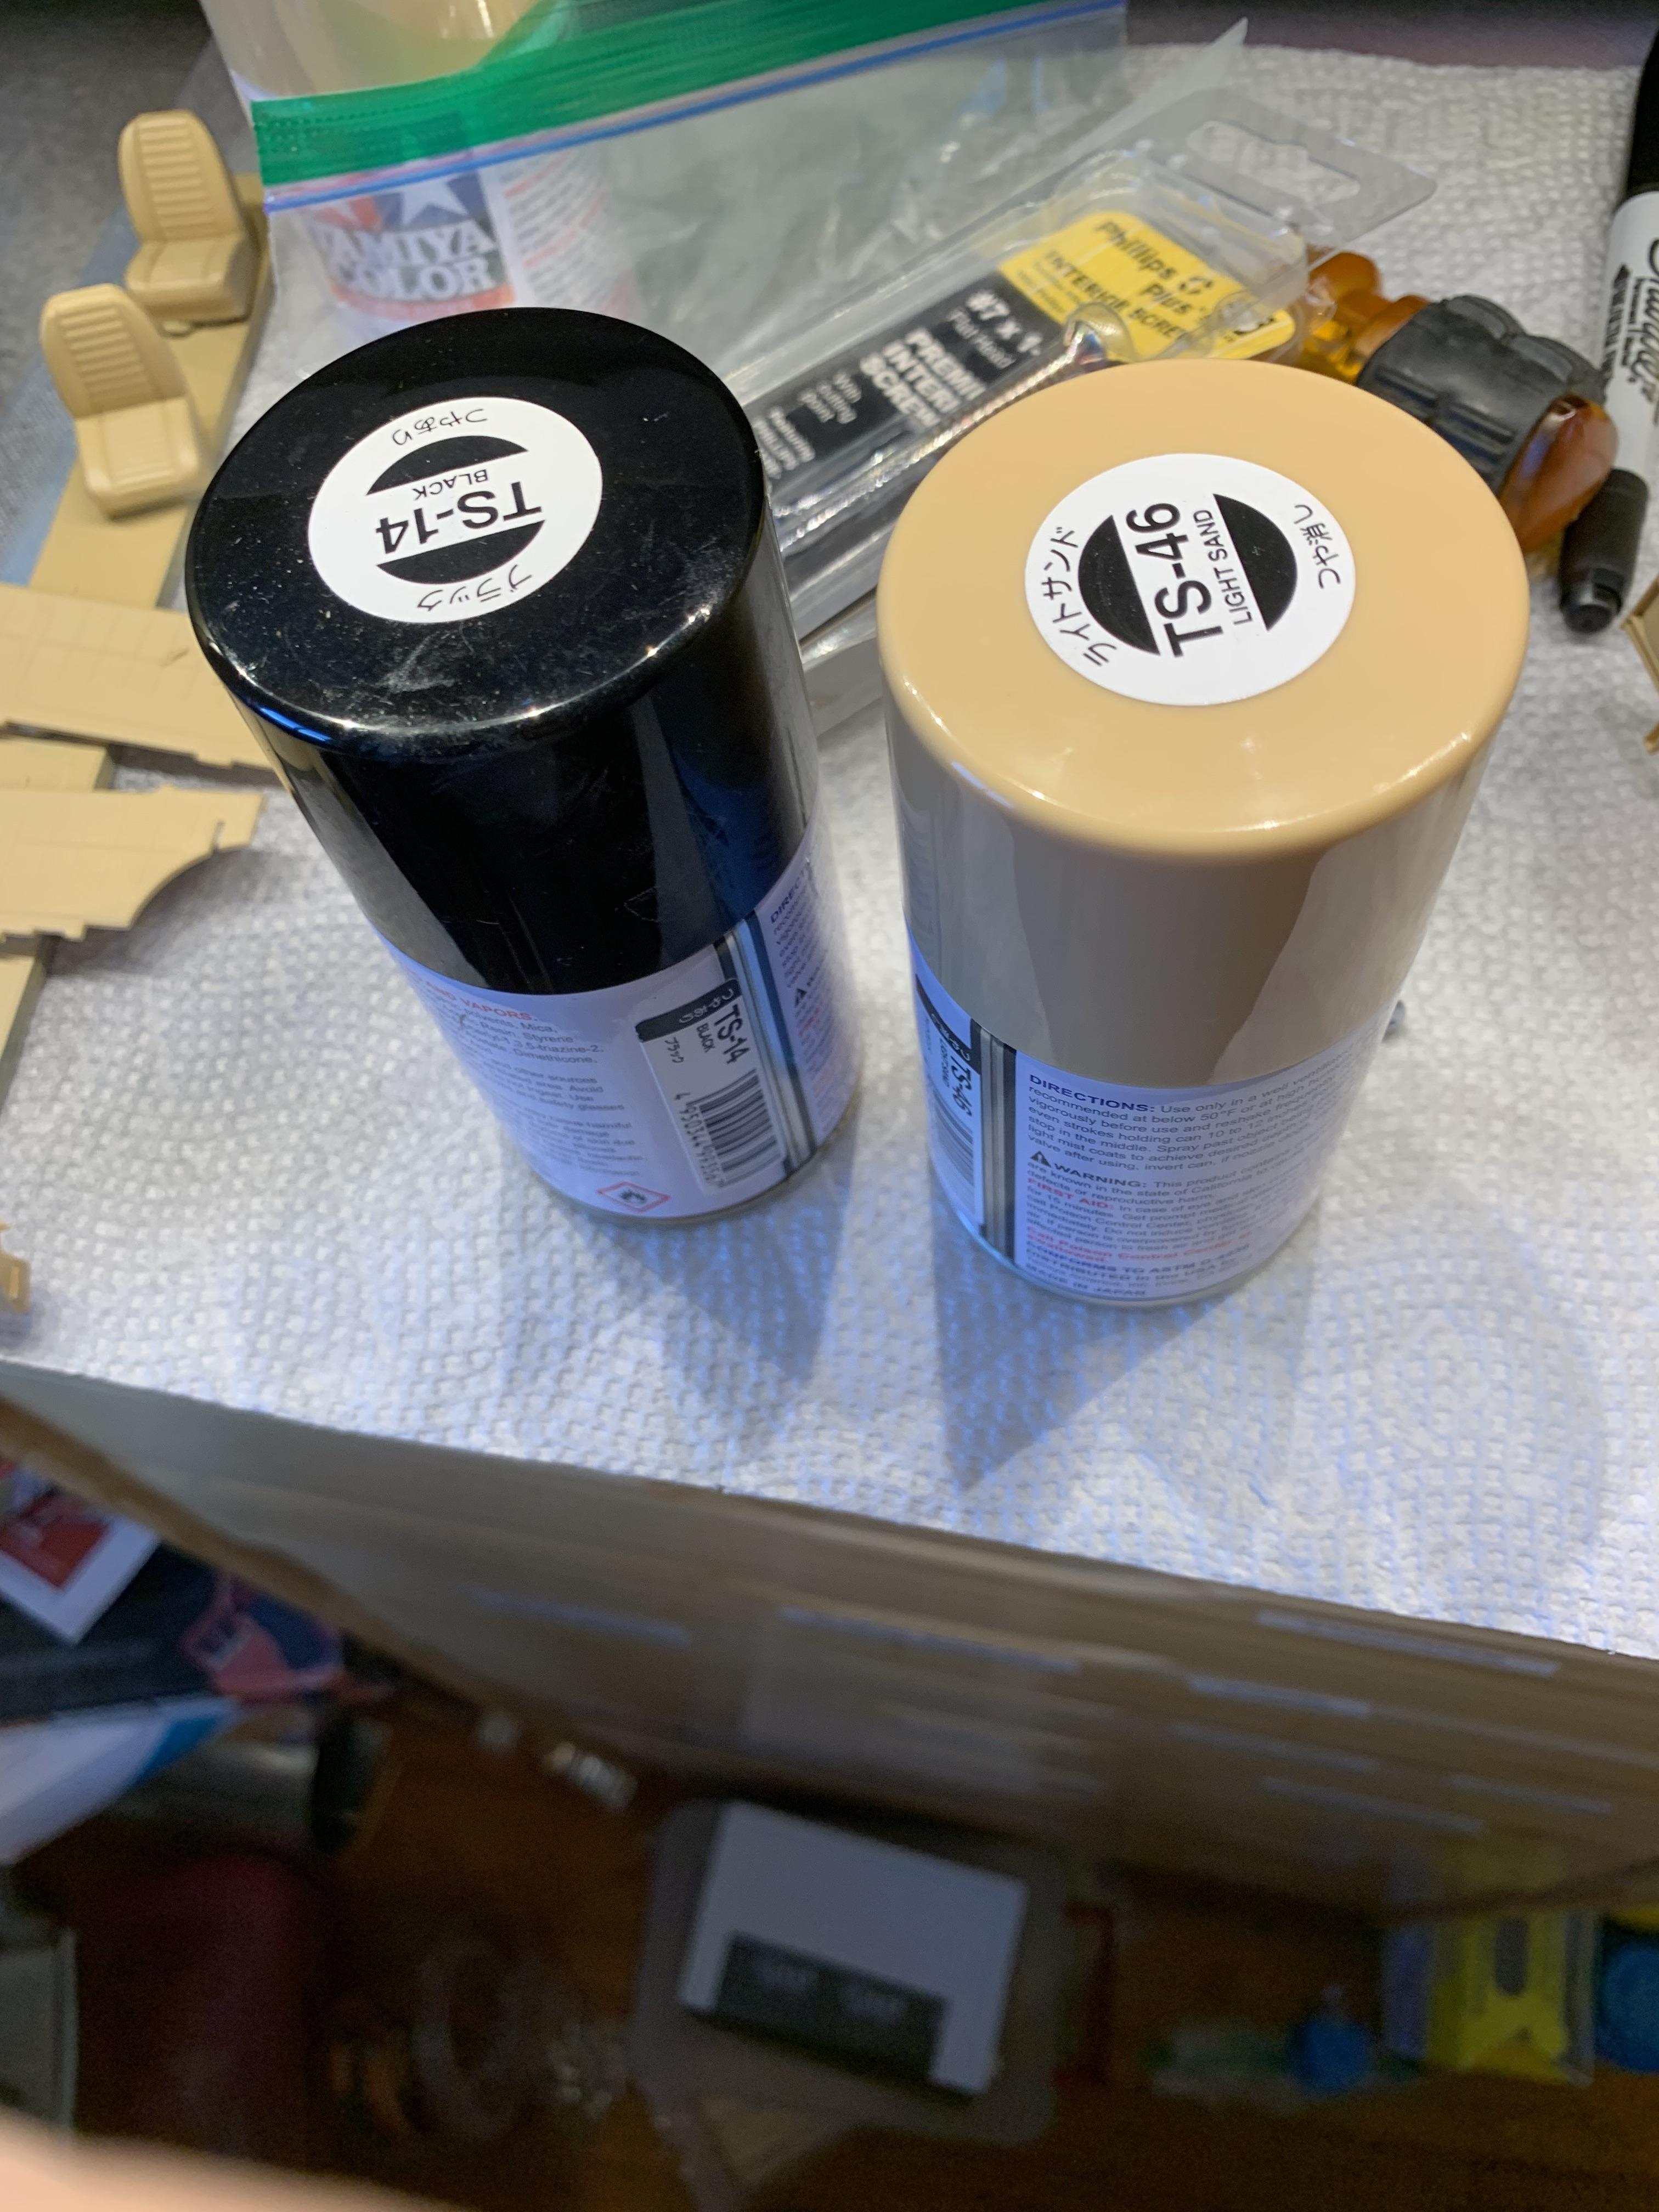
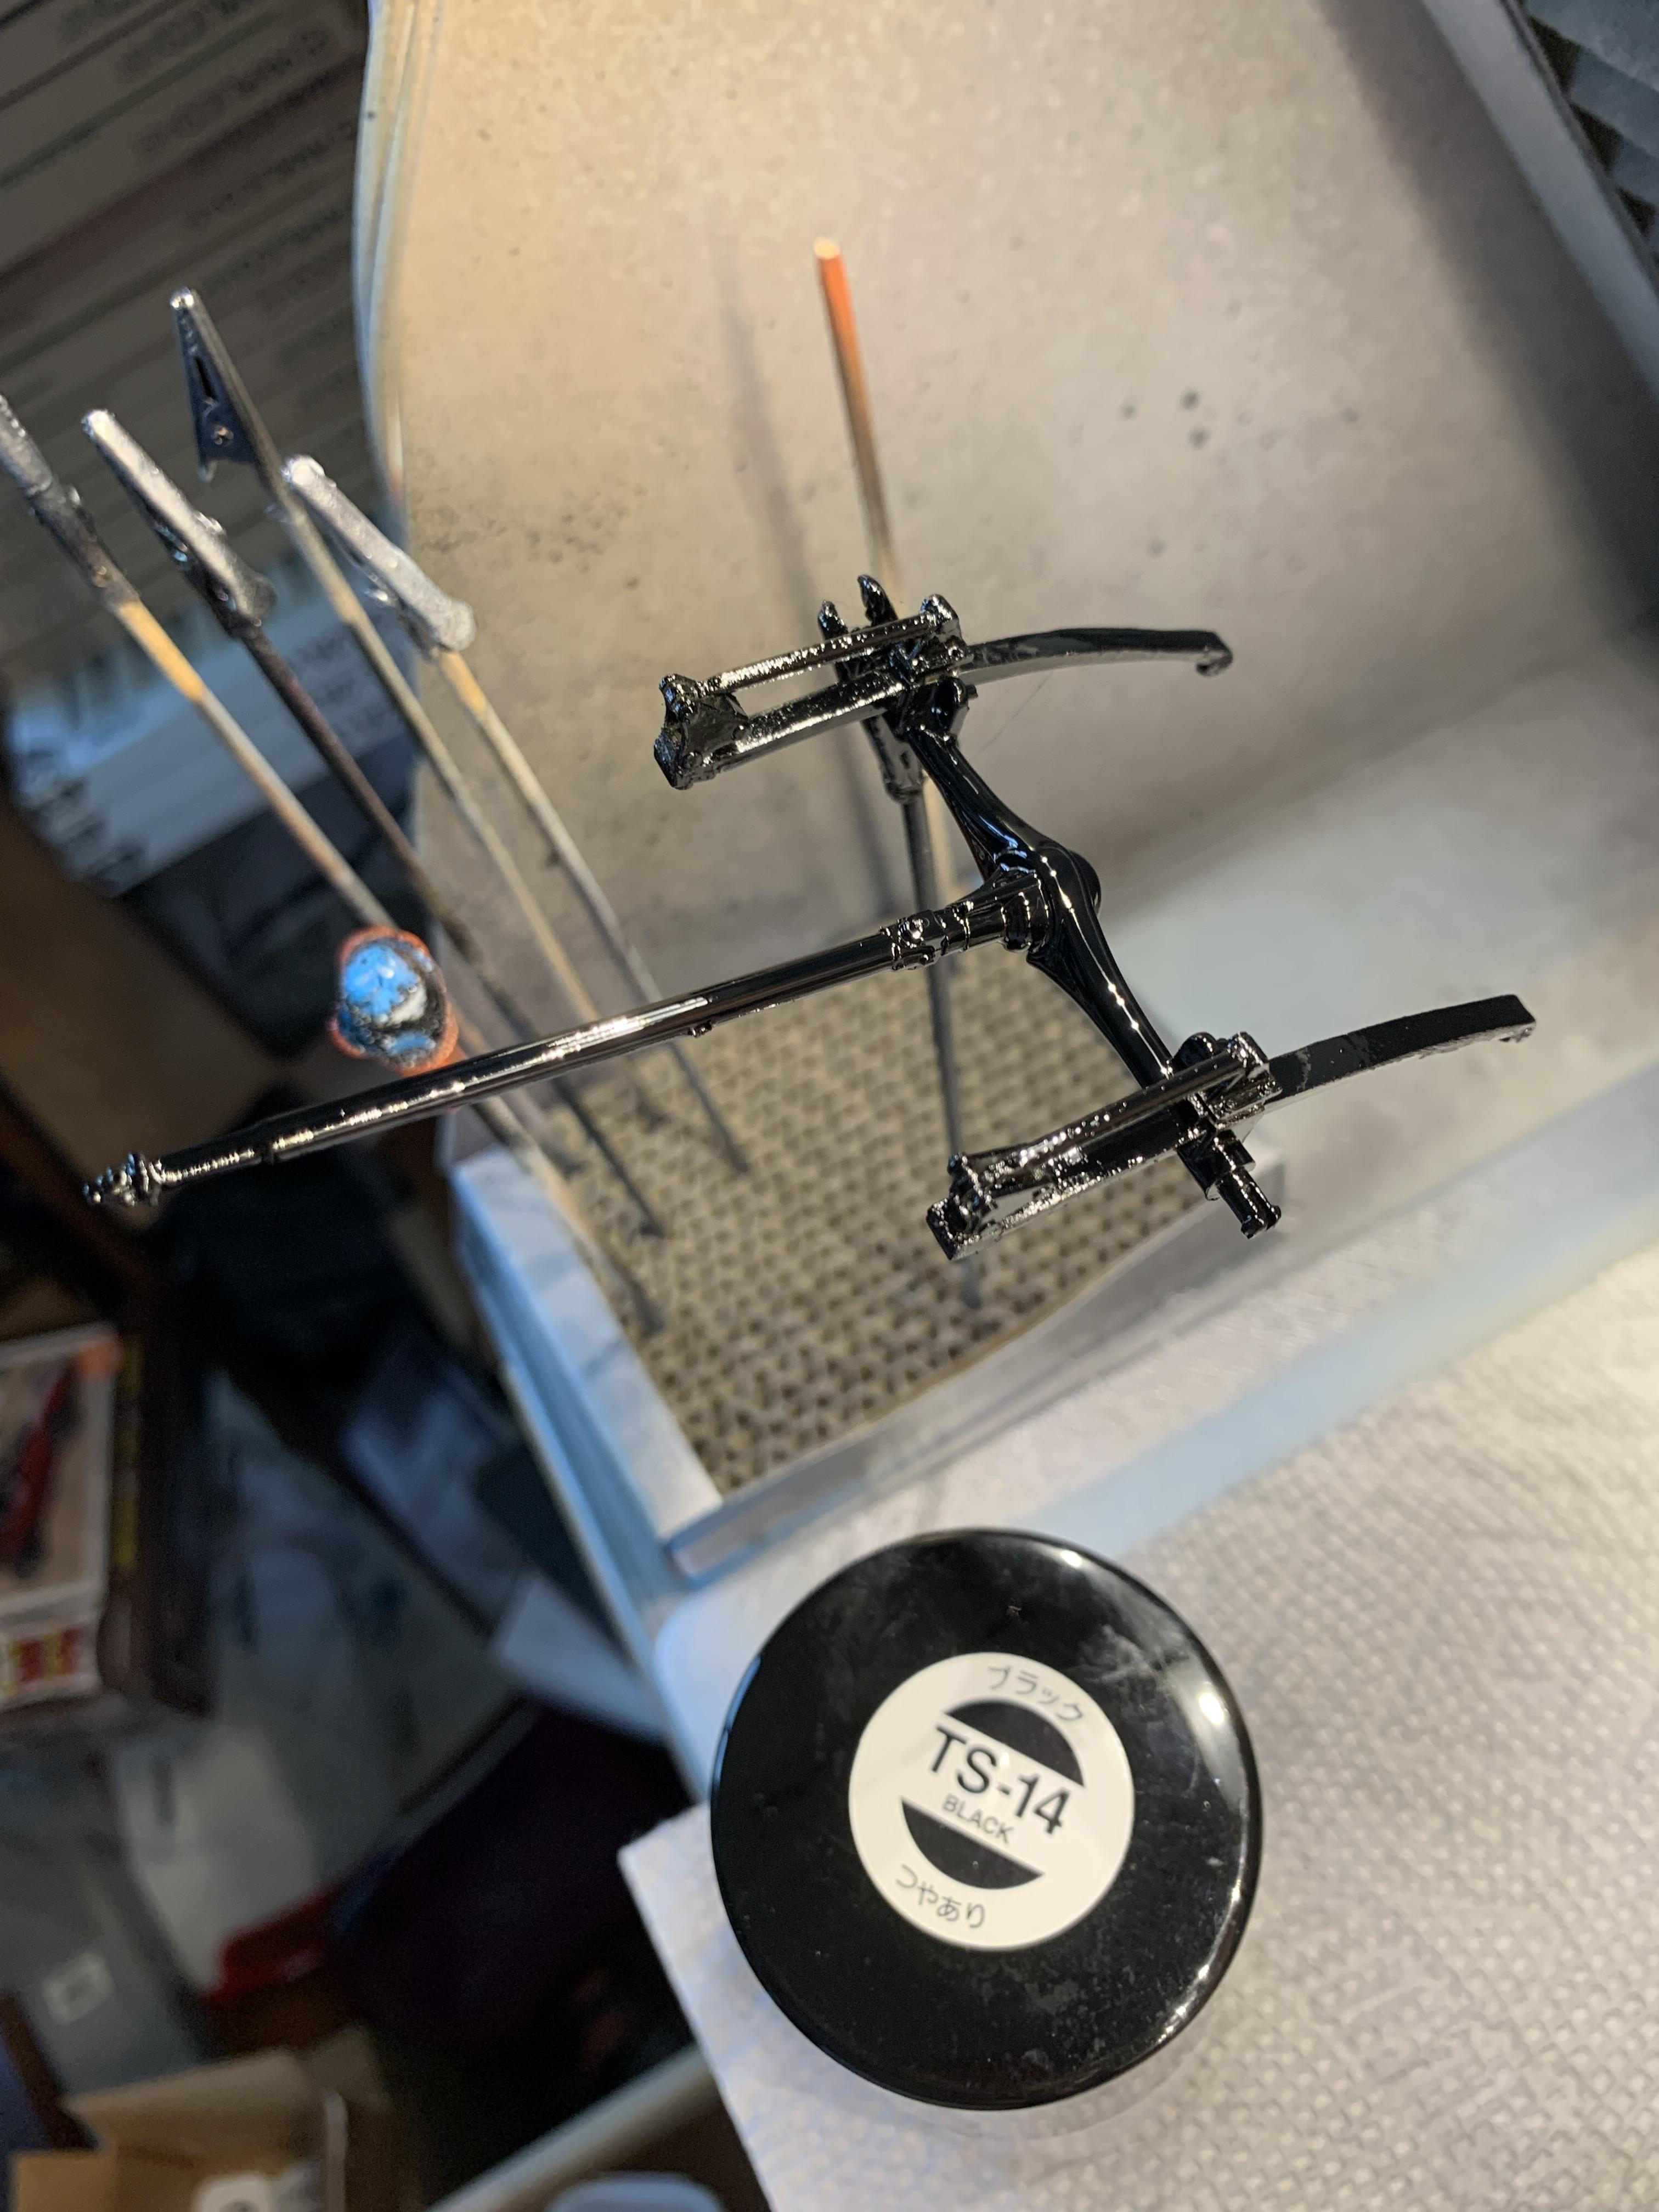
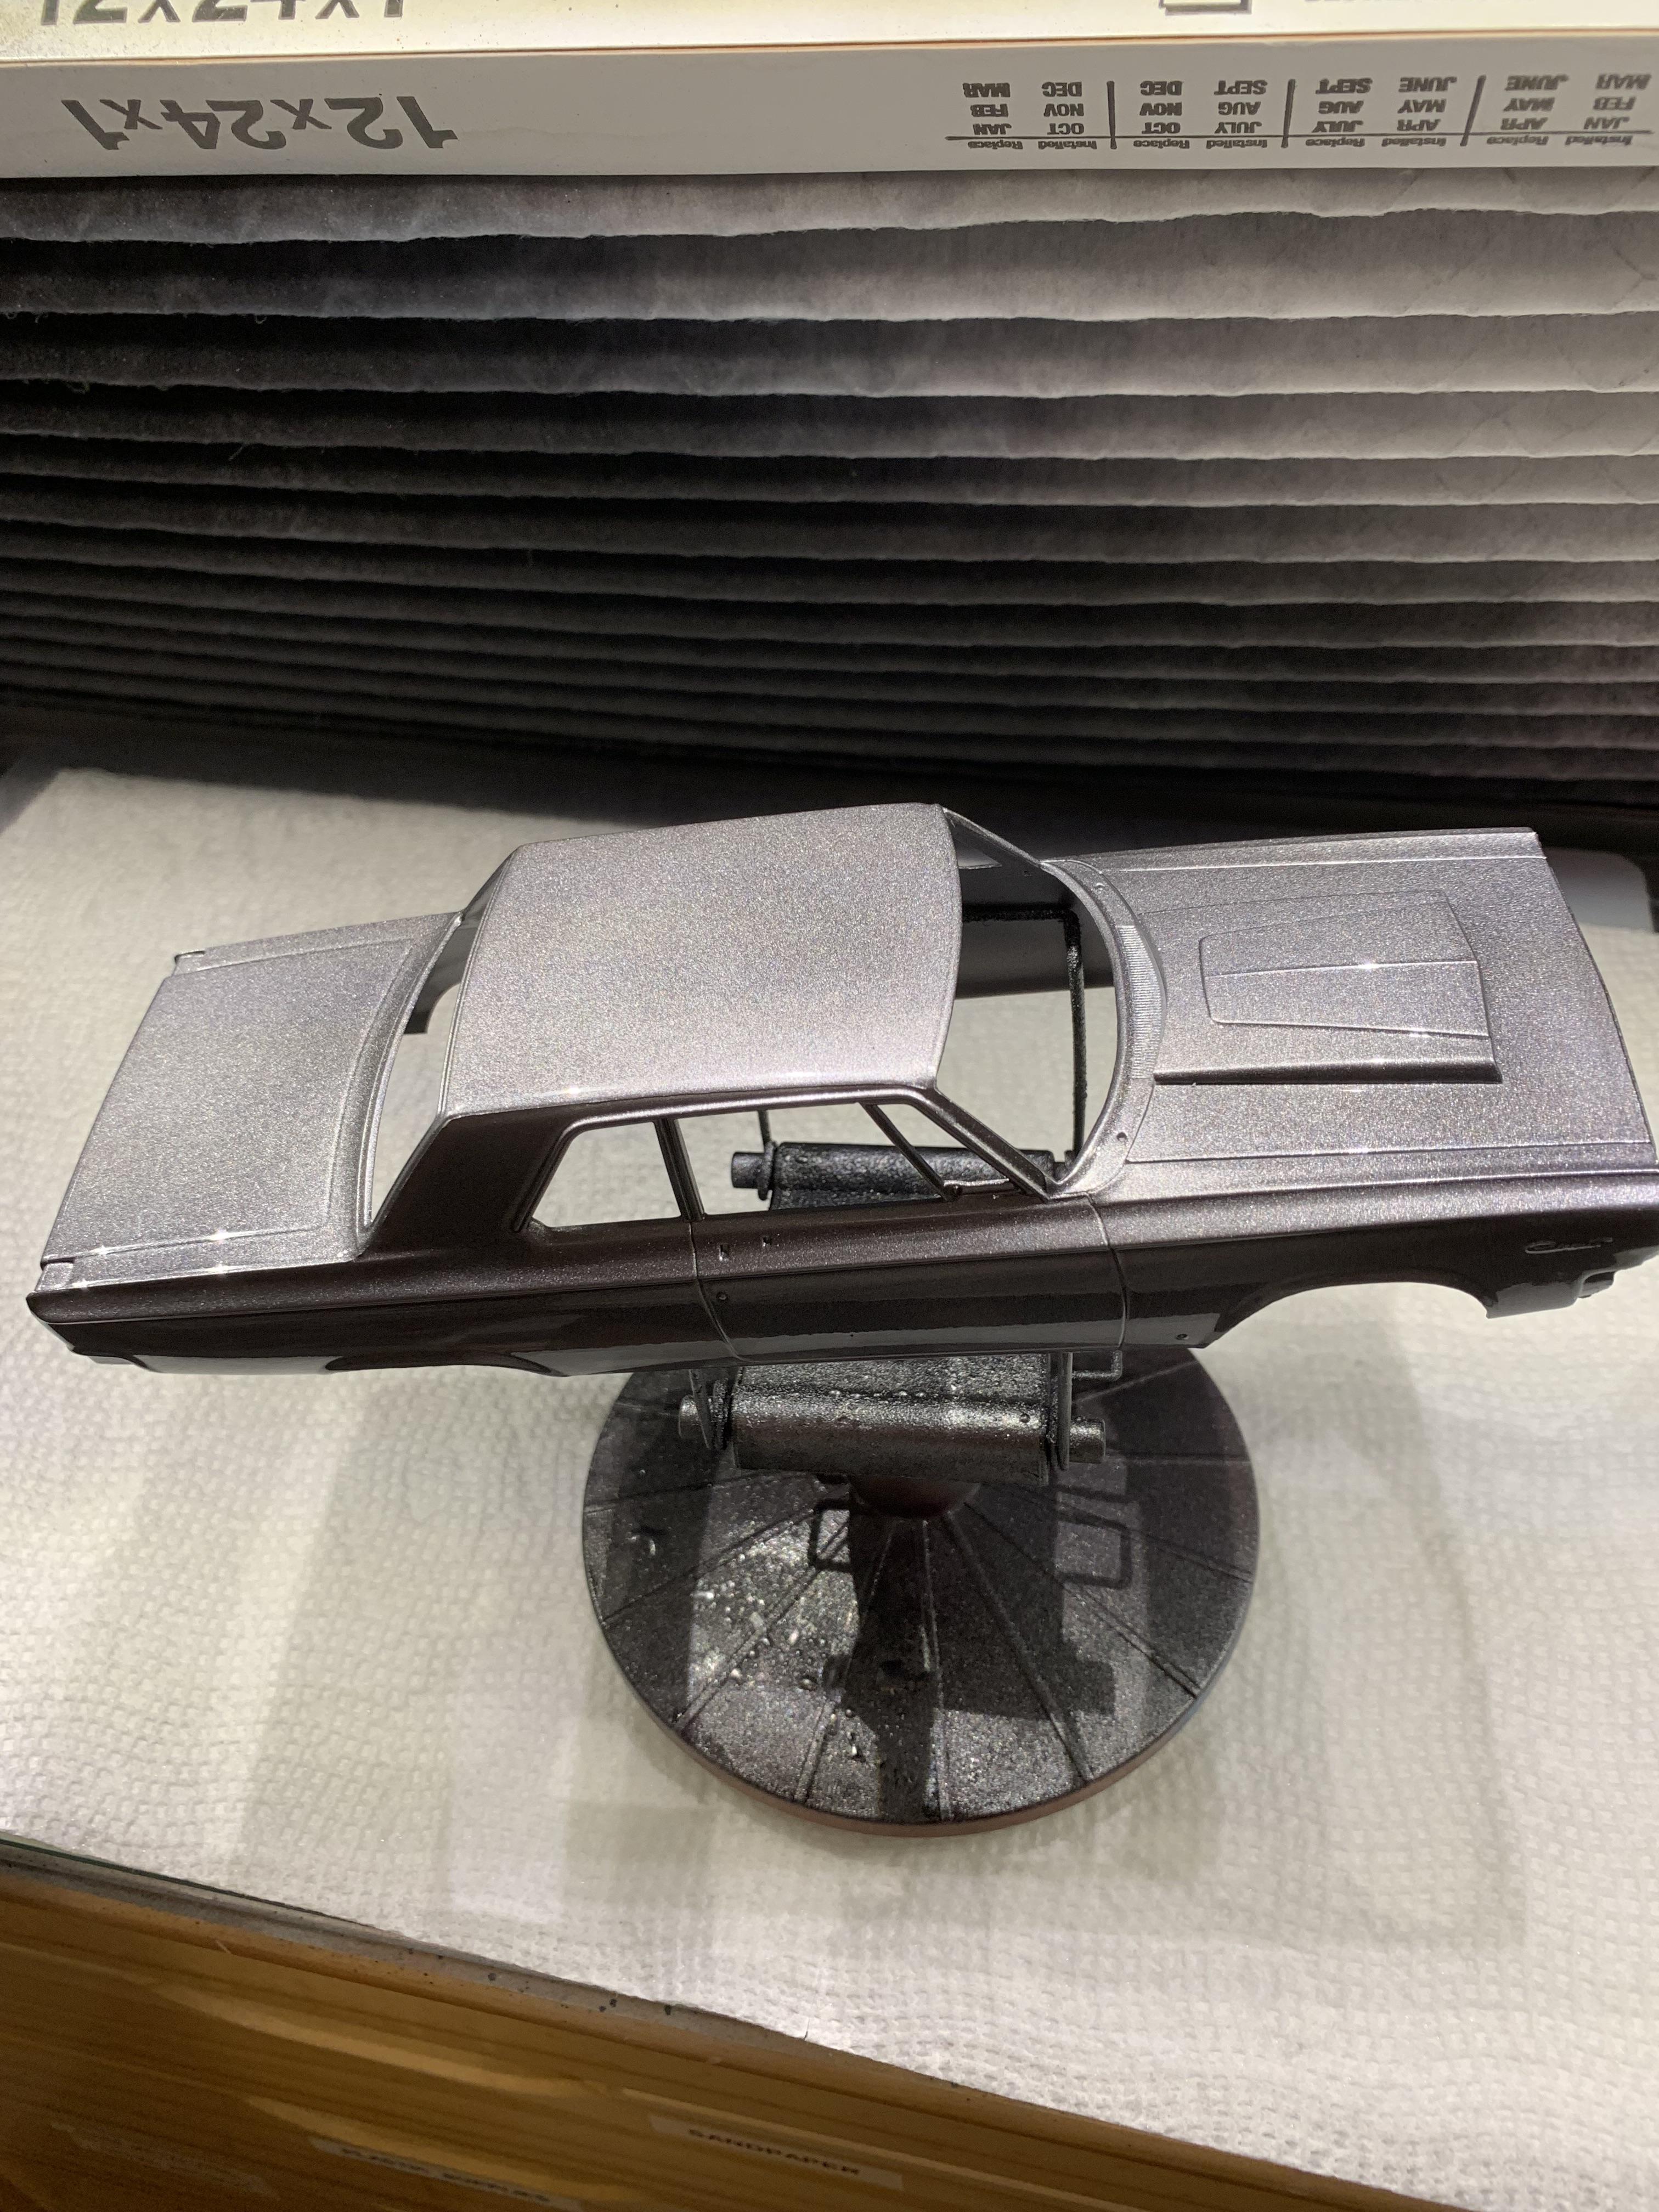
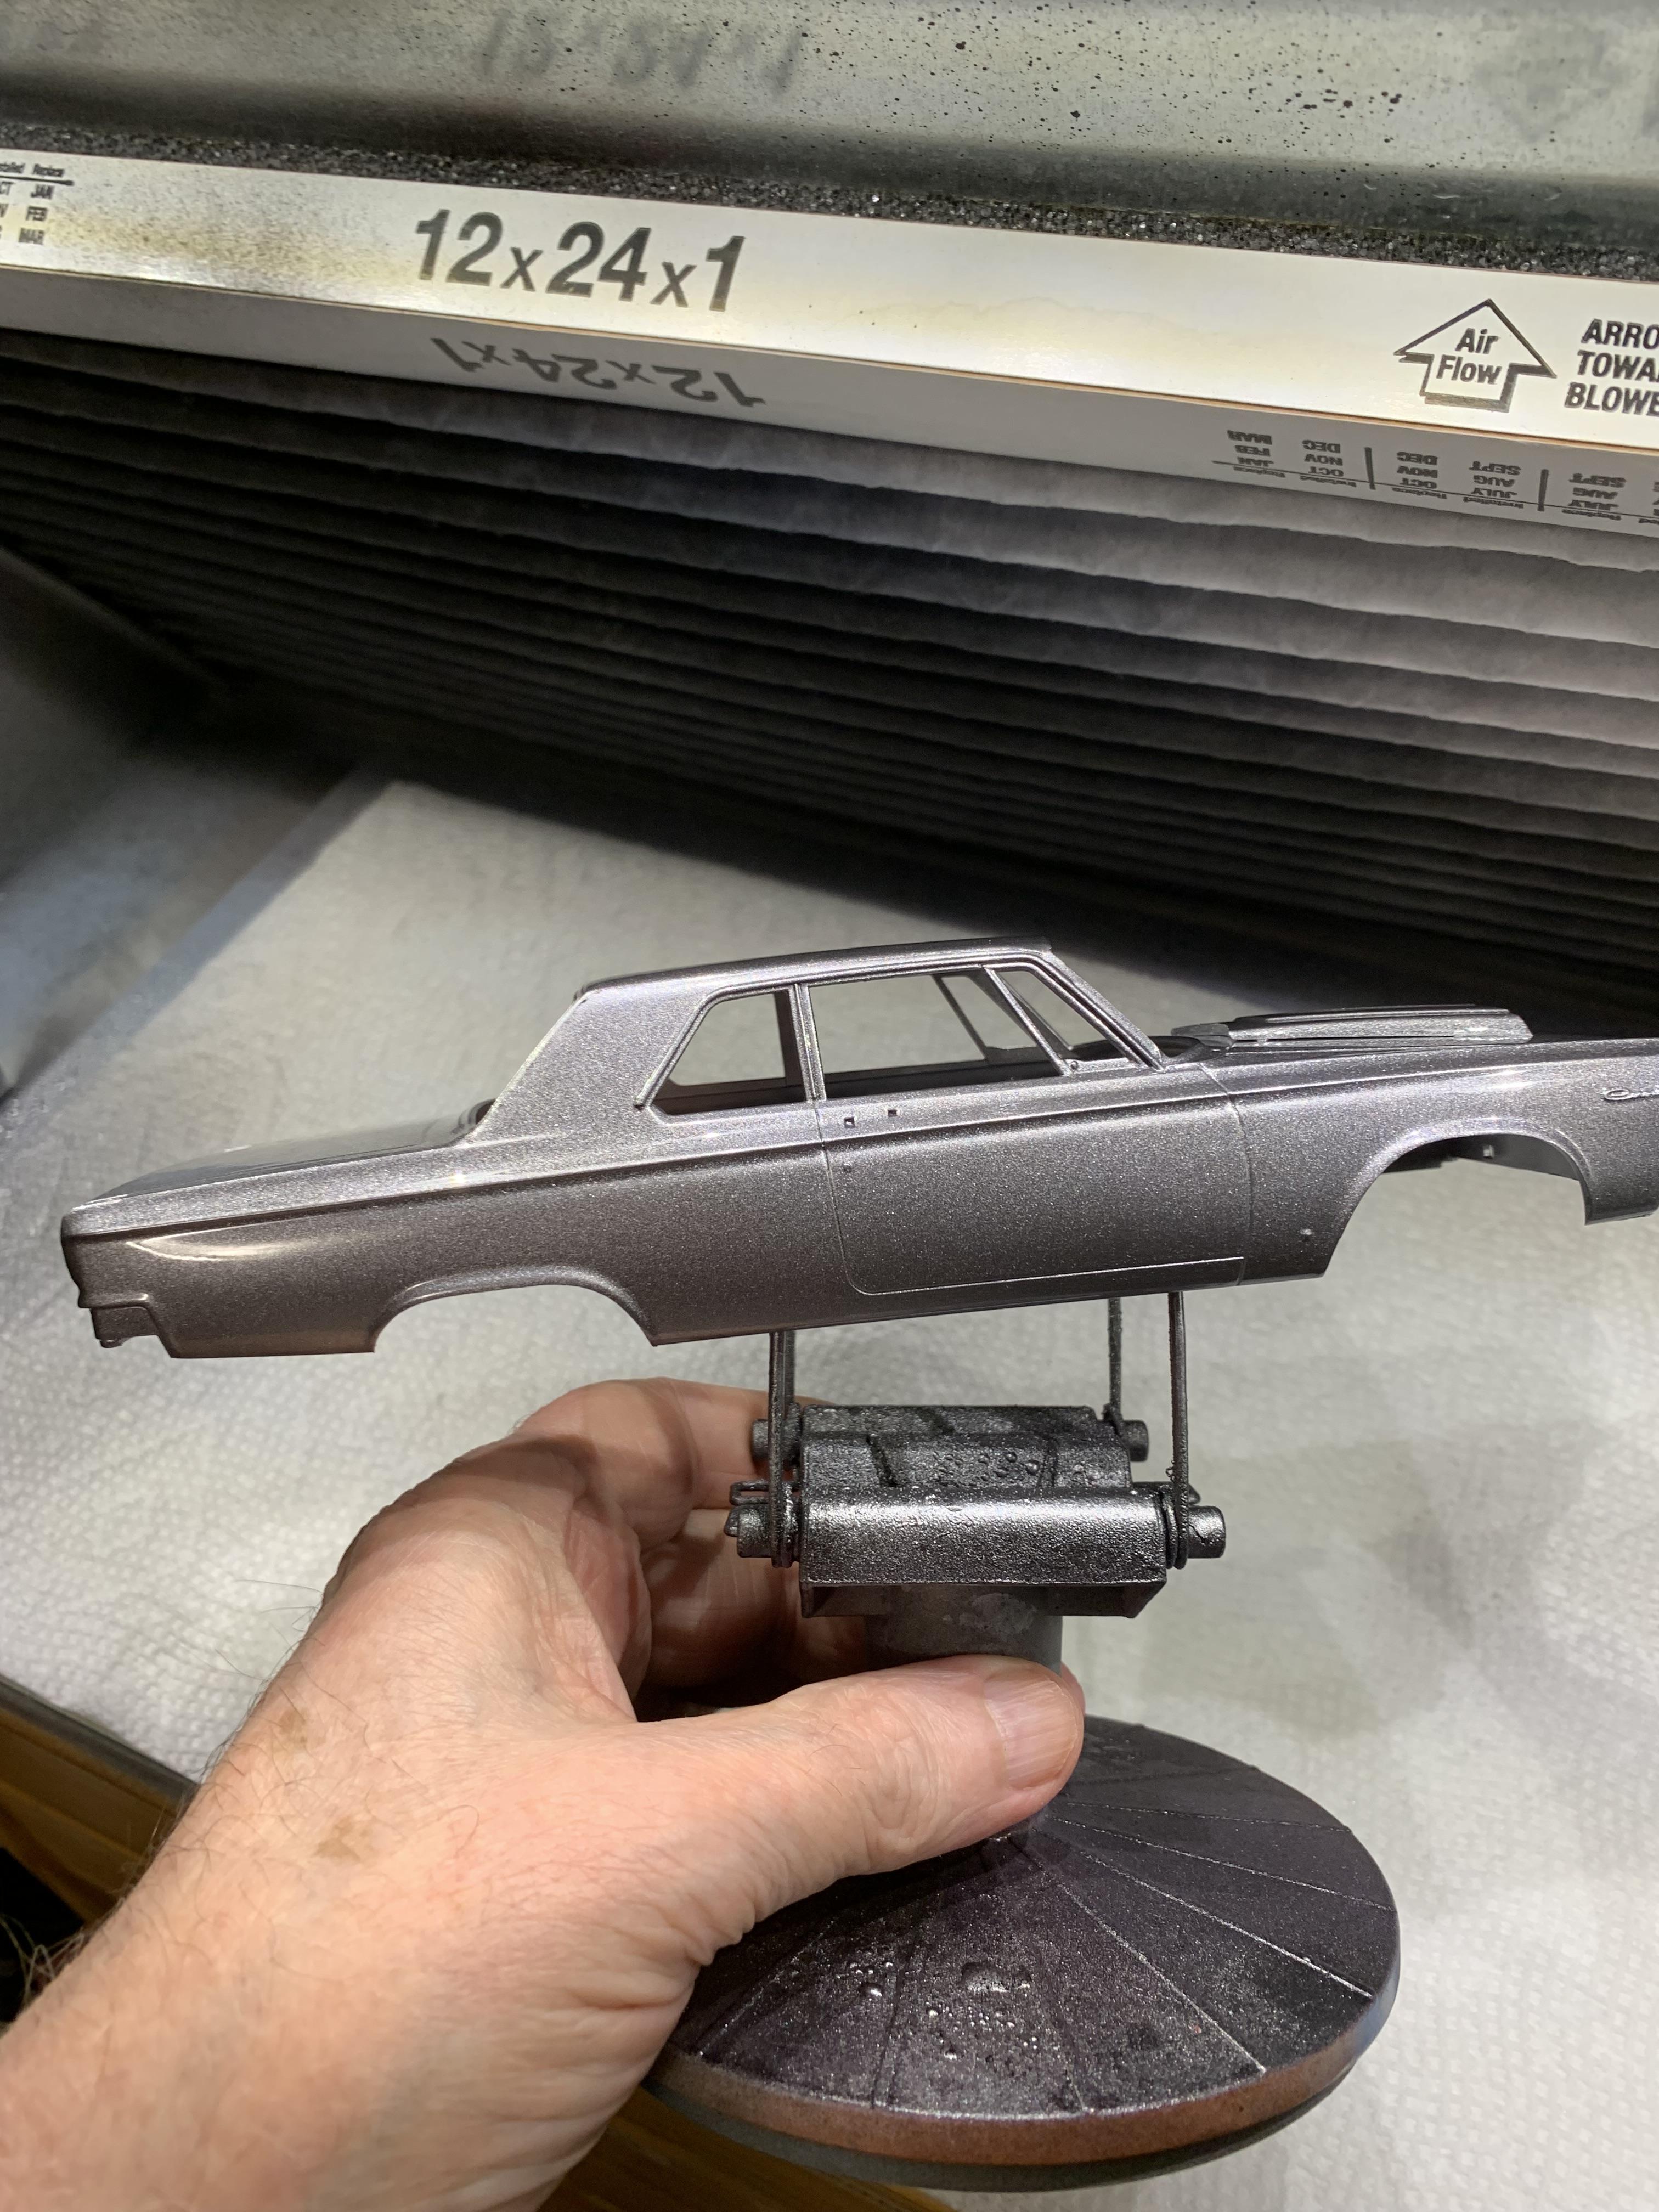
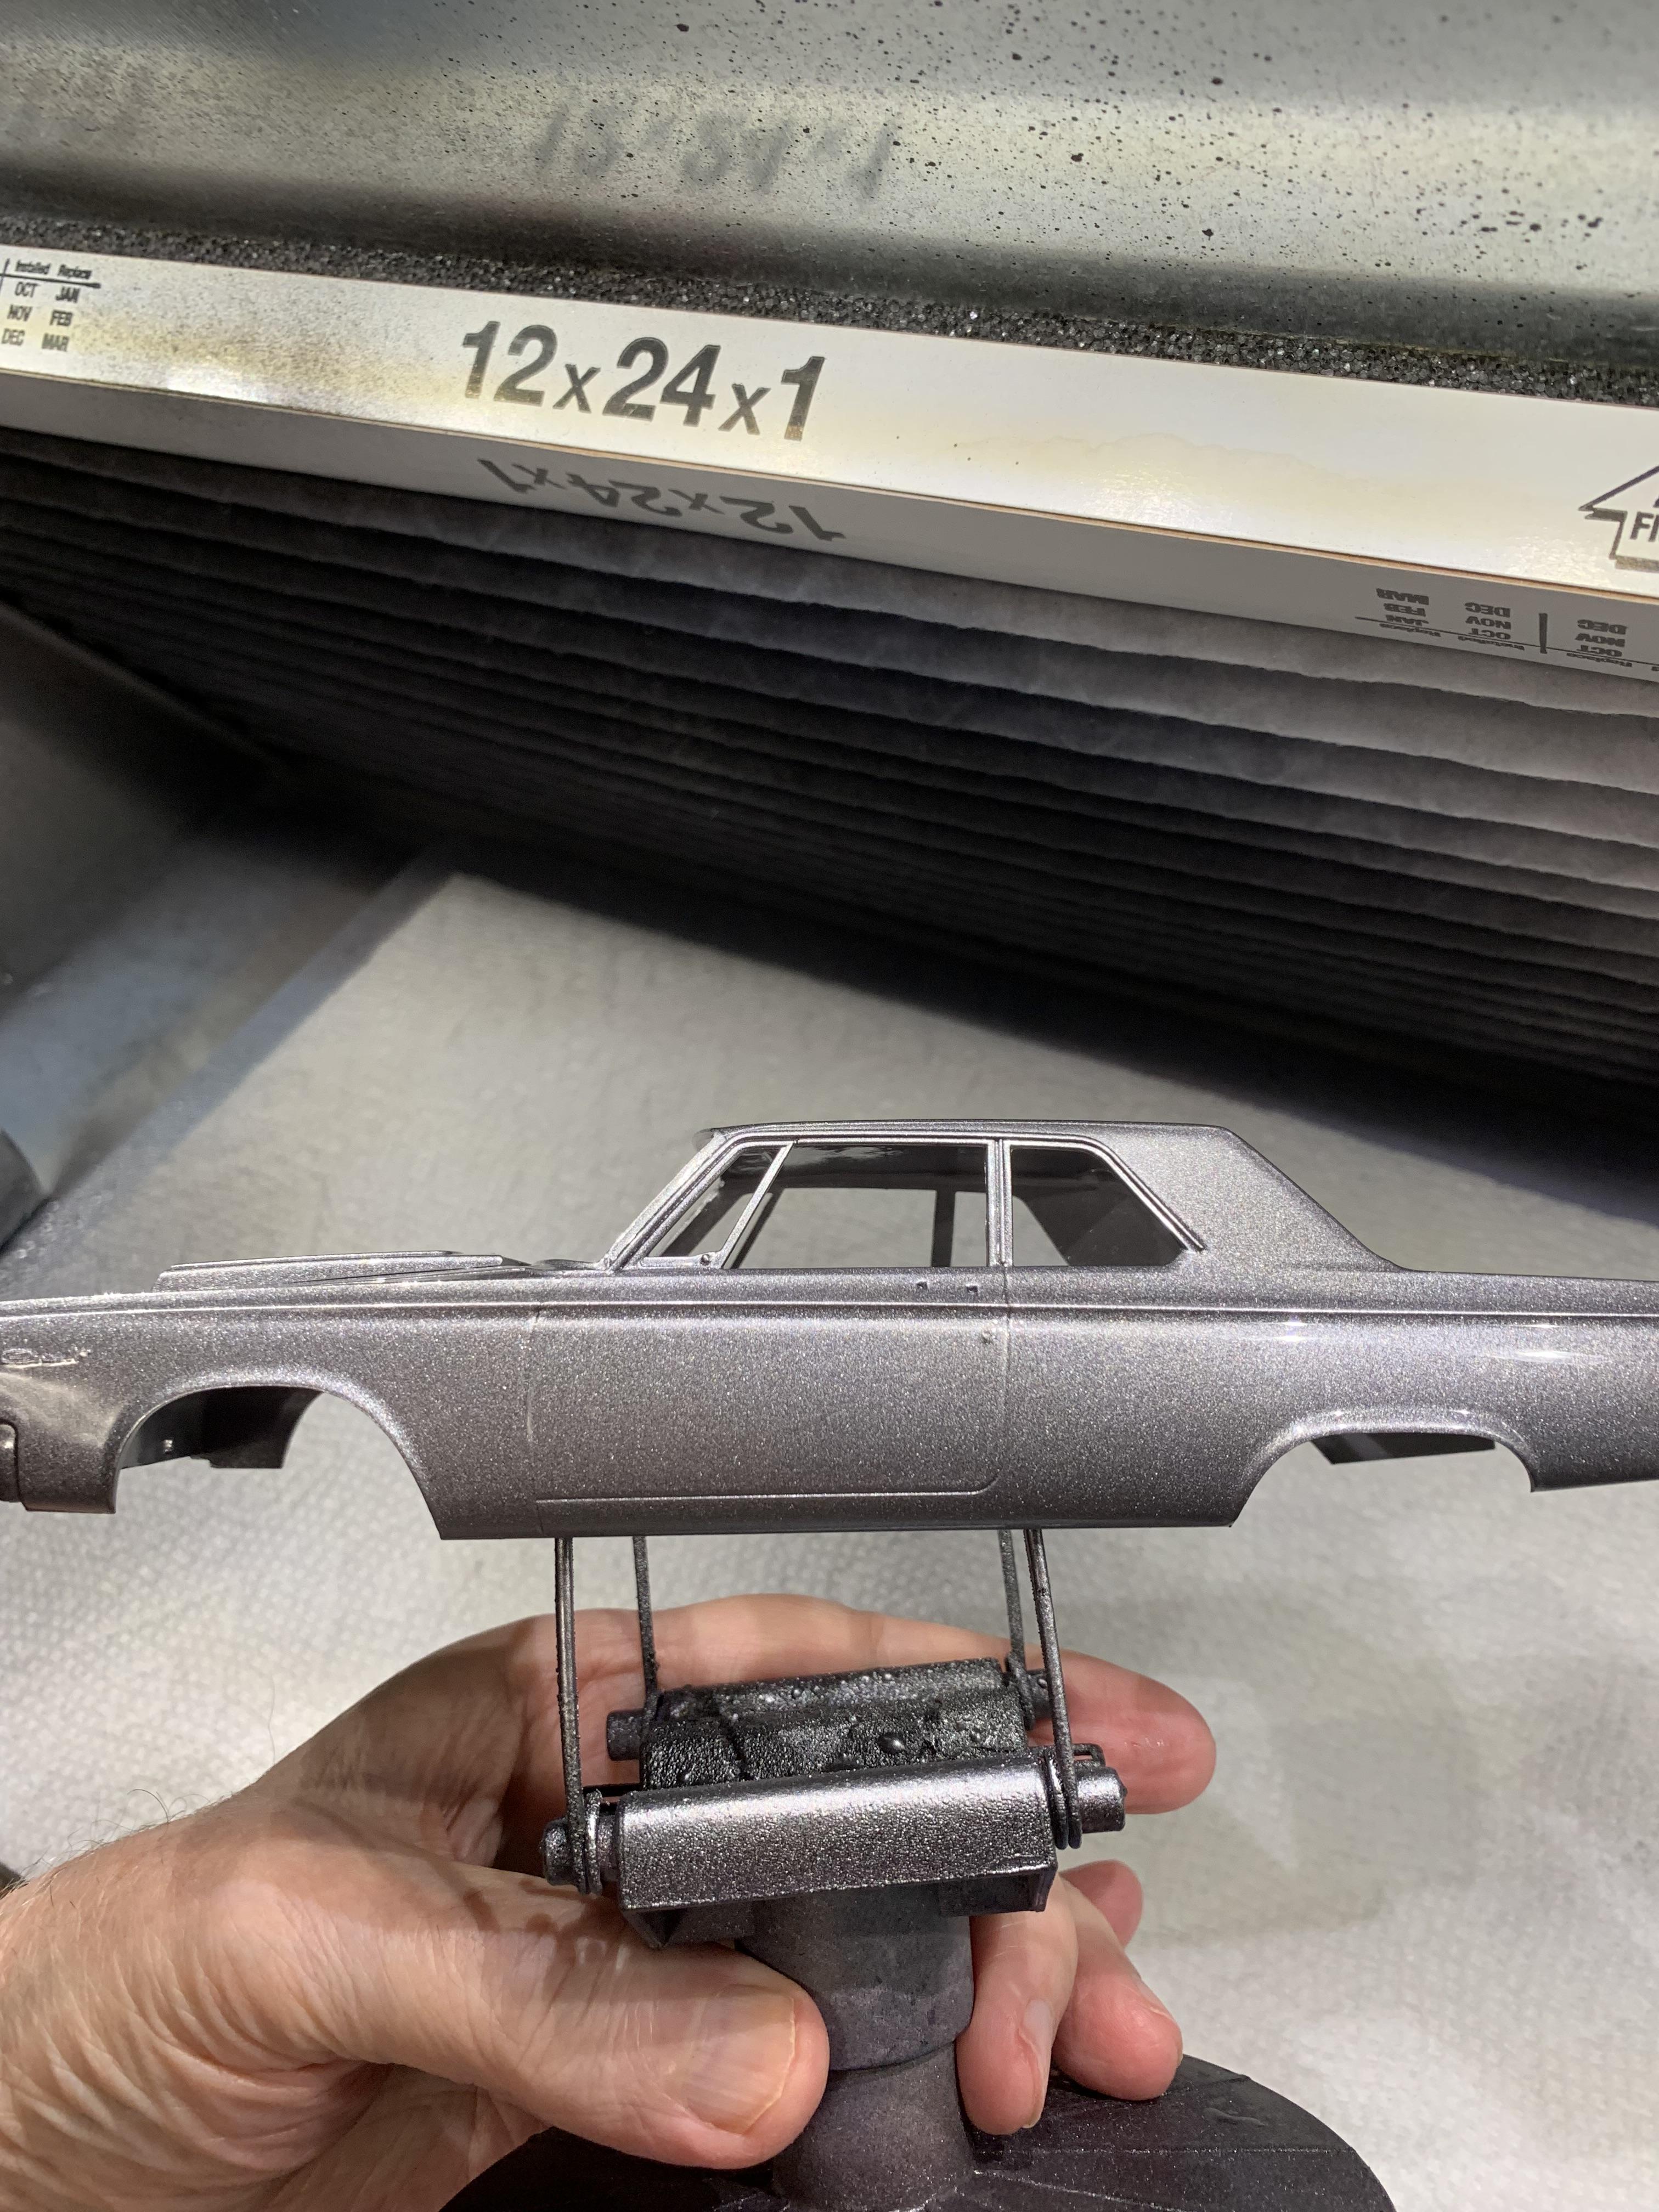
Cut the fuel tank off, replaced with sheet of styrene, painted with ts46 Tamiya light sand. Sprayed door panels, too. Also, sprayed some ts14 on the front of chassis and pedals.
-
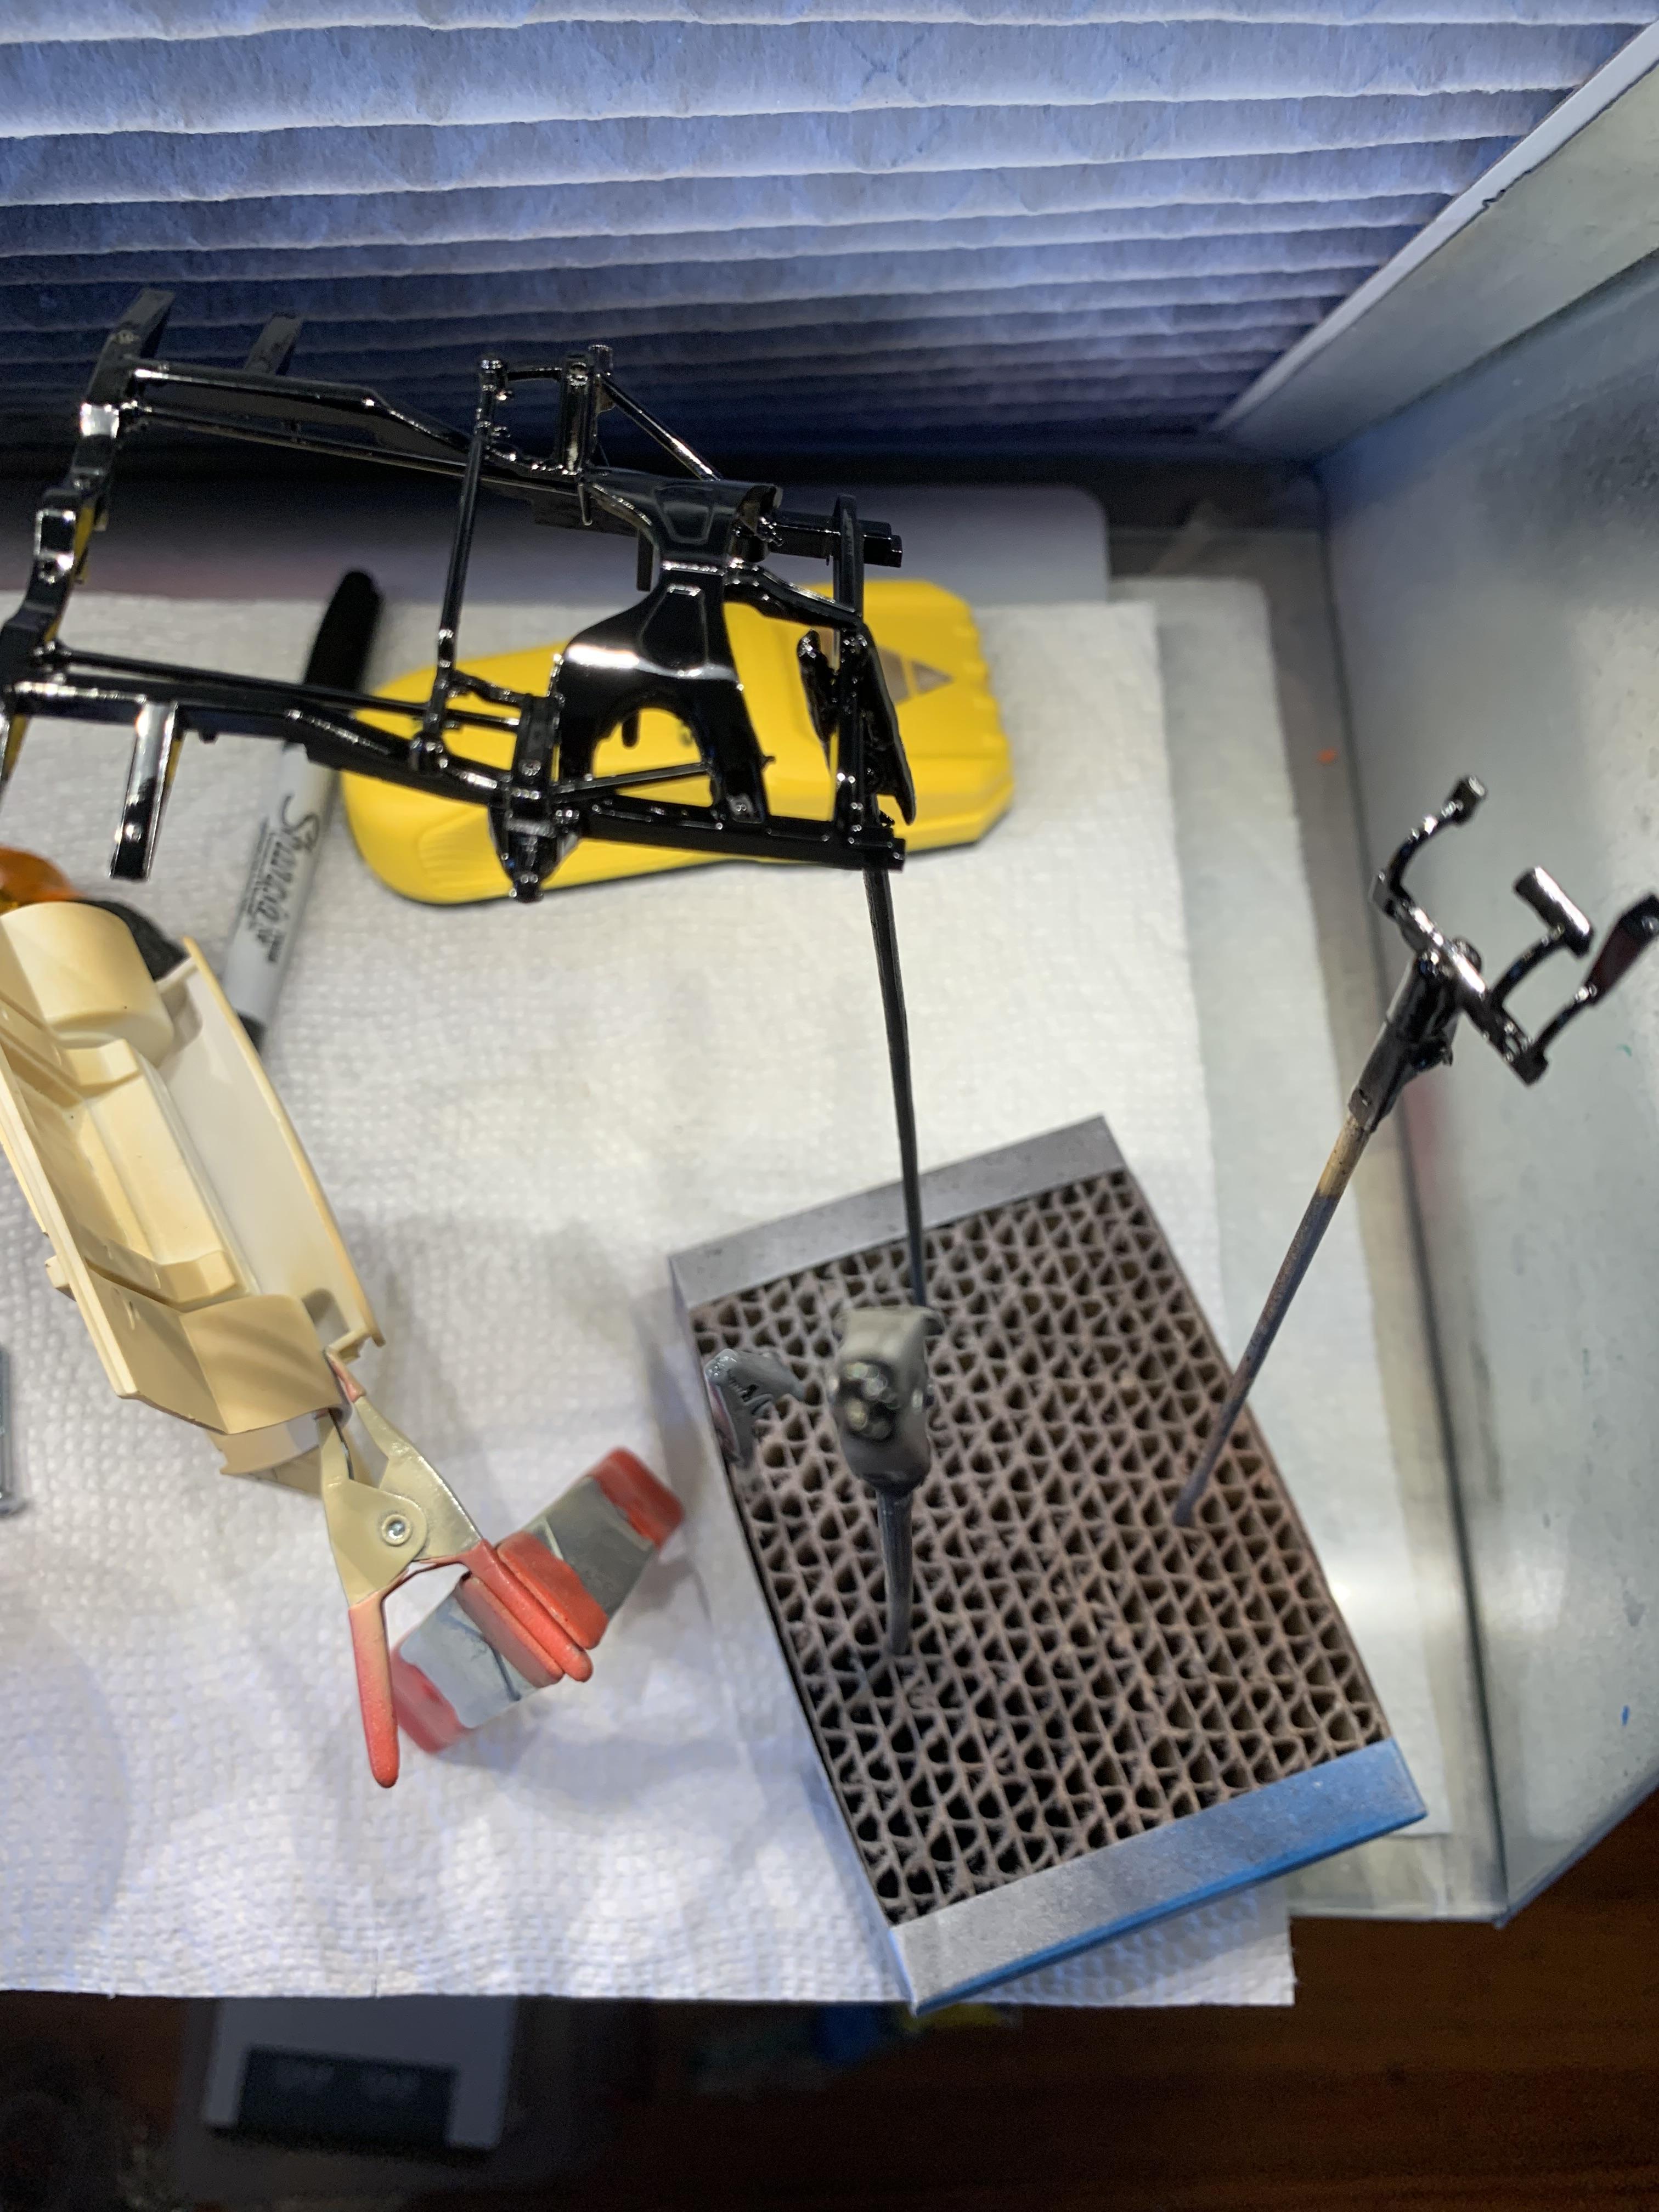
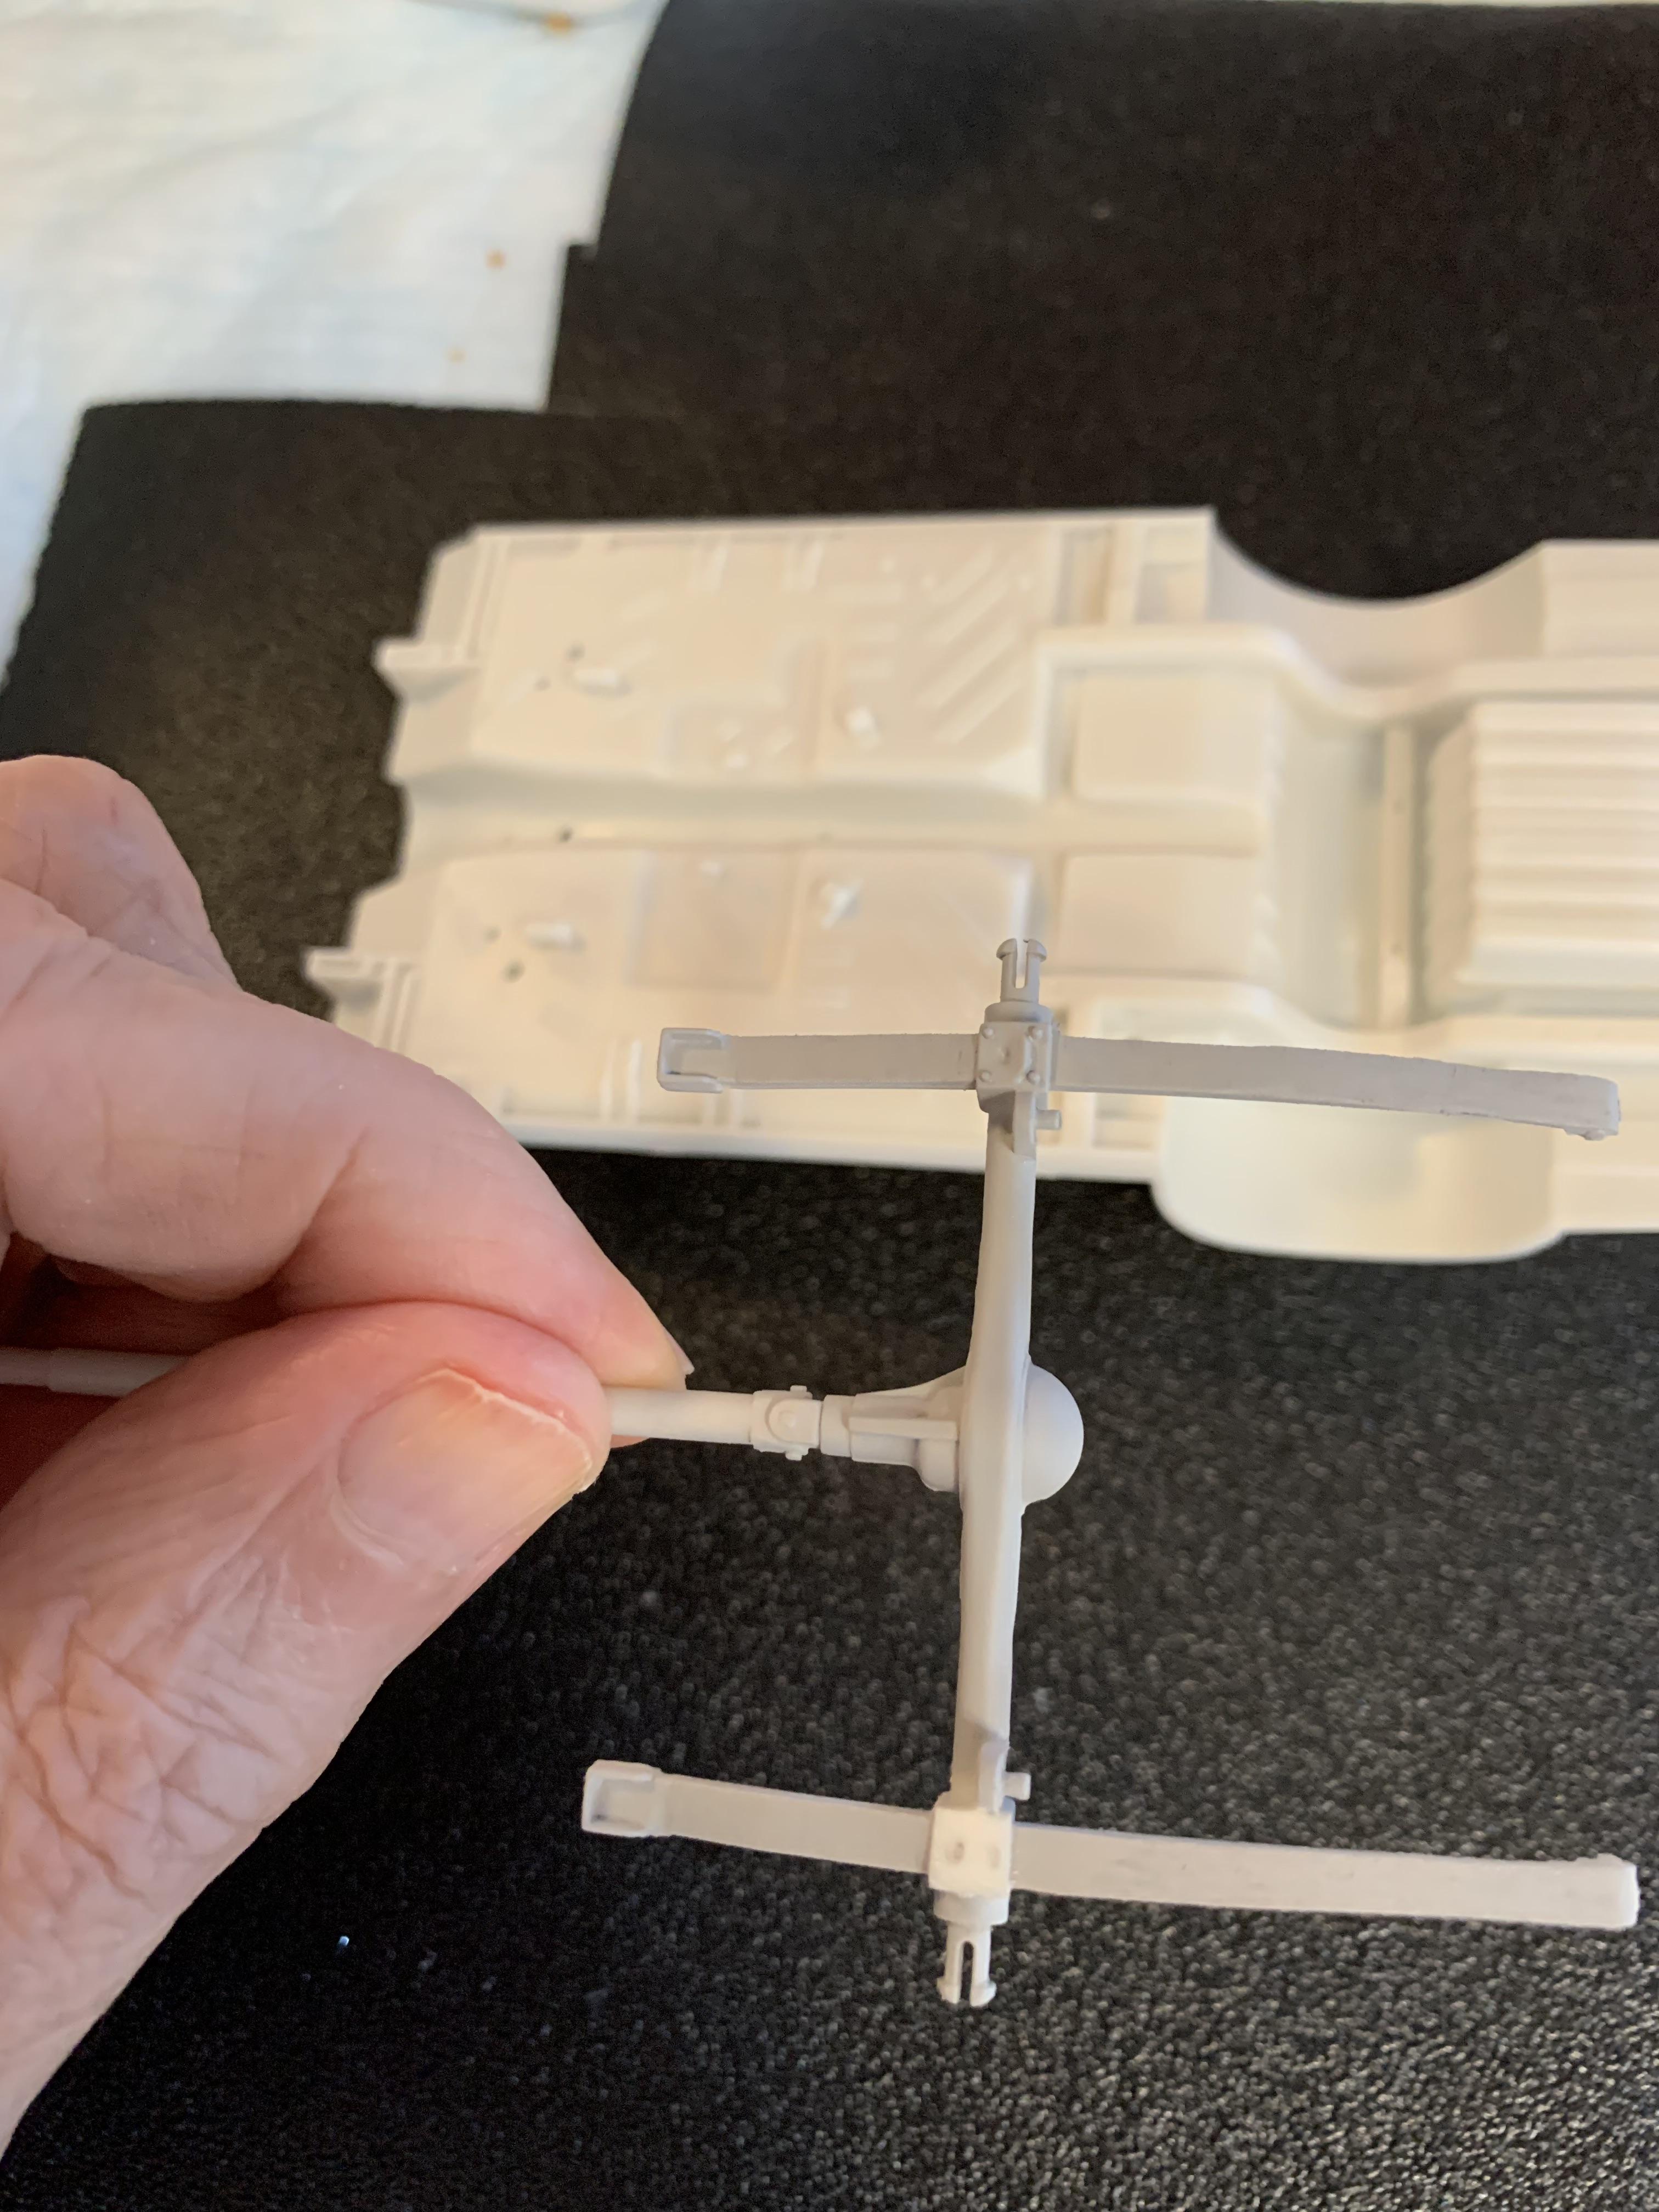
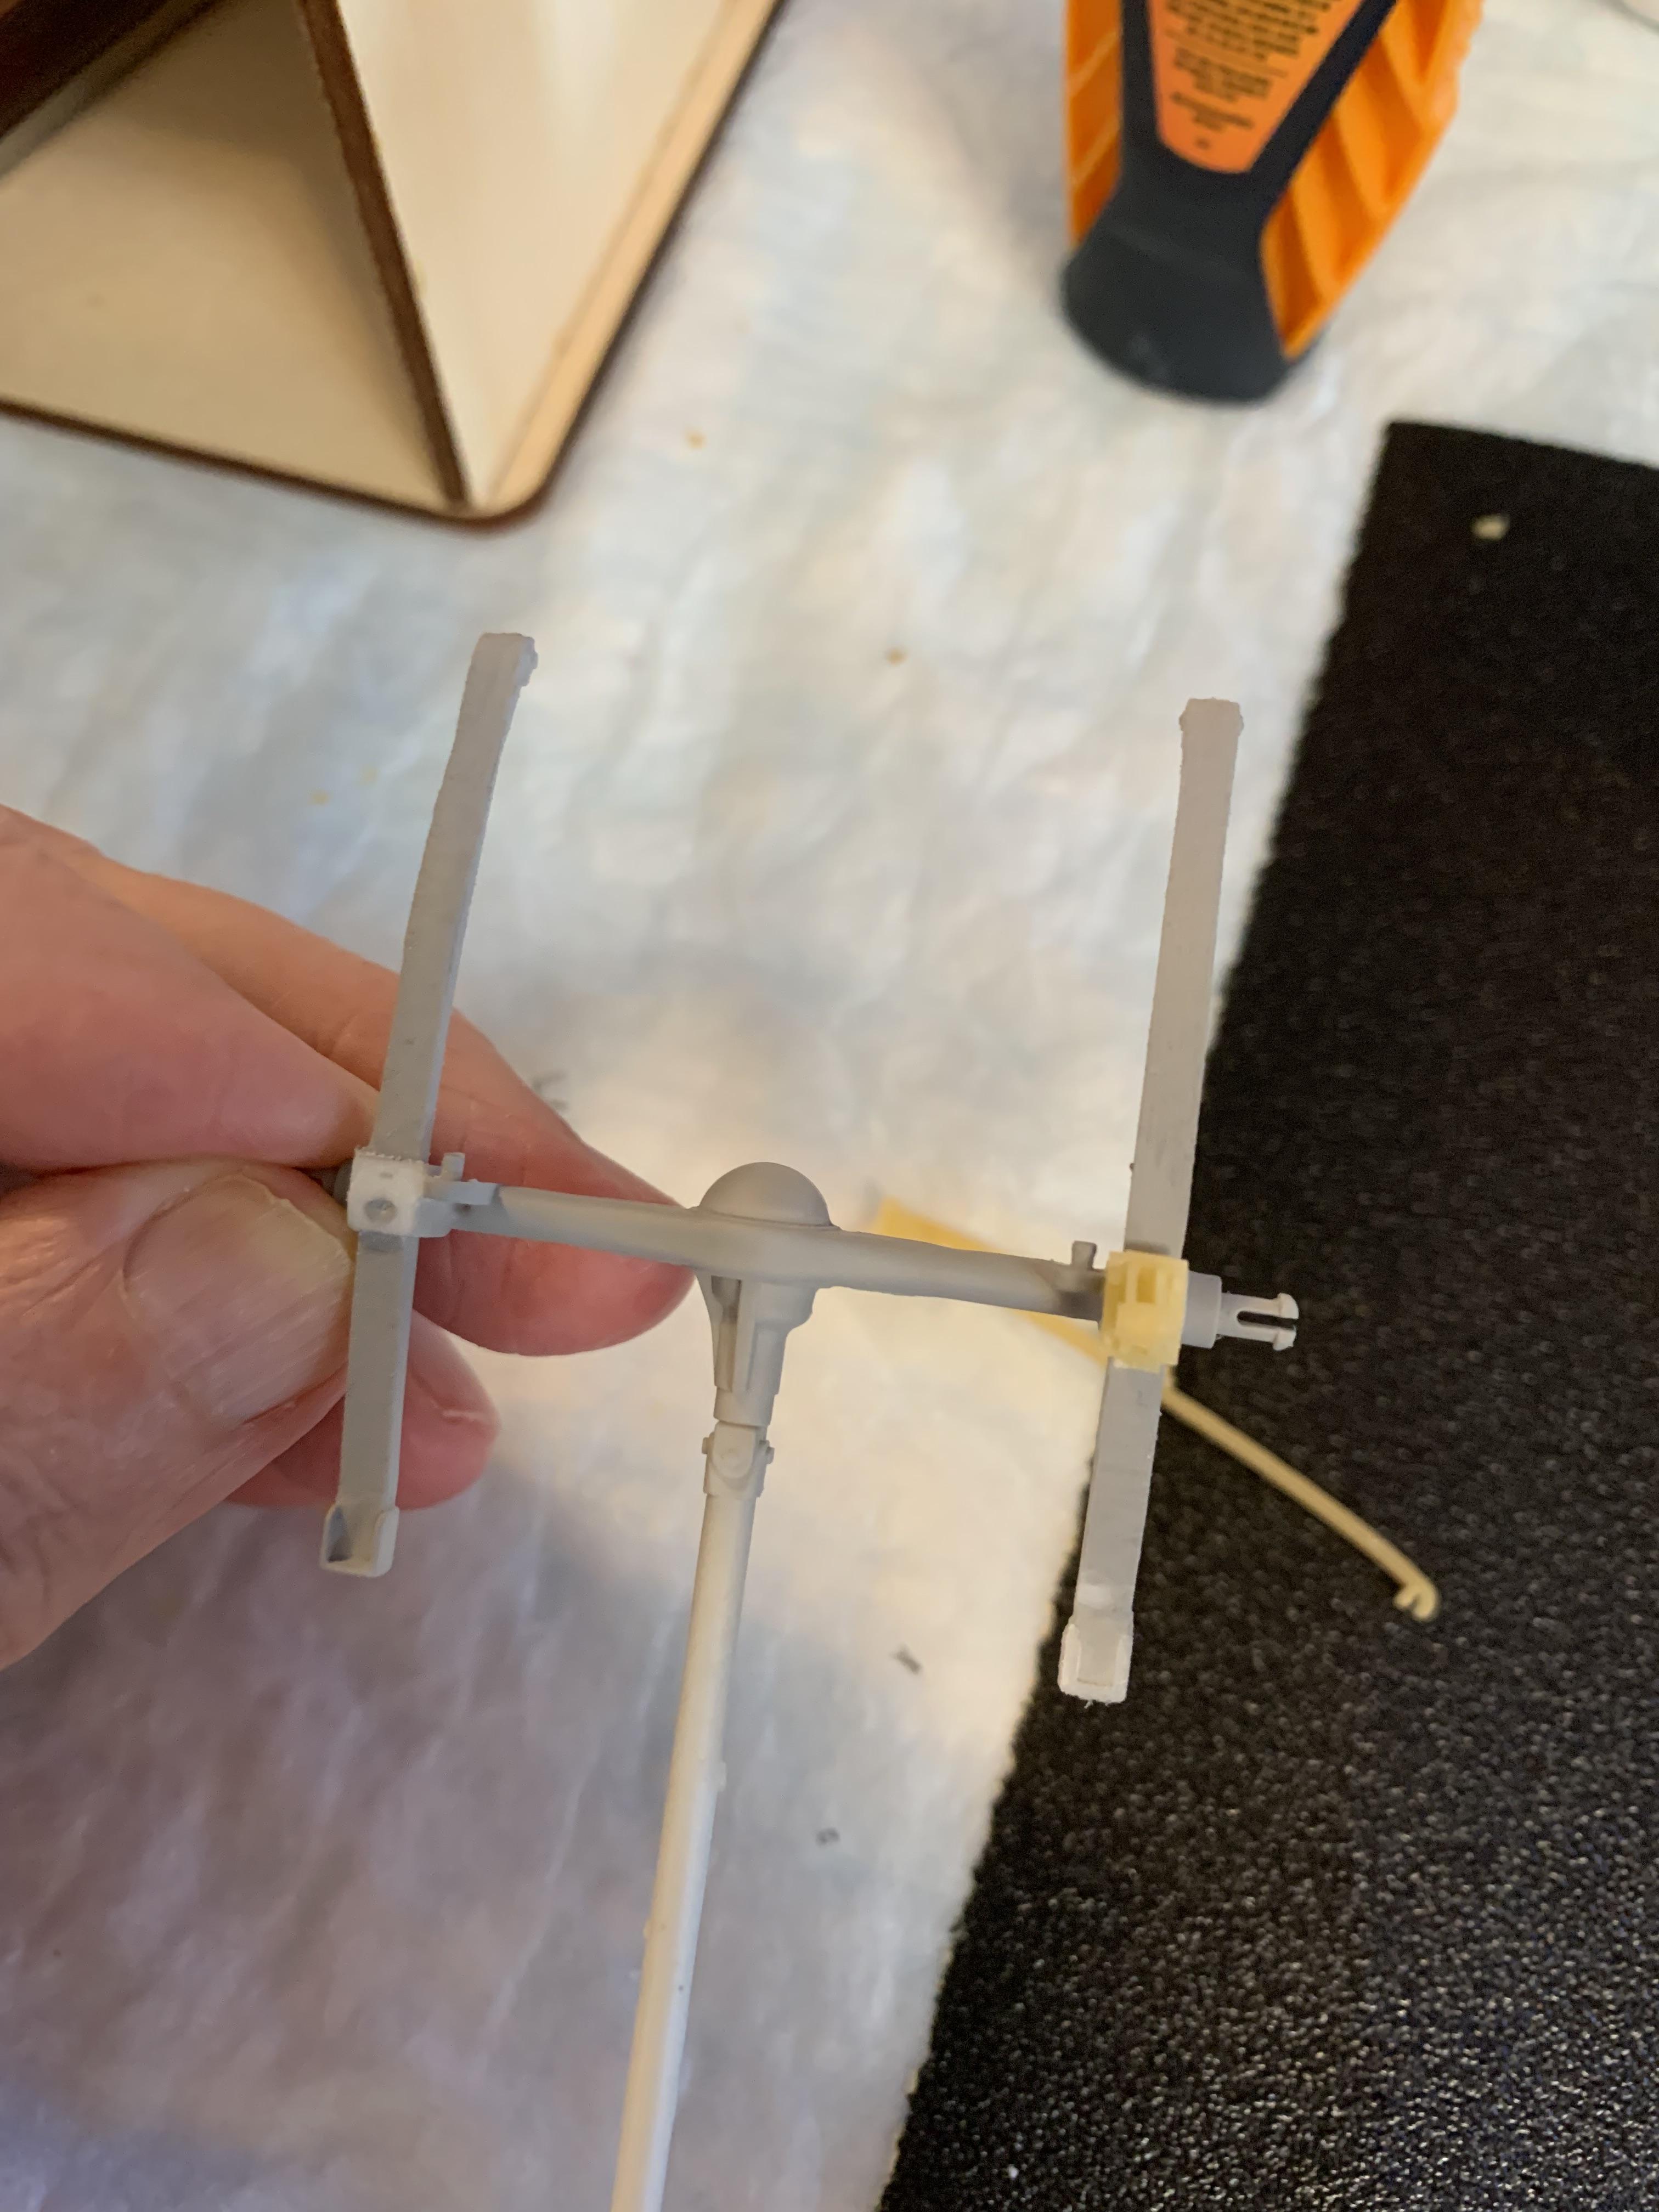
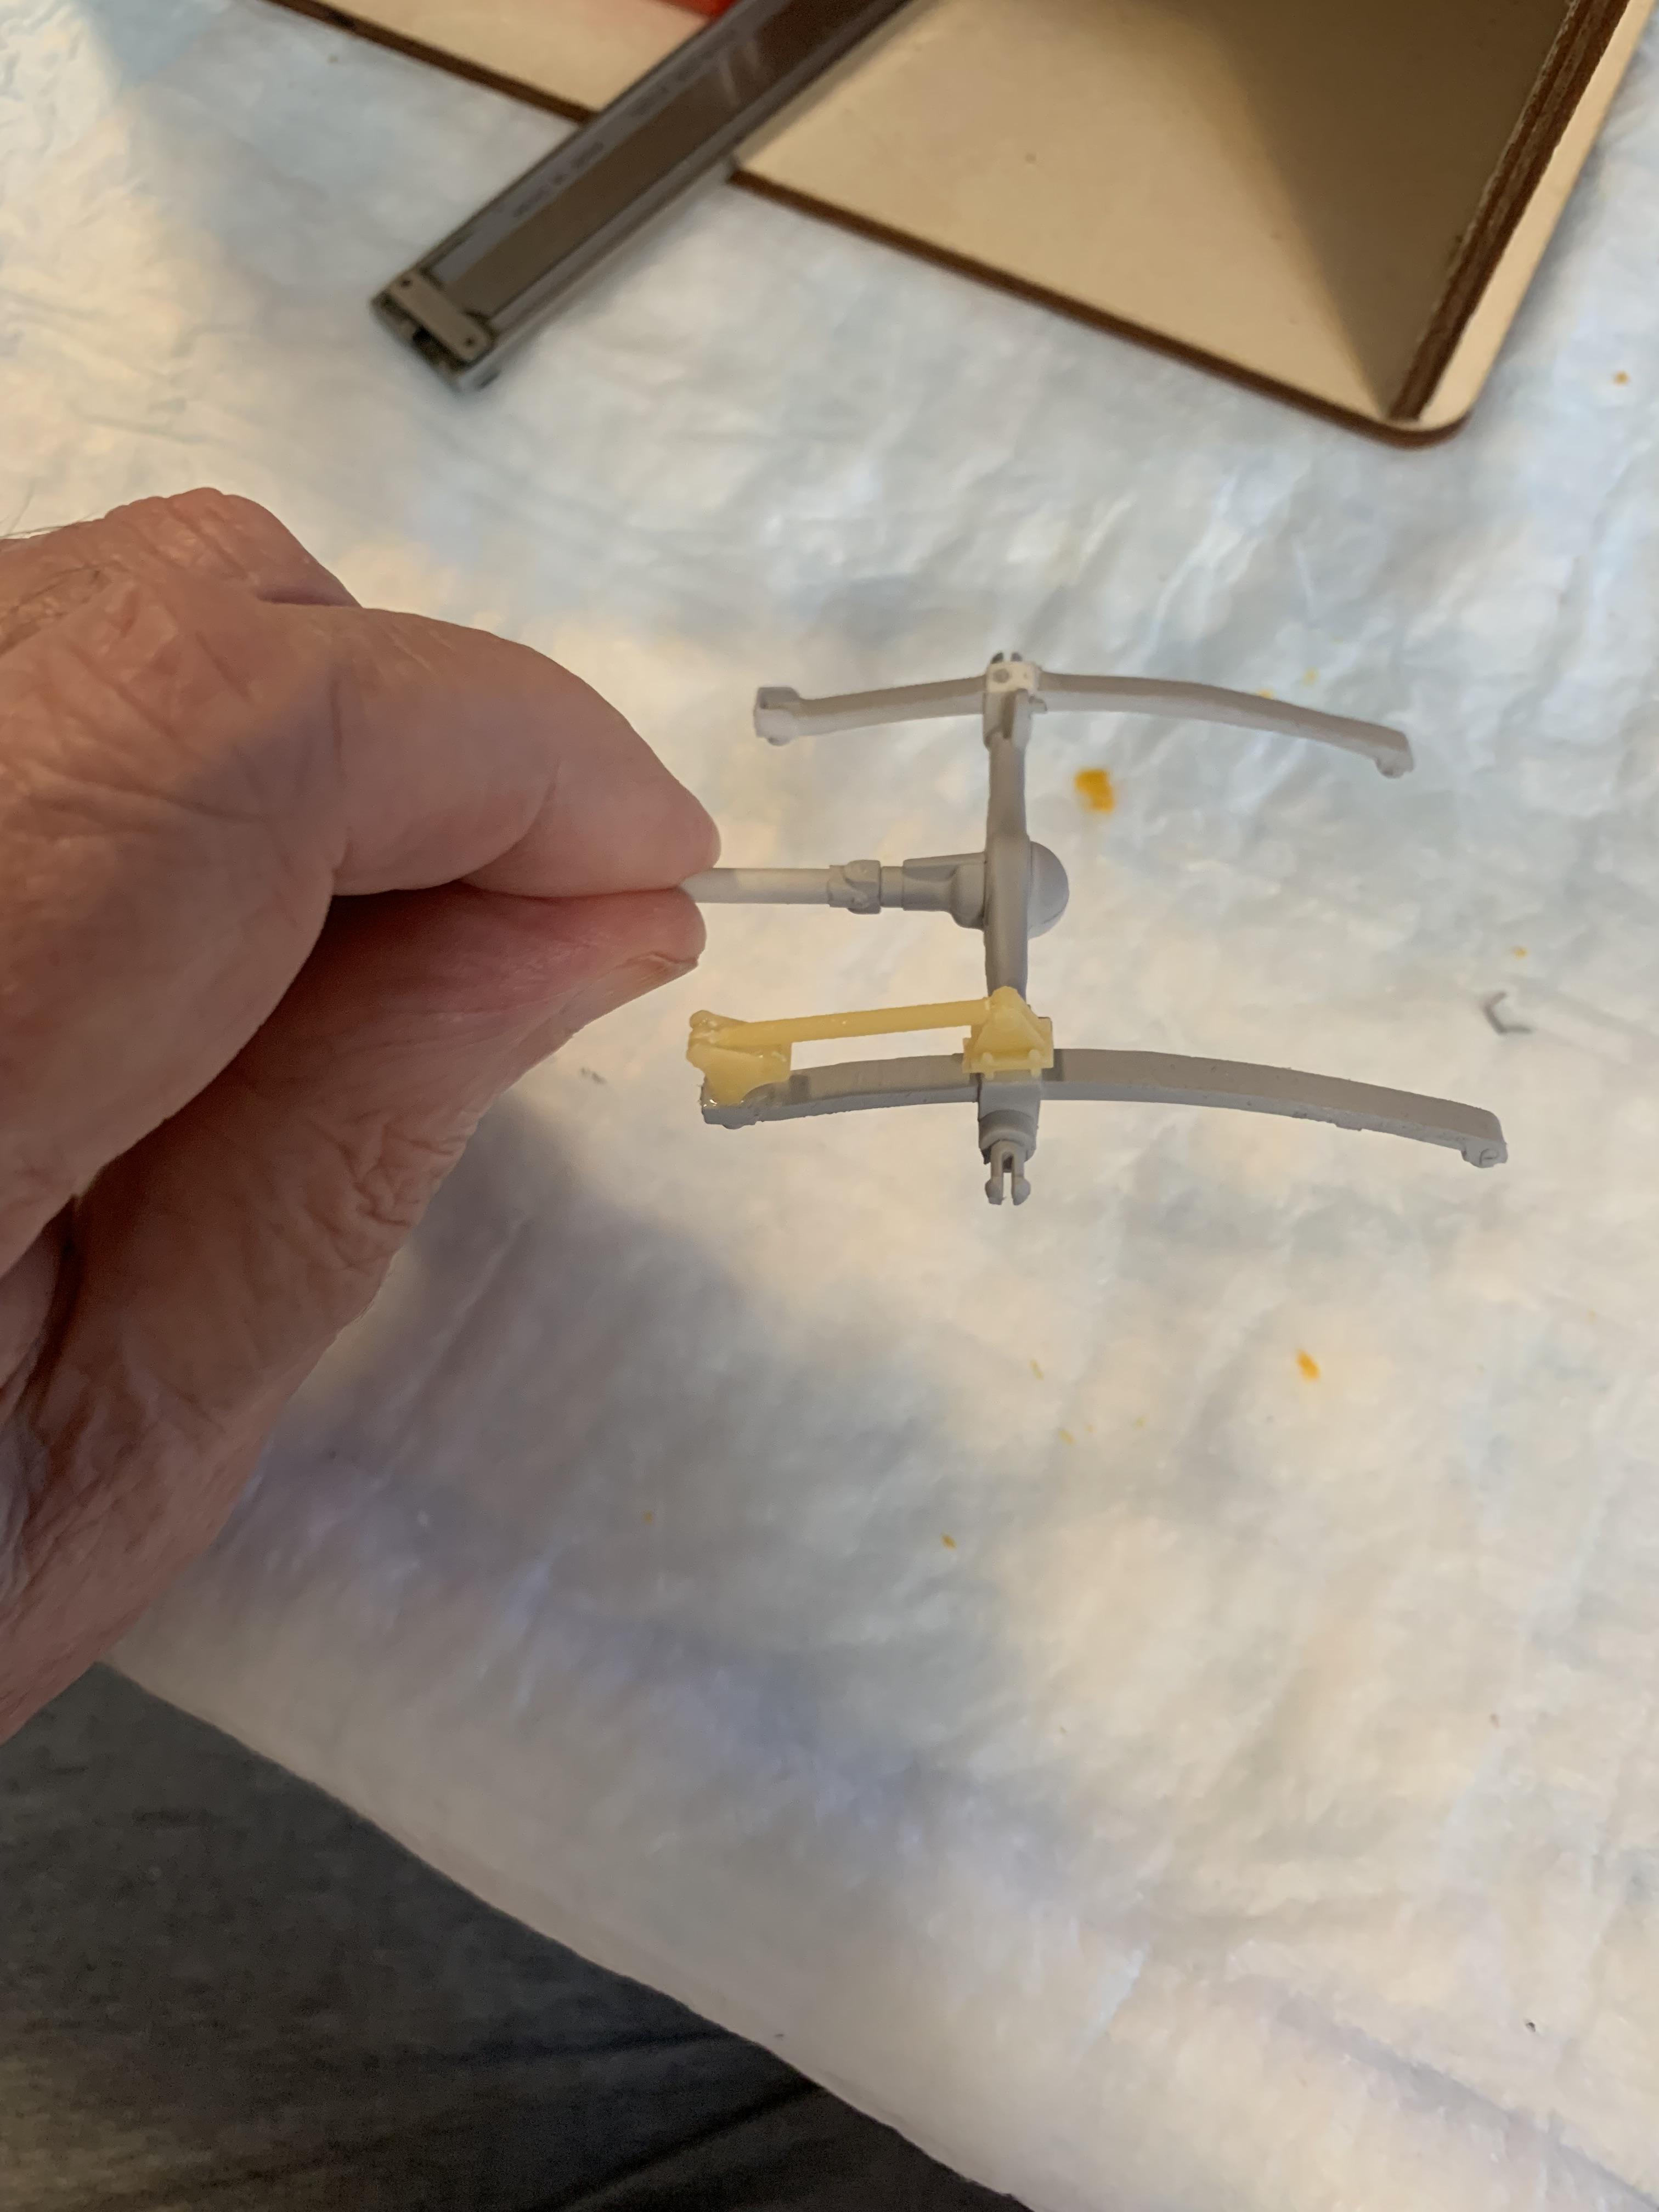
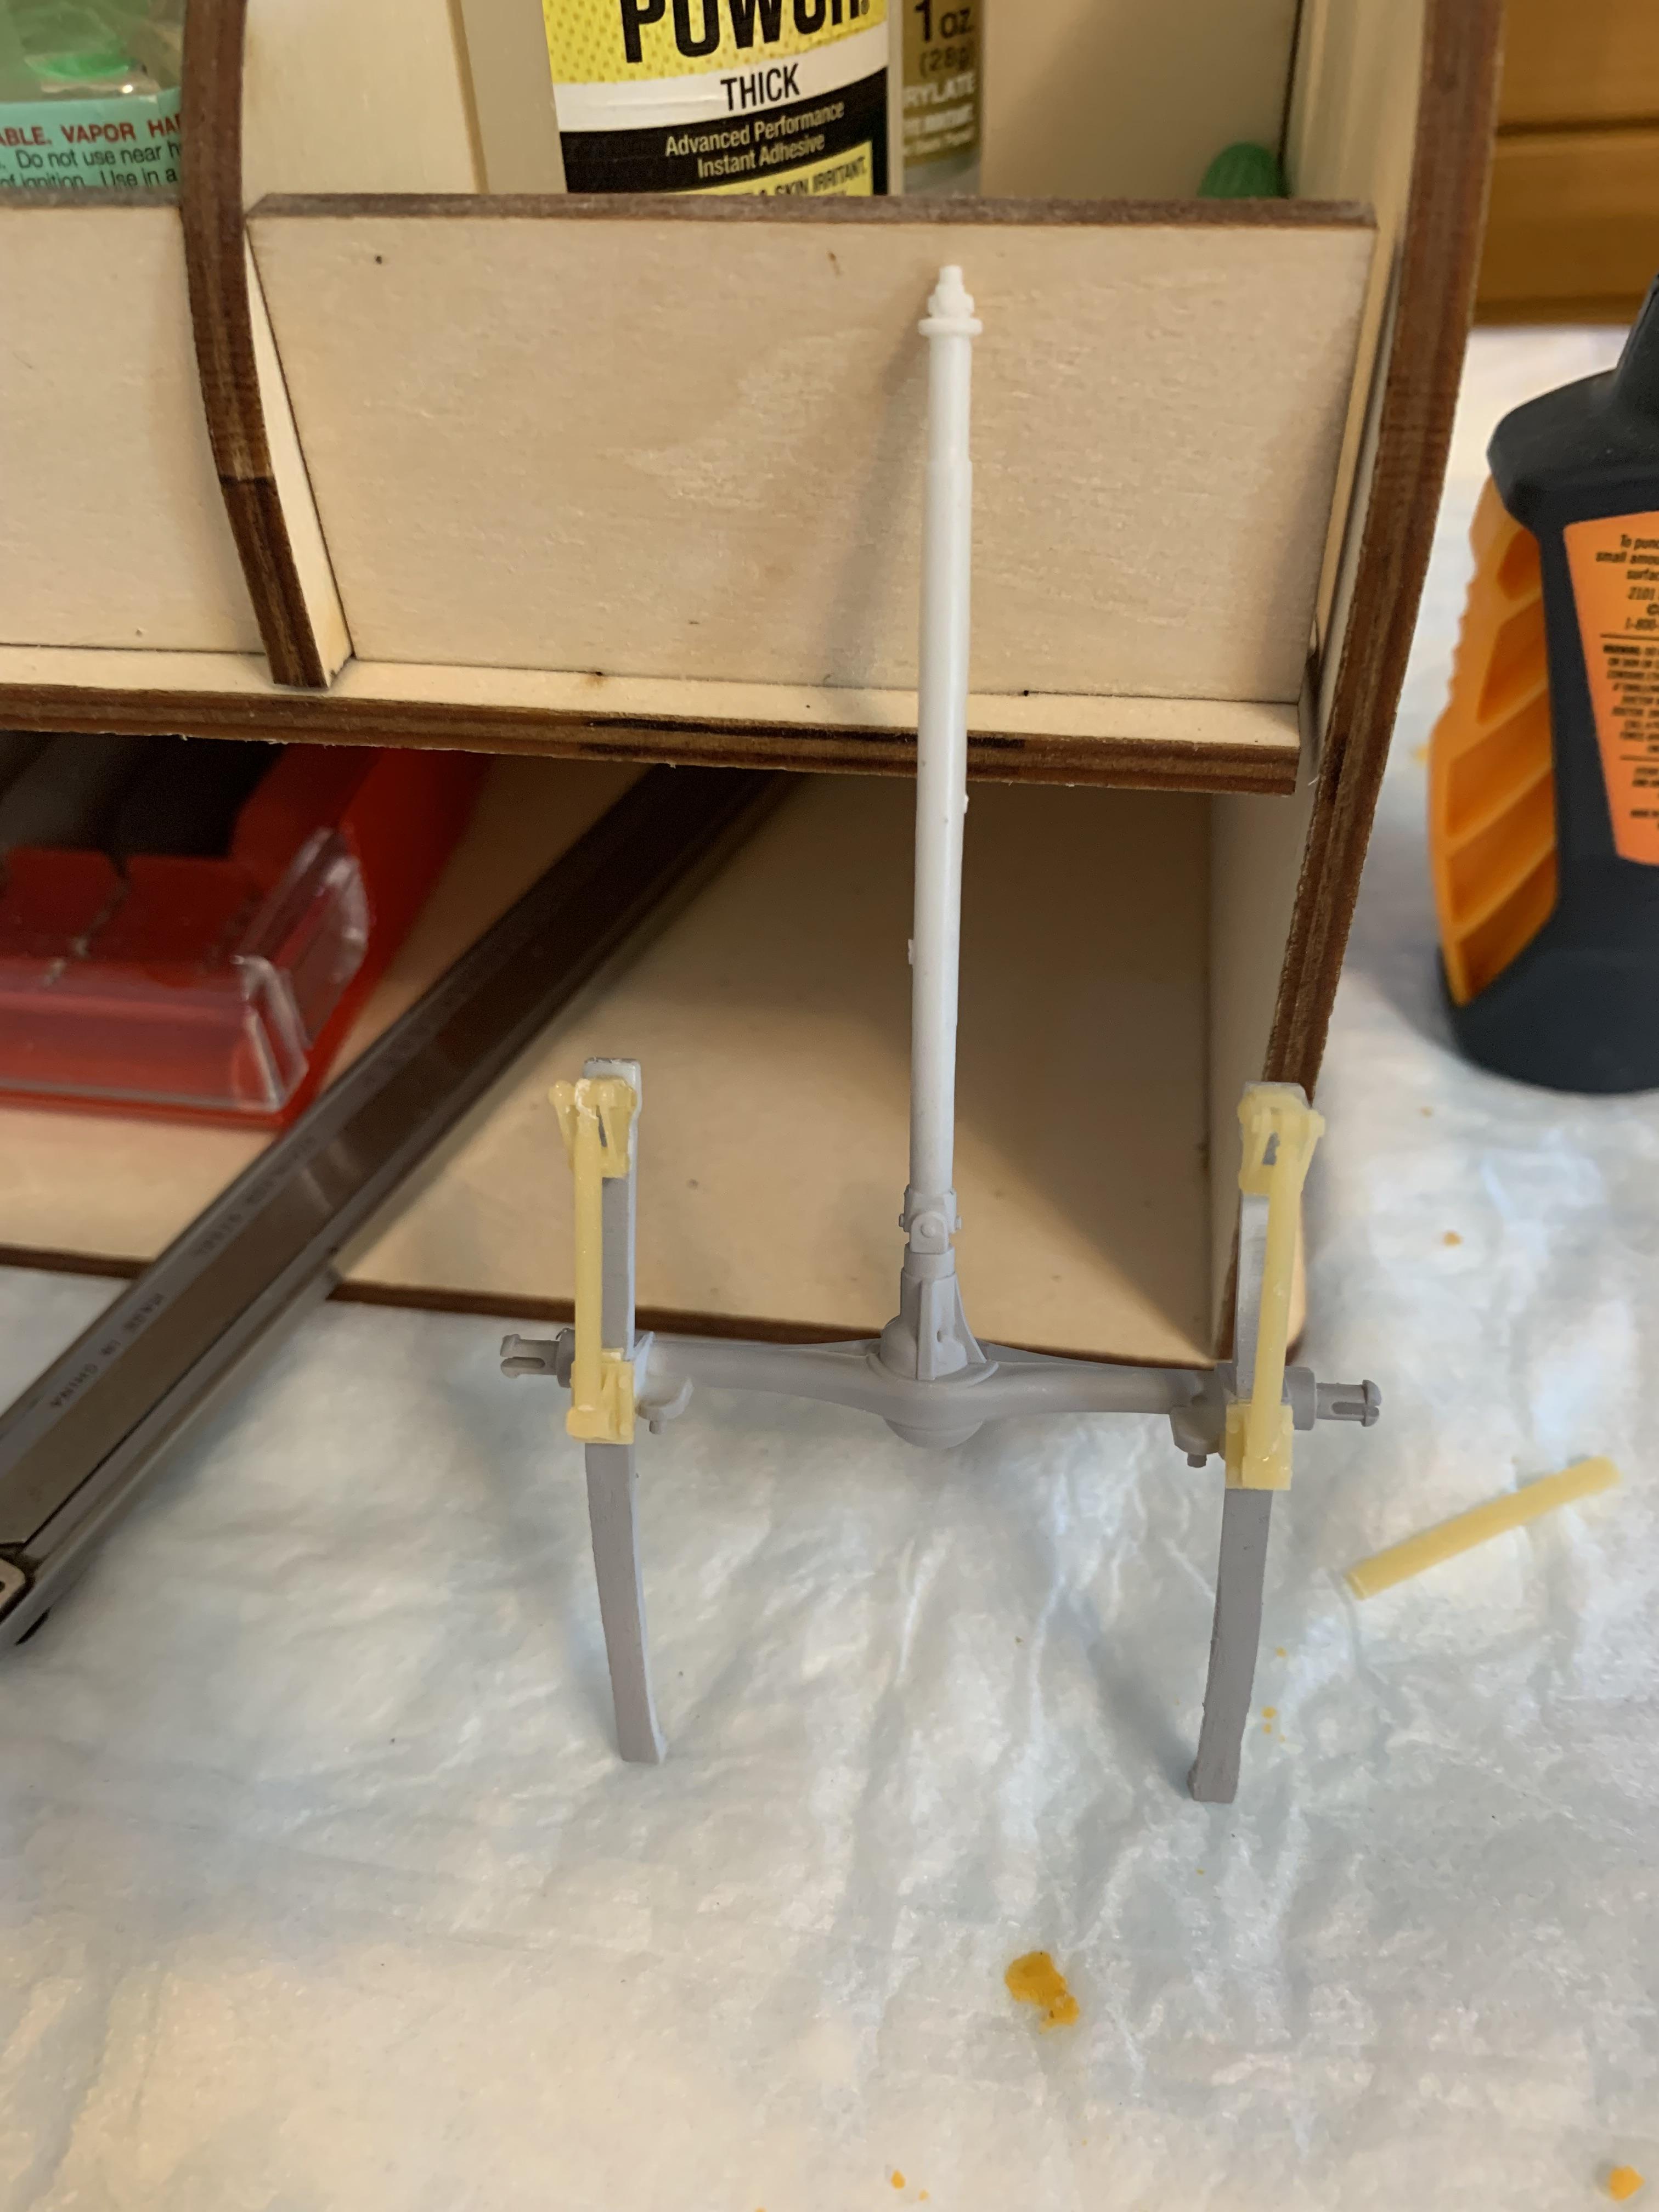
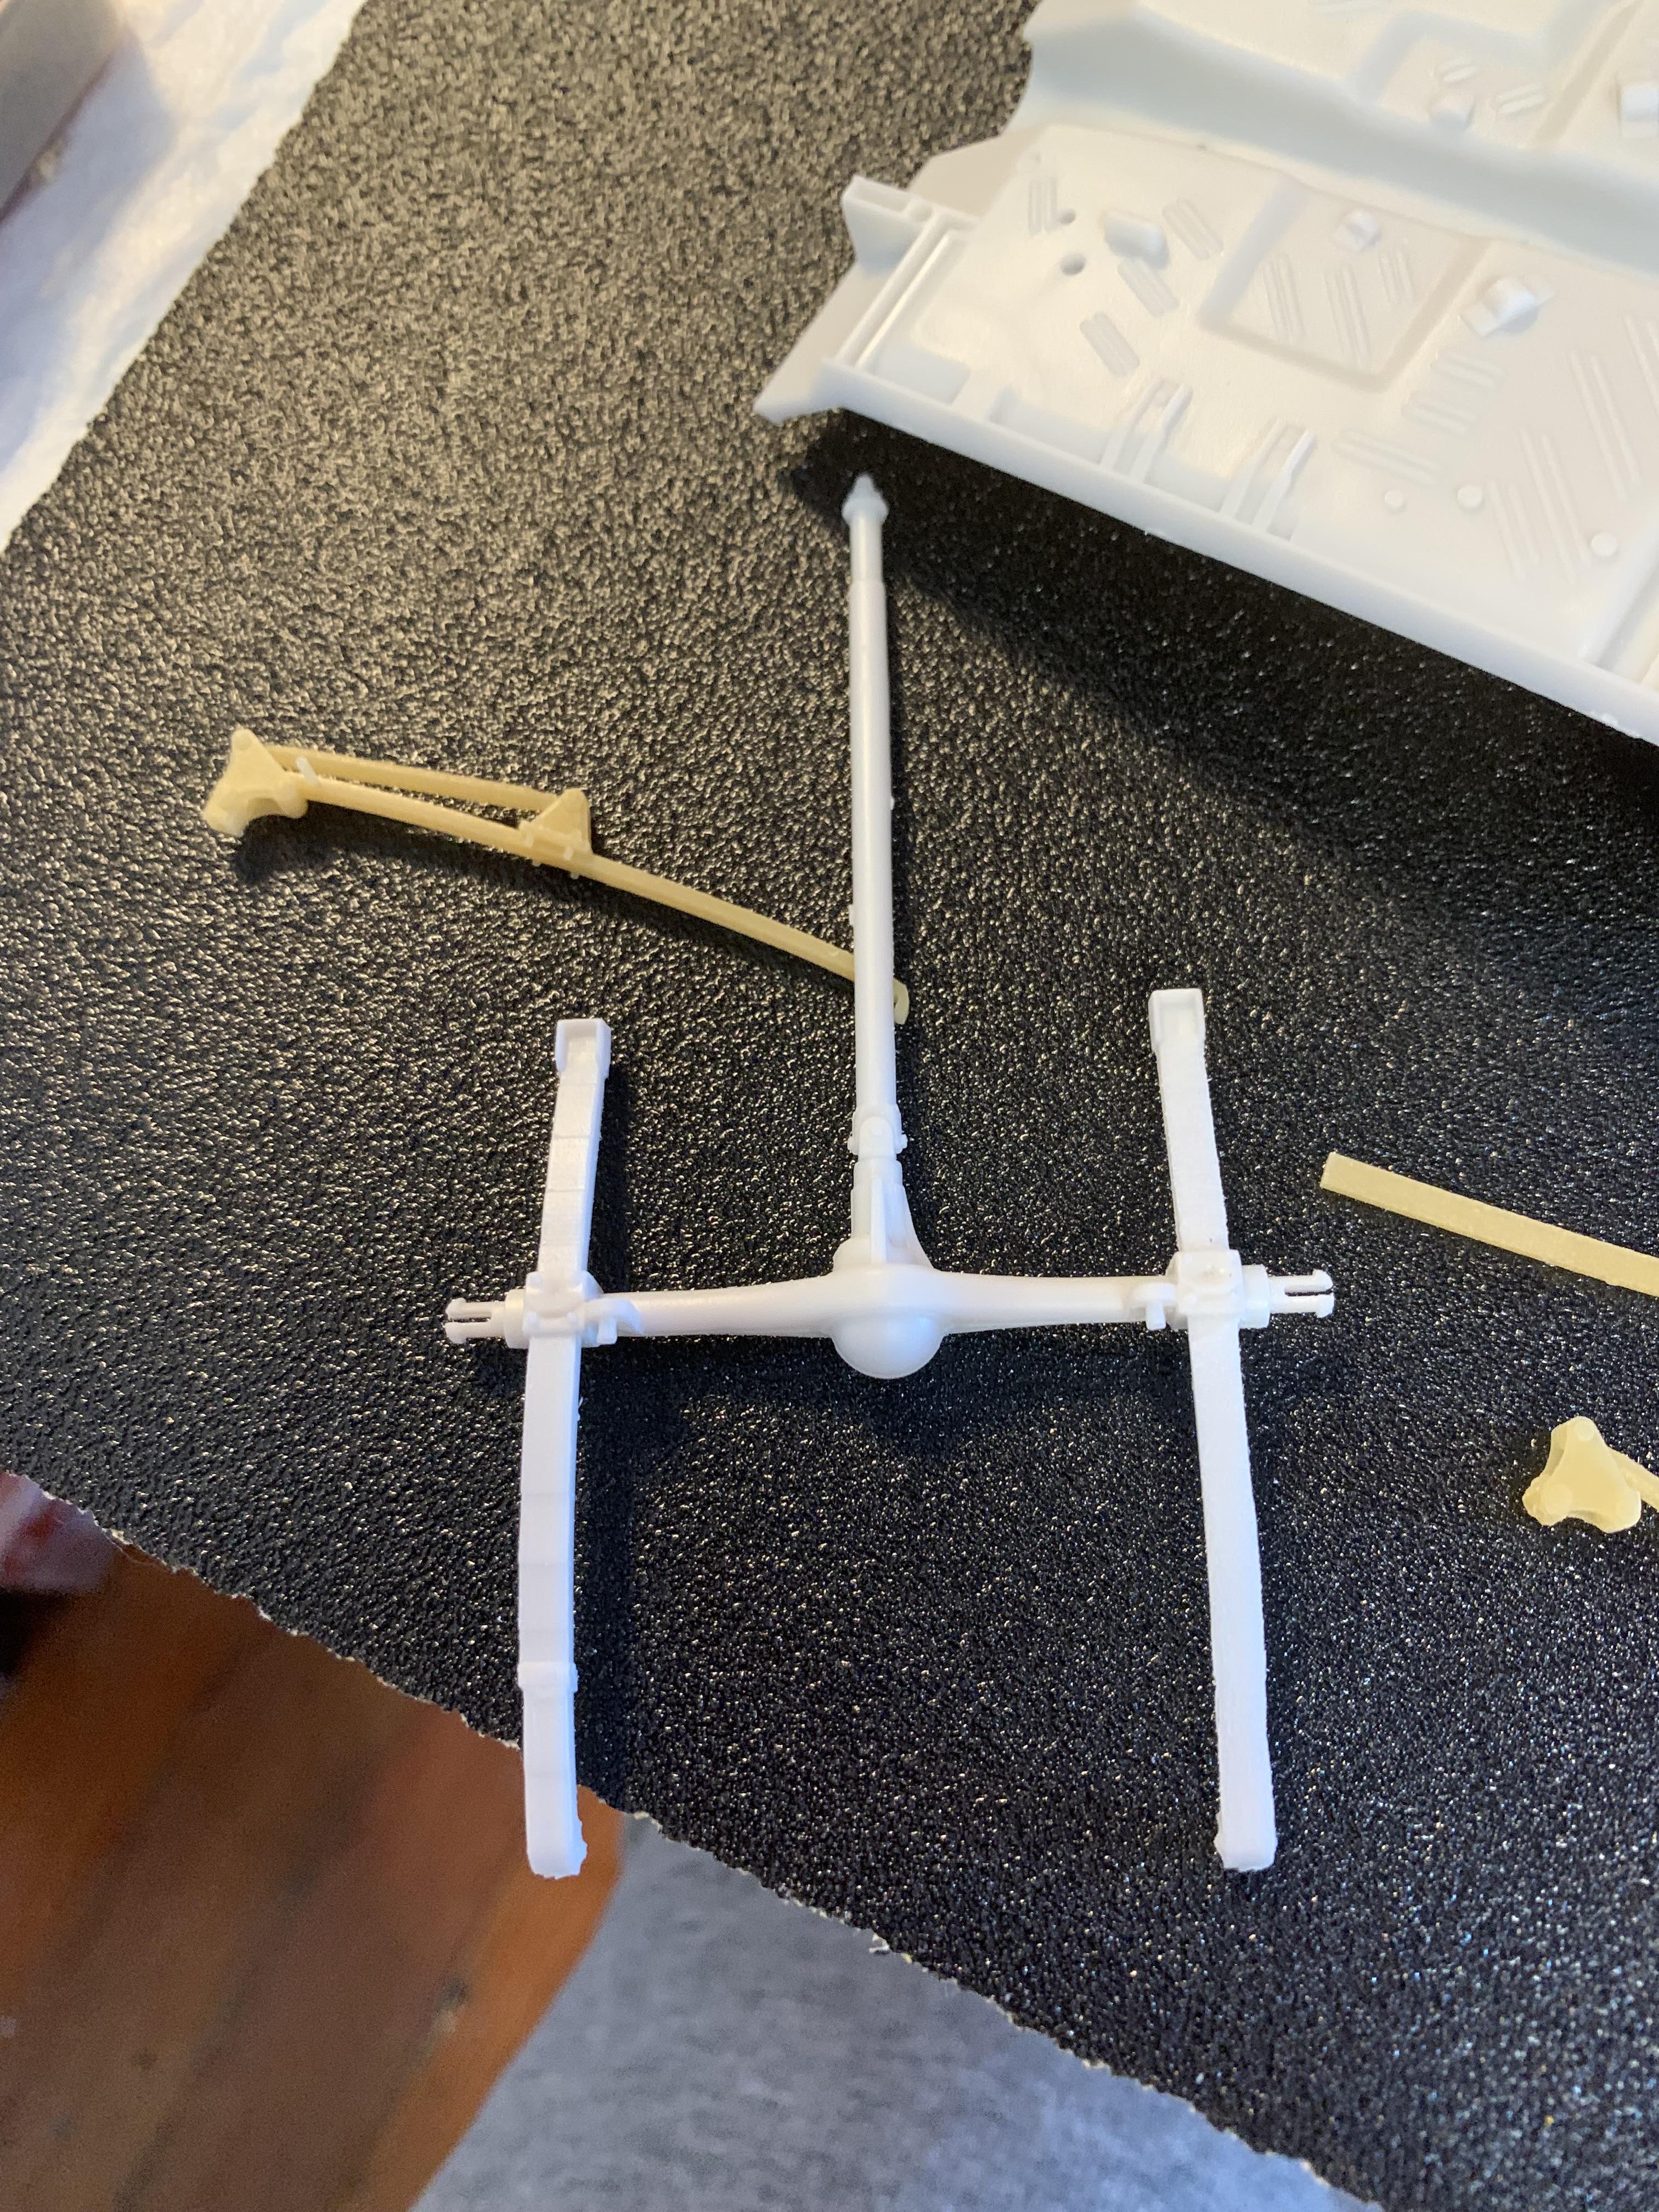
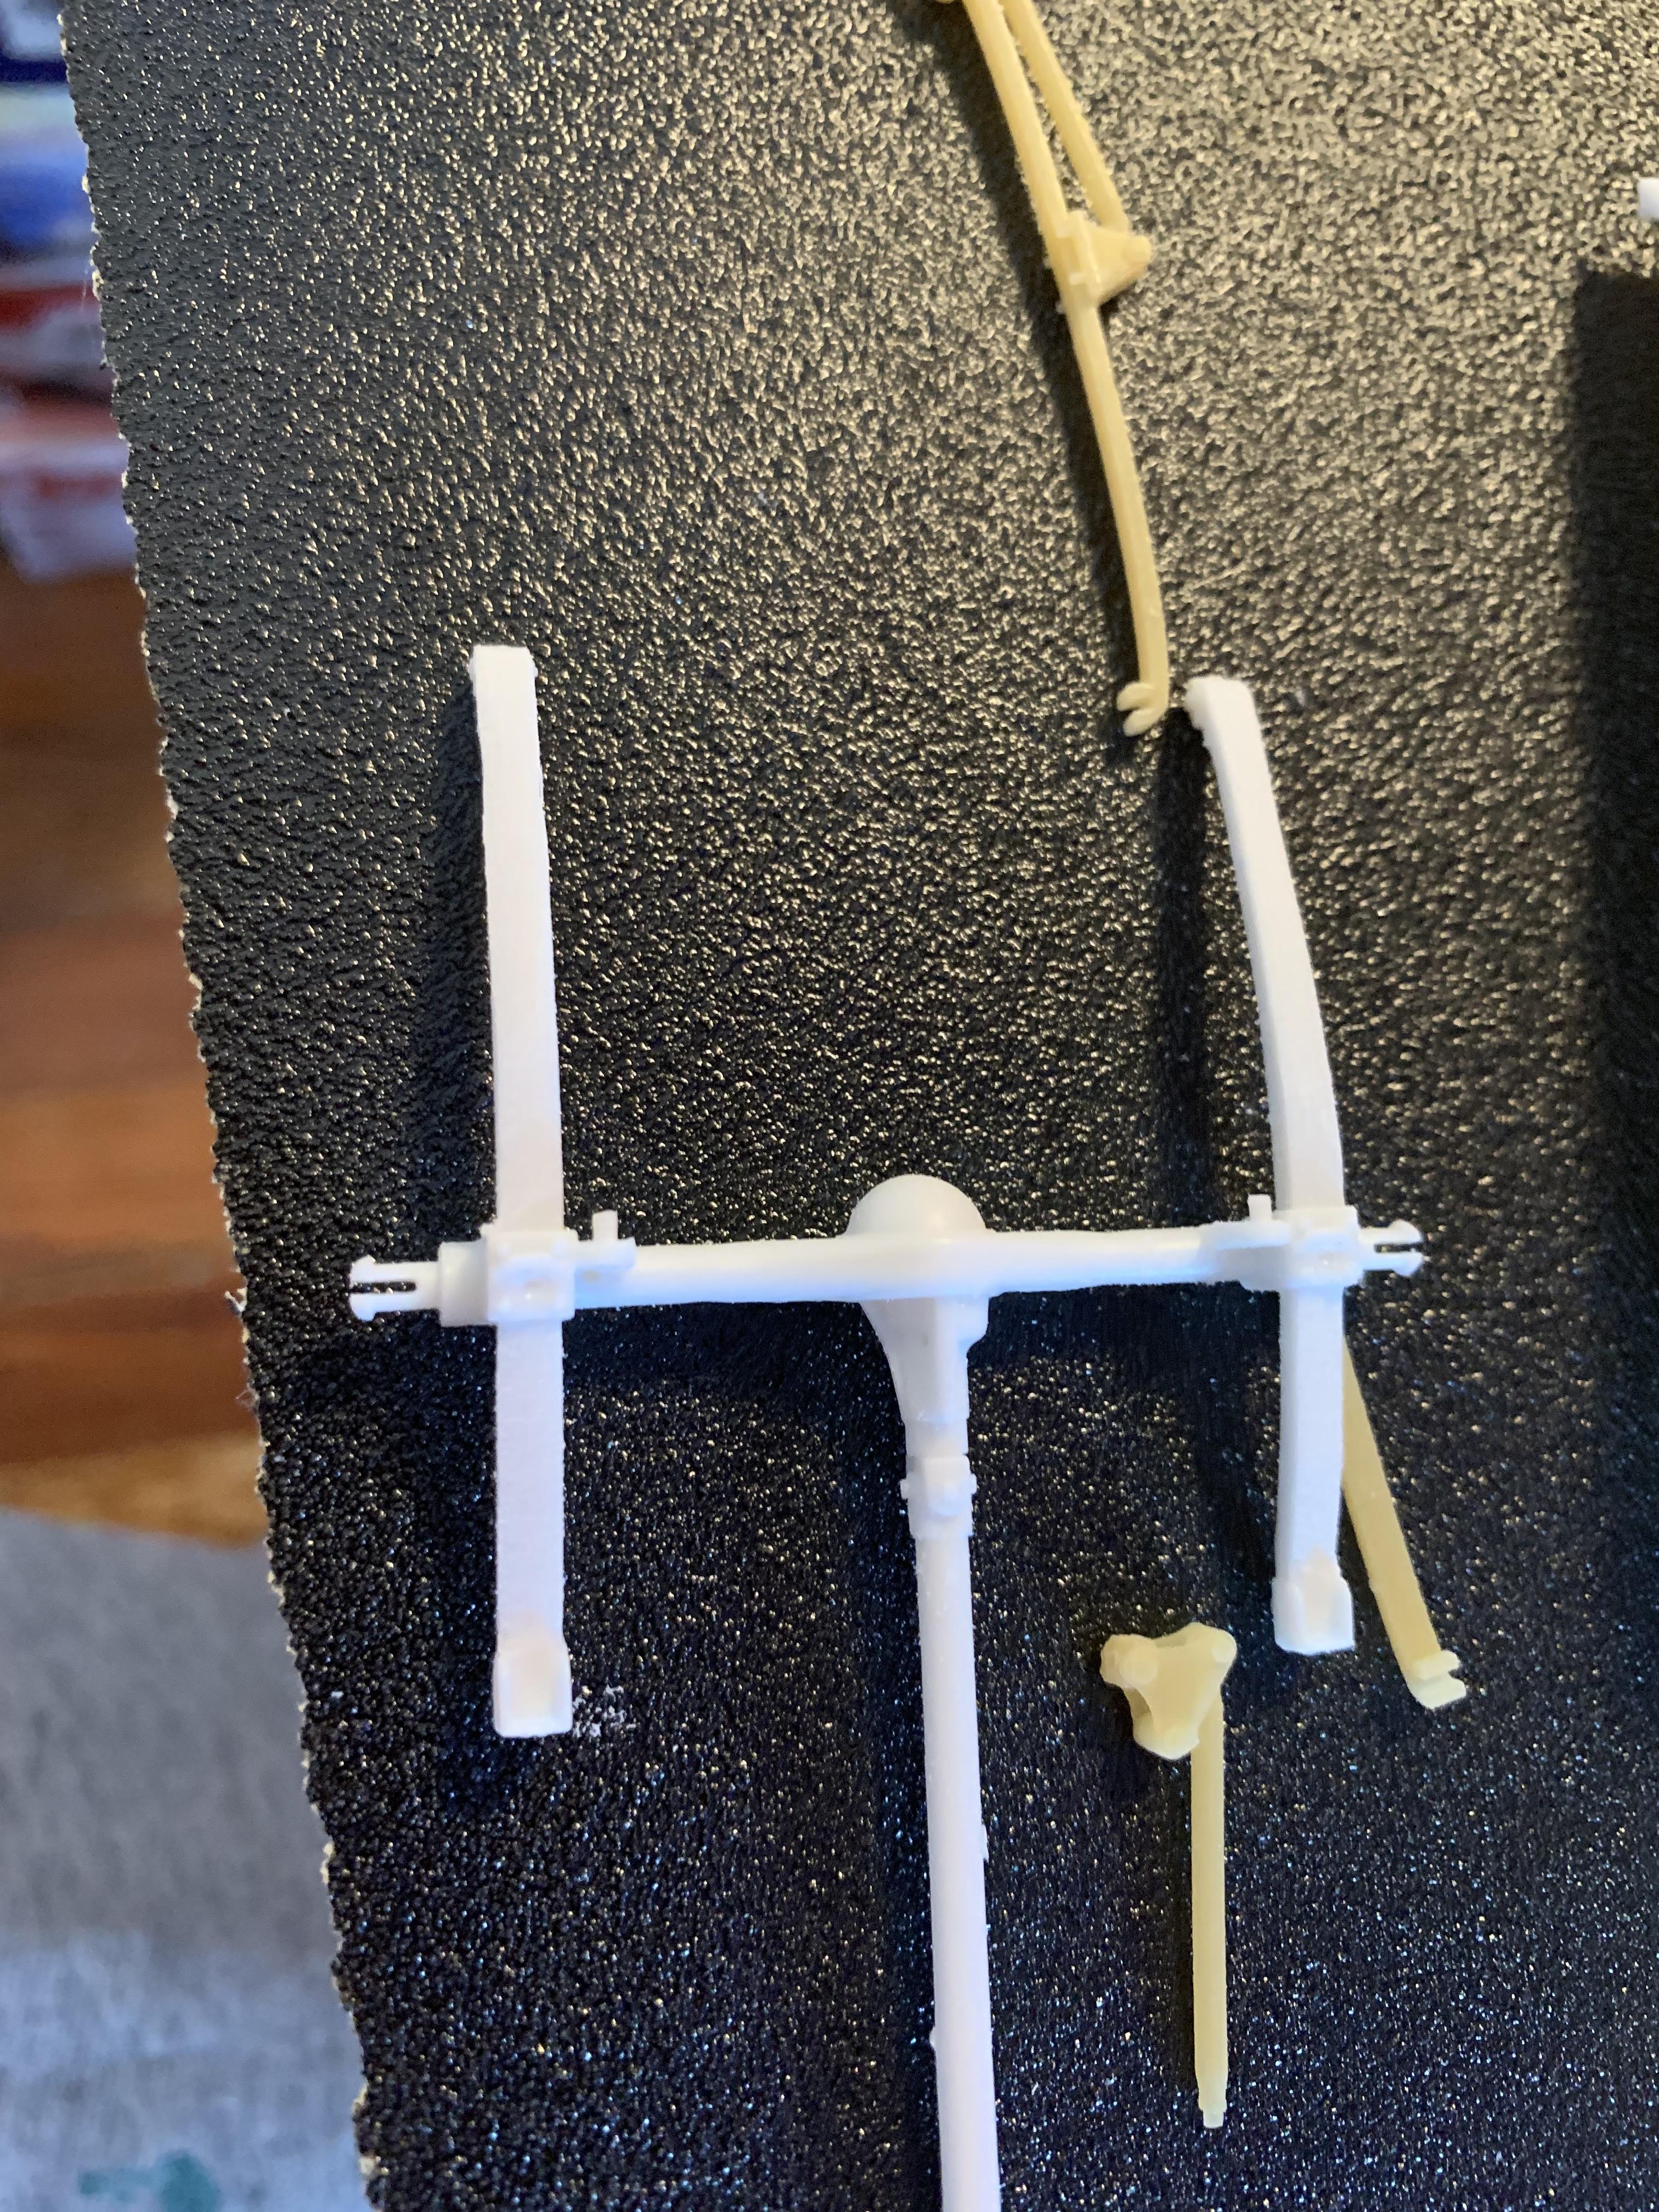
Had to take some time off to reorganize the workbench area. Got tired of digging through drawers and put up some pegboards. Finally got a little bit done on the Caltrac bars. Had to shorten them (tedious going as they are very brittle and delicate) carefully as the kit springs are much shorter in the front.
-
Very well done. An obvious labor of love.
-
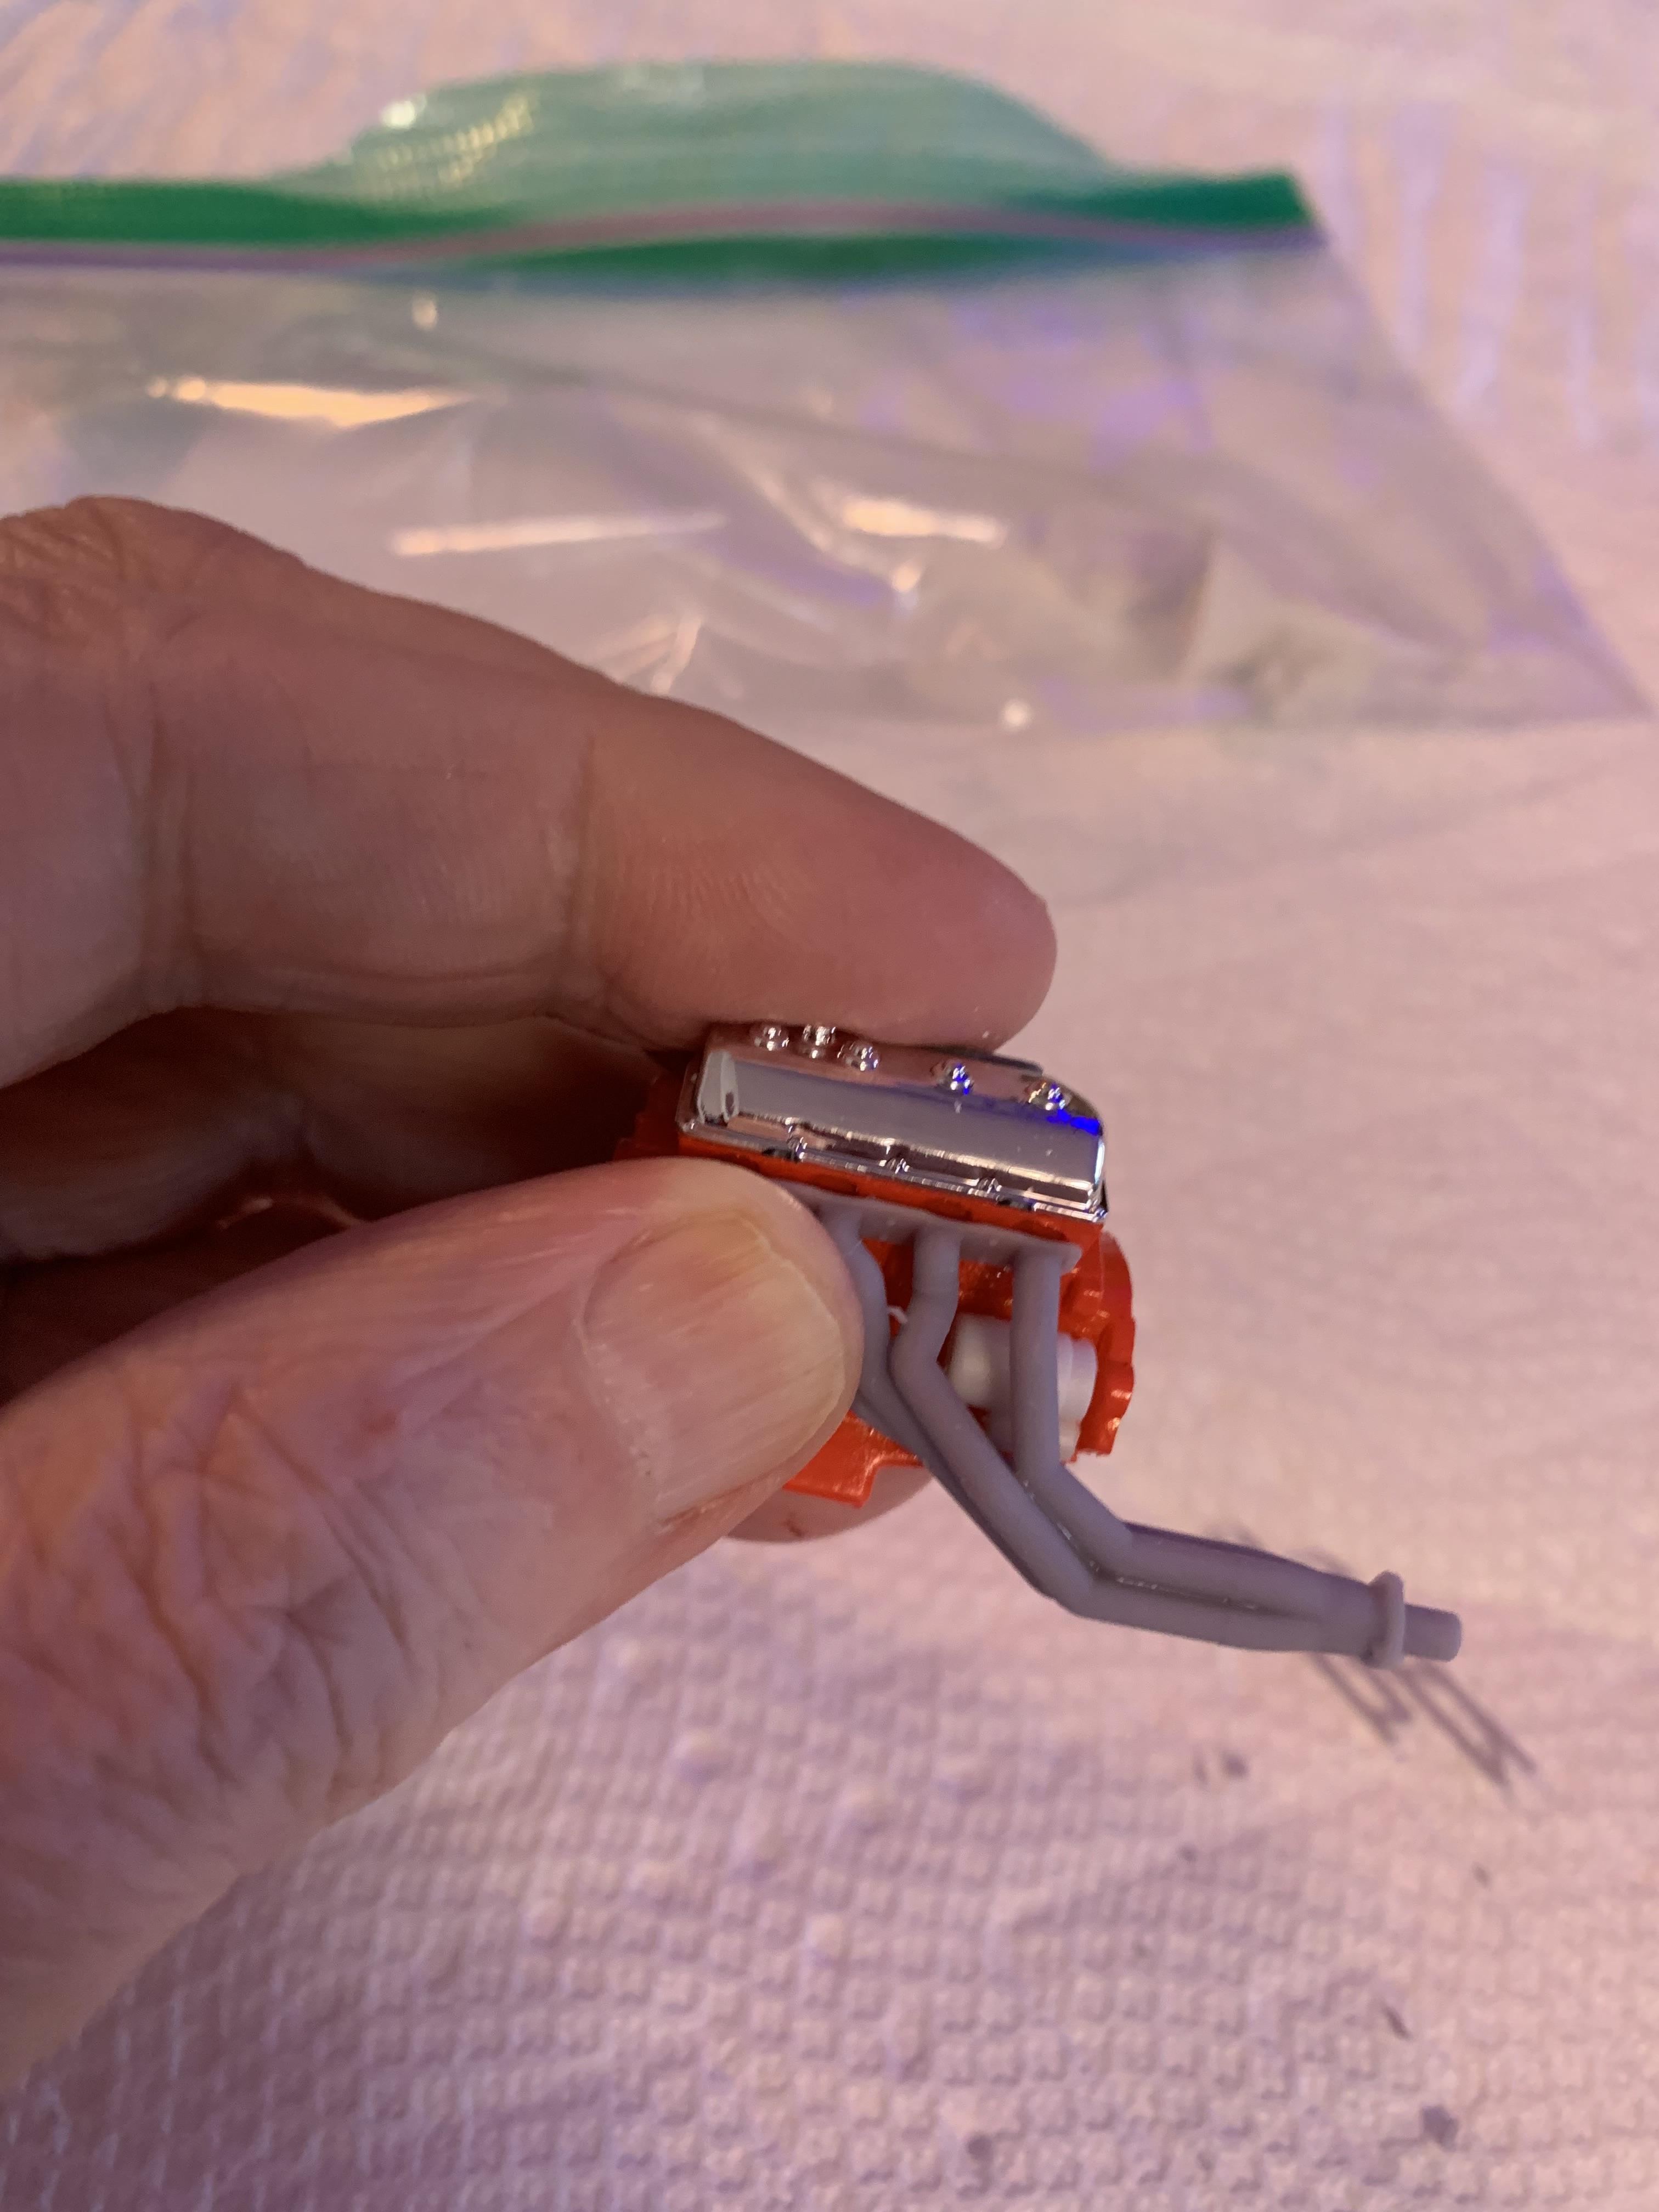
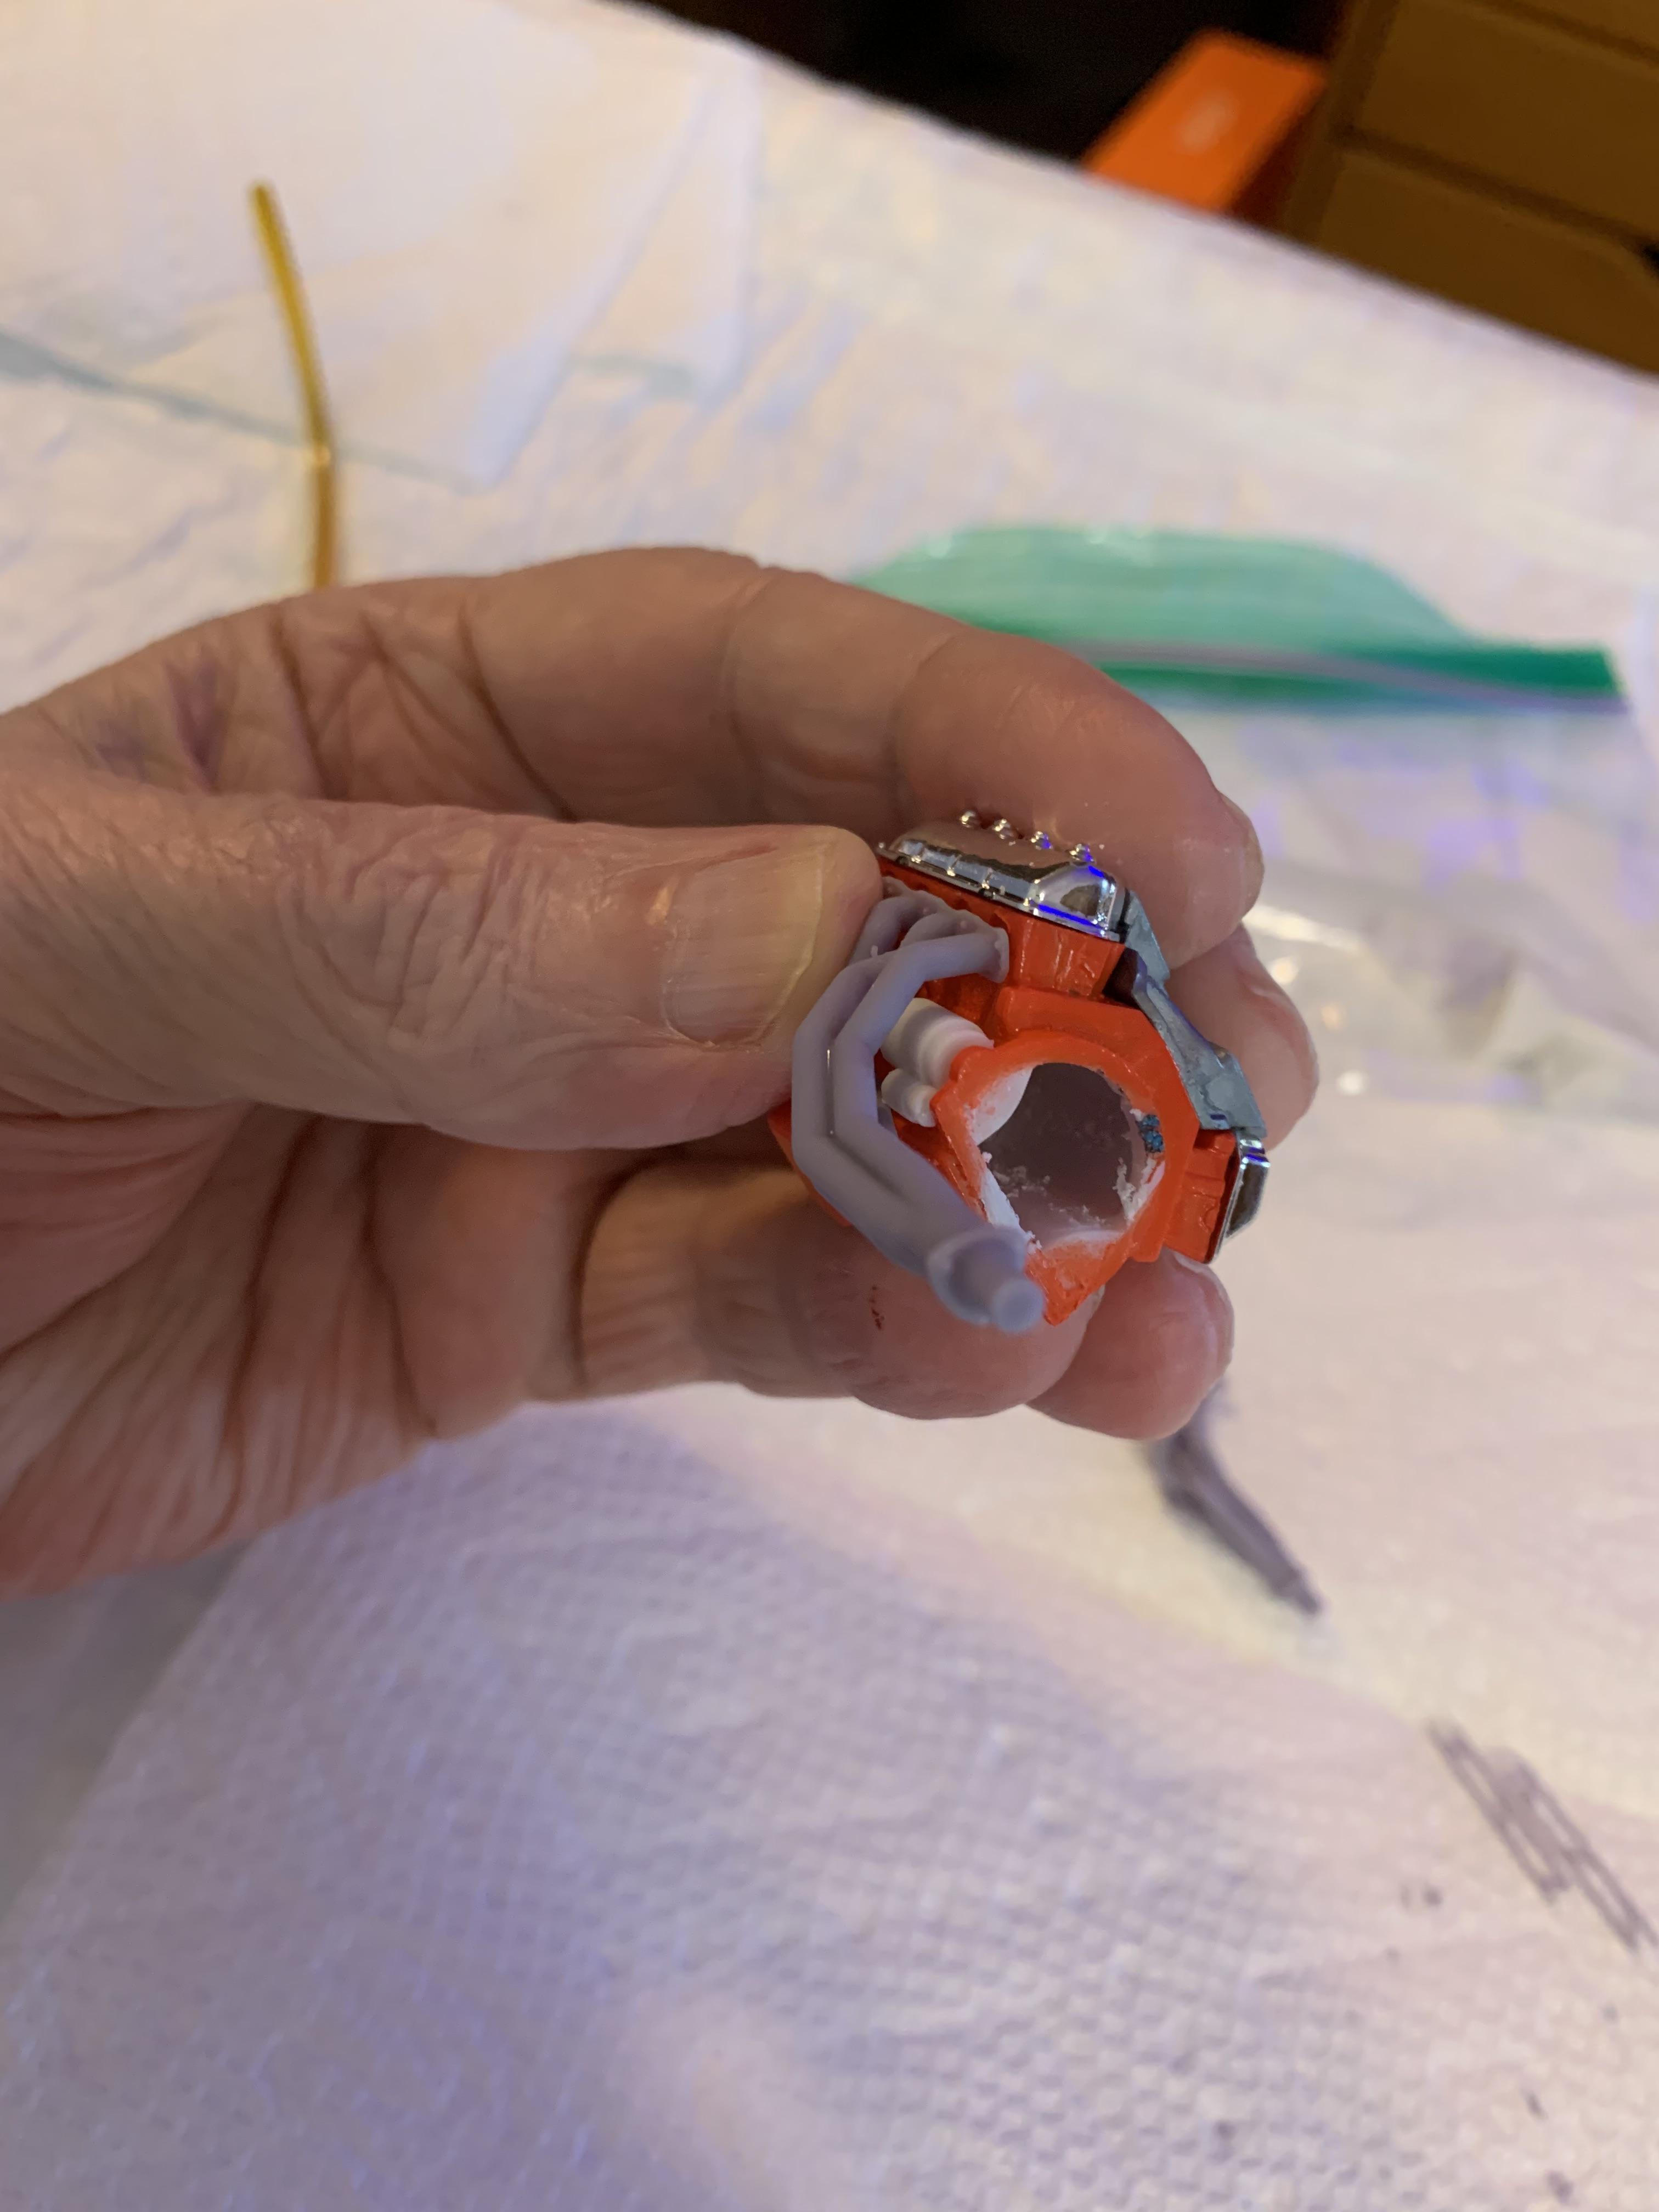
Got some Icemancollections headers. Like them better as the primaries are larger and more in scale to current technologies than the Strickland ones. Trial fit ‘em and they seem ok.
-
Thanks. Some Caltracs modifications. Decided to use the kit springs and less than average rear end. Sanding multileaf springs over to beefy single leaf like most stockers use. Also, have to cut Caltracs off the springs that came on them. Then, shorten them to fit the kit springs.
-
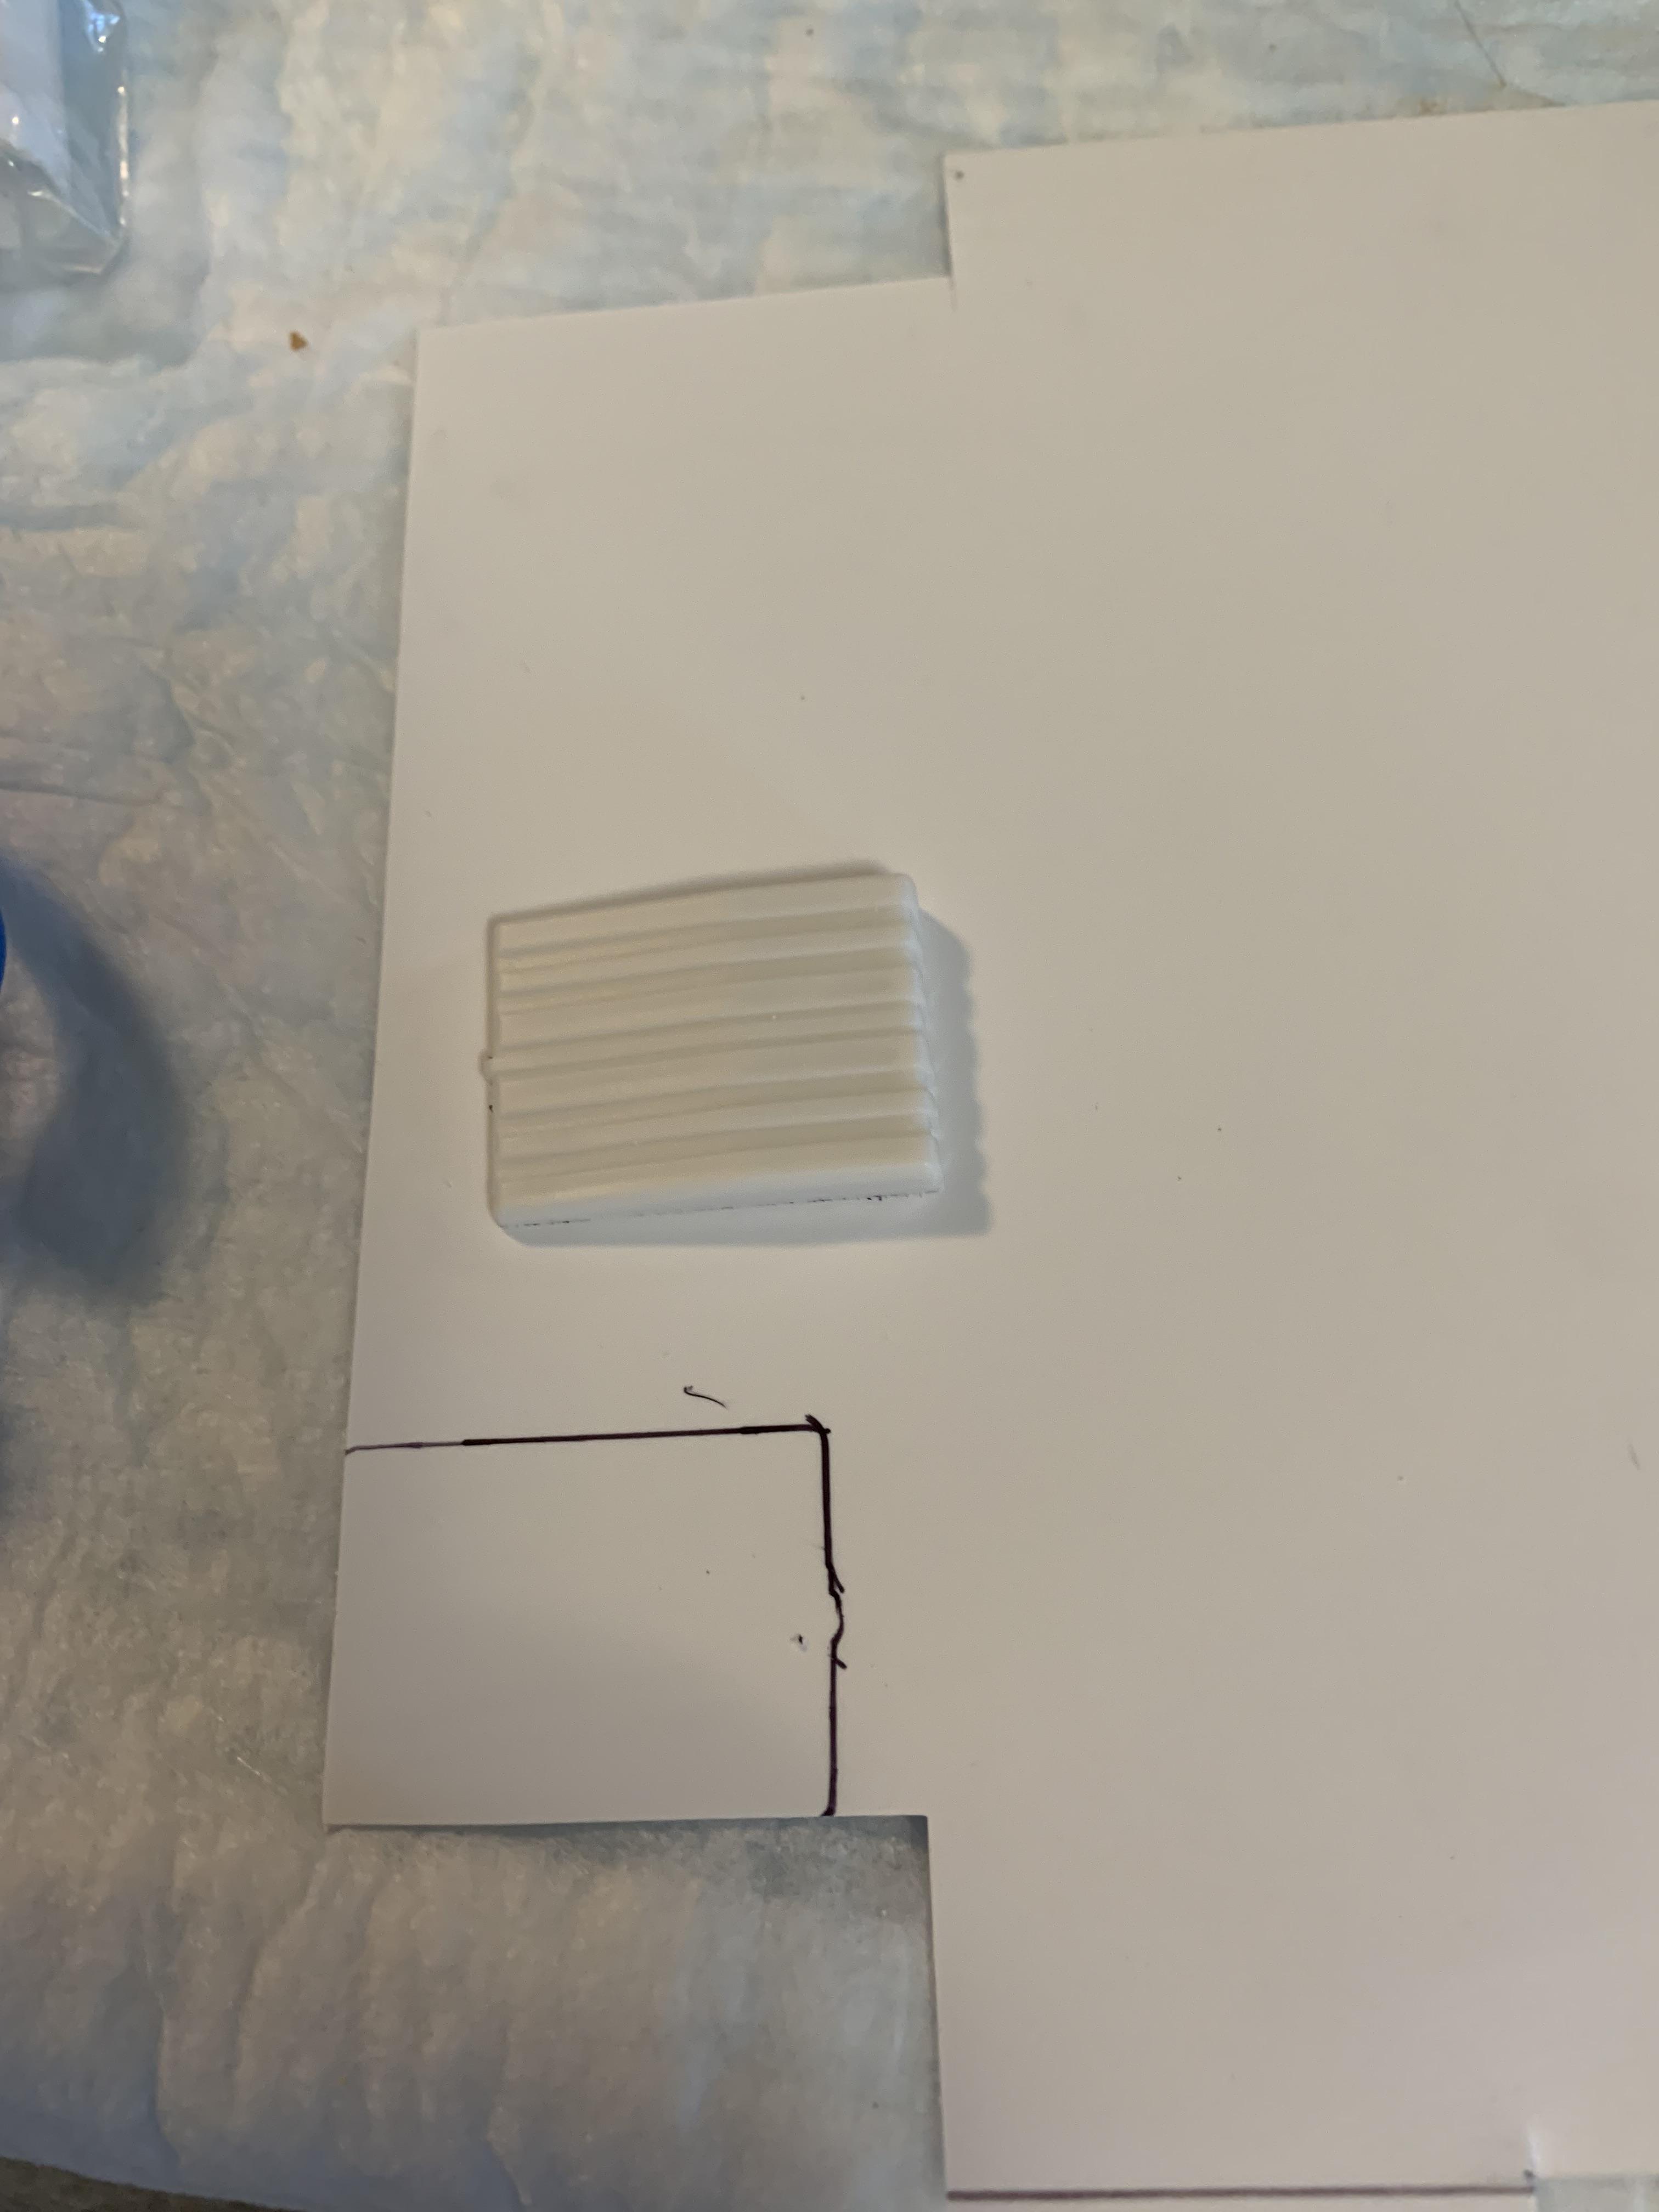
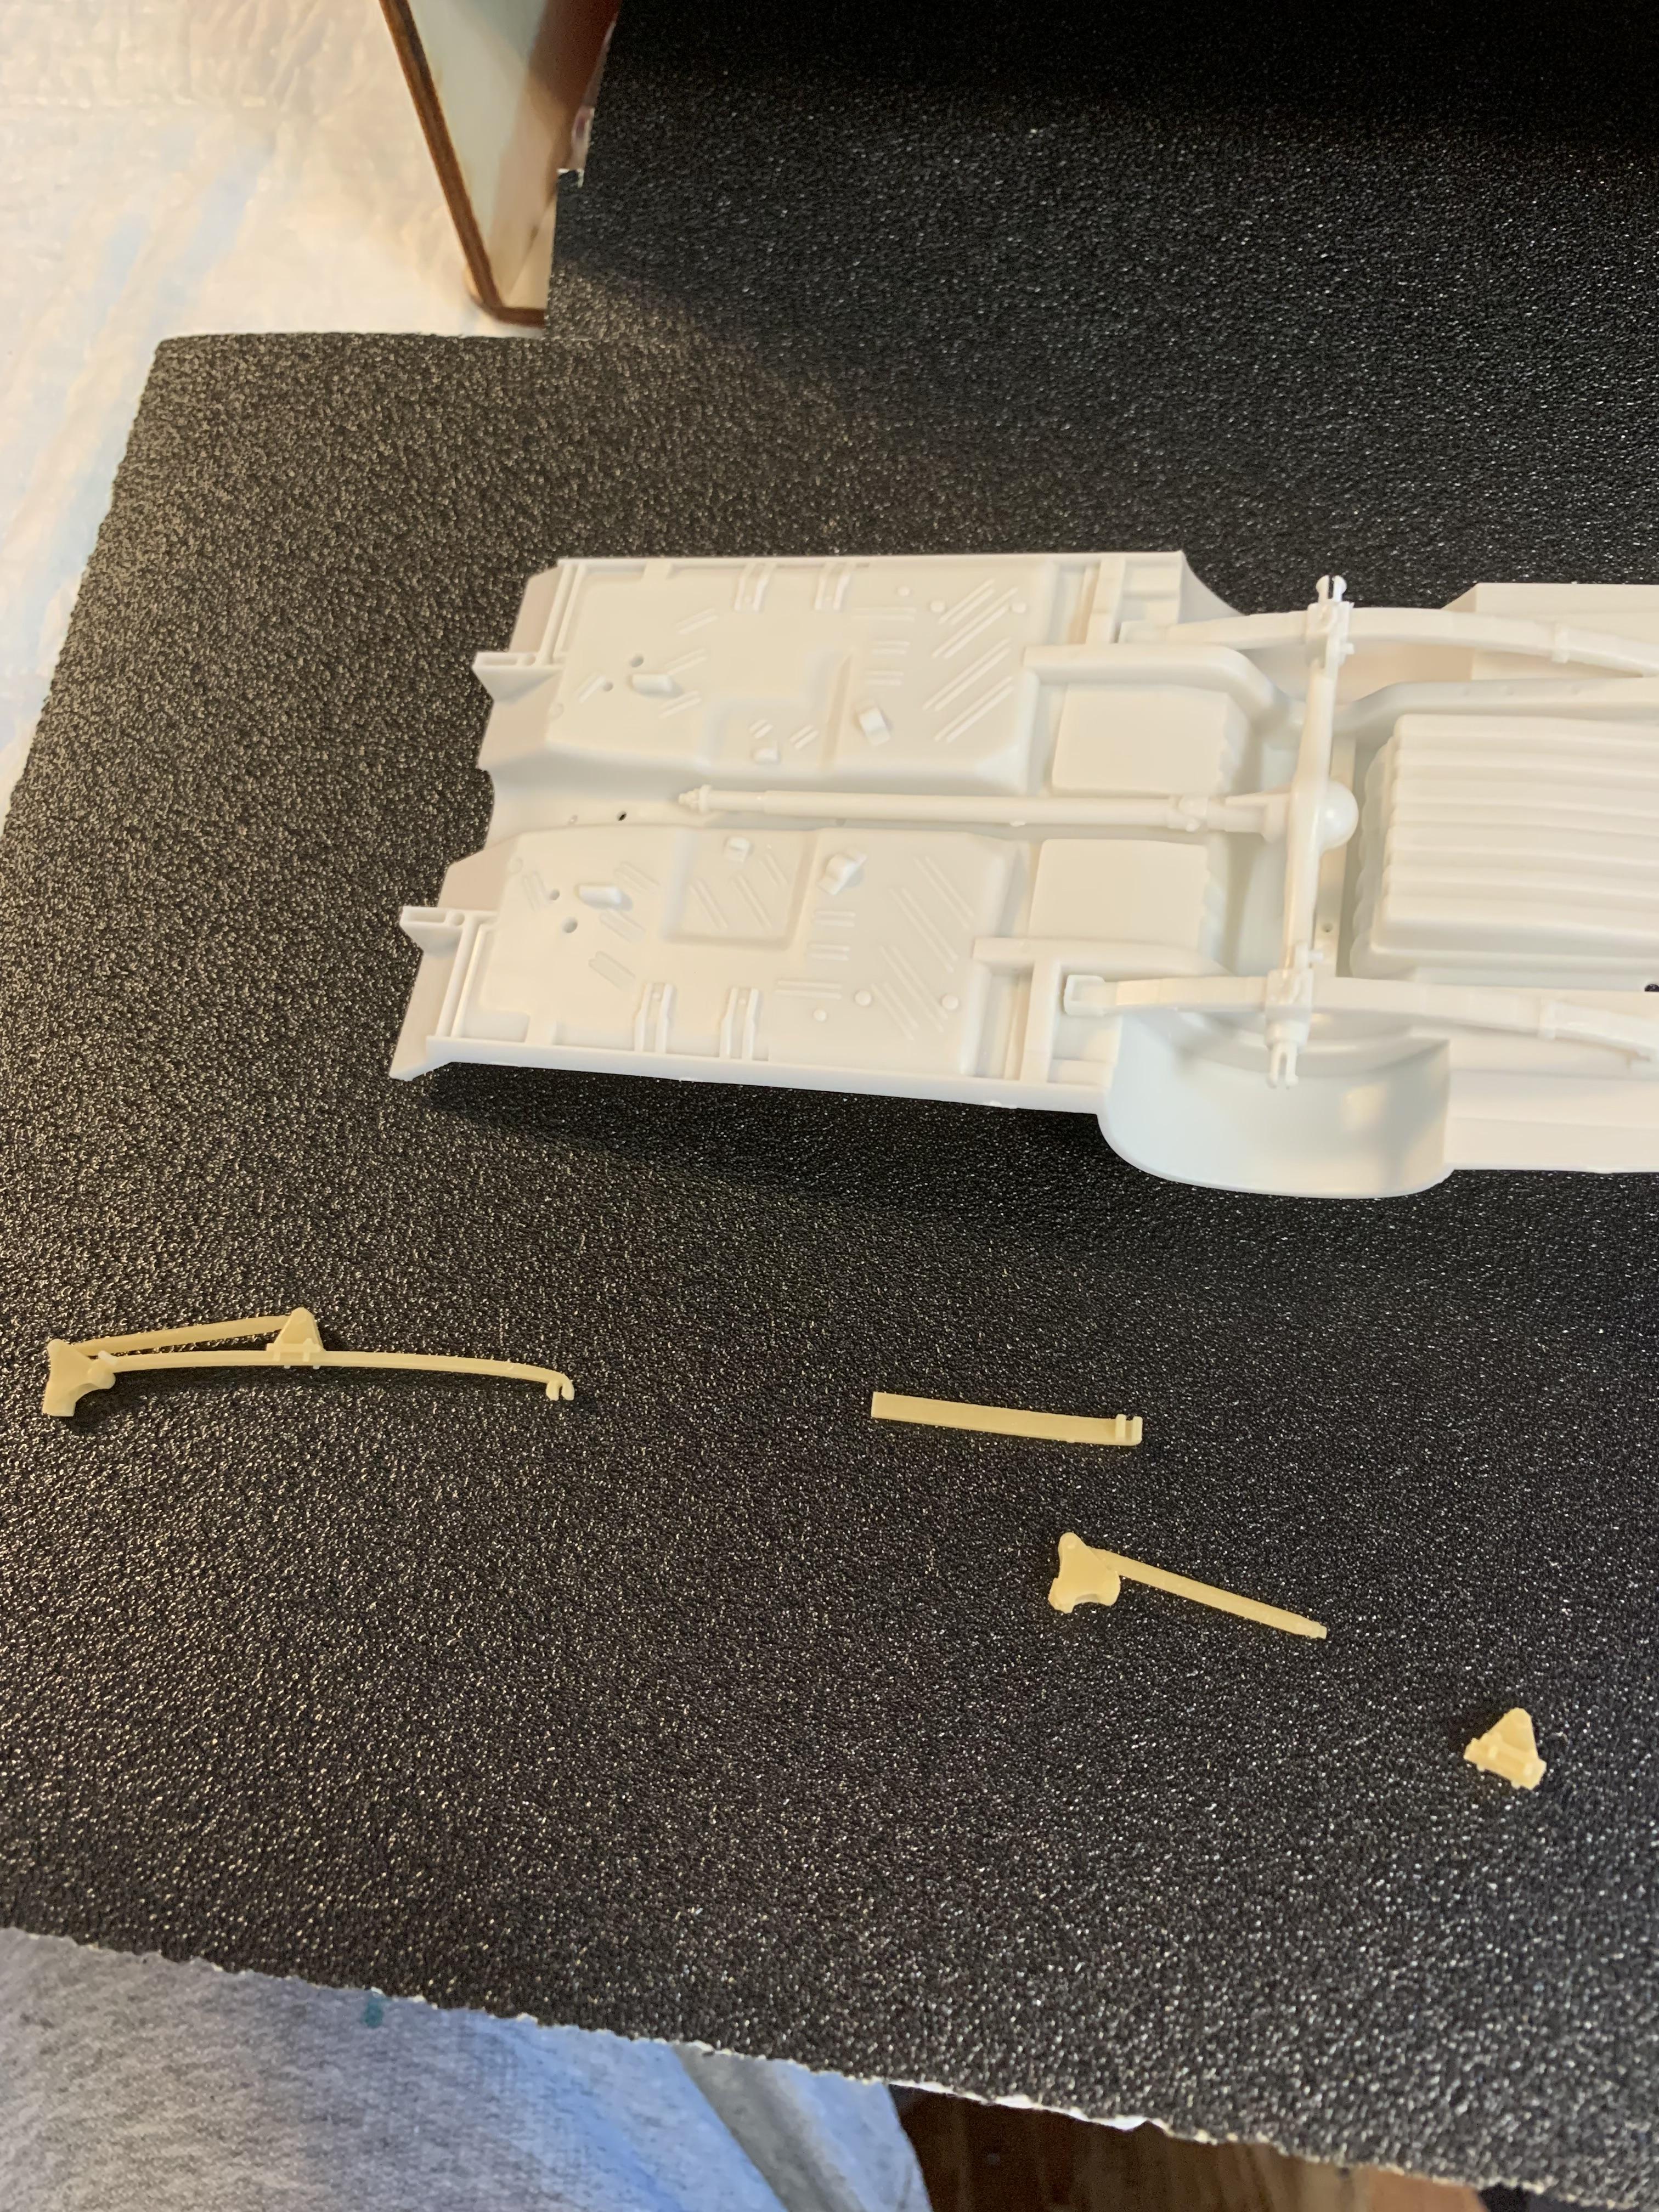
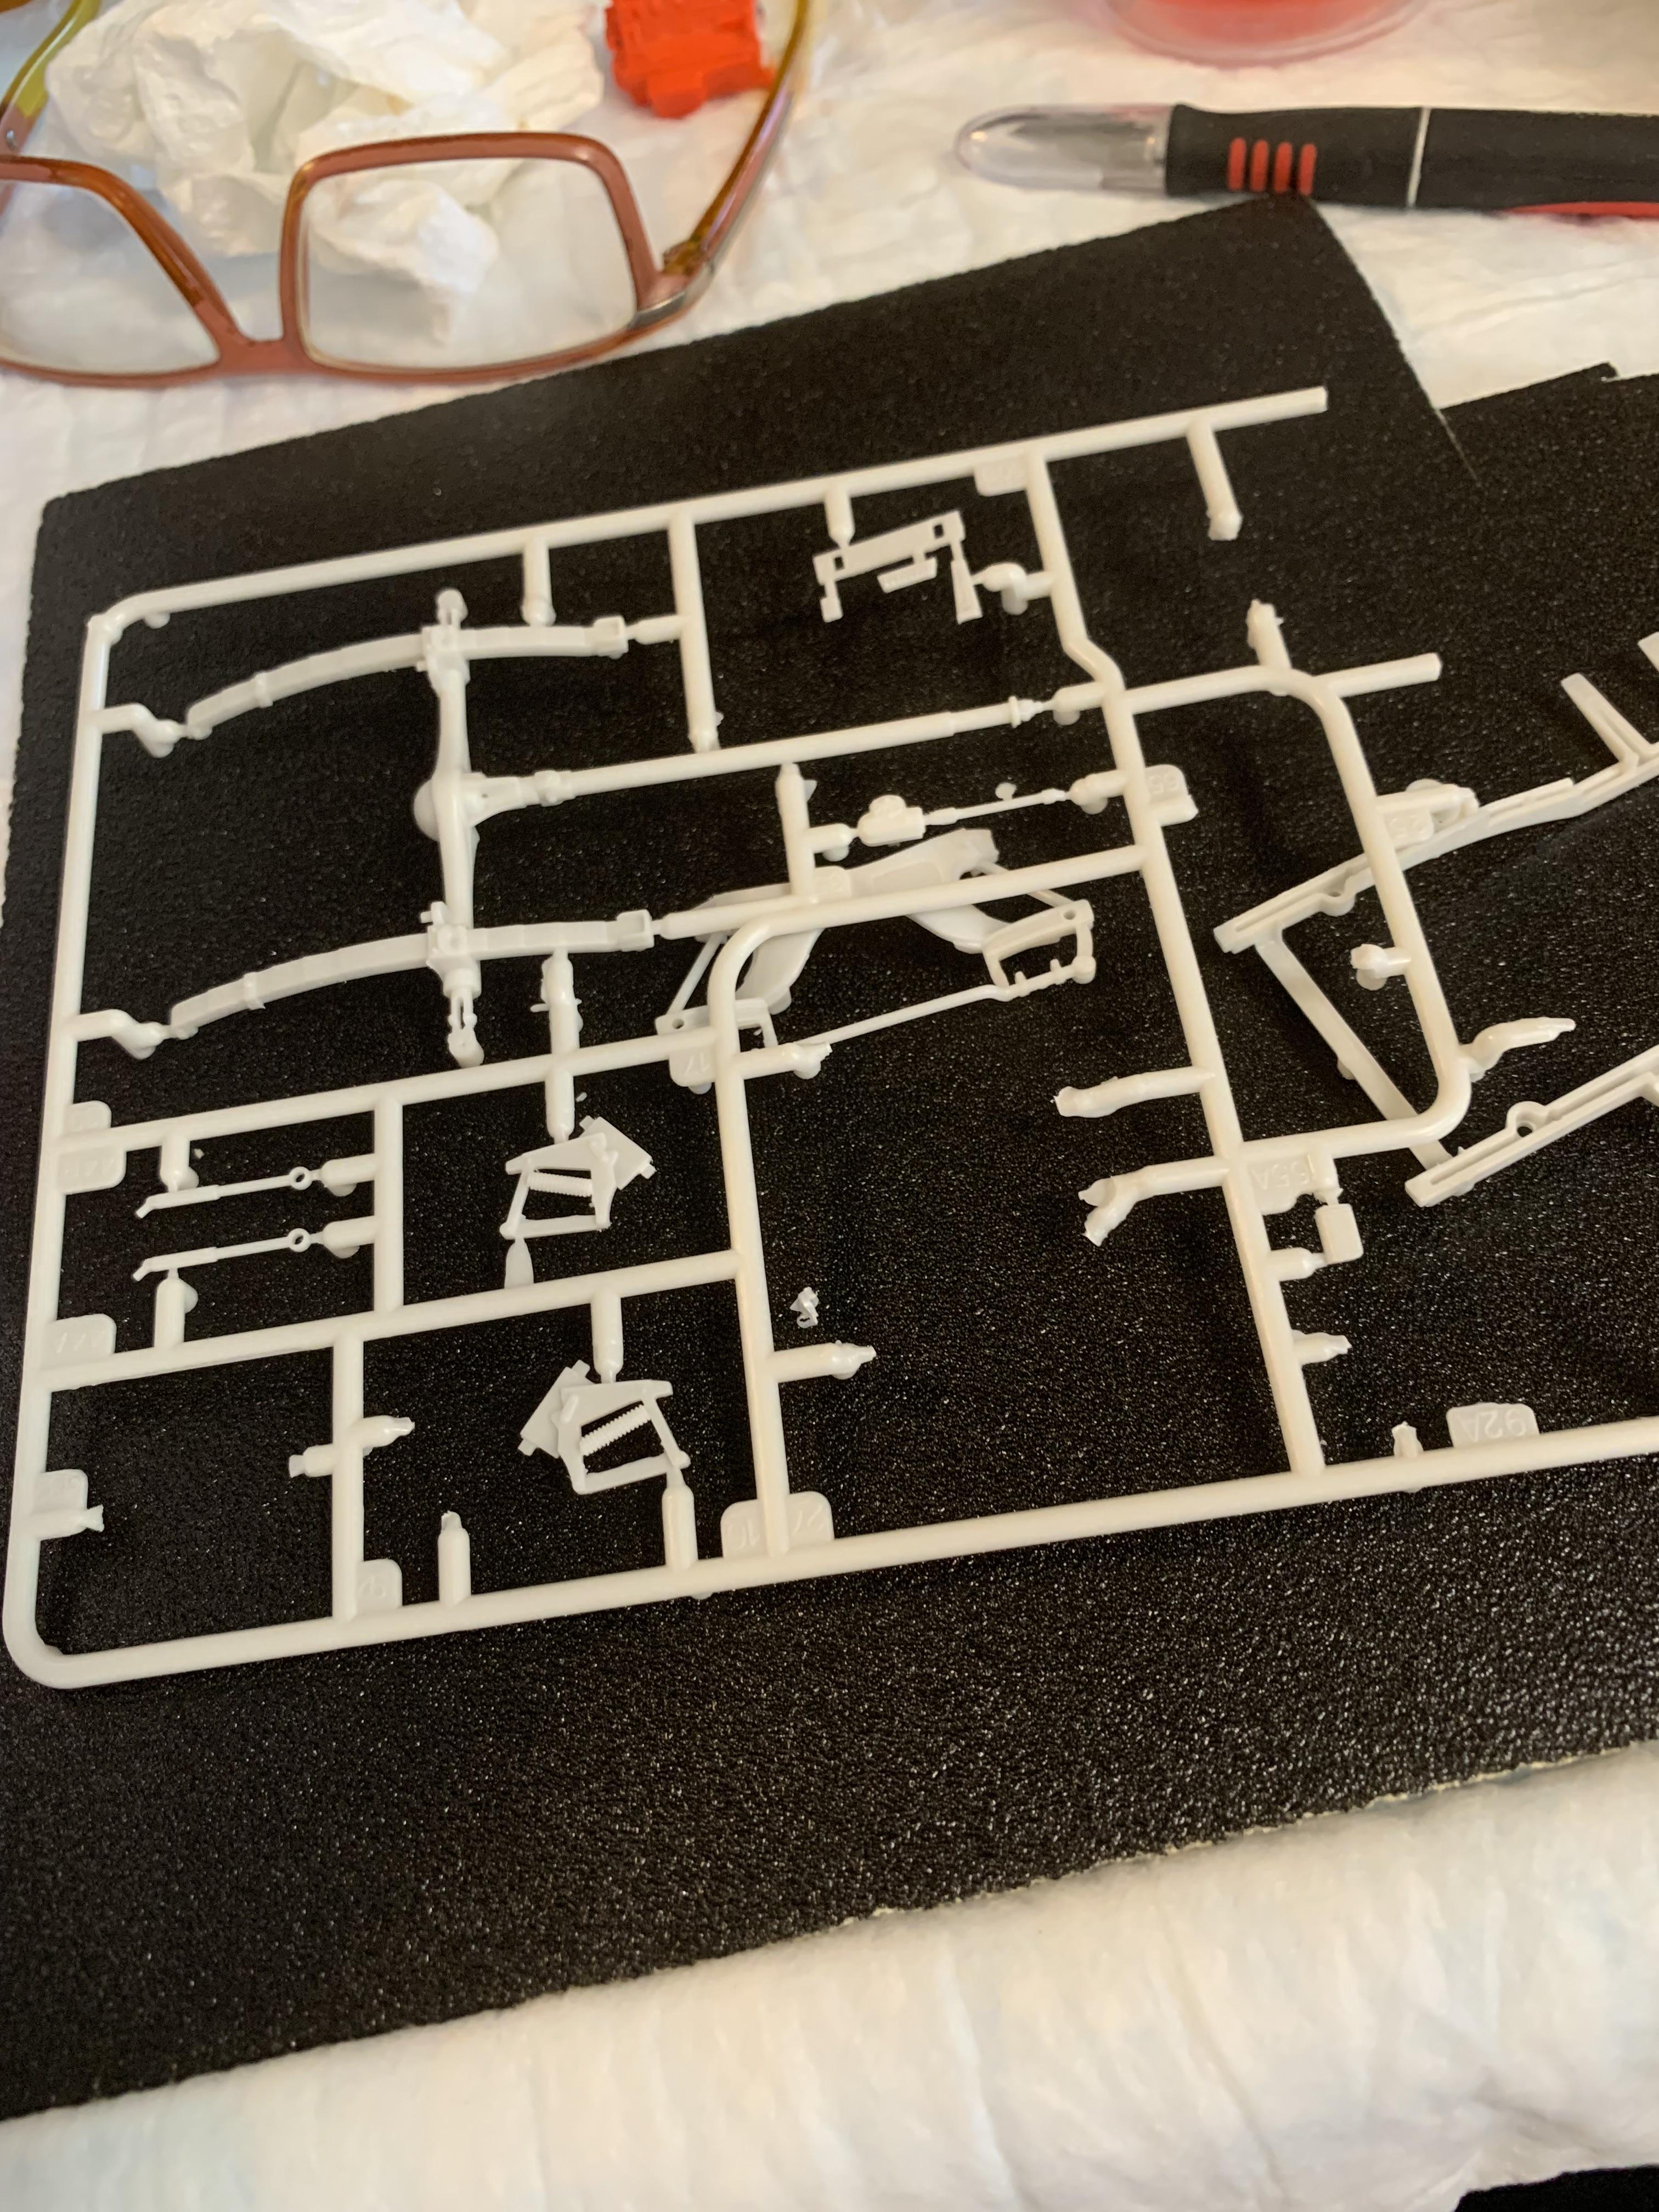
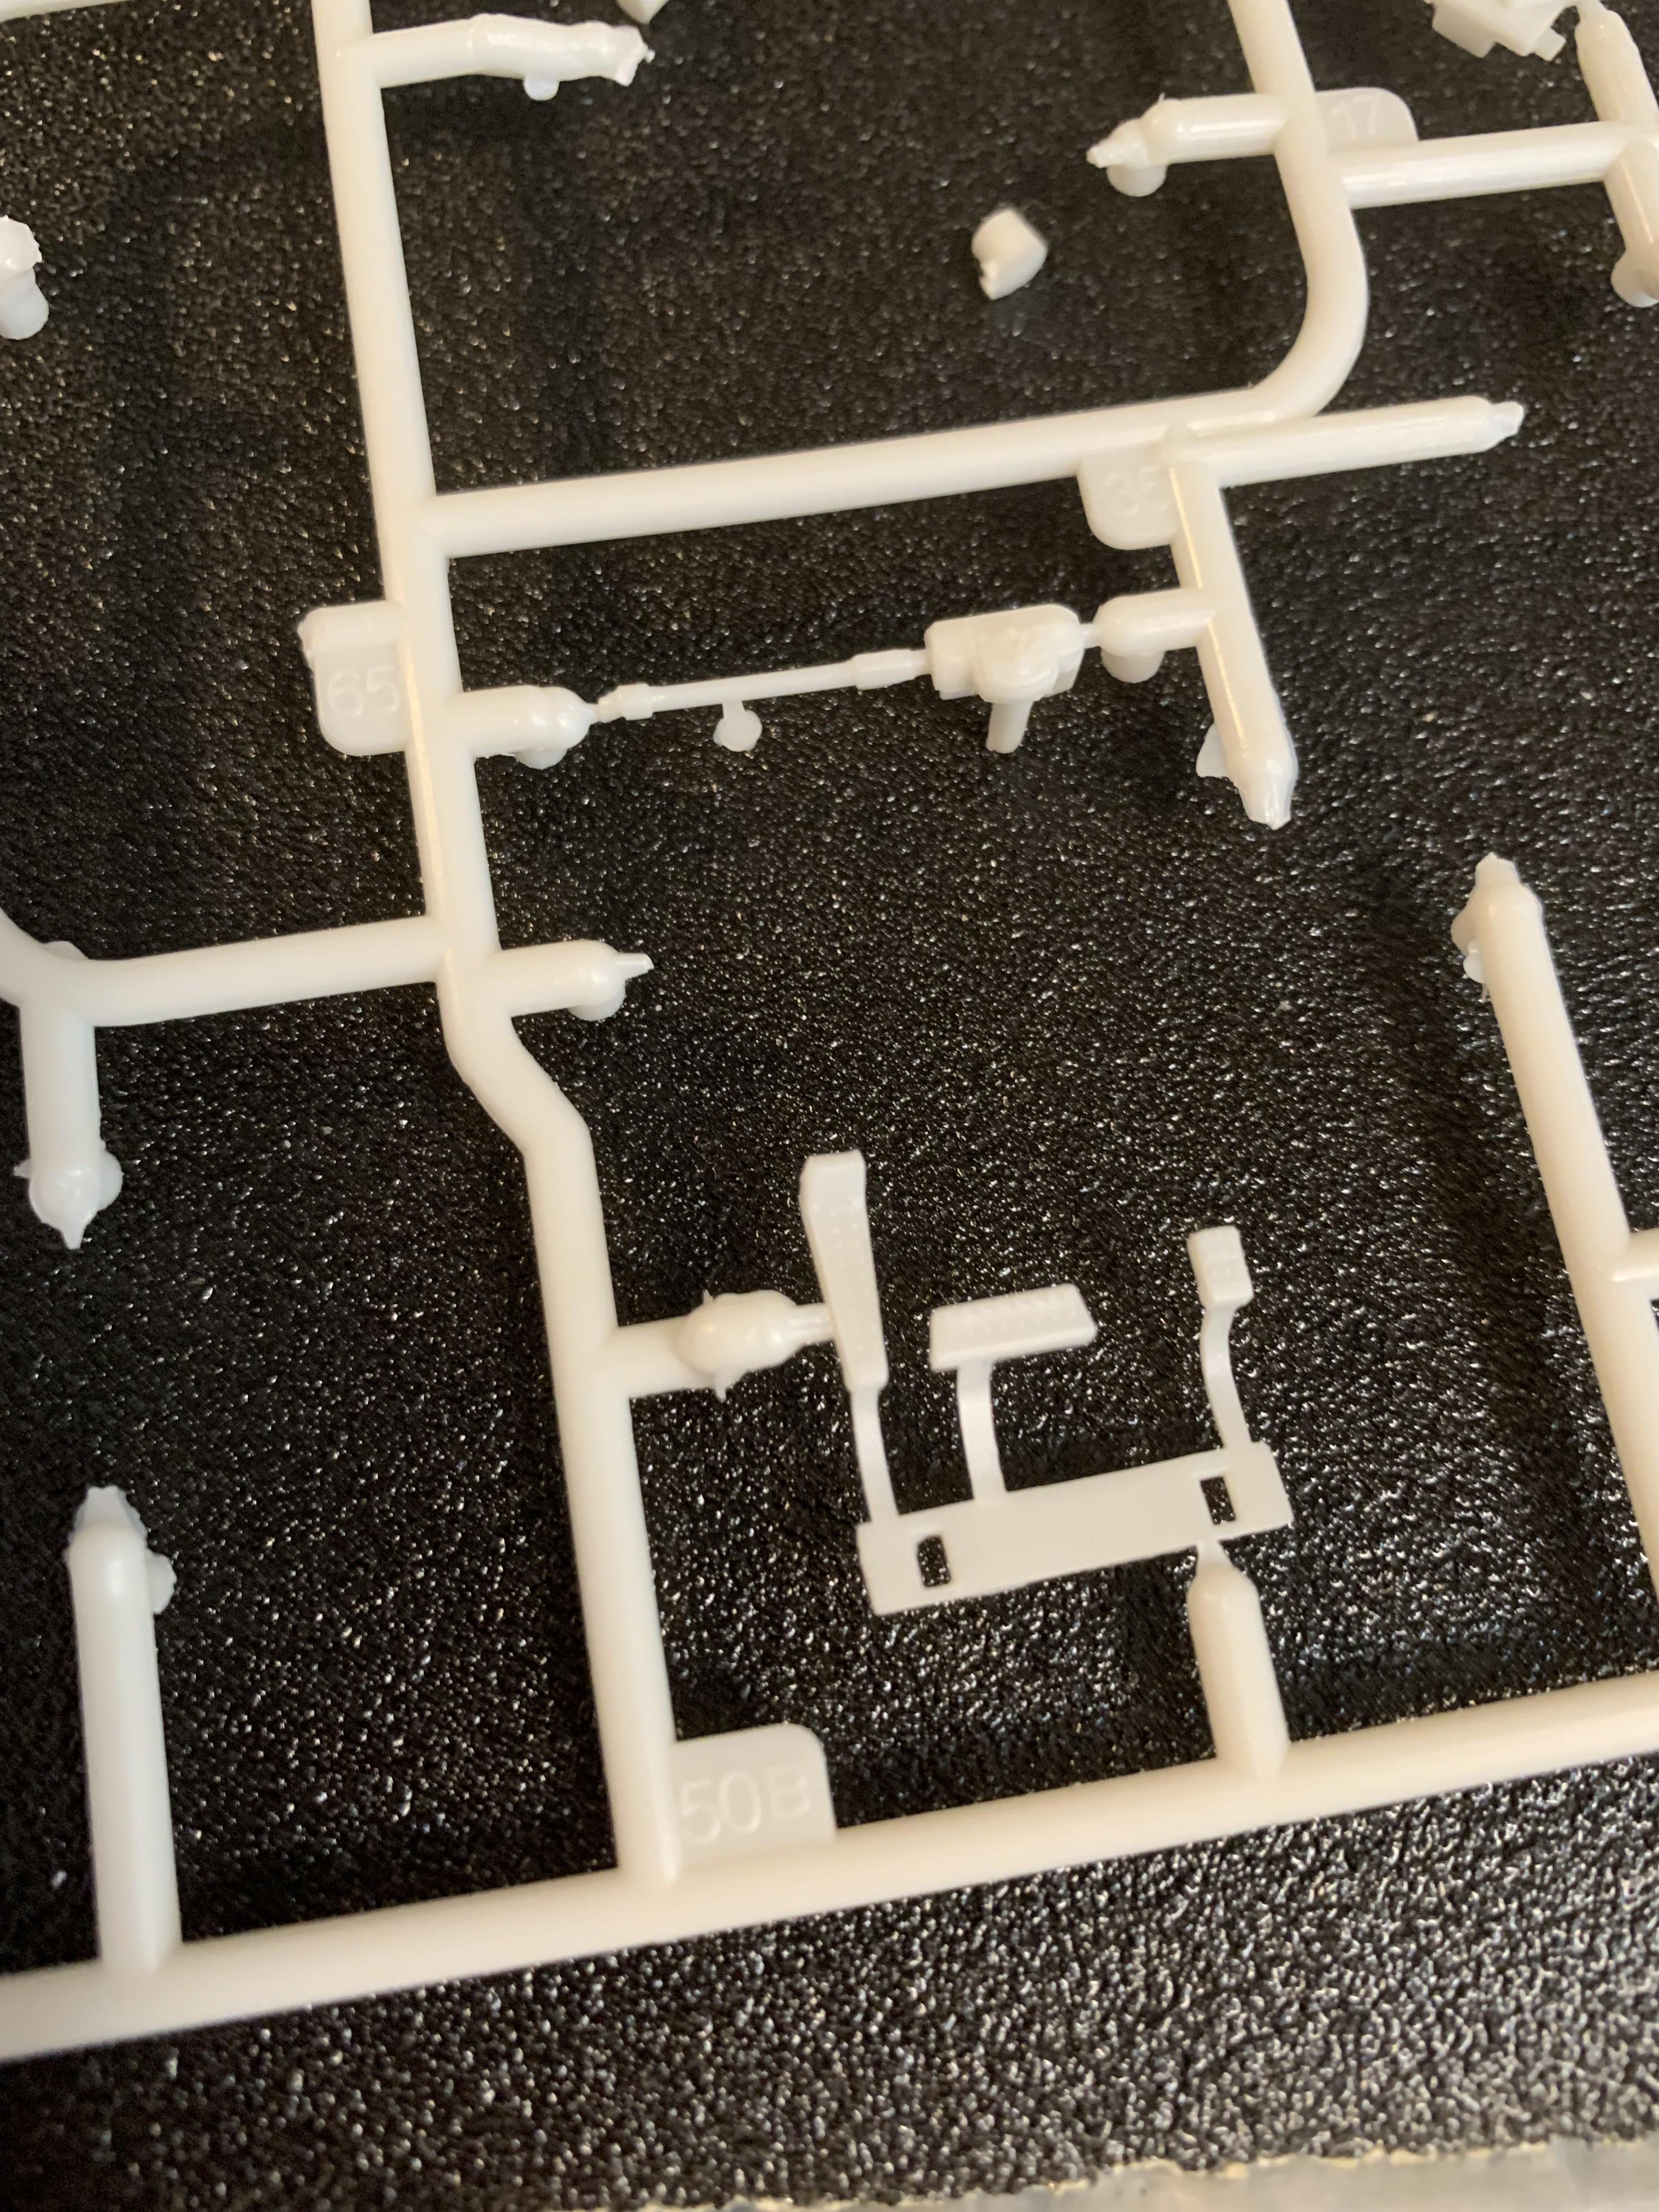
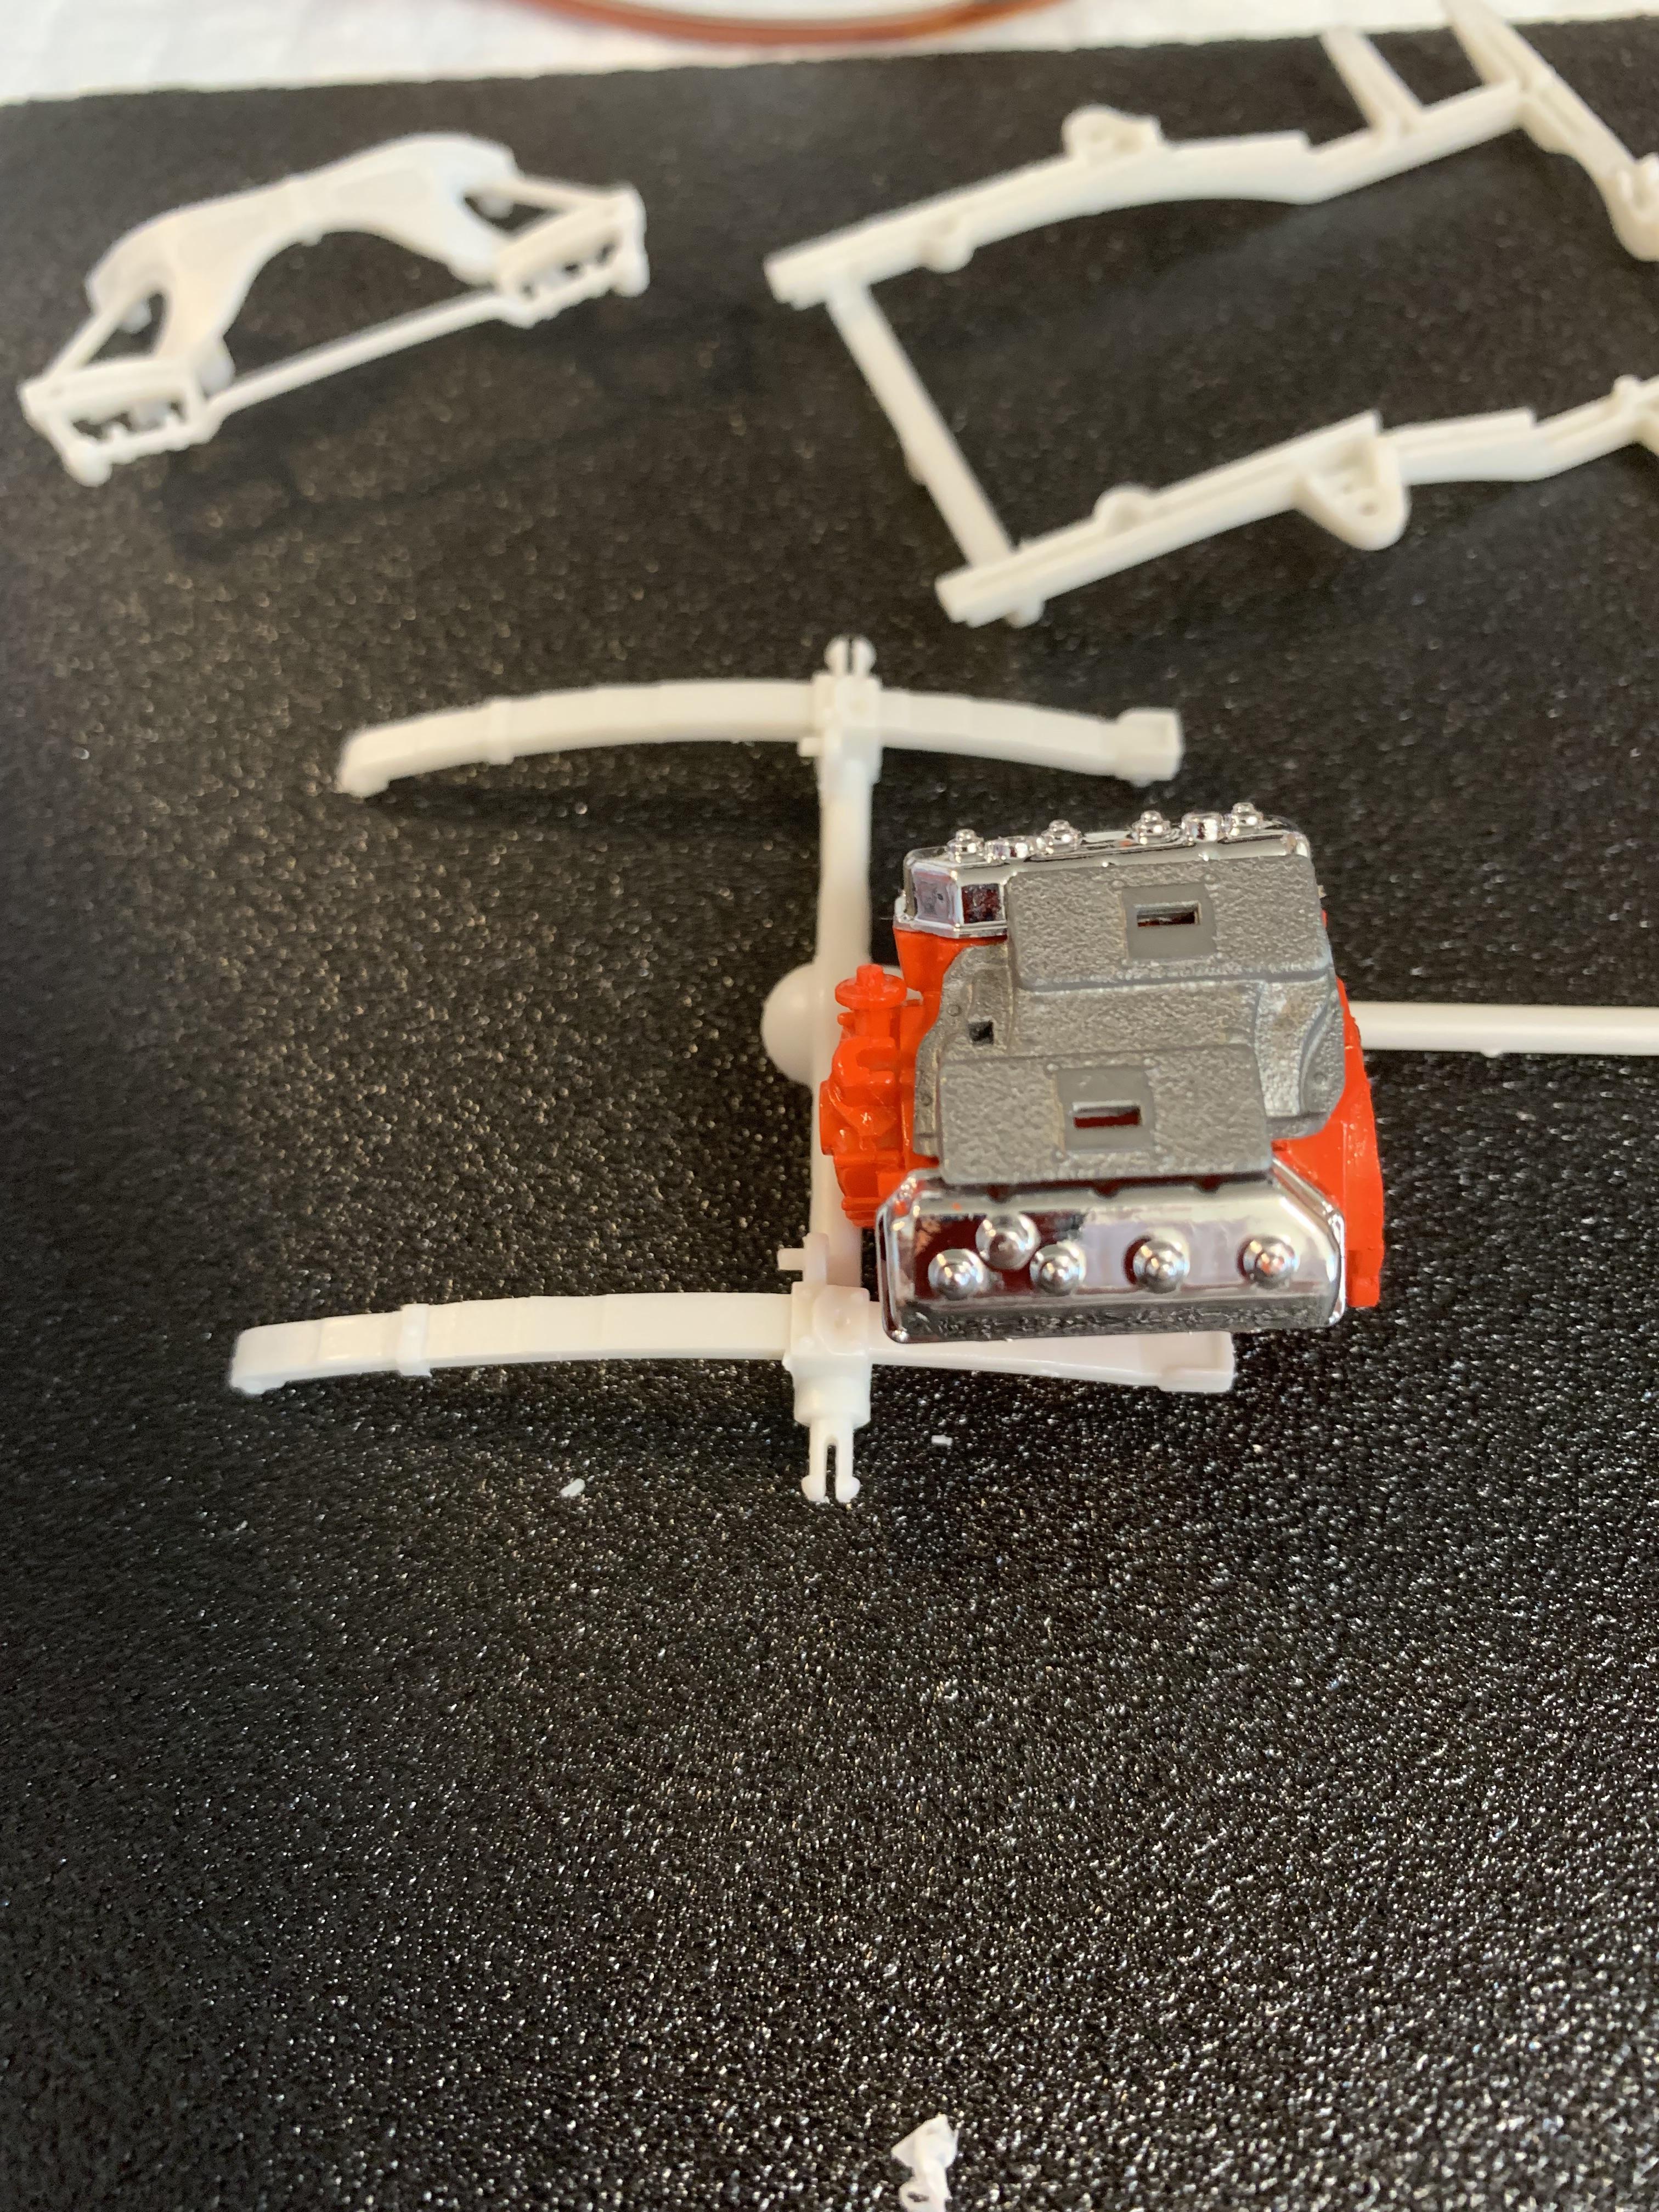
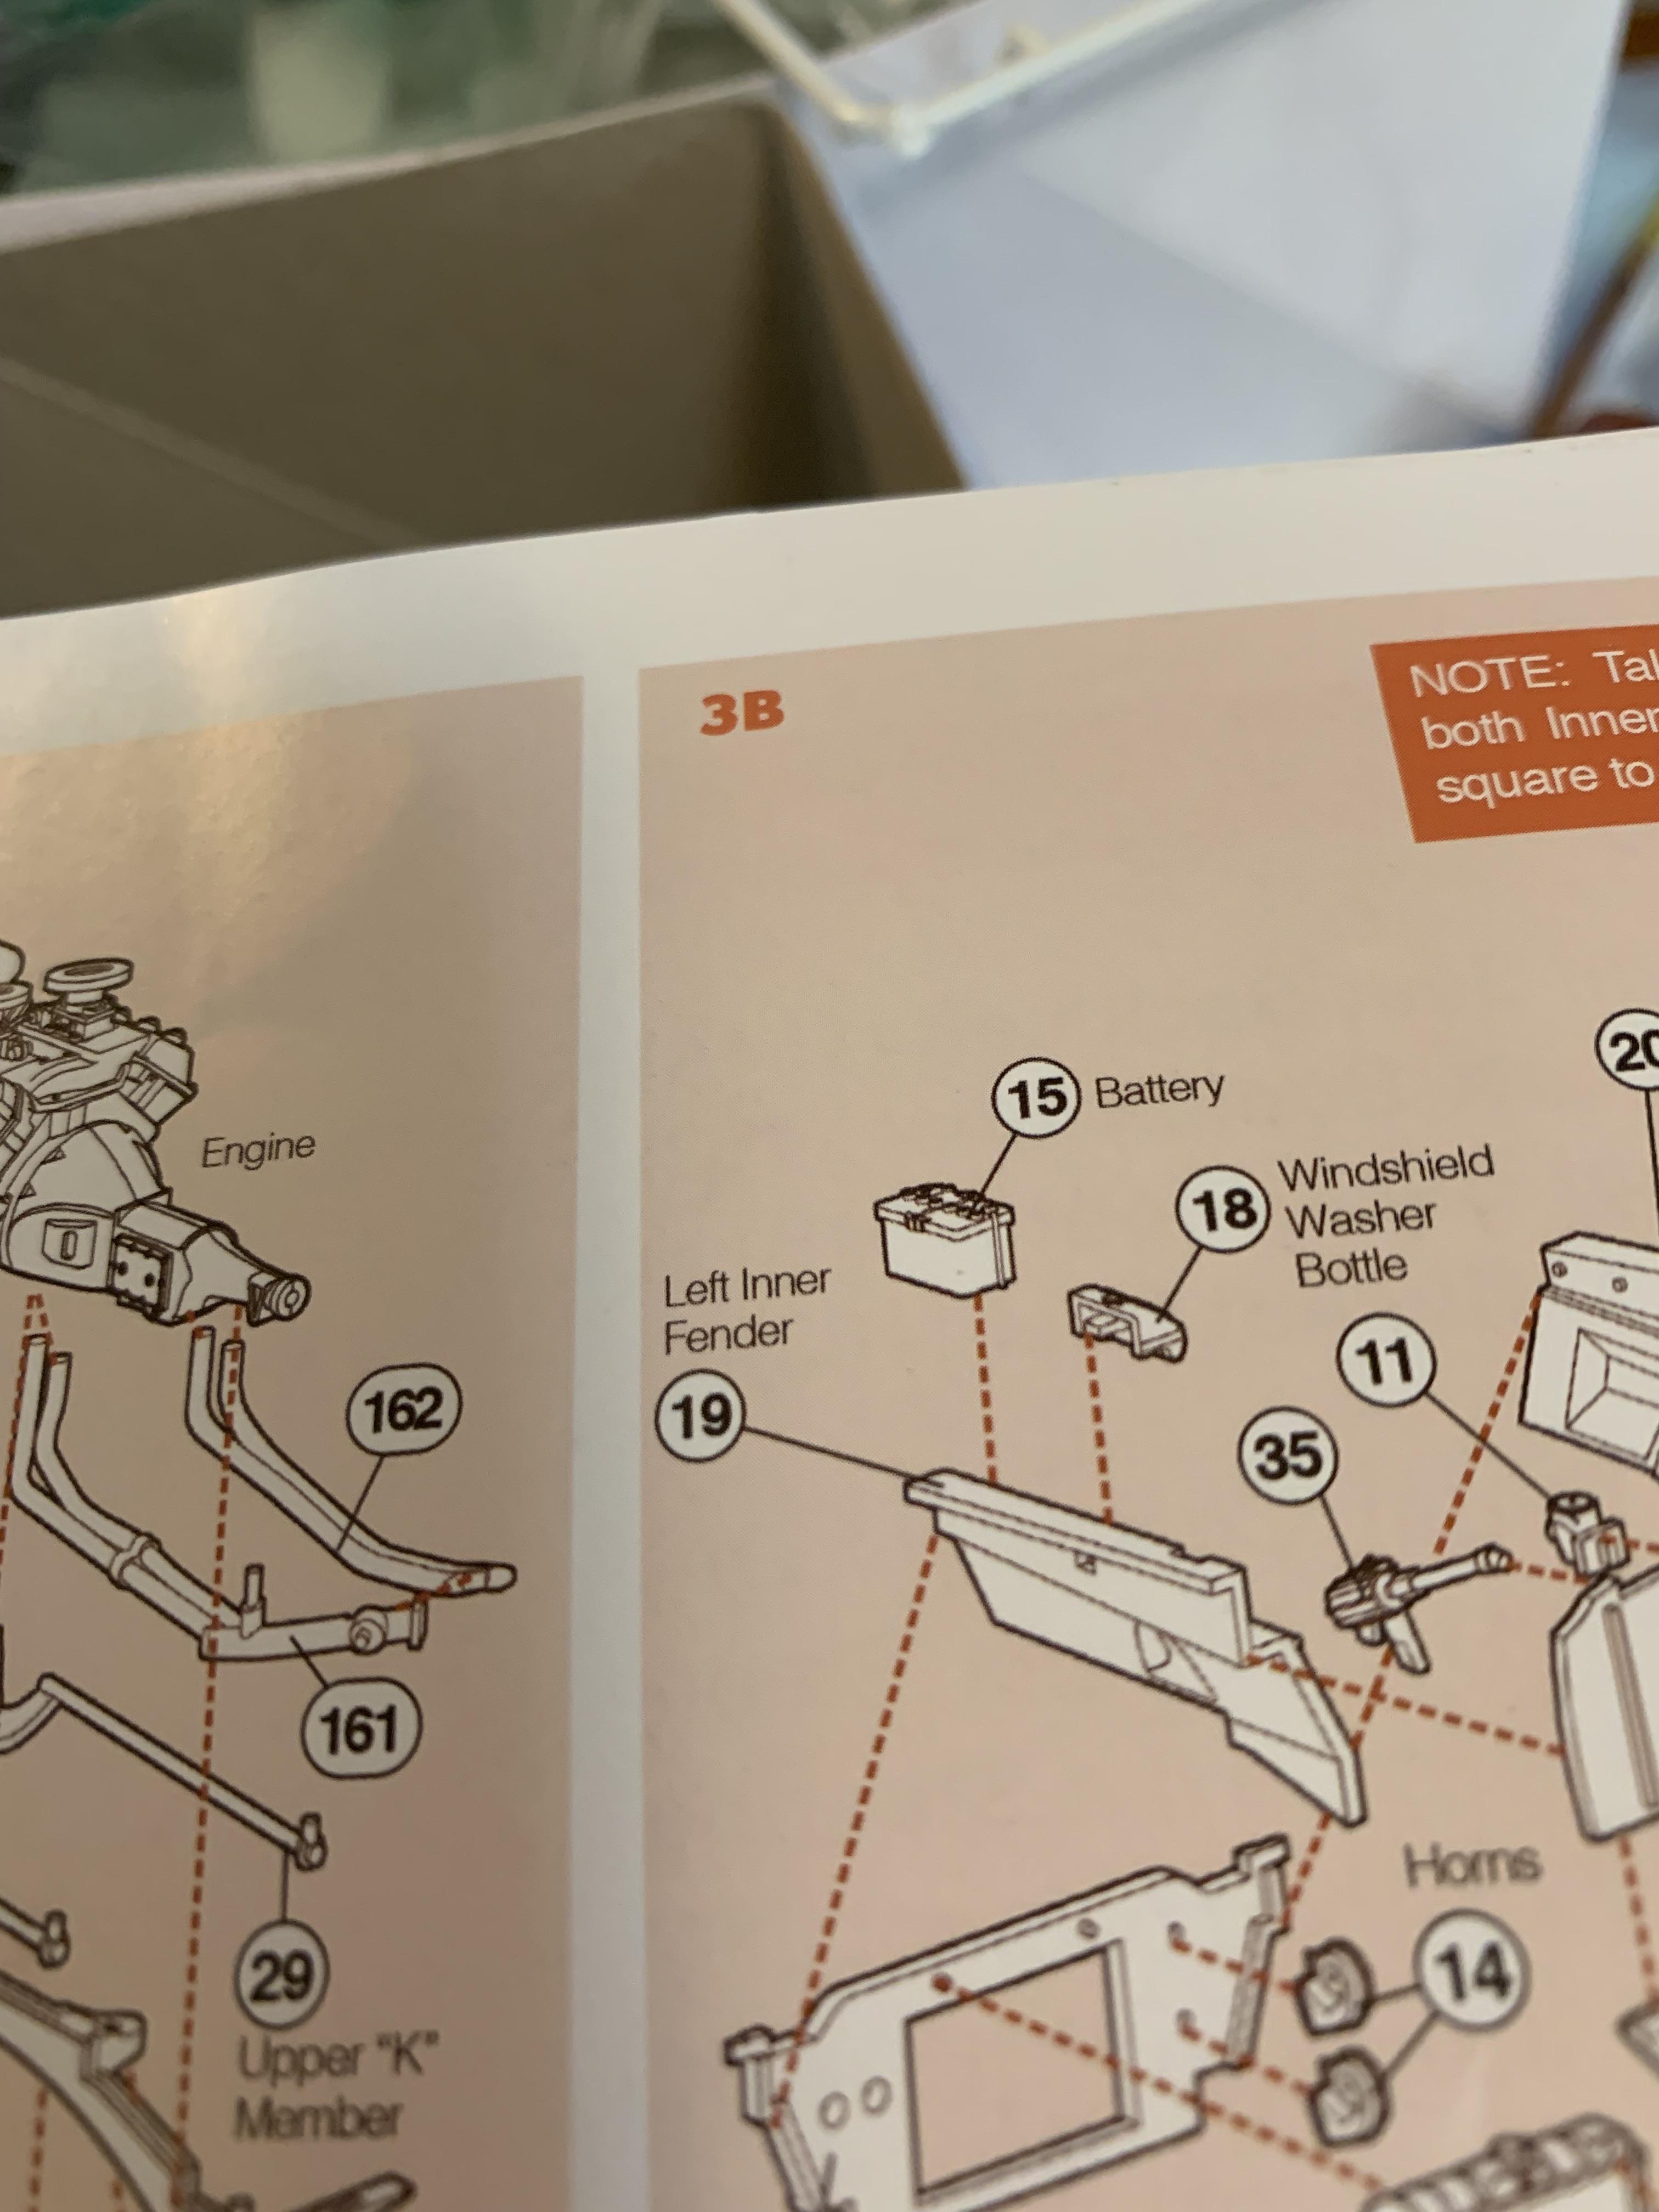
One thing to consider on this build is to look at the numbers on the parts tree as you are following the directions on the instructions. Because there are extra parts in this kit (like the foot pedals for an automatic car and the 65 Plymouth grille), you should check the number(s) on each part you cut off. A dark background like this piece of sandpaper helps. Put the intake and valve covers on, working on the suspension now. Also, noticed a battery up front. It was installed in the trunk, on the original cars, I believe.
-
Thanks, Roger. This build is moving slow (too many books and TV). Got some paint on the engine and intake manifold. Ordered some 3116 carbs (among other things) from Chief Joseph.
-
You are correct in your assumption, Kevin. However, I have ordered some resin headers that I may use, instead. Should get them in a couple of days.
-
Thanks, Brian. They don’t all turn out this good, for sure, but cleanliness and those excellent Tamiya spray nozzles and quality paints certainly help. Just cut off the trans. This jewelry saw definitely makes short work of that job.
-
Put couple medium coats of ts13 Tamiya on. Looks better. Next step, cut off stick shift trans and put aftermarket 727 auto on.
-
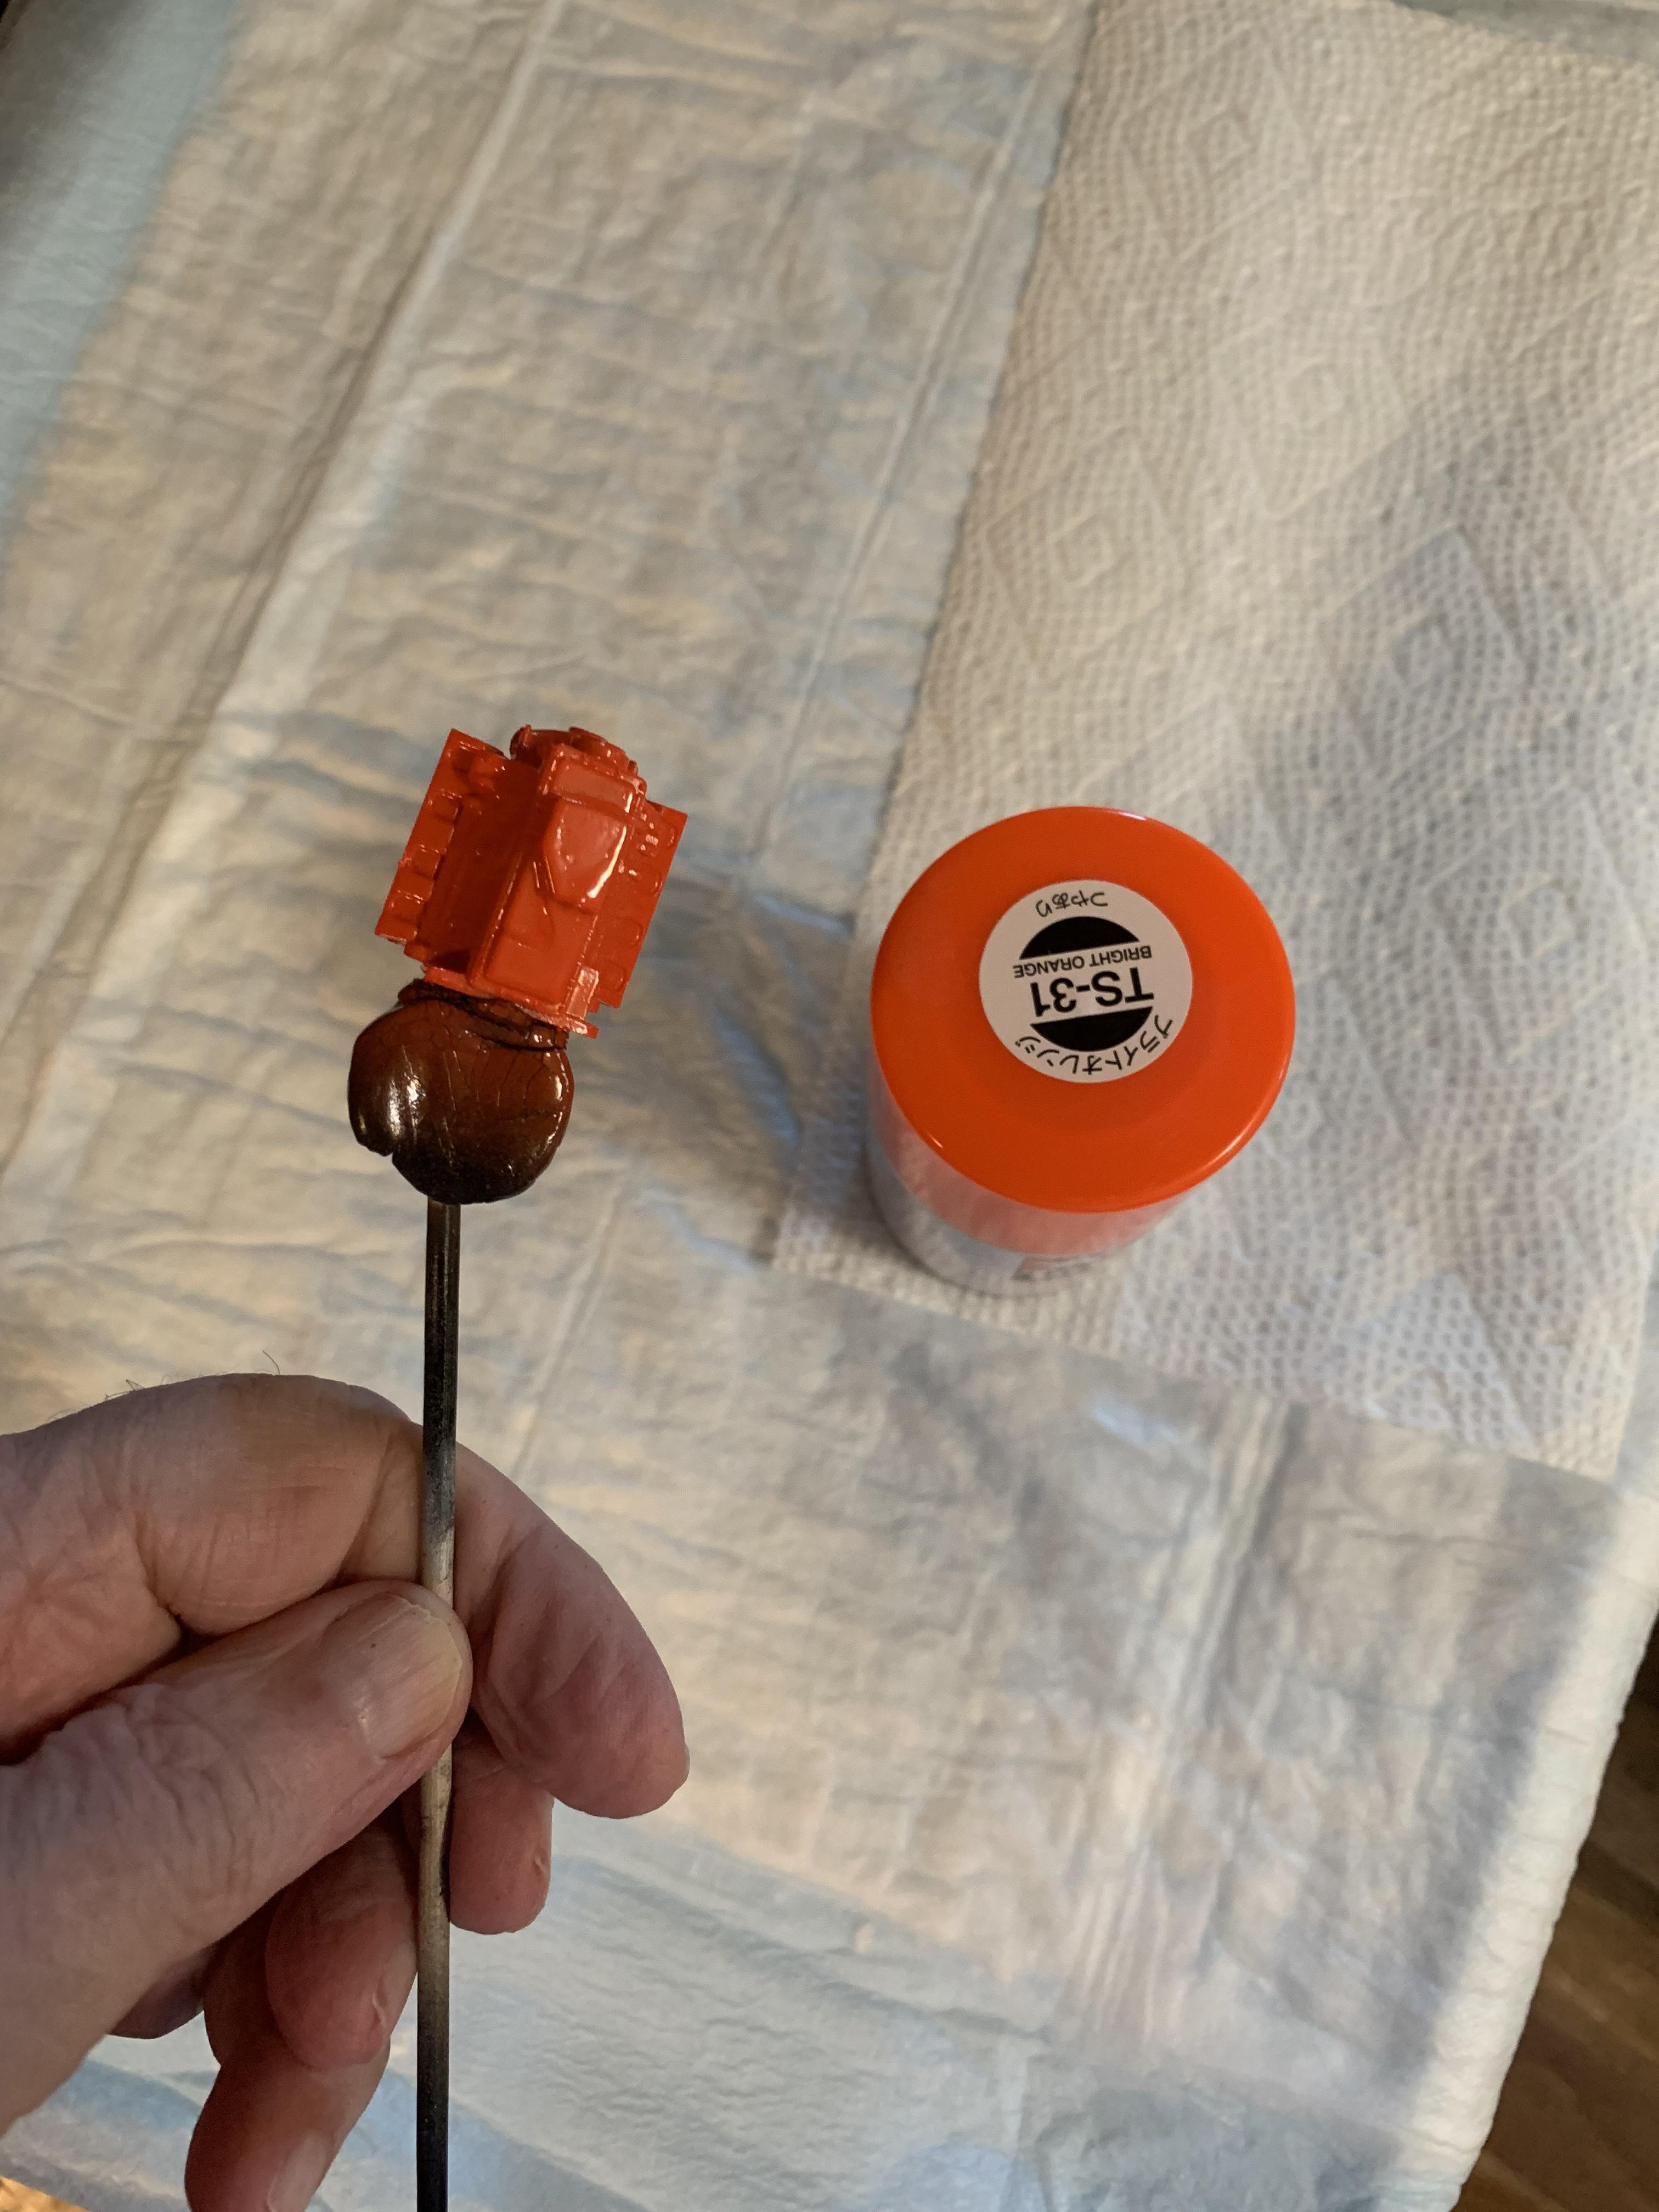
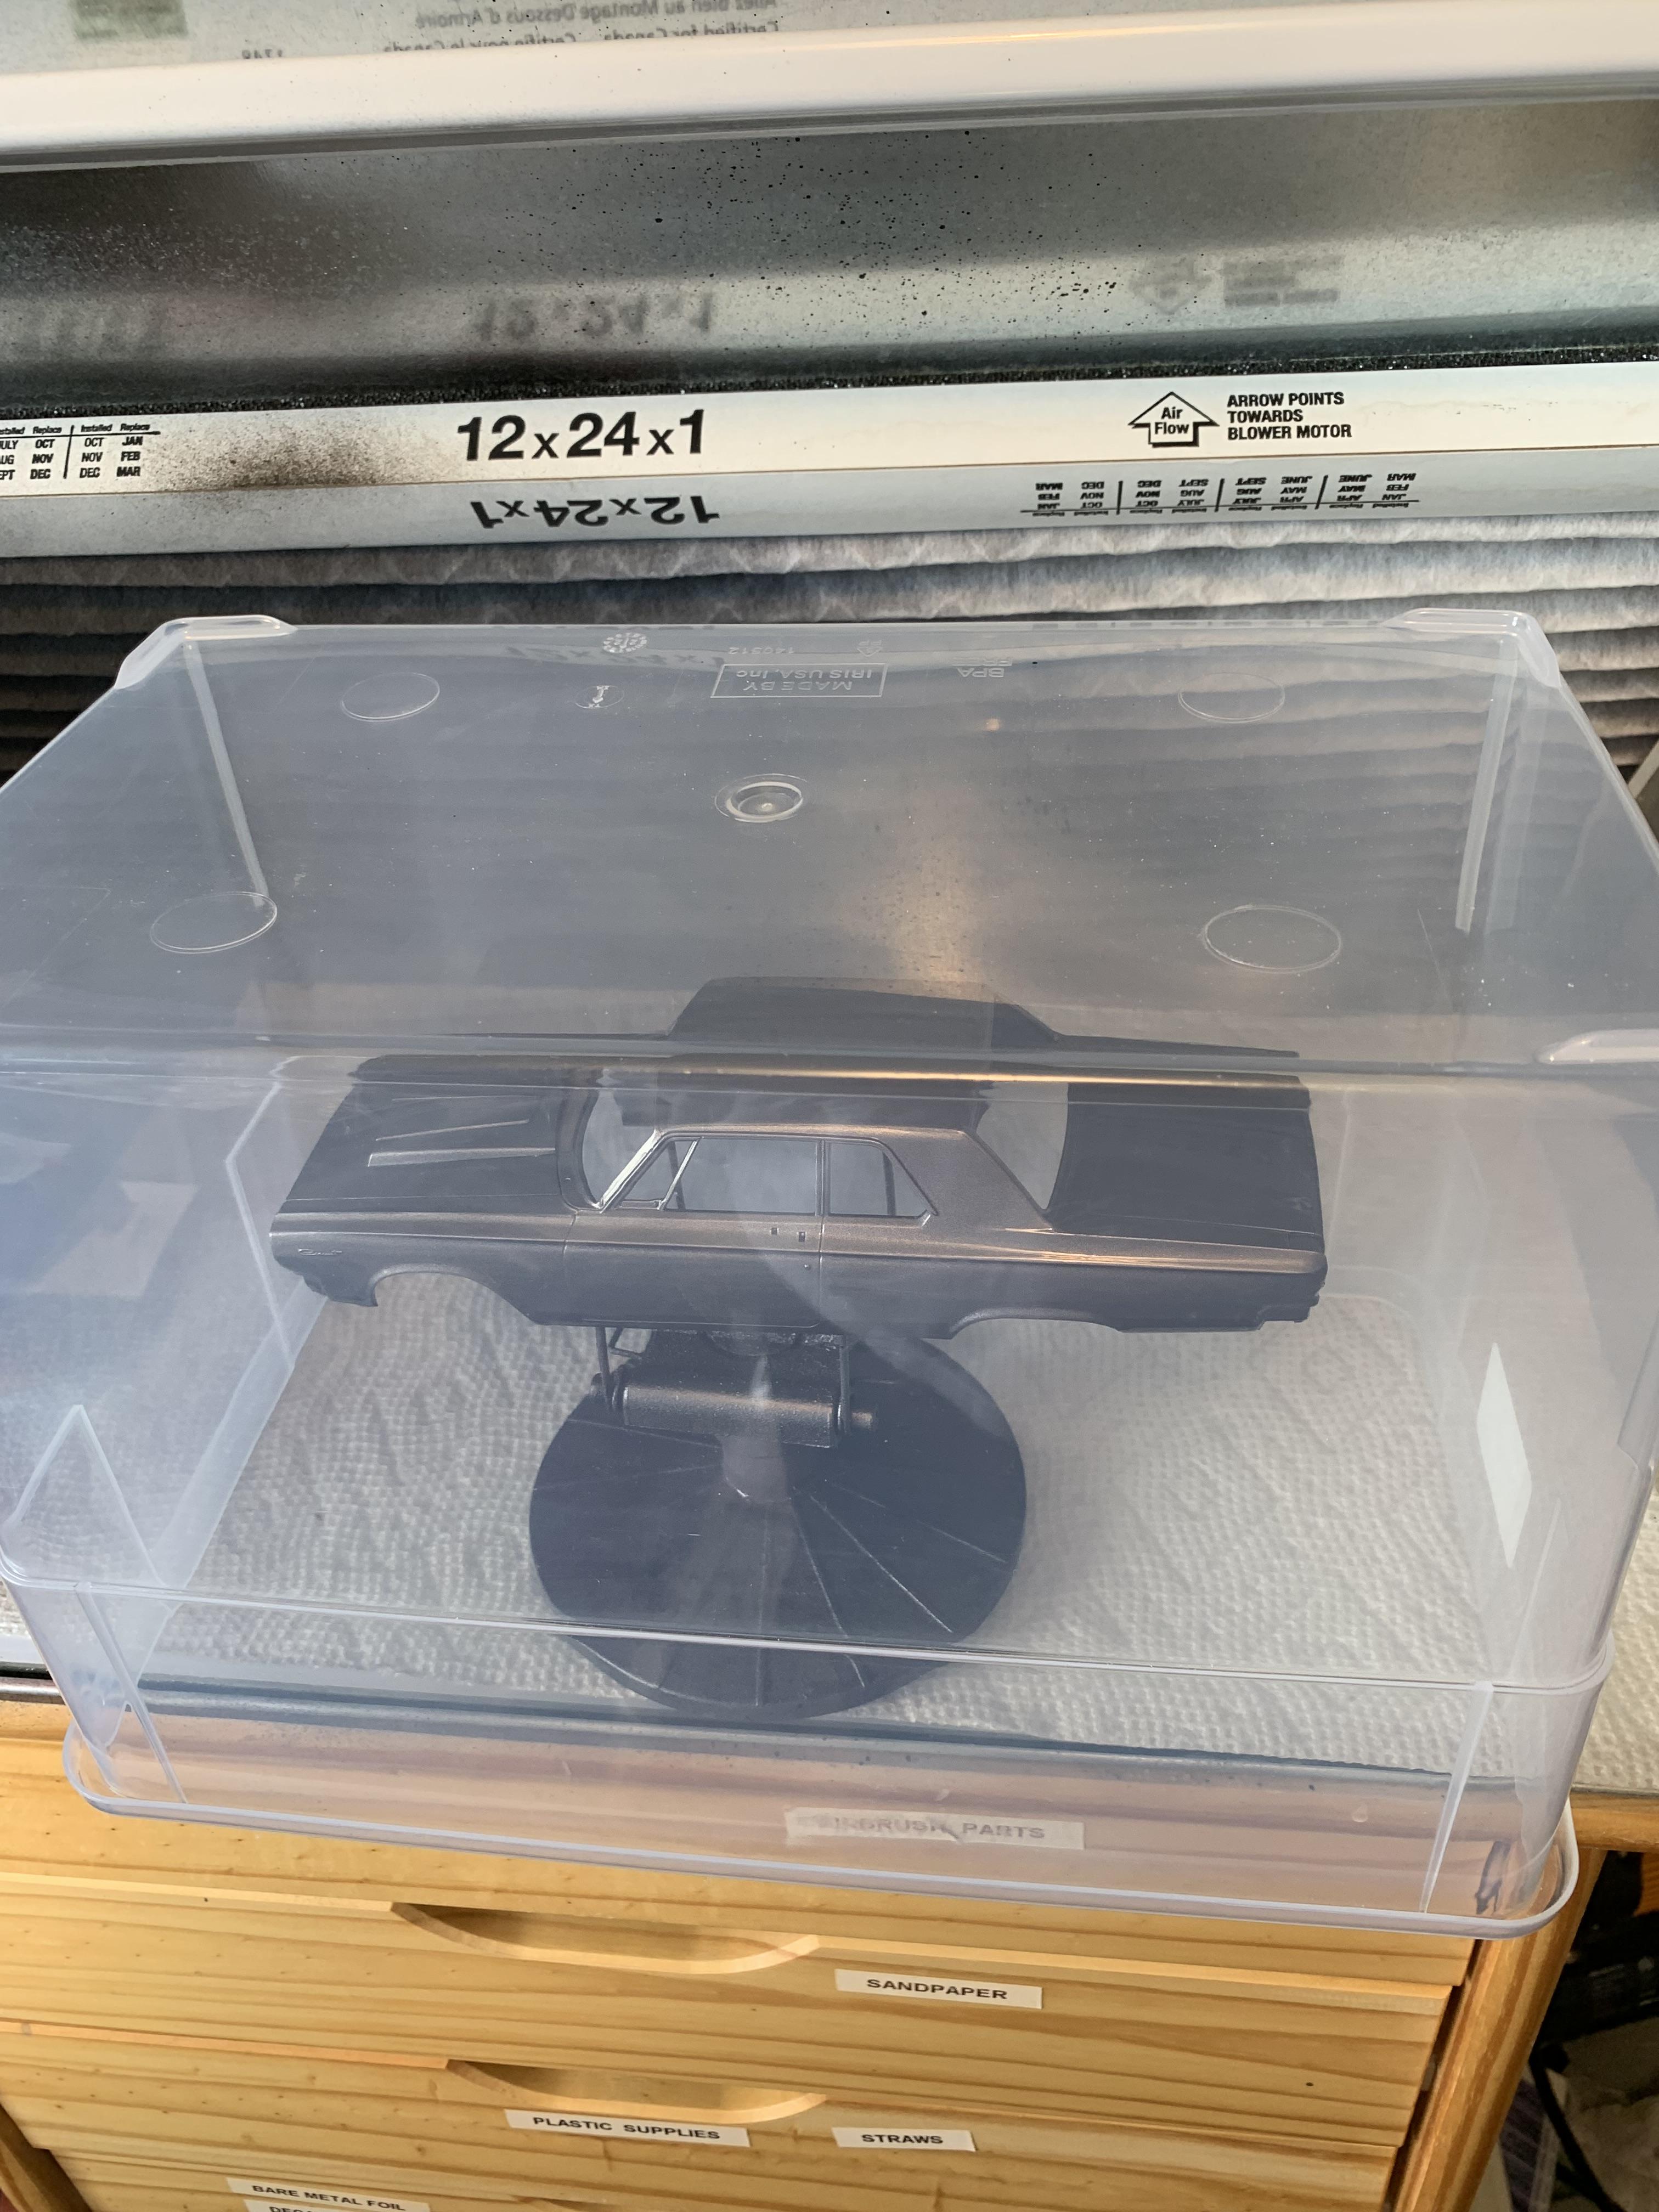
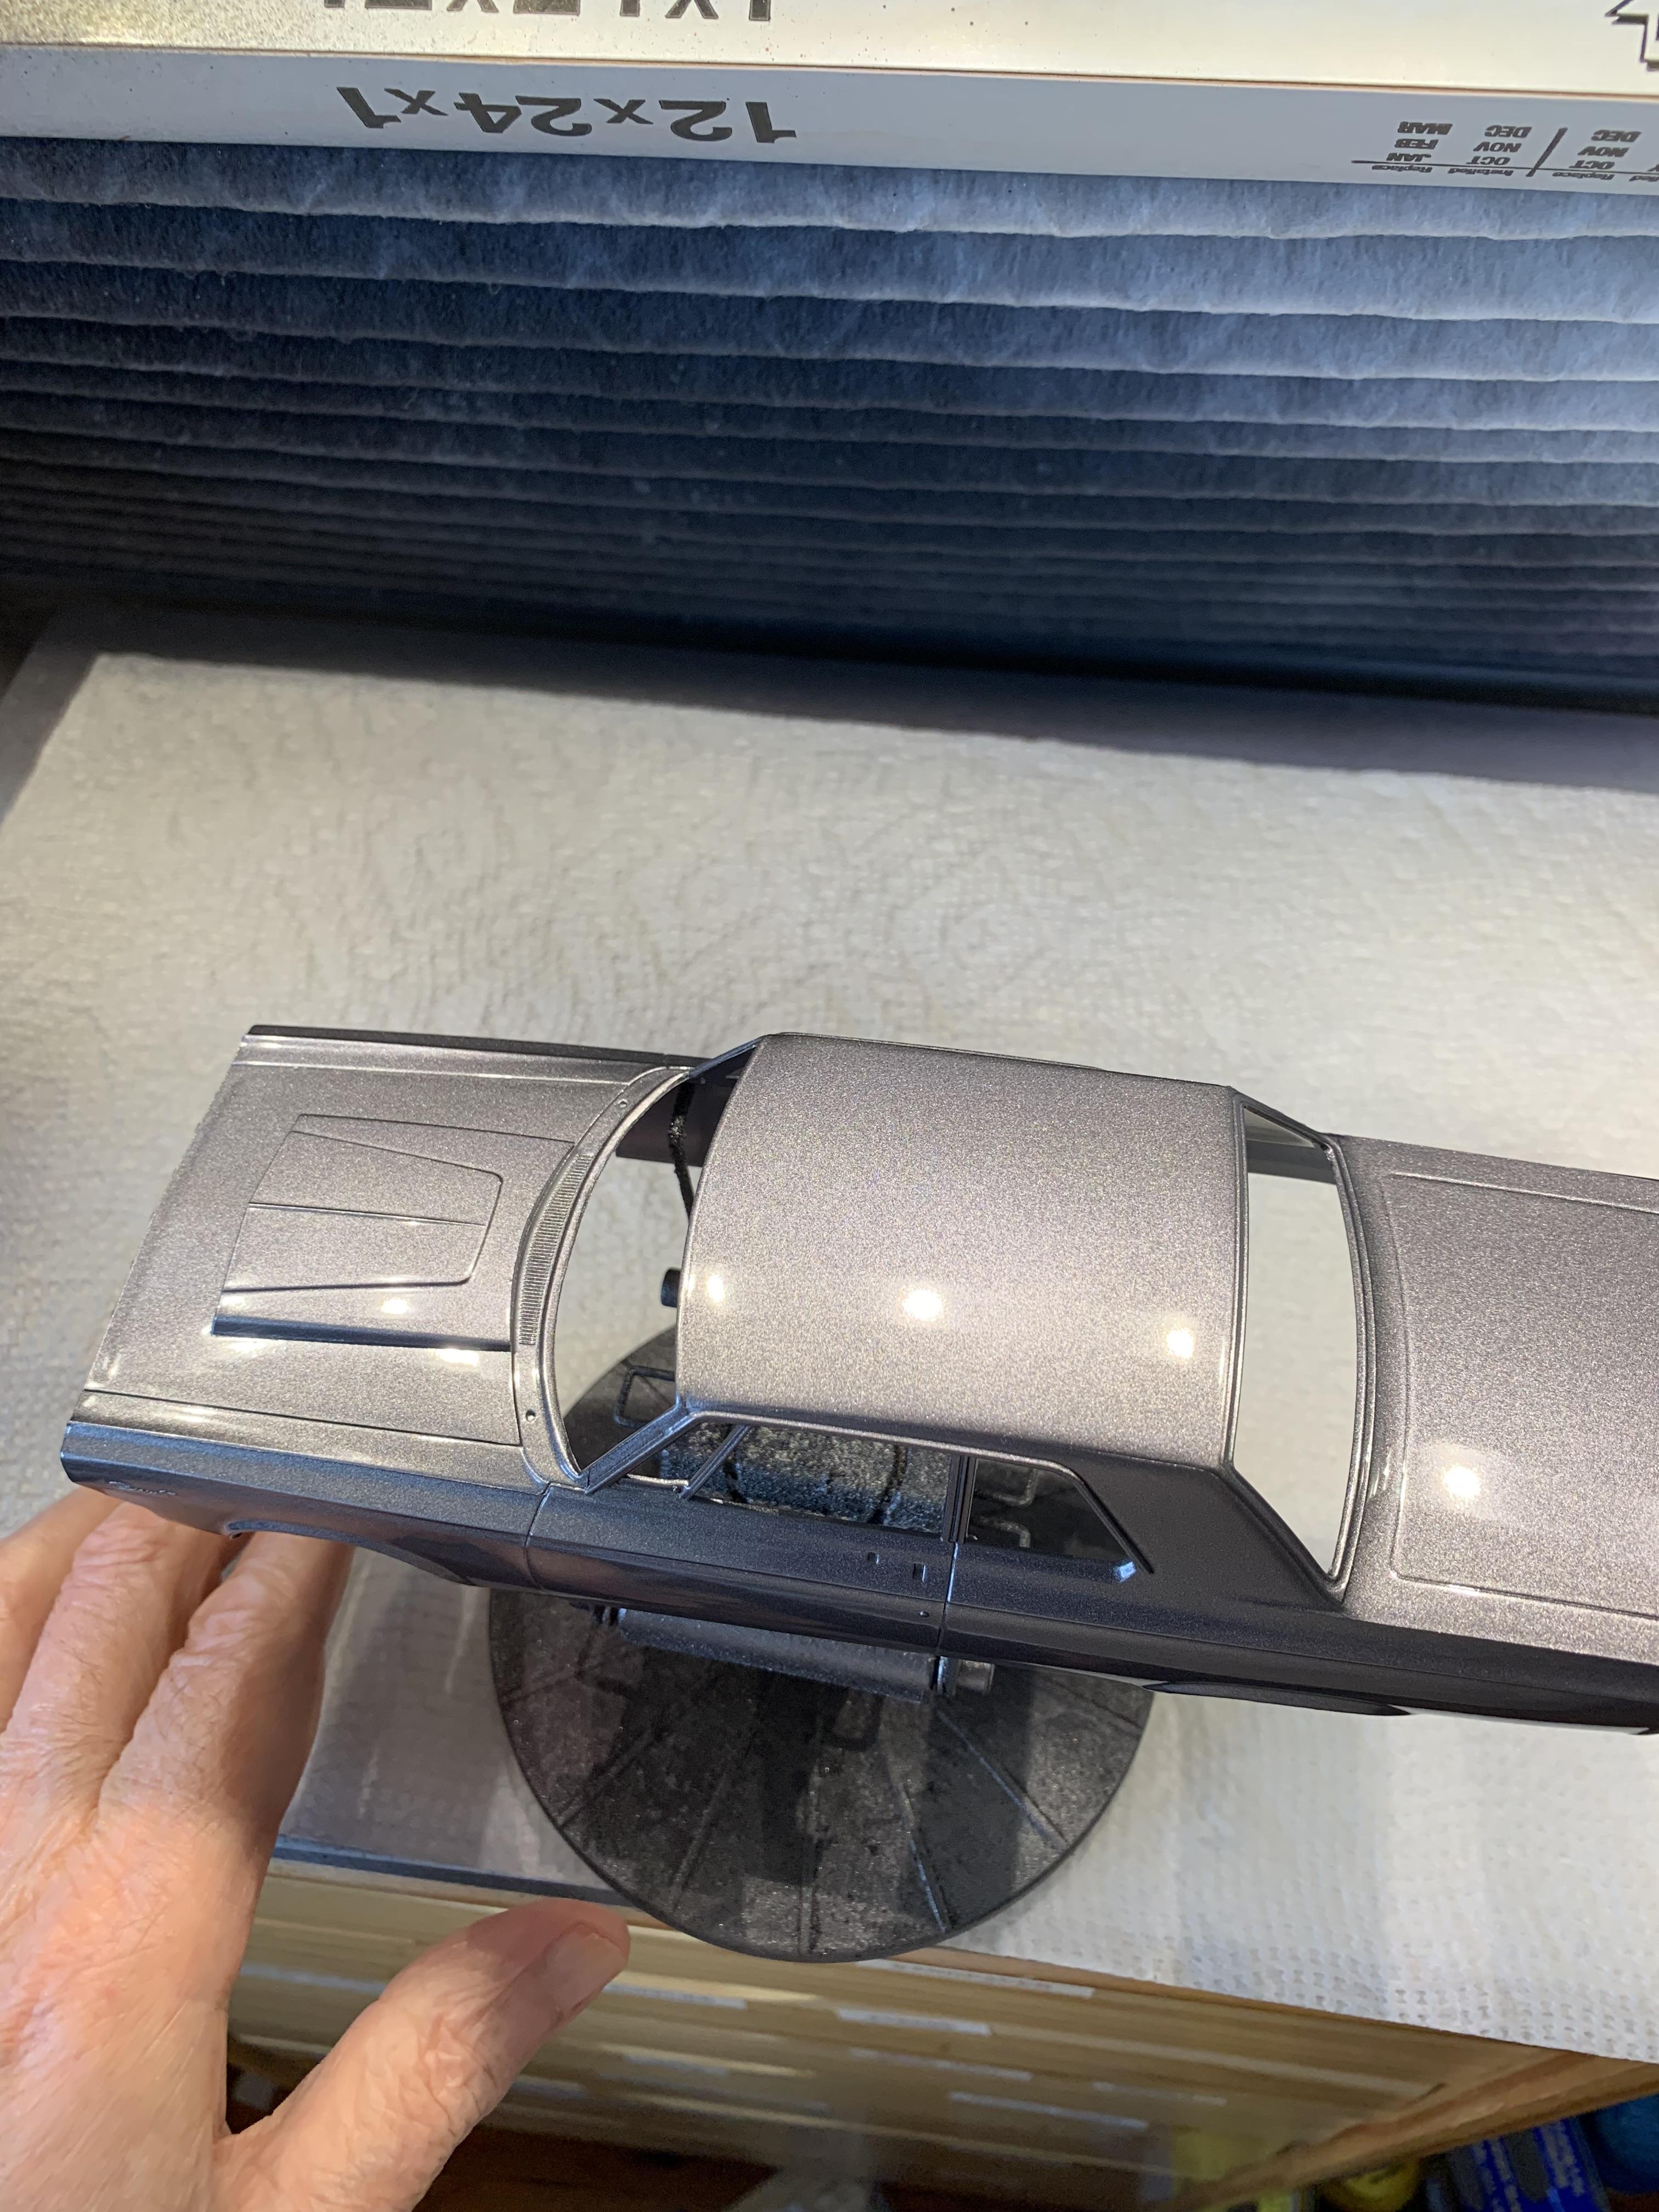
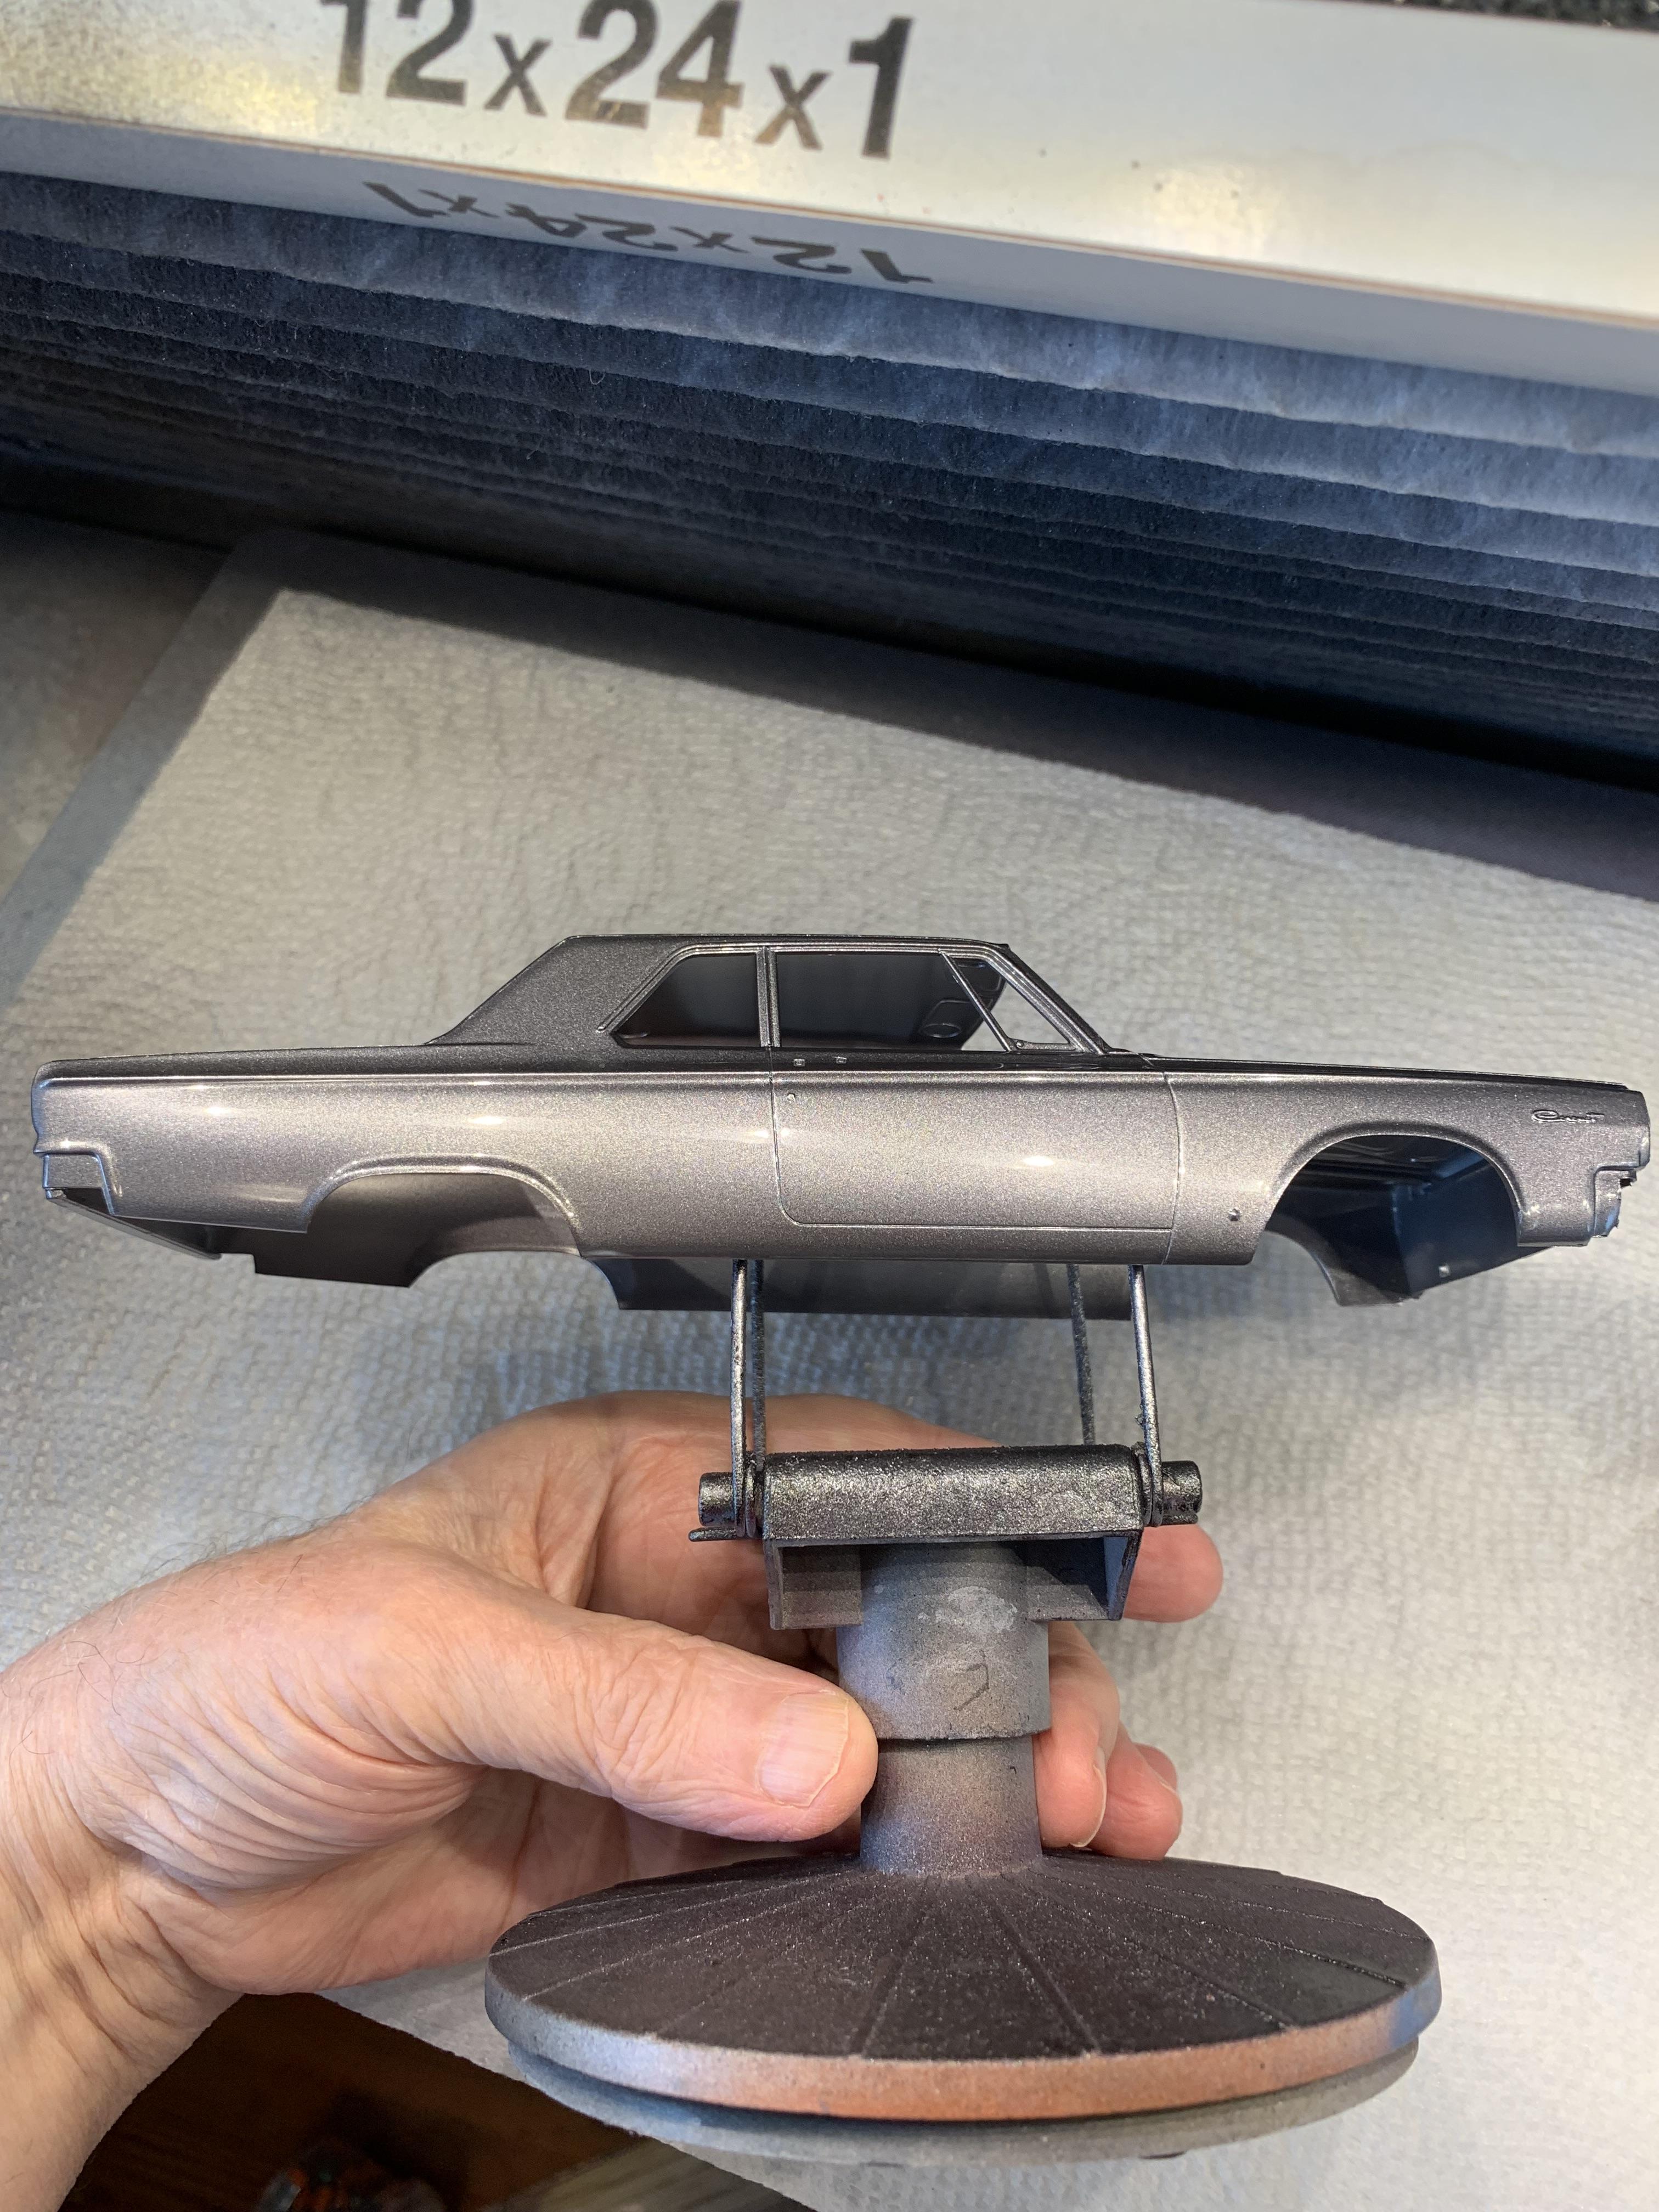
Got some ts42 on tonight. No primer, one light coat and 2 medium coats and done. Check it tomorrow, may put some ts13 clear on. A little too metallically for me, but it is was it is. Took the headers out of the Moebius Strickland awb and will make a mold and cast some for this one.
-
Well, it is a nice, much anticipated, kit. Put some Tamiya putty on those spots and am cleaning up the spray booth.
-
Thanks, Paul. I really appreciate that information. Looks like a pricey, rare, type of kit, but I will keep my eyes open.
-
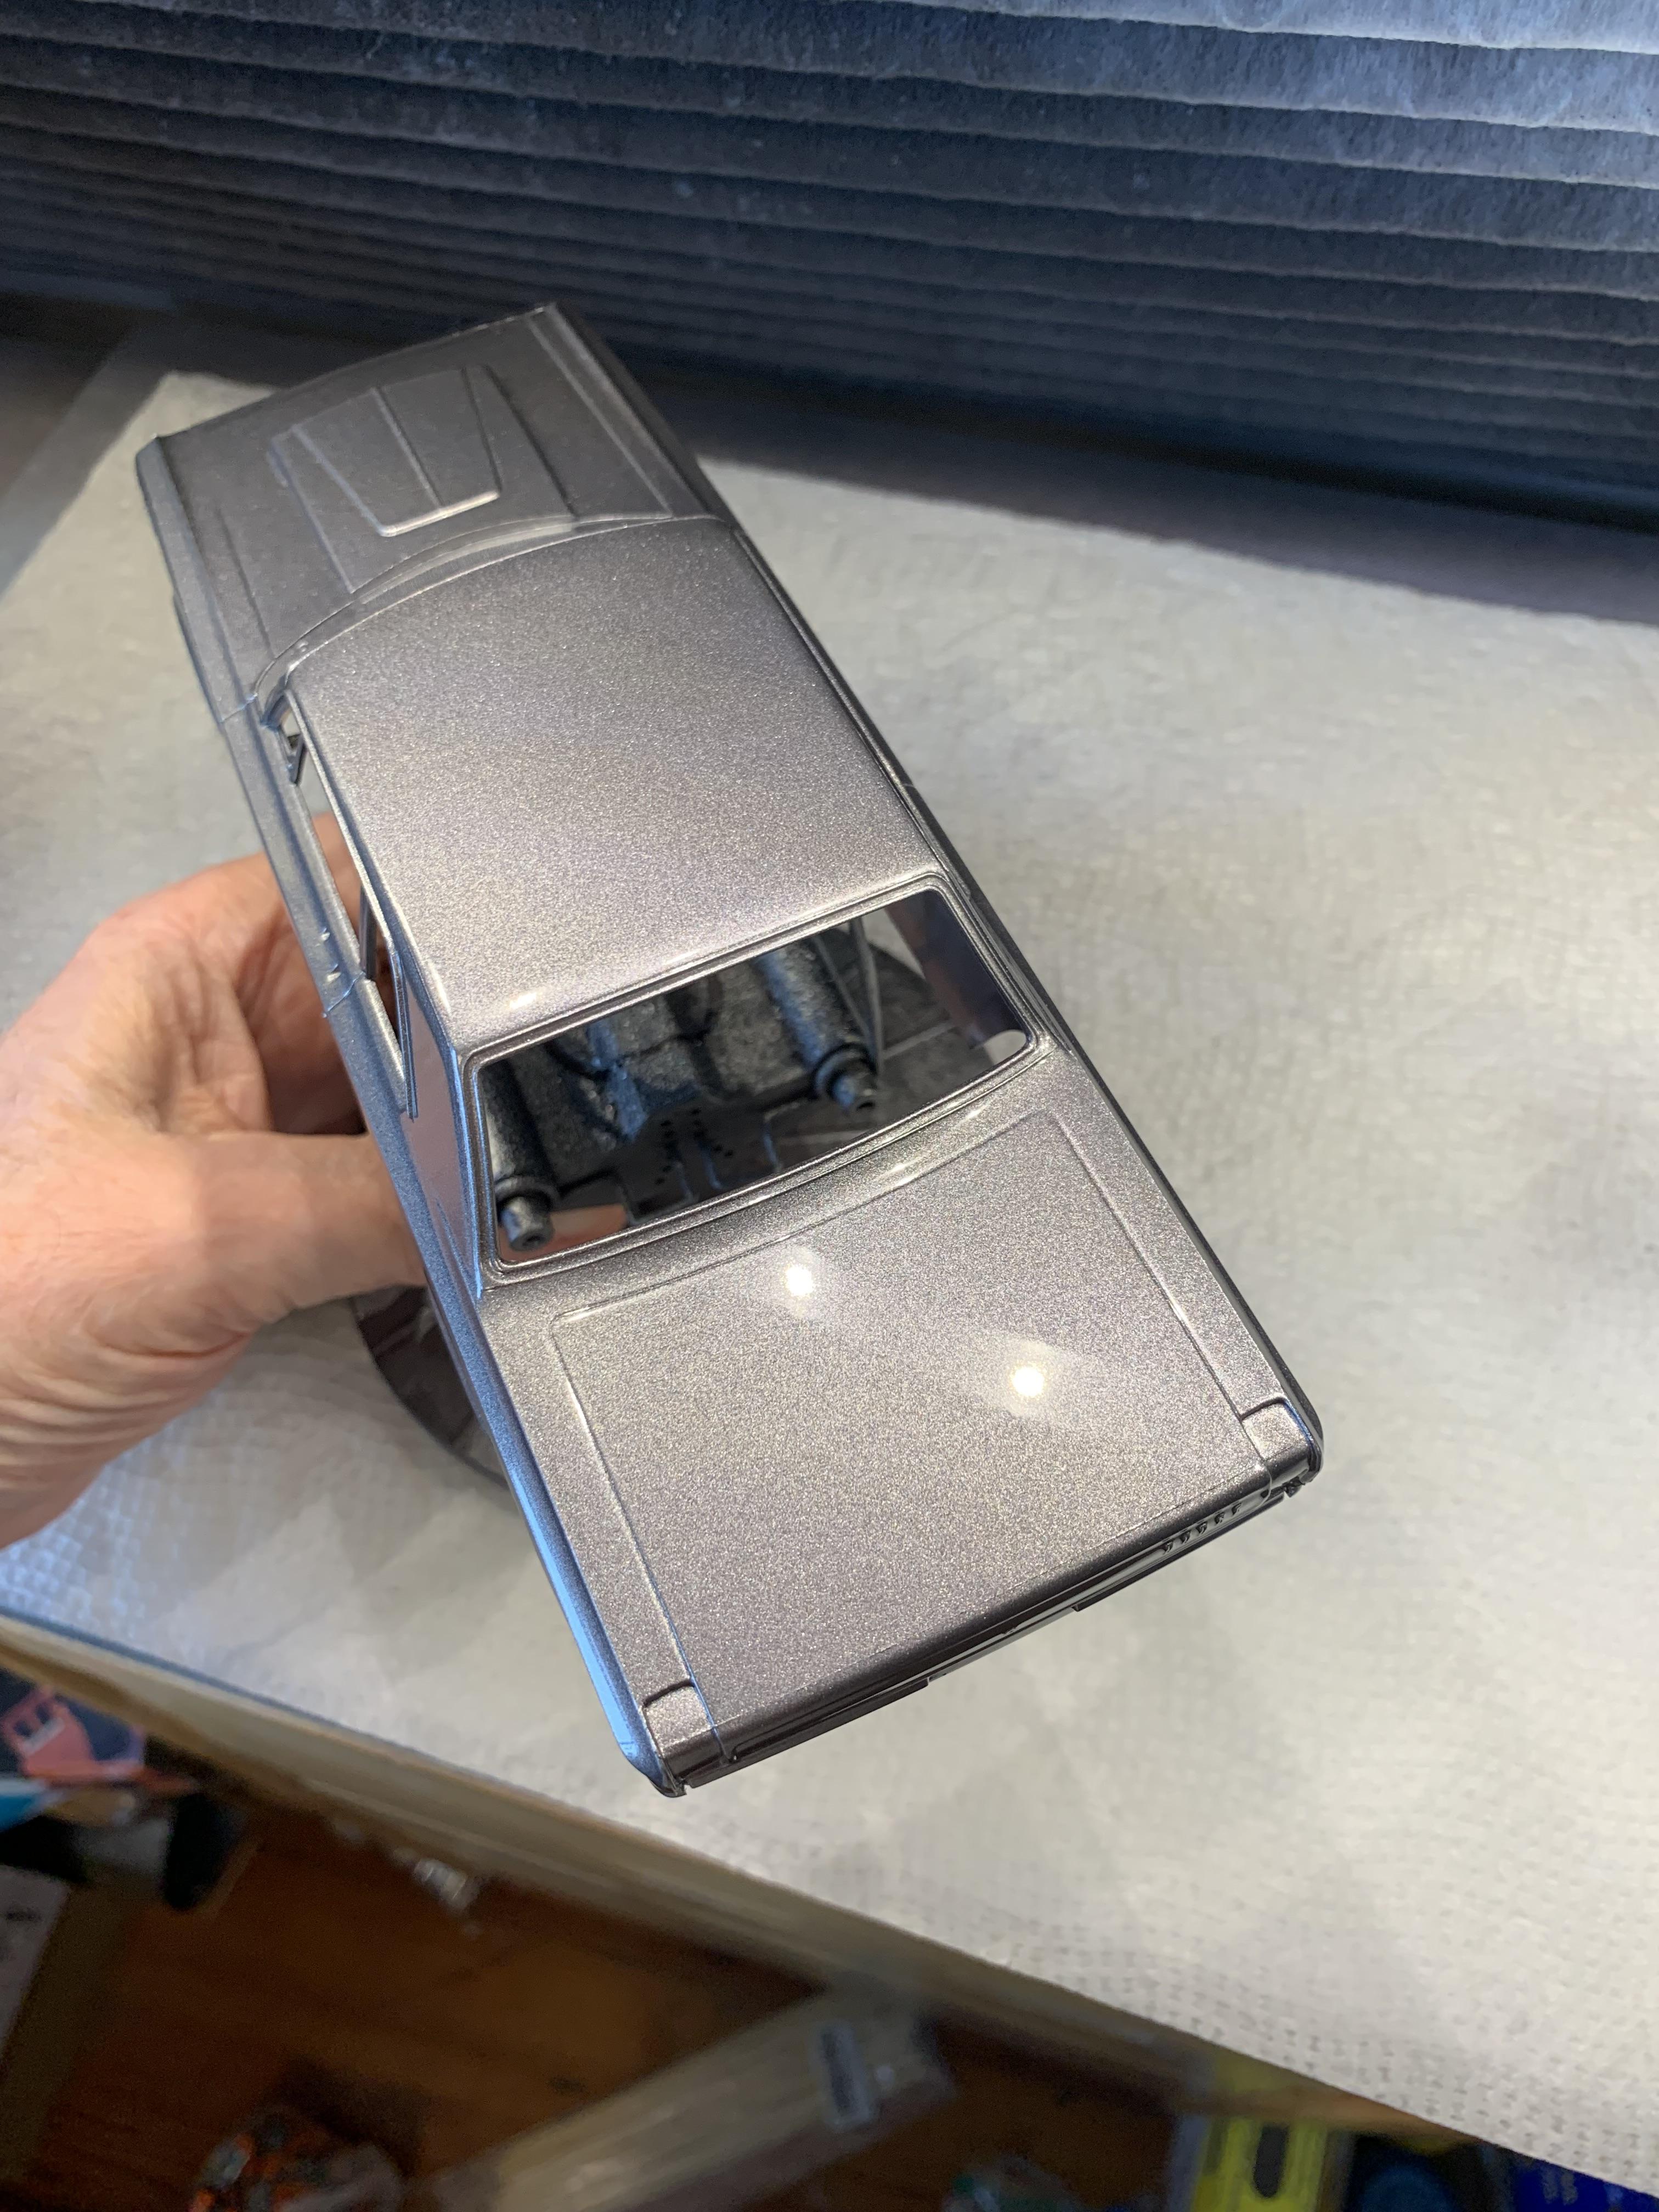
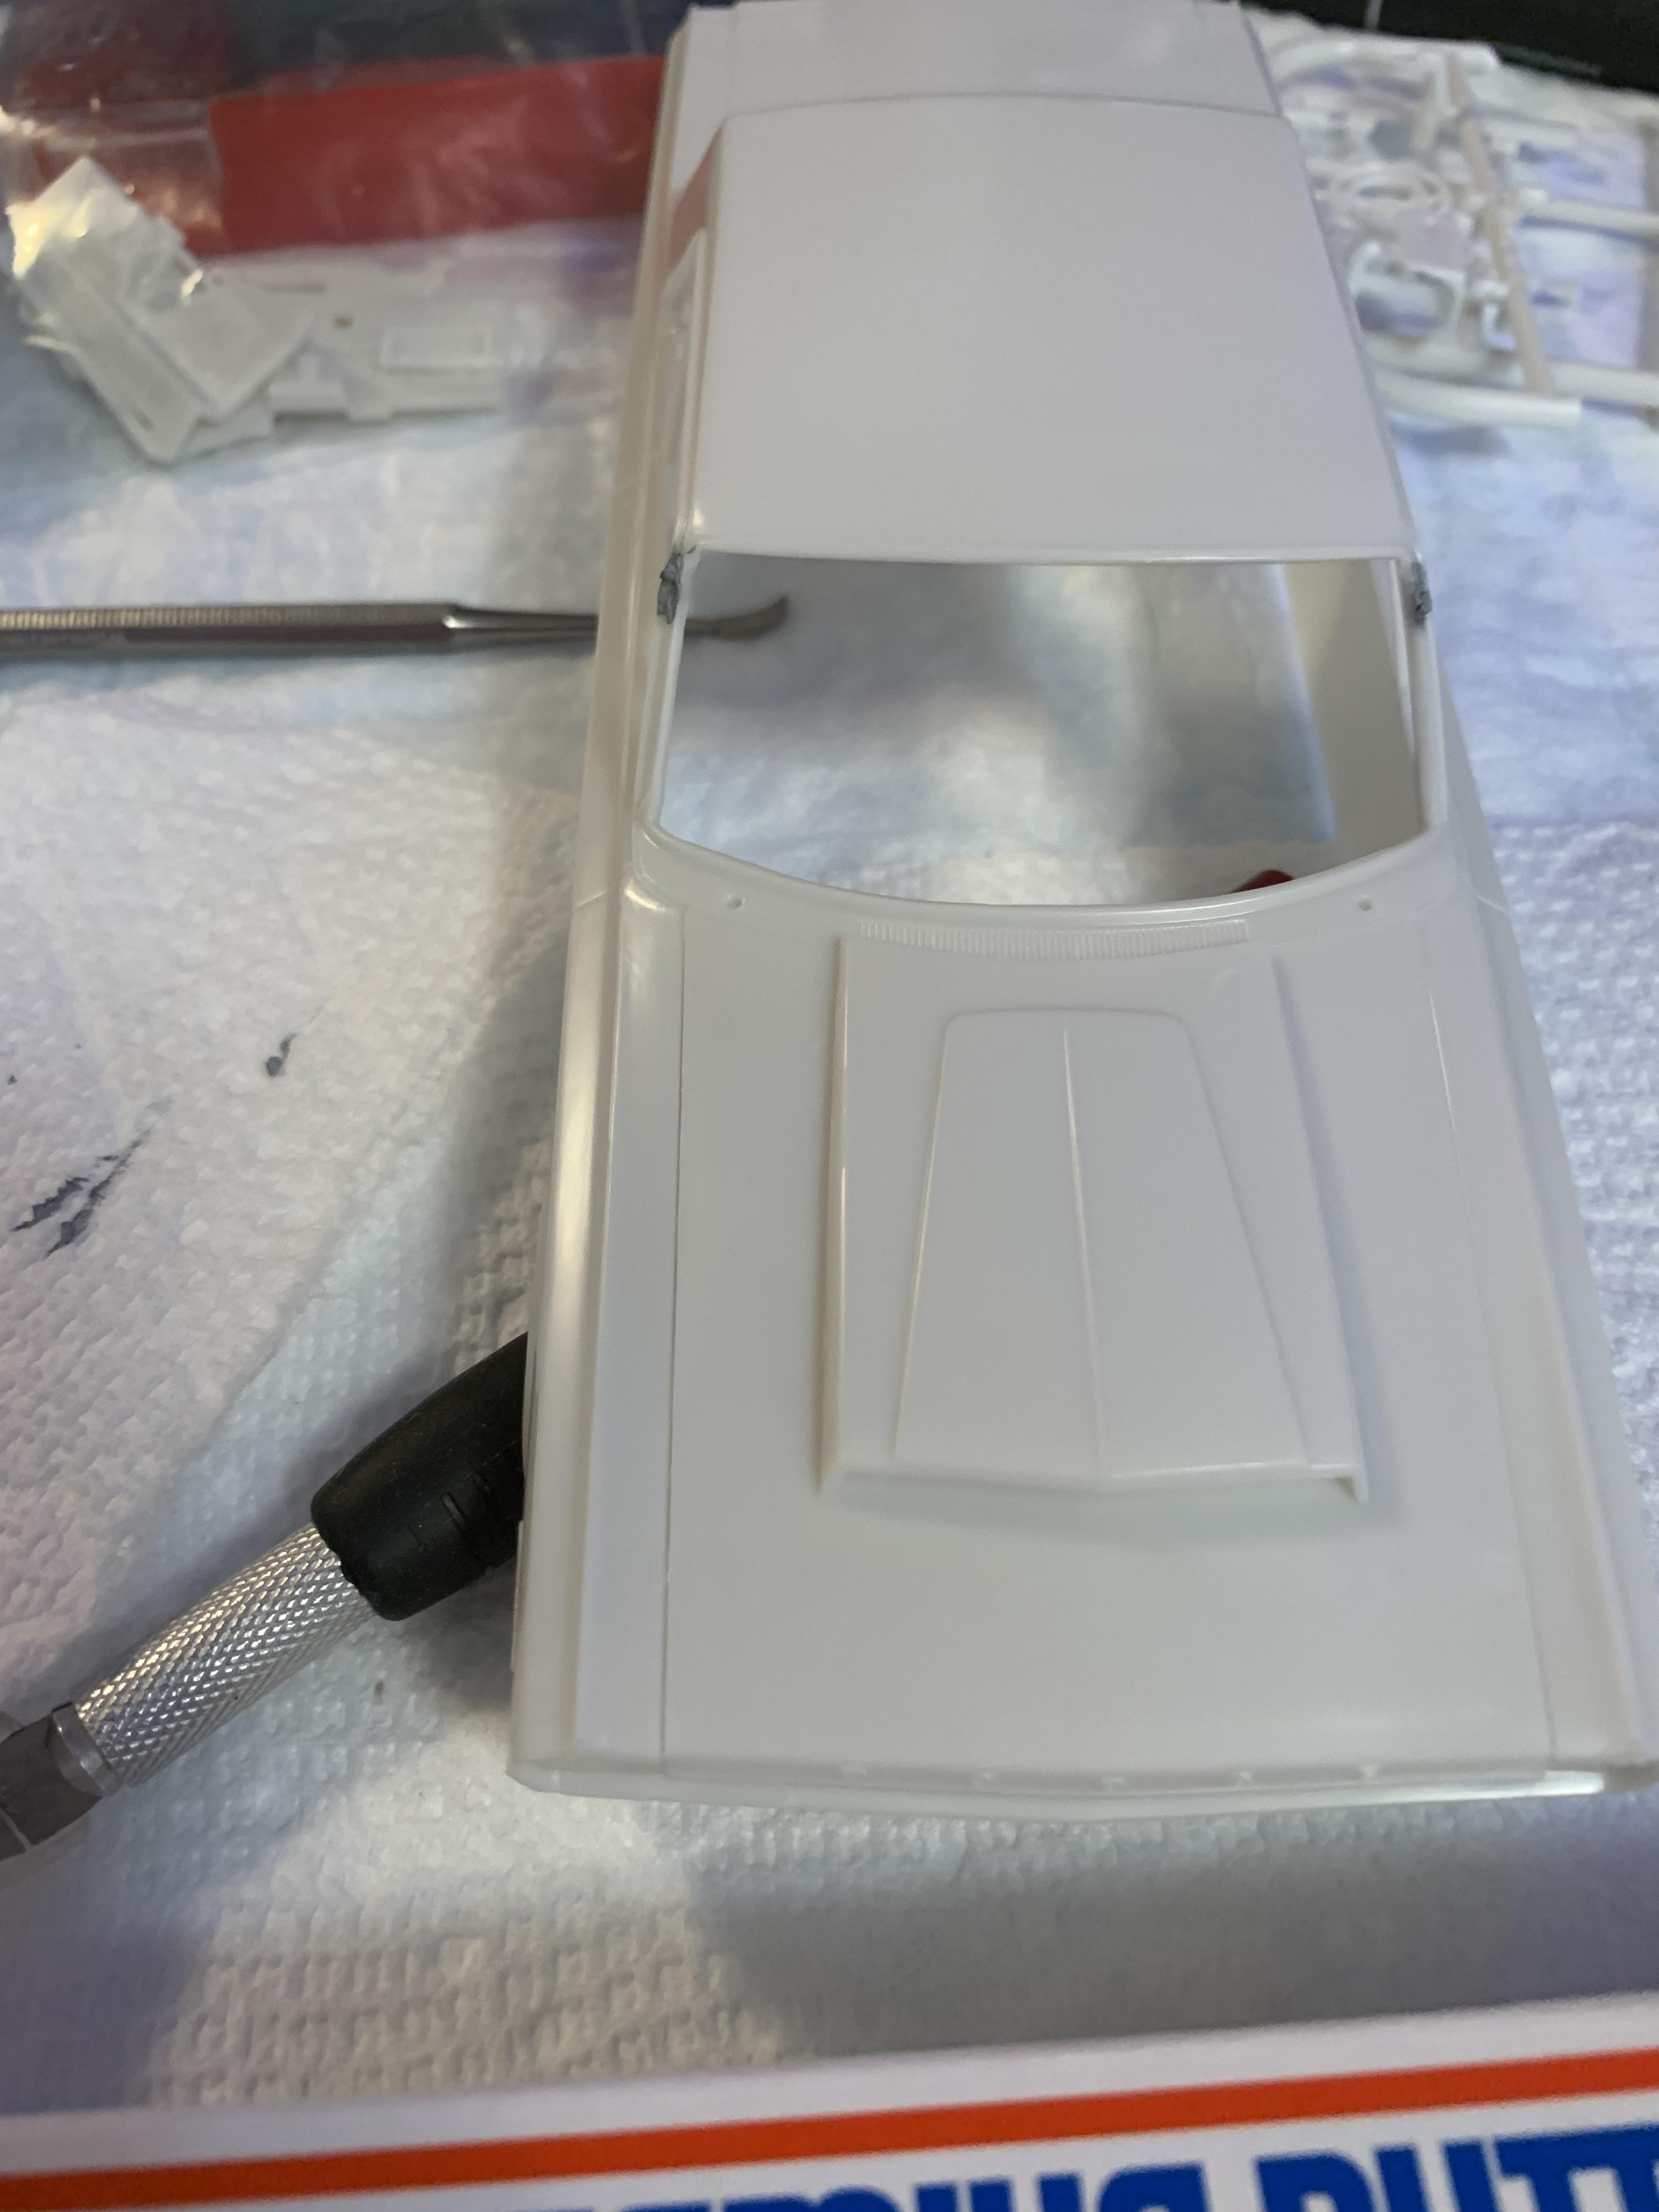
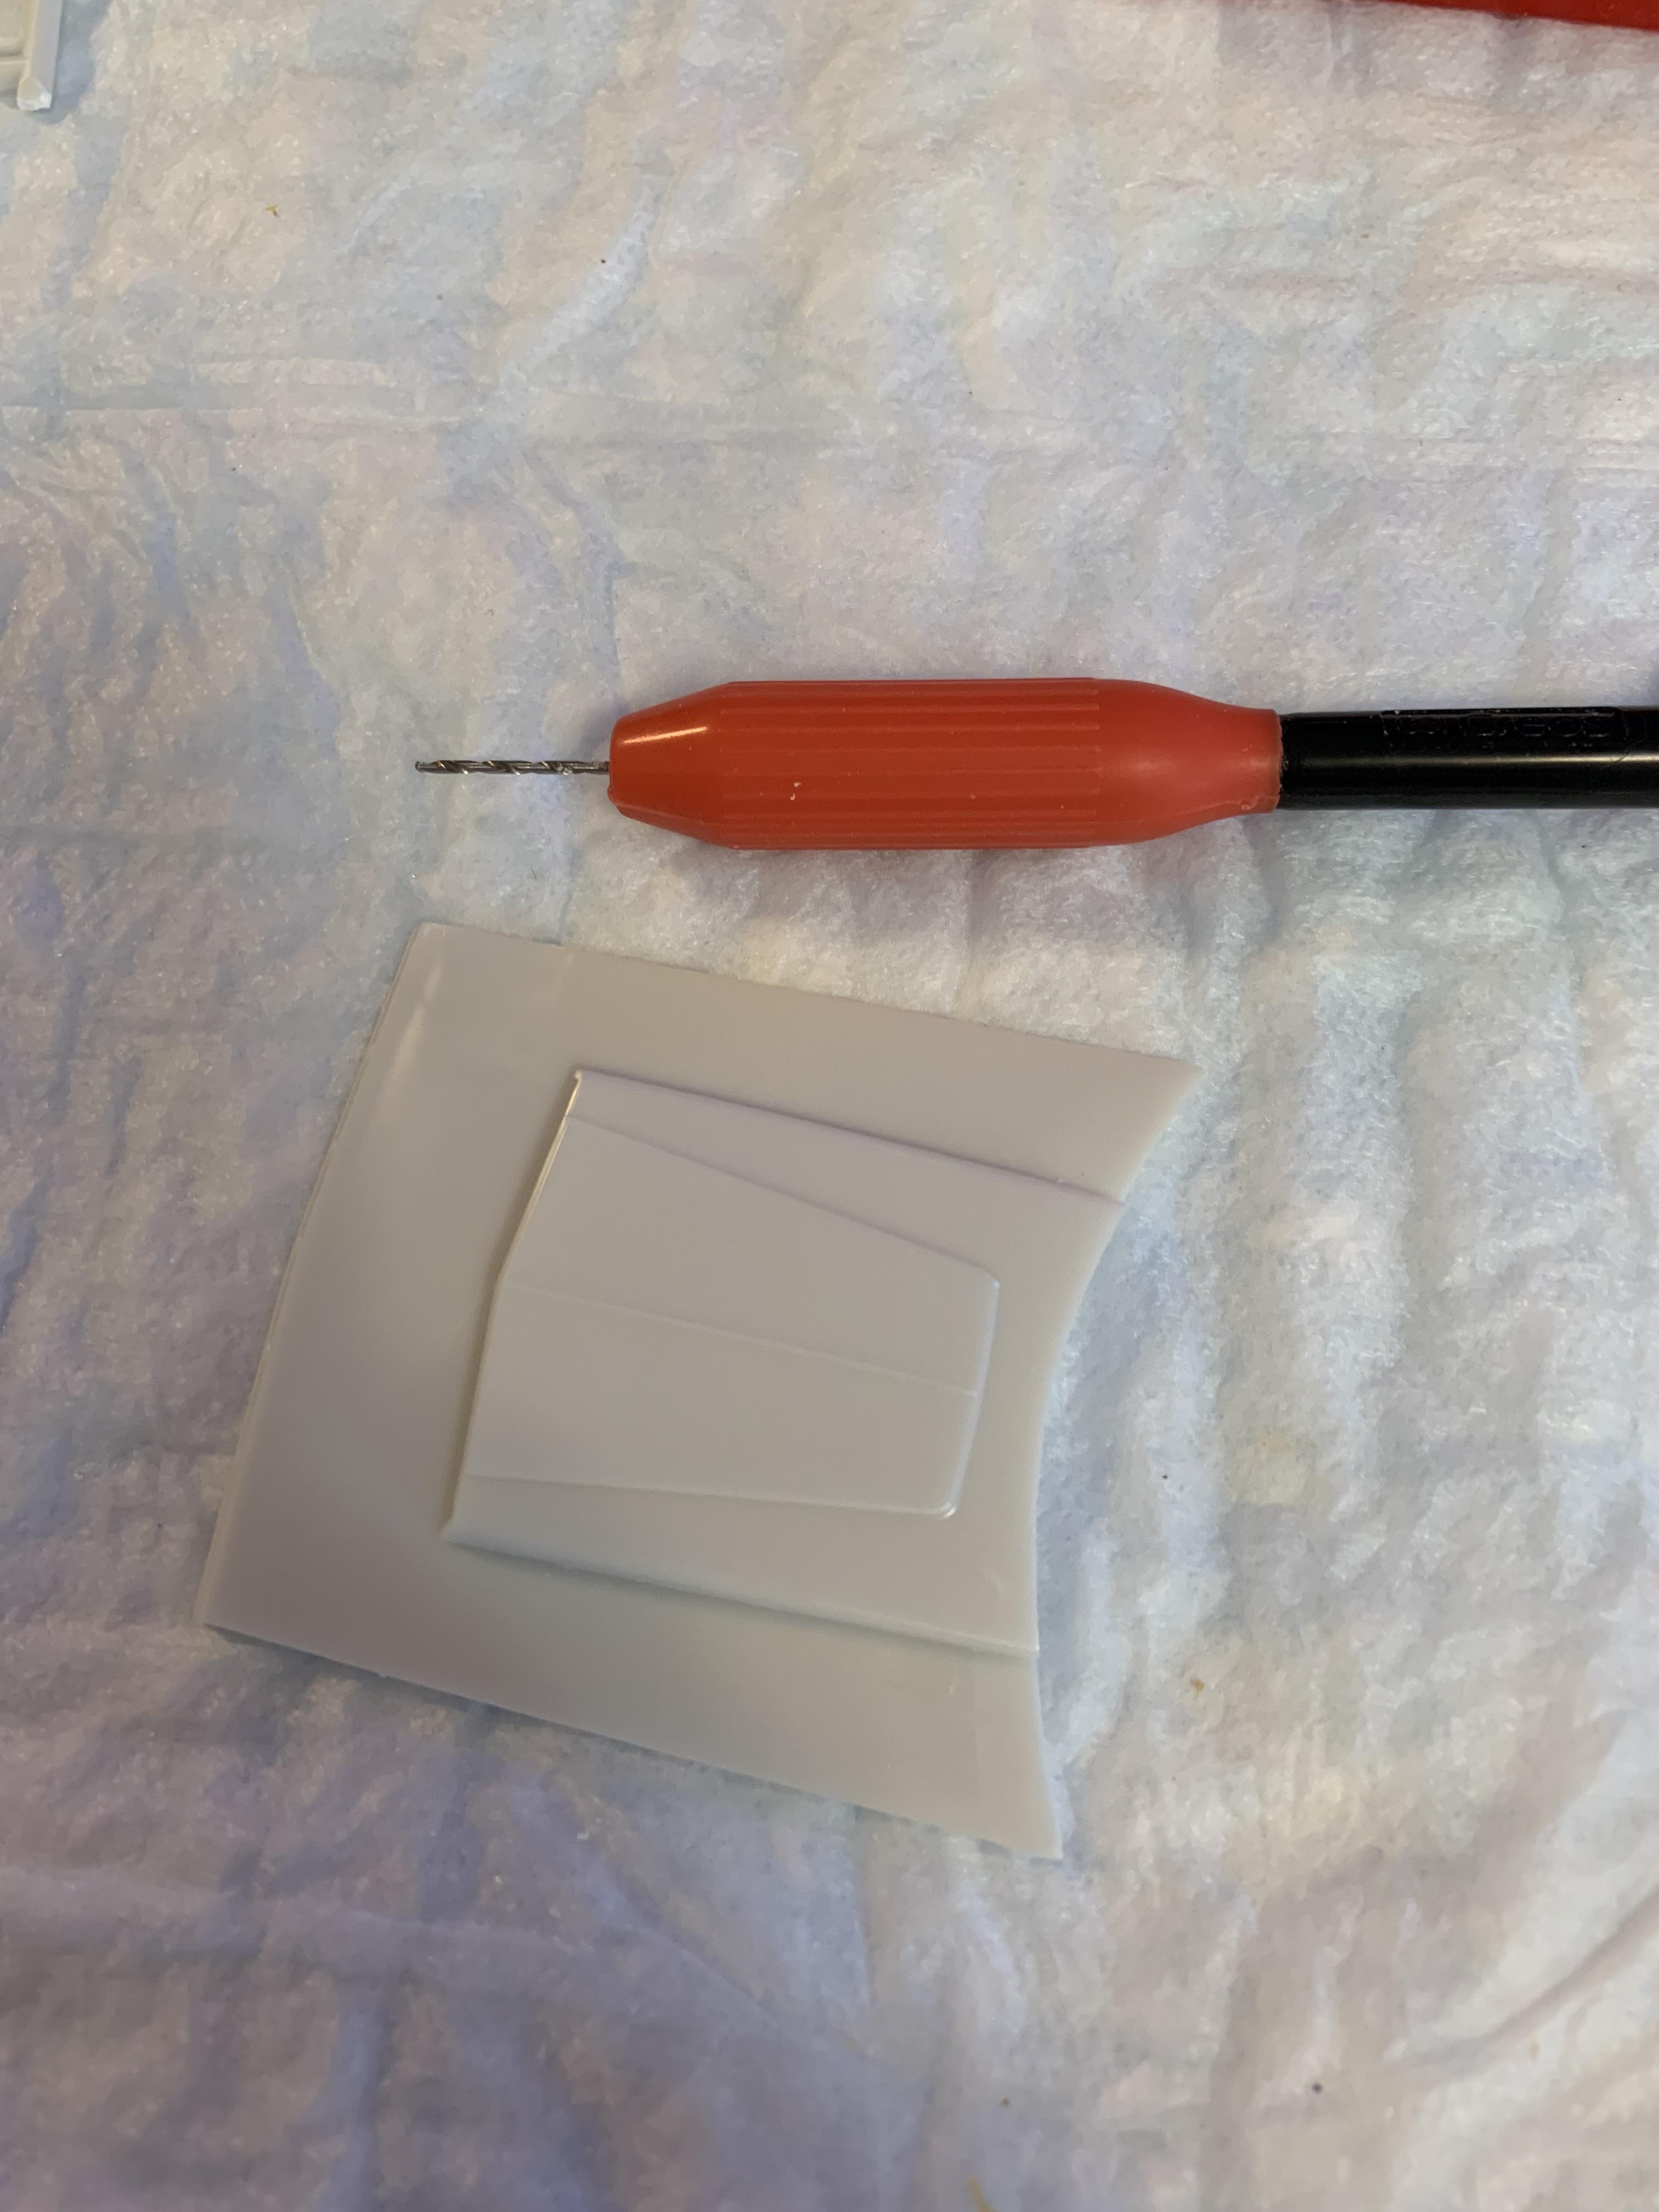
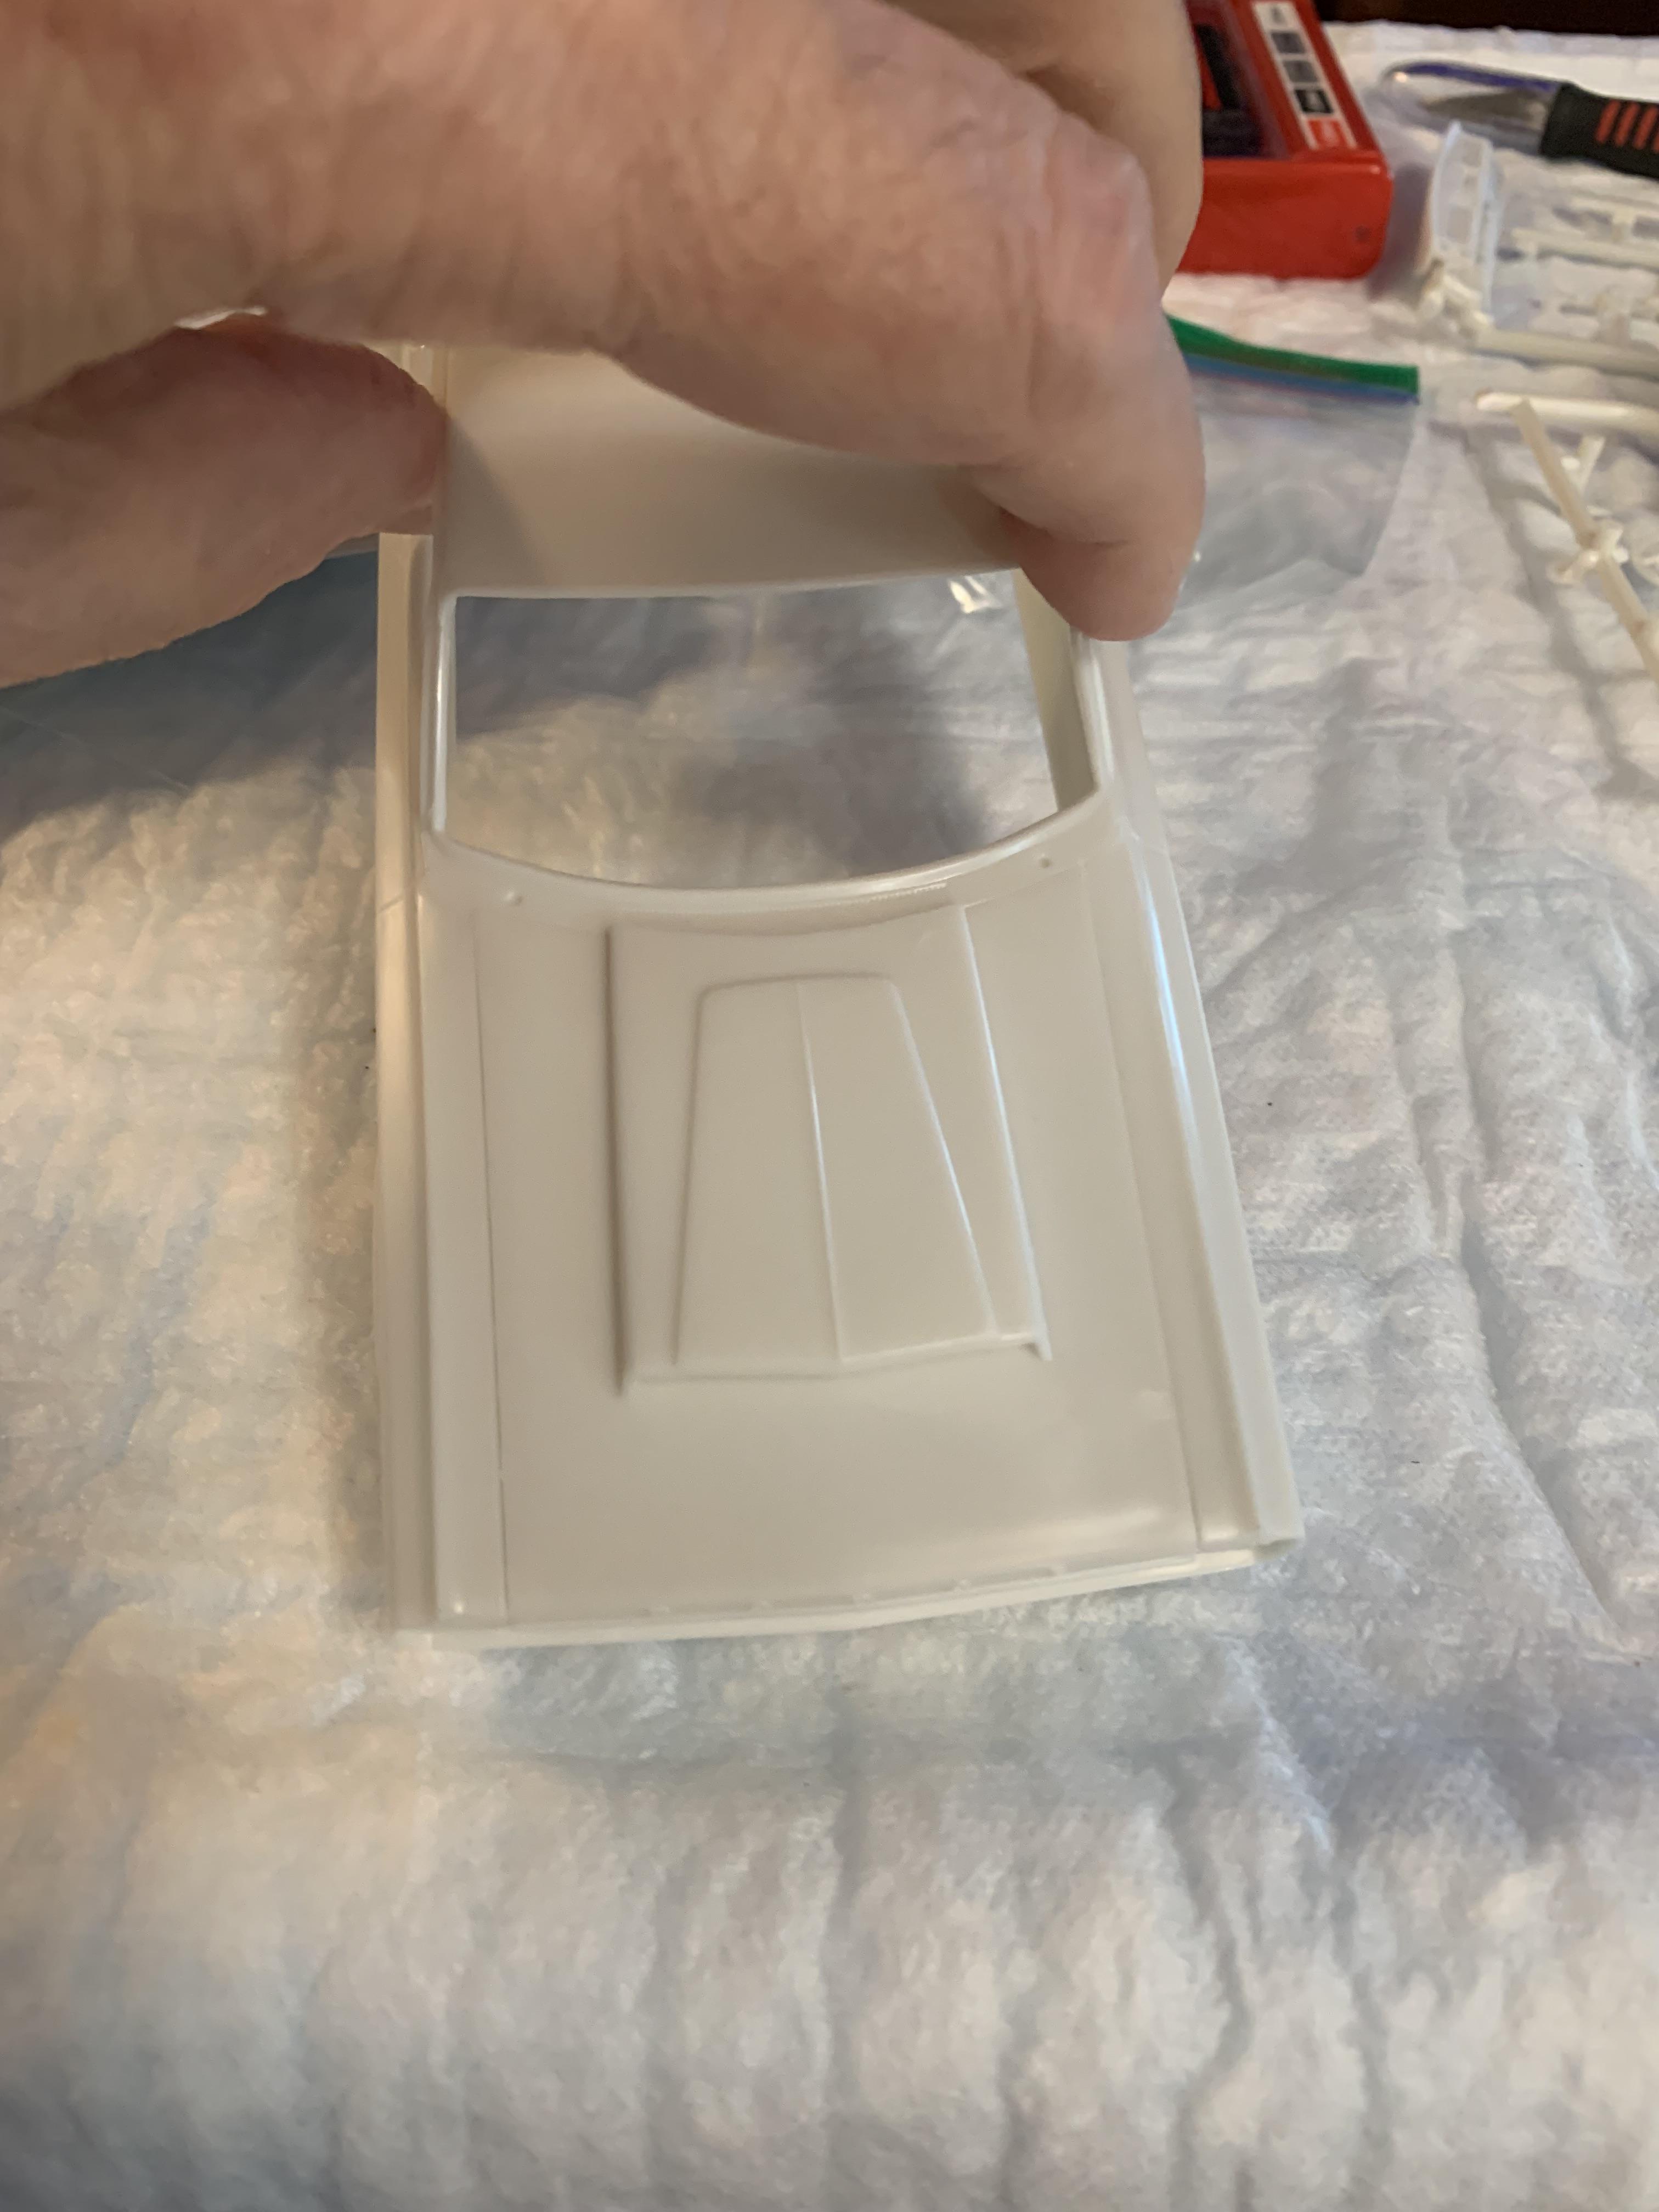
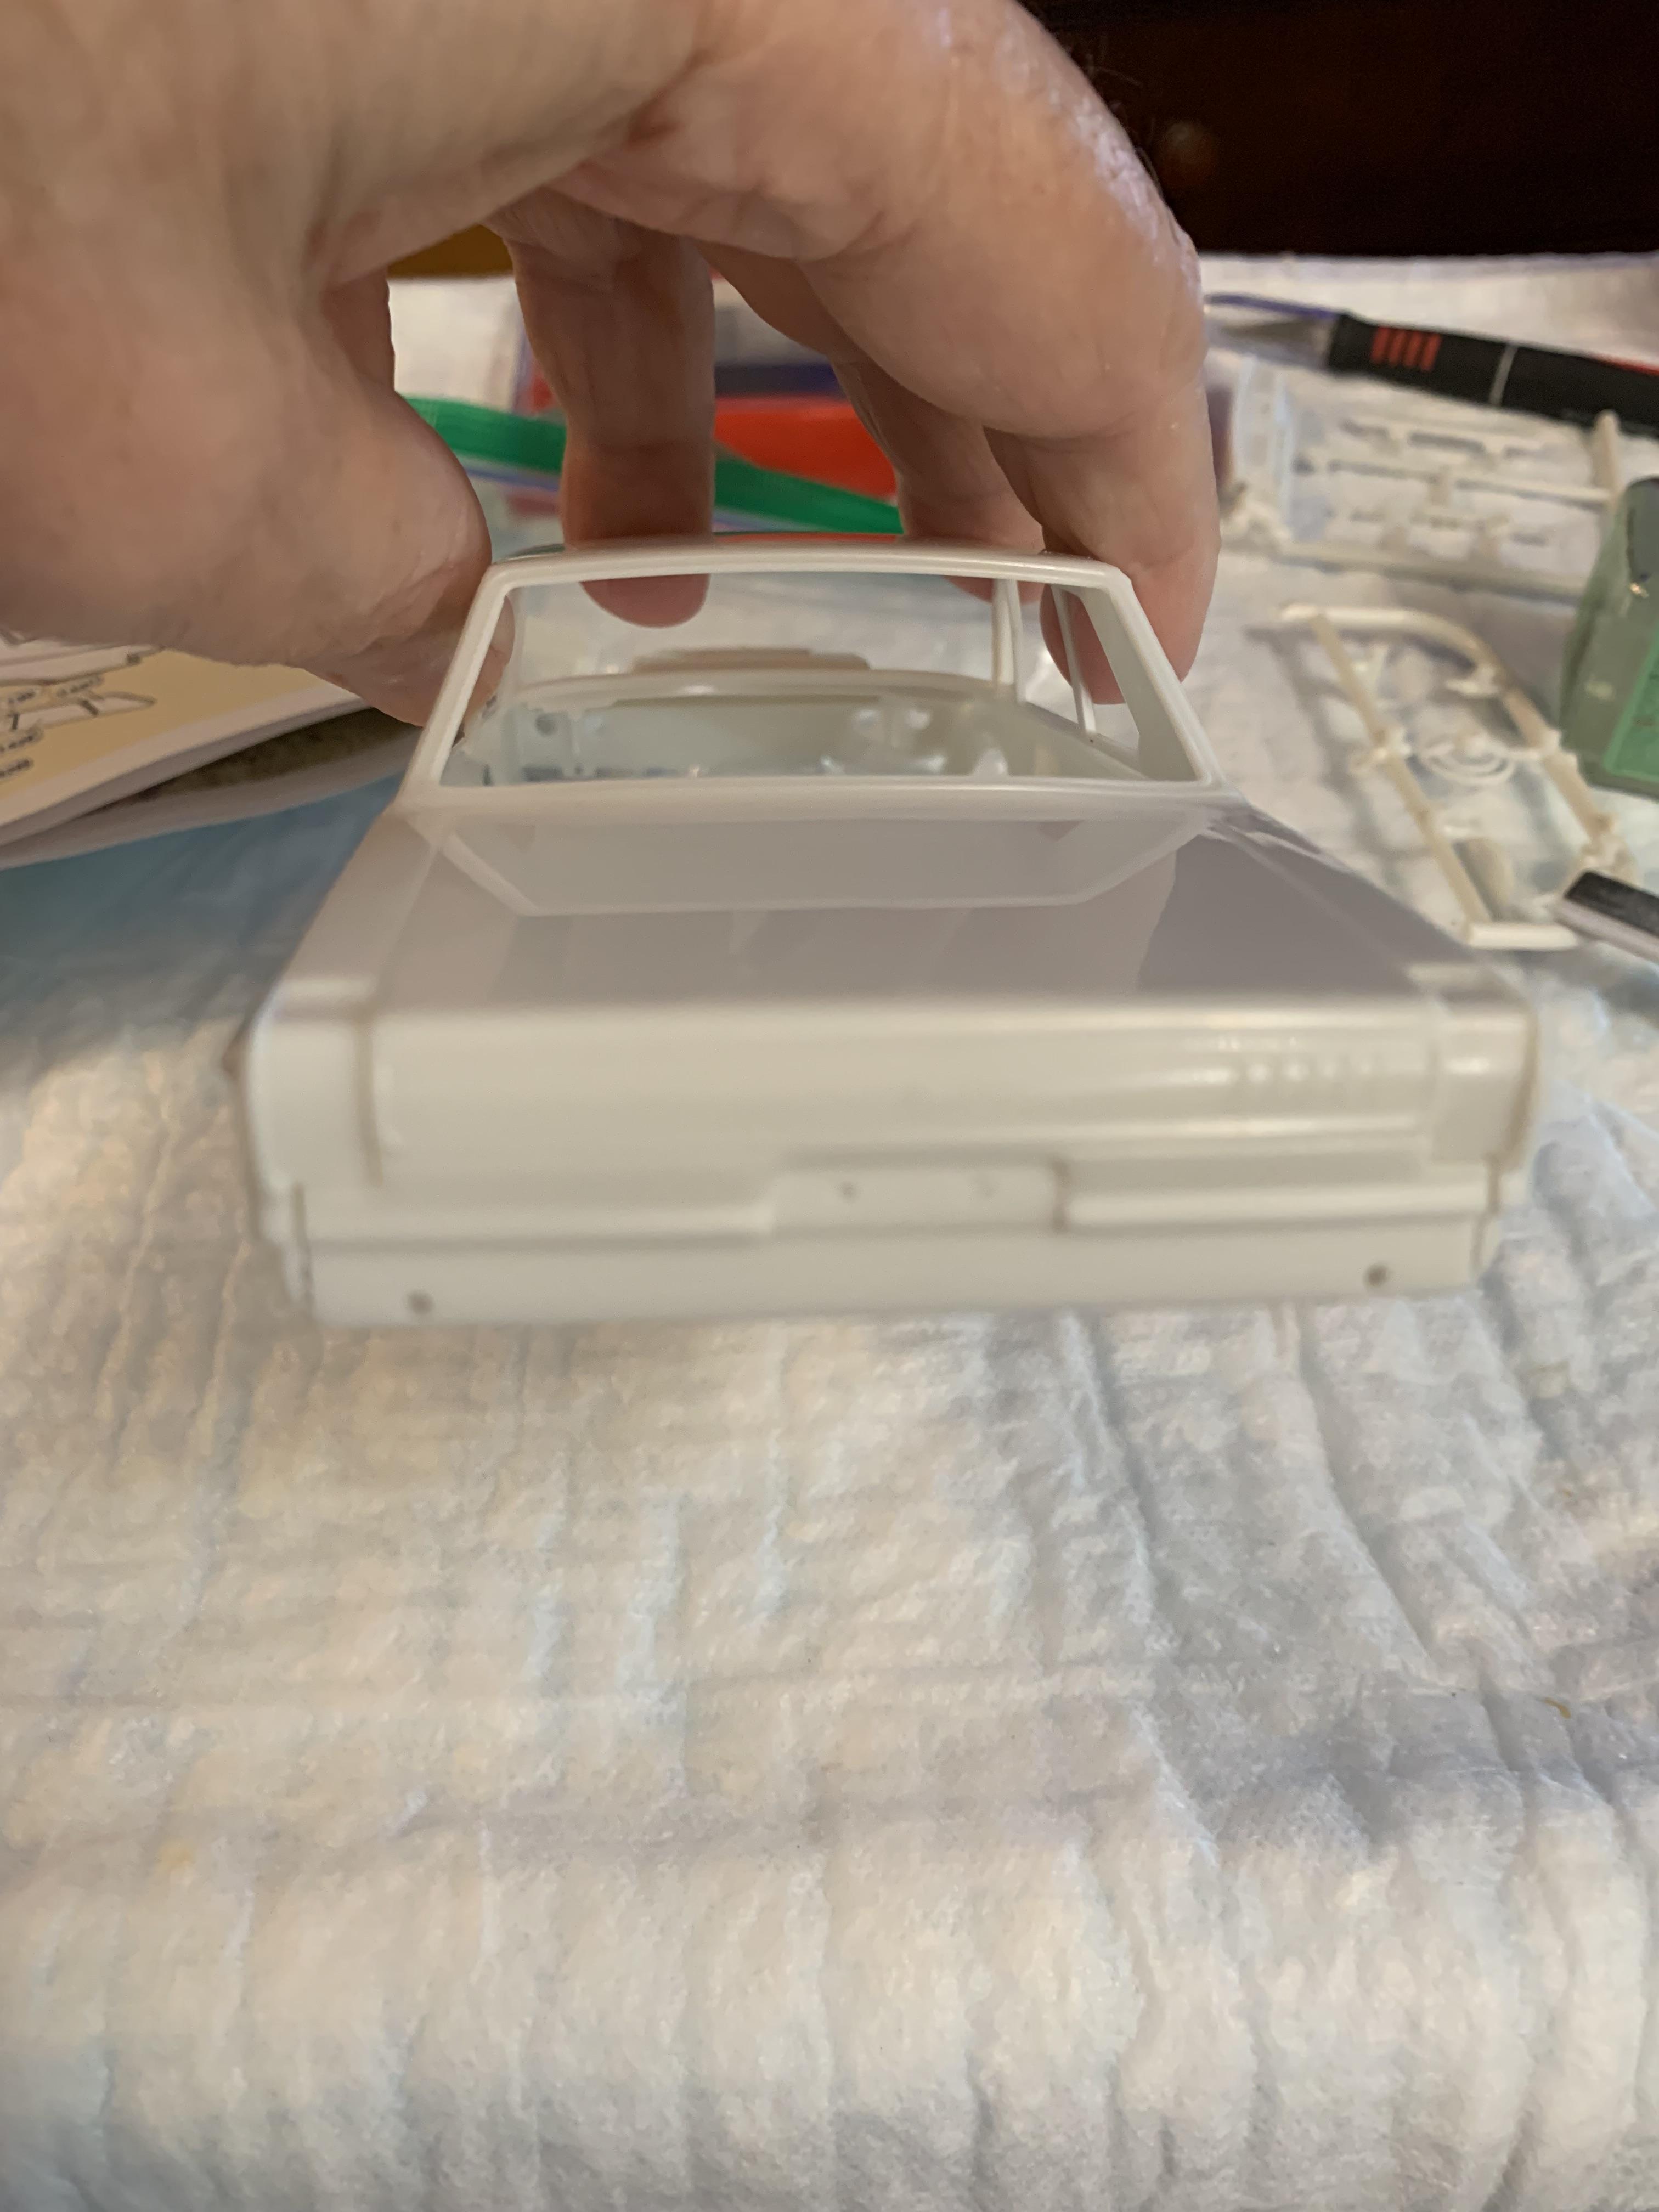
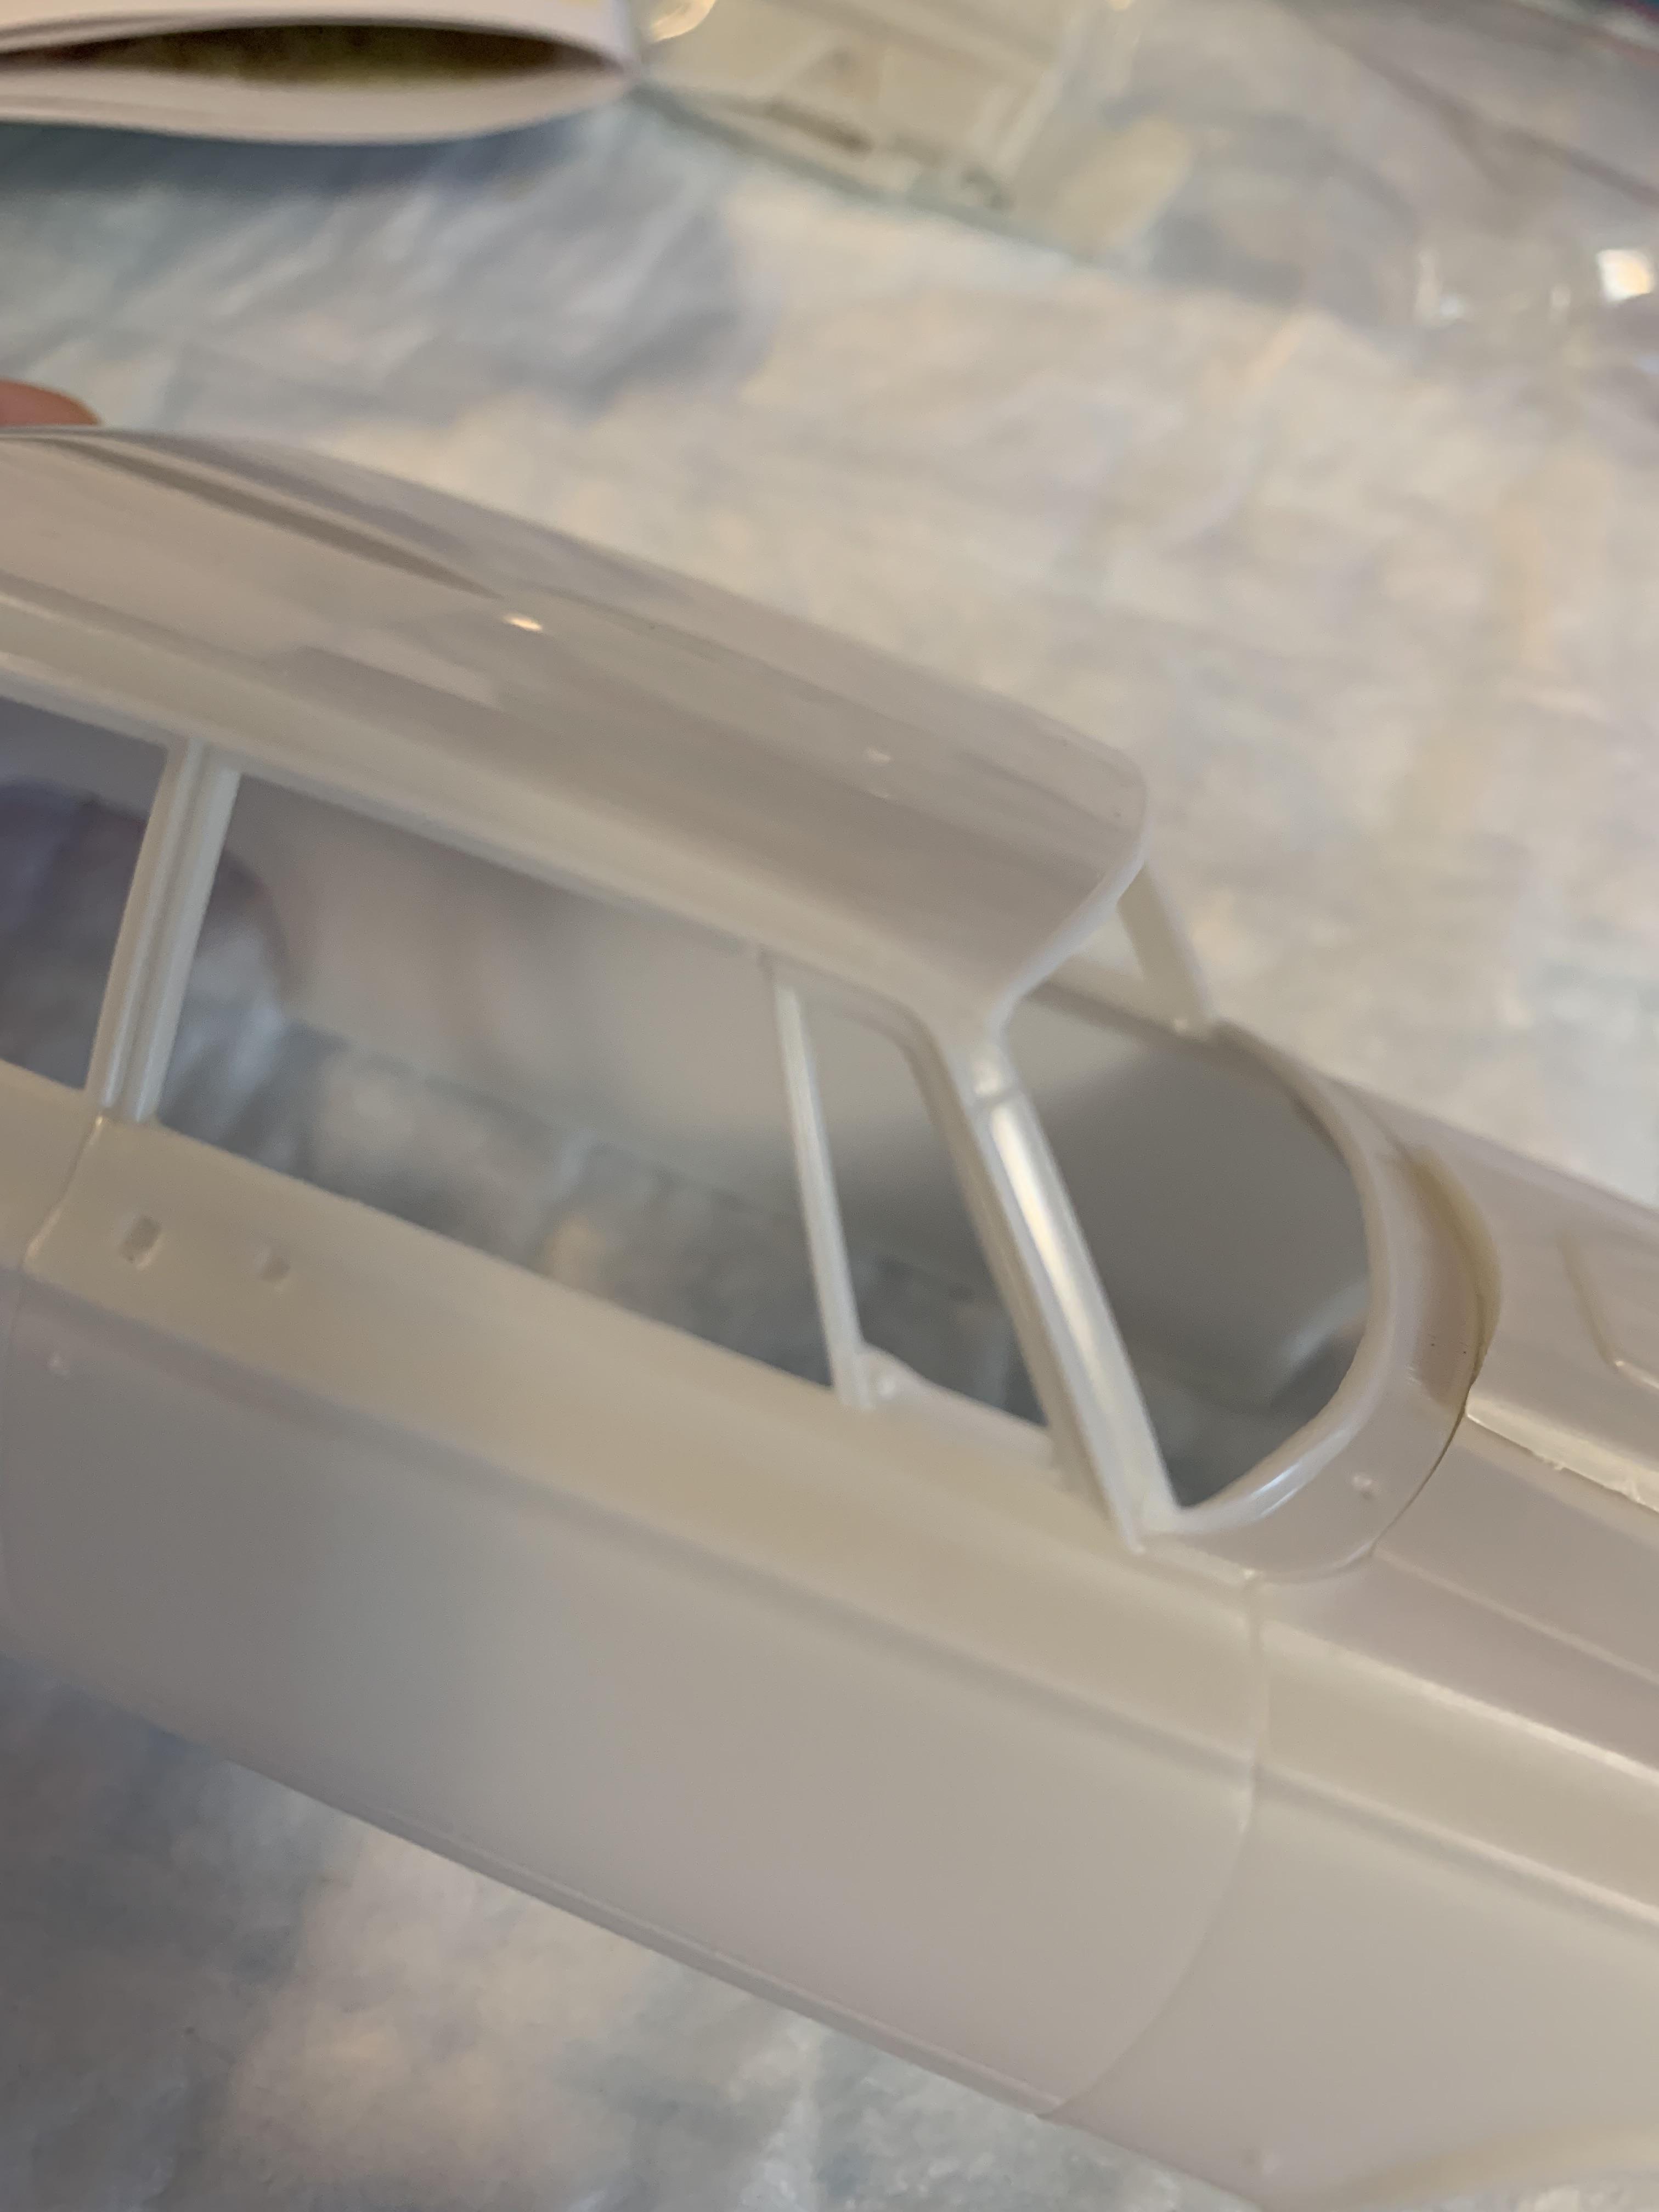
Got the hood scoop on and lightly glued hood on for painting. Also, installed rear trunk area panel. Noticed an indentation on the top part of the windshield frame (on both sides). Guess I’ll put some putty on it.
-
This is Not a “what’s in the box” review, but there are some extra parts in the kit. 1965 Plymouth grill and (I think) bumpers, Wedge valve covers, nice fuel injectors. Also, 6 mag wheels.