R. Thorne
-
Posts
1,305 -
Joined
-
Last visited
Content Type
Profiles
Forums
Events
Gallery
Everything posted by R. Thorne
-
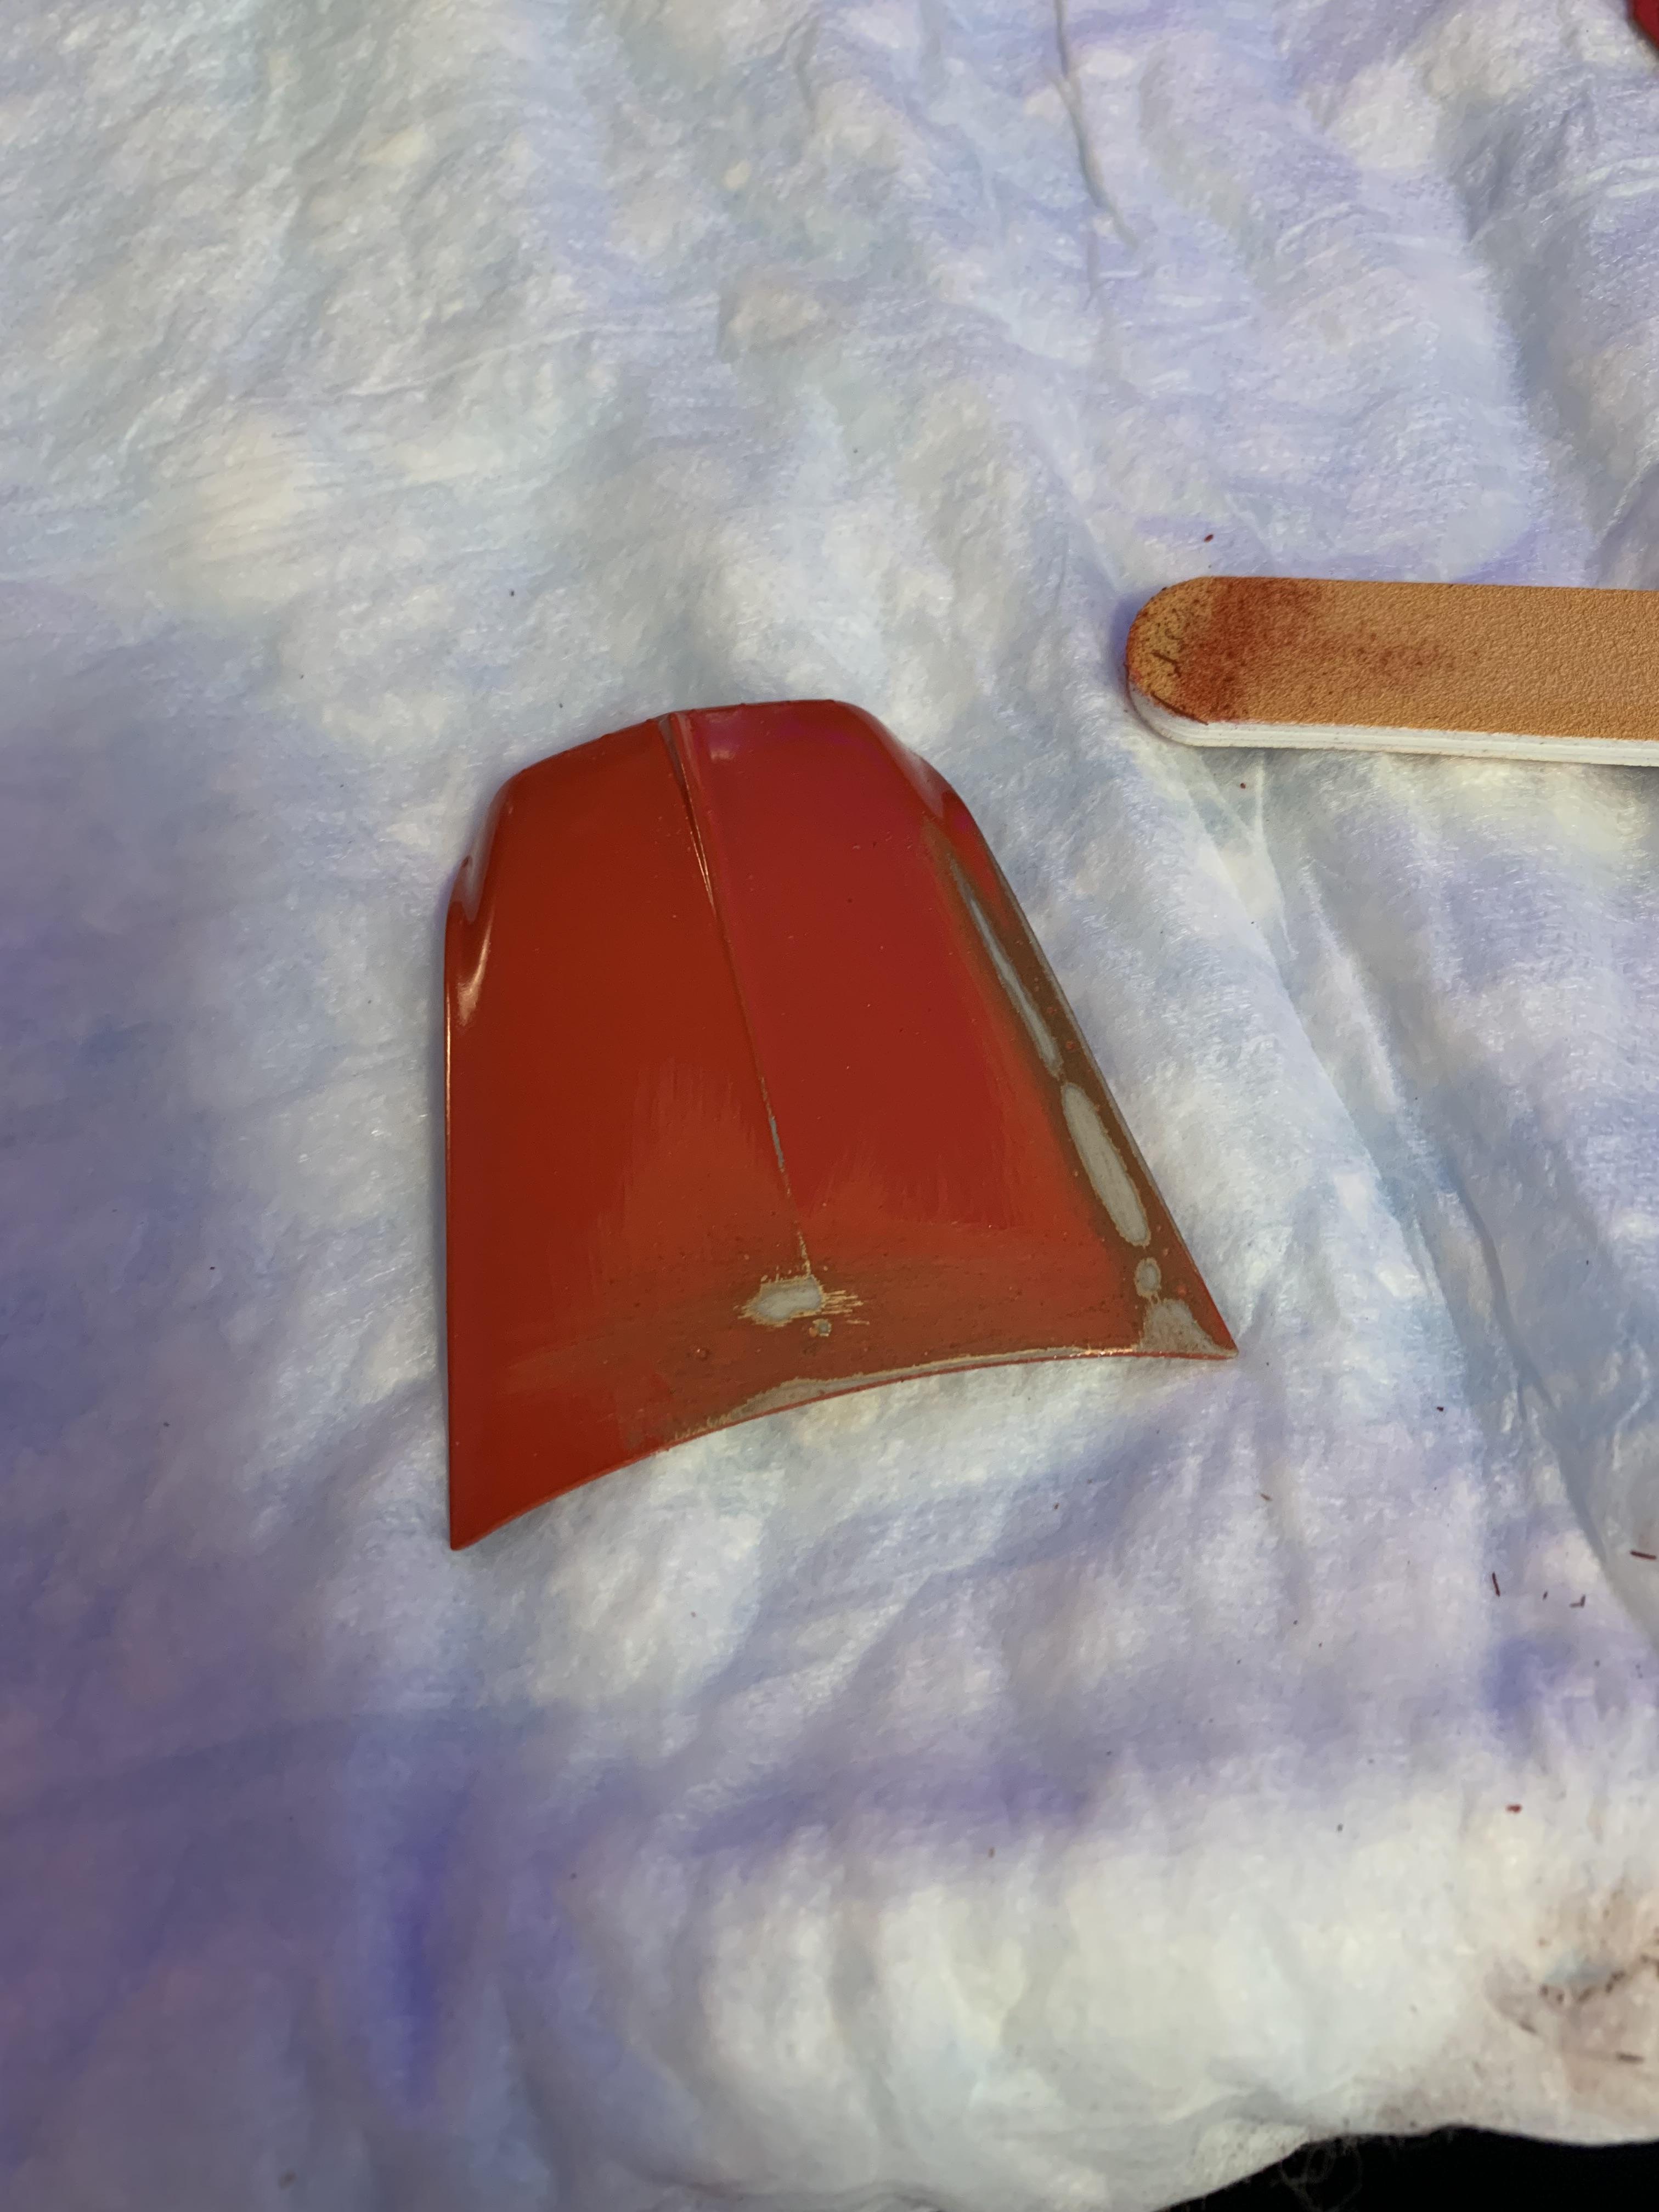
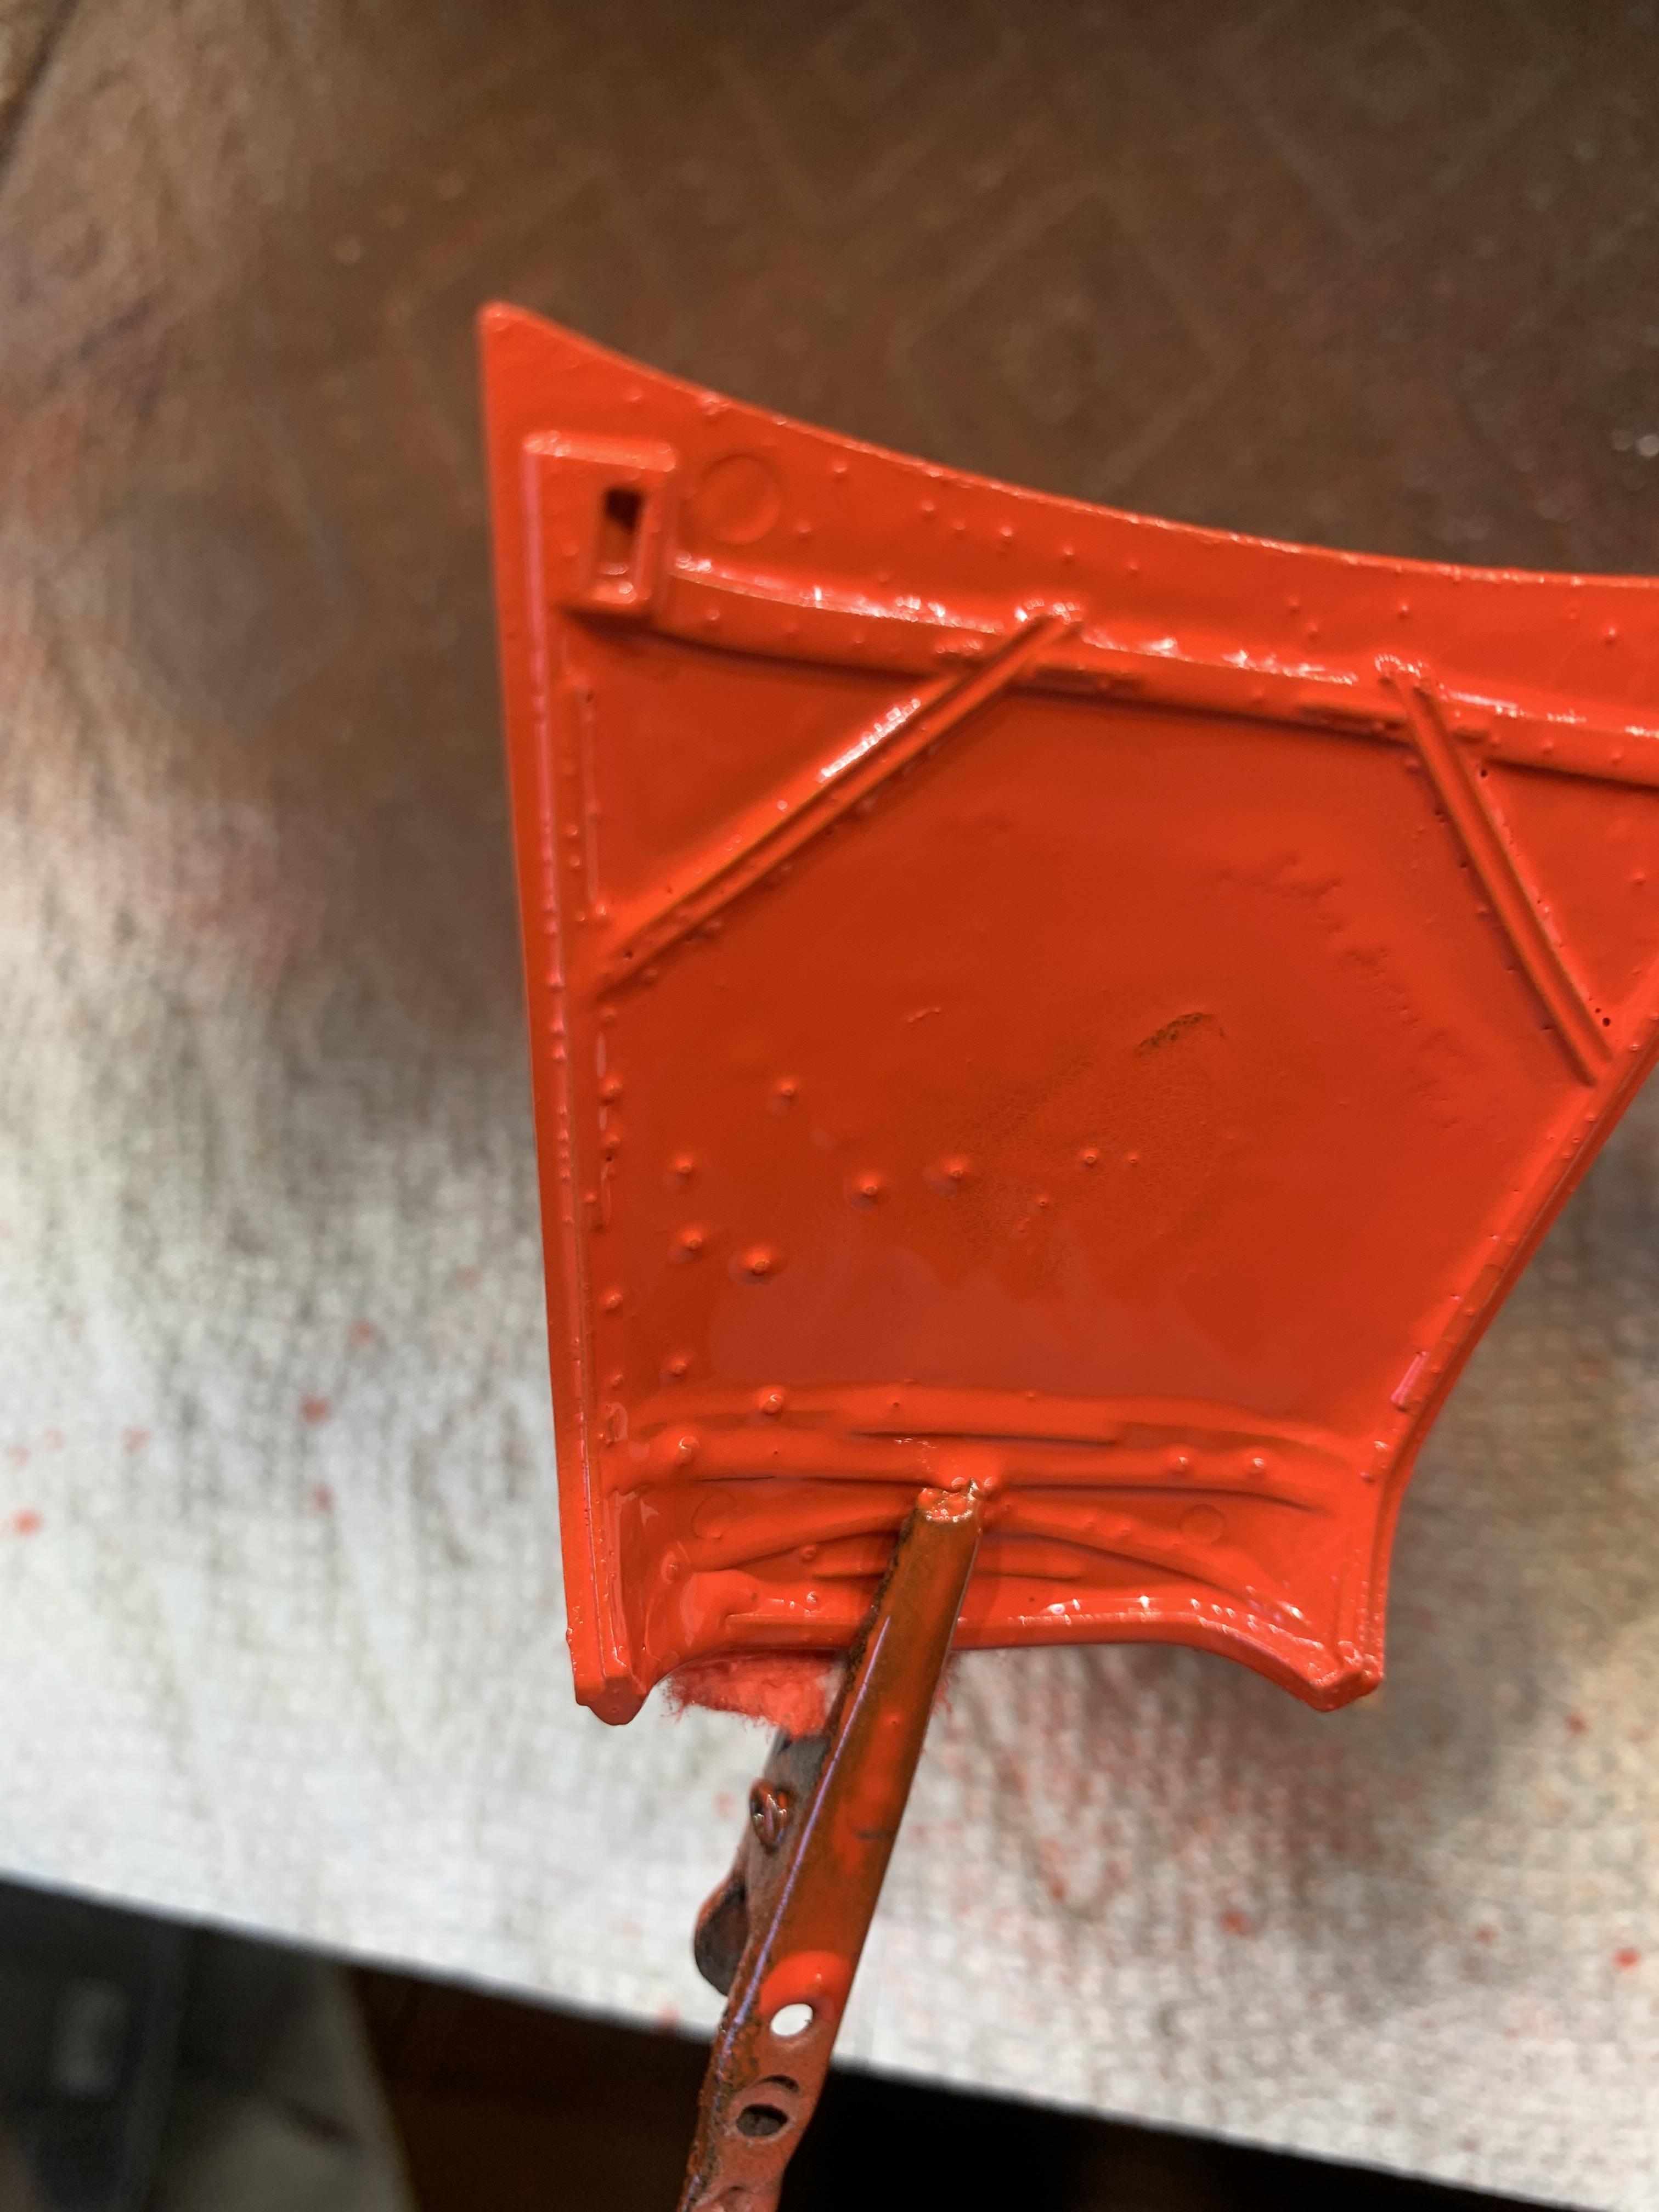
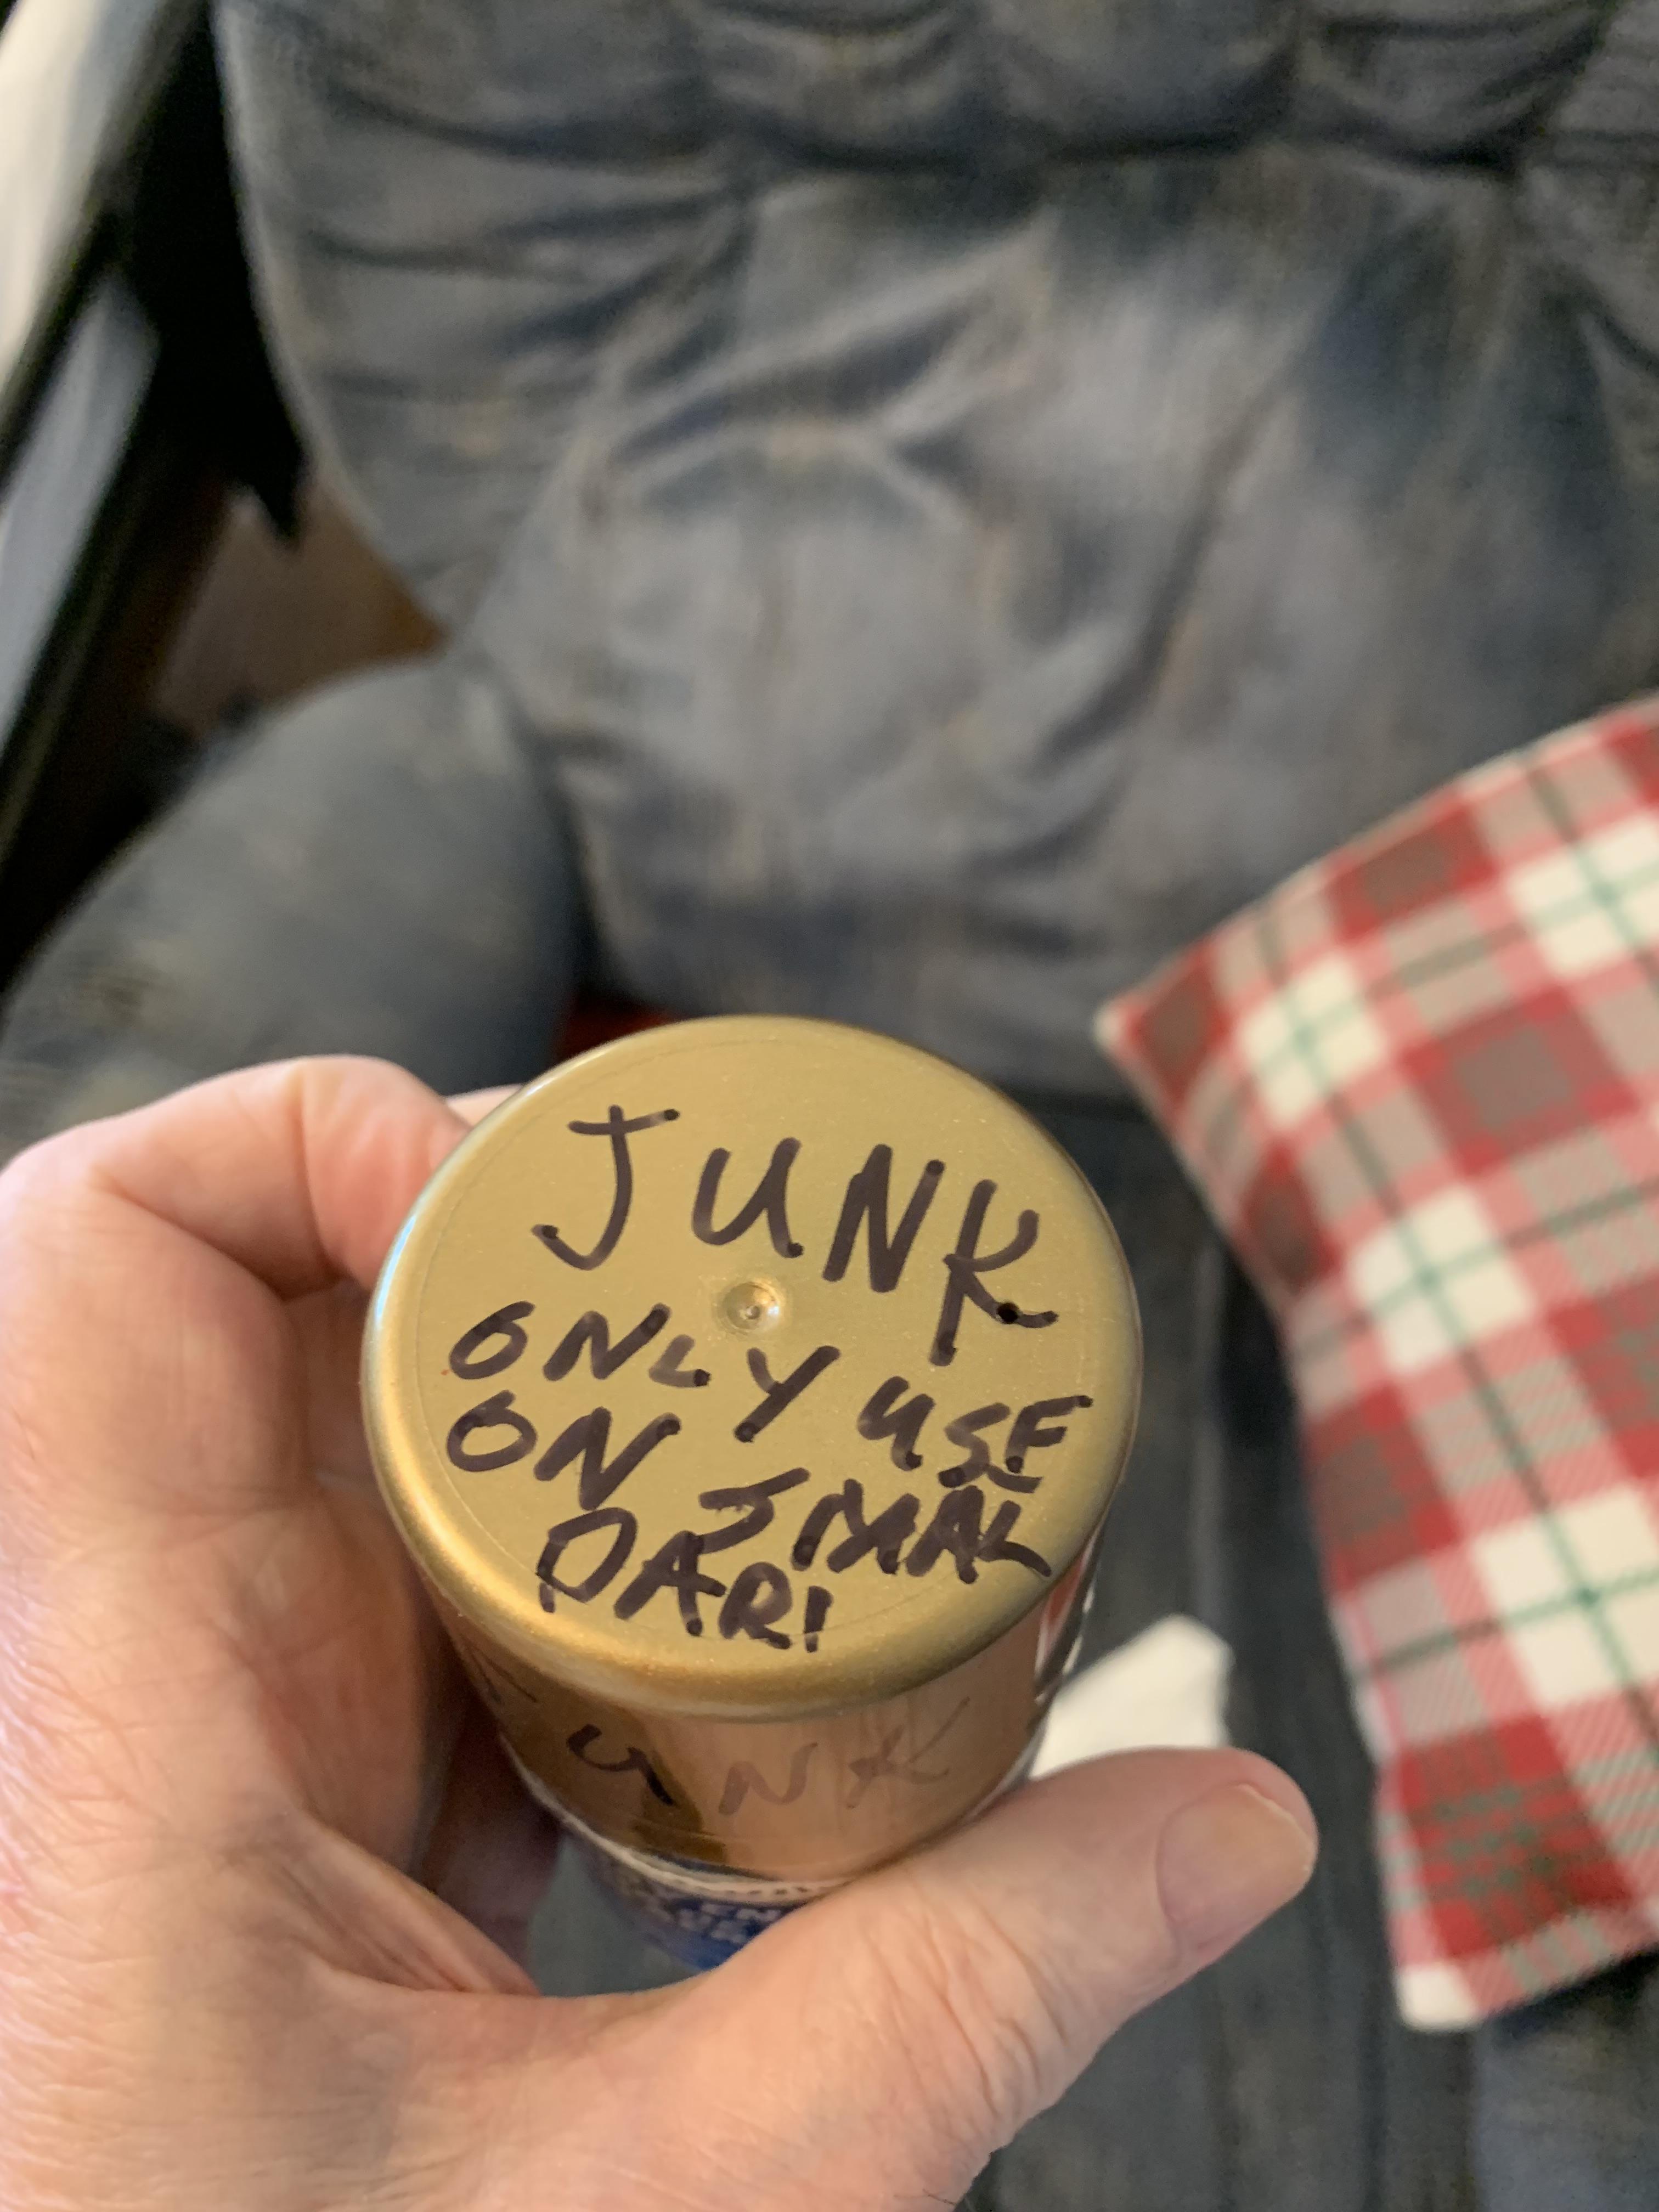
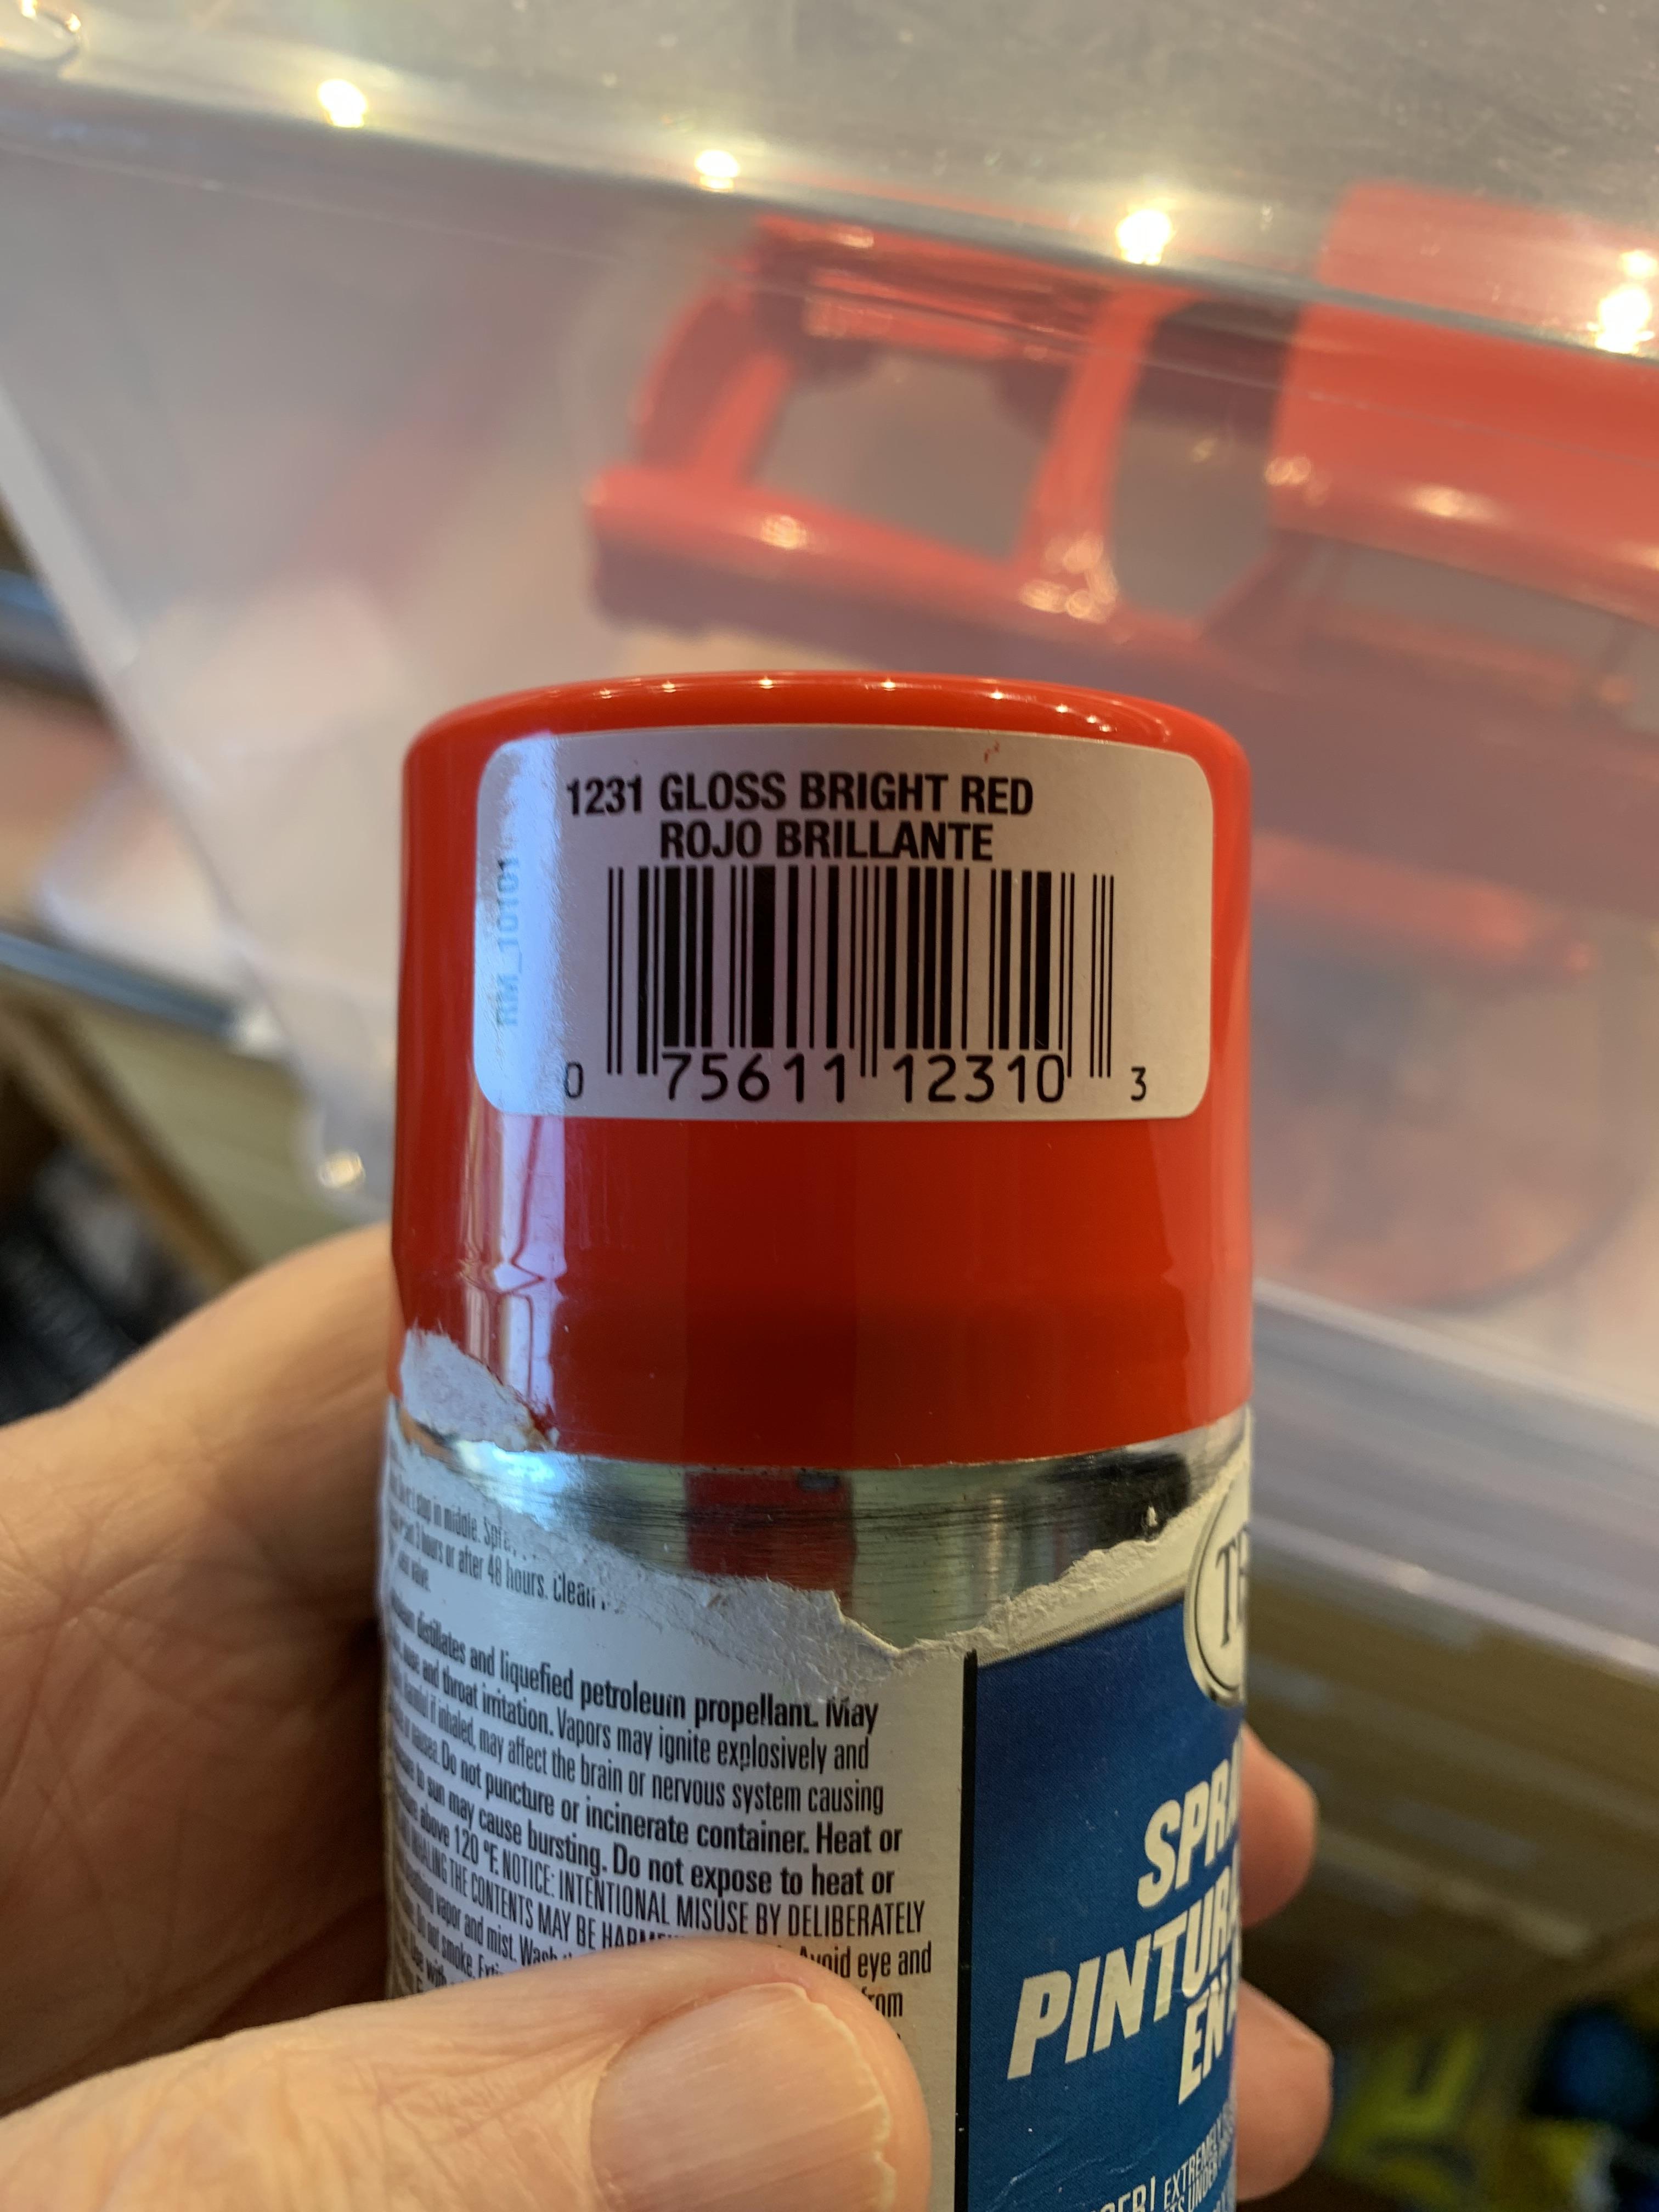
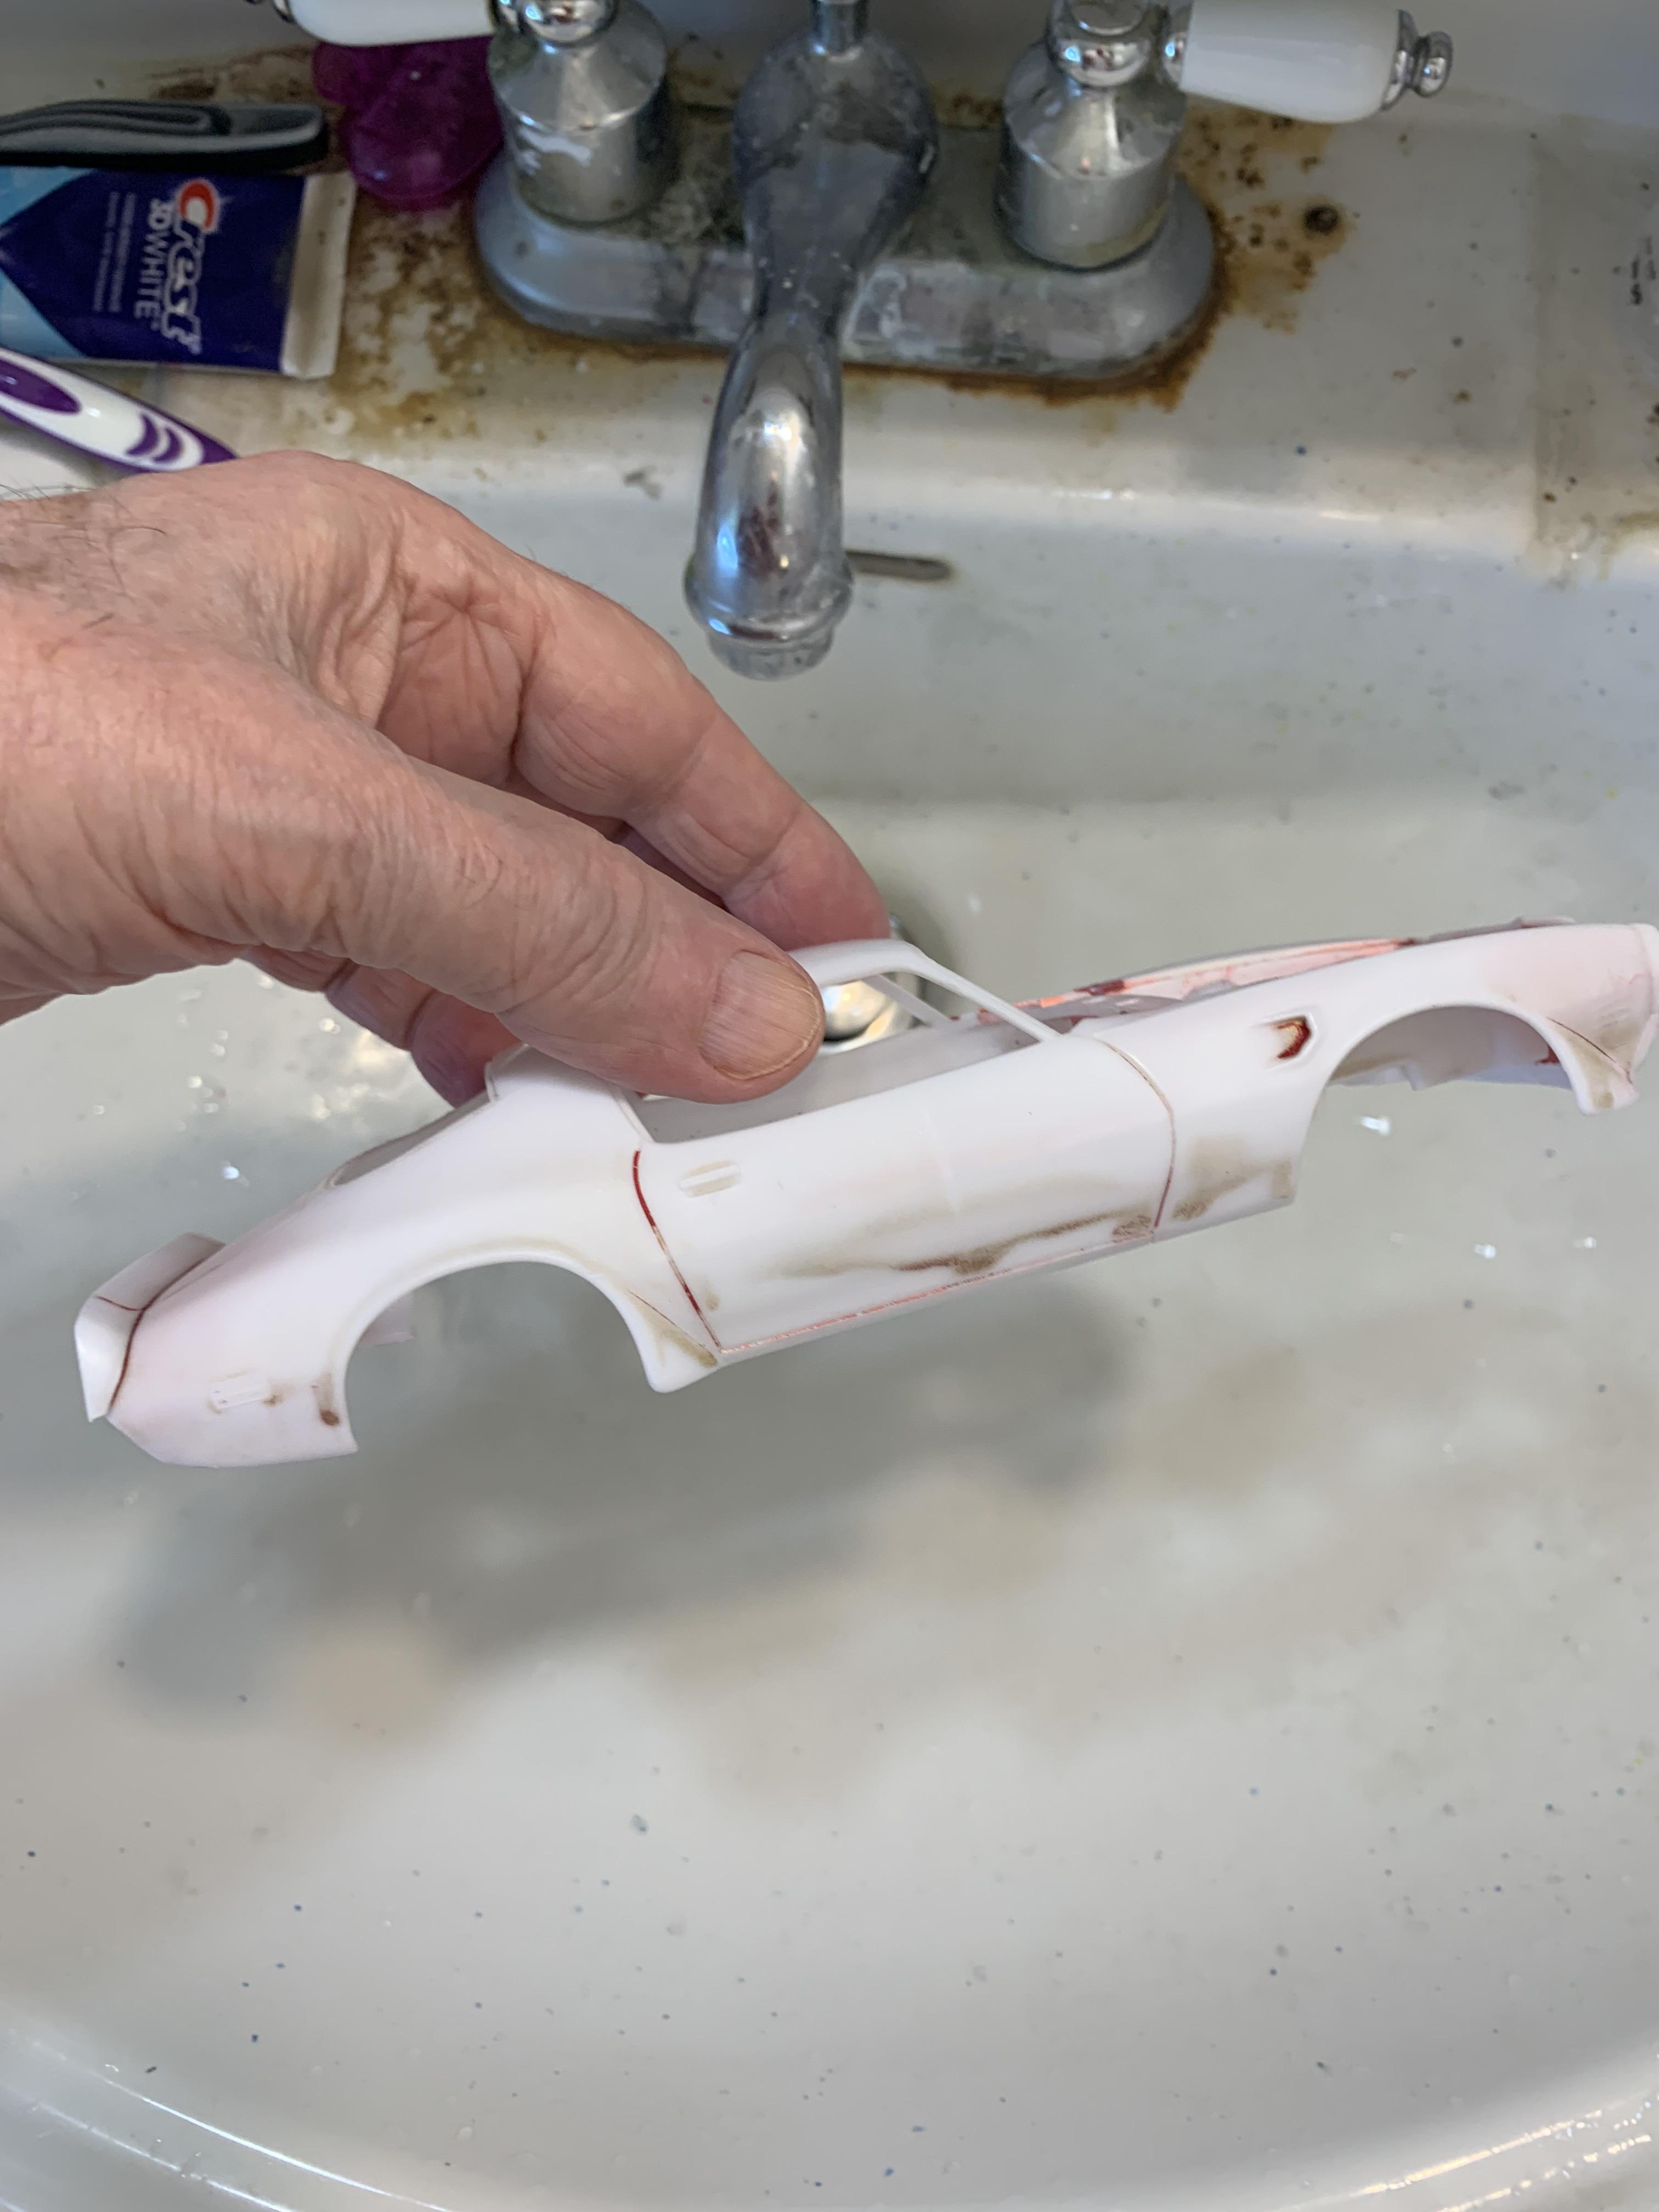
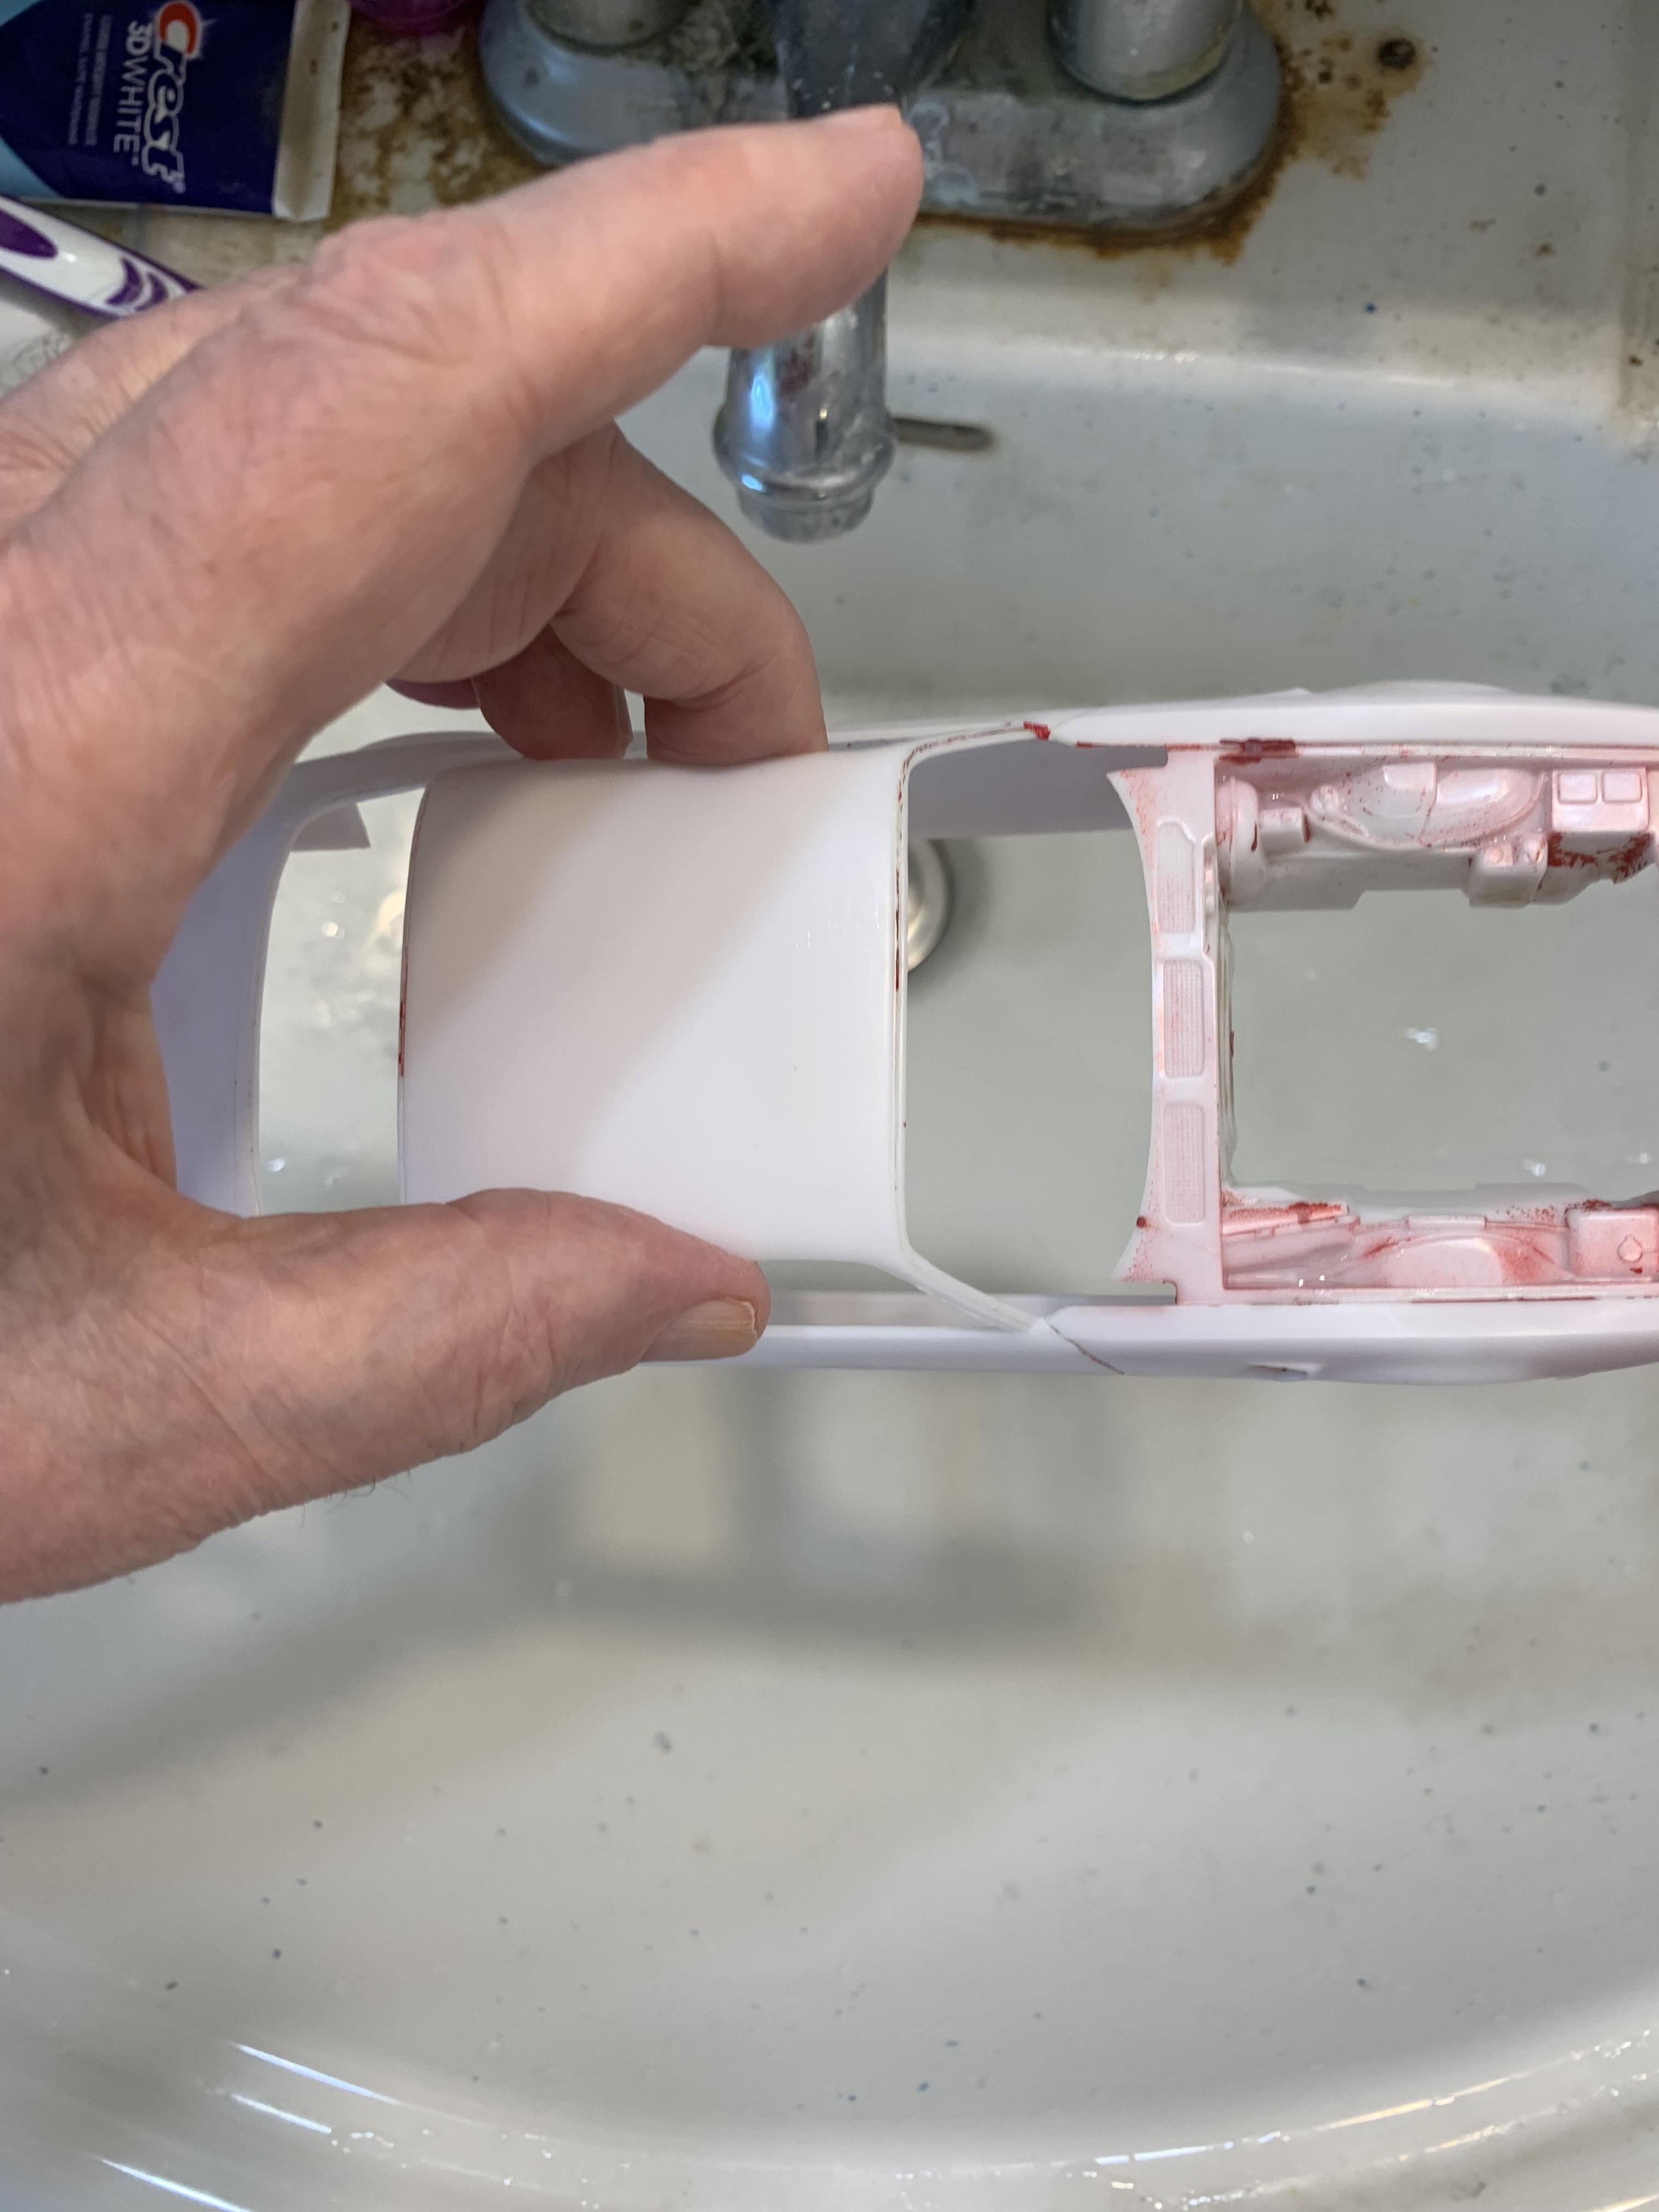
Painted the hogshead and interior parts and chassis, then noticed the hood had paint bubbles on it. Sanded it down, cleaned it up, then sprayed it again. This time, worse bubbles (even showed on the sprue with the hood hinges) rendered the can into the trash (followed Bob’s sage advice) and the hood into the paint remover. When it’s clean, the hood will be painted with a Tamiya pure red and hope it matches the rest of the car. I have been so impressed with this kit that I ordered another kit off EBay.

-
How many models are you working on at one time?
R. Thorne replied to rossfox's topic in Model Building Questions and Answers
2 or 3. -
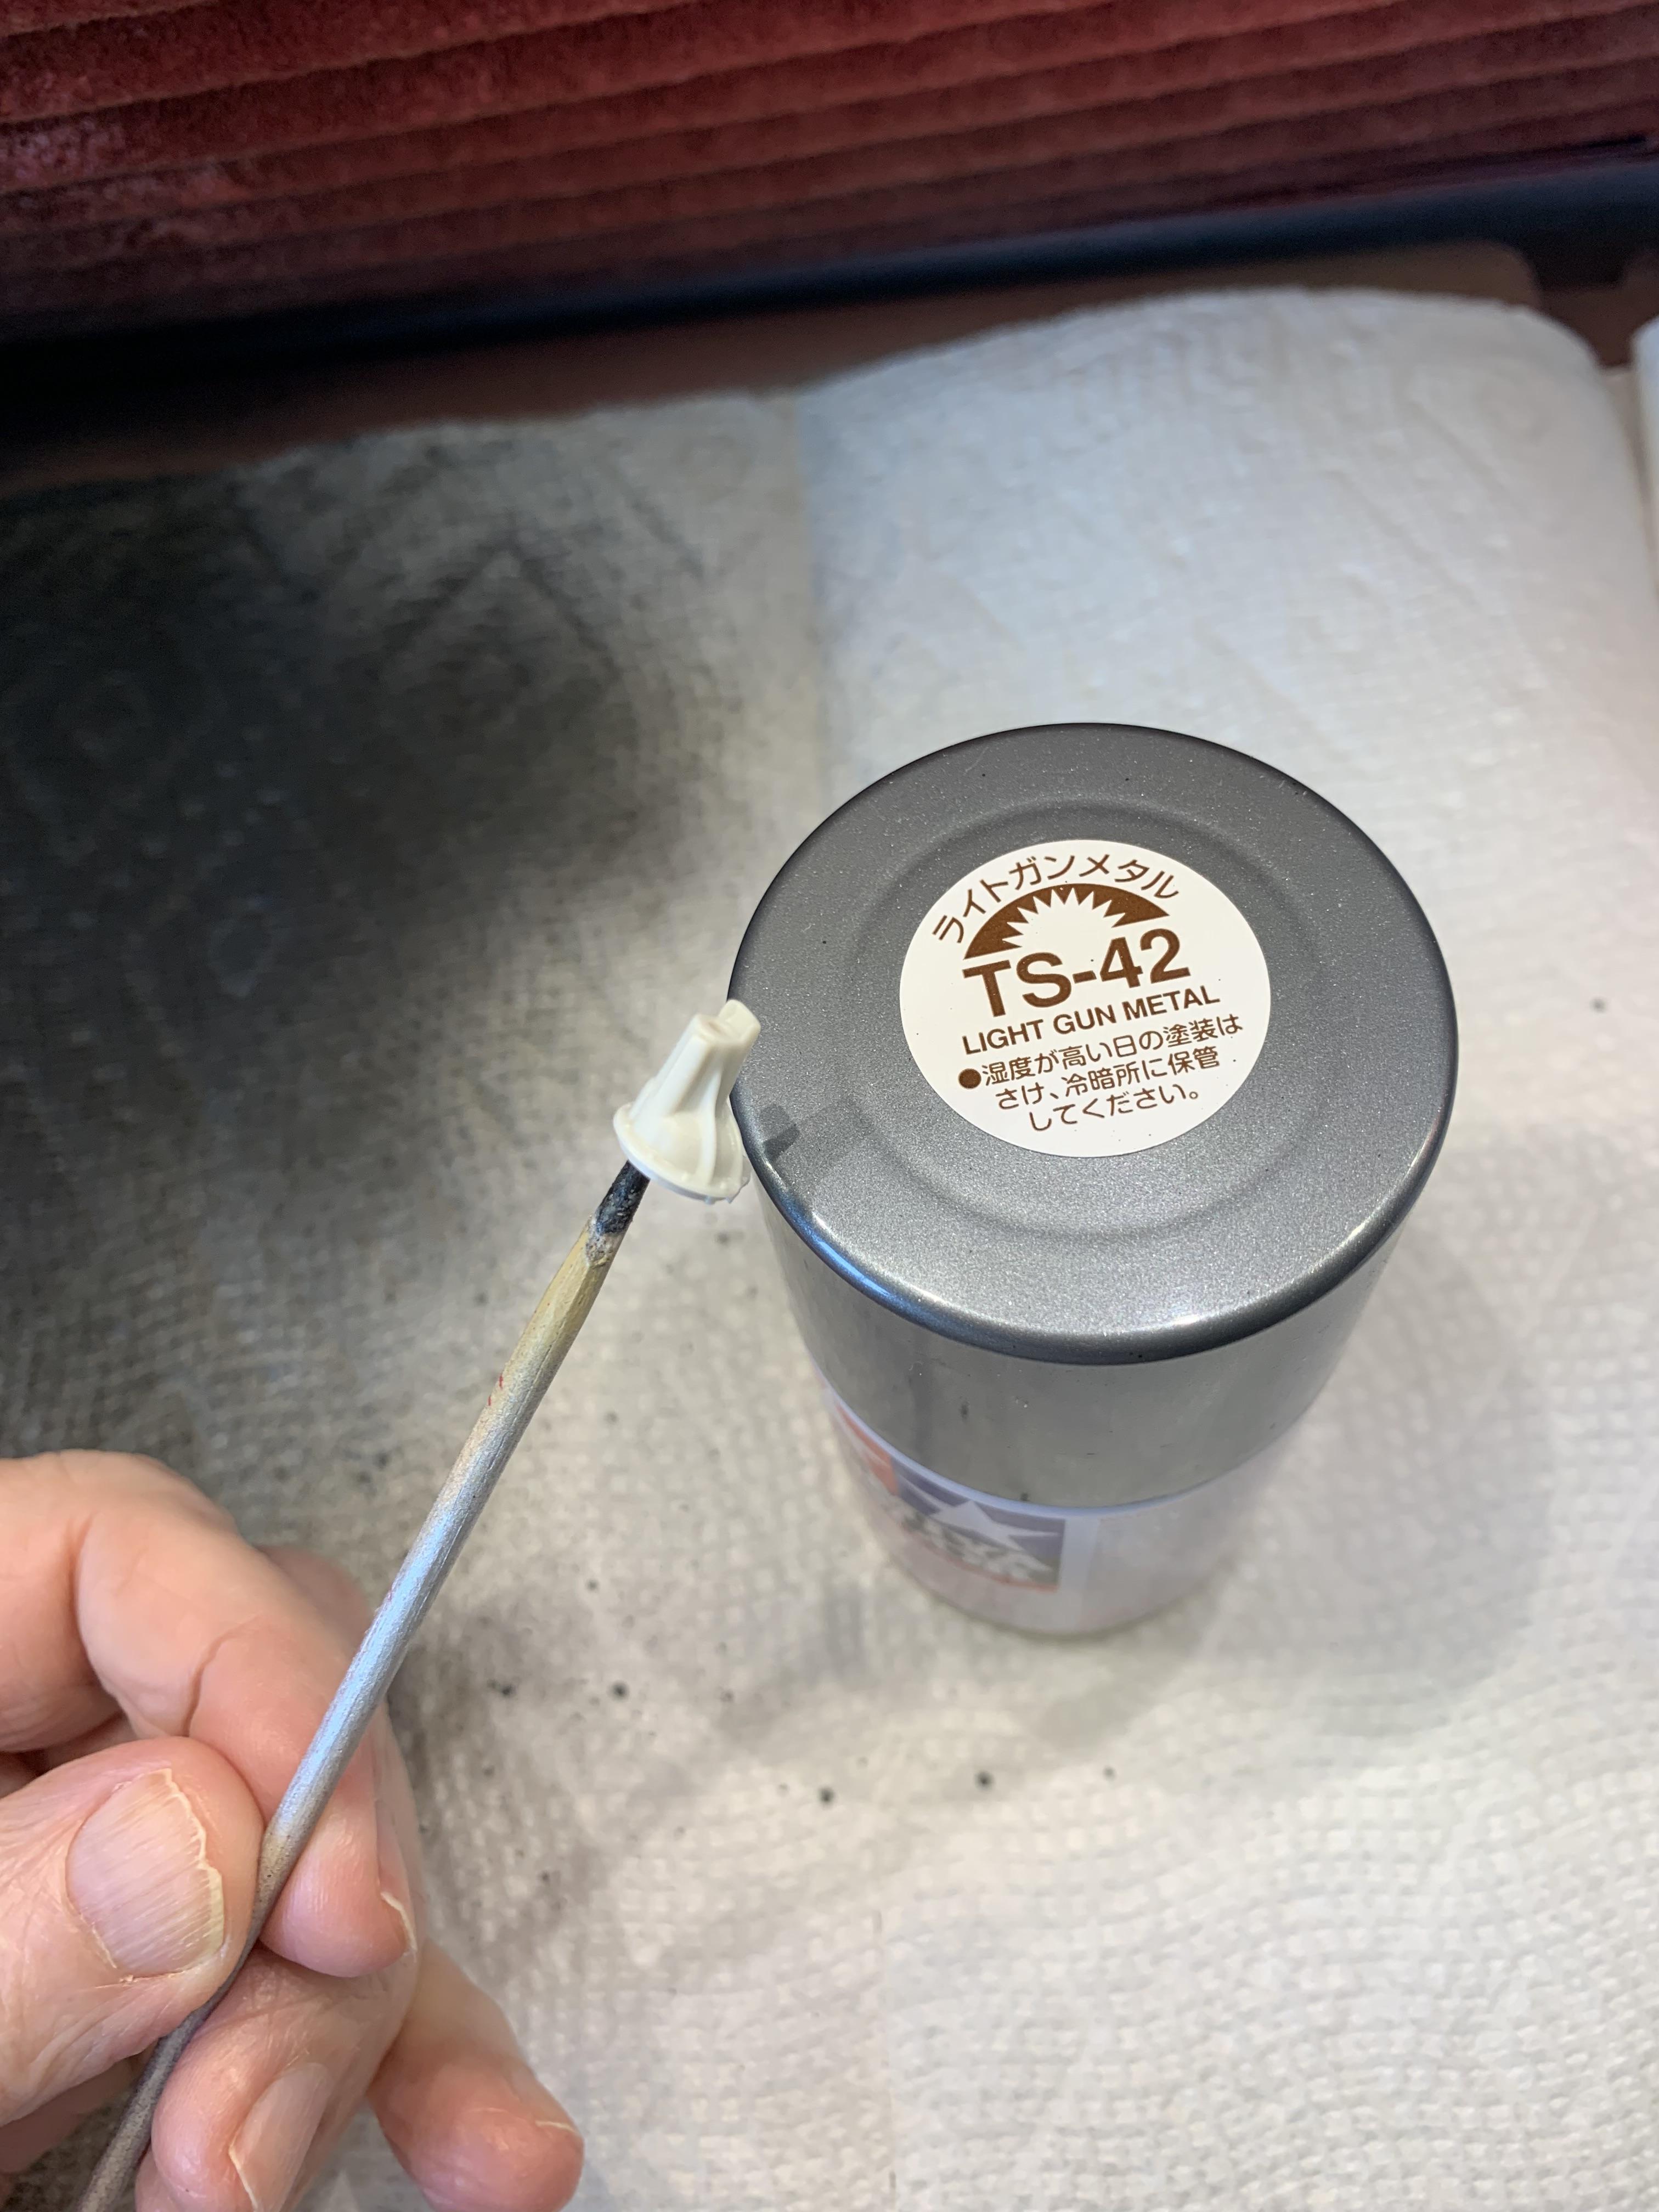
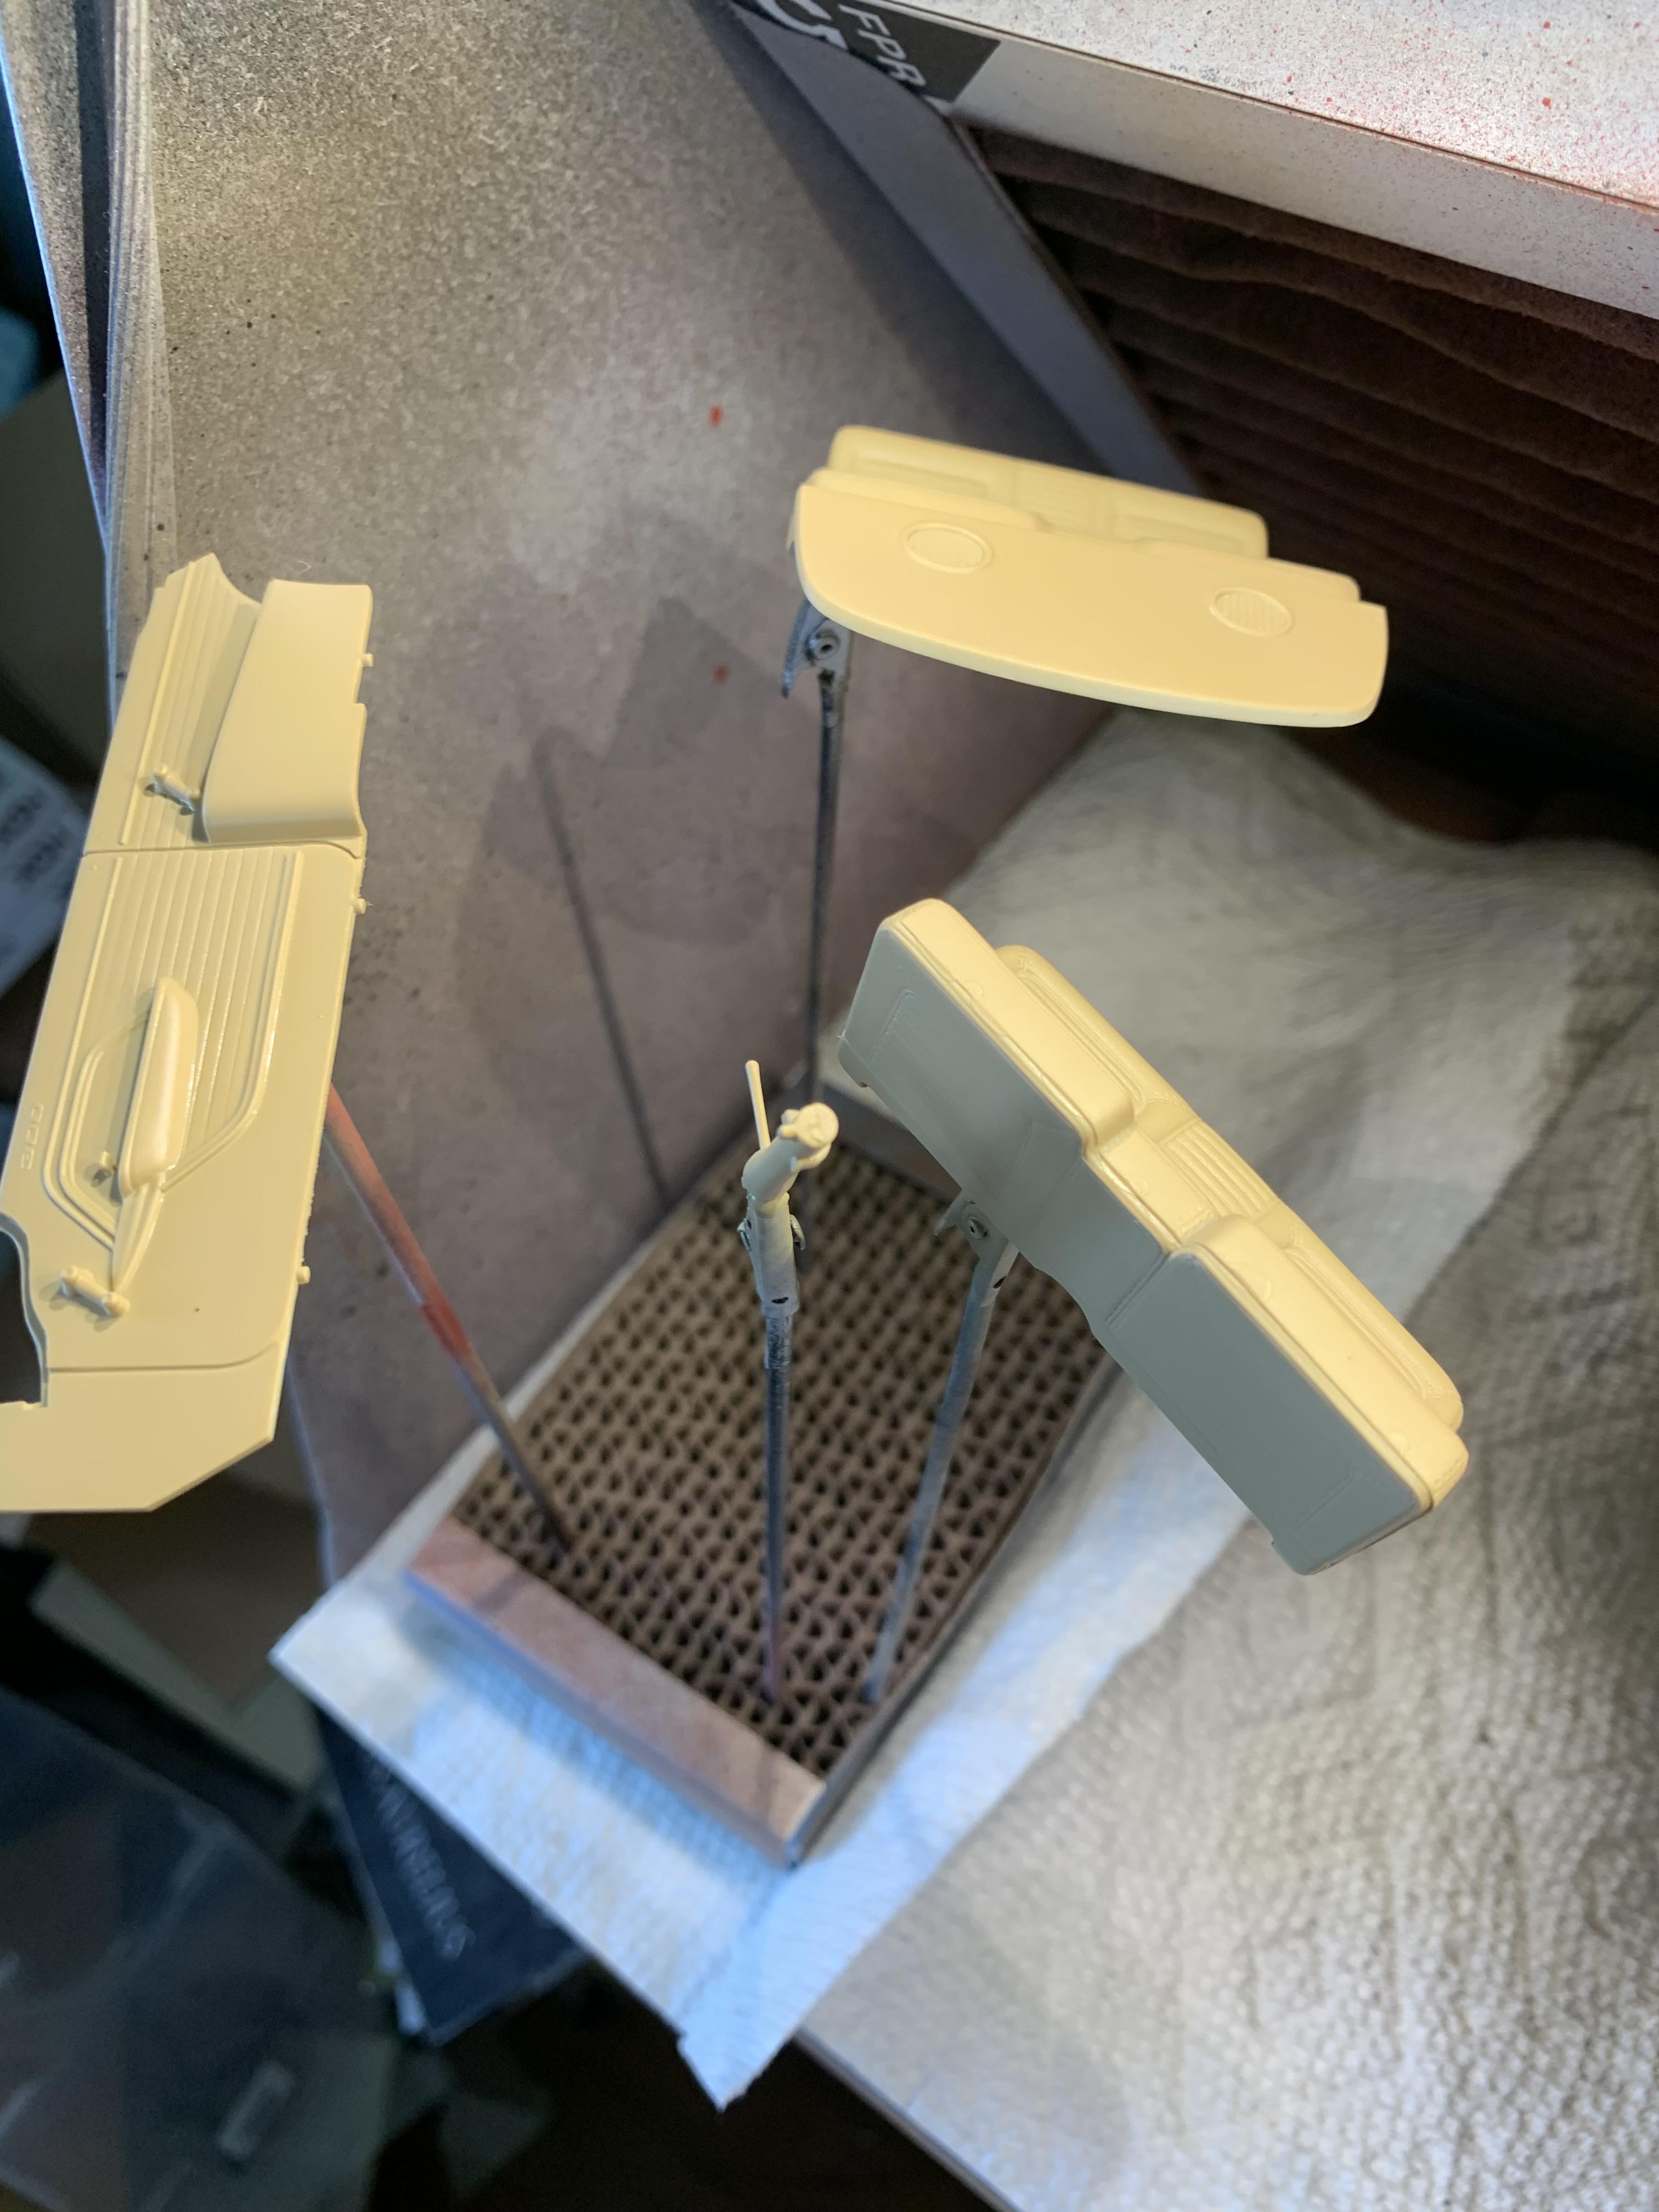
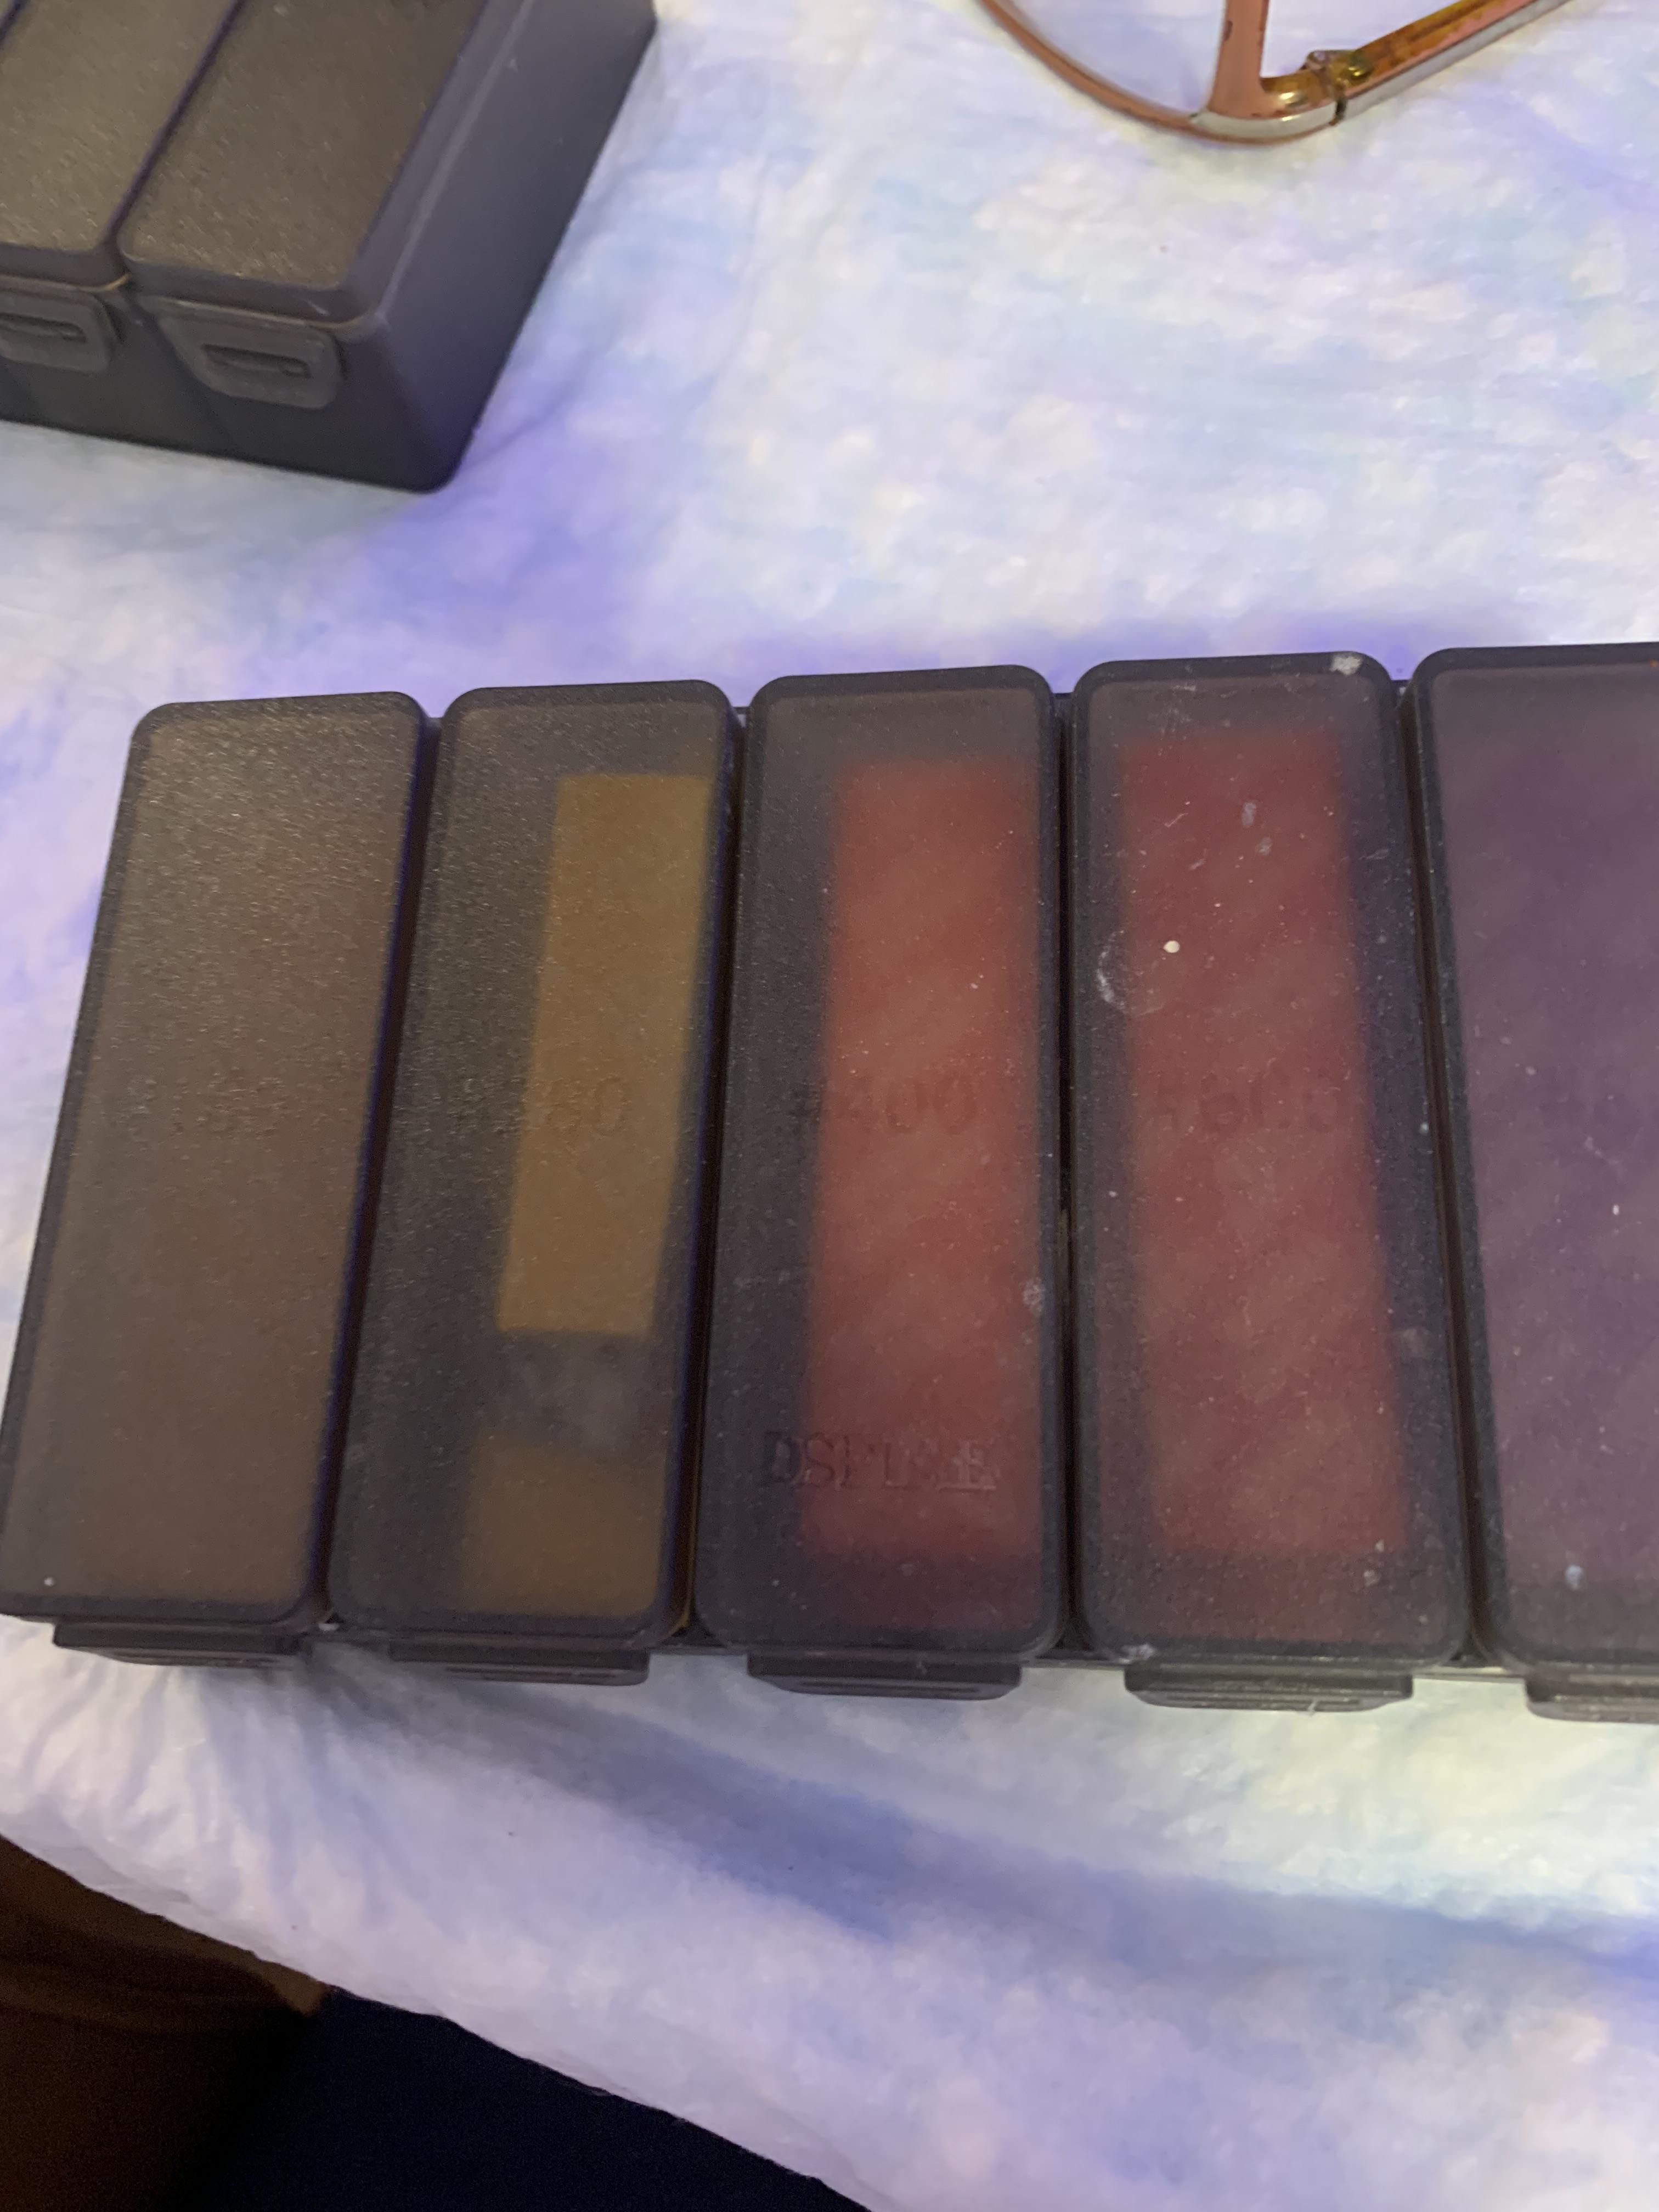
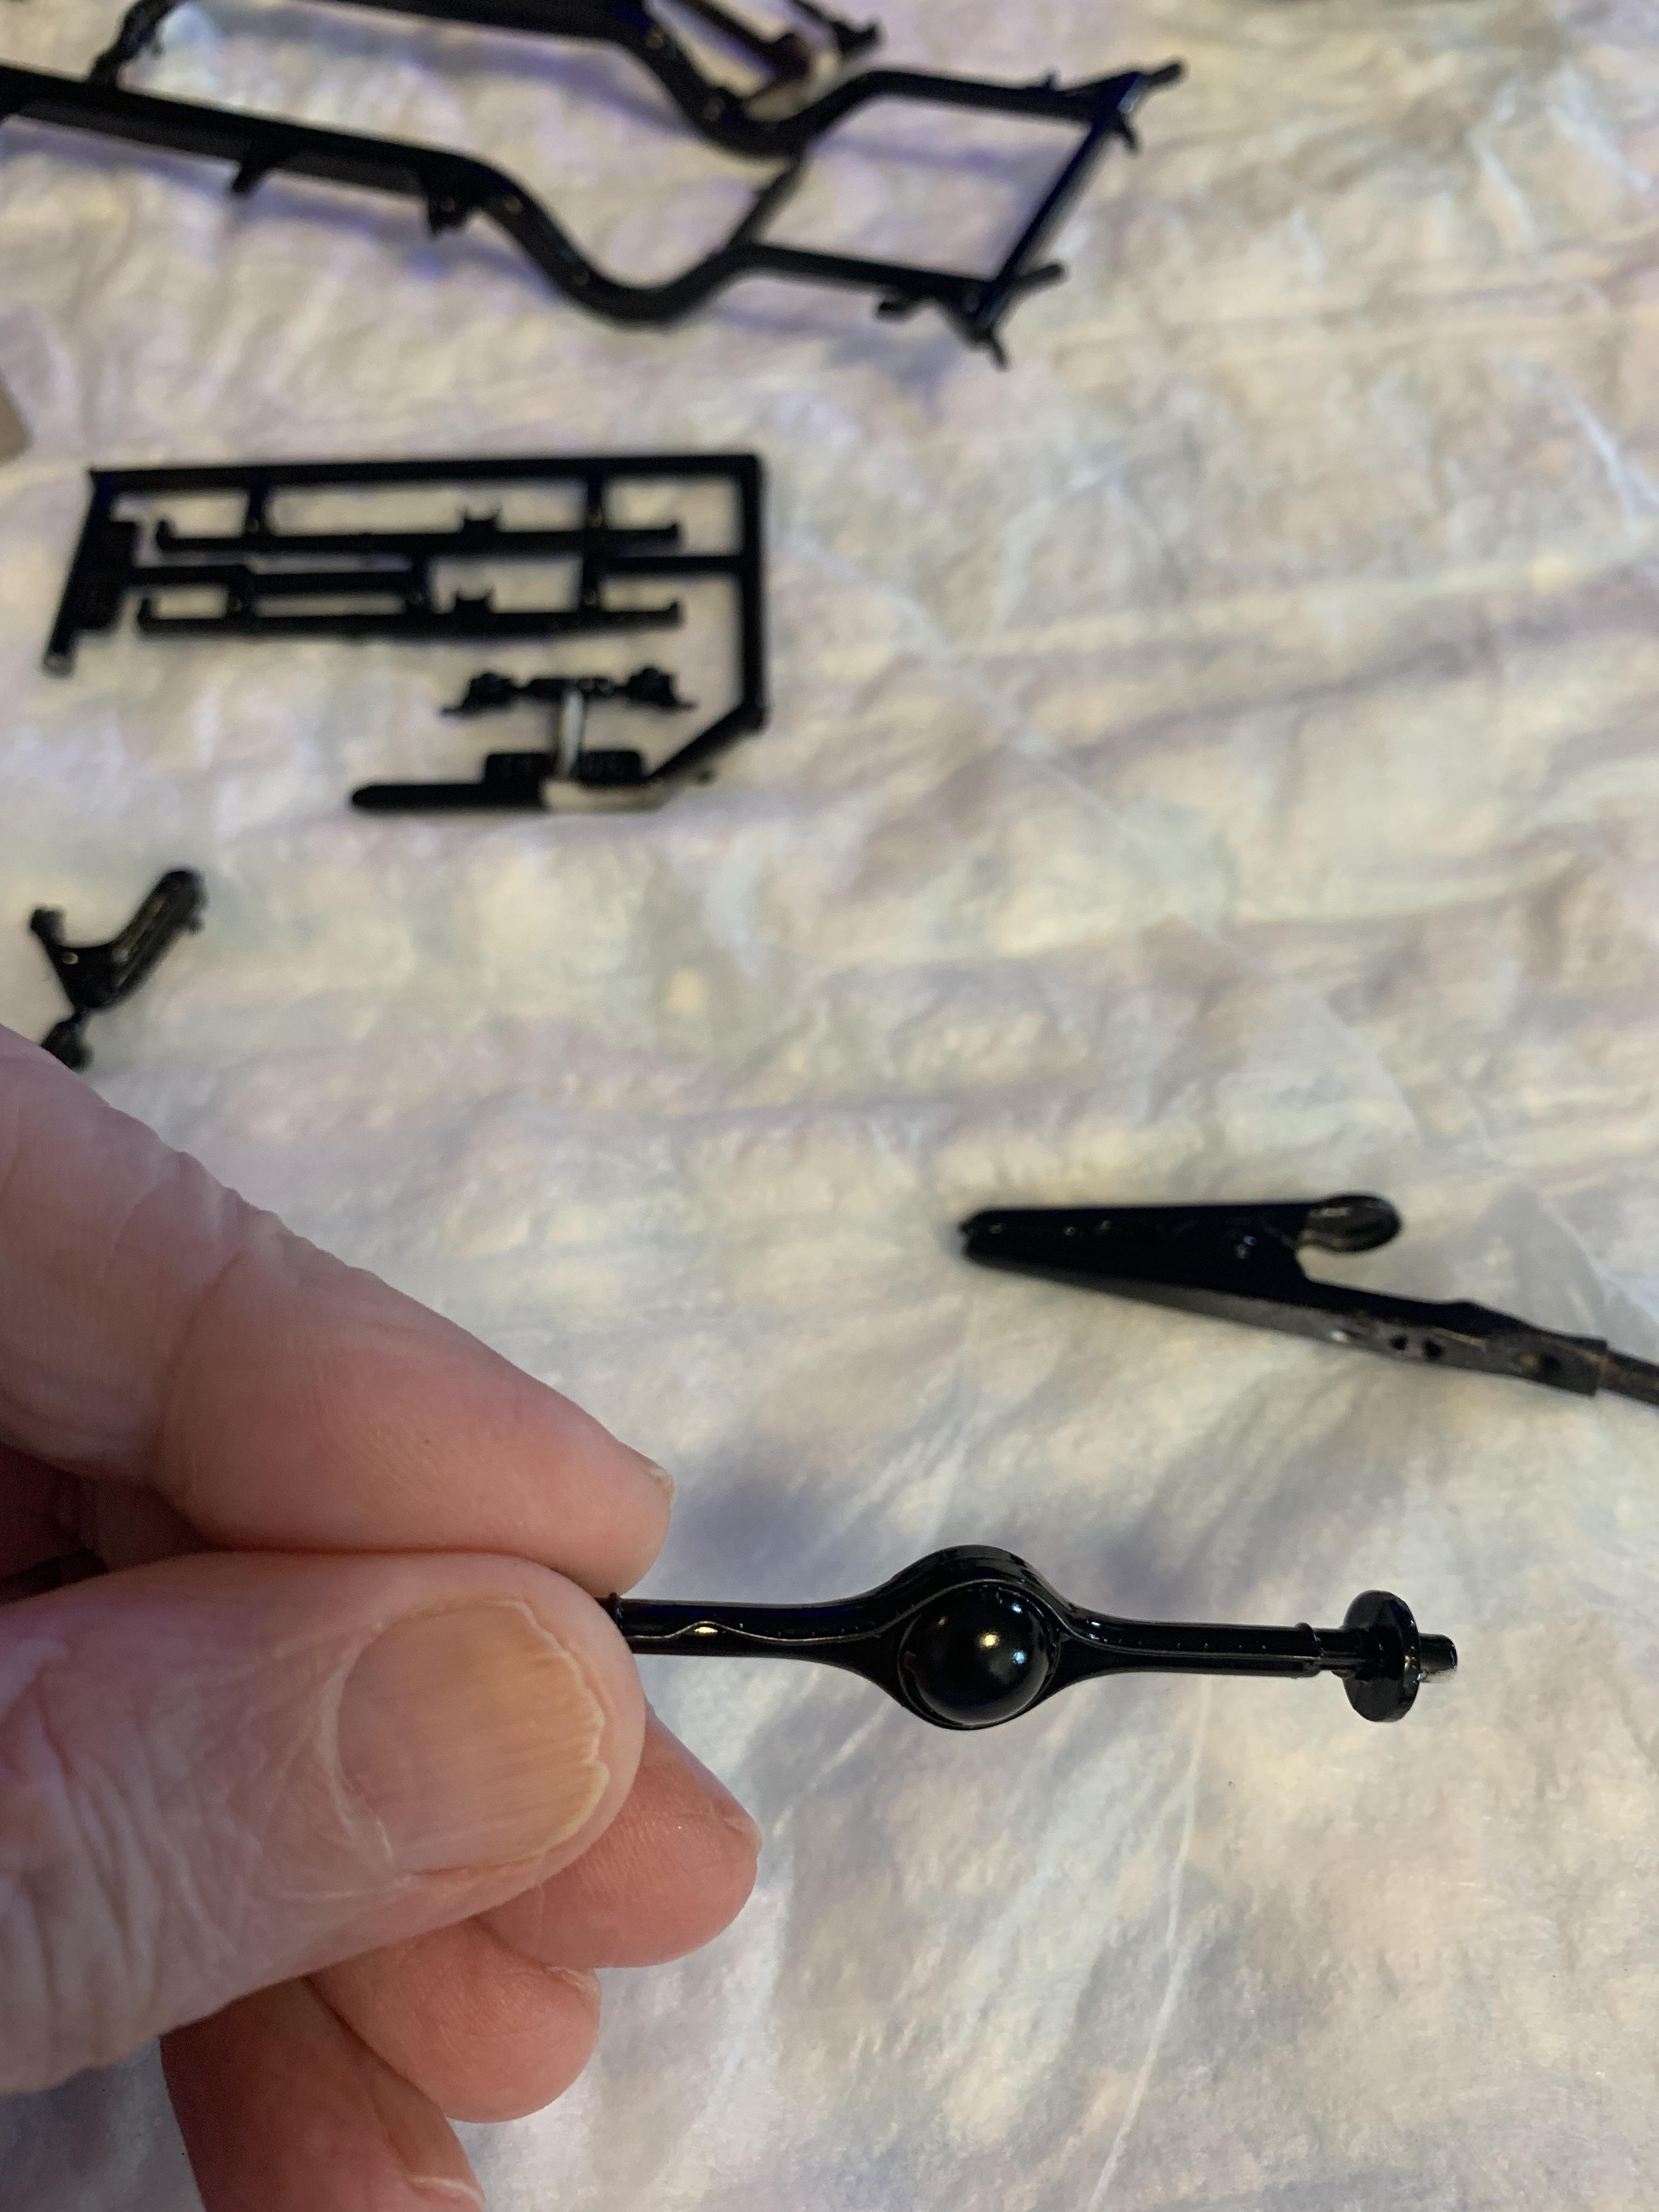
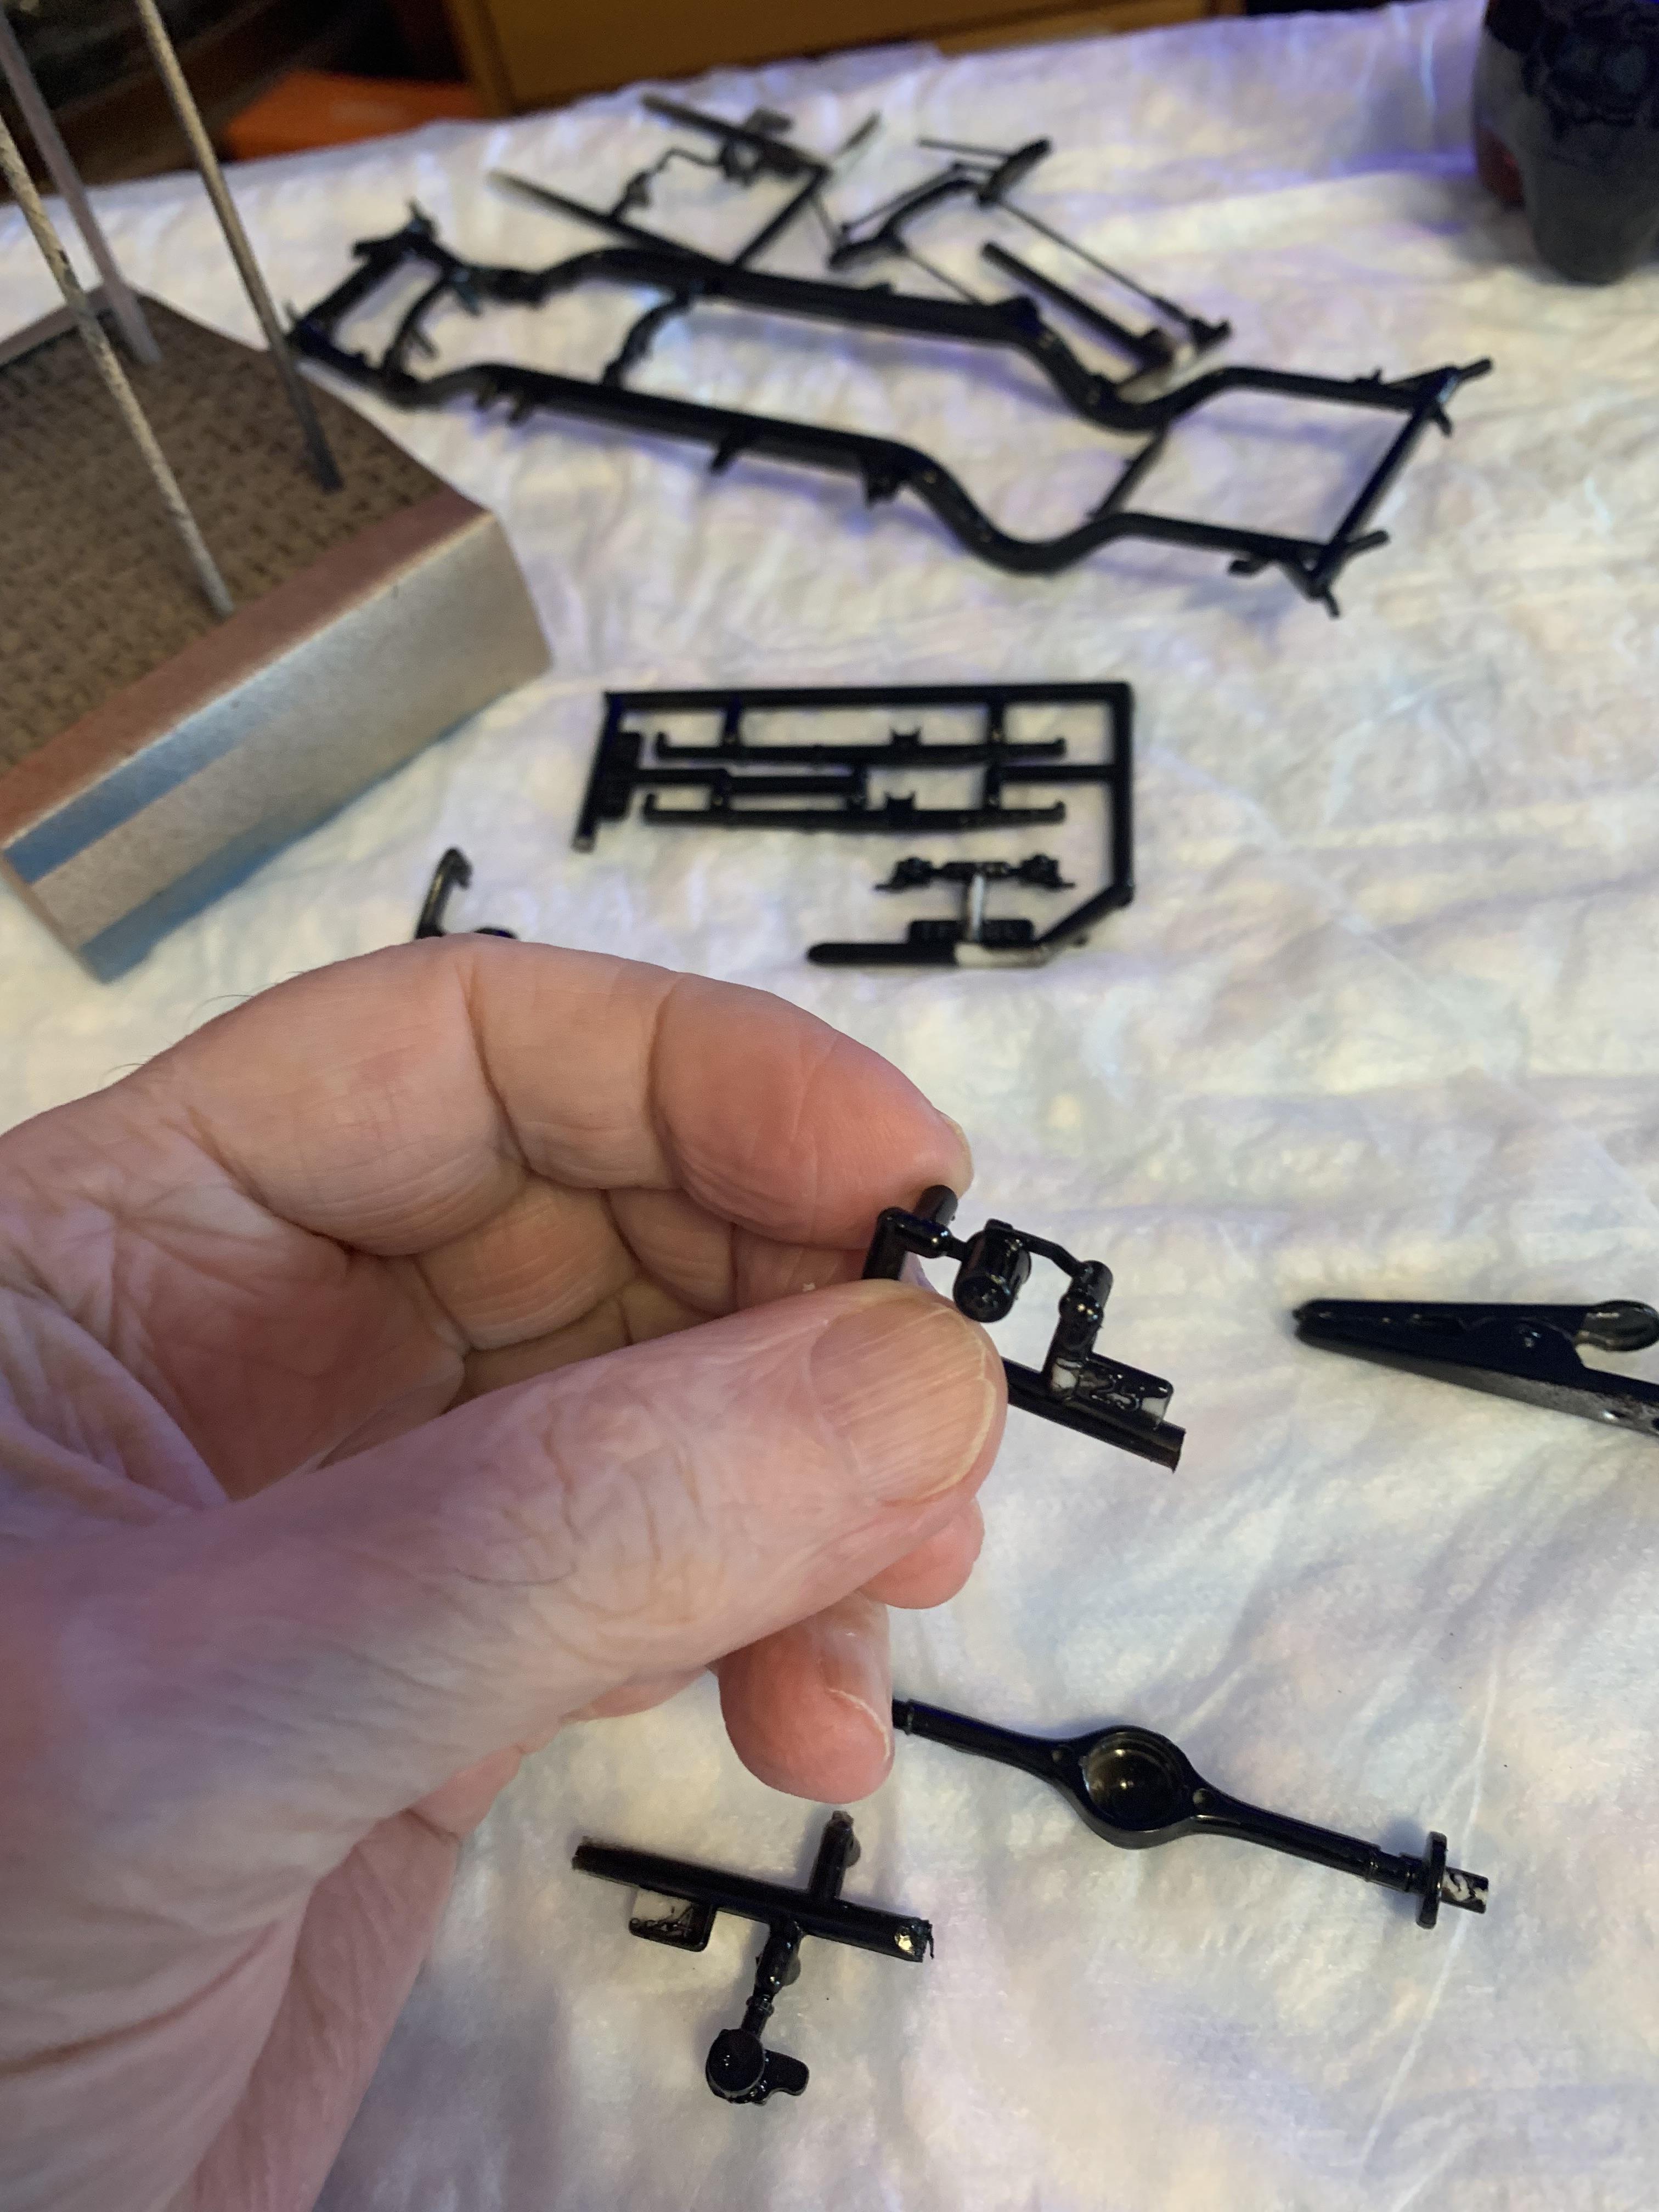
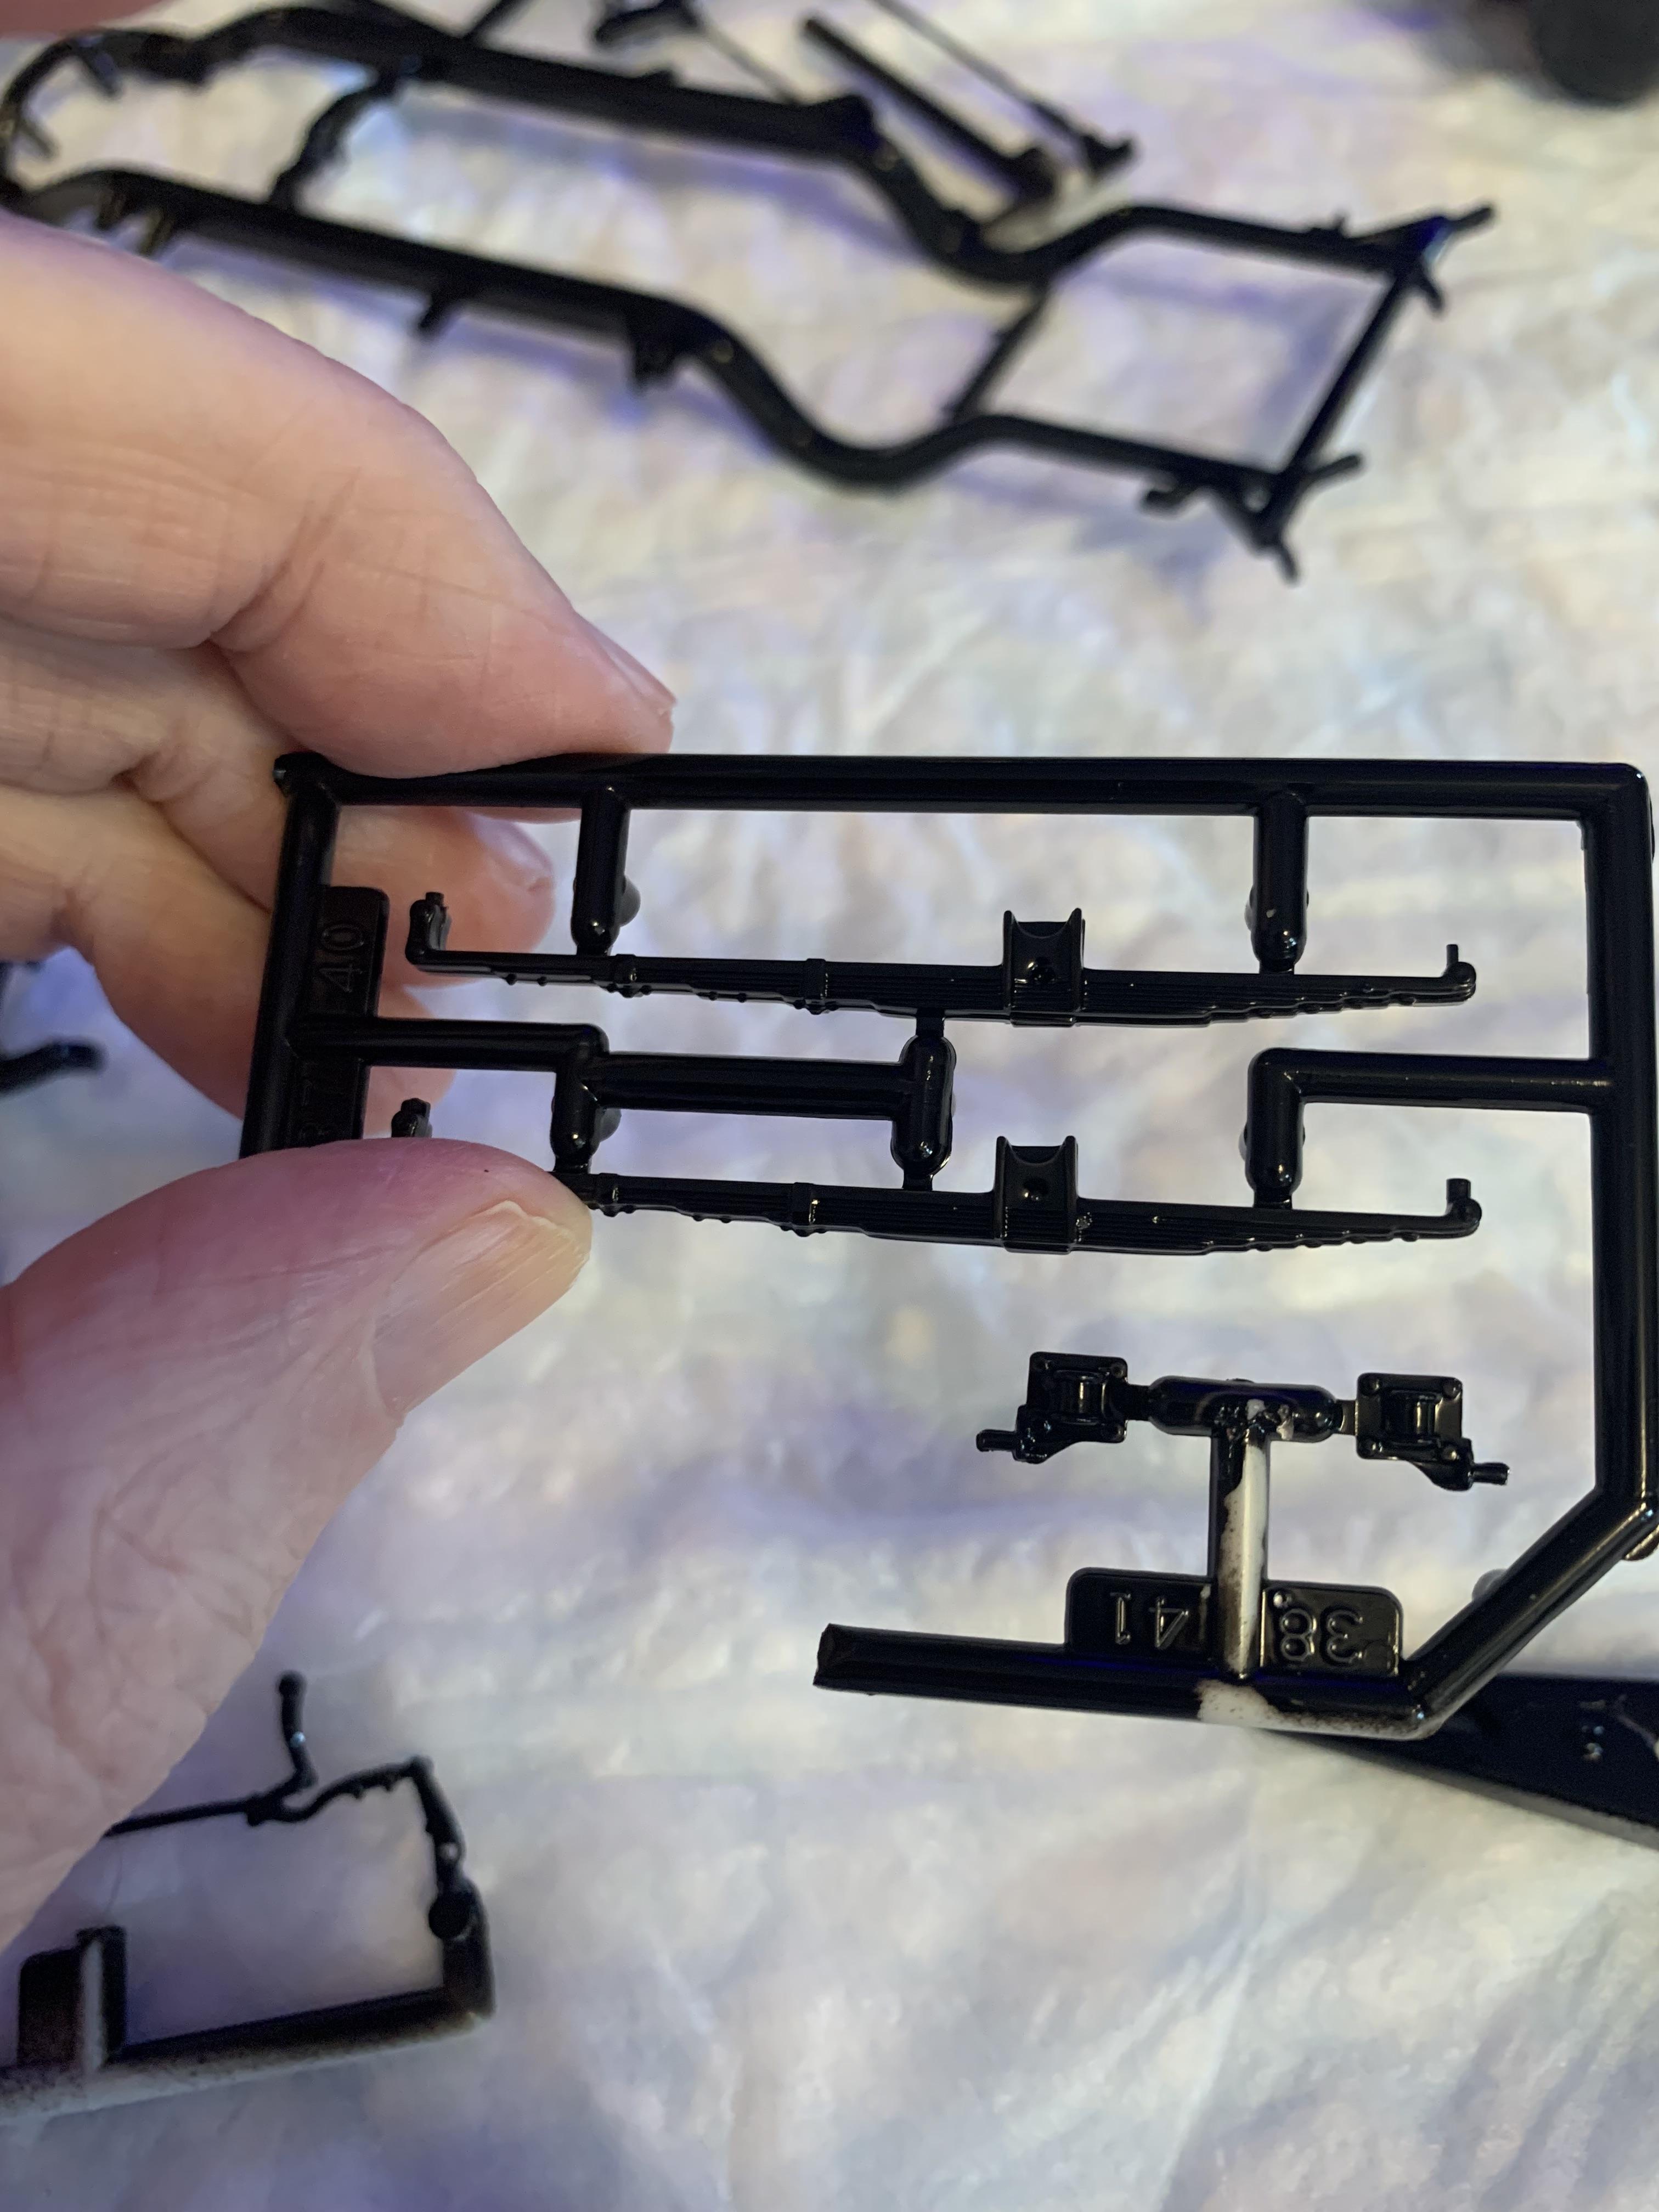
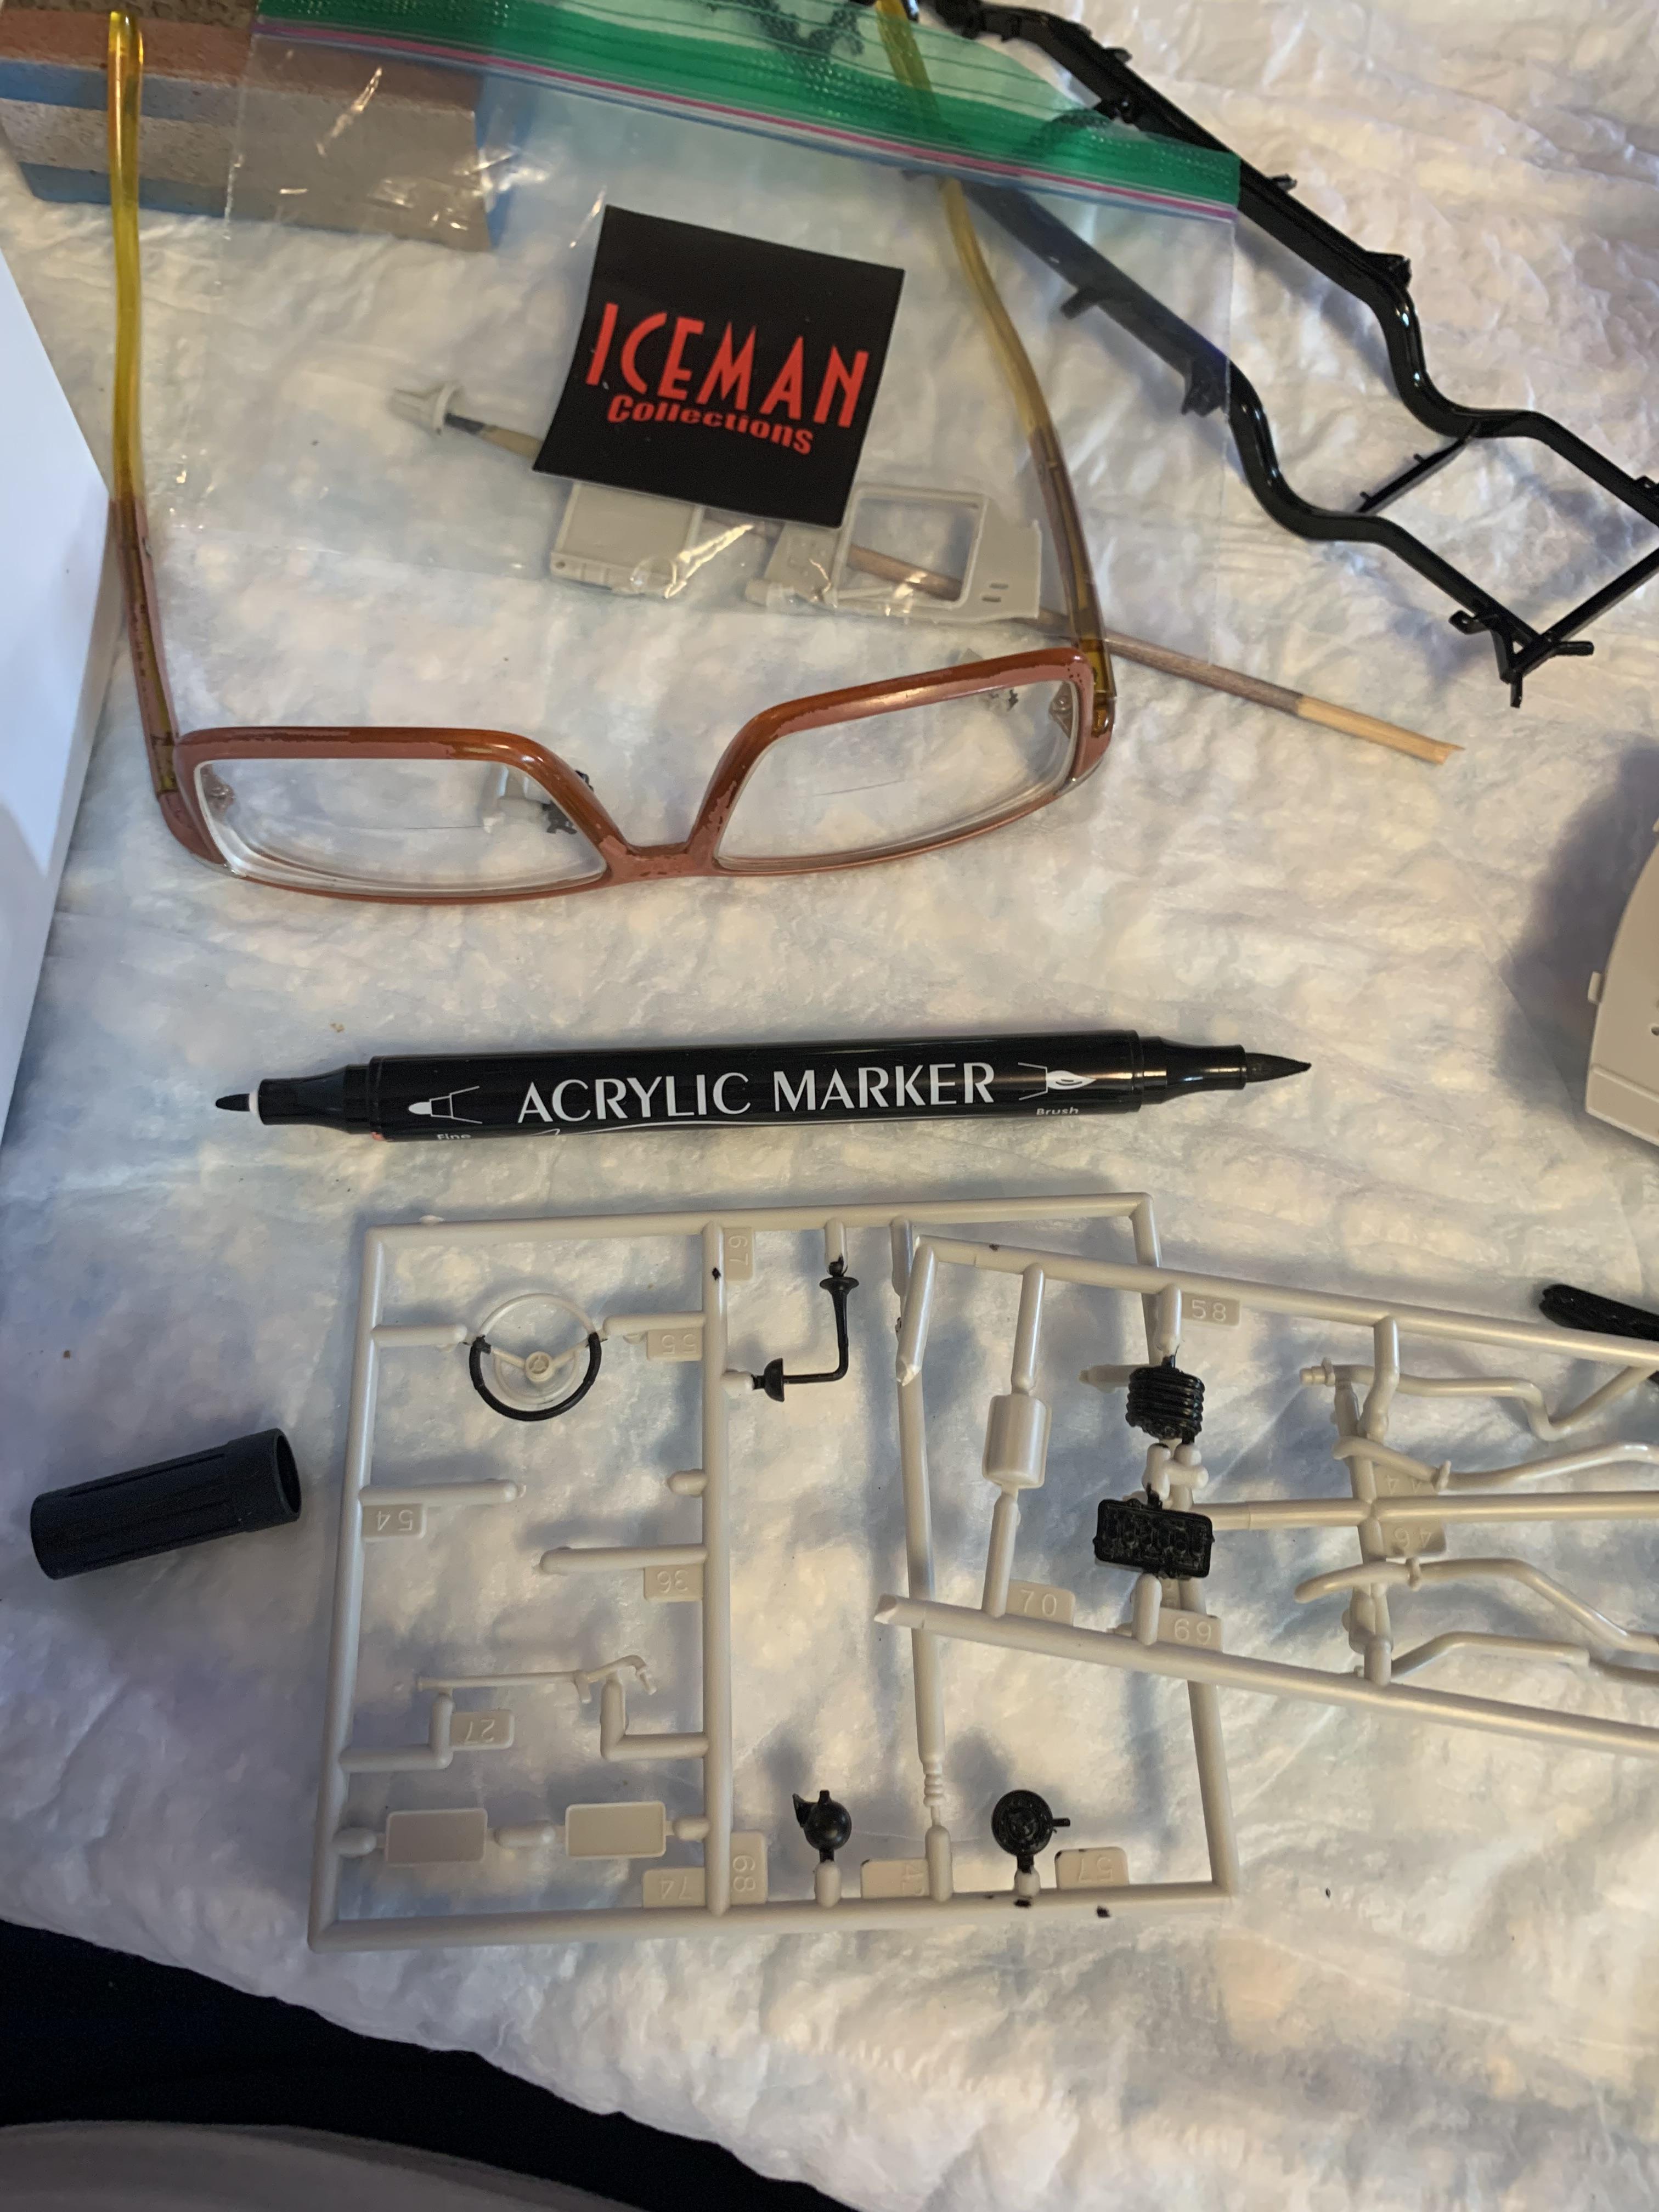
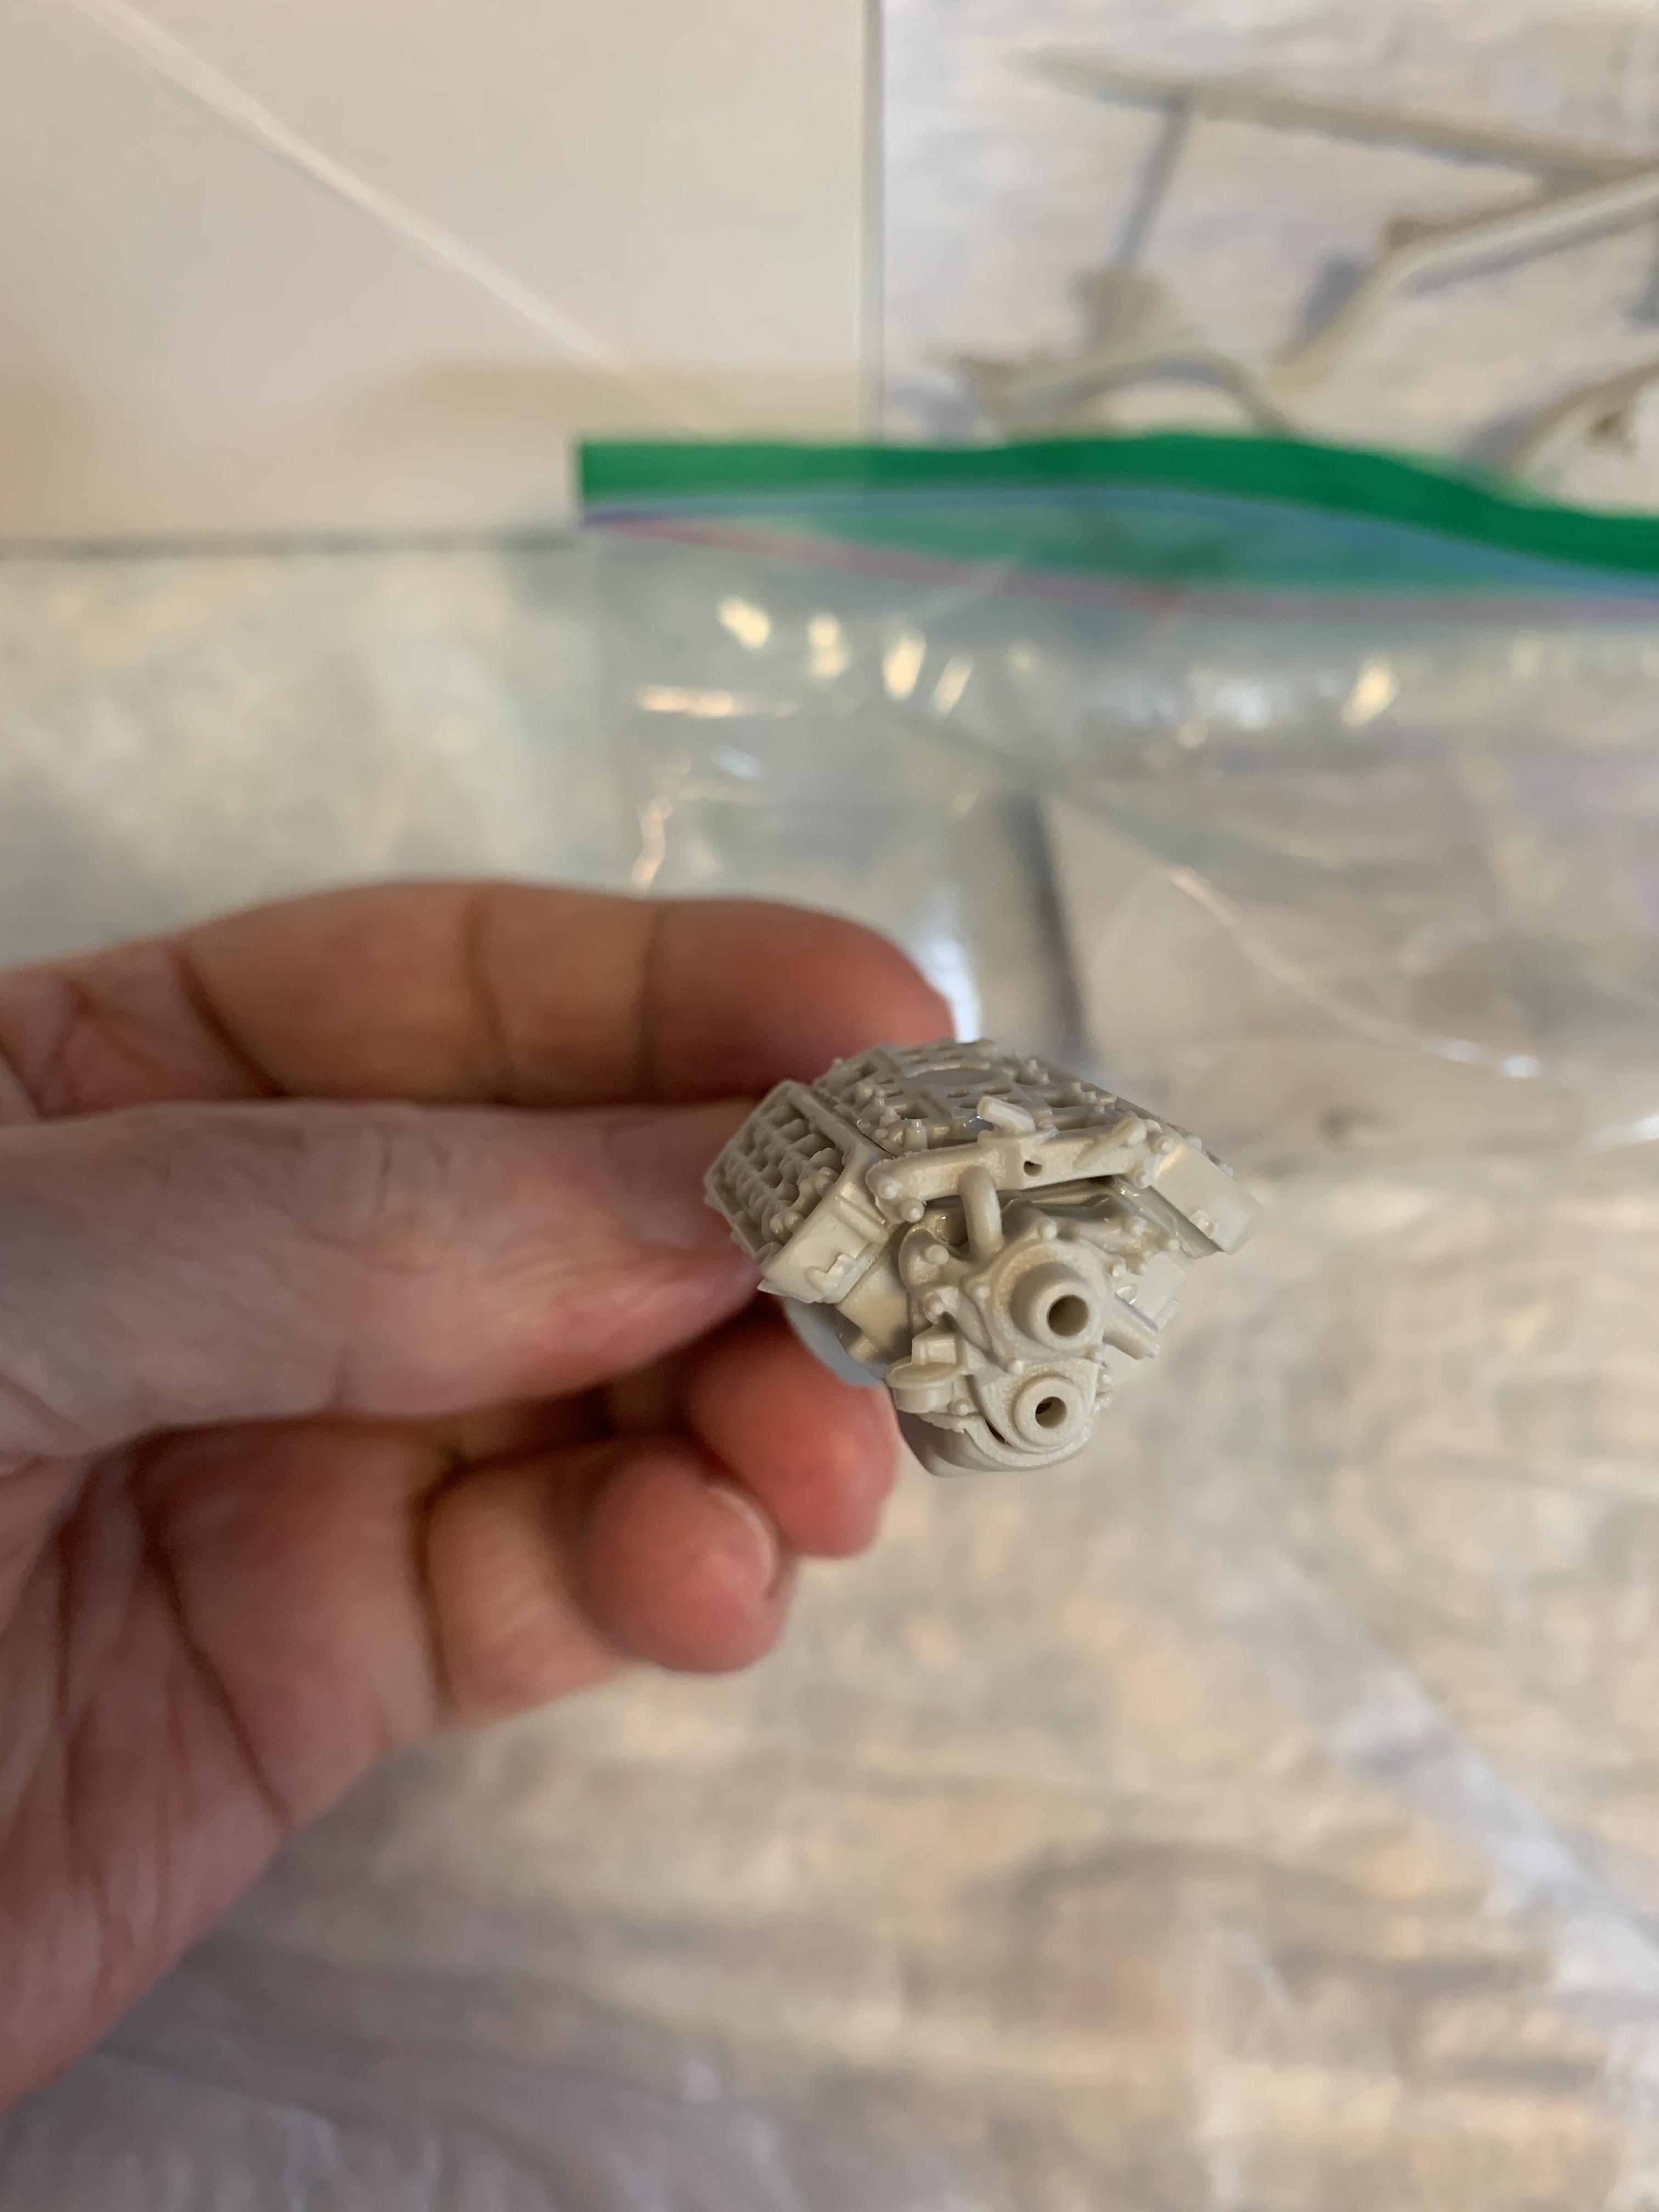
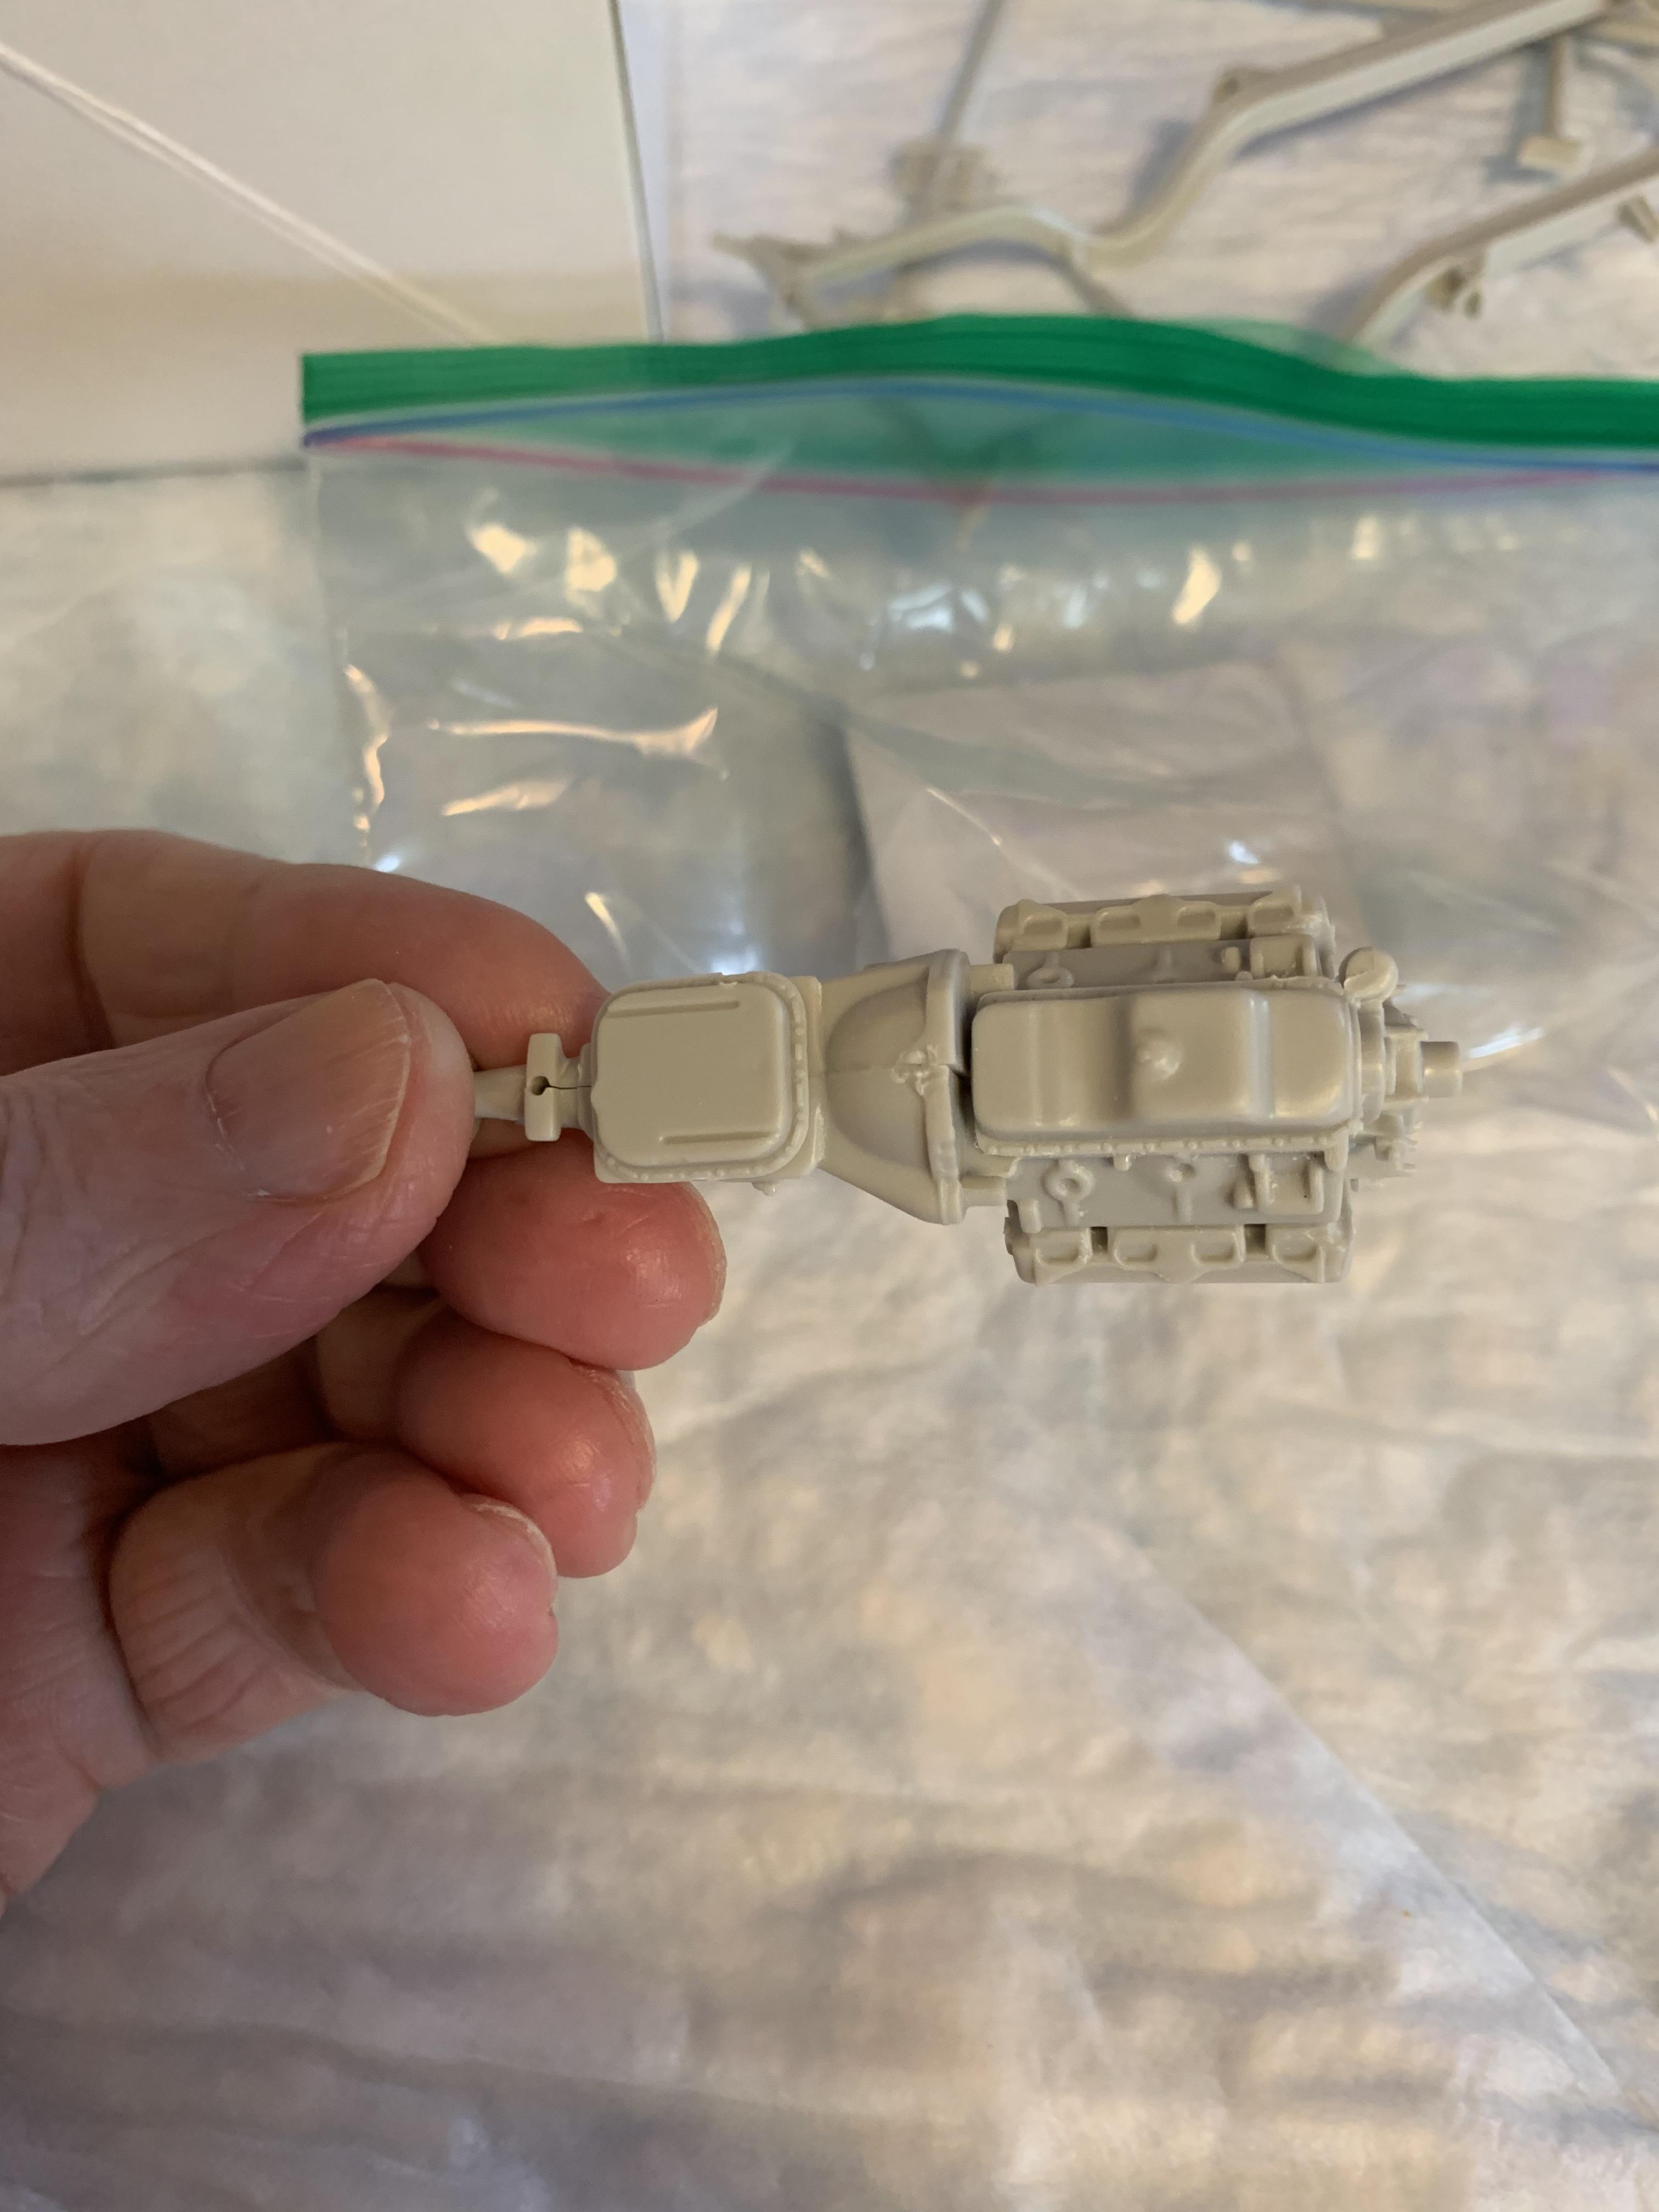
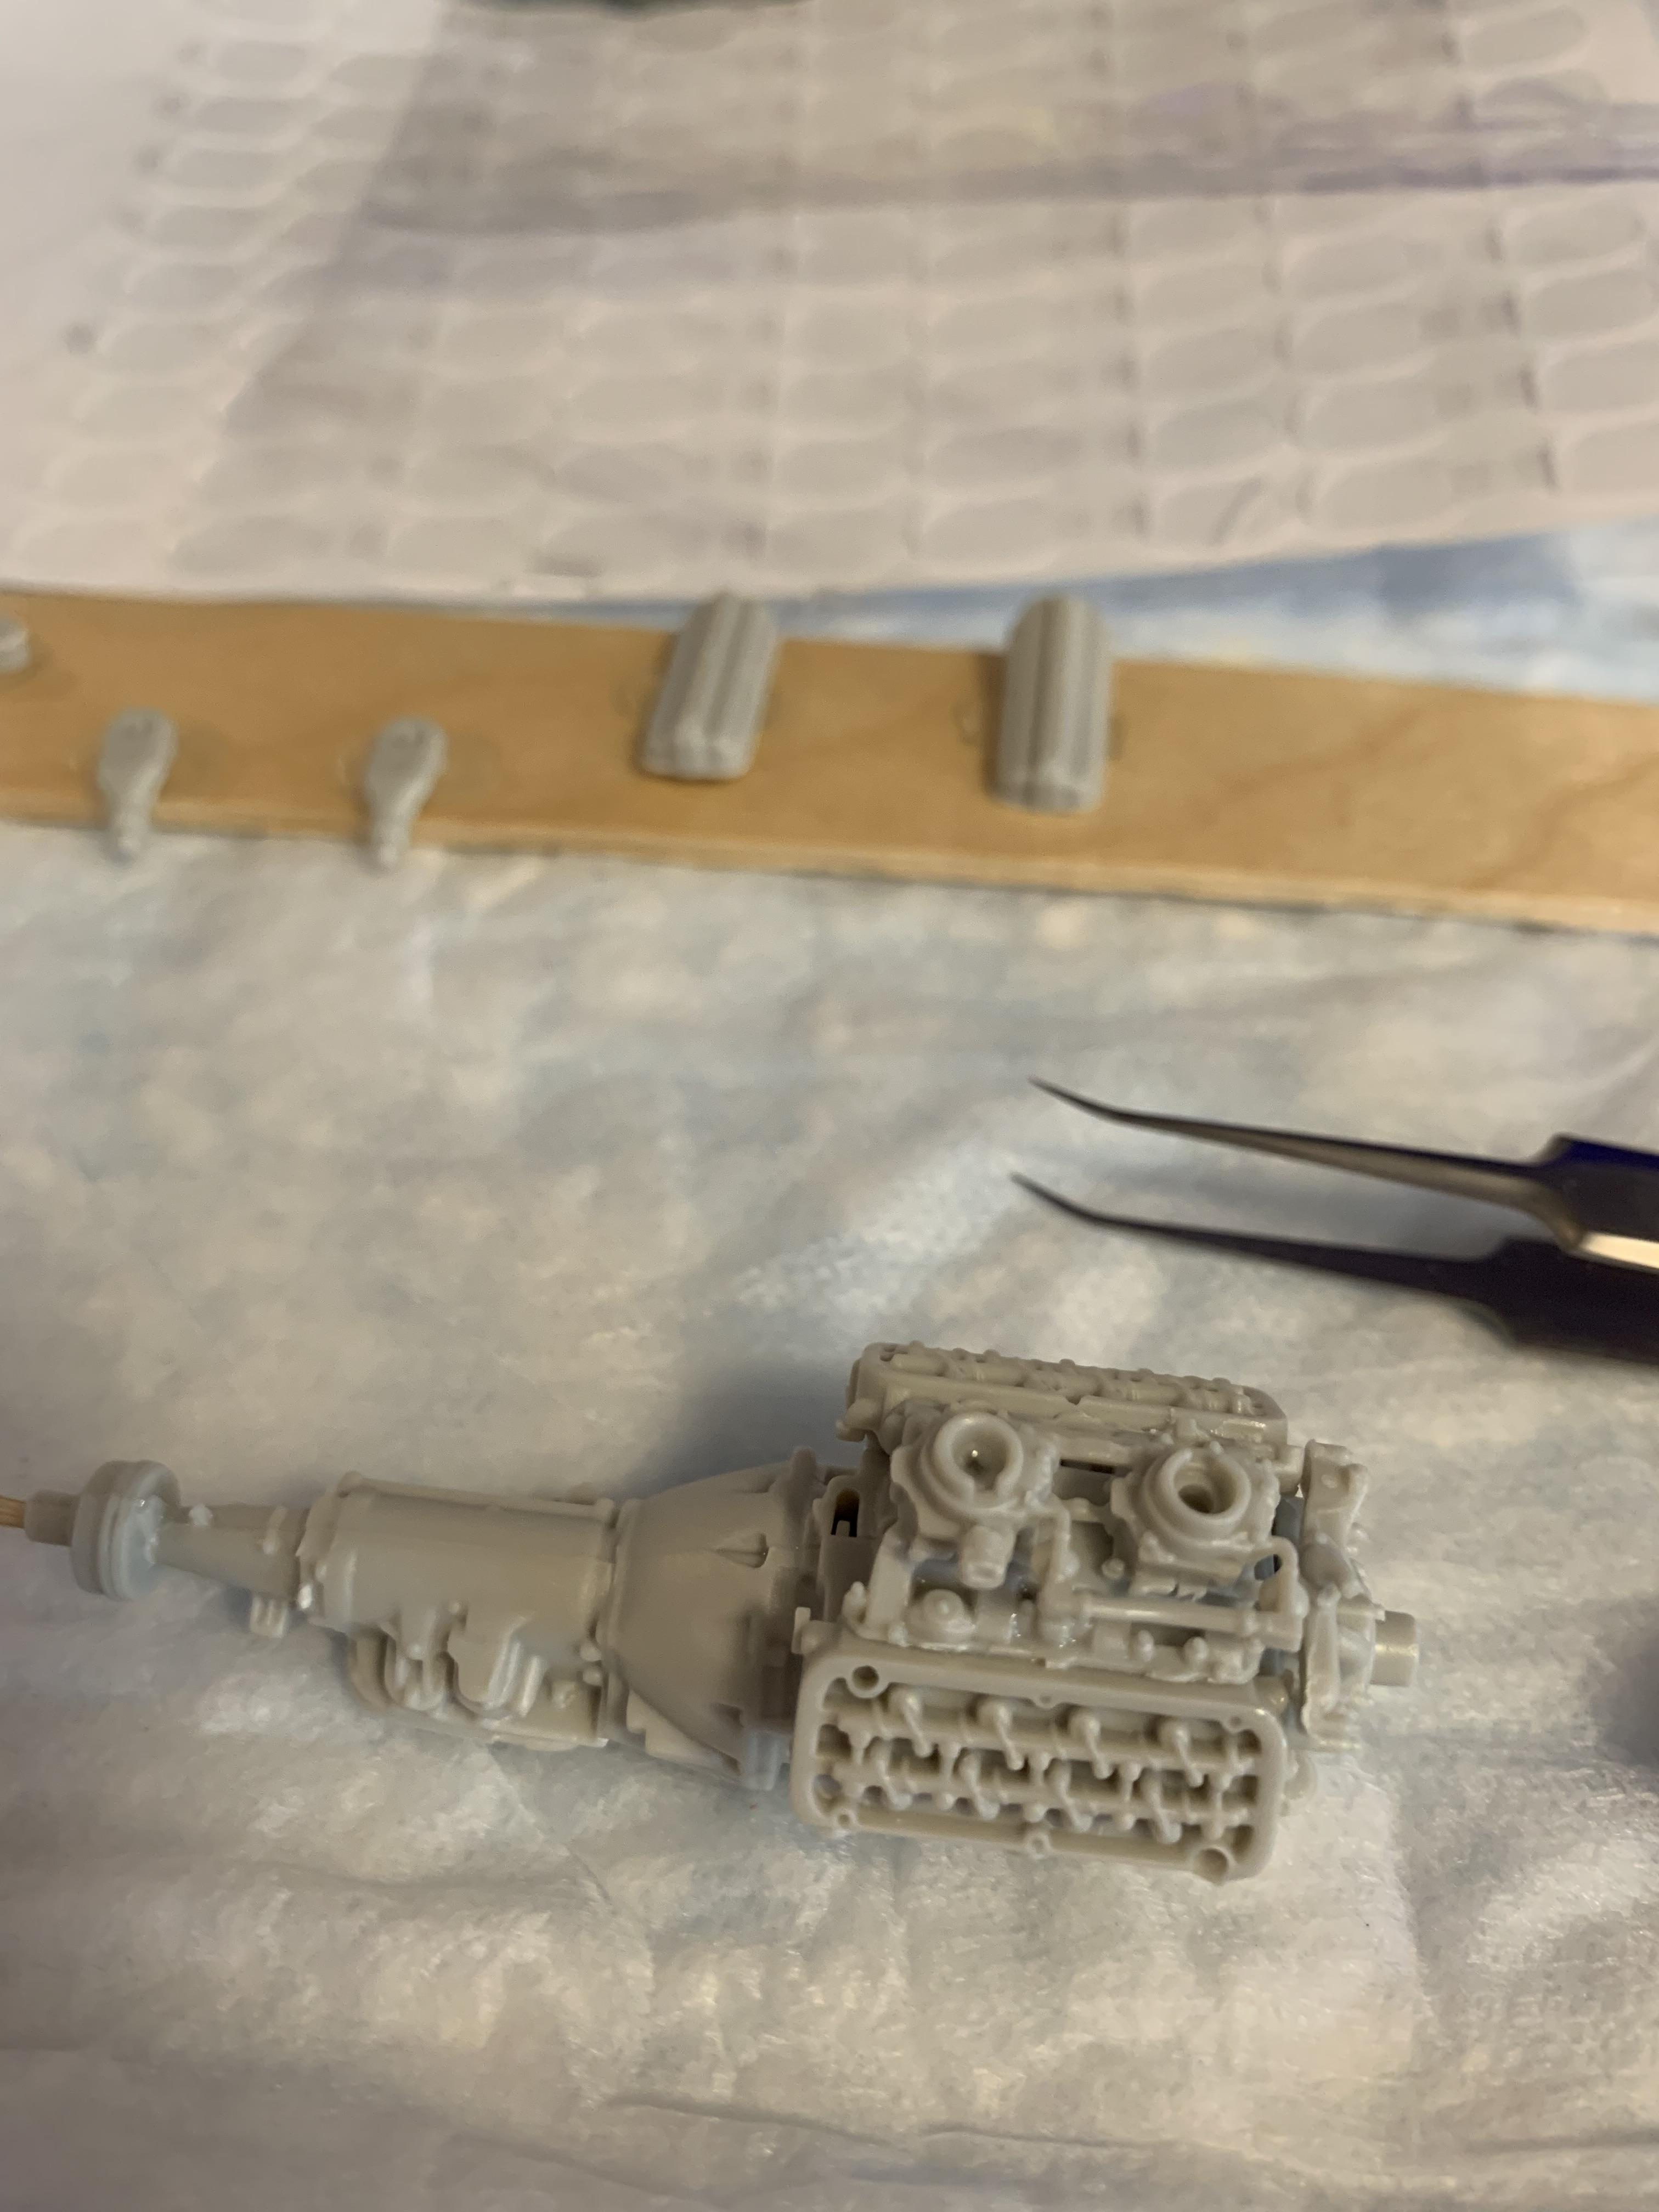
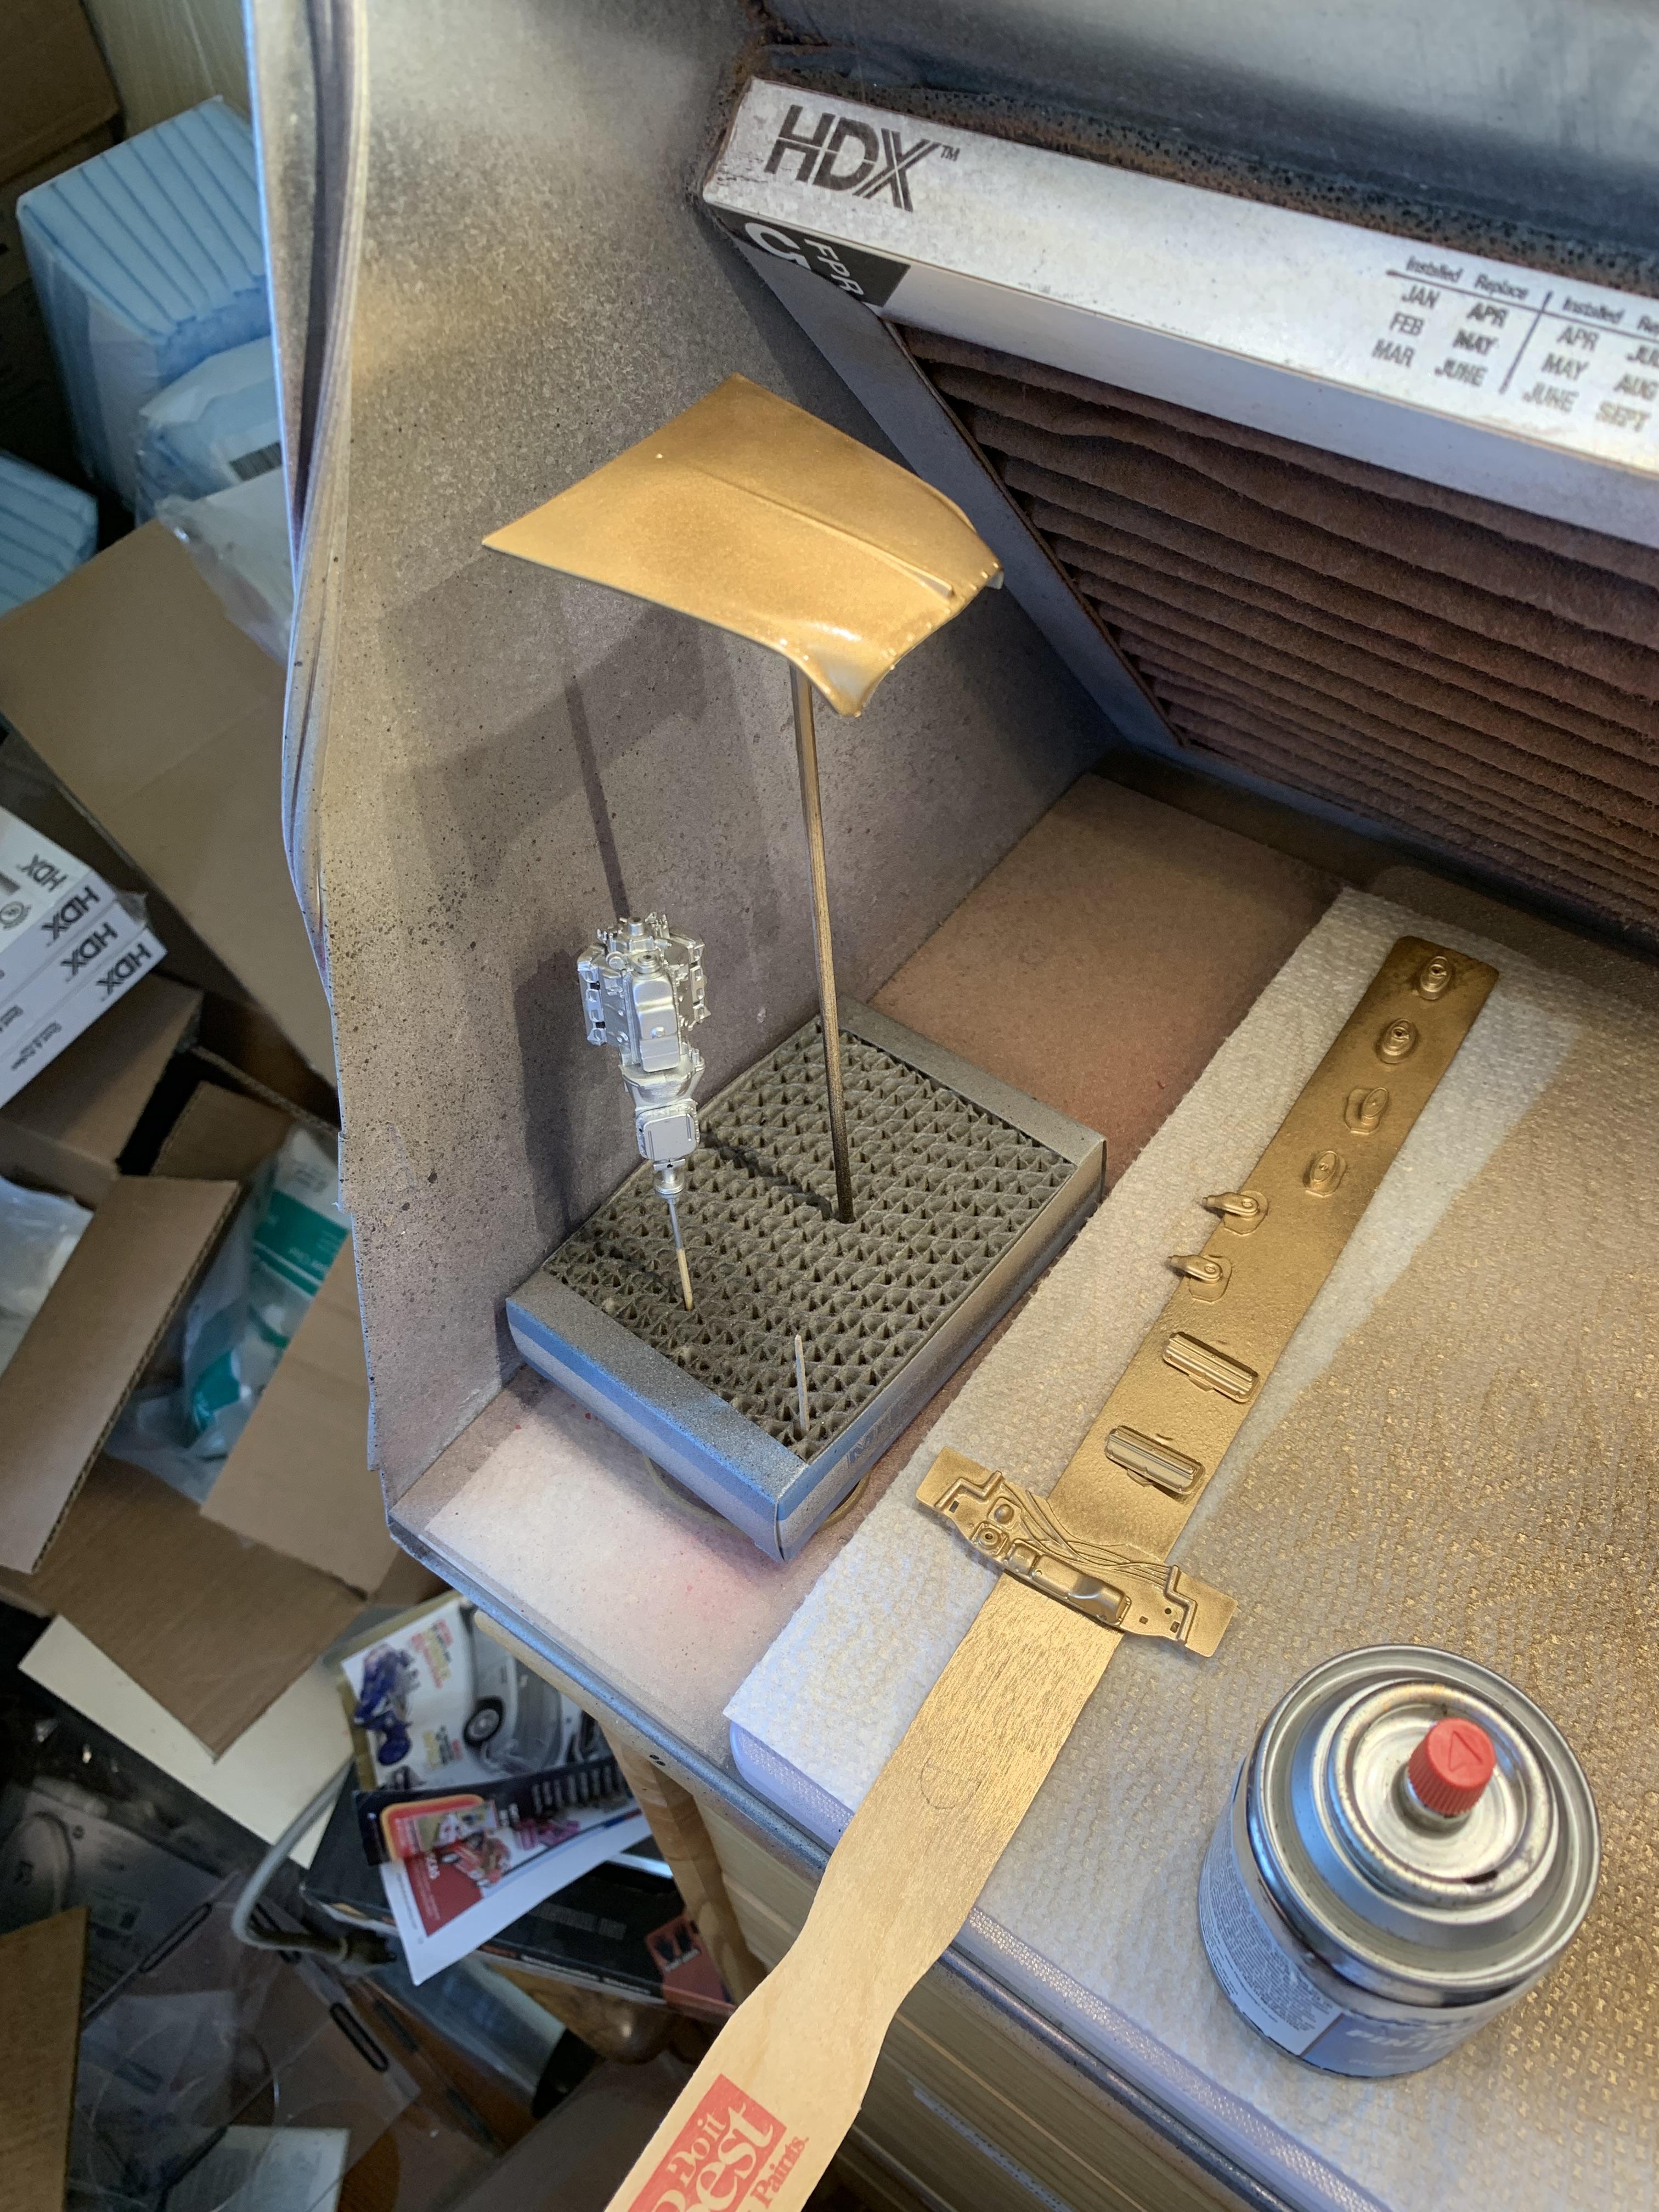
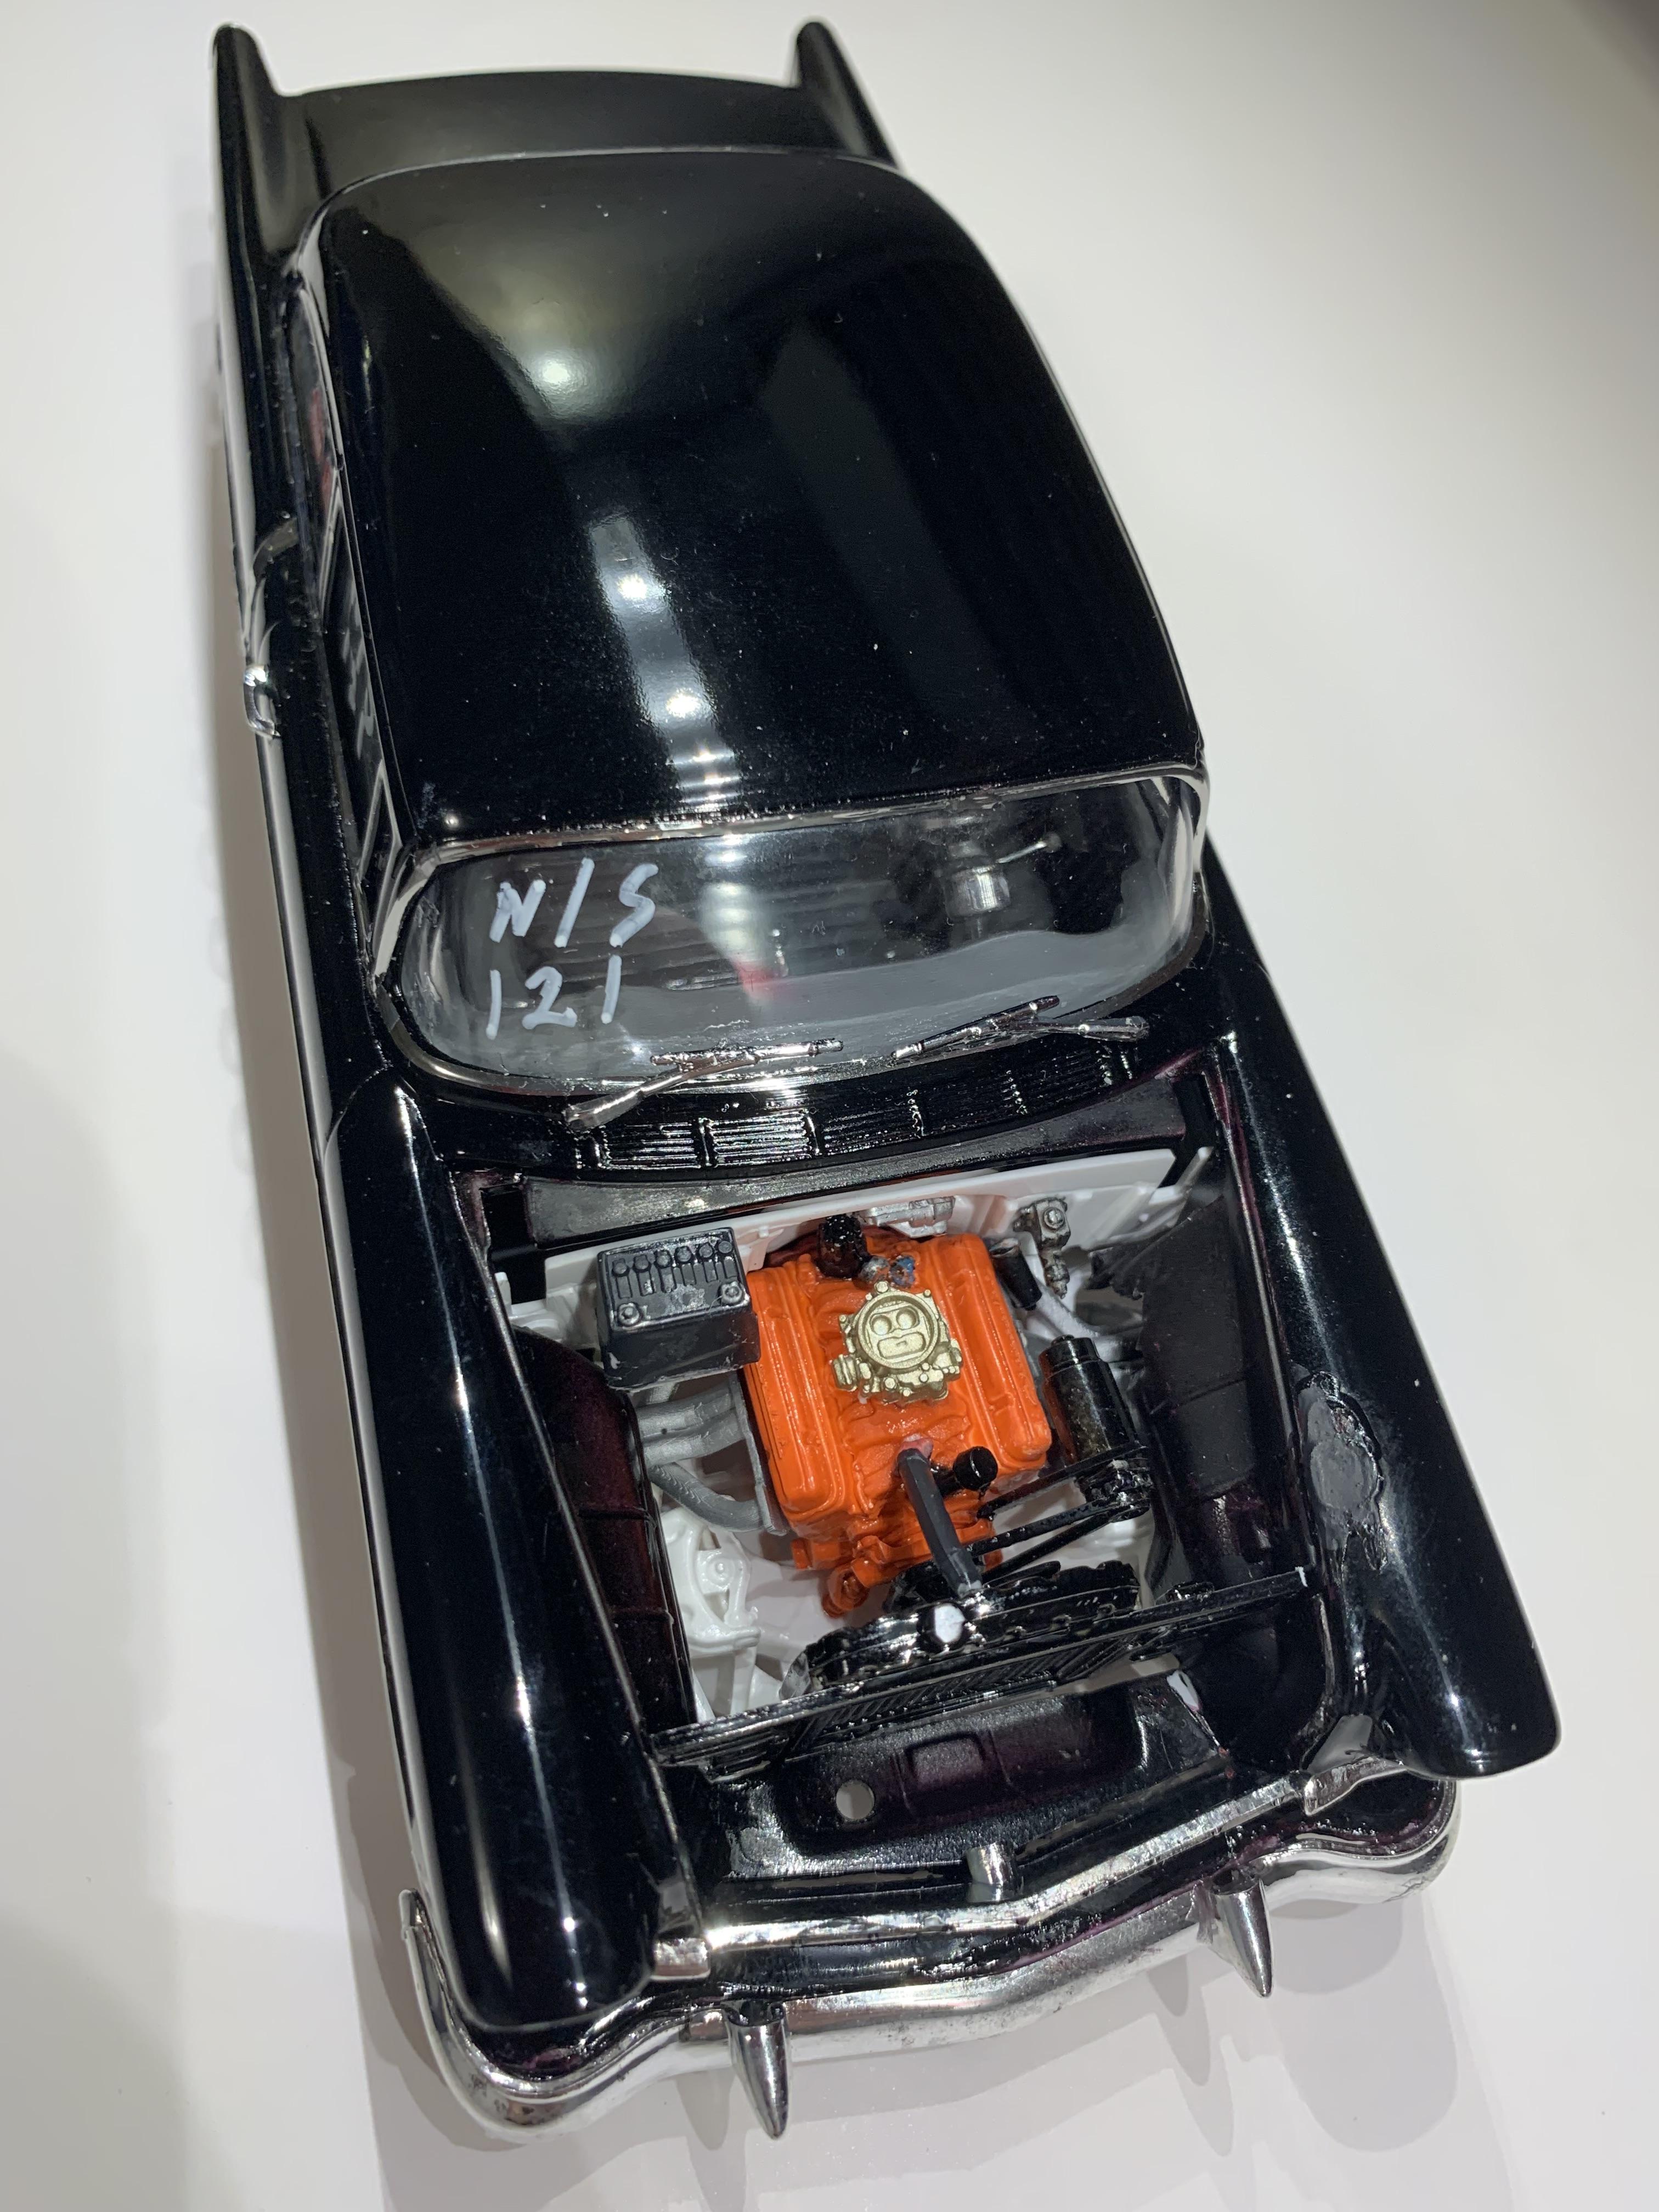
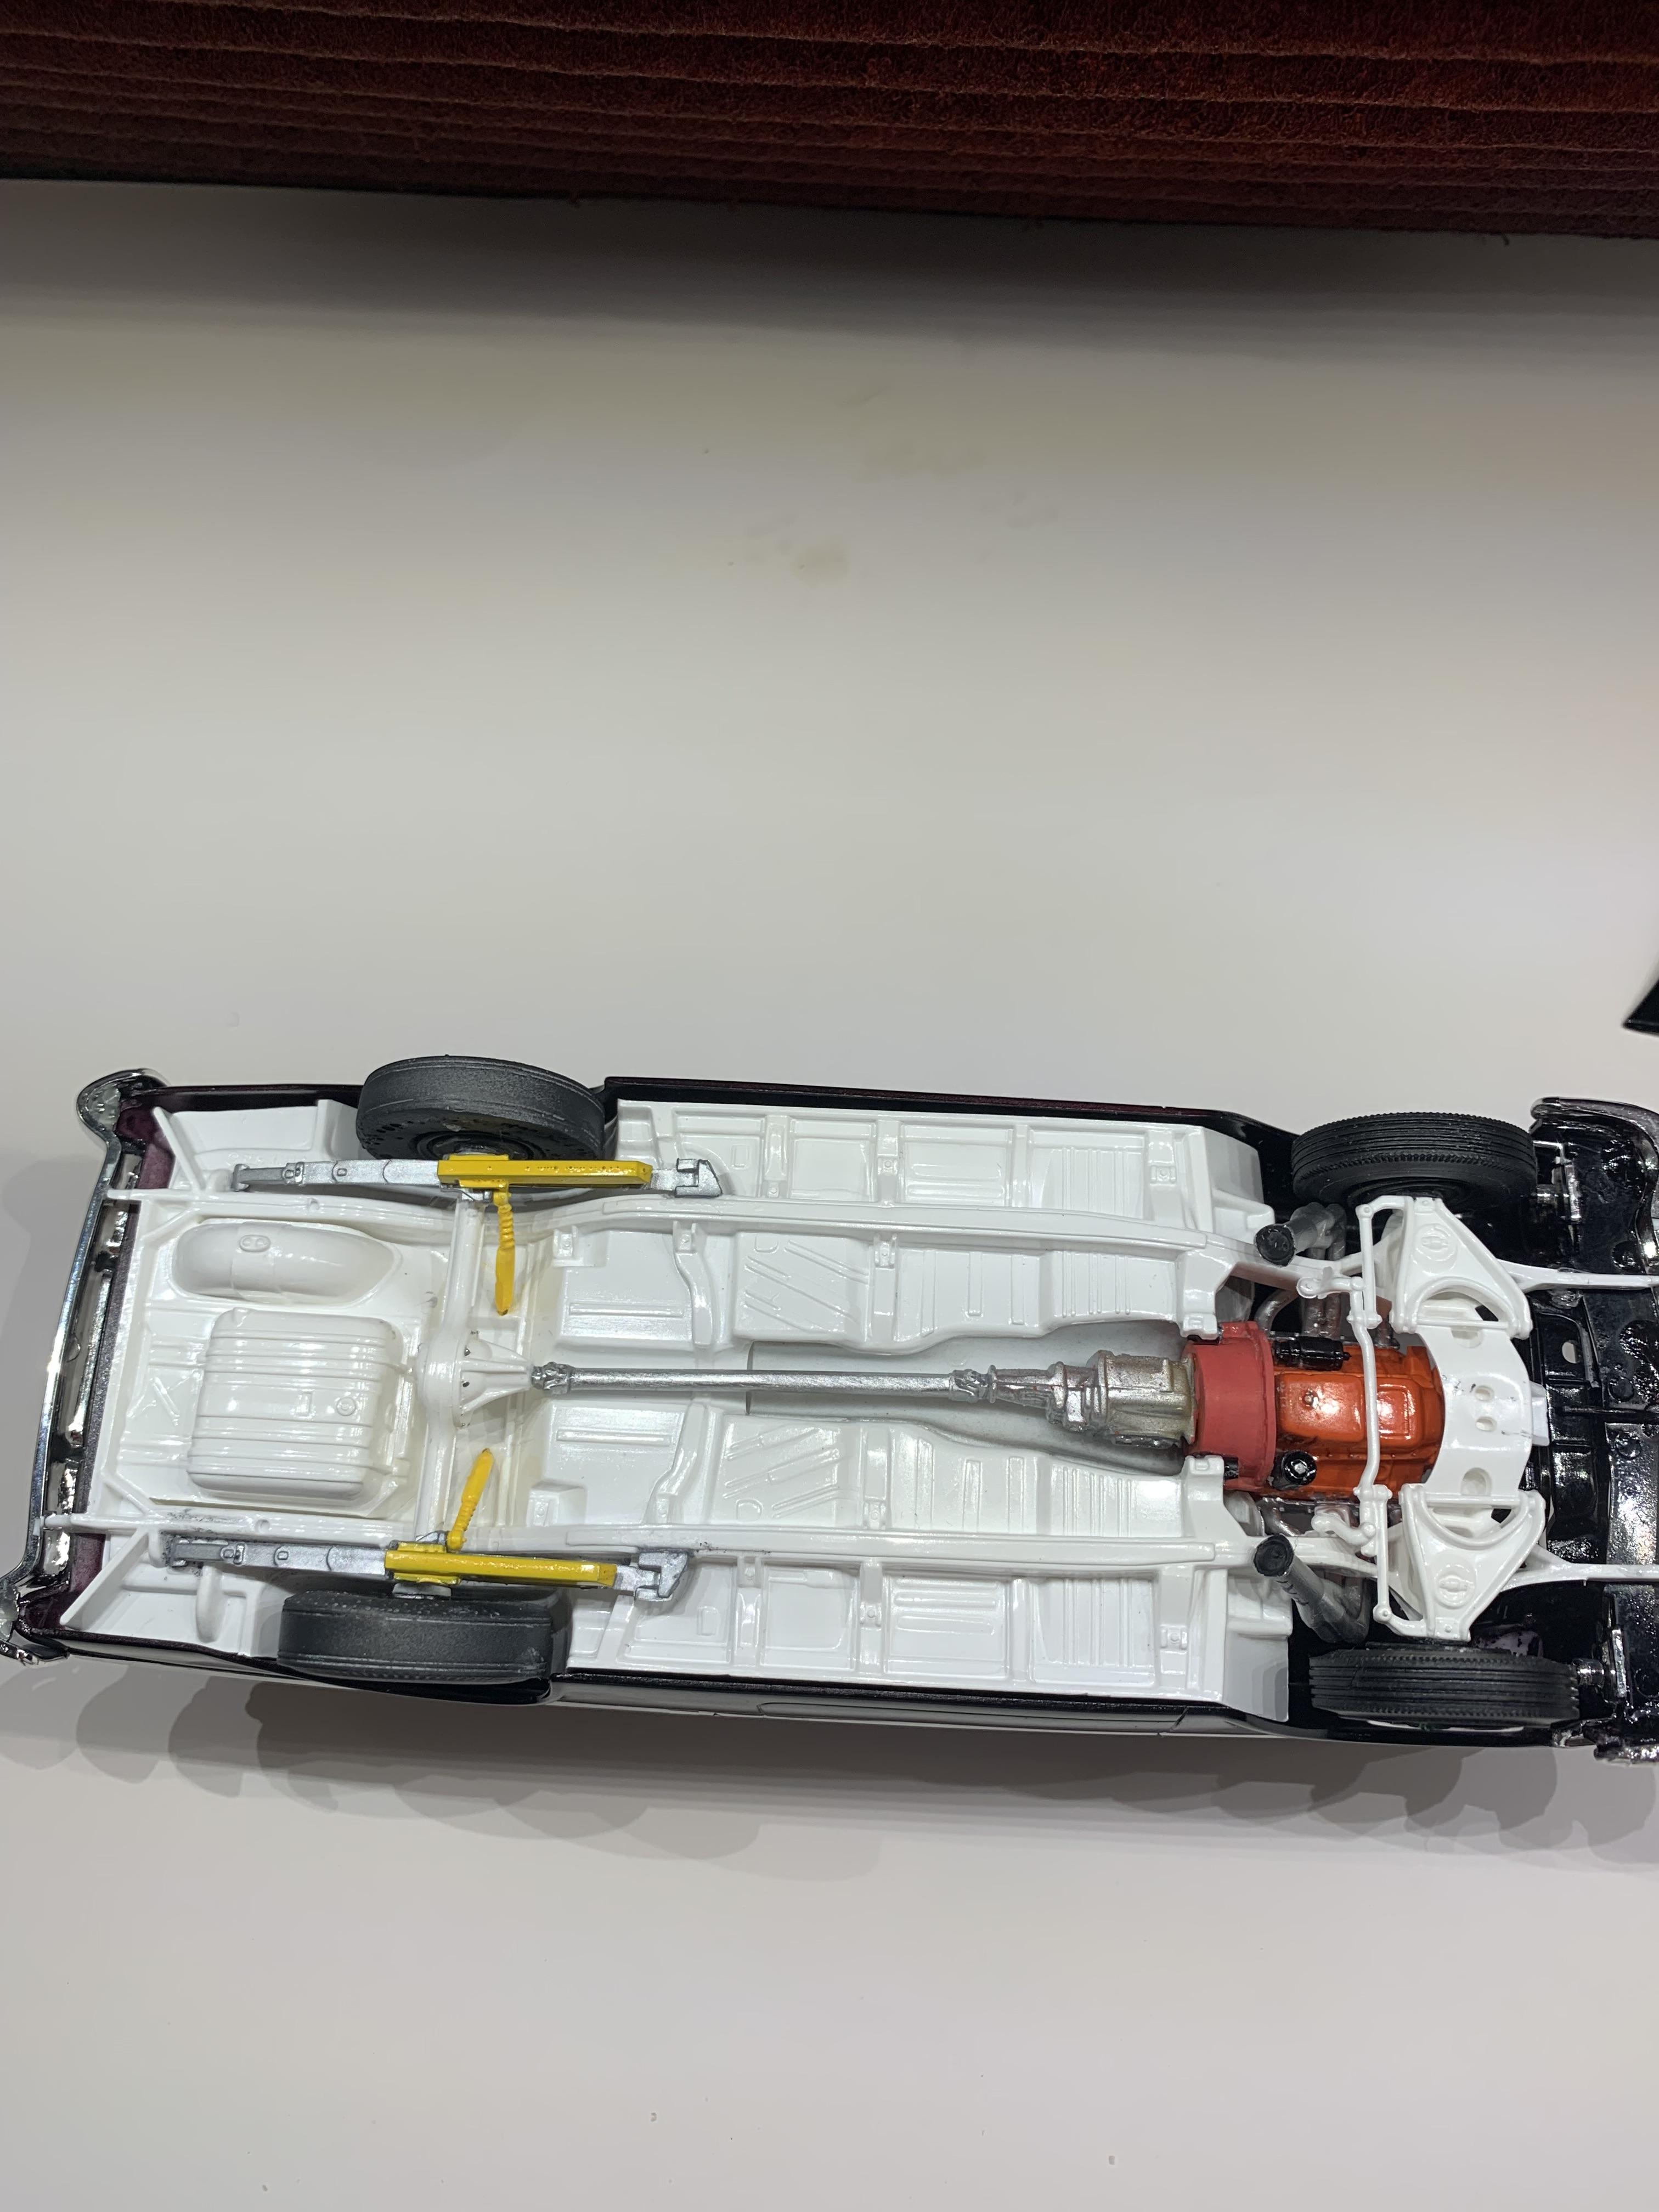
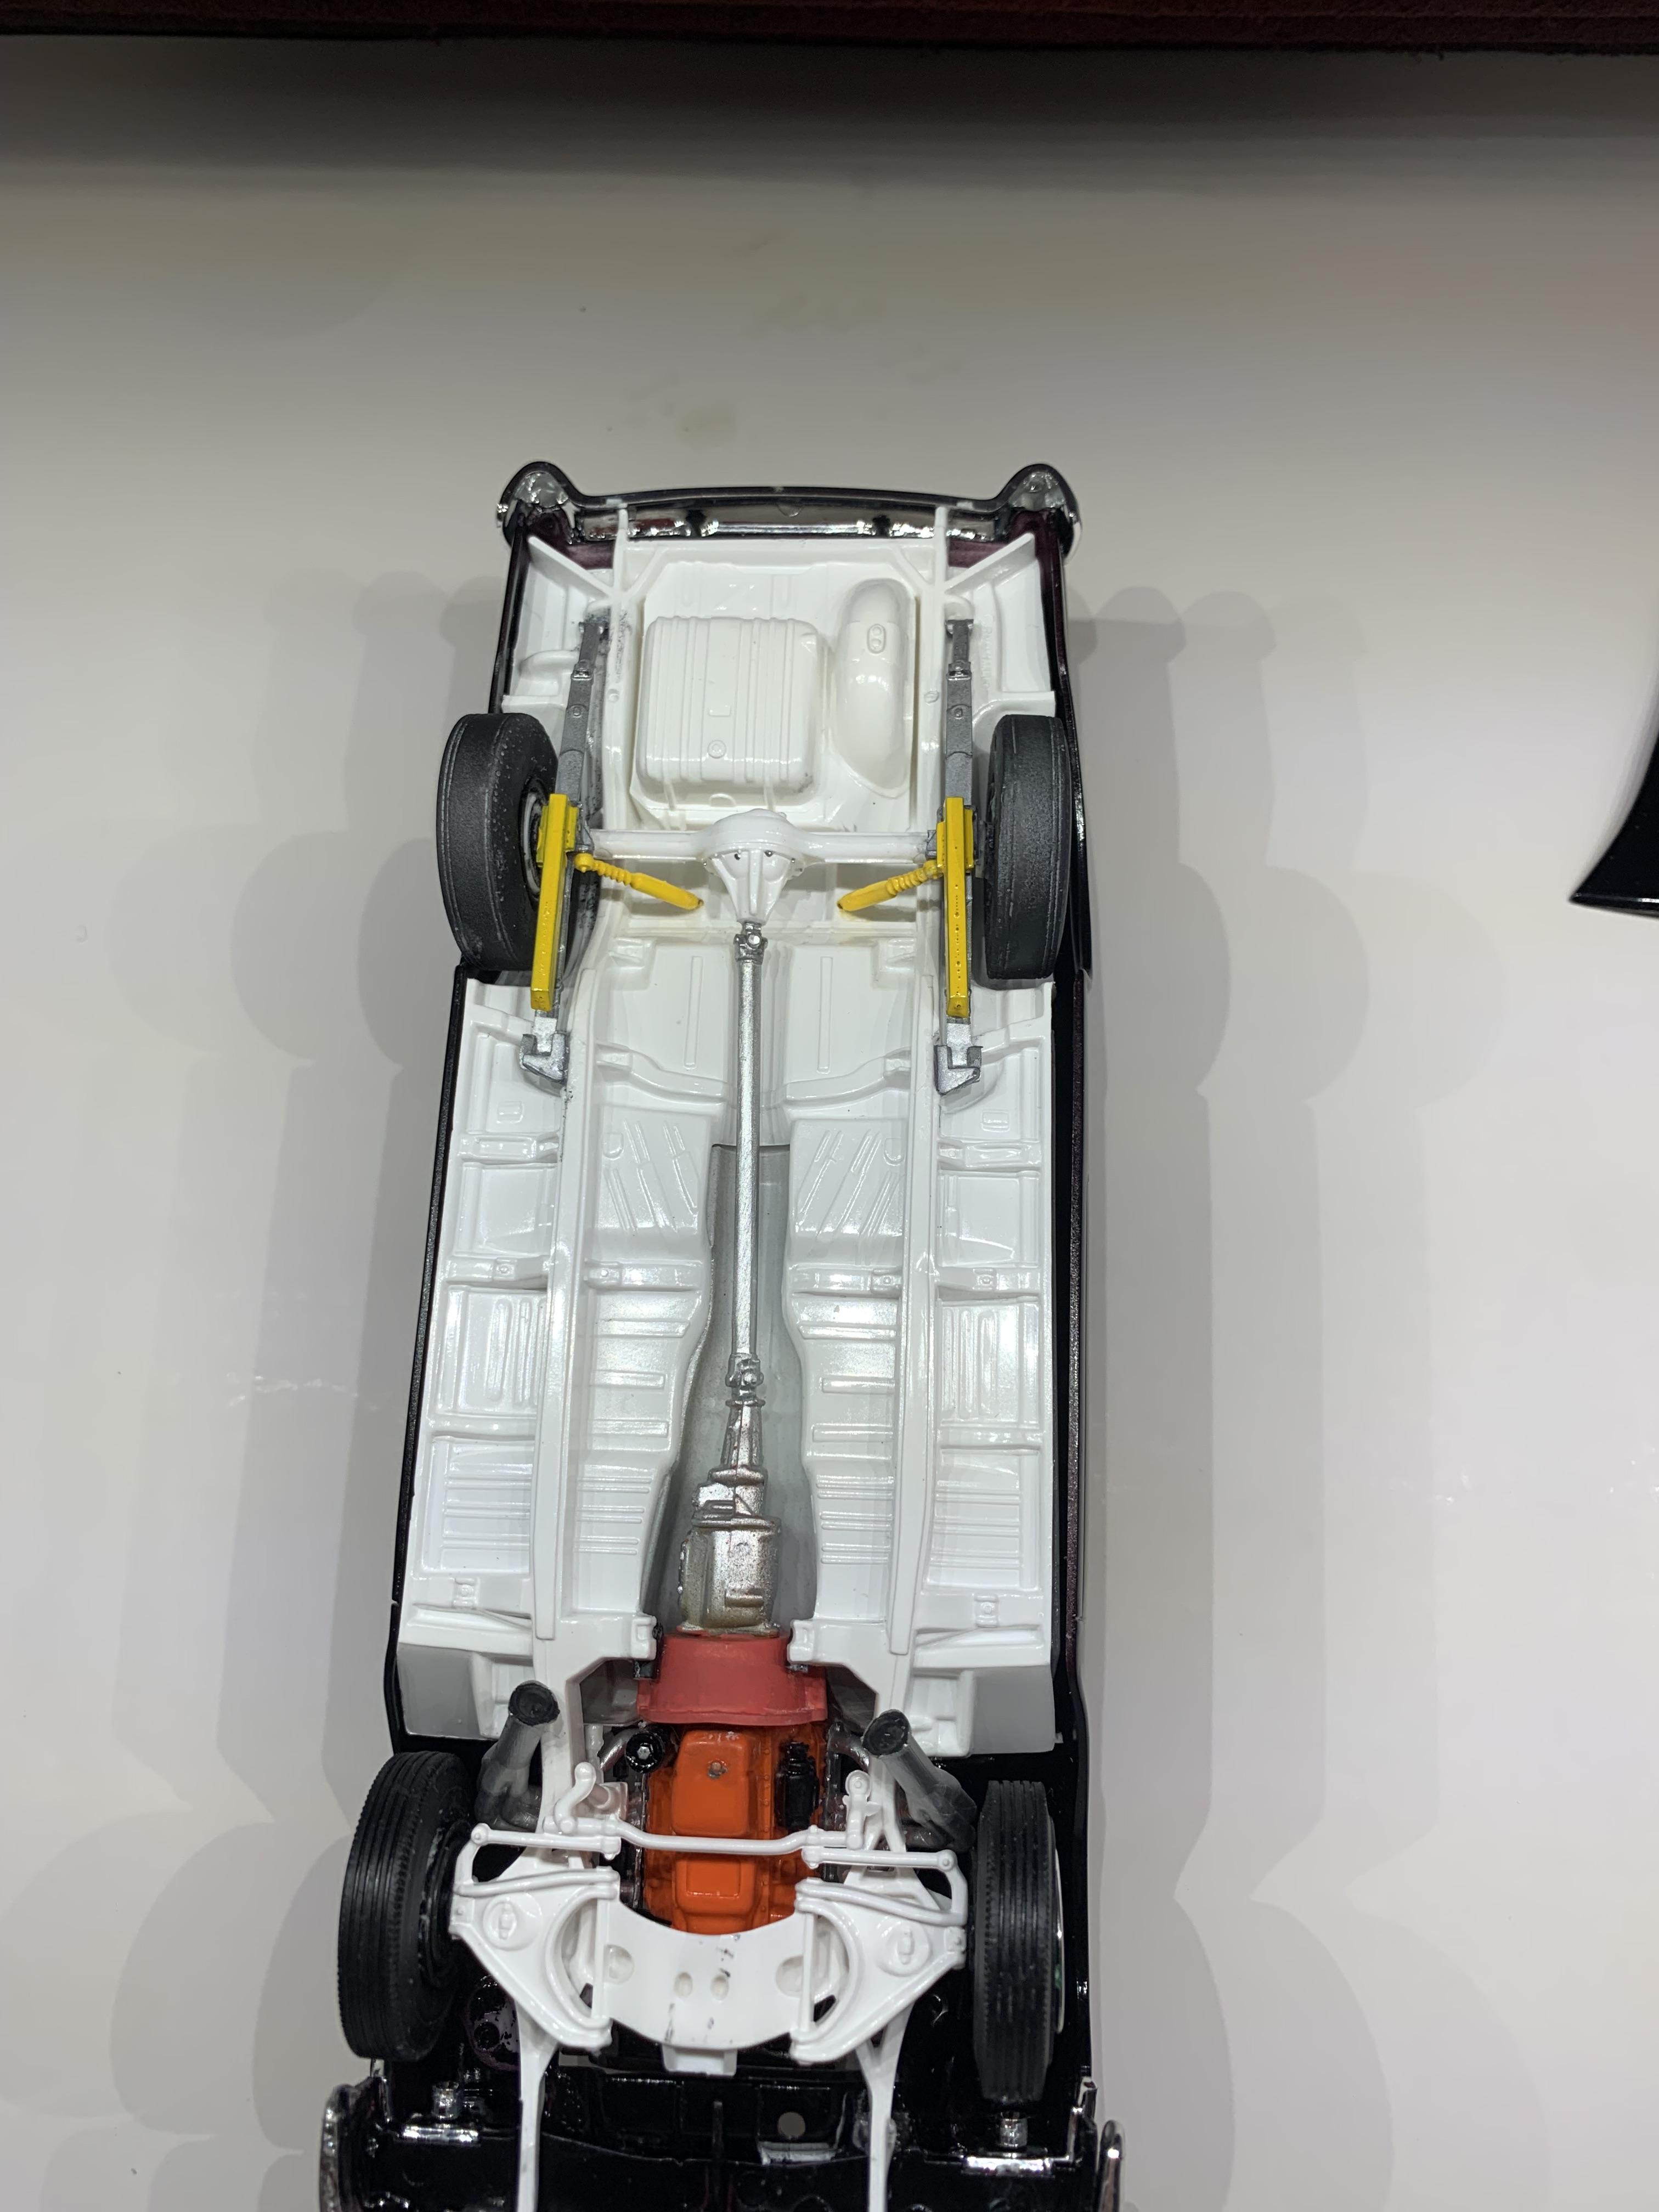
After painting some more parts, I decided to try to show some of the details in this above average kit. The rear end actually has a visible brake line molded in, the generator has a bracket, the rear springs don’t have any arch to them, it has a road draft tube. I used my acrylic marker (brush end) to paint some of the smaller pieces.
-
Above average, Elliot. Crispy, as opposed to leafy. It’s what I deserve for trying to use up some old paint that I didn’t like before. Insanity: doing the same thing over and expecting different results. Glued the tires/wheels together and painted a bunch of small parts (that’s what you get with a highly detailed engine/chassis/interior).
-
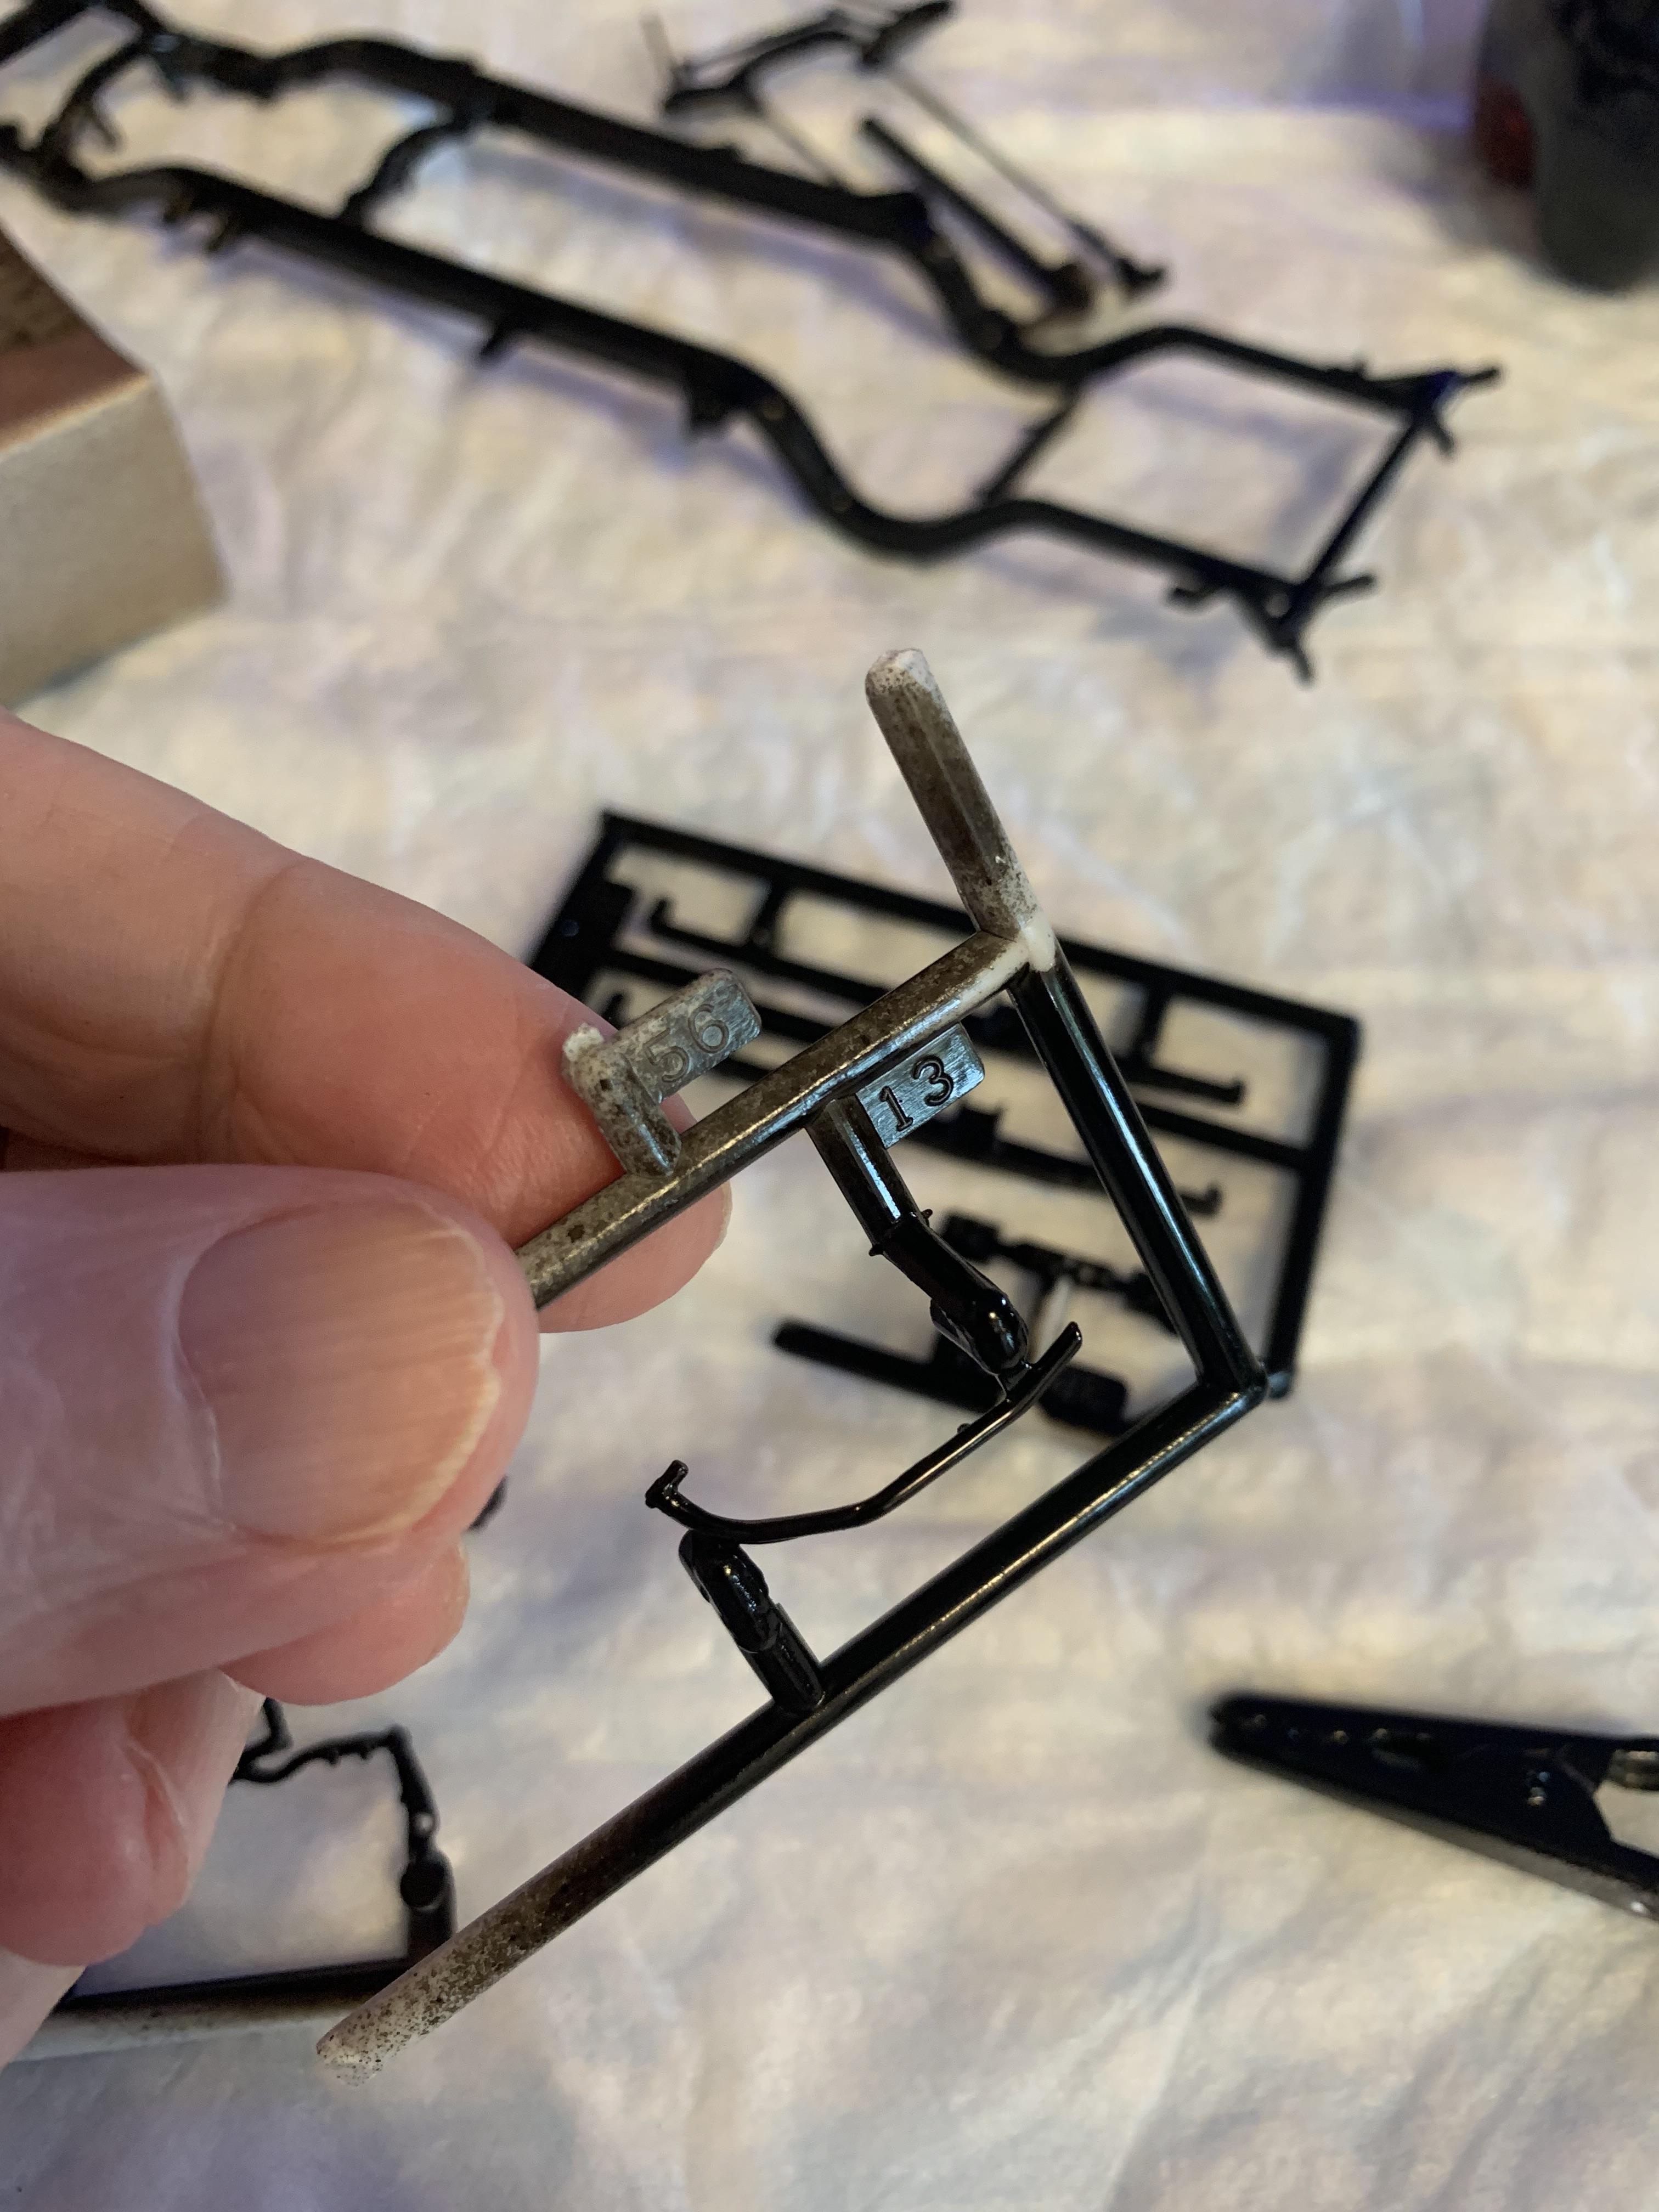
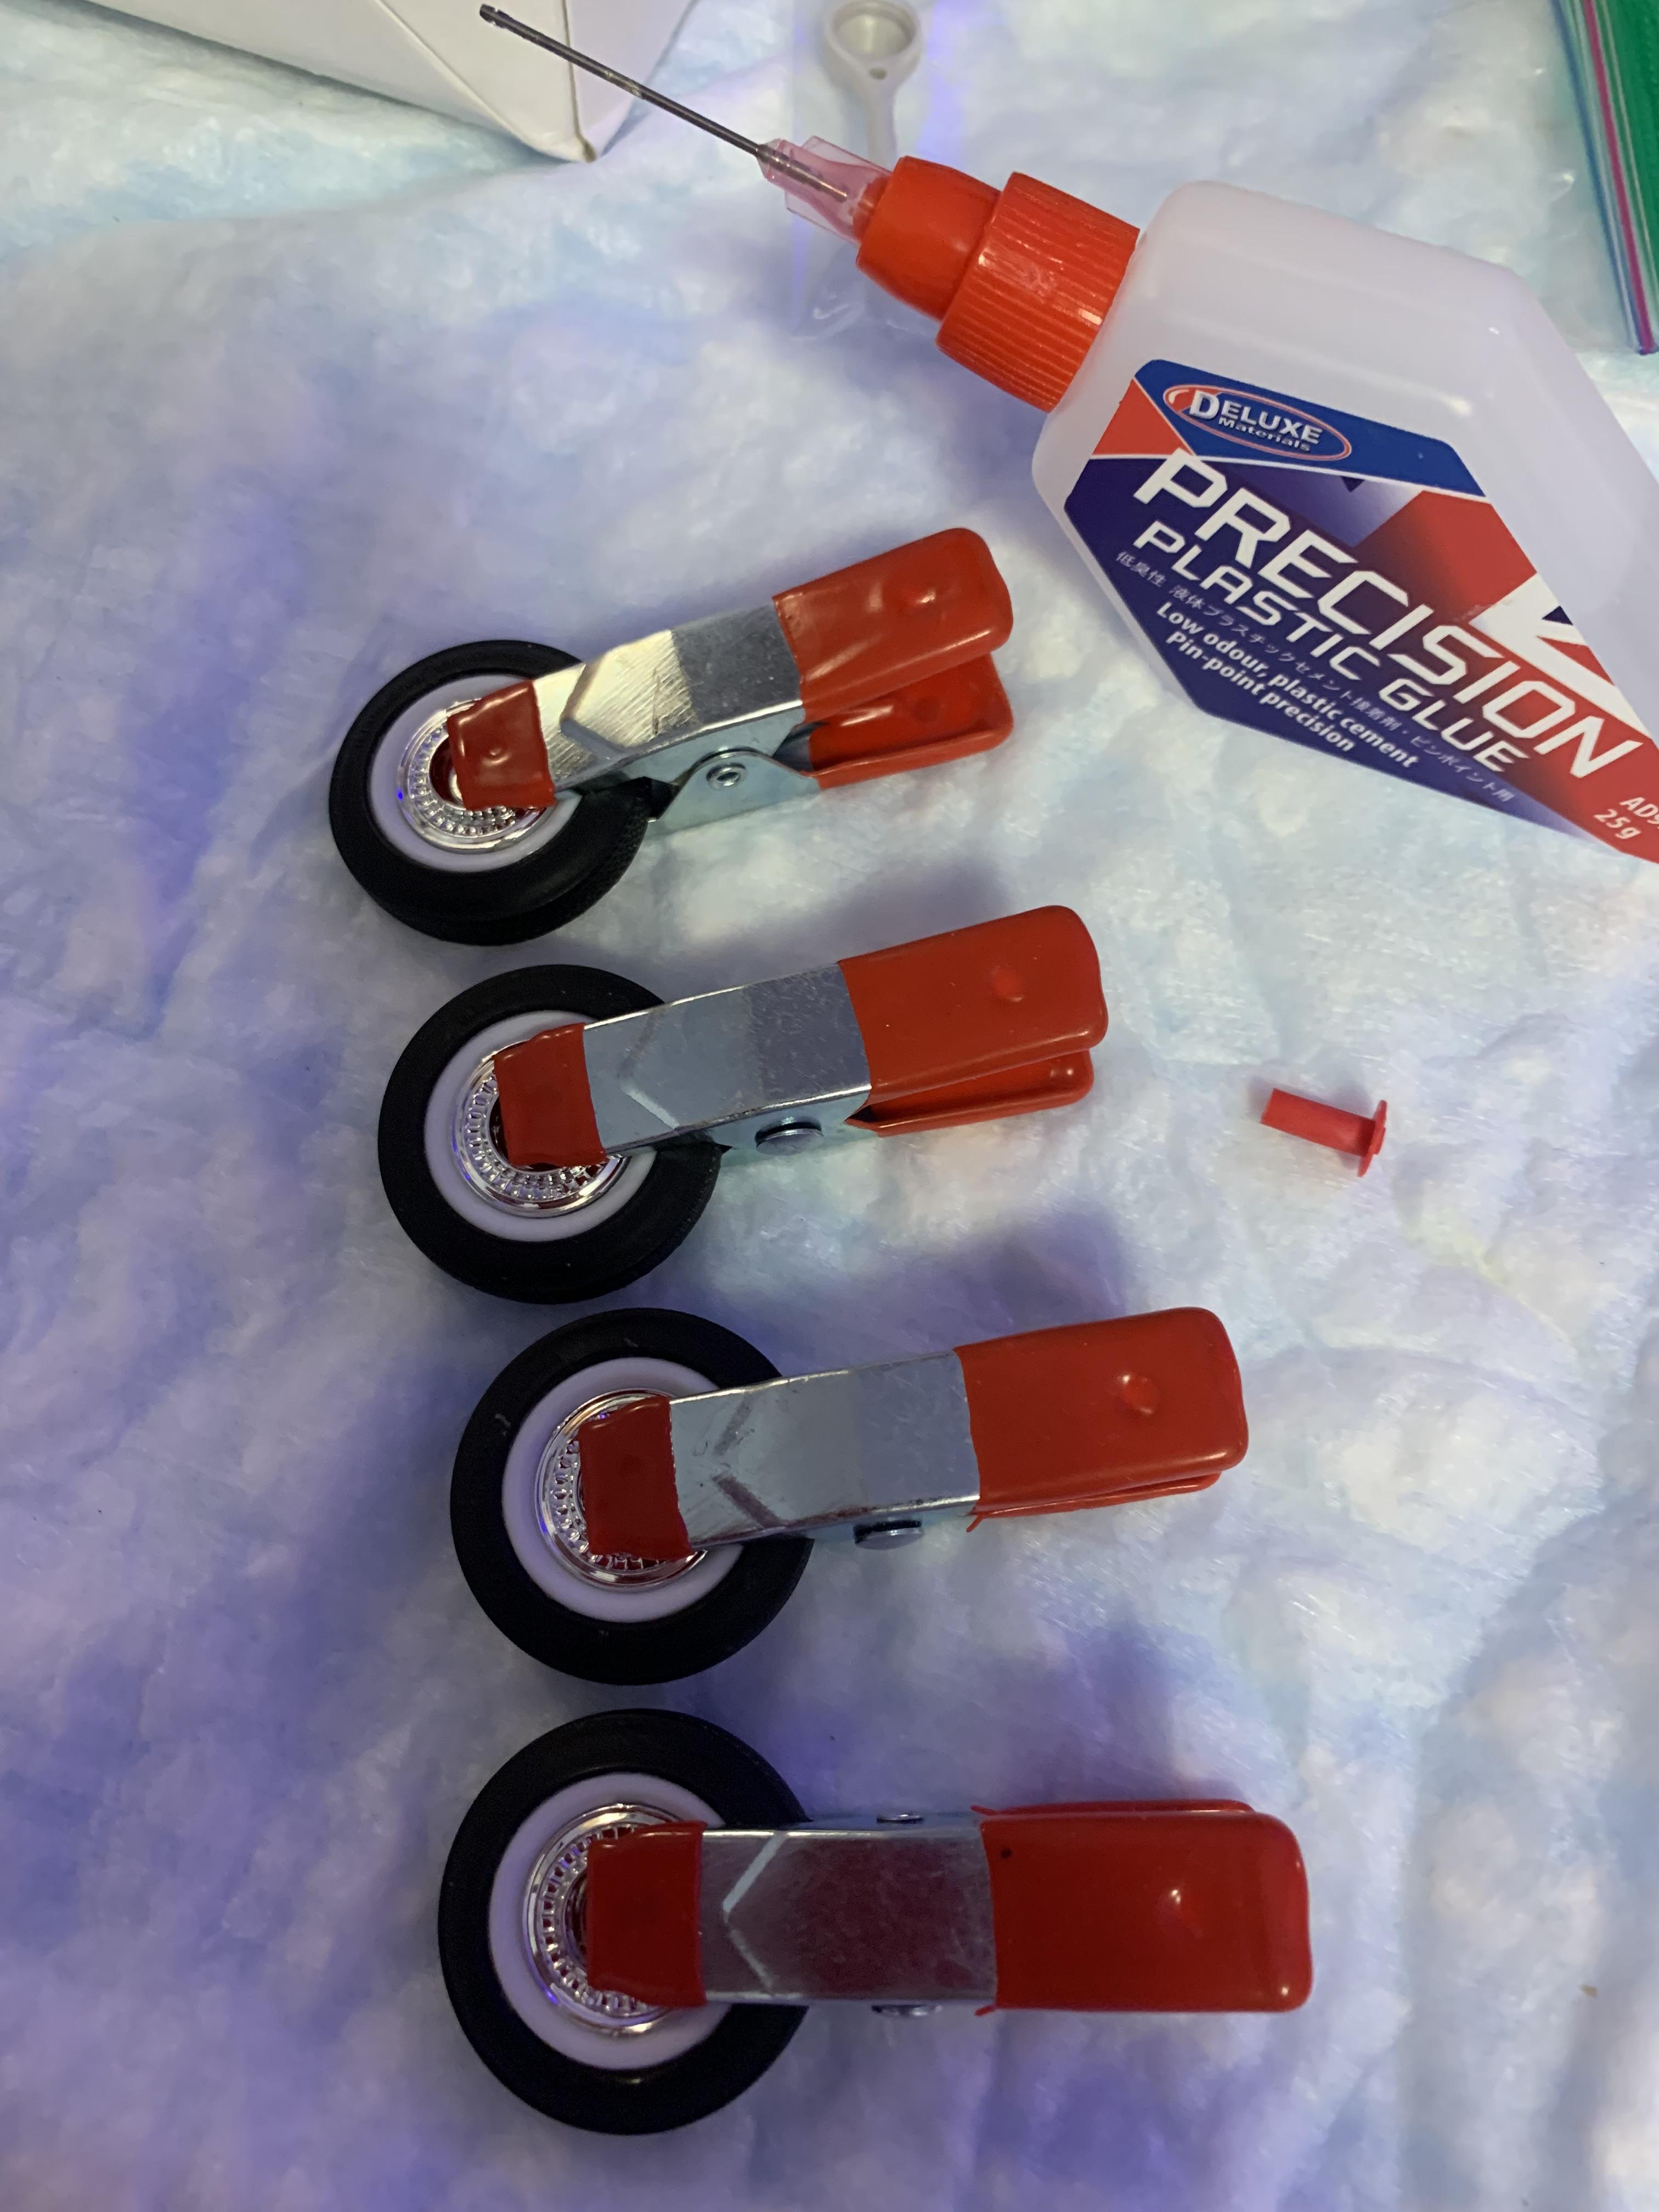
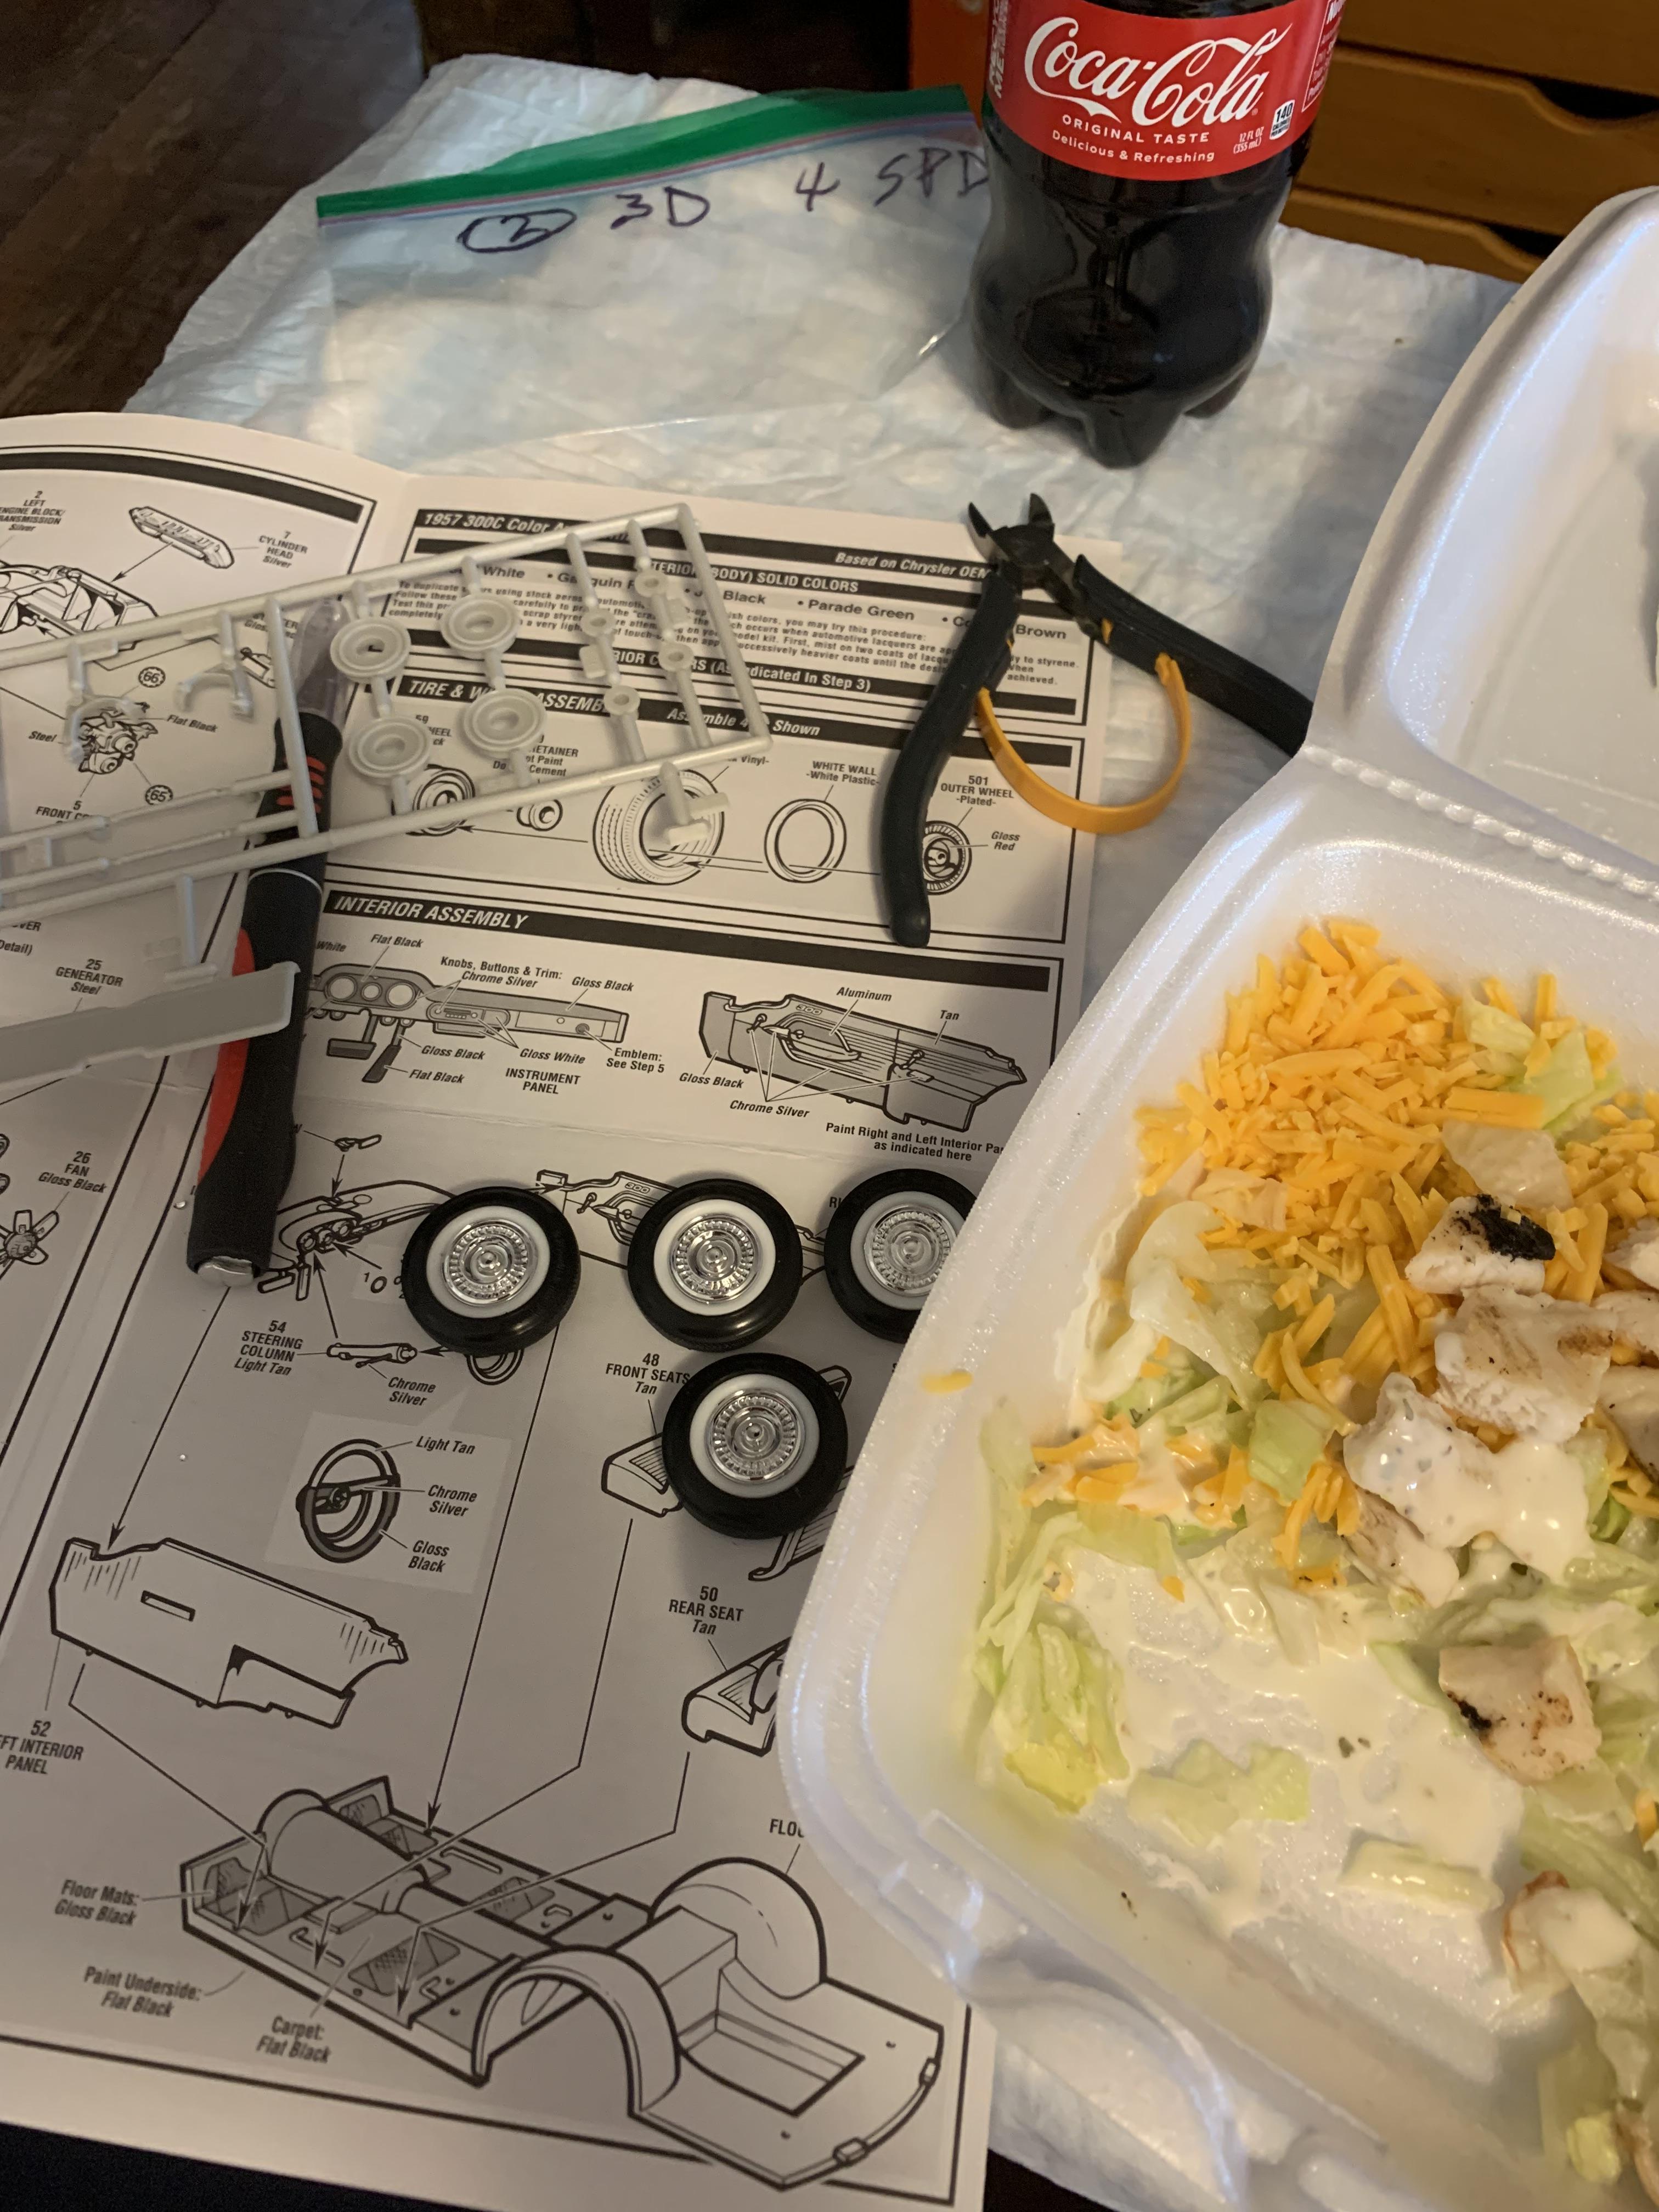
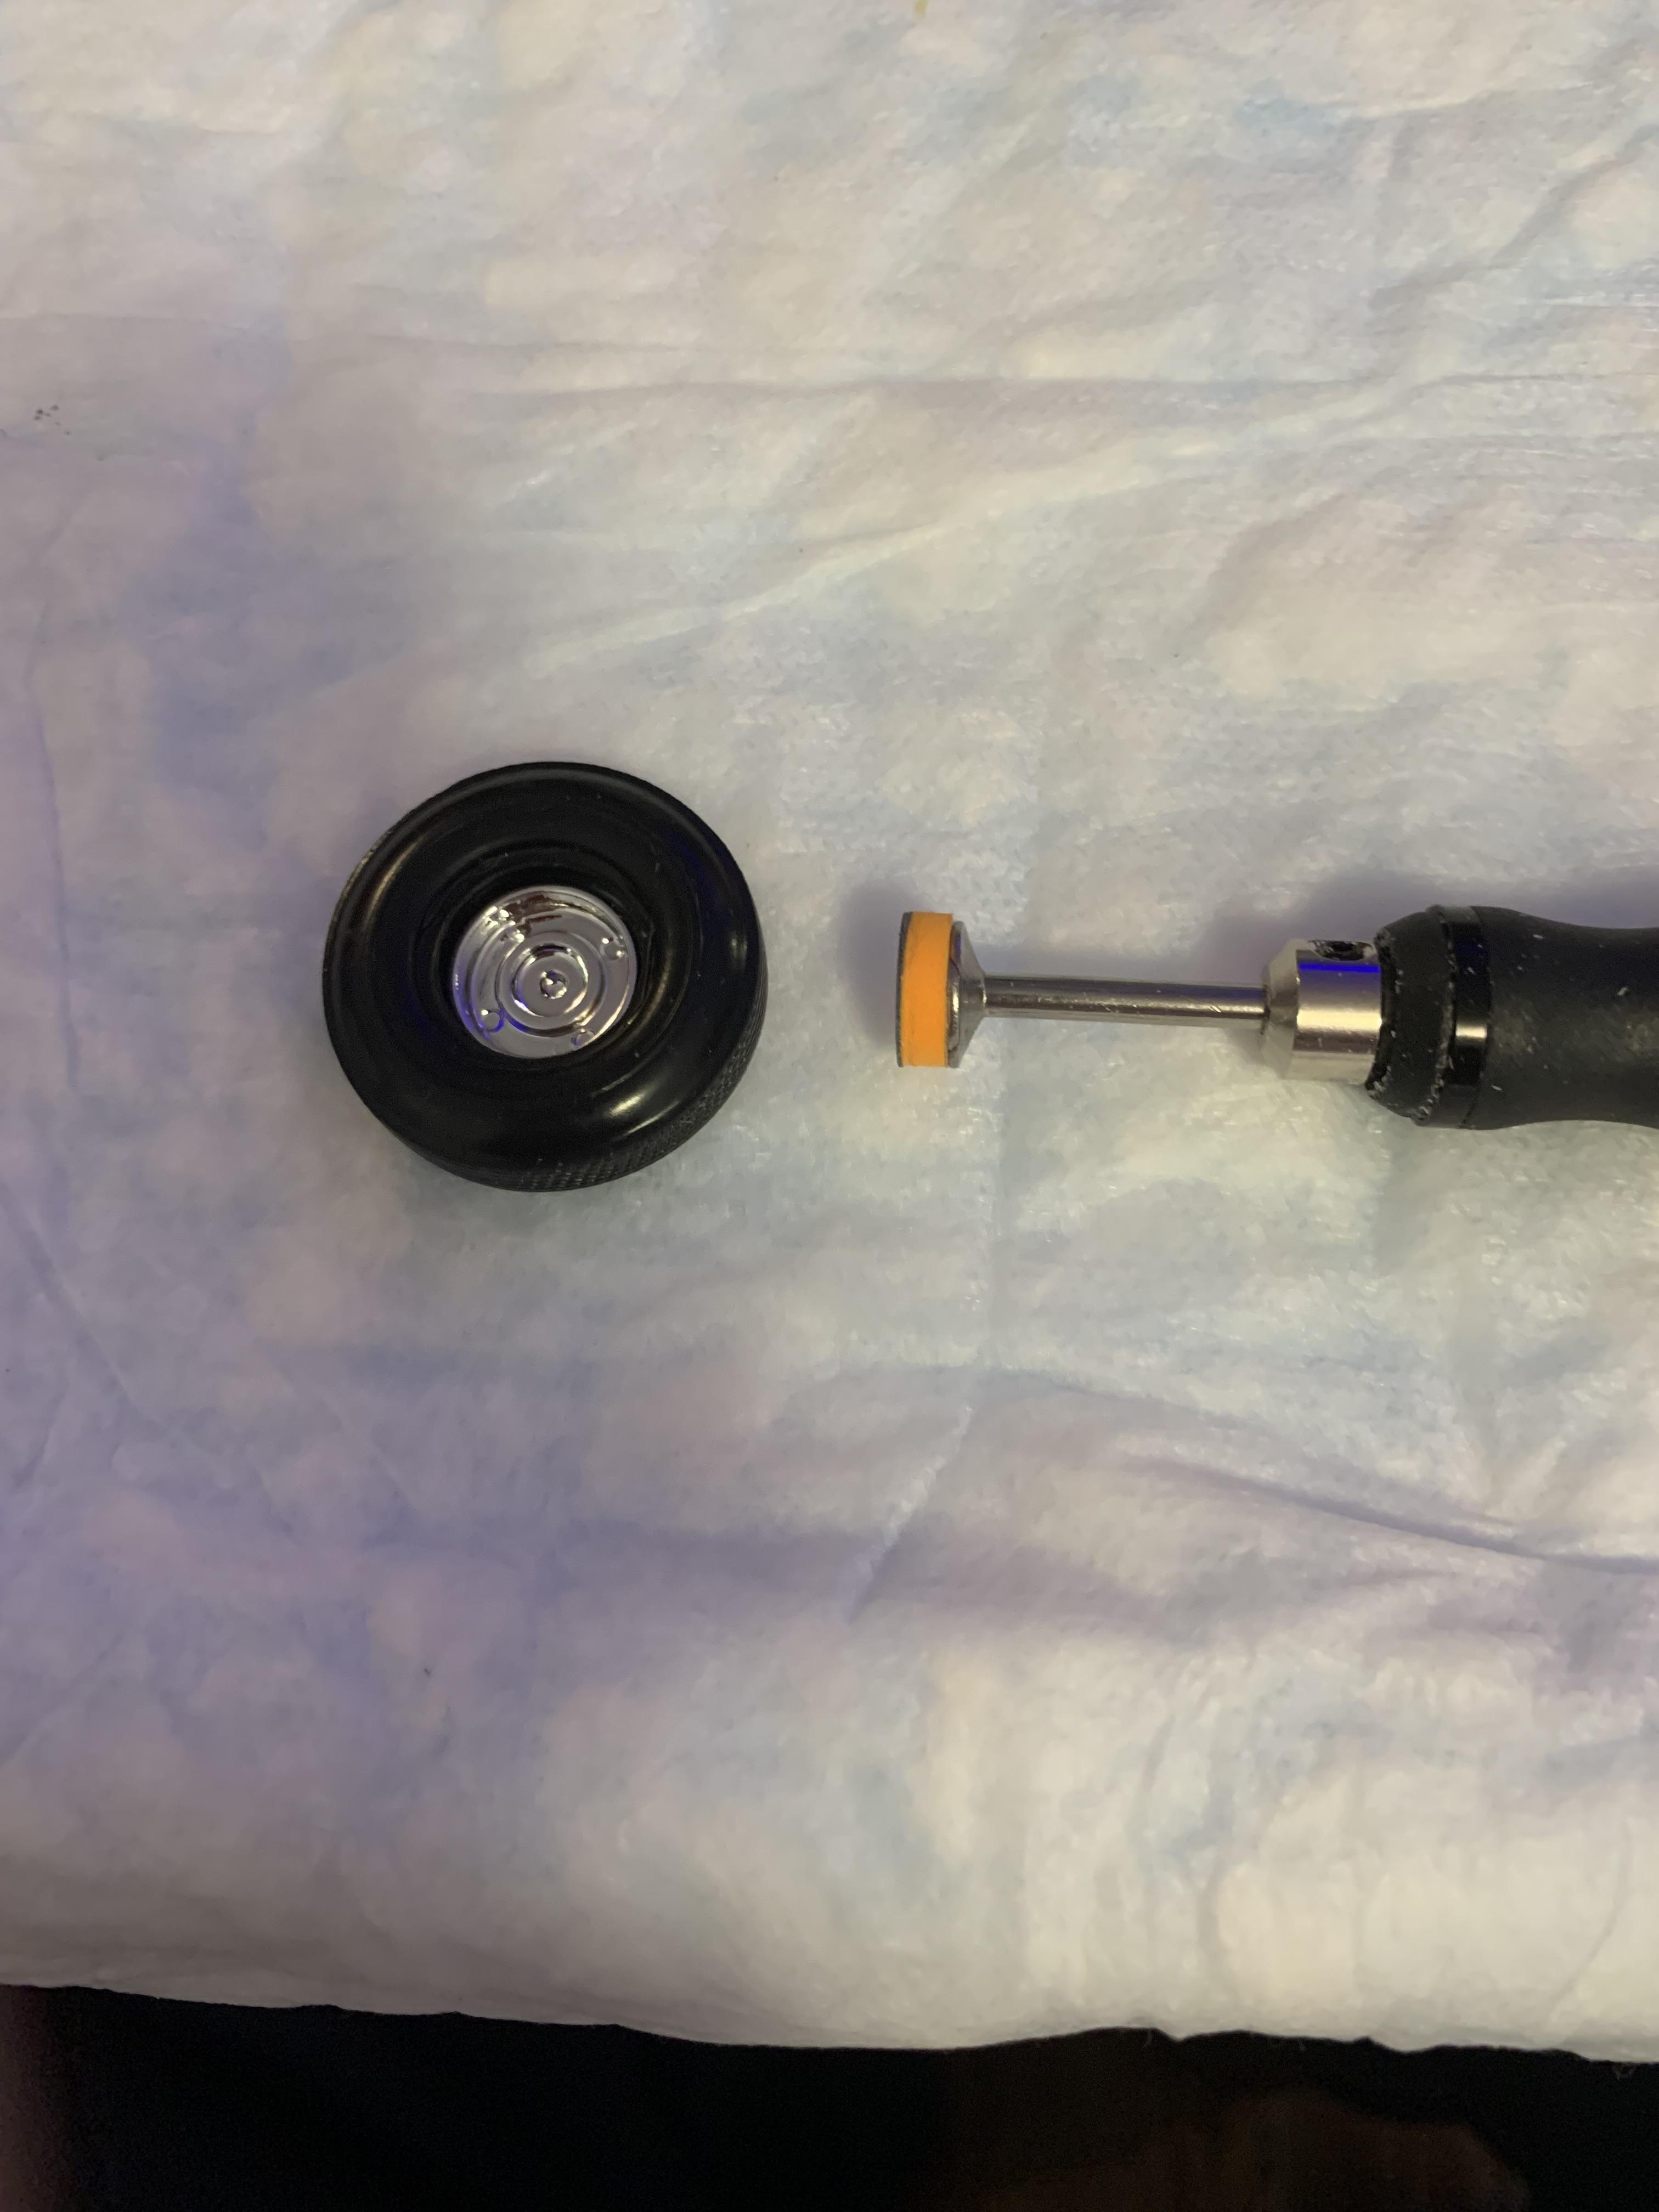
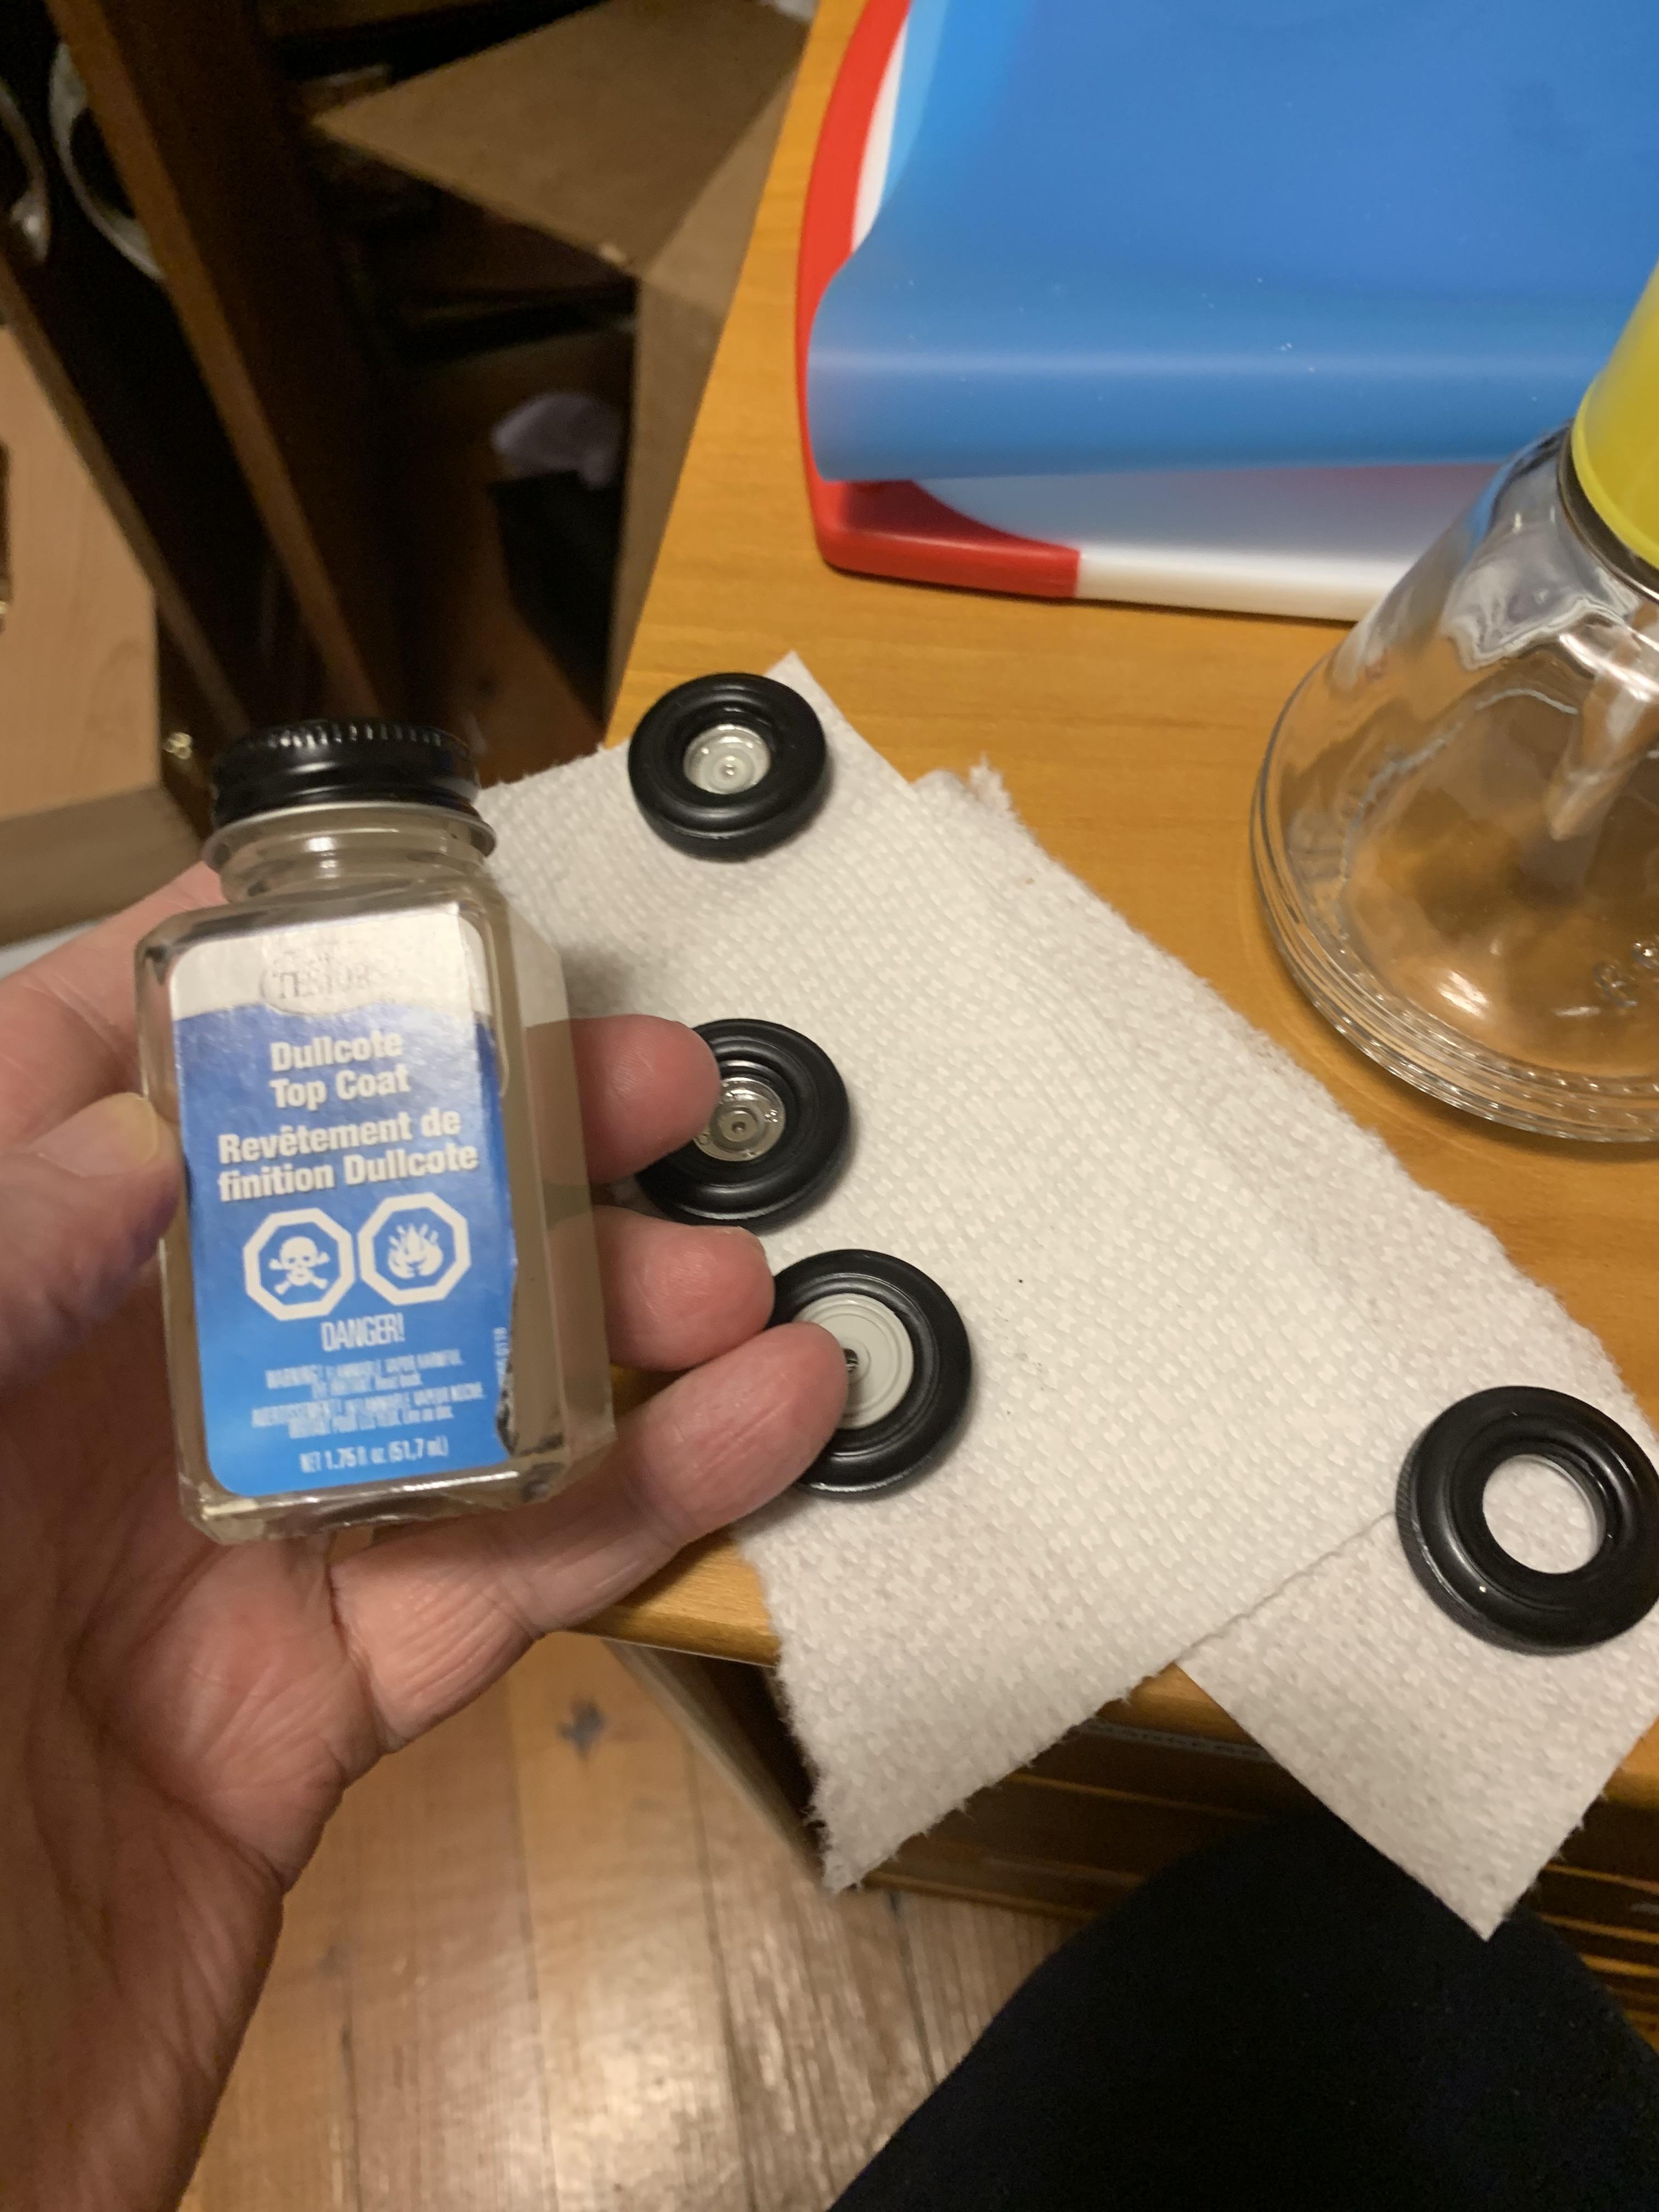
Decided to trial fit the wheels and tires while eating supper. Also trimmed up the frame. Then sanded the backs of the wheels (just had to try out my new dspiae sander/grinder). Put some dull cote on the tires to take some of the sheen away.
-
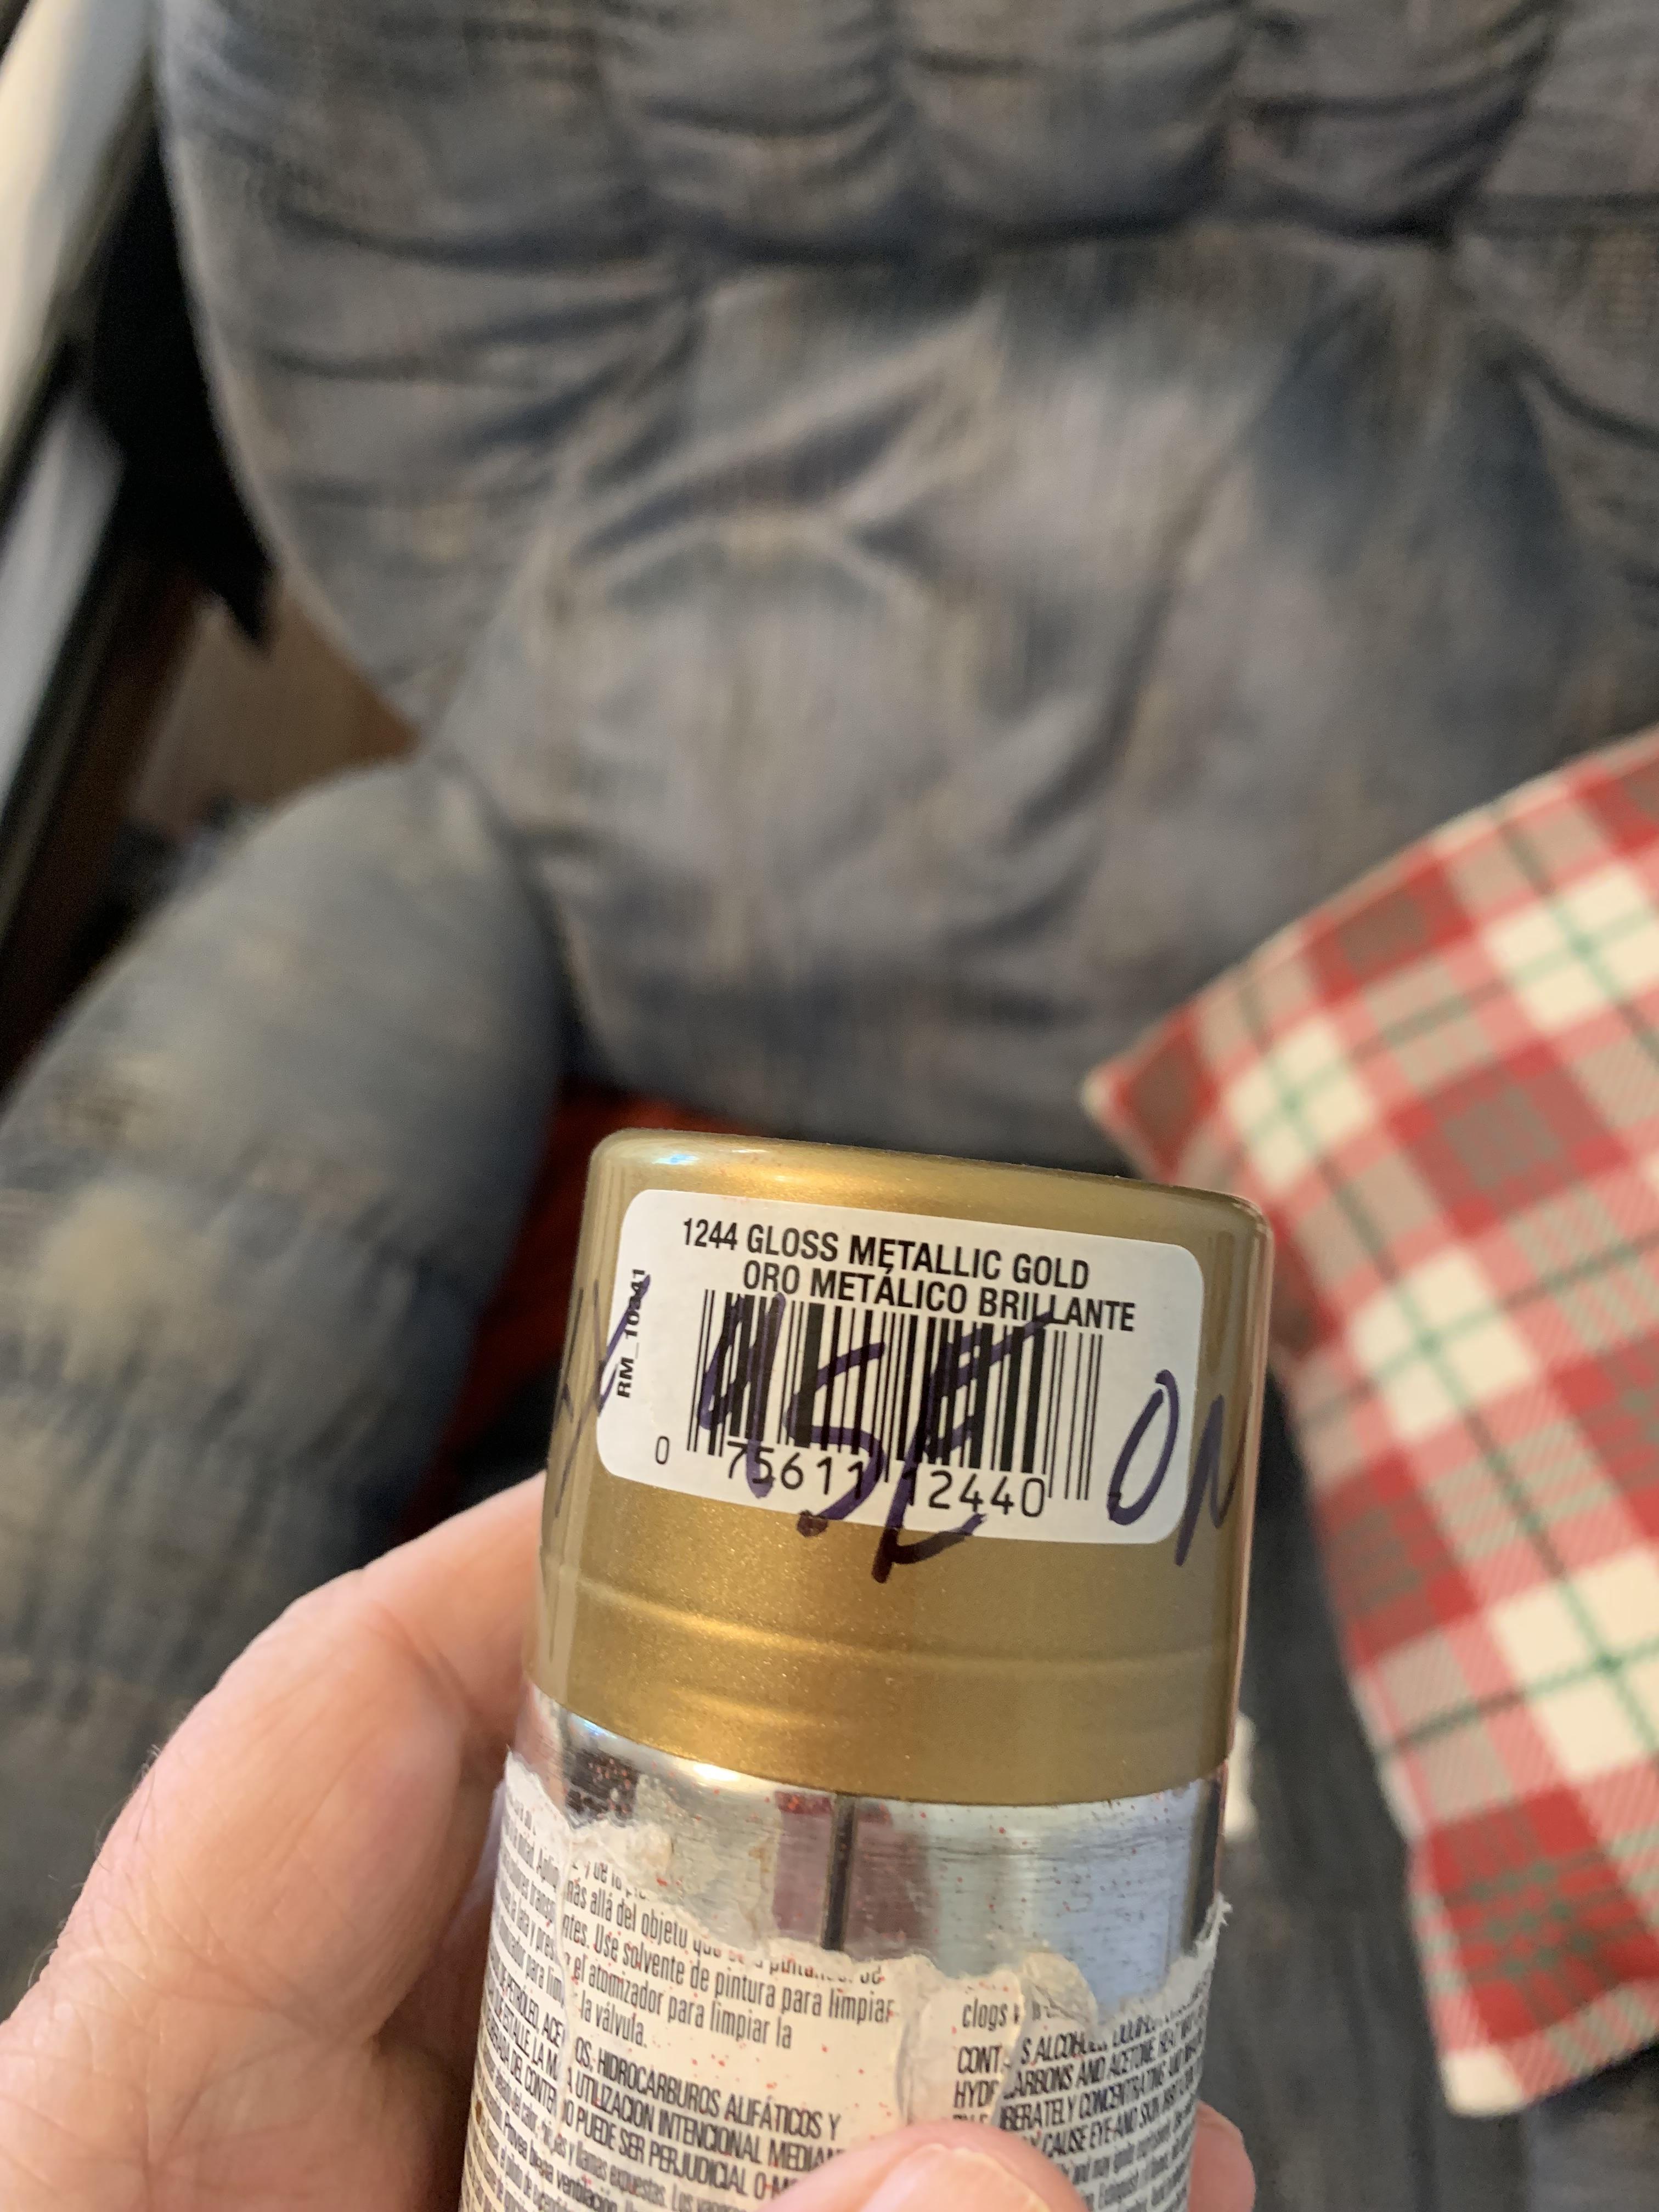
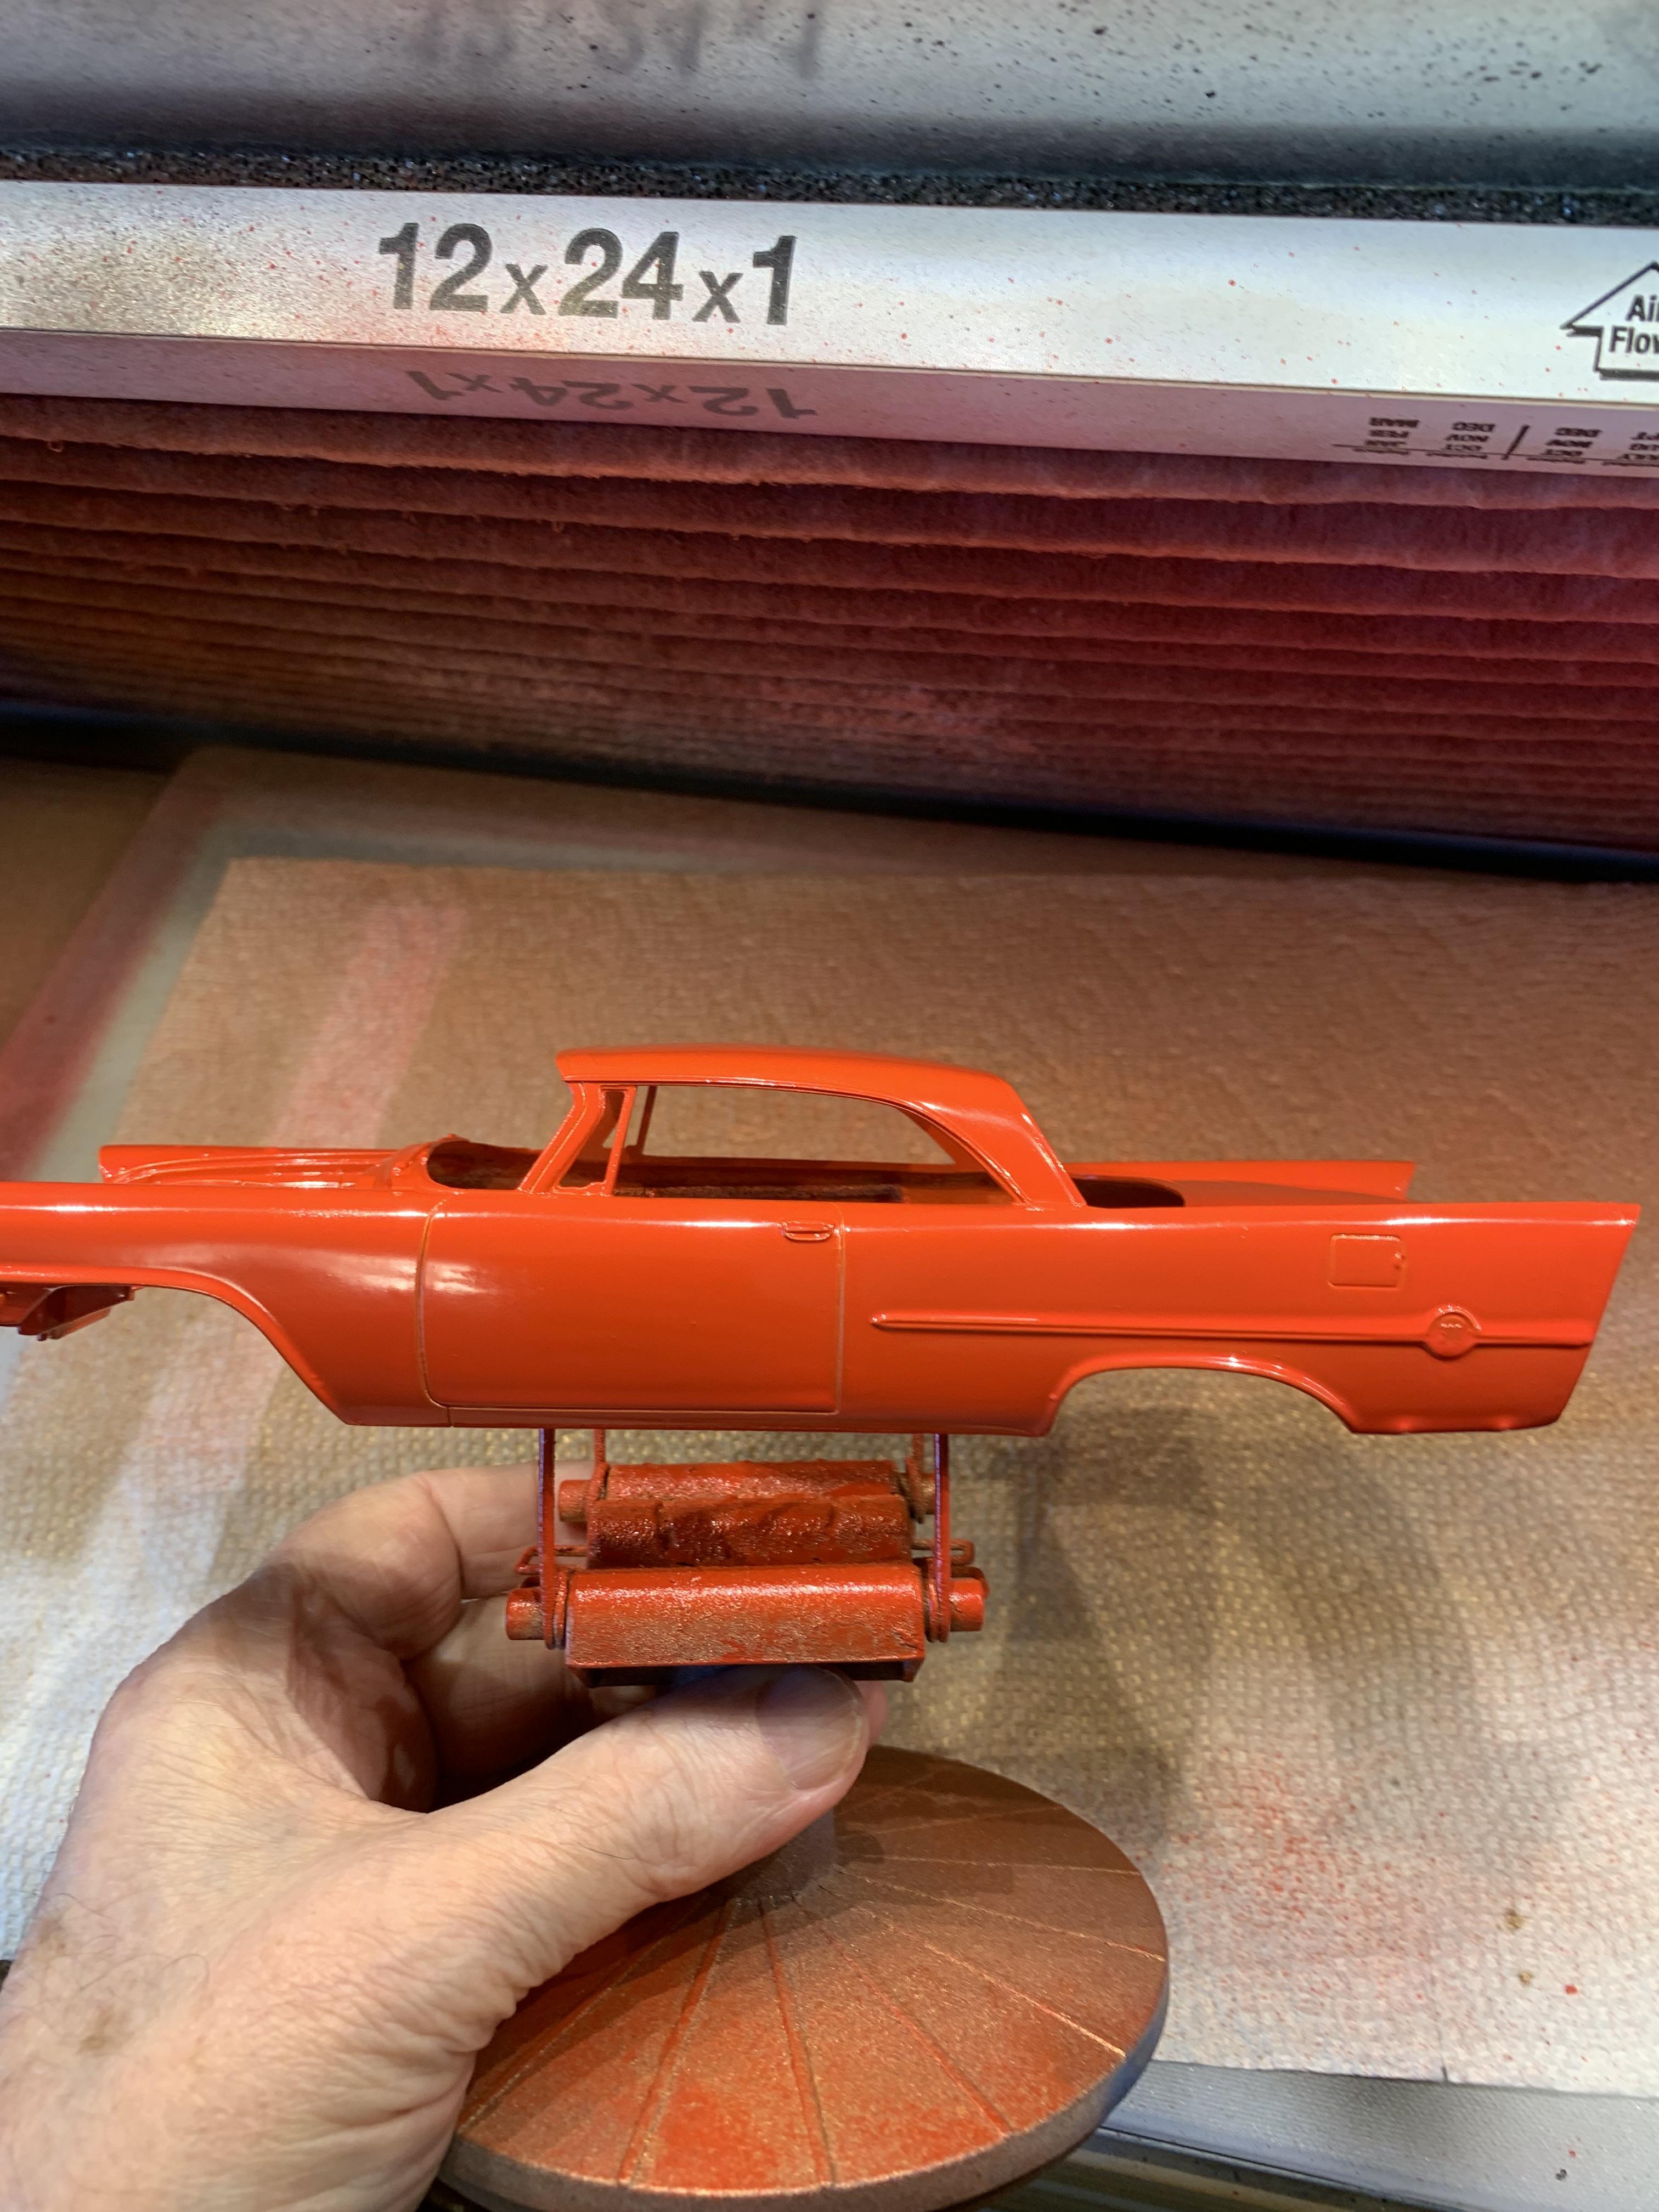
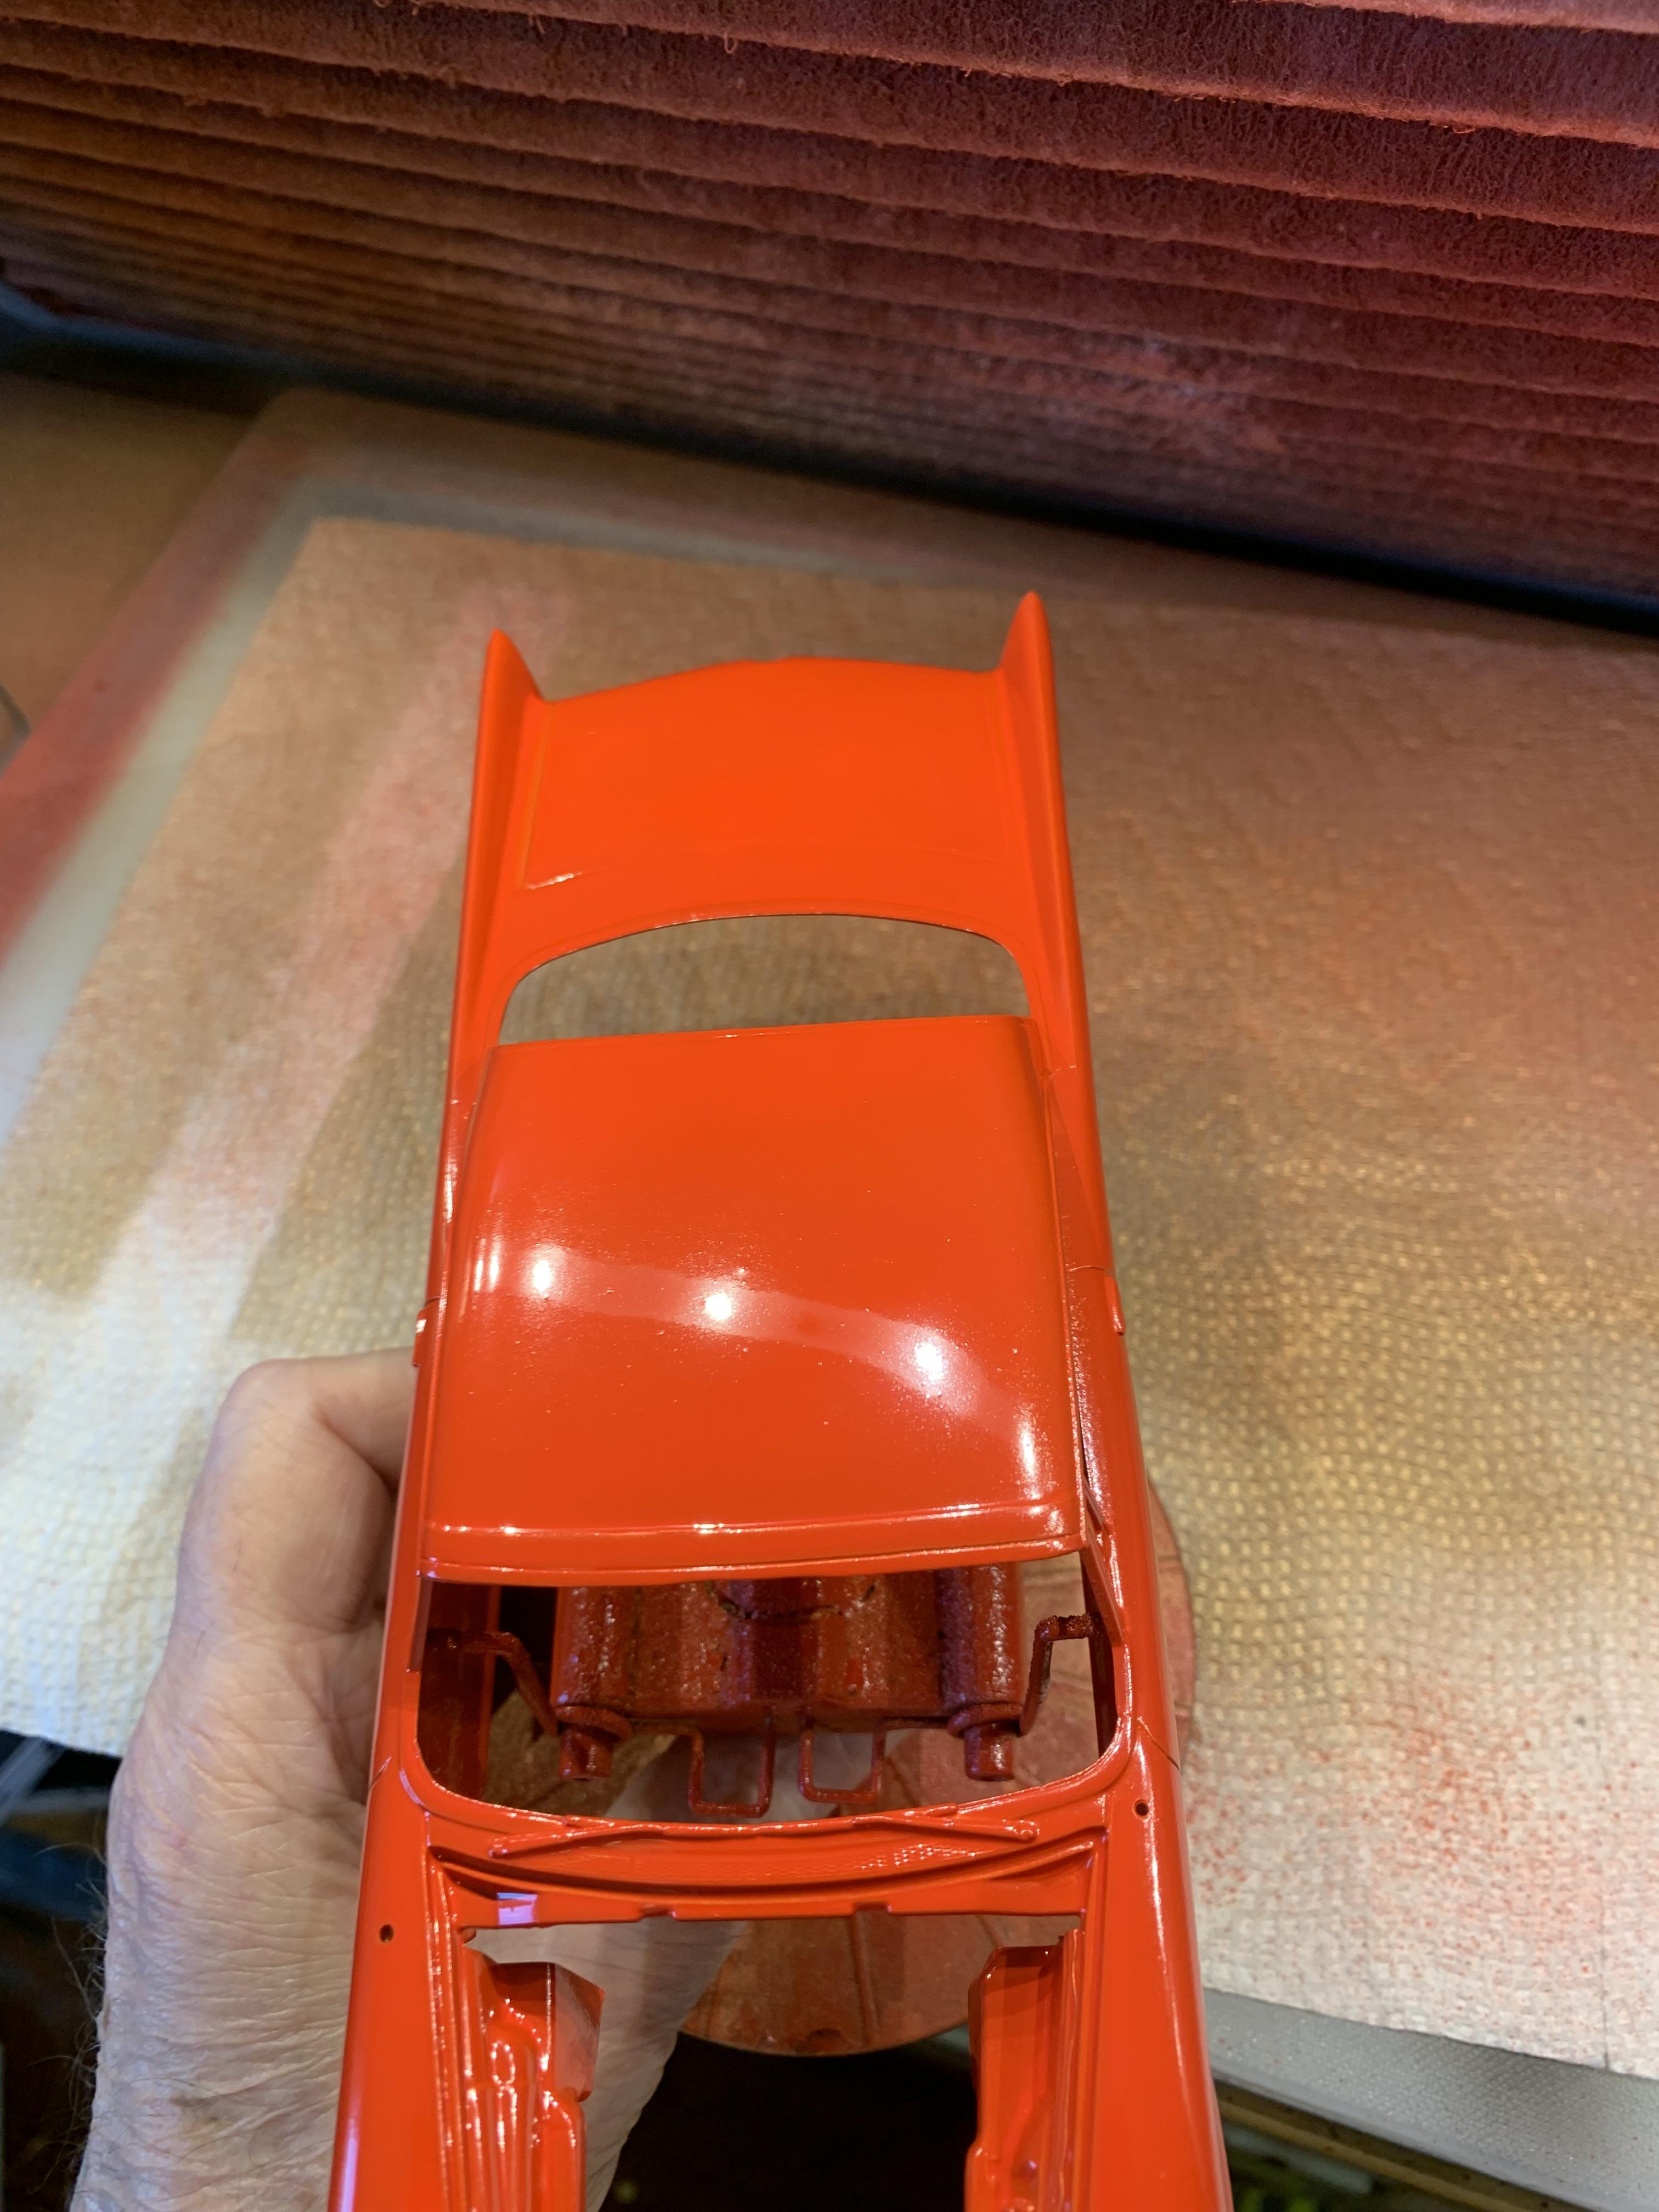
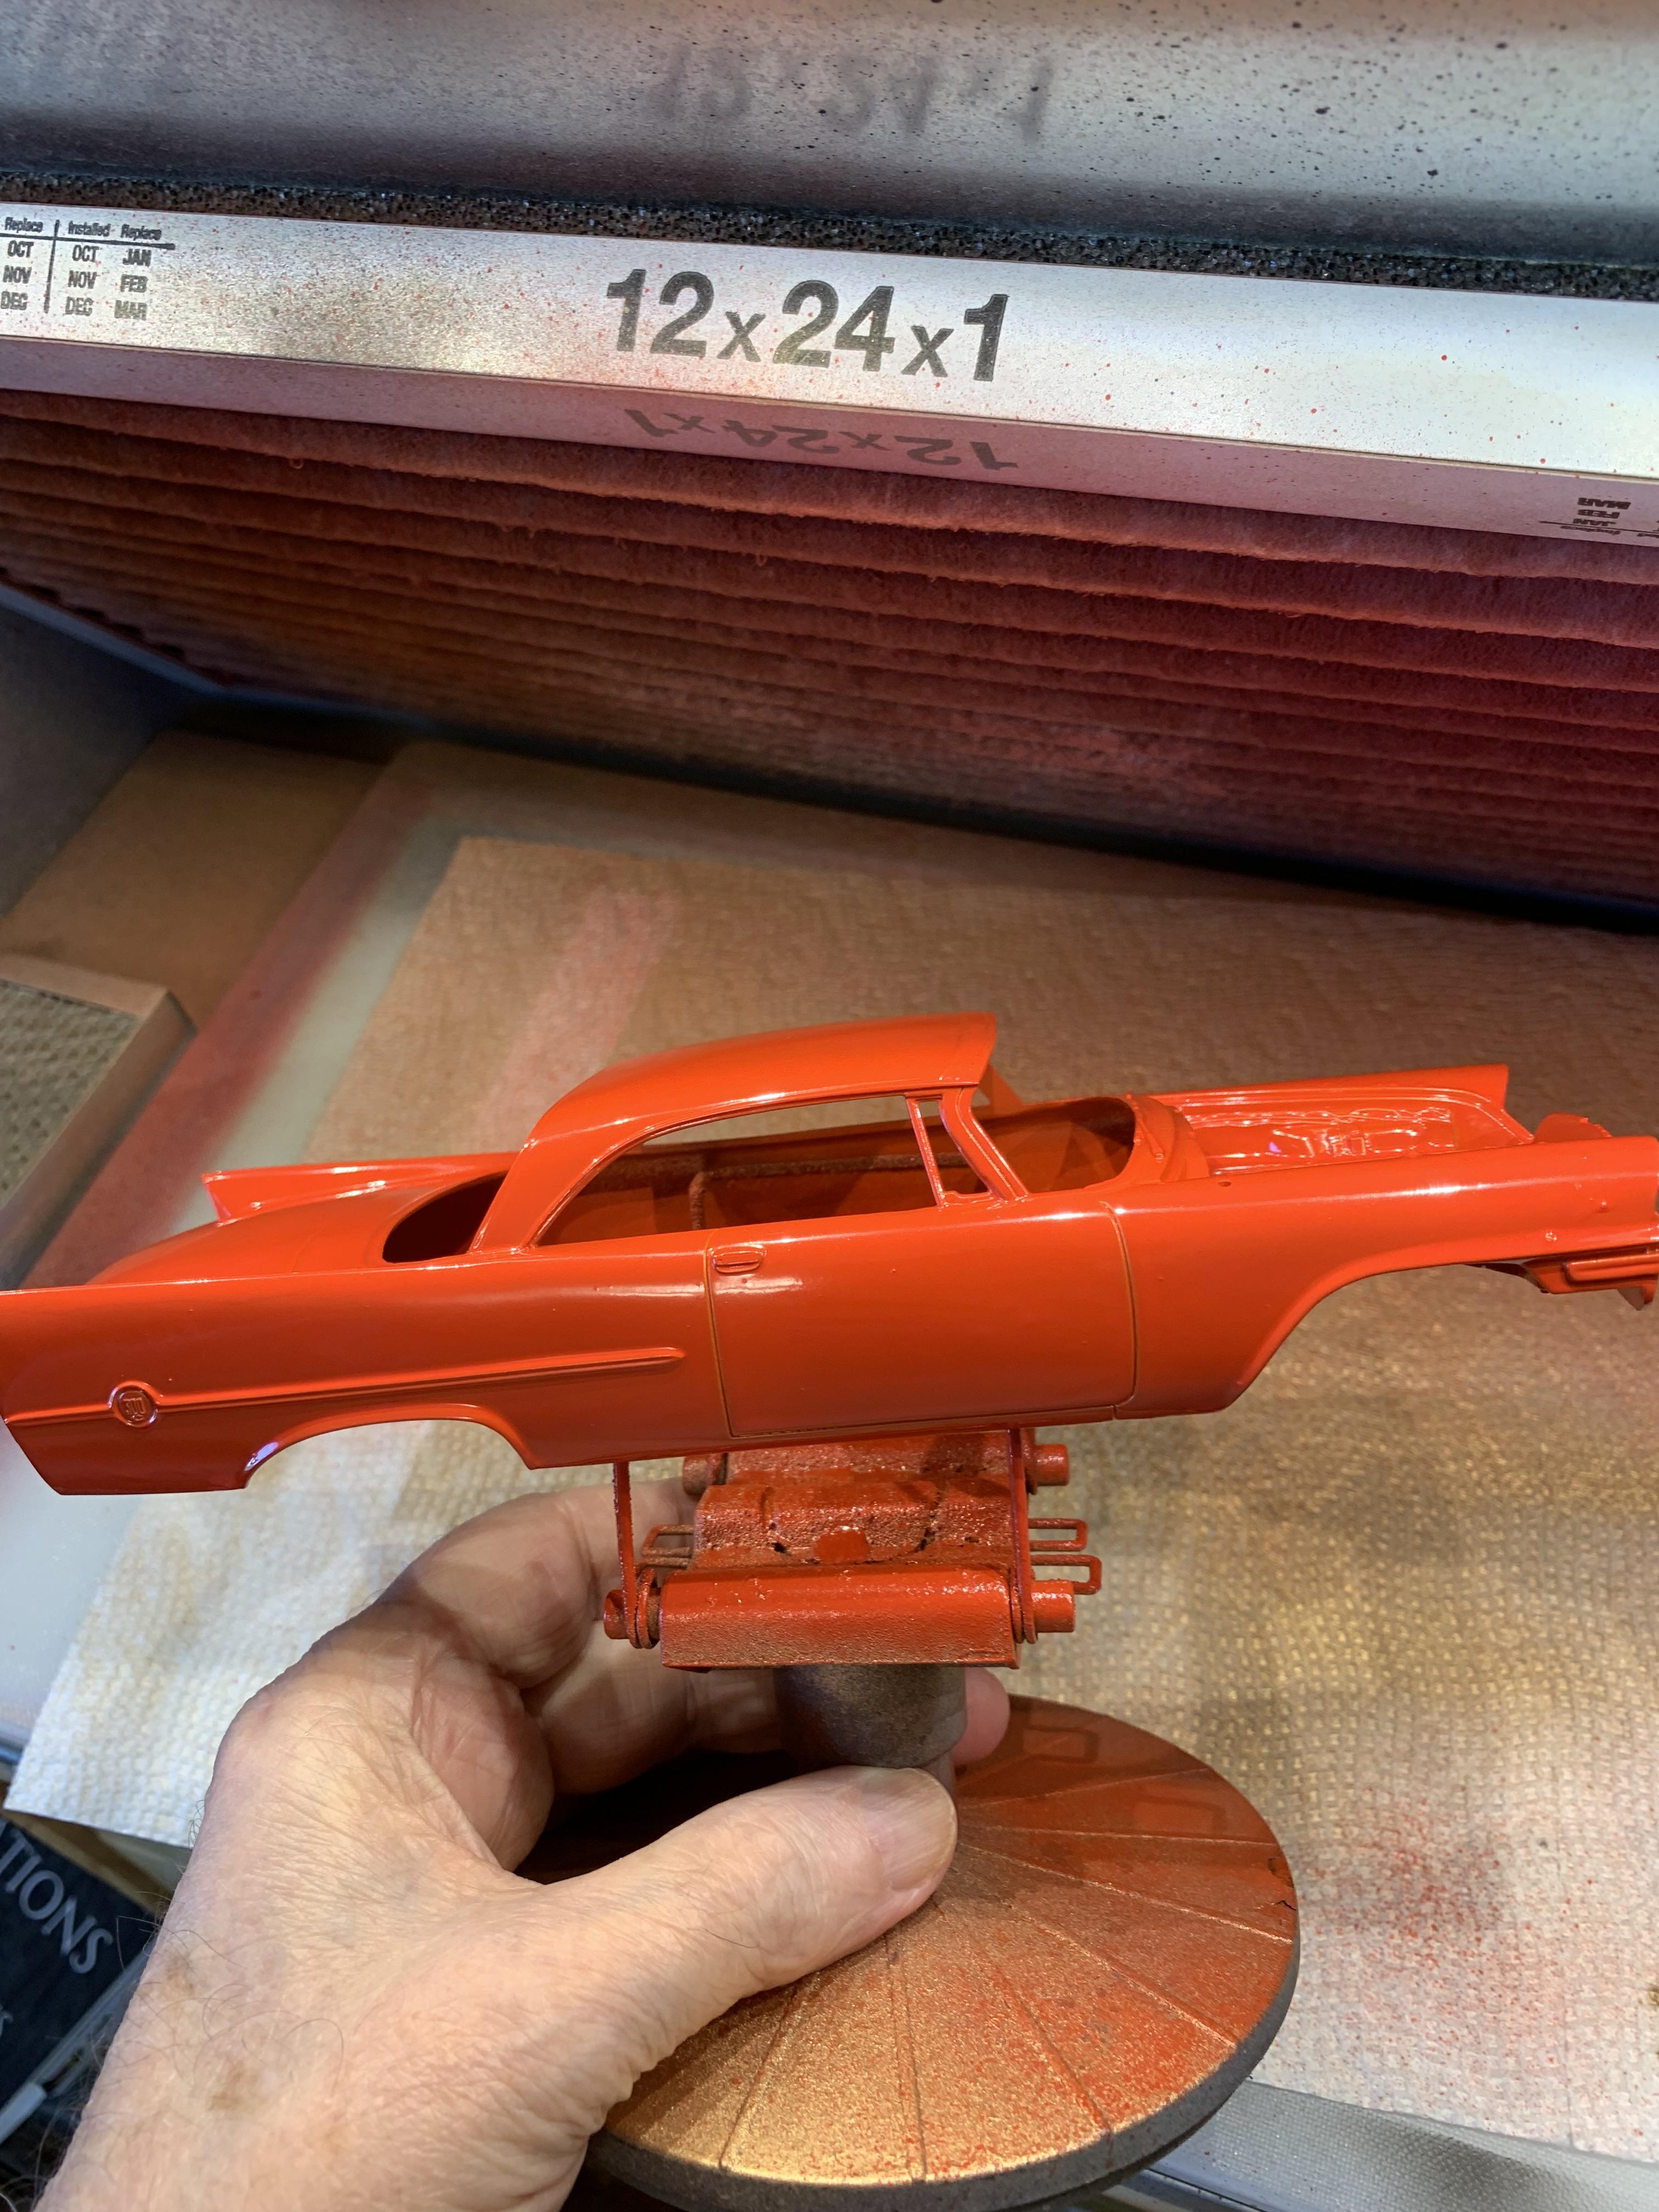
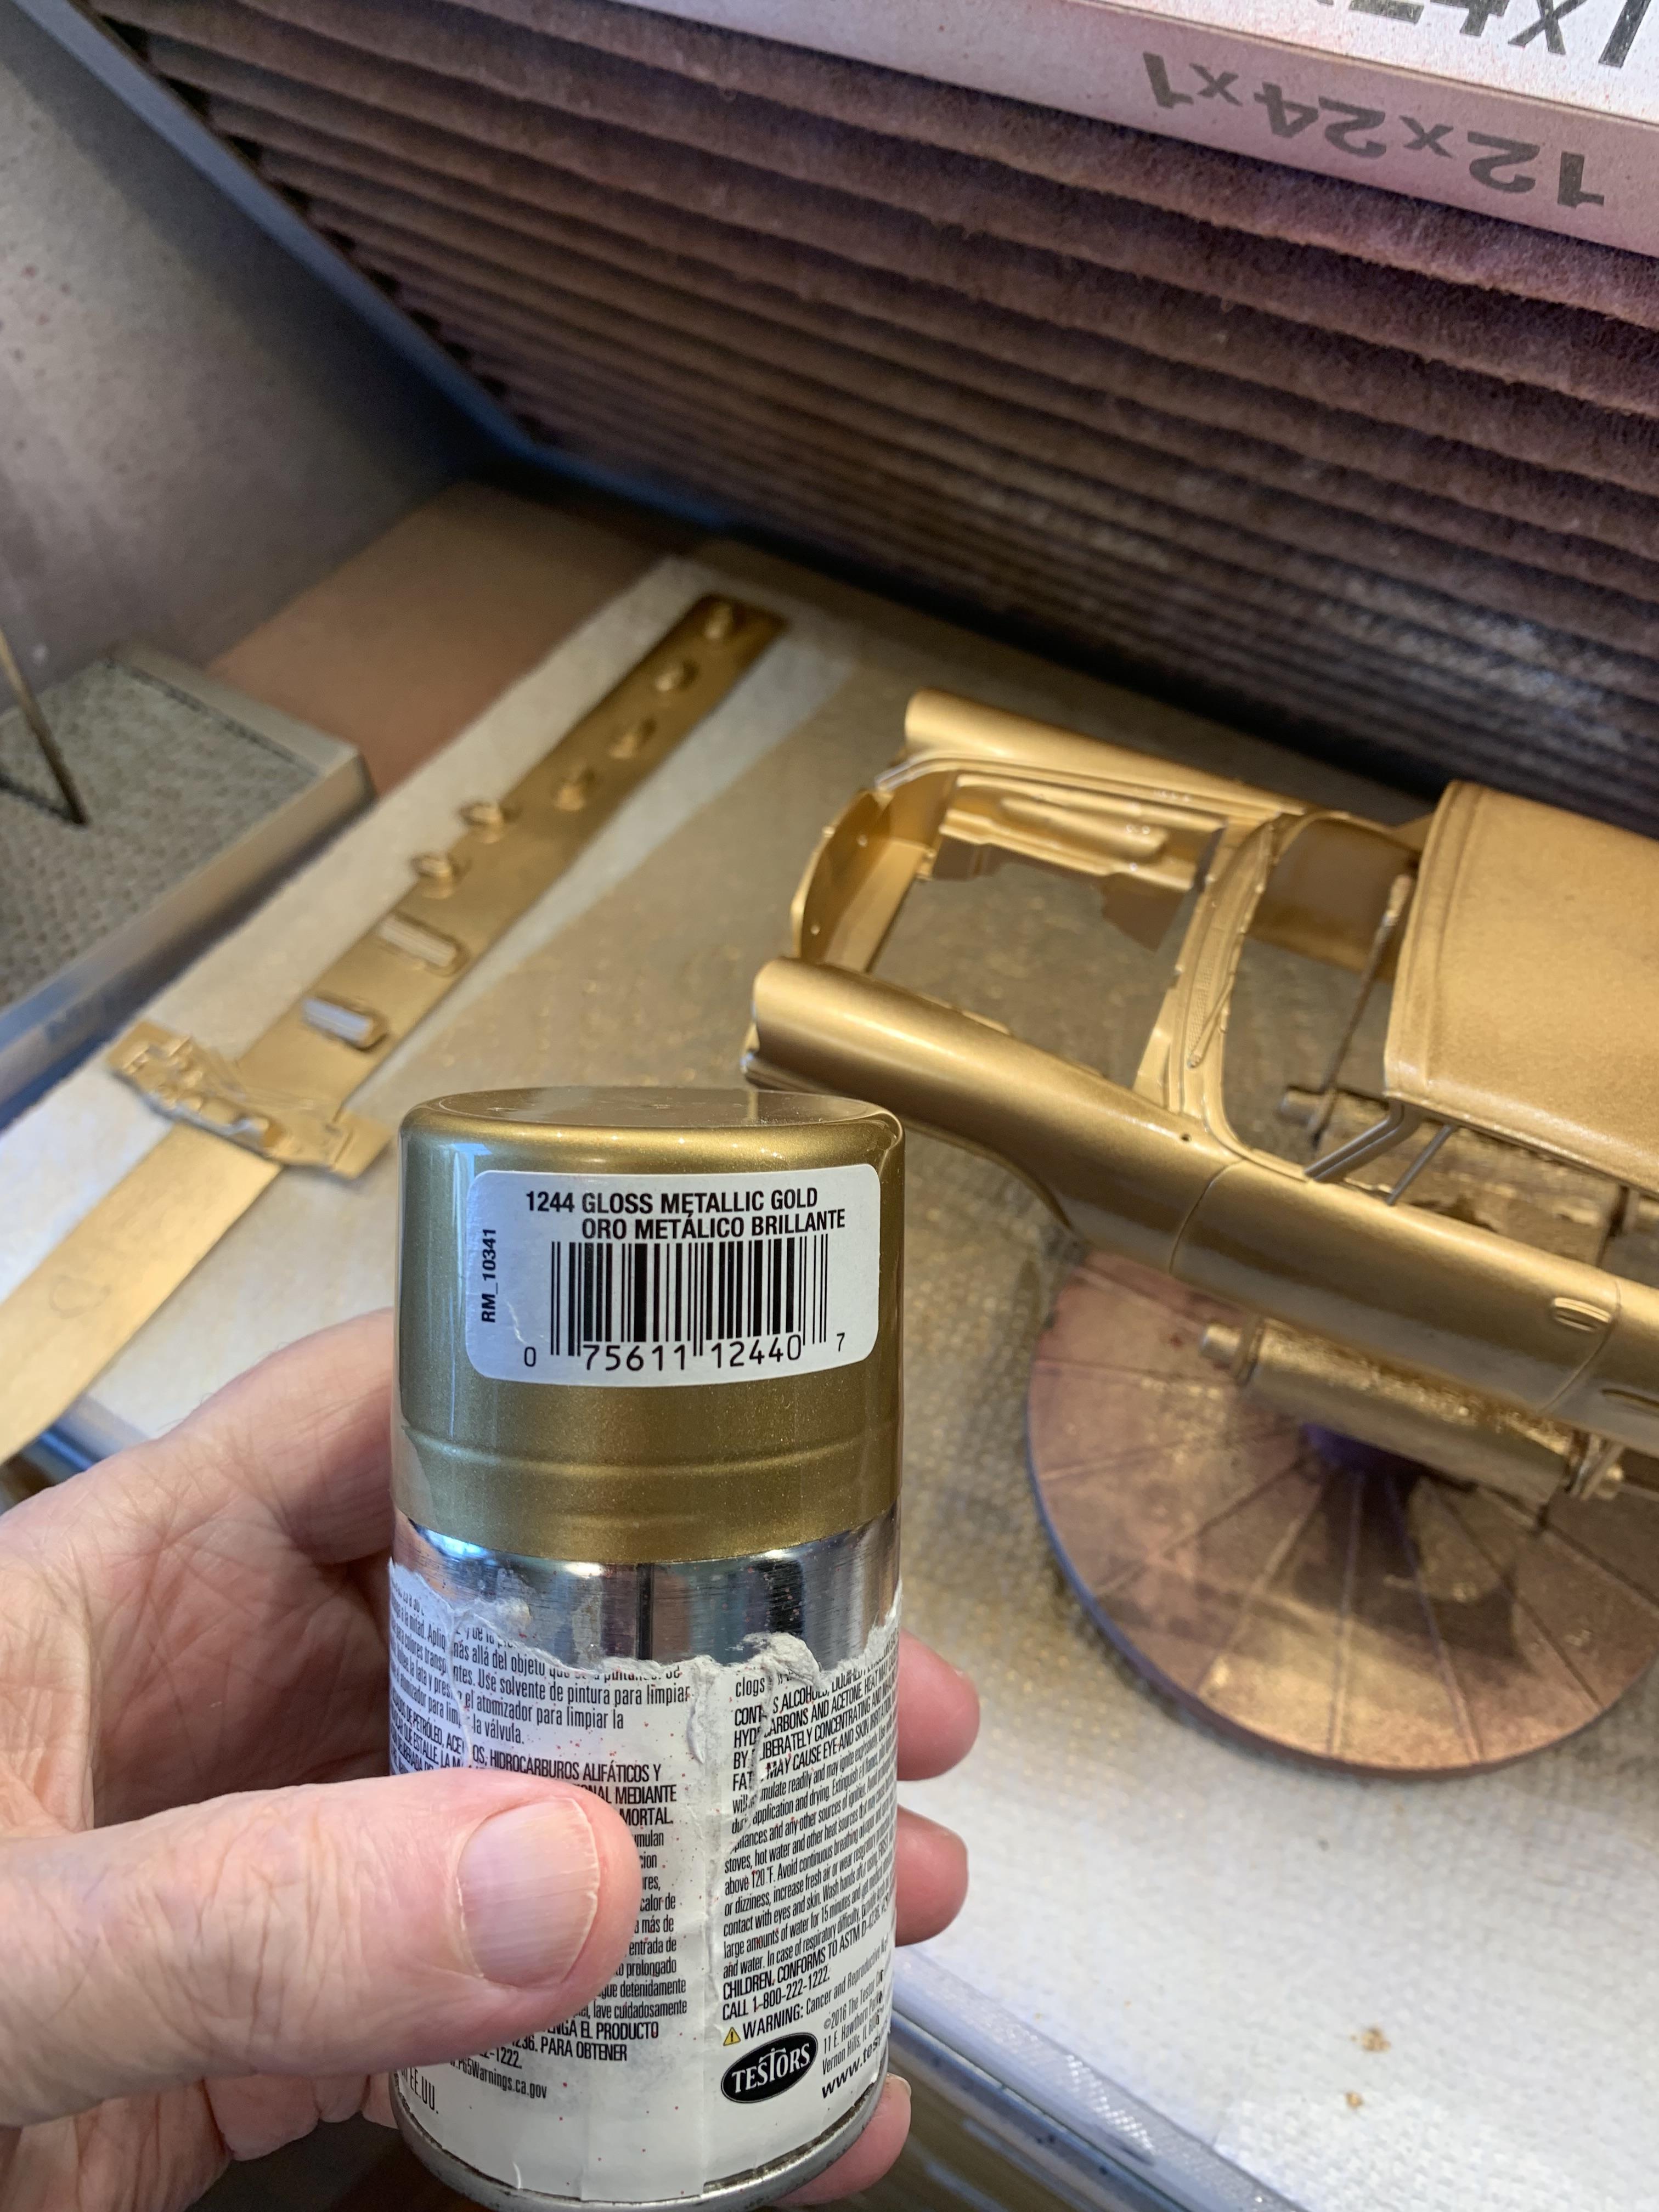
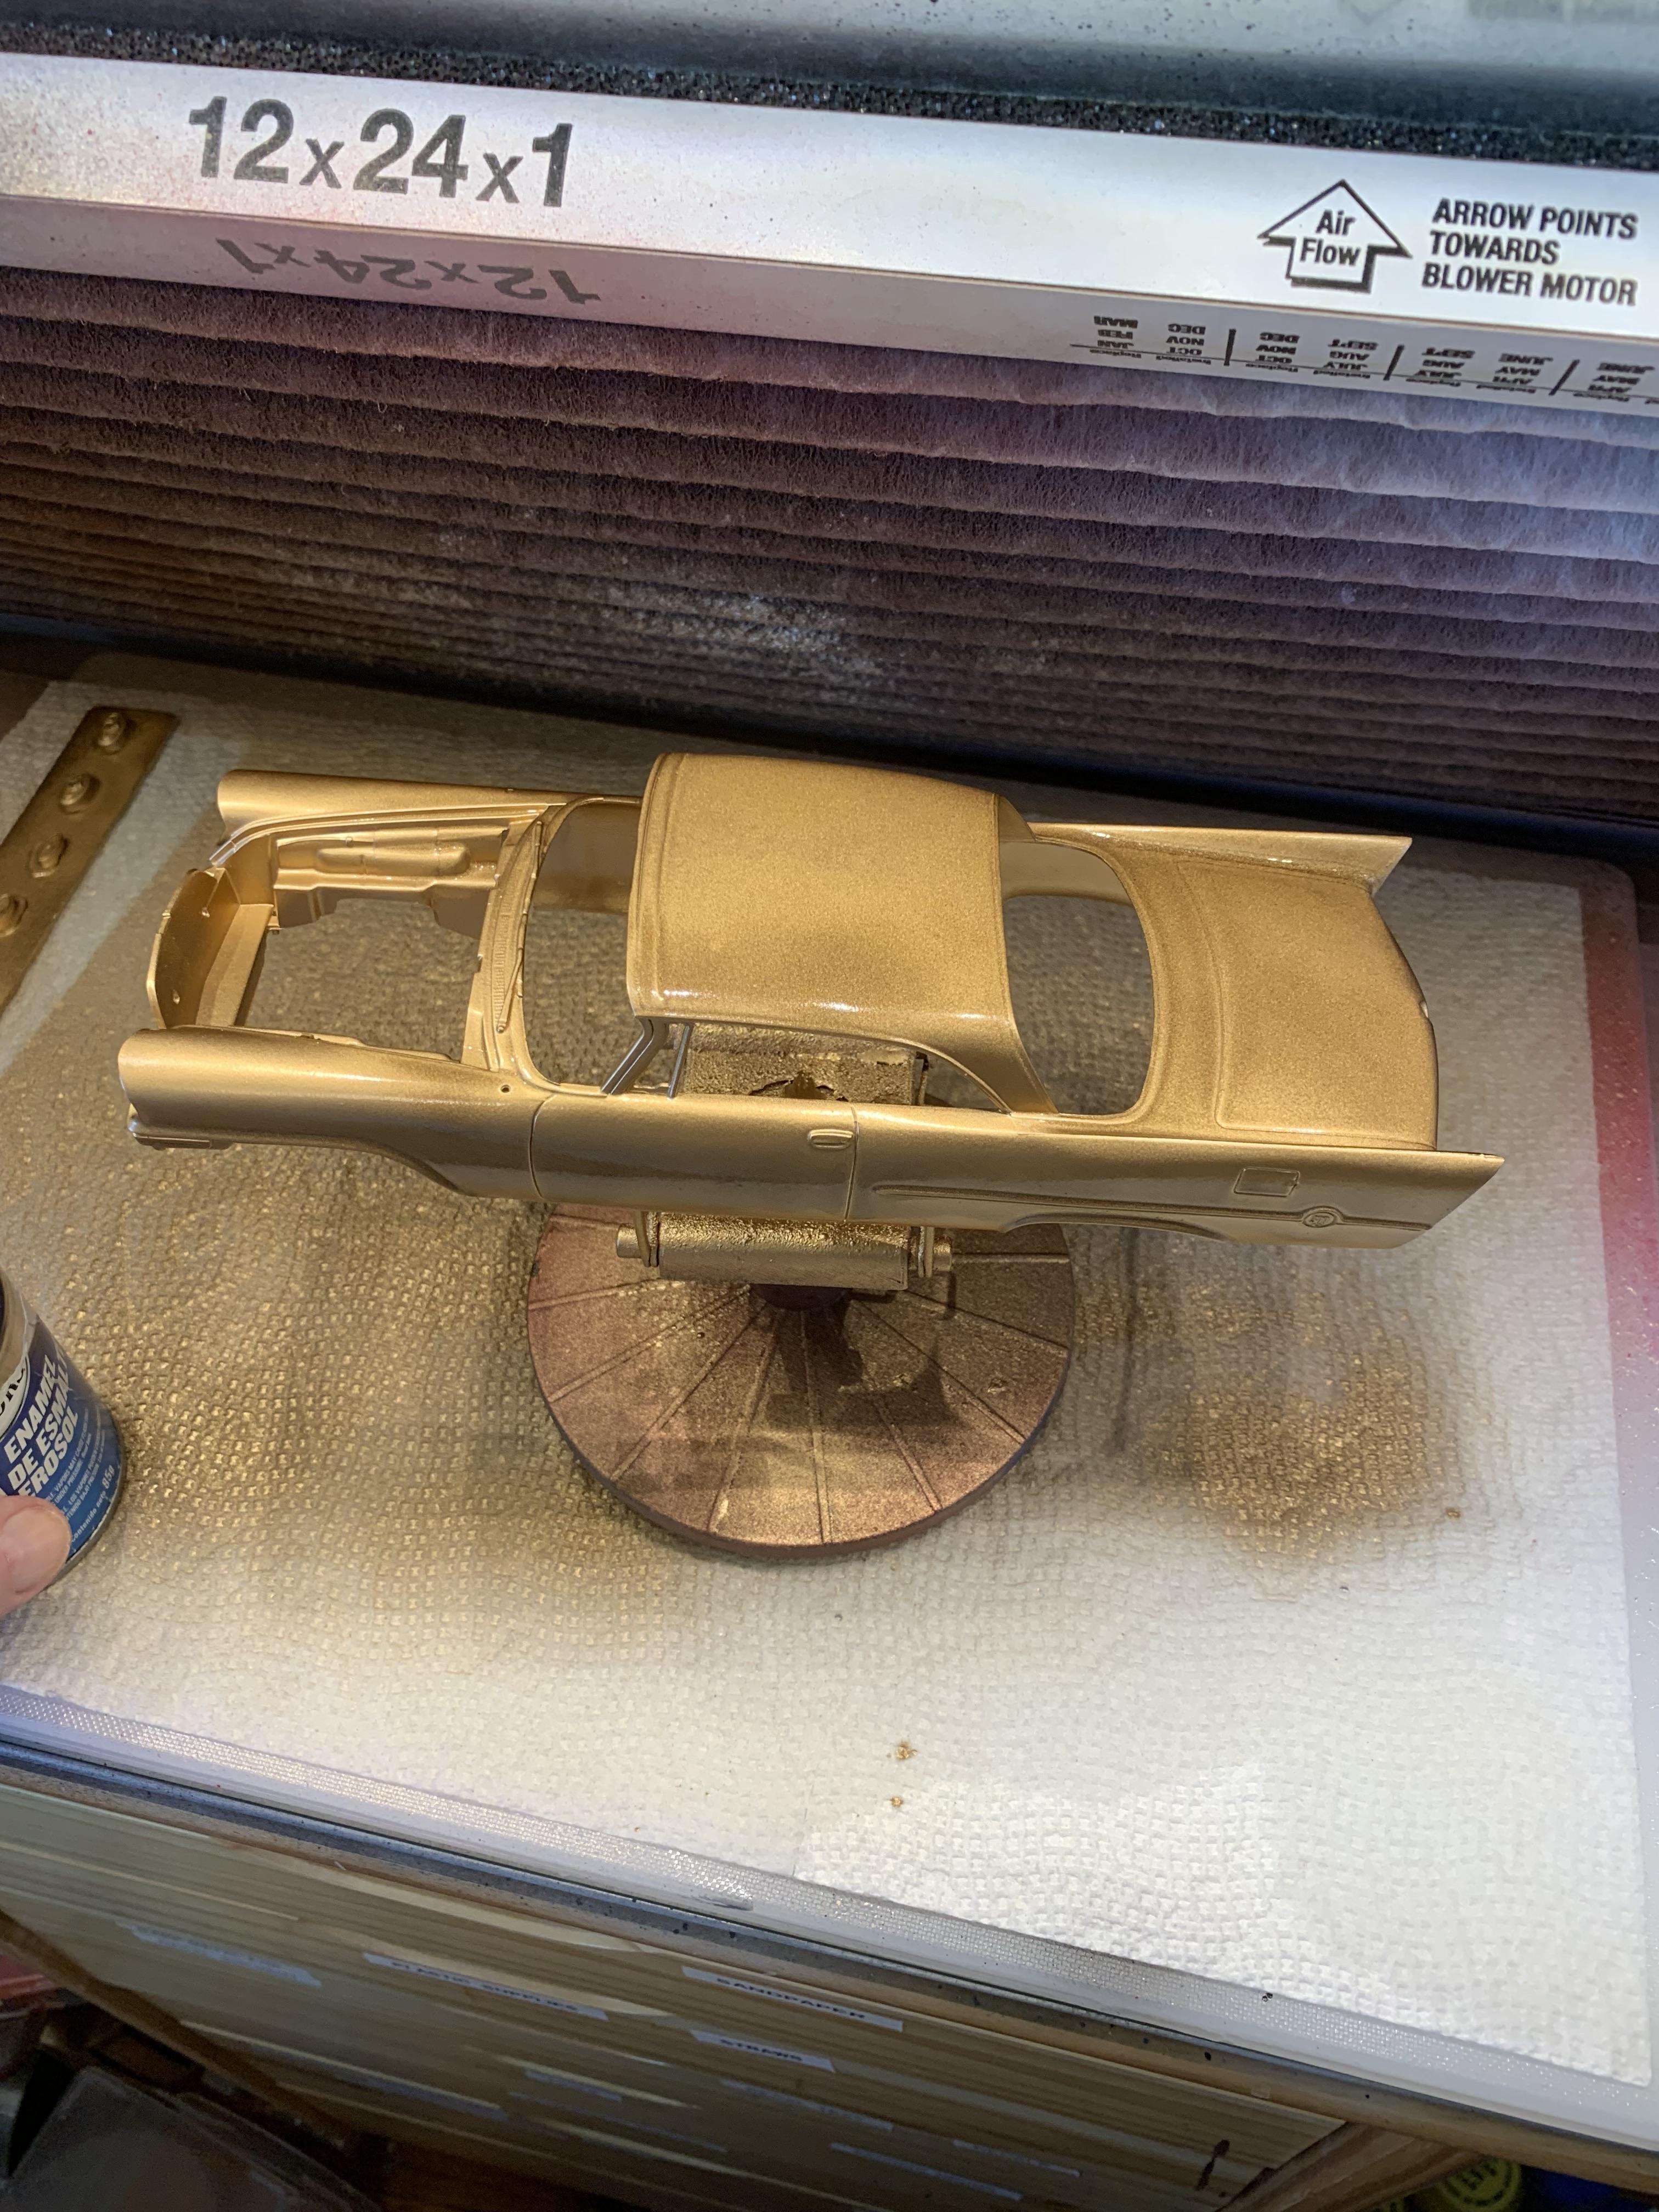
Well, the gold Testors enamel turned out like BLAH_BLAH_BLAH_BLAH, so, decided to put some old red enamel on over it after about a week of dry time. That turned out less than average, but I am moving on. Lesson learned. Leave Testors enamel alone and remember why I have been using Tamiya TS series cans for the last 4 or 5 years.
-
Thanks, Bob. It was fun and brought back memories of my junior Stock Racing days. What more can you ask of a model kit?
-
Outstanding! Could we see some chassis pics?
-
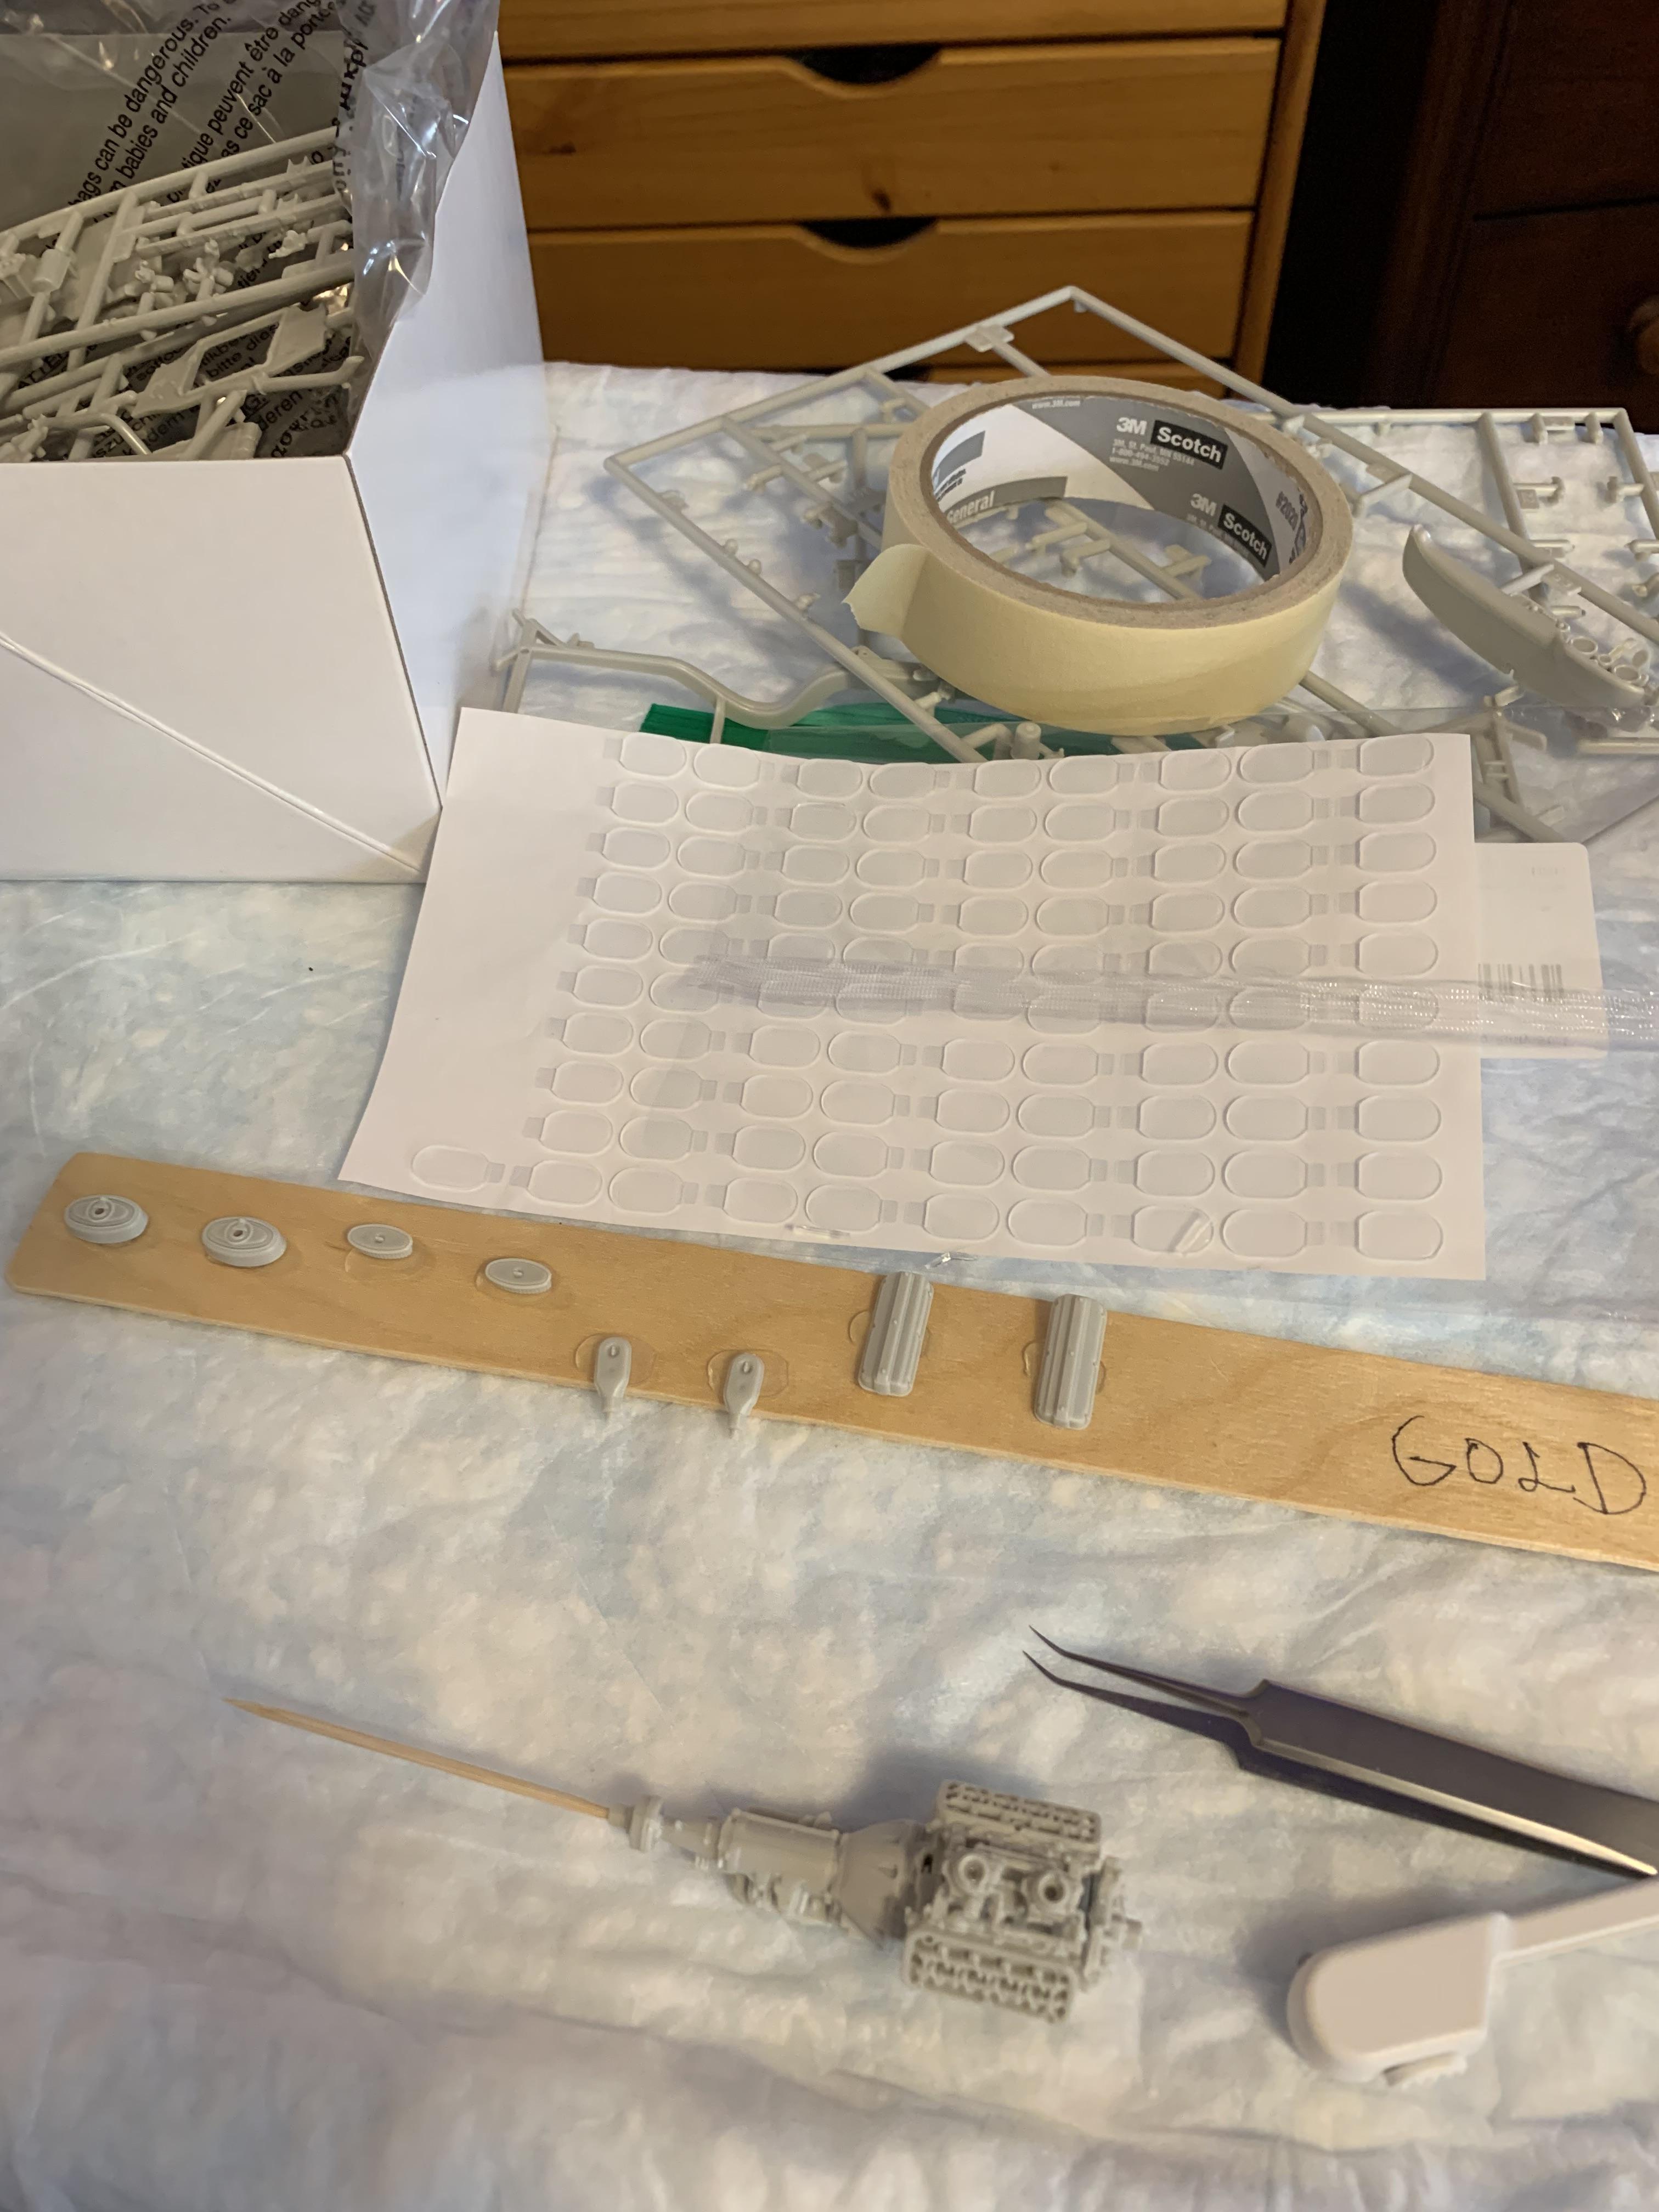
More than happy to answer. They are adhesive stick double backed dots I am trying instead of tape or fun tac. They were helpful in this instance because they are about 1/16” thick and the air cleaner base could be more fully painted. Thank you for all the tips you have posted on this forum, Greg.
-
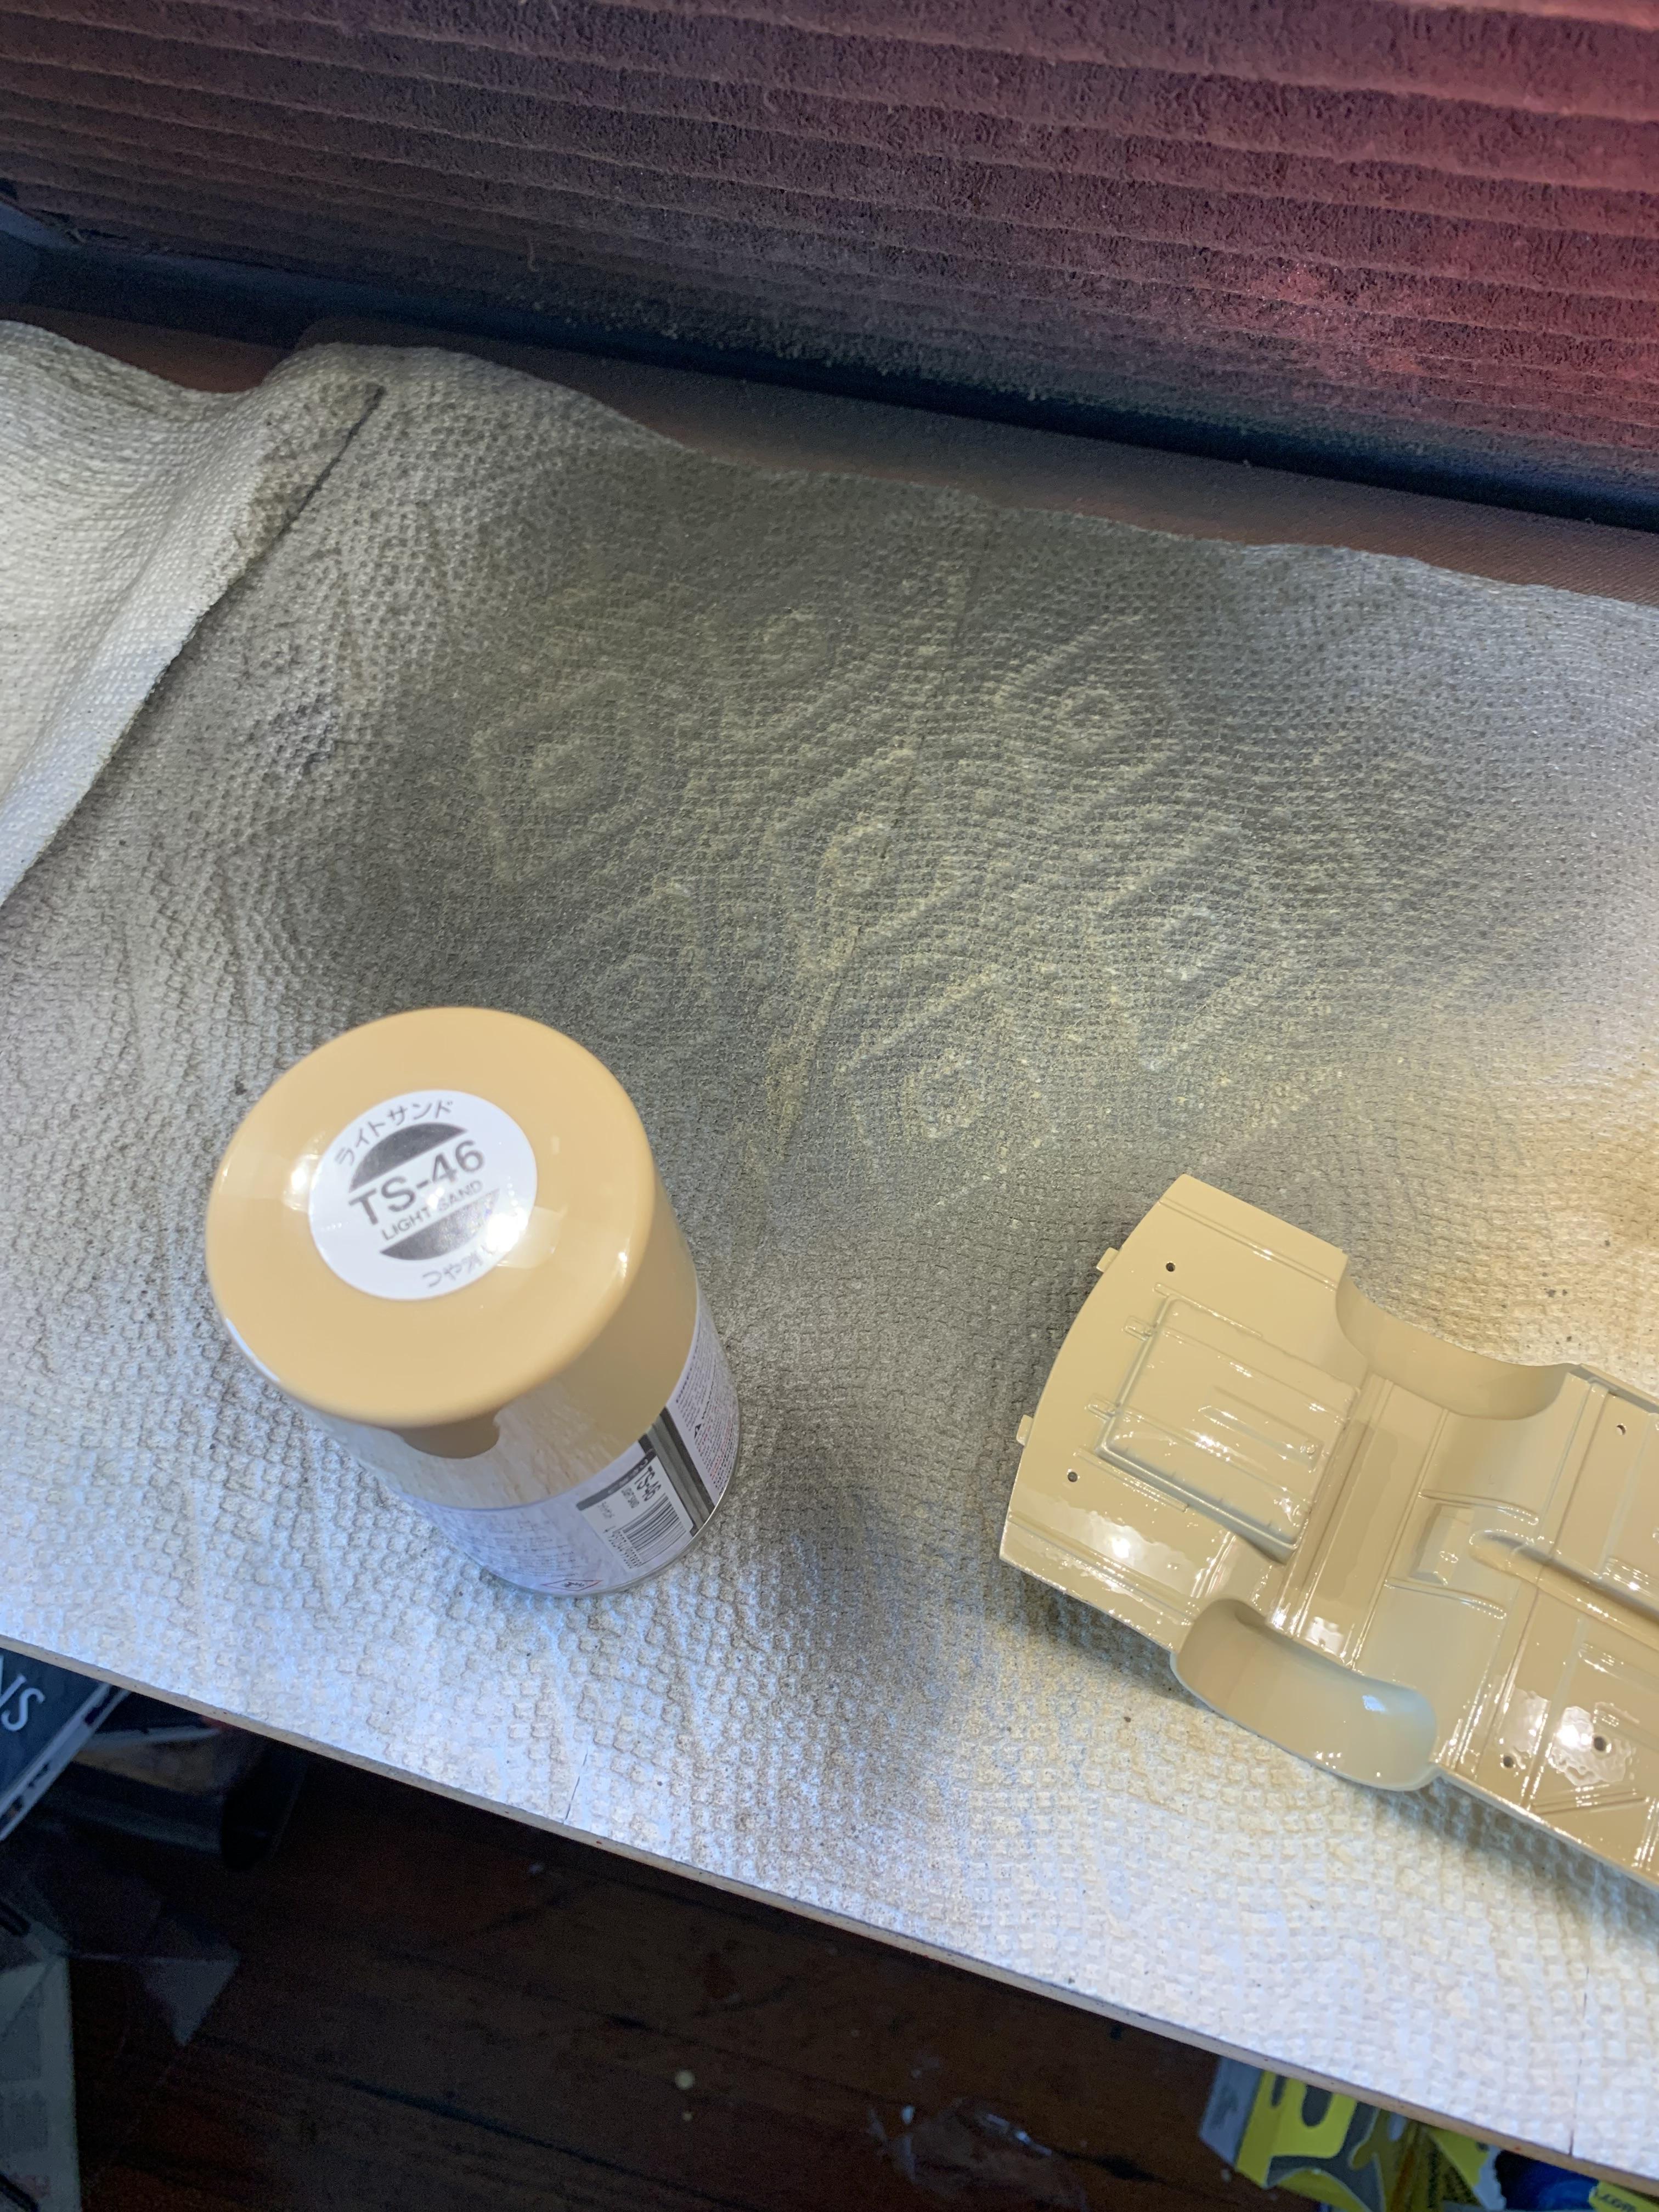
An in between drag cars (waiting for parts) stock build. Love the engine detail. Removed the seam line on front fenders. No primer, no other sanding of the body. Had some old Testors metallic gold spray enamel that I decided to use (probably regret it). Looks awful after the initial spray, but after drying a few minutes, it levels out. The finish is flat with no gloss. Put some Tamiya silver plate on the engine.
-
Thanks, Roger. It was an interesting experience and I think I got a little better with the Hasegawa chrome.
-
A toothpick with bluetac works pretty good. I am currently experimenting with this. So far, so good.
-
Thanks for the suggestion. I don’t normally do shading or weathering, but you are right. That engine sure looks too orange.
-
Thank you.
-
“That thing got a hemi and a stick shift in it?” “yup.” Shades of Bob Reed.
-
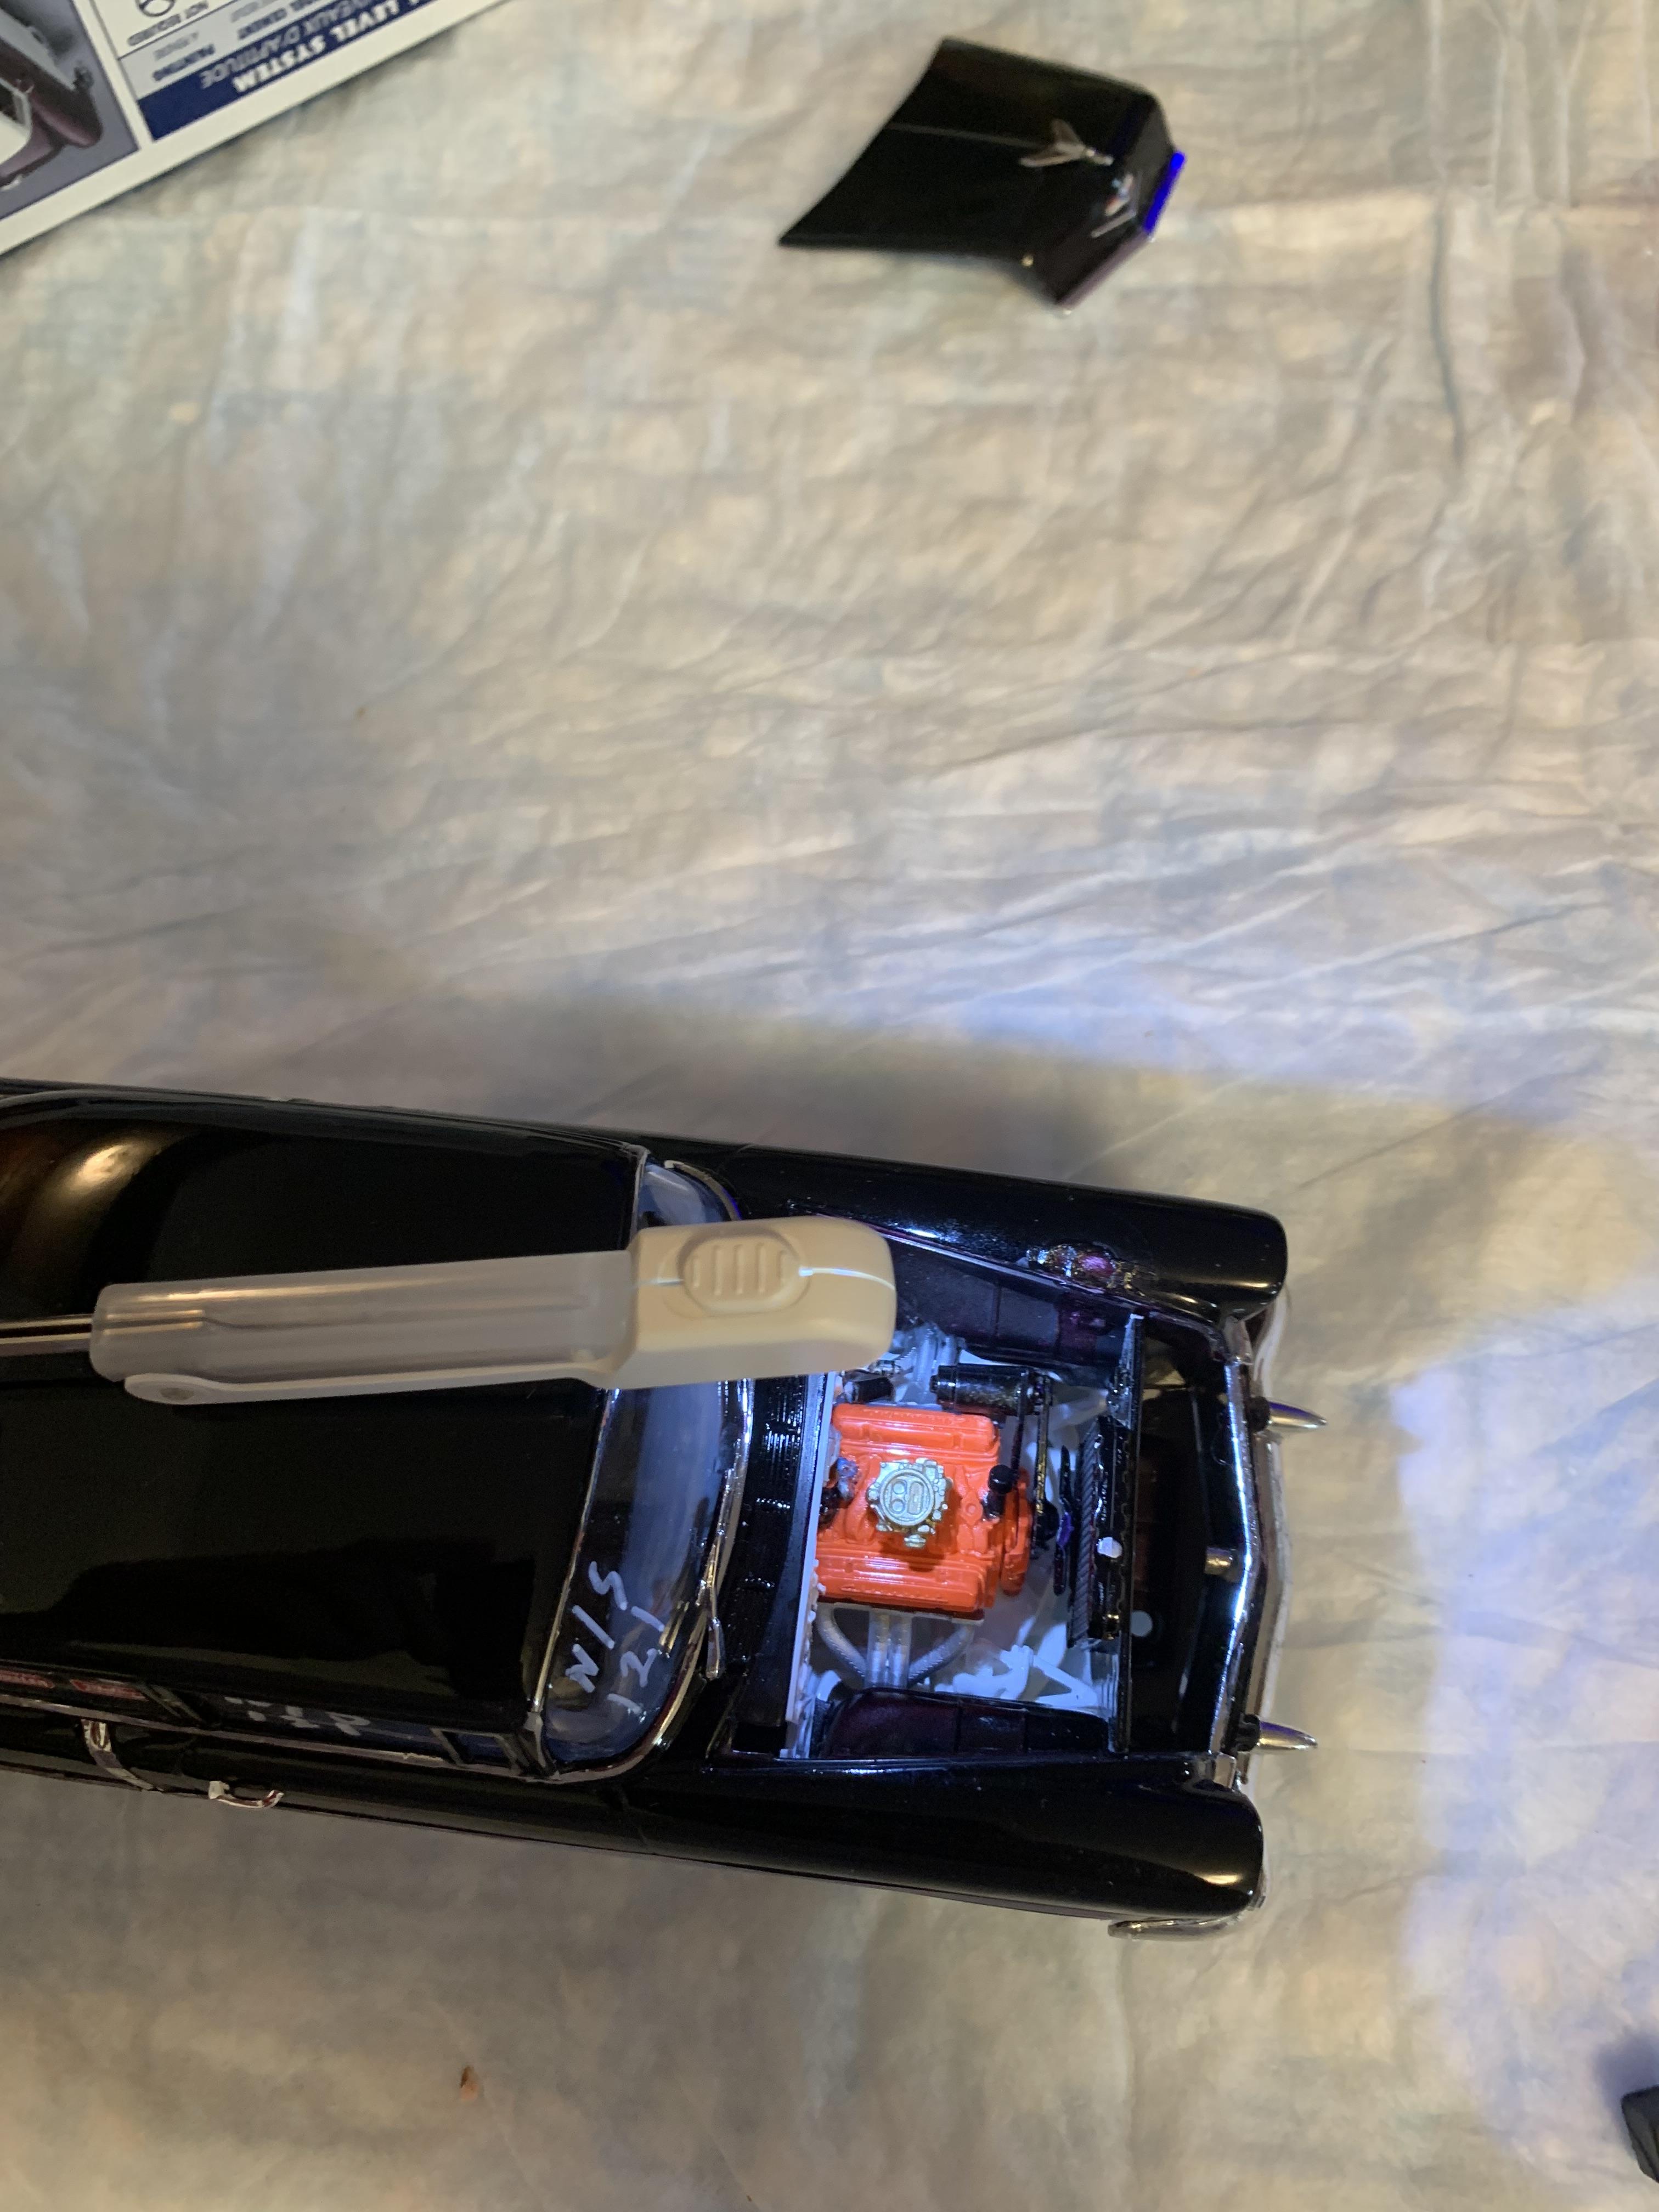
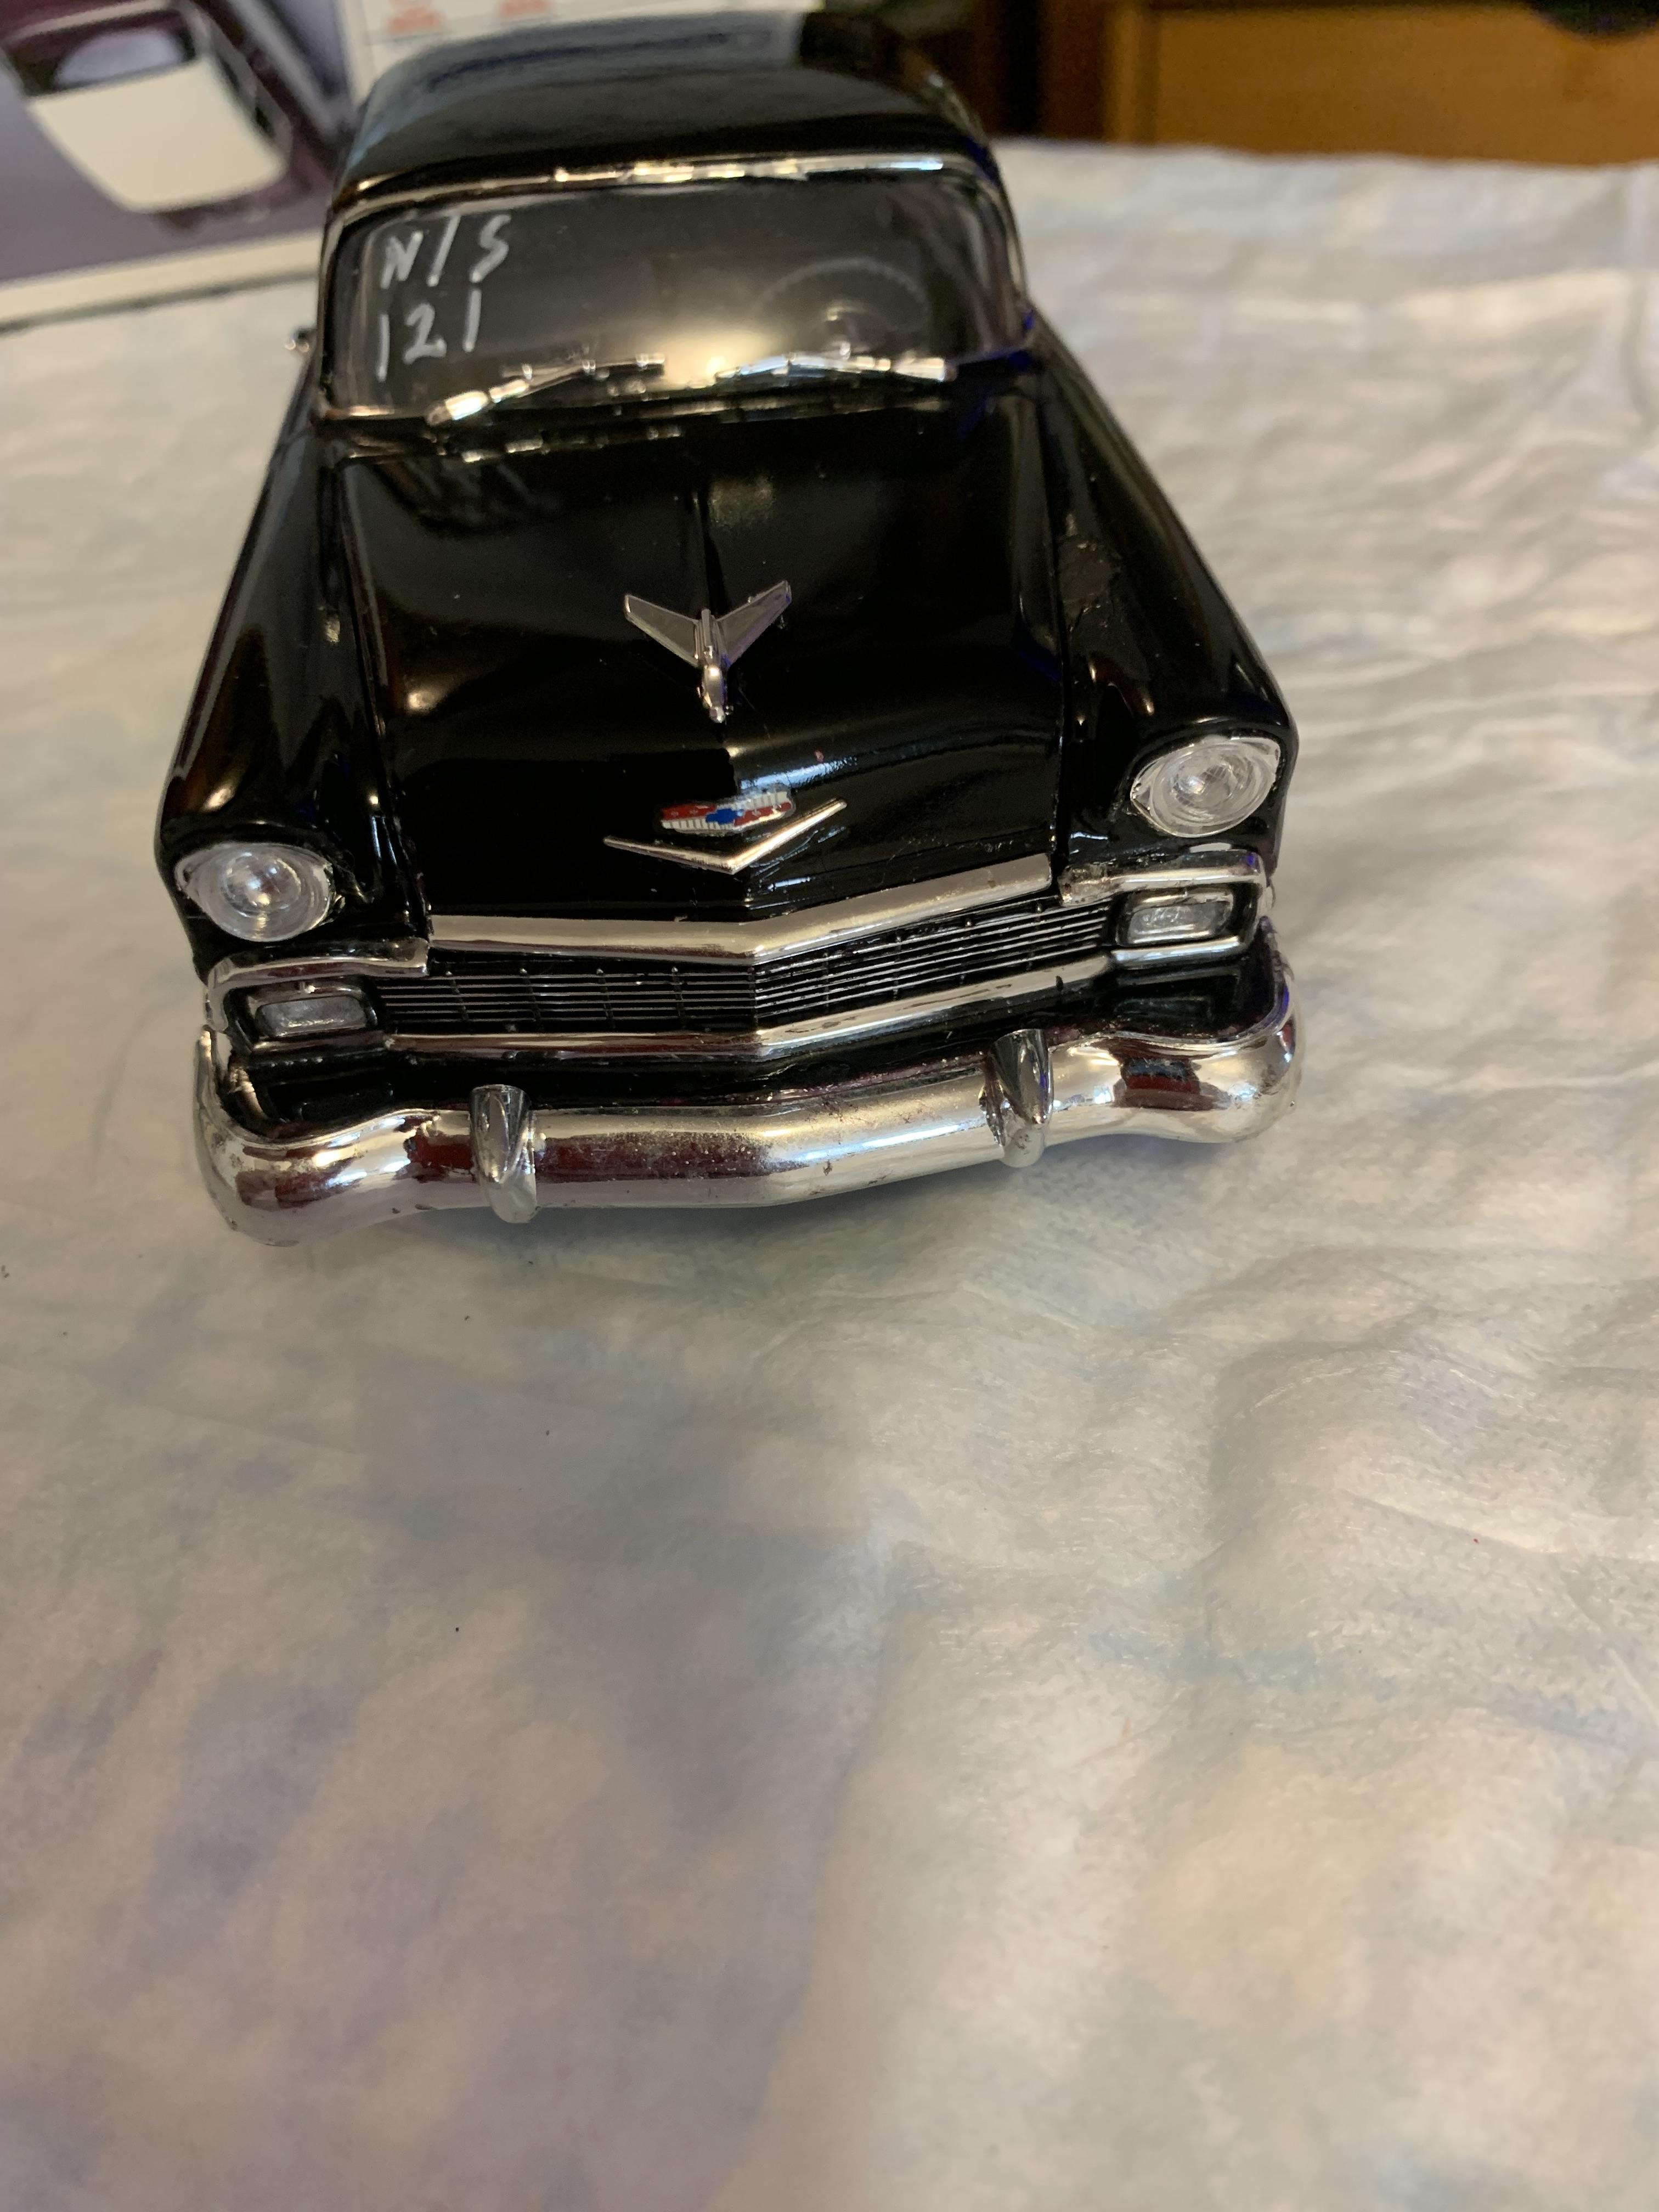
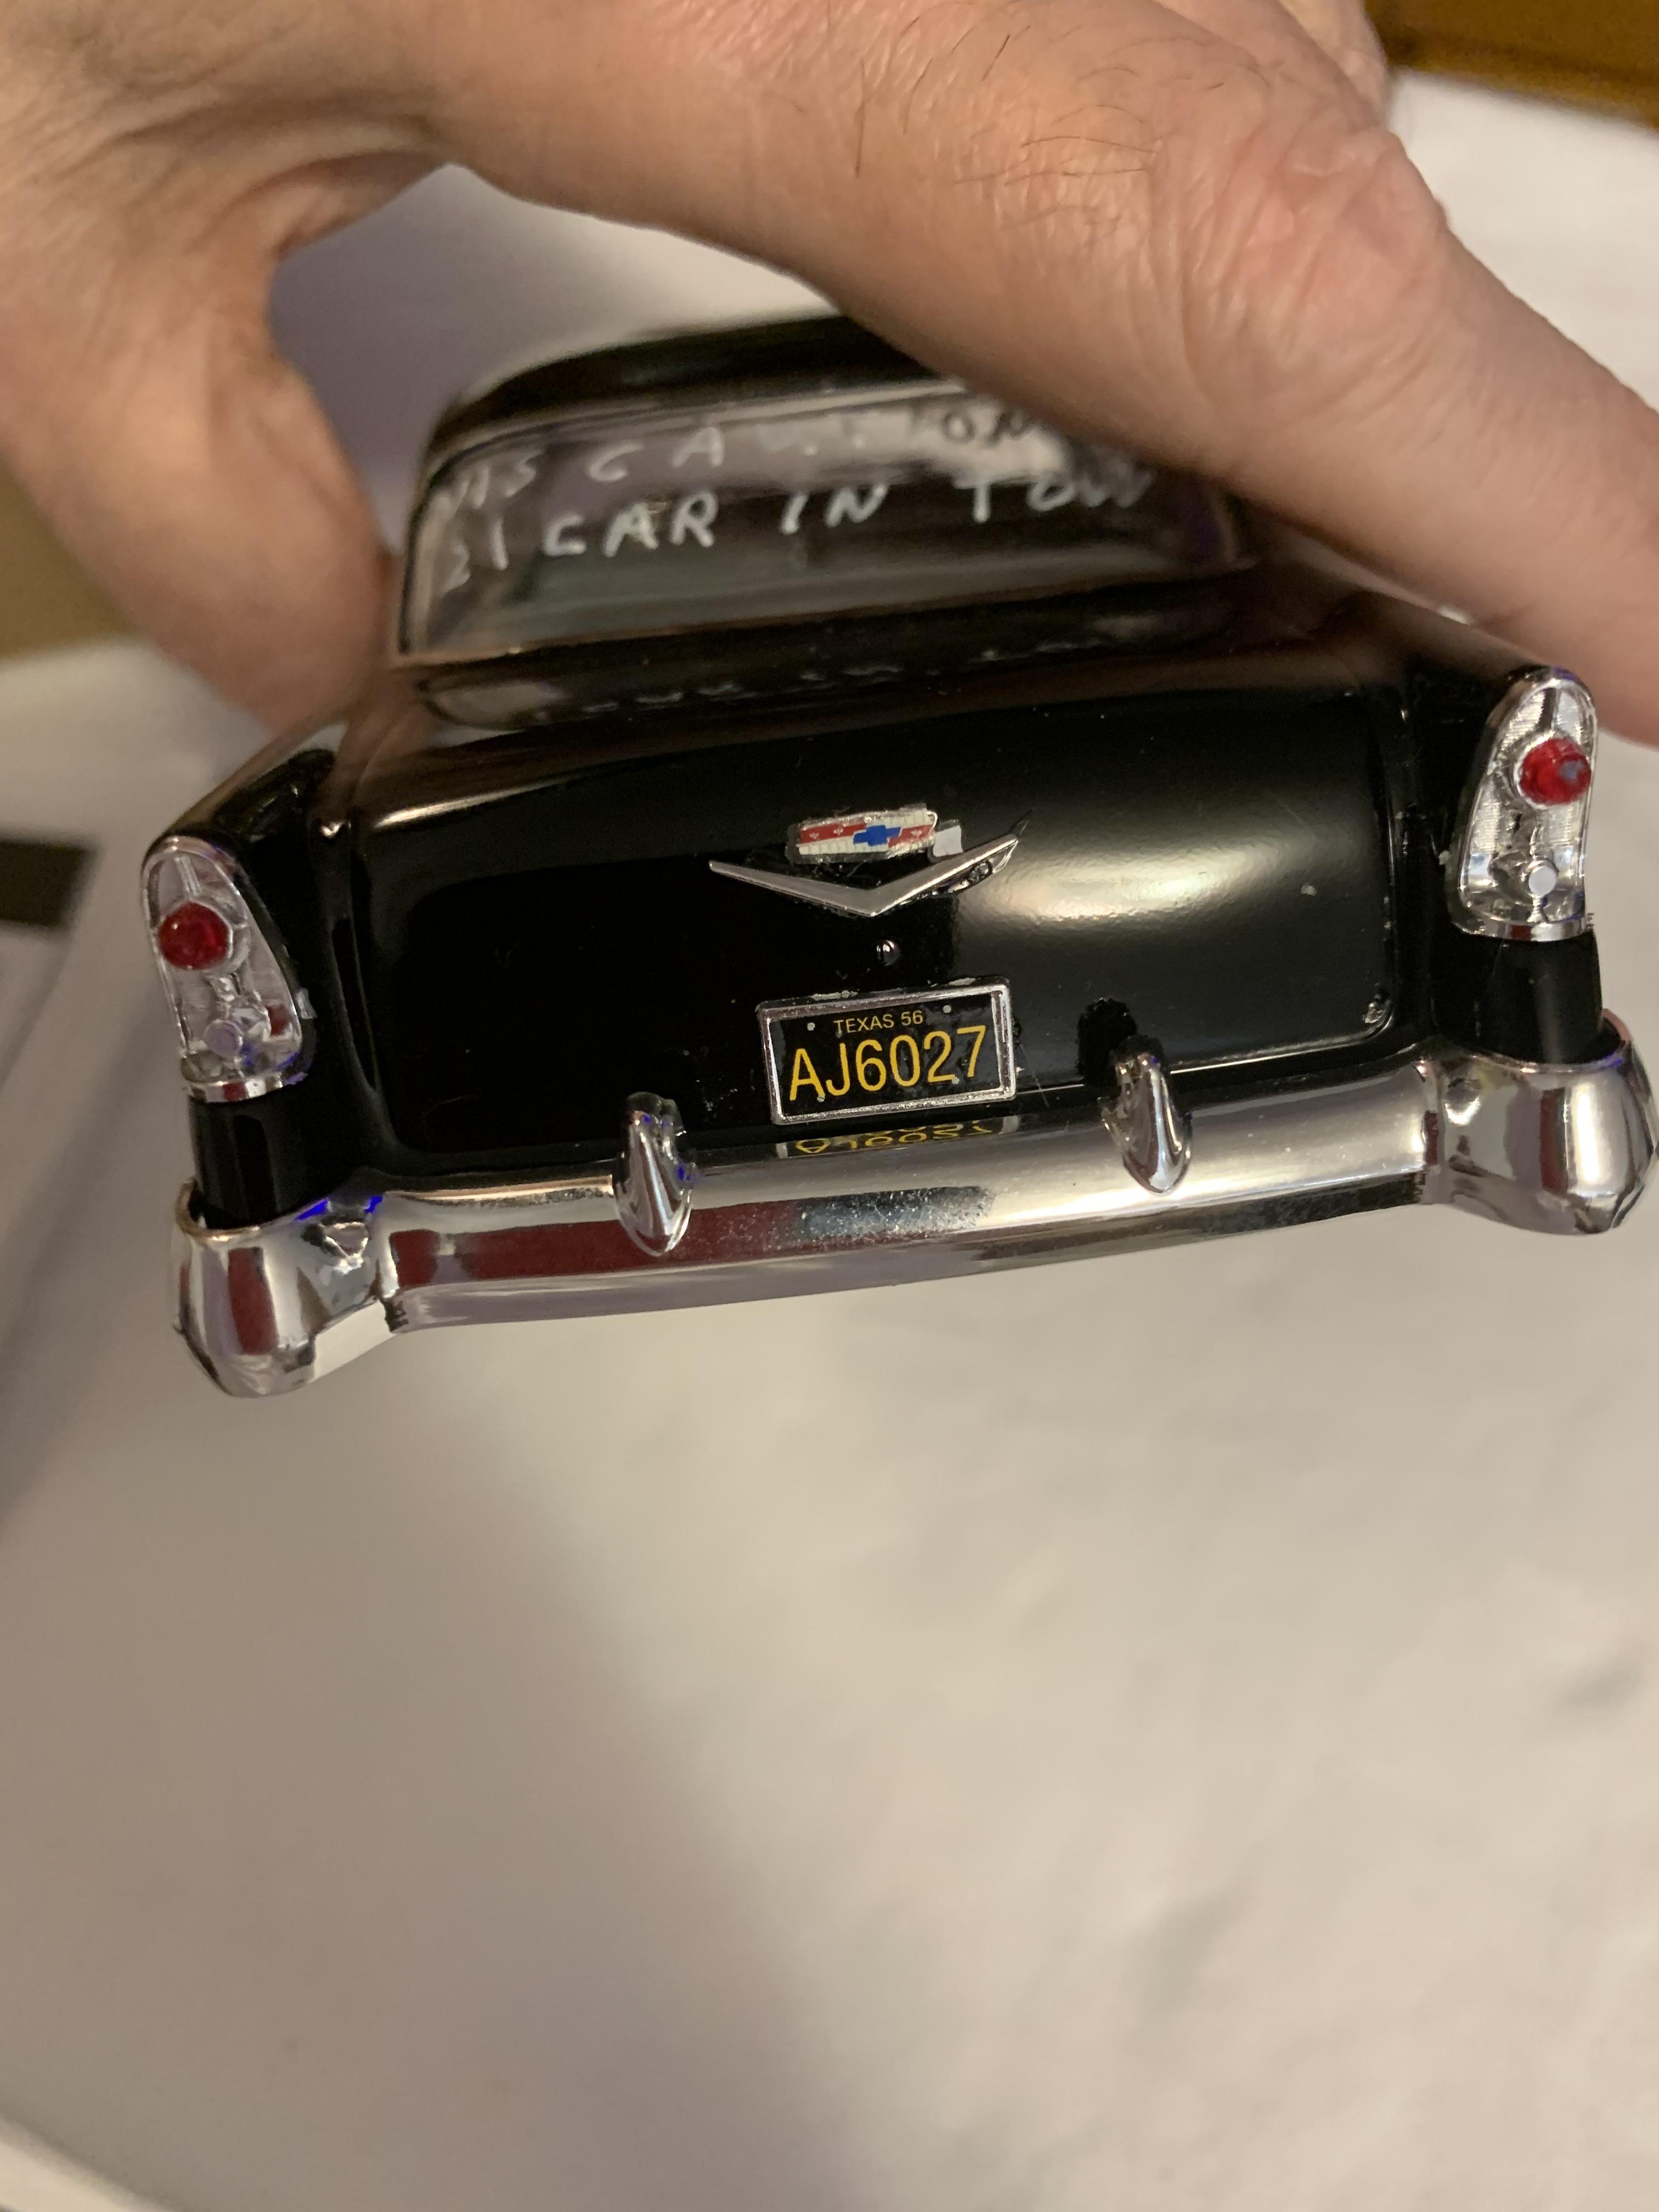
Thanks, Mike. I am going to leave that smudge on the top of the left front fender to remind me not to use too much ca glue the next time. I had the car upside down gluing the frame on and I found out later it had drained on to the fender.
-
Geez! Another Stocker! 70 Formula Firebird B/SA
R. Thorne replied to R. Thorne's topic in WIP: Drag Racing Models
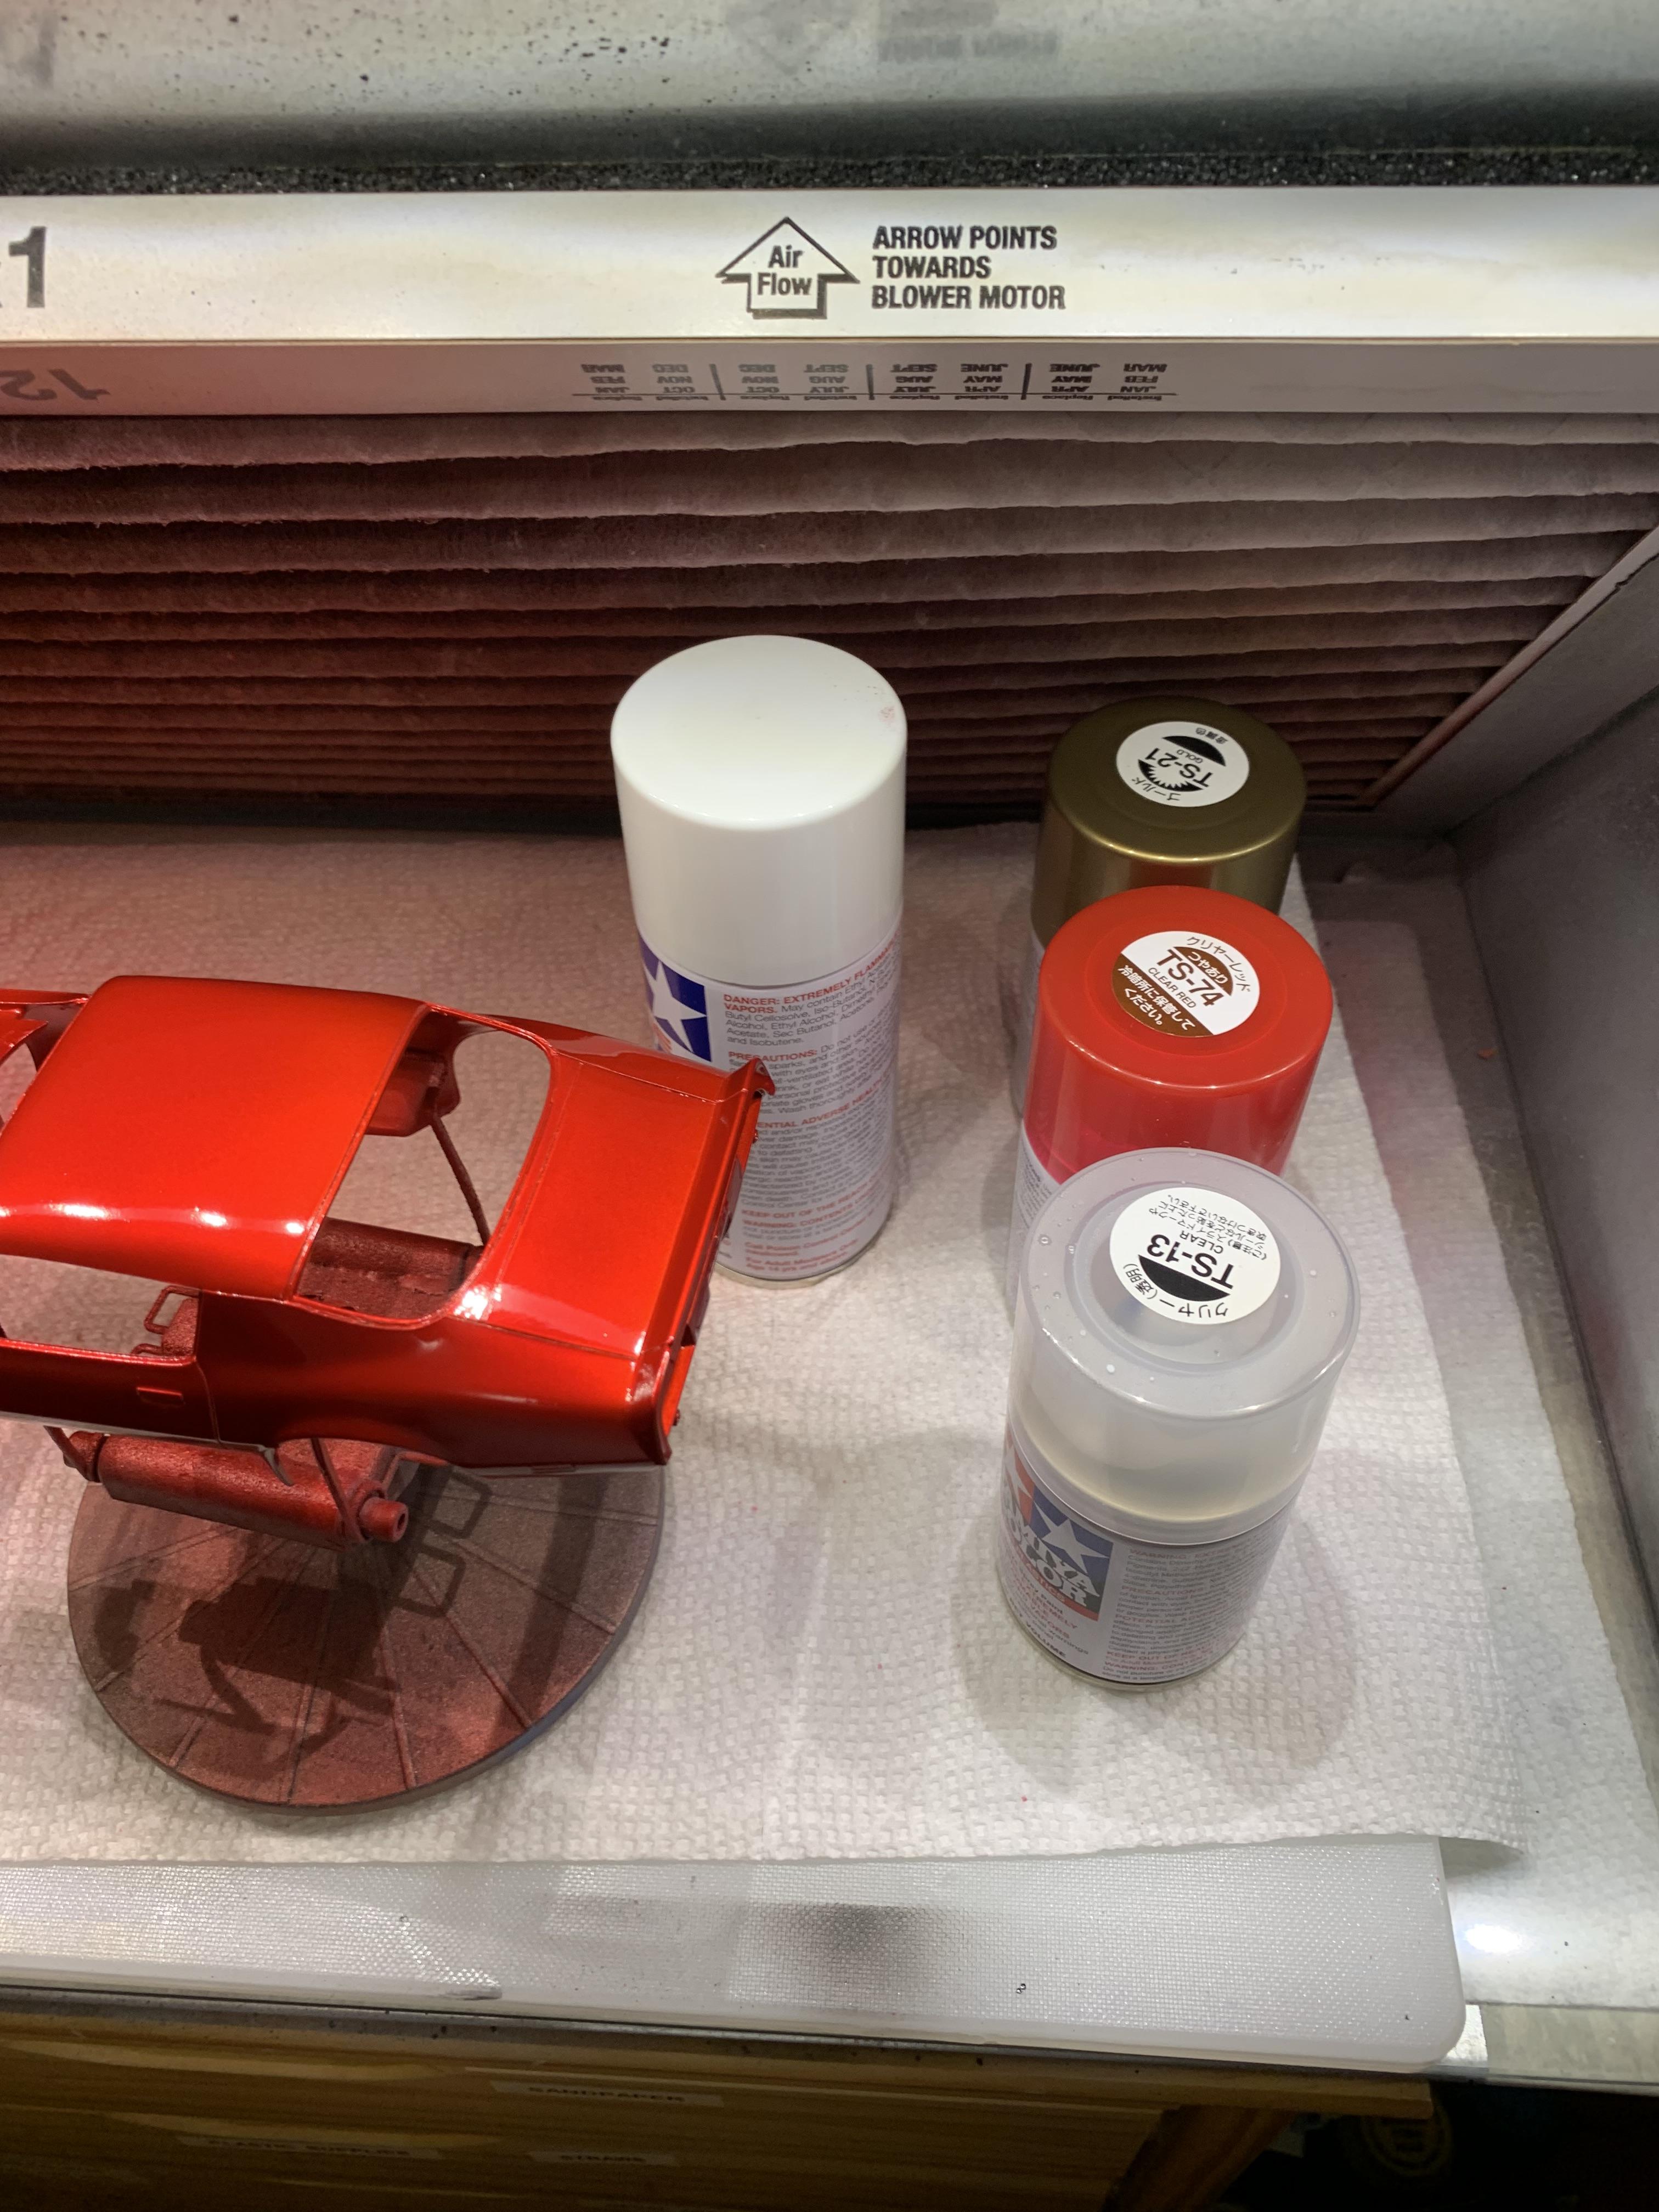
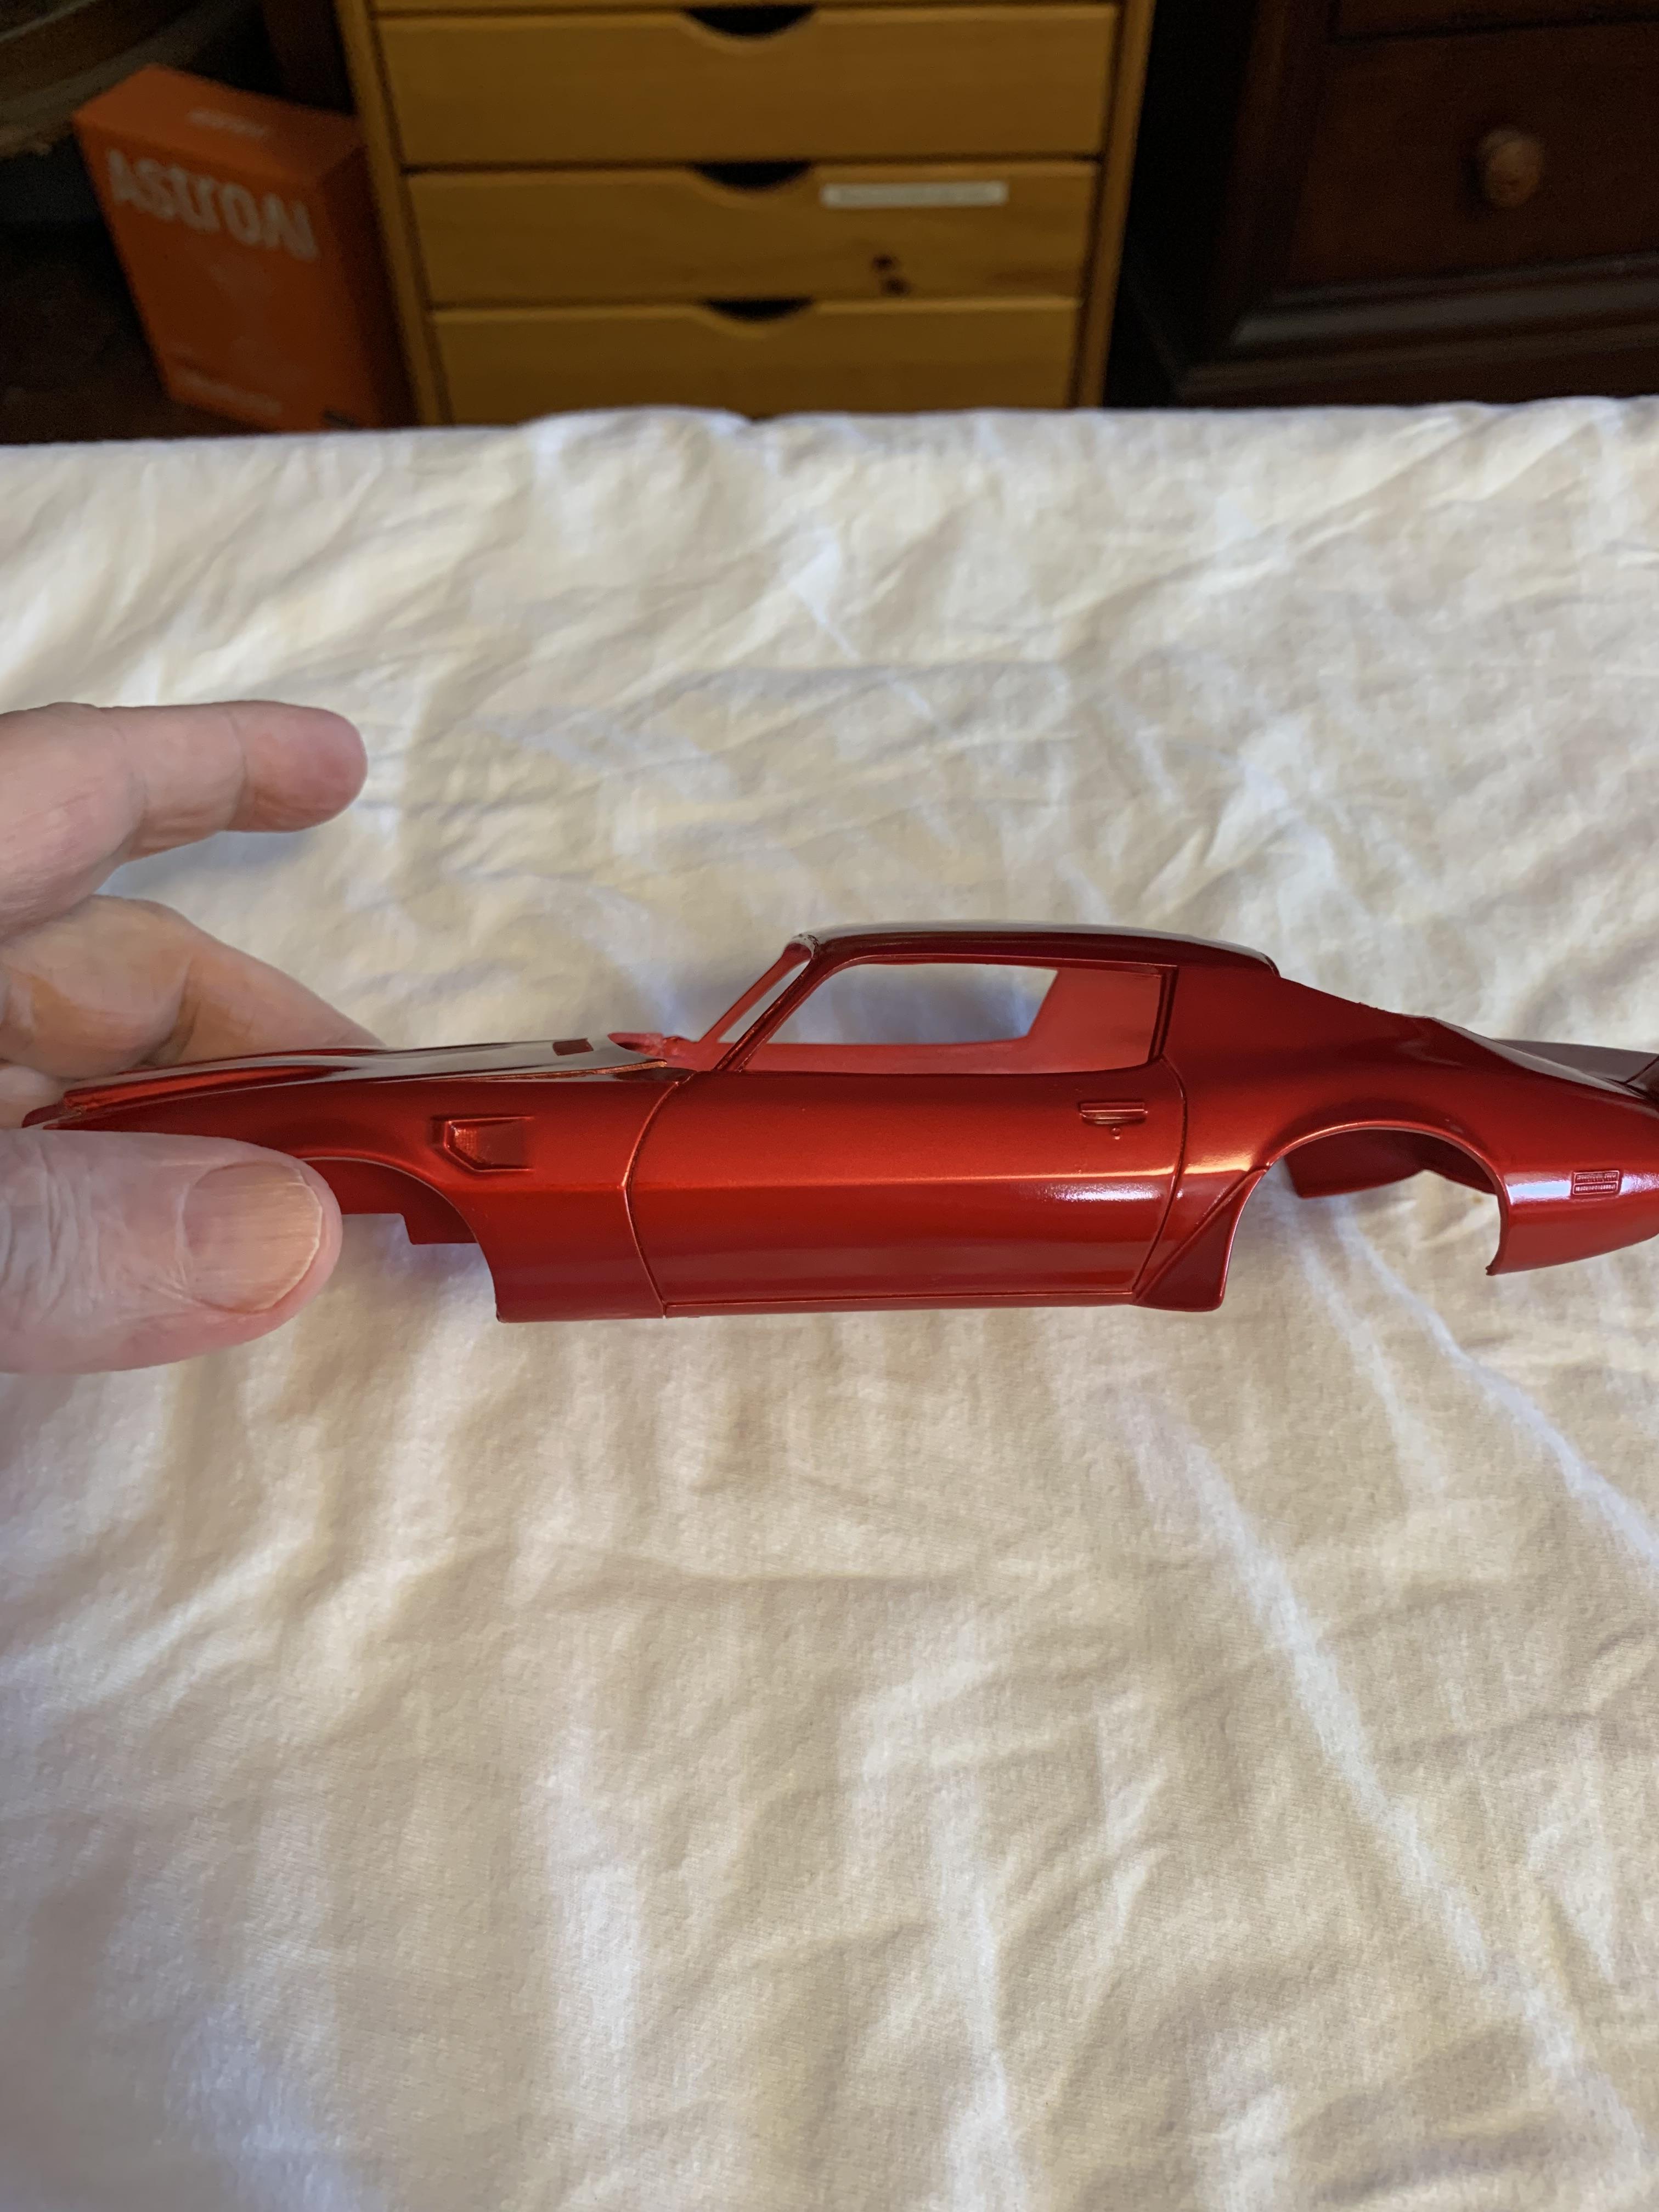
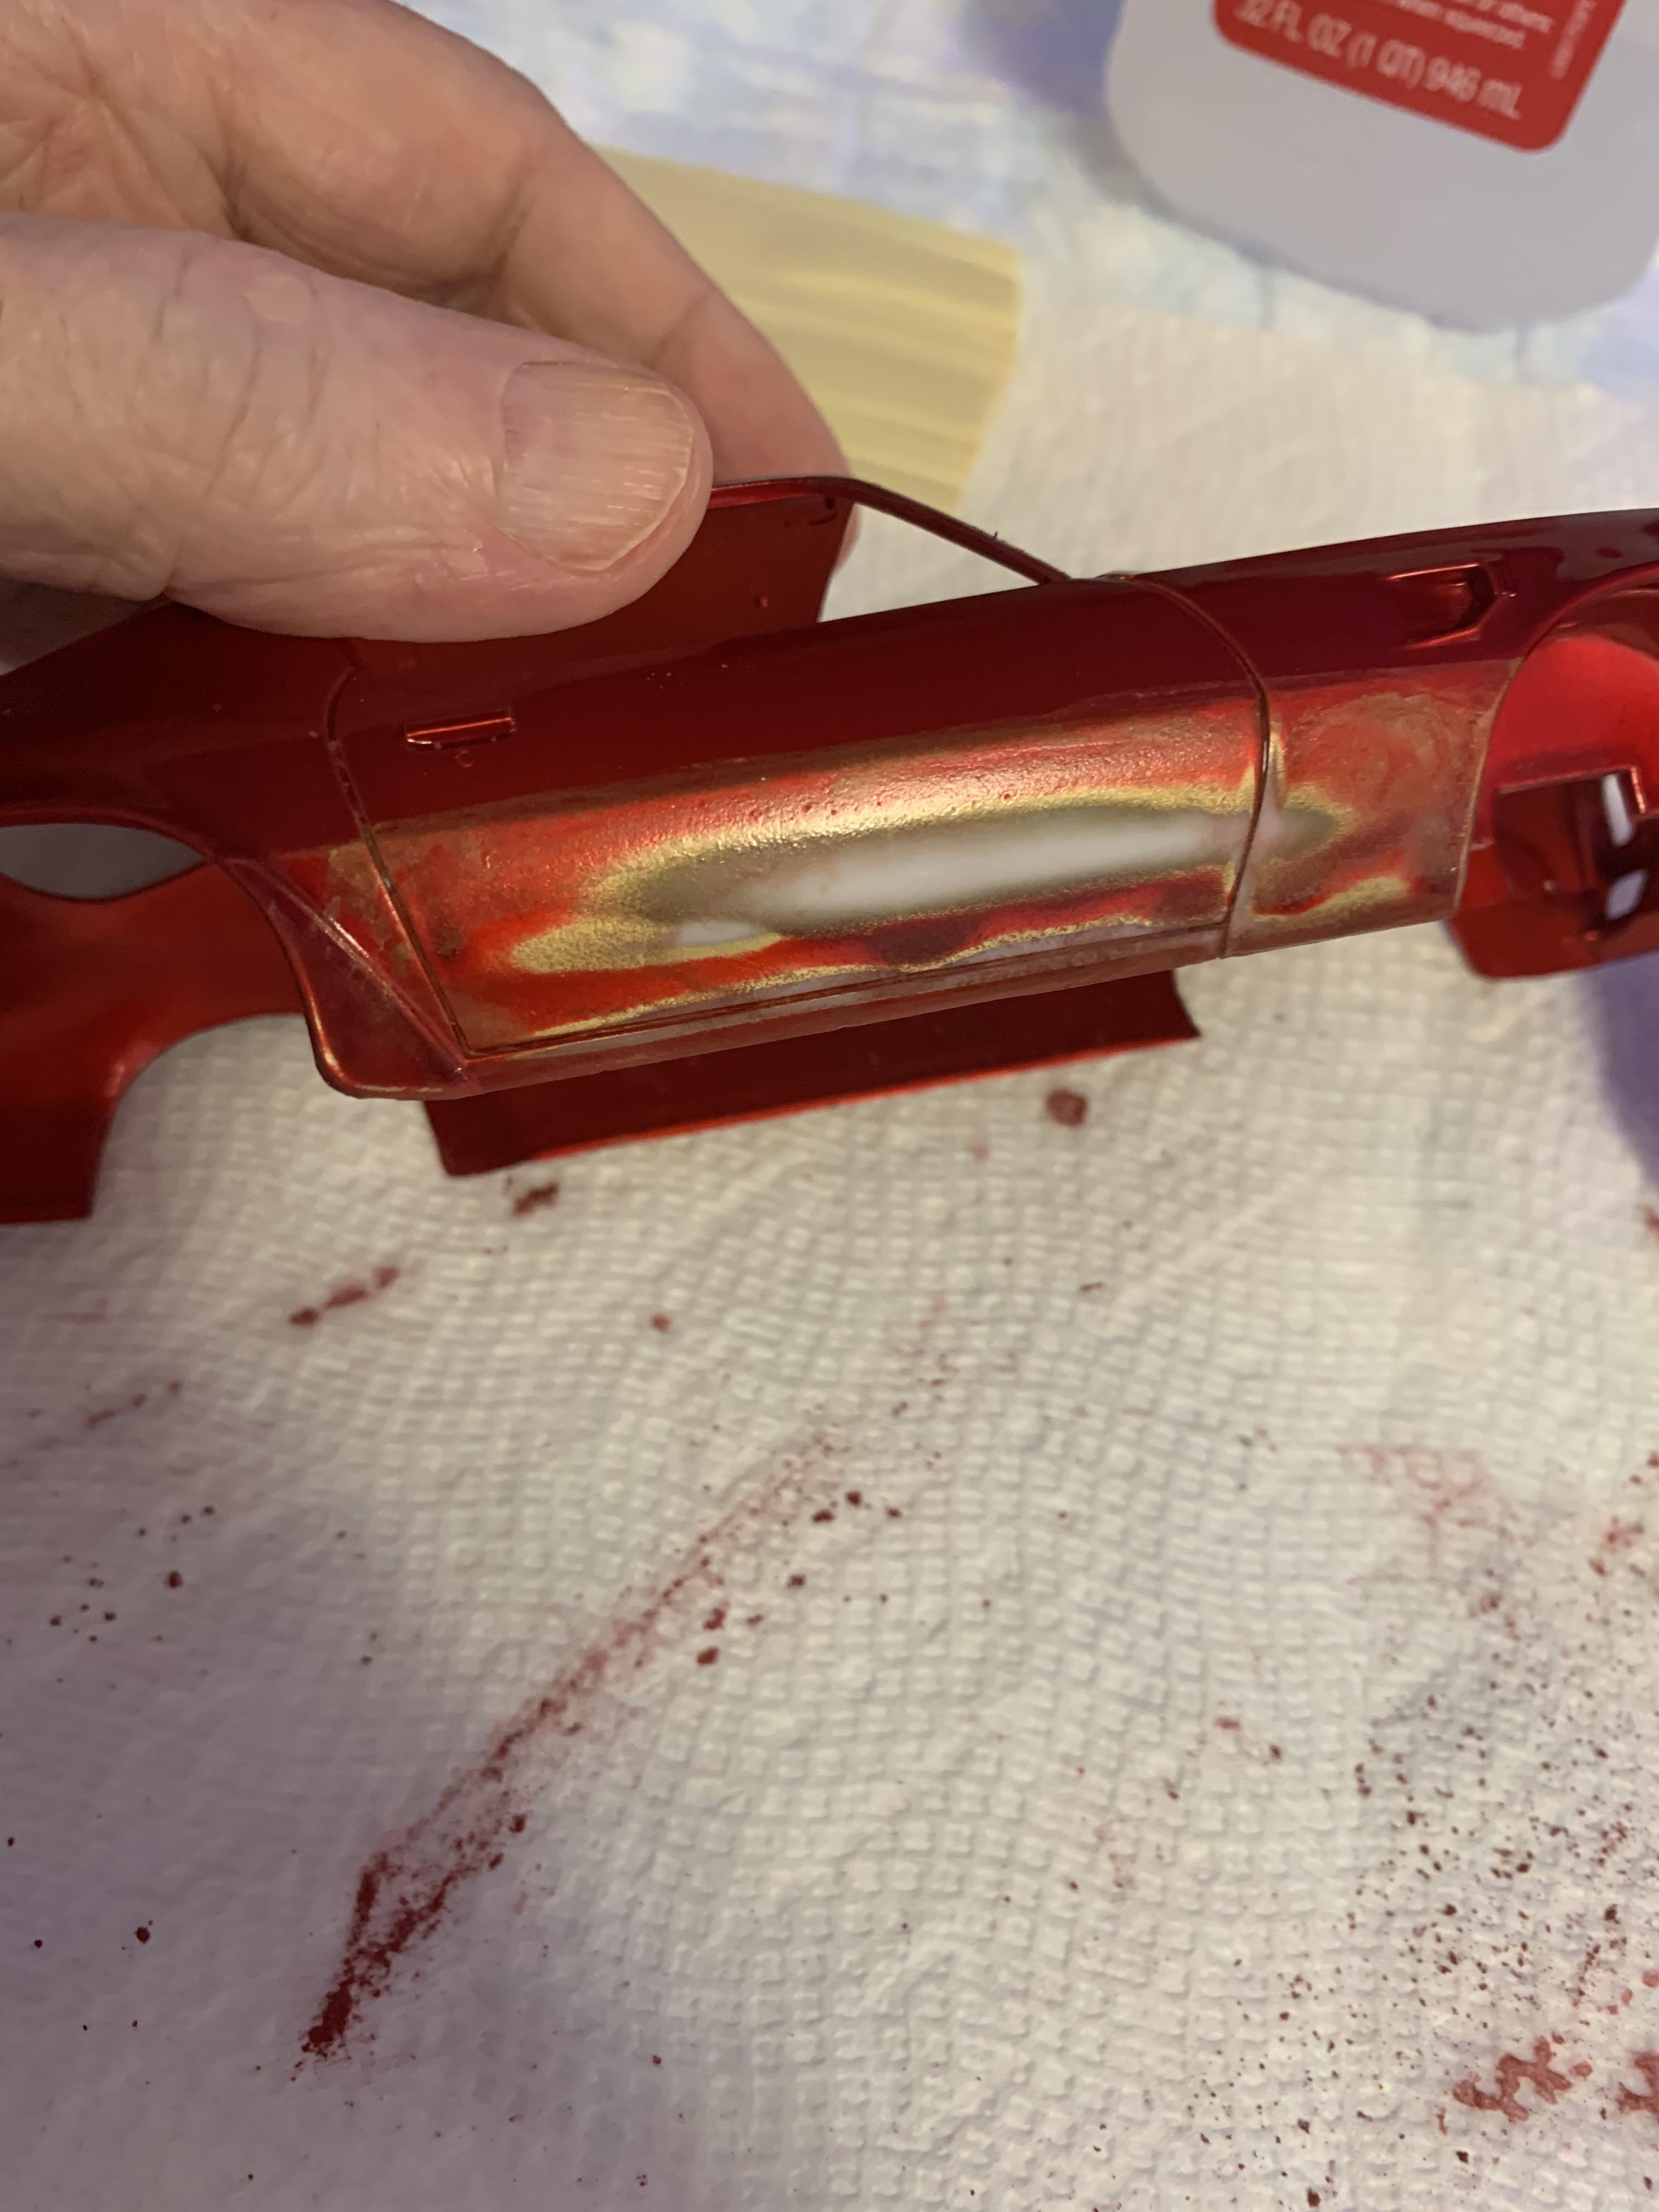
Saturday was a full day with timeouts in between painting. Primed with 1 light coat, then 1 medium, base gold the same way, then clear red (1 light, then 2 medium), clear (1 light then 1 medium). This was all done in 1 day. I usually waited 5-10 minutes between coats, then, an hour or so between different colors. Finished about 2 o’clock this morning. It looks good, so, moving on.
-
Geez! Another Stocker! 70 Formula Firebird B/SA
R. Thorne replied to R. Thorne's topic in WIP: Drag Racing Models
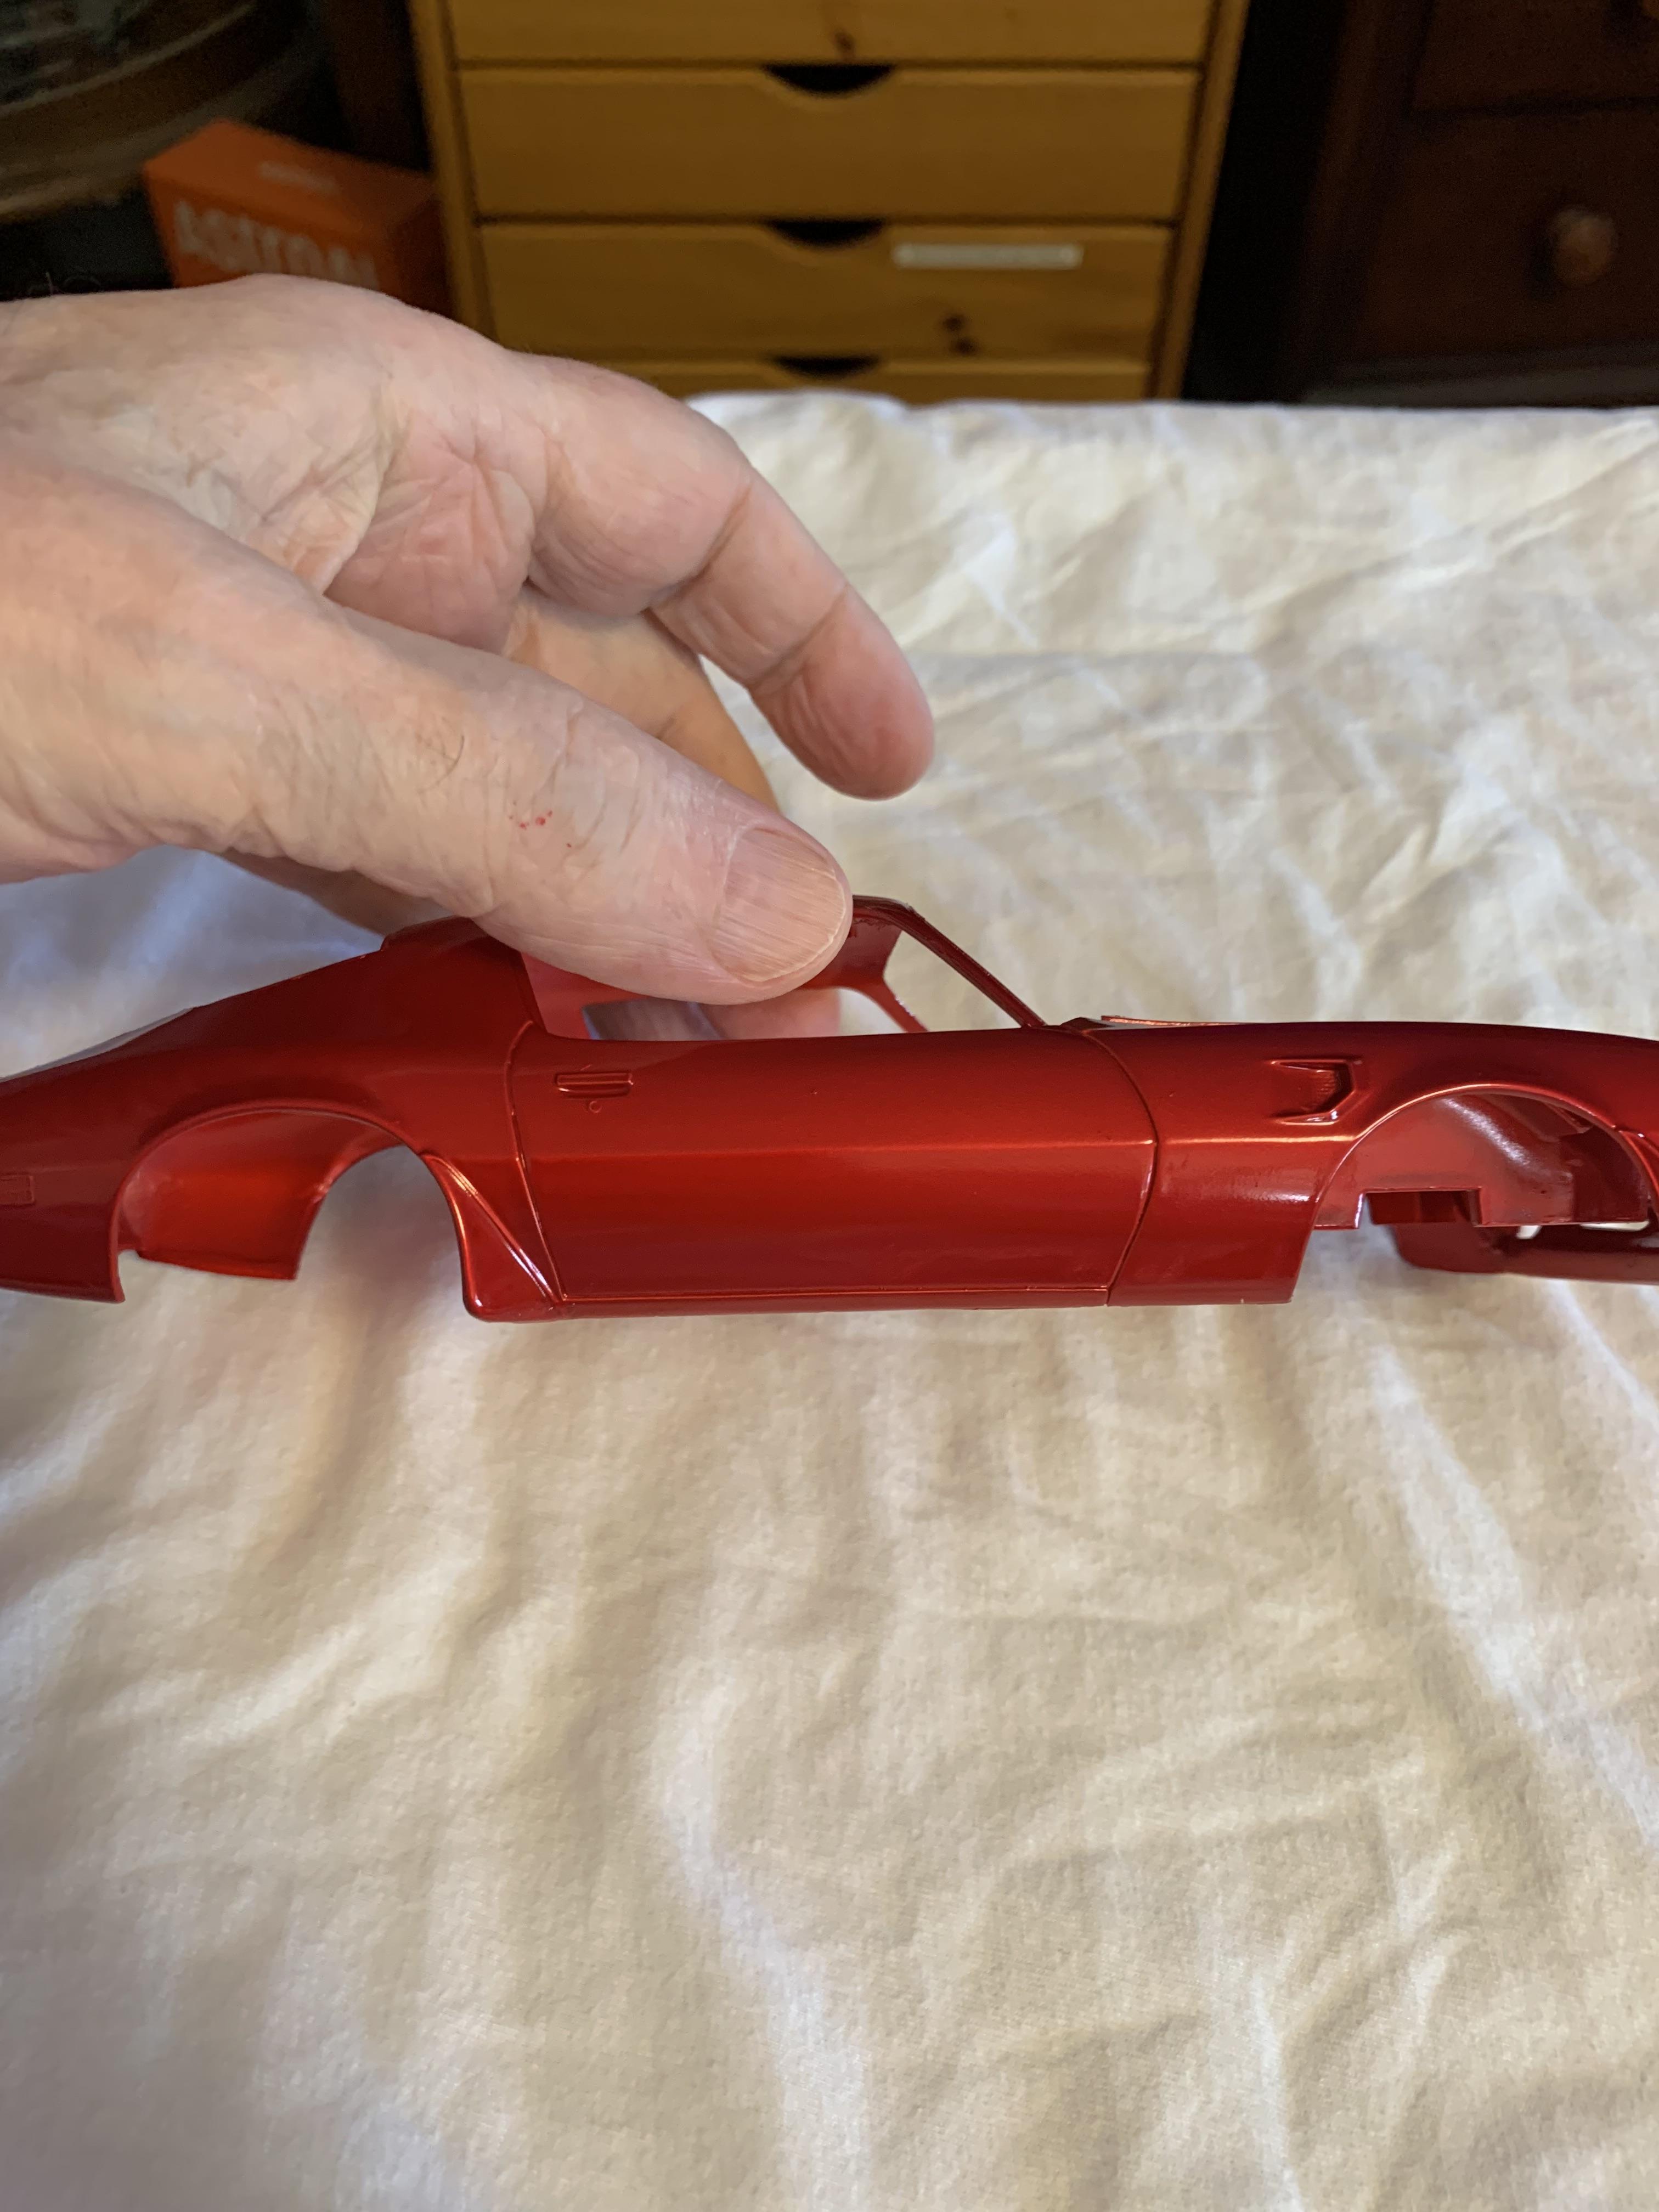
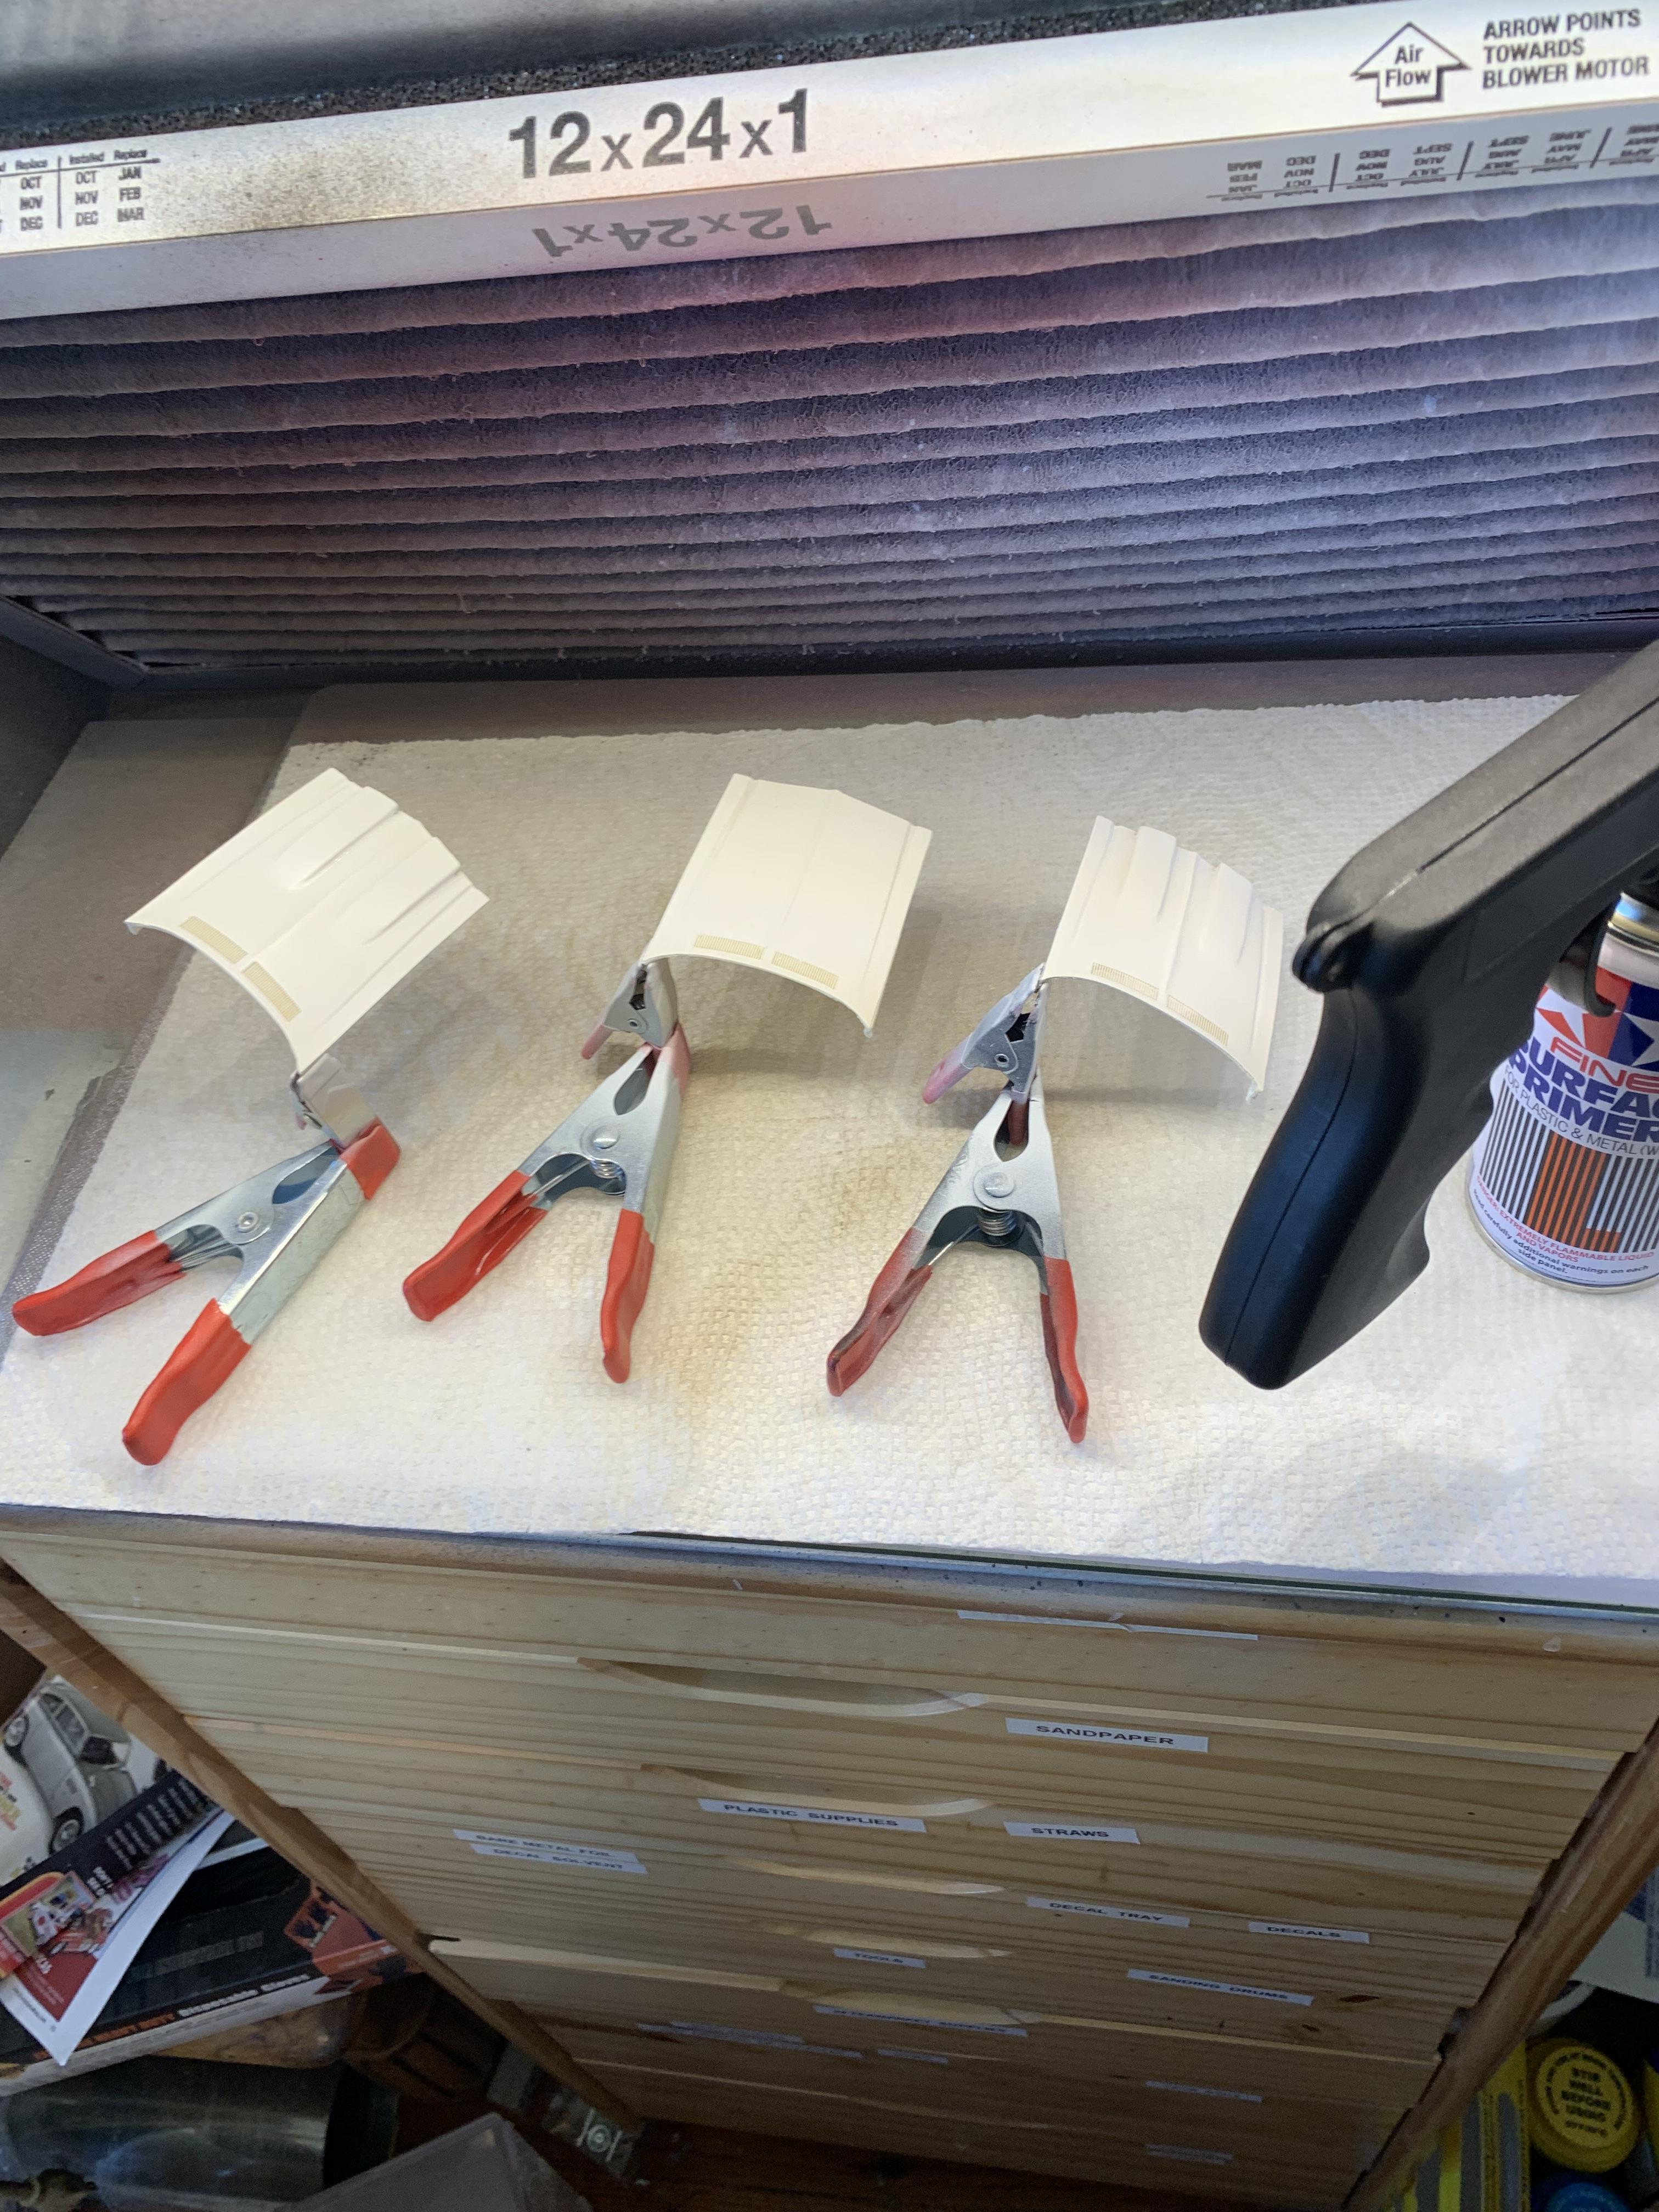
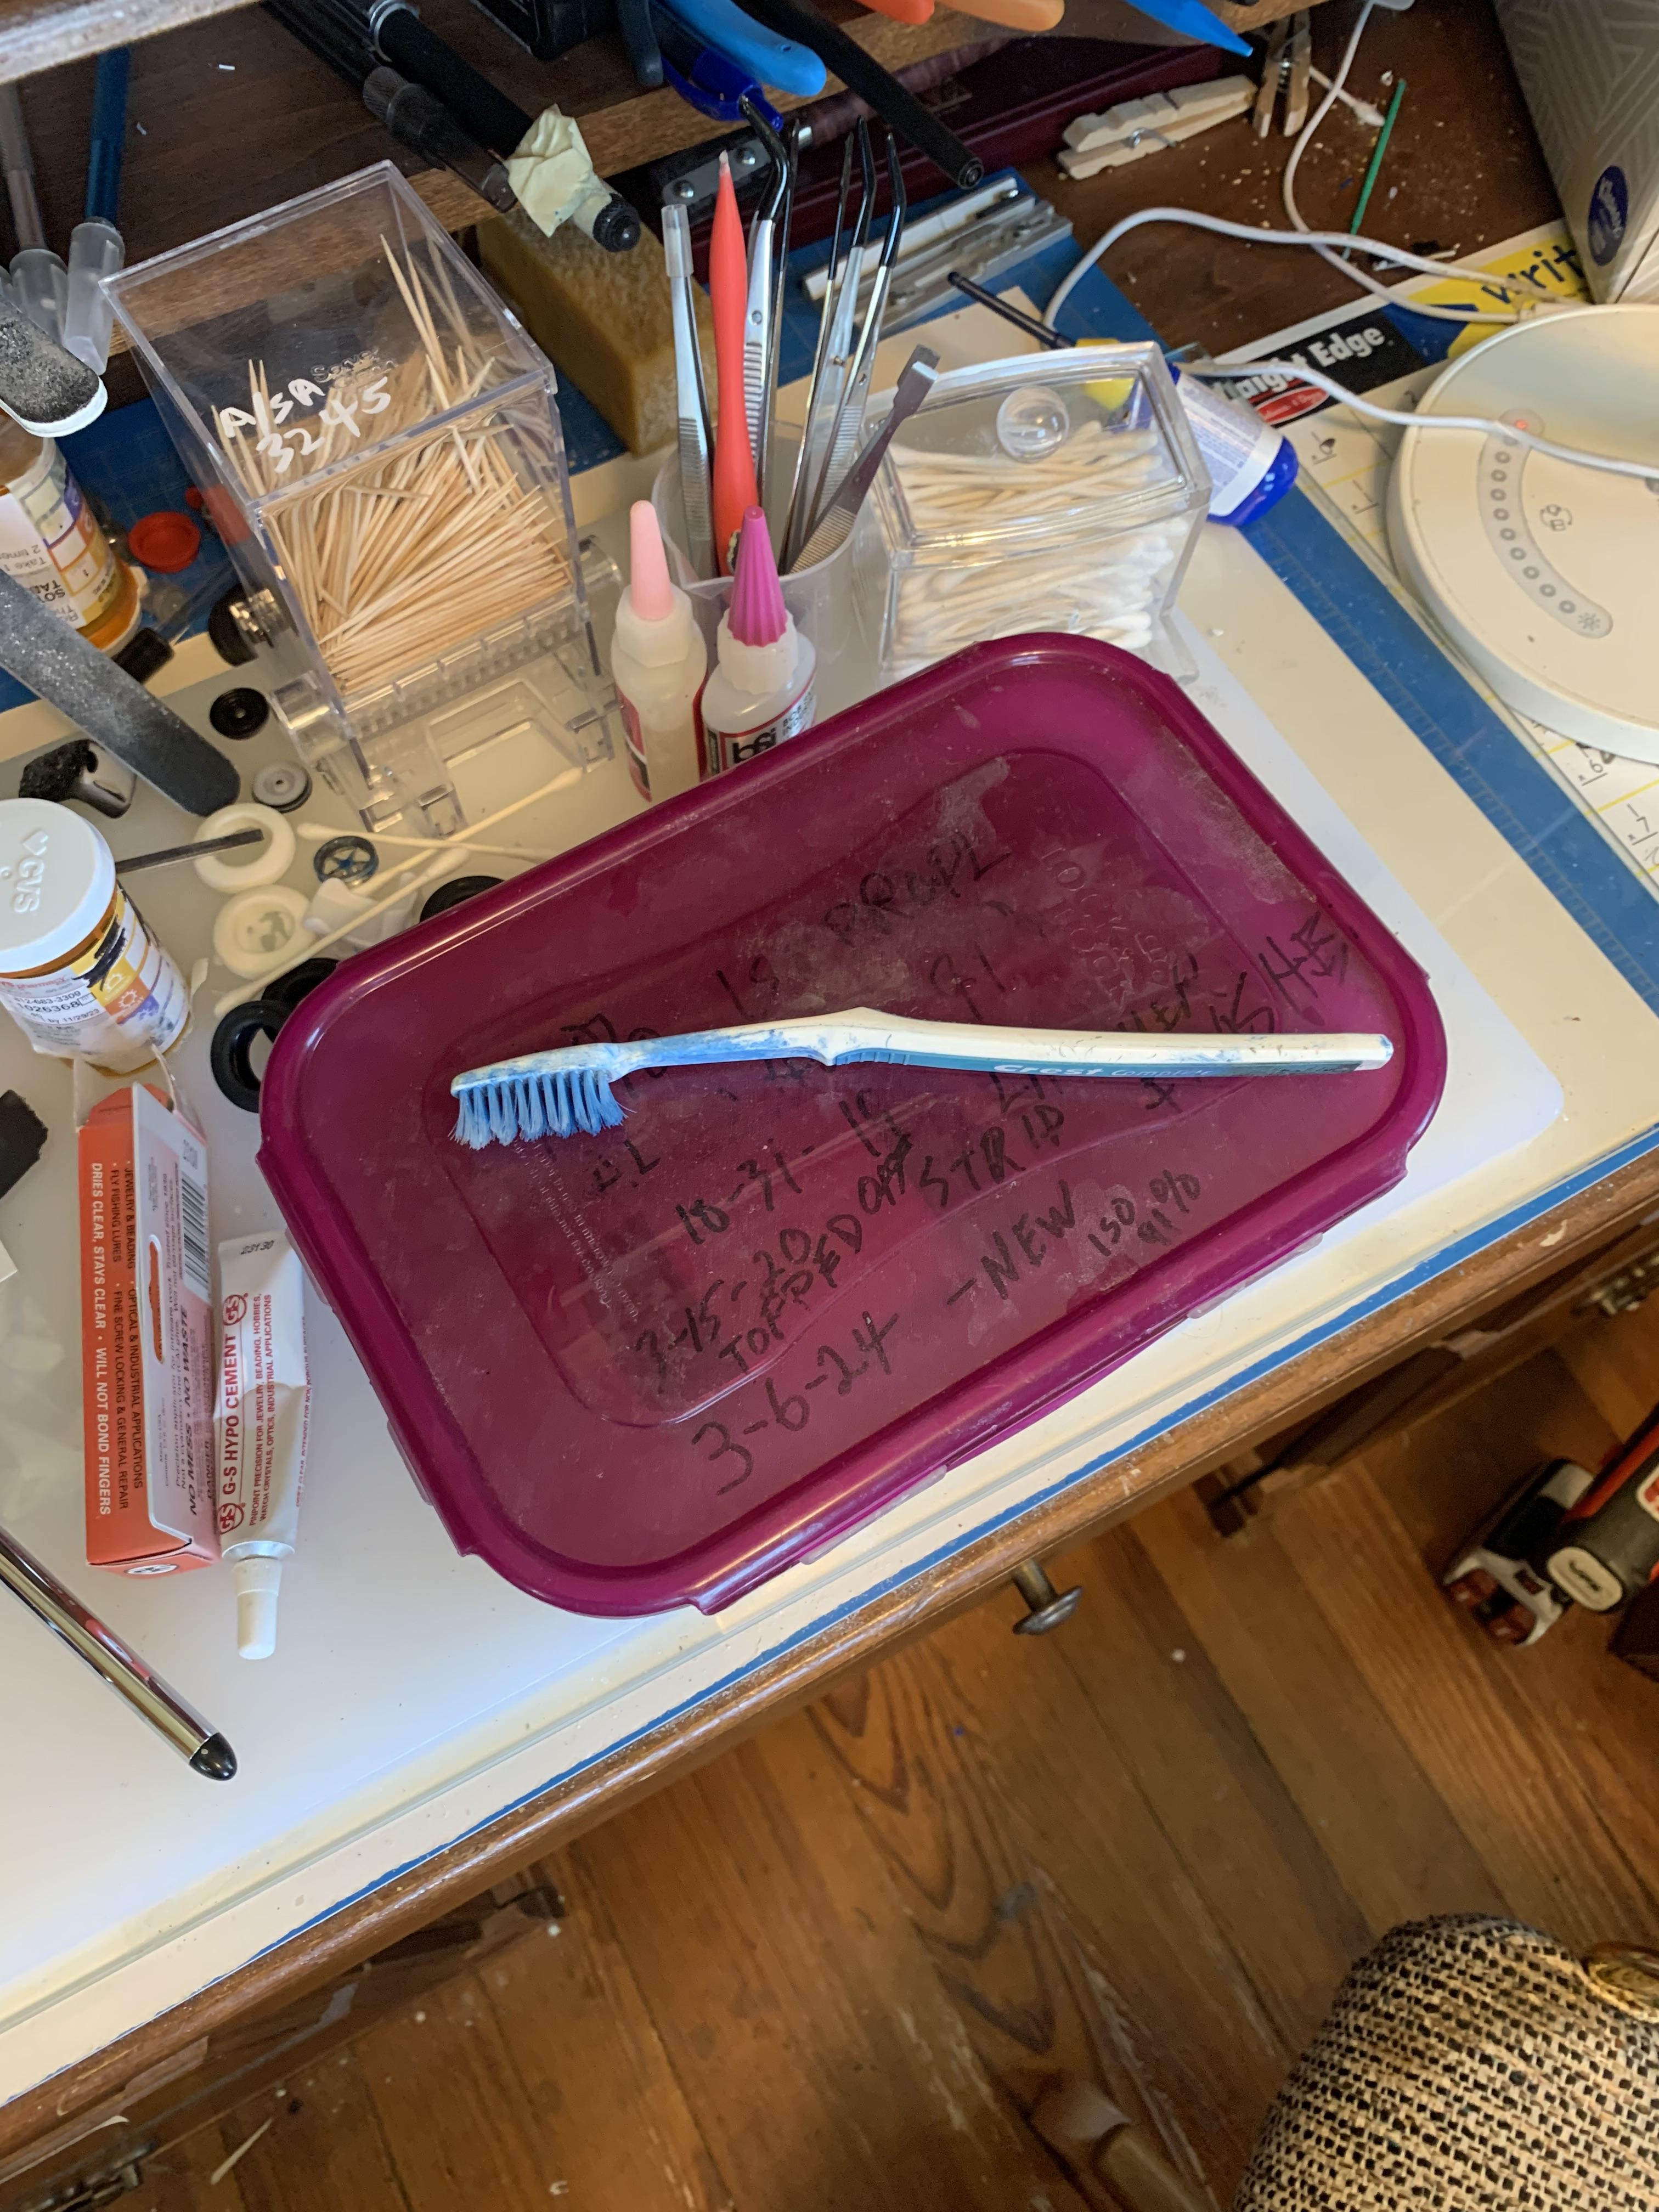
Thanks, Tony. Got the 3 hoods cleaned up in Purple stuff, then primed with Tamiya white primer. Noticed some runs where I had painted the body with clear red. Sanded it down, noticed a couple of other spots, so, decided to start again and dunked it in 91% alcohol. This took place on Friday.
-
Thanks, guys. Comments good or bad and questions are always welcomed.
-
Also, worked pretty good and reminded me of a 1:1 type drop light when laid on the top of the car.
-
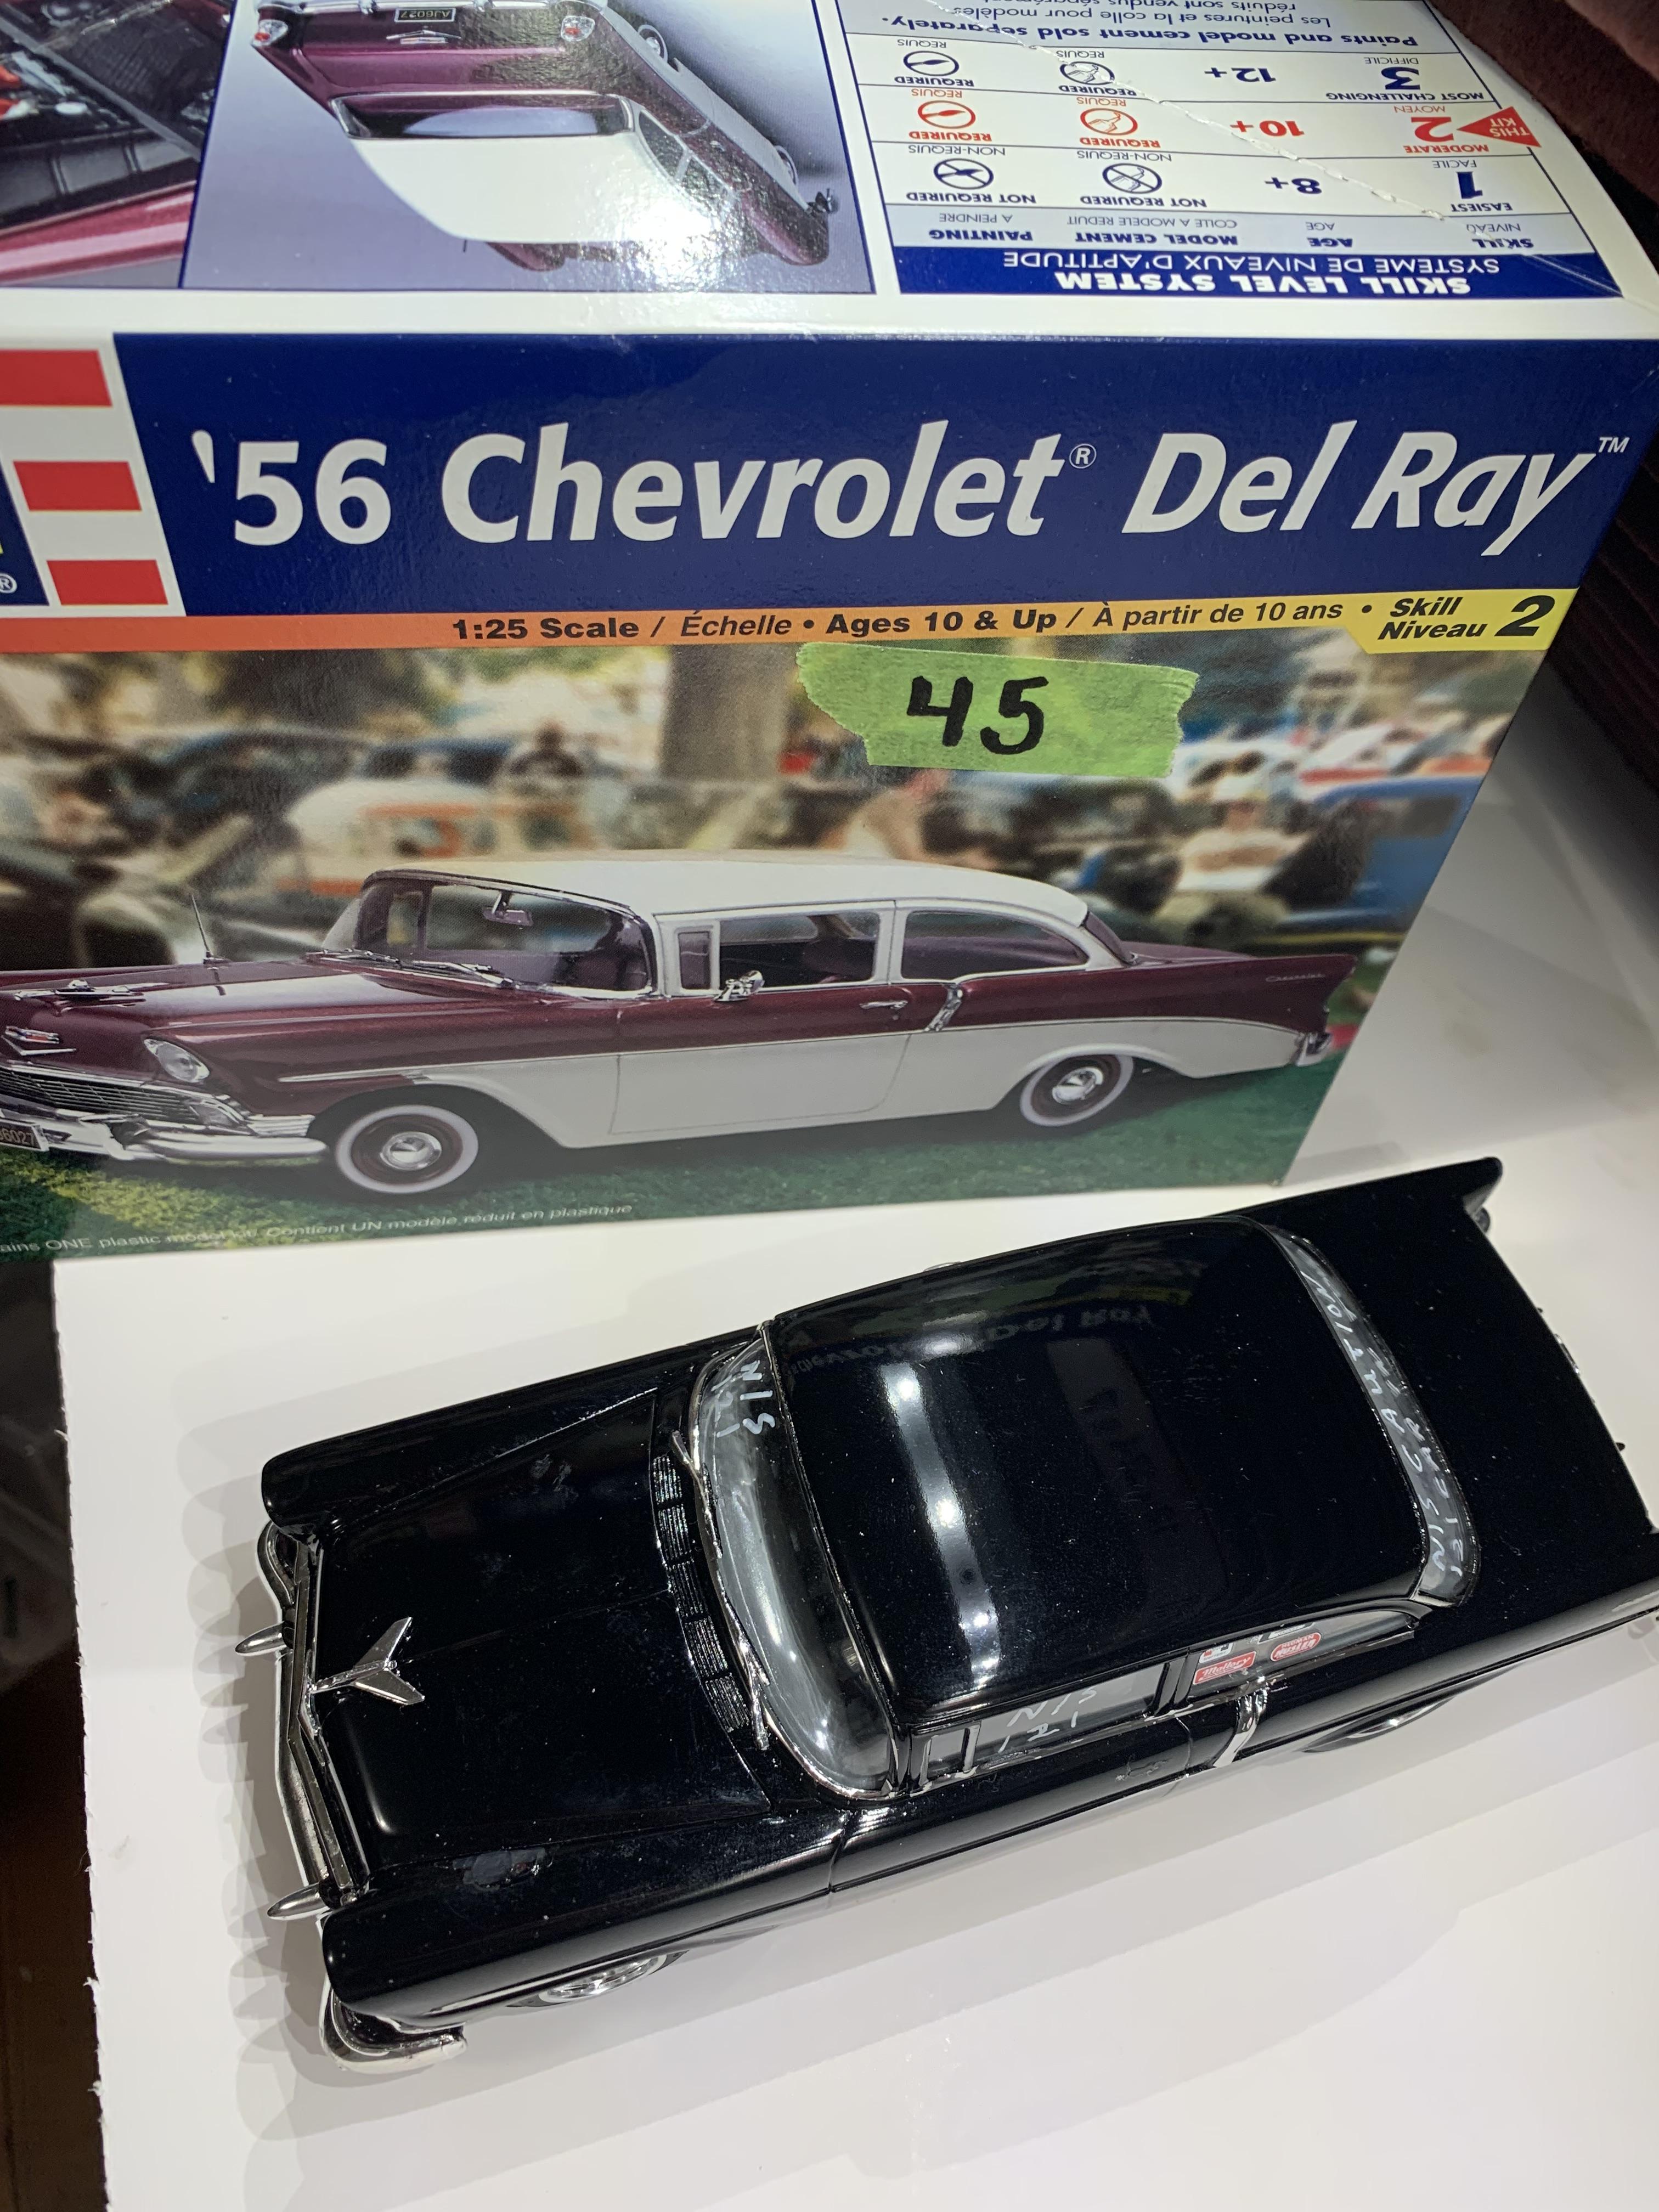
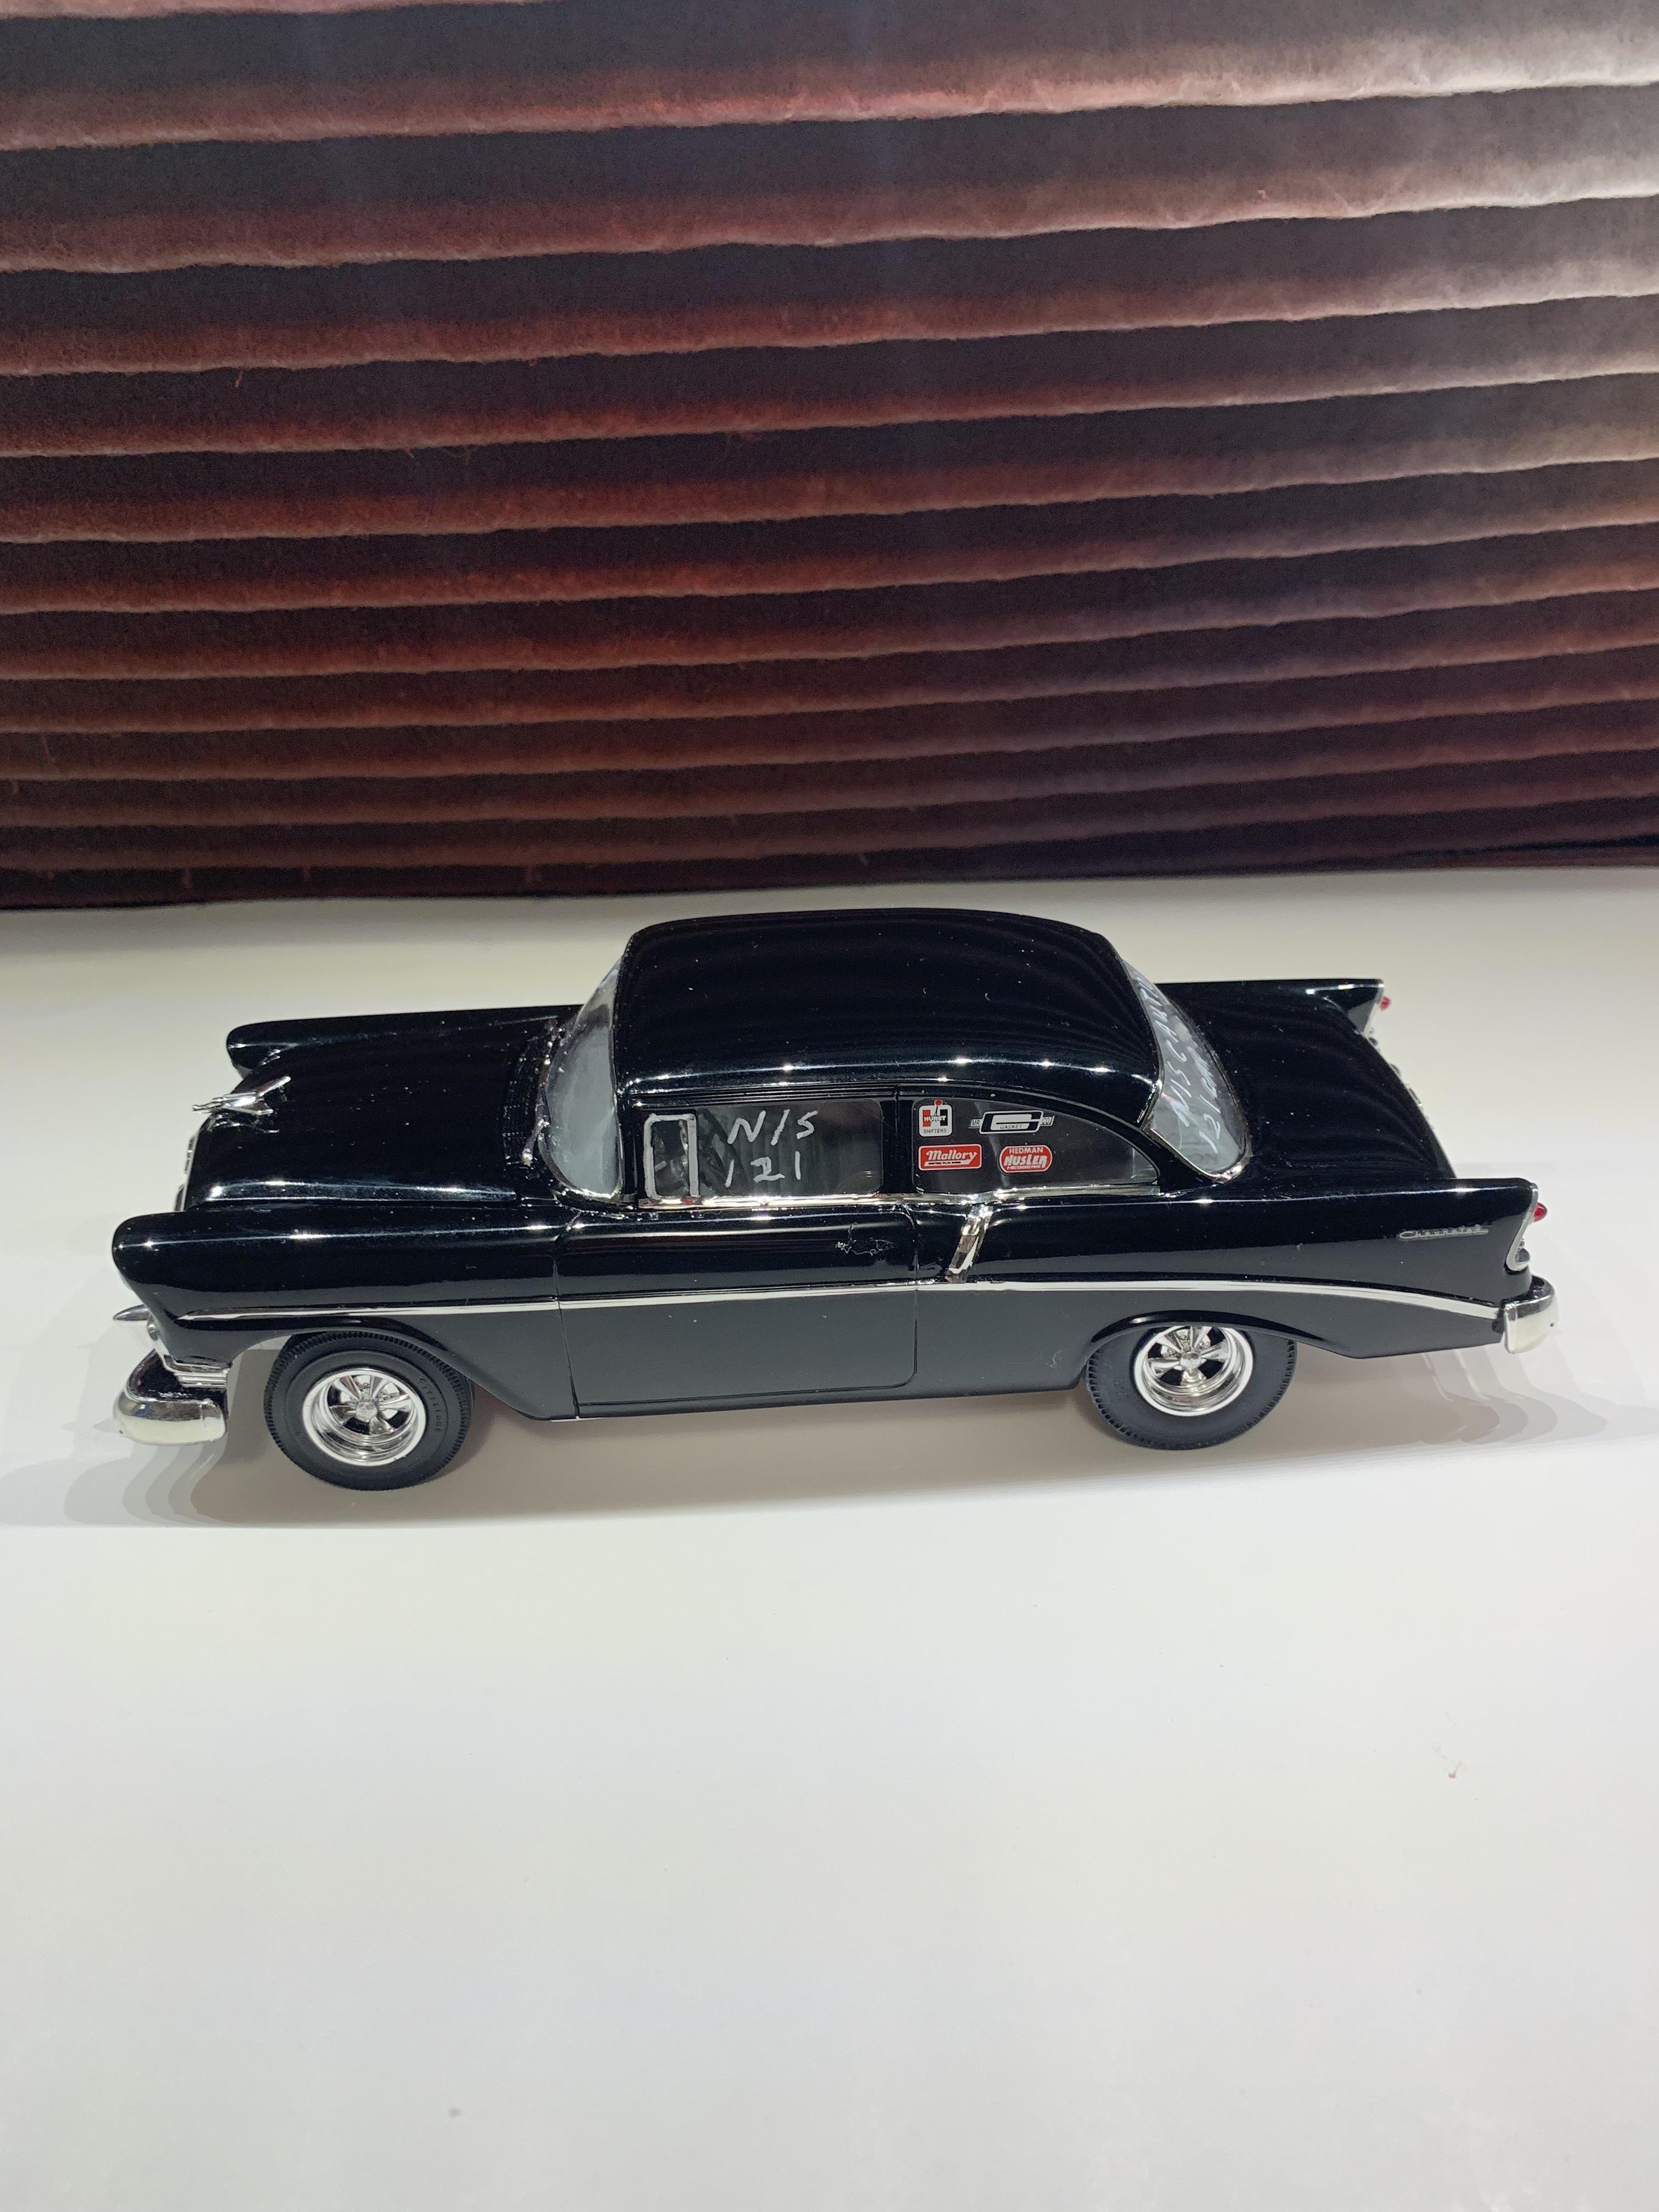
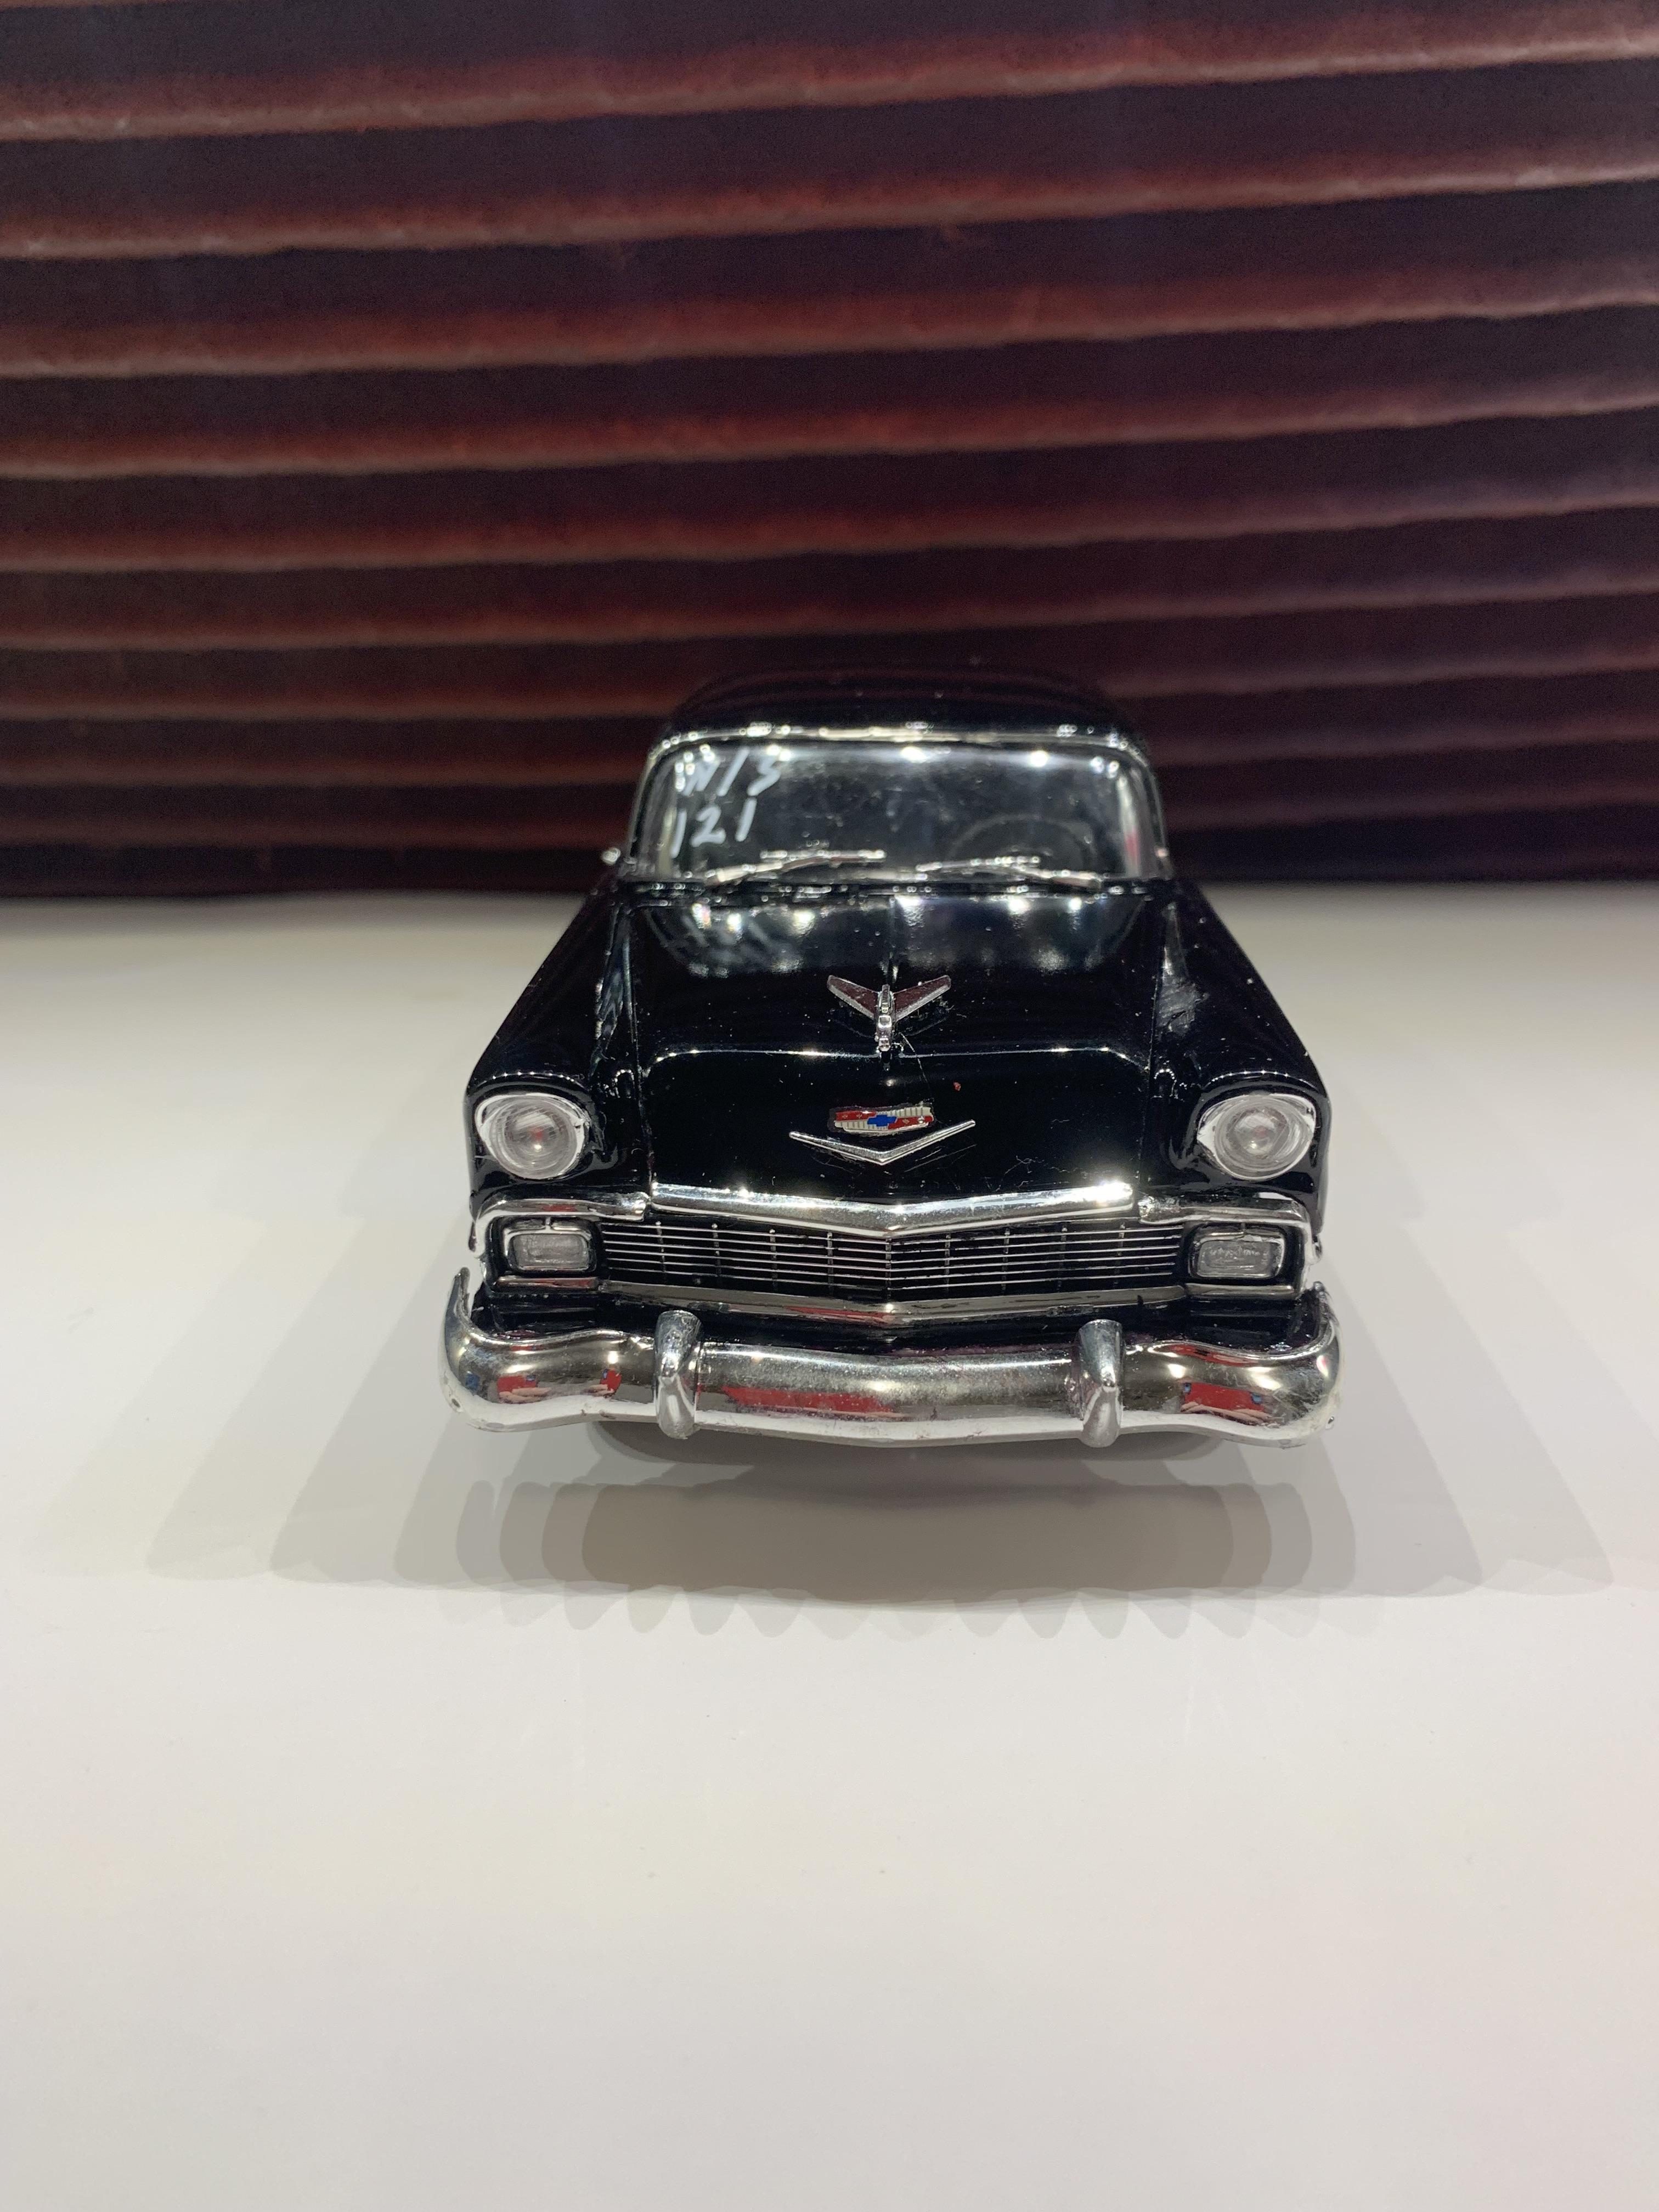
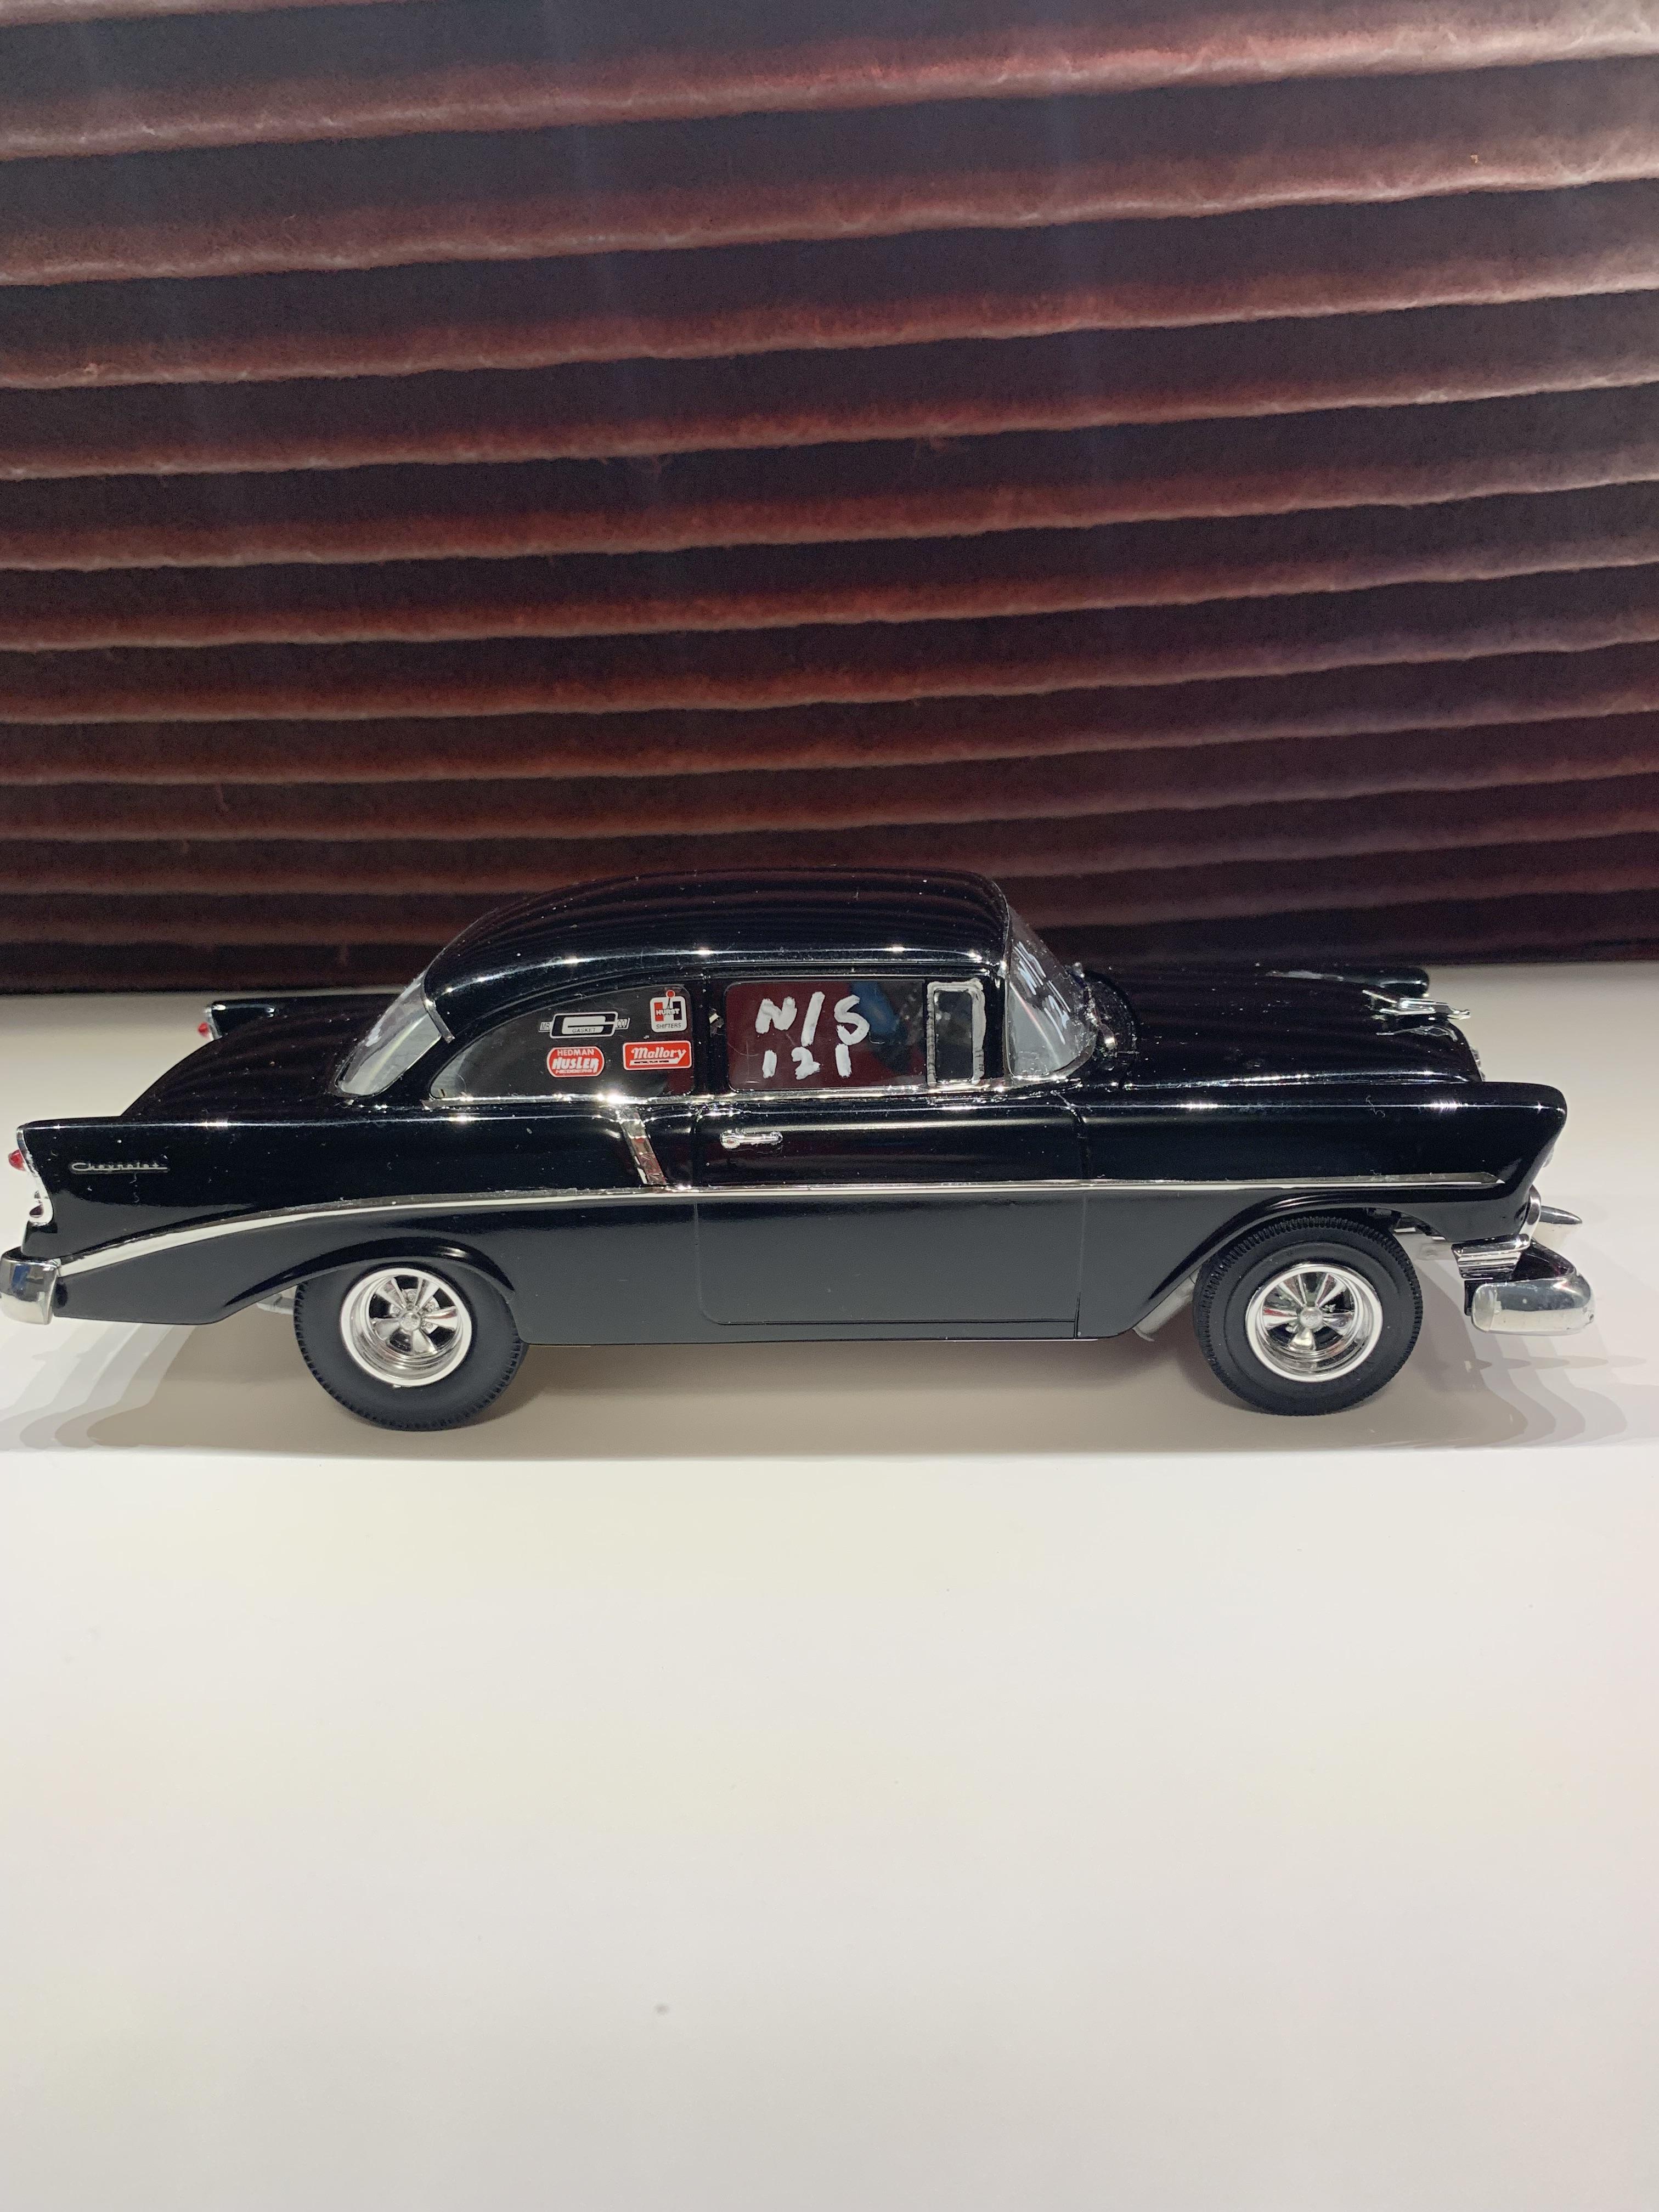
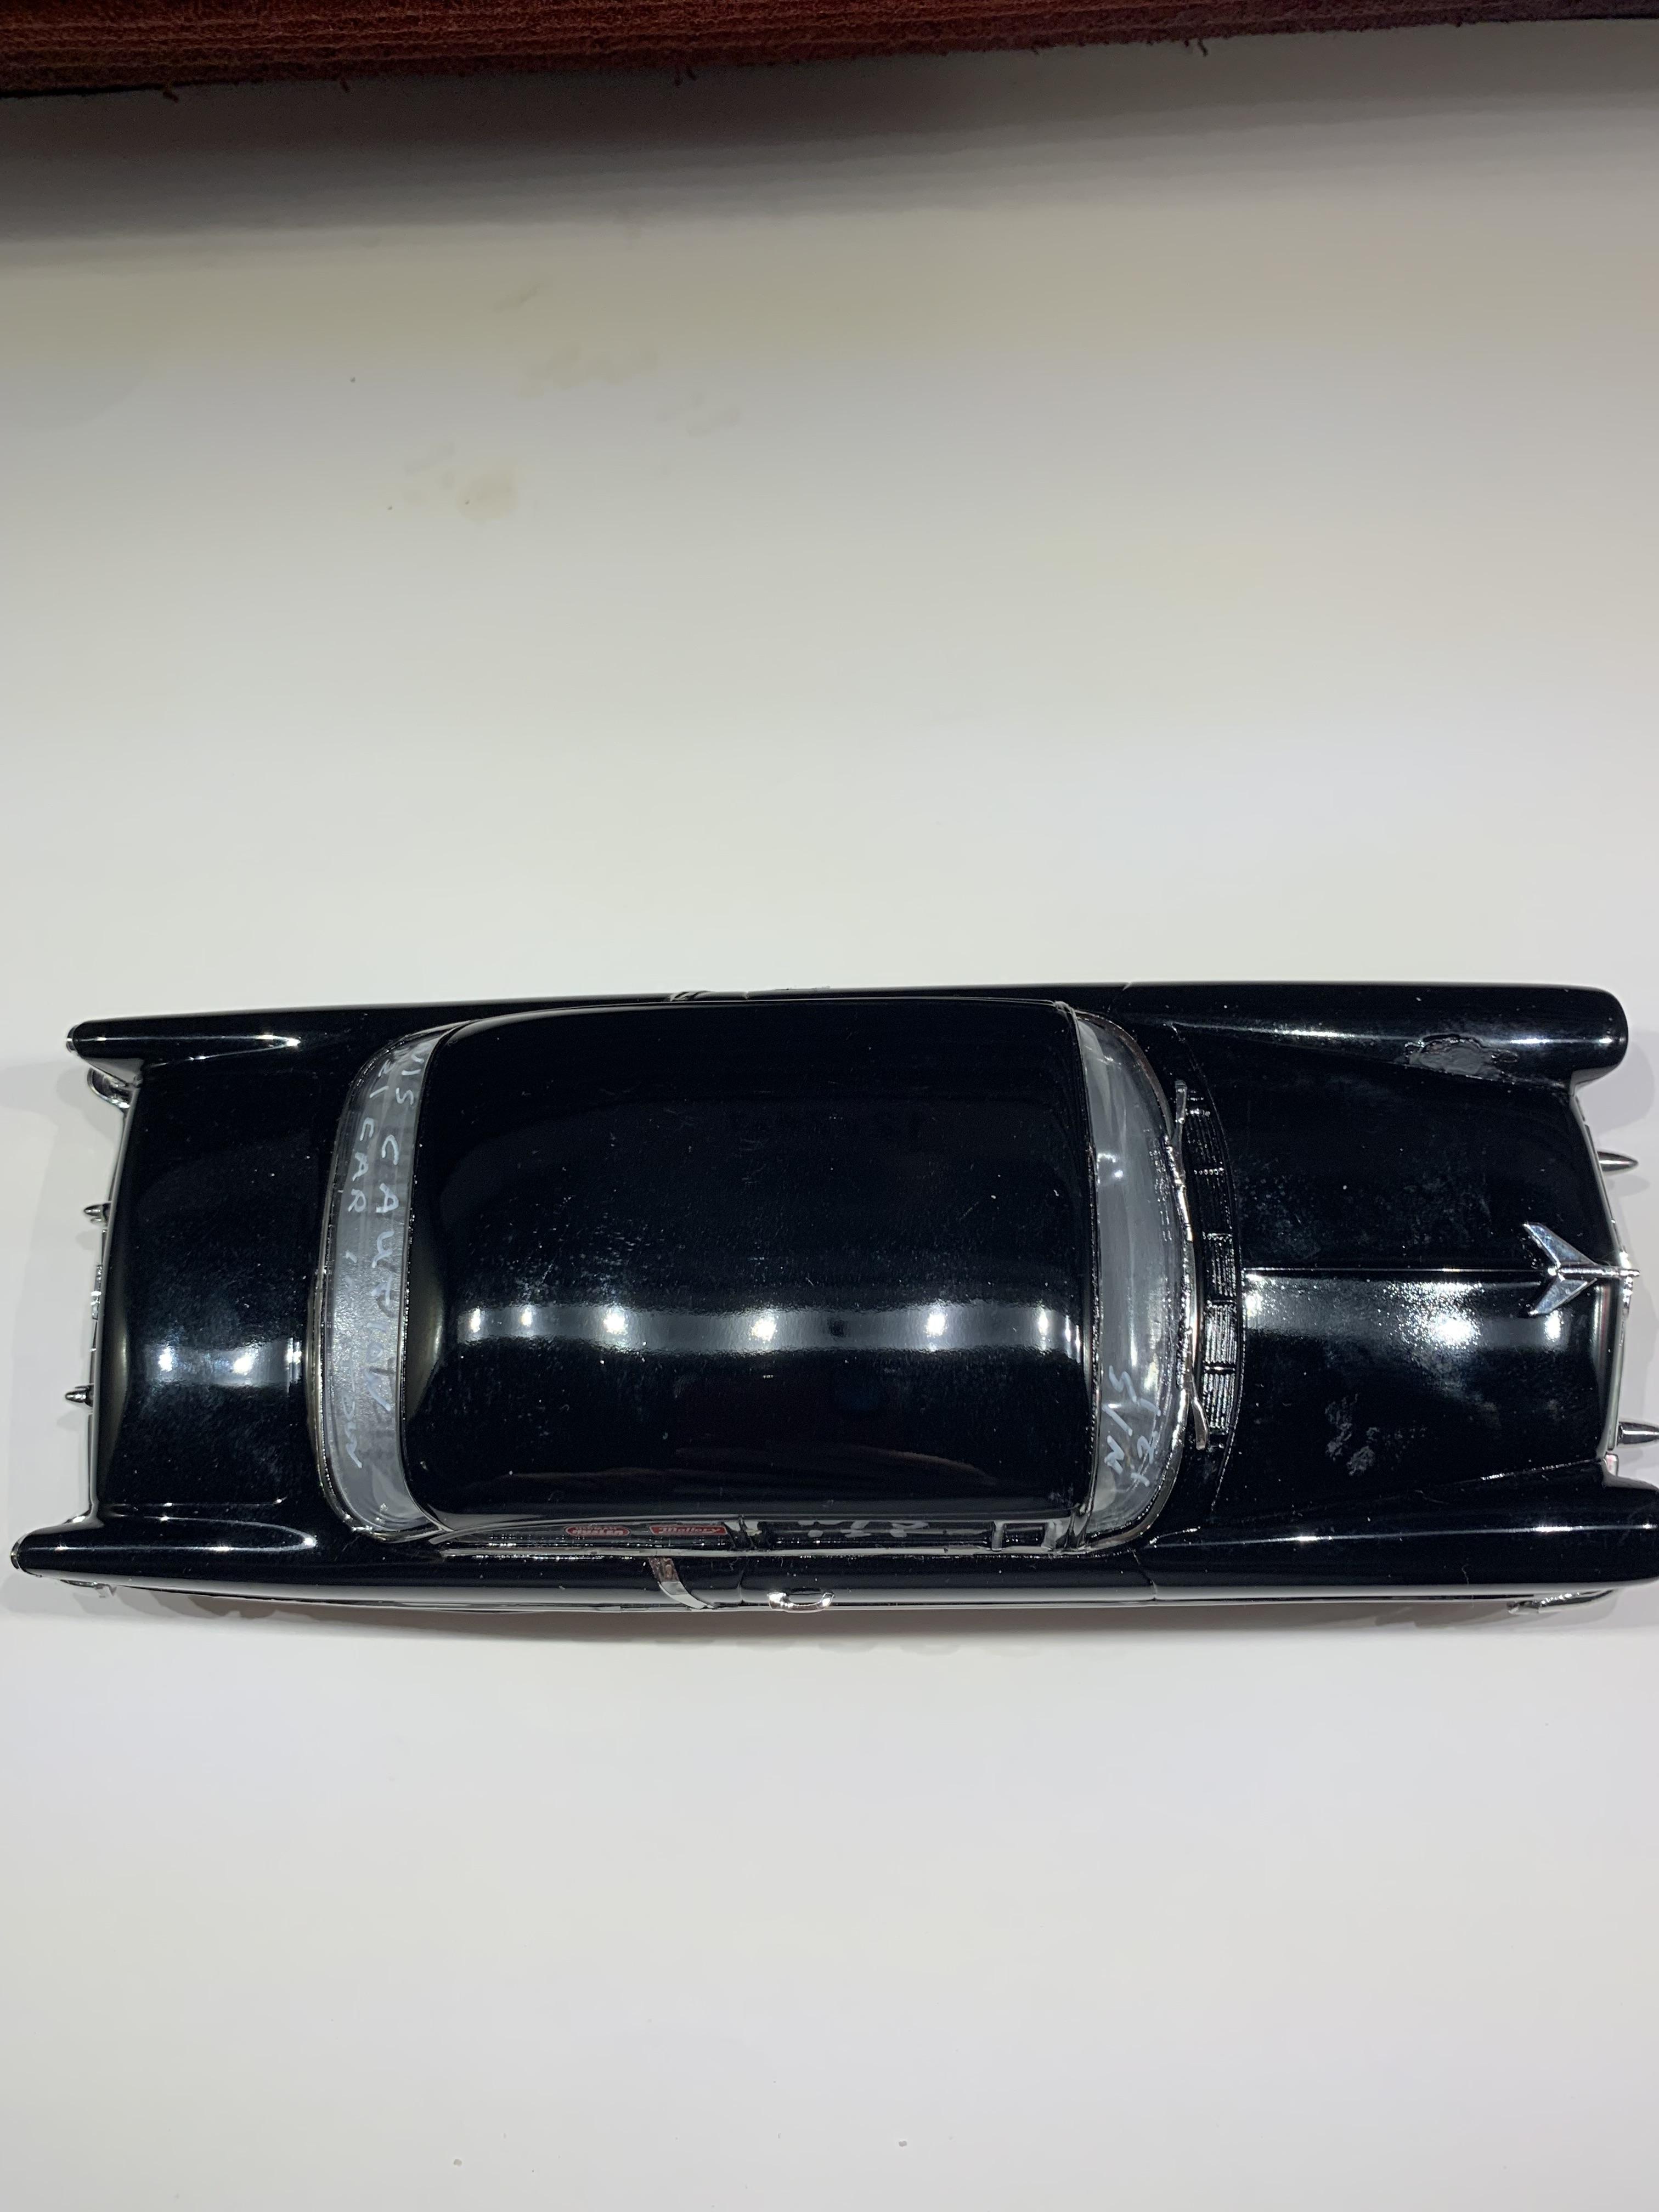
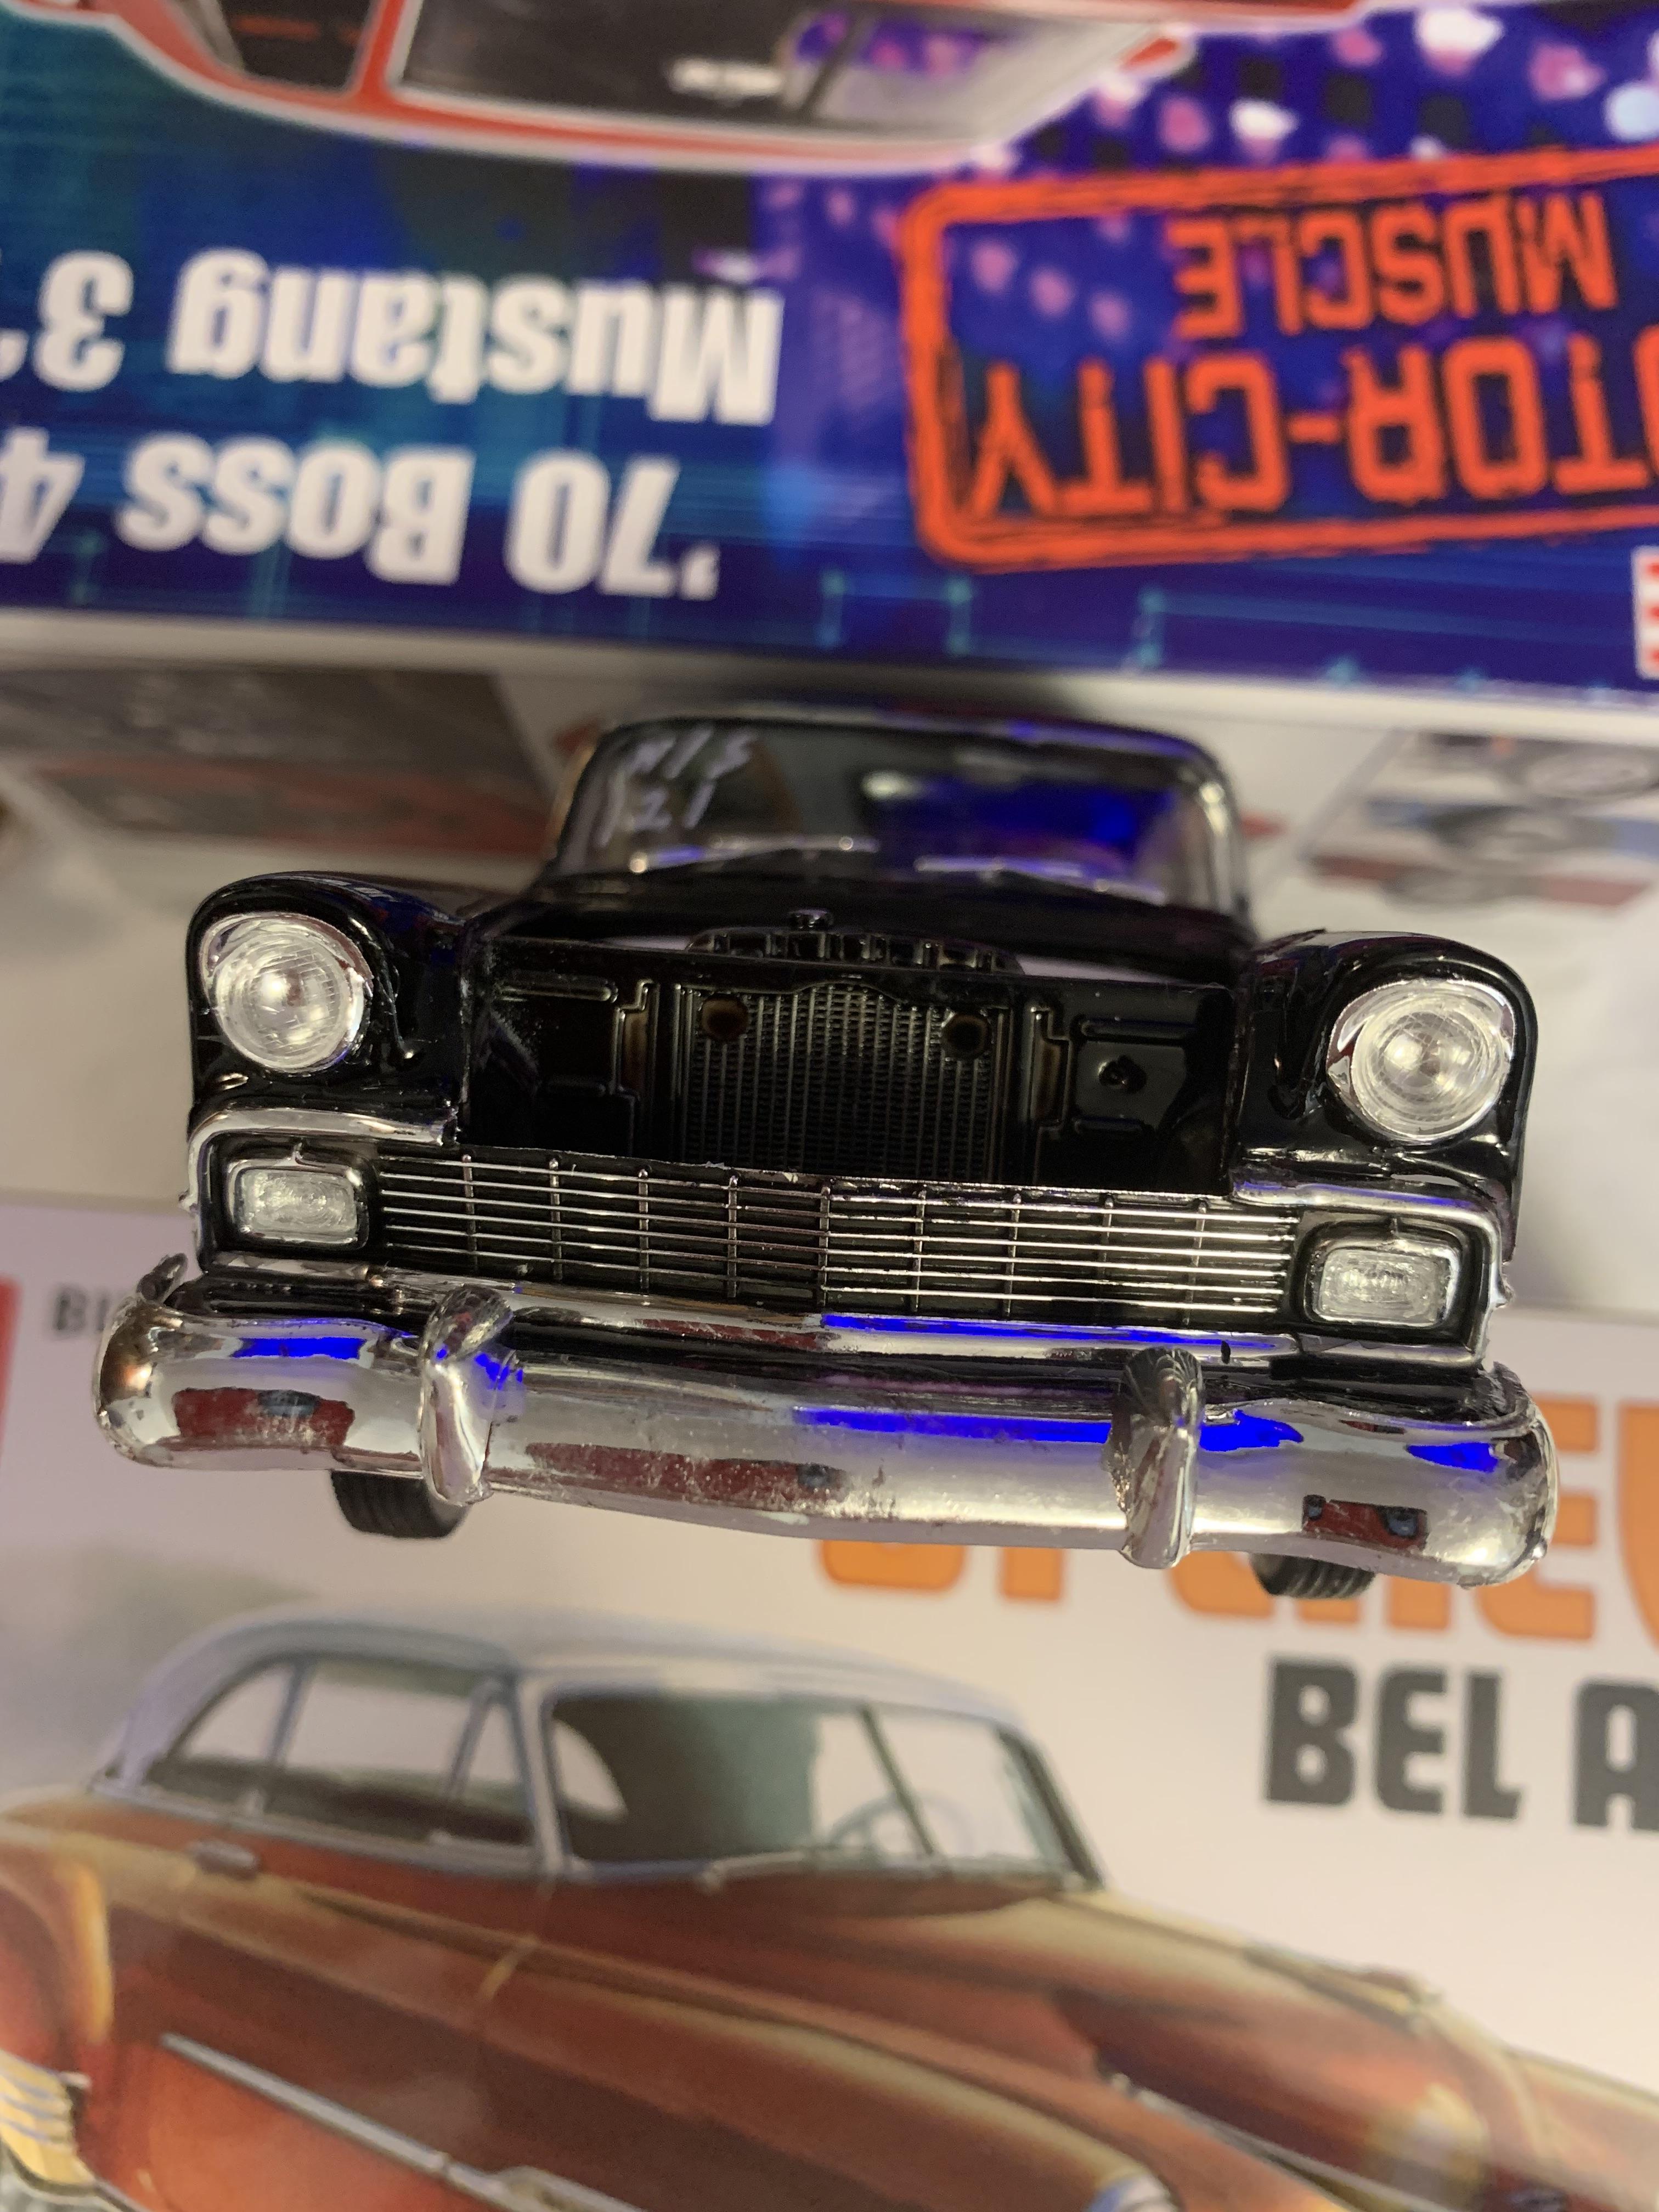
Stopped and started a lot on this one. It is representative of a 265 cu. In. Chevy with a single four barrel (4gc) carb and a 3 speed stick shift Stock Eliminator car. Scattershield came from a 57 Nomad kit, aftermarket fenderwell headers, Lakewood traction bars from I don’t know where land, cast my own tires (7” cheater slicks) from the AMT Surf Woody that comes with 4 slicks. Most of the parts came from the Revell Del Ray kit. Paint is Tamiya spray cans. Chrome trim is Hasegawa. Don’t remember where the wheels came from. More information about how I got started on this build is on the WIP thread. Critiques, comments, questions, are always welcomed.
-
56 Chevy Junior Stocker circa 1960’s
R. Thorne replied to R. Thorne's topic in WIP: Drag Racing Models
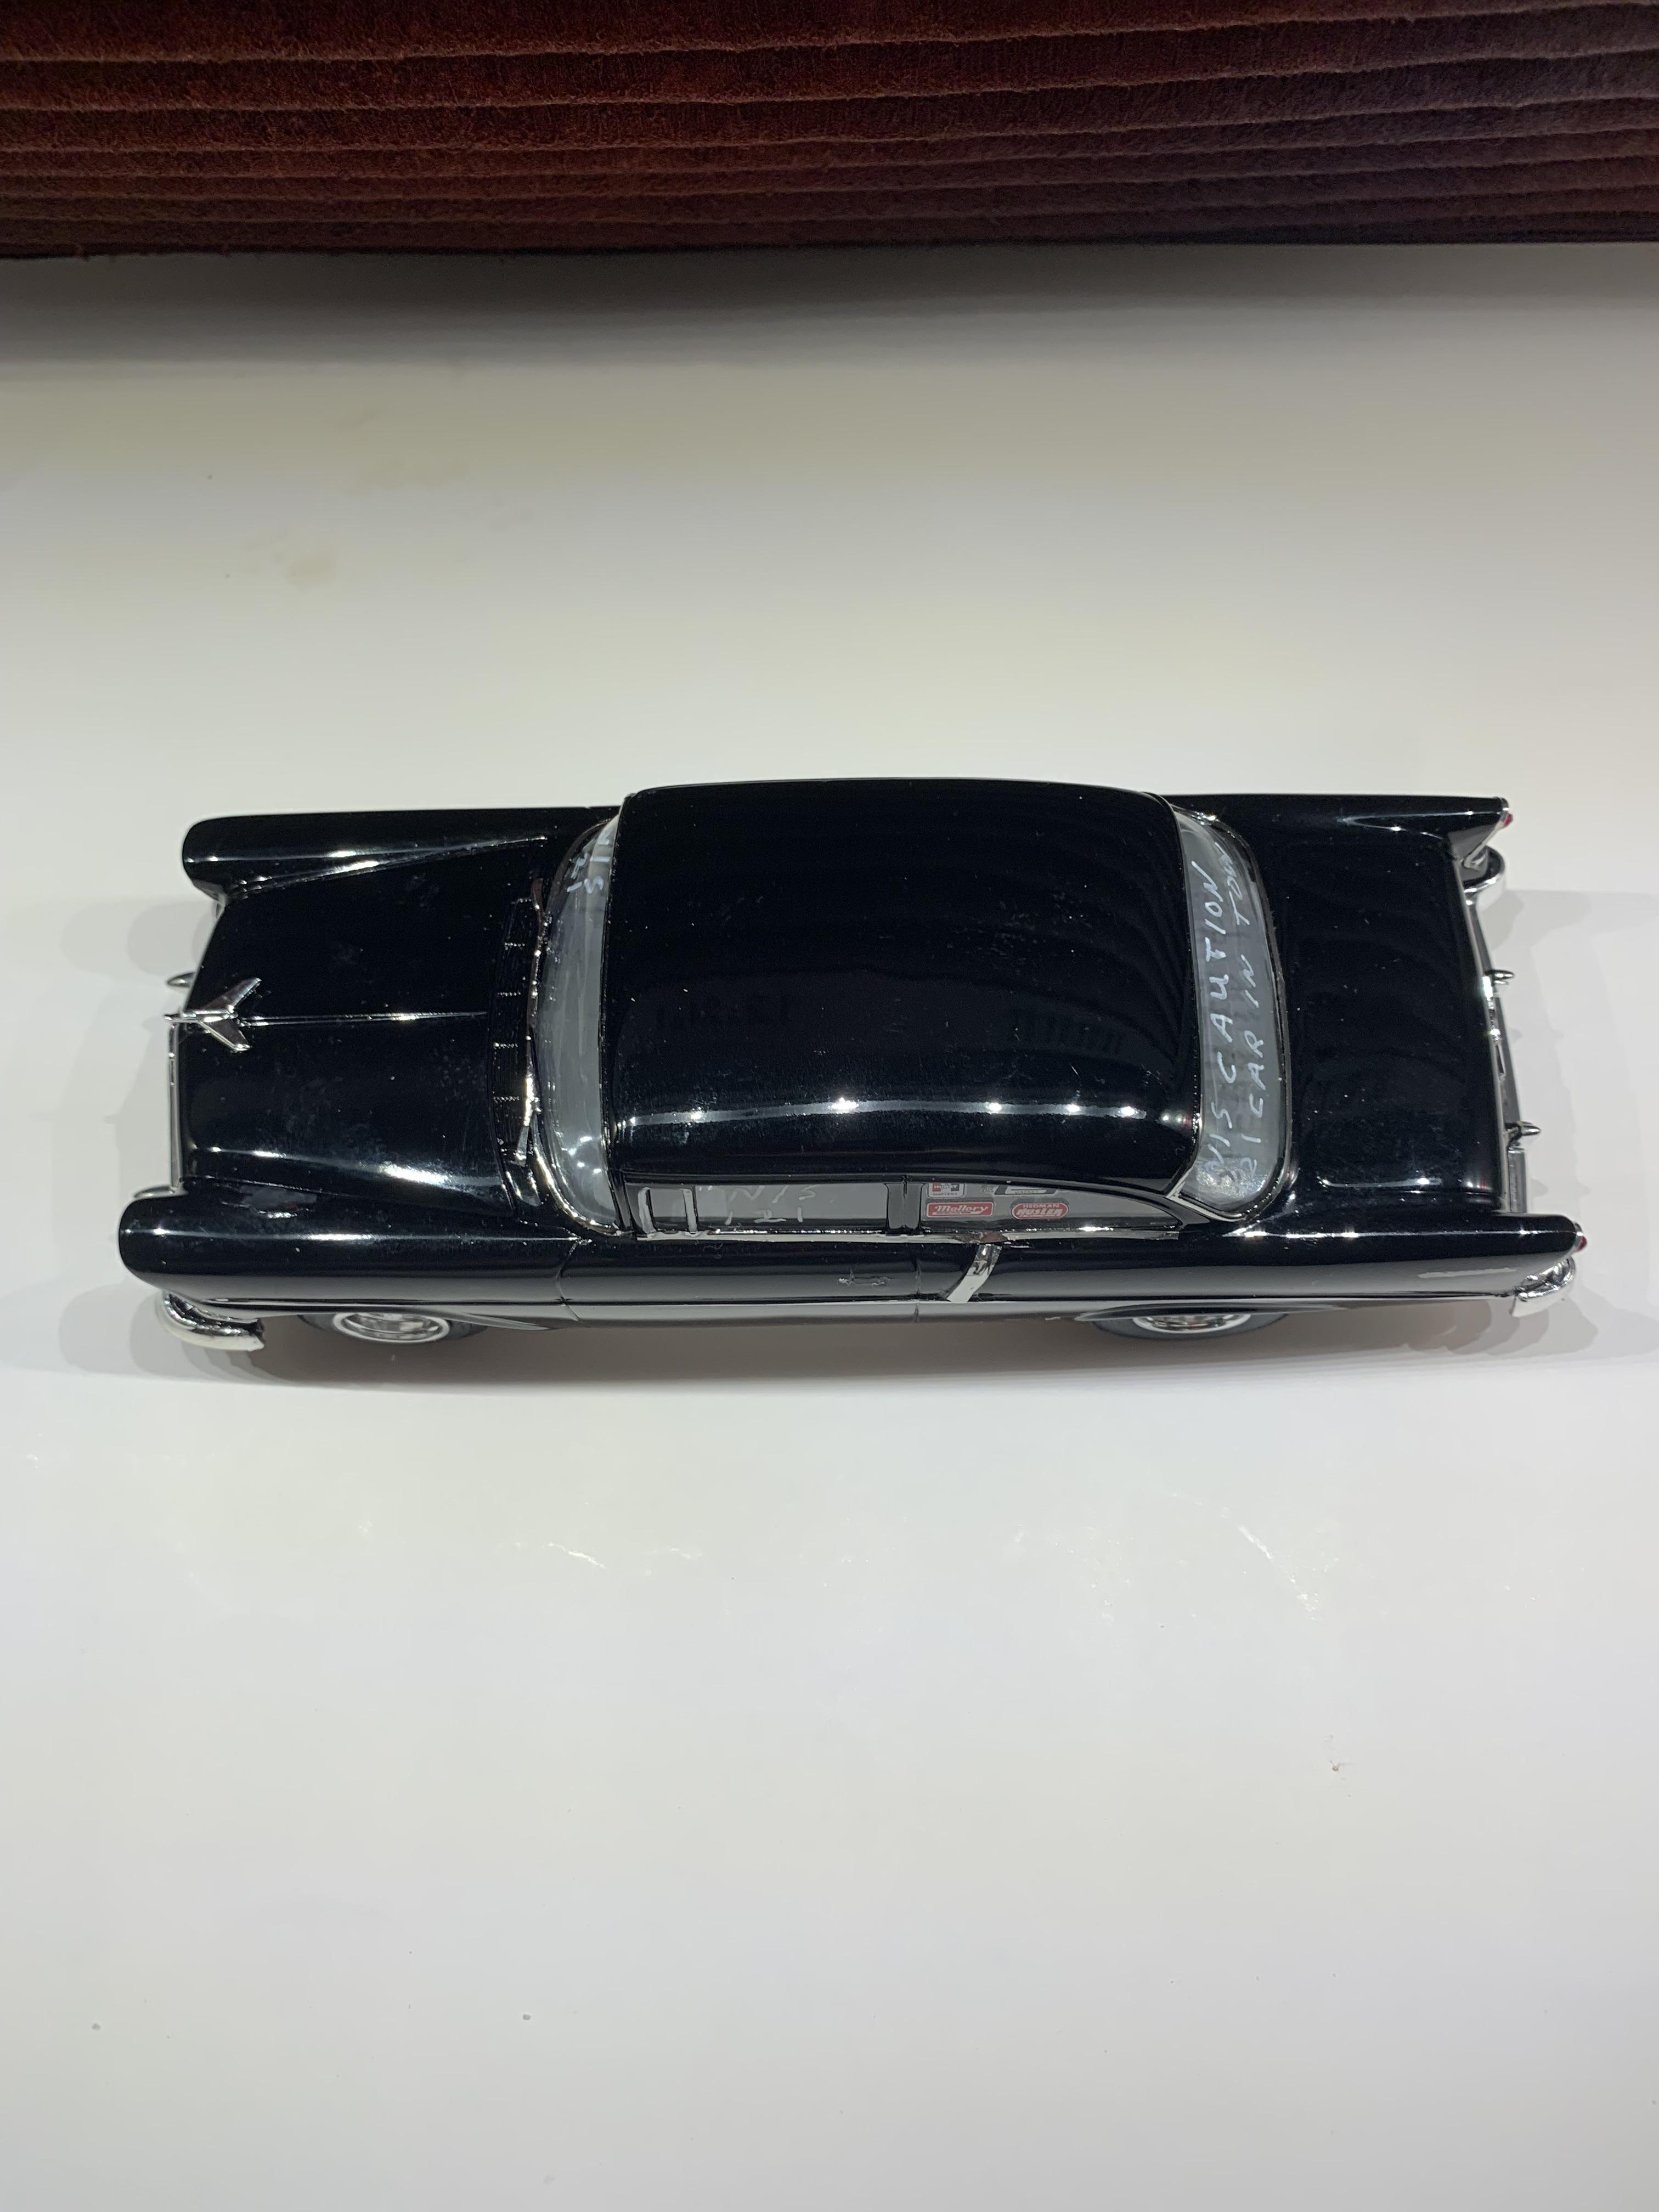
Calling it done. Installed top hose and battery with the help of my “drop light “. One spot of ca glue leaked off frame rails onto left front fender. I had put too much on. Will post a couple pics in the finished section.
-
Geez! Another Stocker! 70 Formula Firebird B/SA
R. Thorne replied to R. Thorne's topic in WIP: Drag Racing Models
Finally got these hoods from Greg Wann, so, I’m back on the Firebird after finishing the 56 Stocker.
-
56 Chevy Junior Stocker circa 1960’s
R. Thorne replied to R. Thorne's topic in WIP: Drag Racing Models
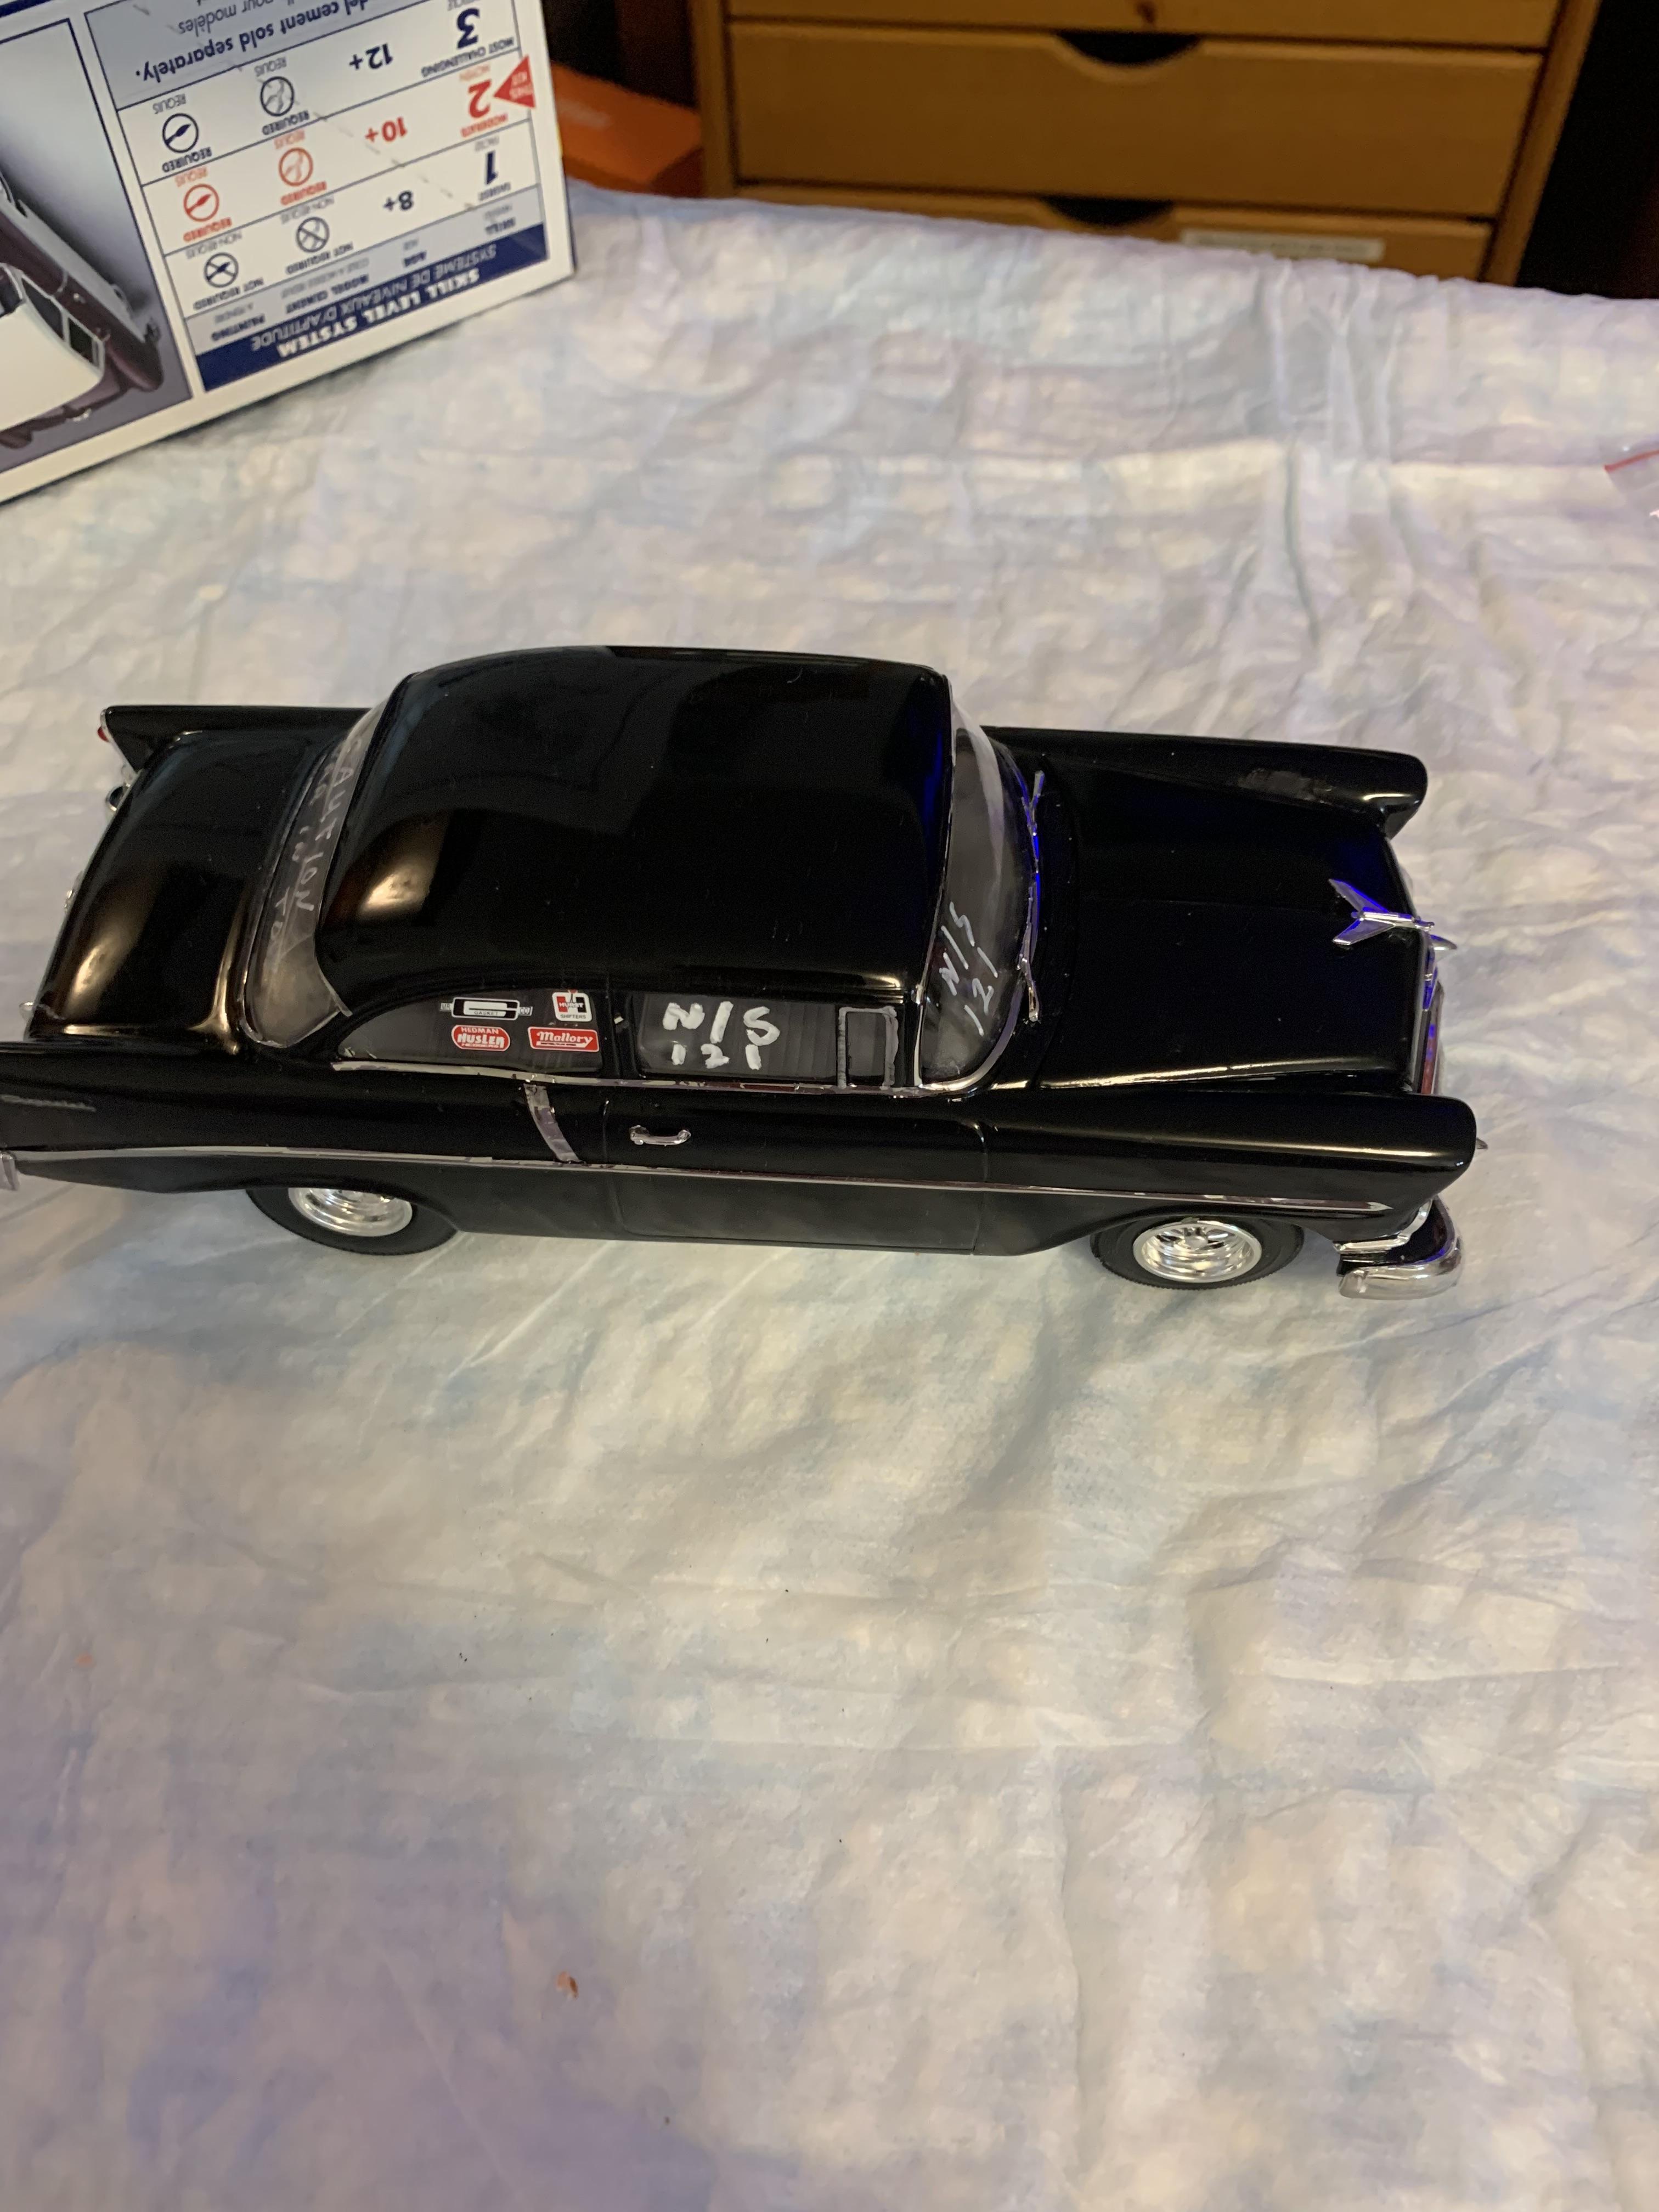
Front and rear bumpers installed. Photos sure show up errors (broken decal on trunk, for example) that you wouldn’t normally notice.
-
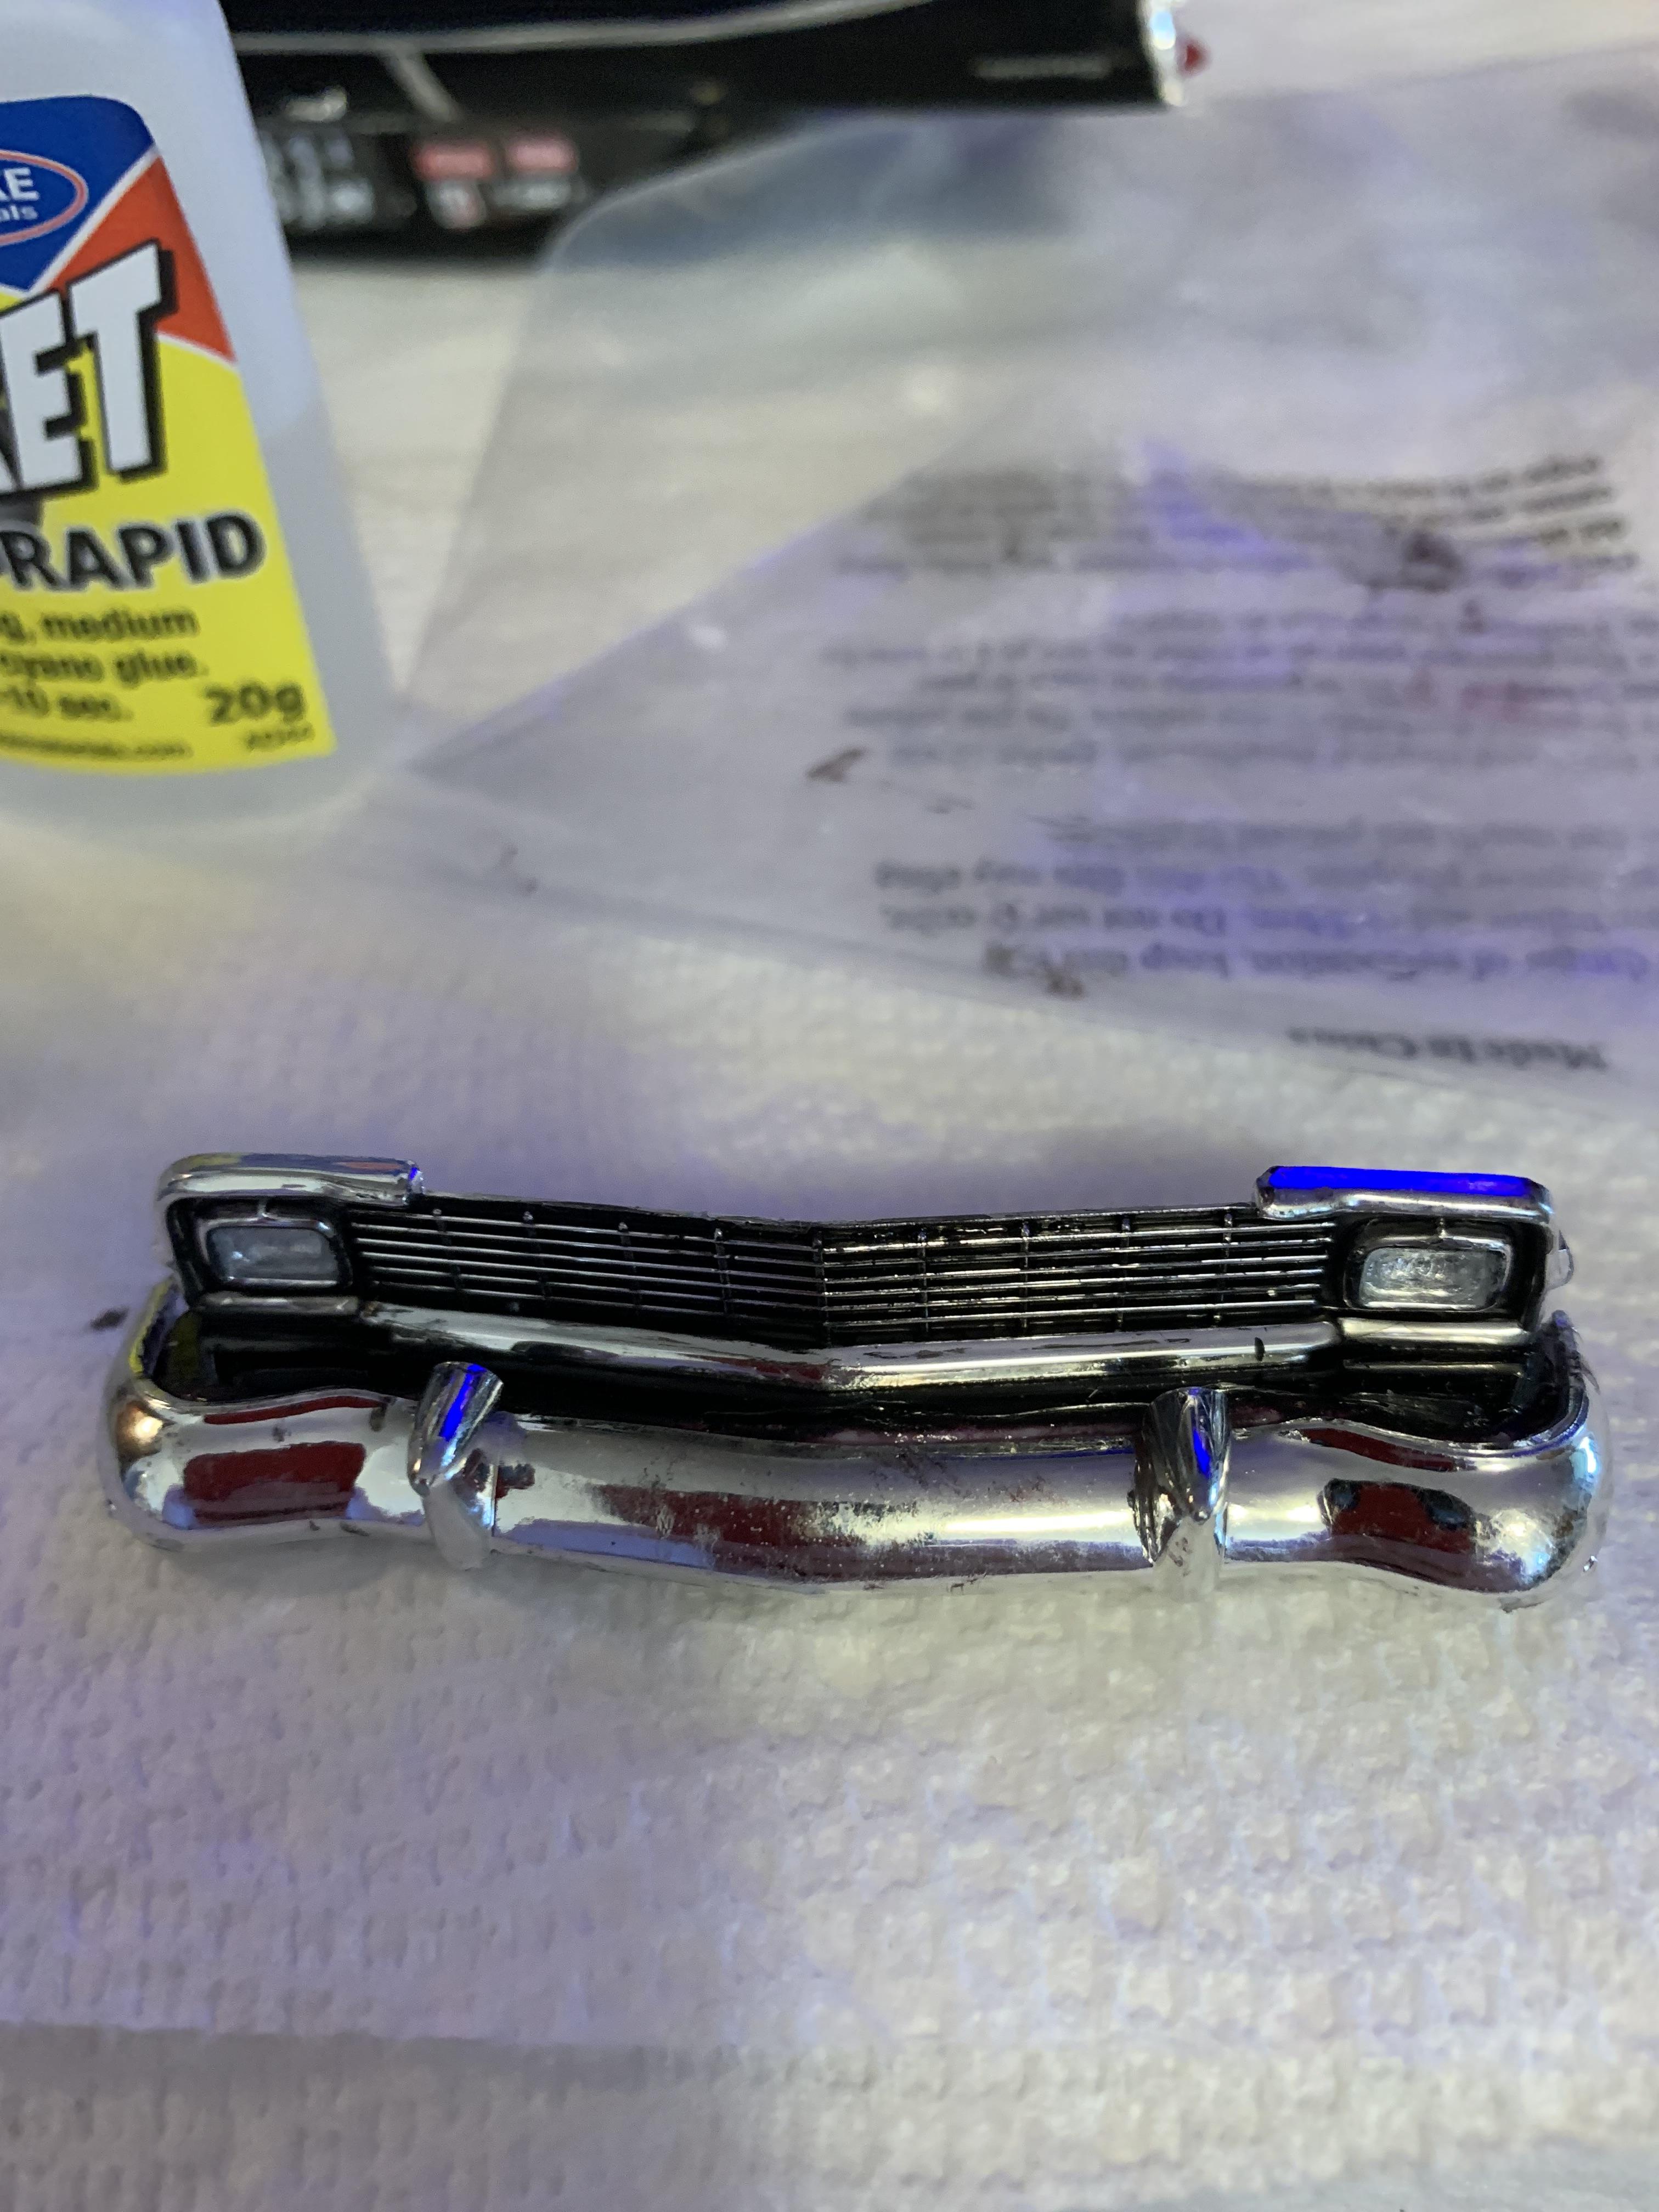
56 Chevy Junior Stocker circa 1960’s
R. Thorne replied to R. Thorne's topic in WIP: Drag Racing Models
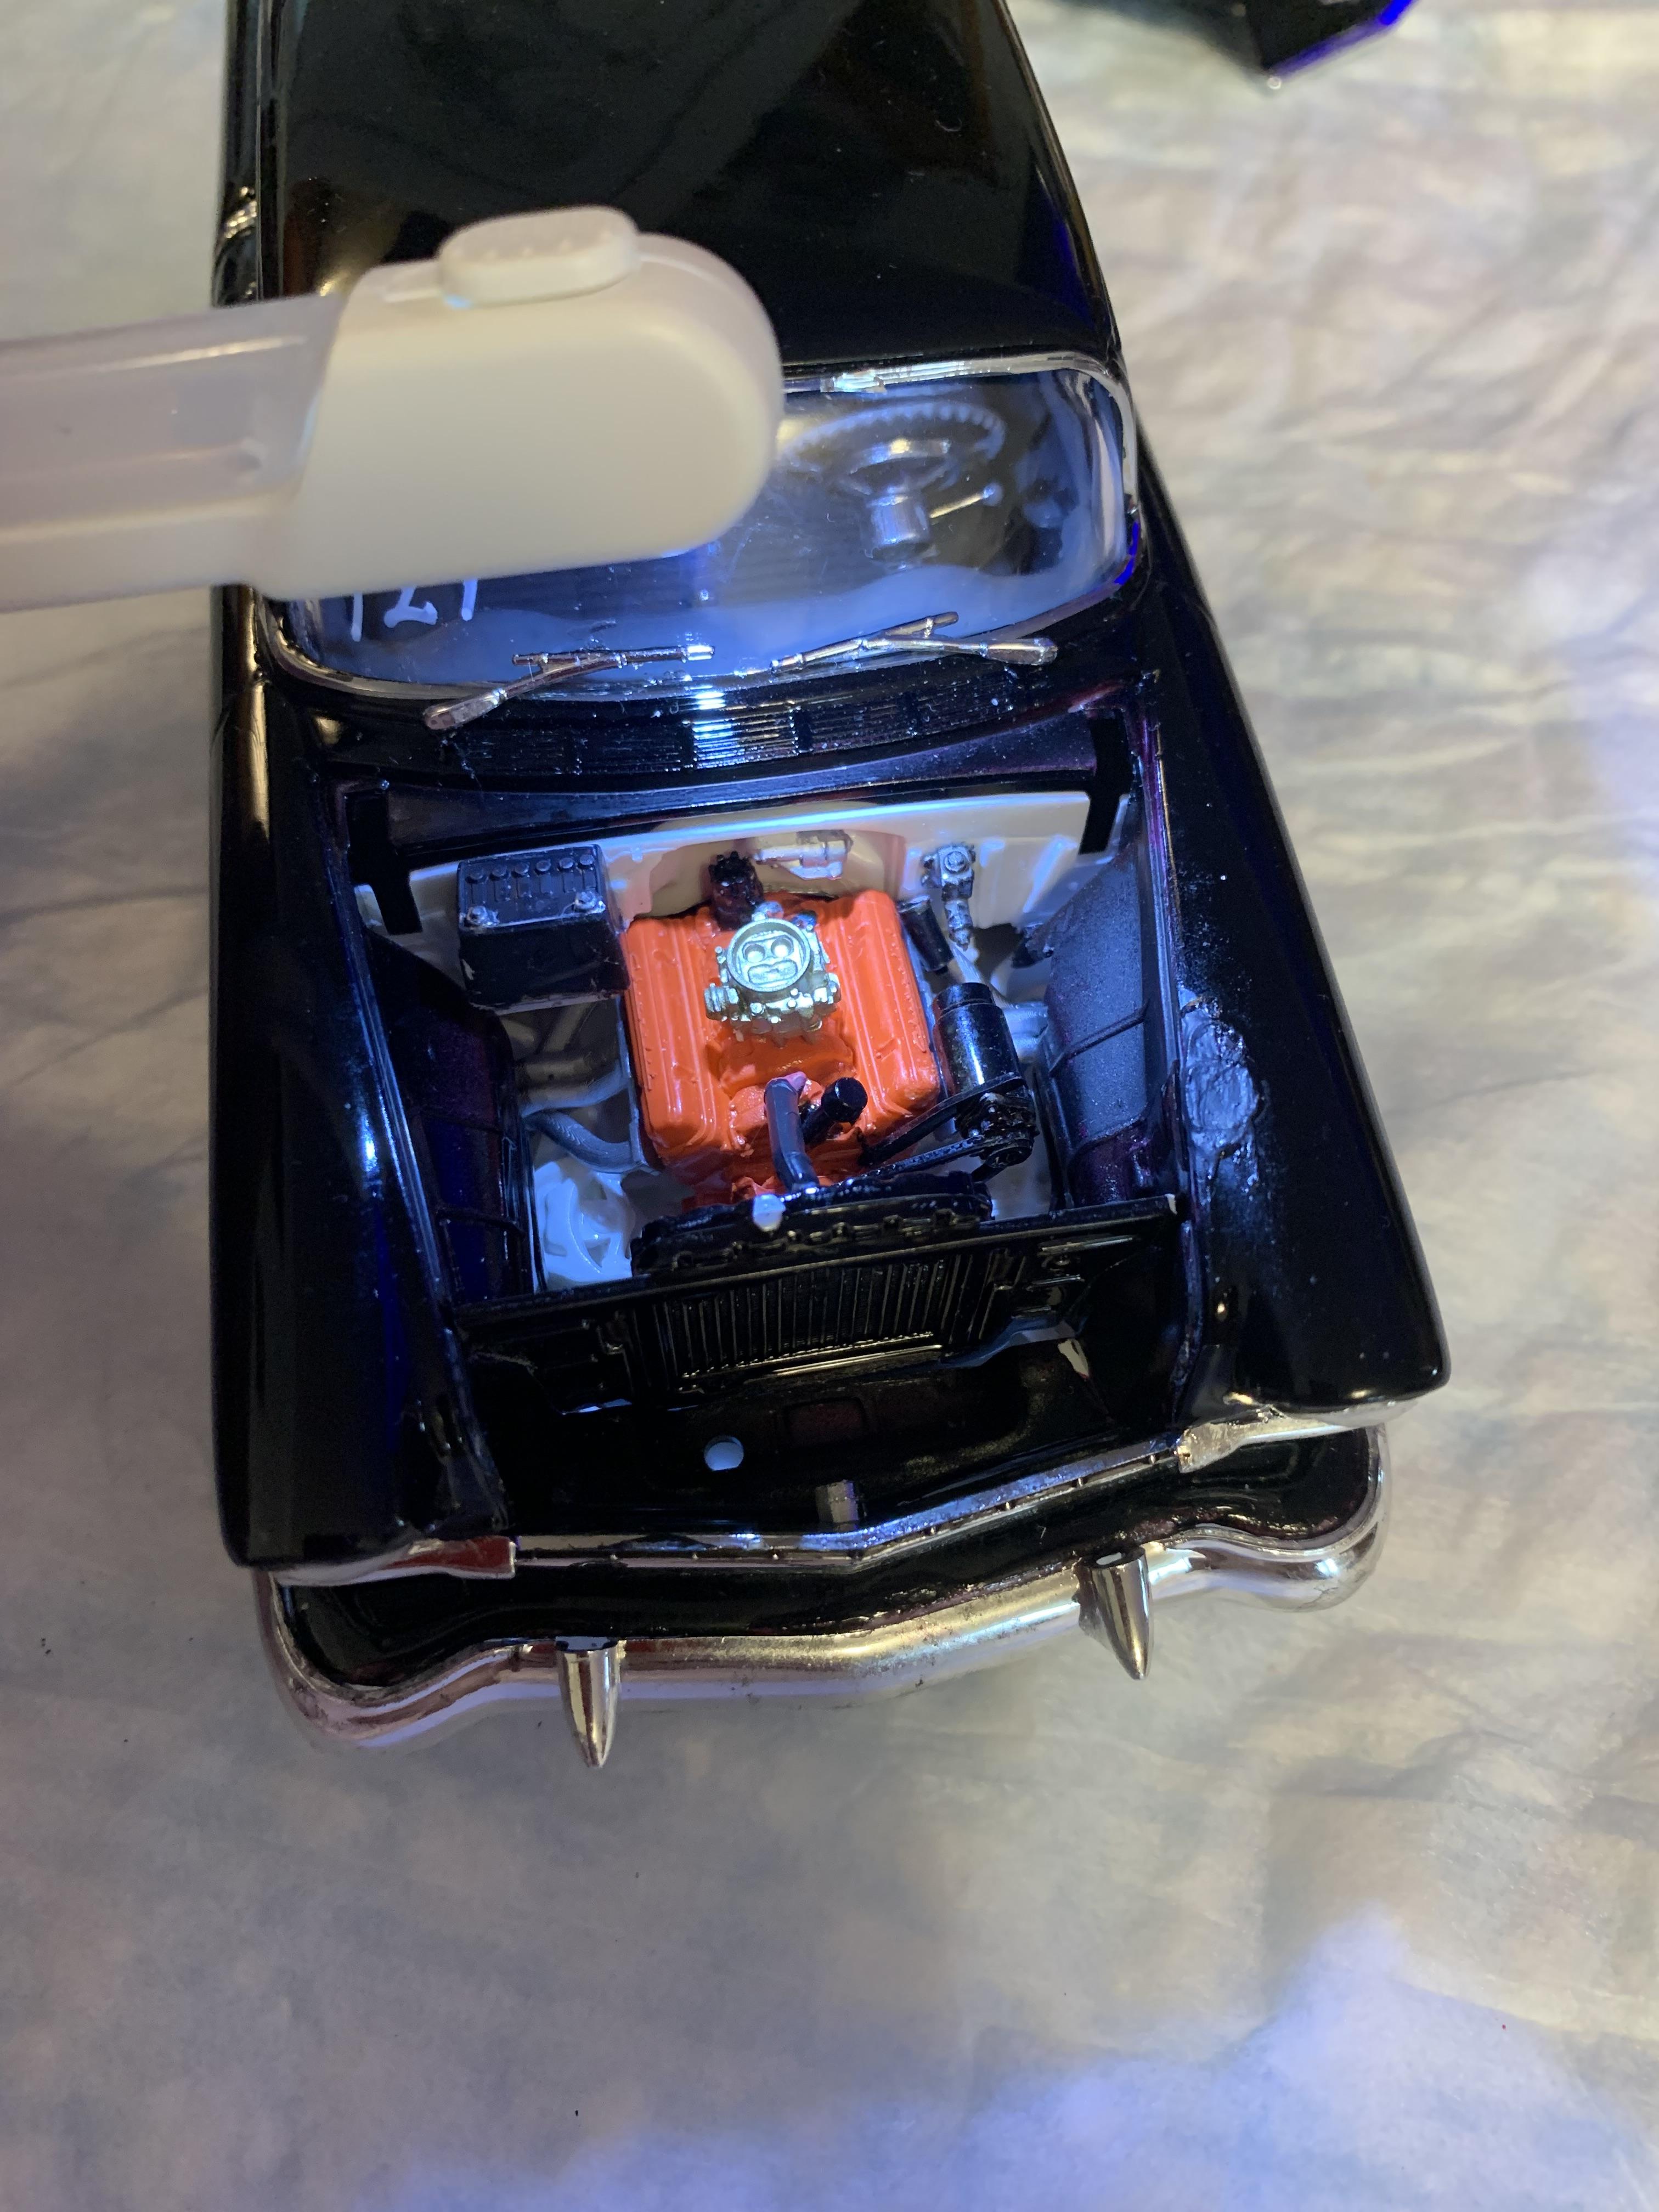
Tried a new ca glue from Deluxe materials. I like the texture and applicator bottle. Seems to work a little quicker and stronger (as my fingers will attest) than the bsi gold I normally use. Ground some off the bottom of the interior tub for a better fit and glued it in. Glued the grille/splash pan/front bumper together.