R. Thorne
-
Posts
1,276 -
Joined
-
Last visited
Content Type
Profiles
Forums
Events
Gallery
Everything posted by R. Thorne
-
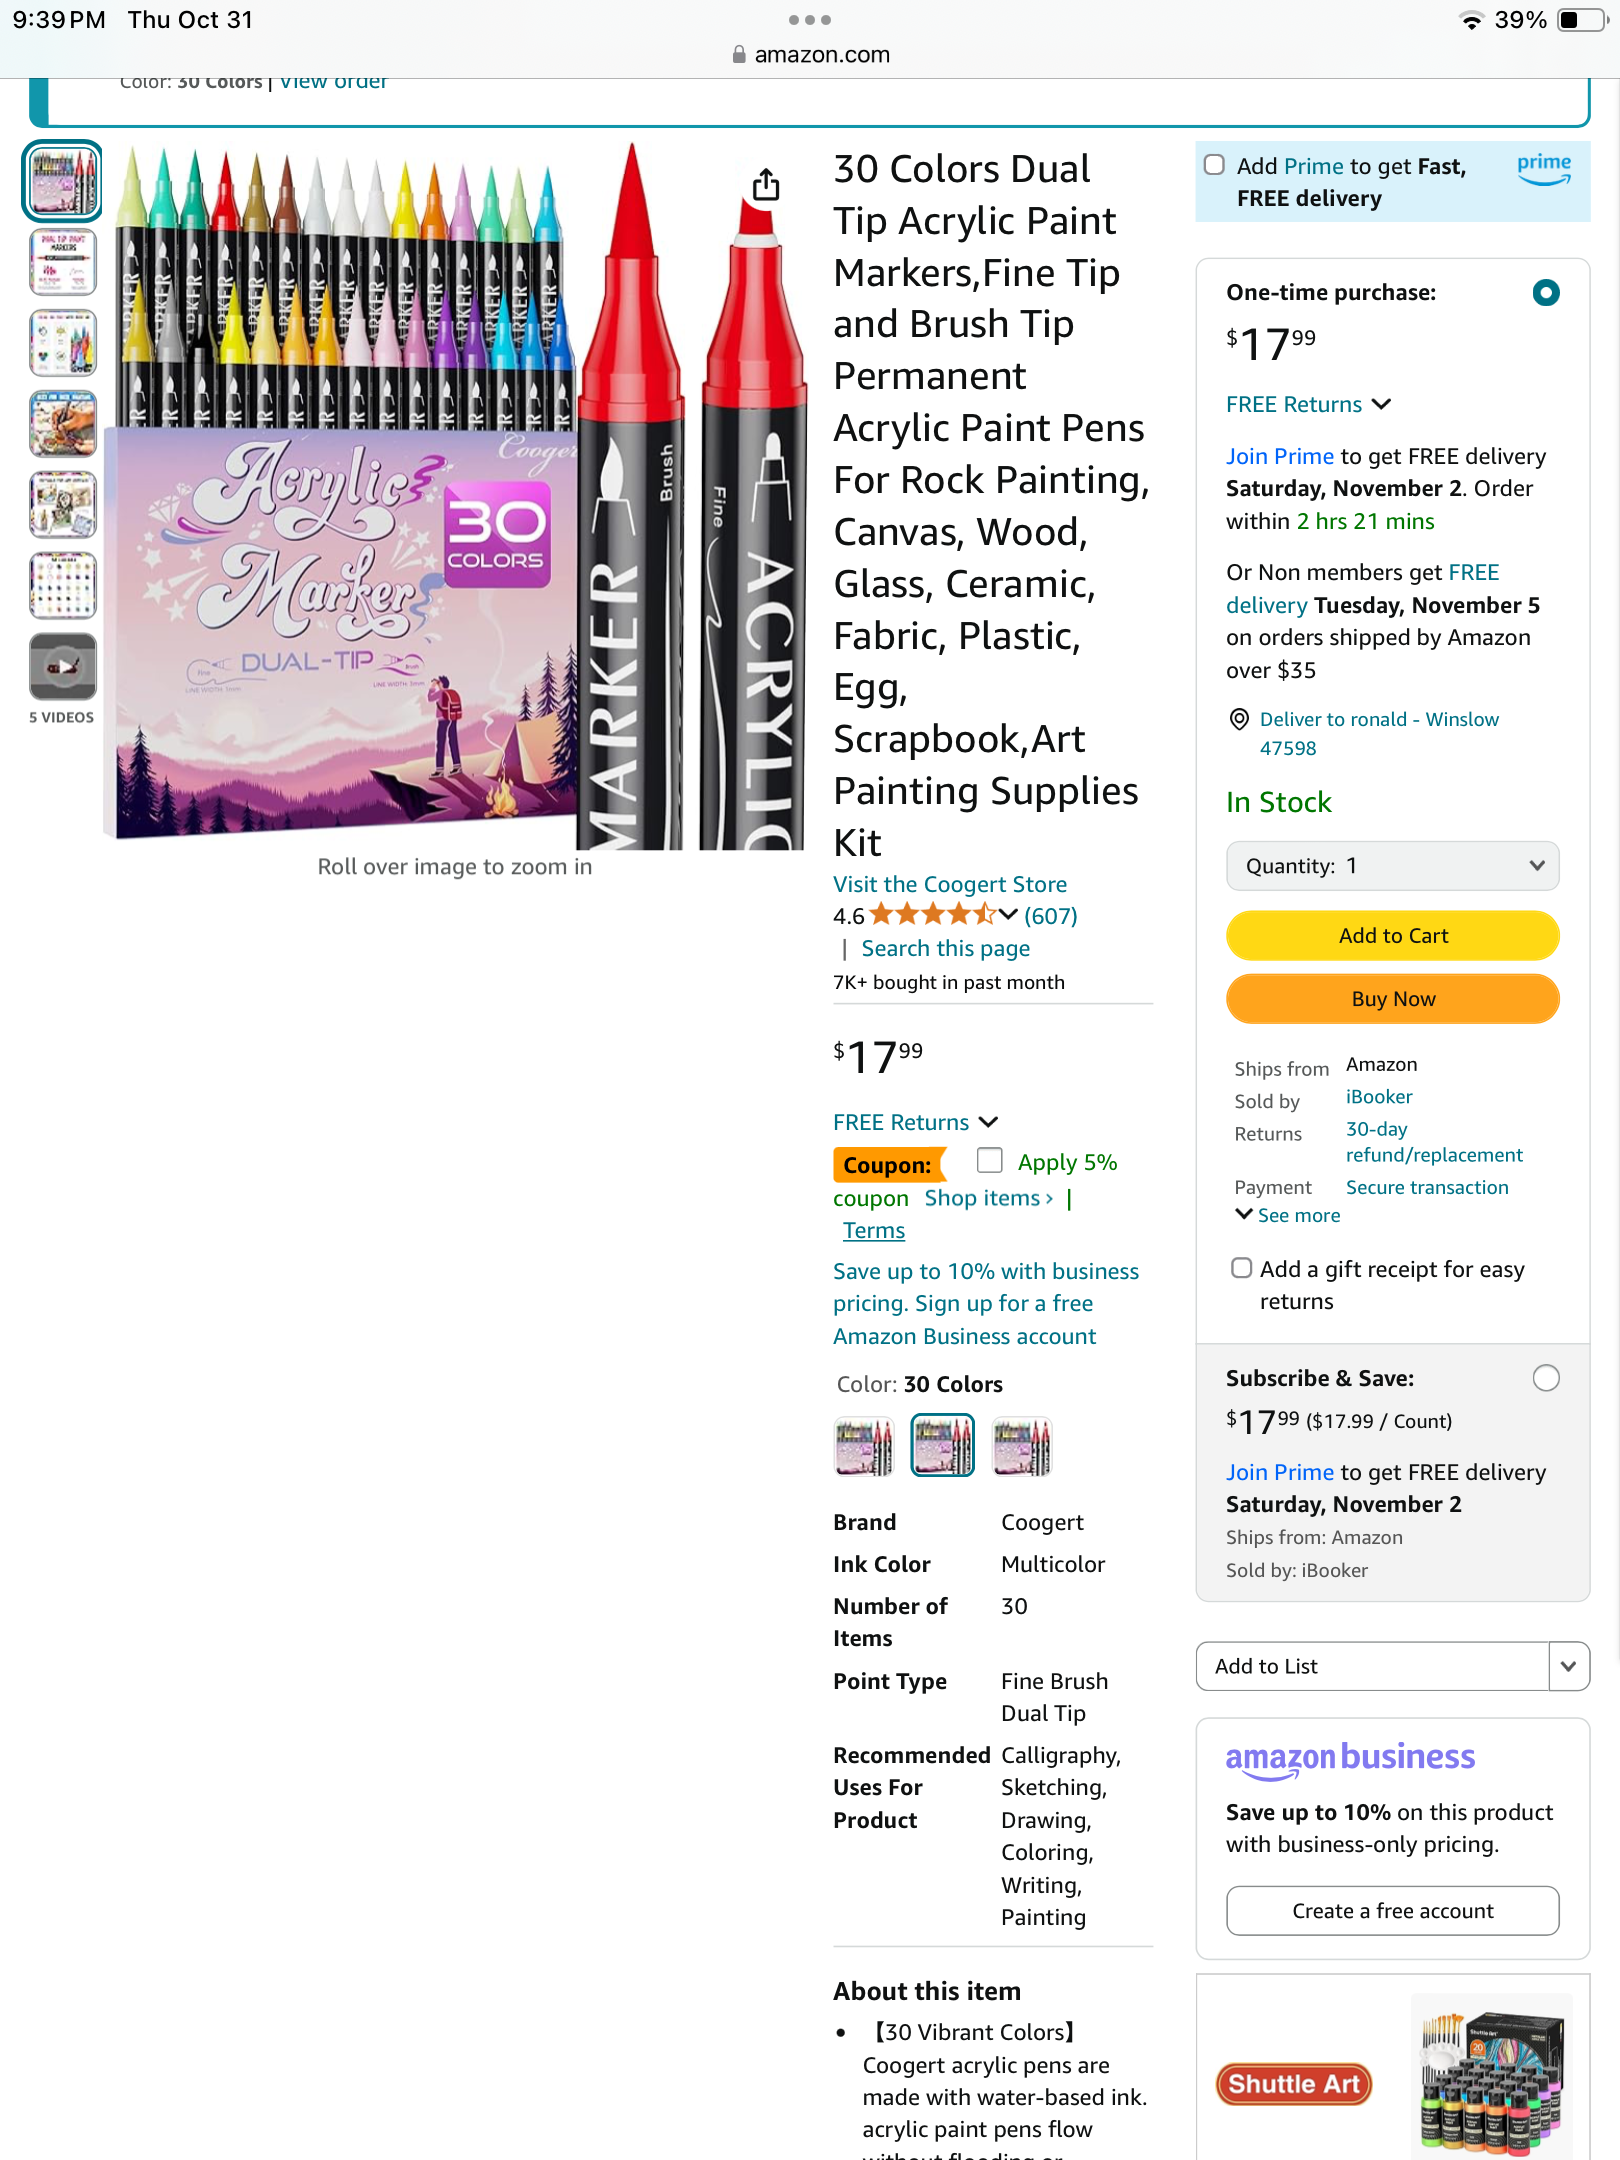
I like it because you don’t have to worry about “fogging” clear parts. Amazon for the markers. Thanks, Topher. Getting closer to the end of this one.

-
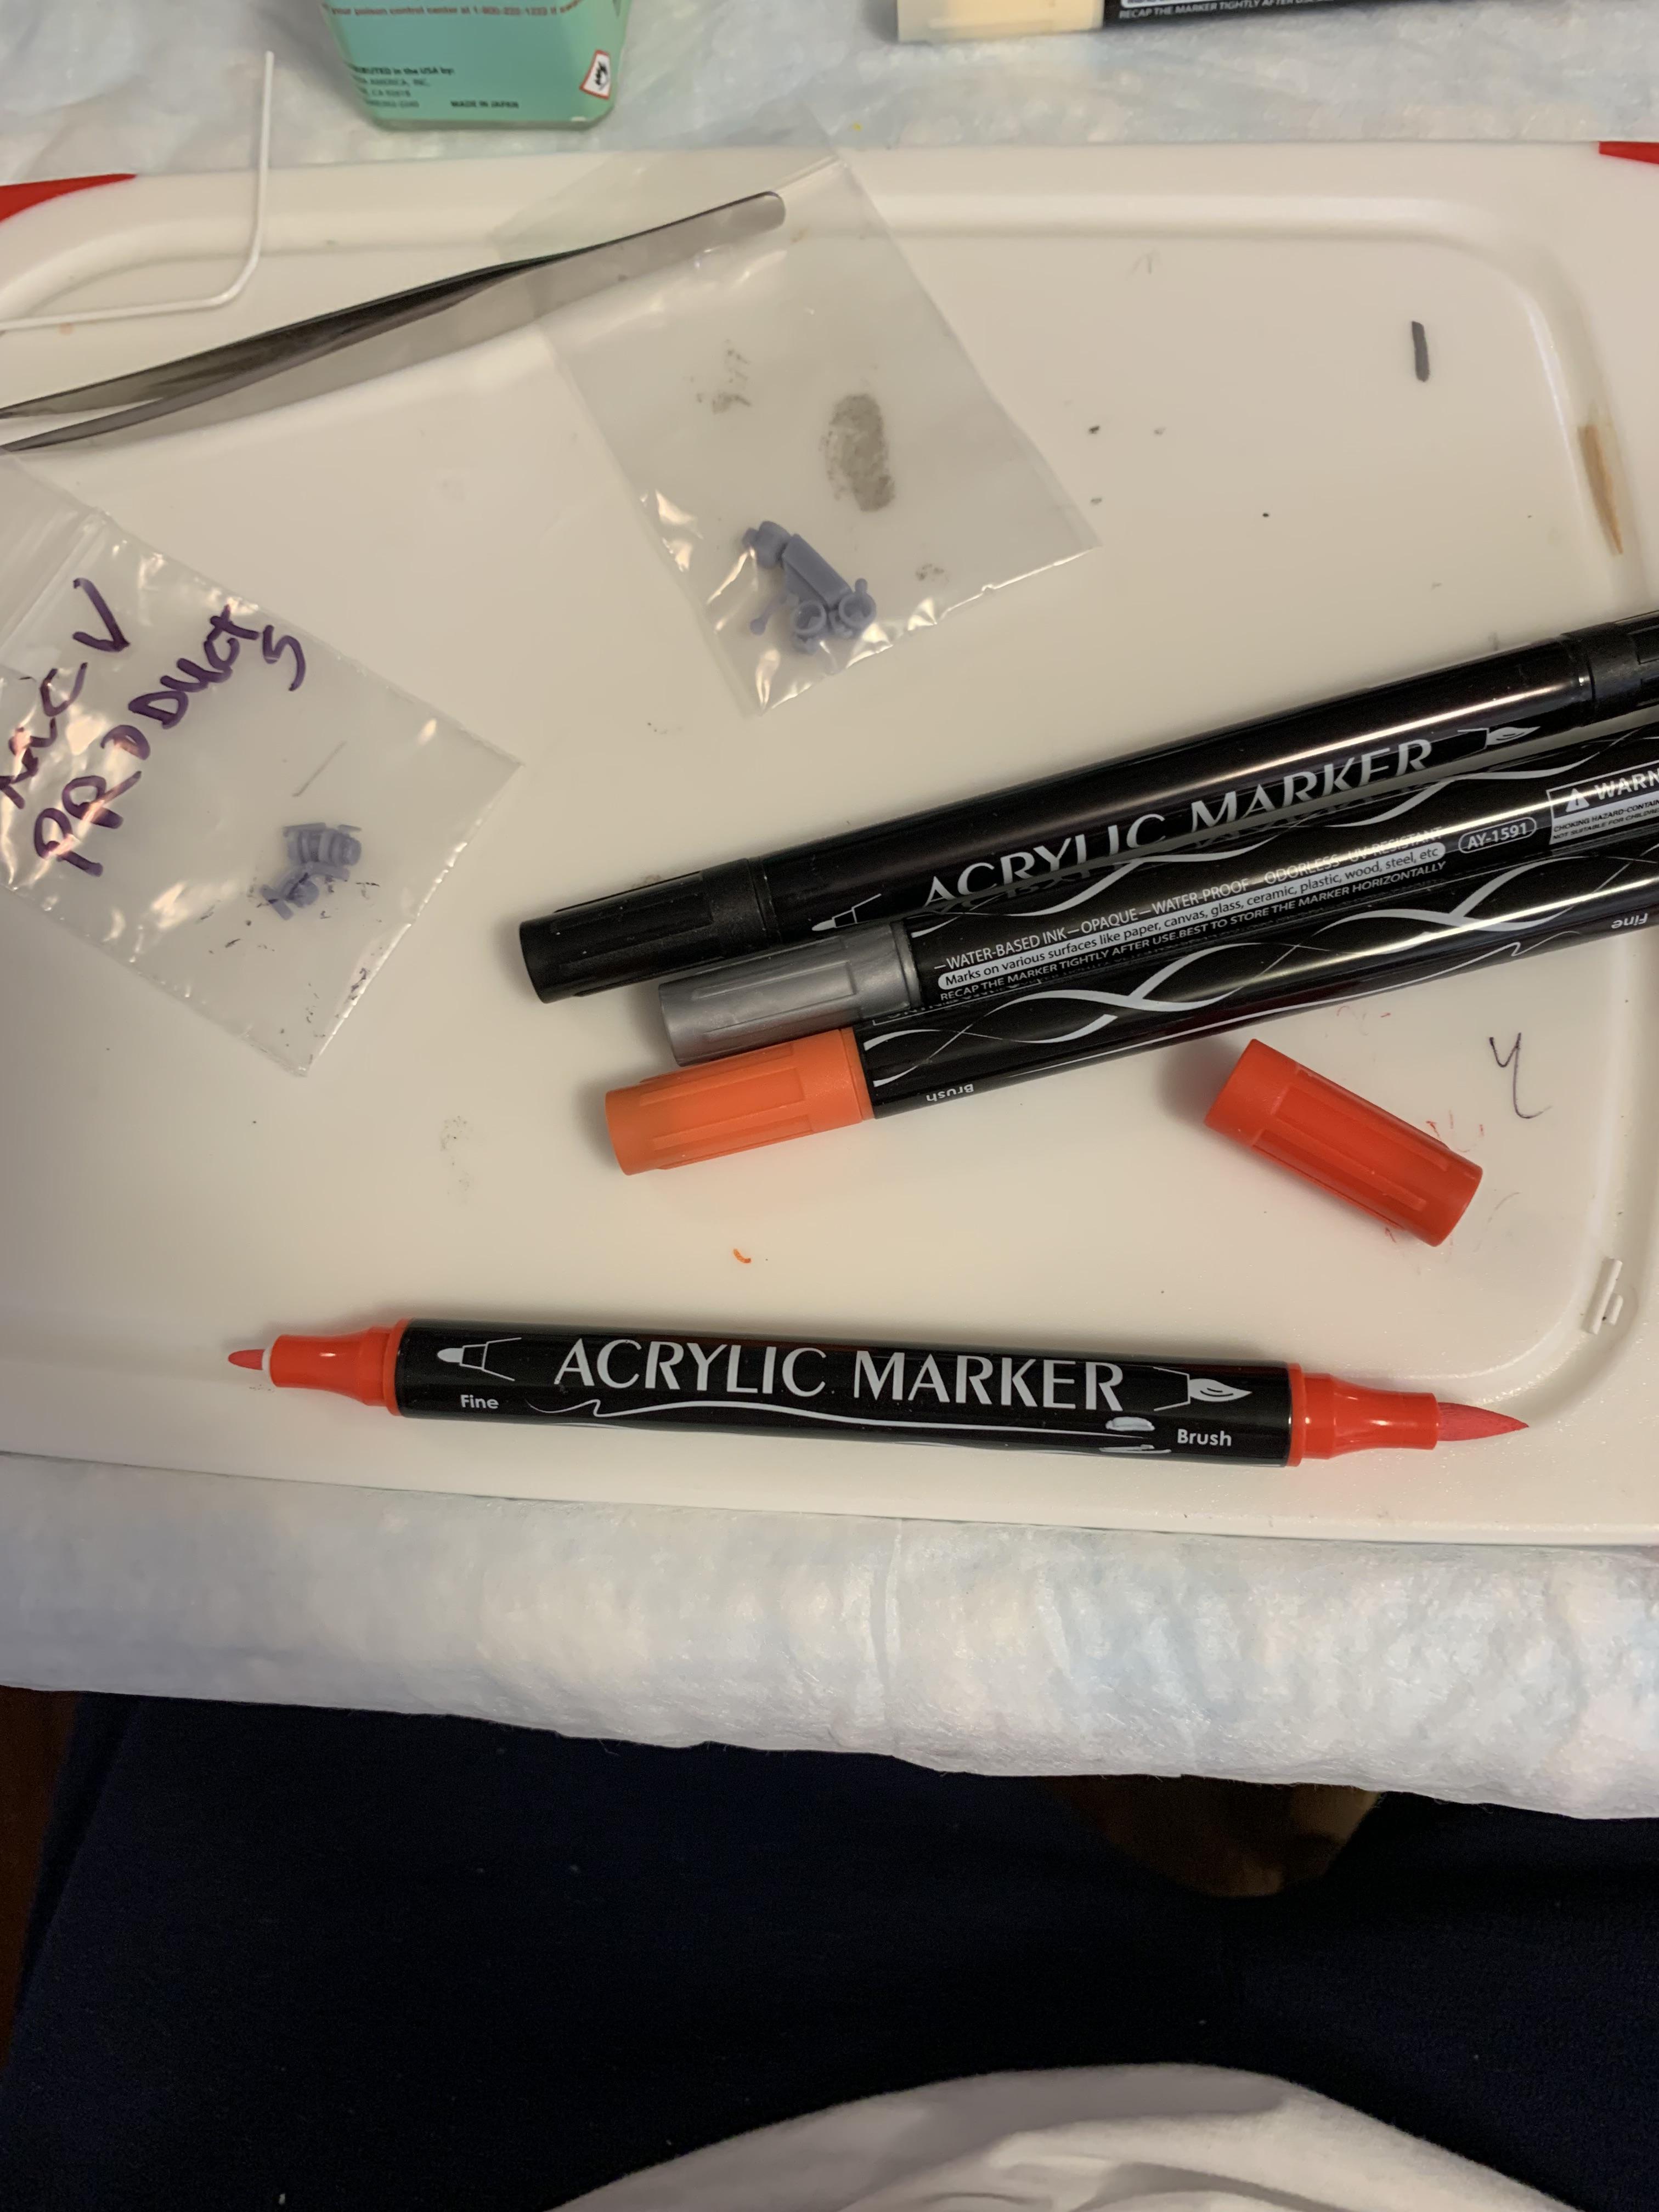
Tried out some new markers. Fairly easy to use on the tachometer. I liked them. Best pictures I can offer.
-
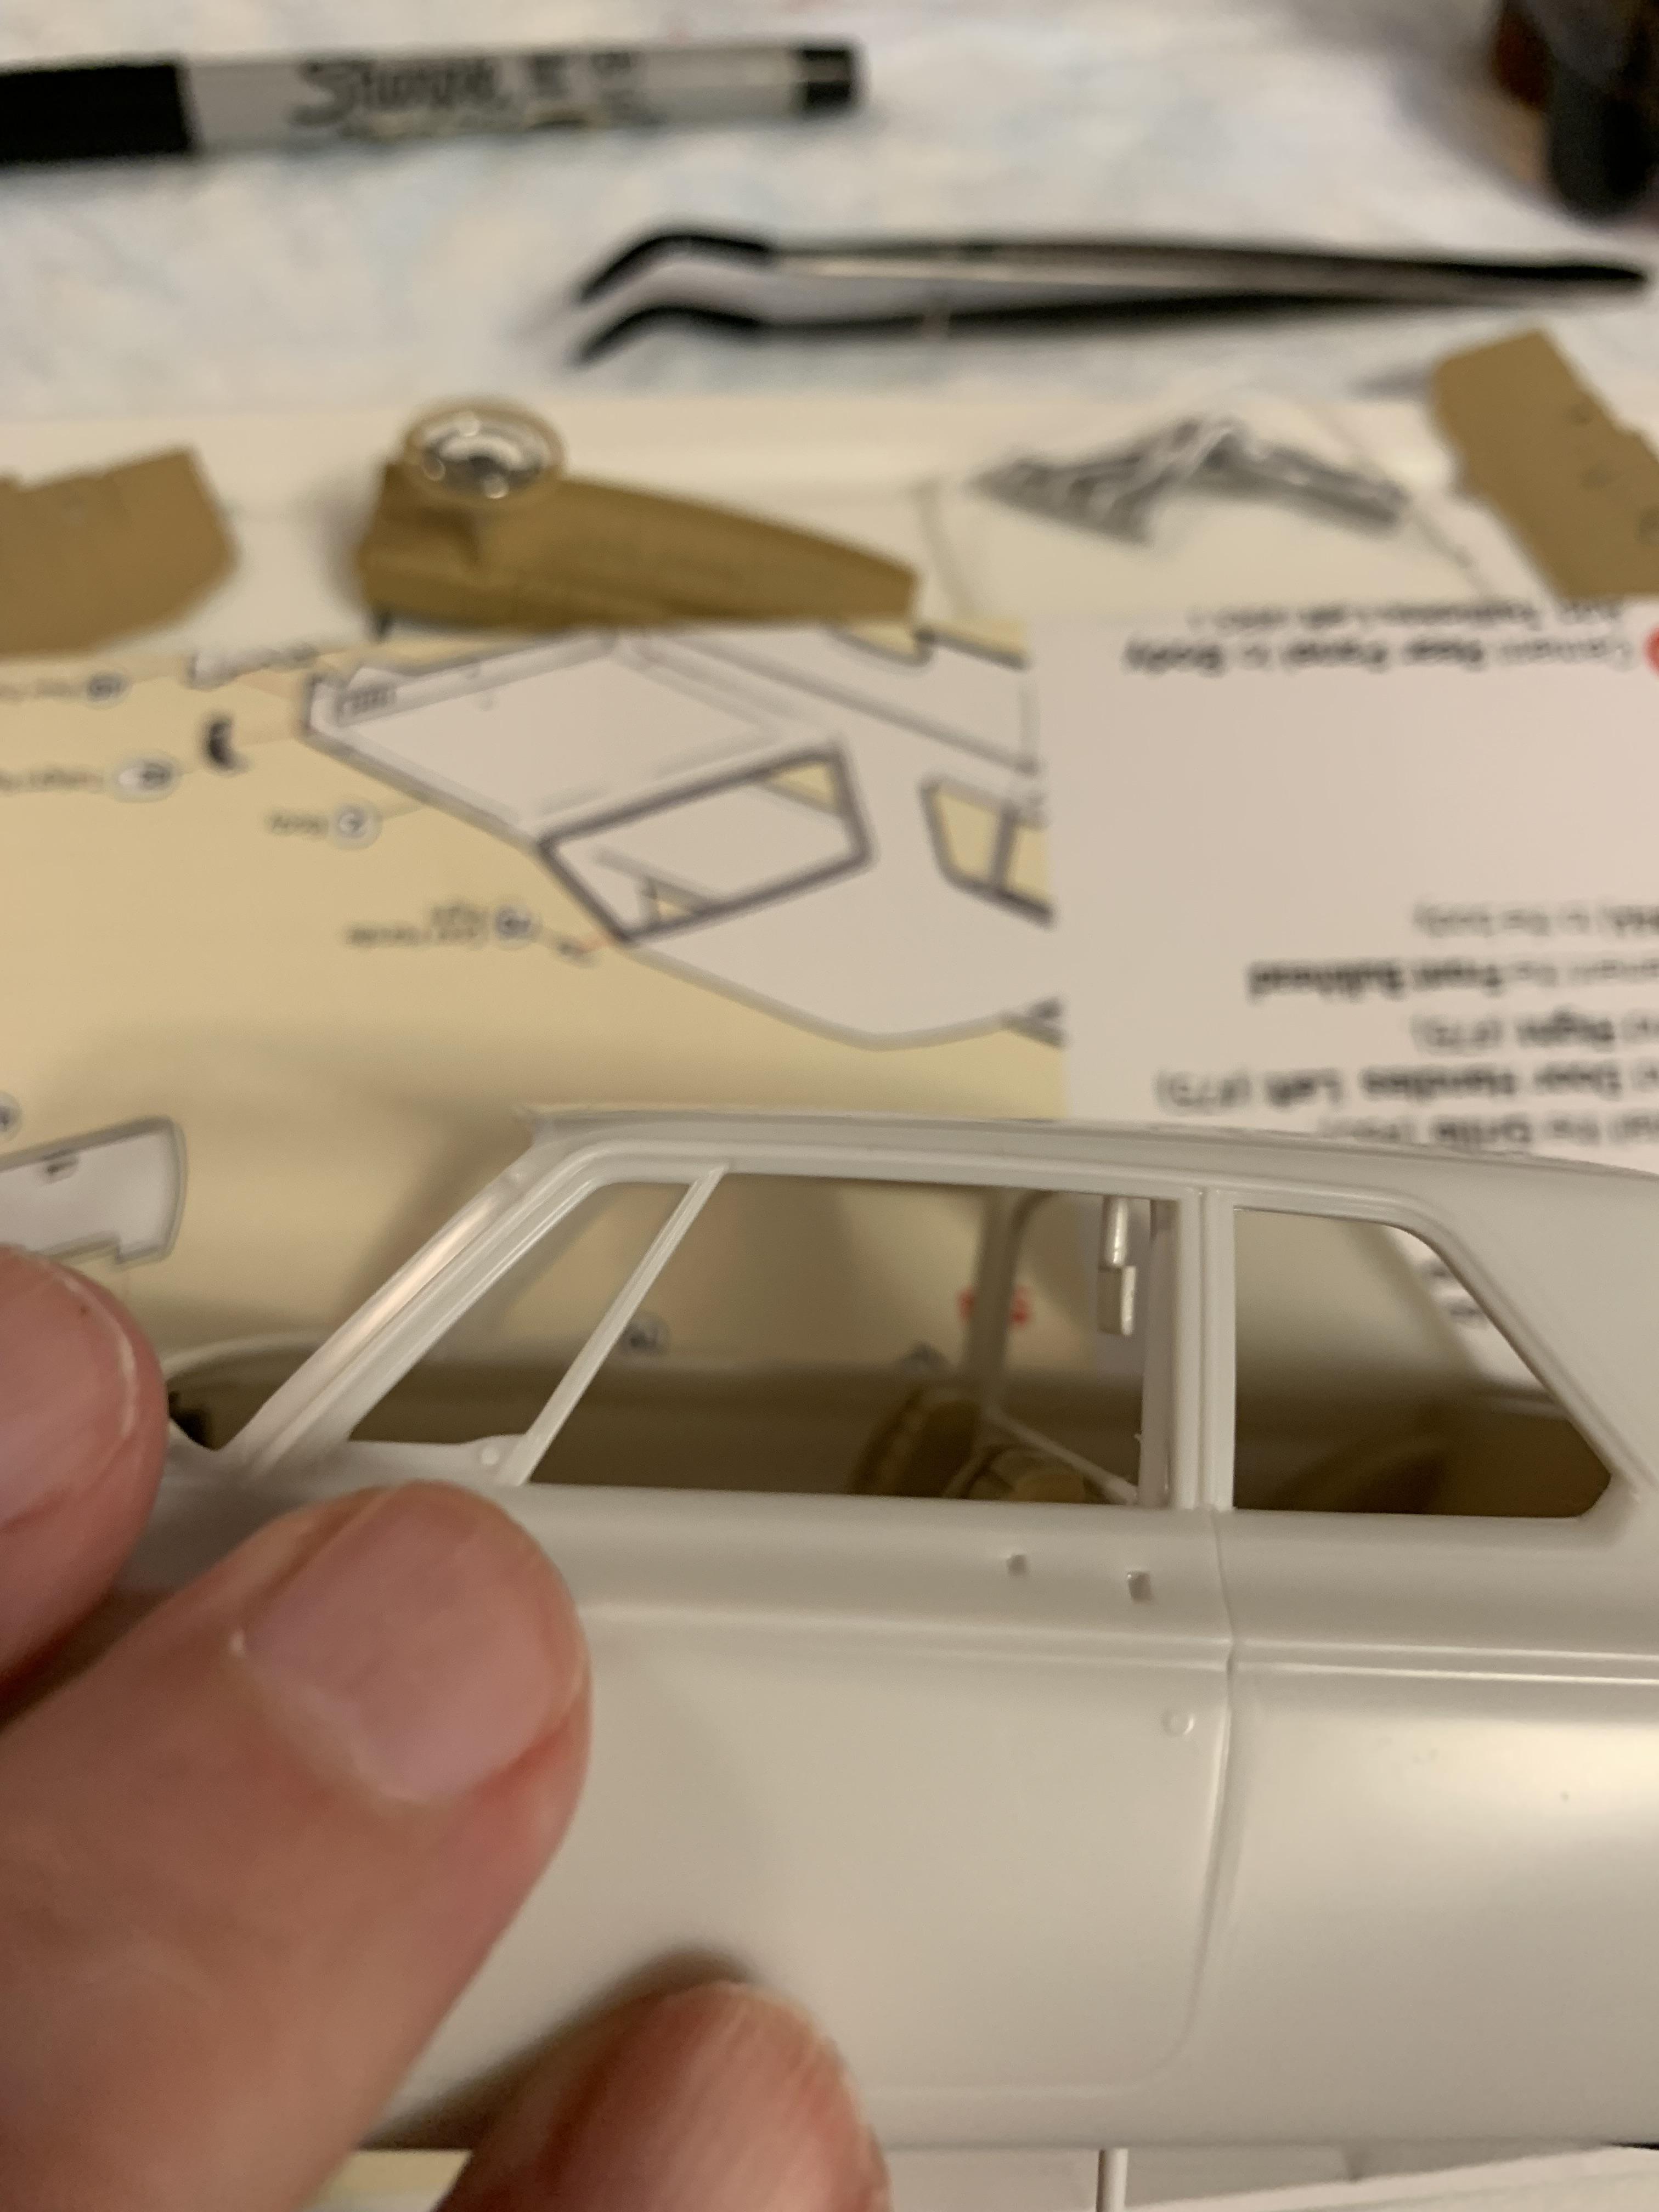
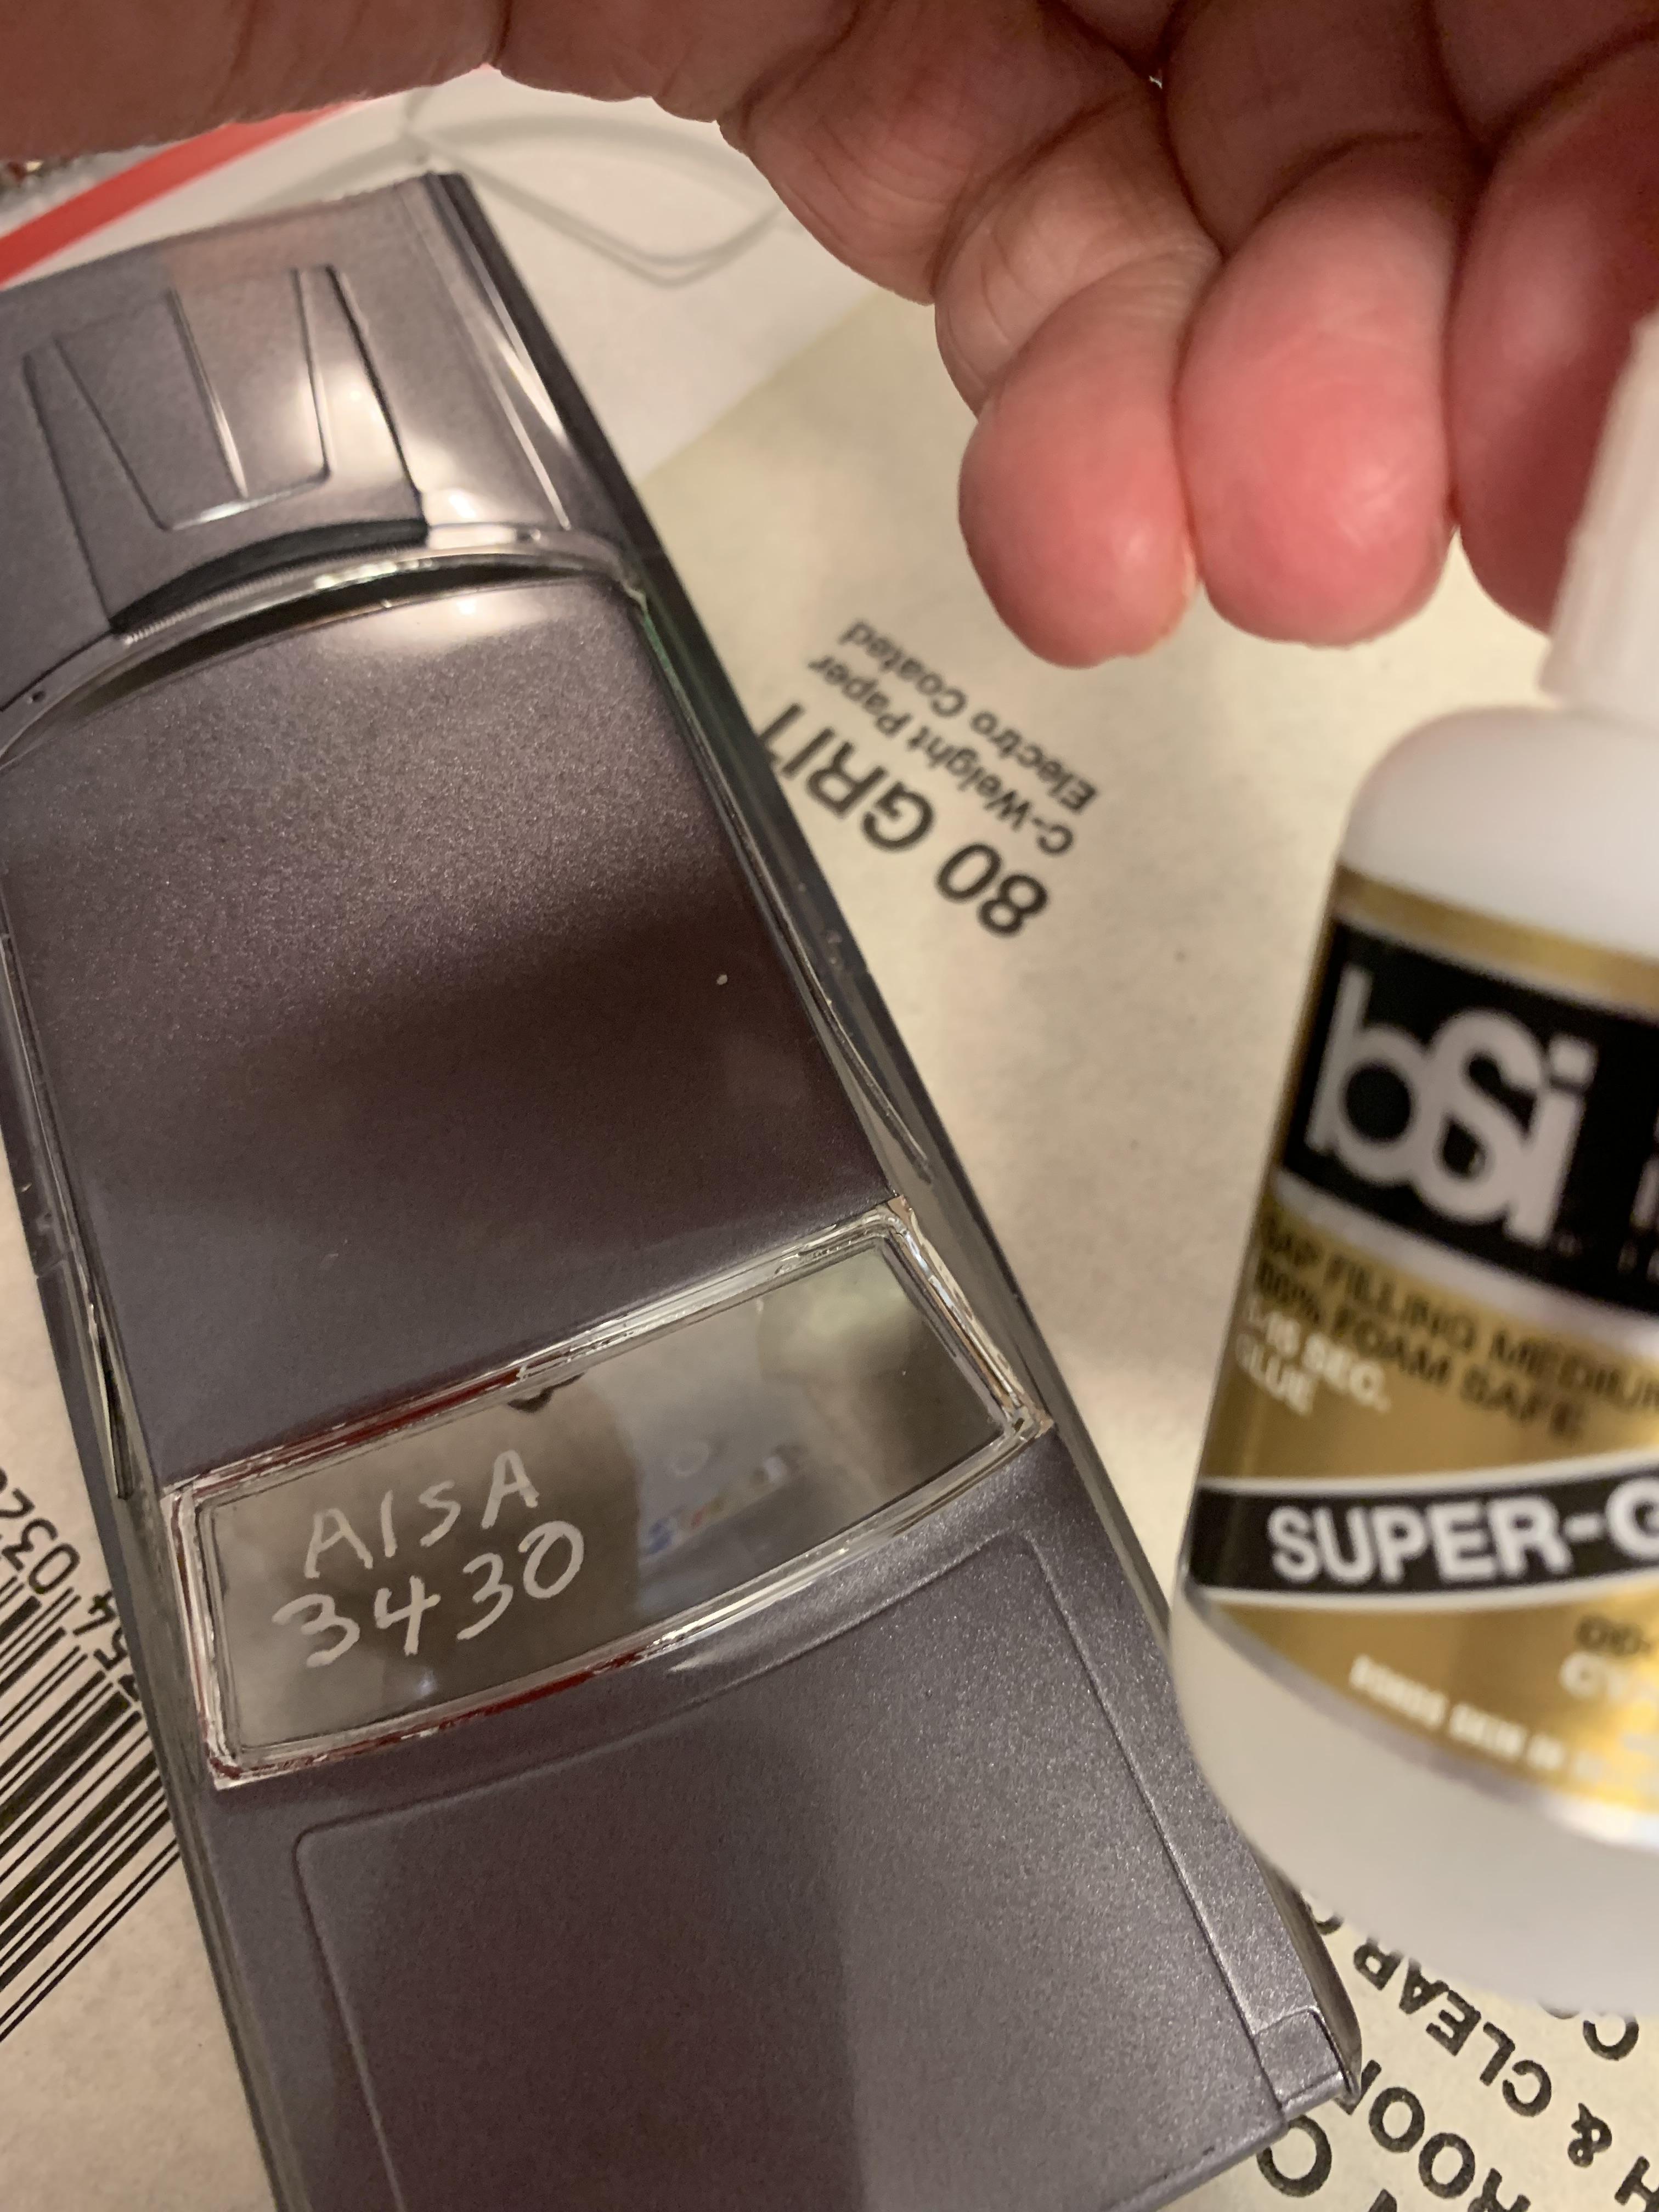
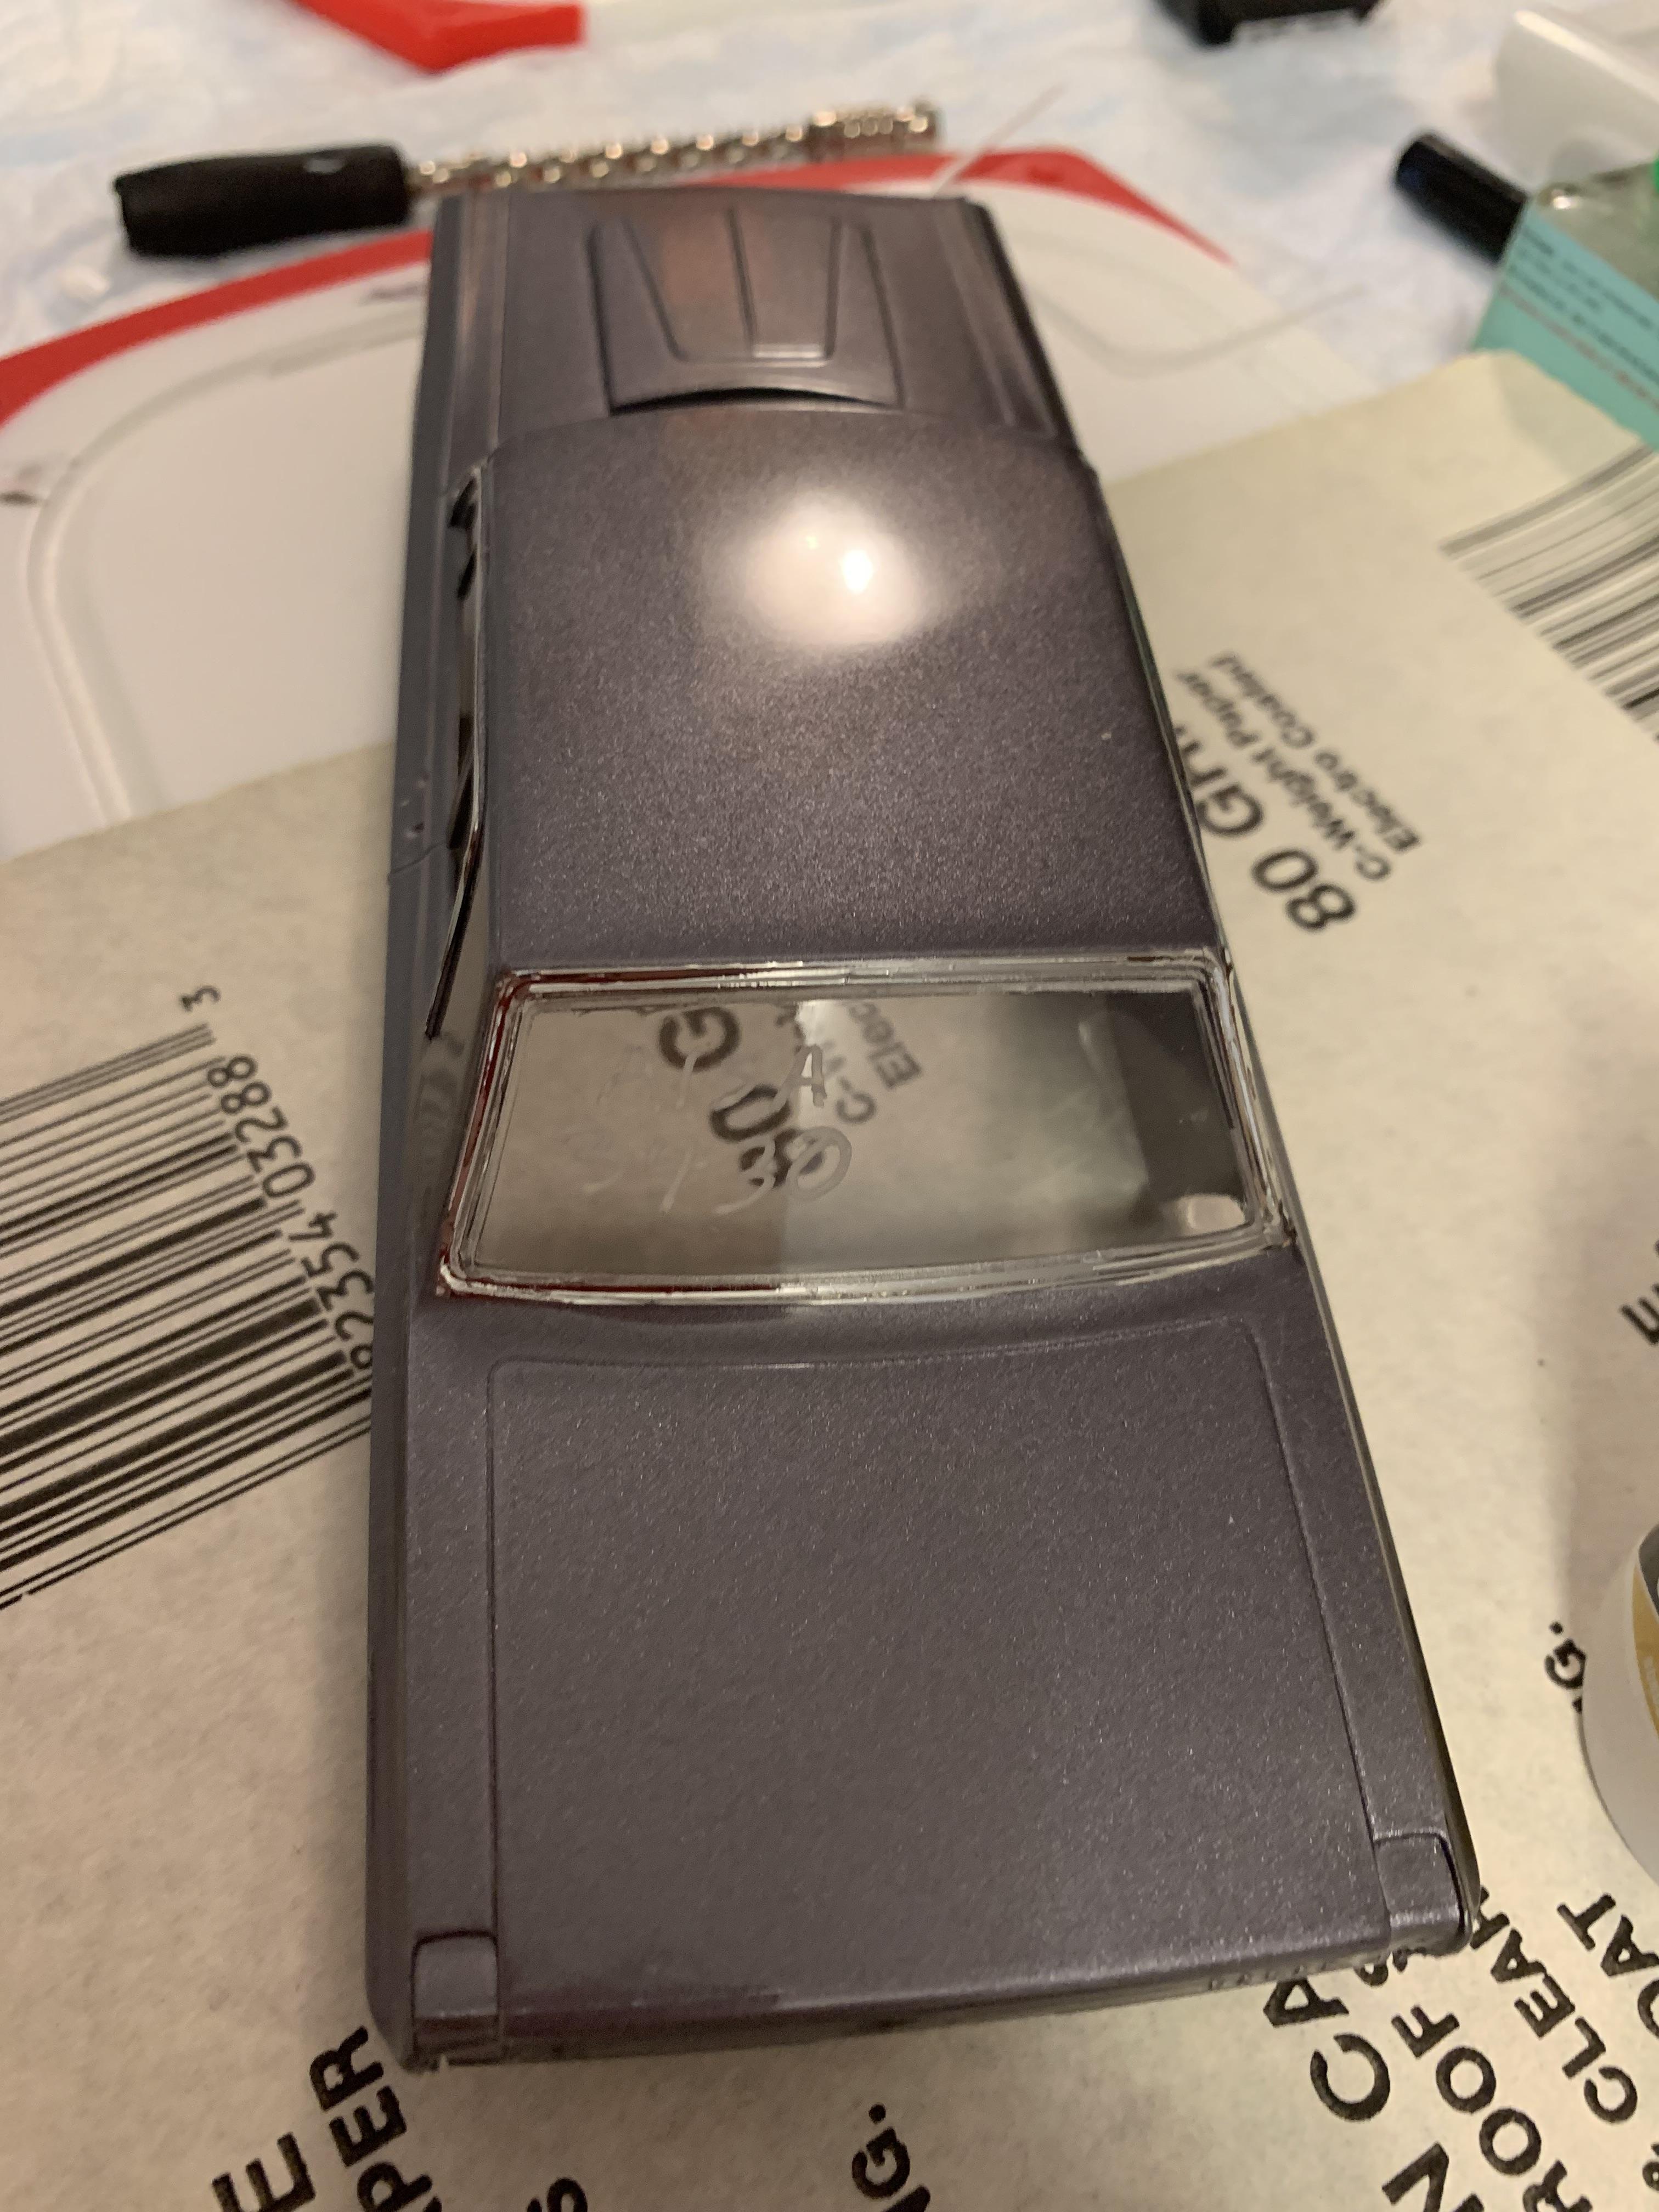
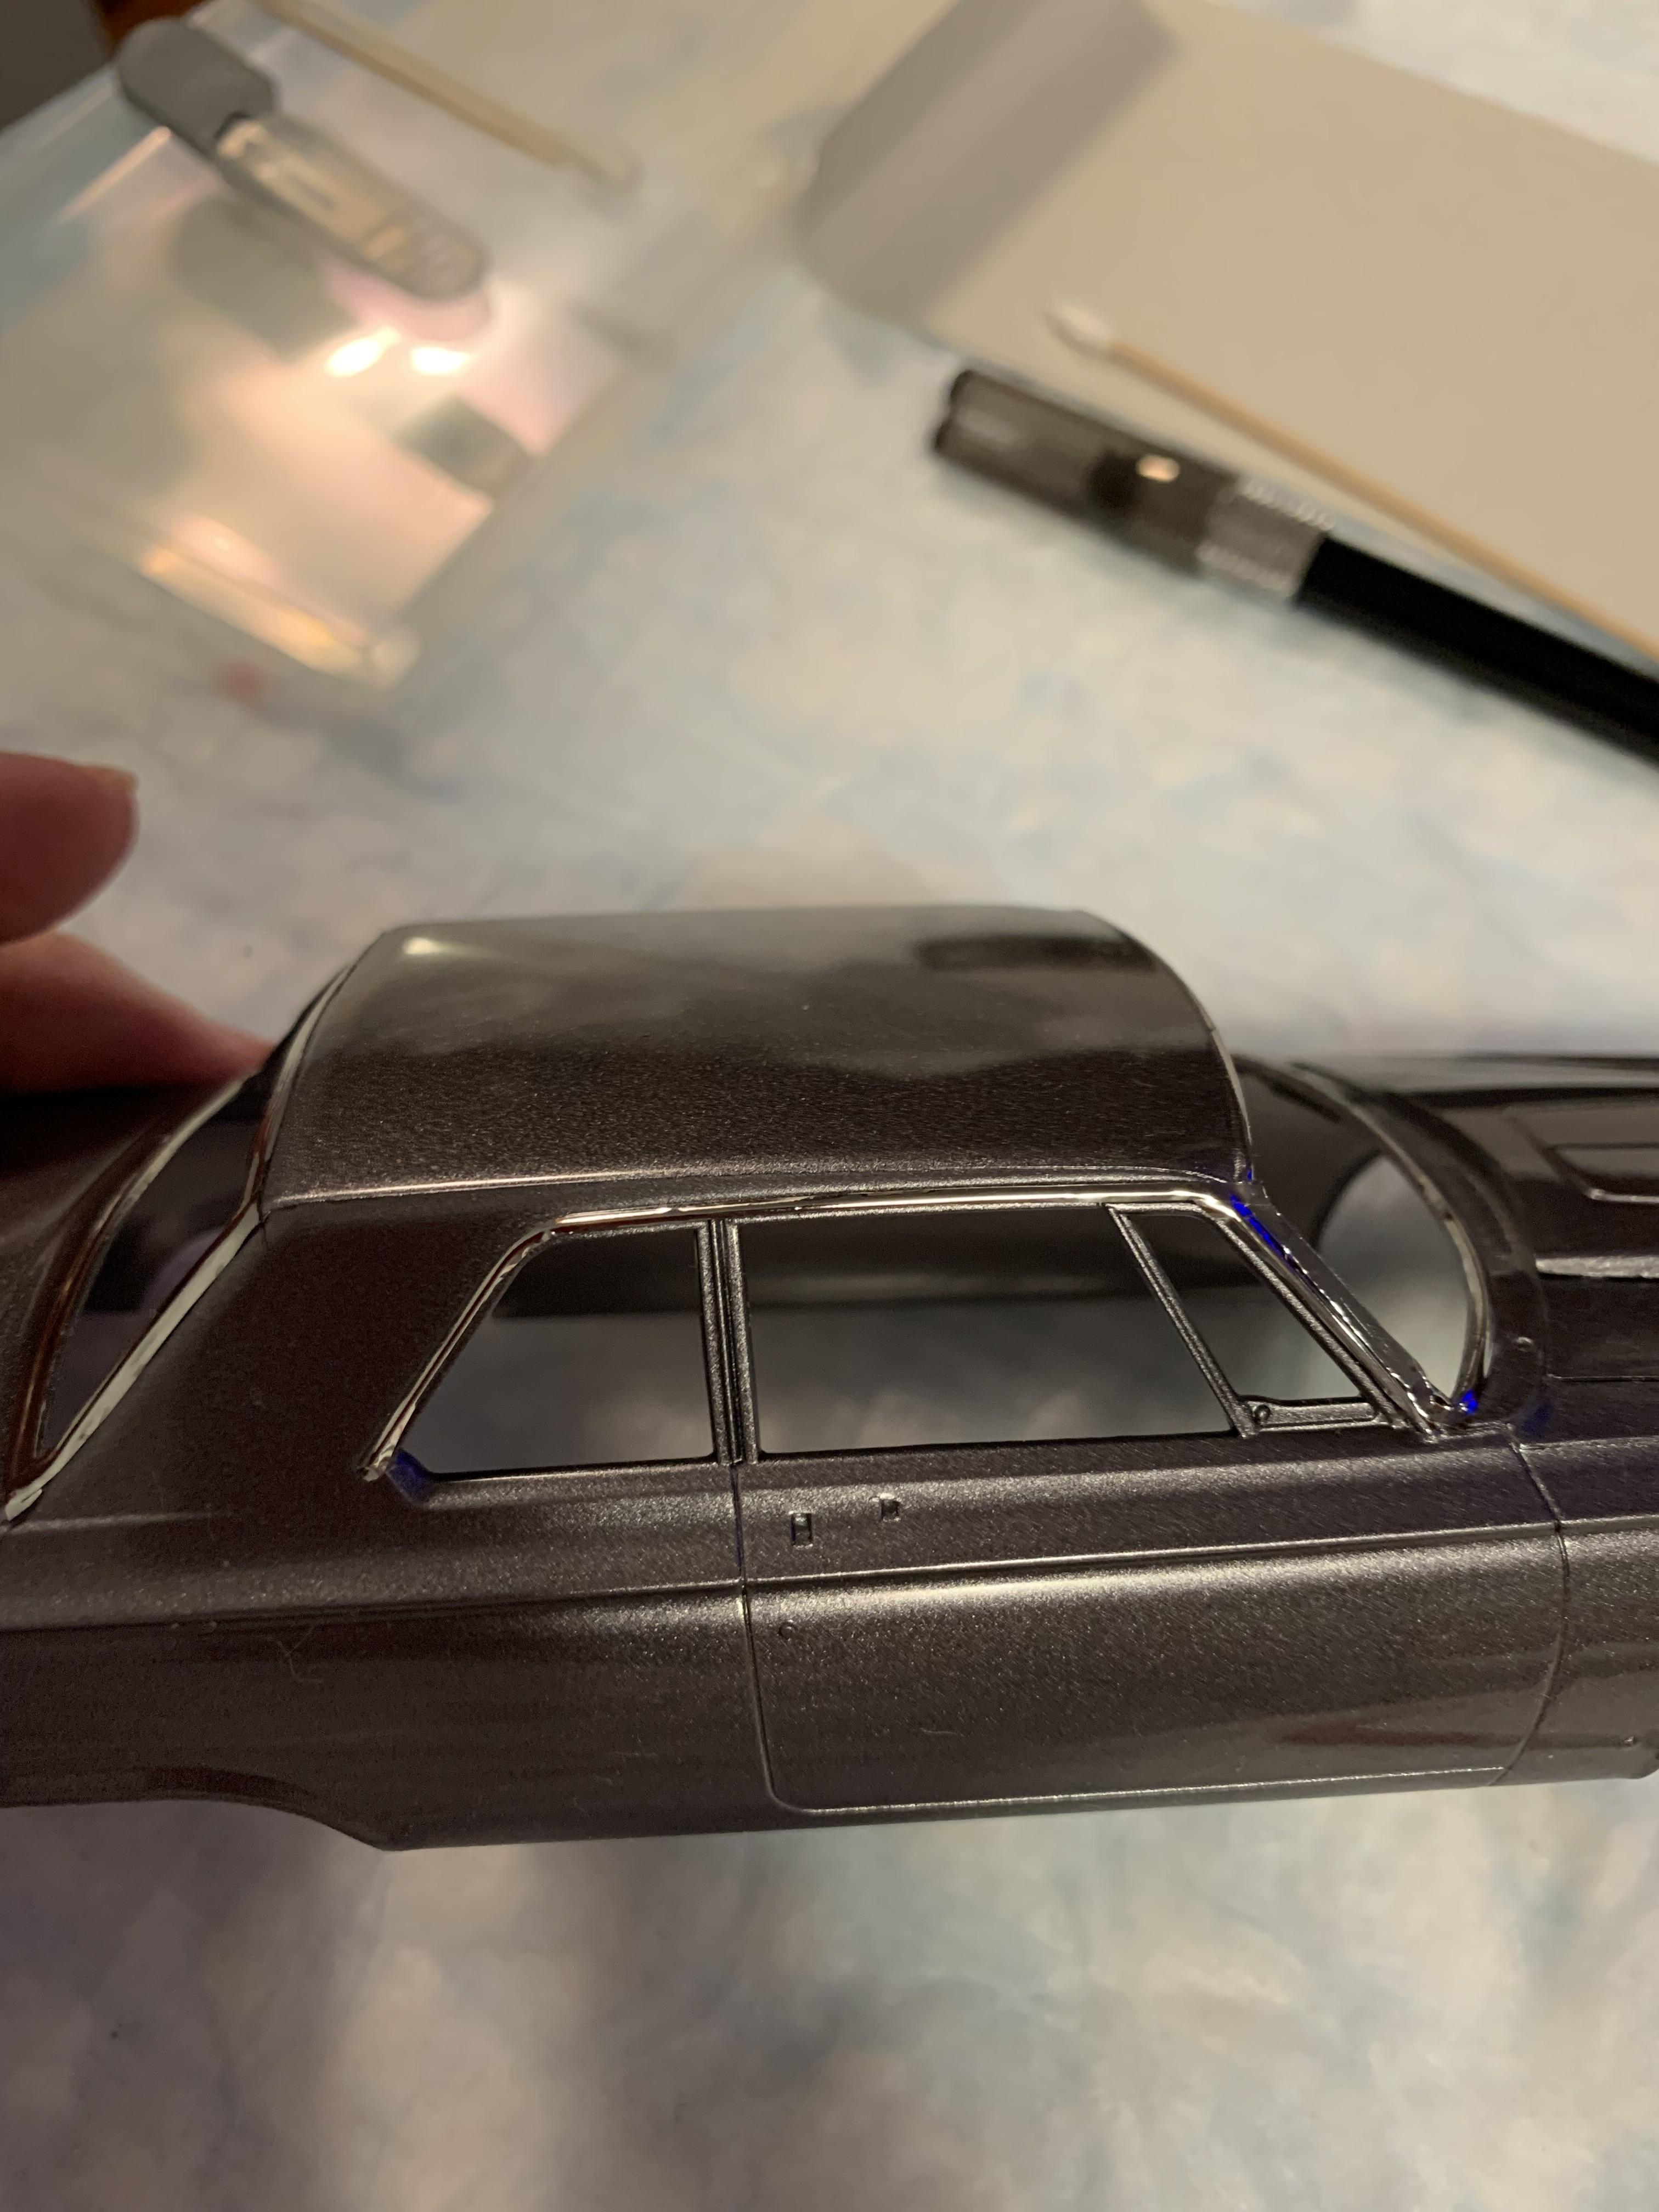
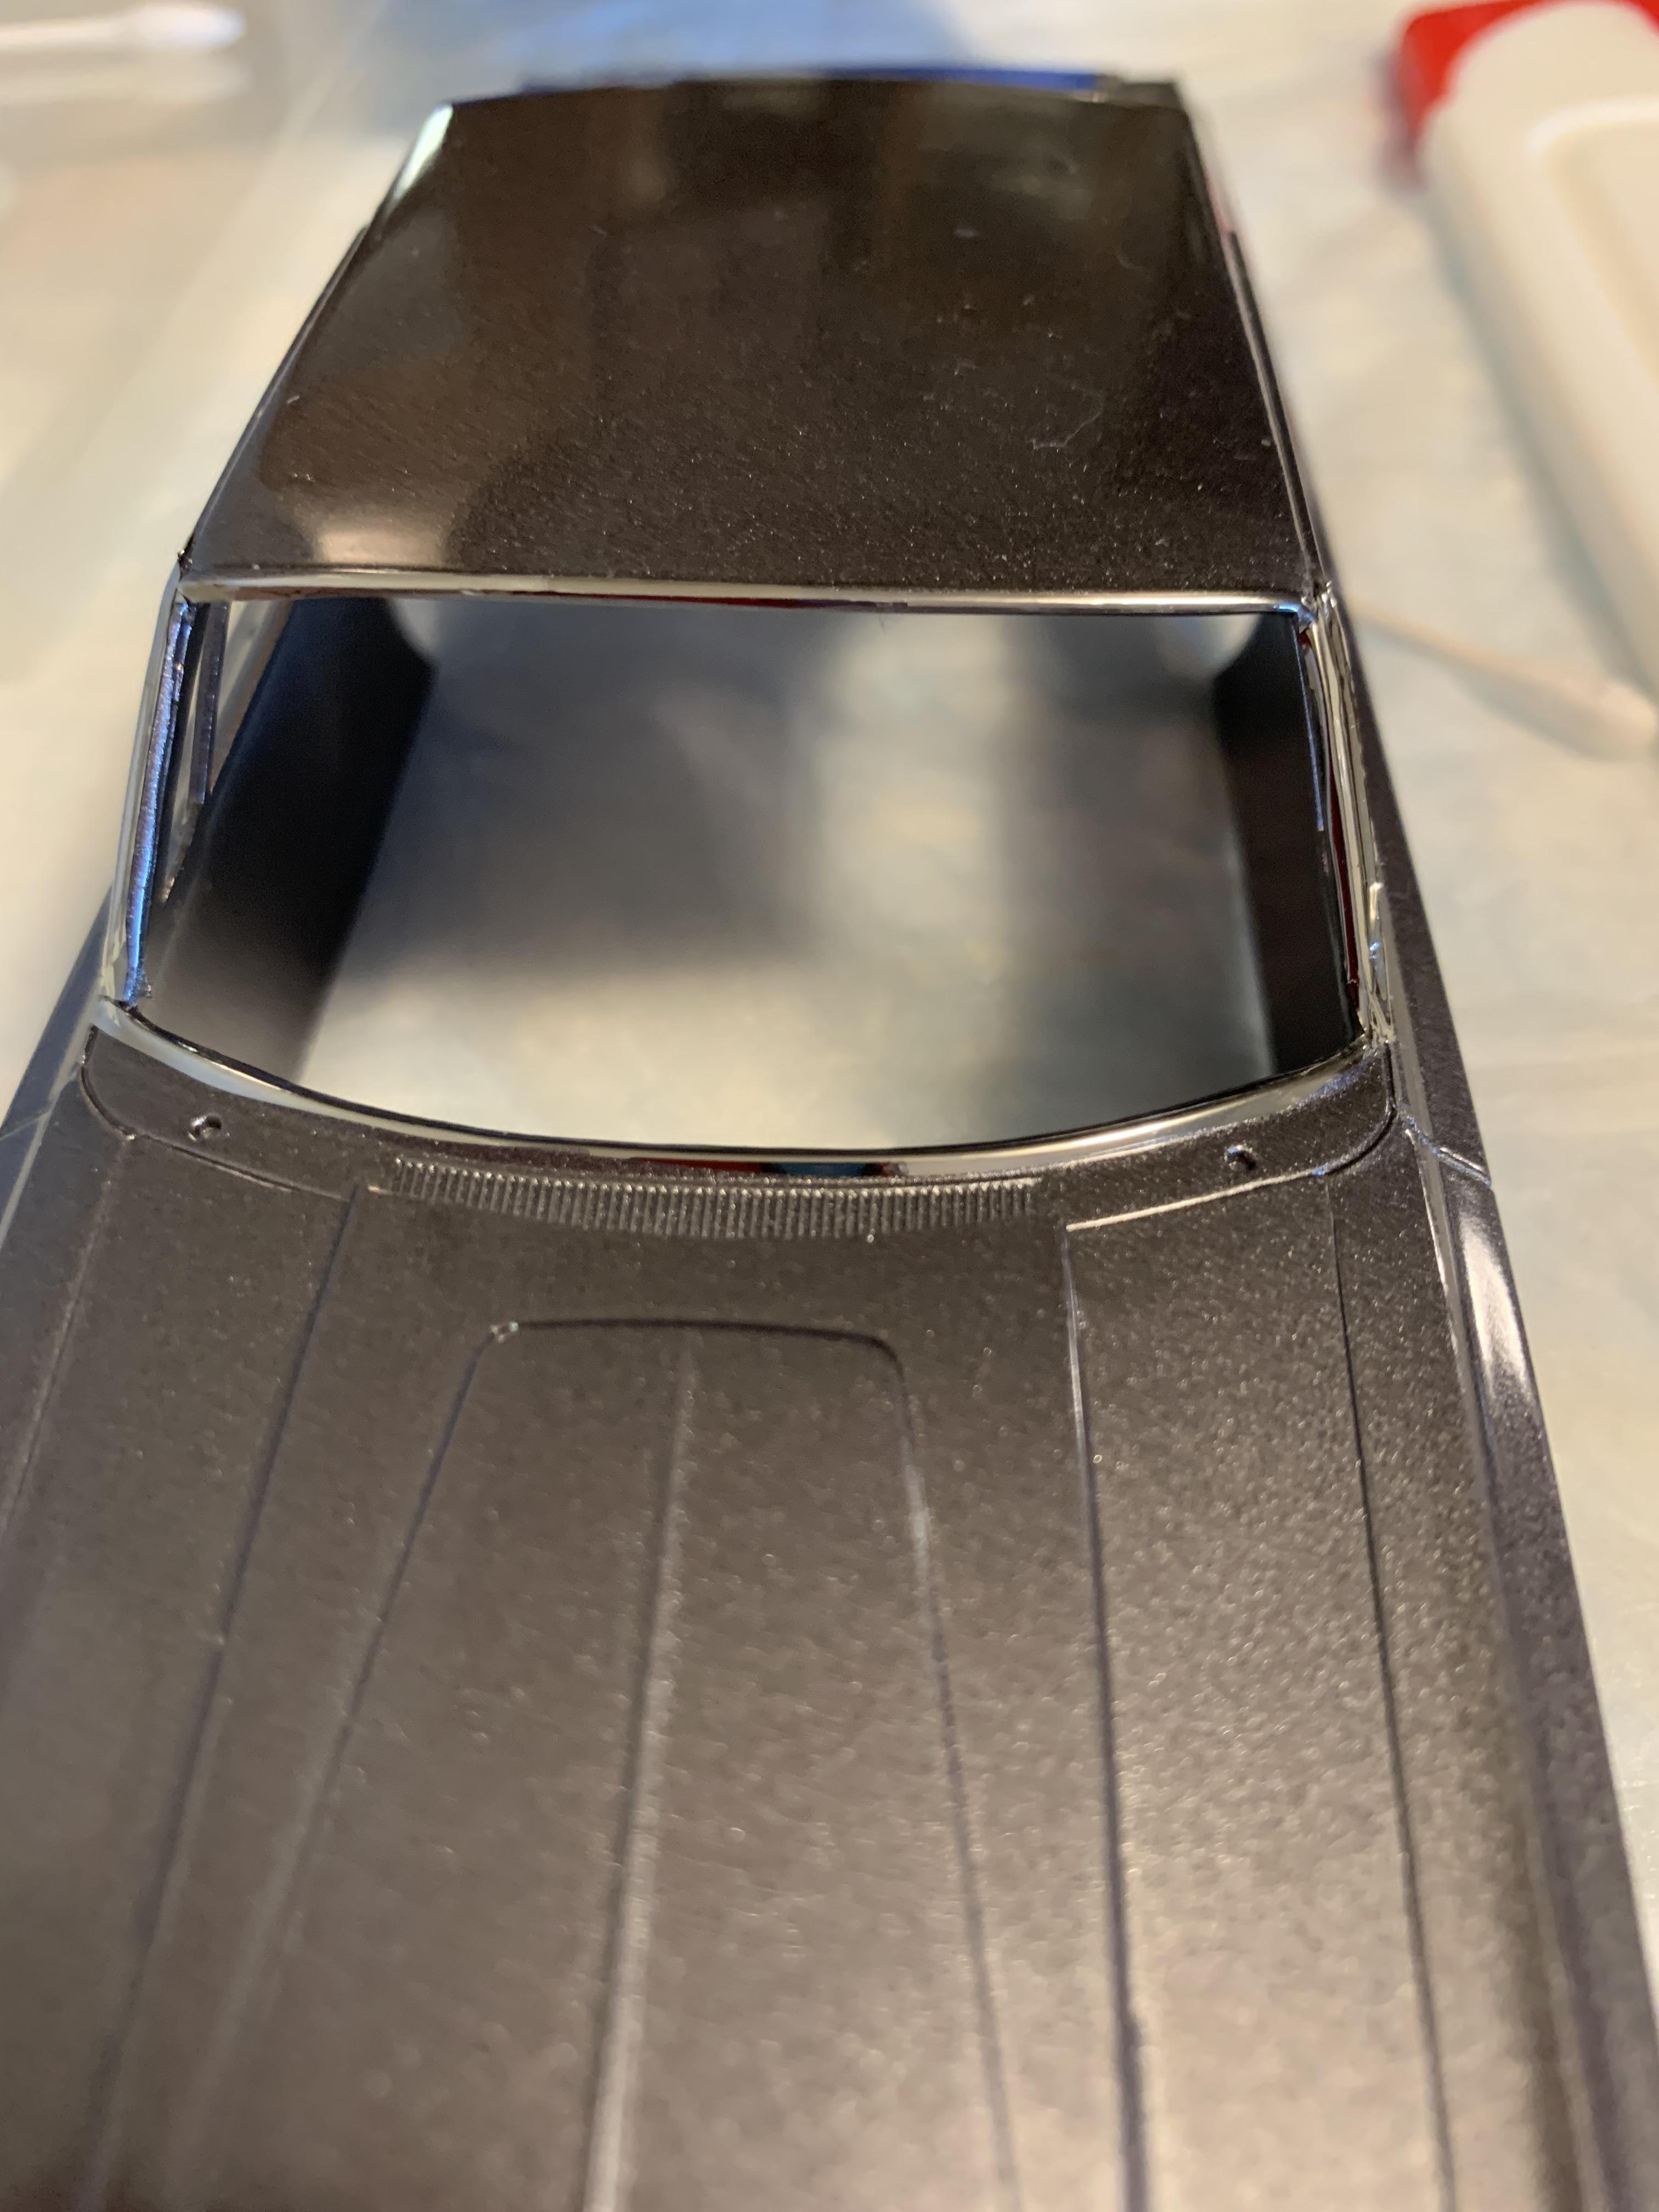
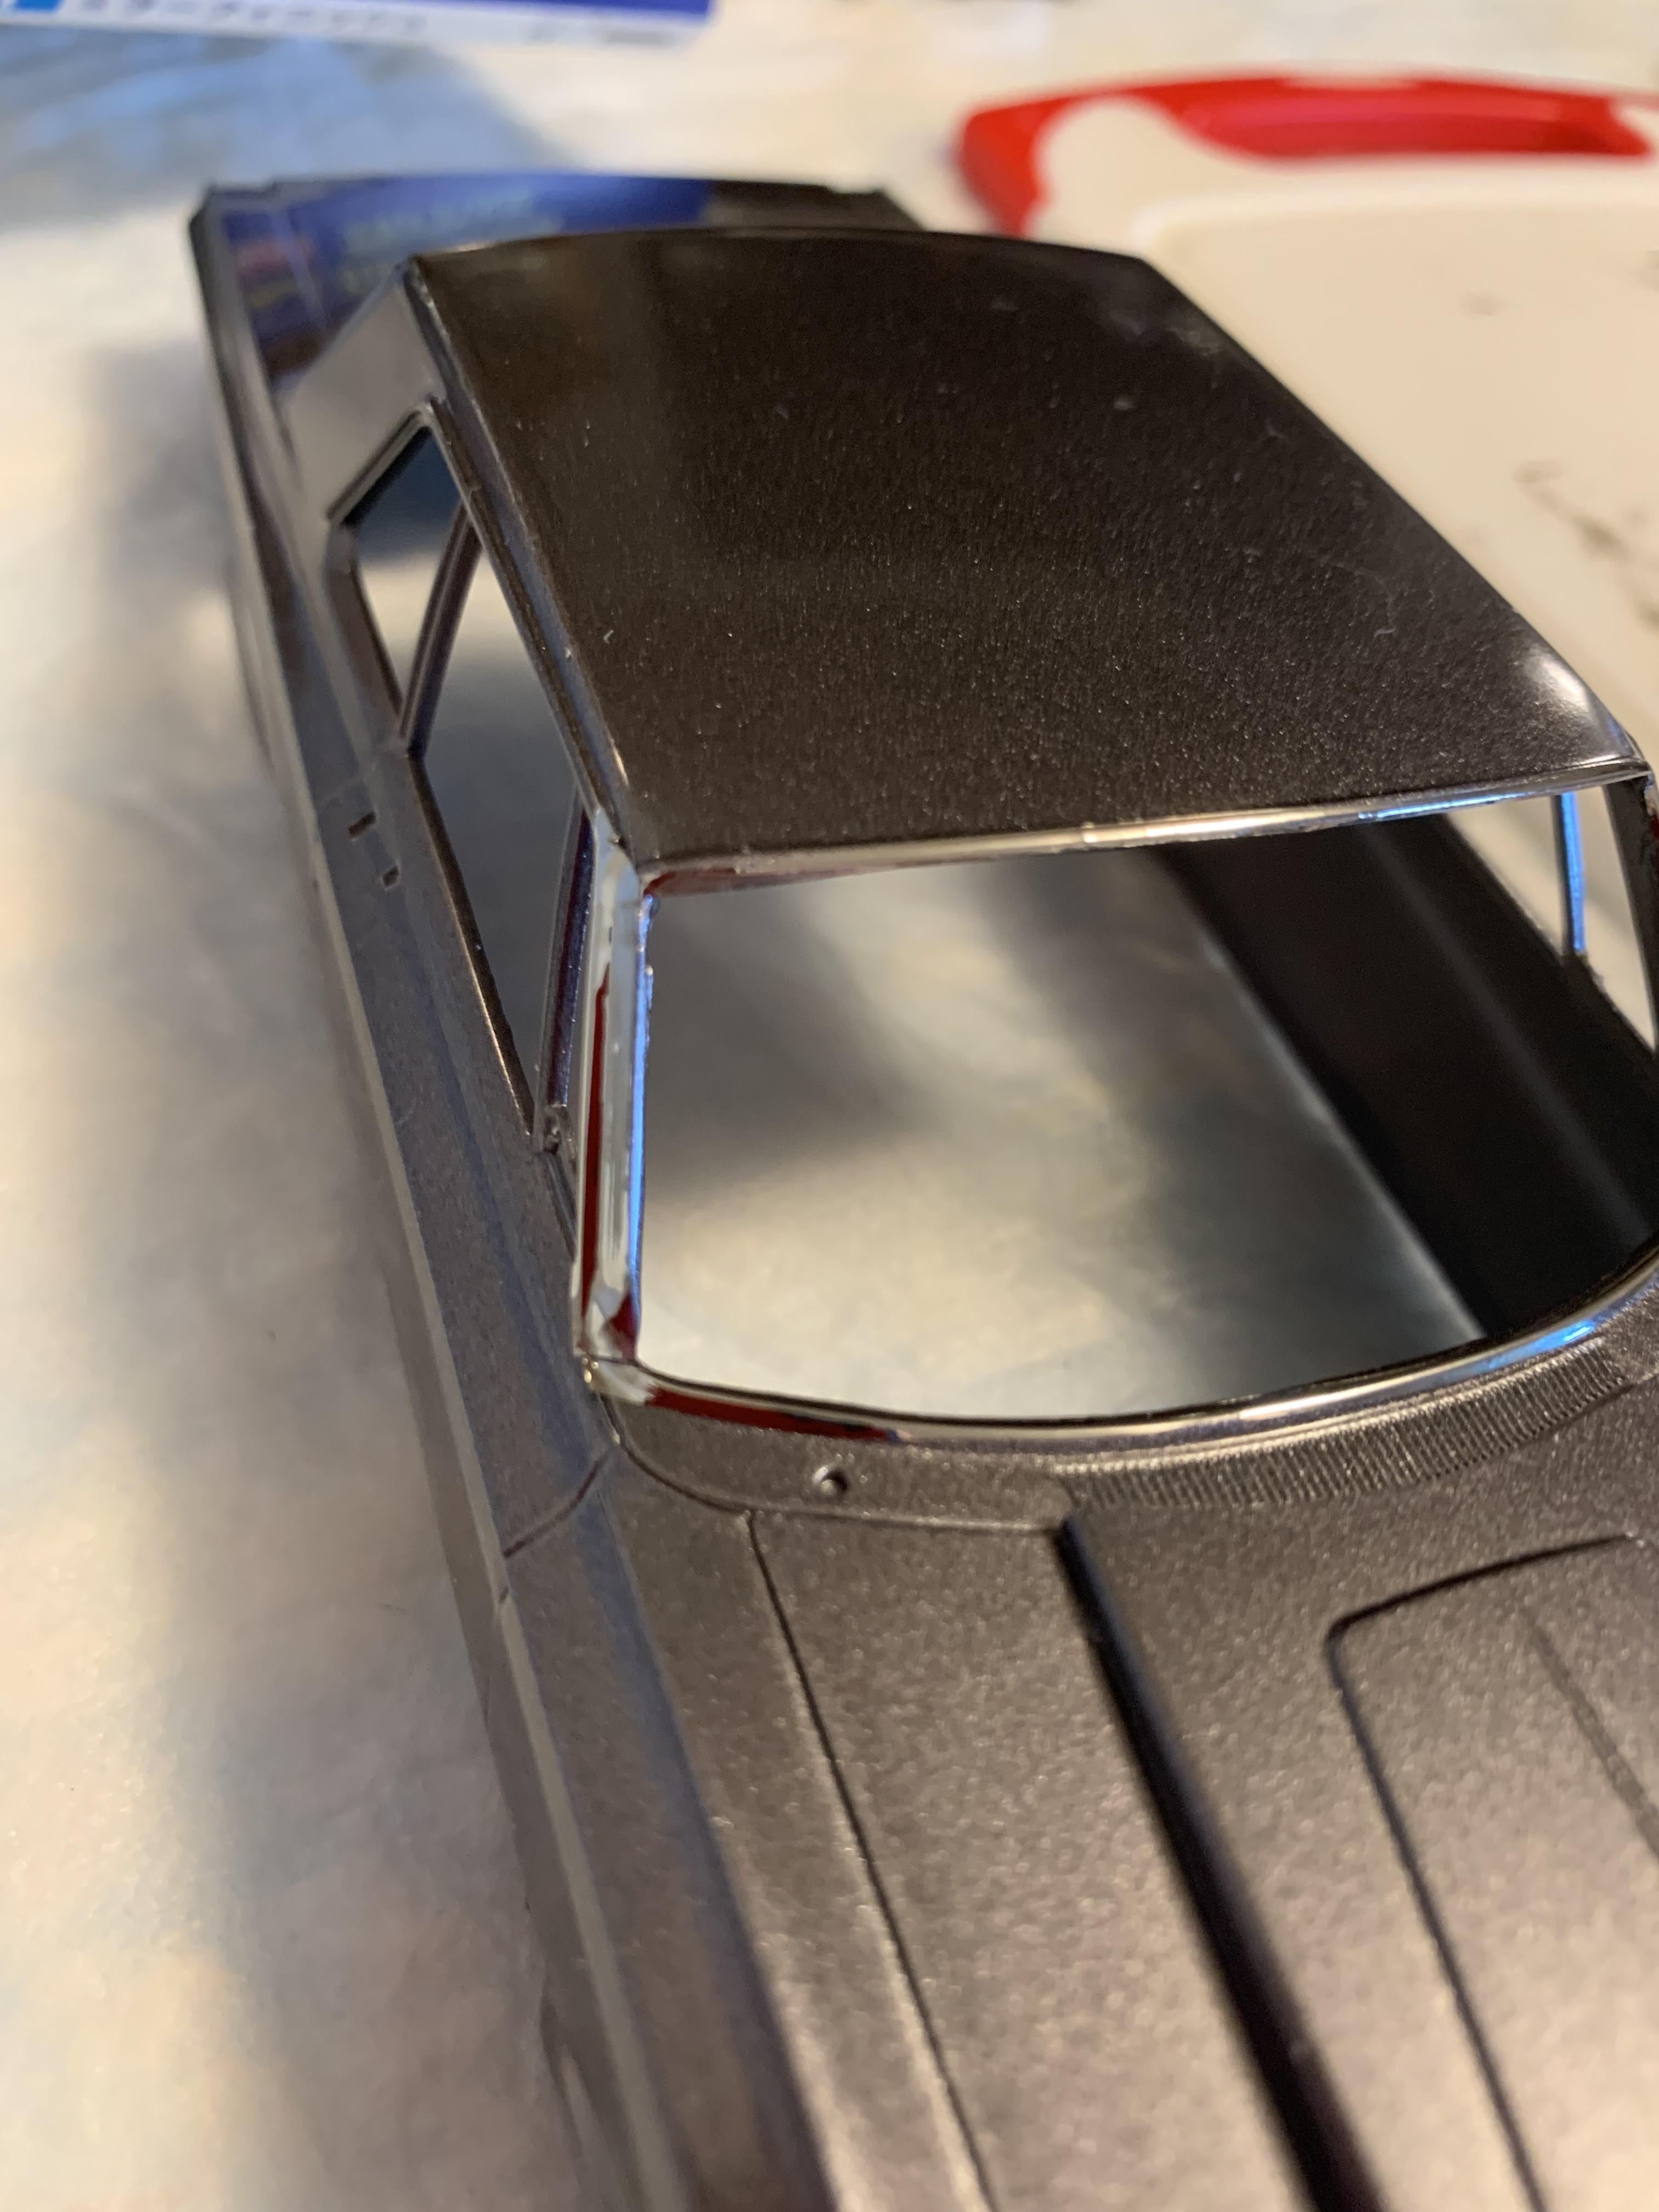
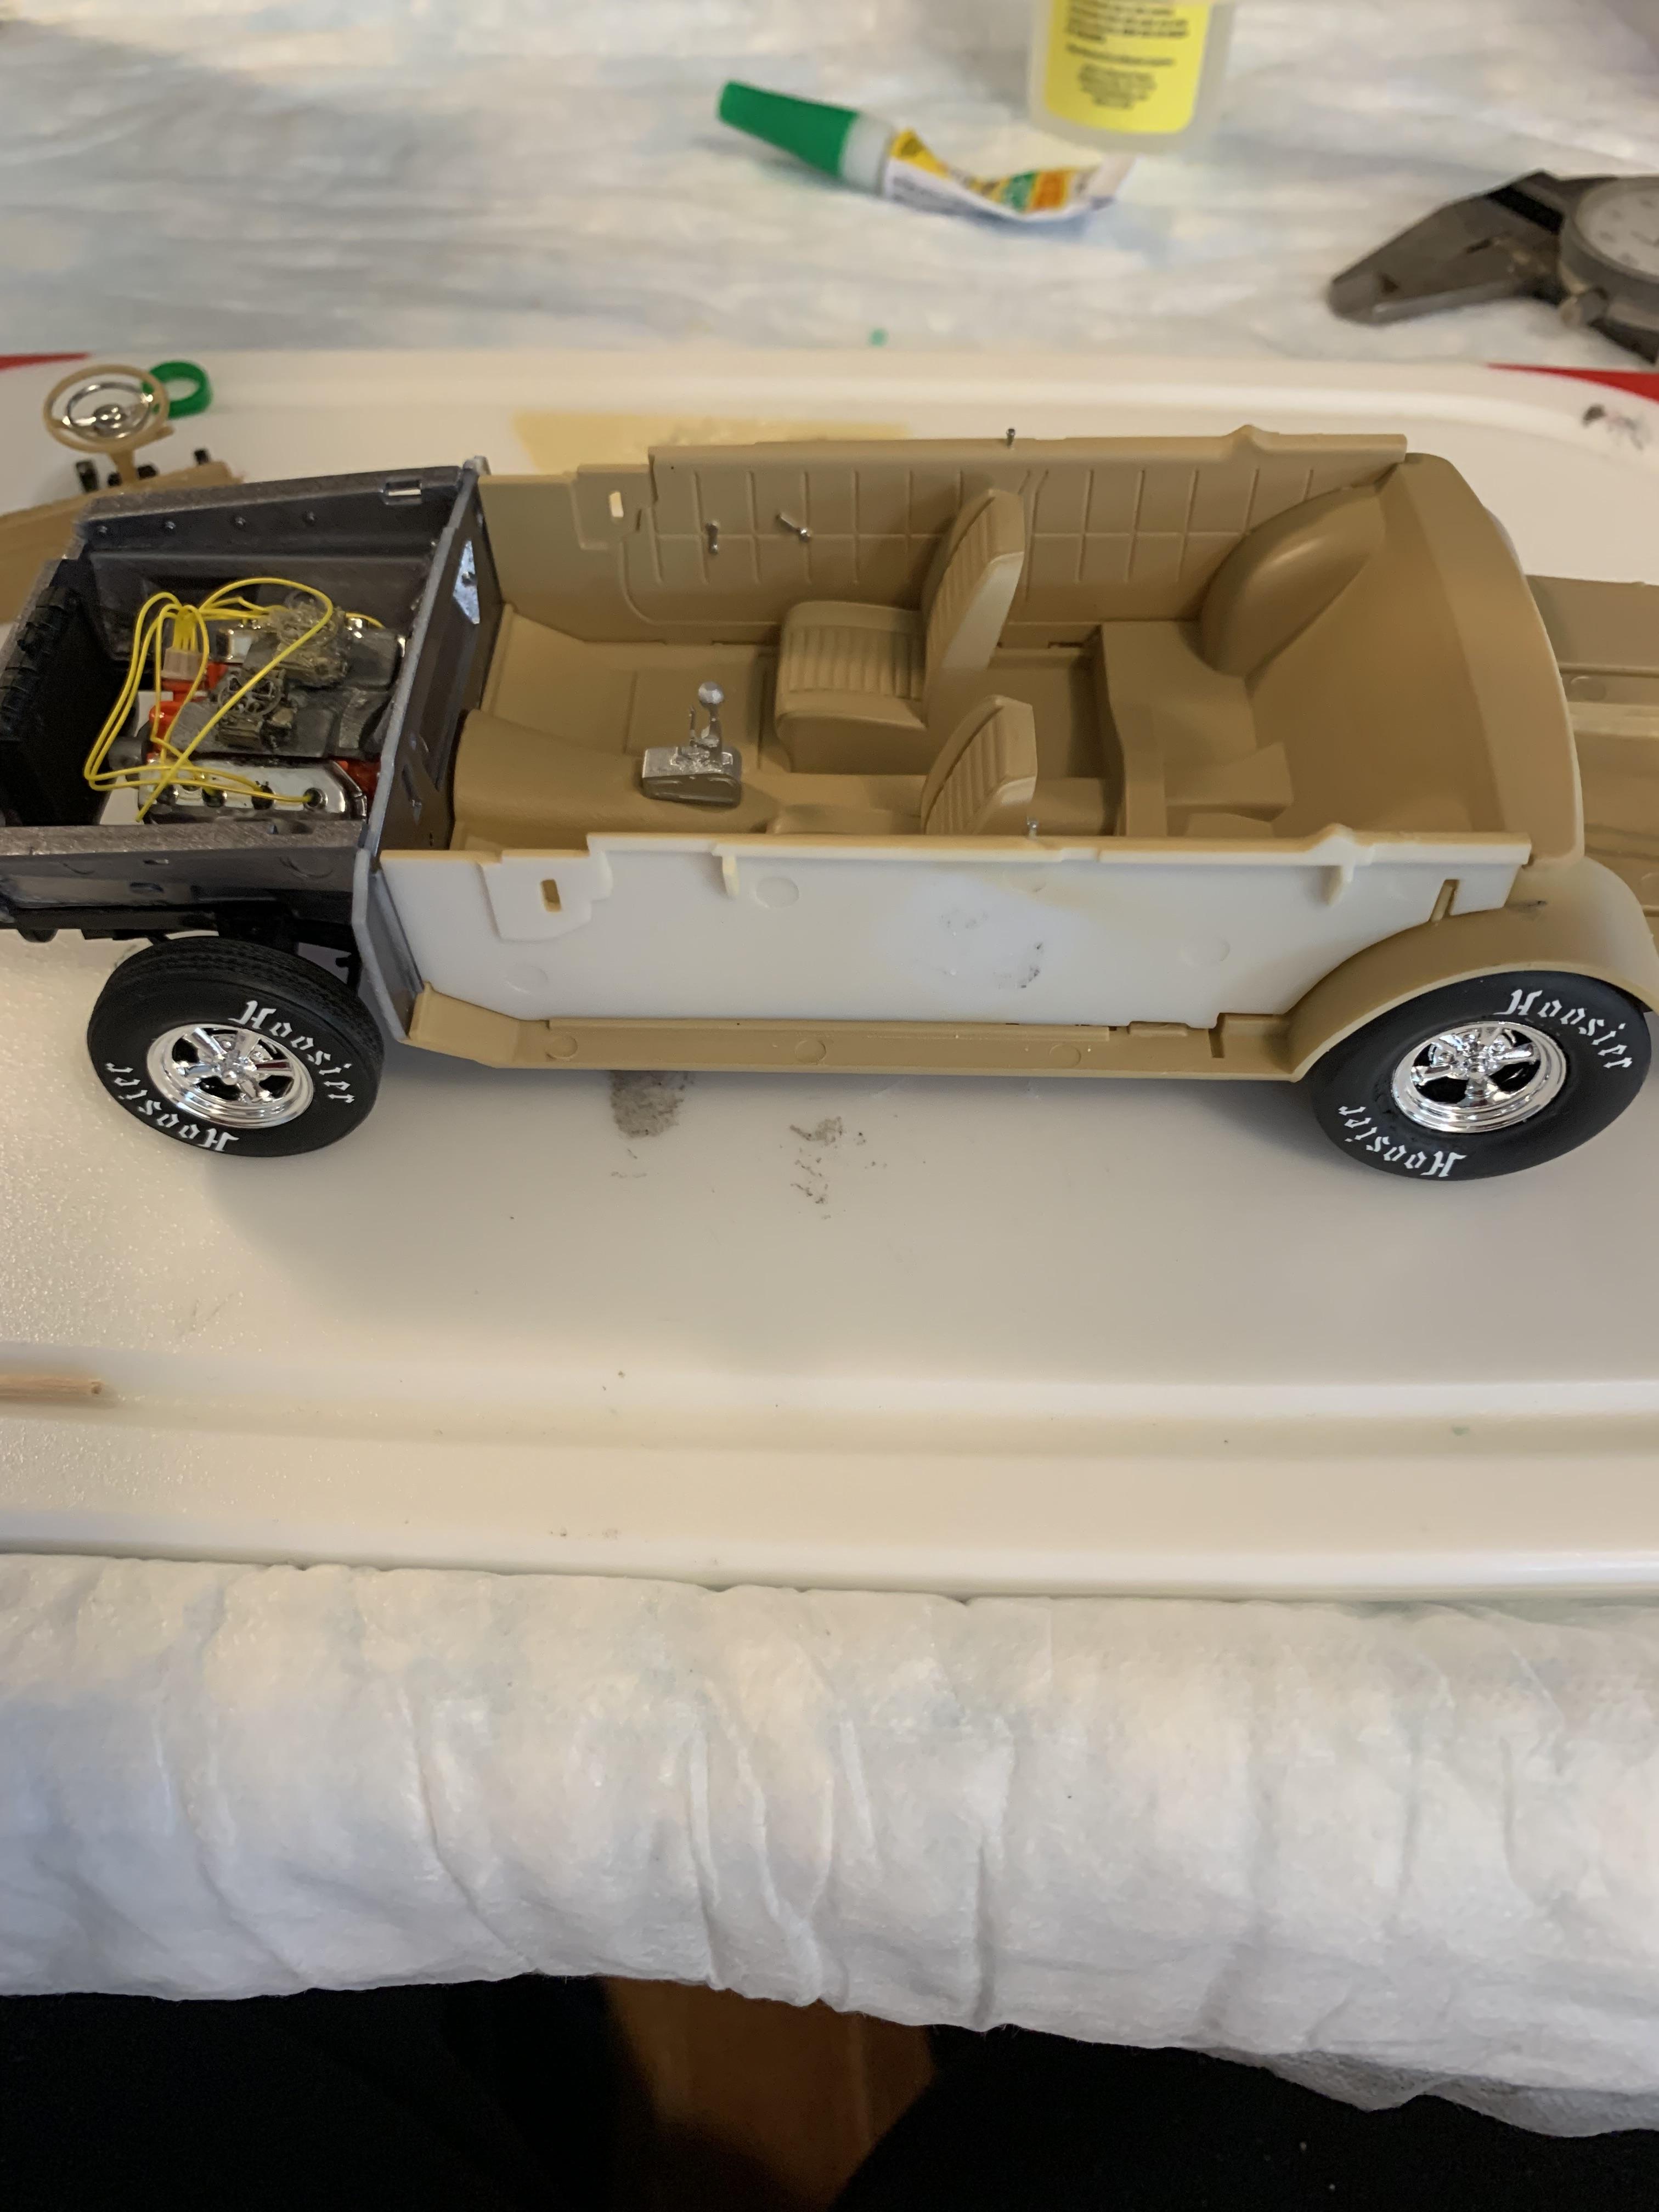
Trying to keep moving on this build as burnout has been sneaking in on me. Slipped the main hoop on loosely, then slipped a body on to set the height. Glued the side panels on. Hand lettered (always experimenting) the class/number designations with a new marker I got. Looks passable. Glued rear window in with the gold super glue. Rear window fit seems ok and very little bow in the middle as others have observed. Gonna let everything dry overnight, then run front and rear bars.
-
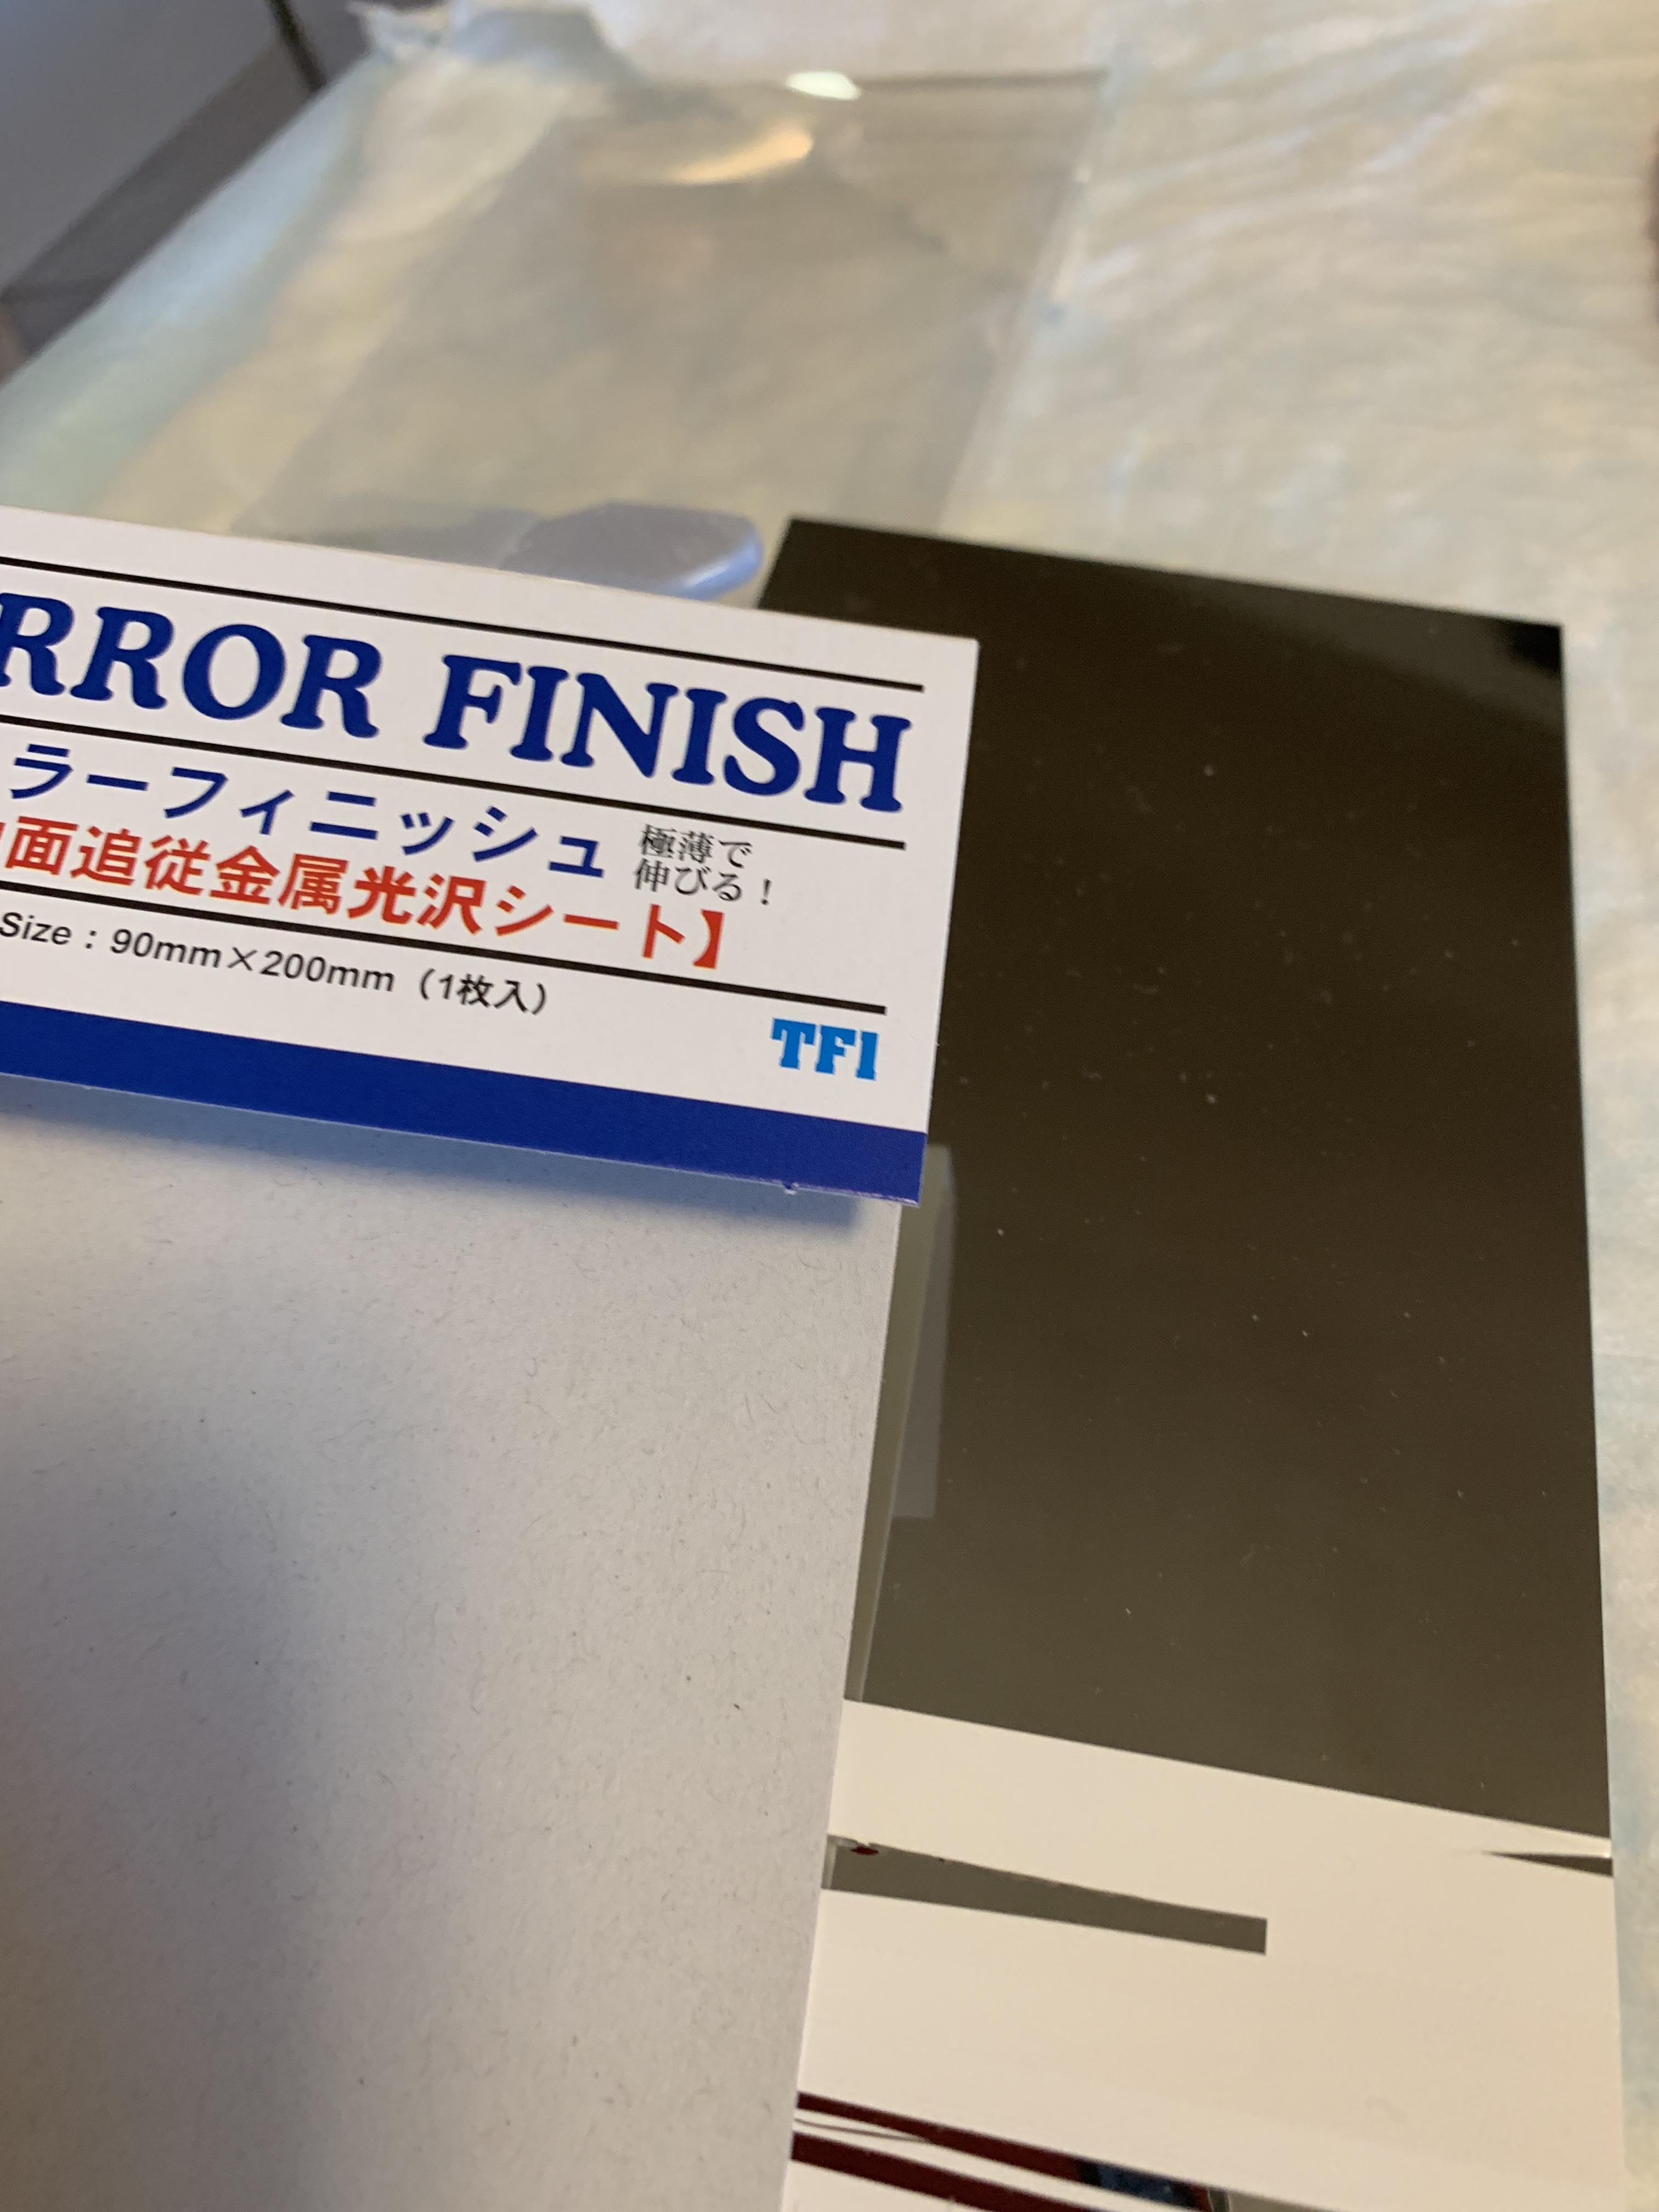
Quite right, but this is the third model I have done with that sheet, and I have probably 2/3 of it left. This is mainly due to cutting thin (1mm) strips through the width of the sheets. It took very little foil for this particular model.
-
Thanks, Rich. It is thicker, more difficult to cut, also, does not conform to irregularities as easy as bmf, but does not wrinkle like bmf. Definitely shinier, though, and stretchy.
-
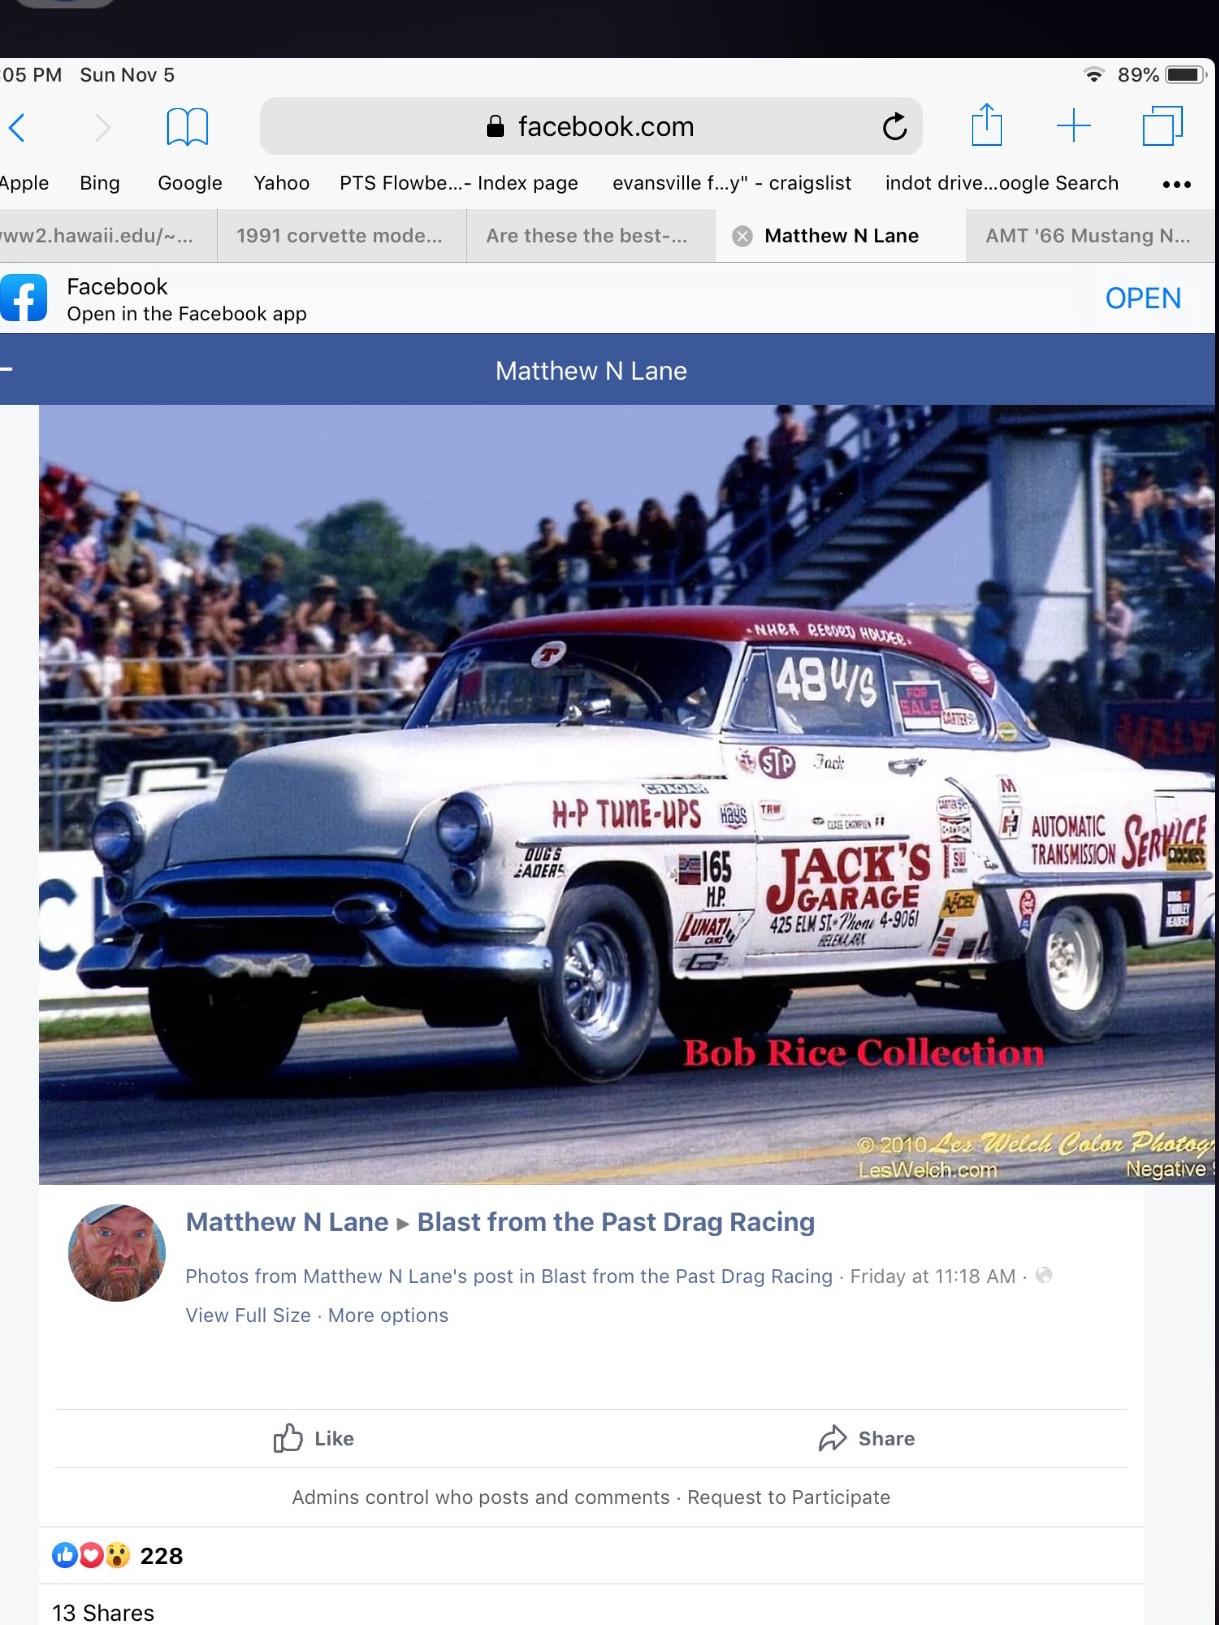
My 53 Olds at Indy in 1971 and my friend Jack Mullins’s 53.
-
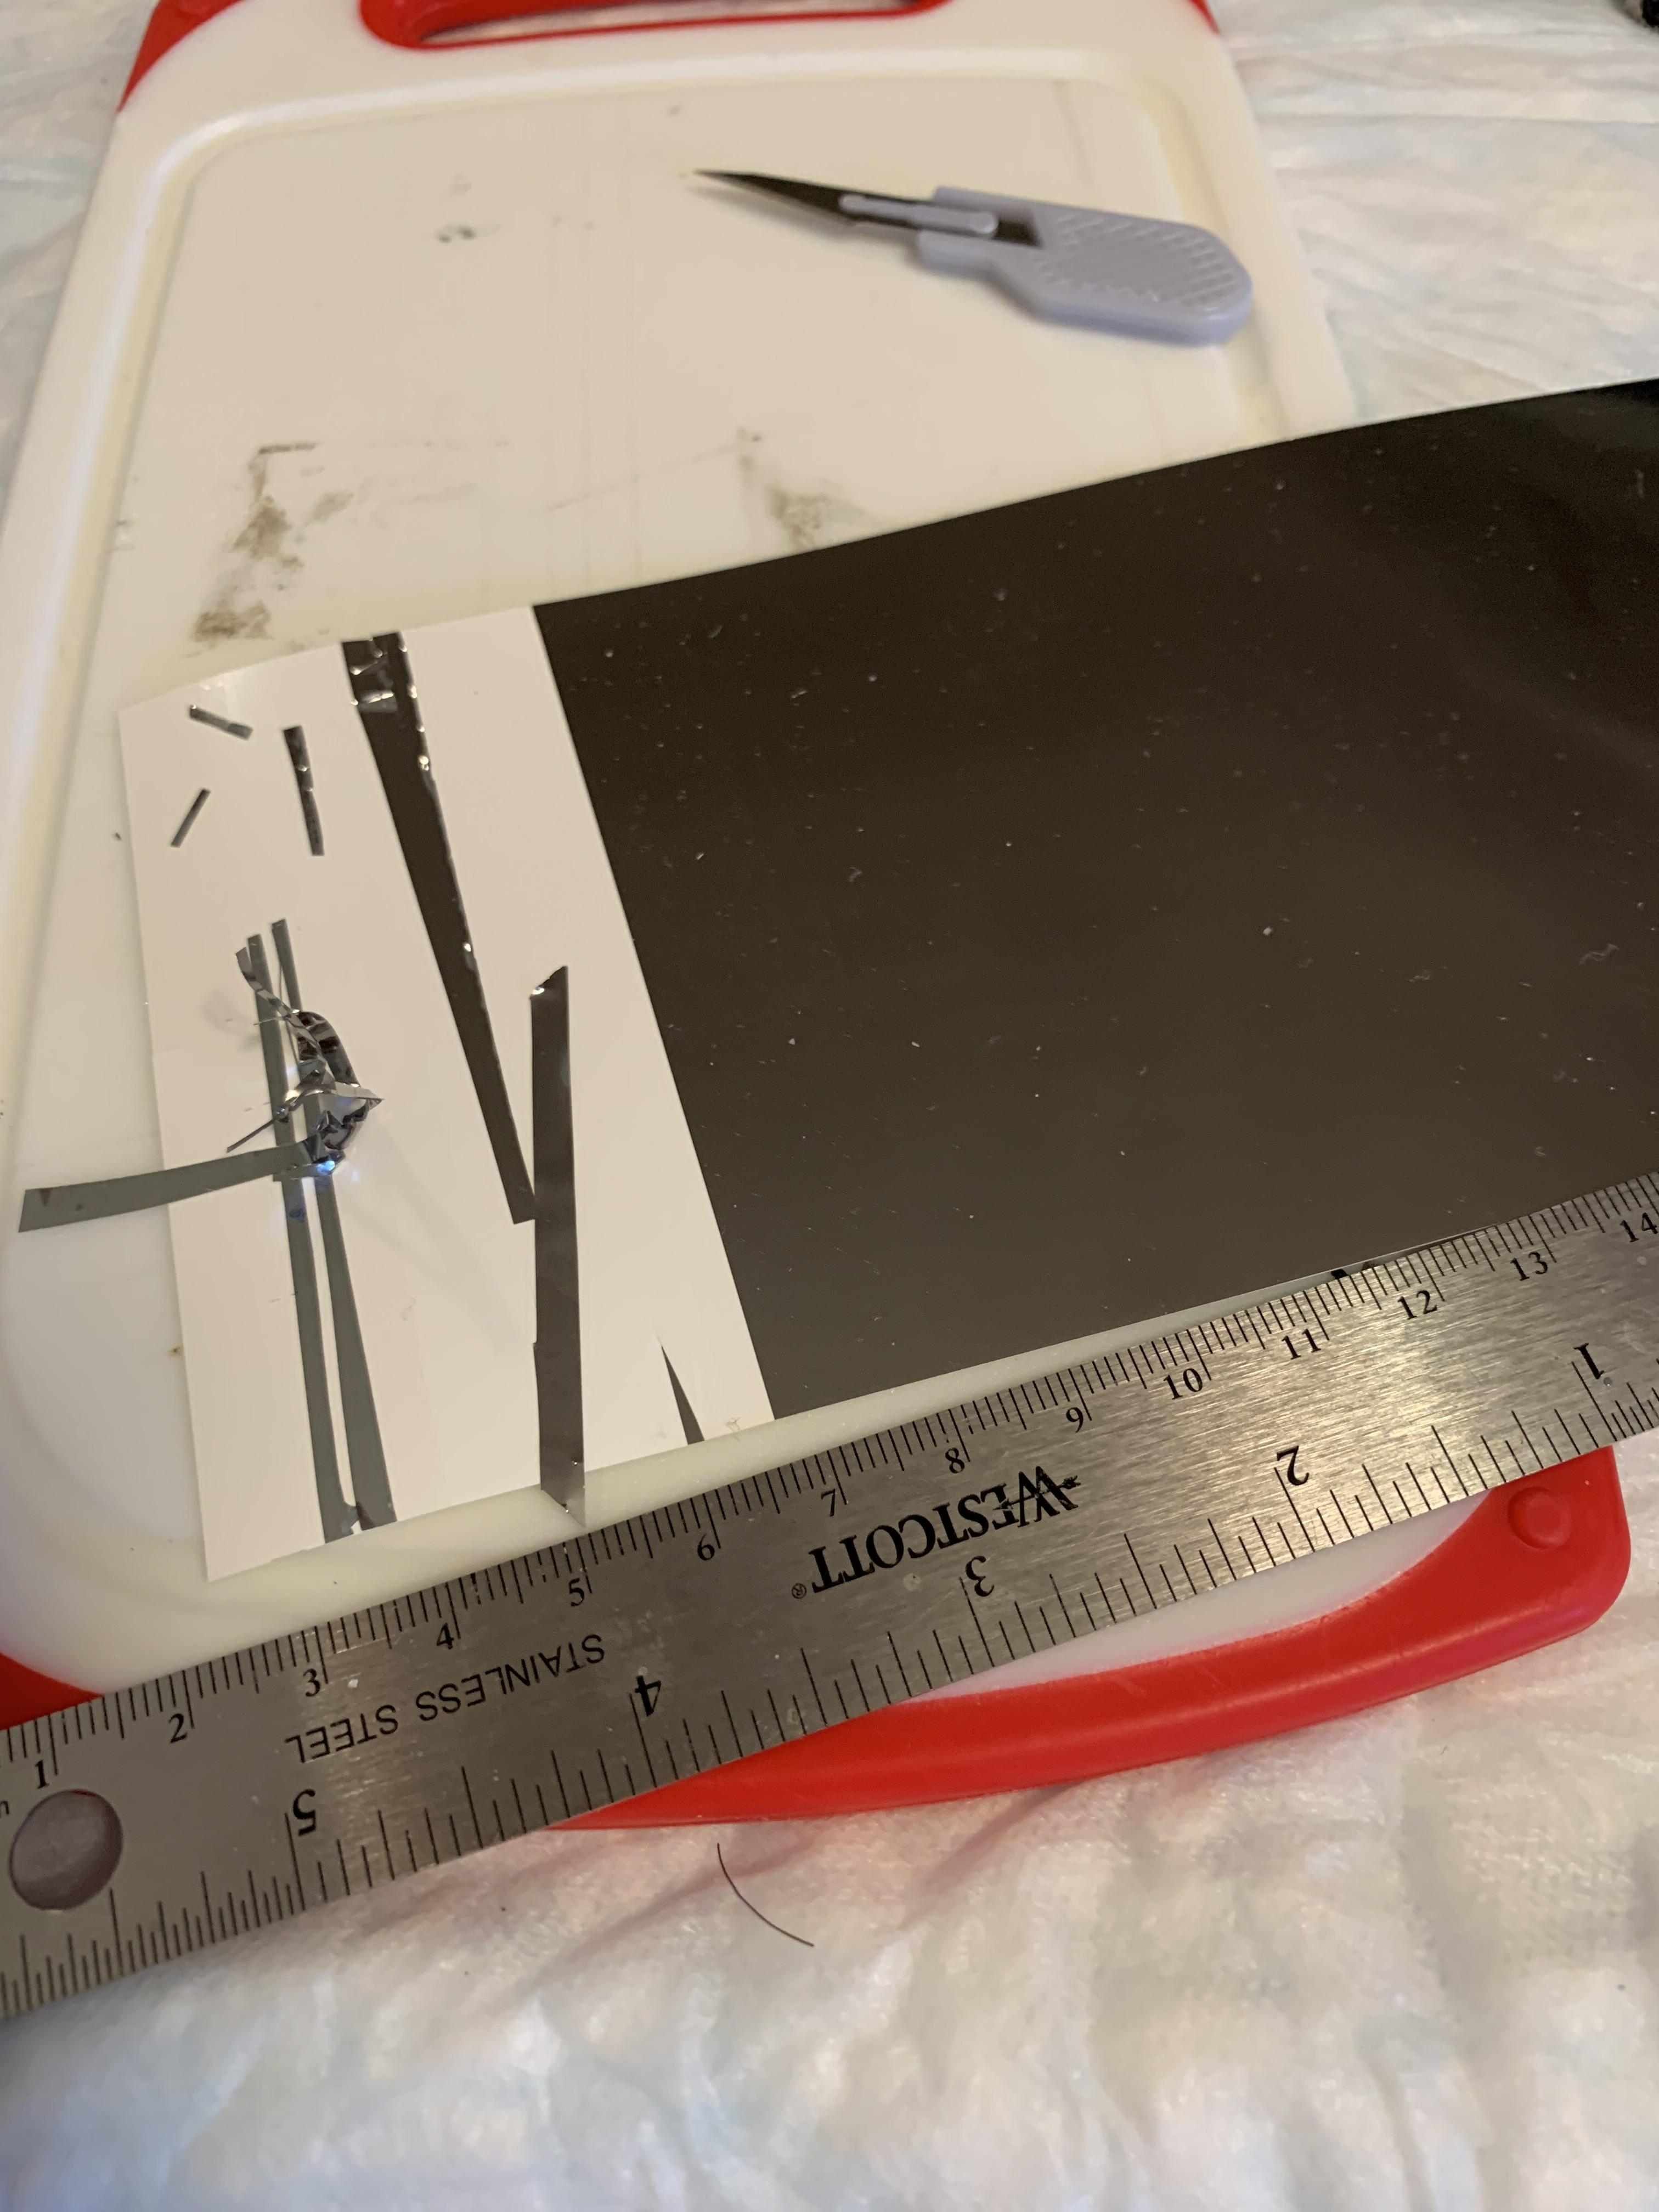
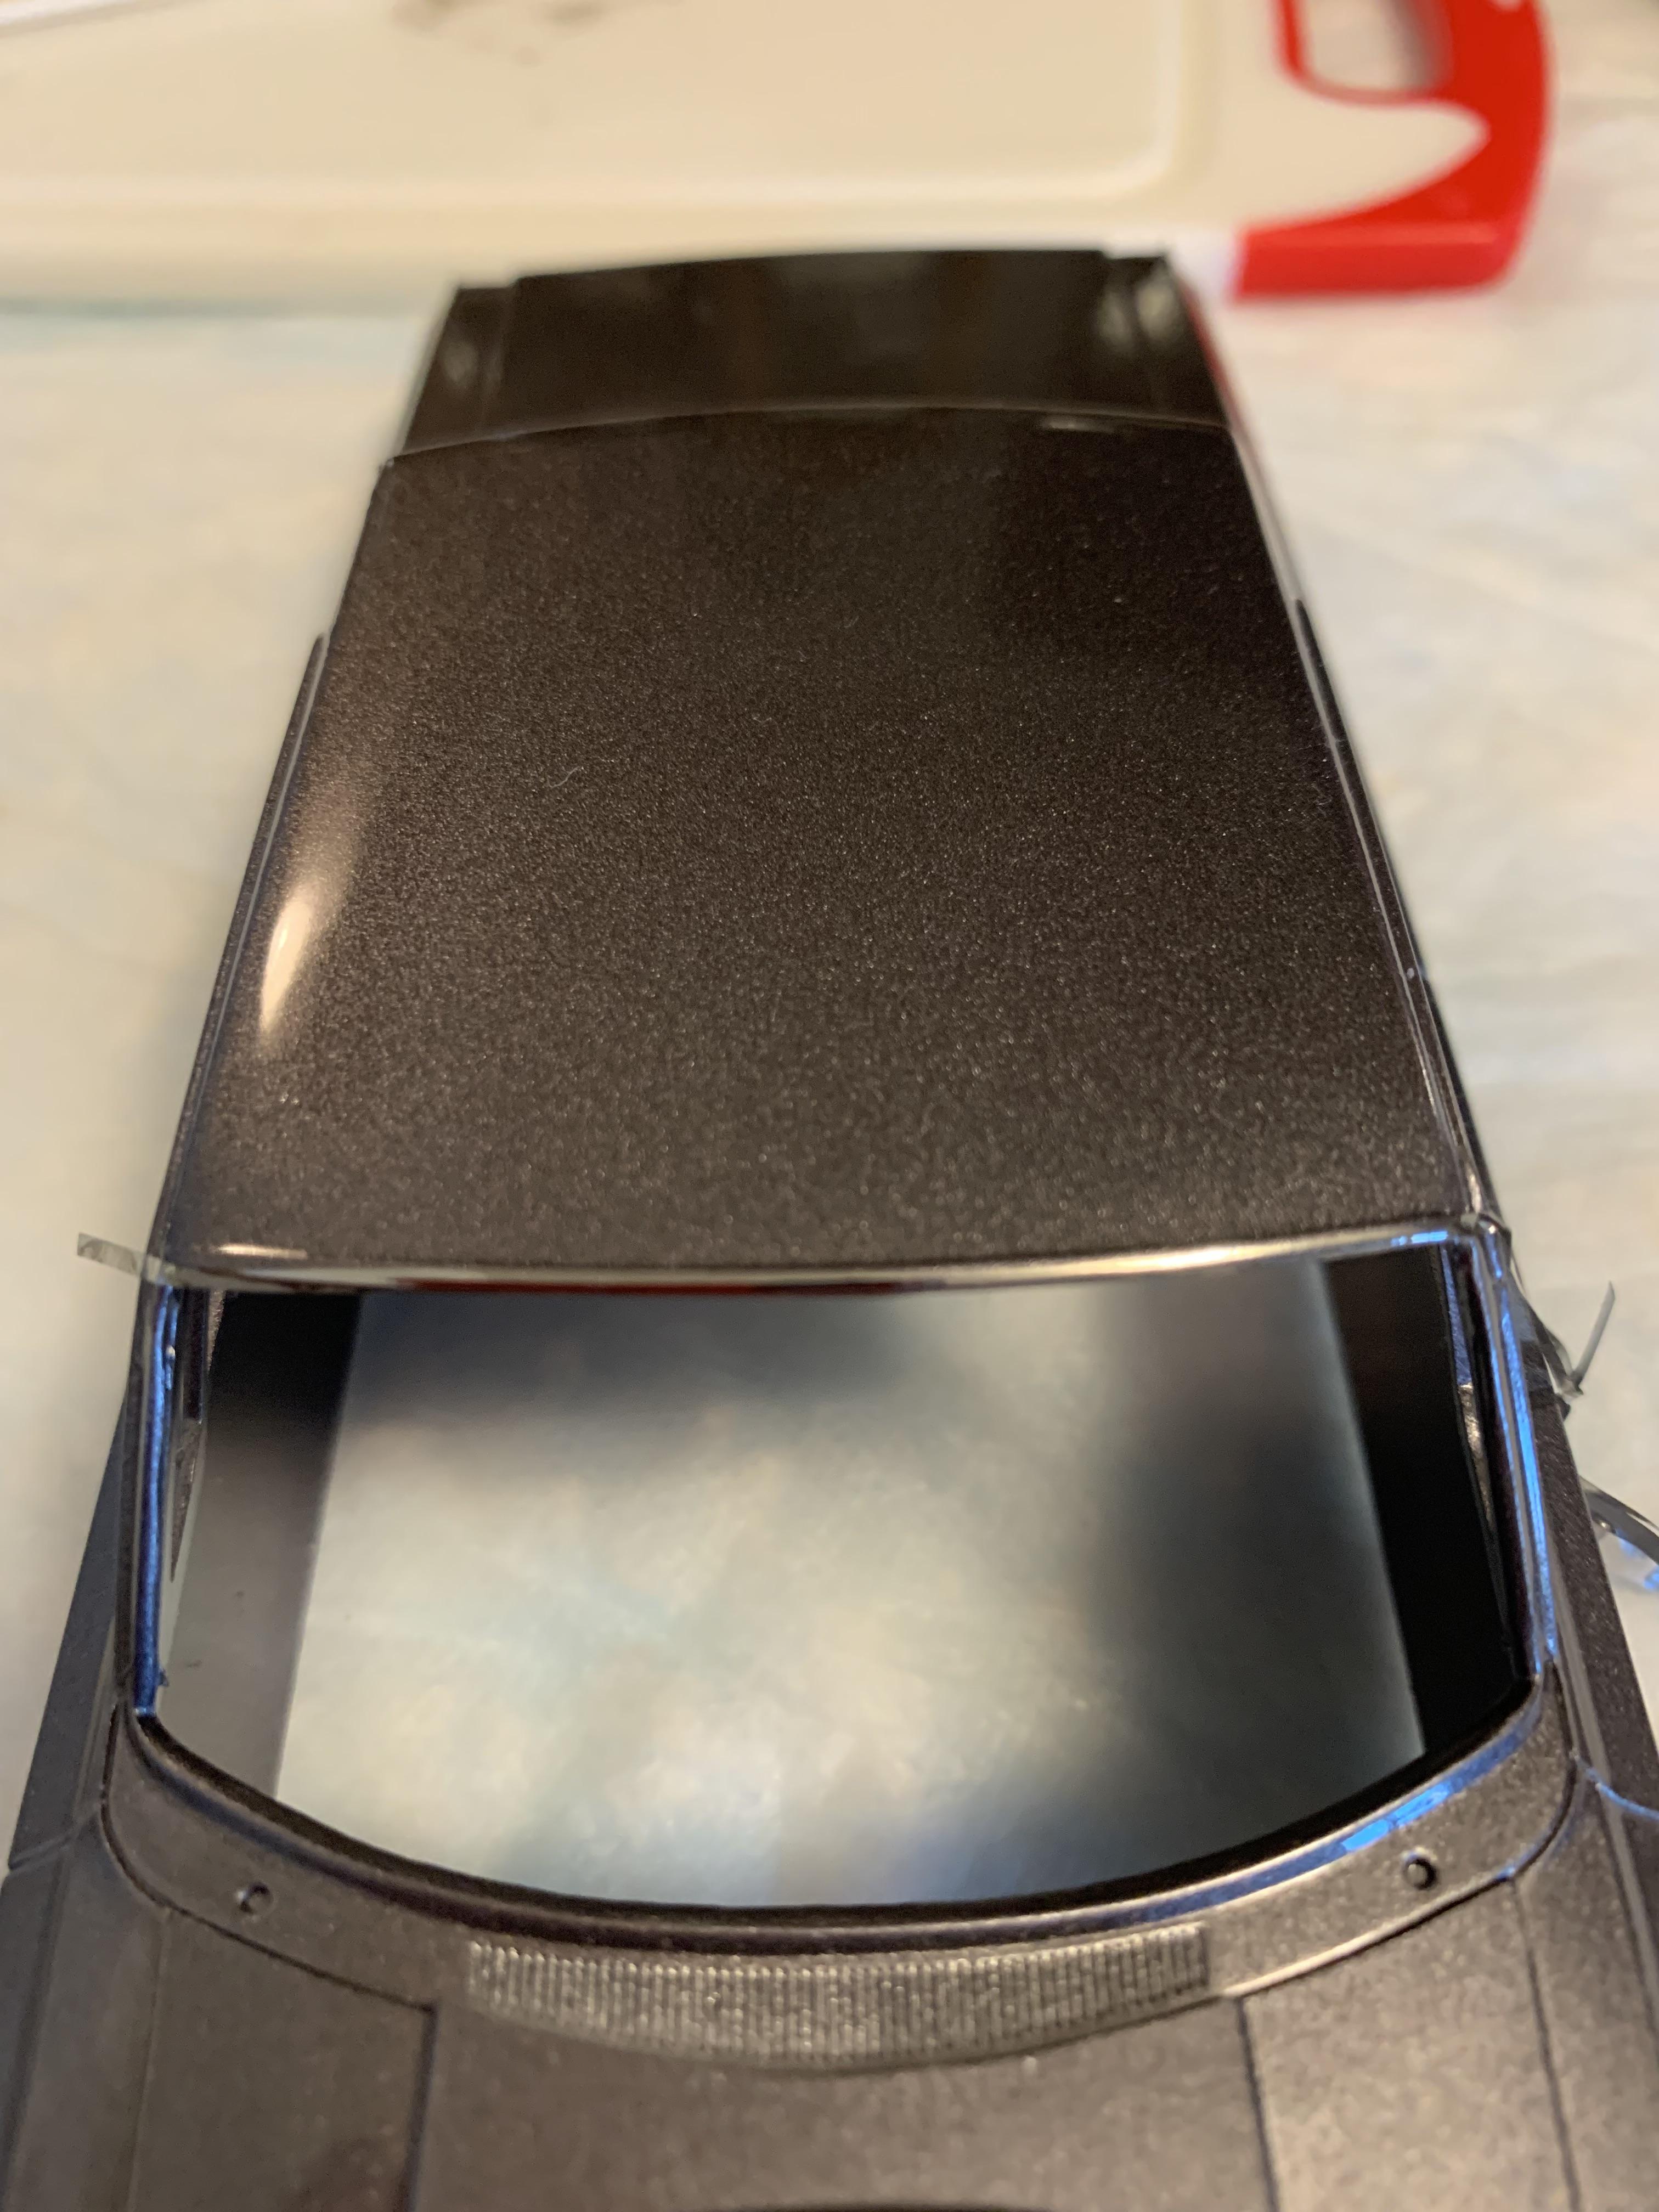
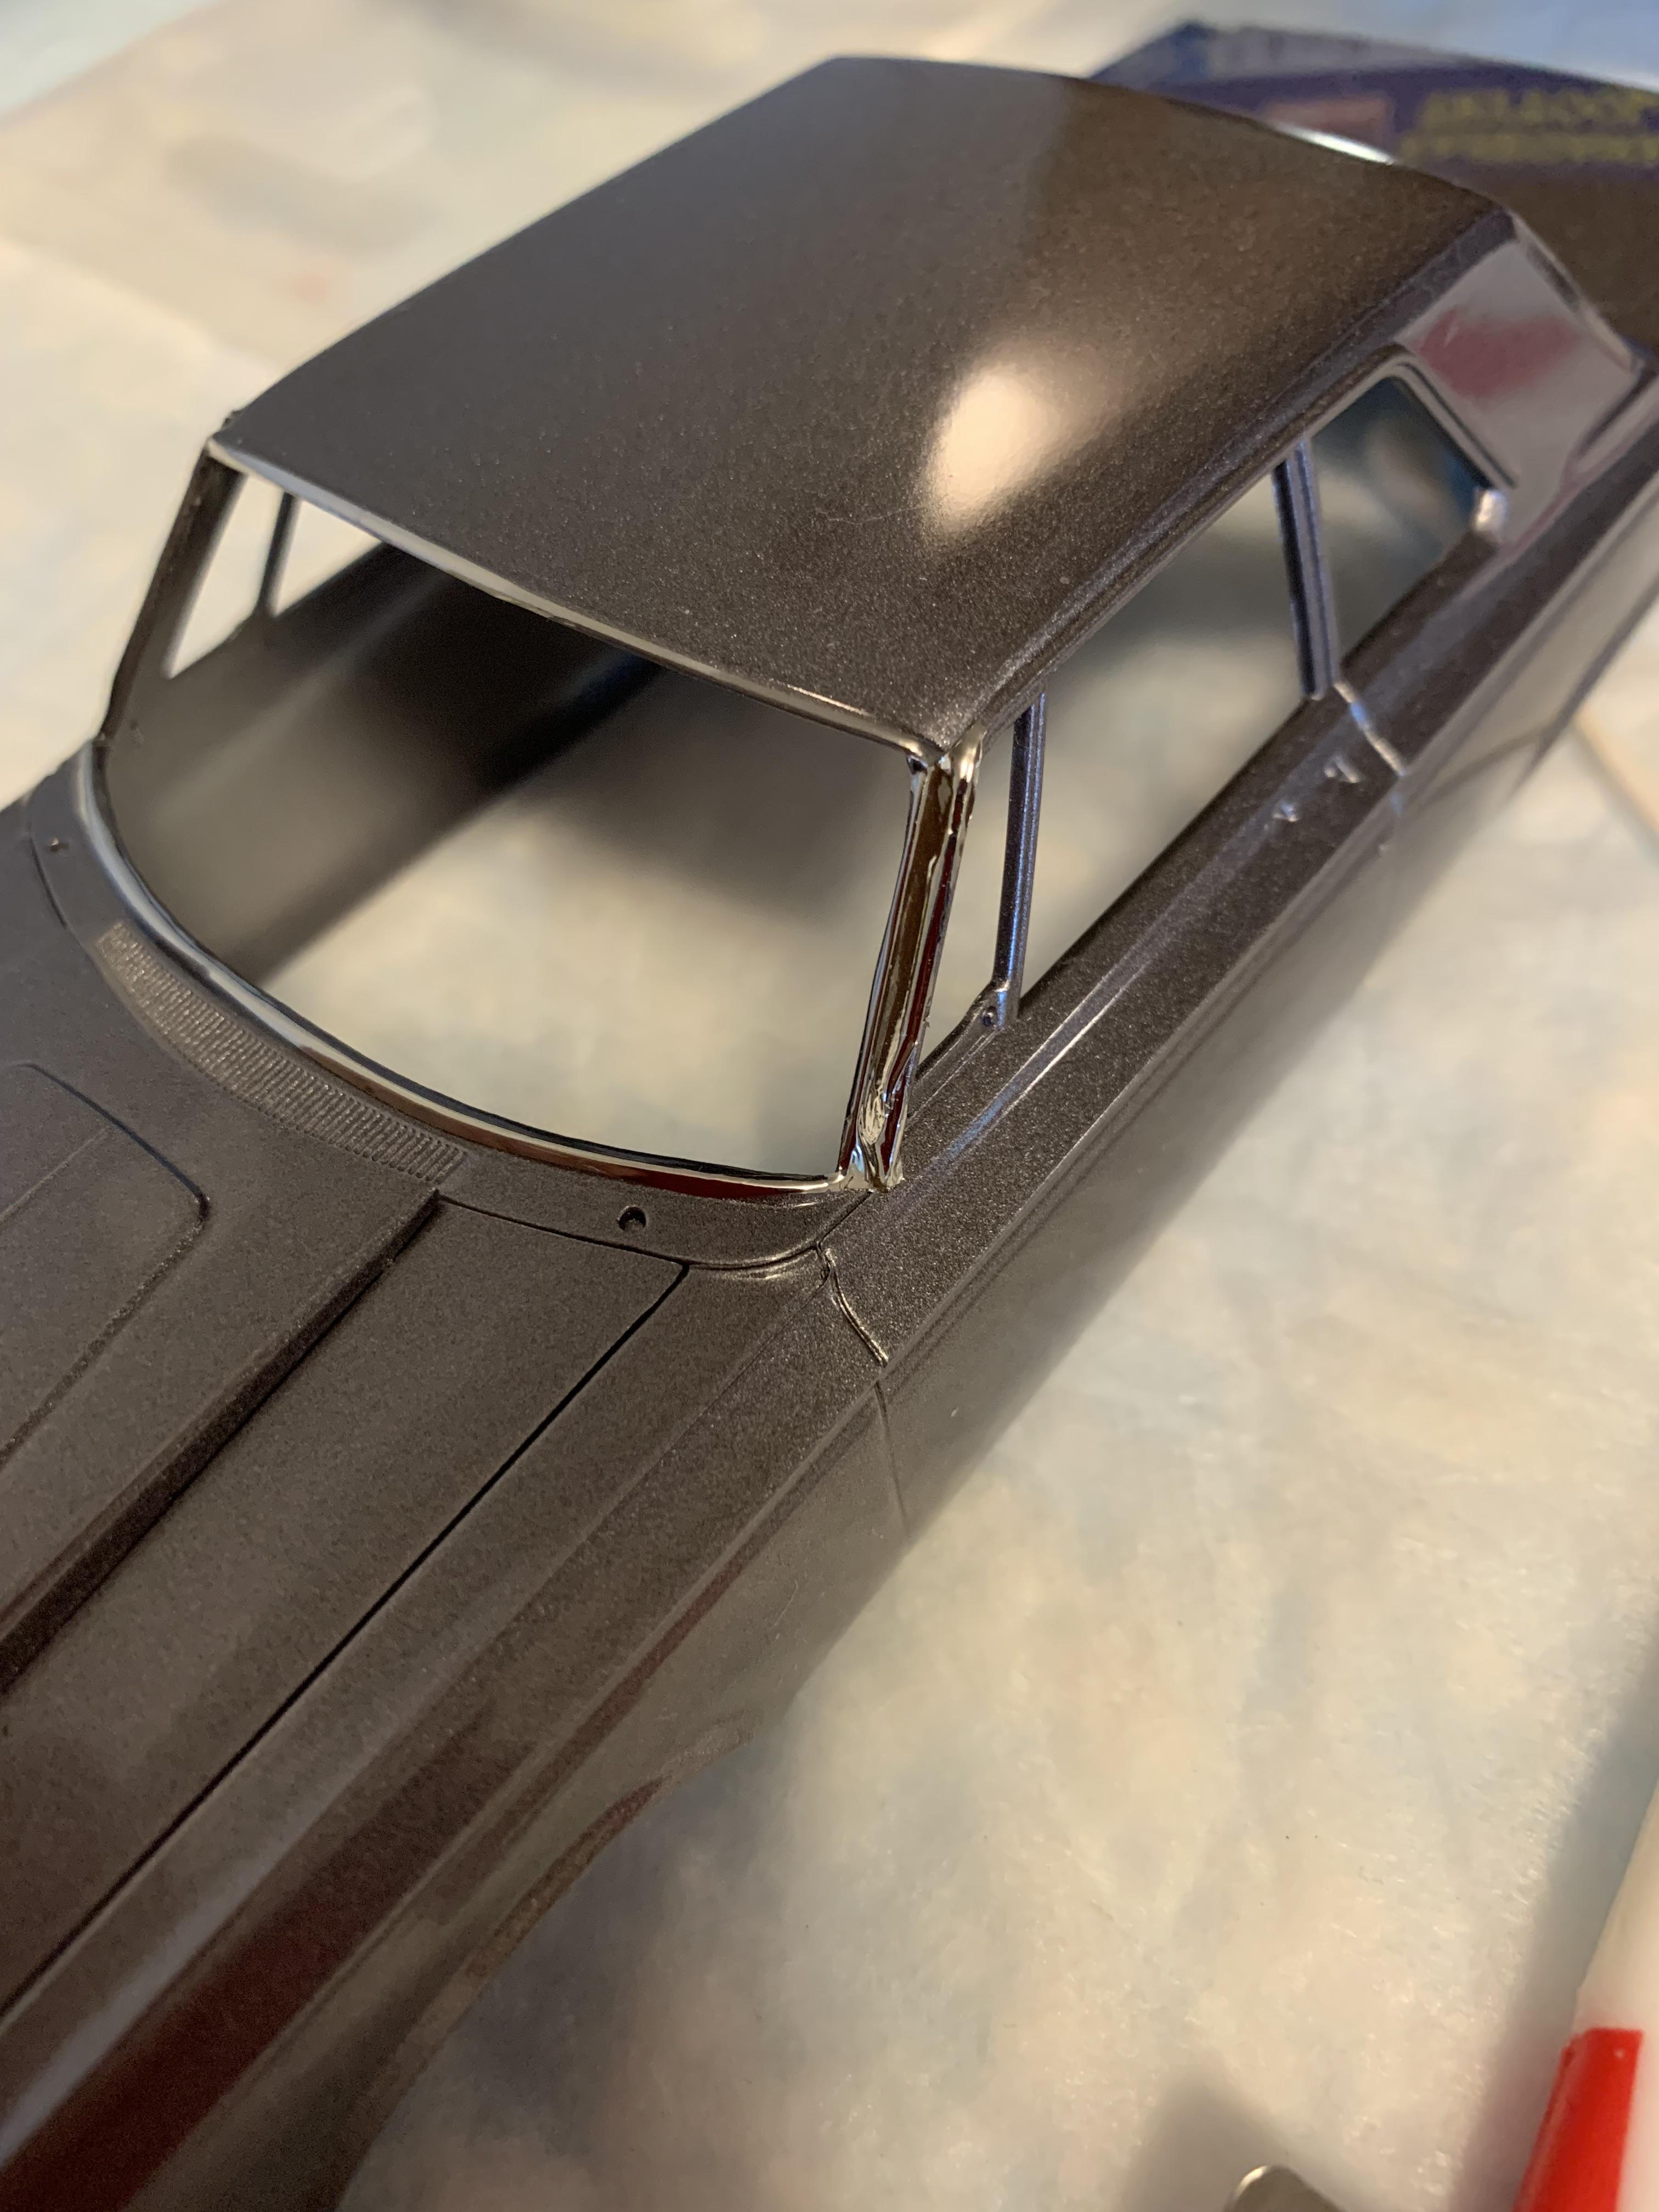
Finished up the bright stuff. Getting a lot of glare in the room I am working in. I like to spend part of my modeling time in my son’s room with him (TBI with hemi paresis). I have taken care of him for 20 years. Will double check some of the areas on my regular work bench with more subdued lighting. While not perfect, the strips of chrome are much easier for me.
-
By the way, the pins measure about .100” and the holes about .110, so about .010” of slop. It worked ok but, next time I may make my own.
-
Took a break from roll bar and put some bmf (actually Hasegawa mirror) on the windshield. Doesn’t stand out quite as much on this color, but I like the shine. I cut it in .040” strips, so no trimming on the body. The wider sides were about .200”. I have used the double bladed knife before, but it dulls pretty quick, so I usually just use my short scalpel and cork backed ruler. Seems much easier than bmf for me.
-
1965 Belvedere info needed.
R. Thorne replied to Brutalform's topic in Model Building Questions and Answers
It looks like Belvedere II to me. My guess would be the Belvedere I would have had no chrome trim on the rear, the Belvedere II would have the trim as would the Satellite being the more expensive versions. -
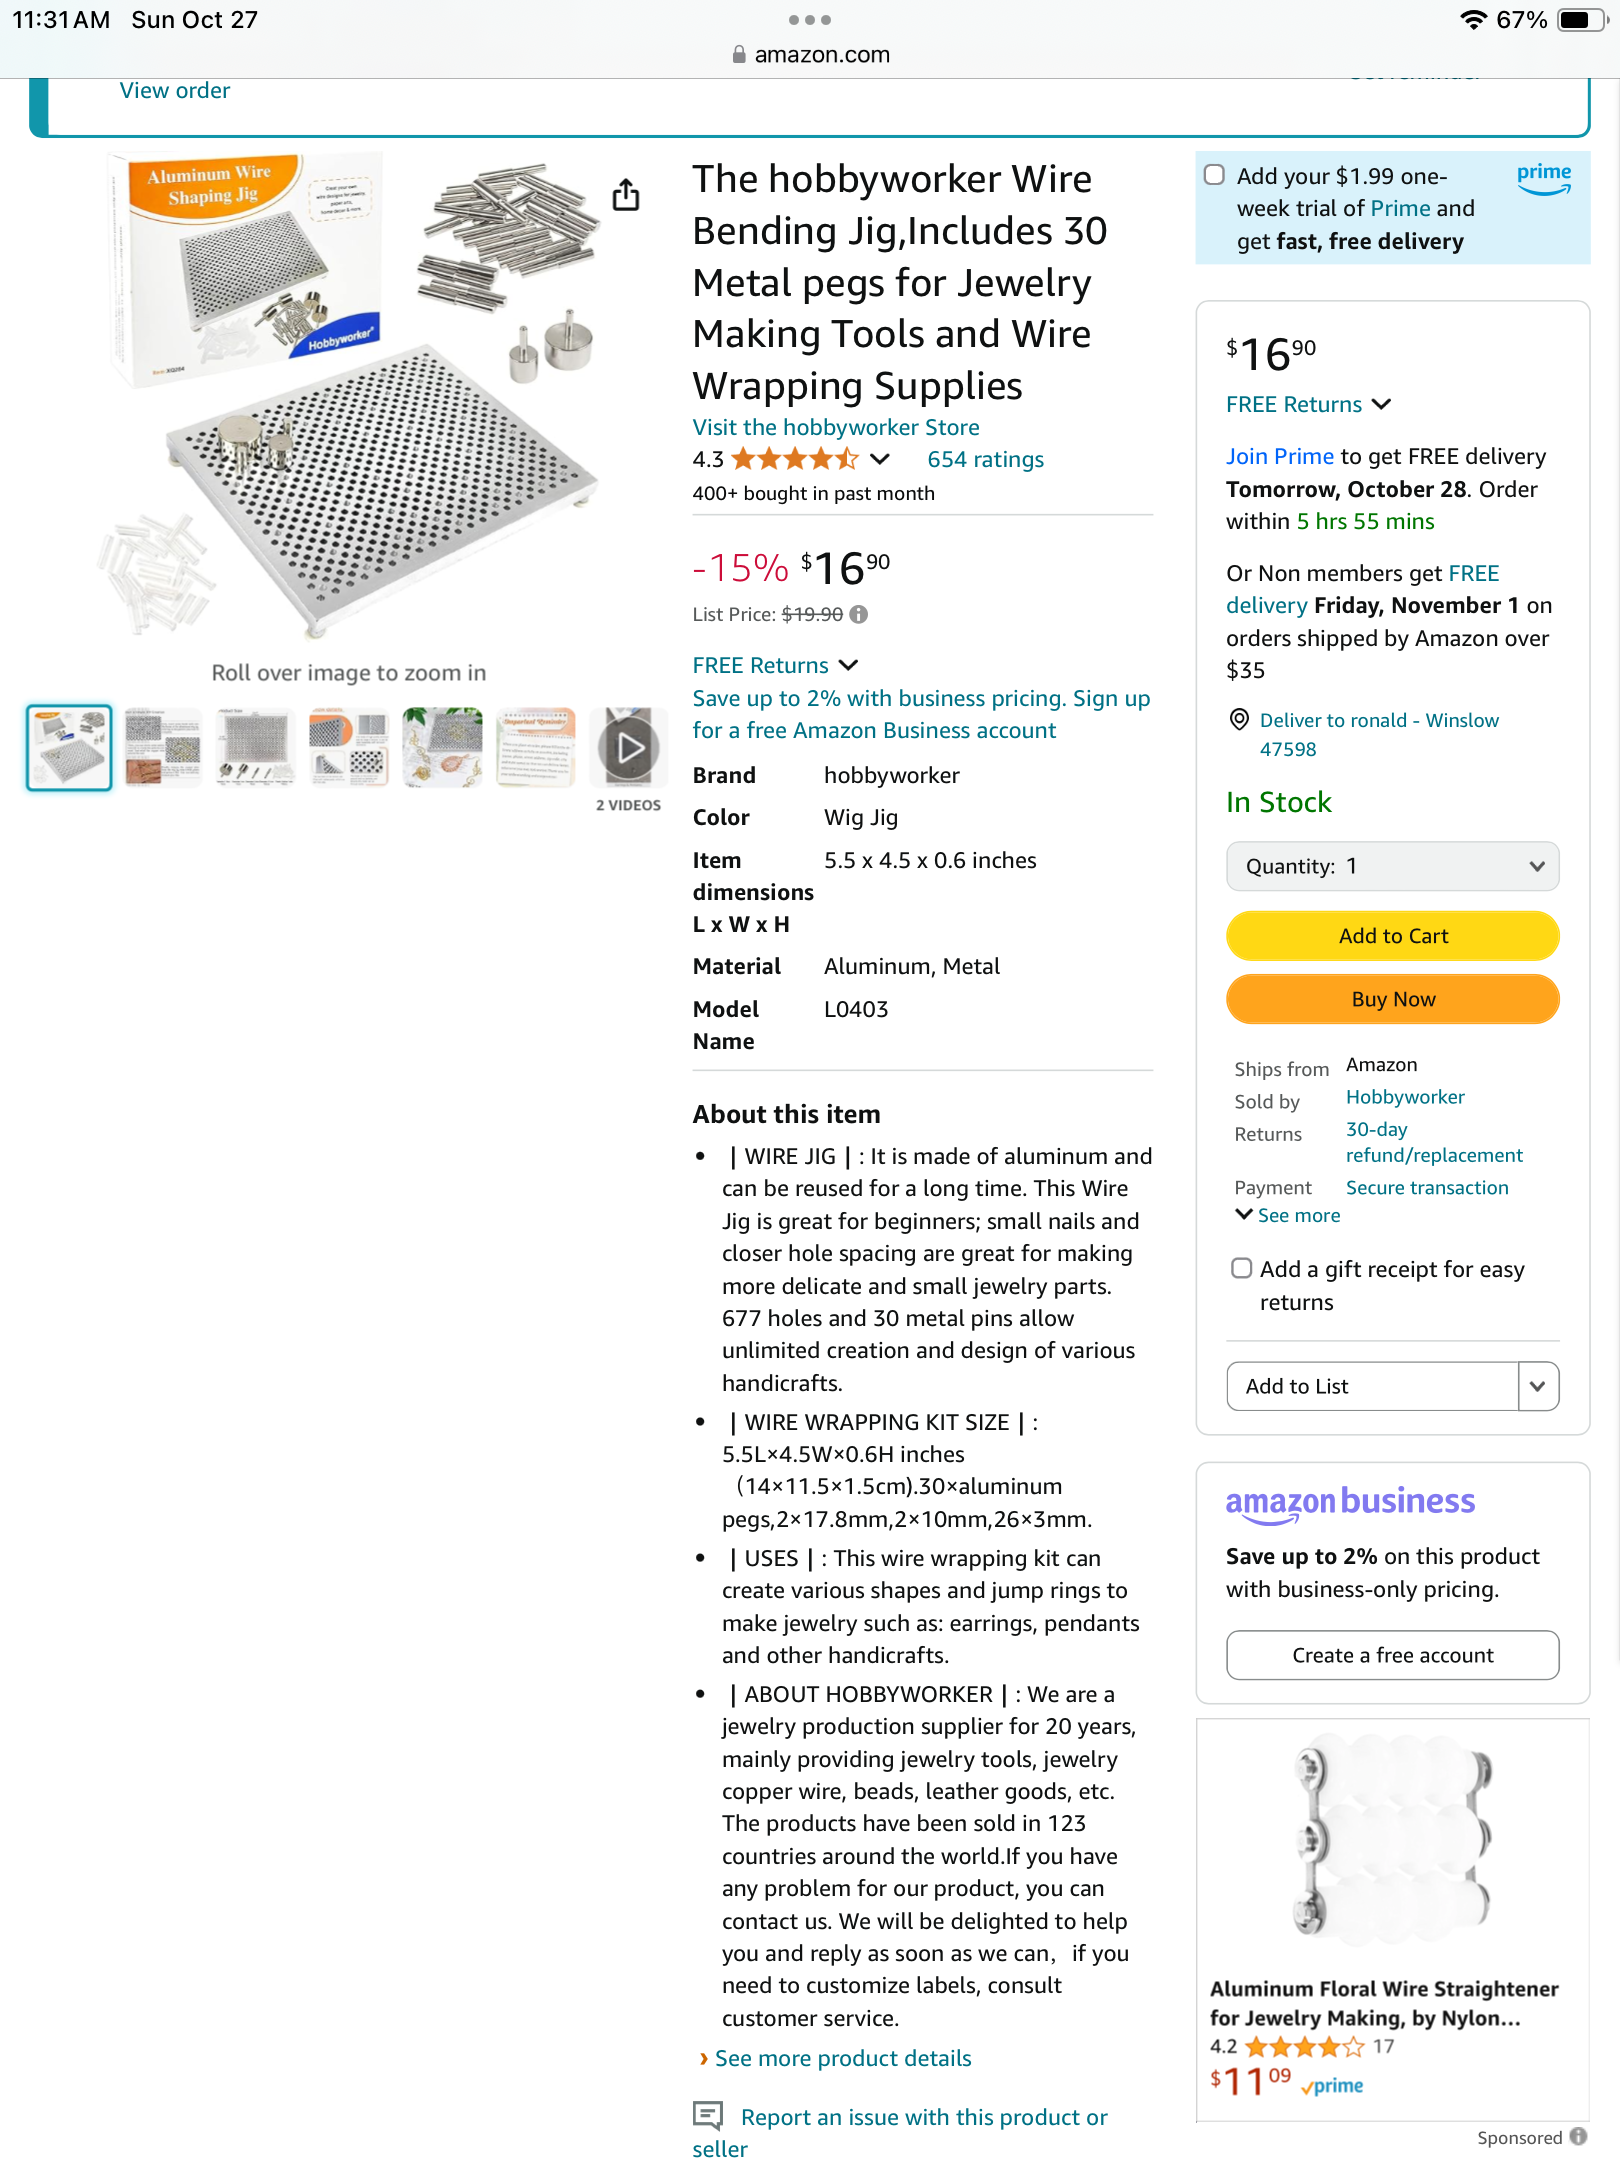
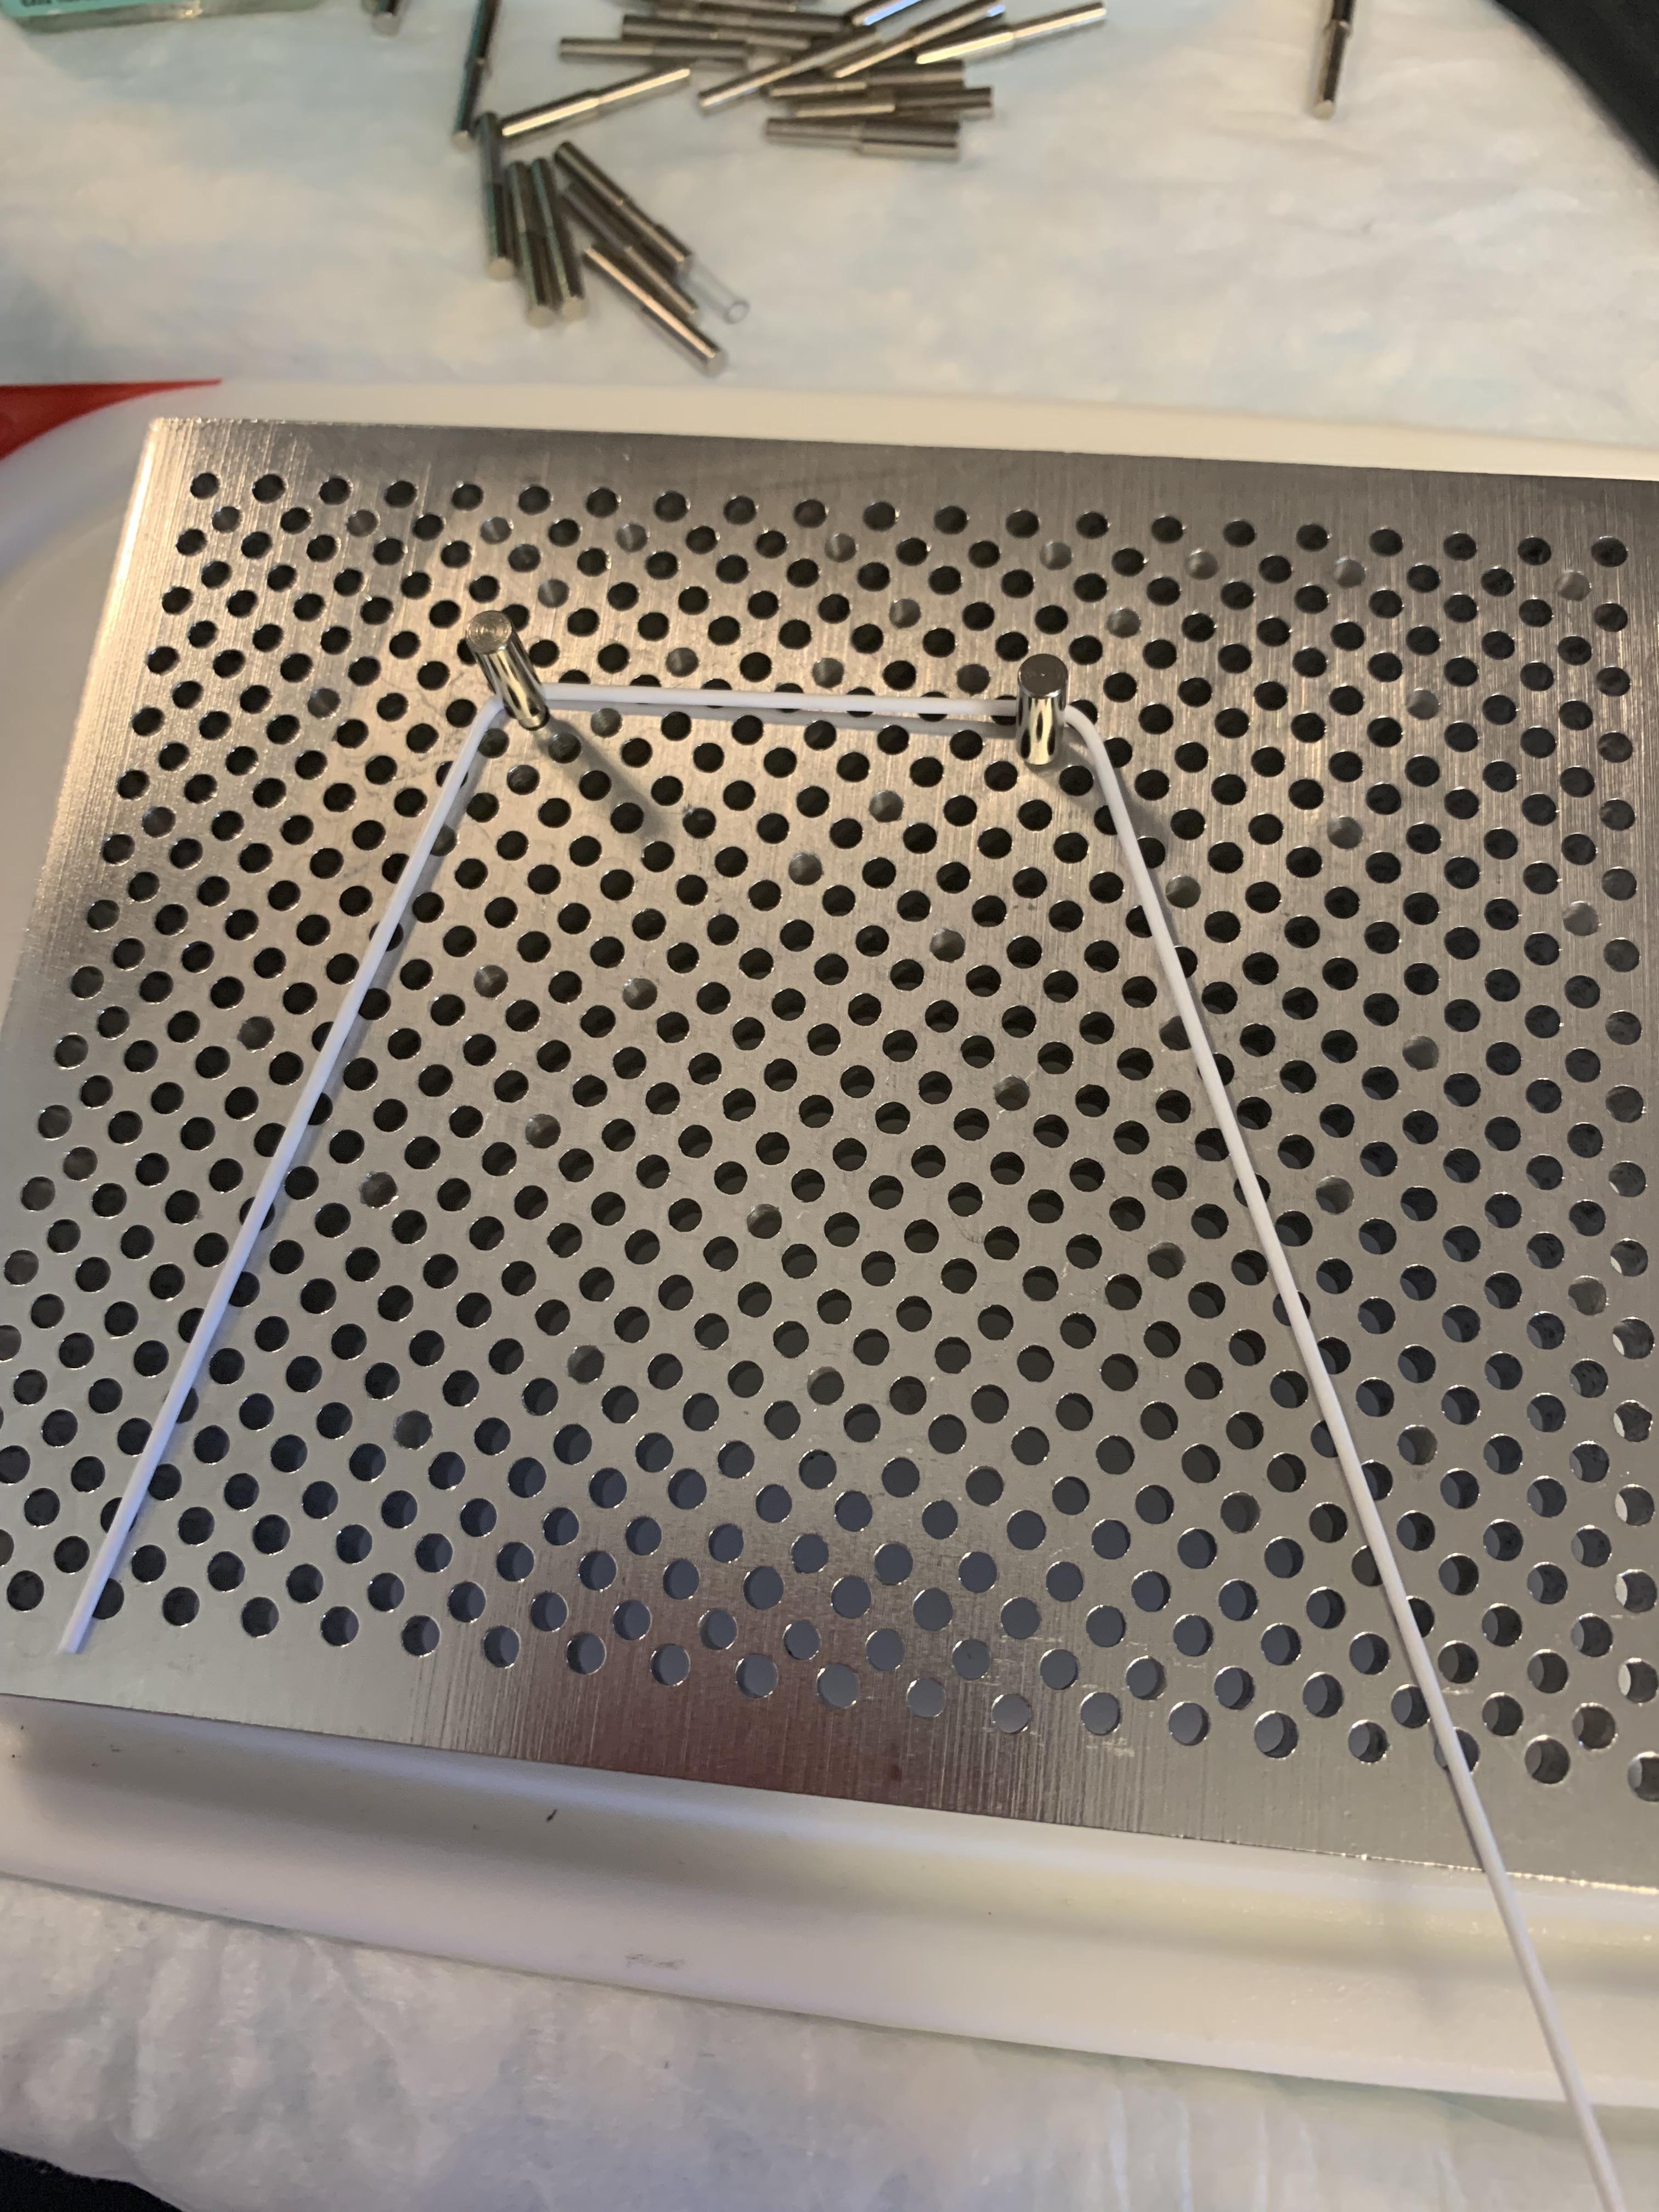
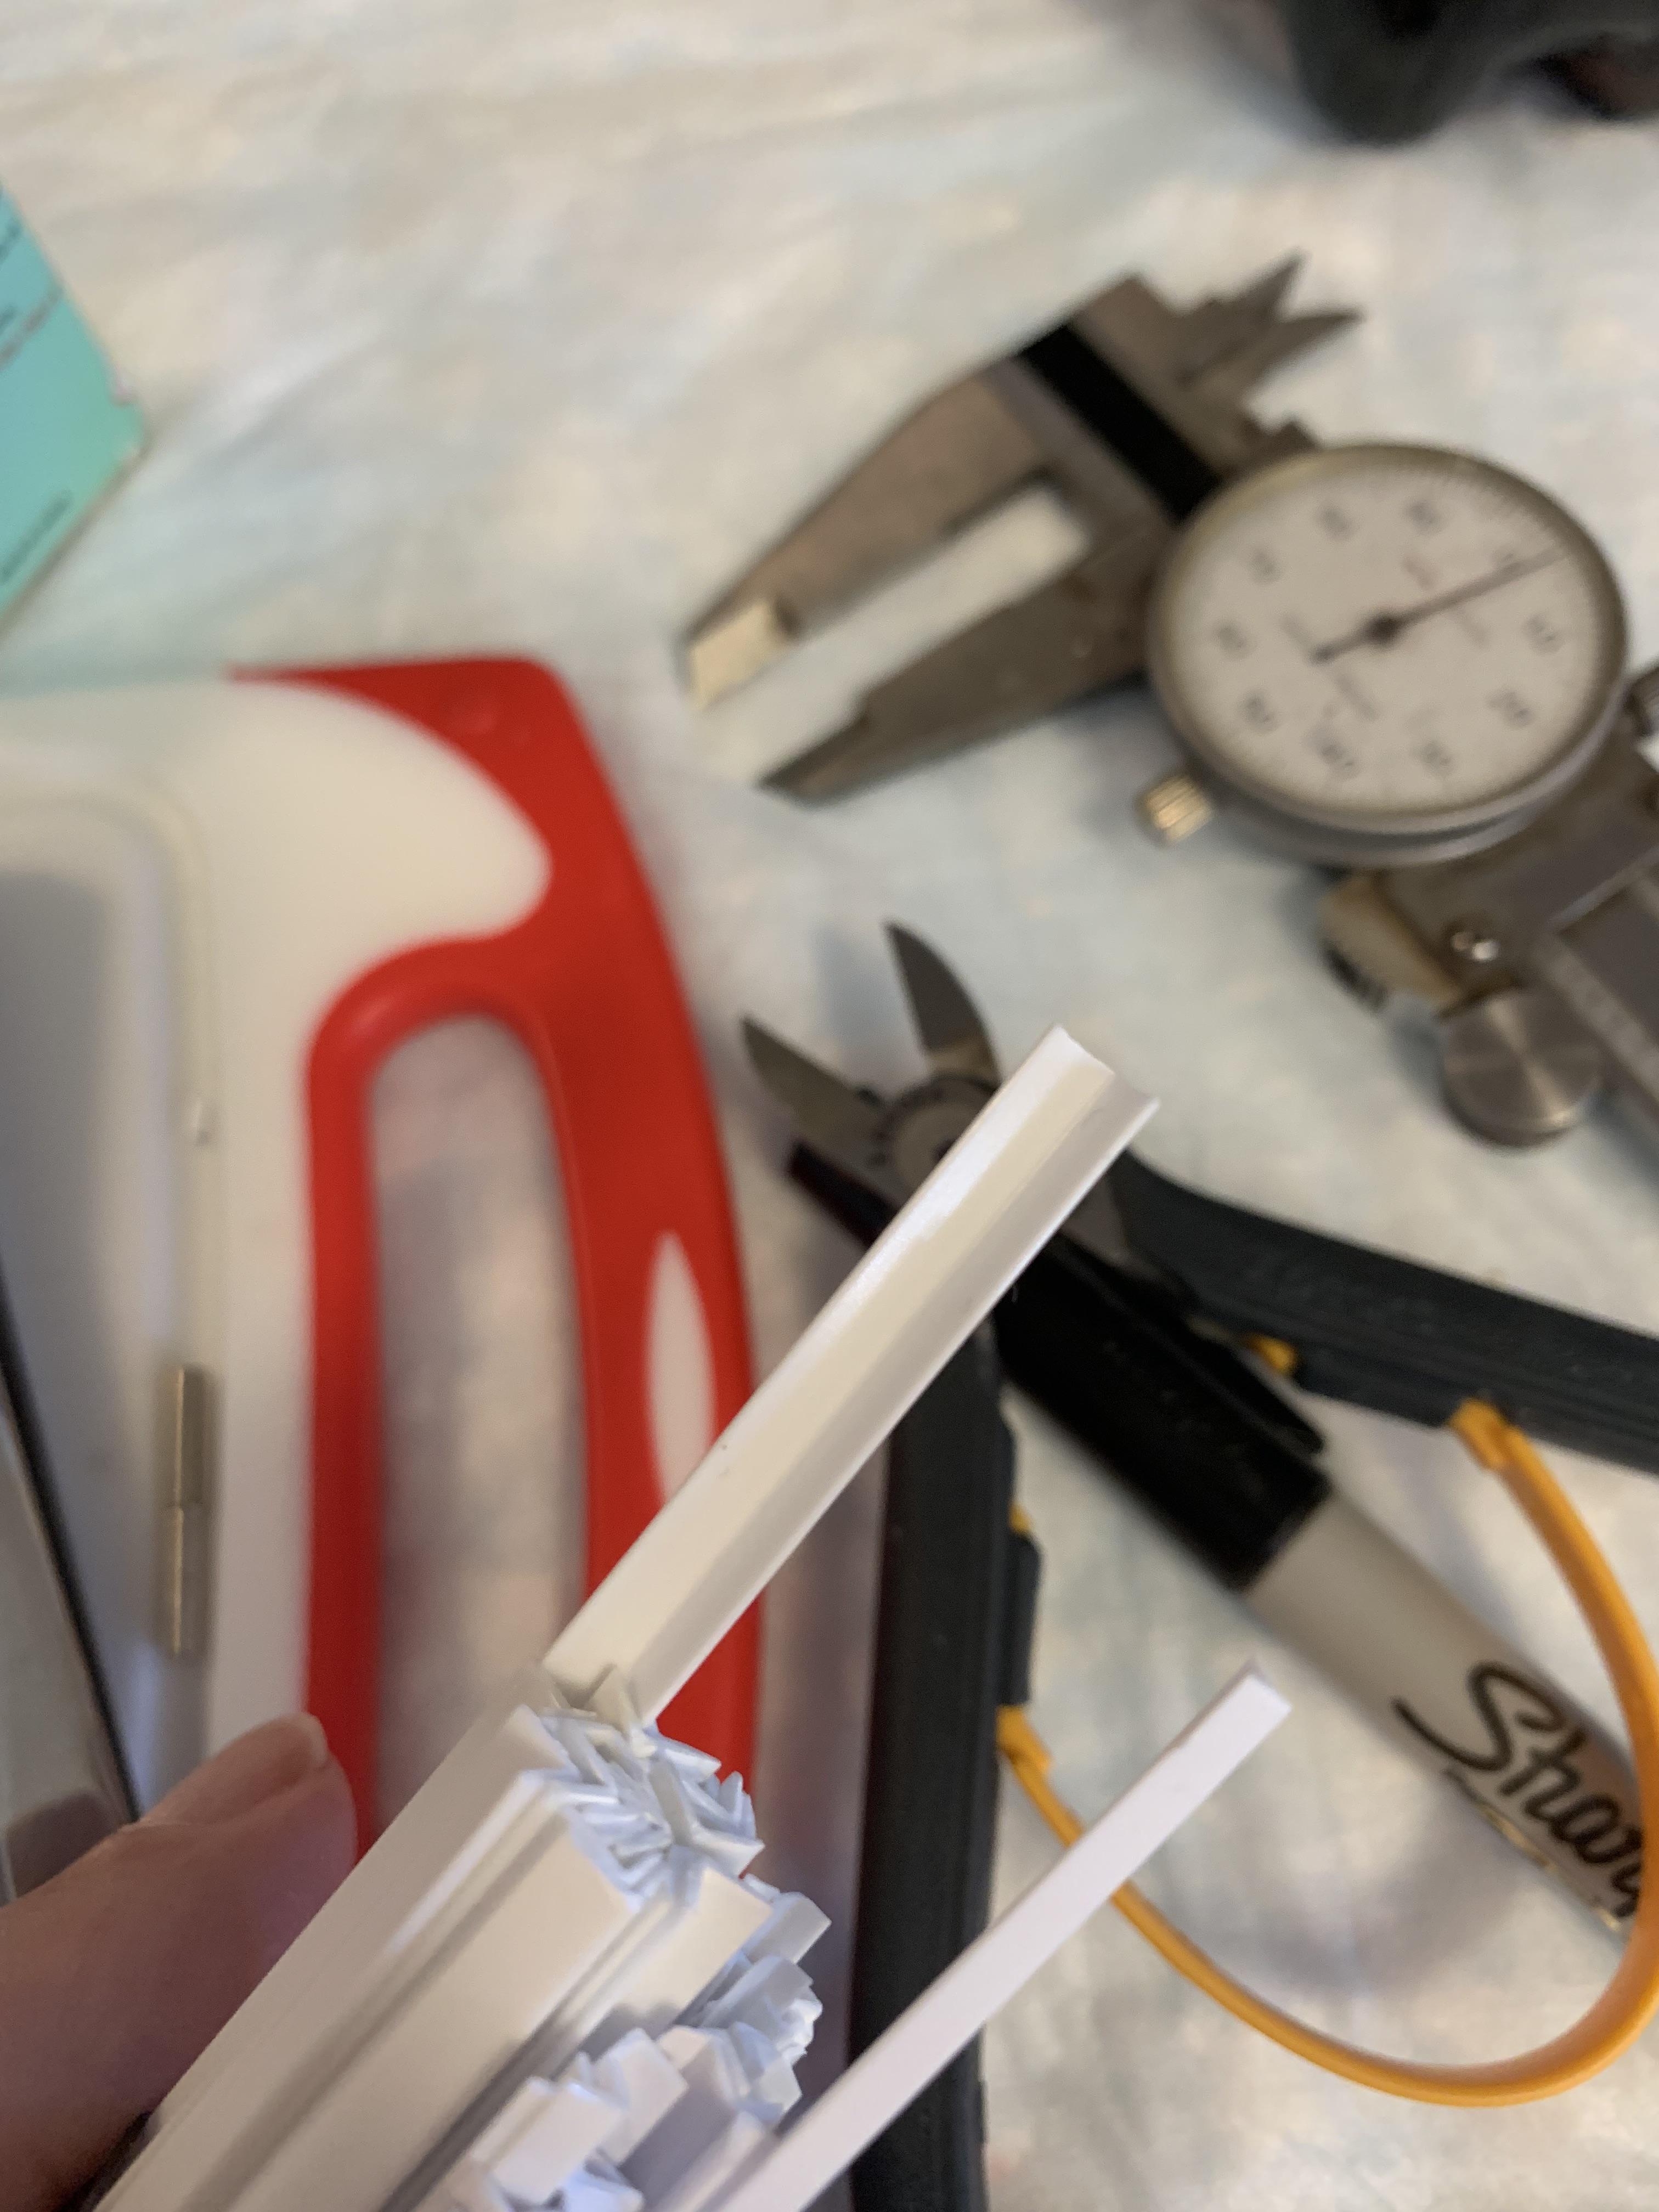
This is the first time I have used it, so the jury is still out. The pegs are a sloppy fit. Why, I don’t know. One of the reviewers sums it up pretty well. I am gonna try something to fix that later today.
-
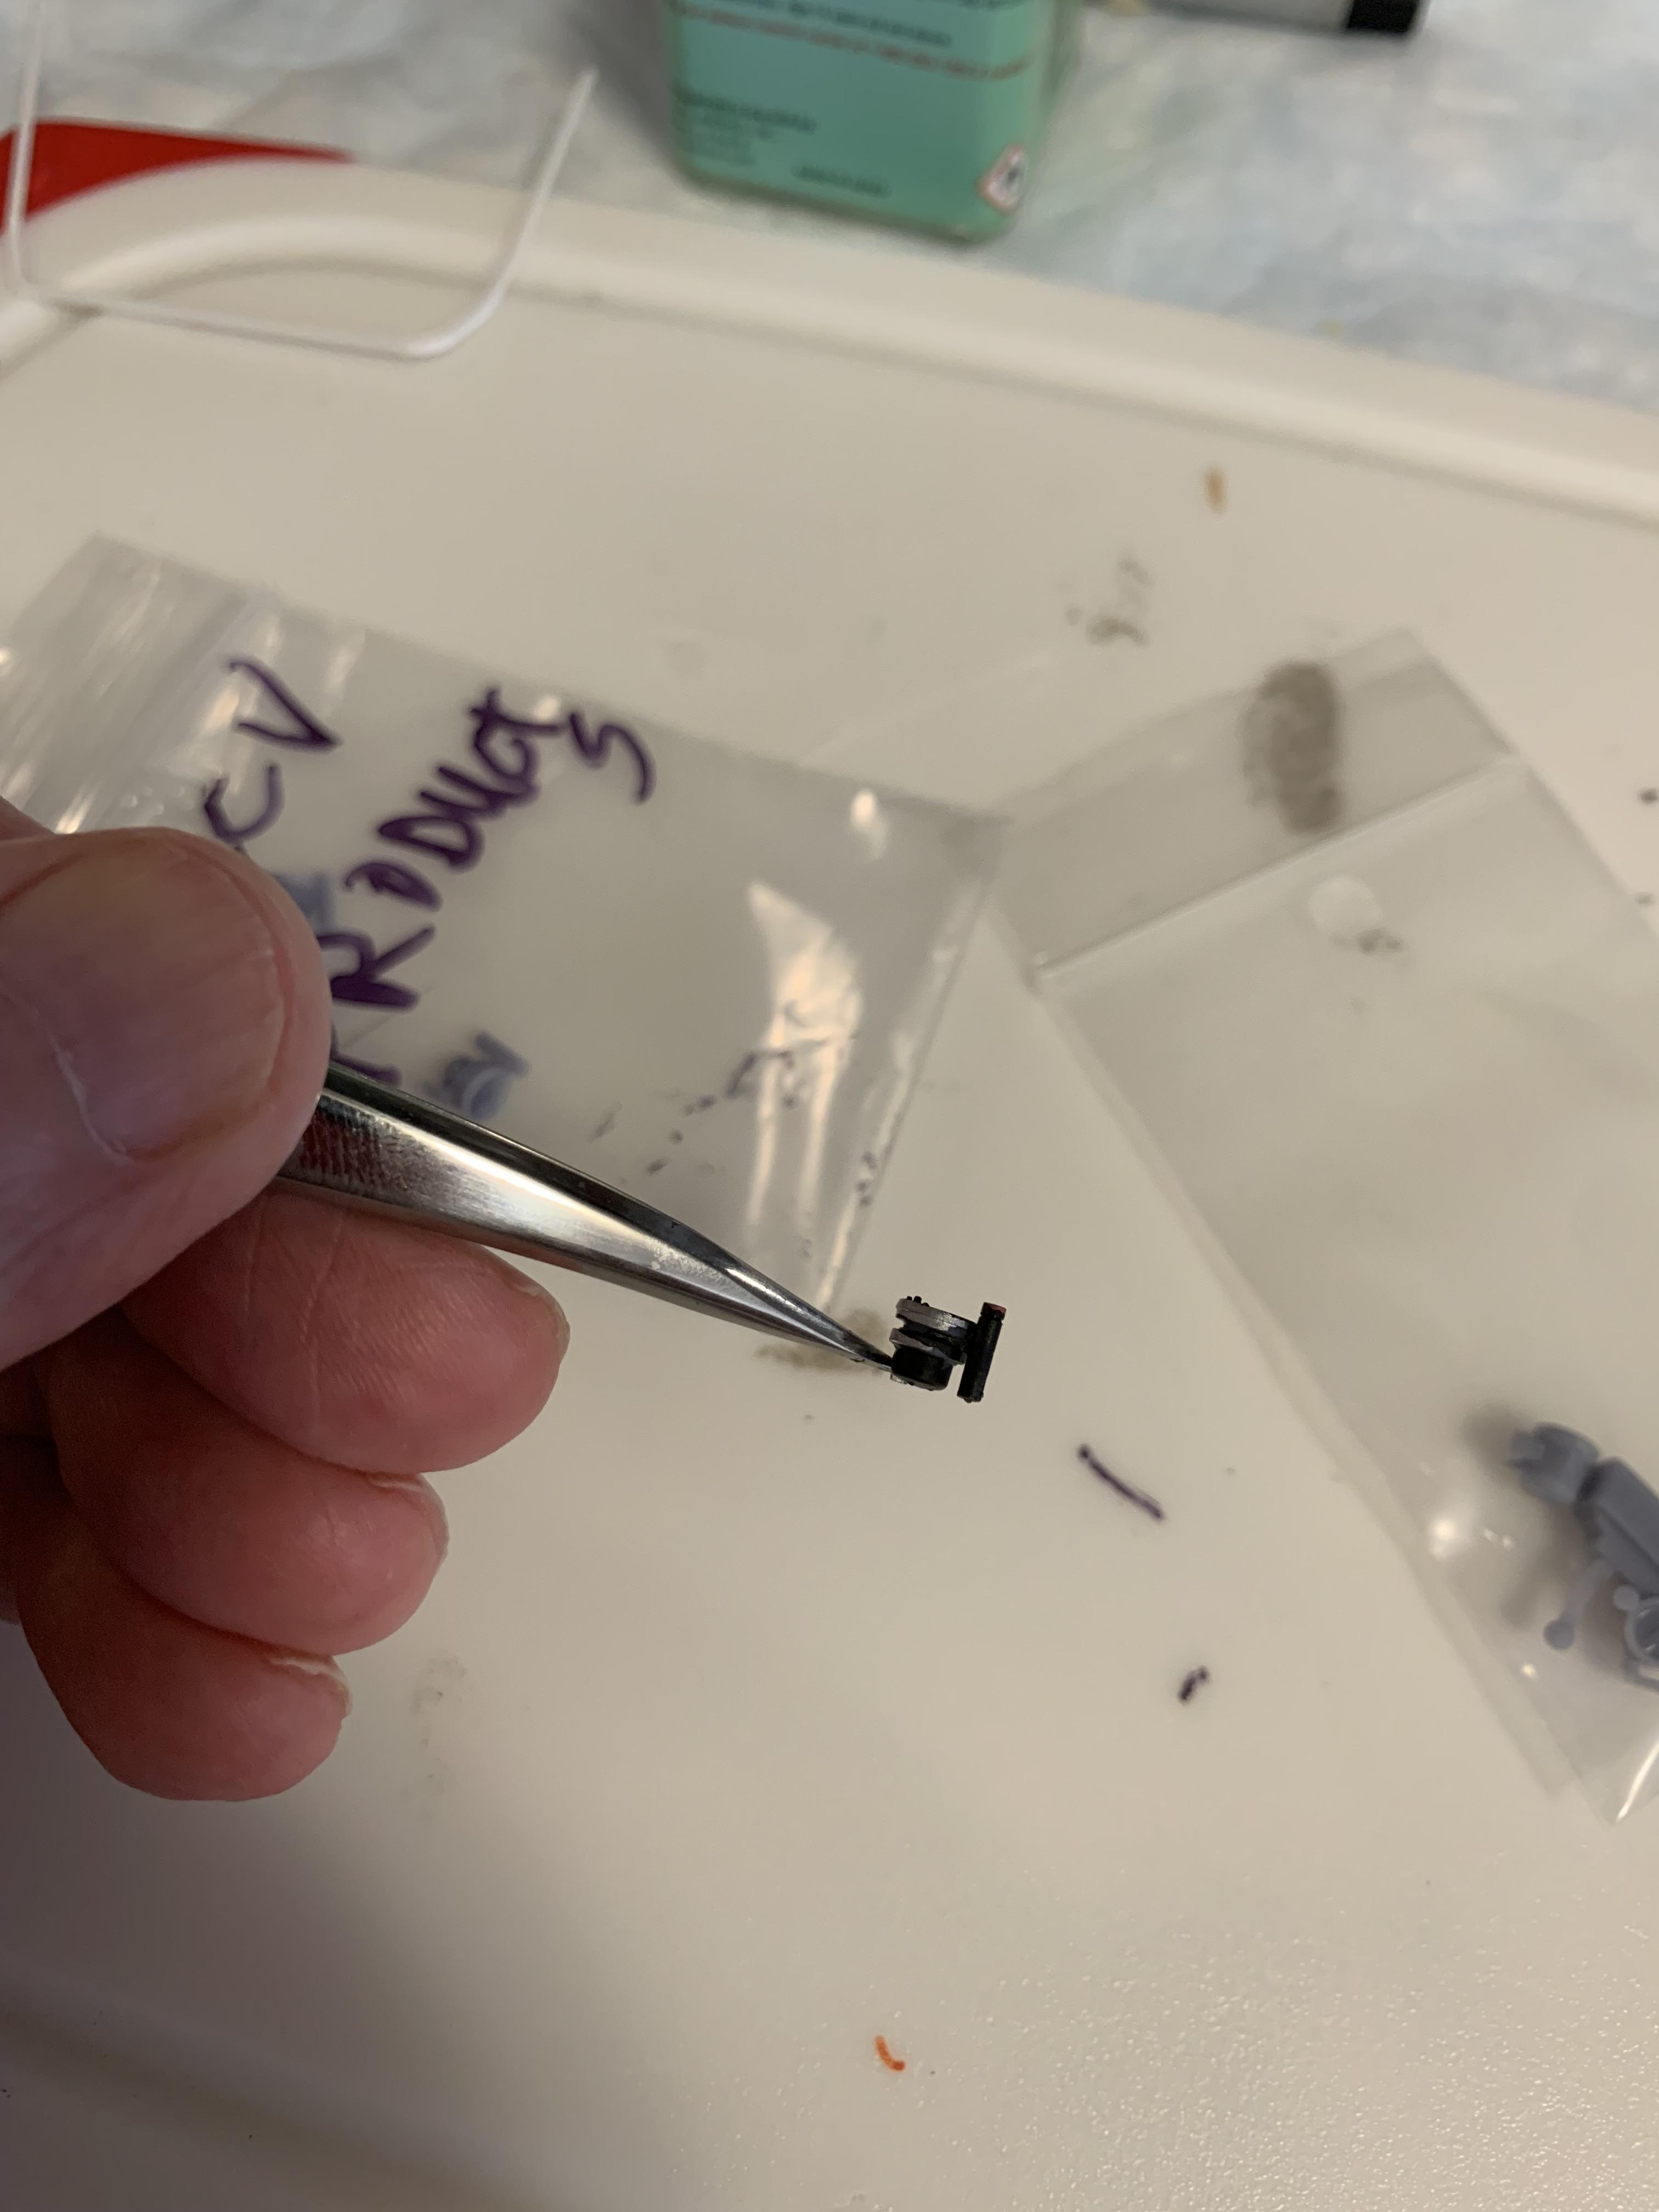
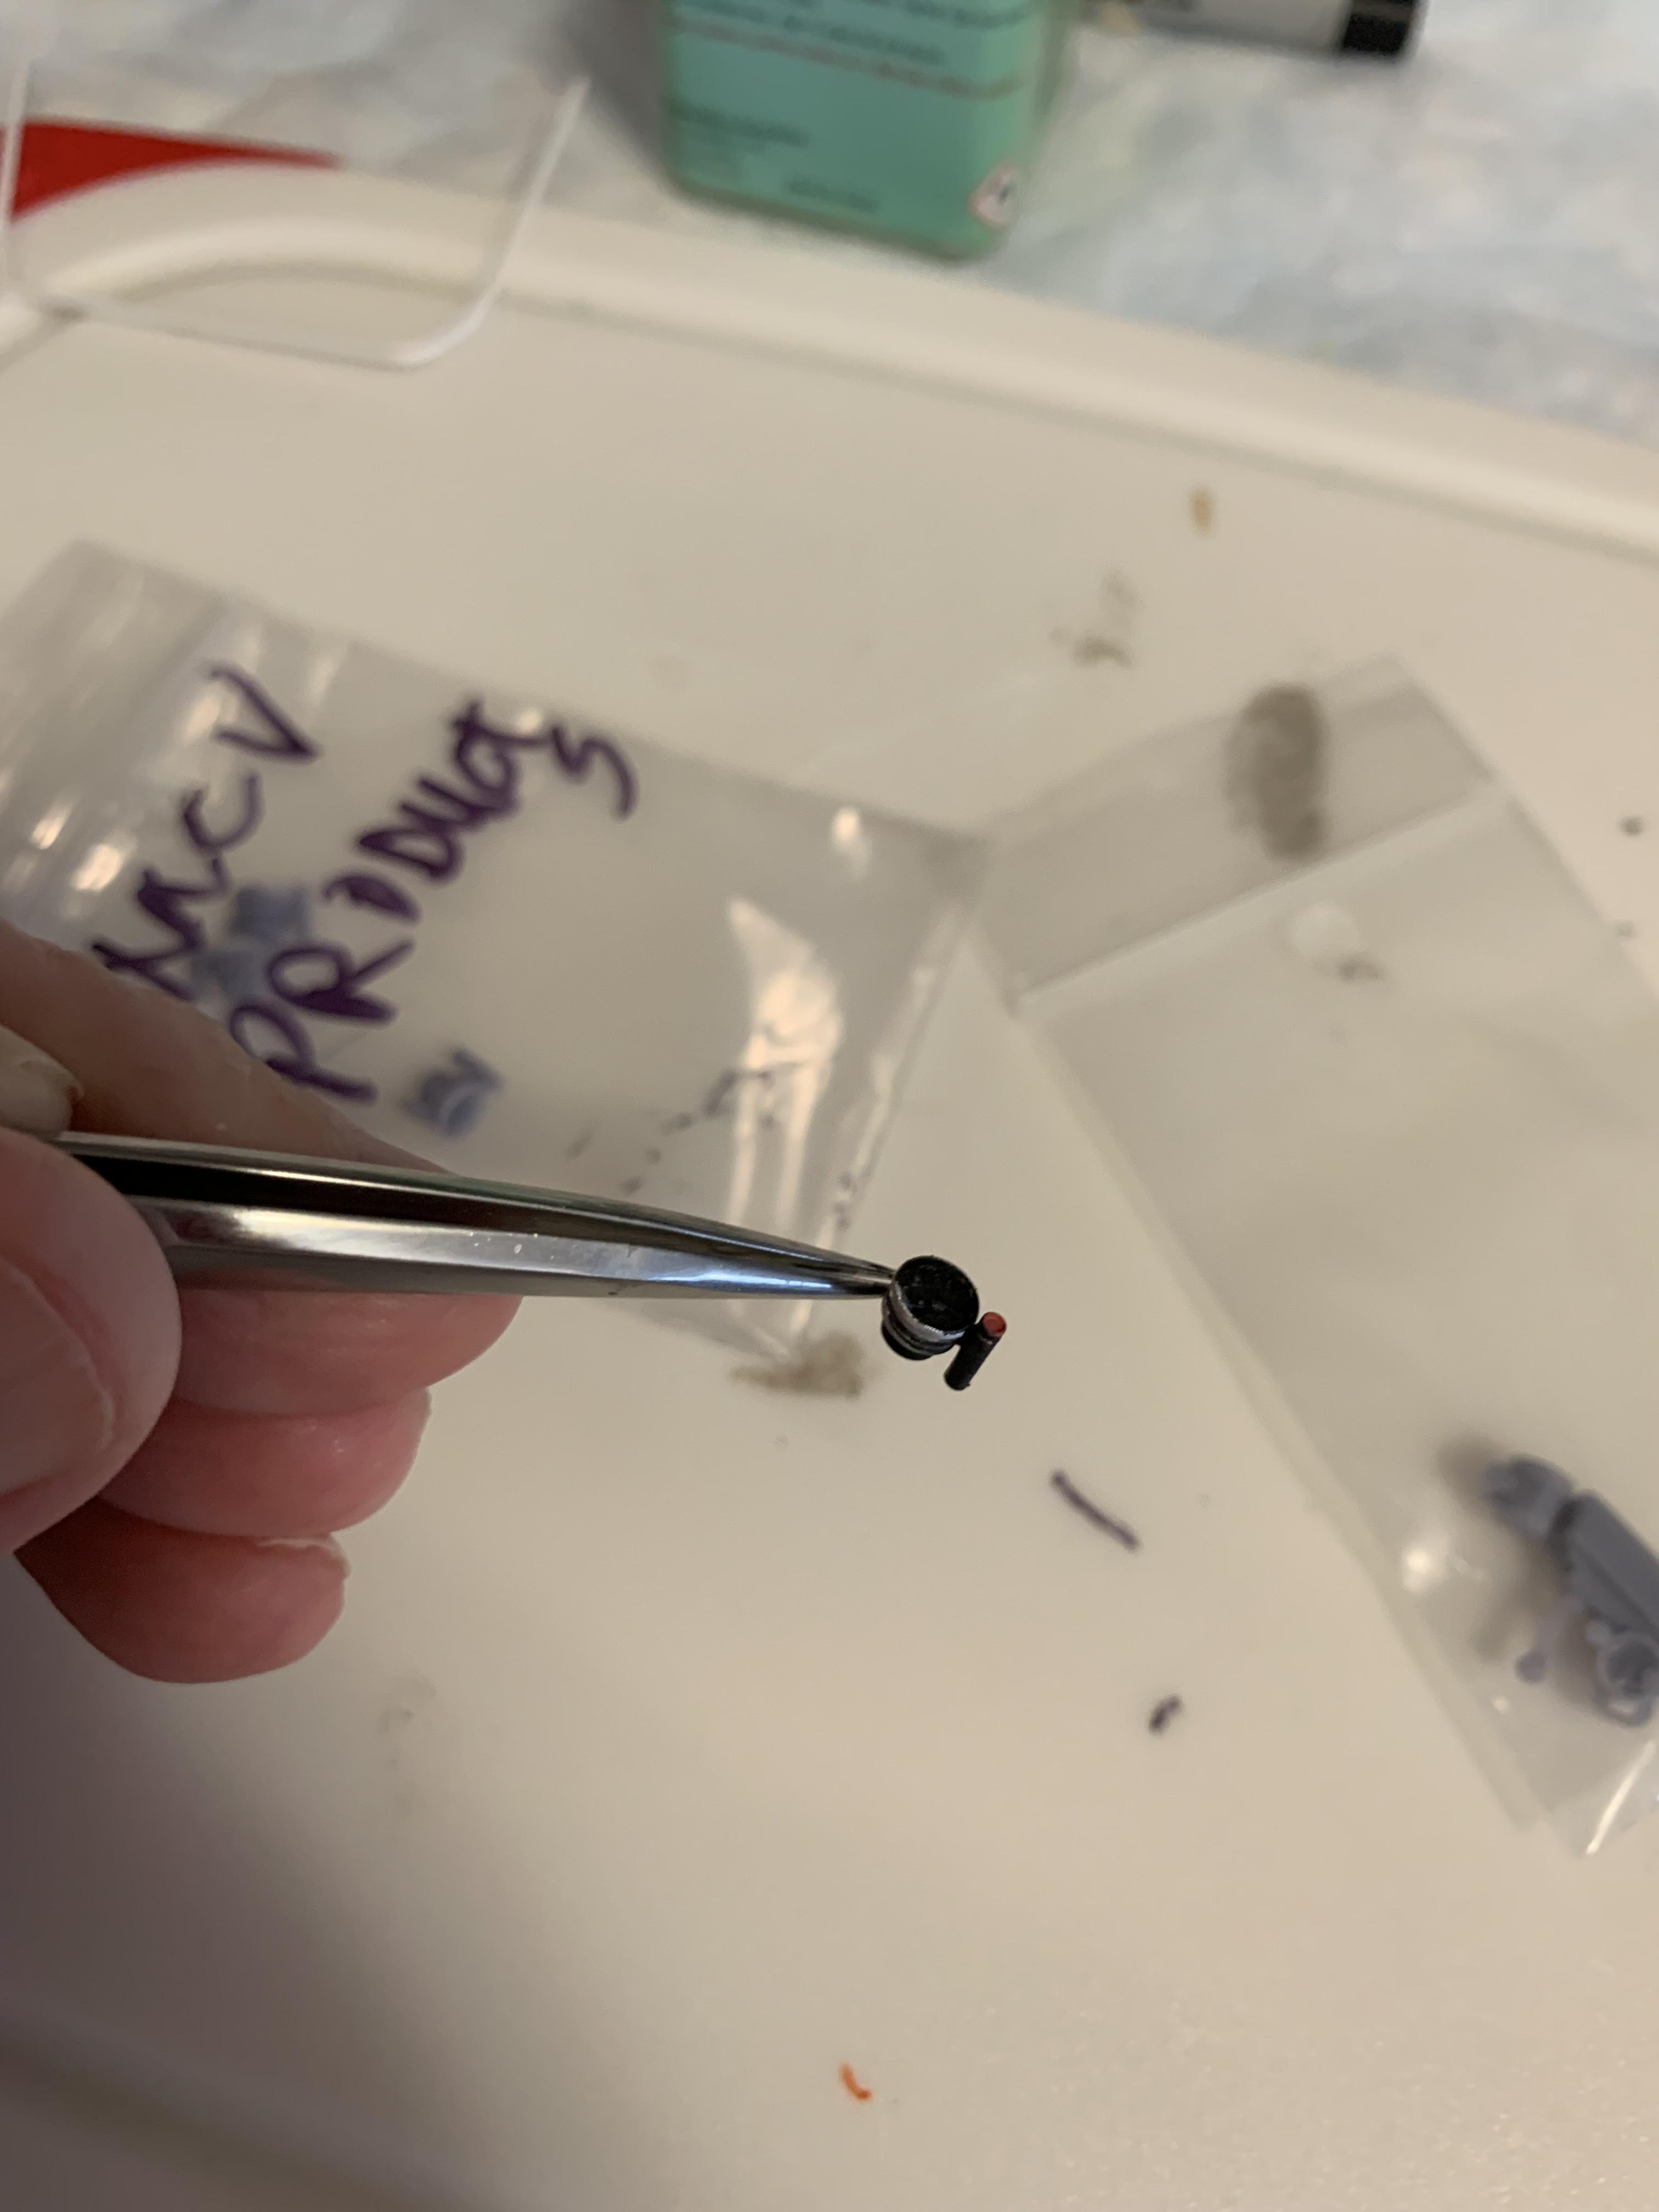
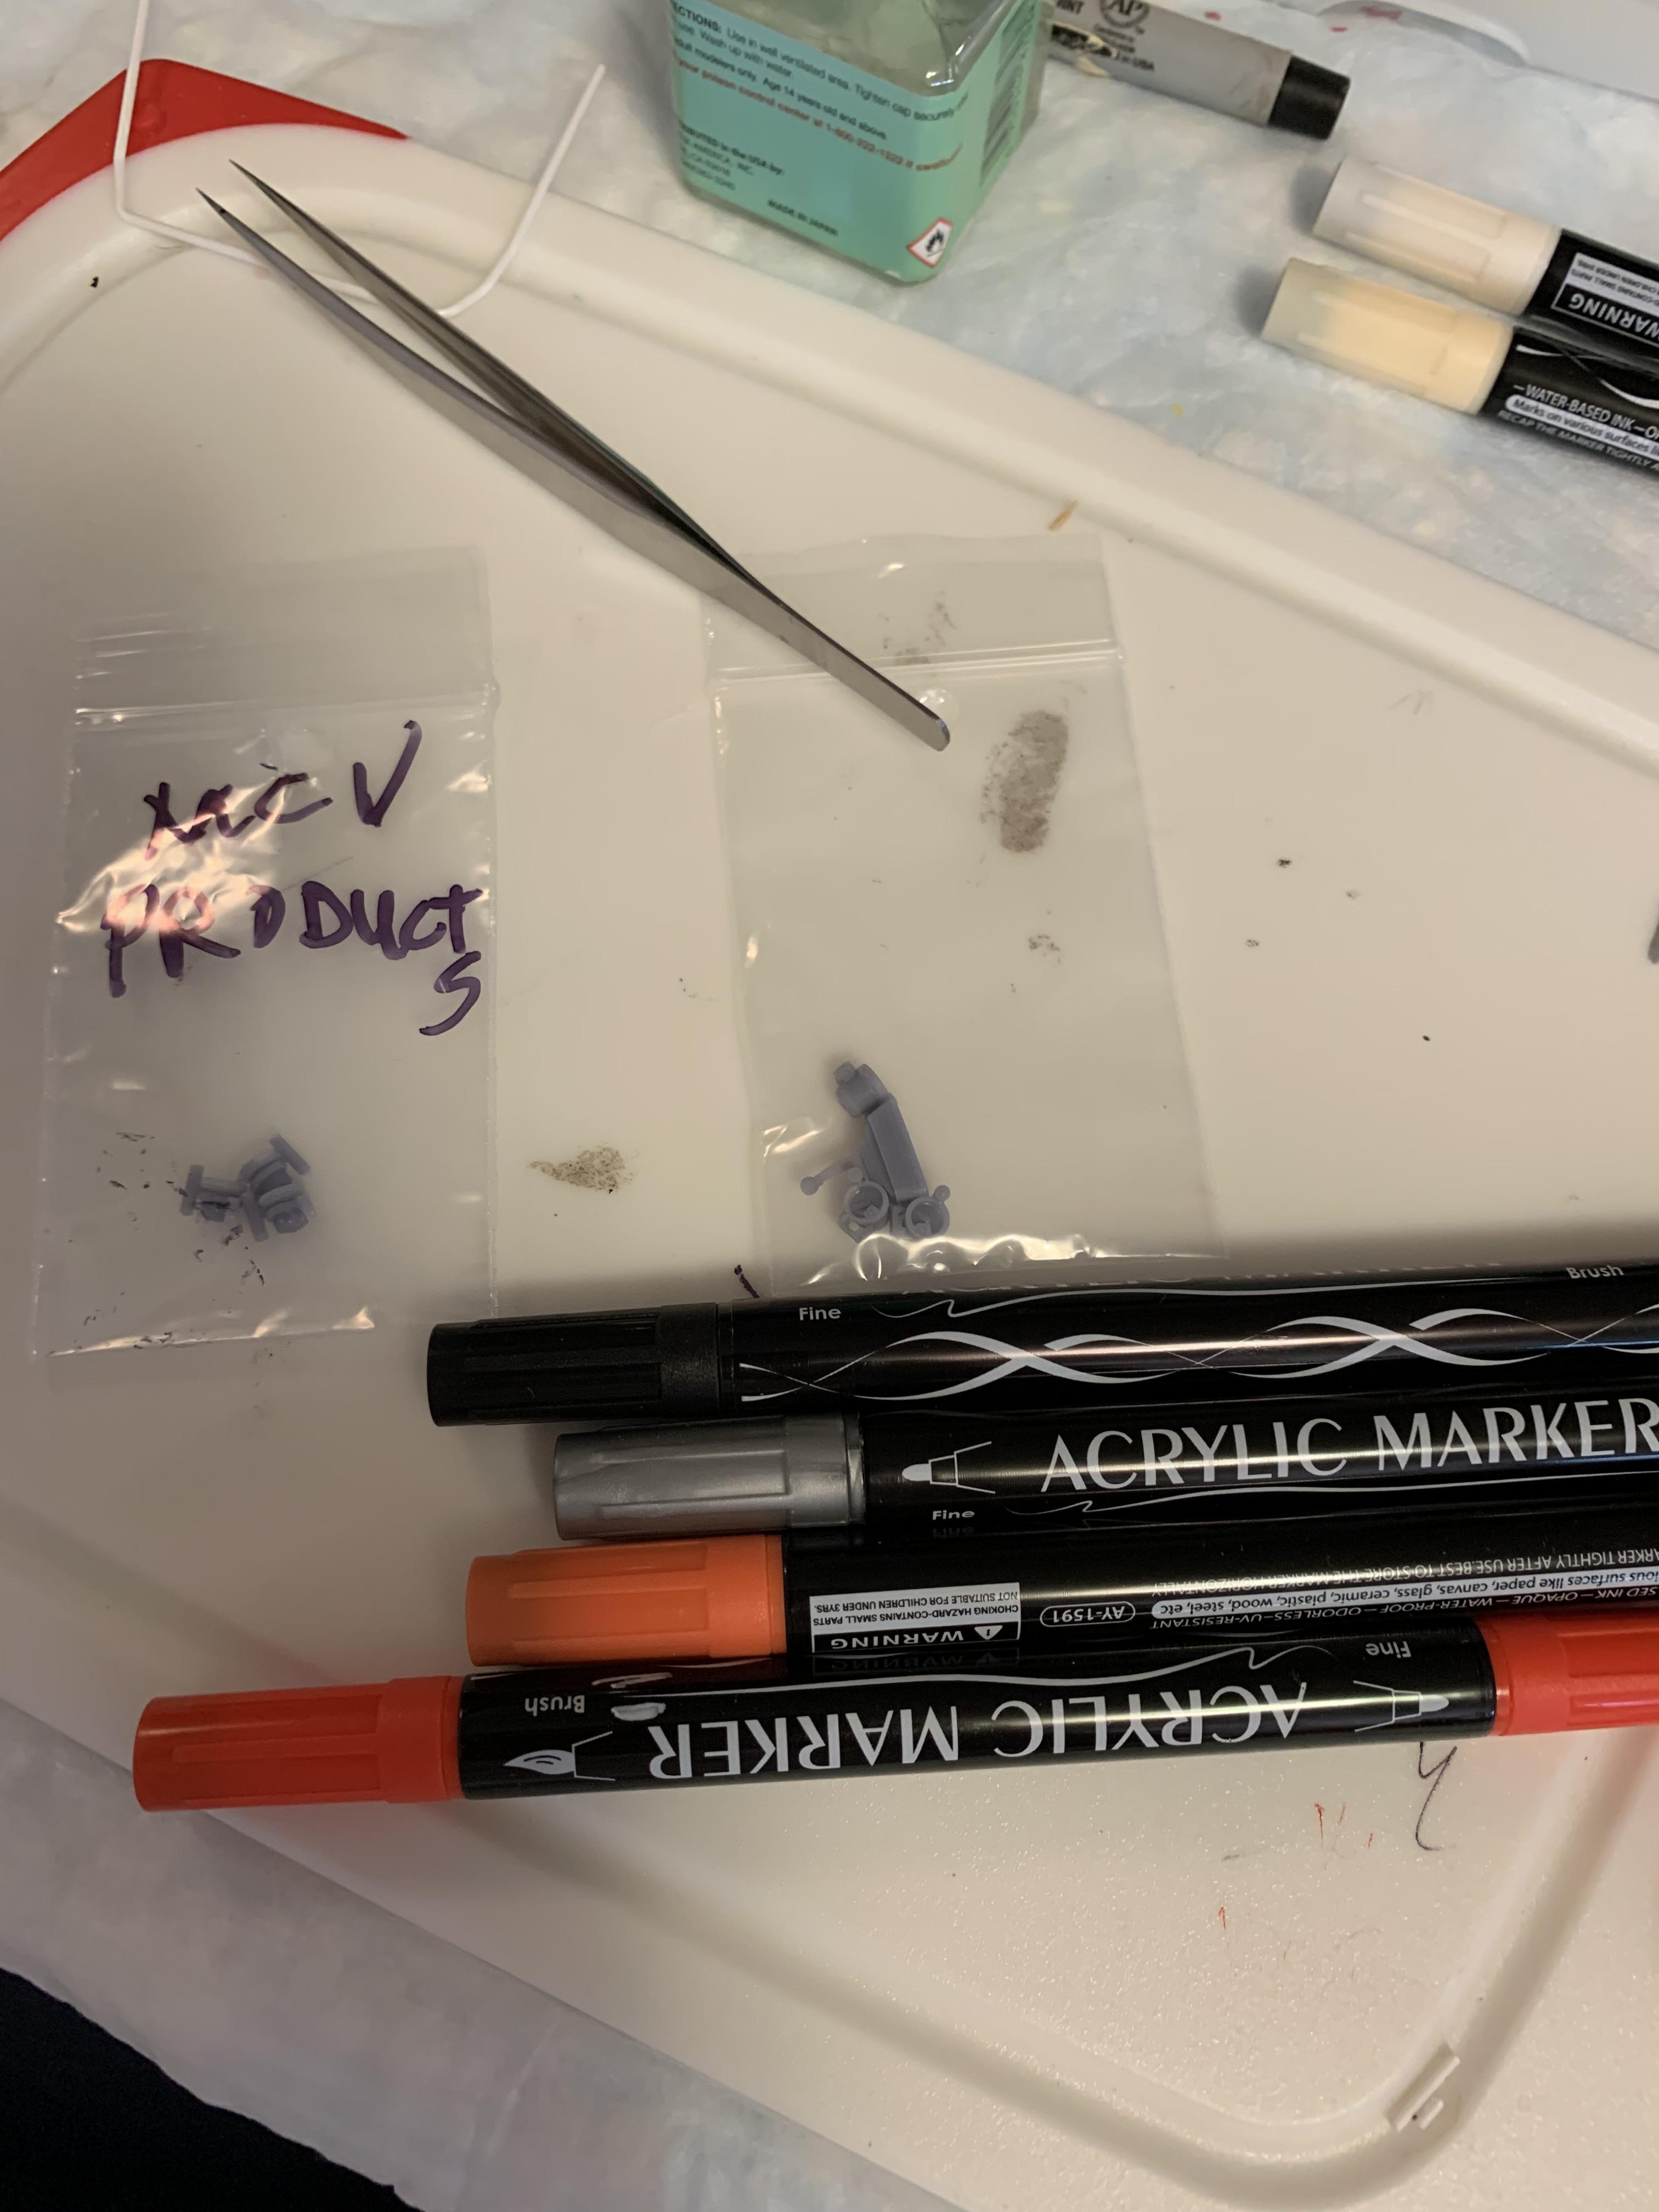
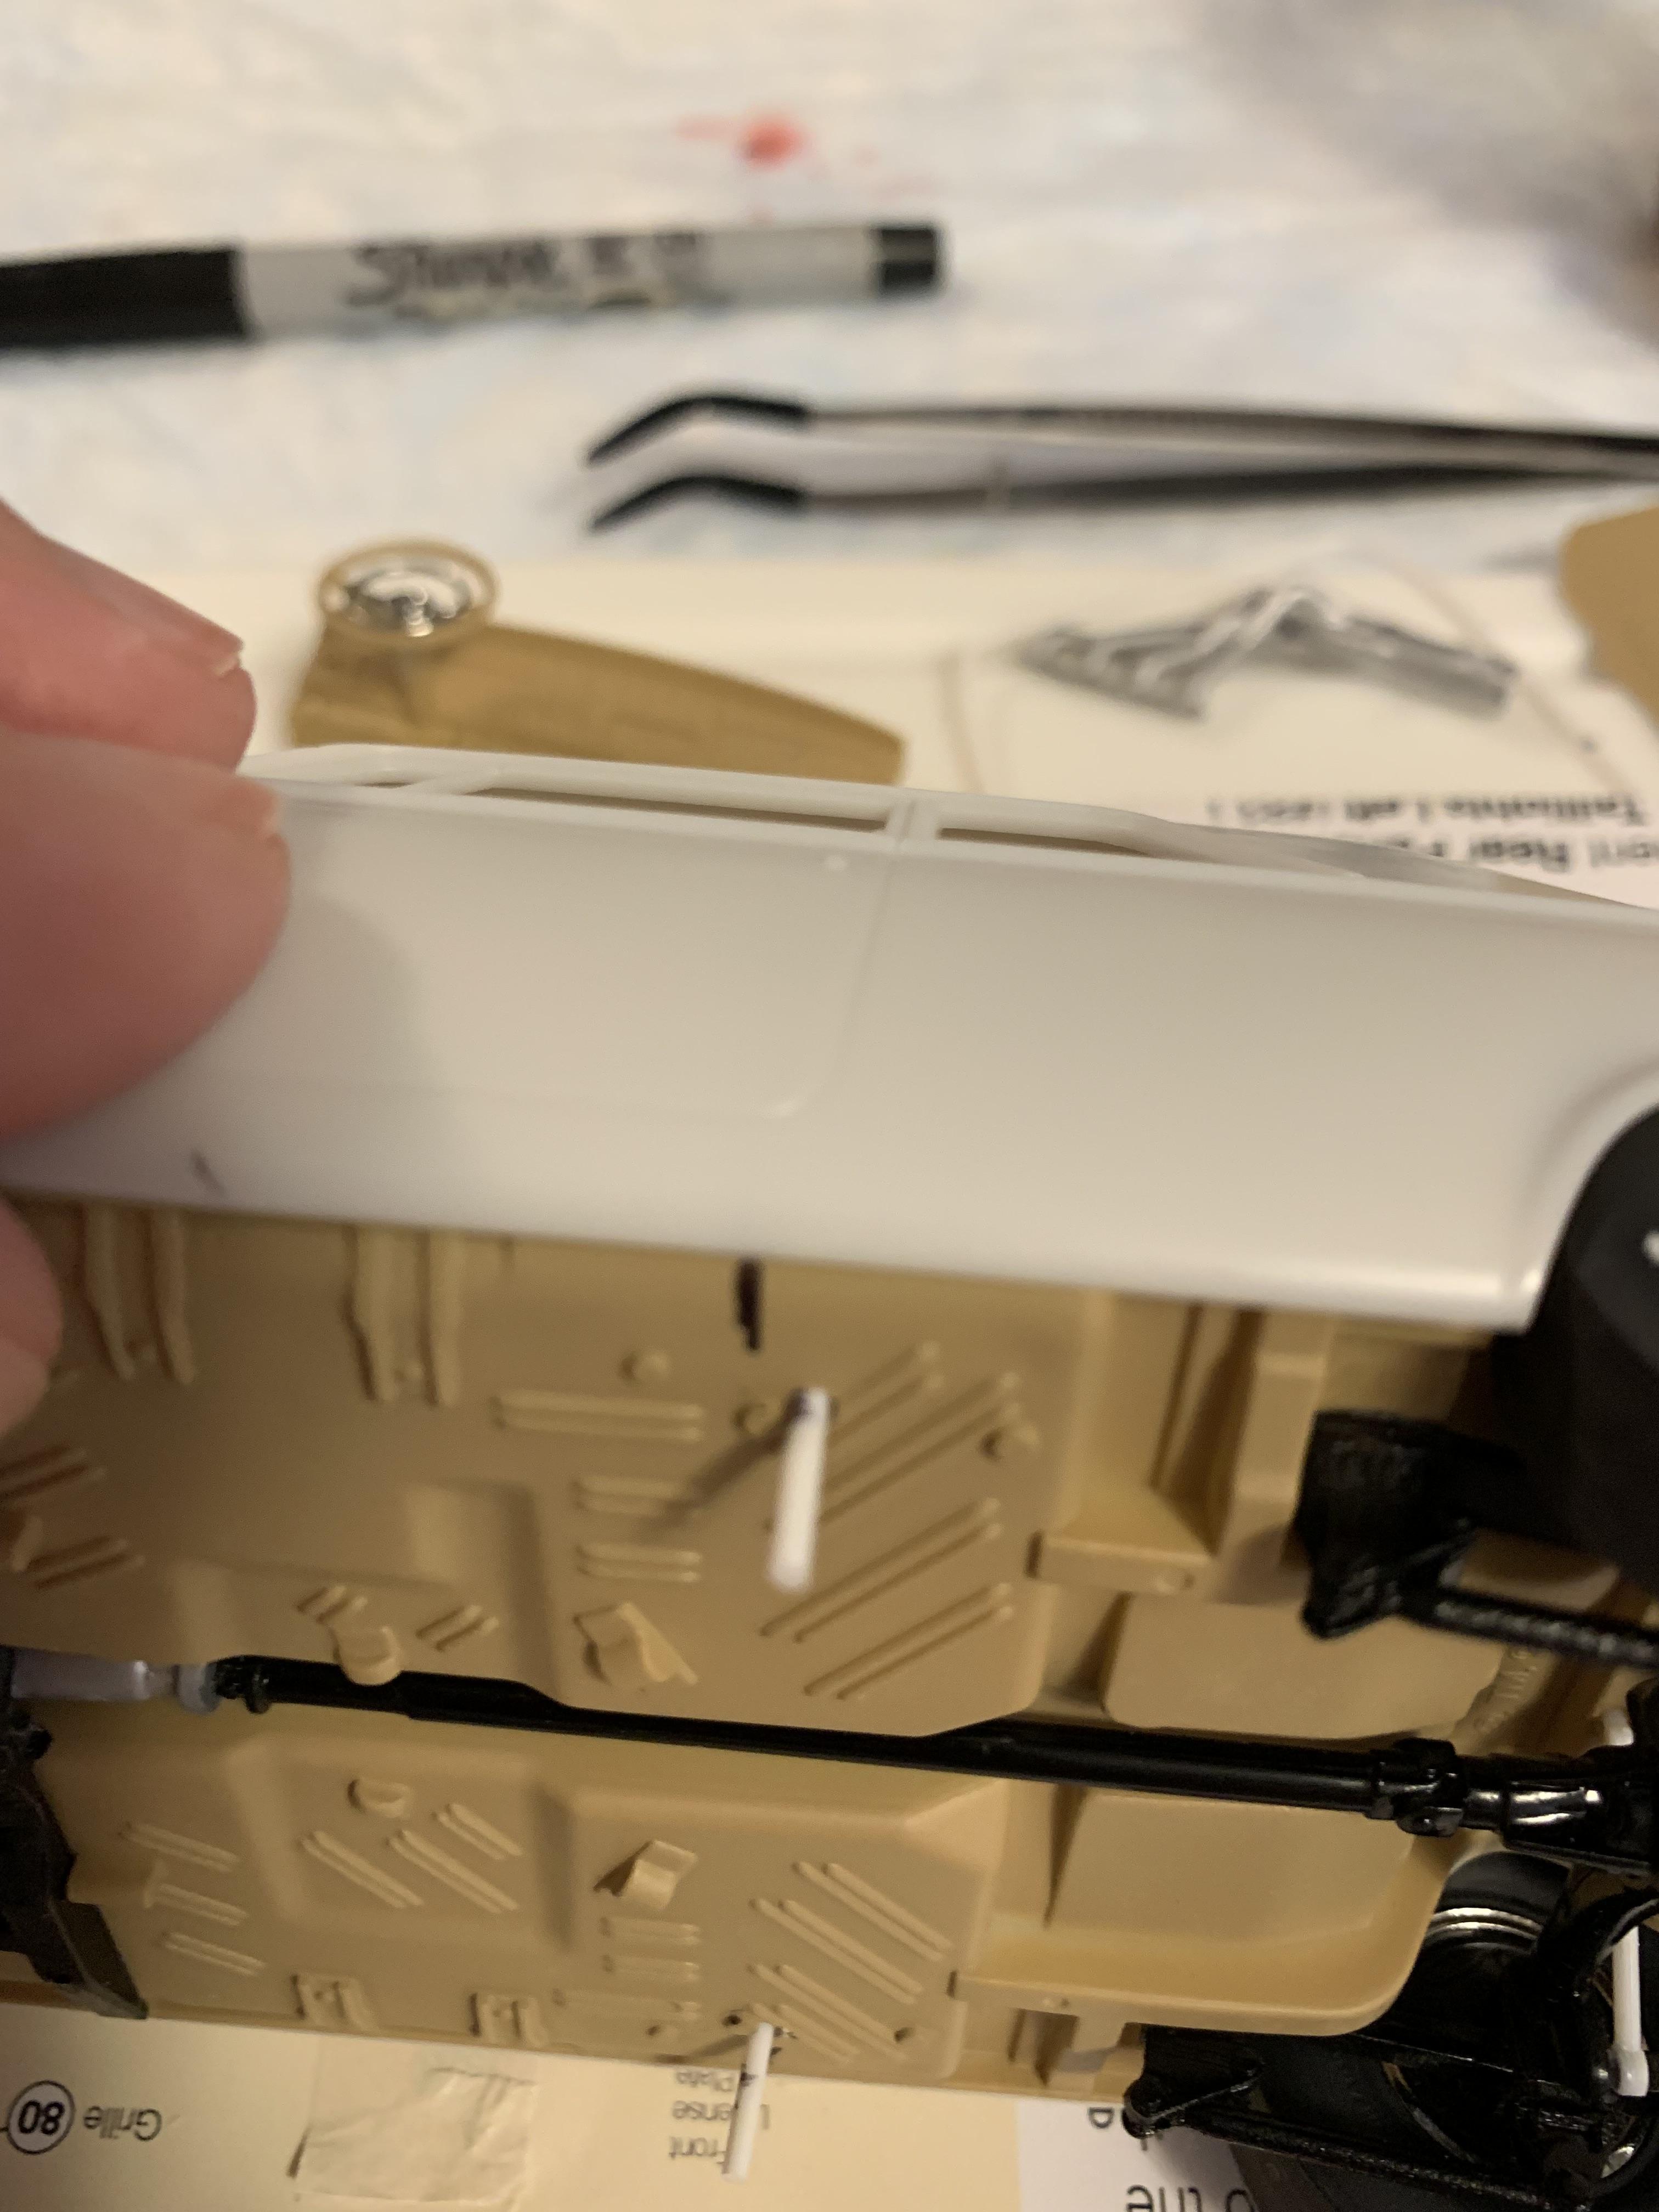
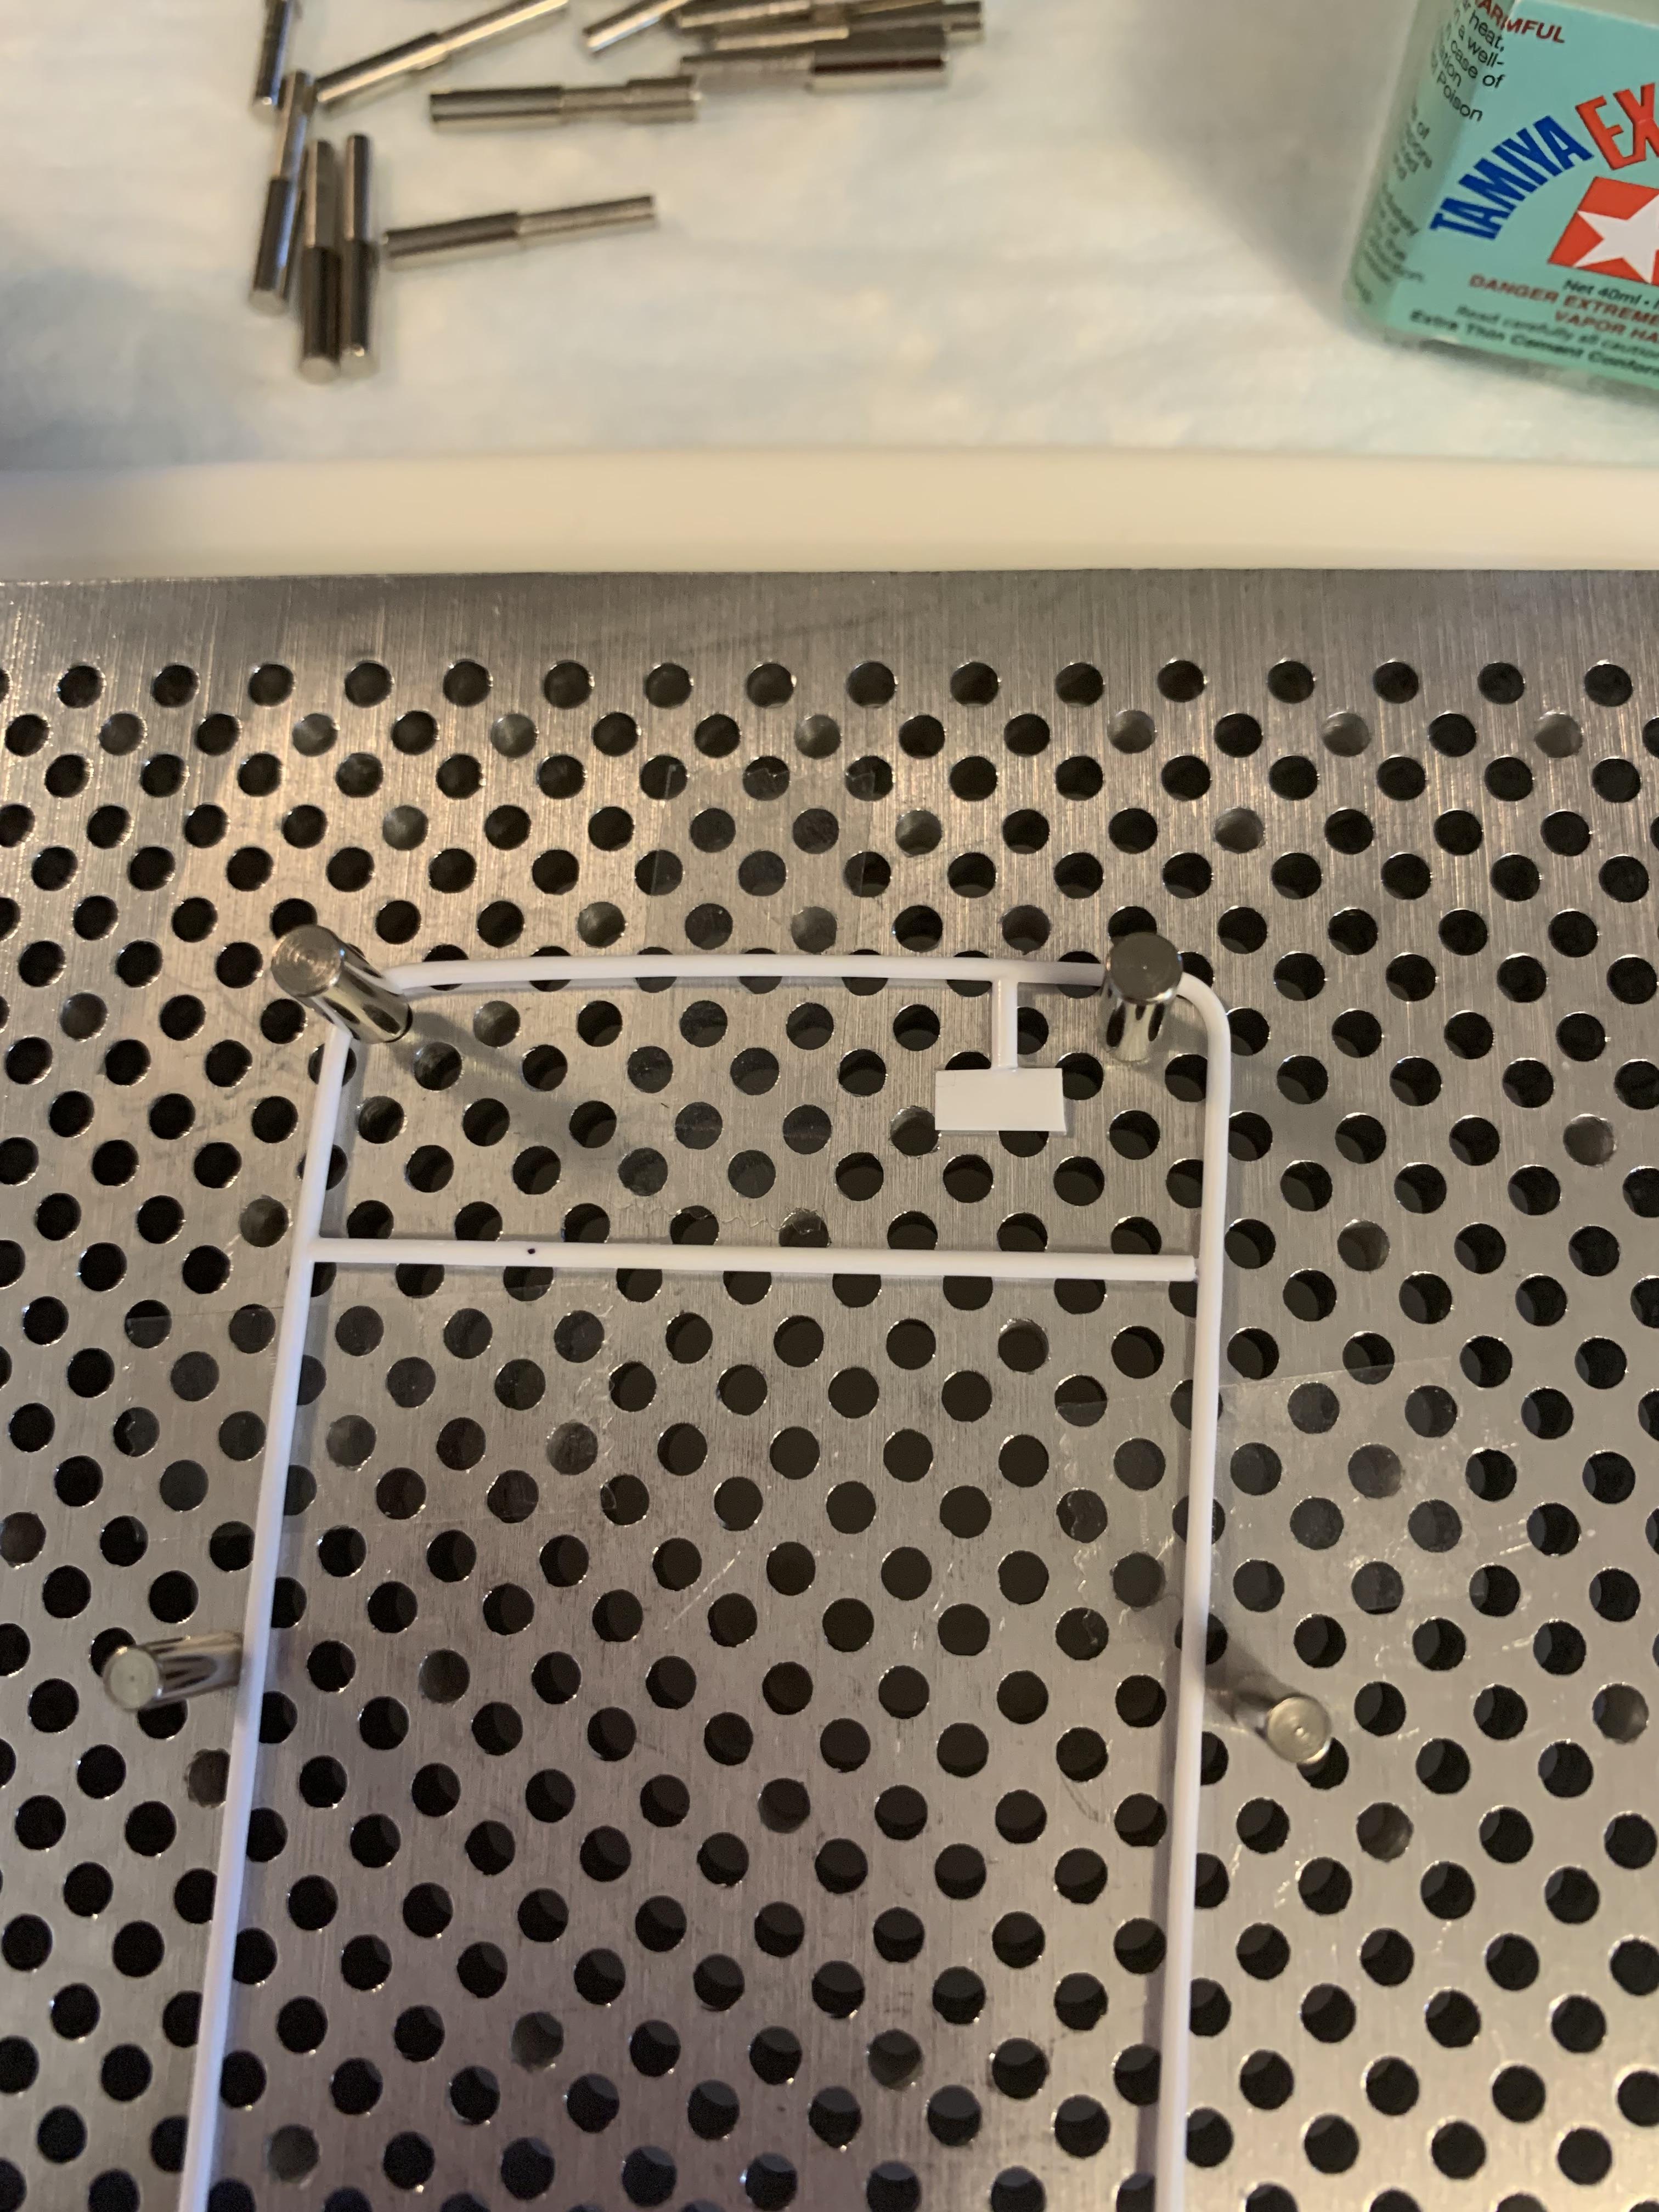
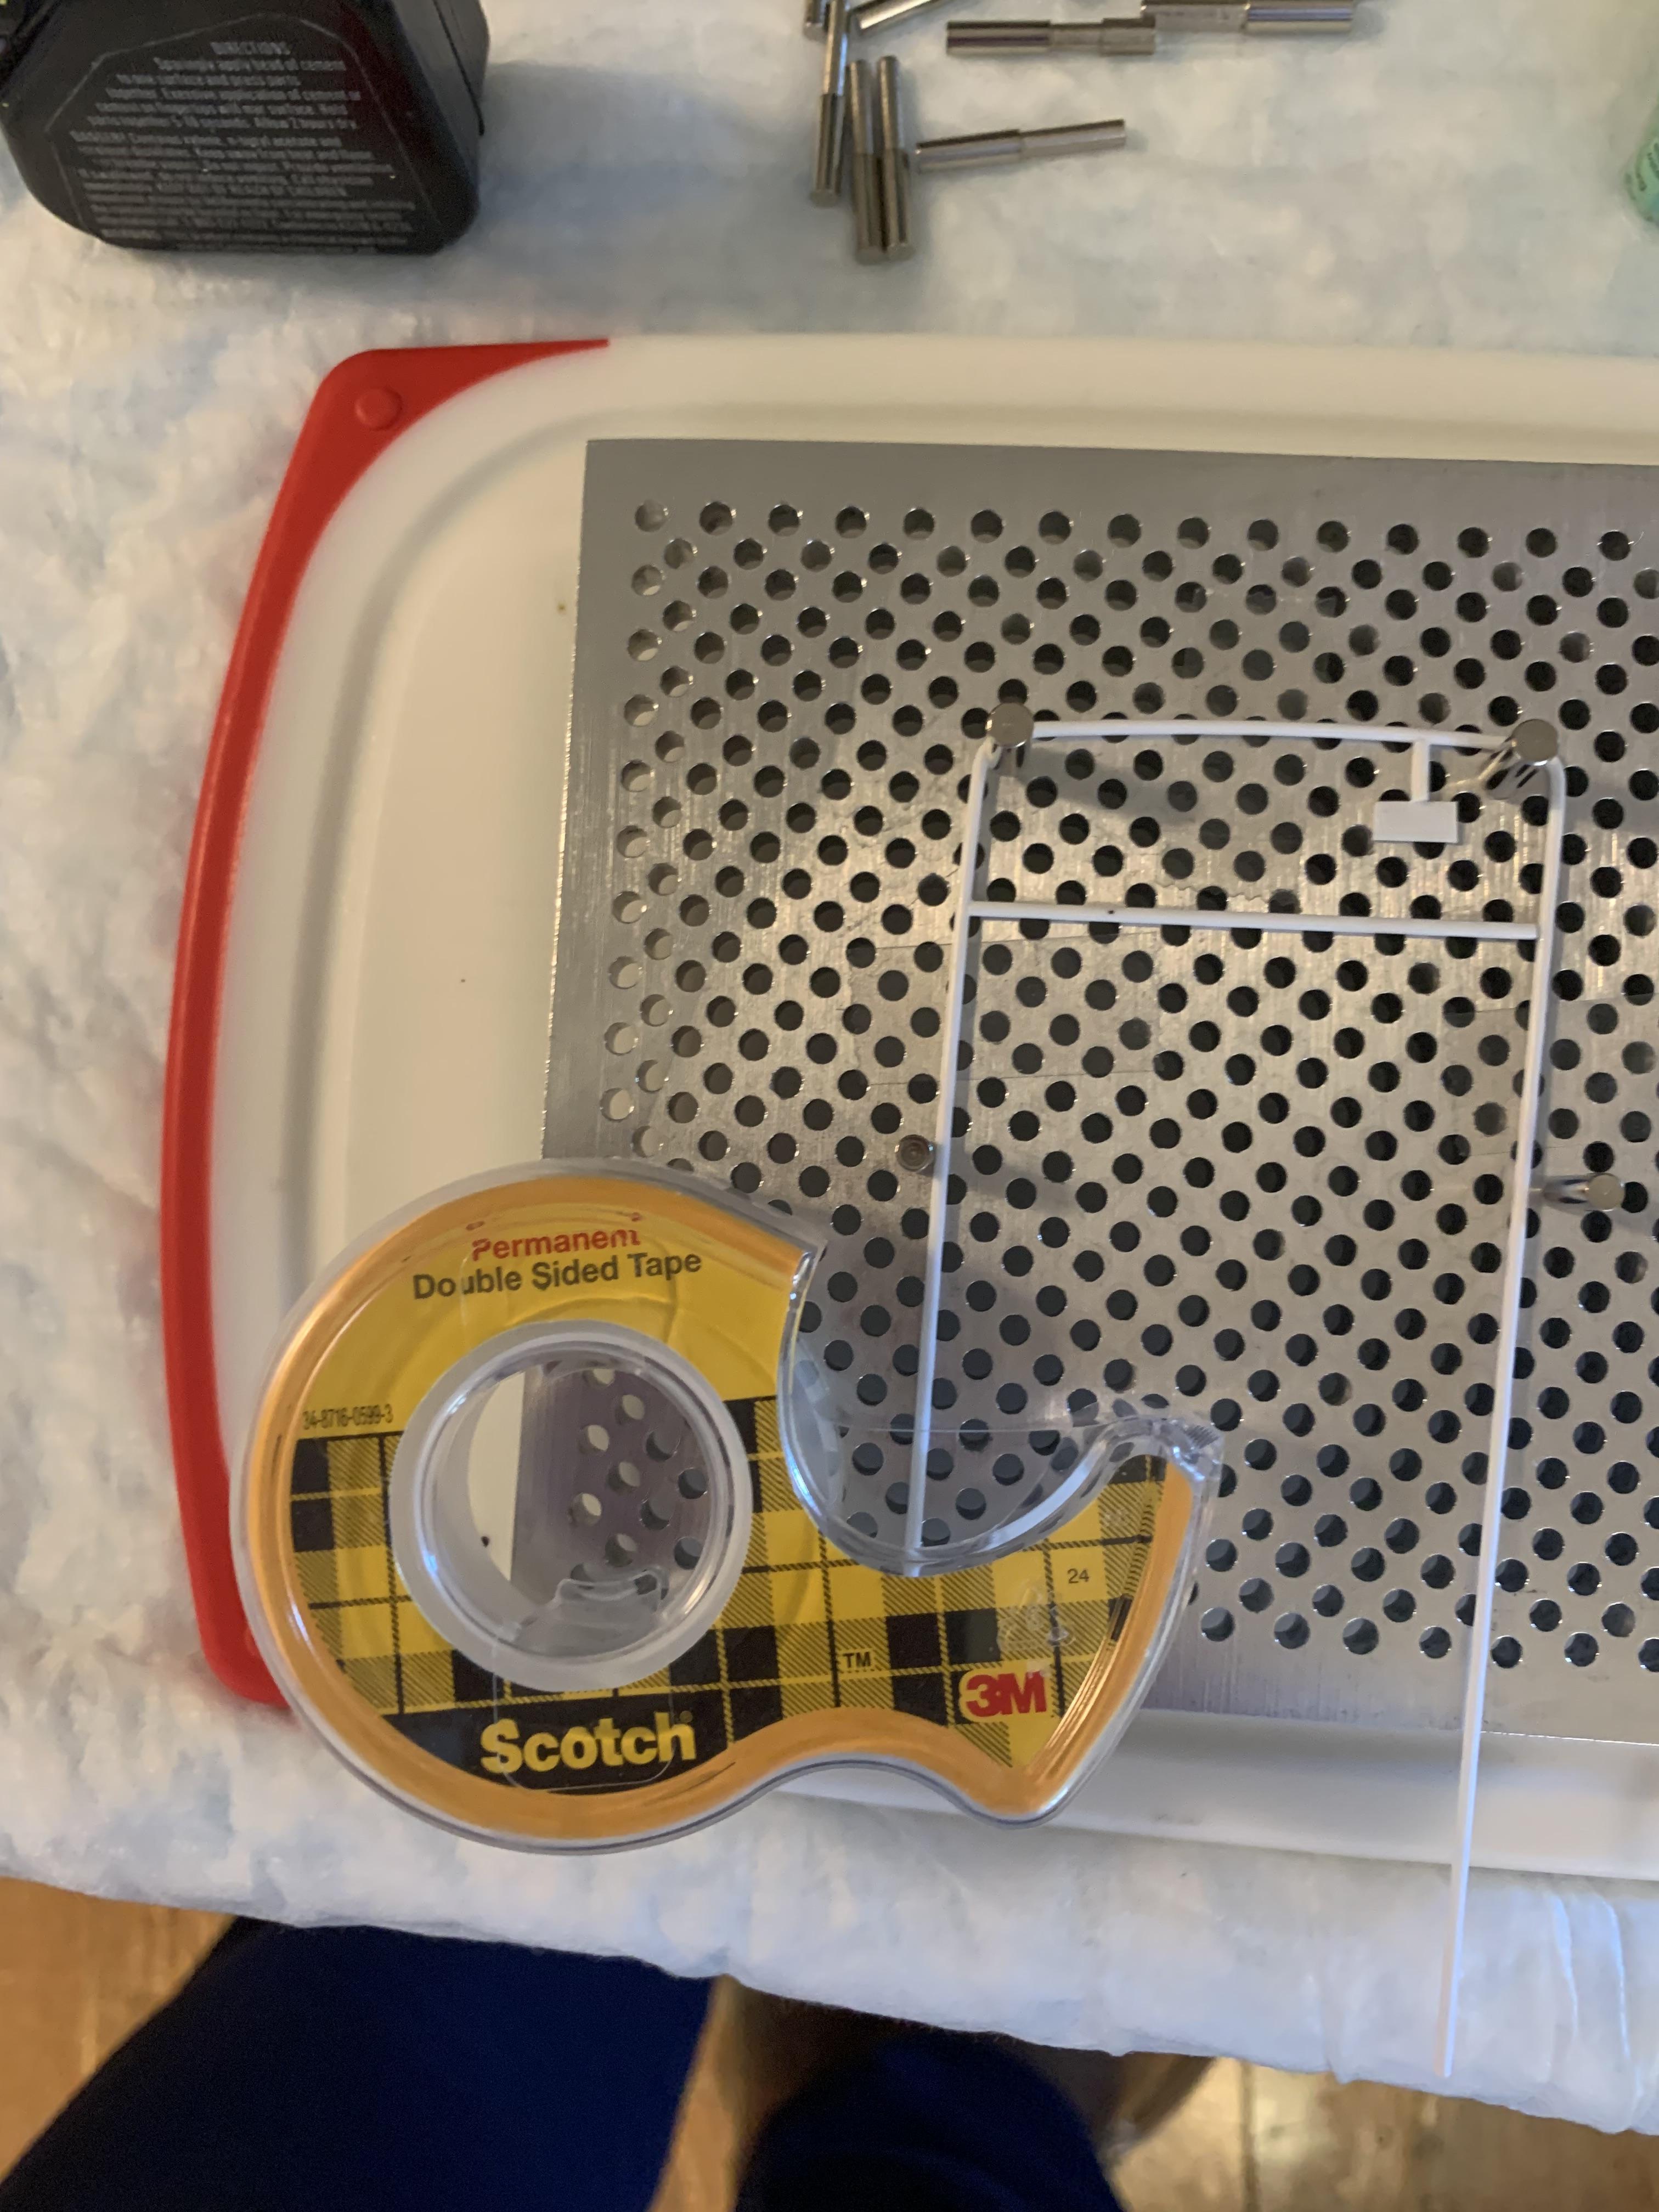
A future project I may do for this car. Slipped the body on to check the roll bar height, then remembered I had purchased 2 of these kits. Opened the new kit and decided to use that body for trial fitting stuff to protect the paint job. Tried out a new jig to bend and assemble parts of the roll bar. Made the head rest and used double back tape to place the parts on and hold the them in position.
-
Moebius model in Purple Power
R. Thorne replied to Brutalform's topic in Model Building Questions and Answers
The Donn Yost video of 2018 comments on the problems he had with Moebius Plymouth models after they were dunked in brake fluid. -
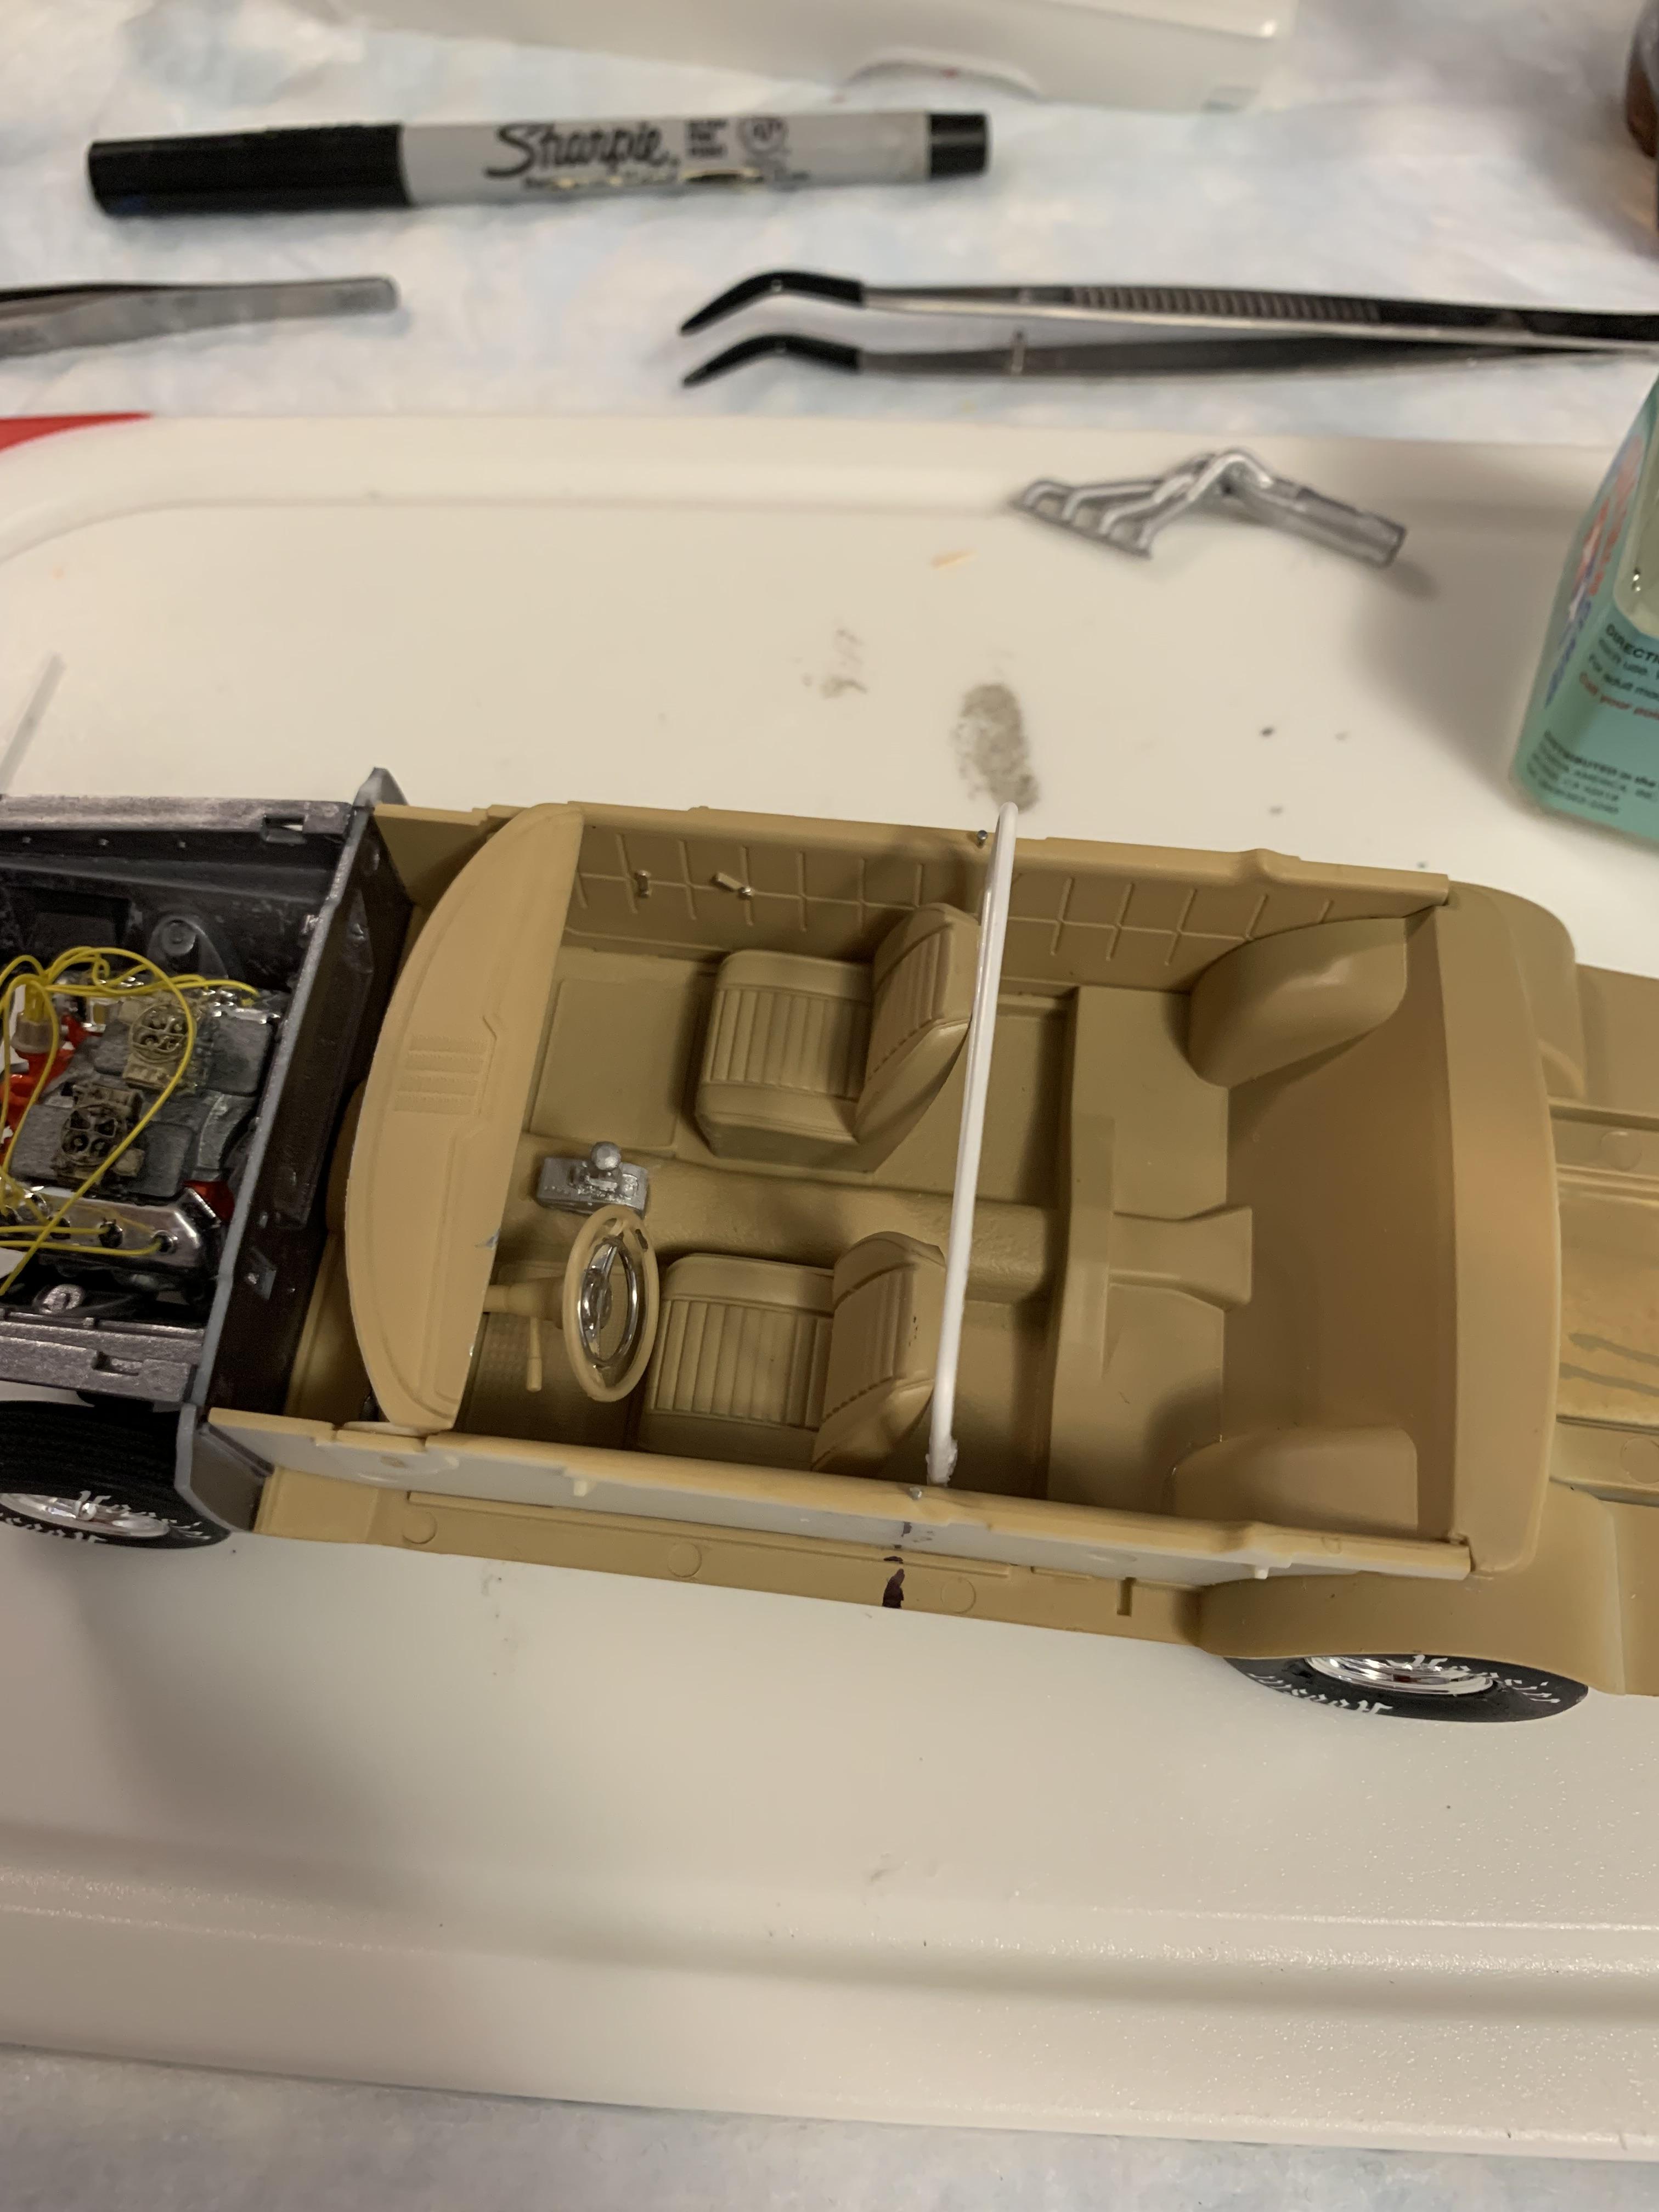
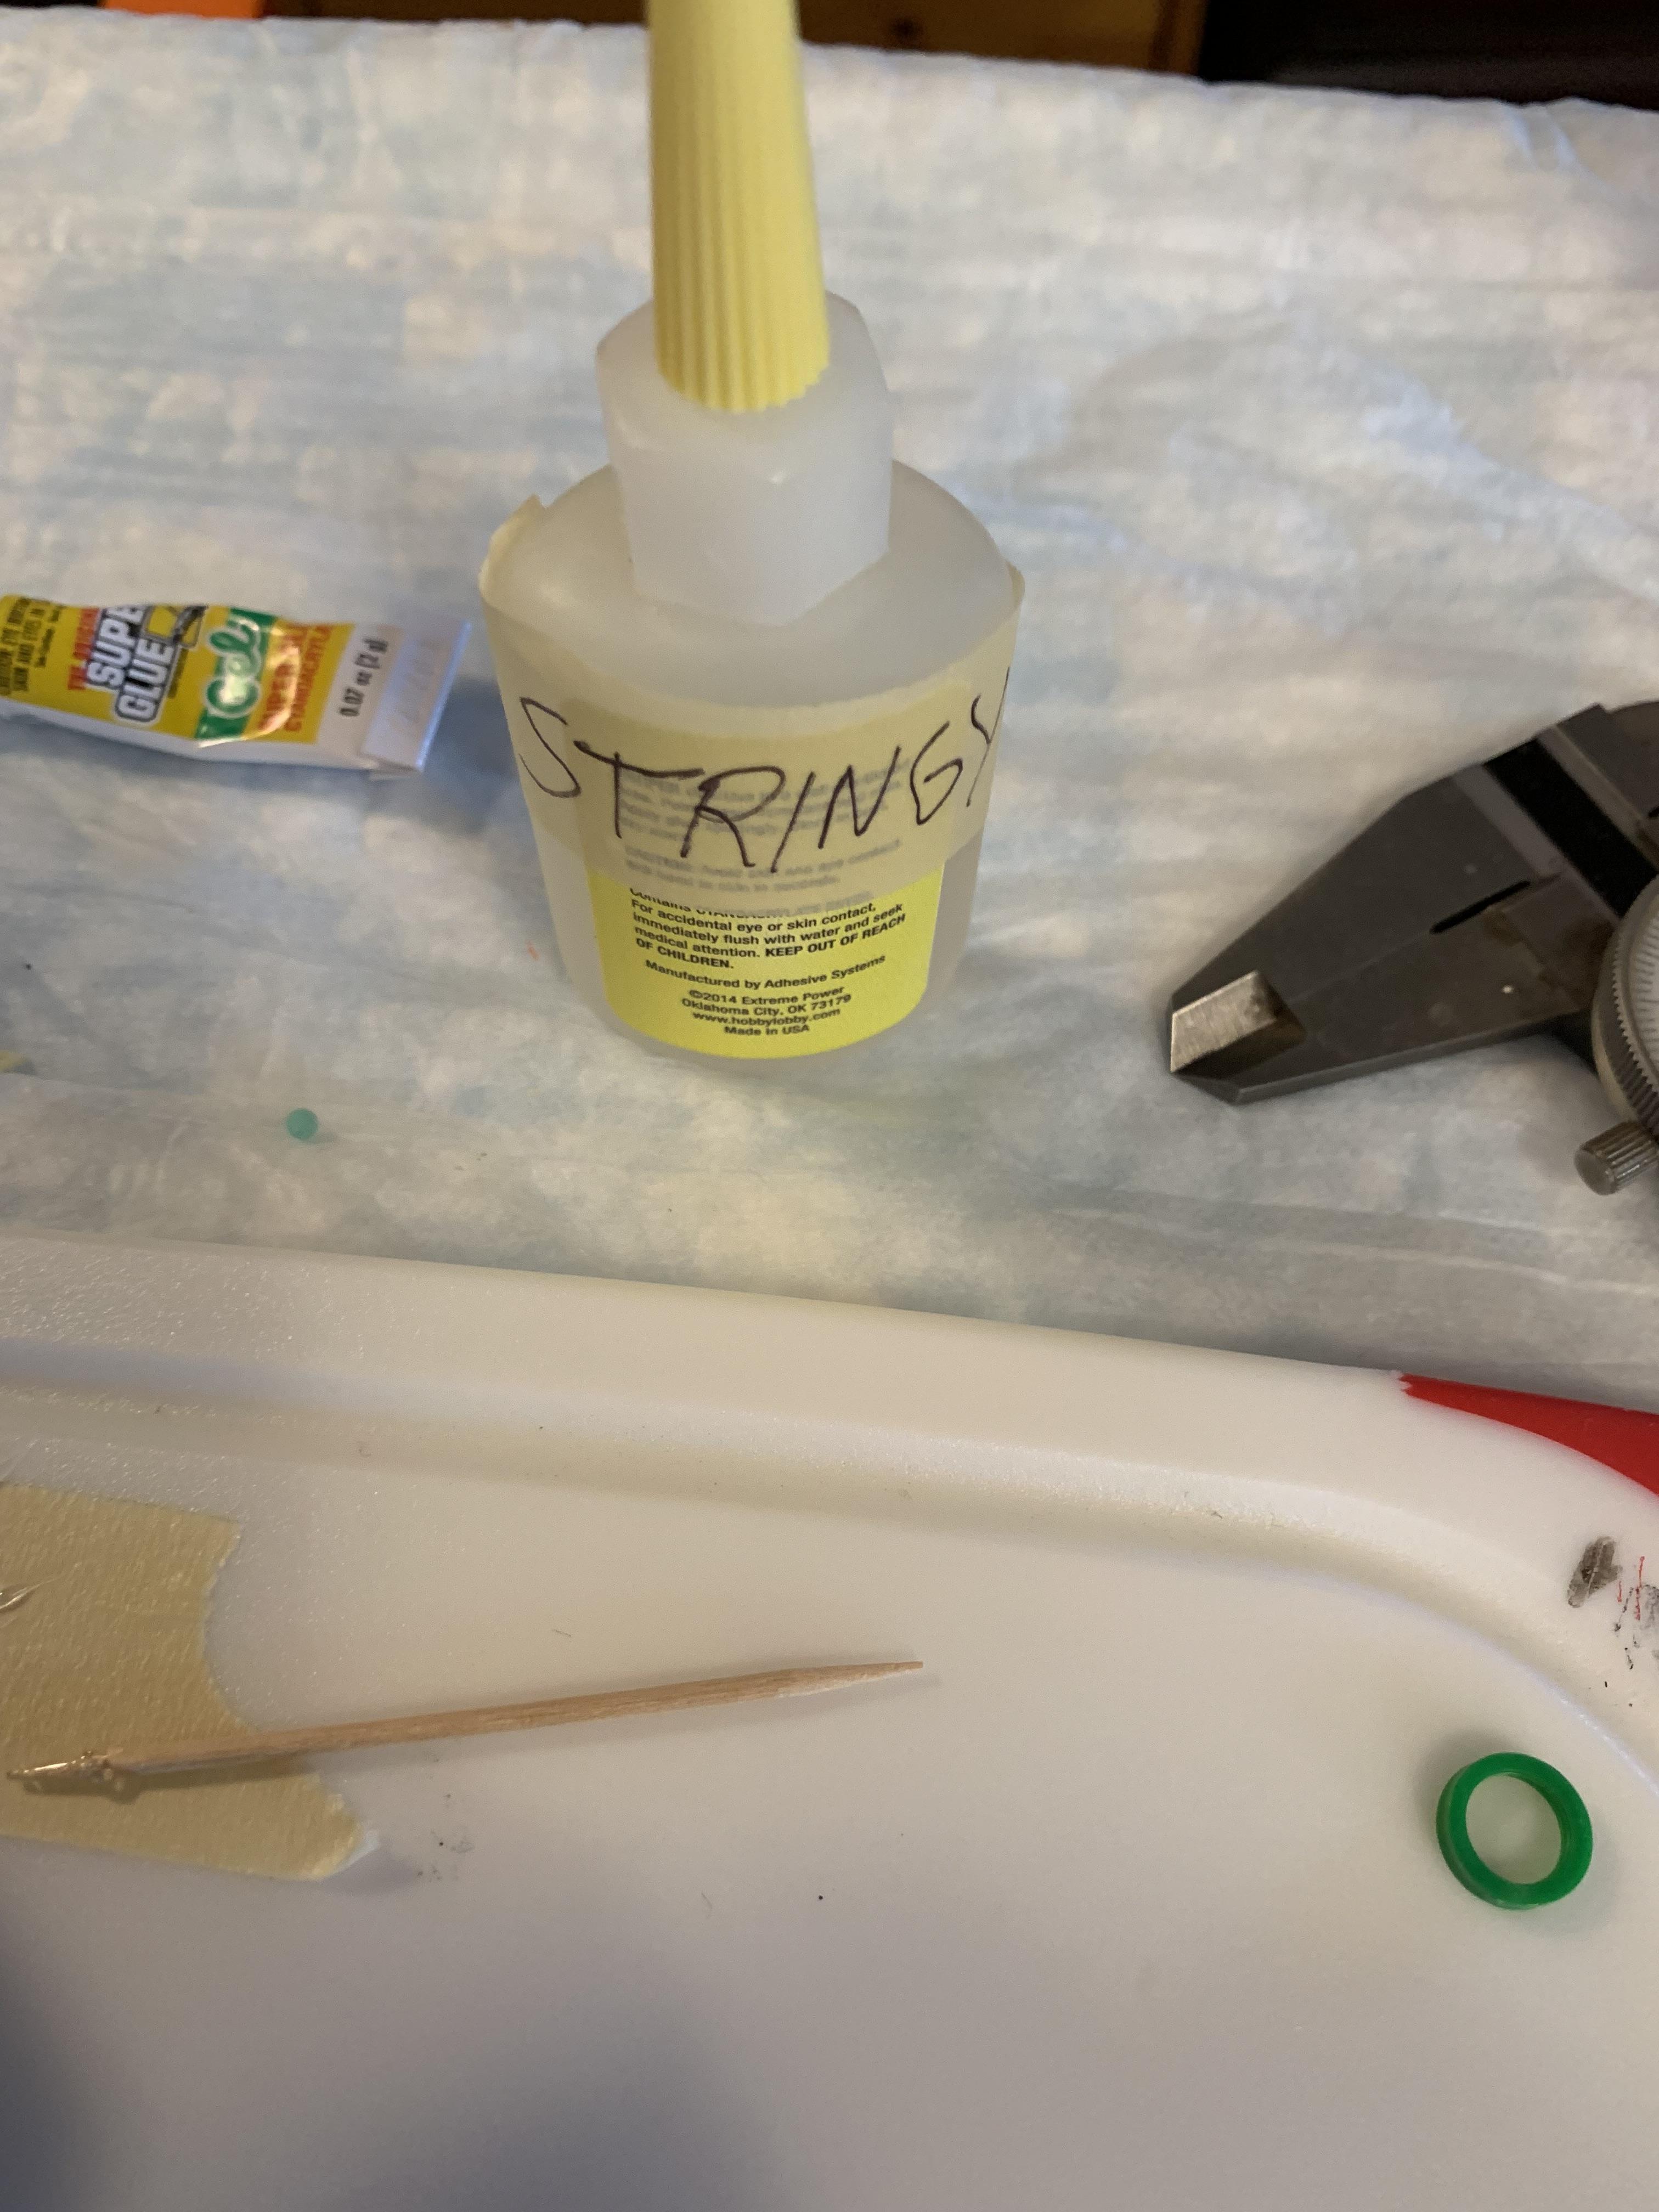
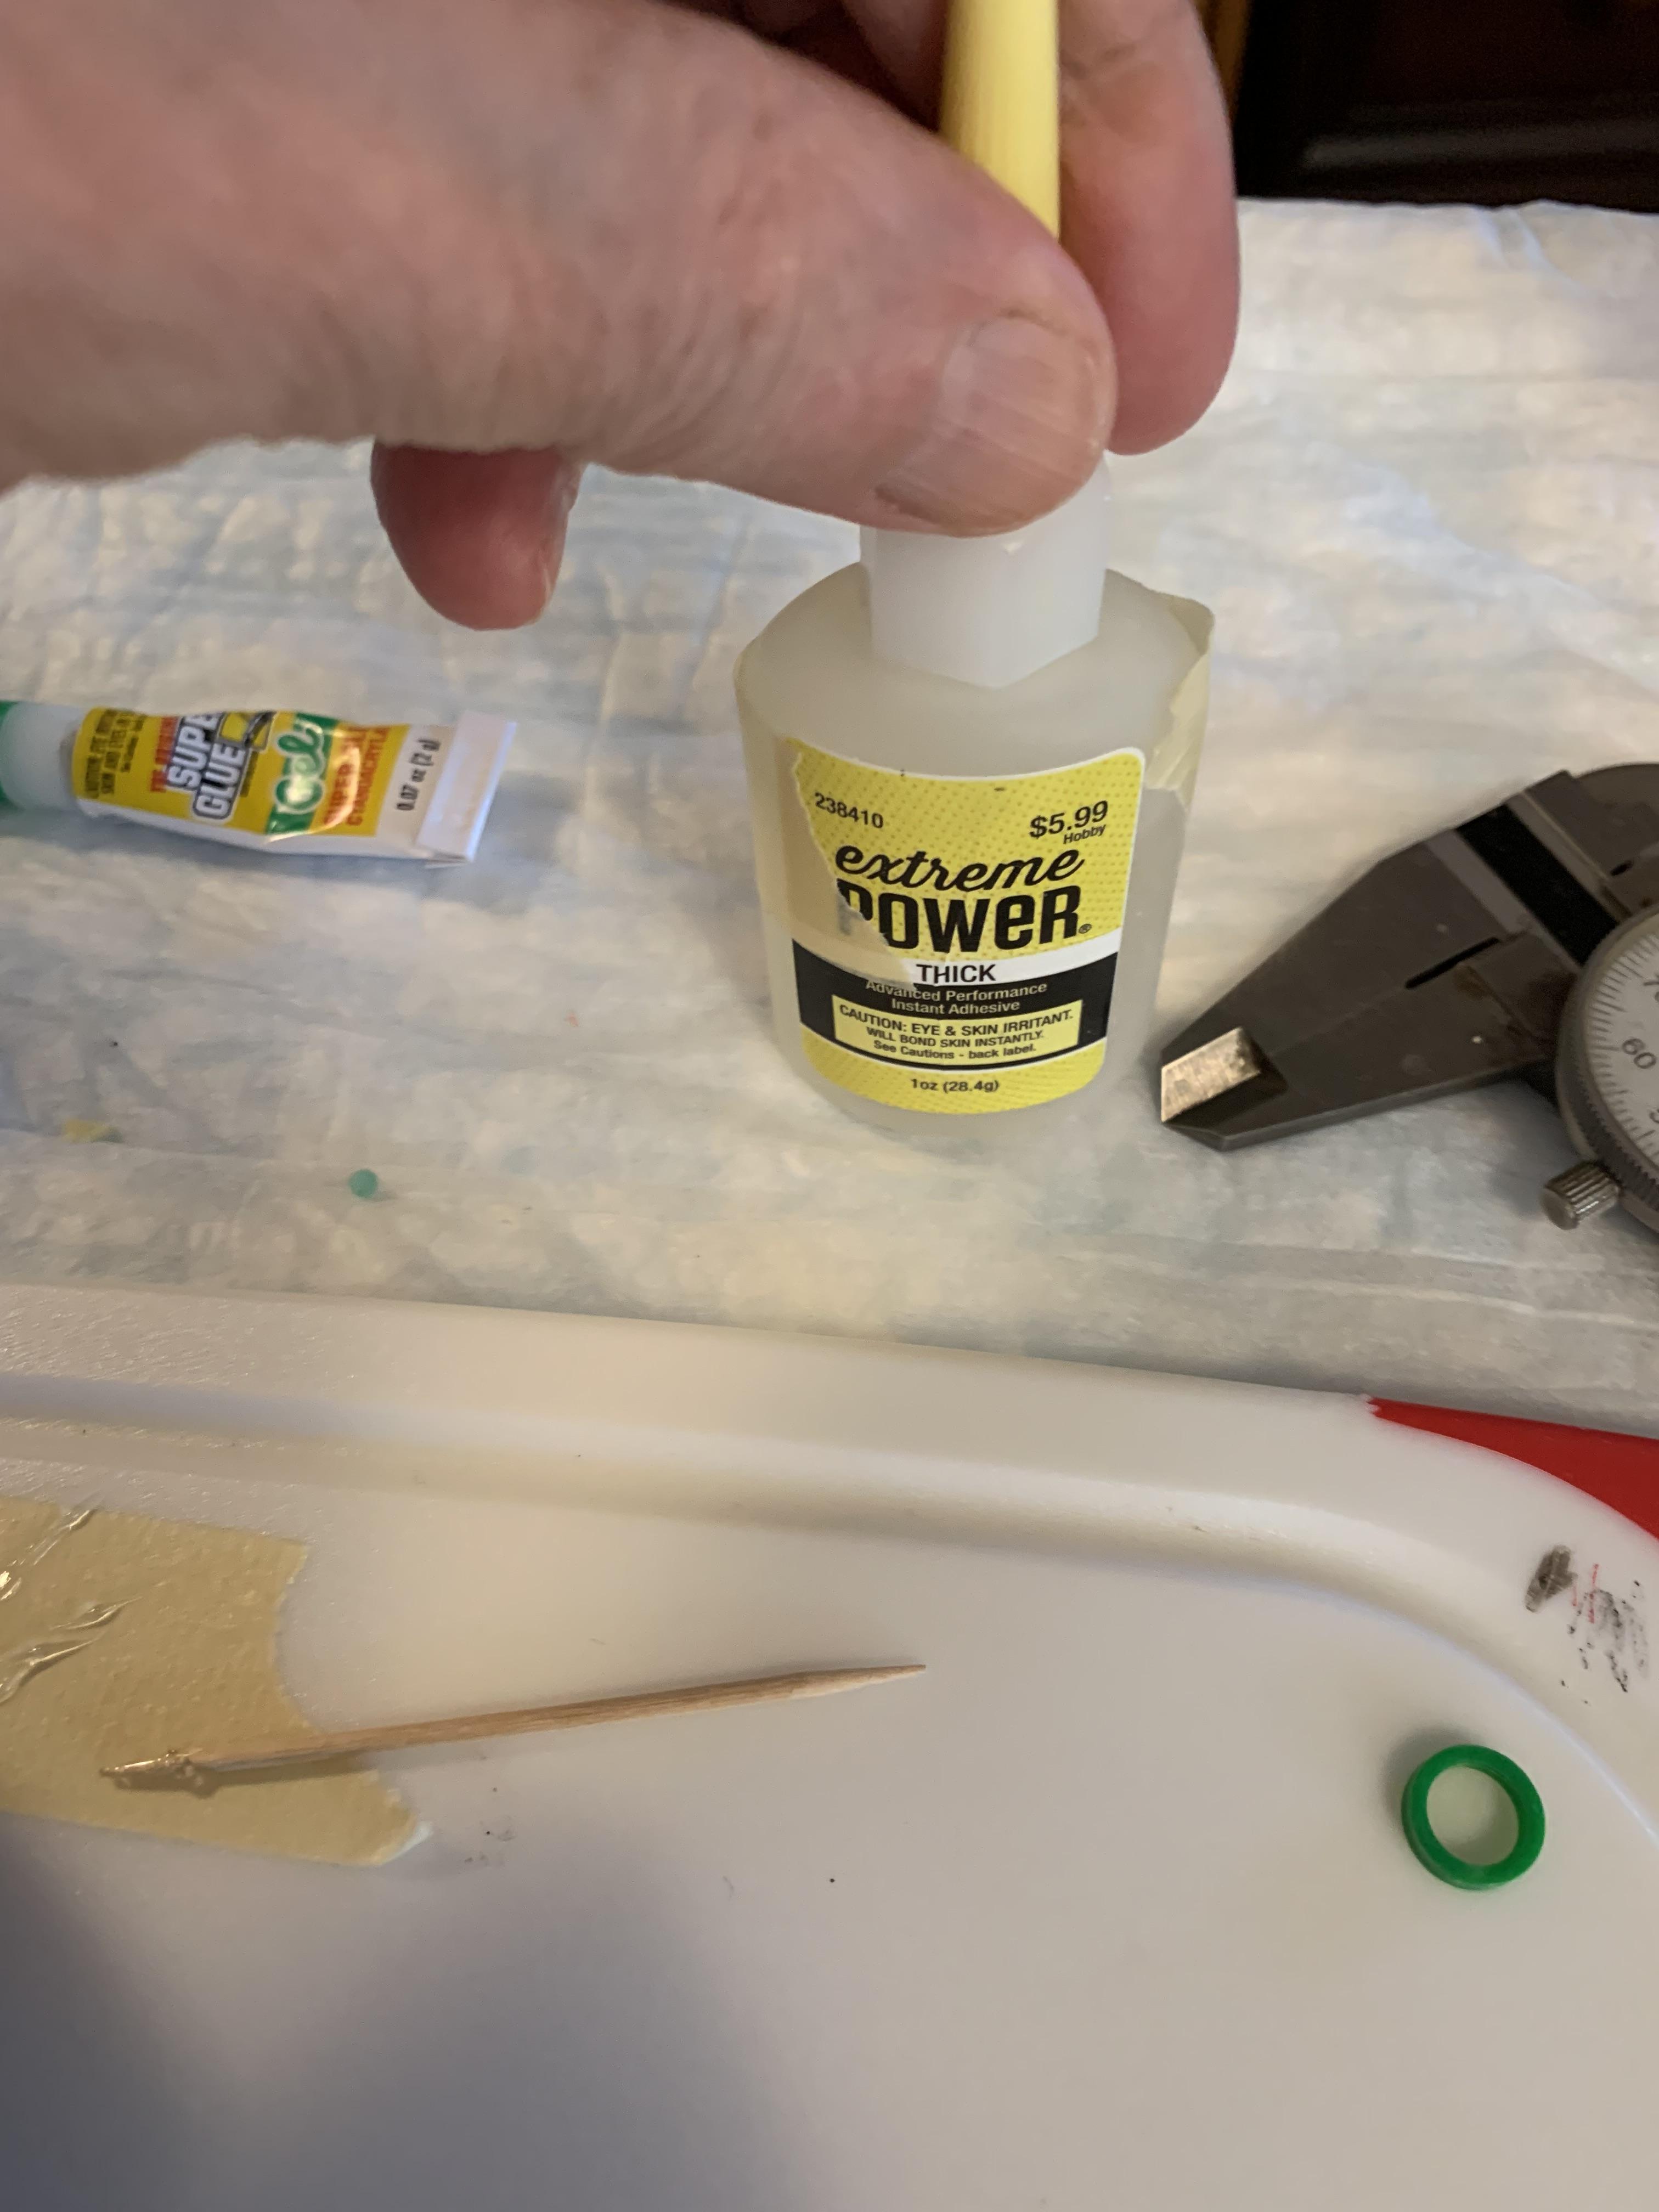
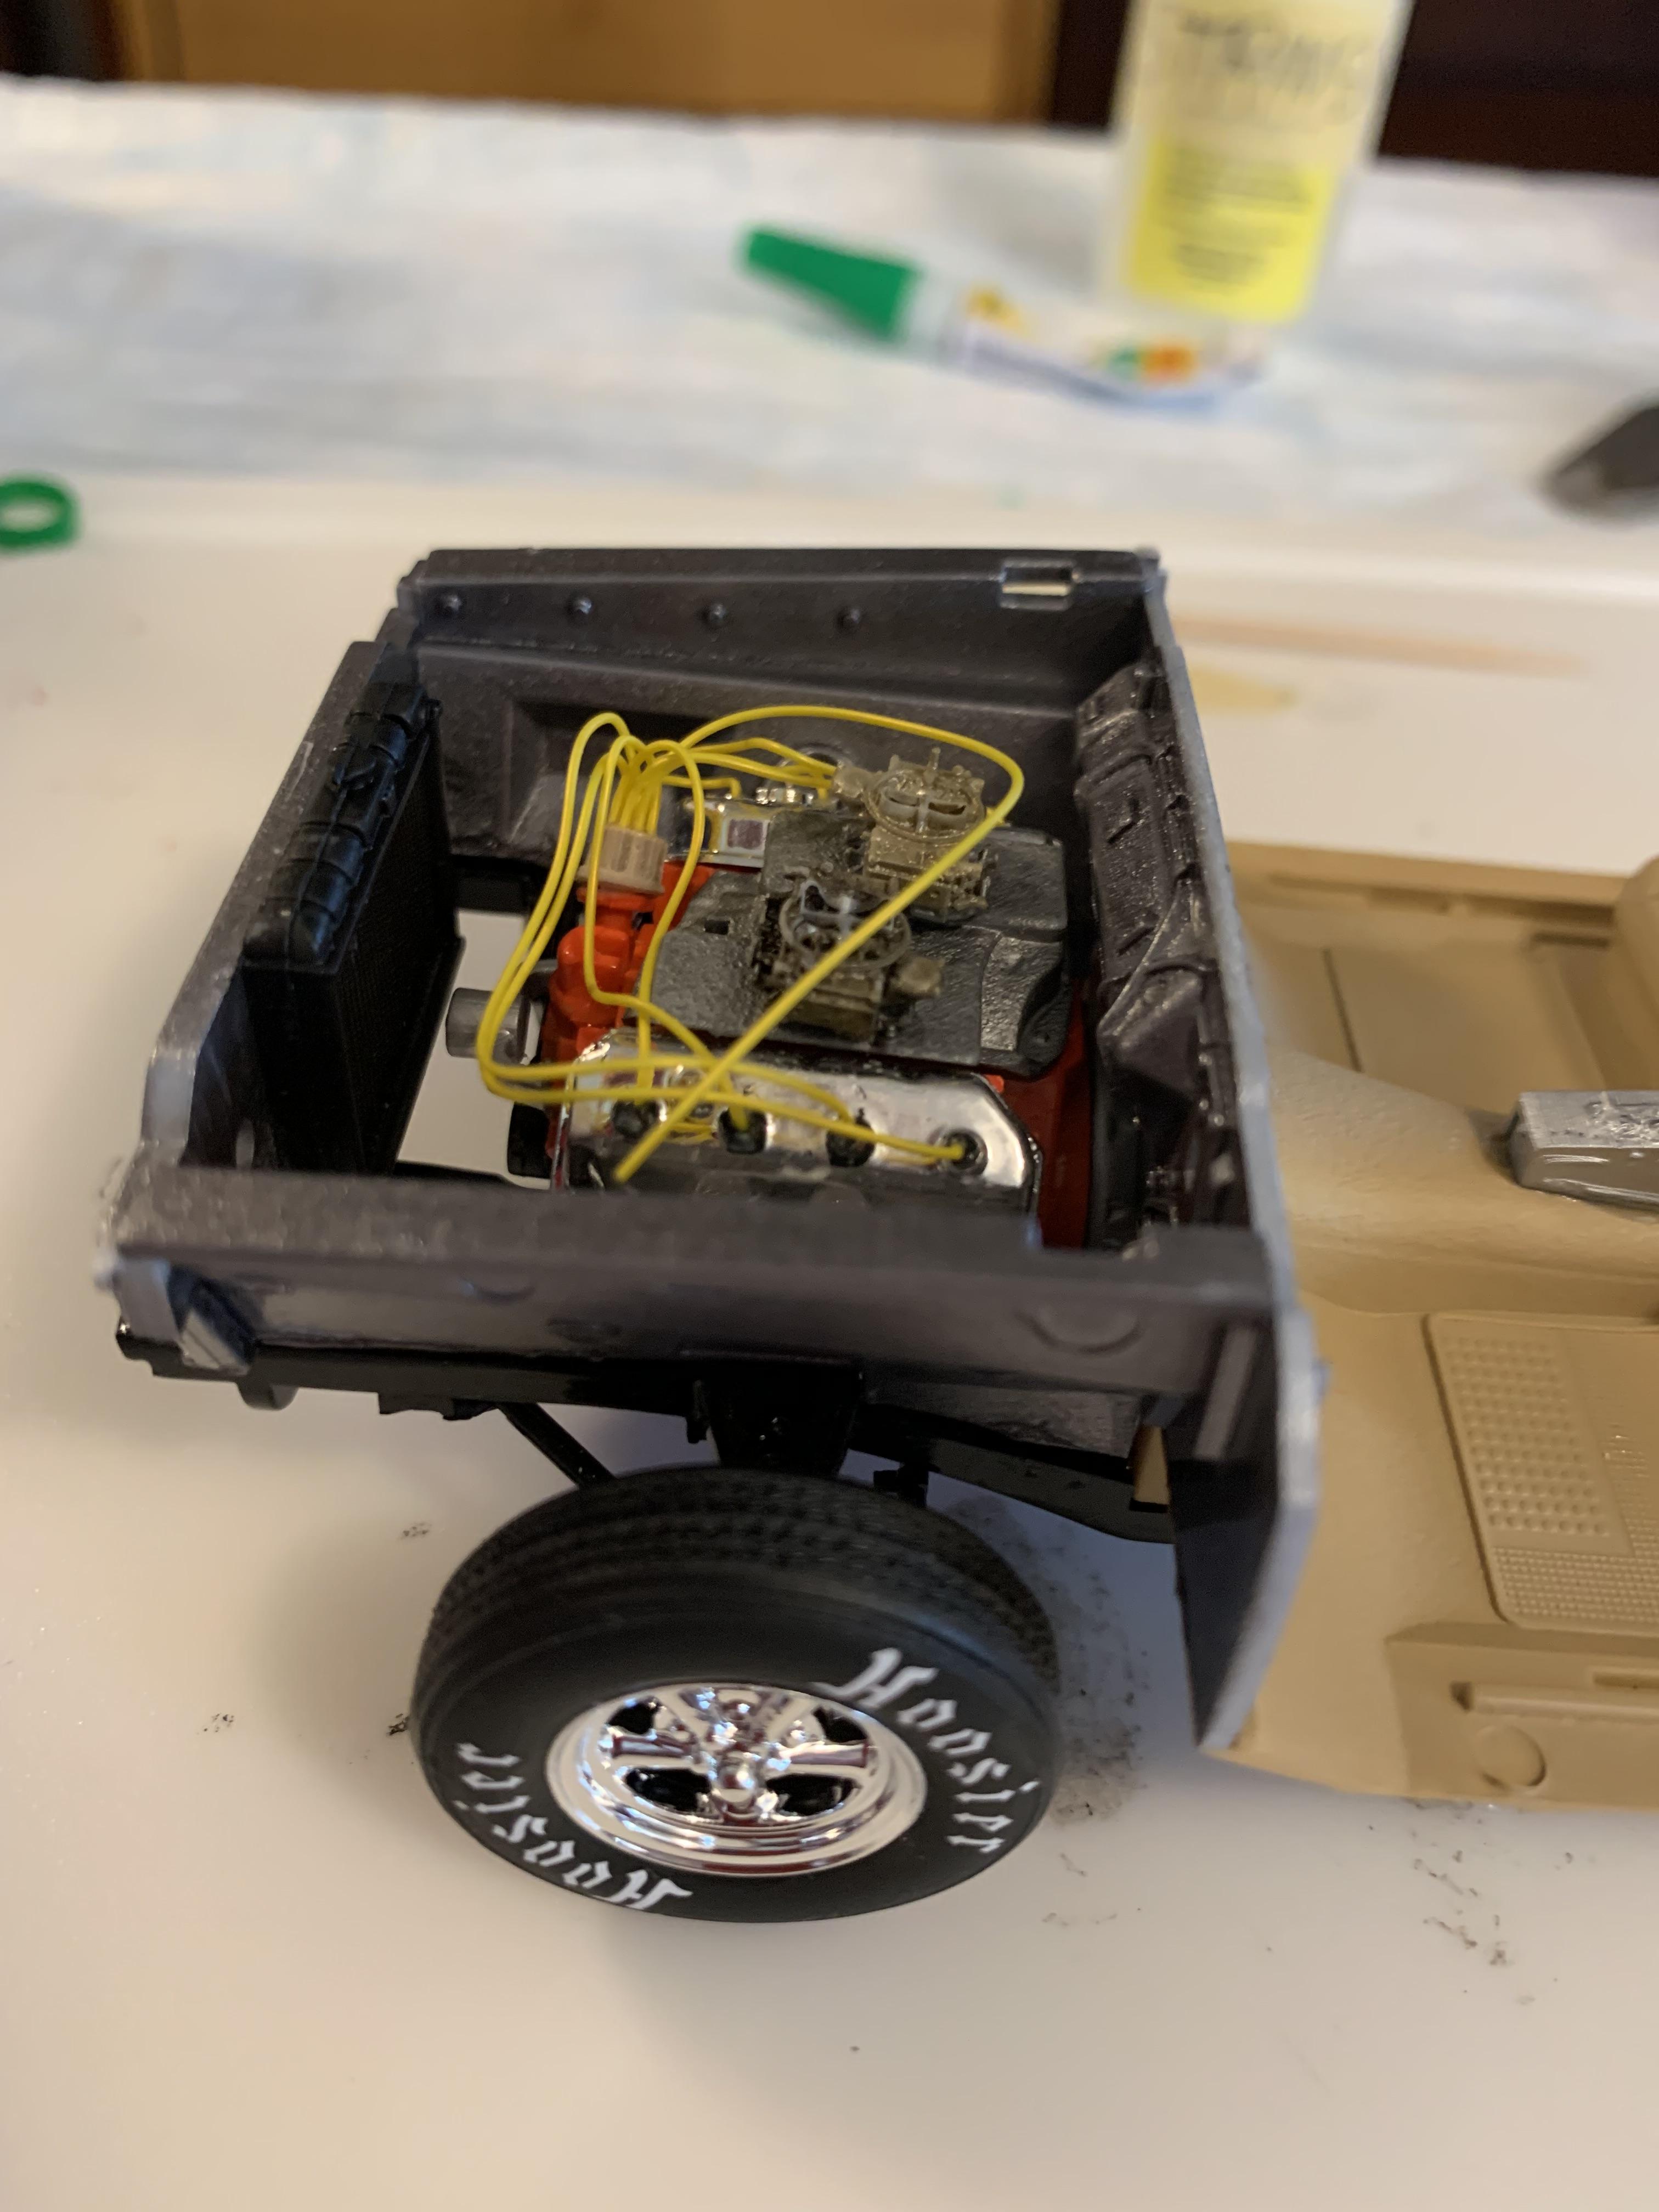
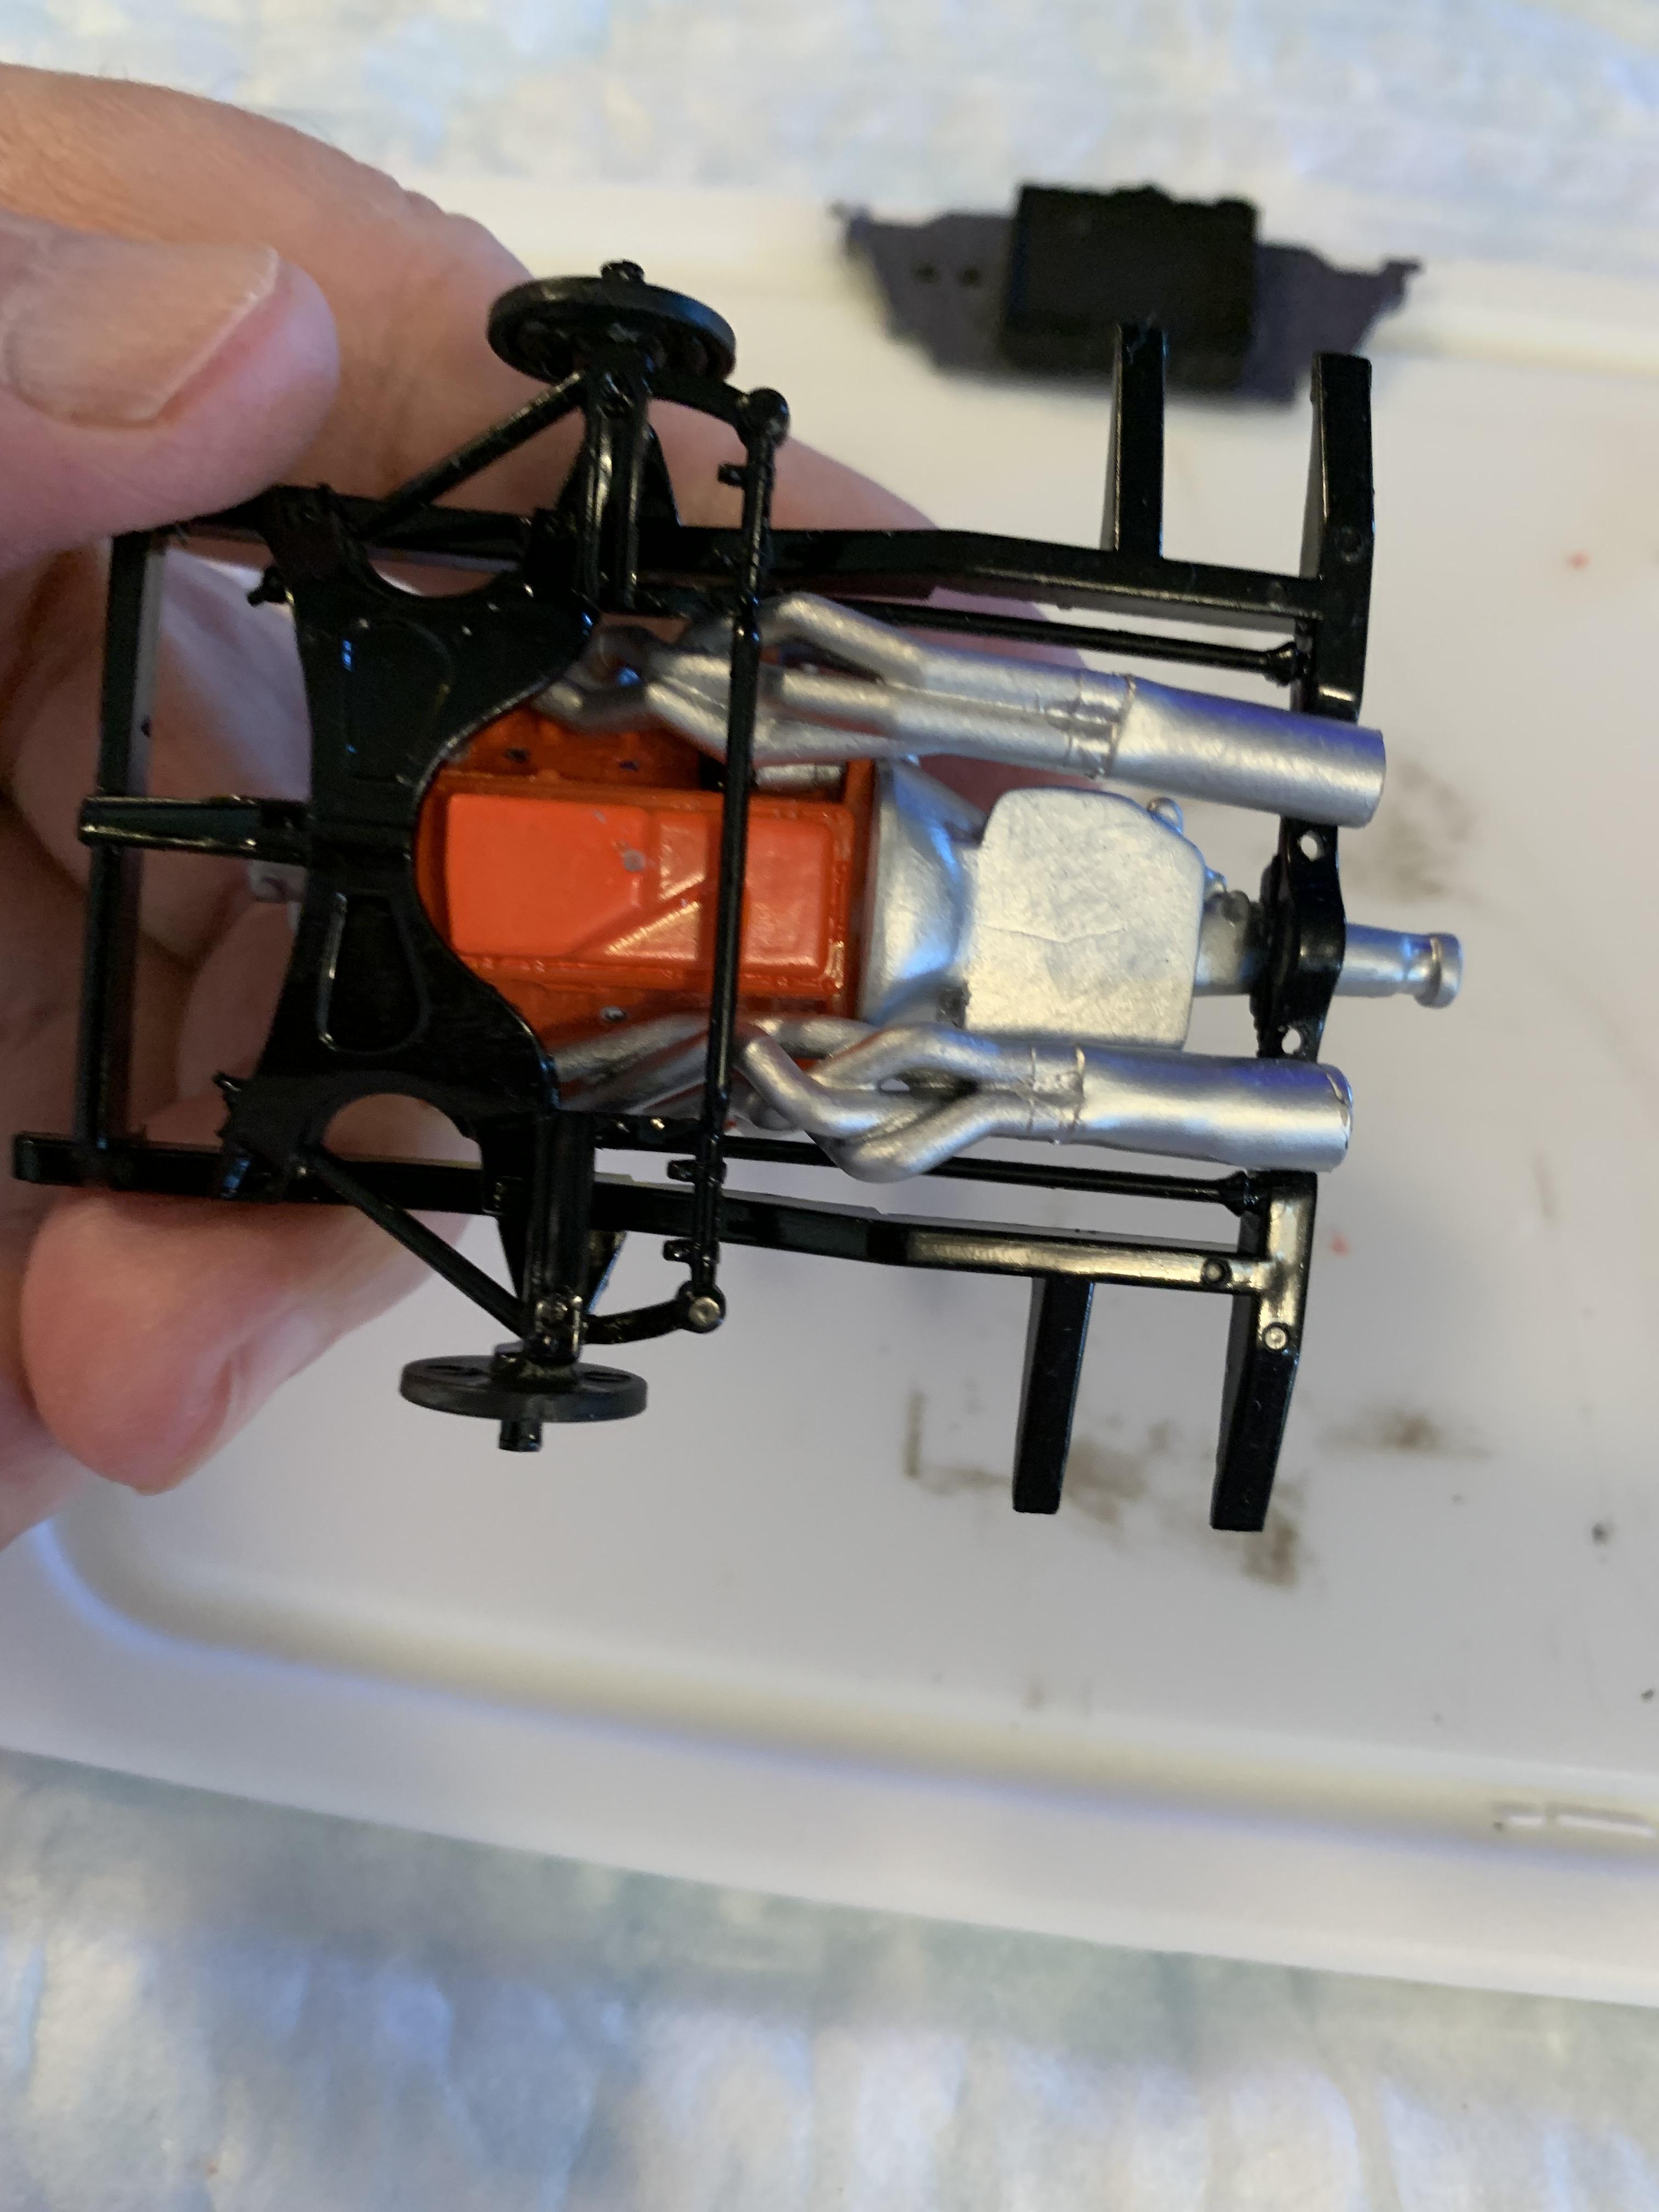
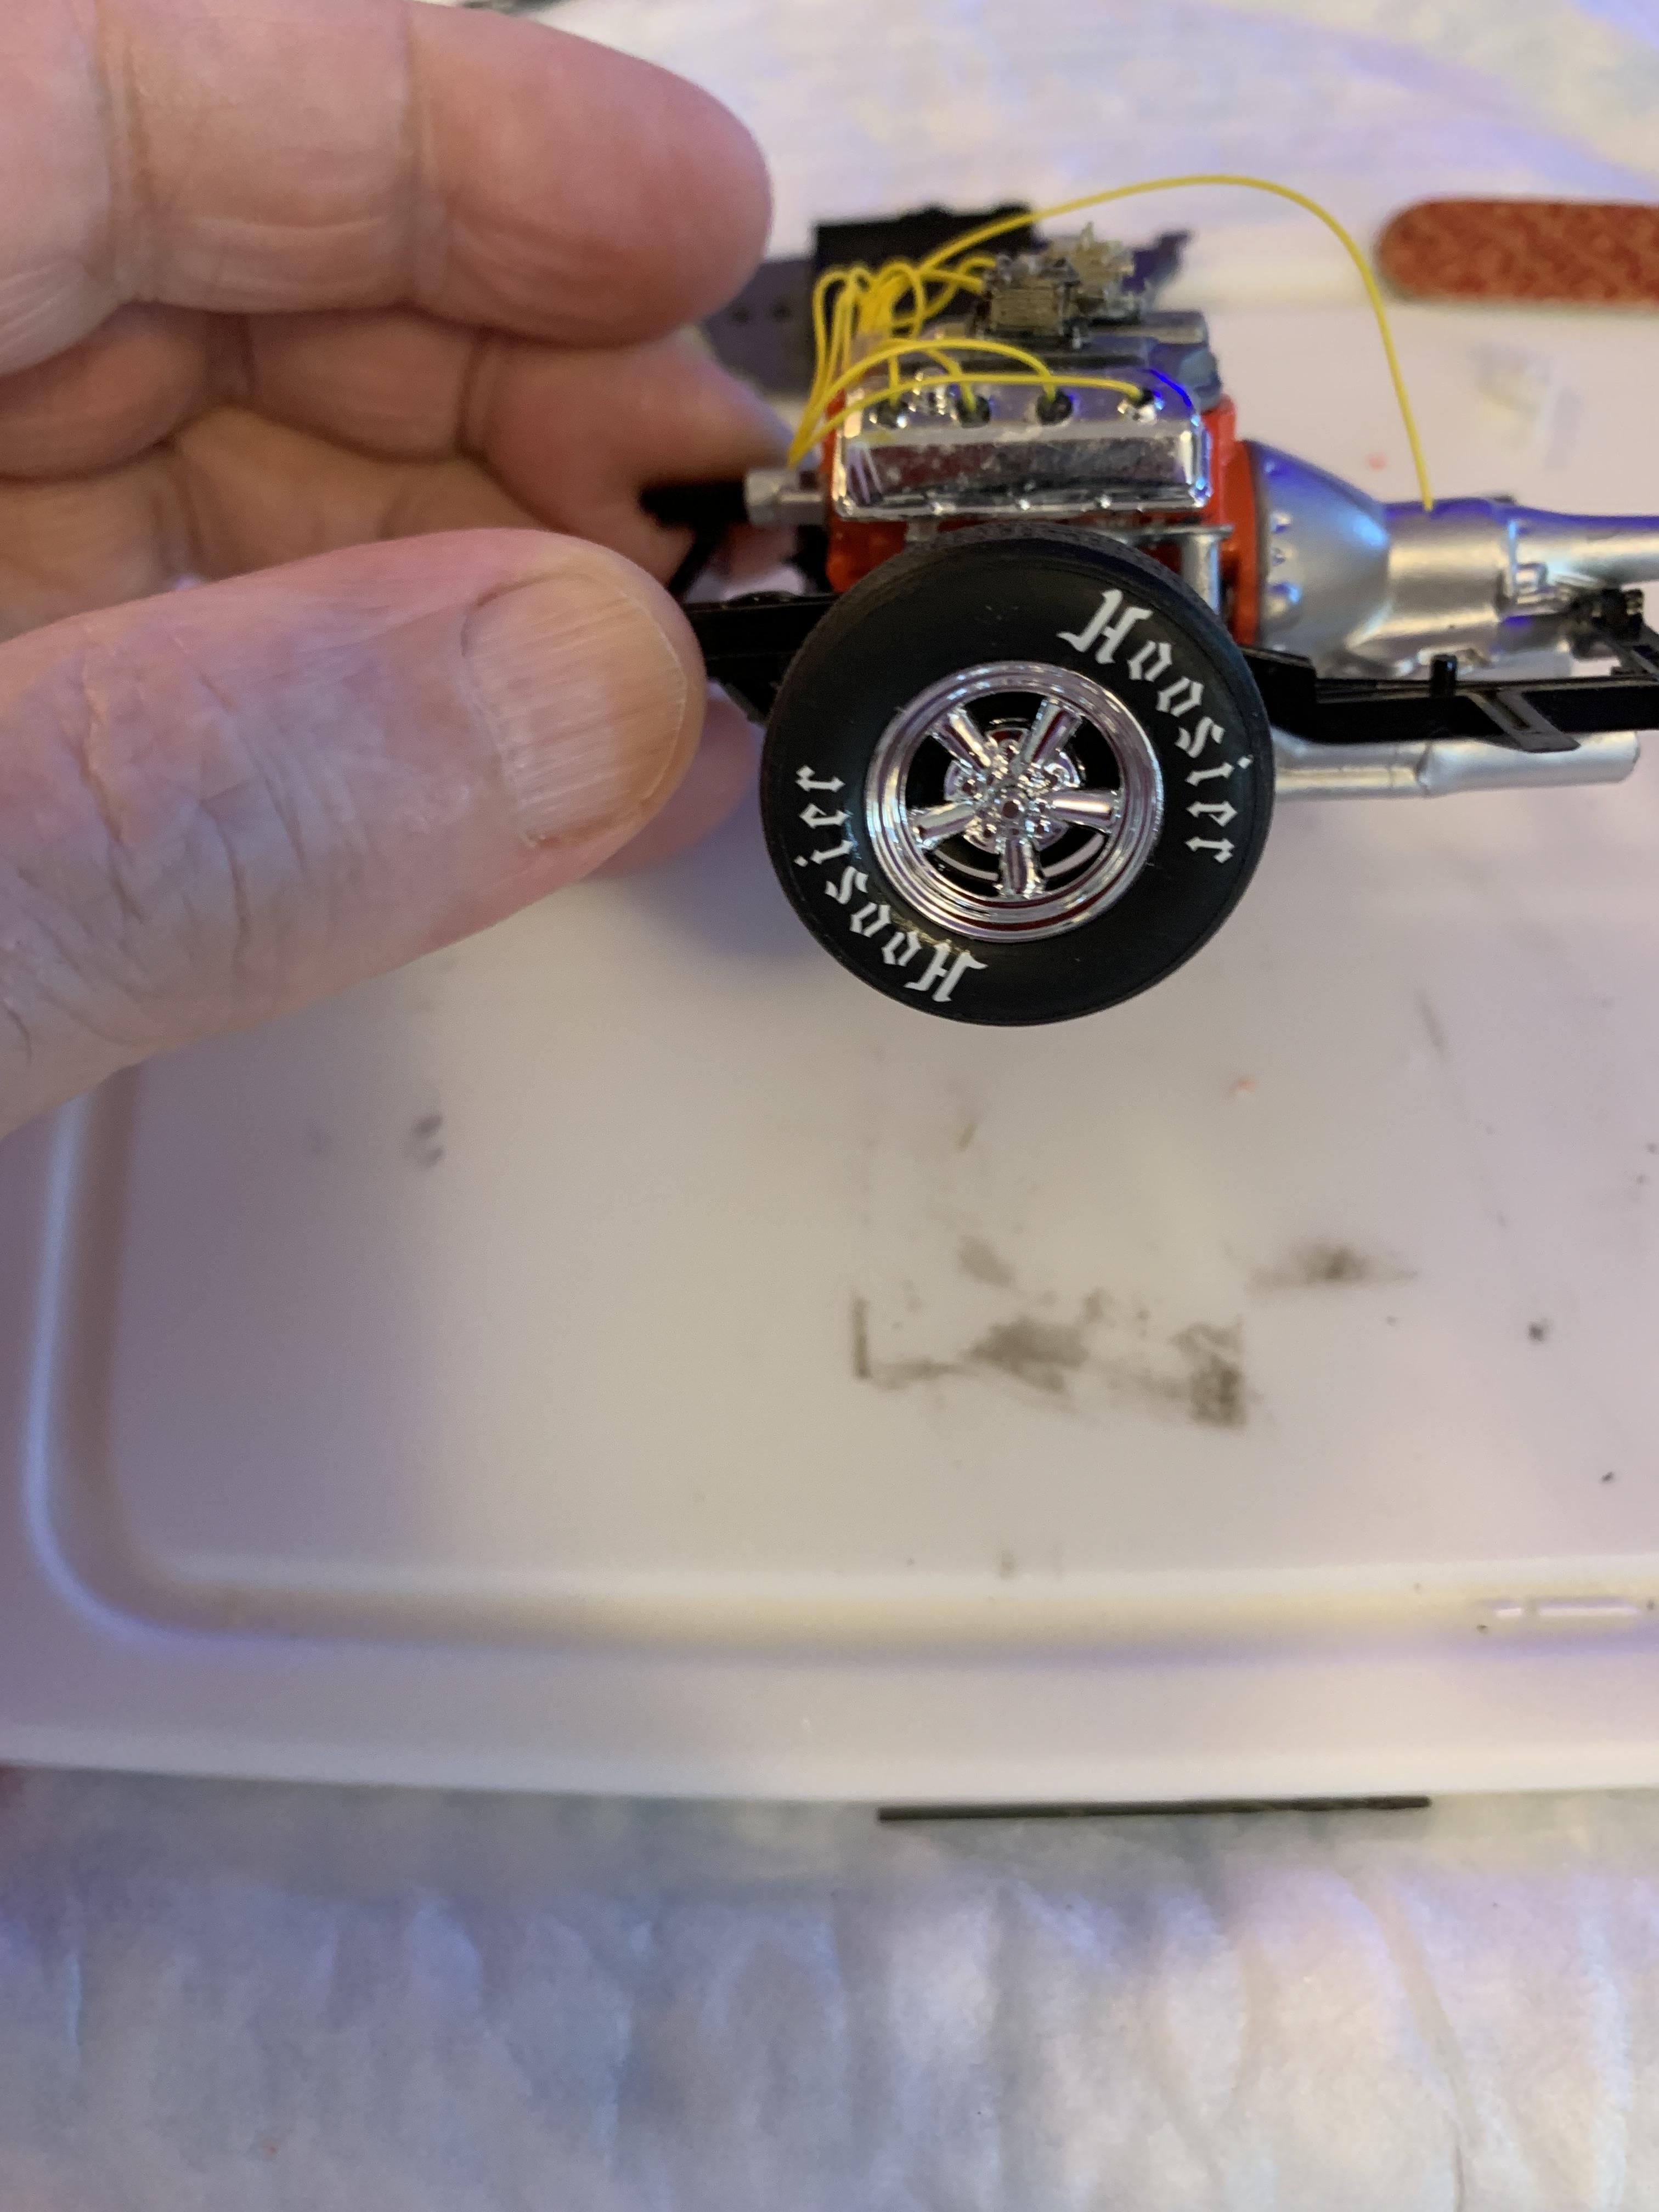
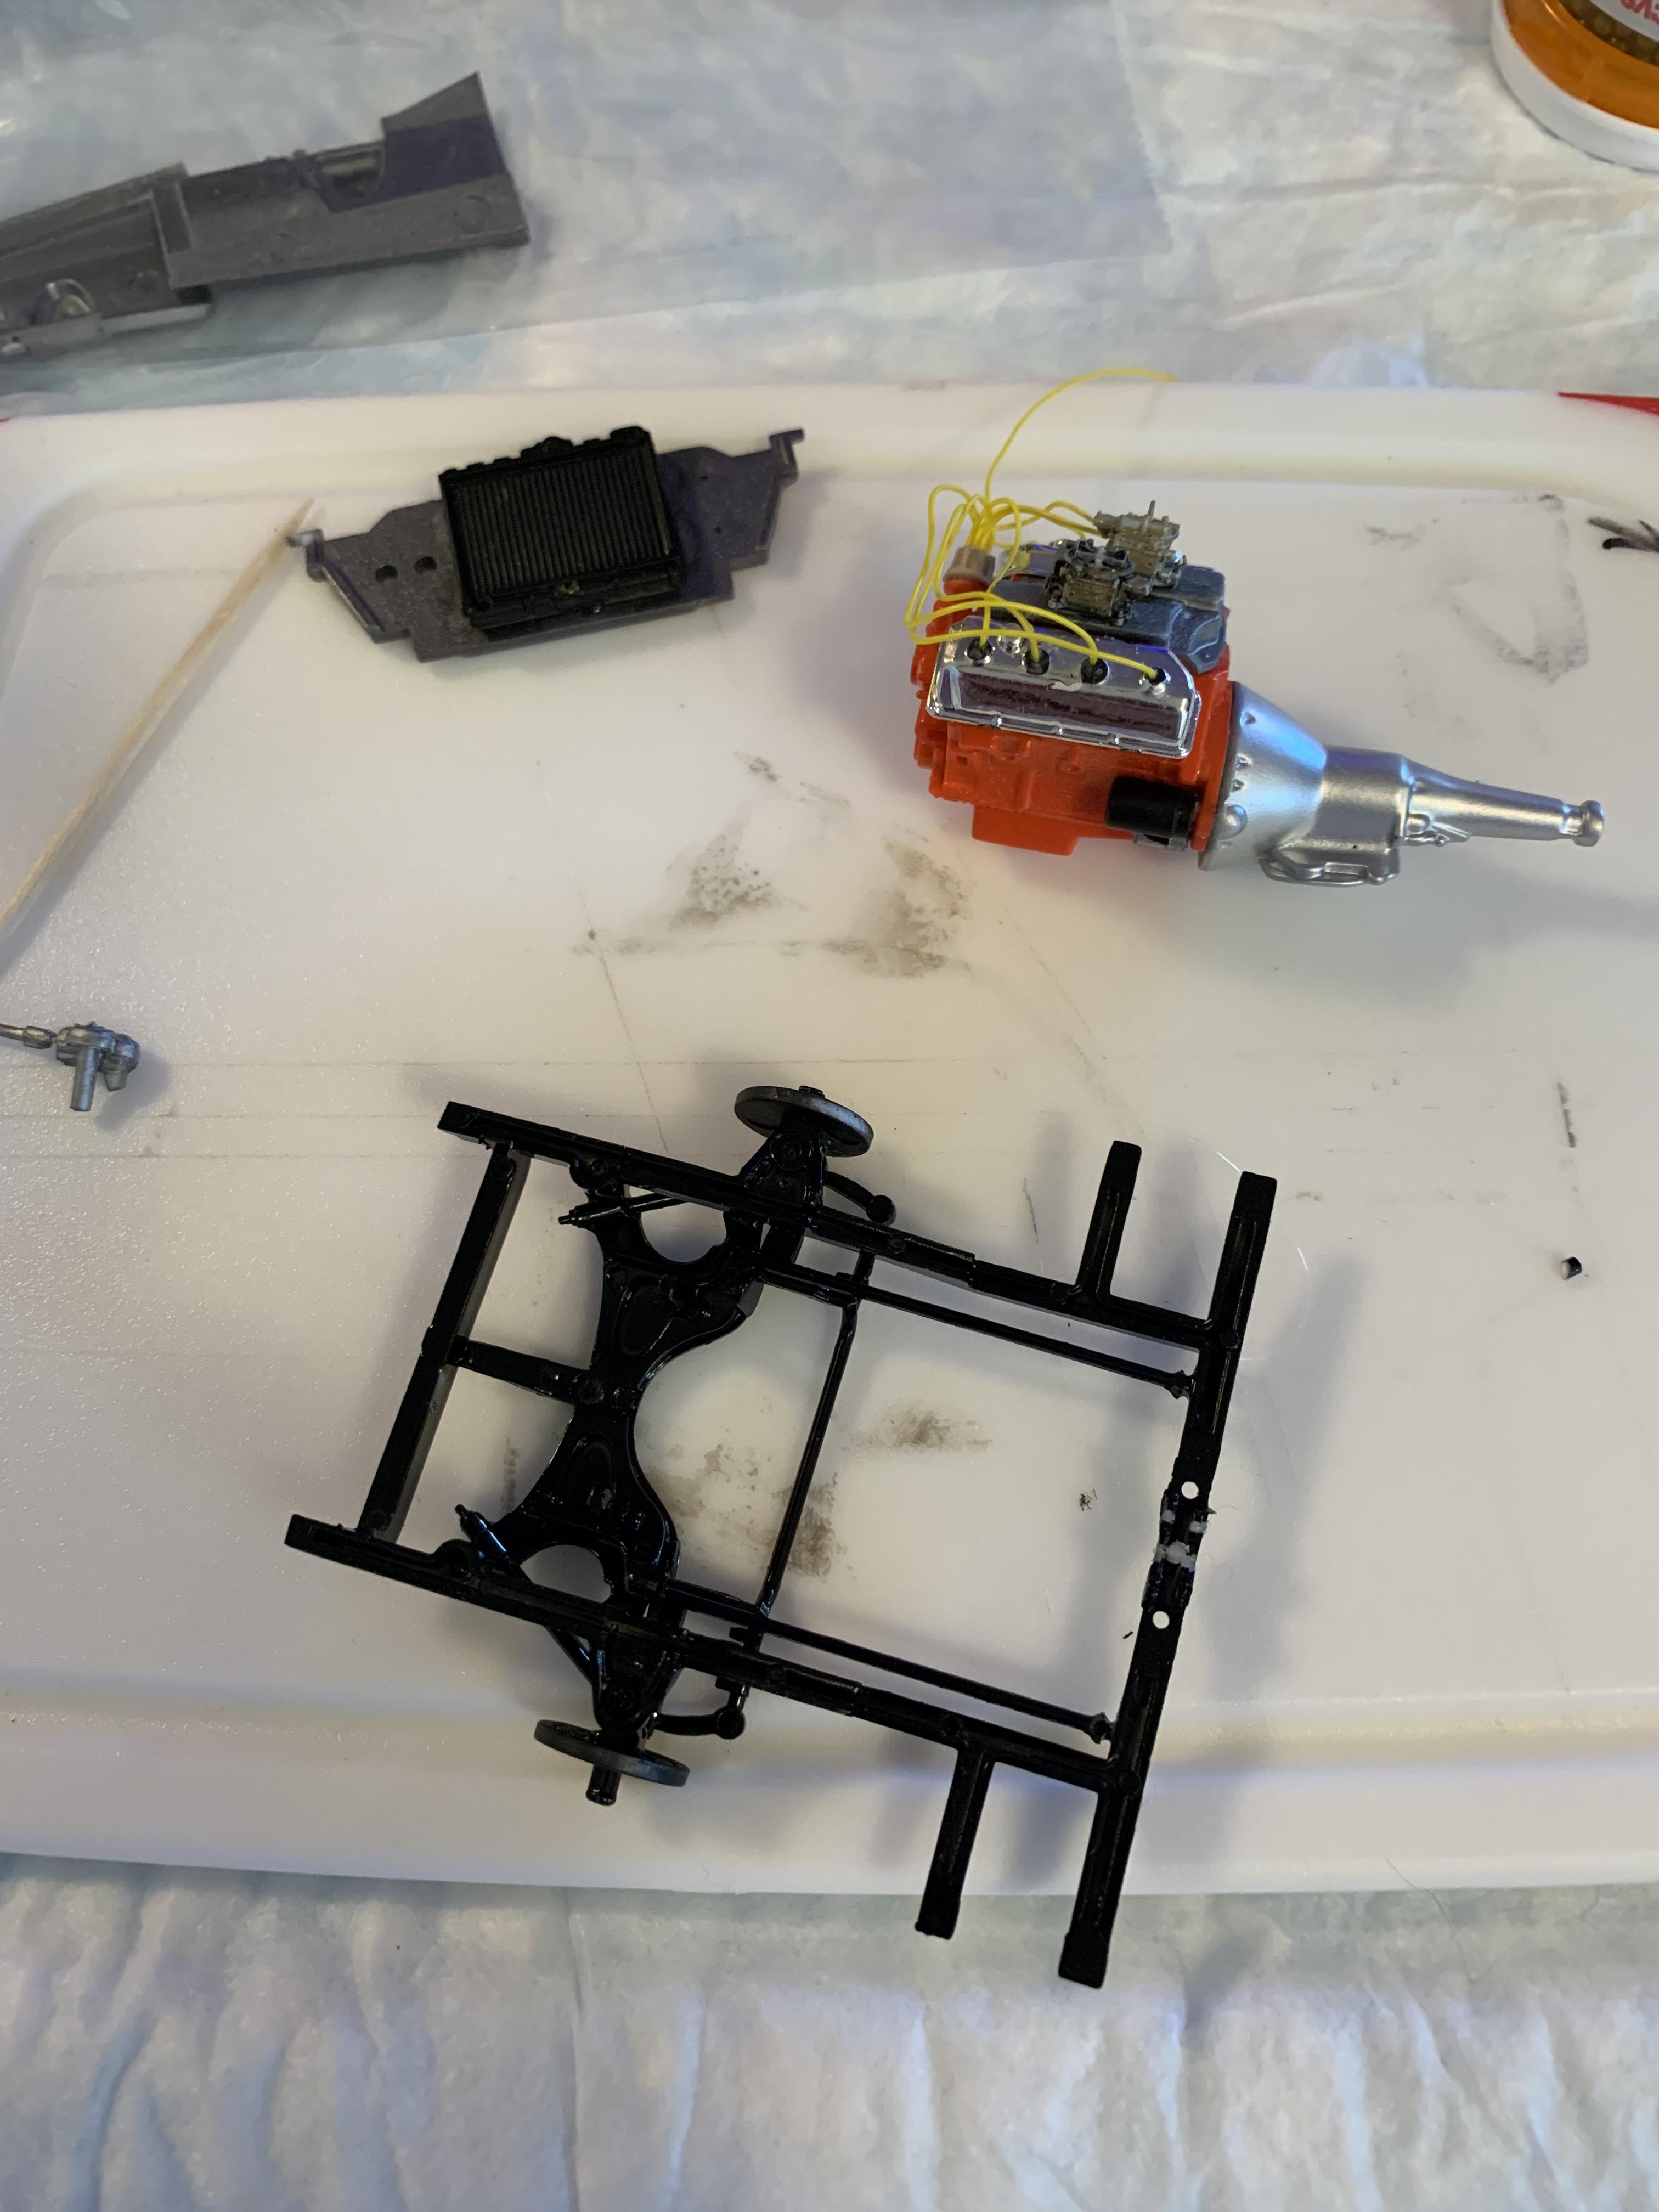
More small progress. Trial fit slicks. Seems ok. Glued inner fenders, radiator support, trans pan, and shifter on. I had forgotten how stringy the thick stuff from Hobbylobby was, so marked it on the bottle. I like the little gel tubes, but they don’t last very long. Succeeded in knocking the left side header off, while trial fitting the interior side panels. Started on roll bar.
-
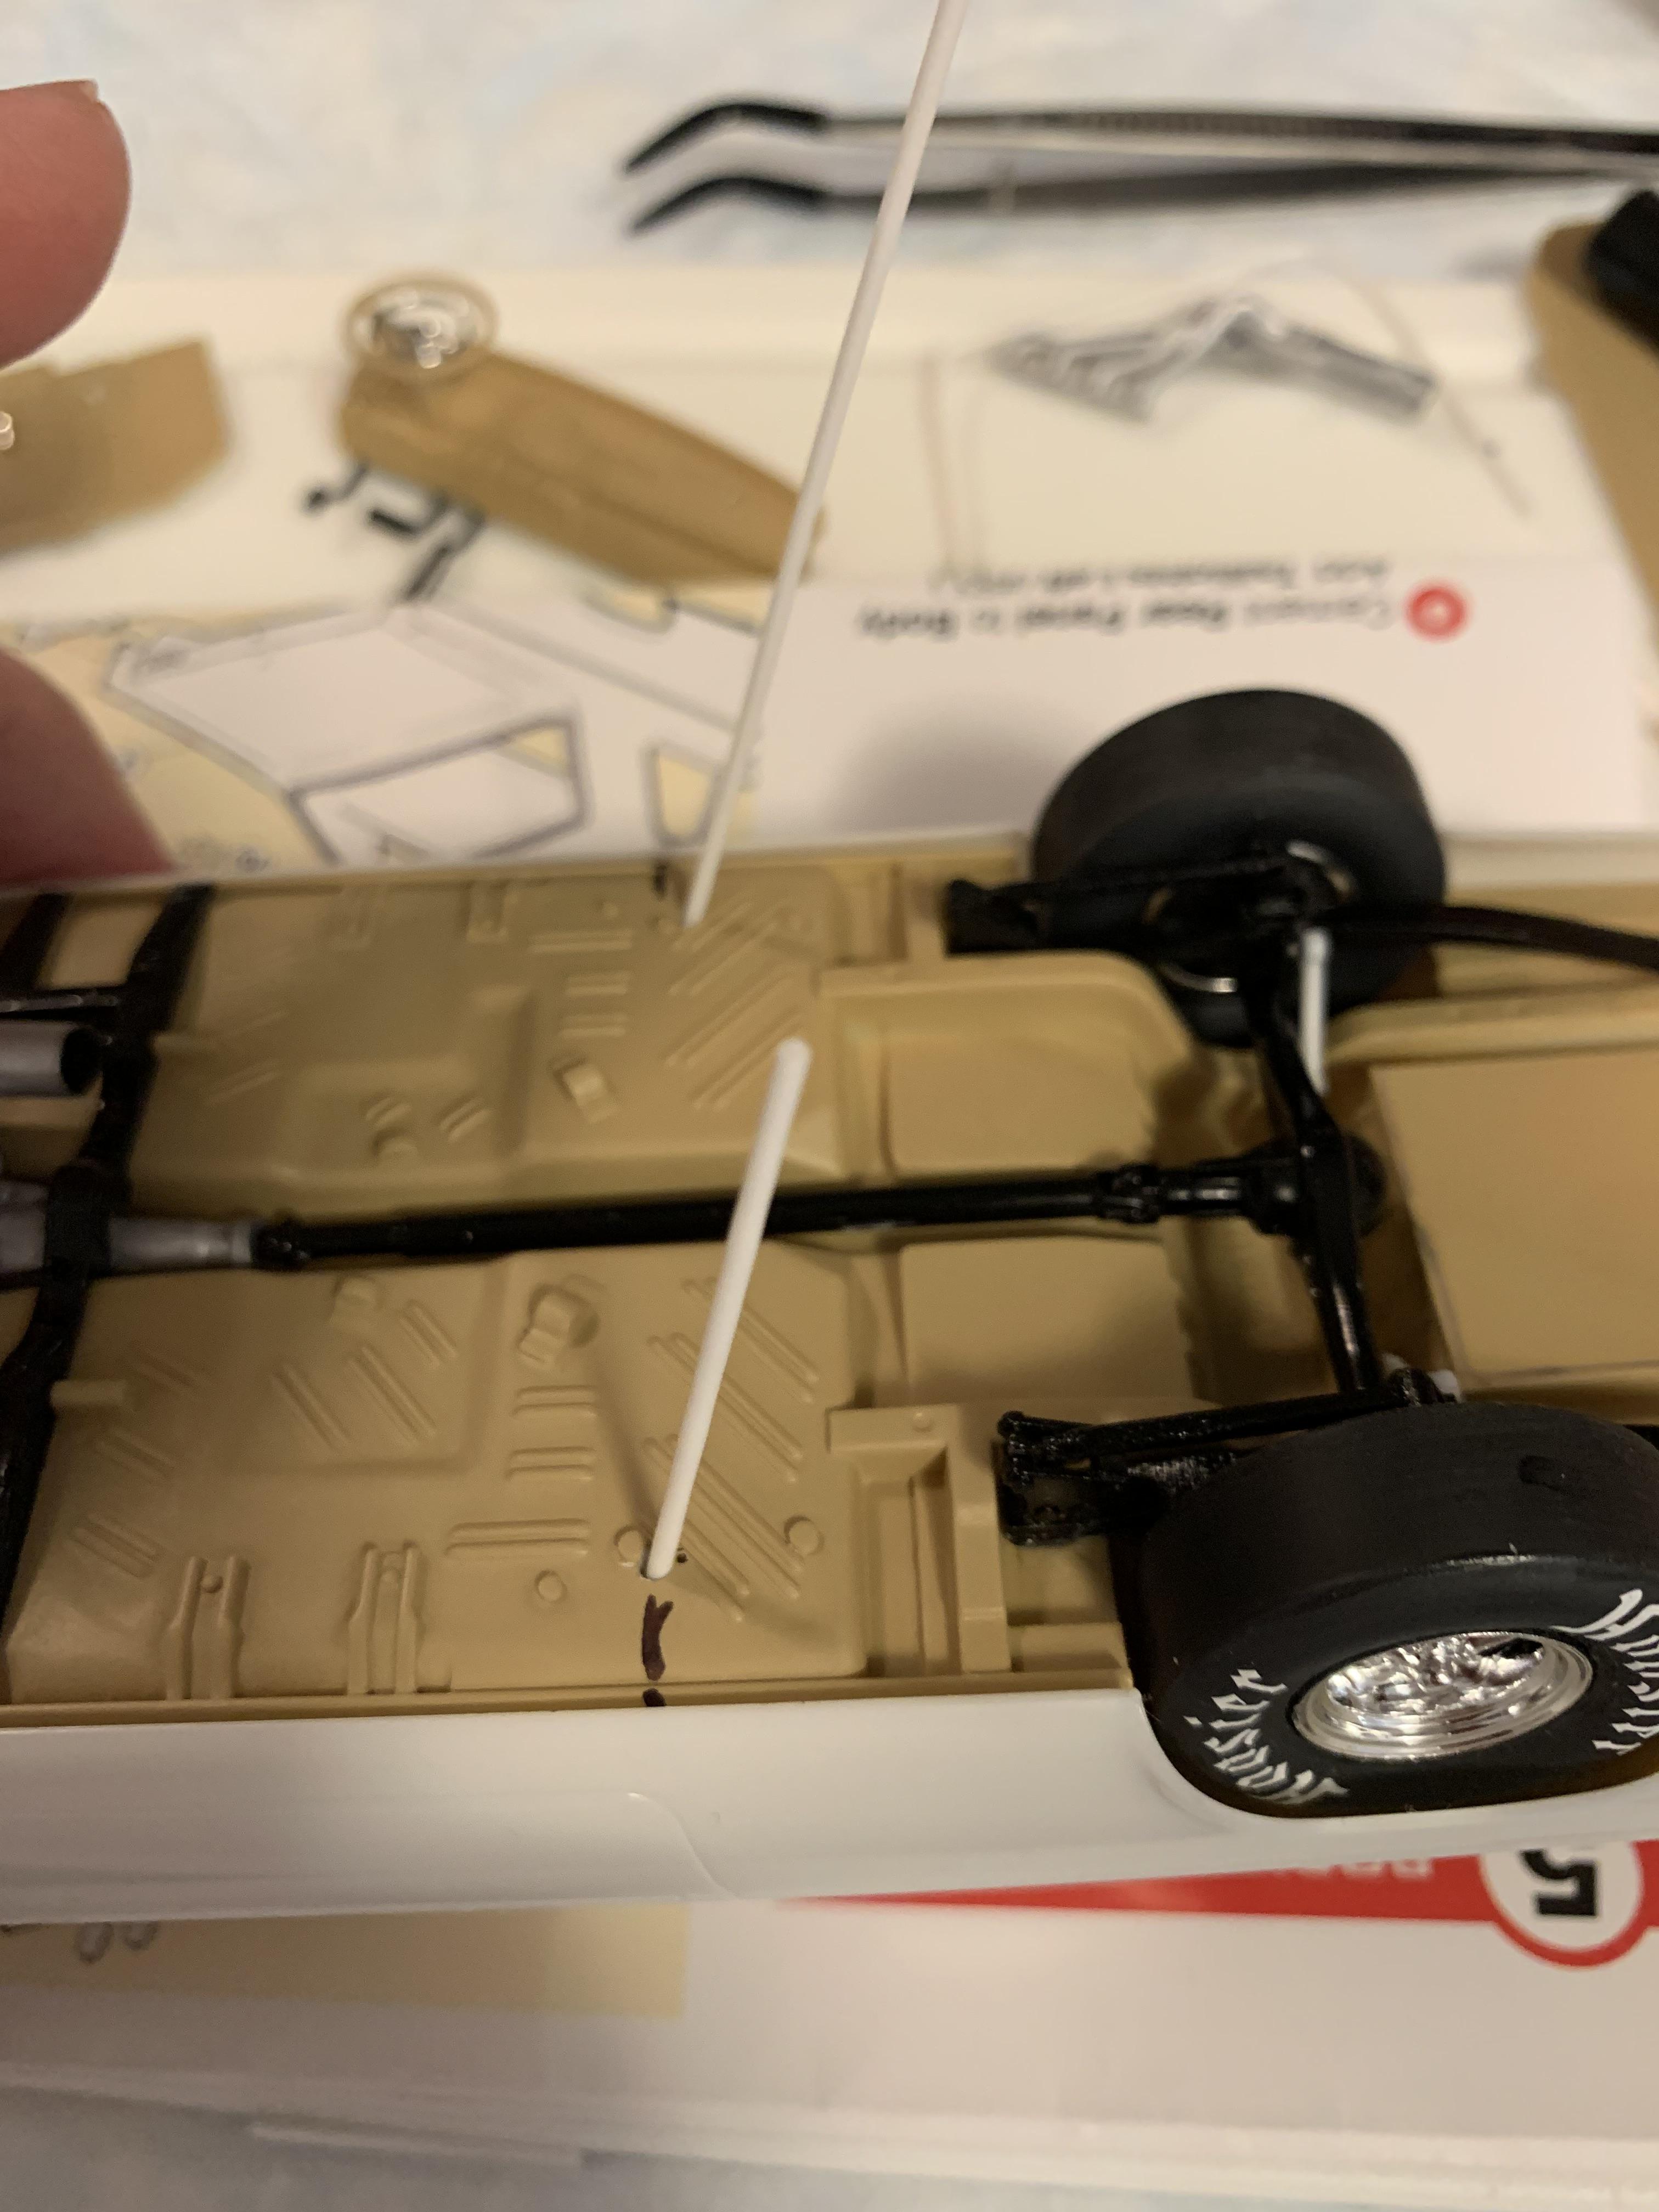
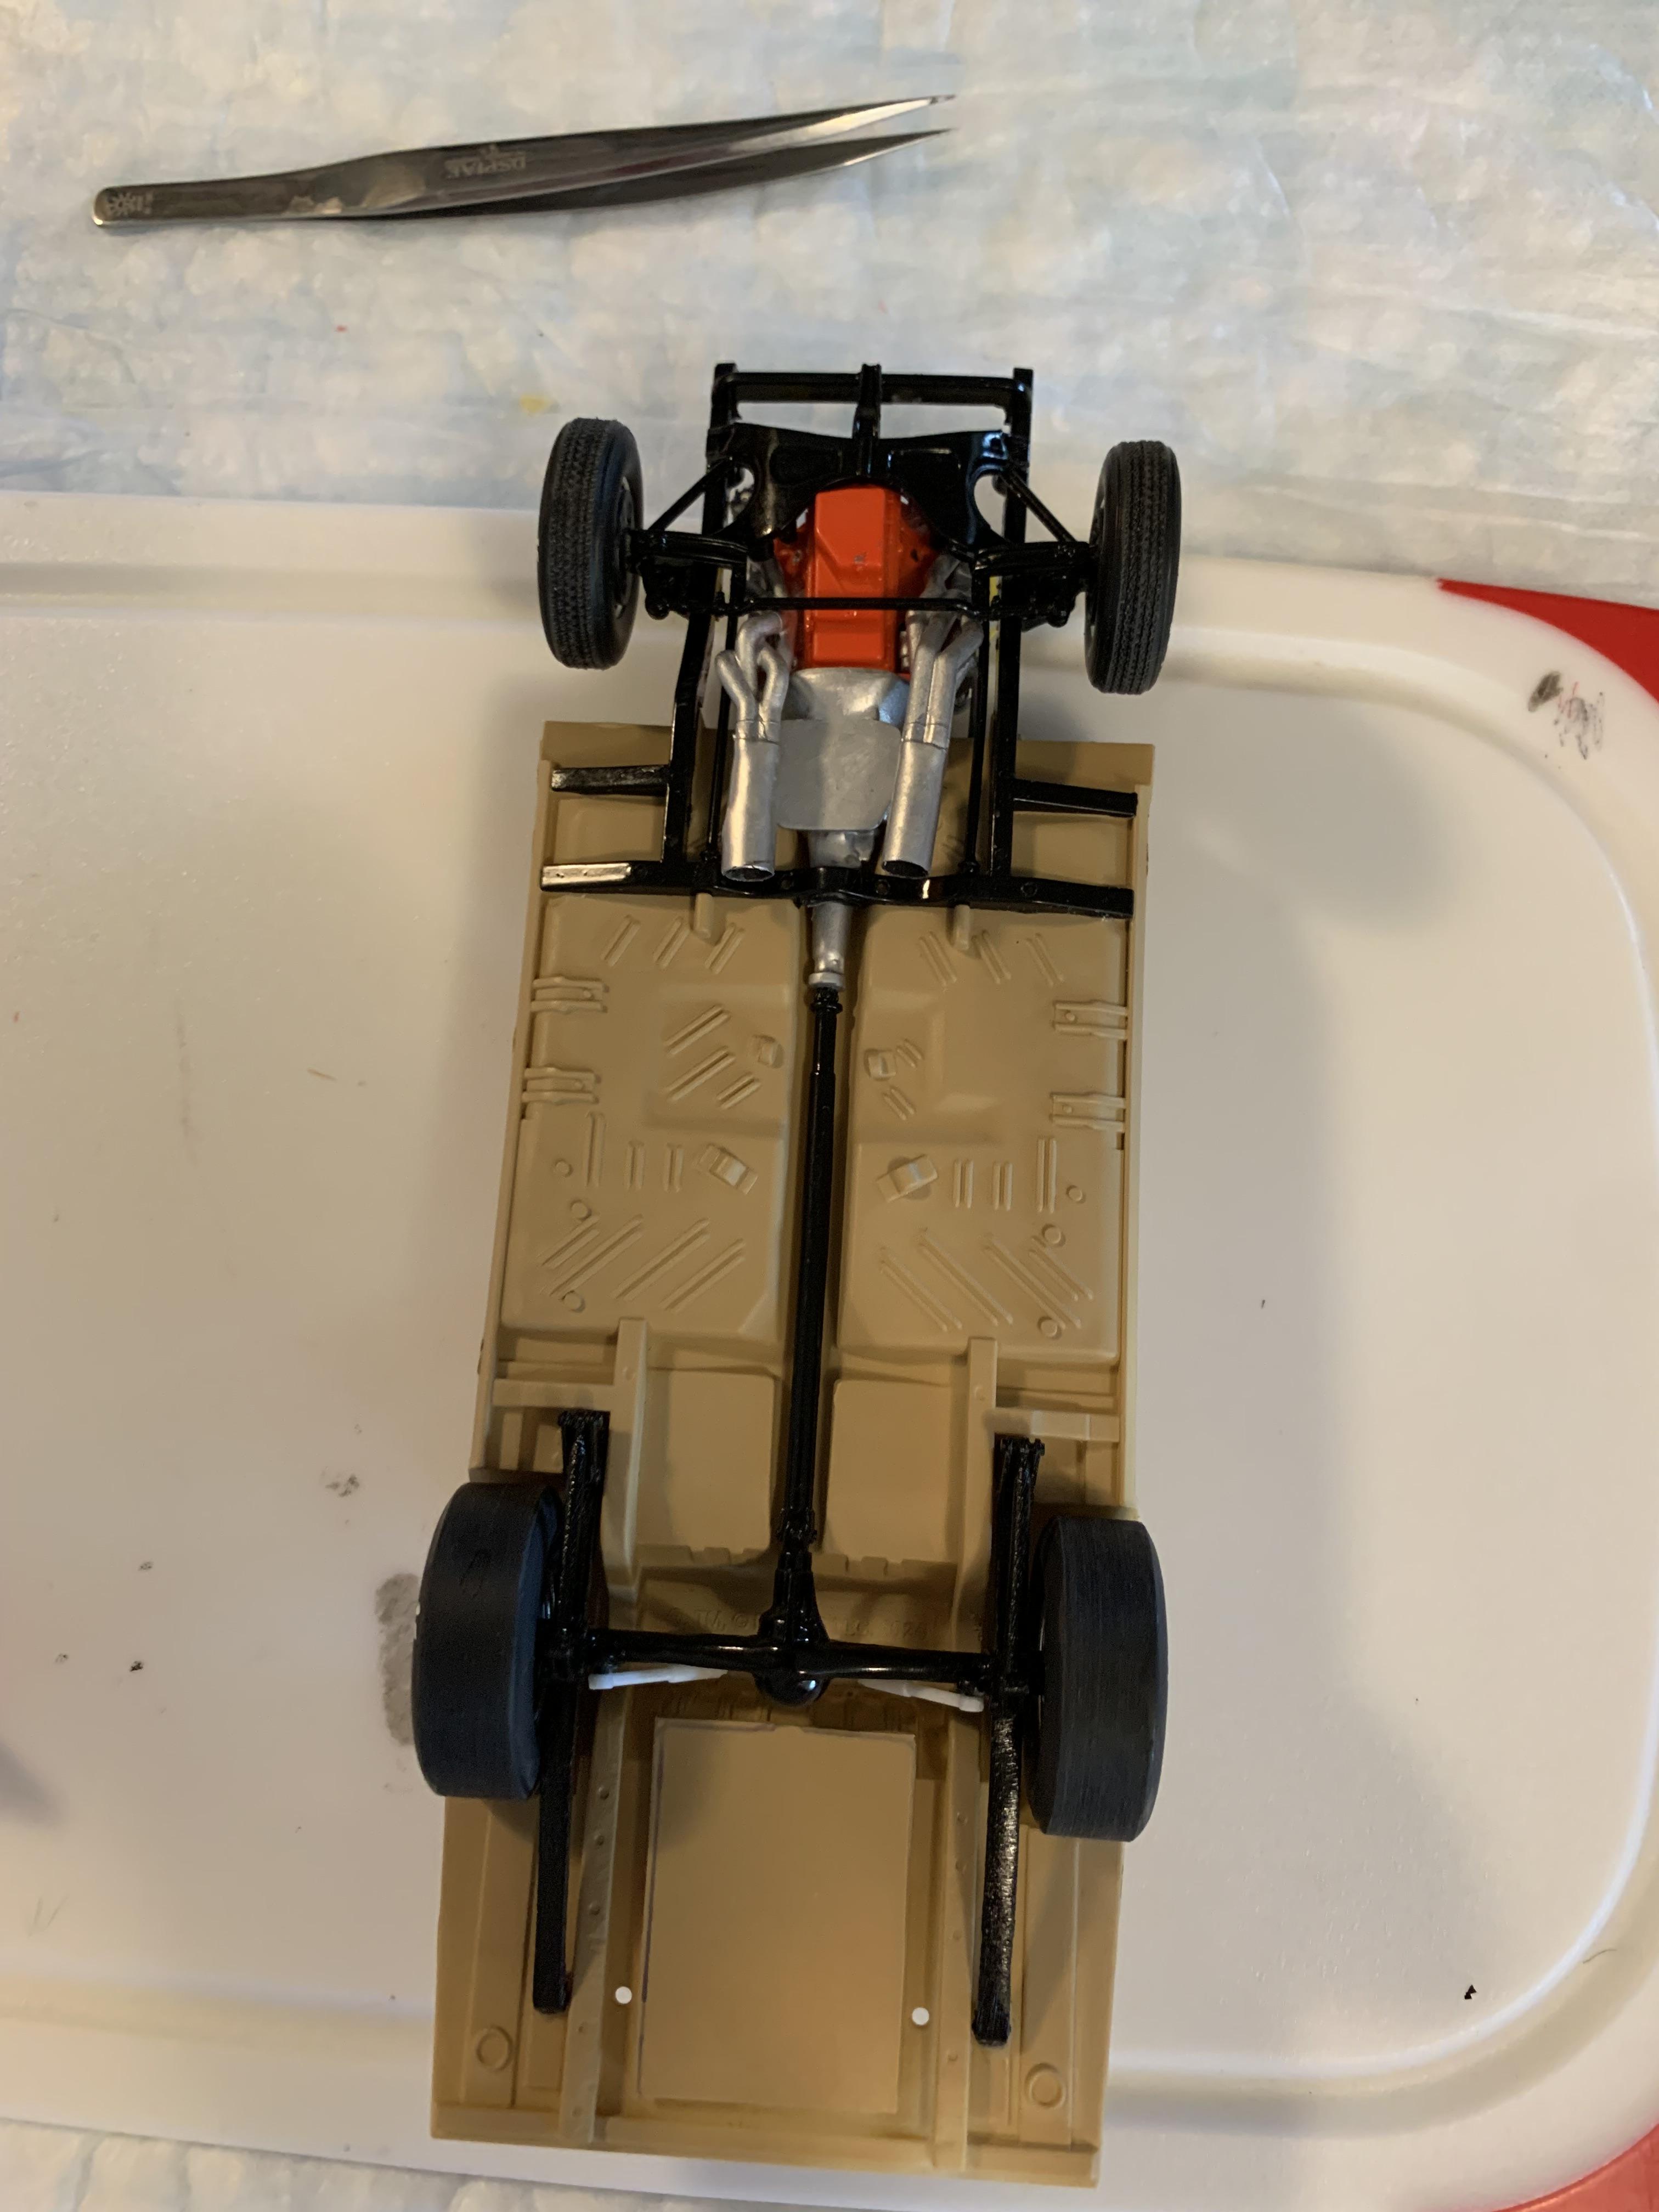
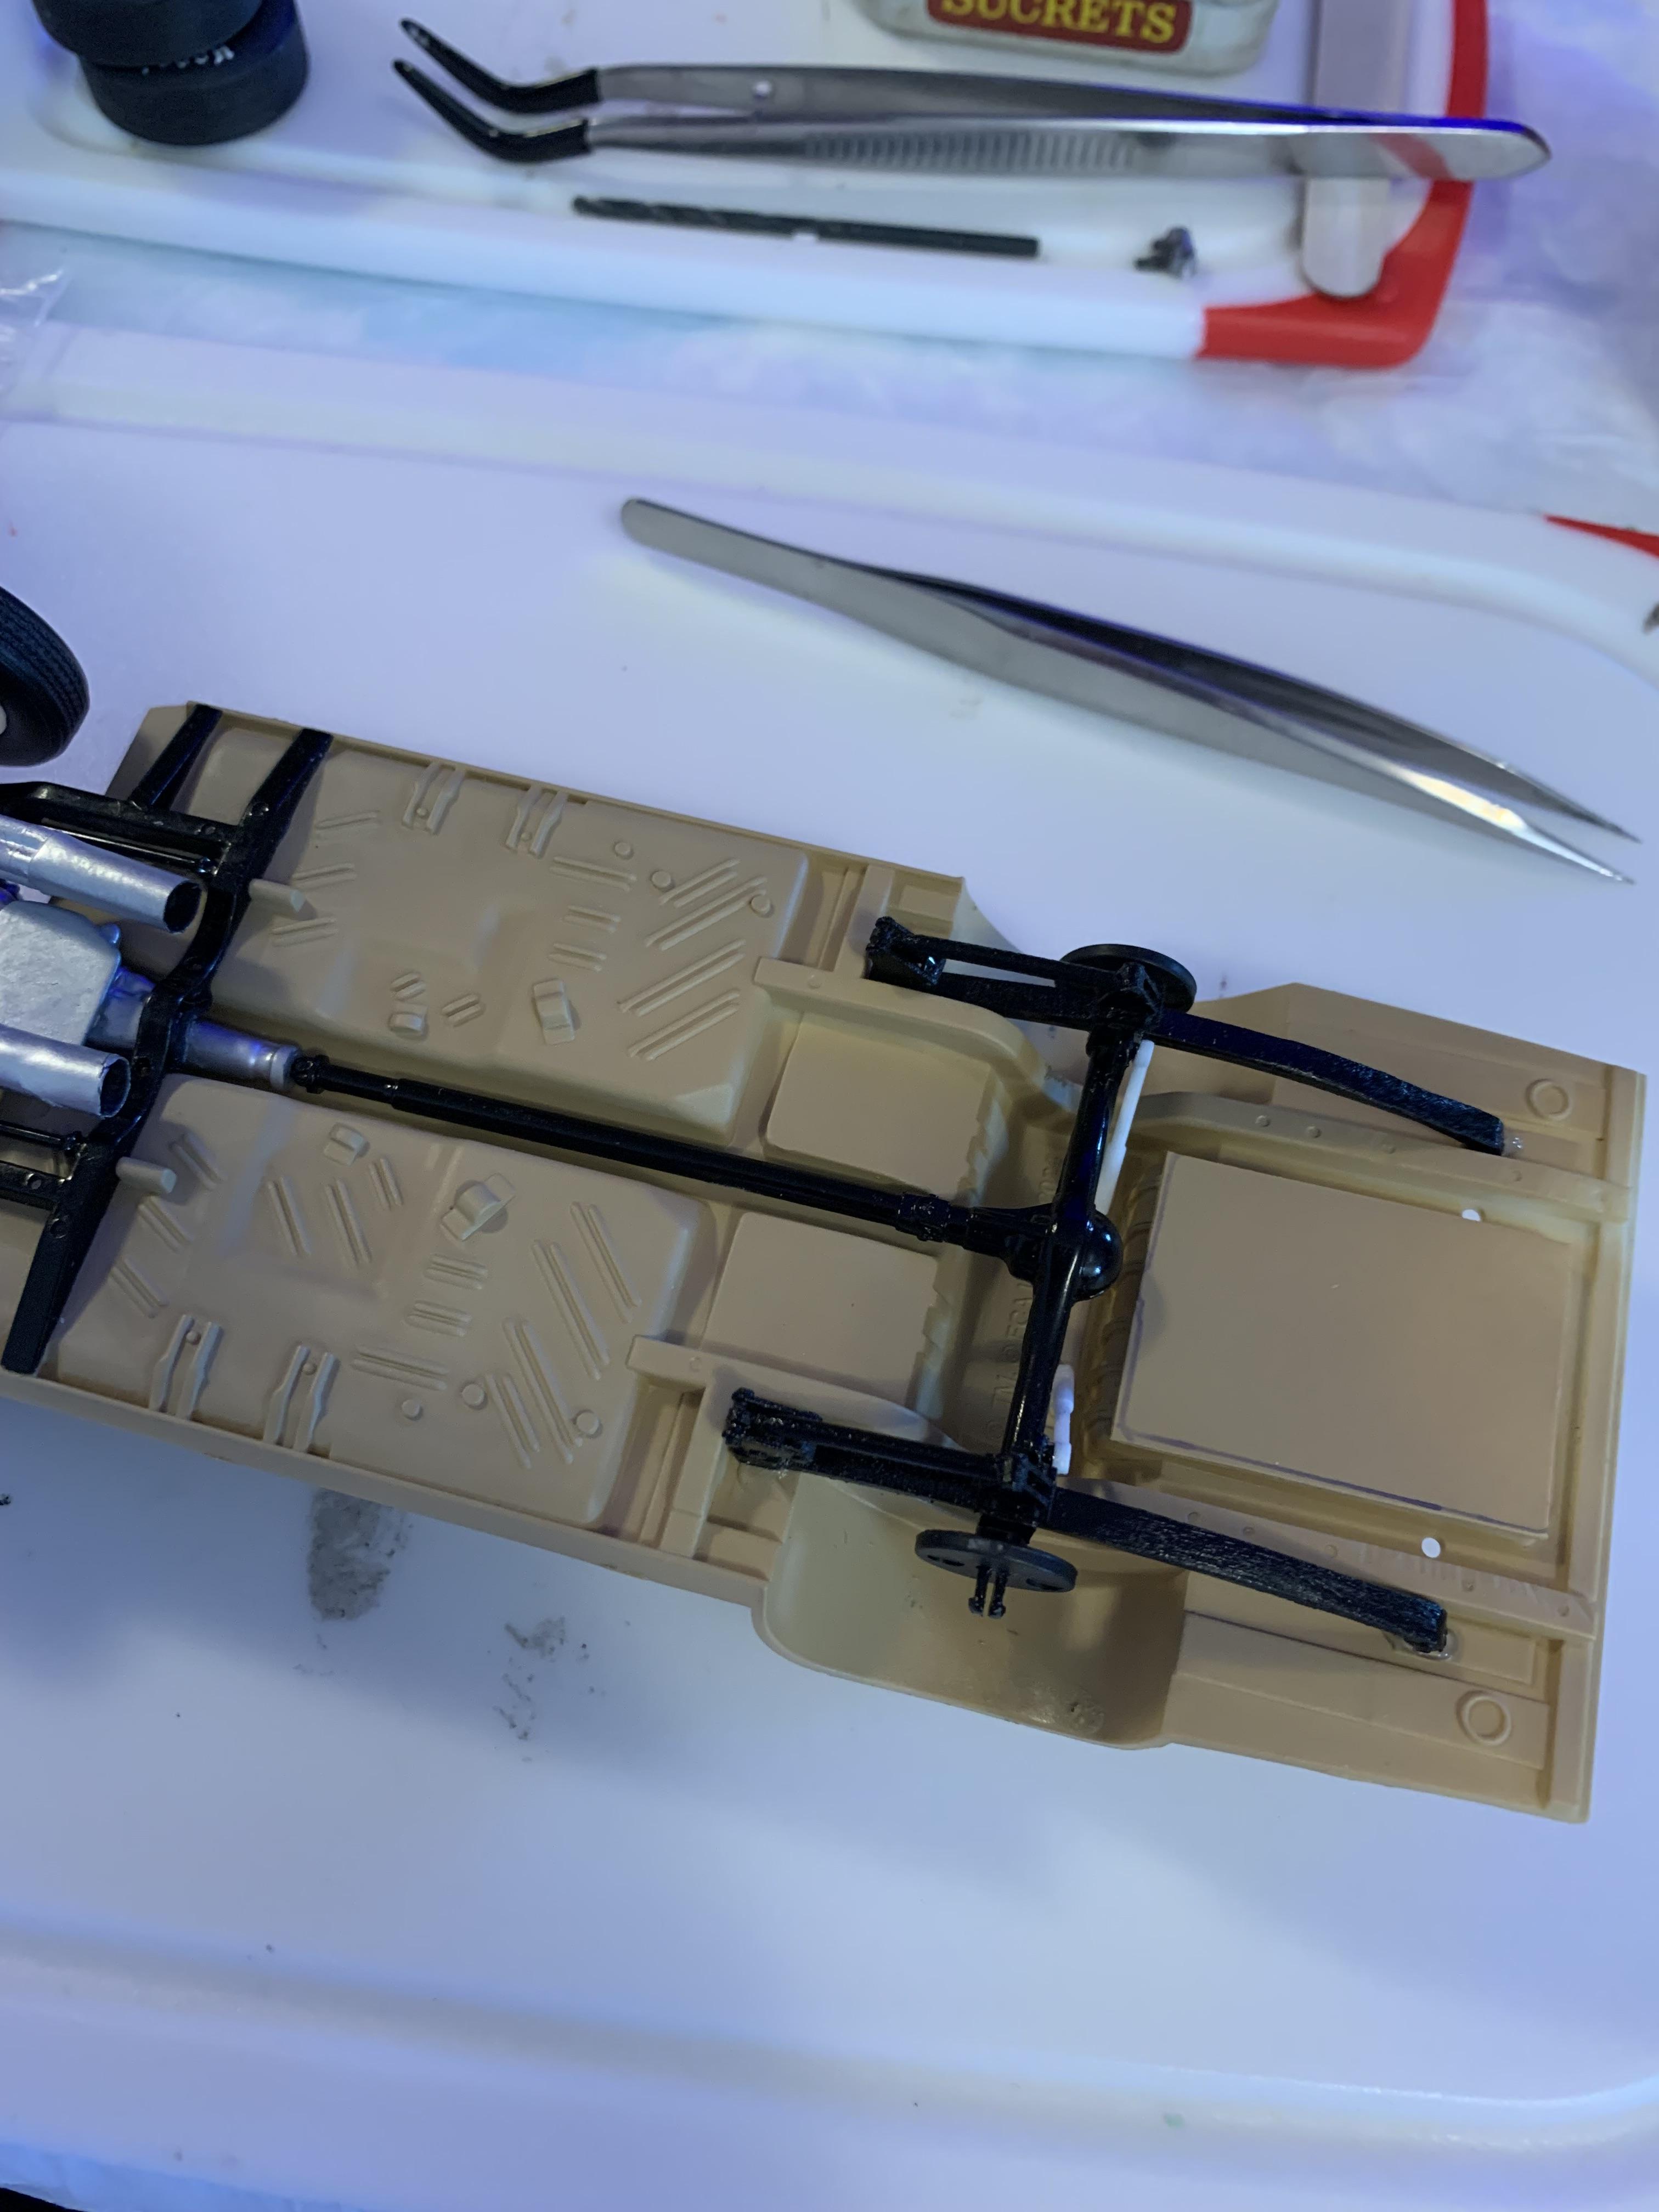
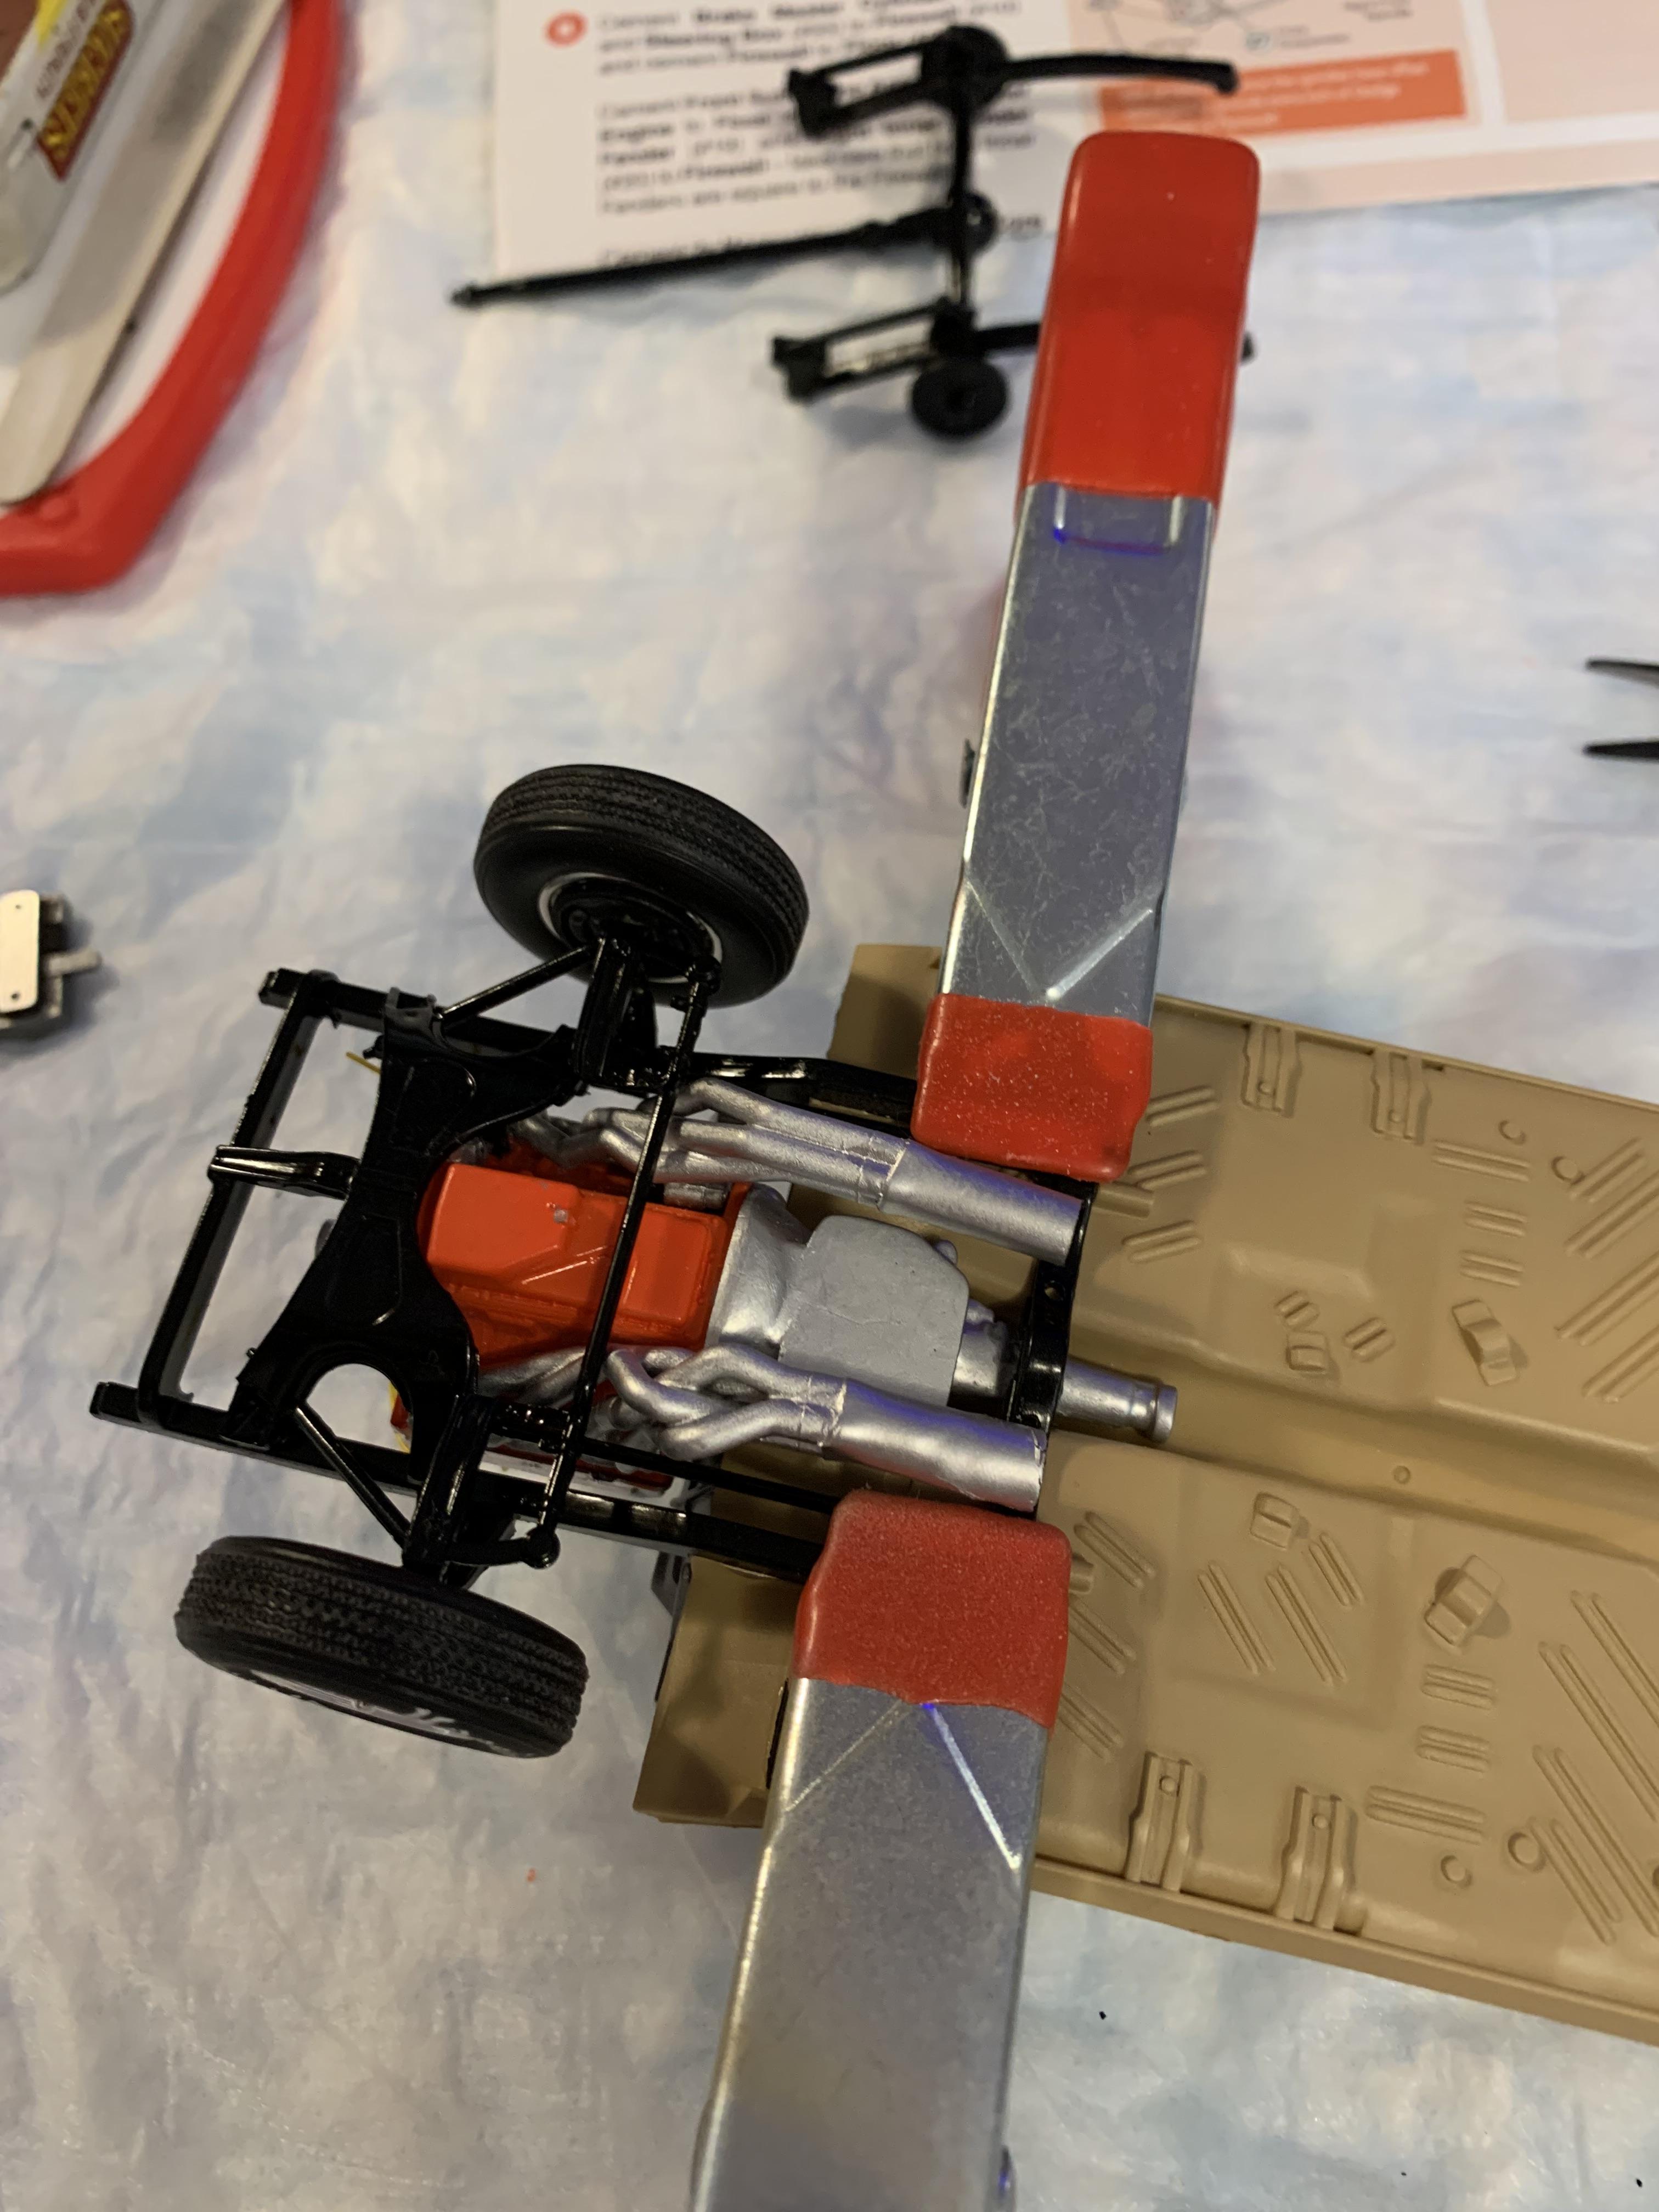
Installed rear axle, shocks, and backing plates. Yes, I know, the car should have a Dana rear to hold up in contemporary racing, but, believe it or not, some guys like Jared Jordan, run an 8 3/4 rear end. Anyway, to expedite matters and move this build along, an 8 3/4 it is. Trans length was perfect and rear snapped right in. Sprayed some ts30 on some shifters. Driveshaft loop still needs to be added.
-
Glued and clamped sub frame on. Put alternator/pulley on. Realized steering box was not going to fit because of different headers. Shocker, right? lol. Changing one thing upsets something else on the build. Decided to cheat and cut the steering box off and installed shaft. Don’t tell anybody, lol.
-
Thanks, Keith. I had forgotten that, I guess, you have to strip the insulation from the wire core, to make boots.
-
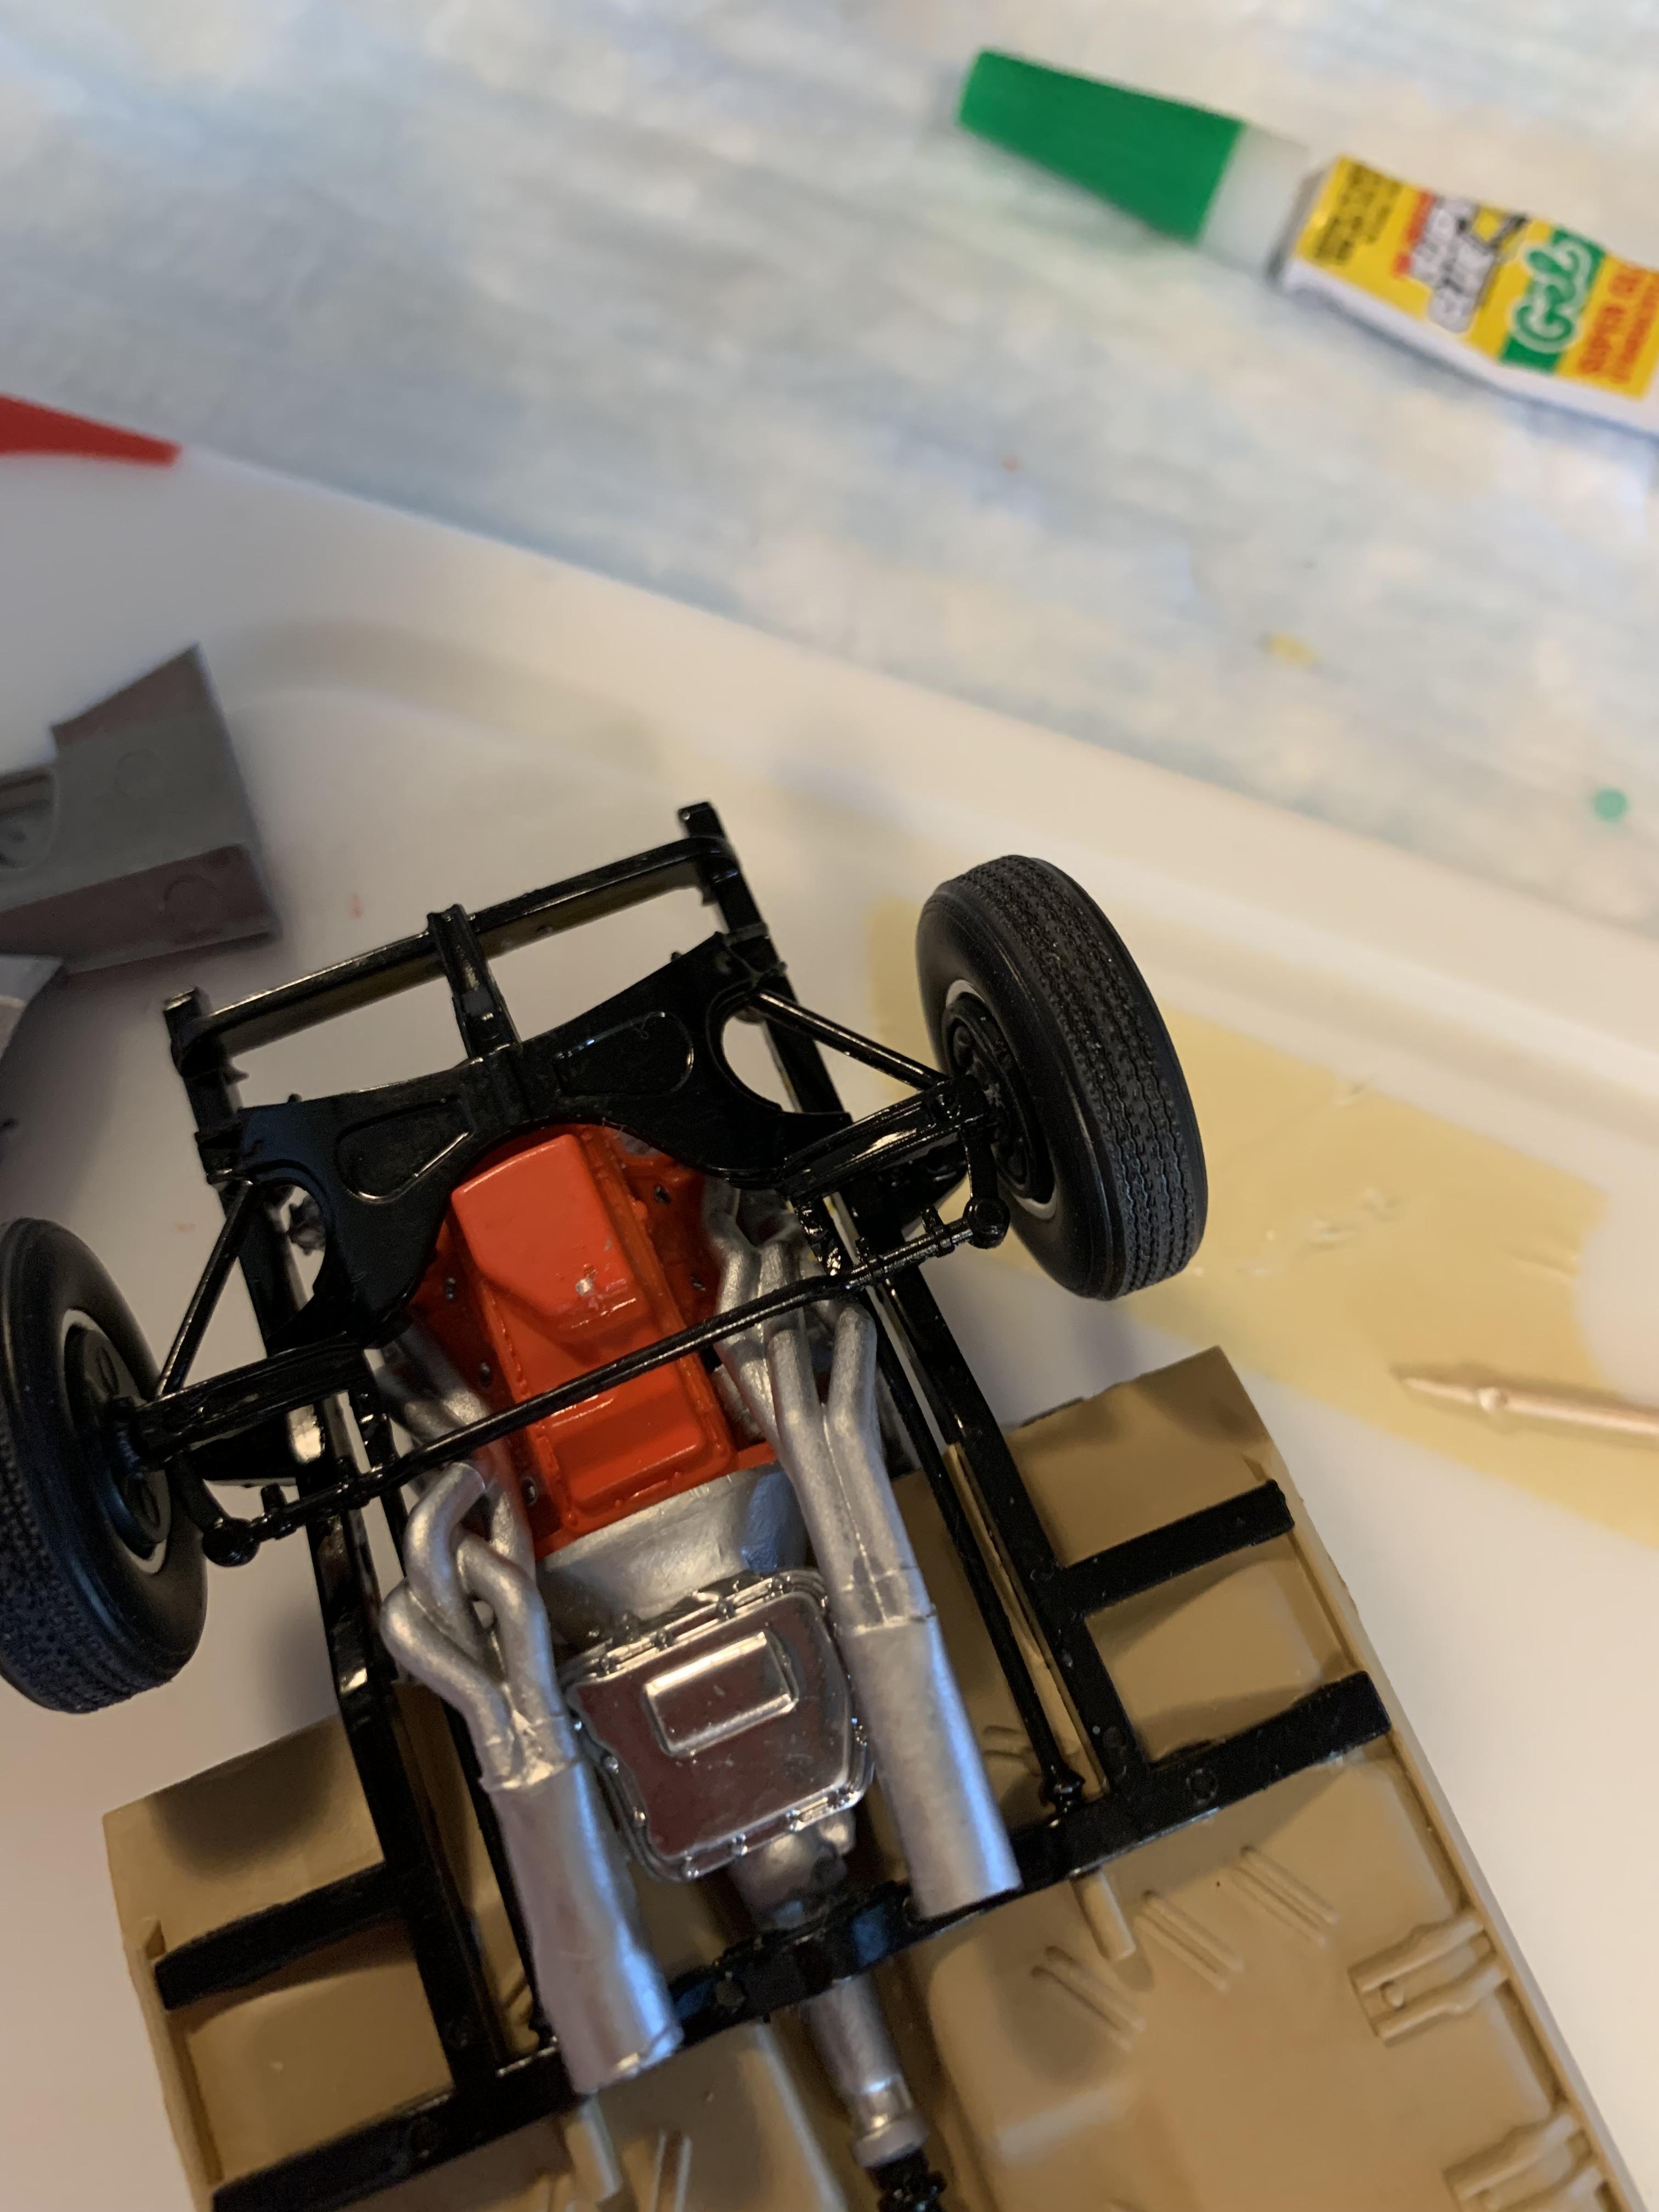
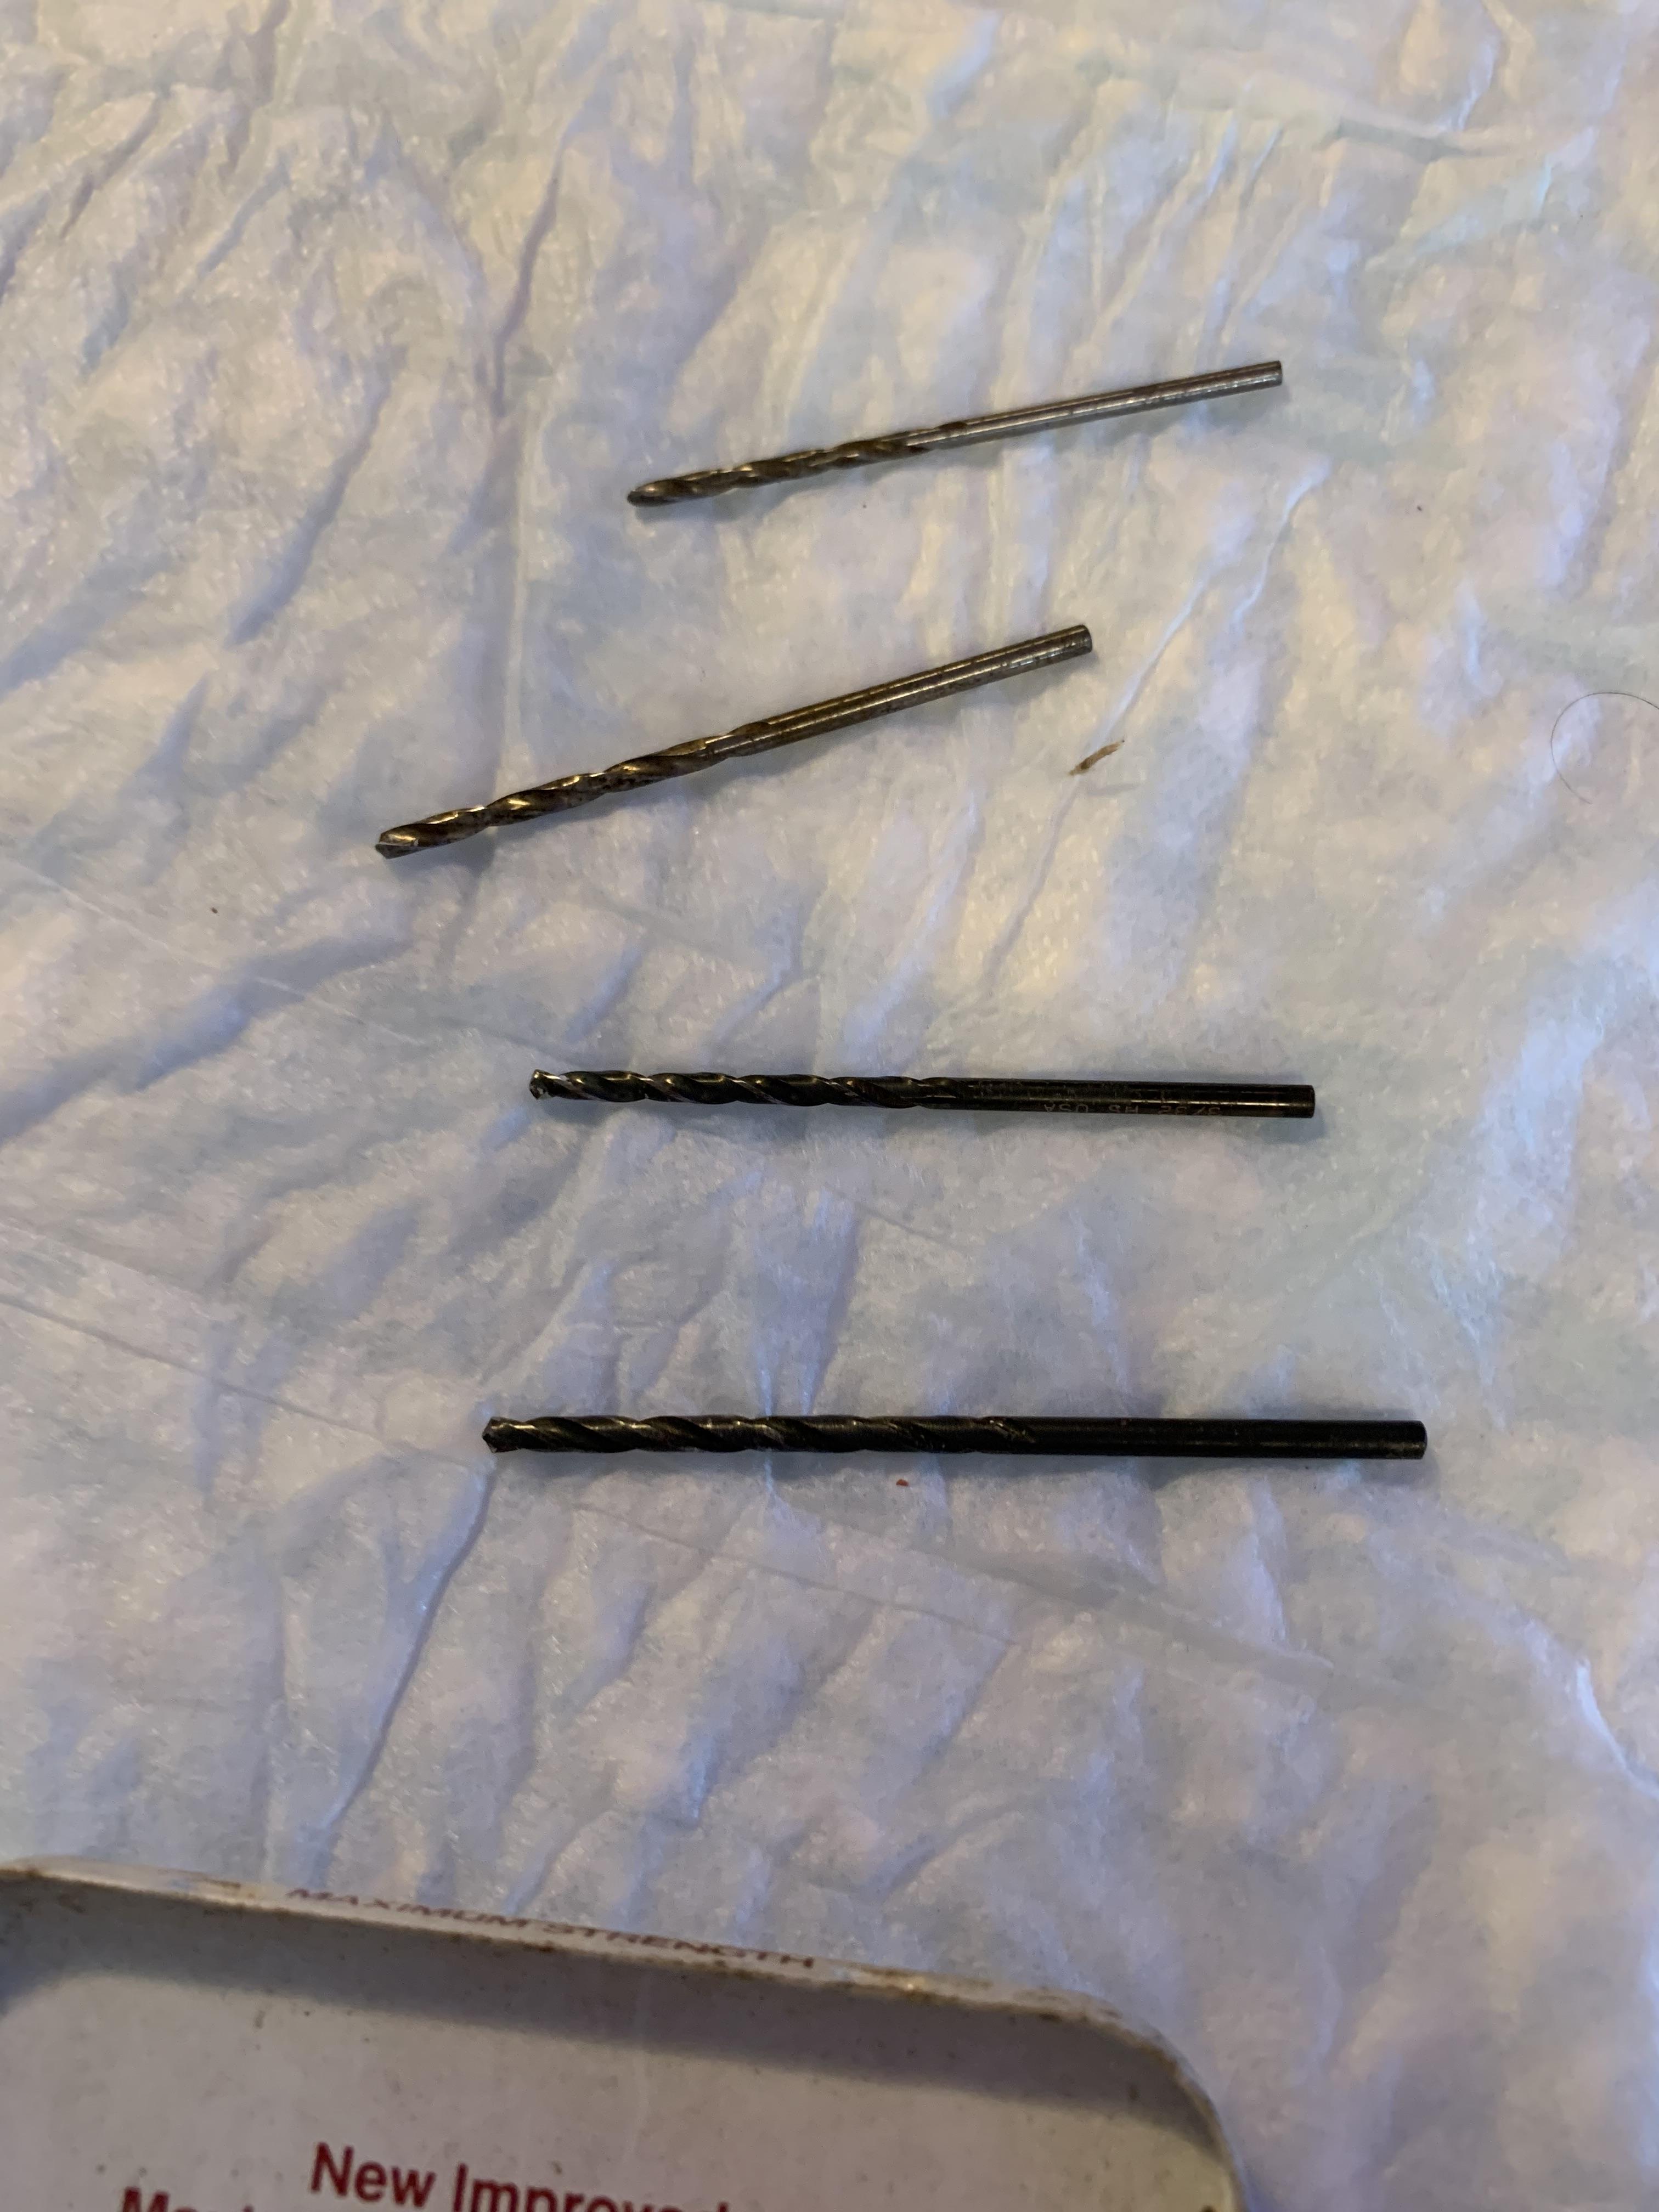
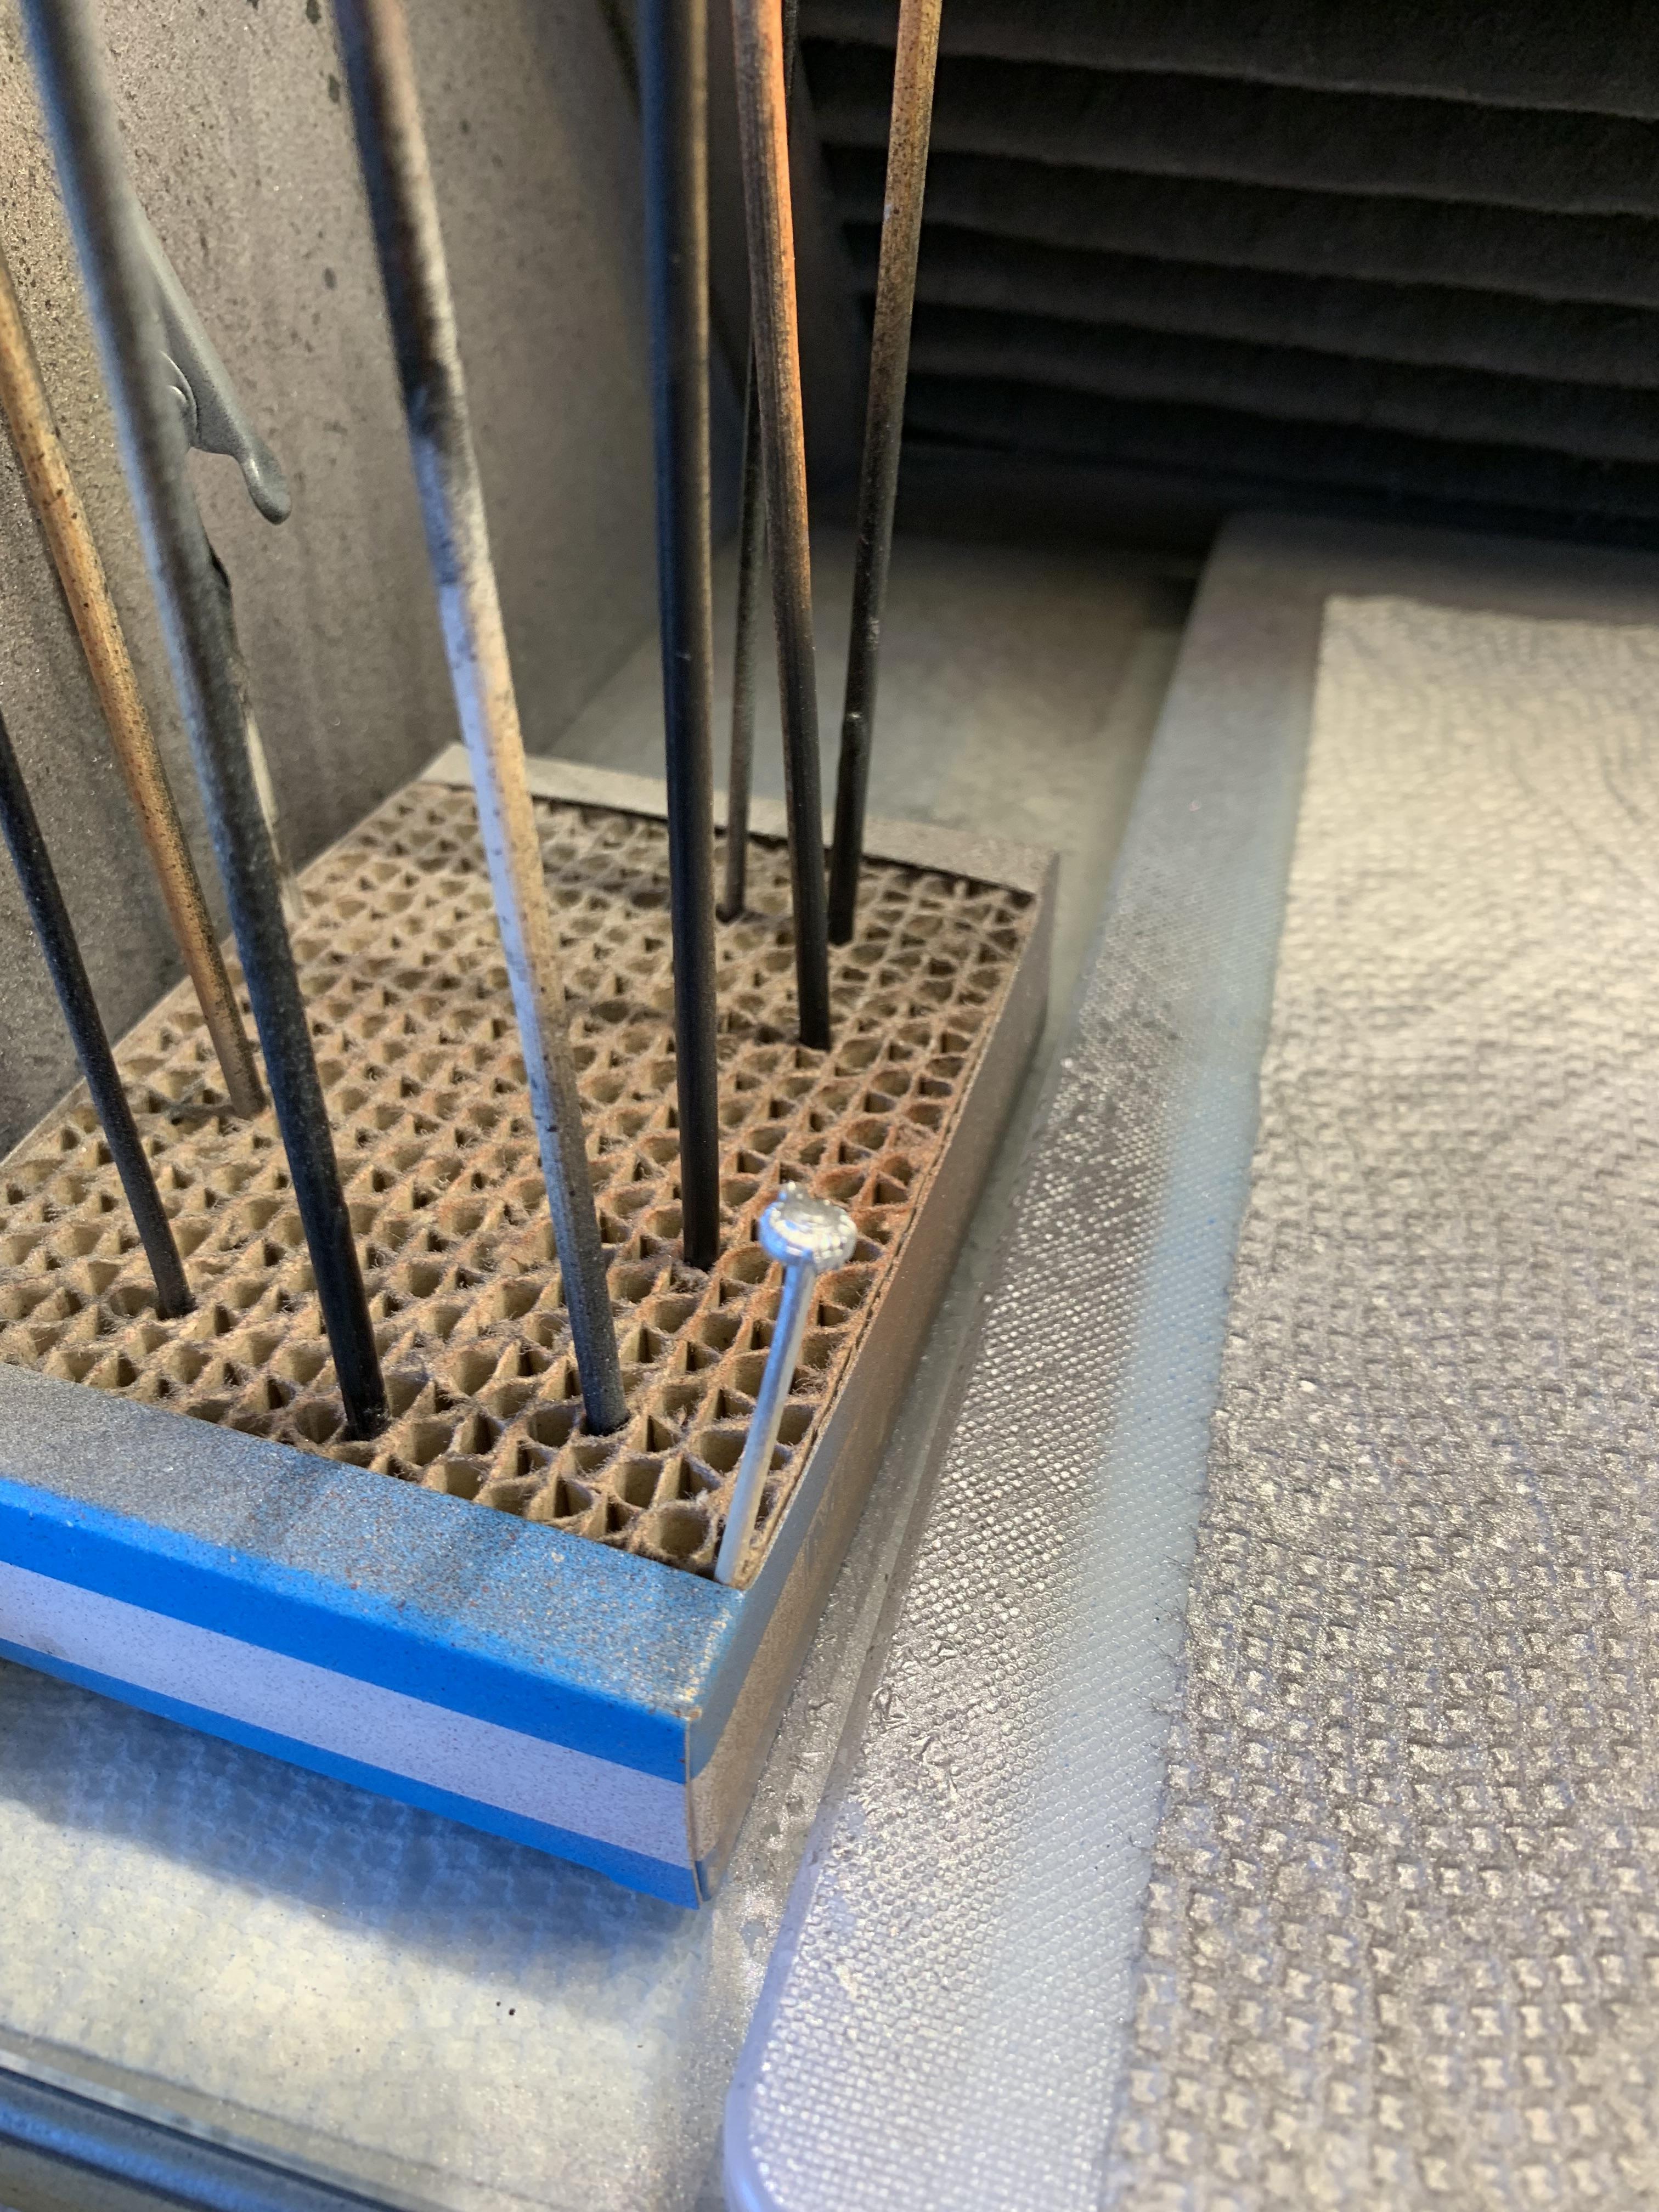
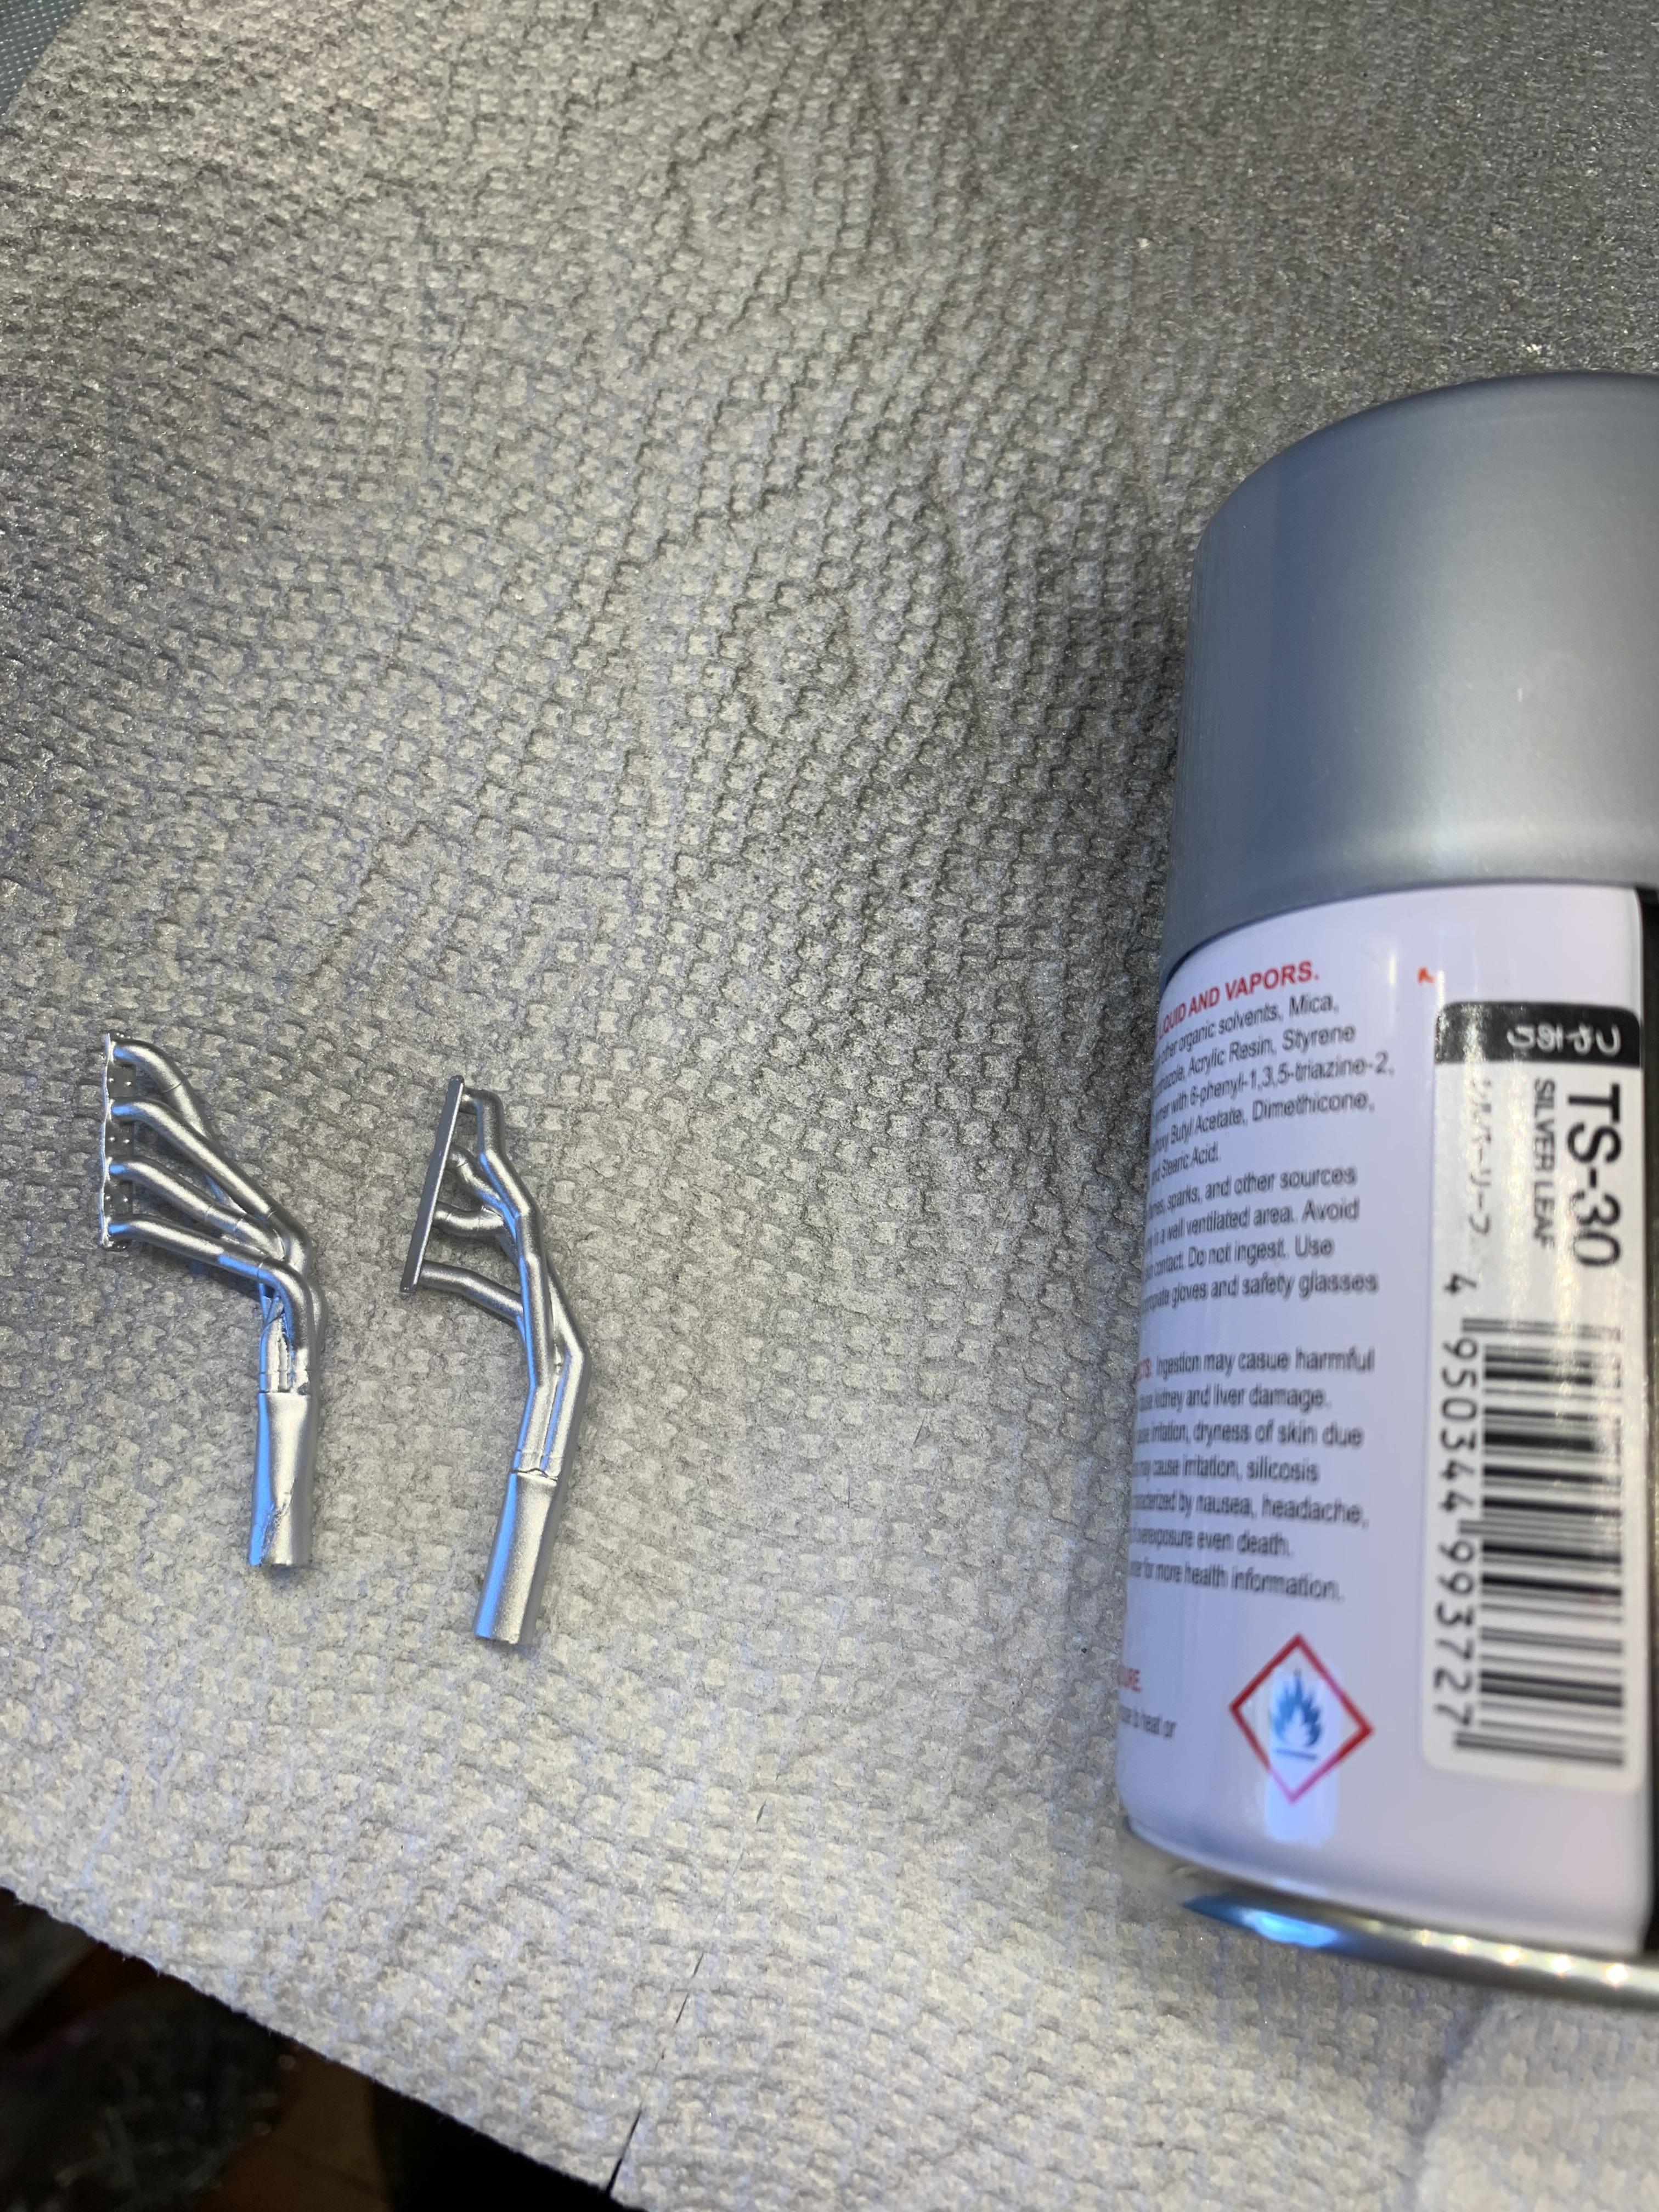
Got the headers installed, finally. The left side fought me a bit. Just like 1:1 cars, I guess. Opened up the inner wheel hubs about .010” with 4 ascending size bits. This helps the wheels fit on the “spindle” much easier with less chance of breakage. I decided to use the wheels that came in the kit. Getting lazy, I guess.
-
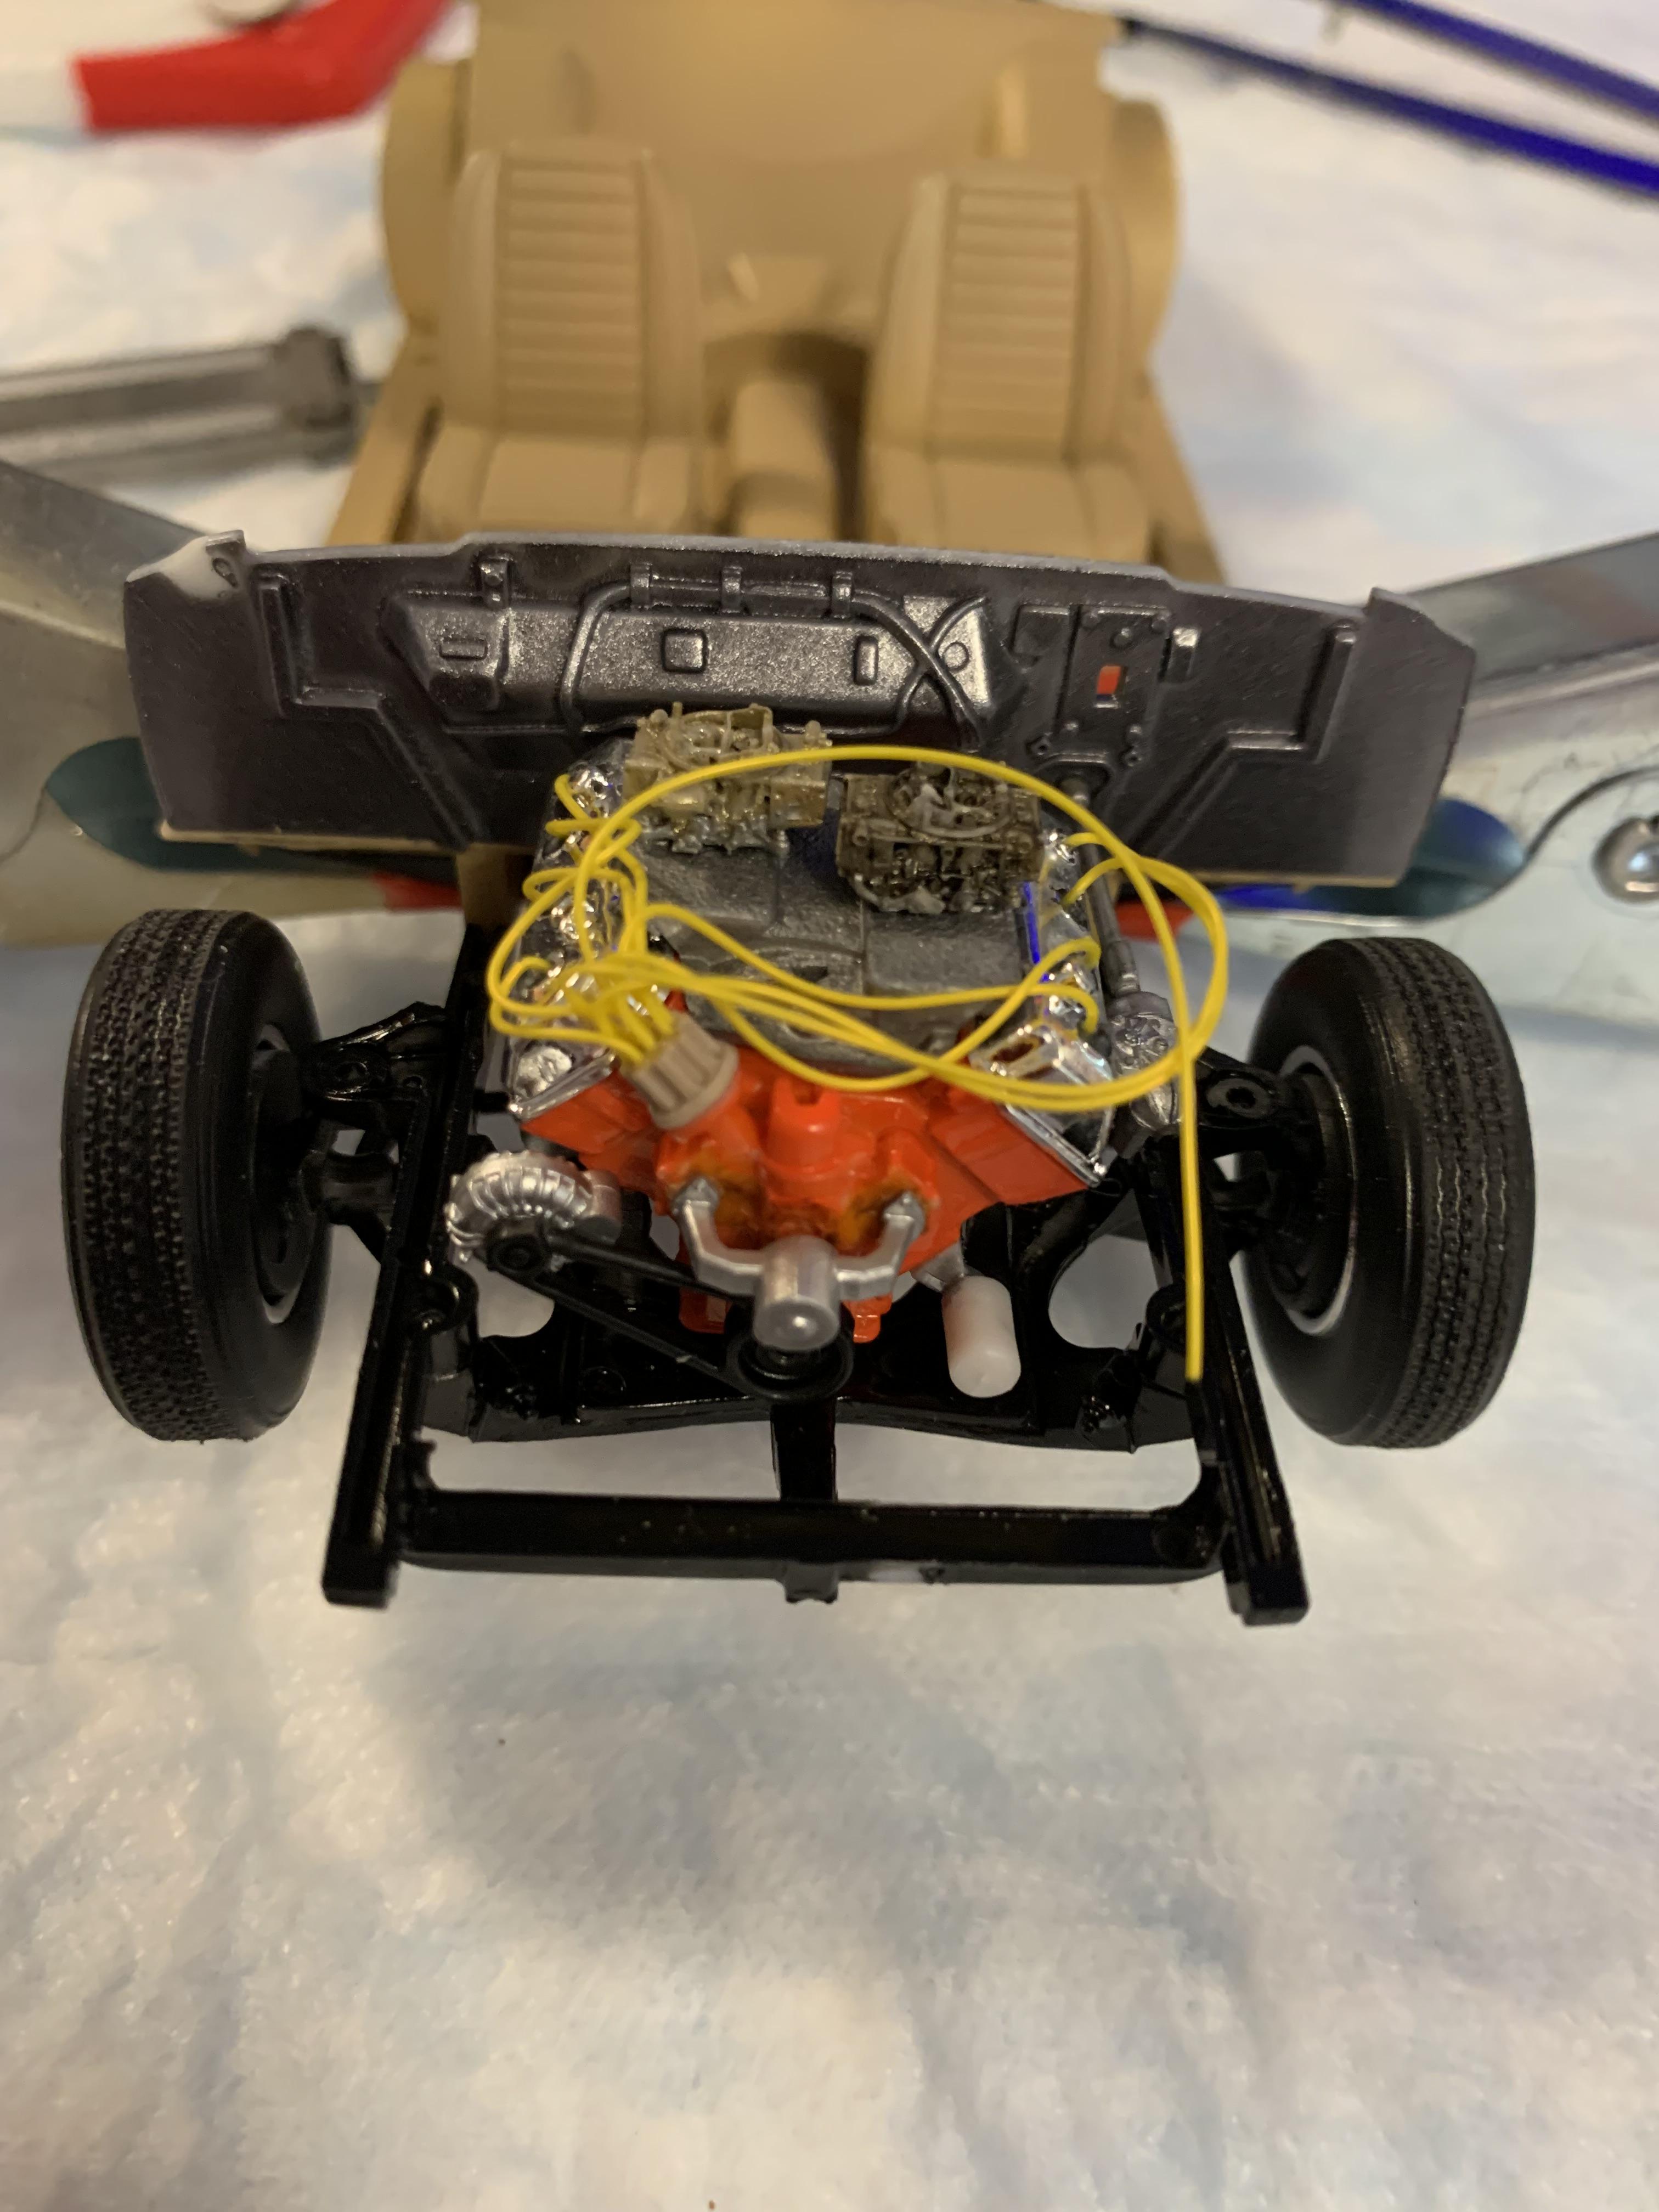
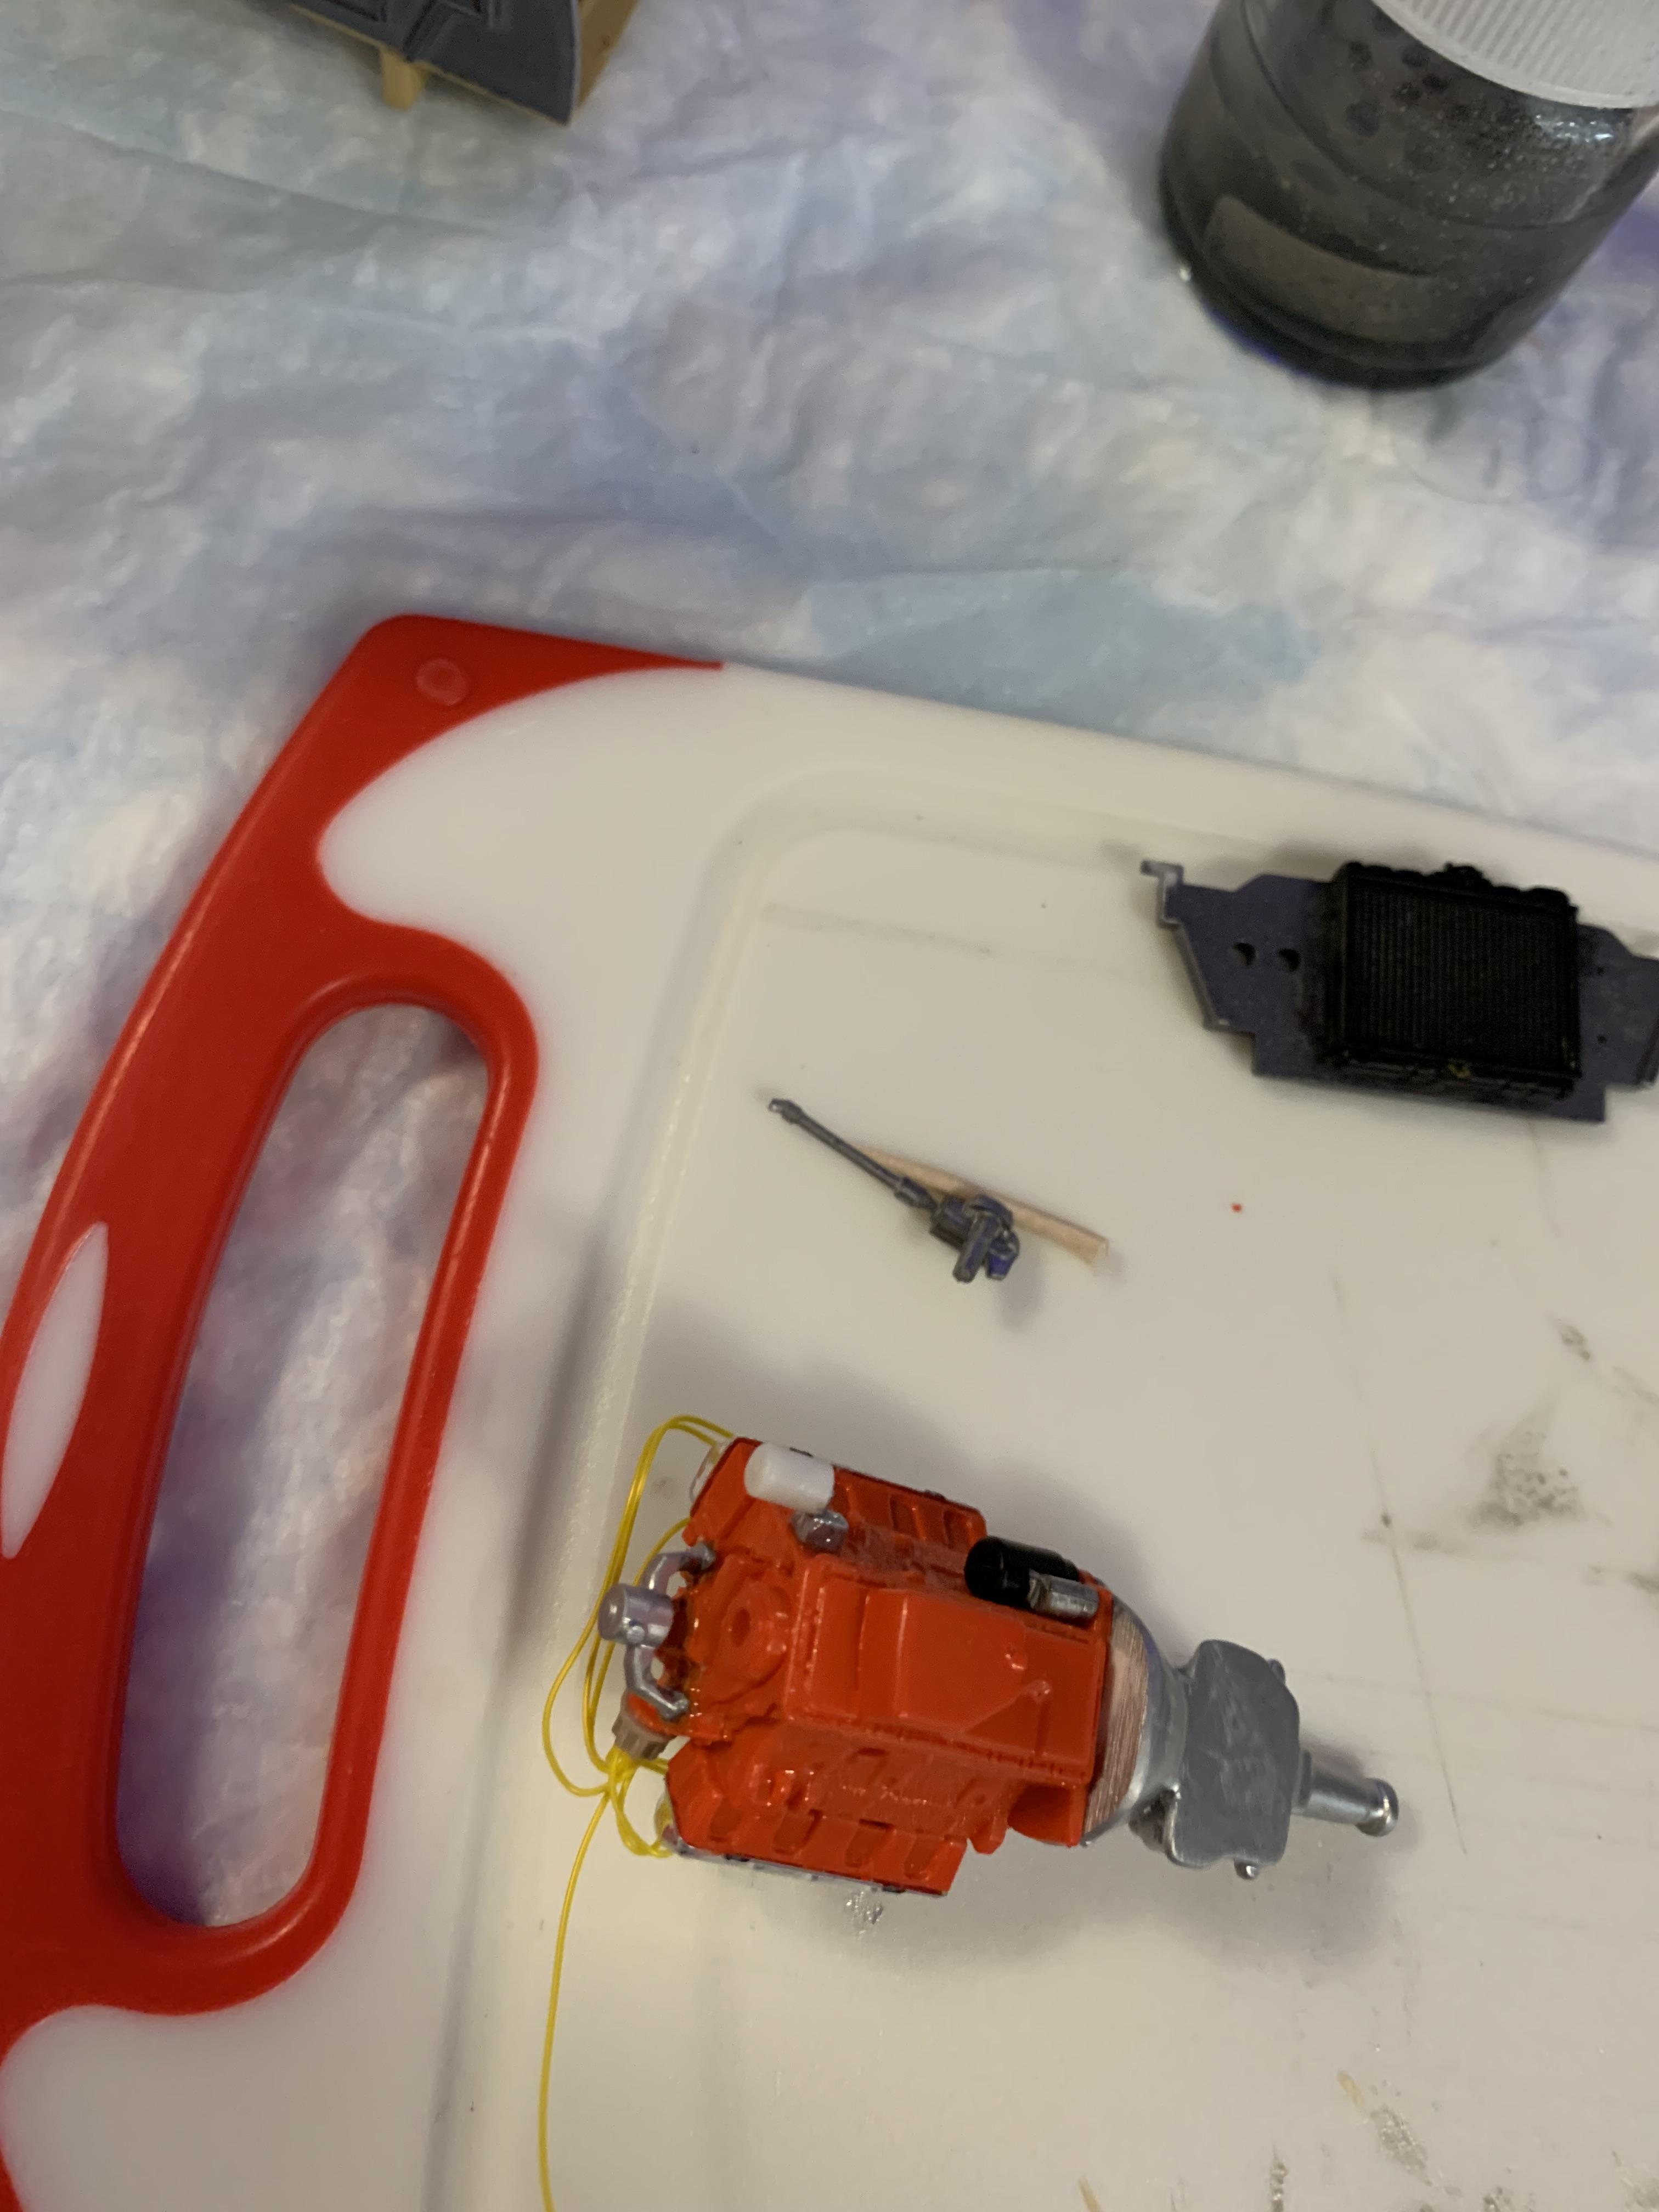
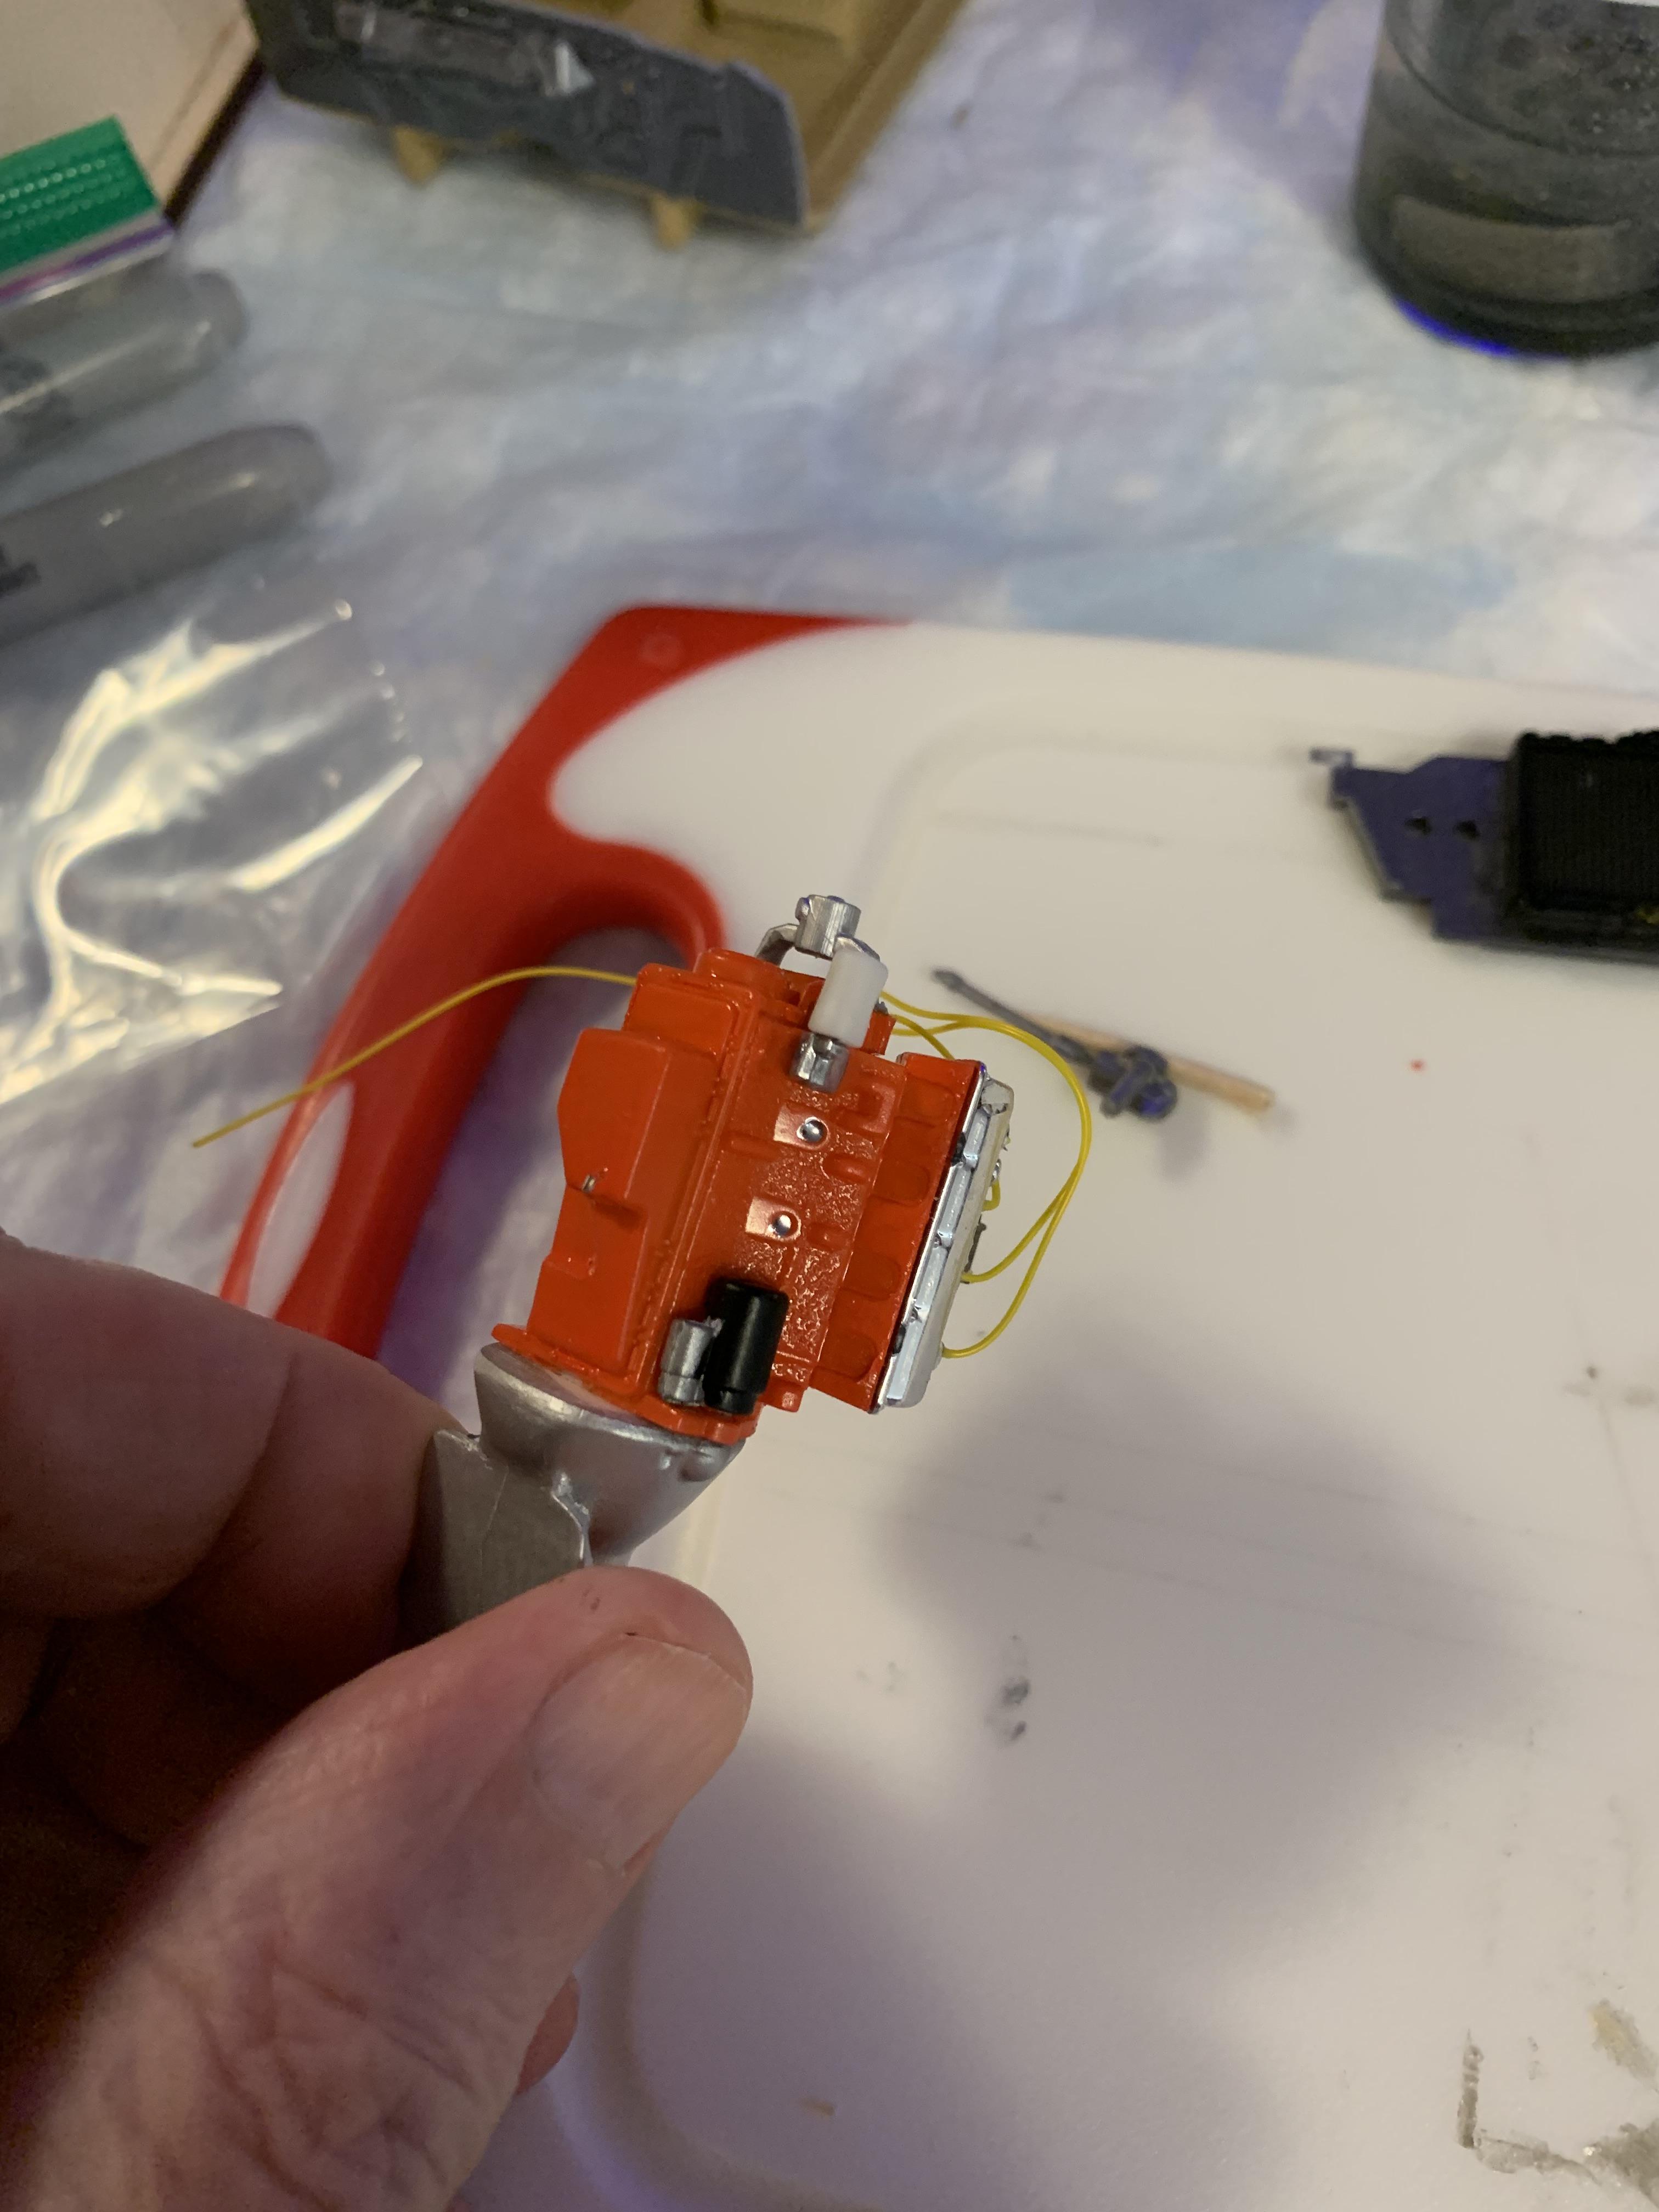
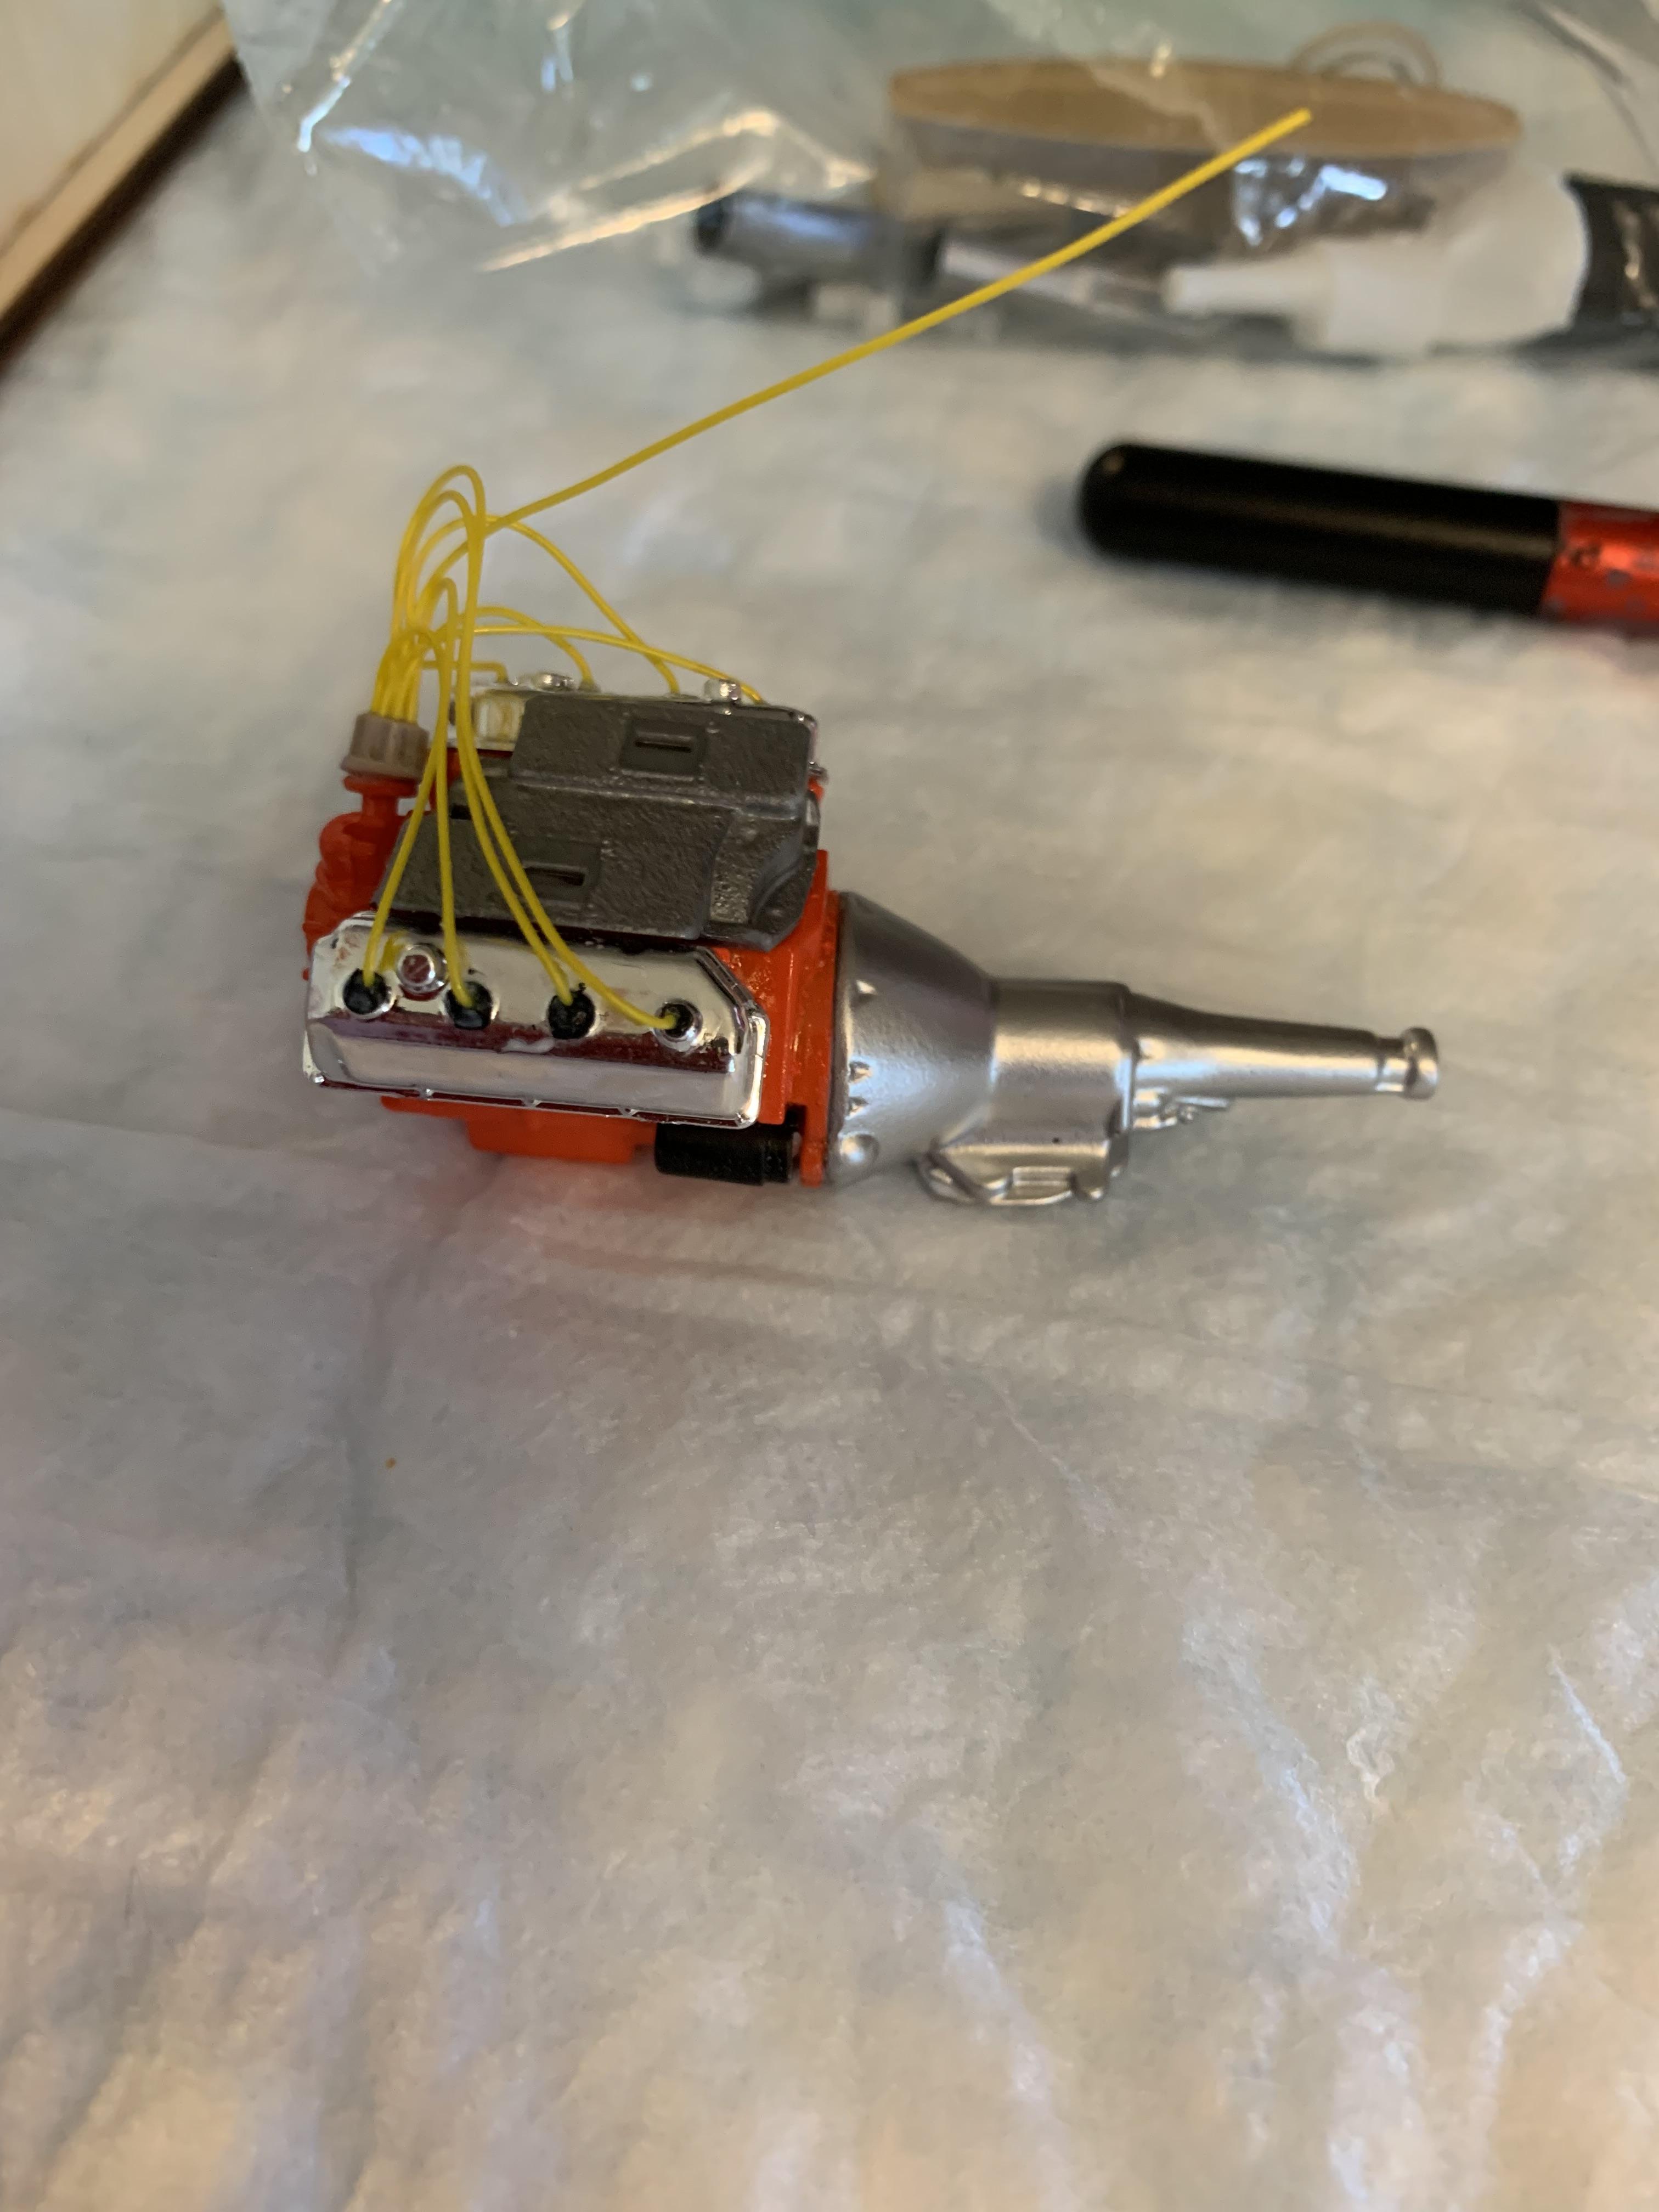
Cut off the oem water pump. Touched it up with orange sharpie, then glued on aftermarket electric water pump. Couldn’t resist adding some Flysea chrome to the freeze plugs (even though the headers will probably totally obscure them).
-
In preparation for the electric water pump, cut off one of the pulleys and scratch built one side of the fan belt.
-
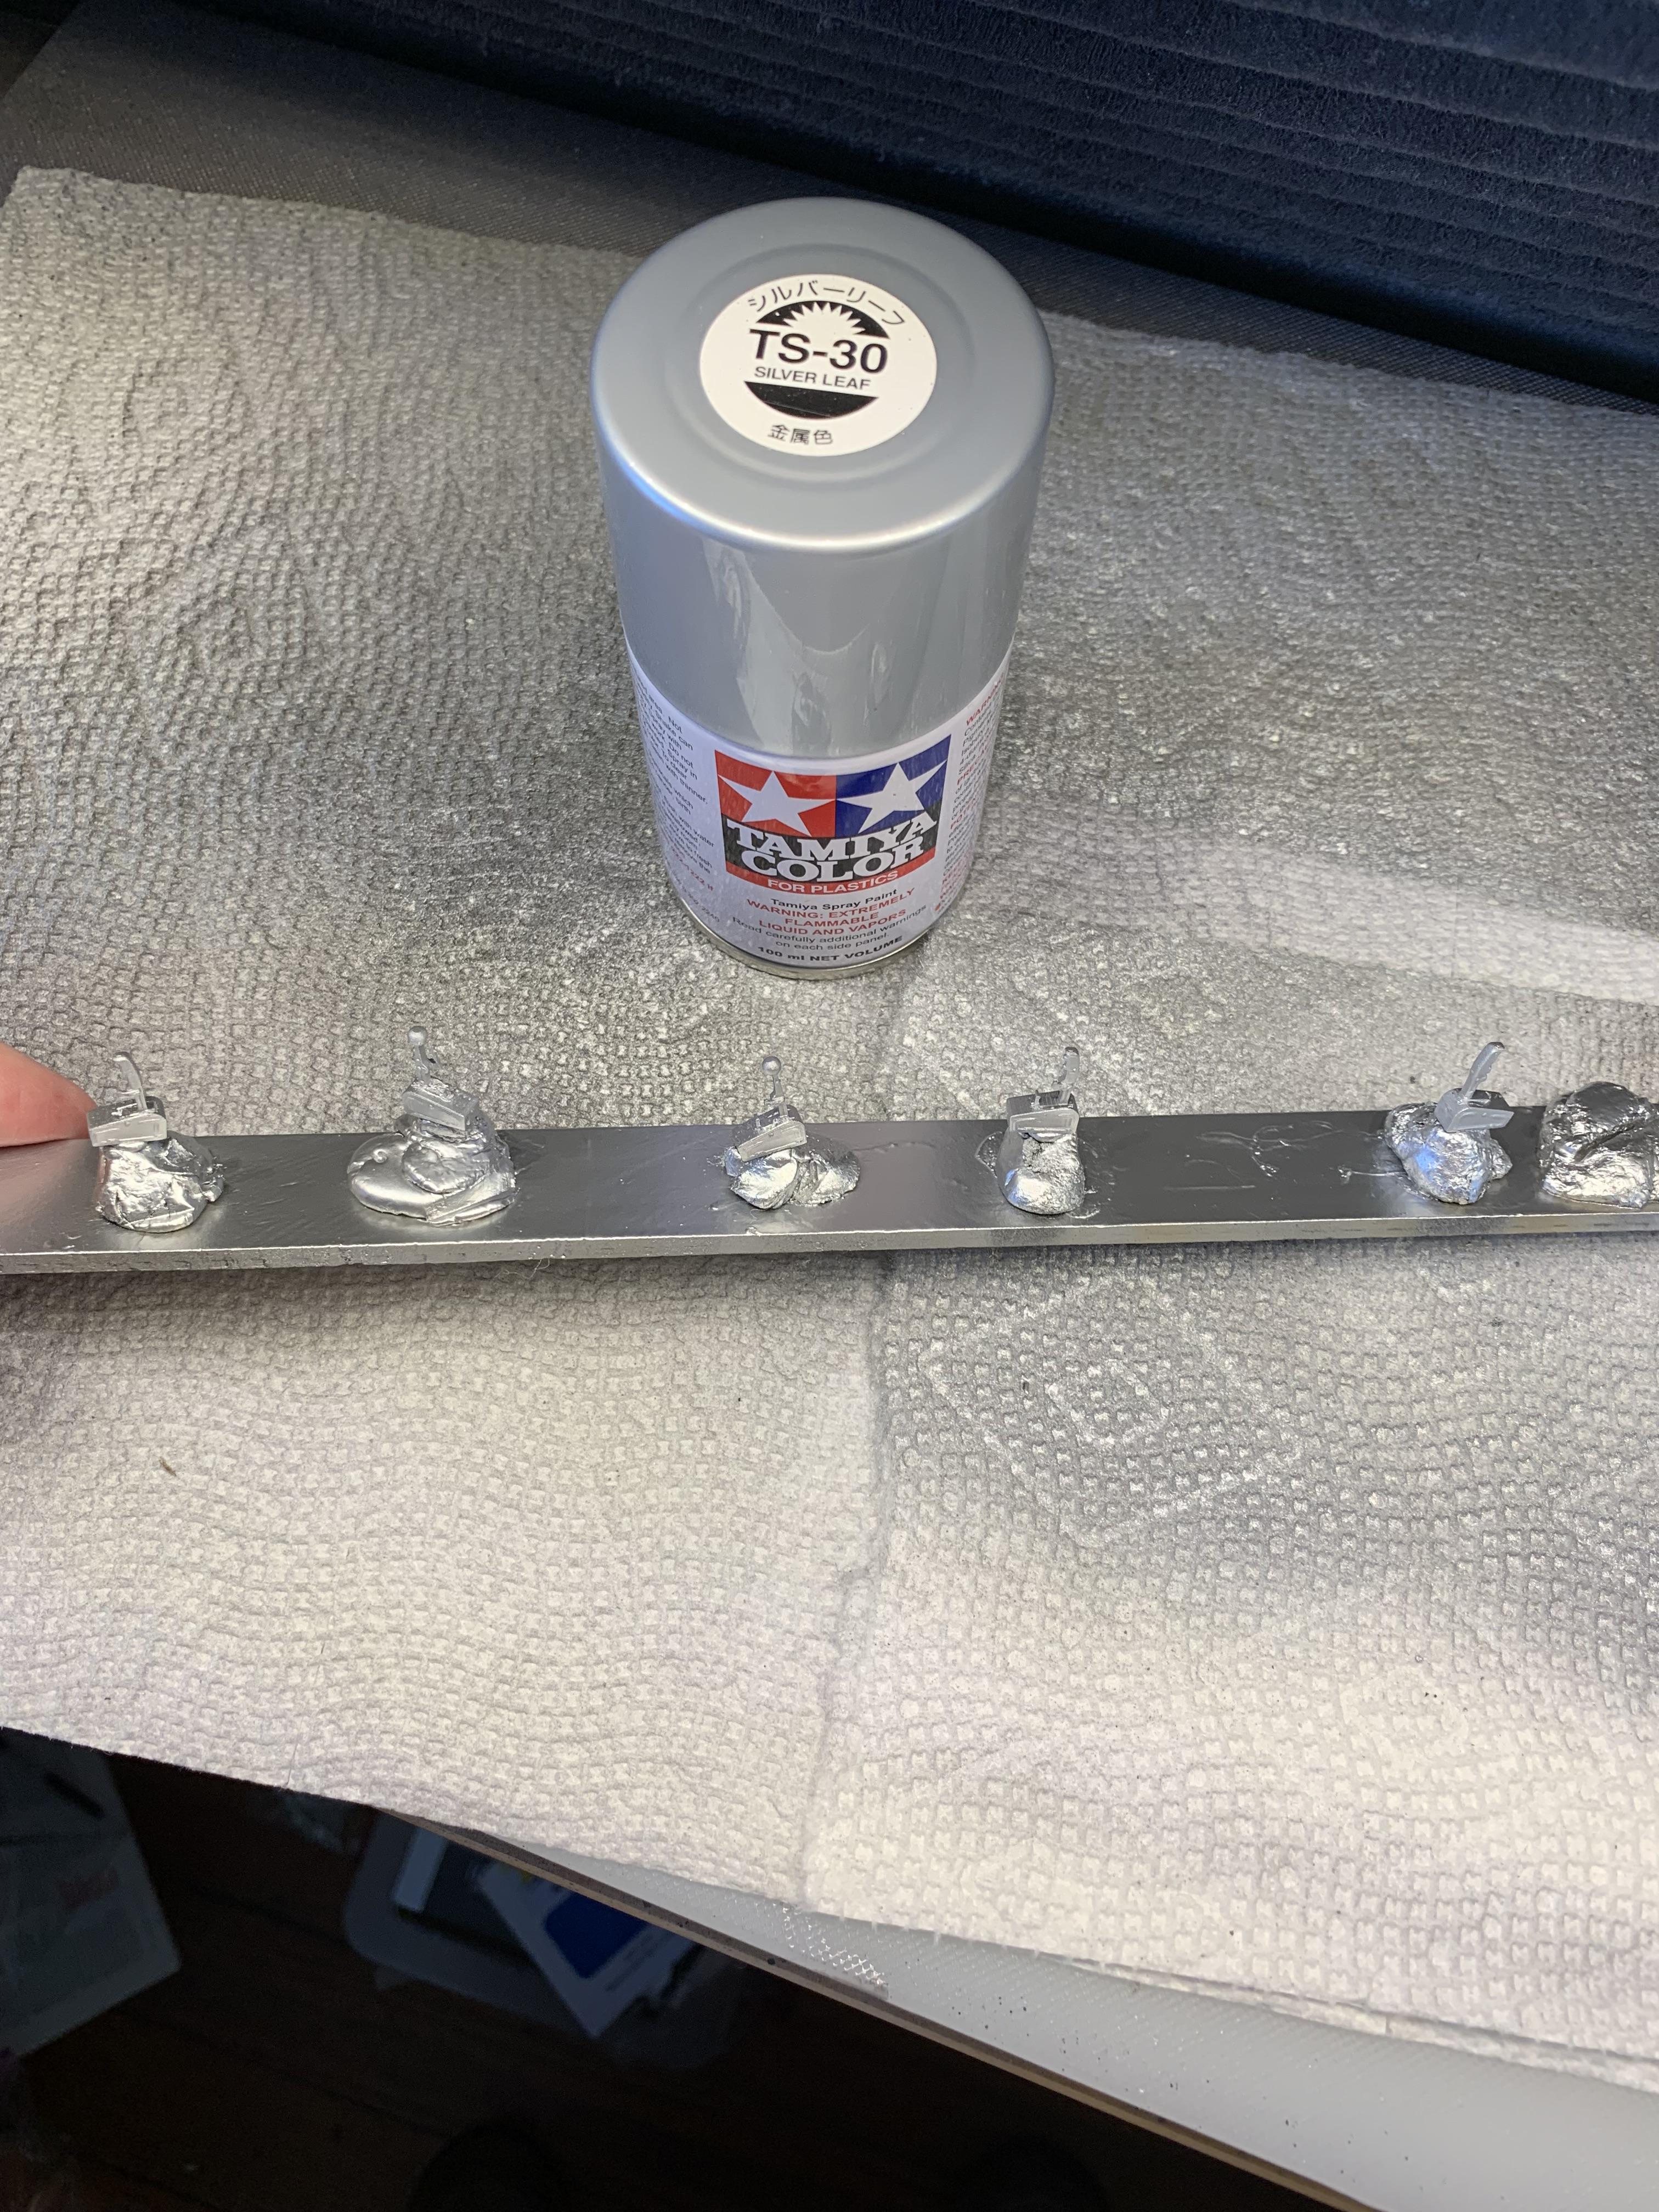
Painted some small parts and painted the headers for about the fourth time. Should have been ts30 first
-
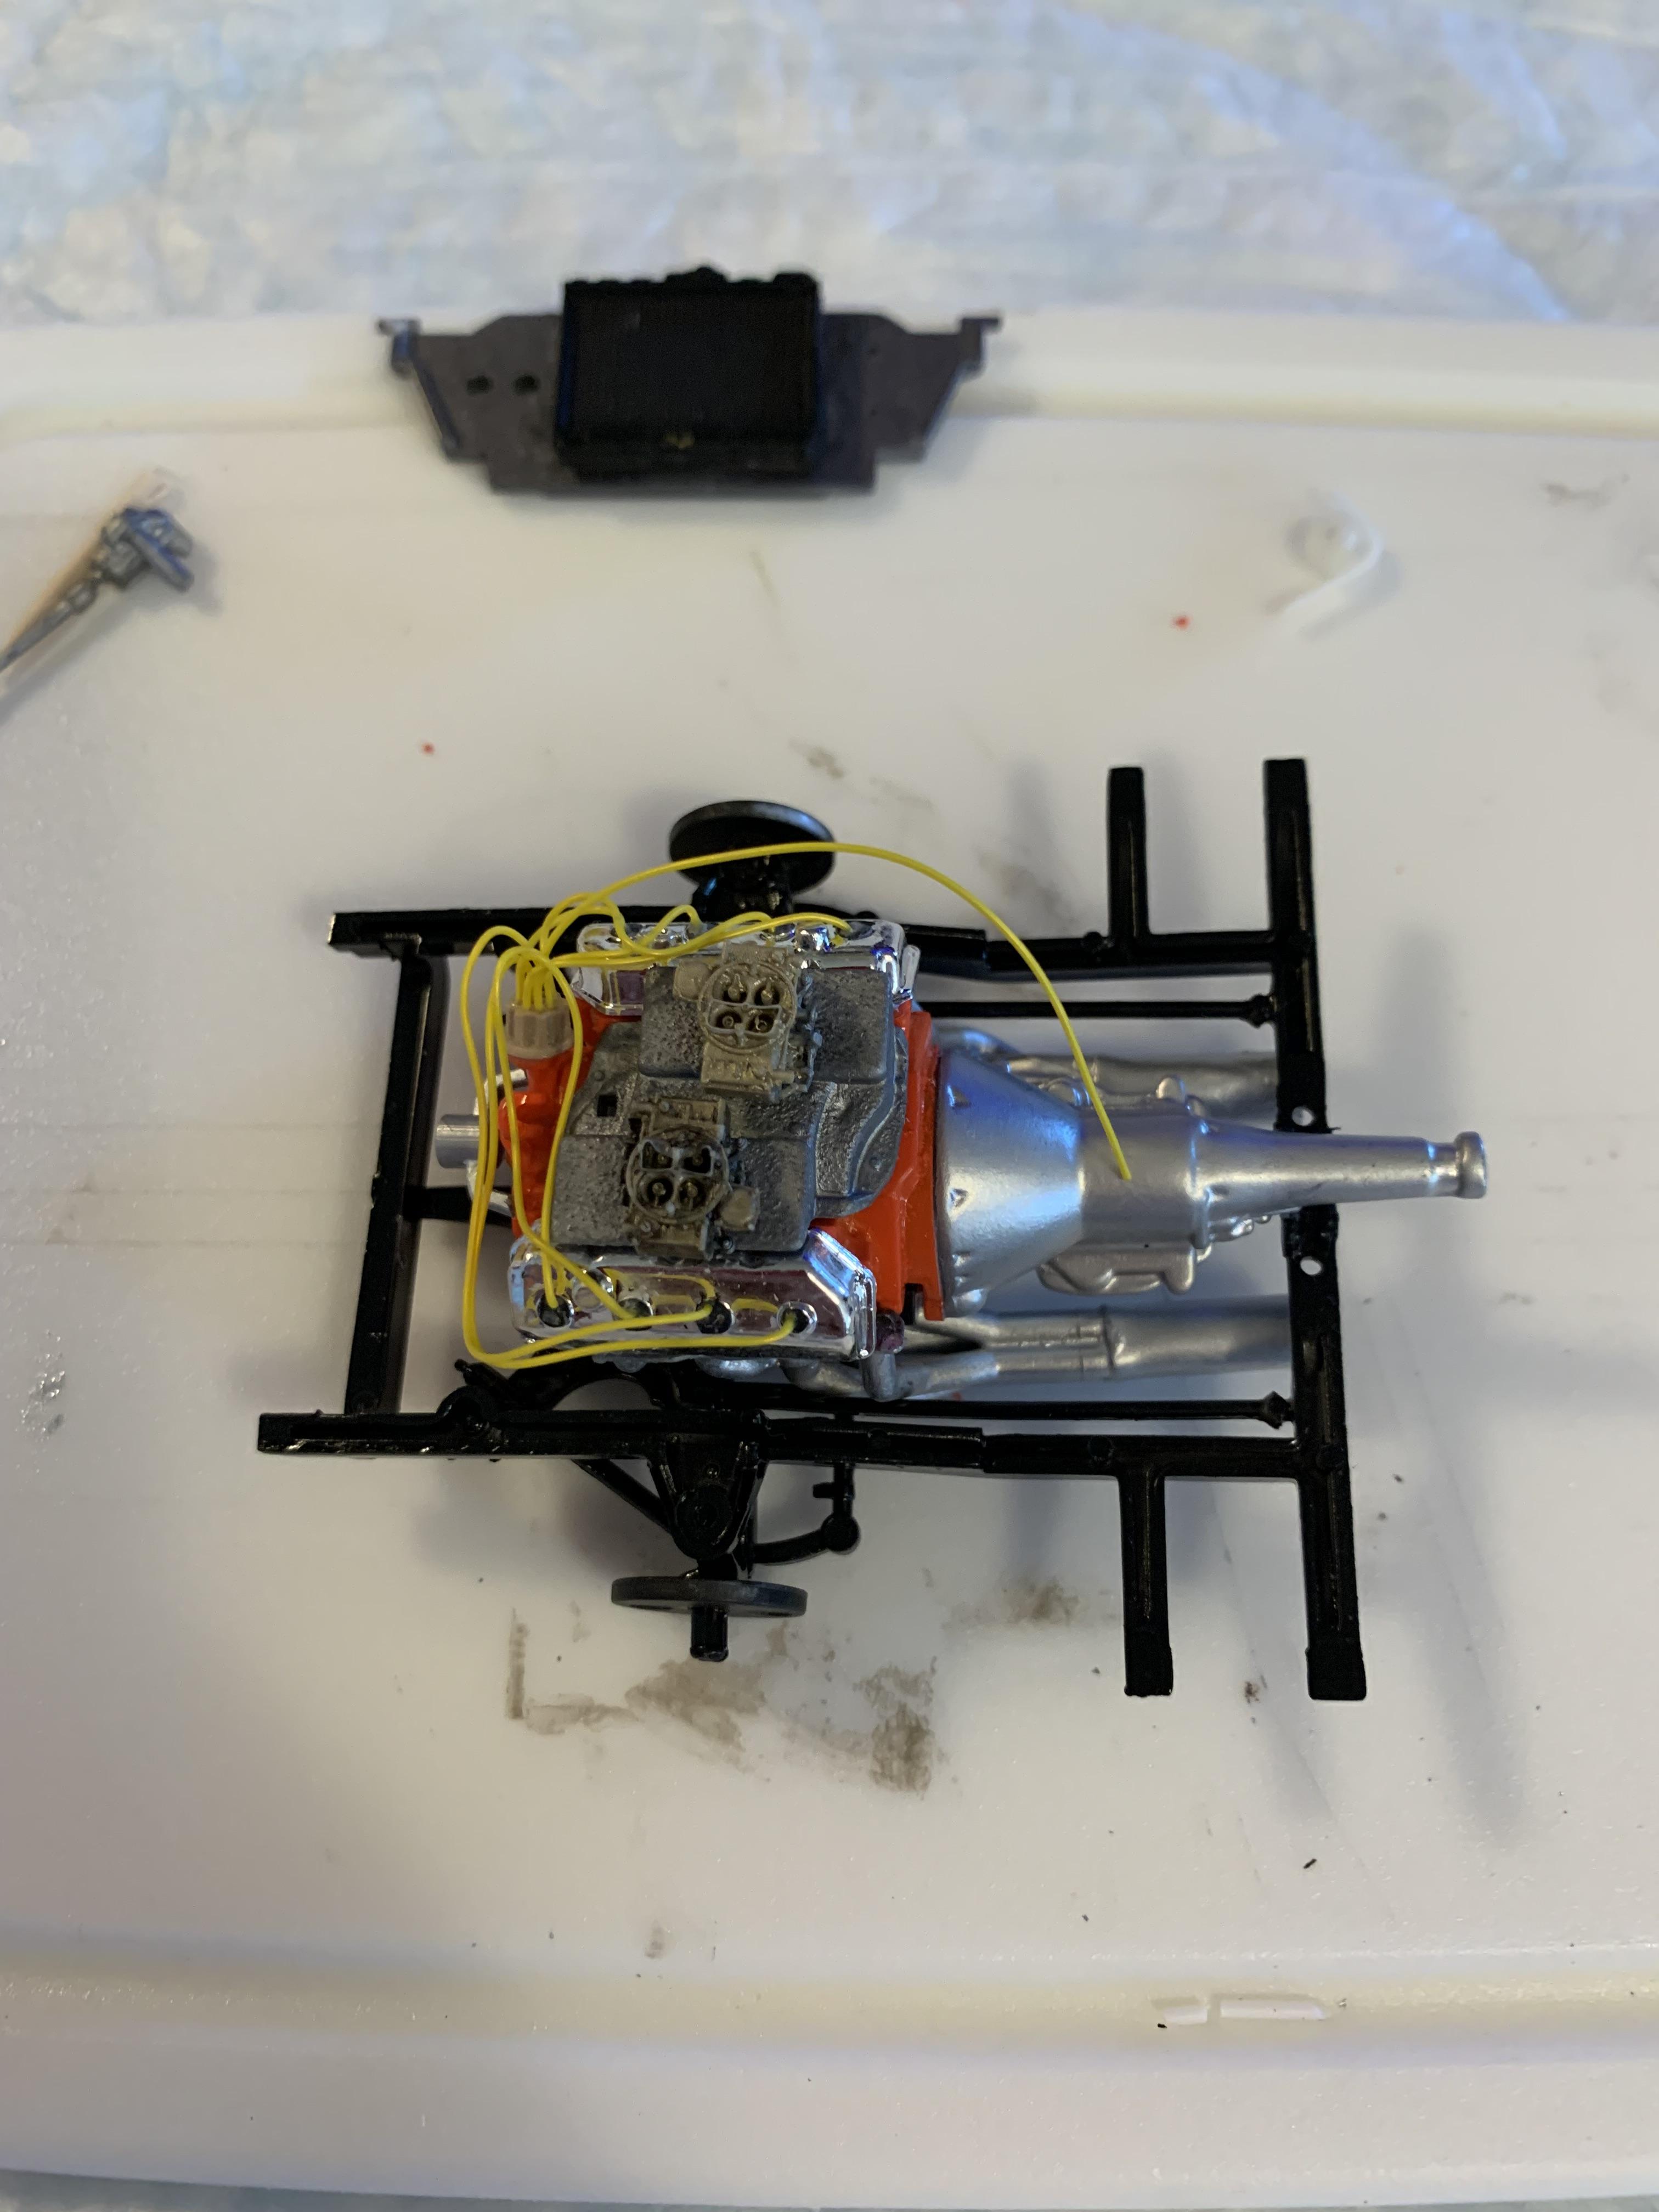
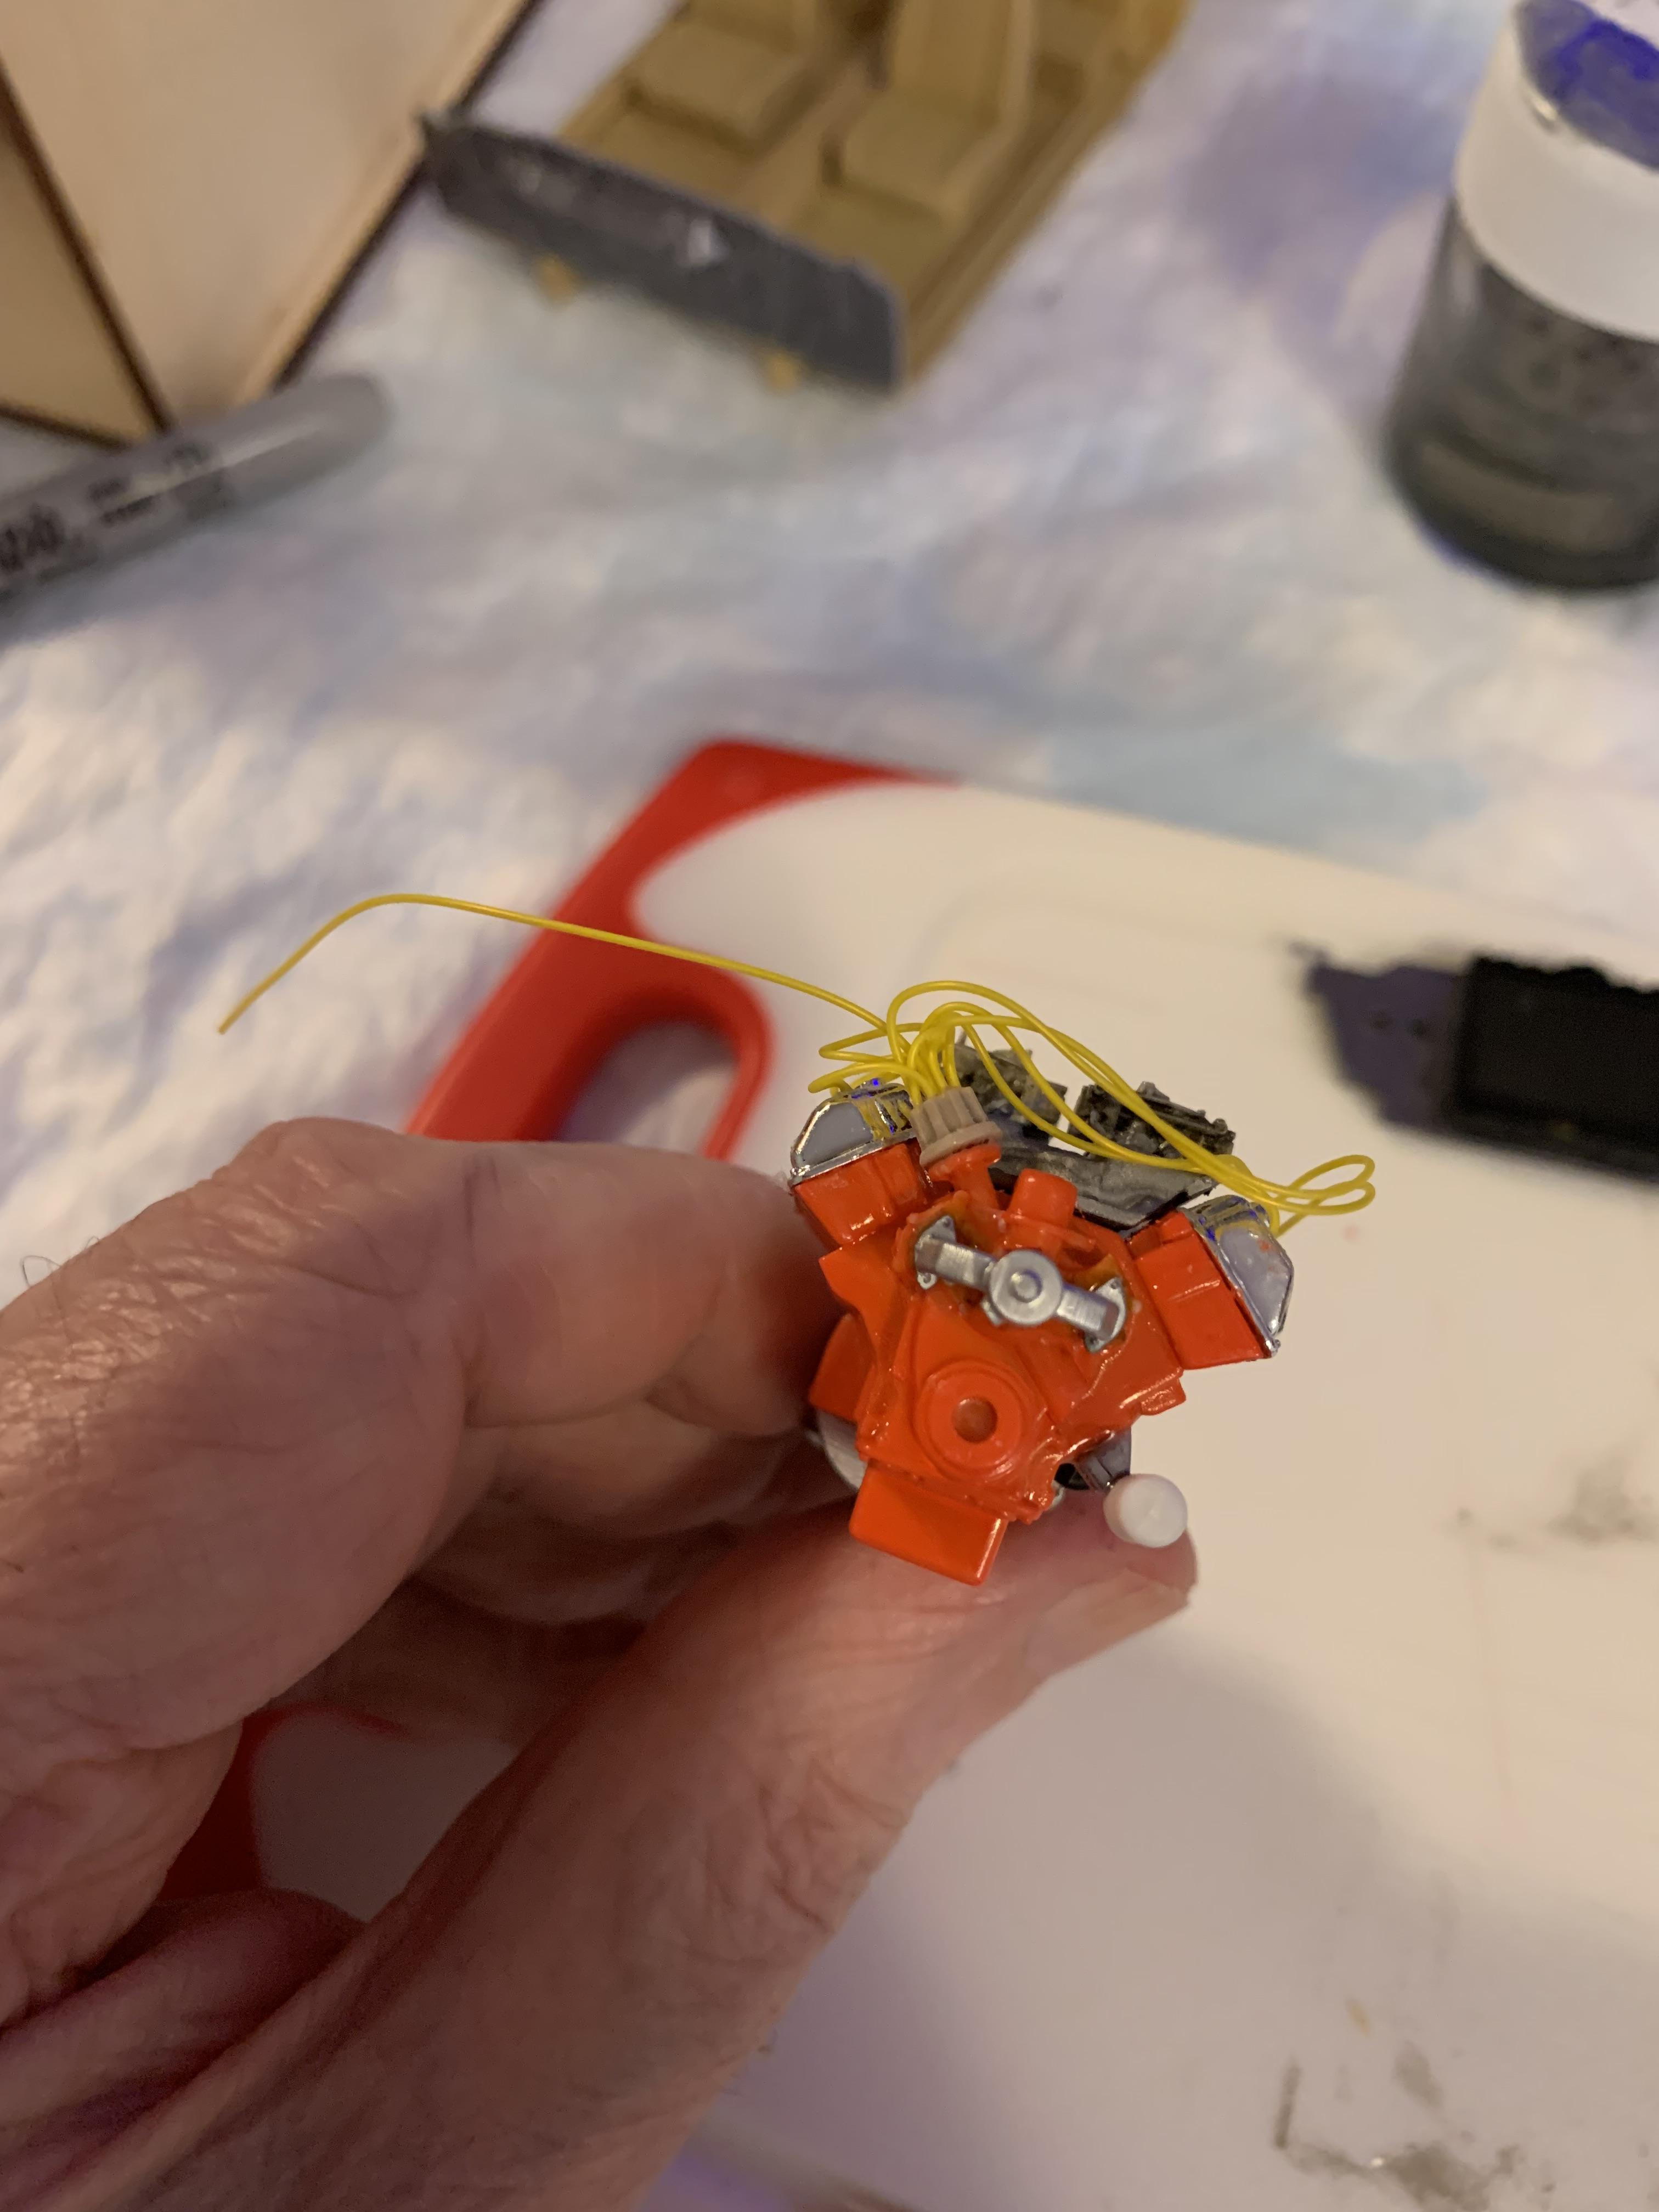
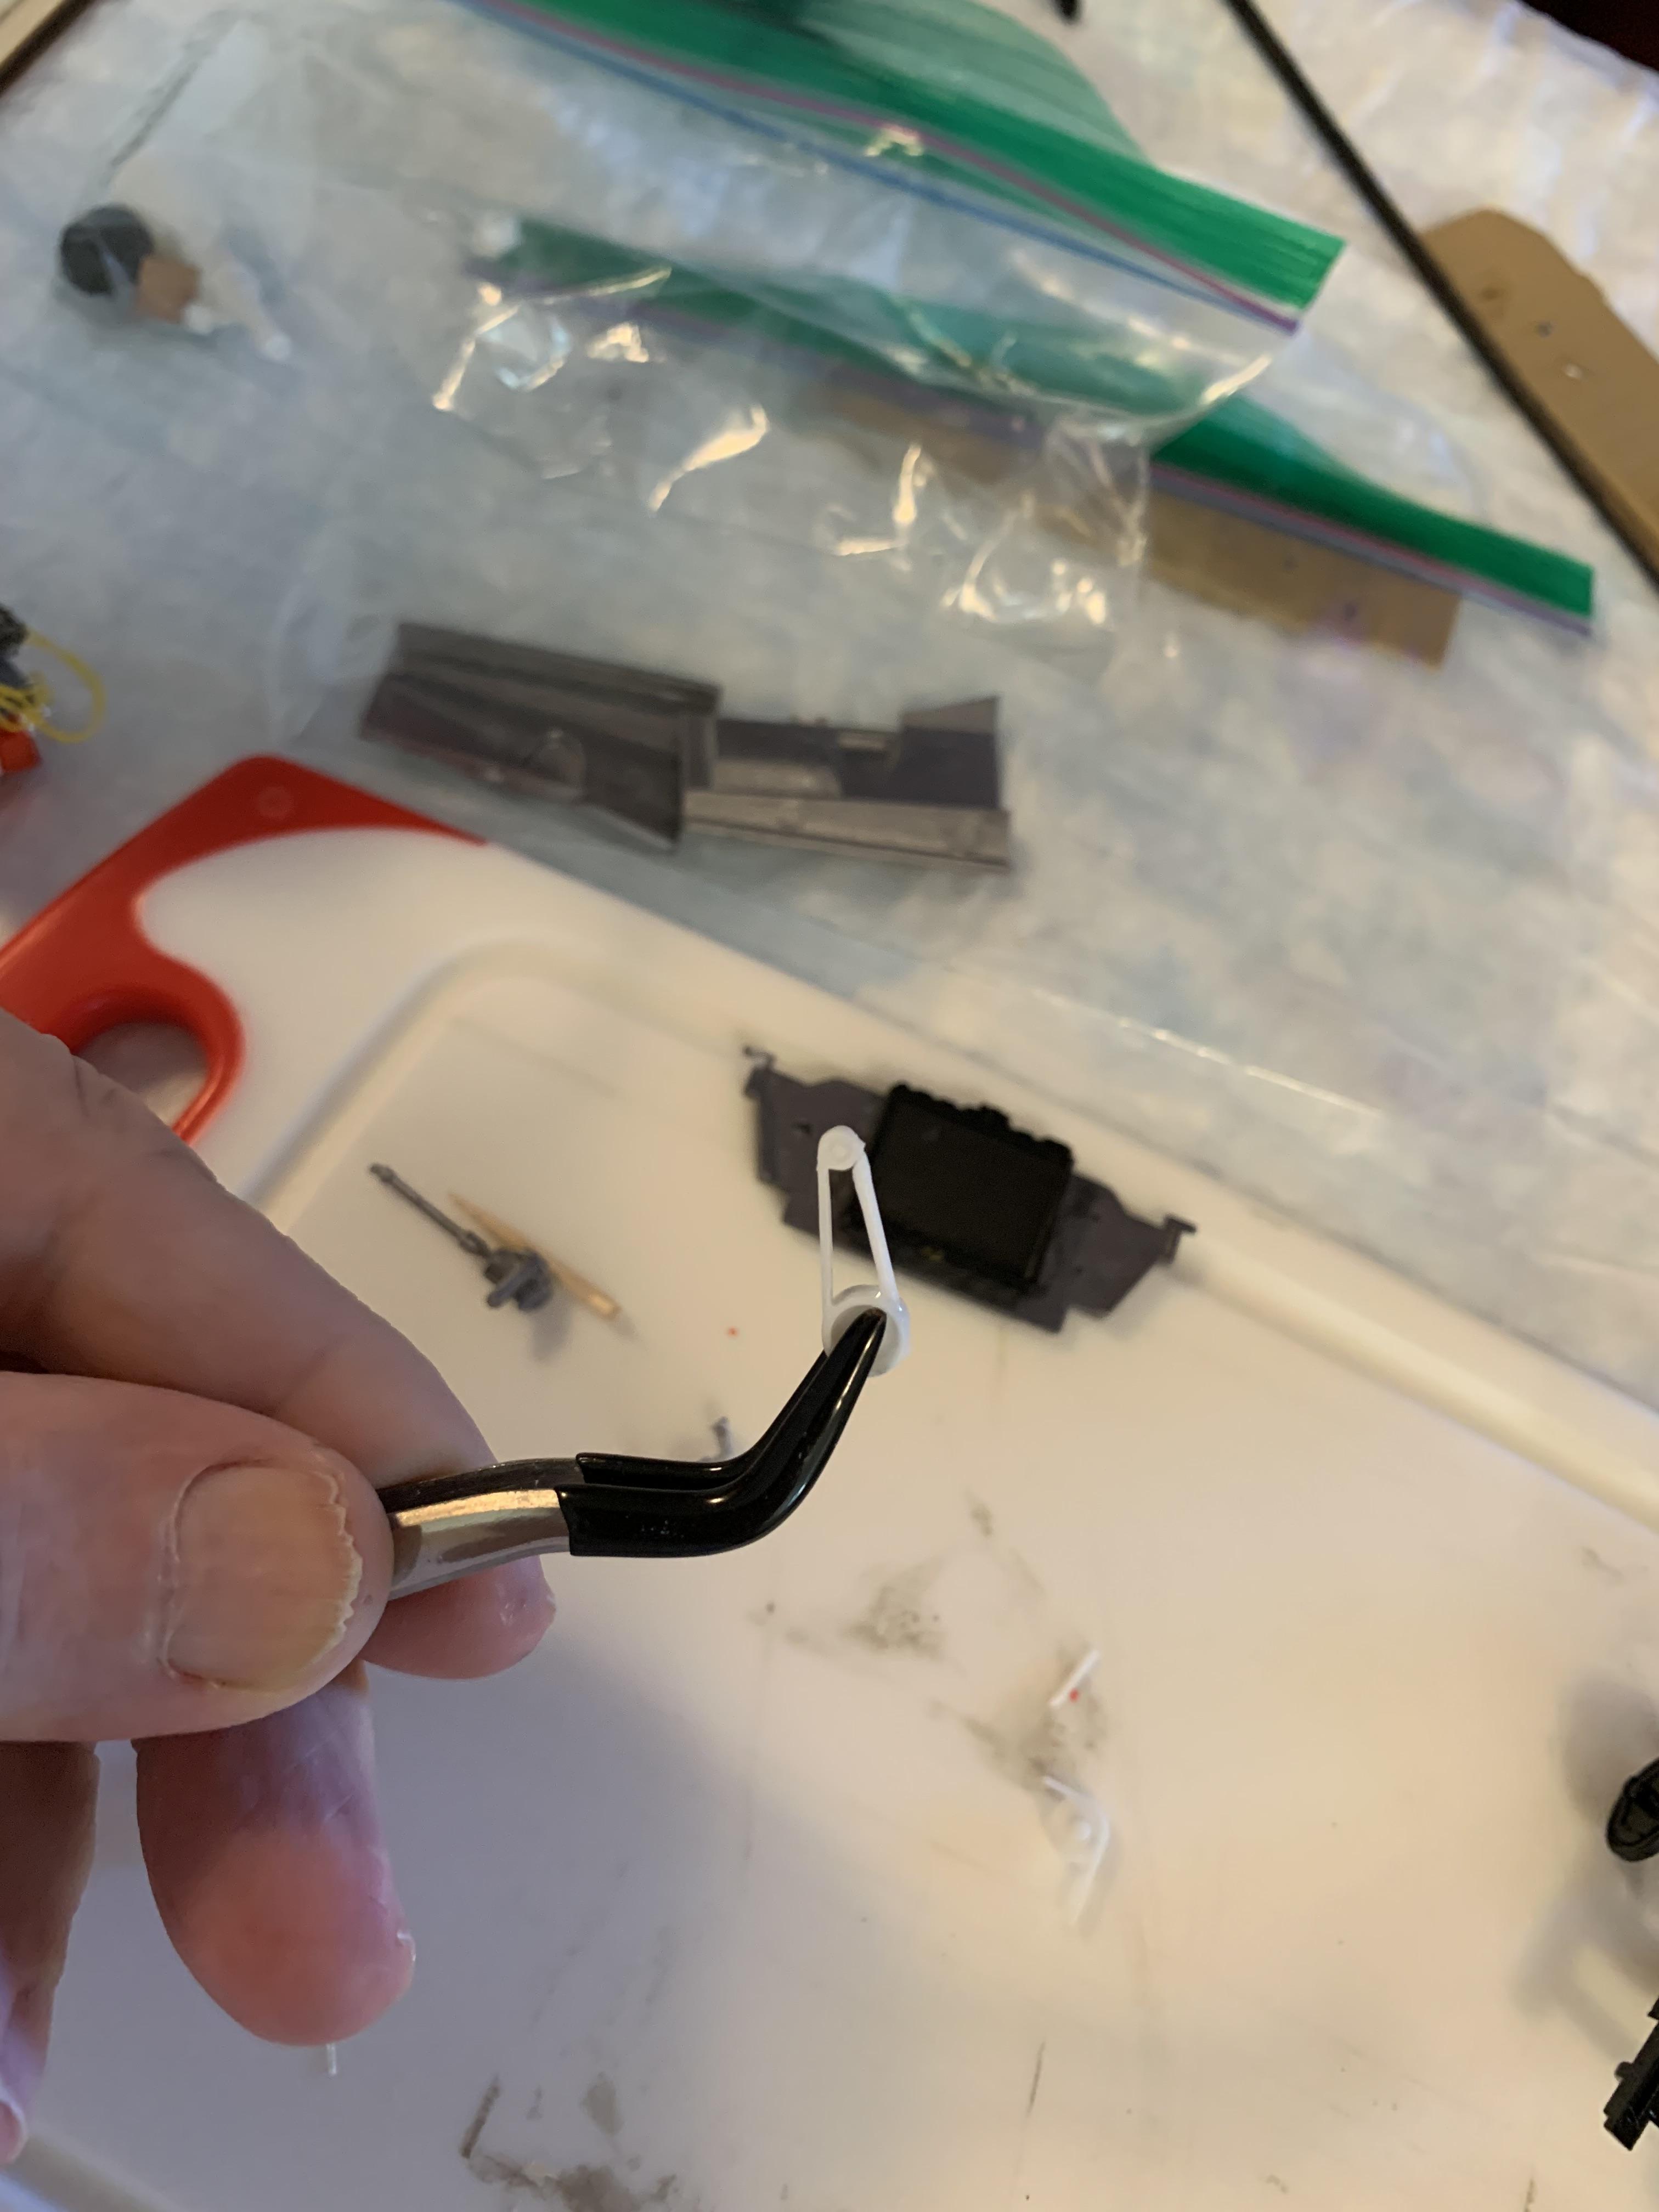
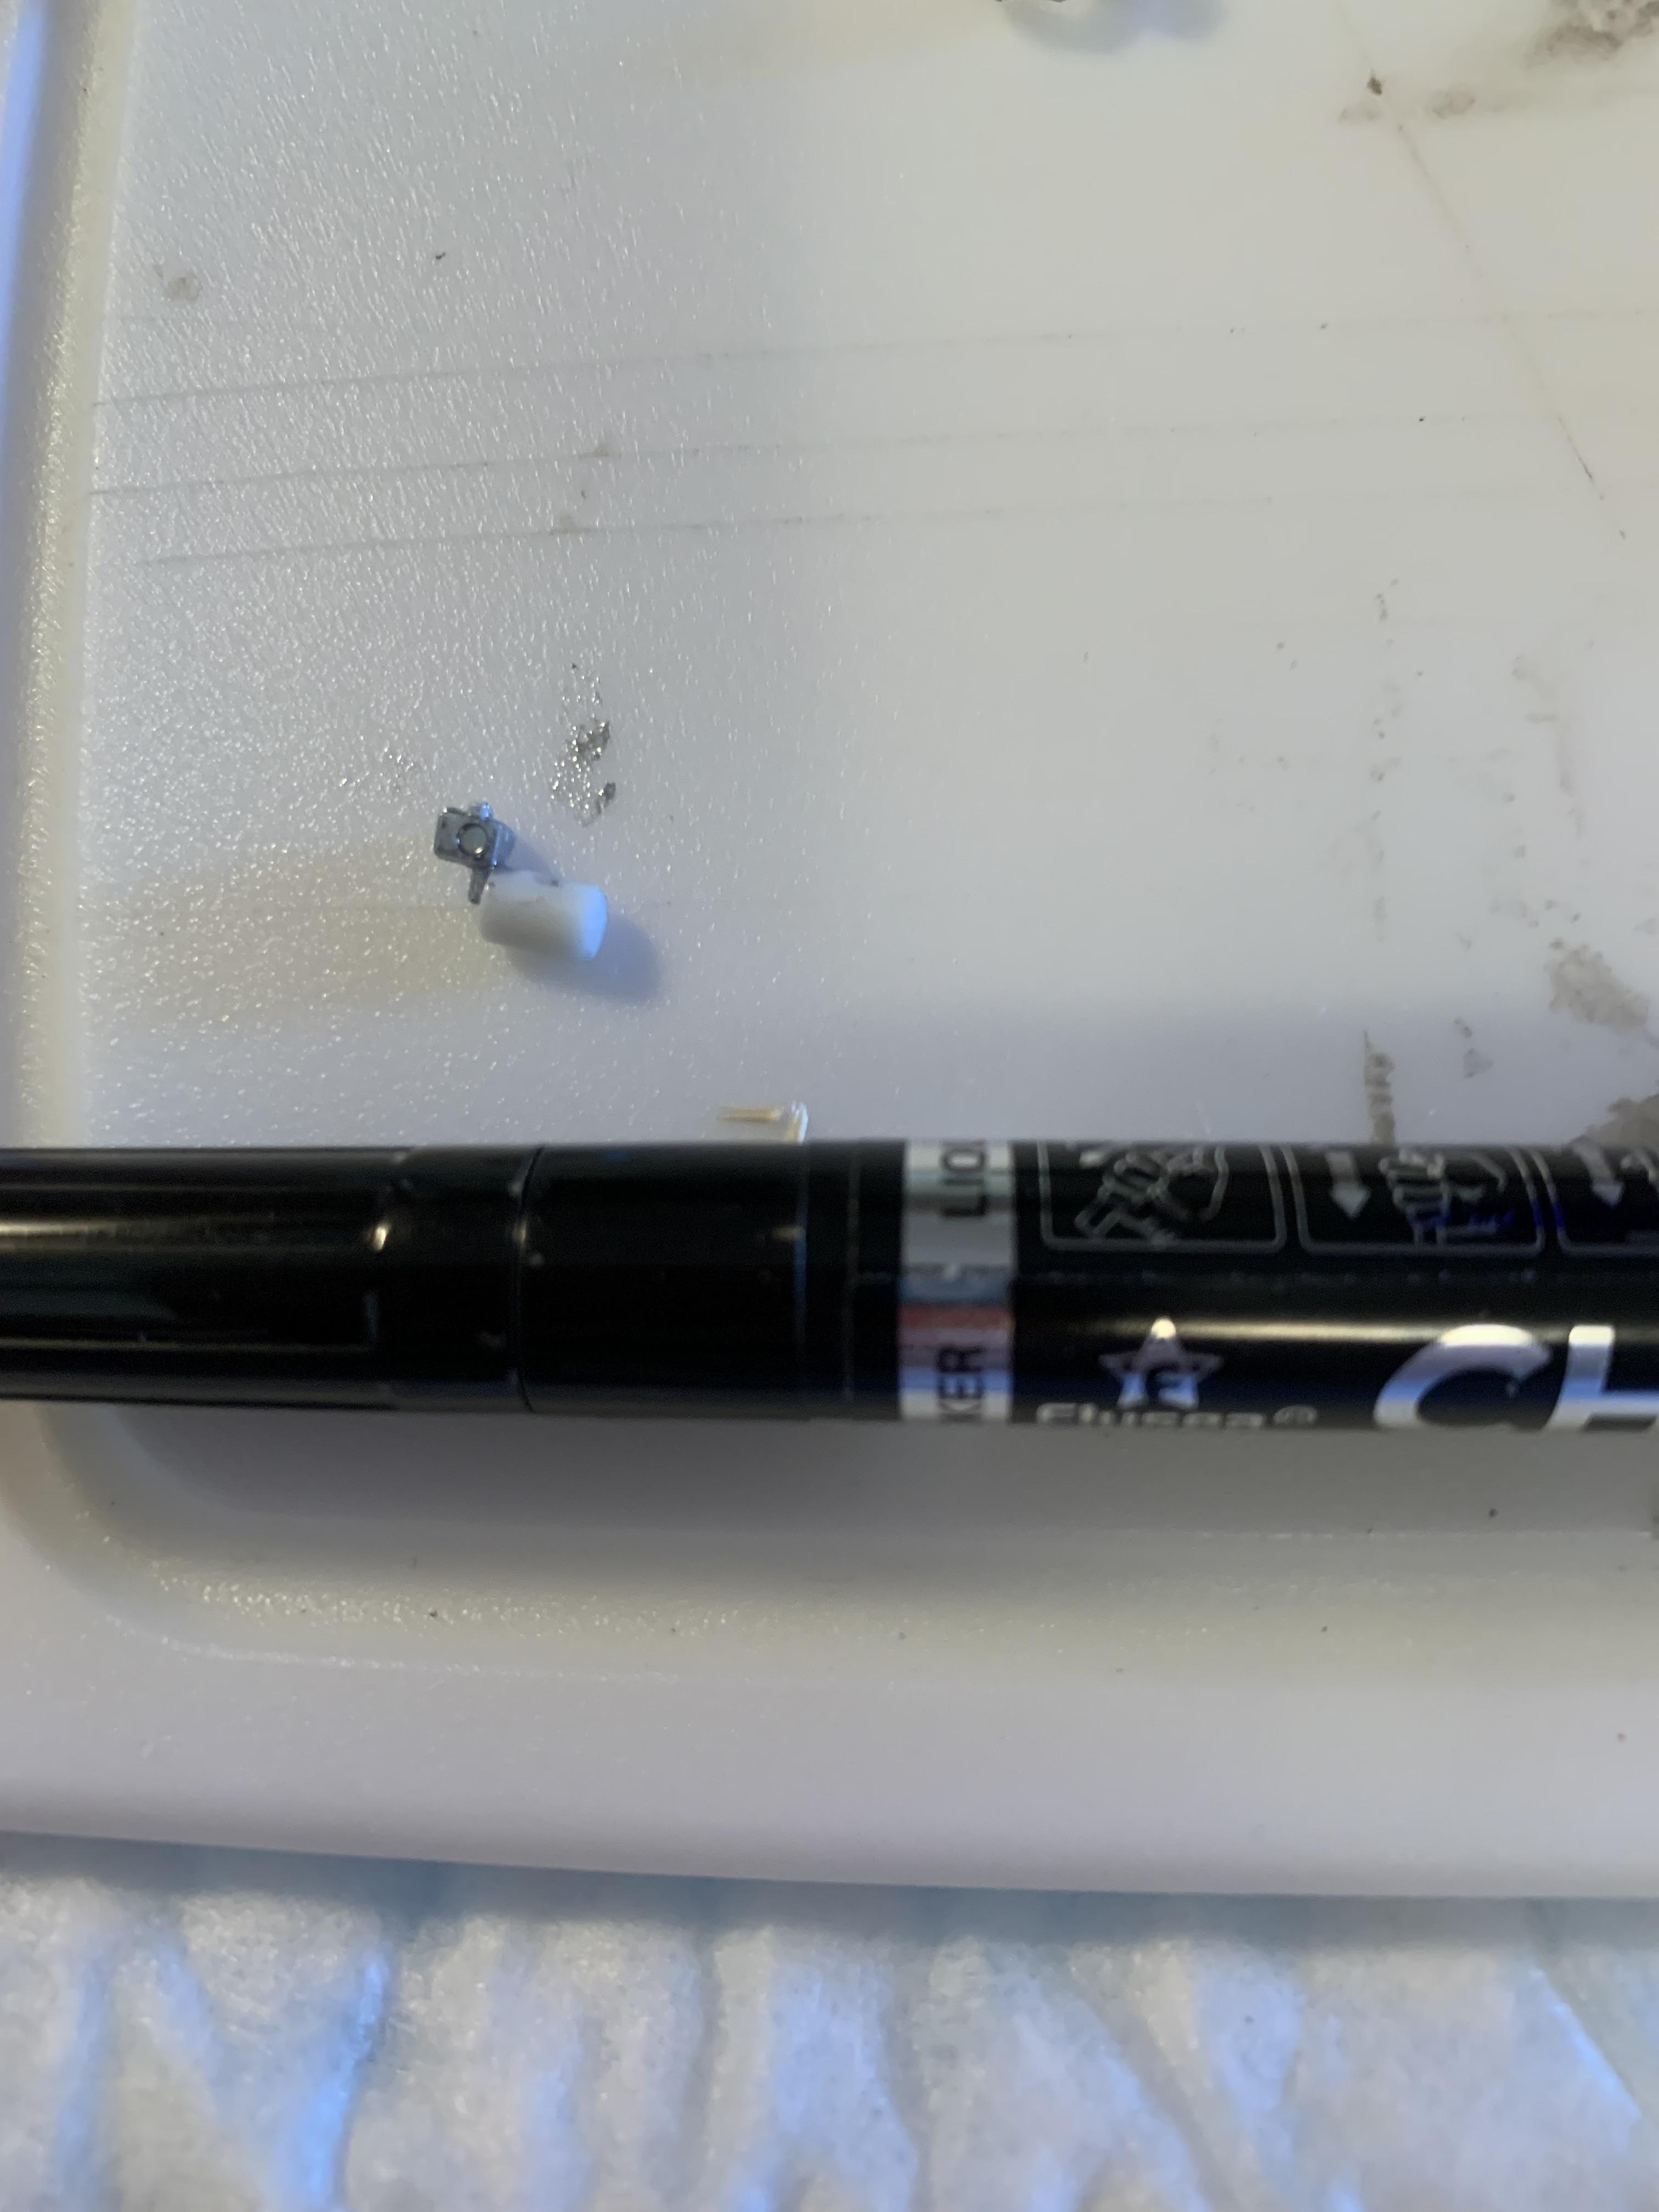
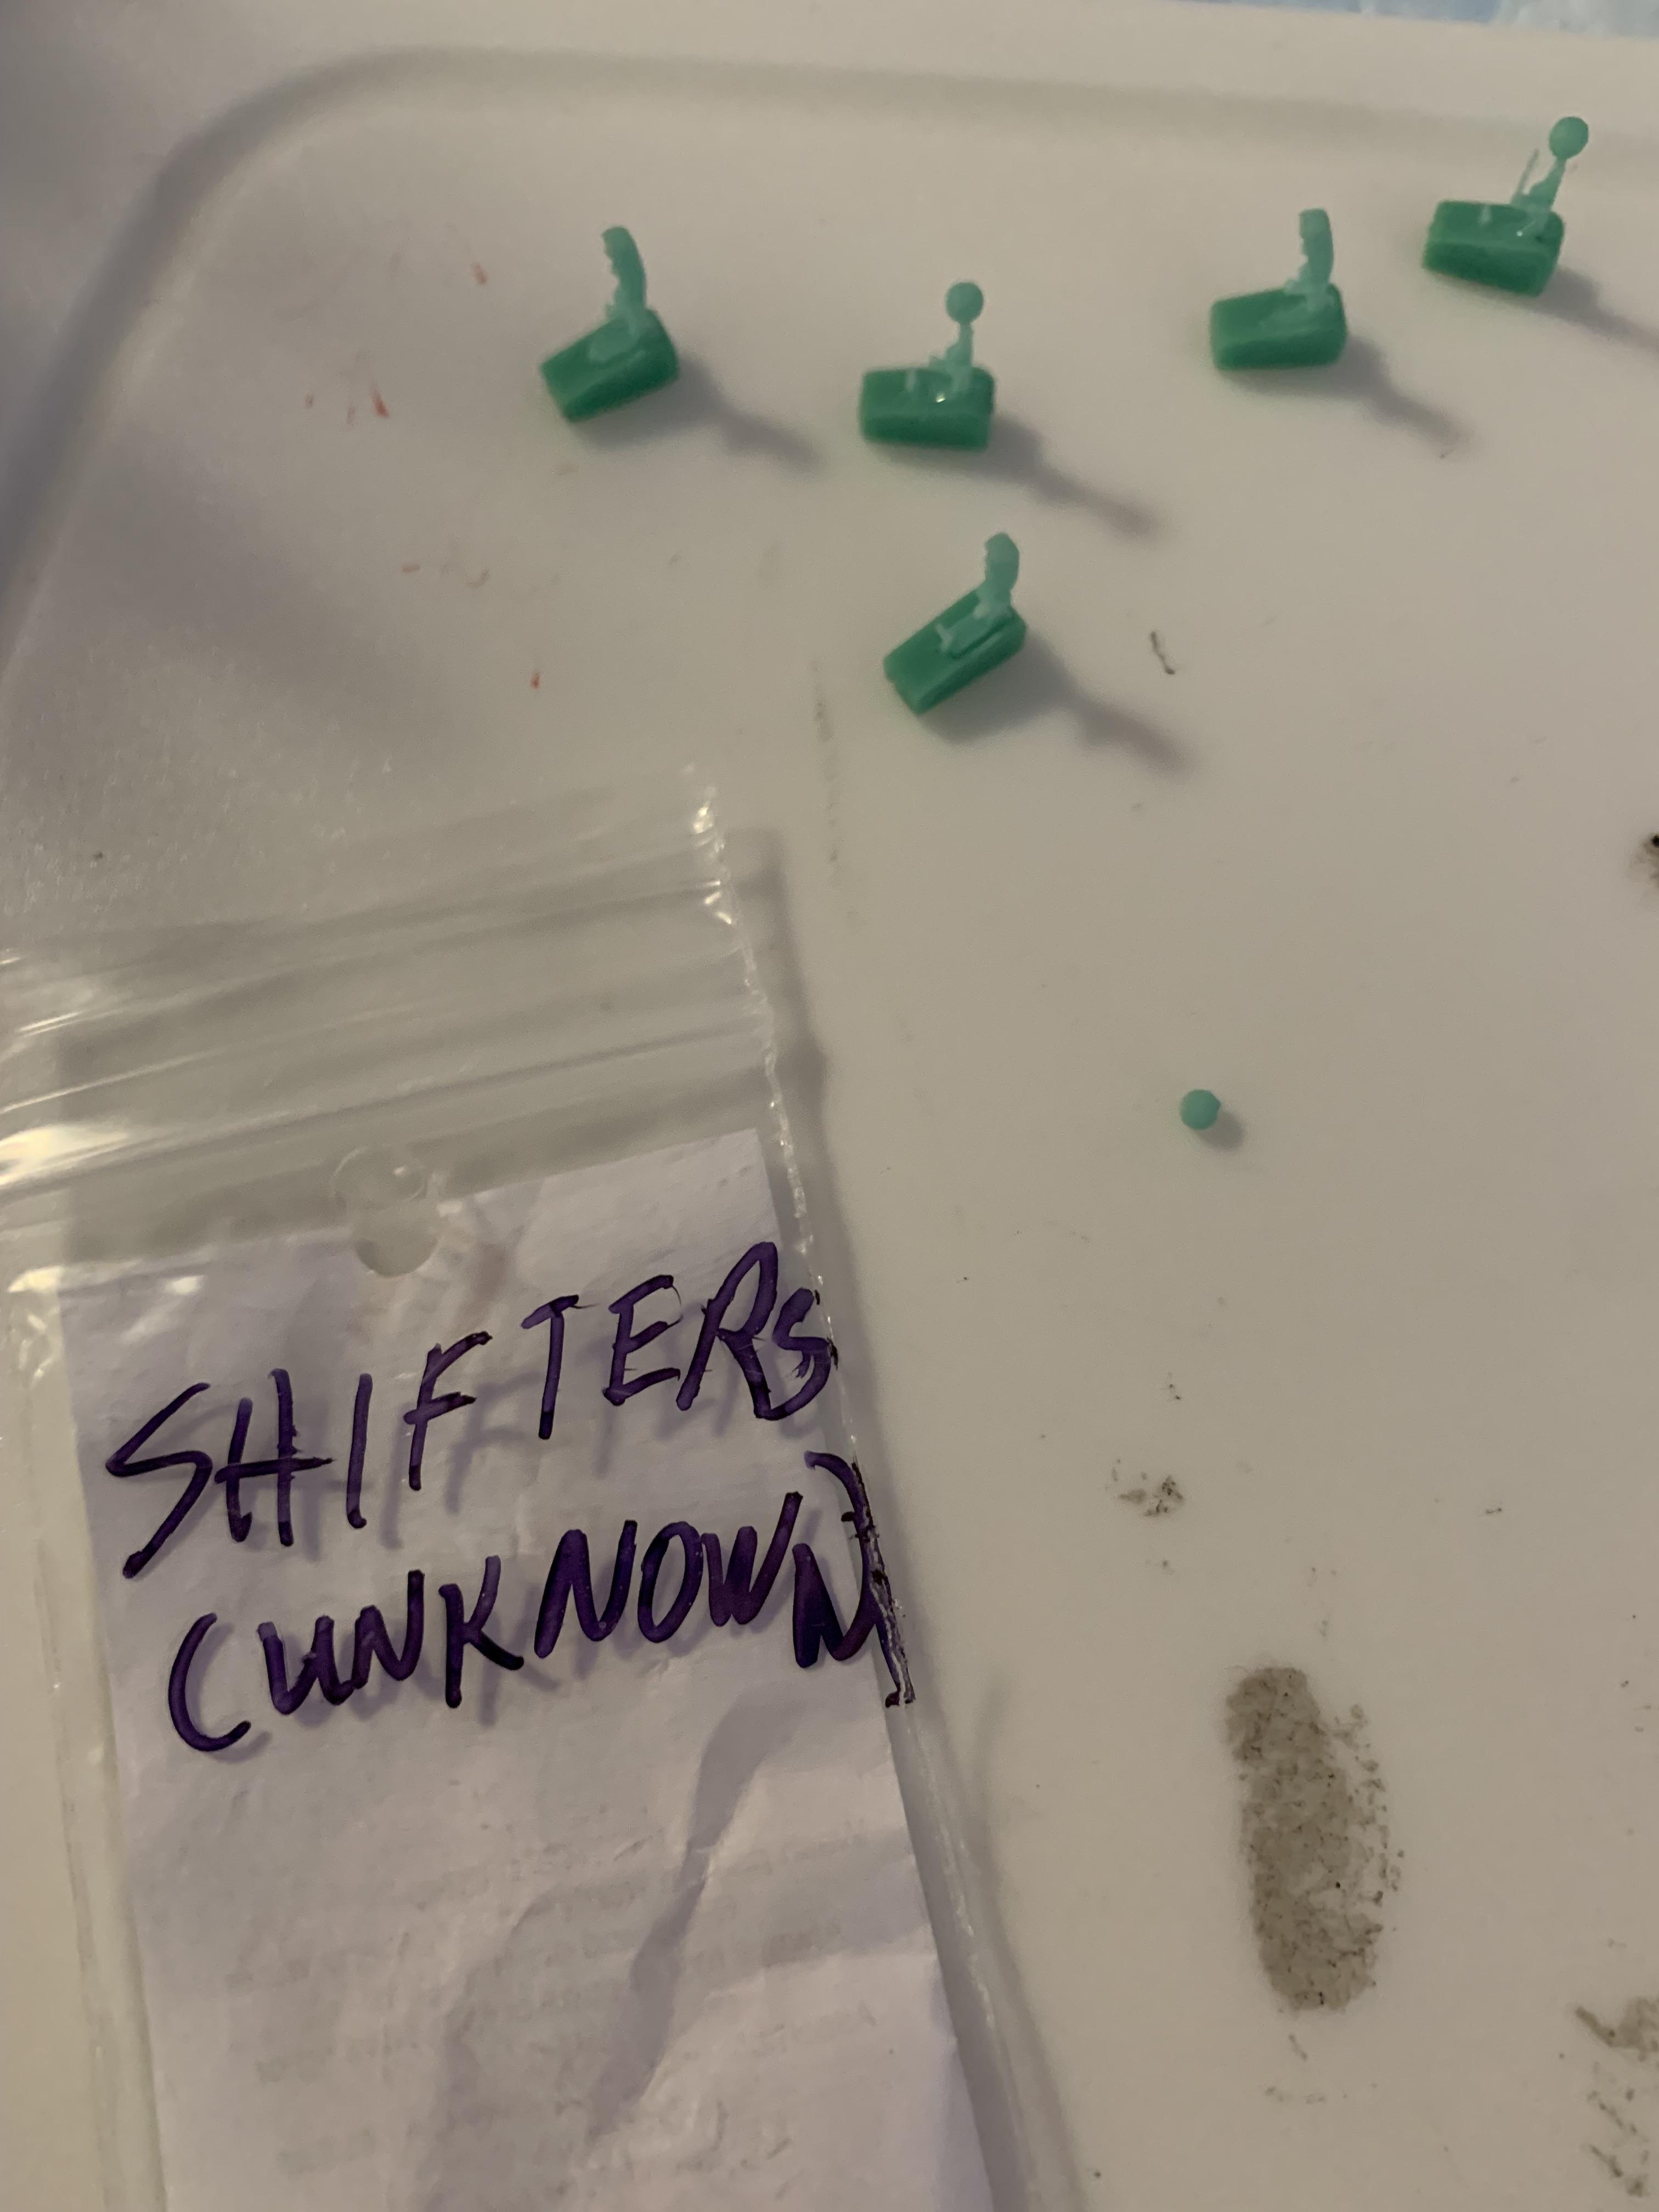
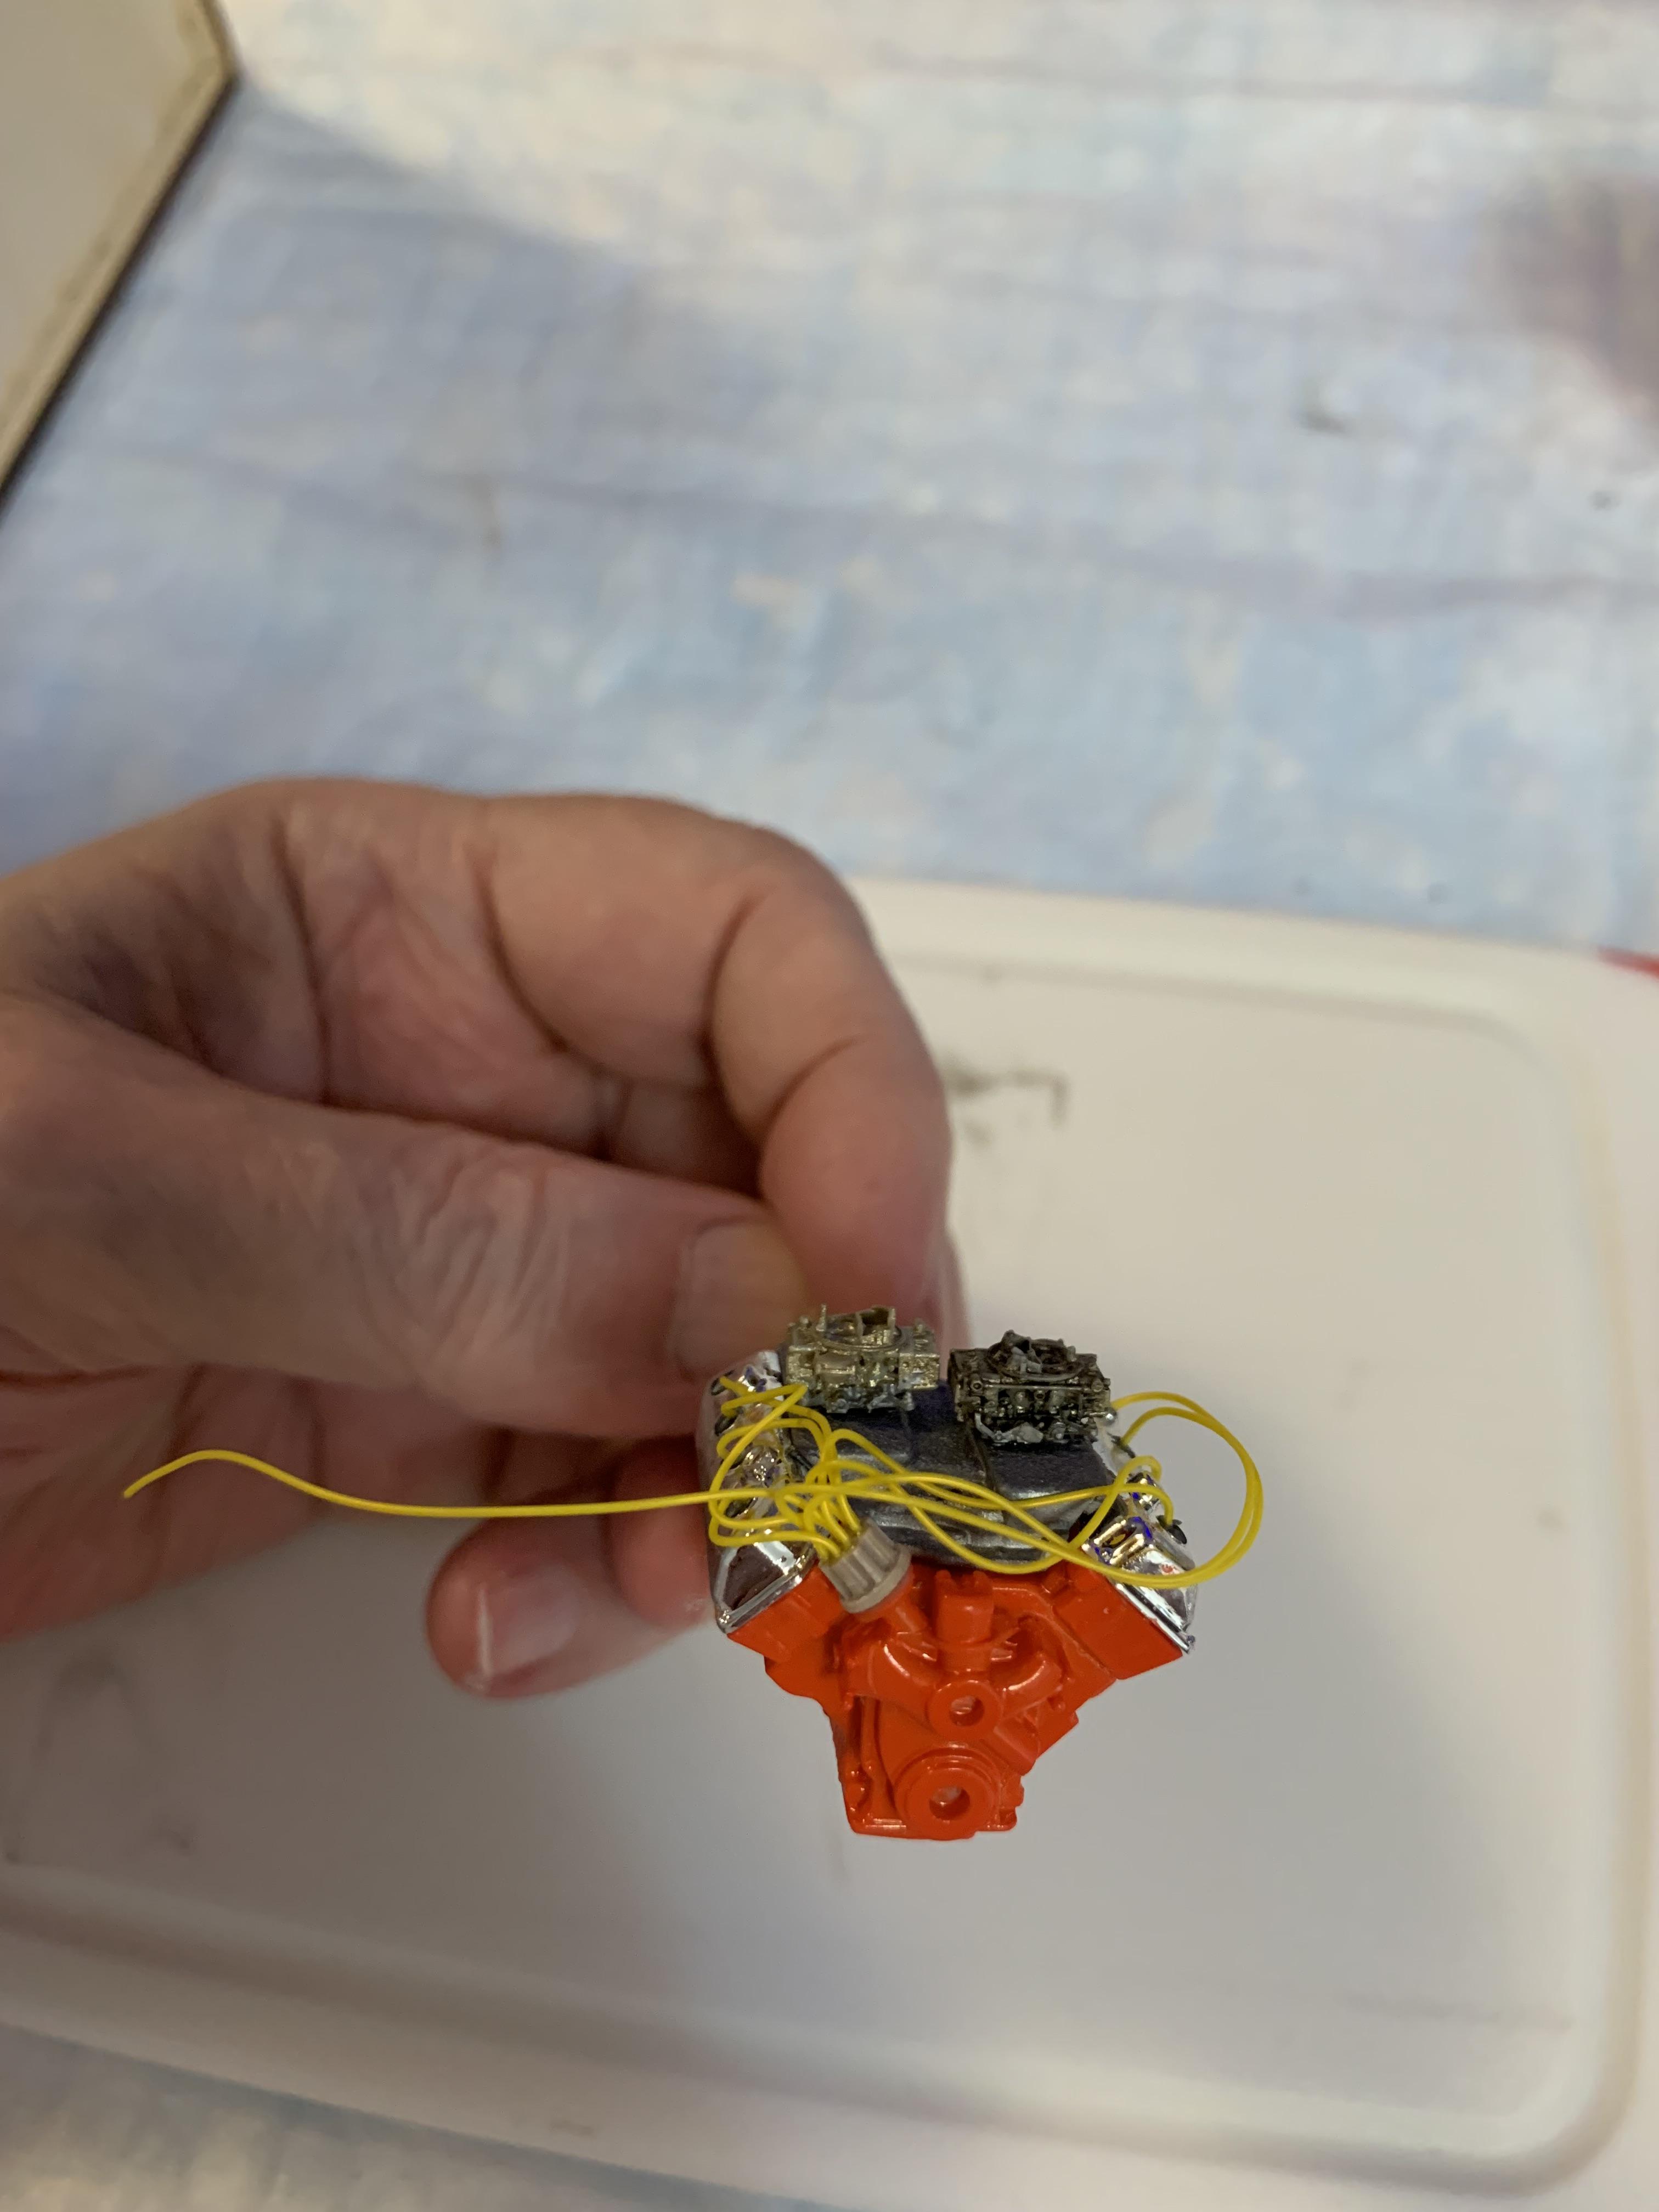
Put some aftermarket shifters together. Some of the Plug wires are gonna have to be shortened (later).
-
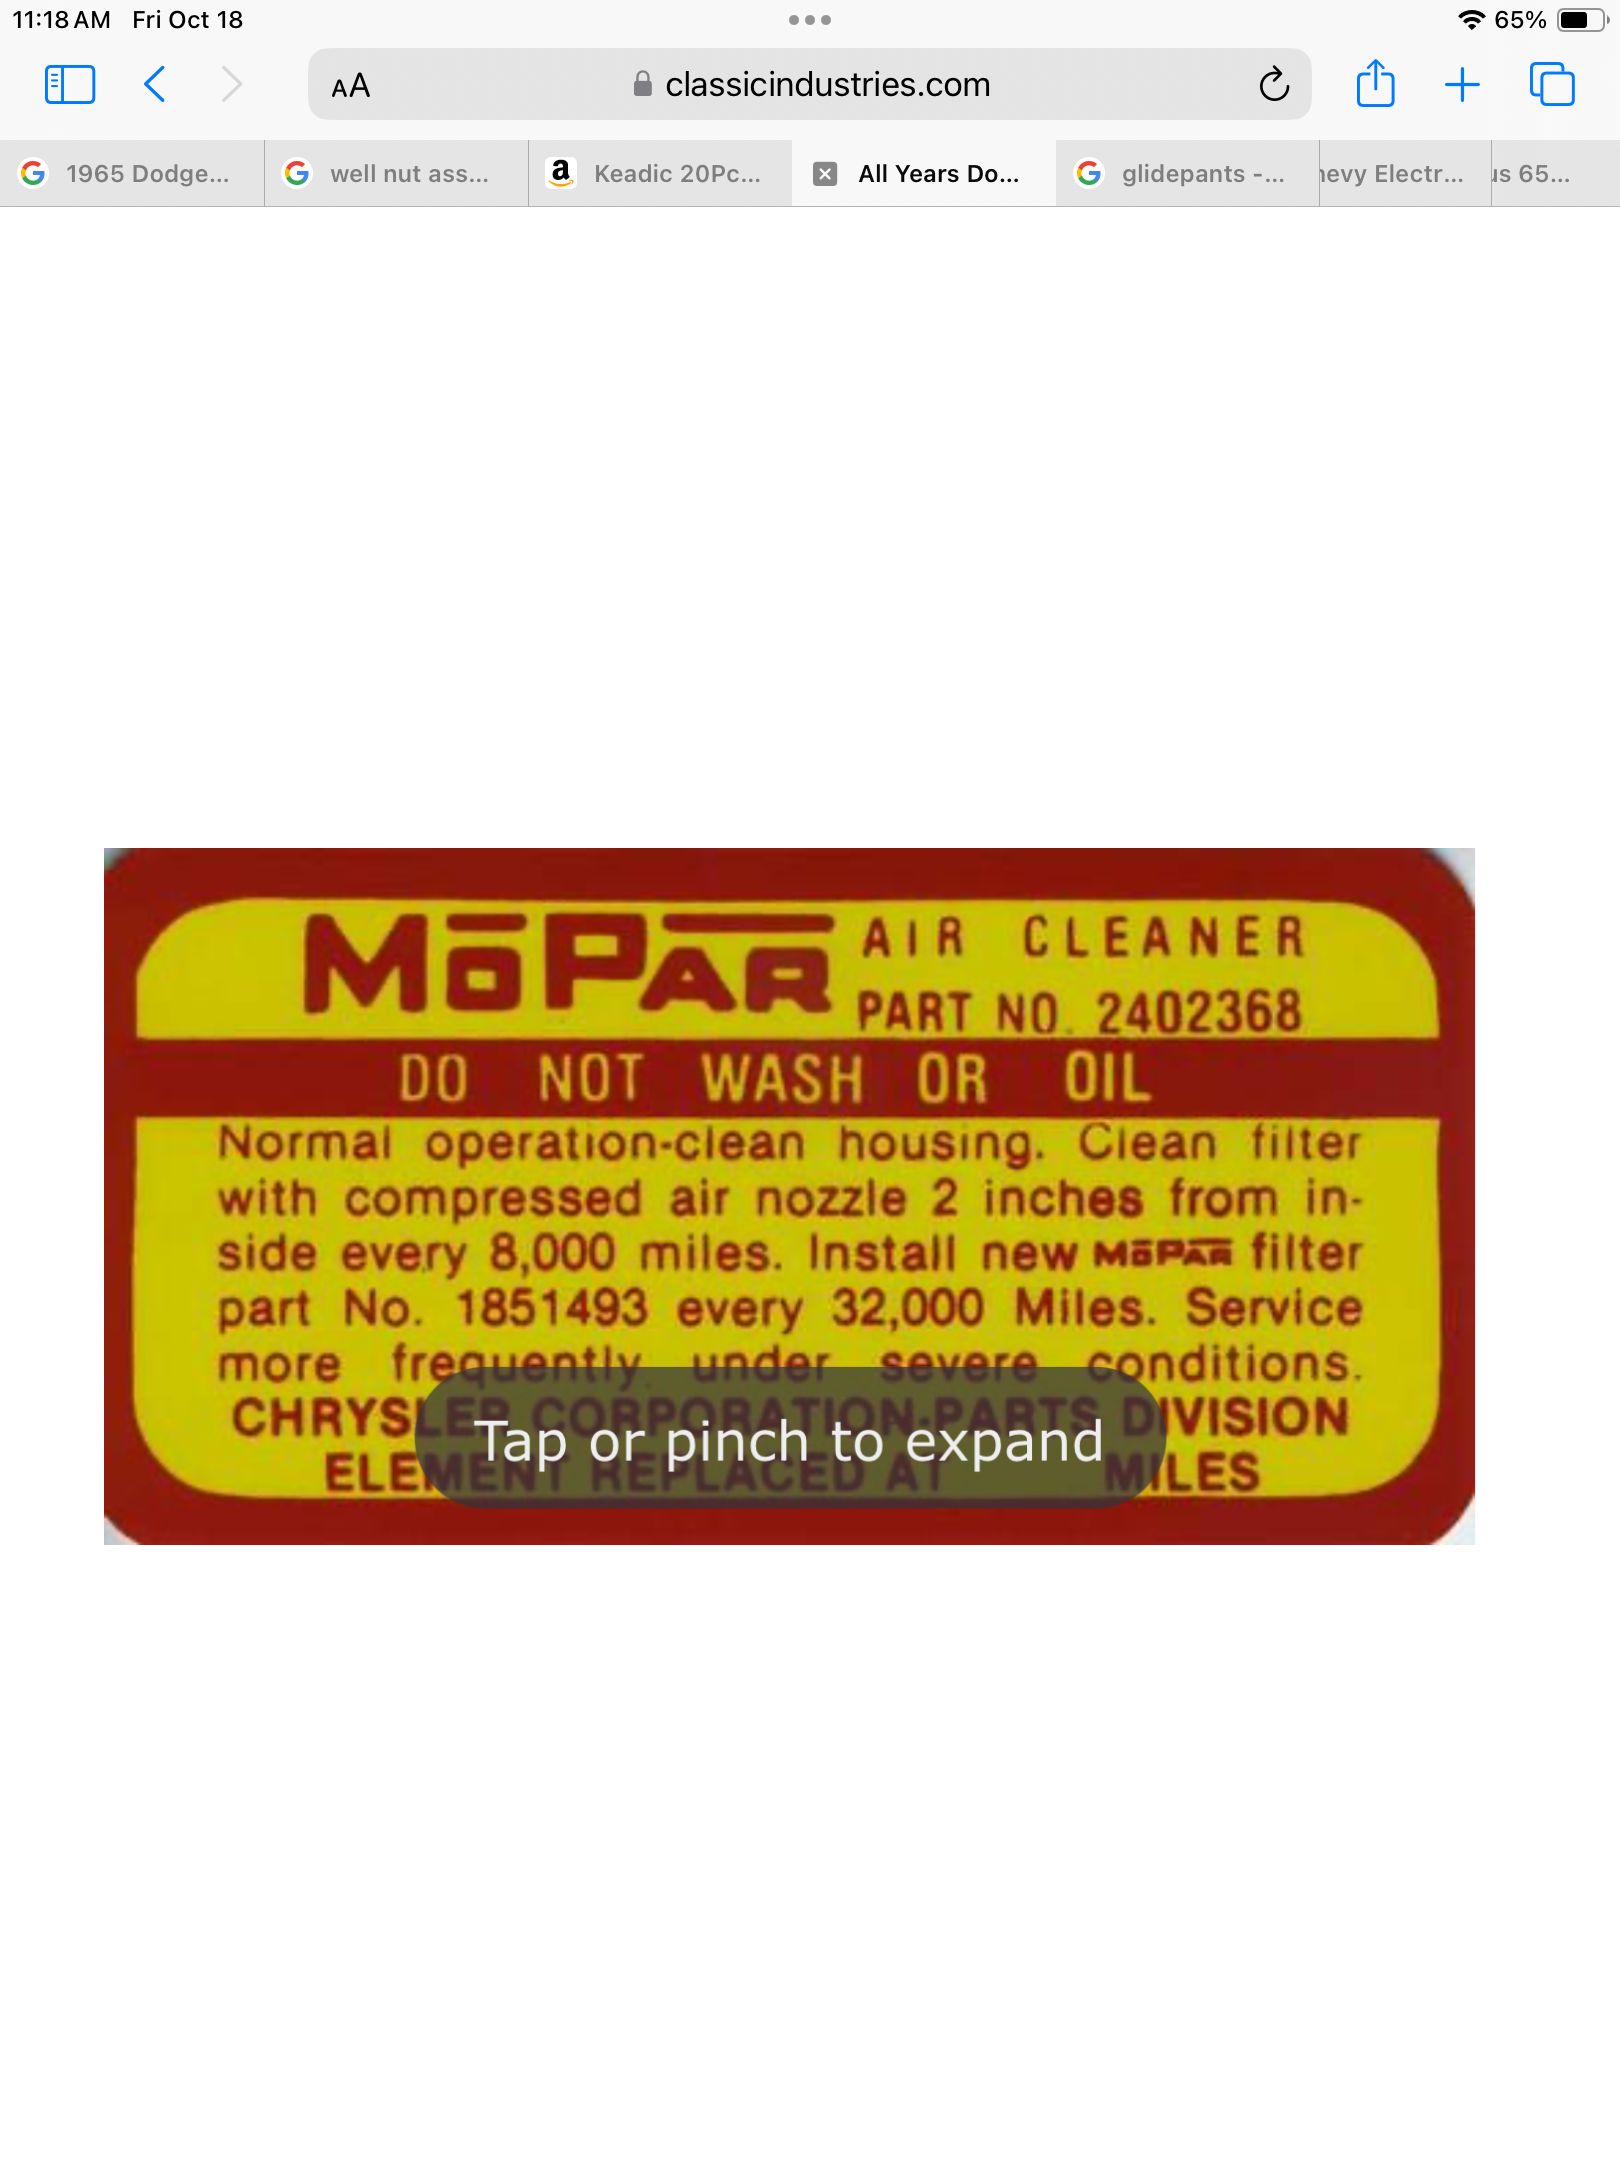
How can you not use them if you care about engine appearance and don’t use an air cleaner? As for the back window fit, I am not there yet, but i definitely am going to look at it this weekend. Thank you.
-
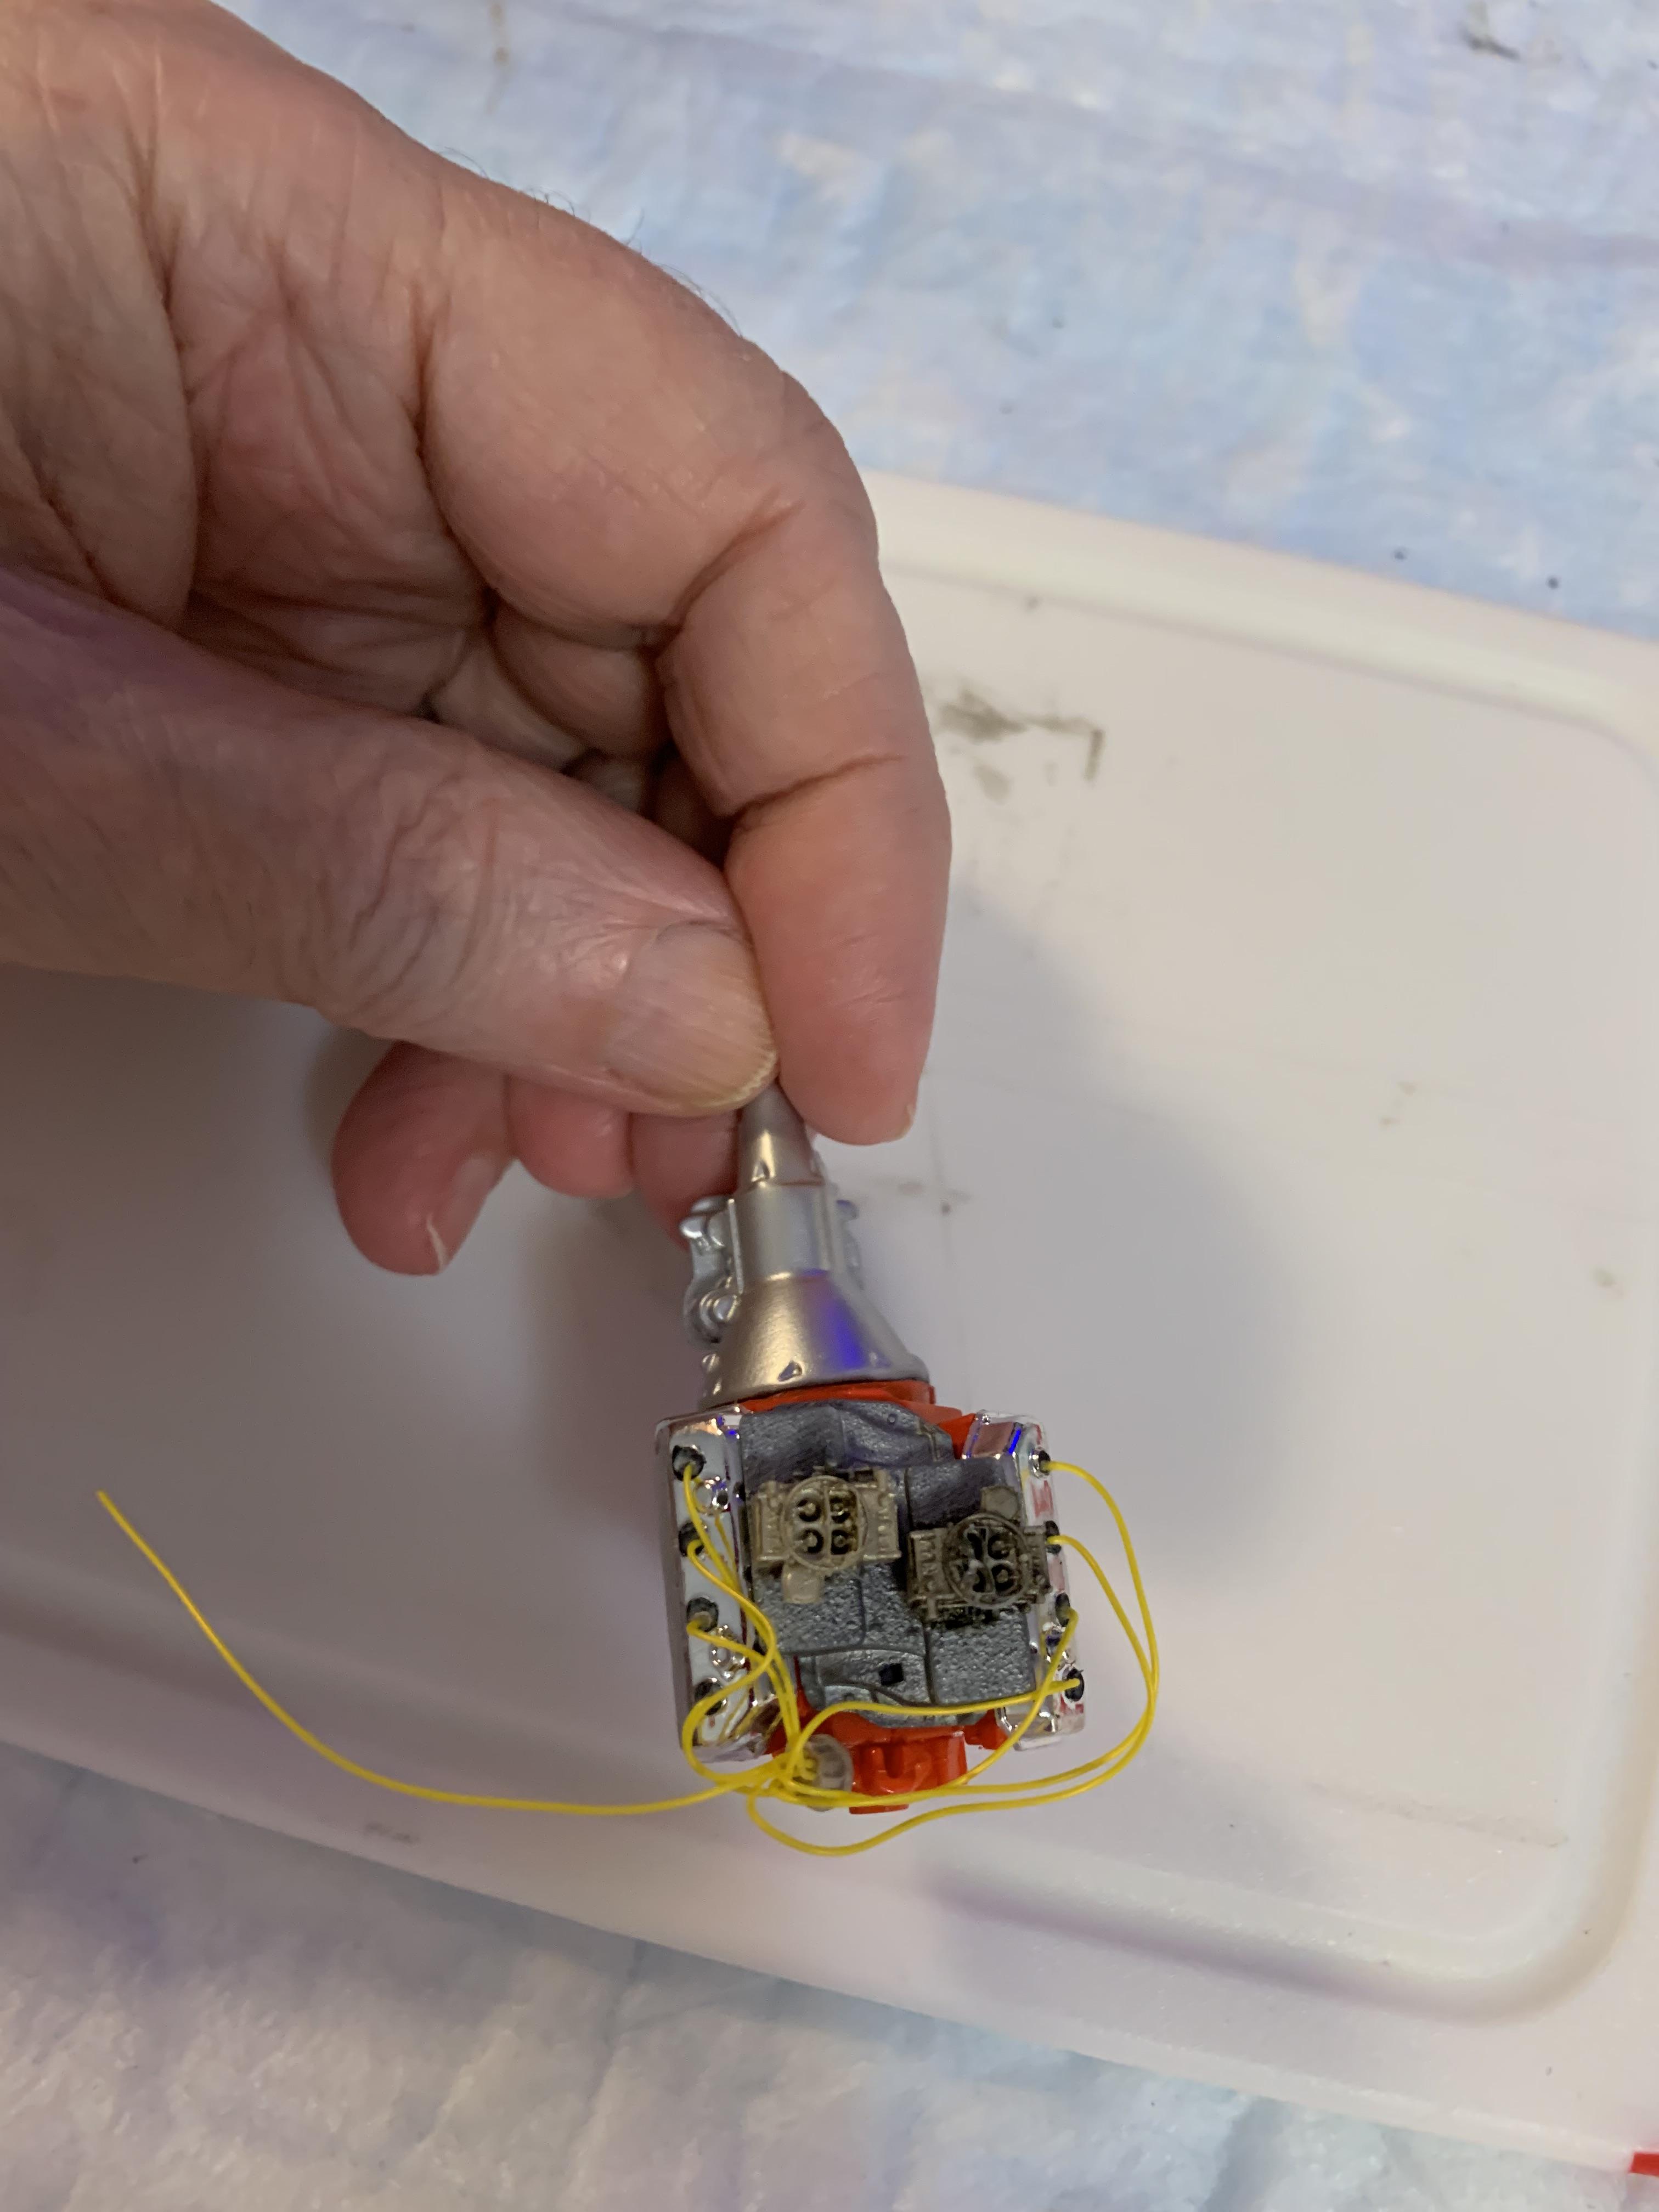
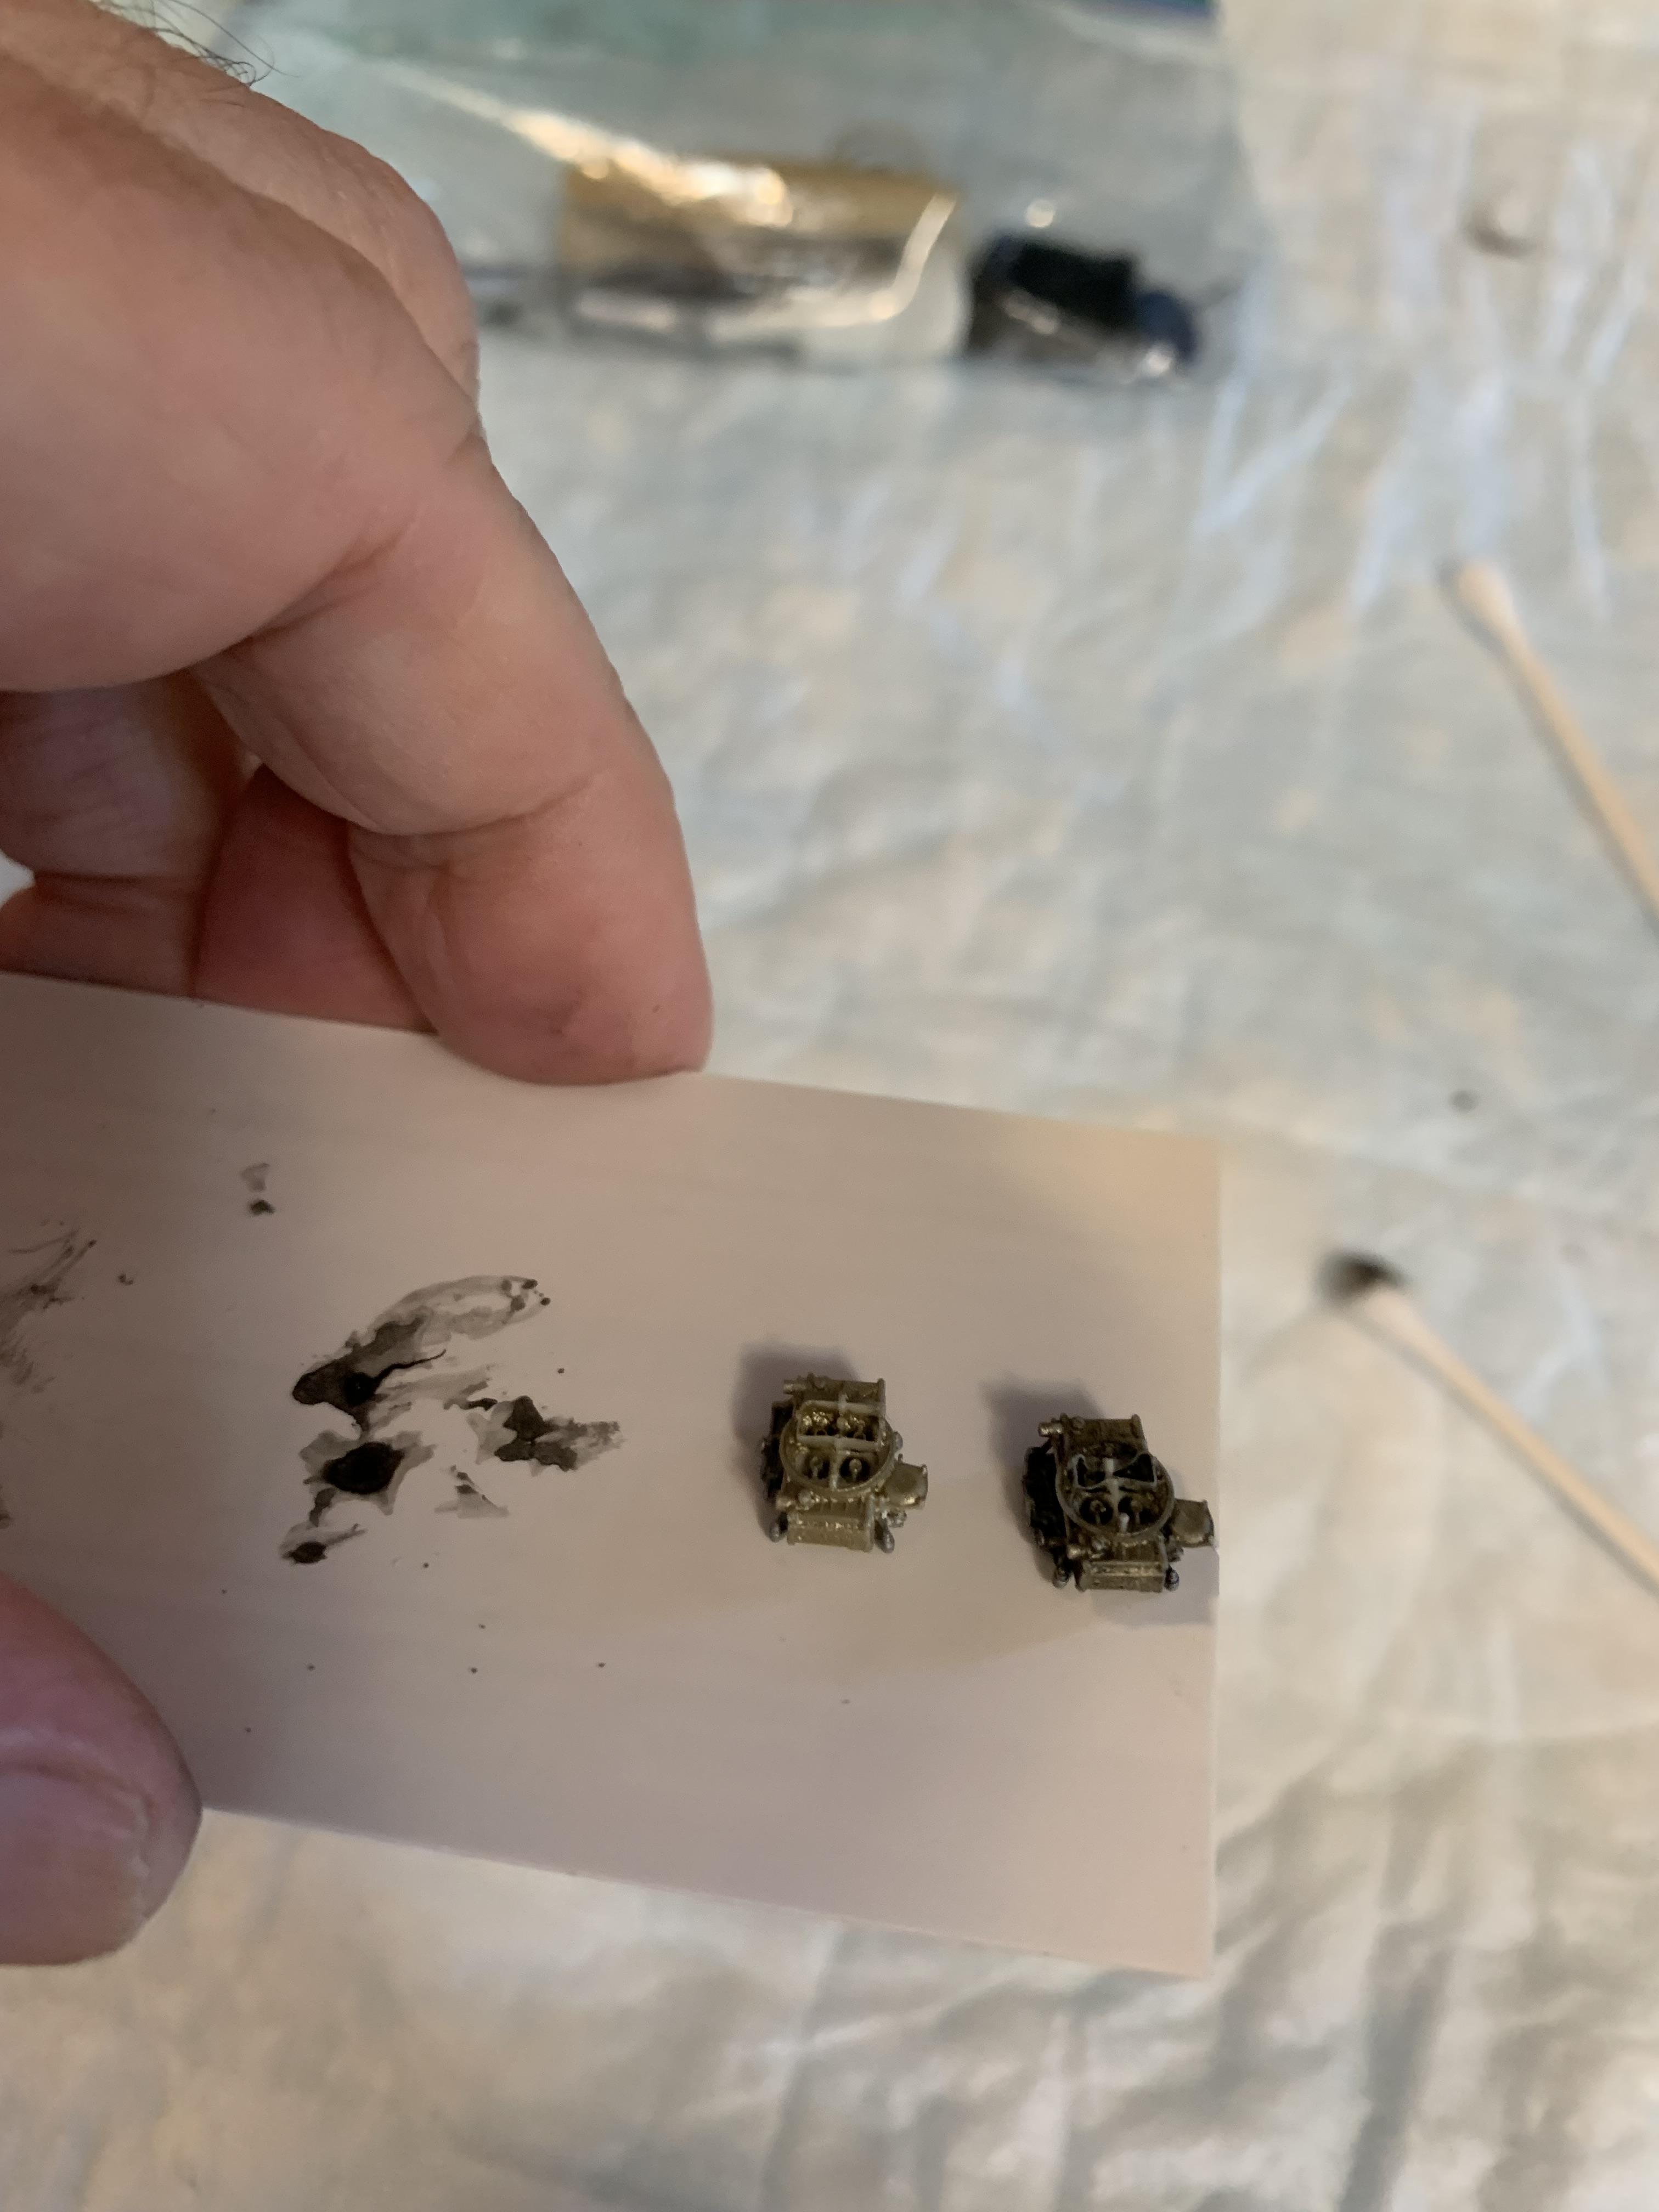
Thanks, Tom. Good or bad reviews, comments, etc., are always appreciated. Put some Tamiya black wash on one of the carbs. Don’t know if I like the effect or not. May just leave one alone and install ‘em, then make a decision. Also, glued on the trans, leaving “chrome” pan off til later to keep from smudging it up.
-
Moebius 65 Coronet A990 decal question.
R. Thorne replied to Brutalform's topic in Model Building Questions and Answers
Air cleaner decals?