R. Thorne
-
Posts
1,276 -
Joined
-
Last visited
Content Type
Profiles
Forums
Events
Gallery
Everything posted by R. Thorne
-
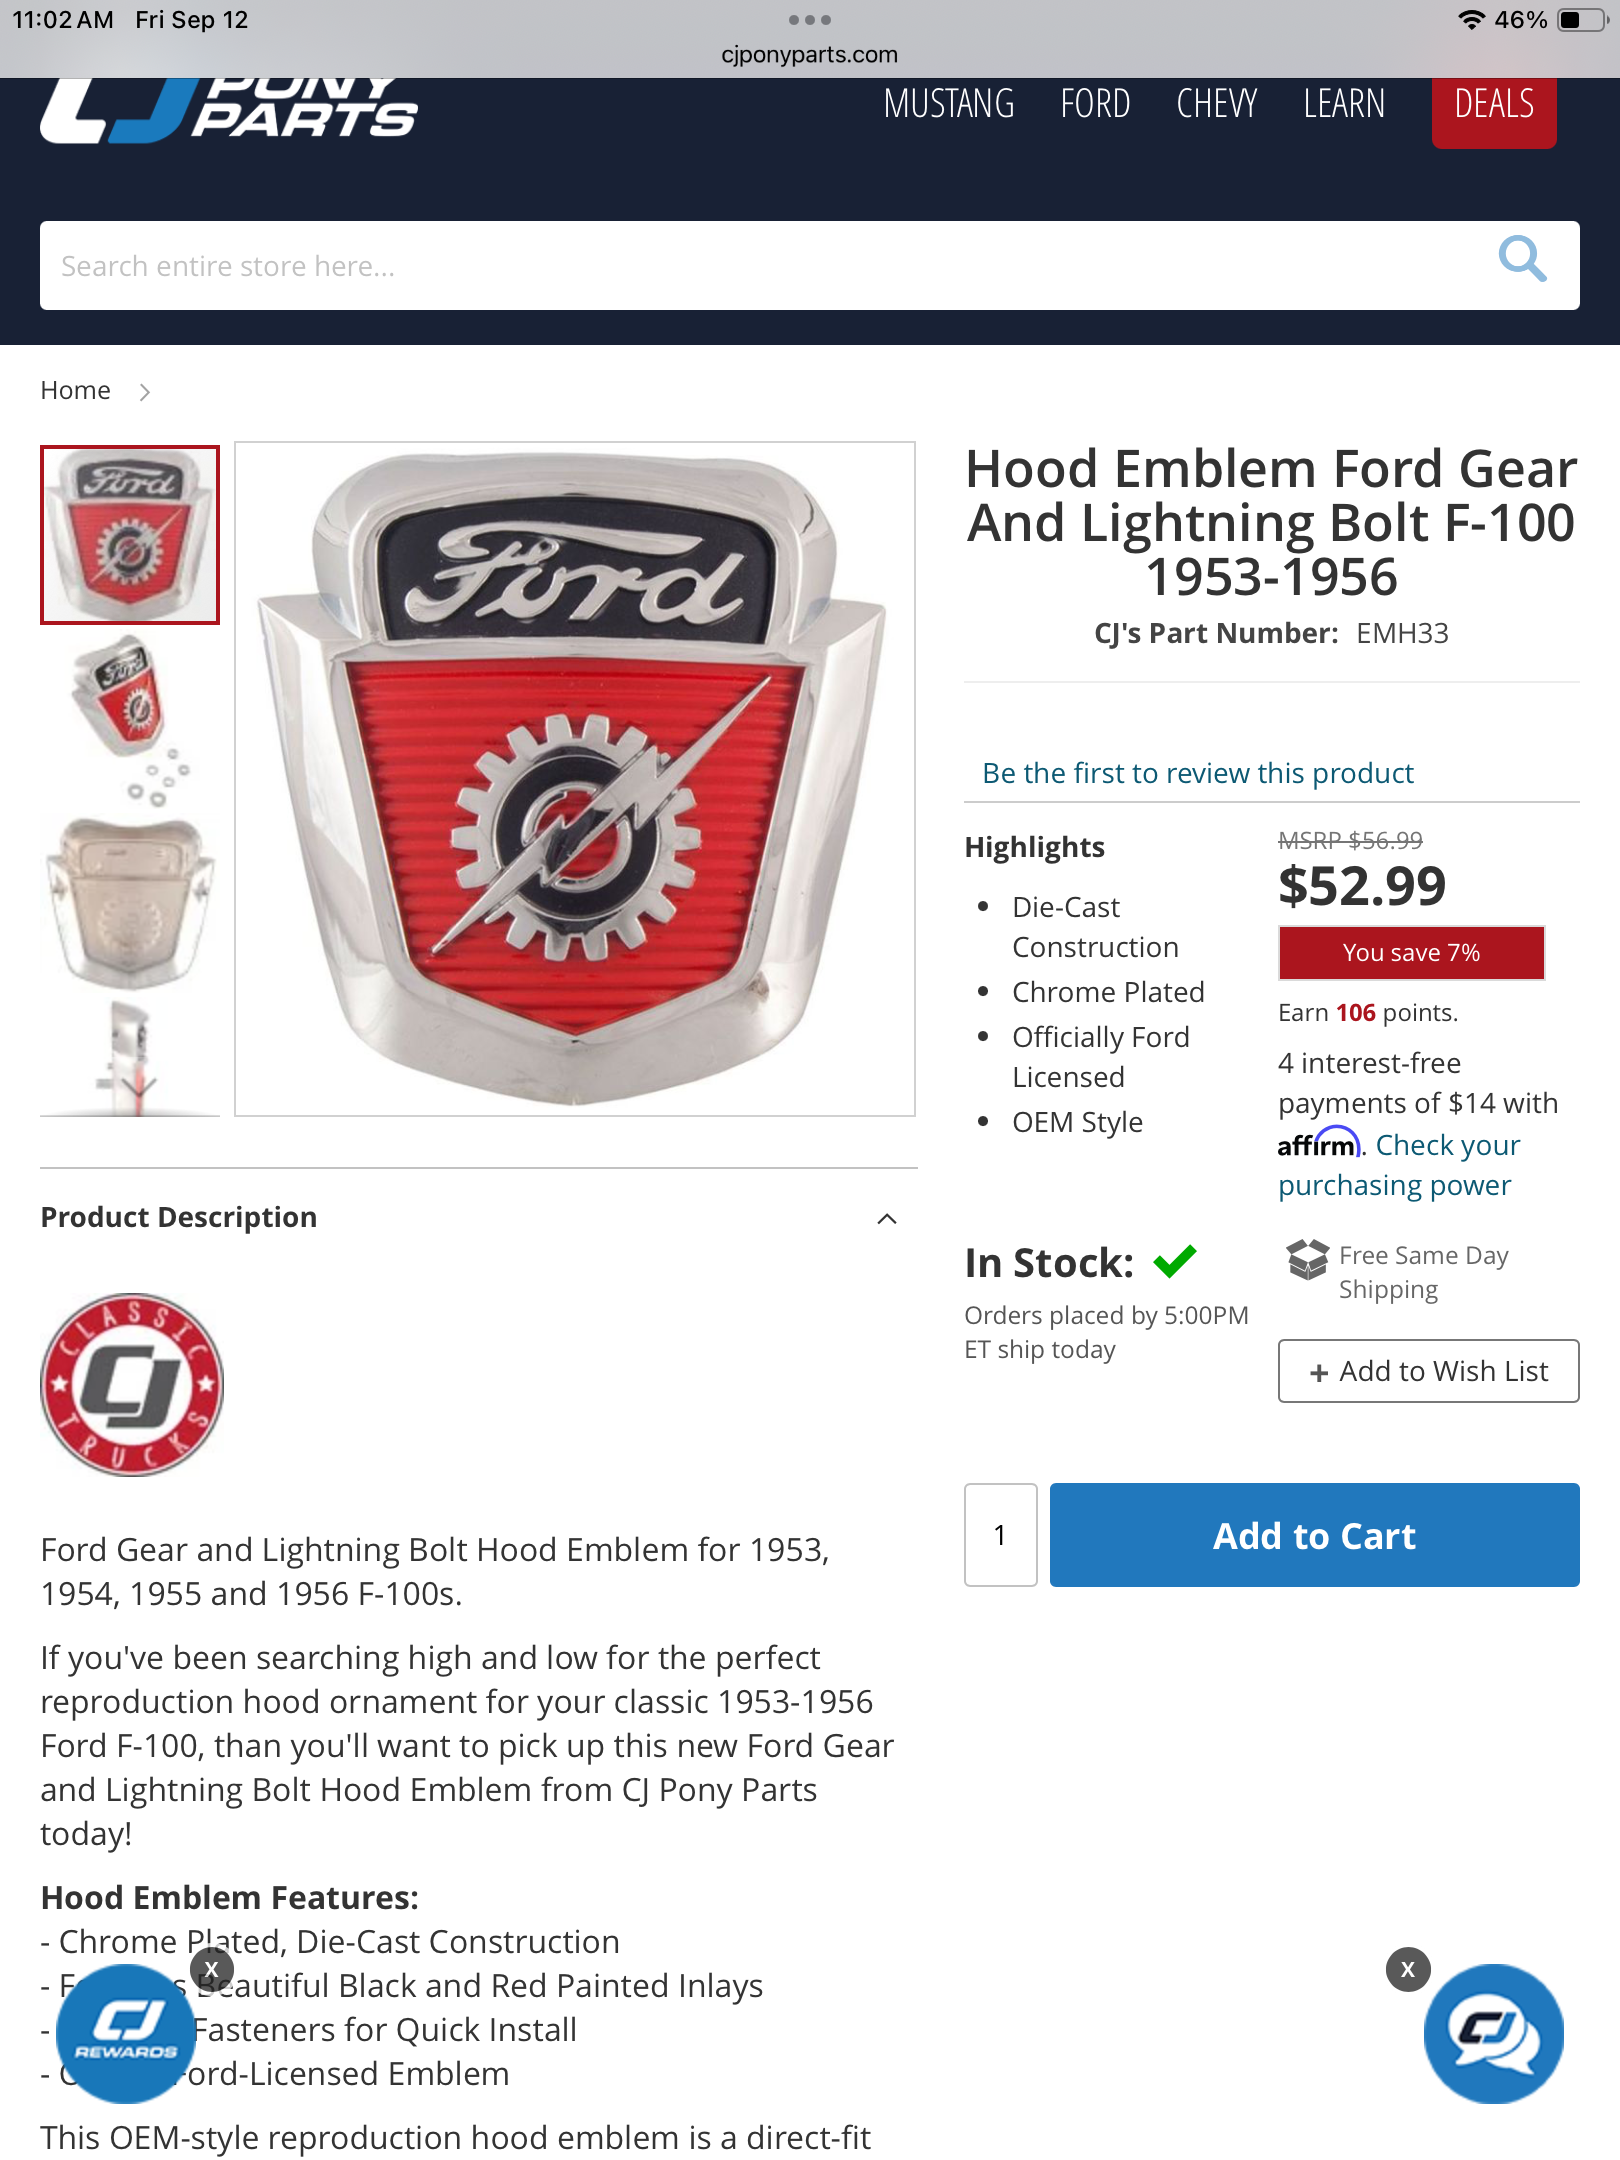
What could this be? Horn button? Or….?
R. Thorne replied to NOBLNG's topic in Model Building Questions and Answers
Looks like a Ford hood emblem.
-
Your ideas are just too simple (AFTER you show it to me, and after I say “Why didn’t I think of that?”). Great stuff, as usual. Thank you, Greg.
-
Lots to like there. VERY clean chrome trim, decals, and paint. Even Nationals event participation decals. Engine compartment is spot on. You even put windows on one side. I admit I am partial to NHRA Stockers, but, even so, this model is above average in all respects. Great job.
-
It is manufactured by Fusionfirm in a larger container known as liquid chrome. There is no varnish included. This version is designed for airbrush use with no thinner added. Now, the bad news: it is slightly higher in price ($13-14); and is not currently available (sold out on Amazon).
-
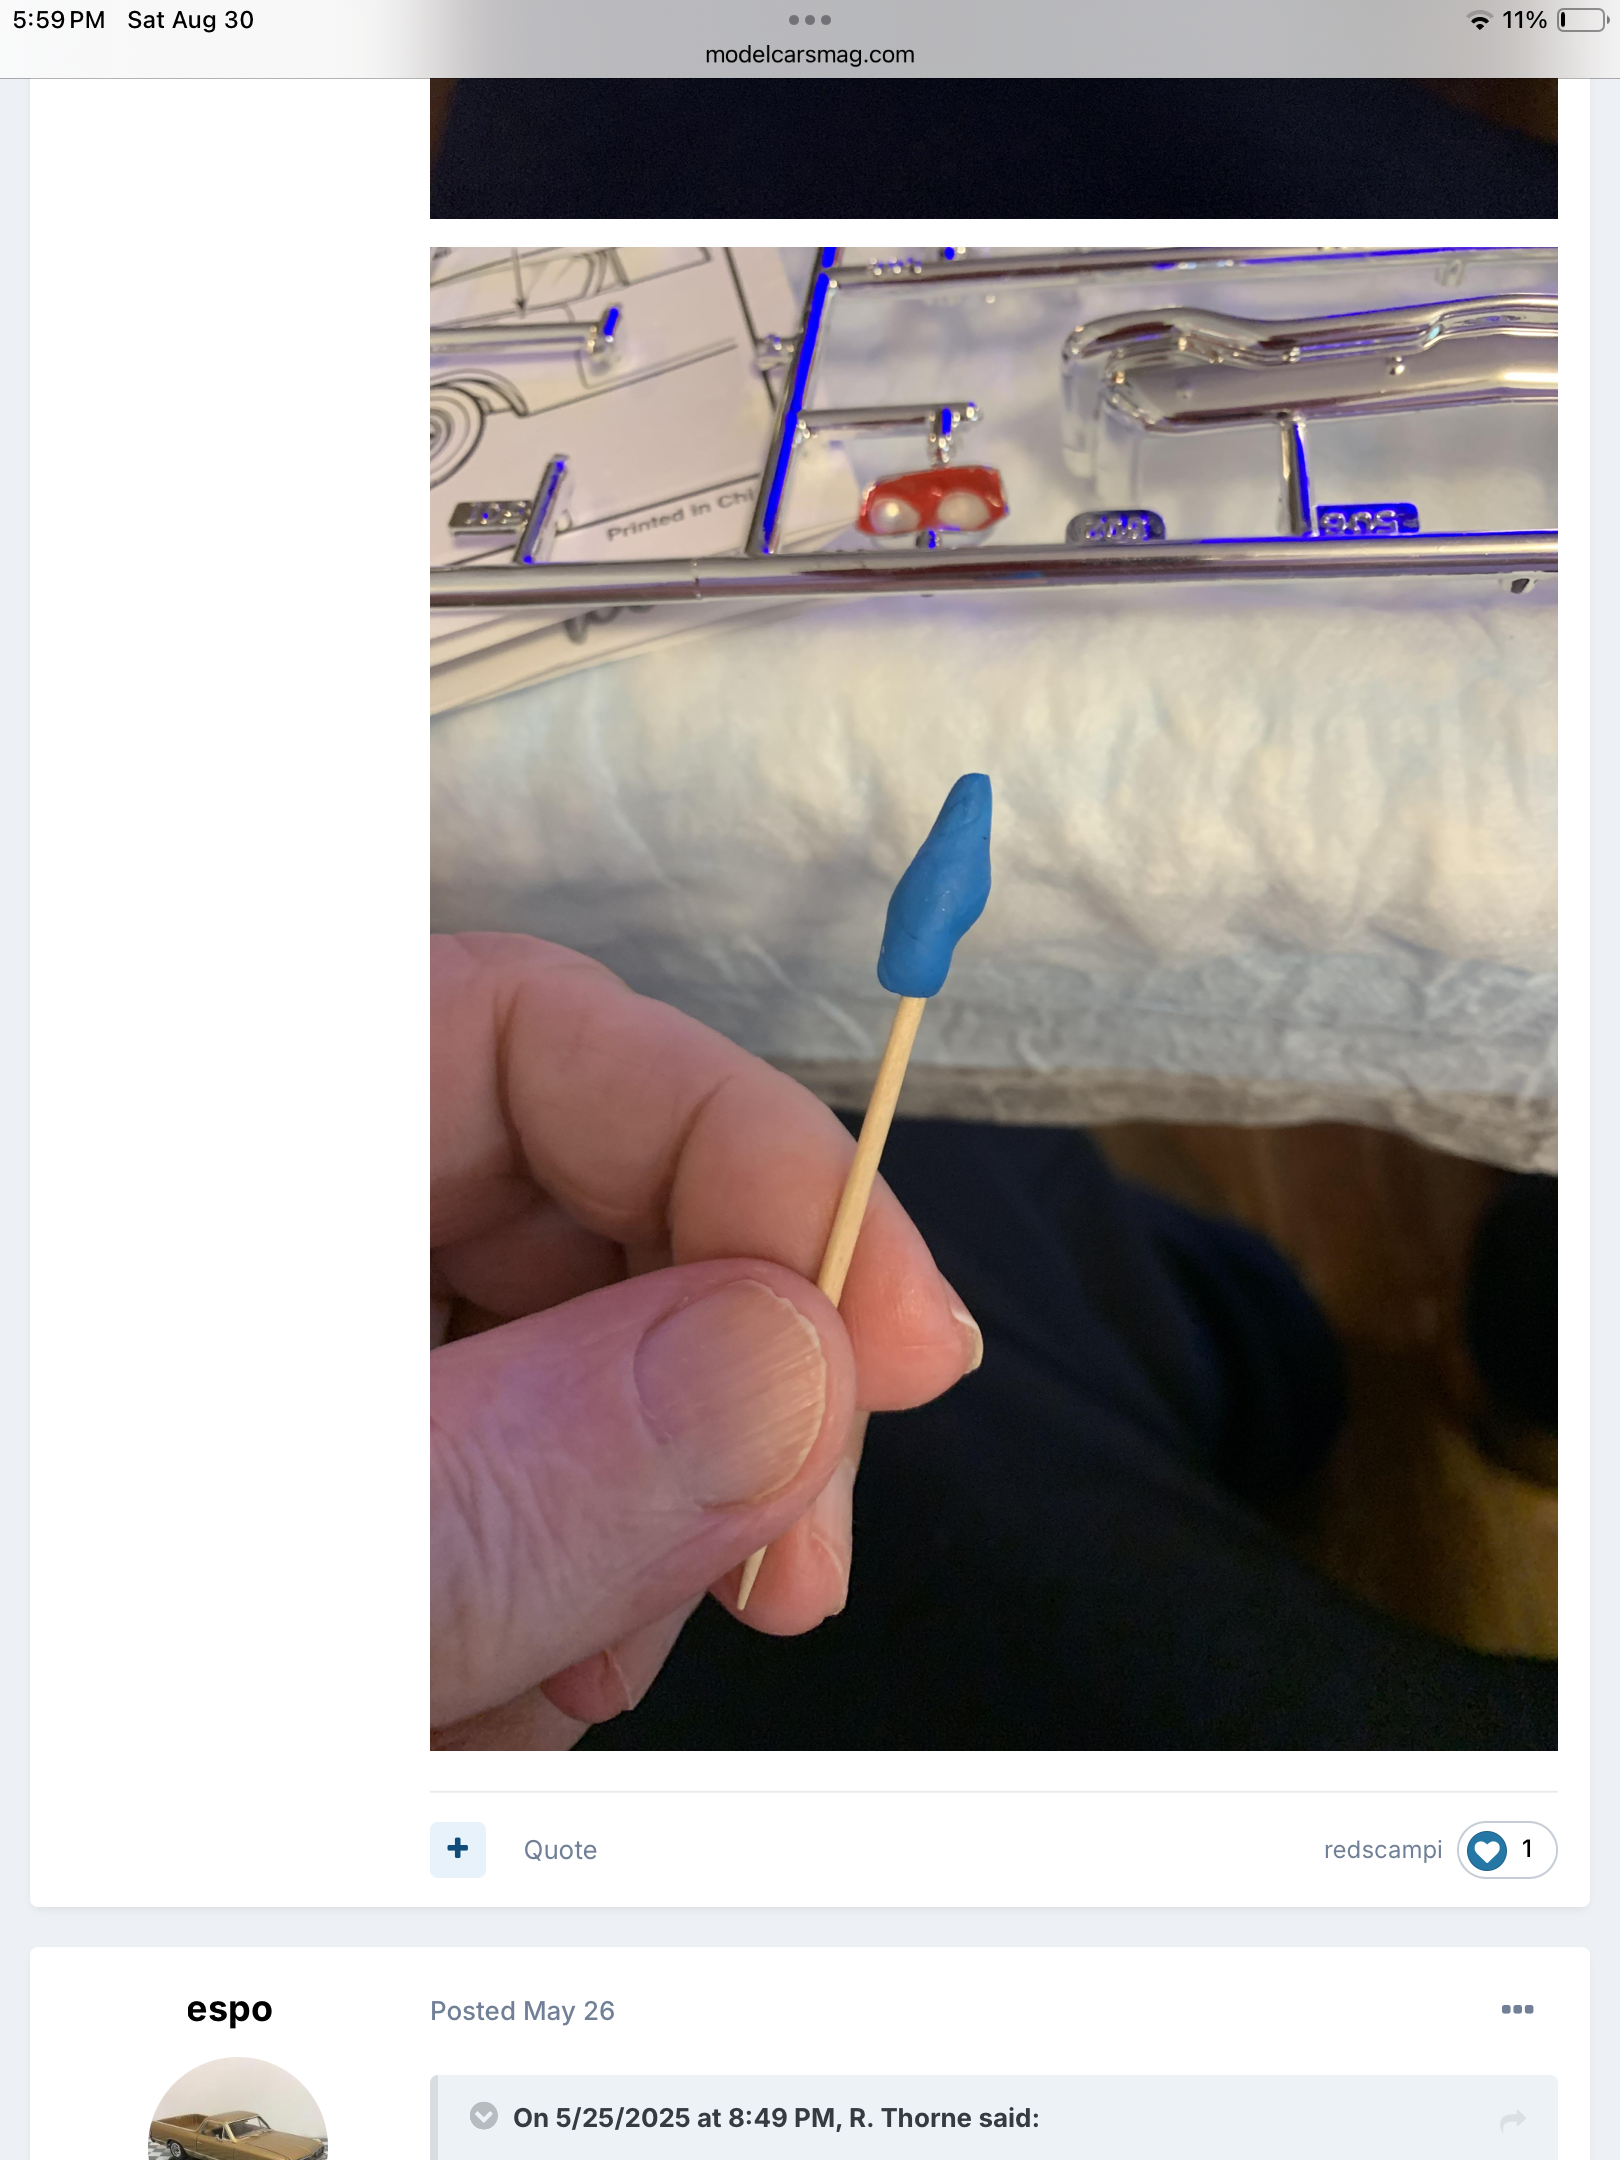
I like a toothpick with the sharp end cut off with some fun tac molded on to apply windows and small stuff. You can shape the funtac to fit the part.
-
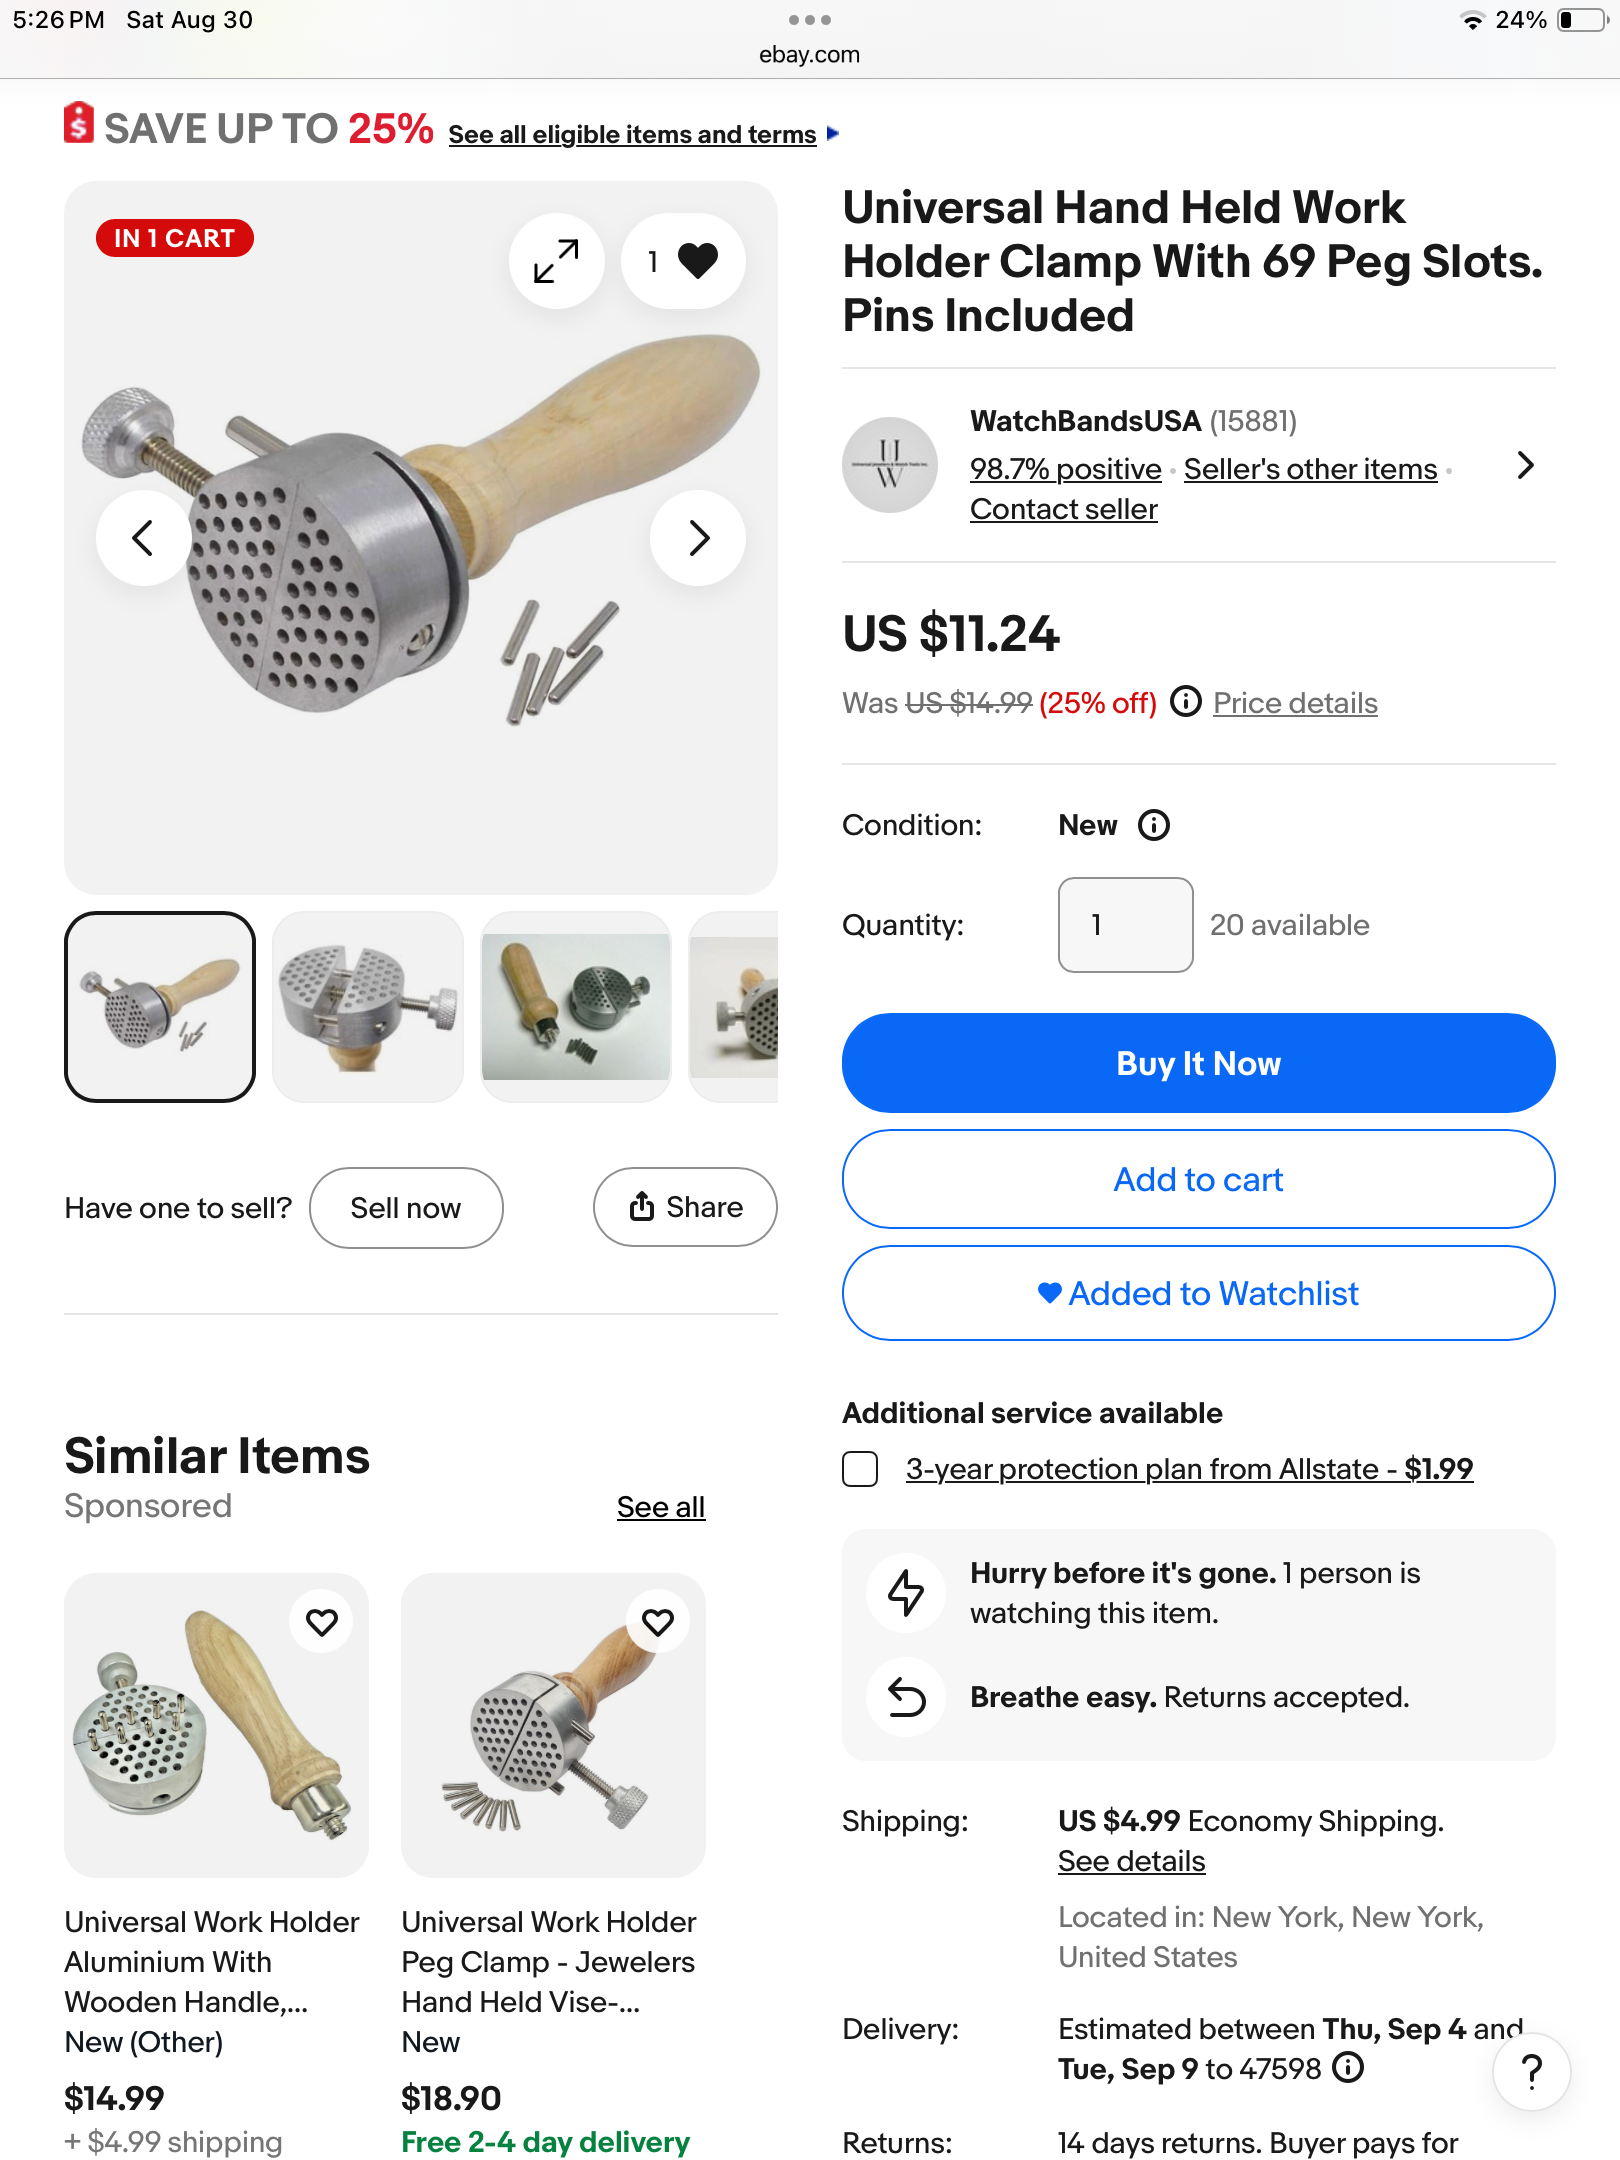
Ideas for holding figures
R. Thorne replied to slusher's topic in Model Building Questions and Answers
I have been considering one like this. I am sure there are differing qualities and limitations to this type, but, perhaps another tool in the arsenal.
-
Thanks. It was a fun and interesting build.
-
Thanks, Tony. I have a long ways to go. Got the back door finished last night.
-
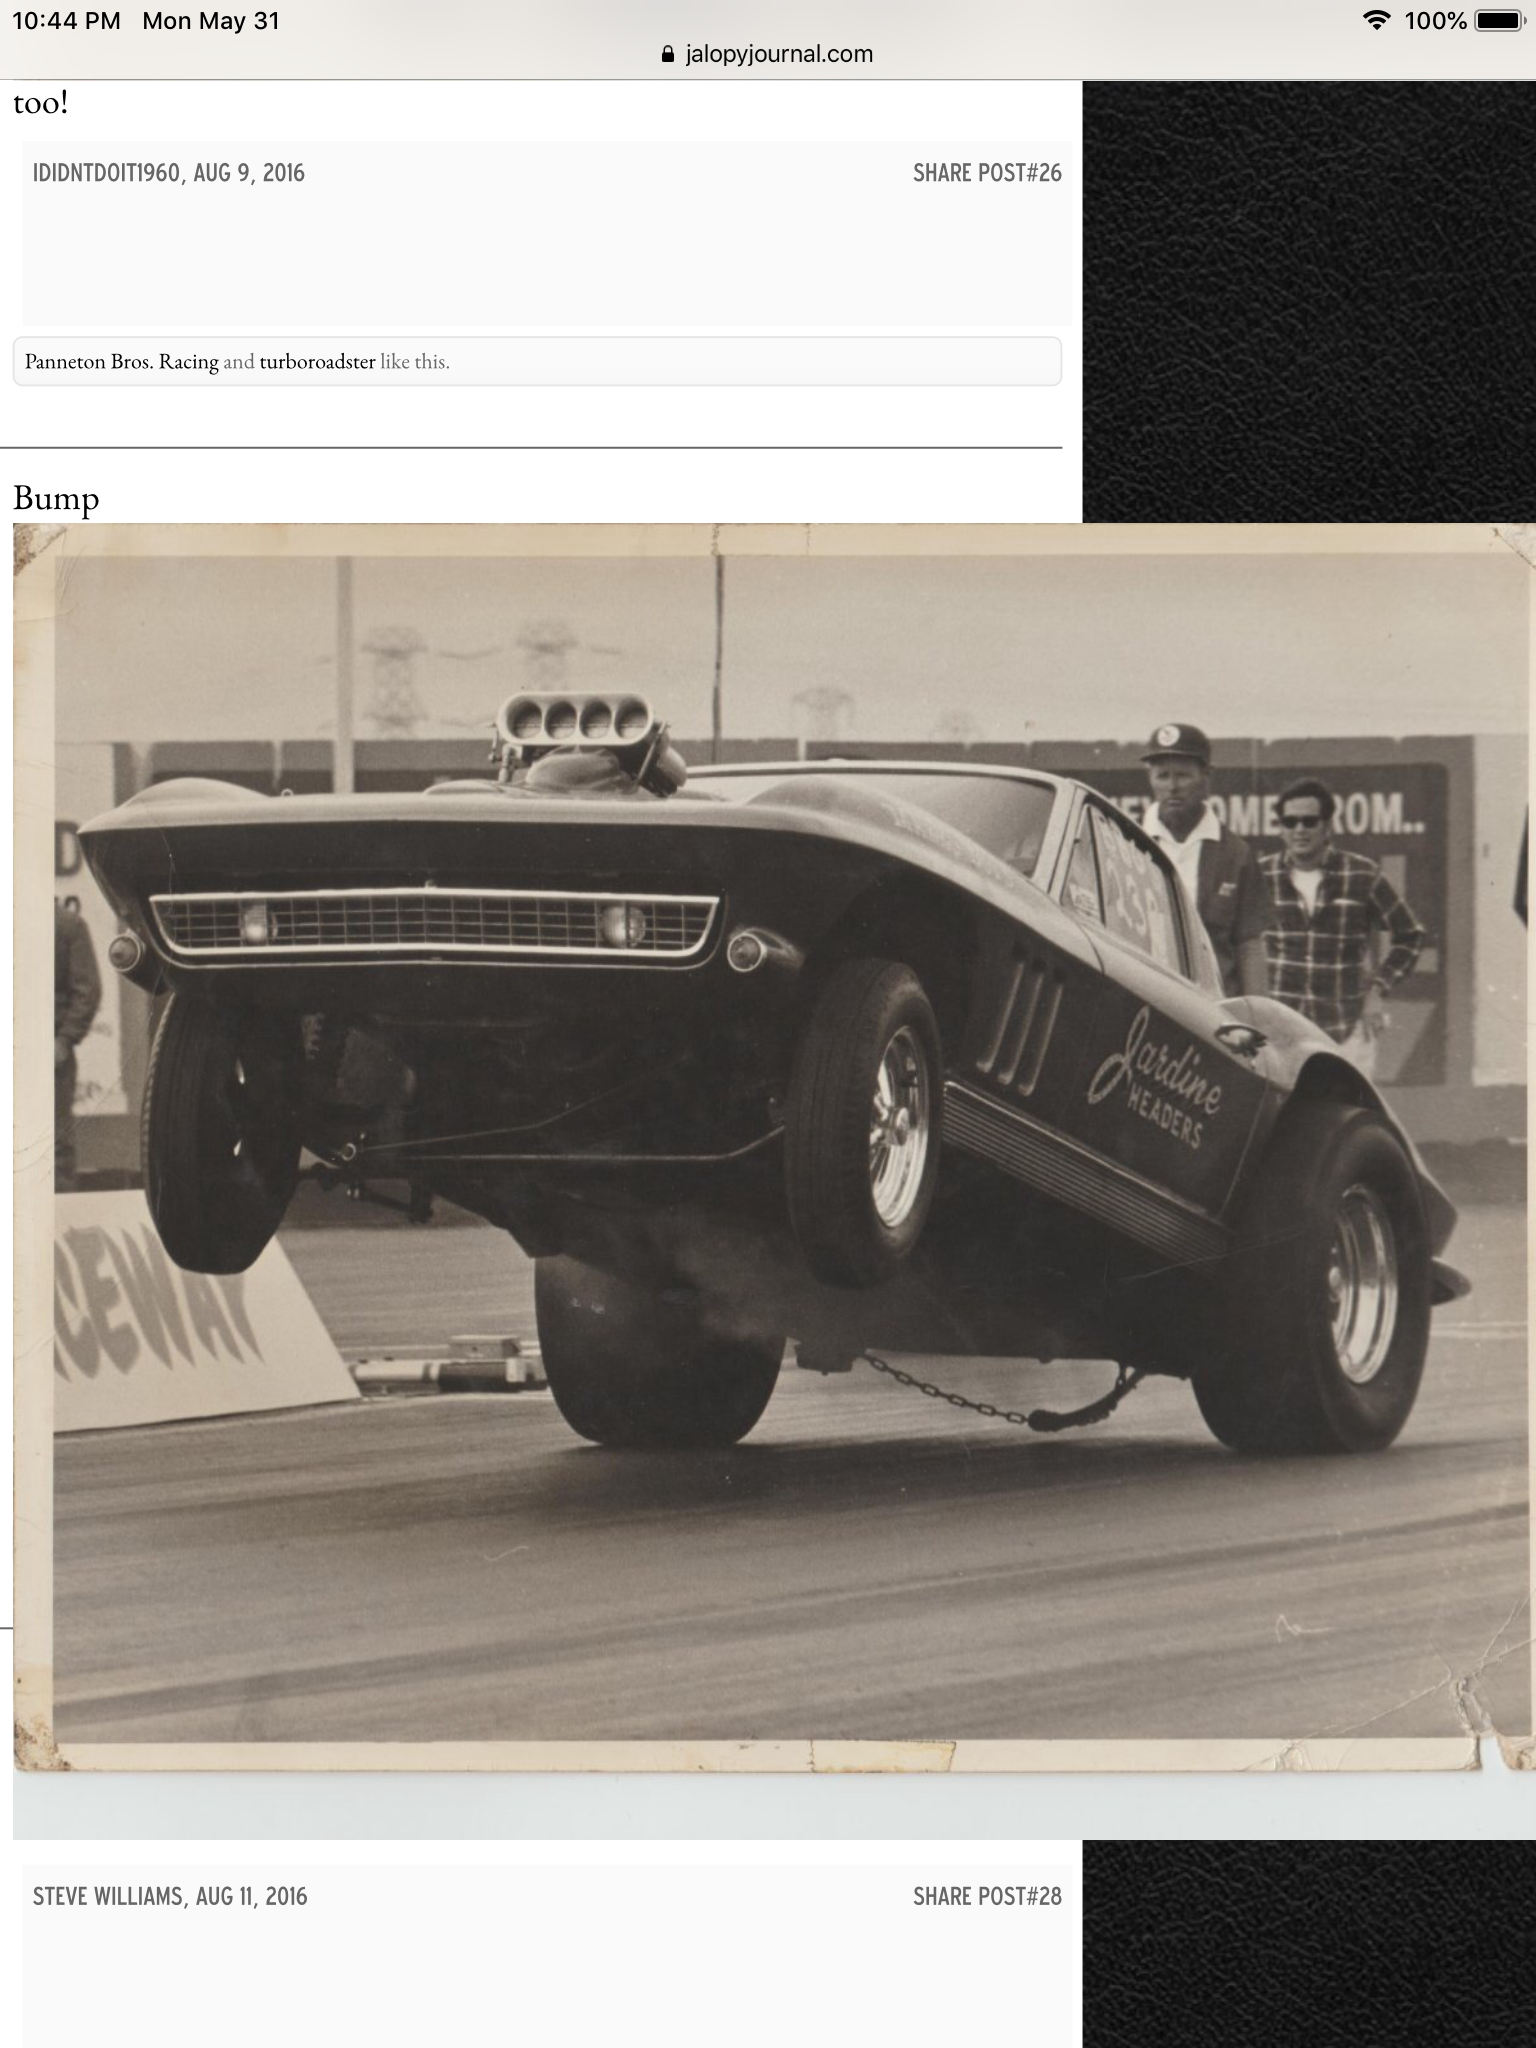
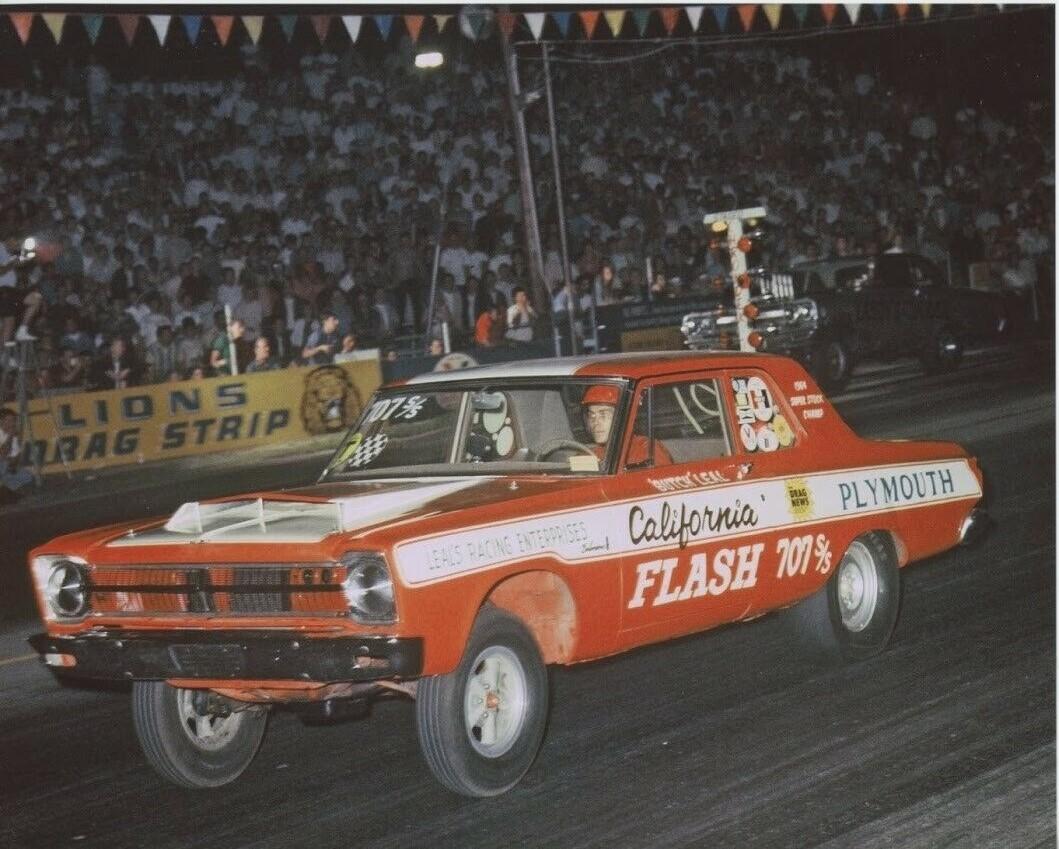
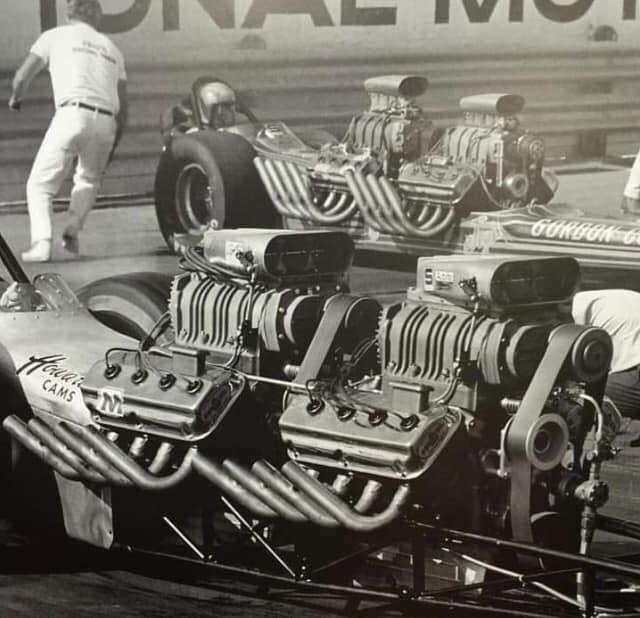
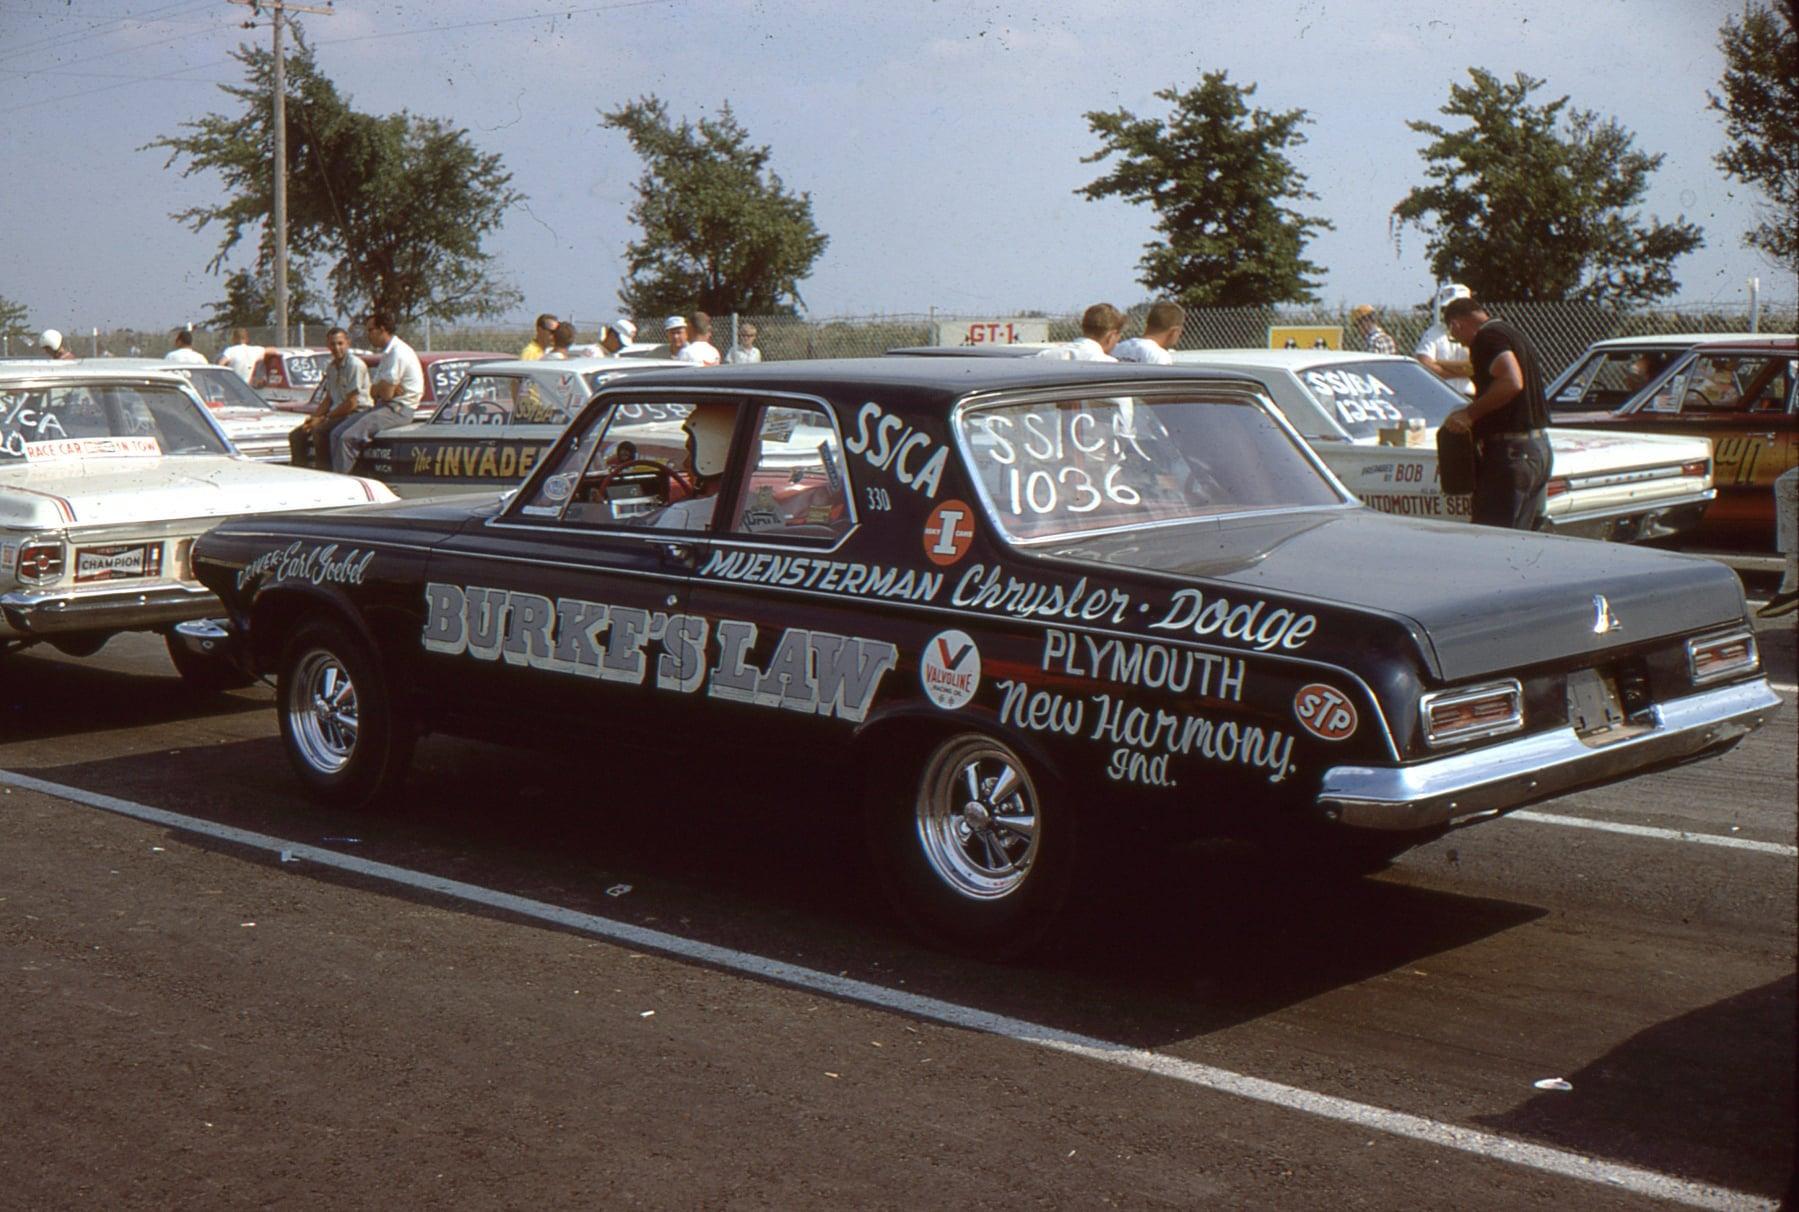
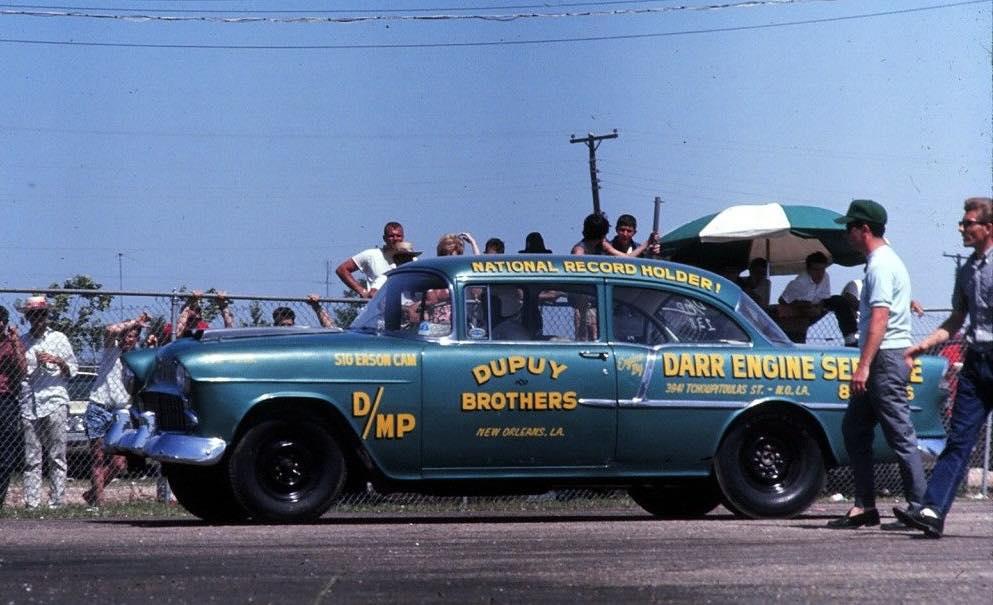
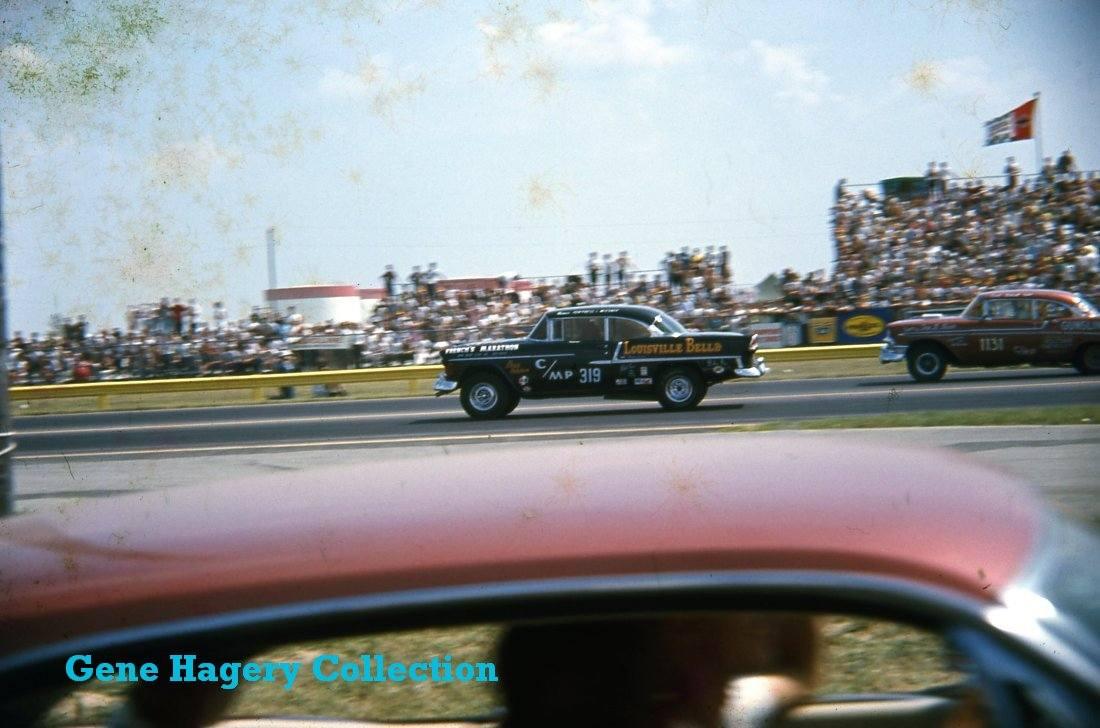
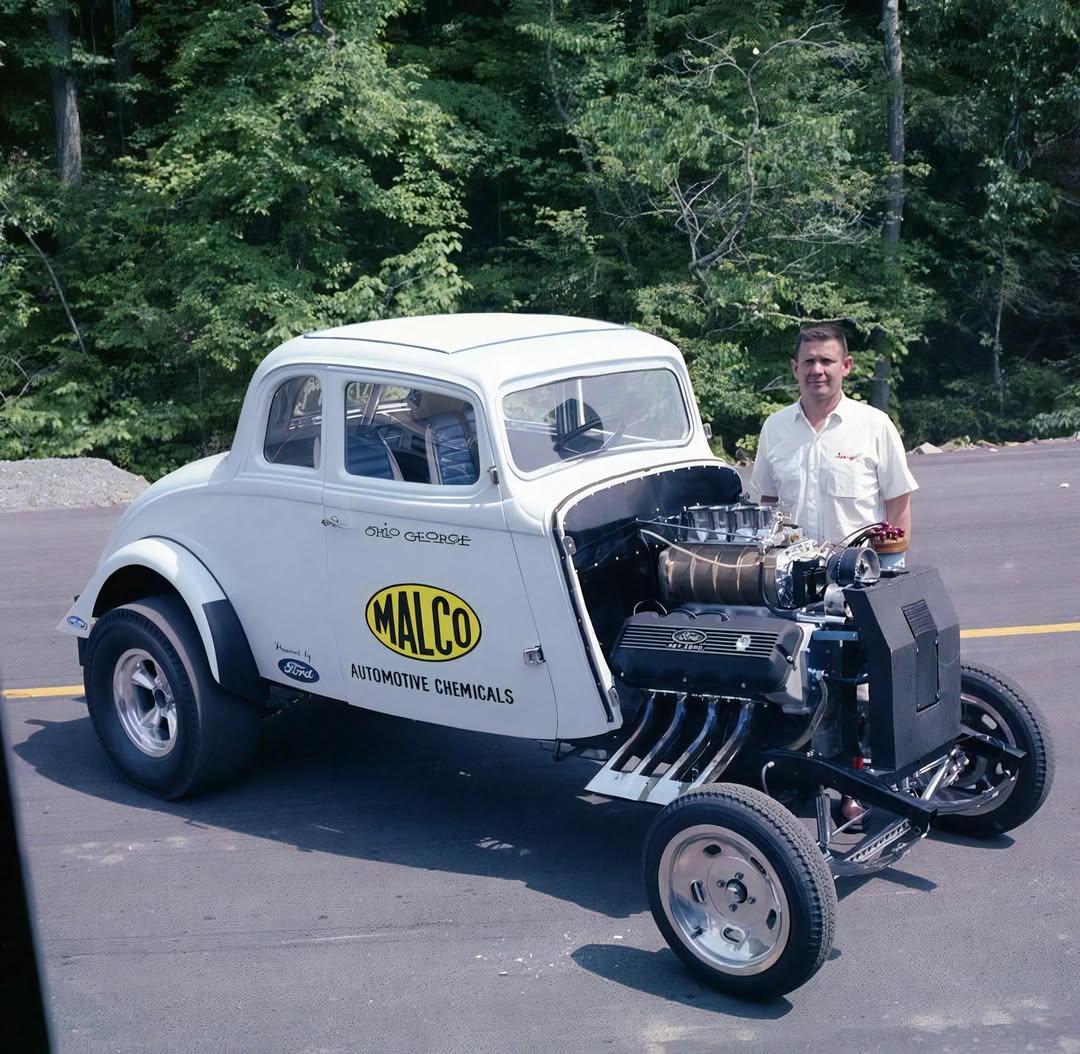
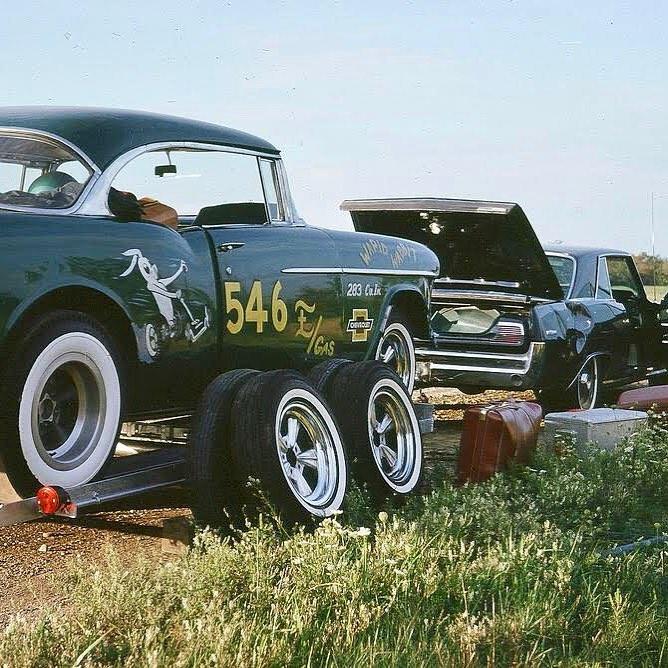
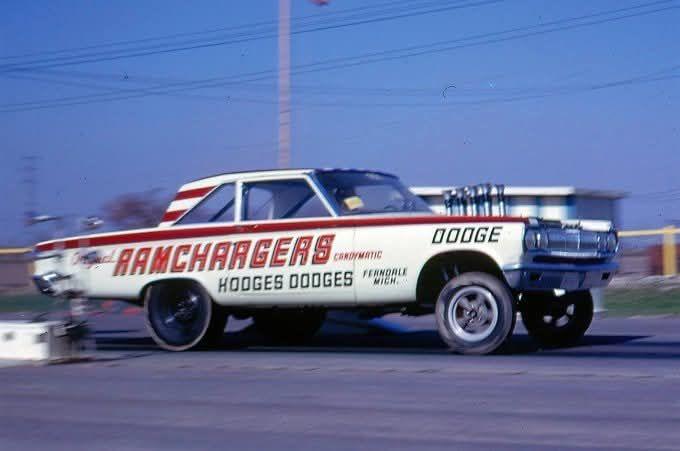
Just some old drag racing pics.
R. Thorne replied to R. Thorne's topic in General Automotive Talk (Trucks and Cars)
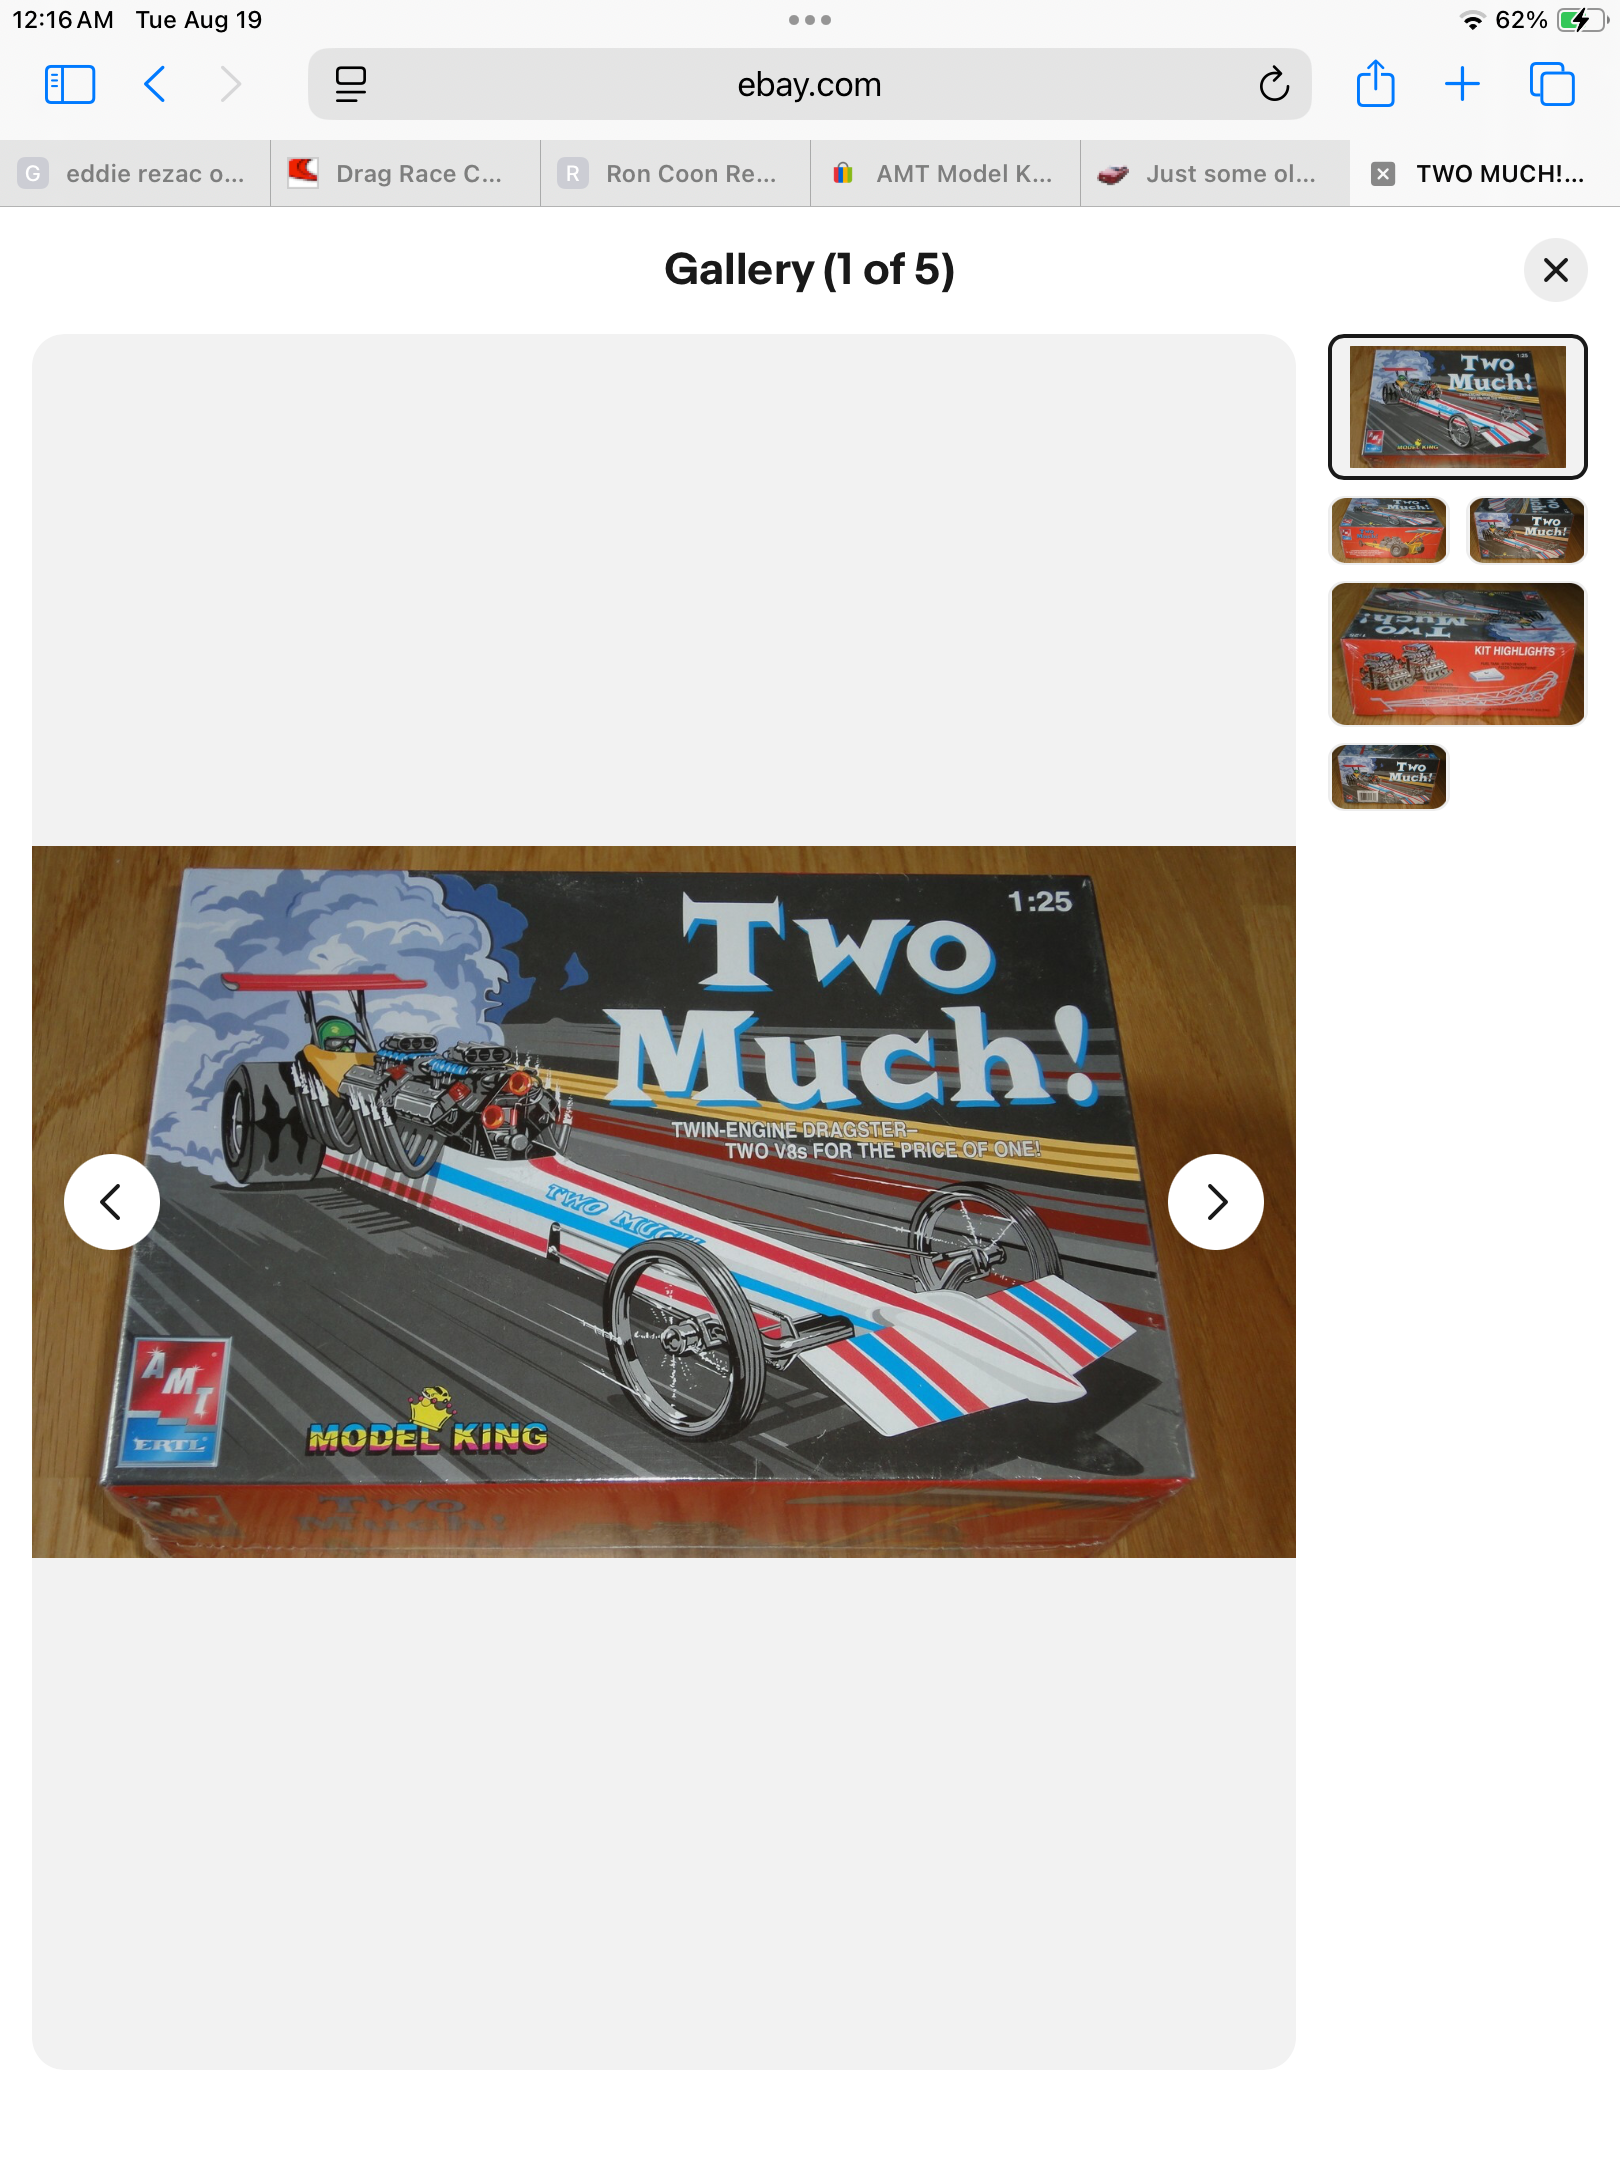
Just got the amt twomuch kit in and it’s on my (long) list to build like Gordon Collett.
-
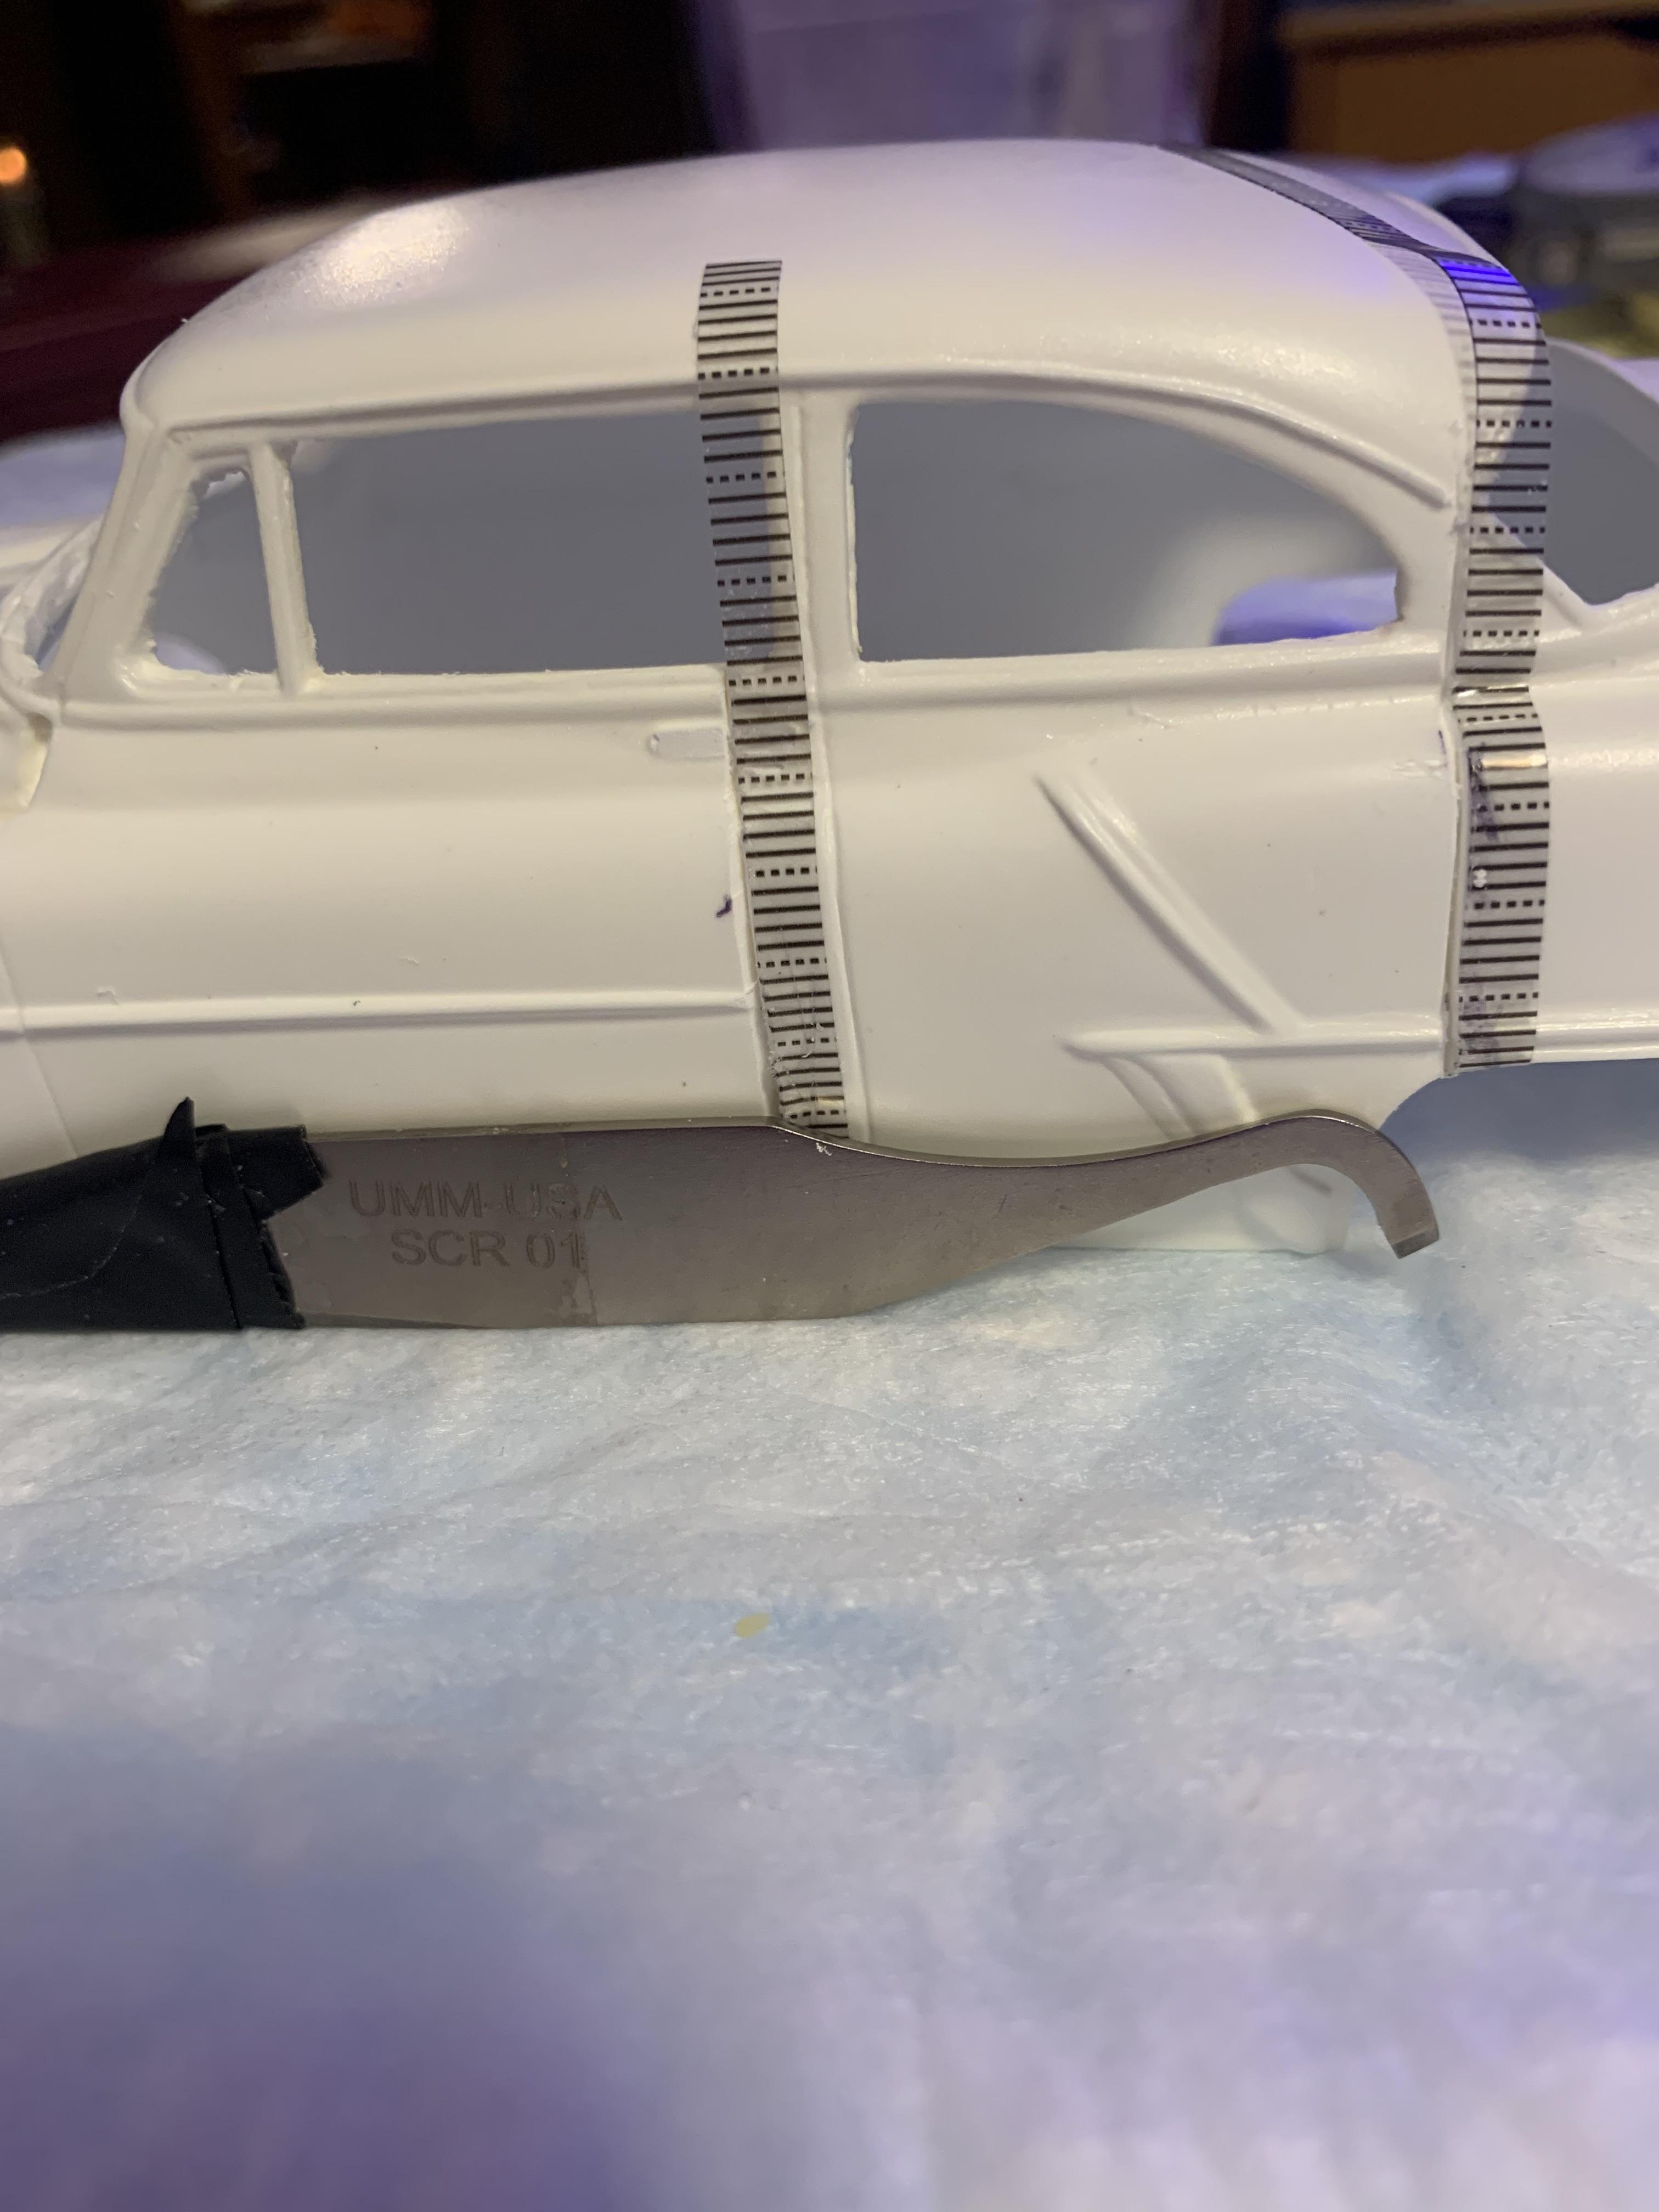
Almost forgot. After deepening the groove with the saw, a final pass with the umm-usa scriber widens the groove.
-
Ha ha. Not much actual sanding and actual pollution done so far. I have a “tool” to help in that respect. I will show it to you later.
-
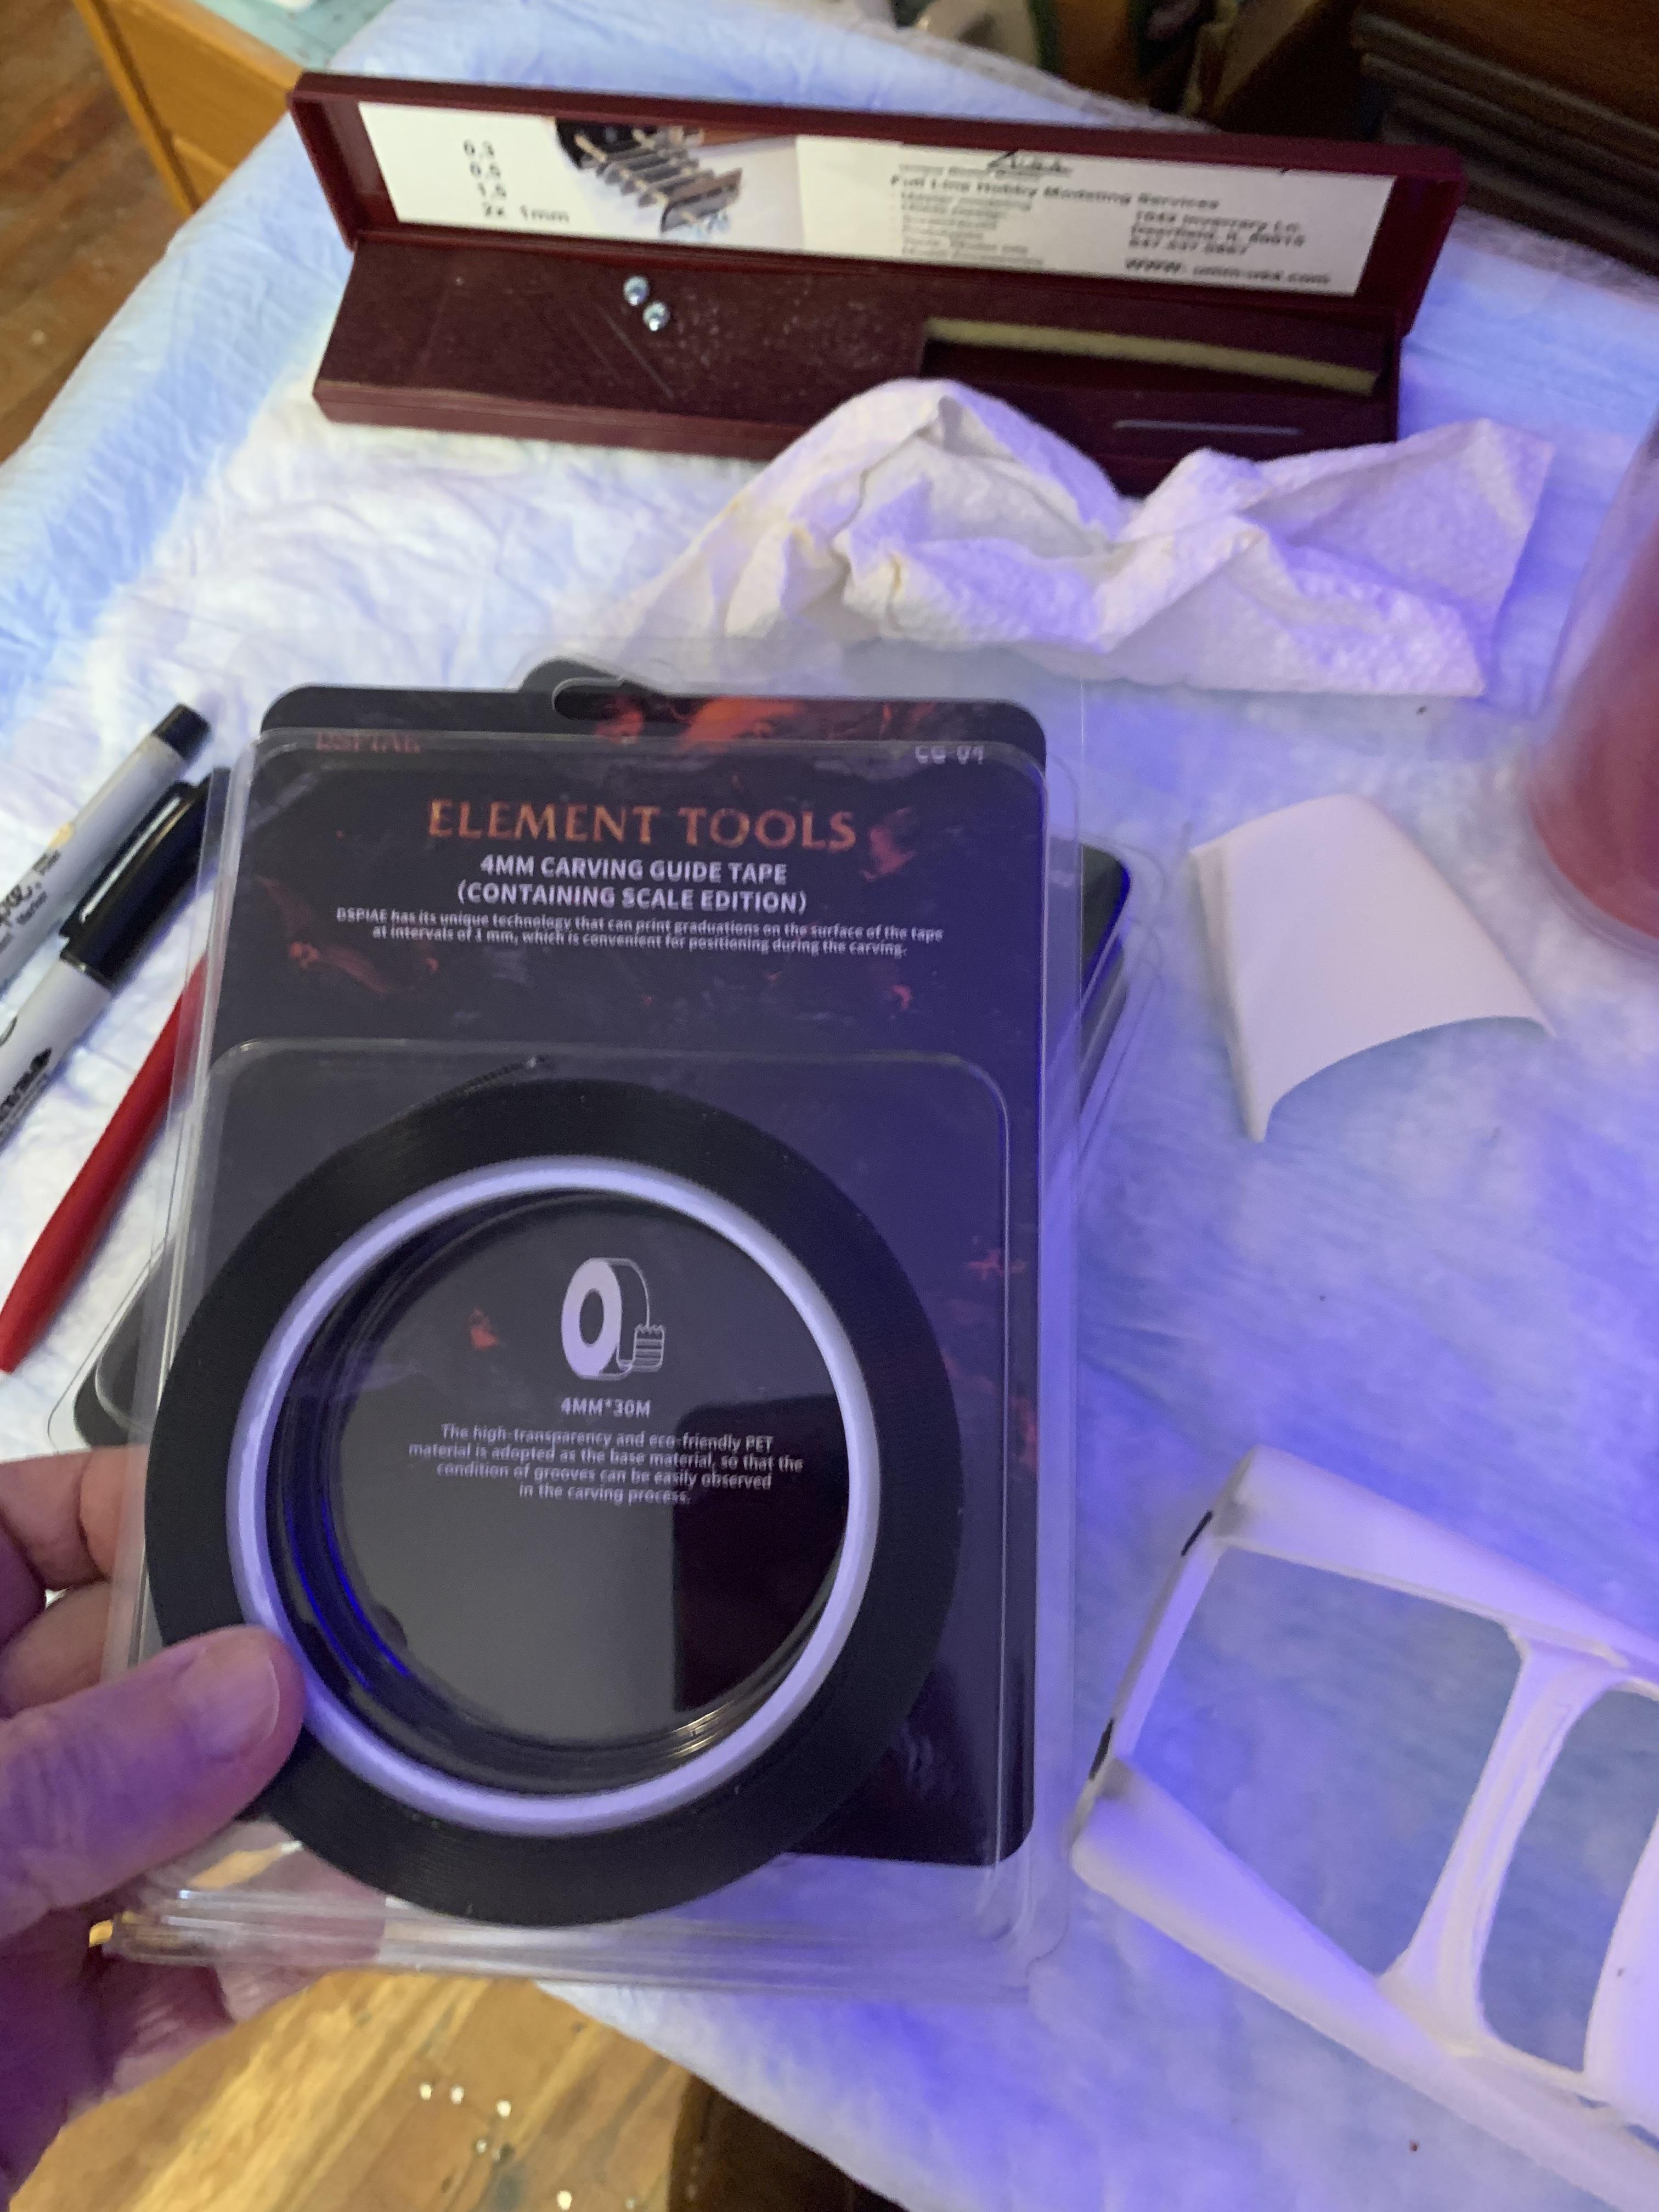
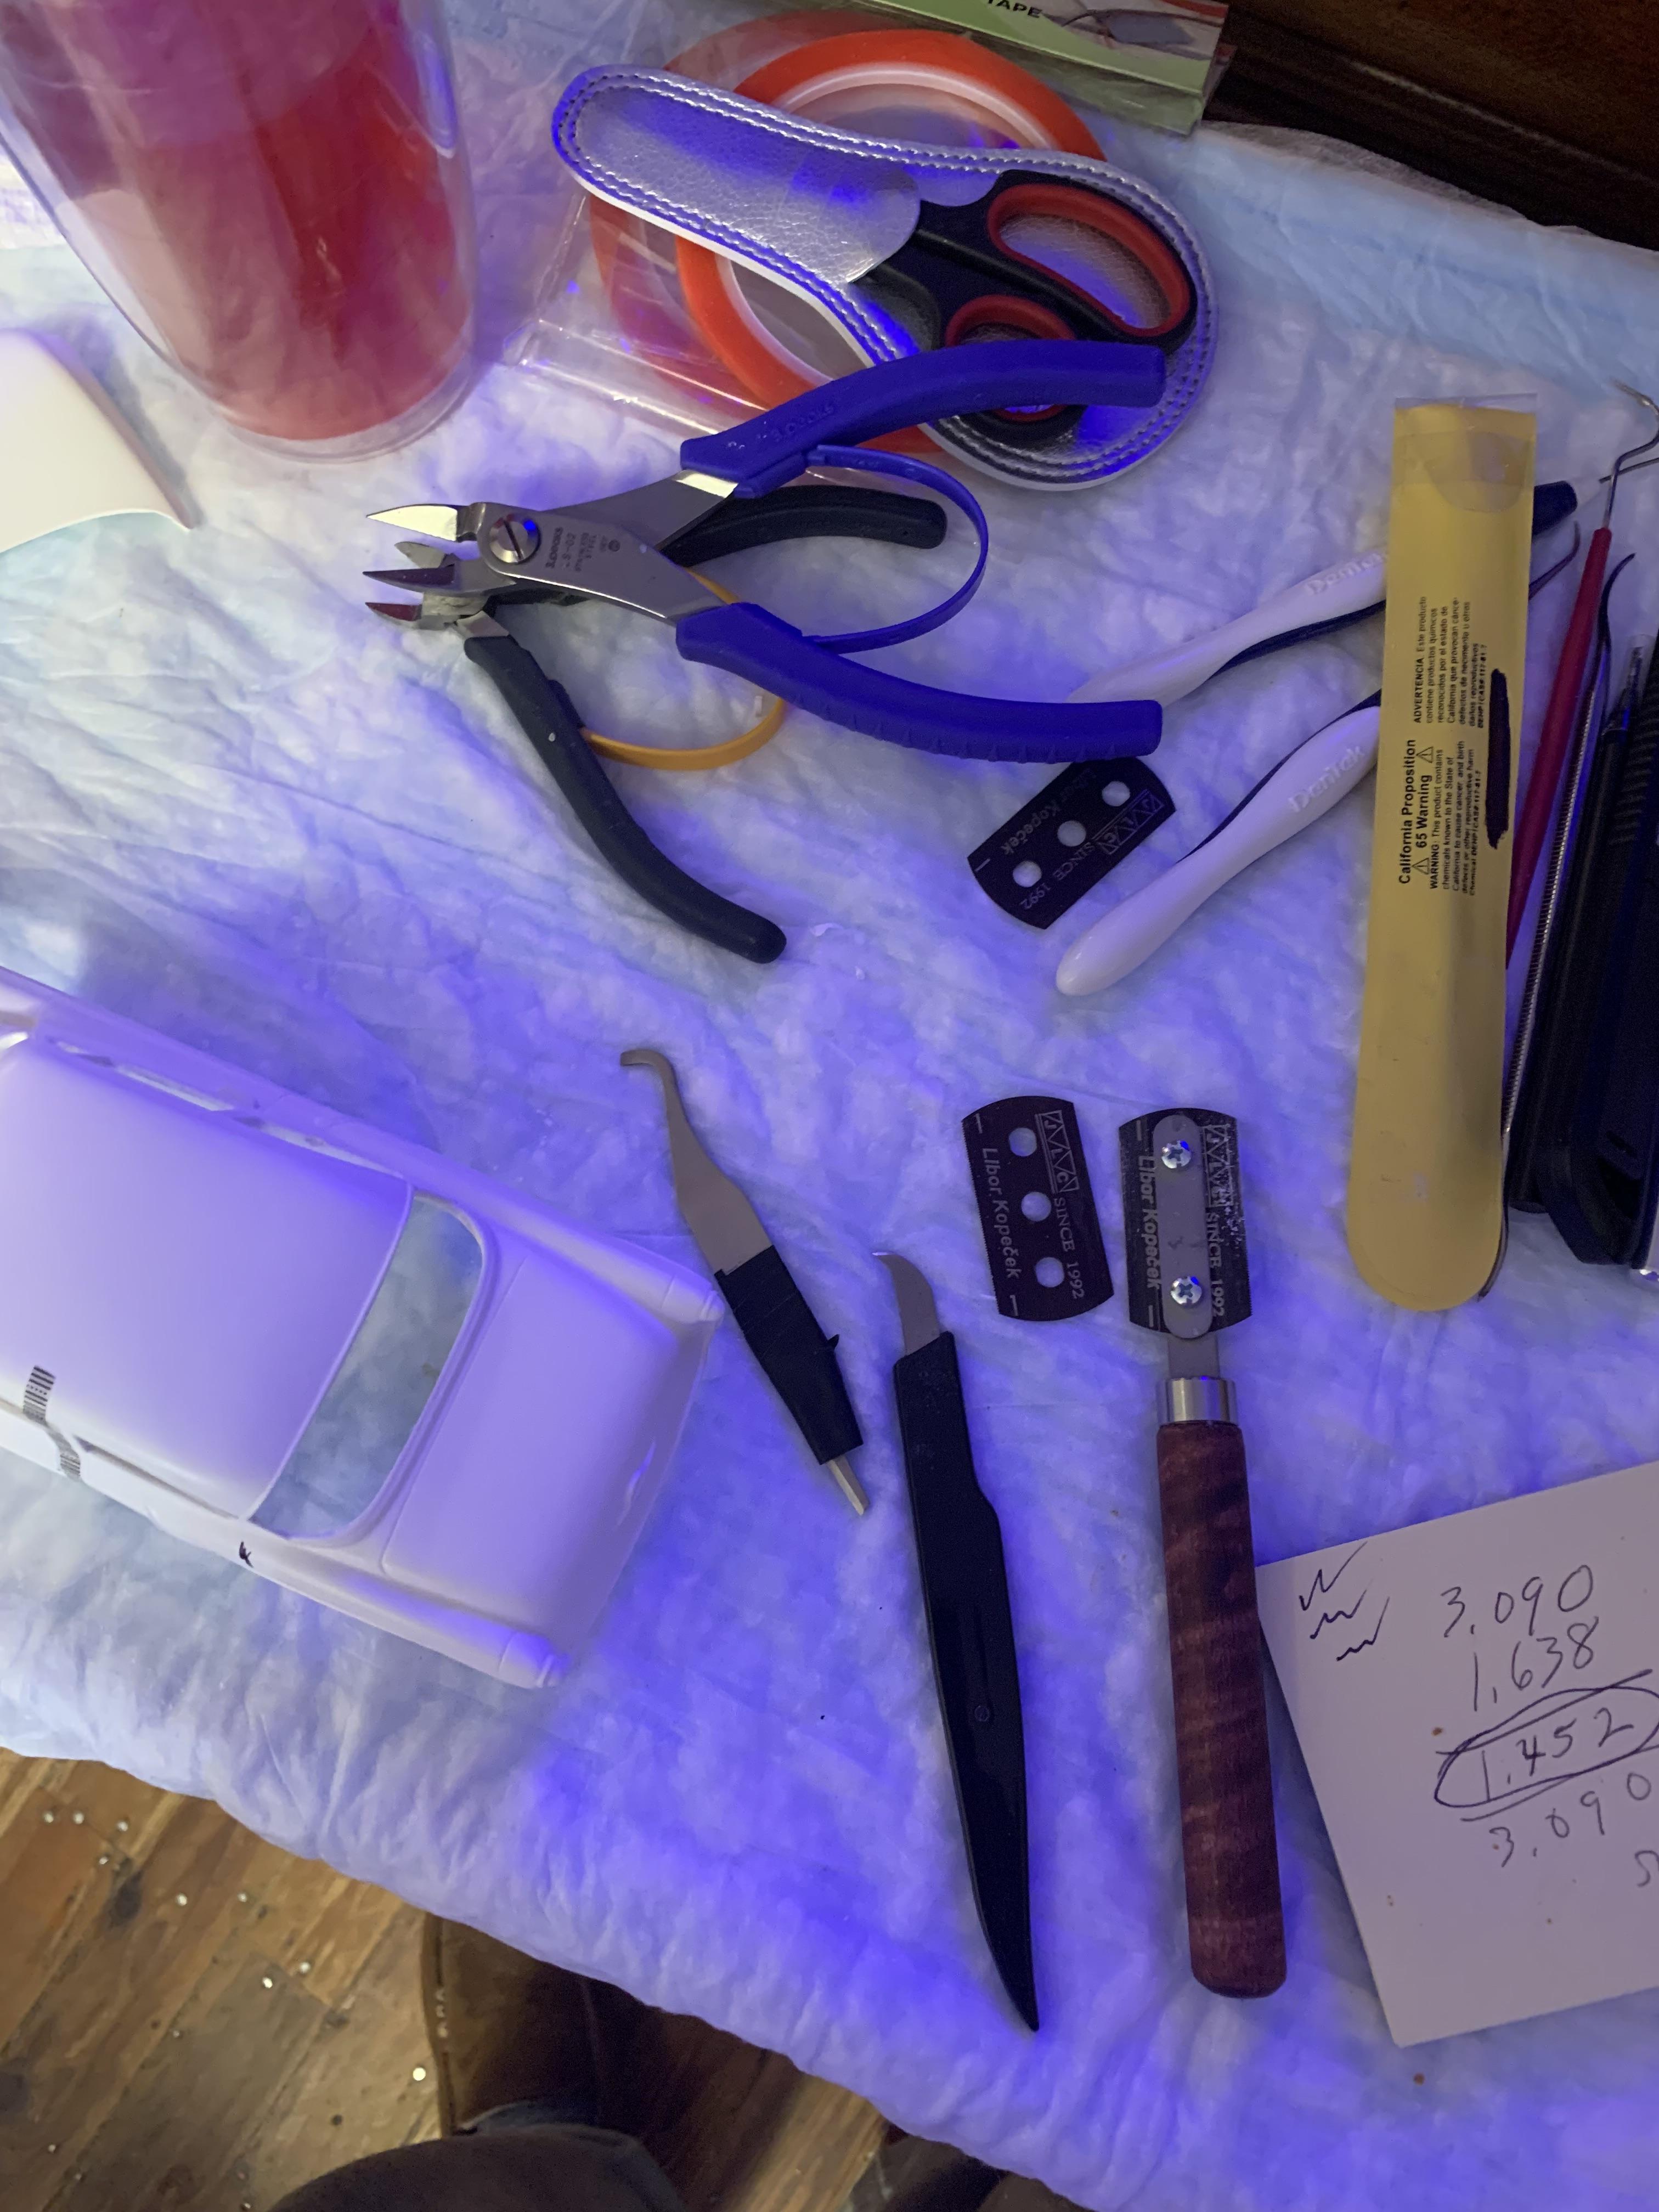
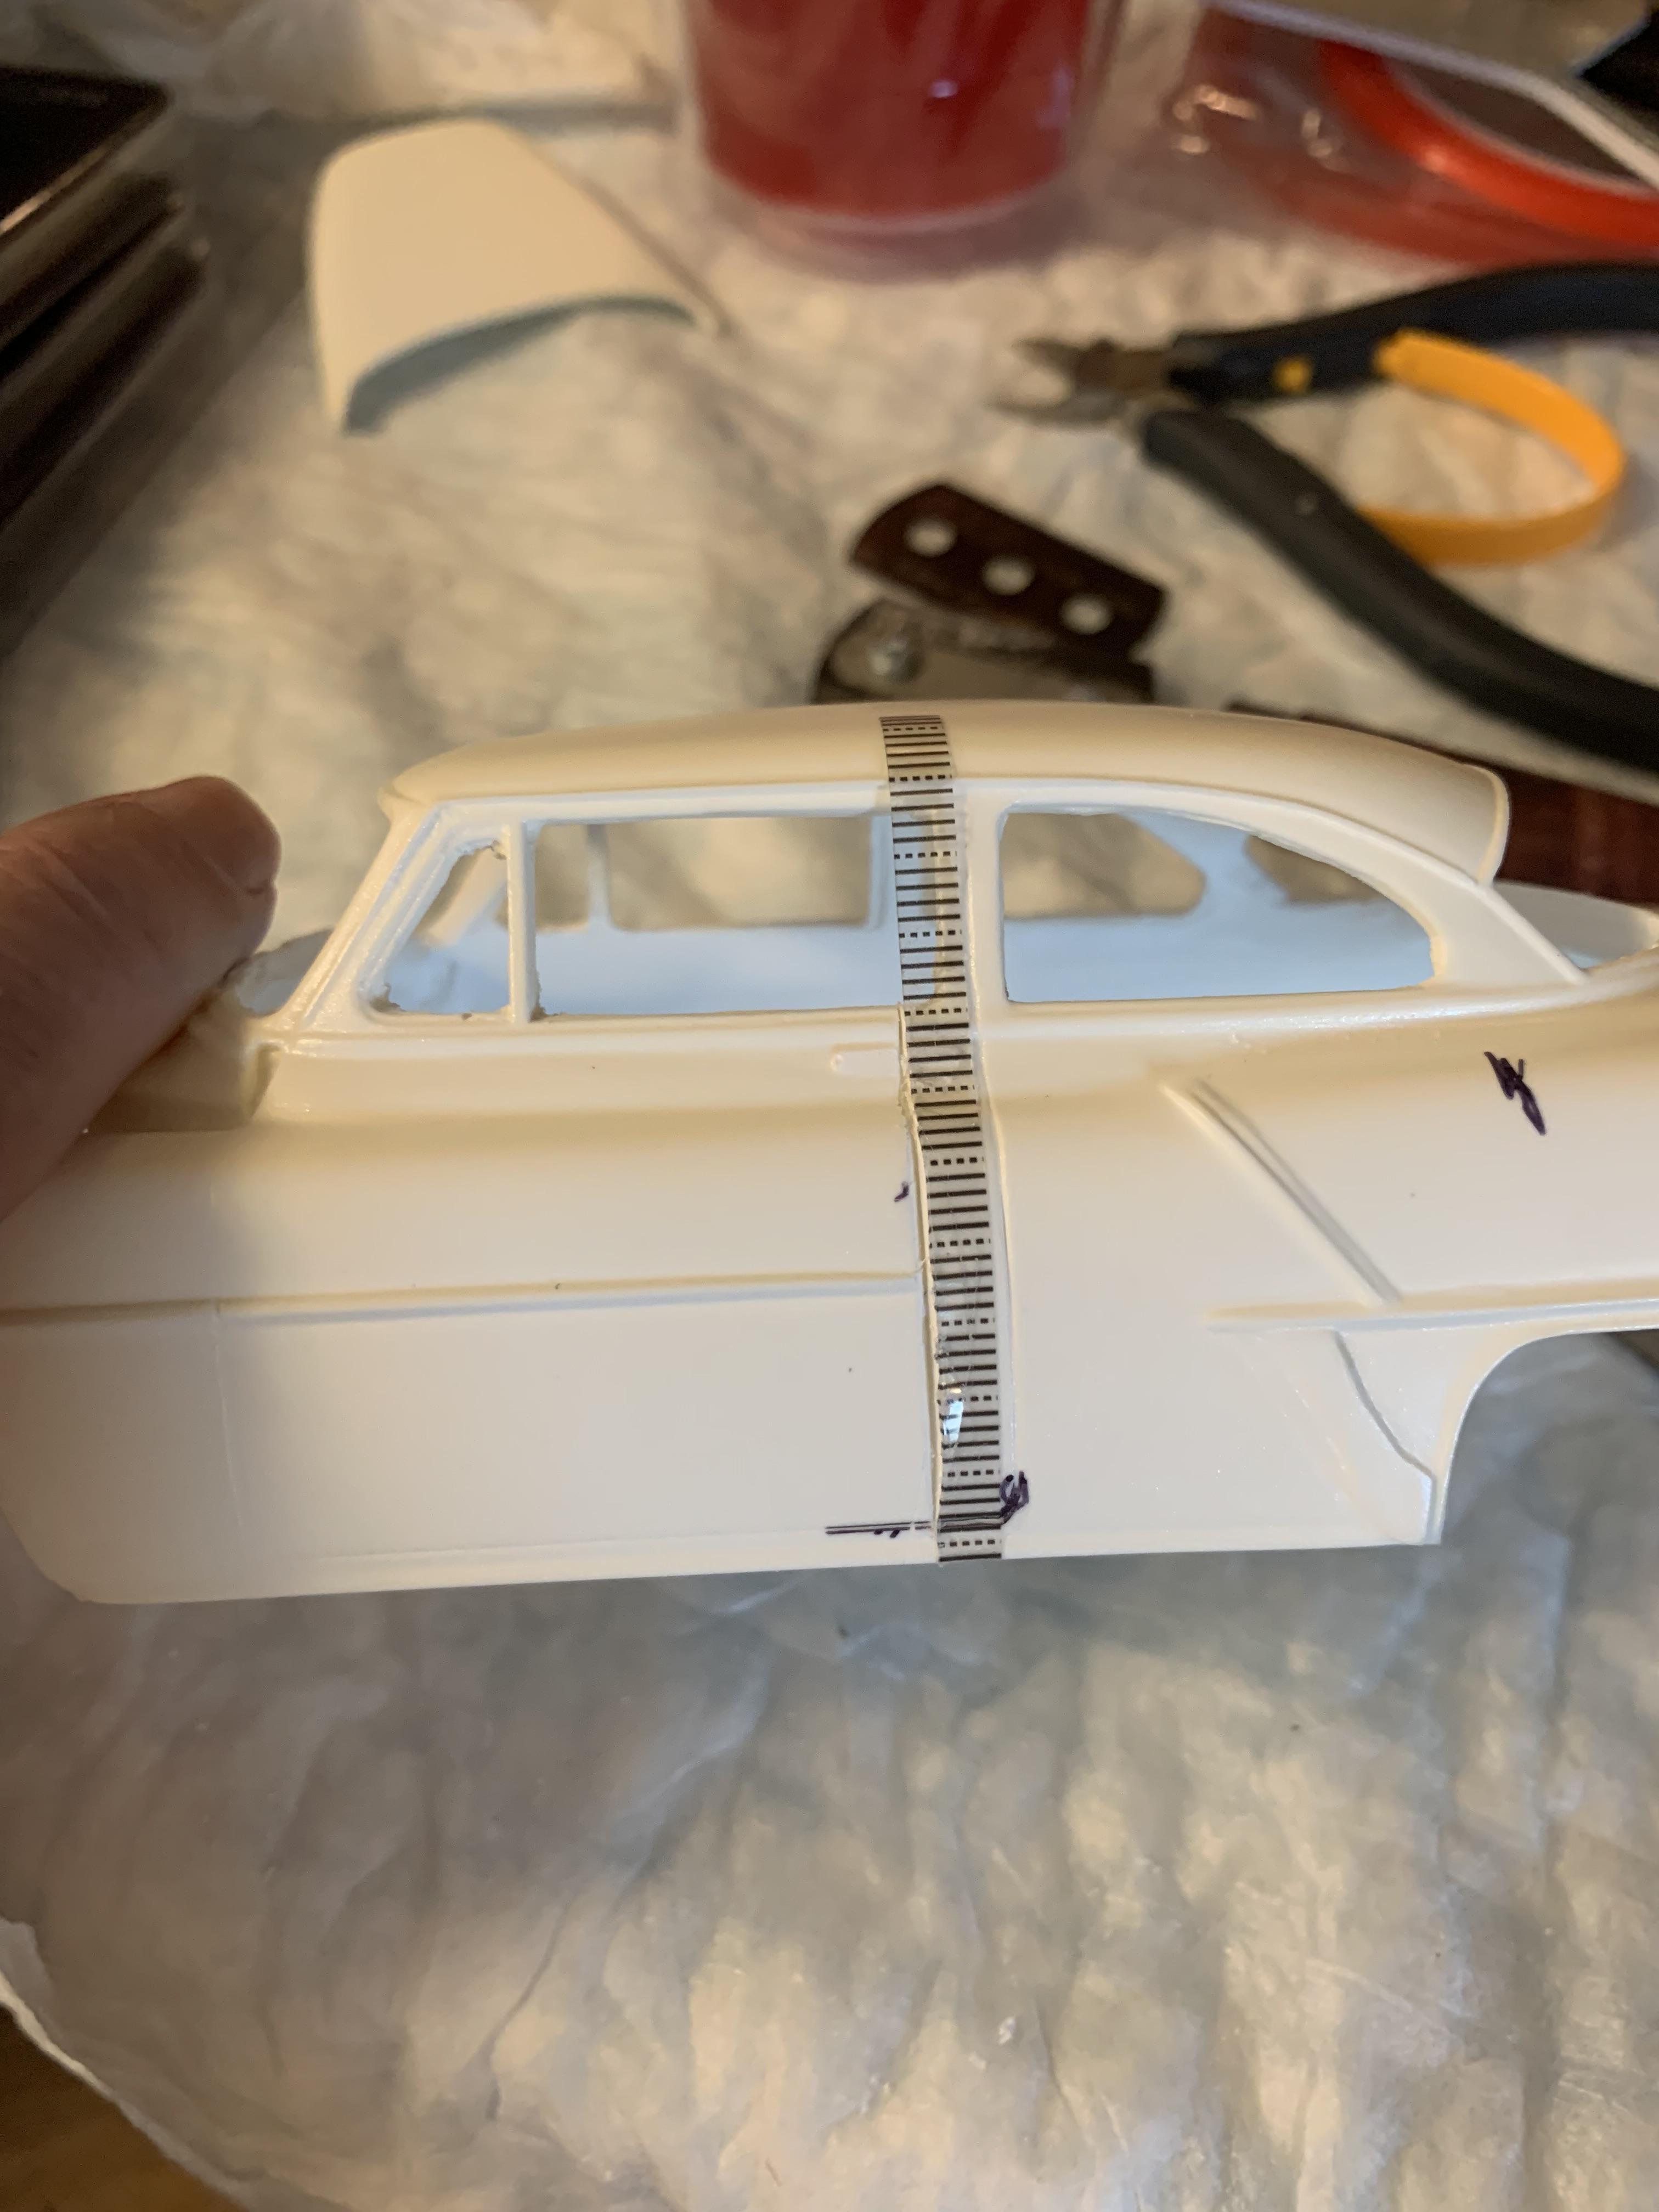
Had a few minutes today. Used the Dspiae tape for alignment and protection scribing. The 4mm thickness anllowed me to alight with the existing scribed line of the 2 door and, at the same time, gave me a pattern for the left side of the tape for the 4 door. Over the years I have accumulated various scribing tools, but very little experience with resin. I tried all of them. The Trumpeter tool and the rather simple looking umm-USA one worked the best starting the scribed line, while the jlc saw (with, and without, the handle) was the final “scribe”. Most scribers deepen the groove depth, but also raise the edges. The saw deepens, but also removes the material more completely than scribers.
-
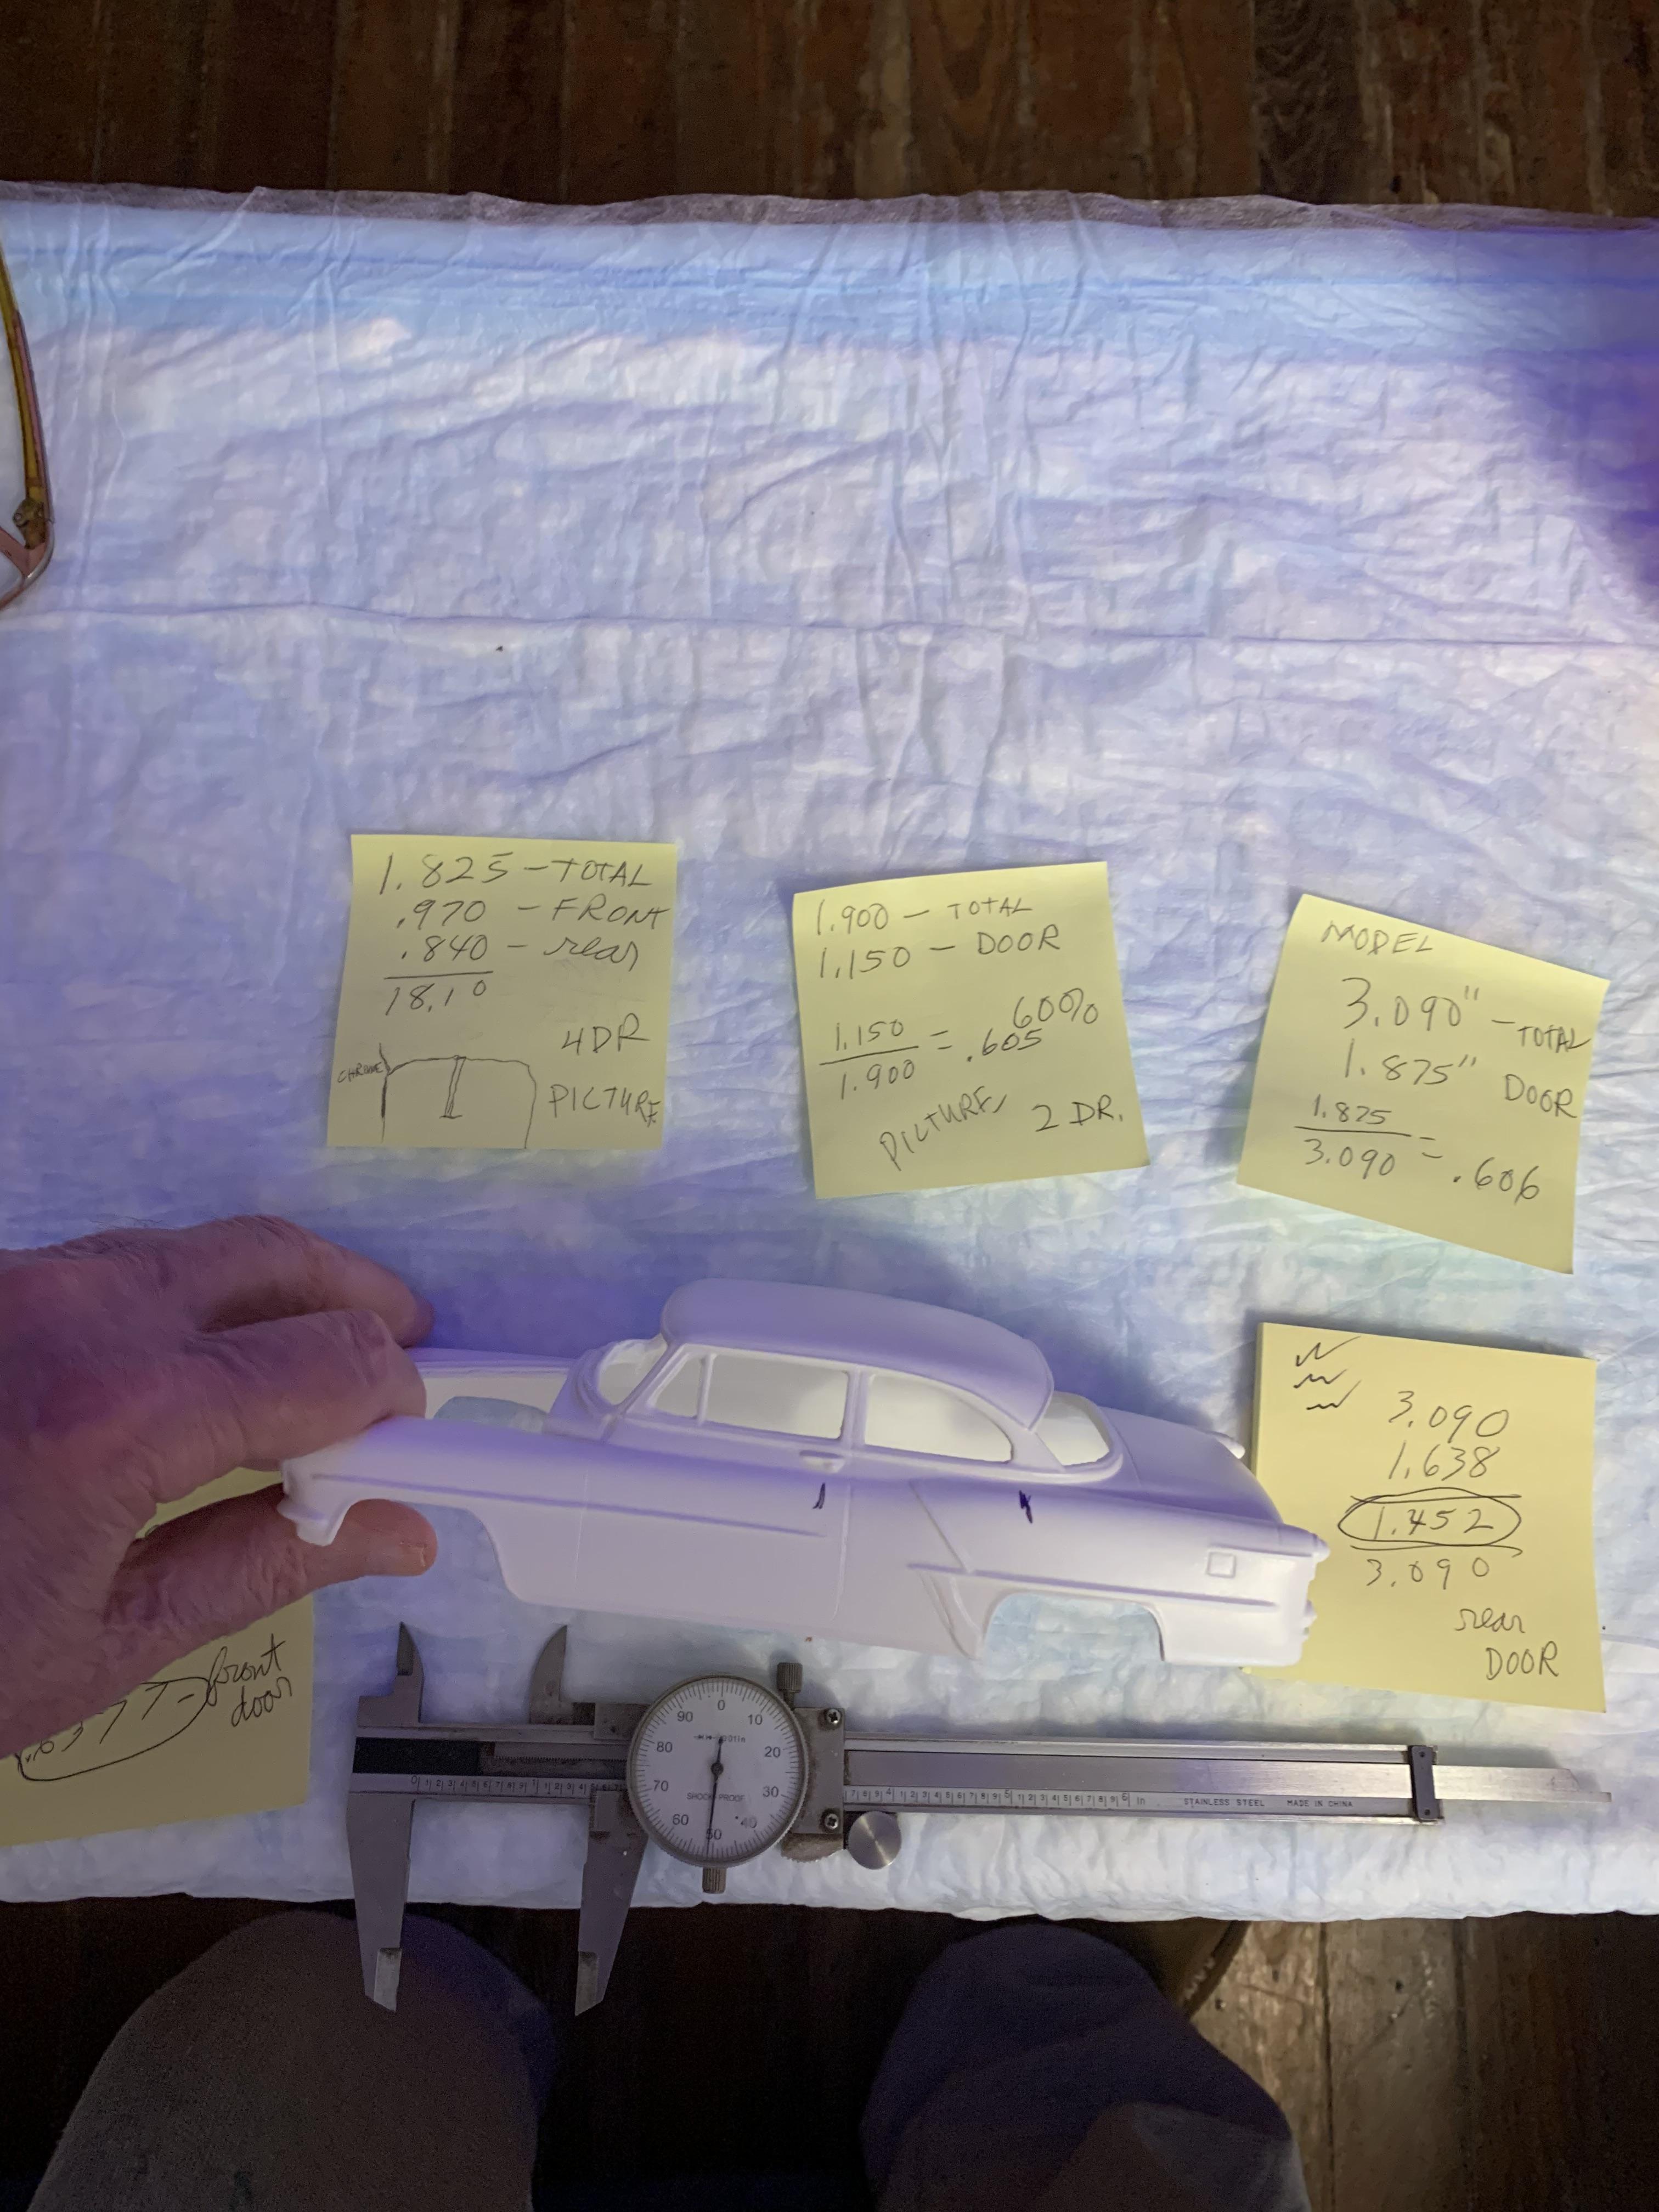
I am back on this one. This build is definitely going to be a learning experience. I did some 2 door and 4 door measuring from the internet pictures. I measured from the edge of the front door to the beginning of the rear chrome trim on the back glass. I measured the pictures on my iPad. On the 2 door cars, the door length is 60% of the total length. On the 4 door cars, the length is 53% of the total.
-
Thanks, Carl. Have a good day.
-
Thank you, gentlemen. I enjoyed it (for the most part).
-
Thanks, guys. I had some fun with it and learned a few things.
-
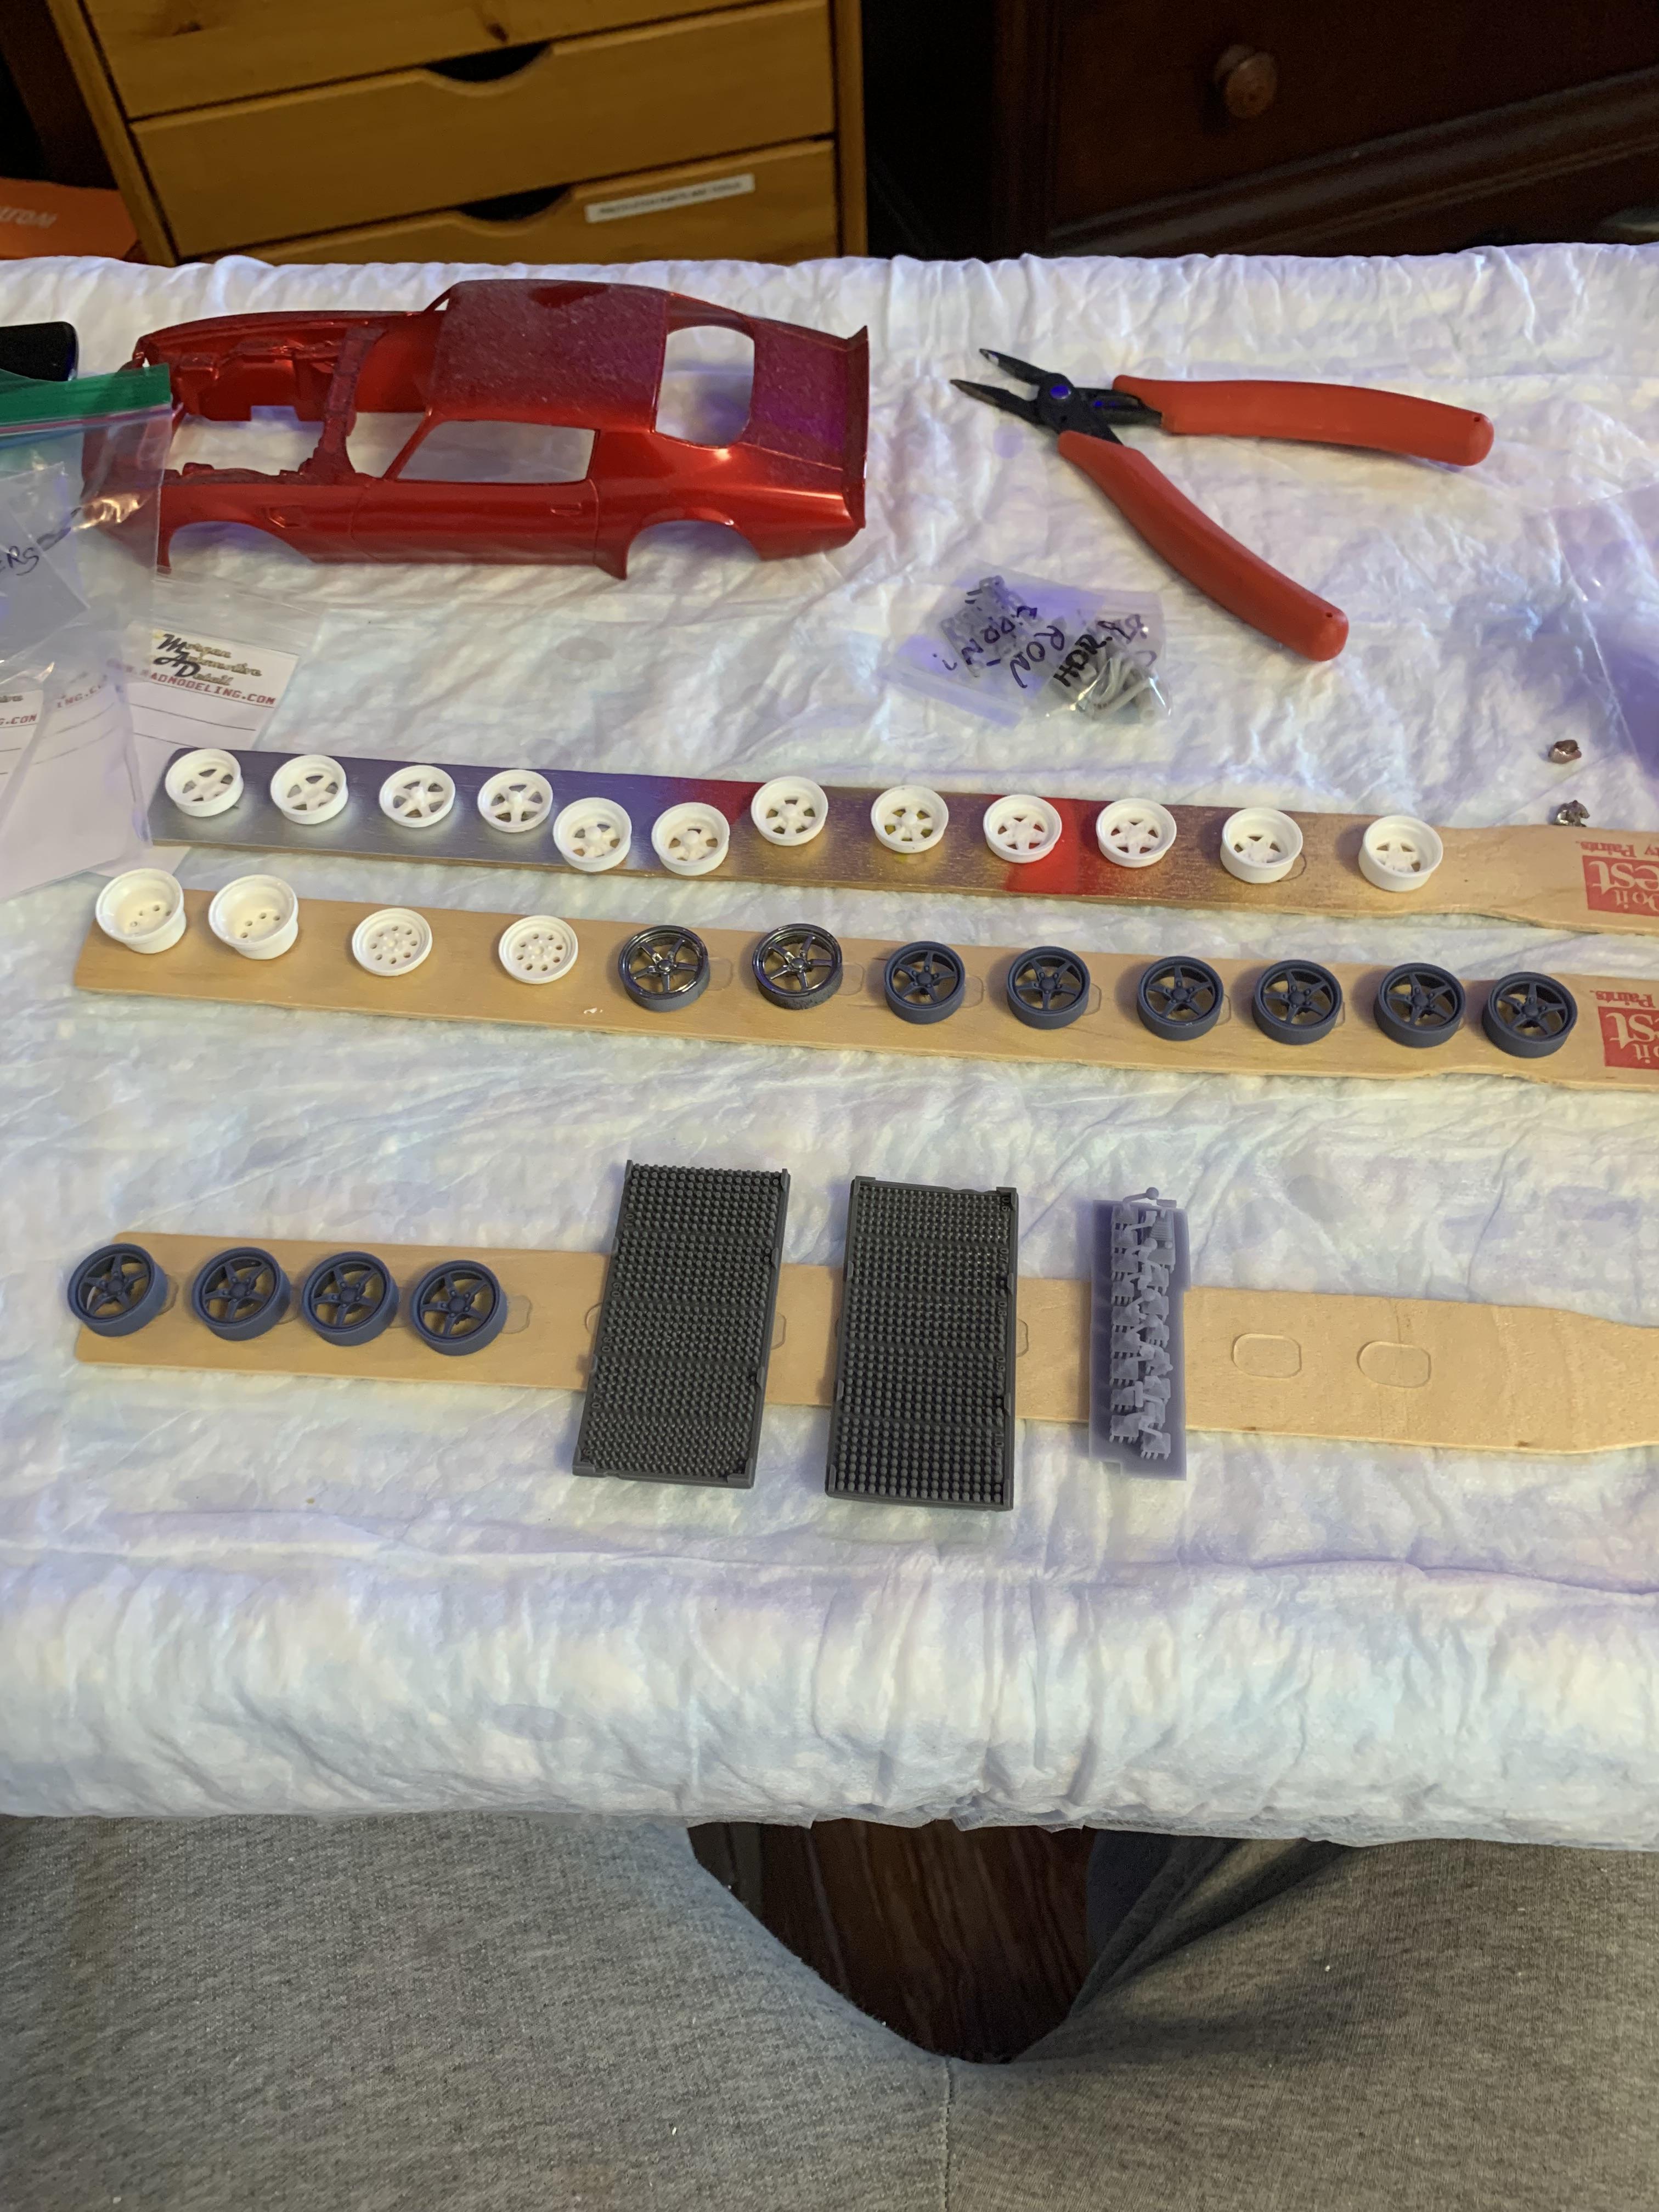
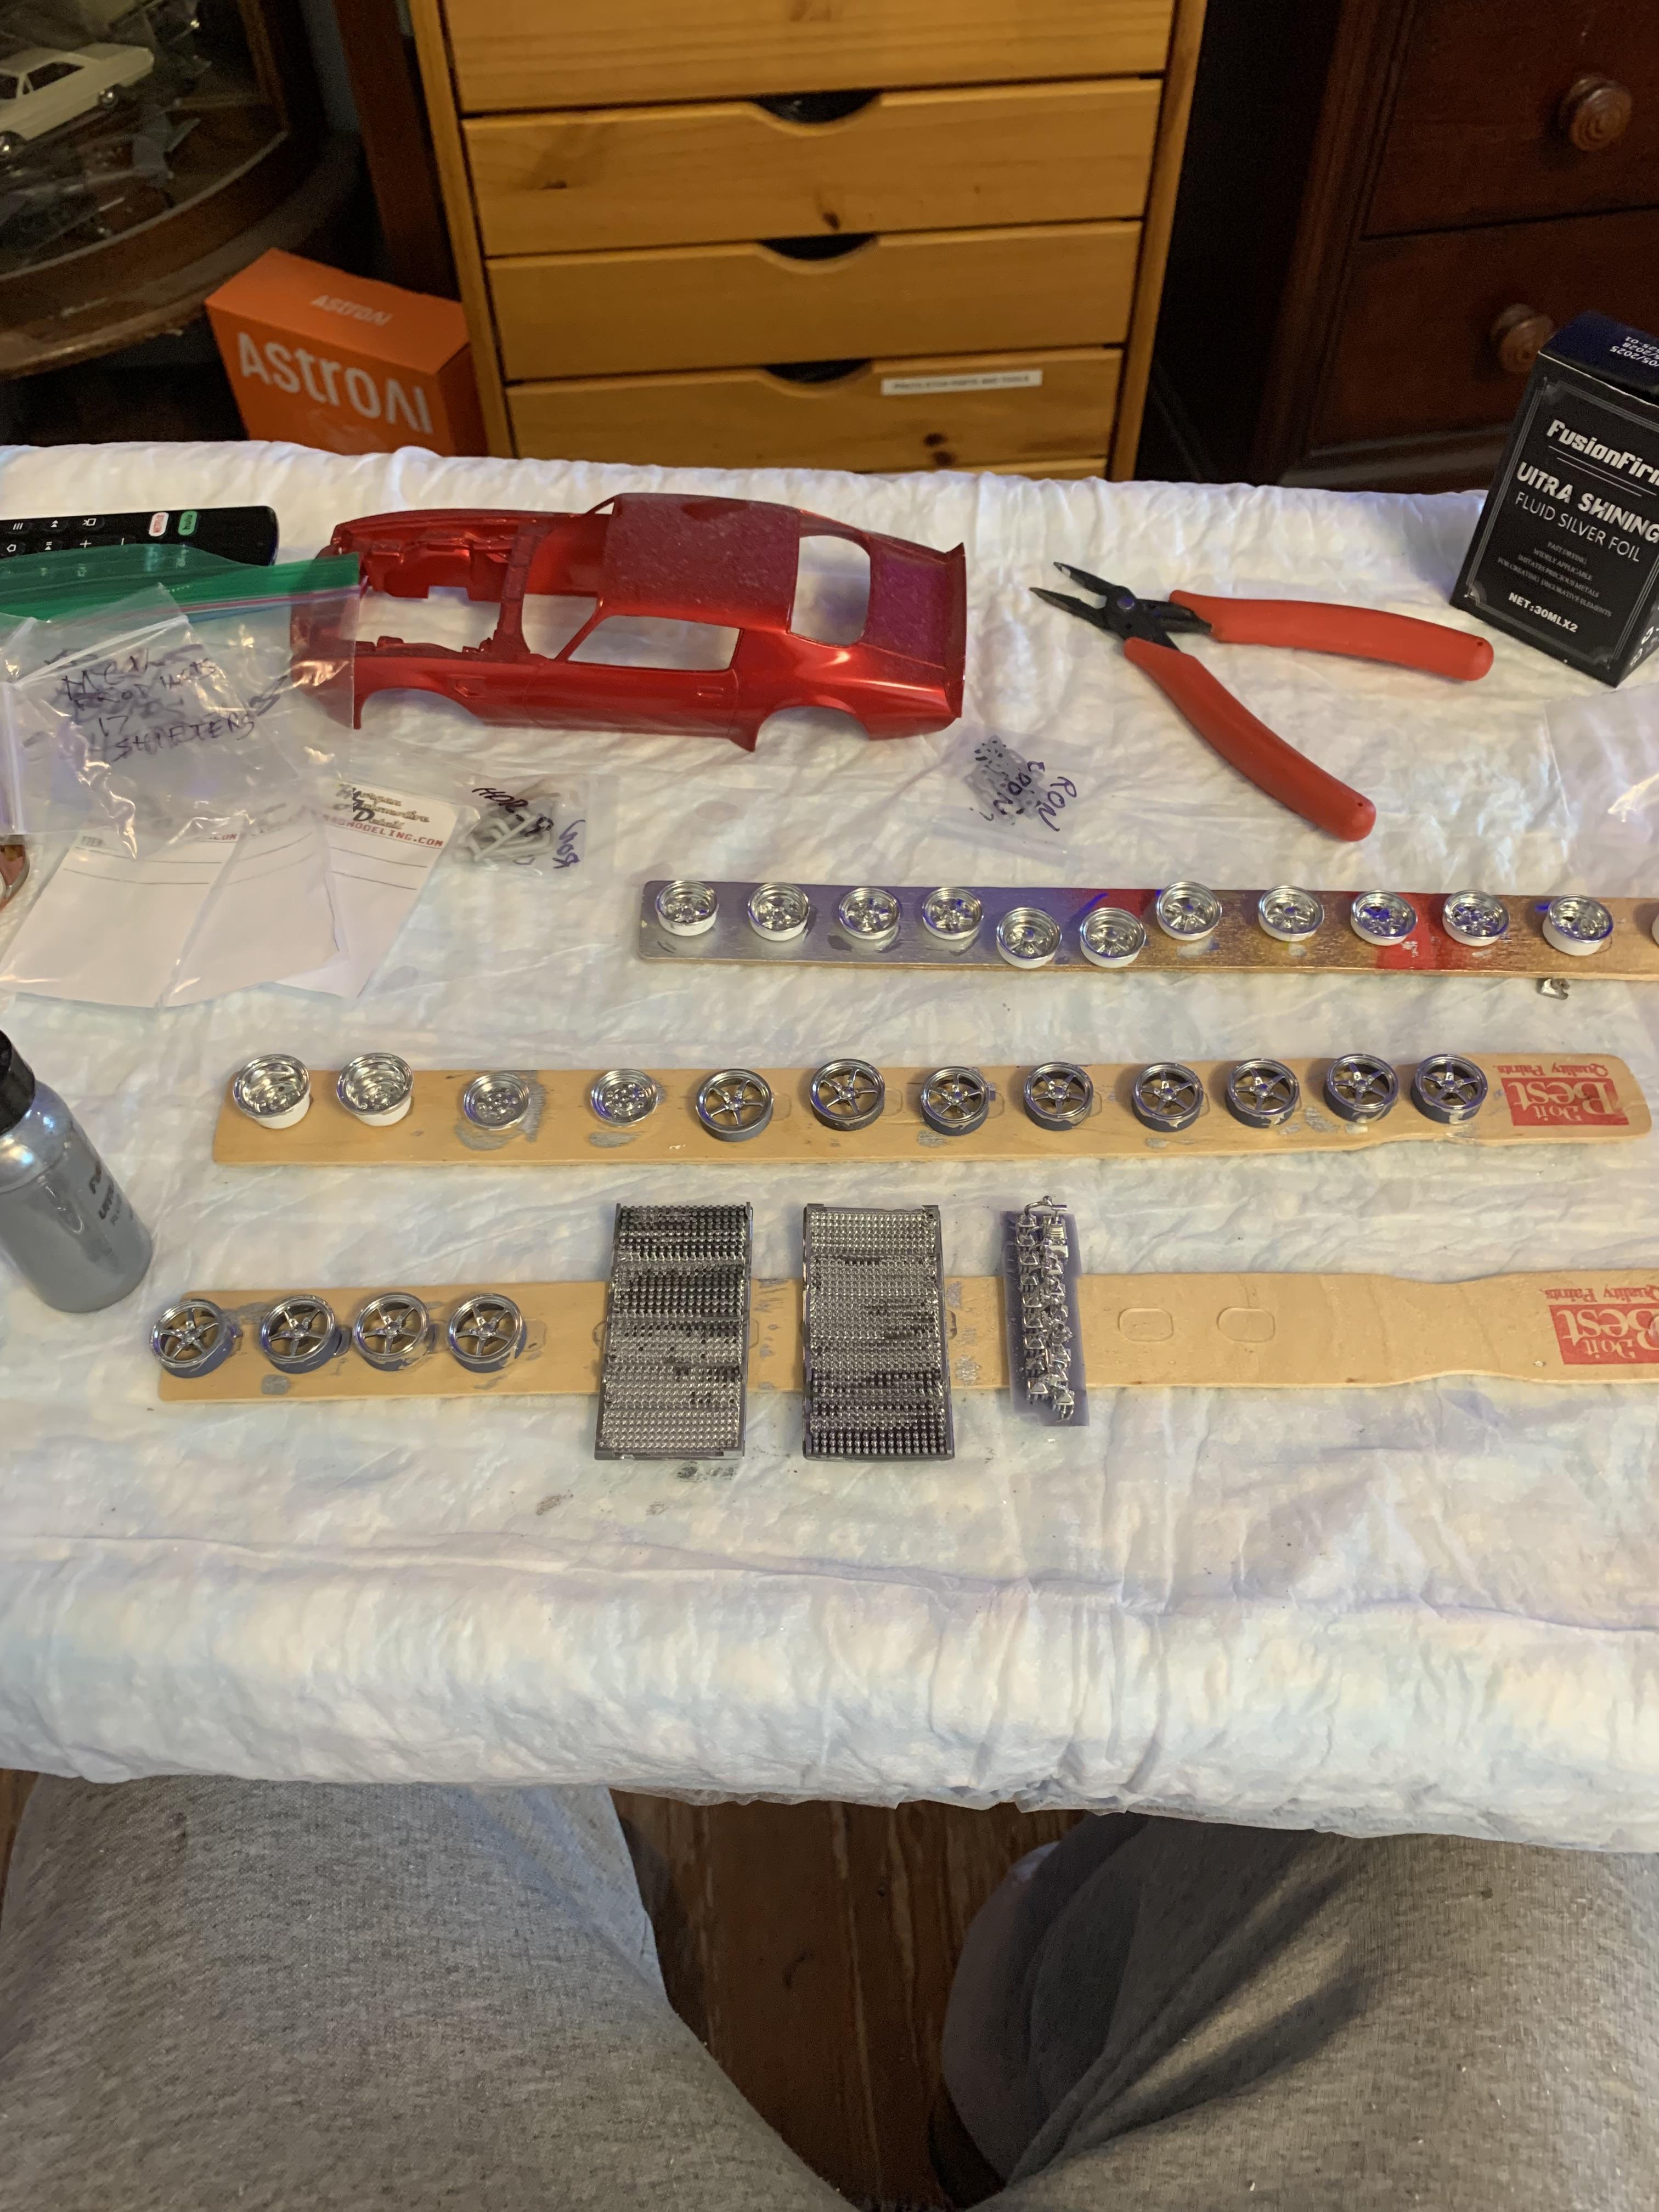
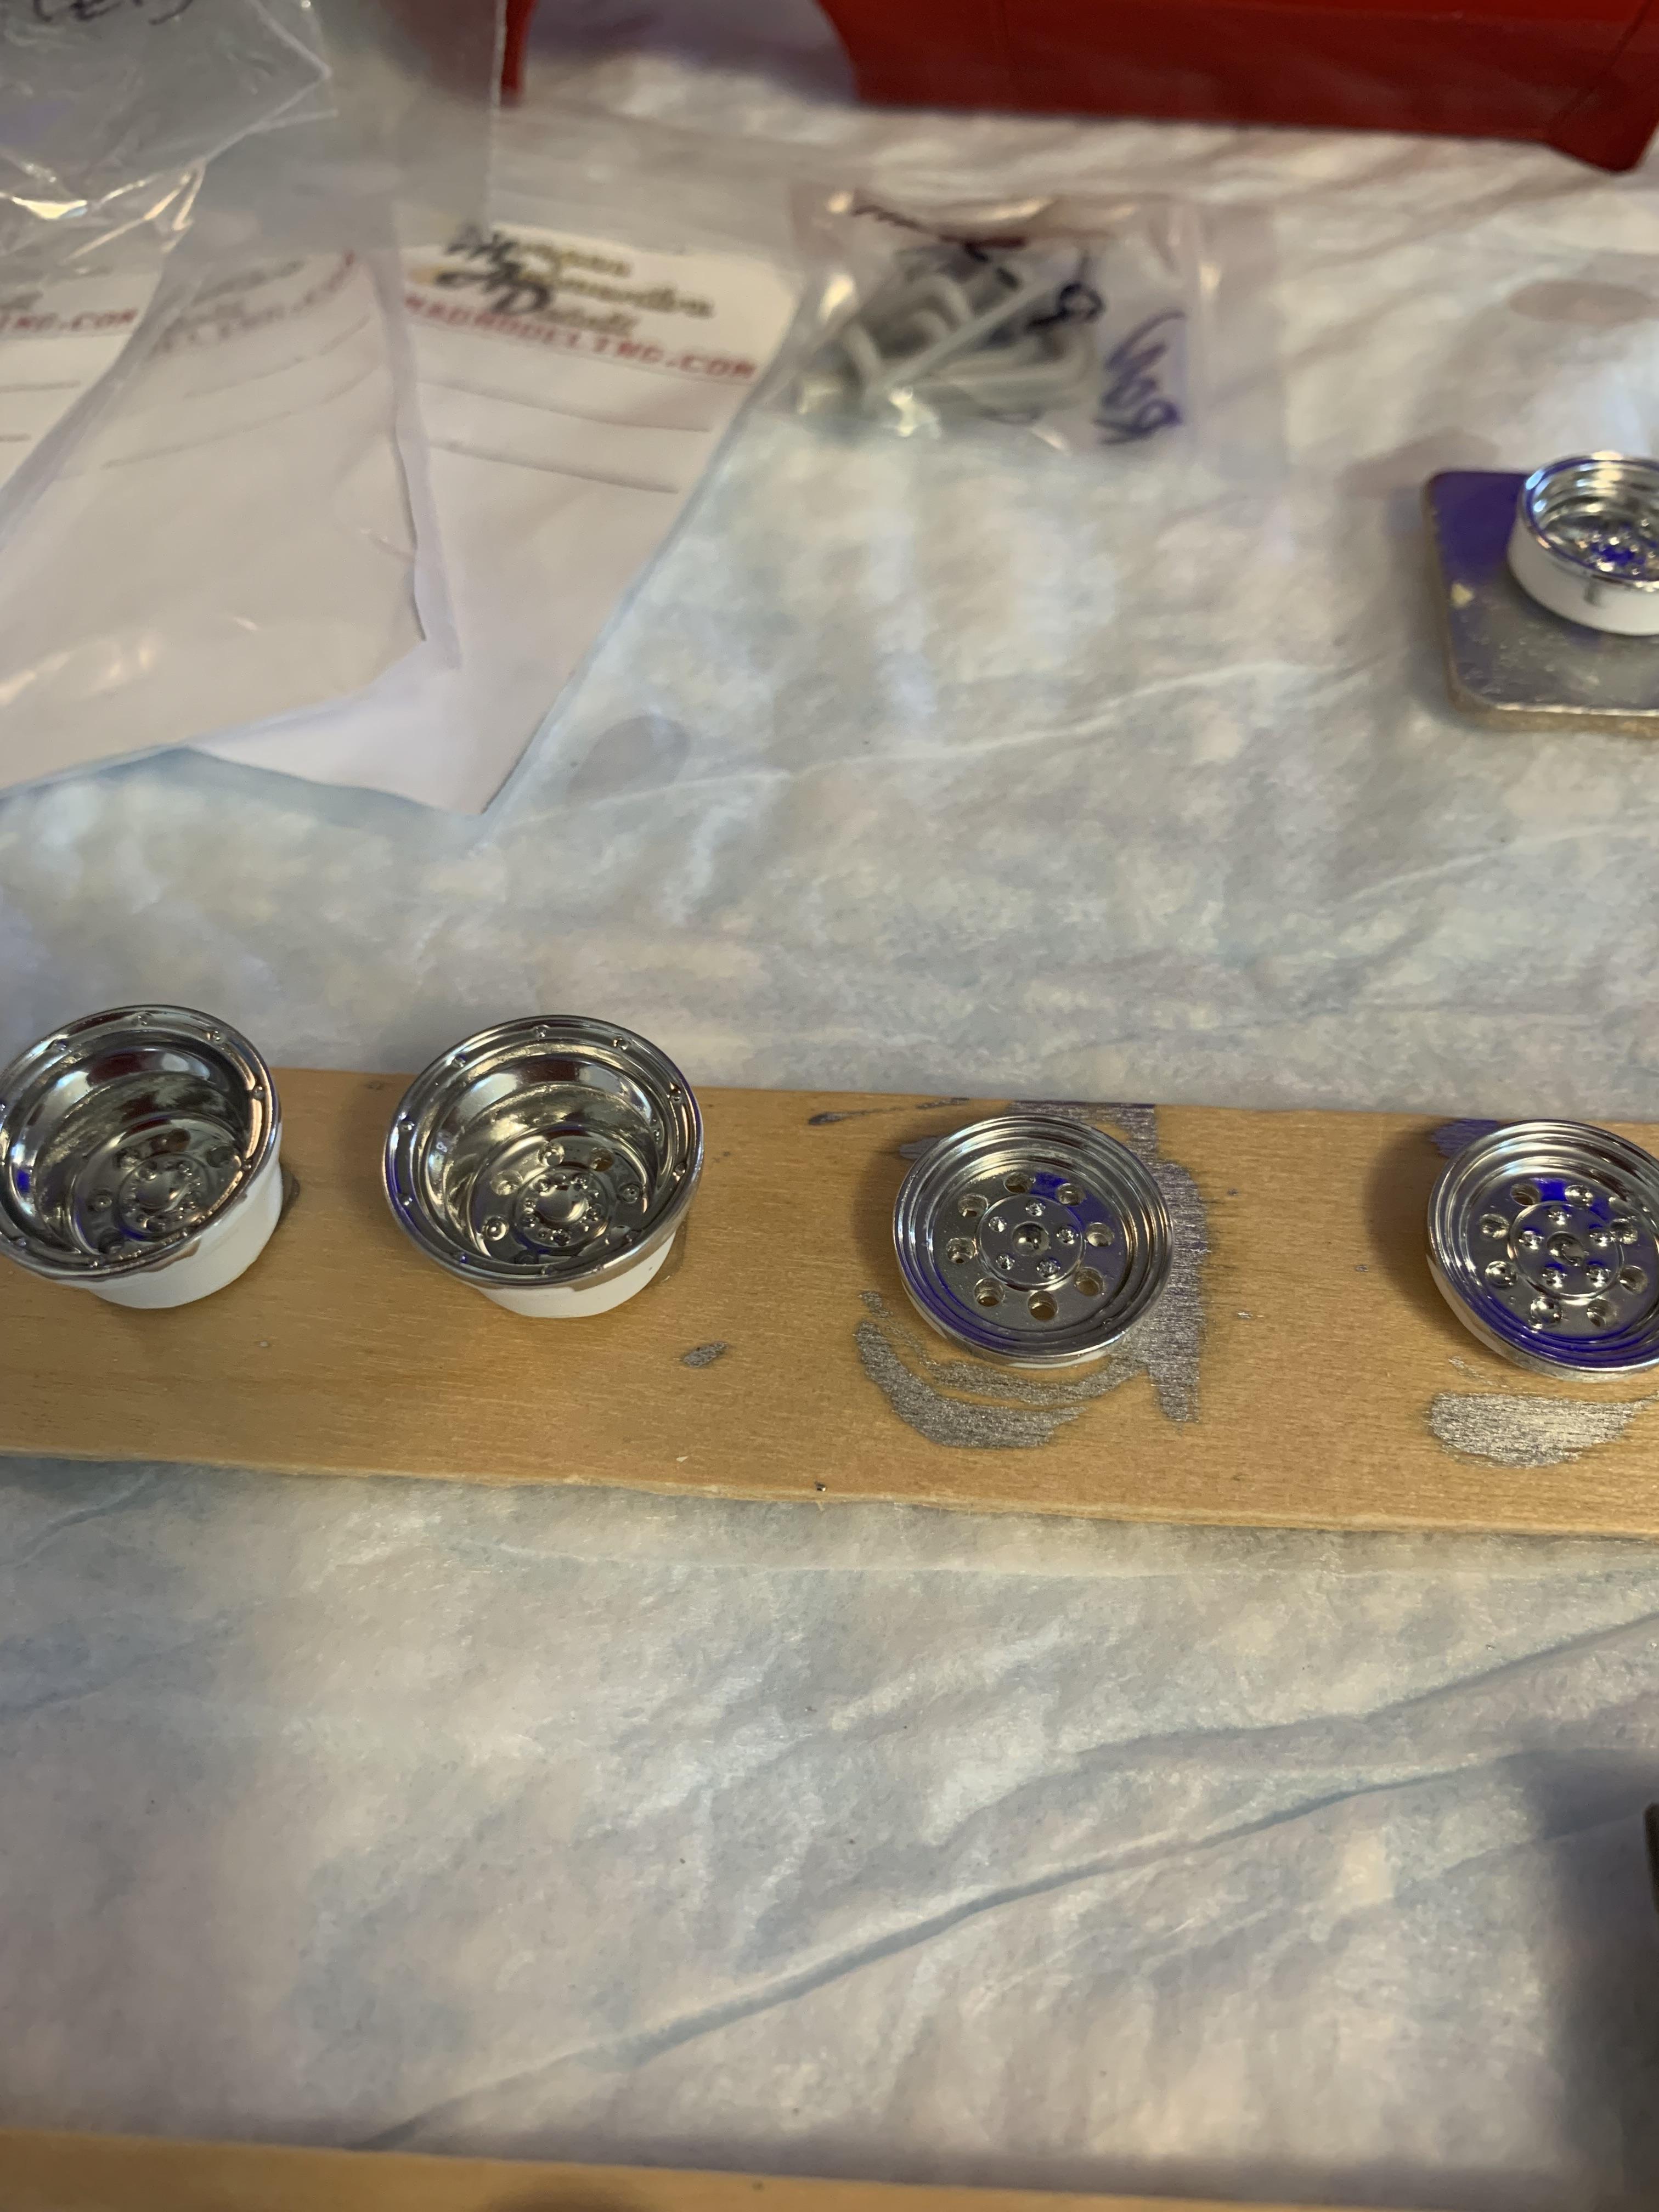
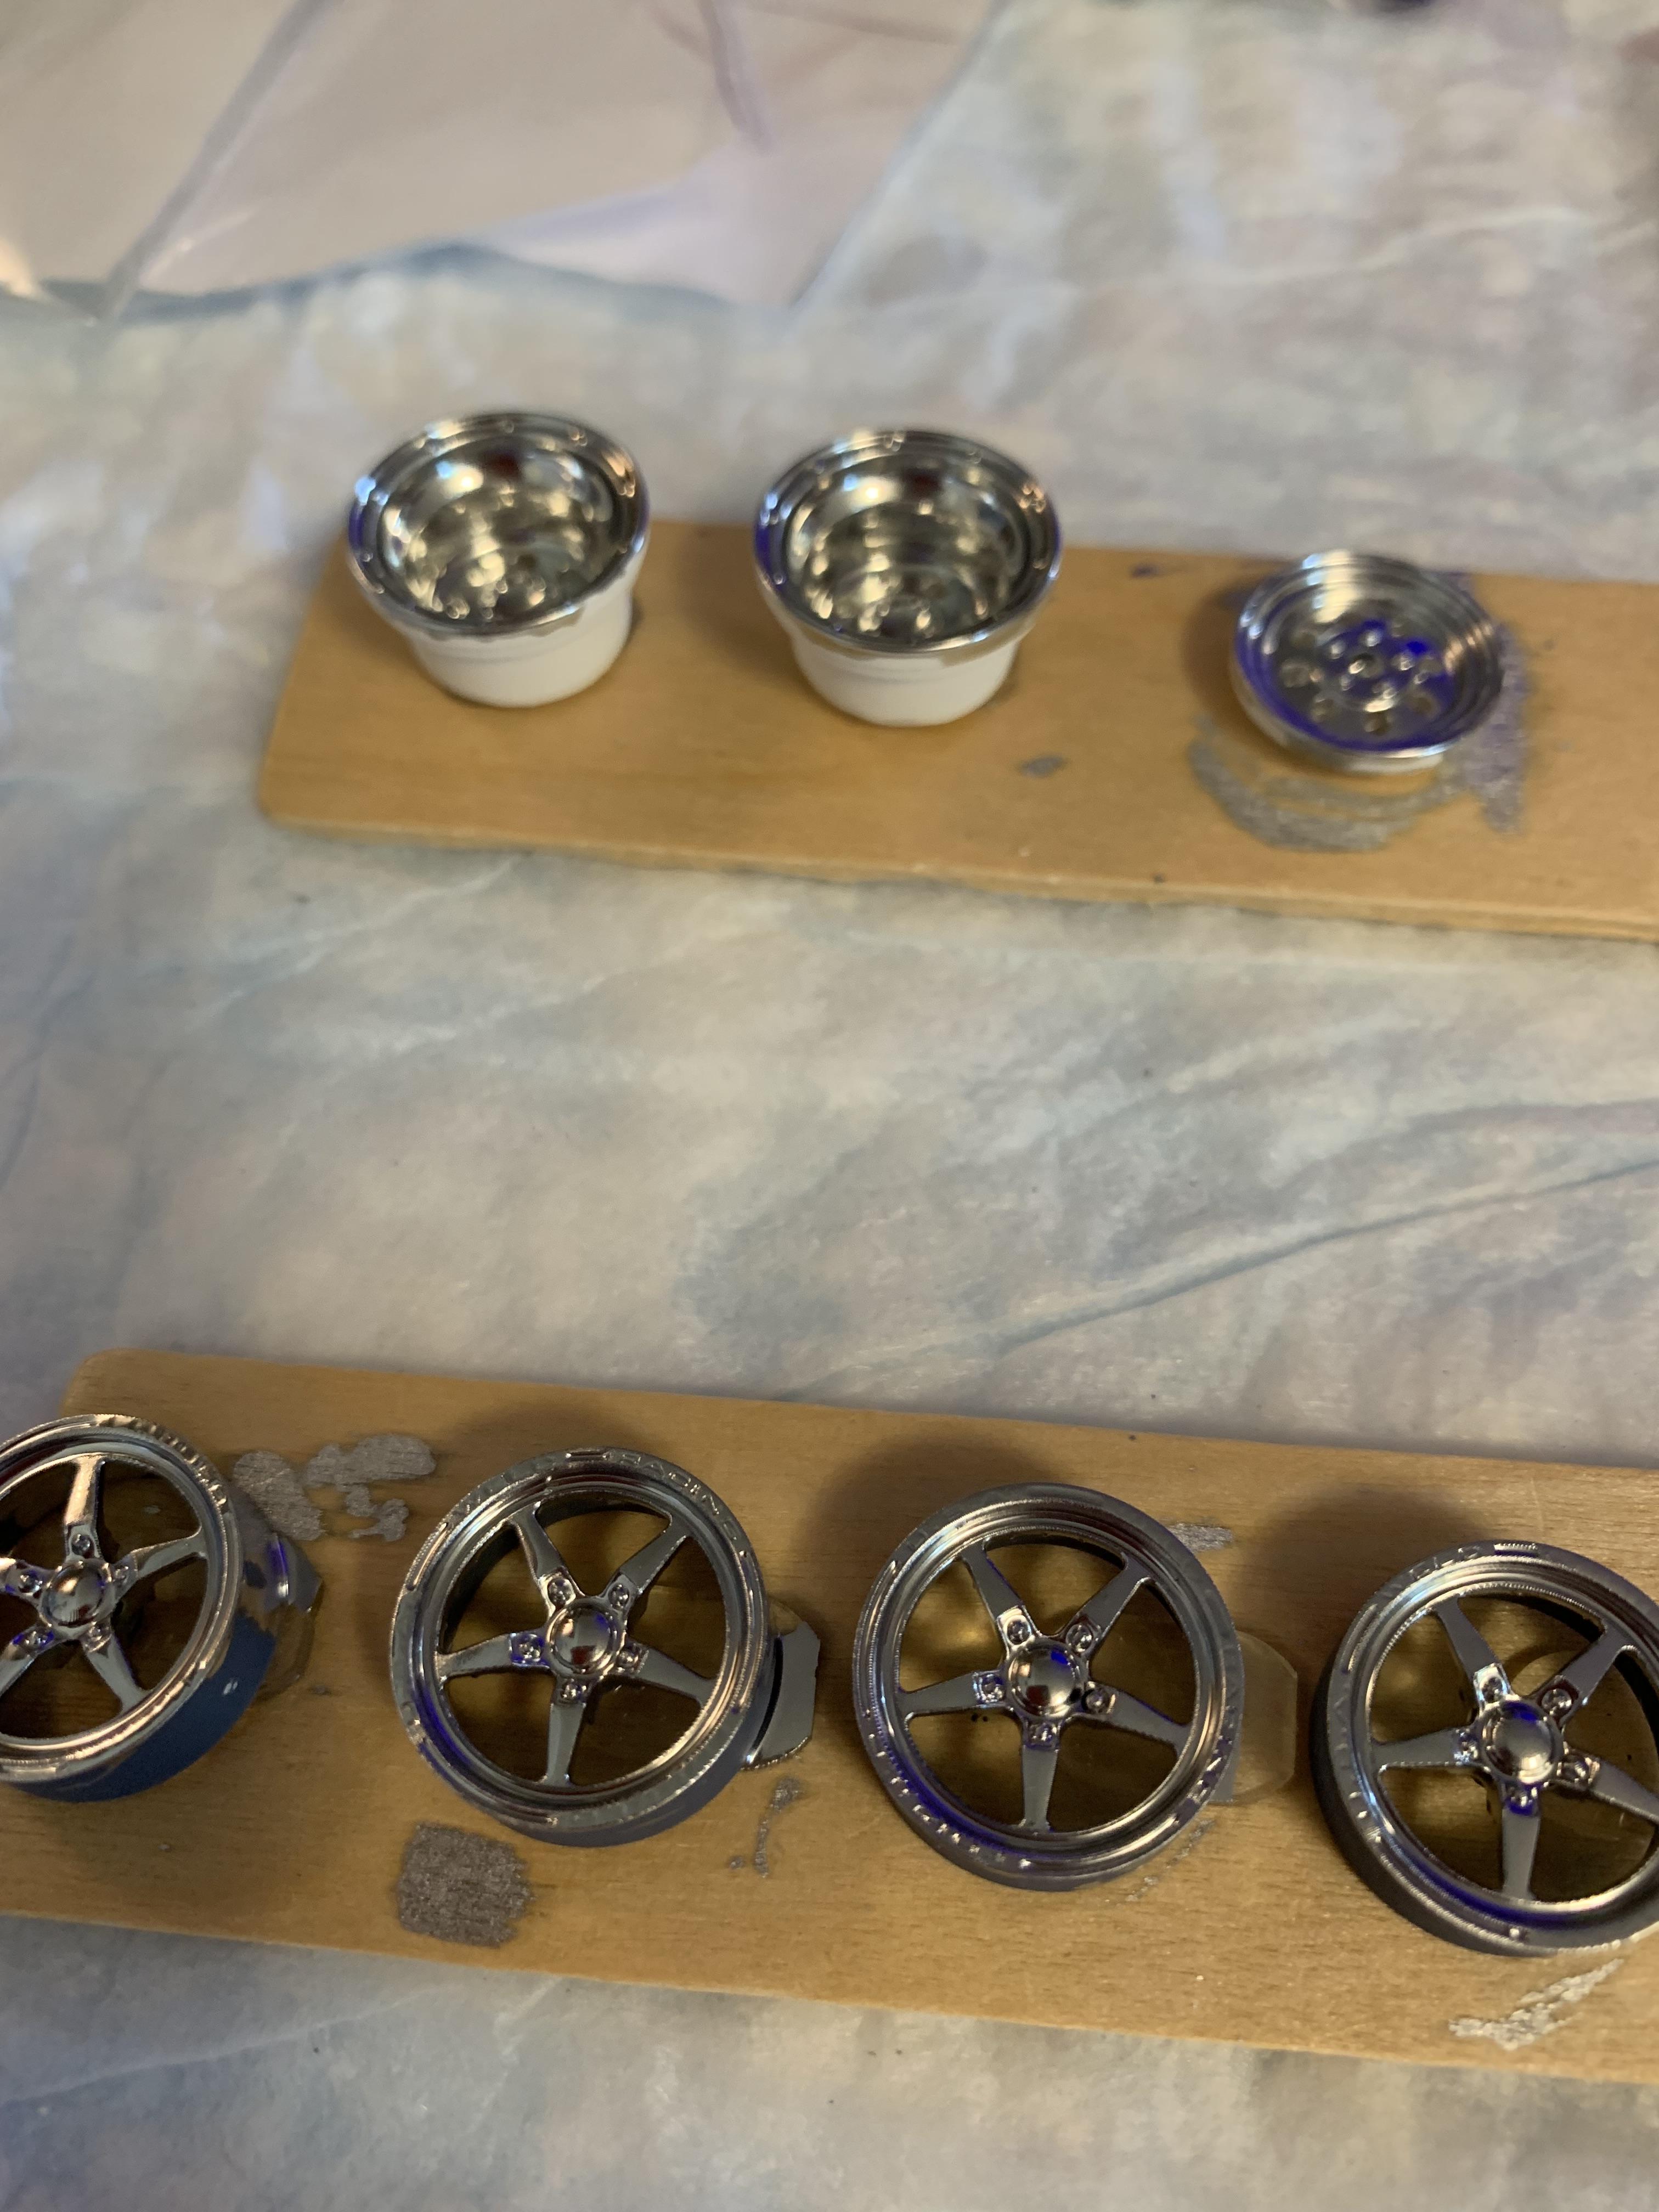
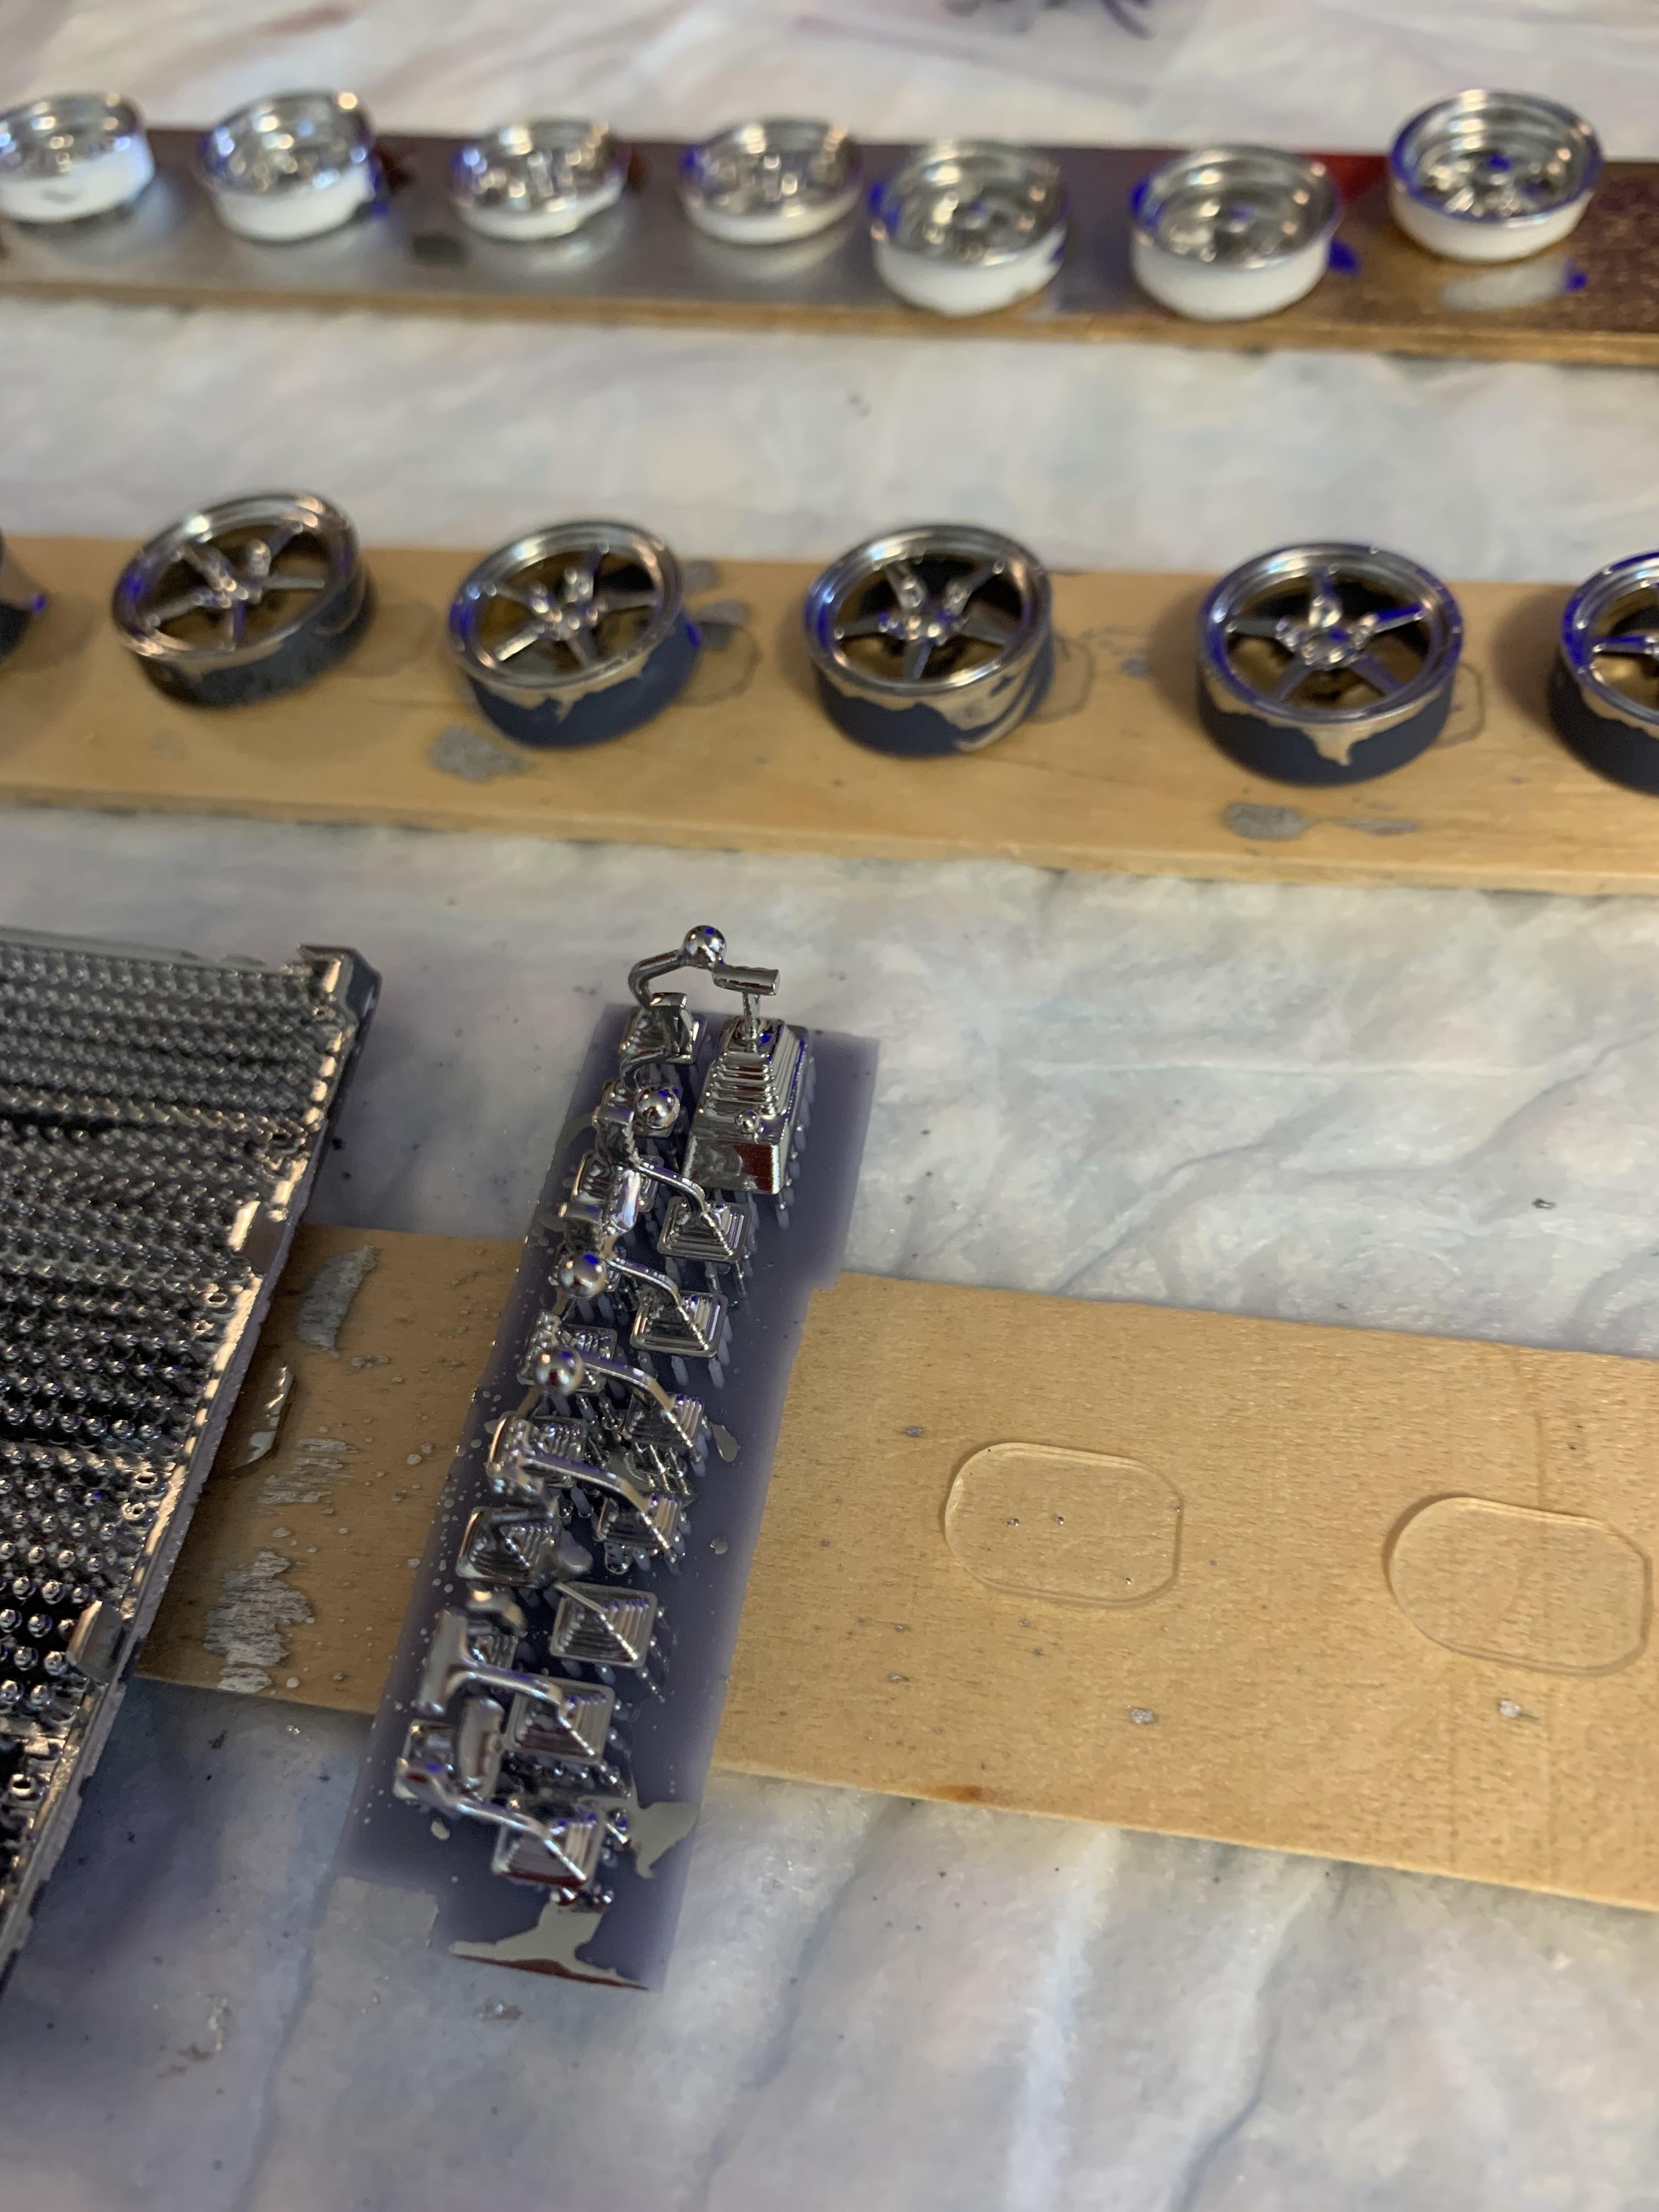
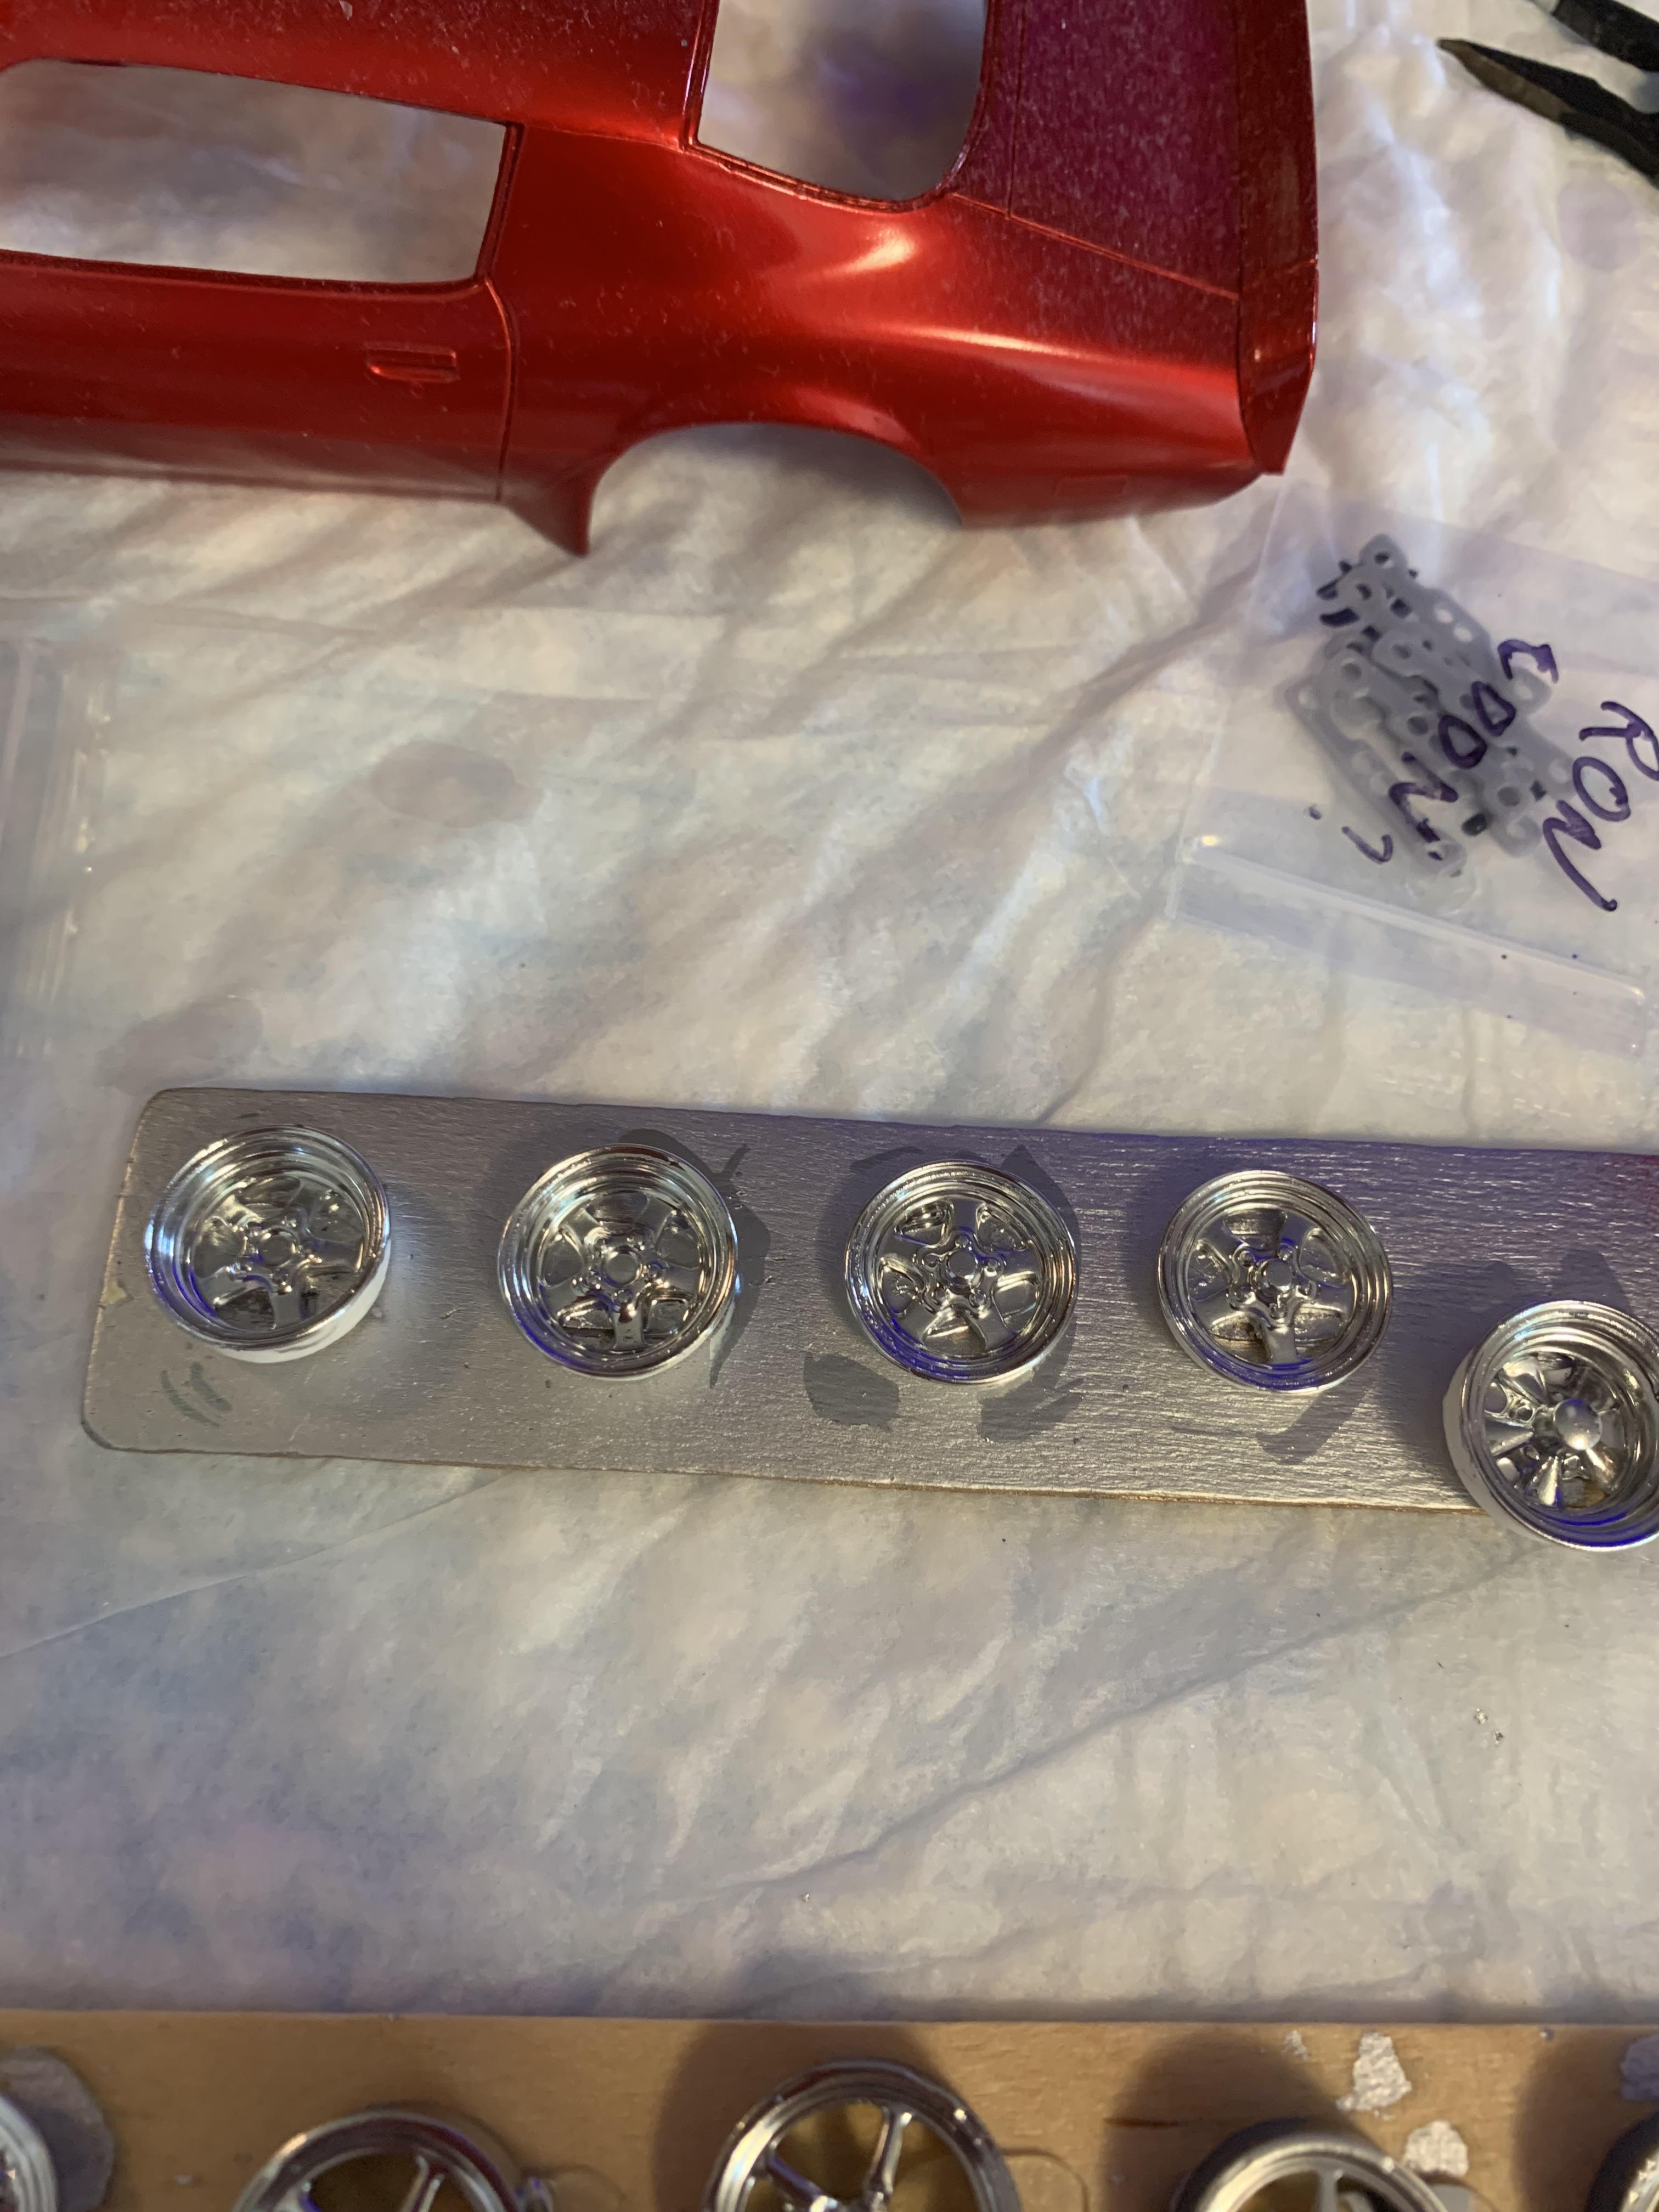
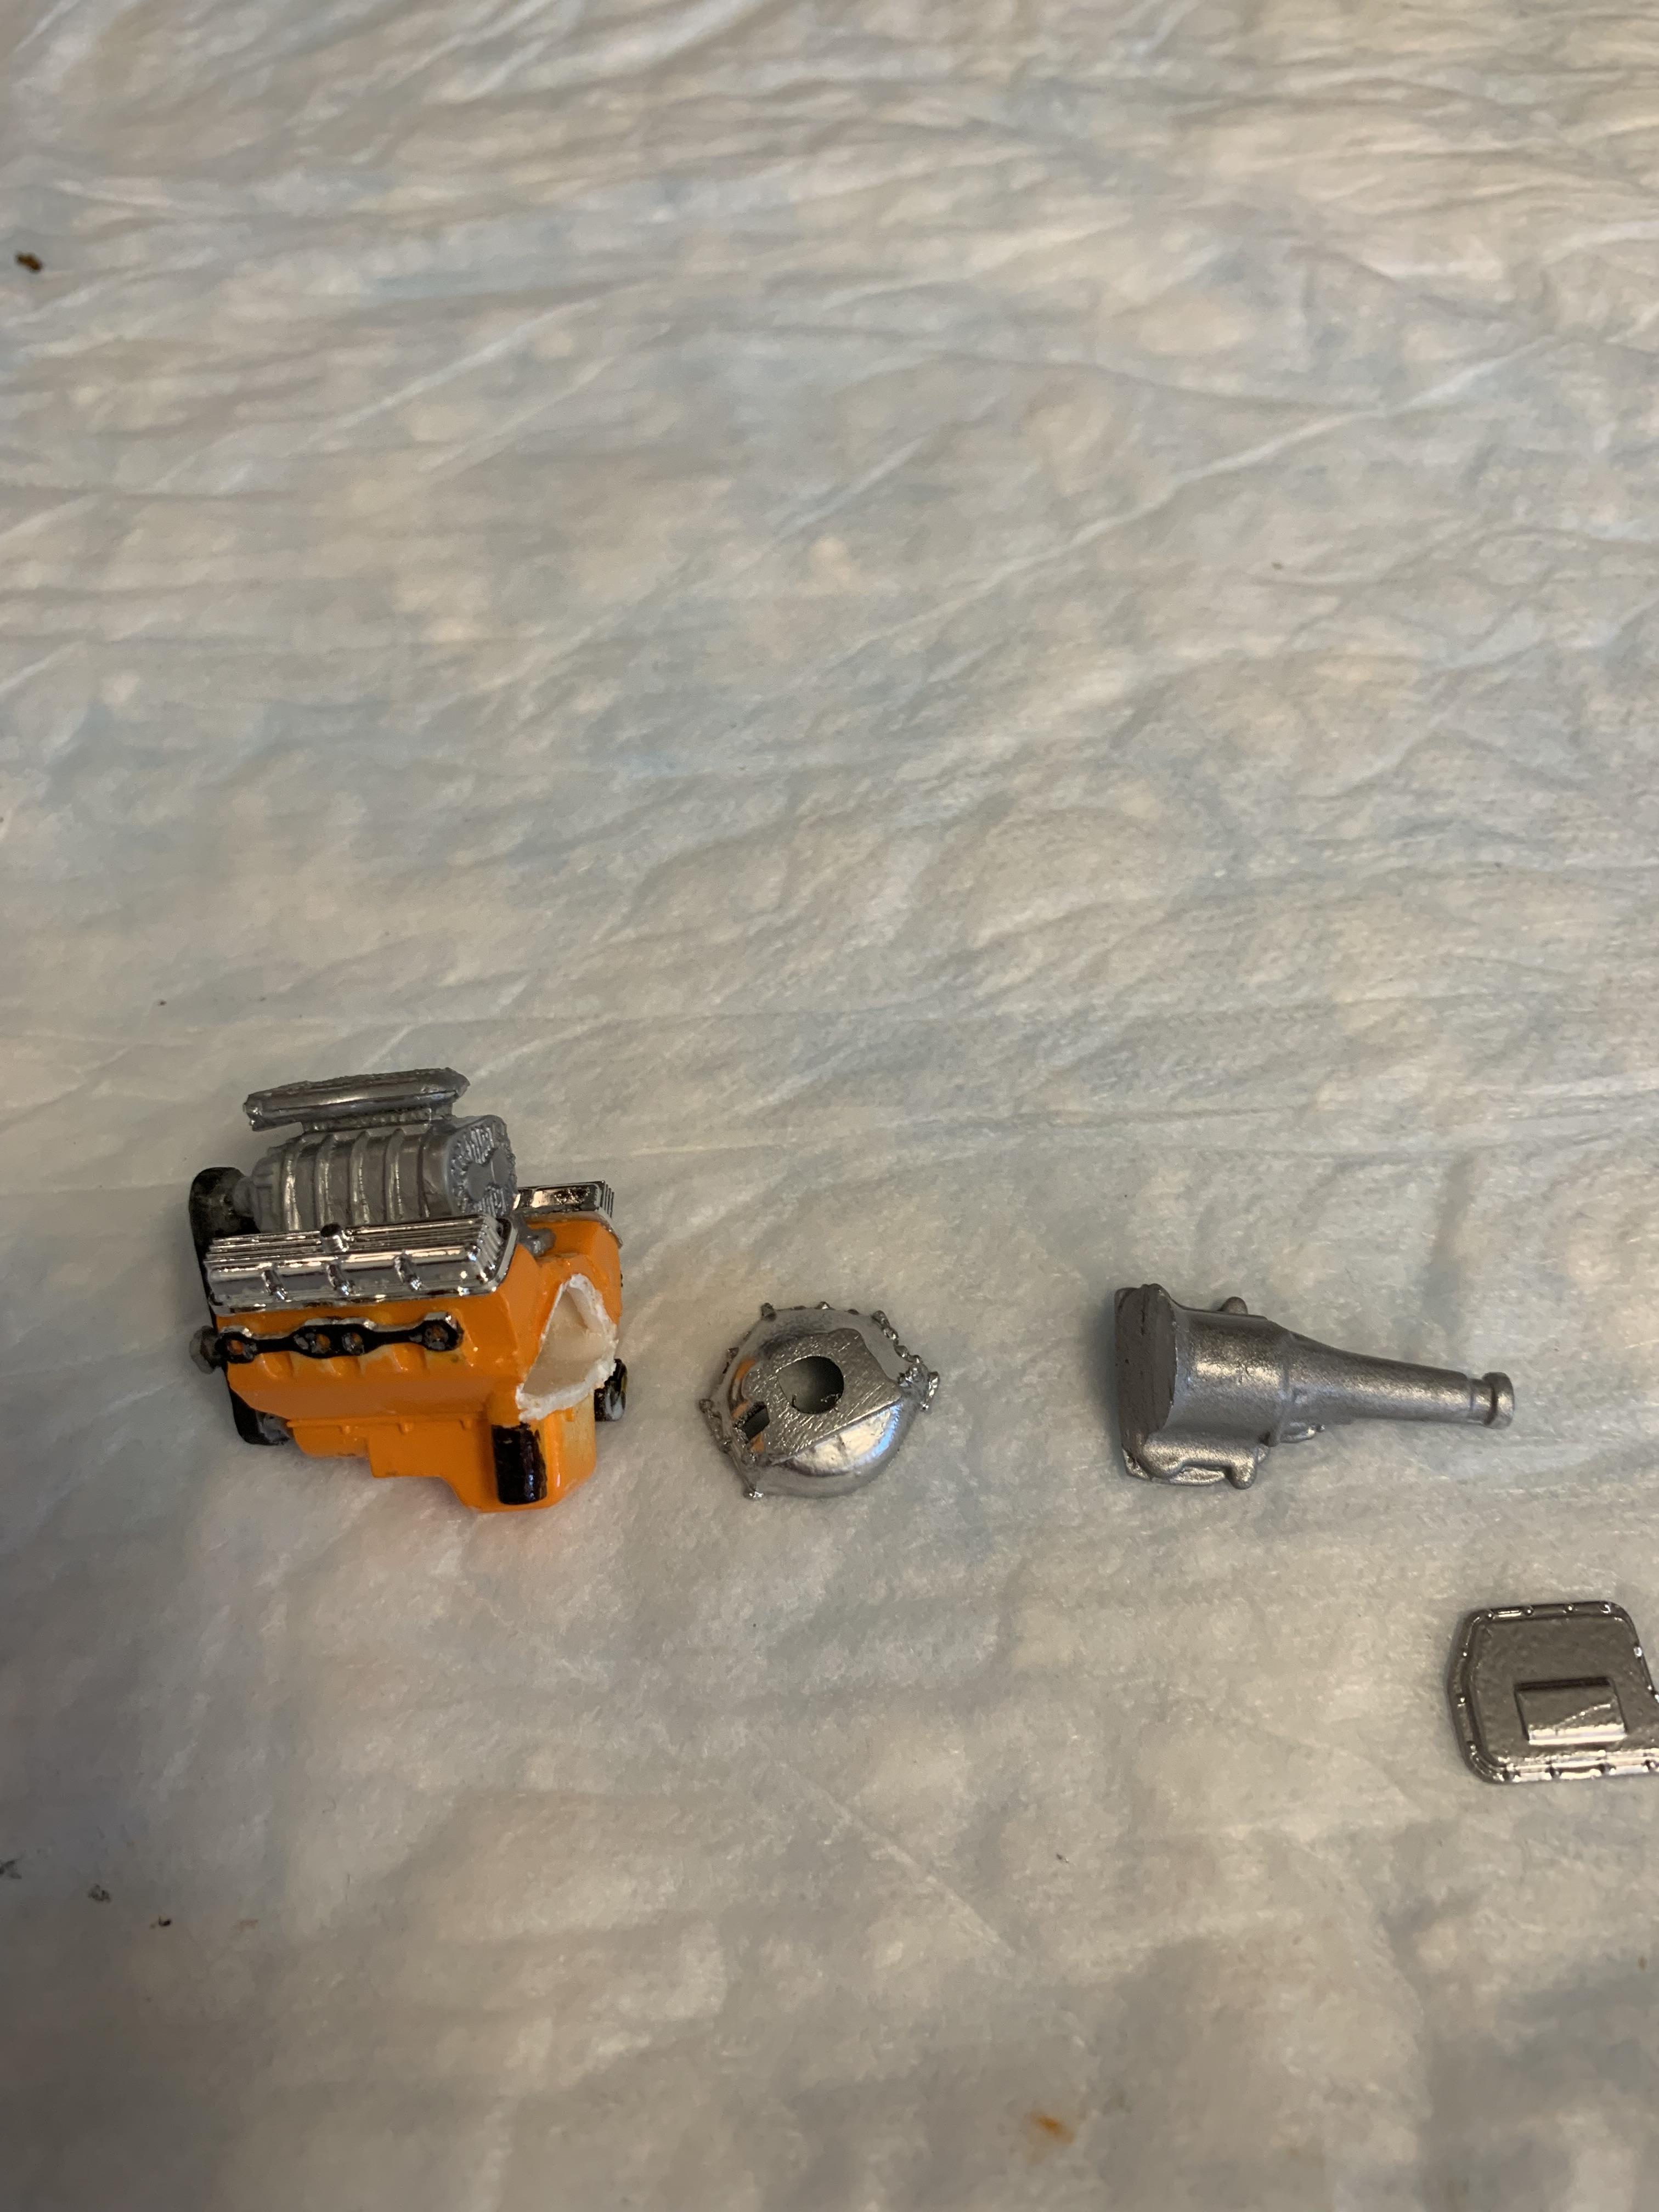
Just to show how far the FusionFirm bottle goes, I decided to paint (with the enclosed brush) some wheels, bolt heads, shifters, etc. No primer, base coat, special cleaning was used. These parts were taken out of the package and painted. This was in addition to the previous work done on the Corvette. I have about 90% of the liquid left in the bottle.
- 115 replies
-
- 12
-

-

-
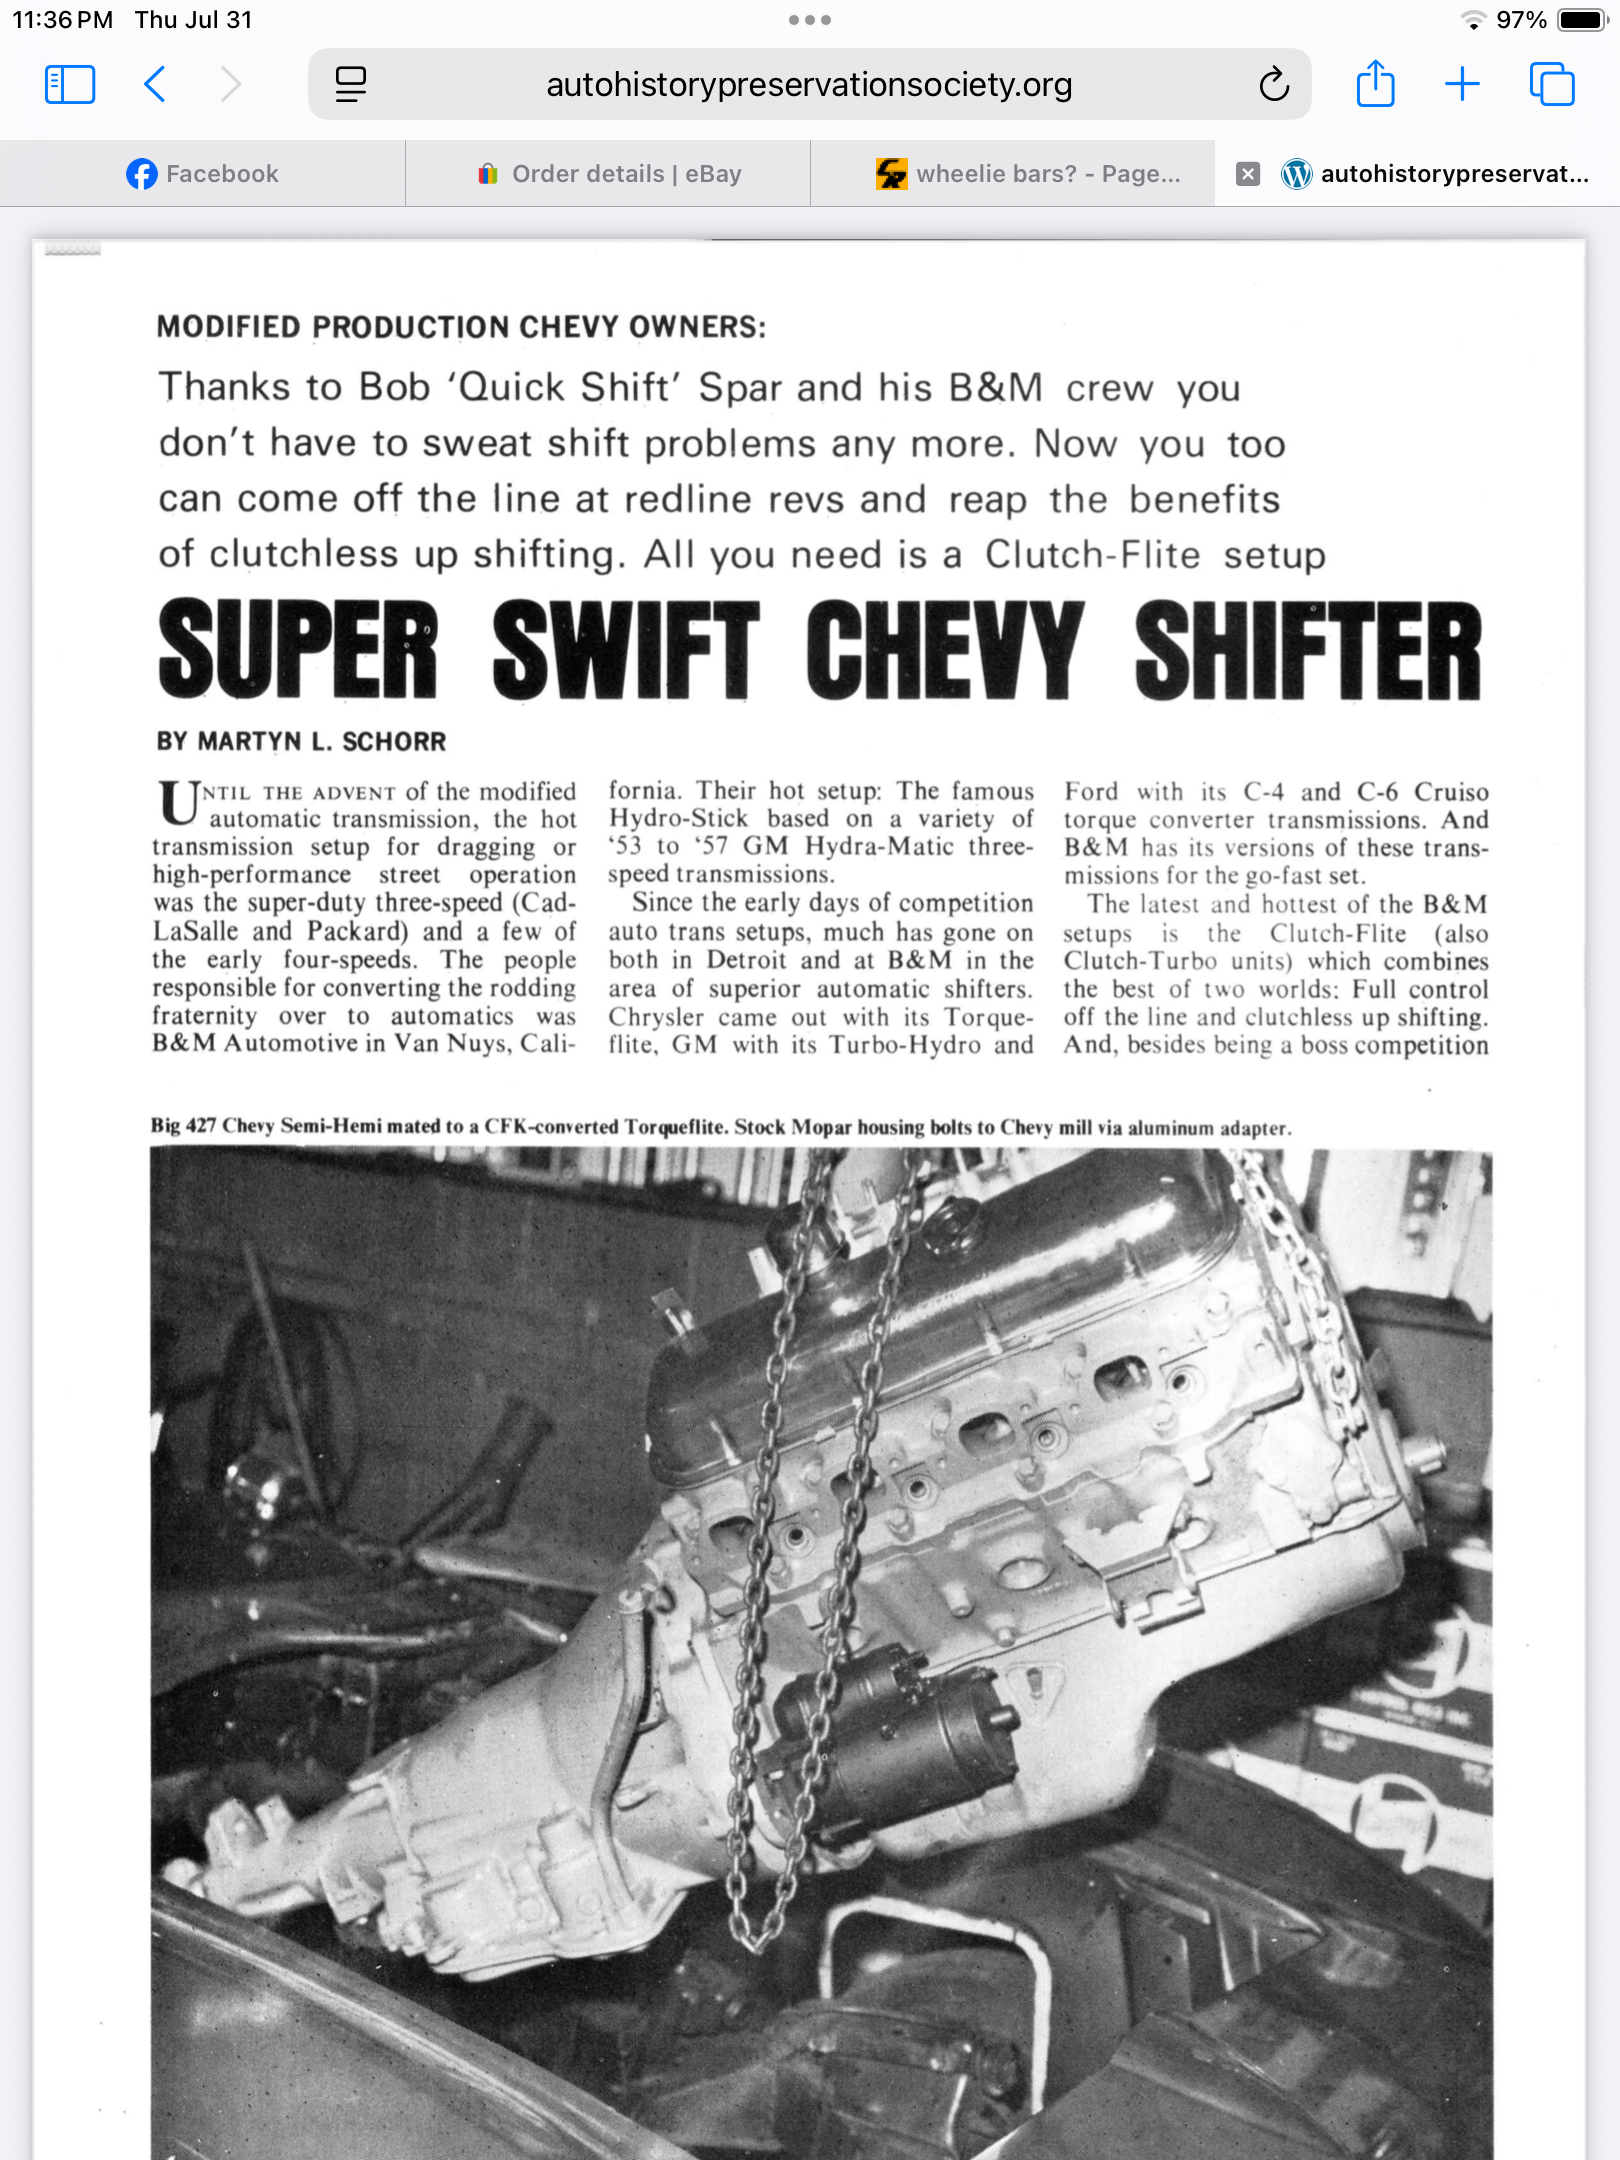
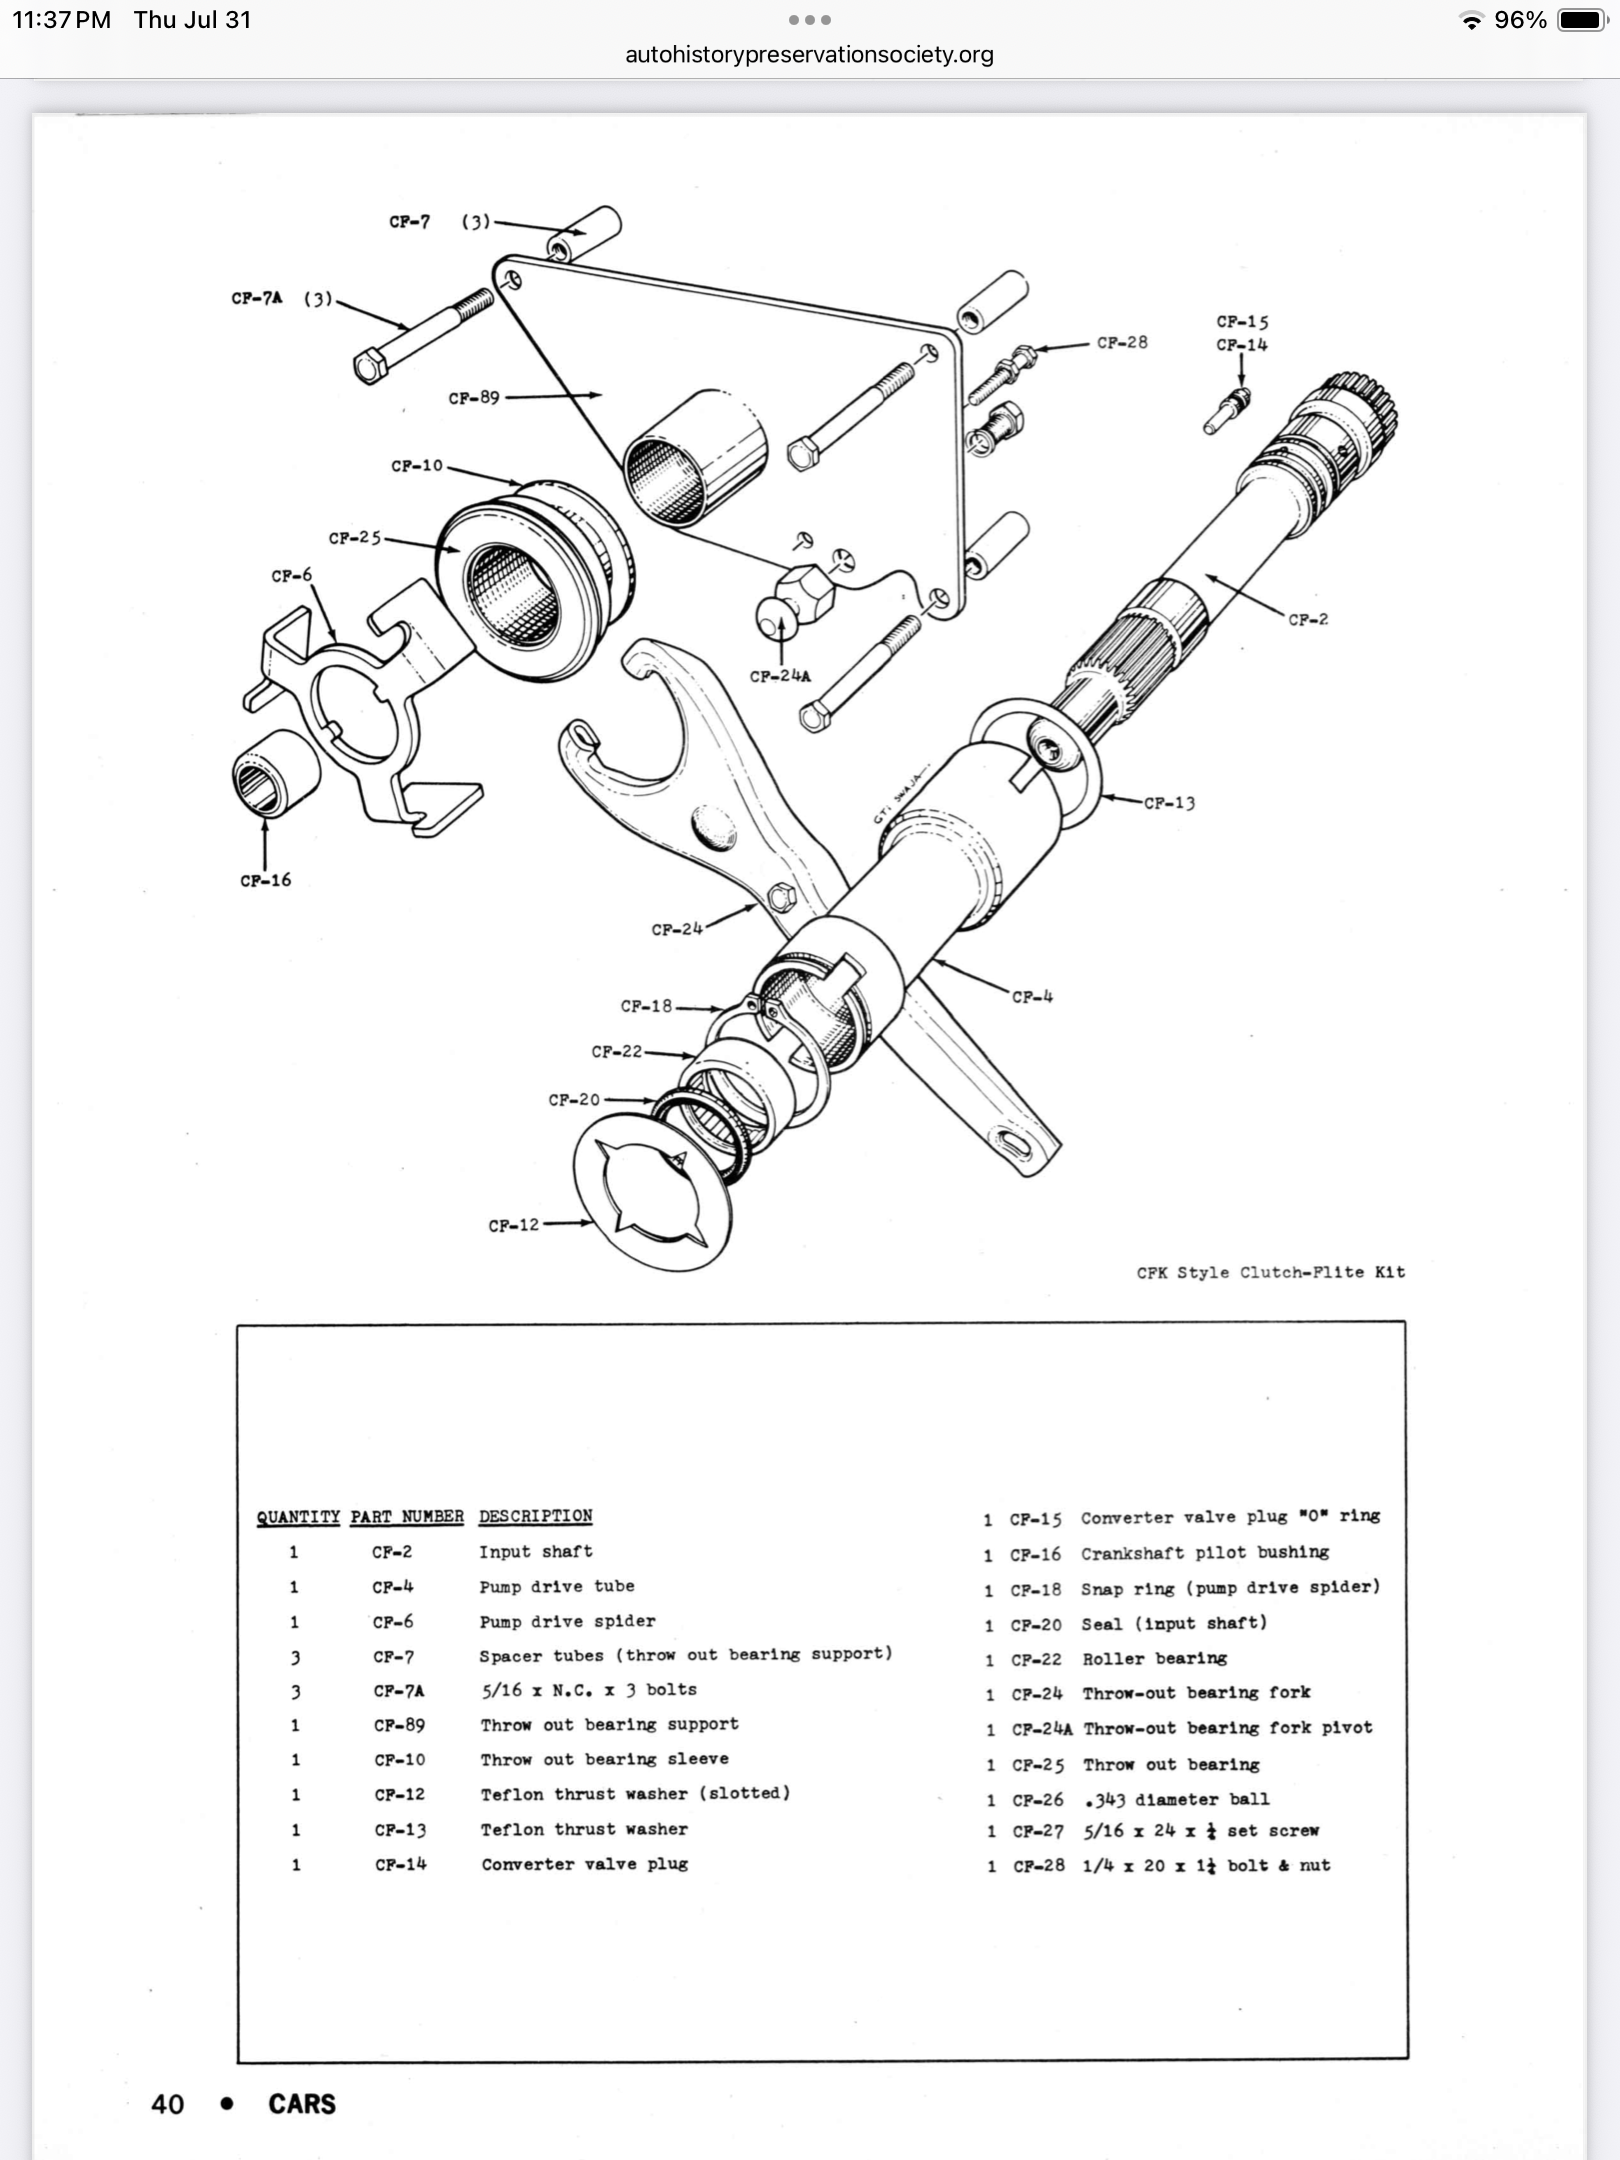
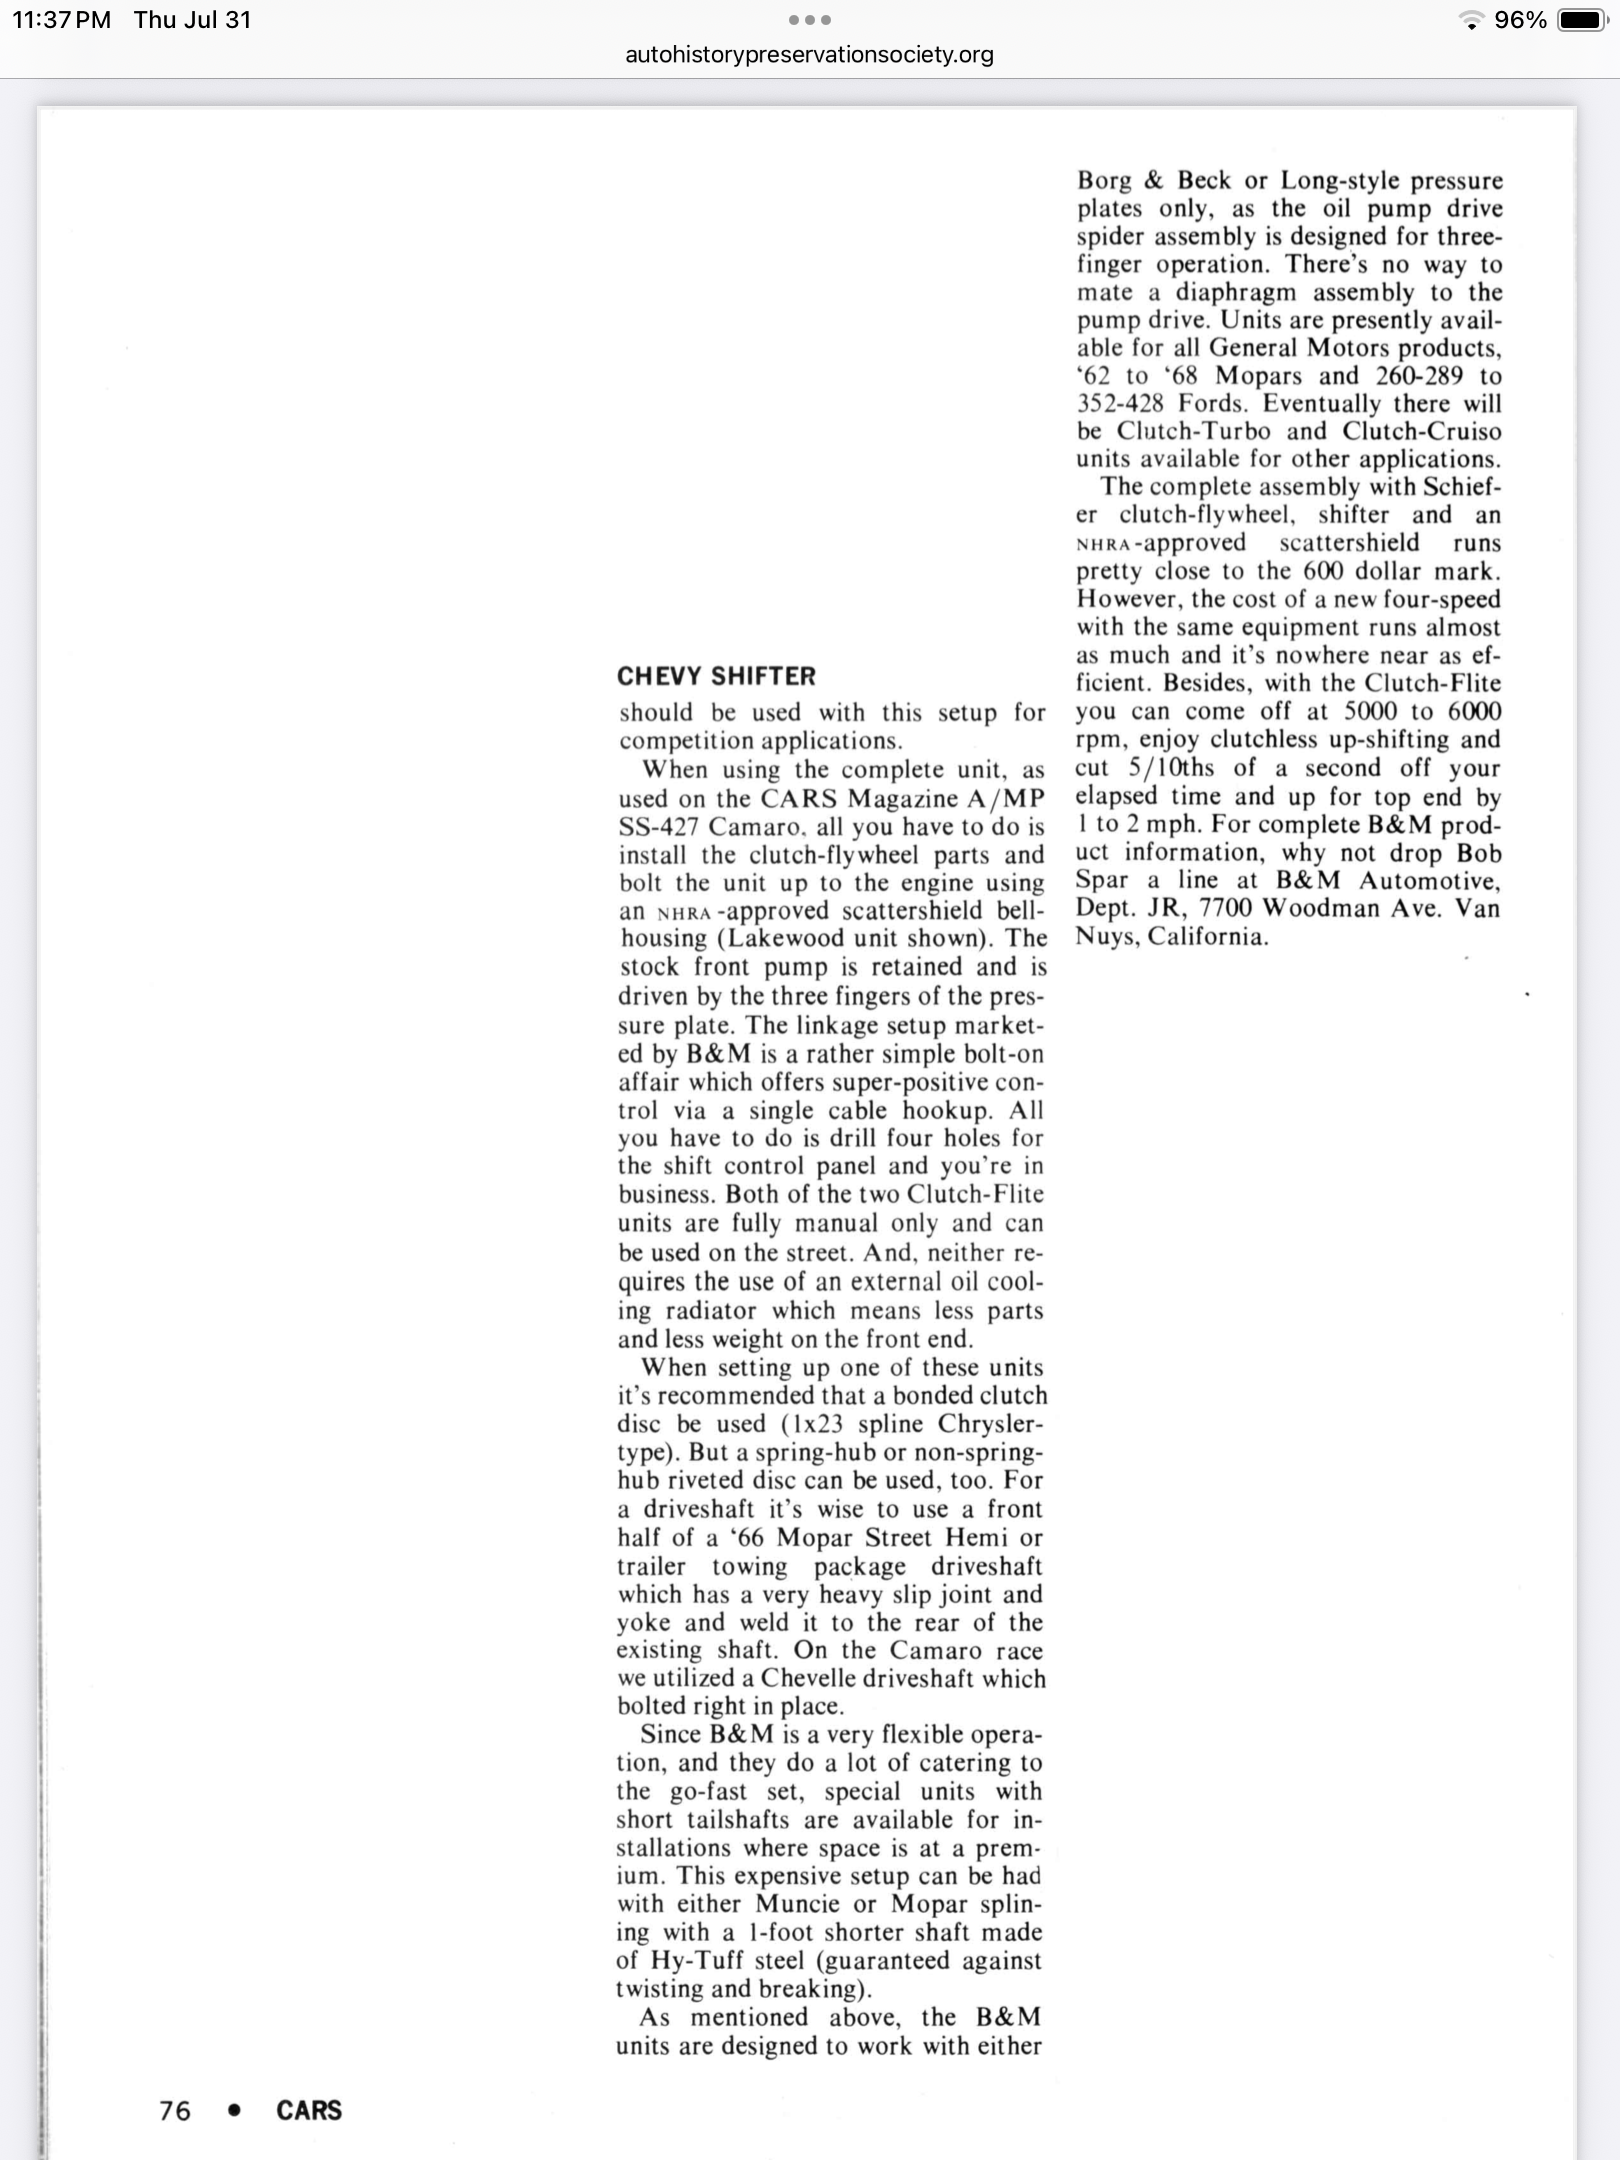
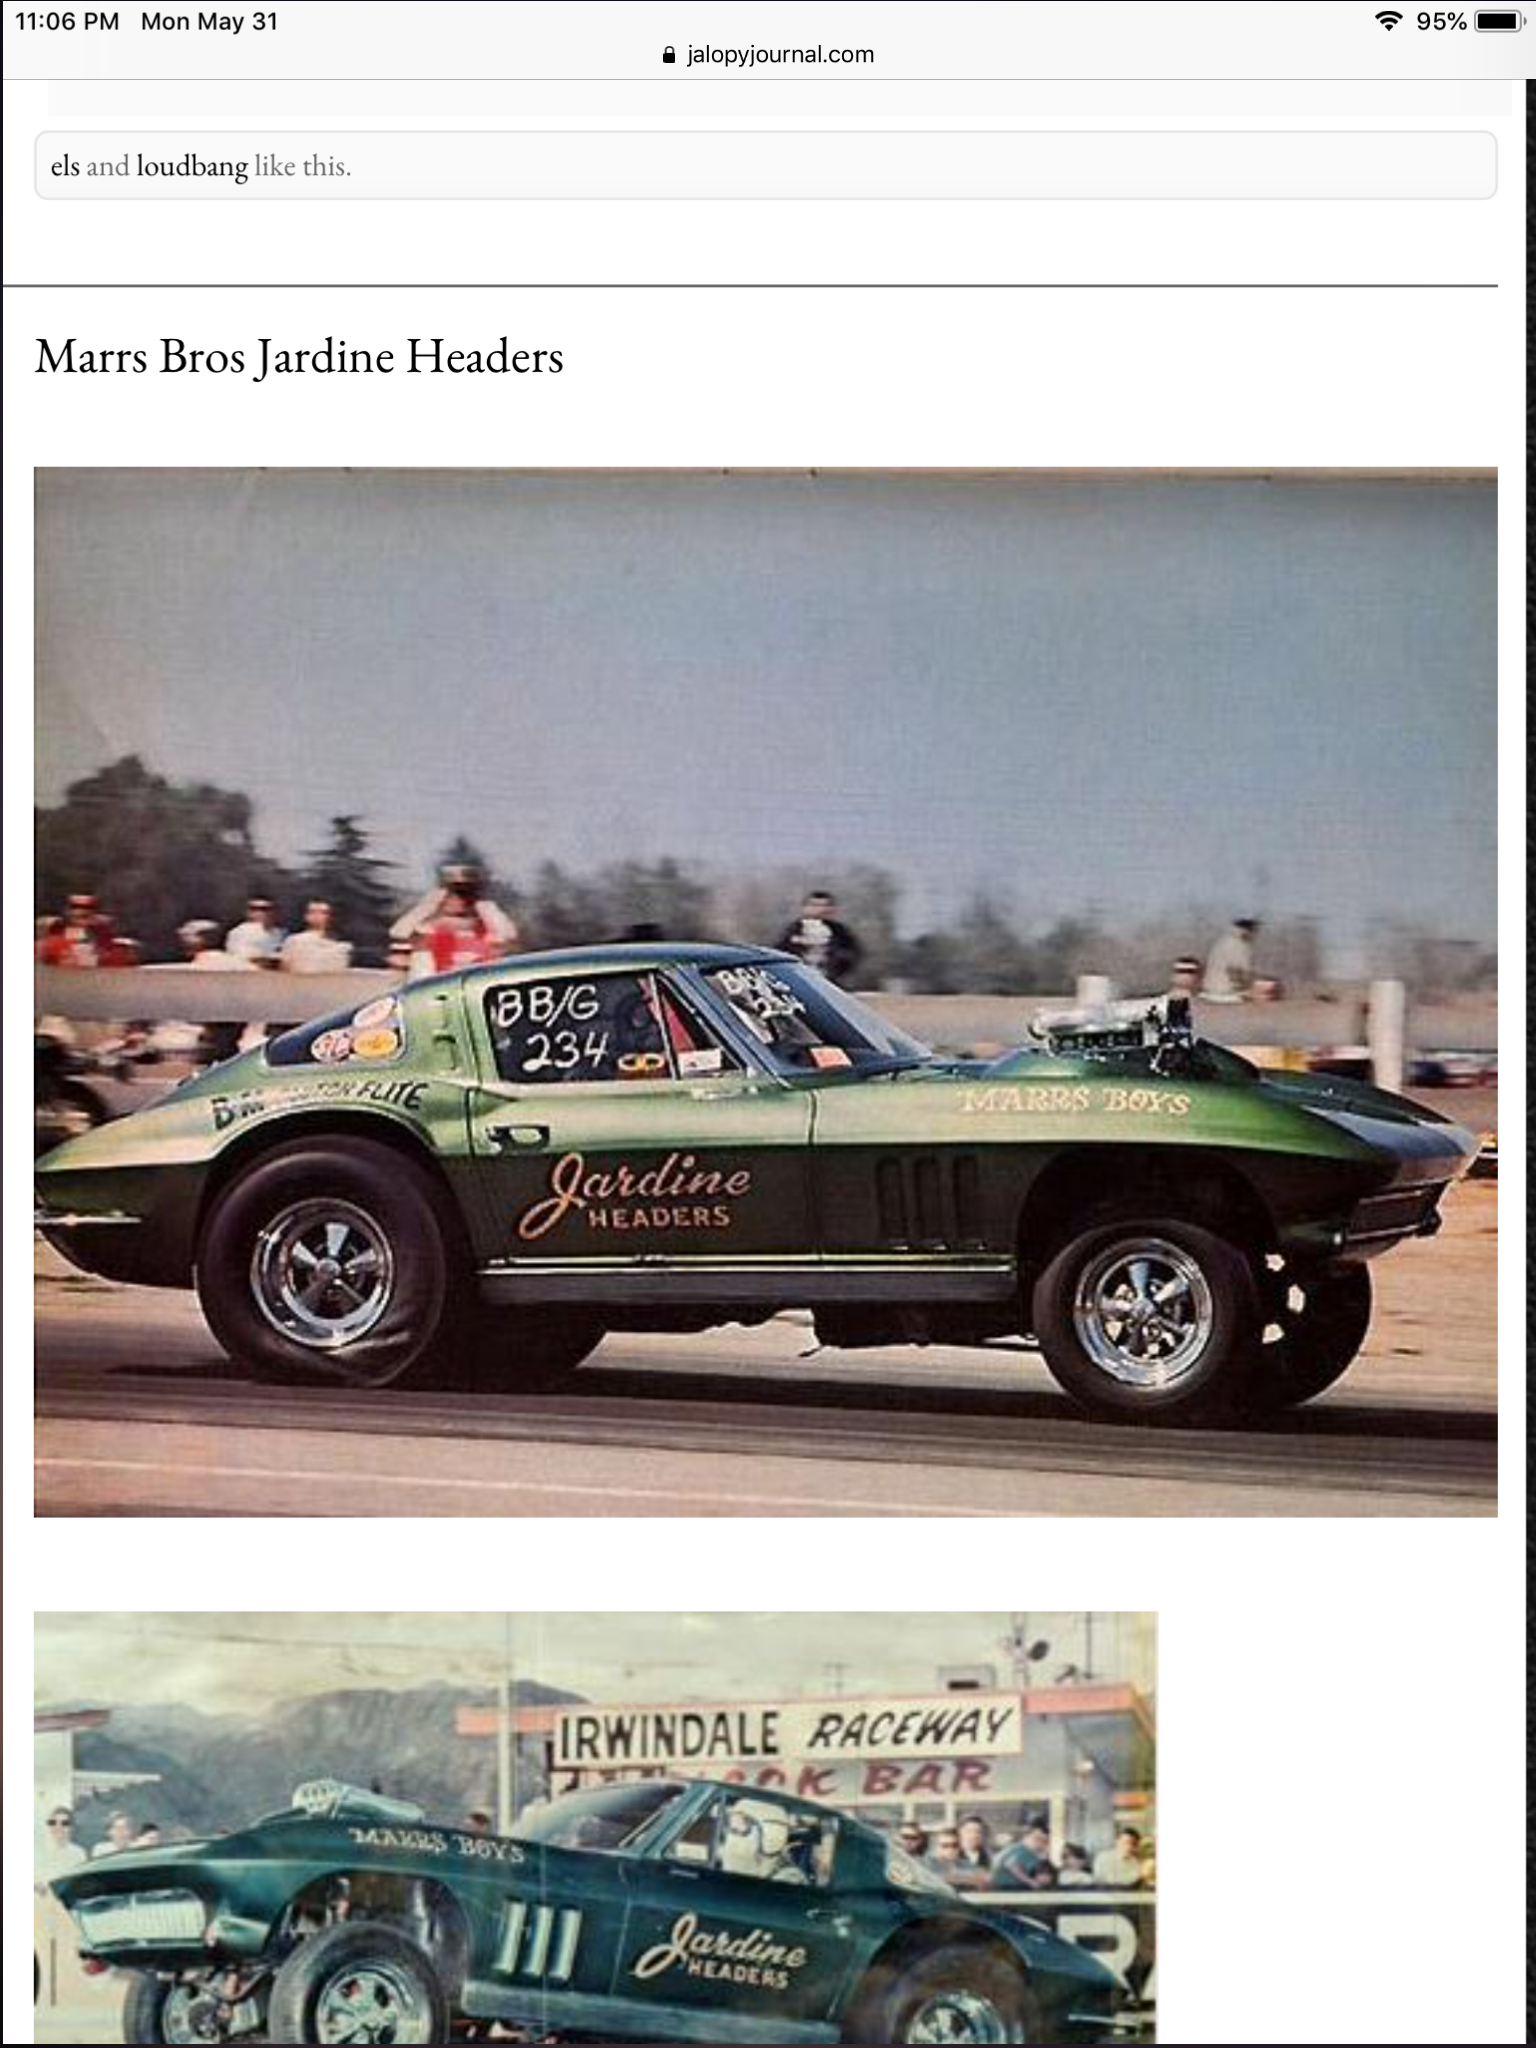
An interesting article I unearthed a few years ago when I started my build on the Marrs Boys 1963 Corvette. It appeared in Cars magazine. This is courtesy of the autohistorypreservationsociety.org.
-
More pics.
-
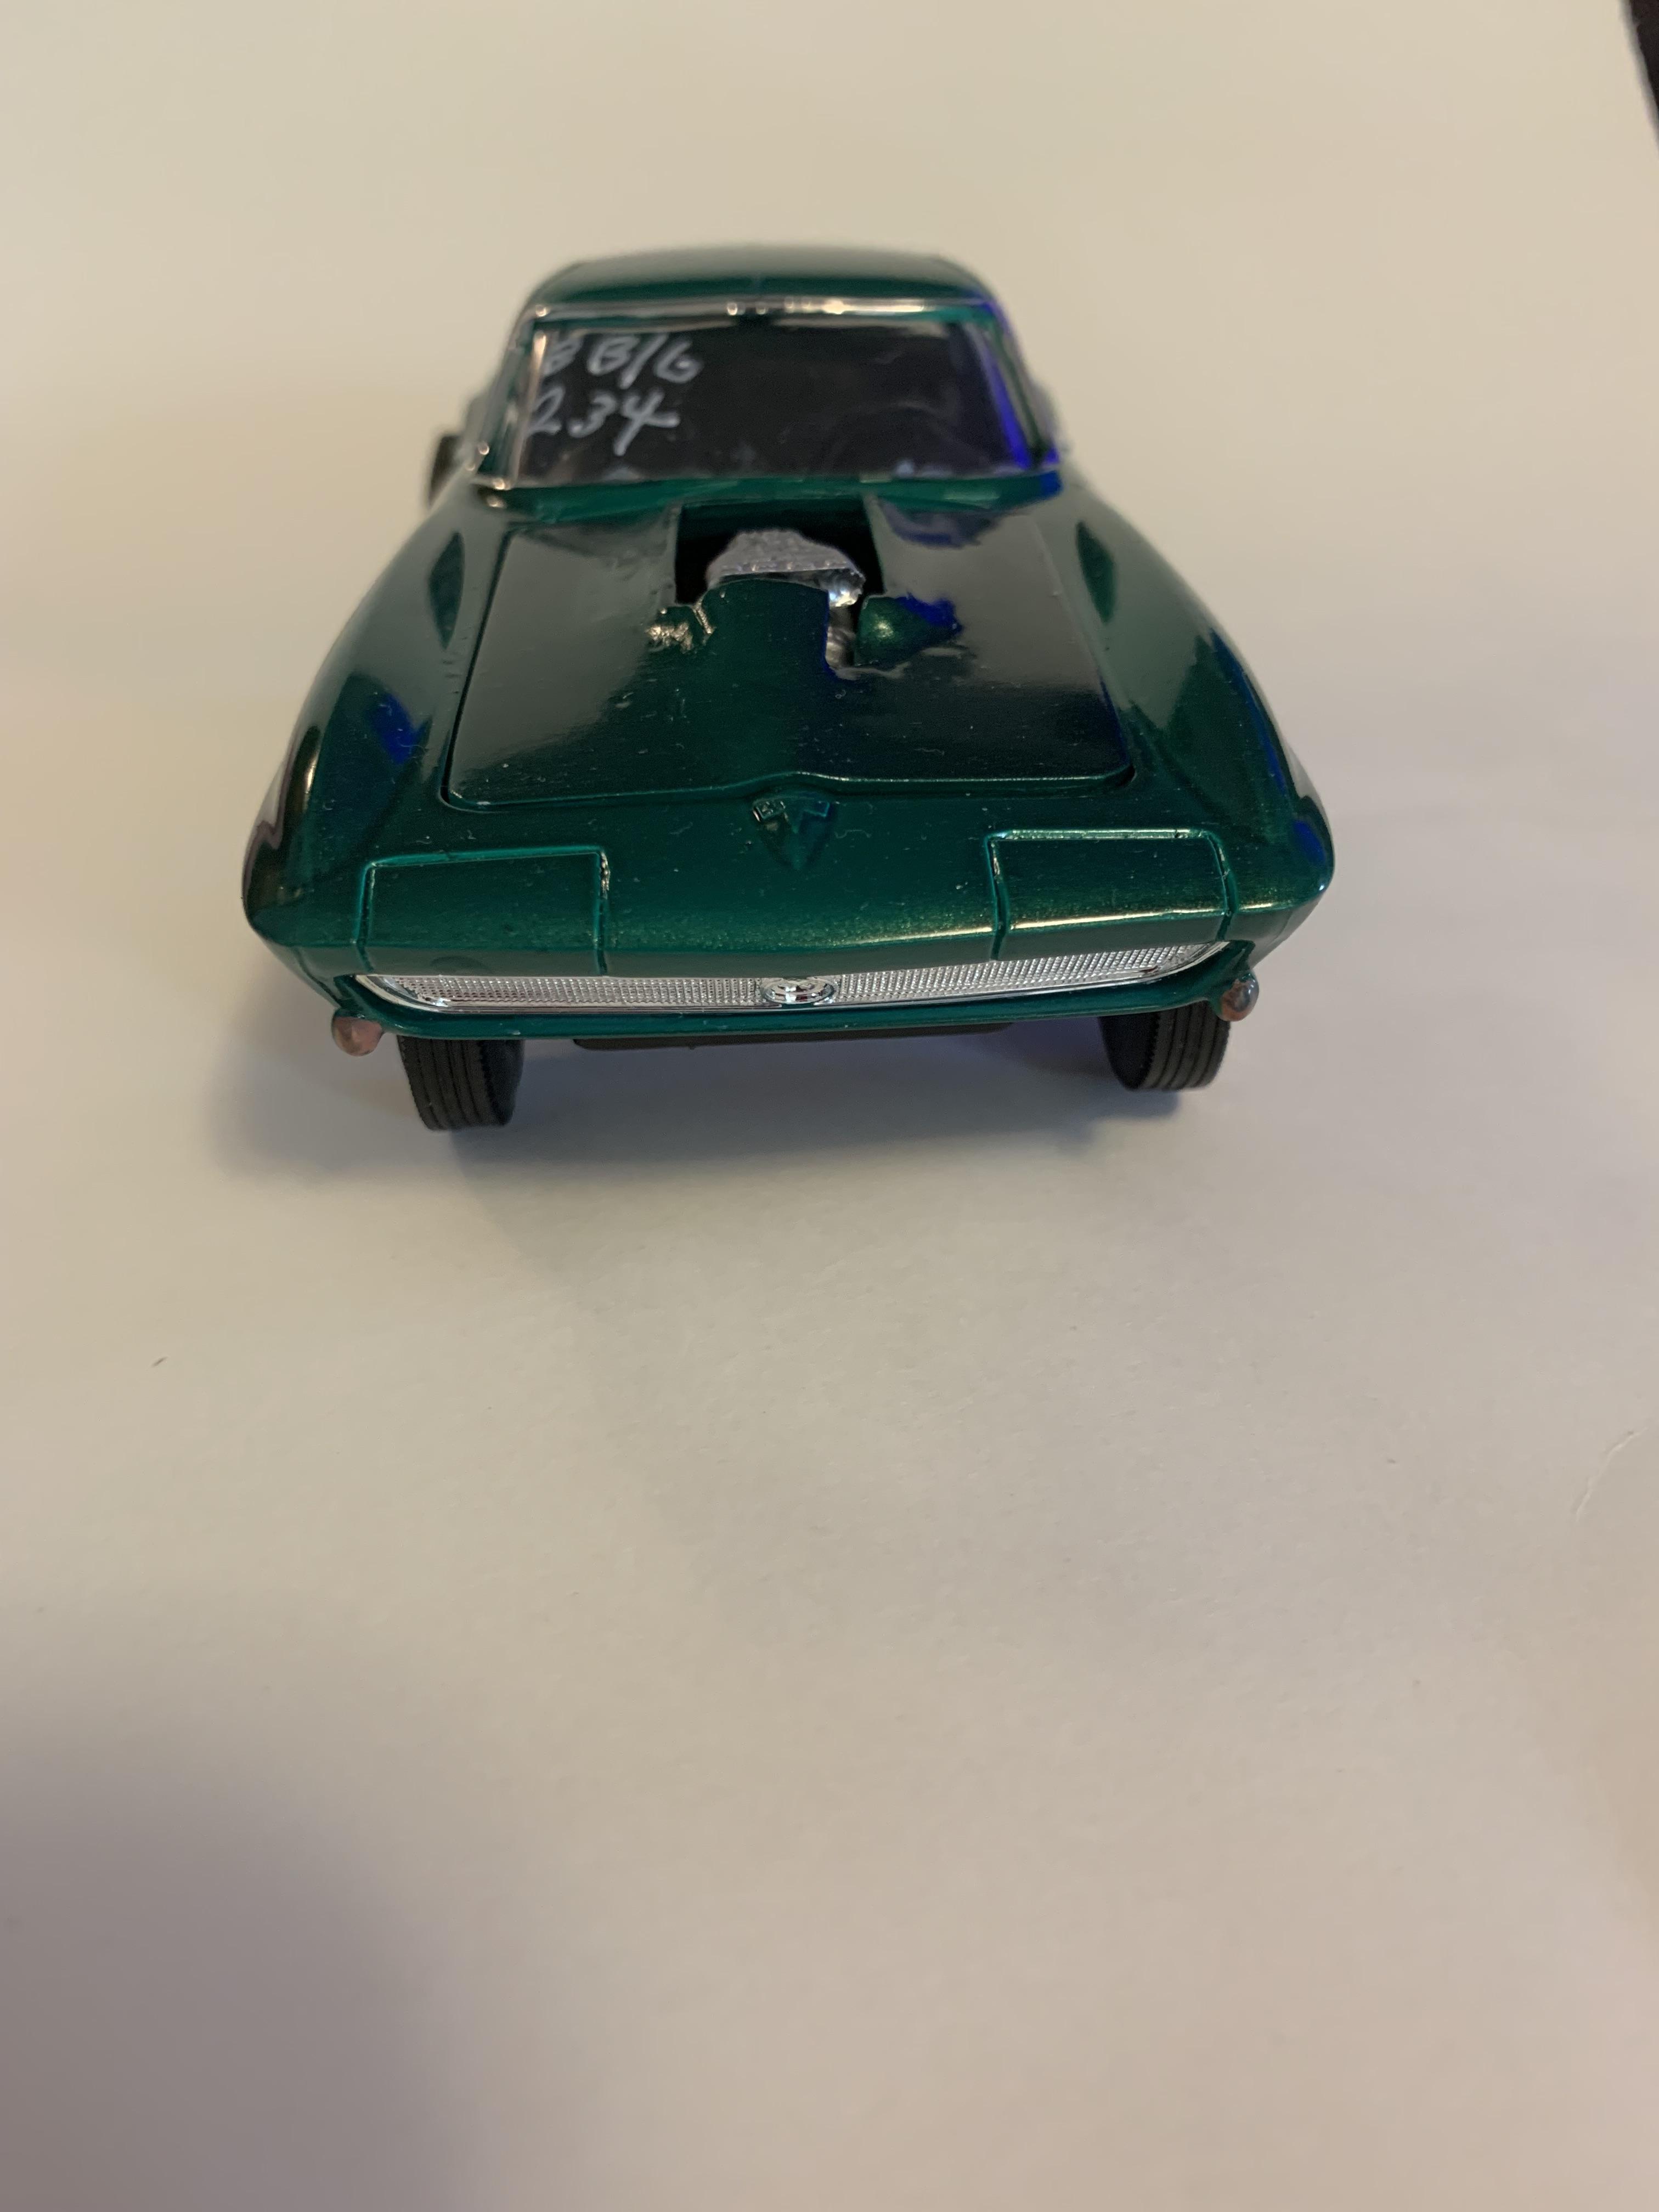
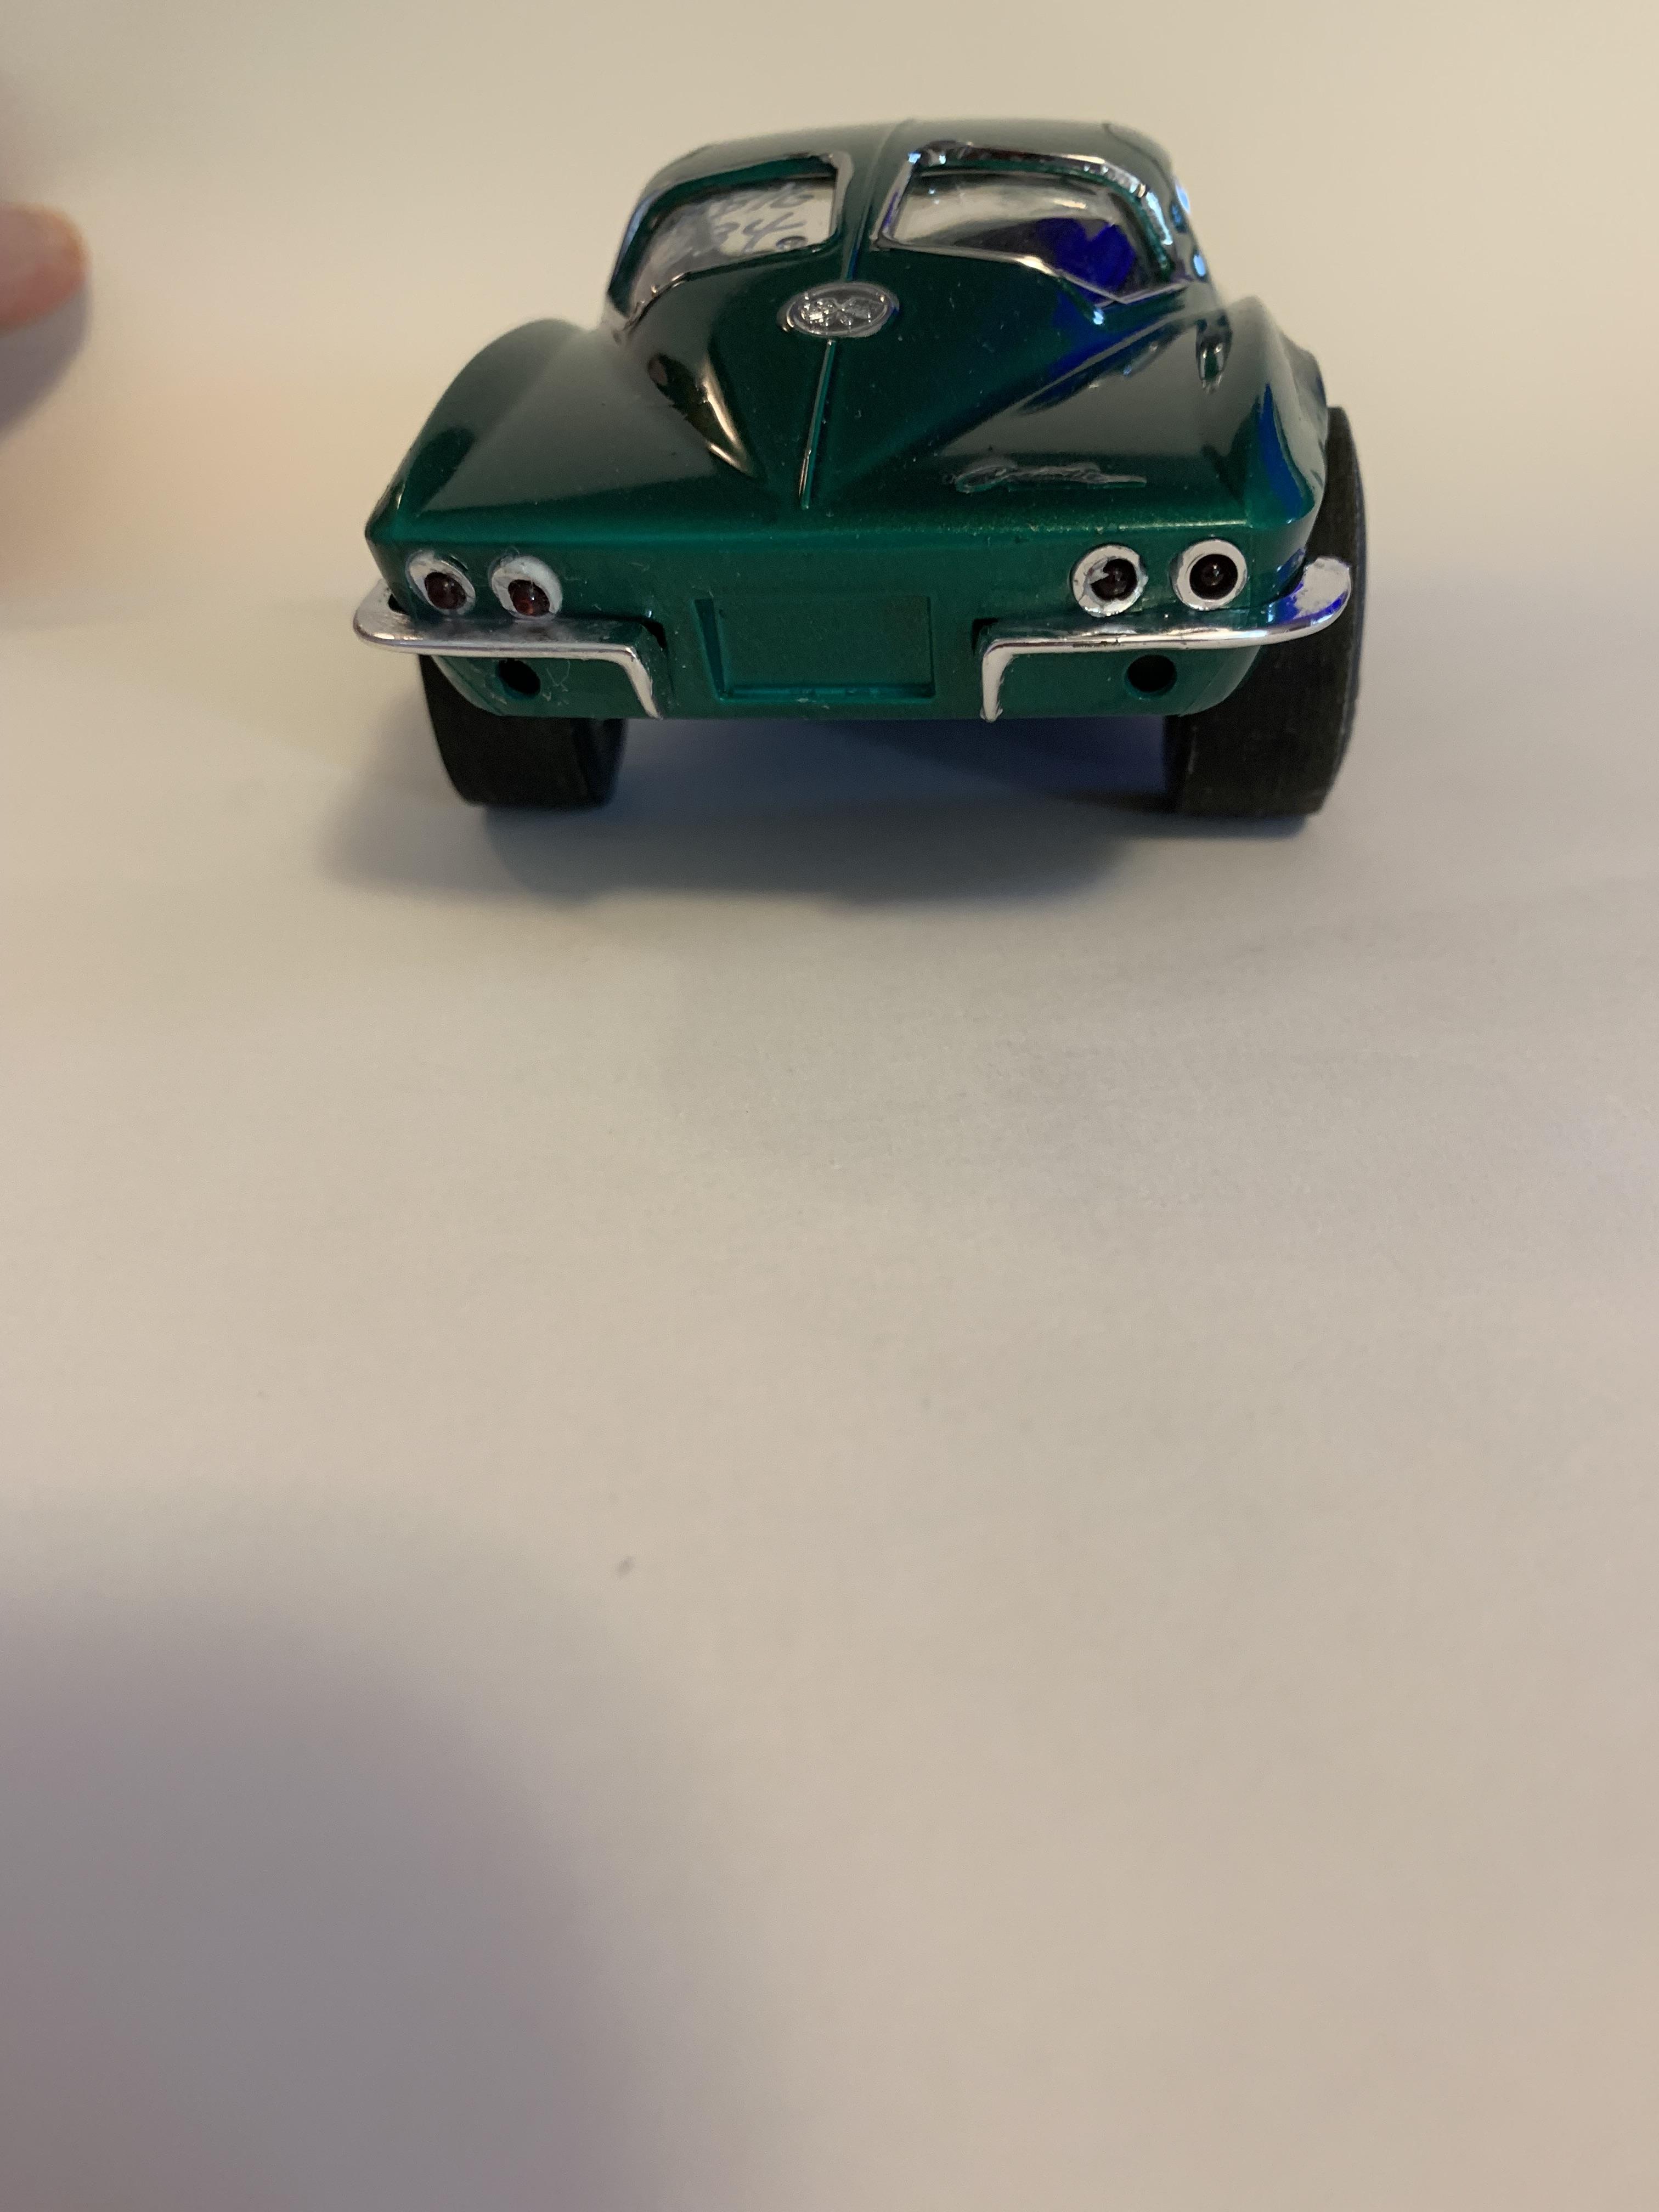
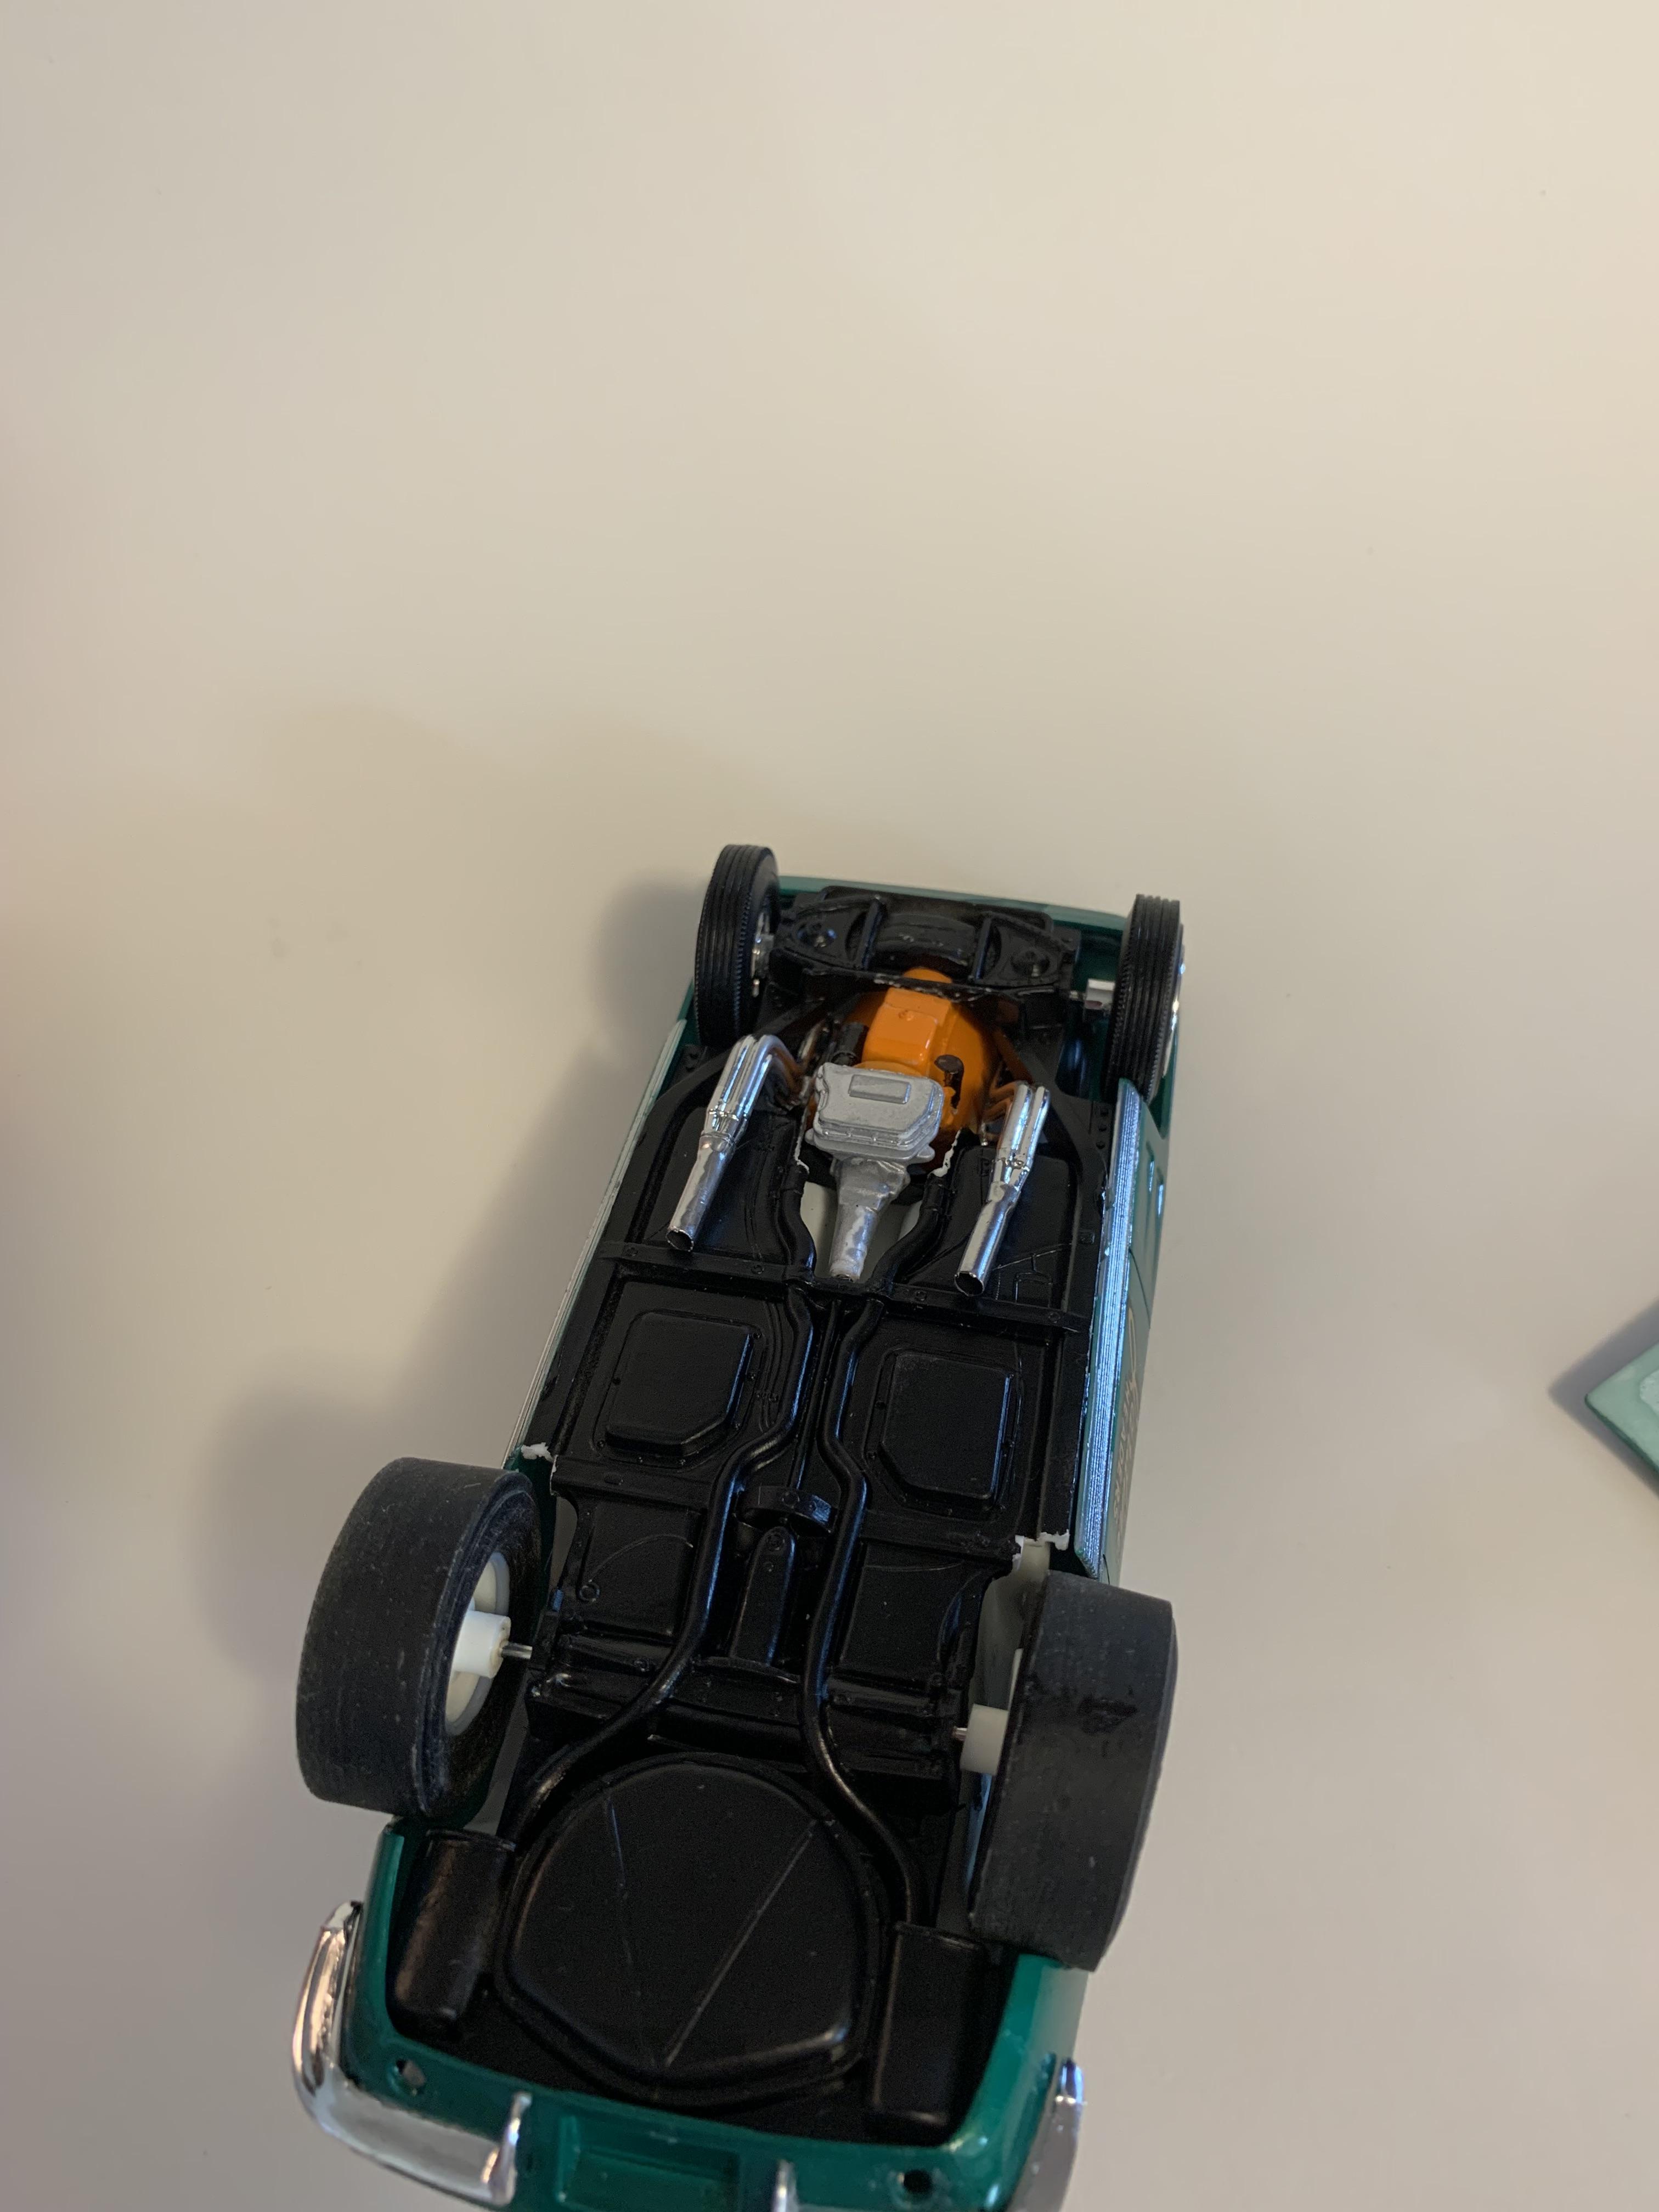
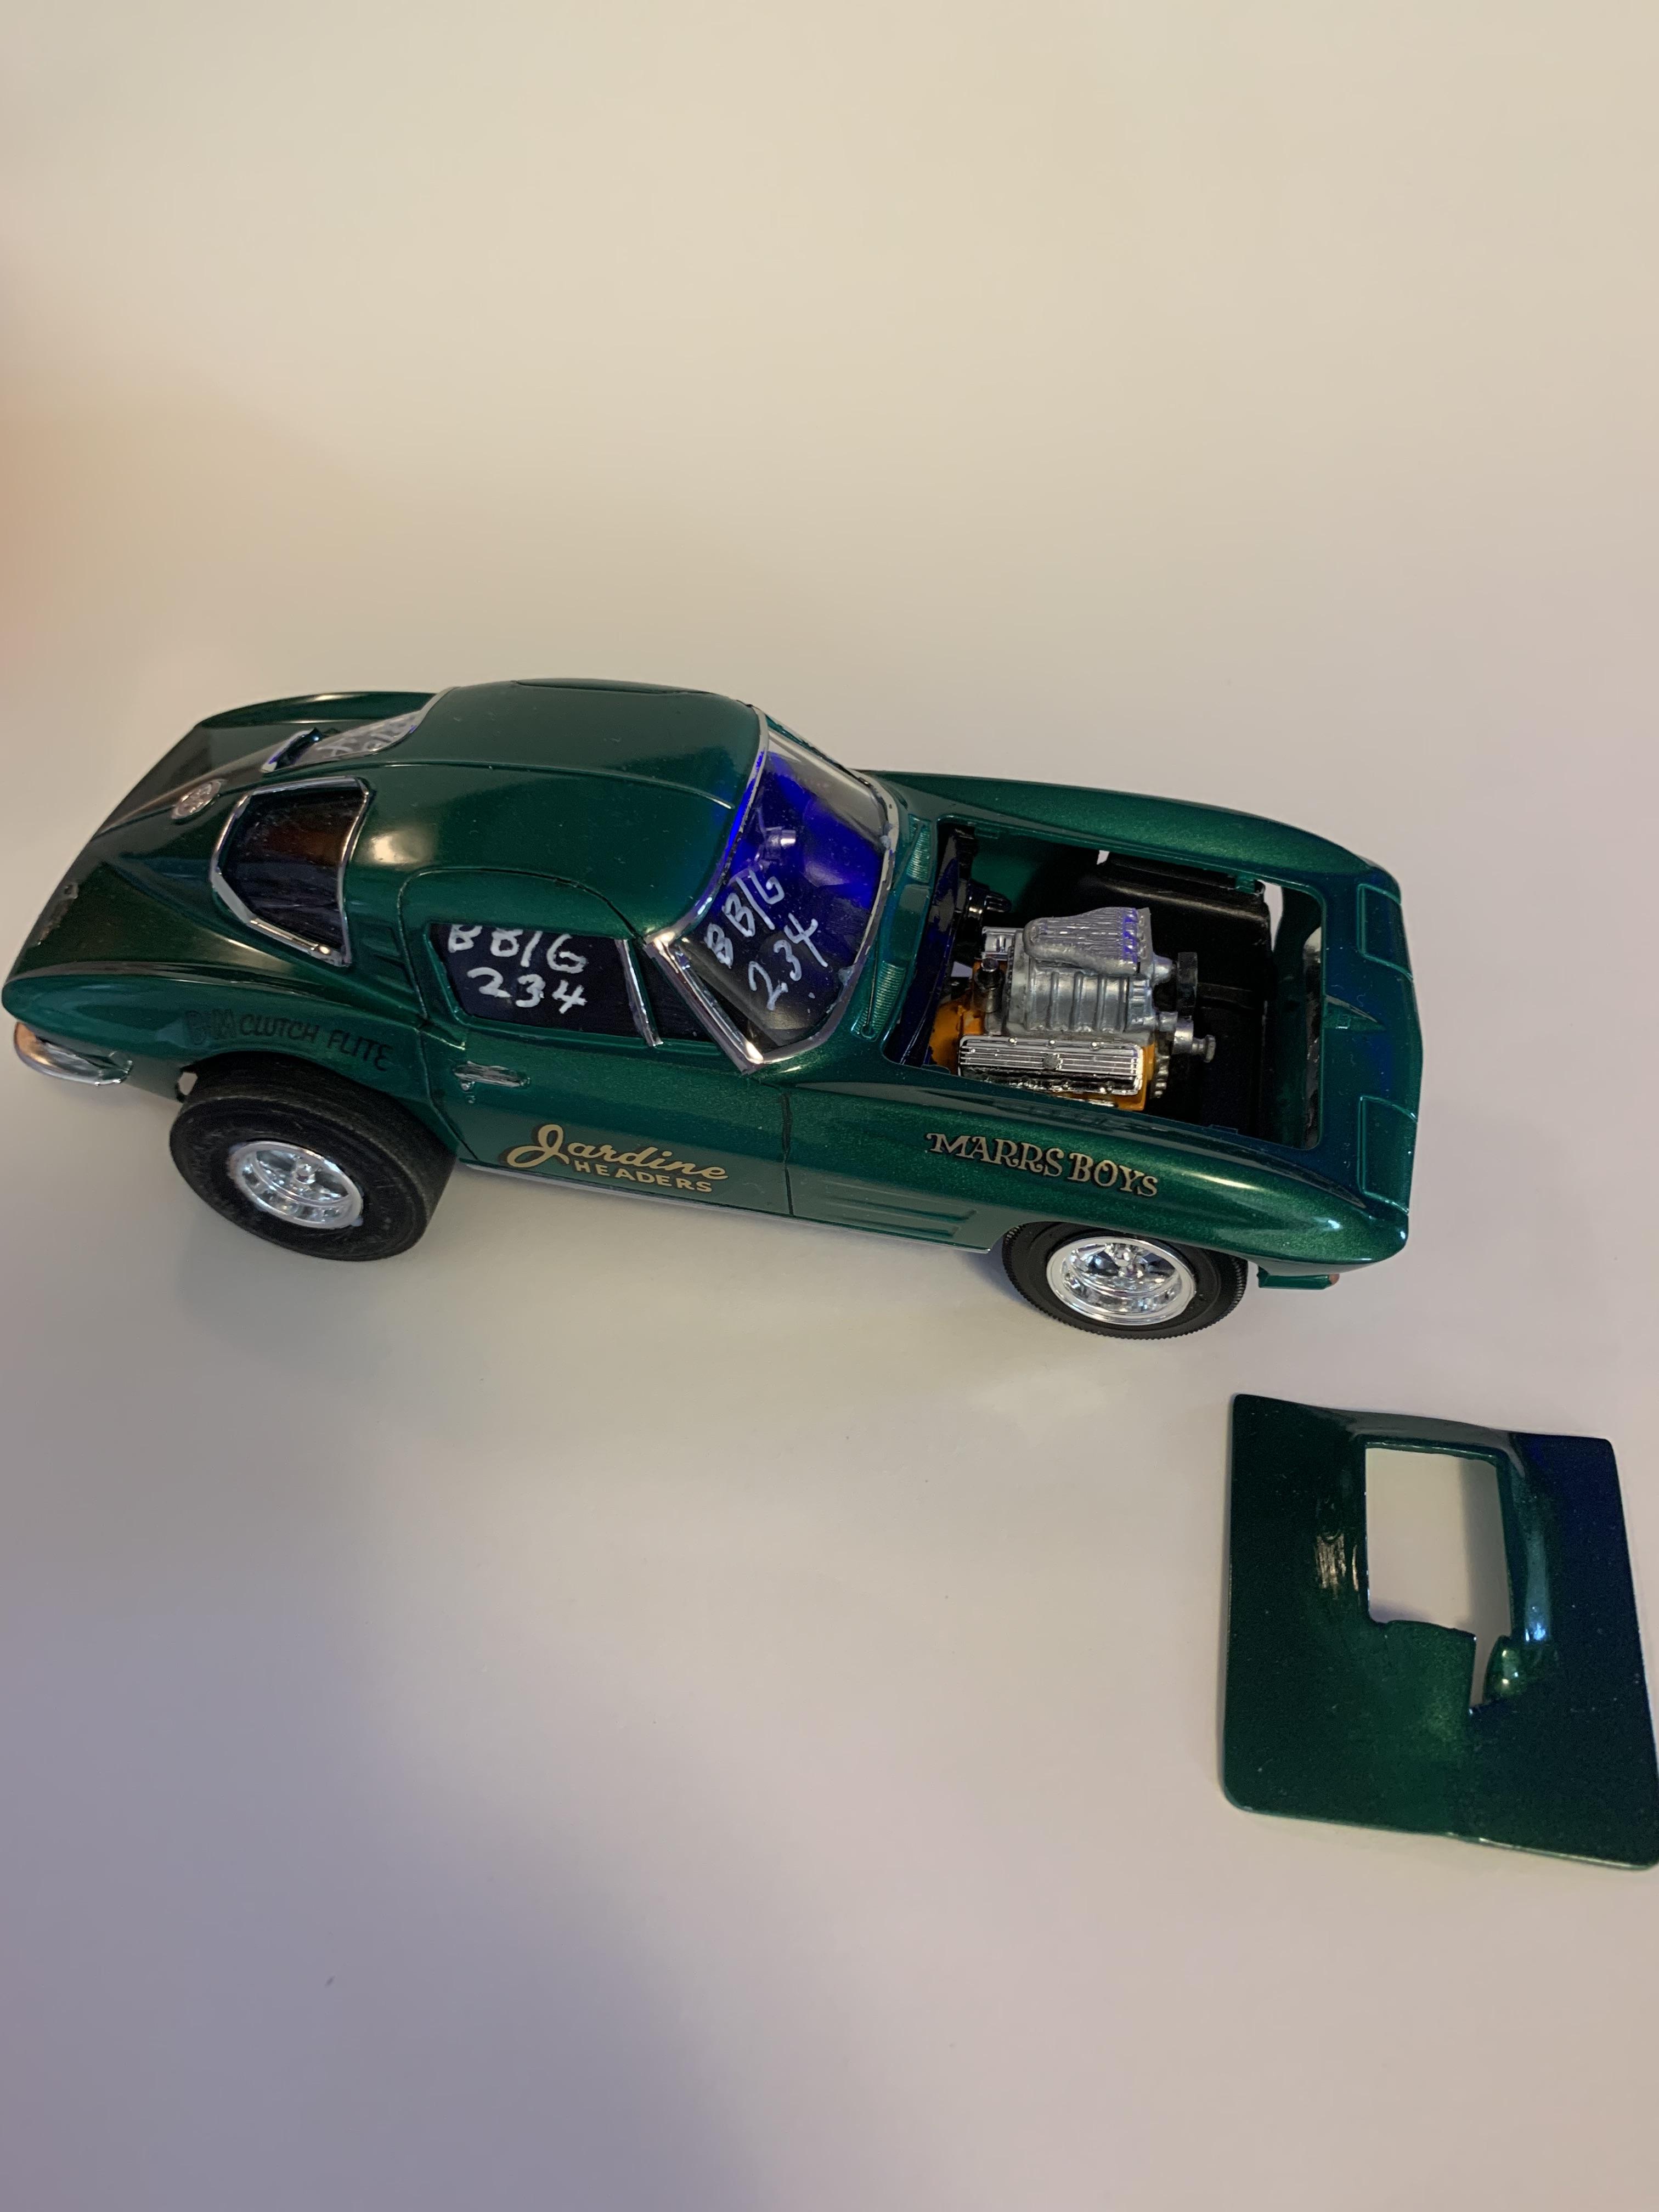
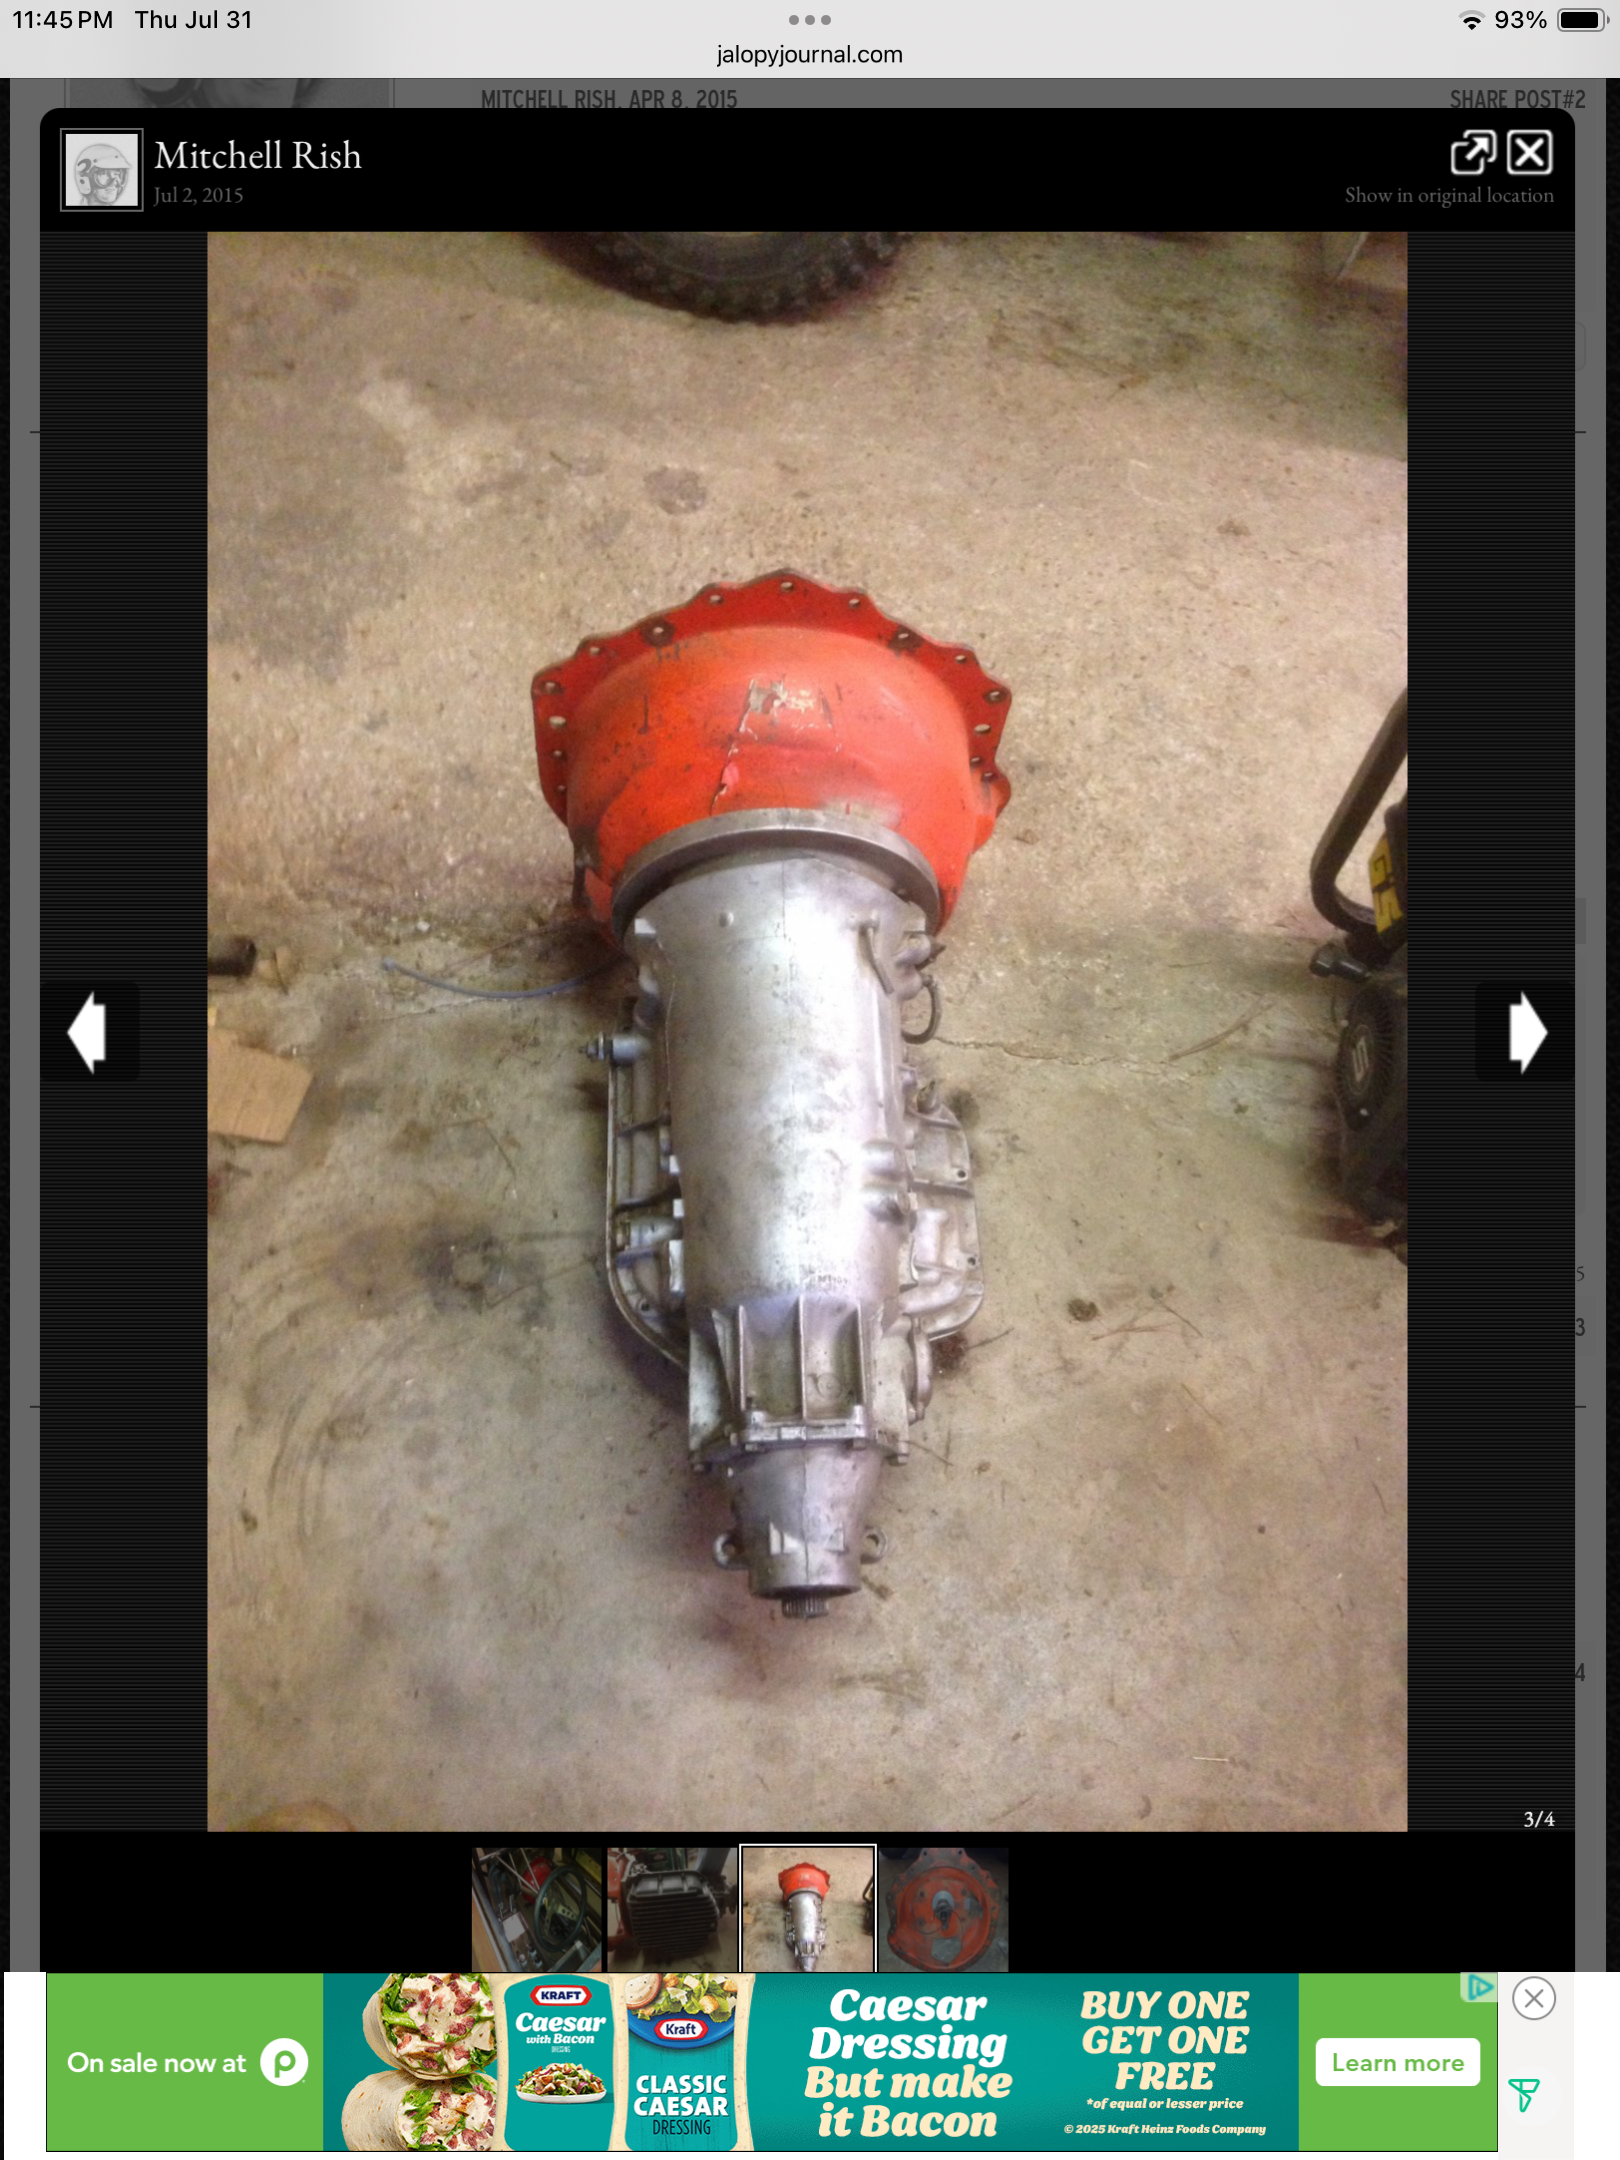
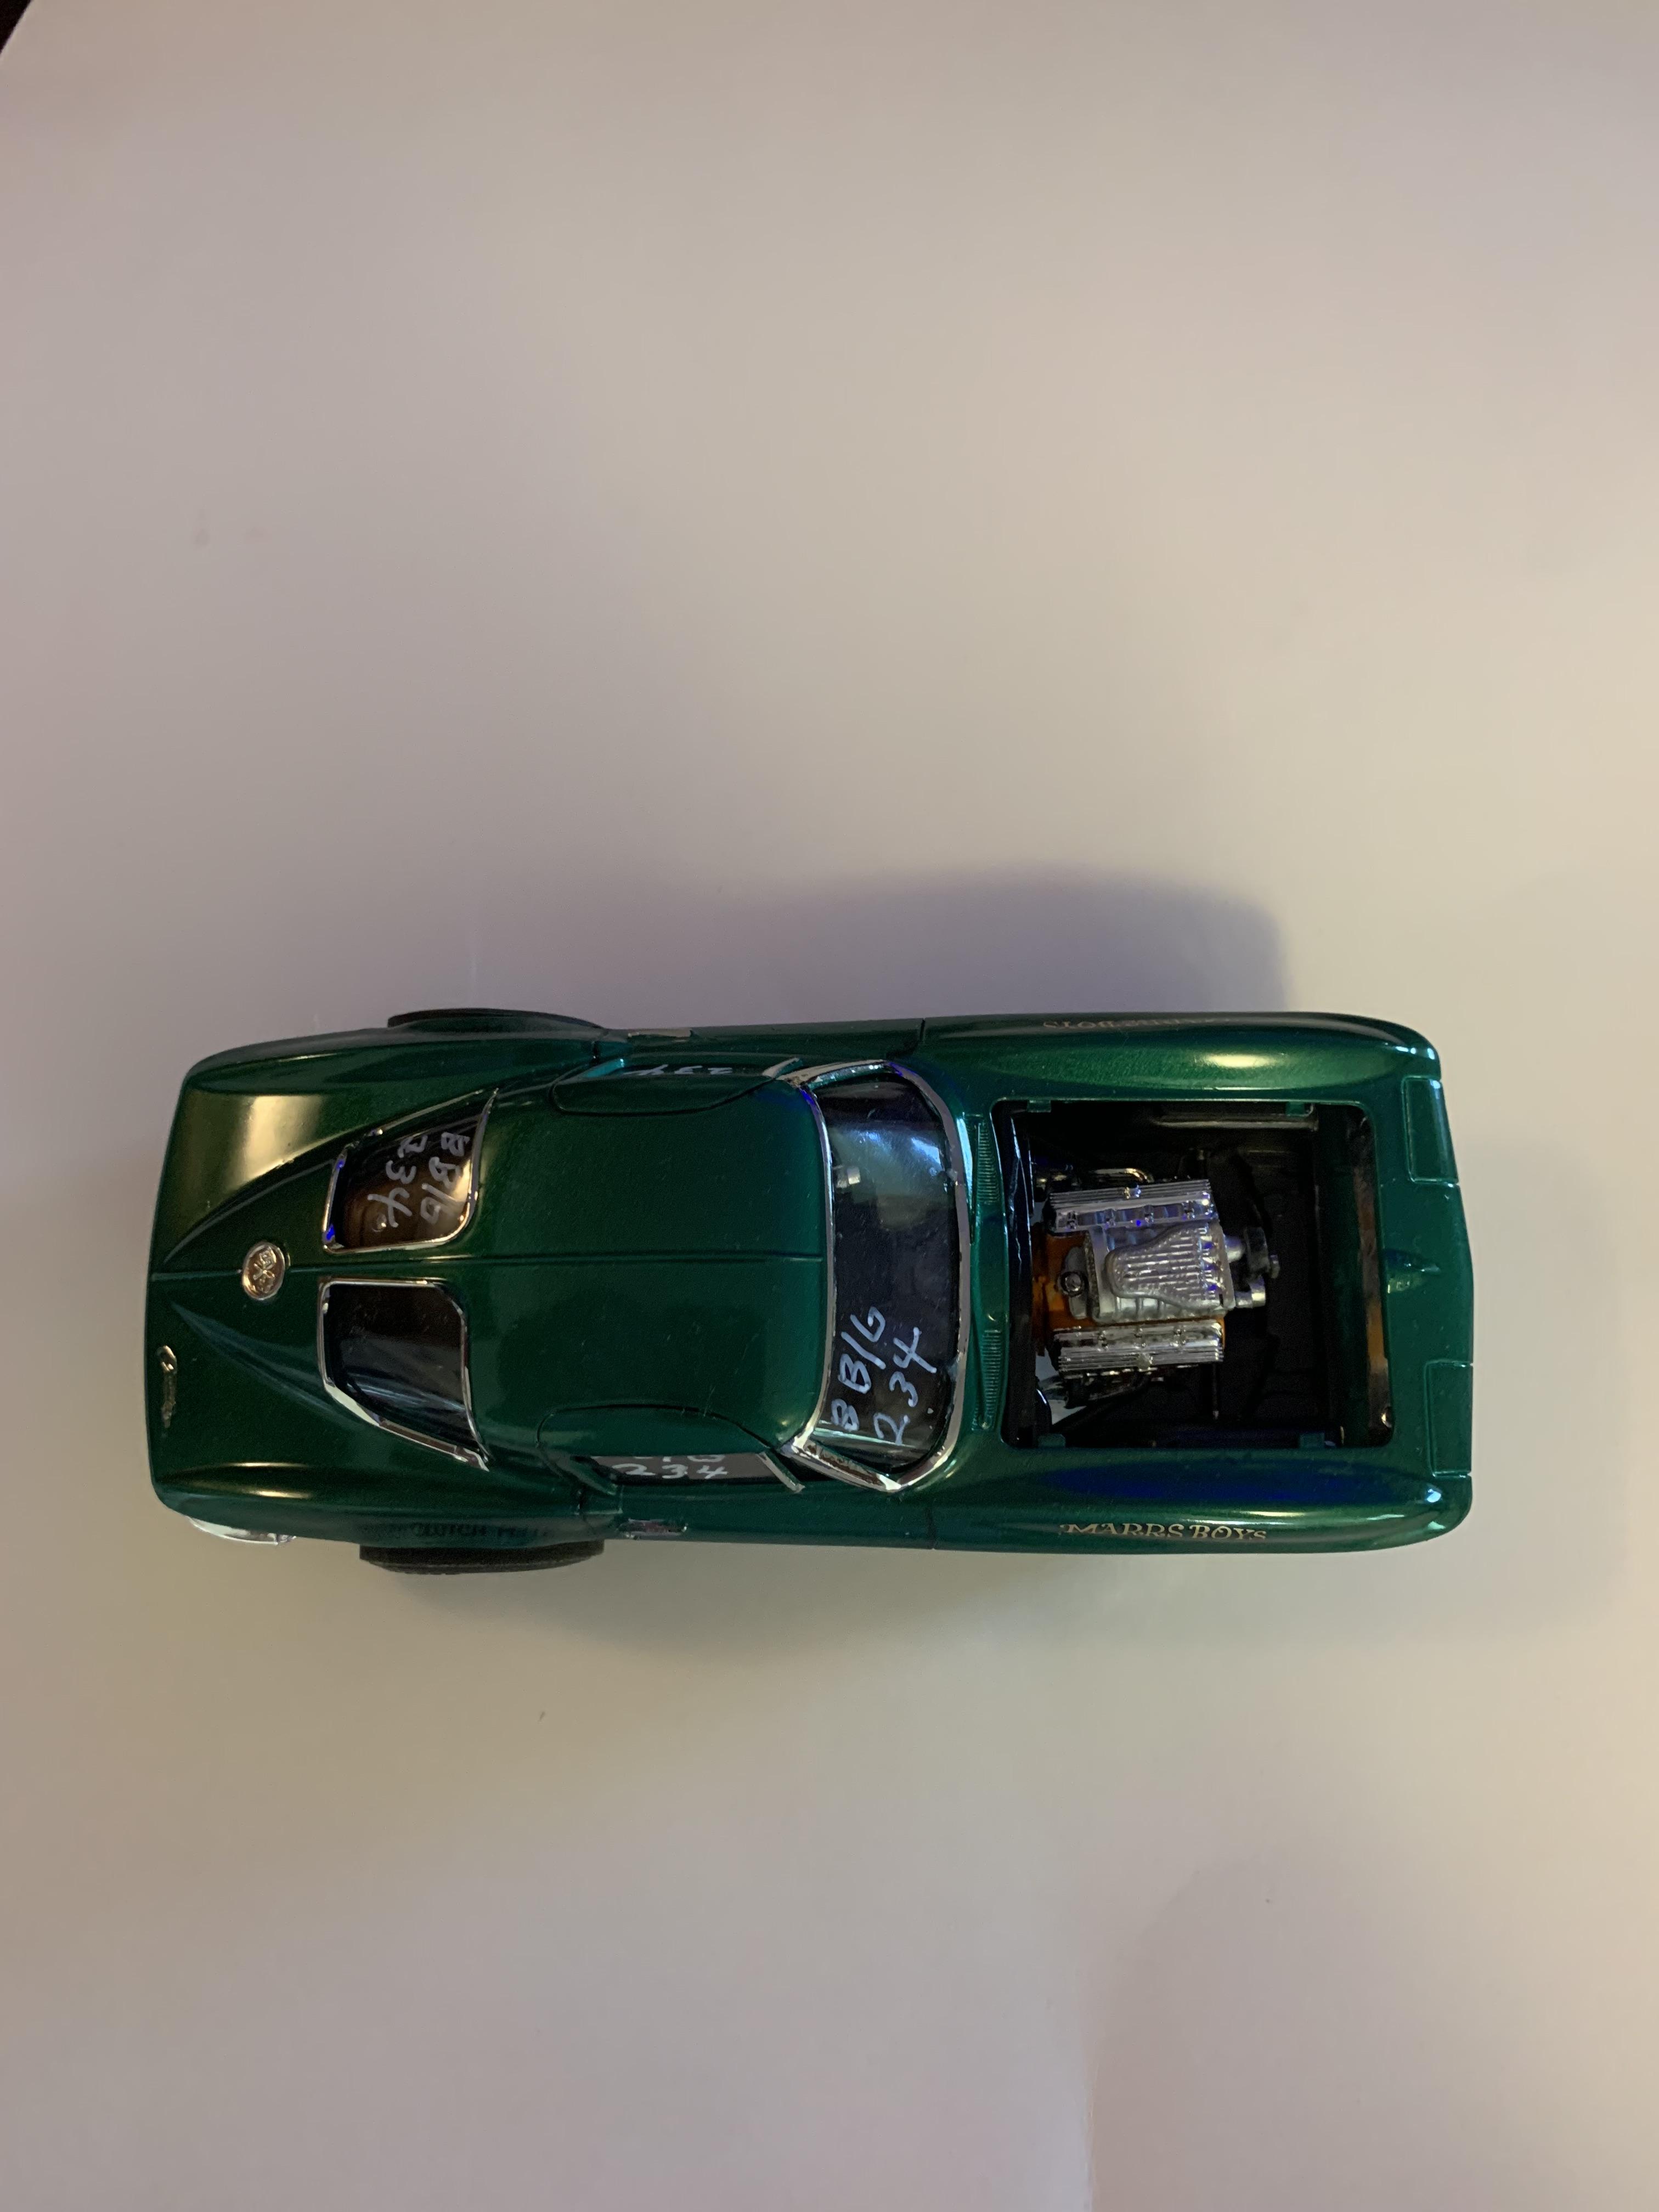
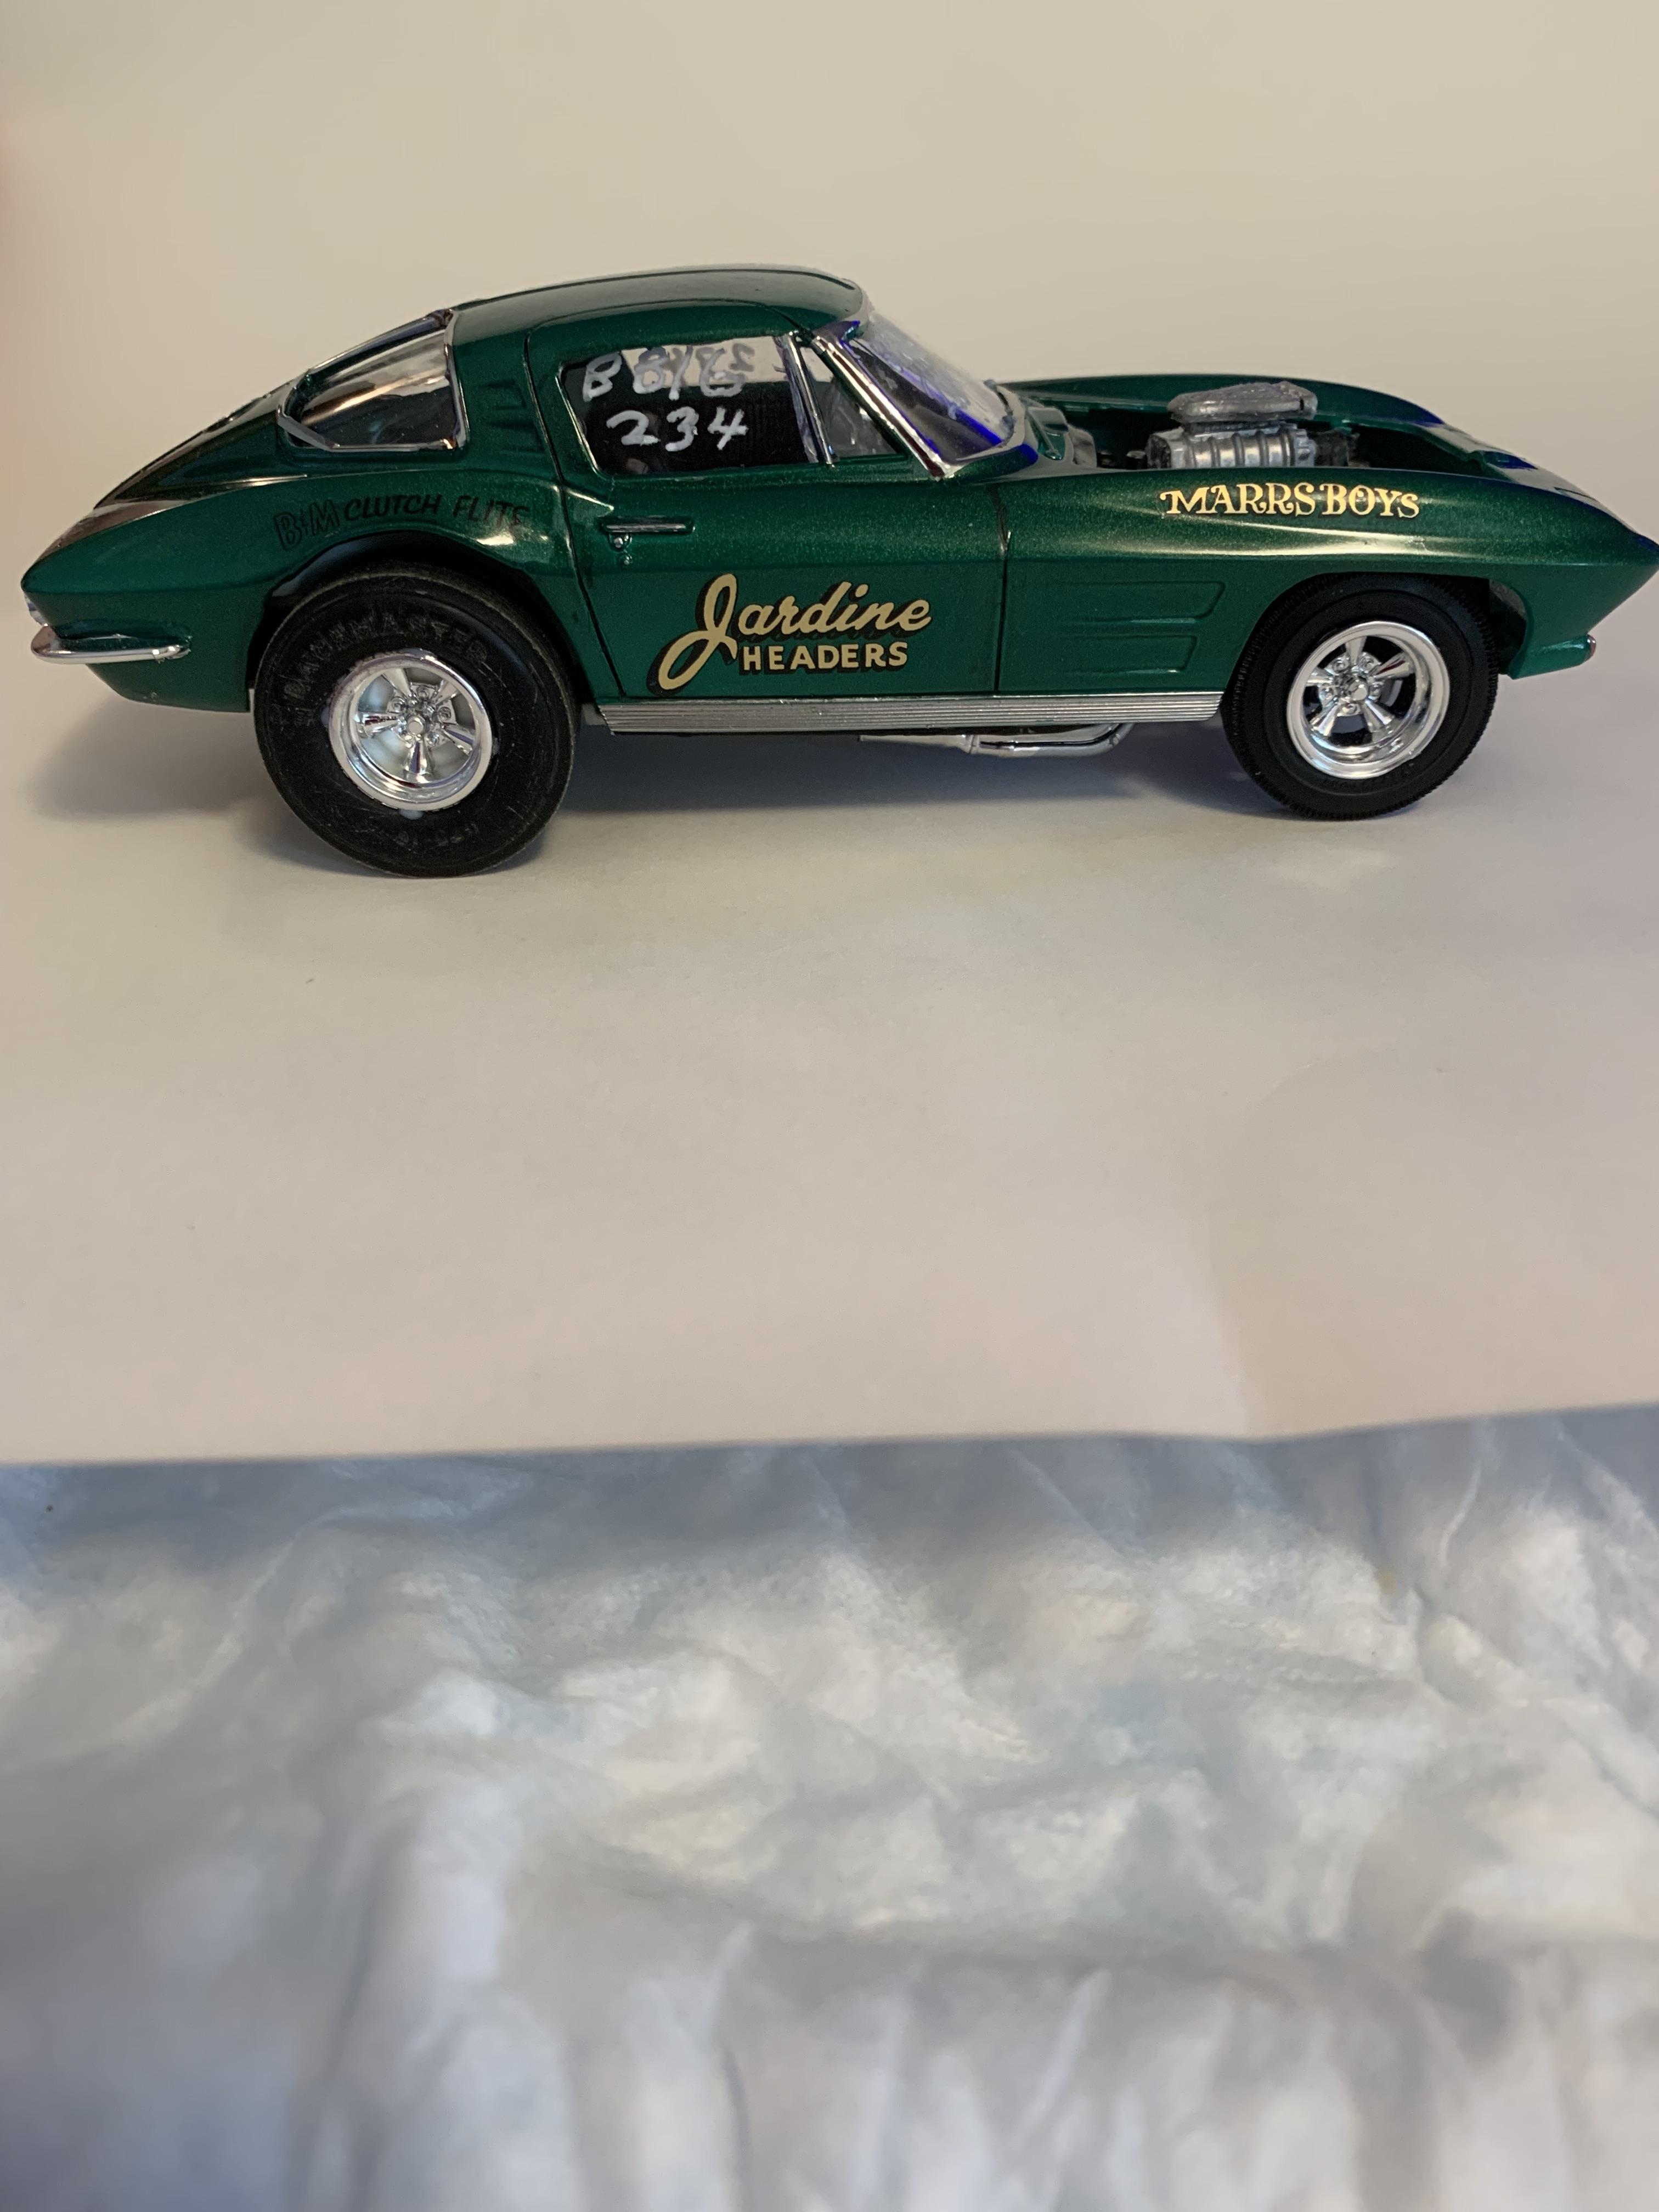
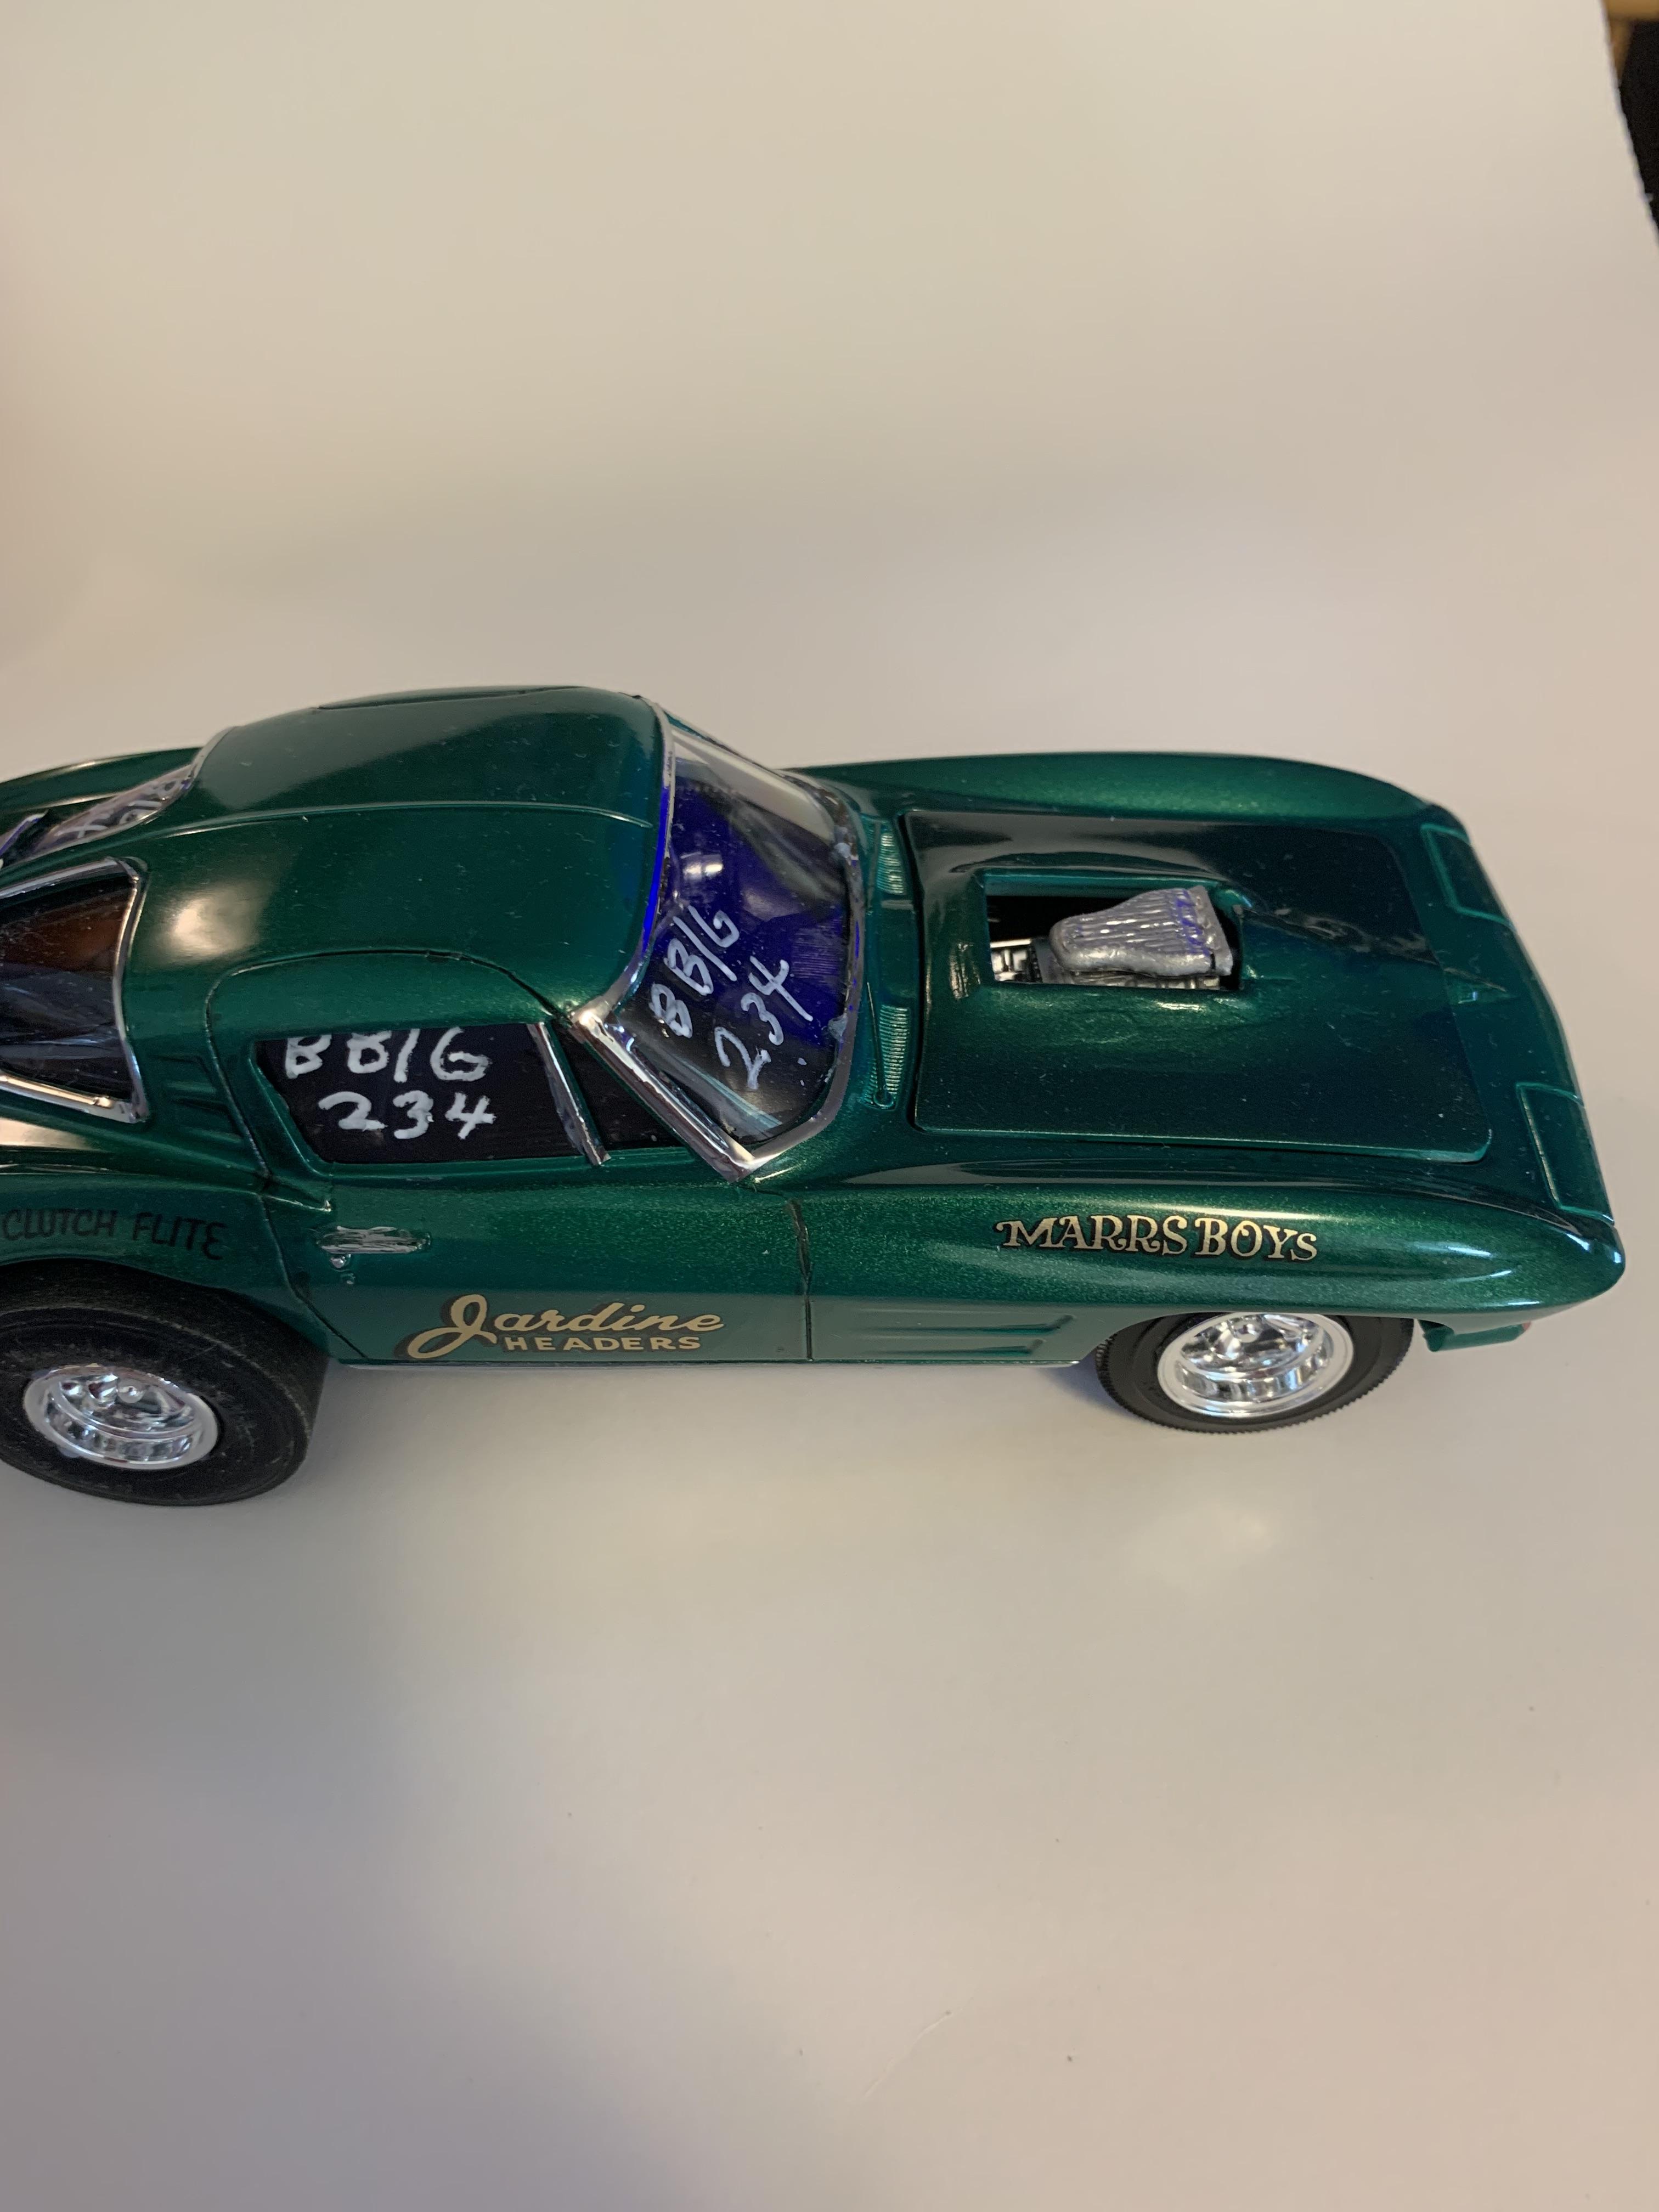
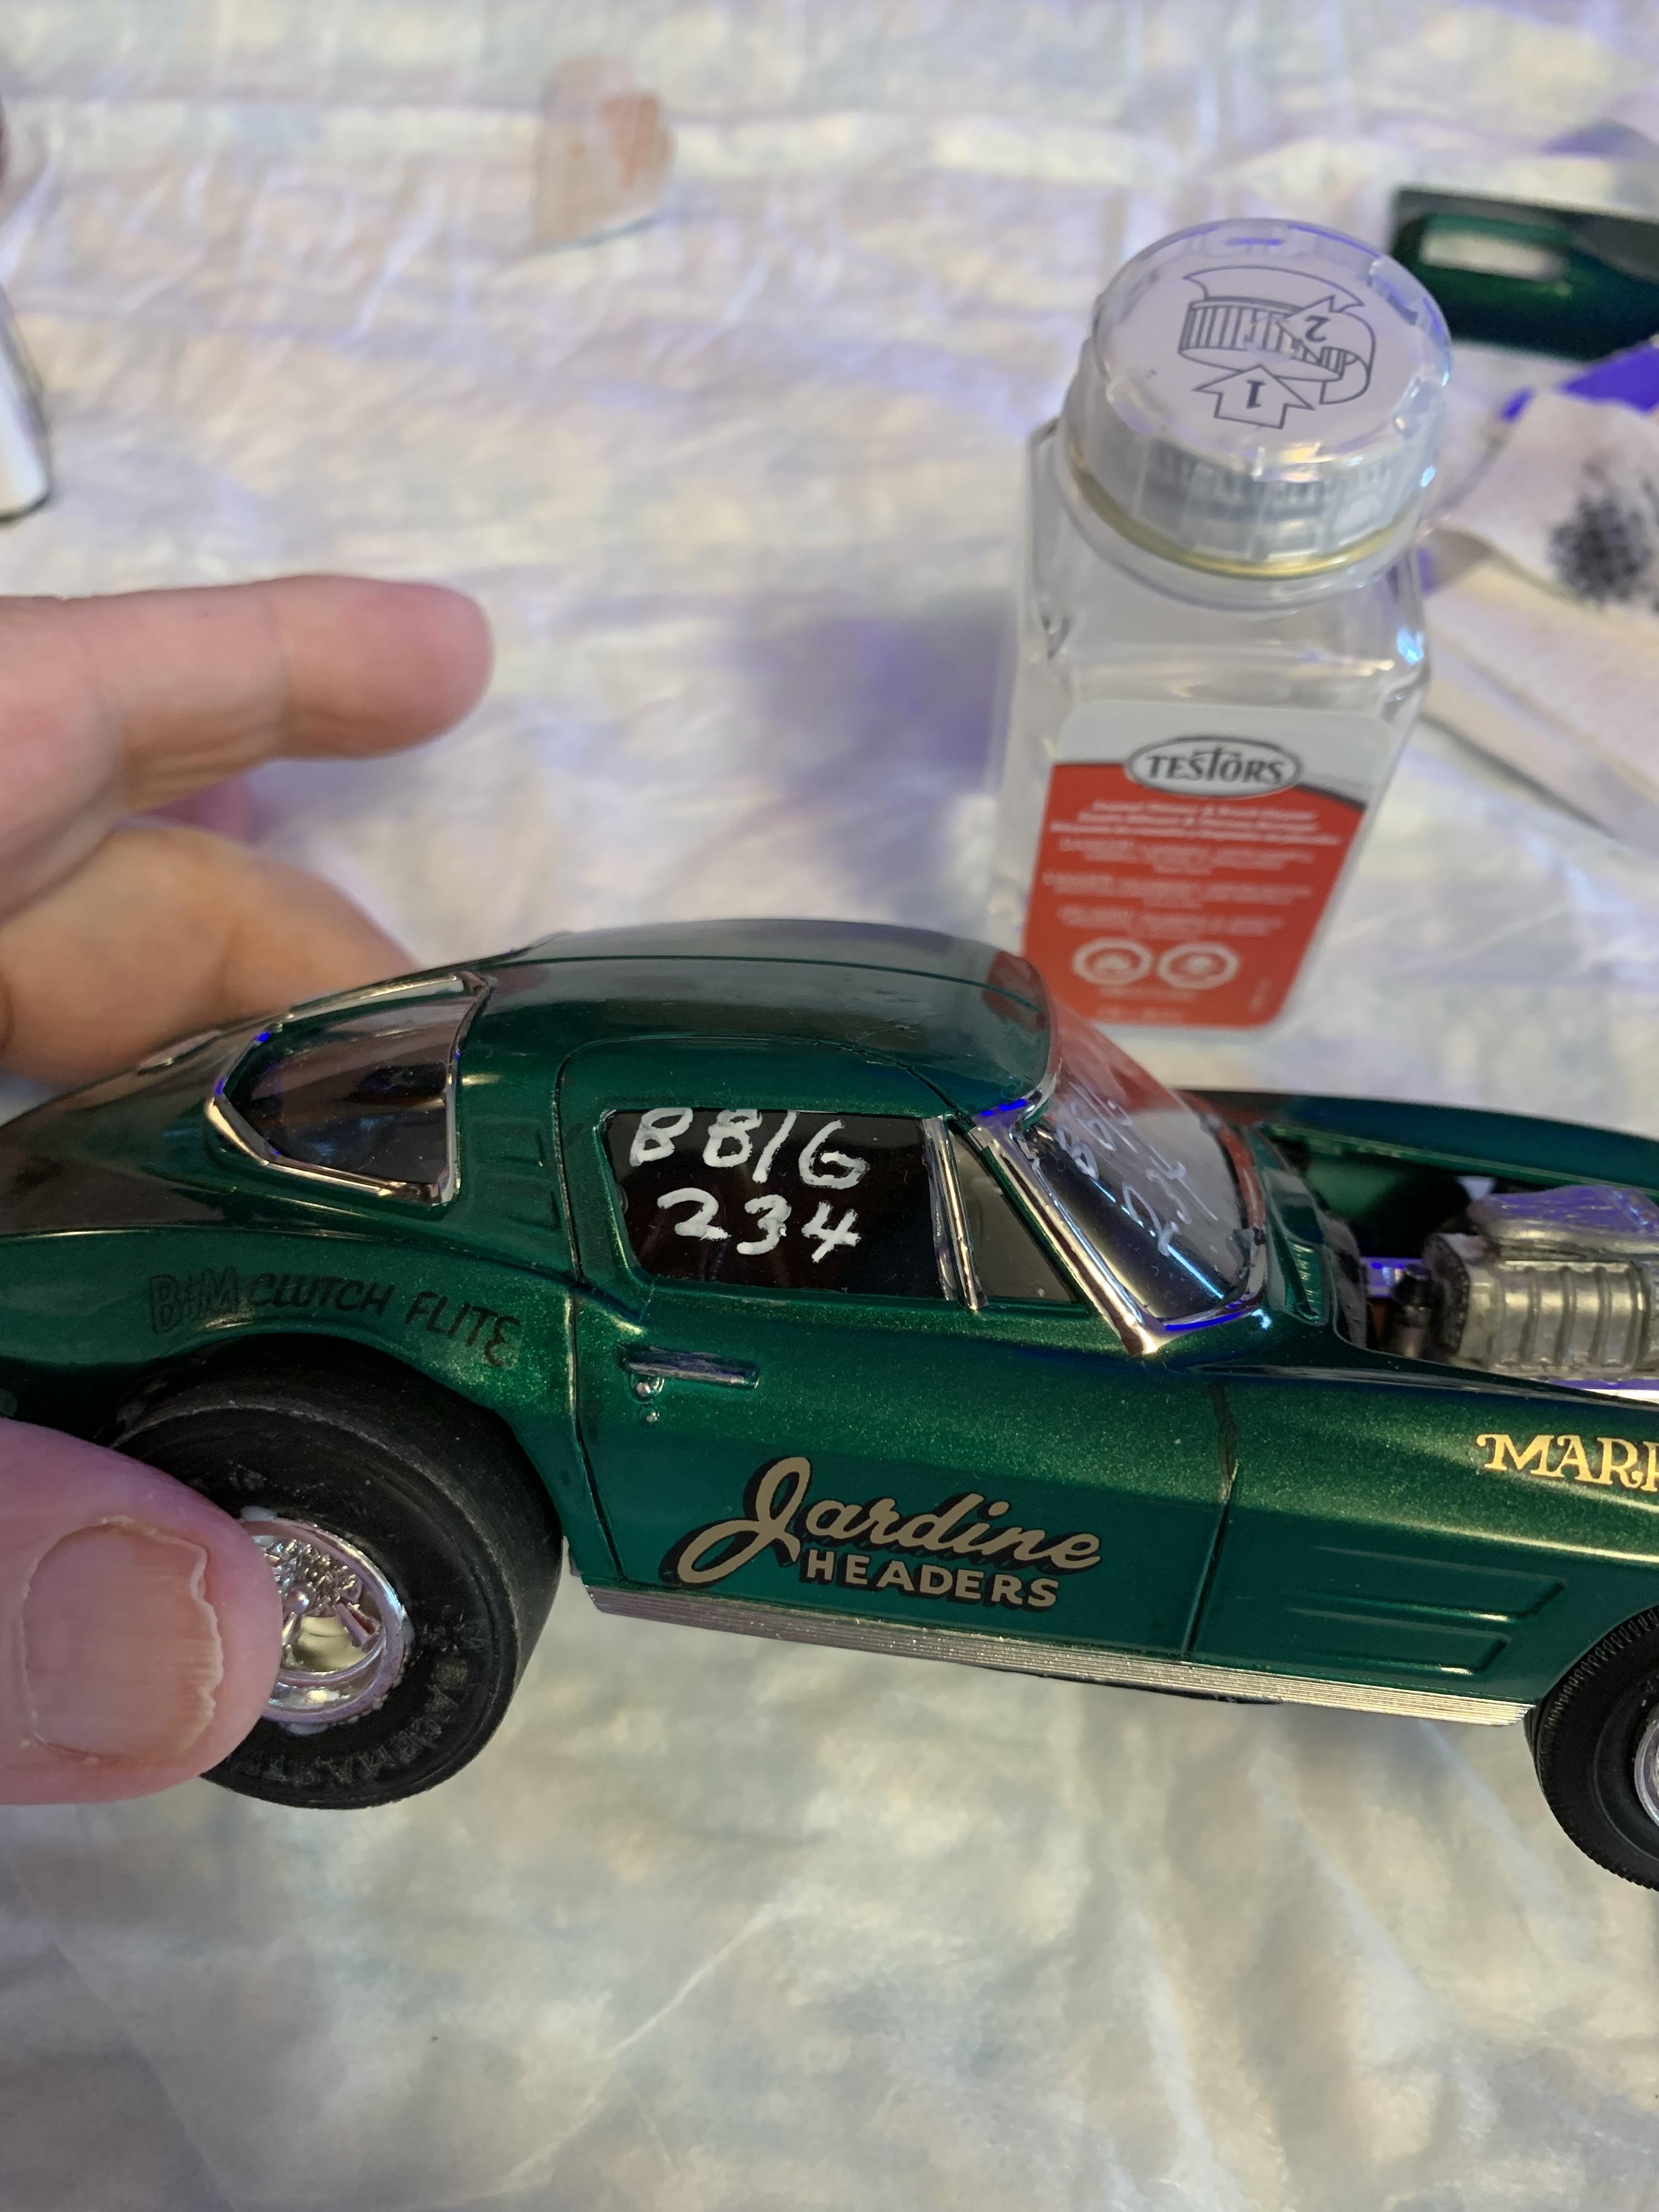
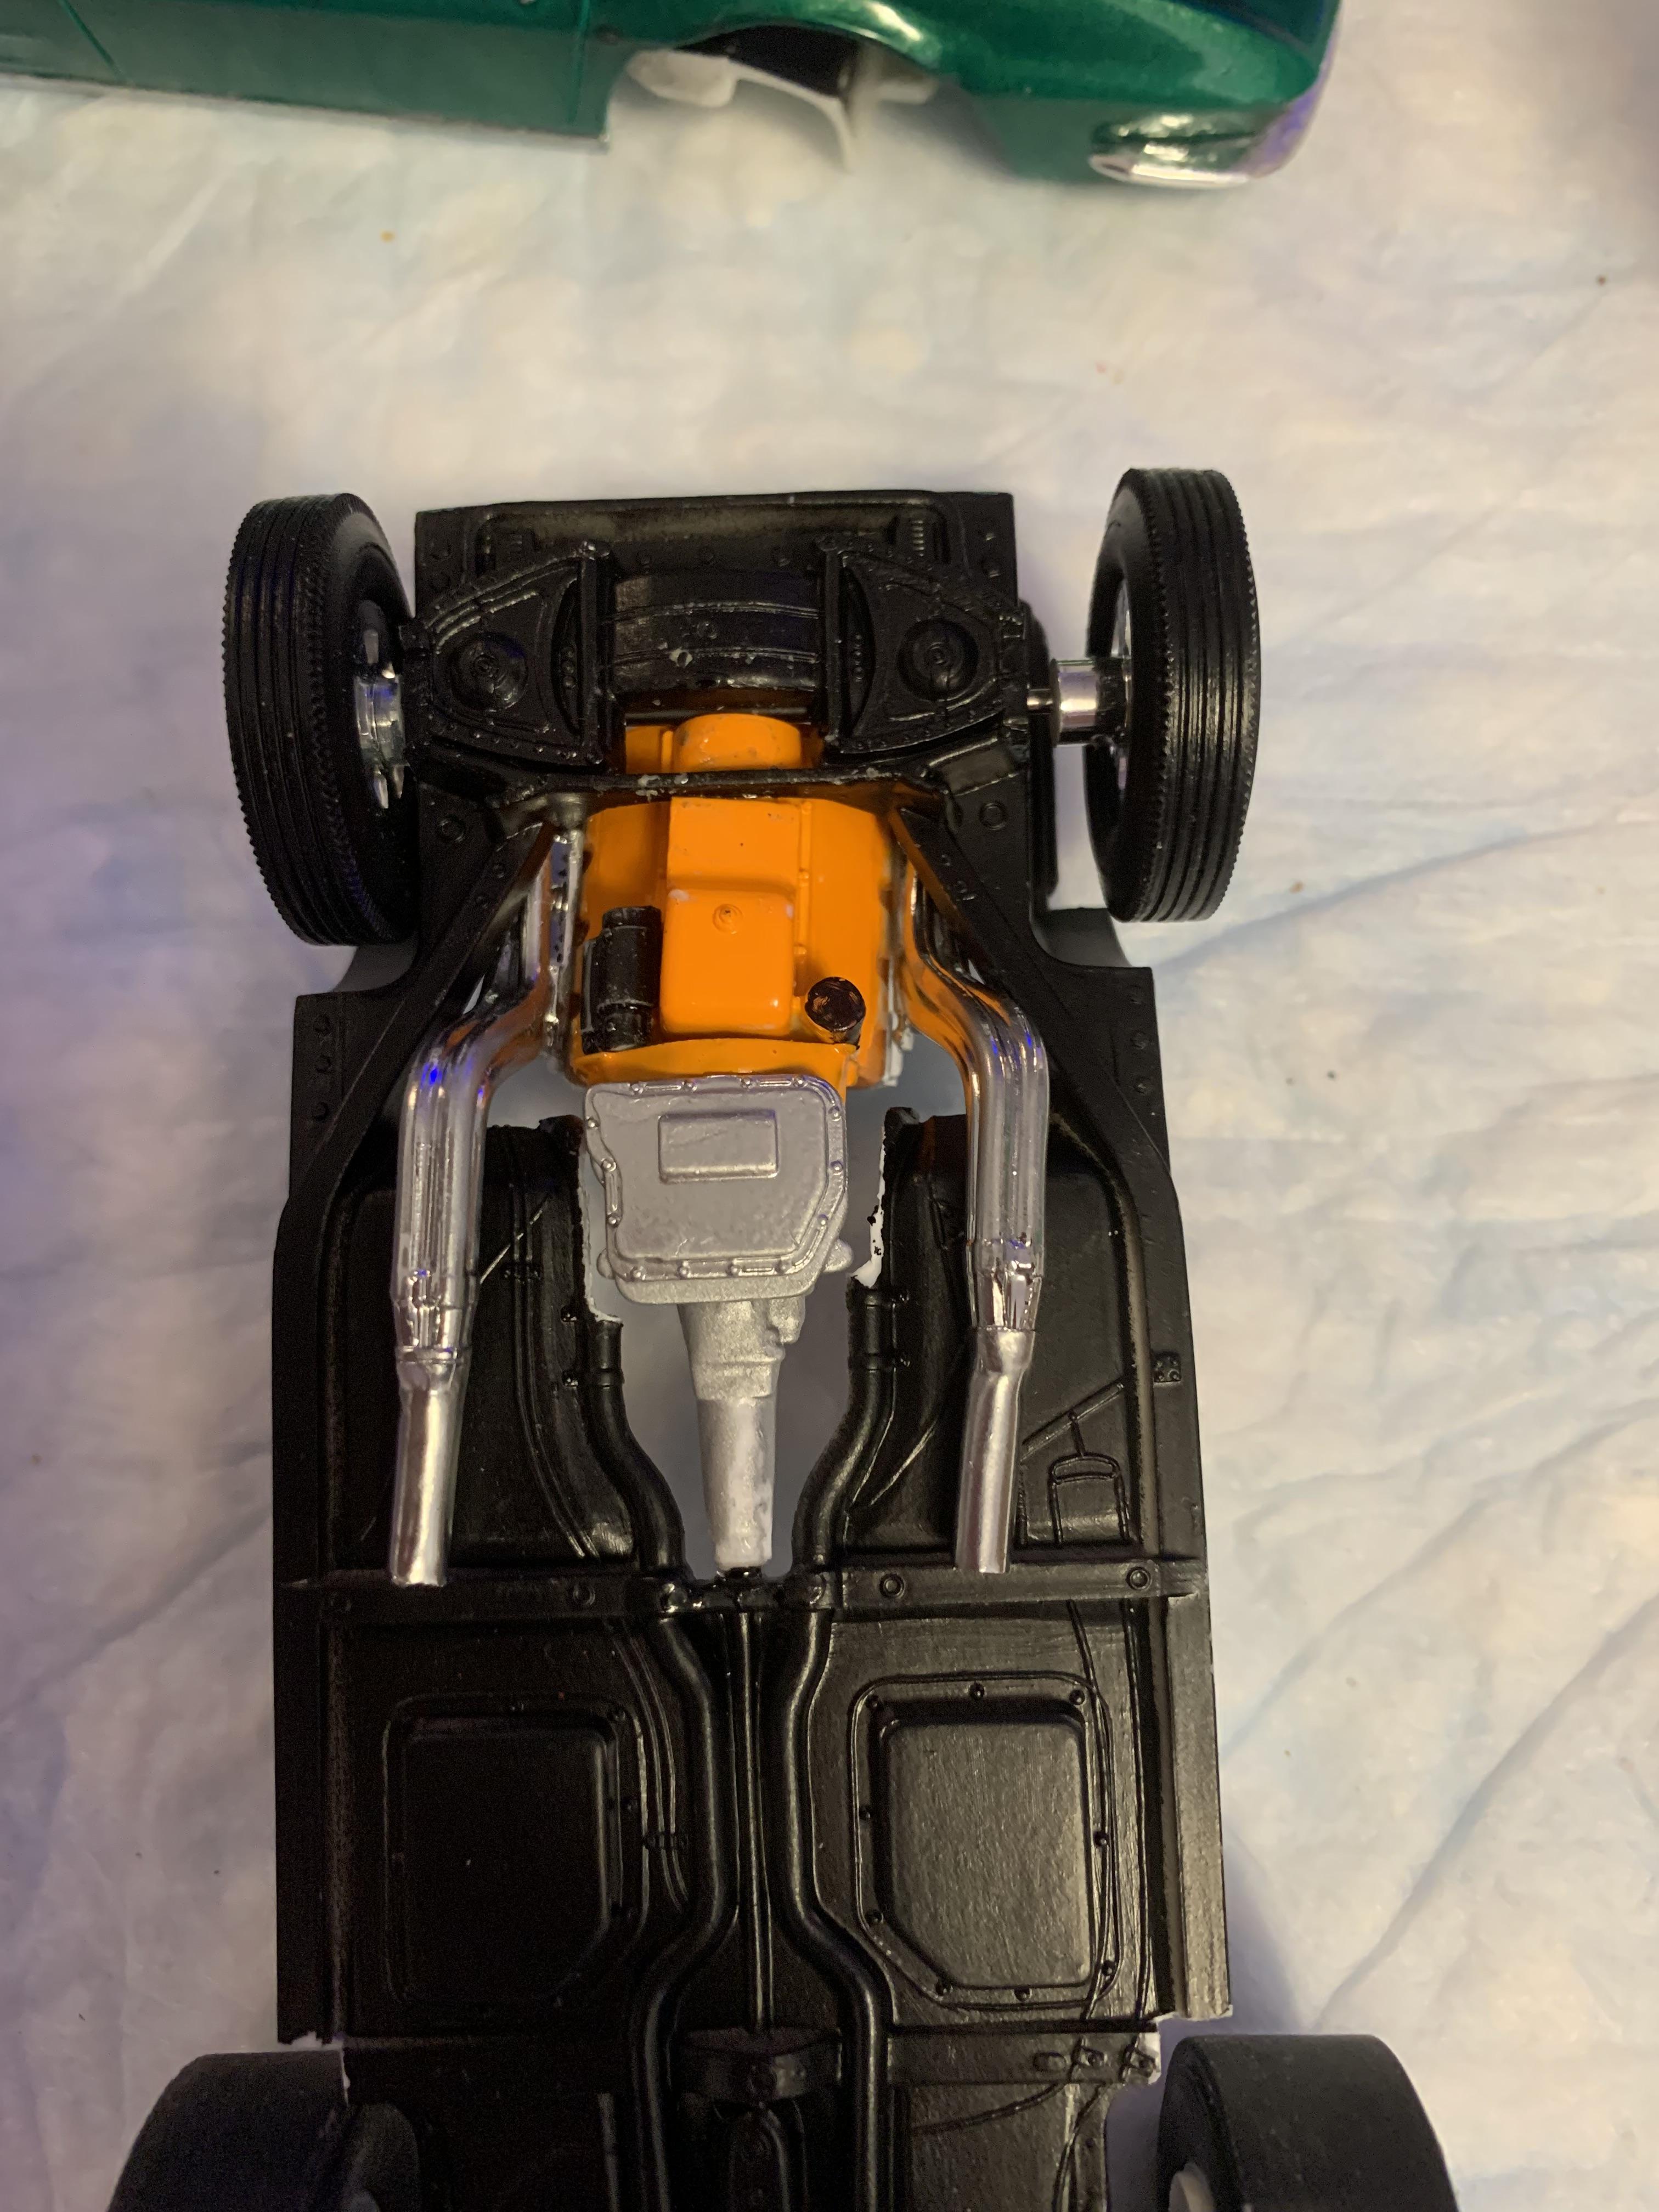
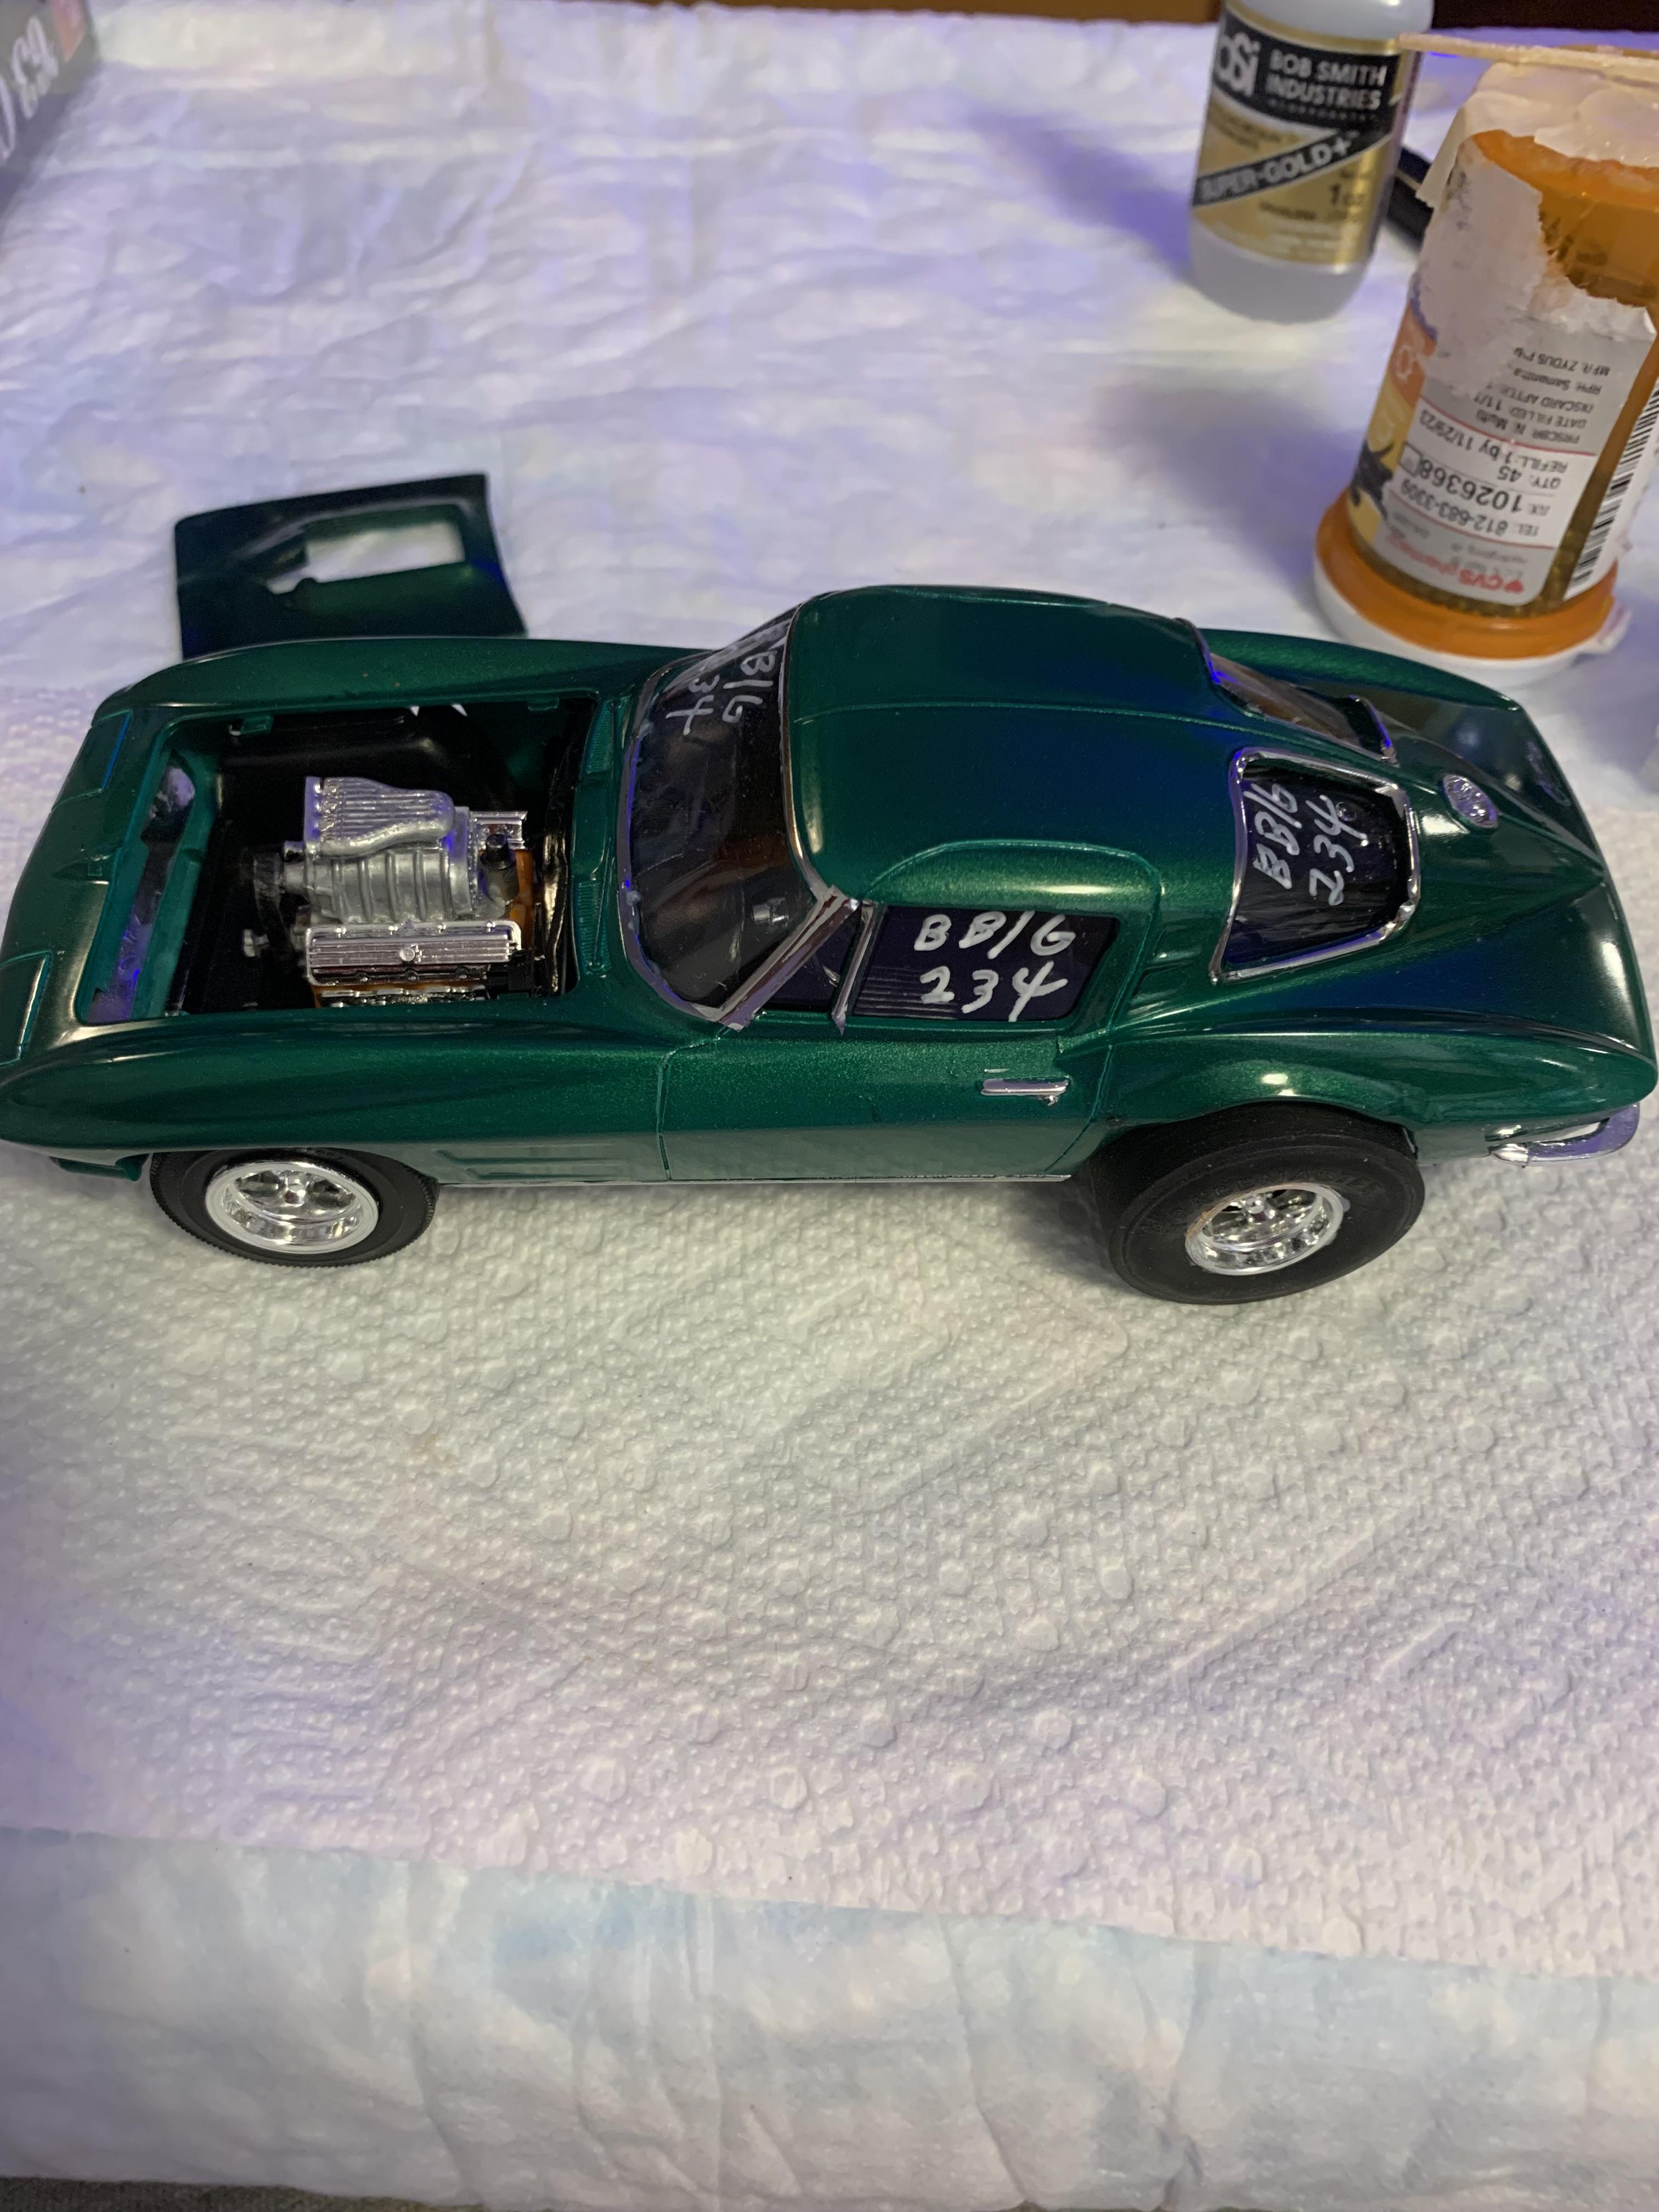
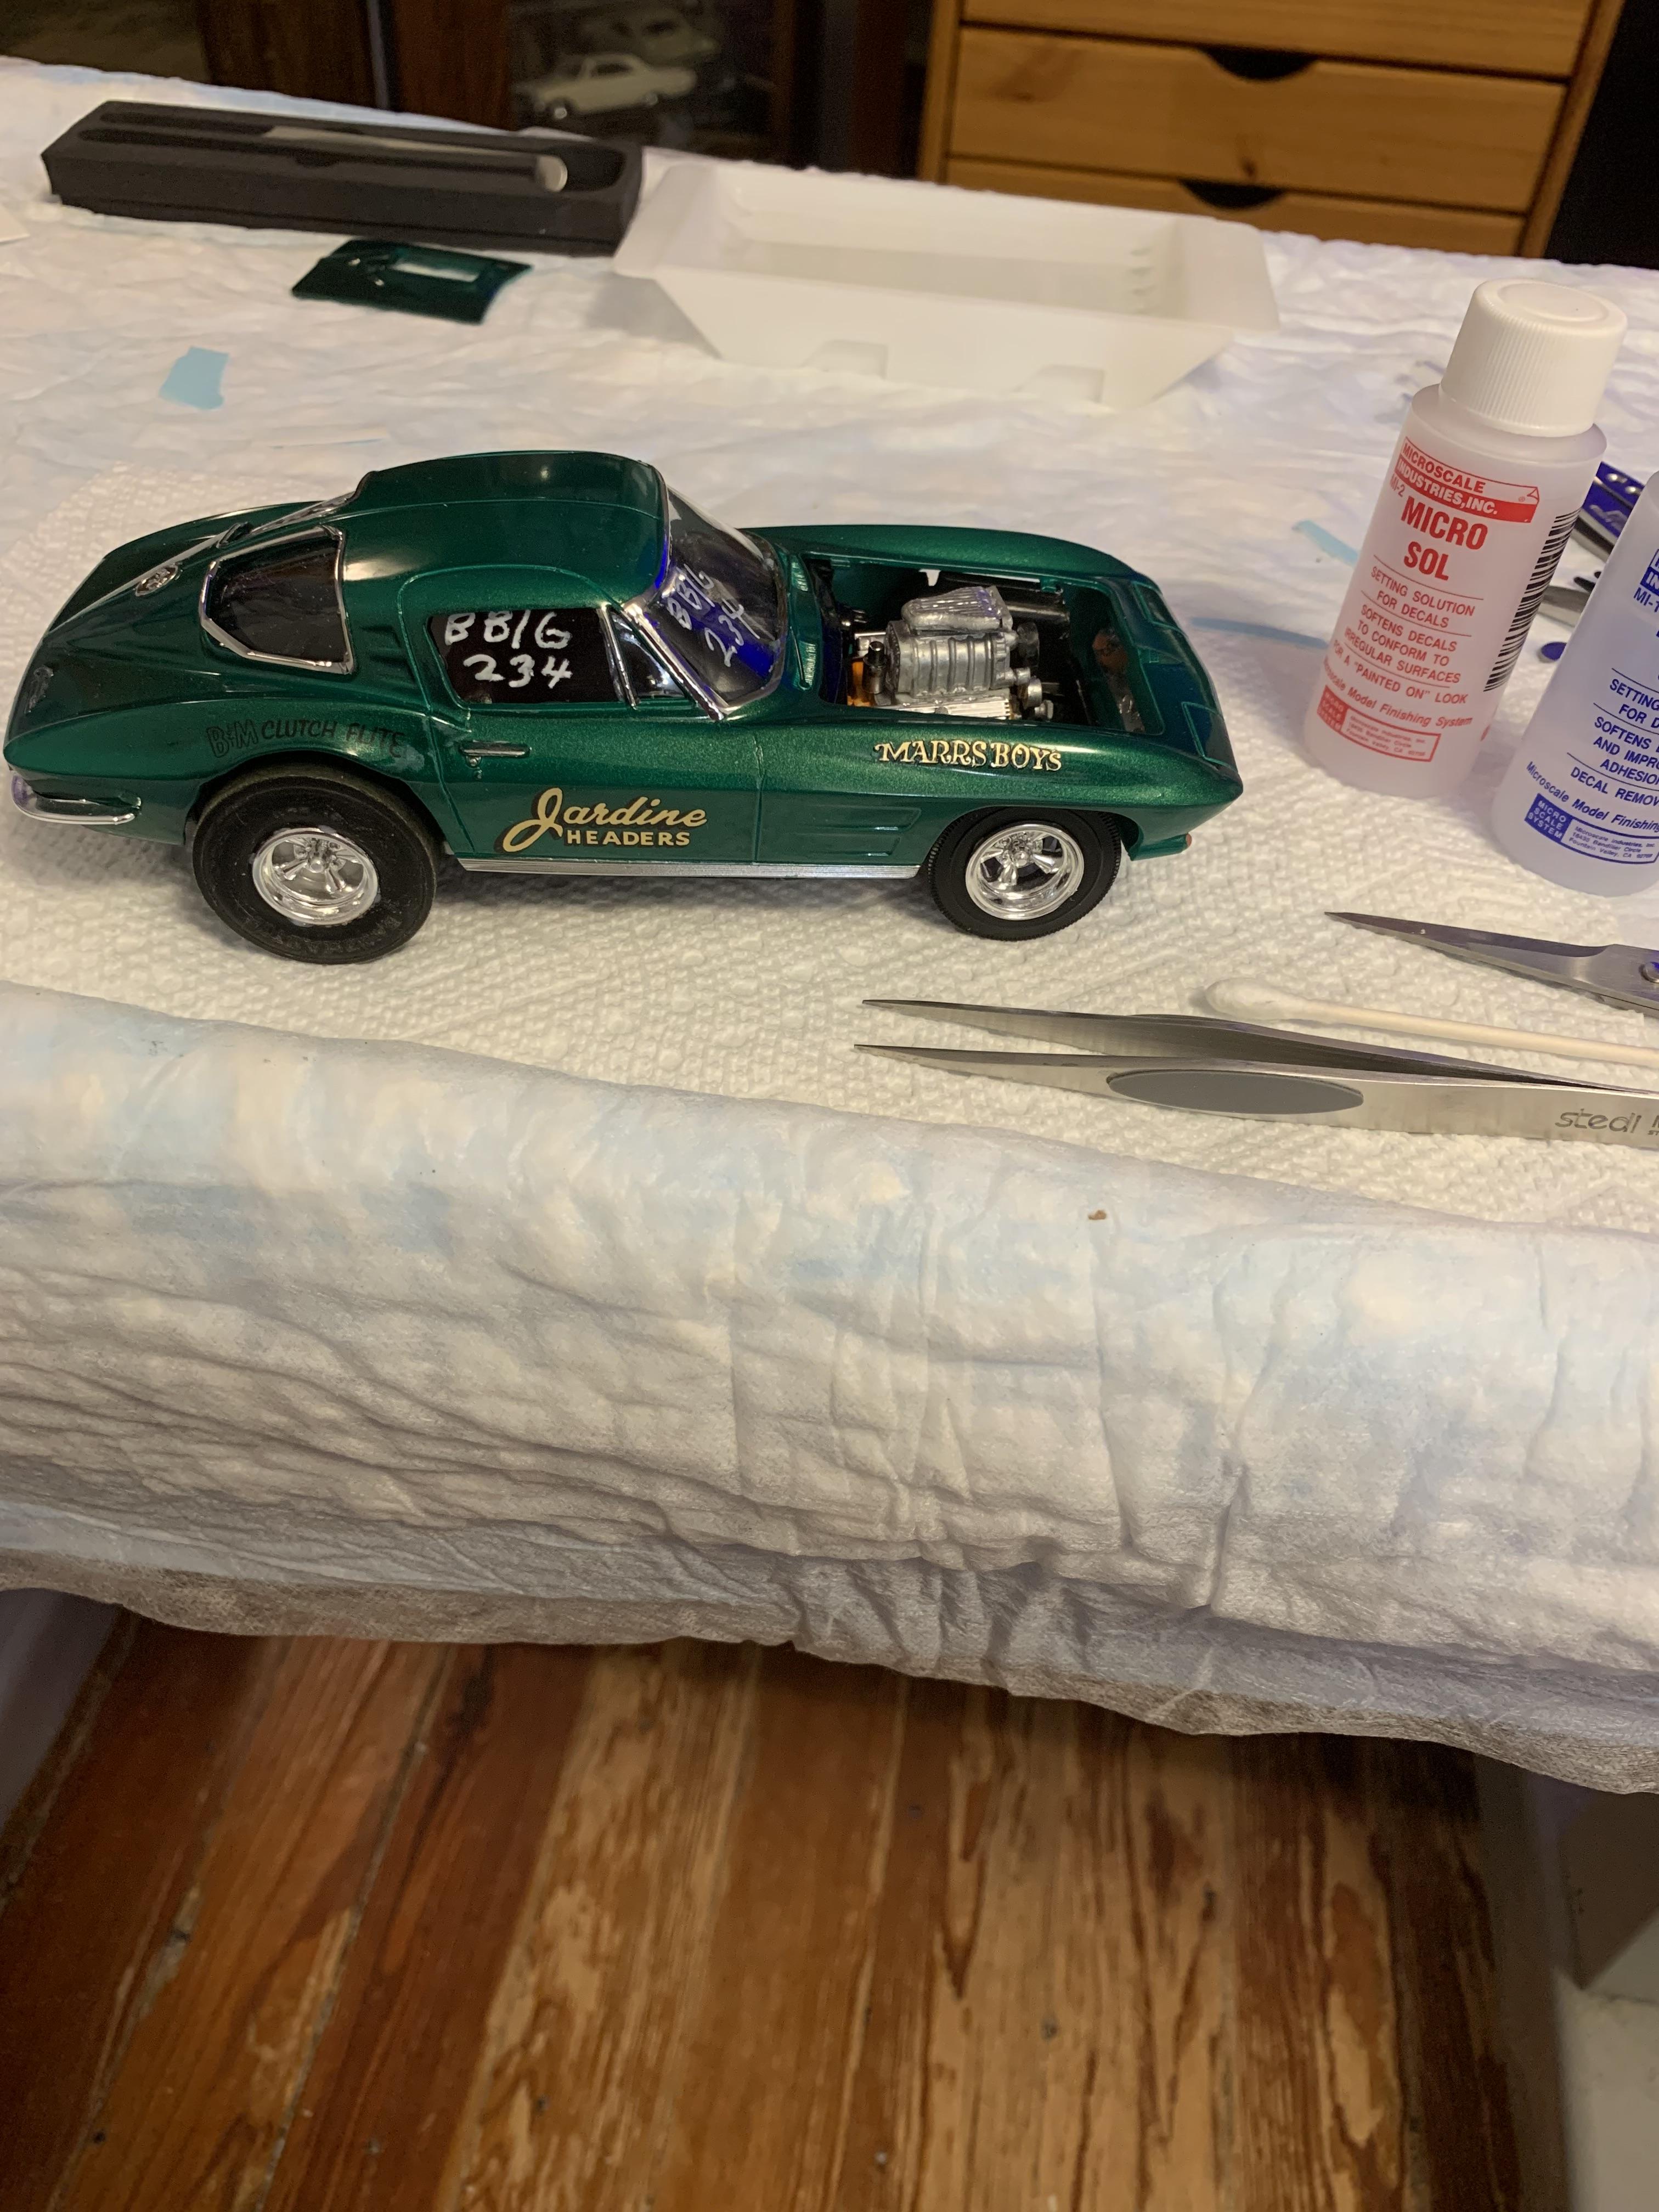
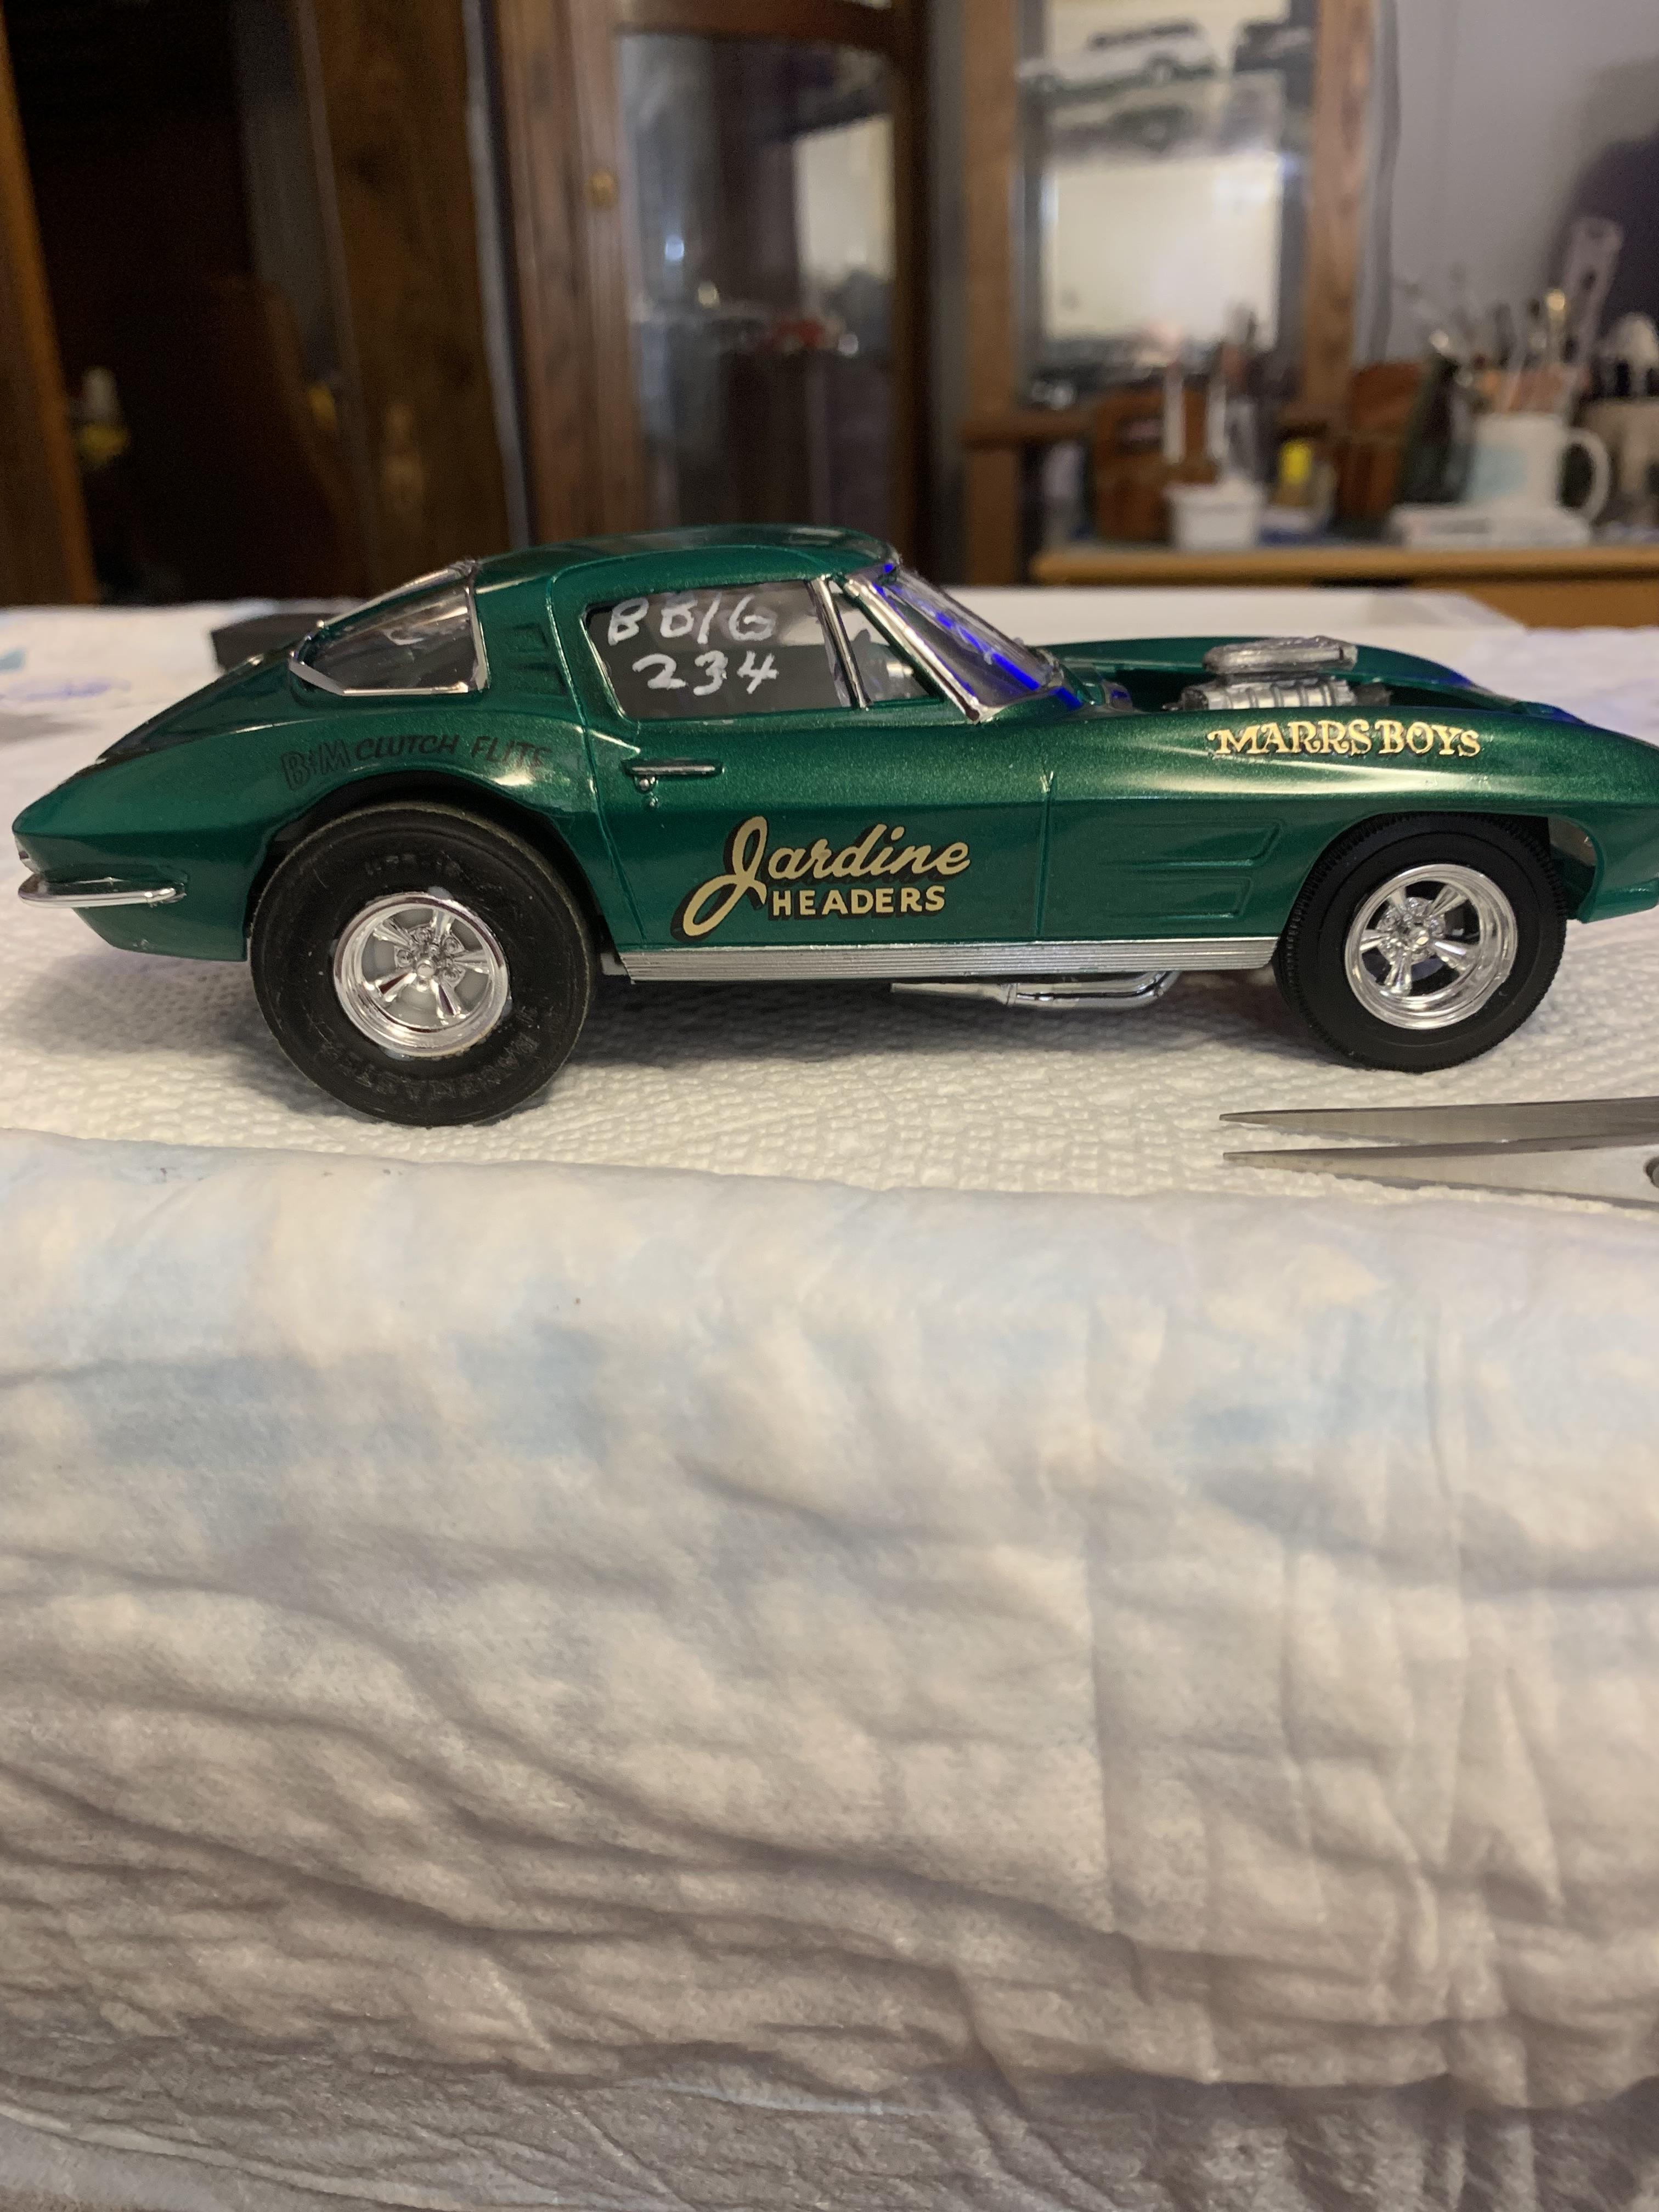
This is a build I started in 2021, got a bit over my comfort level, and put it away. Most of the work had been done. Sometimes, you just gotta get it over with. Anyways, this is the venerable amt kit with the blown big block. I had adapted a torque flight trans to a Chevy stick shift bellhousing to build the B&M Clutch Flite transmission (essentially a stick shift clutch adapted to an automatic transmission). Details of how the trans was built by B&M are in the WIP section for those technically inclined. One of my first airbrush paint jobs using Testors metallic green and lacquer thinner. A lot of modifications to the hood and the rear wheel wells. Parts box slicks, kit wheels, aftermarket headers painted with FusionFirm,decals from eBay (Fremont racing specialties). The things I am not happy about on this build: not Cragar wheels, paint job, motor was slightly tweaked during installation, didn’t paint the rear wheel inners black. The things I like: the corvette body, the paint is pretty from 3 feet, the decals worked great, when I look at it it reminds me of the 60’s drag race cars. Questions, critiques, comments are always appreciated. As Frank says, Be Well.
-
Resurrection: Marrs Boys 1963 Corvette BB/G
R. Thorne replied to R. Thorne's topic in WIP: Drag Racing Models
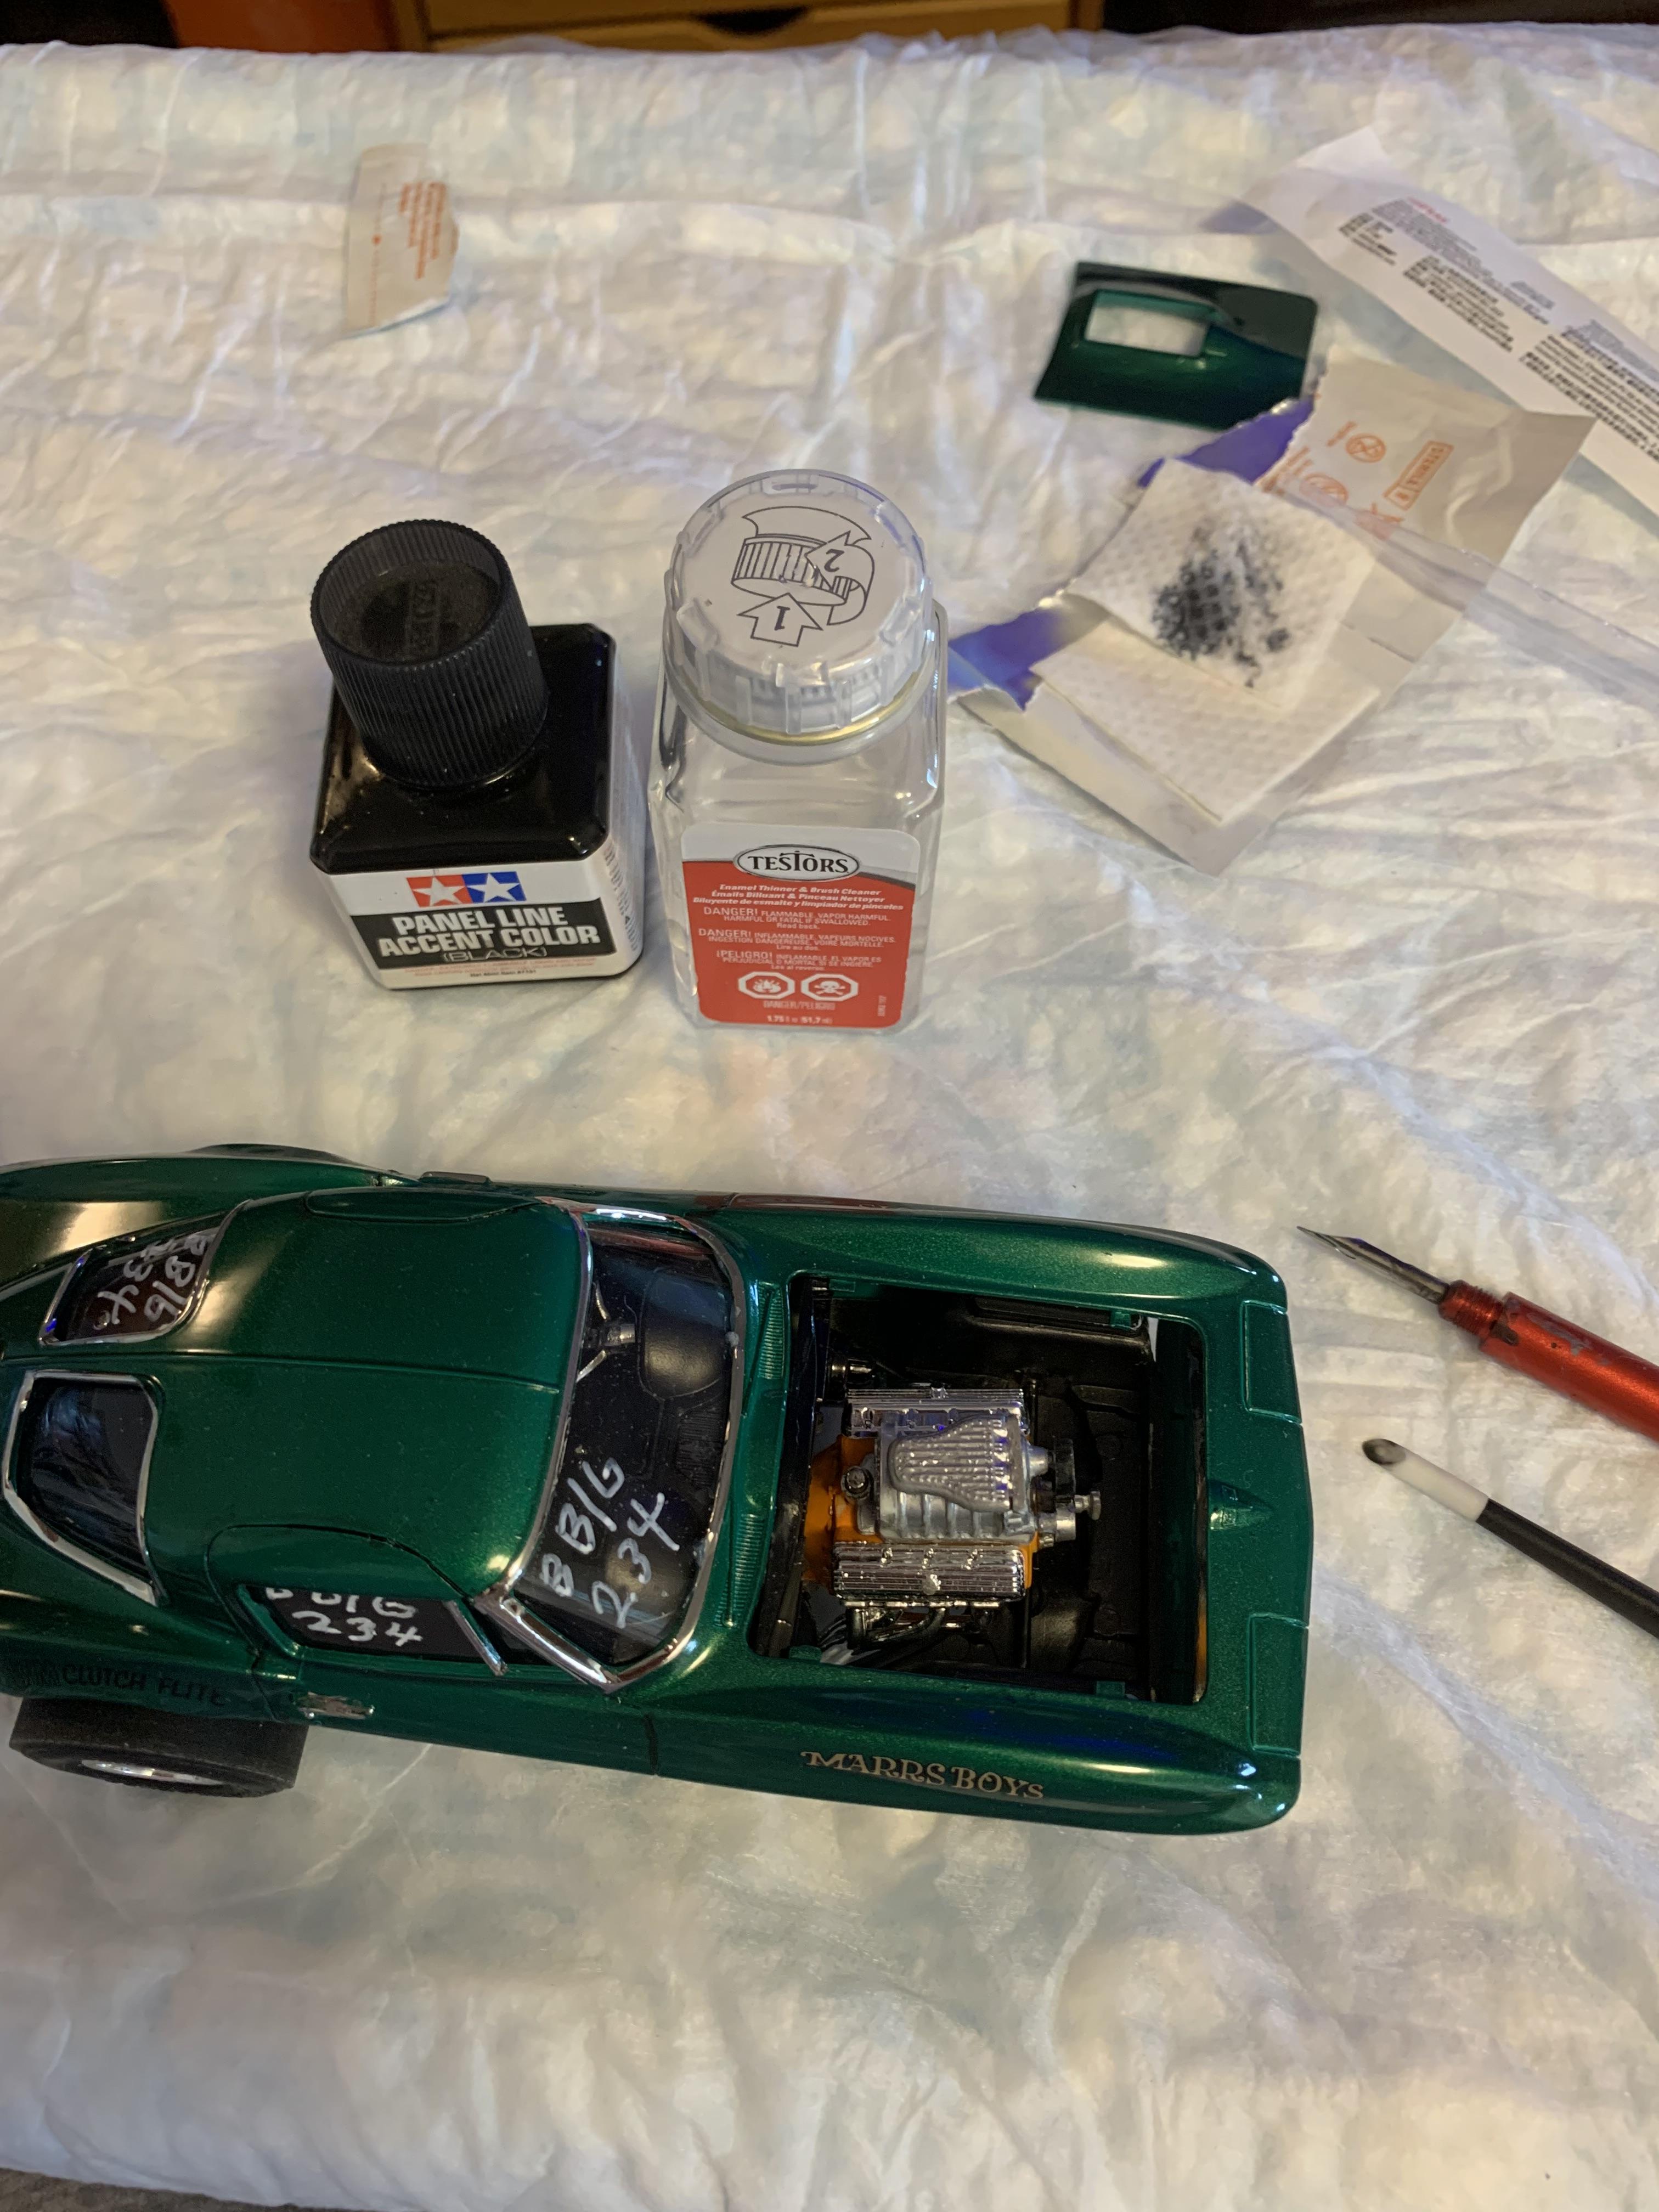
Almost forgot to put a panel line wash on the doors. Now I’m done.
-
Resurrection: Marrs Boys 1963 Corvette BB/G
R. Thorne replied to R. Thorne's topic in WIP: Drag Racing Models
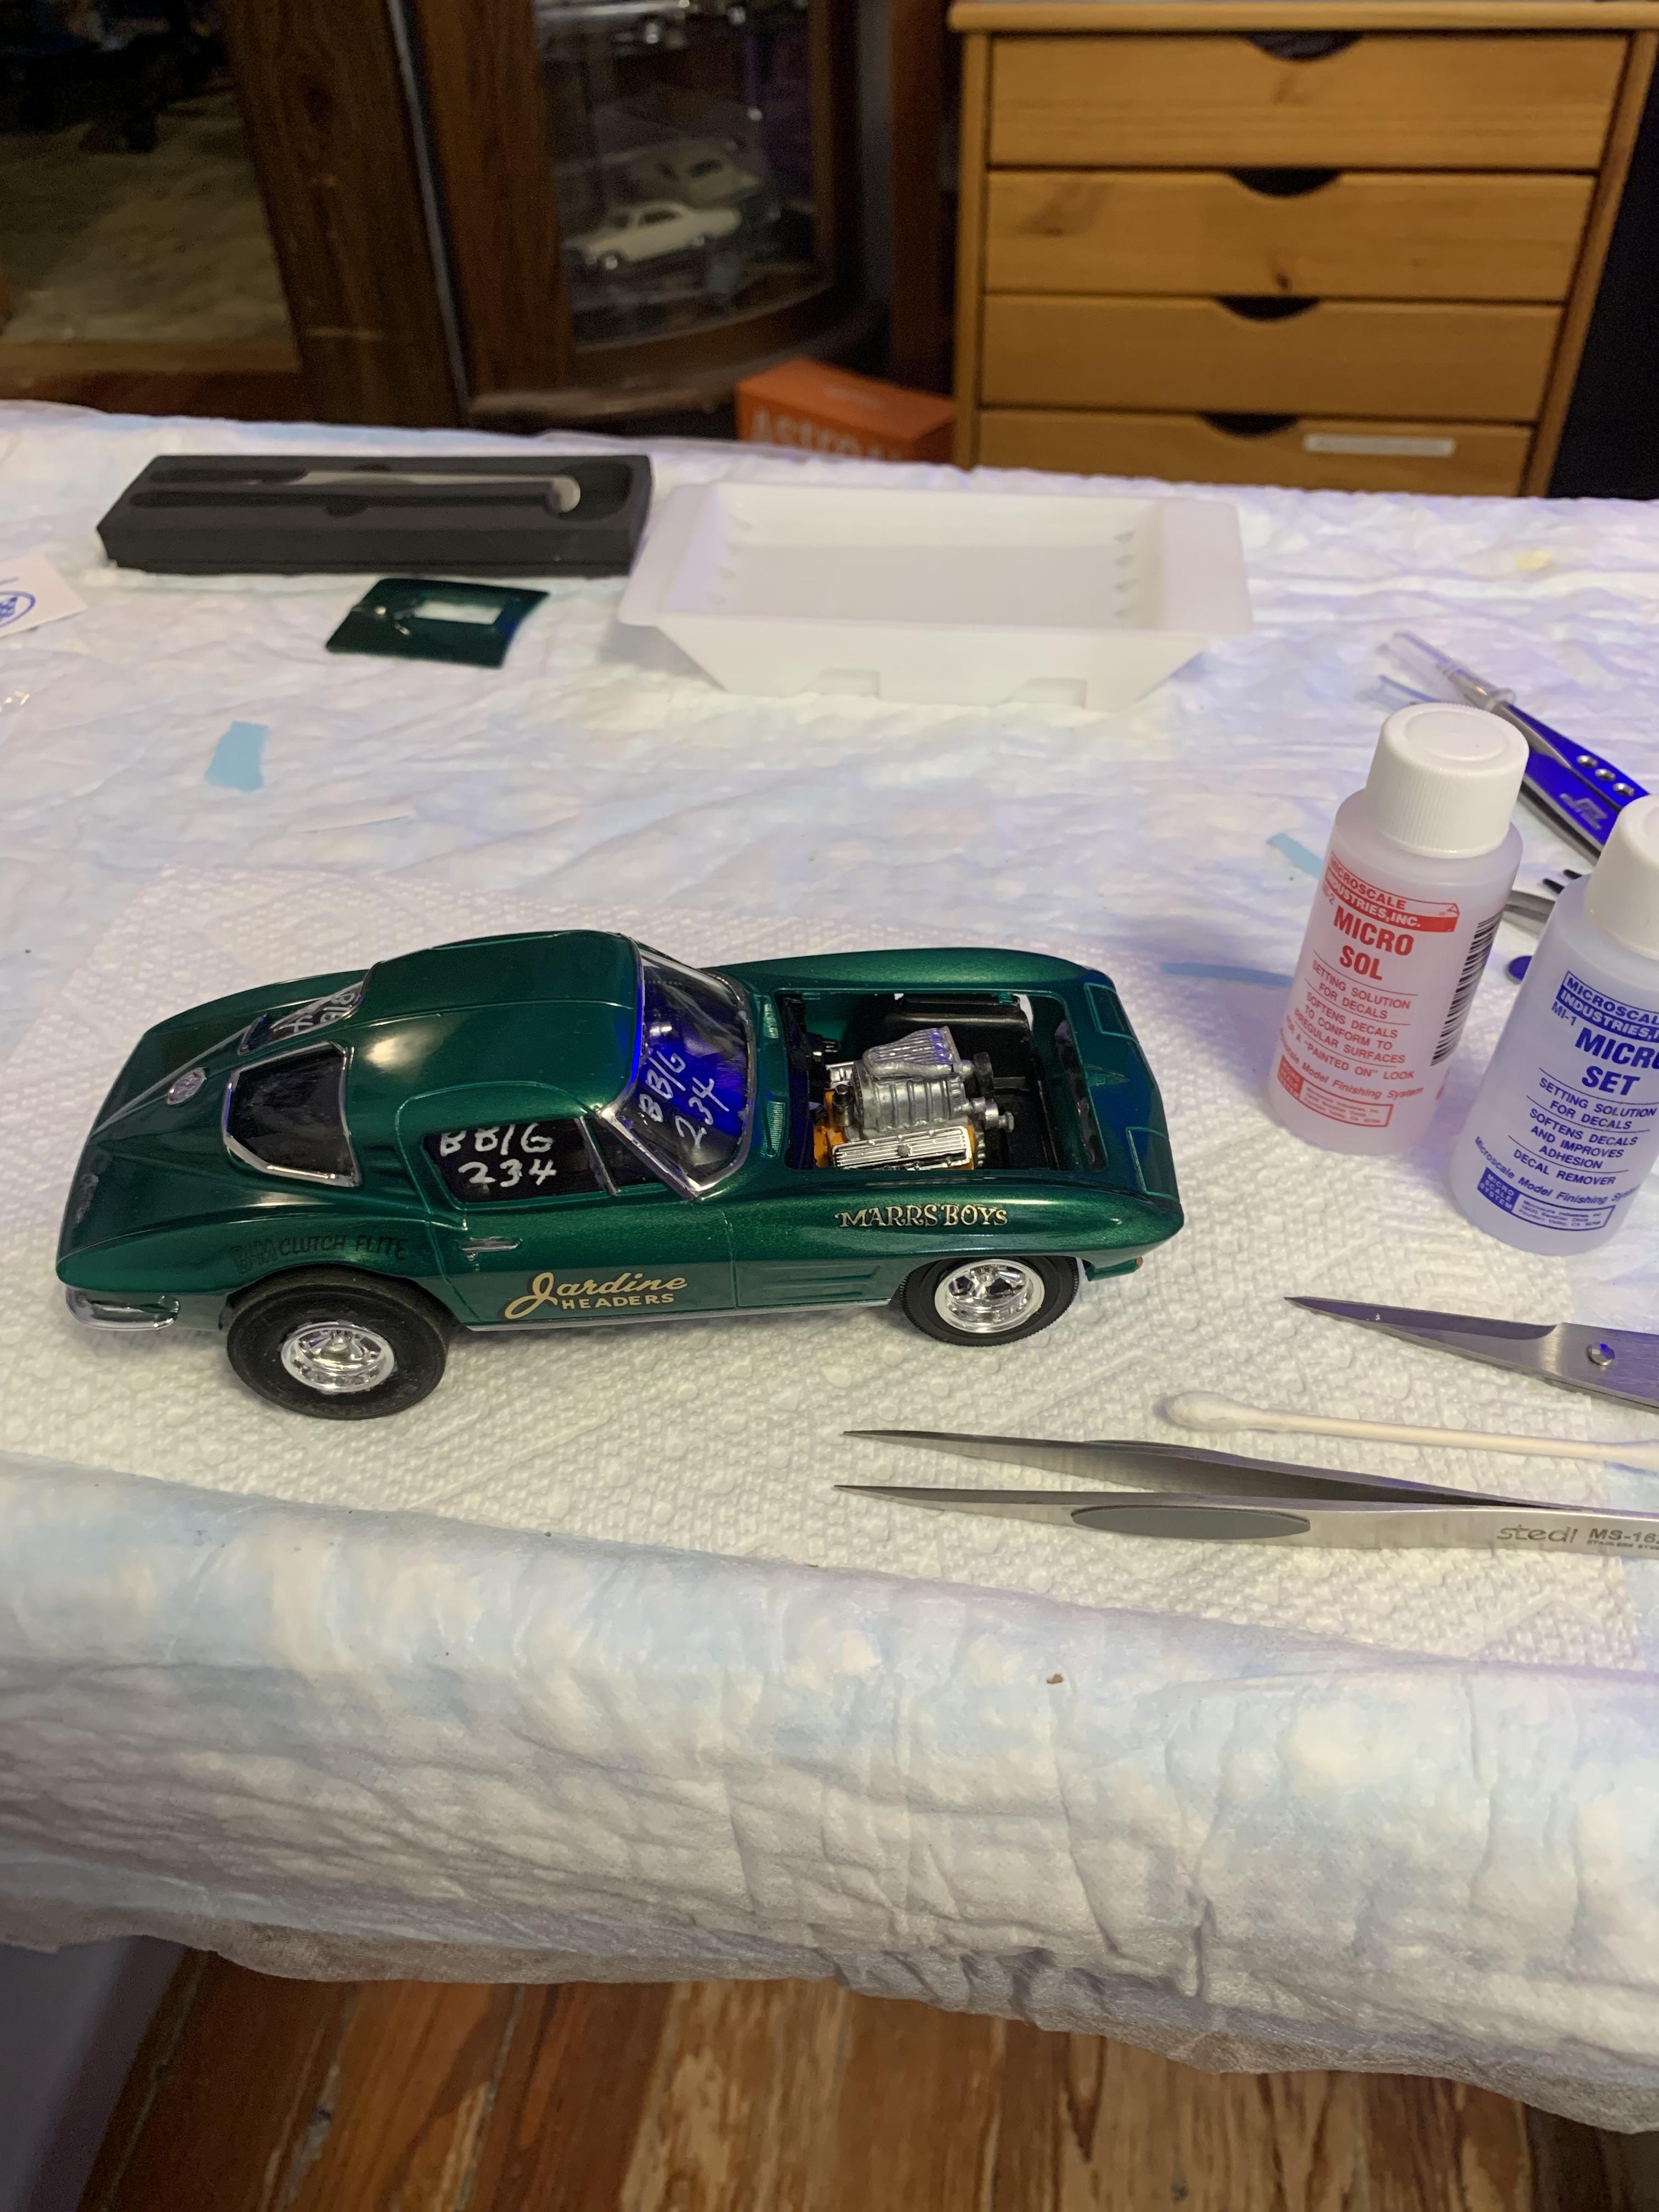
Installed engine/trans, had to trim the tail housing a bit. Headers fought me a bit, probably because I was using too slow ca glue. A bit crooked on one side. Installed interior with just a touch of ca glue, then chassis held in place and kicker applied to hold the position. Applied the decals with microsol and microset. Keep in mind these decals are an integral part of a sheet and must be trimmed close to the lettering to eliminate overhang. They turned out great after some smoothing out with a q-tip. I am done with this one. Amt did a nice job with the body, the chassis, not so much. I think another one is in my future, especially if I can find a more detailed chassis. Still, sitting on my table, it is one of the prettiest, meanest looking cars I have built. More pics tomorrow on the finished under glass section. Thanks for viewing. It has been a fun build.
-
Just some old drag racing pics.
R. Thorne replied to R. Thorne's topic in General Automotive Talk (Trucks and Cars)
Two more.
-
Resurrection: Marrs Boys 1963 Corvette BB/G
R. Thorne replied to R. Thorne's topic in WIP: Drag Racing Models
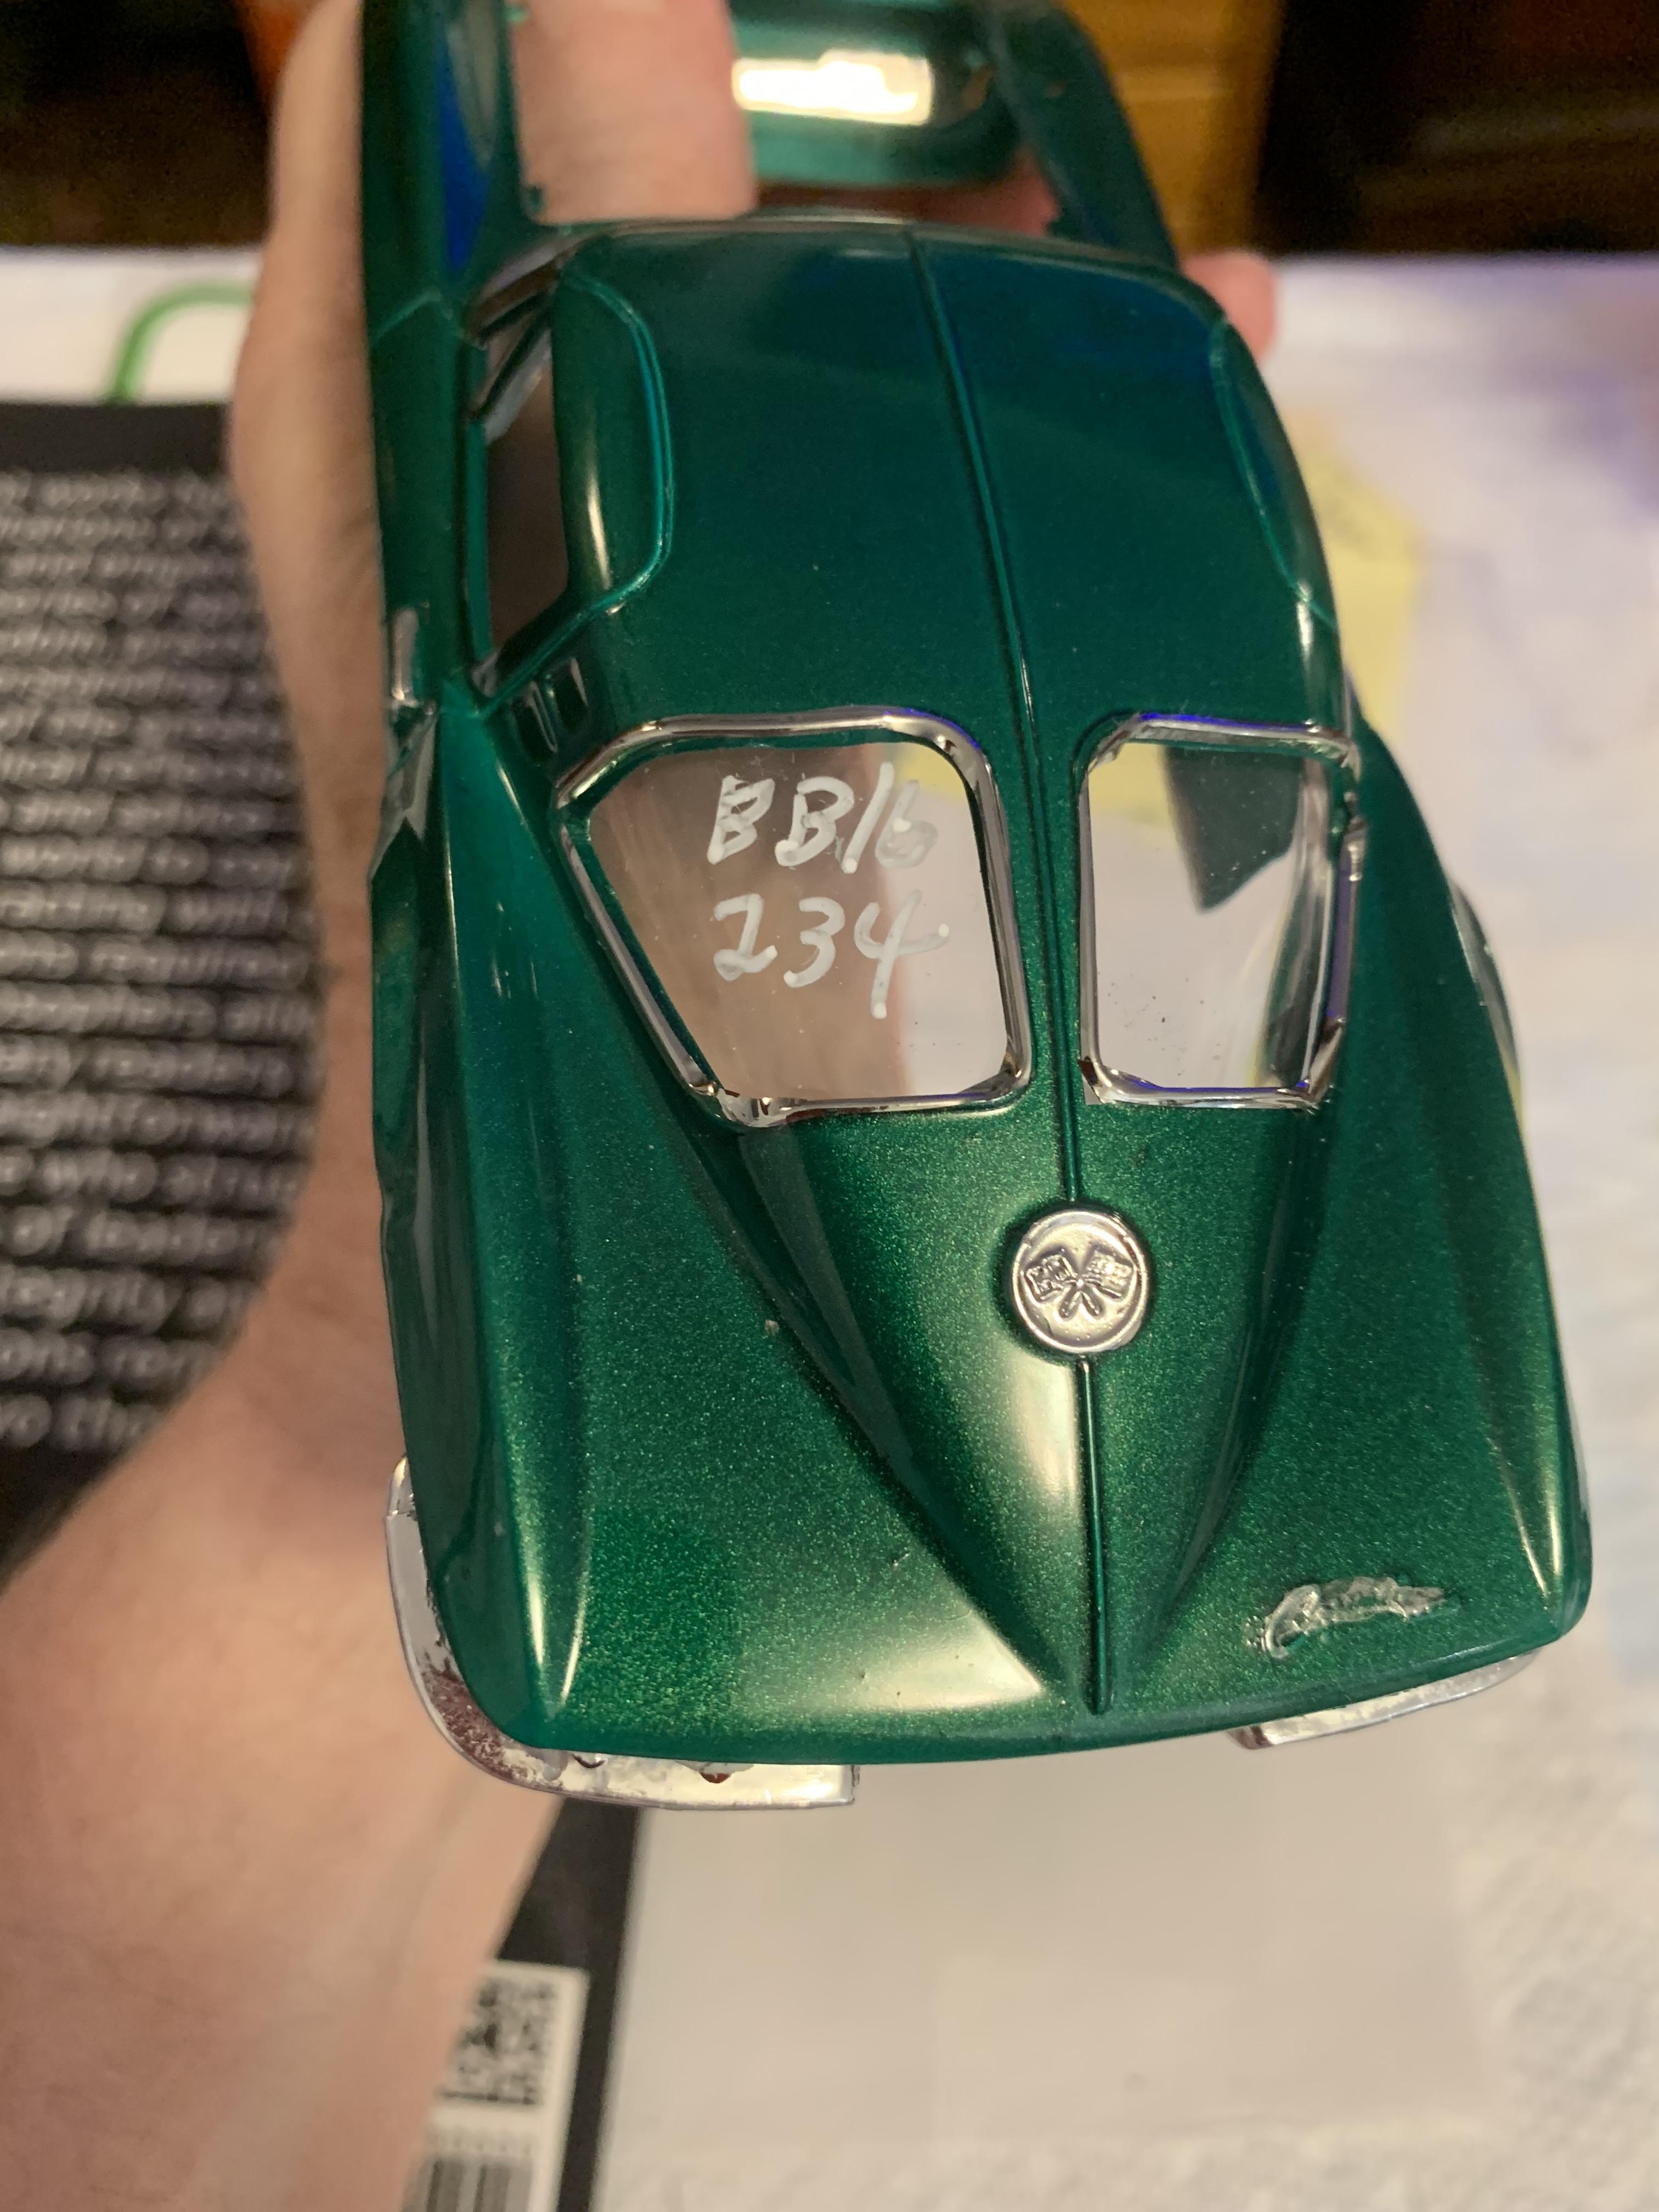
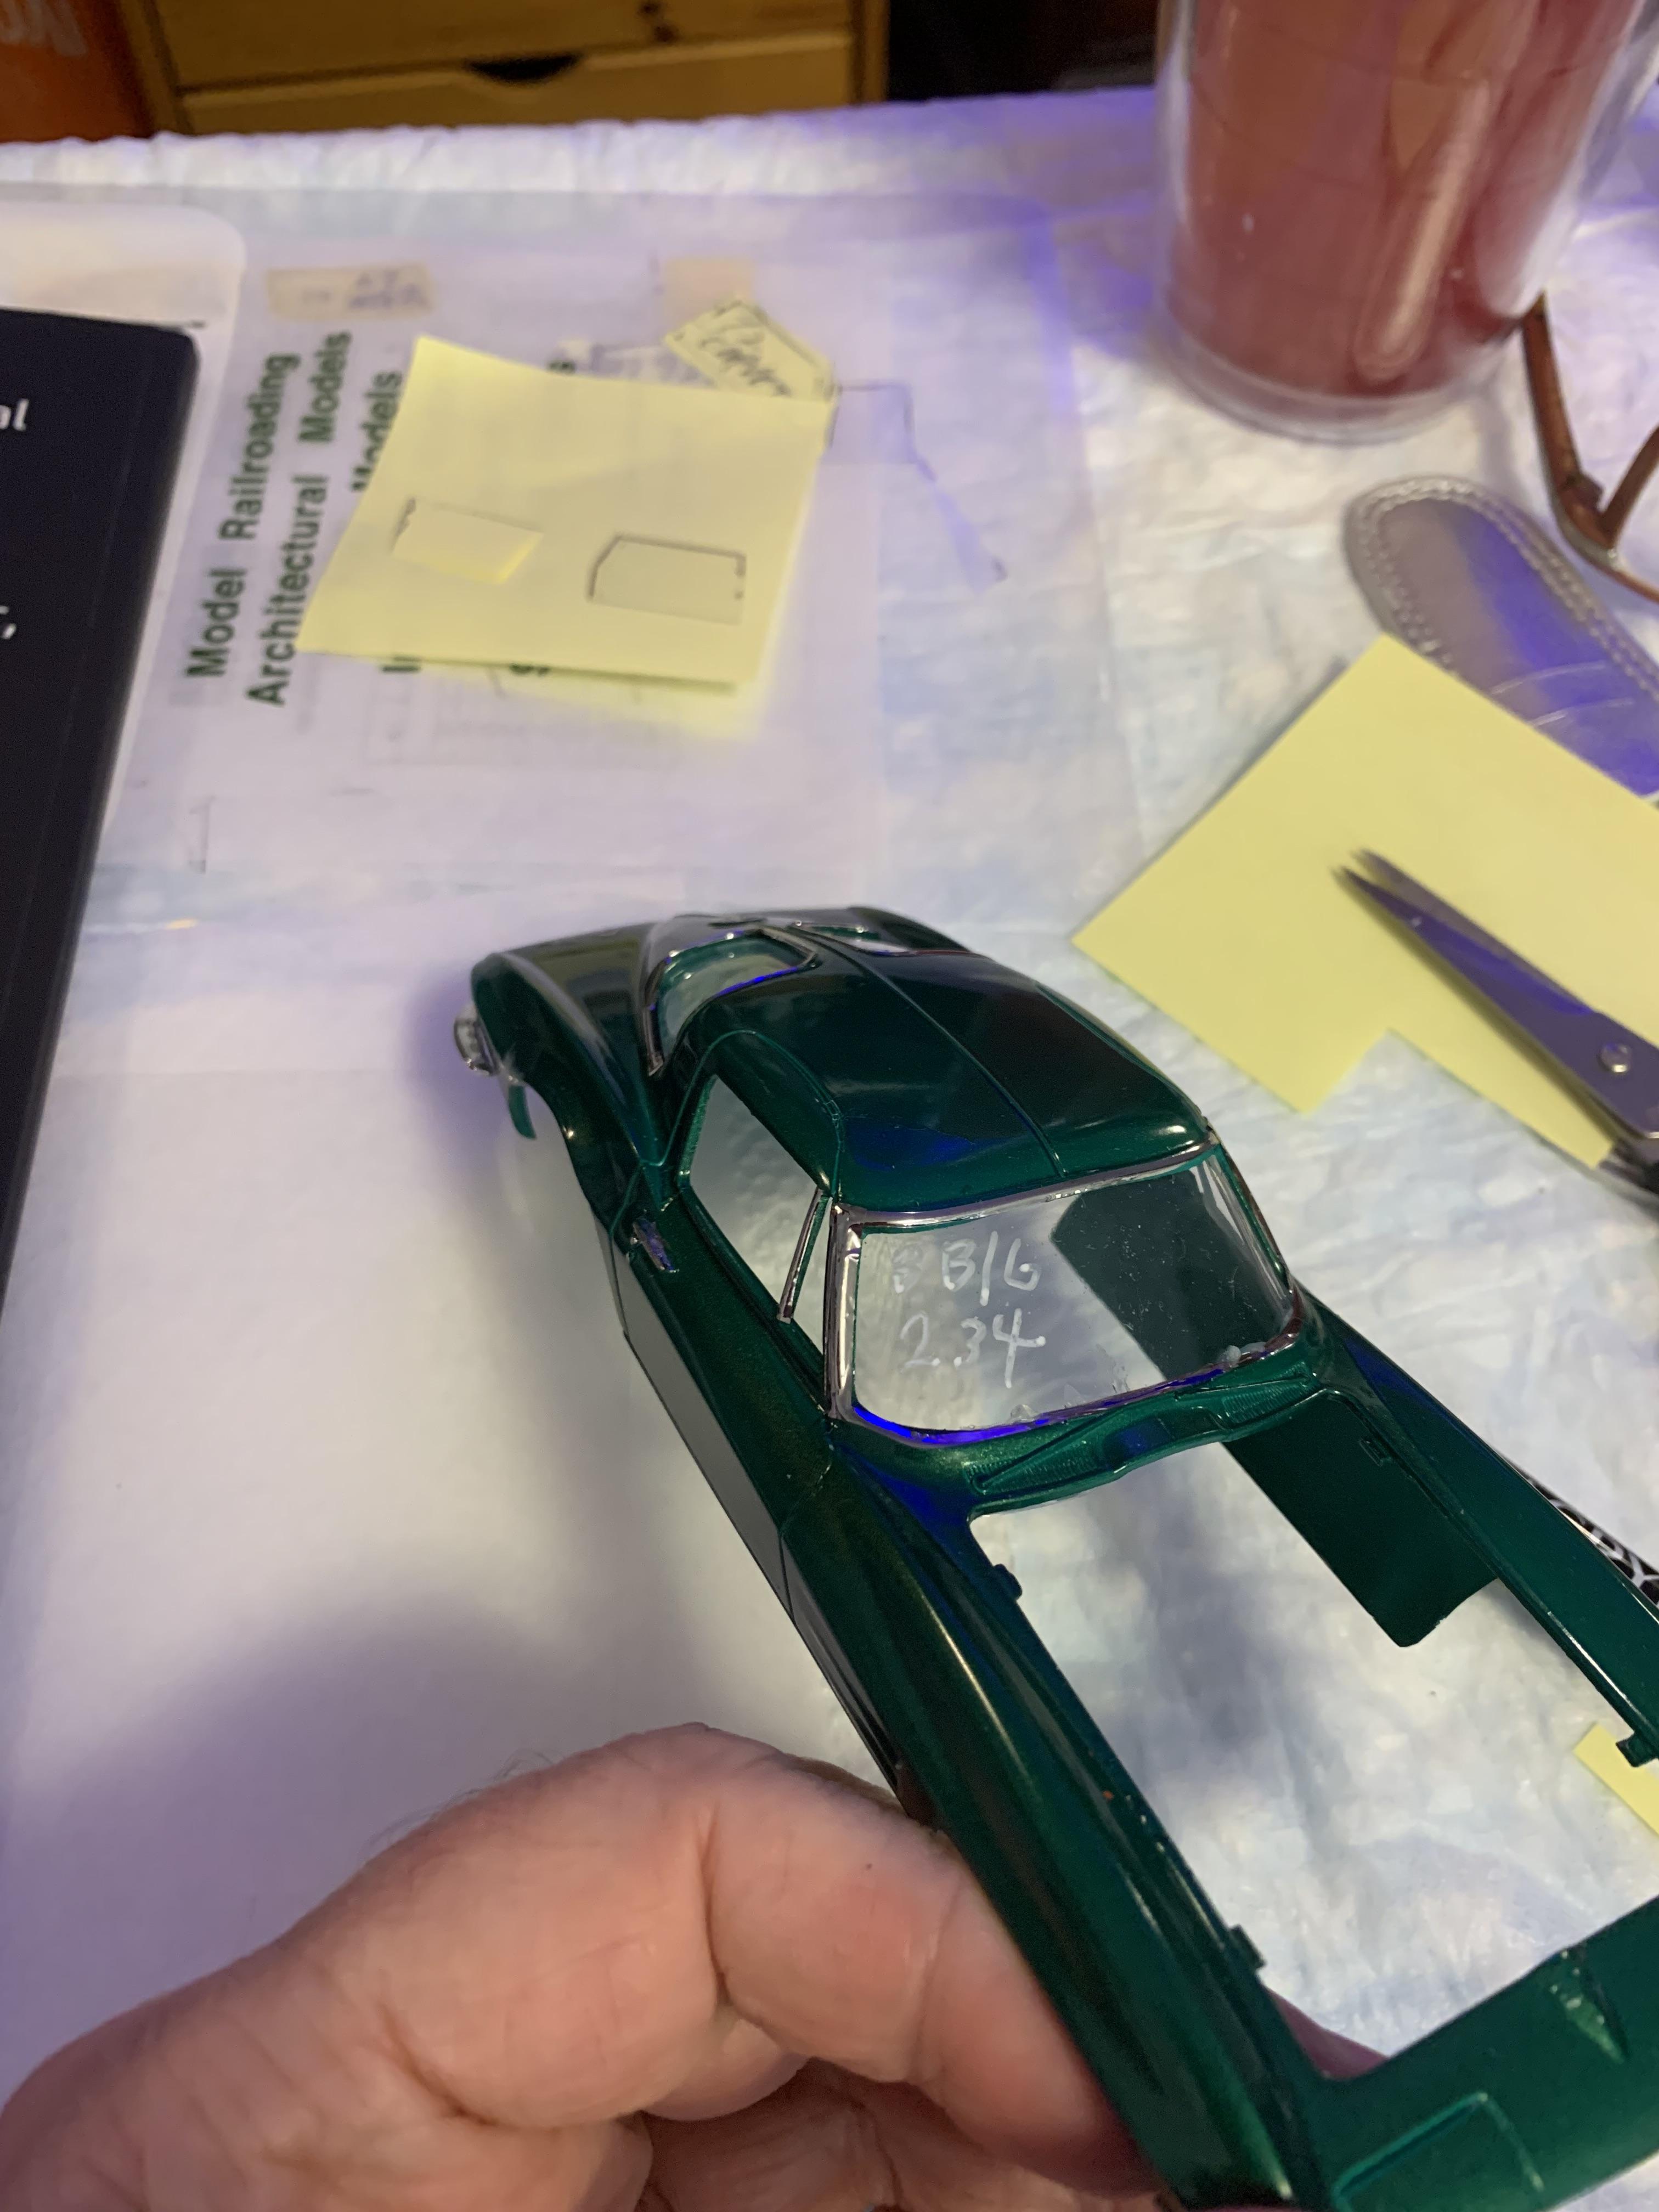
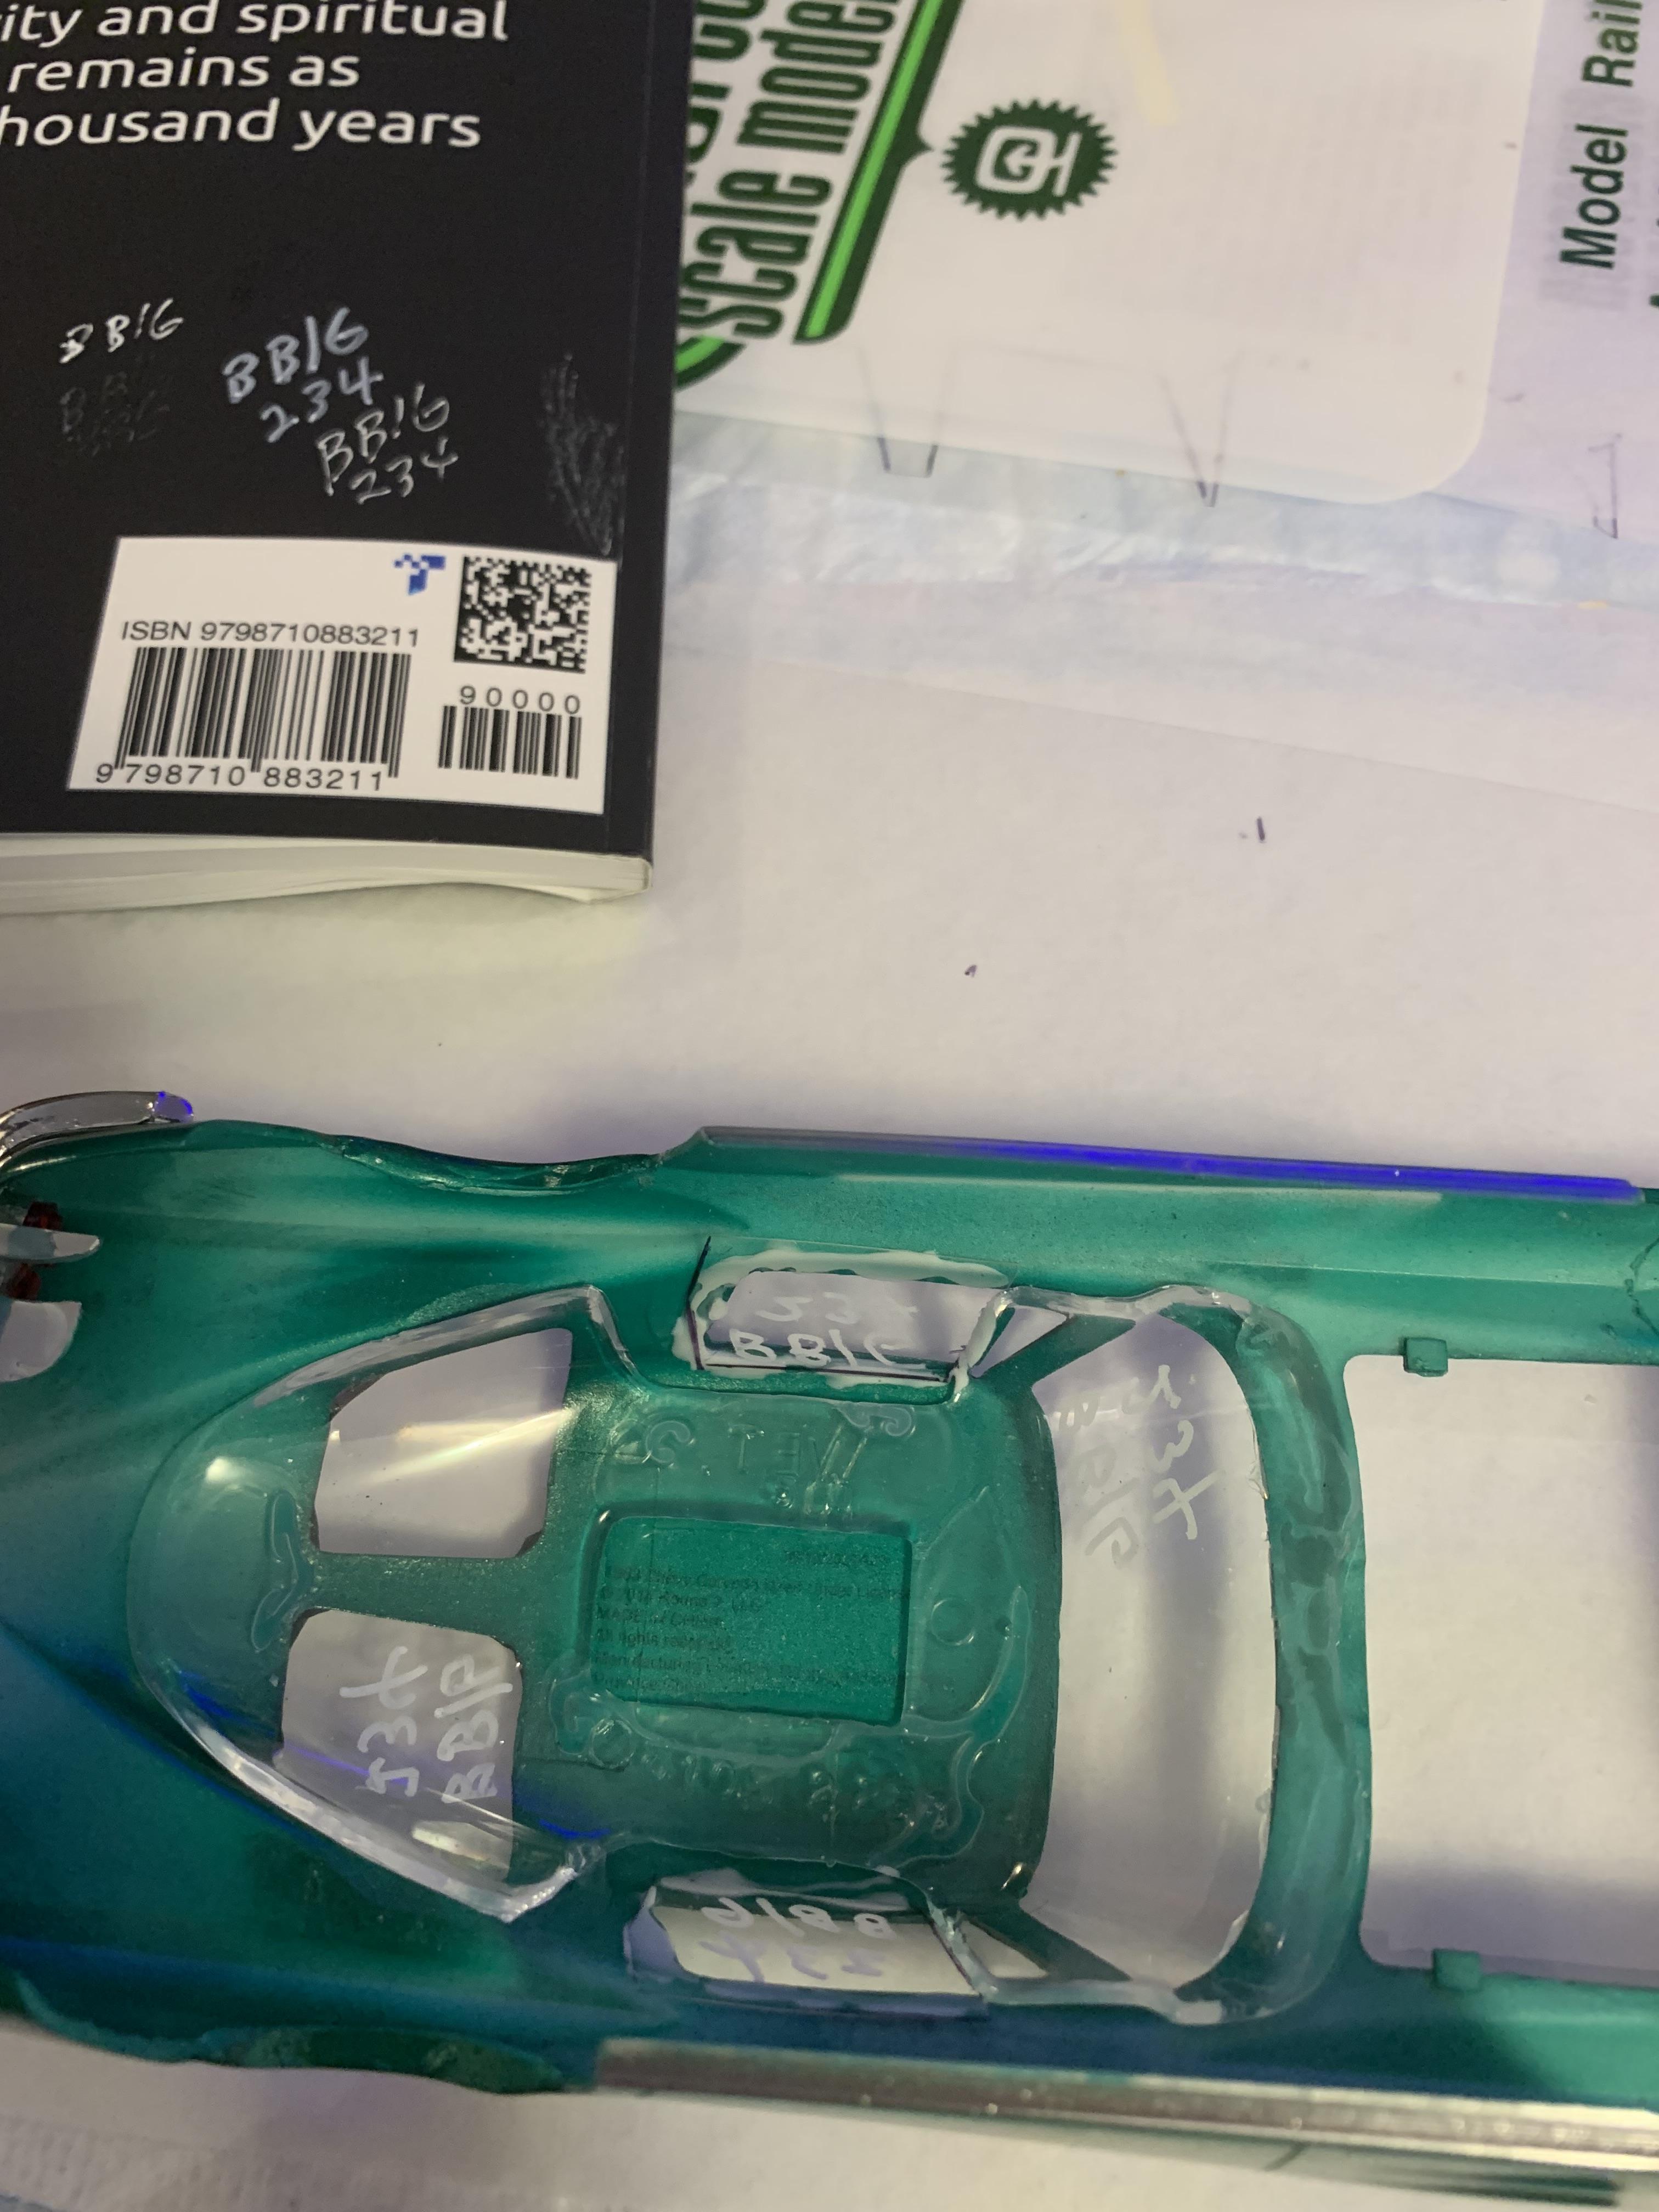
Made some windows and put the hand lettered class and numbers on. Used .005” clear. My white acrylic marker came through for me again. Had to find a dark background to letter on. I think Marcus Aurelius would have forgiven me. Installed with Aleen’s tacky and a micro brush. One of my pet peeves is no side glass on virtually any model car kits. If you wish to depict a race car, the windows need to be up, or you’re not gonna run.