ShakyCraftsman
-
Posts
764 -
Joined
-
Last visited
Content Type
Profiles
Forums
Events
Gallery
Everything posted by ShakyCraftsman
-
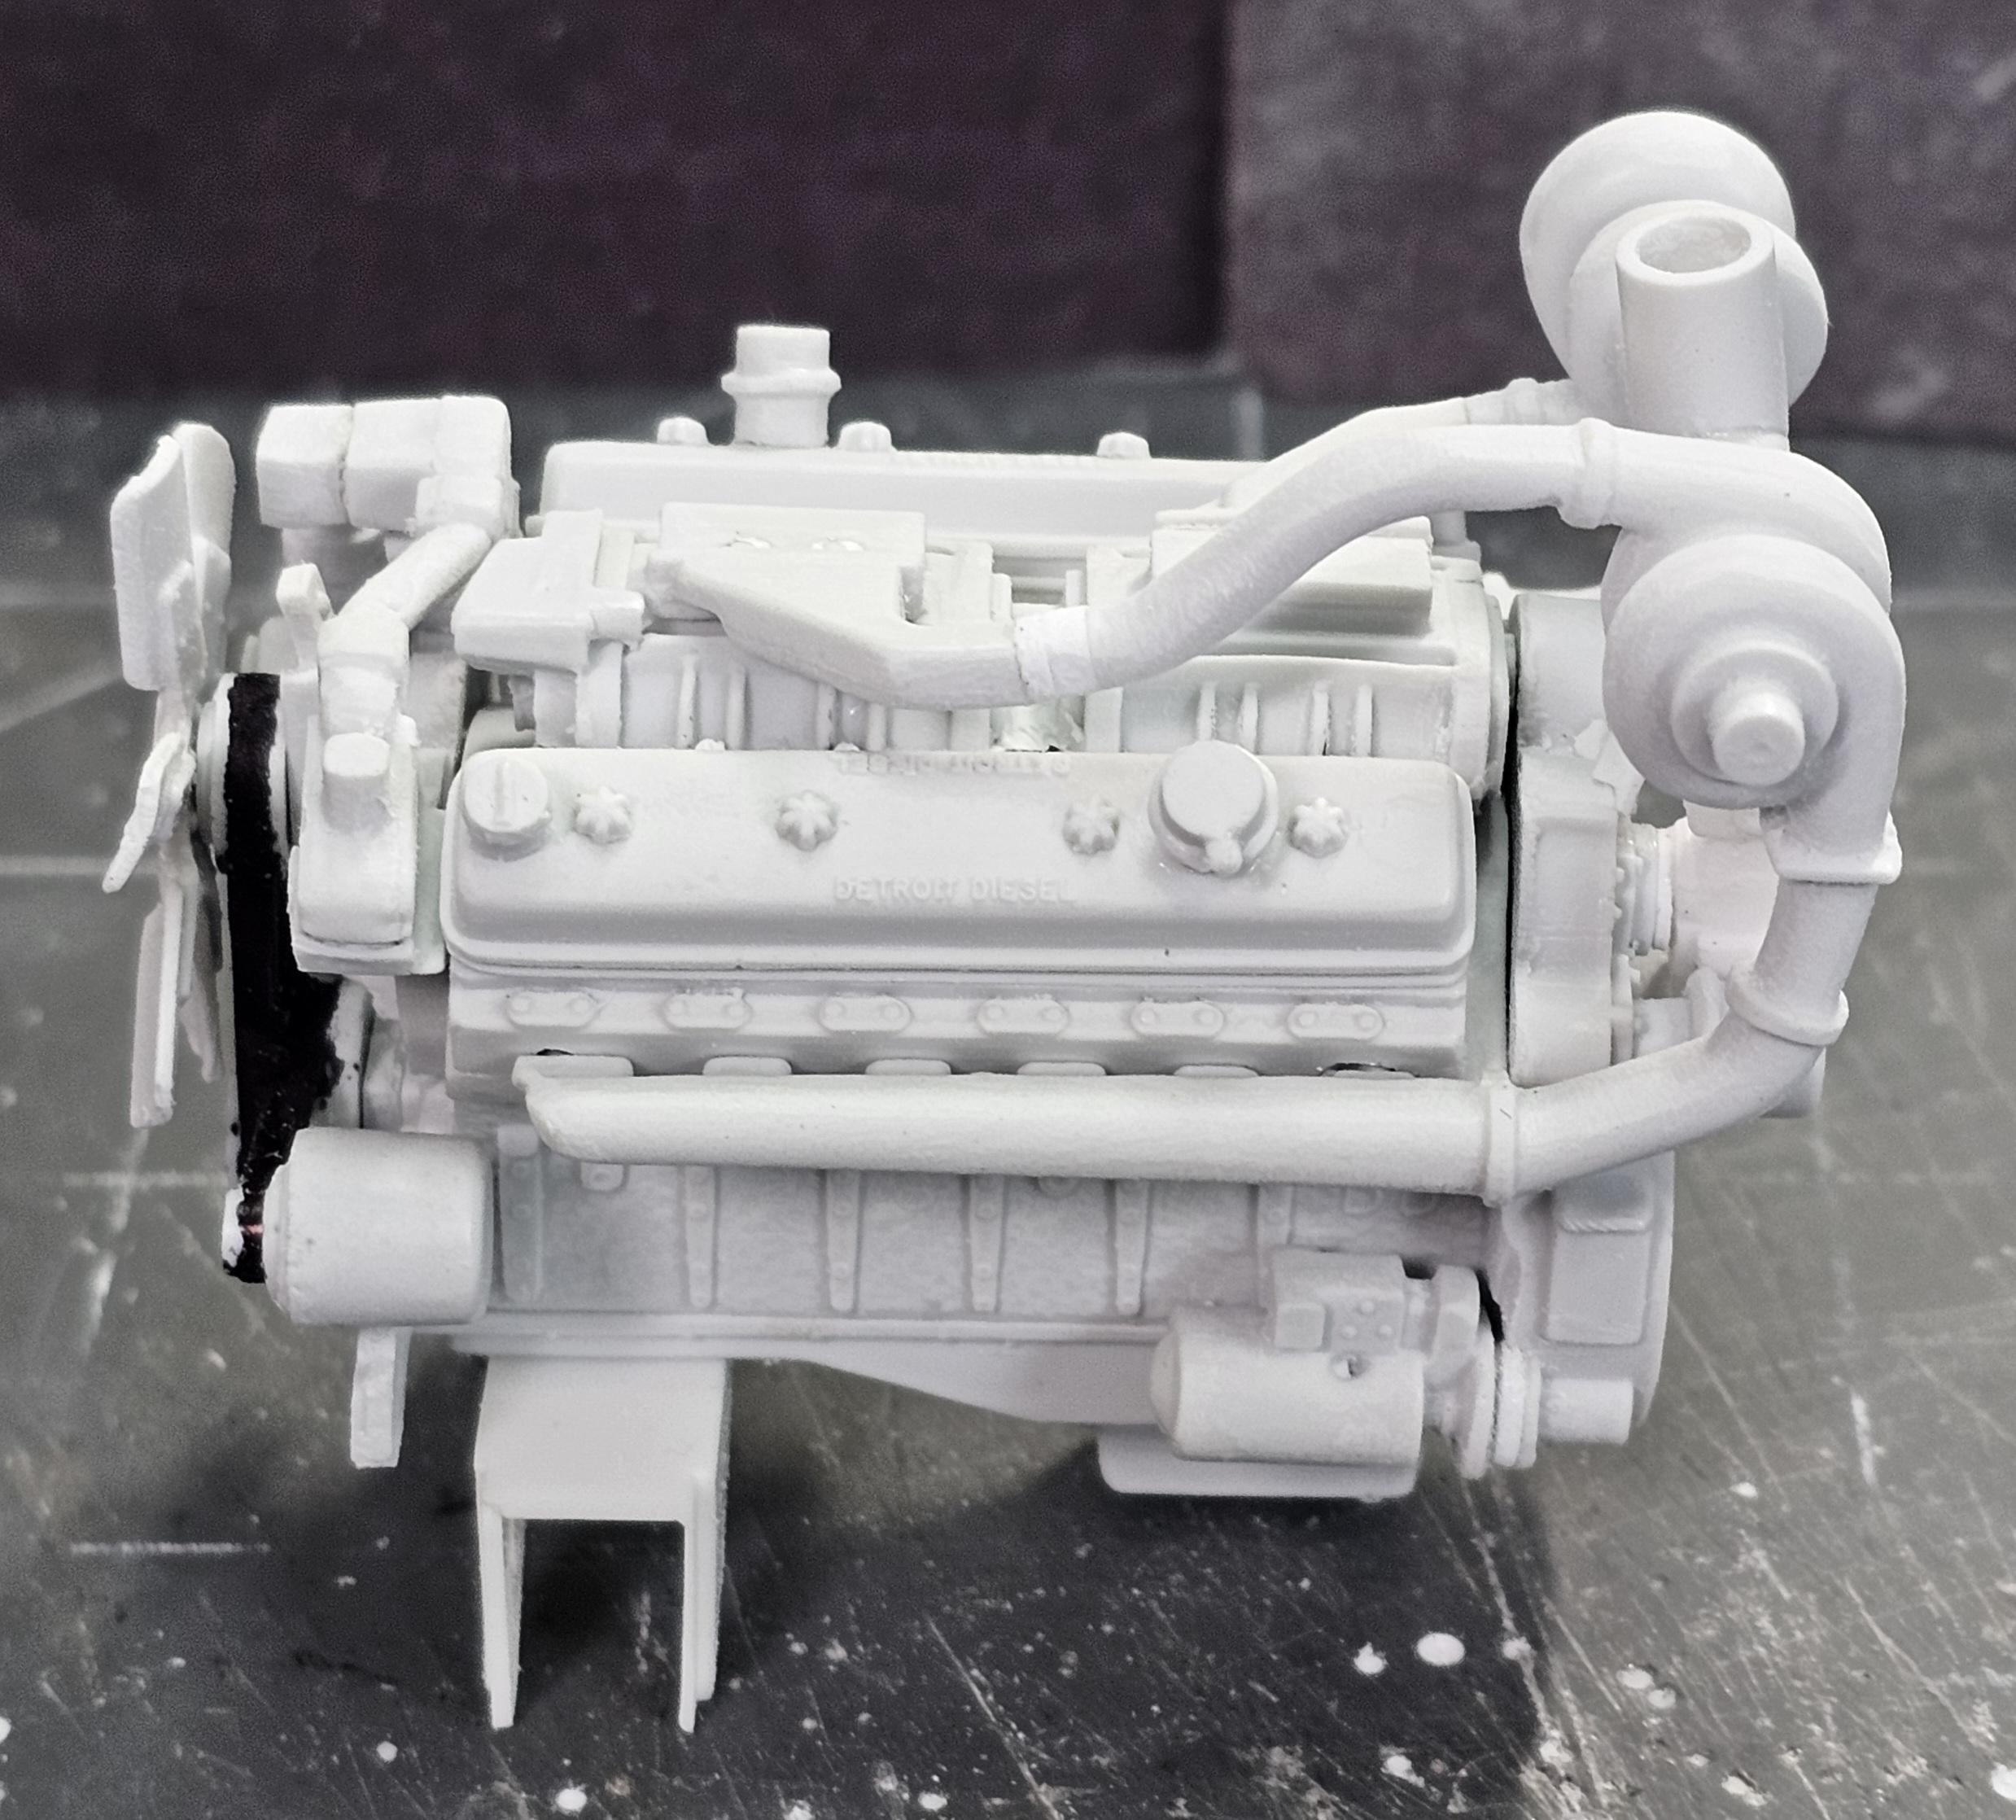
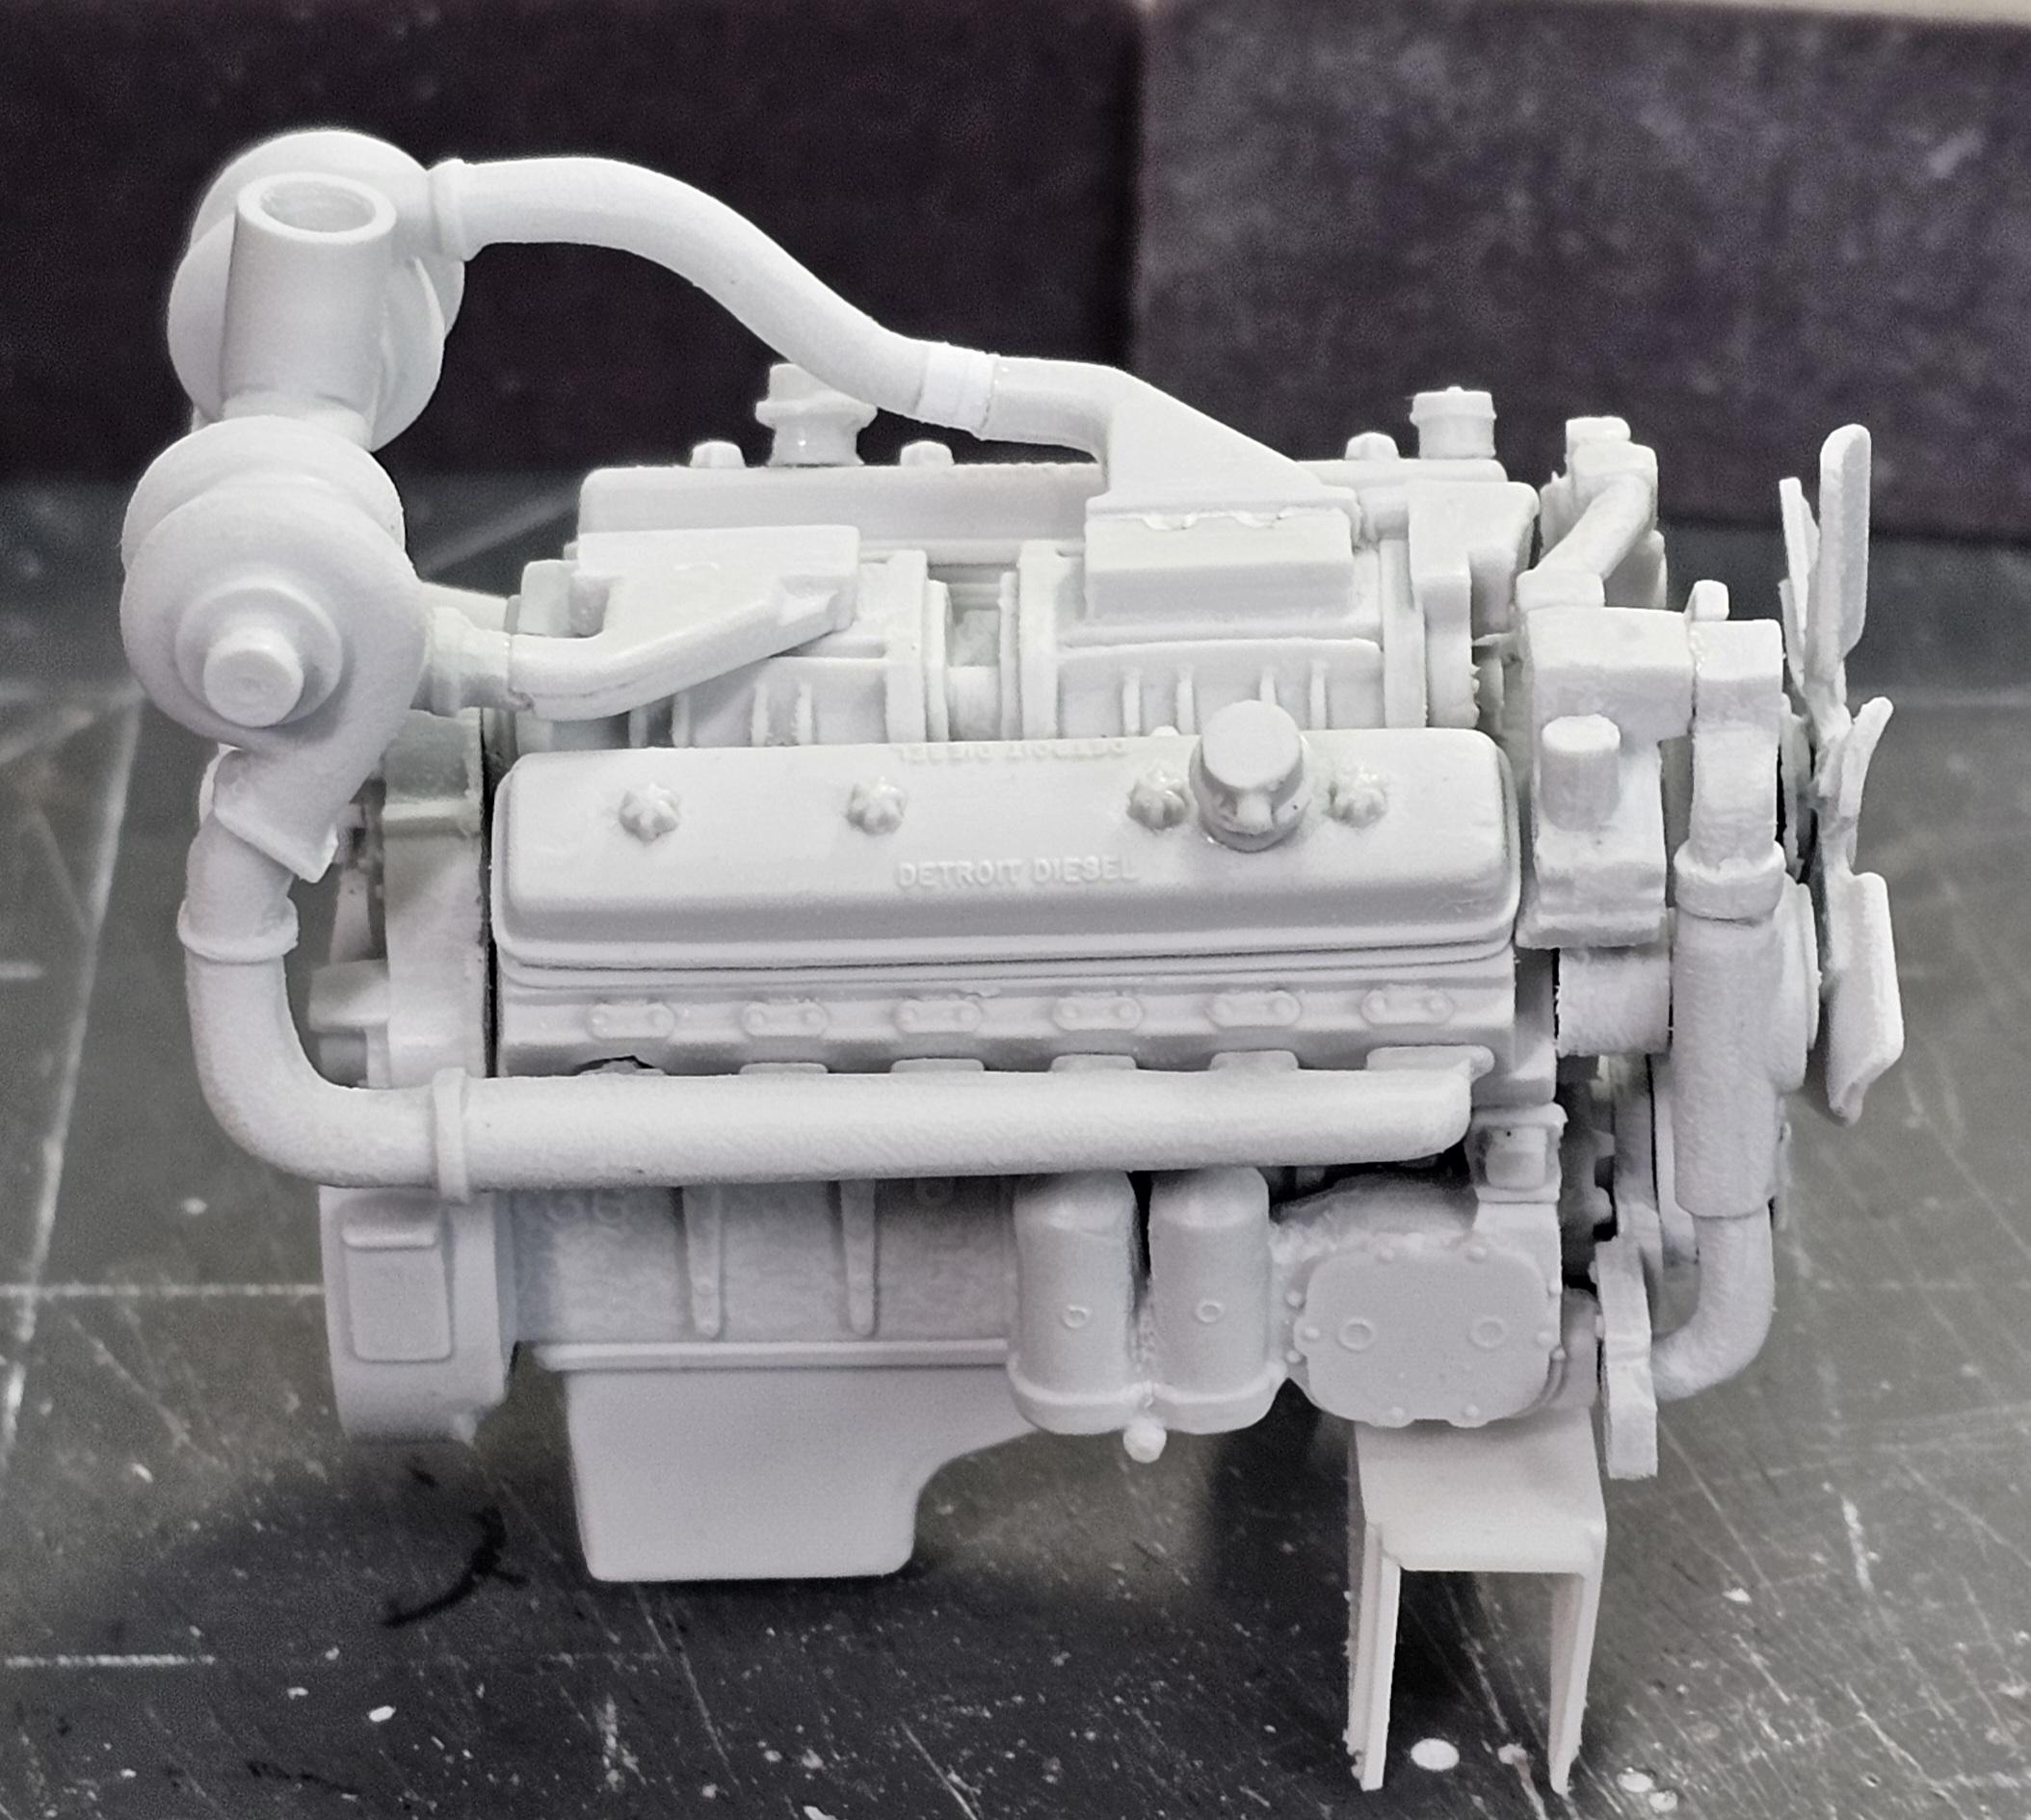
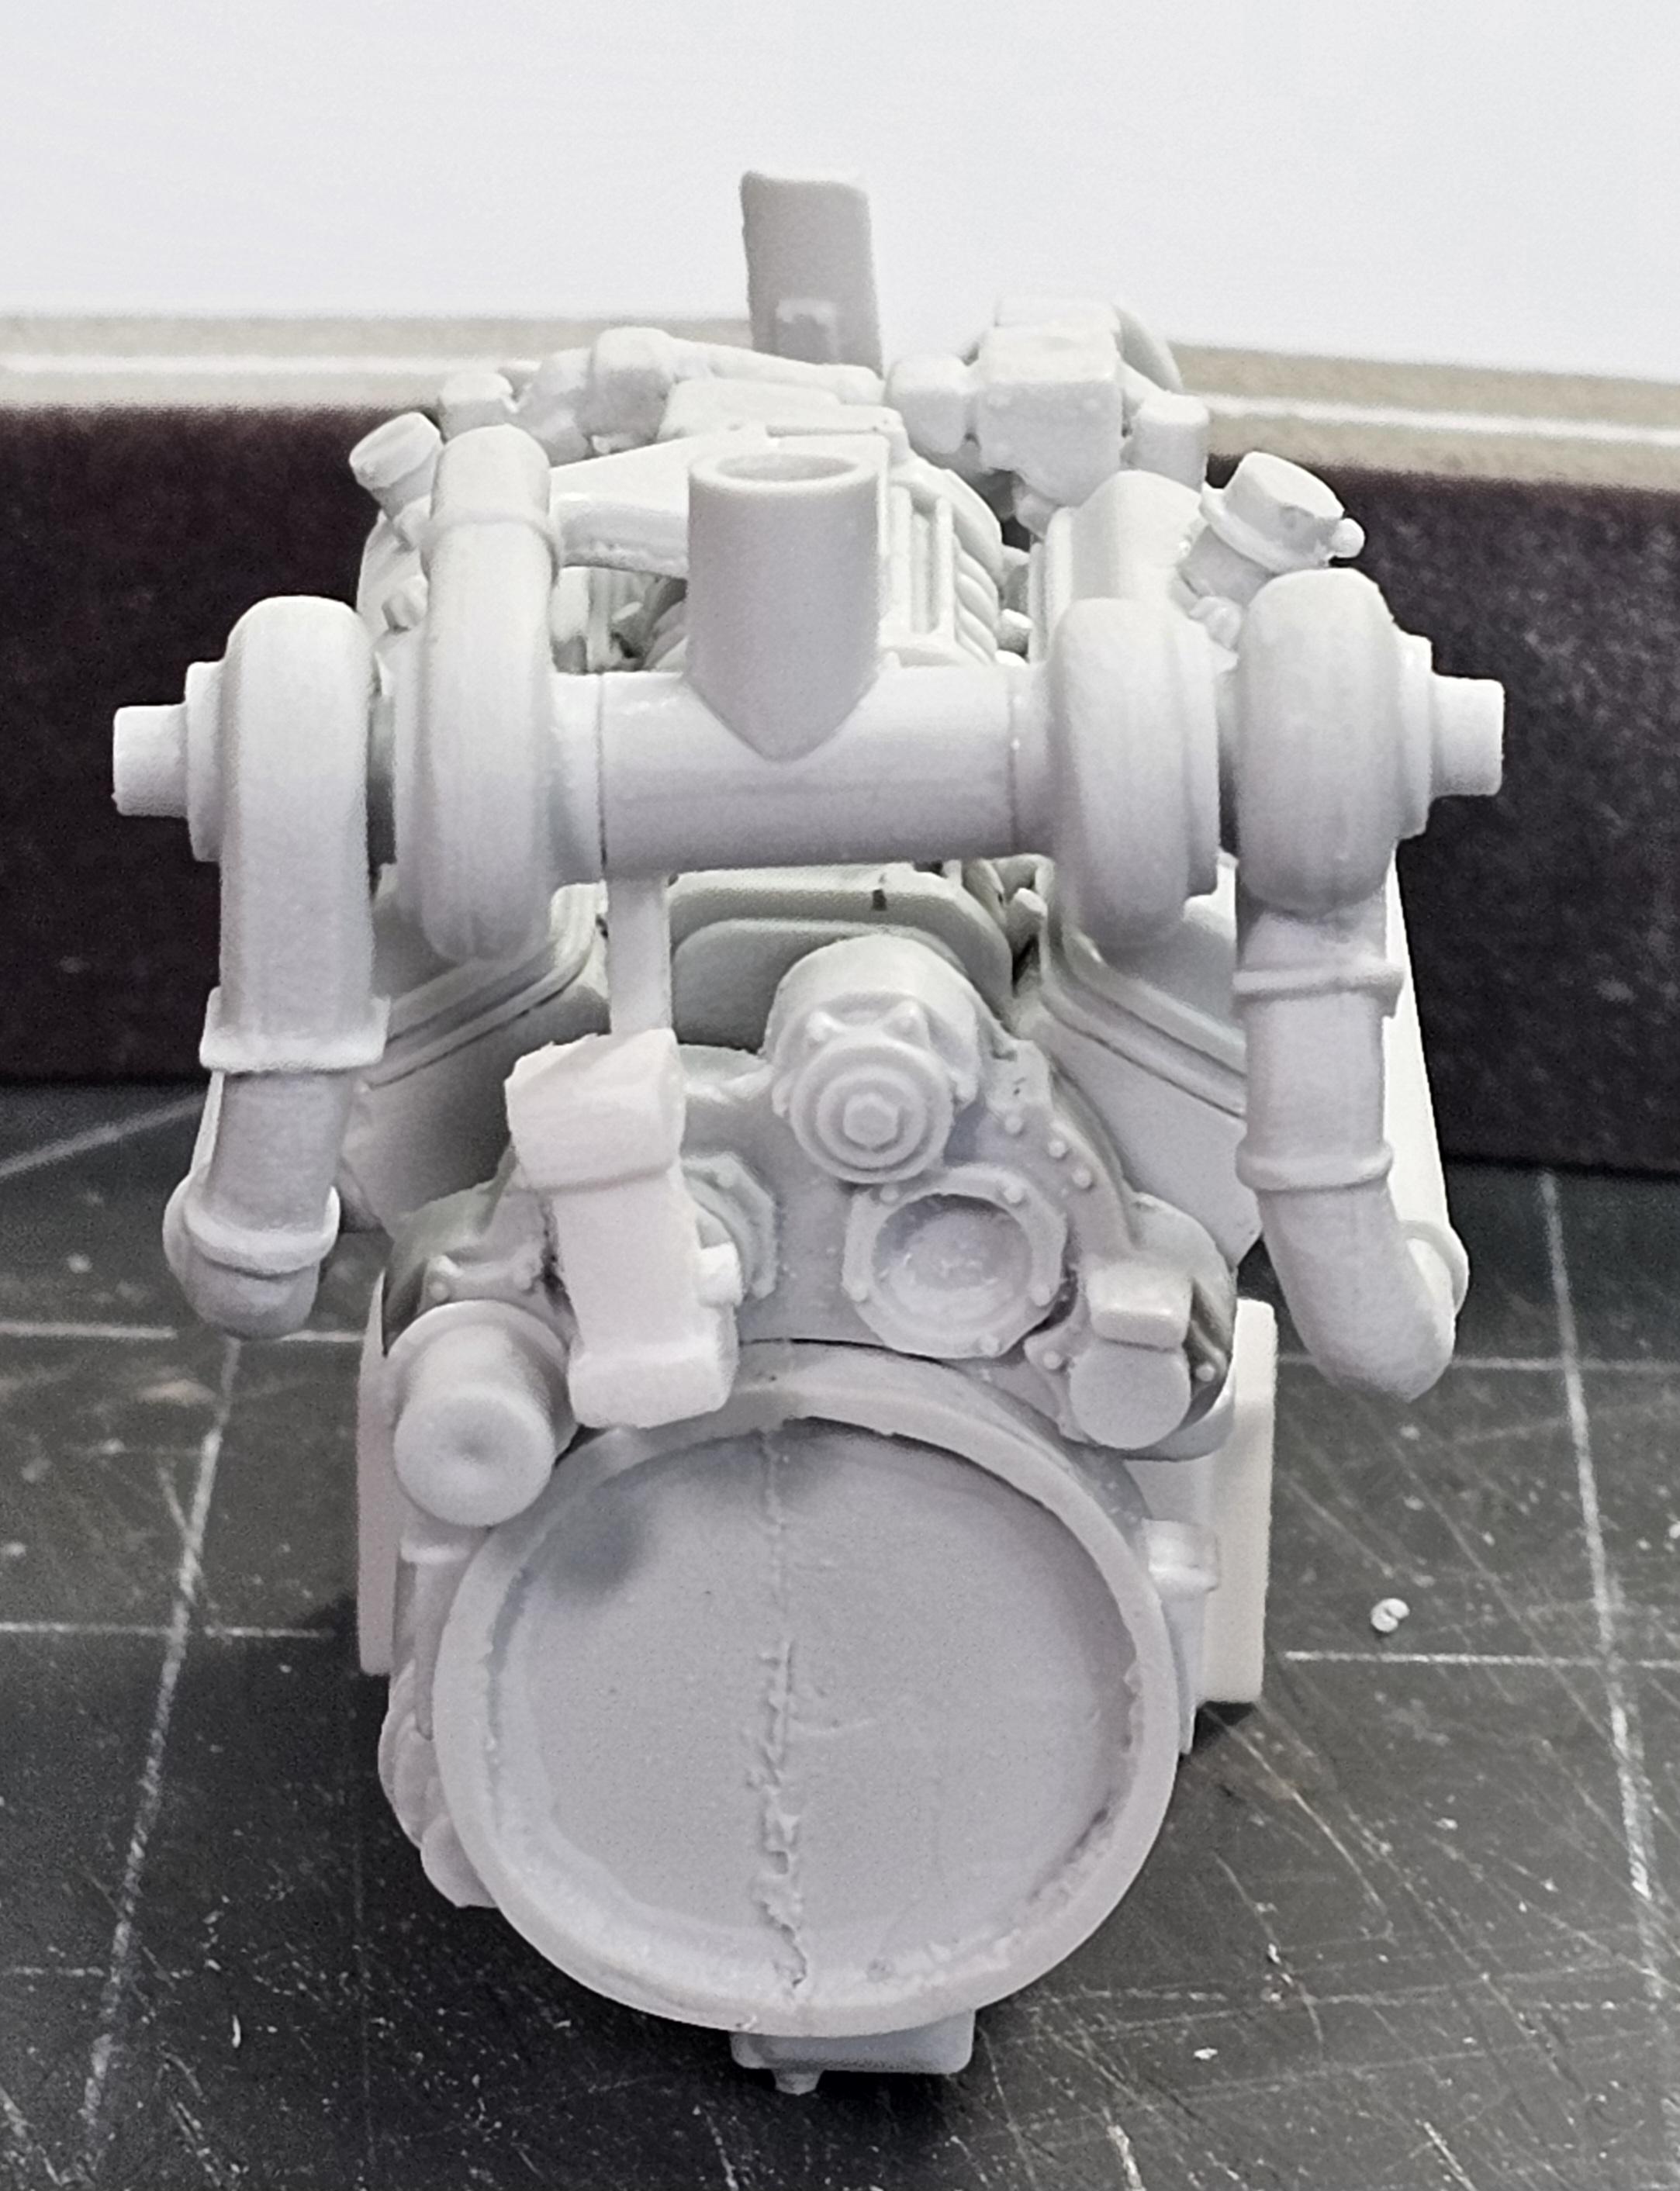
 Hey all Well the "Buzzin Dozen" showed up today from Auslowe in Australia. This is a nice casting from Auslowe, but they did short me the air compressor.🤔 I replaced it with one from the parts box. It's going to be a squeeze to fit it in the A.H. Kenworth, especially with the twin turbos. 580 H.P. / 1,450 lb-ft torque. Ron G
-
Thanks Warren I will definitely let you know. Ron G
-
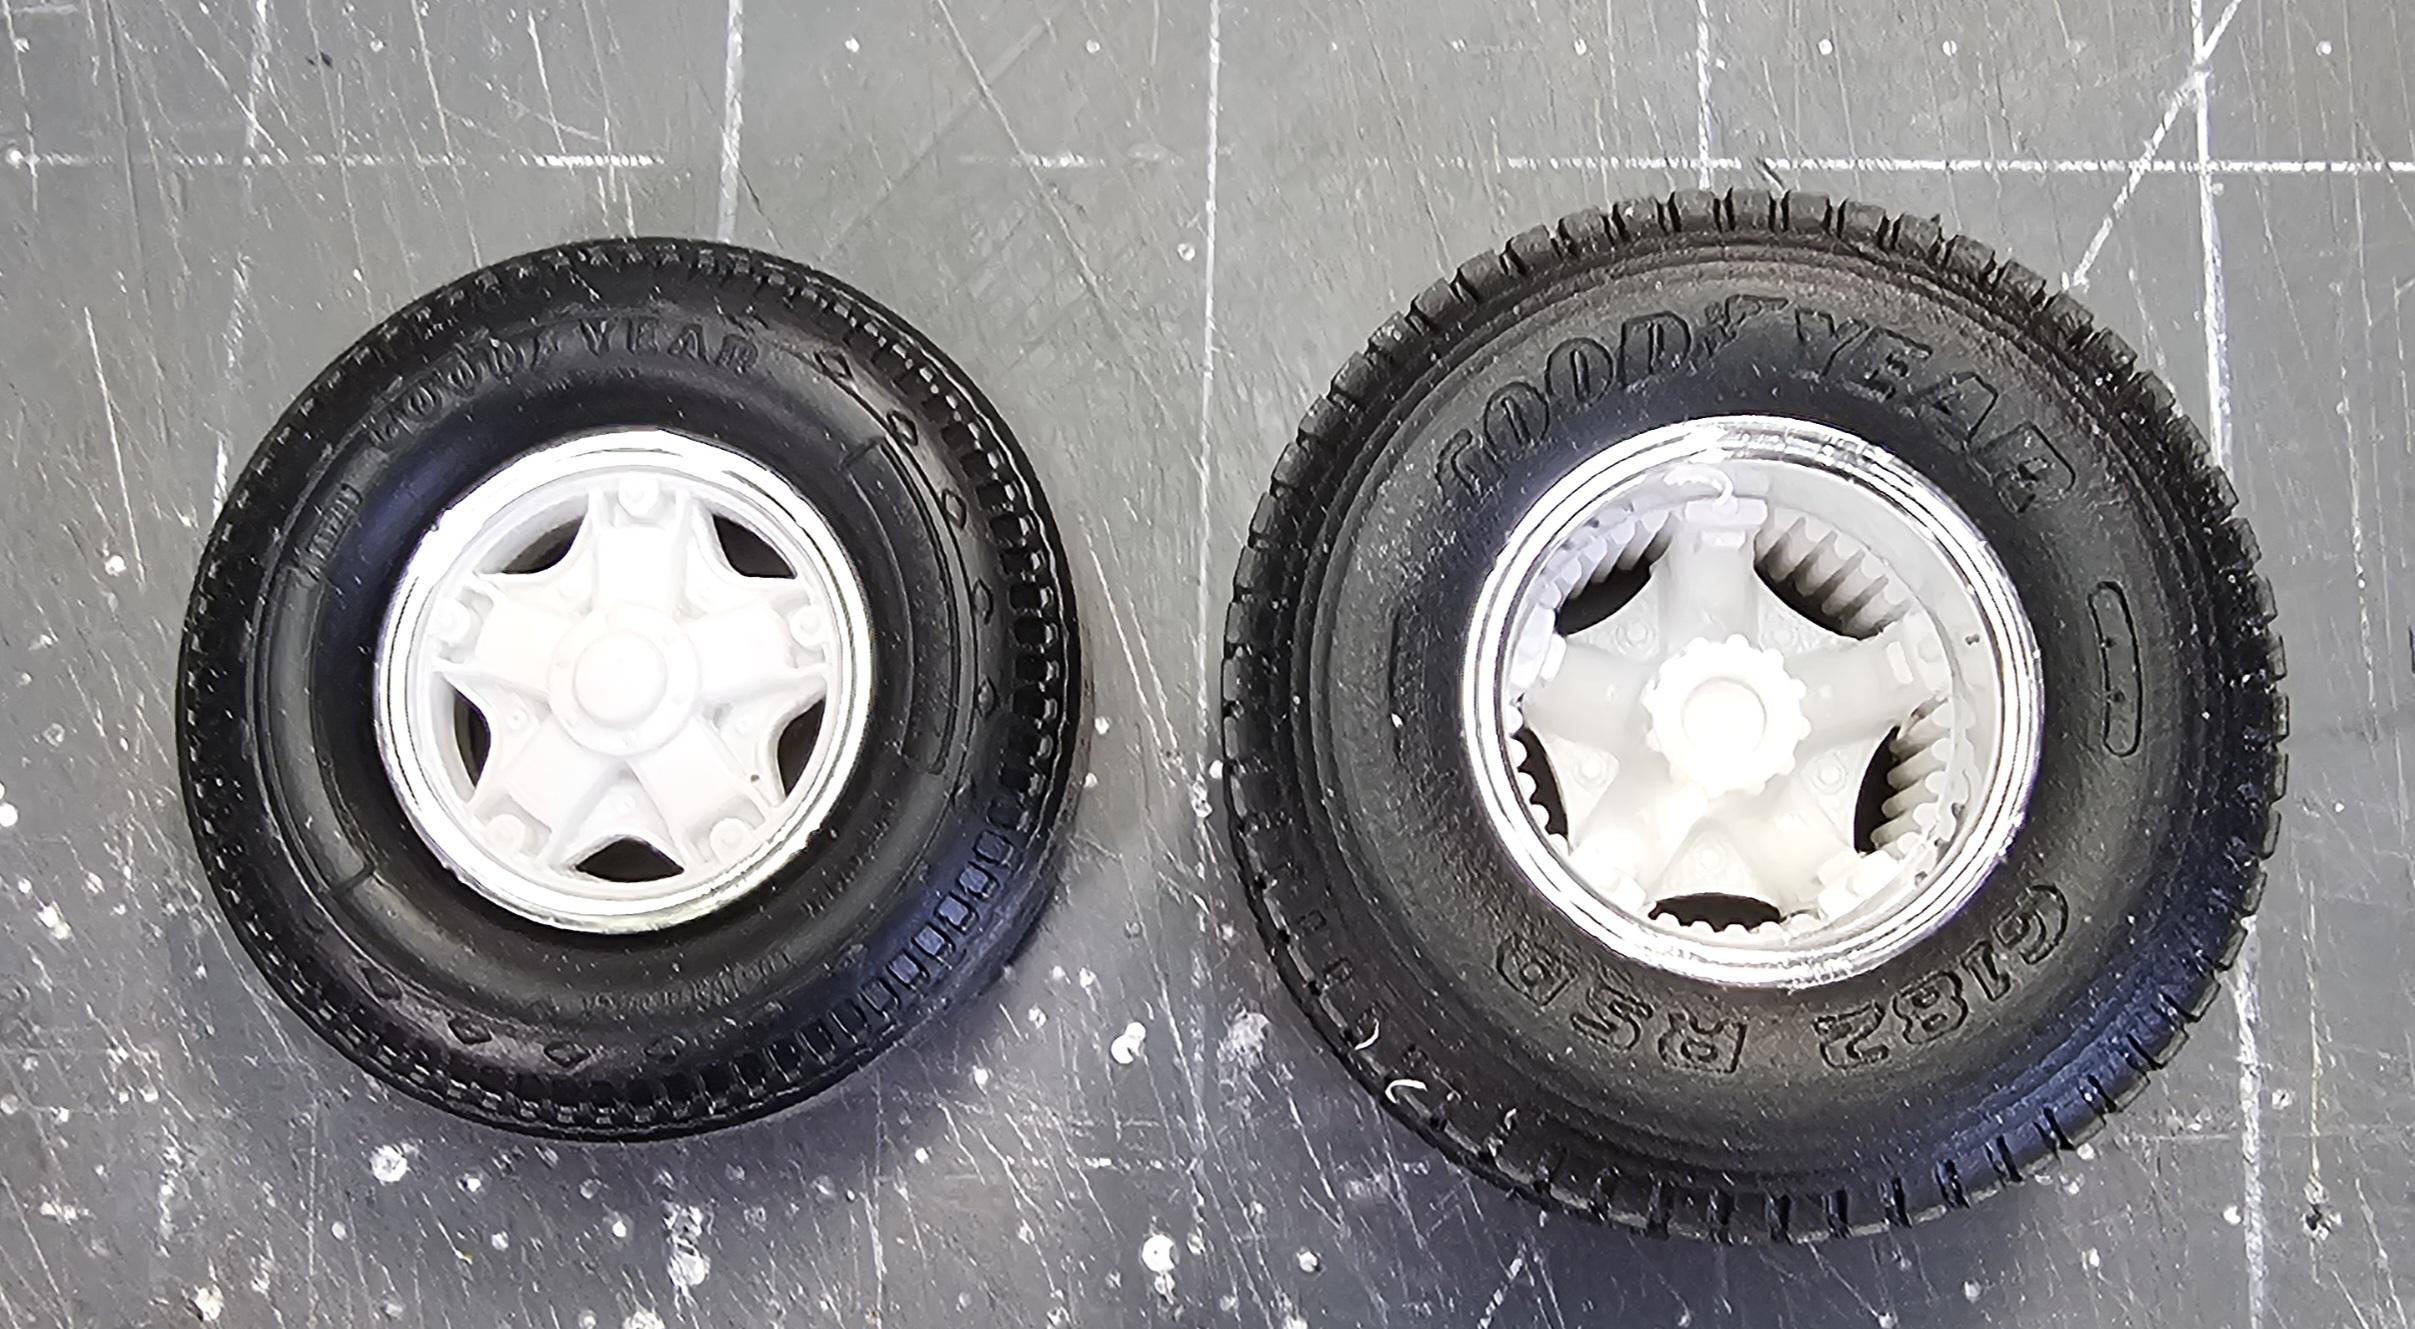
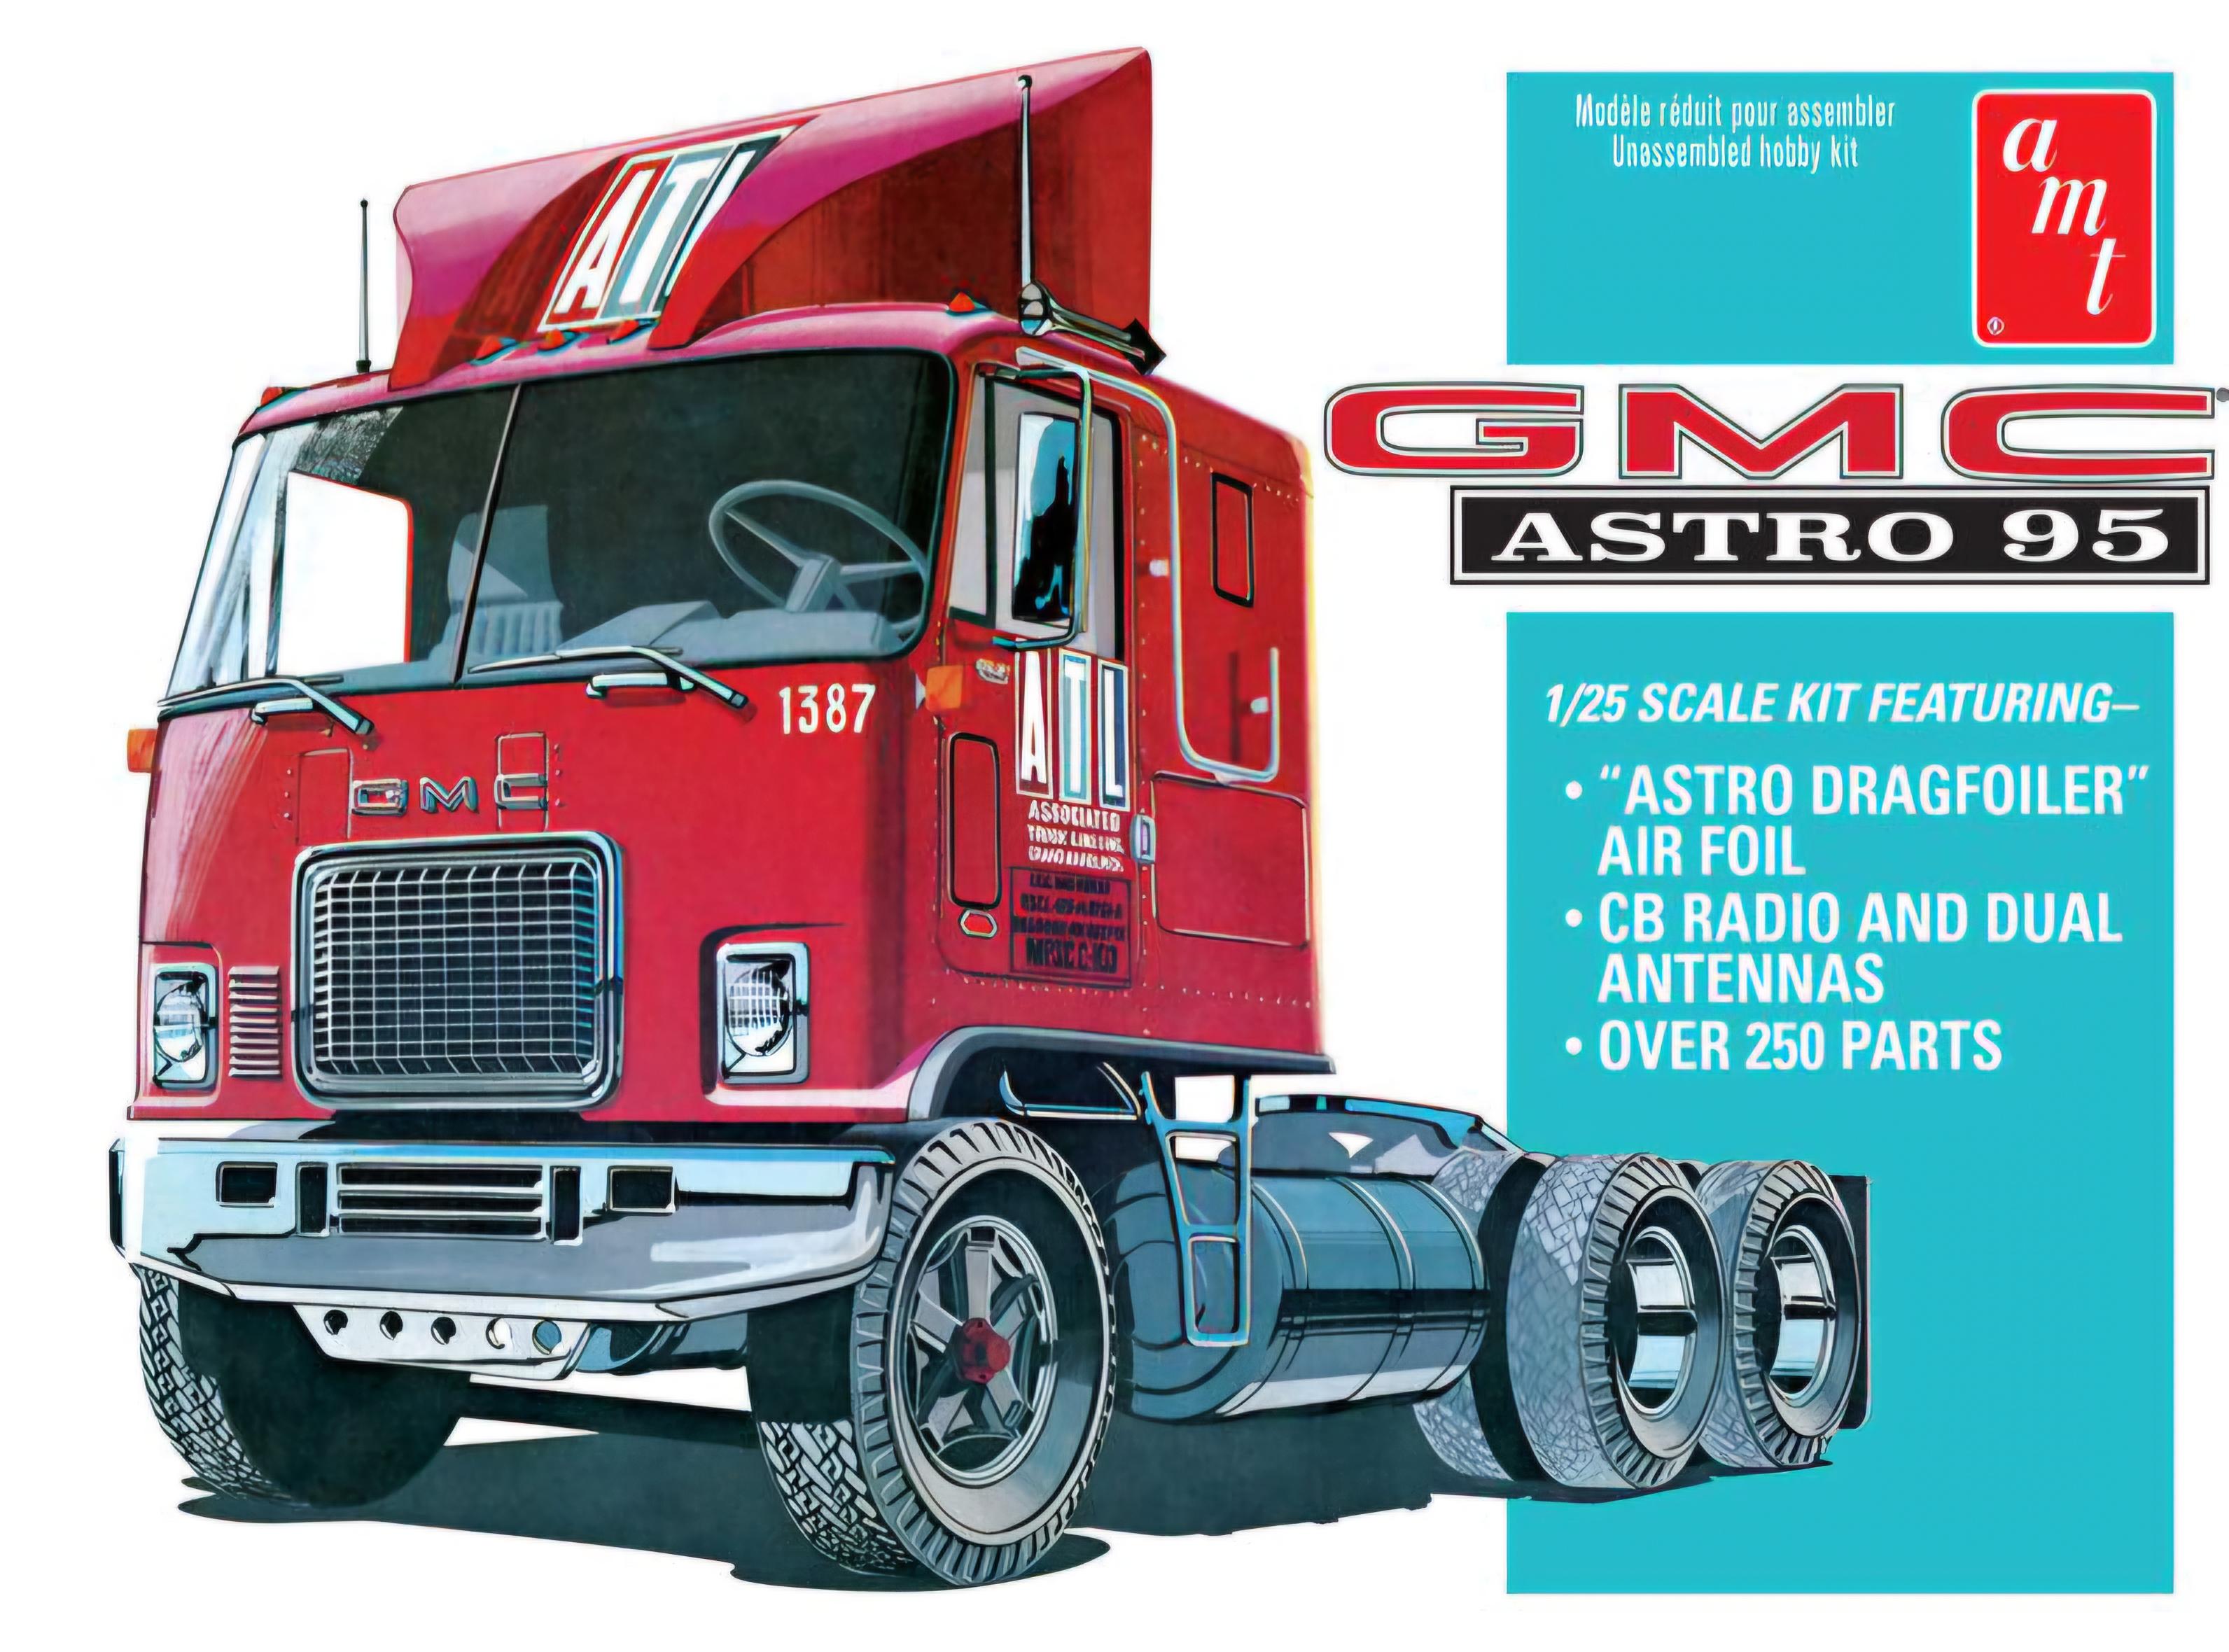
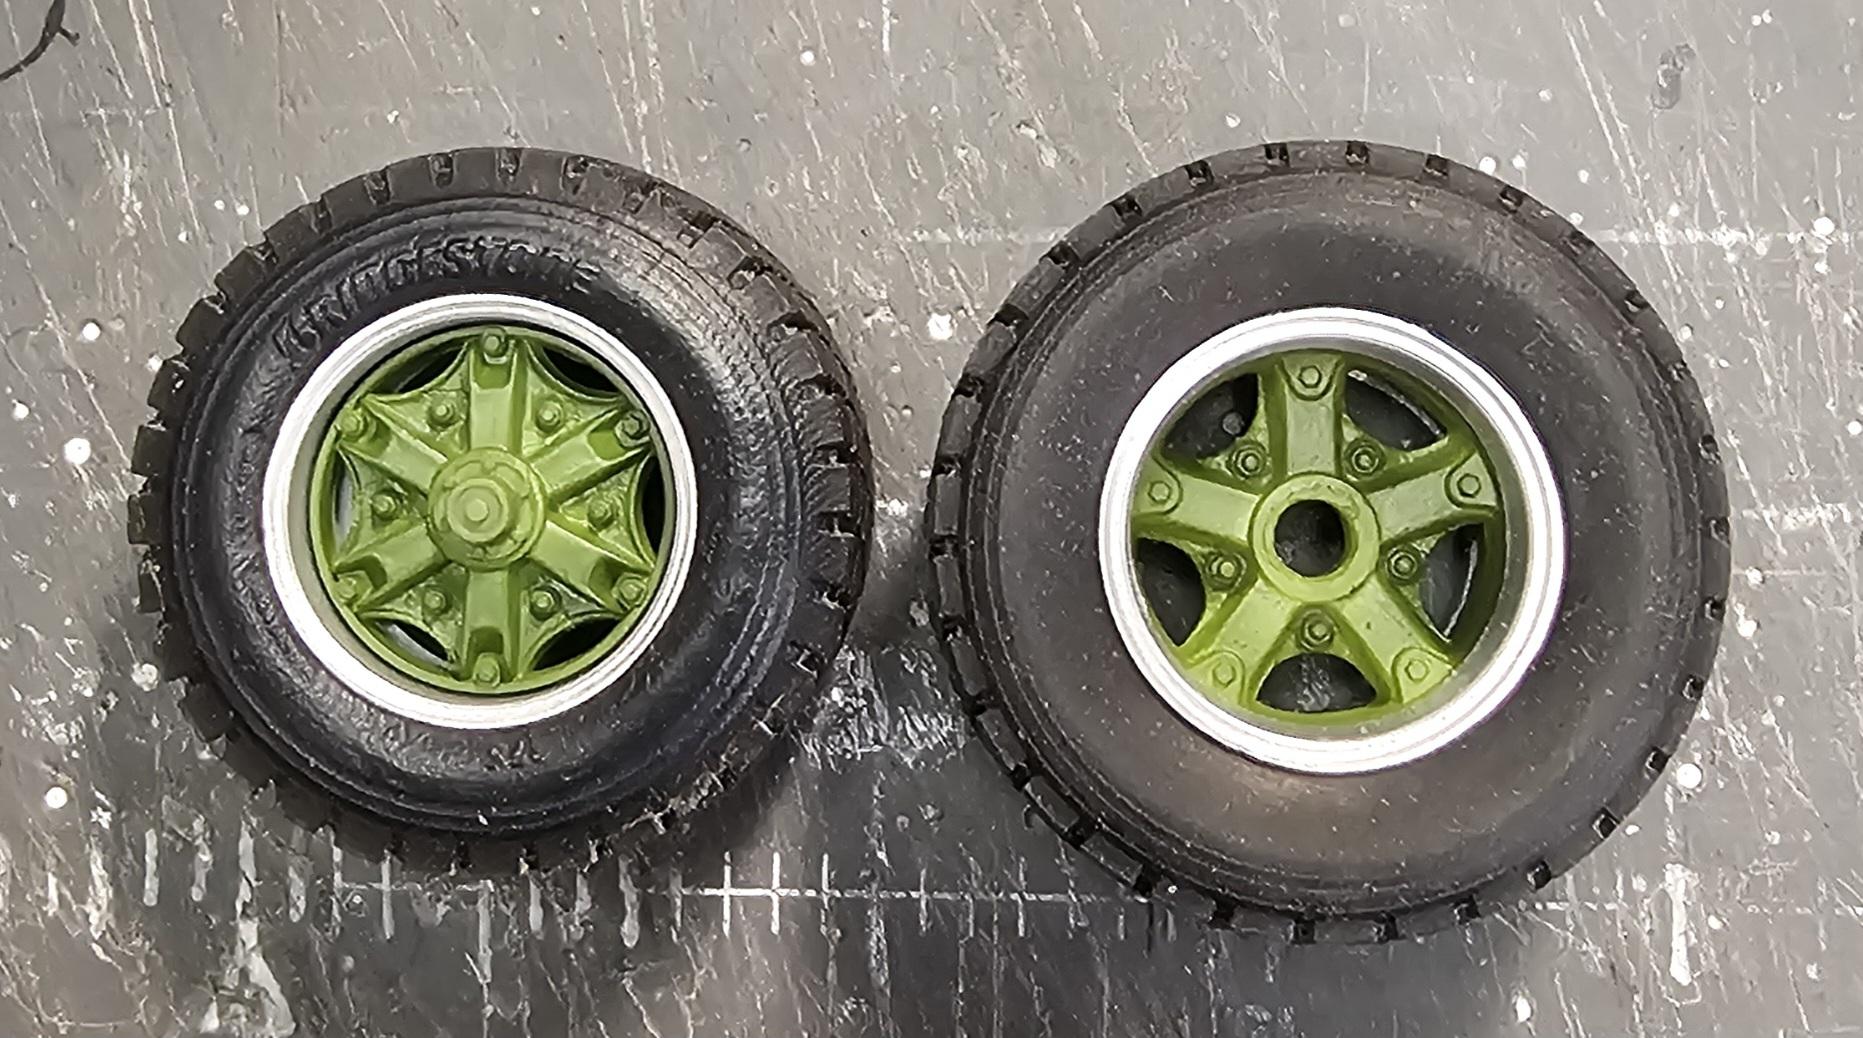
Hey all Like I said this is a future project. Back in 1980 I almost bought one of these to go out on my own O.O.😁👍 But, alas it didn't happen, so I'm going to recreate the truck I almost owned in miniature. It will be a Michelin double. A dual flatbed trailer set-up for hauling Suicide Coils. Right know I'm collecting the things I will need to complete this build. I need two to three AMT Fruehauf flatbed trailer kits, an extra fifth wheel, load binders, etc. I have the Astro 95 kit, a resin DD 8V92T, the materials I need to make the steel coil loads (steel grey craft paper) to simulate the rolled steel coils. This view shows the overall concept of the whole rig. This view shows the truck. This view shows the wheels and tires. Another view of the wheels and tires. This is the kit I have. This is the Auslowe resin D.D. 8V-92T. It will be awhile before I start on this I'm still working on the Autocar, plus everything else I have going on. I'll be back with more soon. Ron G
-
Mack B-61 Dump Body
ShakyCraftsman replied to Scott Eriksen's topic in WIP: Model Trucks: Big Rigs and Heavy Equipment
WOWZZERS! Scott thats sweet. Ron G -
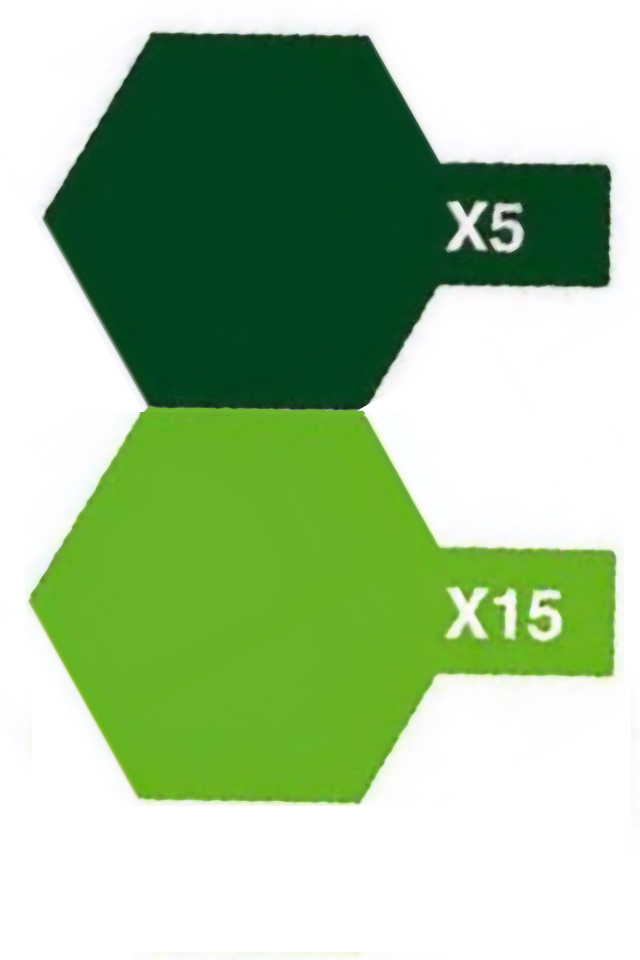
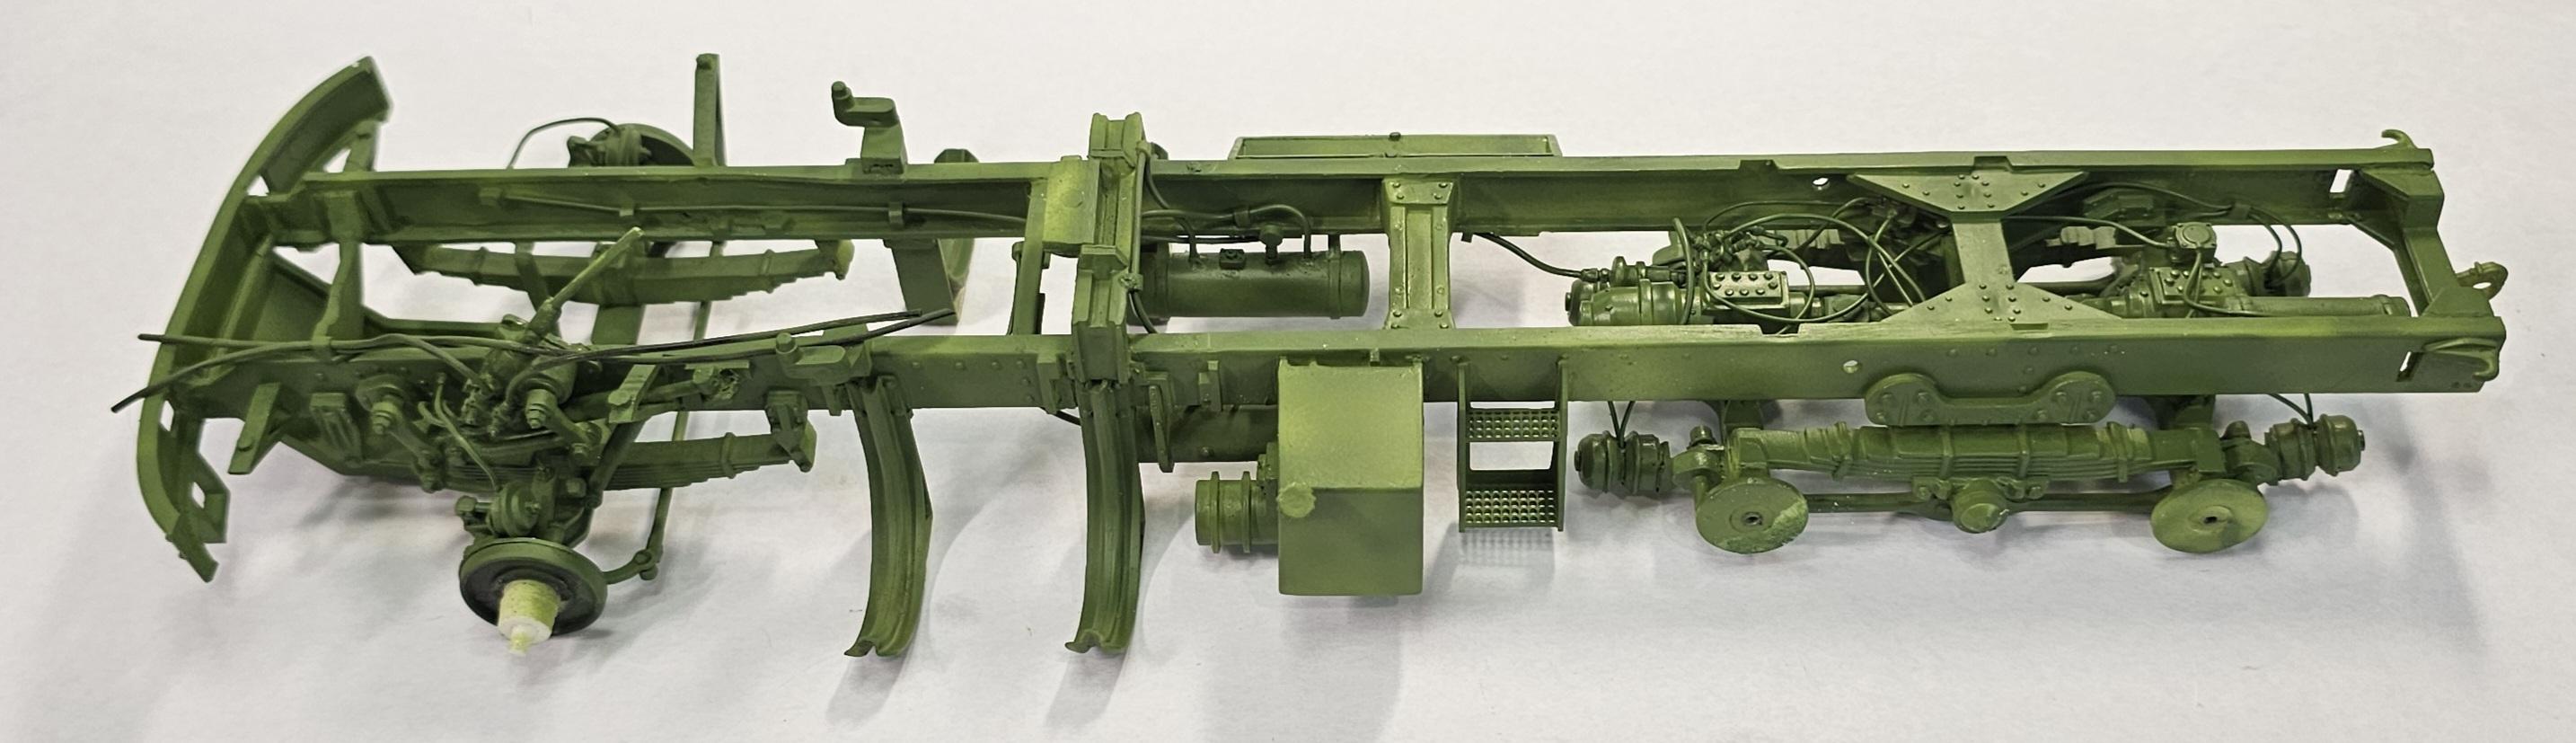
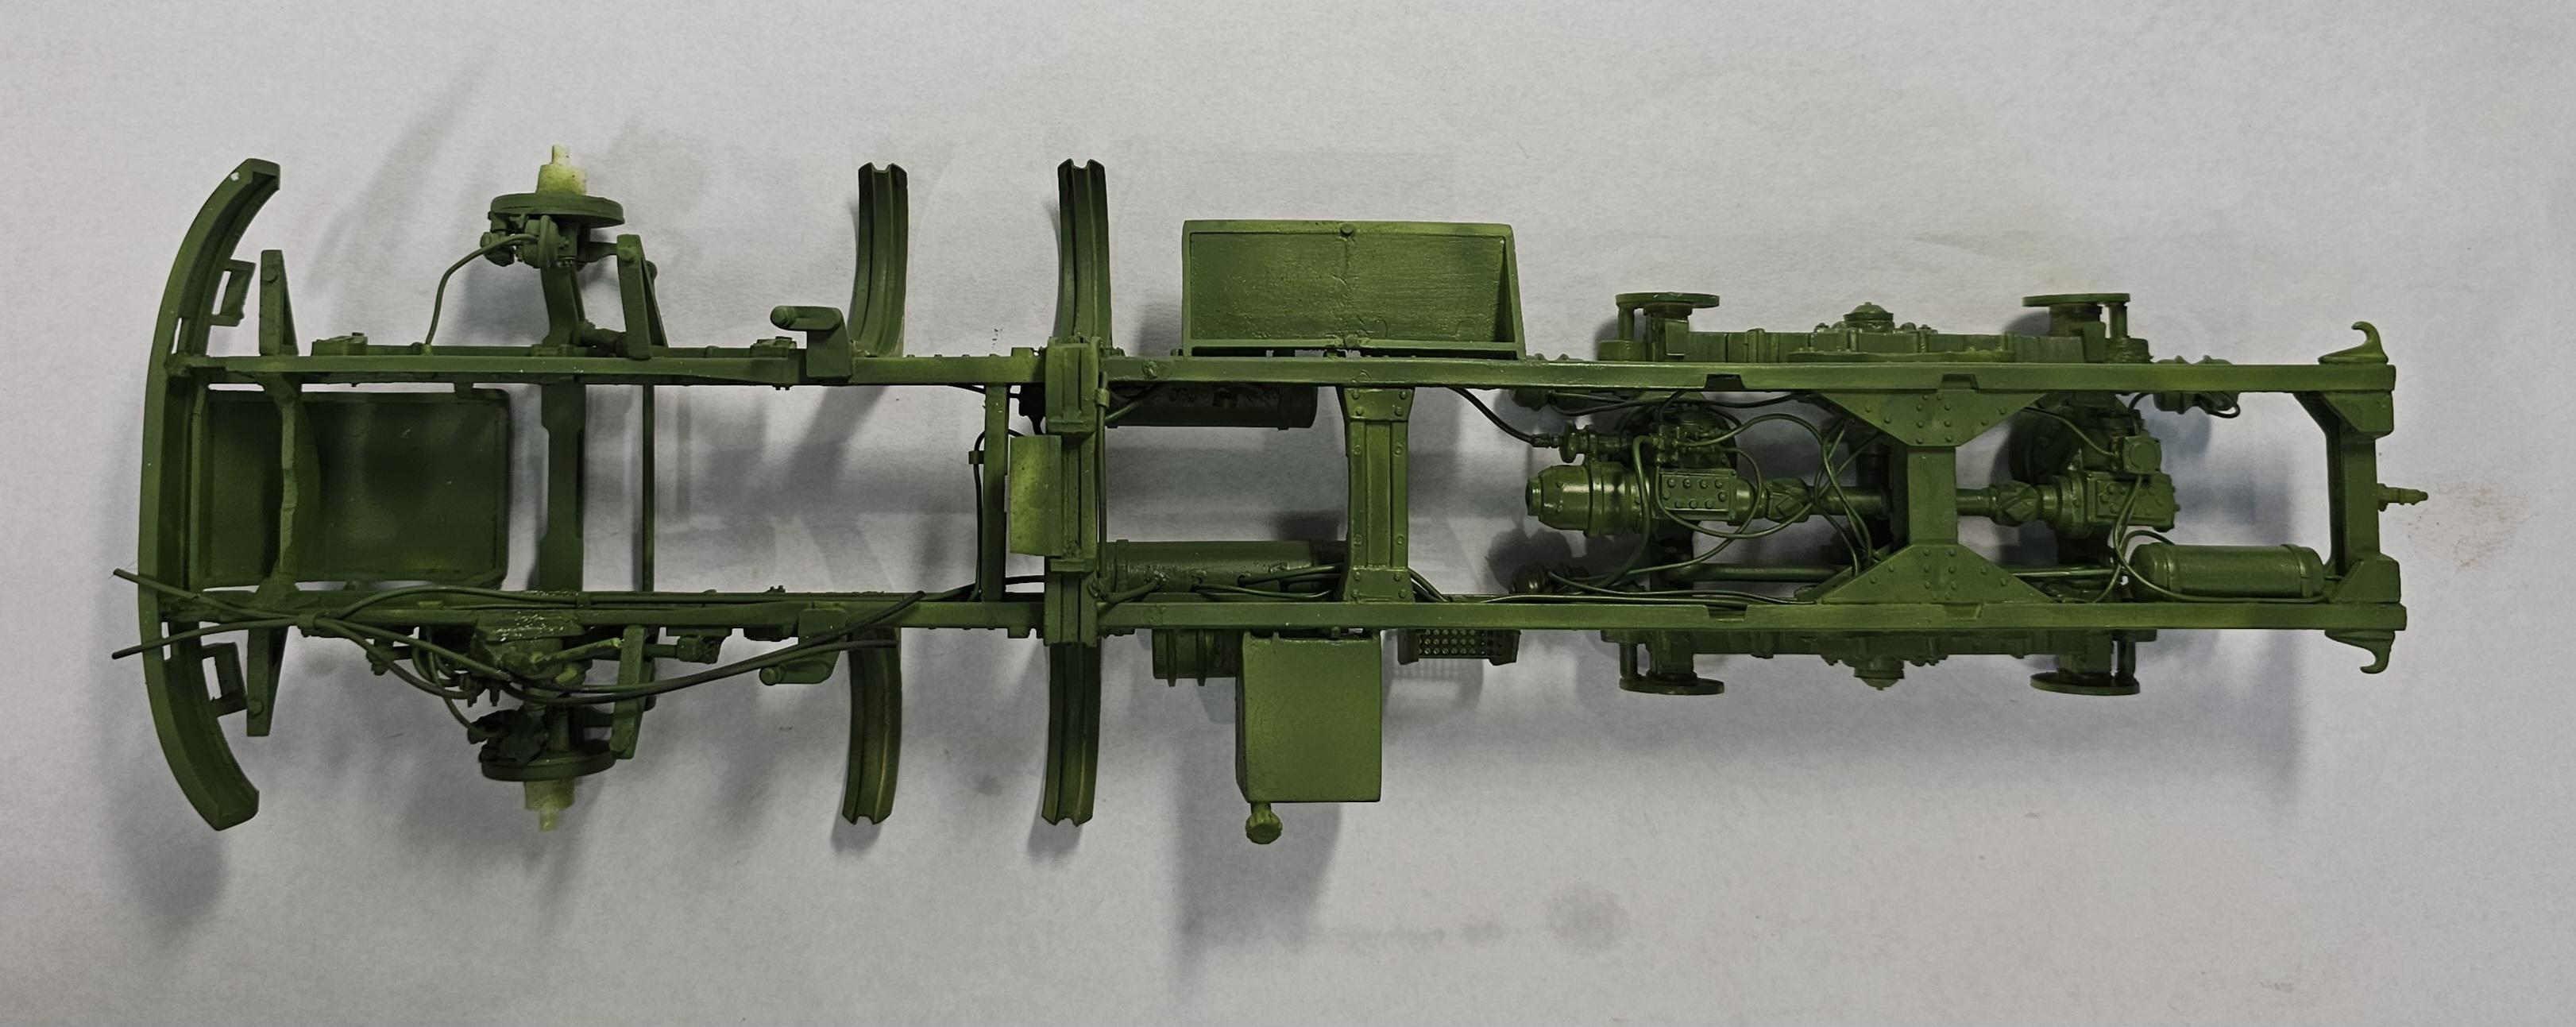
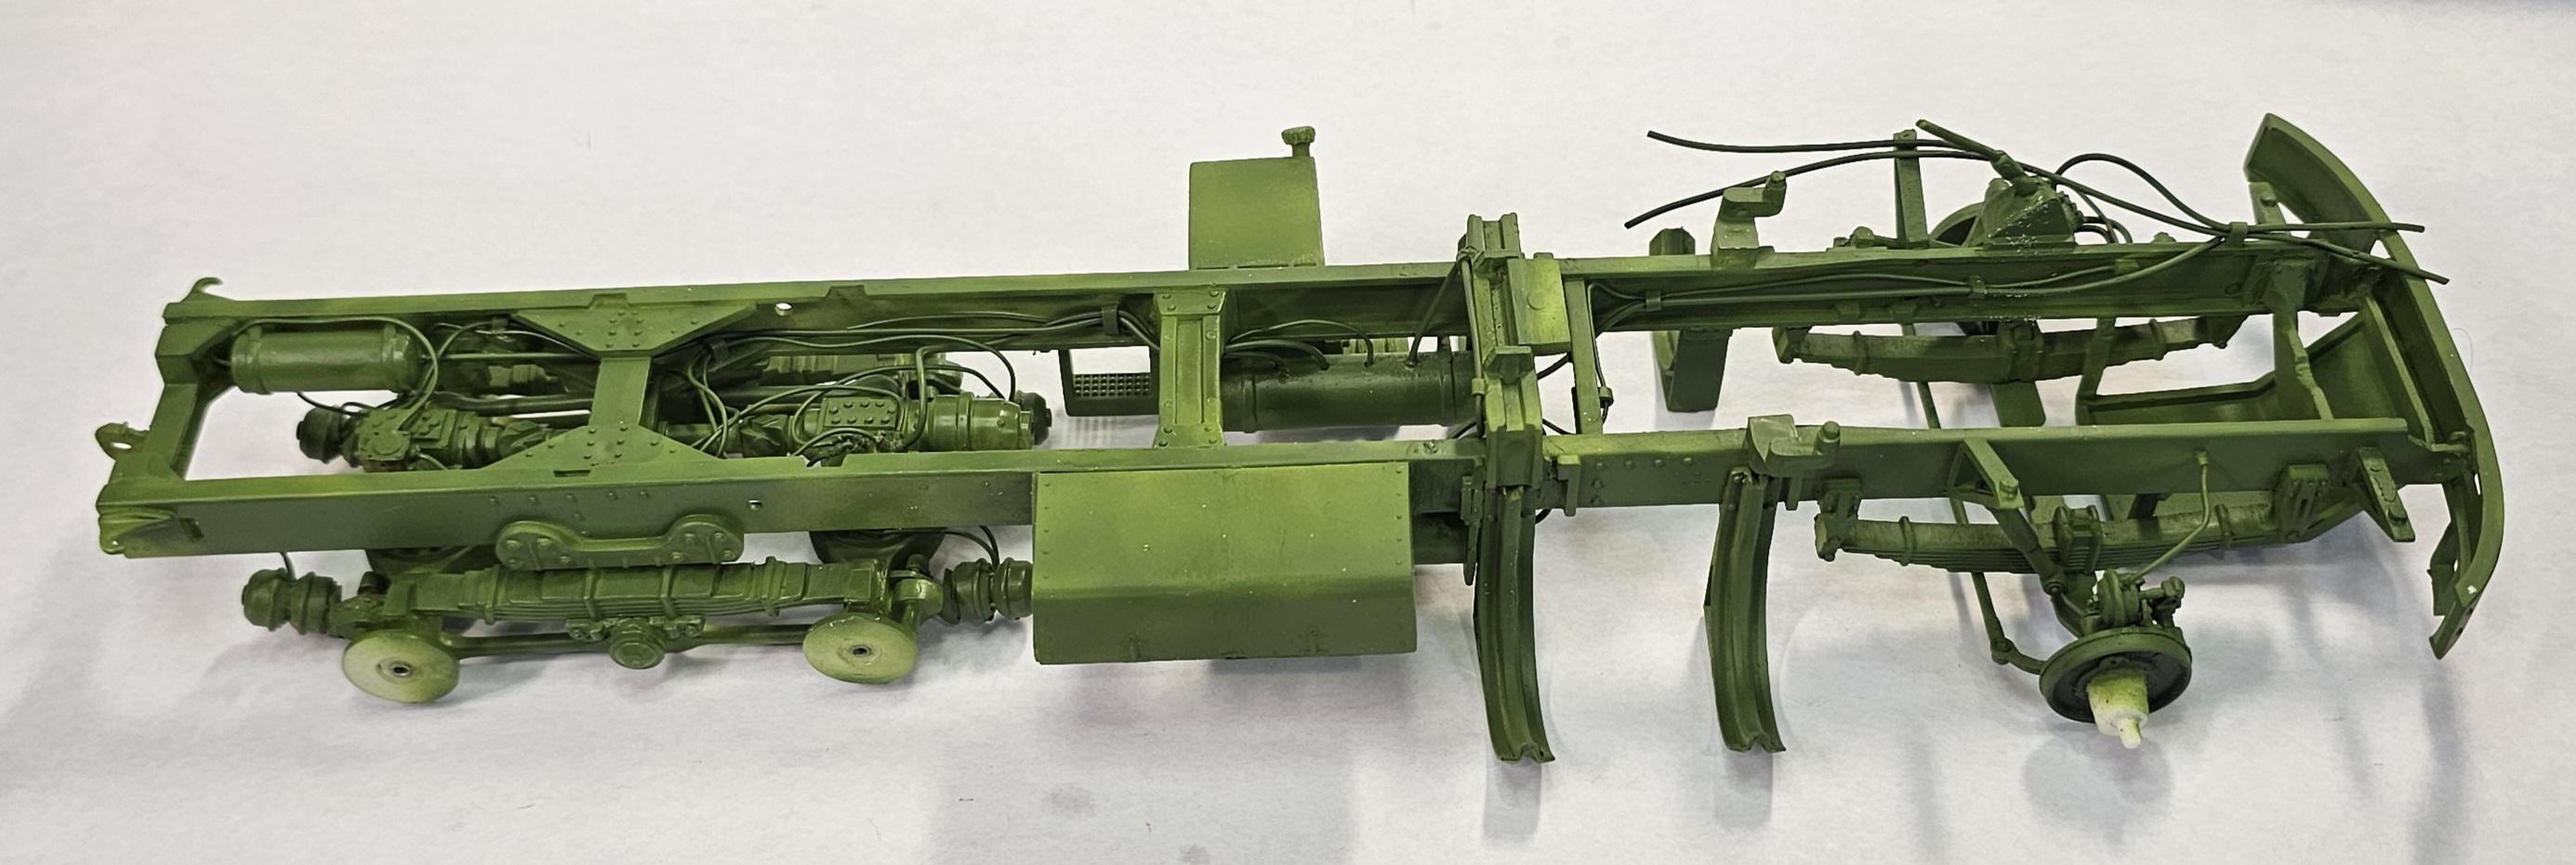
Thanks Brian It's just the primer the final color will be Tamiya X15 light green for frame and wheels a d X5 for cab and hood. Ron G
-
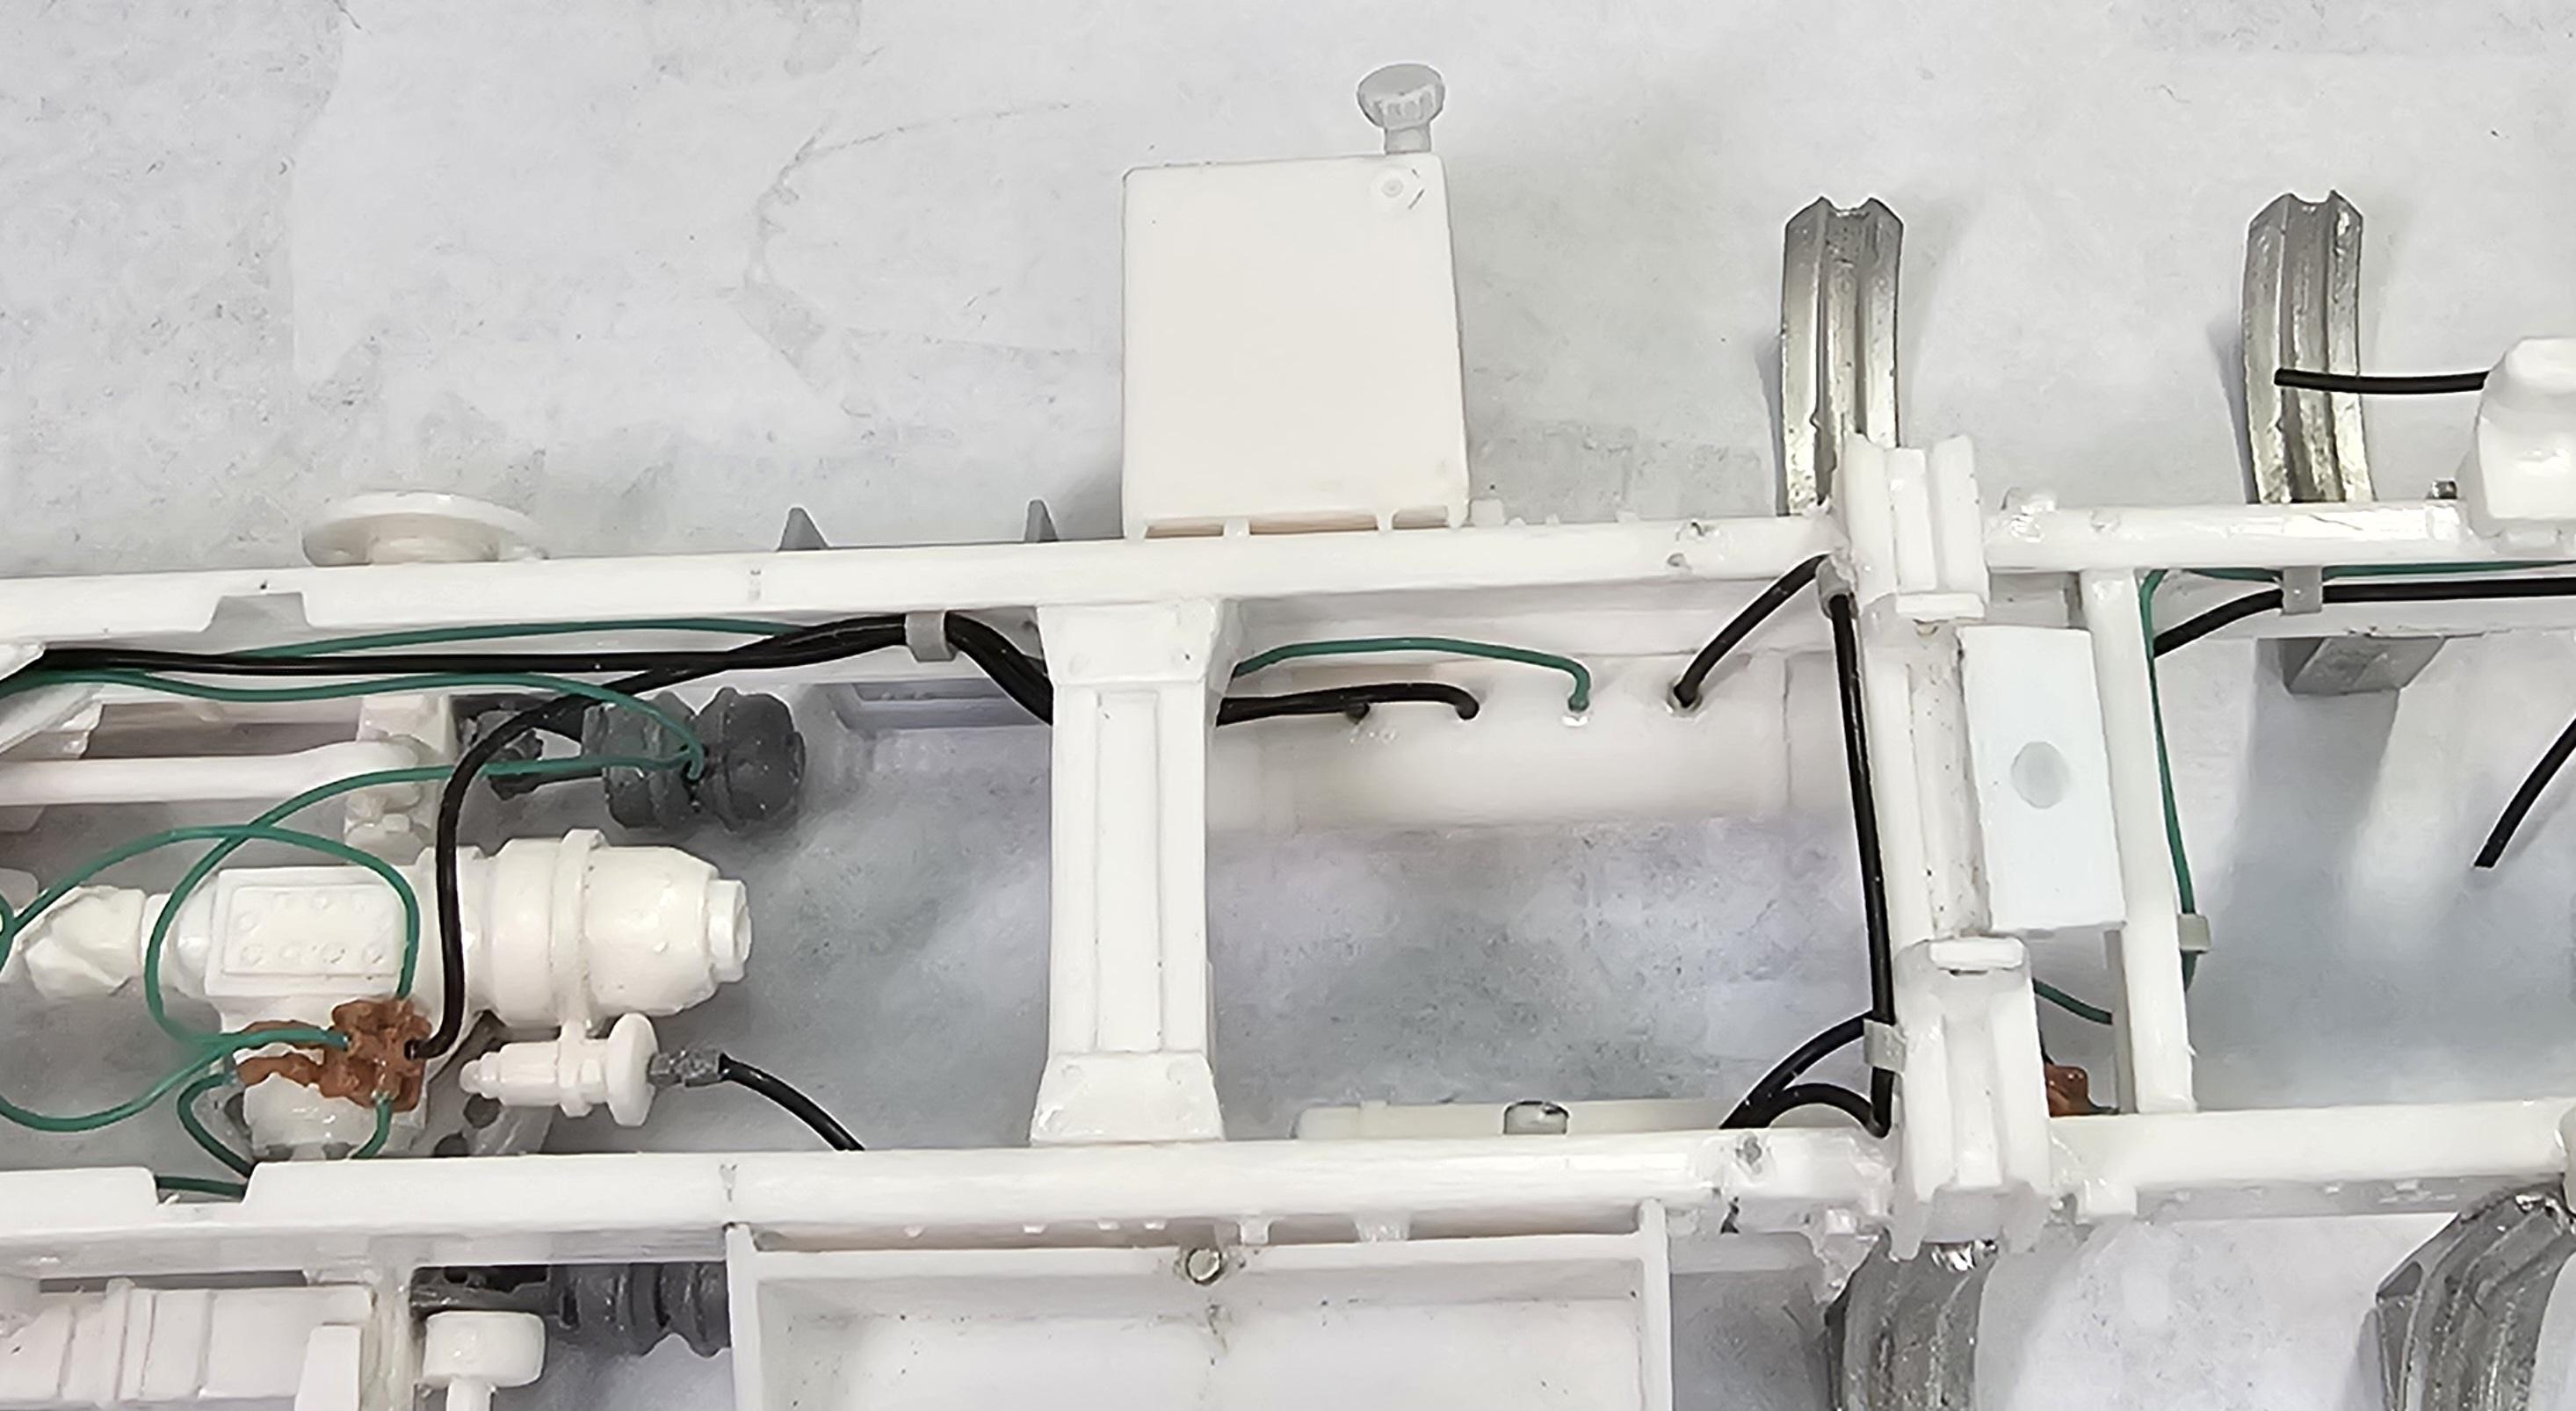
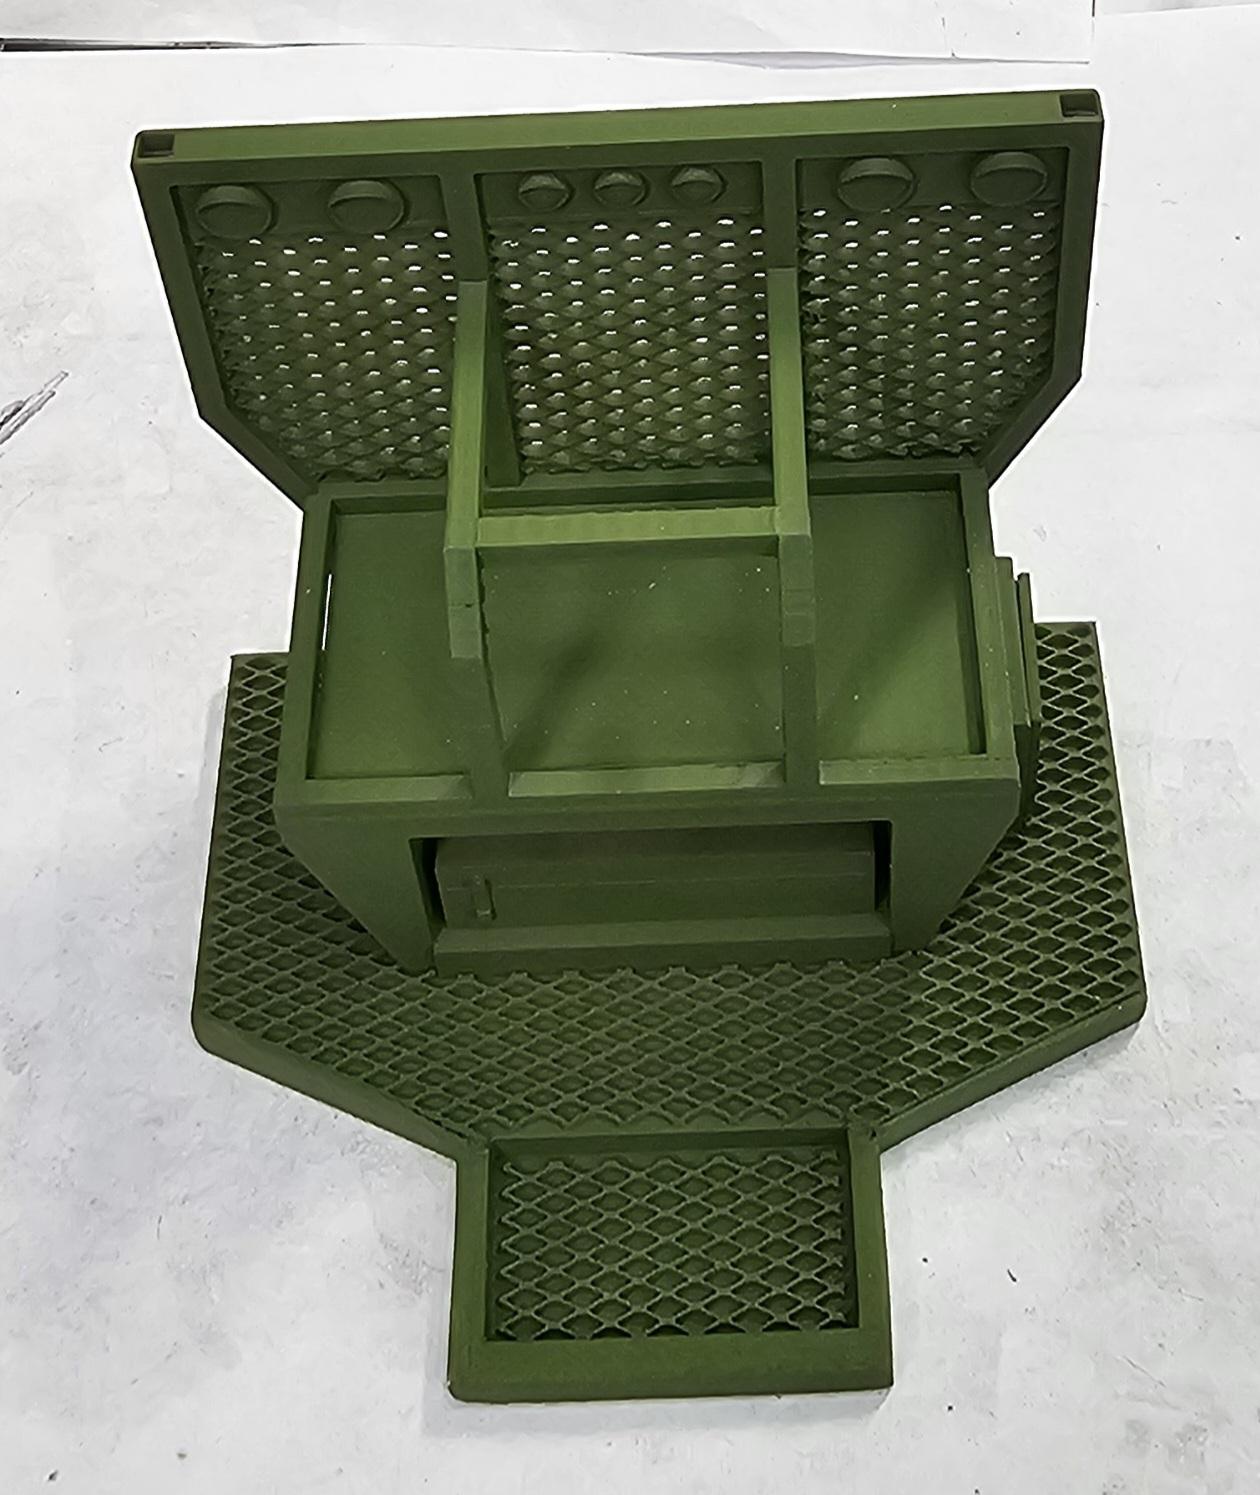
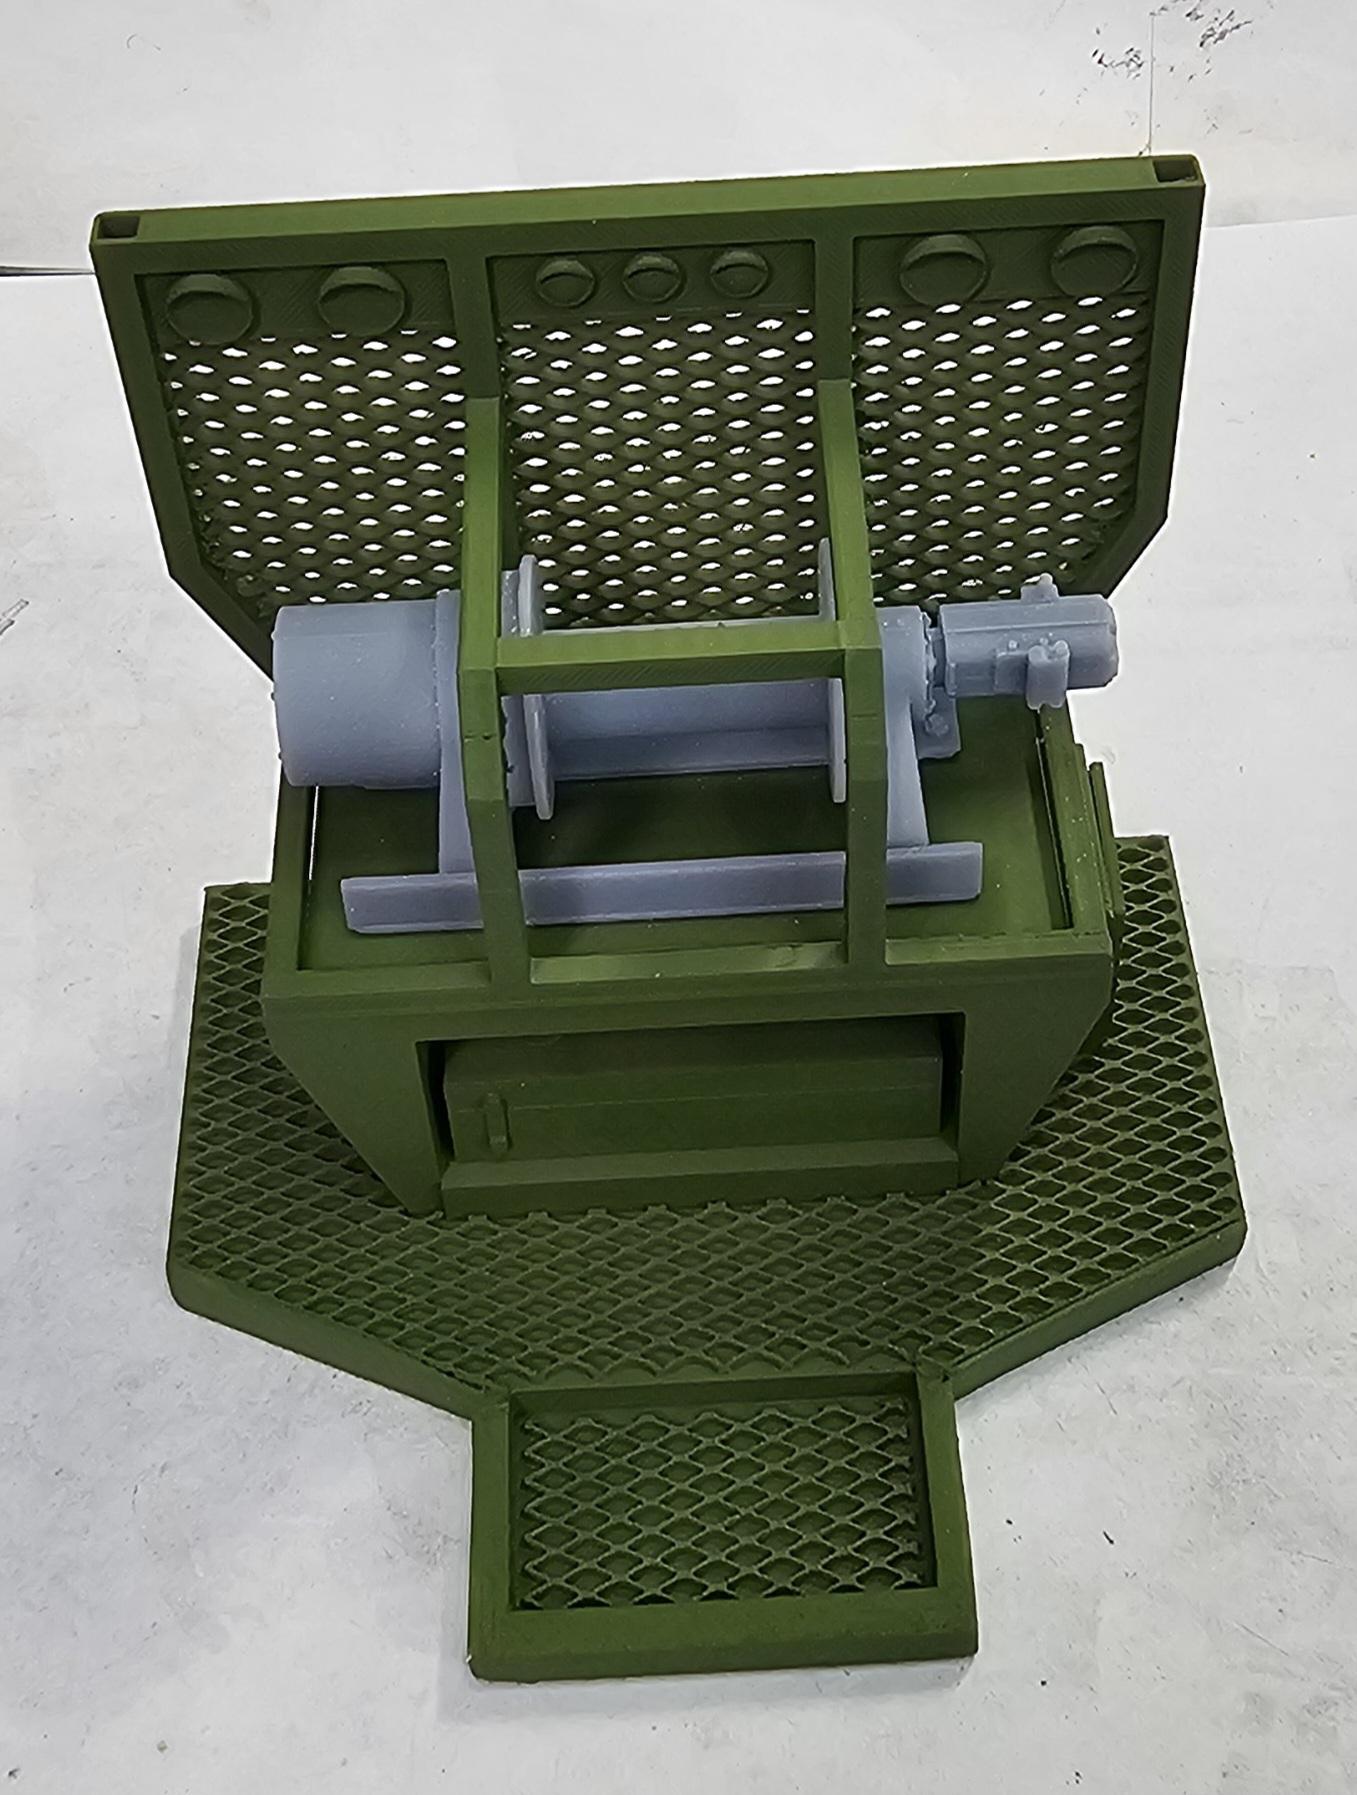
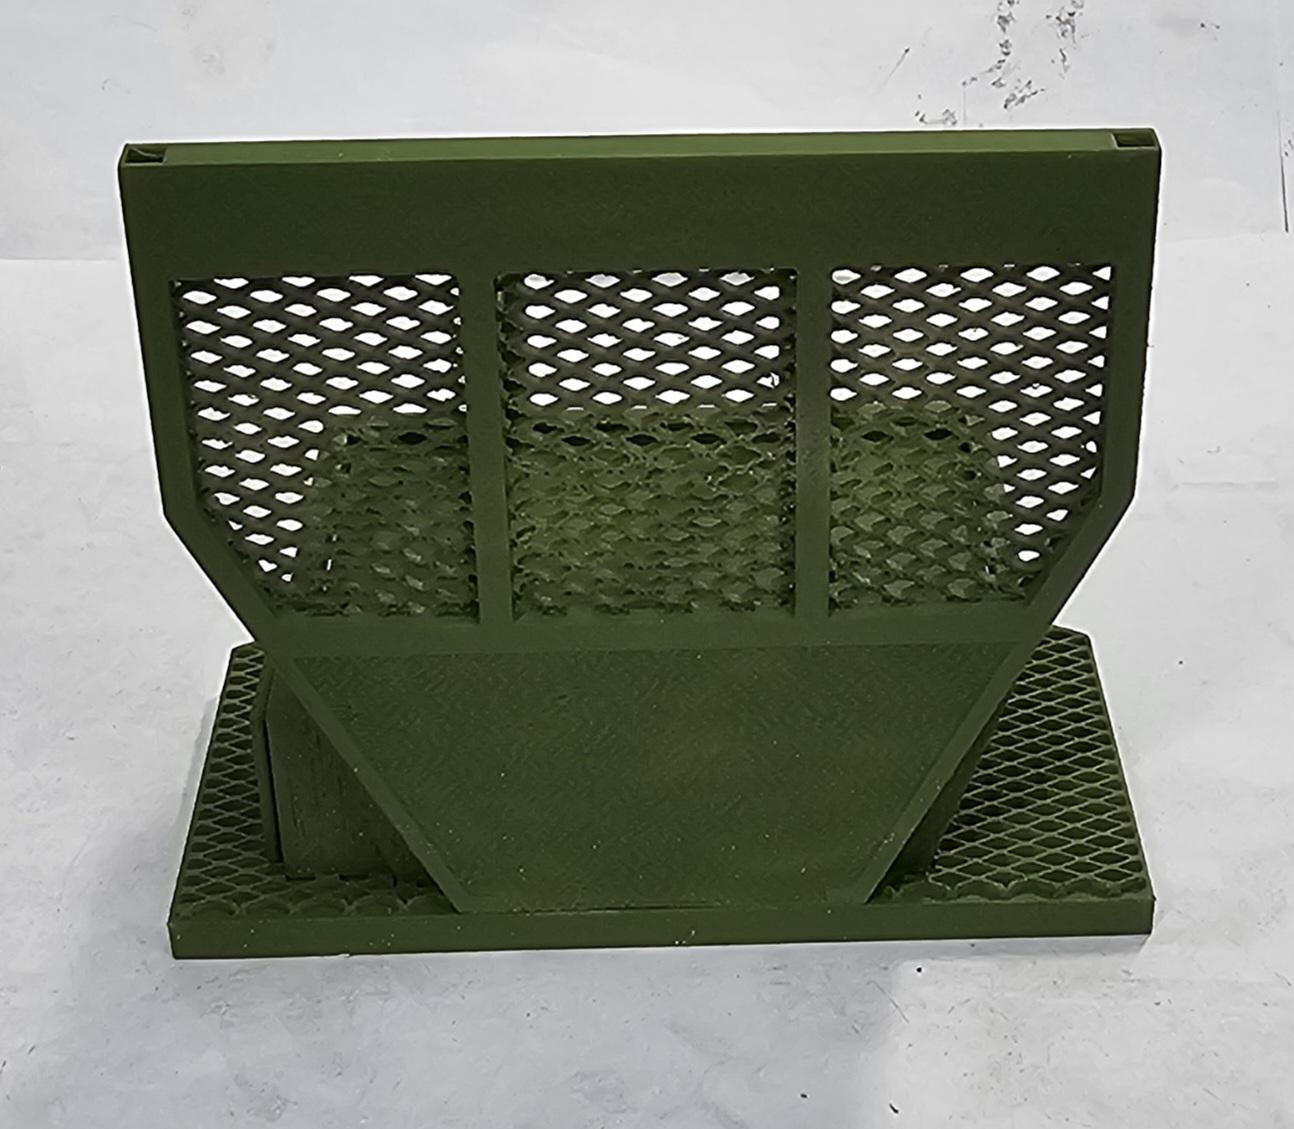
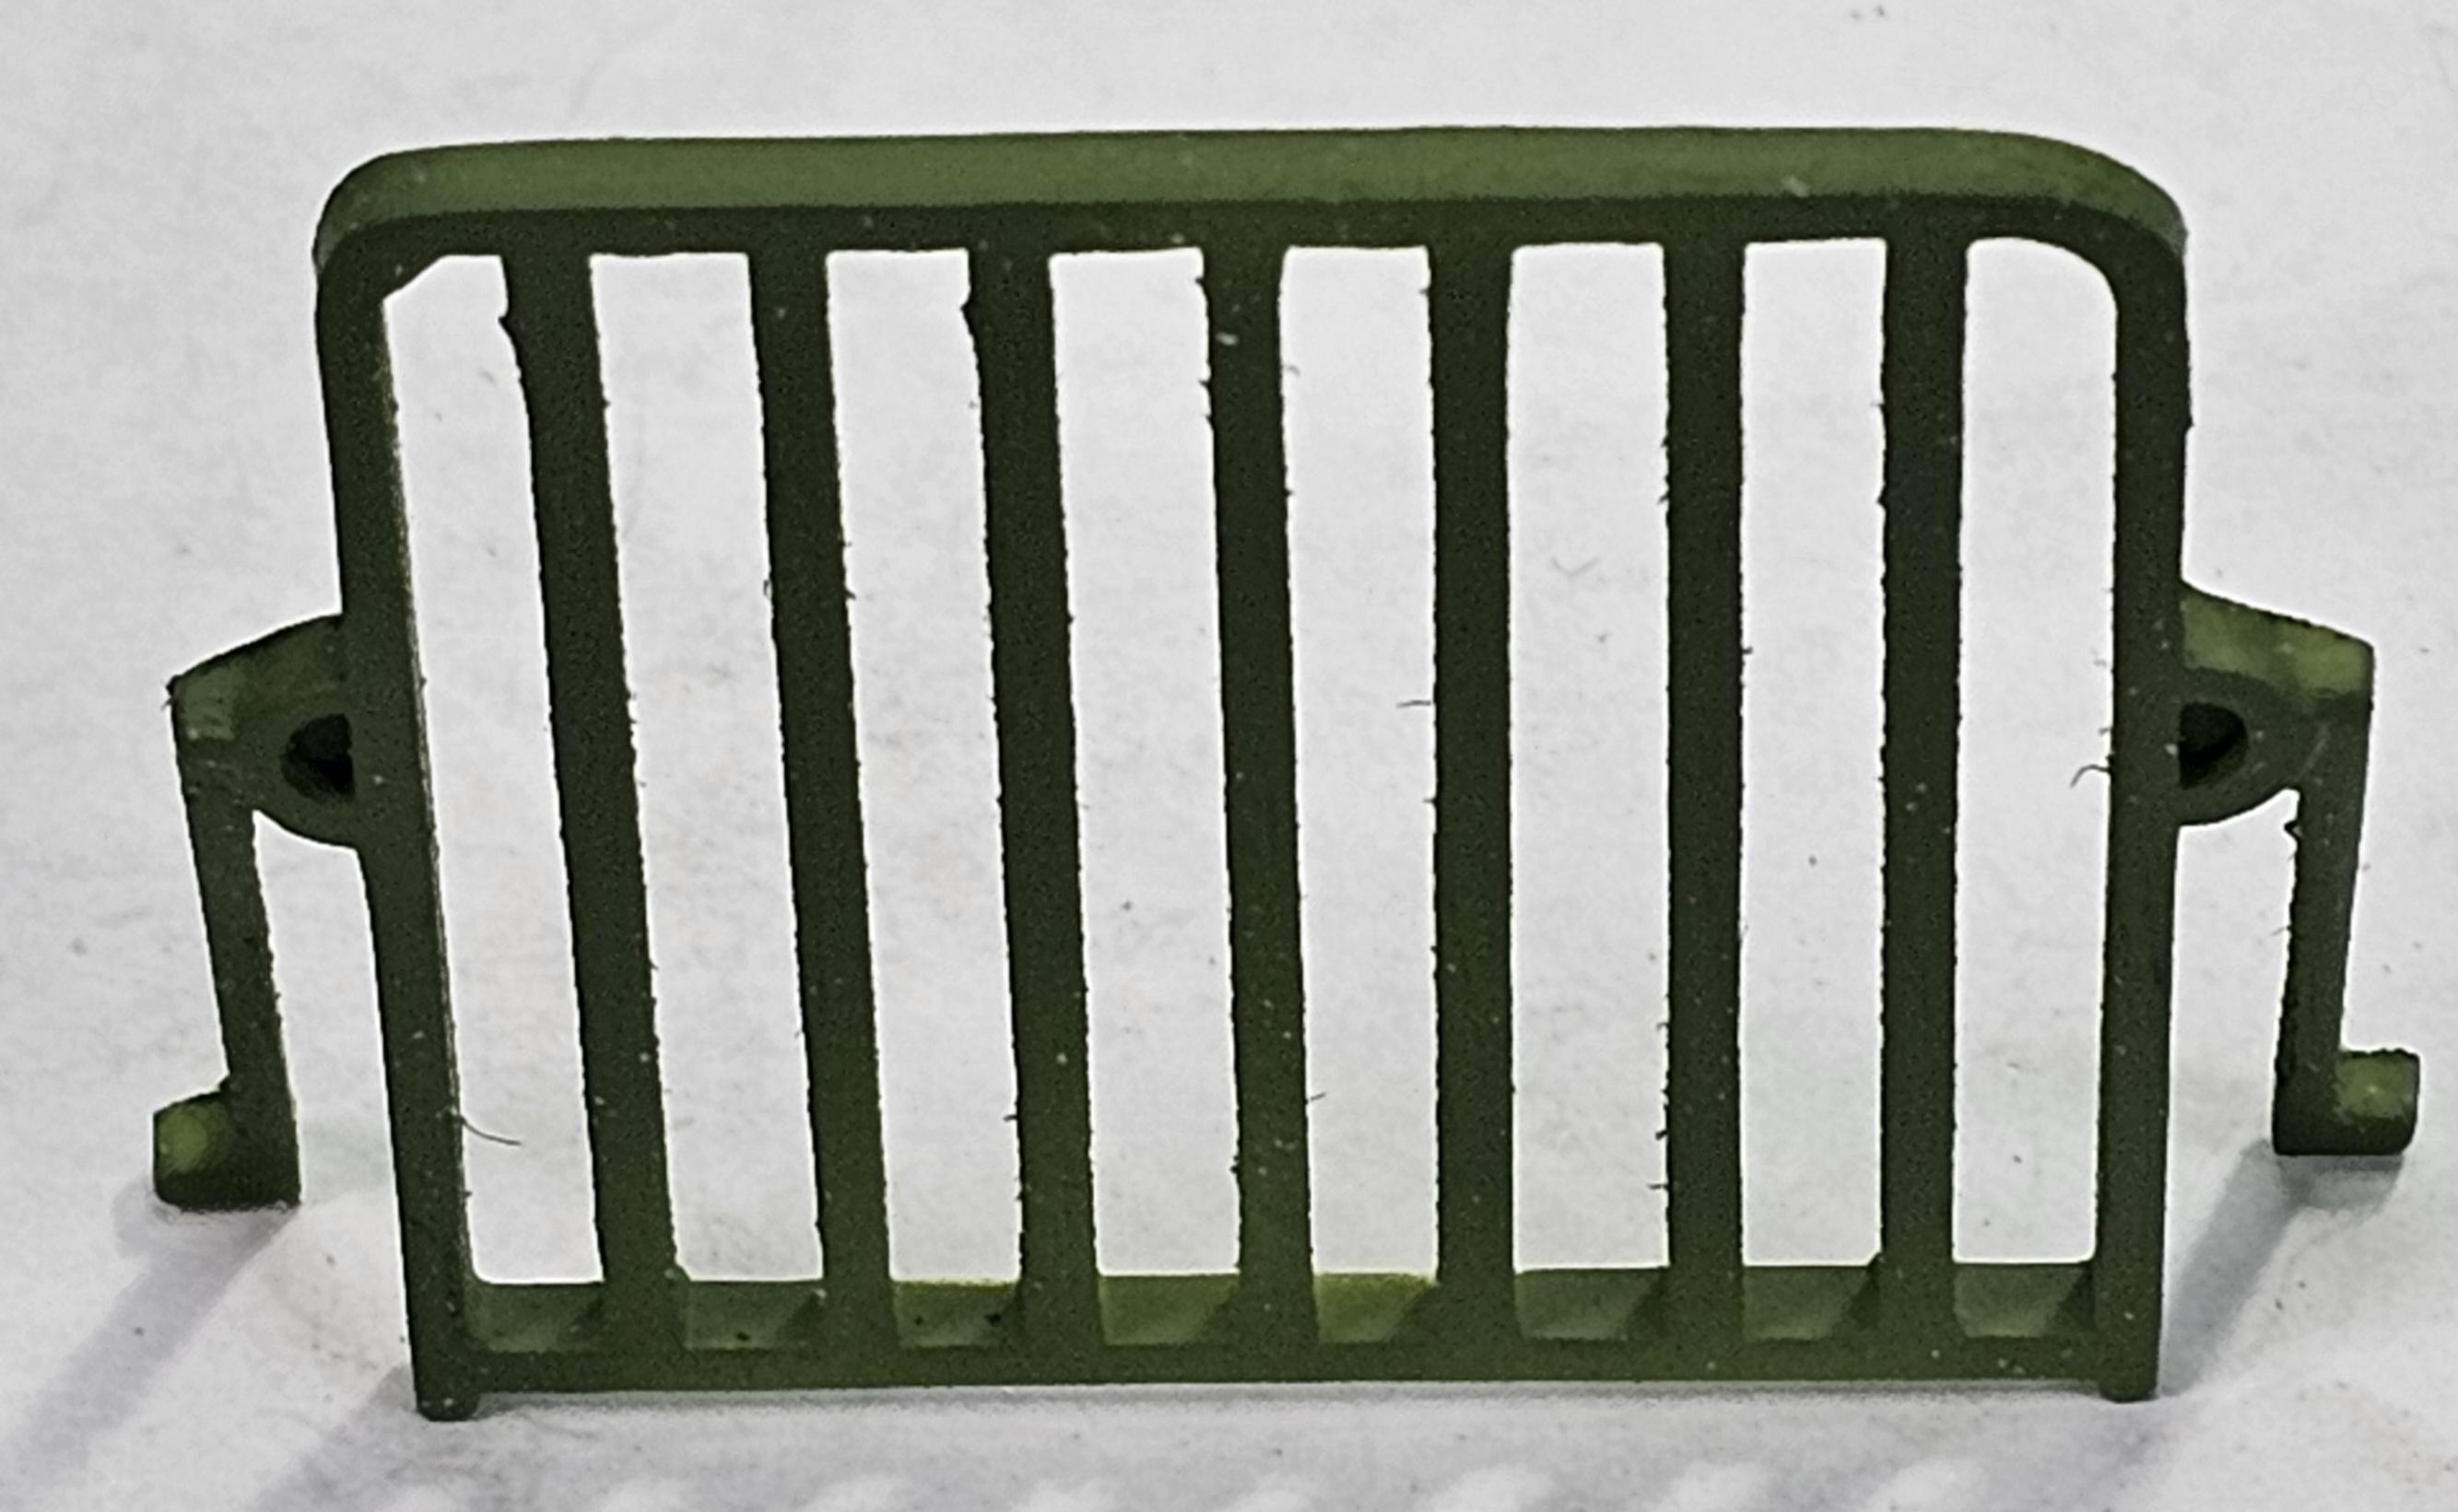
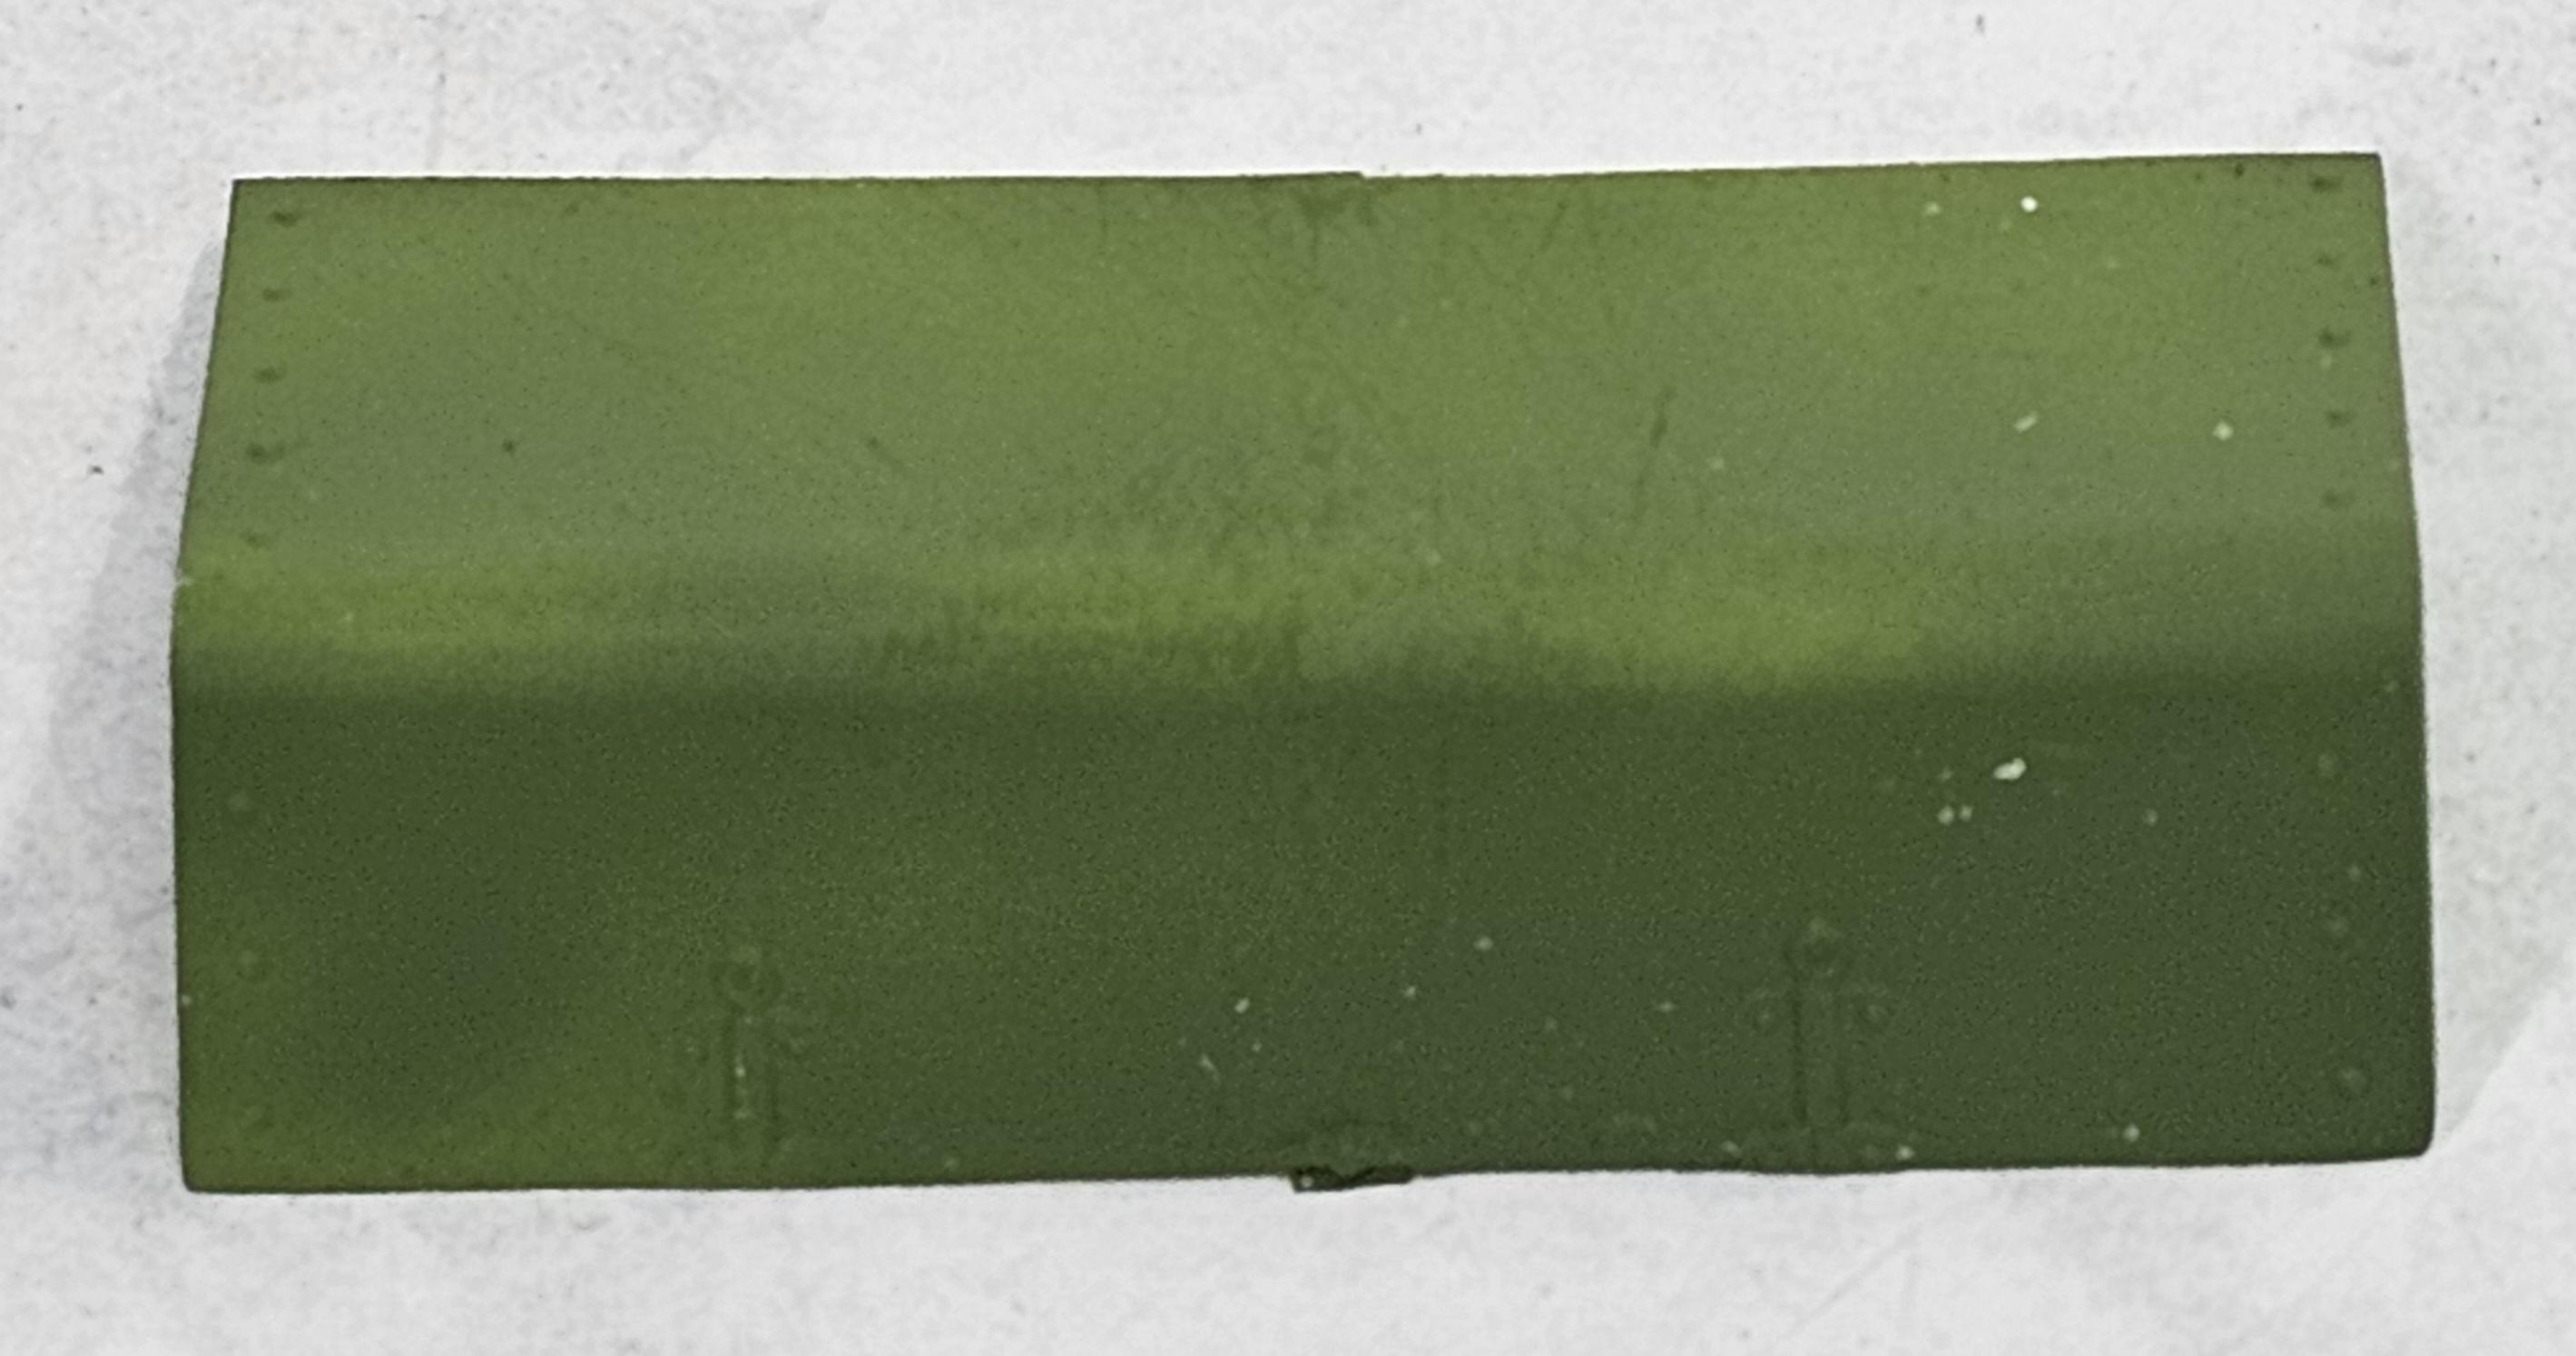
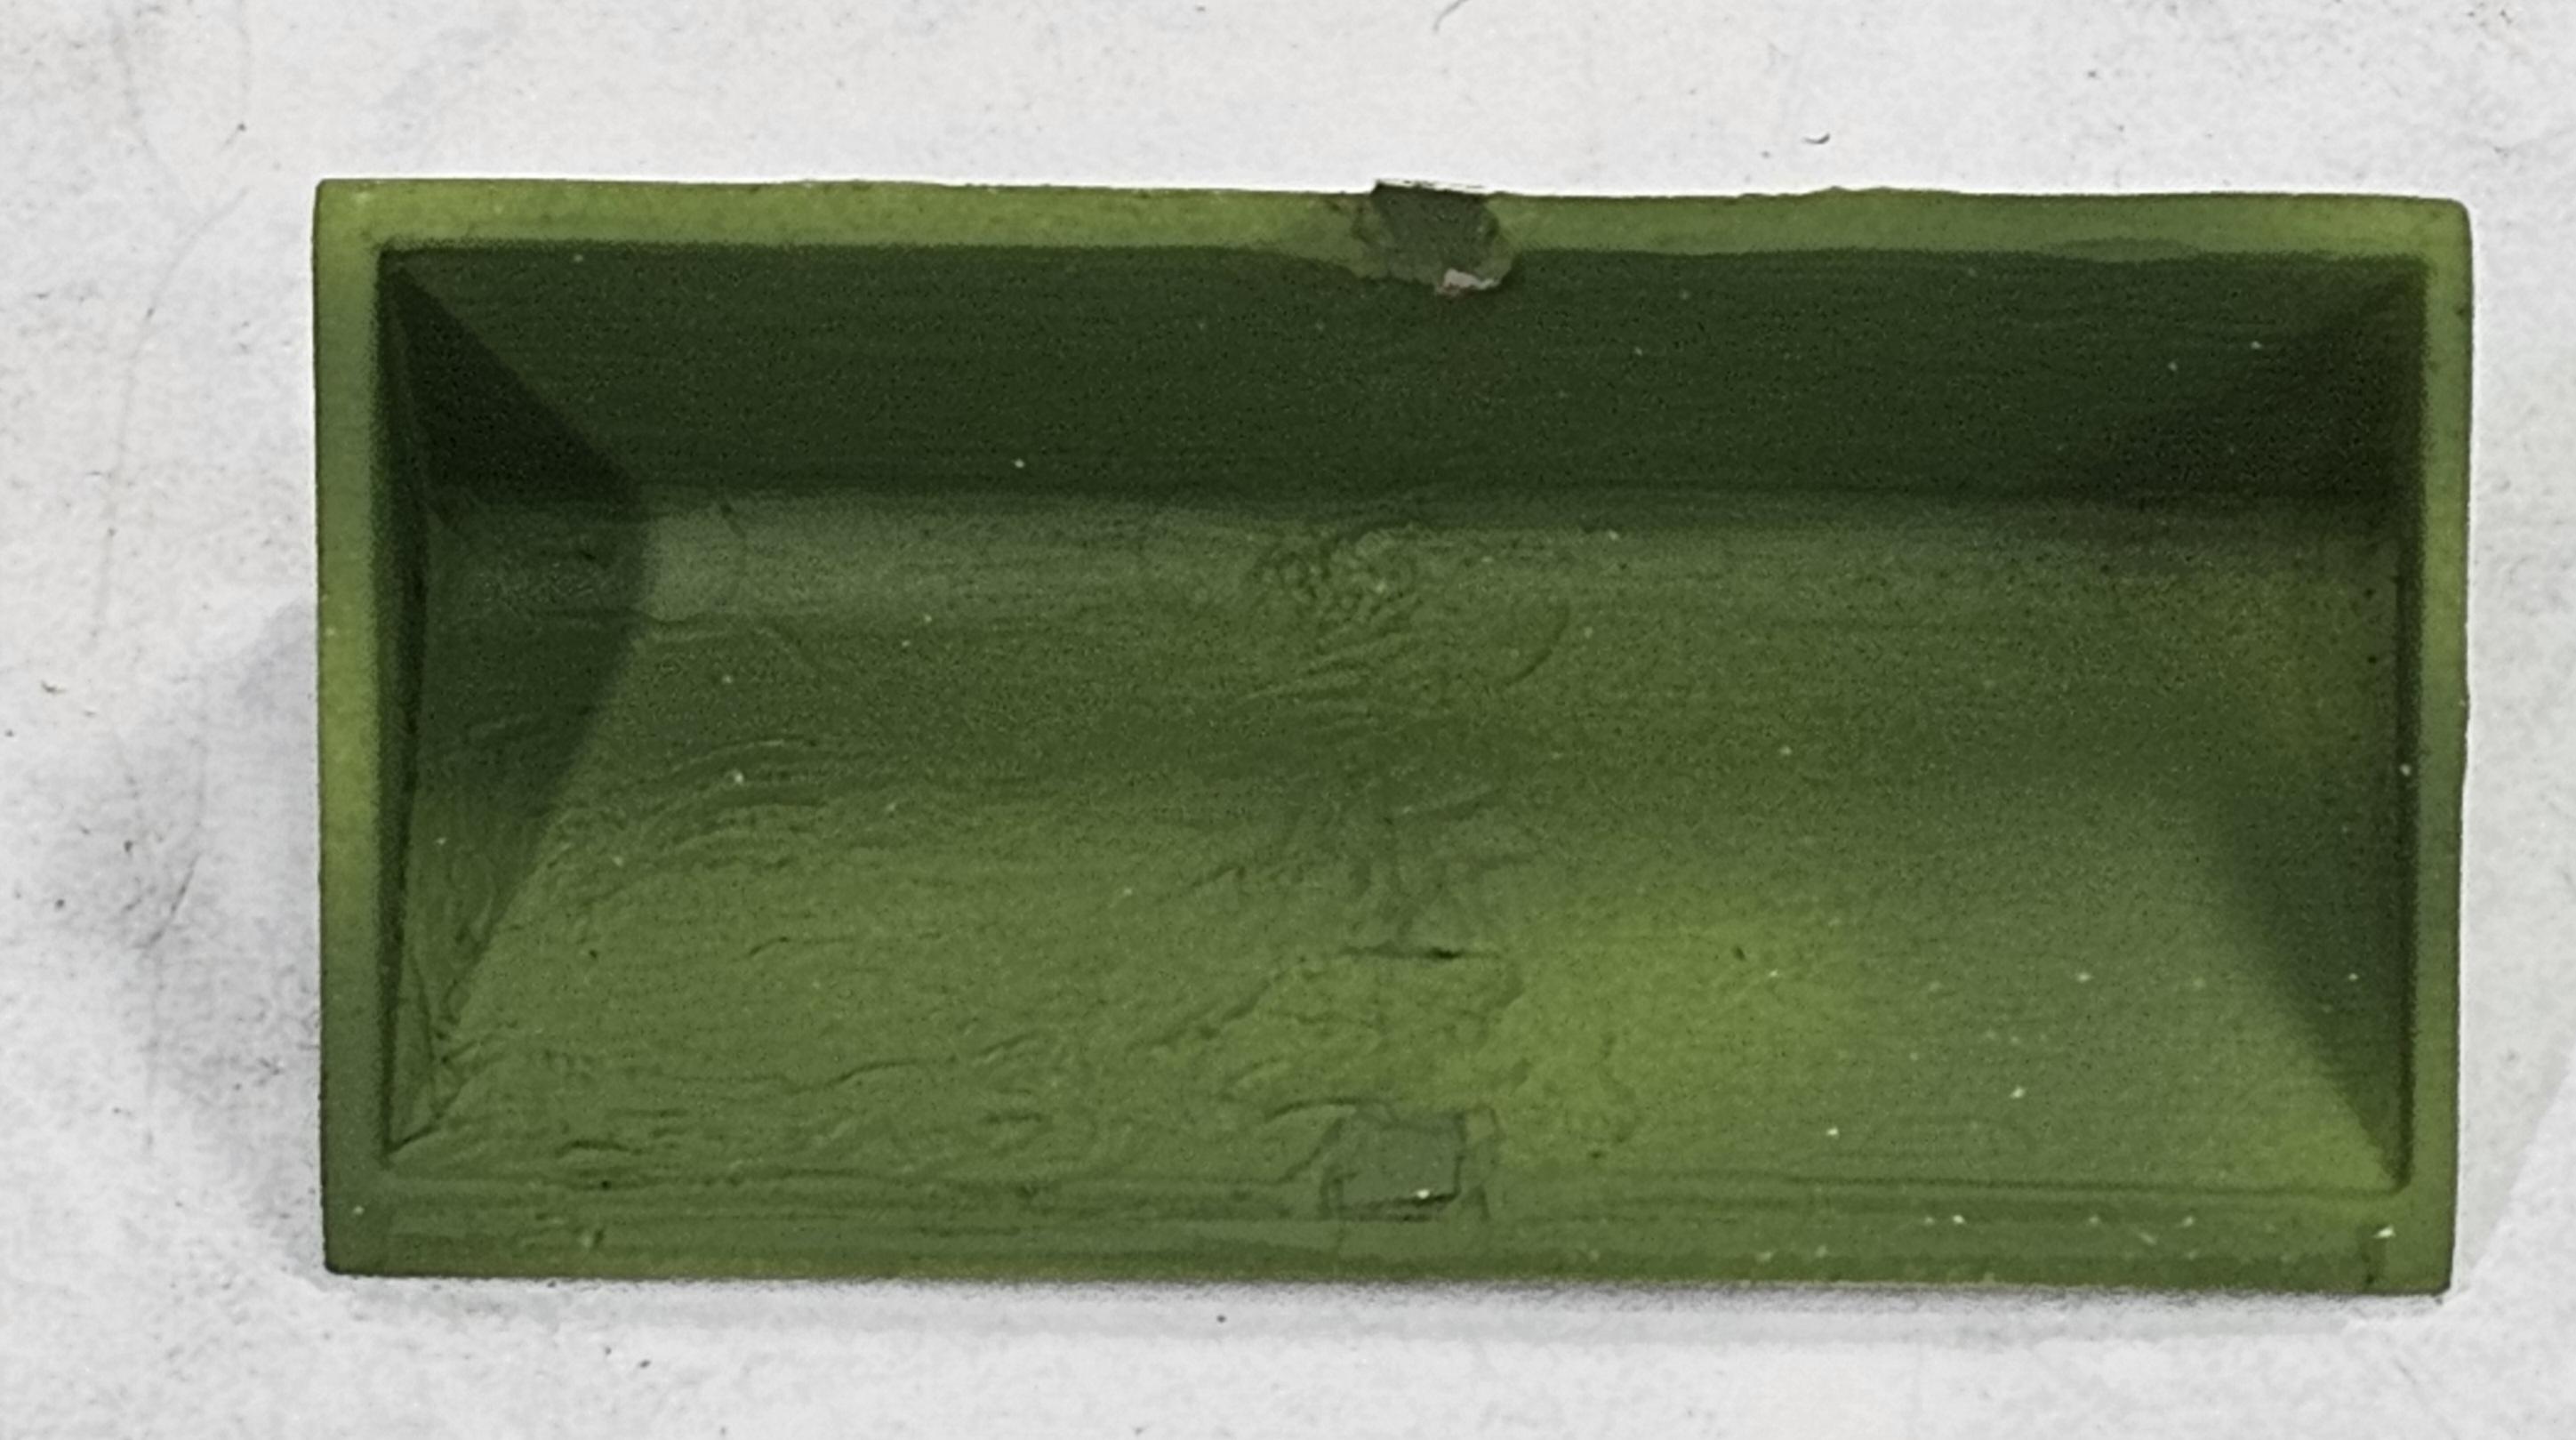
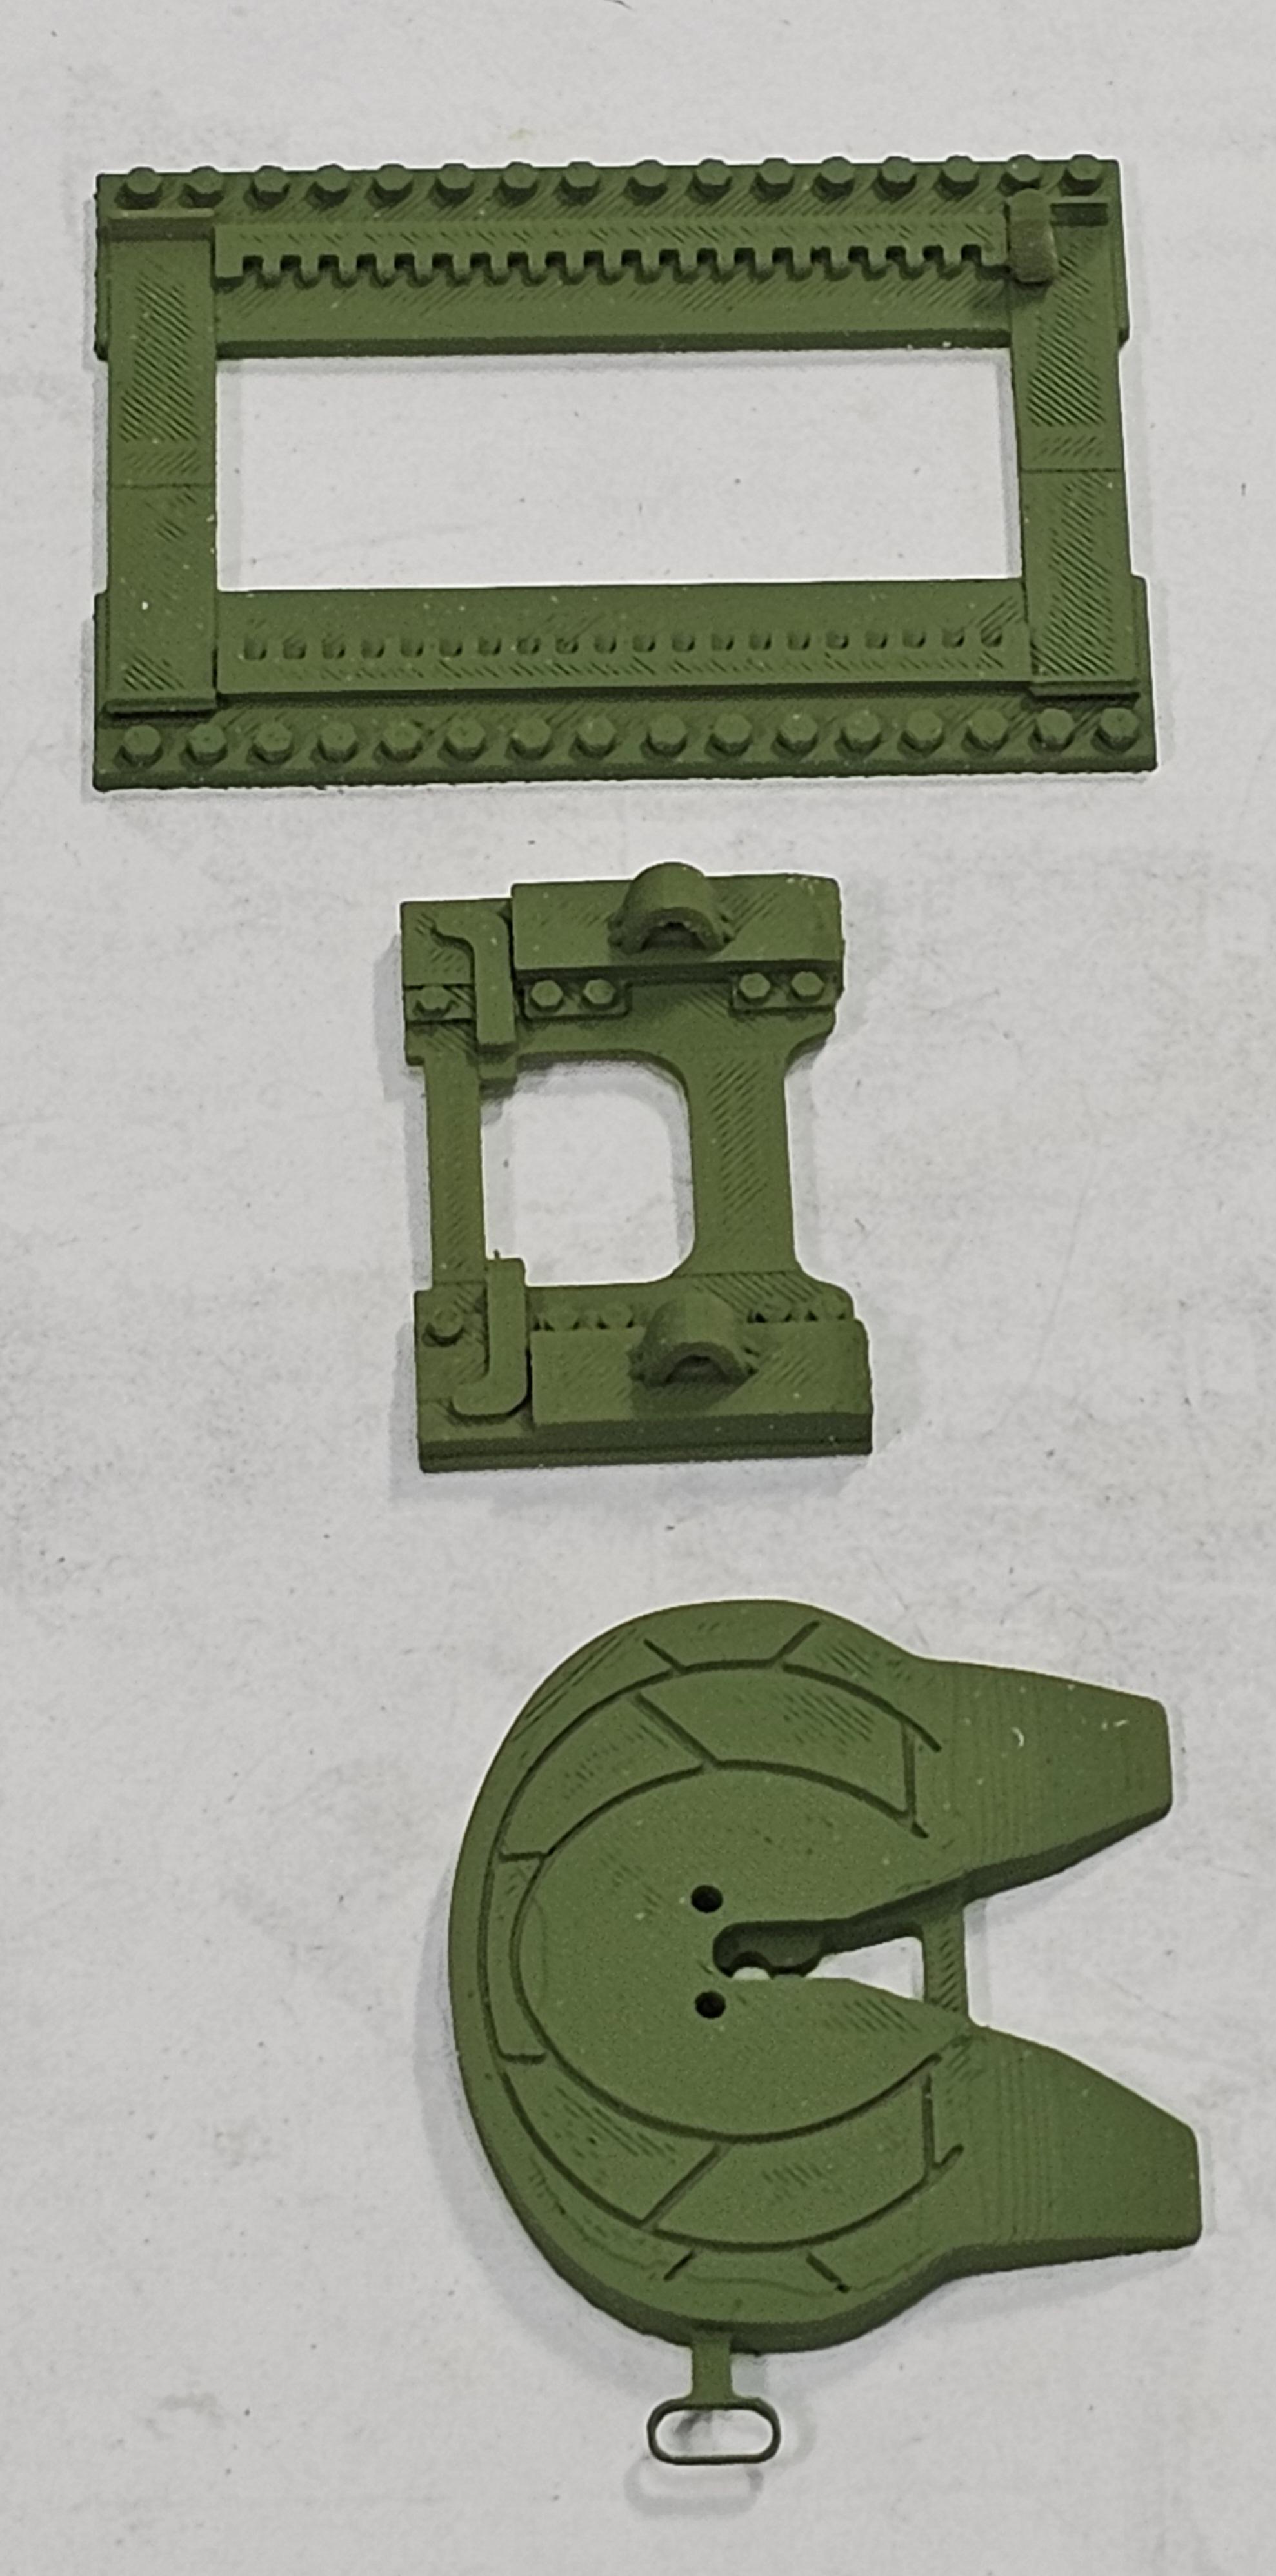
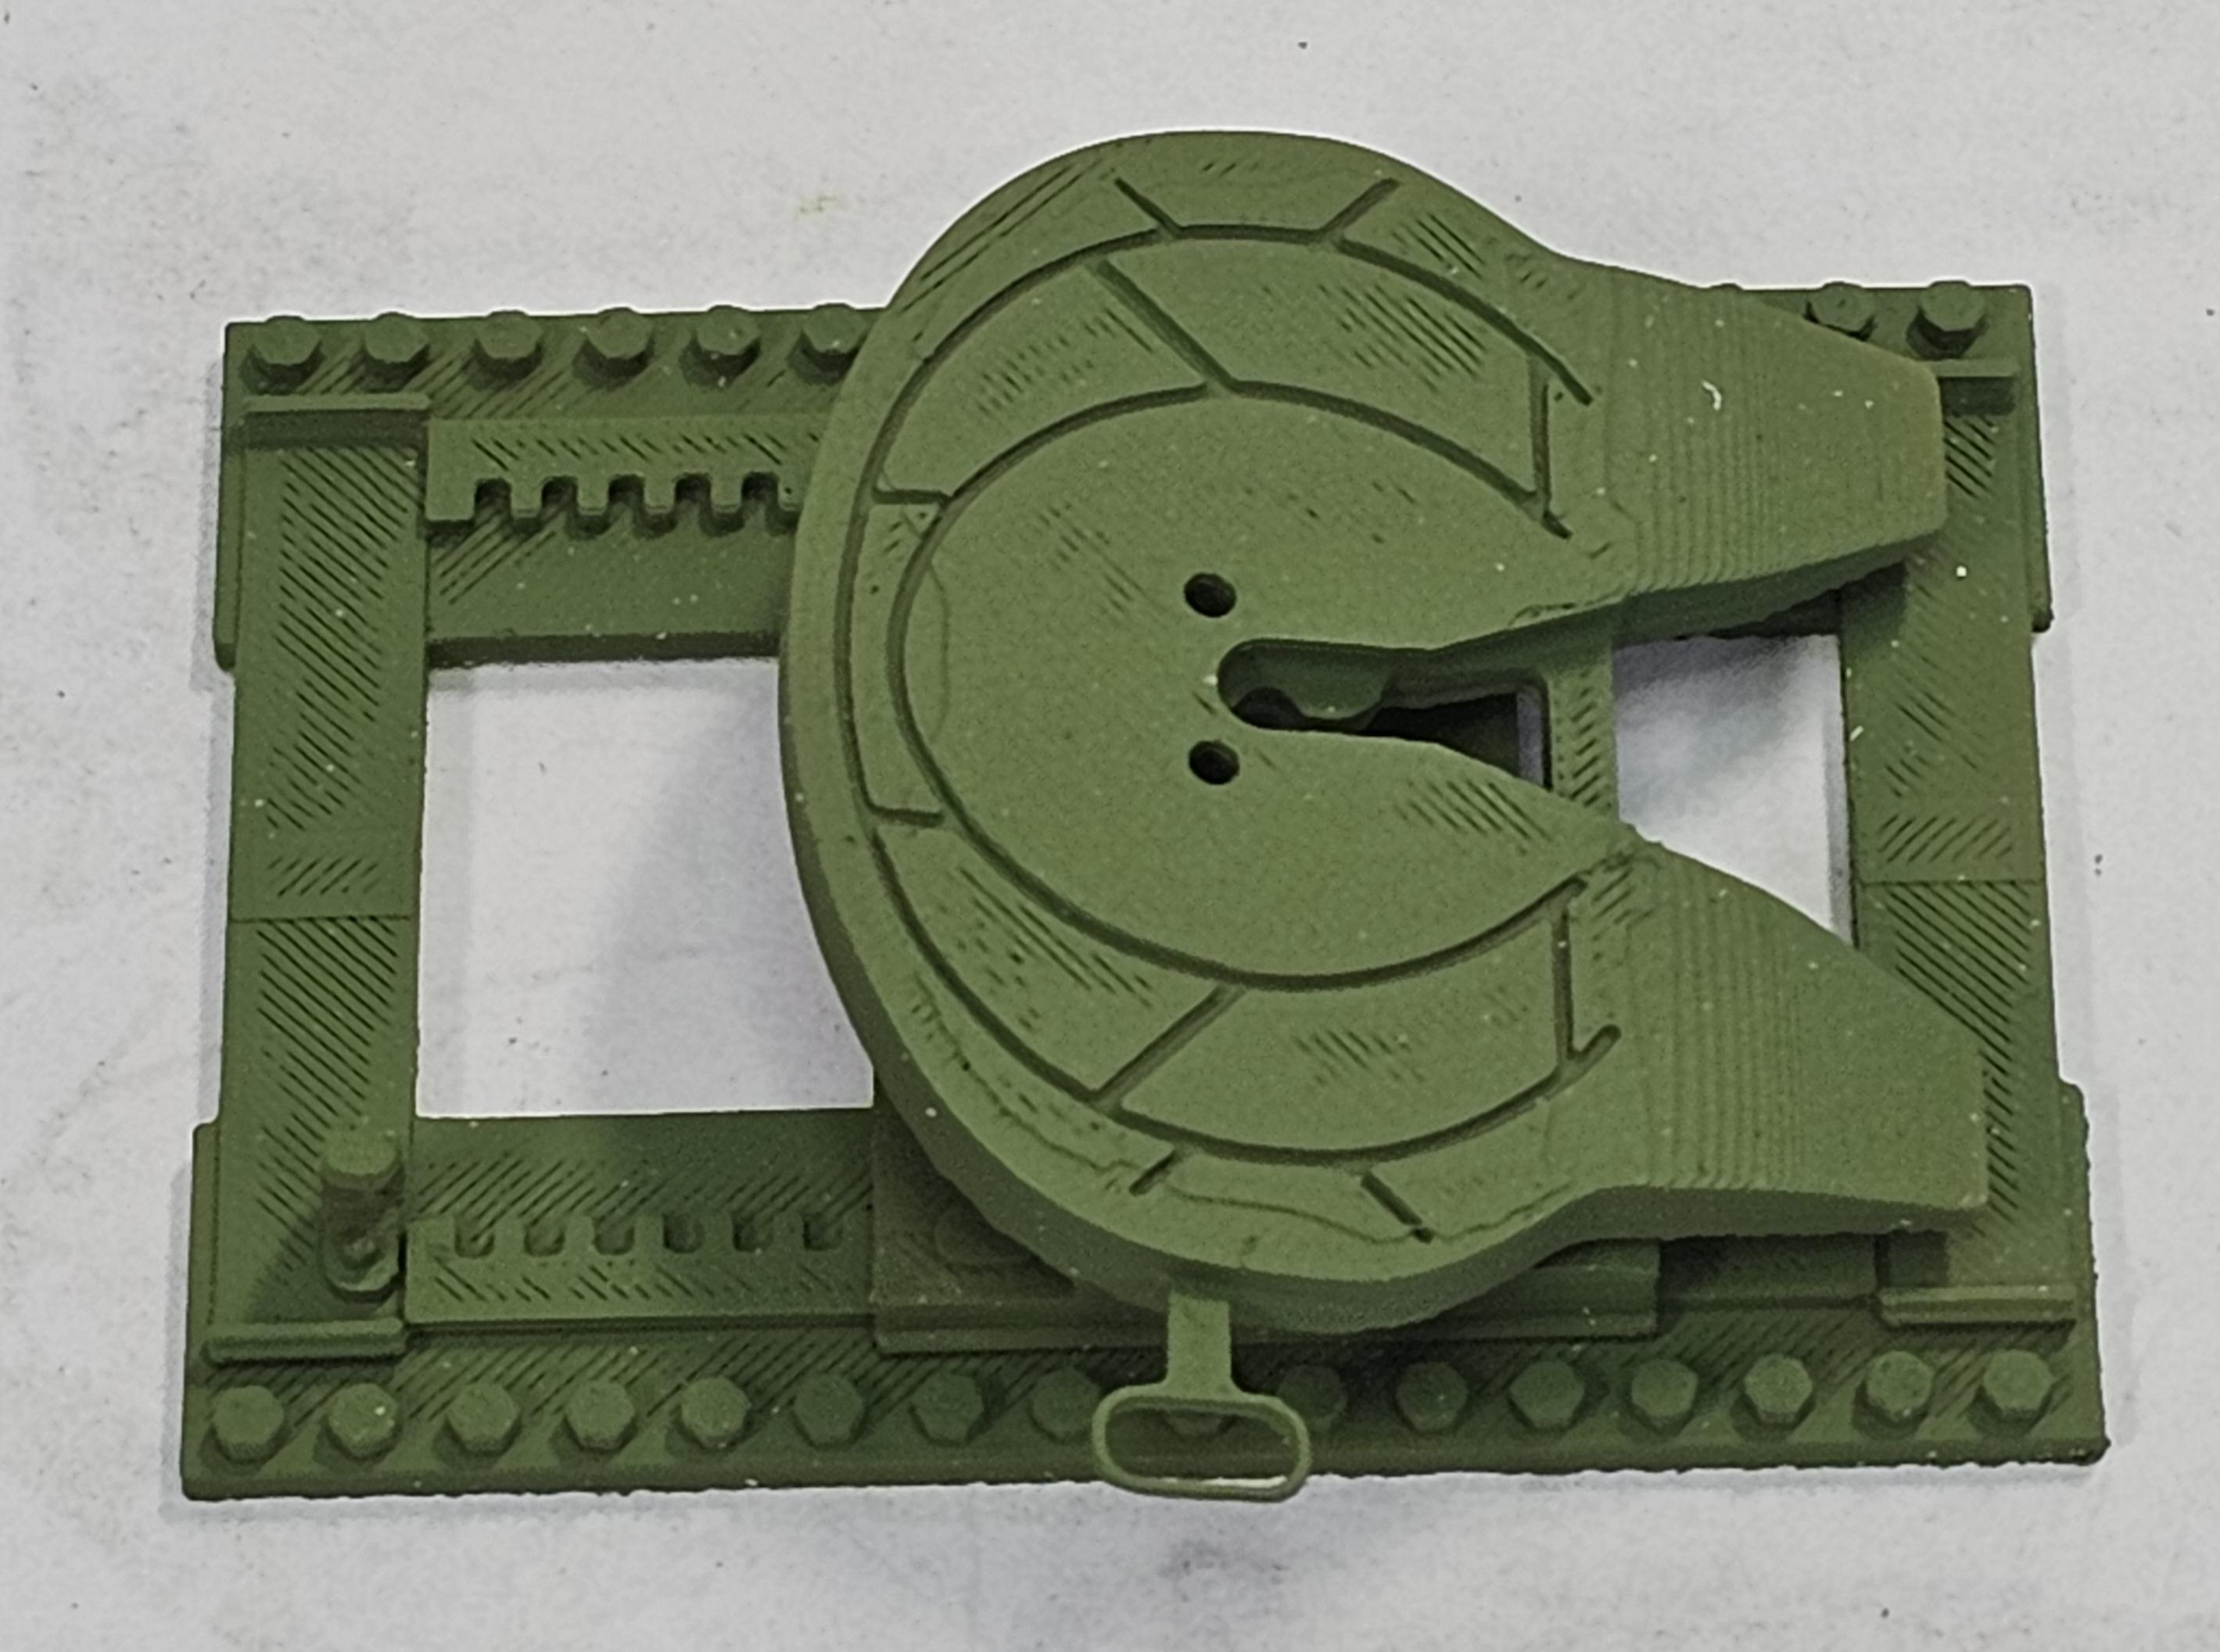
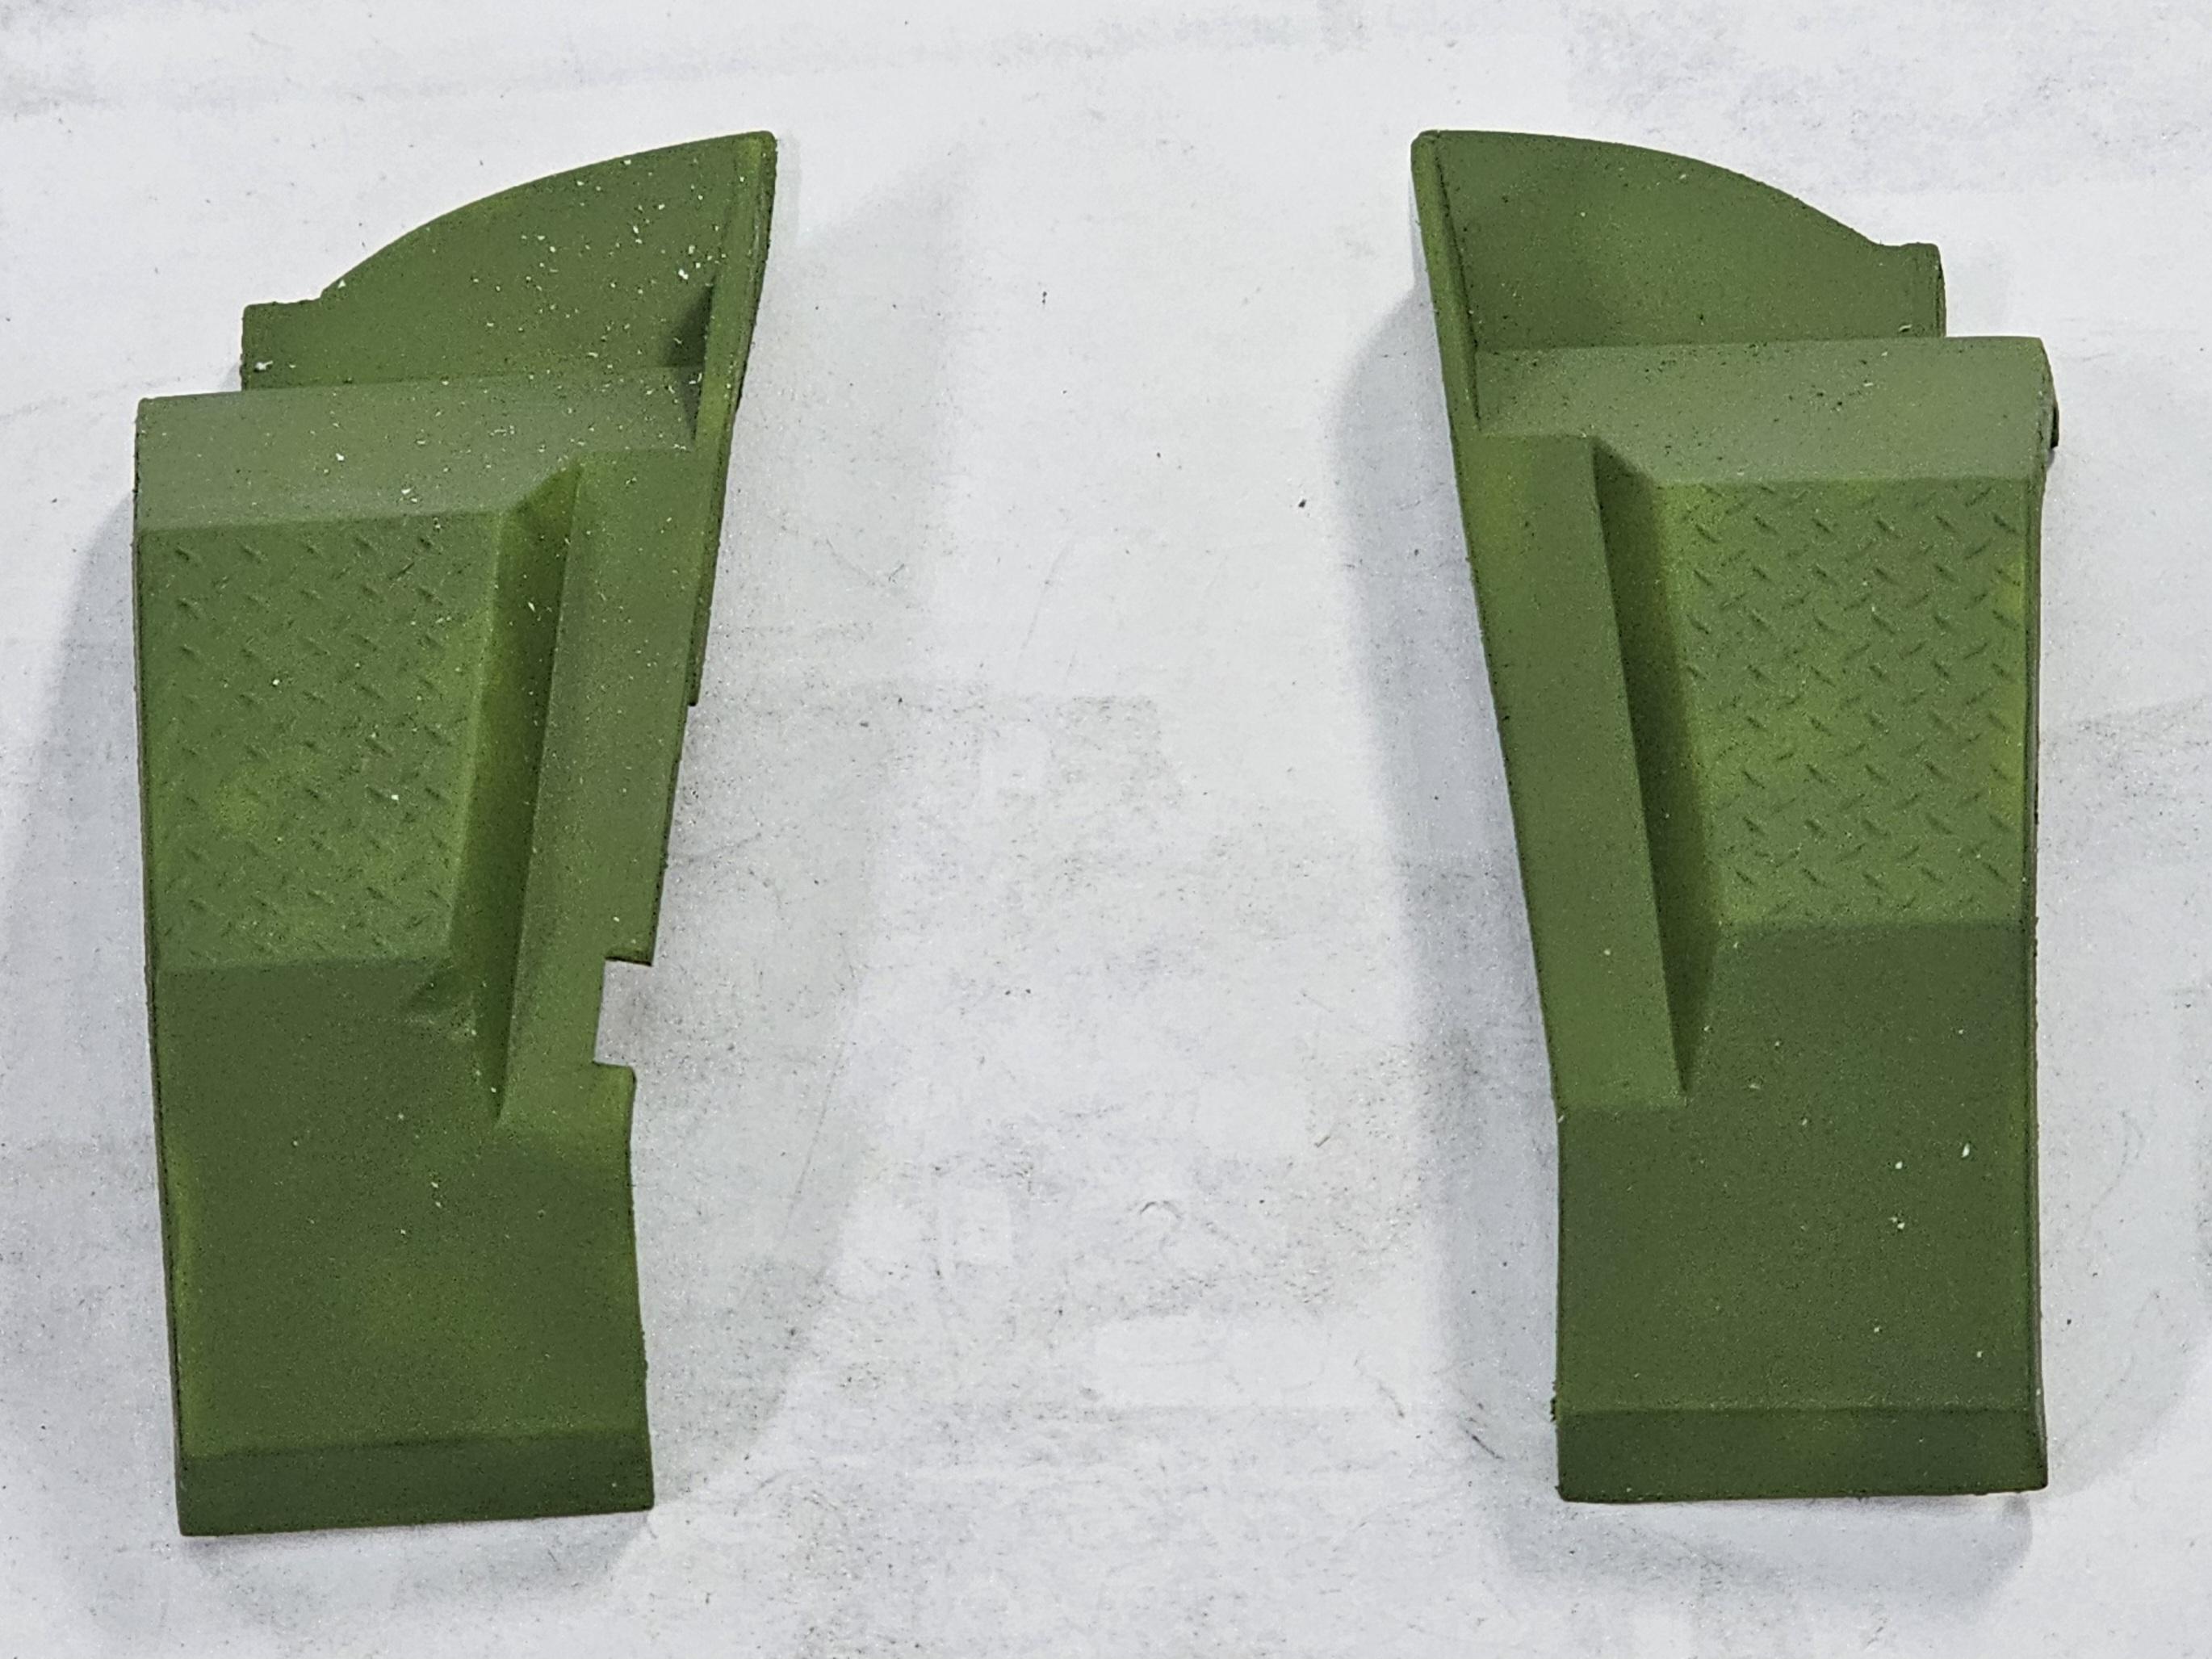
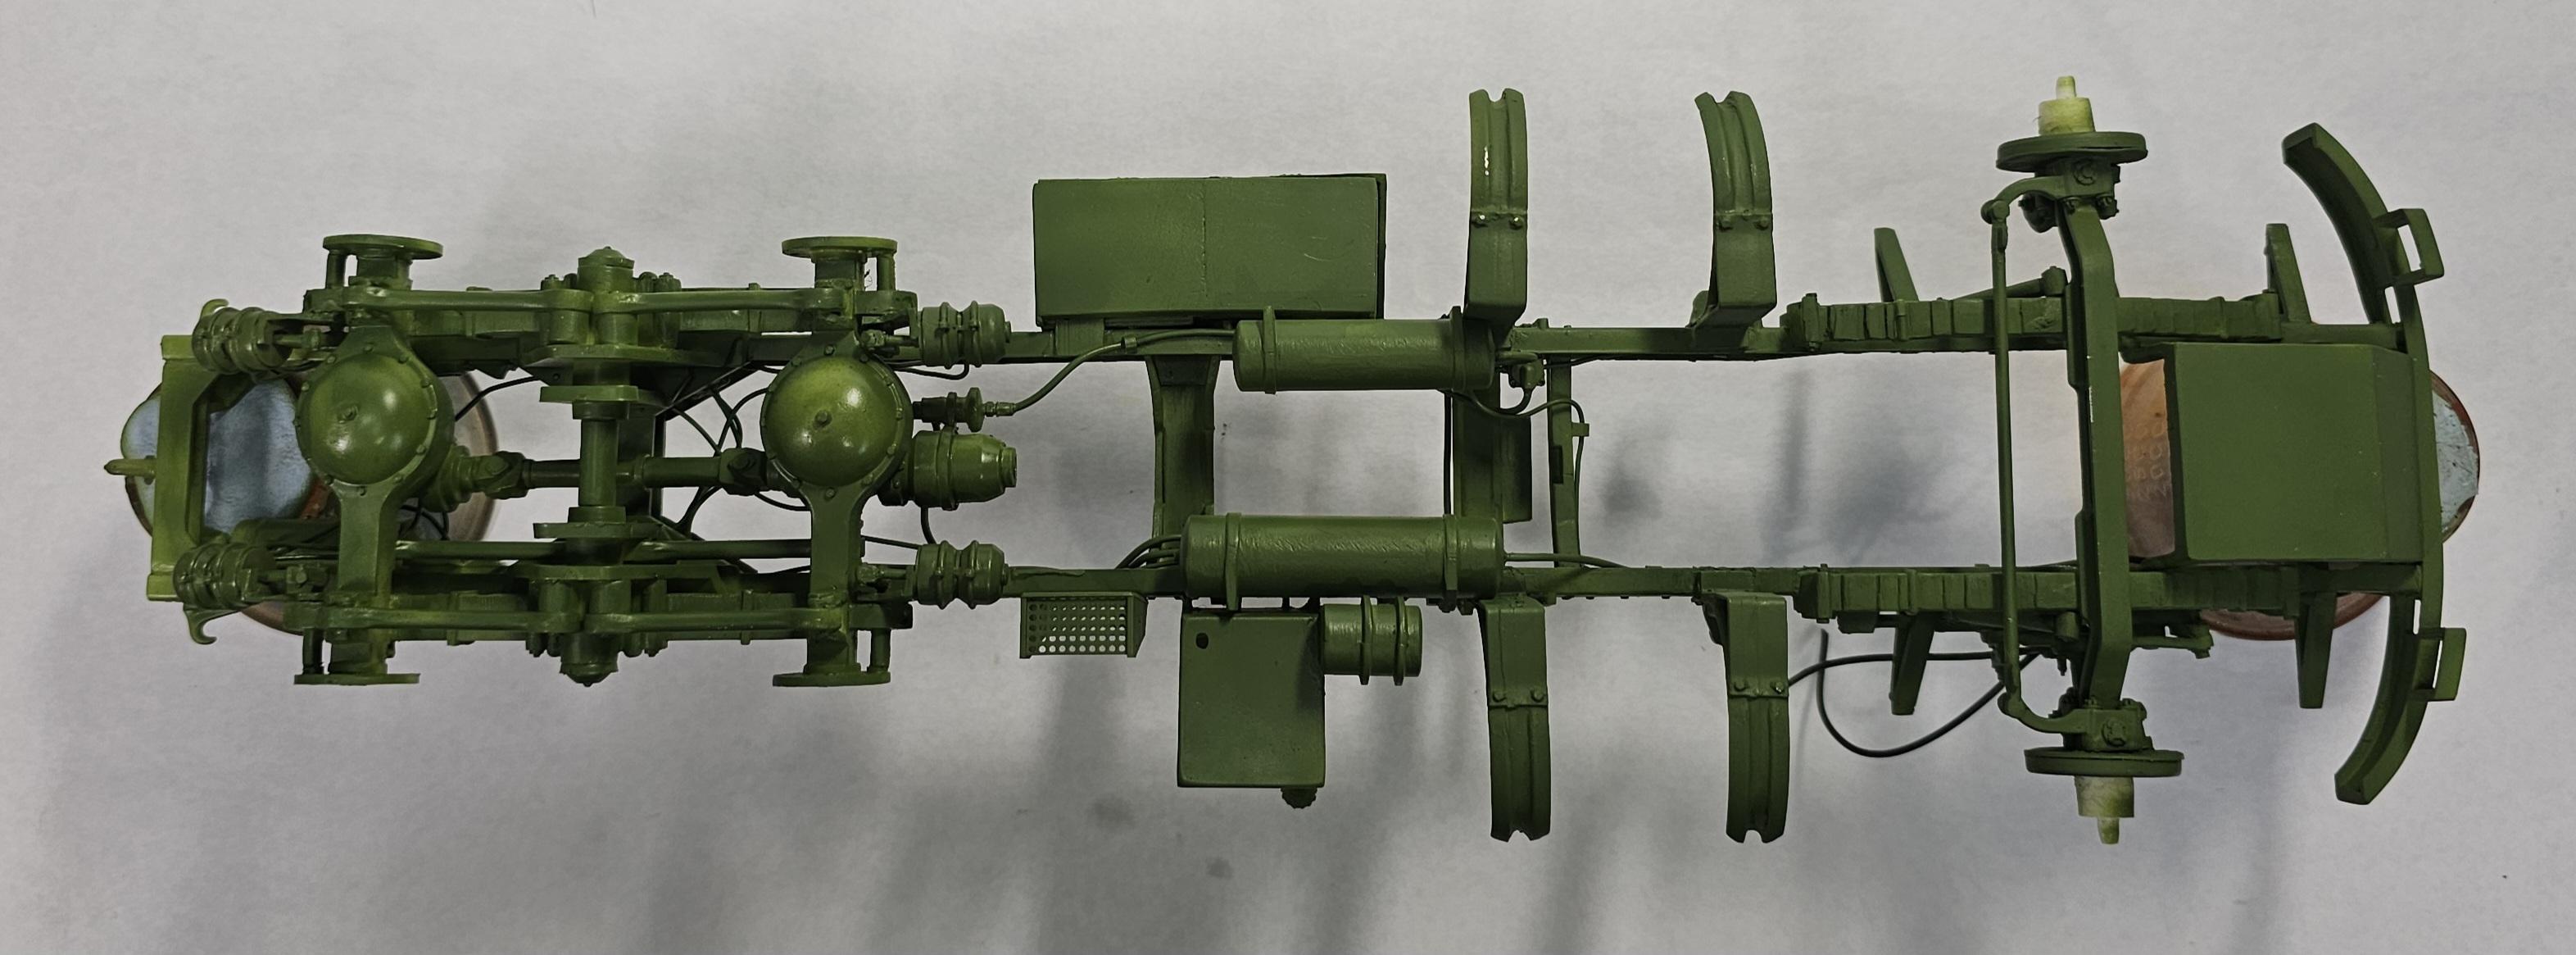
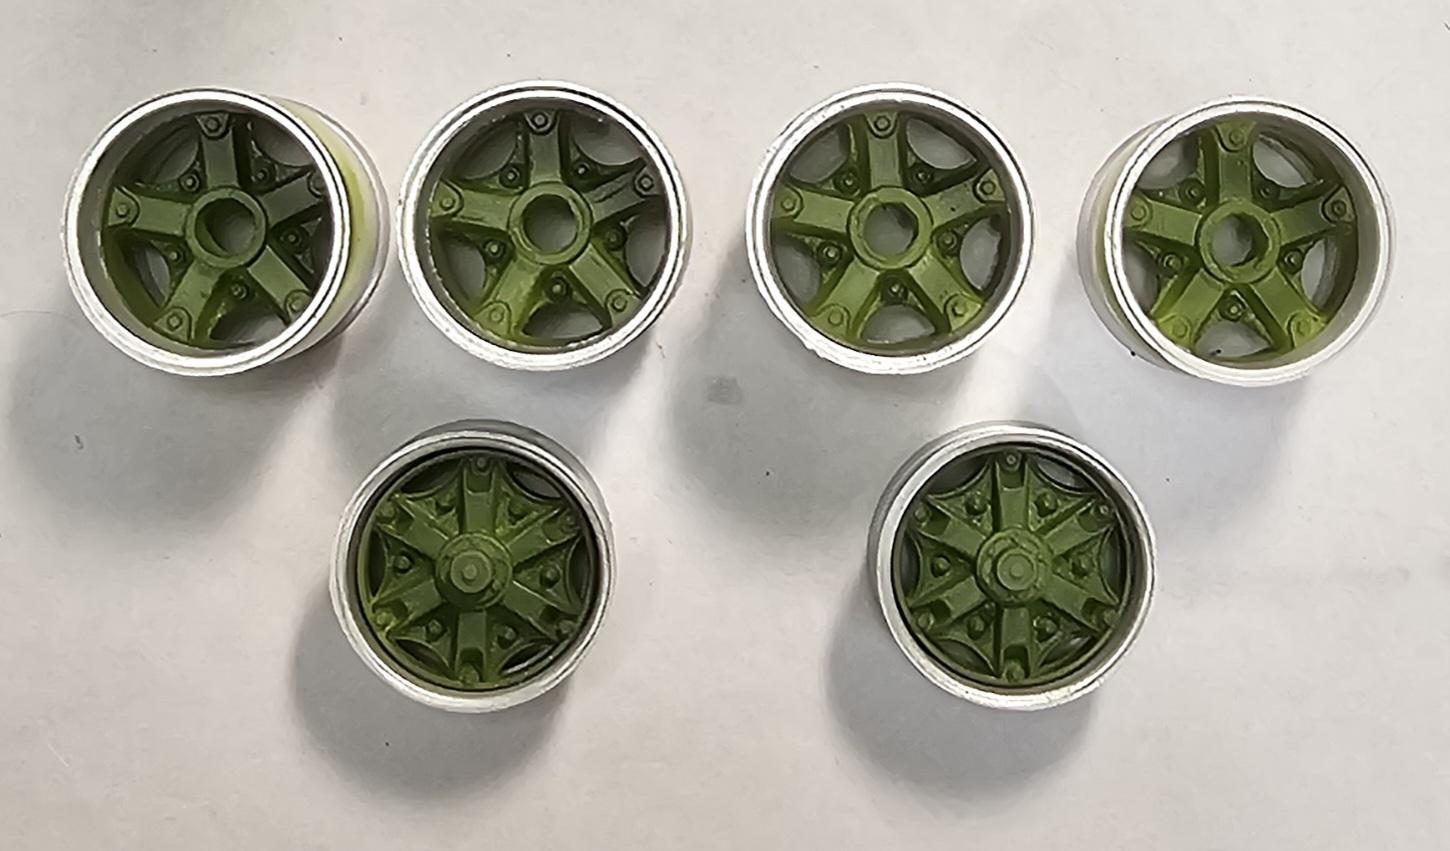
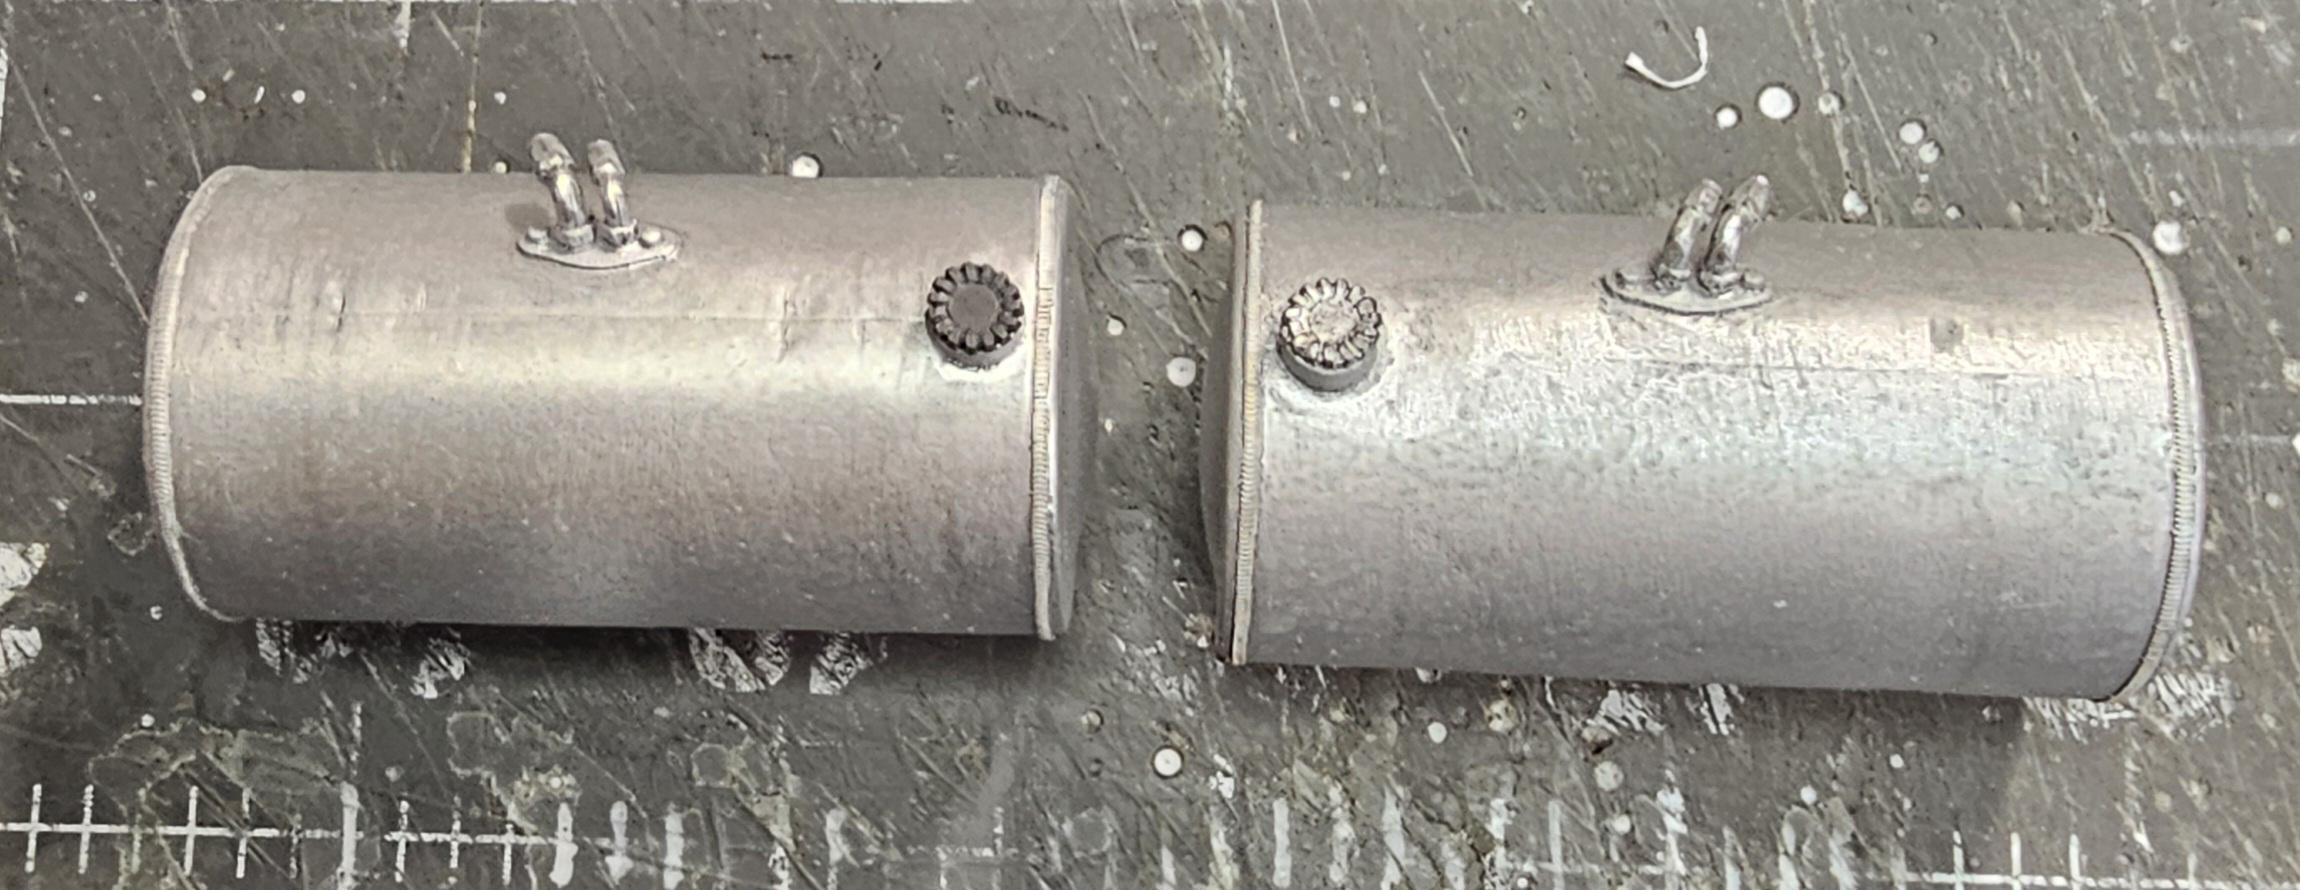
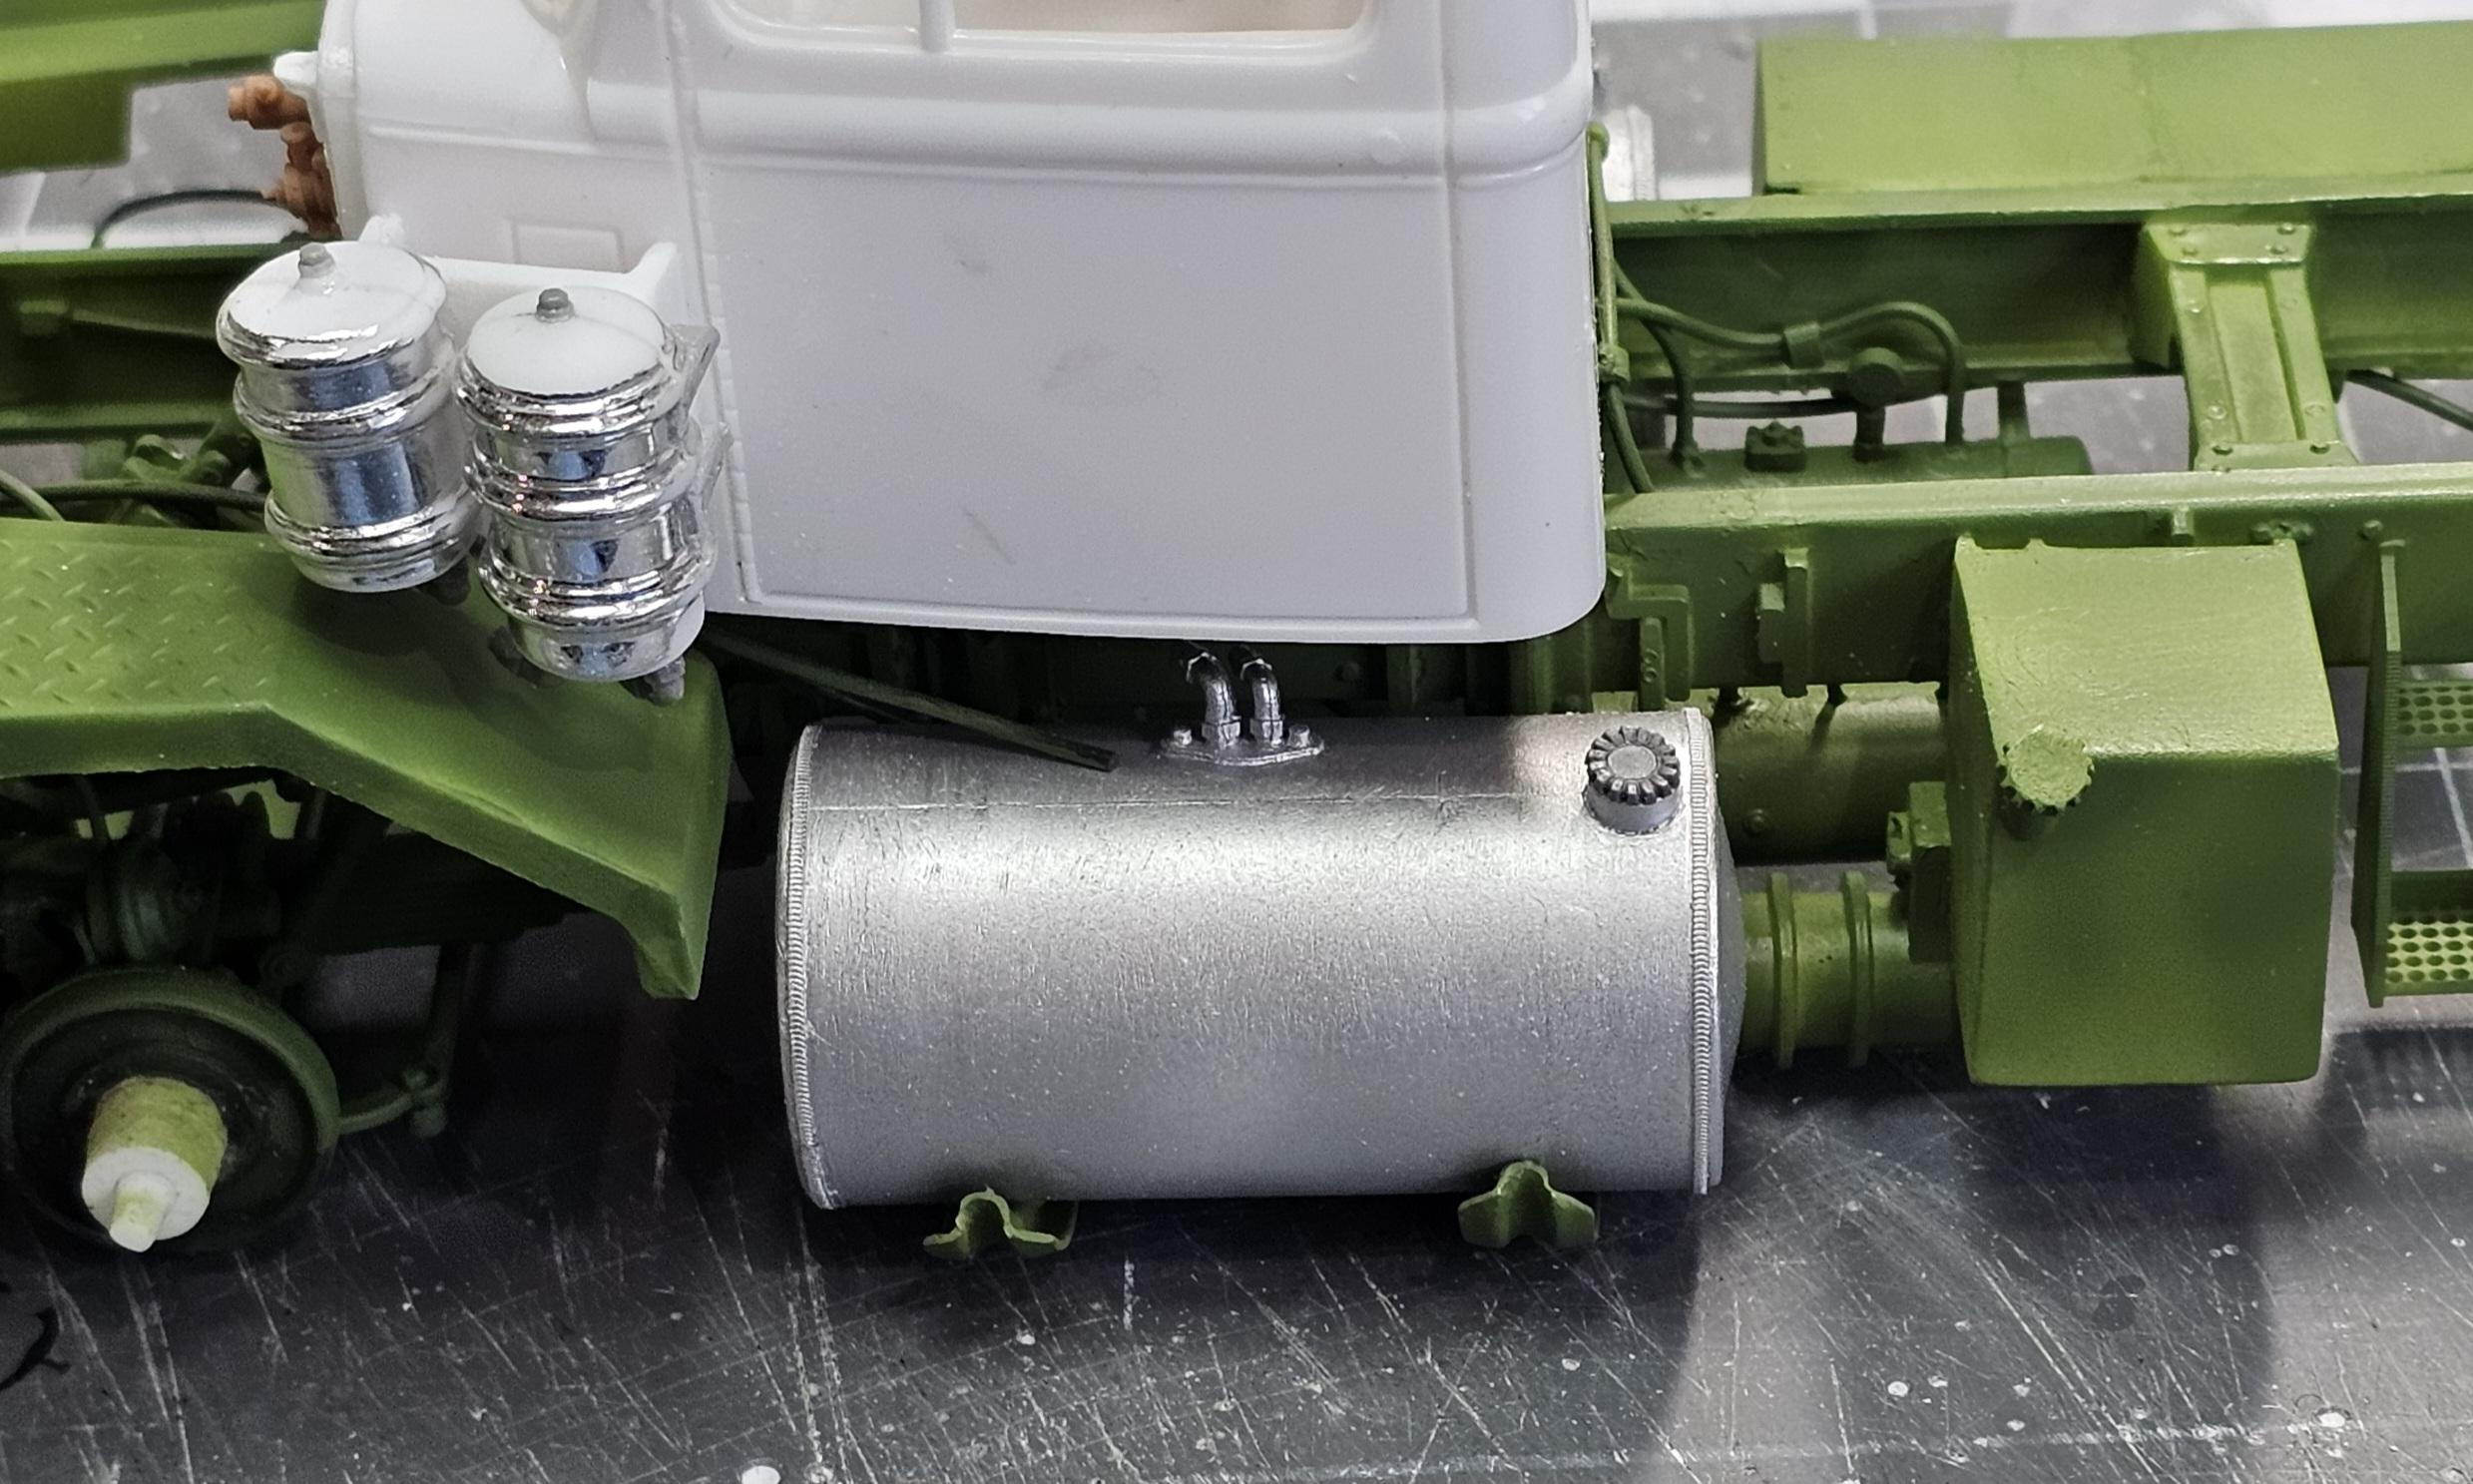
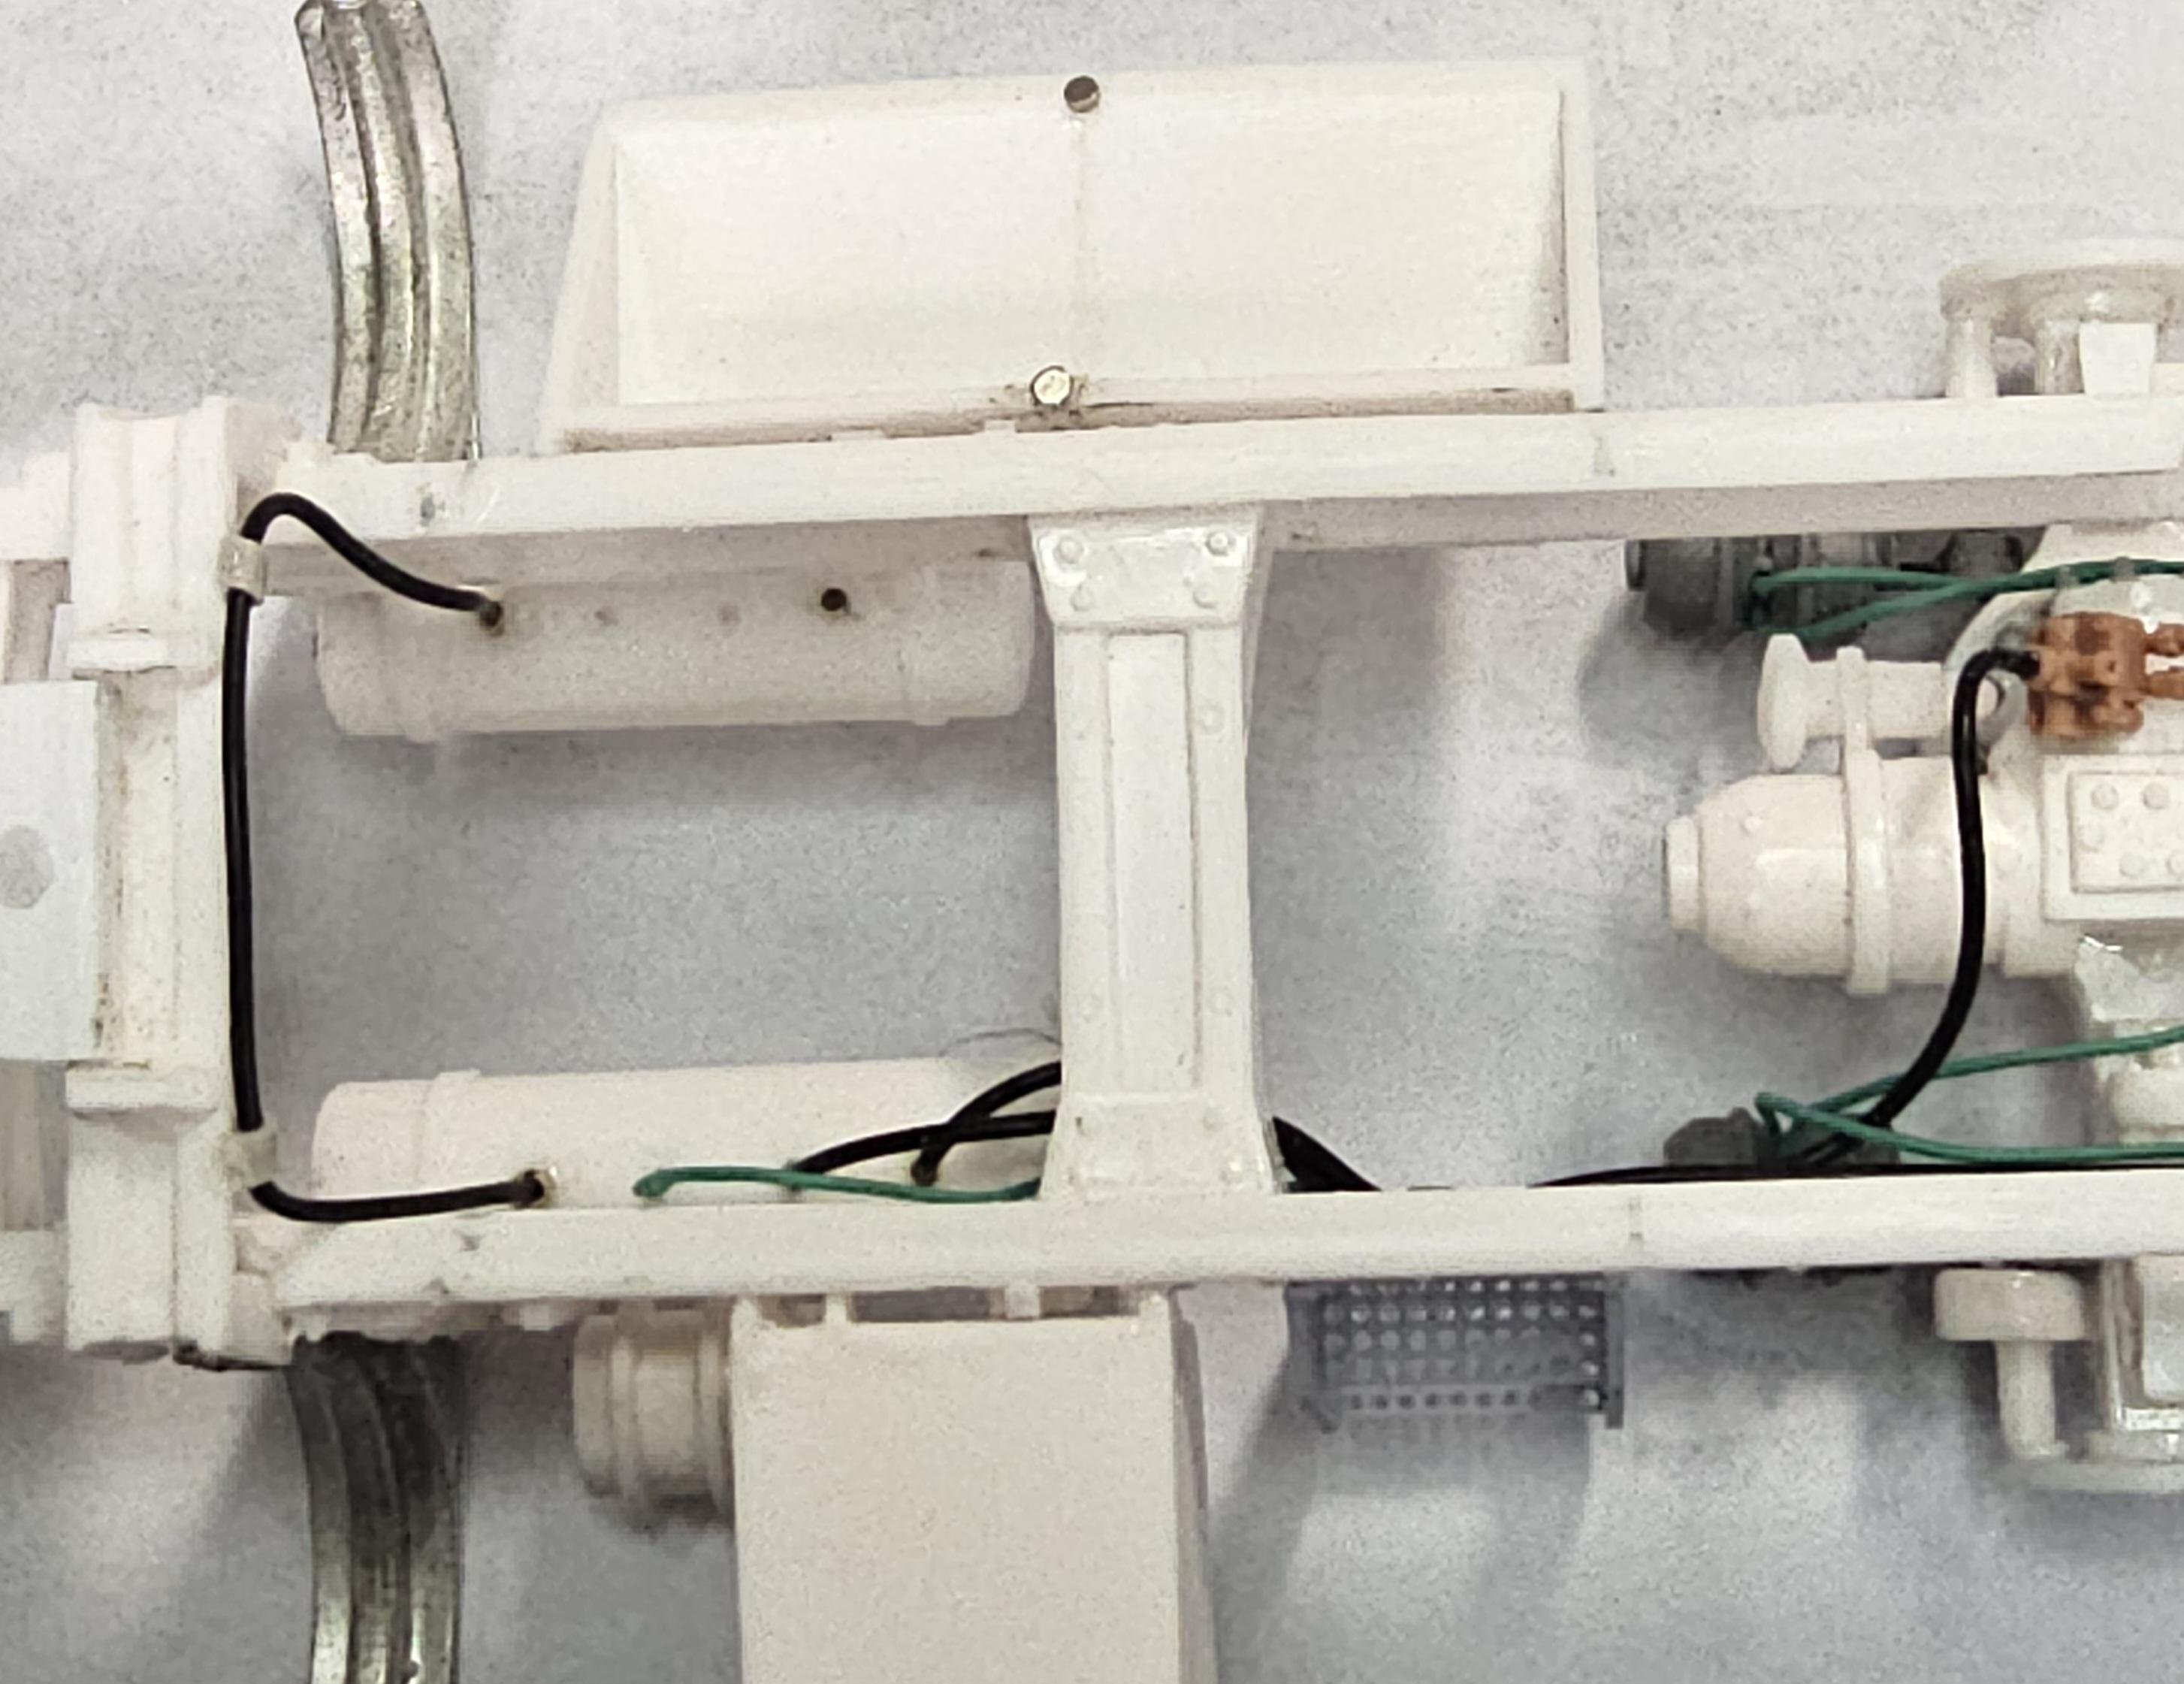
Hey all I got some more work done on this build. I now have the rest of the air lines done Another view of the front air lines. I finally got this thing painted after being hounded by my Pal Jeff...lol. It's now a "Shrek" green.🤢 It's my primer coat, and at first it was giving me a real pain the you now what! But I finally got the bugs worked out. So here are some pictures for yous all to look at. This view shows the headache rack. This view shows the headache rack with the winch sitting in place. This is a view of the back of the headache rack. This view shows the front grill guard. This view shows the battery box cover. This is the inside of the battery box. This is the three fifth wheel parts. The fifth wheel assembly. This view shows the front fenders. left hand side view of the frame. Top view of the frame. Right side view of the frame. Bottom view of the frame. A little mock-up veiw. this view shows the front & rear wheels. This view shows the fuel tanks and I can see I have some putty work to do on them. Tank in place. I painted them with Vallejo metal paints half white aluminum and half aluminum. It must not have been mixed well because it was very spputtery. This view shows the wheels and the tires. Well that's all for now be back with more updates soon. Ron G
-
Hey all A few more pictures for you to look at. I added some lines from the fuel filters to the fuel pump. I also added the two oil lines for the turbos and some more oil lines on the oil cooler. This is the truck it will be going in. AMT's new Peterbilt kit. Ron G
-
Yeah Jim, it's really very well made. Every thing fits good. The instructions are photos, not much advice, but I made it through.
-
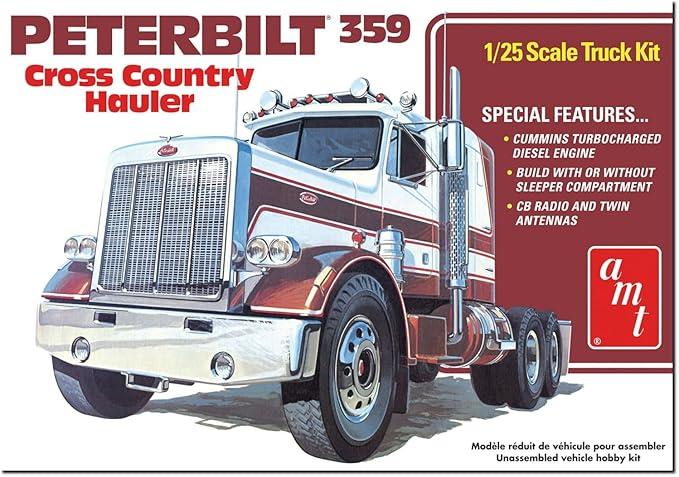
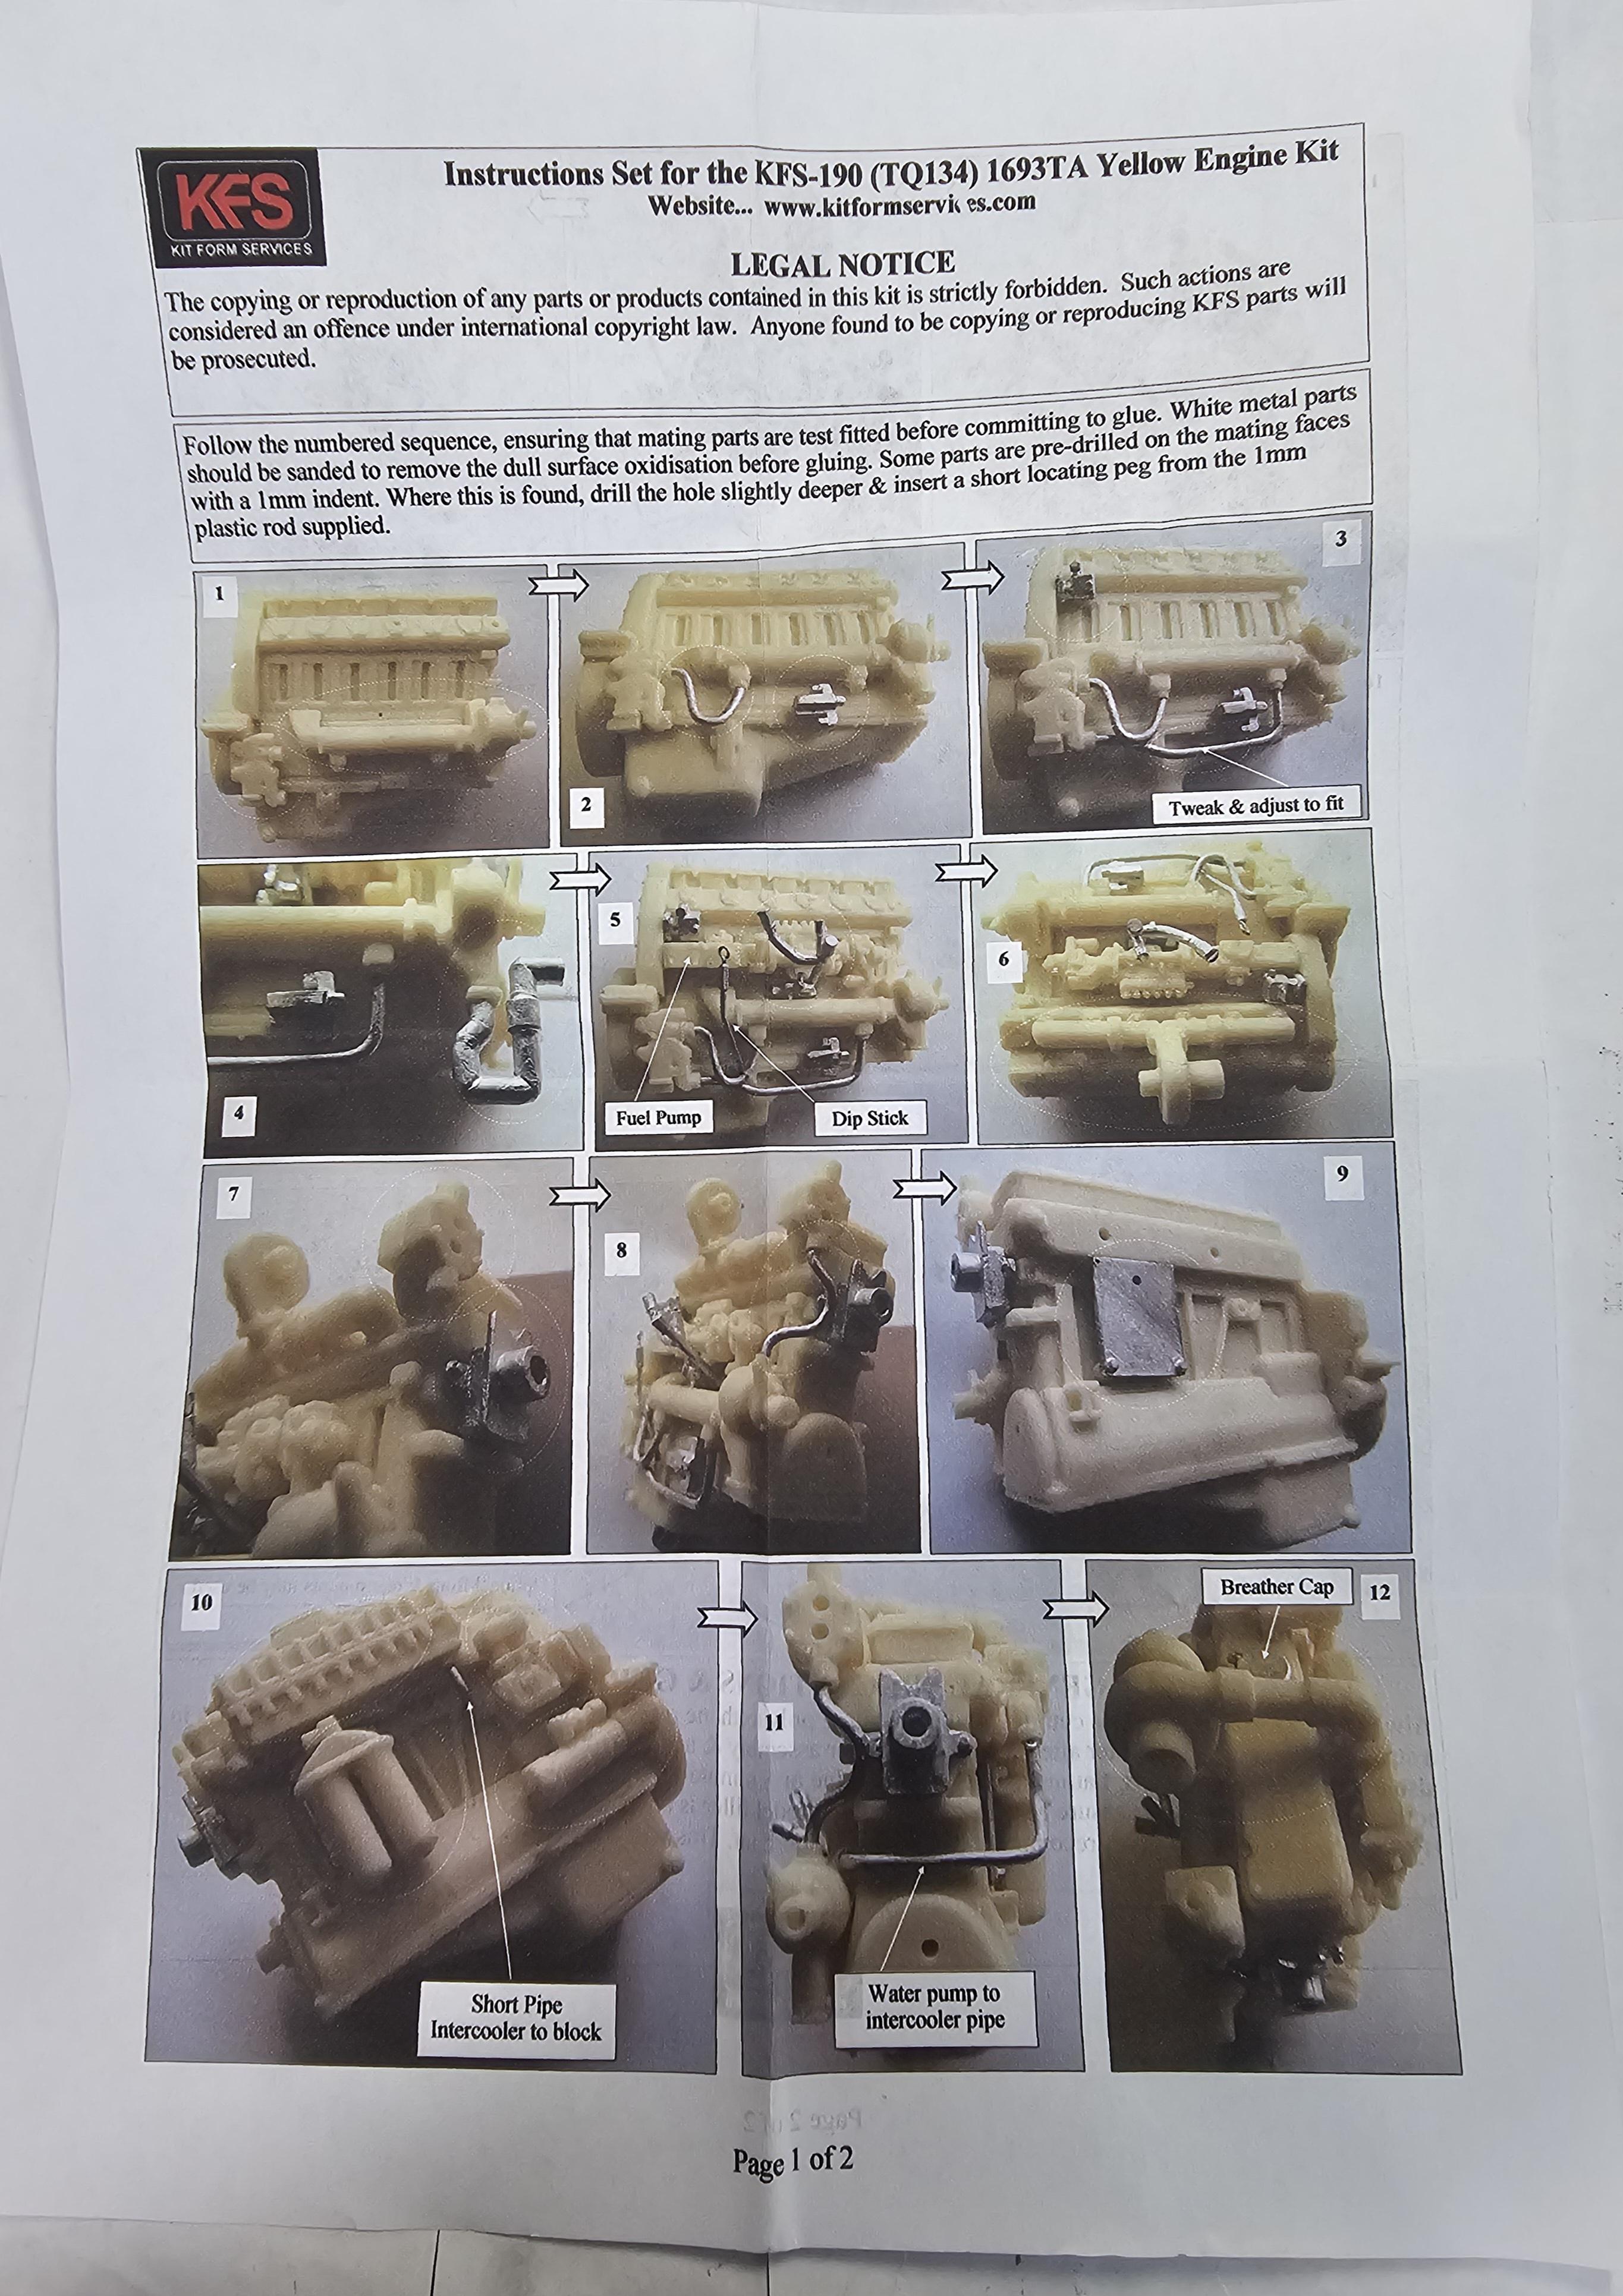
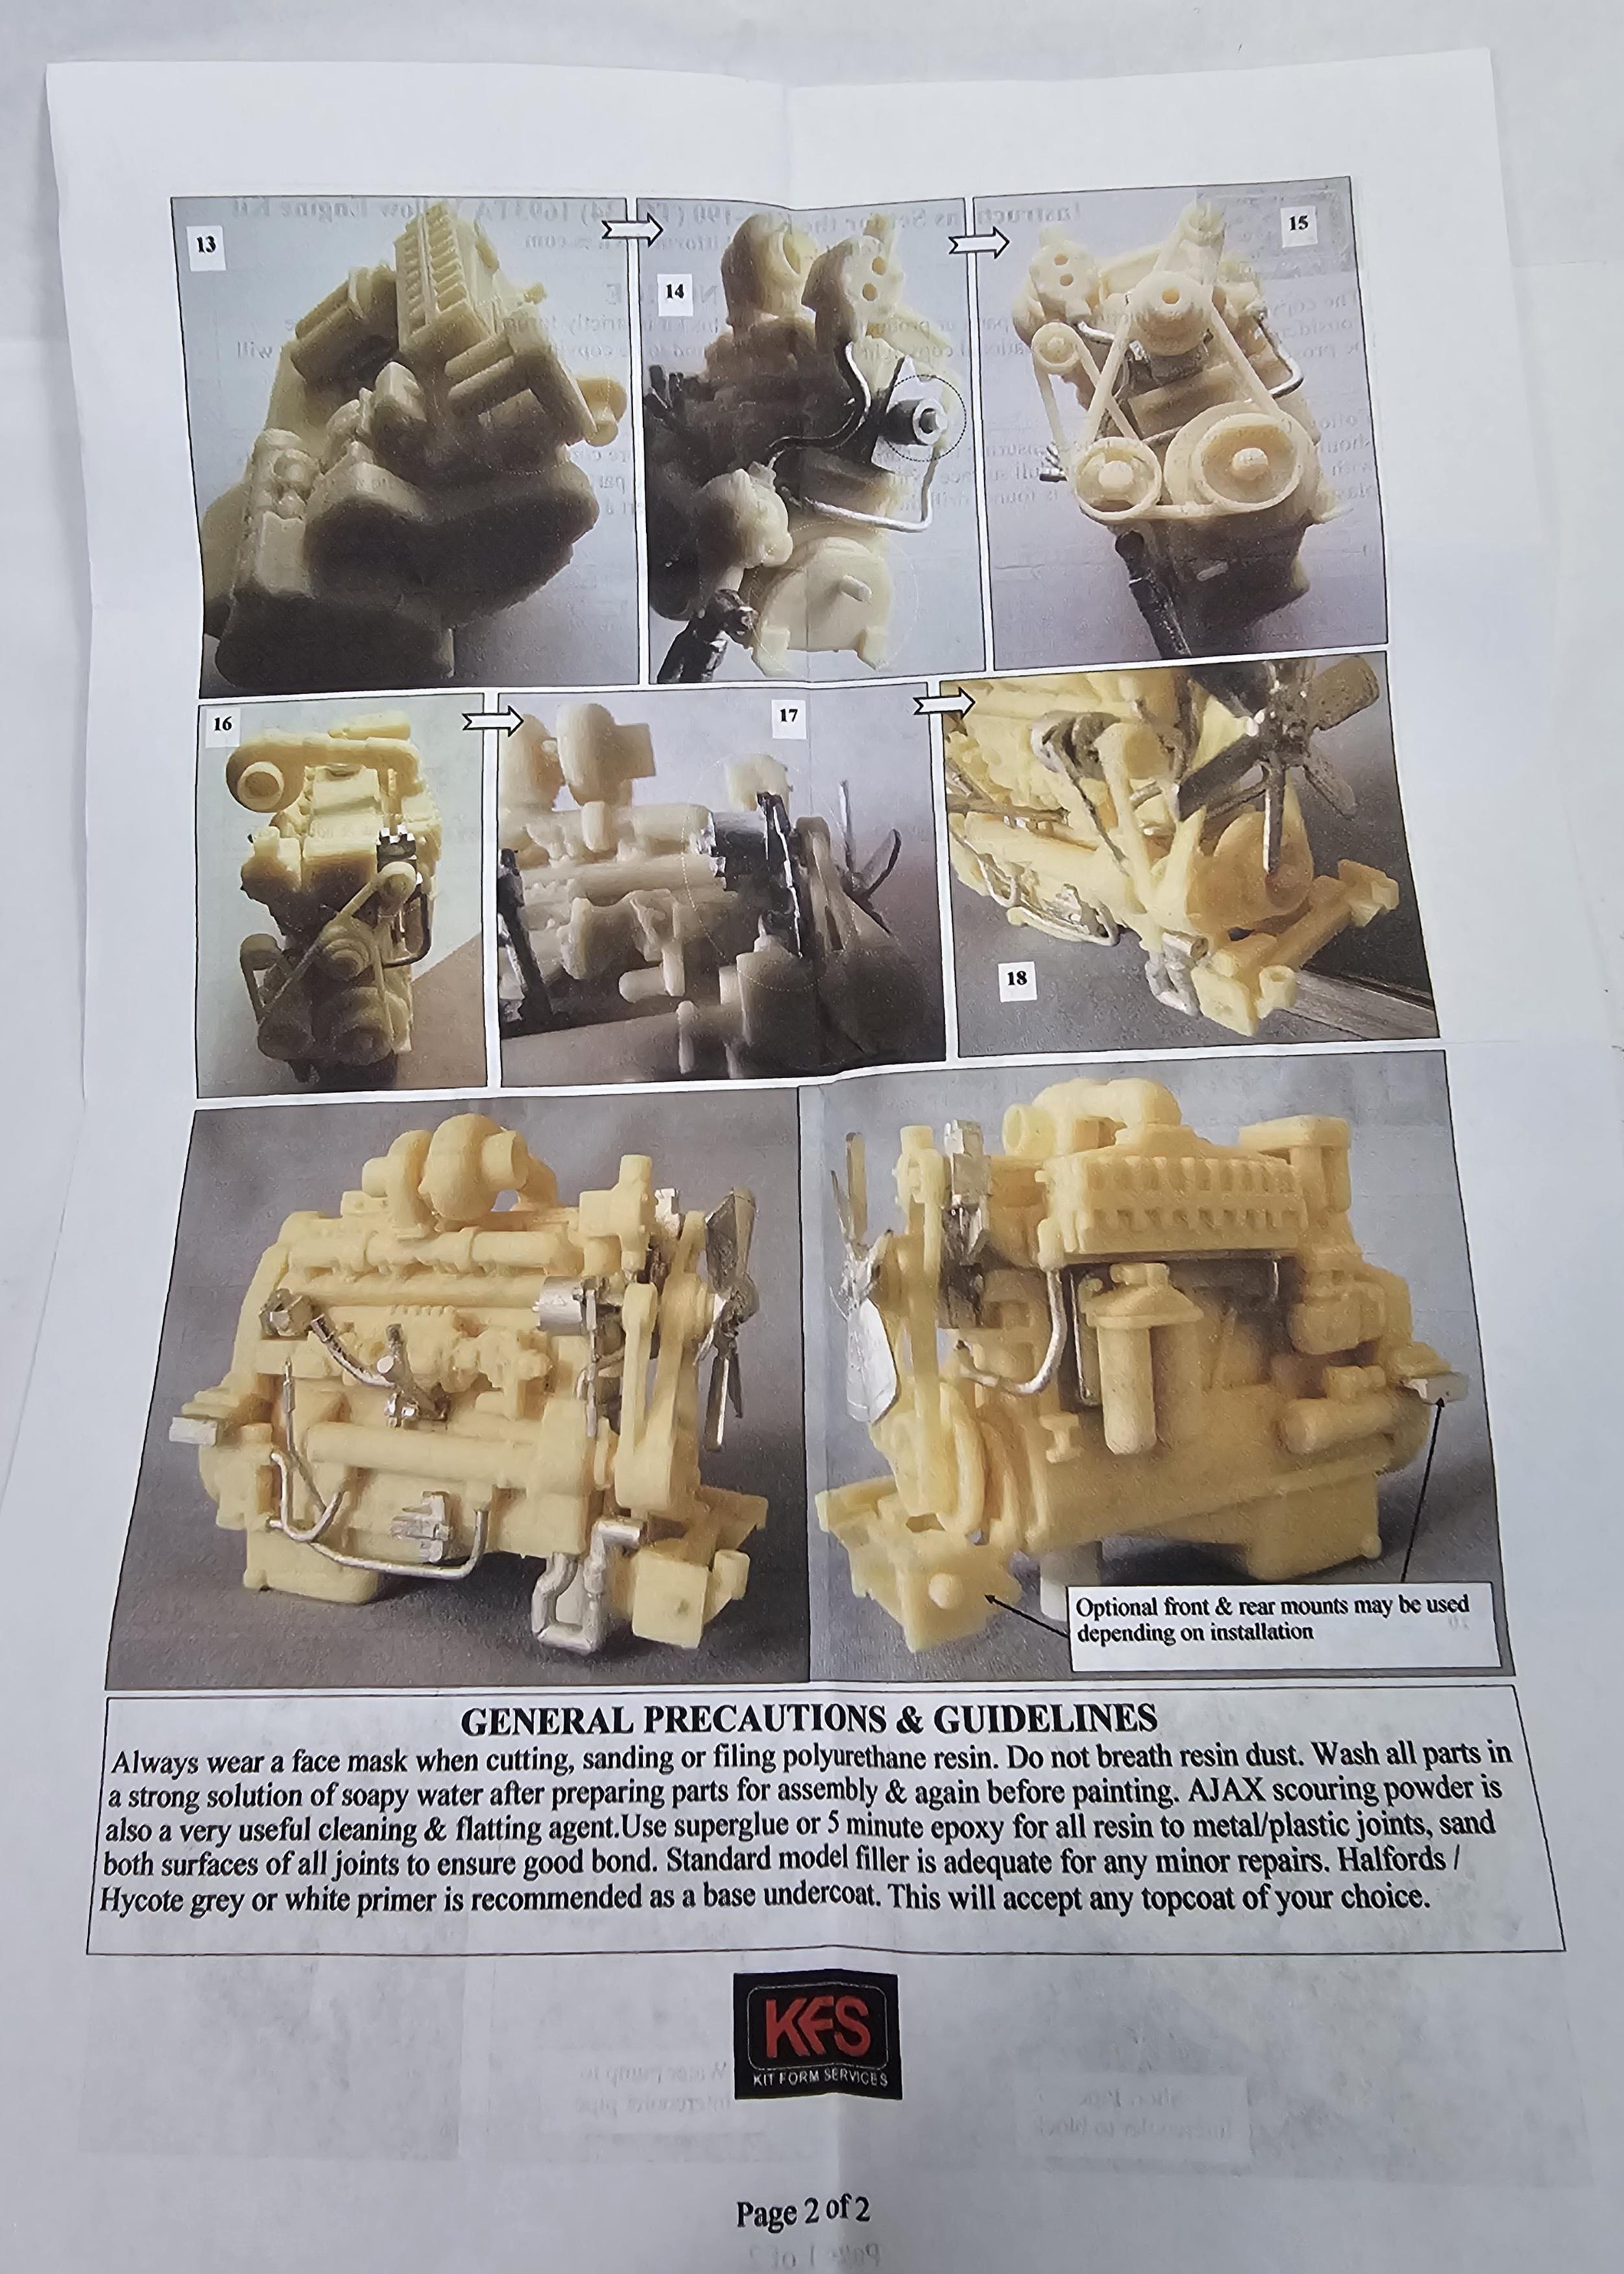
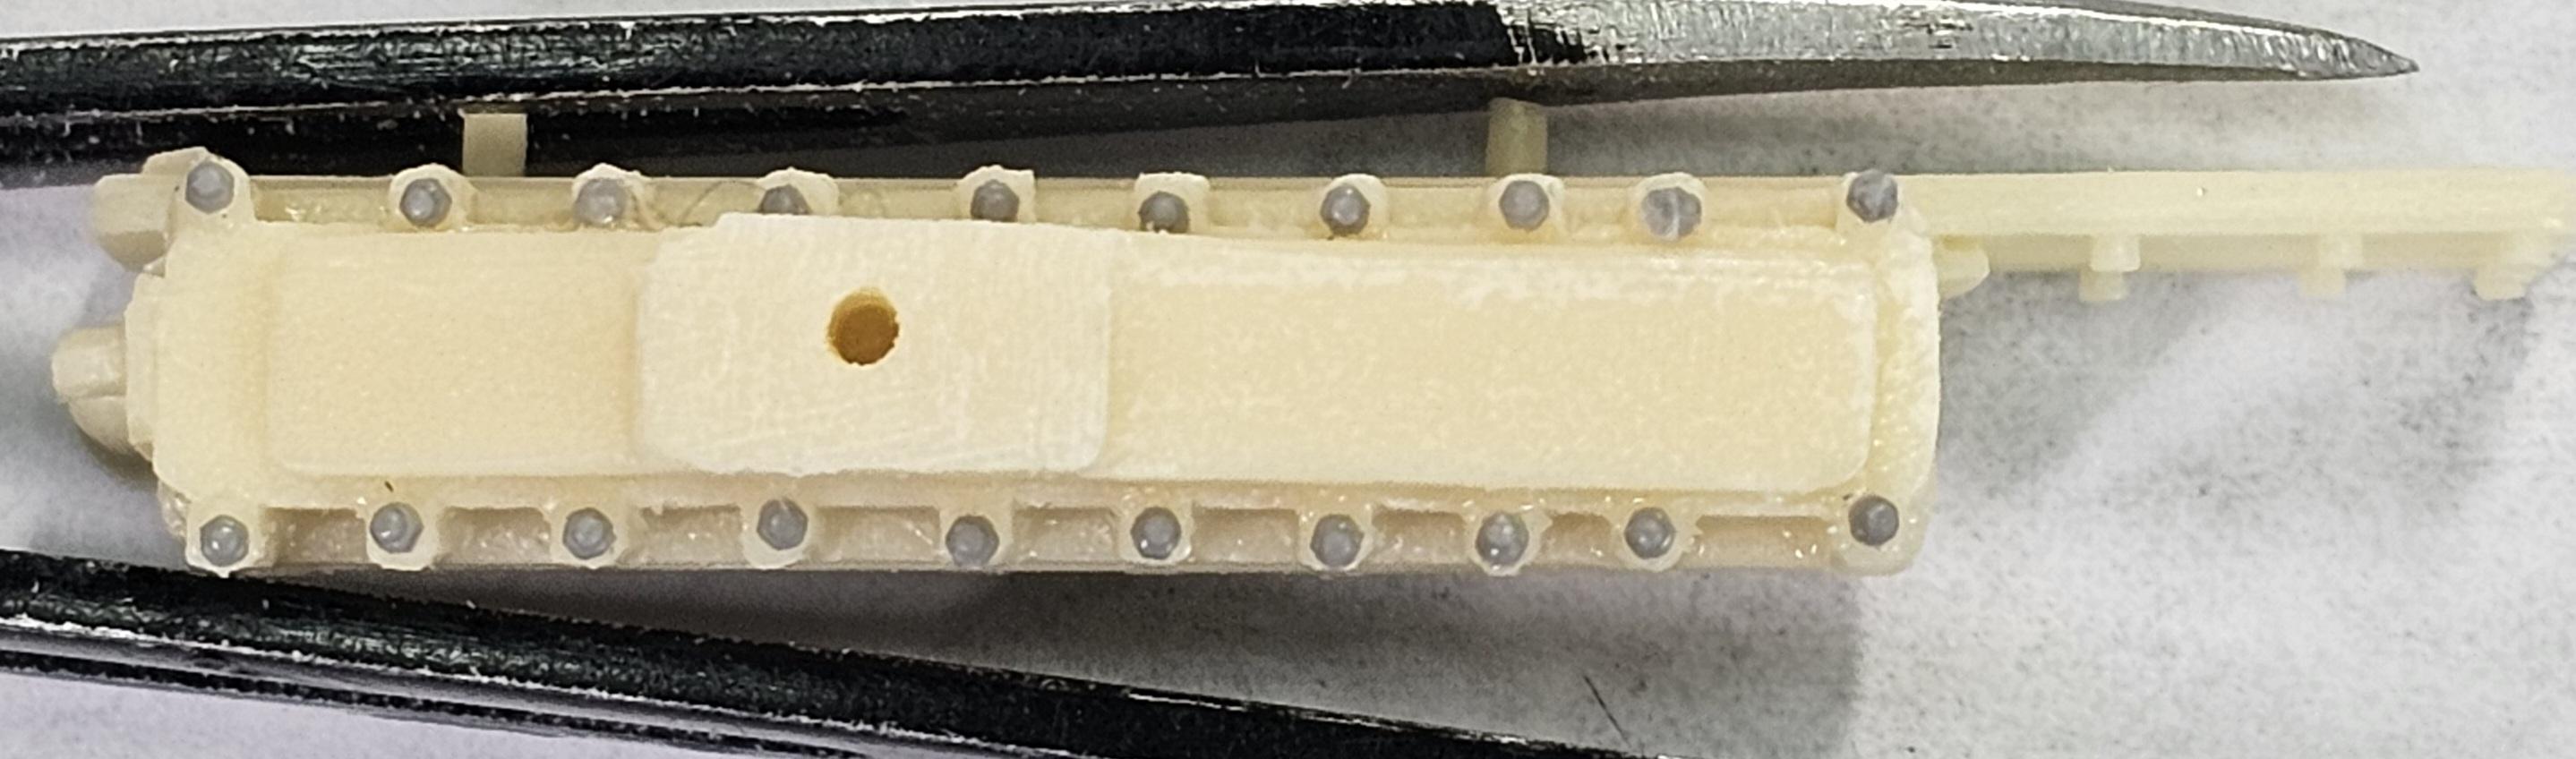
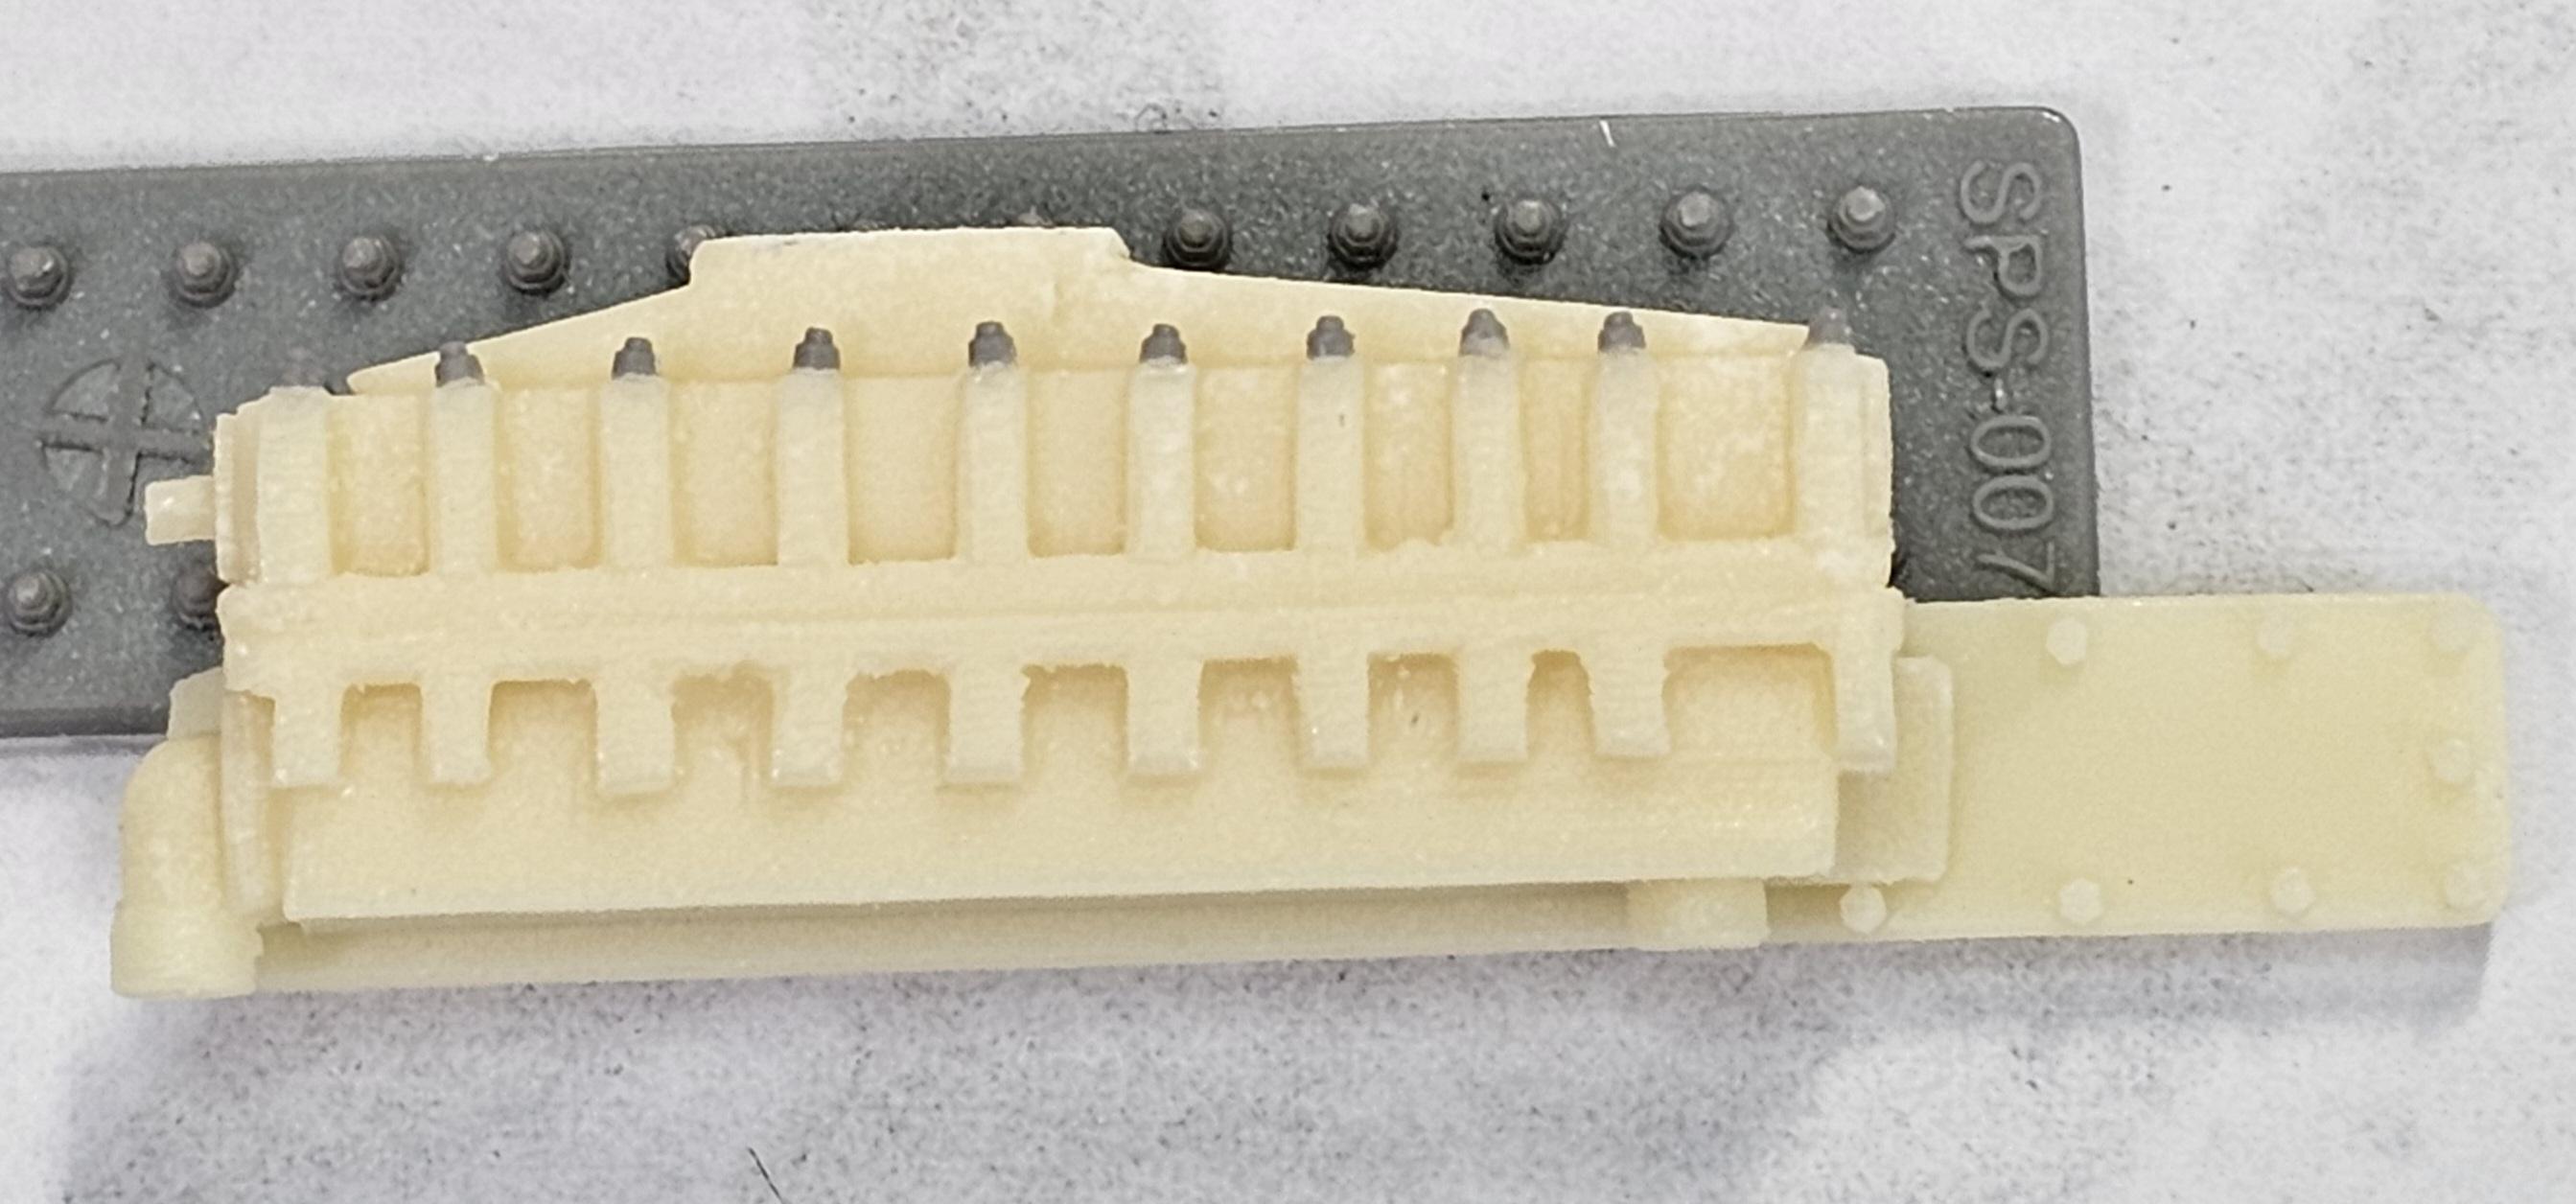
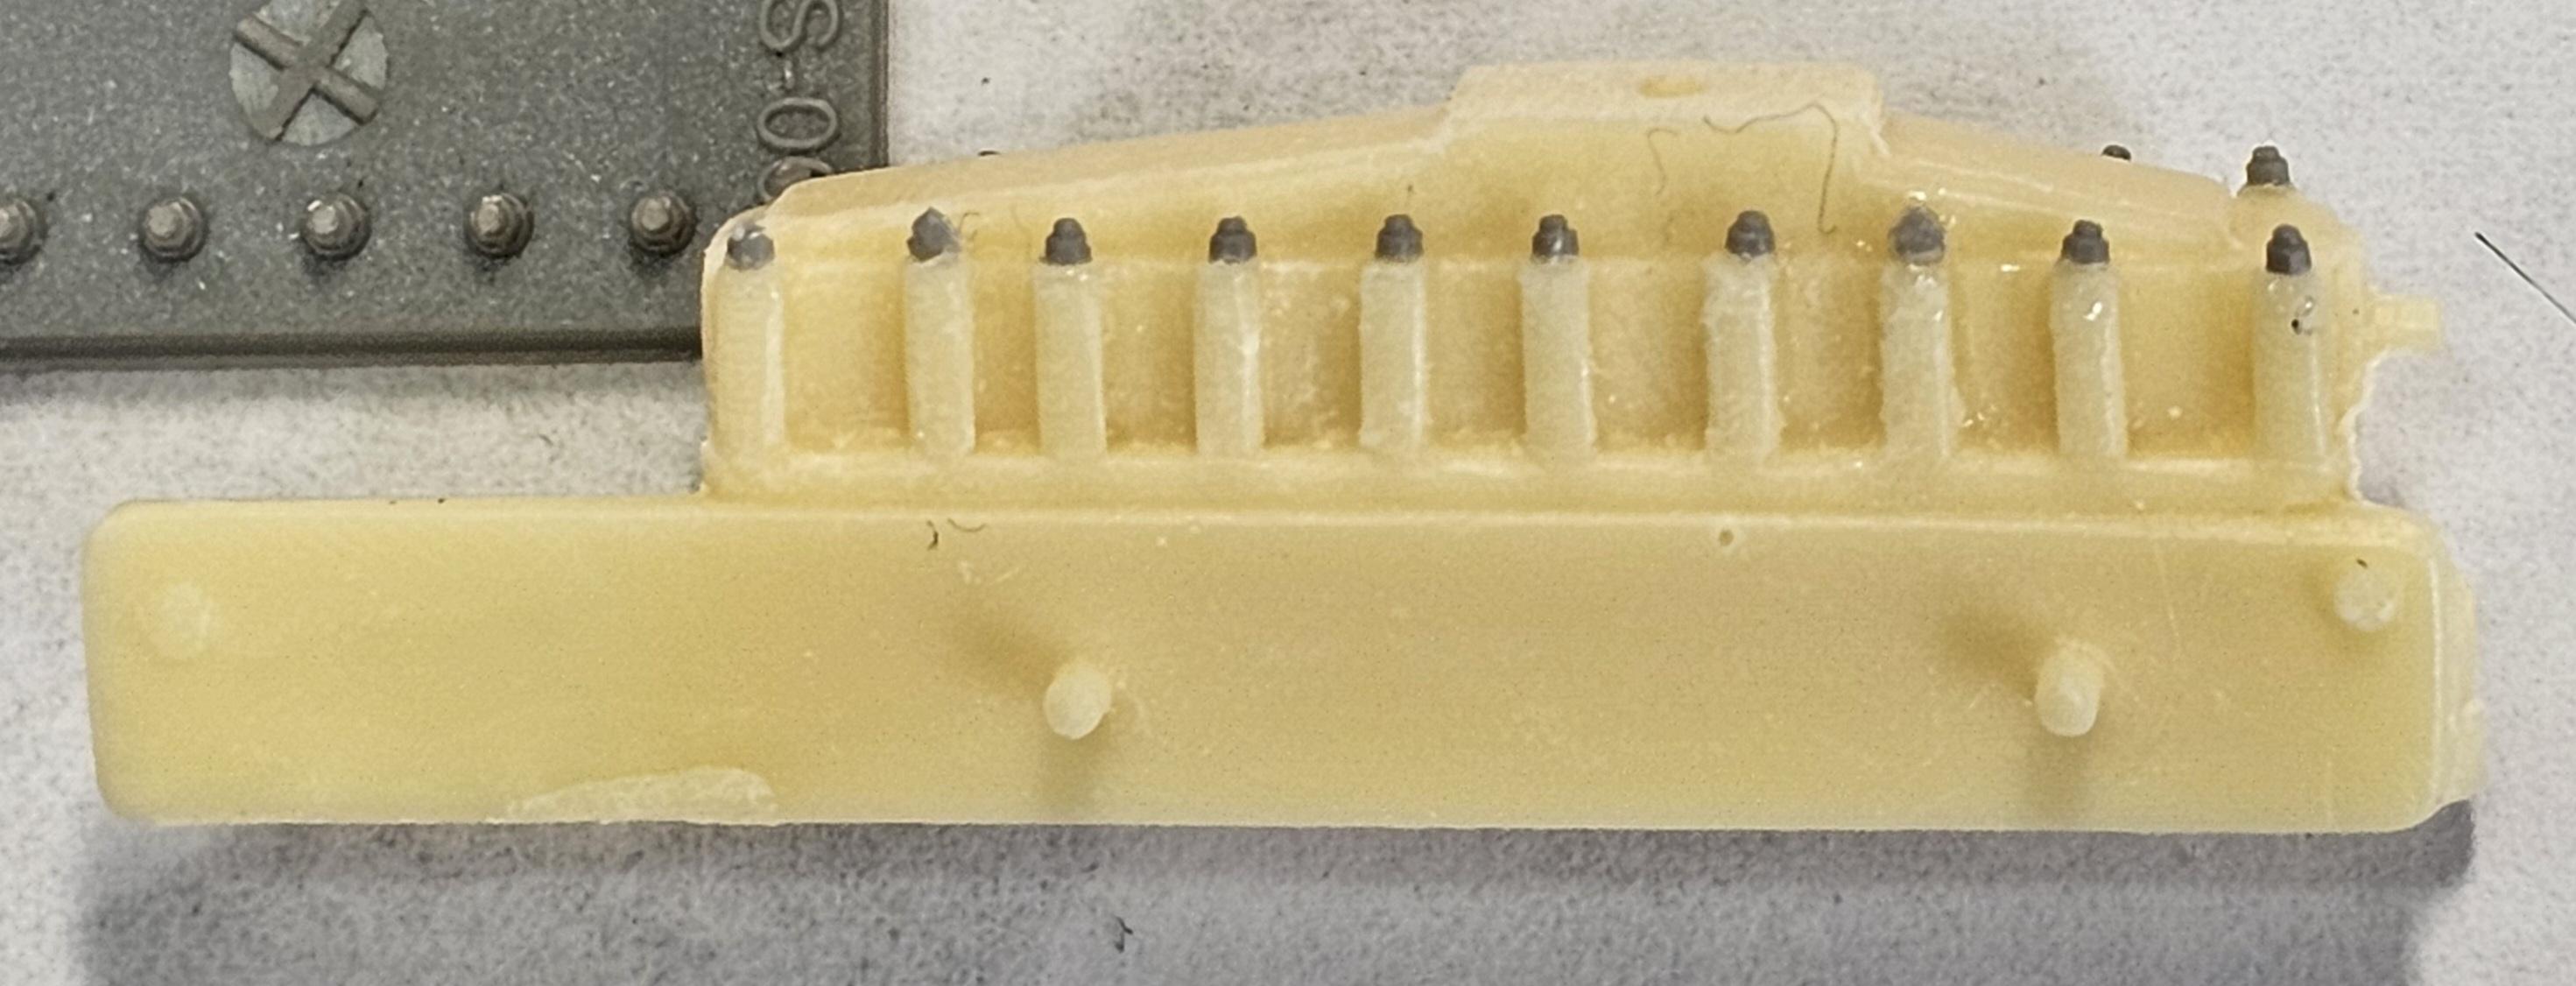
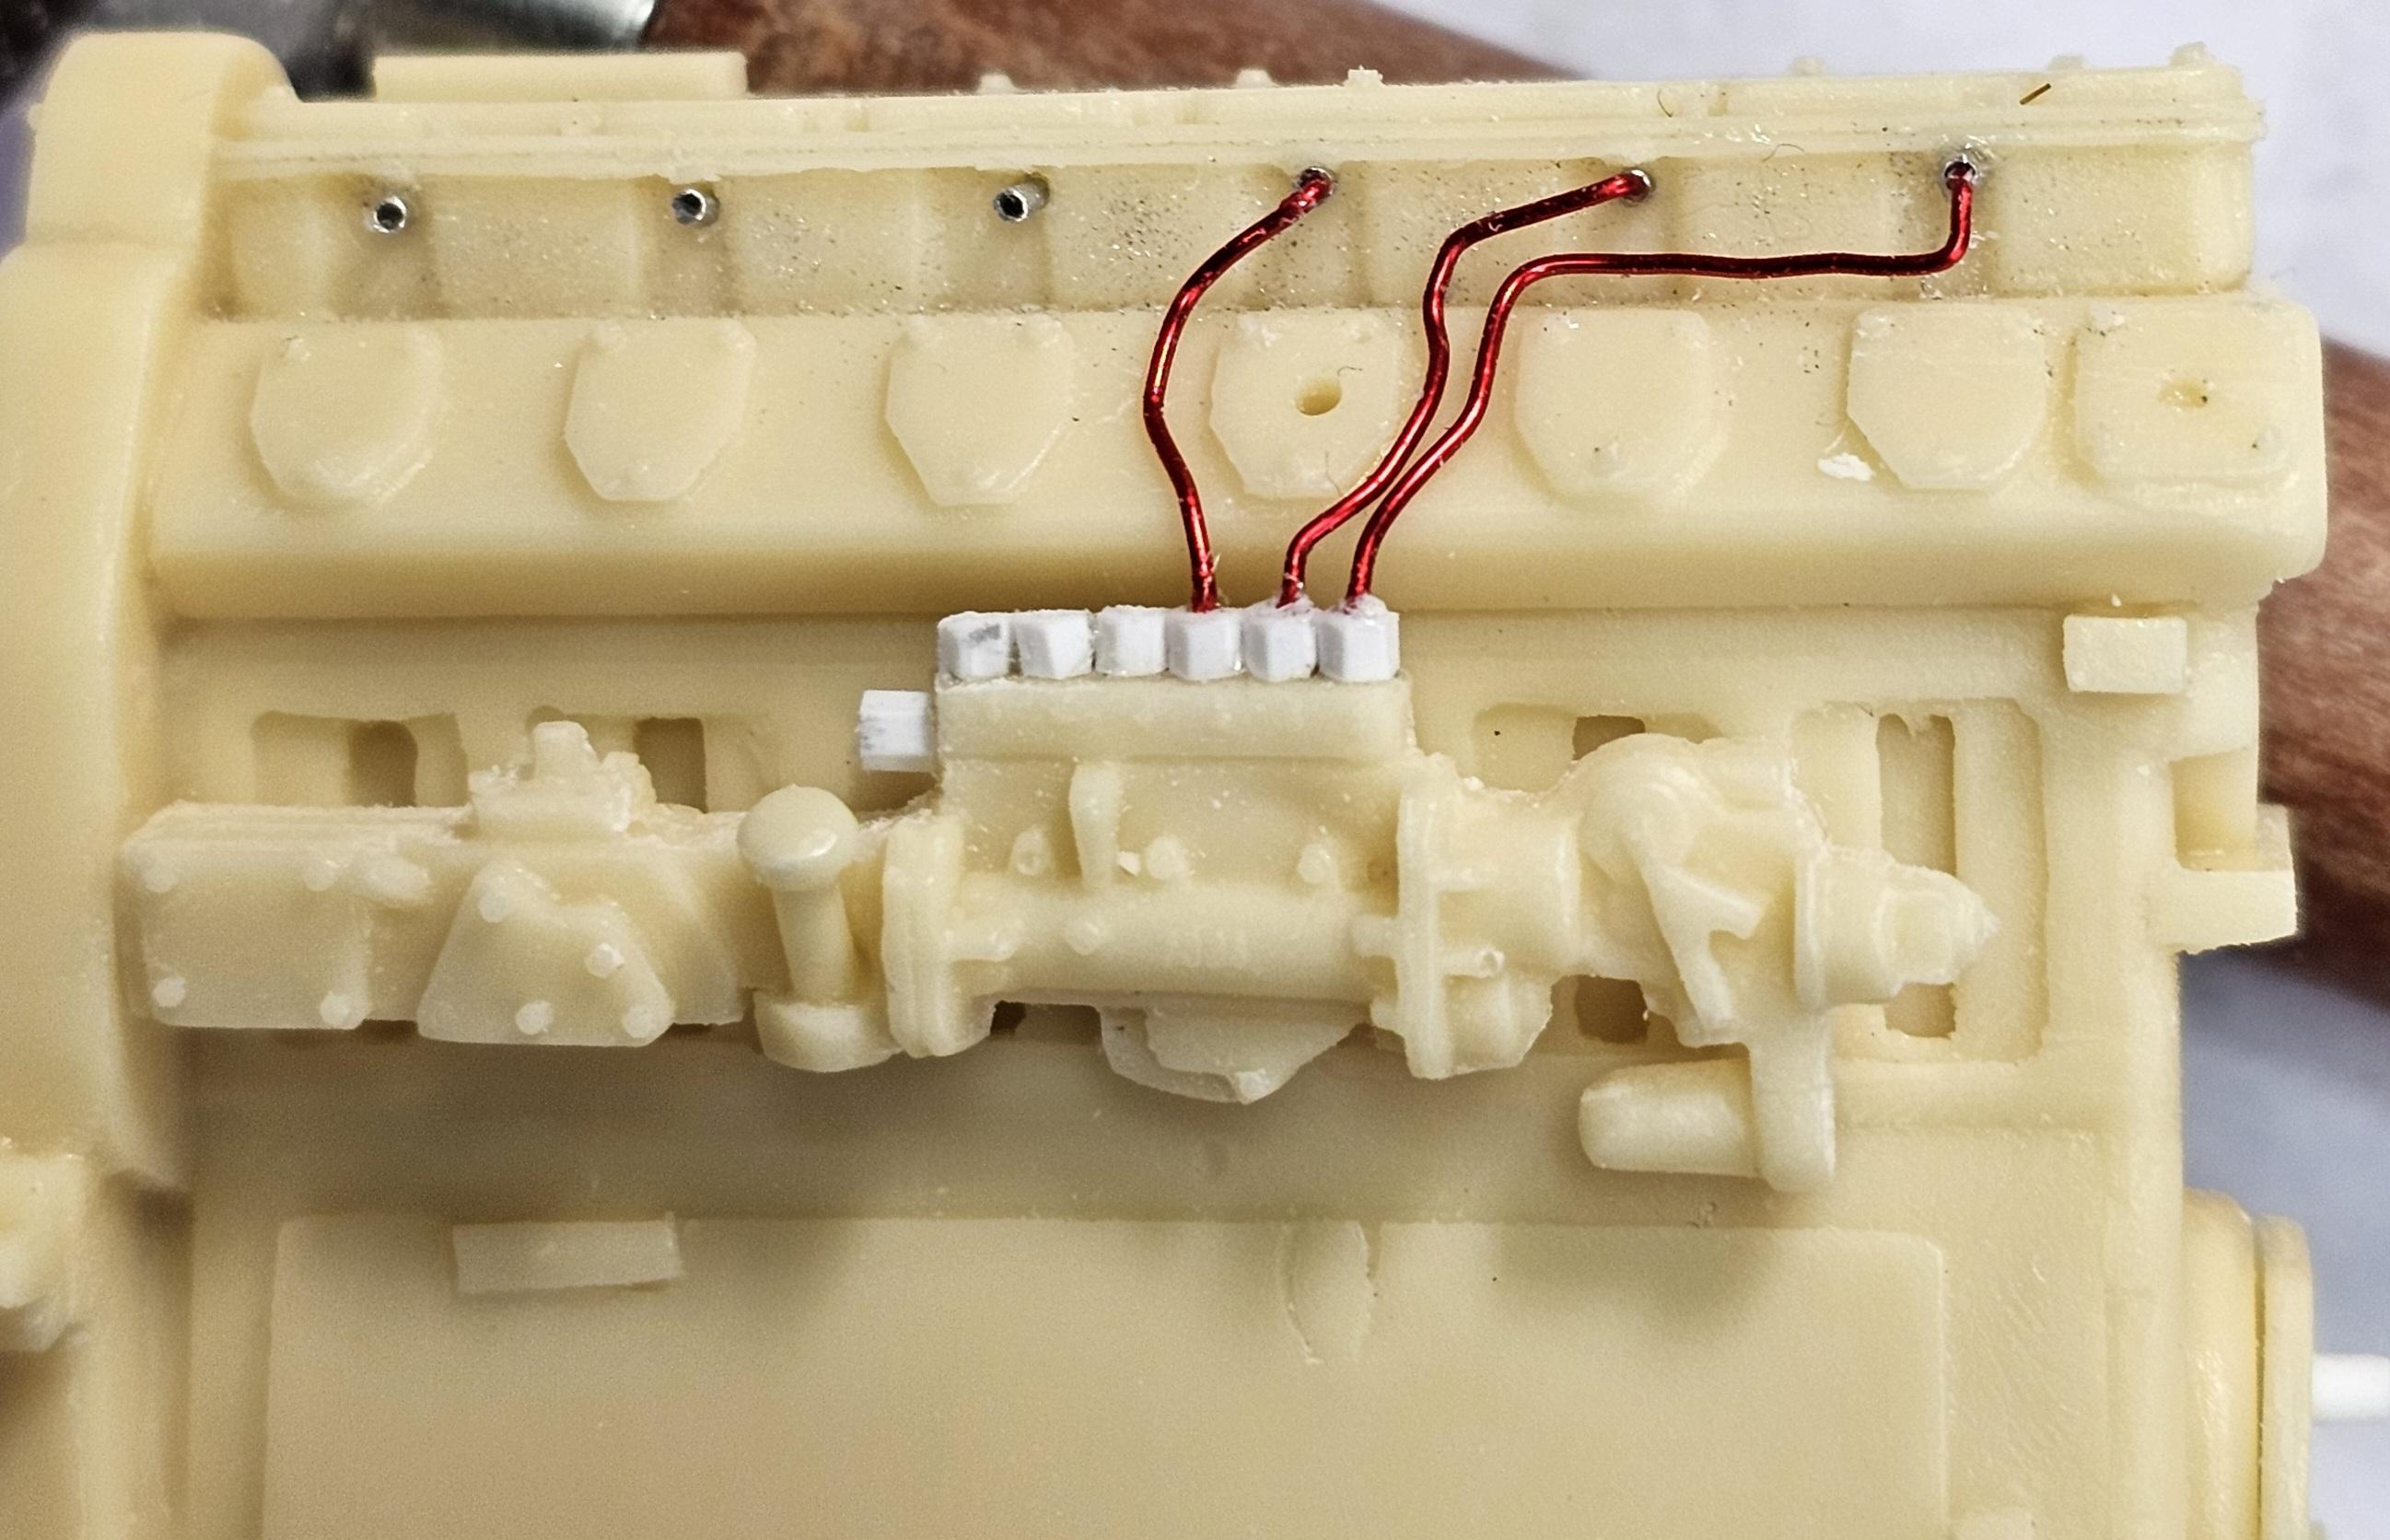
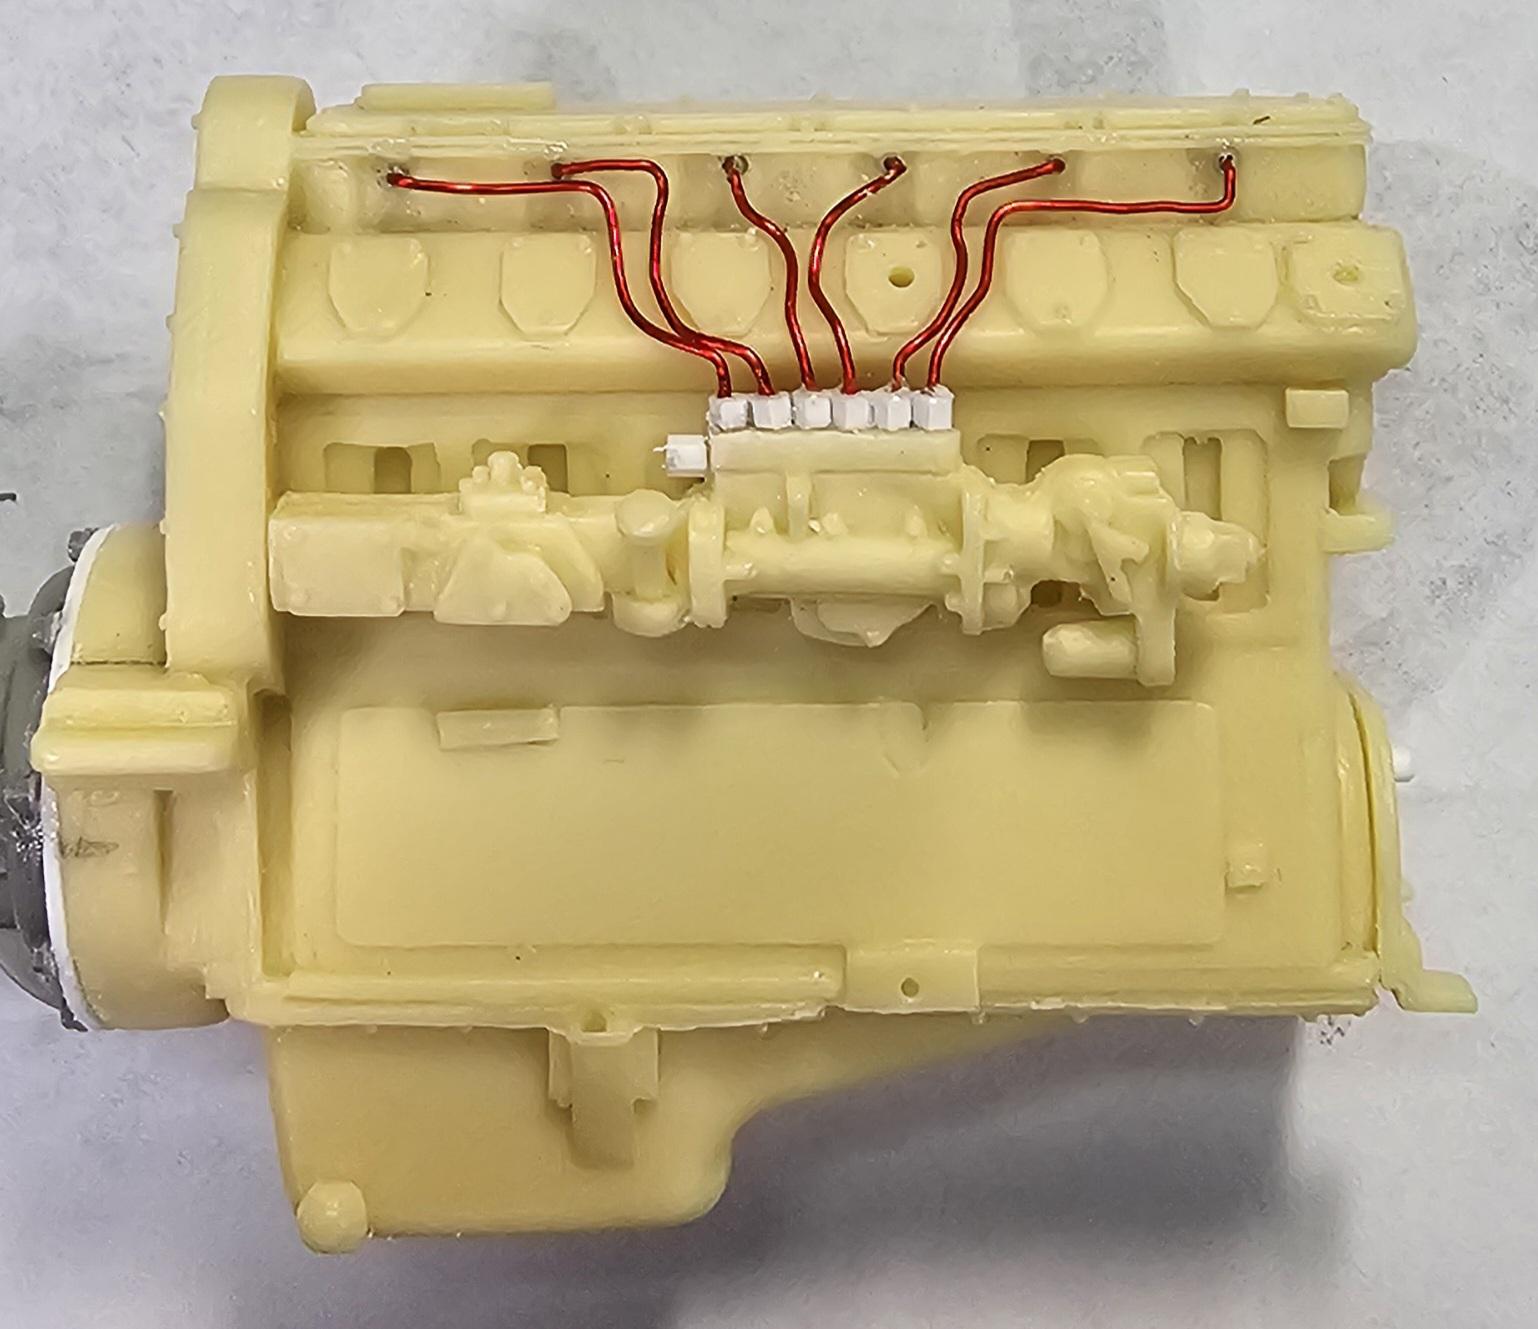
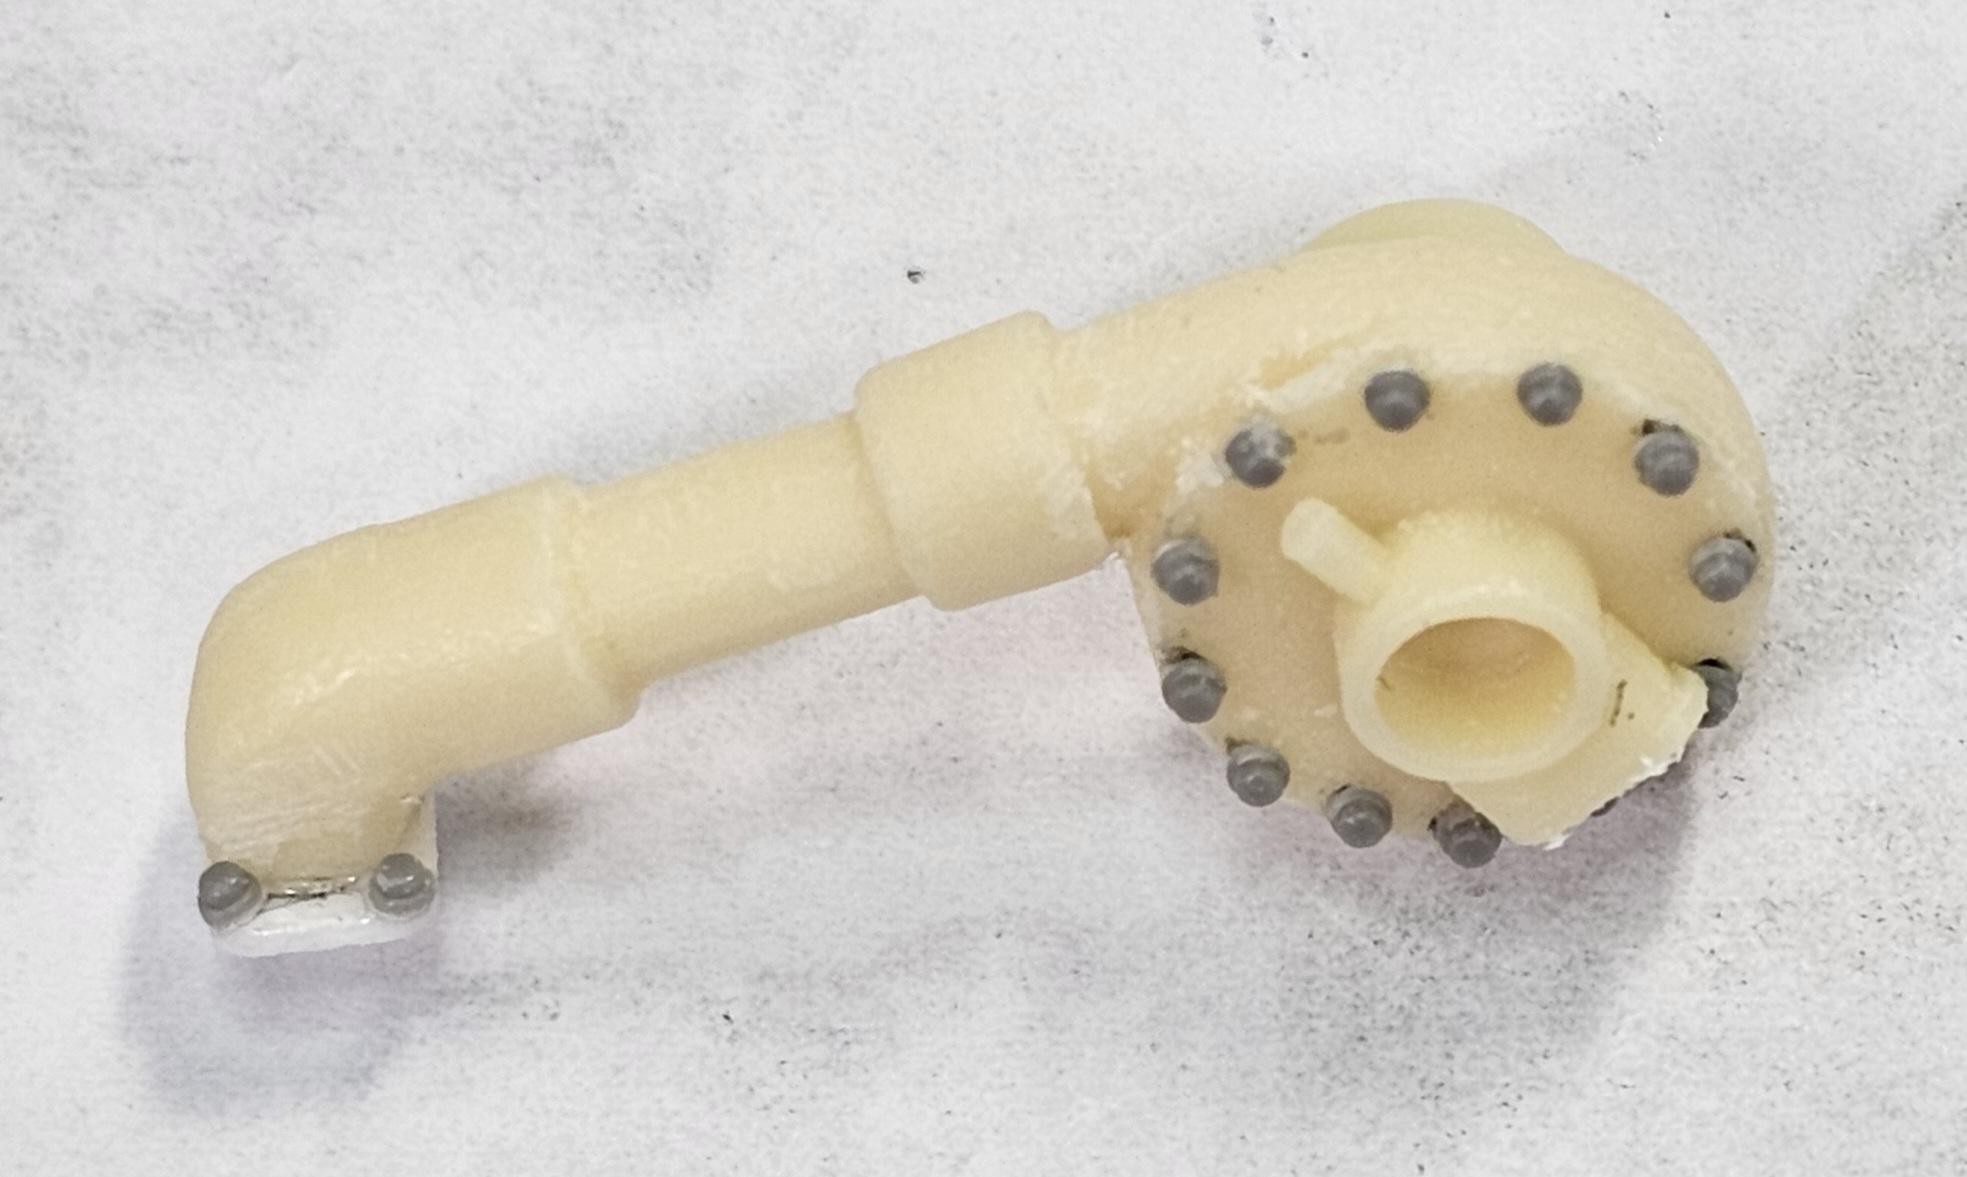
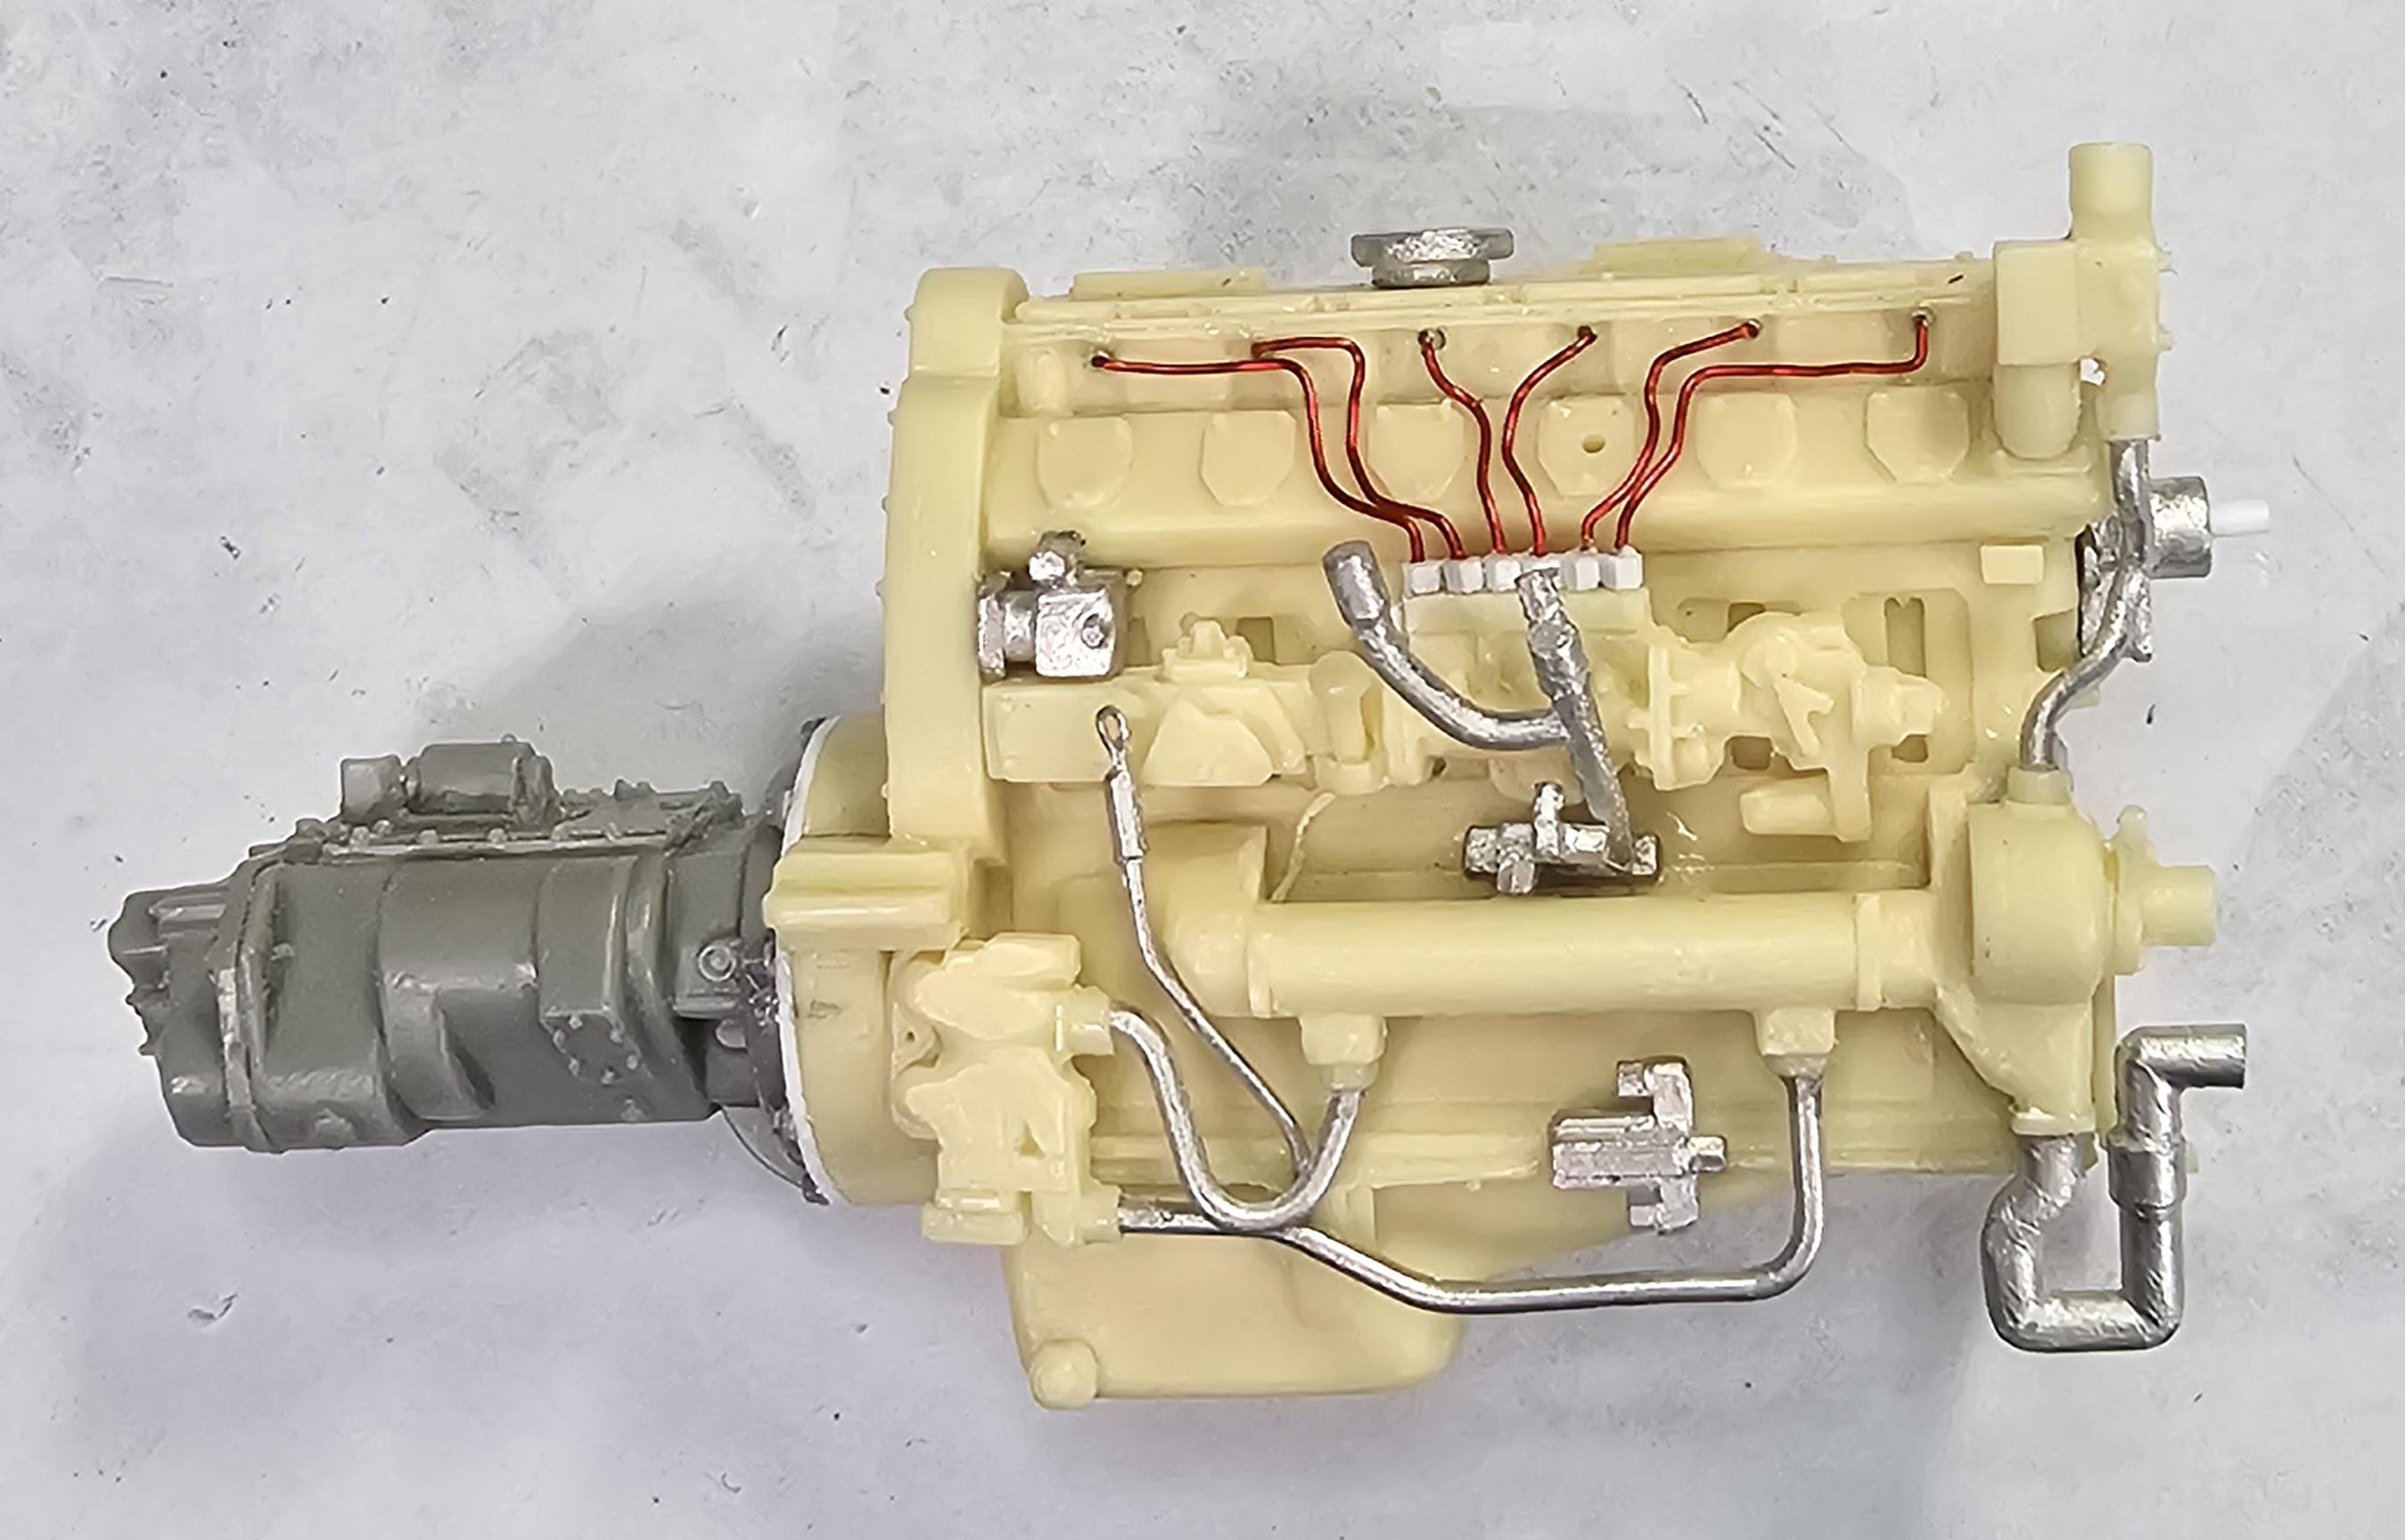
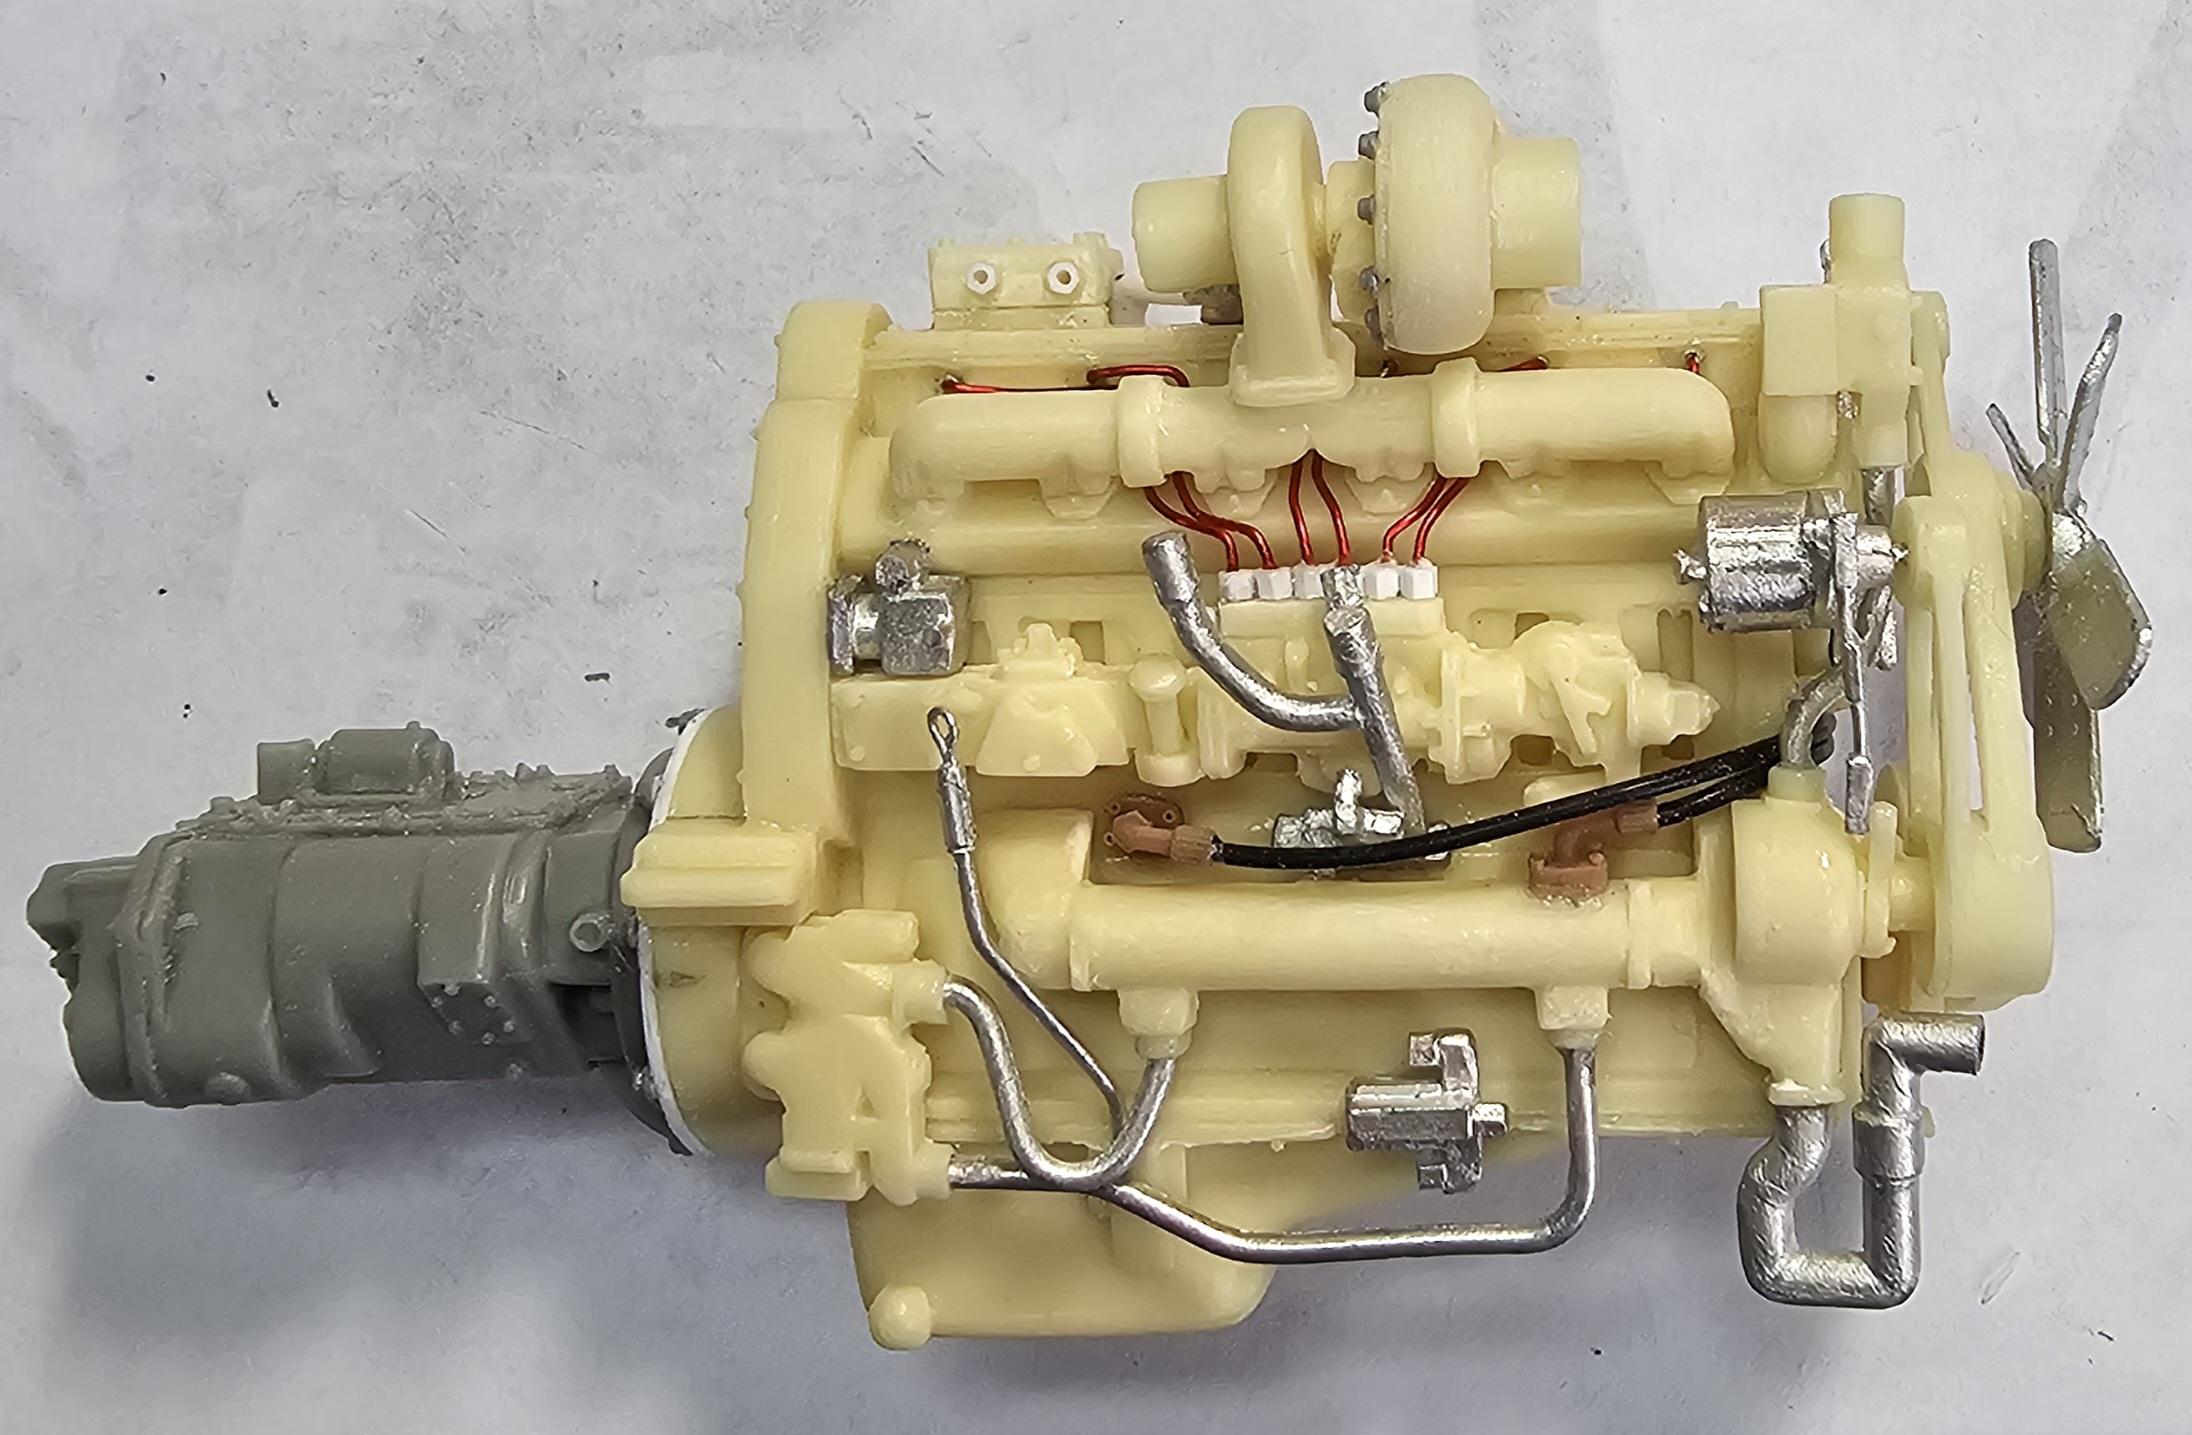
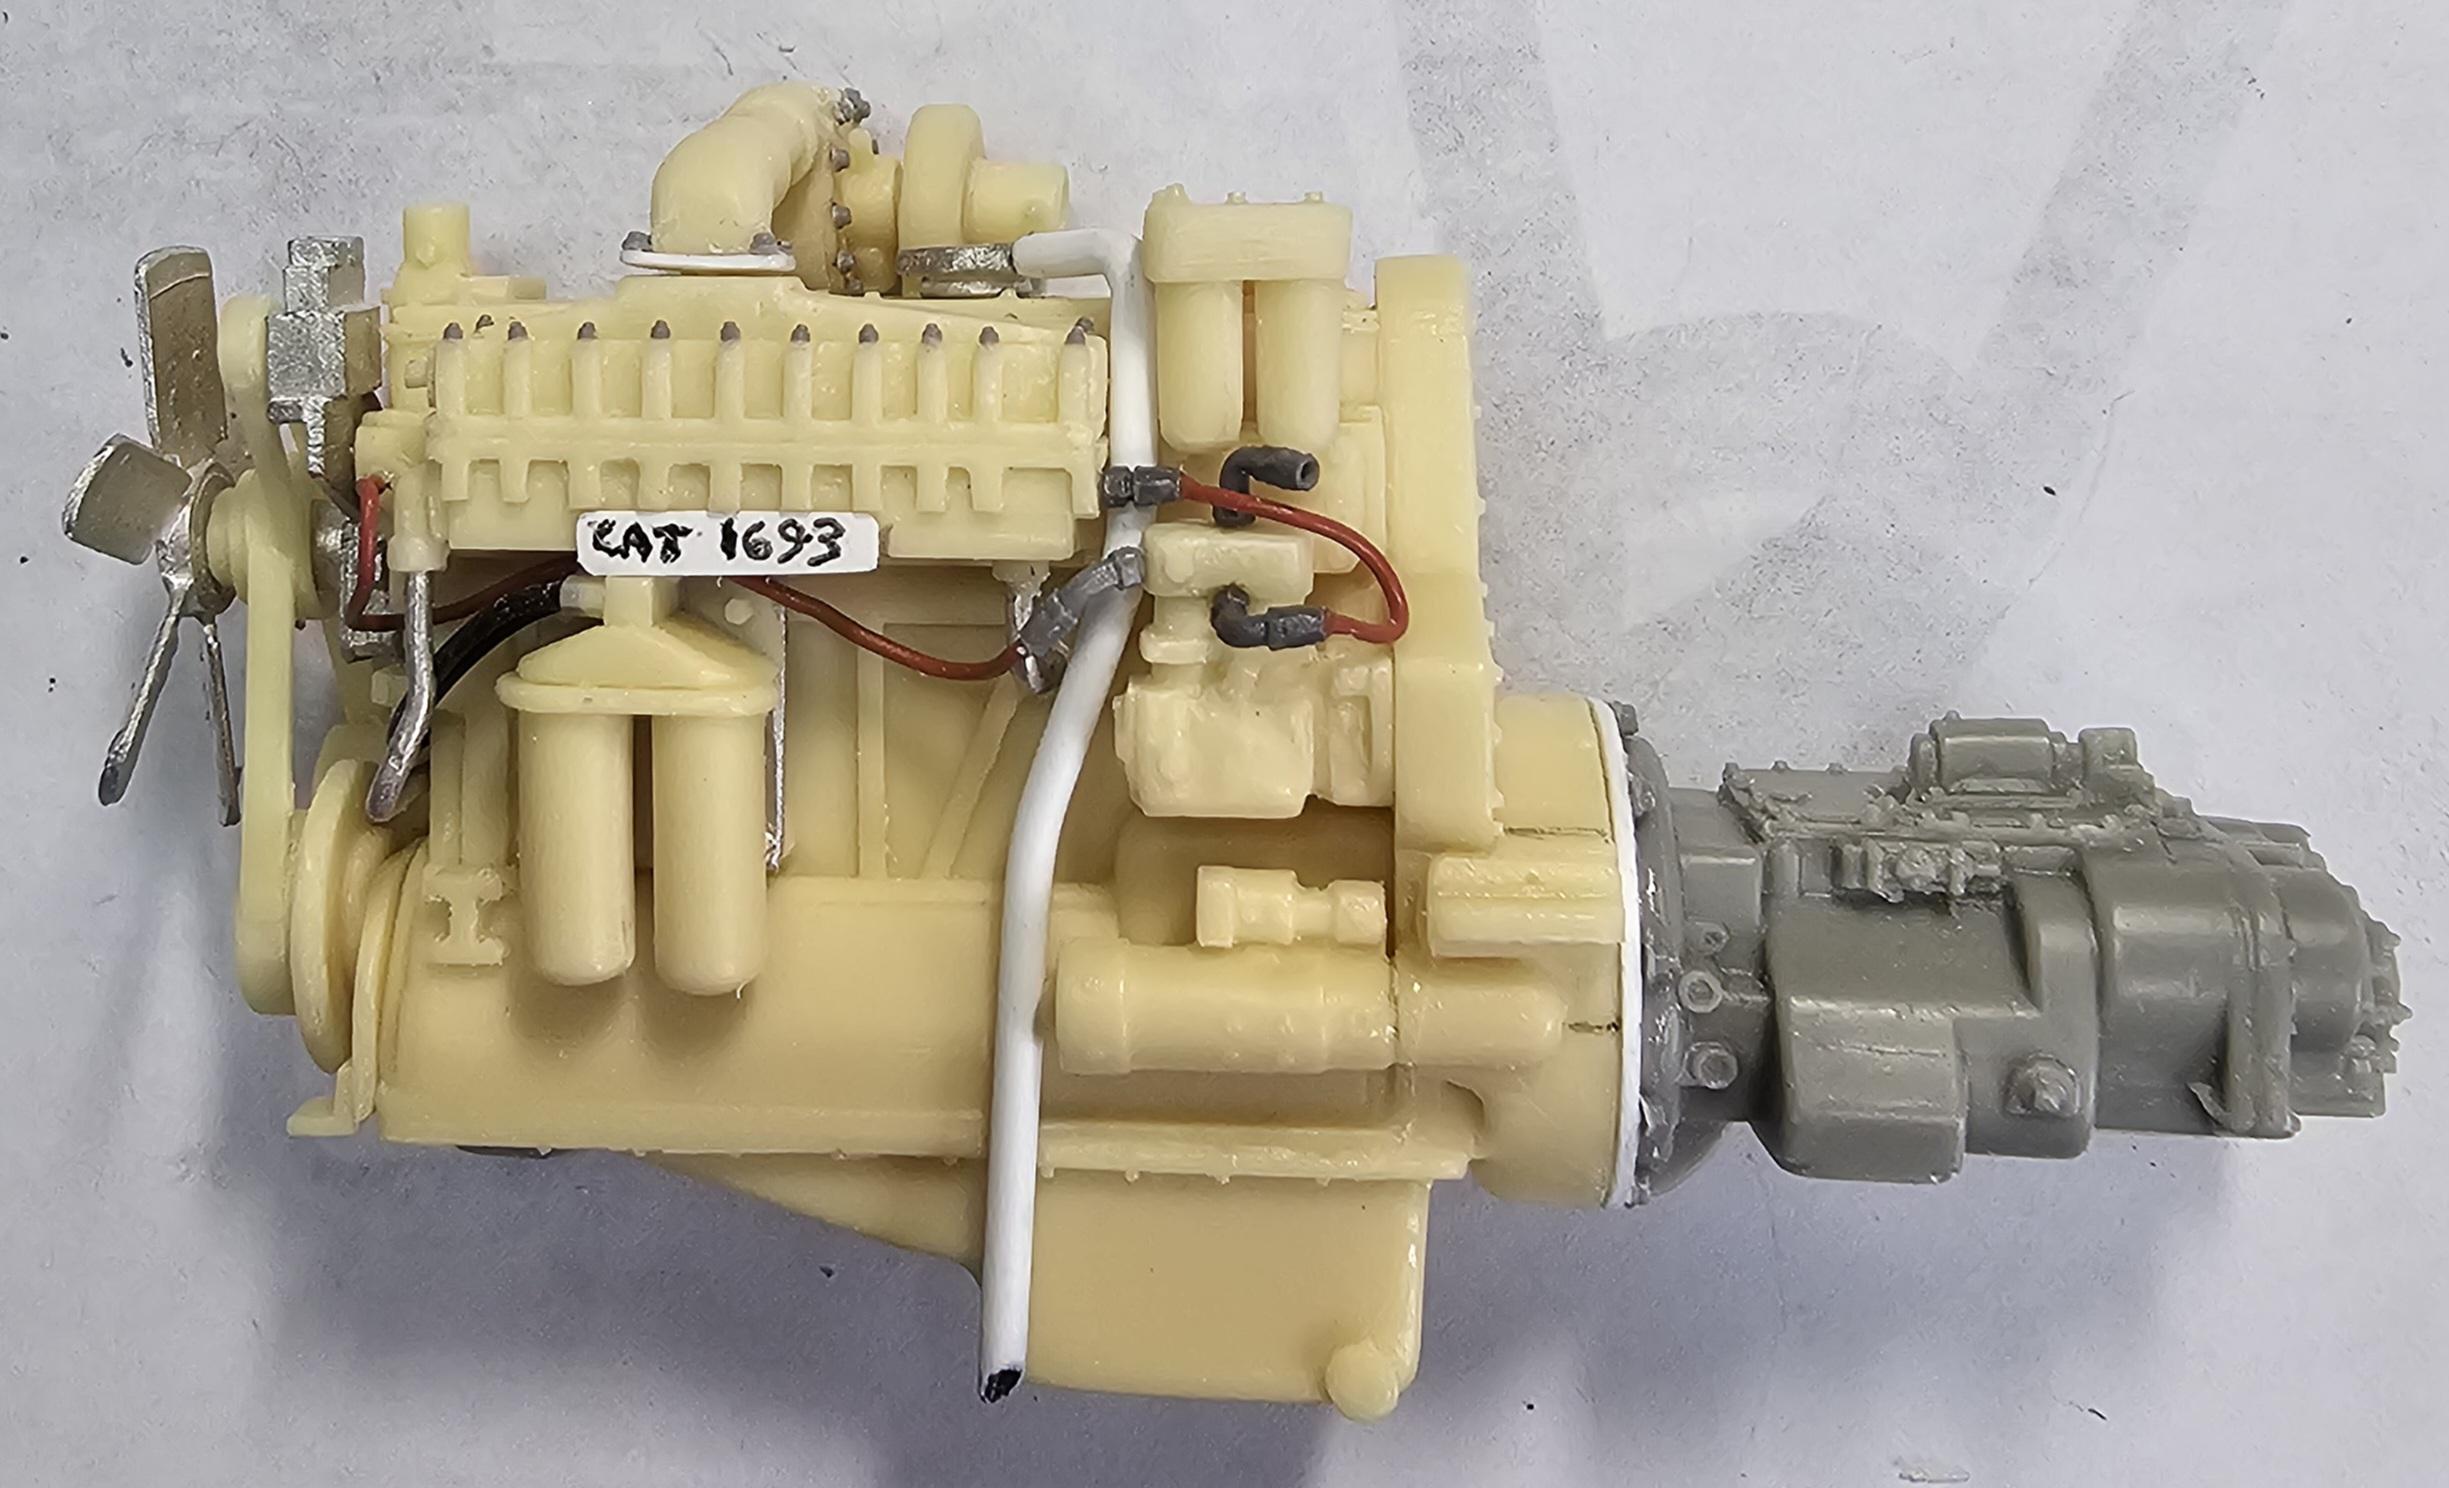
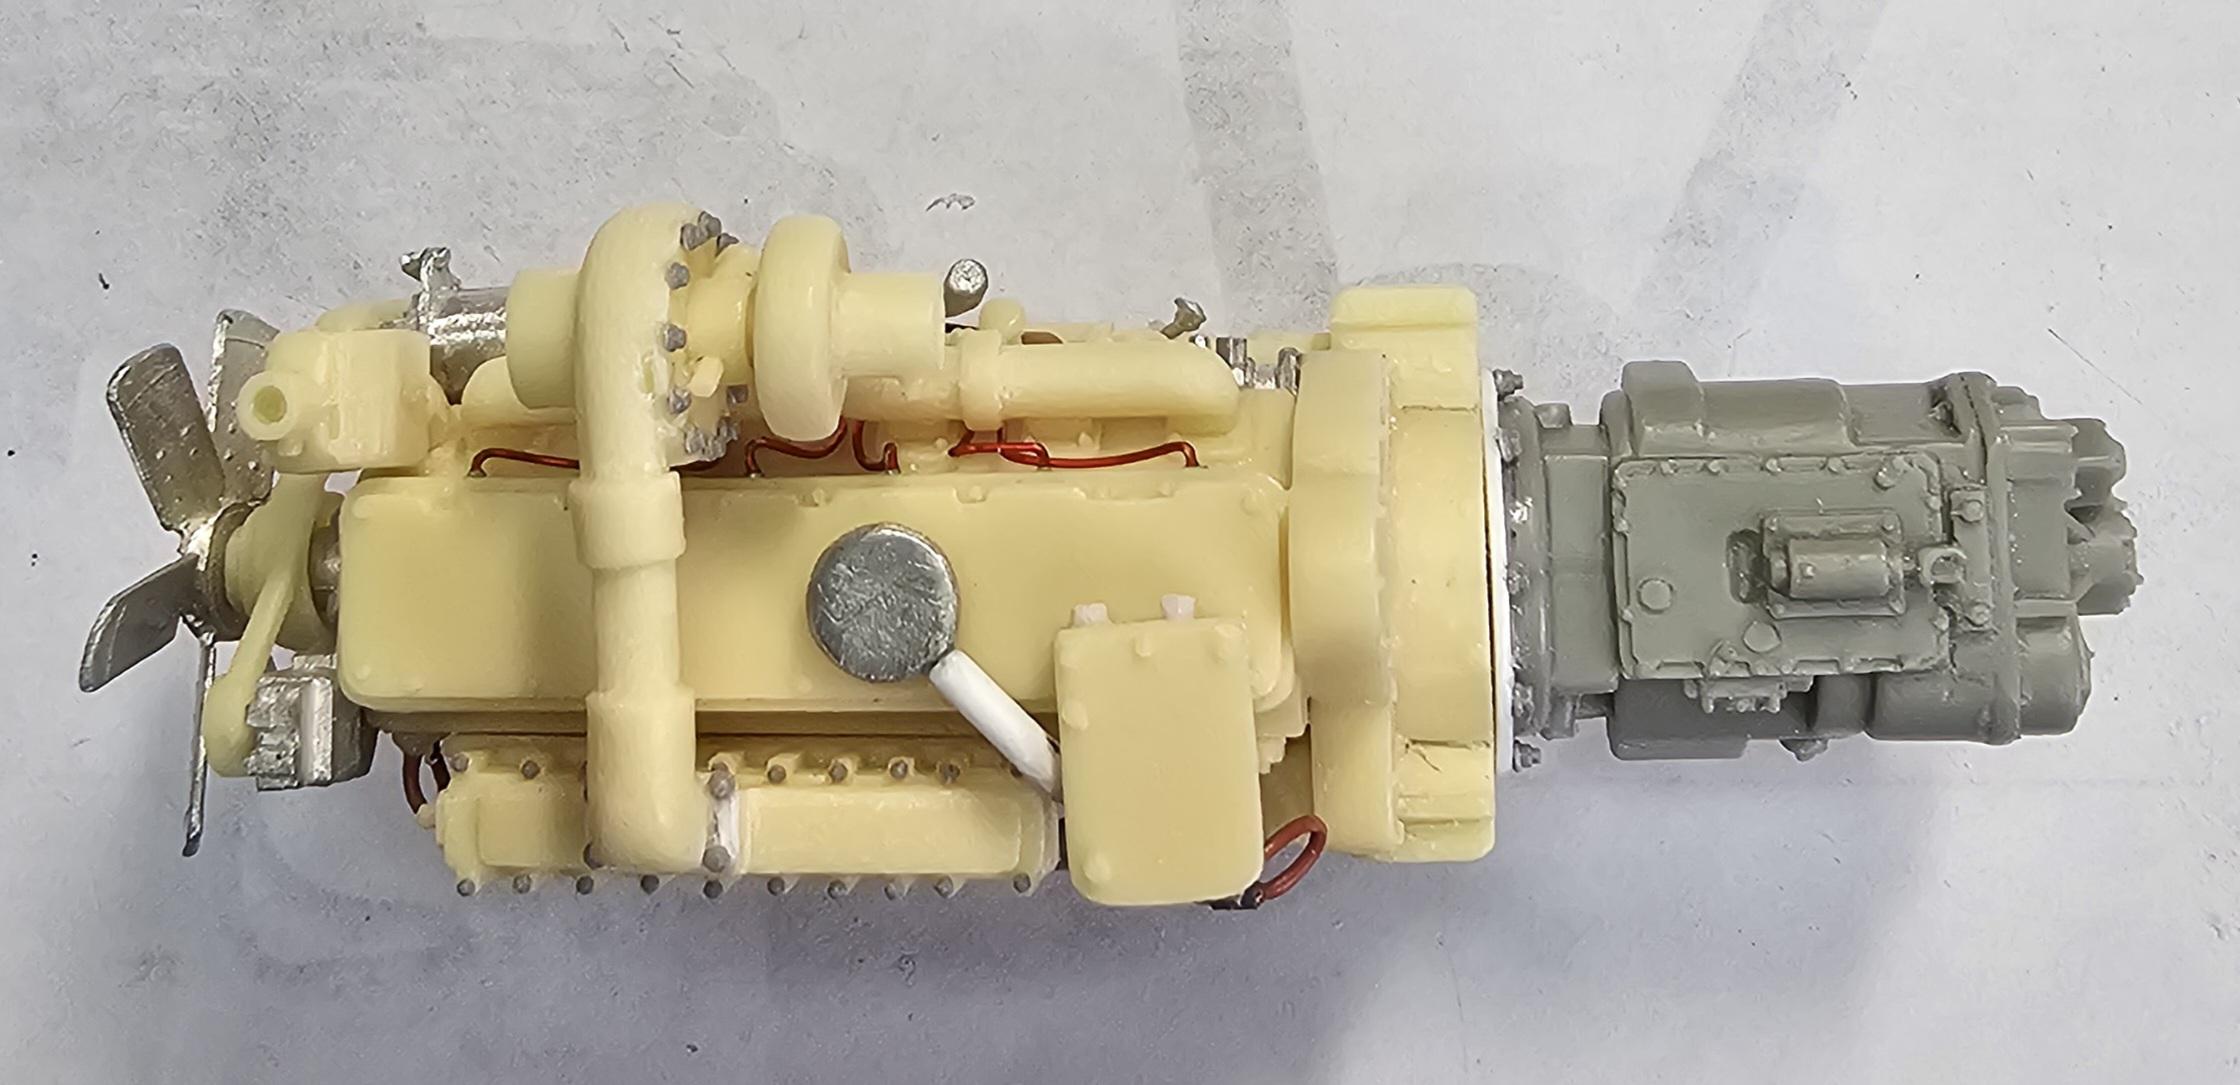
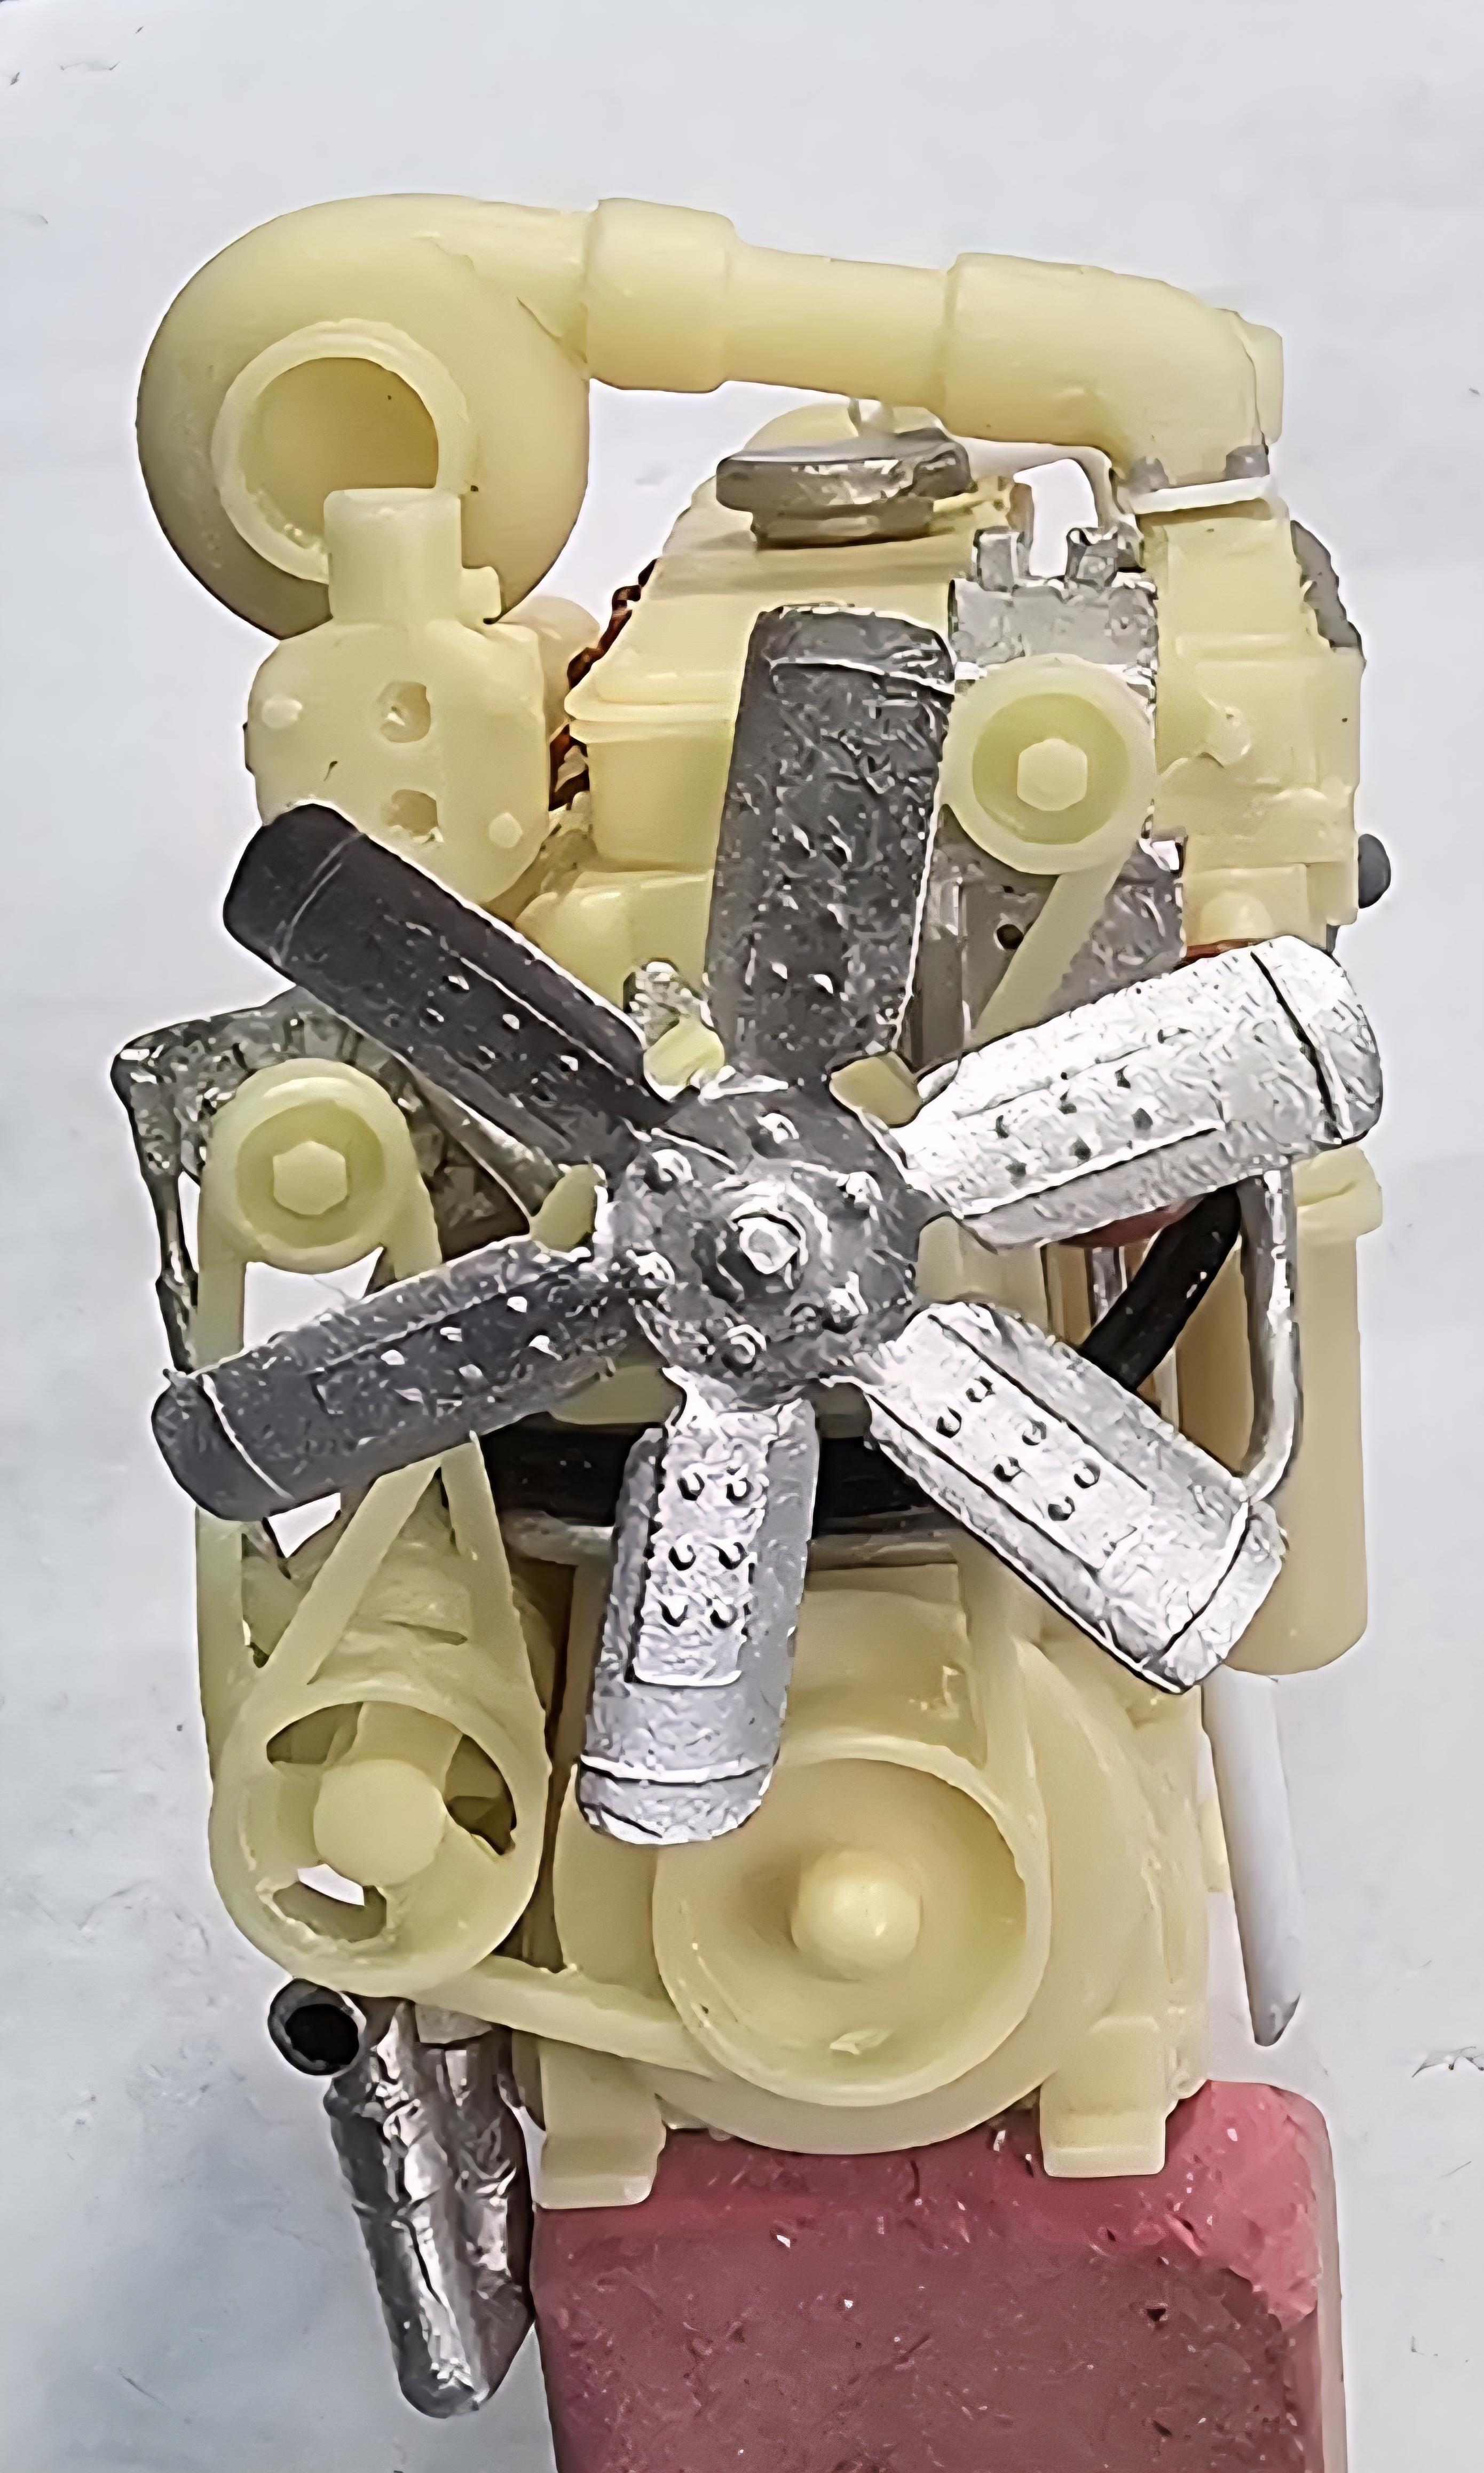
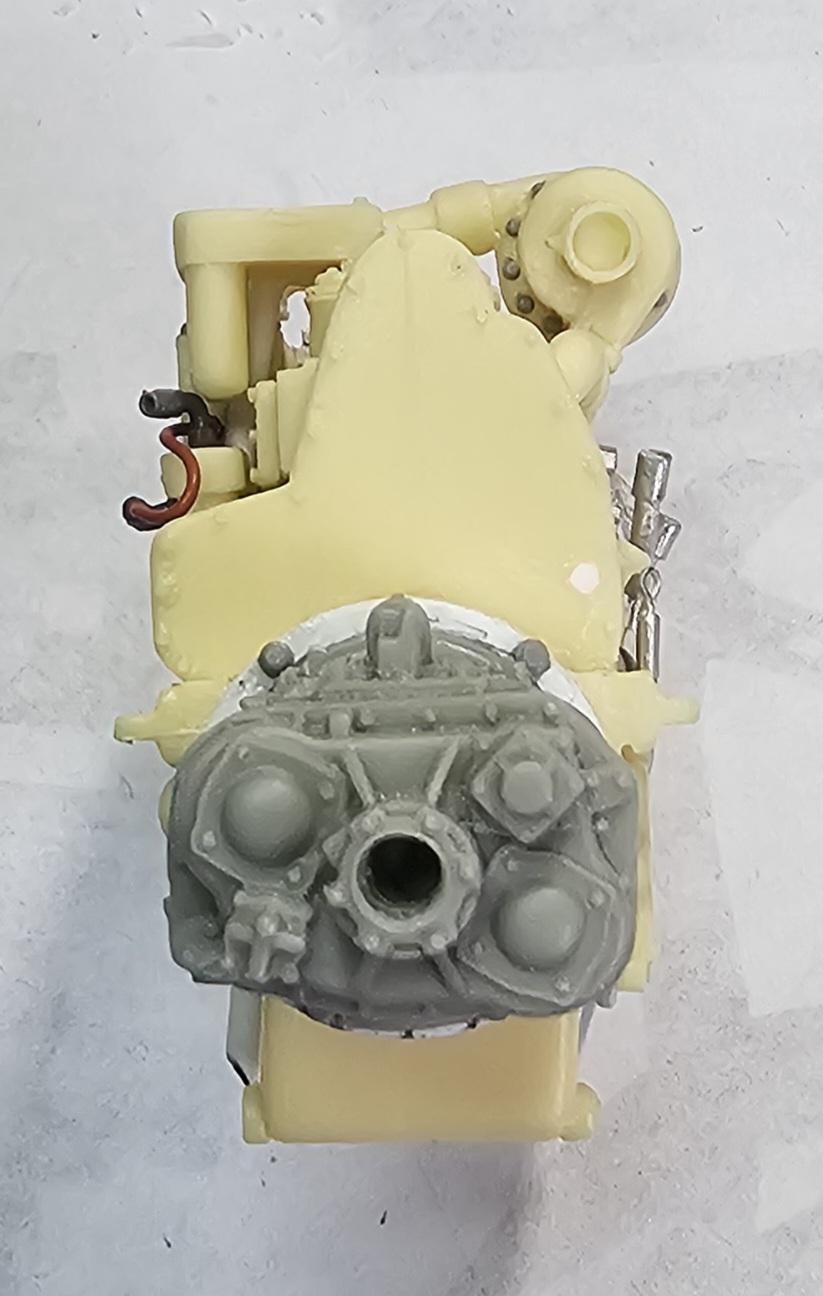
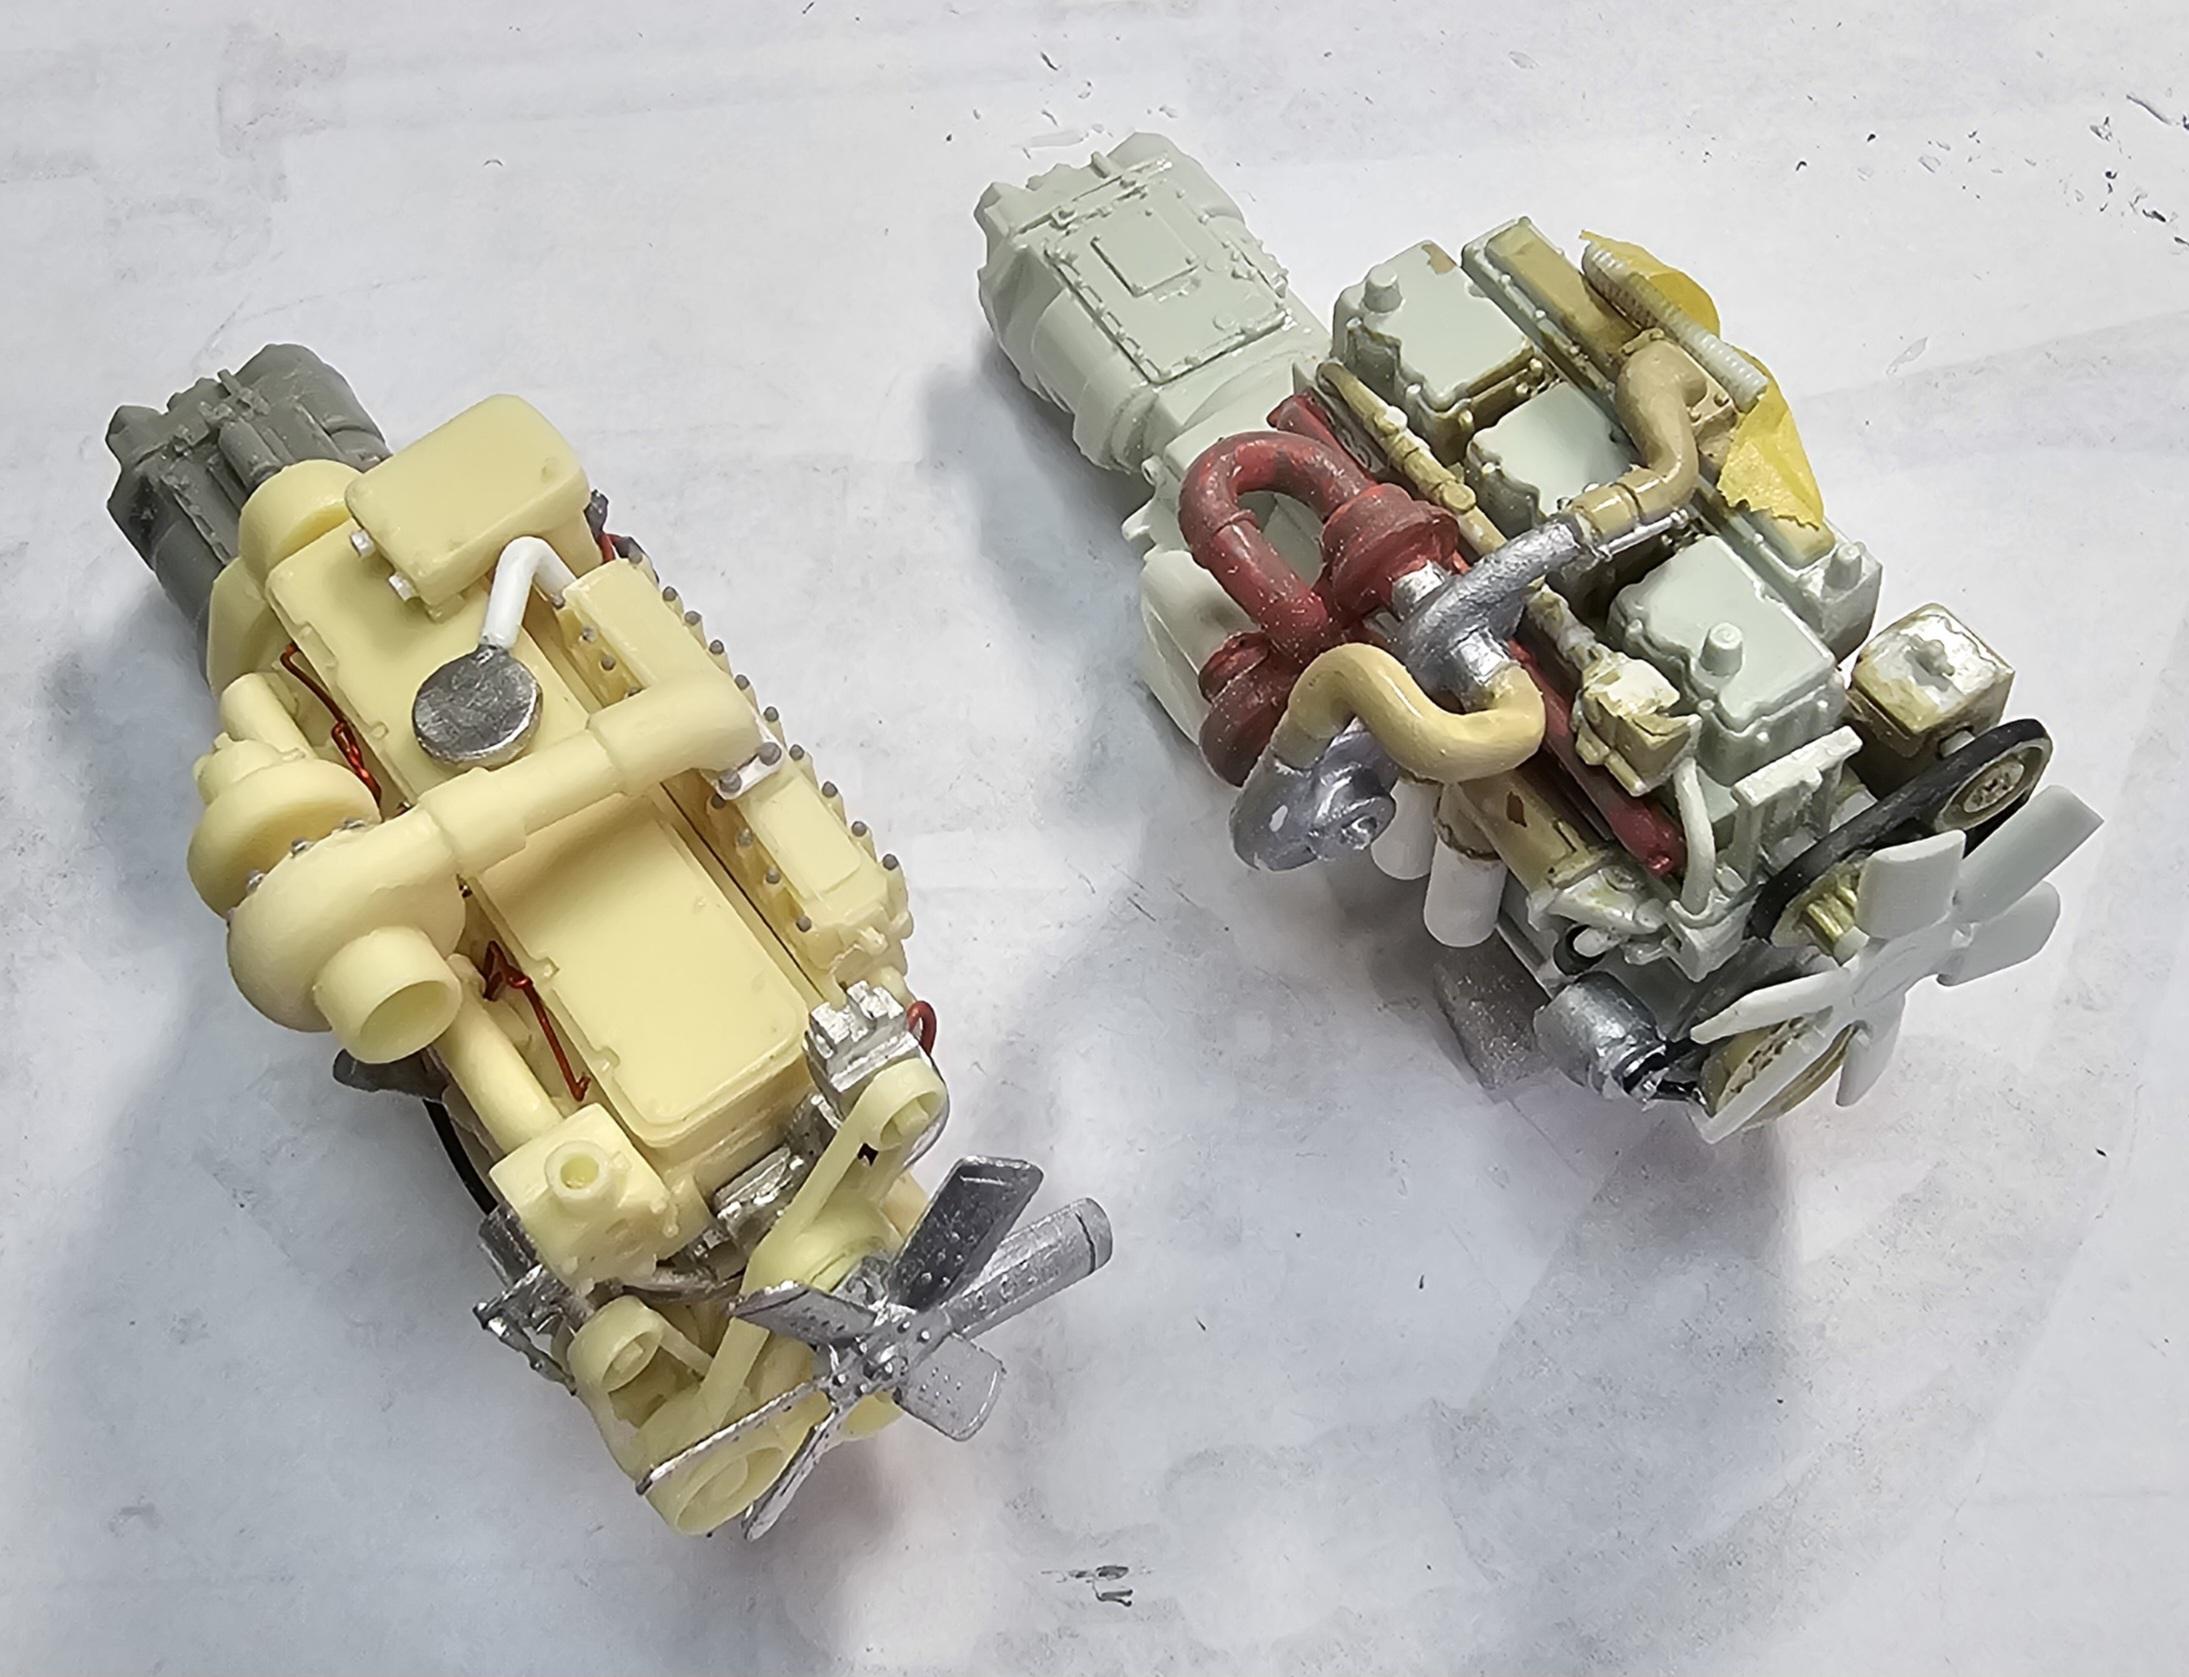
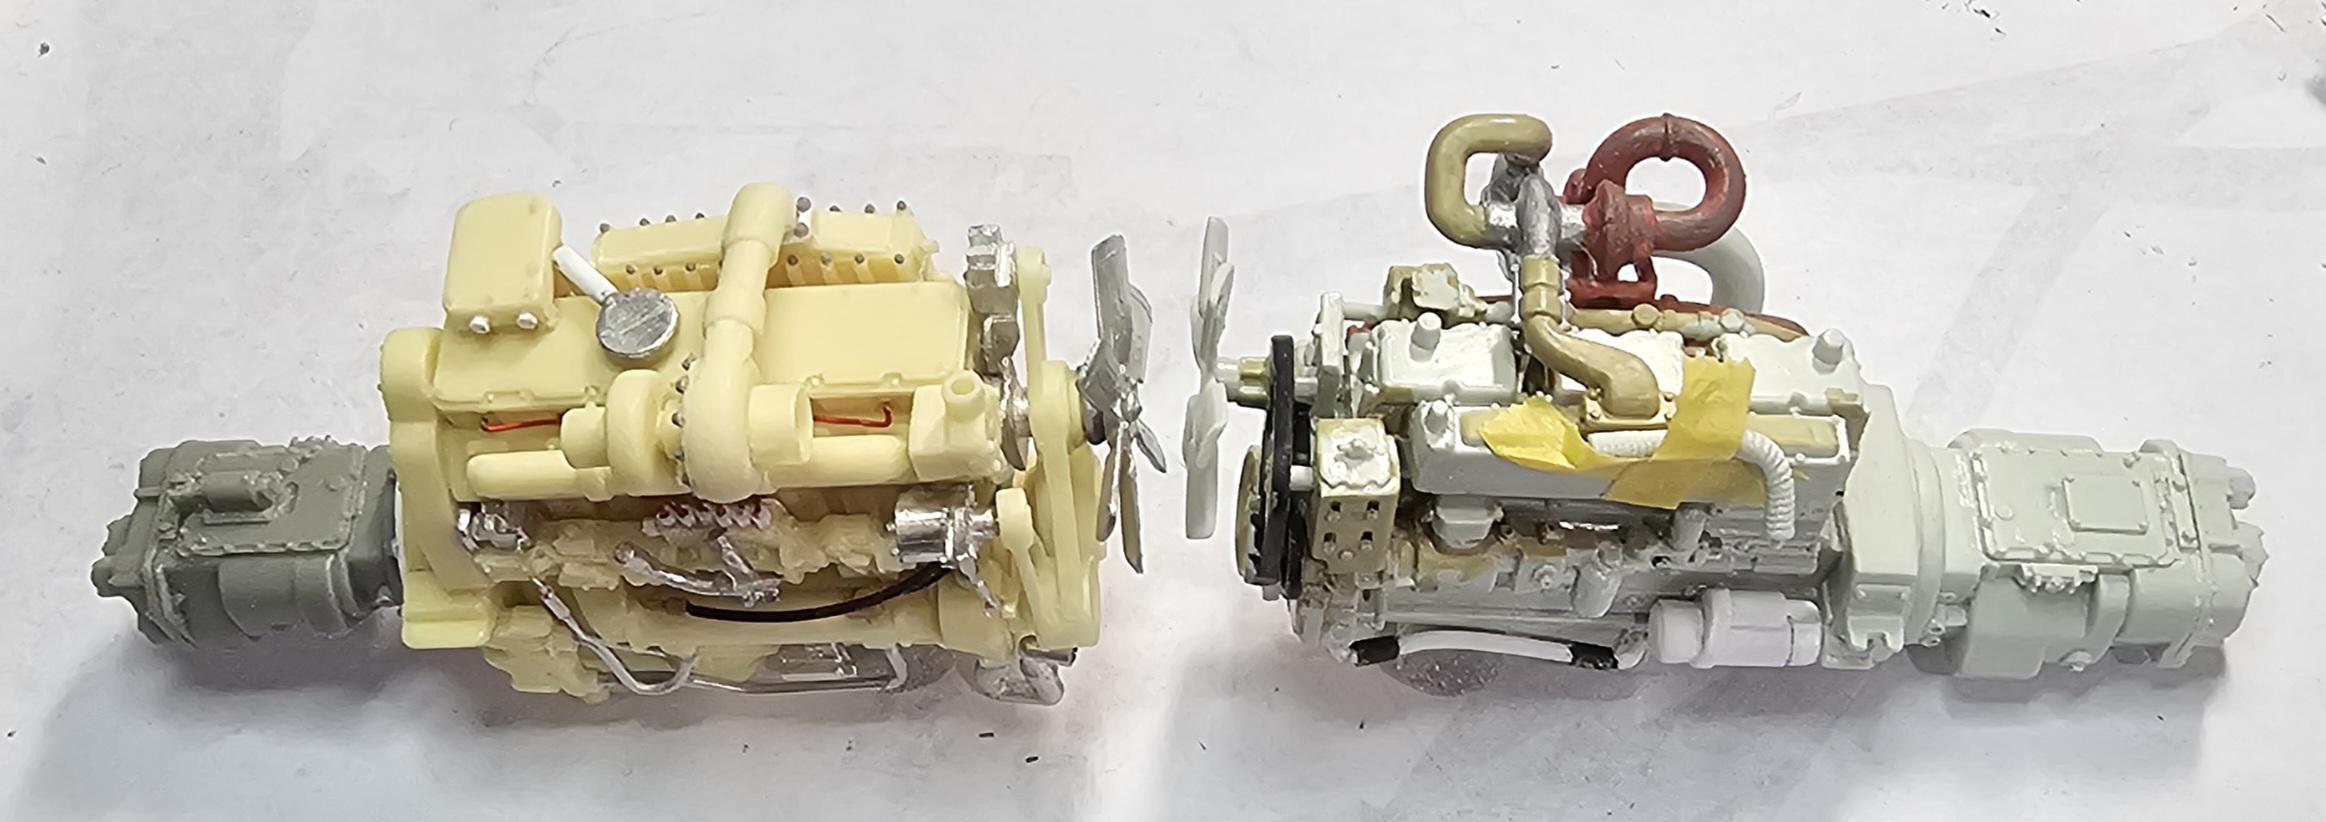
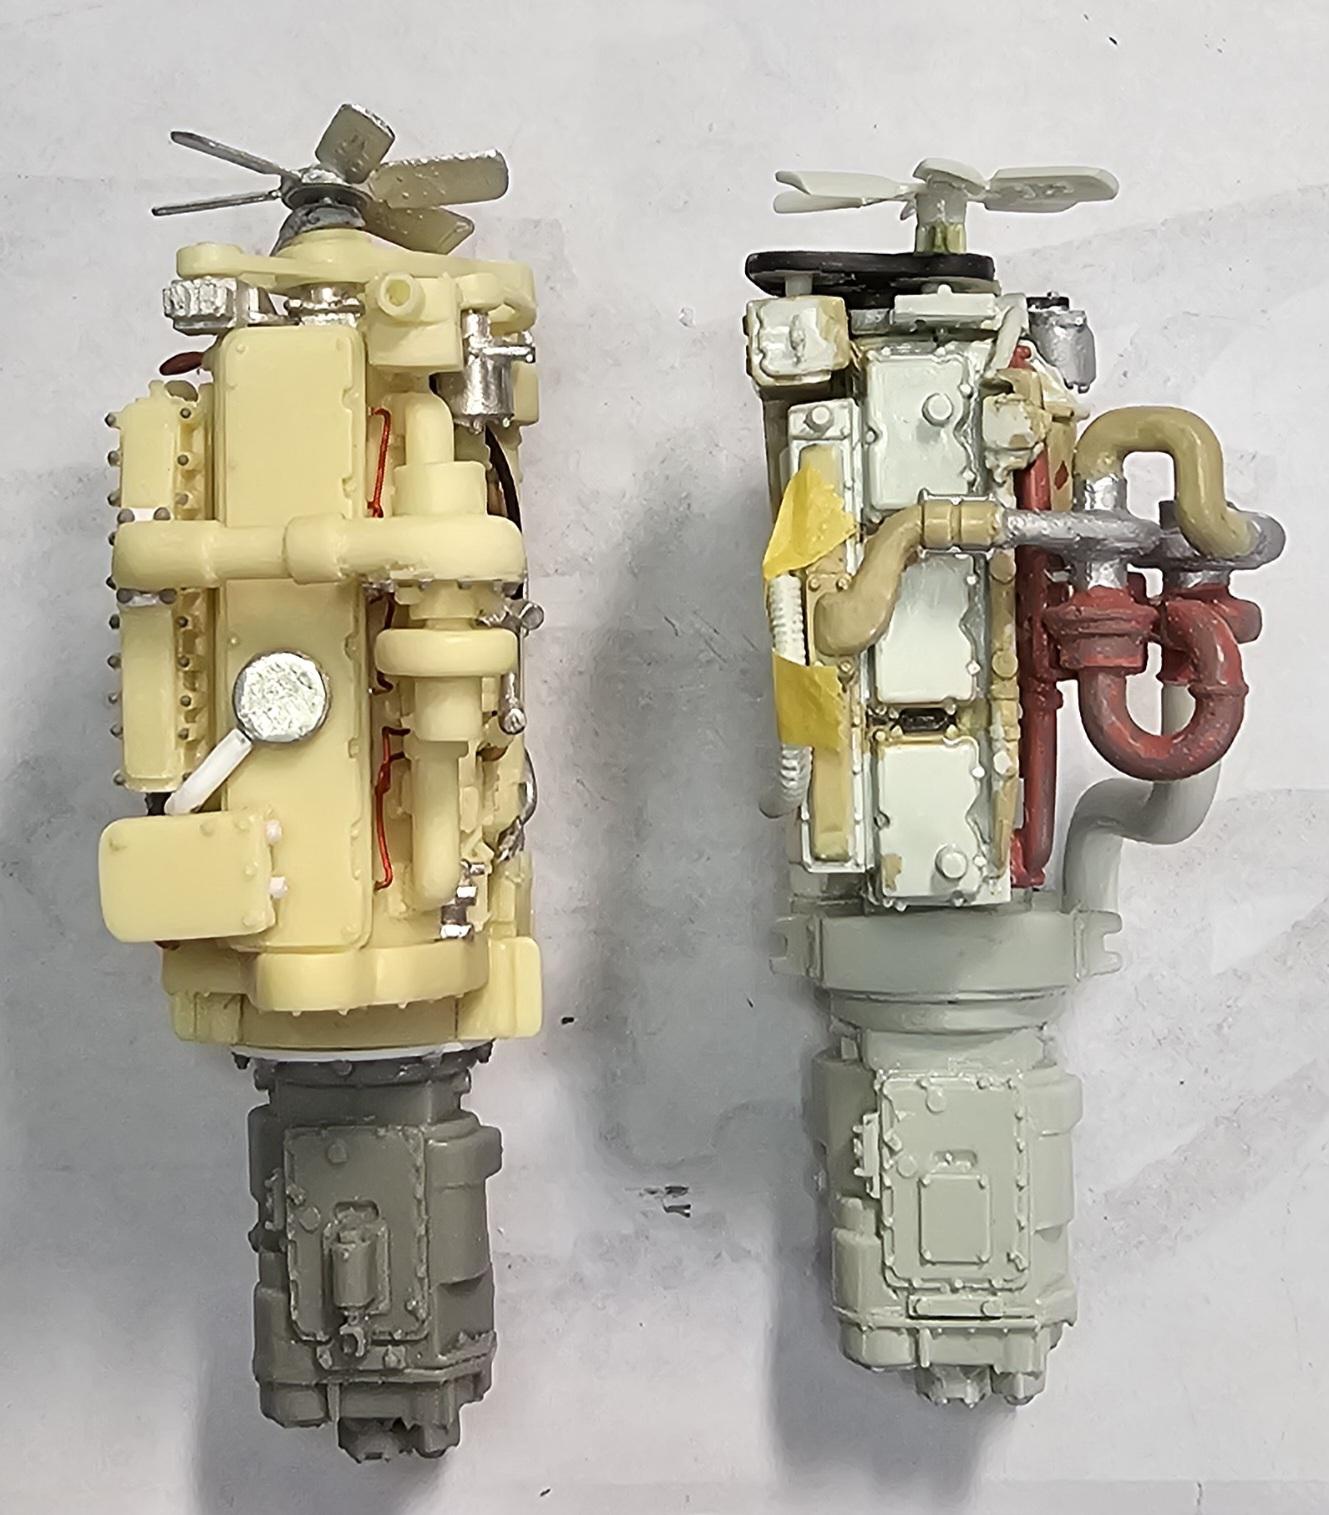
Hey all Okay, here we go on what I did to improve this engine and assemble it. I hope you guys enjoy this. First page of the instructions. Second page of the instructions. This view shows the Aftercooler. I added some 0.8mm (TINY!) Meng bolt heads to it. Side view of the aftercooler. Back side of the aftercooler. Front view of the engine with white plastic pin for the lower fan pully to attach to. (You get a peice of plastic rod in the kit) This view shows the 18spd transmission that I'm using for this. I sanded off the mounting flange on the trans because it was to small (3/4" dia.) I then replaced it with one made from 0.03" plastic (7/8" dia.). Then I added some 1.4mm Meng bolt heads to the new flange. This view shows the start of my plumbing for the fuel pump. You can just barely see the Albion aluminum tubes I used for the fittings in the head. I tried to drill out the cast on fittings, but they were to small and broke, so I replaced them with the Albion aluminum tubes. And here it is completed. The fittings on the pump the (white ones) are made from slicing off small lengths of Plastruct hexagonal plastic rods 0.06" to the correct length. I tried to drill out the cast on fittings, but they were to brittle and broke, so I replaced them with the Plastruct peices. 😢 This view shows the intake turbo and pipe. I added some Meng bolt heads (4) 1.0mm to the flange & (12) to the intake compressor.(This picture got out of sequence). Top view of the Cat 1693TA and a Revell NTC-475 compound turbo Cummins for comparison. Right side view of the engine Right side view of the engine completed. Note the two brownish fittings on the oil cooler, these go to the oil filters on the other side. This view shows the left side of the engine. You can see the fittings on the air compressor the one with nothing attached to it is the feed to the air tank. The other two I did from a photo that I have. Top view of the engine. Front view of the engine Rear view of the engine. These next three pictures show the this engine compared to the Revell NTC-475 Cummins. It is a big motor! It's old, it came out in 1964 and was in production up till 1974 maybe a touch later. Well that's it for now be back soon with more. I plan on putting this in a AMT " Cross Country Hauler" Peterbilt for power. Ron G
-
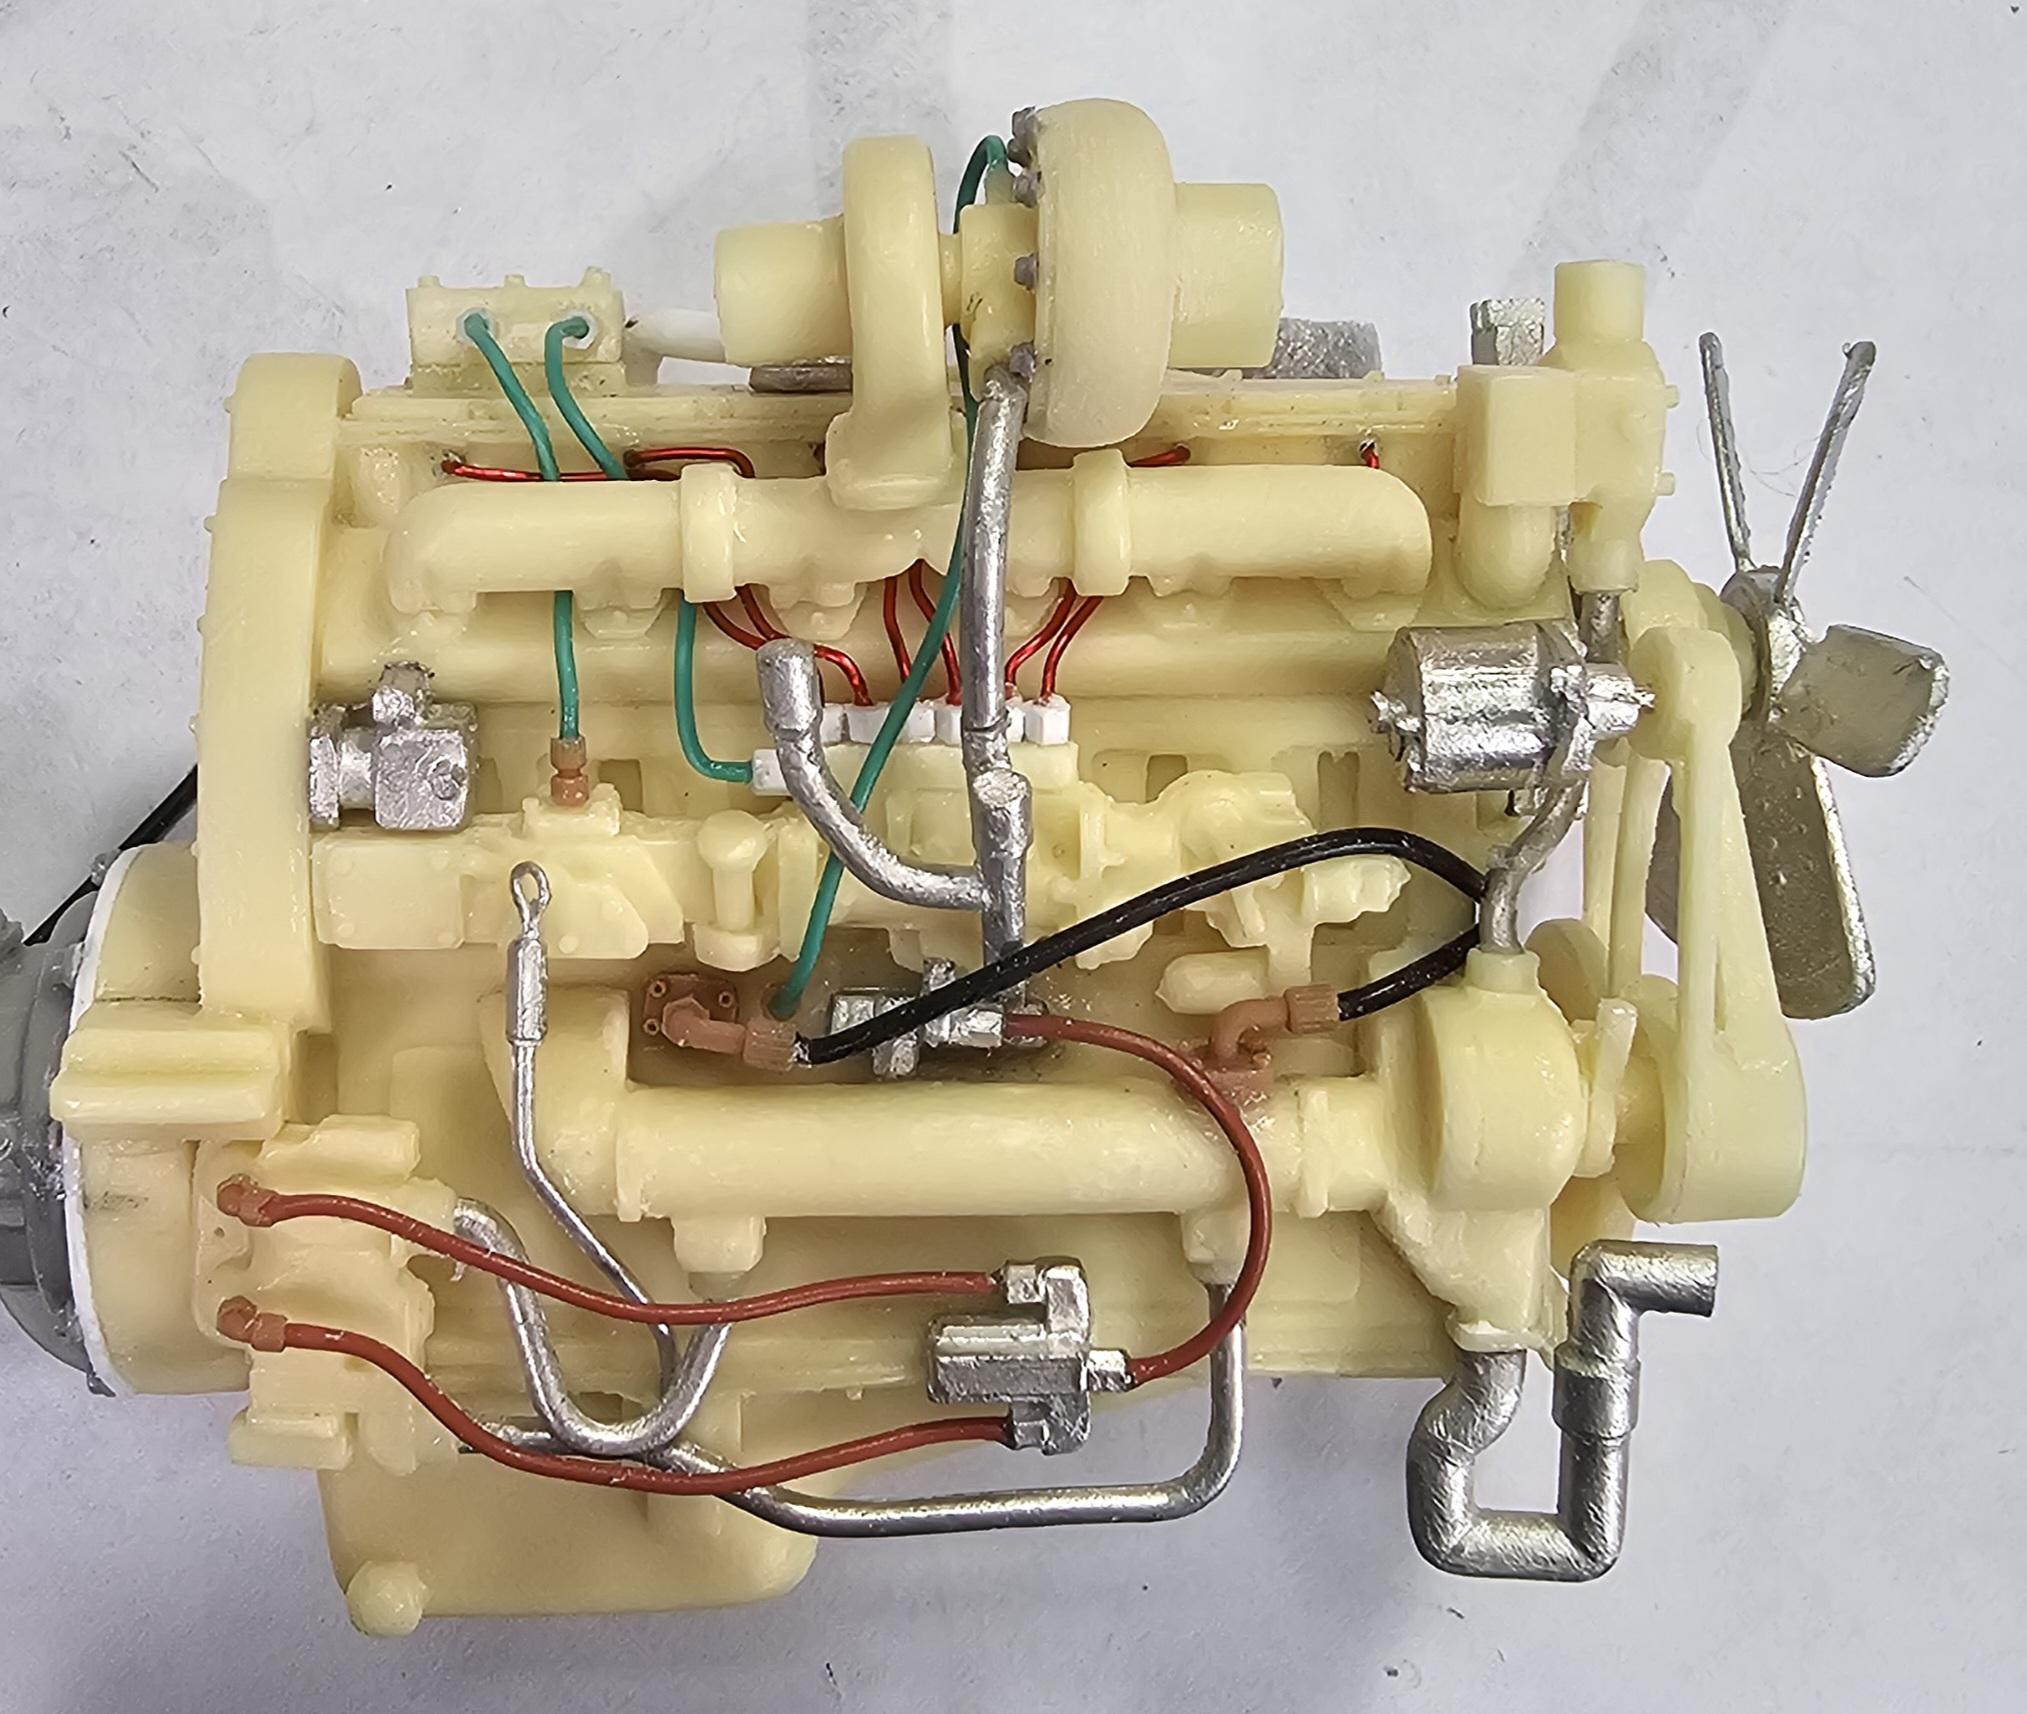
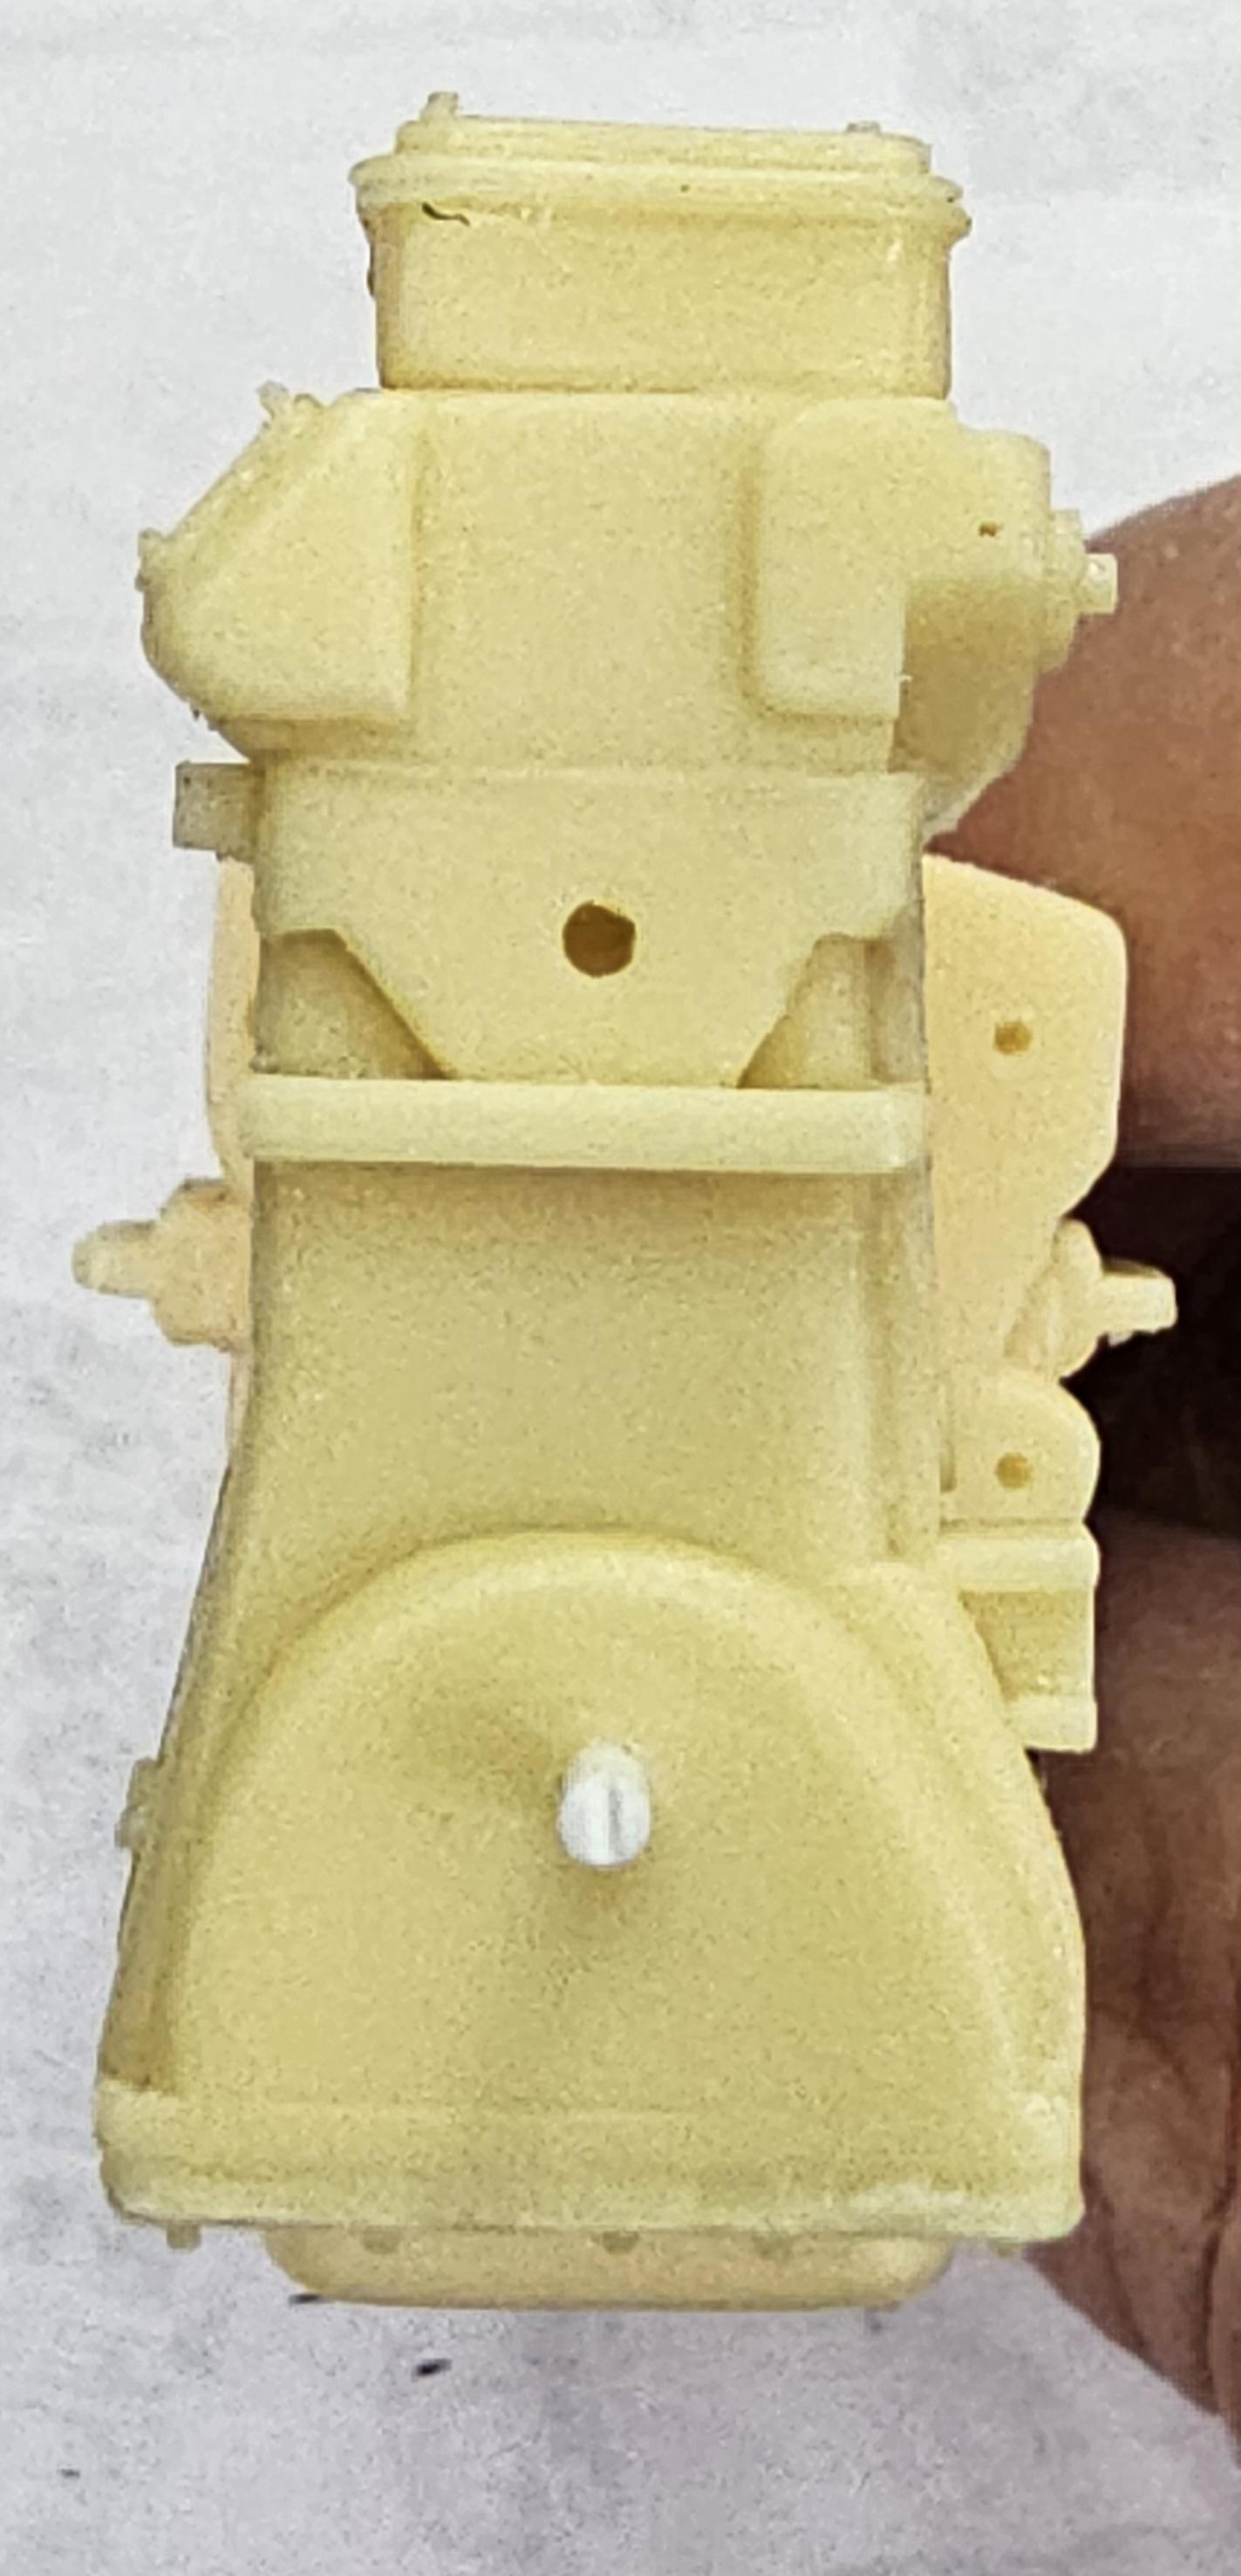
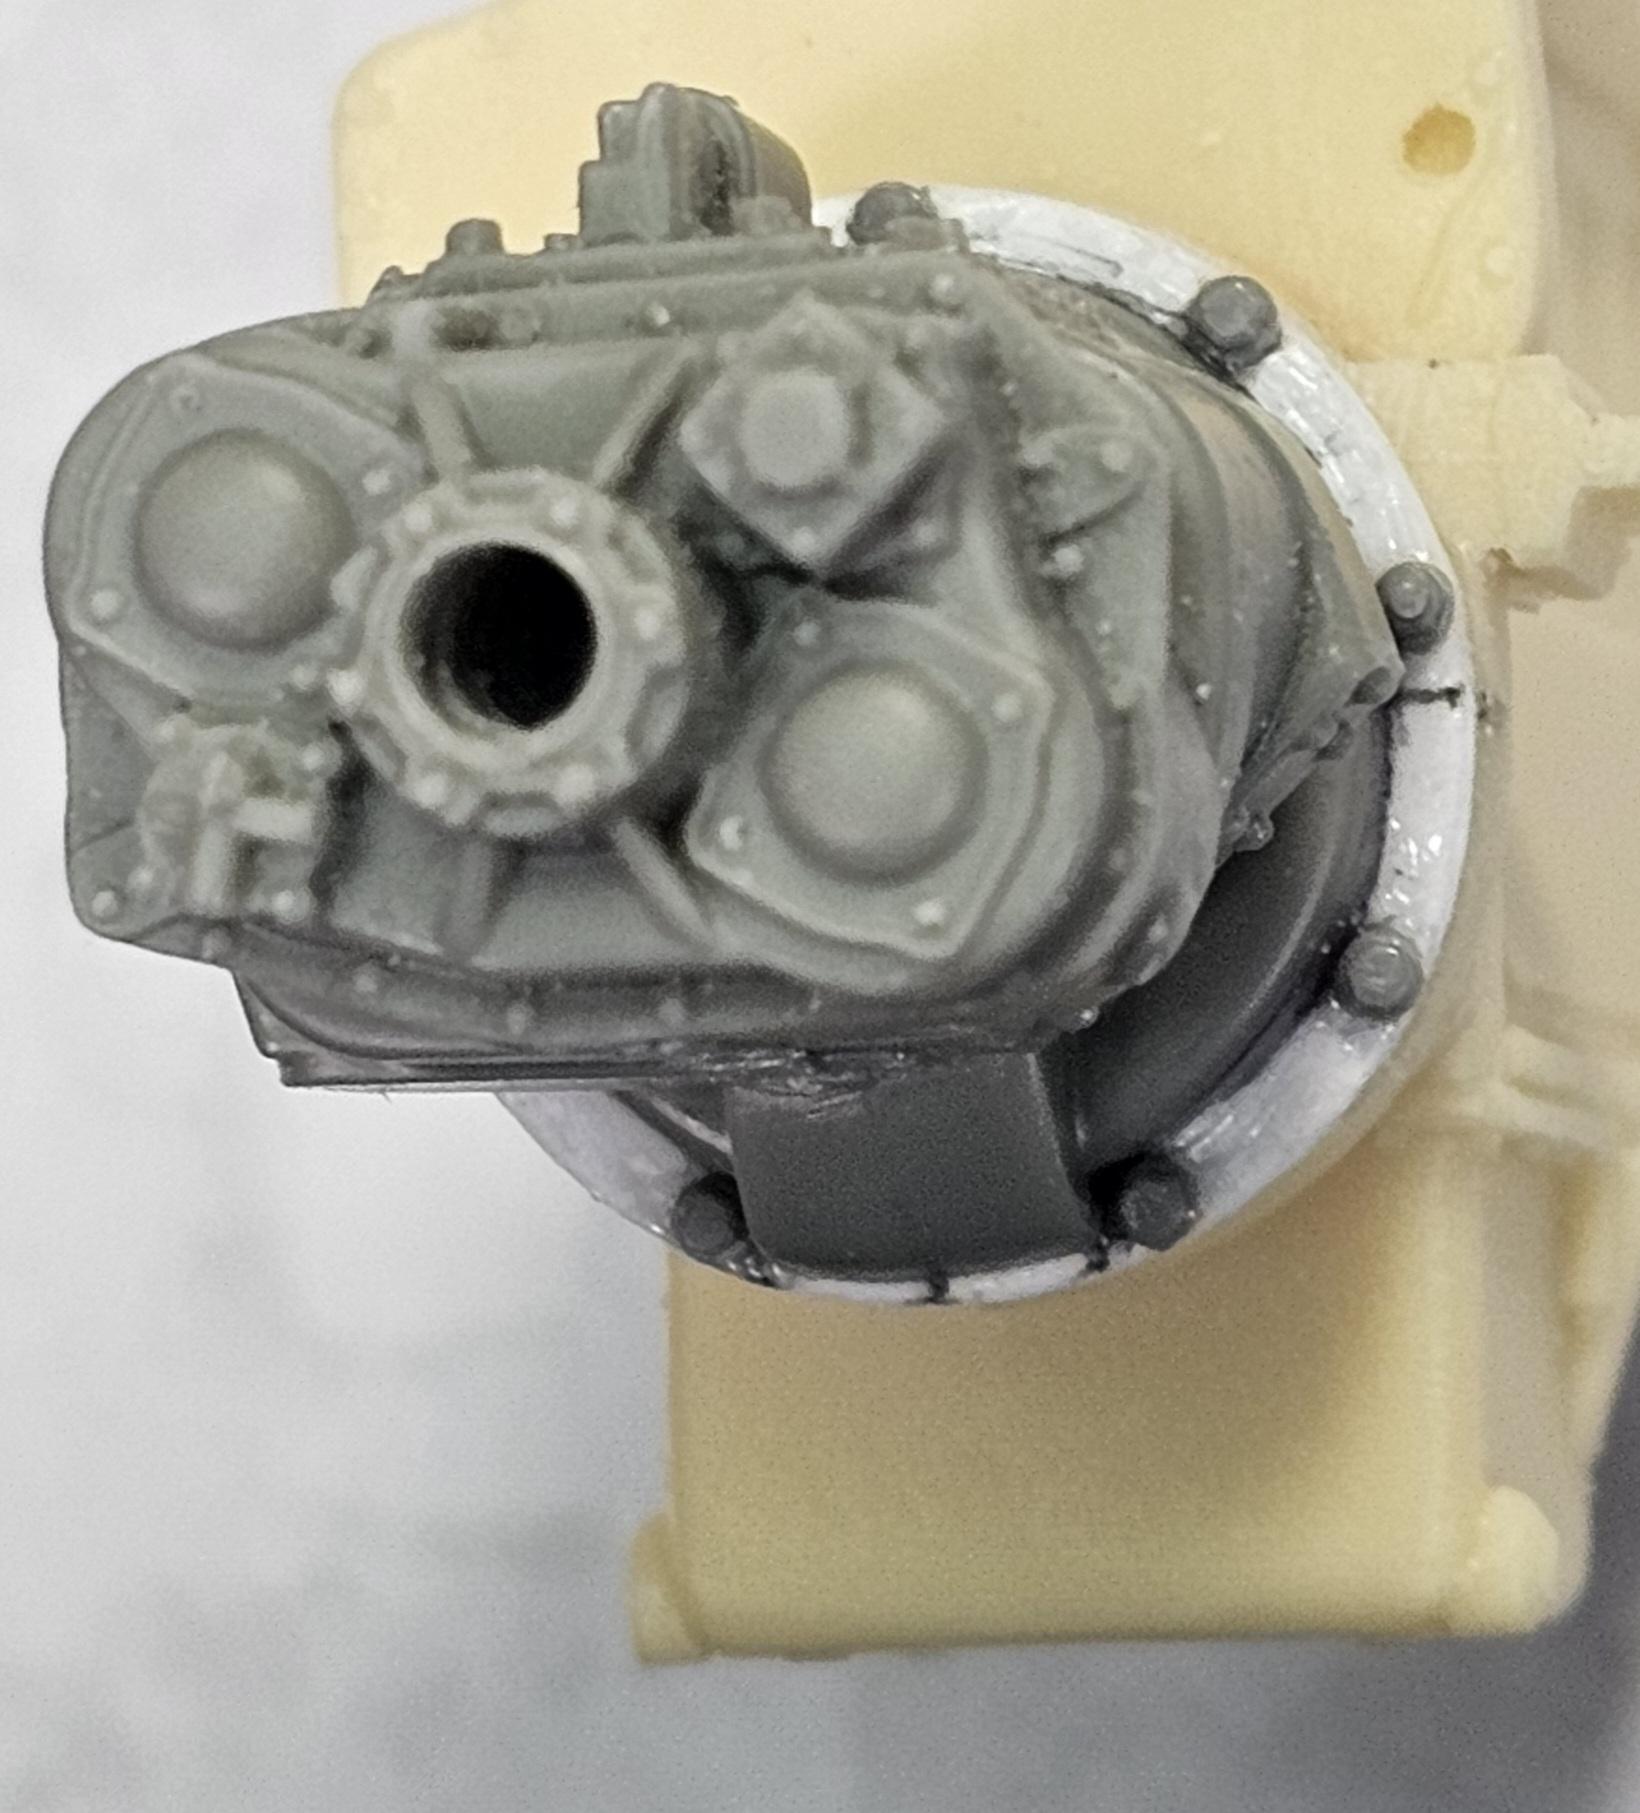
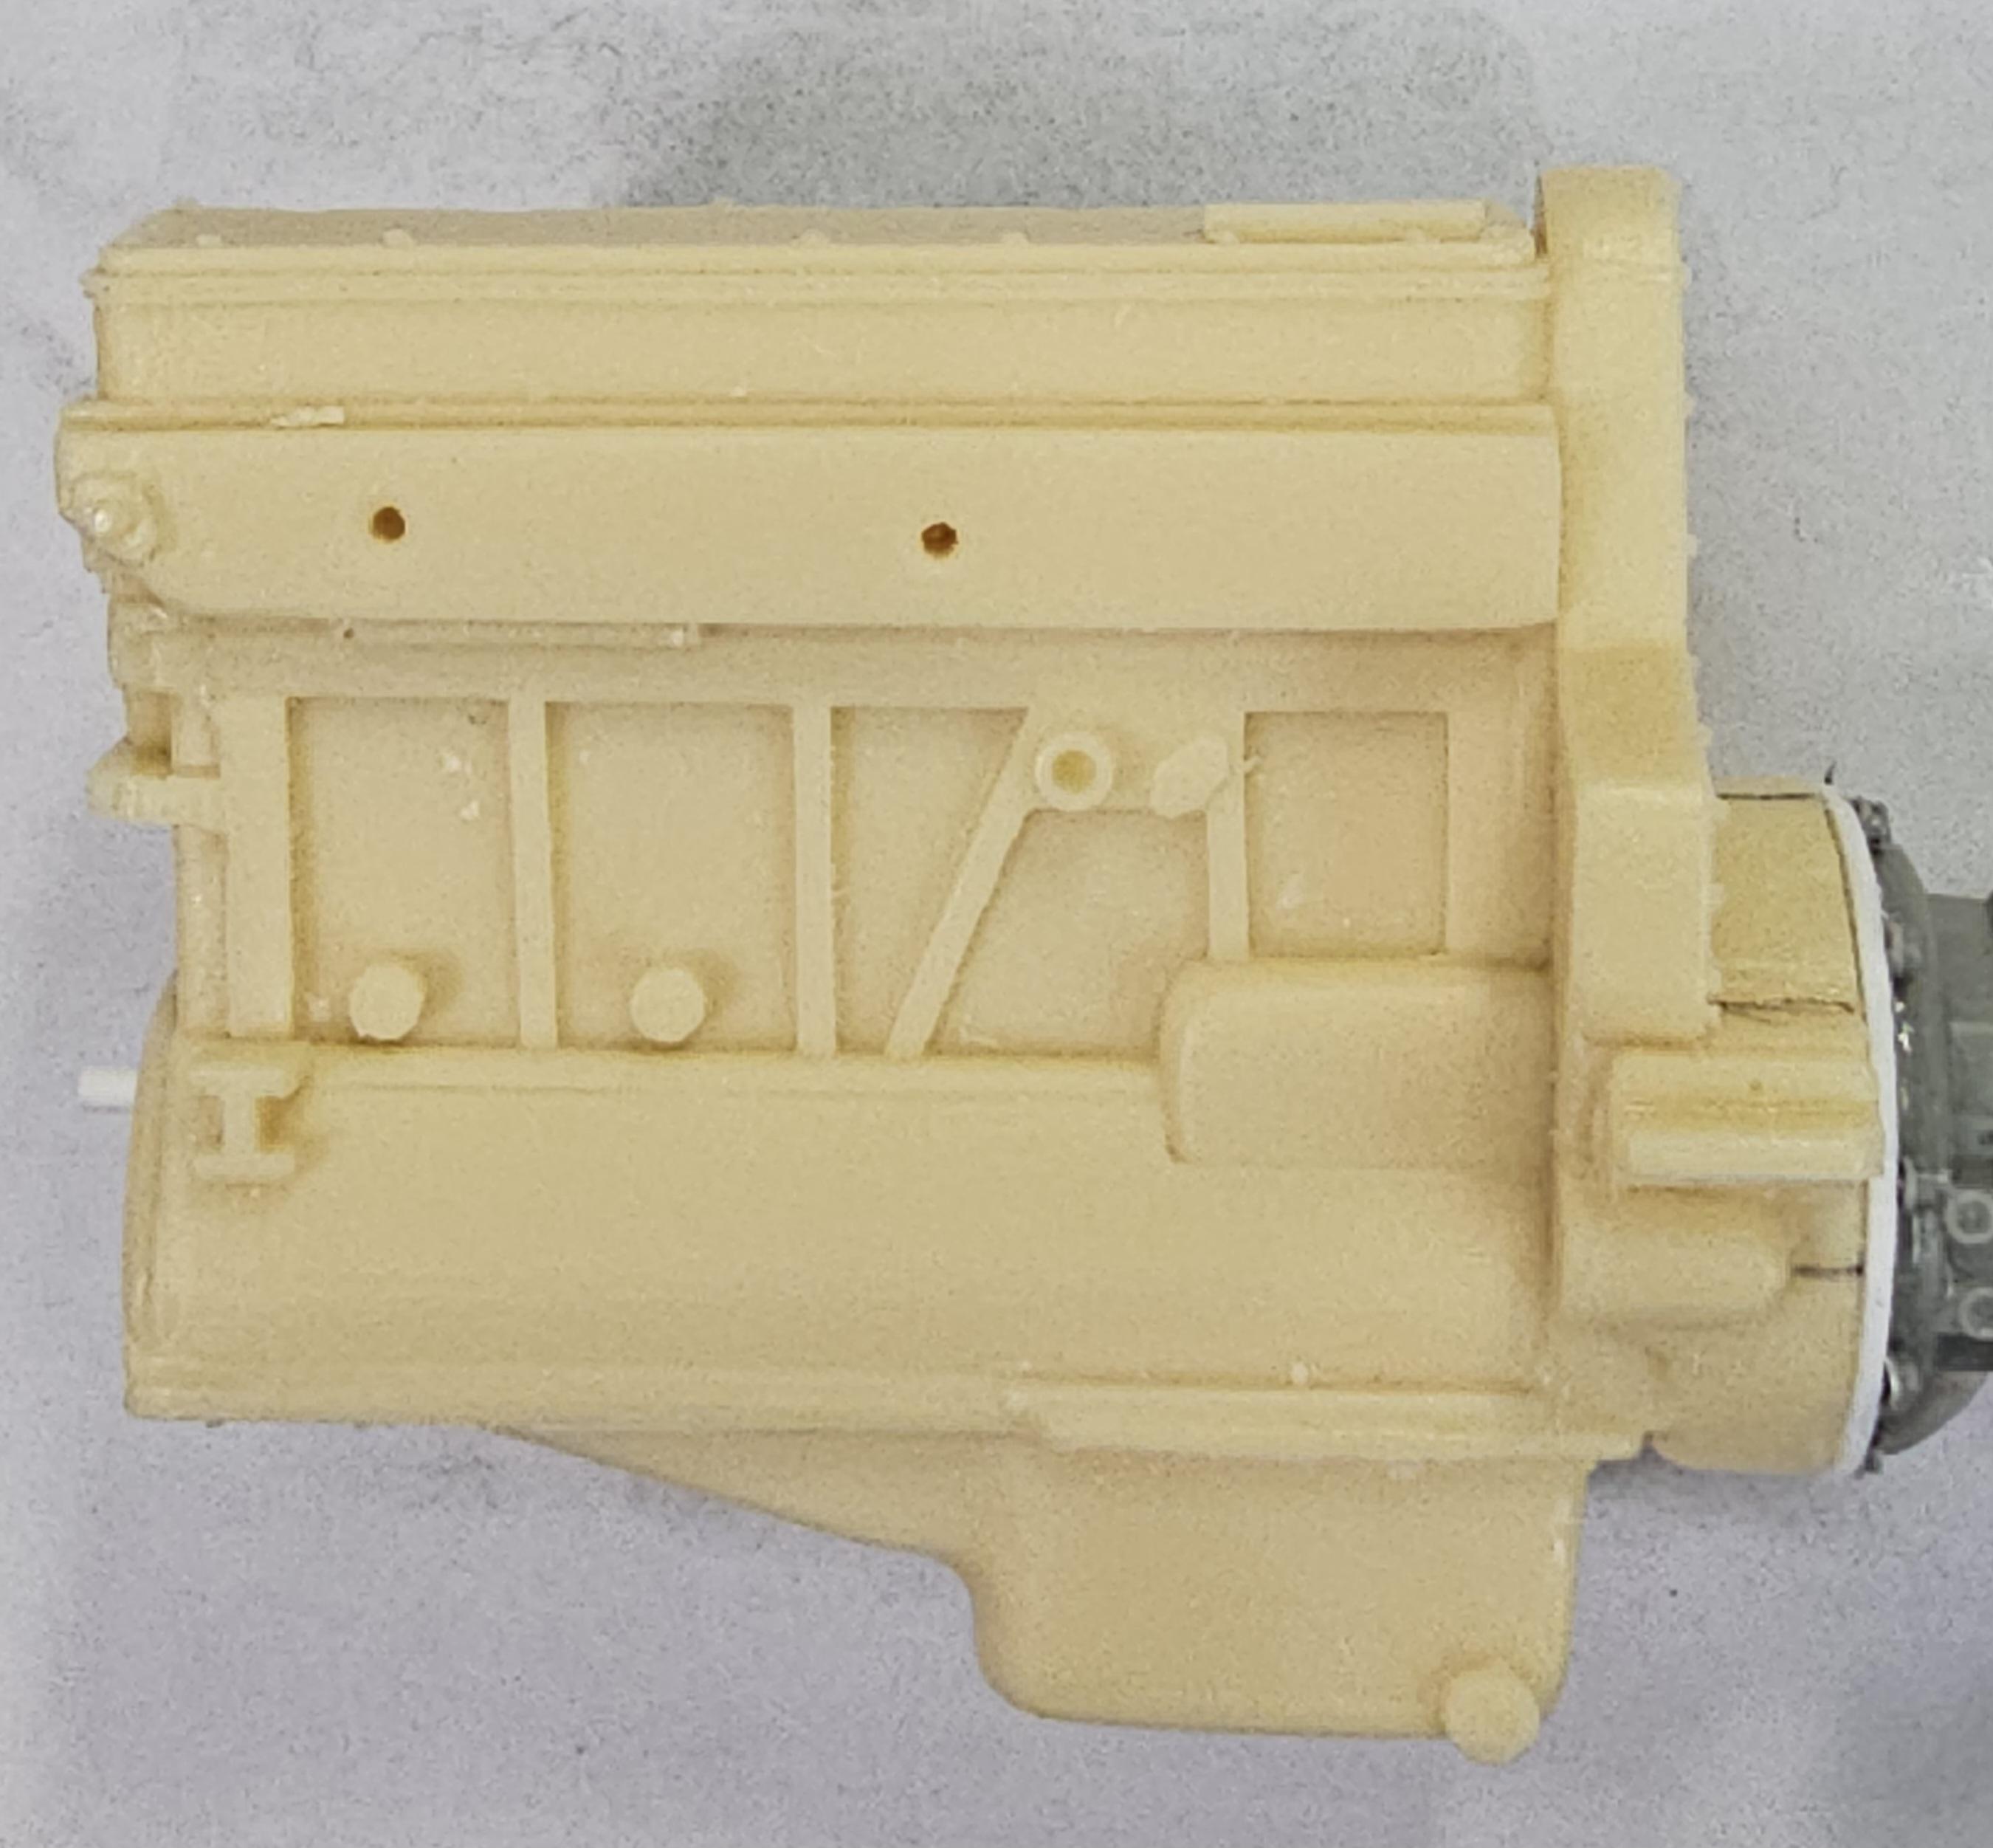
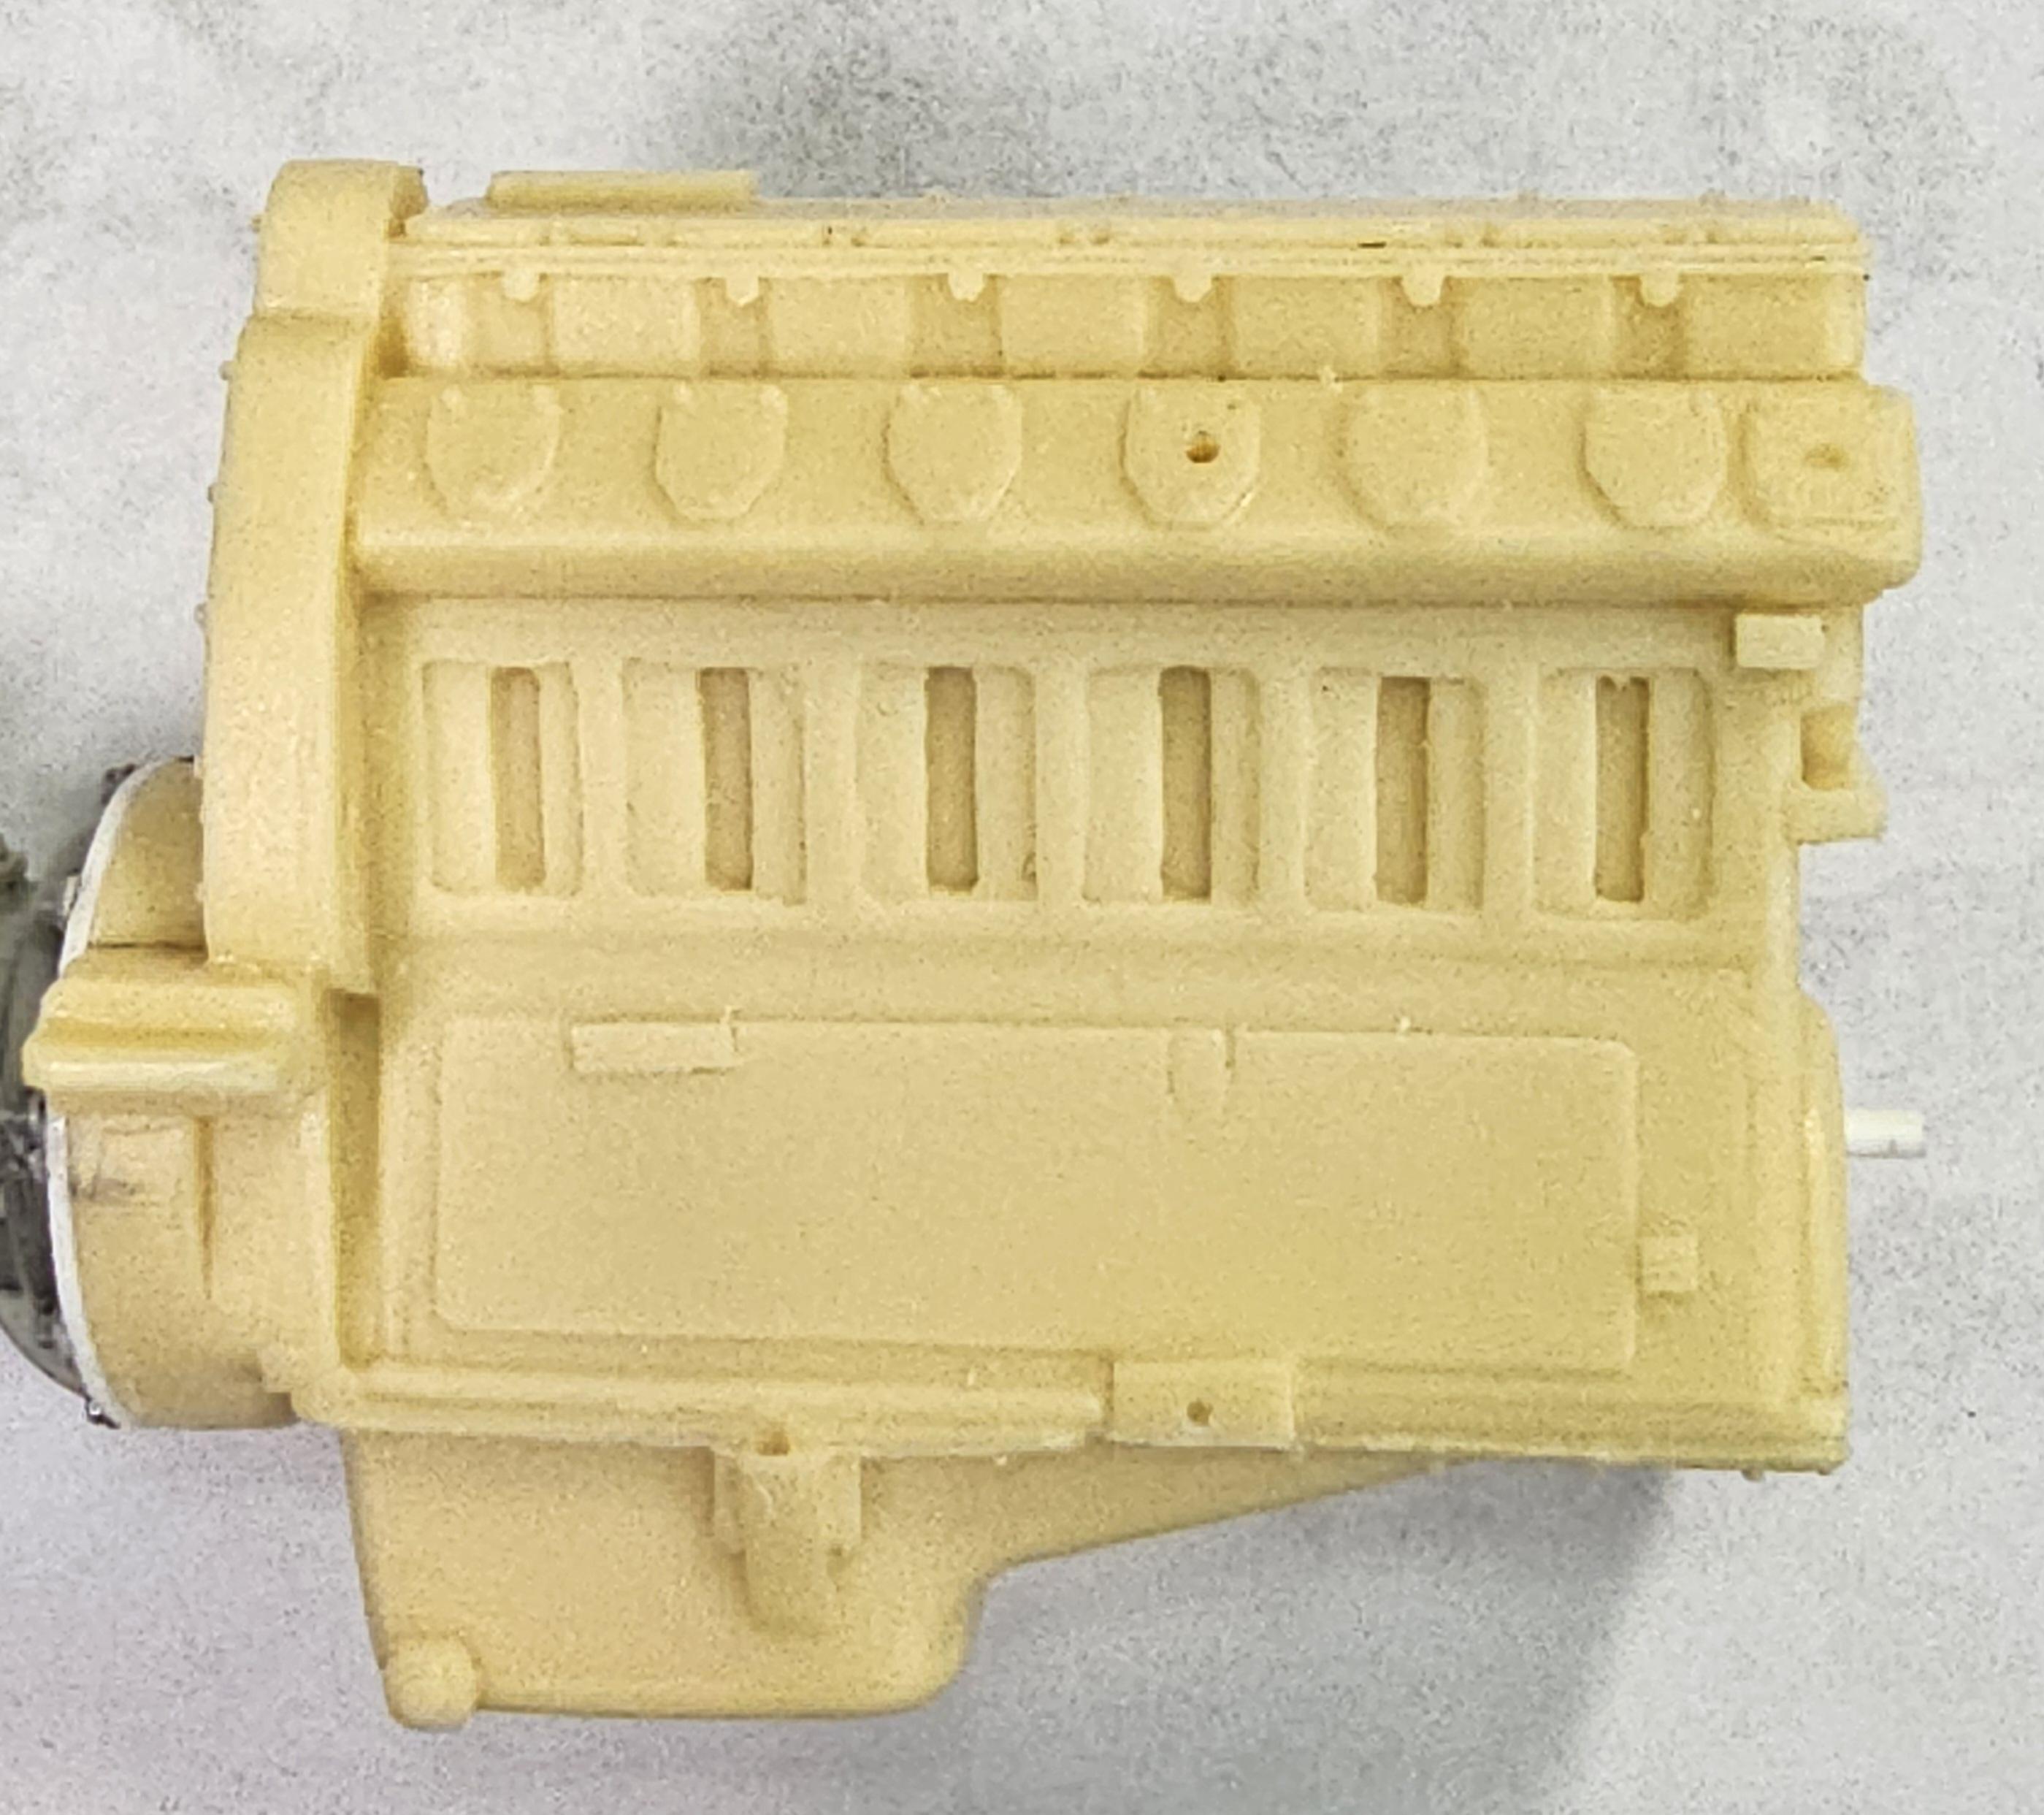
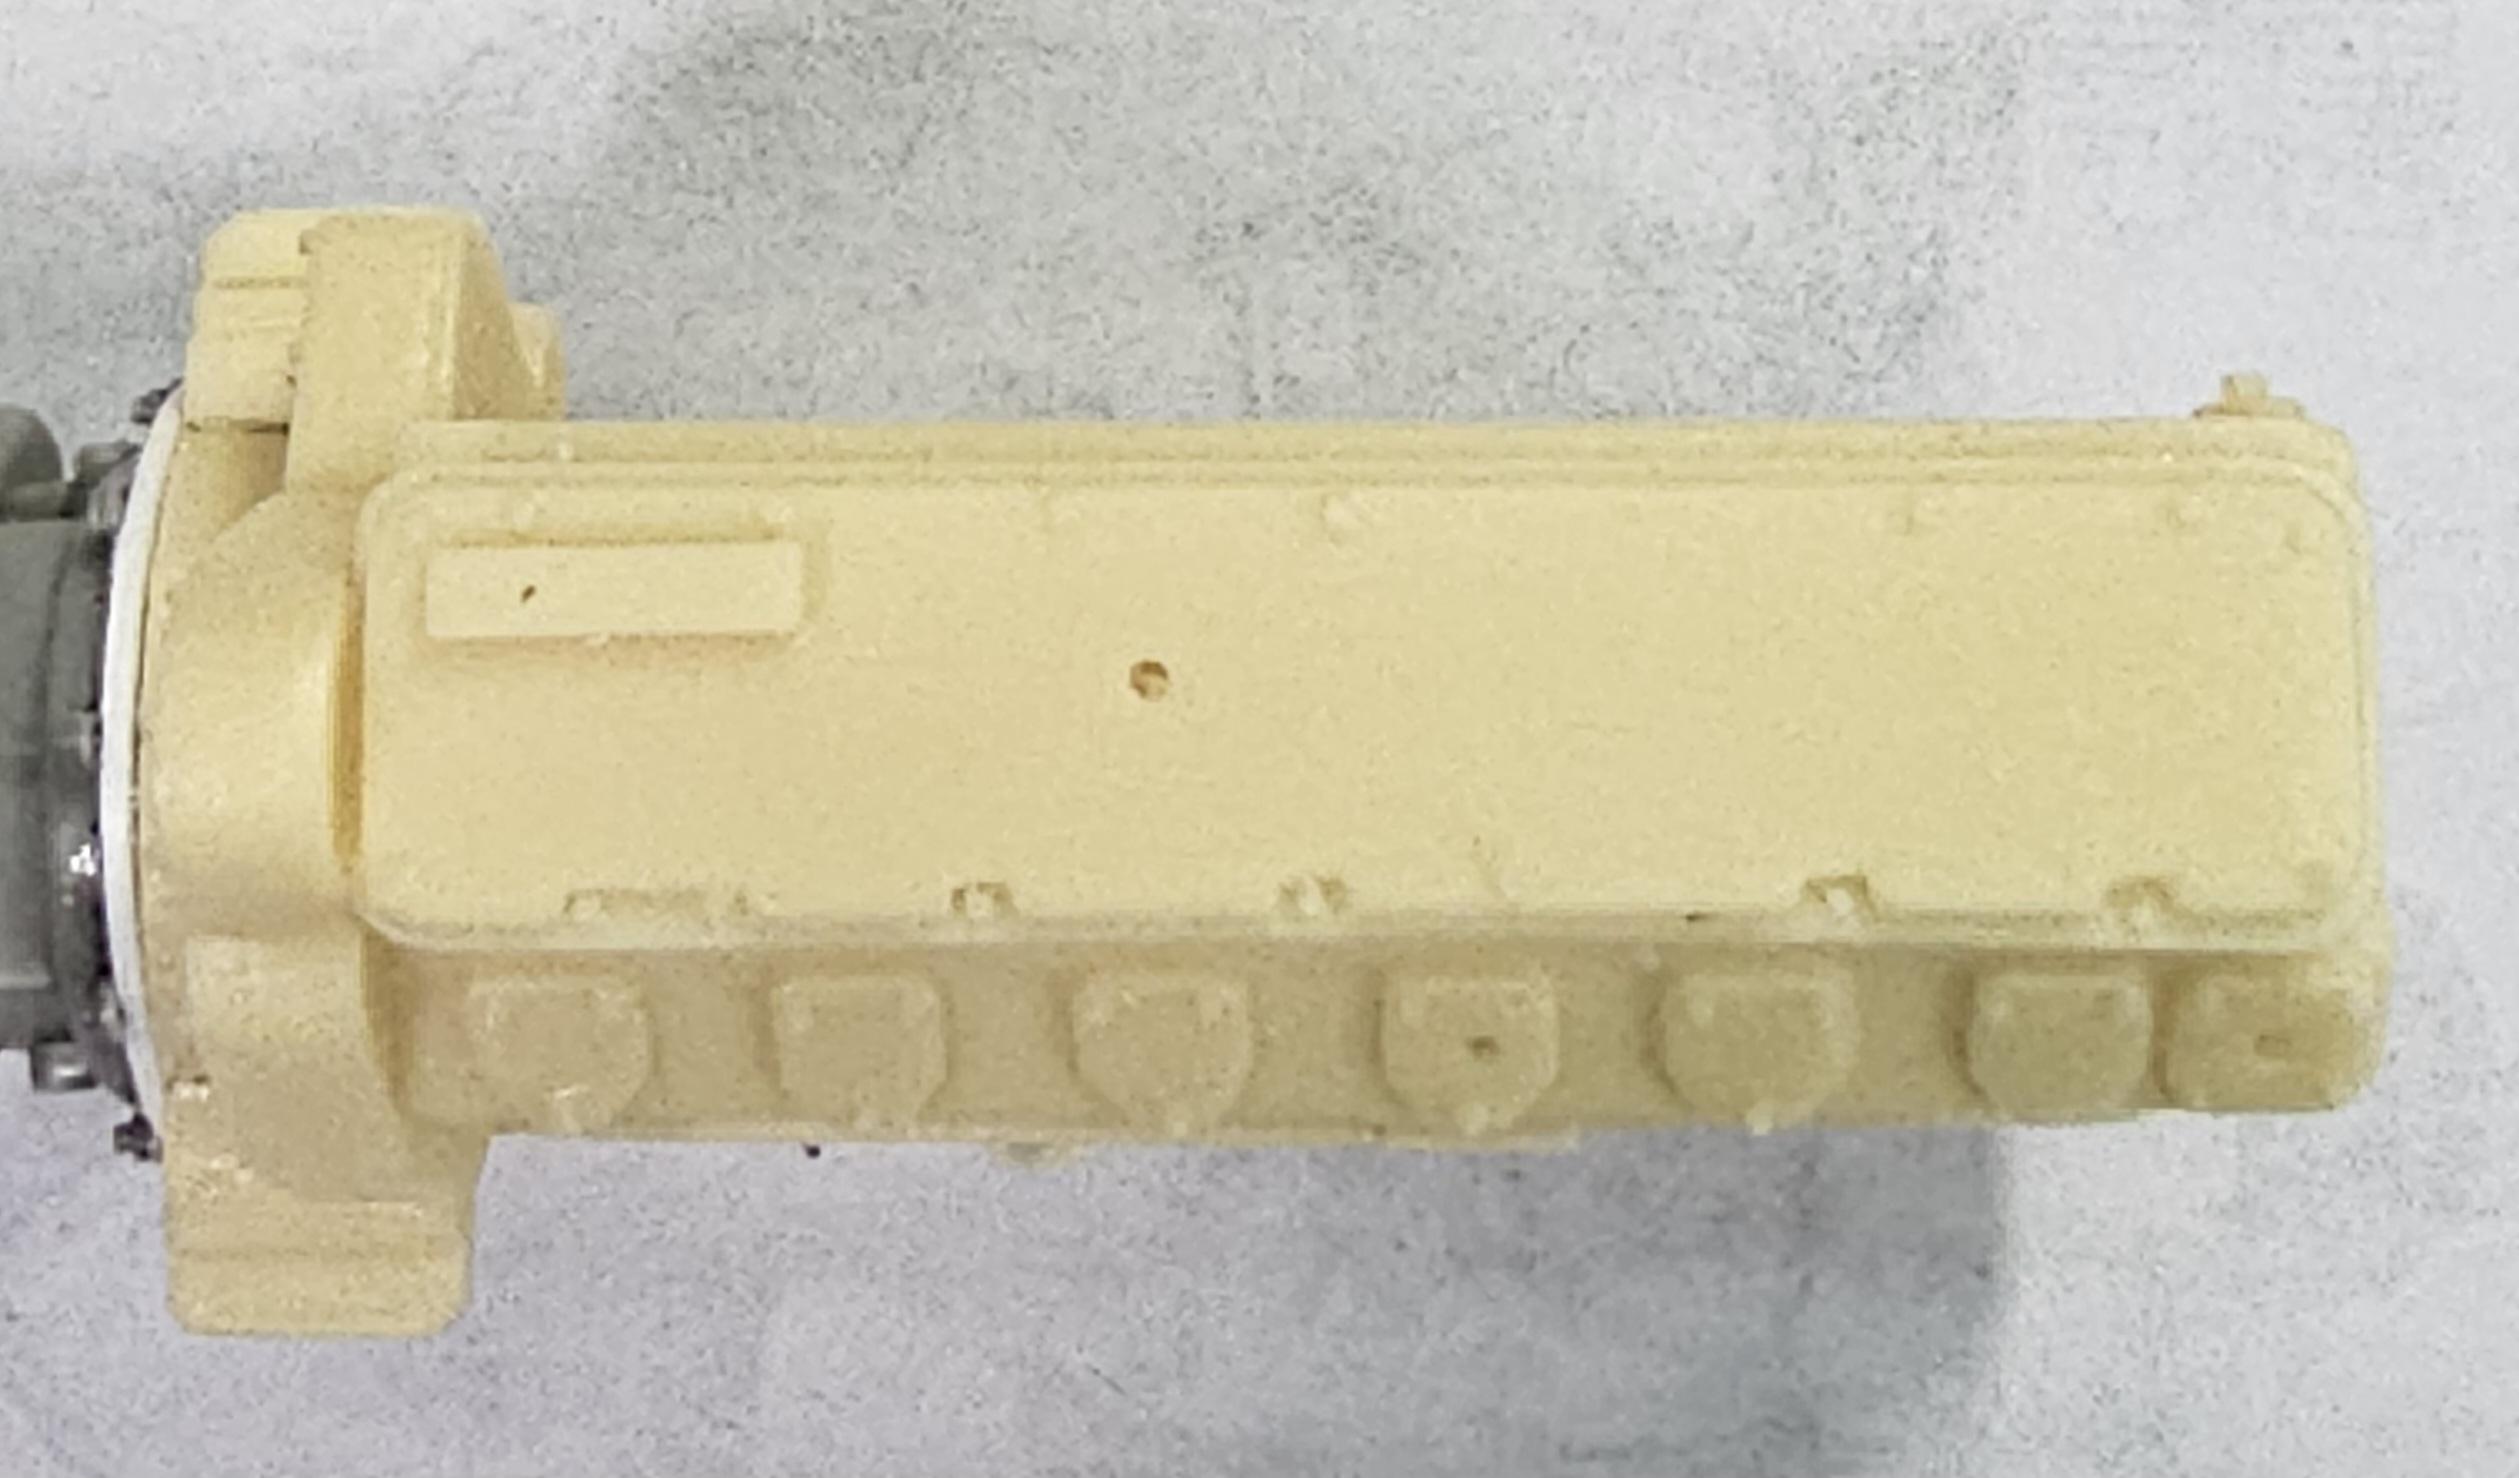
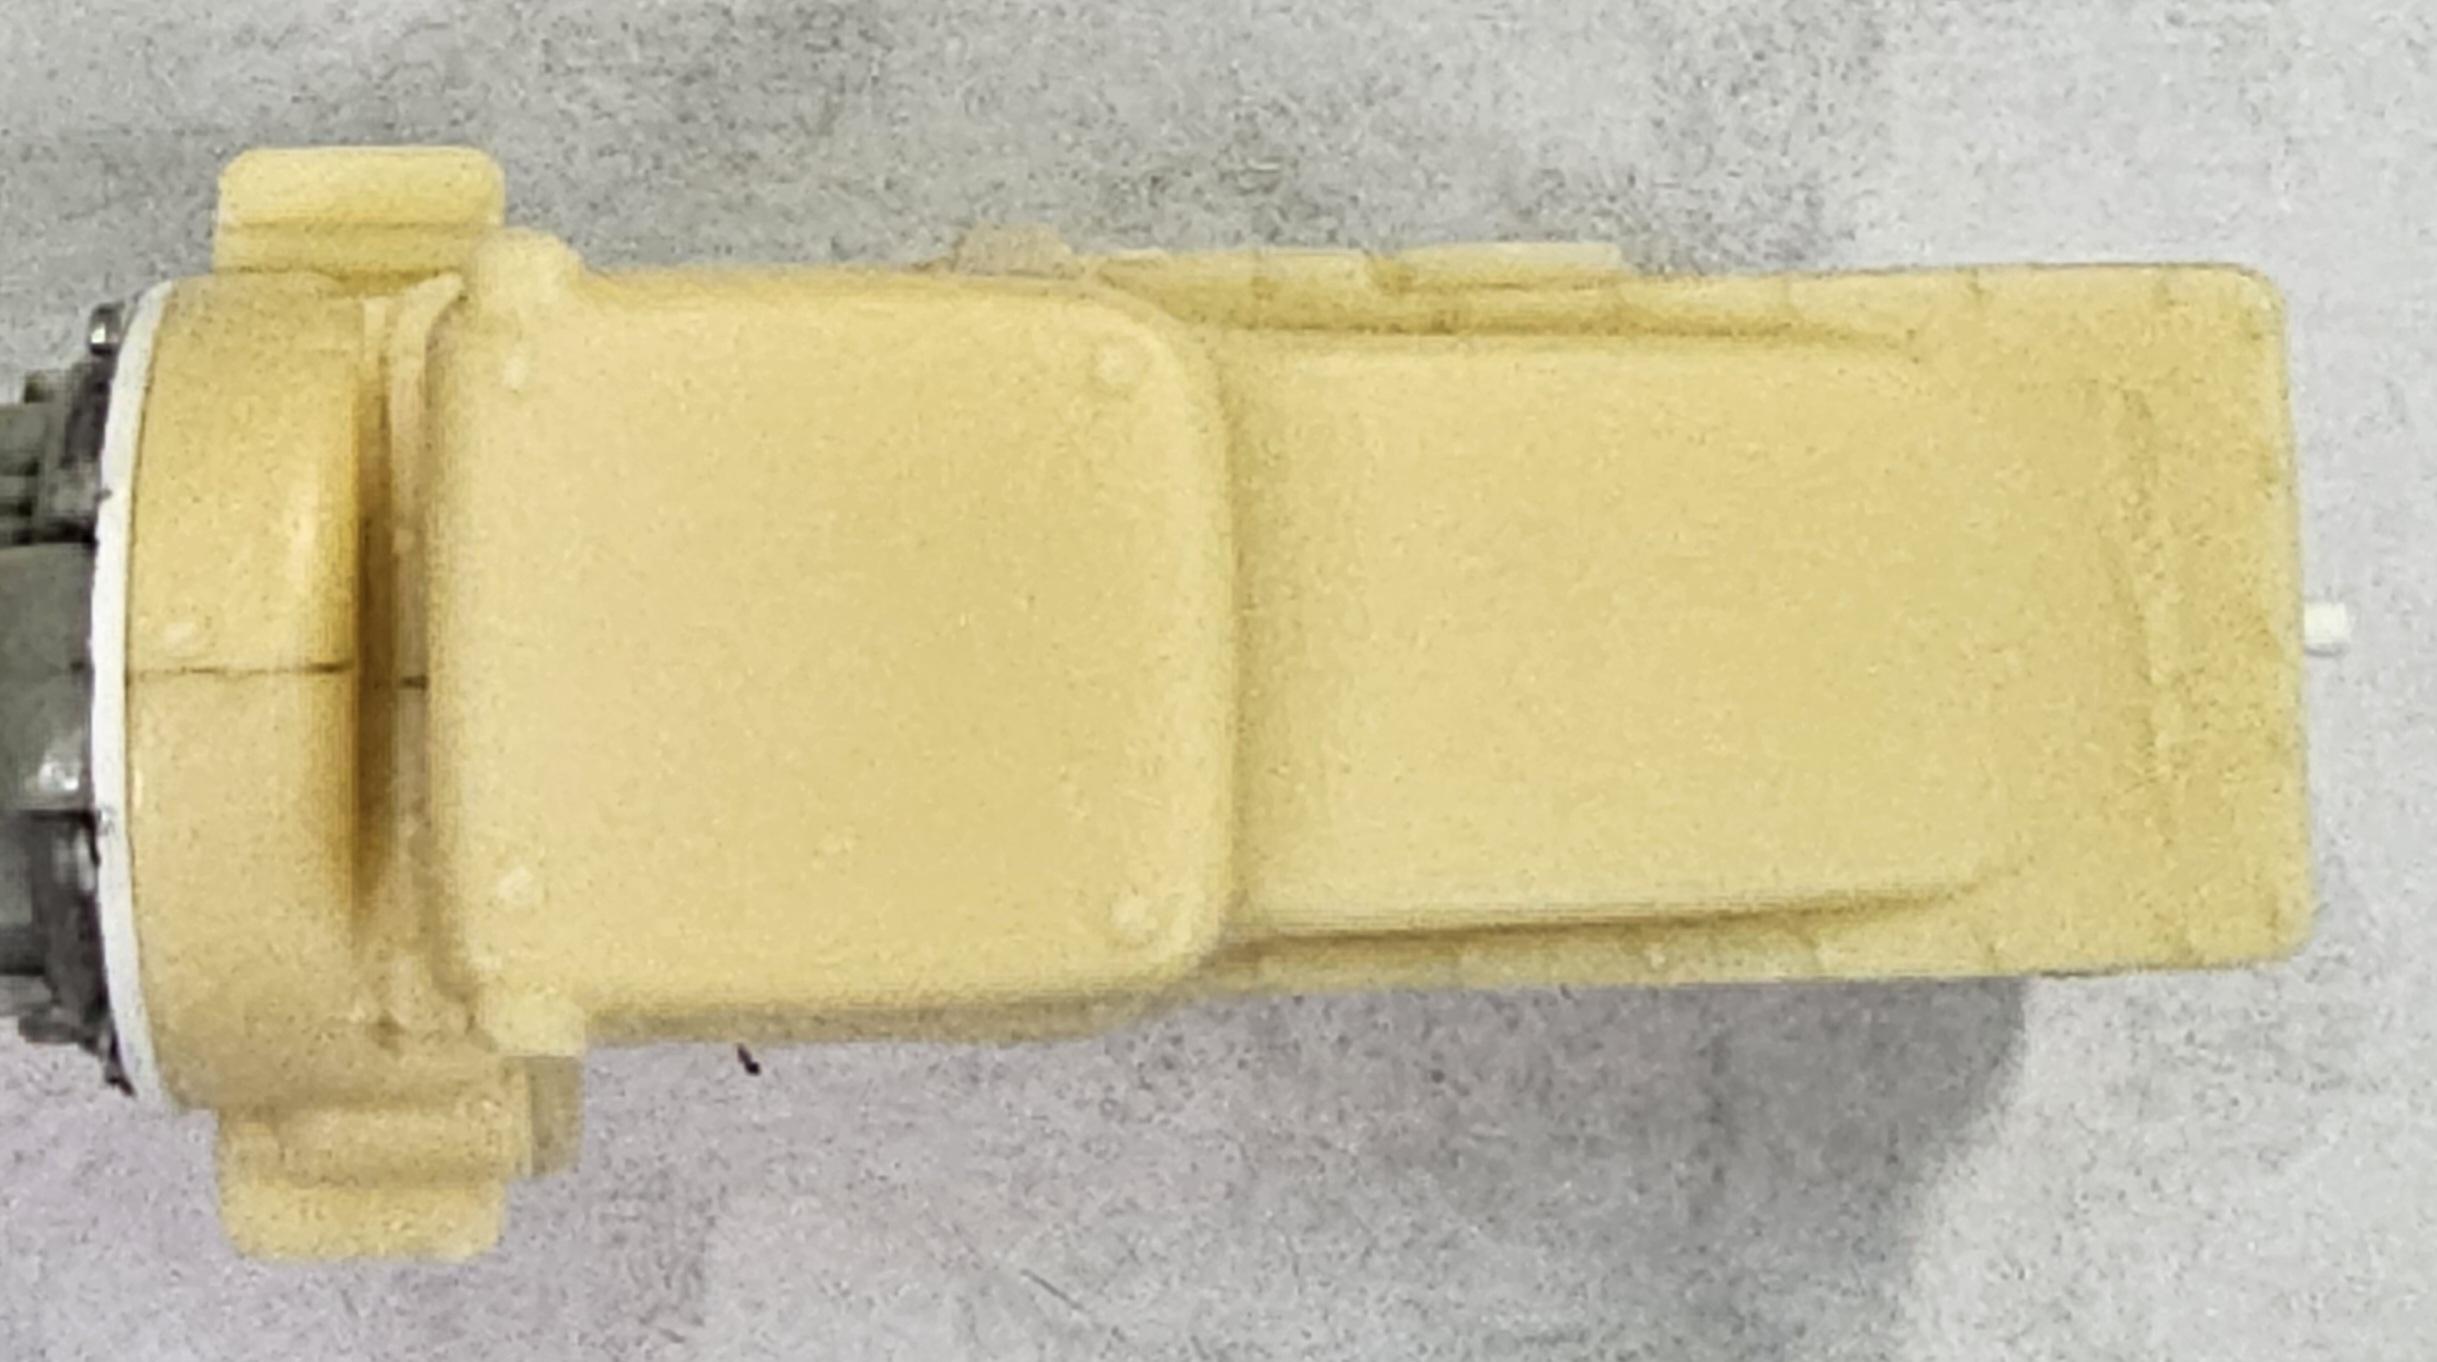
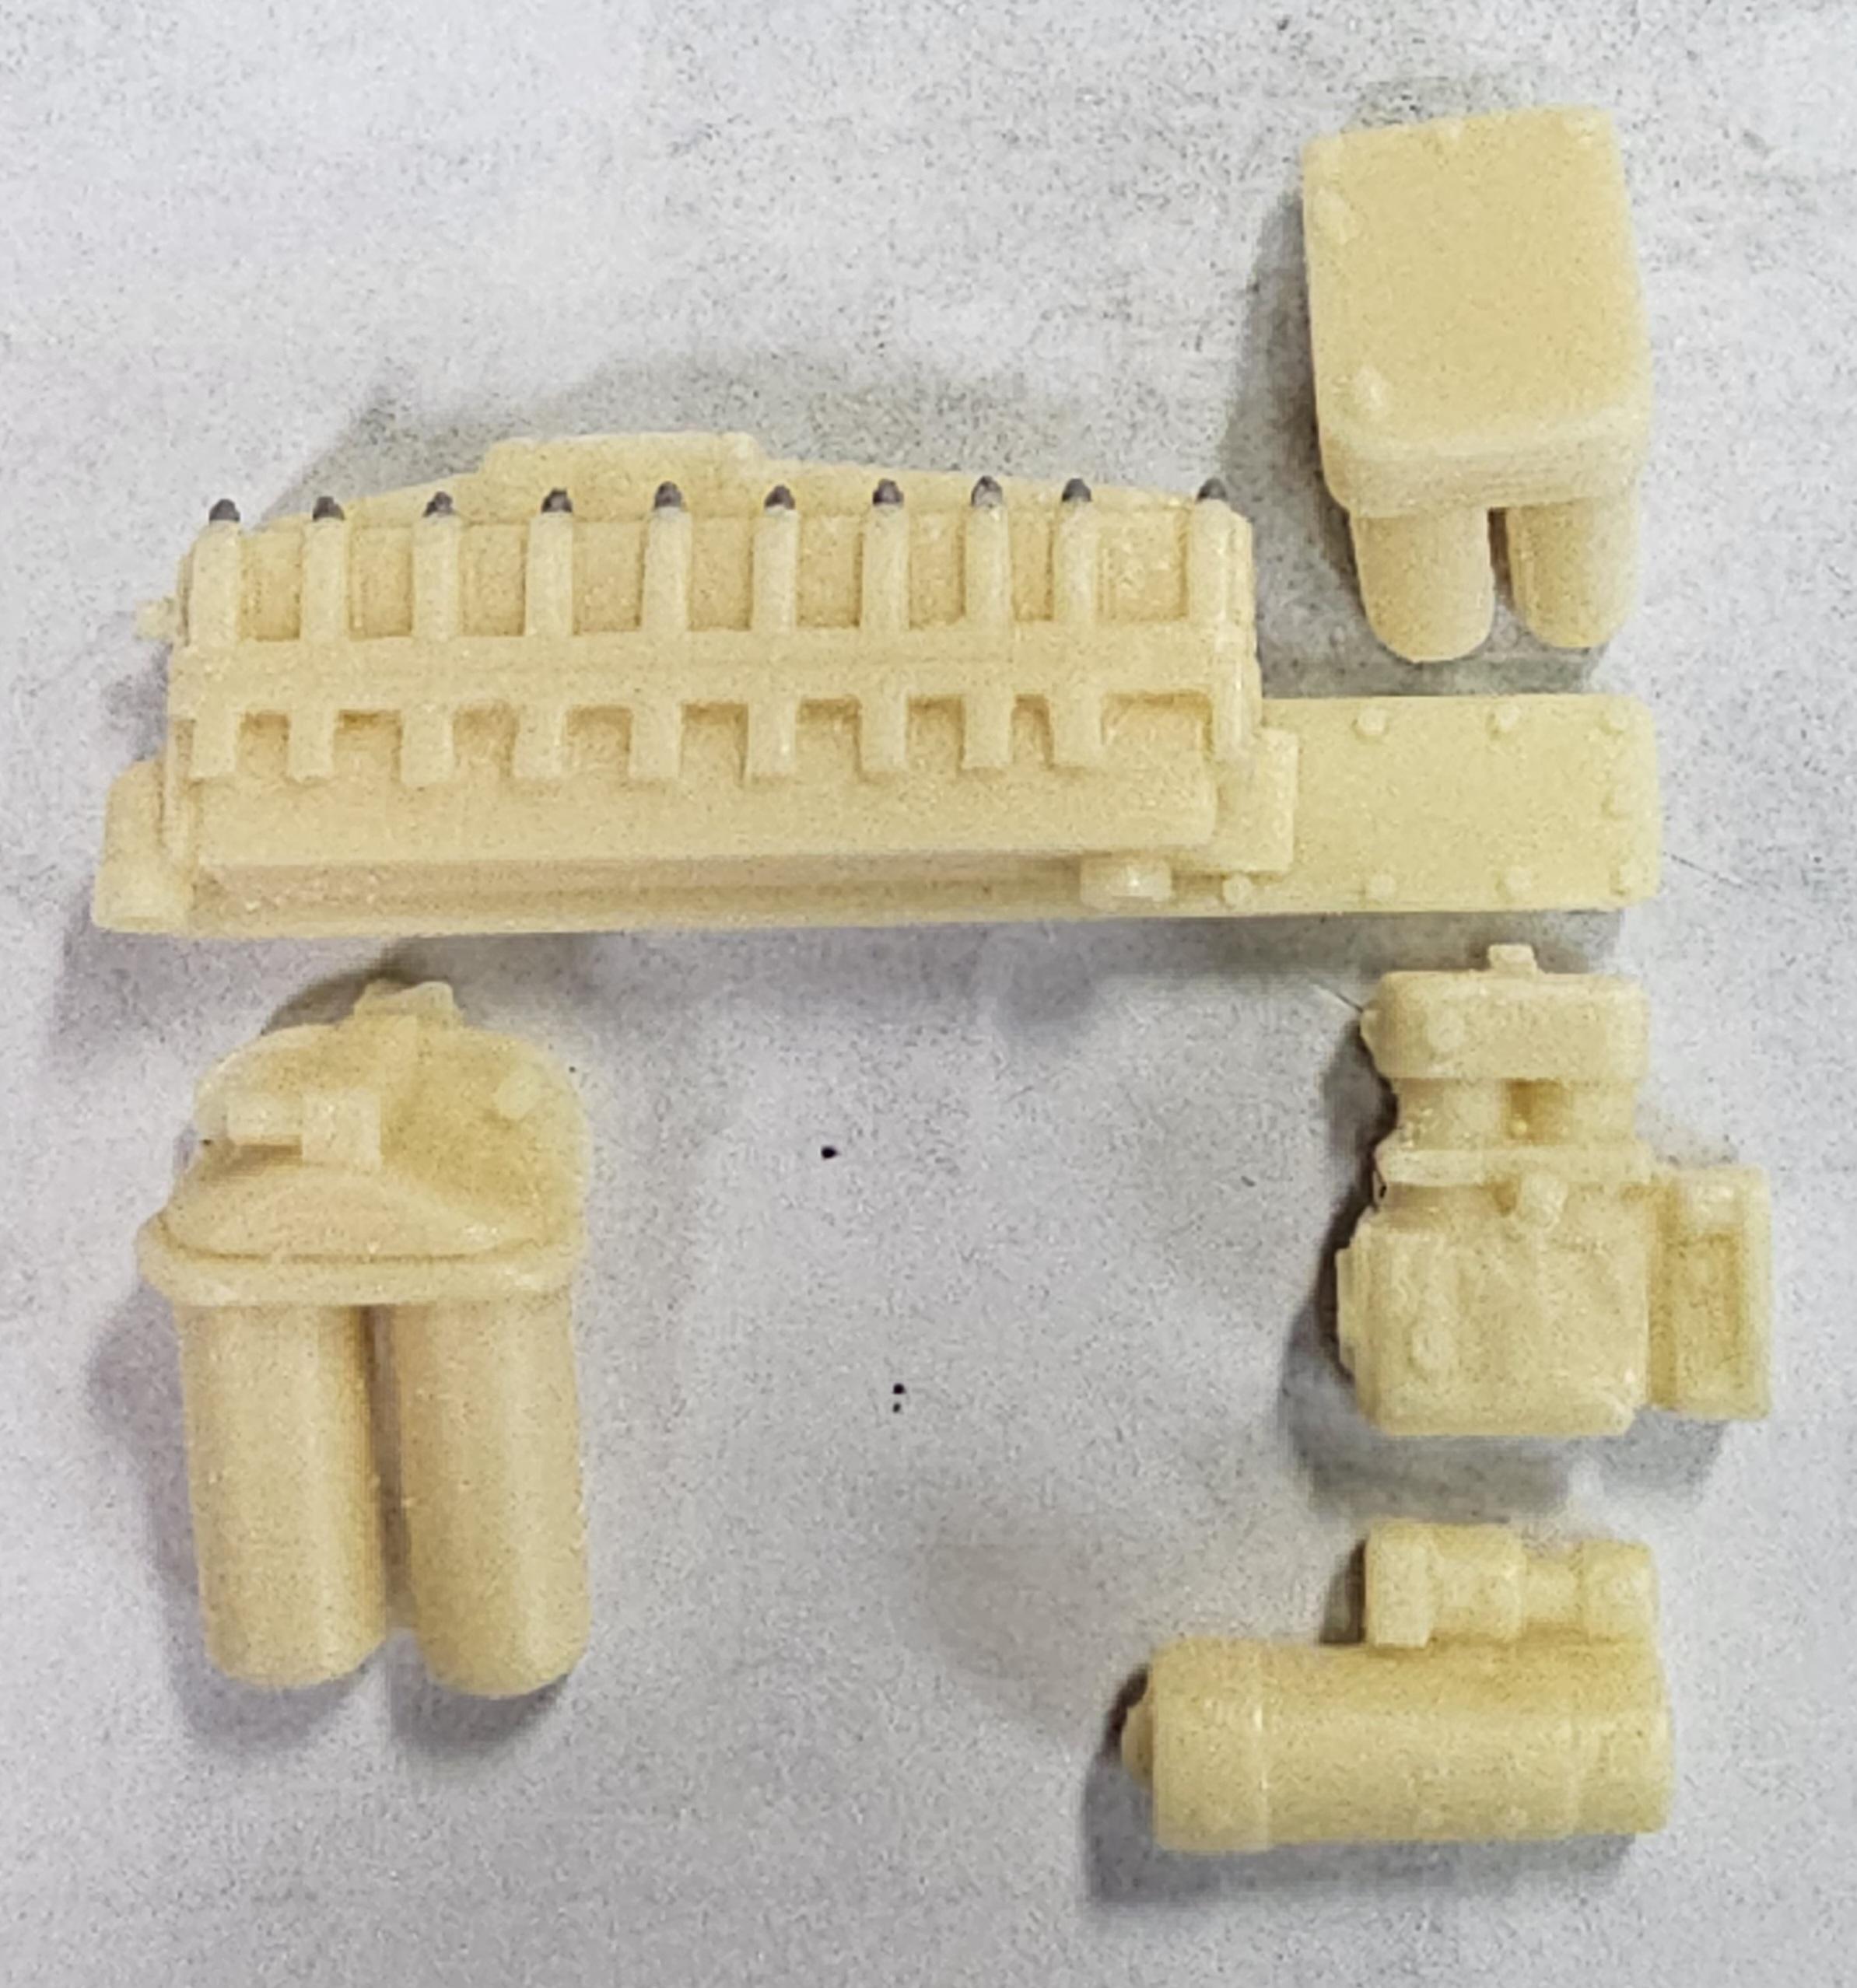
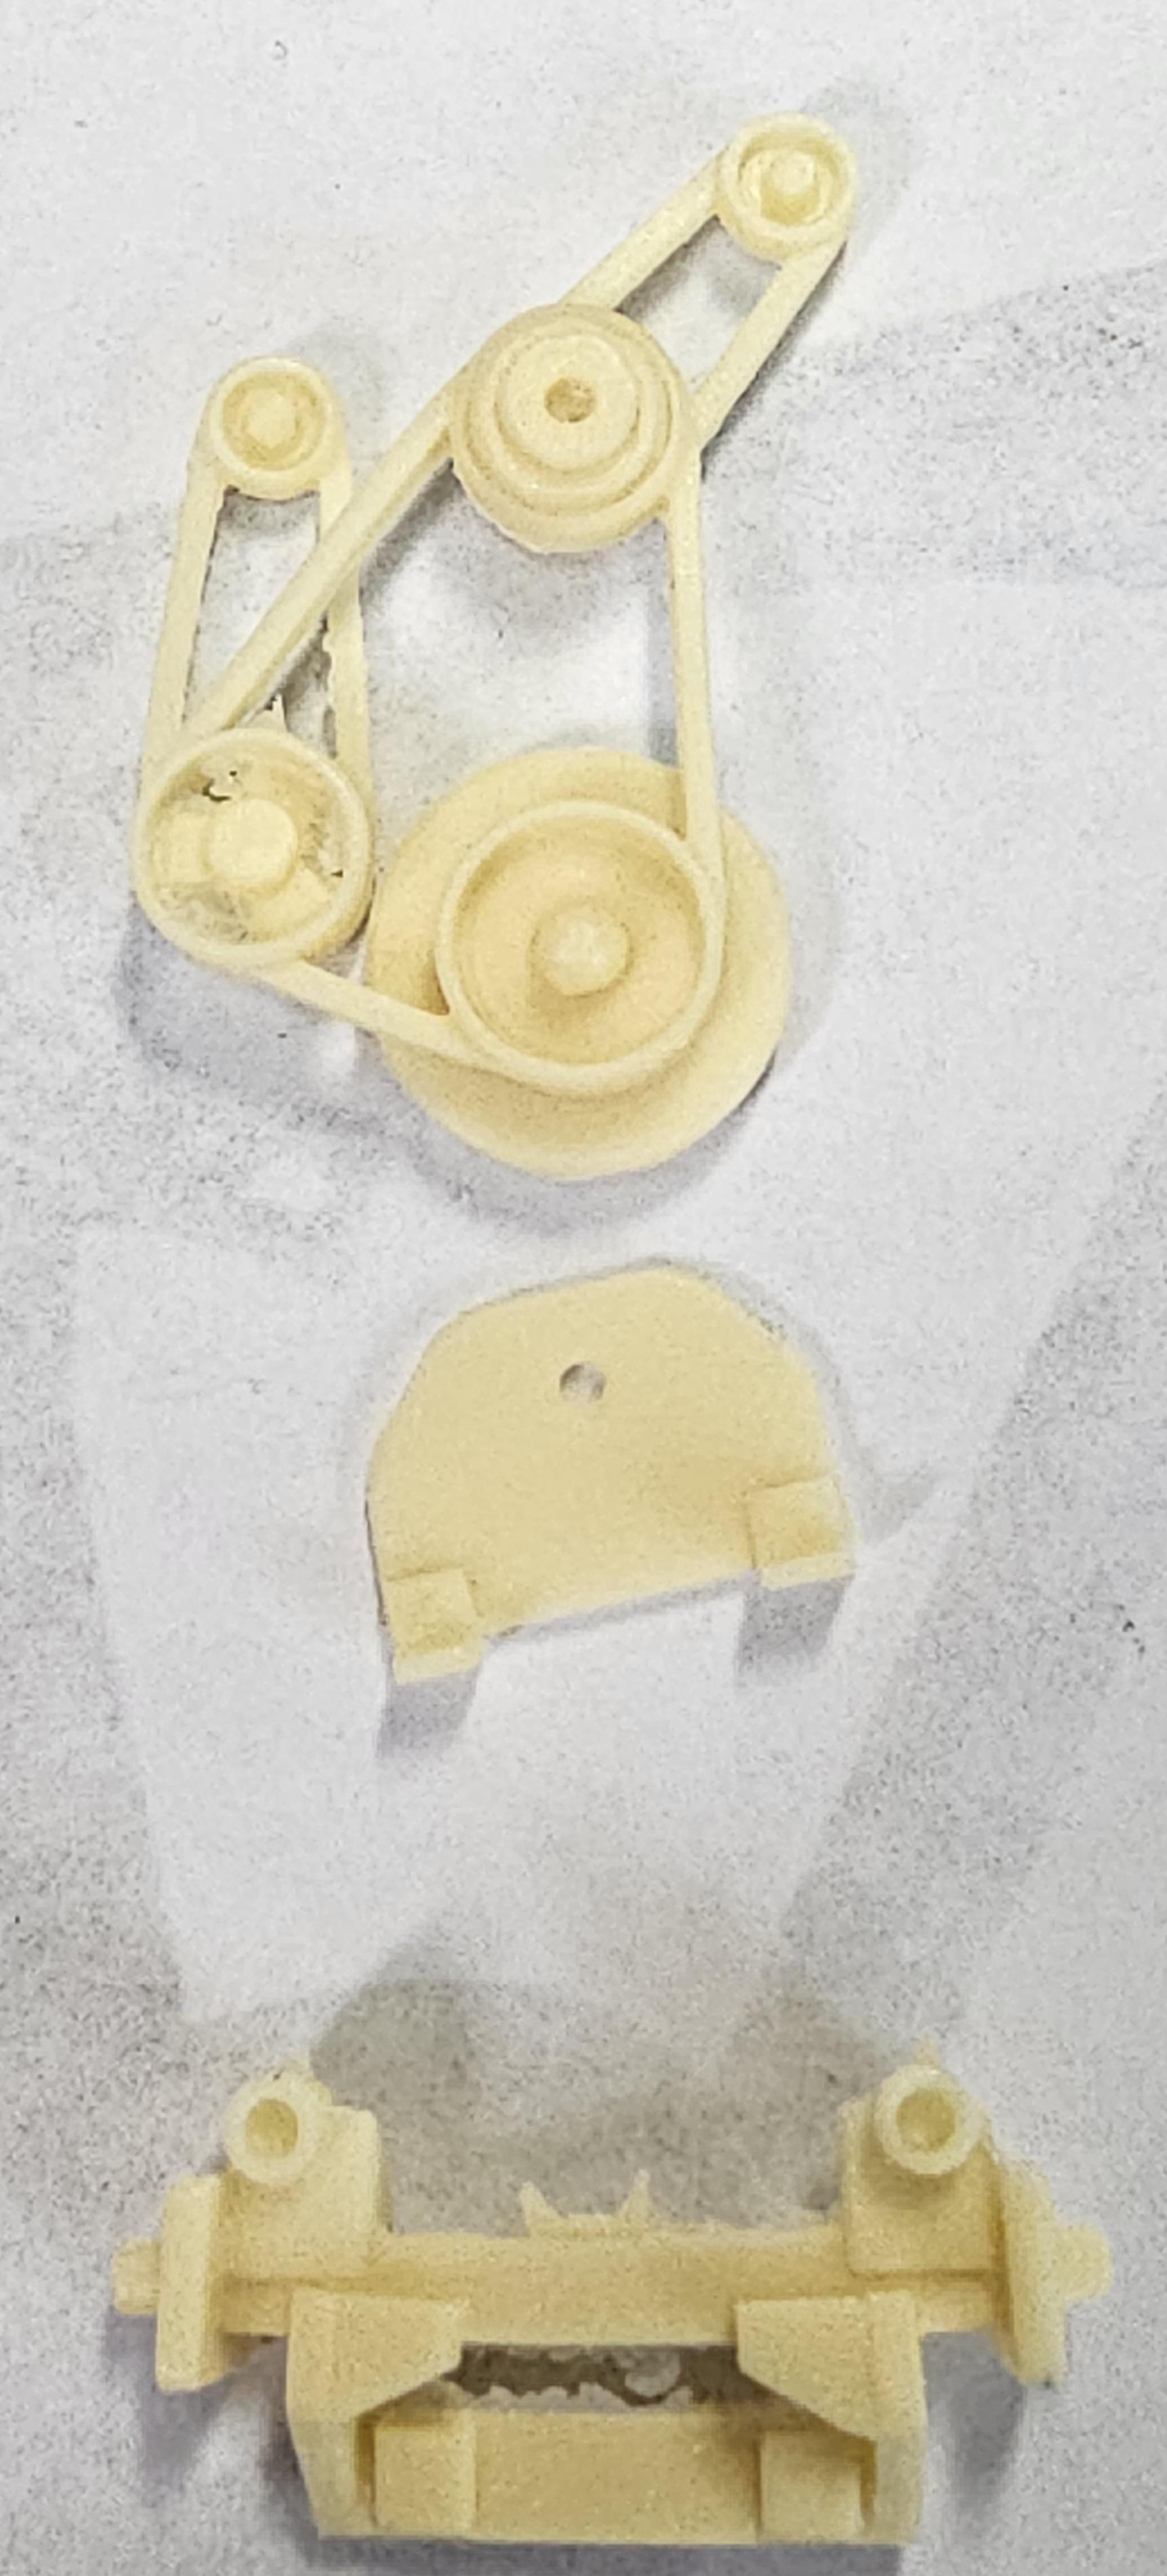
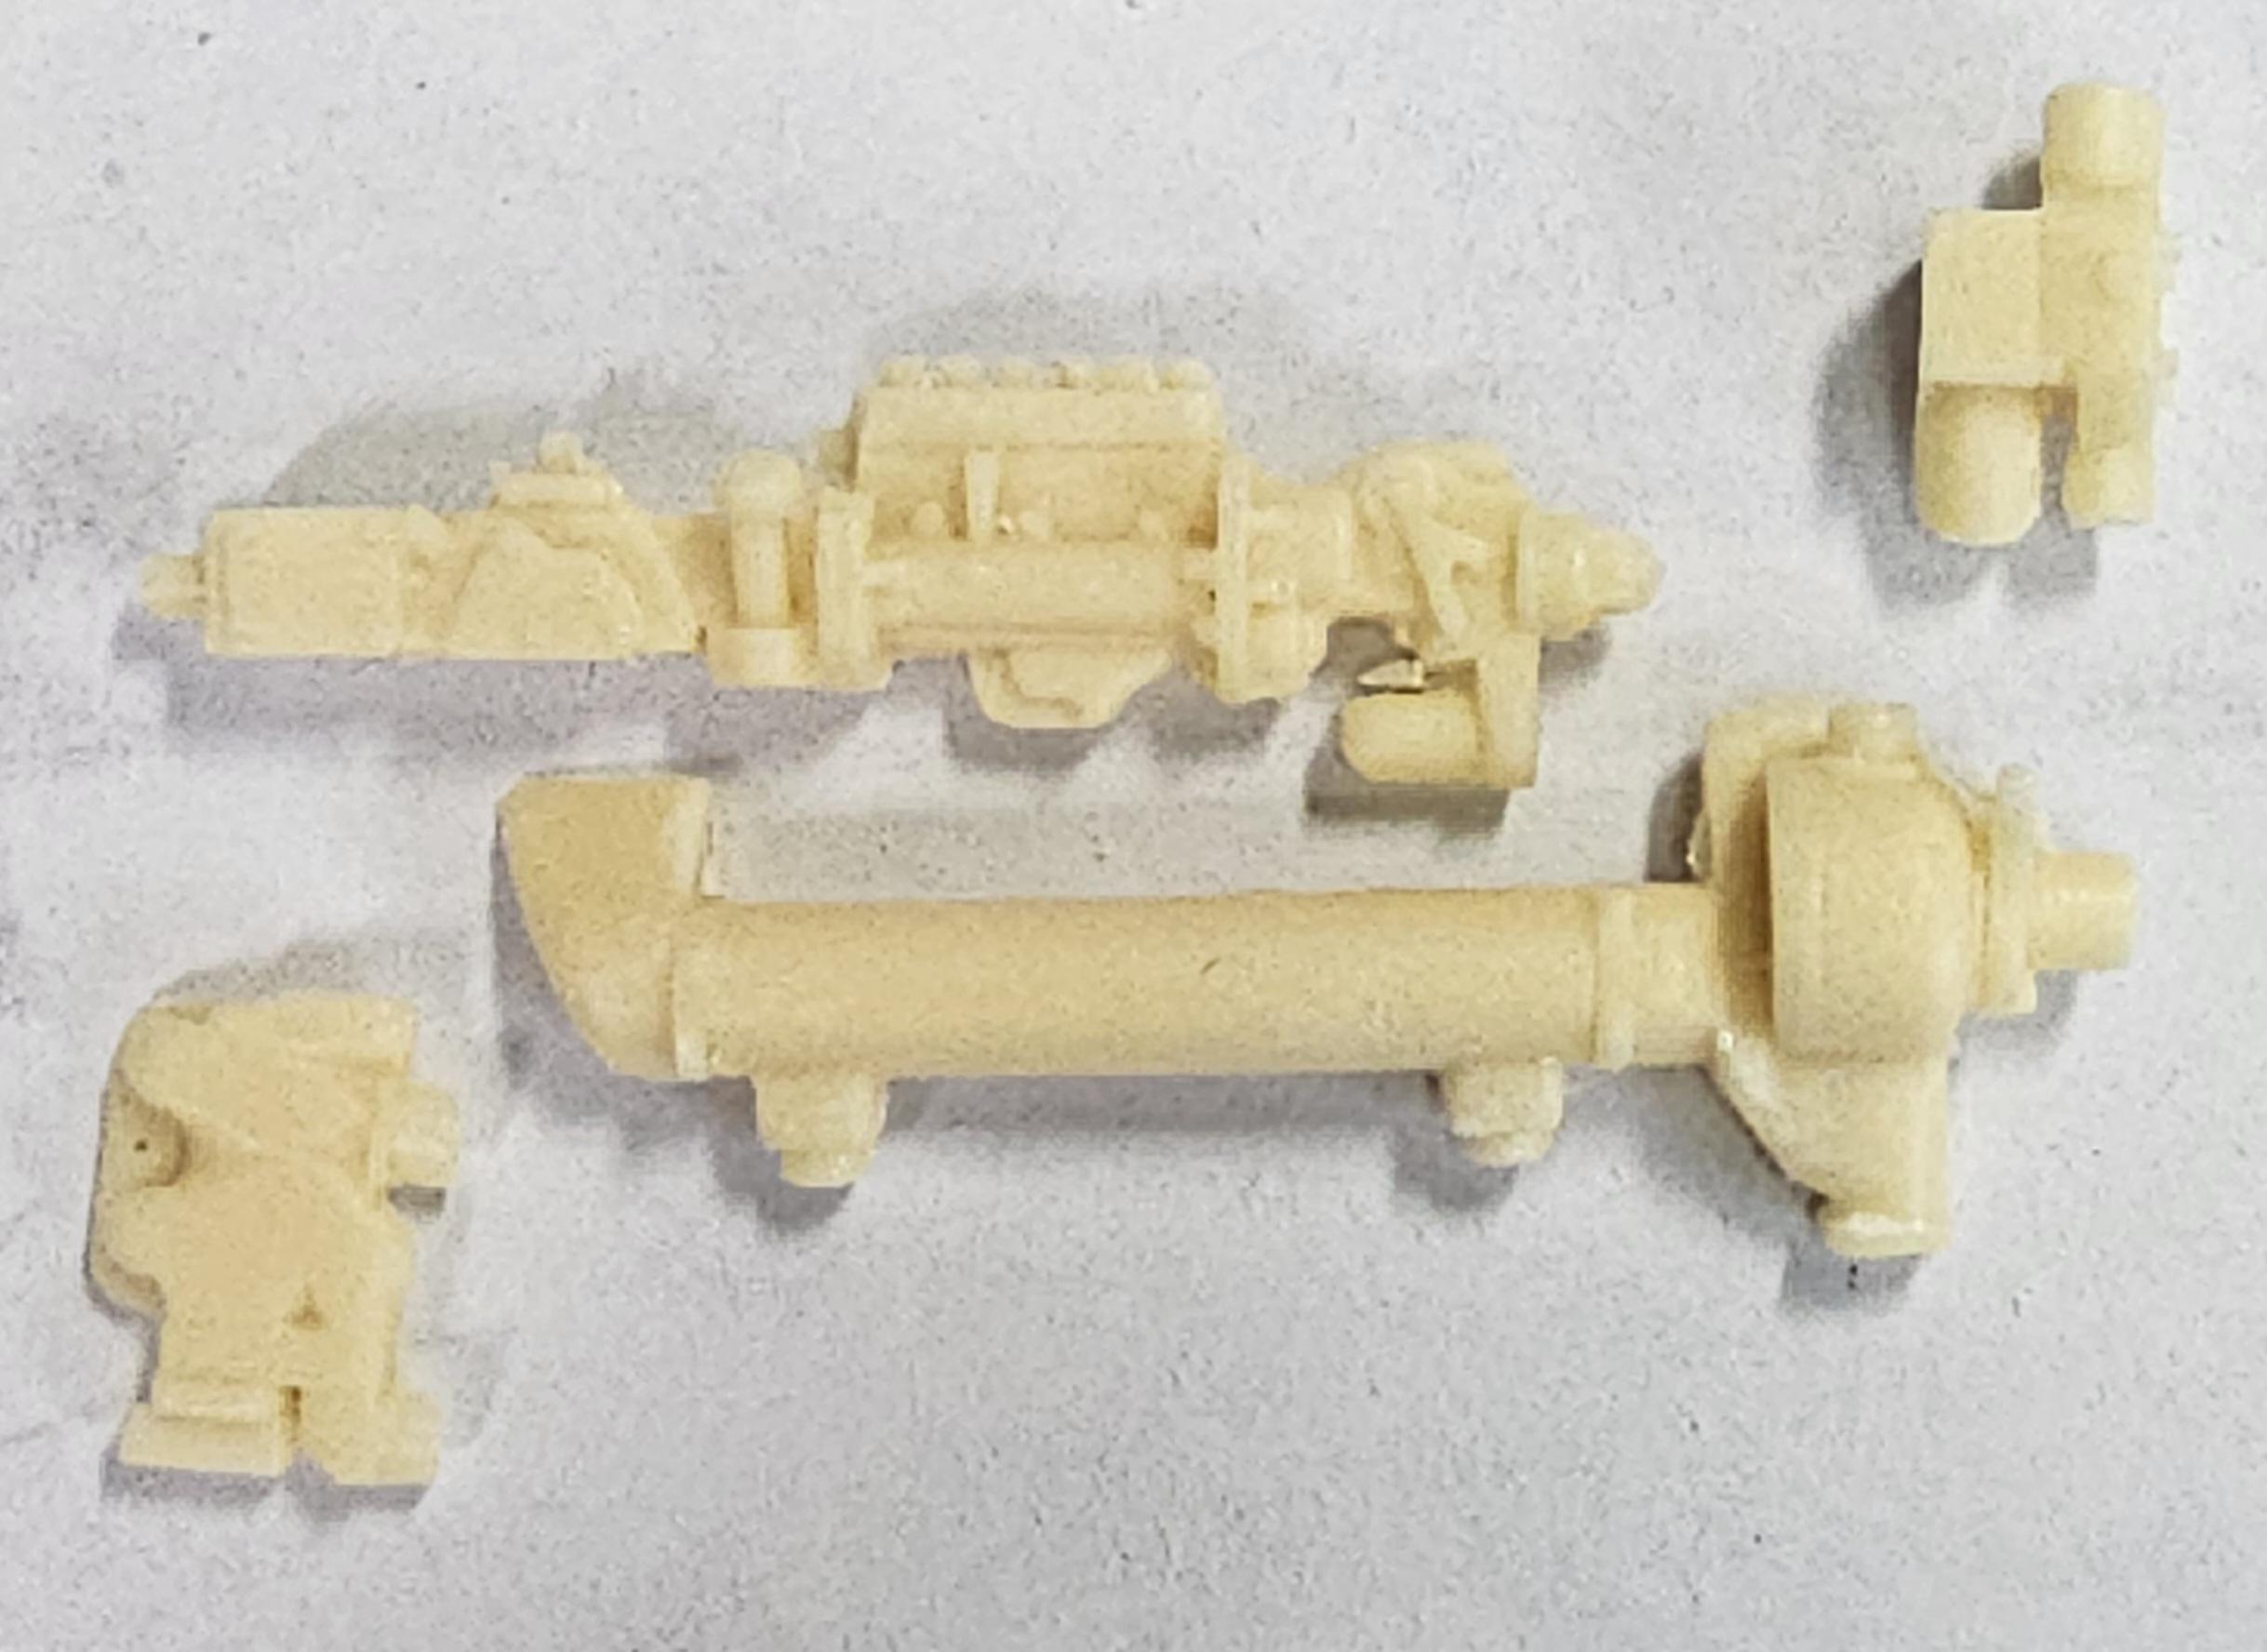
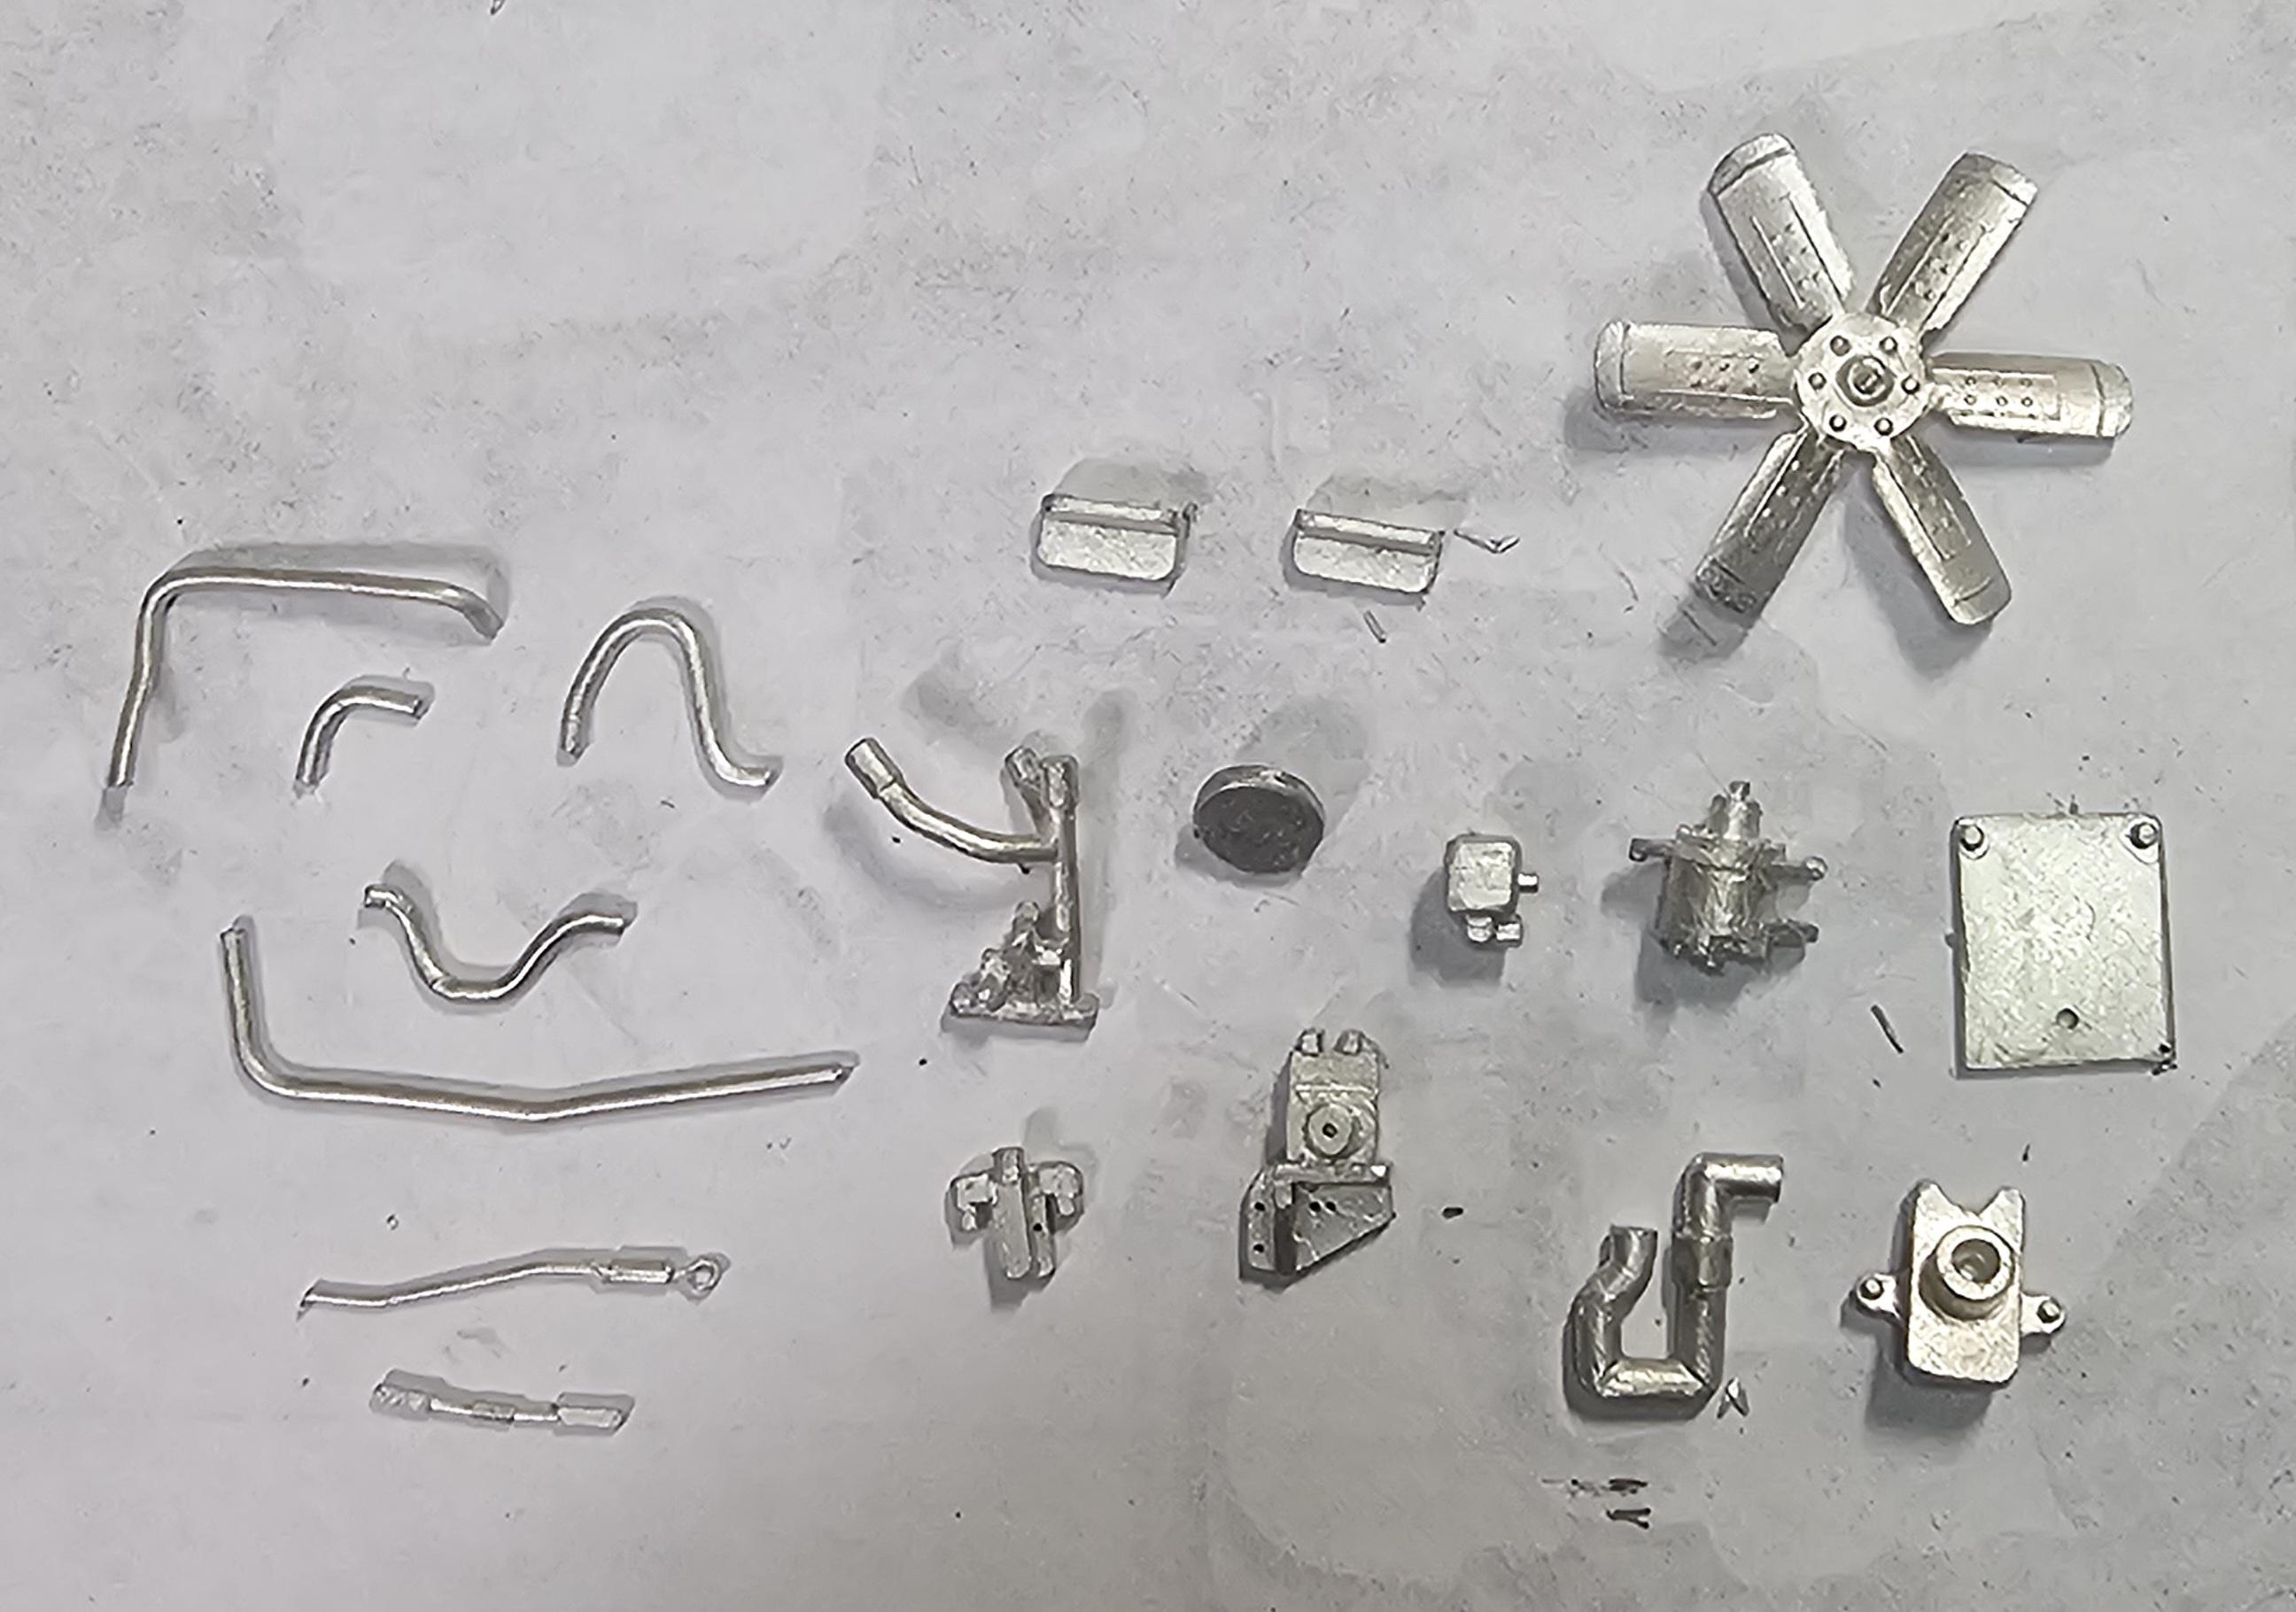
Hey all Like the title says. This is not a build thread. Since it's already built.😁 It's a KFS Cat 1693TA engine in resin & white metal. I thought you guys would be interested in this for use in any of your build projects. So here are some pictures for yous to perose over. This is a left side view of the engine. It comes as one big peice, block, bell housing, head and rear gear case. This is a right side view of the engine. This is a top view of the engine. Bottom view of the engine. These are the exhaust turbo with manifold and intake turbo with pipe. This view shows the parts that go on the left side of the engine. Two top fuel filters, aftercooler (I added the grey bolt heads 20 of em!😱) two lower oil filters, air compressor and starter. this view shows the fan belts, front motor mount and front cross member. This view shows the left hand side parts. Oil cooler, oil manifold, fuel pump and thermostat housing. These are the white metal parts. It's not to bad to put together. You just need to take your time and follow the instructions (yeah you get a two sided set of instructions in color!) Next post I'll show more of my mods and how I plumbed it. Ron G
-
Western Star 4900 FA plow truck
ShakyCraftsman replied to BK9300's topic in WIP: Model Trucks: Big Rigs and Heavy Equipment
Oh Boy! Can't wait to see what you dream up next.🍿🍺 save me a front row seat, got my pop corn & beer. Ron G -
Thanks guys Ron G
-
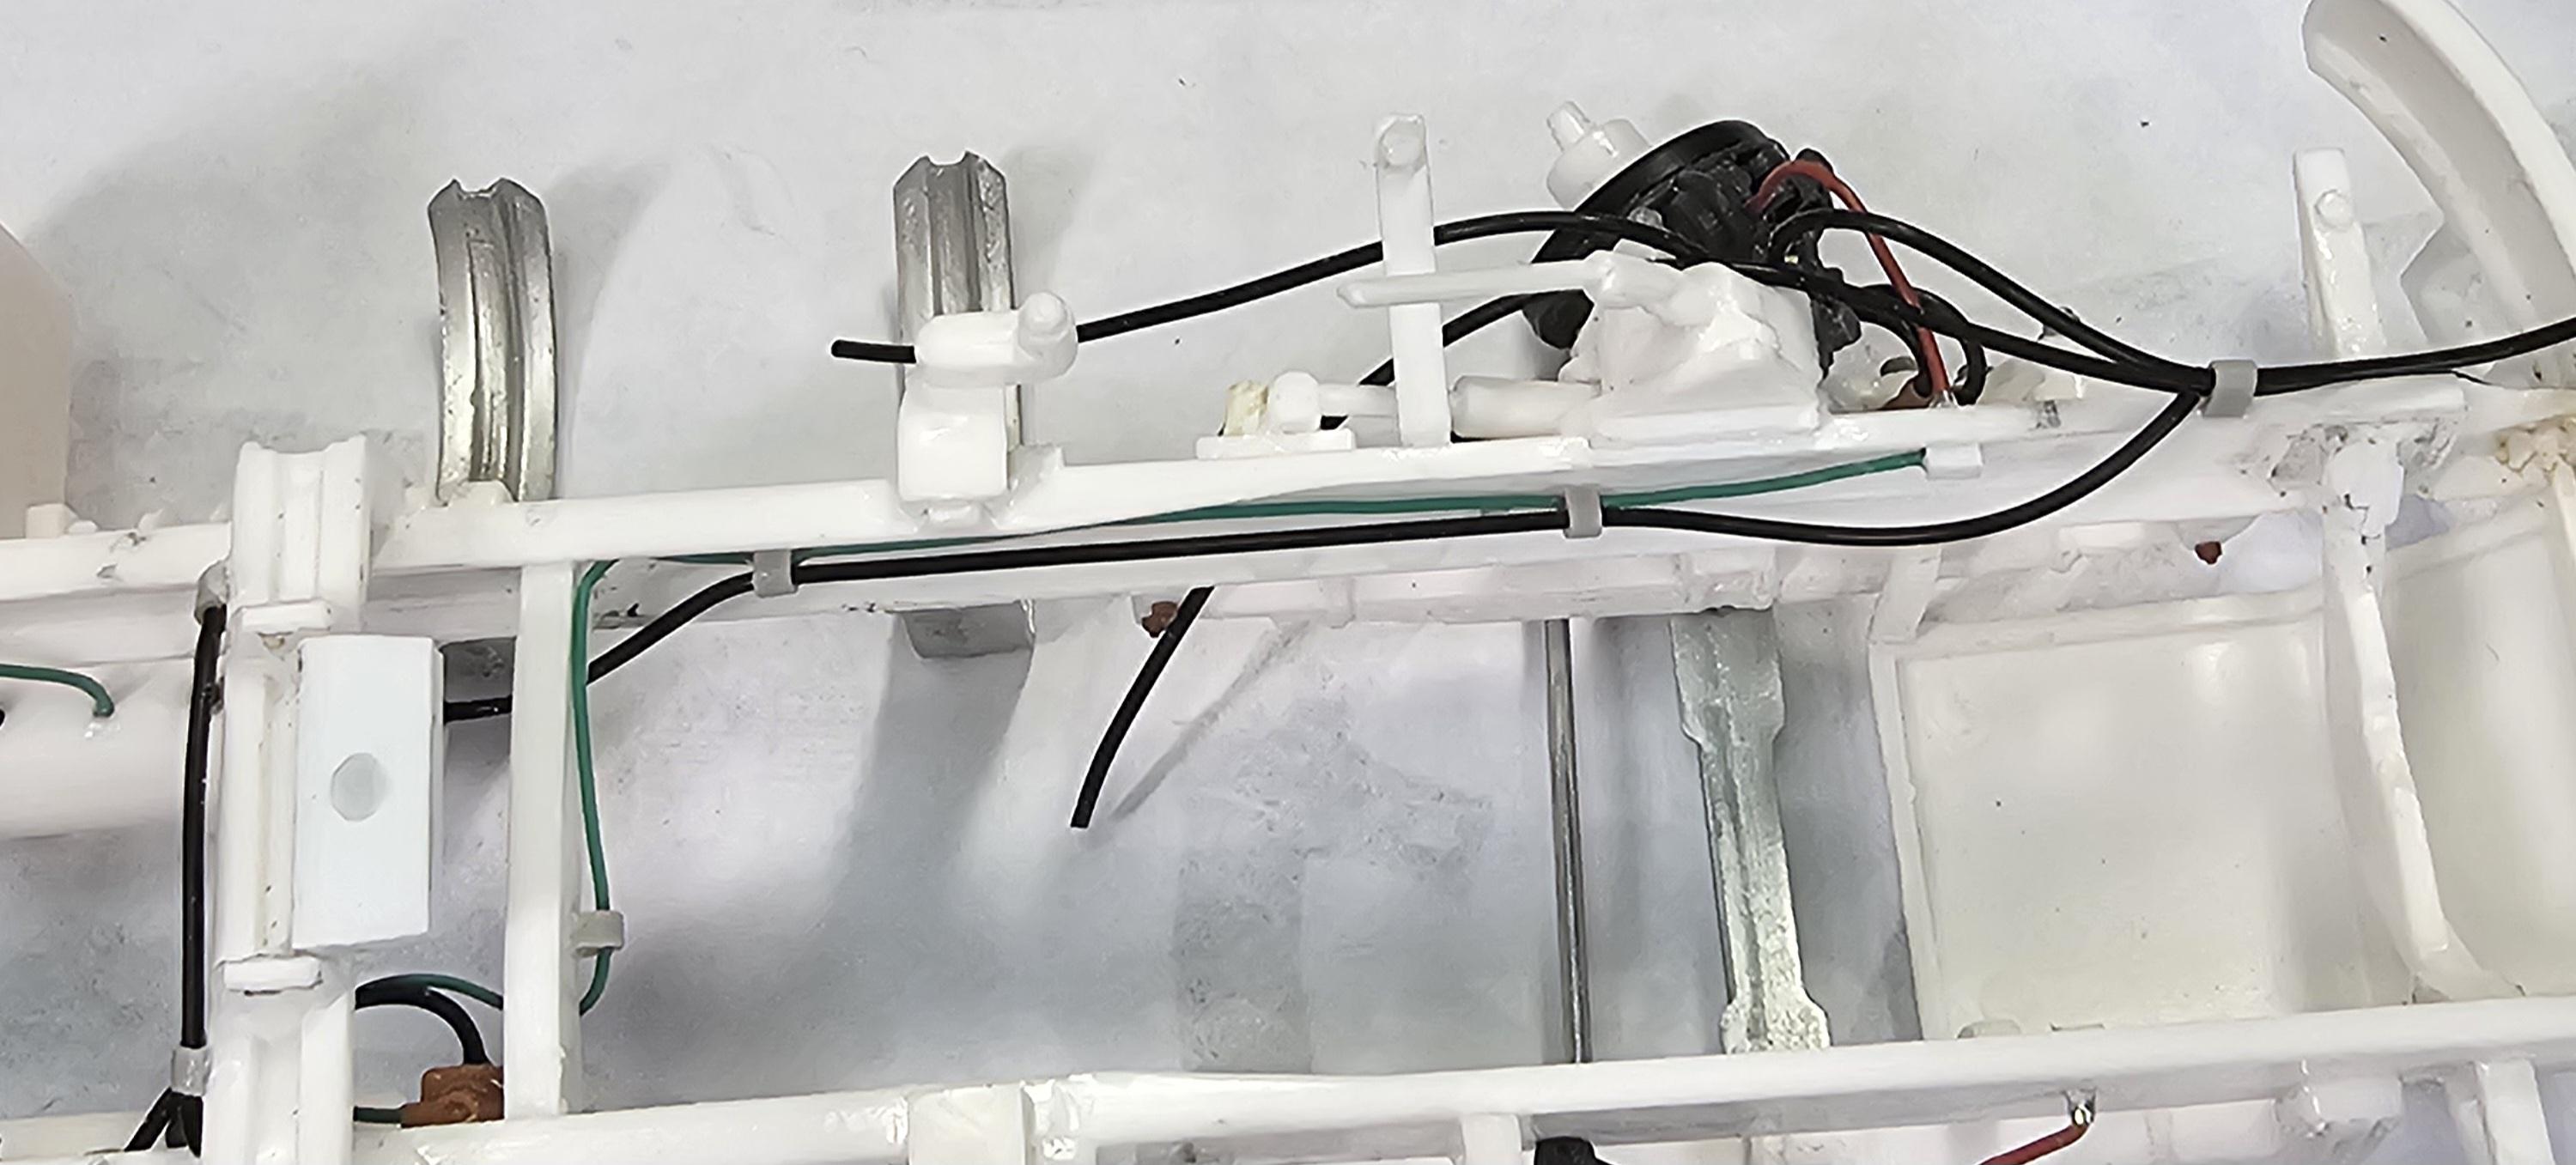
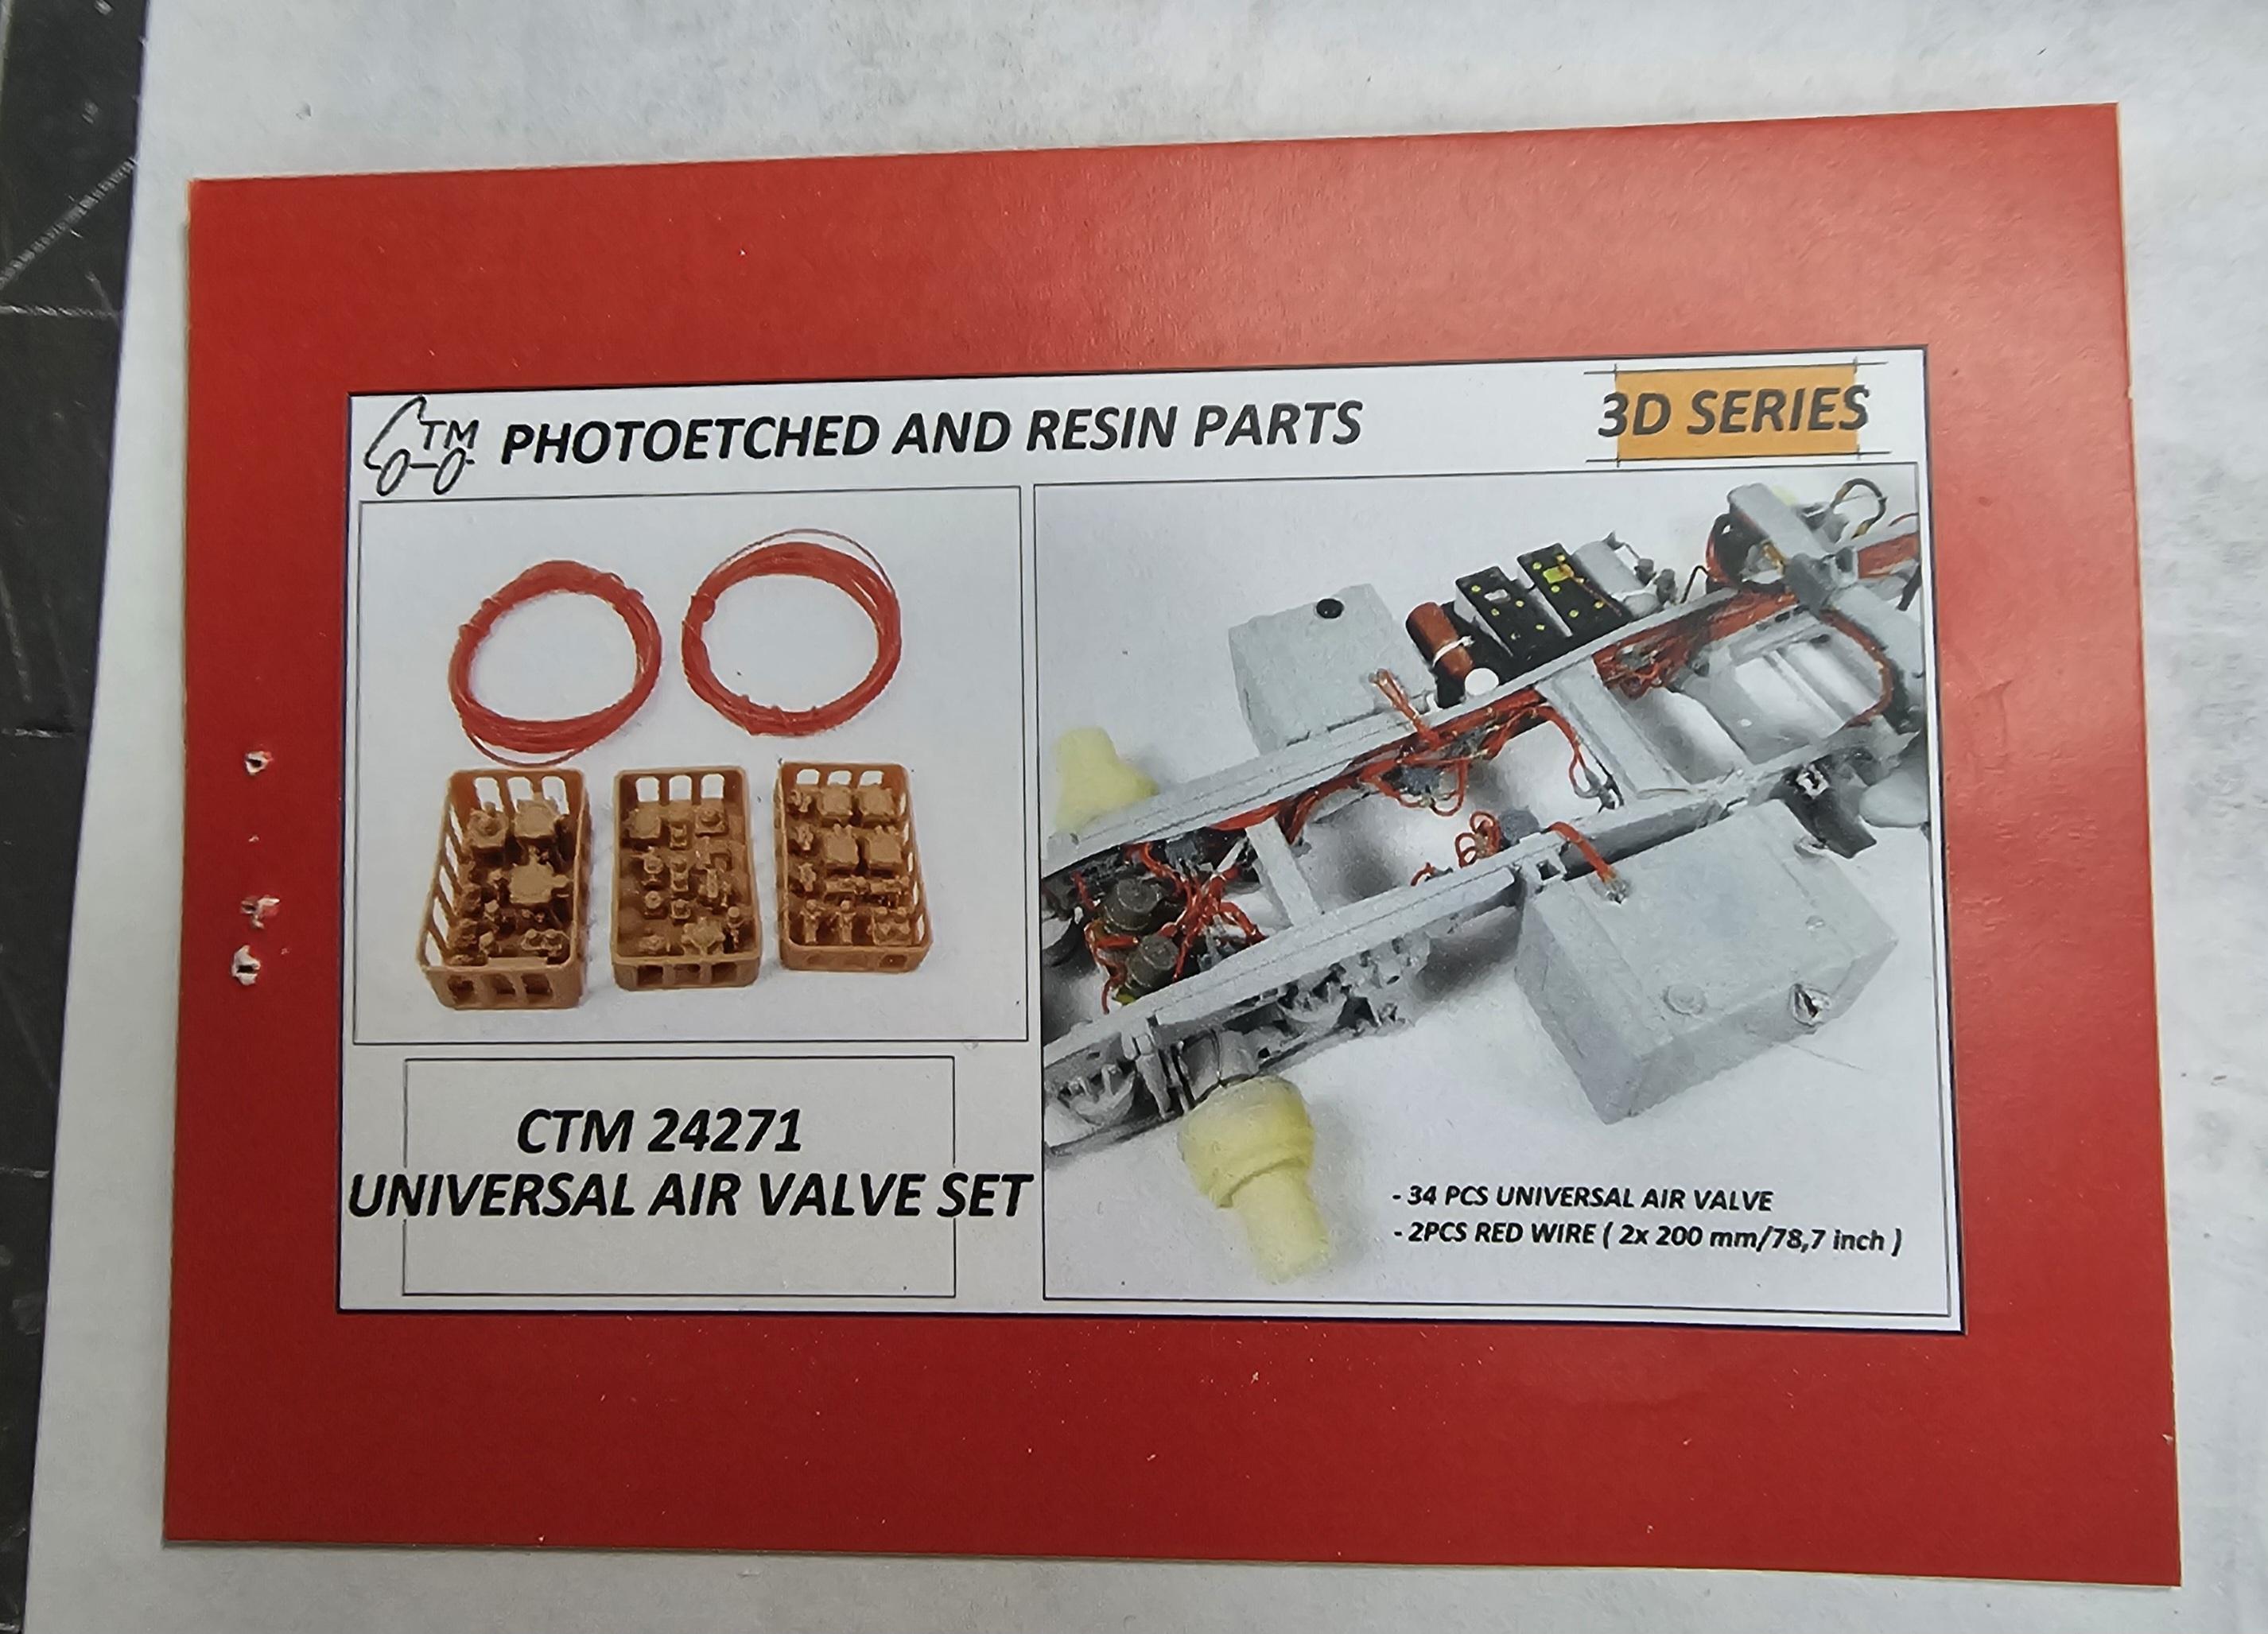
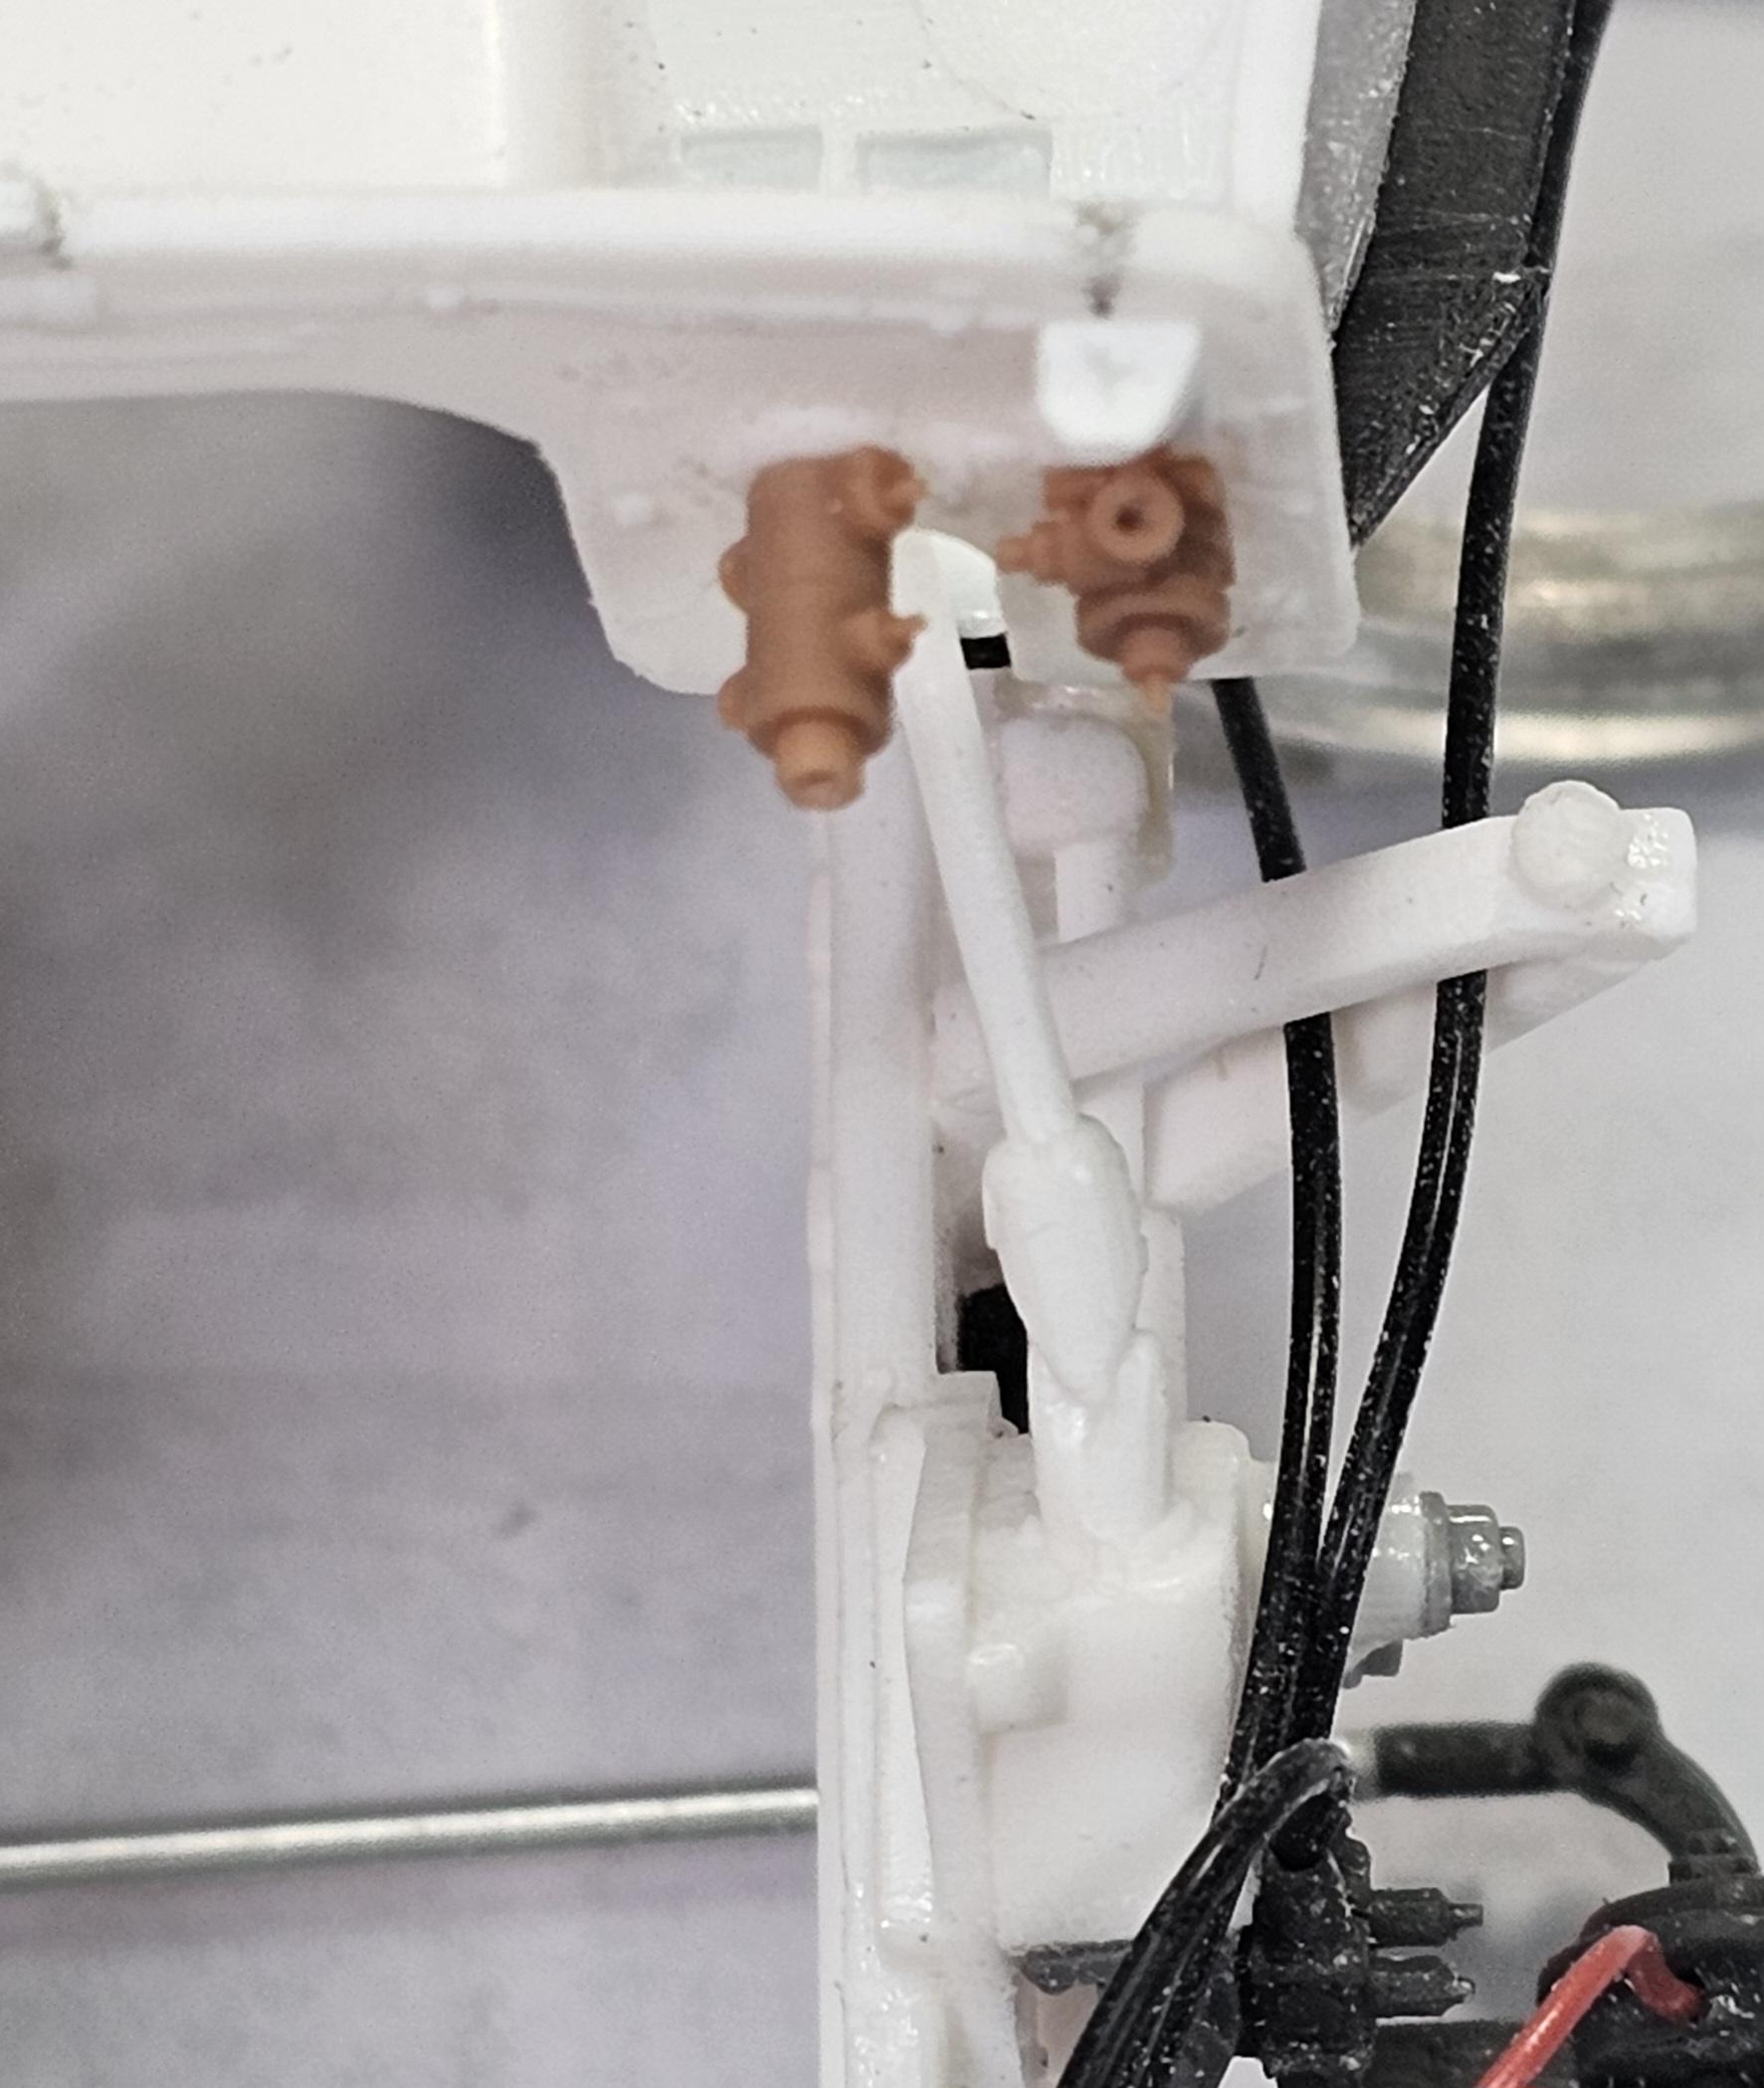
Hey all I know it's been awhile since any updates on this build. So here we go. These are the fittings and valves I'm using for this build. And boy are they FIDDLY and brittle! The holes (actually just the beginnings of holes) are not big enough for the red wire they supply you with. So when you go to drill them out they #@×* break! I did manage to get enough of them drilled out for this build. This view shows the valves and fittings I'm going to use for simulating the brake and clutch cylinders. Basically it's something to run wires to.😁 This view shows the valve for the fuel pedal. This view shows the valves I picked. This view shows the rear air cylinder and plumbing. This view shows the front rear axle and plumbing. This view shows the front air cylinders and plumbing. I'm not done yet, I ran out of steam. So I'll be back soon with more updates. Ron G
-
High Brian Sketchbook on my phone. It's crapy little program, but it's all I have. My computer took a dump several years ago and it's to old for the new windows program. Ron G
-
Thanks Pal I still have a few (Ha ha) projects to finish first before I can start on it.😉 Ron G
-
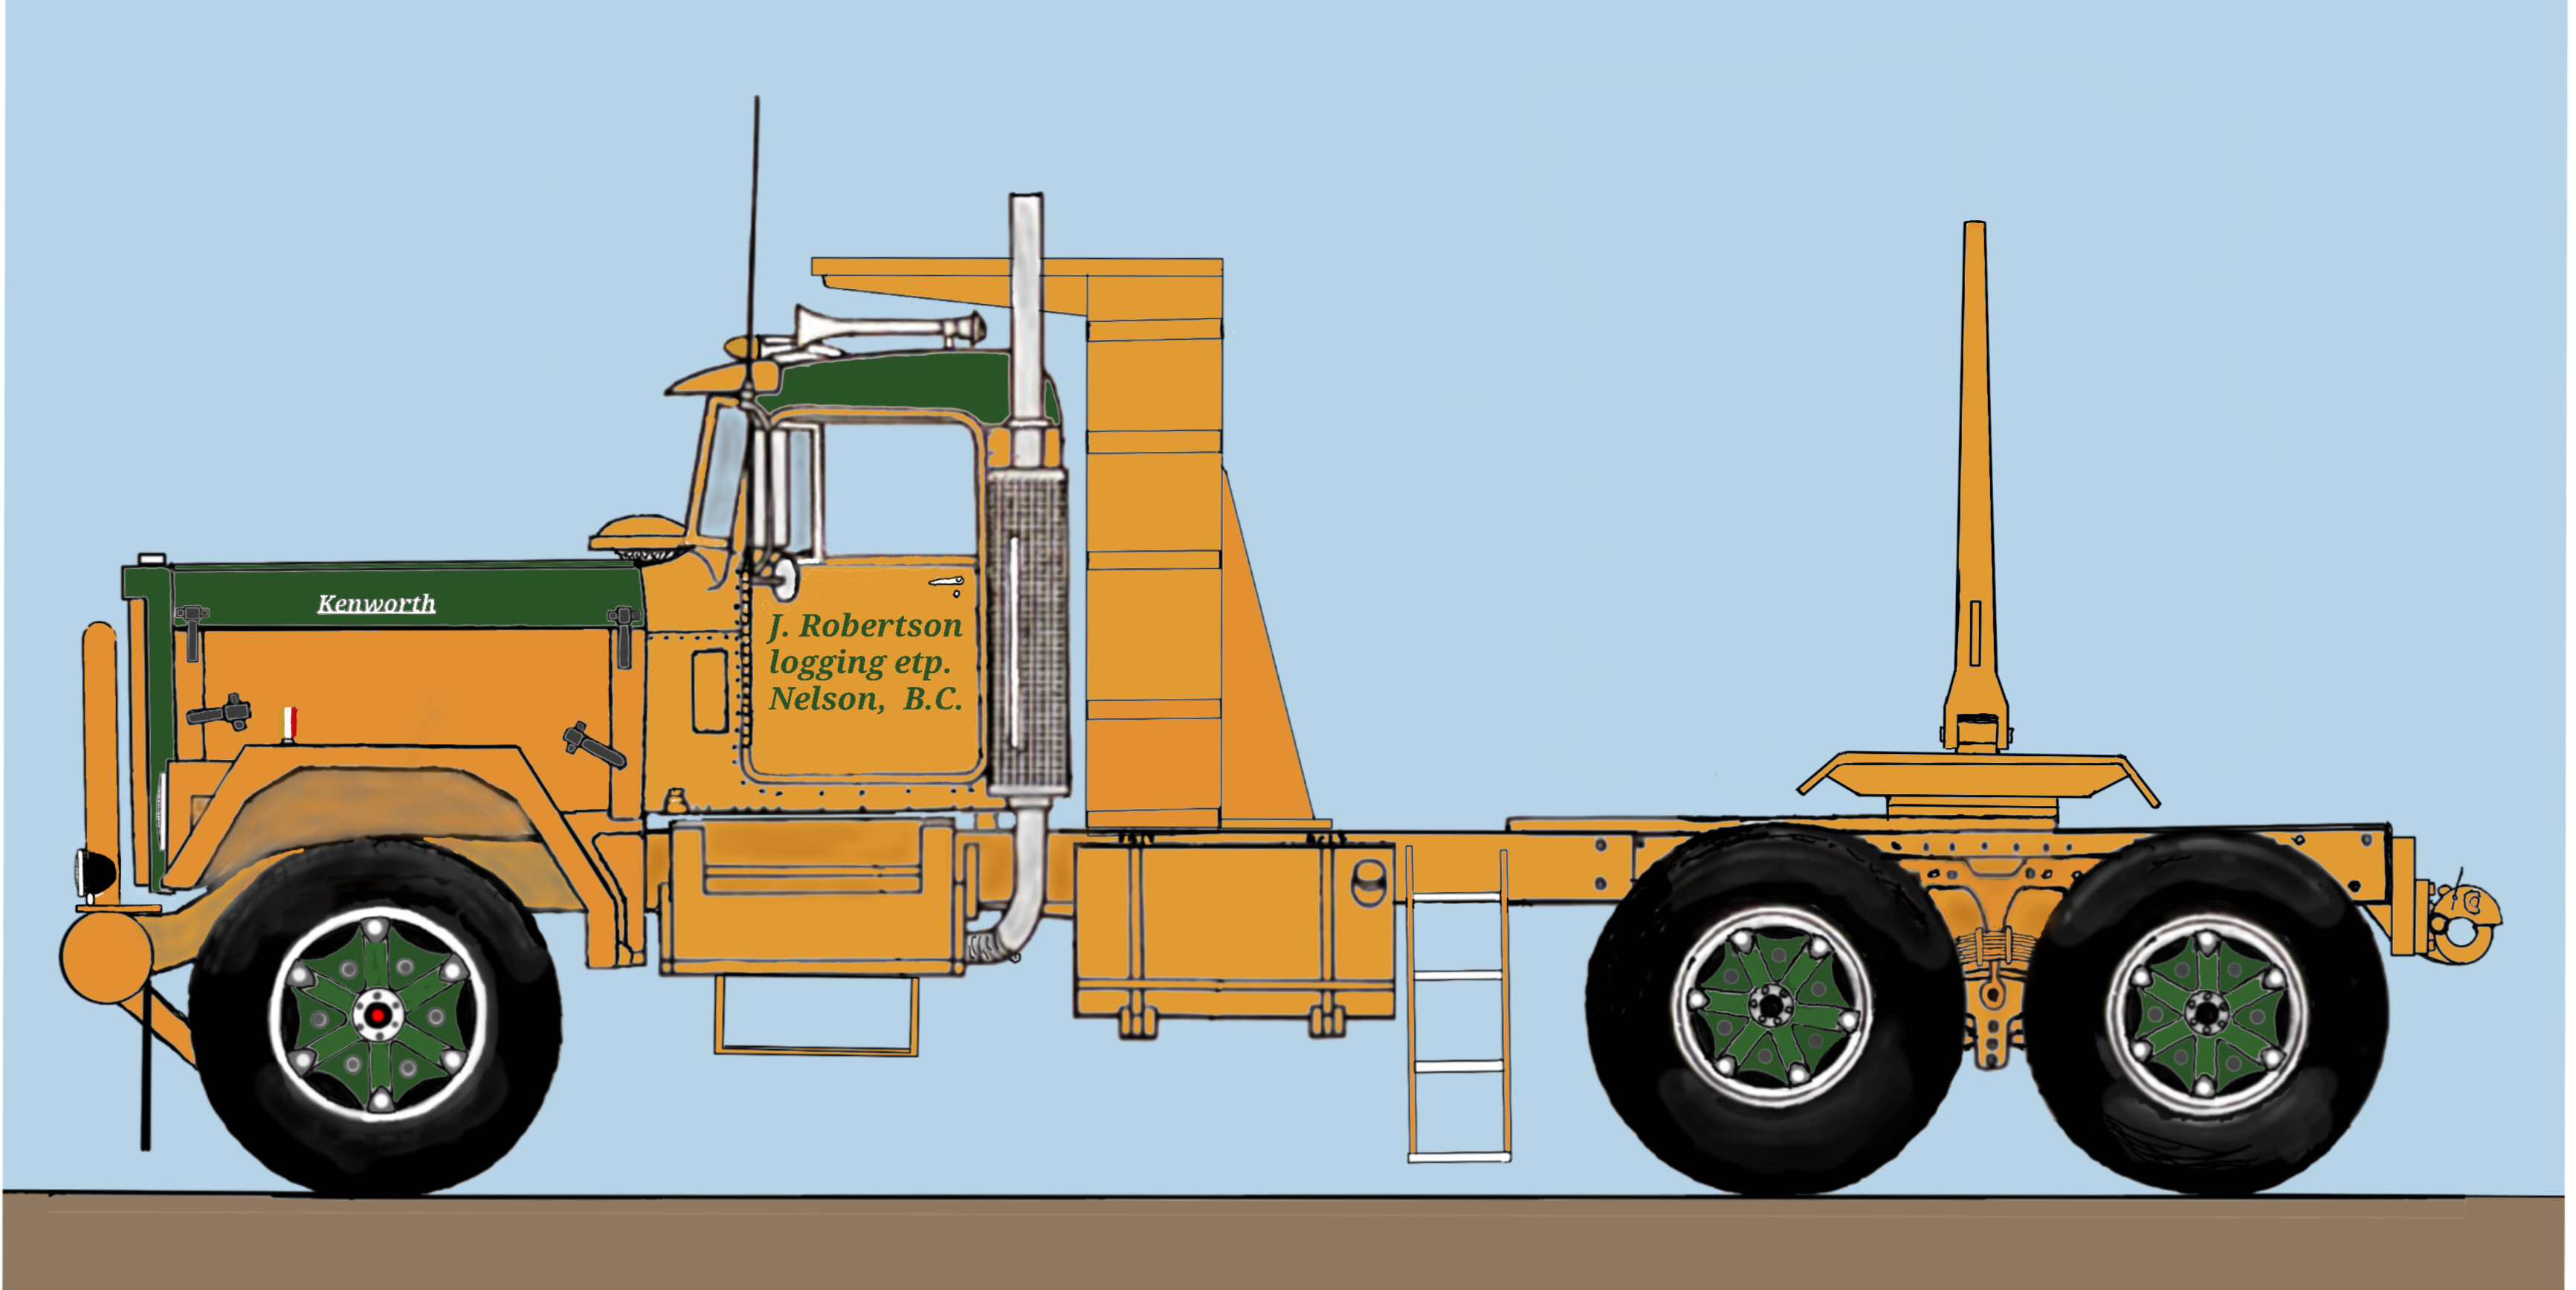
Hello Everybody This is a future build that I'm gathering parts for. It will be a heavy offroad B.C. logging truck. I'm going to use the AMT Kenworth Alaskan Hauler for the base truck. I've ordered a Detroit Diesel 12V71 from Auslowe, a Allison Automatic trans from 3D Concepts, the wheels are from 3D Concepts (6 spoke Daytons), the tires are from Paul at ST Supply (RoadX DT990 13:00 24.5's) the headache rack will be from Global (modified to fit) the rest of the logging stuff will be from a AMT logging trailer kit. Here is a concept picture of it. Those tires are 48.0" tall! So yeah it's BIG! Ron G
-
Kenworth W-925
ShakyCraftsman replied to Brenton's topic in WIP: Model Trucks: Big Rigs and Heavy Equipment
Sorry, but it is what it is. If Round 2 wasn't reproducing them we wouldn't have anything at all. Except for way over priced ones on Ebay. There not that bad. I used to hate AMT truck kits, but I've been taking a new look at them and now I find the faults a challenge to my modeling abilities. Keep at it Brenton the clue is to as Winston Churchill said KBO! (keep buggering on)😁😉 They definitely aren't Tamiya kits that just fall together. They will make you a better modeler, and thats a good thing. Ron G -
Mack B-61 Dump Body
ShakyCraftsman replied to Scott Eriksen's topic in WIP: Model Trucks: Big Rigs and Heavy Equipment
I thought that the Revell chrome was fairly durable.🤔 does it come off? Did you add a clear coat to it? Ron G -
Western Star 4900 FA plow truck
ShakyCraftsman replied to BK9300's topic in WIP: Model Trucks: Big Rigs and Heavy Equipment
I trust you will figure it out with your abilities. Ron G -
Hey Gary Any progress on this build? I'm going to be doing a AMT "Cross Country" Peterbilt soon. I'm going to be using a KFS Cat 1693 in it, and probably one of Casey's long hoods. Ron G
-
Kenworth W-925
ShakyCraftsman replied to Brenton's topic in WIP: Model Trucks: Big Rigs and Heavy Equipment
The brake drums will take up some of the distance, but I think you might be cutting the axles.😪 It's hard to tell from your picture. Ron G -
Kenworth W-925
ShakyCraftsman replied to Brenton's topic in WIP: Model Trucks: Big Rigs and Heavy Equipment
Do you have the brake drums on? If yes you will probably have to trim the metal axles. You will need a good pair of hard wire cutters, or a cut off wheel in a dremel tool. Ron G -
Kenworth W-925
ShakyCraftsman replied to Brenton's topic in WIP: Model Trucks: Big Rigs and Heavy Equipment
Your welcome. What ever you need just ask we are all here to help. Ron G -
1970 Ford C 600
ShakyCraftsman replied to Biggu's topic in WIP: Model Trucks: Big Rigs and Heavy Equipment
Hey Pal What are you going to use for the tar that will be slobbered all over this.🤔🙄😁 Ron G -
Kenworth W-925
ShakyCraftsman replied to Brenton's topic in WIP: Model Trucks: Big Rigs and Heavy Equipment
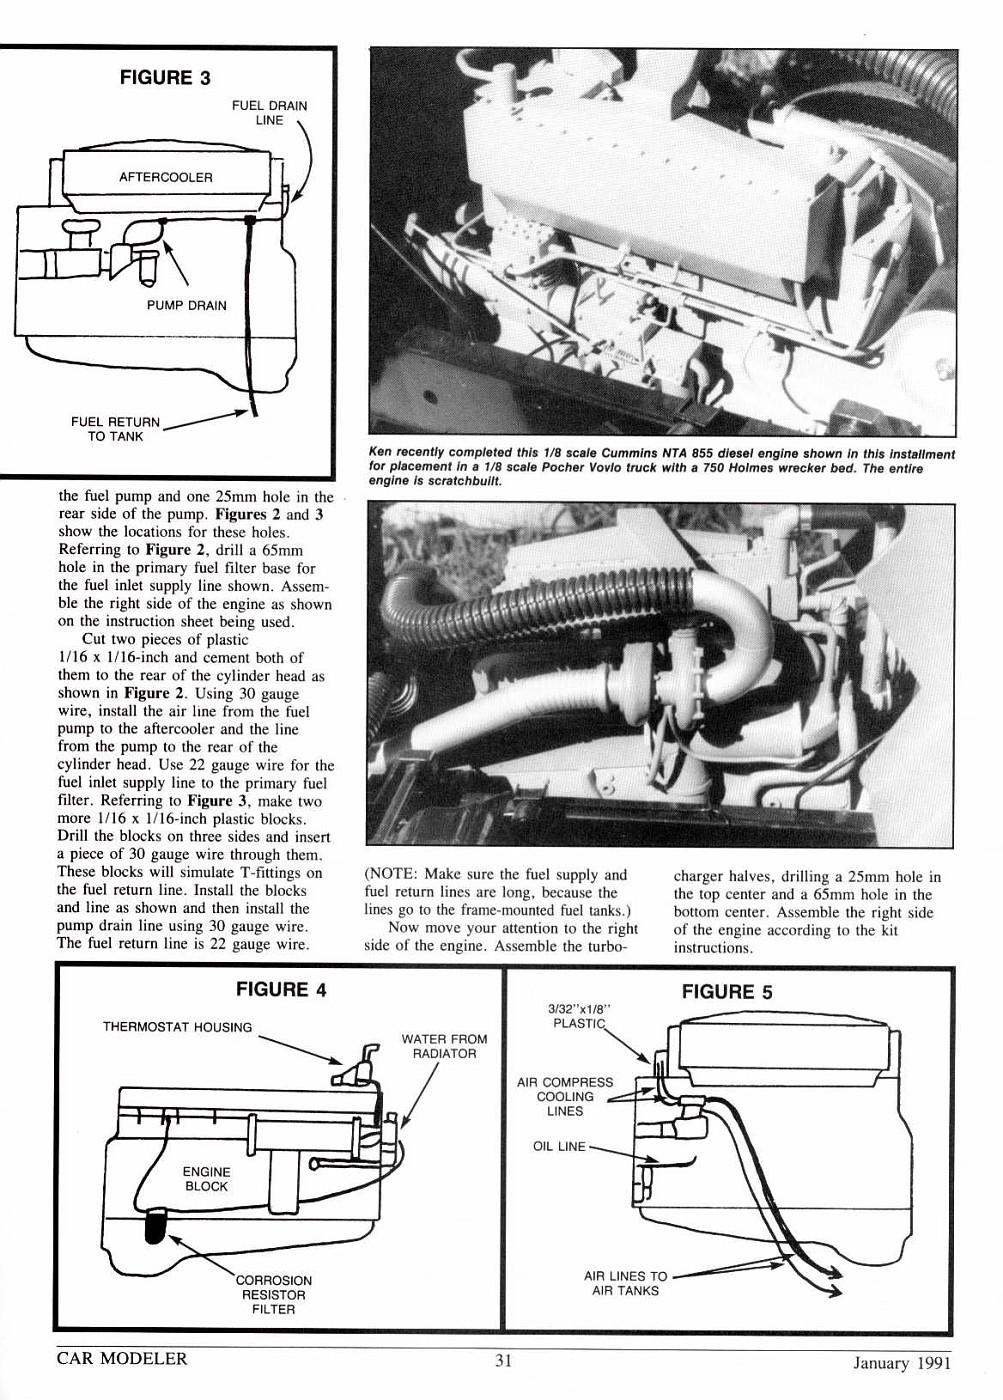
Hey Brenton Your doing great. Here are some pictures on detailing the Cummins NTA-370 engine. Ron G