89AKurt
-
Posts
8,426 -
Joined
-
Last visited
Content Type
Profiles
Forums
Events
Gallery
Everything posted by 89AKurt
-

Comission build; 1/25 1966 Mustang shifter -TOTAL scratch build.
89AKurt replied to Dann Tier's topic in WIP: Model Cars
Thanks! Didn't know what I was looking at, so this solved the mystery. That's great! But I'm sure someone has 3D printed one... -
Is this your fathers Oldsmobile?
89AKurt replied to Oldcarfan27's topic in General Automotive Talk (Trucks and Cars)
The West Midlands police need something to do. -
Serious 3D printing inquiry...
89AKurt replied to Dann Tier's topic in General Automotive Talk (Trucks and Cars)
Just to show for an example, here is a model builder who uses 3D printing, to make mostly military prototypes. You can see the typical texture, but for these subjects it's not a big deal. I'm guessing he makes a living doing this too. Flickr: Gamla Model Makers -
even for Bleu misterNNL: I saw what you did
-
I've seen his perfect models at a GSL. He must not be human. LOL Just the window tint alone is impressive.
-
Is that because of sand getting thrown around? What about making a vacuum-formed shroud?
-
GSL XXVII 2019-Exactly a month before, are you planning to be there?
89AKurt replied to simonr's topic in Contests and Shows
Registered, but still need to reserve a room. Thanks for reminder! -
of numbers manipulator
-
2015 Phoenix winner
89AKurt replied to Fieldguy06's topic in WIP: Stock Cars (NASCAR, Super Stock, Late Model, etc.)
Thank you! Using a q-tip, good tip. -
I'm a 911 fan, but so many other manufacturers have done it, so not surprised they abandoned it. Thanks for showing us how they create models, didn't know woodworking was used.
-
2005 Scion XB Pickup Conversion
89AKurt replied to Chuck Most's topic in Model Trucks: Pickups, Vans, SUVs, Light Commercial
Cute concept, the design lends itself to such a conversion. Feel your pain on the window trim, I've gone to the trouble of masking and airbrushing that part on some builds. I could see getting another kit, and splicing in for a longer bed. -
2015 Phoenix winner
89AKurt replied to Fieldguy06's topic in WIP: Stock Cars (NASCAR, Super Stock, Late Model, etc.)
I don't do NASCAR, but can appreciate a really well done model, and that looks awesome! What decal solvent do you like using? -
on counting out
-
4 forty fortnights
-
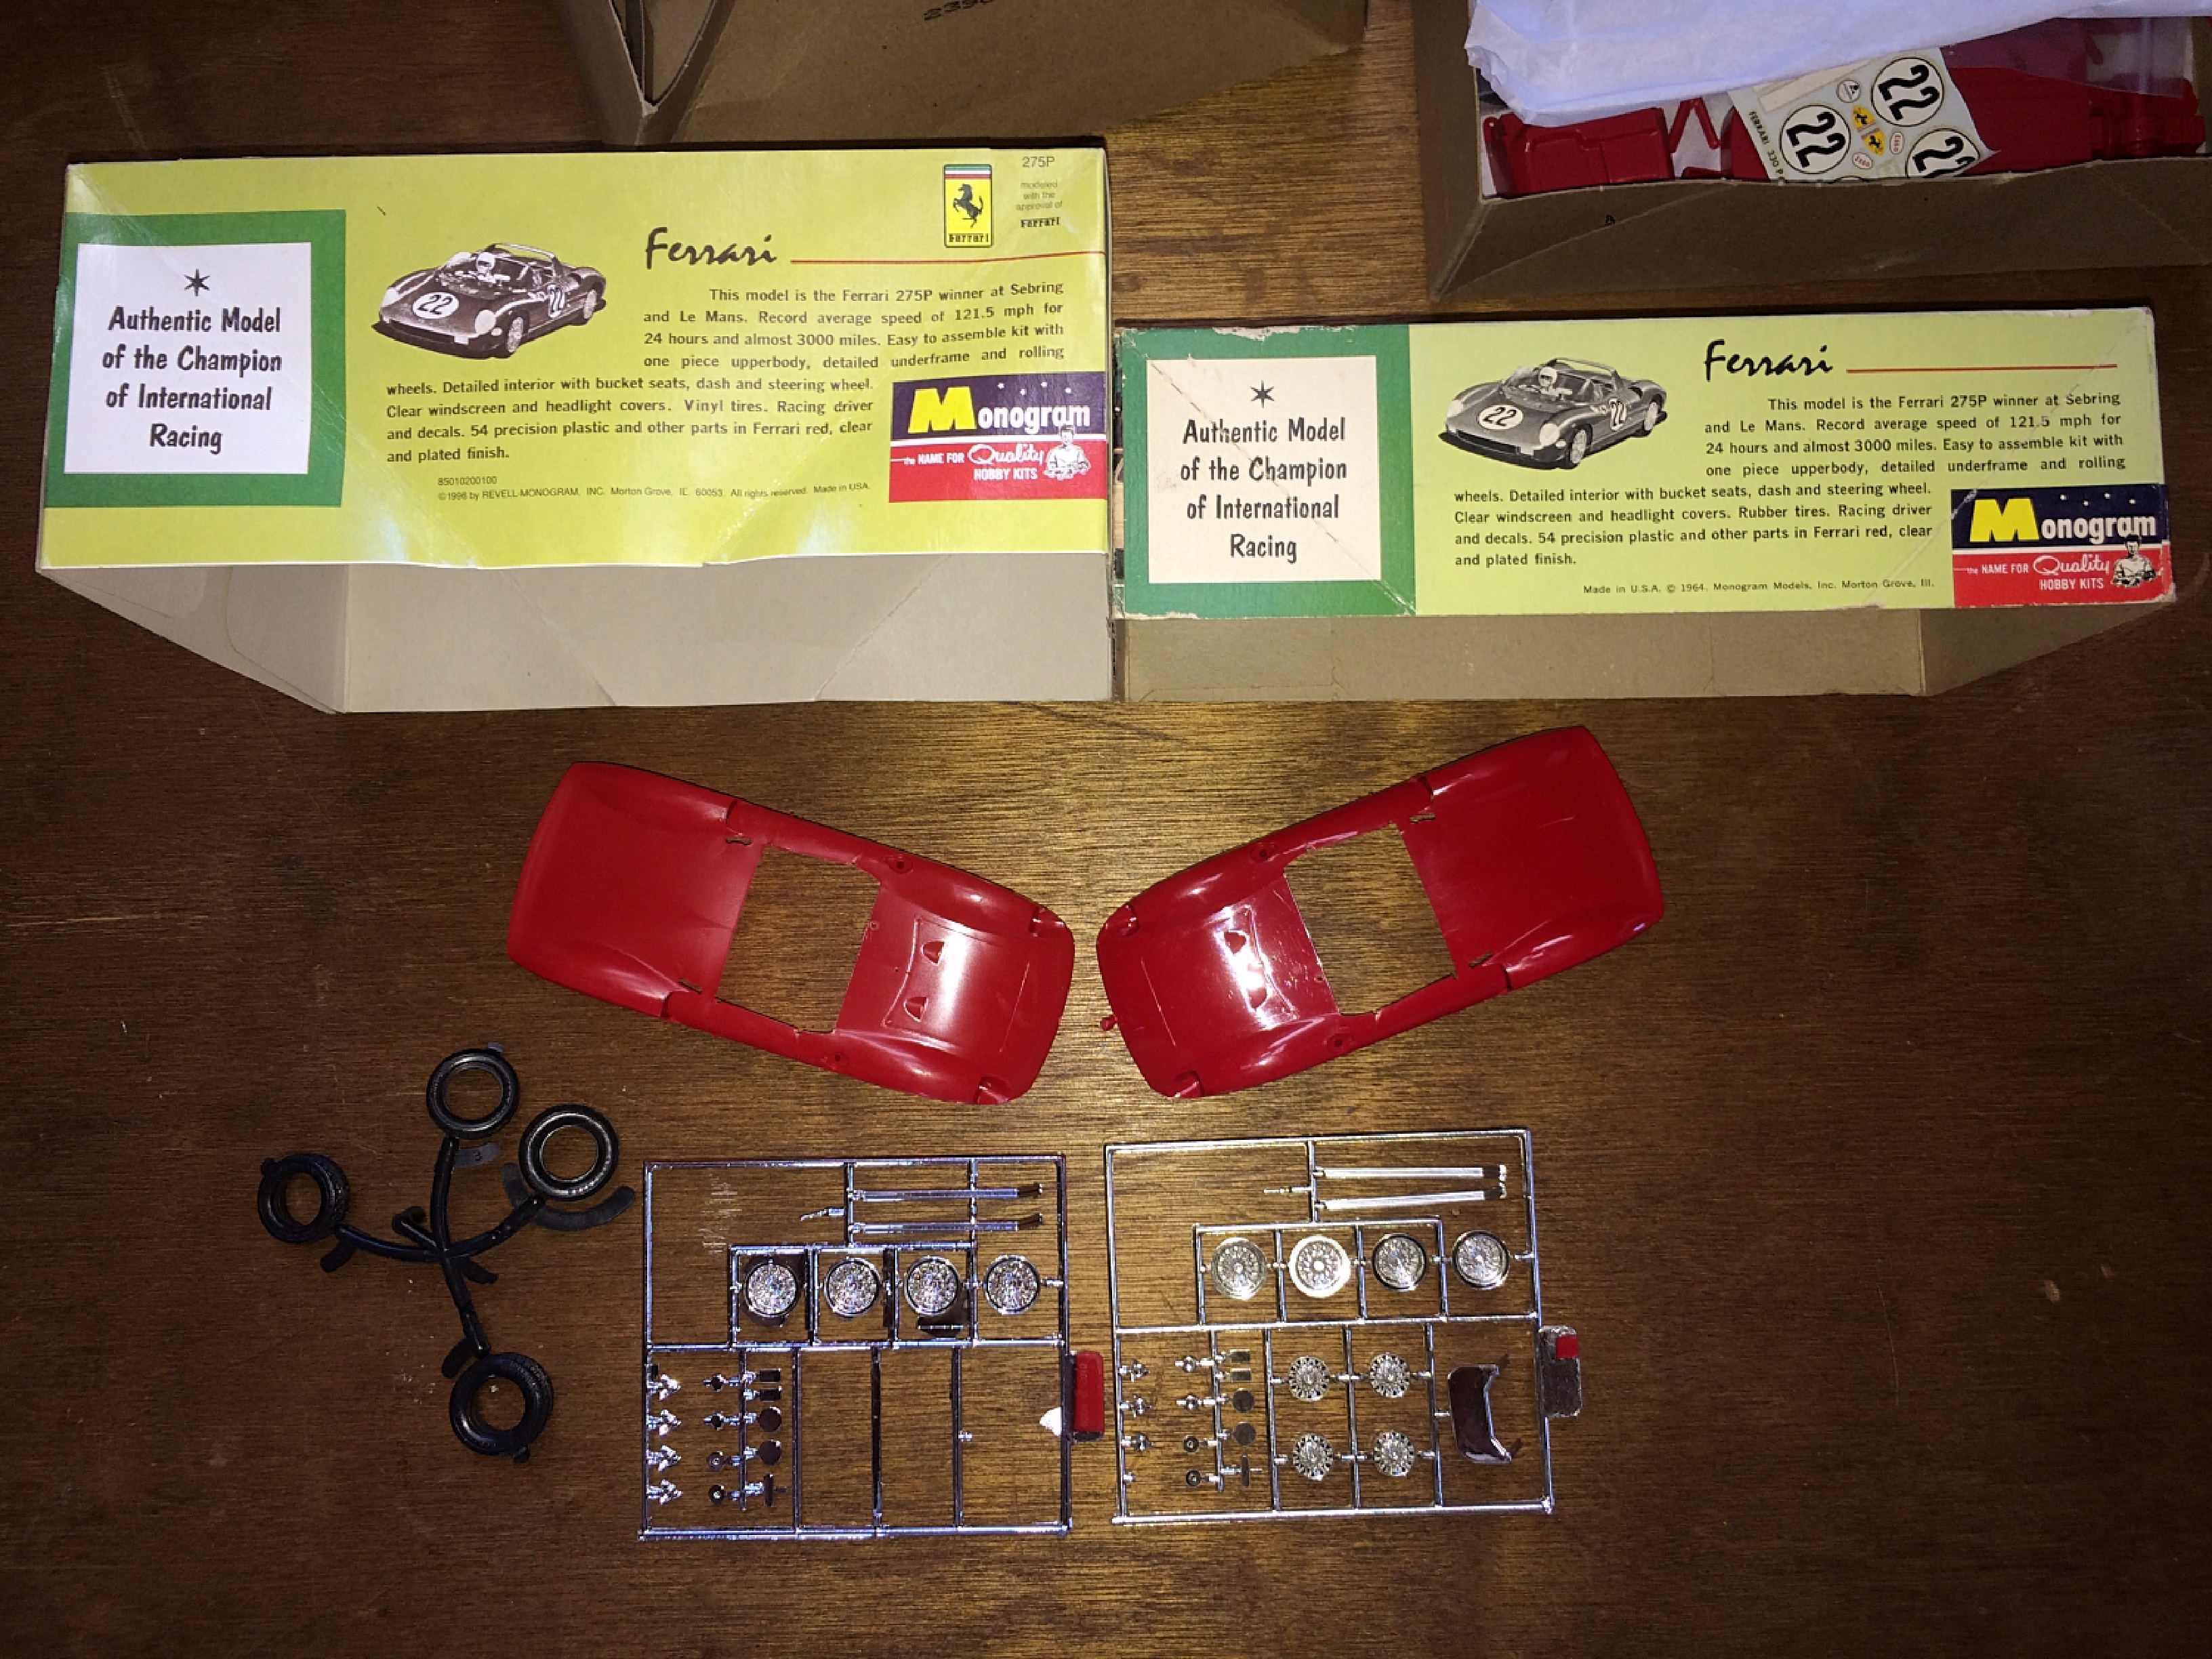
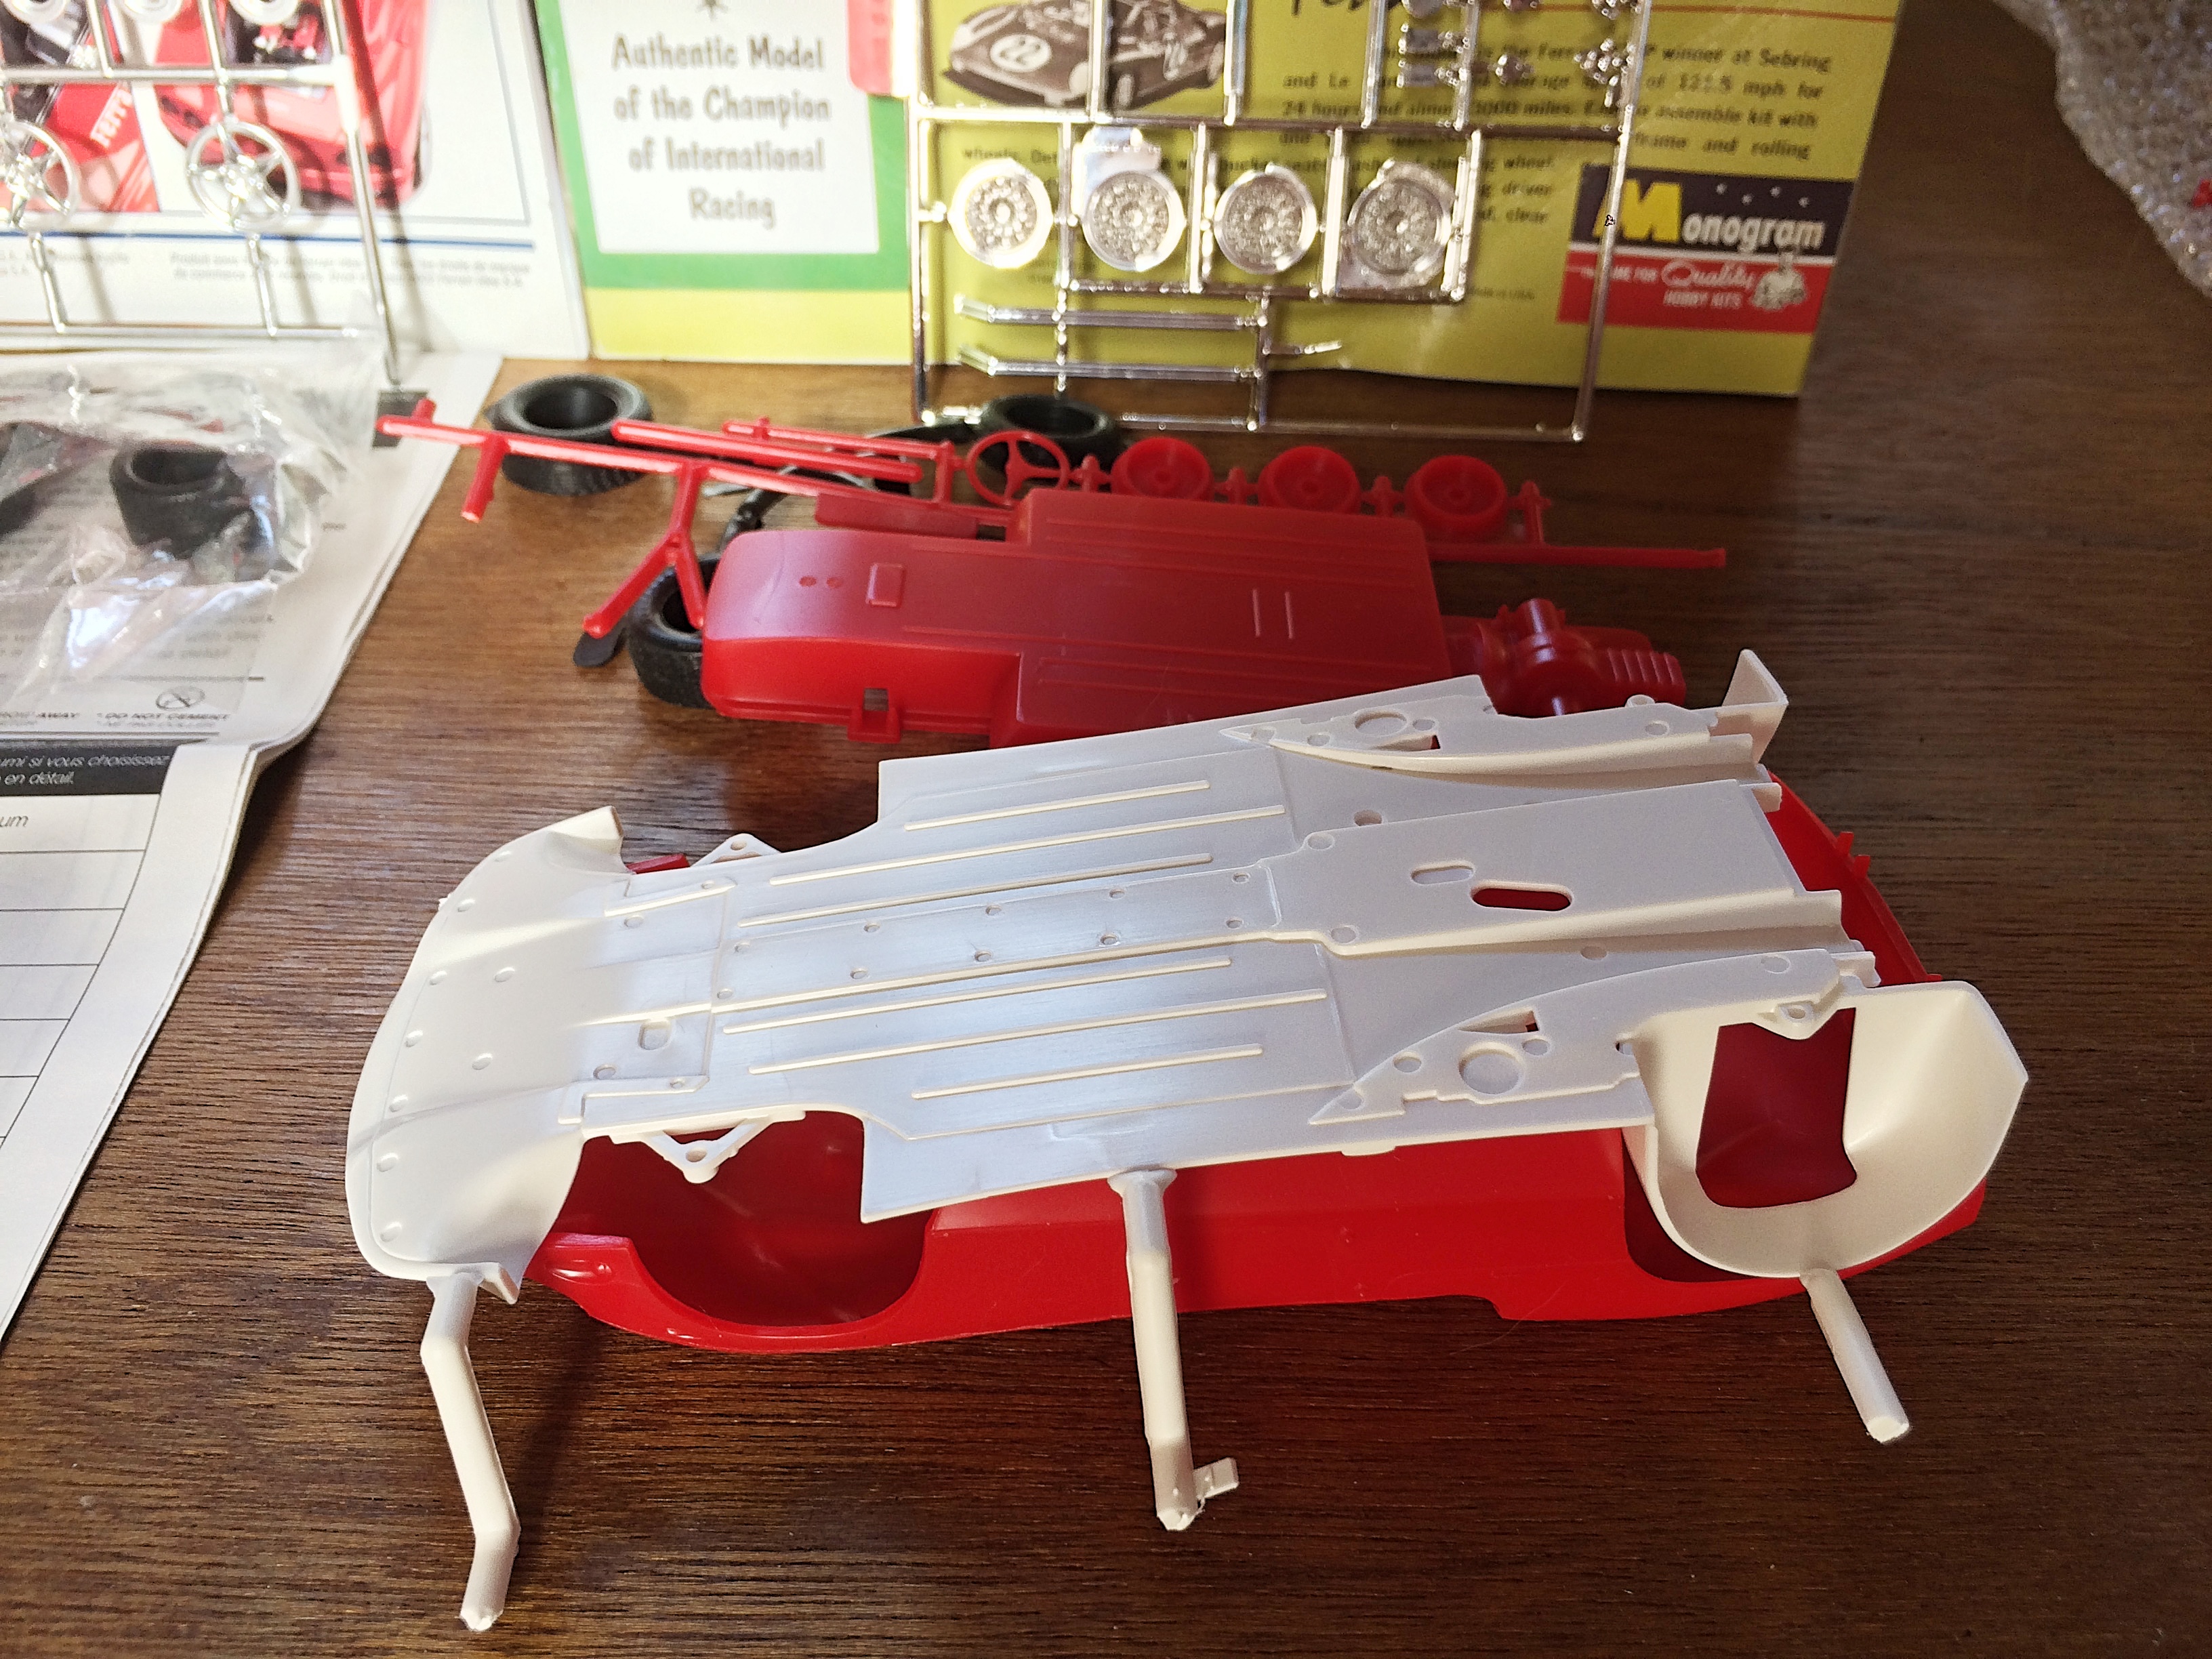
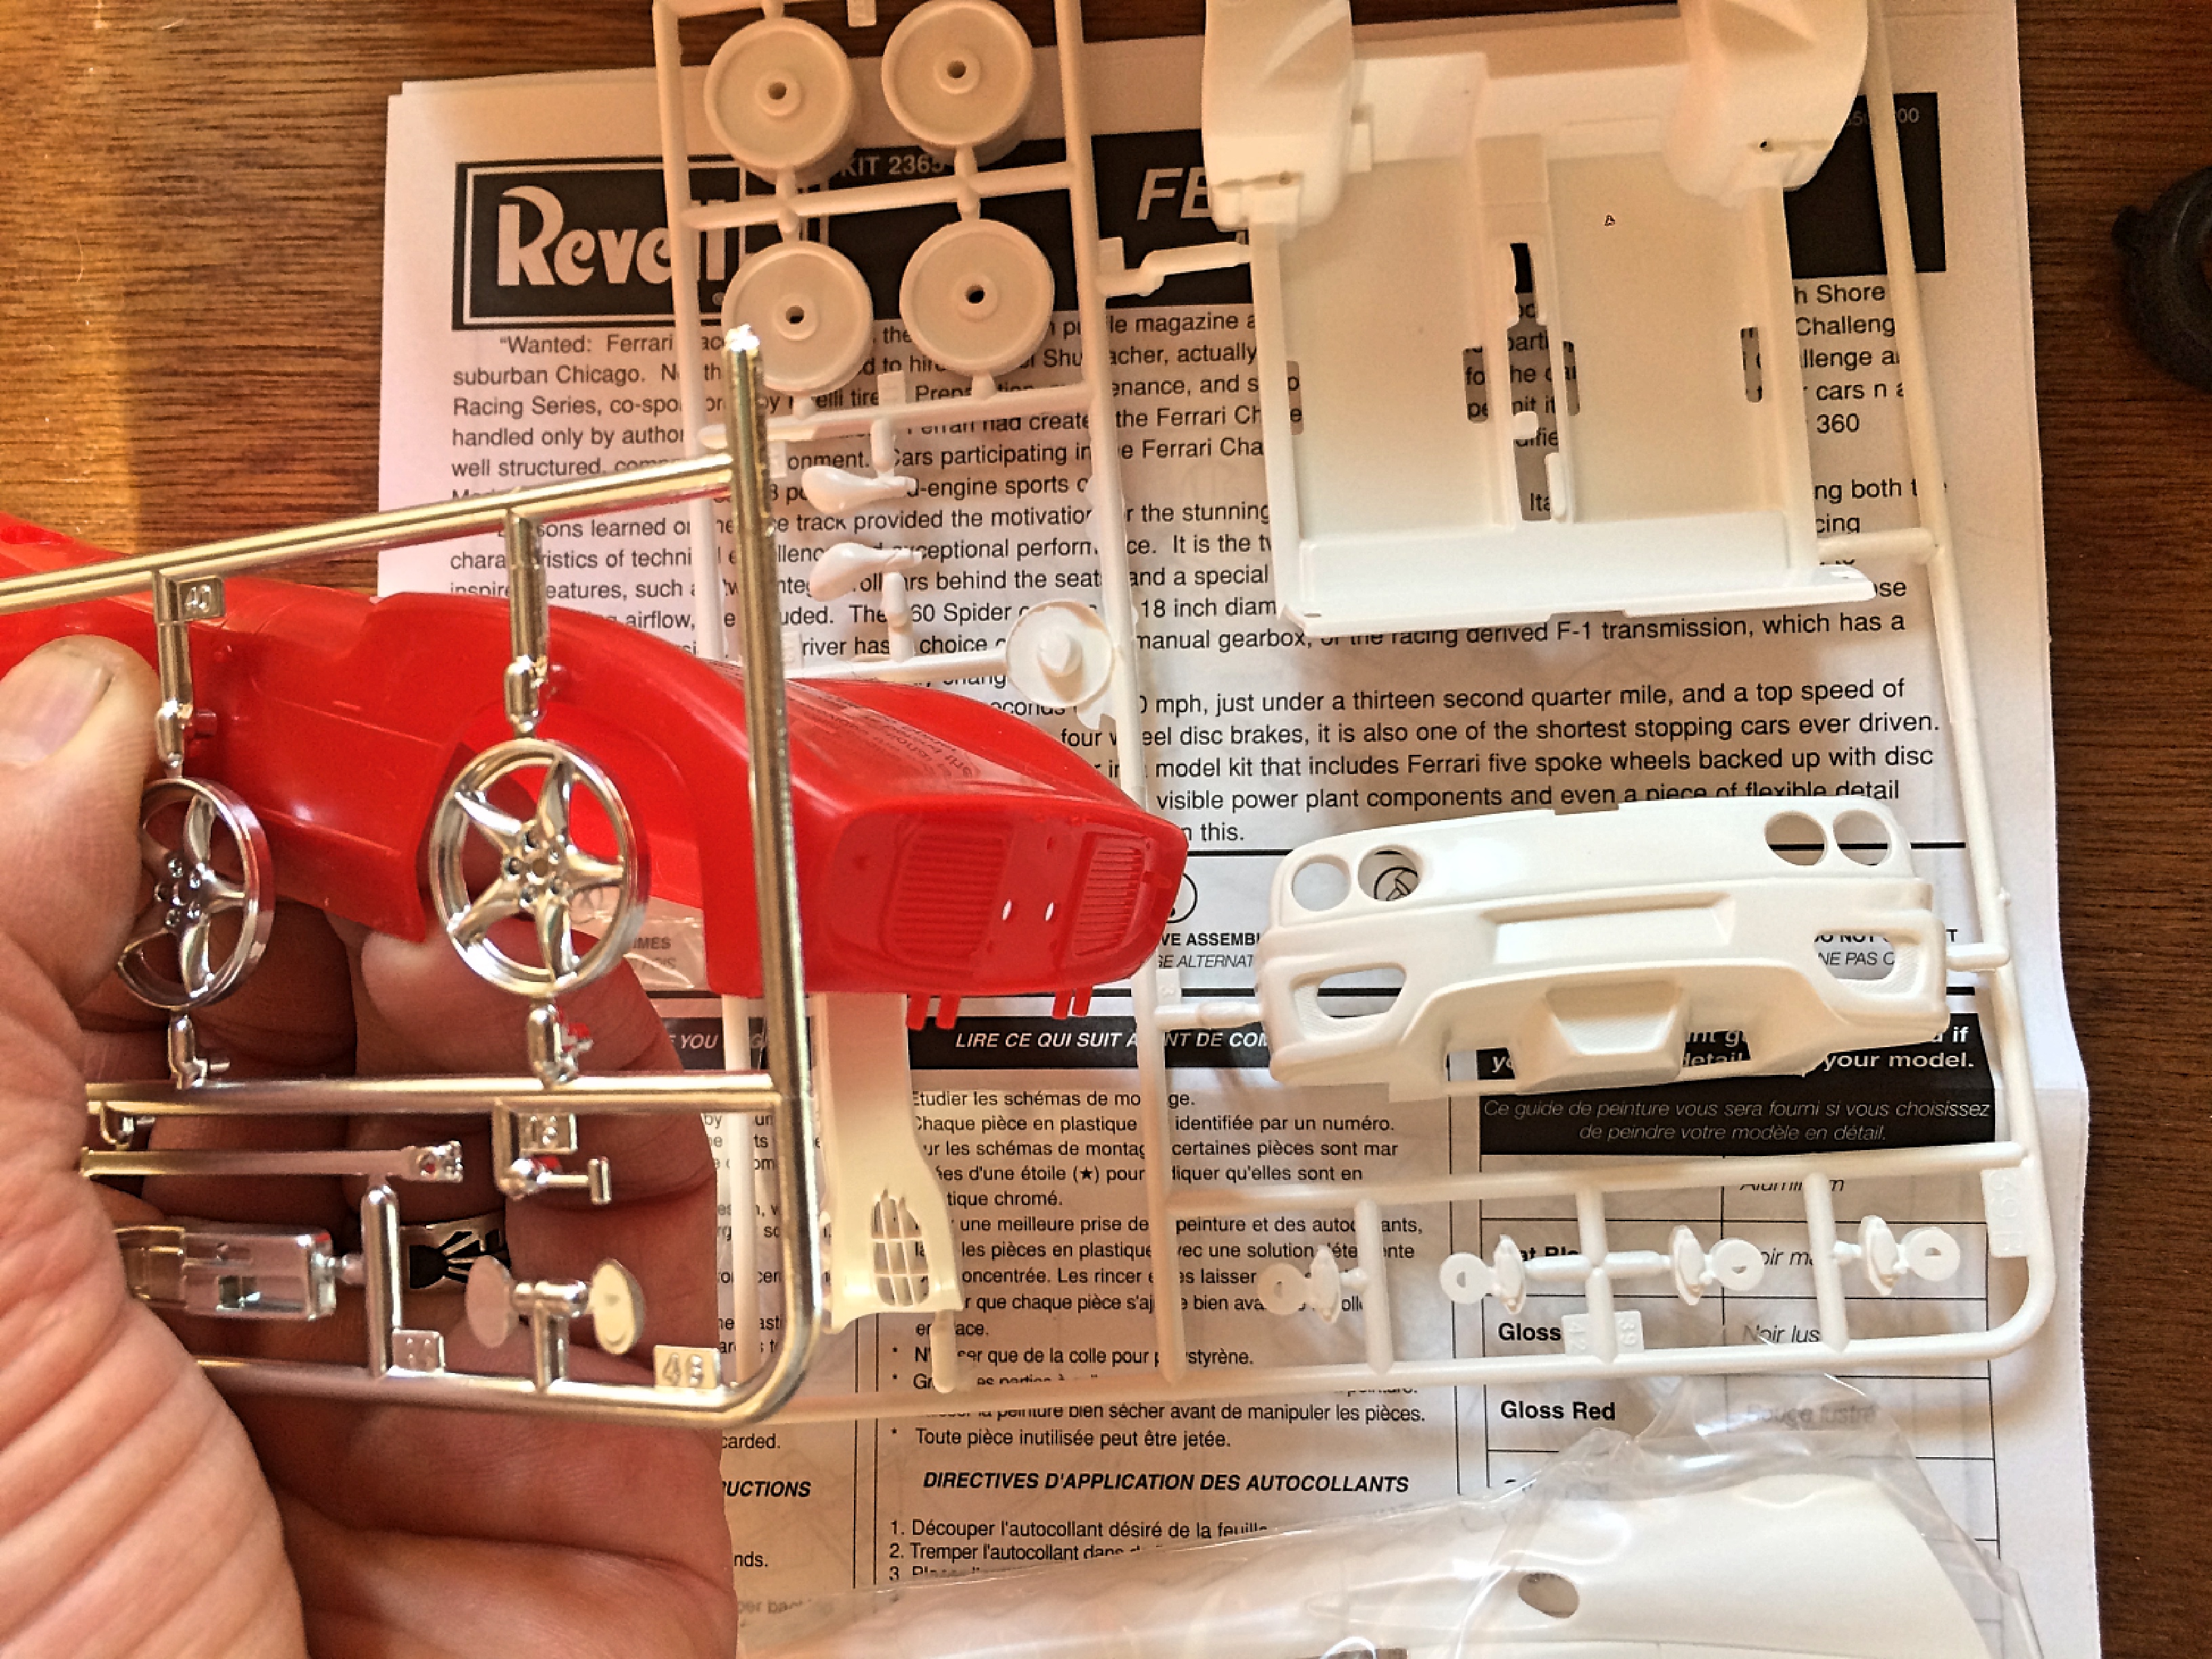
Thanks for the additional information everyone! This is typical for me, I get a wild hair to get something, then a short time later a screaming deal. Found the 1996 edition at the Phoenix model swap, minus instructions and decals, for $12. Body of '64 vintage is dark red plastic, '96 re-pop is lighter red. The '96 has the slot car mounting points removed, so there are no sink marks, but trademark date is still '64. '96 does not have the slot wire wheel inserts, and no skull. Tires are different: '64 are Goodyear and look accurate, '96 are Goodyear but are wider (2944-2300 200/300). '96 box is bigger. I also got a Revell 360 Modena Spider. I've not been a fan of that design, so figured it's okay to destroy that to kit-bash with the old timer, to make a resto-rod. It will take lots of Dremel grinding. Big difference in width, wheelbase is about 2mm difference. I can see blending the lower rear valance of the 360 into the 275, using two 360 taillights. Think the wheels will look good. Interior will be the most challenging, might go with the old school look, with LHD. If anyone wants to do this, it won't hurt my feelings.

-
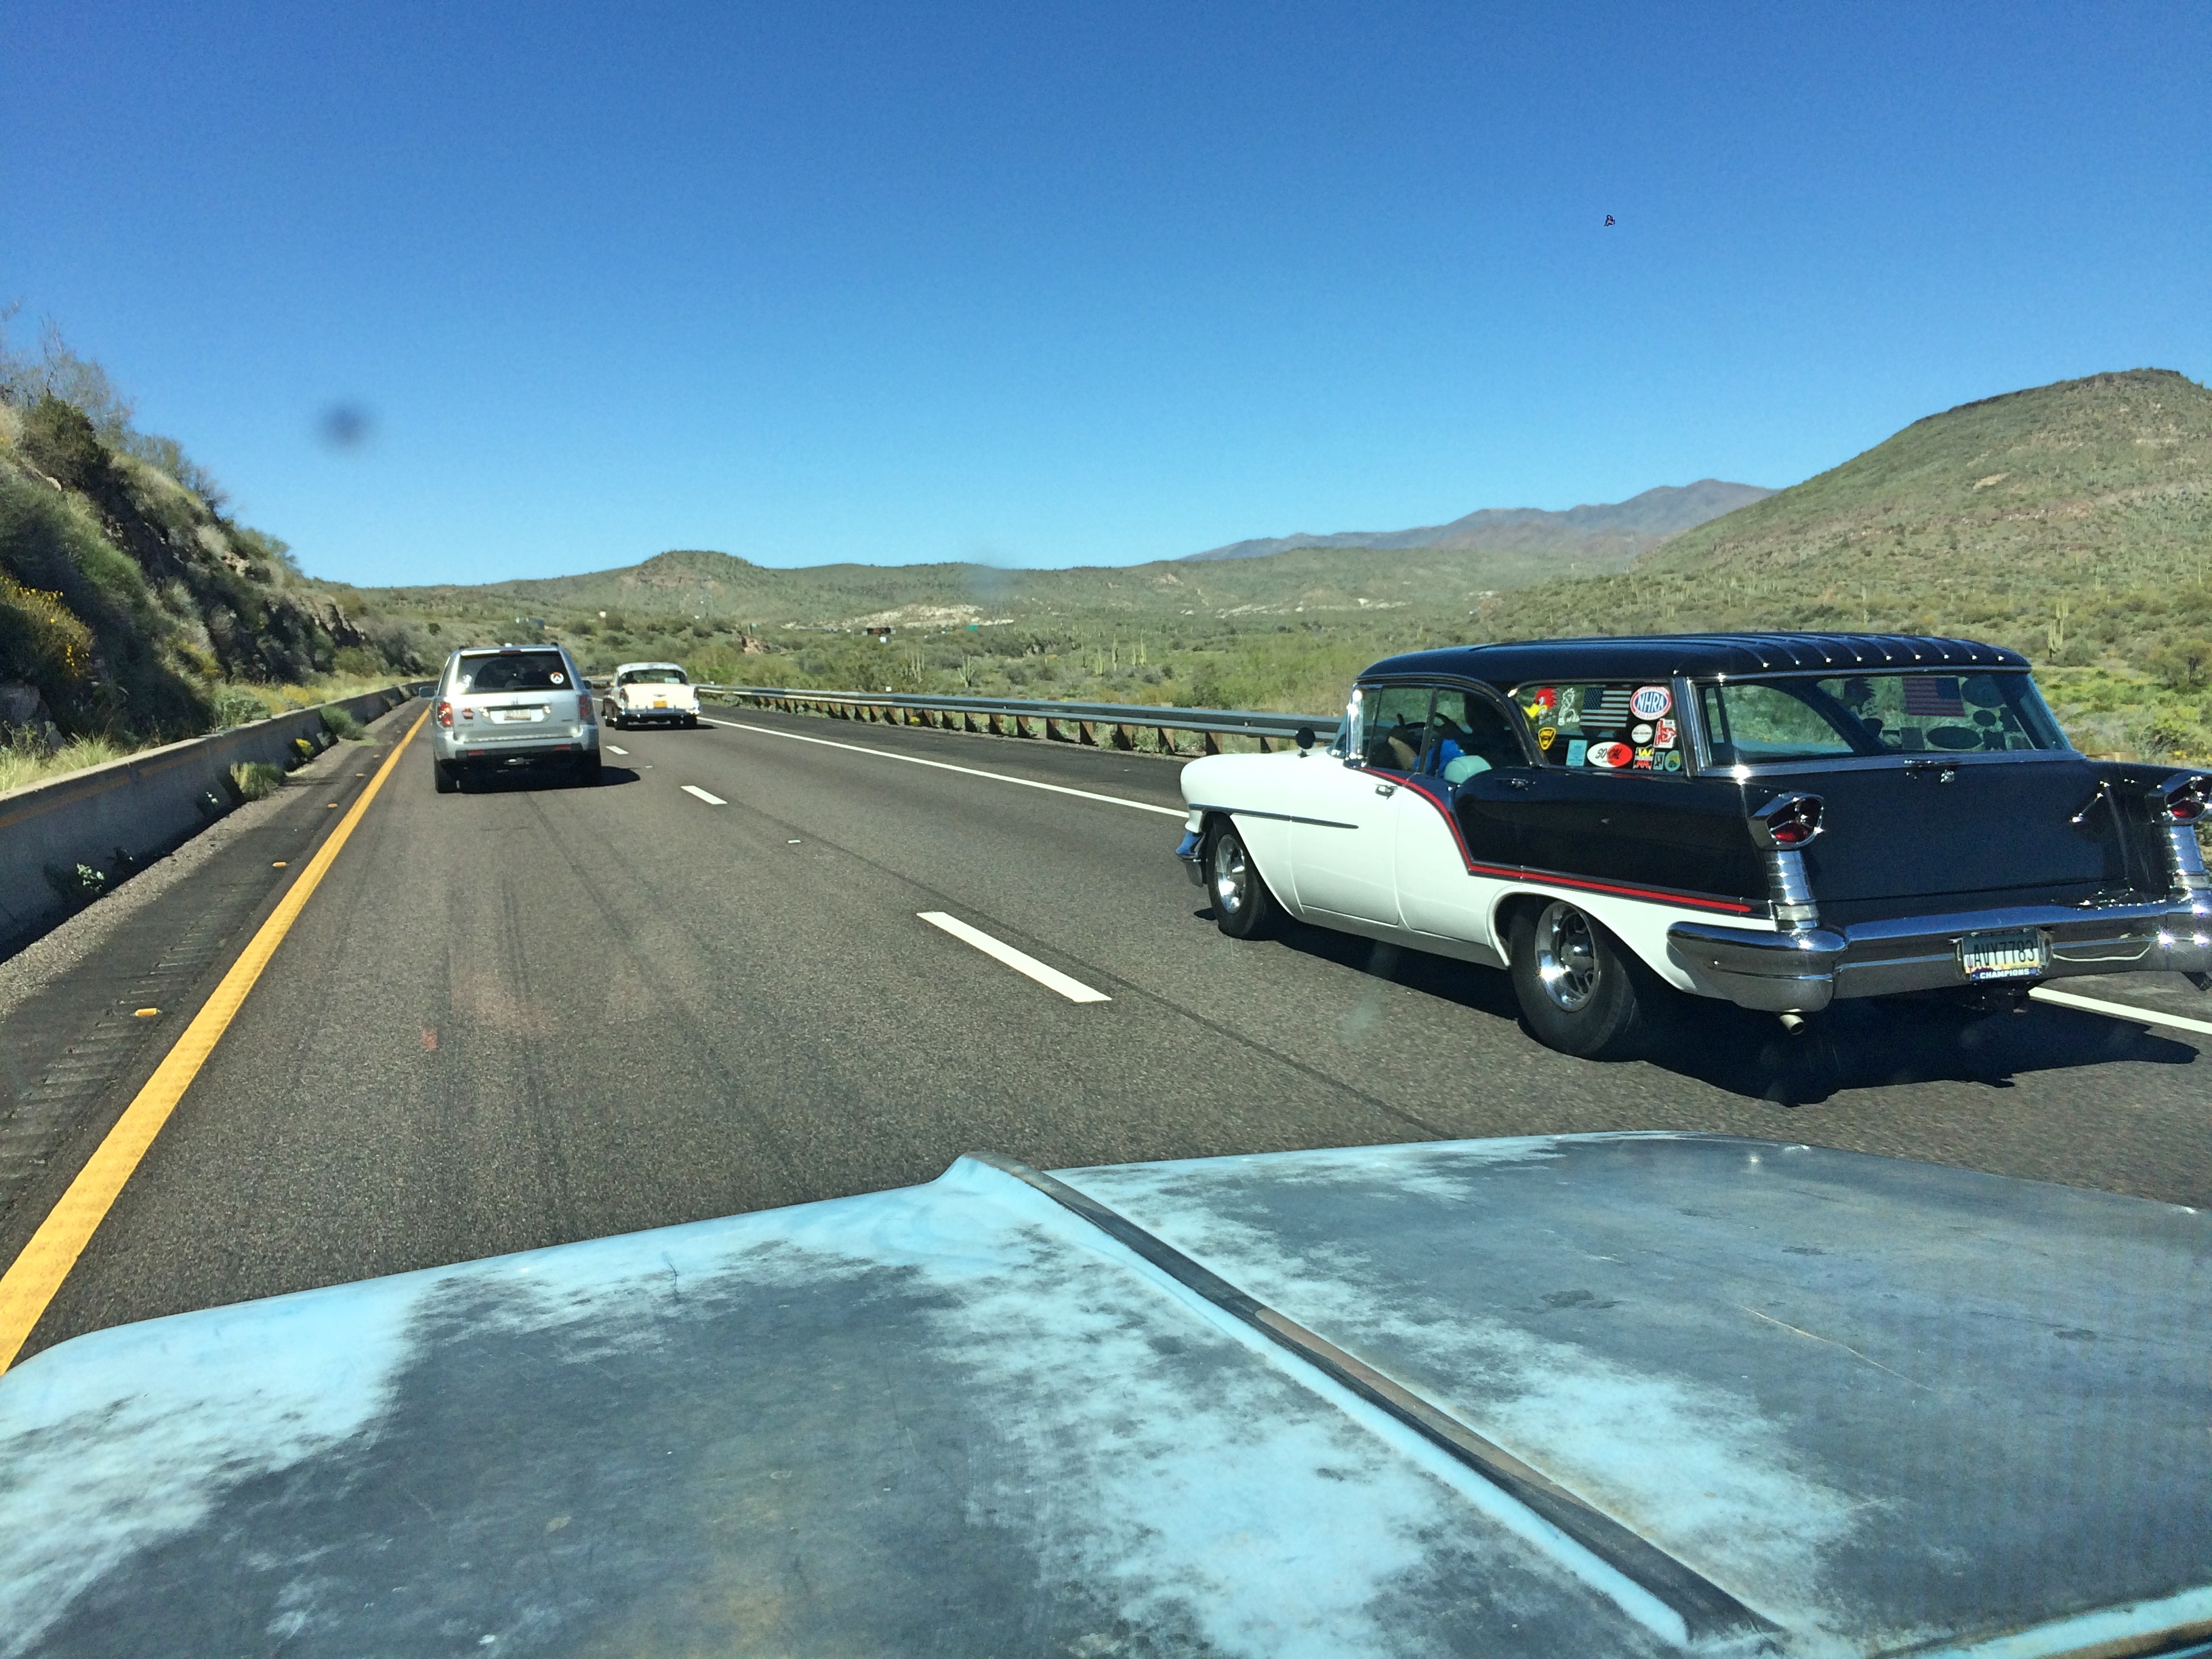
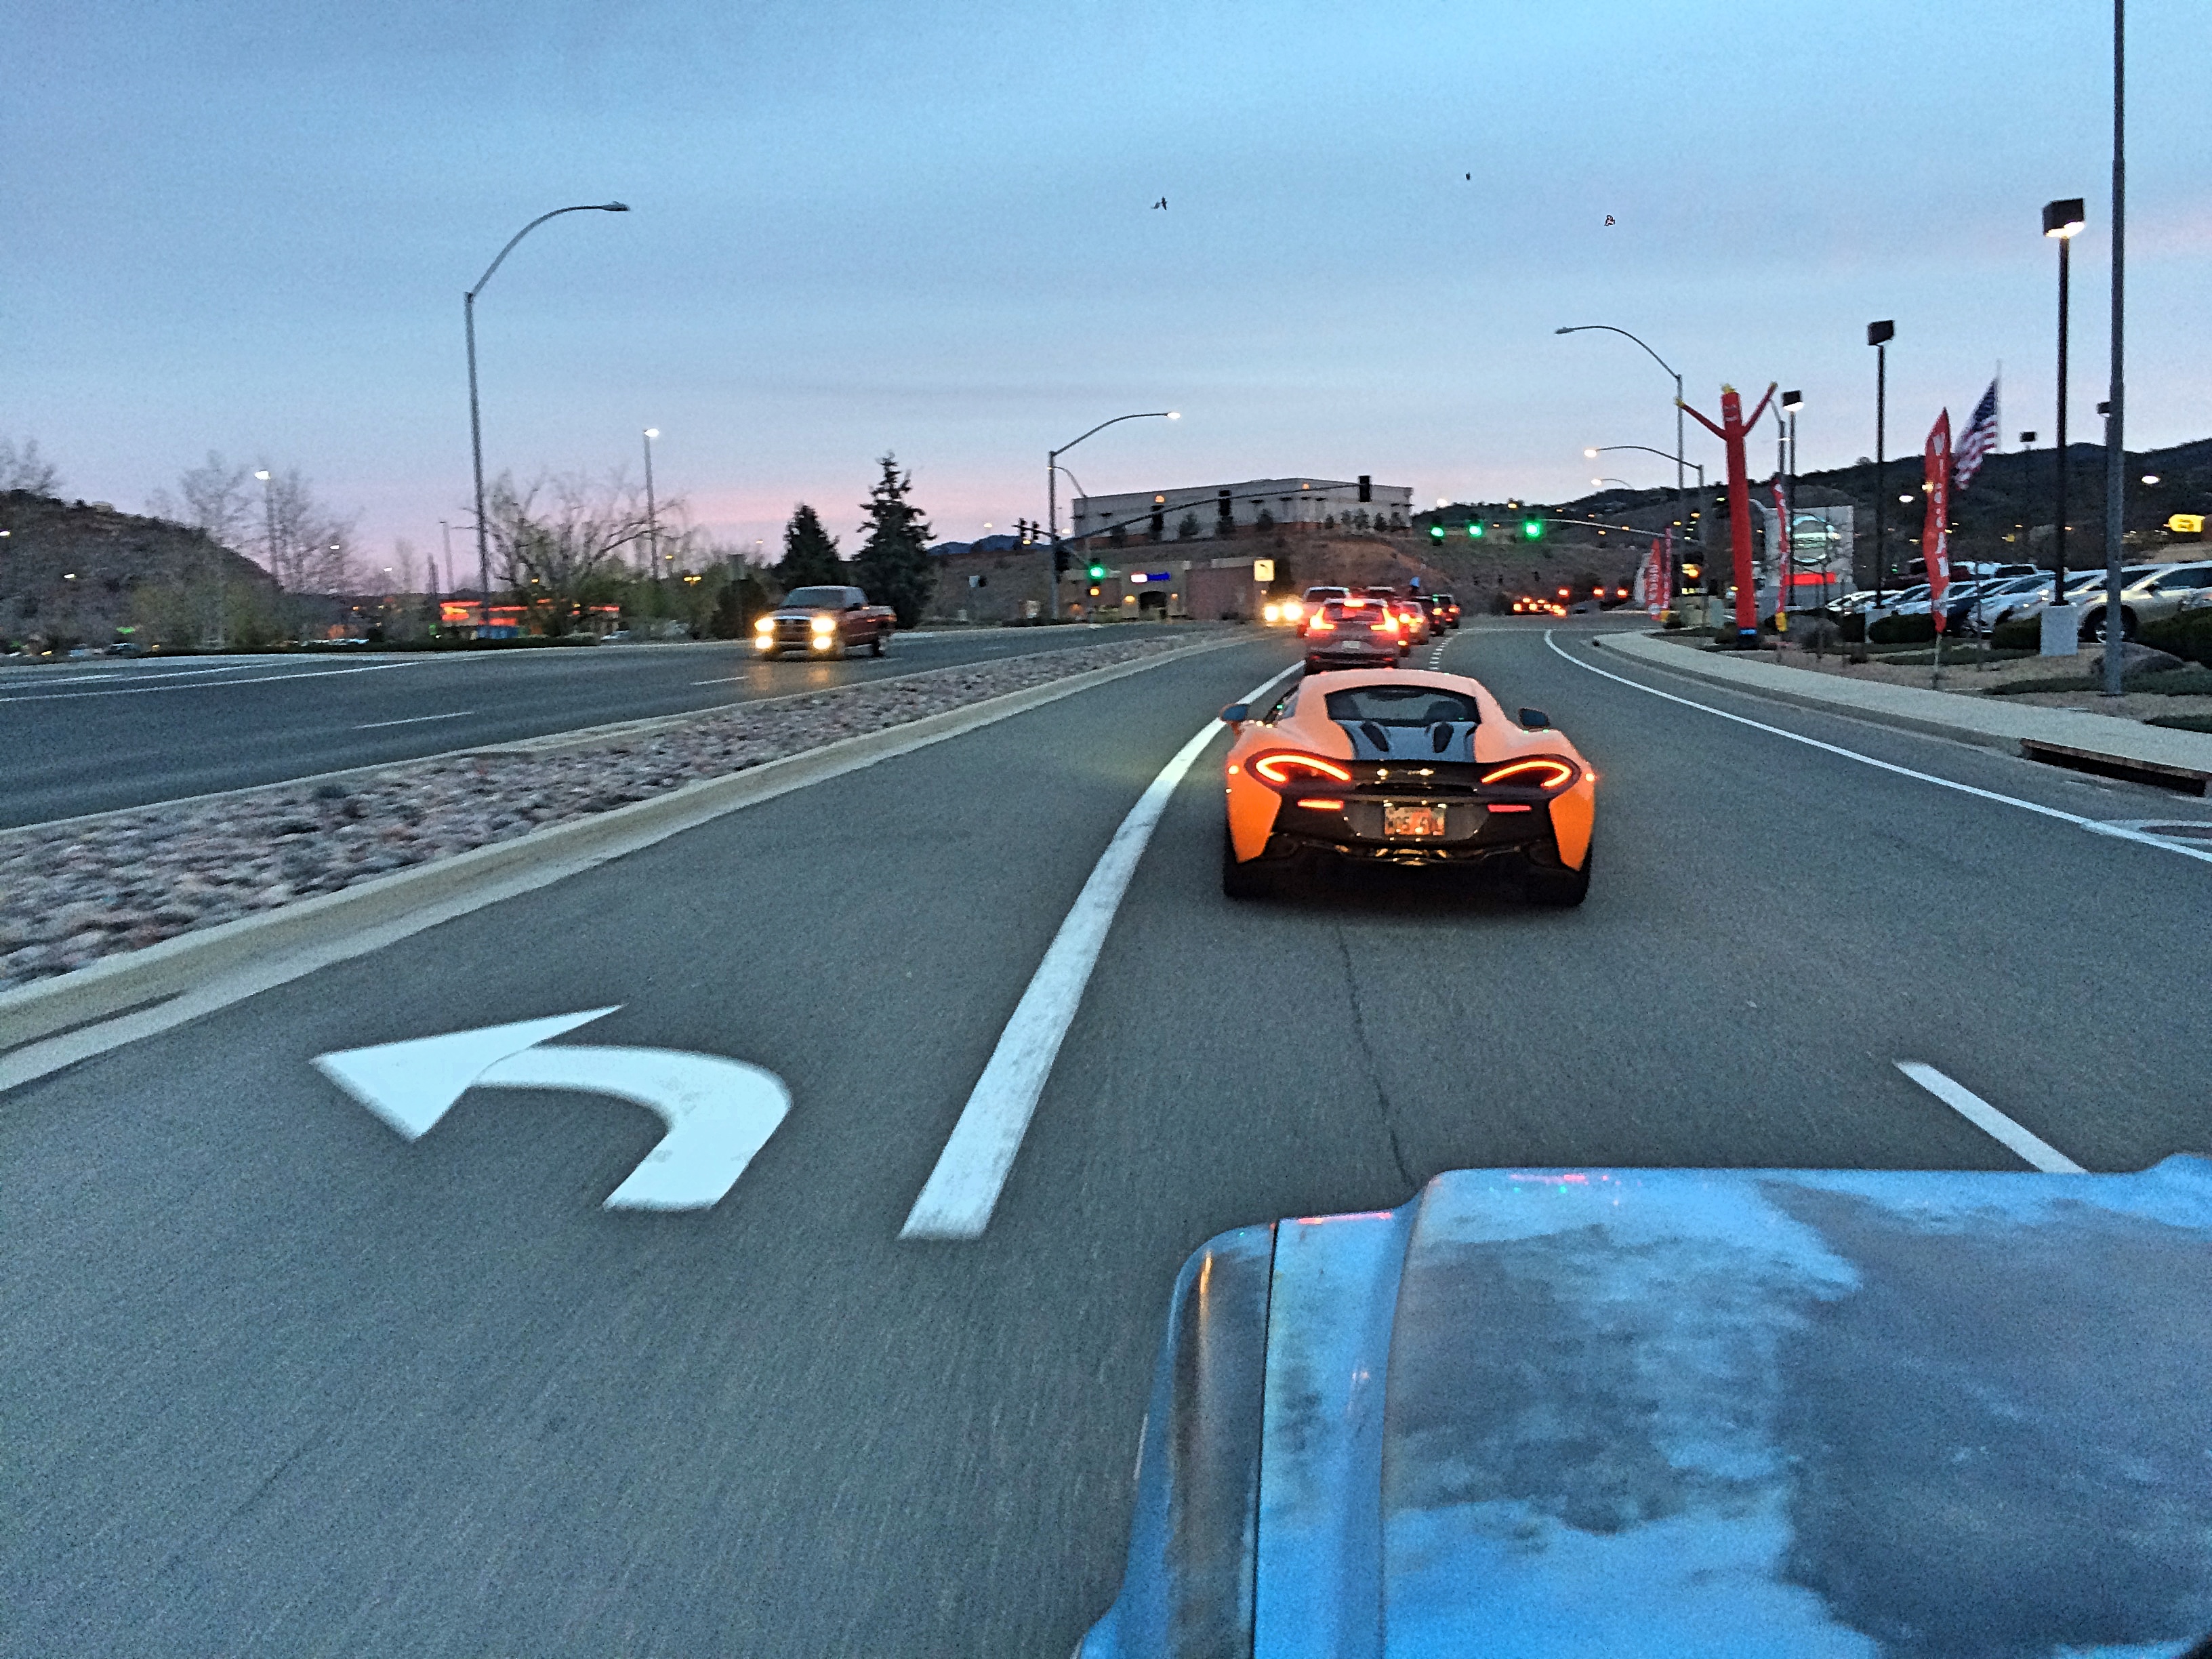
What did you see on the road today?
89AKurt replied to Harry P.'s topic in General Automotive Talk (Trucks and Cars)
-
exponentially intertwined pursuant
-
I built that when it was new! It's in my junkyard.
-
Oh man, you have now become corrupted, no hope for you if you try building those!
-
leave of absence
-
Love the subjects, and of course well done.
-
Very cool, with a turbo Subaru engine! Pirelli tires, haven't seen that tread pattern on a model before, for some reason always liked those tires, then their P7 took over.
-
What did you see on the road today?
89AKurt replied to Harry P.'s topic in General Automotive Talk (Trucks and Cars)
I'm chugging up this long steep hill, and see headlights approaching fast.
-
past seven years
-
If I get on the ball, will have my new Coco-Cola cooler available. Members of the model club up here, will have a table.