89AKurt
-
Posts
8,426 -
Joined
-
Last visited
Content Type
Profiles
Forums
Events
Gallery
Everything posted by 89AKurt
-
except in Flint
-
mixed with Clorox
-
You mean where Hastings *used to be*, it got torn down and a new Circle K is there. I'm at 5,420 feet, the infamous Diamond Valley.
-
with mud wrestling
-
the rock quarry
-
No, I live about 5,500 feet, but we haven't had a real winter for years. LOL Sorry no, I just got it a couple weeks ago to replace a '69 that I sold. And it does have rust, just not much on the body panels.
-
They have been good for me too. The reason I didn't get the original design gas pedal, the studs are rusted, and it wouldn't stay in place. Check out my license plate. More snow by Kurt Womack, on Flickr I'm sort of back to working on the model. I've had requests for copies of the cooler, so I made another one, with more correct lid corners, and will vacuum-form the handle.

-
Prescott got dumped on. Flagstaff broke a record for amount in one day, and Snowbowl got 4.5' in this storm, total amount 22 feet! But it's Arizona, it will melt off. More snow by Kurt Womack, on Flickr
-
Greenwitch Mean Time,
-
after Cheech hands
-

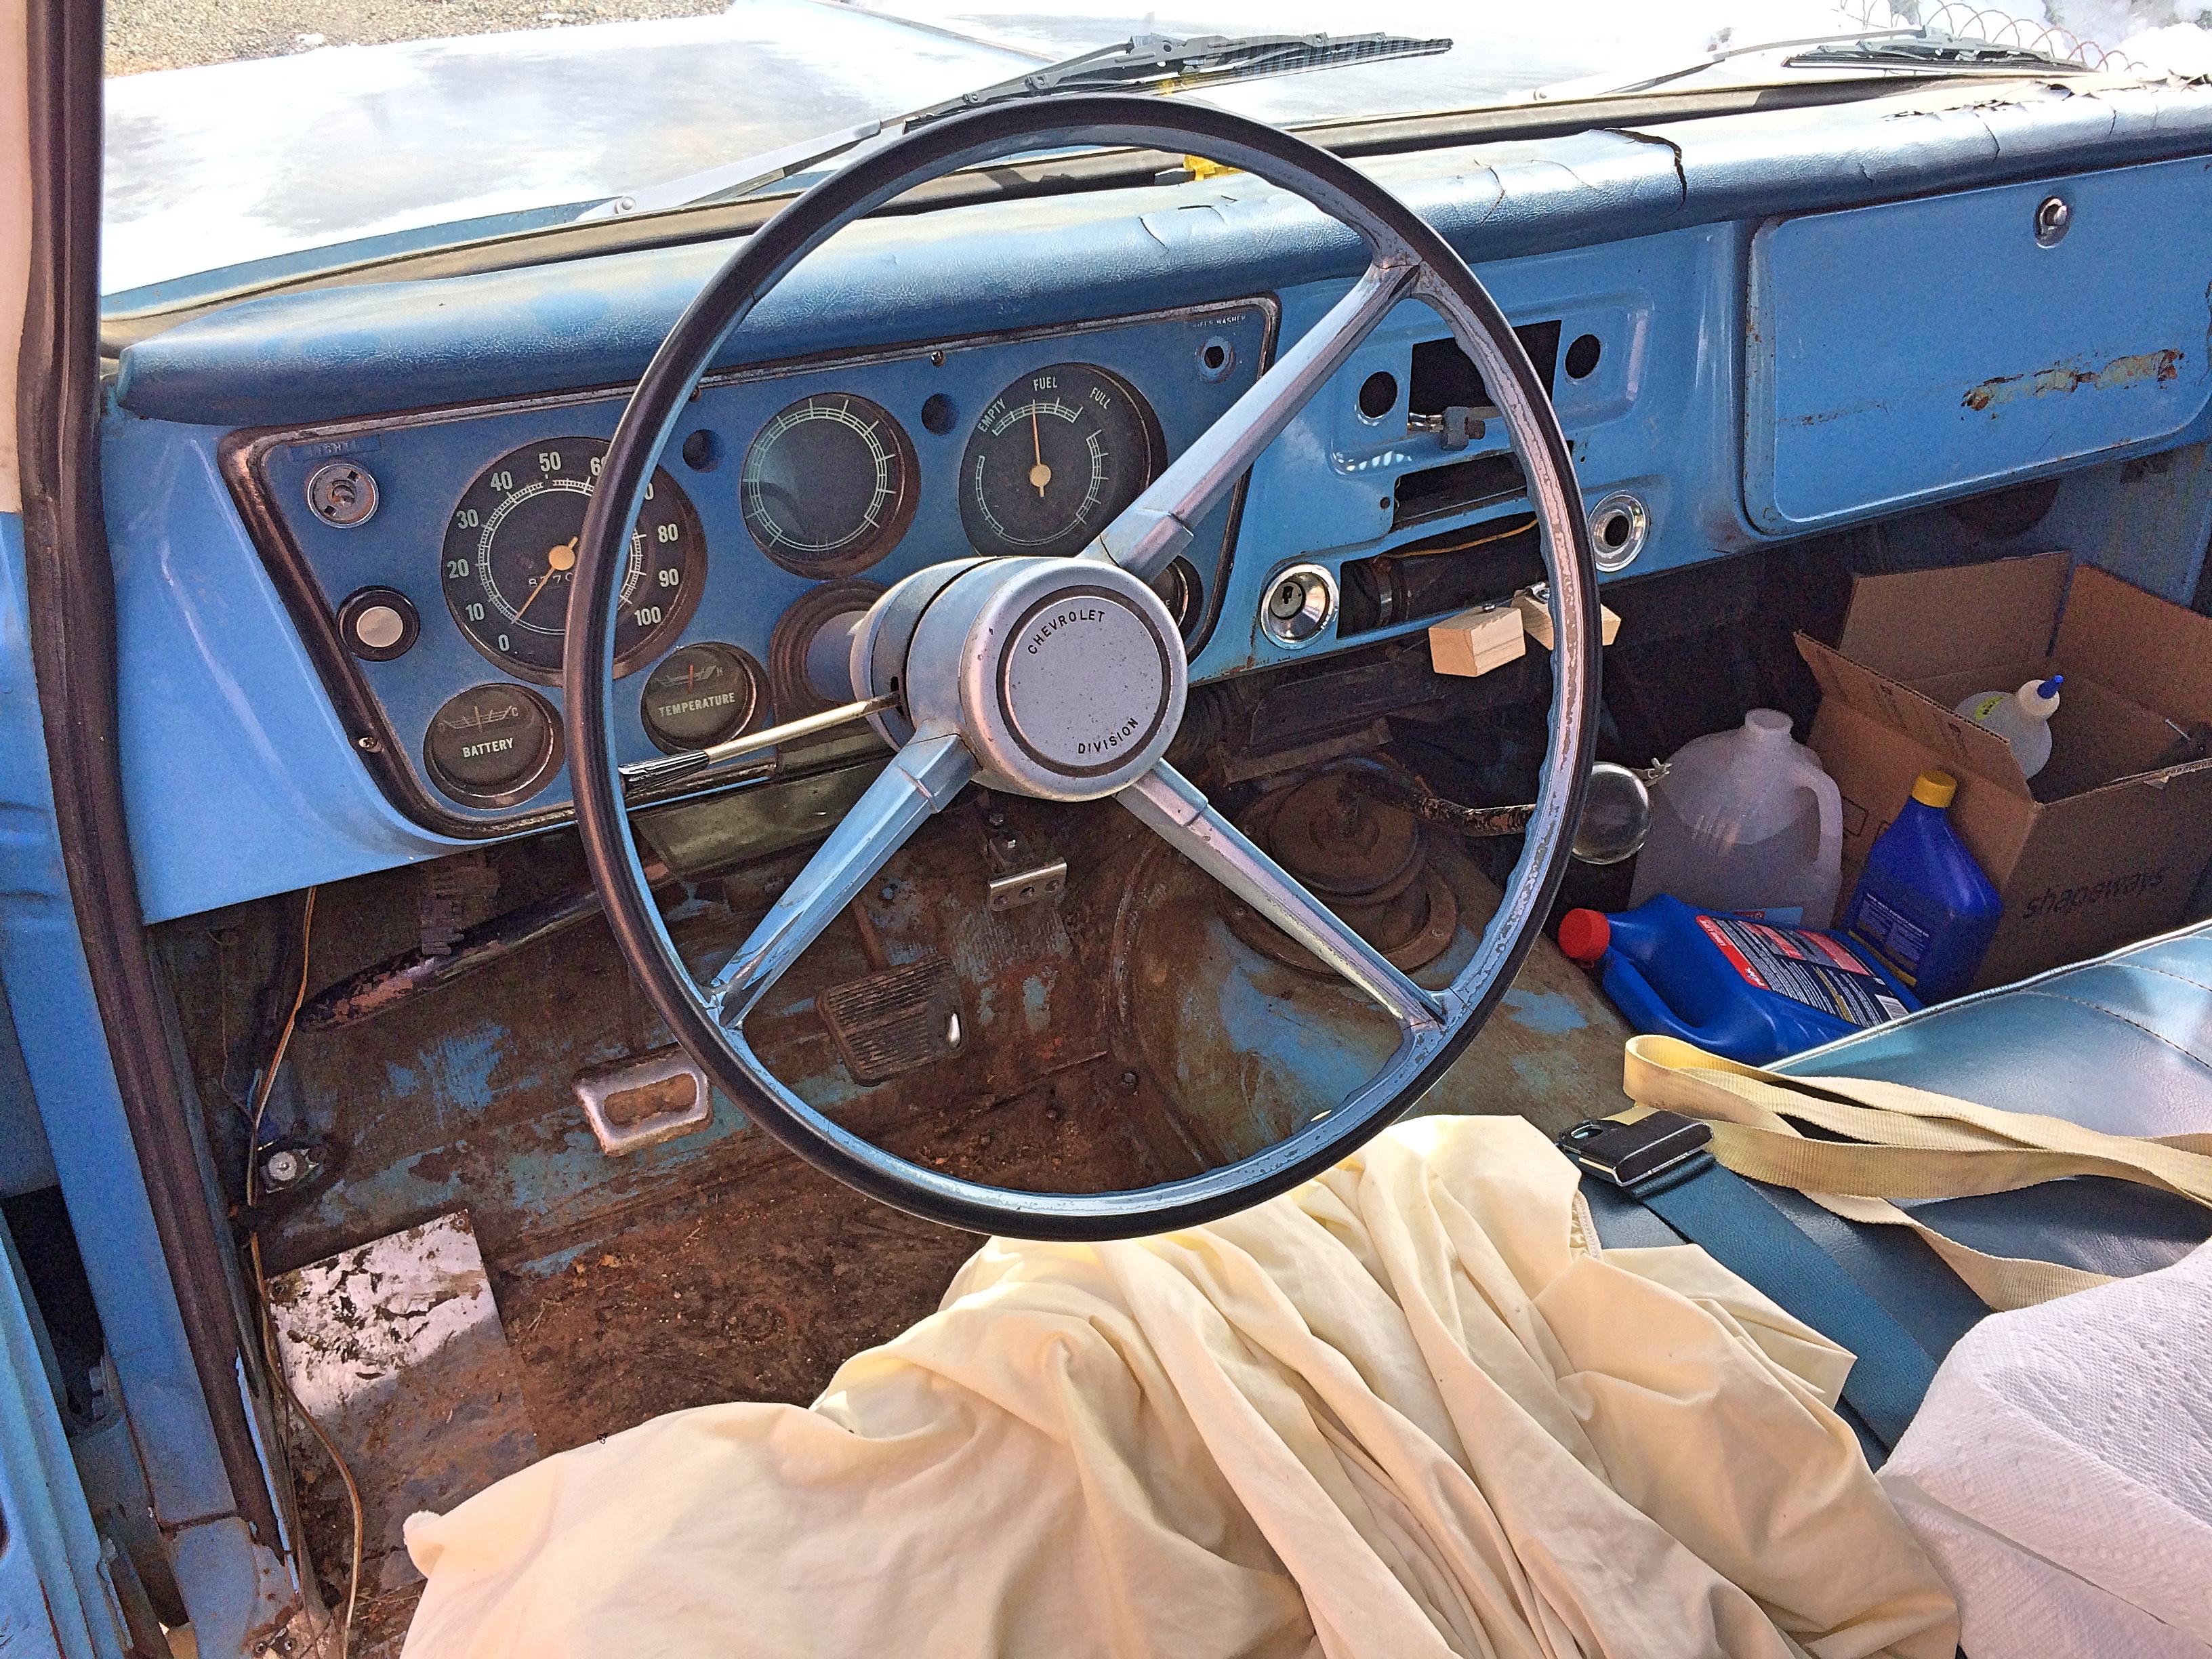
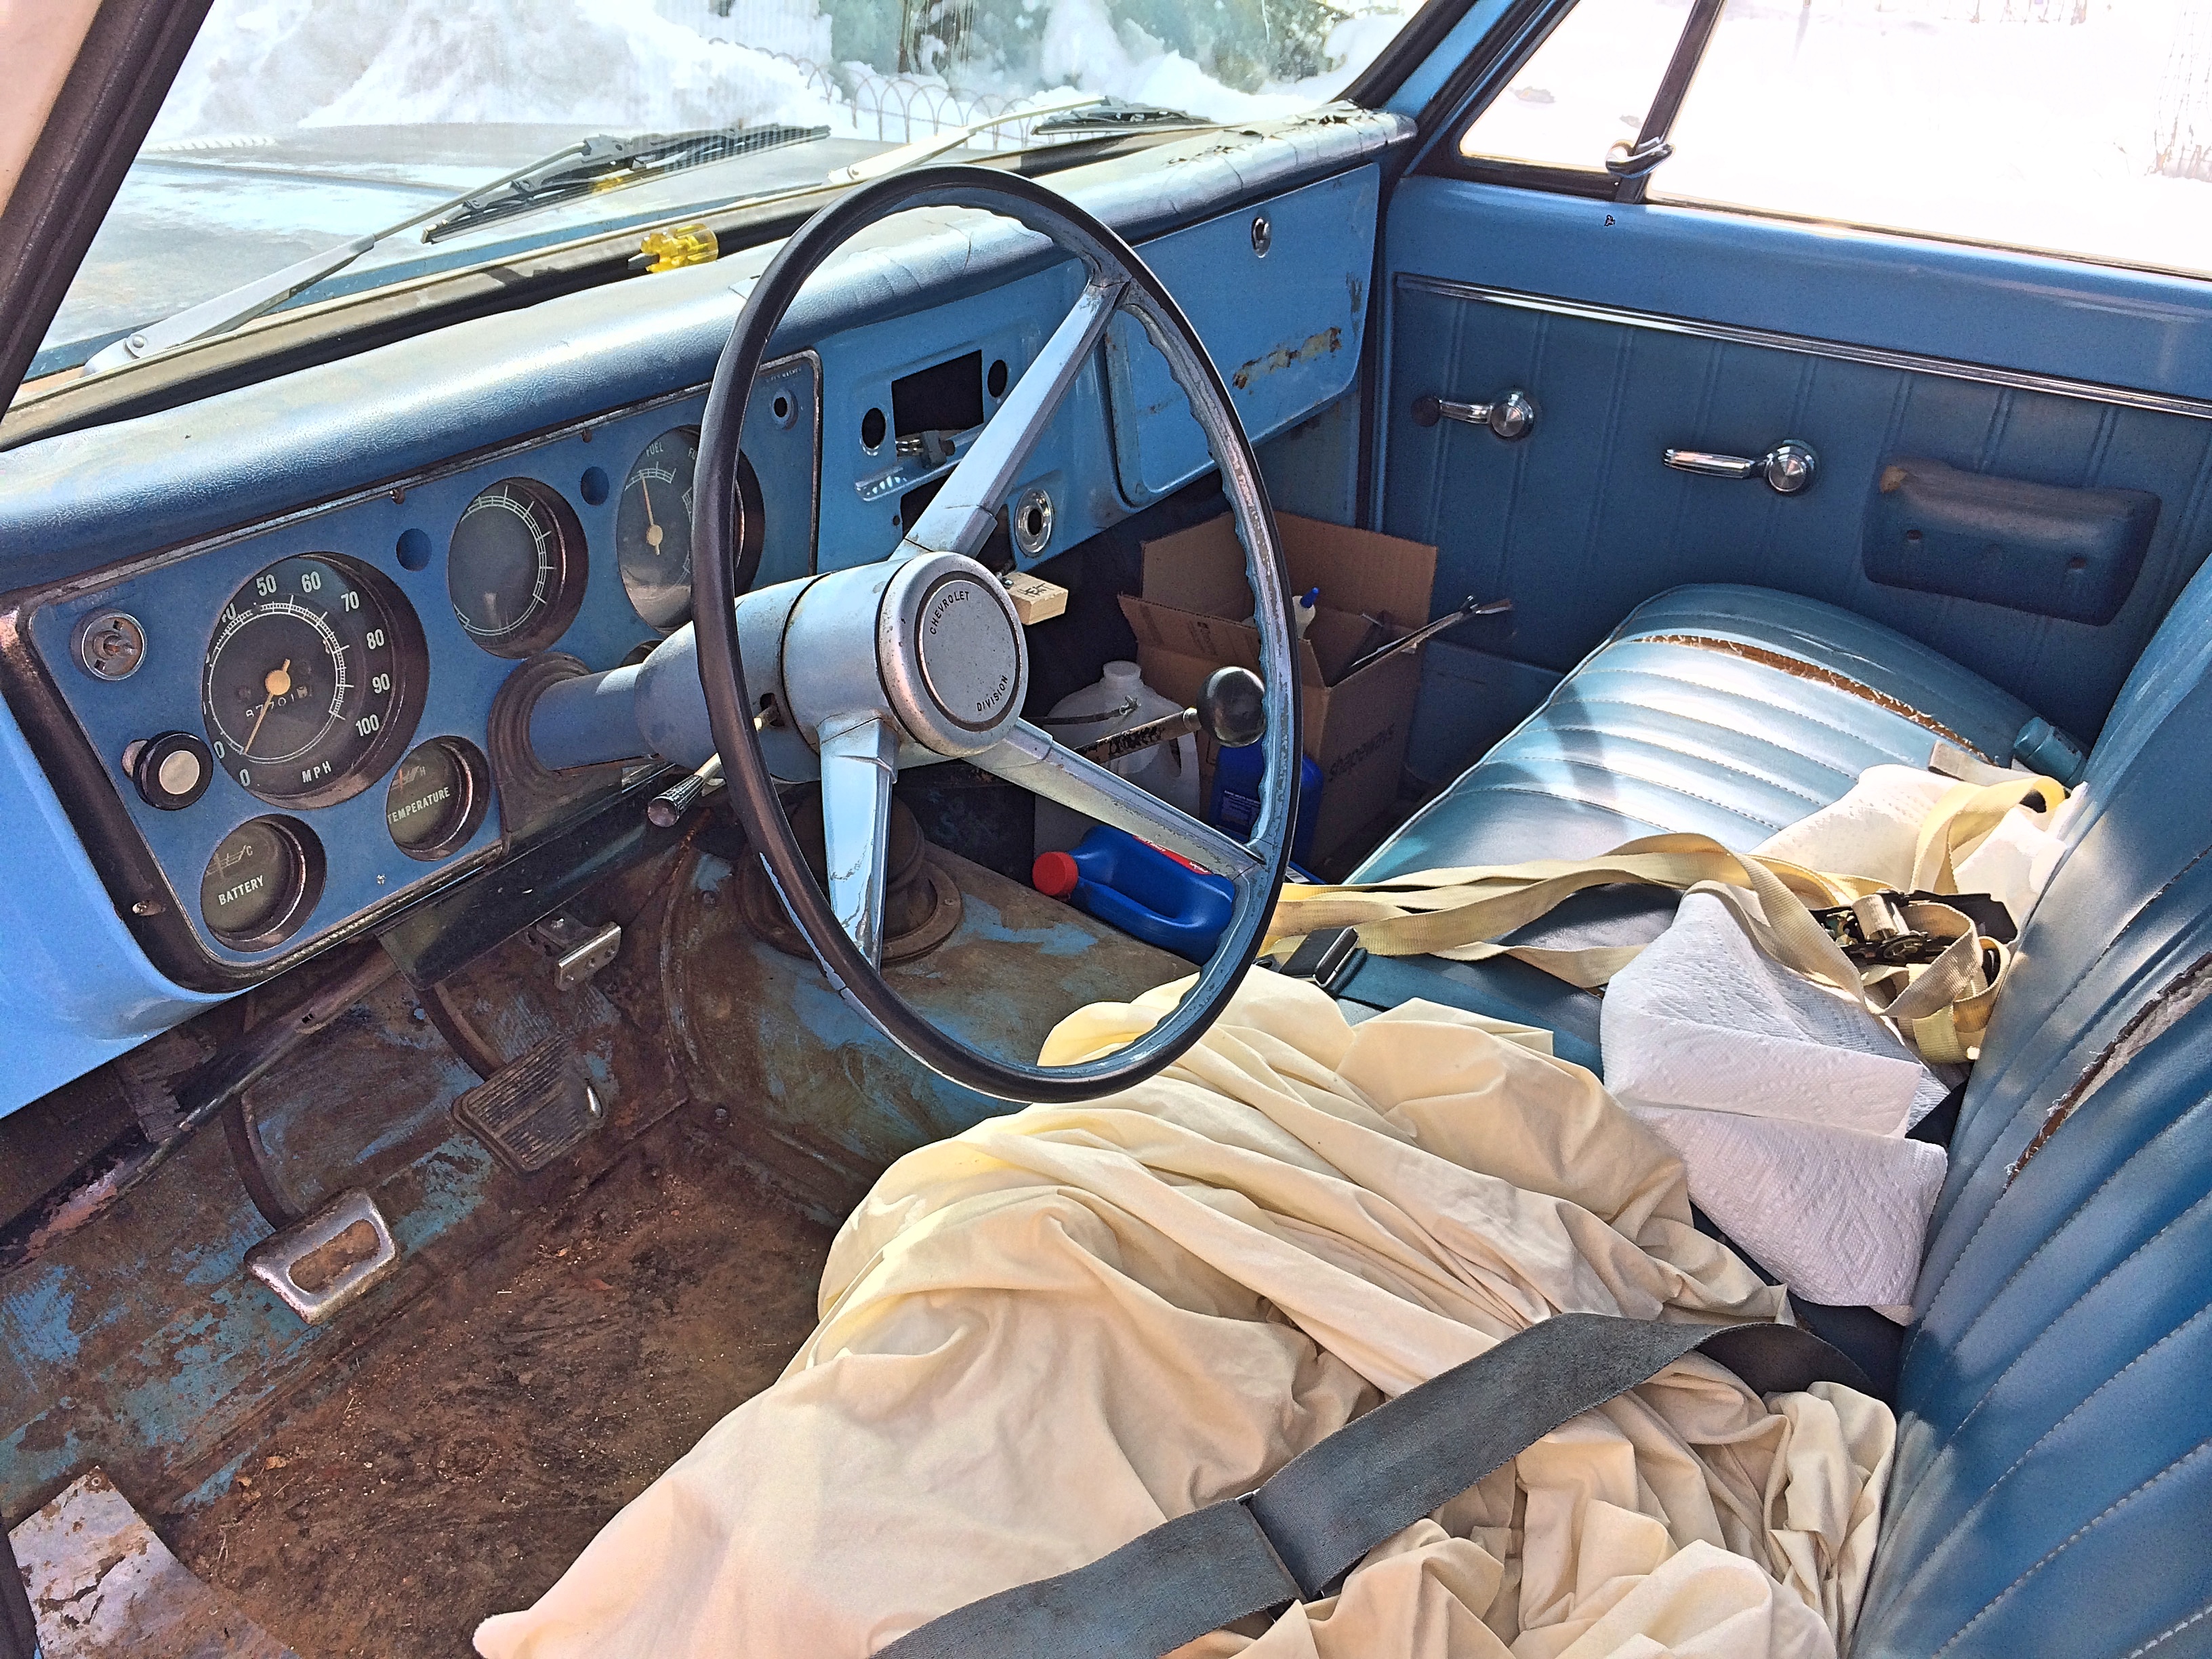
1968 Chevrolet pickup promo prices
89AKurt replied to 89AKurt's topic in Model Building Questions and Answers
I took some pictures of my '68, should anyway for the before I blow lots of money shots. The gauge sizes aren't that accurate, but the AMT isn't really either. The steering wheel is correct. I painted the glovebox of my previous '69 that way to, I think it looks balanced. I have what's left of the one piece bench seat.
-
Milliput vs. Tamiya 2-part putty
89AKurt replied to fiatboy's topic in Model Building Questions and Answers
Which one? I tried his one for the first time, the result for the boots was good enough. But for doing body modifications, I'm not using it. The result is much like Sculpty clay that you bake, a bit soft. So let's see some Tamiya reviews.
-
for the fuse
-
1968 Chevrolet pickup promo prices
89AKurt replied to 89AKurt's topic in Model Building Questions and Answers
I'm trying to not be critical, really. I'm my own worst critic. If I ever get around to building one, would modify the hood. Finding the letters is the challenge, but custom vehicles usually shave that junk. The steering wheel is different too, only an issue if built stock. -
1968 Chevrolet pickup promo prices
89AKurt replied to 89AKurt's topic in Model Building Questions and Answers
Didn't see this, or the other promo listed still, so someone didn't quibble. More power to them! -
Nice! In the '67-'72 Chevy forum I saw vintage photos of haulers with race cars. Look forward to seeing this done.
-
the FBI took
-
I love it! Did a fine job on building it. Which is more than I have done, have this kit and the 1/16 Fujimi as well.
-
eightyone resin suburu engine review
89AKurt replied to stitchdup's topic in Car Aftermarket / Resin / 3D Printed
Thanks for the clarification. -
of whale oil
-
That's funny, have given thought to making a pizza sign for the car, and put it on whatever exotic I get built. Nice looking model!
-
with diamond blades
-
Cool subject! Look forward to watching this build.
-
Thank you for taking the time to post this (unlike someone else who seems to love lashing out at people). I've searched for other subjects before, and if one did not put in proper tags, it doesn't work.
-
Molotow cocktail, lit