89AKurt
-
Posts
8,426 -
Joined
-
Last visited
Content Type
Profiles
Forums
Events
Gallery
Everything posted by 89AKurt
-

GSL Common Kit: [revision] just another Model A Roadster
89AKurt replied to 89AKurt's topic in WIP: Model Cars
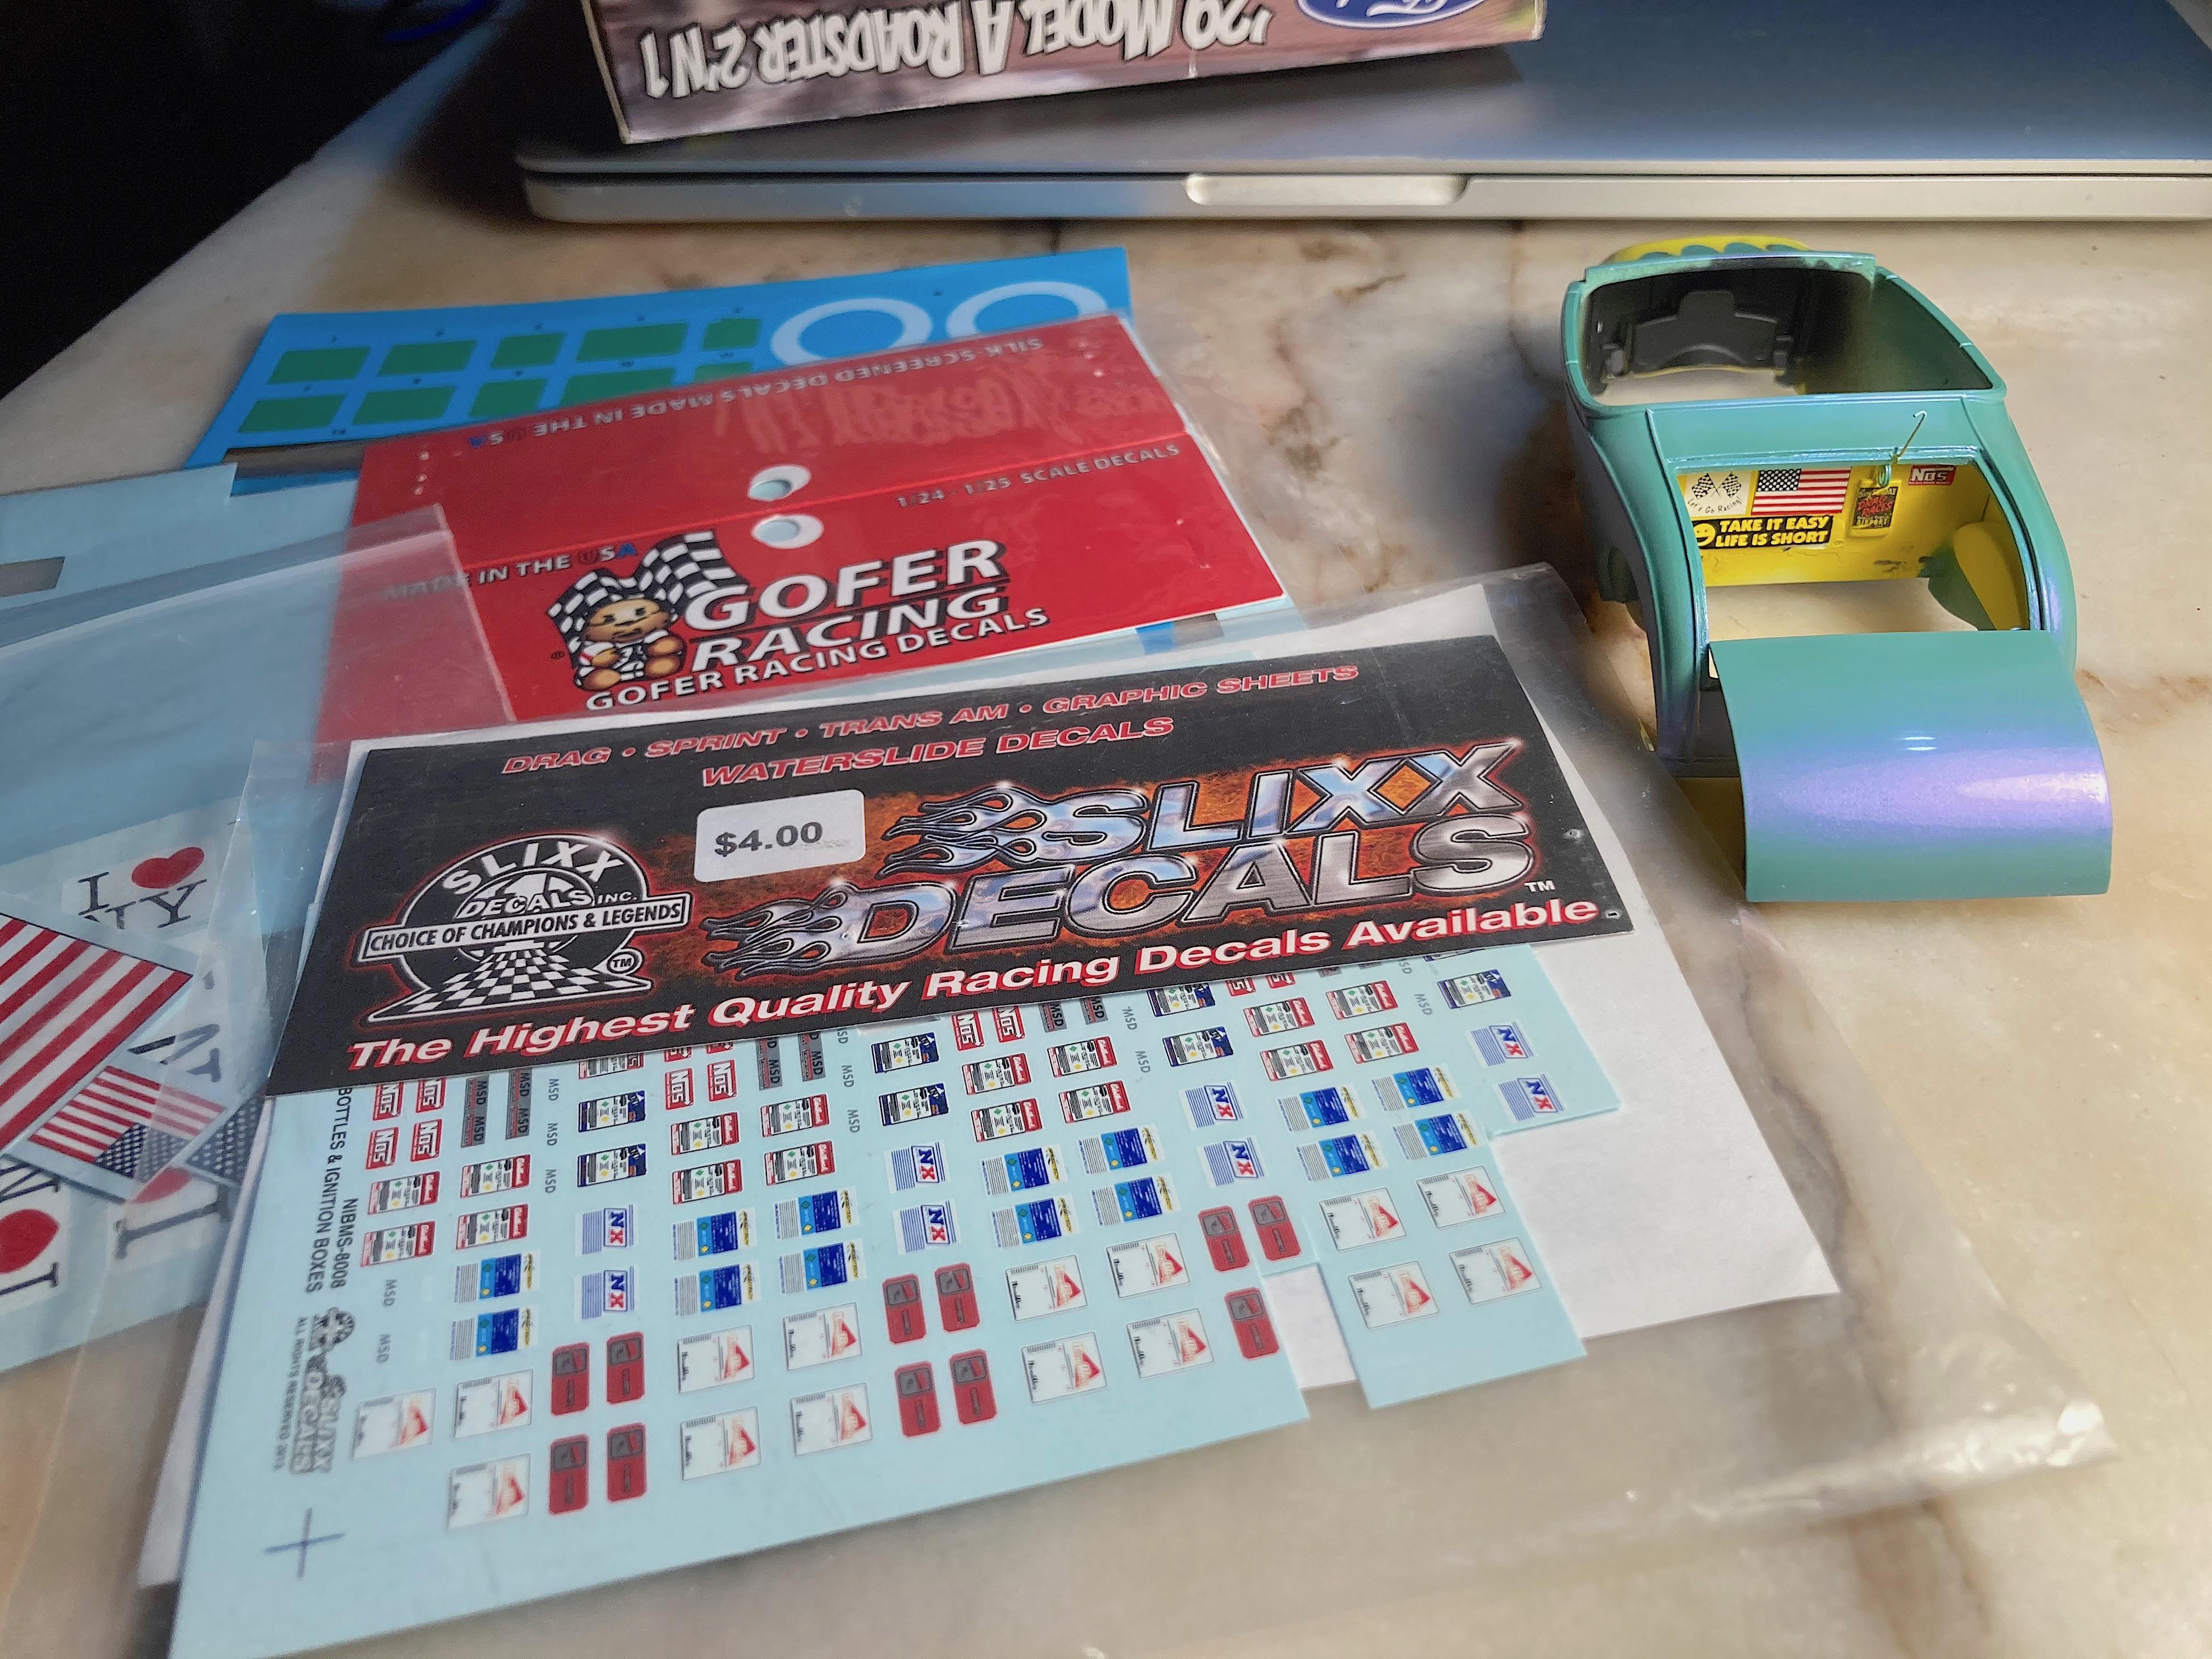
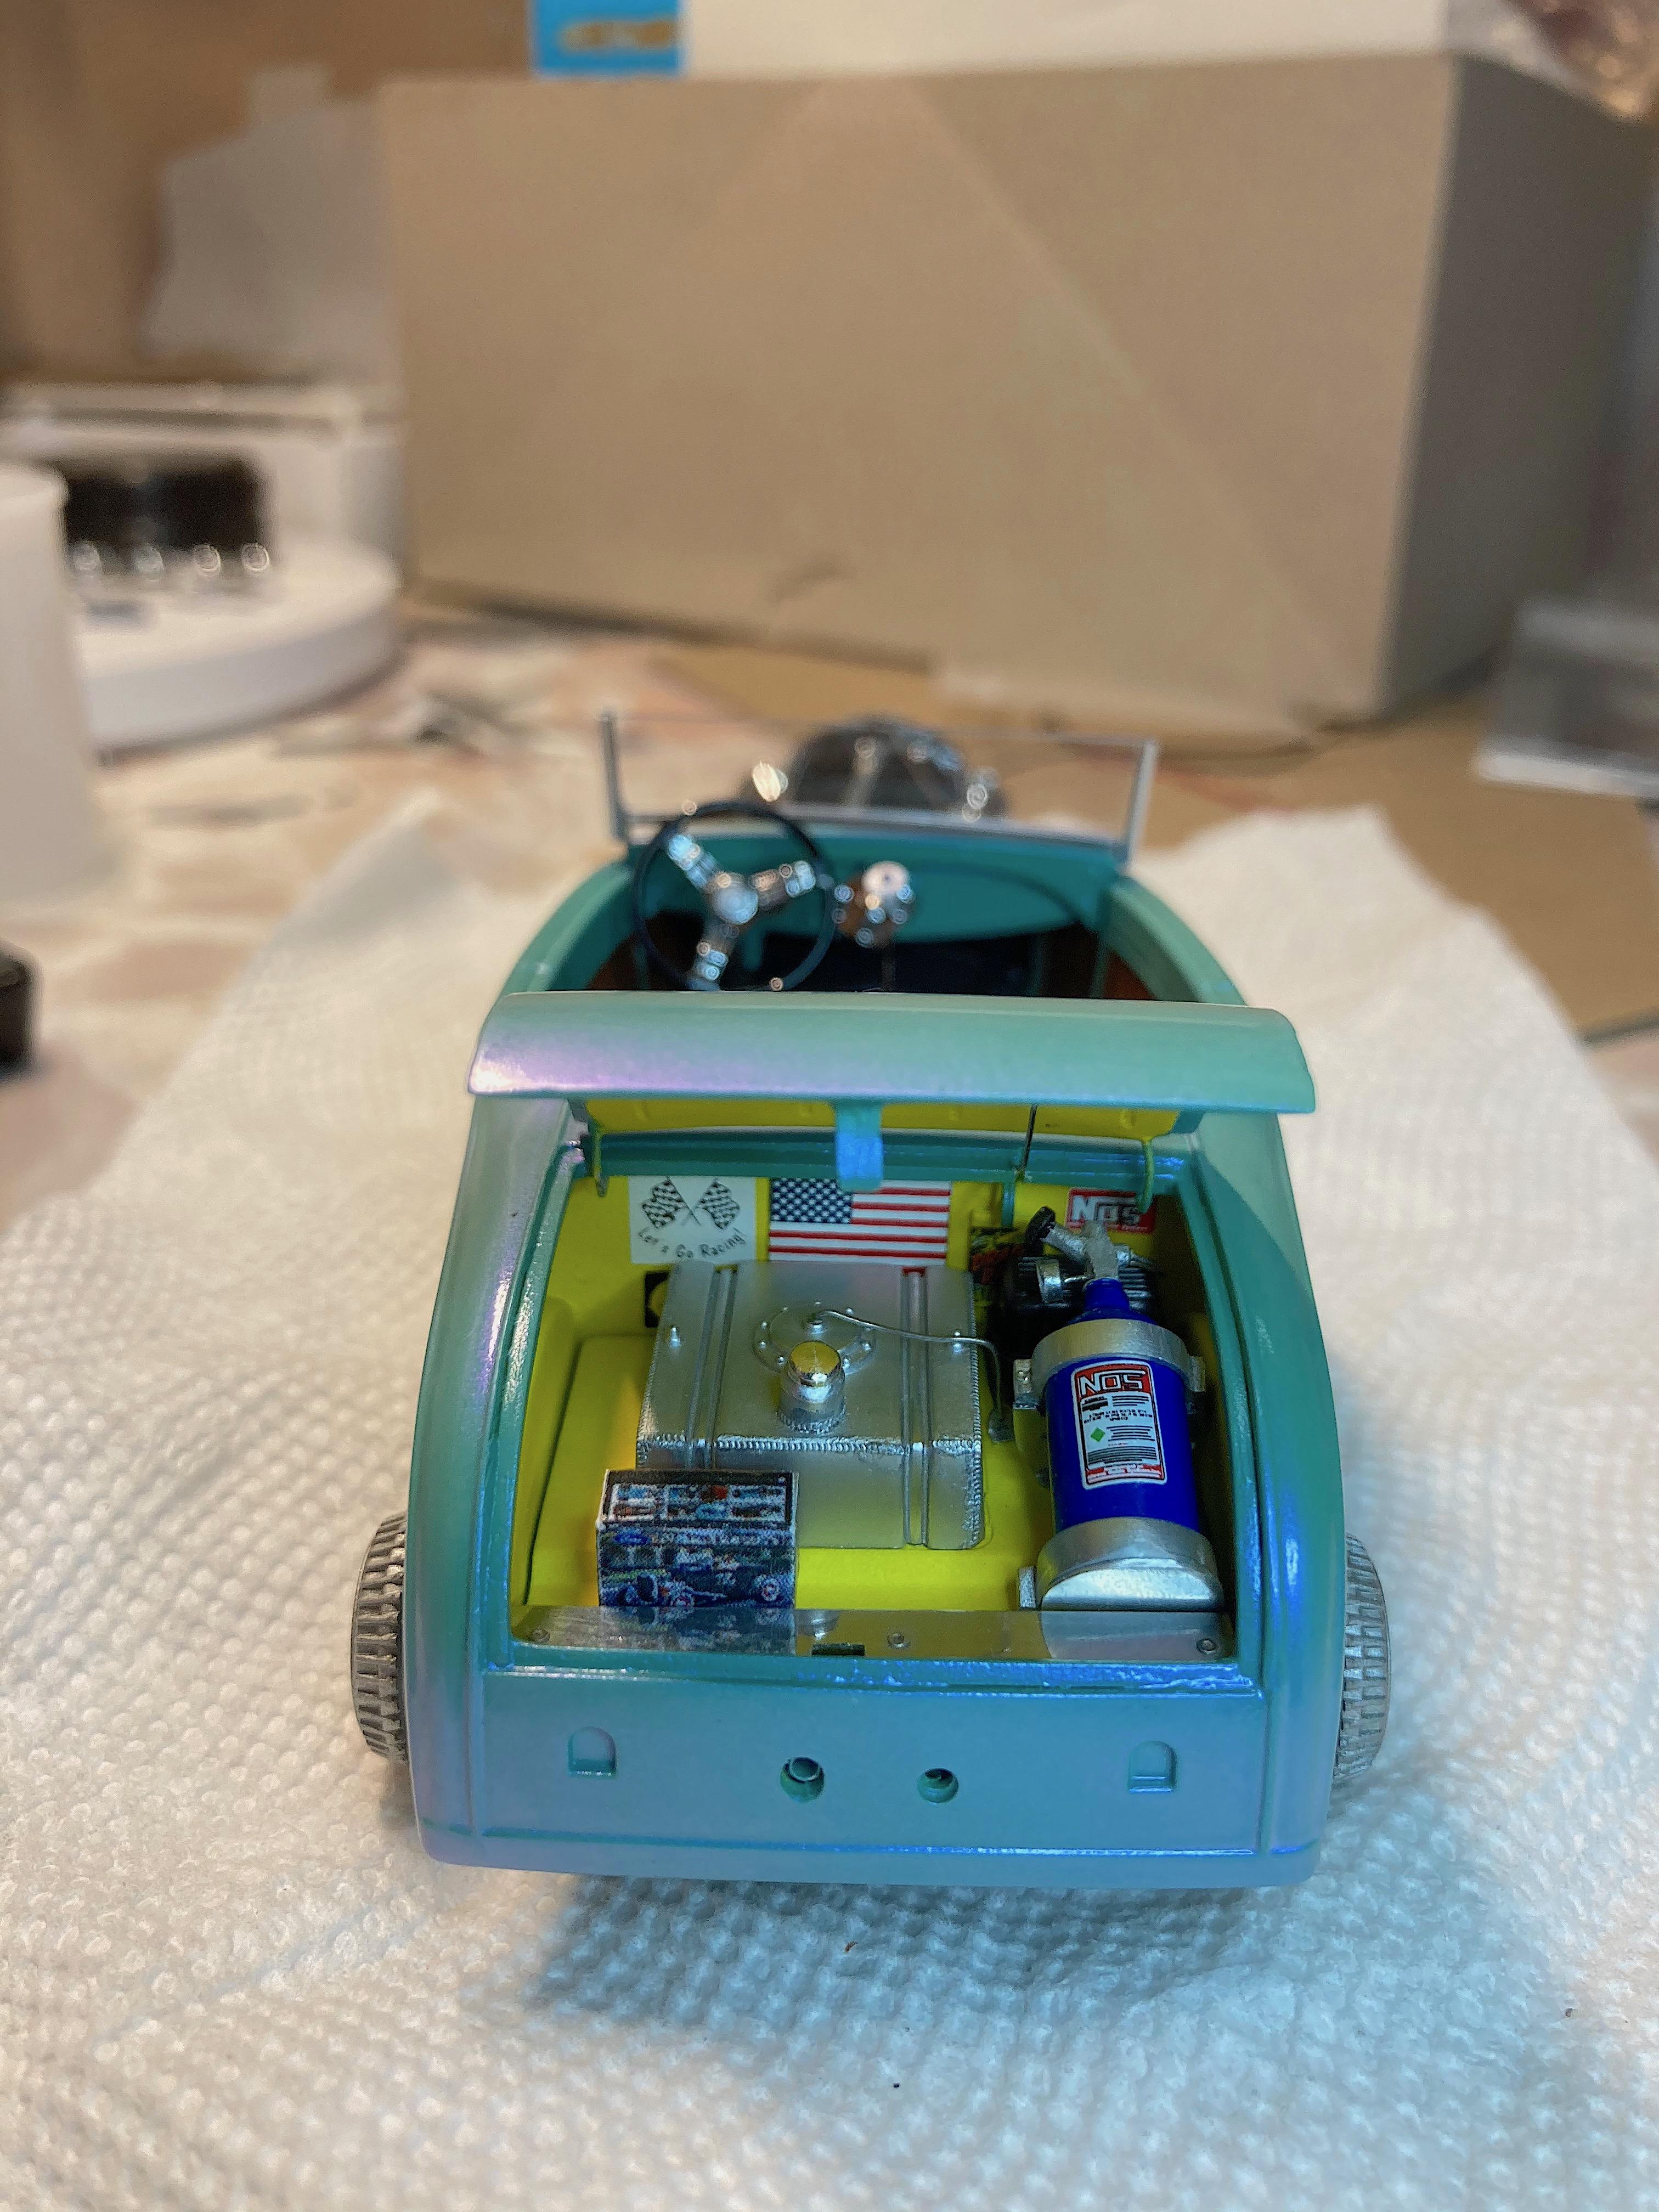
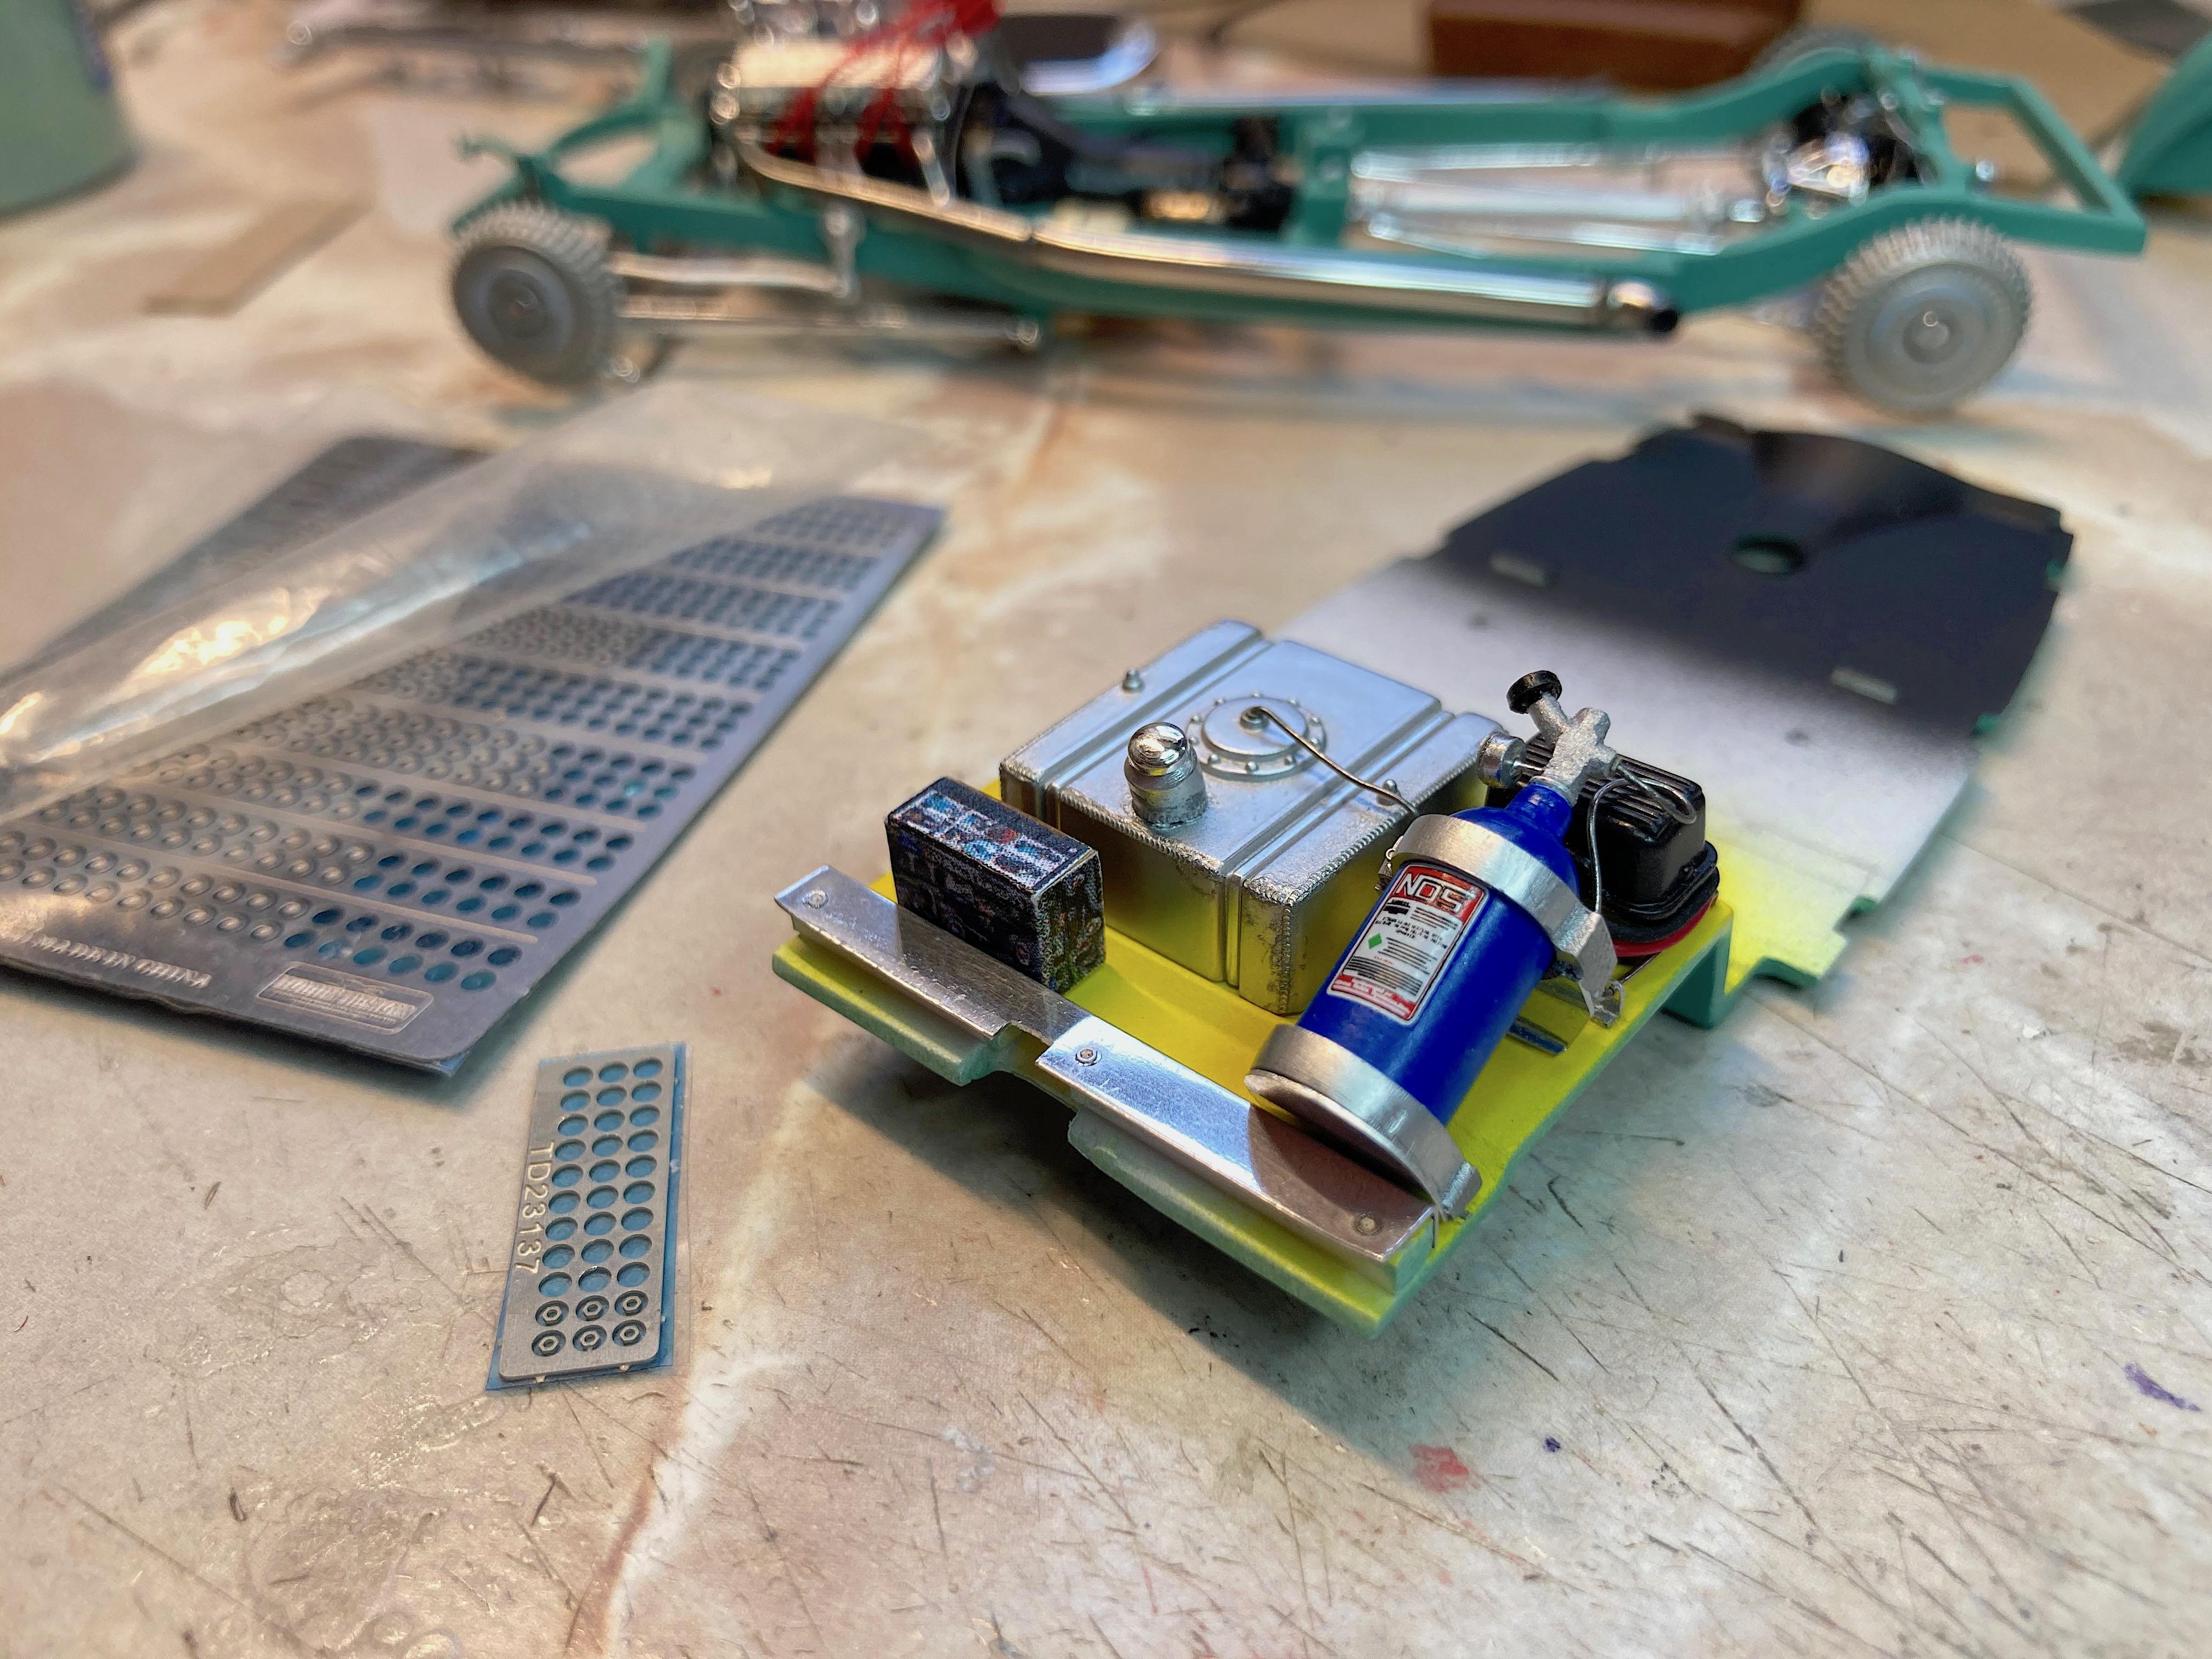
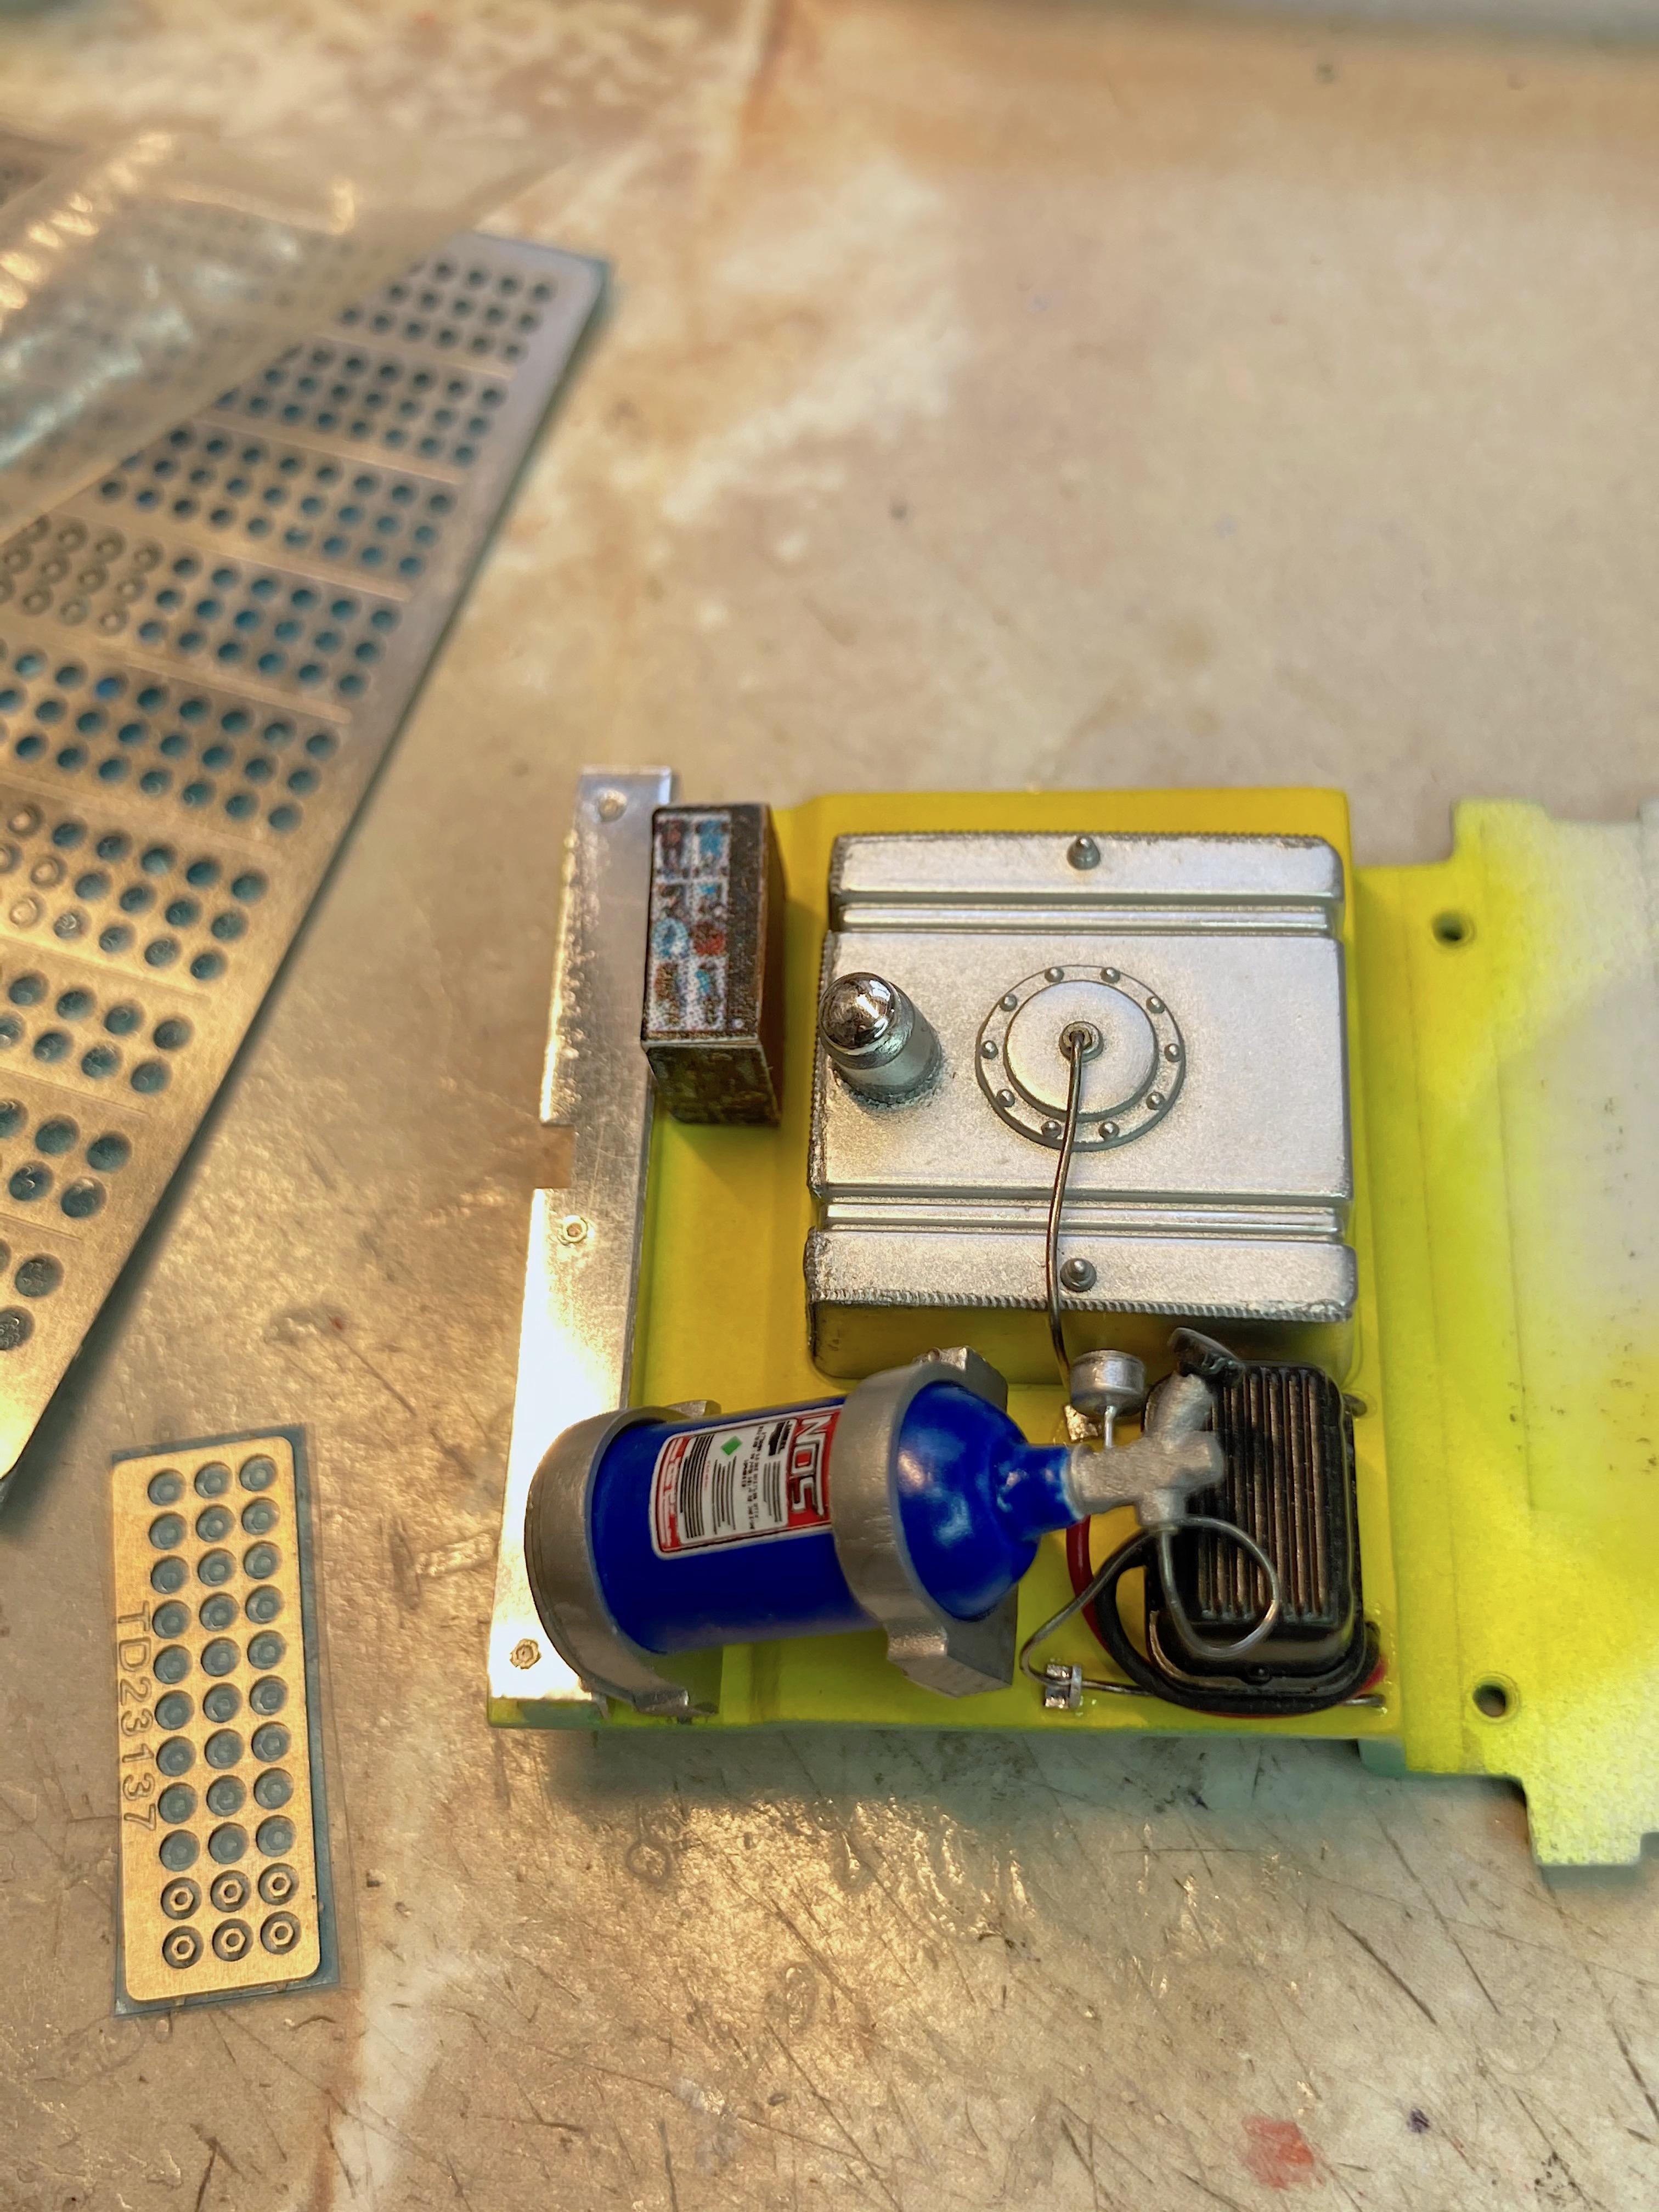
They might need to save a Tesla, never know. ? Tonight it was the big hurdle, of joining the body to frame. But first I did the polish routine with the emory cloths, but will do the final polishing/wax after it's all assembled. Wanted to sticker bomb the trunk, various sources of decals. Lots of cursing tonight. ? Because I added so much content, it was an extremely tight fit. All I'll say, I hate wiring distributors, there is no room with this kit. I knew it was going to be a trick to get the steering column, plus the shifter, and the brake pedal arm to line up in unison. But I managed. ? Got the coil, MSD box, and nitrous solenoid mounted. Temporary installation of the steering wheel, windshield which needs tweaking, and brace rods.
-
In the alley
-
a hit man
-
Outstanding! ?
-
GSL Common Kit: [revision] just another Model A Roadster
89AKurt replied to 89AKurt's topic in WIP: Model Cars
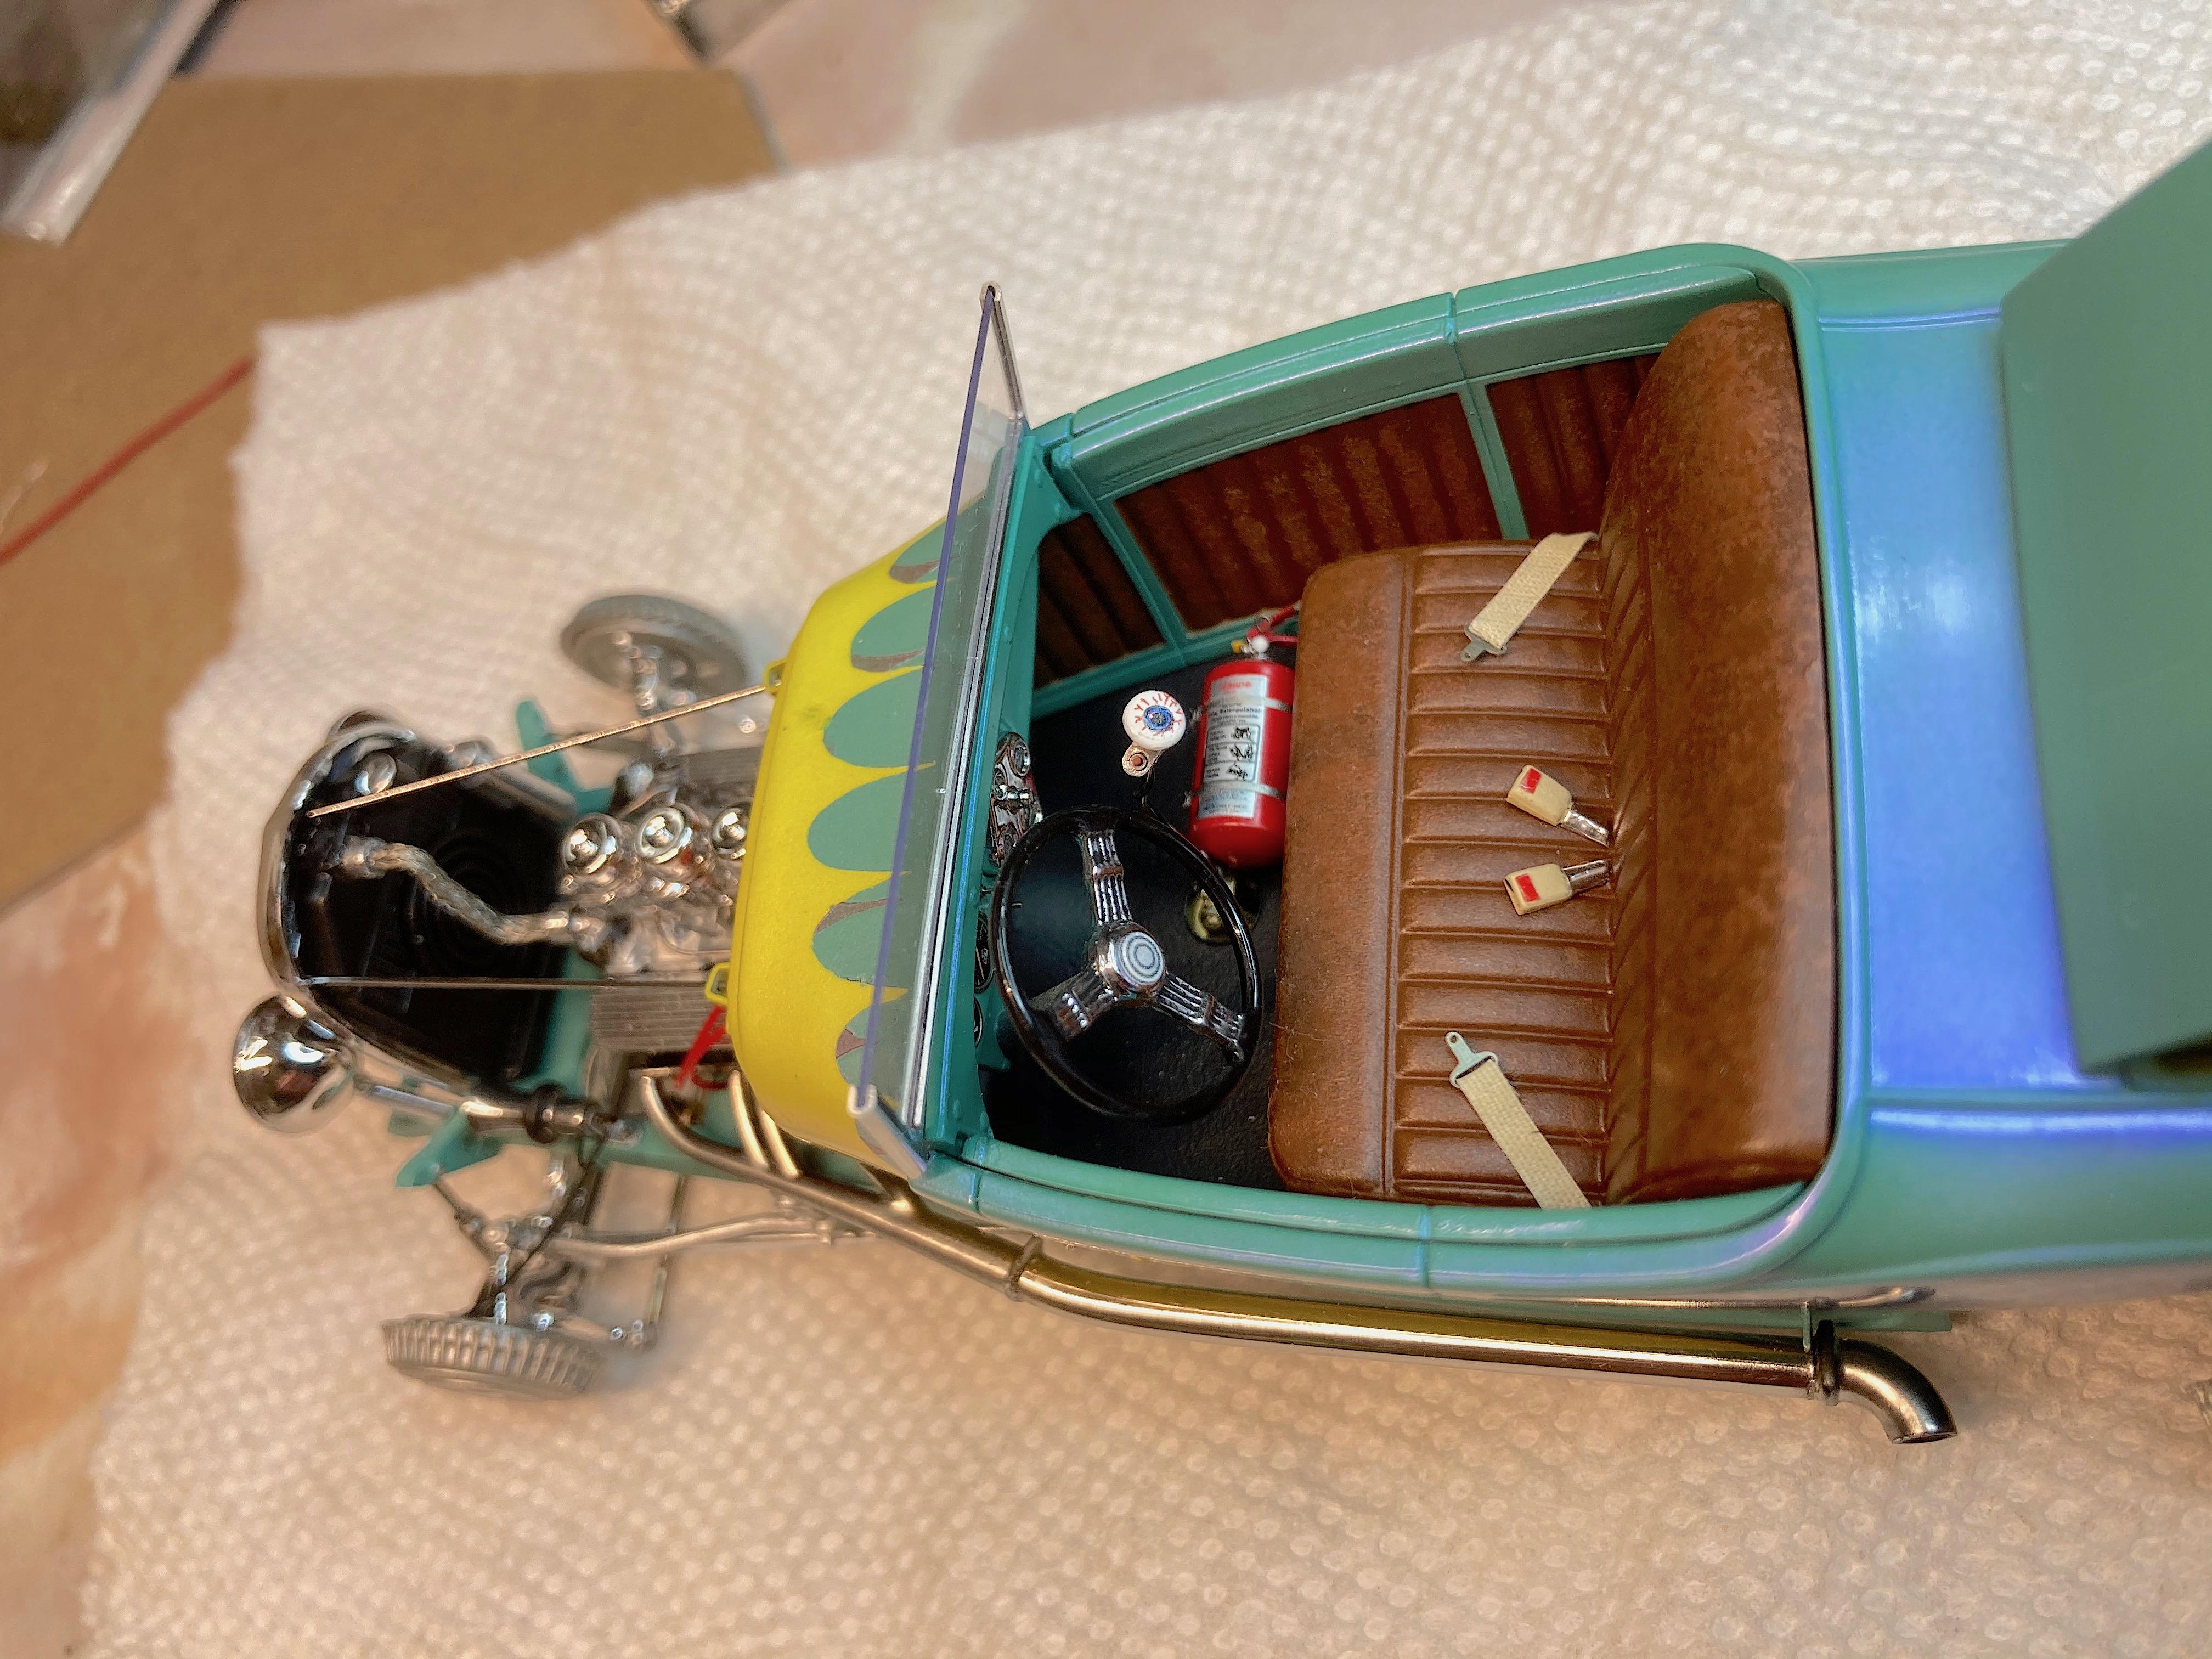
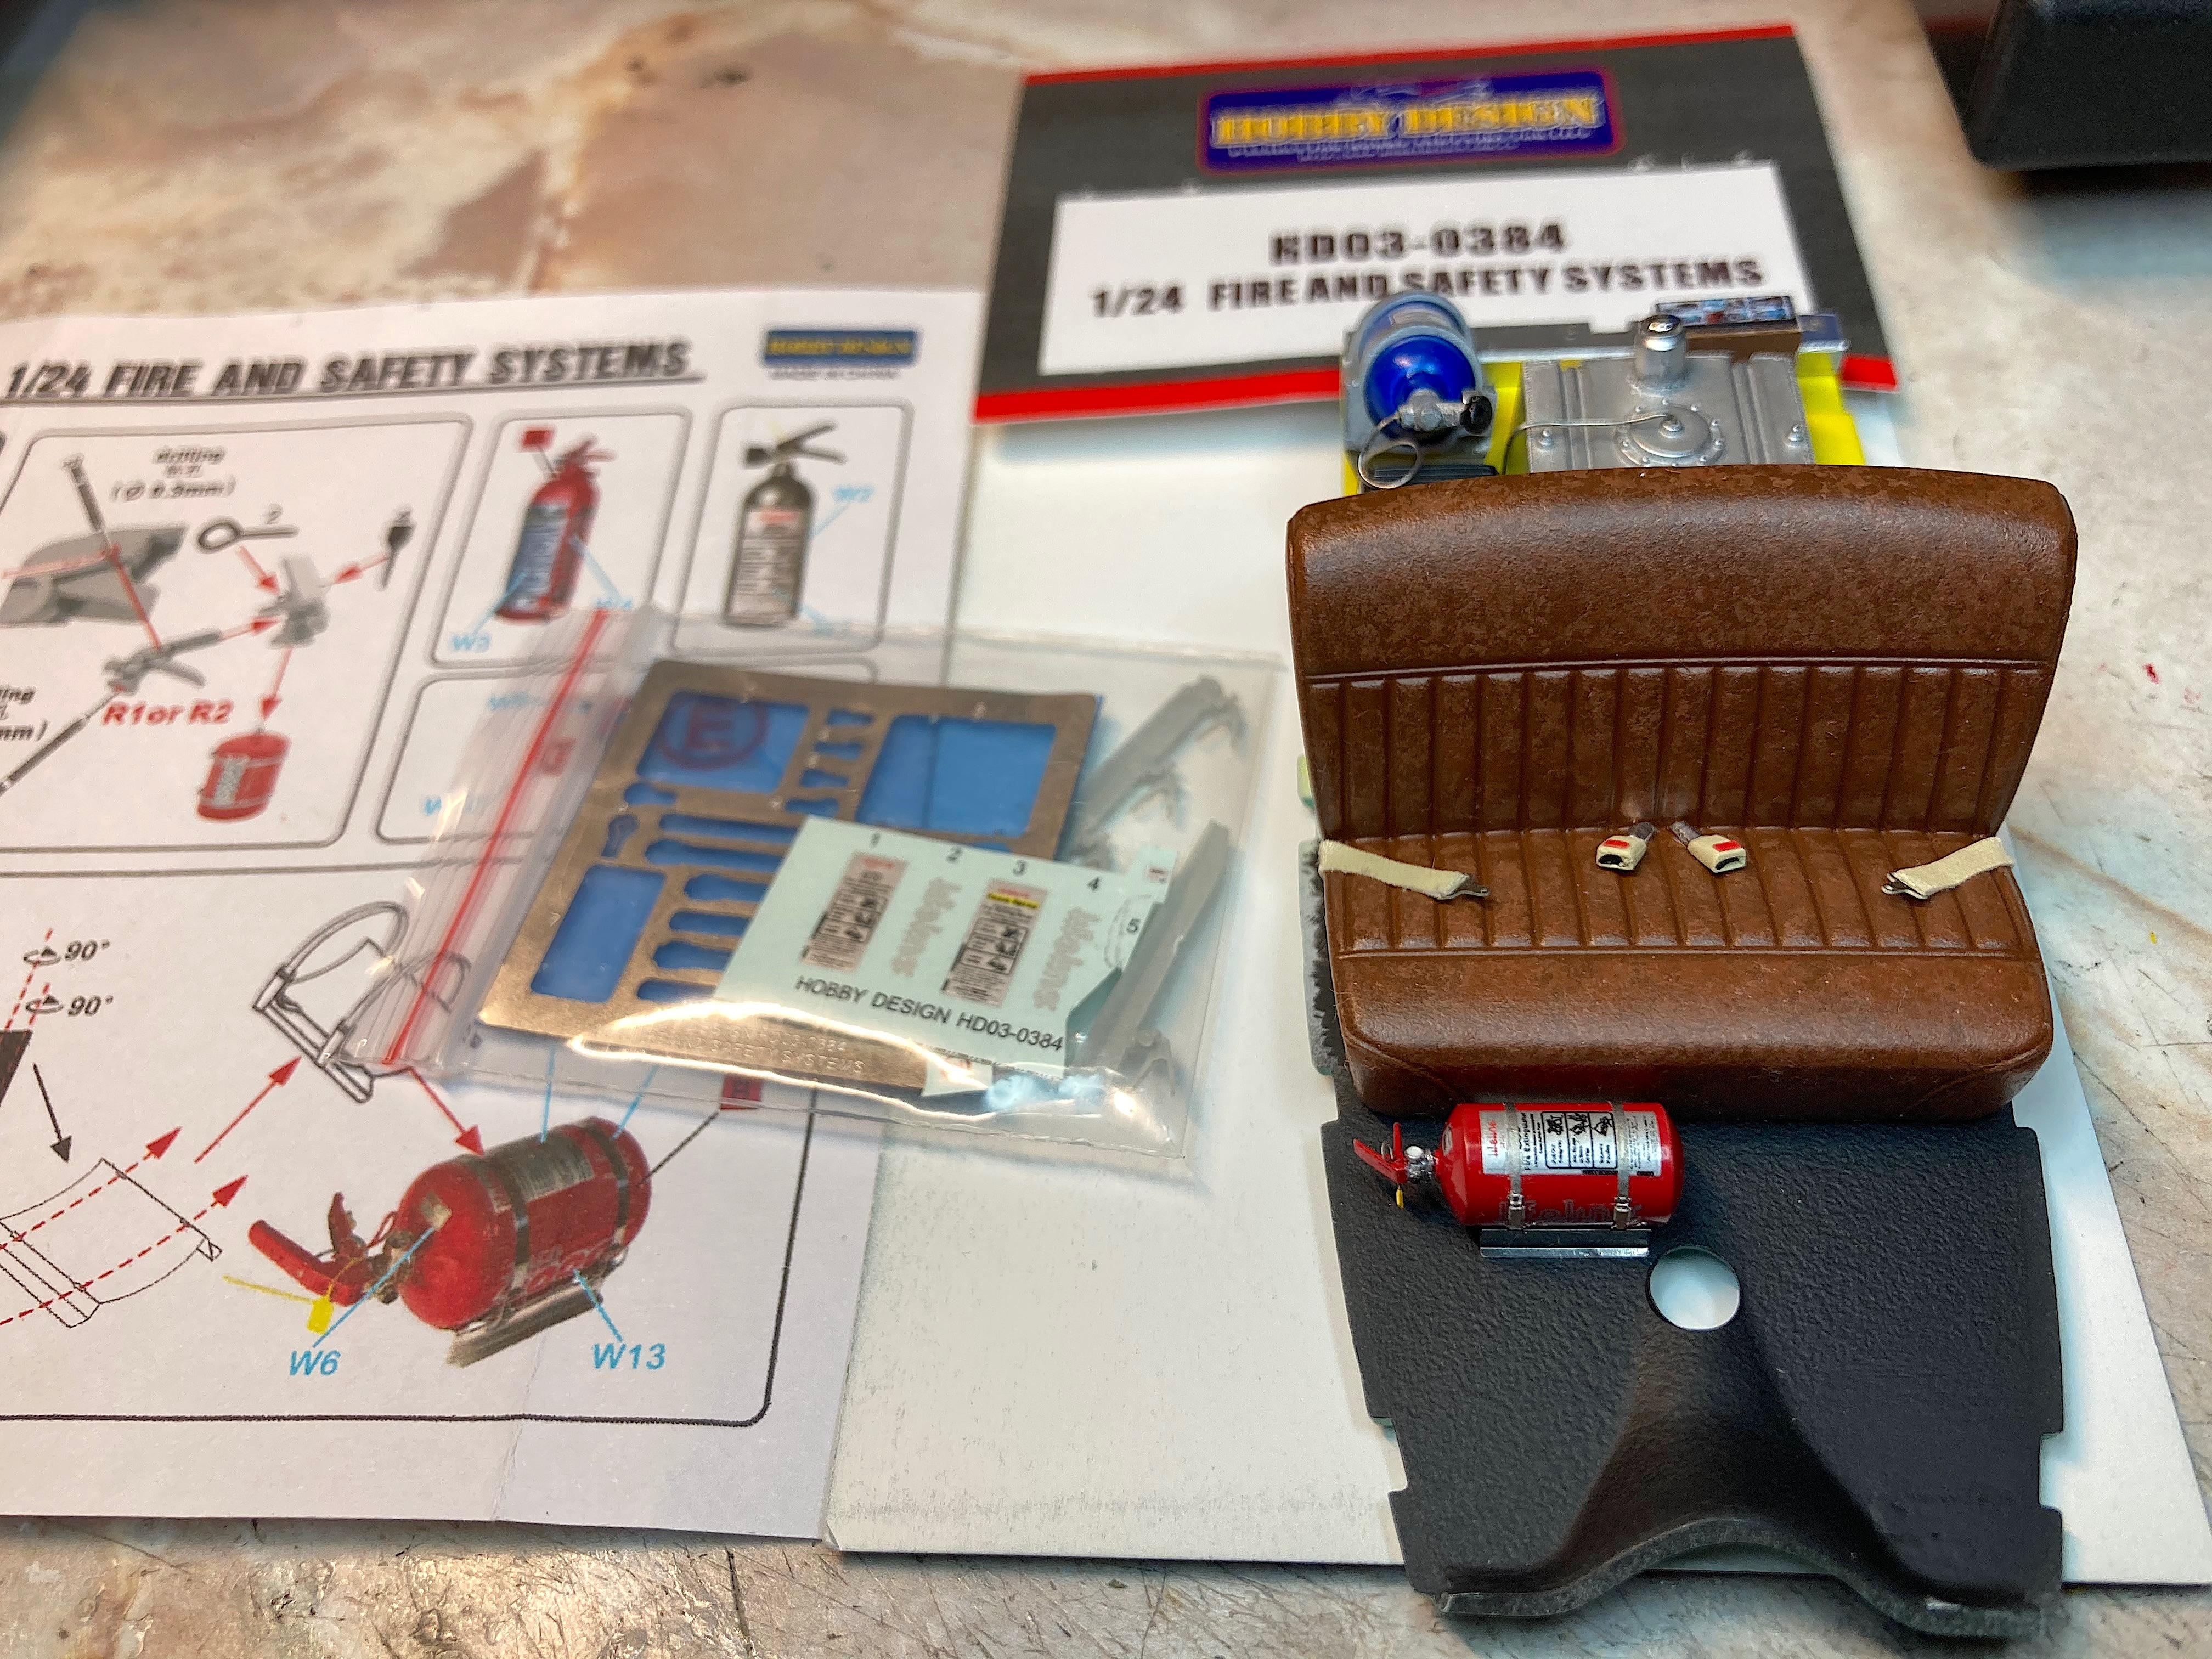
Had to restrain myself to not touch the body. ? Even though the paint is dry to the touch, it has the feel of "give me a big fingerprint right in the middle". Added seatbelts. Really simple, used left over parts from several detail packs. Made the last Hobby Design (HD03-0384) fire extinguisher, 6 come in a package. Discovered it has extremely tight tolerances, folded the mount inside out, so the guide grooves don't show, which made the slots for the straps too tight! Polished that too before folding. Have several left over nozzle parts, and 2 decals, so I could scratch-build some but the mounts would never be this fine. For being tiny parts, these have been fun to assemble.
-
based in Missinformation
-
Ford J car
89AKurt replied to 65slotcar's topic in 1:1 Reference Photos: Auto Shows, Personal vehicles (Cars and Trucks)
I built the IMC kit. If one wanted to be accurate, it would take a ton of work. Thanks for posting this pictures. -
Well shucks, due to my Flickr account being disappeared, this thread is almost useless. ? Glad MCM added more memory space, to avoid this problem. Will post only finished pictures, not worth going back and editing.
-
GSL Common Kit: [revision] just another Model A Roadster
89AKurt replied to 89AKurt's topic in WIP: Model Cars
If you have any synthetic sponge, try it, because the tutorial I saw used that. The risk of using paper towel is leaving lint in the paint, but it brushes off when dry. Thank you. You inspire me too. ? Because they are predicting another snow storm this week wanted to take advantage of using my solar paint drier (cab of pickup). The clear pearl sure does pop in sunlight! ? Wet-sanded before spraying more gloss. Despite having two obvious blemishes, this is one of my better paintjobs.
-
by the judges
-
GSL Common Kit: [revision] just another Model A Roadster
89AKurt replied to 89AKurt's topic in WIP: Model Cars
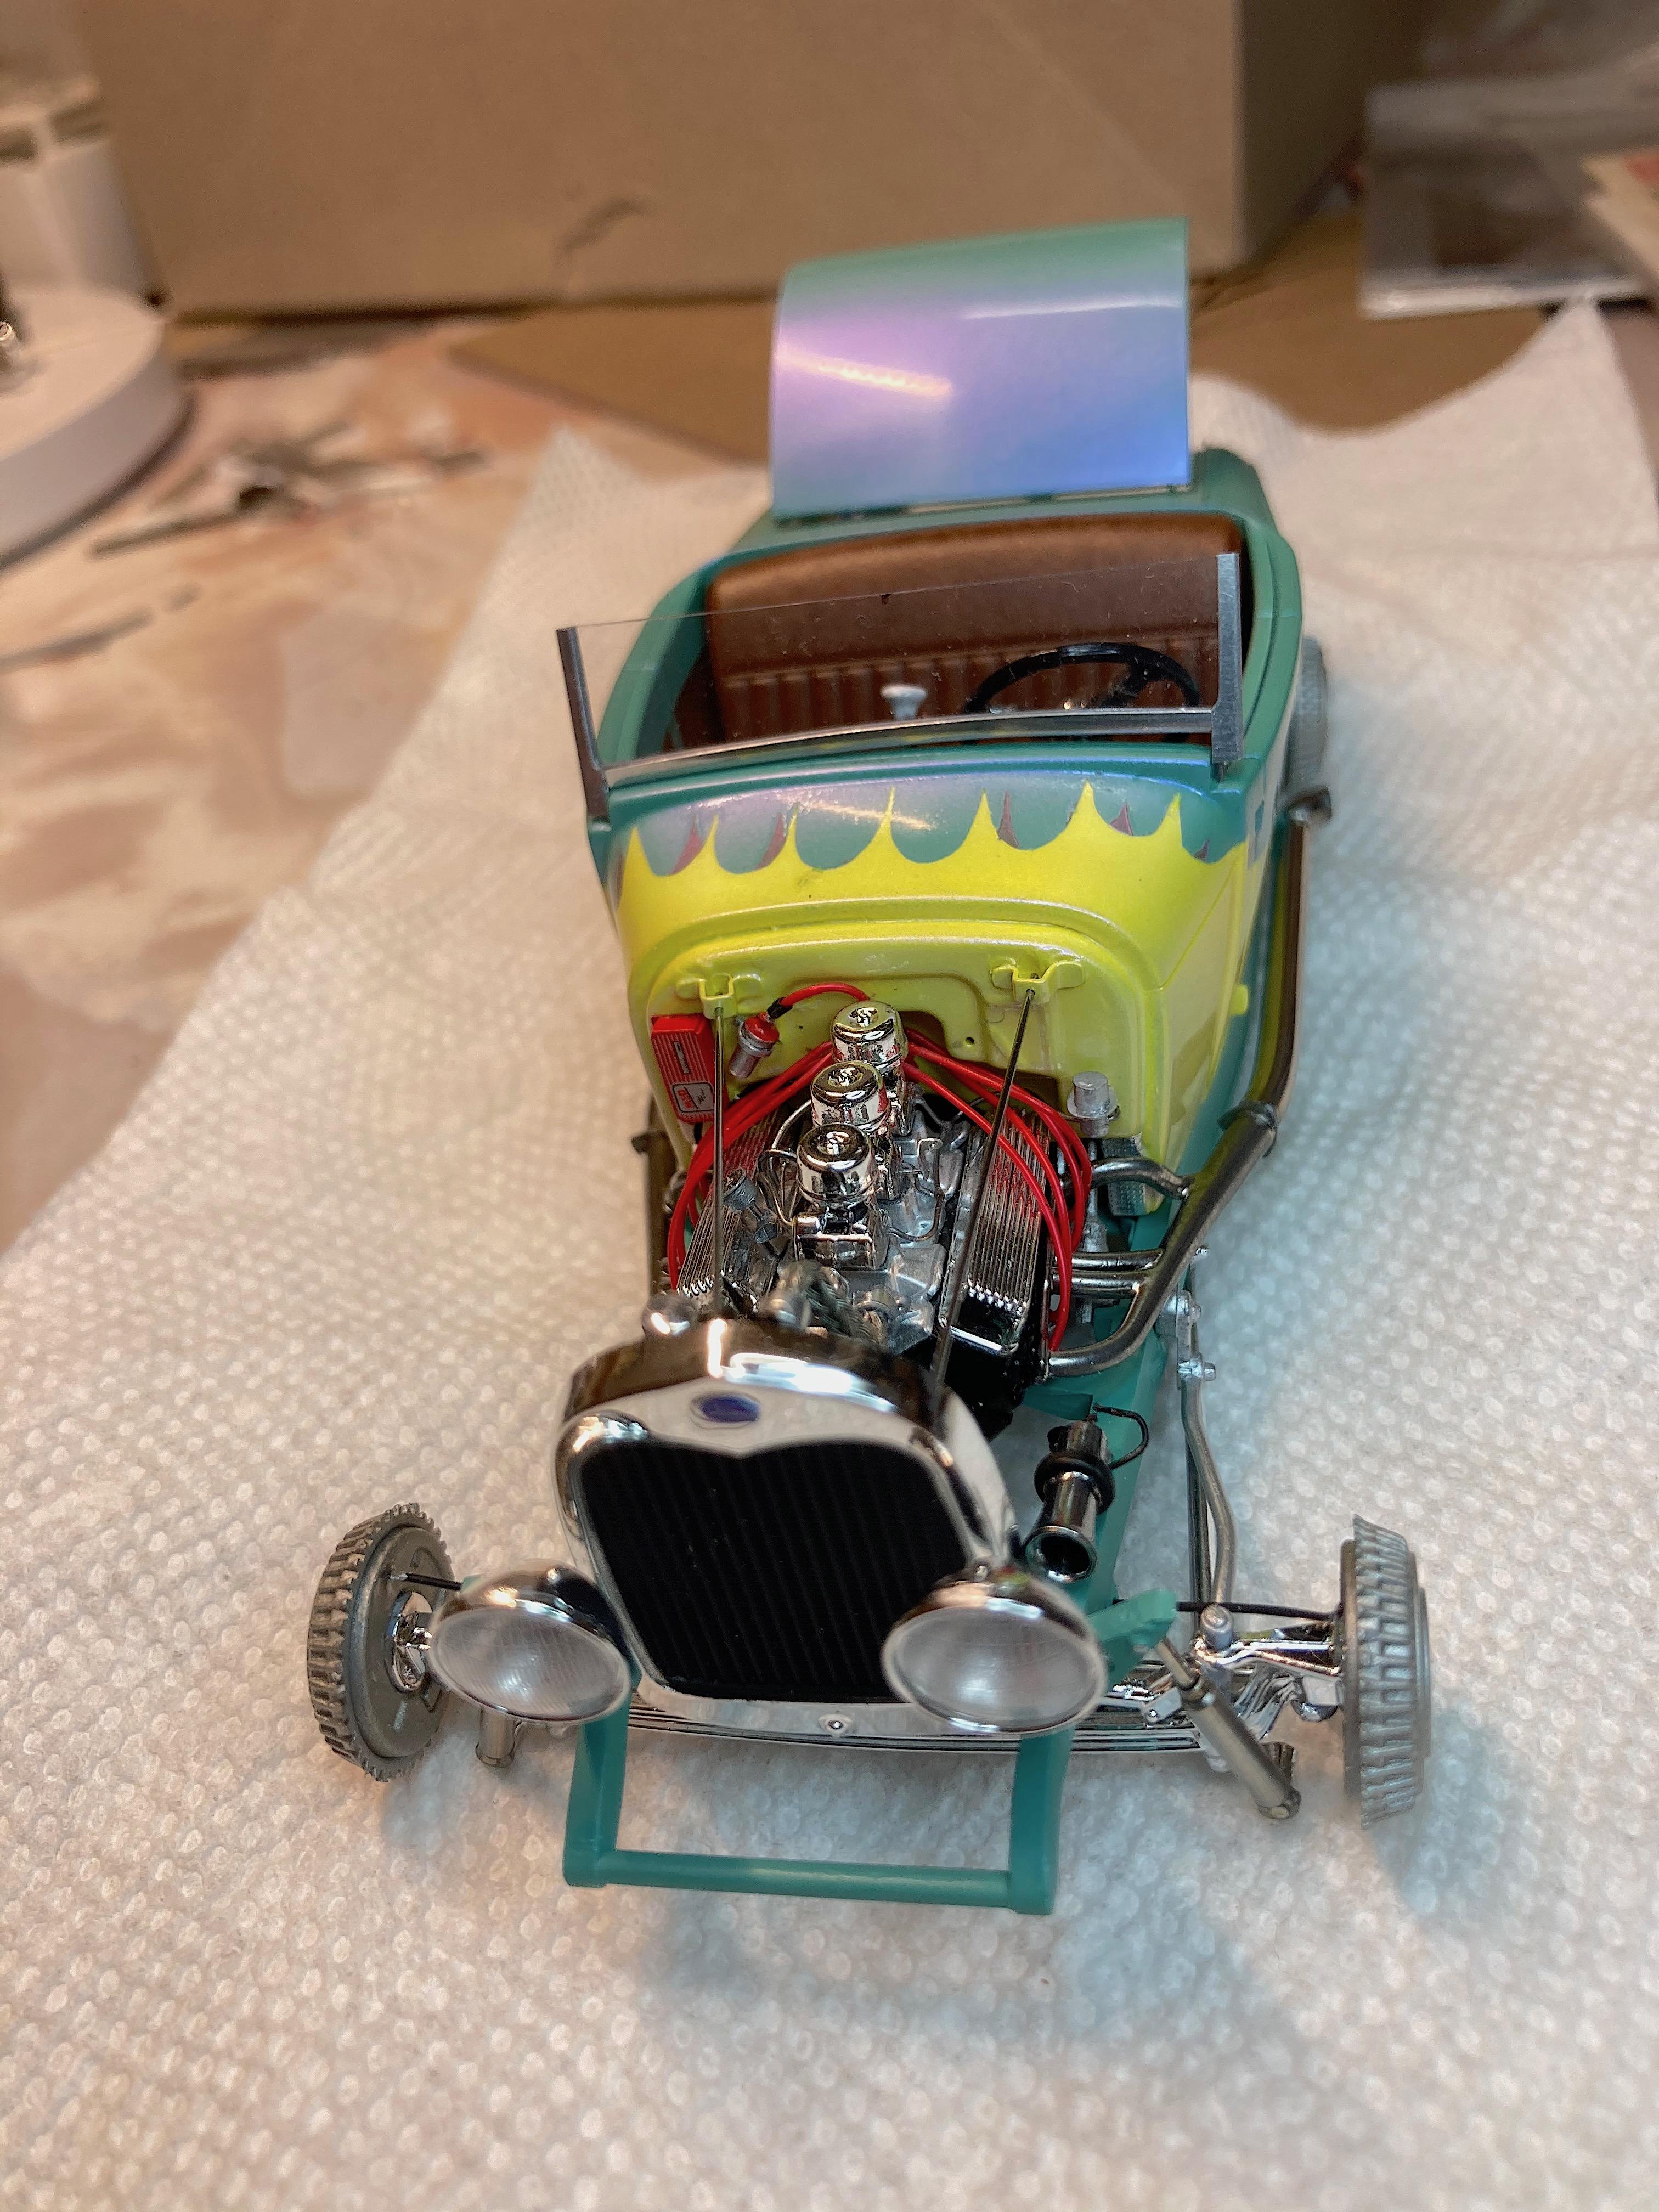
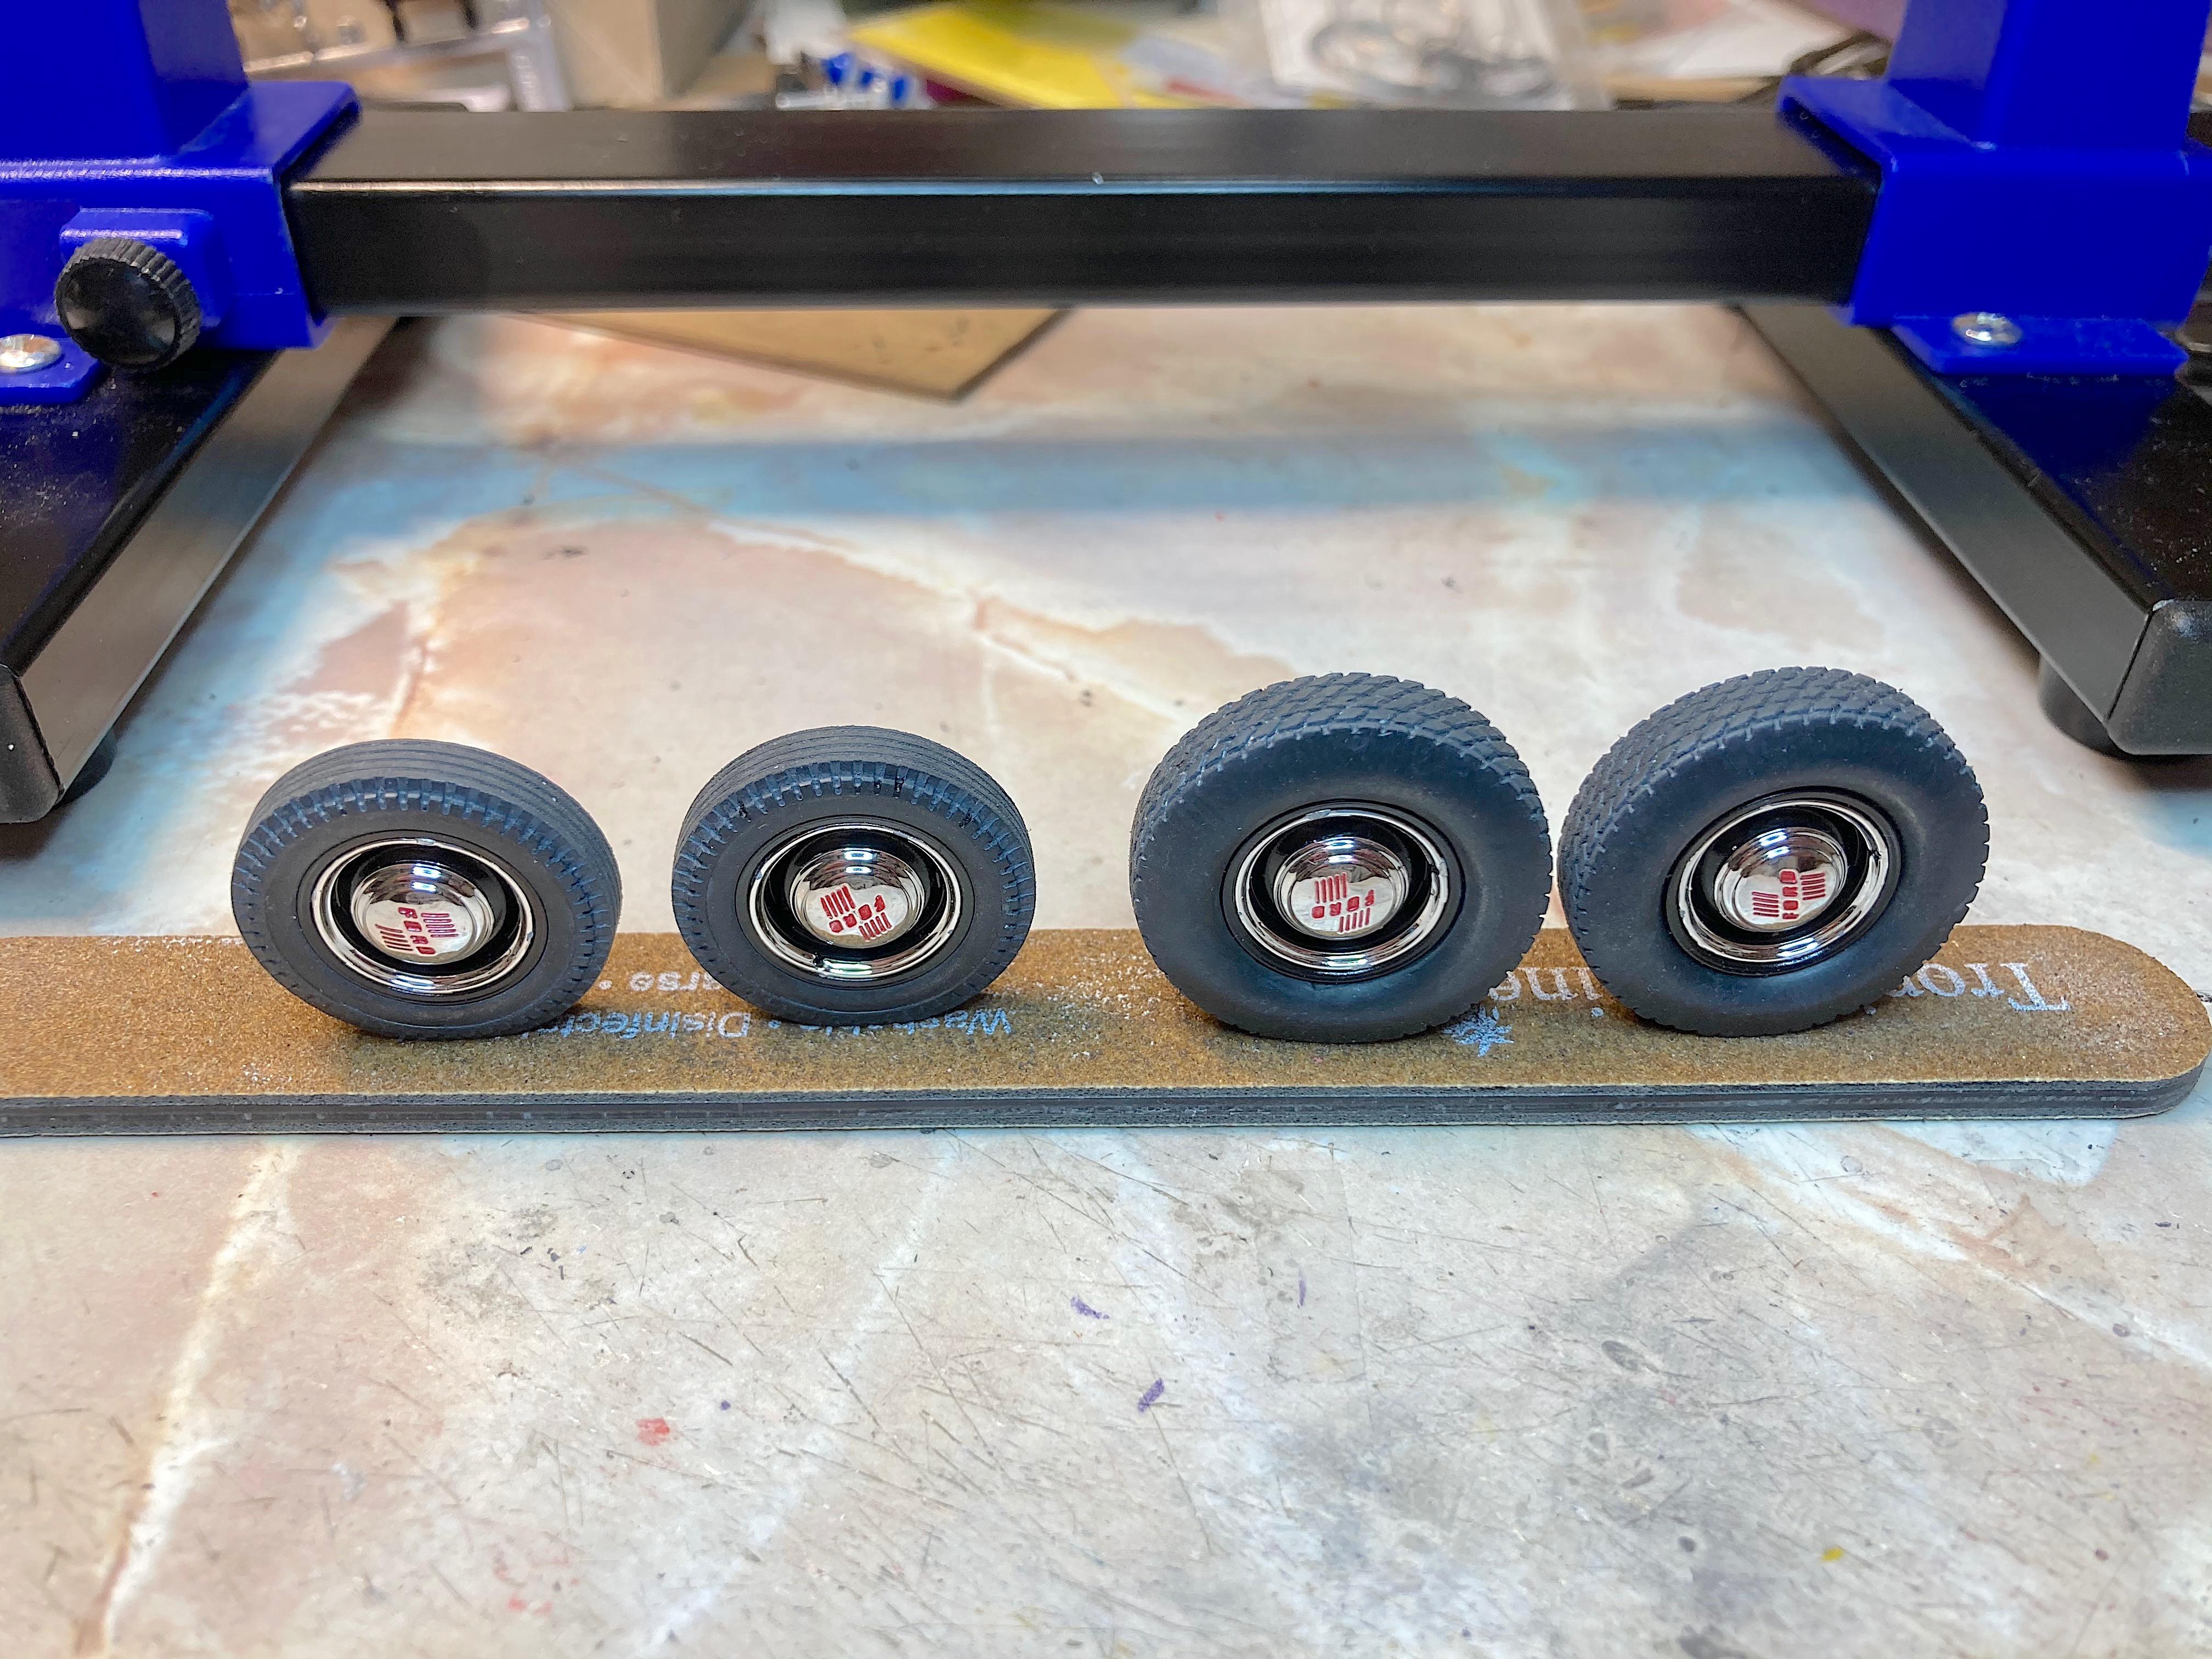
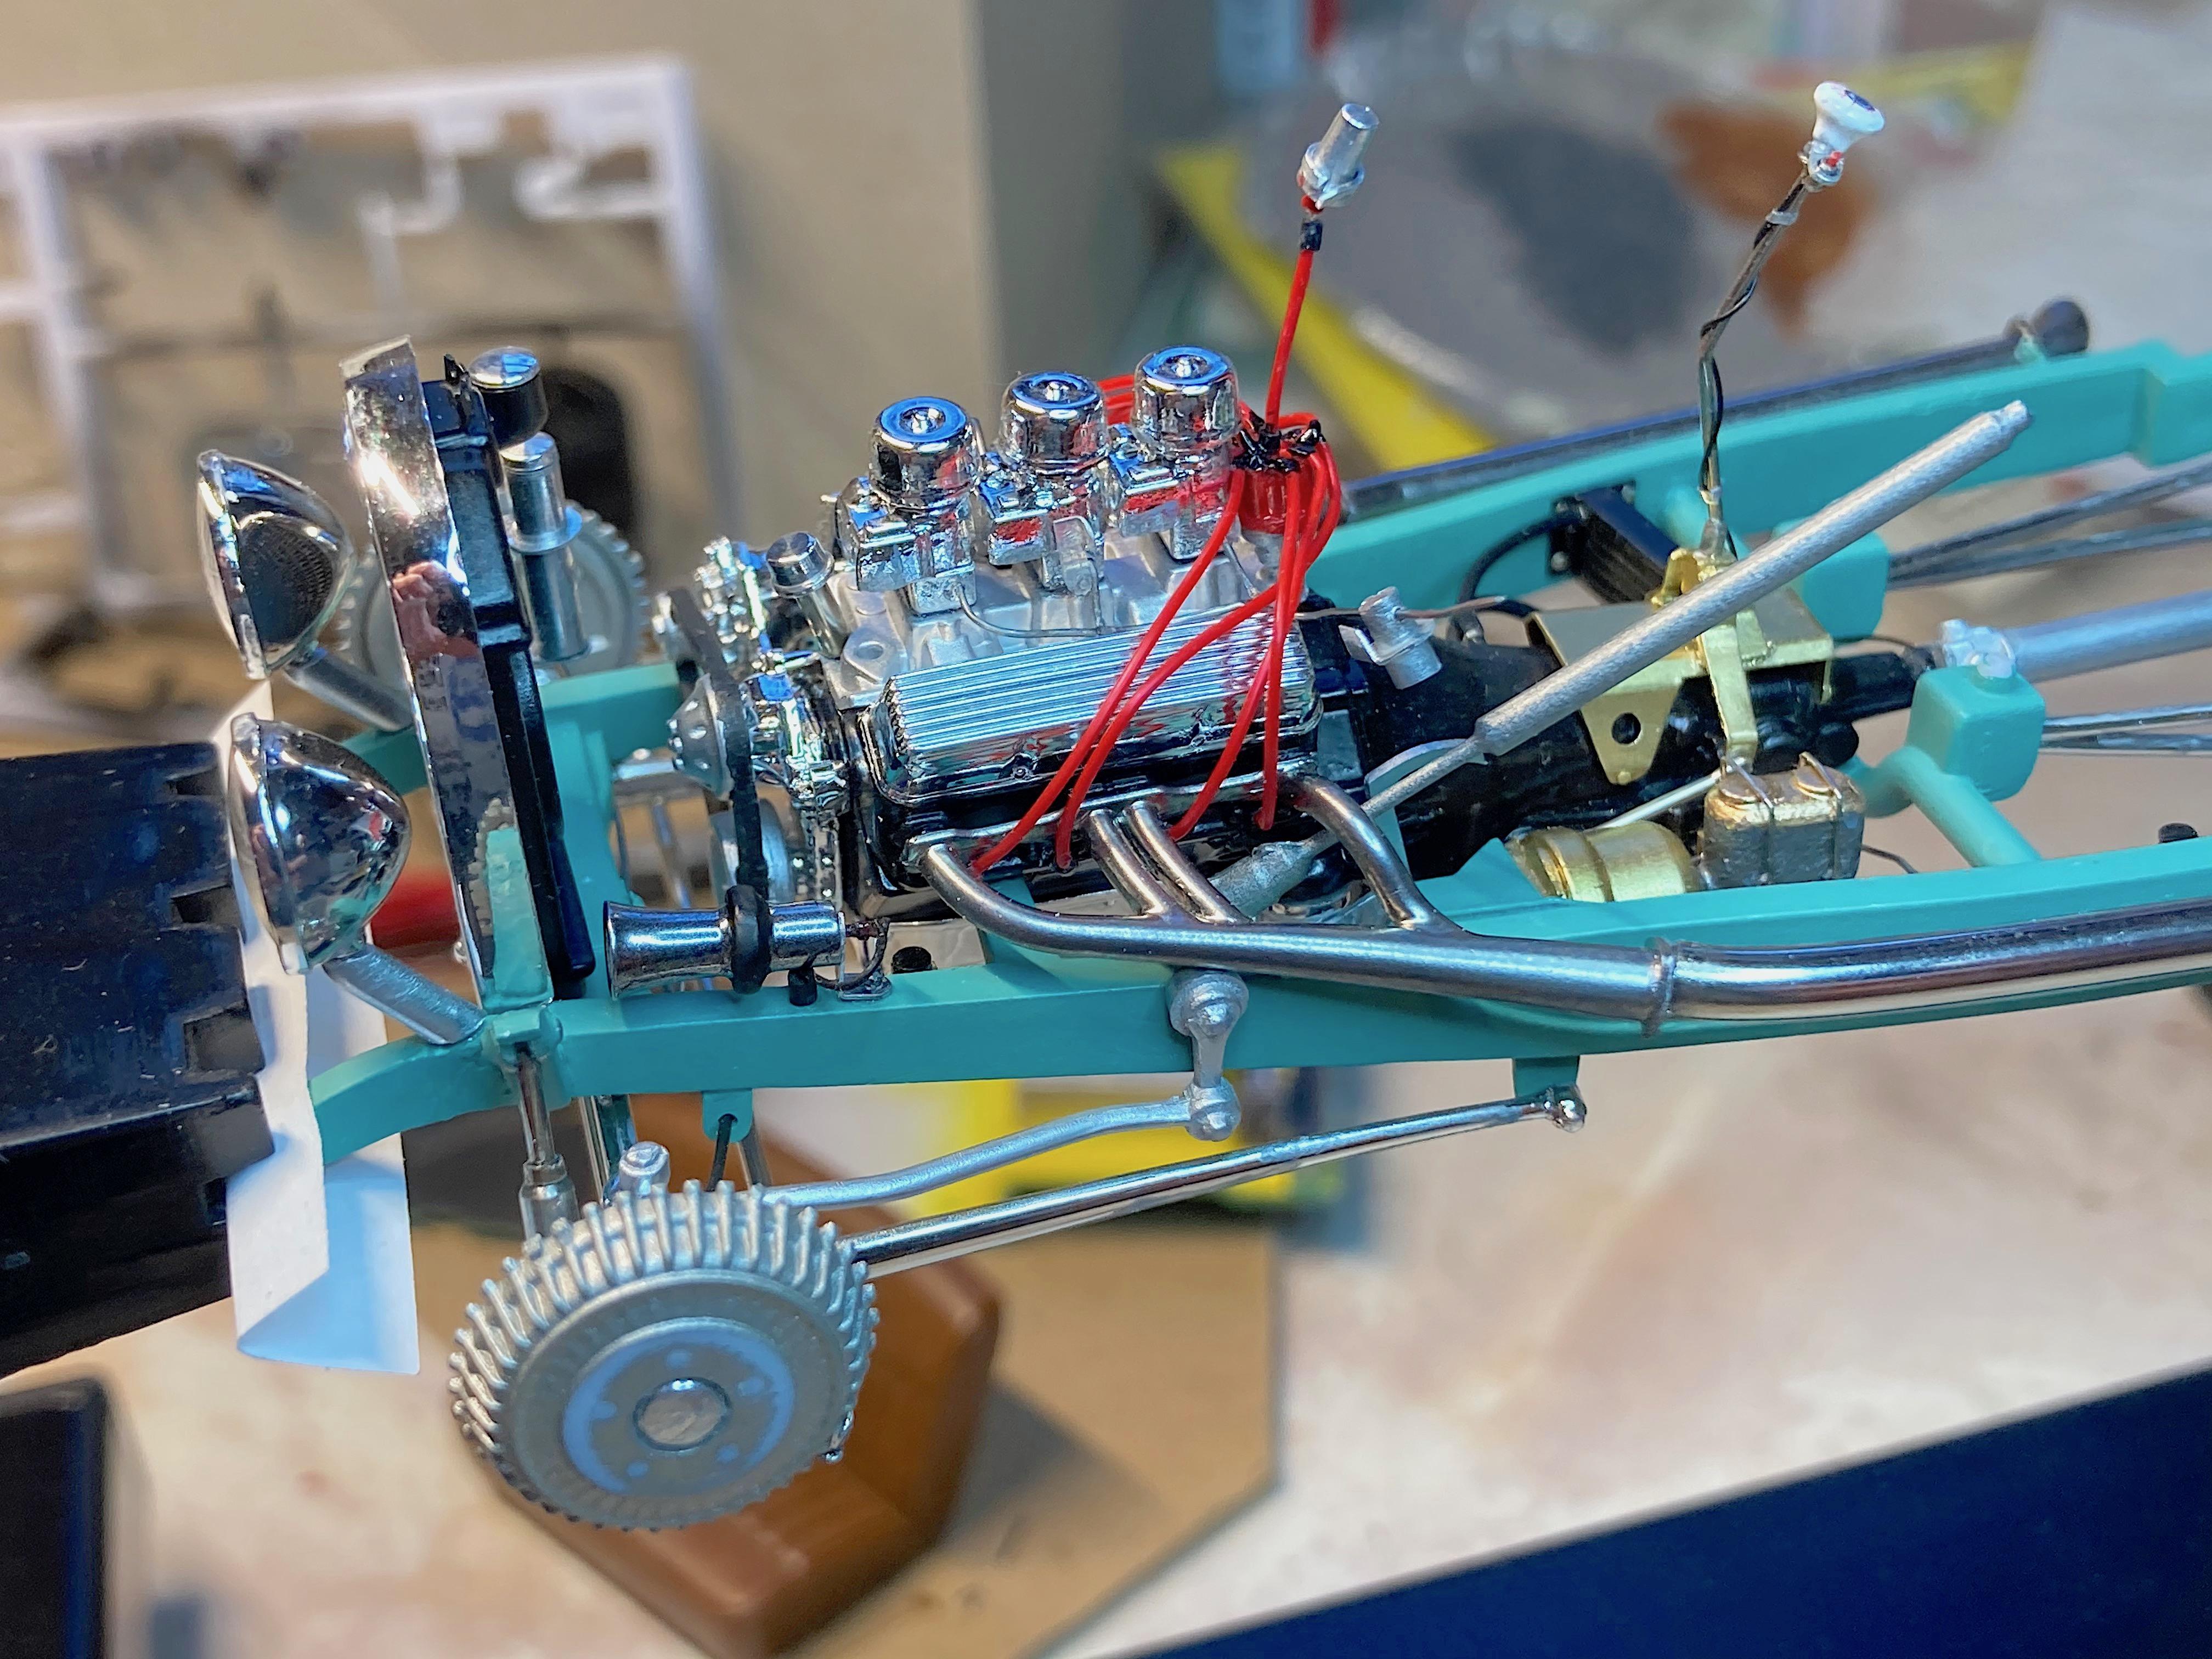
Wanted to get the radiator hoses done. Plastruct tubing, aluminum tape, solder wire, Grandt Line rivets, and I think Detail Master braided line. Realized there is no thermostat housing, I think one is needed. Not happy with the execution. Broke a rule that I ignored, which is to remove paint where you glue things, and it ticked me off. Been working on the wheels, can hardly wait to put them on, but I have to wait until everything is assembled. Tonight I used the Dremel with a sanding drum to flatten the tires, then used a rough sanding stick to do the treads. Got rid of the Armor All look of vinyl tires.
-
Wings are from chickens, where do the get the buffalo?
-
but no bets
-
'29 ford woody 24 hr build
89AKurt replied to 53gmc's topic in Model Trucks: Pickups, Vans, SUVs, Light Commercial
Takes me 24 hours just to do plug wires. ? Nice job for a quick build. -
GSL Common Kit: [revision] just another Model A Roadster
89AKurt replied to 89AKurt's topic in WIP: Model Cars
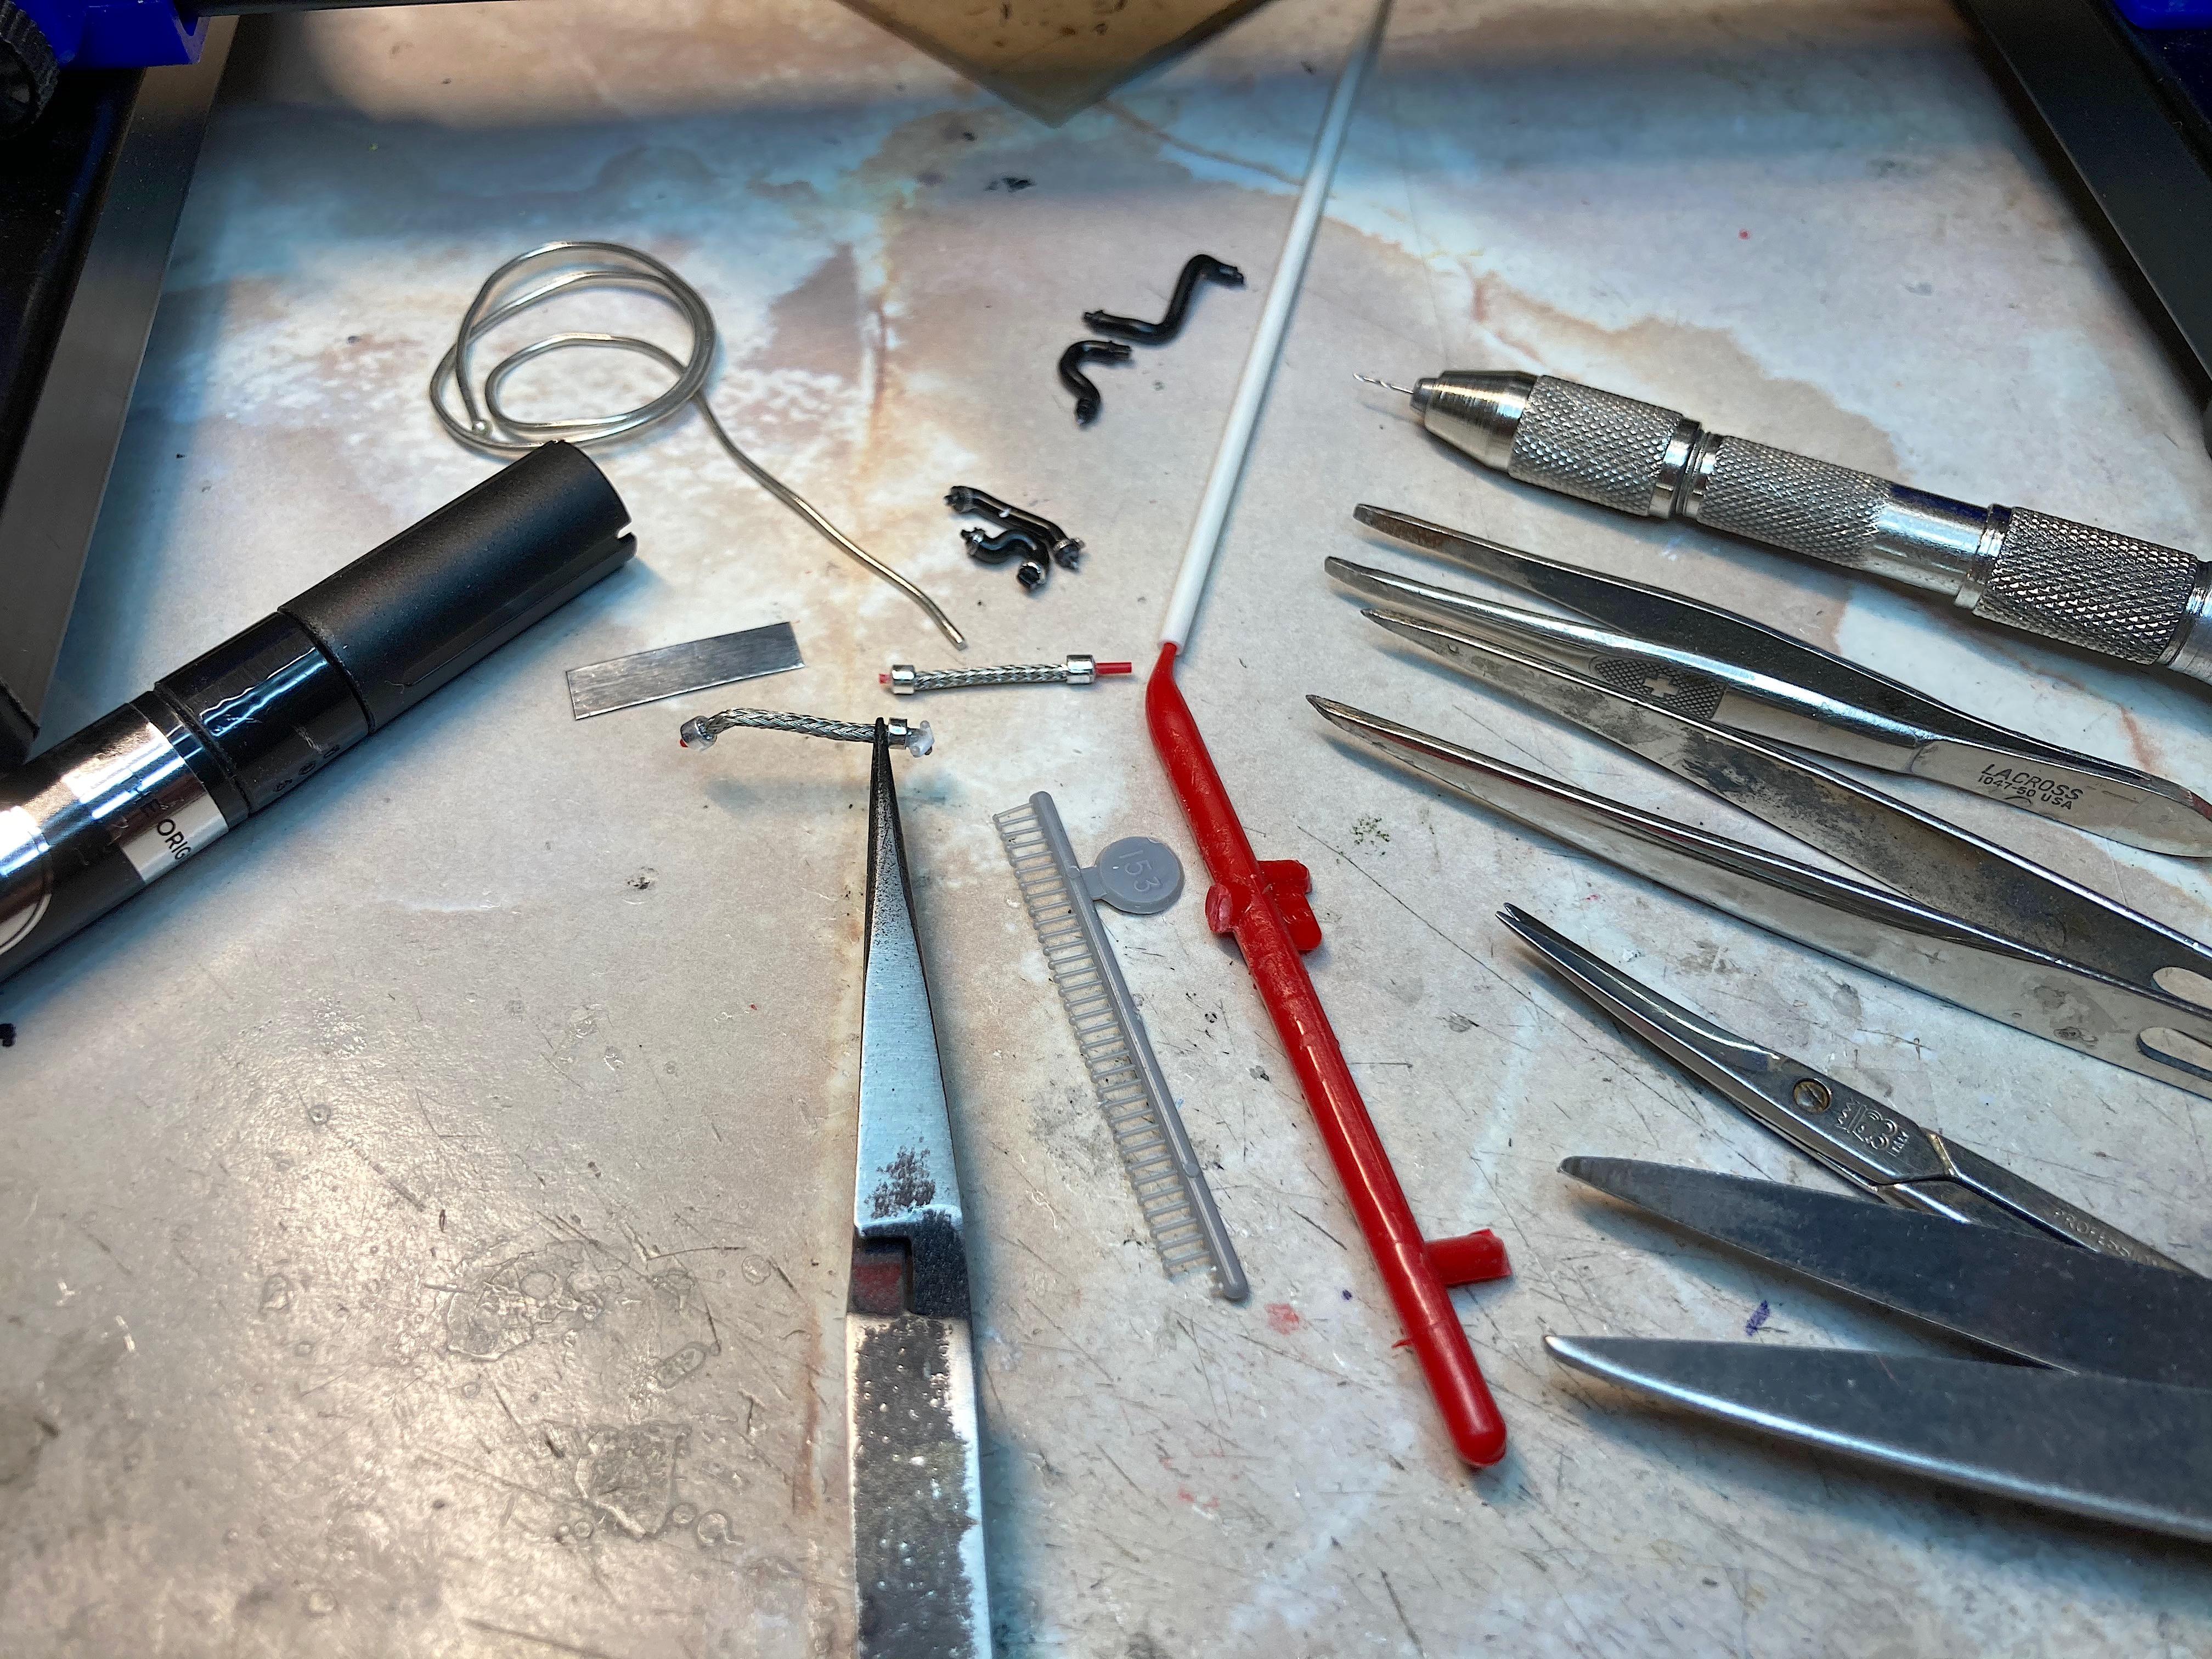
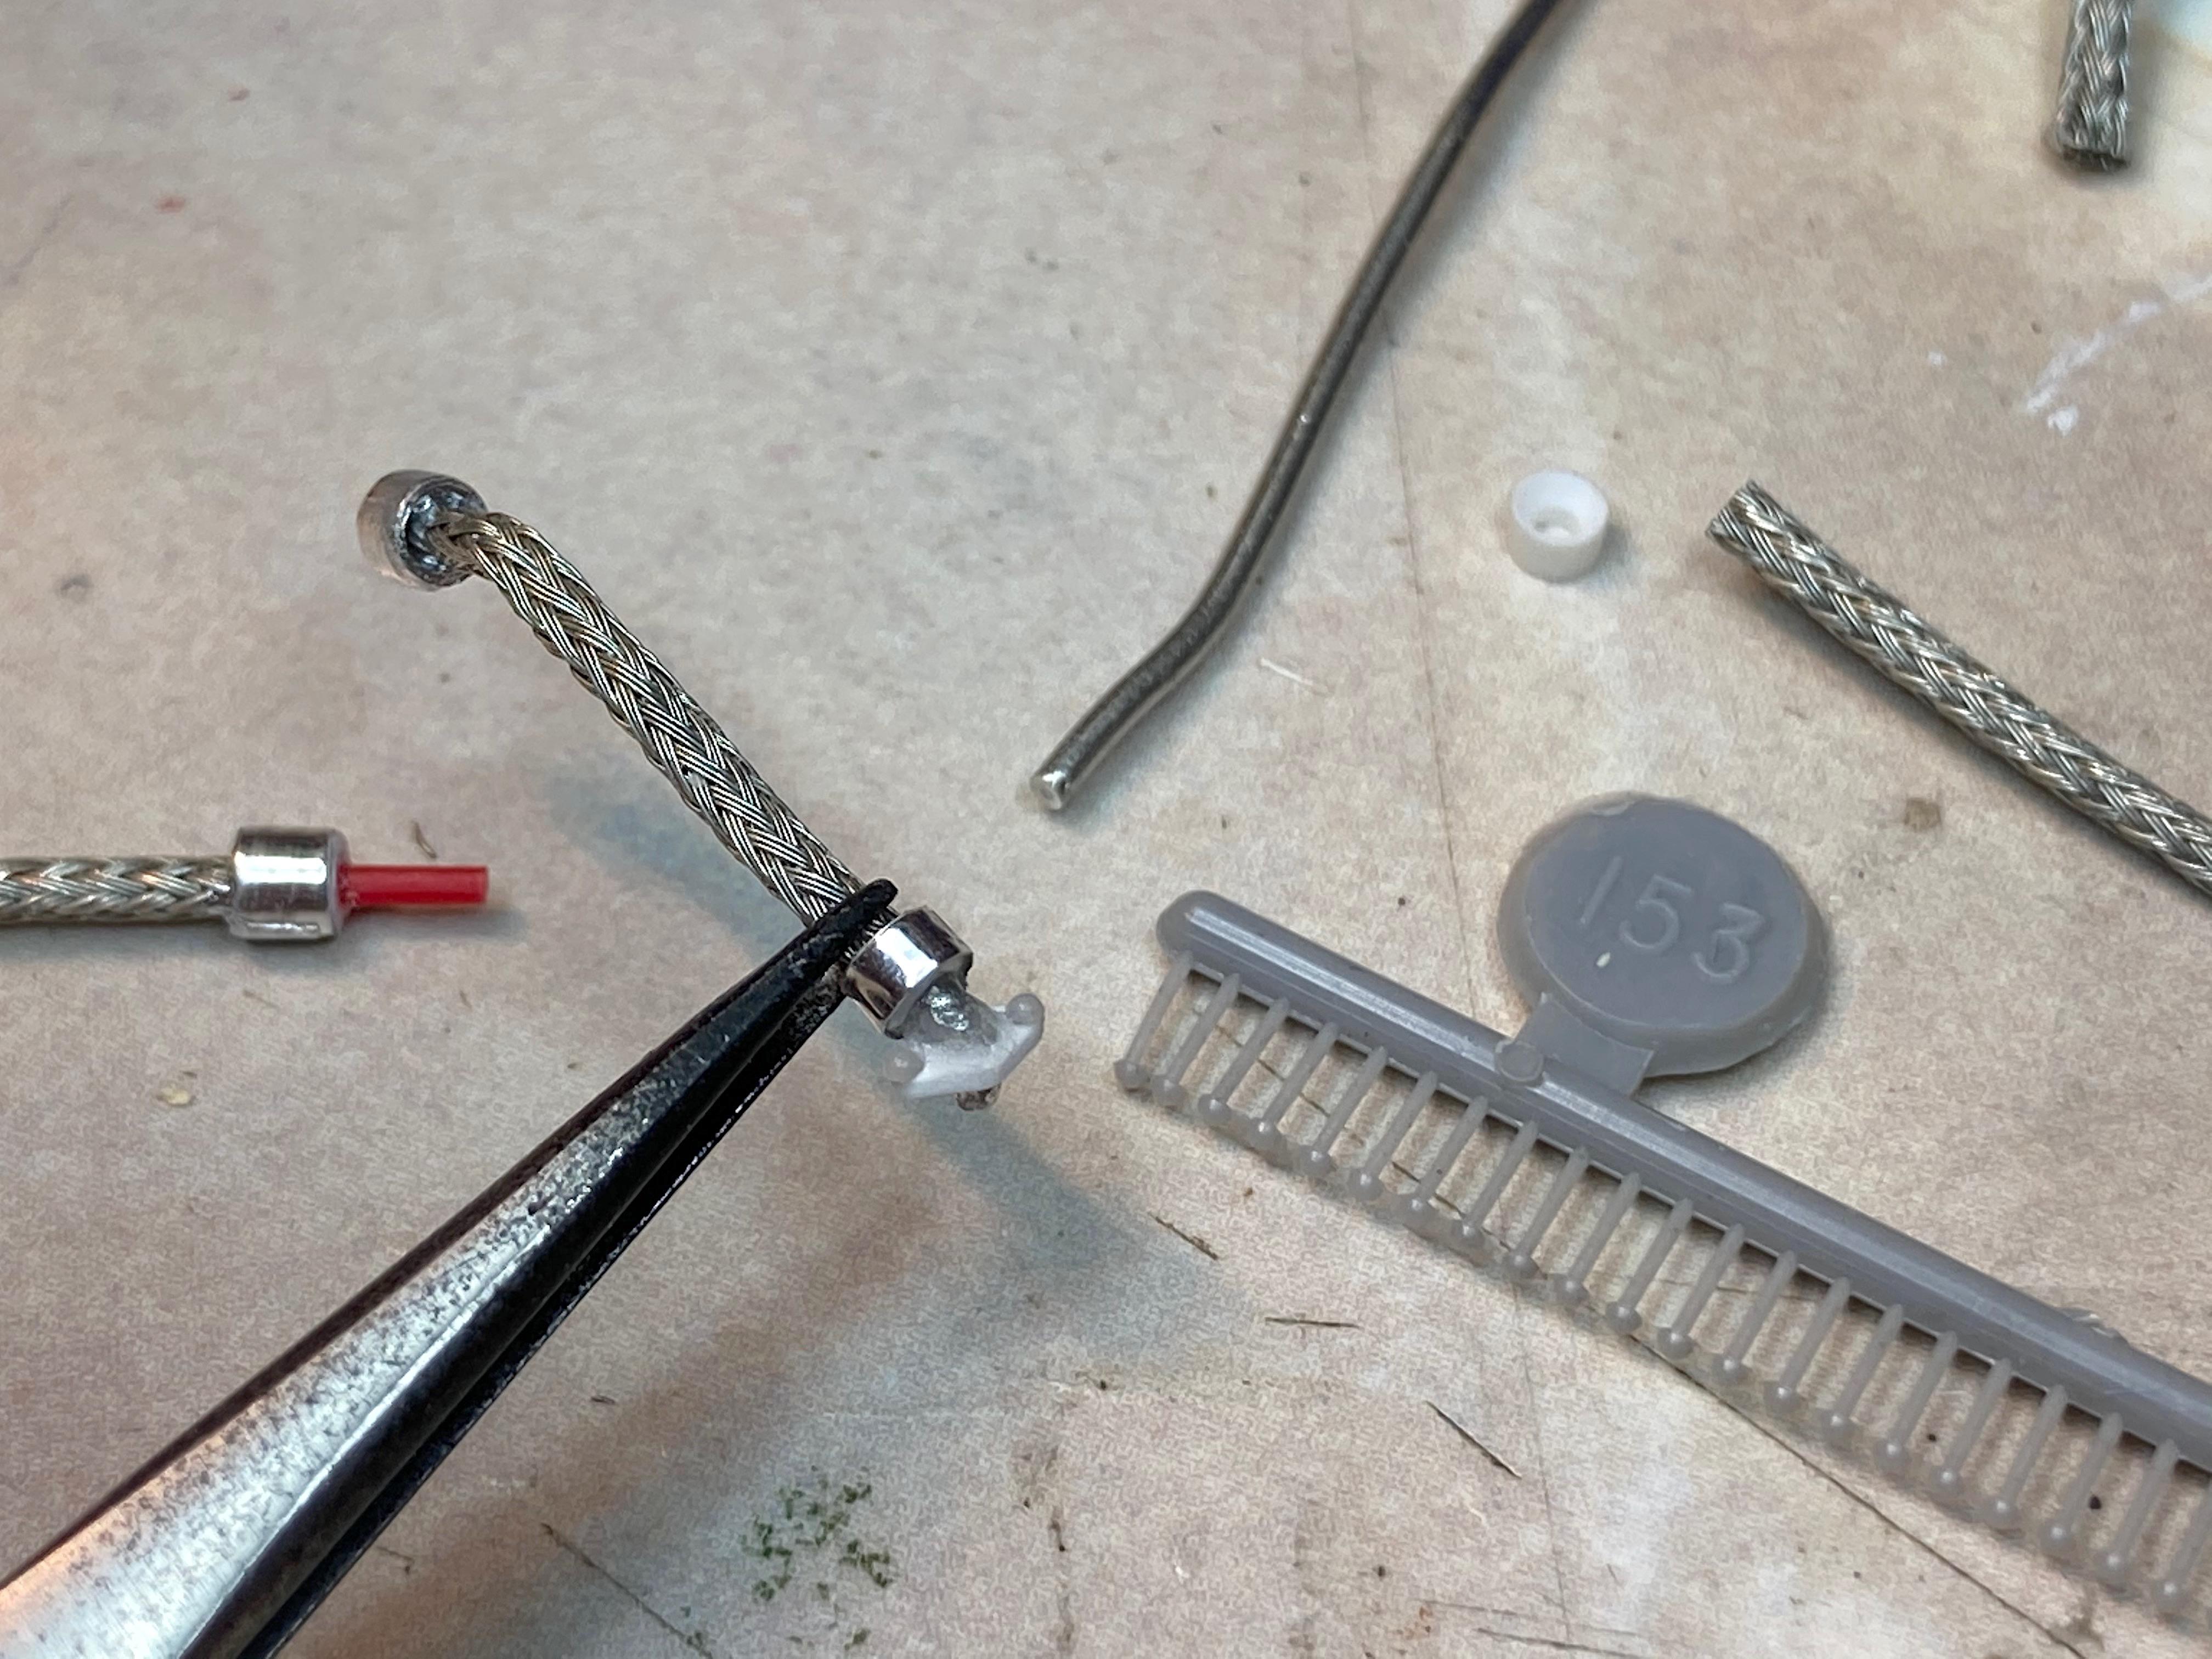
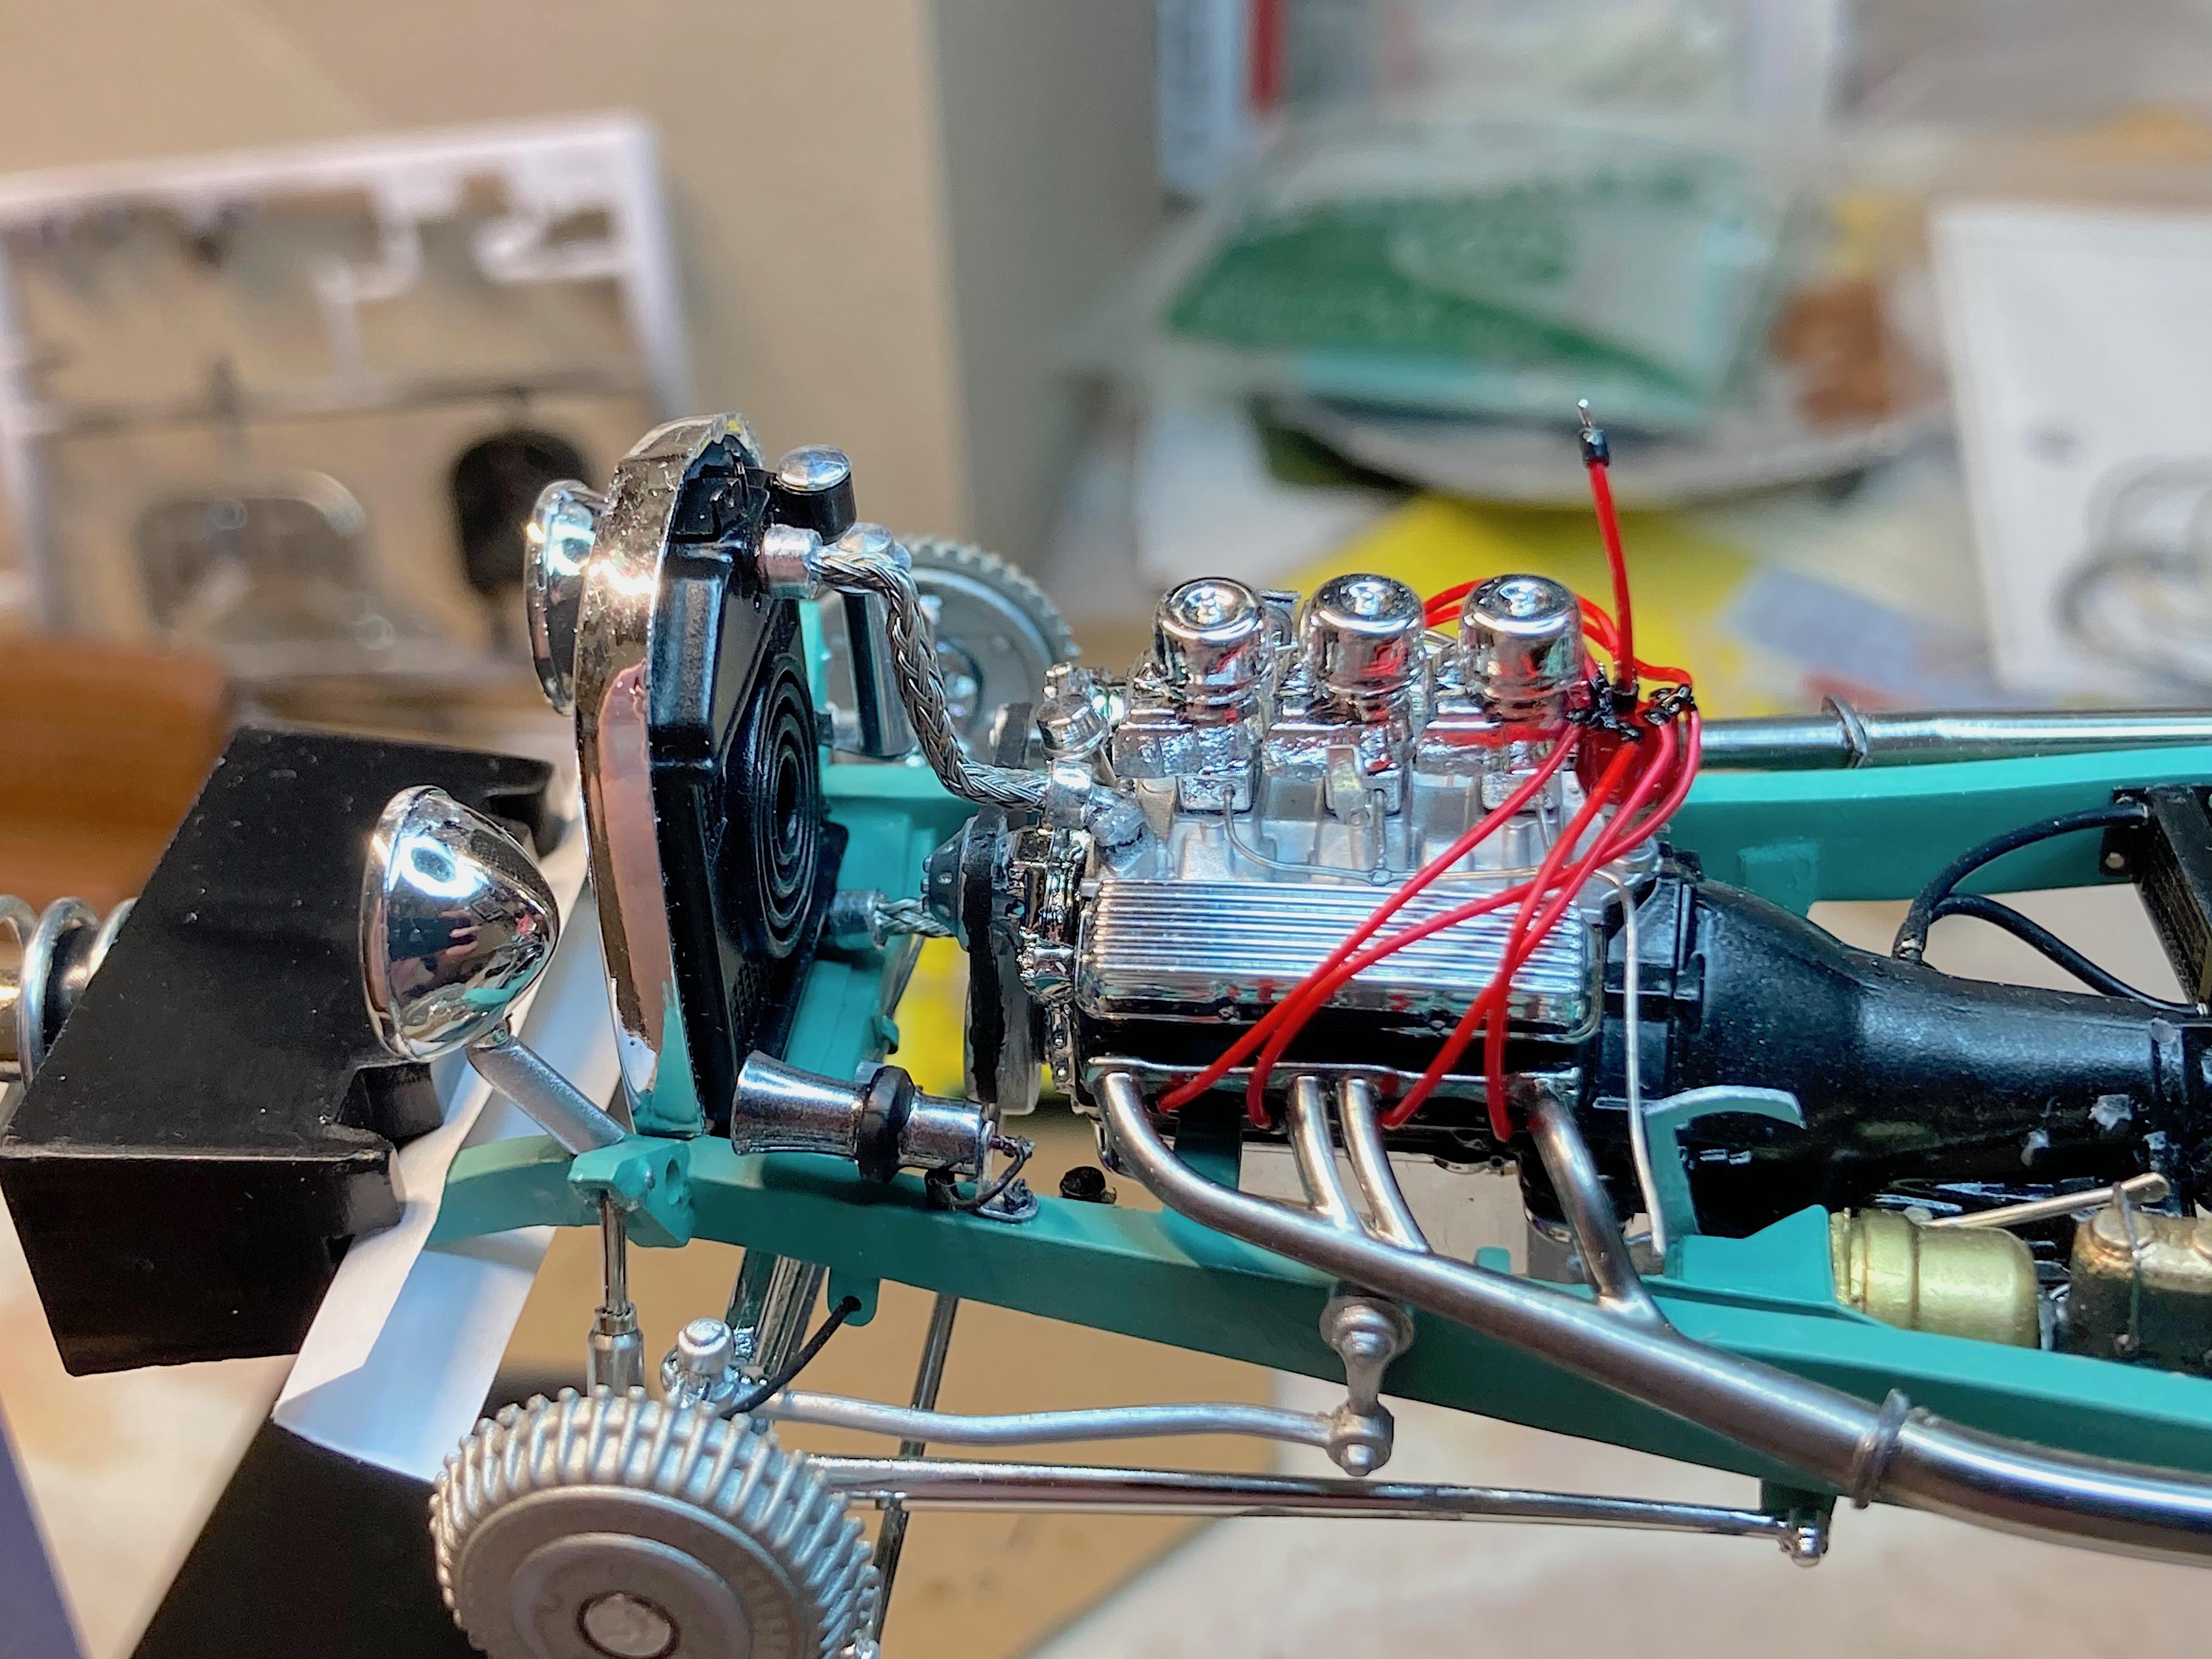
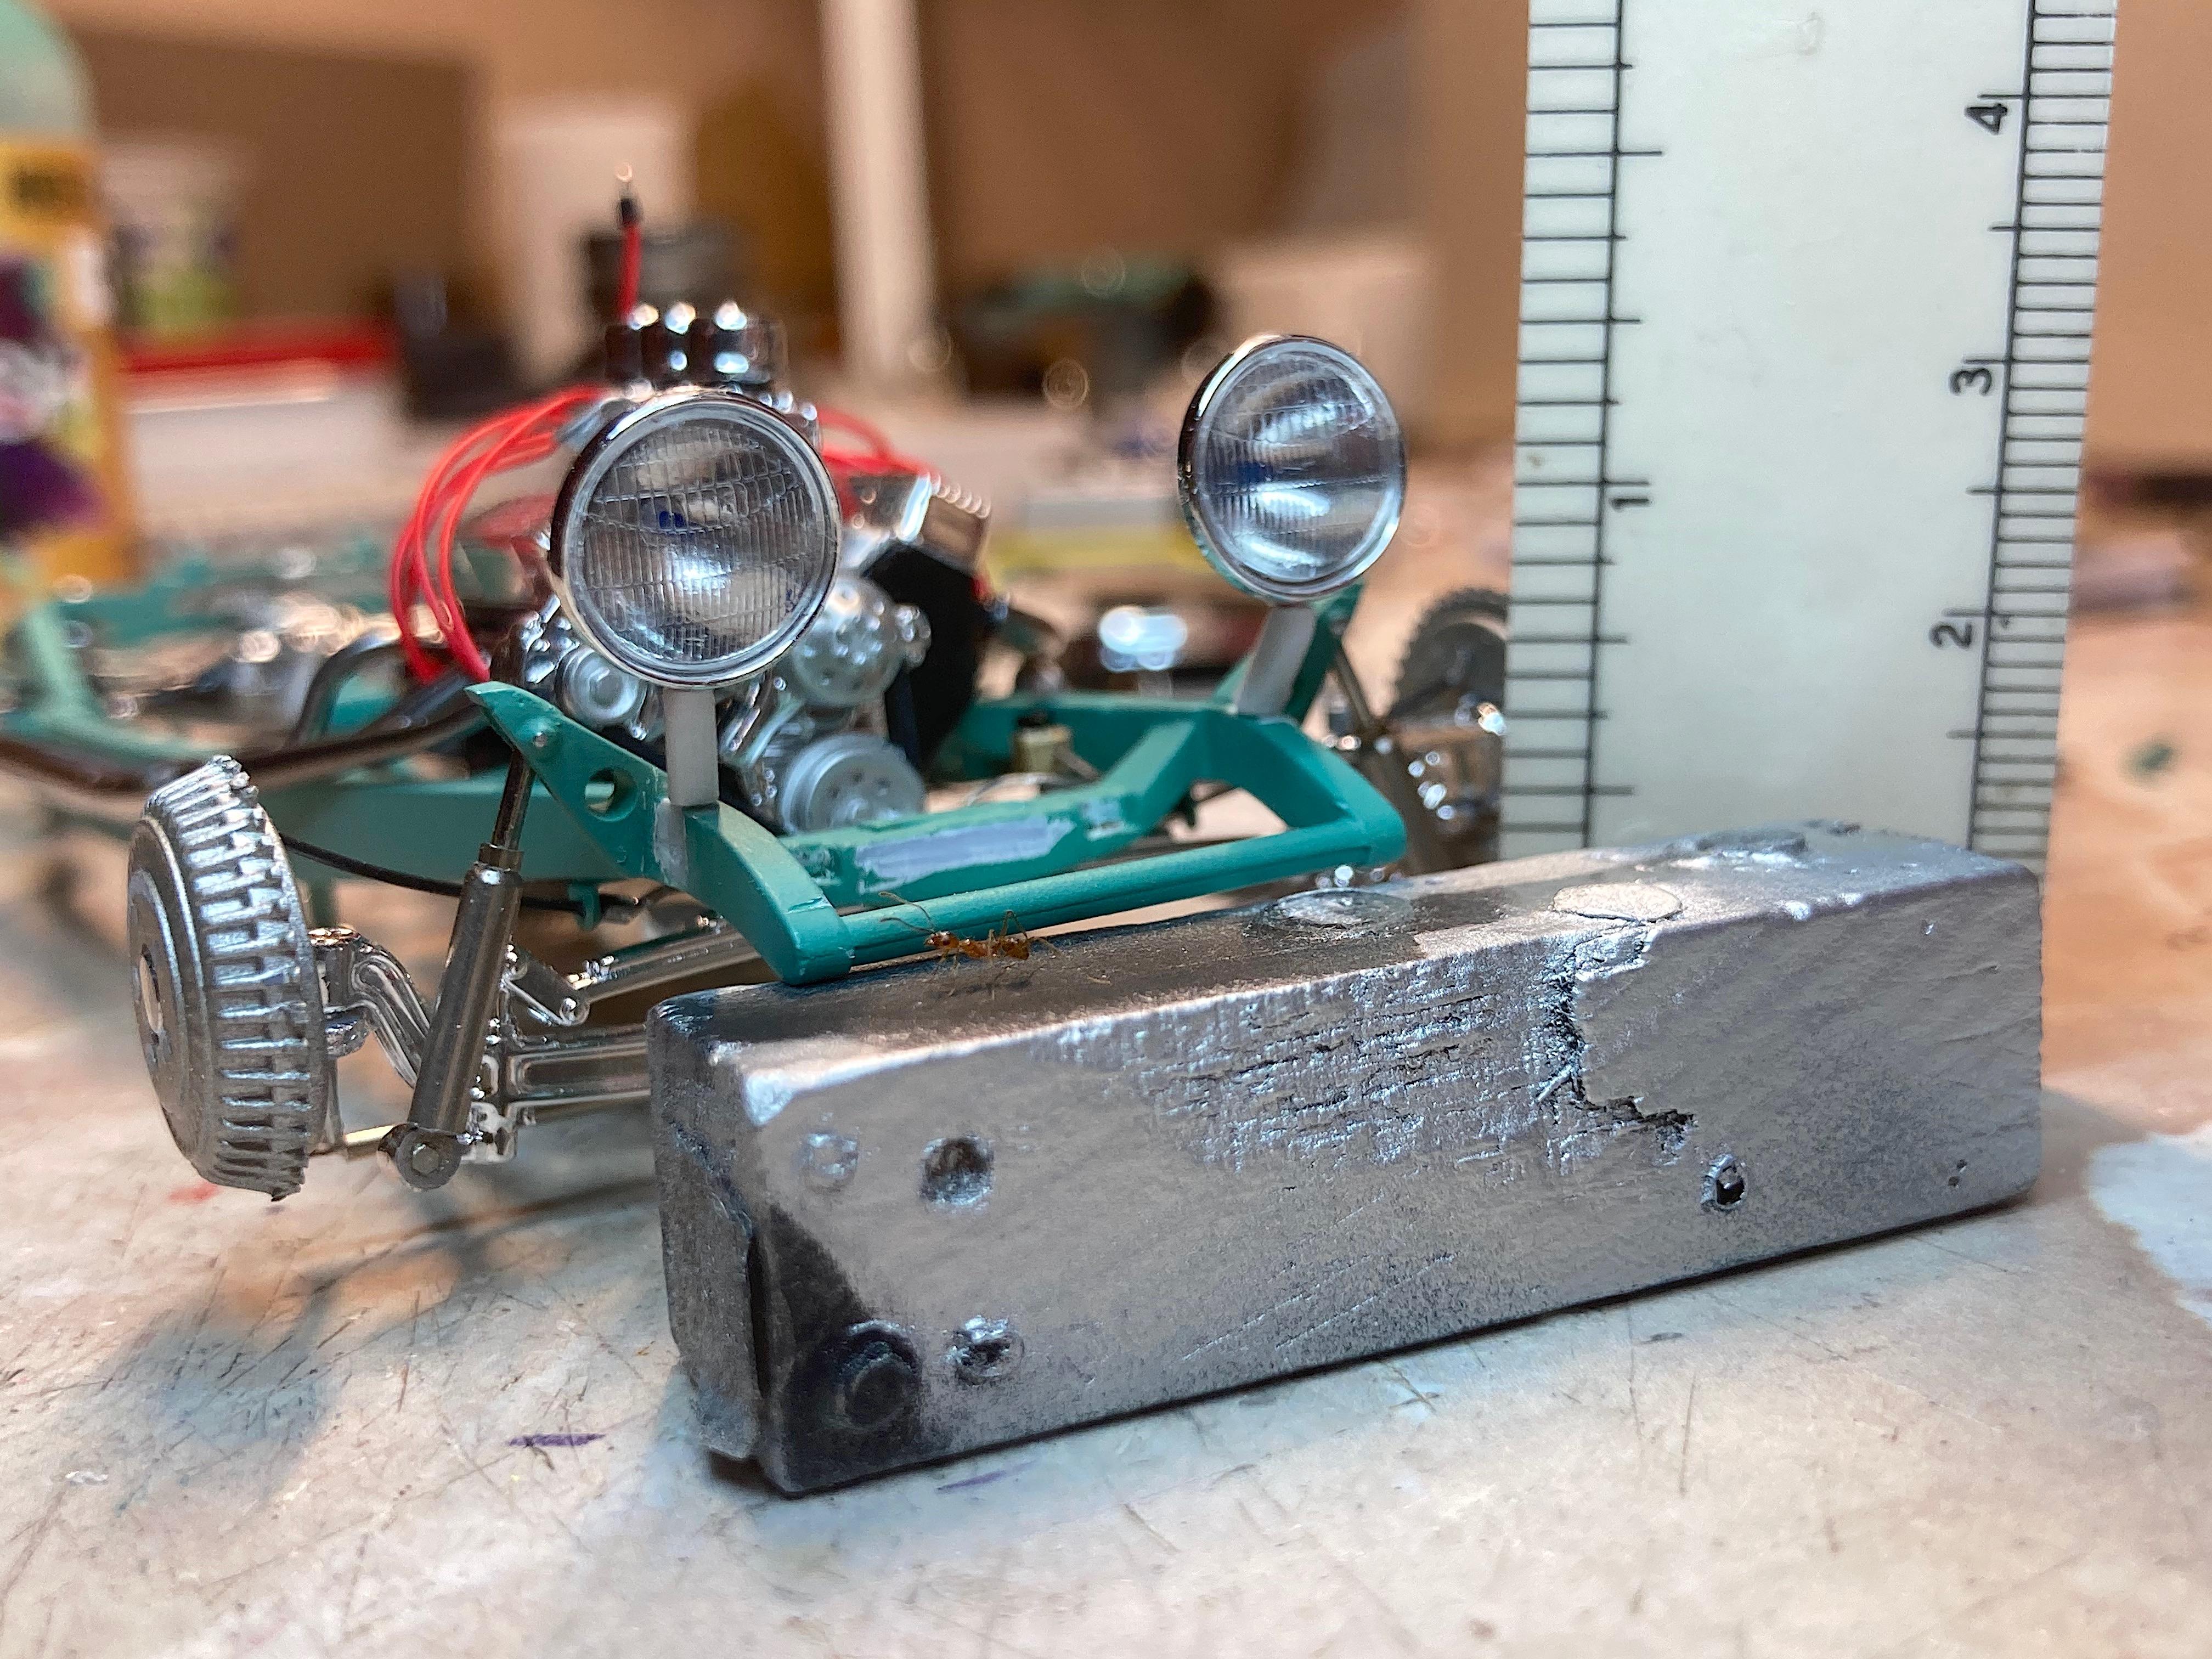
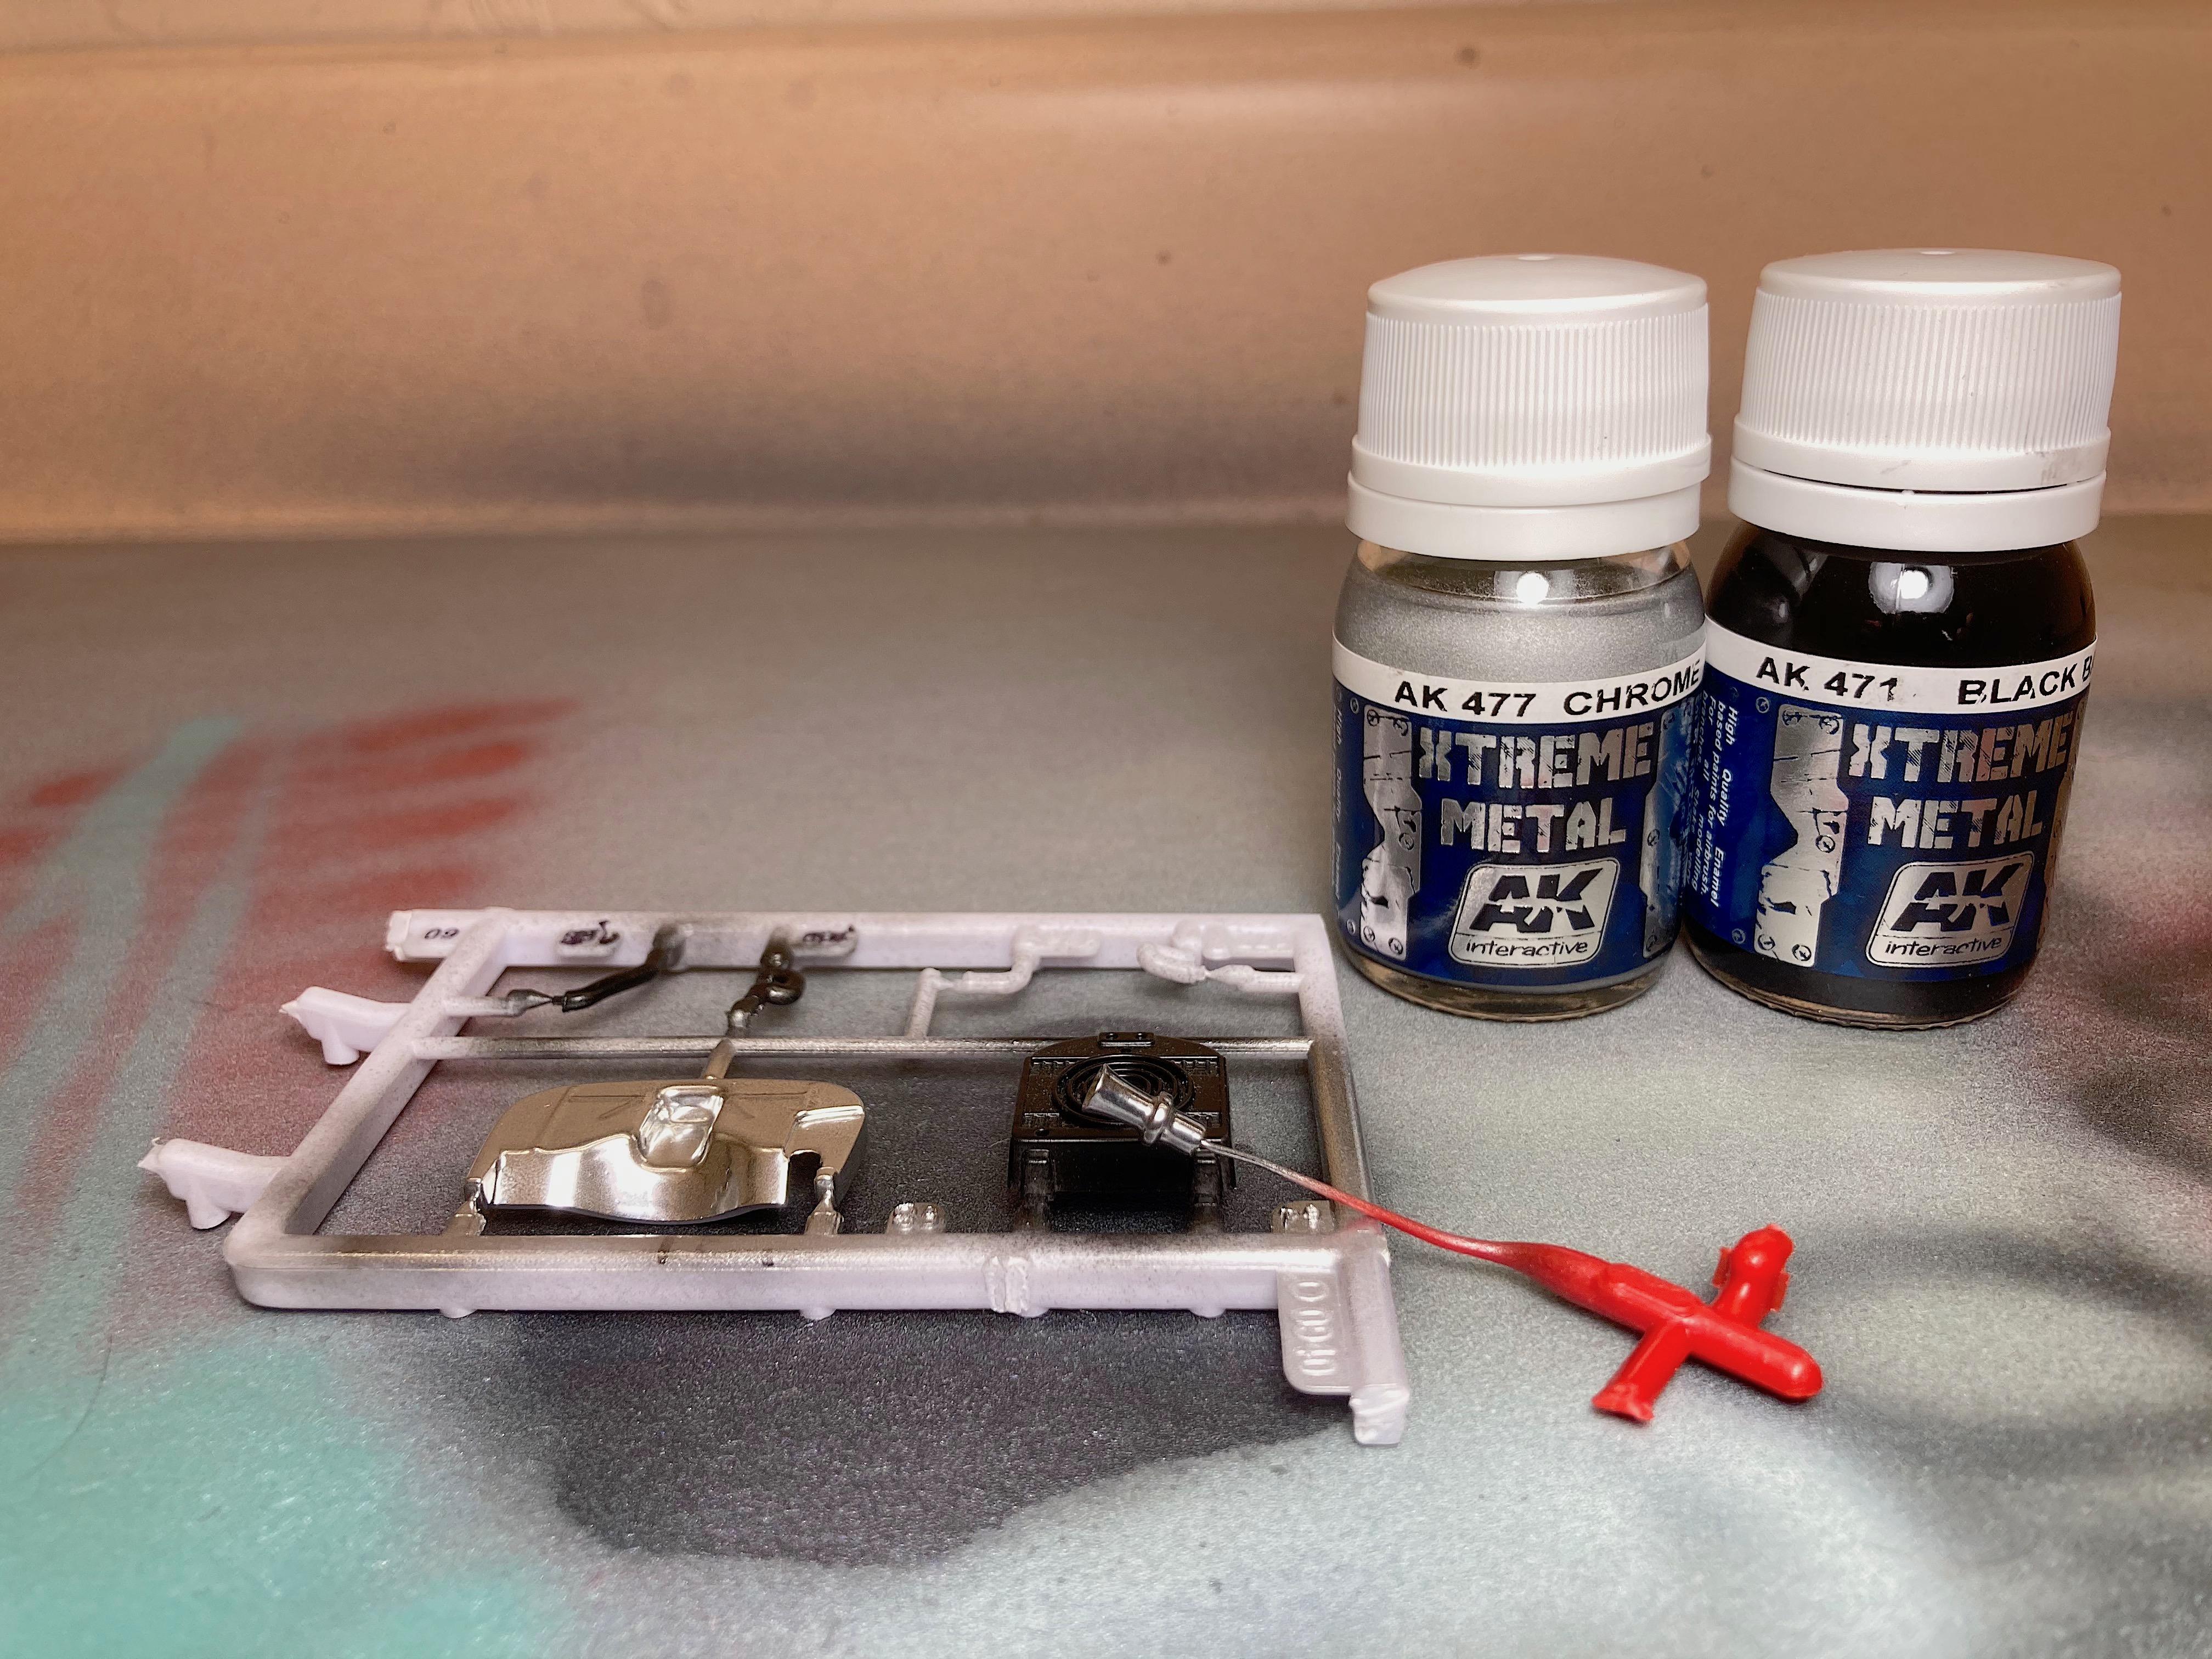
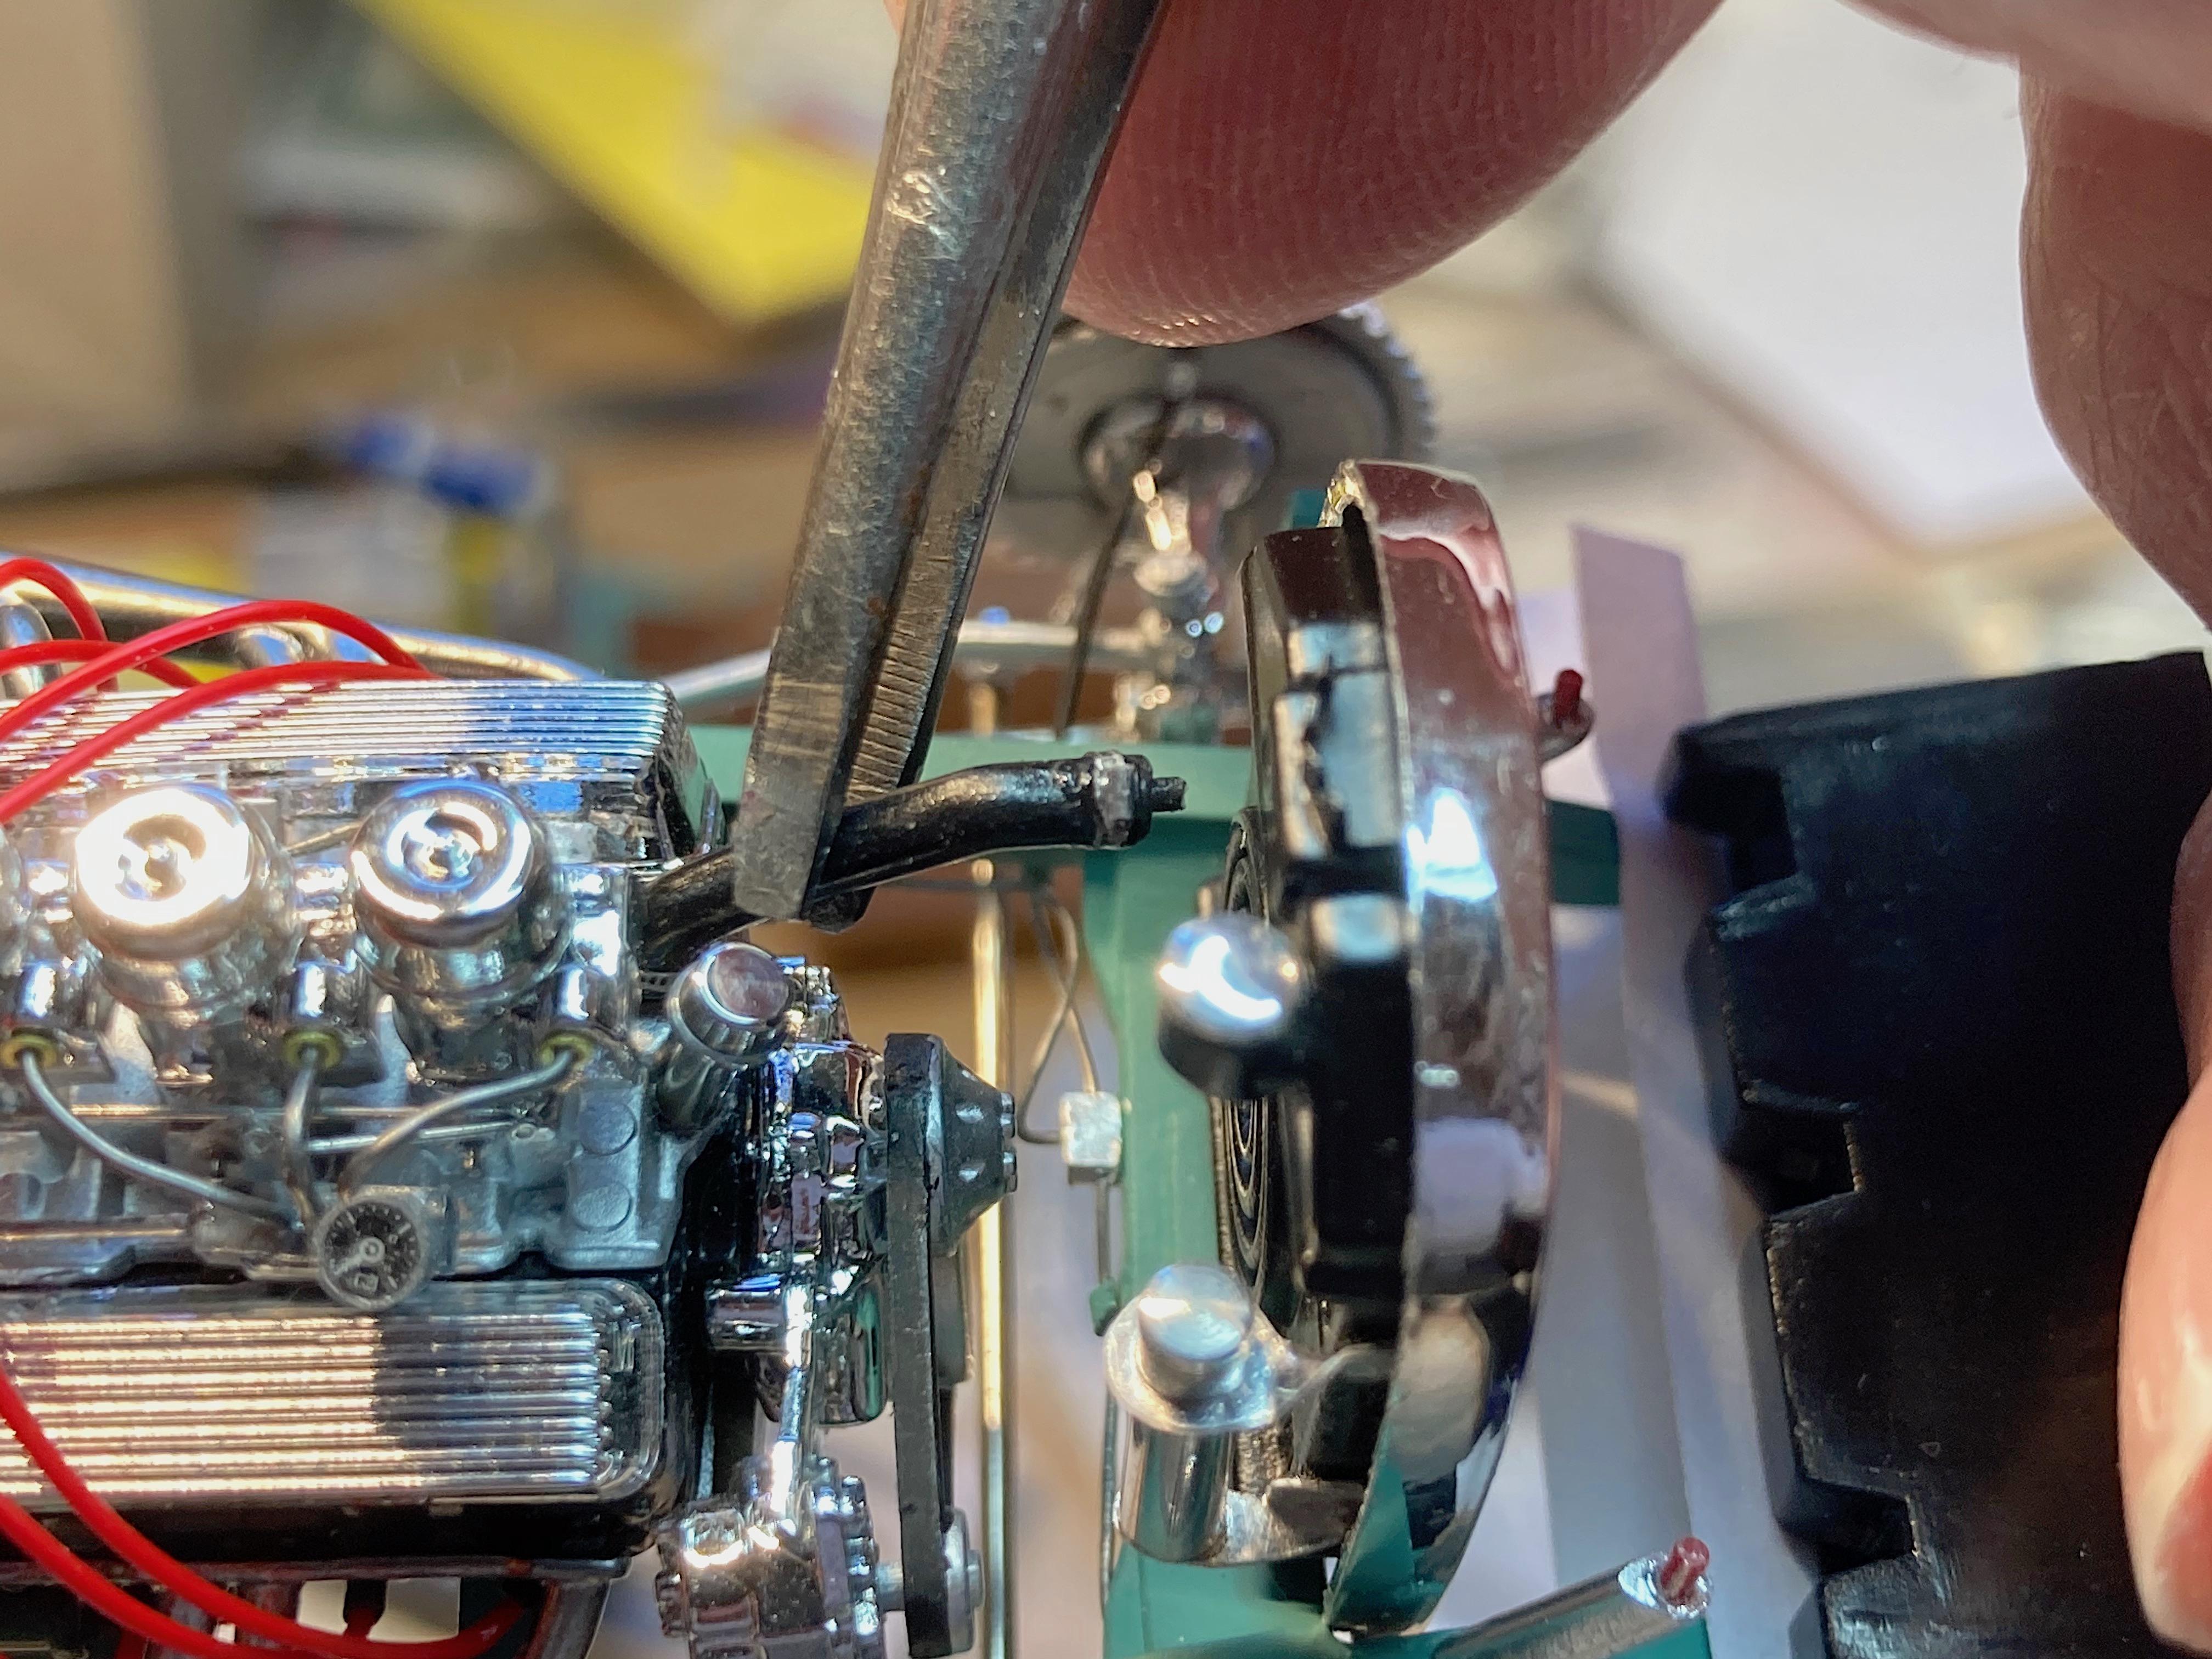
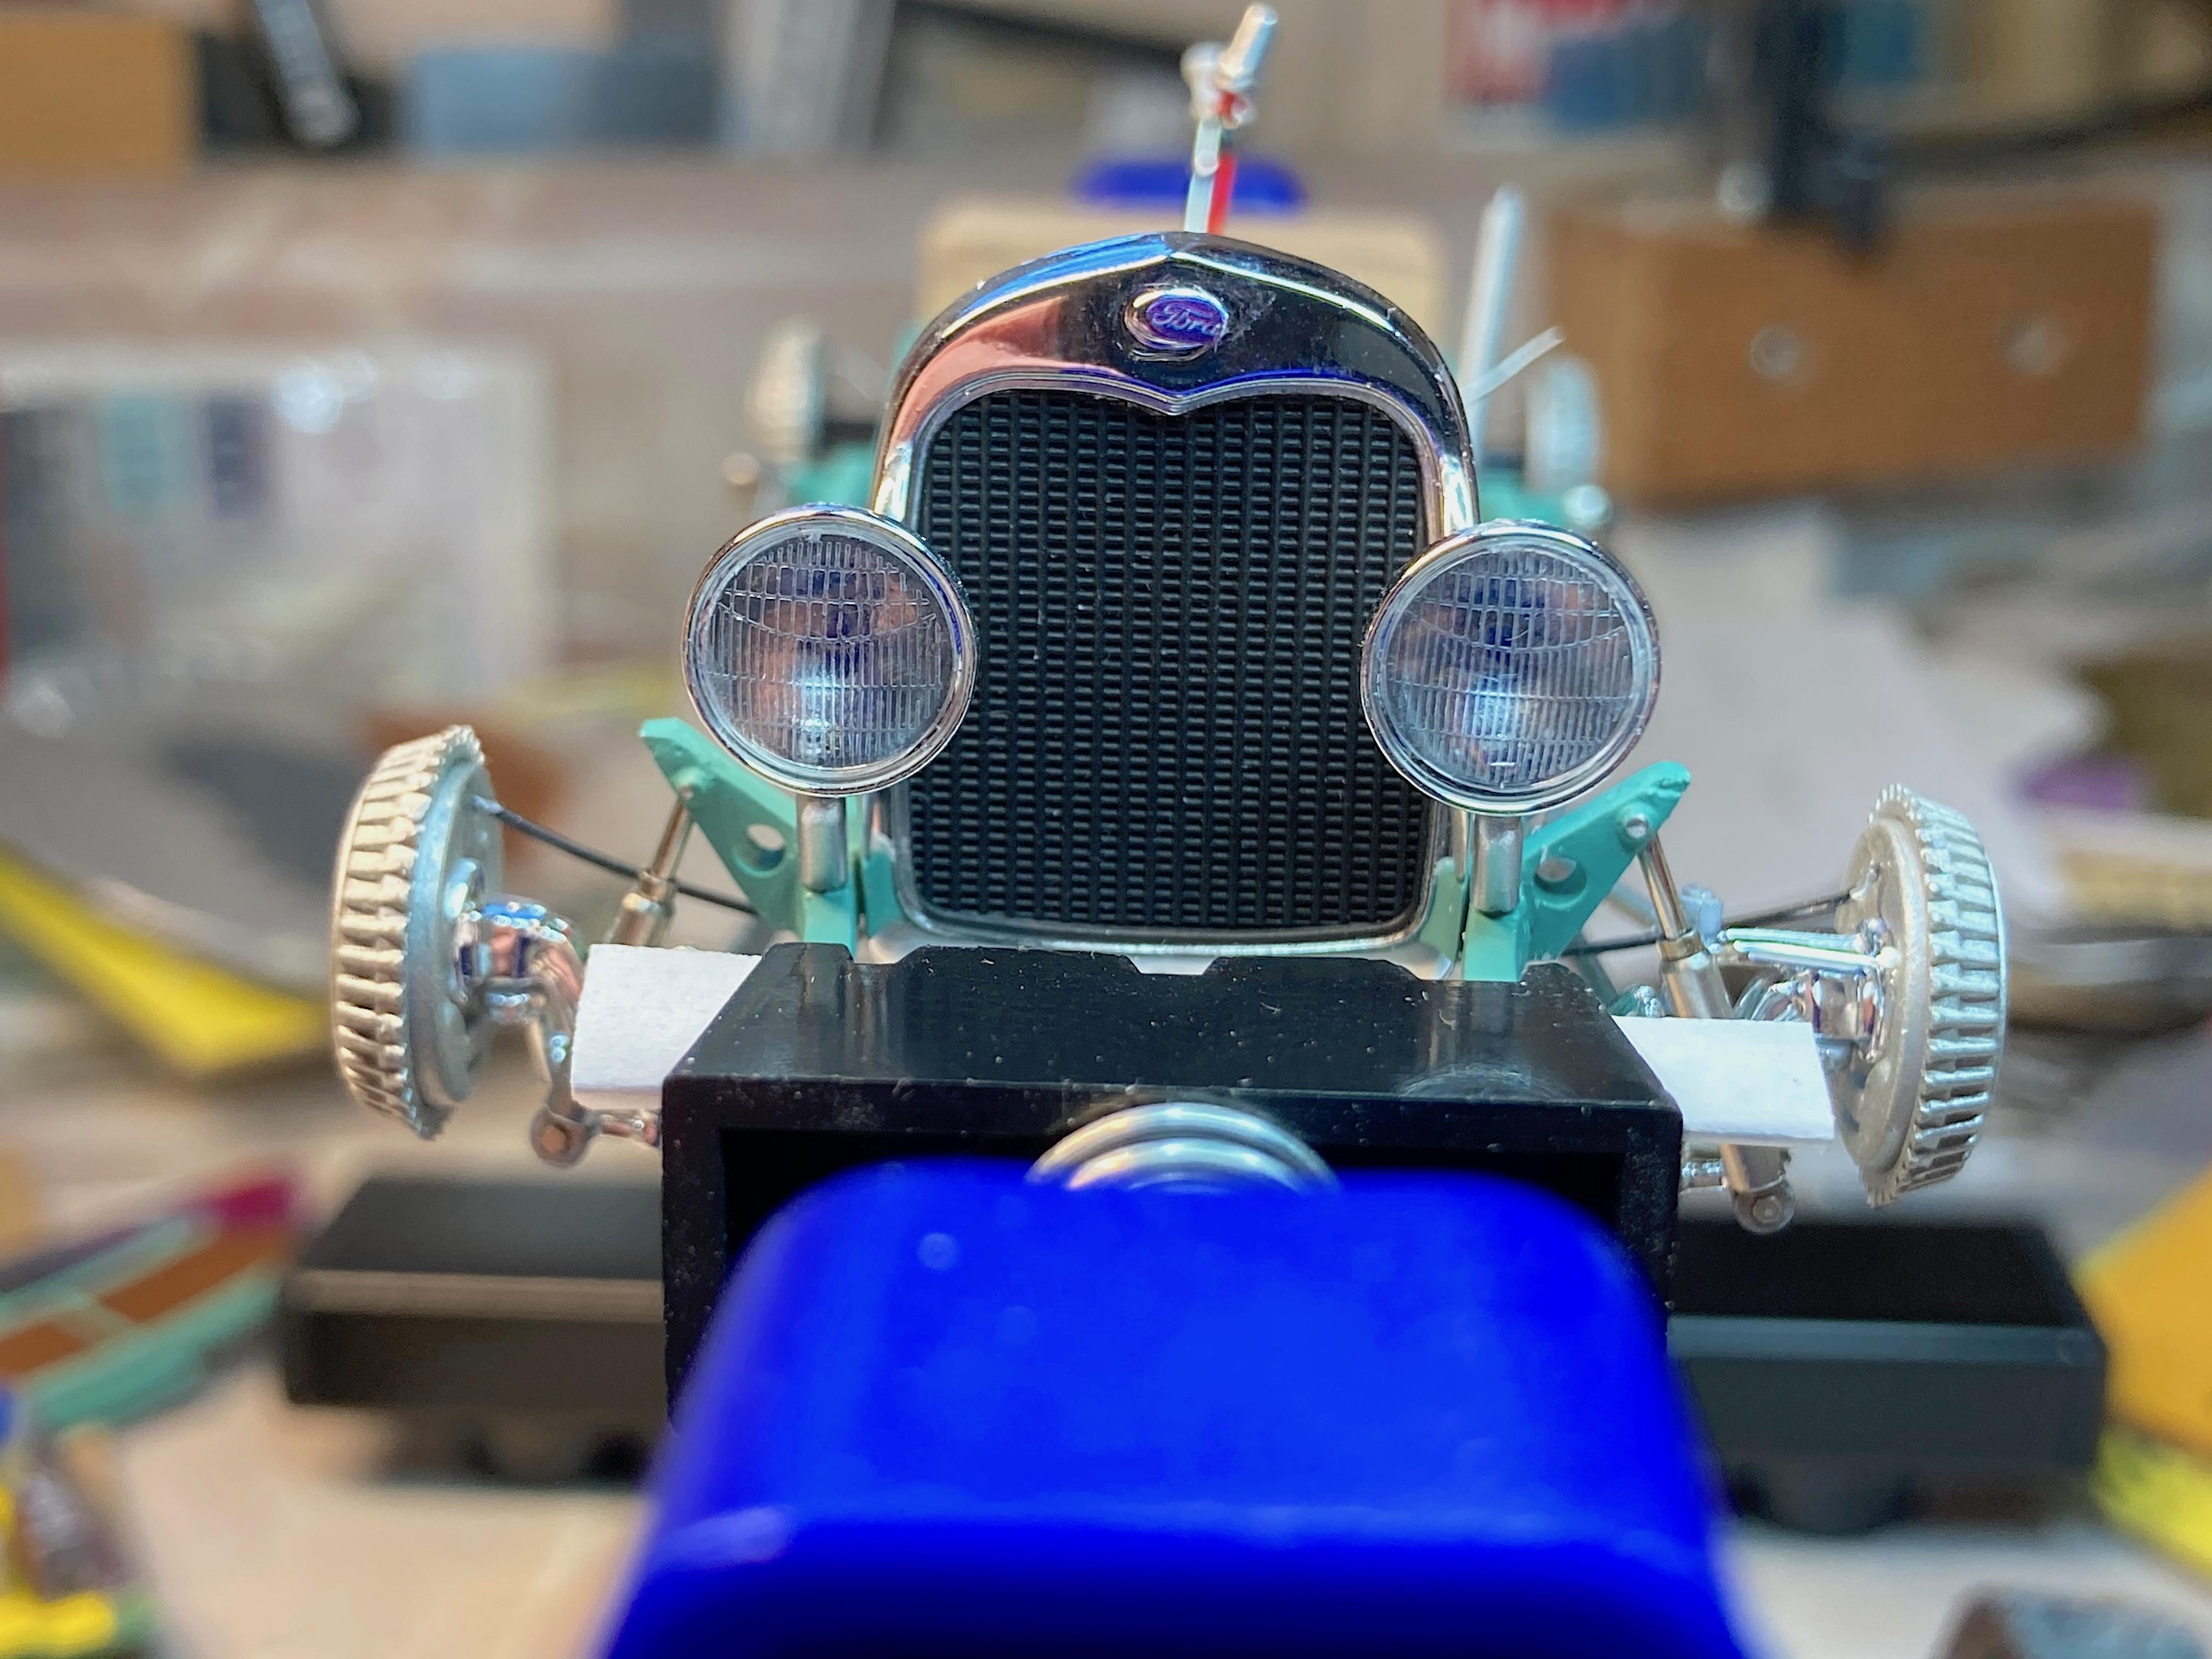
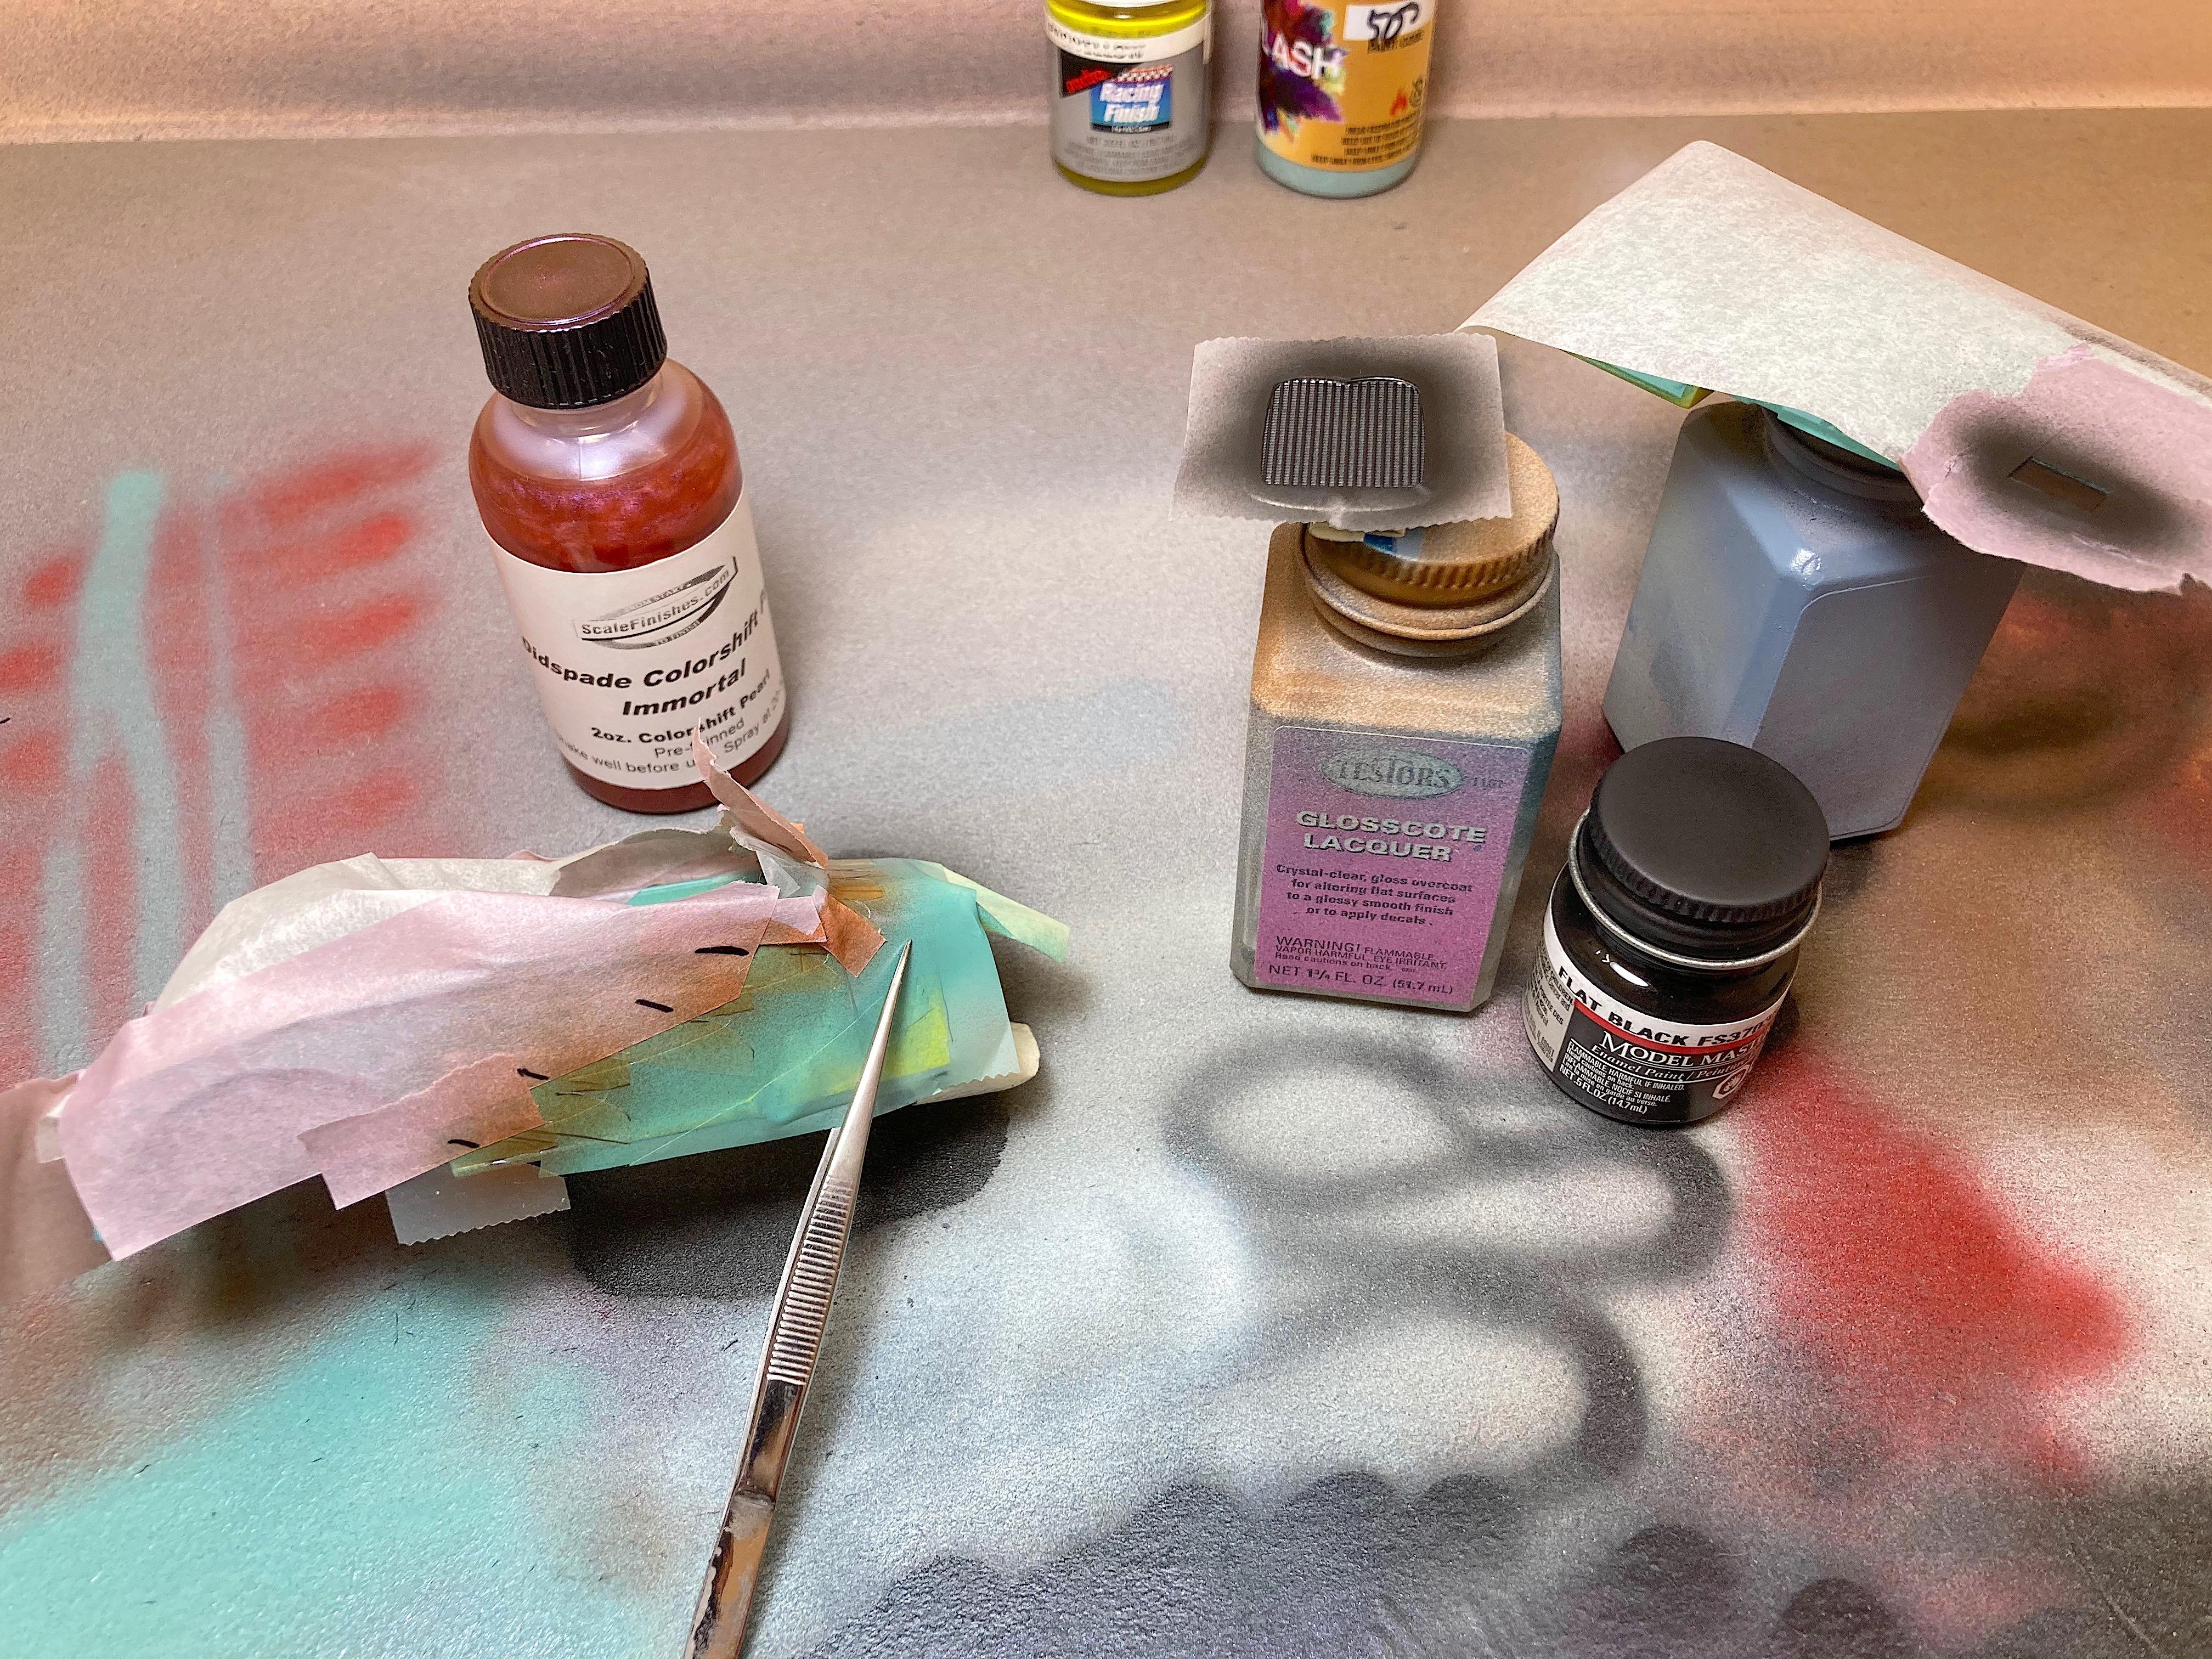
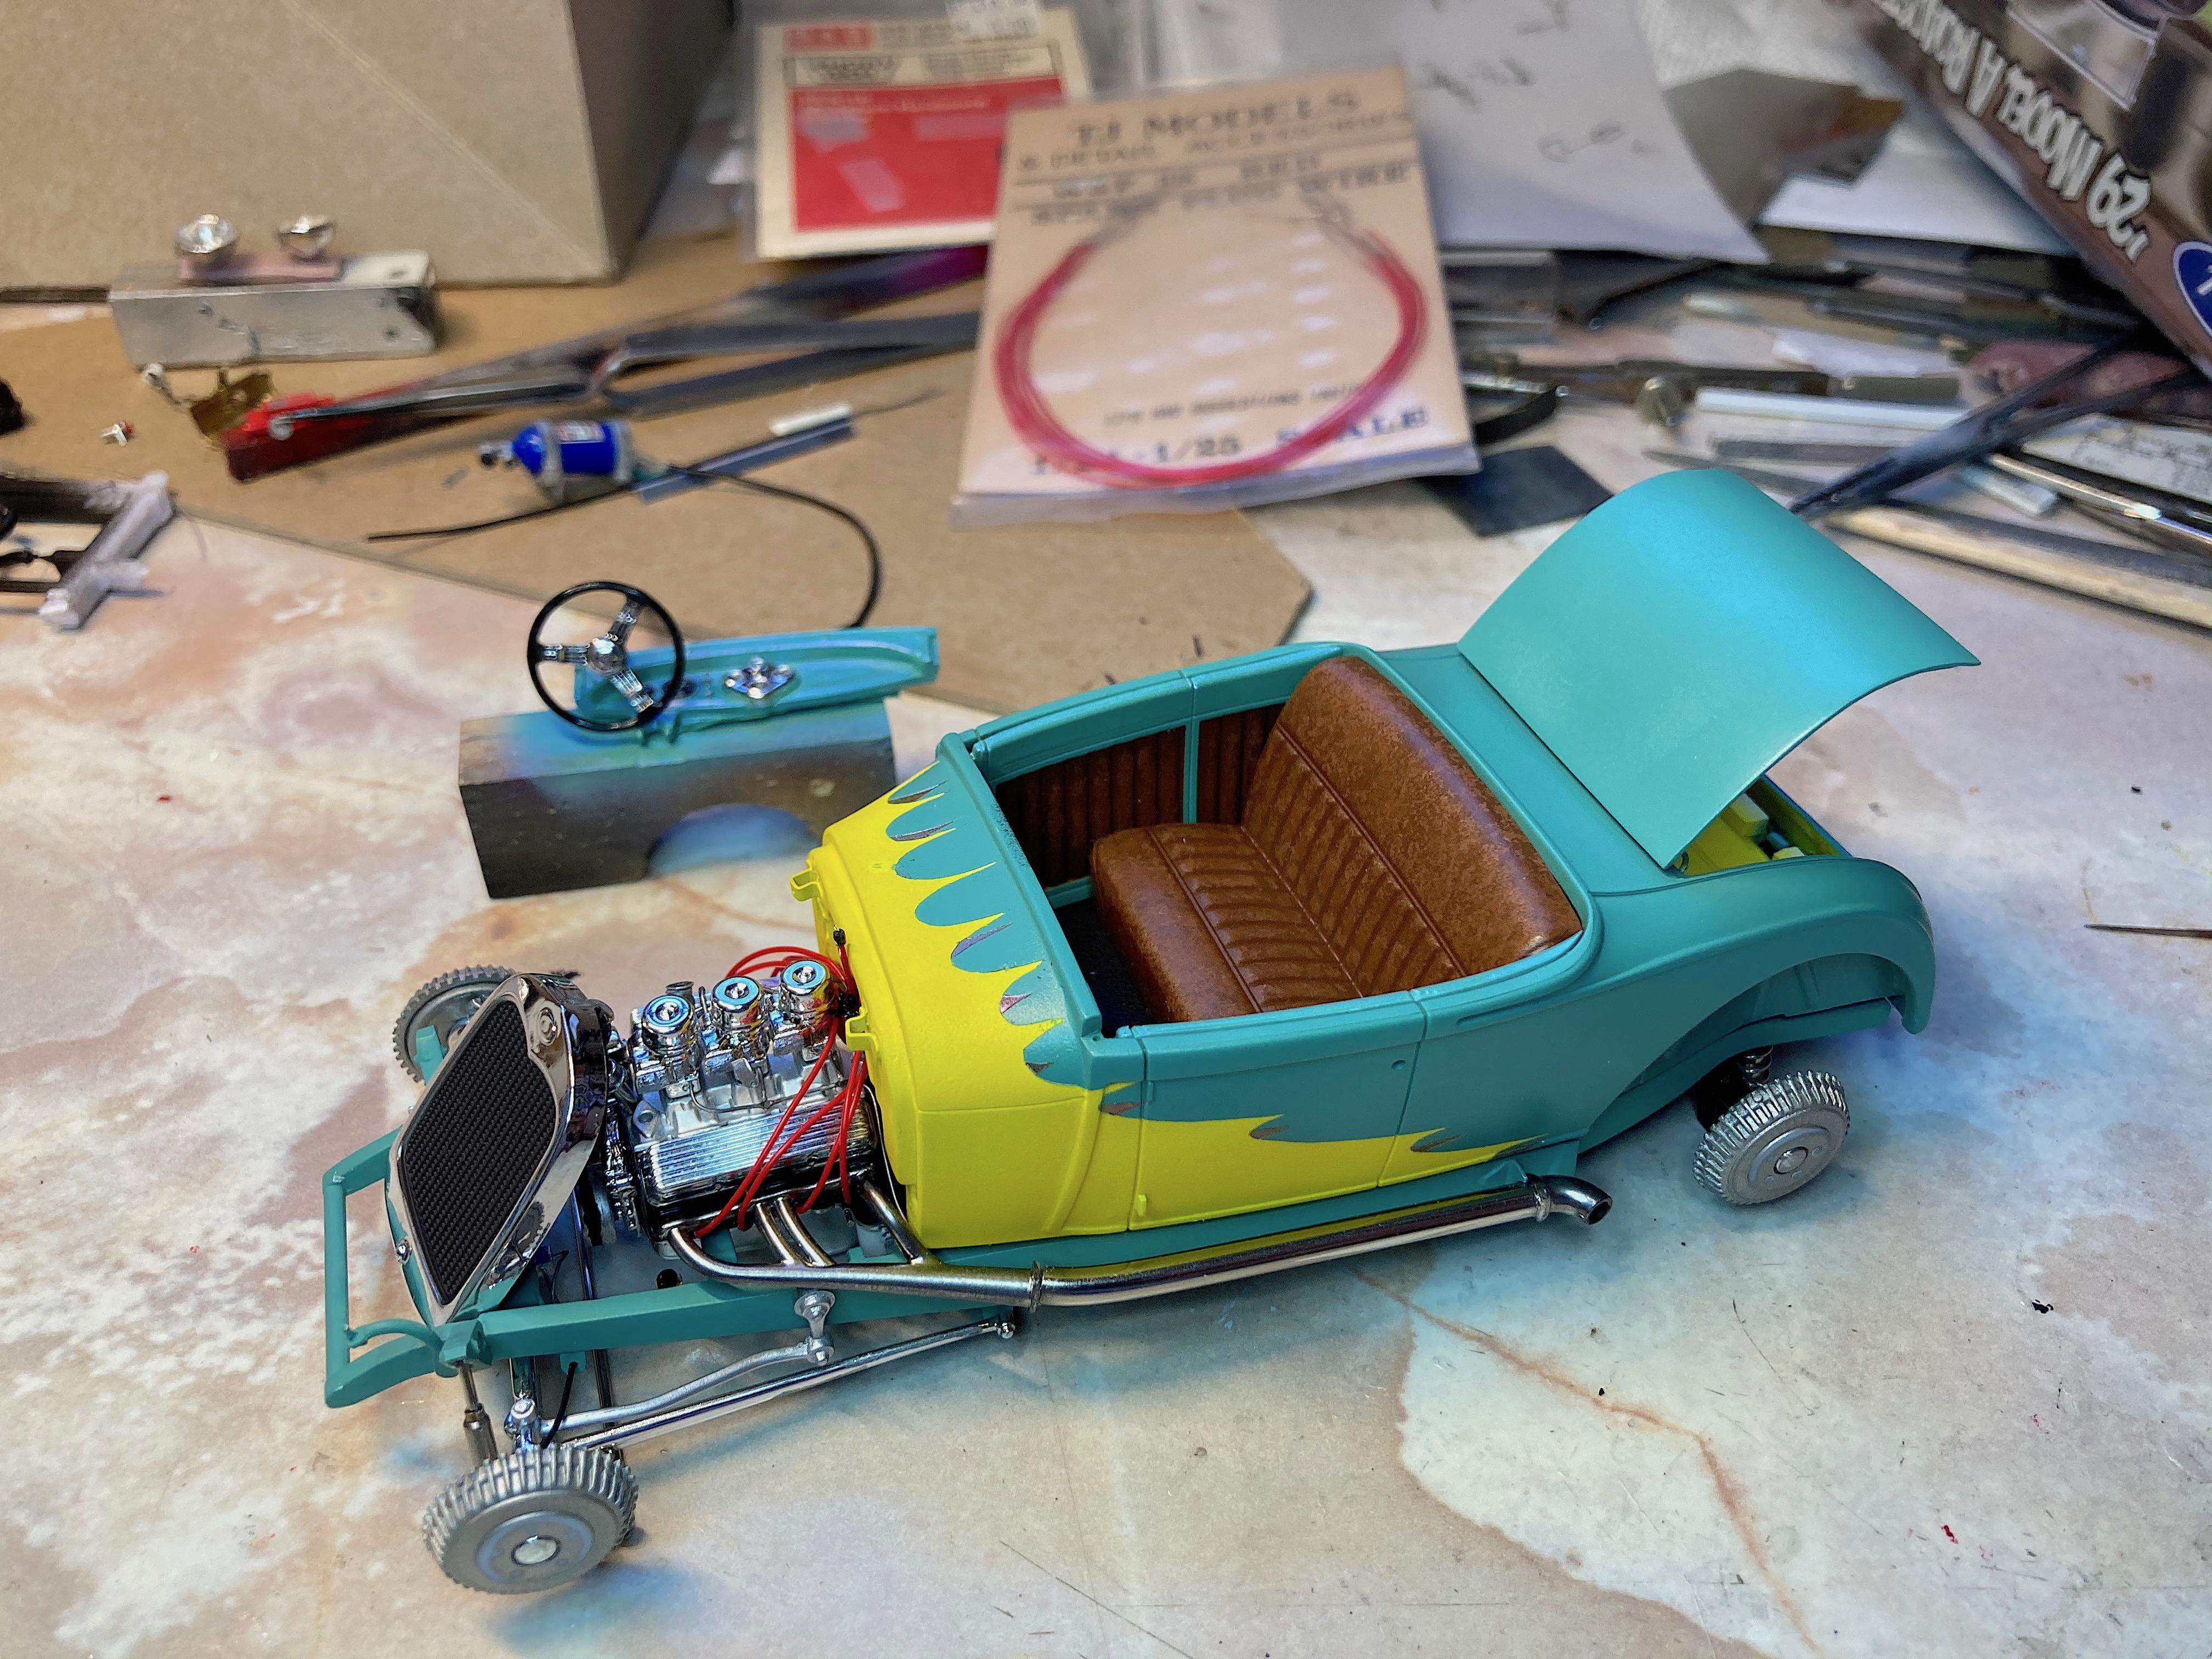
Last night I redid the headlight mounts. This time started with square Plastruct, shaped into a fat teardrop shape. First mockup showed they were too long, regulations say the center should be 24" above the surface. (1:25 scale is slightly less than 1") After modifying, wanted to try a fingernail polish that supposed to be metallic. Looks like aluminum to me. This morning I tested the Scale Finishes SUPERgloss on the paint on the tape next to the trunk, did not appear to react, so airbrushed 3 layers, waiting a minute between sessions. To avoid the temptation to touch the body, thought the car needed a horn. This is a part that manufacturers usually overlook. Found an "Ahooga" horn, dug deeper to find the length is 9" so I could eyeball the rest of the dimensions. Used the drill press and Dremel to rough out the shape, then files and sanding sticks, drilled a hole in the end then used a #11 blade to turn the hole. The rear cylinder is off center on the real thing, I didn't think it mattered. Was finishing up with new steel wool, which caught and broke it off, but didn't wreck it. ? First time I've used AK Interactive Xtreme Metal to do chrome. Tested a left over part from the kit for big part. Their black seems to self level, at first I thought it was not going on right, did several light coats. Did the chrome about an hour later. I think it's better than Alclad. Wasted time on adding Detail Master photo-etch hose clamps to the radiator hoses. Come to find out, they are too short, and none of the other hoses work either! ? What did I do wrong? I could use electrical wire to make hoses. Then remembered that I have braided wire, dug it out, and now I'm saved. Chassis is back in the jig. Mocked up some parts that are waiting for the final body - frame assembly. It's going to be fun to get the shifter, gas pedal arm, and steering shaft to cooperate. The horn is glued on. Glued the headlights on too, it was a trick to get them aligned in 3 dimensions. Sort of looks like a Model T. I'm really ticked off about the Ford emblem, the decal stuck good when put on, and didn't want to slide into position. So now I will have to do bug splat weathering.
-
is missing instructions
-
That's a foreign concept for me. ? I love watching the WRC, those drivers know how to drive on snow/ice! Watched some snowmobile drag racing awhile ago, they zip! But in AZ, it's more fun to watch people who have moved here from CA, being stupid. I used to ski, so could drive okay. I would love to try that course out.
-
and the waitress
-
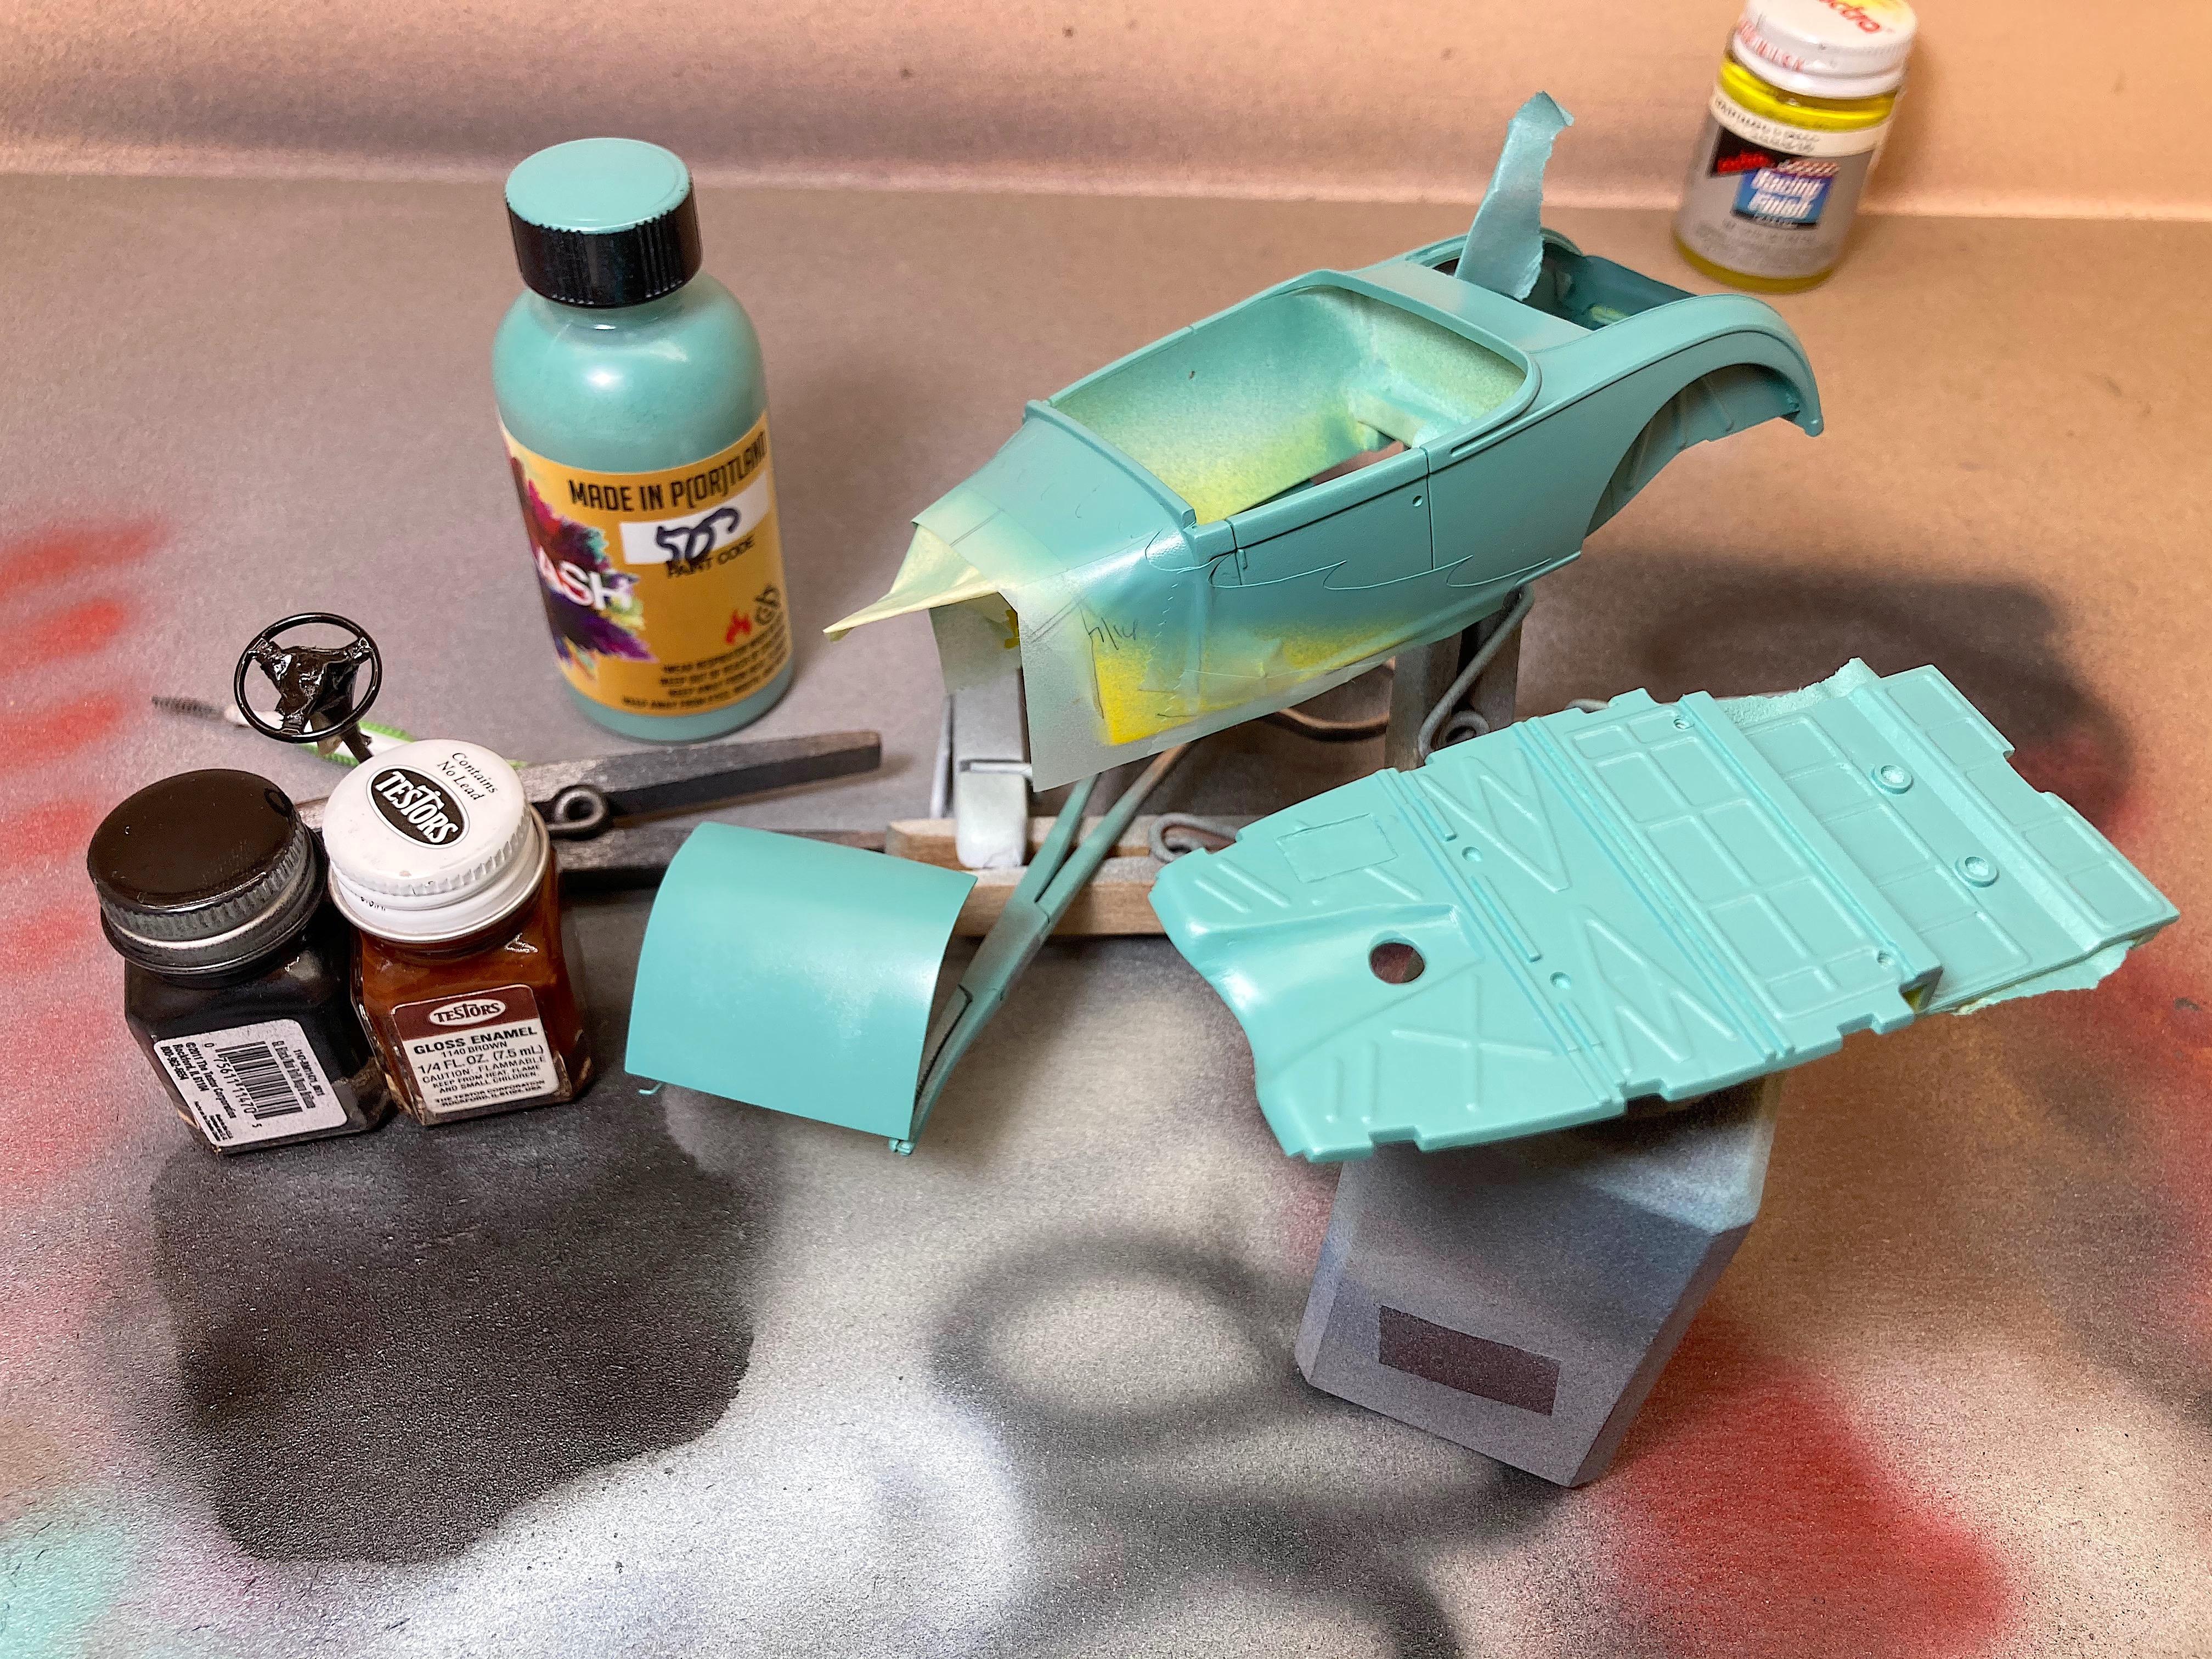
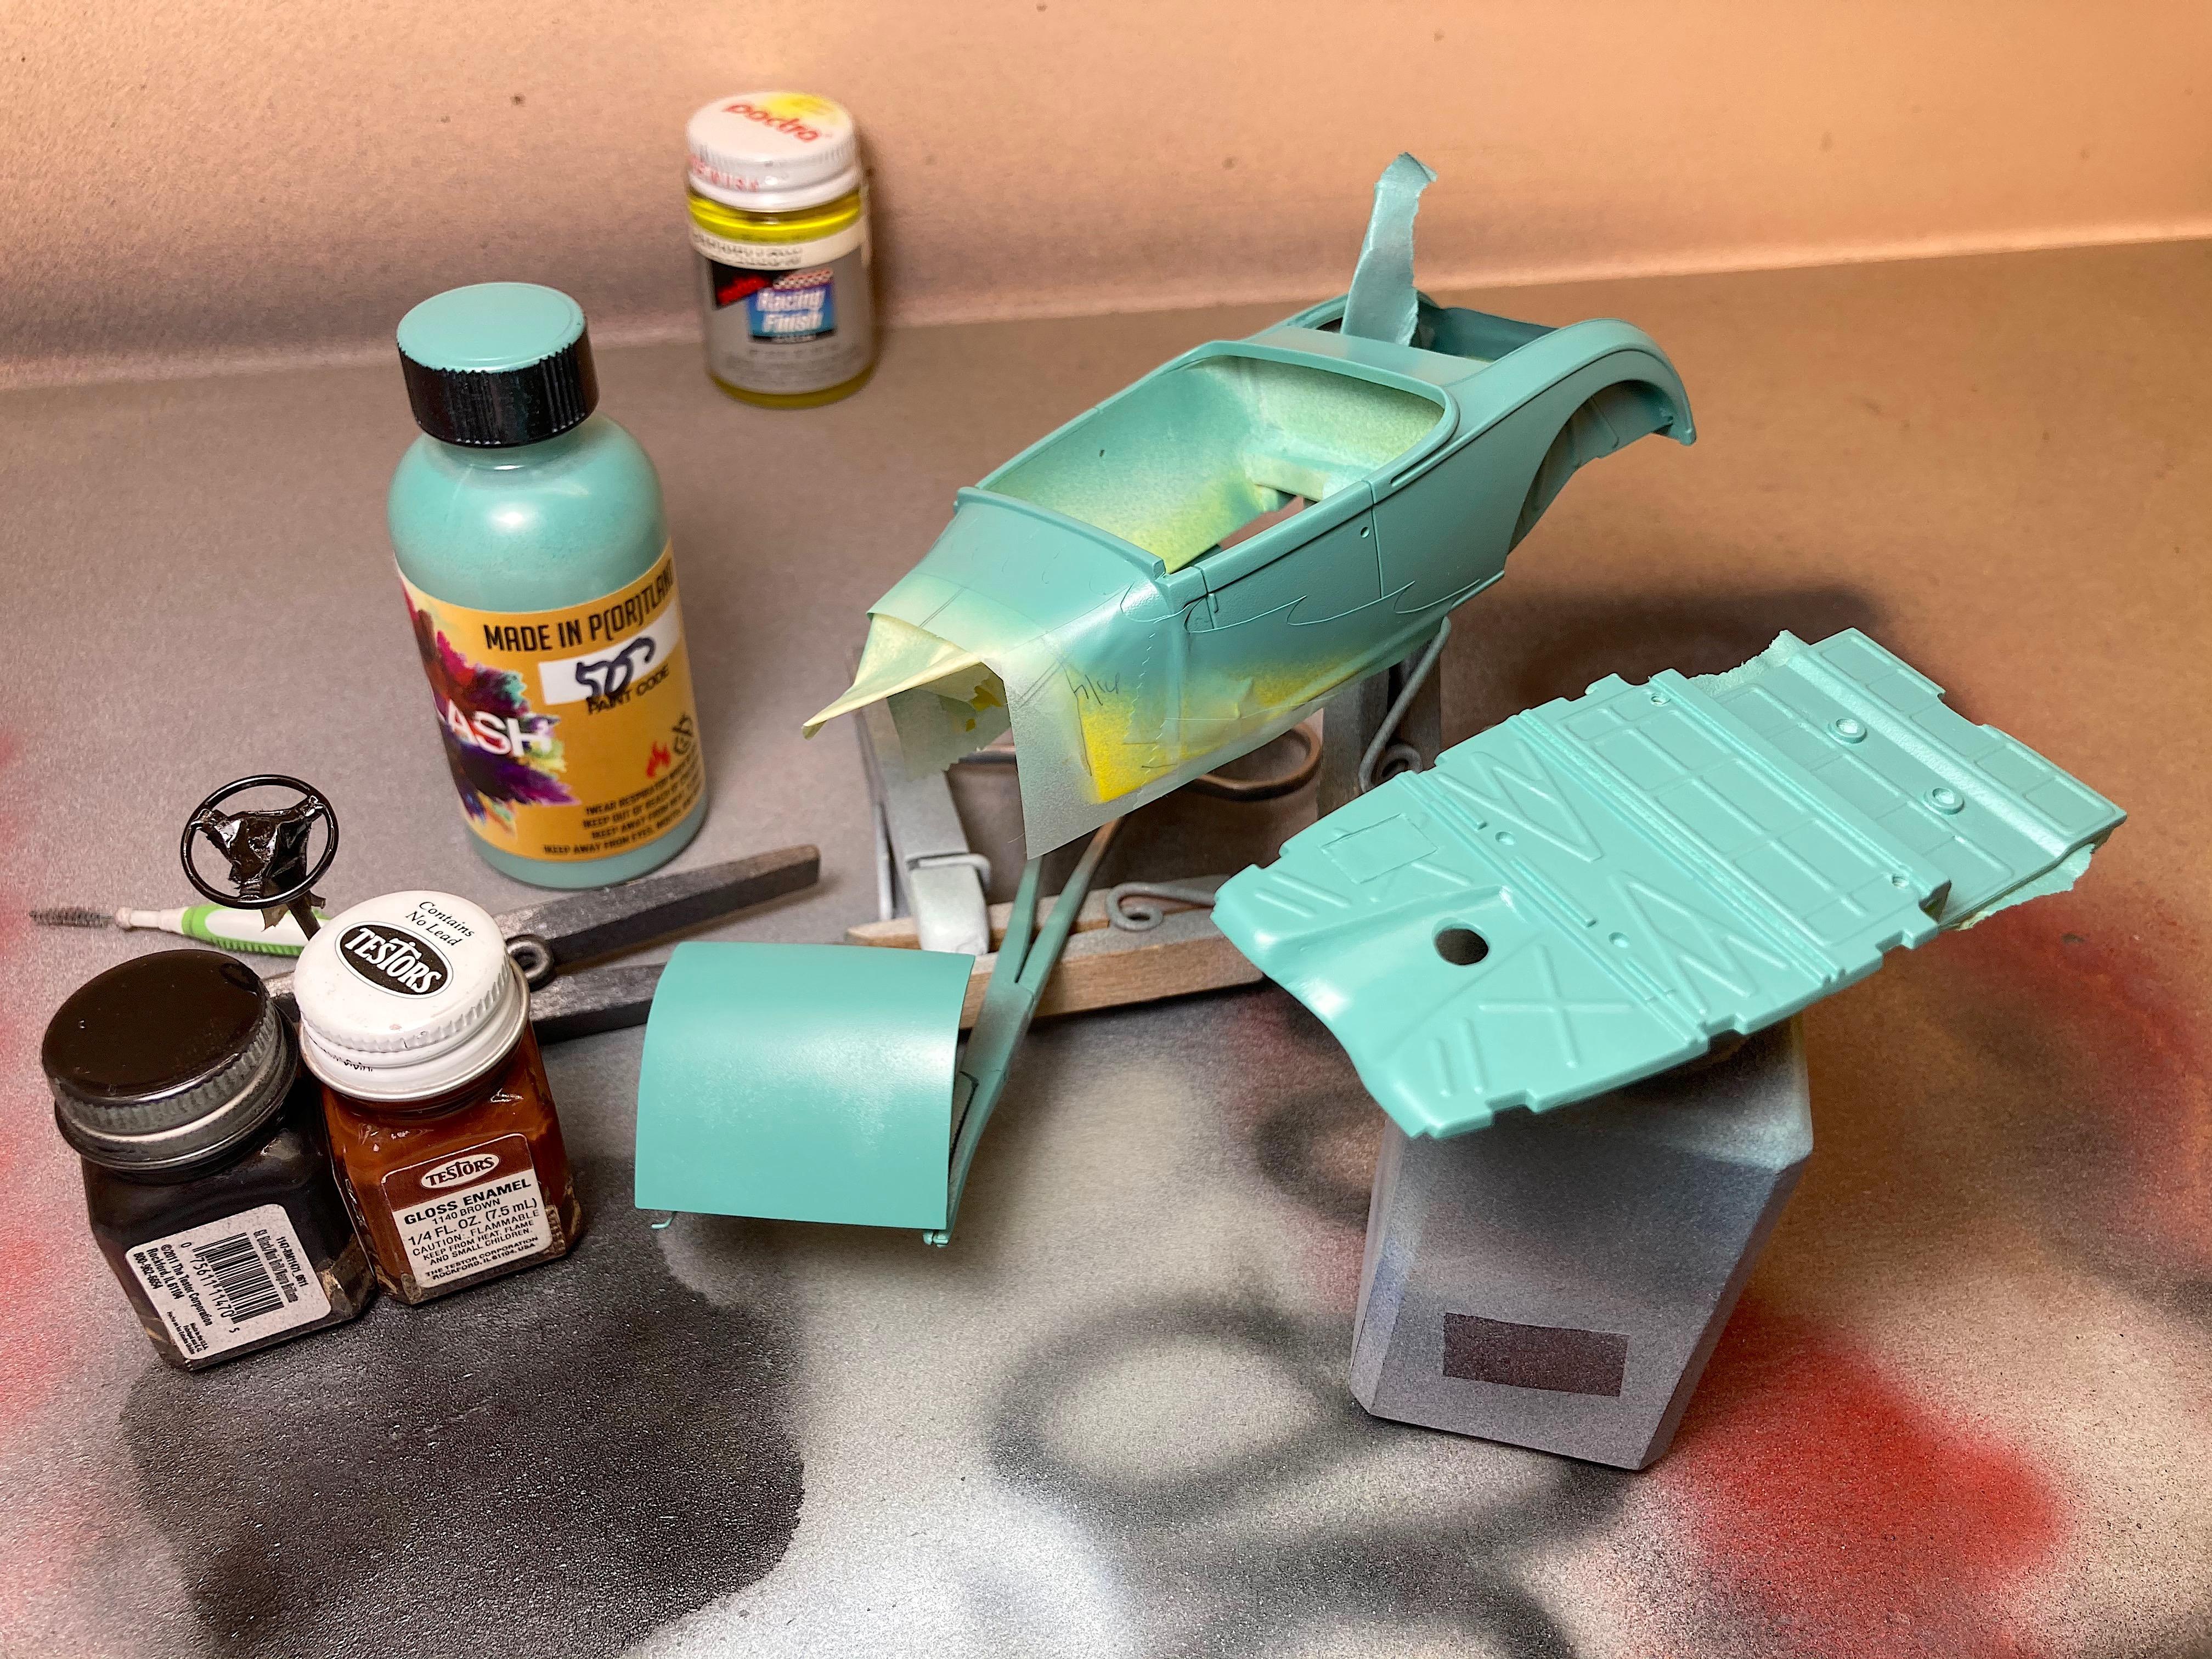
GSL Common Kit: [revision] just another Model A Roadster
89AKurt replied to 89AKurt's topic in WIP: Model Cars
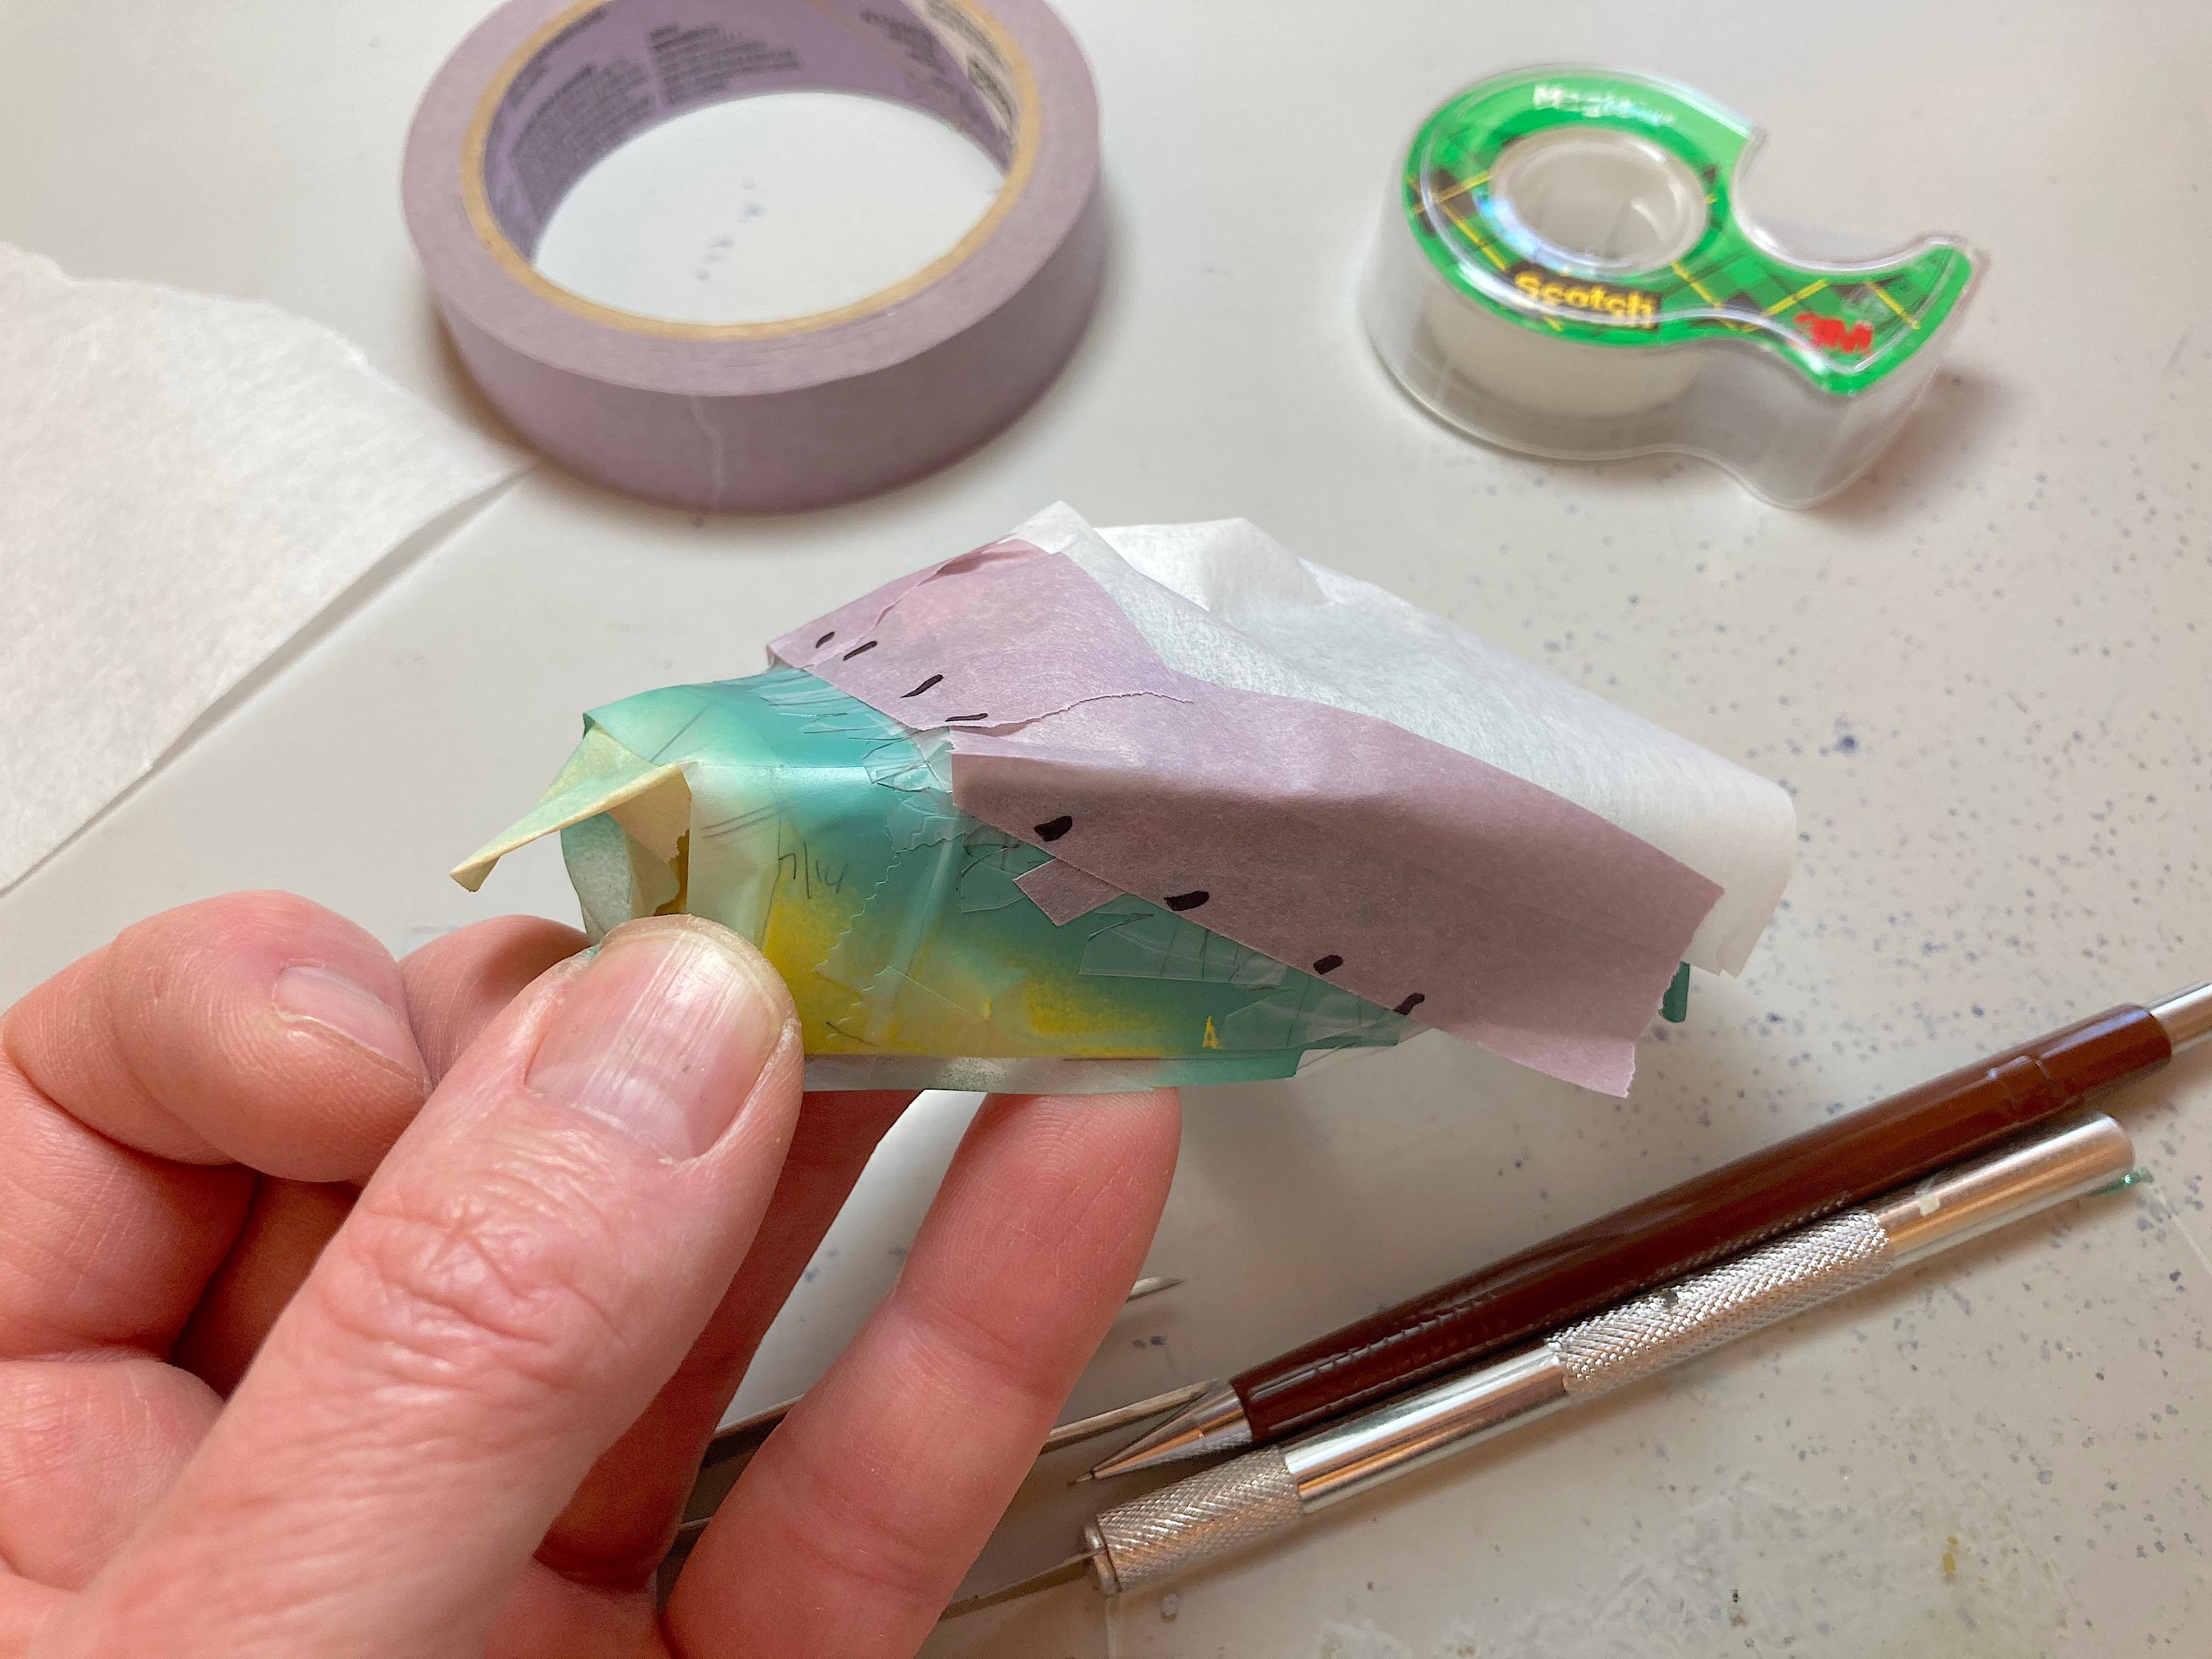
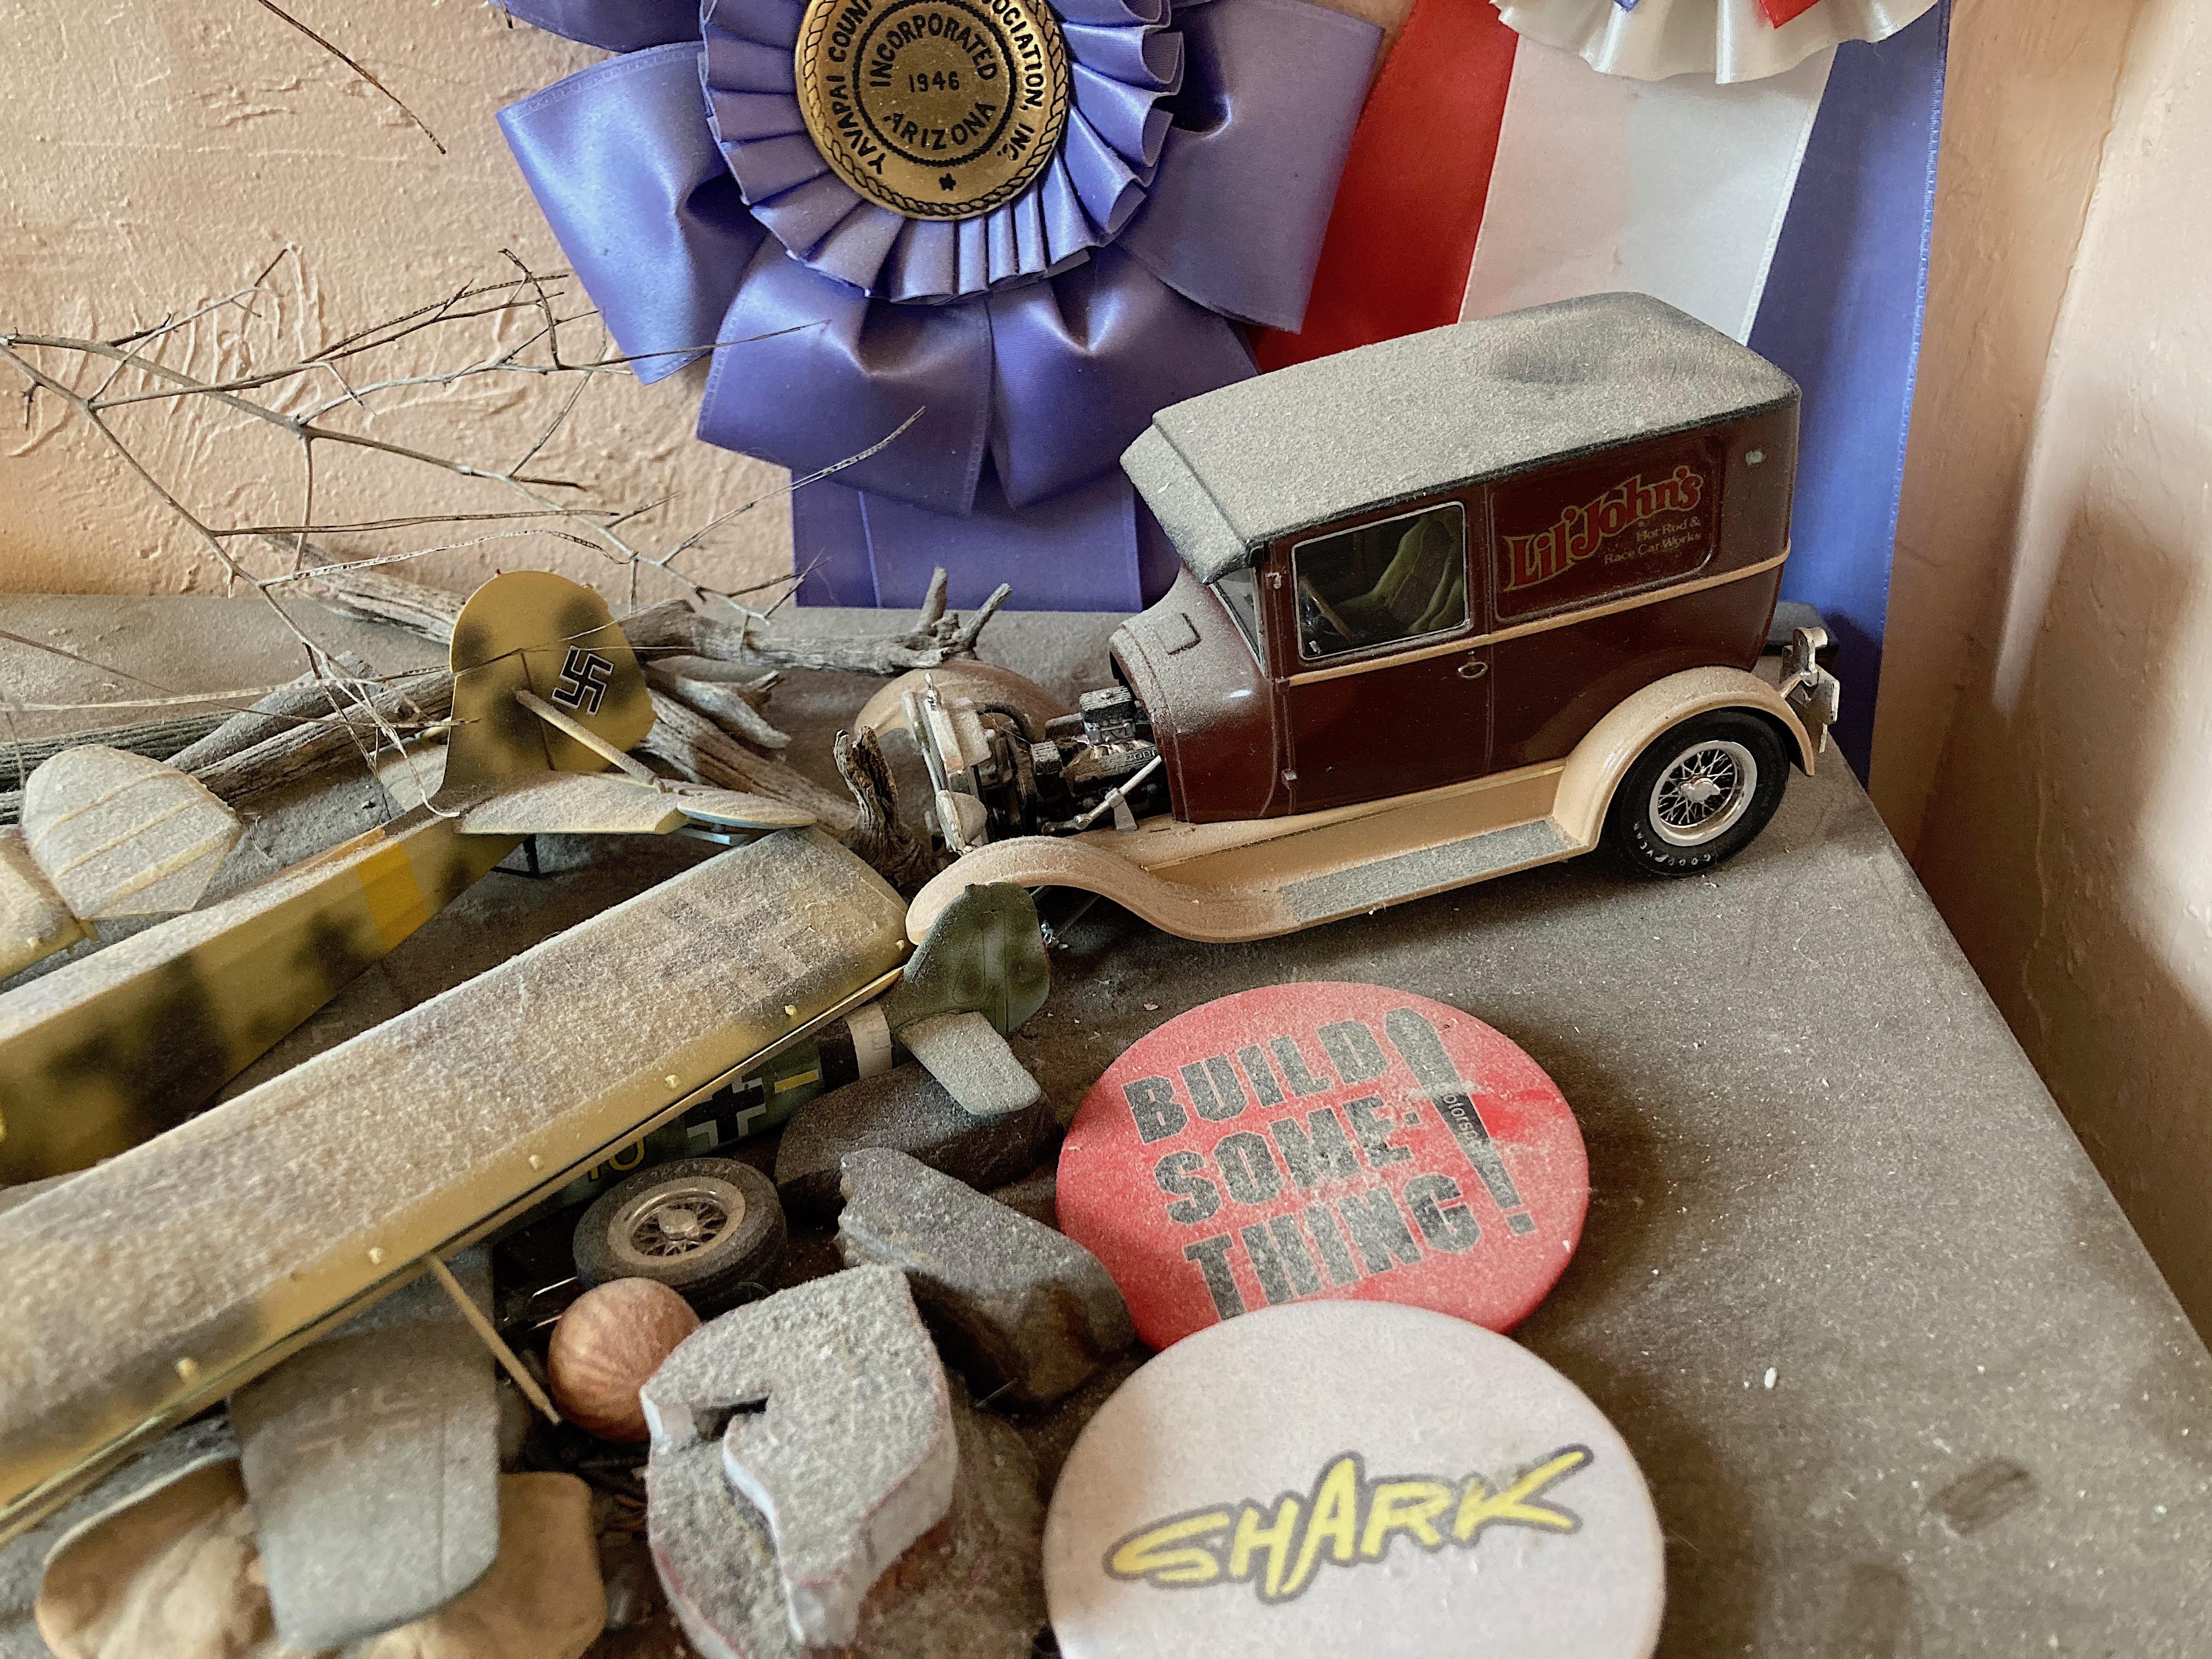
Thank you very much! Entering the home stretch, best chance to botch it...... A benefit of using this exotic paint, it dries fast, and is durable. I still gave it several days to cure, today was the do or die stage. Kept the masking on, added little spears to paint the shadow, with paint I never used before by Scale Finishes. Marker to help find the tiny areas to paint. While that was curing, assembled the trunk. Picked wires from my scavenged wire collection for the battery. Solder wire for the fuel and nitrous plumbing, using photo-etch nuts and fabricated aluminum mounts. Added the kit box, which was scanned, reduced to scale, and printed on thin quality paper, then glued on a wood block. Model Master pearl clear was airbrushed. Not a perfect job, I had what I thought was fuzz under the tape and brushed away, it must have been a metal burr because it made a nasty scratch, could hear it go *sceeetchhhh*. ? Botched some of the masking, tried to touch up but this paint does not brush well. Will have to weather with bird poop and spilled beer, or something. Next up, make new headlight mounts, what I did will just break again, new design being considered. This is only the forth street rod I have built, the first one was when I was teen, thought I would take a picture of my junkyard.
-
from the fallout
-
jumped the tracks
-
Awesome result! Must have used half a sheet of Bare Metal foil.
-
Very nice. I was a kid when the '72 came out, thought the wrap around taillights were cool. Then dad got a used '72 Long Bed, I remember a 100 on the side.
-
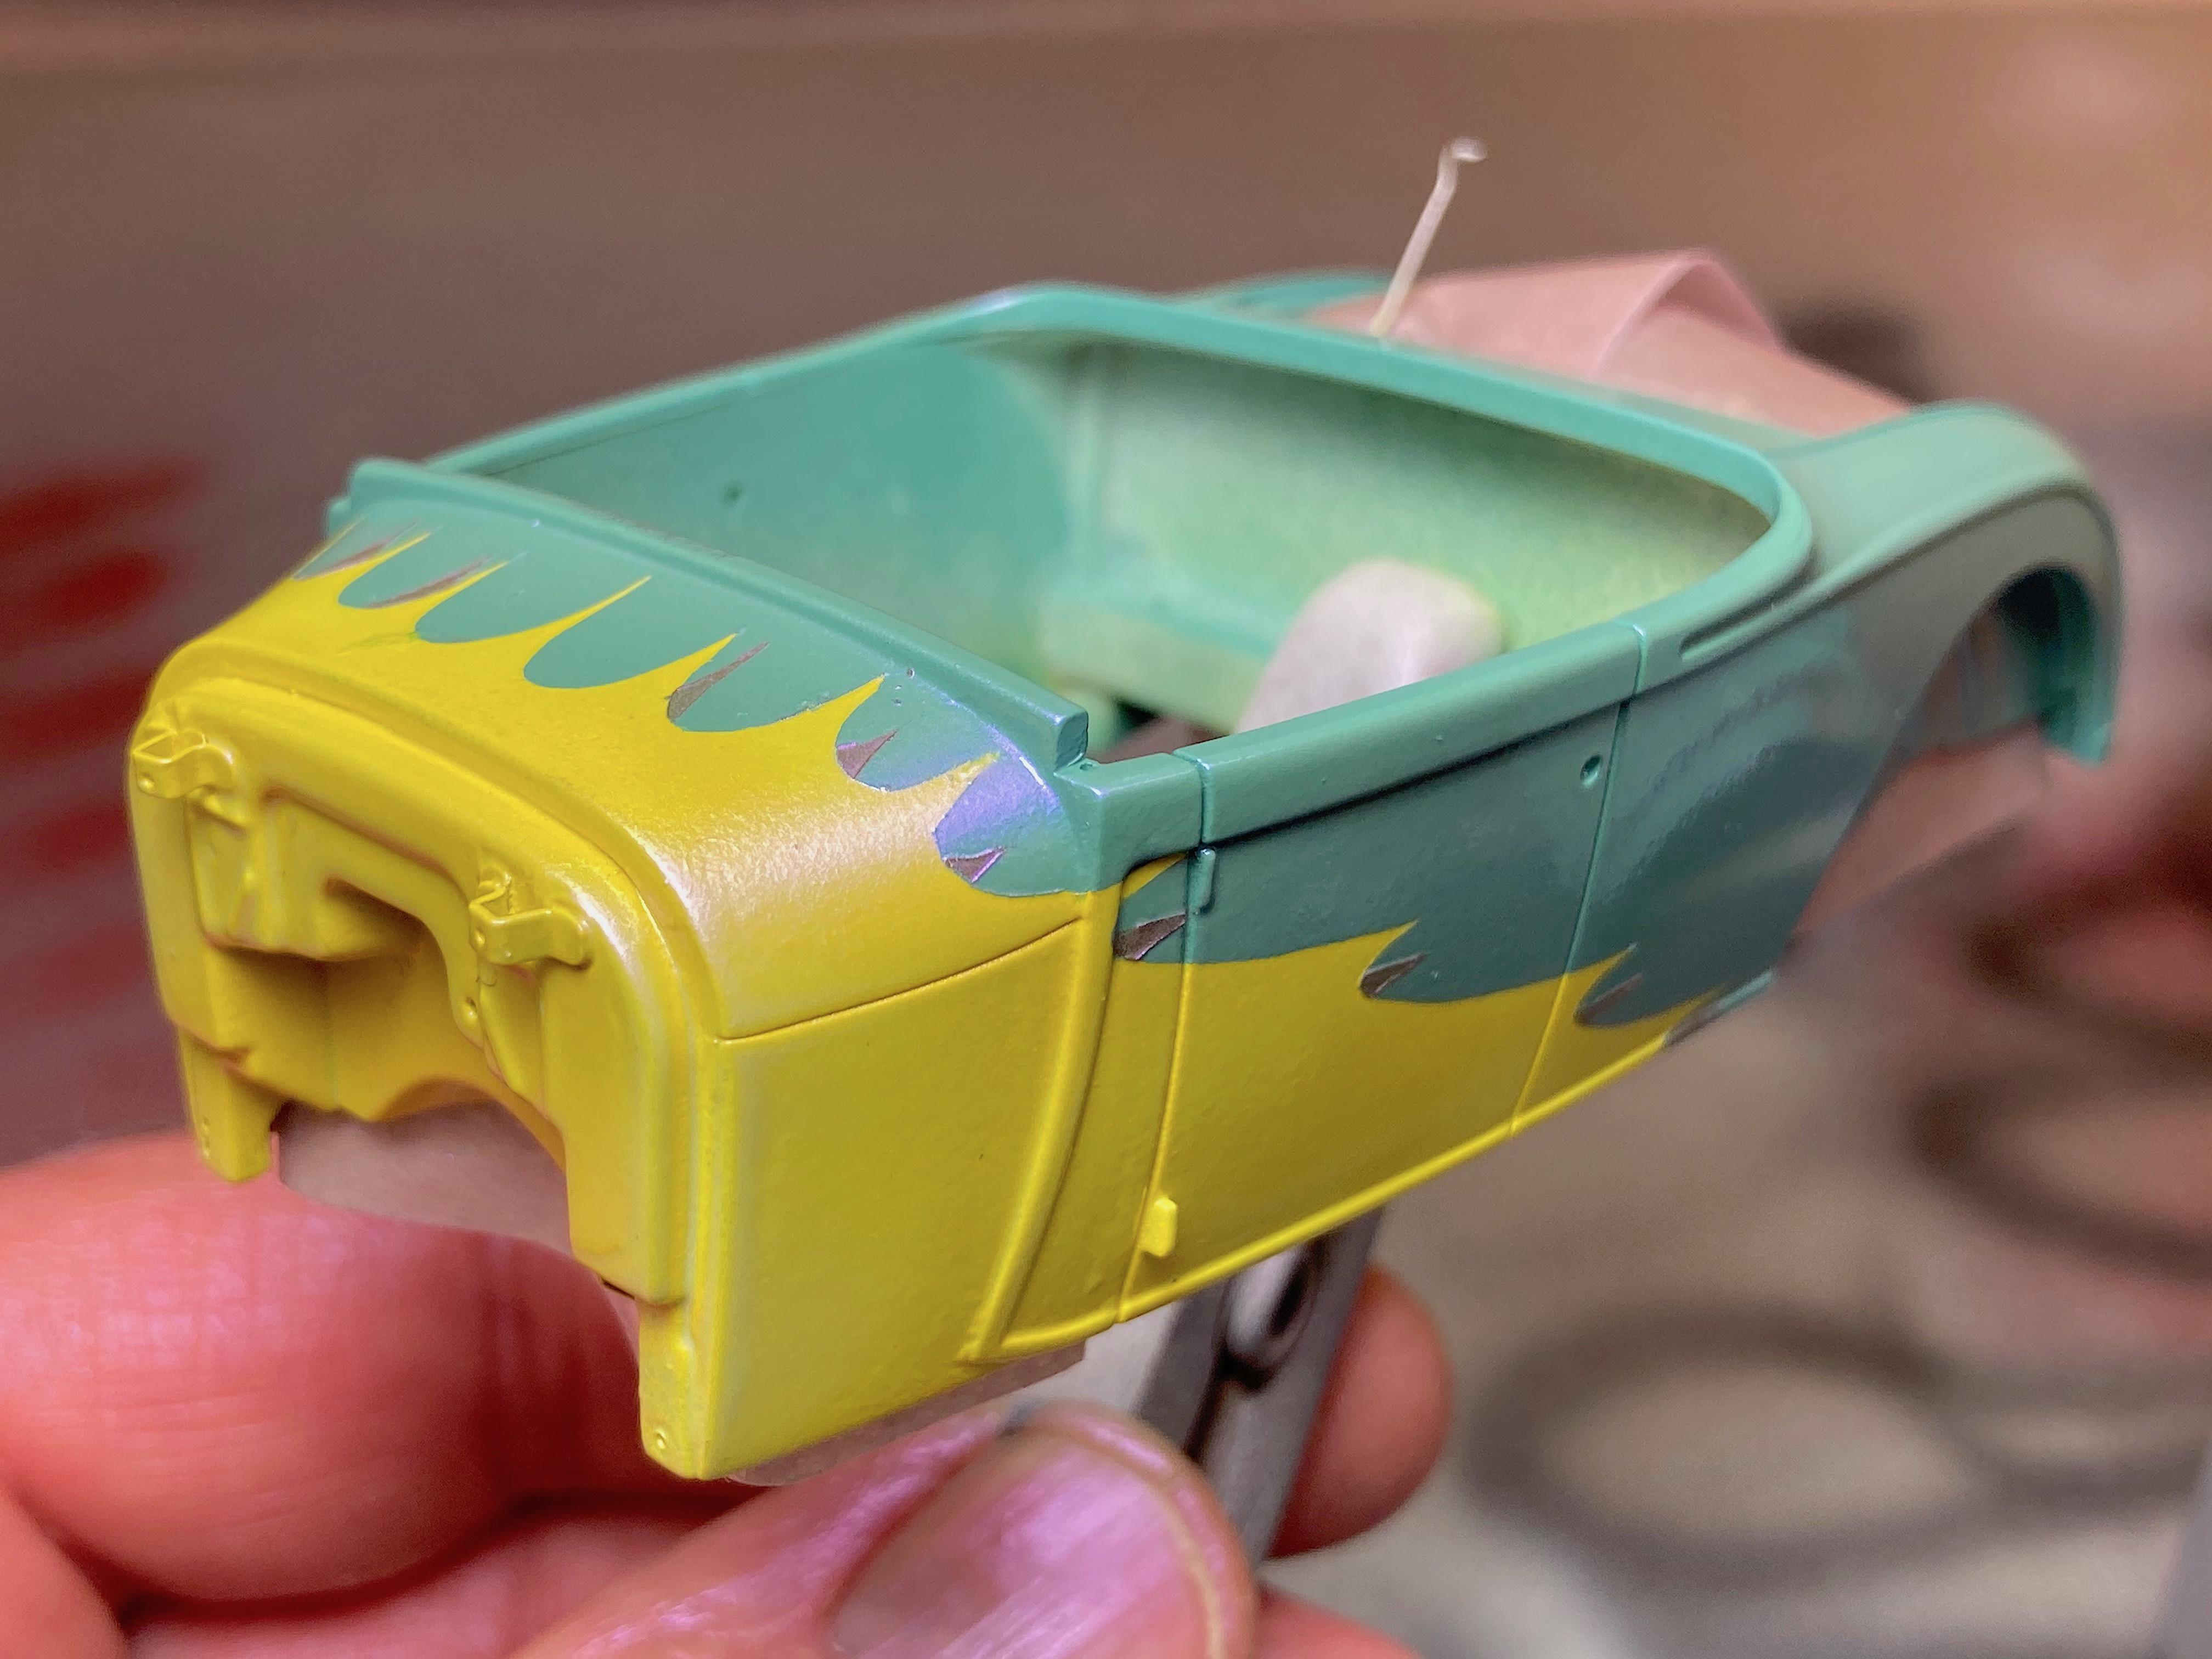
GSL Common Kit: [revision] just another Model A Roadster
89AKurt replied to 89AKurt's topic in WIP: Model Cars
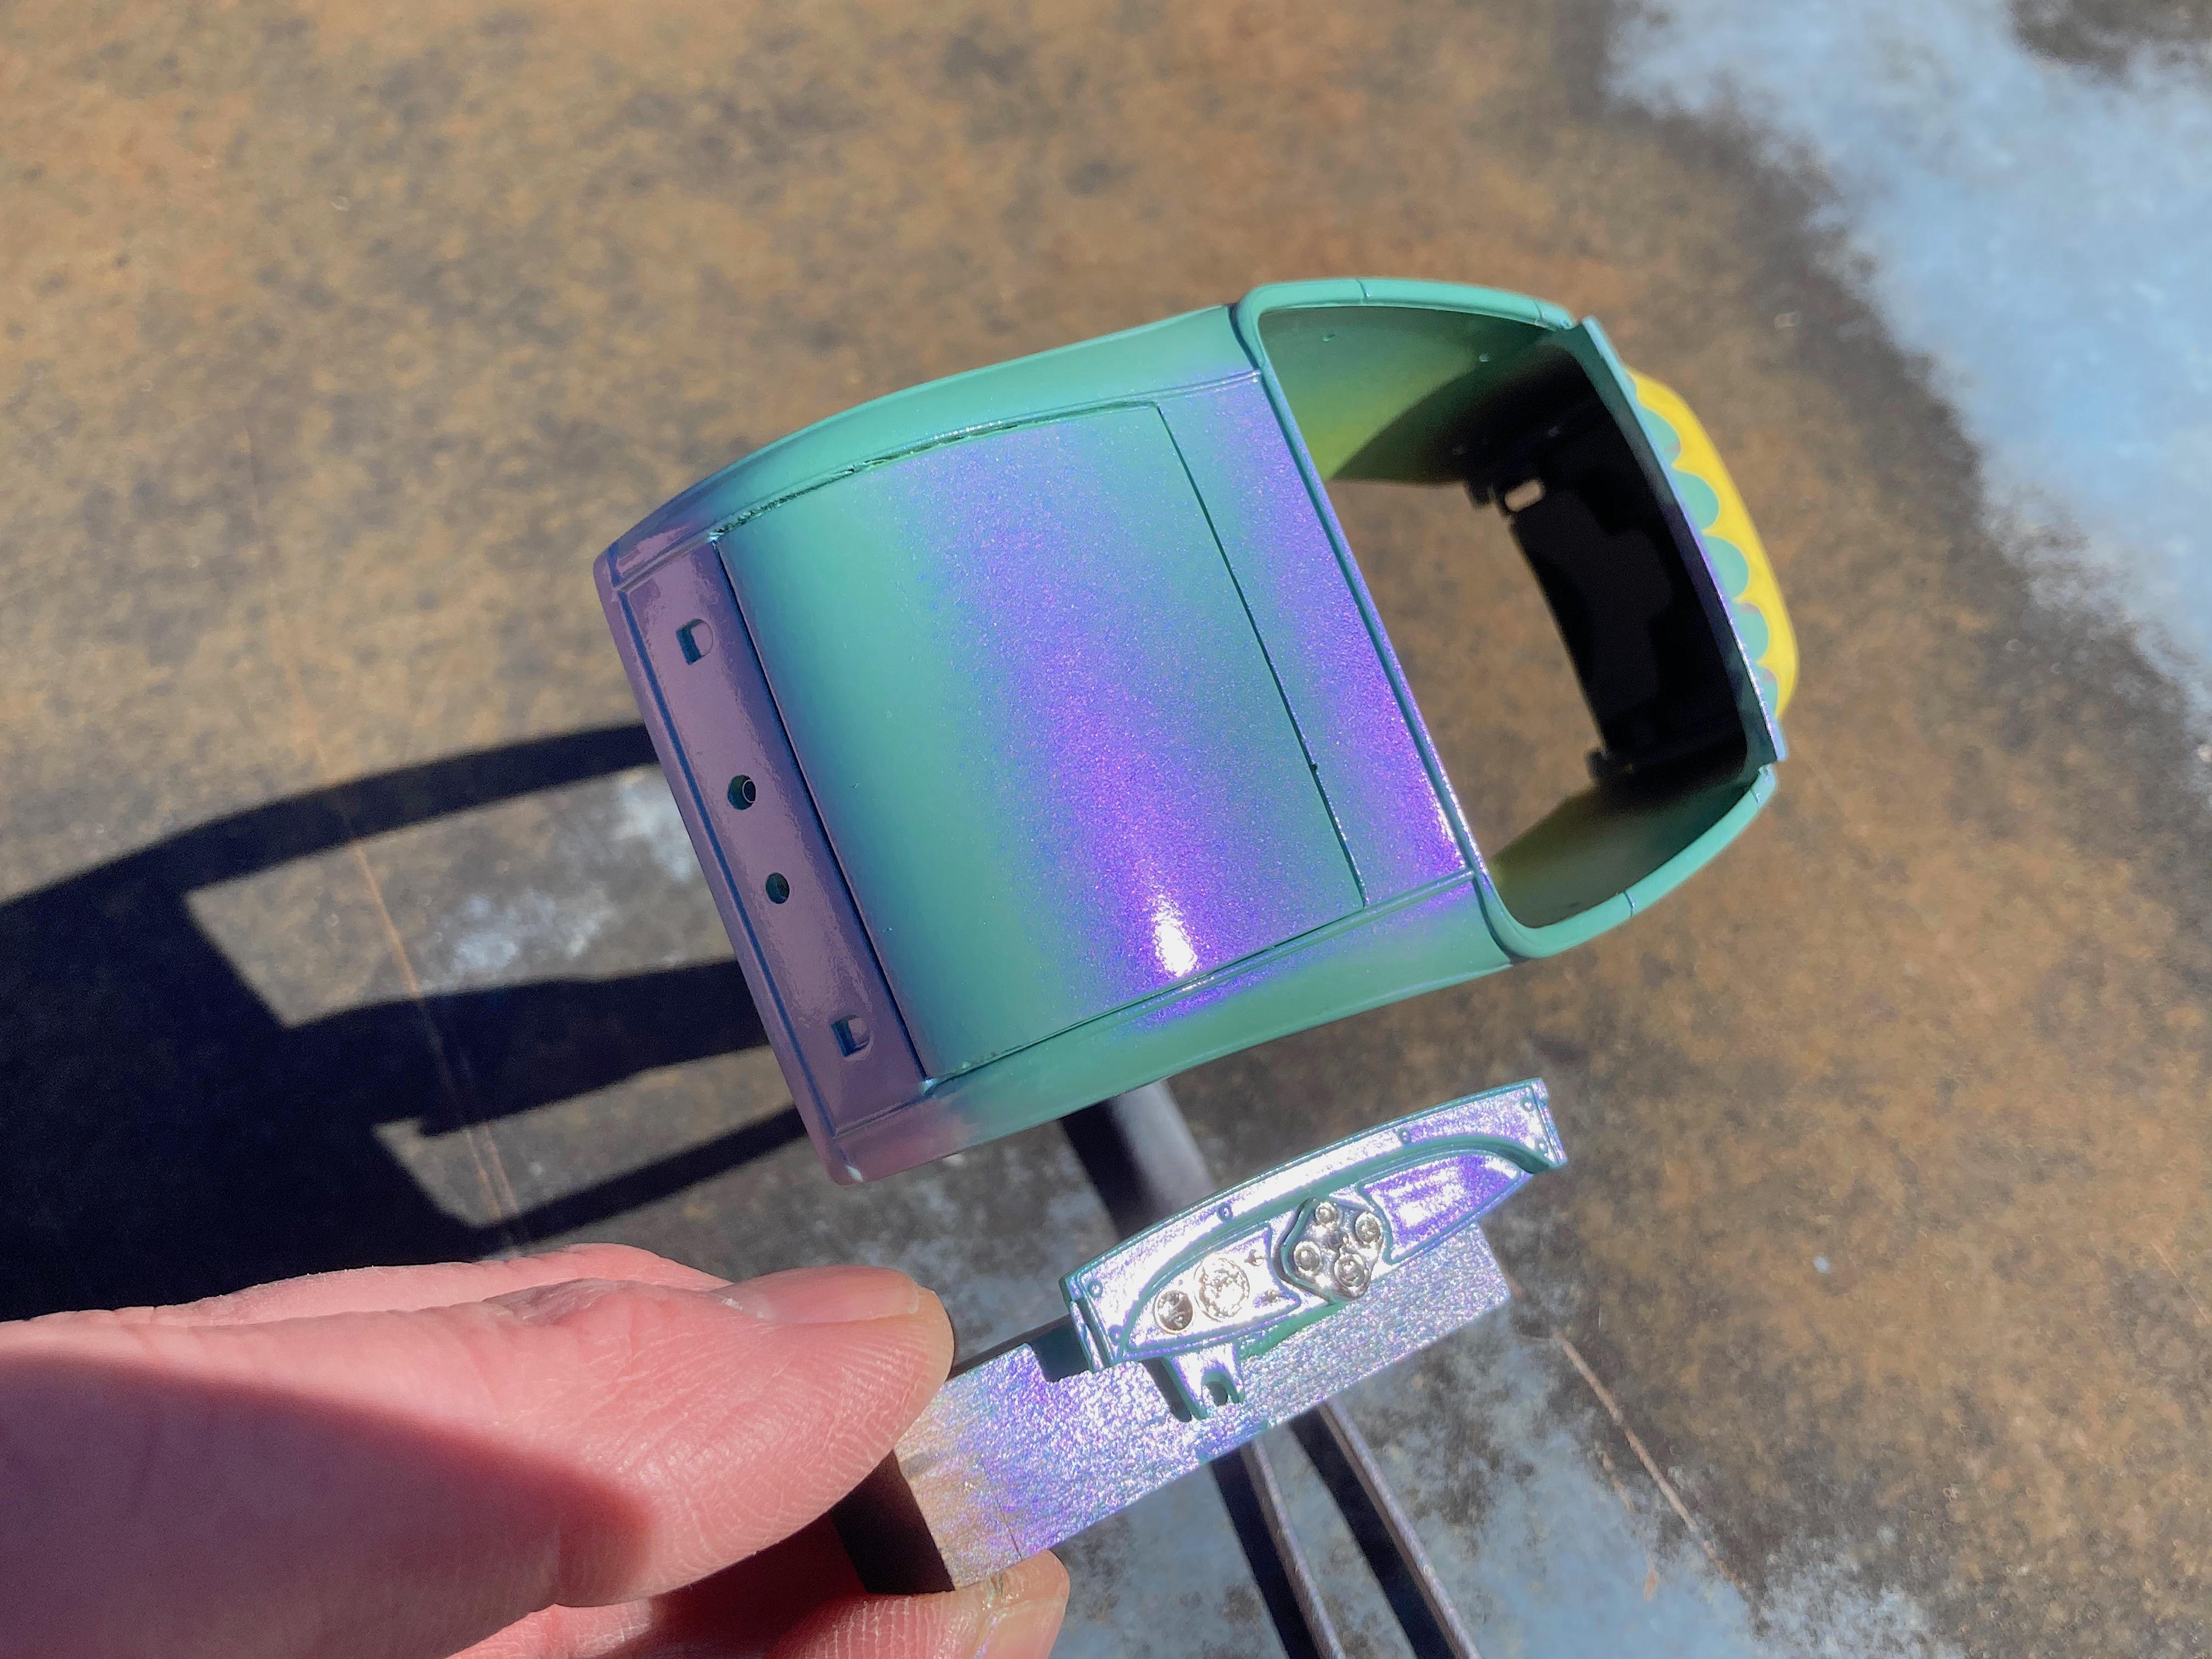
Appreciate your enthusiasm! Keep in mind that I got it last century, and I live in a small town. Any printing plant that produces a newspaper, and that applies for the inserts, uses aluminum plates the size of the page, mounted on rollers. Last time I got a sheet, they said they send them somewhere to recycle. Don't bother trying flashing that you can get at Home Deephole, it's thicker, and breaks when bent. One thing Revell did an awesome job on, are the headlights (except for the sprue location). The lenses are beautifully engraved, and fit perfect in the buckets, glued with Testors canopy glue. Used stretched clear sprue to make blue dots and HID blue headlight bulbs. Looks like I screwed up brush painting one taillight, debating whether to redo it, but there is a Murphy's Law about that. Started on the body again. Drew the design on the instructions, but when I laid out the top, needed to add another scallop. Took almost 2 hours just for this! Sprayed the Splash paint. I'm getting the hang of using it, just need to be a spaz in making quick strokes. But the trunk almost got crazed, so maybe I will wet-sand and do a quick second coat. Masked and airbrushed the steering wheel rim, in my research it appears the original color has a tint of brown, not just black. I'm always amazed at lowrider builders, I'm not a fan of masking.
-
The best scene