absmiami
-
Posts
4,780 -
Joined
-
Last visited
Content Type
Profiles
Forums
Events
Gallery
Everything posted by absmiami
-

1/8 Scale Lotus 72c -3d Printed
absmiami replied to kenlwest's topic in WIP: Other Racing: Road Racing, Land Speed Racers
Well. This is certainly interesting - did you print the parts or have the files printed for you ? ?? -
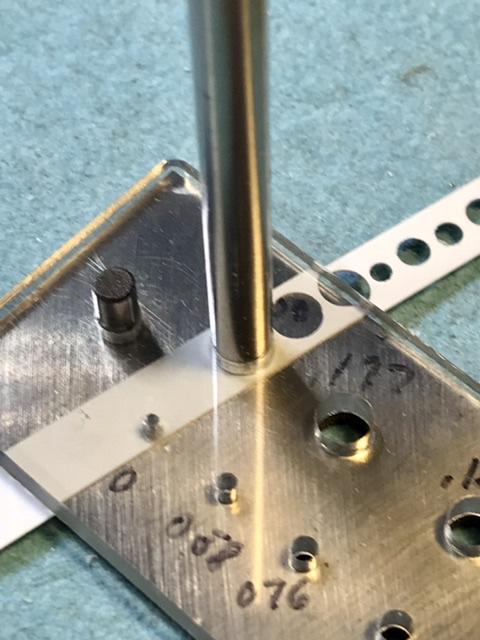
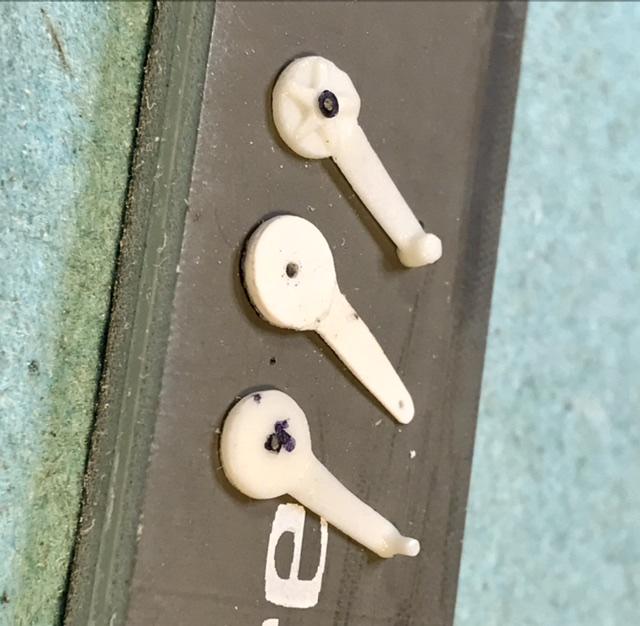
The MillerOffy.com site has a great photos page- here’s what these handwheels looked like - unrestored - the holes are drilled with a .015 bit - the chuck is placed in a divider - holes drilled at 60 degree increments -

-
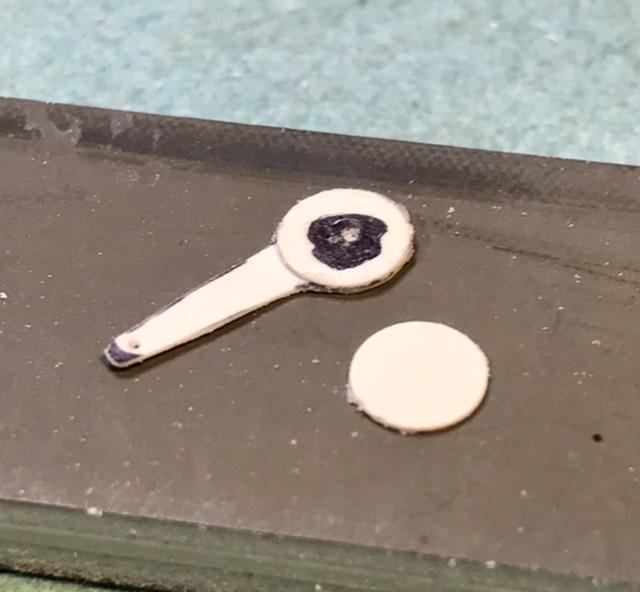
The size of these hand wheels is about 2 sc inches diameter - first they are turned on the Sherline - starting with 3/16 alu stock - so the face of the hand is .80 diameter - next ill see if I can drill the holes …. Gotta set up the Sherline milling machine for this op …
-
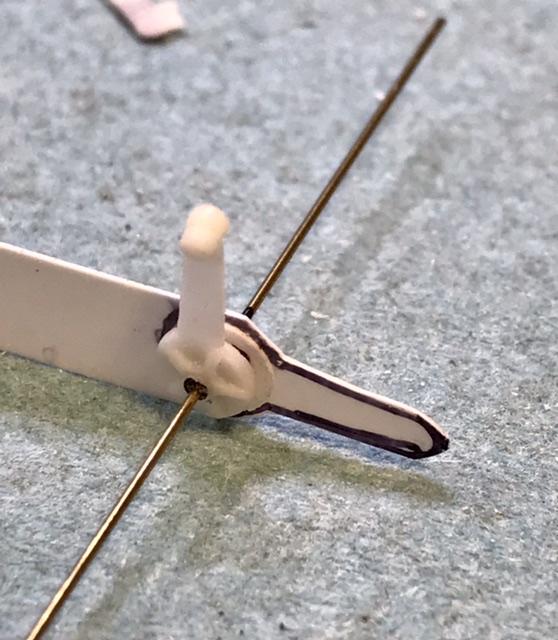
At the bottom of this picture is a hand wheel that Miller used on the 122s and the 91s - these operated valves For fuel and oil - all the cockpits that i have photographed had 2 or 3 of these - the dash usually had Two ..
-
all credit for those fabulous wire wheels goes to Harold Bradford they are his creations currently included in his Miller 91 front drive kit but will be utilized on my Miller 122 as my Miller is 24th scale - these wheels and tires are about 1 1/2 scale inches too small per the Dees' Miller bible - true scale wheels/tires will have to wait for another day - but you never know ....
-
By the way - RMSothebys is auctioning the Miller 91 fr Drive Perfect Circle indy car - the yellow number 3 car - at Monterey - this is a big deal - great pictures on the Sothebys site - an awesome Indy car - I was lucky enough to see it at Goodwood 15 years ago - yes I took photos …
-
Ok. Now ive got inside and outside wheel cover patterns - i’ll ask Harold to cast these - turning 4 insides and 4 outsides would be really time consuming - although the unfinished alu really looks great … still have to make the pattern for the rear brake drums …
- 406 replies
-
- 1
-

-
- harry miller
- indy
- (and 1 more)
-
The second part uses a more pronounced taper - if you’re playing along at home - careful setting up the tool post - with the headstock cranked over at - about 45 degrees - you’ve got to make certain the cutting tool clears the chuck - if it stikes the chuck while turning you’ll have a sad face .. the finished part is about 2 1/2 inches wide - that’s about right …
-
As i turned this part - i mis-calculated the needed thickness - 1 sc inch is not wide enough to align with the inside surface of the brake drum - we’ll call this part “slim” …
-
The inside wheel cover has a different profile than the outside - it fits around the brake drums - front and rear - and tapers back to the wheel rim …. These pix show the process of drilling and then using a boring tool to open the part - material is aluminum - this wasn’t a keeper -
-
Thanks straight - but i actually ended up making a third axle a scale inch longer - so i’ve got junior, shorty, and the correct part - here’s a family picture …
-
This was the second axle - the first was too short - we’ll call him Junior …
-
The axles are turned from aluminum - the sherline lathe has a removal bar that allows the headstock to pivot - which enables the taper …
-
The gear casing for the rear axle …. I found some drawings and big ups to the Milleroffy site - which has 3 very helpful photos …
-
Slow going - turning 4 outsides and 4 insides would really be time consuming - oh Harold …
-
The covers have to clear the wheel wires - so i have to shape both the outside and inside profiles - which requires turning a sleeve on the outside that is used to hold the part in the chuck to turn the profile on the inside of the part …
-
Broke out the Sherline and some 3/4’inch alu stock - the outside covers are different than the insides - turningnthe outsides first …
- 406 replies
-
- 1
-
-
- harry miller
- indy
- (and 1 more)
-
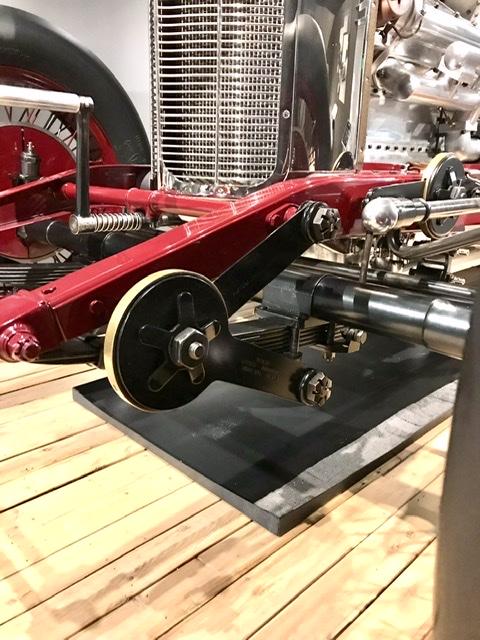
Mid twenties open wheelers often used wheels covers - on the board tracks and sometimes at Indianapolis. The Junior 8 Special was restored with it’s wheel covers - not certain that they were worn at Indy - but they look cool … these pix were taken at the Brumos Collection in Jacksonville …. Go. Just go….
-
So many sports cars had sm bl chevy engines - in retrospect - shouldn’t GM have green lighted a rear engine Chevrolet sports car 25 years ago ???? Just sayin’. oh by the way - we’ve all been waiting - patiently (?) - for this to come together …
-
1935 'BLUE BIRD' 1:18 scale
absmiami replied to FURBALL's topic in Other Racing: Road Racing, Salt Flat Racers
And yes I enjoyed the first Two videos - congrats - keep em coming … -
GREAT exploded view illustration - the second style damper pictured above is also used on the Rev’s Miller 122 - the Boyle special - Pico knows how to make my head explode ….
-
This is the friction shock/damper on the Rev’s Miller …. Maybe I’ll reshape the leaves just a little …