Dragonhawk1066
-
Posts
3,933 -
Joined
-
Last visited
Content Type
Profiles
Forums
Events
Gallery
Everything posted by Dragonhawk1066
-

*Model Car Preference*
Dragonhawk1066 replied to Zippi's topic in General Automotive Talk (Trucks and Cars)
60's and 70's Muscle Car kits, mostly by Revell/Monogram, but some from AMT. Manufacturer doesn't really stop me if it's a subject I want to build.
-
Thanks guys, much appreciated!
-
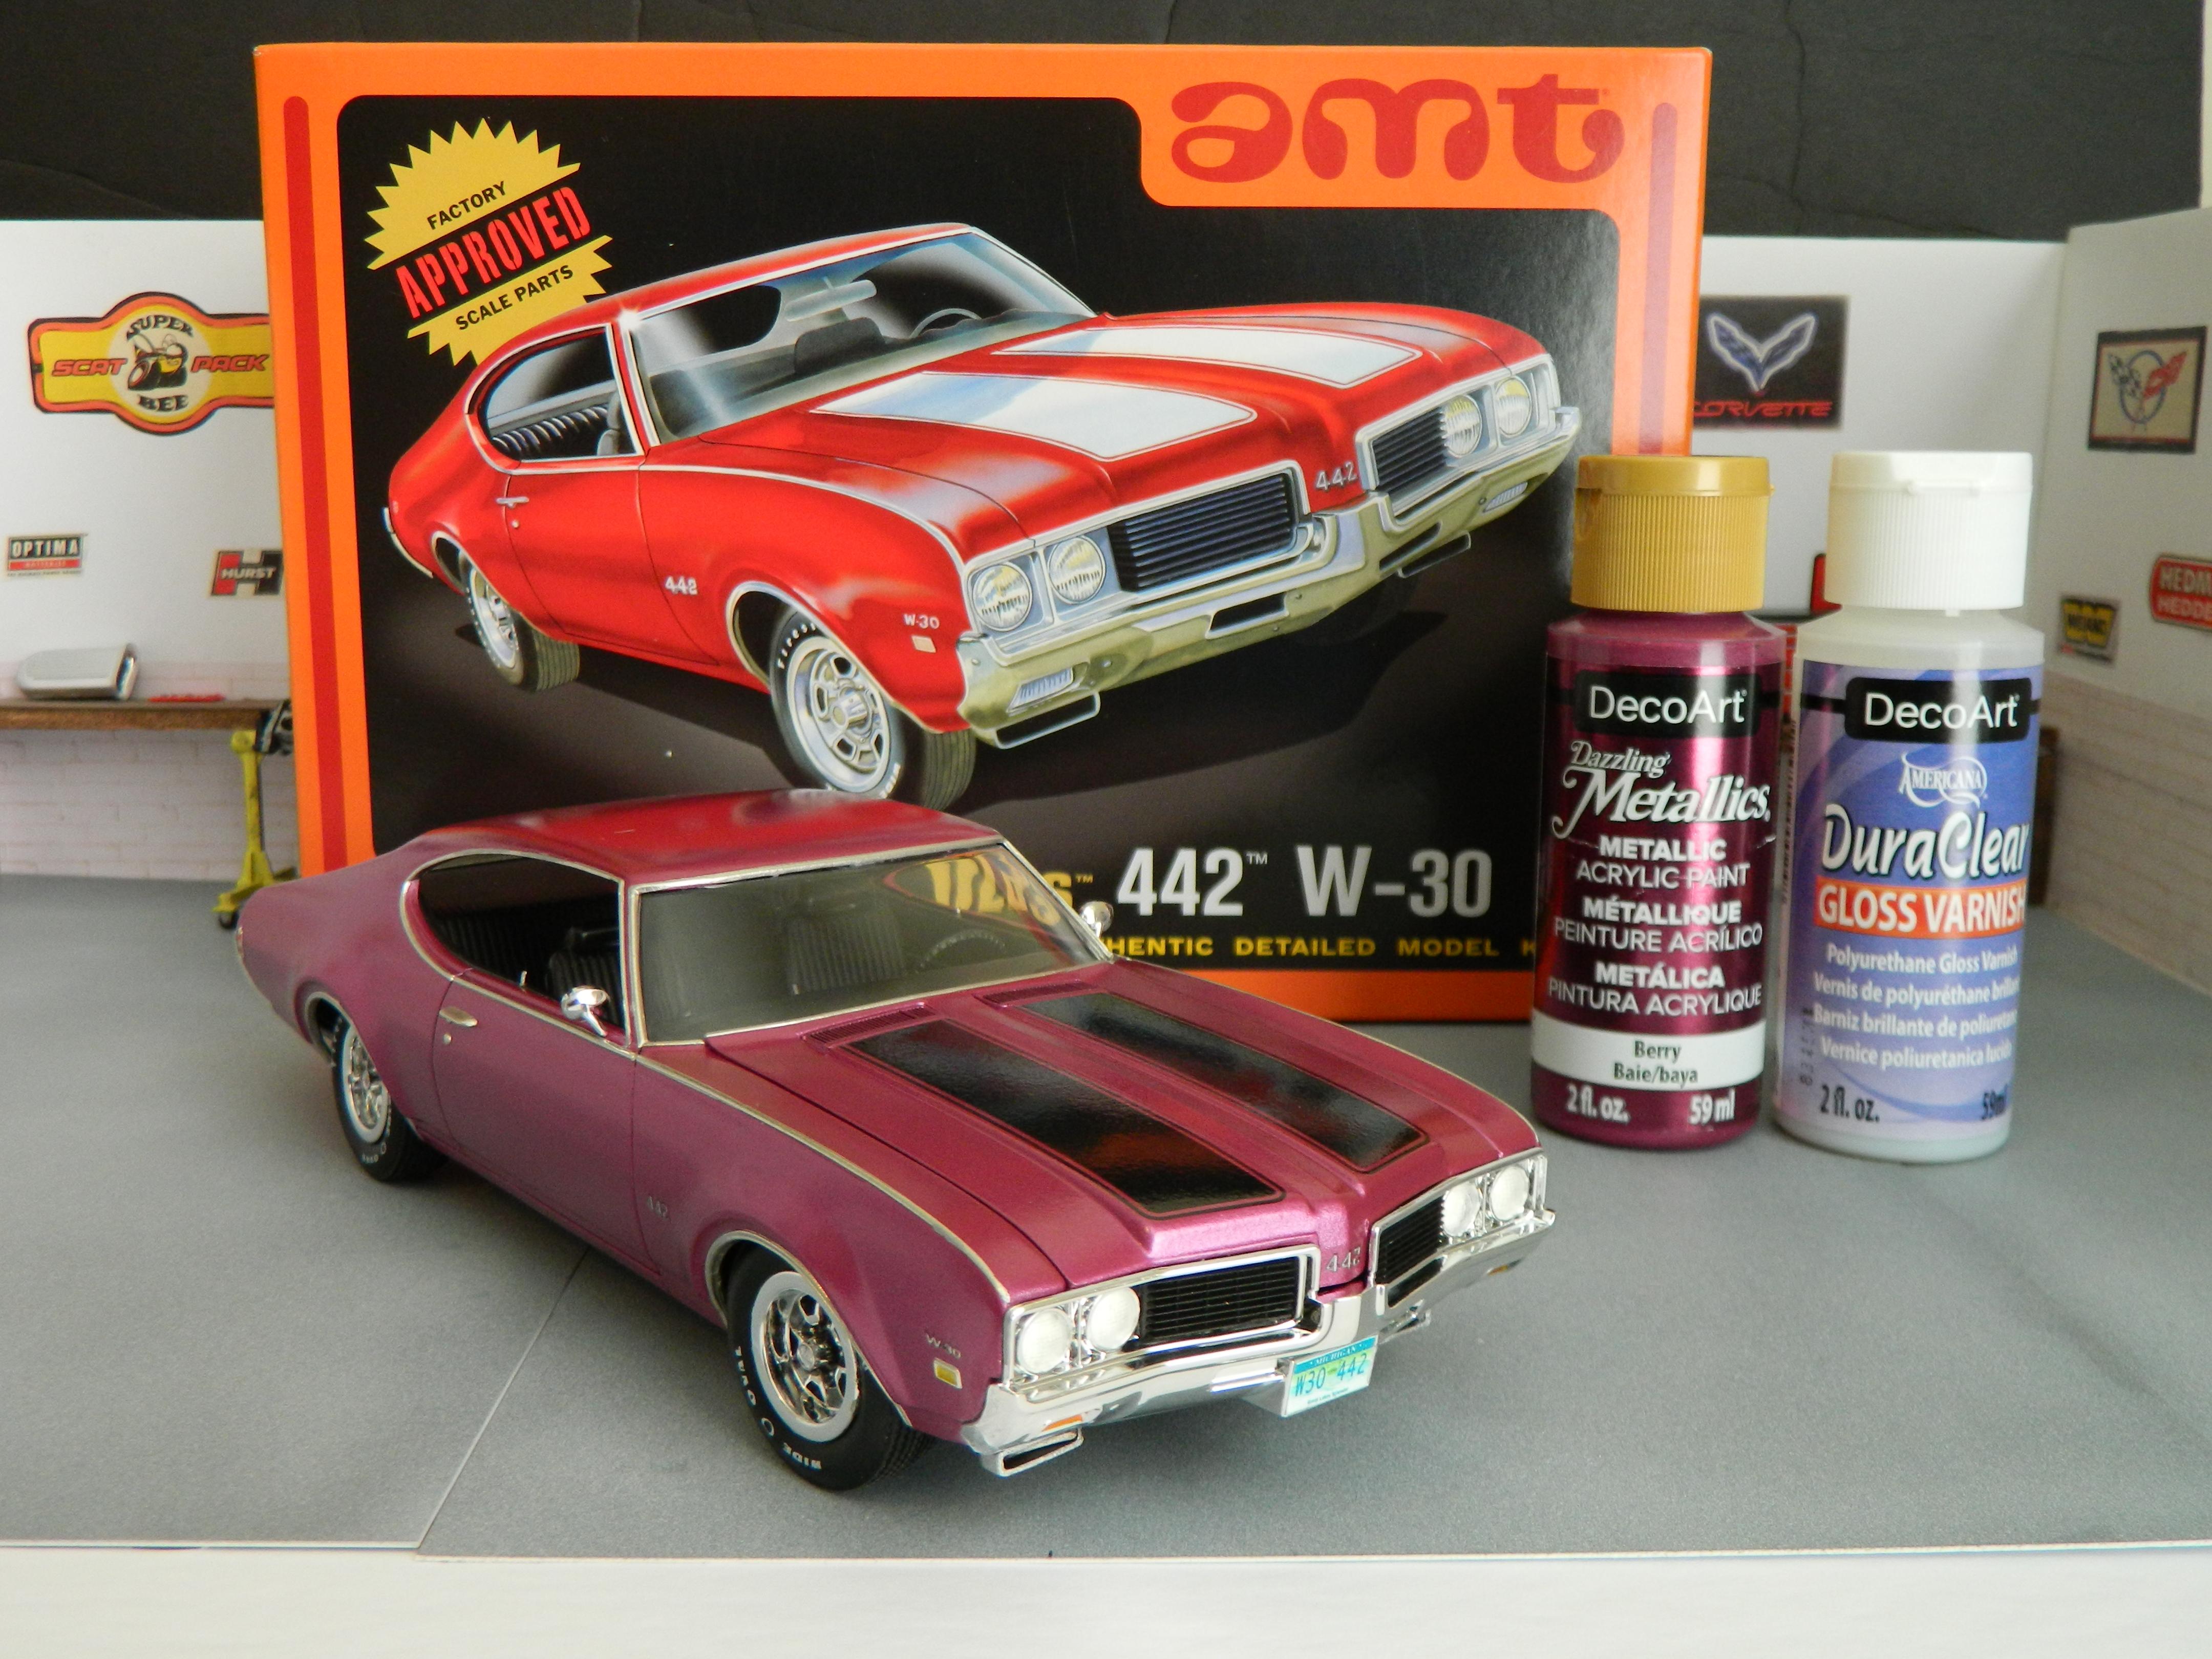
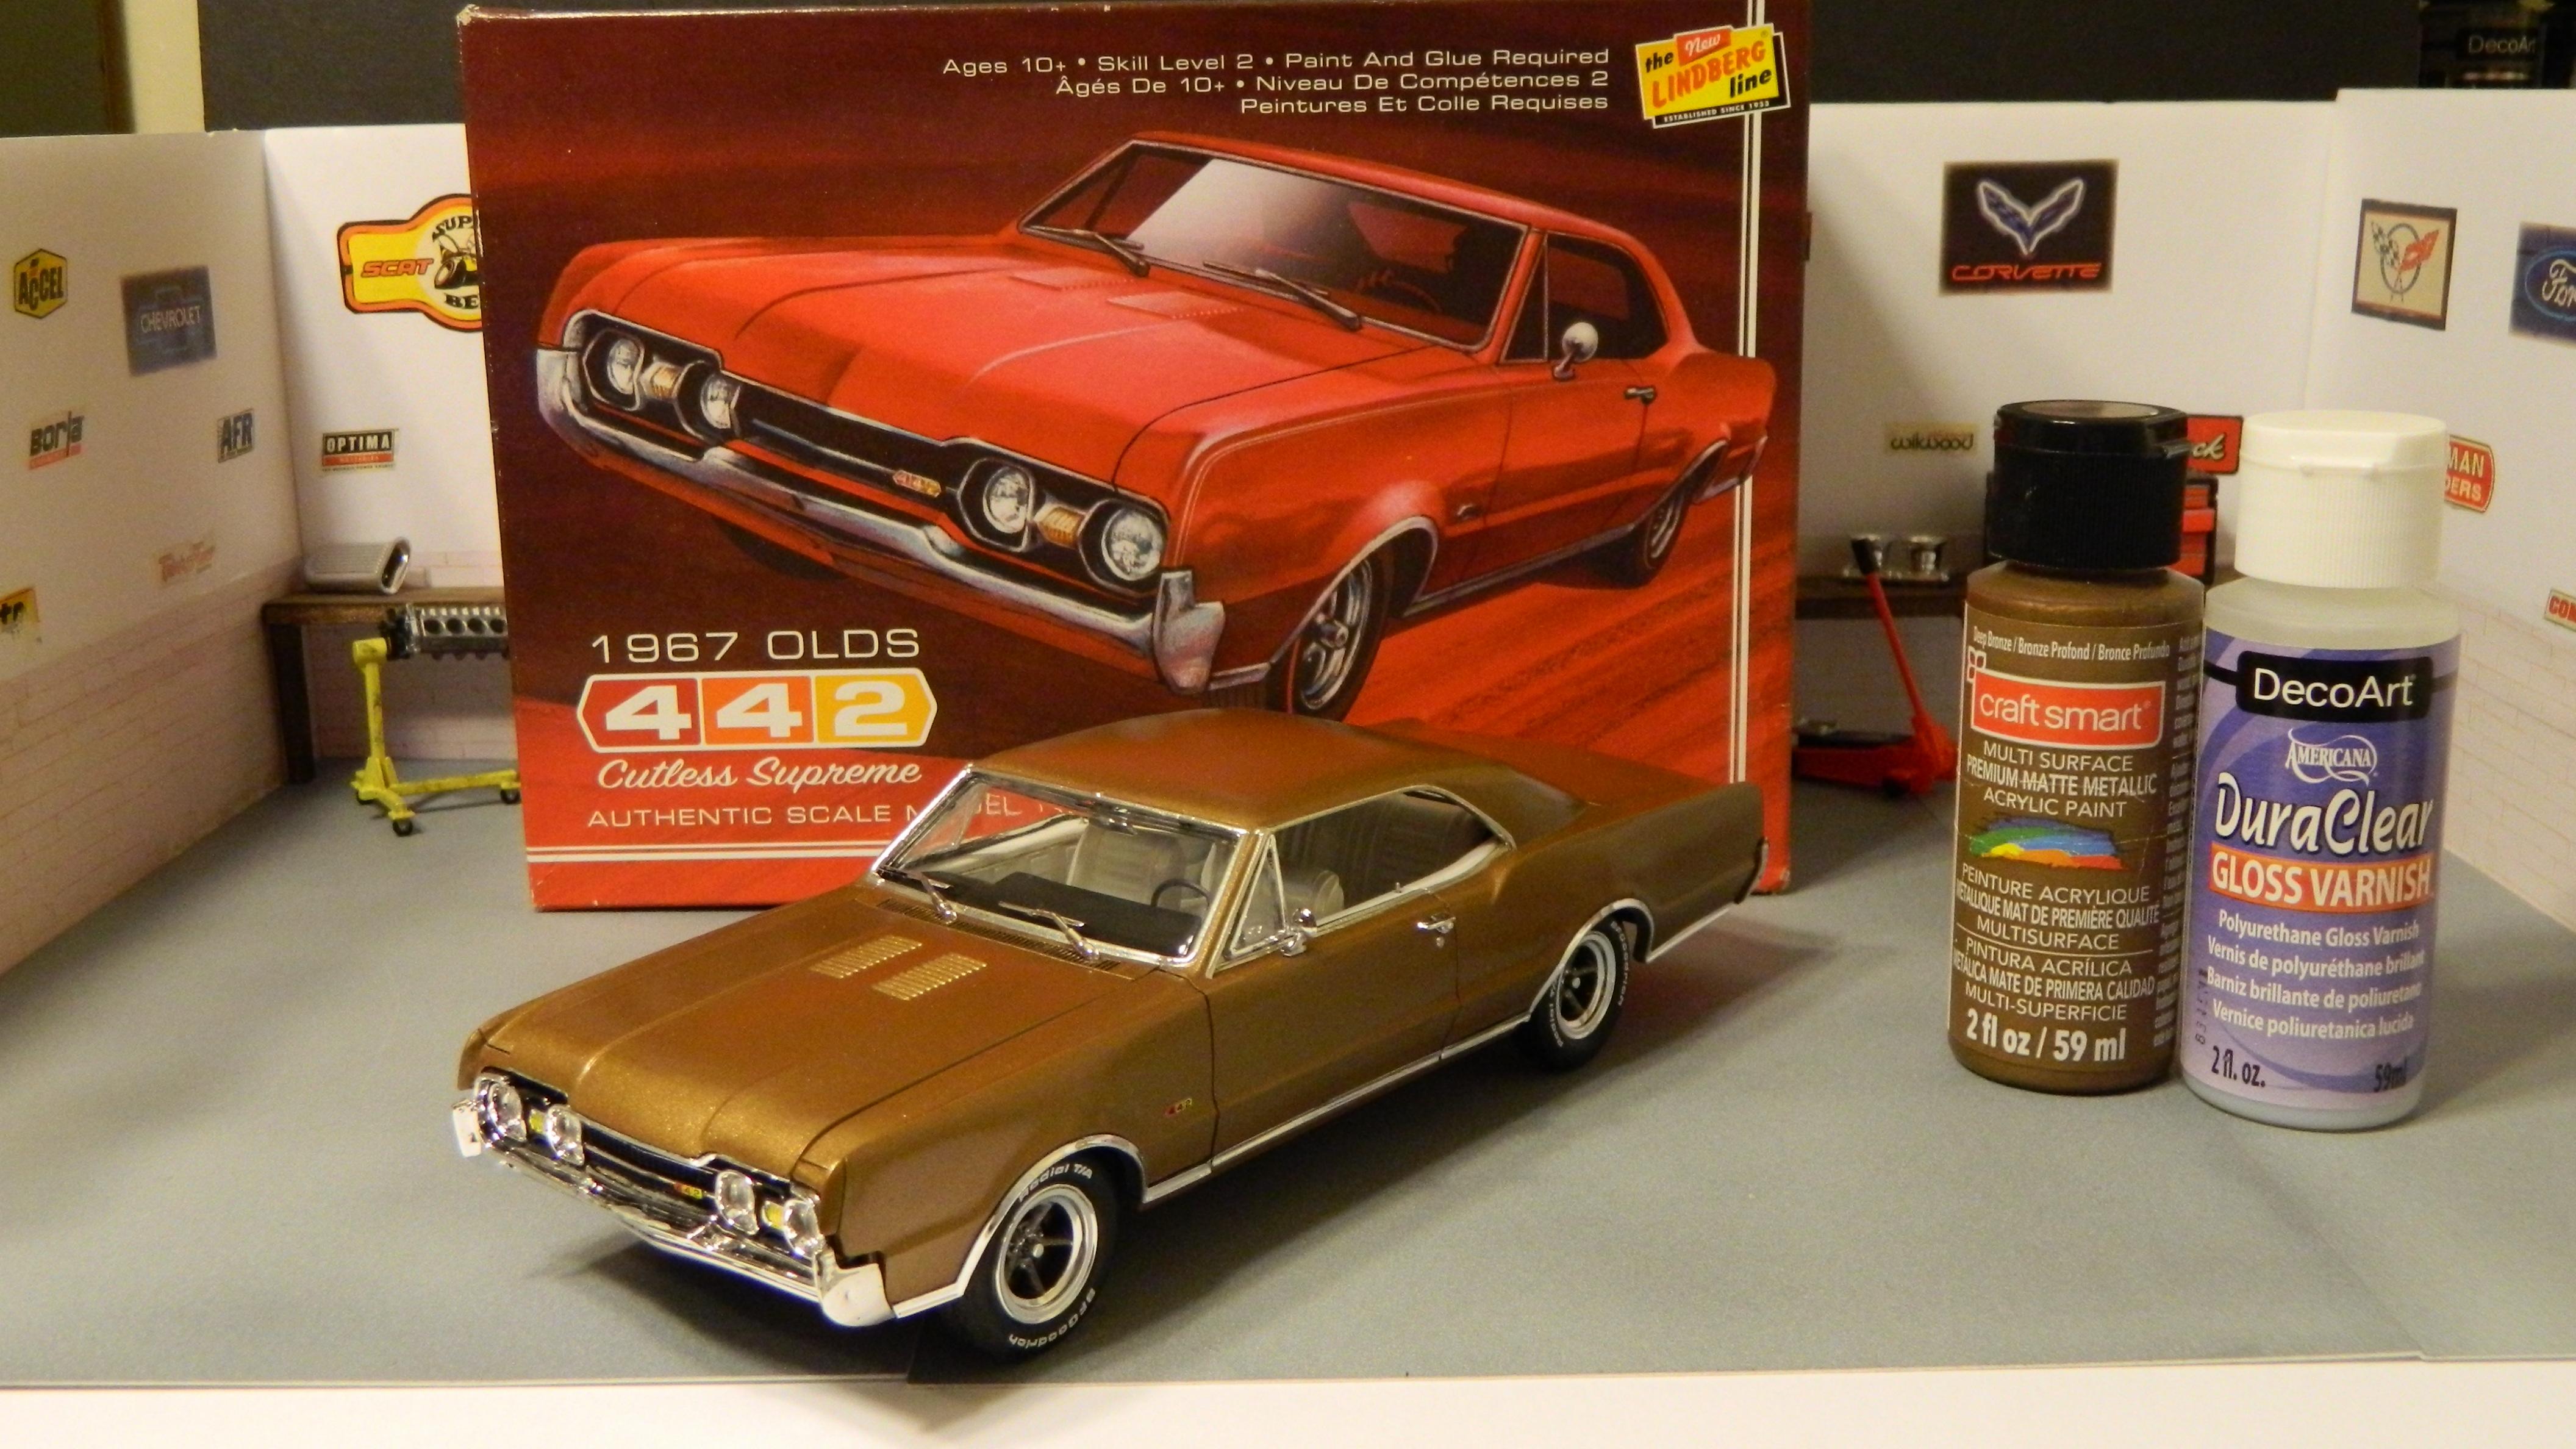
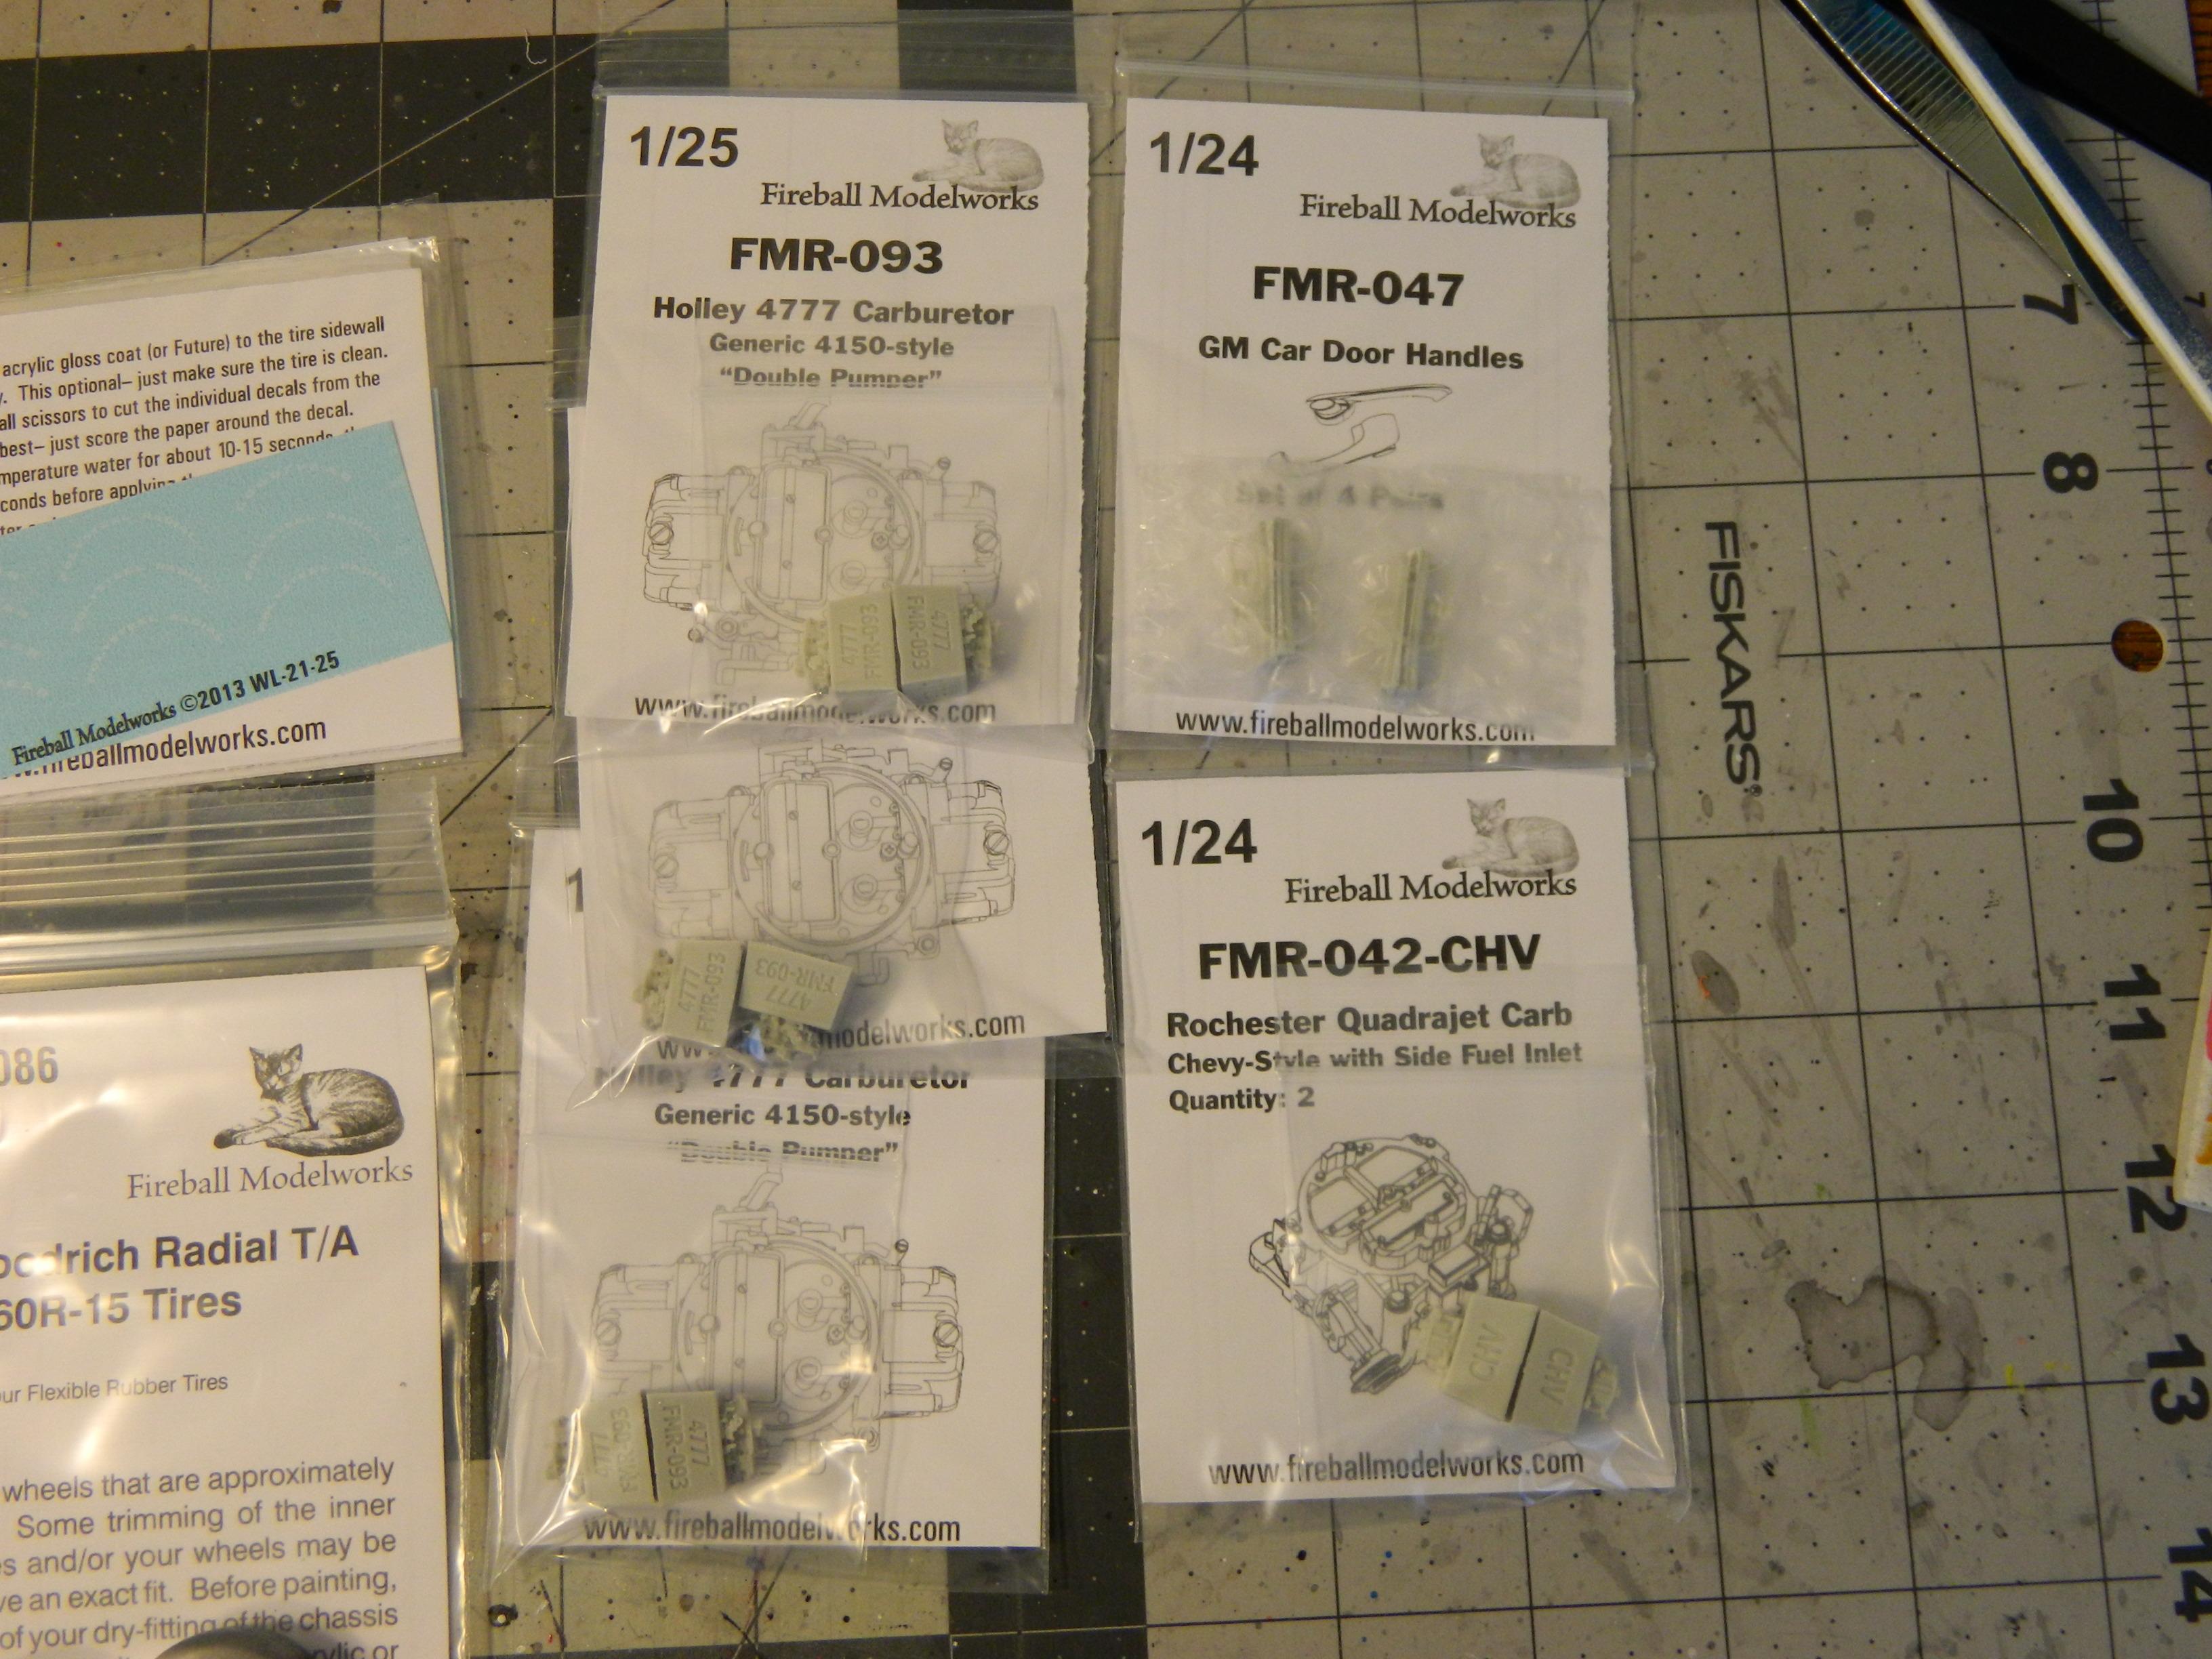
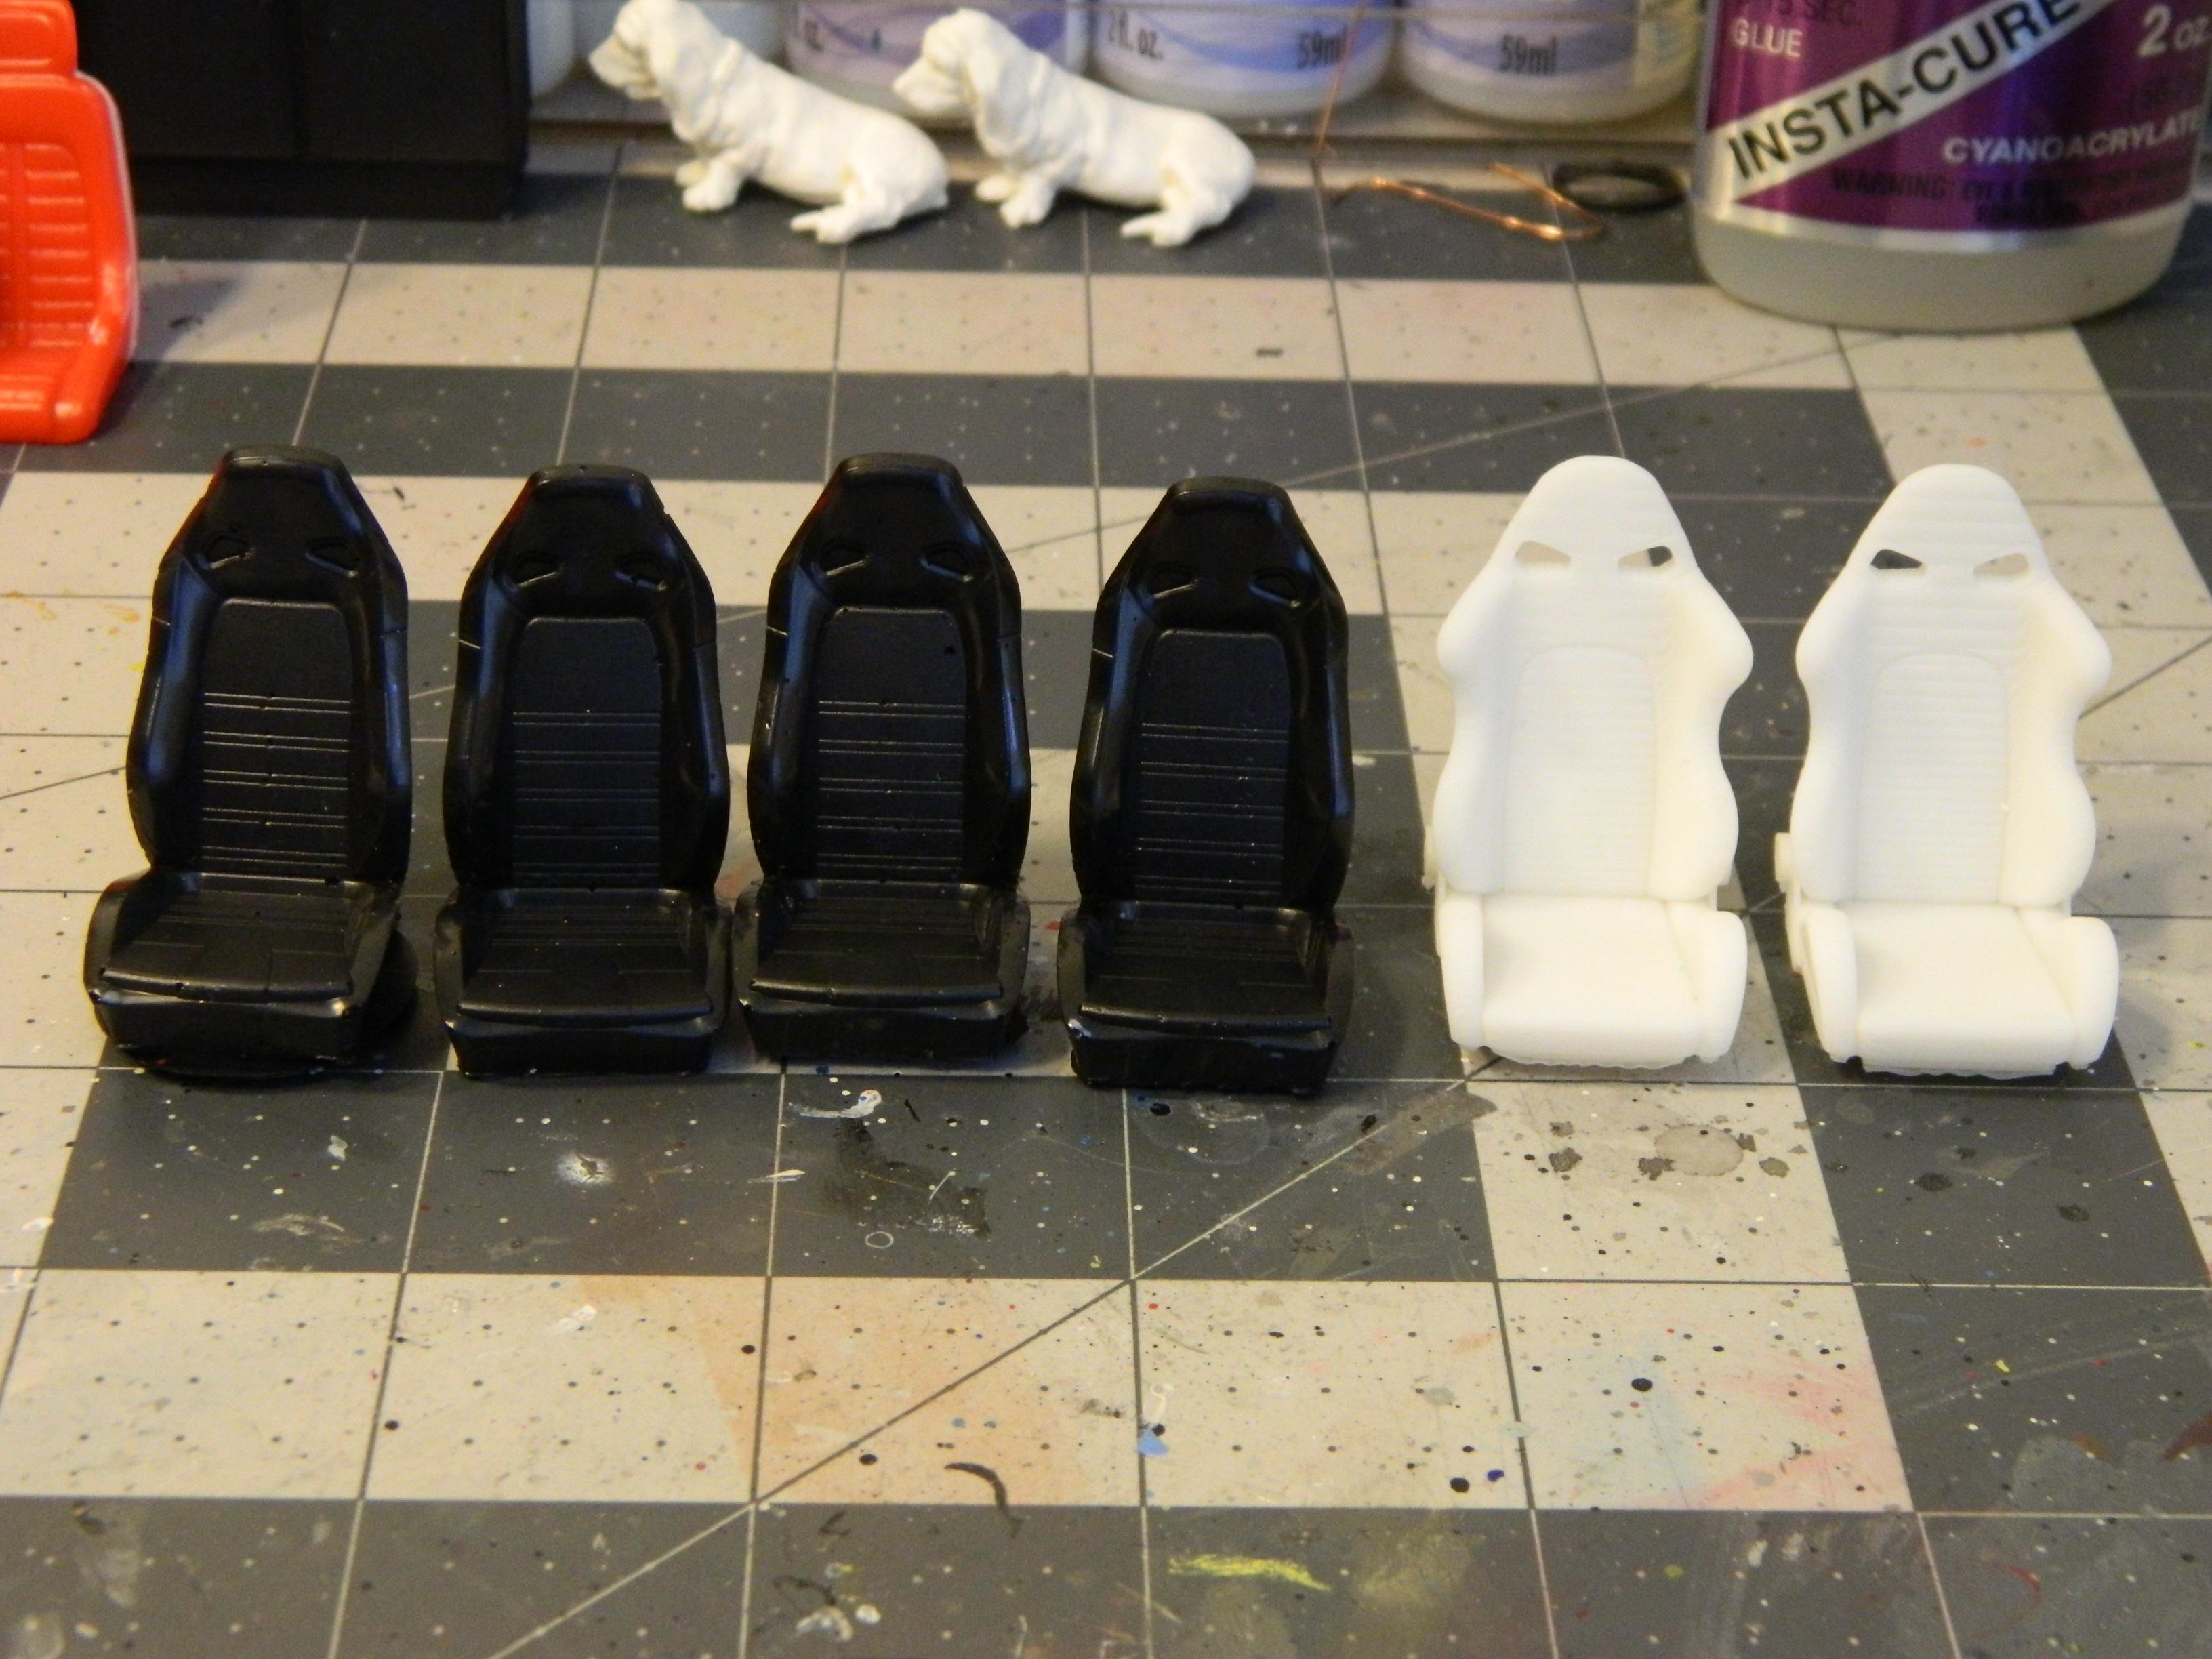
I got my Fireball Modelworks order in a few days ago, and these seats from Pro Street Hobbies on ebay today. I'm pretty impressed with the seats, and Fireball continues to amaze me with the quality of his stuff, just absolutely fantastic.
-
That looks fantastic and could easily be mistaken for the real thing!!
-
Very cool and very well done!
-
Favorite/greatest body style ever?
Dragonhawk1066 replied to Venom's topic in General Automotive Talk (Trucks and Cars)
Lots of great choices so far, but wow what a tough subject to narrow down to just one! So many styles stand out to me, but mine would have to be the '68-'72 GM A-body.
-
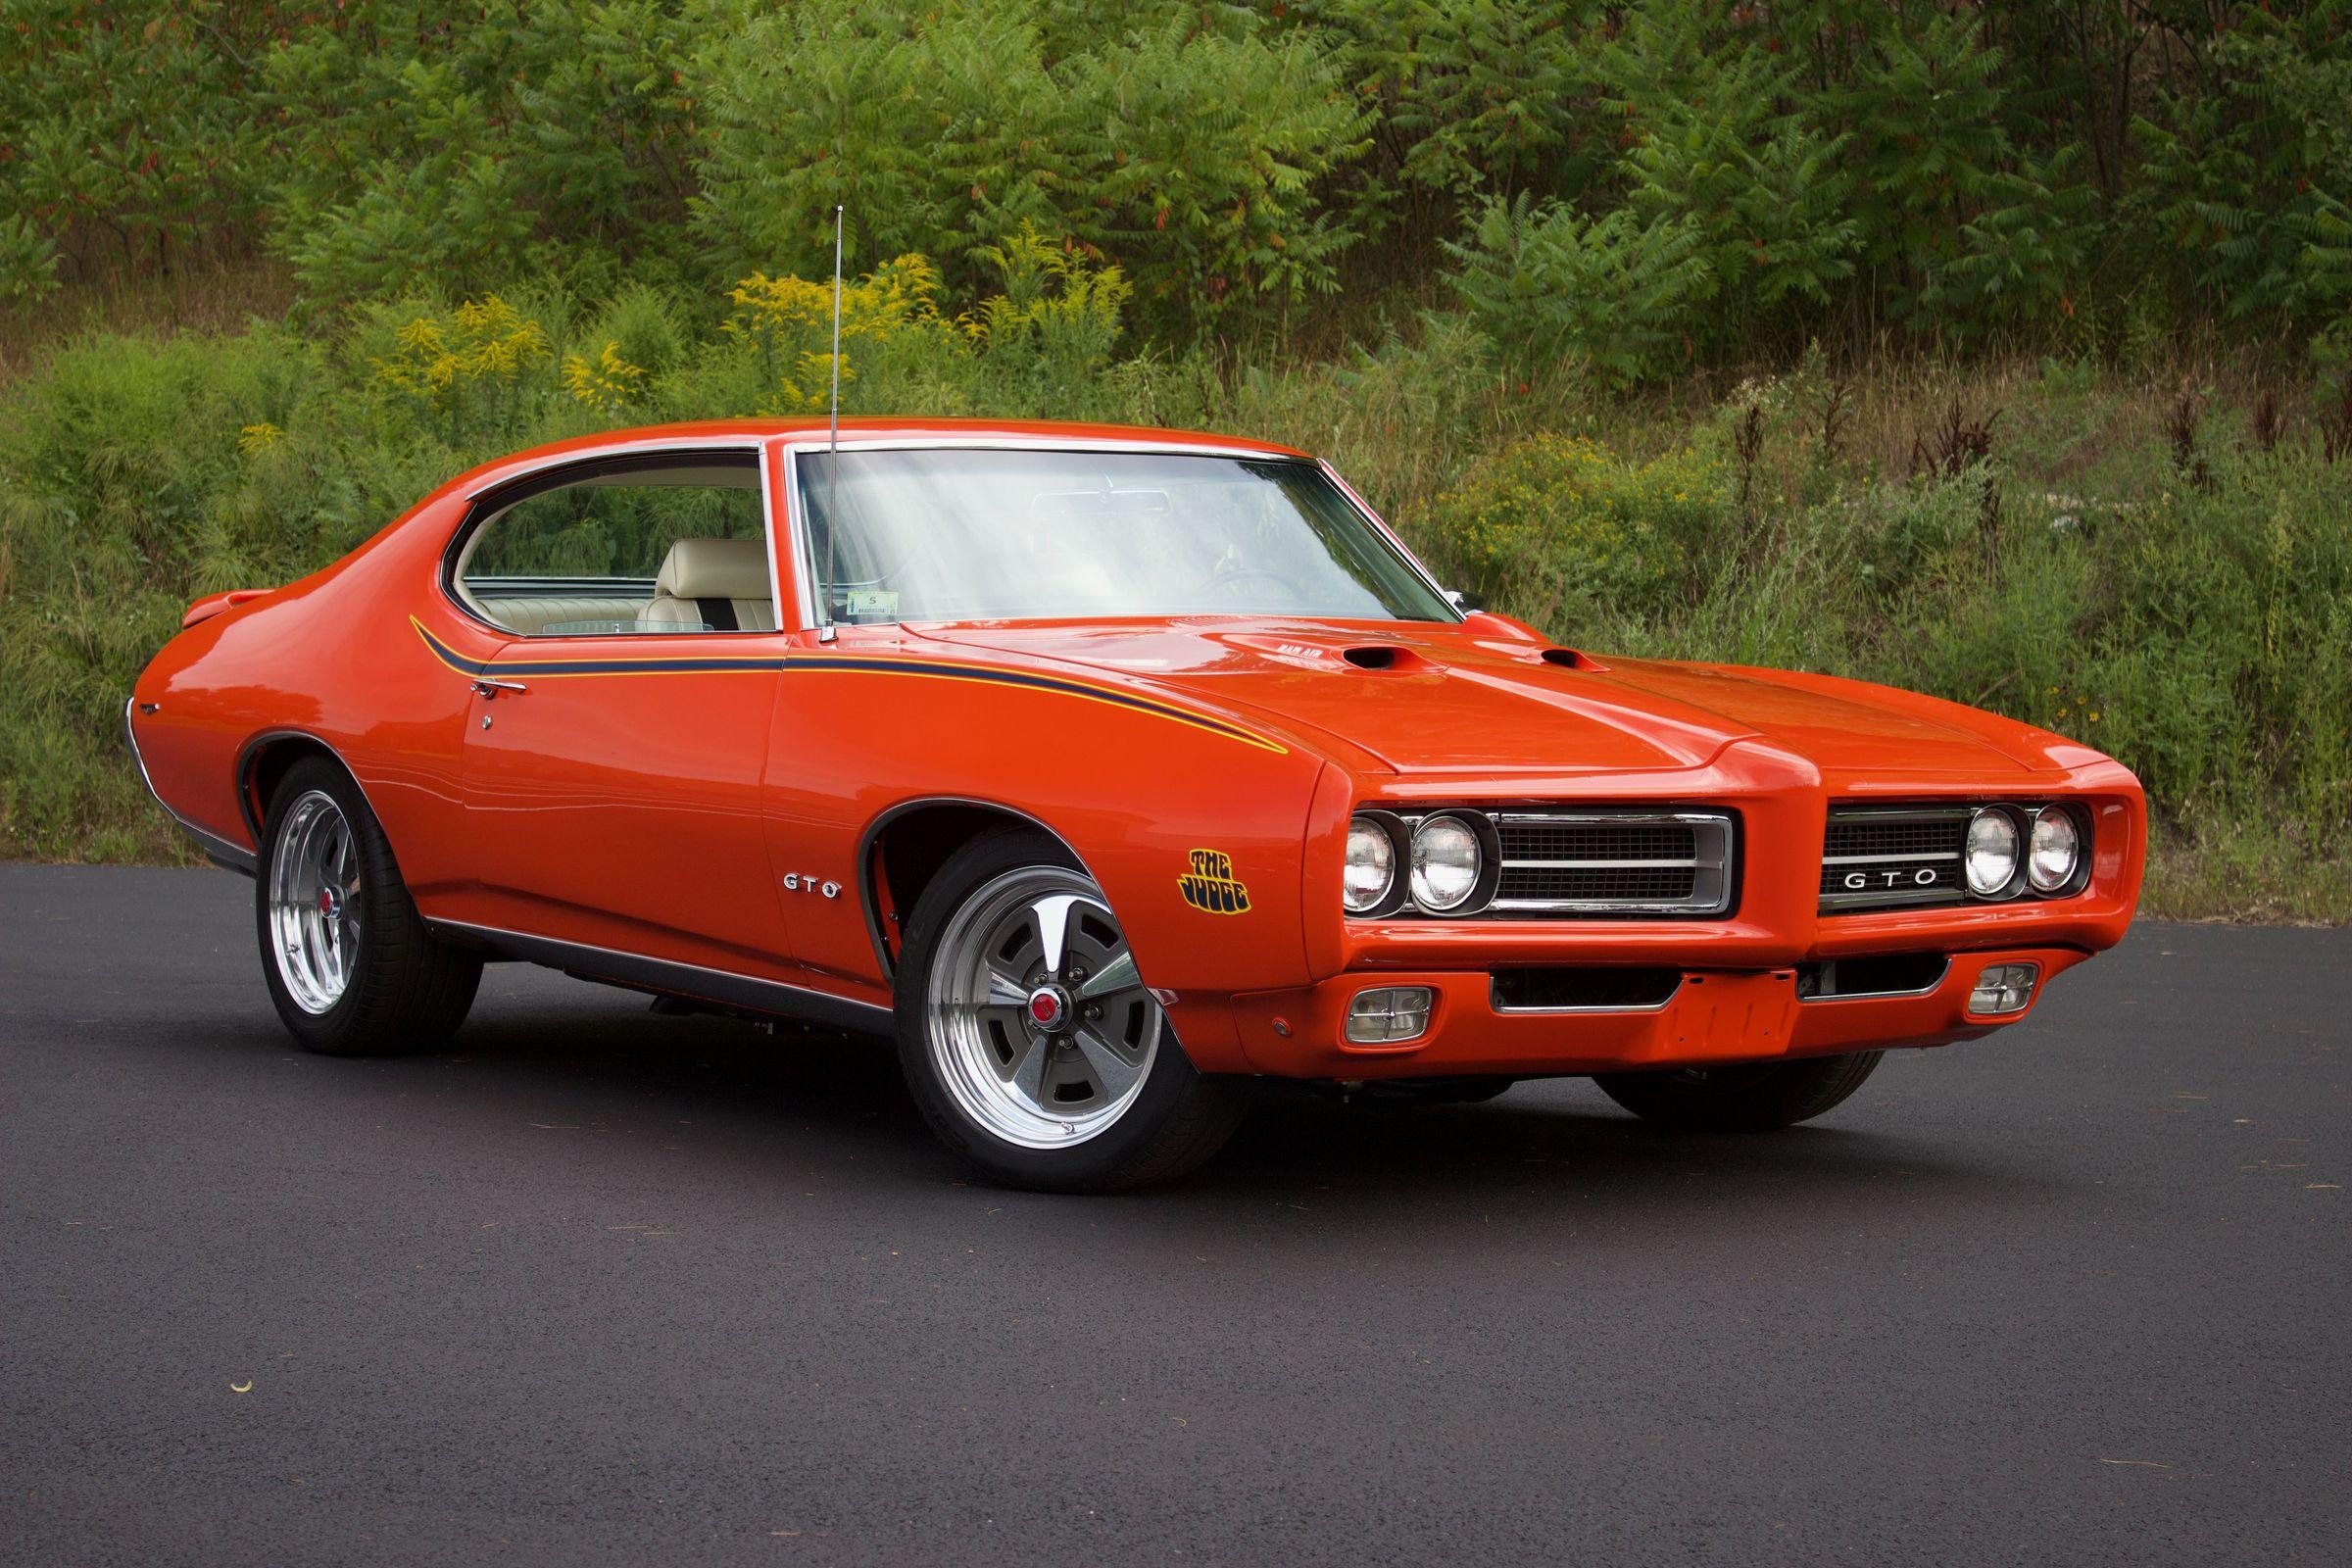
My wife really needs to stop asking me to take her to Hobby Lobby, LOL. Or is it I really need to stop asking her if she wants to go? Anyways, I got these two today. The '67 Chevelle chassis fits the '55 Chevy so that's what that one is for. I chose the GTX over another 1970 1/2 Z28 because I don't have one yet, but have two of the Z28's, one built, one not.
-
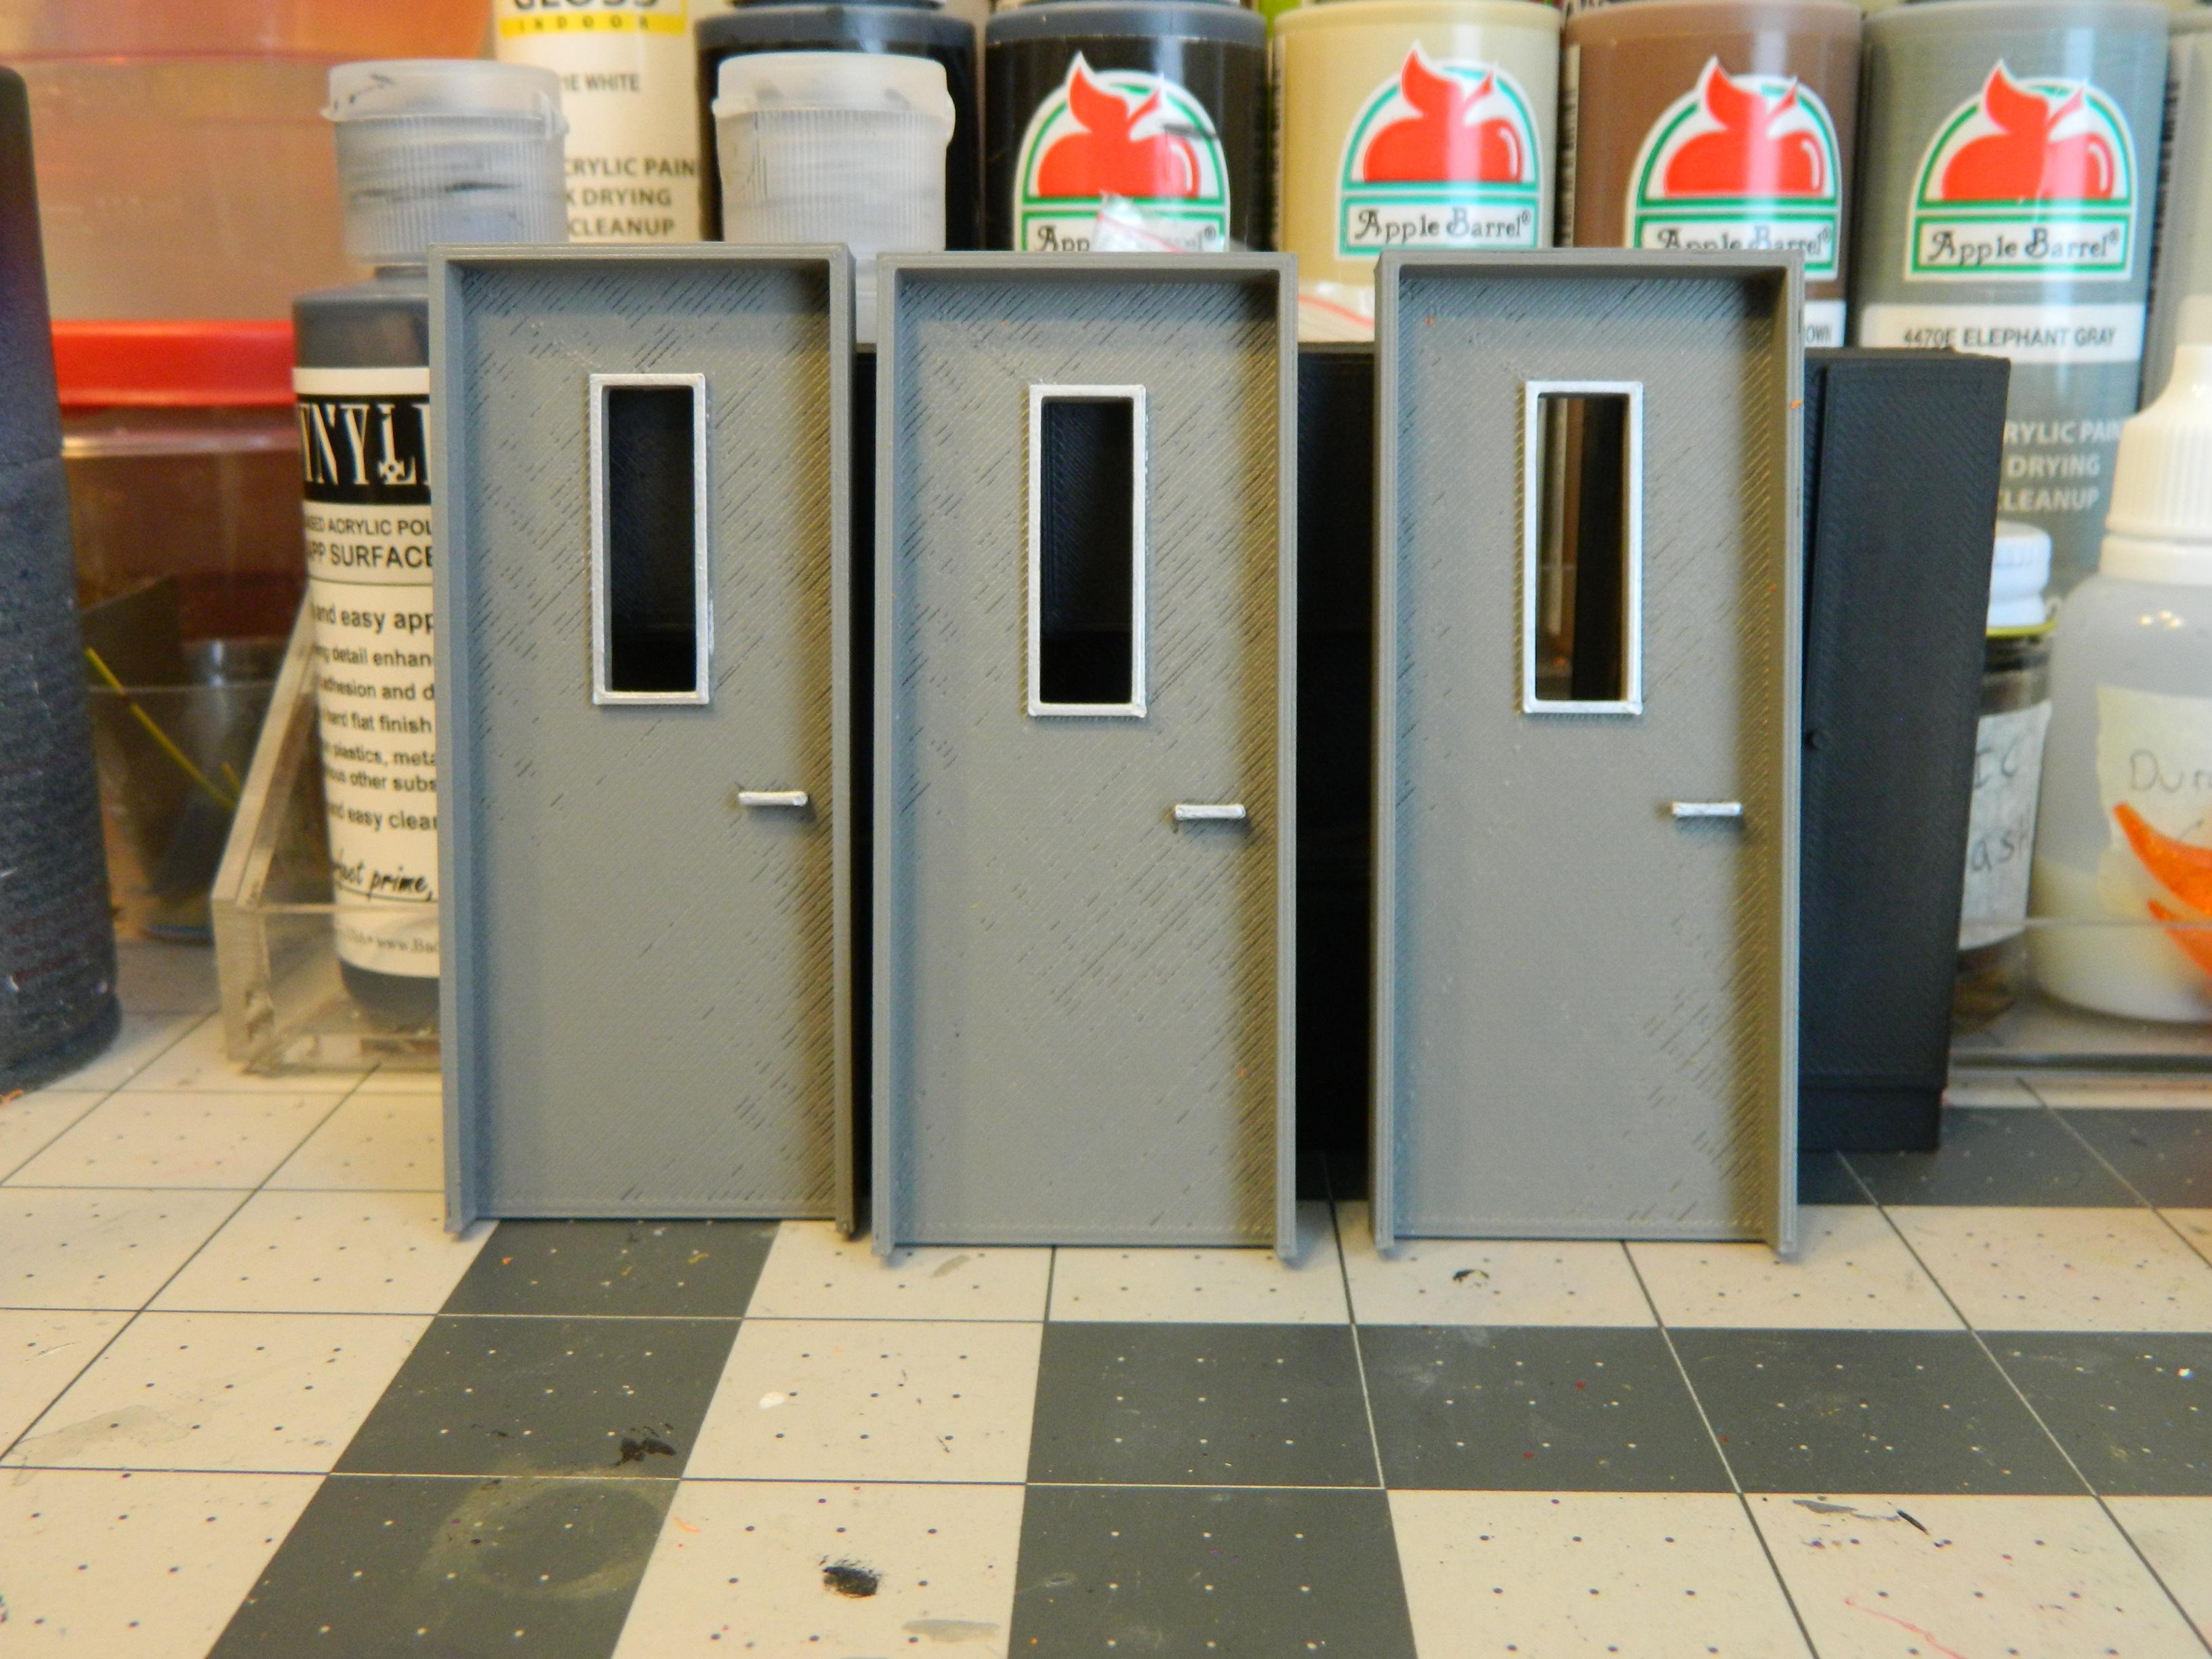
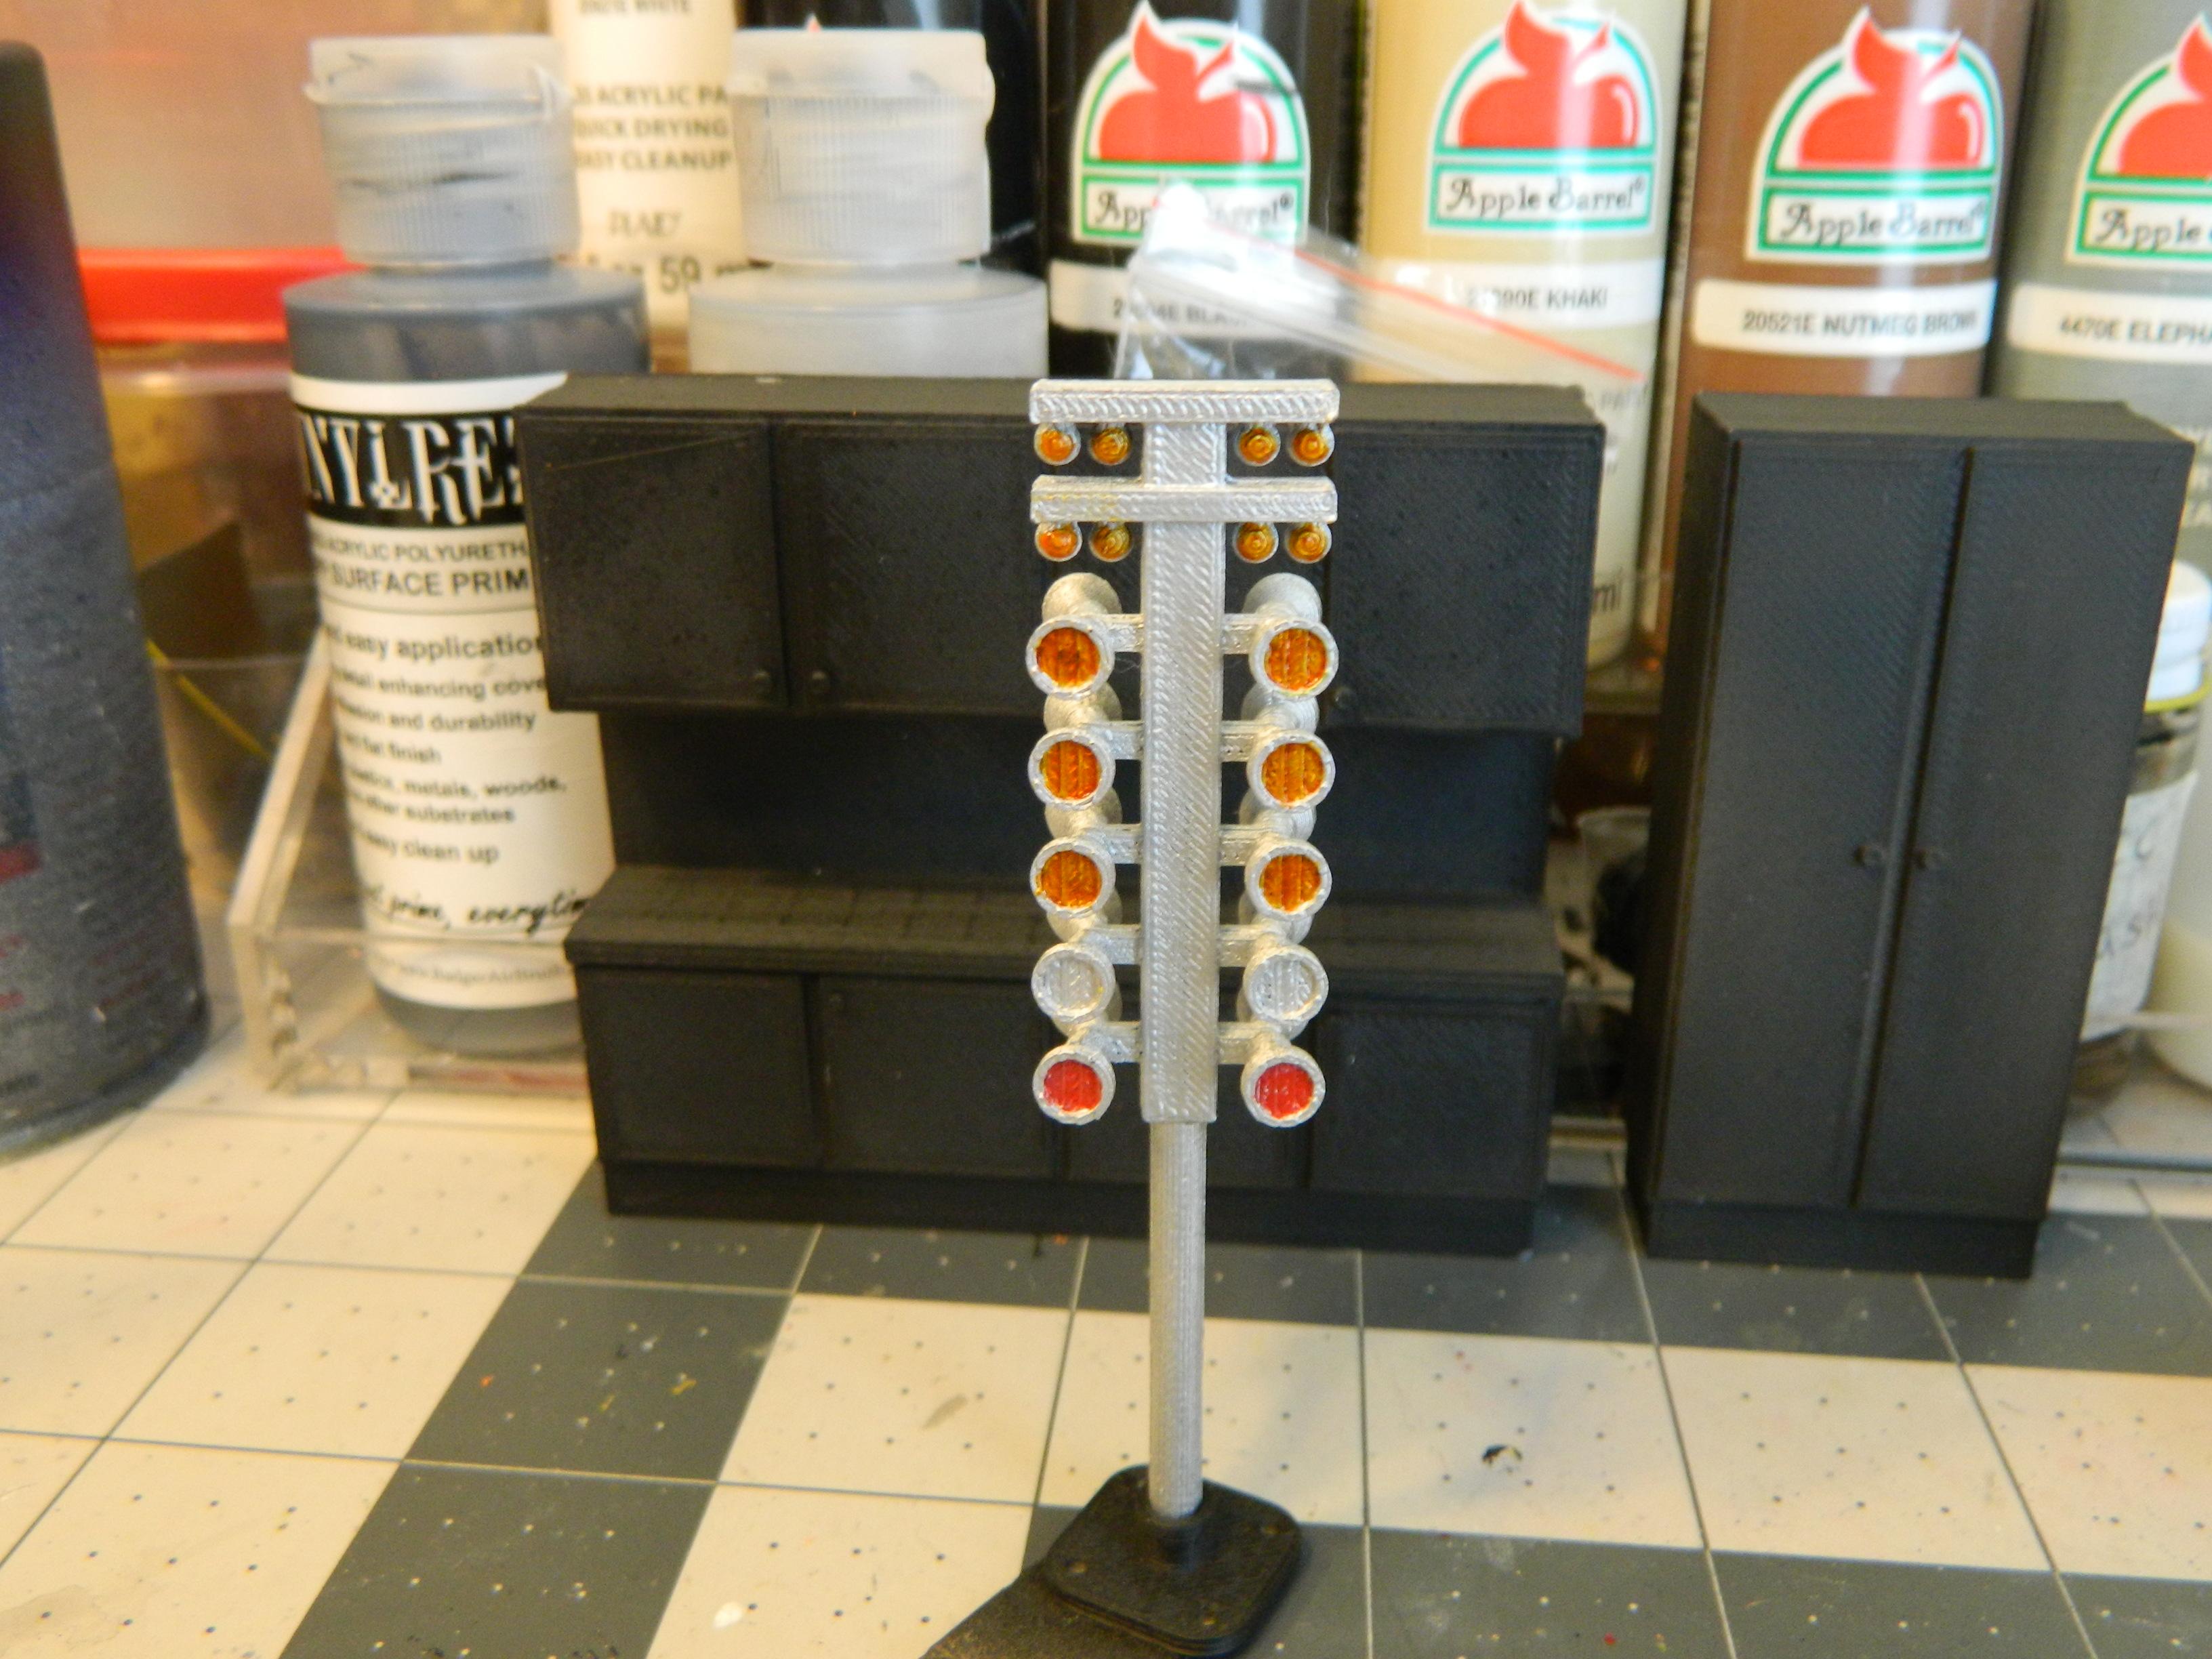
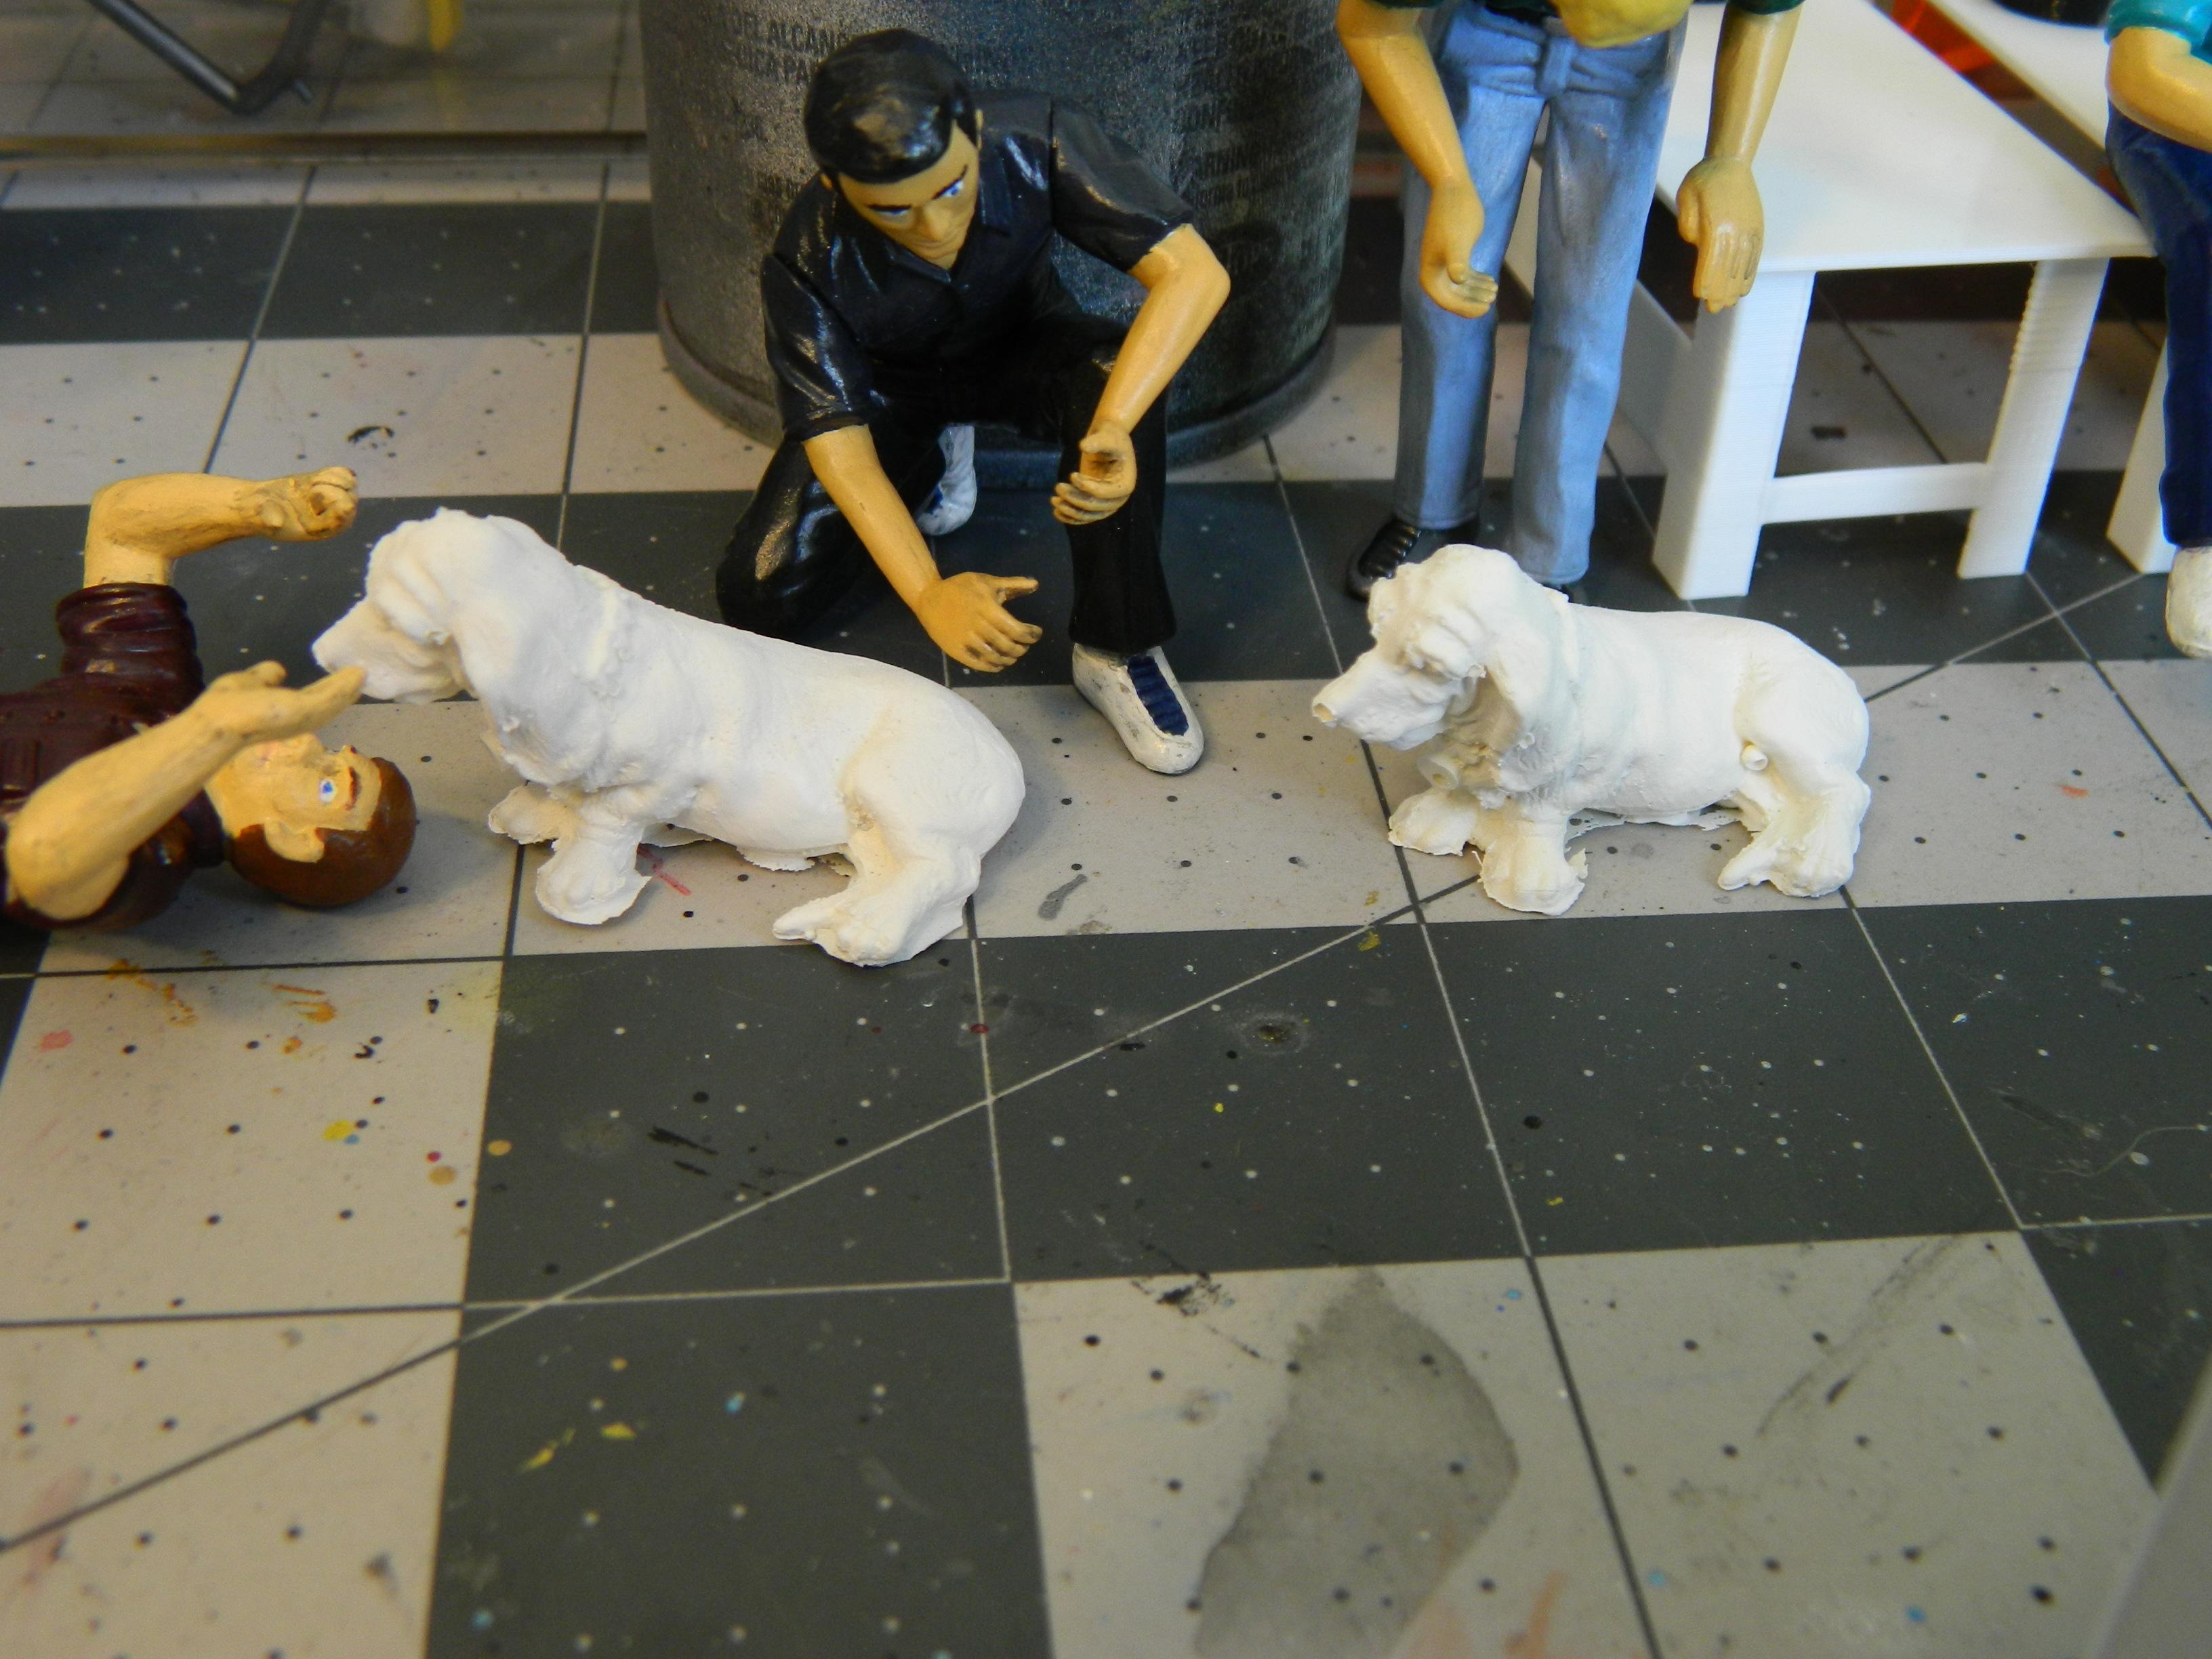
I'm not doing anything else on this until I have a place to display it, but I am collecting and painting pieces to add to it when done. I just painted and "assembled" these tool chests, engine hoists and doors that I got from Make It RC on ebay, I need some clear green to finish the Drag Race Christmas Tree.. Cool pieces and great prices. I'll probably buy a few other items from them in the near future. I got the cabinets that I put in black primer from BCS-trading (now BCSmodels.com) on ebay, and the basset hound figures to replicate my real dogs from Three Inches Under, also on ebay.
-
Both look great! Great idea for the builds!
-
Nice looking '55!
-
Nice looking little roadster!
-
Very nicely done!!
-
Chuck, both of these Chargers are beautifully done!!
-
Looks great! Well done!
-
1/24 Monogram 1987 Ford Thunderbird Turbo Coupe
Dragonhawk1066 replied to Cuba_13's topic in Model Cars
Vey nice! I always liked those cars! -
AMT 1971 Dodge Charger - Gluebomb resto with Toyota 5M-GE swap
Dragonhawk1066 replied to RickRollerLT1's topic in Model Cars
Nicely done! That motor looks like it belongs in there! -
Certainly a different take on that car!! Well done??!!
-
Gorgeous old Chrysler!! Love the color!
-
Revell 1971 Plymouth GTX - with VG30DE swap
Dragonhawk1066 replied to RickRollerLT1's topic in Model Cars
Nice looking GTX! -
Looks excellent! Love the color!
-
Nice looking Caddy ??!!
-
Cool looking Street Machine!
-
Very nice!
-
Looks excellent! Great paint job!
-
Cool stuff! I got a glow in the dark, and a clear-ish orange Hot Wheels logo free gifts on my JF order last month. I would have loved the Superman logo and Big Boy figure!